Monthly Archives: July 2020

#0314 Shirtwaist Tutorial – The sleeves, hem and finishing details

Part 1 – Adjusting the pattern

Part 2

Ok, time to make the sleeves, again a bit different, than described in the instructions, with the side seam of the blouse still open!

I made the placket as described in the instructions, with a strip of fabric, sewn to the vent with a very narrow seam allowance. While sewing, I pulled the vent straight, trying to avoid folds when sewing round the corner.

Continue reading

#0314 Shirtwaist Tutorial – Sewing the blouse

Part 1 – Adjusting the pattern

Let´s start to sew the blouse step by step, but not exactly the way I described in the instructions, showing you how to do some things different! This time I decided to make the turn-down collar and make collar and cuffs from the same fabric as the blouse.

First of all is to cut all the pieces from the fashion fabric, transferring all the marks carefully. Working with symmetrically printed fabrics, it´s better to follow the printed pattern than the grainline to make the folds and the button band. Believe me, that print drove me crazy when I started sewing.

On the right side, I cut off the front along the dotted (green) line and made an extra button band – see first post.

Continue reading

#0314 Shirtwaist Tutorial – Adjusting the pattern

Hi there again! This time I made a tutorial for my Shirtwaist pattern #0314 with folds. Some of my customers reported problems with the narrow collar and how to adjust the neckline if you´d need a lager collar.

First of all, the most important thing is to make a mock-up for the collar. Compared to modern collars, often cut very wide and worn open, this collar has to sit tight around your neck, like a men´s shirt collar.

Making the collar wider, you´d have to widen the neckline accordingly and I think at that point many of you´re having problems, finding the neckline on the pattern because of the folds.

Take the front pattern from paper and make all the folds indicated on the pattern. From that point it will be easy to make all the changes needed.

Using a 5/8” (1,5cm) seam allowance, draw the stitching line and measure.

Continue reading

Tutorial for a 1890´s day bodice or blouse – Part 3 The sleeves and finishing details

Part 1: Preparing the back and fronts

Part 2: The collar and bottom facing

The bodice is nearly finished, just the sleeves and some details are missing!

Flatline the sleeve with the polished cotton fabric (I did a fast machine basting) and mark the line for the puff sleeve on the right fabric side.

Continue reading

Tutorial for a 1890´s day bodice or blouse – Part 2 The collar and the bottom edge

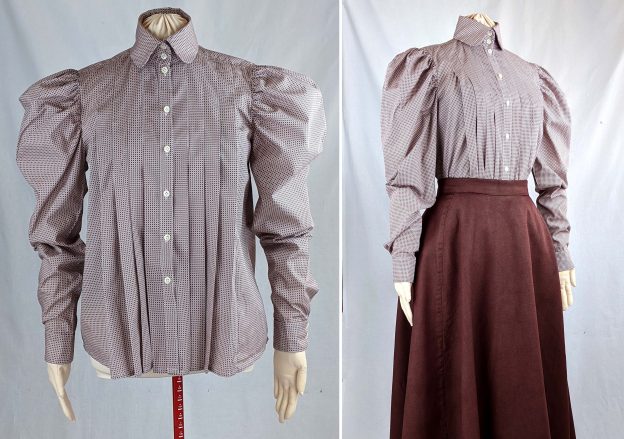
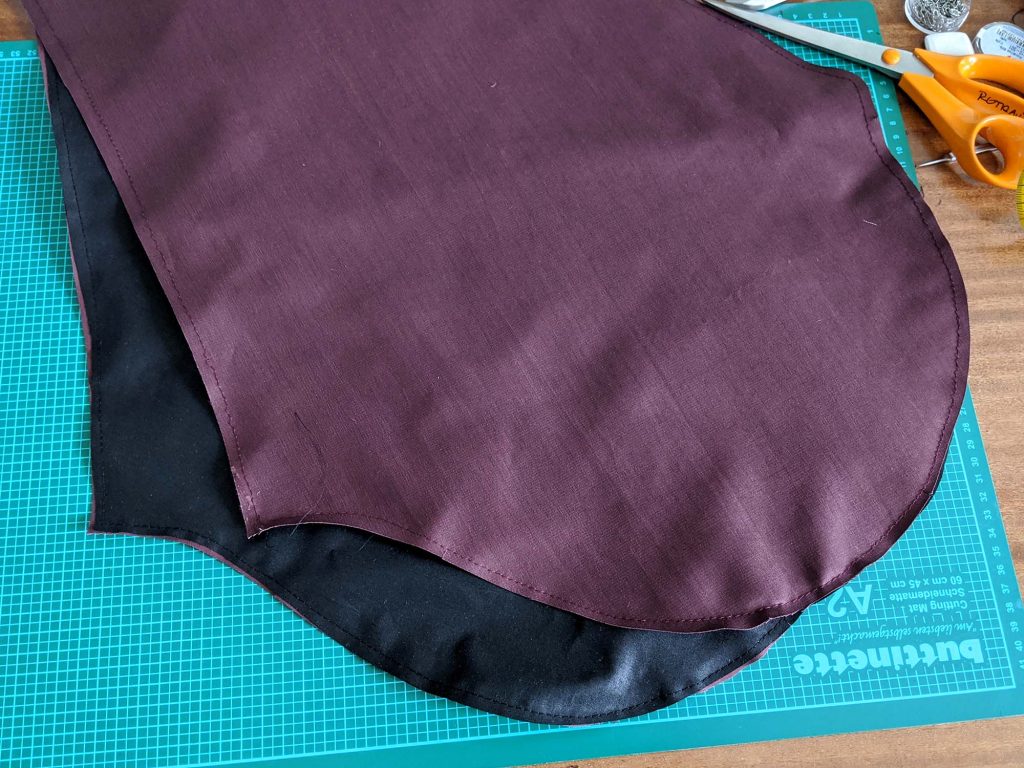
Last time, I showed you how to prepare the back and fronts, now it´s time to sew on the collar and neaten the bottom edge.

Part 1: Preparing the back and fronts

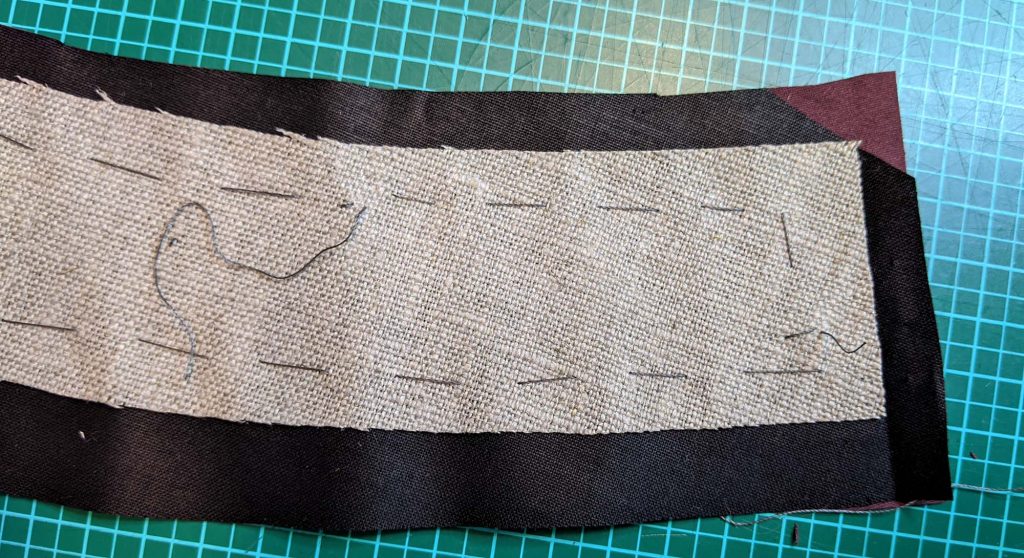
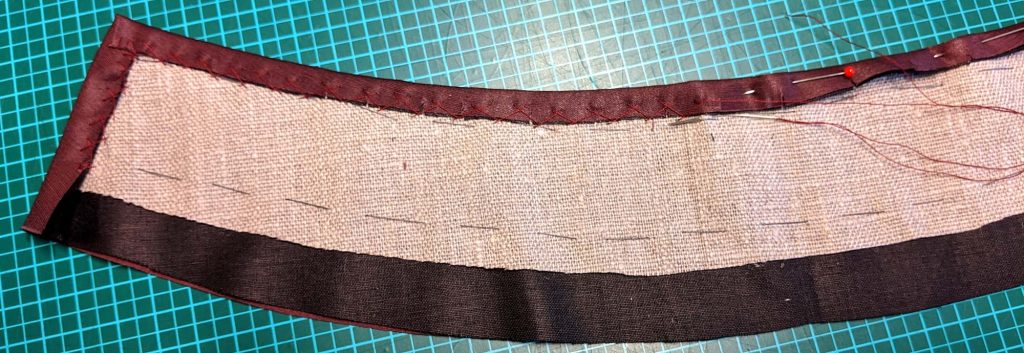
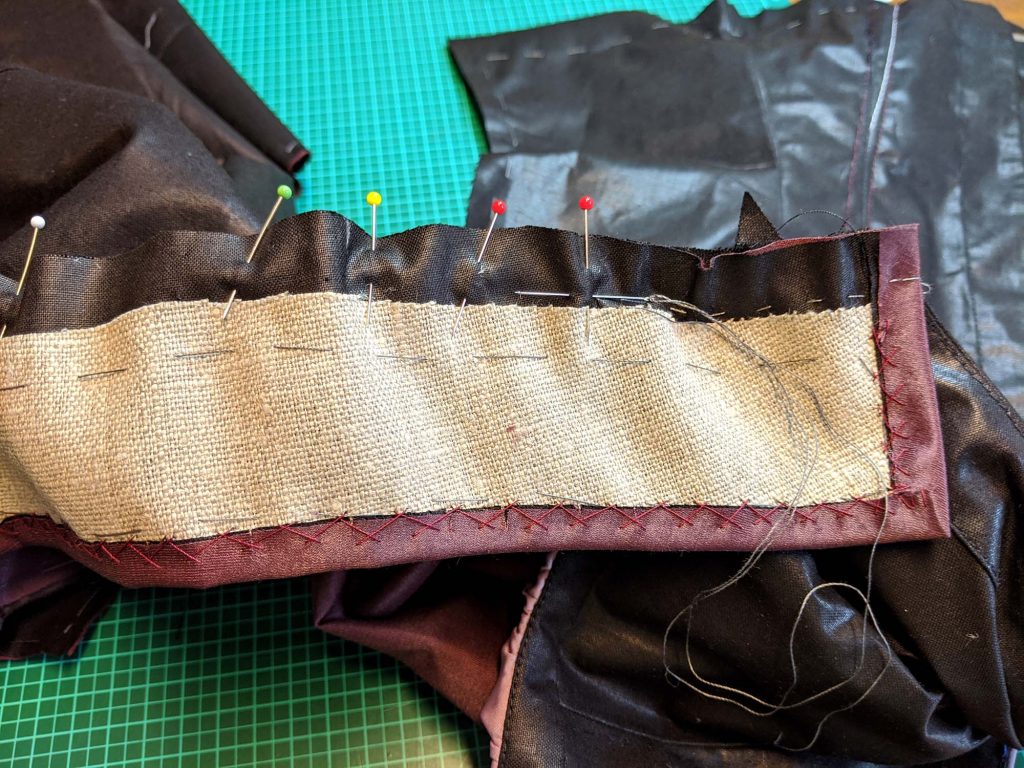
Flatline the collar, without basting the layers together because of the different turn of cloth needed for the top and lining layer. Take the interfacing, cut on the bias (accidentally, I cut mine on the straight grain) without any seam allowances, and baste centered to the wrong side of the collar. To remove bulk before, cut off the lining at an angle at the corners. Turn in the seam allowances, first baste, then catch stitch the seam allowances to the interfacing.

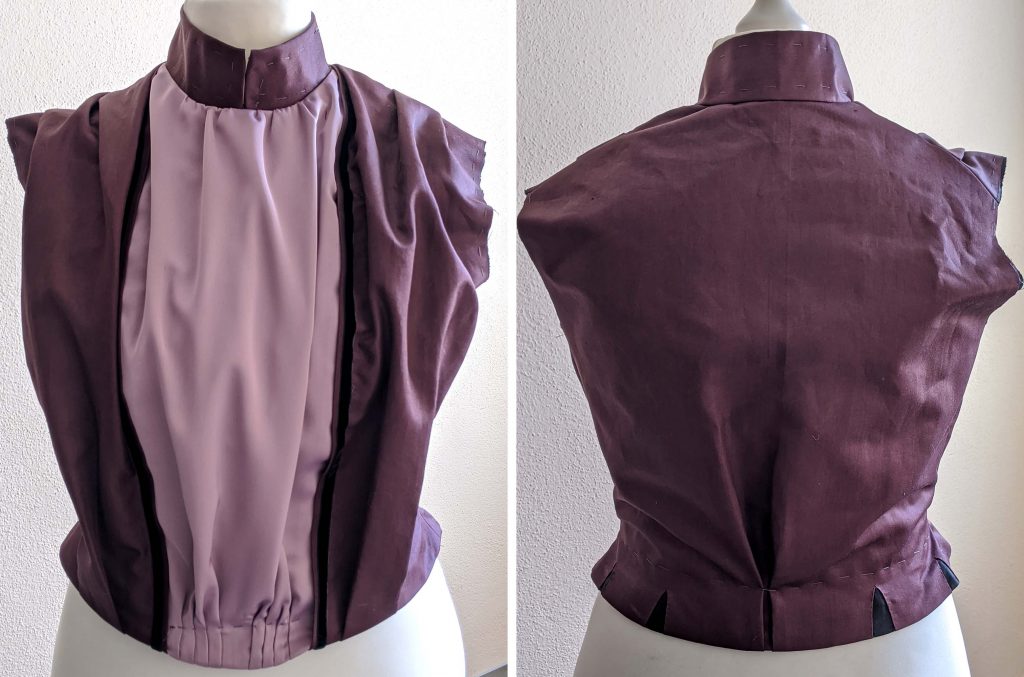
Pin the collar to the neckline, right sides together, matching the front edge and shoulder seam carefully. Especially at the right shoulder seam, all layers have to match up exactly for not showing the lining, when finished. First baste, then sew, taking care not catching the plastron and front edges of the fashion fabric while sewing, at the right shoulder point.

Continue reading