Last time, I showed you how to prepare the back and fronts, now it´s time to sew on the collar and neaten the bottom edge.
Part 1: Preparing the back and fronts
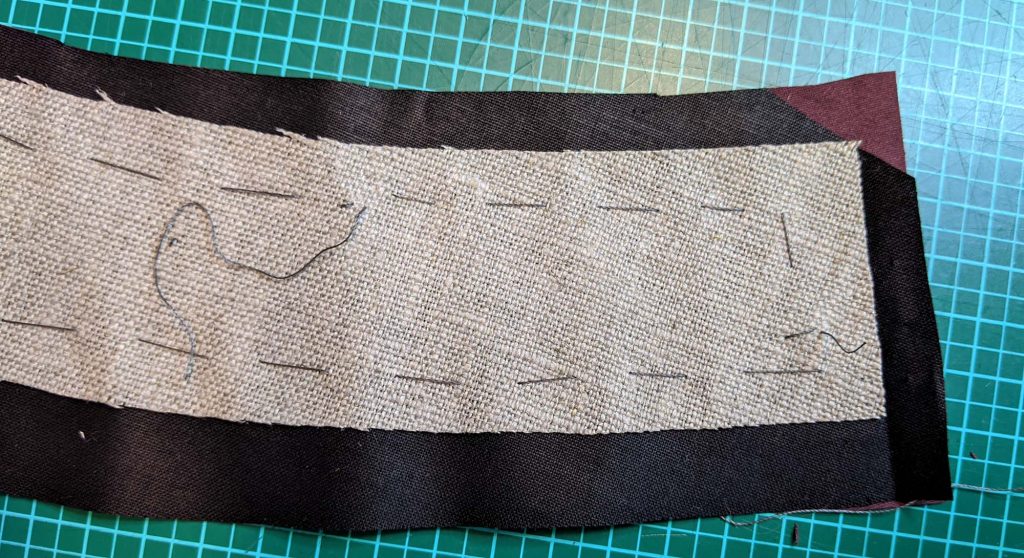
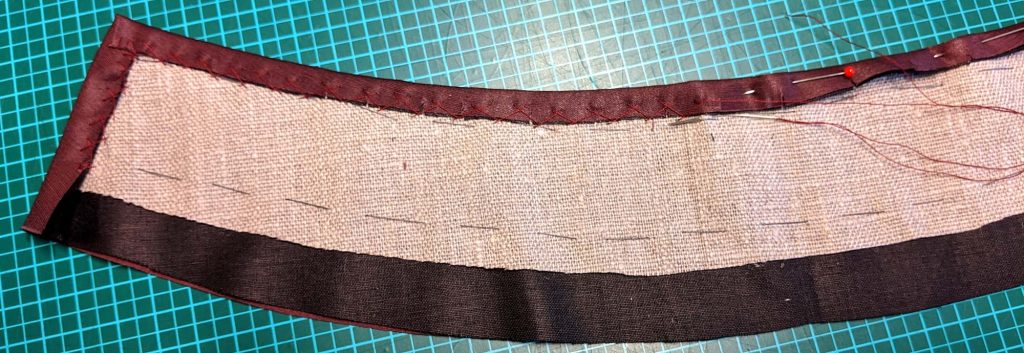
Flatline the collar, without basting the layers together because of the different turn of cloth needed for the top and lining layer. Take the interfacing, cut on the bias (accidentally, I cut mine on the straight grain) without any seam allowances, and baste centered to the wrong side of the collar. To remove bulk before, cut off the lining at an angle at the corners. Turn in the seam allowances, first baste, then catch stitch the seam allowances to the interfacing.
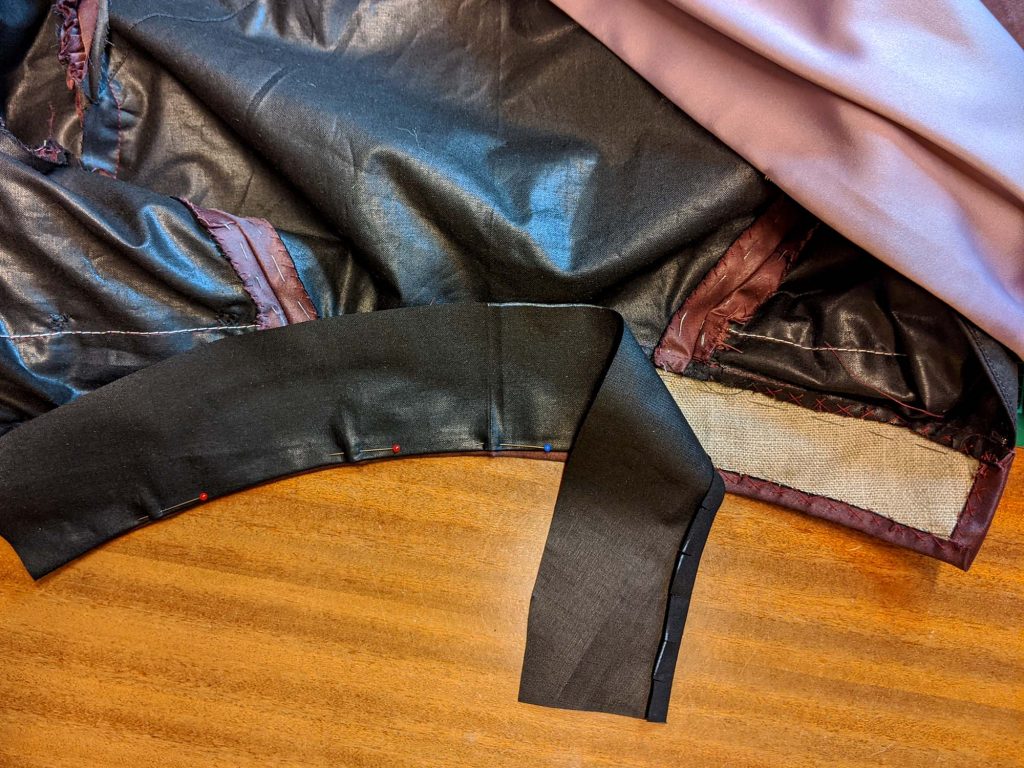
Pin the collar to the neckline, right sides together, matching the front edge and shoulder seam carefully. Especially at the right shoulder seam, all layers have to match up exactly for not showing the lining, when finished. First baste, then sew, taking care not catching the plastron and front edges of the fashion fabric while sewing, at the right shoulder point.
Trim back the seam allowance along the neckline and press towards the collar. Clip at the curves and catch stitch to the interfacing.
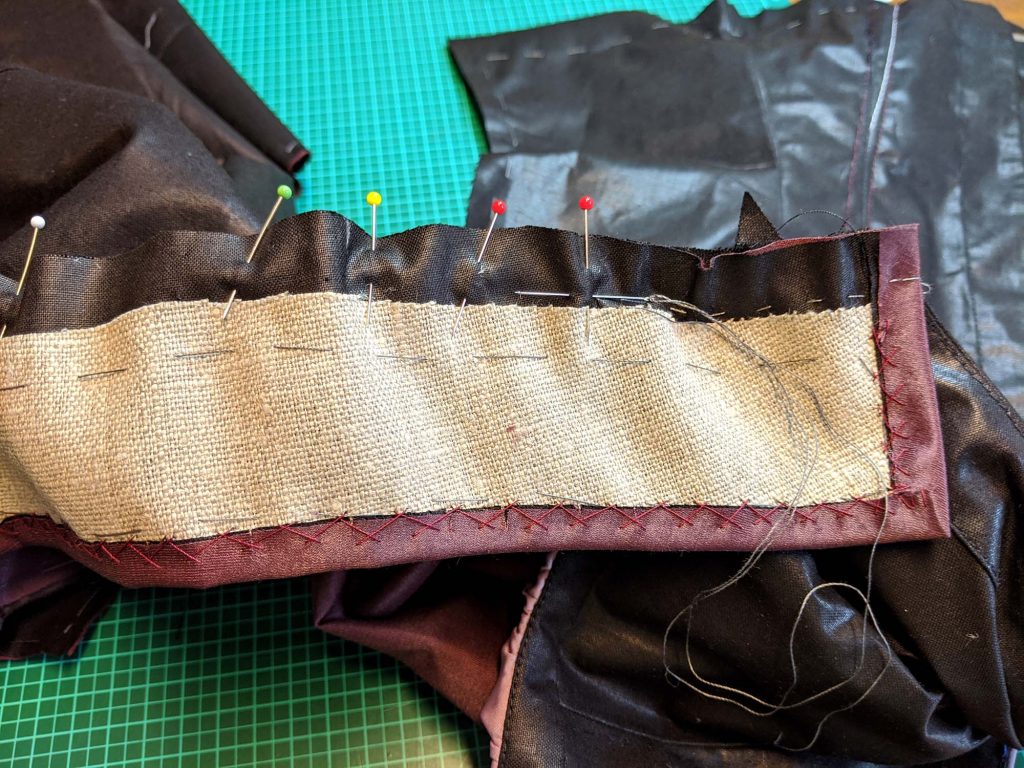
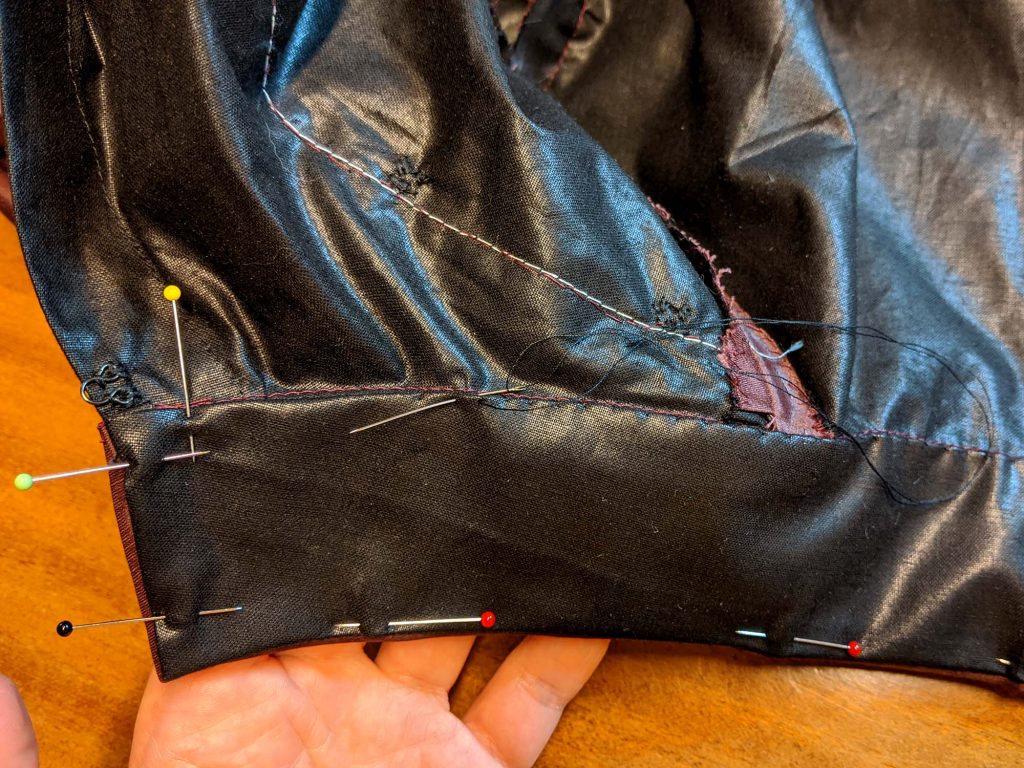
Take the collar lining and turn in the seam allowances. Line up with the collar, wrong sides together, with the lining edge slightly behind the edge of the fashion fabric to keep the lining out of sight. Fell stitch the lining to the collar with no stitches showing on the right side.
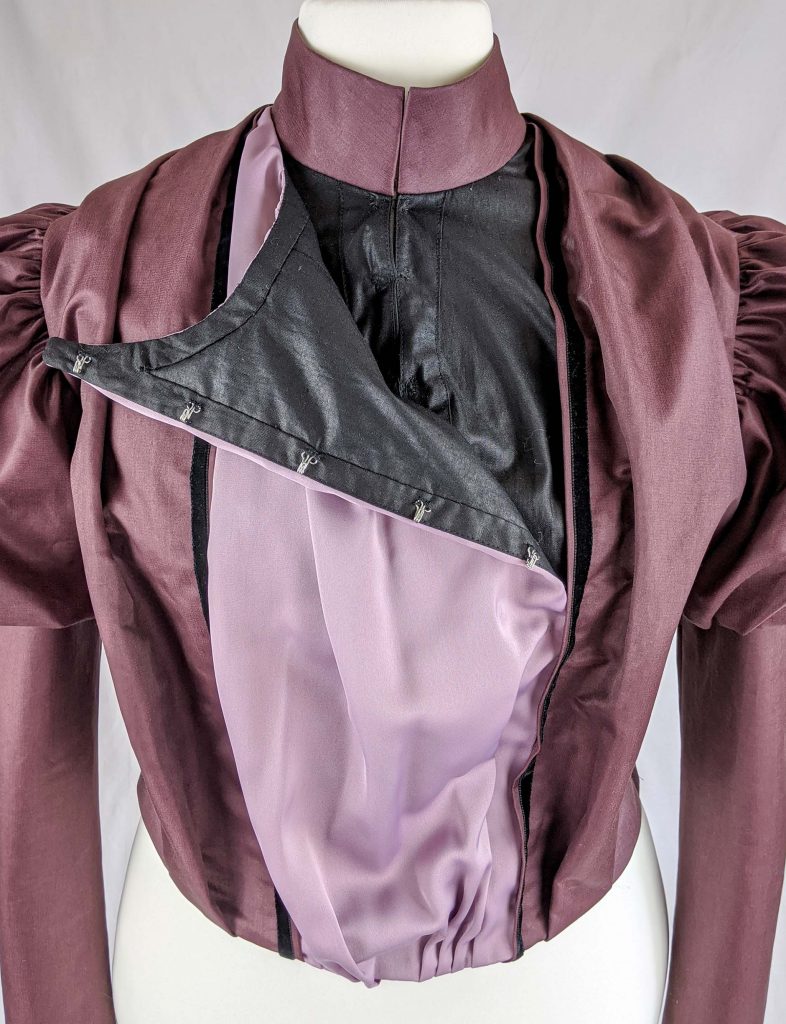
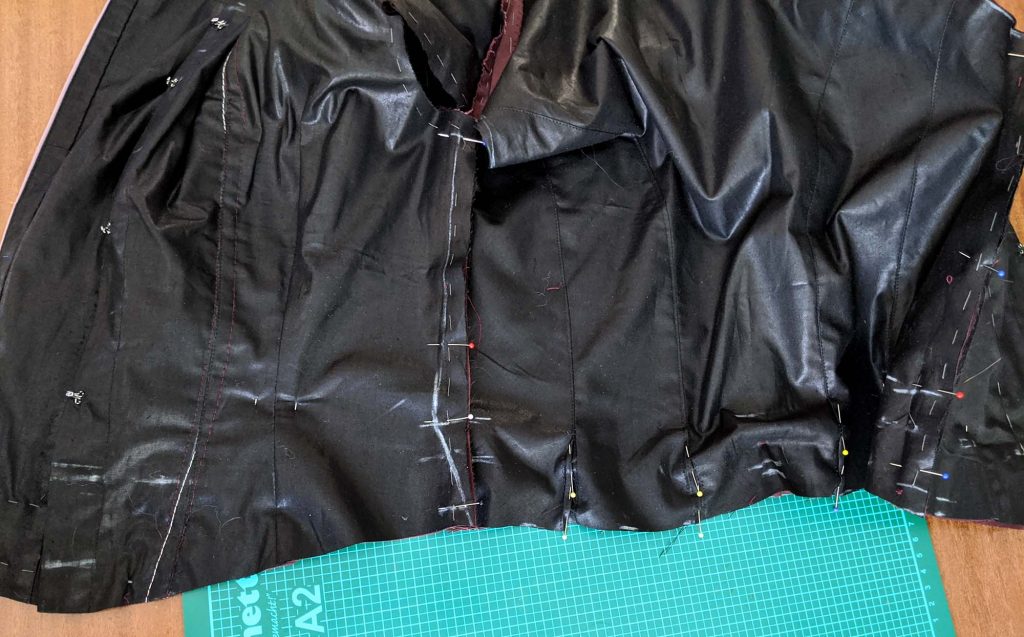
Do a fitting to adjust the bottom edge and the side seams for the last time. Mark the waistline and trim back the seam allowance along the bottom edge to 5/8” (1,5cm). On the picture you can all the marks I made when trying to check the waist and bottom line on my own, without help from another person.
Sew the side seams and press open the seam allowances. Clip at the waistline.
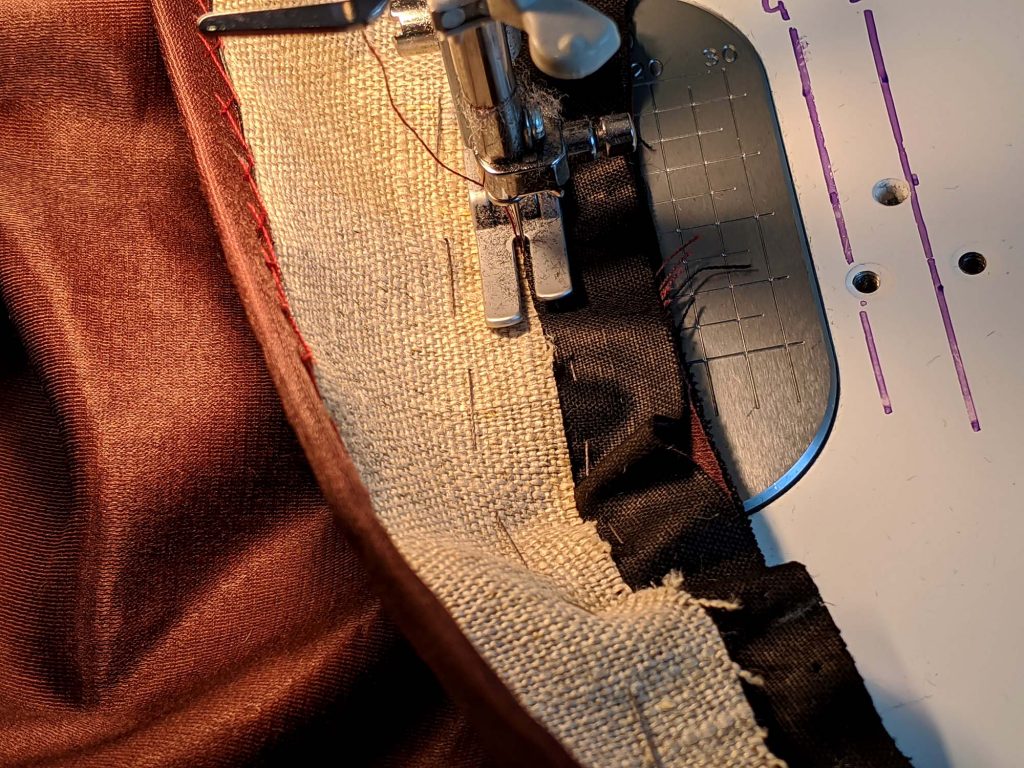
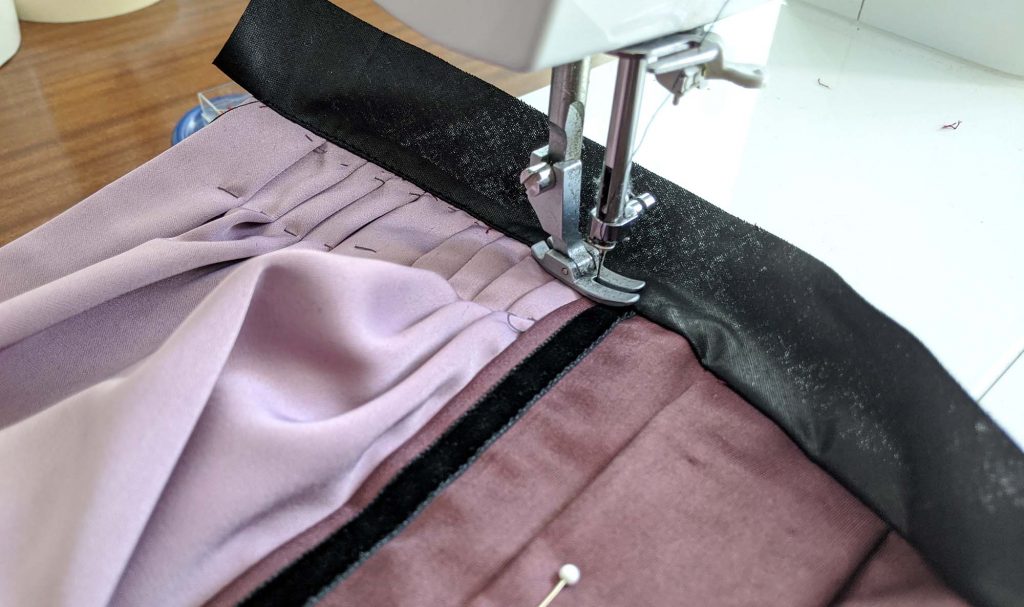
Take the bias strip and line up with the bottom edge, right sides together, and sew. The plastron and left front are treated like one layer of fabric.
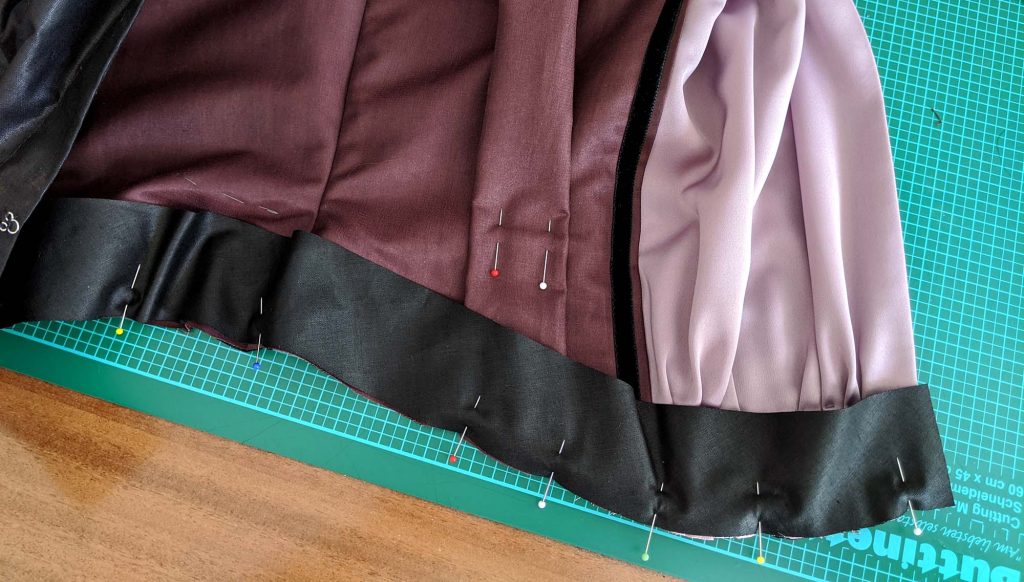
Trim back and understitch the seam allowance to the bias strip.
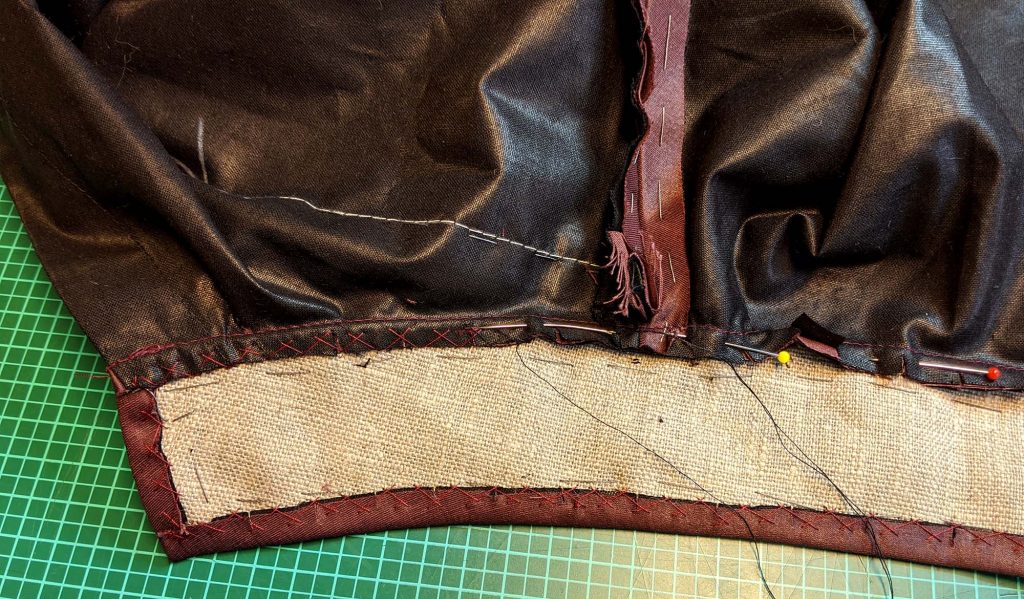
Fold the bias strip (facing) toward the garment wrong side, rolling the seam slightly out of sight and press. Trim back the ends of the strip and turn in the seam allowance, lining up the edges with the right front and plastron edge. Turn in a seam allowance of 3/8” (1cm) along the raw edge and fell stitch in place to the lining layer only.

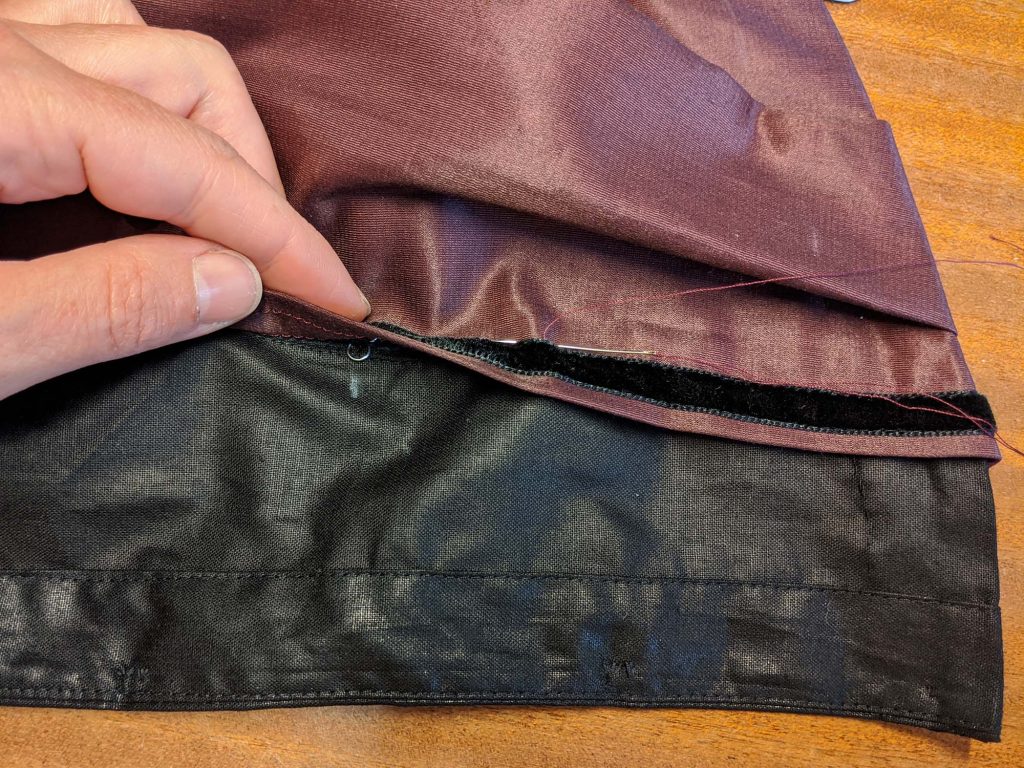
Sew on hooks and eyes along the center front of the lining, as well as at the collar. In extant gowns hooks and eyes often are set alternated to prevent undoing. On the picture, the front facing is sewn the wrong way than I explained to you in Part 1 of the tutorial. I messed up right and wrong sides when construction the pattern. In the end it makes no difference, all this will be covered by the plastron.
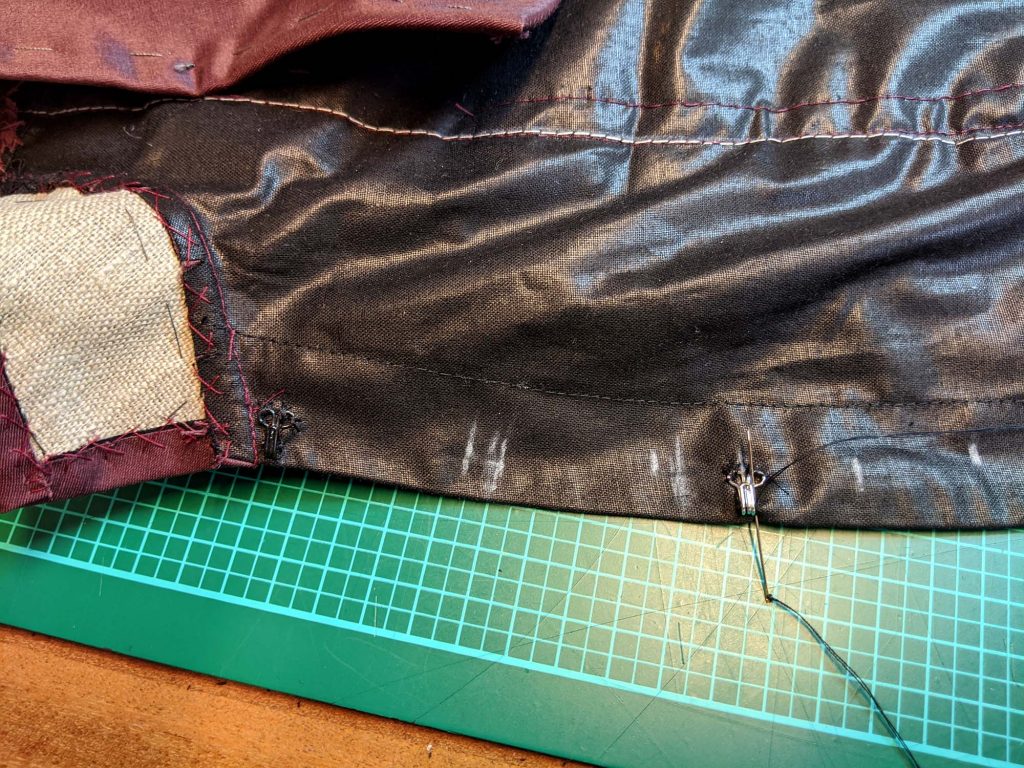
To finish the closure, remove the basting threads along the left front edge of the fashion fabric and fold back. Sew on eyes along the stitching line, with the eyes extending slightly past the stitching line. Line up the stitching line from fashion fabric and lining again, covering the hooks. Sew the fashion fabric to the lining with a prick stitch along the stitching line. Sew on the corresponding hooks along the left edge of the plastron, at the point, I recommend a hidden snap fastener instead of a hook and eye.