Part 1 – Adjusting the pattern
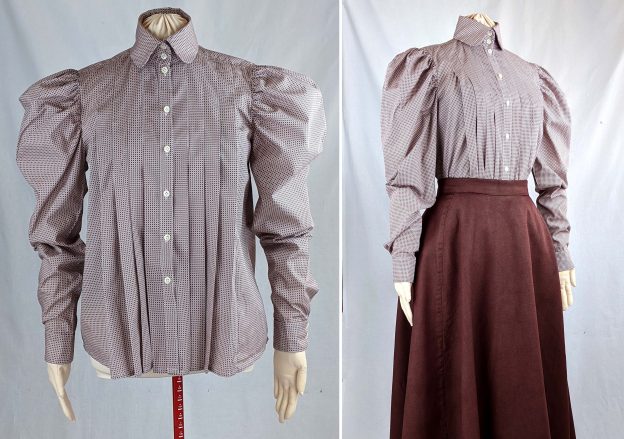
Let´s start to sew the blouse step by step, but not exactly the way I described in the instructions, showing you how to do some things different! This time I decided to make the turn-down collar and make collar and cuffs from the same fabric as the blouse.
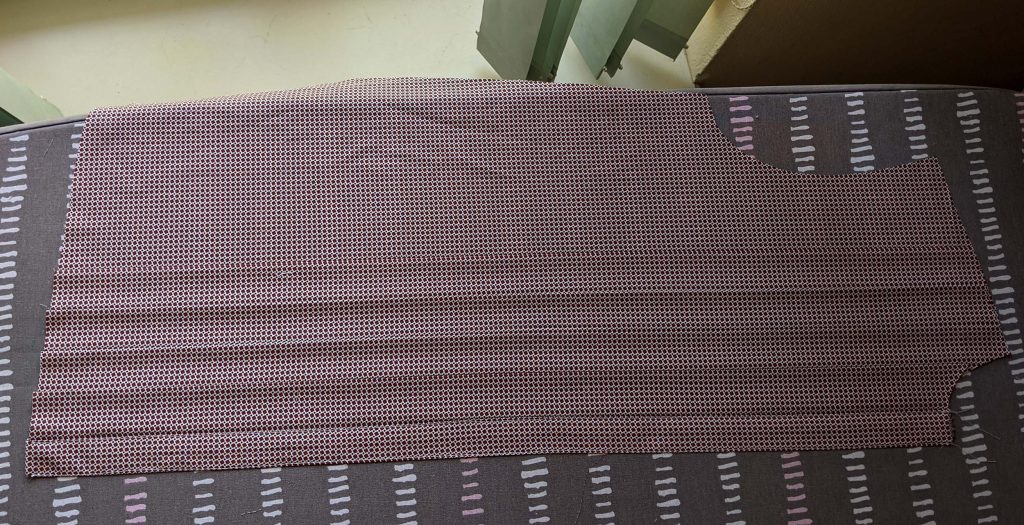
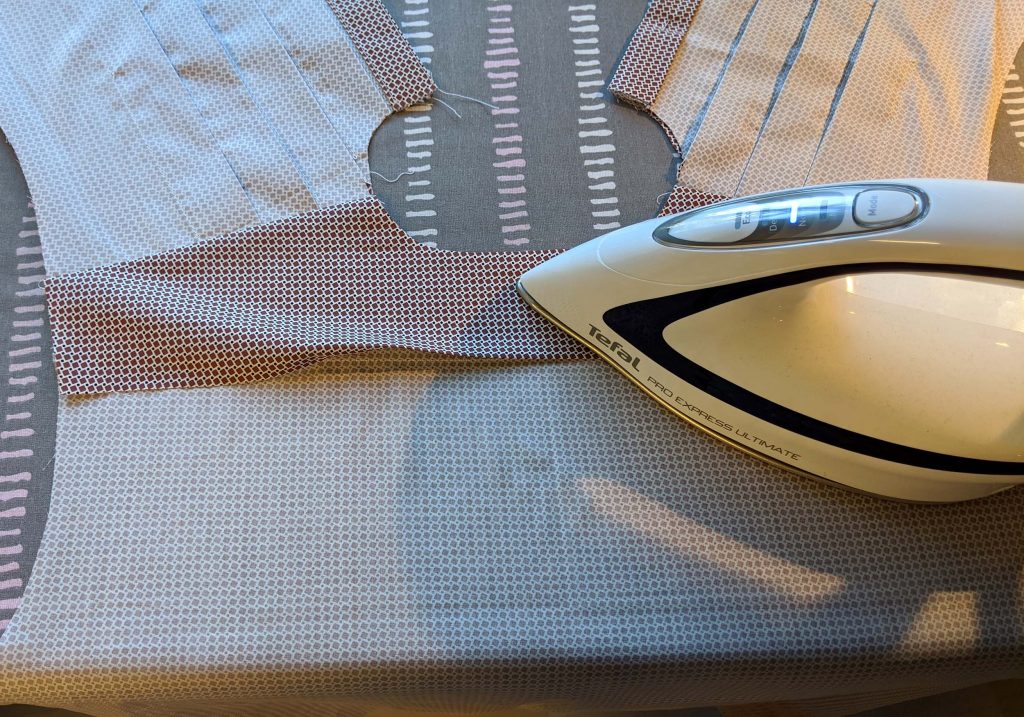
First of all is to cut all the pieces from the fashion fabric, transferring all the marks carefully. Working with symmetrically printed fabrics, it´s better to follow the printed pattern than the grainline to make the folds and the button band. Believe me, that print drove me crazy when I started sewing.
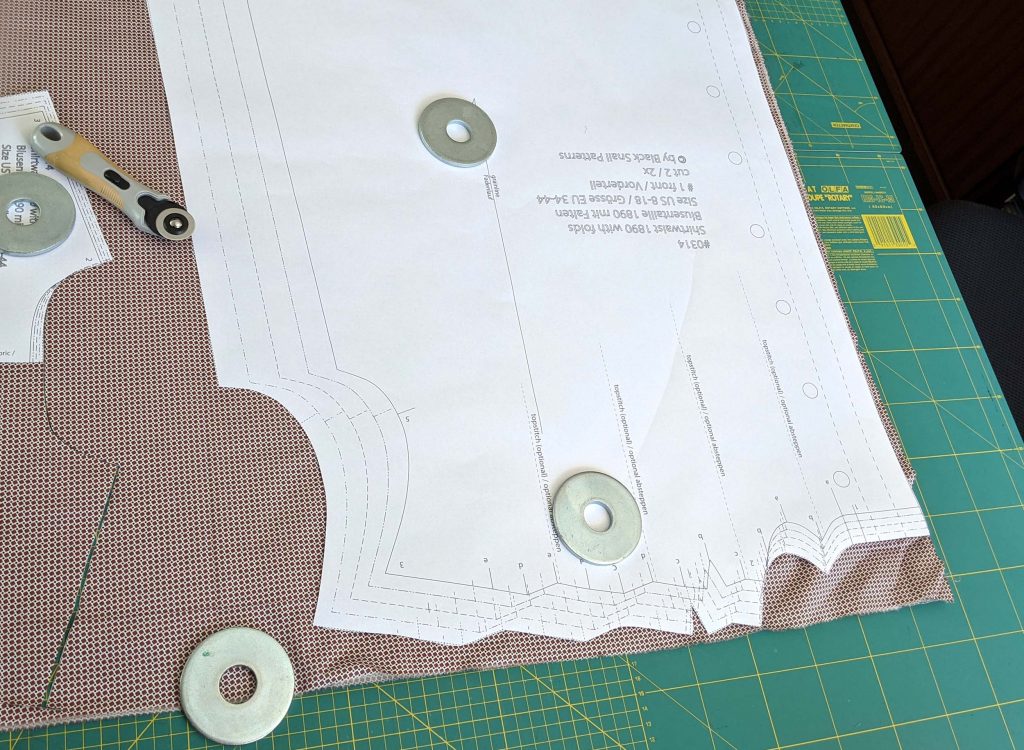
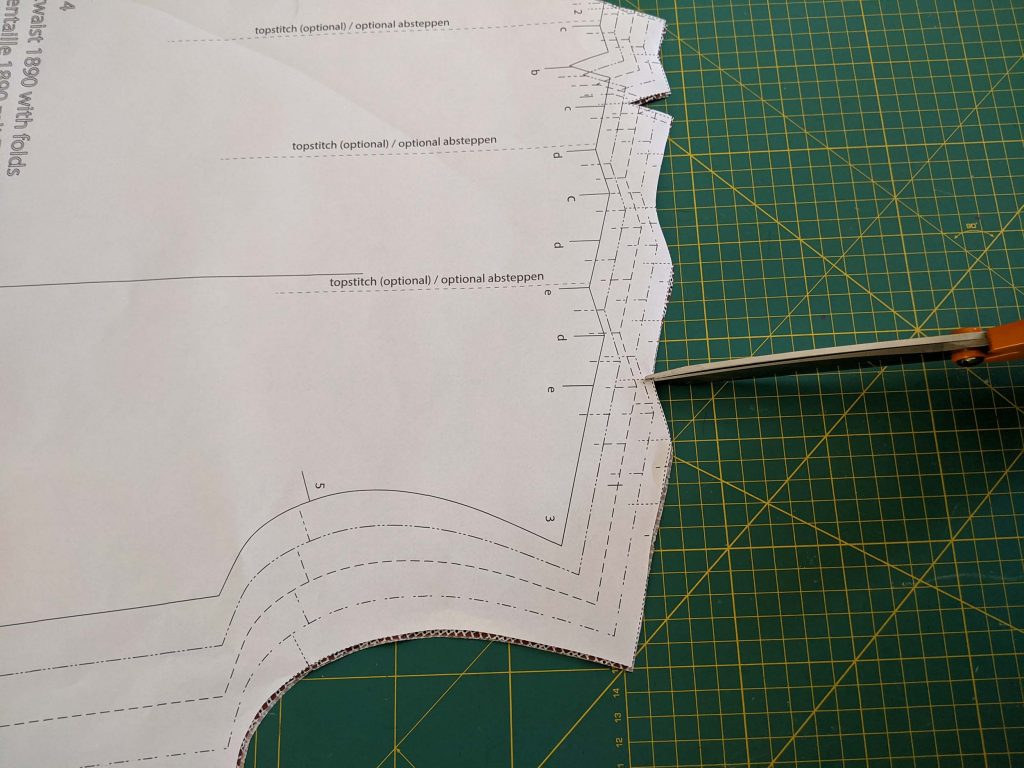
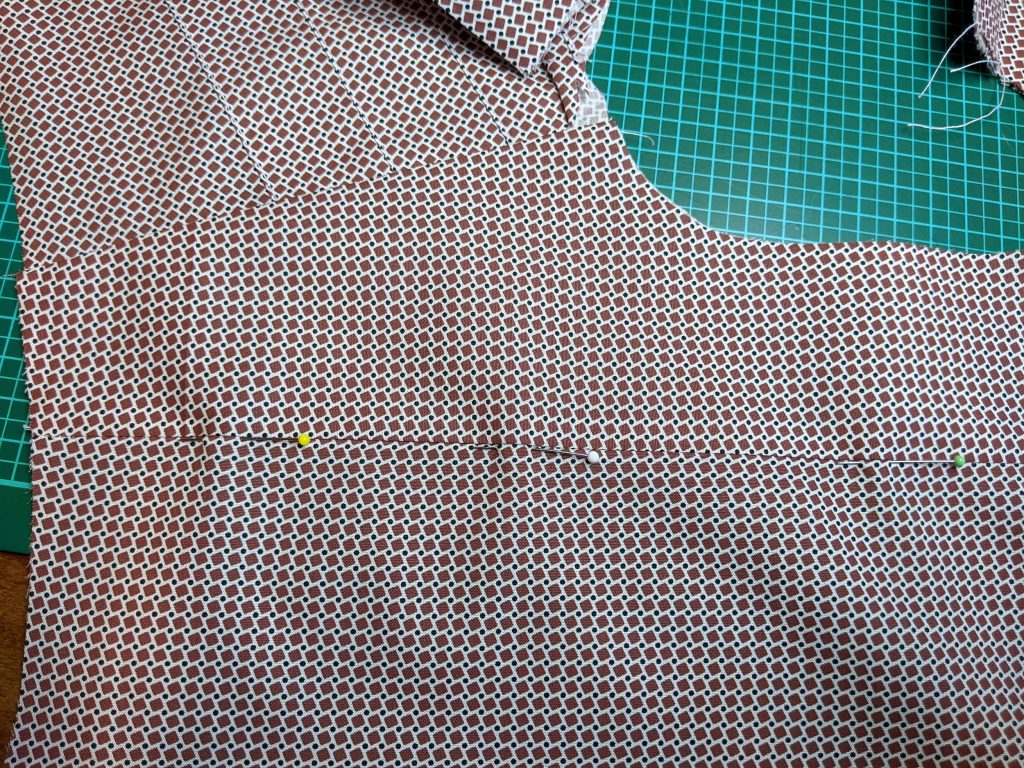
On the right side, I cut off the front along the dotted (green) line and made an extra button band – see first post.
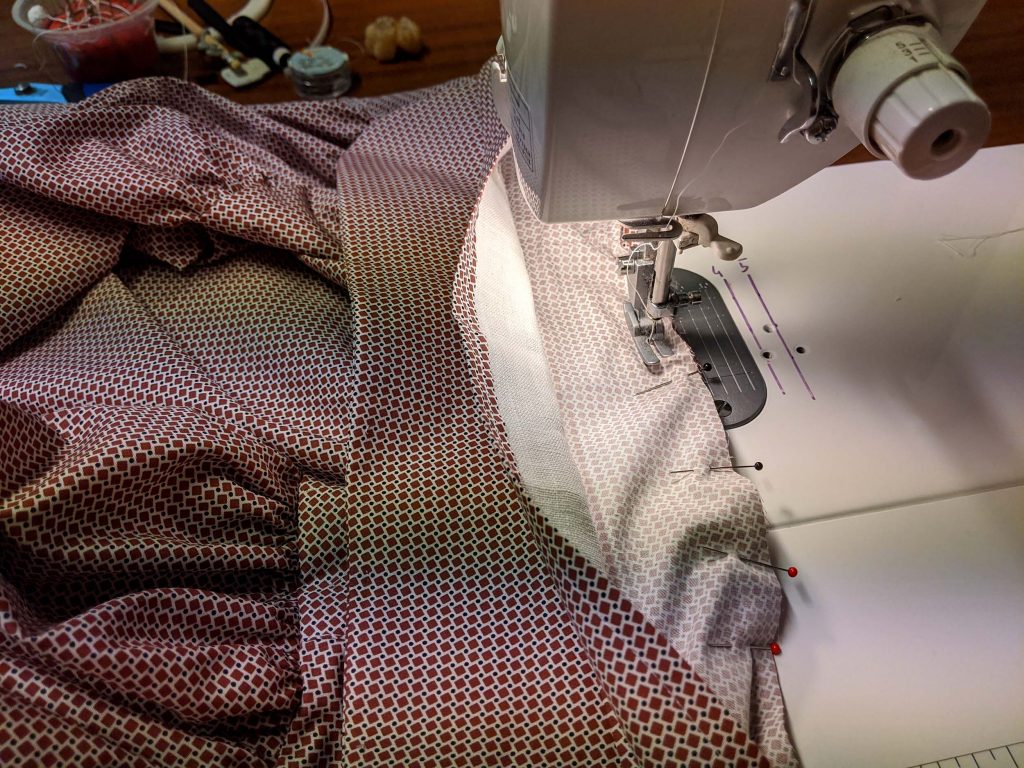
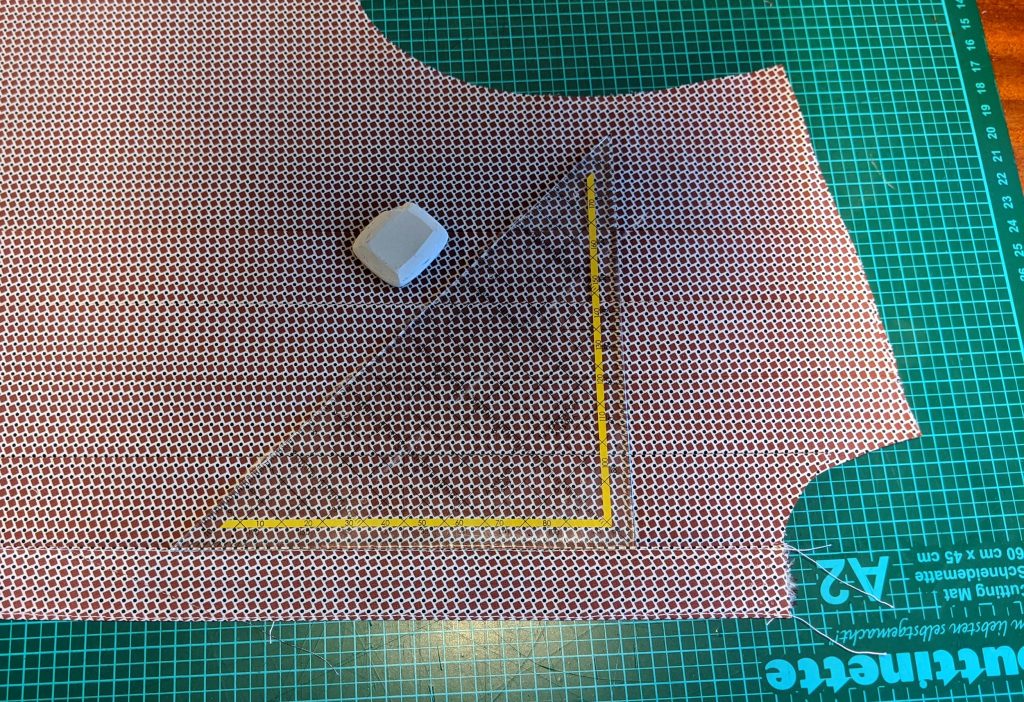
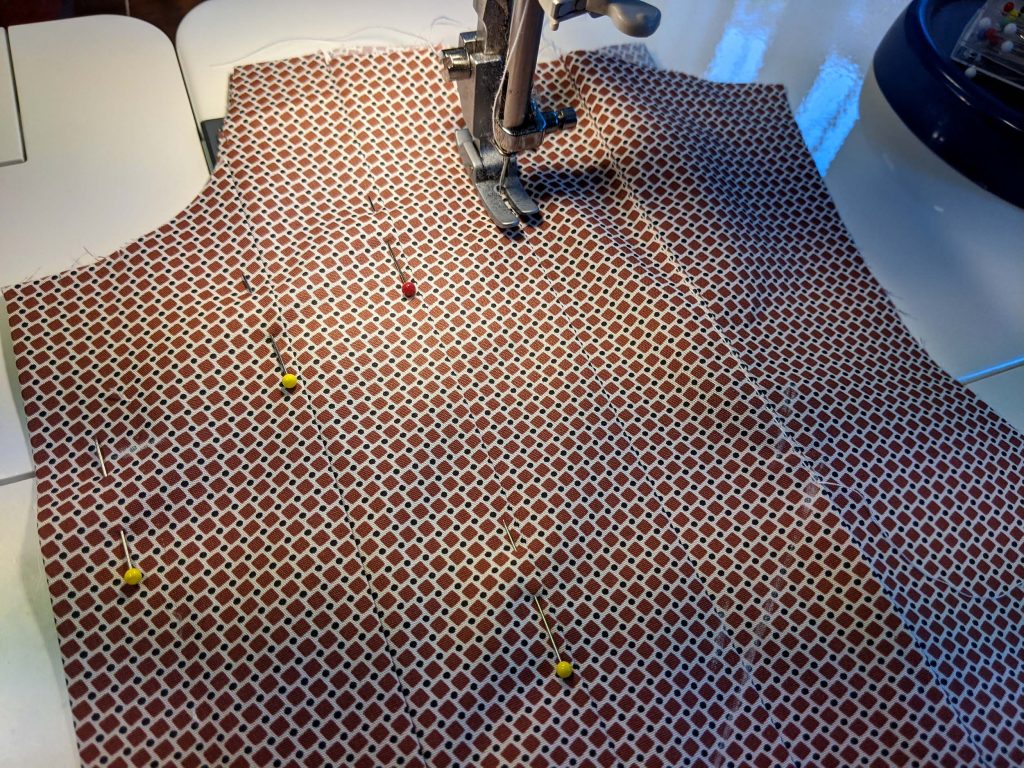
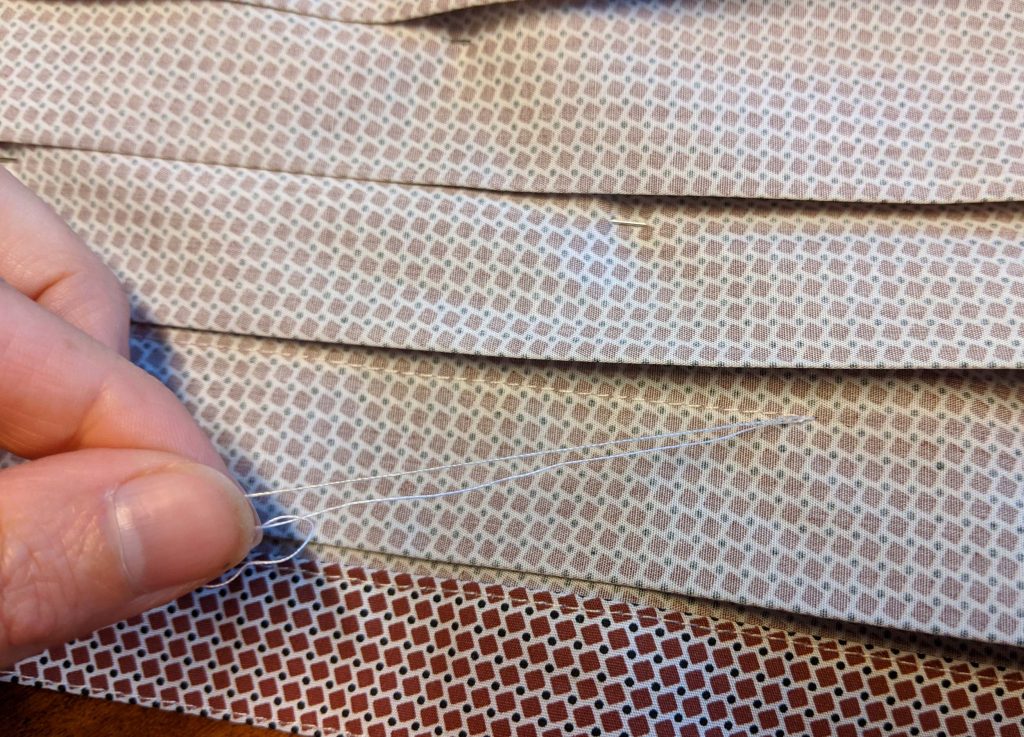
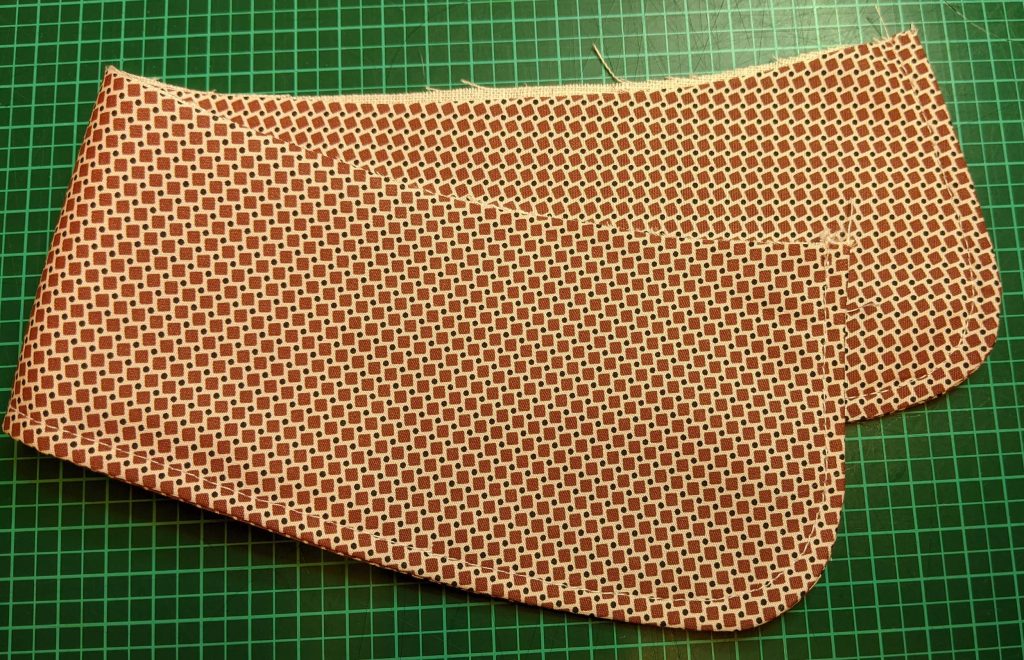
Then it was time to press the folds, following the print. I decided to topstitch the folds, forming a V-shaped yoke.
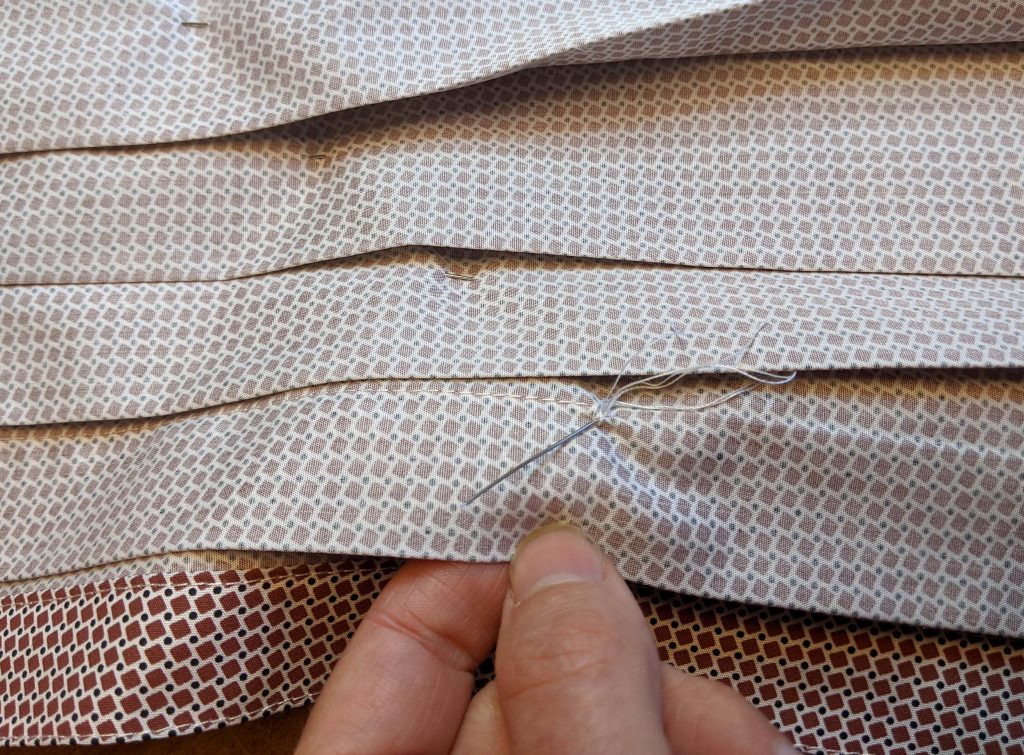
When topstitching, I didn´t catch the next fold and didn´t lock or backstitch the end of the seam. Instead, I pulled the threads to the wrong side, made a knot, threaded a needle and locked the threads by hand on the back, with some stitches, invisible on the right side.
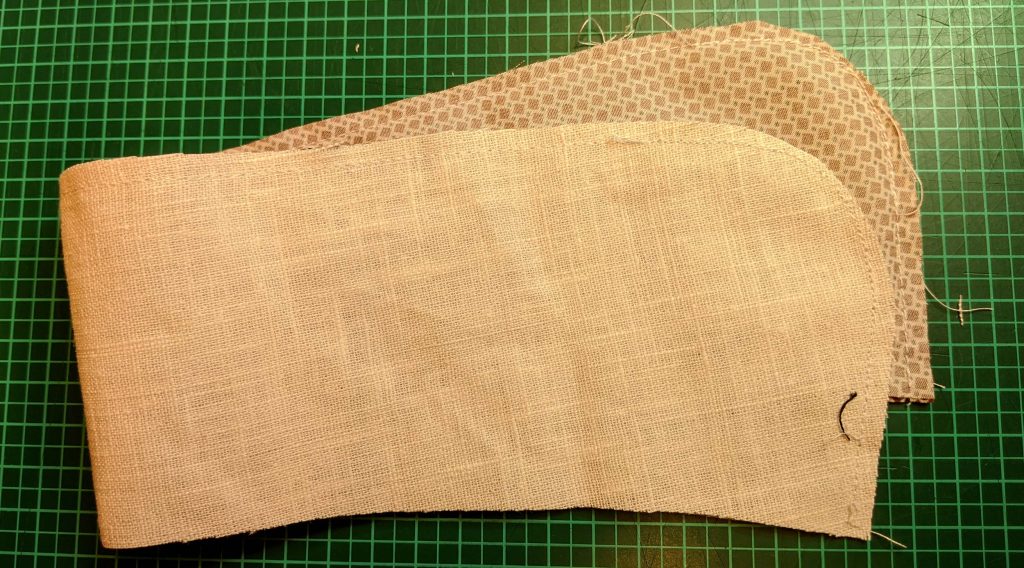
I placed the front in between the two yoke pieces and stitched together, folded the fronts away from the yoke, pressed and edgestitched through all layers.

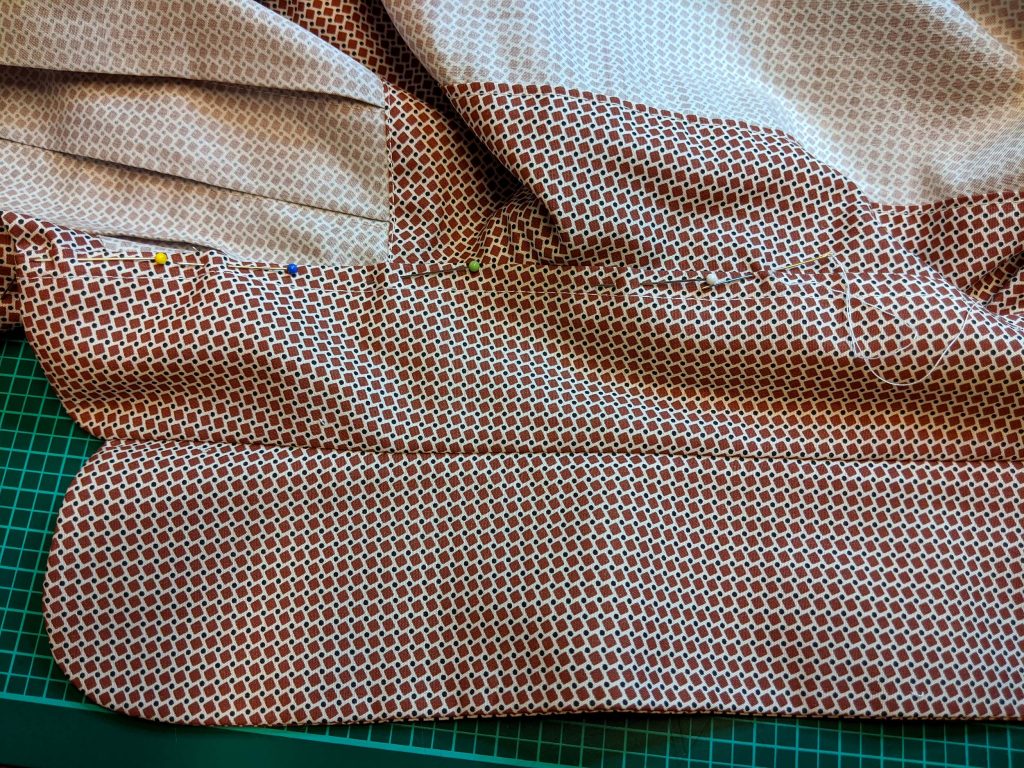
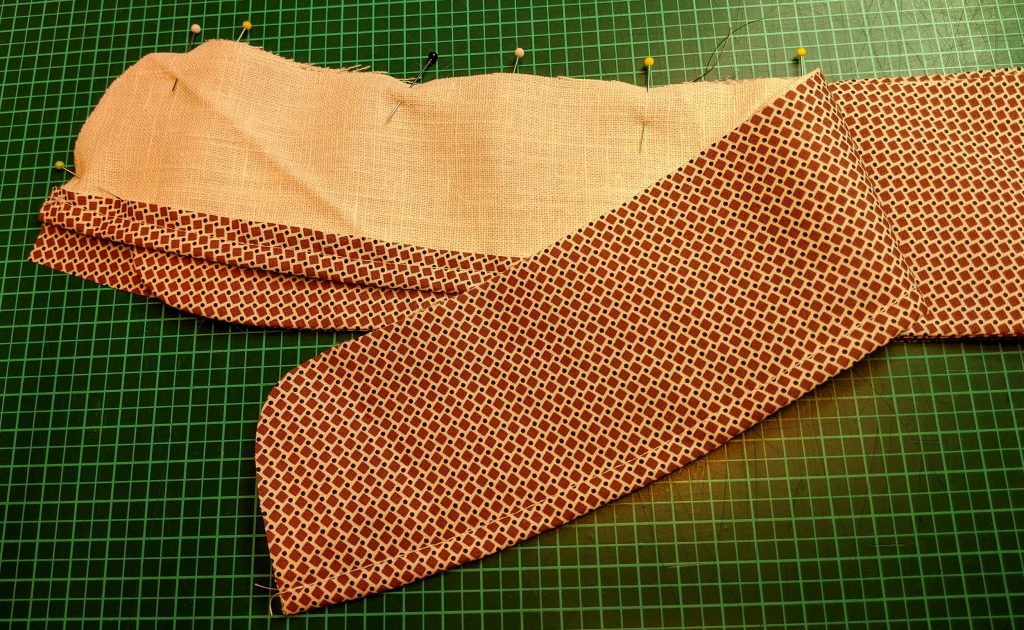
On this picture, you can see the back, sewn to the outer yoke, right sides together. I turned in the seam allowance along the back edge of the inner yoke, with the edge extending slightly past the stitching line. Instead of felling down the inner yoke, I pinned (better would be basting) it in place and edgestitched from the right side, catching the loose edge of the inner yoke the same time.
Hope you did a collar mock-up before, checked the length and adjusted the neckline accordingly as described in the first post. I do have a slim neck and the pattern fits on me like a glove – yes, I´m my own model for my patterns!
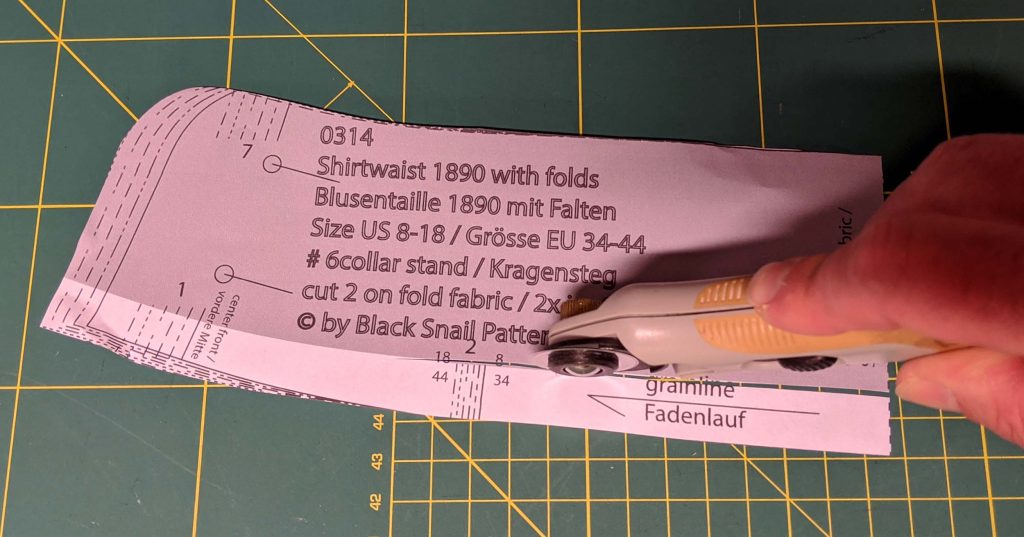
To prepare the collar, I cut the pieces from the fashion fabric first, then I cut off the white strip on the collar stand to get the pattern for the interfacing.
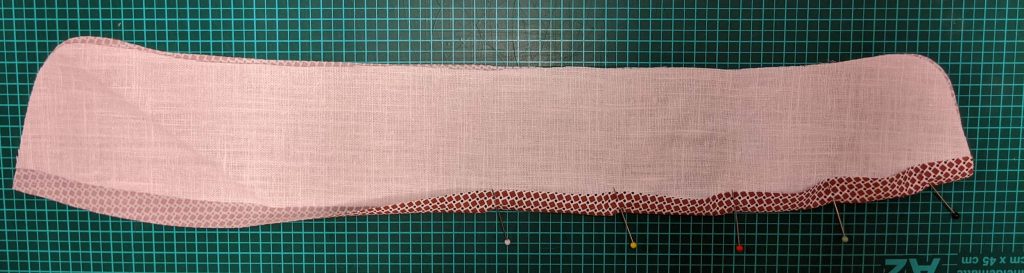
To prepare the collar stand, place the interfacing on top of the wrong side of the inner collar stand. At the bottom edge, turn in the seam allowance, folding it around the edge of the interfacing. Stitch in place the seam allowance from the right side, about ¼” (7mm) from the edge.
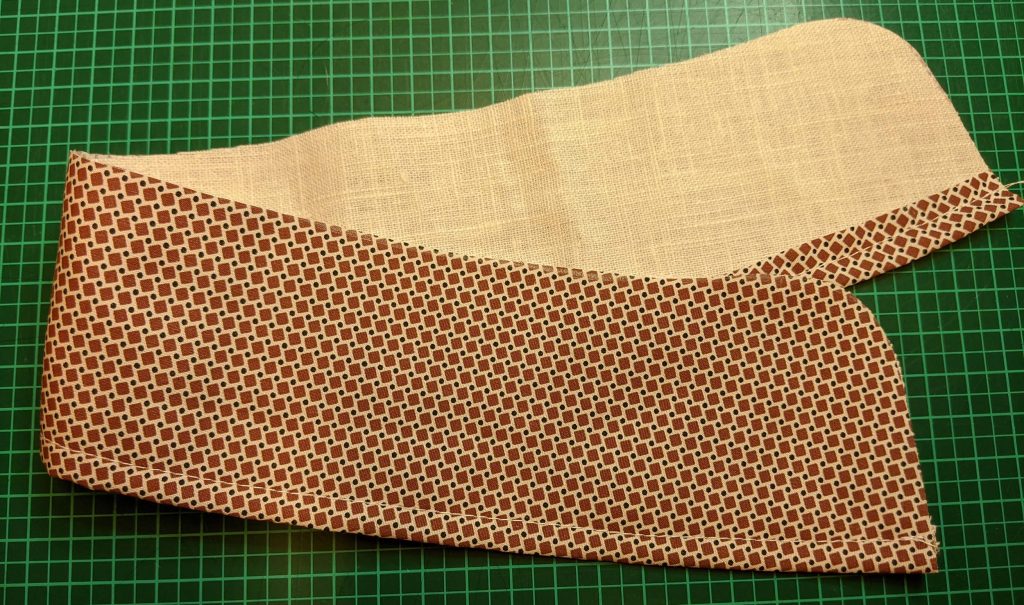
At the collar, the interfacing is cut with all the seam allowances. After sewing the collar, right sides together, trim back the seam allowances and turn the right side out. I tried topstitching the collar first, but unpicked later, as all the topstitching didn´t match the pattern.
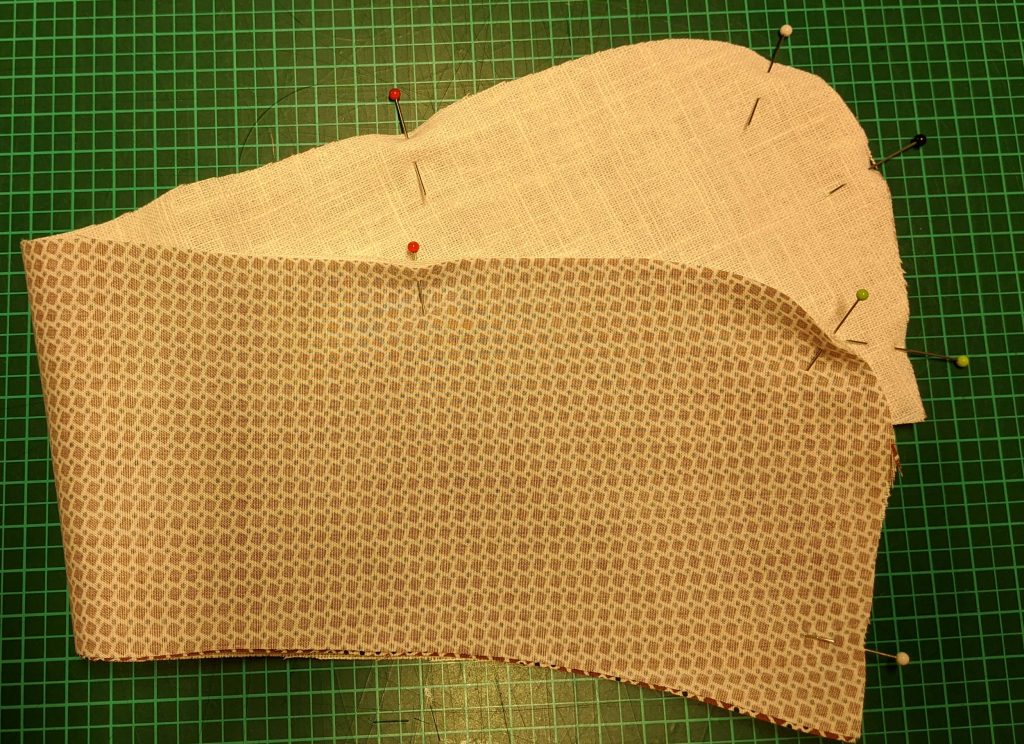
To join the collar and collar stand, place the inside collar-stand on top of the outside collar-stand, right sides together. Place the collar in between, the upper collar facing the inner collar-stand. After stitching, trim back the seam allowances and turn the right way out.
Sew the collar to the blouse, right sides together, and trim back the seam allowance. It is important to clip the seam allowances at the curves for a neat result. Then, fold over the inner collar stand, lining up the edge with the stitching line and fell stitch along that line.