Tag Archives: Oberteil

1016 The new Turtleneck Bodice – View B front closure

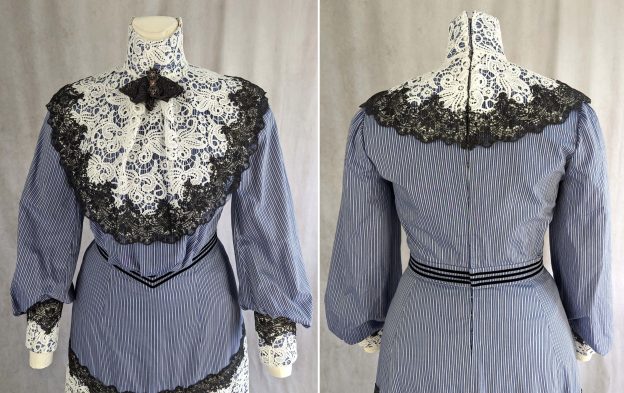
Let’s proceed with the front closing bodice, as it´s naturally easier to wear and to put on and take off, only an Edwardian bodice requires a sophisticated multi-layered closure due to its construction technique.

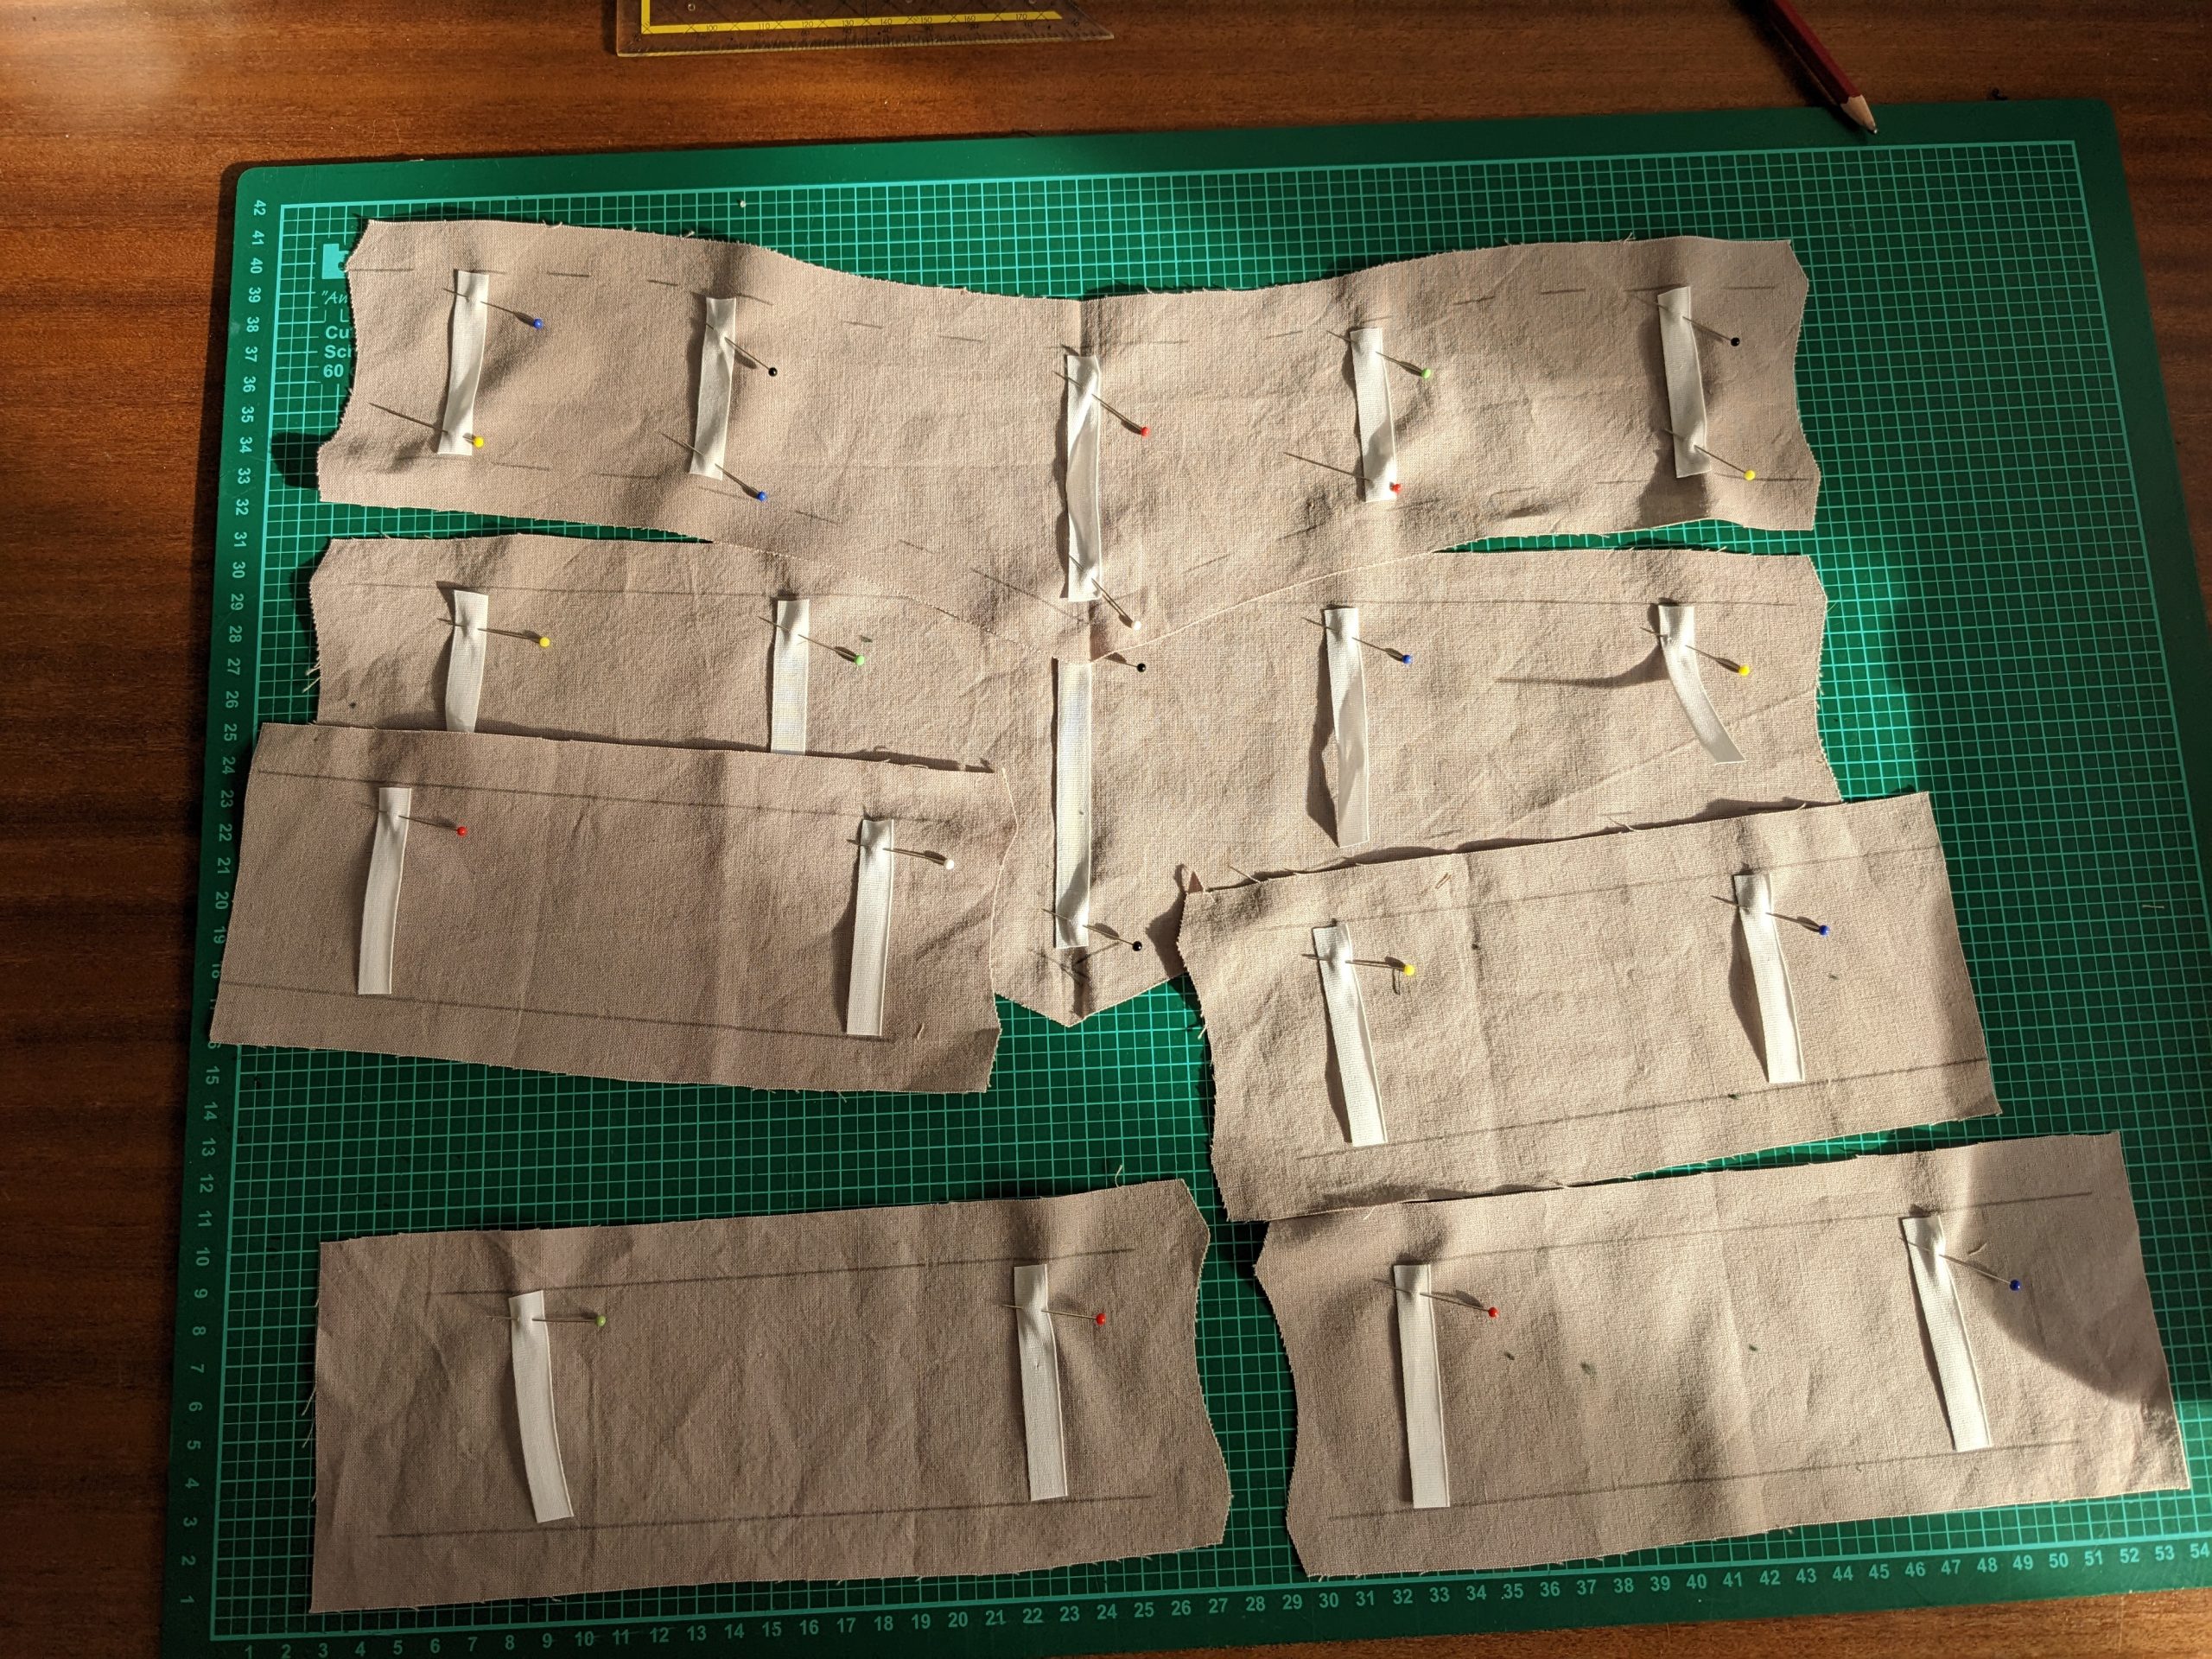
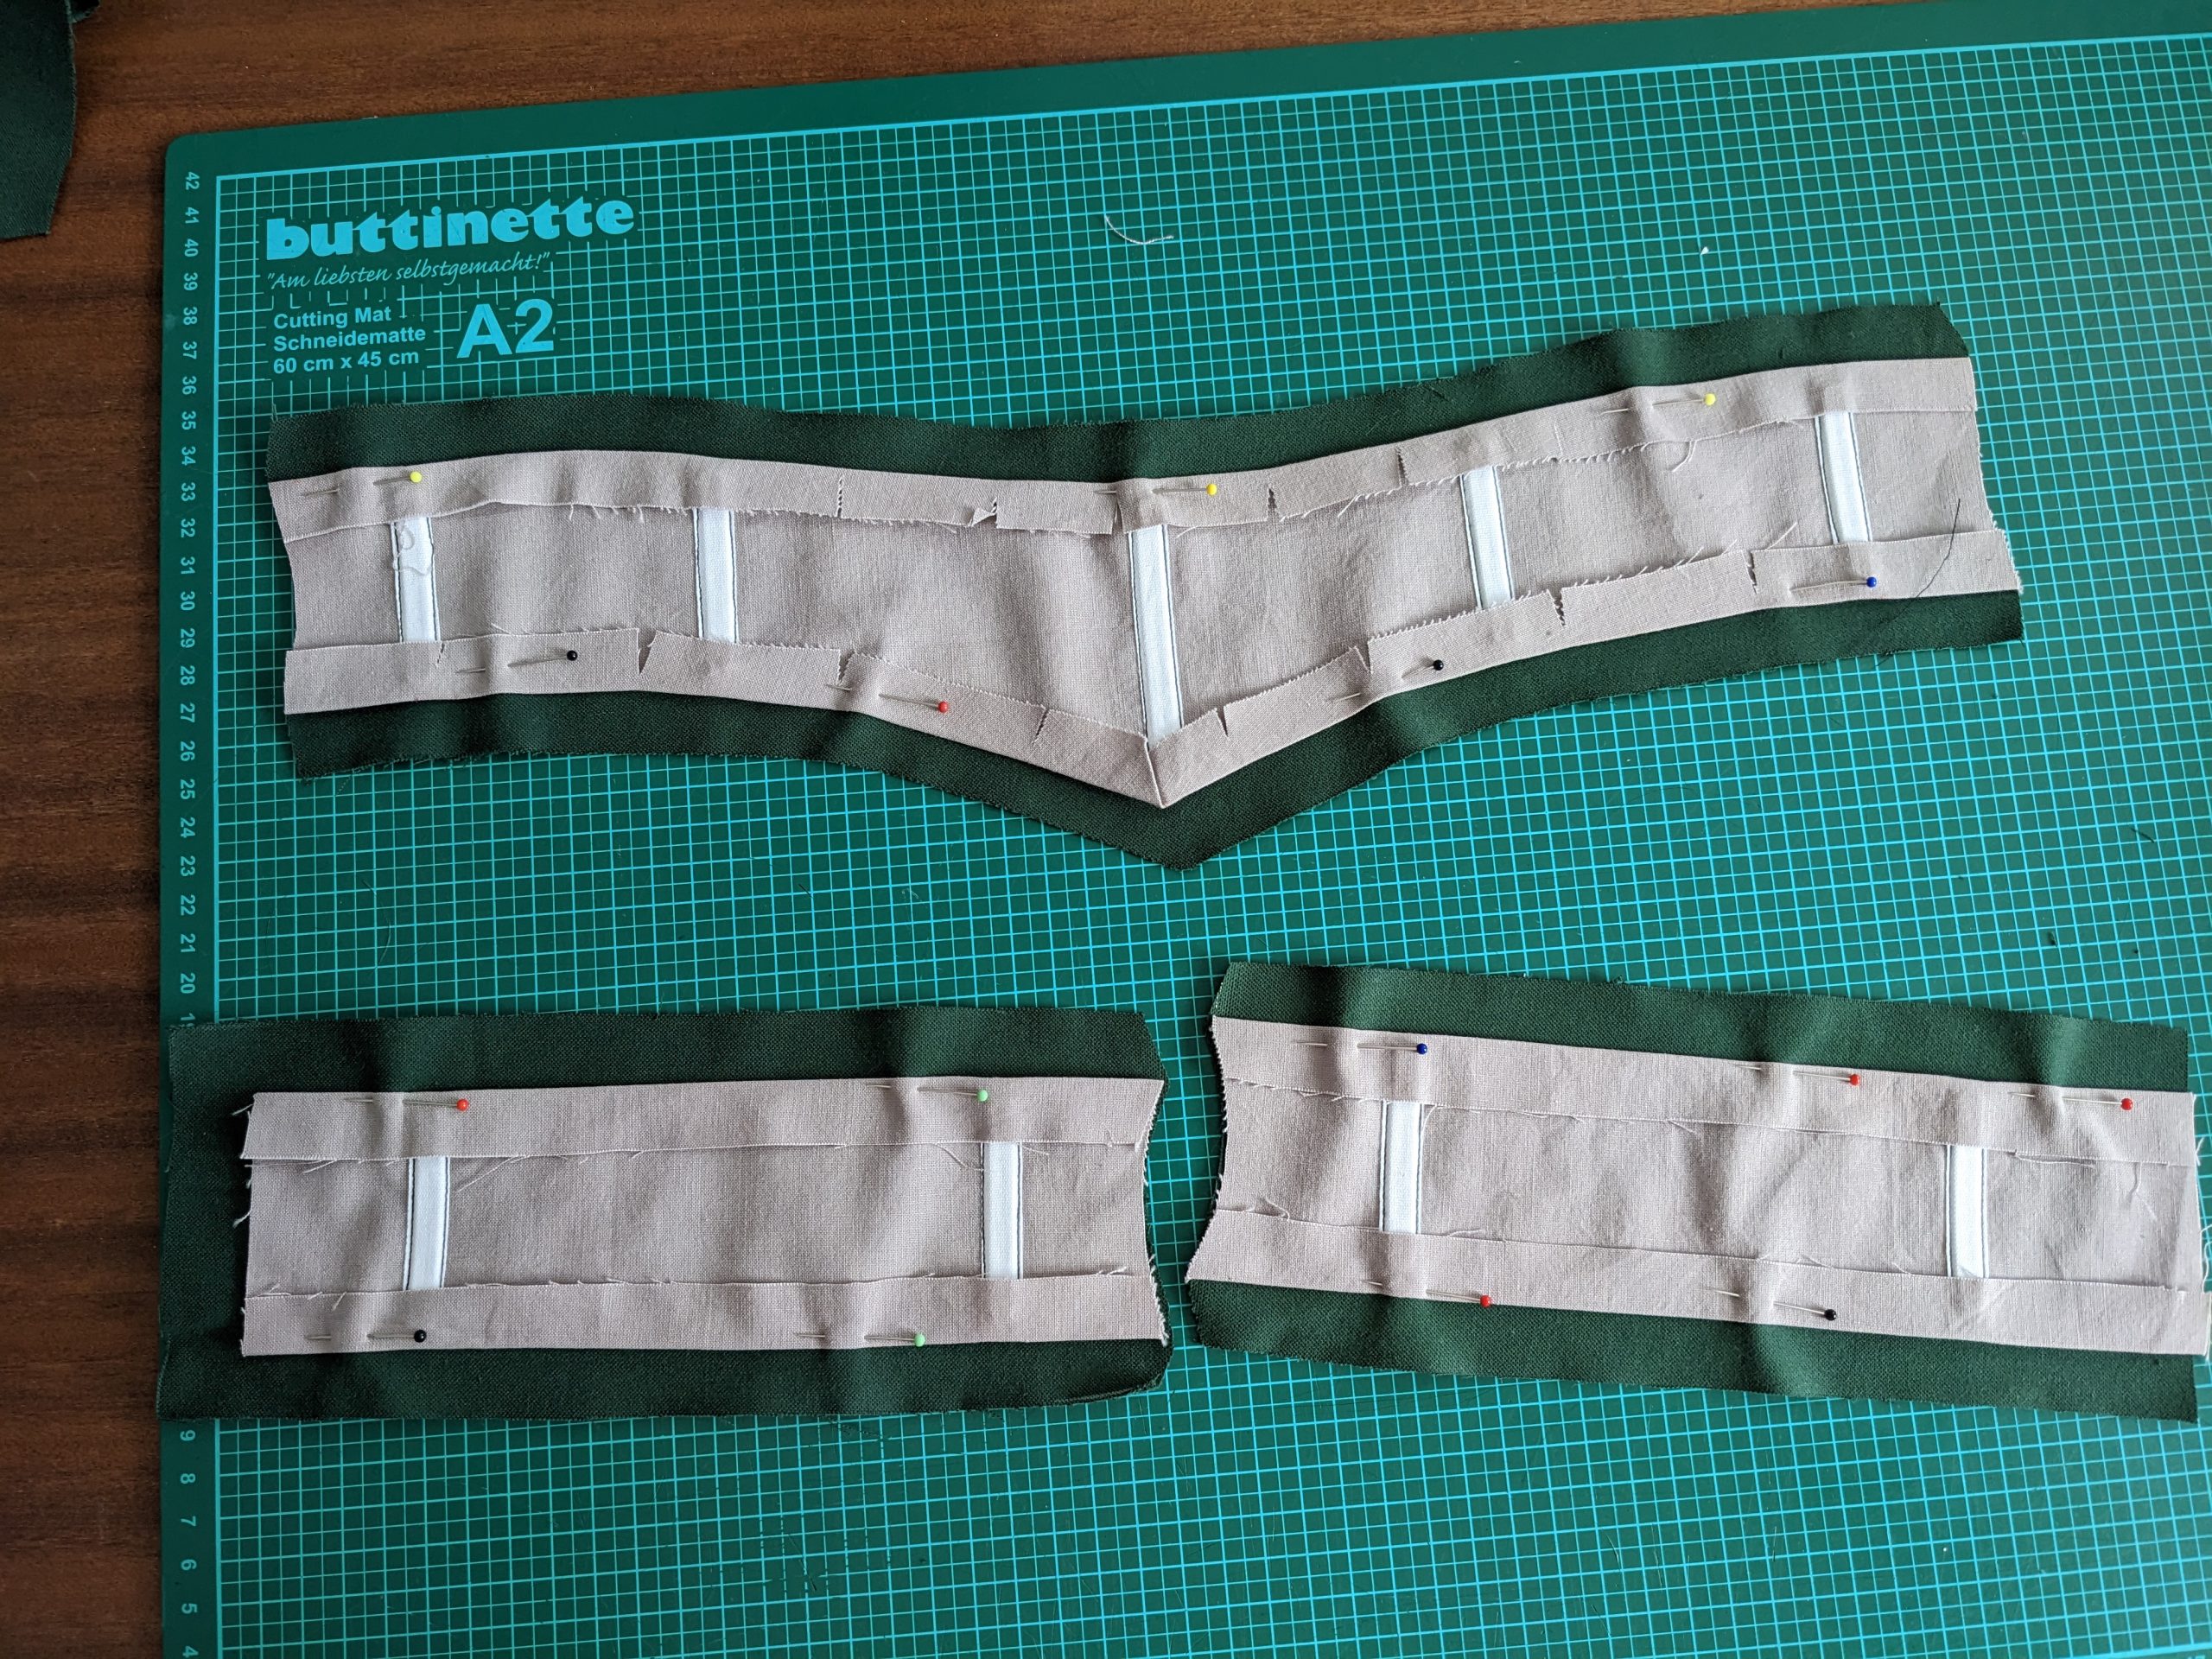
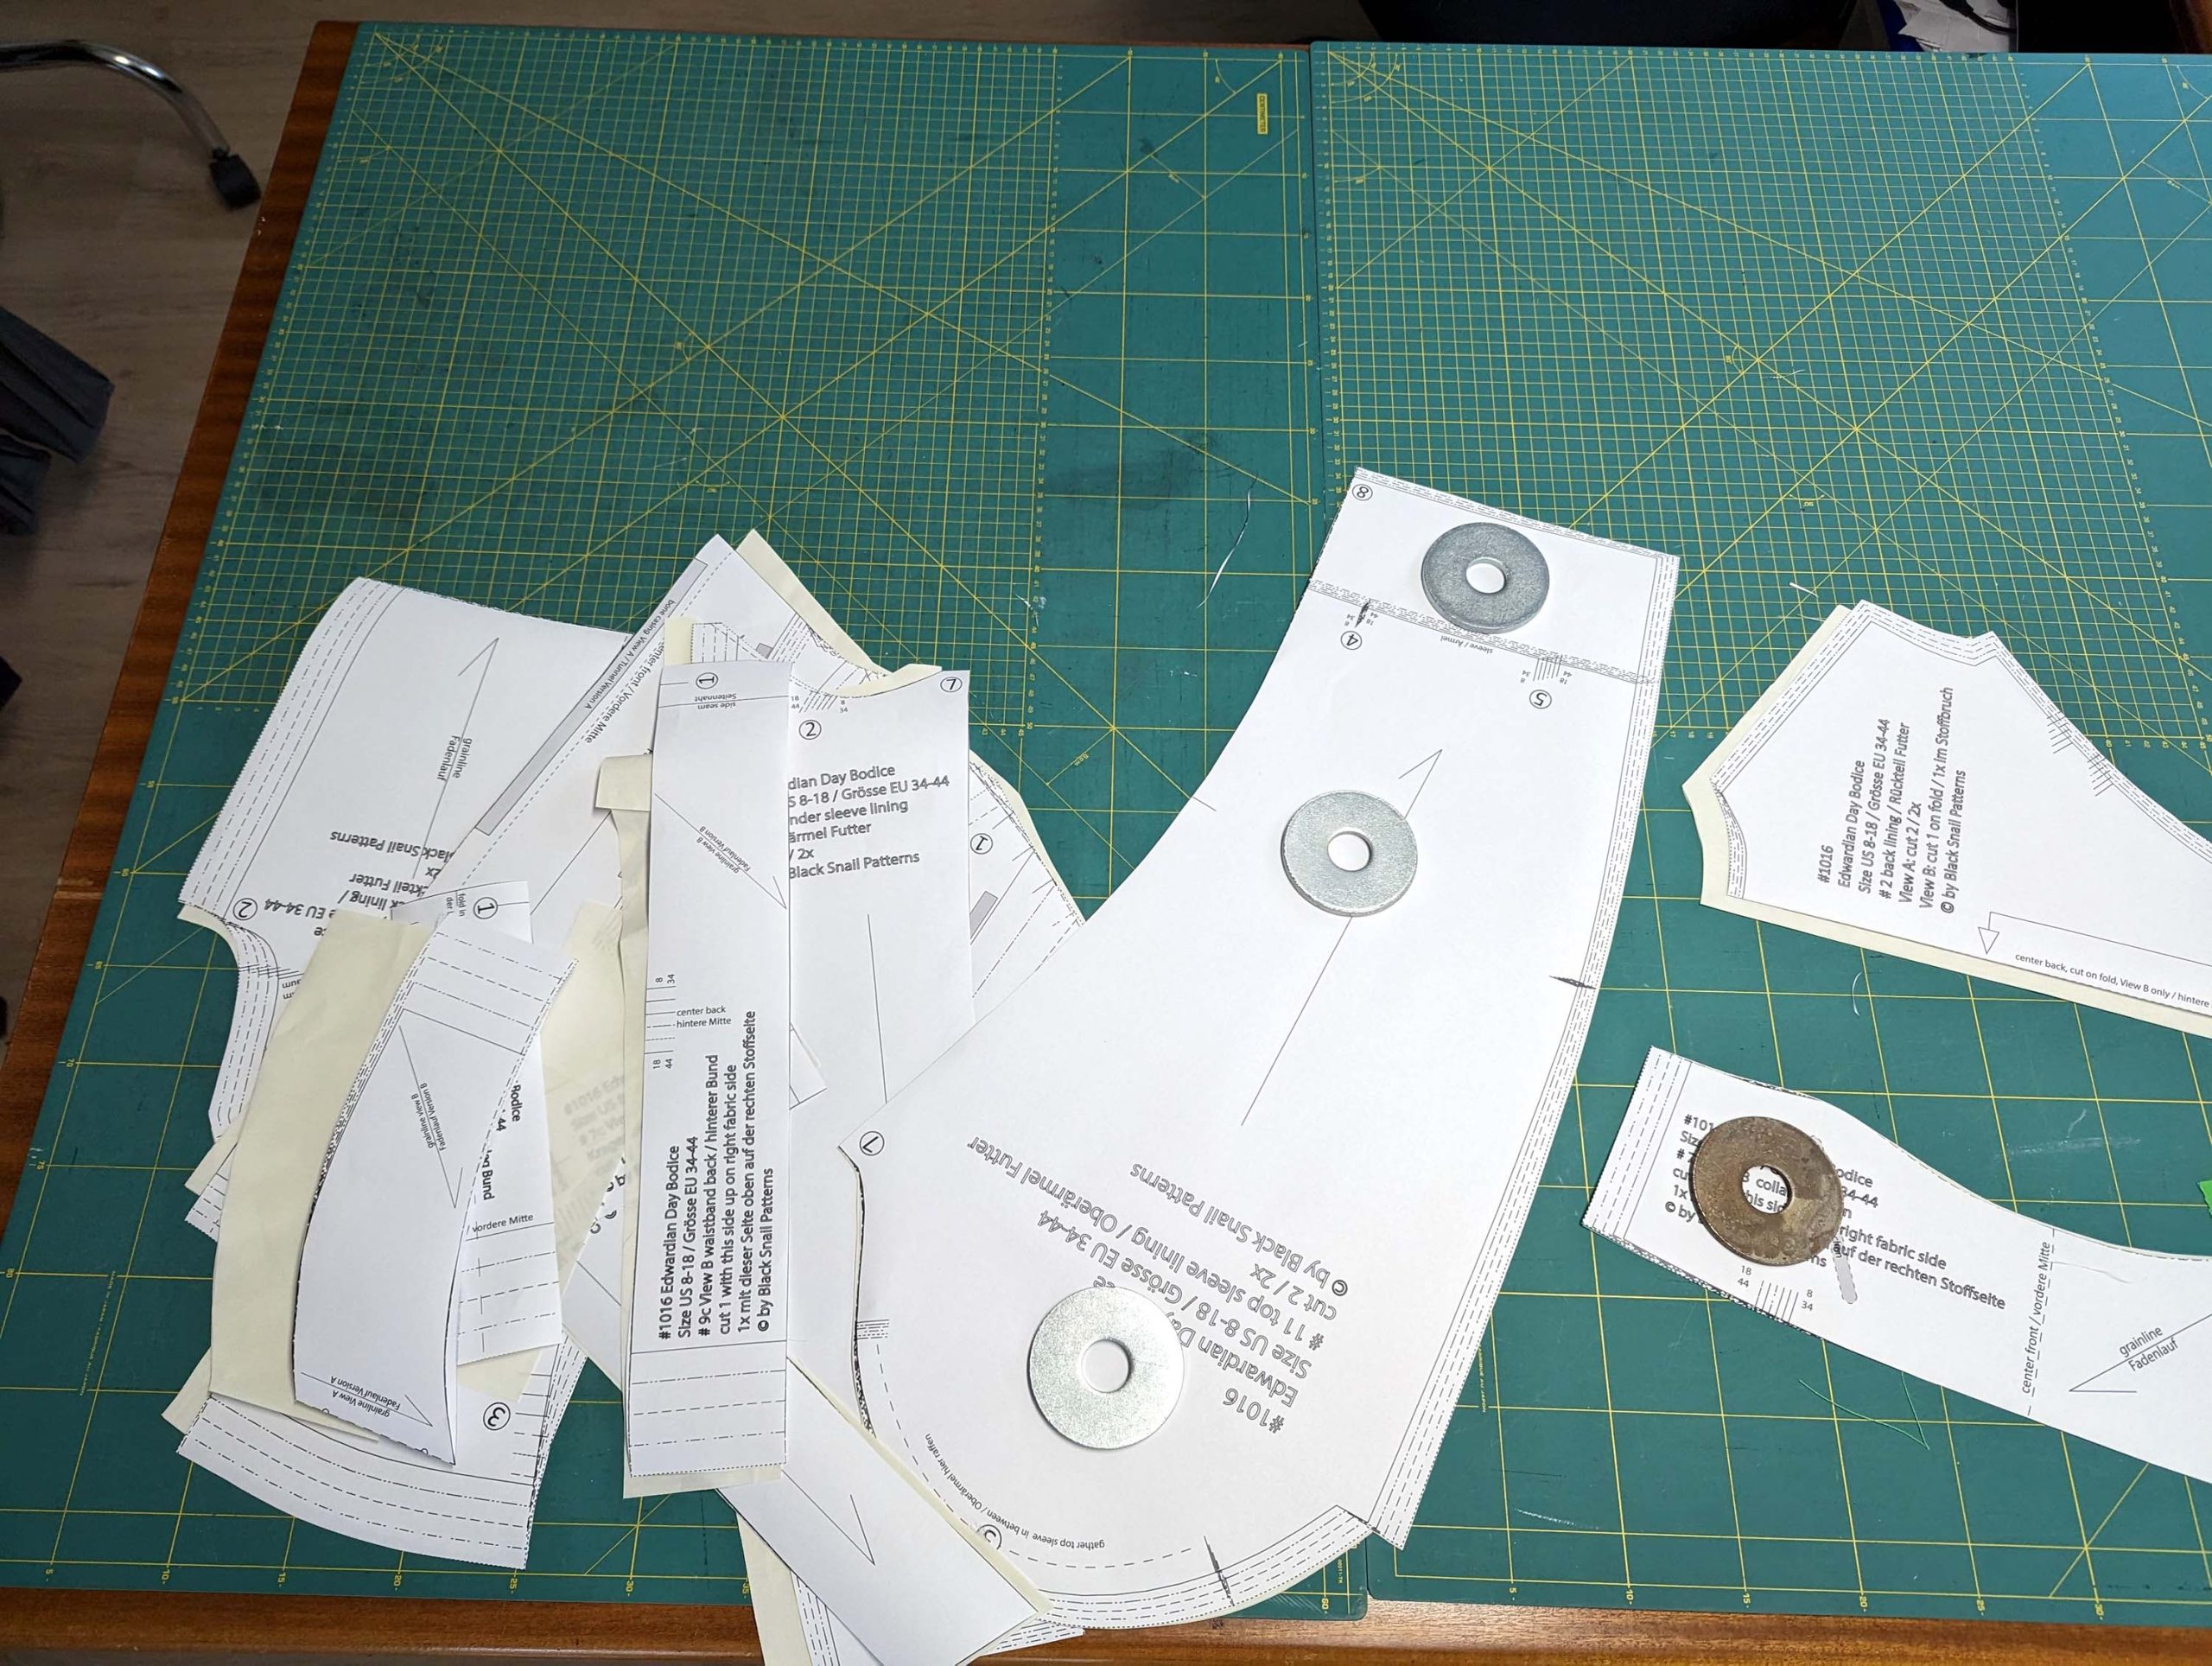
(1) Same here, make a mock-up and transfer any changes to the sewing pattern. Cut all the pieces from the fabric and the lining, as indicated on the pattern and cutting diagram for the front closure, and transfer all marks exactly.

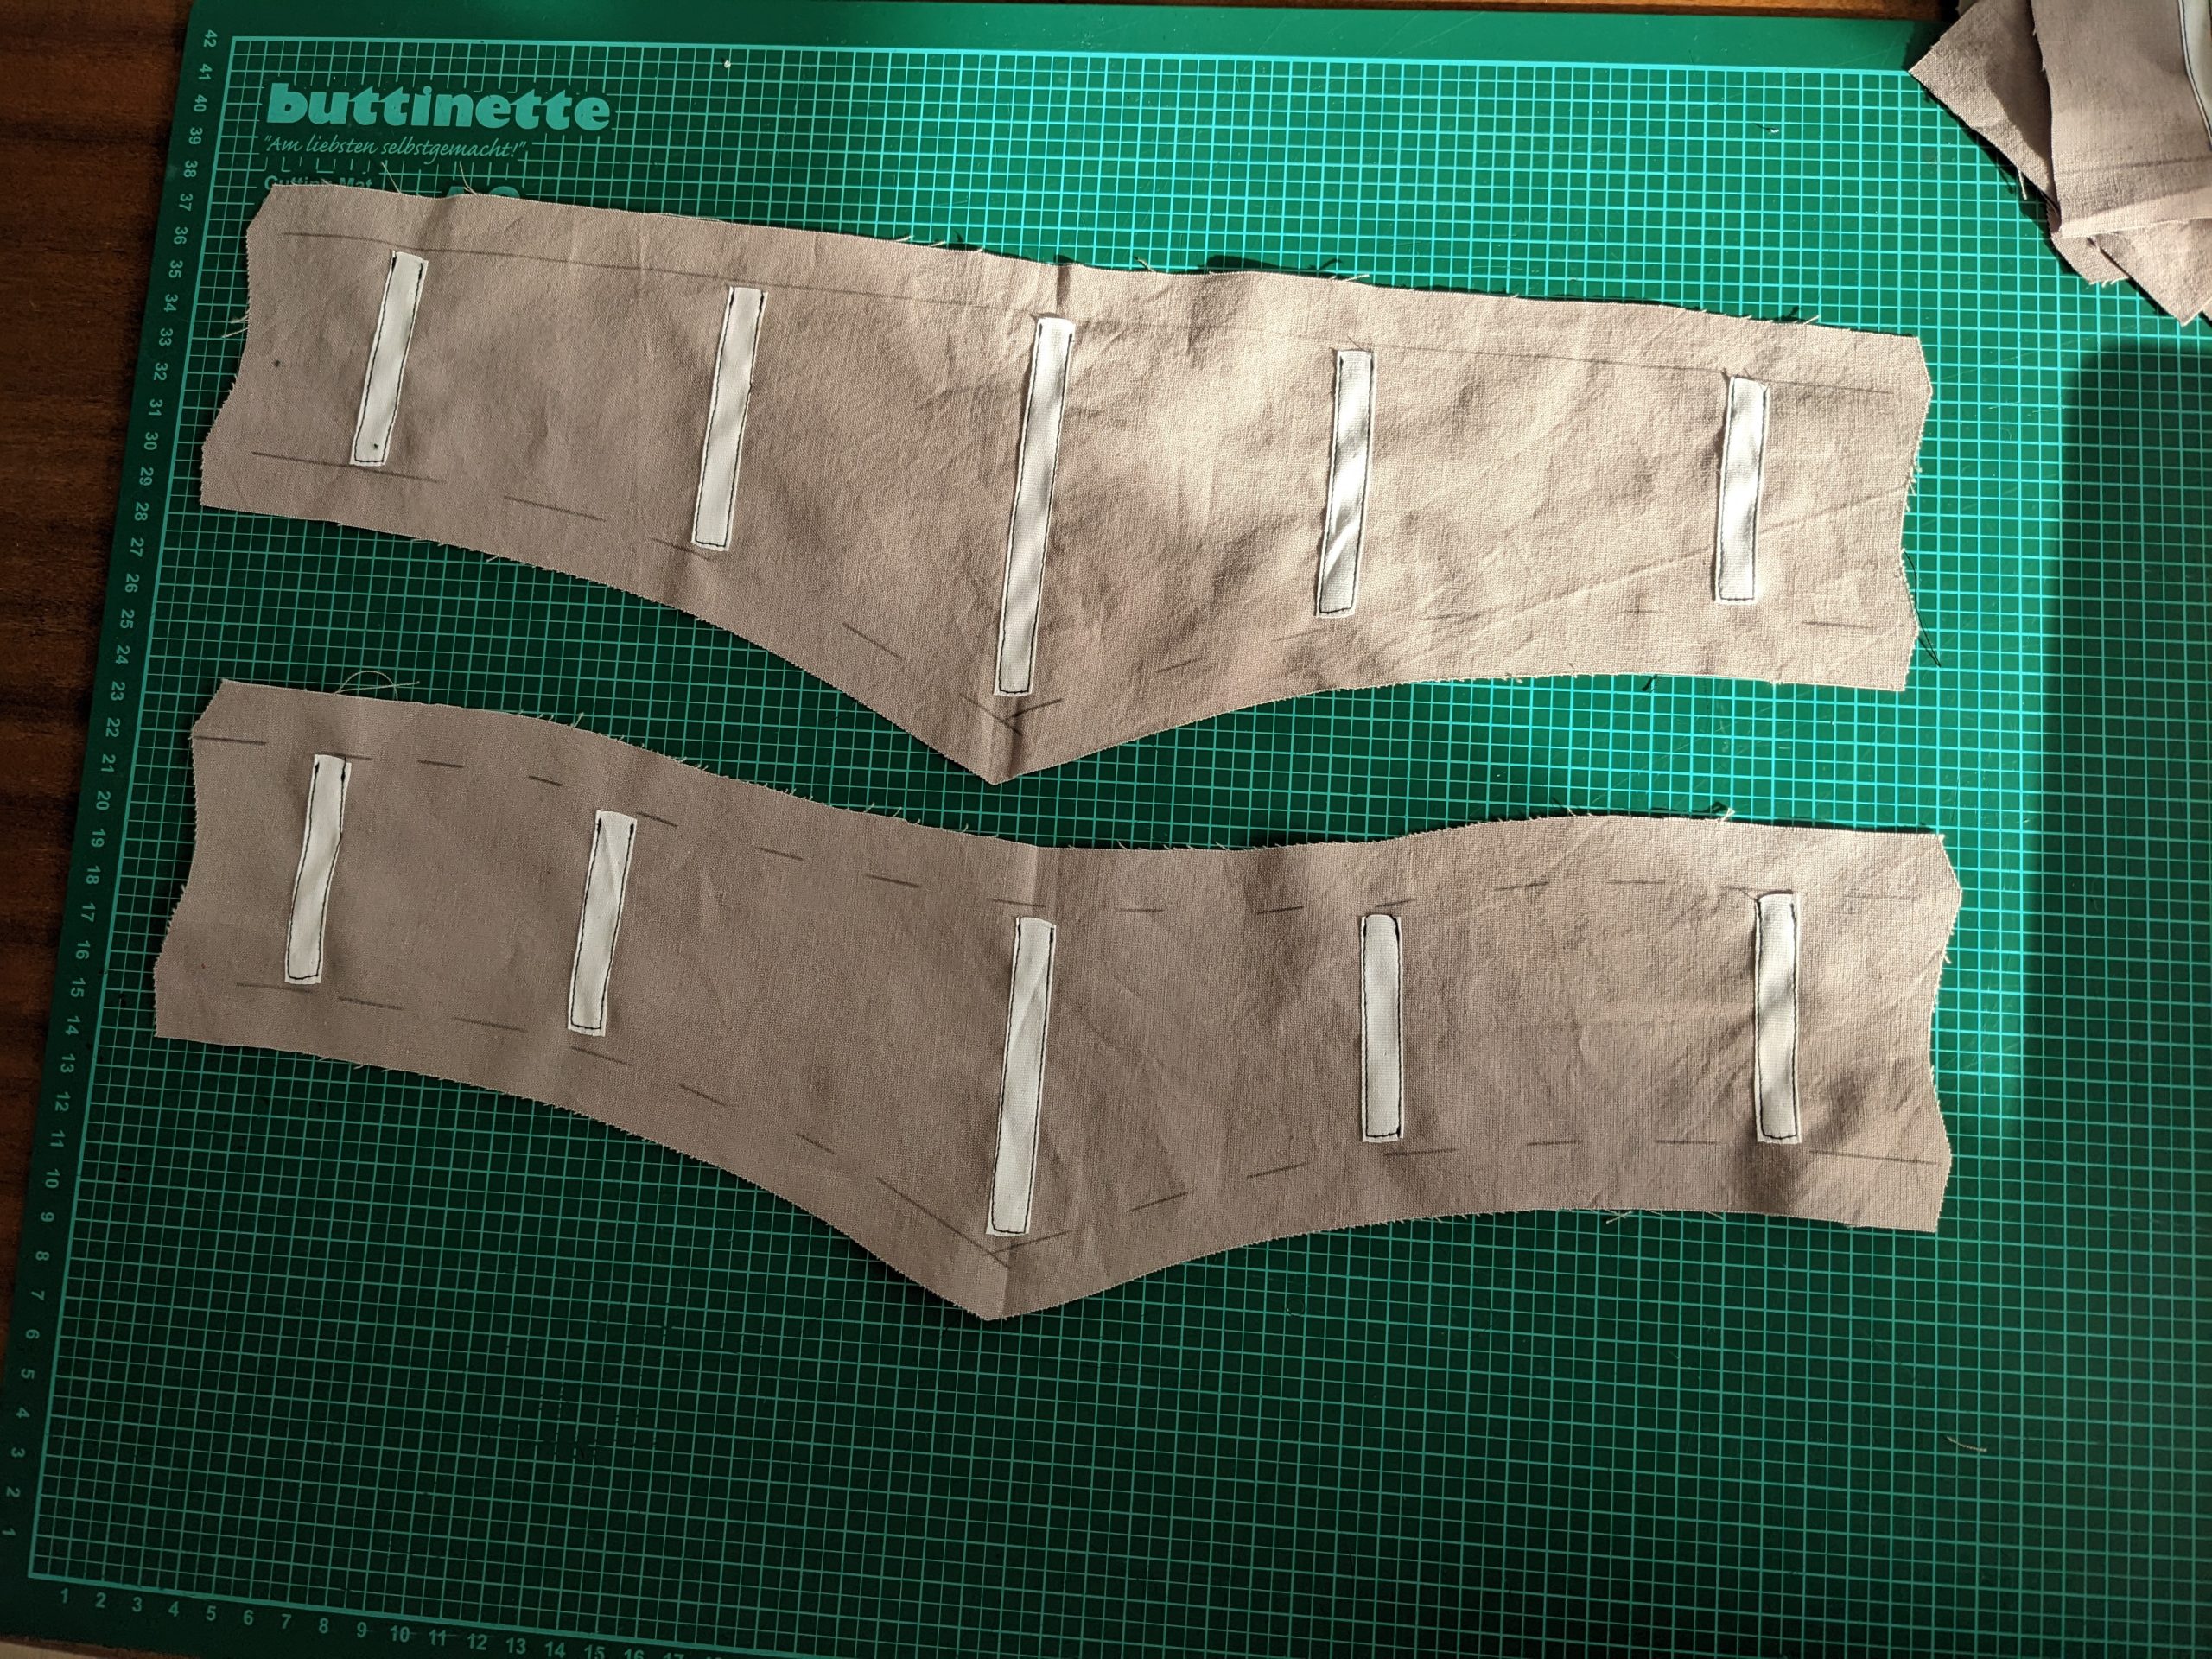
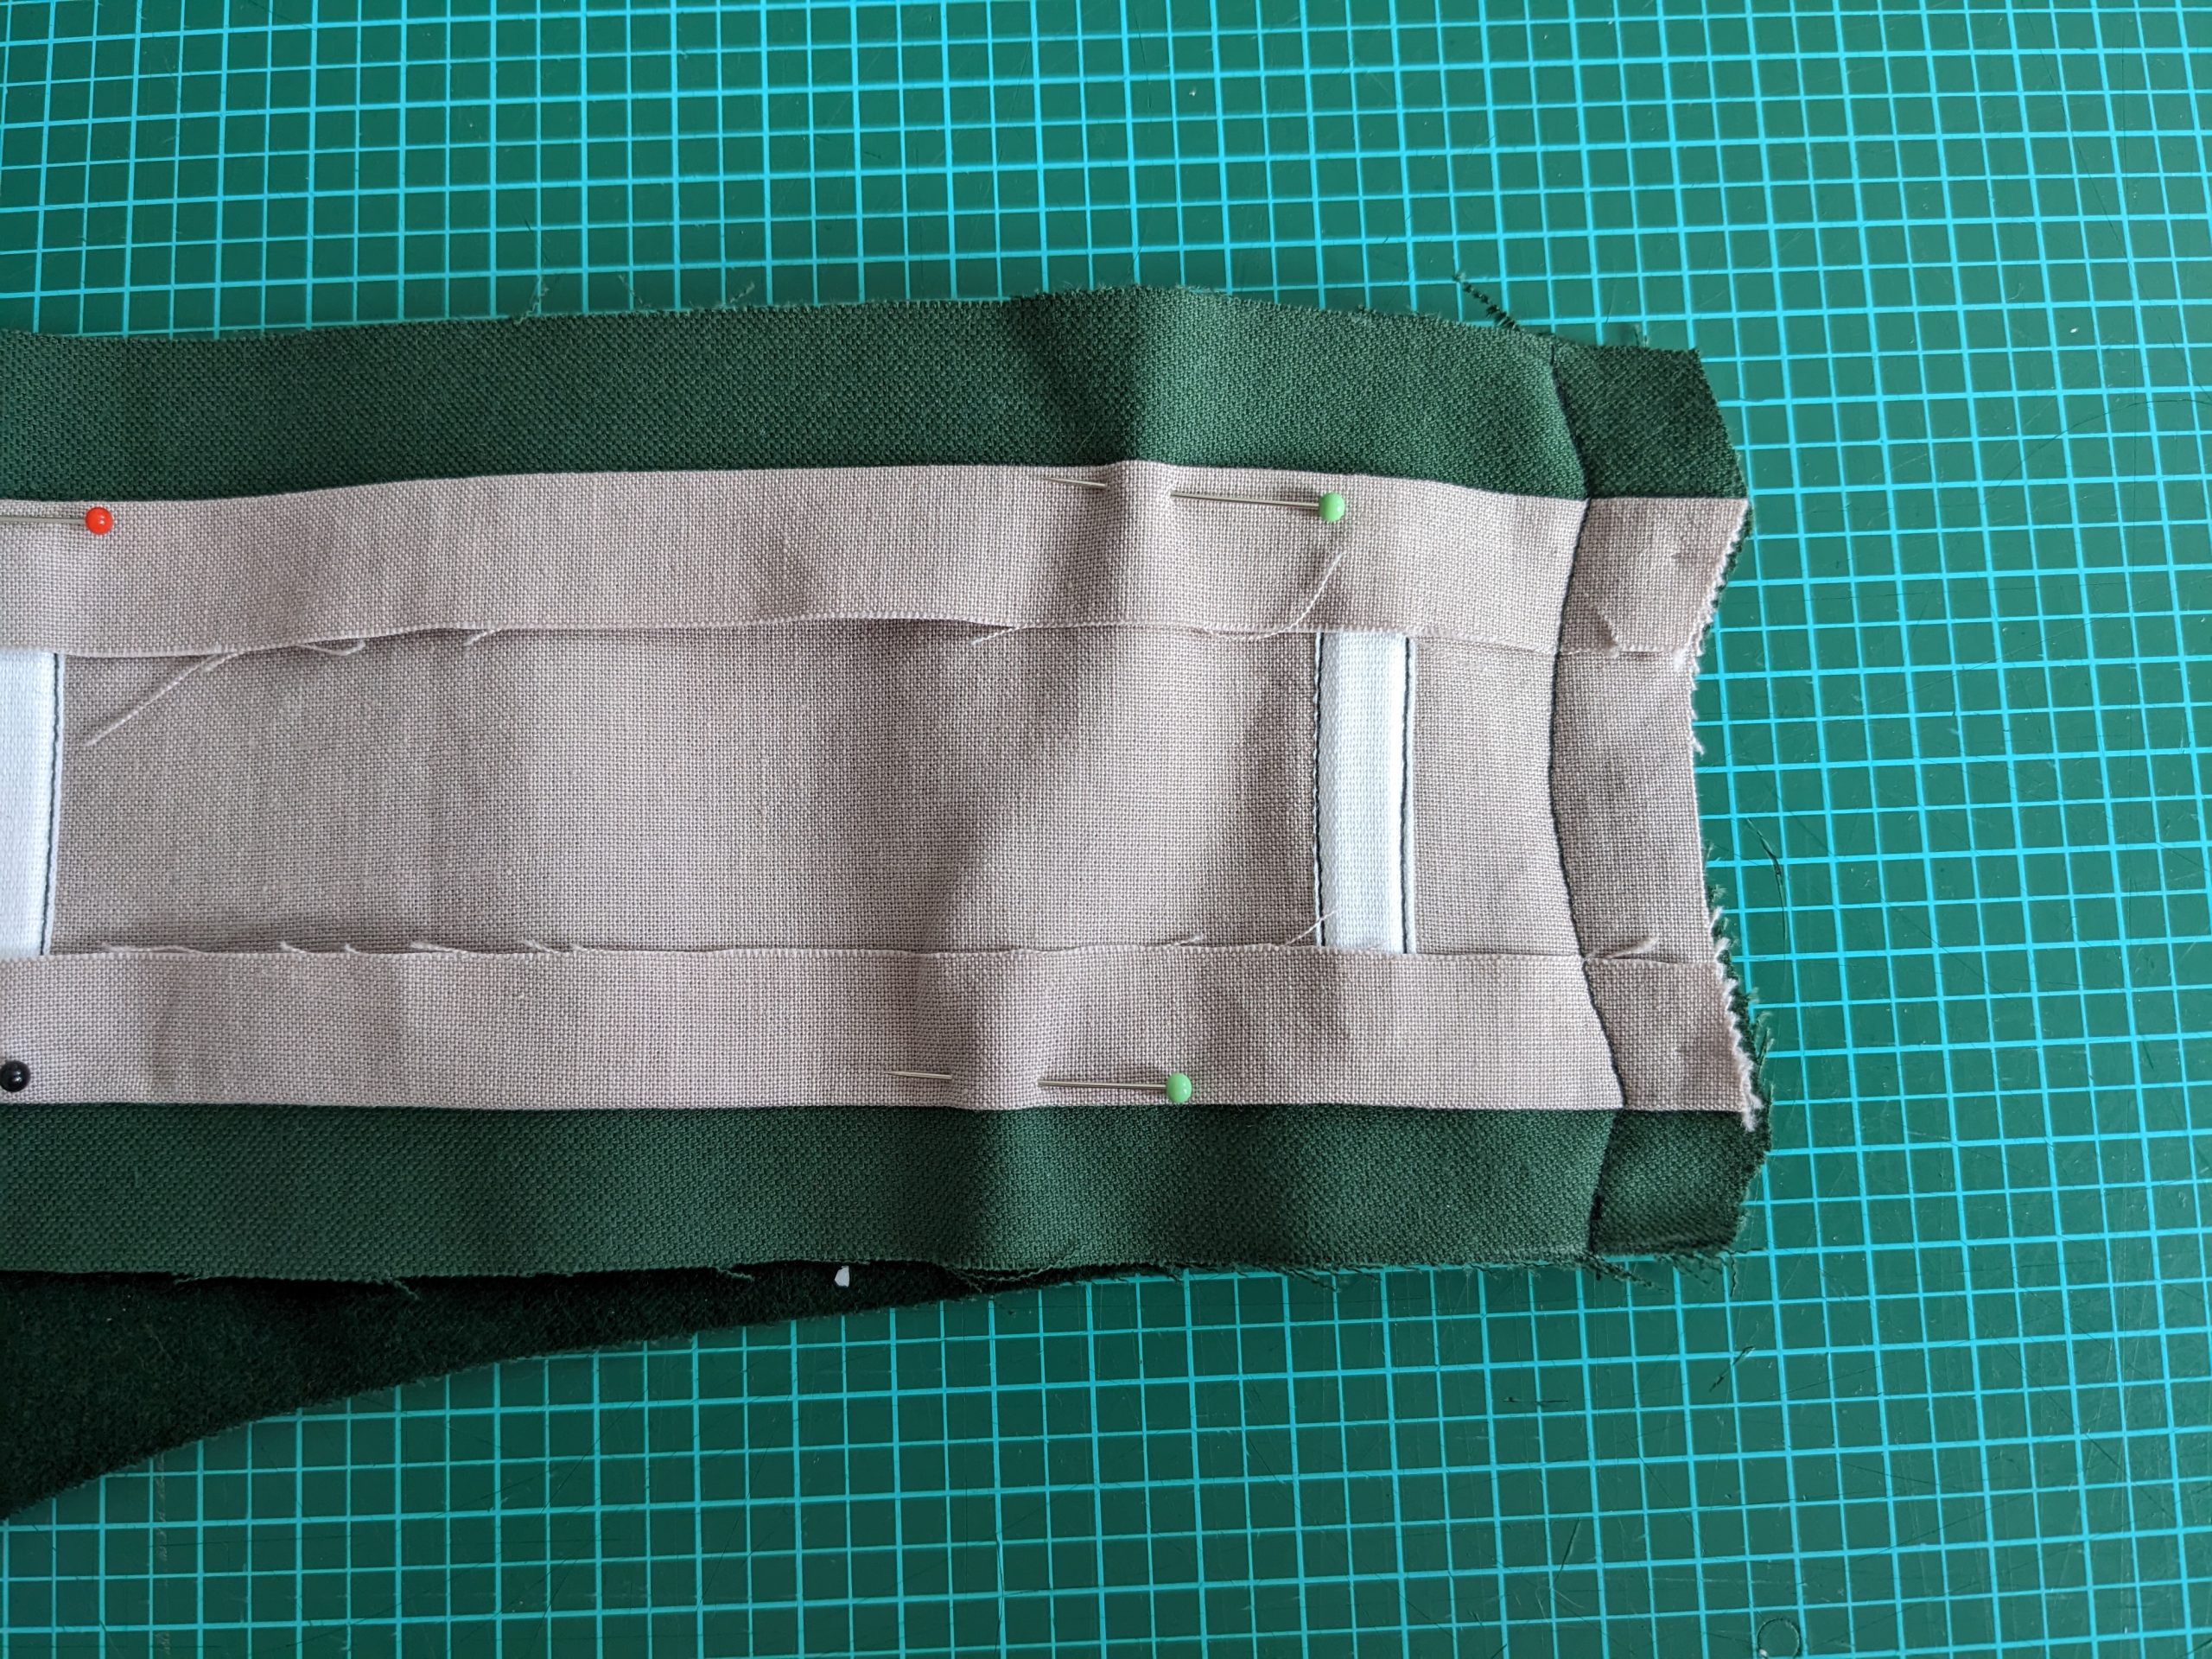
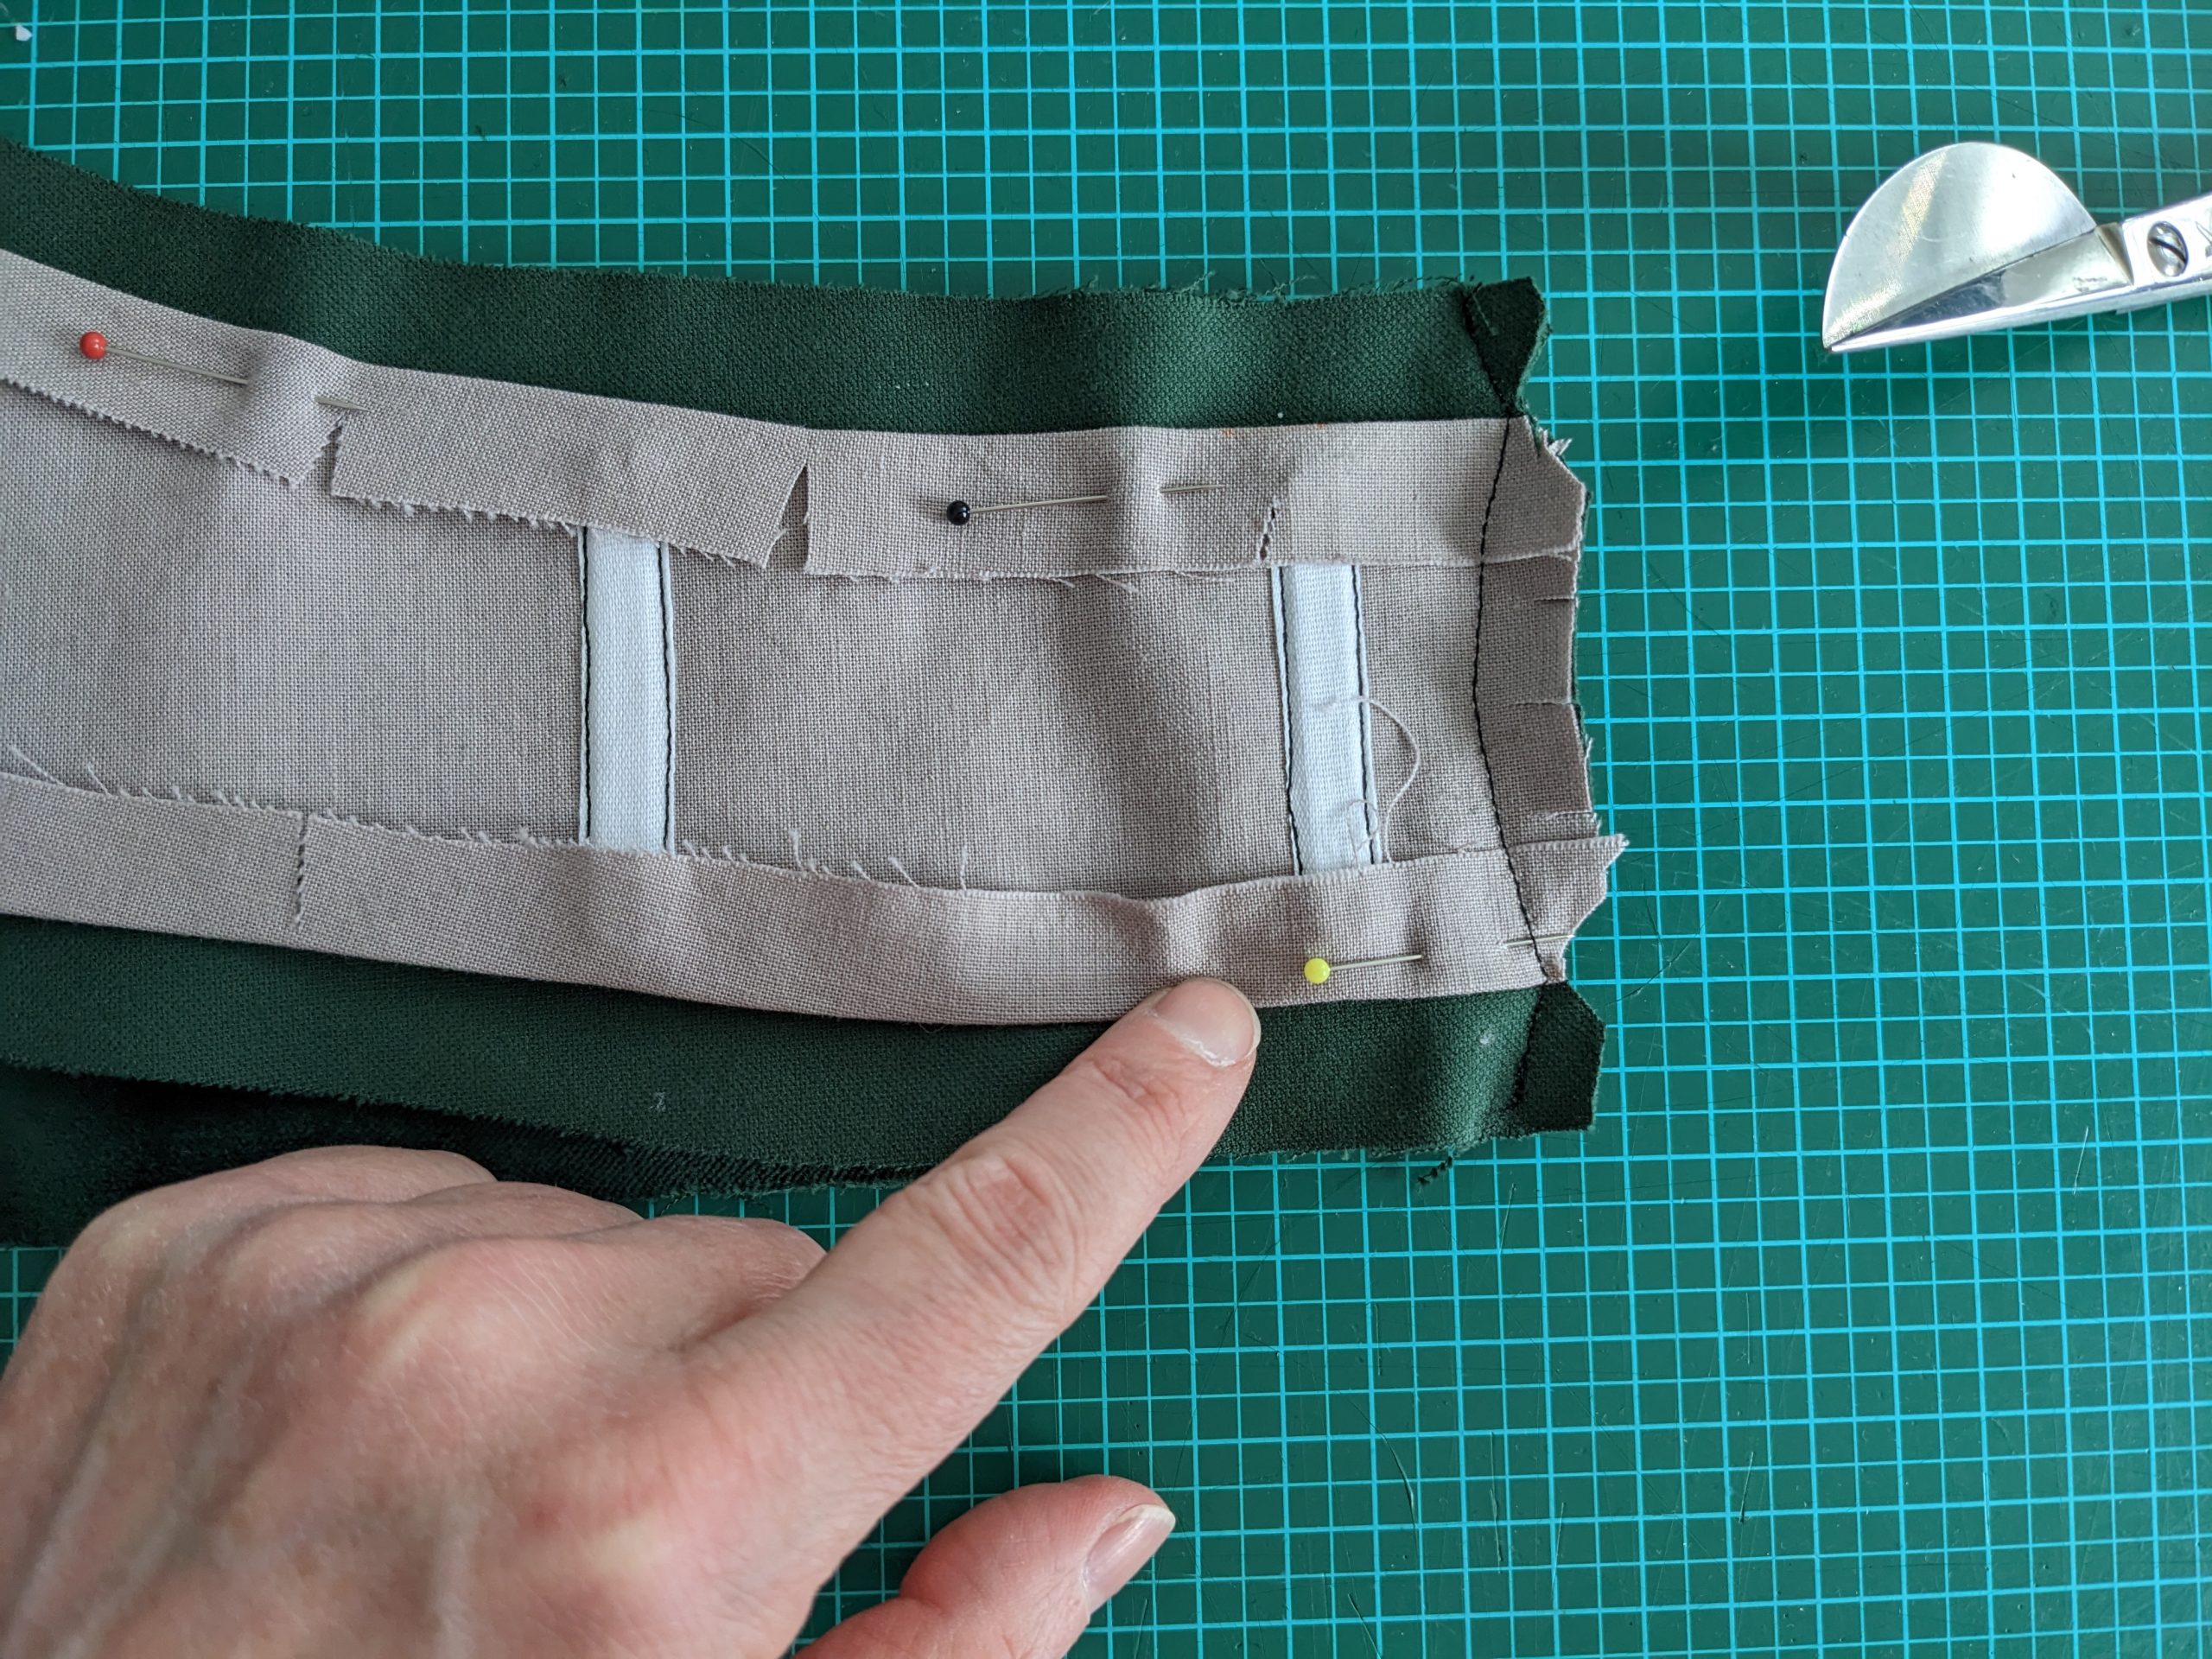
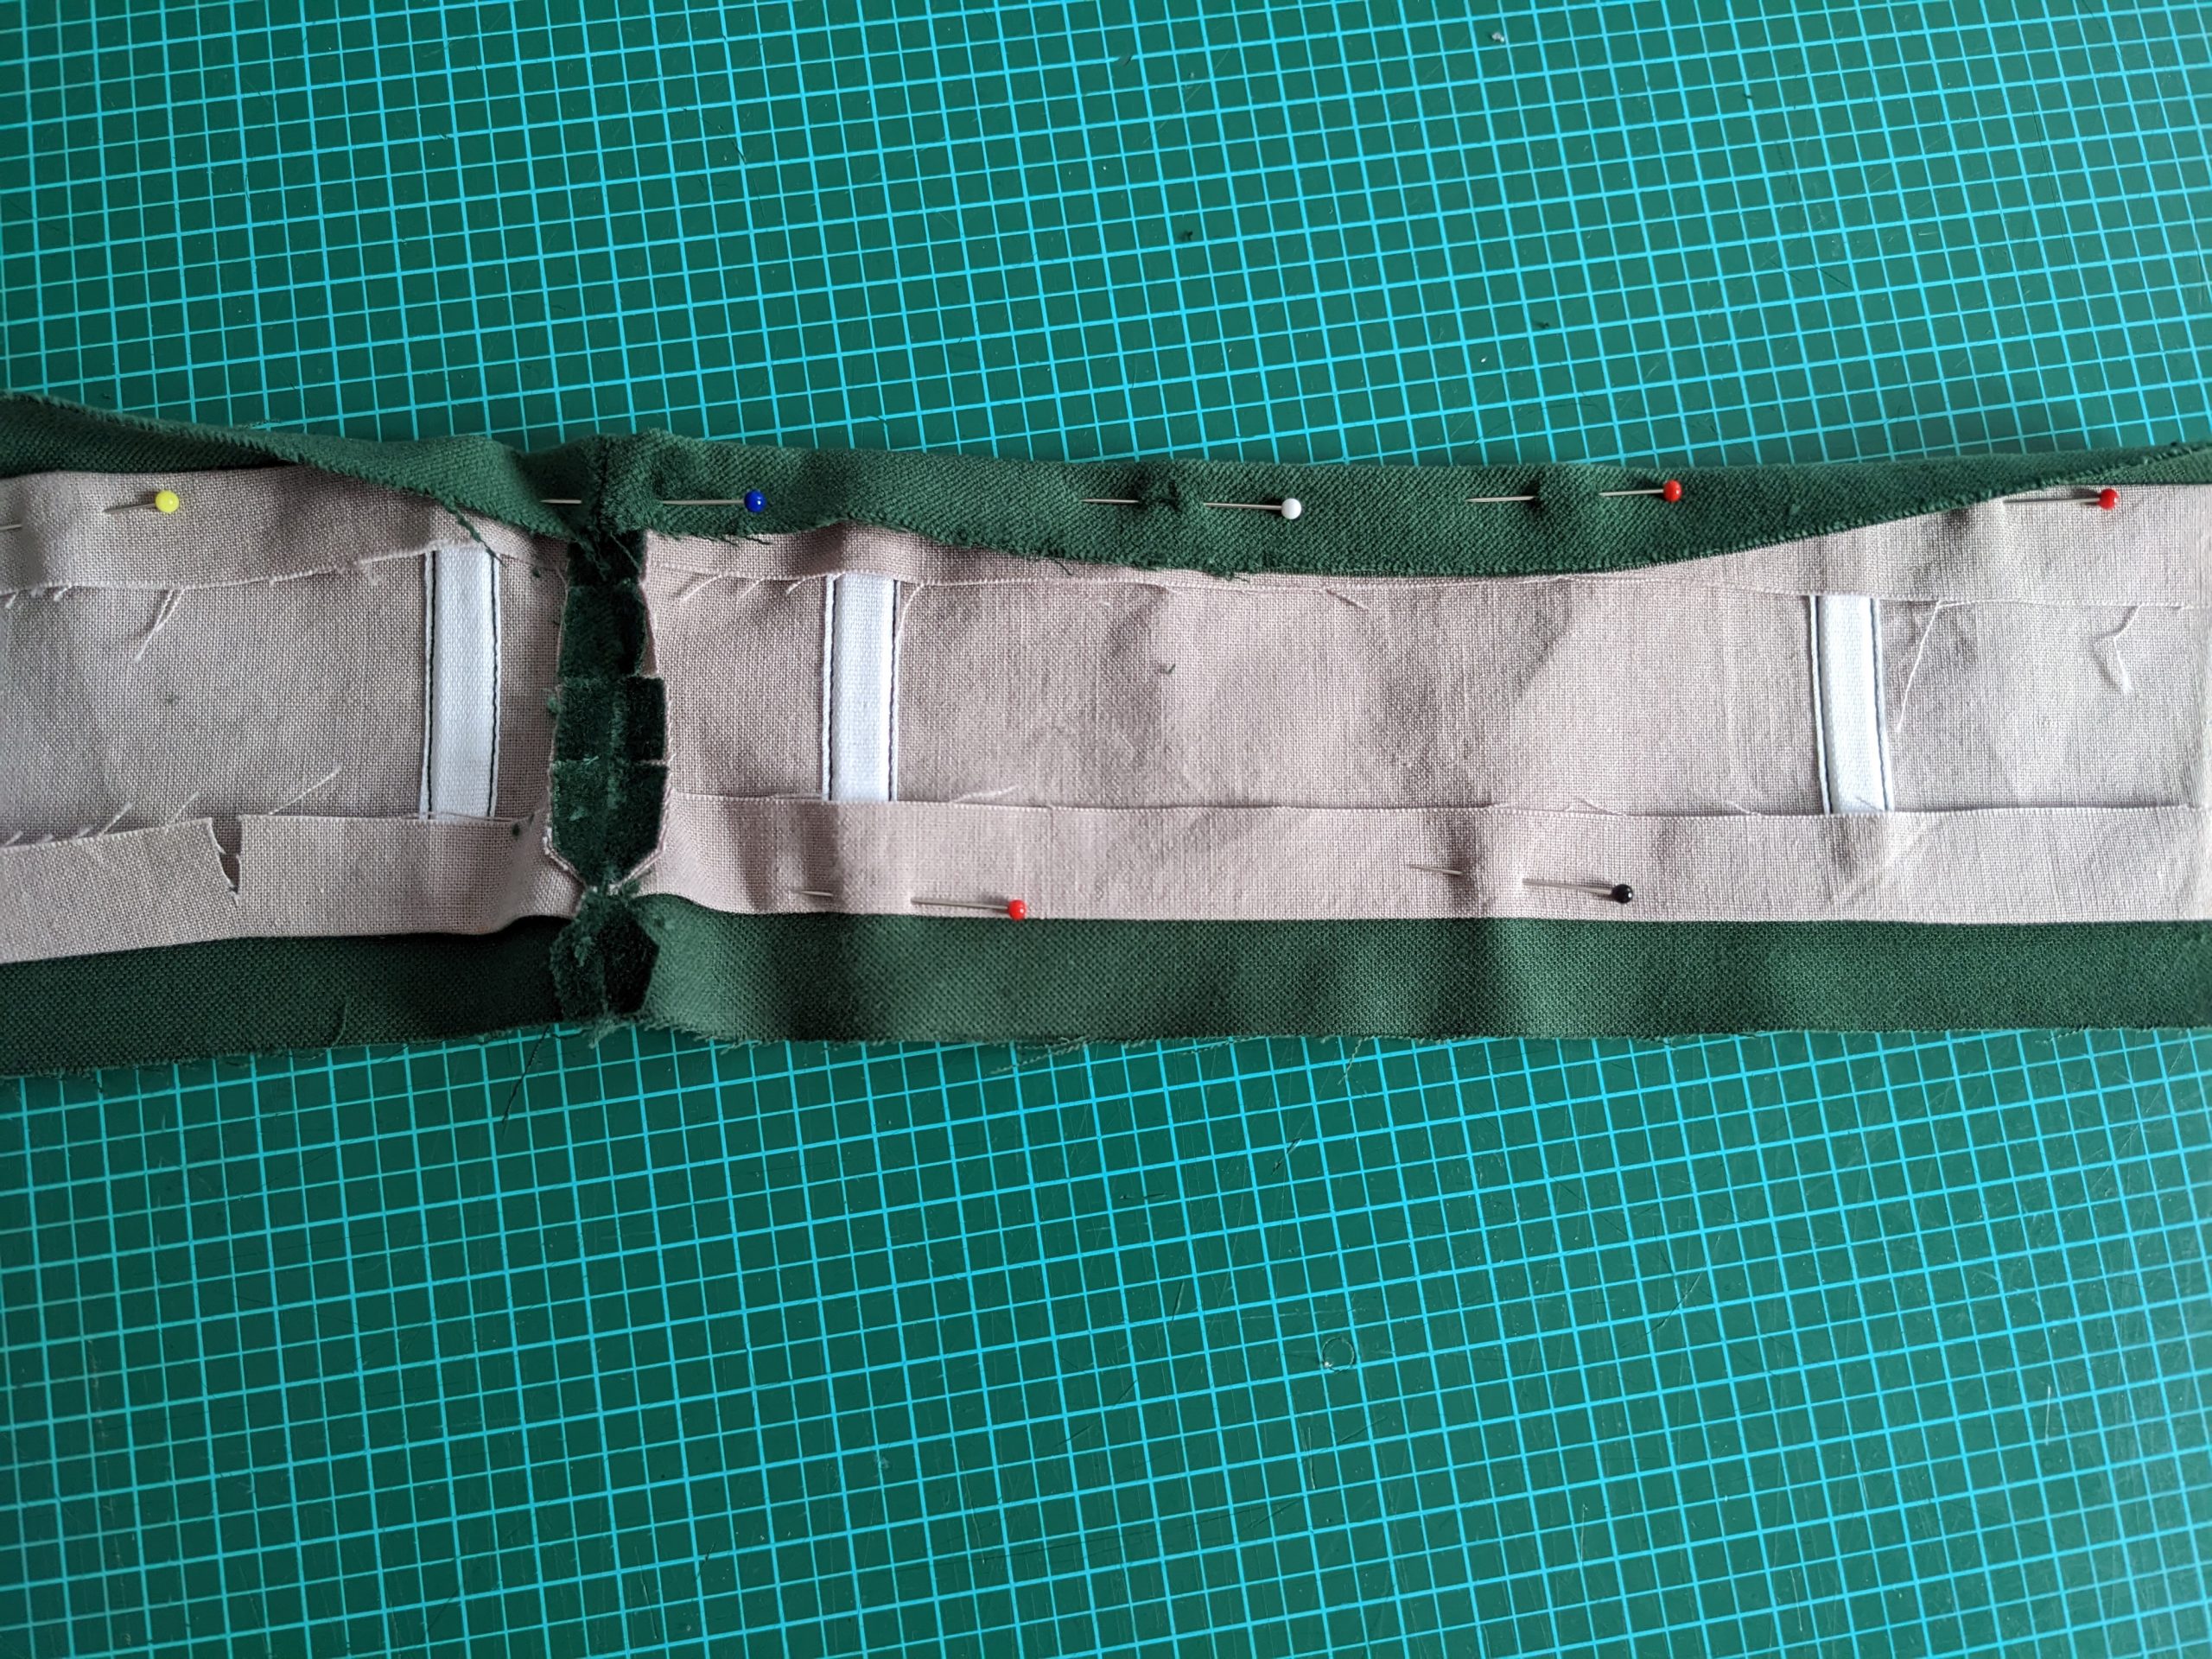
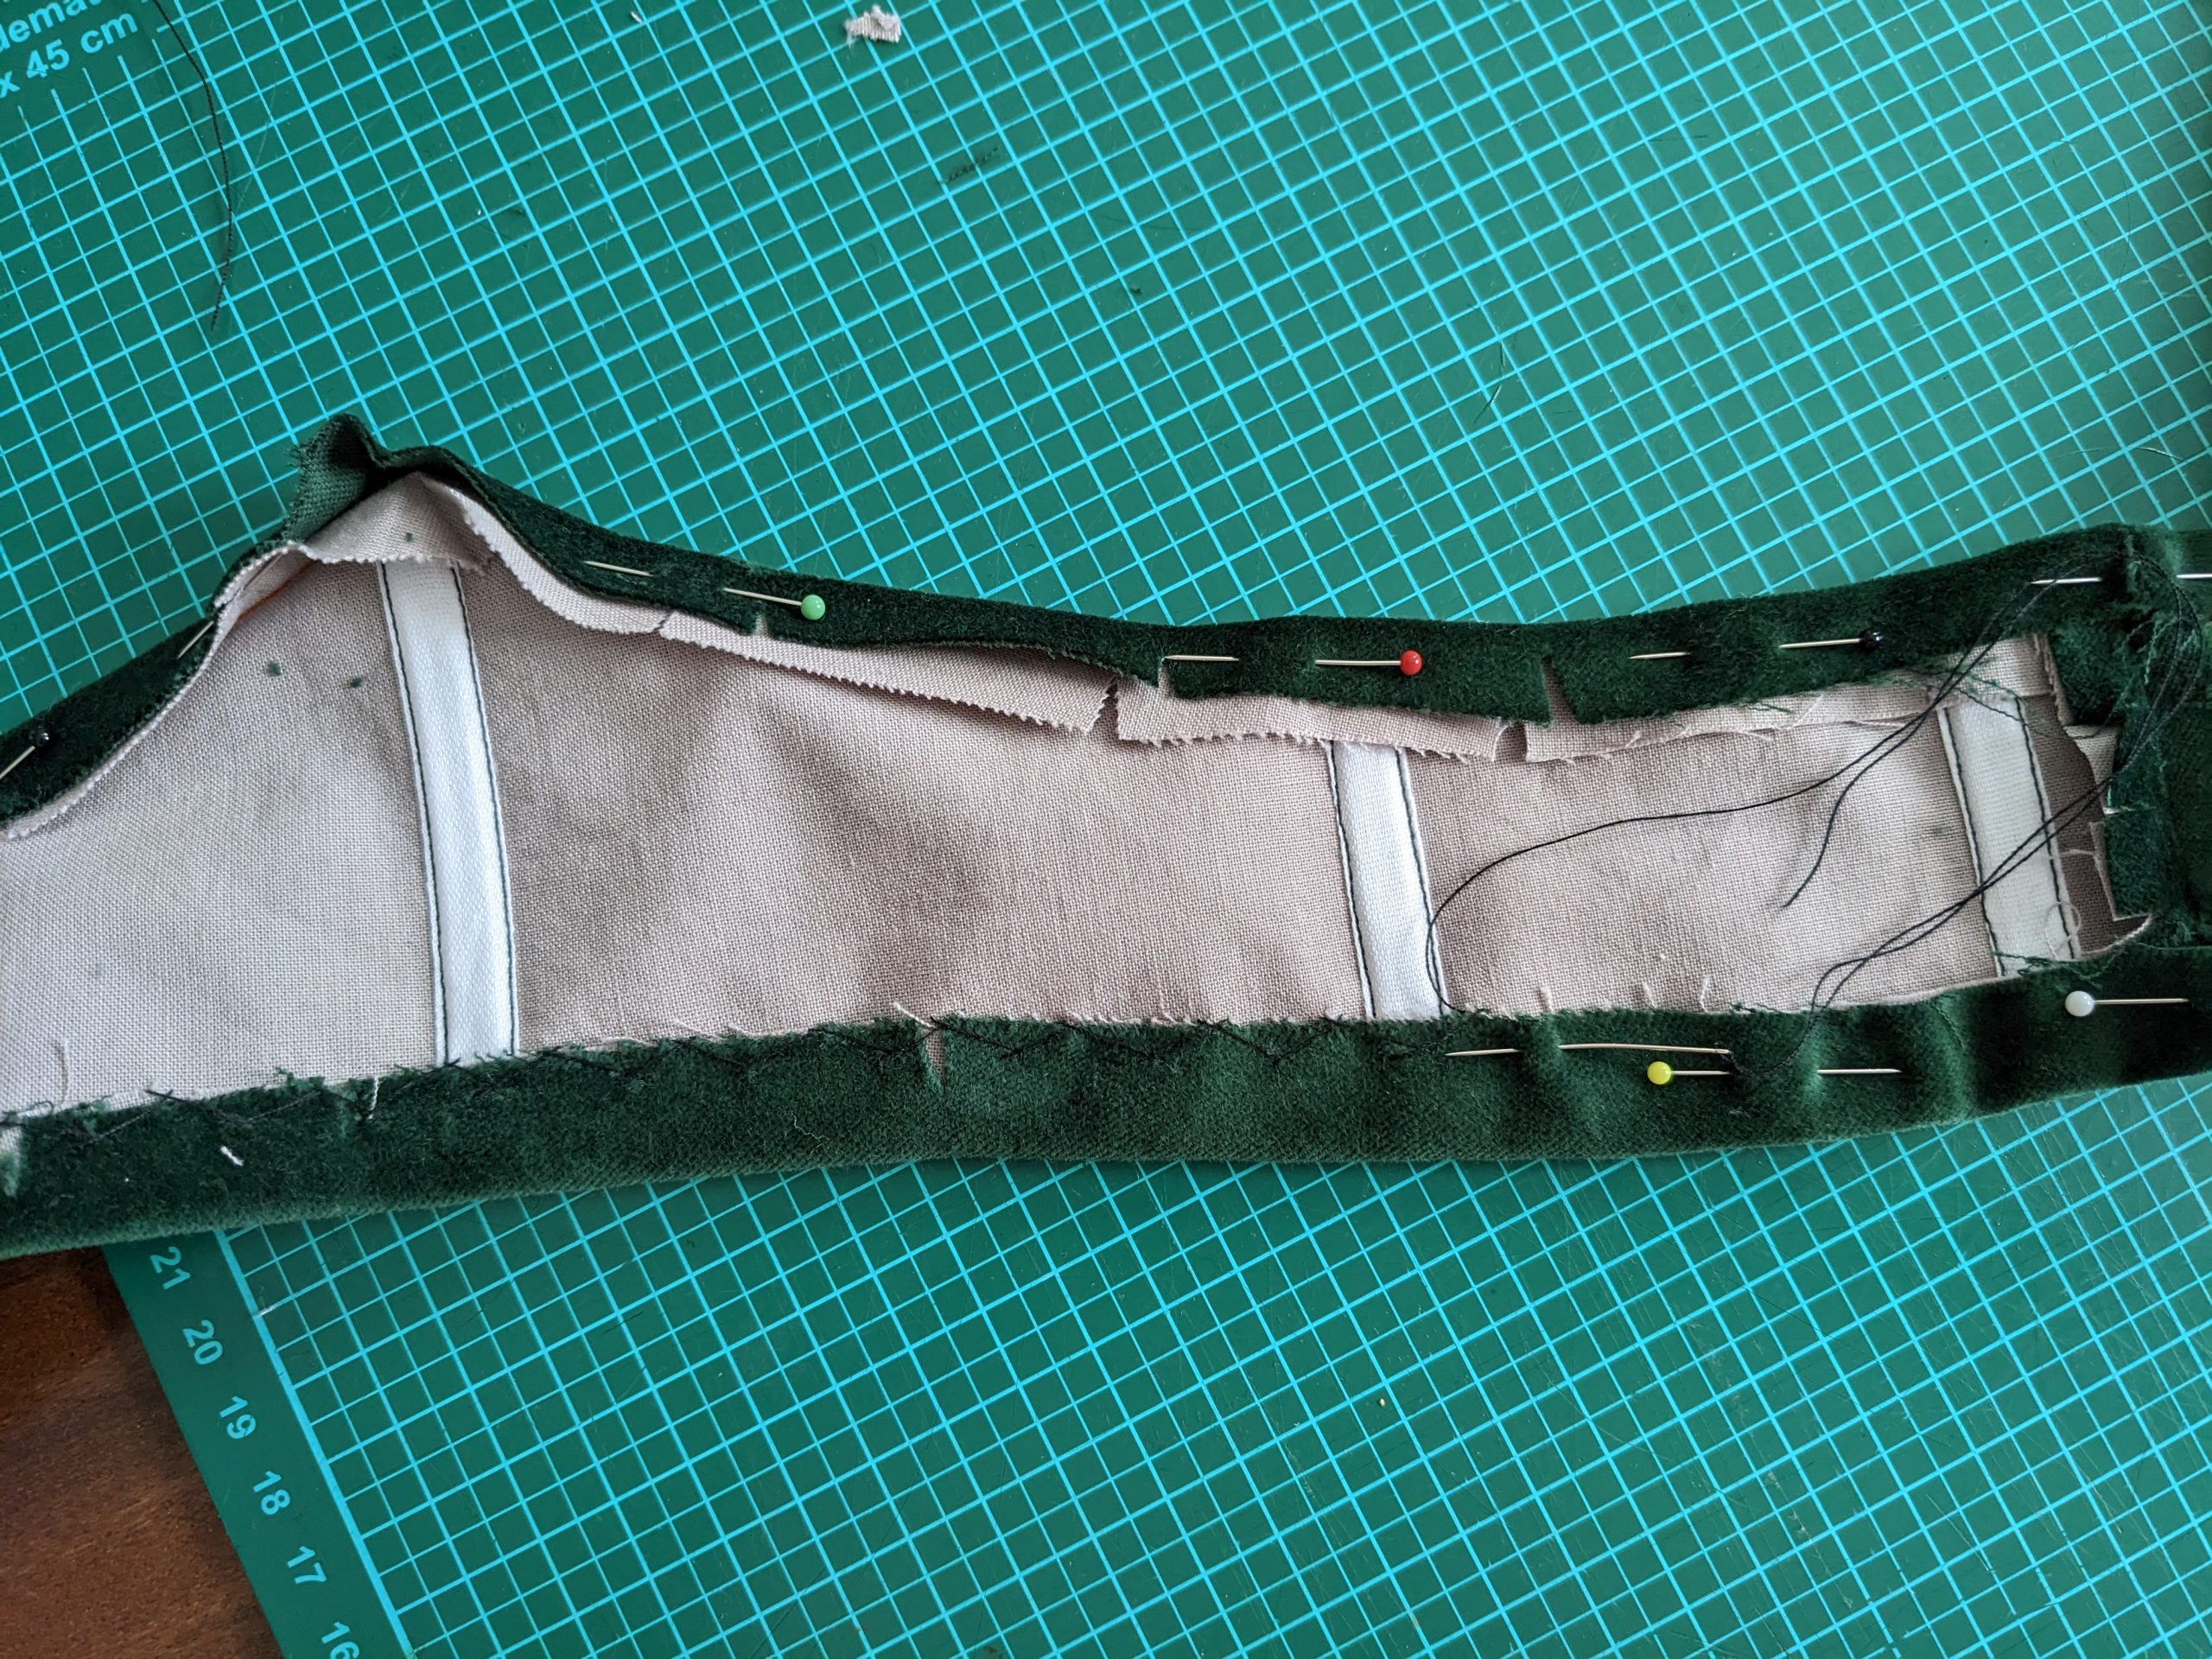
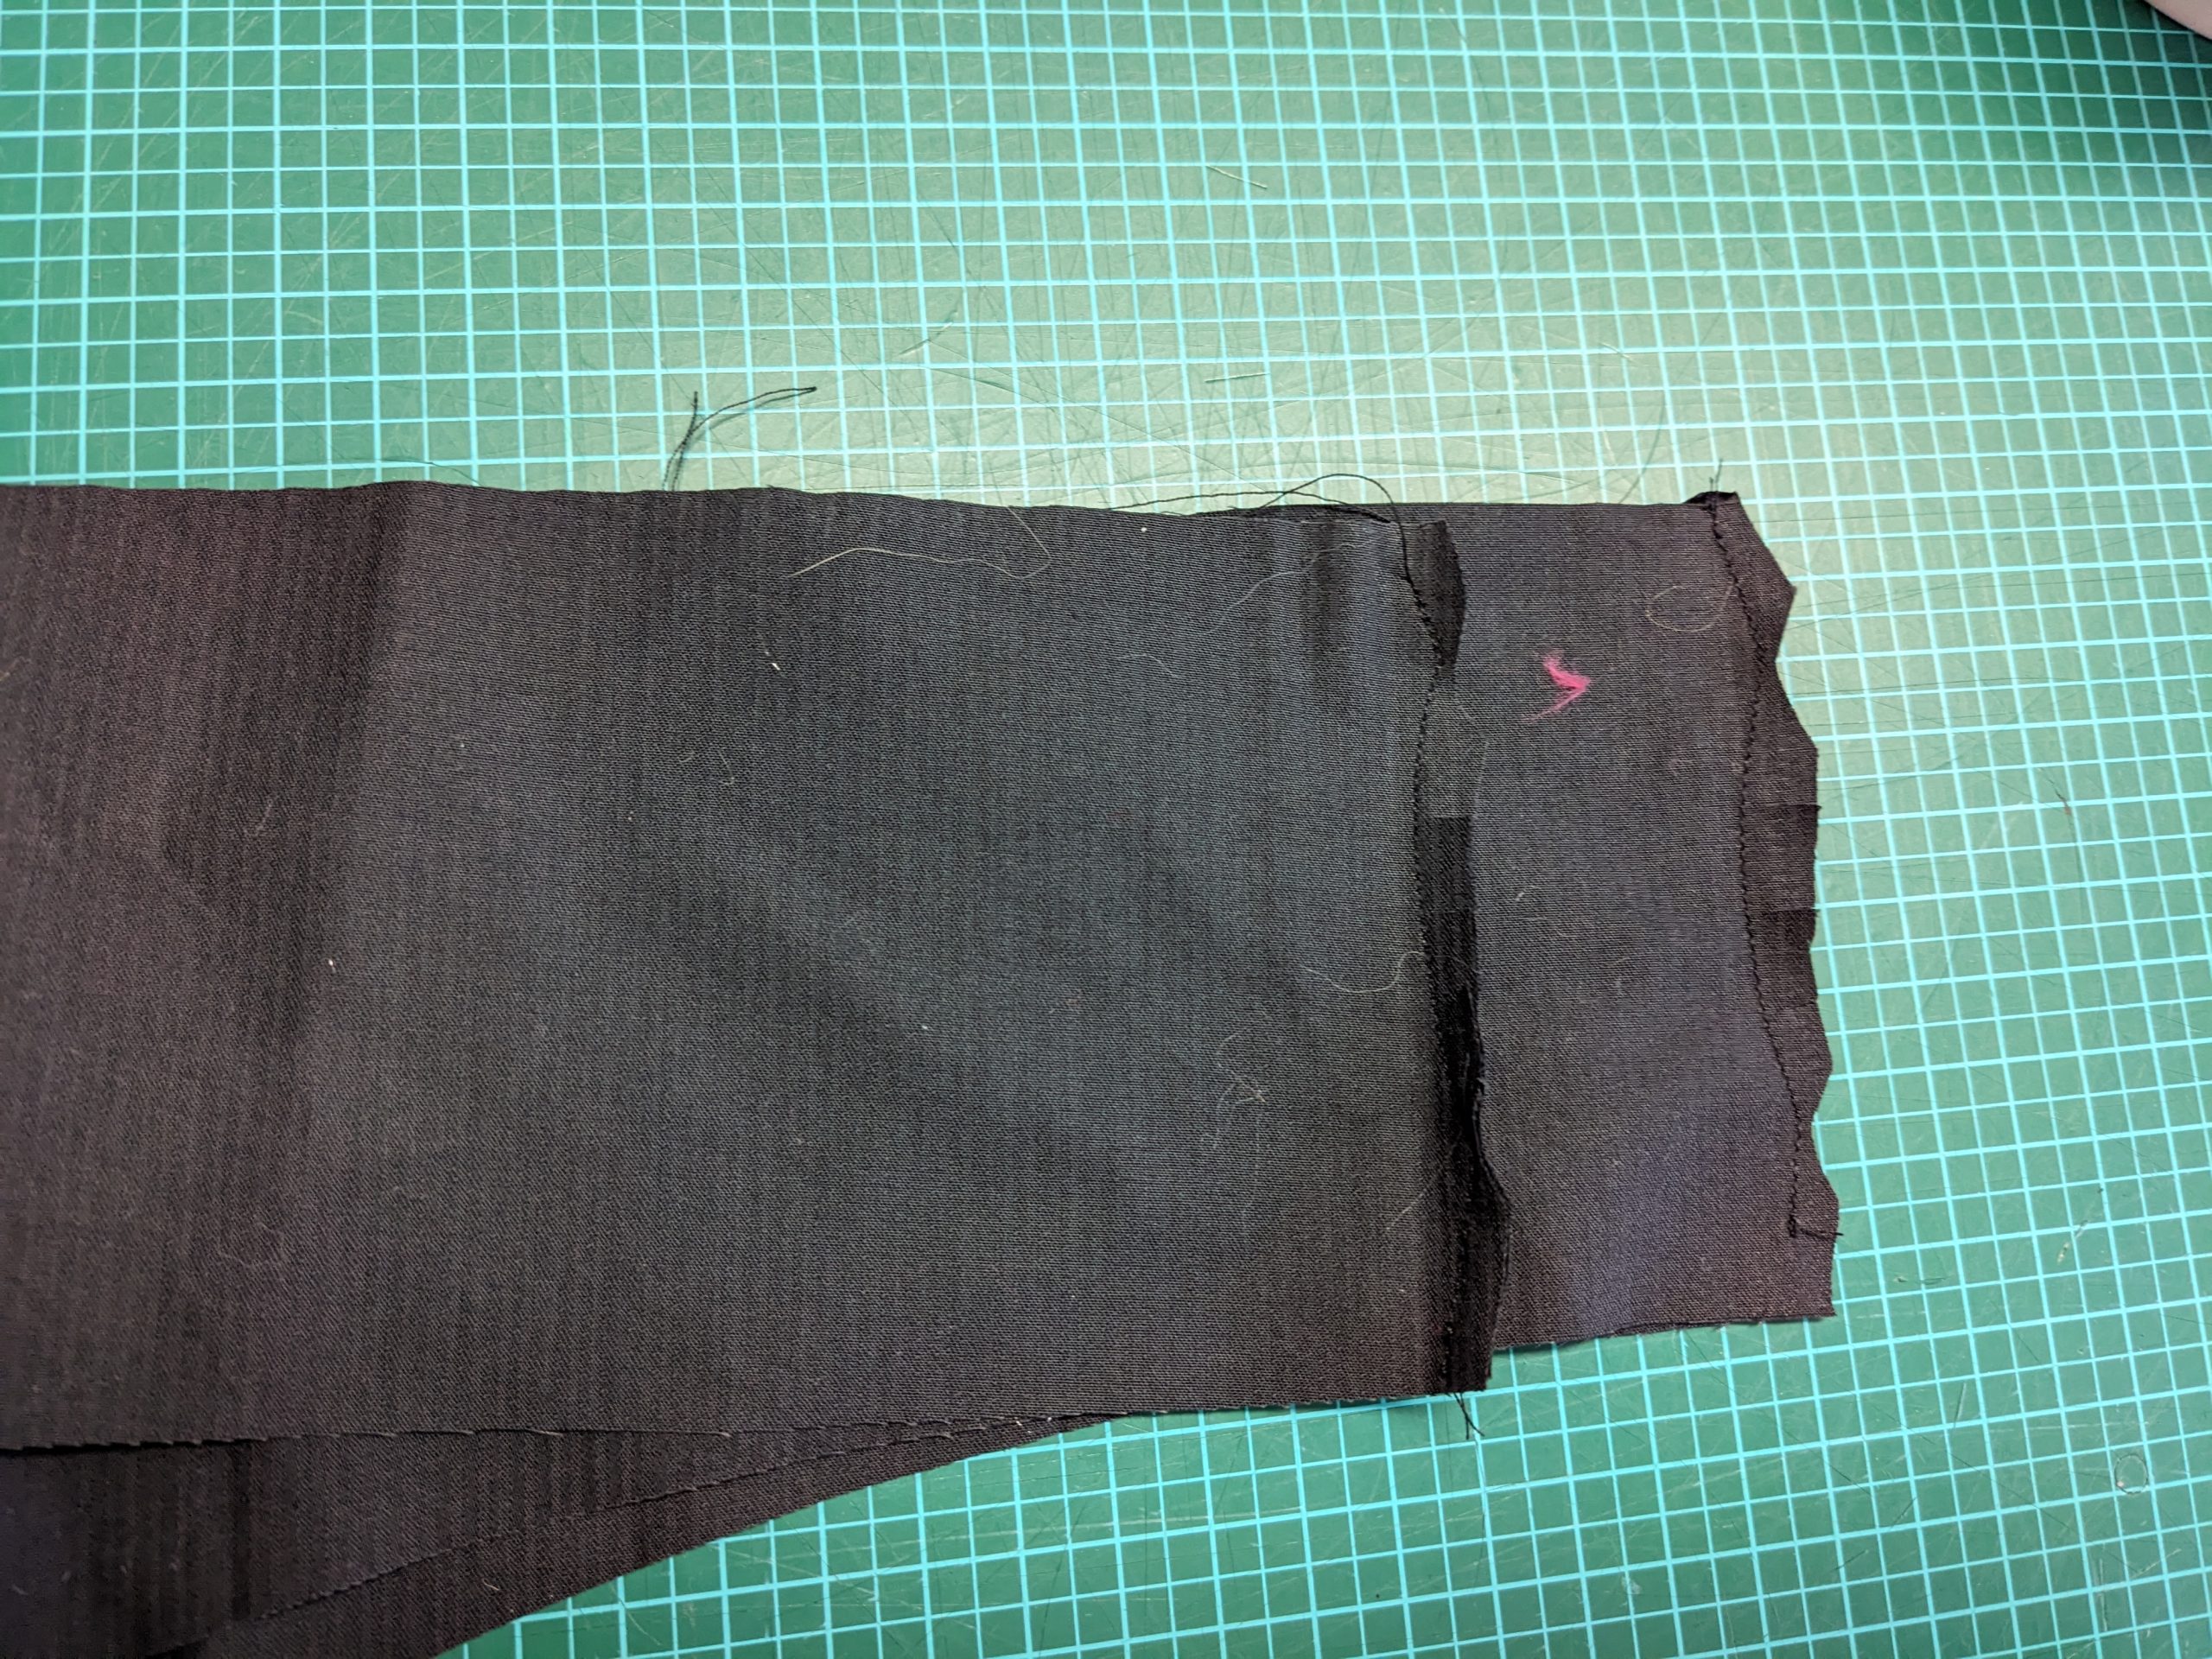
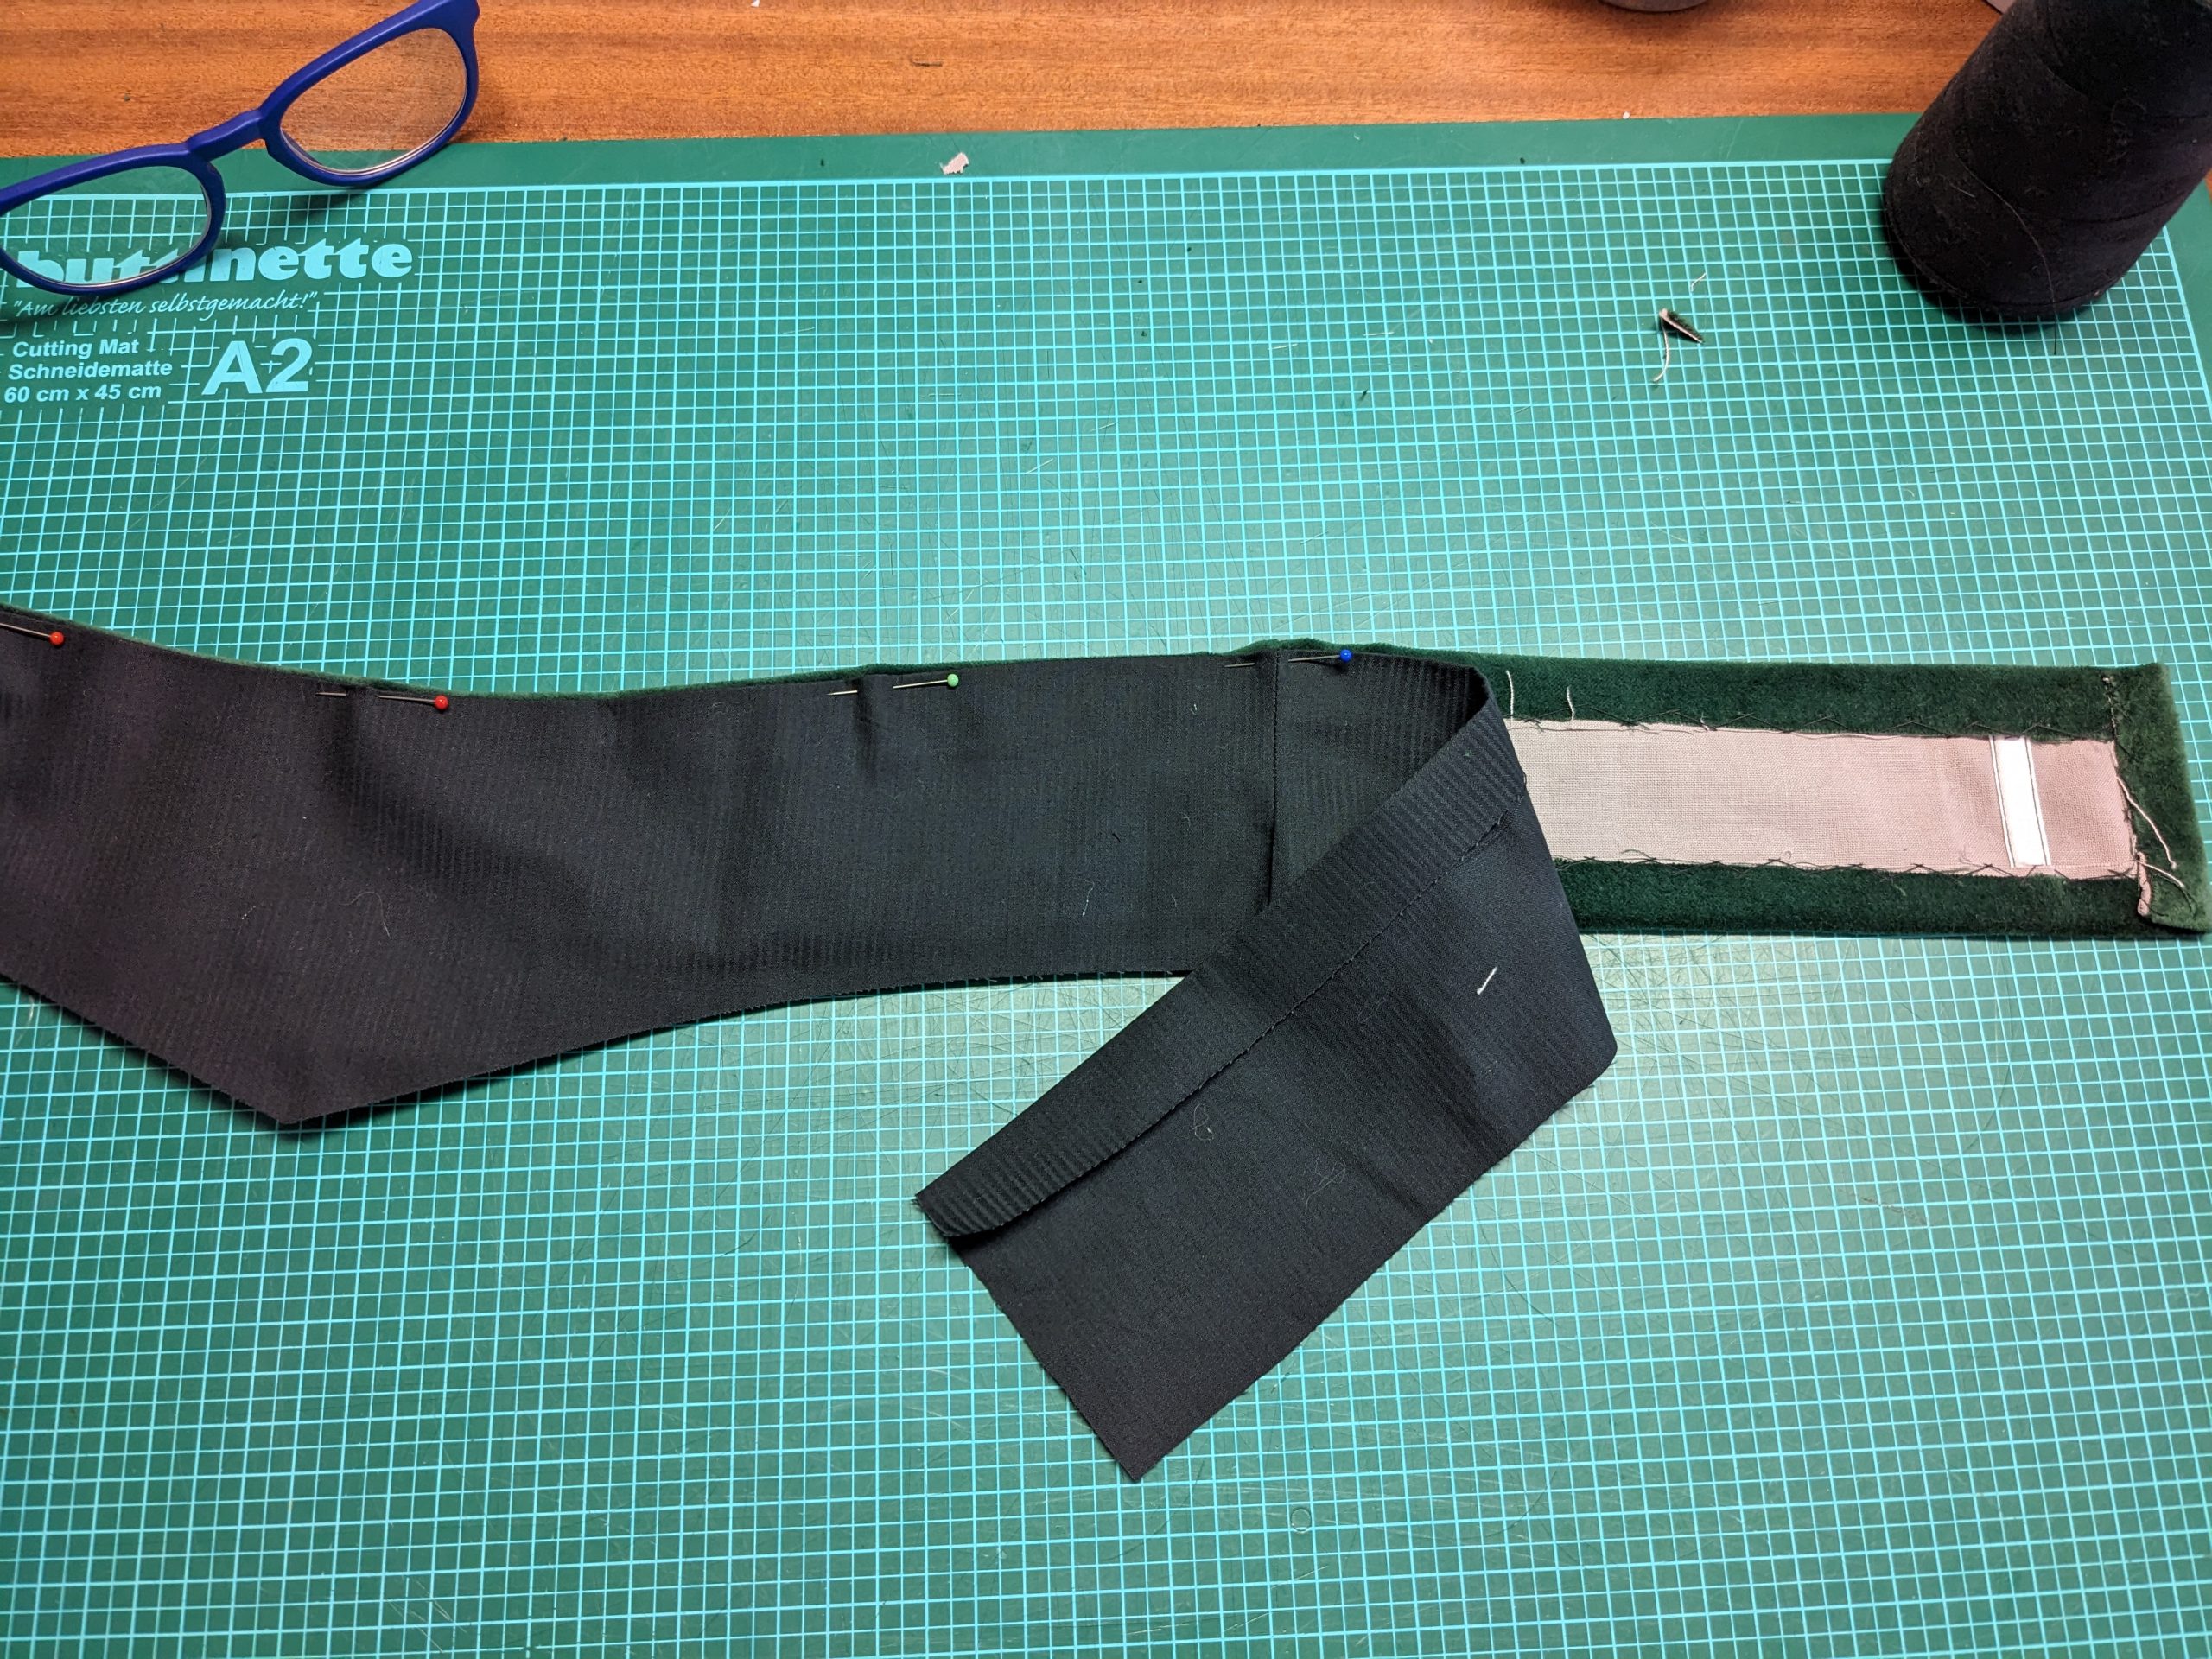
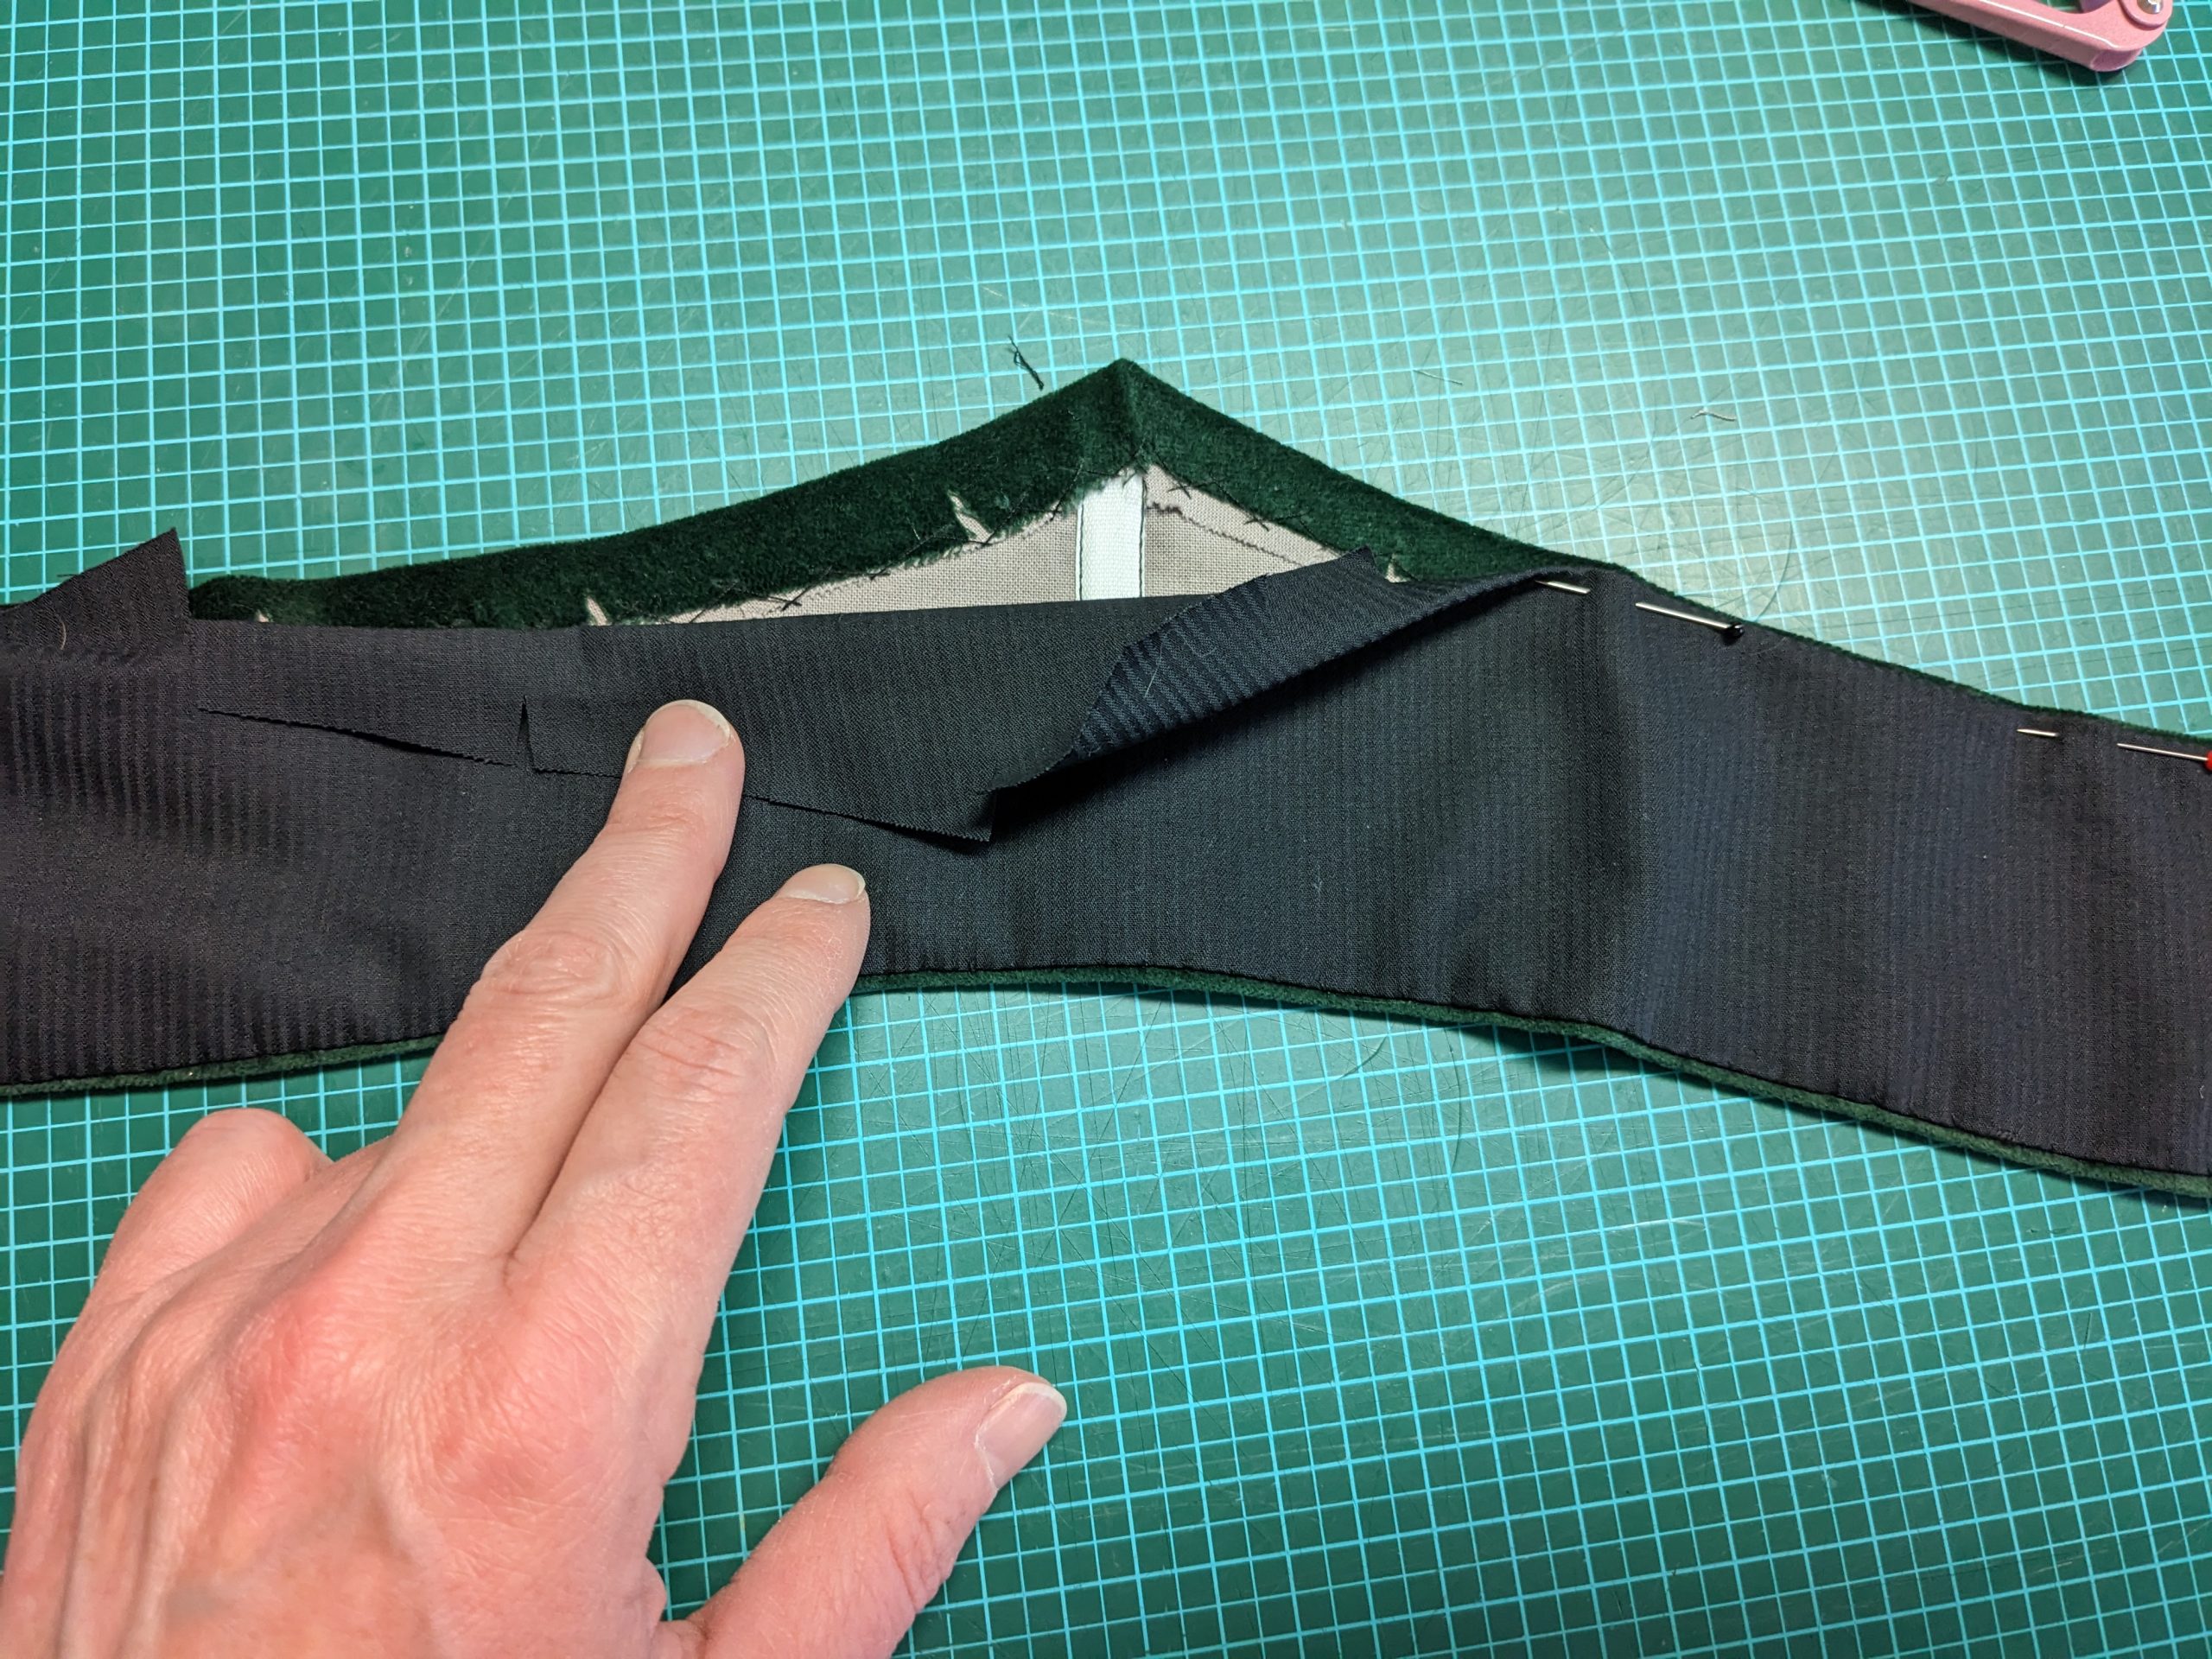
(2) Take the front from the lining, and line up the front-facing, right sides together. Stitch down the front edge, trim back, and understitch the seam allowances. Turn in the seam allowance of the facing along the loose edge.  On the right side, fold the facing and front wrong sides together, and stitch down the facing along the loose edge. On the left side, fold the facing right sides together, turn the seam allowances of the front edge towards the facing, and sew from the front edge until reaching the end of the facing b. Clip the seam allowance towards the end of the stitching and turn the right way out. Stitch down the loose edge of the facing. Sew the darts, and press towards the side seam, reducing the stitch length at the point.

Continue reading

1016 The new Turtleneck Bodice – View A back closure

The original design, named the Turtleneck Dress, pattern #0916, contained the skirt and the blouse. I think it gave the impression to be too complicated to be sewn easily. The fact was that few people were interested in that pattern, although it offered a lot. For some years I was thinking of just dividing the pattern into skirt and top, but I wanted to add something extra and new, especially since the skirt seemed too simple and the back closure of the top was not suitable to be dressed alone. So time flies and at some point, the ideas come by themselves.

The new pattern #0916 now offers the skirt in two variations and the top, now numbered #1016 with an extra option for front closure.

Let´s start sewing! Grab your pattern here in my shop.

First I´ll just start with the original bodice, closed at the back, the View A as shown in the title picture. I´m sorry to show fewer pictures of the sewing of that bodice as I made the dress back in 2015/16. Maybe I´ll do a remake of the back closing bodice soon, just running out of time as always…

Continue reading

1116 Edwardian Belt

Around 1901, fashions changed with the invention of the straight-front corset, thus a new silhouette developed. They pushed the body into a hollow back or S-bend accentuating the bust and hips. The illustrations of the artist Charles Dana Gibson immortalized the ideal look and can still be seen today.

The S-bend shape often was emphasized with wide belts. The belt pattern comes with the new pattern #0916 or can be downloaded here:

This is another illustrated instruction to supplement my sewing pattern. The belt pattern is available for free on my webshop: klick

(1) Take the belt pieces from the fashion fabric, interlining and lining (same fabric), and cut off the placket of ¾” (2cm) on the left back side only.

(2) Take the pieces for the interlining and mark the stitching line. Cut strips from fabric, twice as wide as the boning plus ¼” (5mm) ease for the bone casings. Turn in the edges the same way you´d prepare bias binding. Alternatively, use any narrow tape from your stock. Sew the casings to the right side of the interlining, where indicated on the pattern. The width of the casing should be as narrow that the boning can´t twist inside the tunnel. Insert the bones and close the casings carefully. Turn the seam allowances of the interlining towards the right side and press. Clip at the curves to lay flat. I decided to make the two belts, straight and the dip waist style.

(3) Line up the interlining with the belt pieces from the fashion fabric, wrong sides together, and baste in place. Sew the side seams, right sides together. Trim back, notch the seam allowances as shown, and press open.

(4) Turn in the seam allowances of the belt from the fashion fabric around the interlining and catch stitch to the latter.

(5) Take the lining, sew the side seams and trim back the seam allowances in the same way as you did with the belt, press open. Turn in a seam allowance of ¾” (2cm) all around and clip at the curves to lay flat. Line up the lining with the belt, wrong sides together, with the edge of the fashion fabric extending past the lining about 1/8” (2mm). Fell stitch the lining to the belt without any stitches showing on the right fabric side.

(6) Sew hooks to the right back edge and make thread bars along the left center back instead of metal eyes.