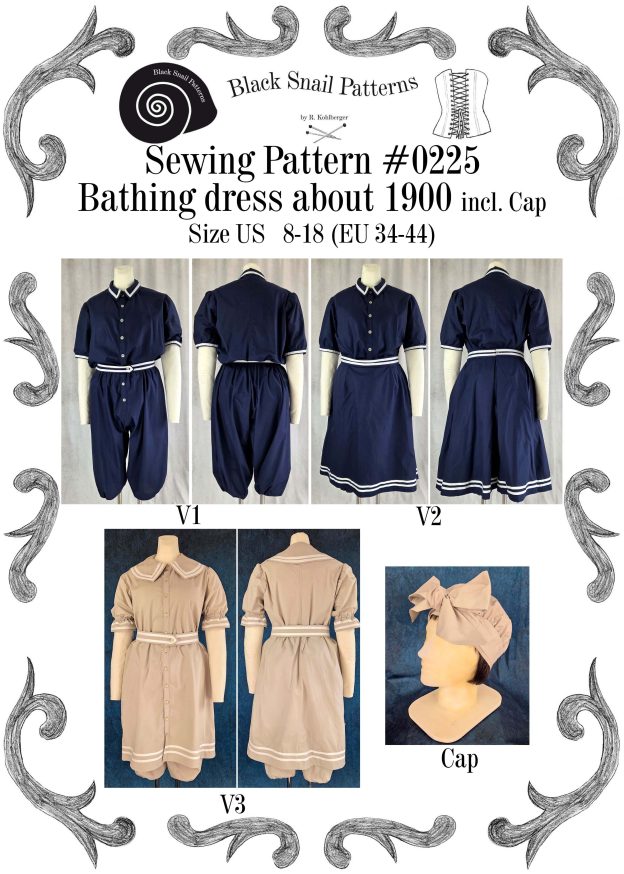
Welcome to my new tutorial! This time, I’m sharing a sewing pattern for a bathing suit from around 1900. The pattern is based on original designs and includes clear instructions to help you create your own historical bathing dress.
You can find the full pattern available for purchase in my shop.
In the following steps, I’ll walk you through the sewing process. Each section includes tips and additional photos to help you along the way. Even if you’re new to historical sewing, this pattern is designed to guide you smoothly through each step.
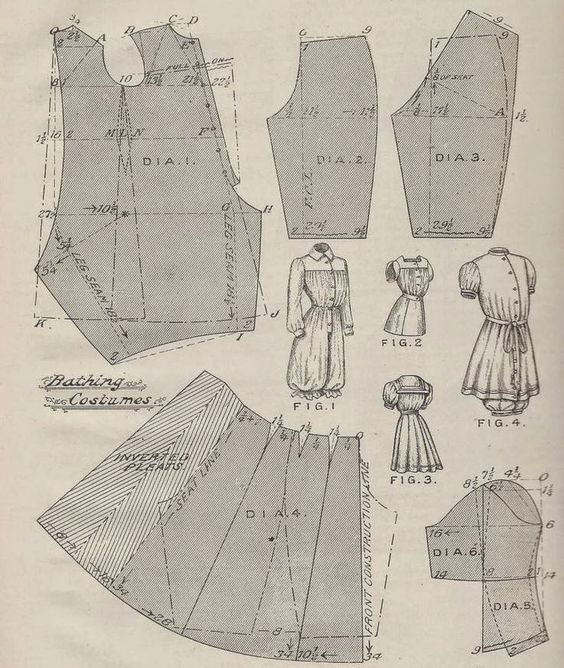
The bathing suit in my pattern is based on a fashion plate from the book “The Cutter’s Practical Guide” from about 1900, featuring three different options. The first is a loosely cut jumpsuit, worn with a belt or a skirt (Fig. 1 and 2). The second features extra pants, a bodice, and a skirt in one piece (Fig. 4). The pattern includes two different collar and sleeve options.
Let’s start with version 1, the jumpsuit! At first glance, the pattern may seem a bit confusing, so I recommend outlining your chosen pattern pieces to get a better overview.
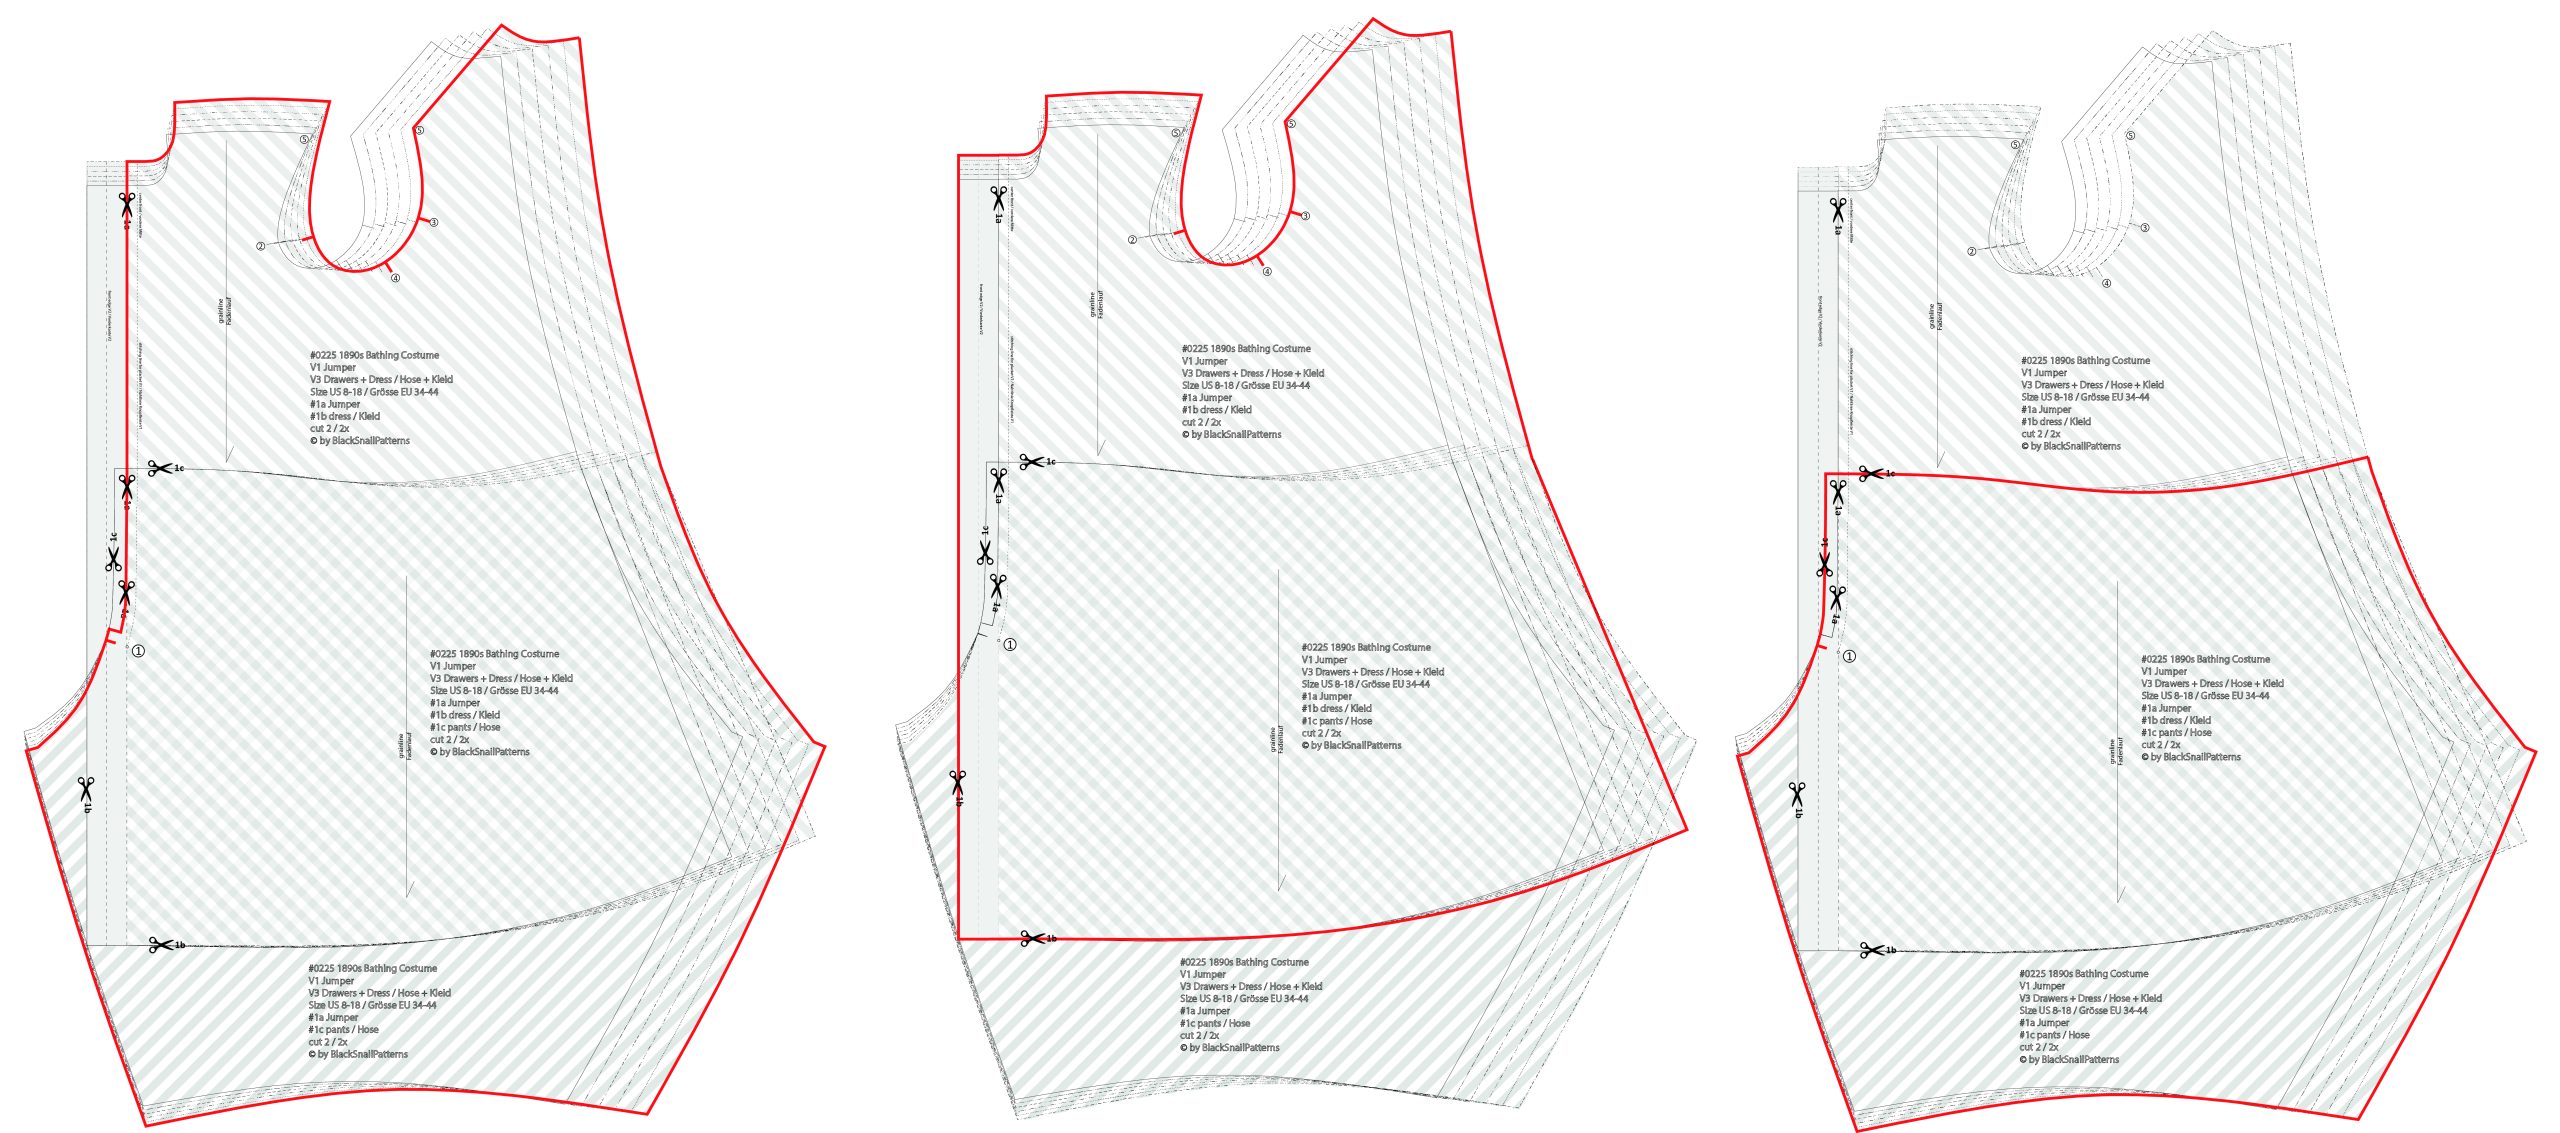
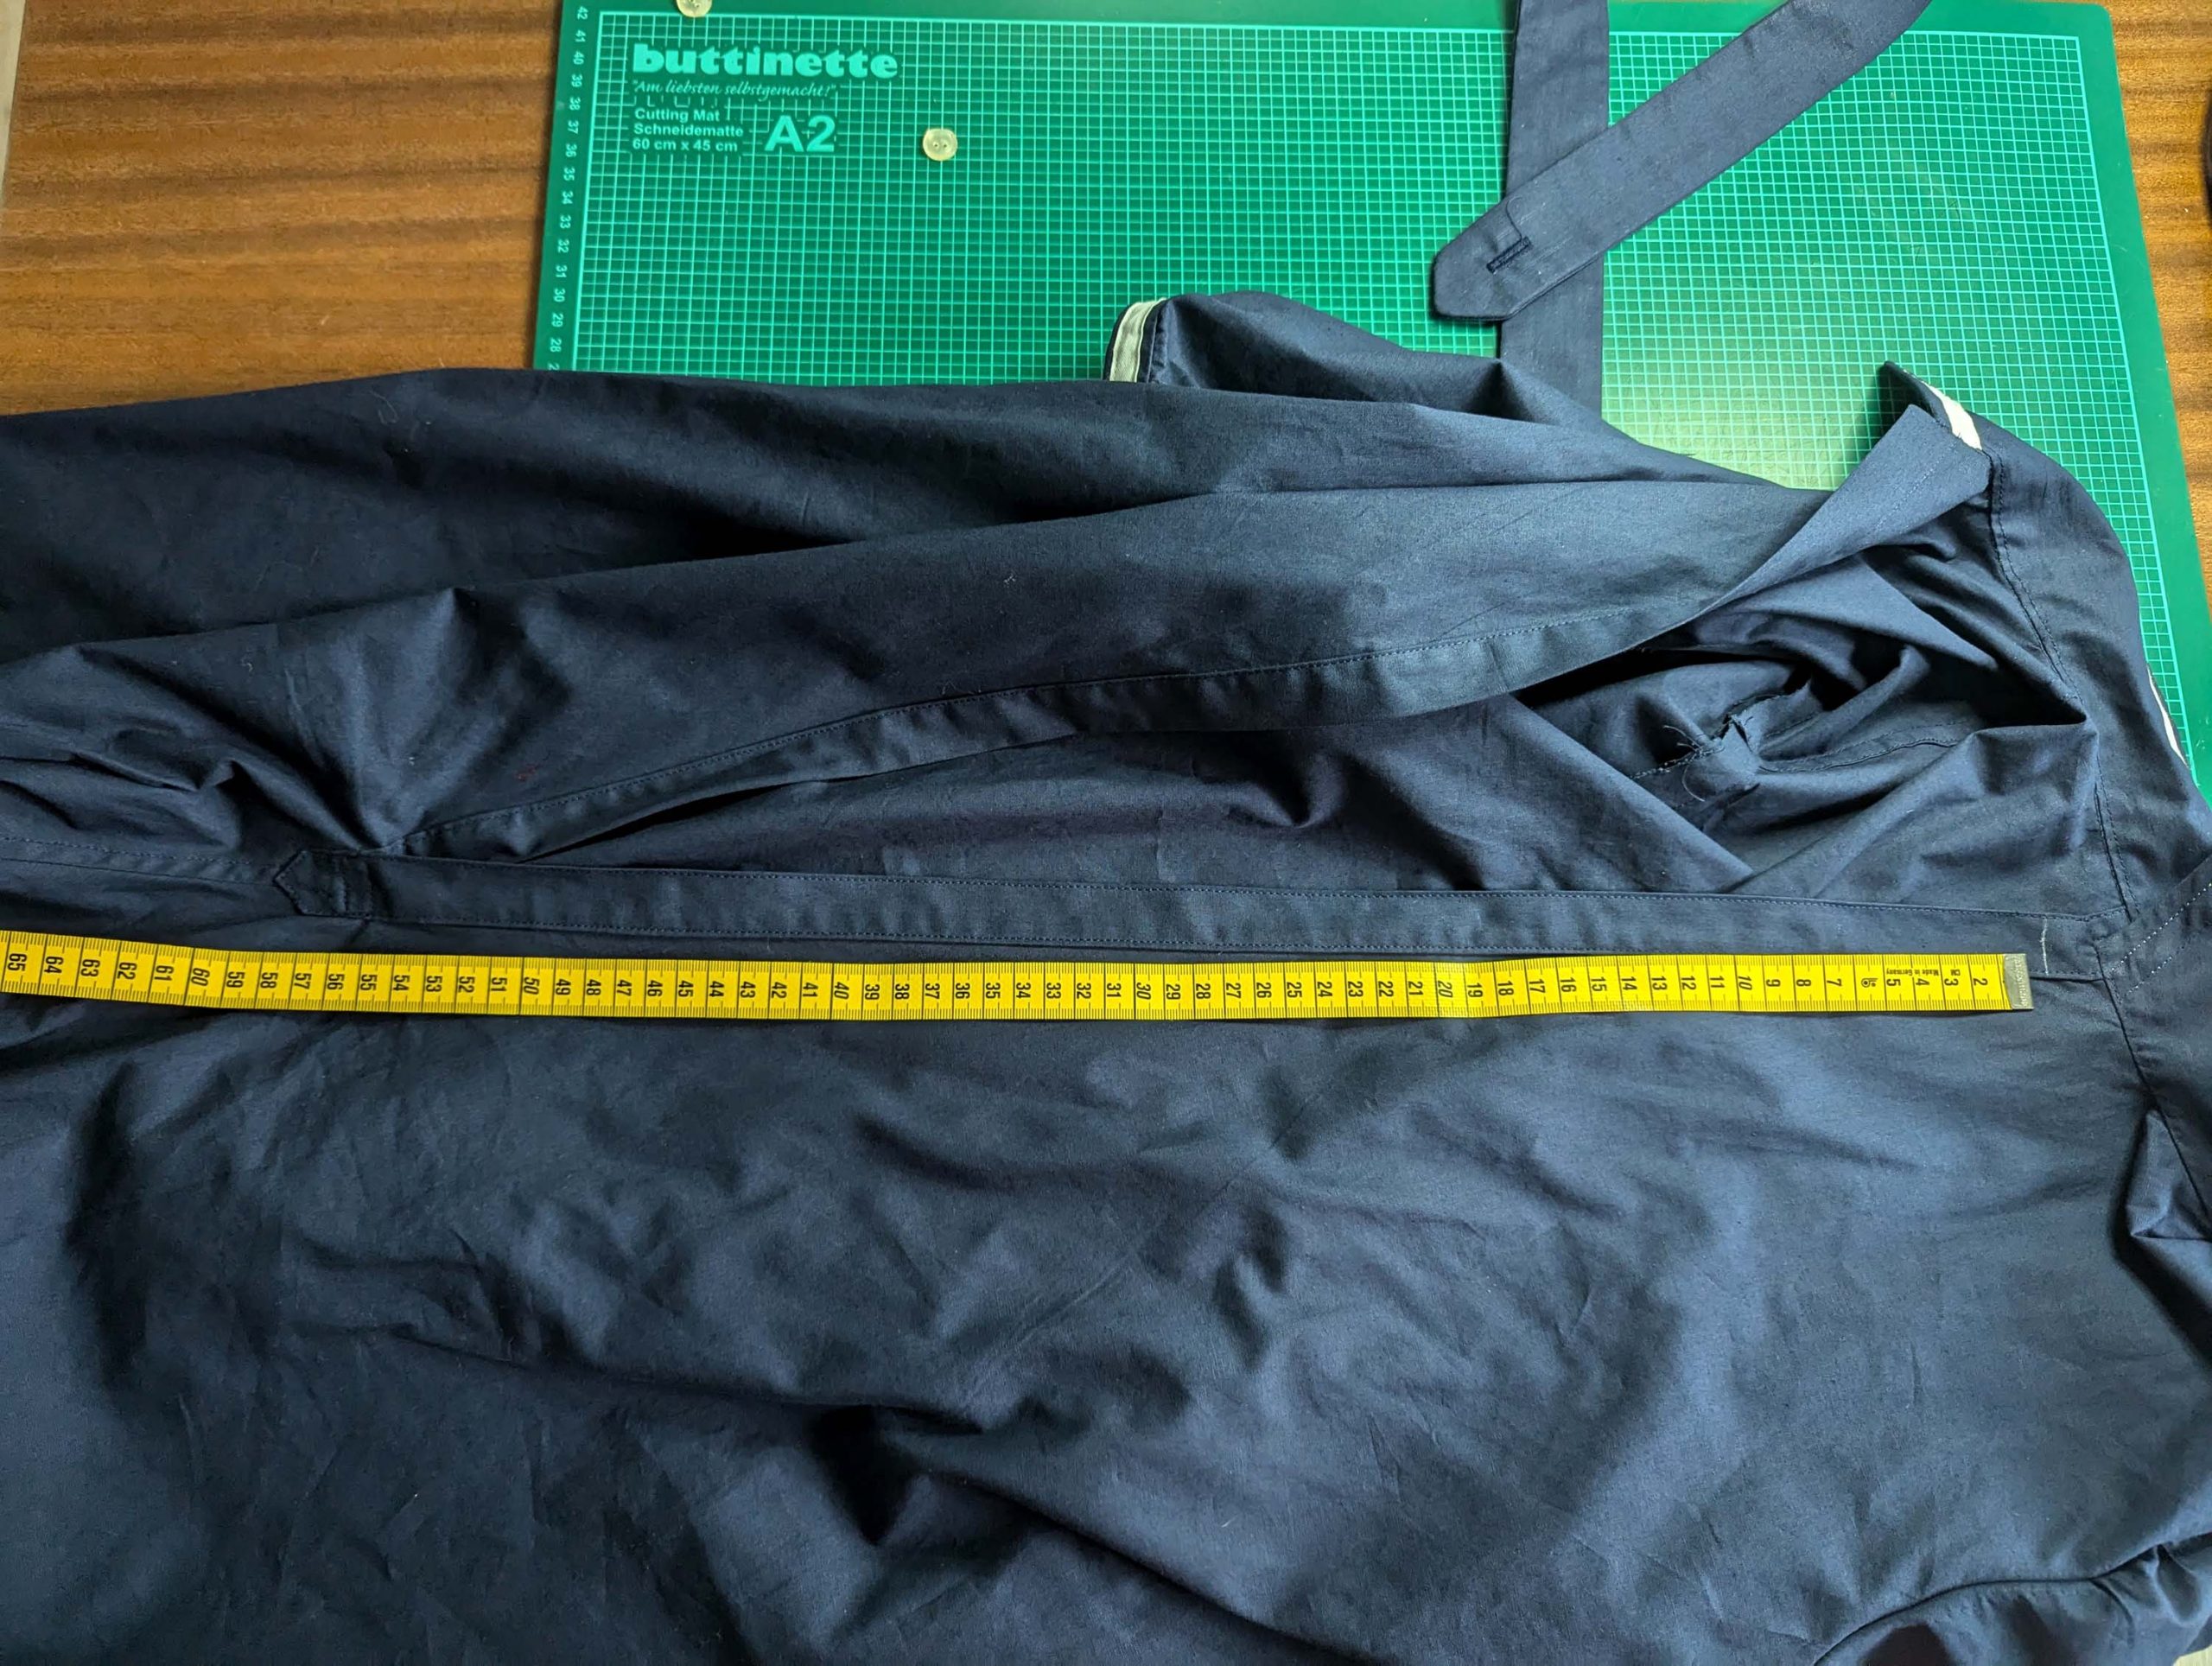
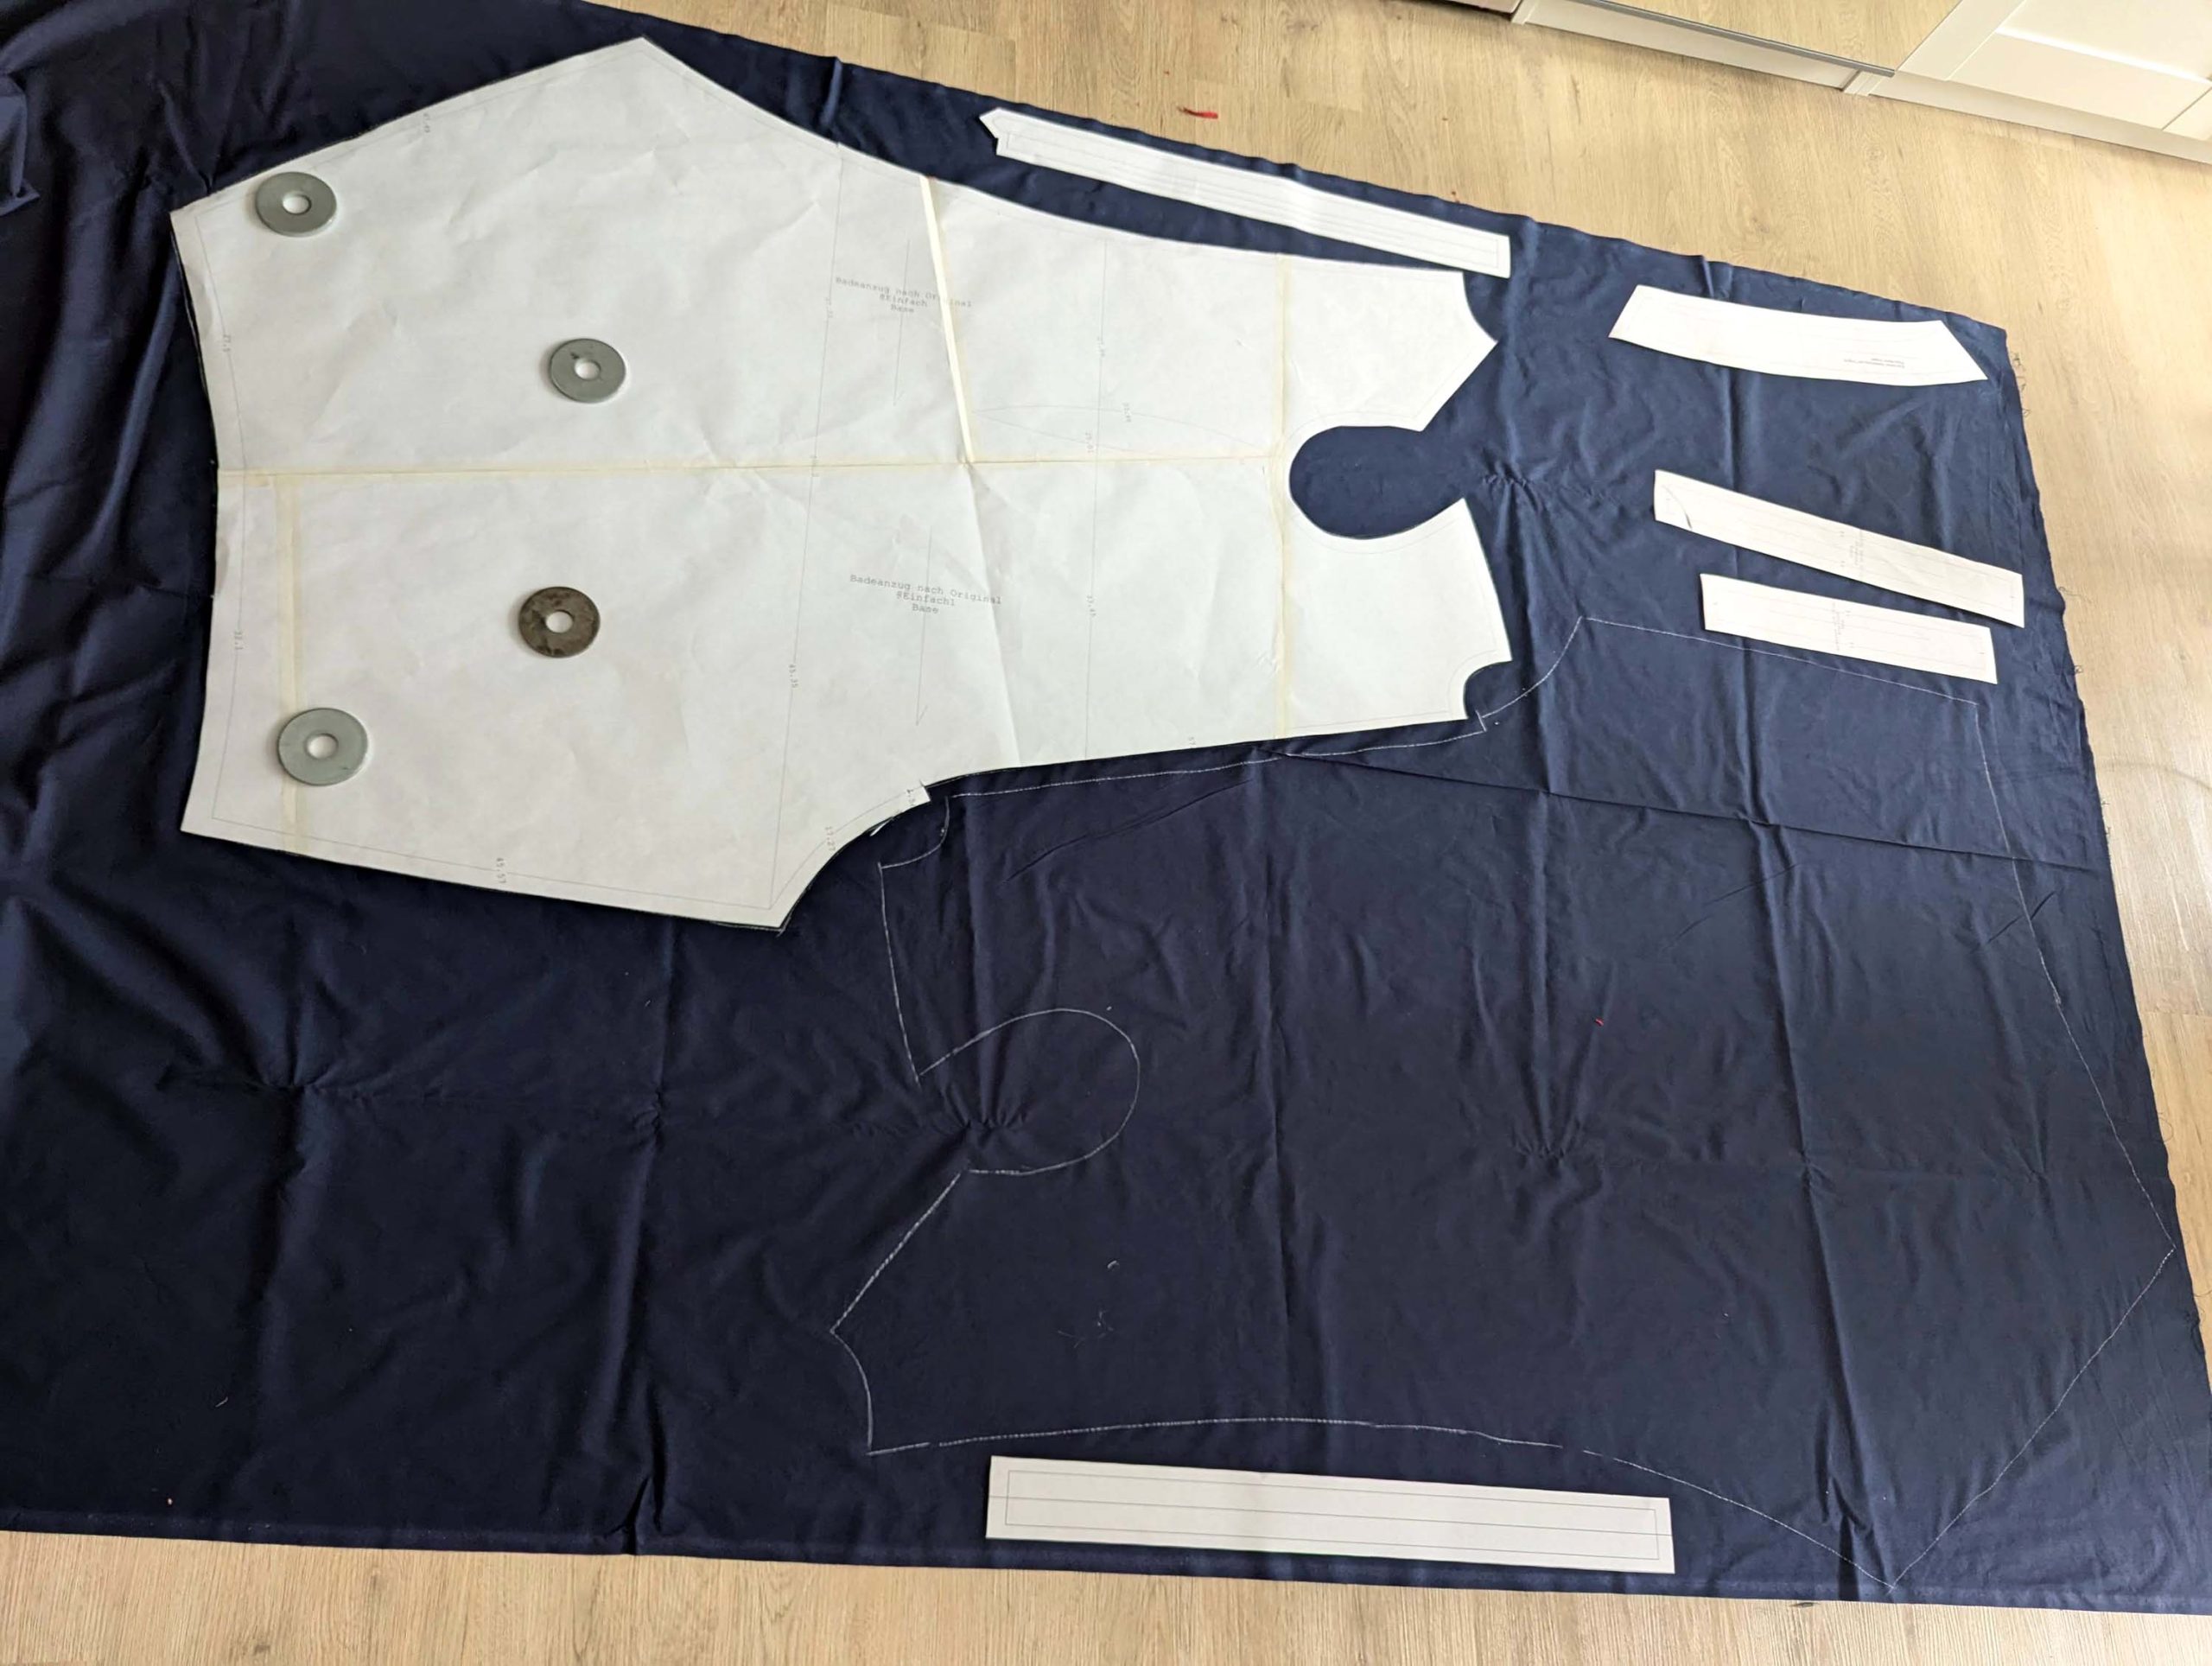
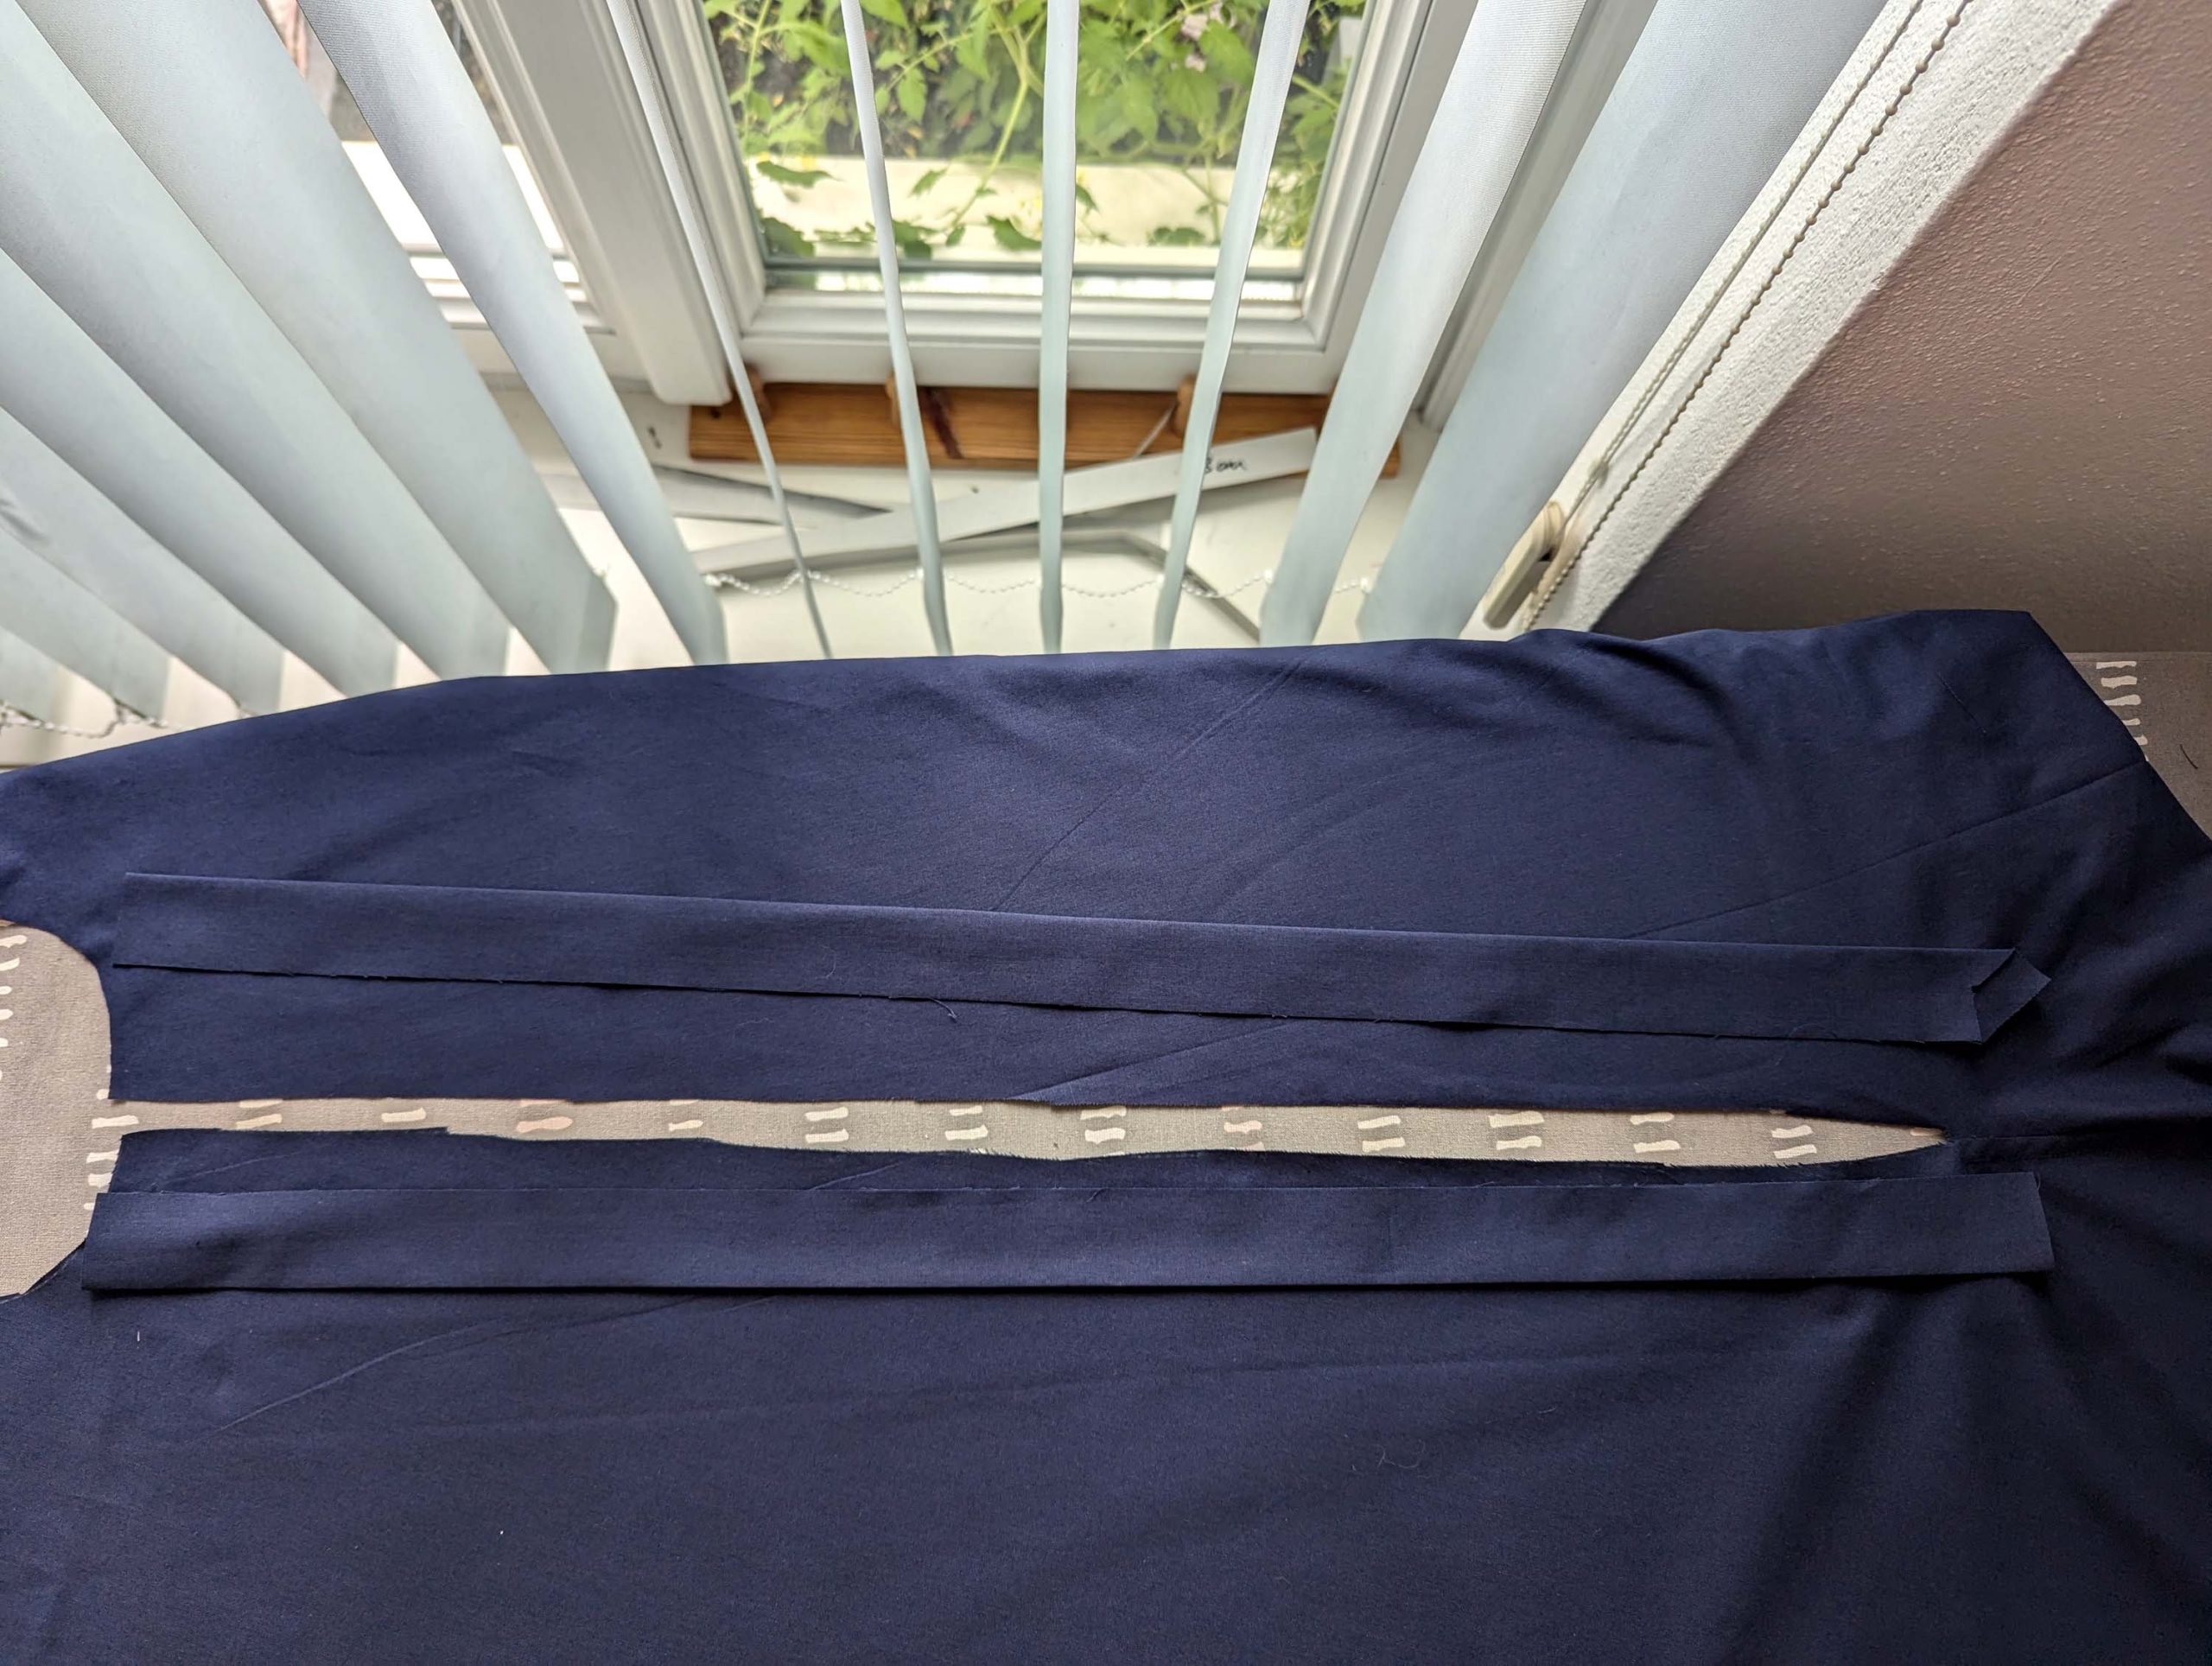
(1) All pieces of this pattern are too large to cut on folded fabric. Instead, I laid my fabric flat on the floor and cut out each piece individually.
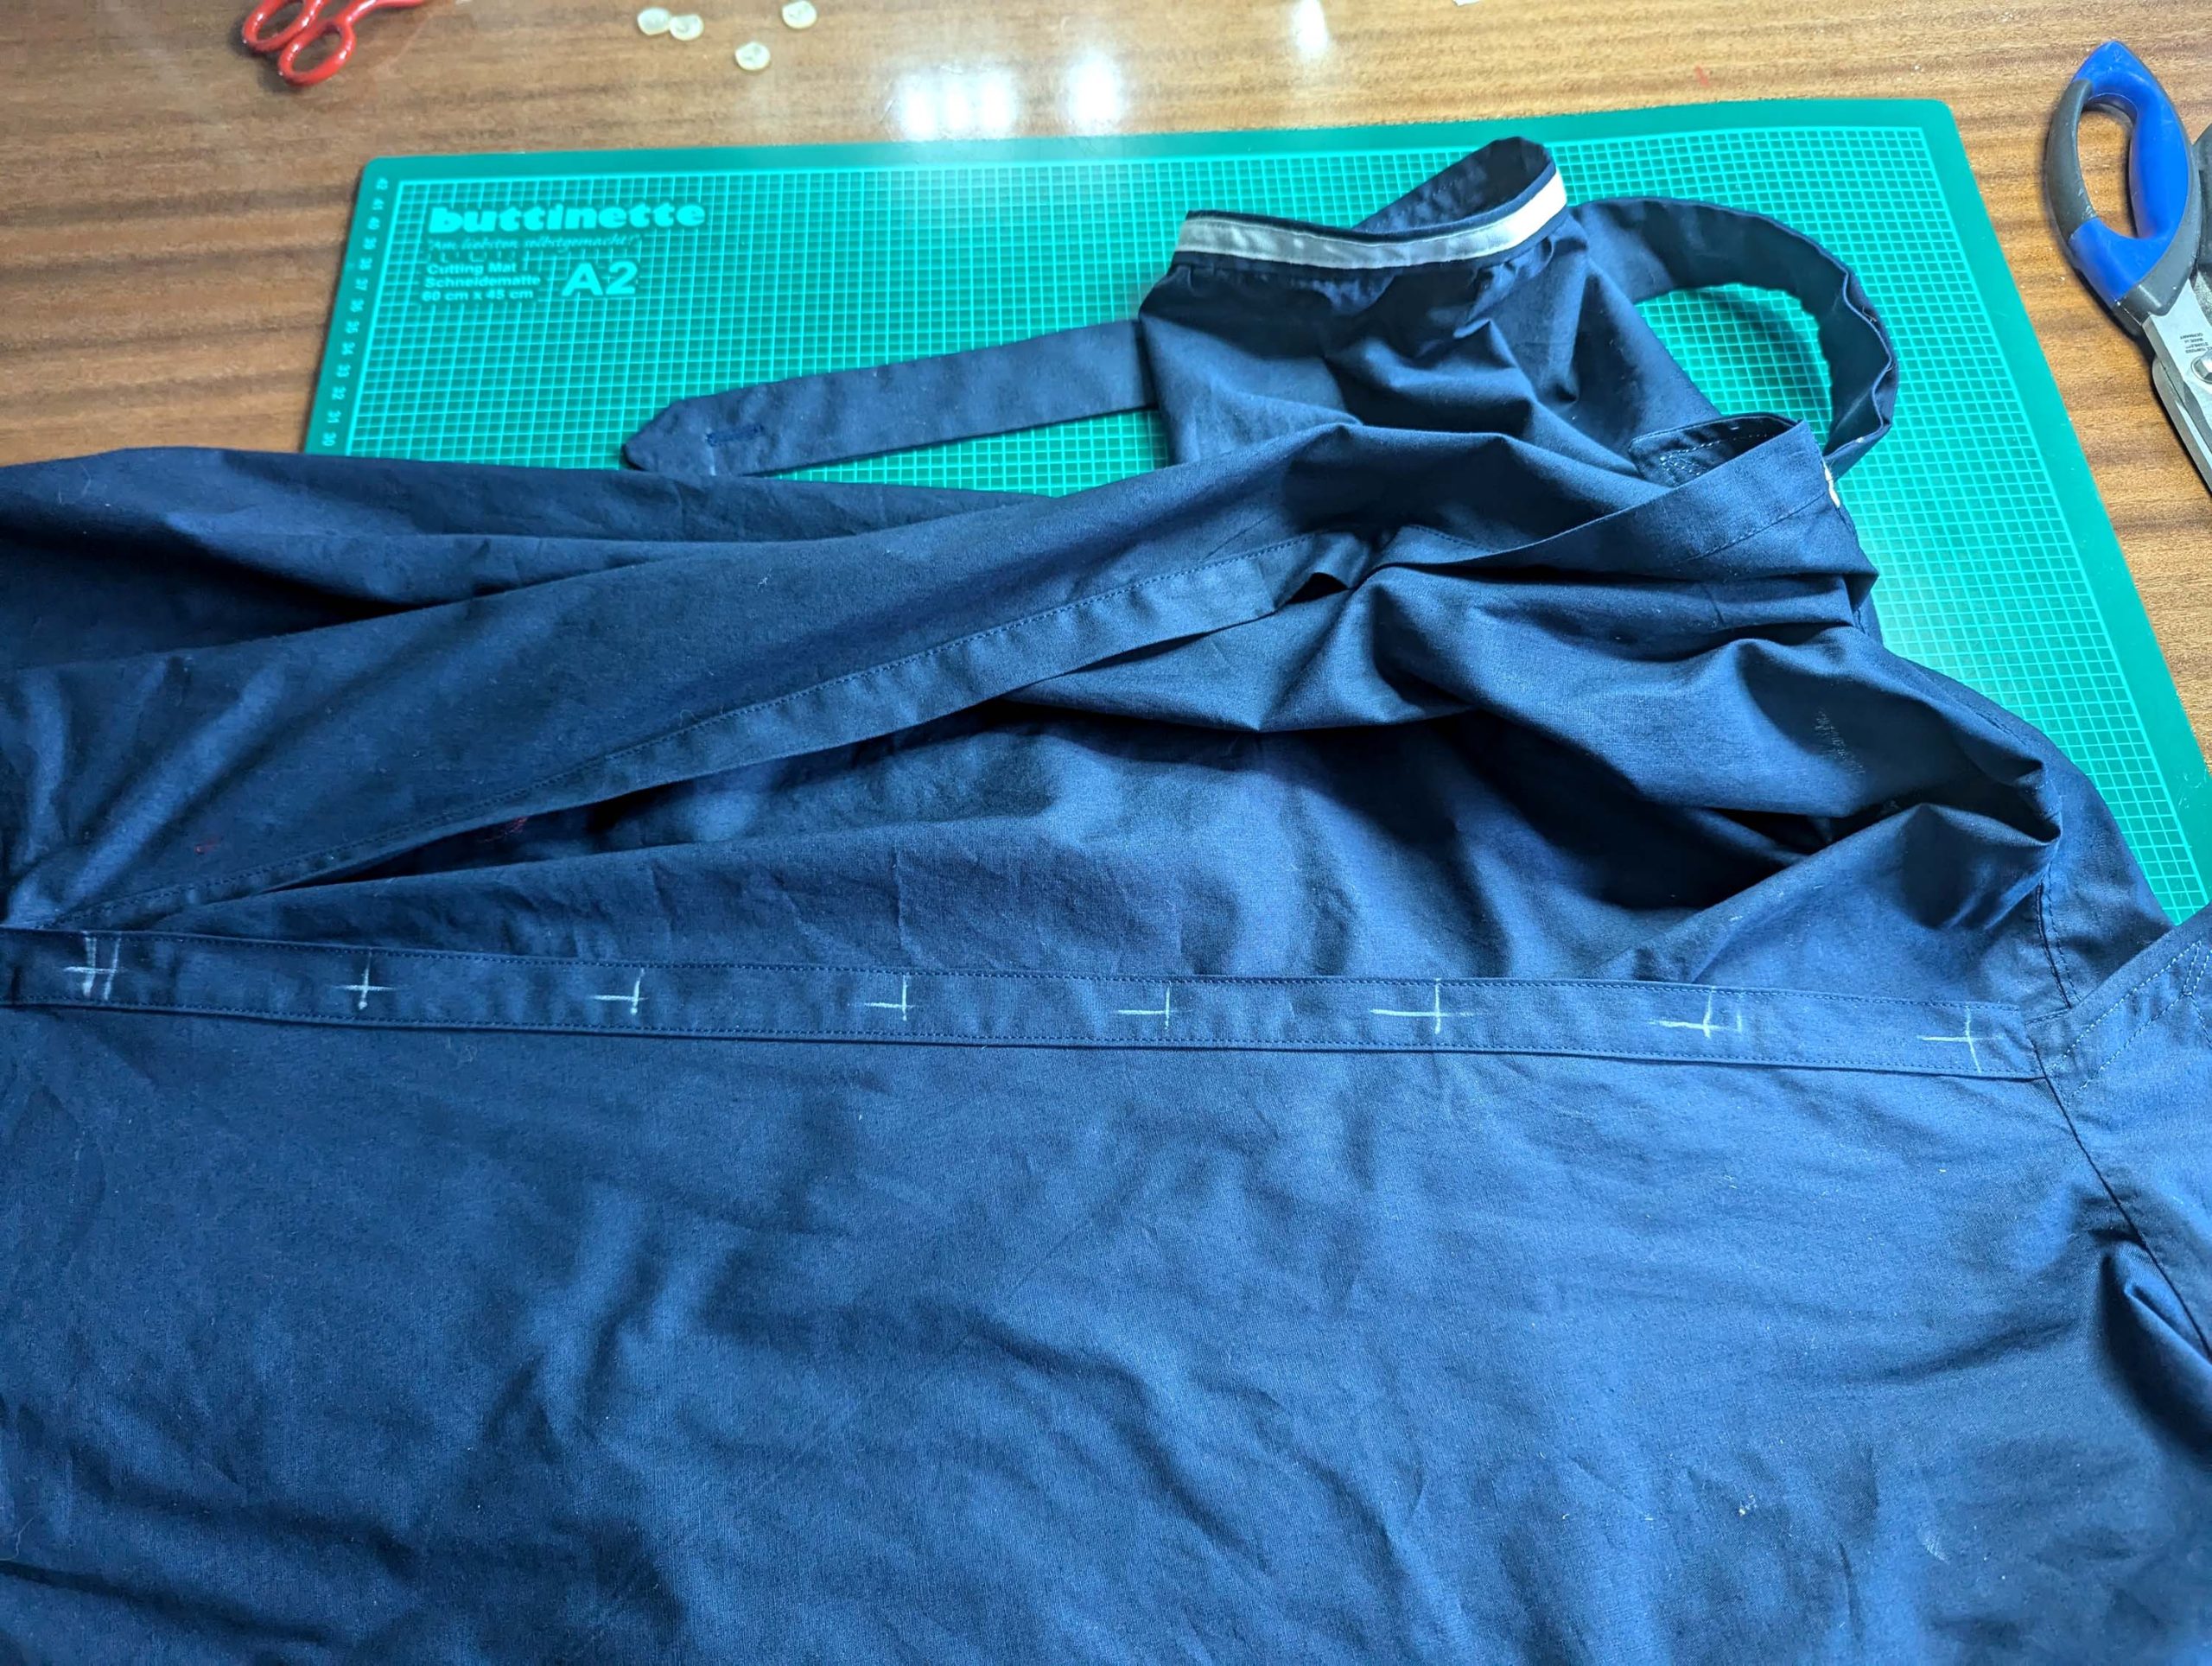
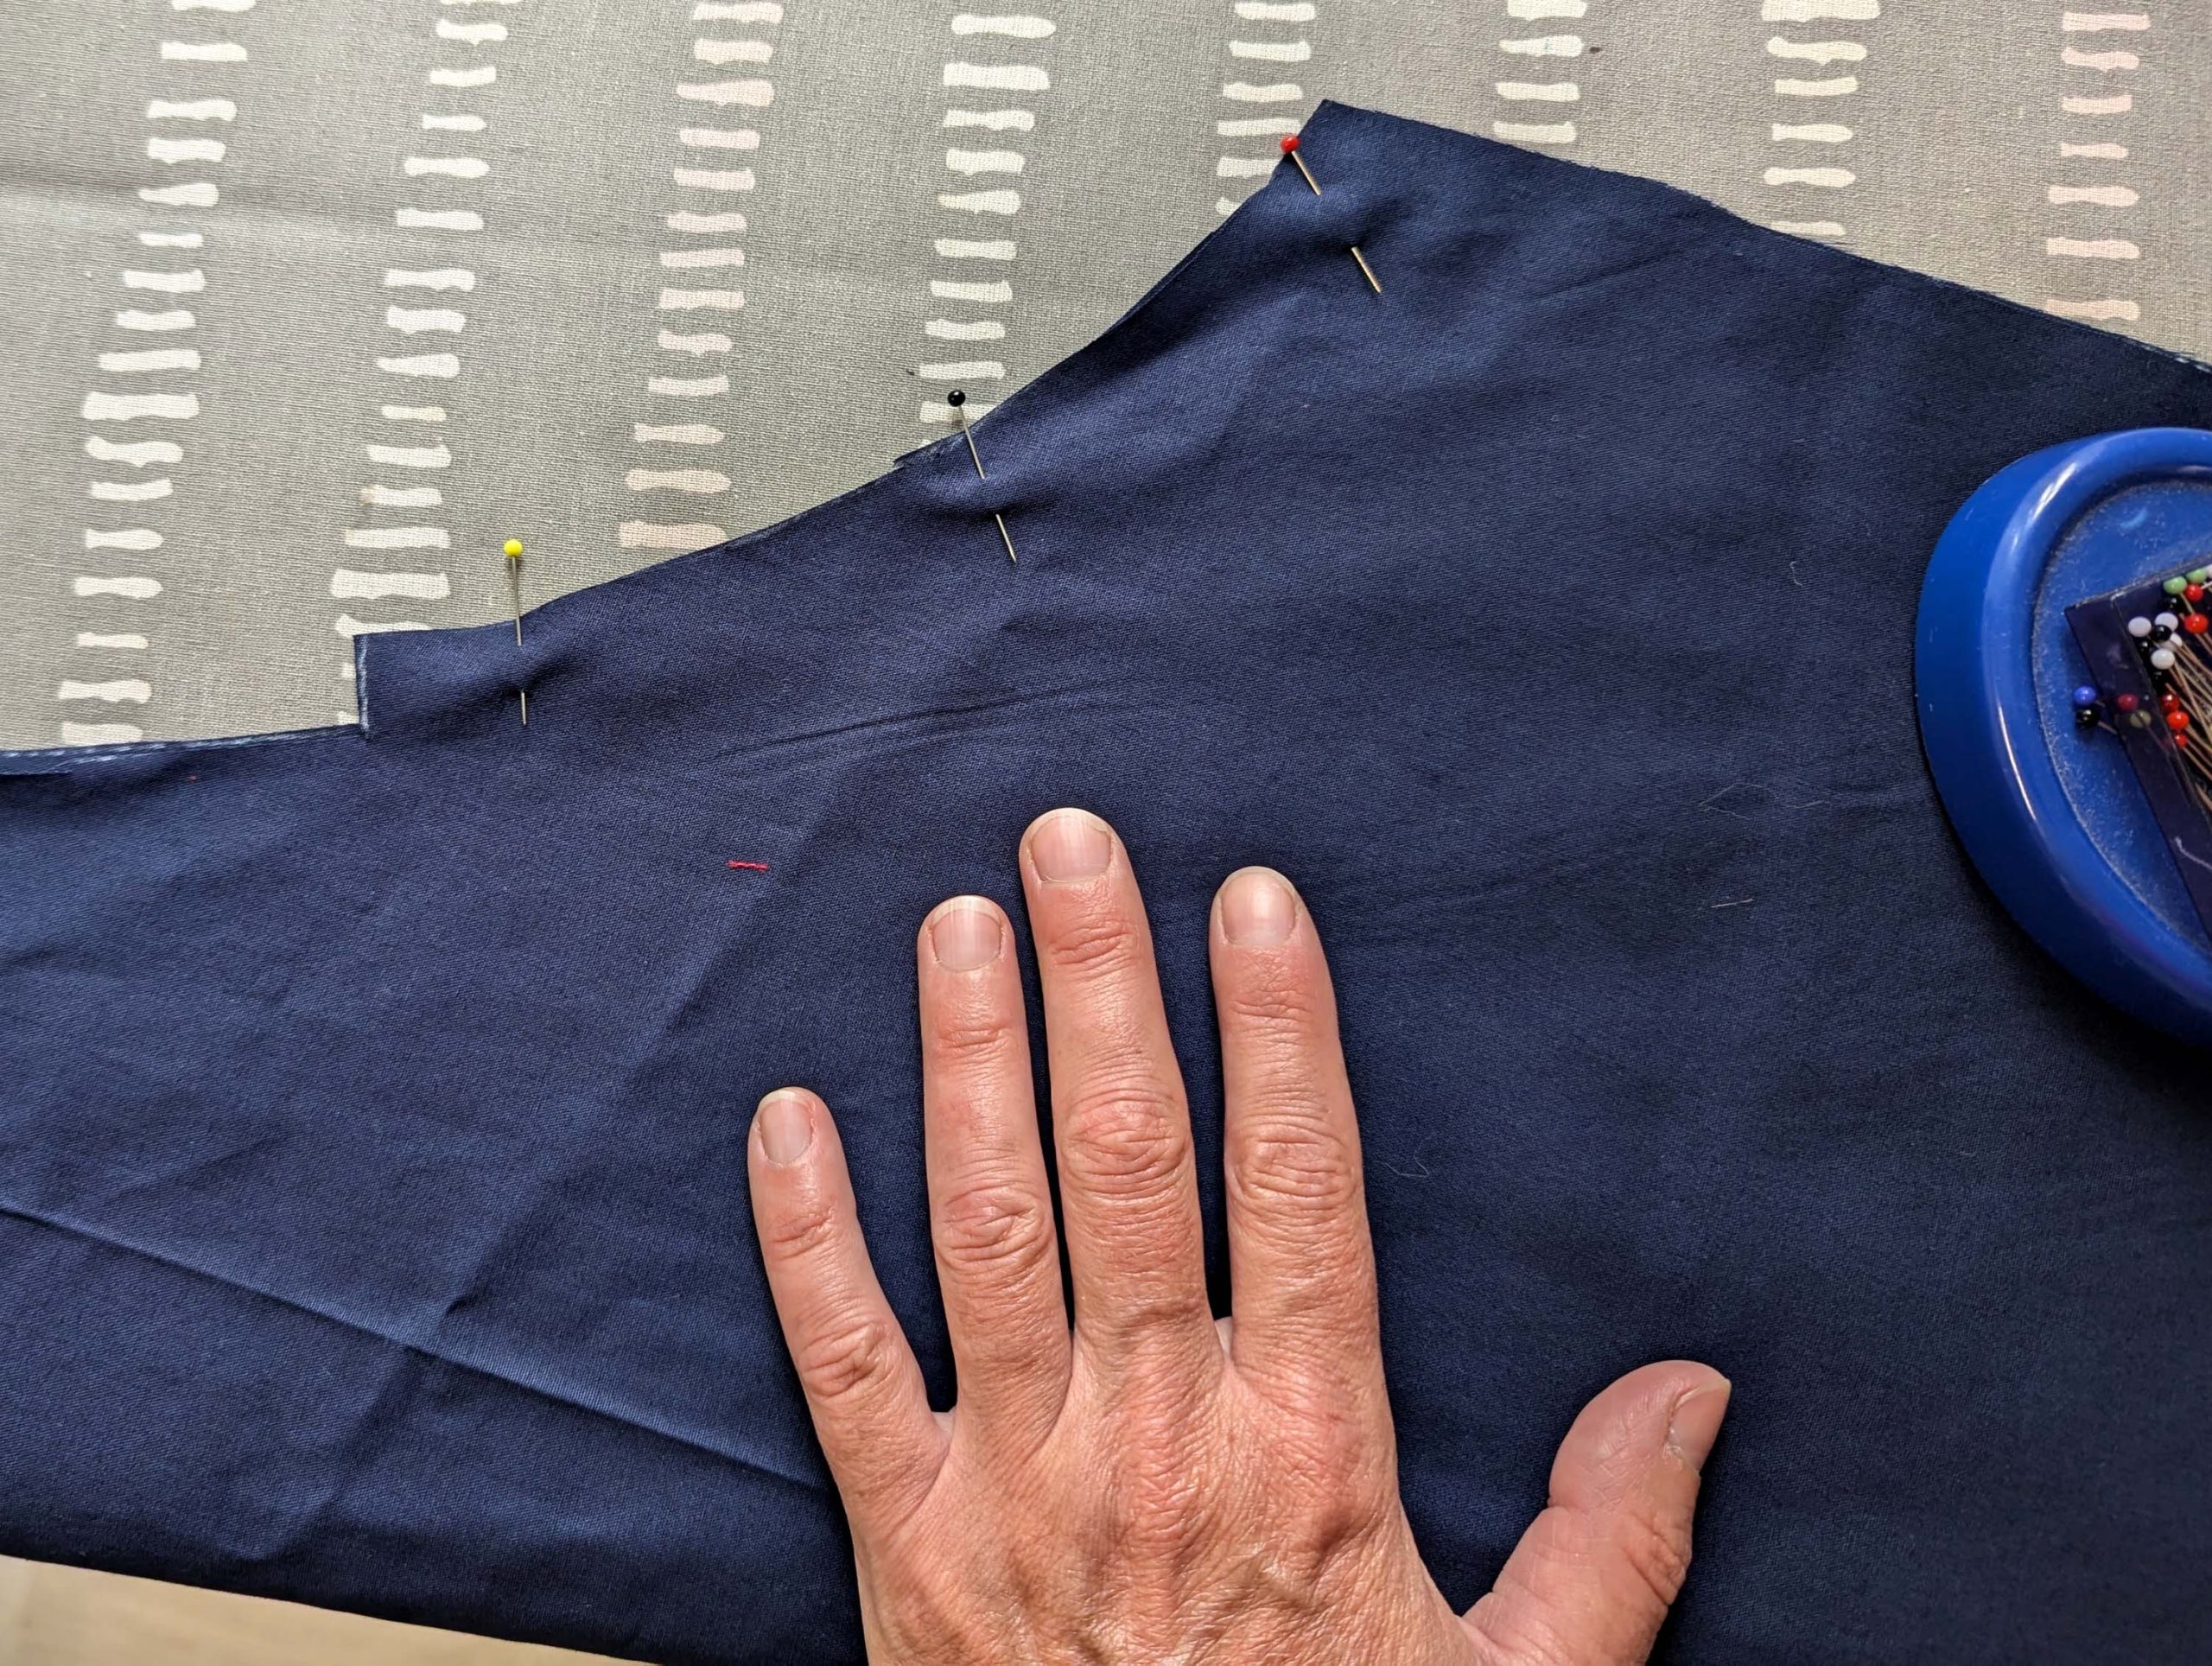
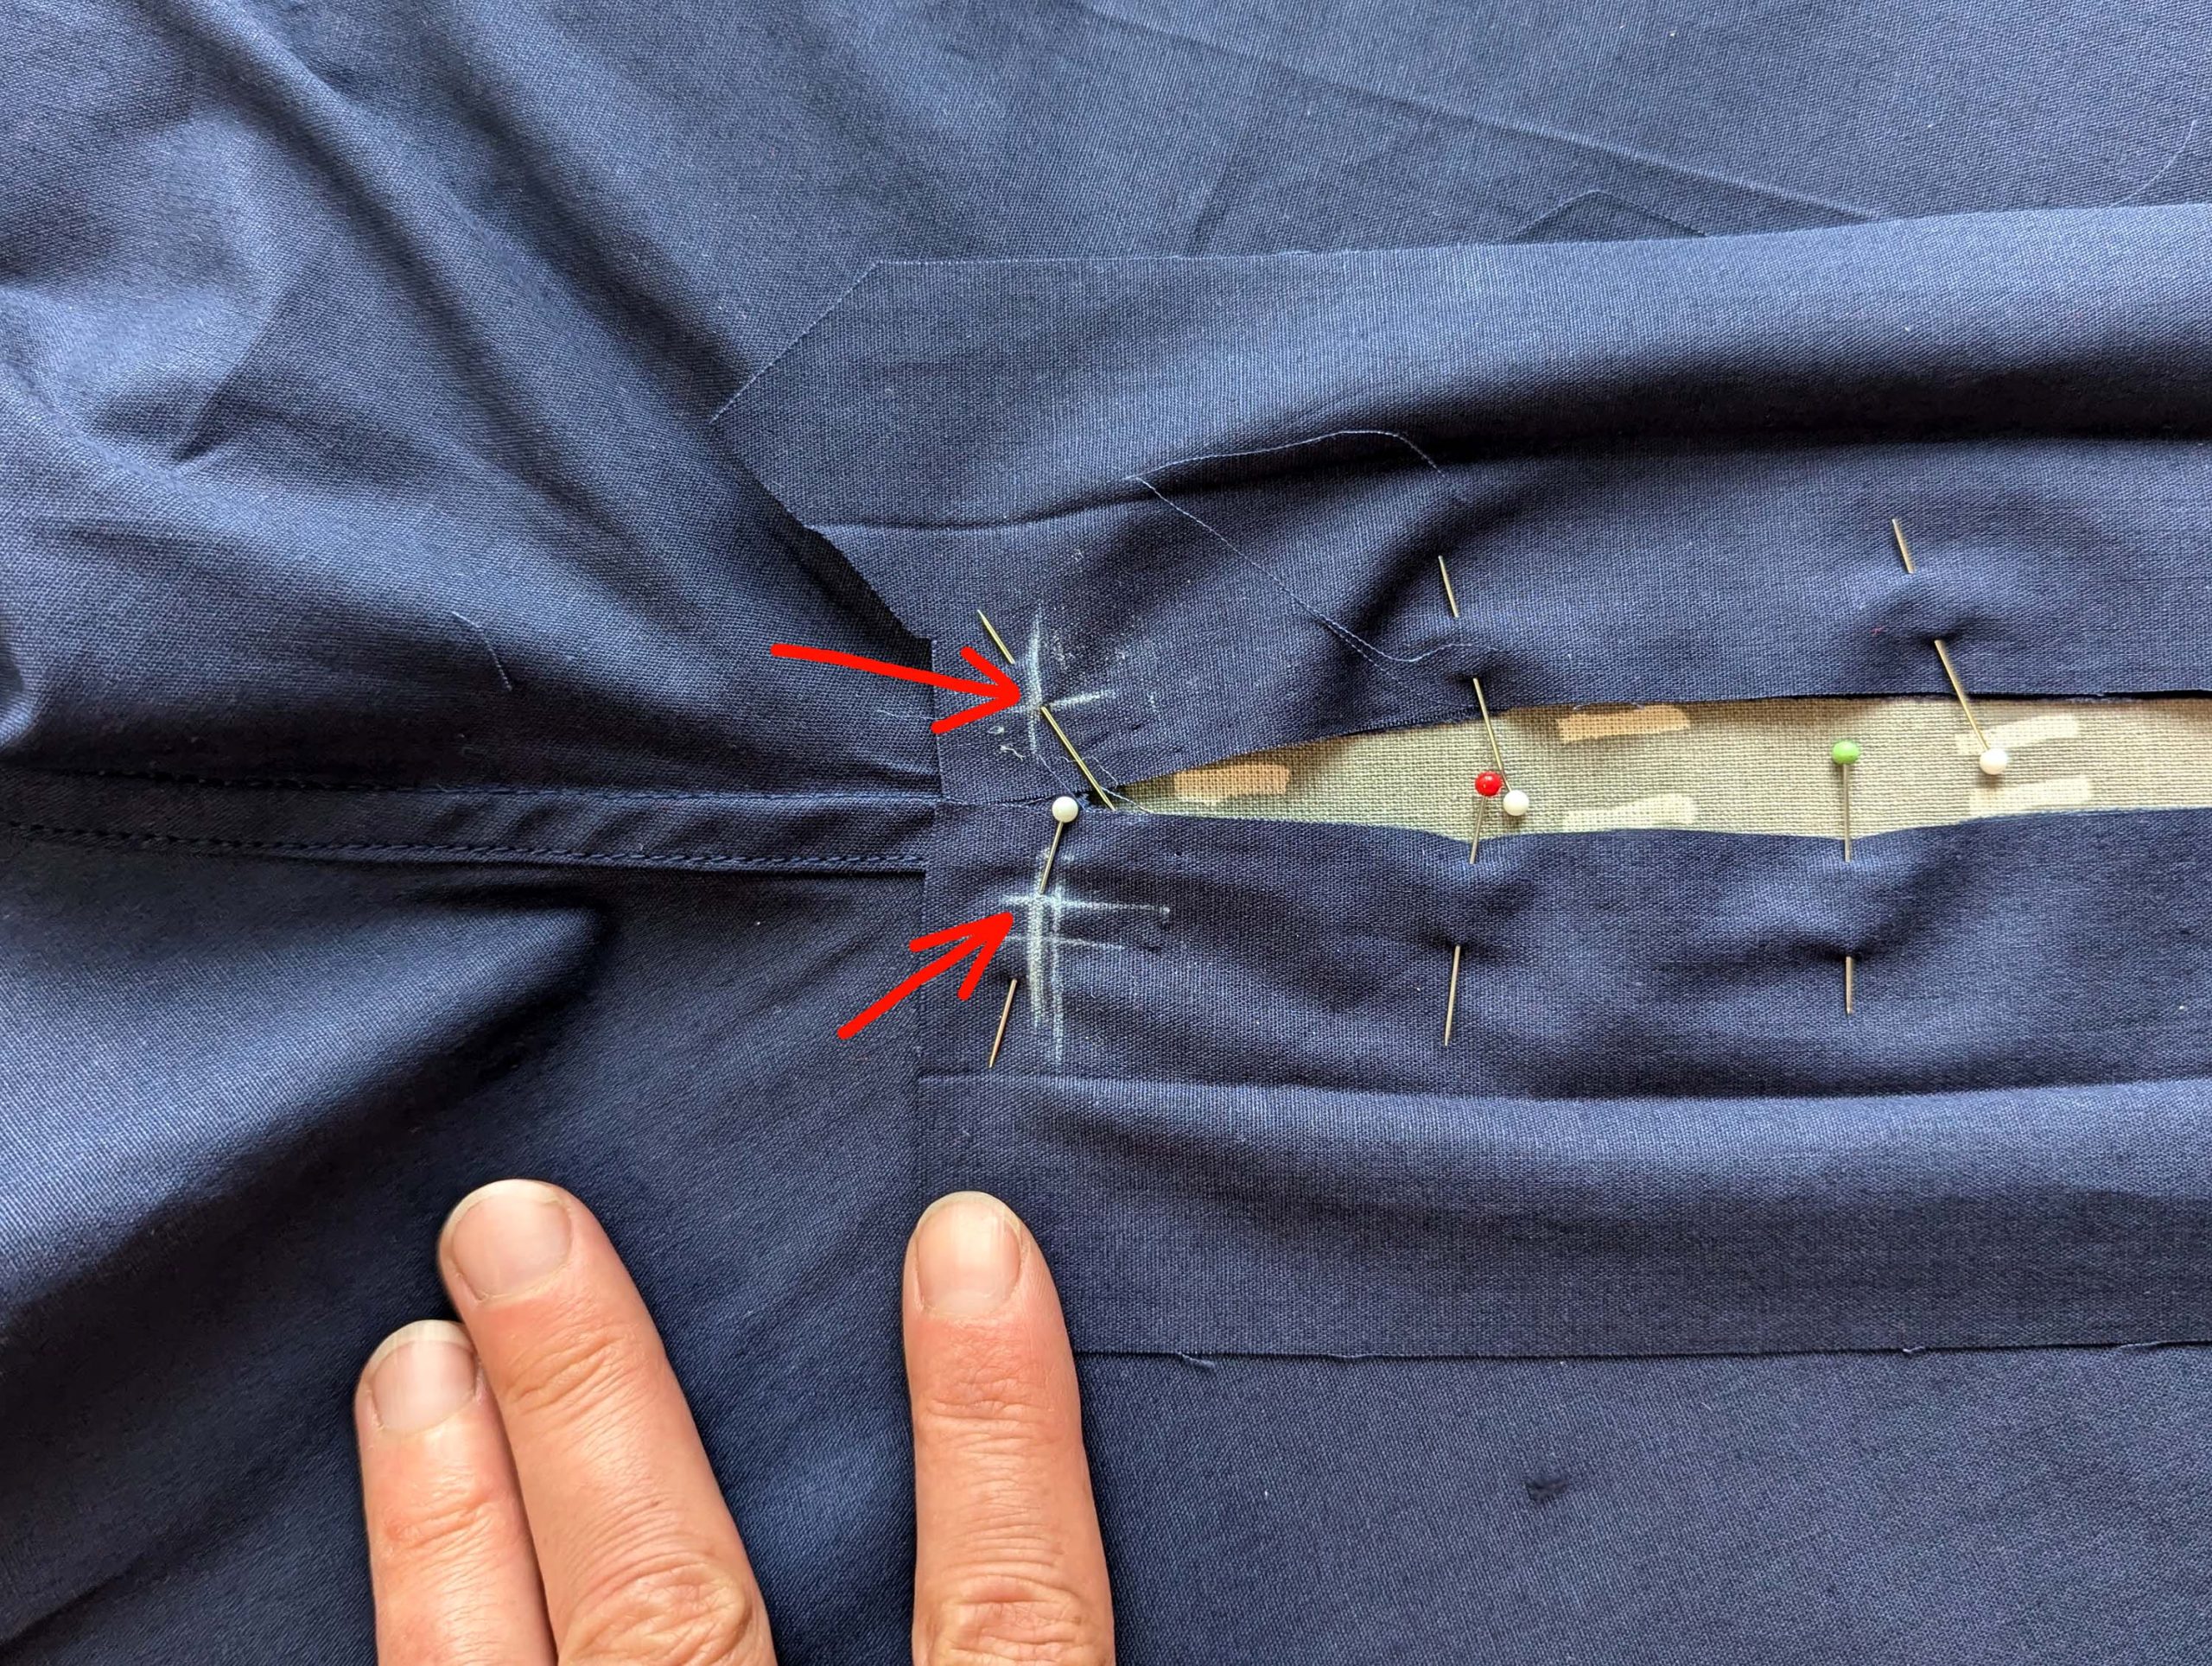
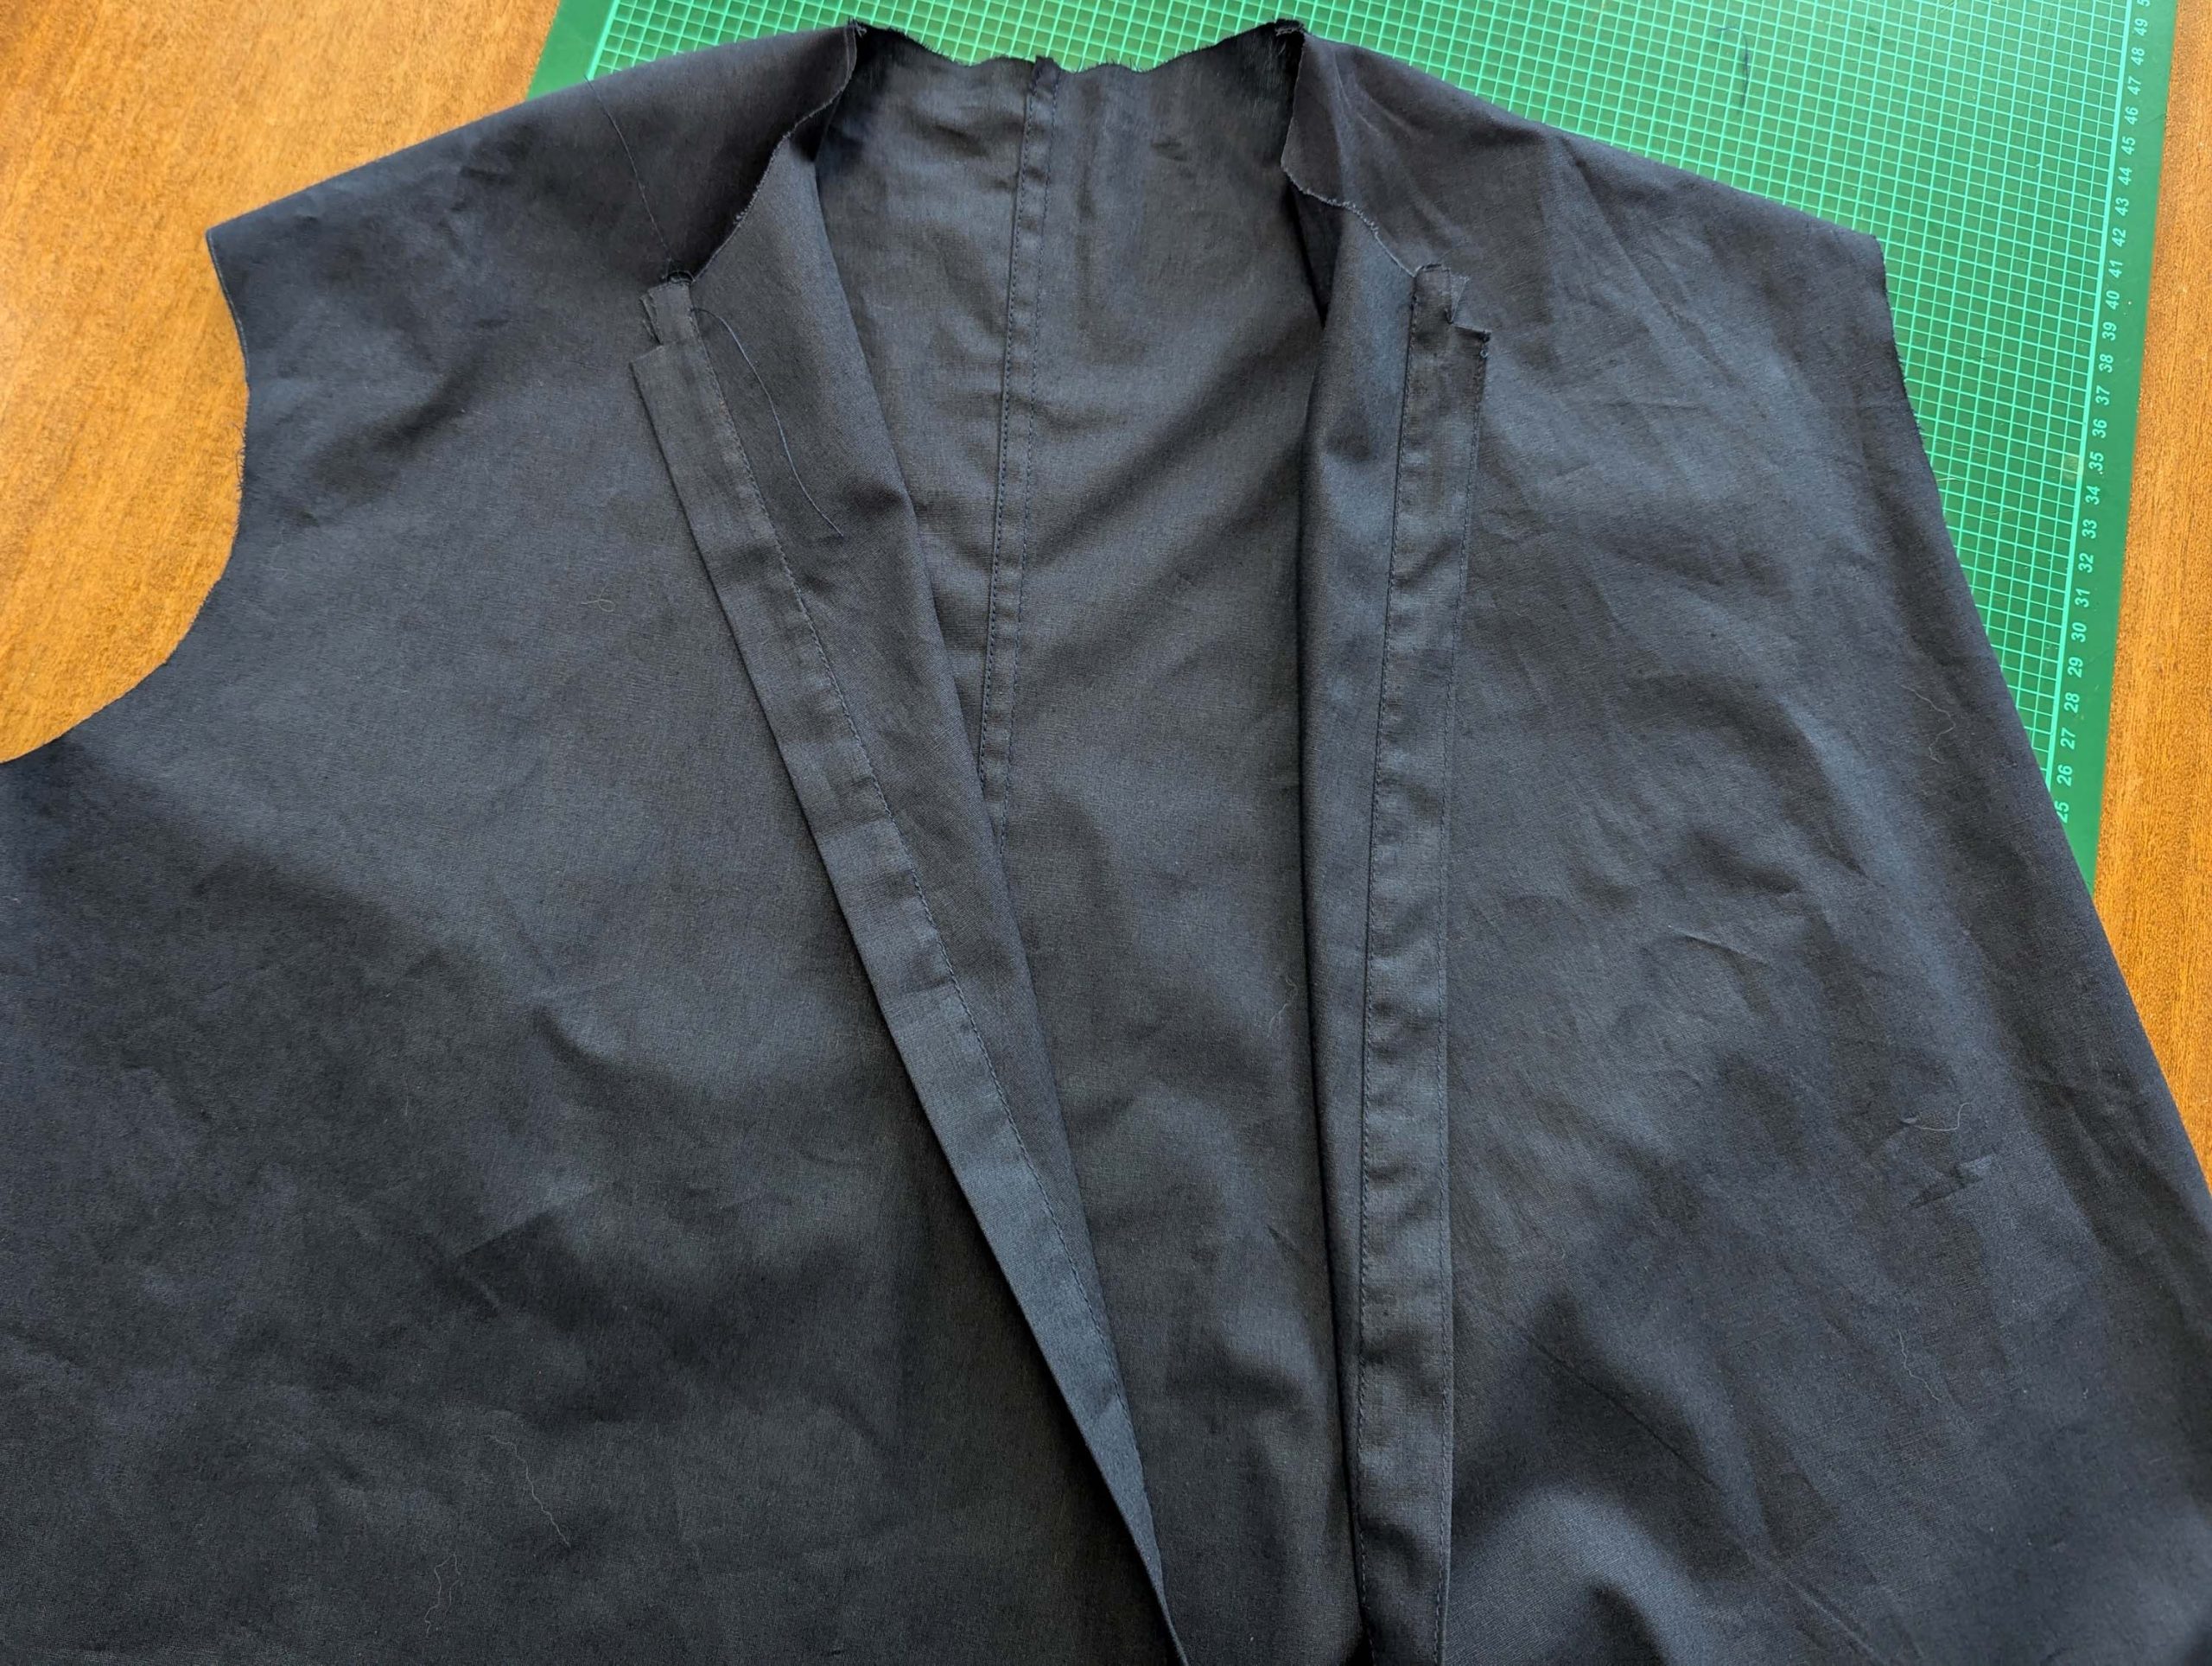
(2) Line up the jumper pieces, right sides together and stitch along the front crotch seam. Finish as a flat felled seam. At this point, the jumper should look from the right side, as though you have cut the slit for the placket down the center front. Check the correct position of point (1).
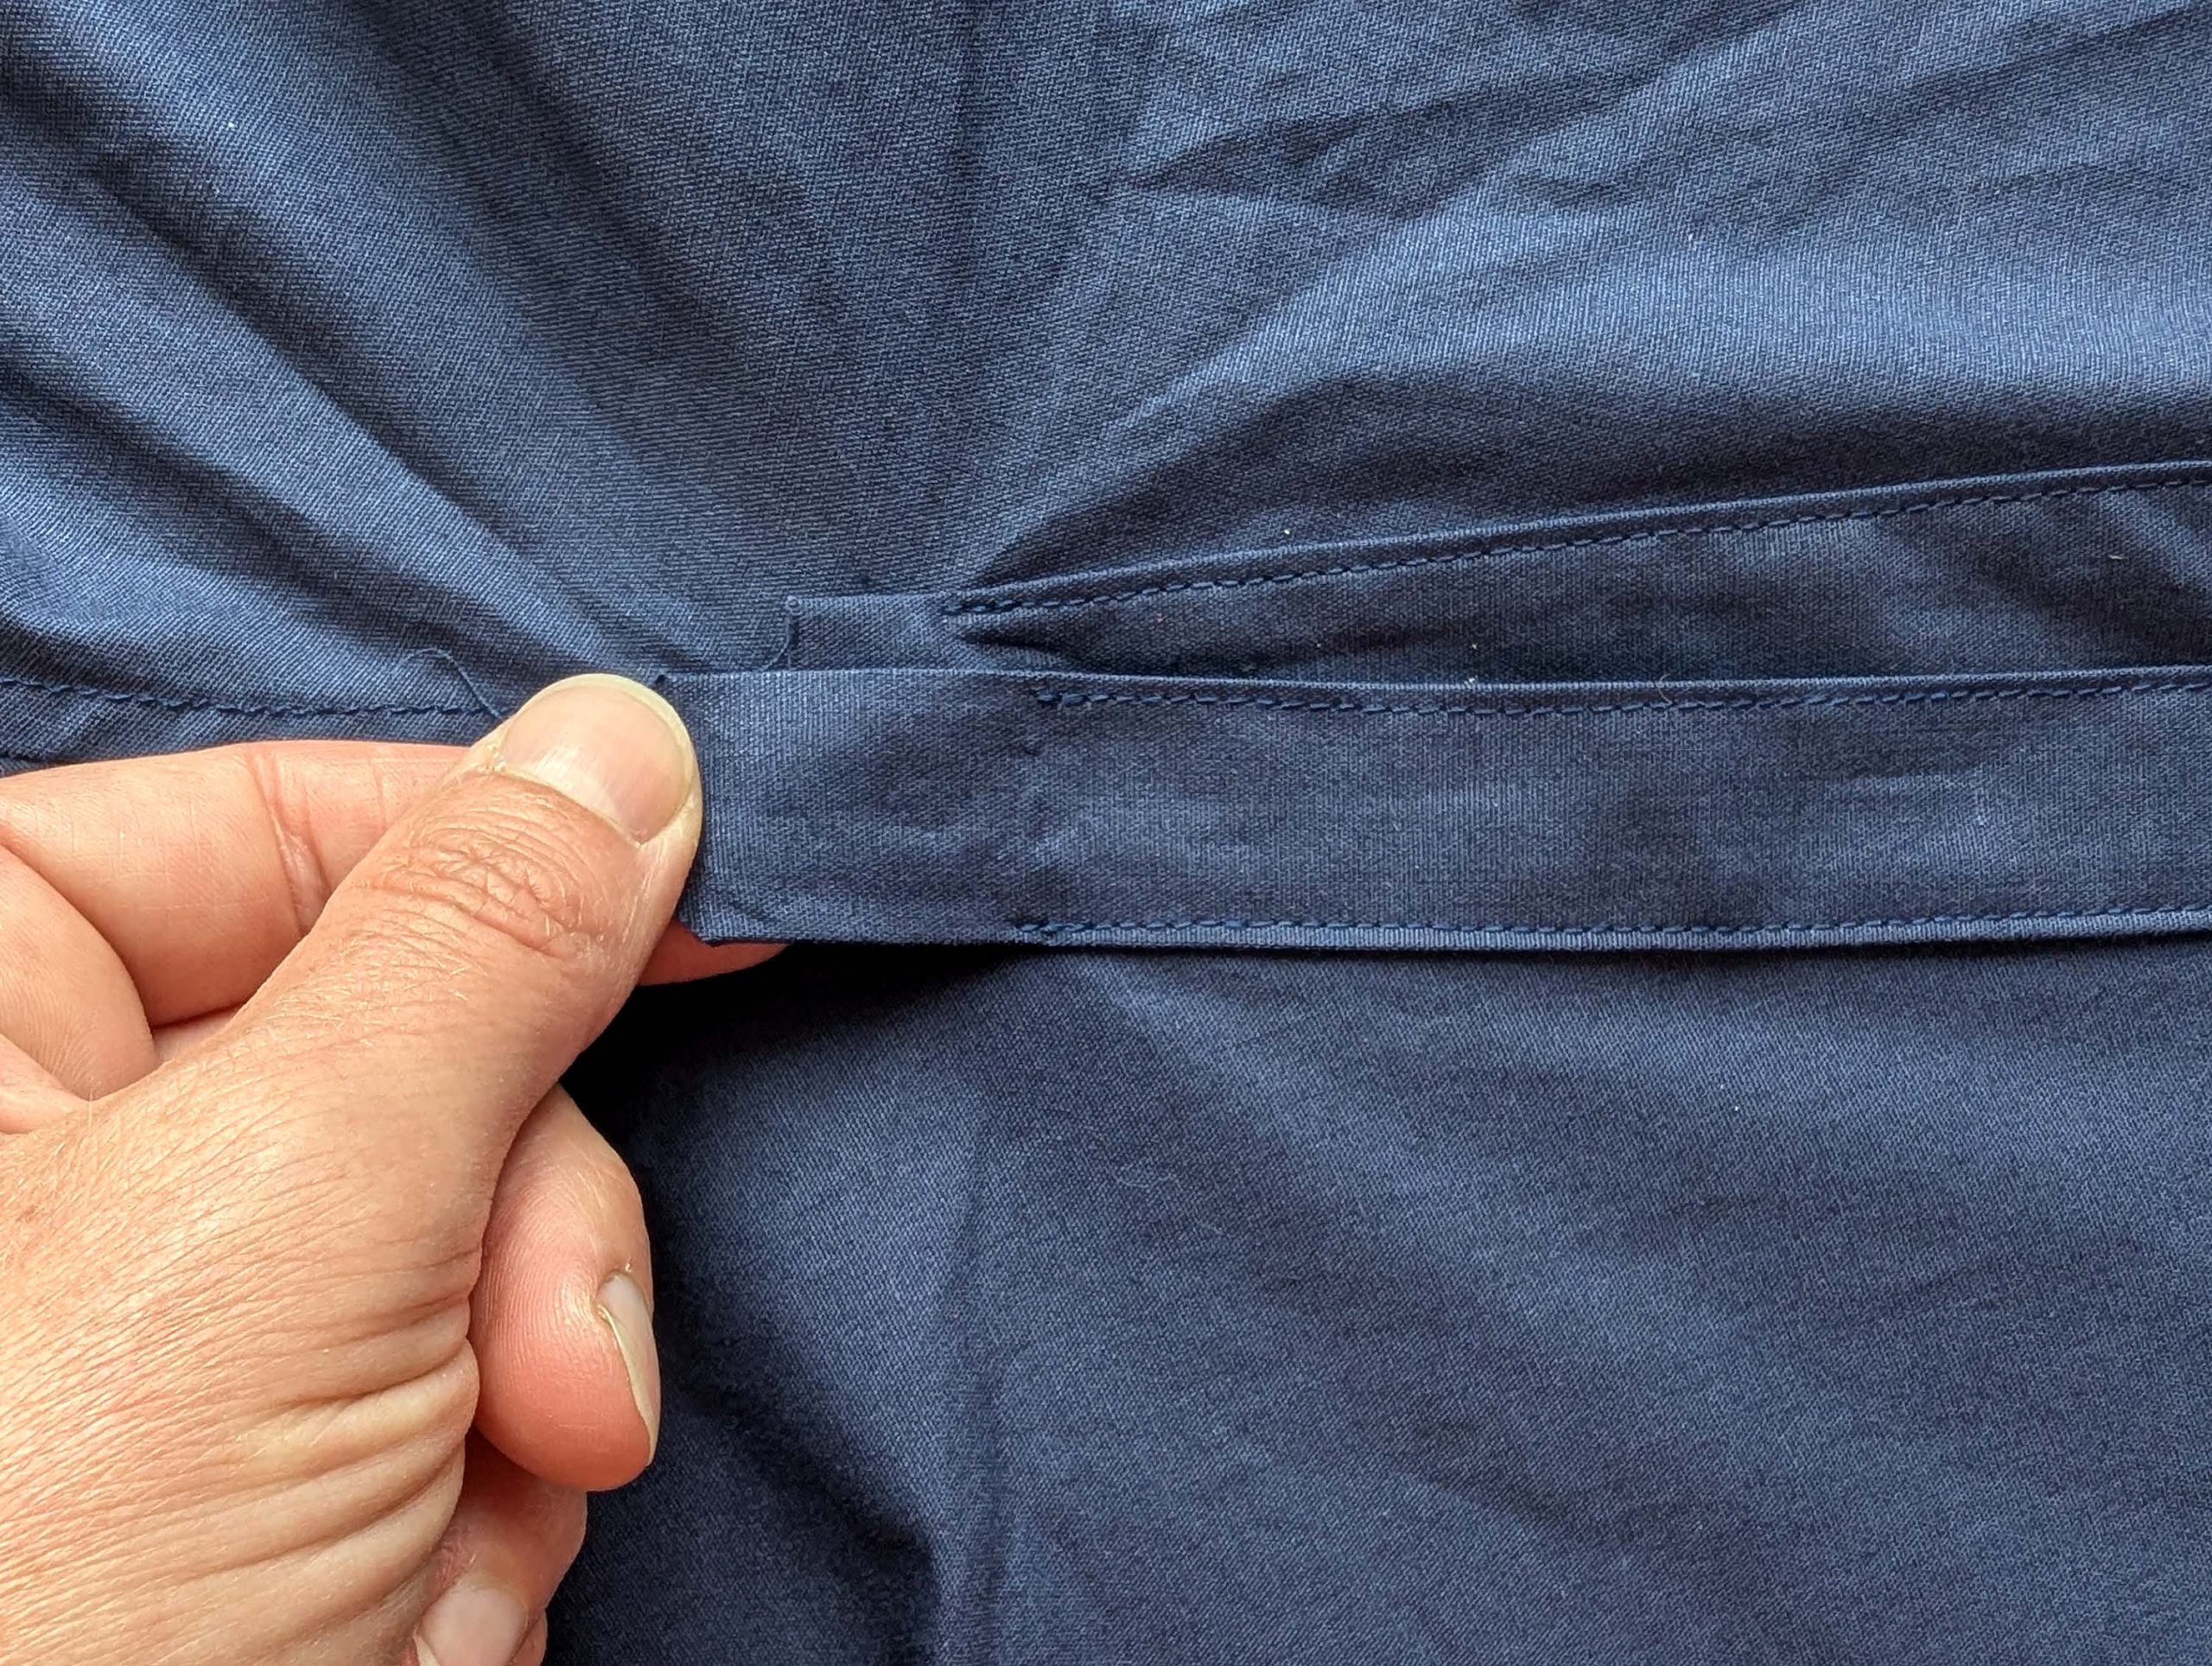
Fold the placket pieces in half lengthwise, wrong sides together, and press. Reopen and turn in the 1/2” (1,25cm) seam allowance along the edge, indicated on the pattern. Optionally, reinforce with a 1” (2.5 cm) wide strip of fusible. This will also be the width of the finished placket.
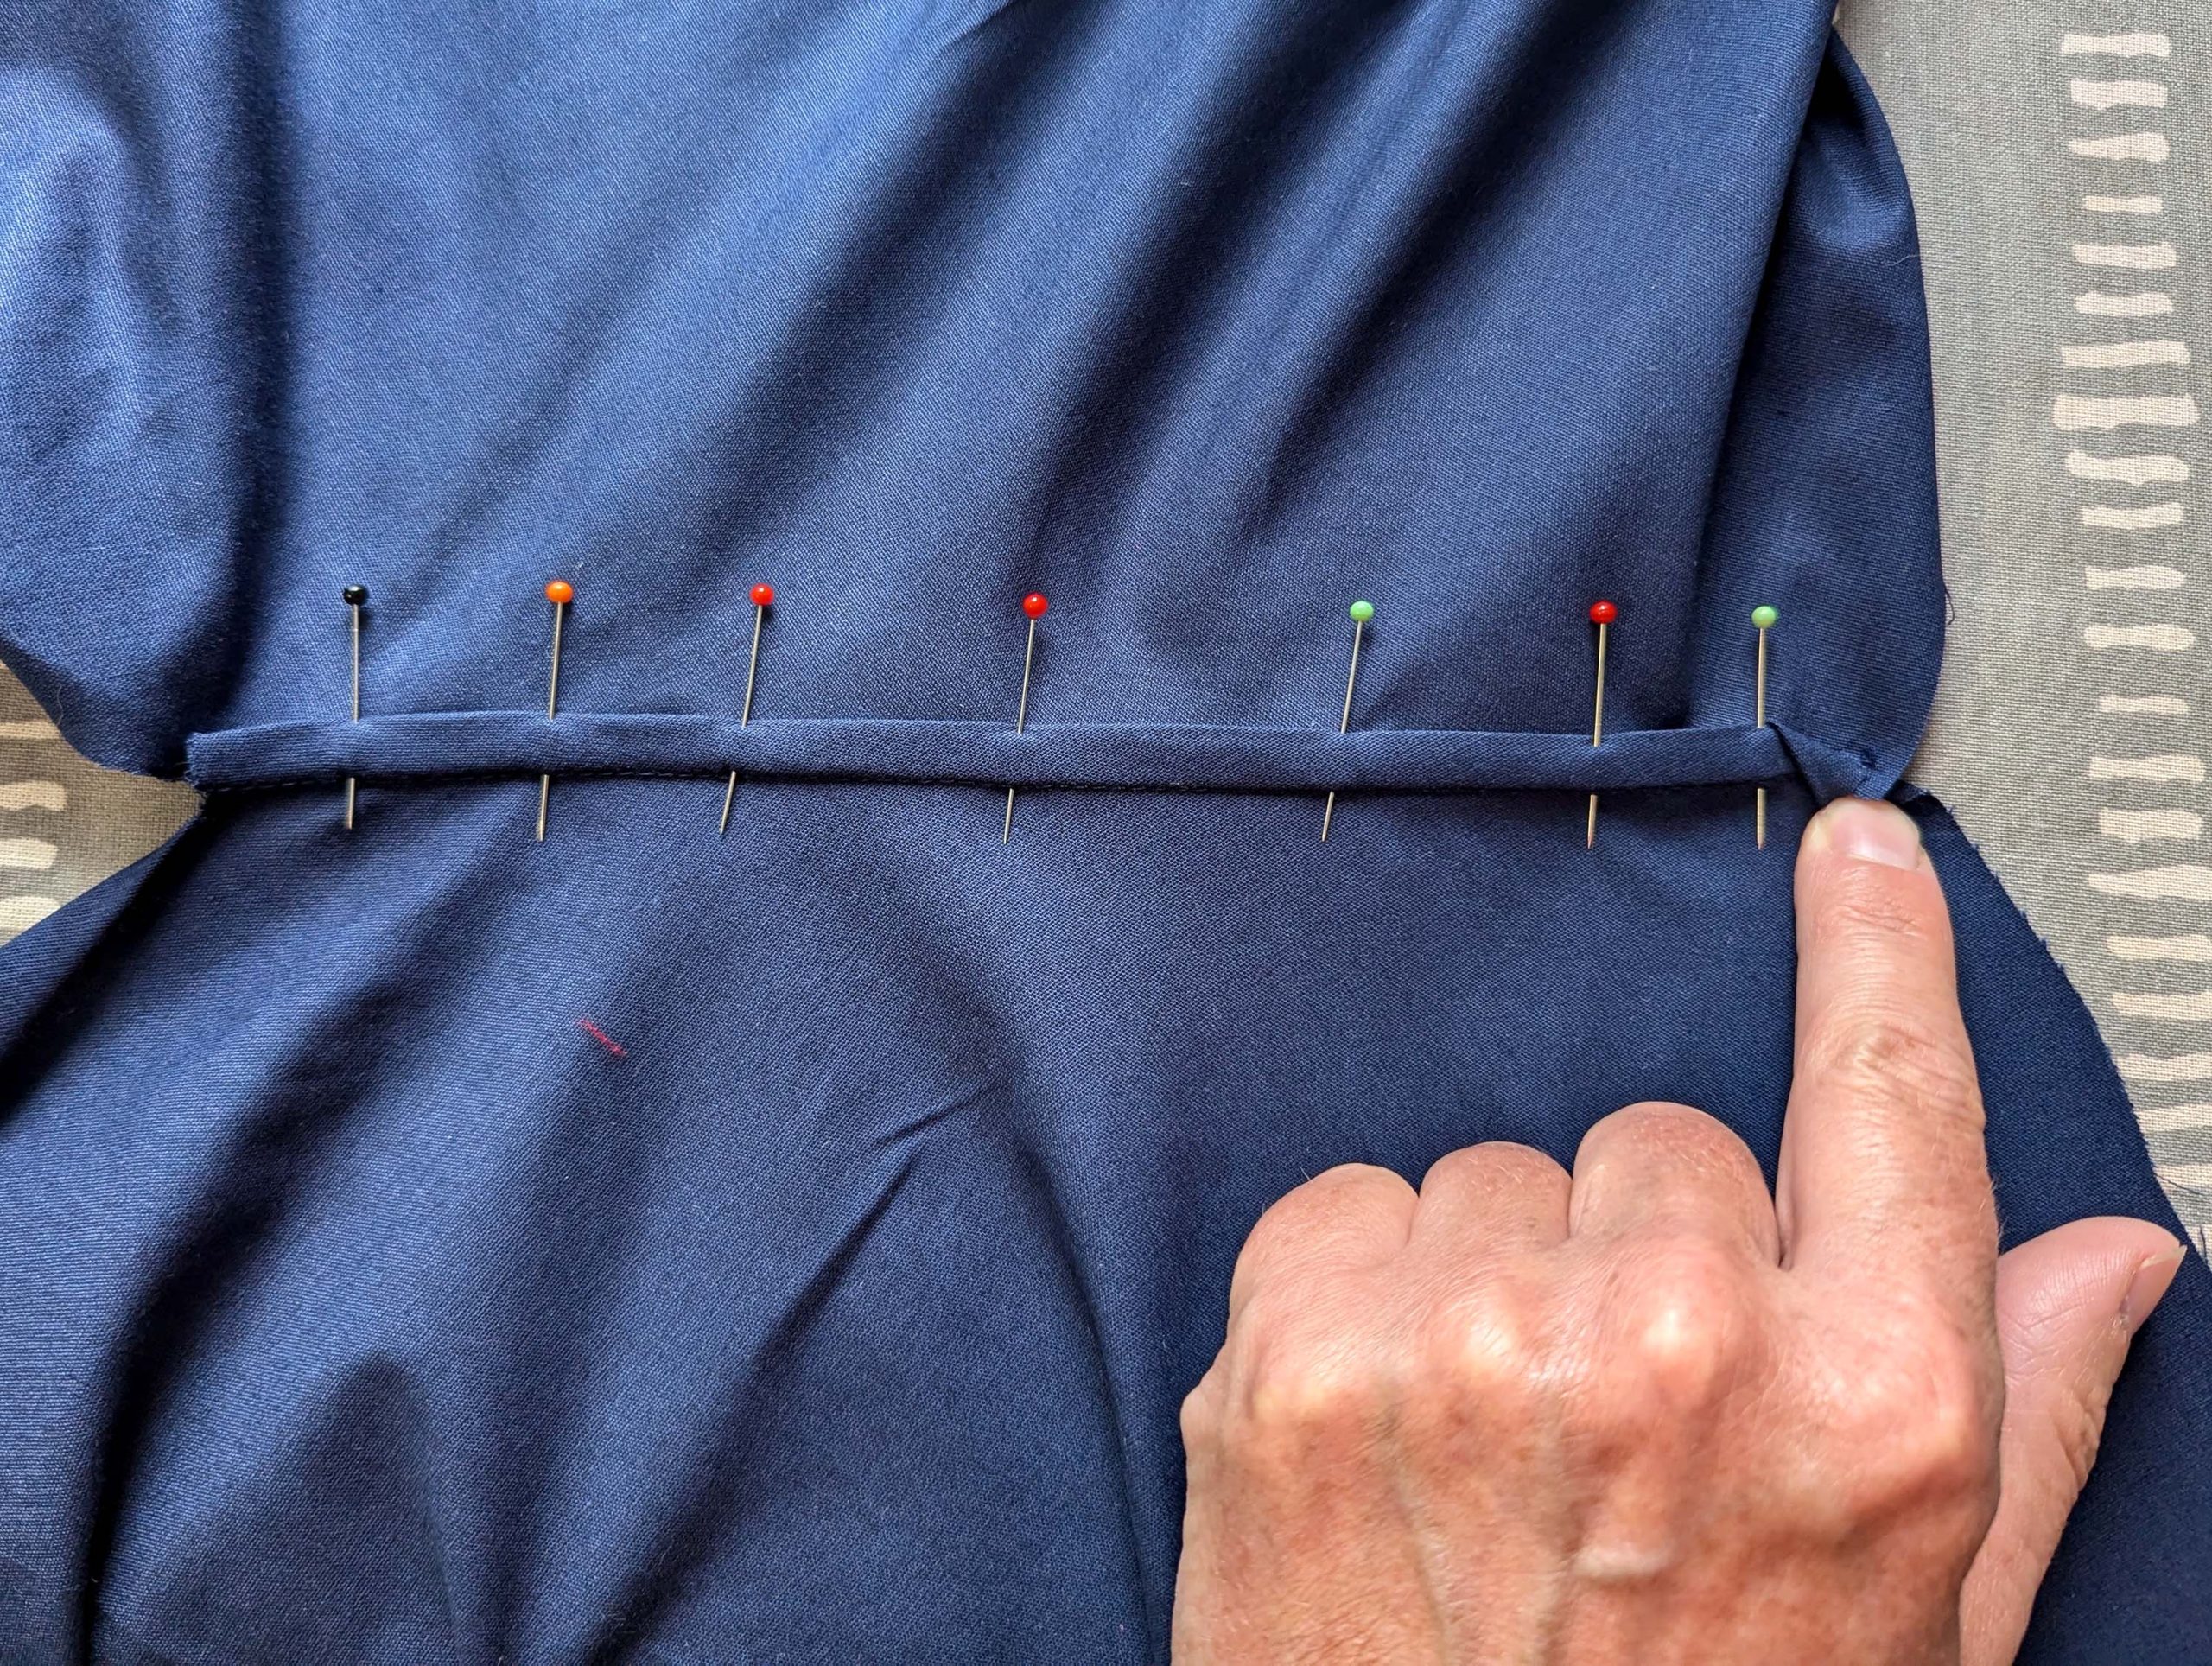
For a “ladies” placket, line up the under-placket (the shorter) with the left side of the vent, the wrong side of the jumper, faces the right side of the placket, matching mark (1). Stitch with a 1/2” (1,25cm) seam allowance, stop exactly at mark (1). Line up the over-placket (the pointed) with the right side of the vent, and sew the same way .
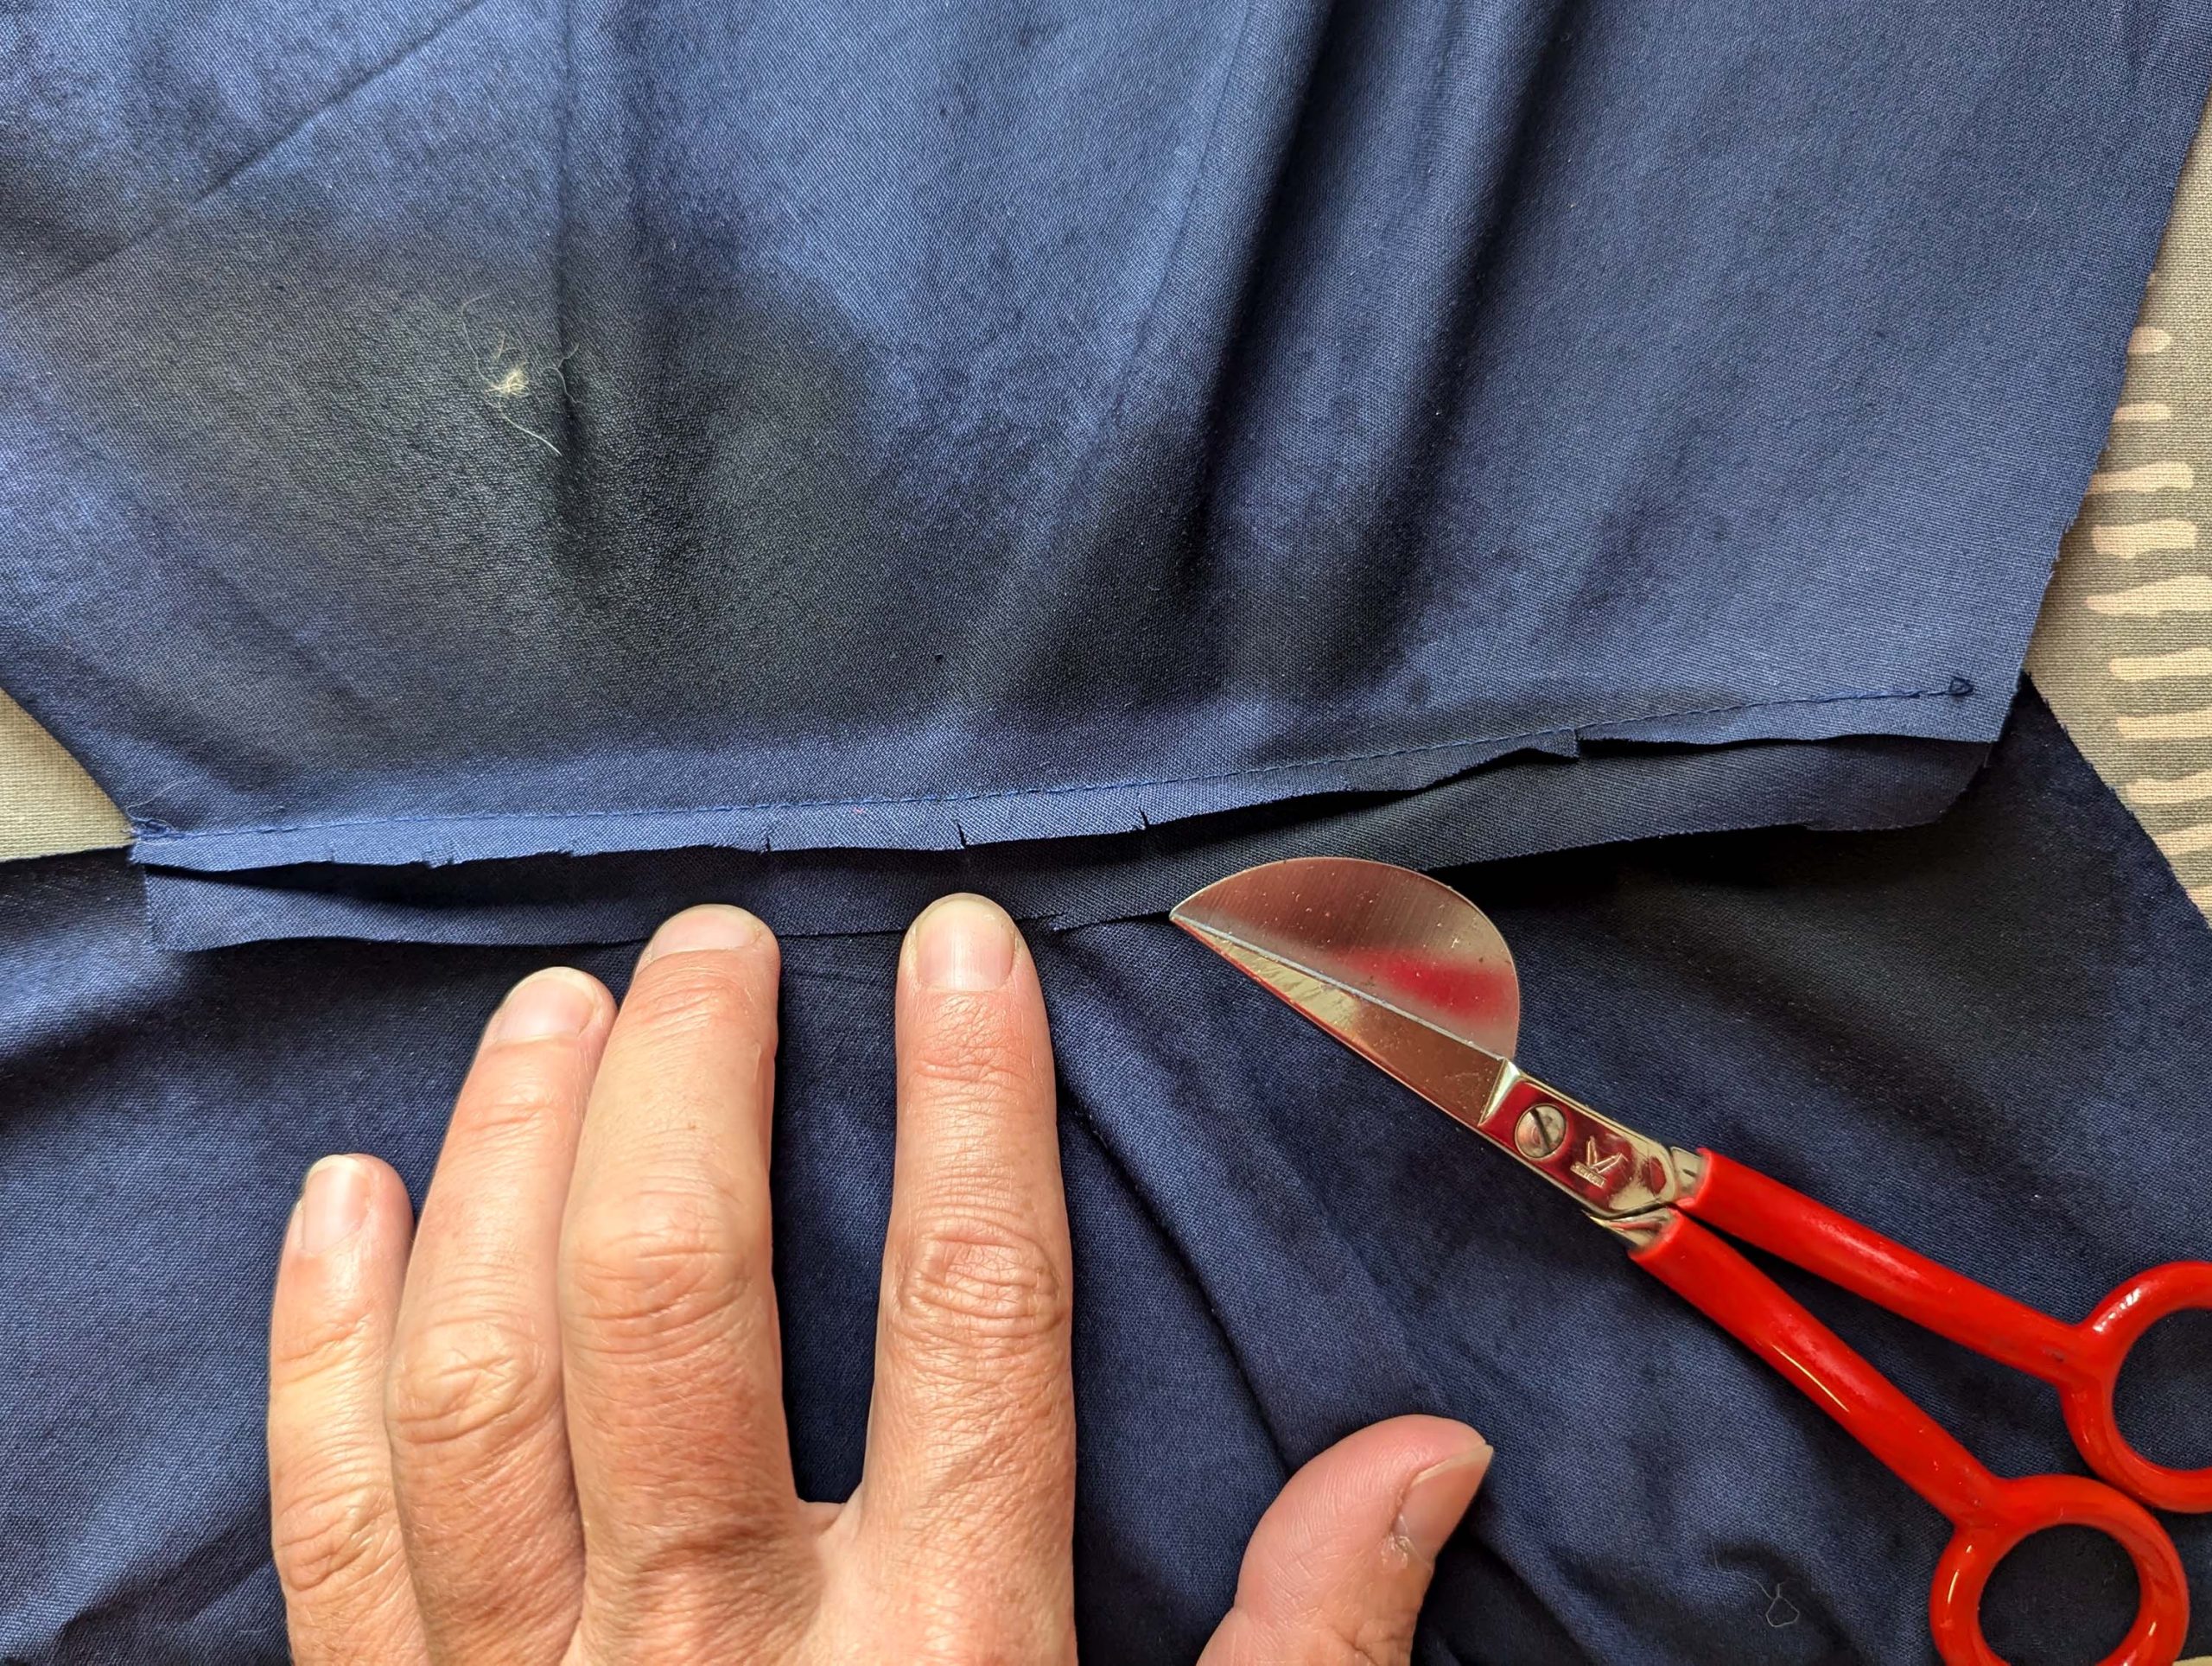
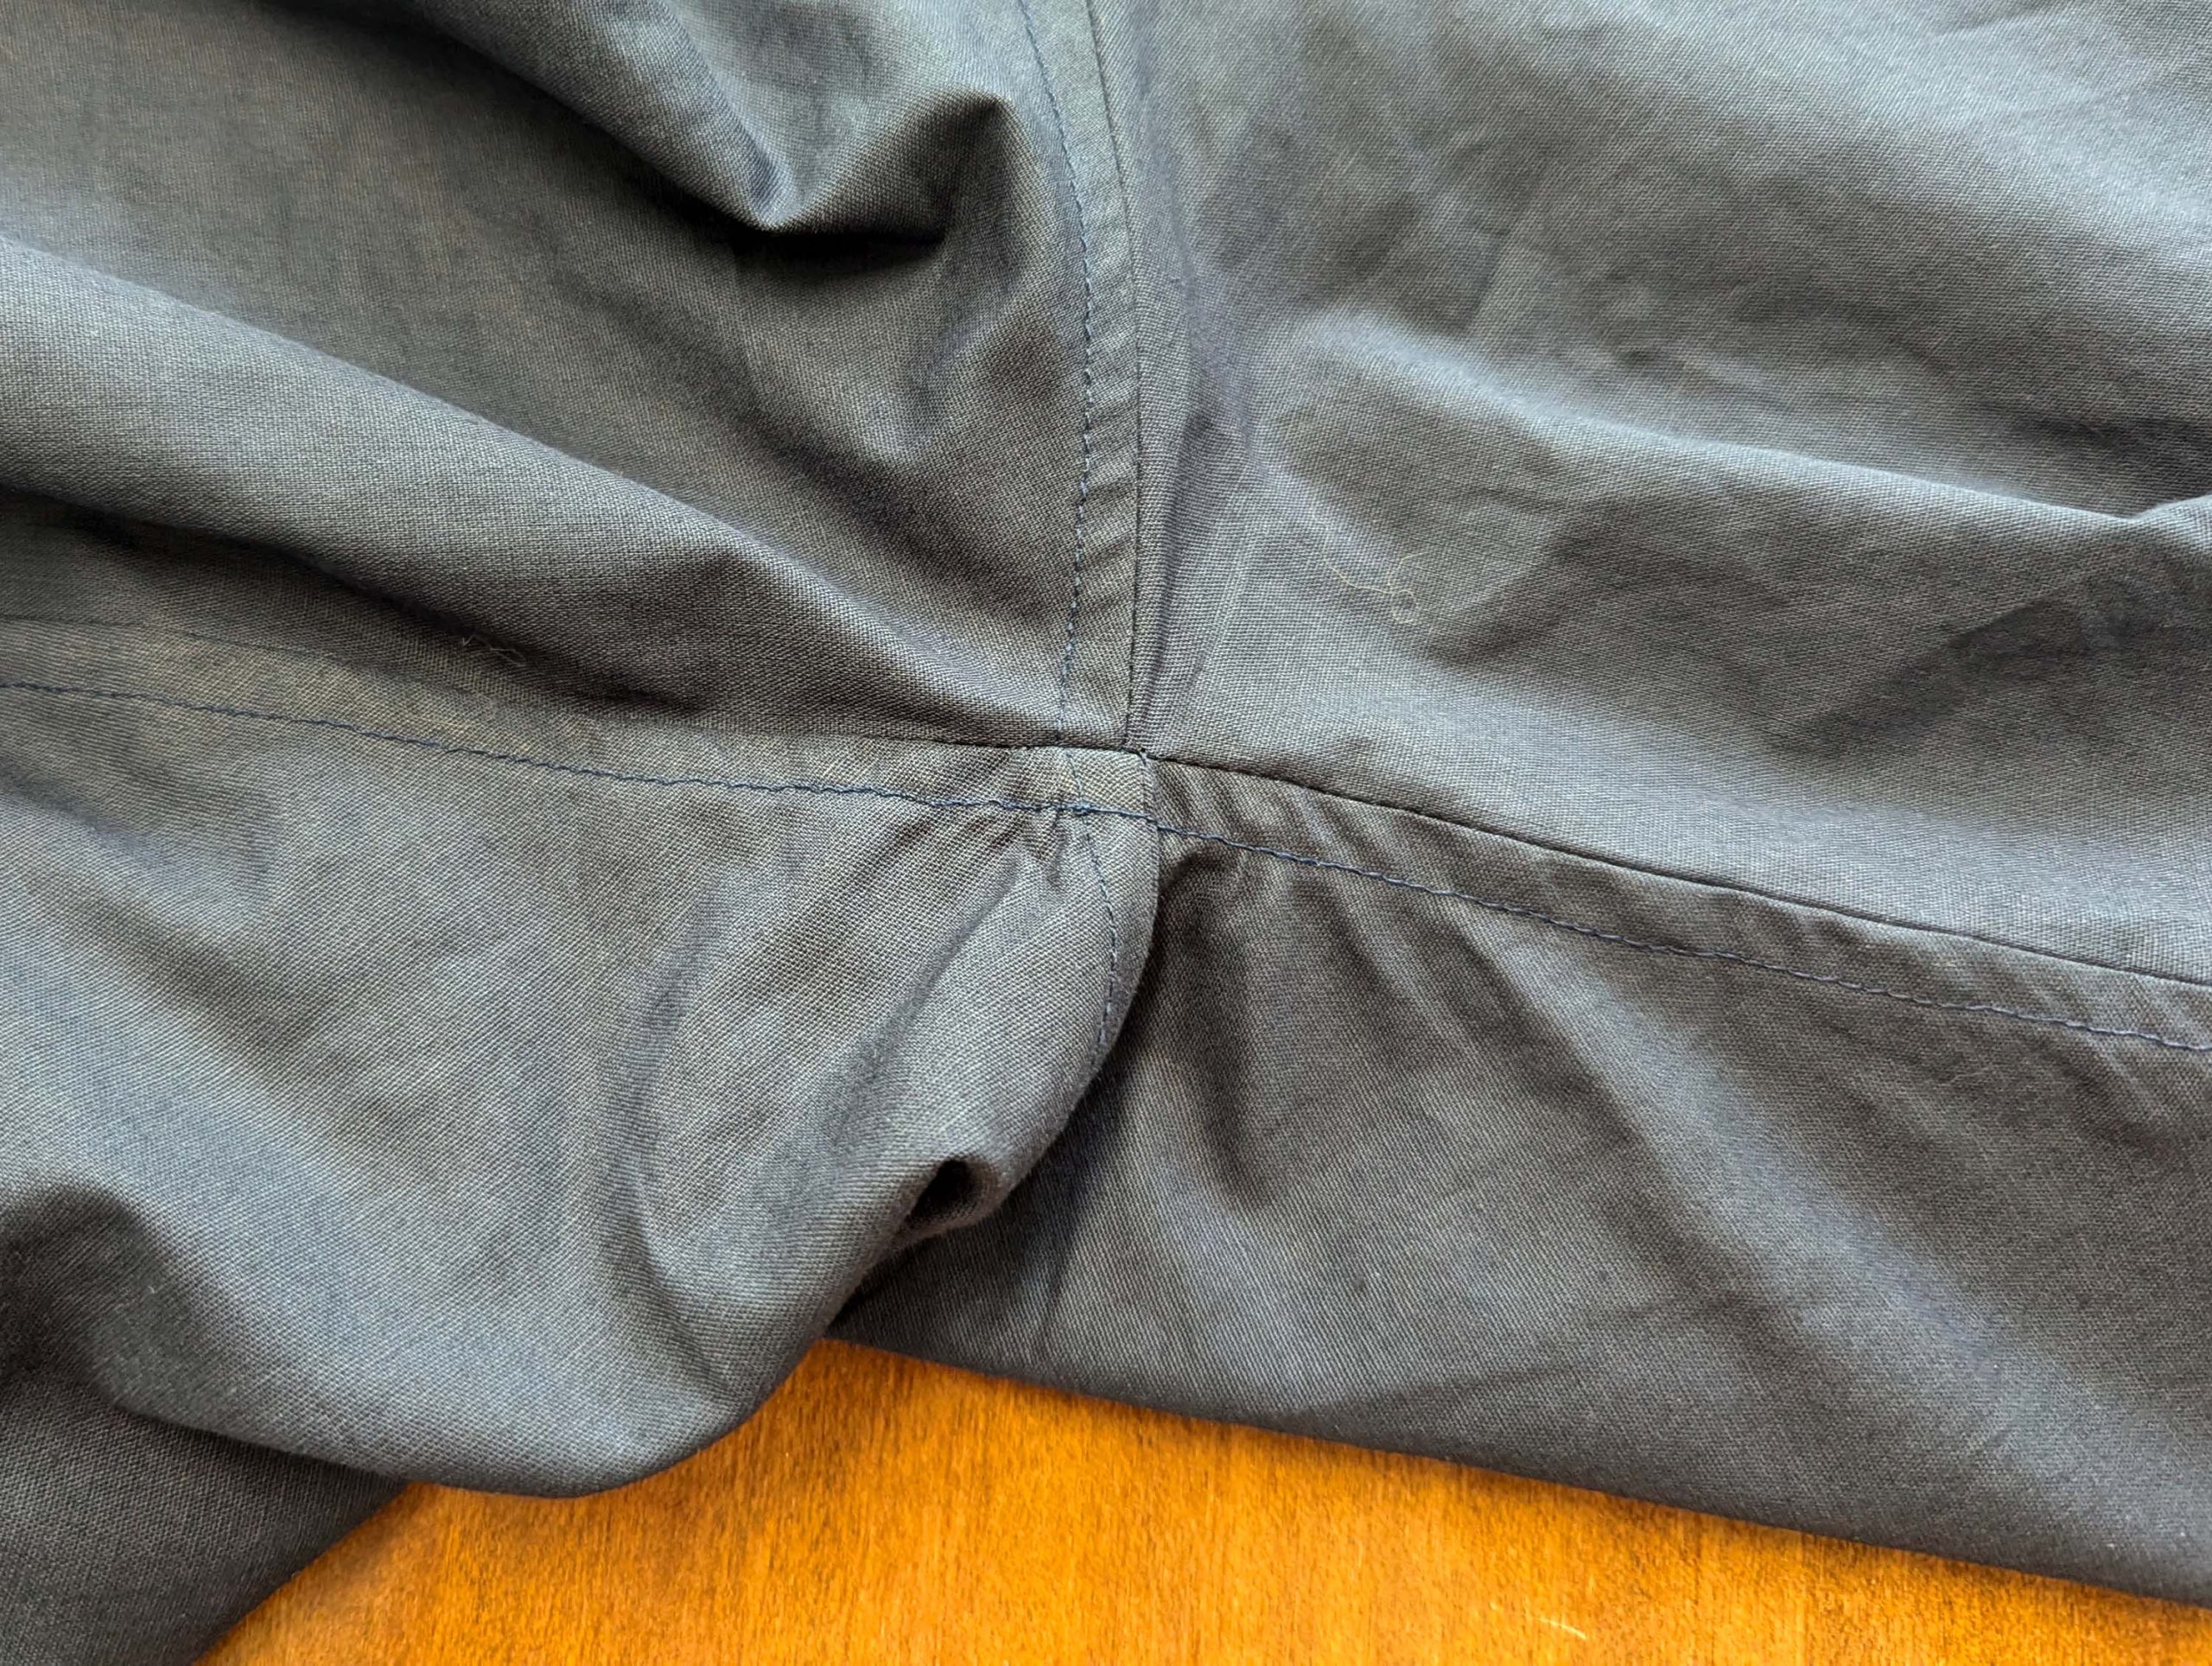
Reduce the stitch length, and stitch along the bottom of the vent between the two marks (1). Notch the seam allowances towards points (1).
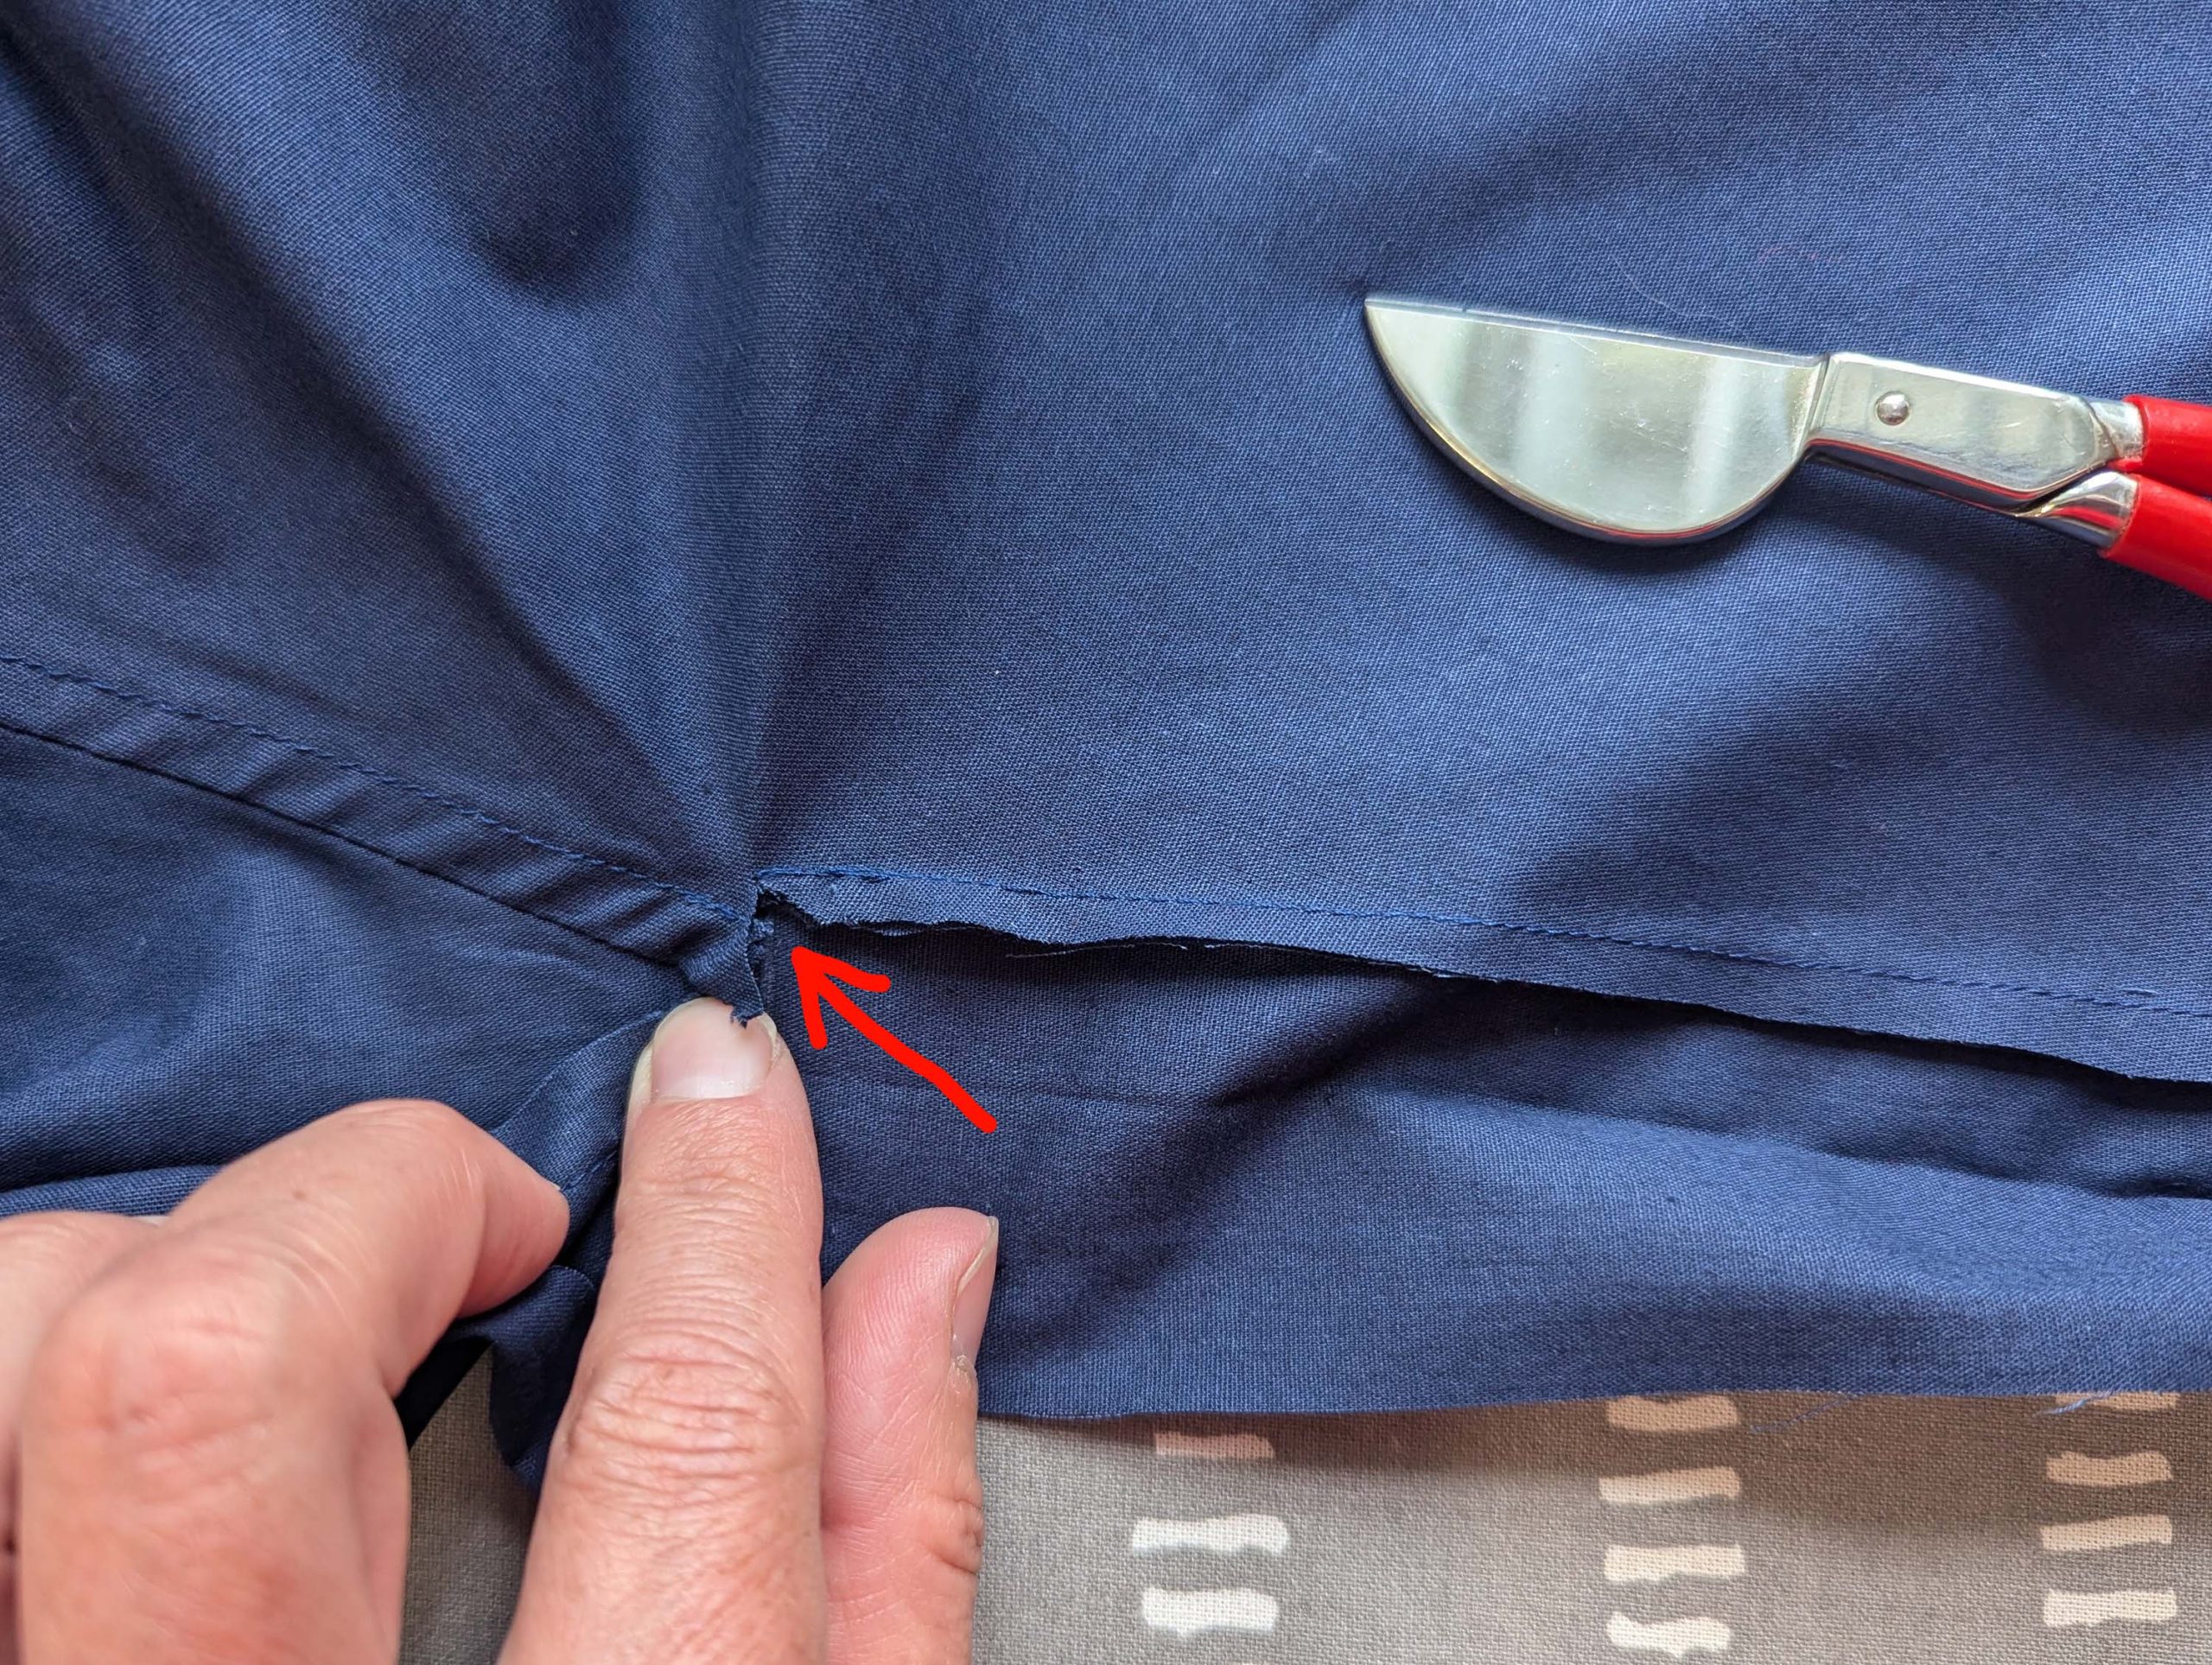
Turn the jumper right side up and press the seam allowances towards the center front. At the bottom, press the triangular-shaped seam allowances towards the crotch.
At the neckline, fold the under-placket (left side) along the line pressed in before, right sides together, and stitch just 1/2” (1,25cm) along the neckline, until reaching the center of the placket. Notch and trim back the seam allowance as shown, and turn the right way out.
Line up the loose edge with the stitching line, allowing it to protrude slightly. Edge stitch in place, and stop sewing just after mark (1).
Proceed with the over-placket (right side) in the same way, taking care that it covers the under-placket. Edge stitch in place, stop sewing exactly at mark (1), then edgestitch along the loose edge of the placket, without catching the under-placket. Stop sewing at the height of mark (1).
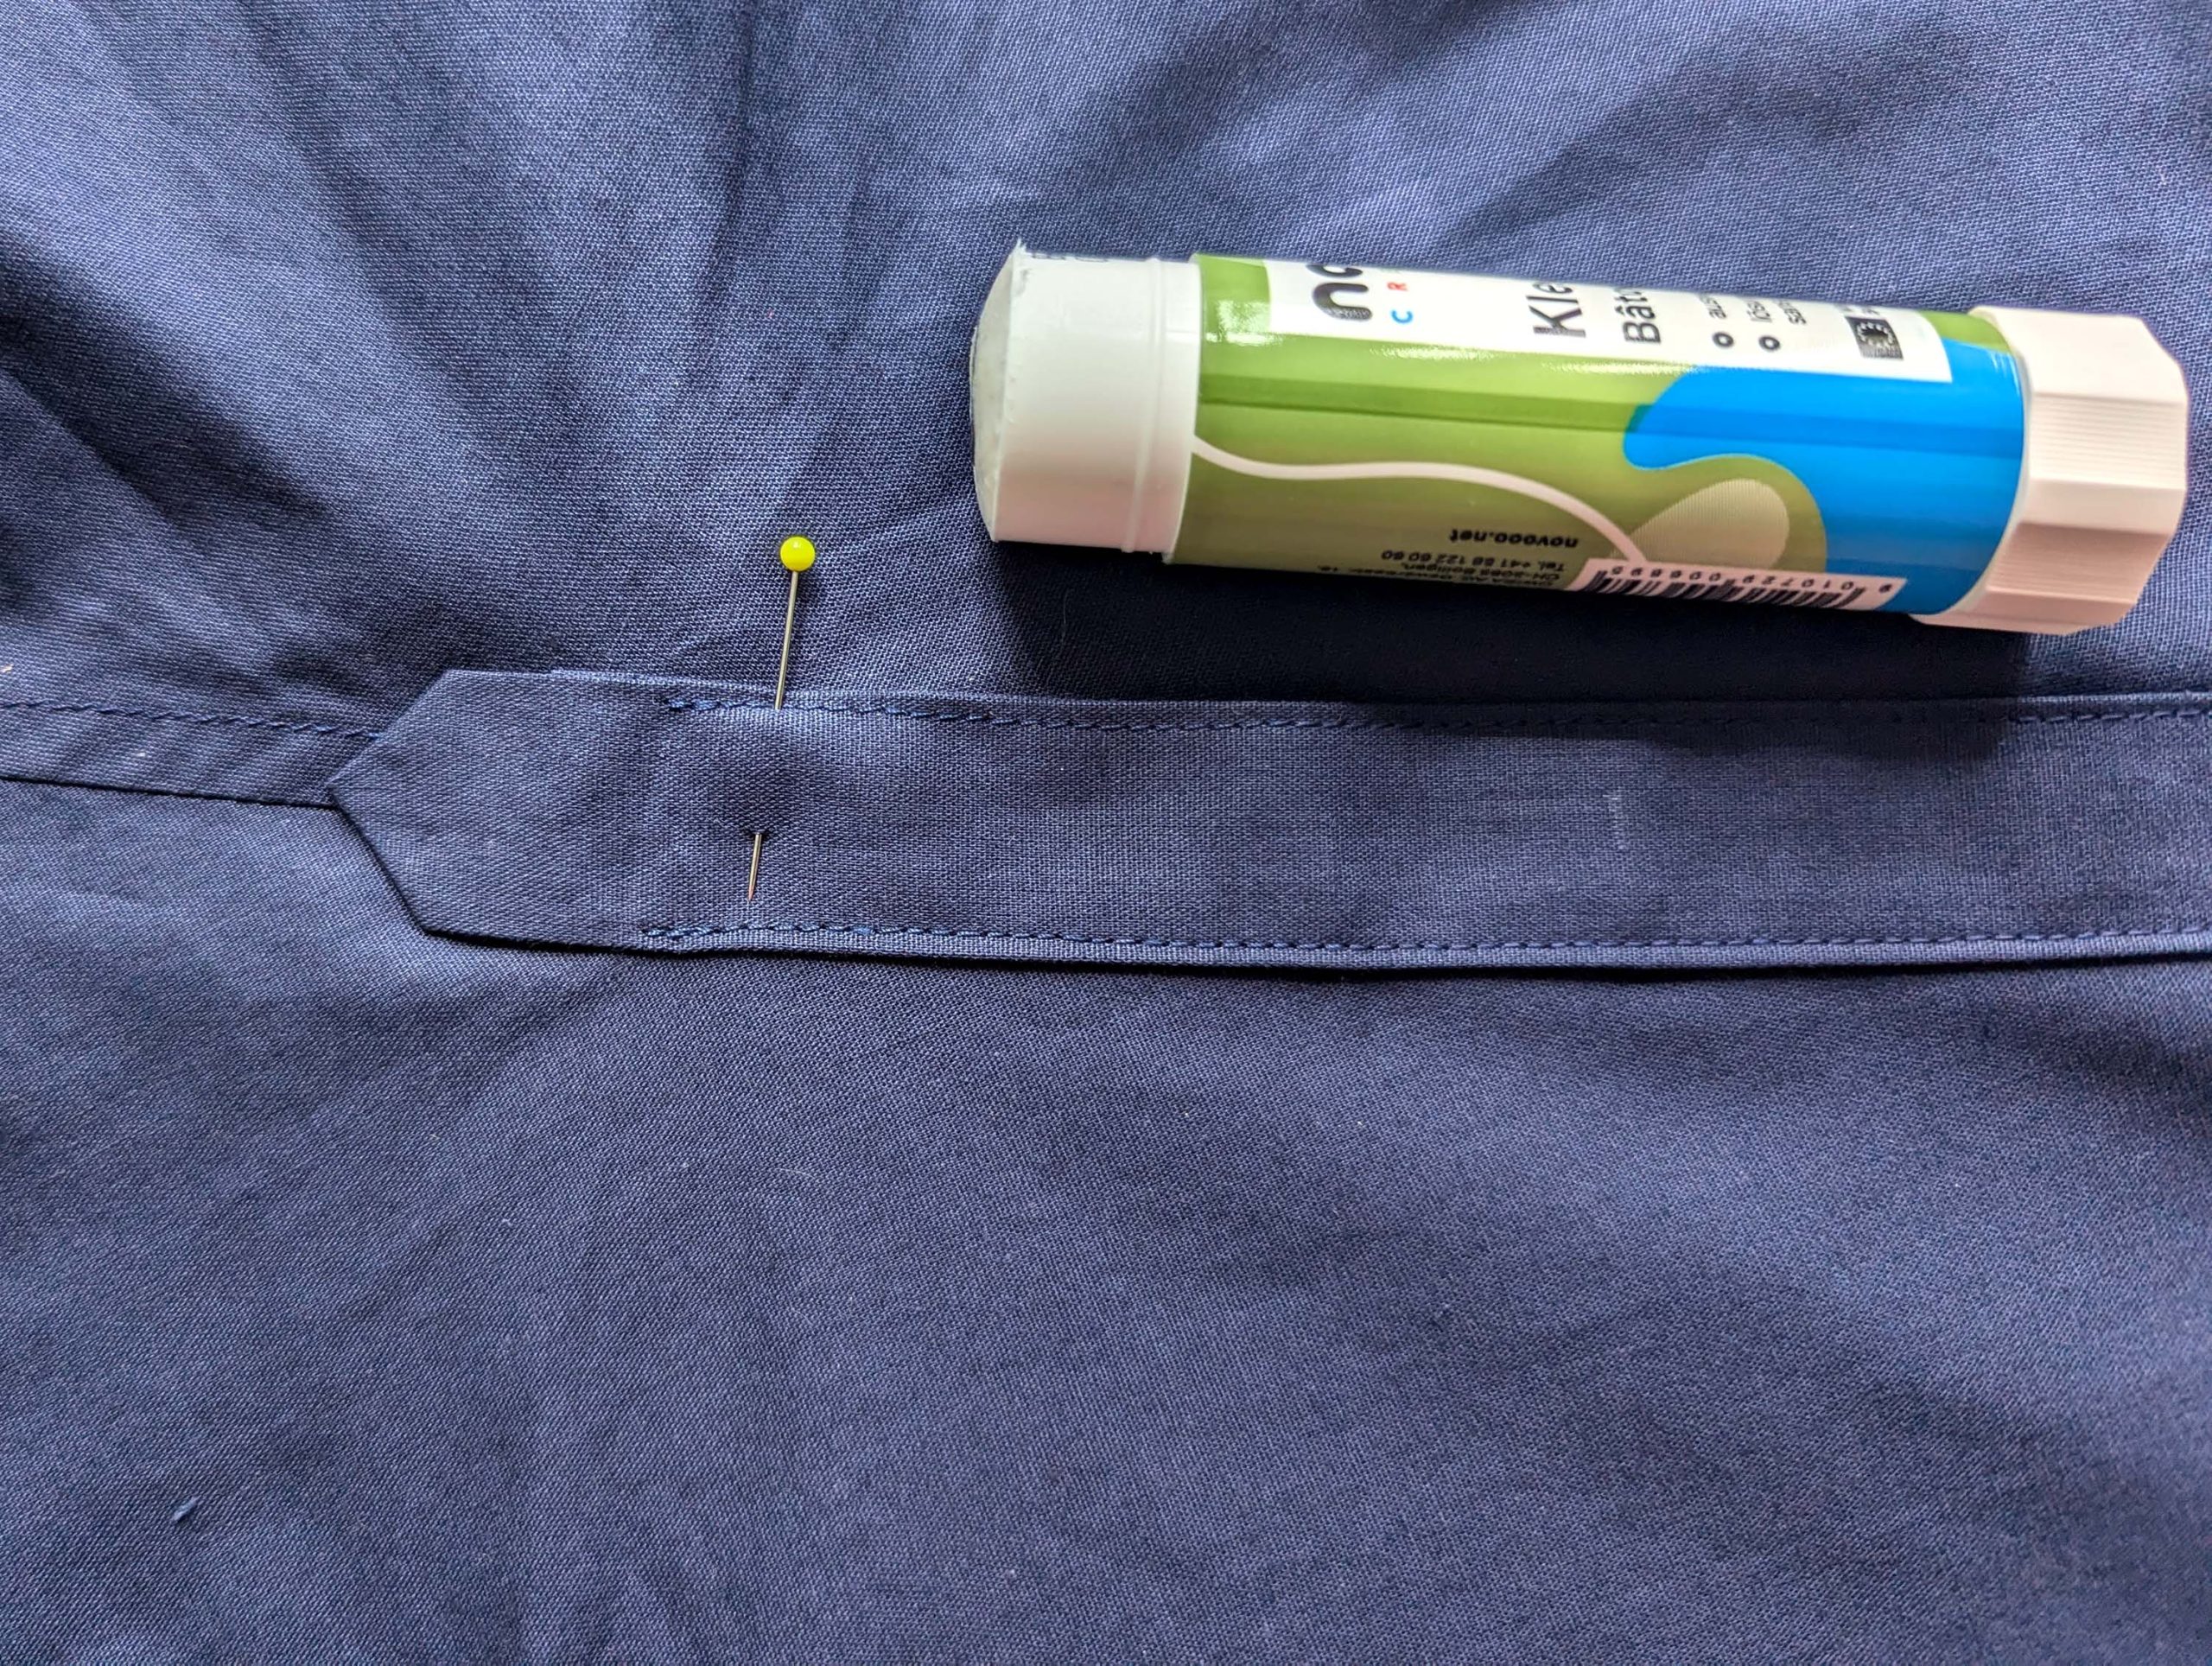
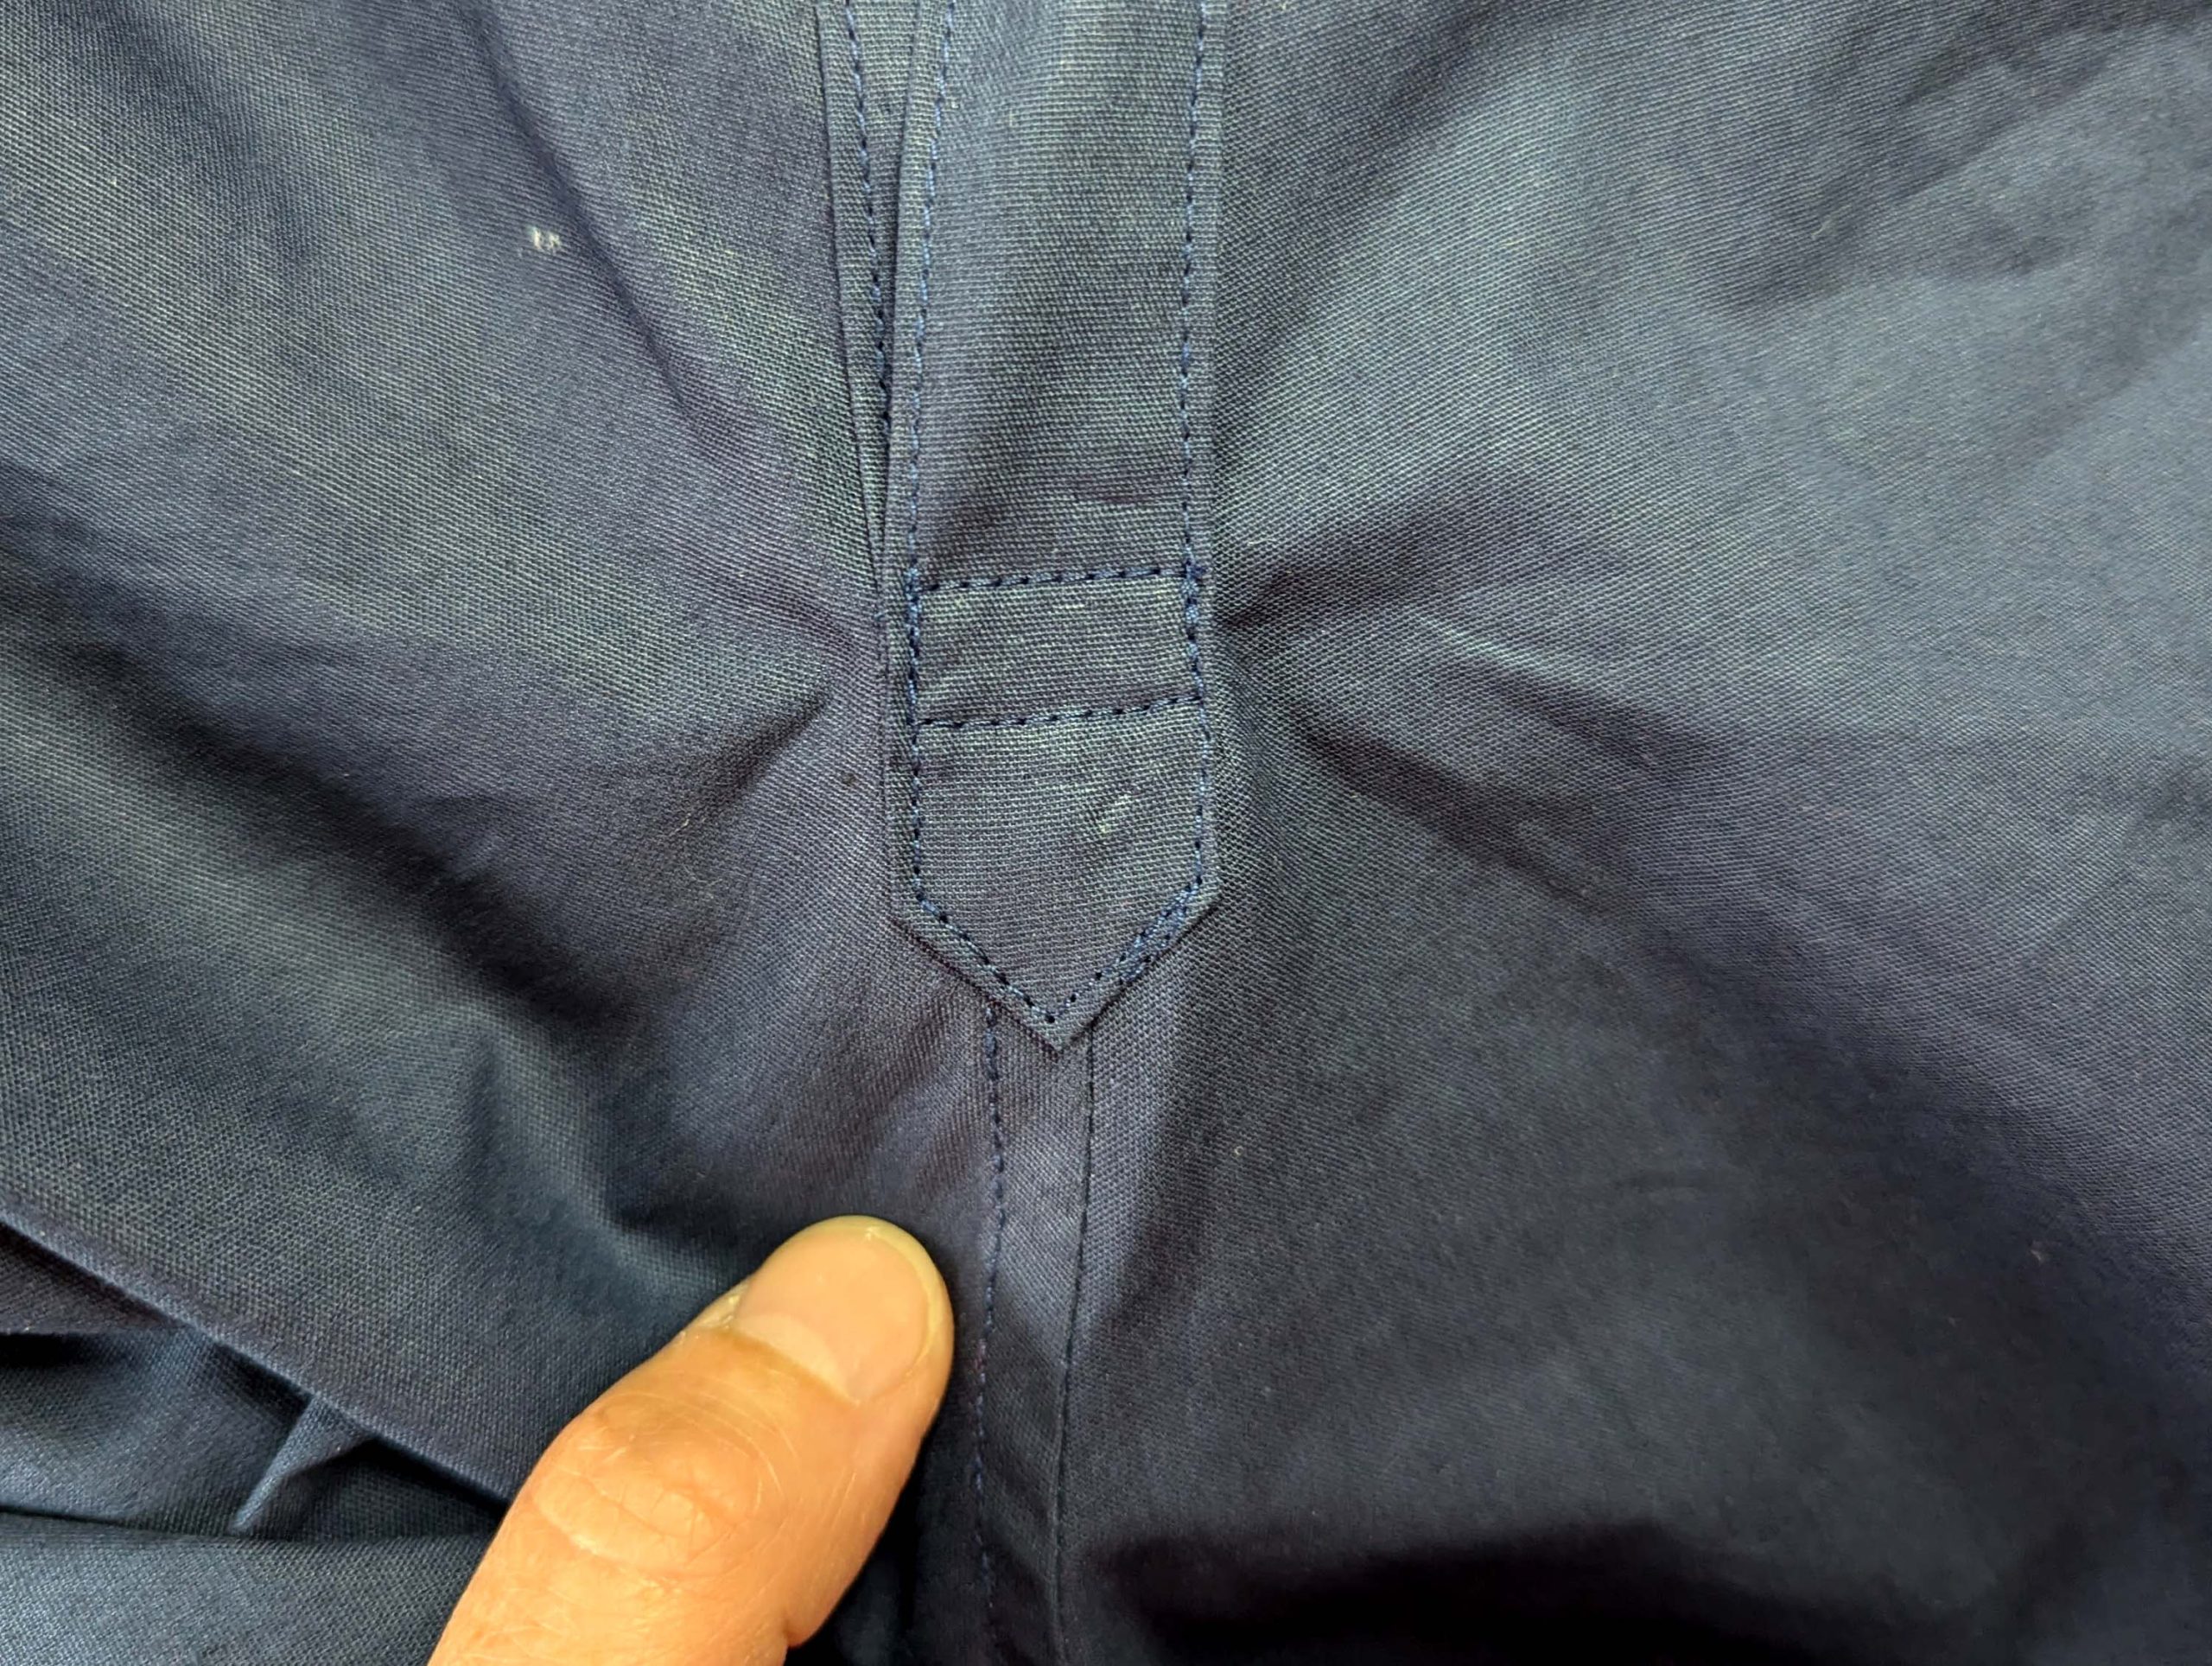
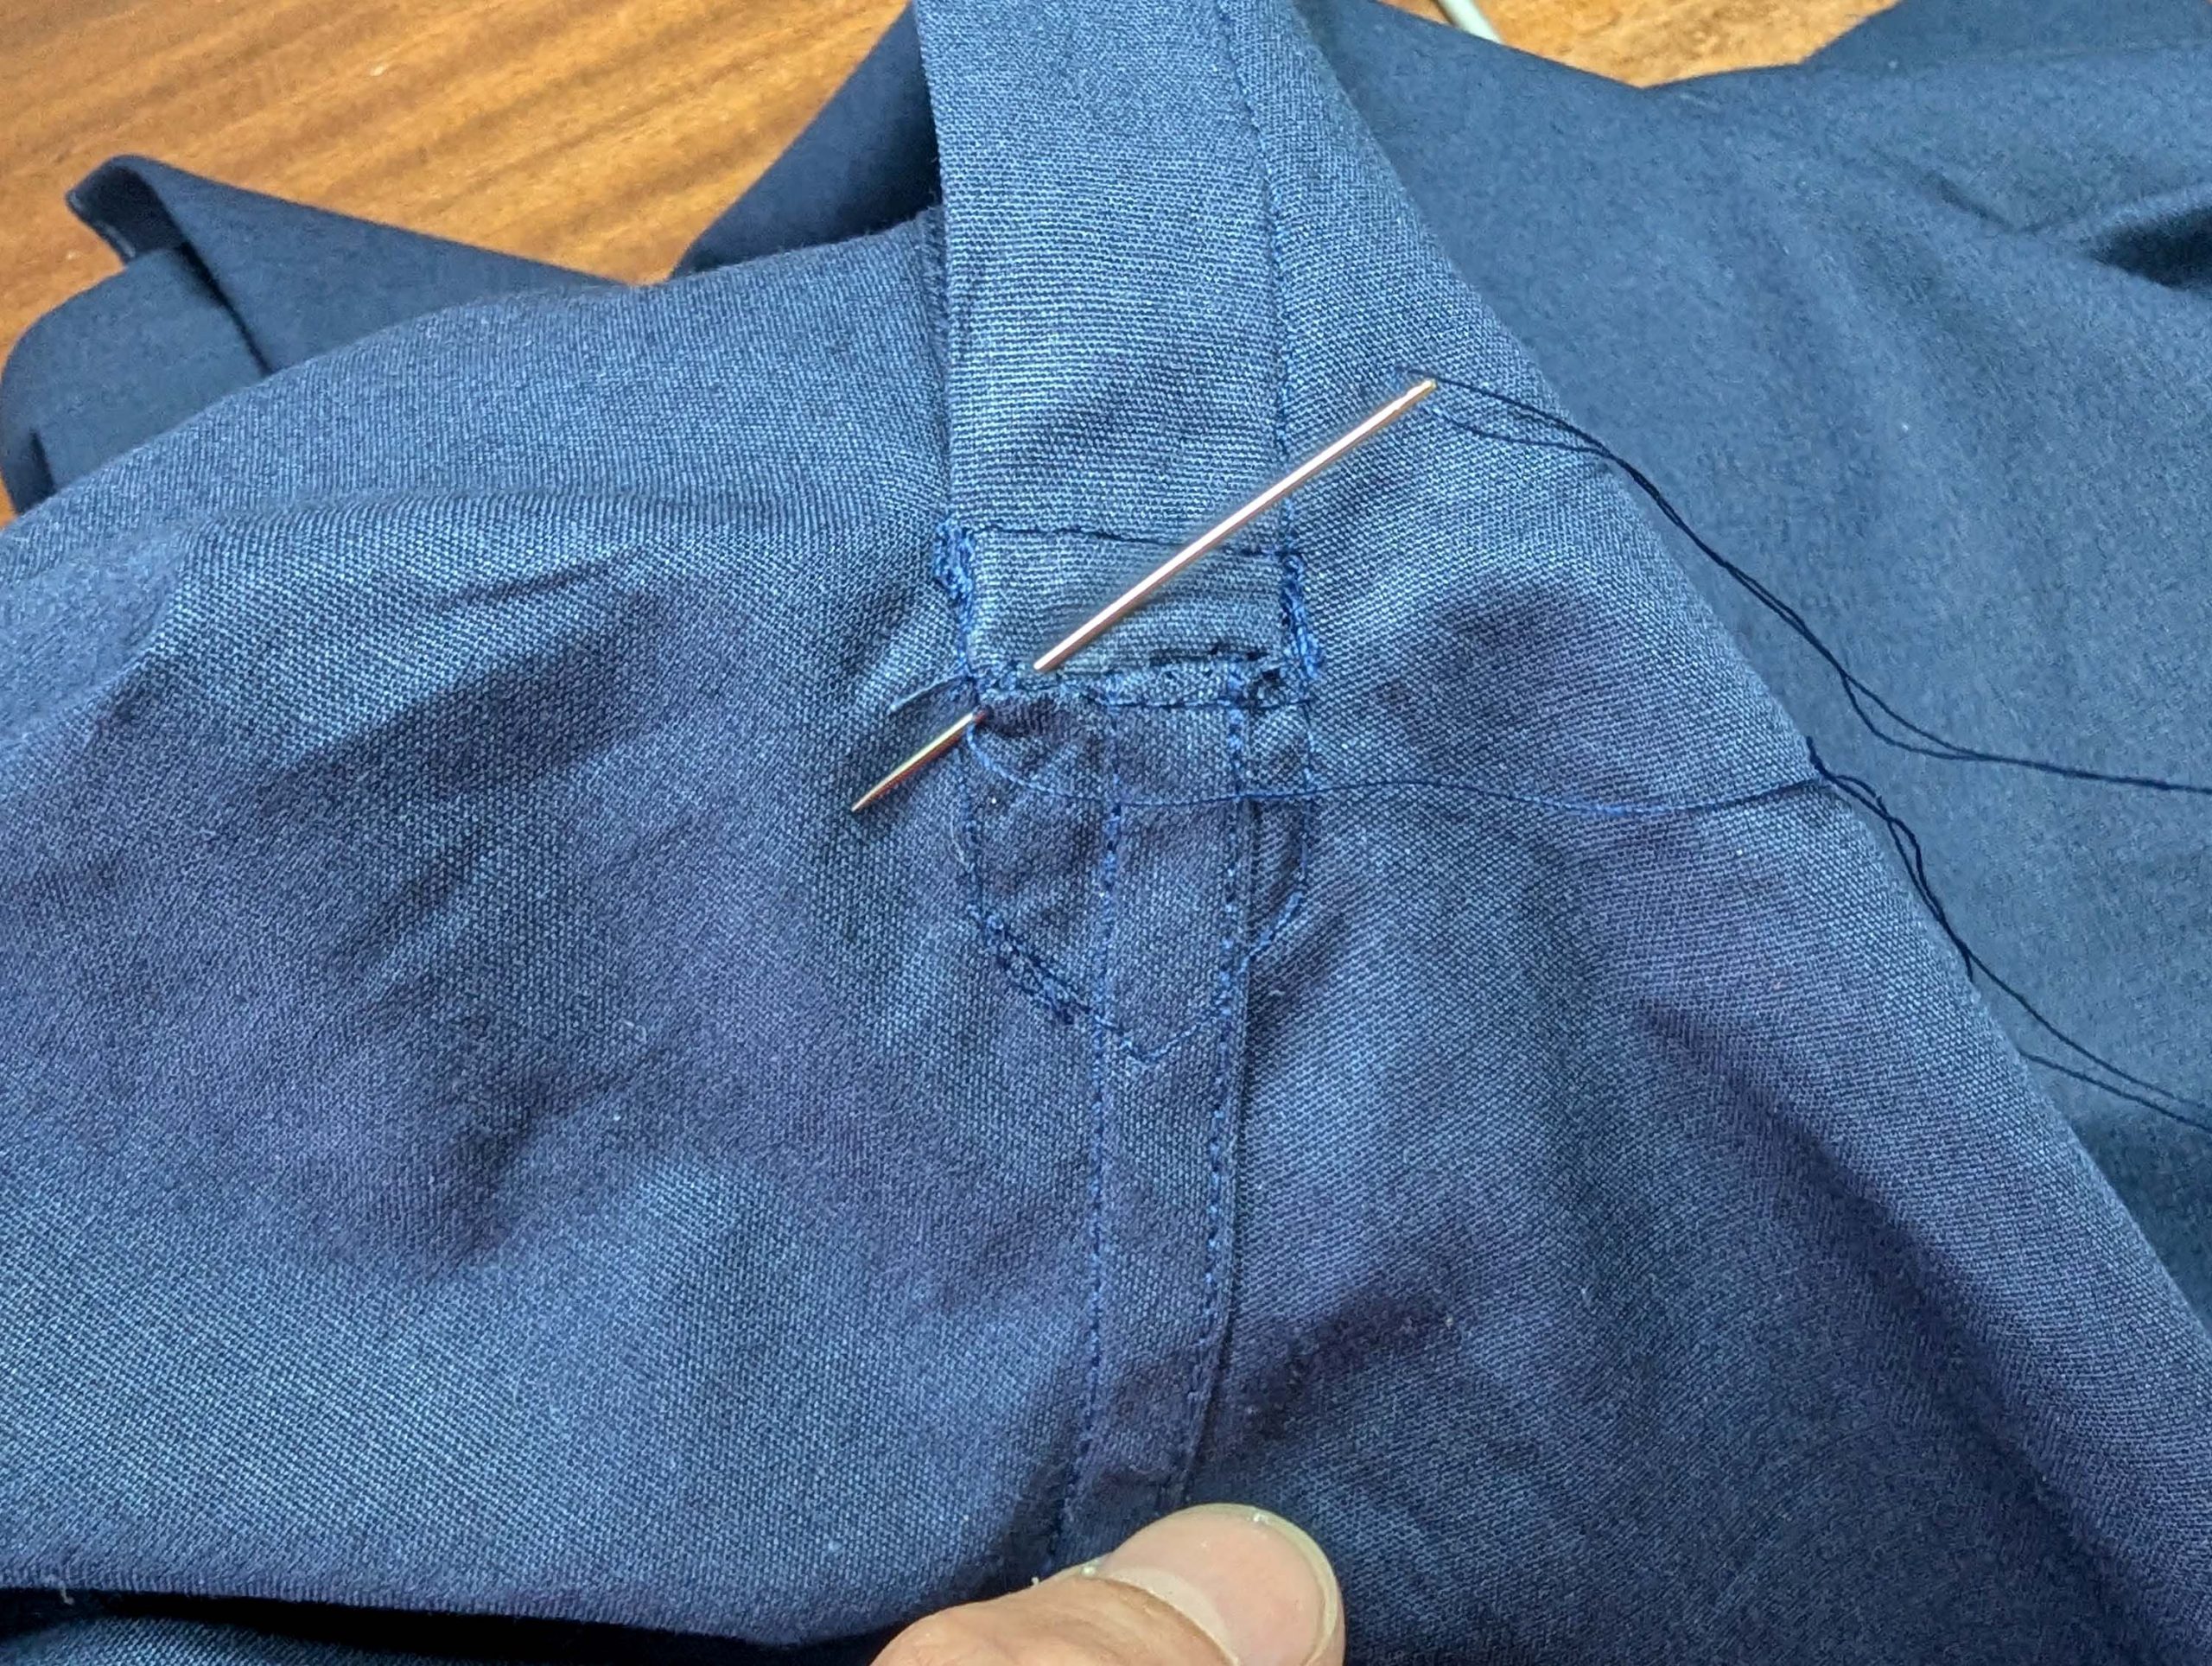
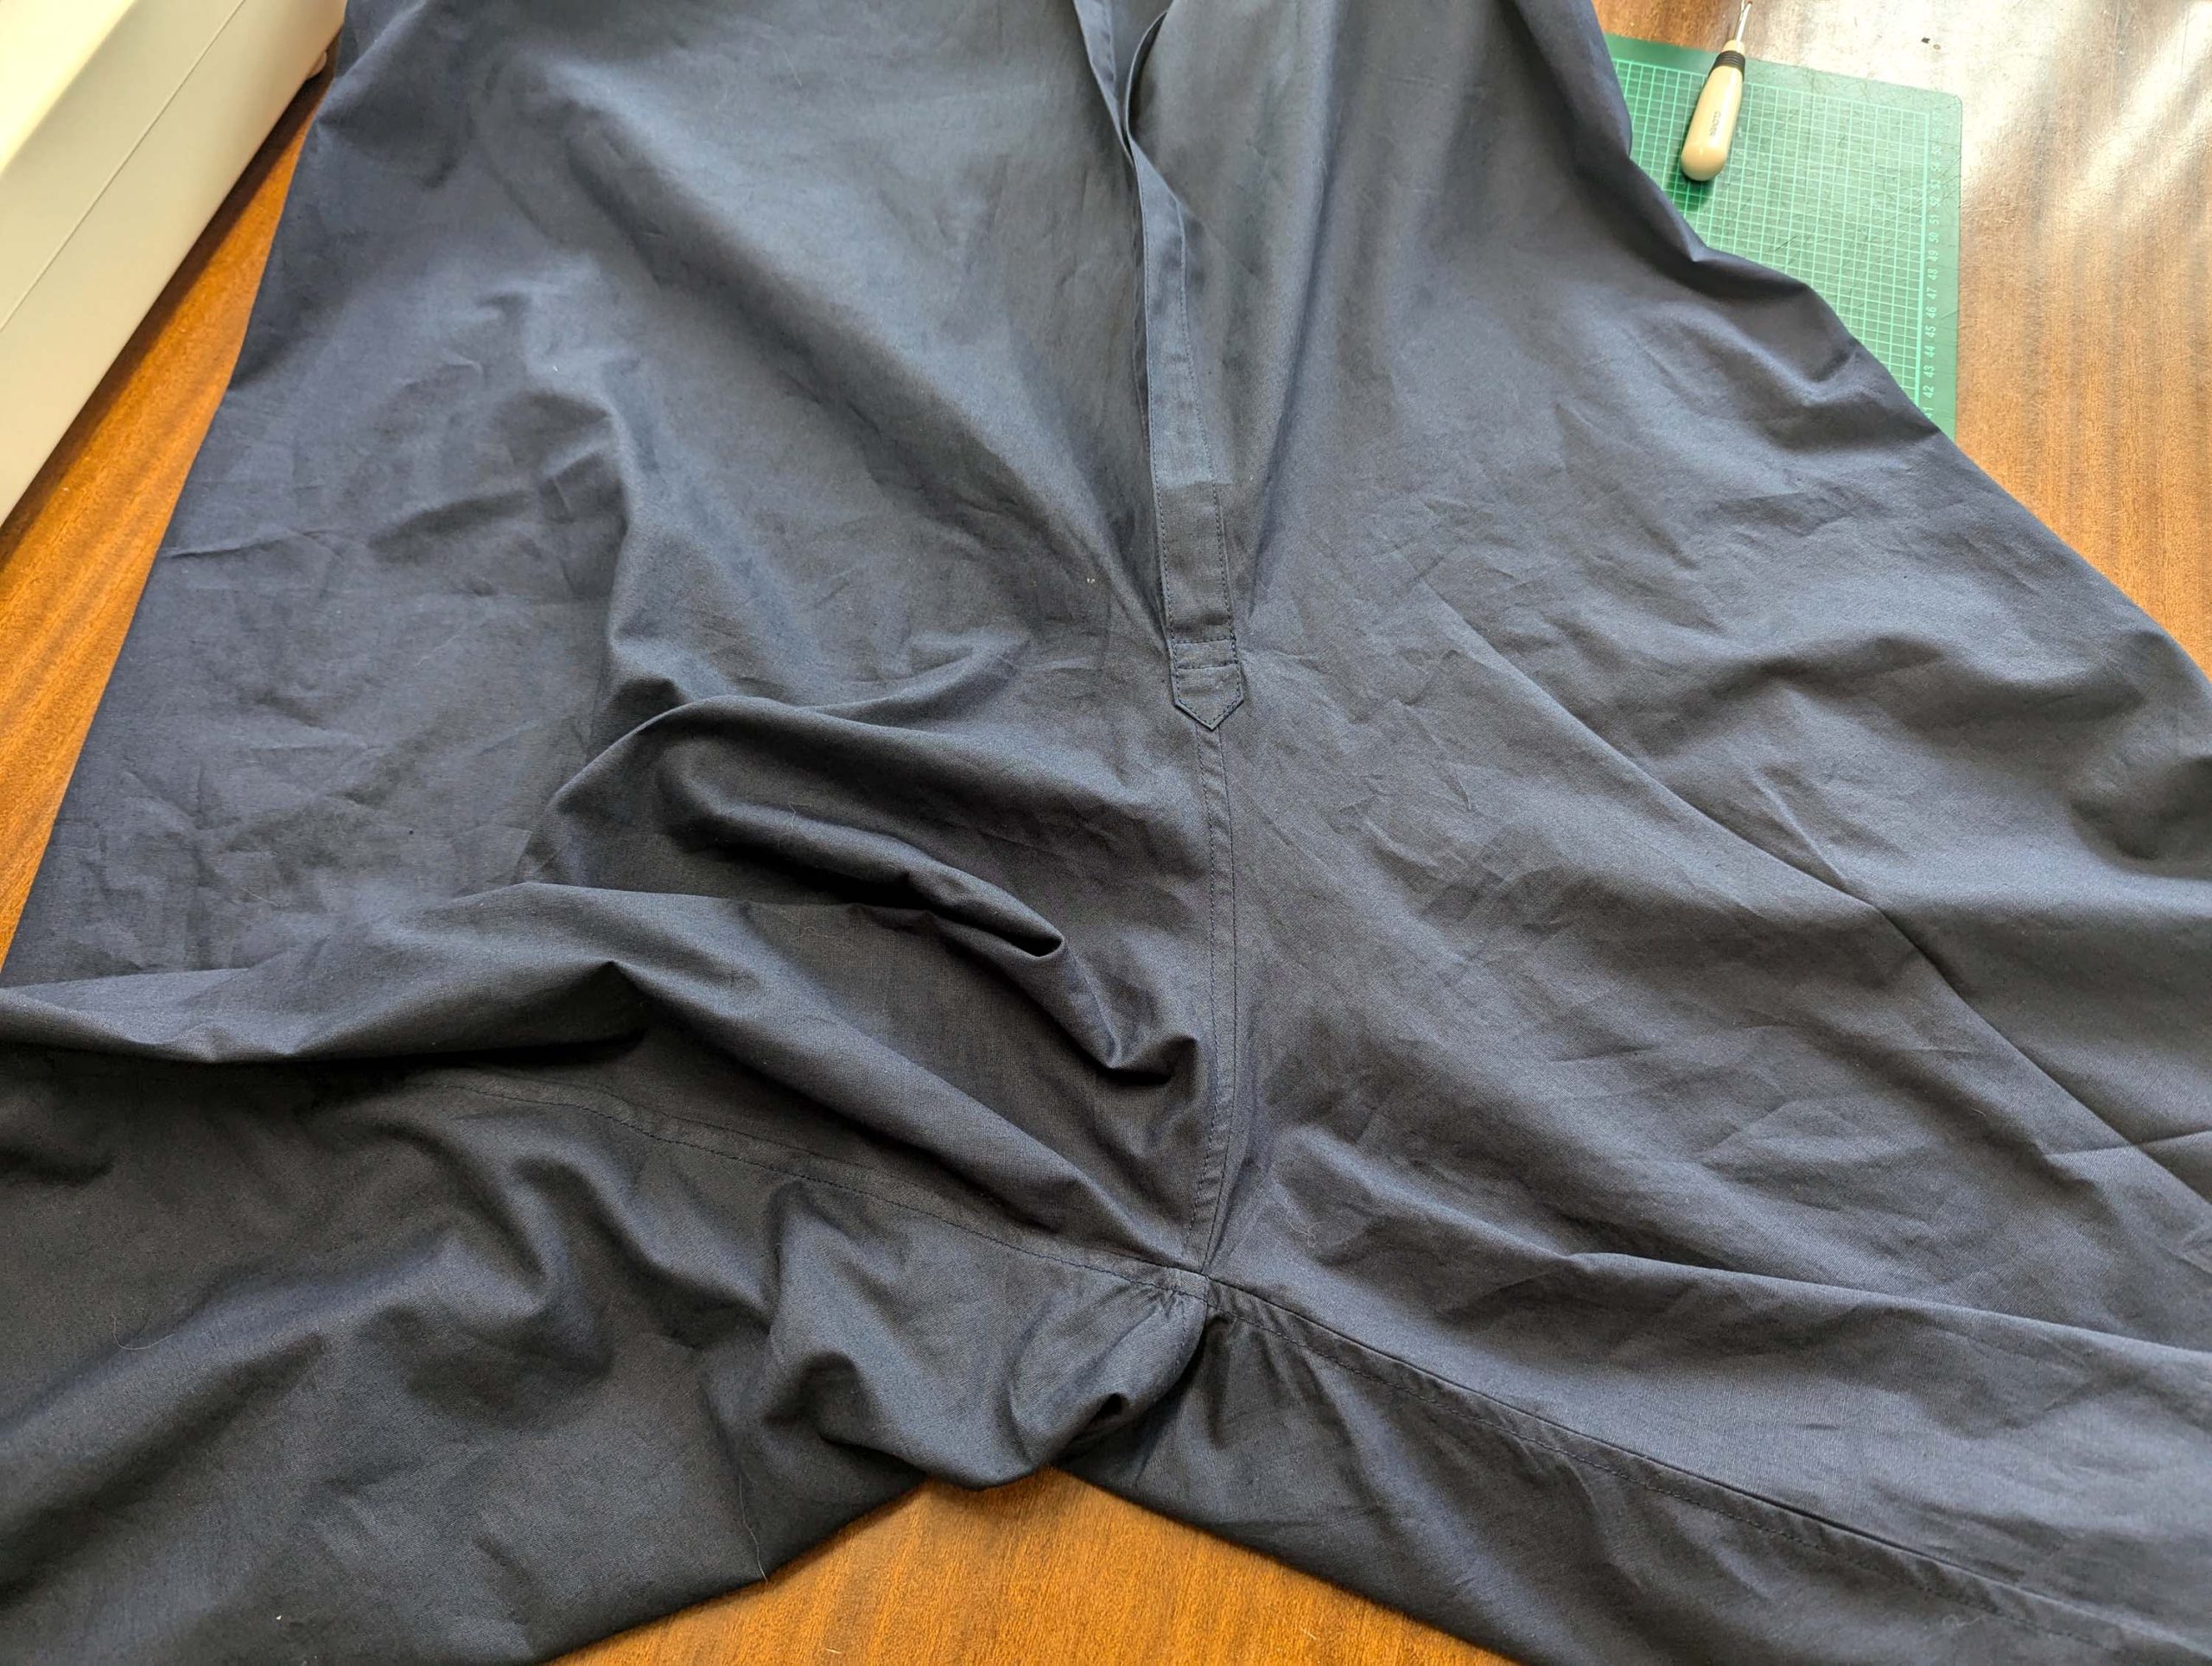
Place the over-placket on top of the under-placket, turn in the seam allowances of the pointed end, and grade the seams as necessary. Use some water-soluble glue stick to hold the point in place, taking care, that the end of the under-placket lays flat underneath. Stitch in place as shown.
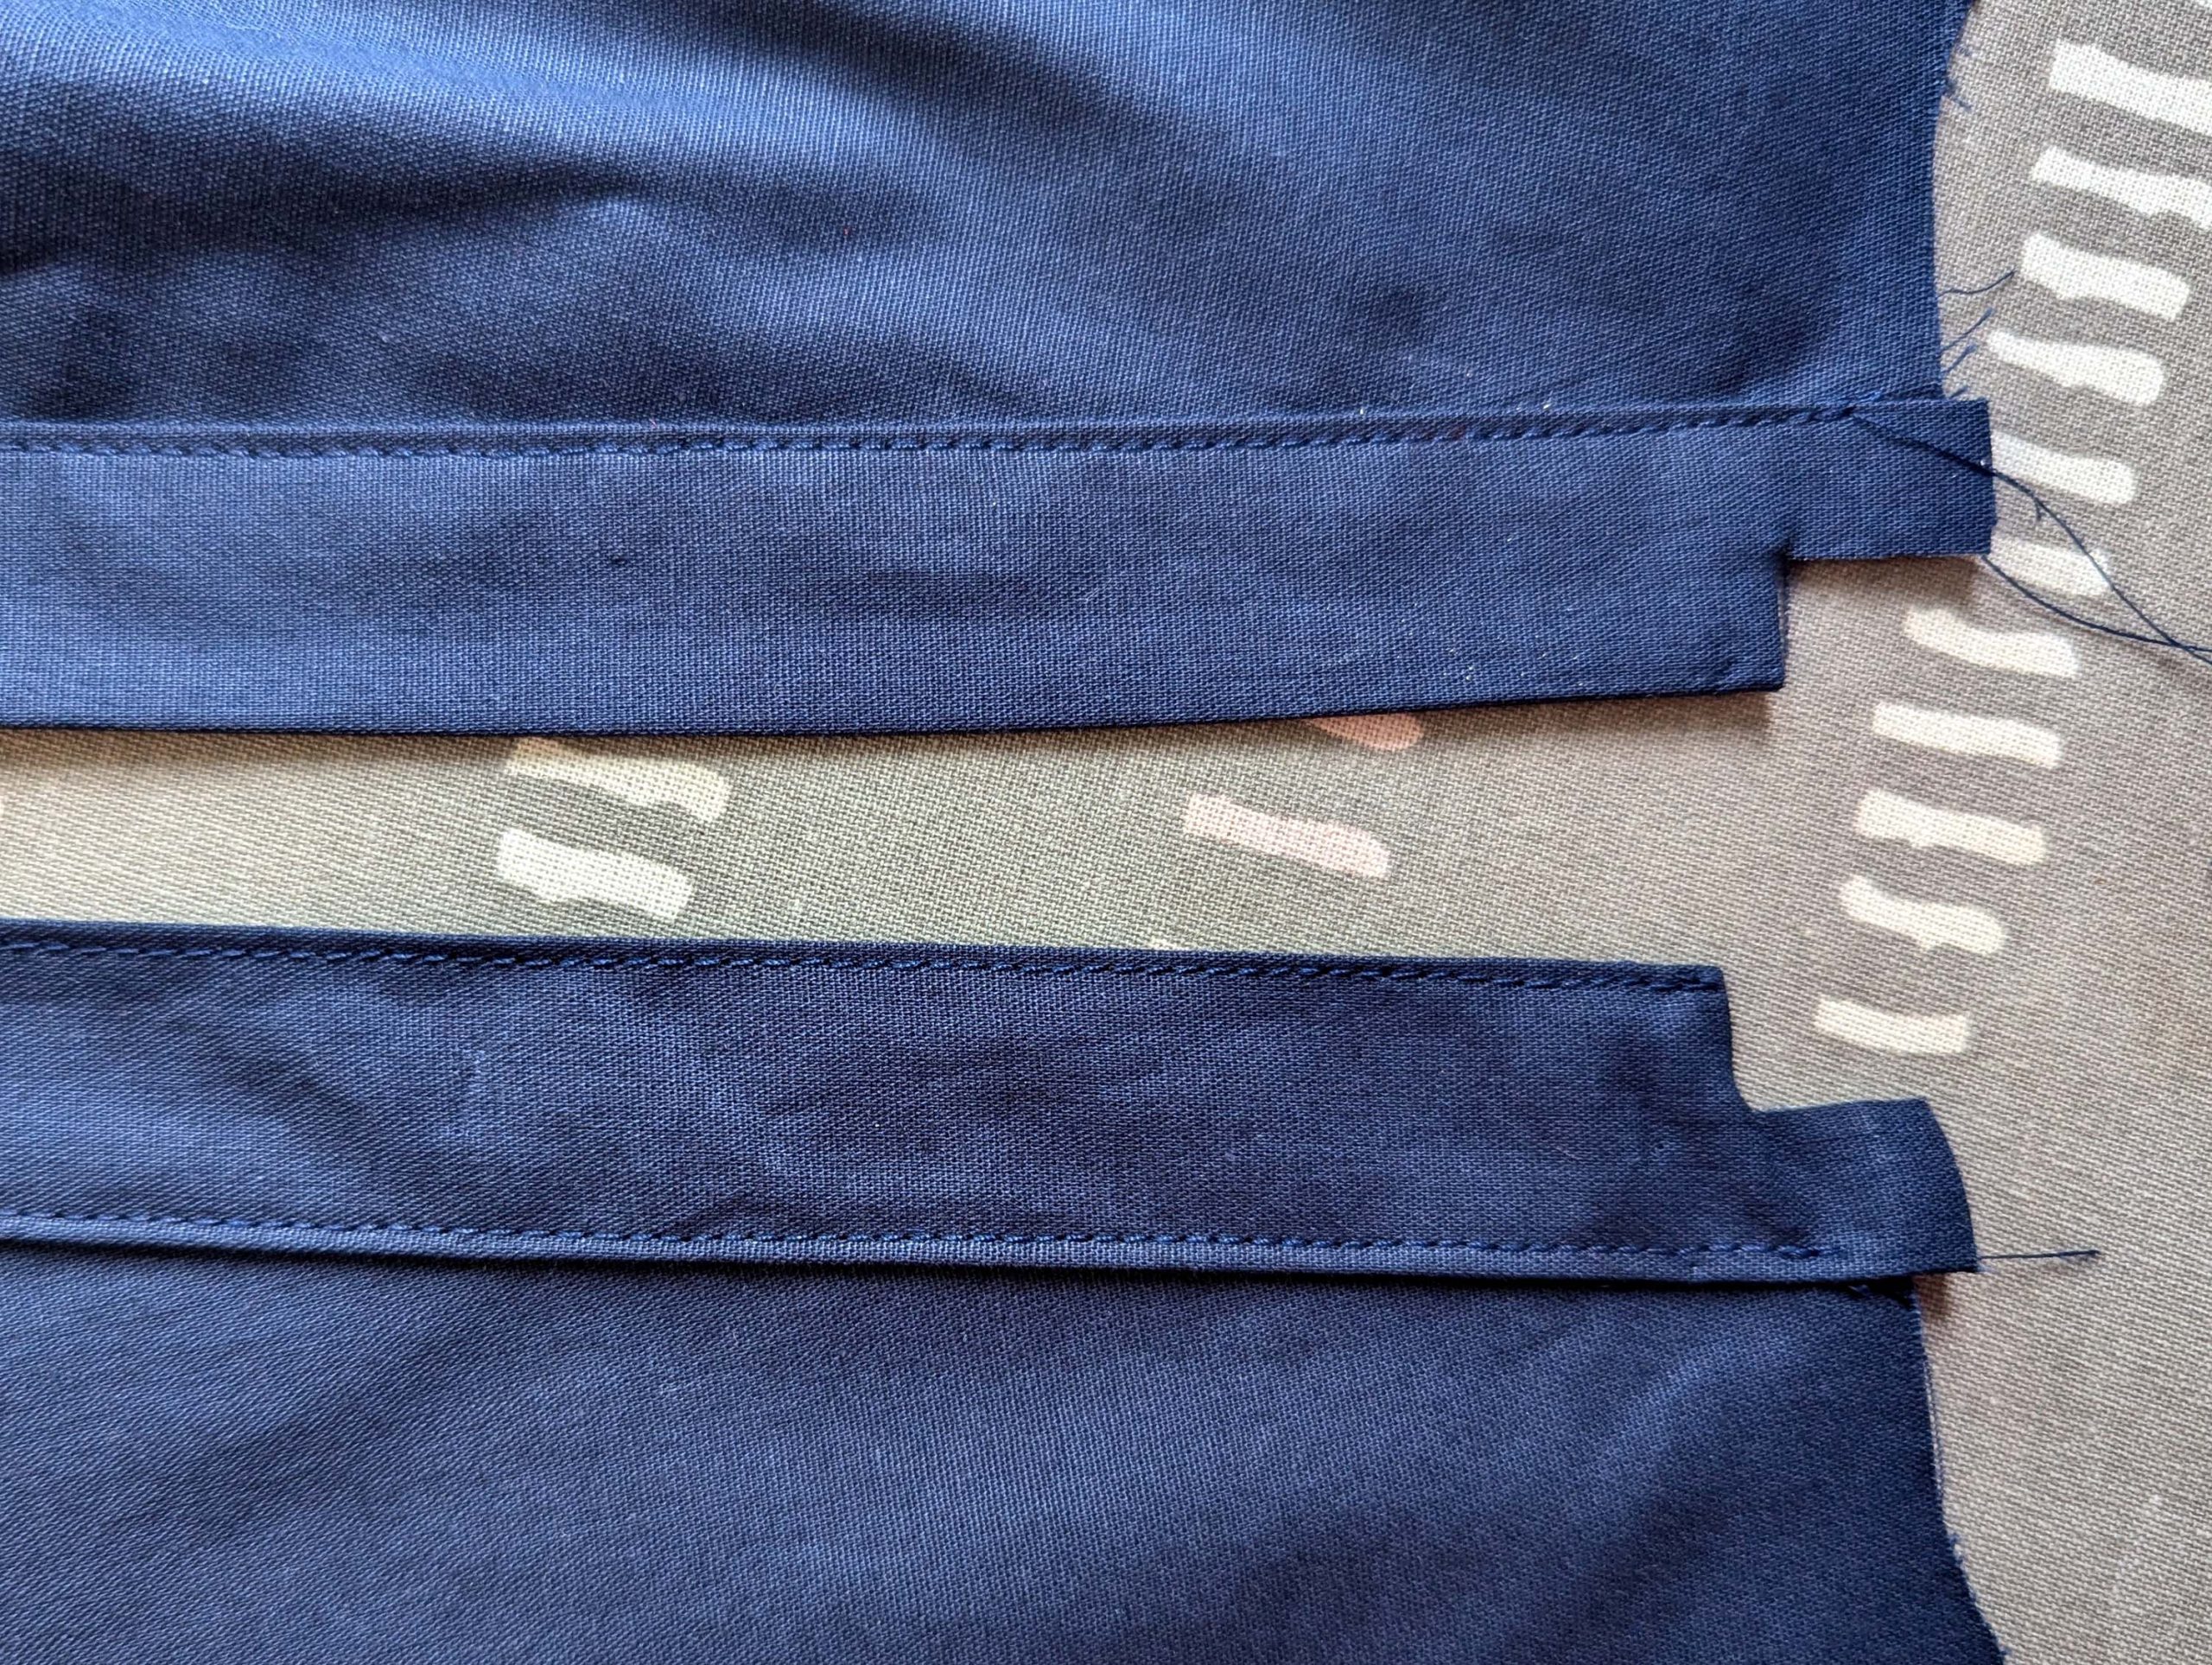
(3) Sew the shoulder seams, right sides together, and finish as a flat felled seam. Sew the center back seam, and the inner leg seam, right sides together, and again, finish as a flat felled seam.
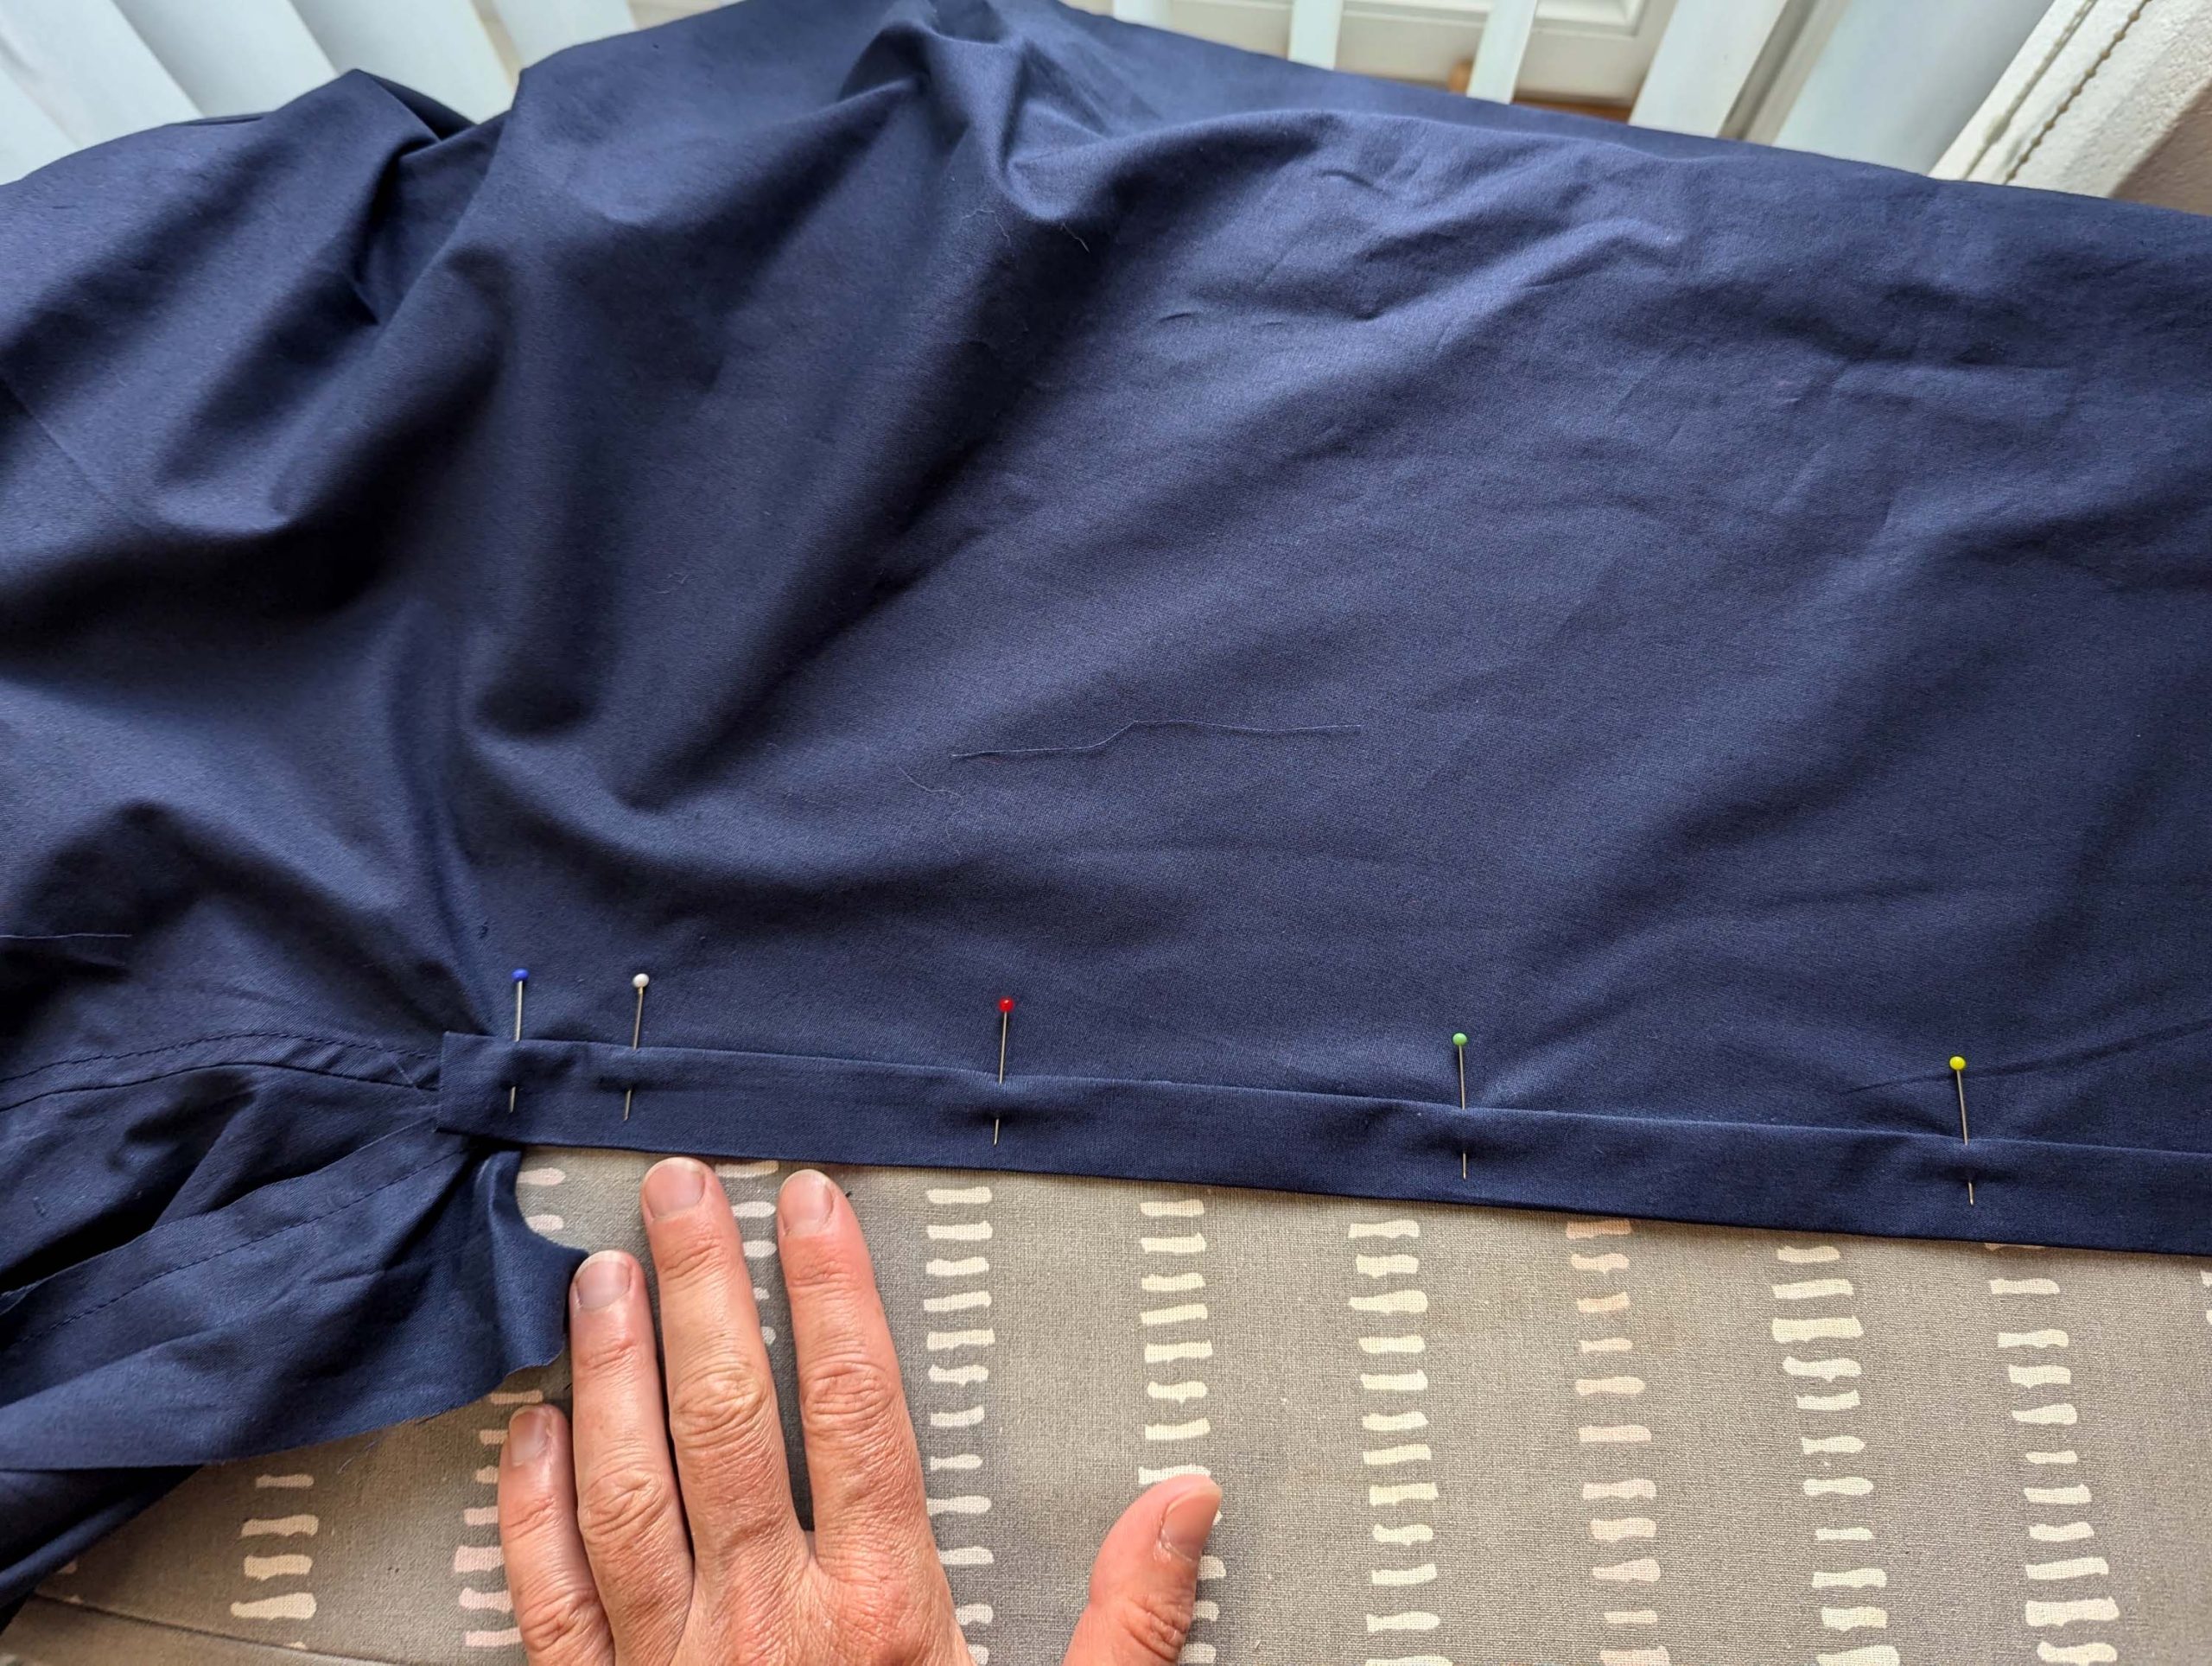
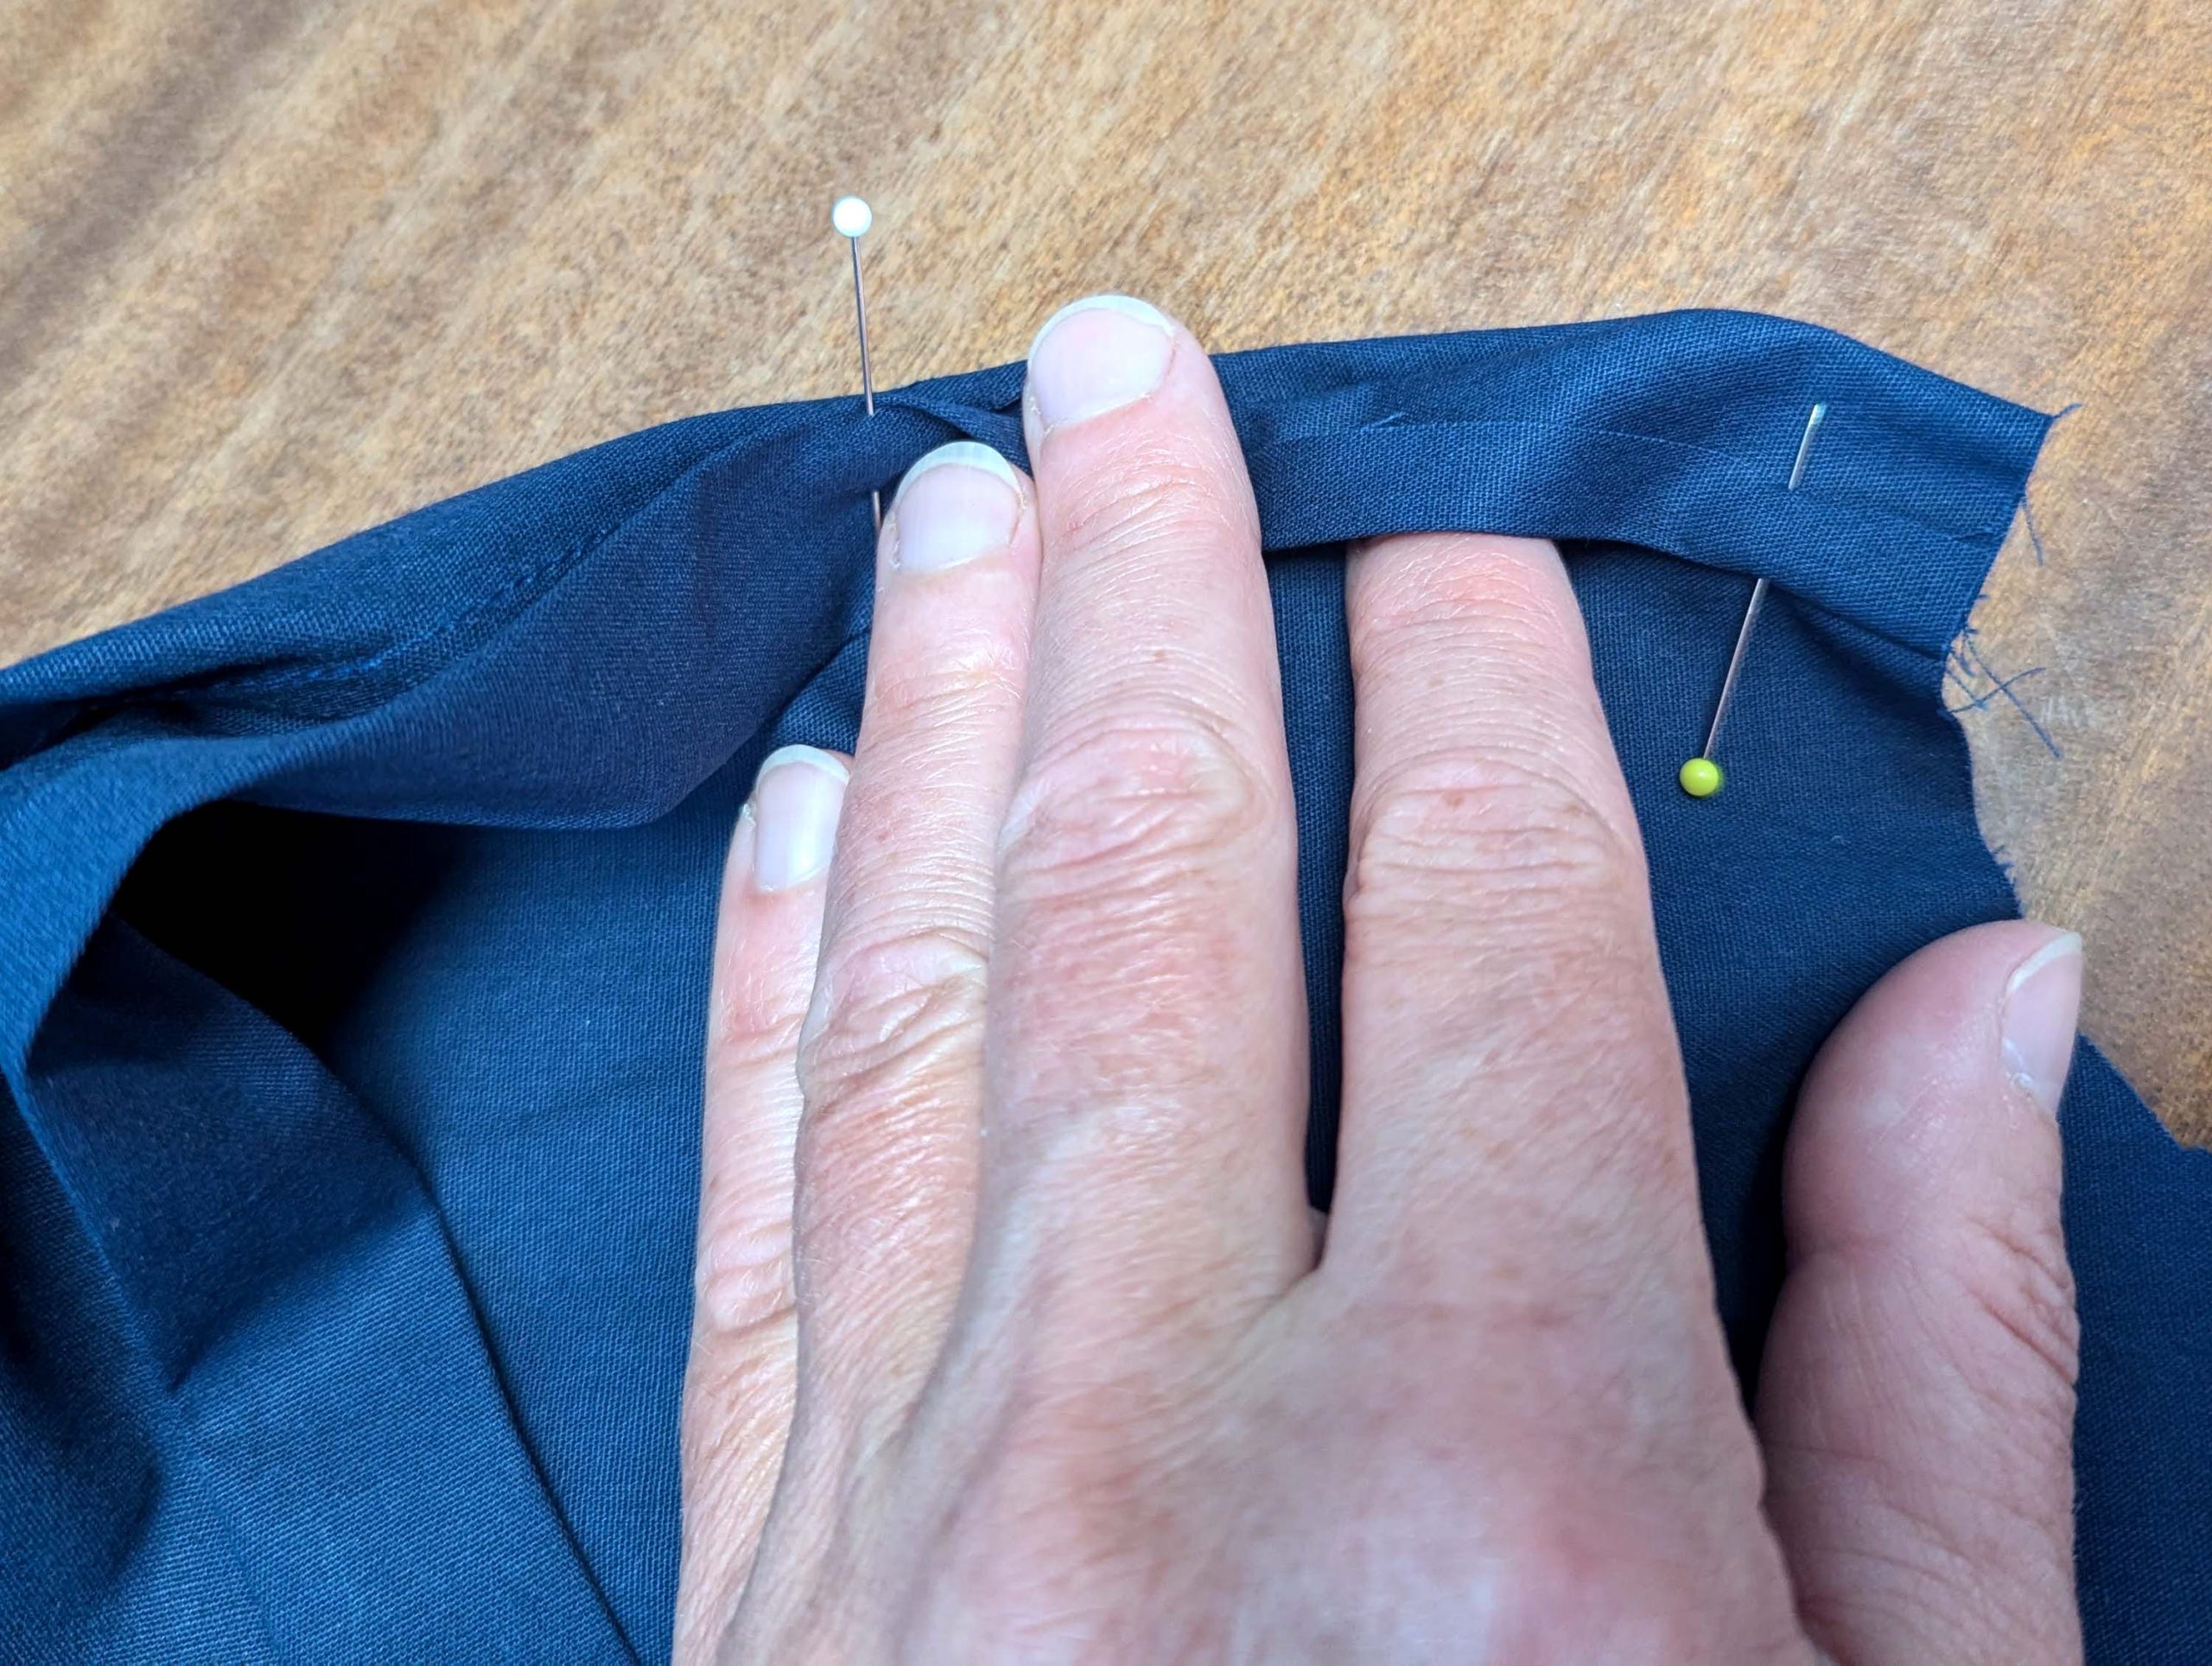
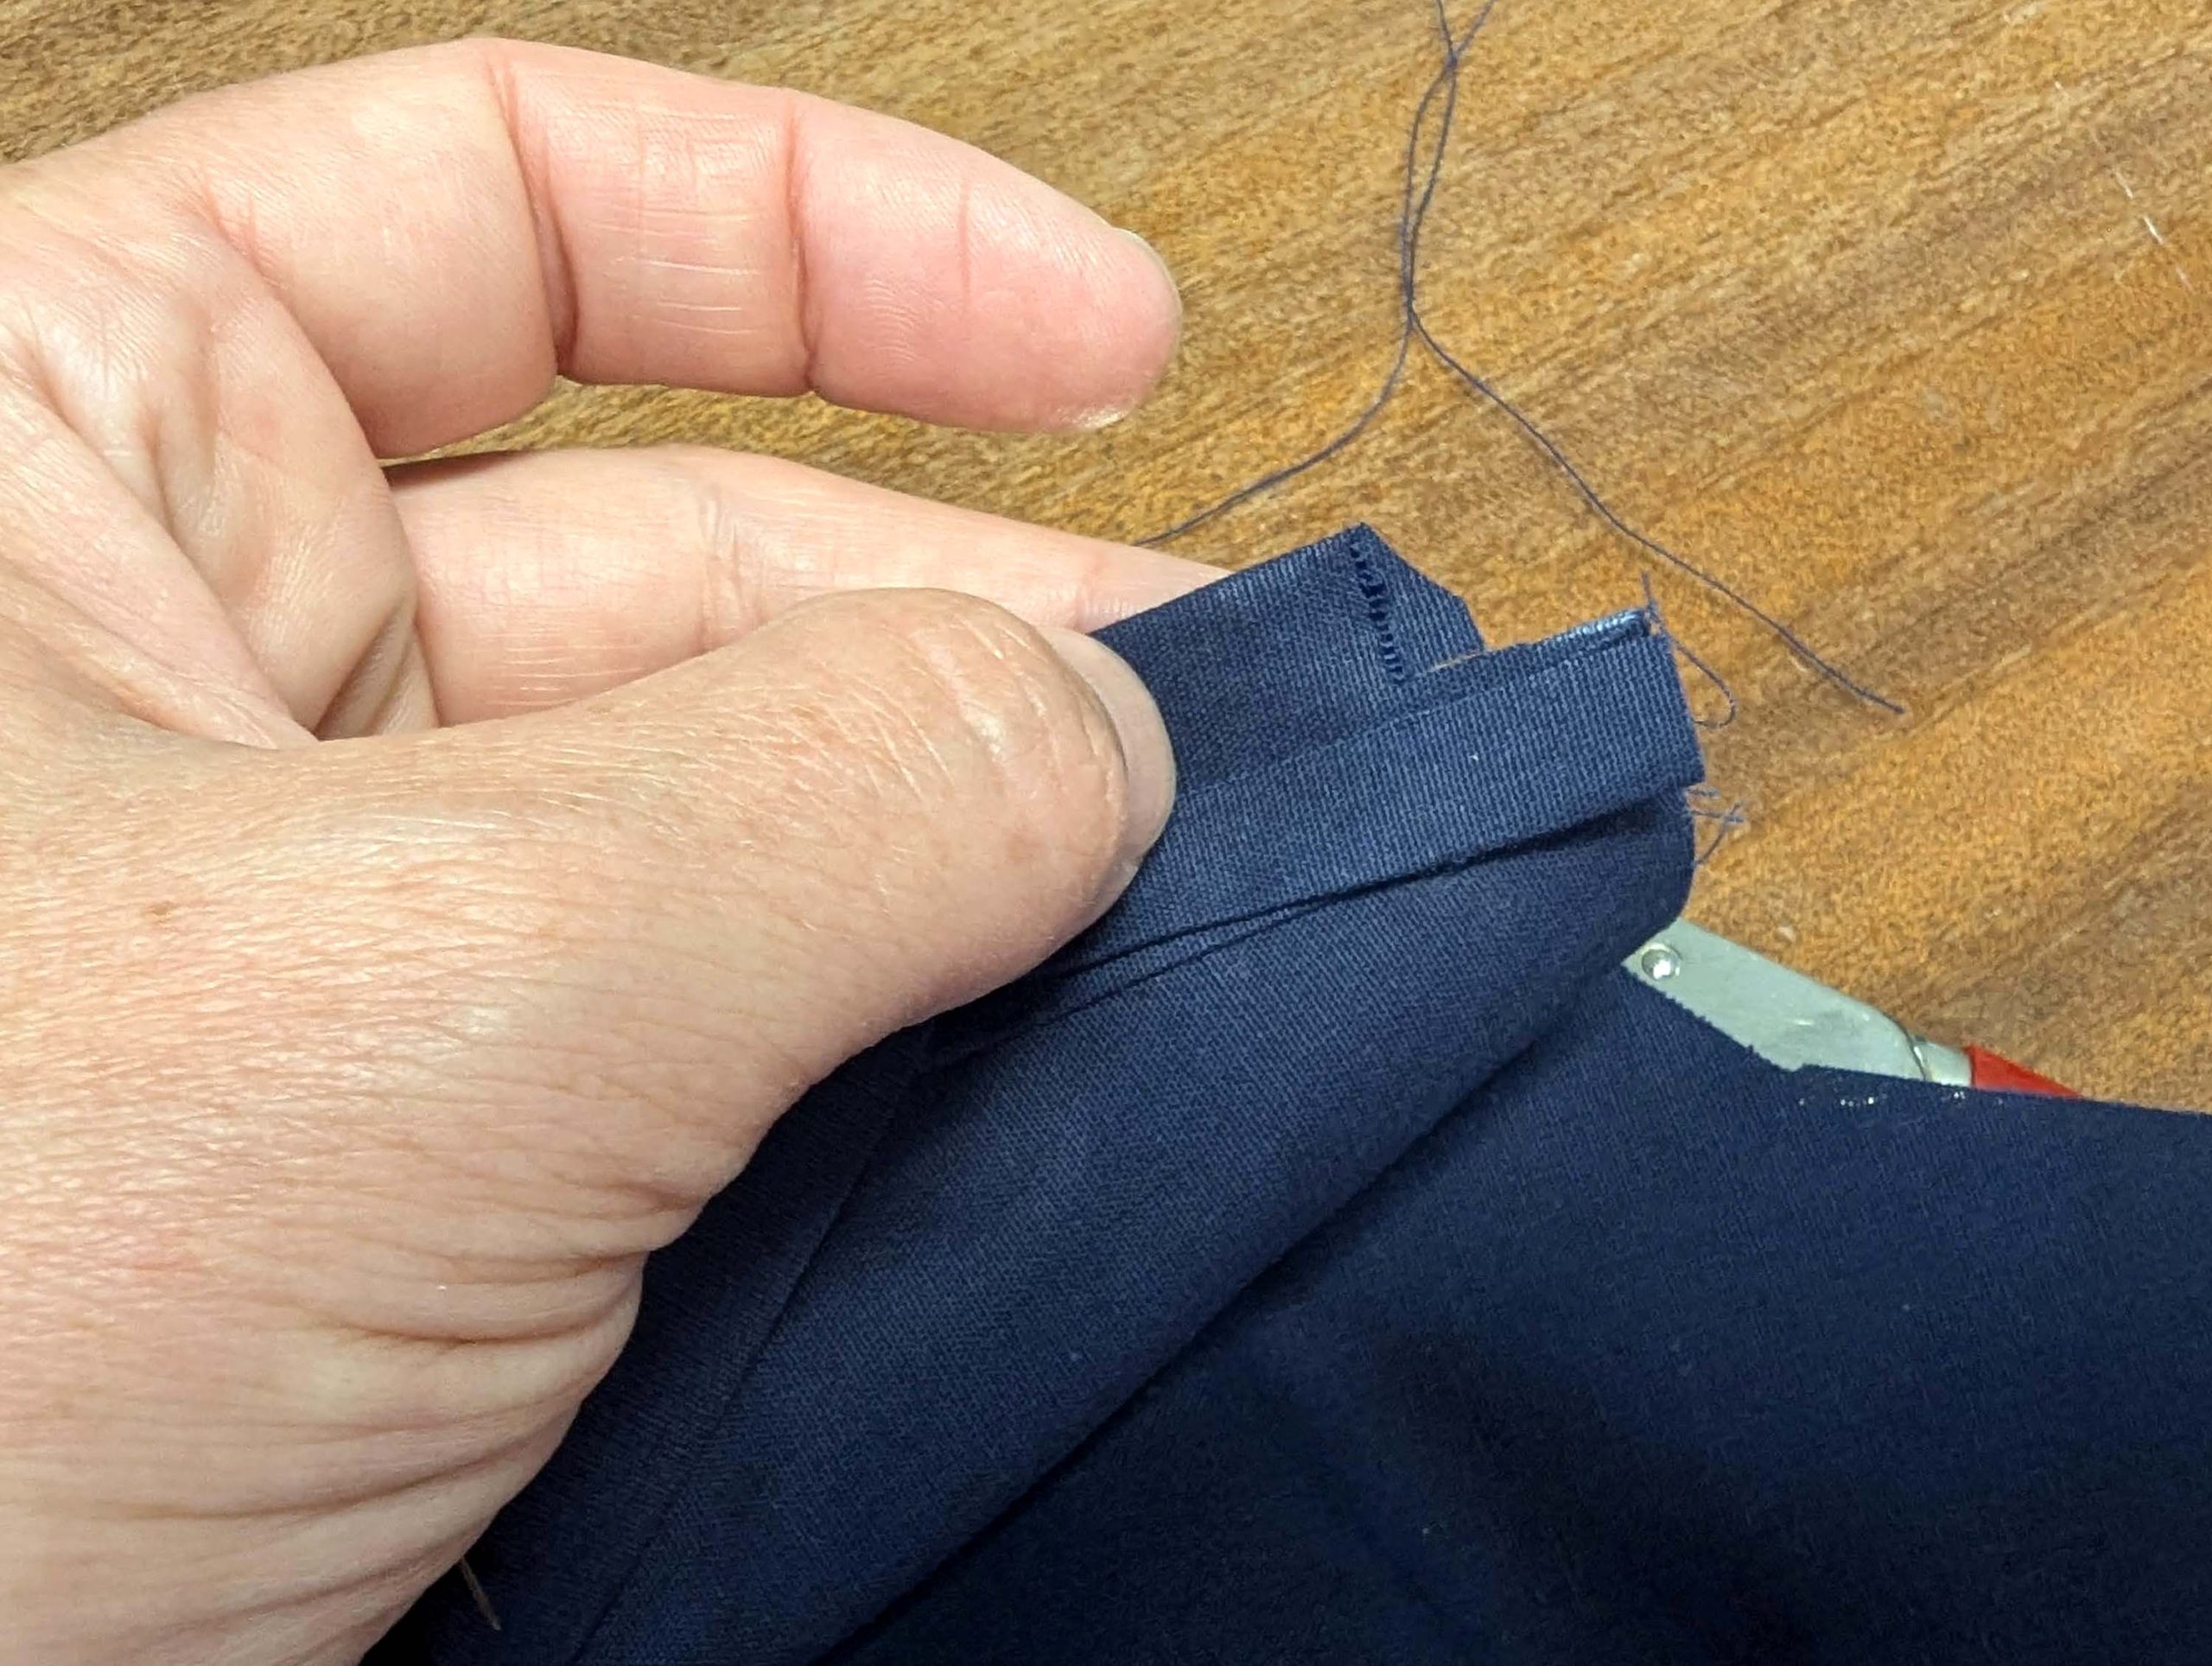
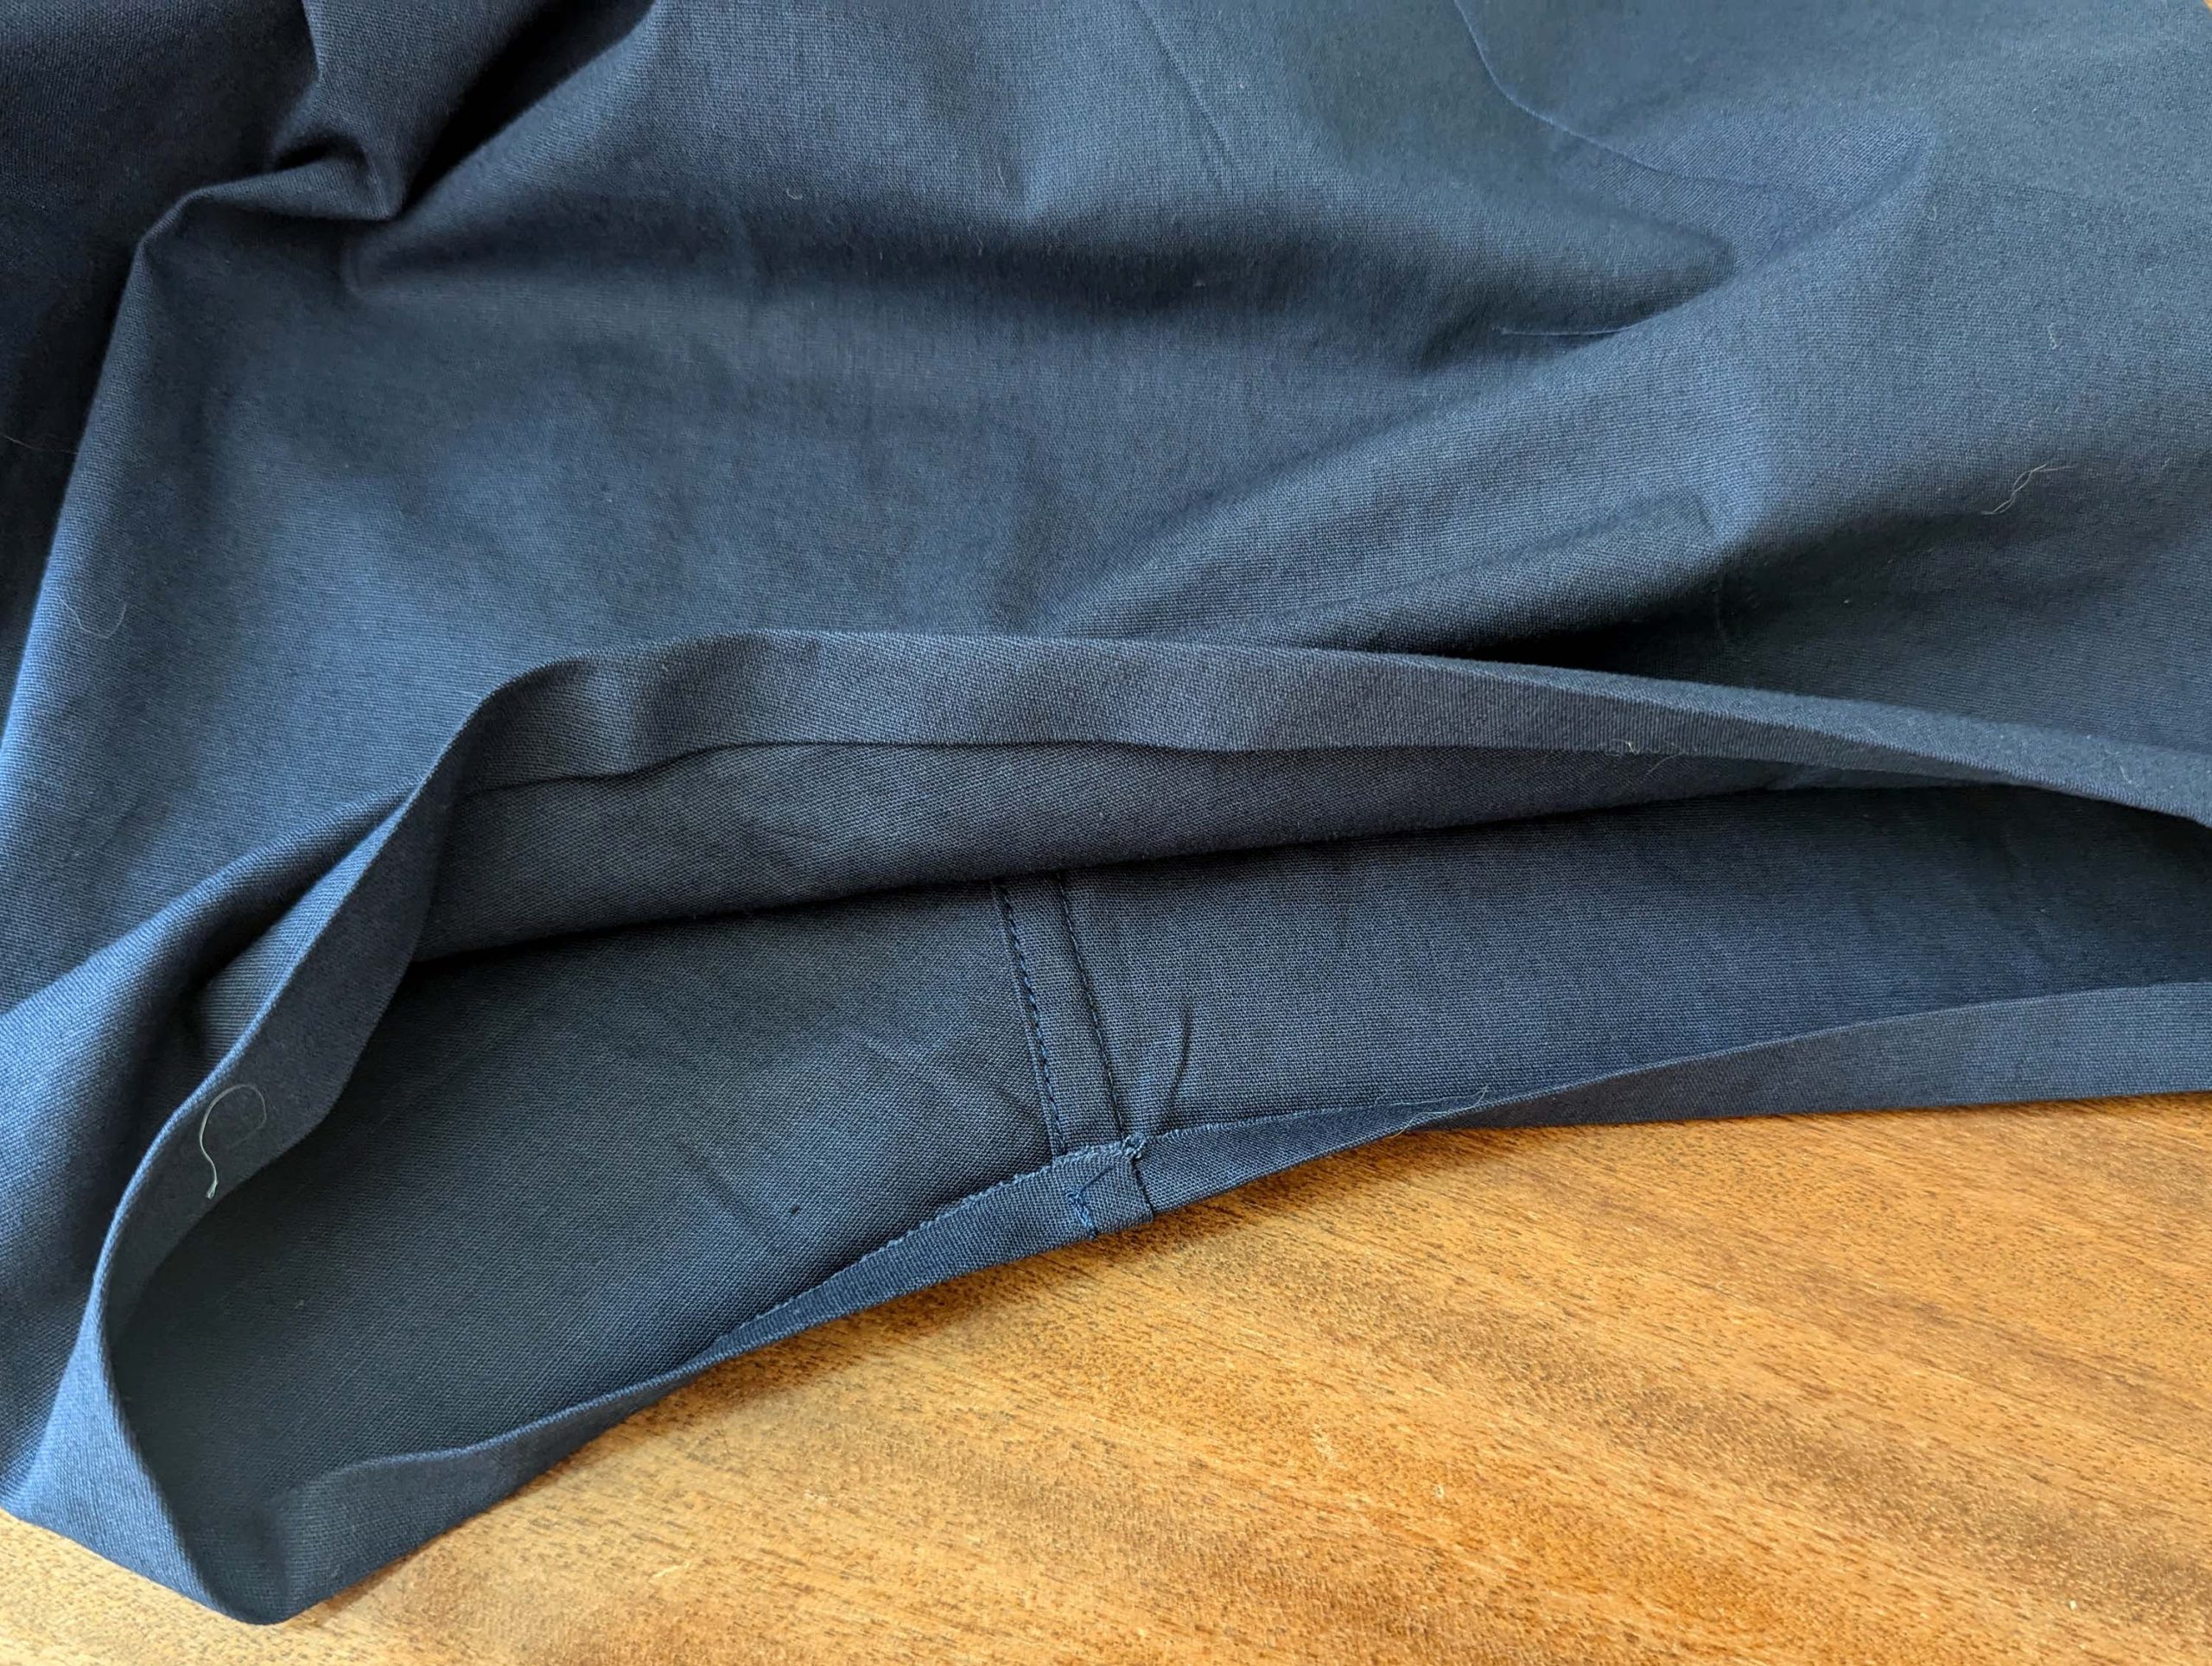
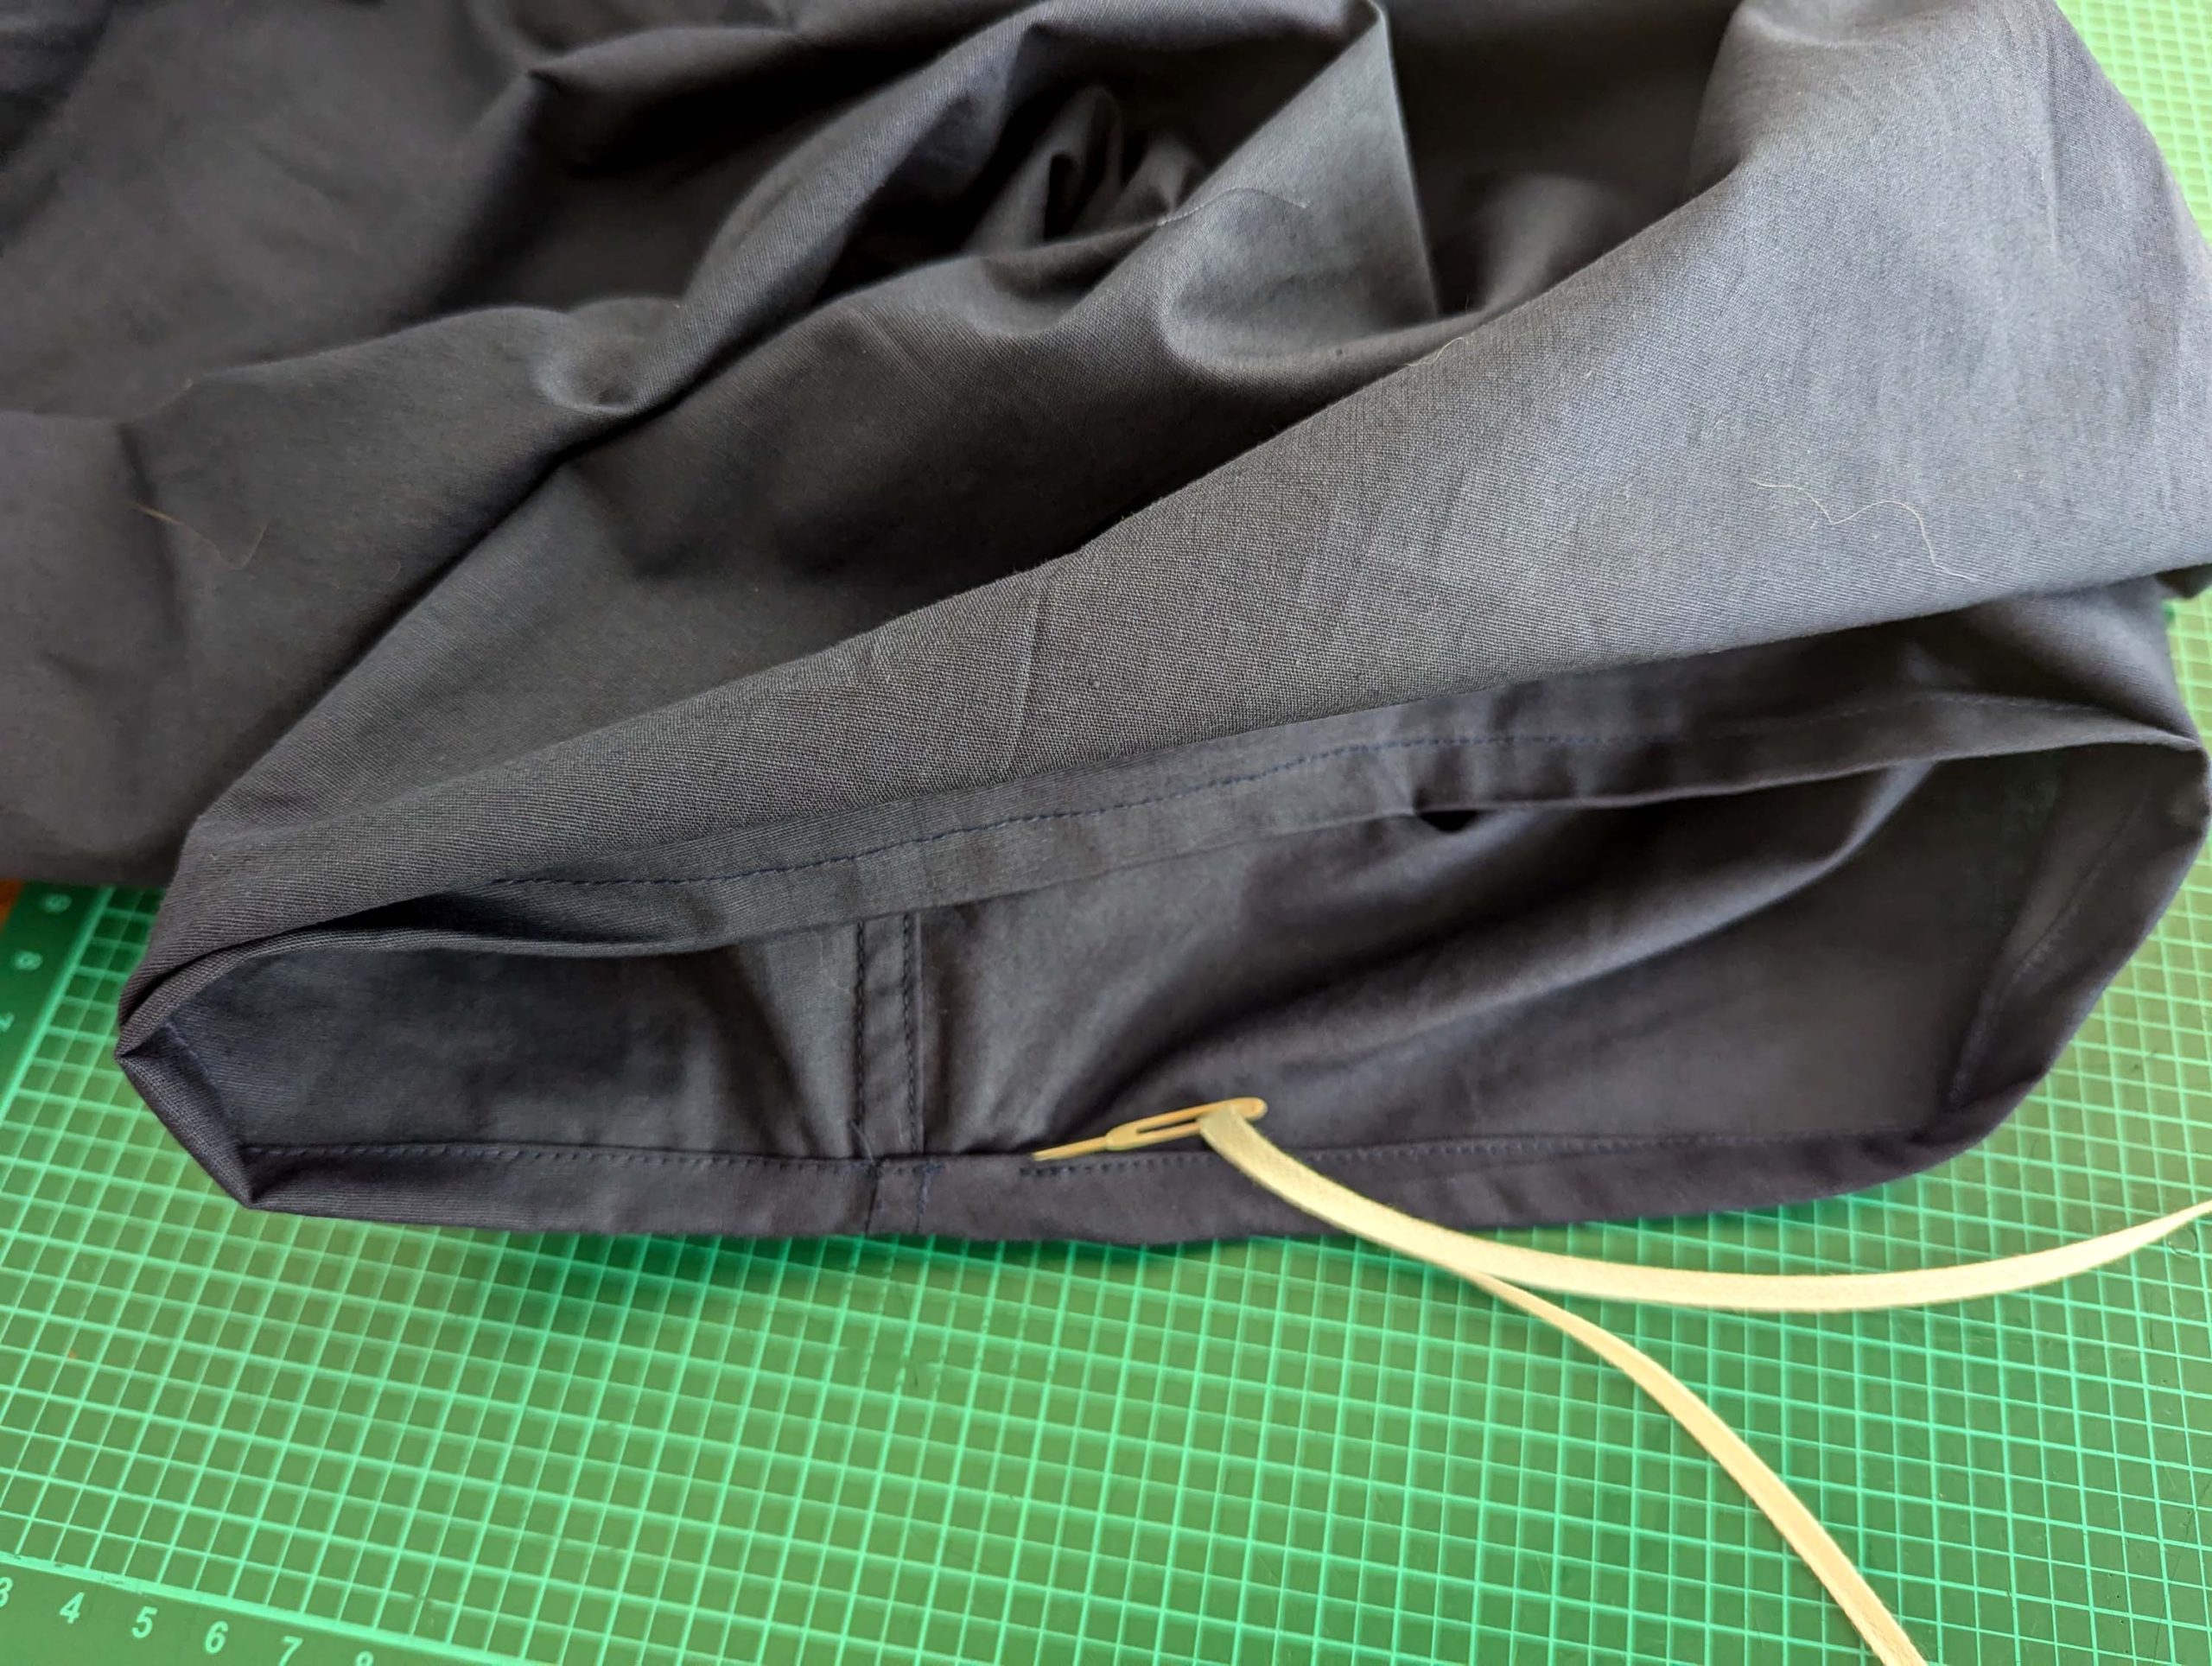
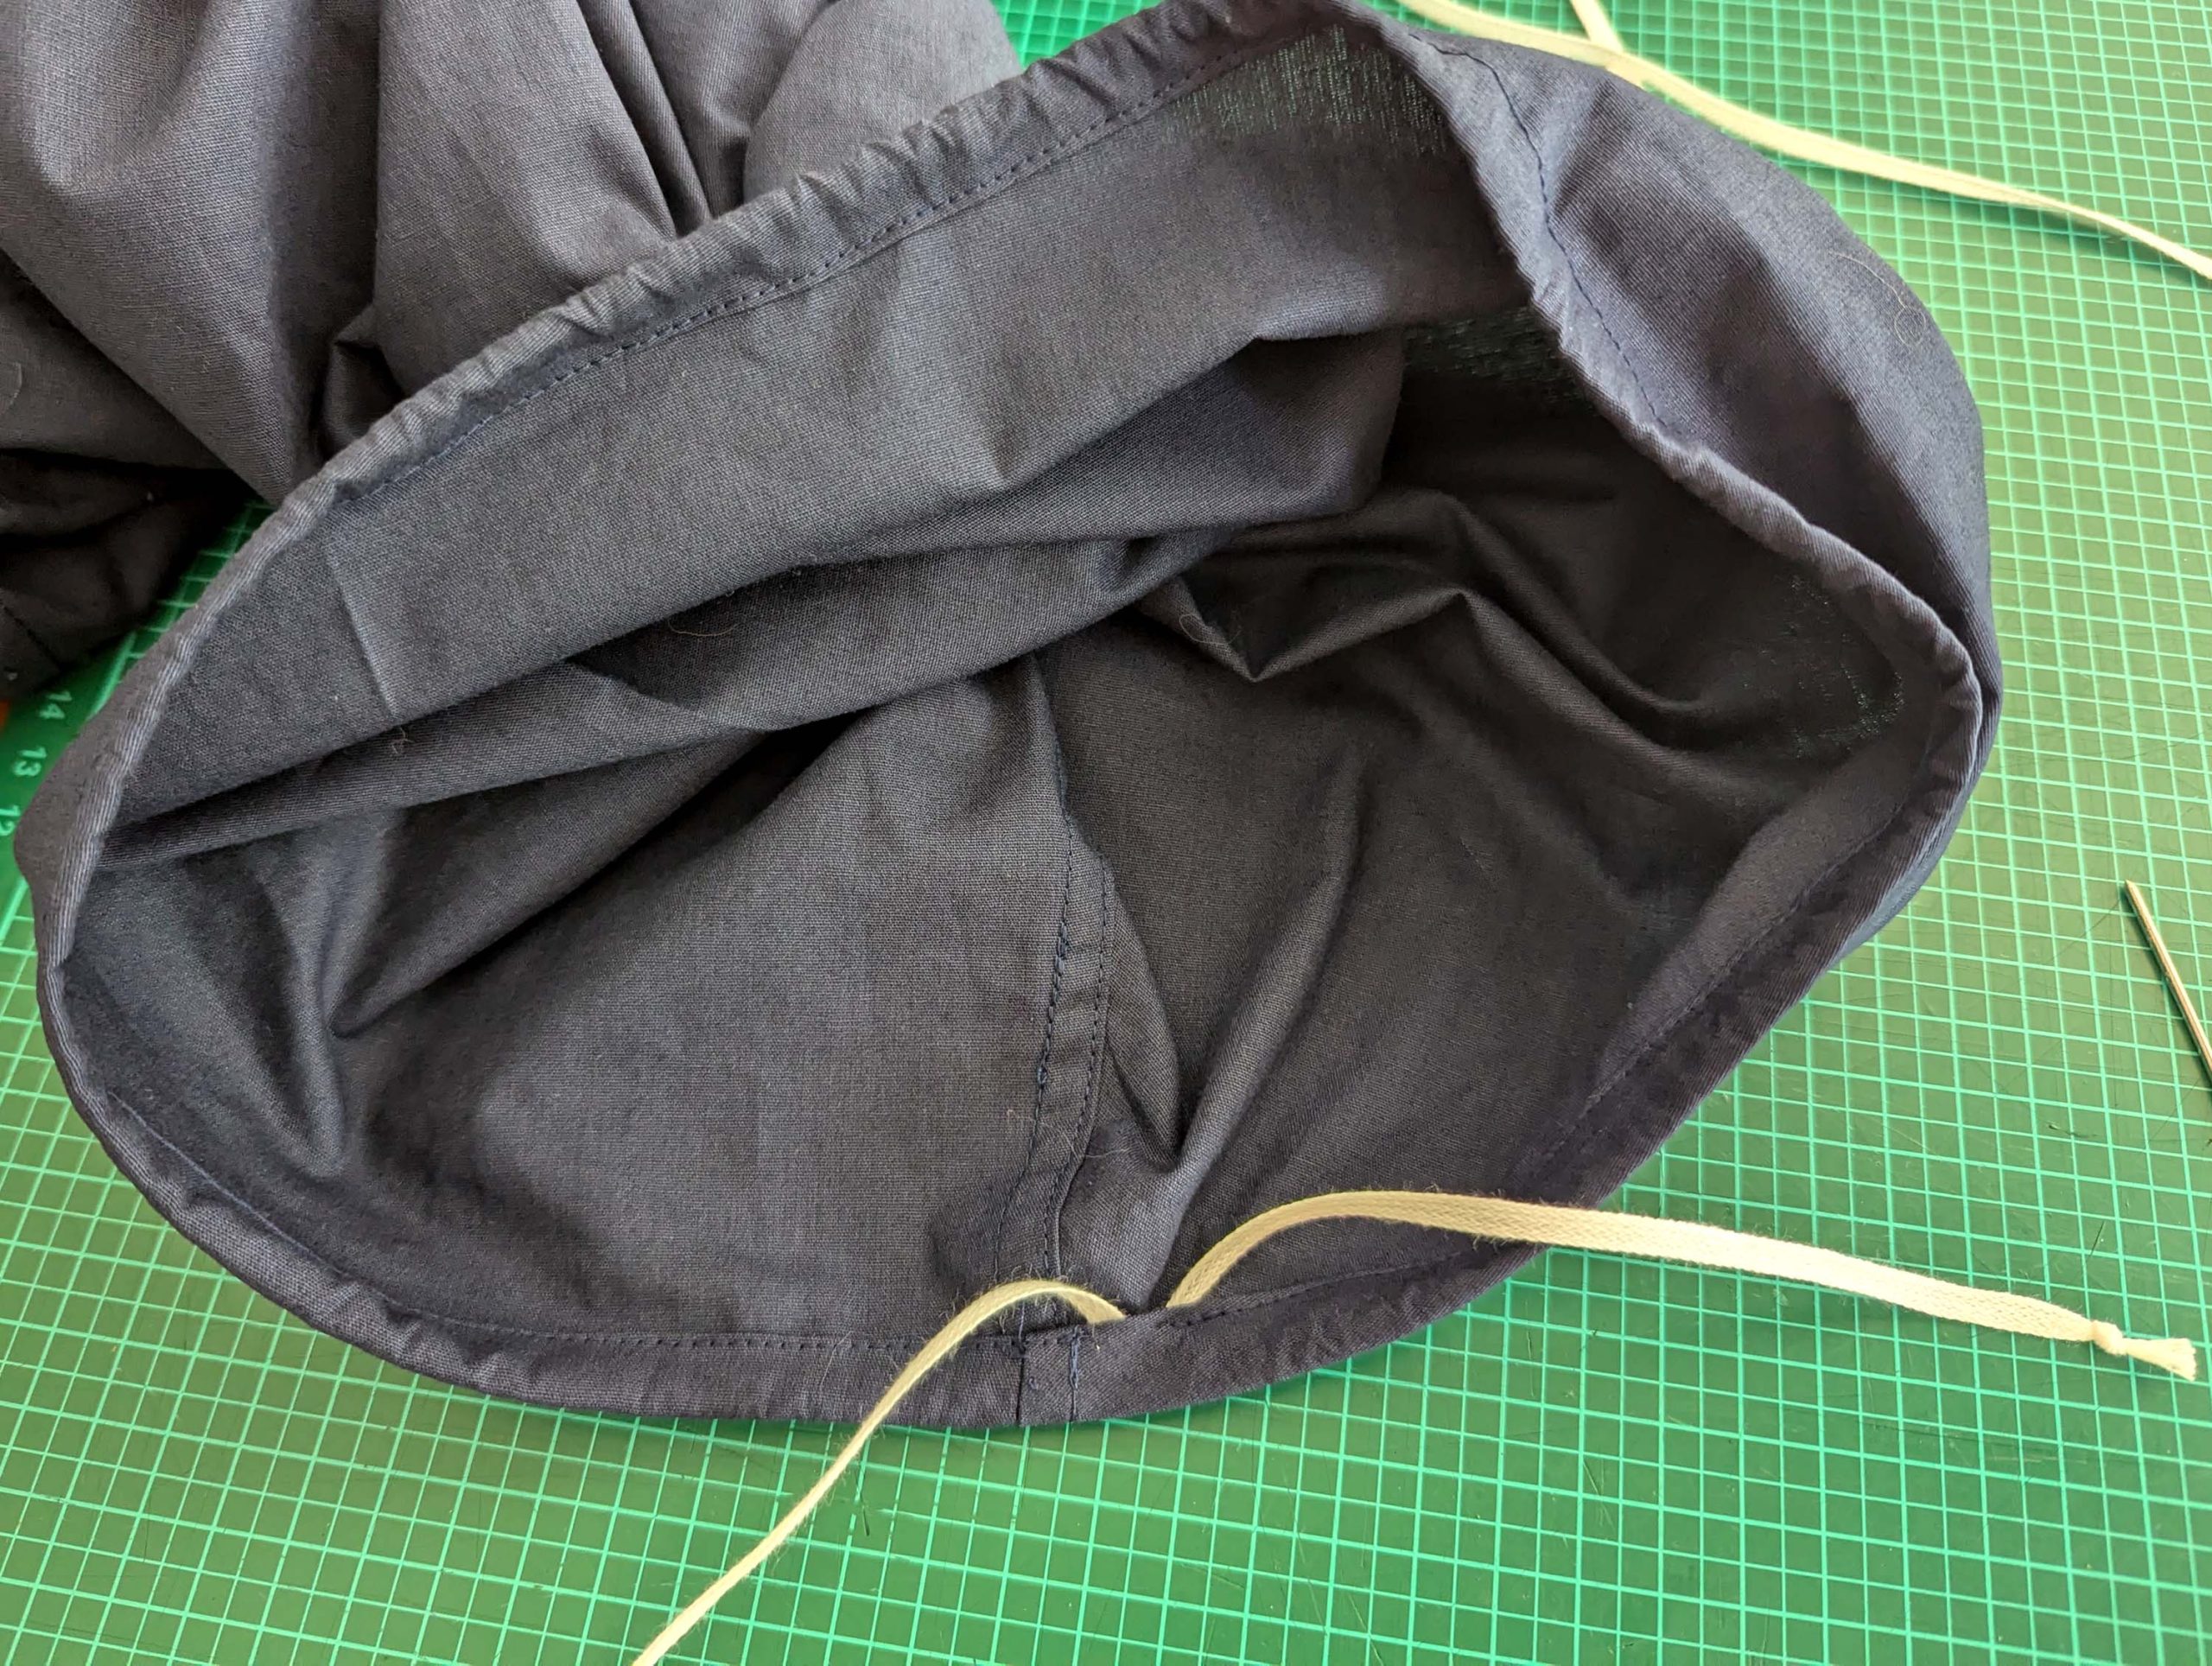
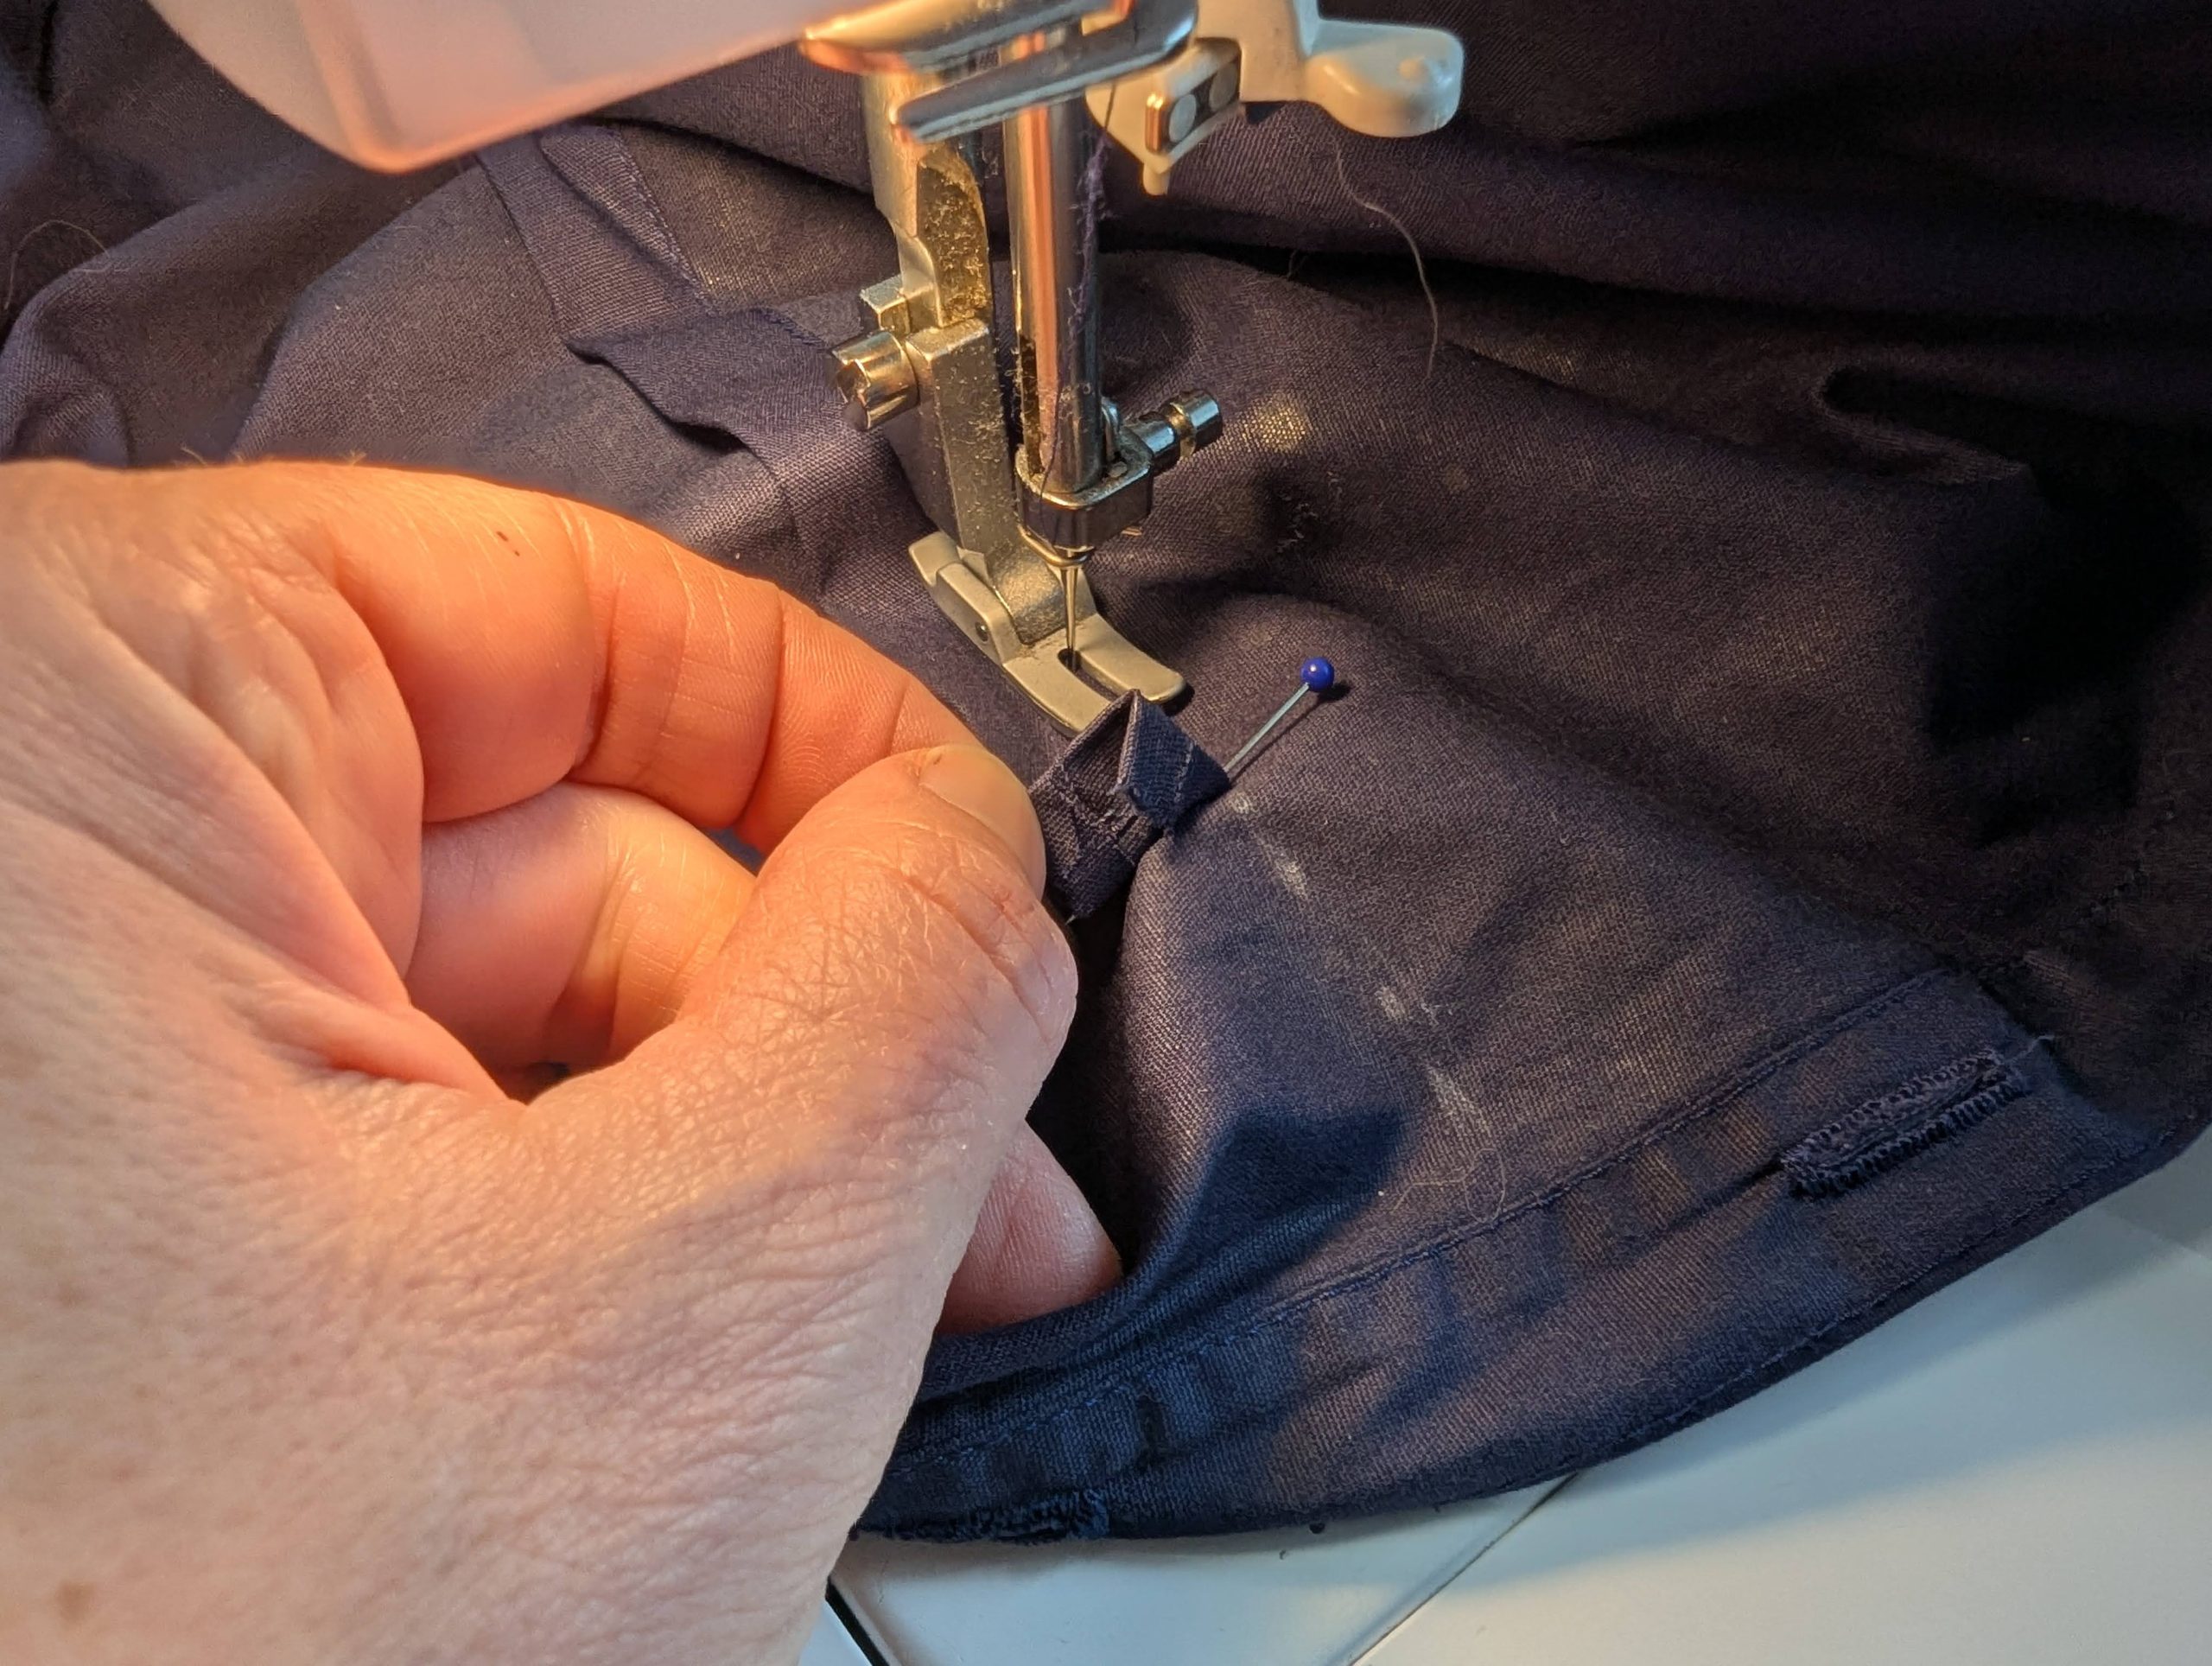
At the hem, double-turn in the seam allowance and stitch in place, leaving an opening, about 1” (2,5cm) long, around the area of the leg seam, creating a tunnel for the drawstring.
Optionally, take the 1 ¼” (3cm) wide strip for the waist-tunnel and double-turn in a narrow seam allowance along the short edges, stitch in place. Turn in the long edges as you´d form a bias binding. Line up along the waistline of the bodice, wrong sides together, and stitch in place along the long edges. Thread the tunnel with a color-matching drawstring.
Sew all the buttonholes and buttons to the belt and bodice.