Monthly Archives: April 2021

1840 to 60´s Underwear Part 1 – Chemise

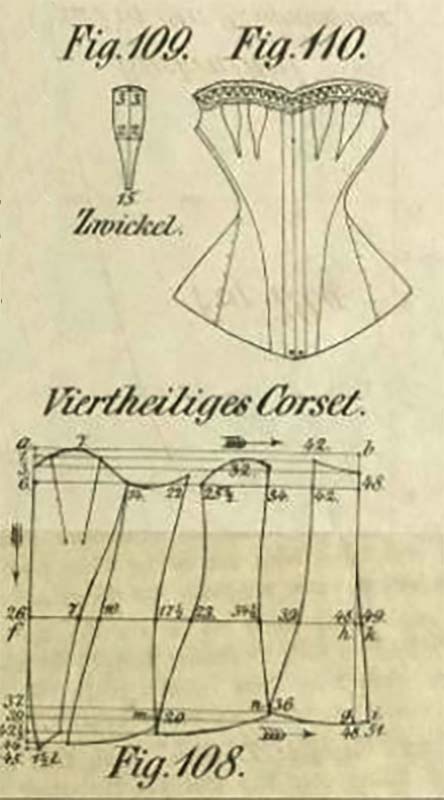
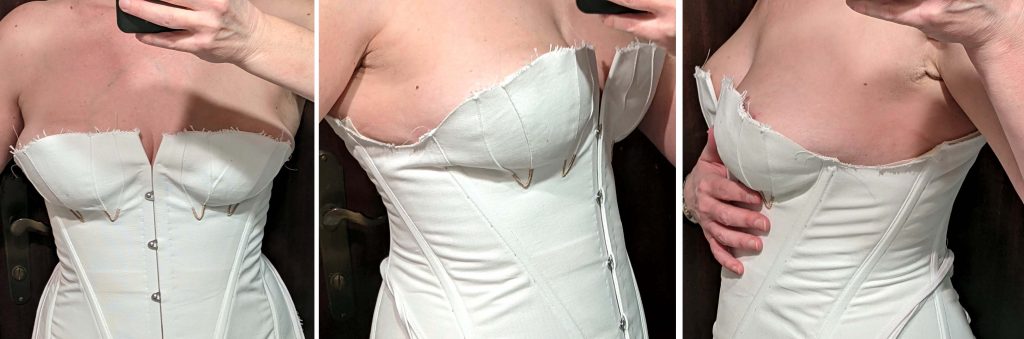
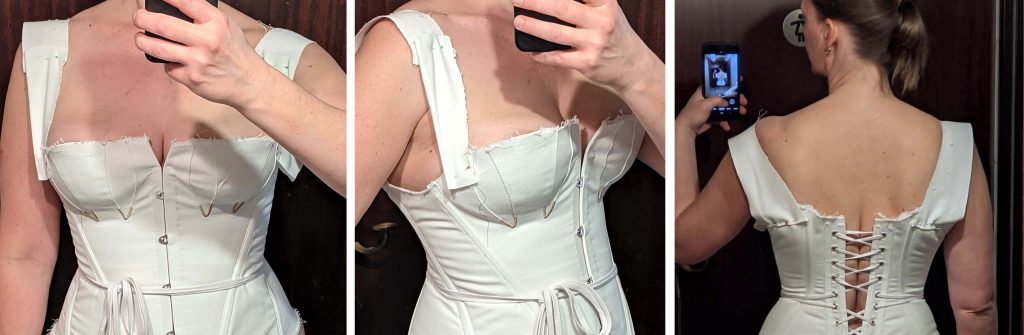
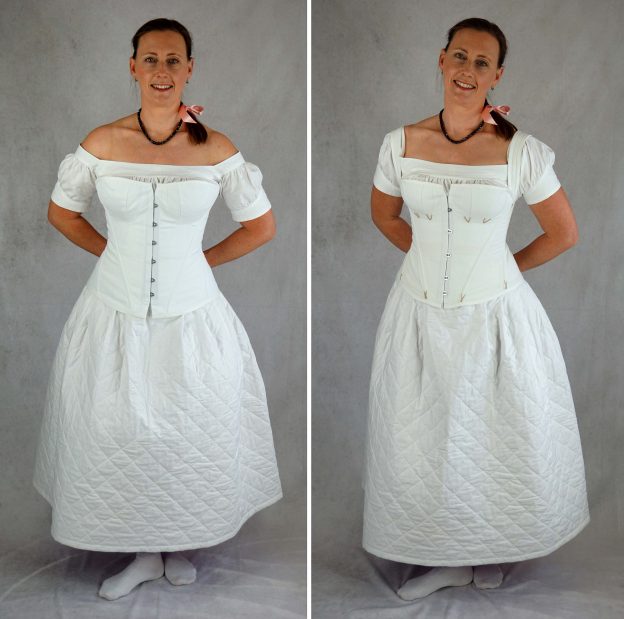
Finally, the matching underwear for the last two dress patterns I published recently is finished. Two corsets, a chemise and a quilted petticoat (quilting won’t be my passion in the future either) later I´m happy to present my new sewing pattern for 1840´s to 1860´s underwear.

Beside the sewing instructions, coming with the pattern, I´ll show some additional information and pictures here in my blog.

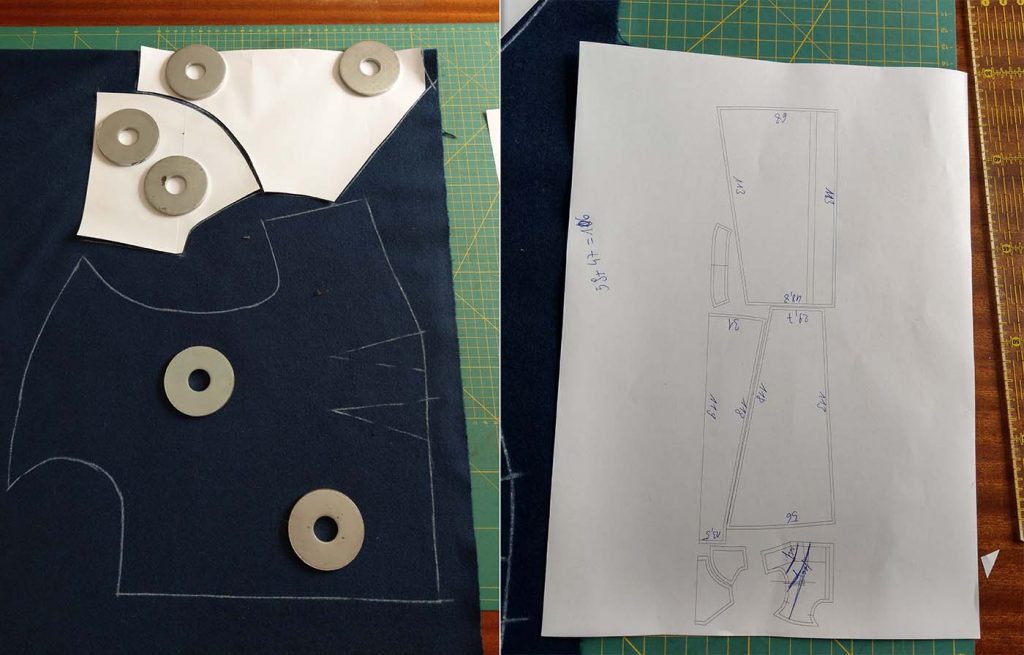
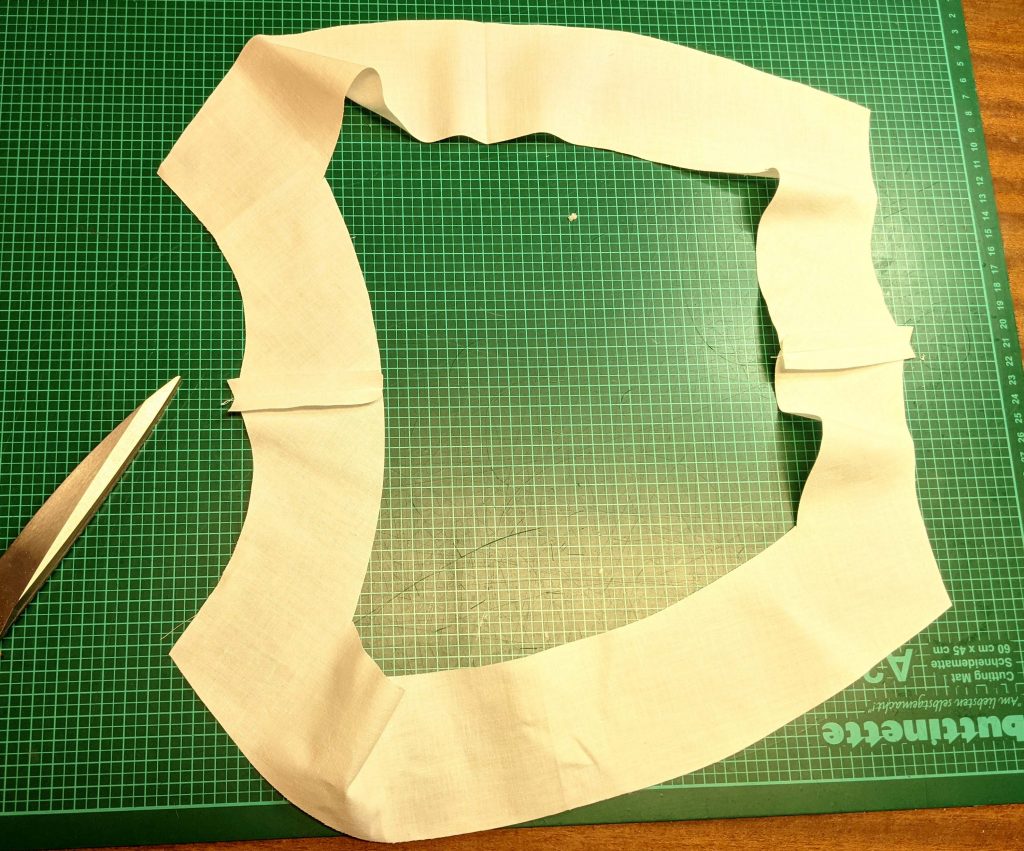
Let´s start with the chemise, all pattern pieces prepared for sewing.

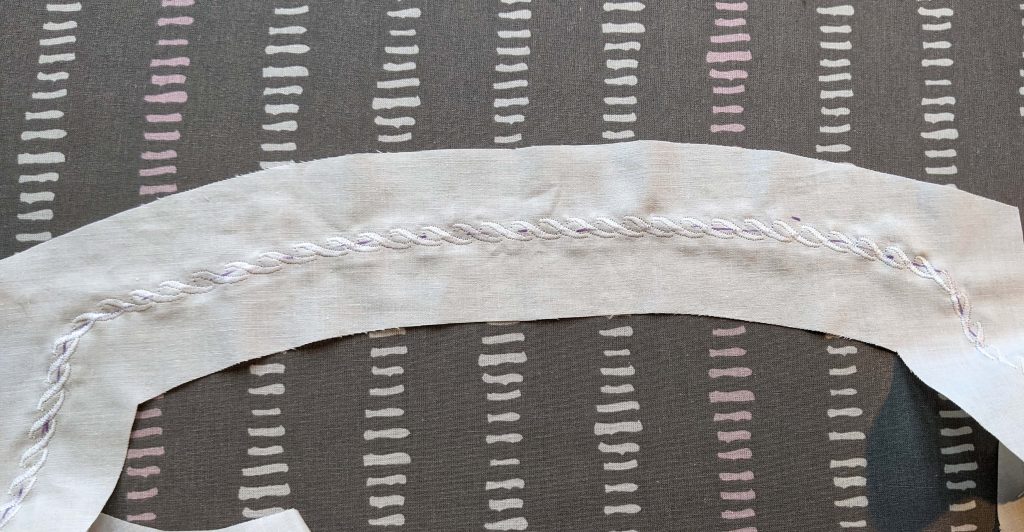
Before I made up the sleeves, I decided to sew the yoke and embroidered it with a decorative stitch of my sewing machine. Instead of polyester thread I used a cotton thread for all seams and the embroidery.

After doing all the gathering on front, back and the sleeves, I lined up the bottom edge of the sleeve with the sleeve cuff and clipped the sleeve at the corner to sew more easily.

Continue reading

1840 to 60´s Underwear Part 2 – The Corset

Part 1 – The Chemise

The first time I stumbled over this corset was some years ago, when I made the young Queen Victoria cosplay for my daughter. I was looking for an easy to sew, period accurate and comfortable corset for a 16 years old and found a four gored corset dated to 1844 in Norah Waughs “Corset and Crinolines”. Further research leaded me to the original publication of the pattern, “Vollständiges Lehrbuch der modernen Bekleidungskunst für Damen“ from C. Kawitsch and H. Klemm, Dresden 1852. The 3rd edition from 1856 is downloadable via the digital collections of the University of Dresden: https://digital.slub-dresden.de/werkansicht/dlf/29313/5/0/

The original pattern served well for a very slender young girl, just when I mad my first mock-up, I noticed, that it is cut very deep at the armpit and will work better with shoulder straps. At this point I decided to make two corsets, one with shoulder straps and another without. The patterns are similar, just the top edge is raised at the armpit to give the support needed at the sides without straps.

Let´s start sewing the corset! Inserting gussets to a corset is not as difficult as it seams to be in the first moment. I cut the slits and turned in a narrow seam allowance, lined up the edges with the marked line on the gussets and pined in place. After edgestitching the gussets to the corset, I made a decorative bar with a contrasting (silk) thread to avoid fraying. On the lining, I omitted that step, but a bar tack, made with the sewing machine will serve was well.

Continue reading

1840 to 60´s Underwear Part 3 – The quilted Petticoat

Part 1 – The Chemise

Part 2 – The Corset

Quilted petticoats where worn from the middle of the last century until the end of the 19th century, warming the body and shaping the overskirts at the same time. A quilted petticoat is a very simple garment, made of a double layer of rectangle pieces of fabric, padded with wool or cotton, commonly attached to a boned hip yoke to avoid bulk around the belly during the romantic period. I´m not a passionate quilter, that´s why I kept the quilting pattern of my petticoat simple, just a diamond pattern. On extant petticoats, you can see quilting patterns ranging from just parallel lines to fancy and complex designs.

I decided to use different colors of a polished cotton for the top and lining layer and sew them together along the bottom edge. It would have been easier not to do so, as the fabric warped in all directions I didn´t want. On this picture, I basted my batting to the lining layer and sewed the two pieces of padding needed together edge by edge with some rough stitches.

I smoothed out the top layer on top of the fabric and traced my quilting design, before I basted together all layers before quilting the petticoat.  

Continue reading

#0319 Empire Spencer and Redingote about 1815 – Tutorial

Recently I was asked about a tutorial regarding to my sewing pattern #0319, the Empire Spencer or Redingote. So far there have only been instructions for the muff, the cap and the soutache embroidery. I found lot´s of pictures I took during the sewing process I want to share with you, follwing the instructions step by step.

Perhaps you´ll be missing some of the details that can be found in the instructions, because this tutorial is just intended to supplement my sewing pattern, available through my Etsy shop, with additional pictures.

First step always should be a mock-up, fitted to be worn over a dress, made of a fabric similar to your fashion fabric.


Cut all pieces from fashion fabric, interfacing and lining as shown on the cutting diagram. Mark all darts and notches. A seam allowance of 5/8” (1,5cm) is included in my patterns.


Step (1) – How to prepare the fronts, sewing the darts, basting the interfacing and the cotton tape. Important, never reject the help of your pets!

Continue reading