Tag Archives: turn of the century

A bathing cap around 1900

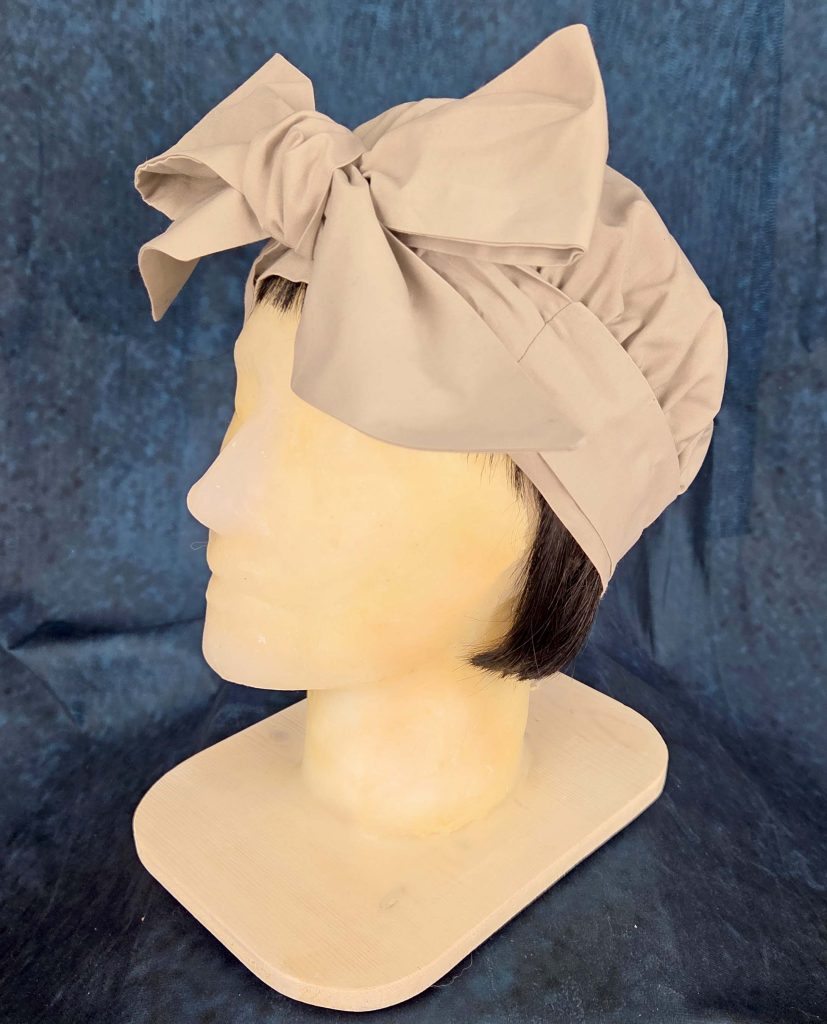
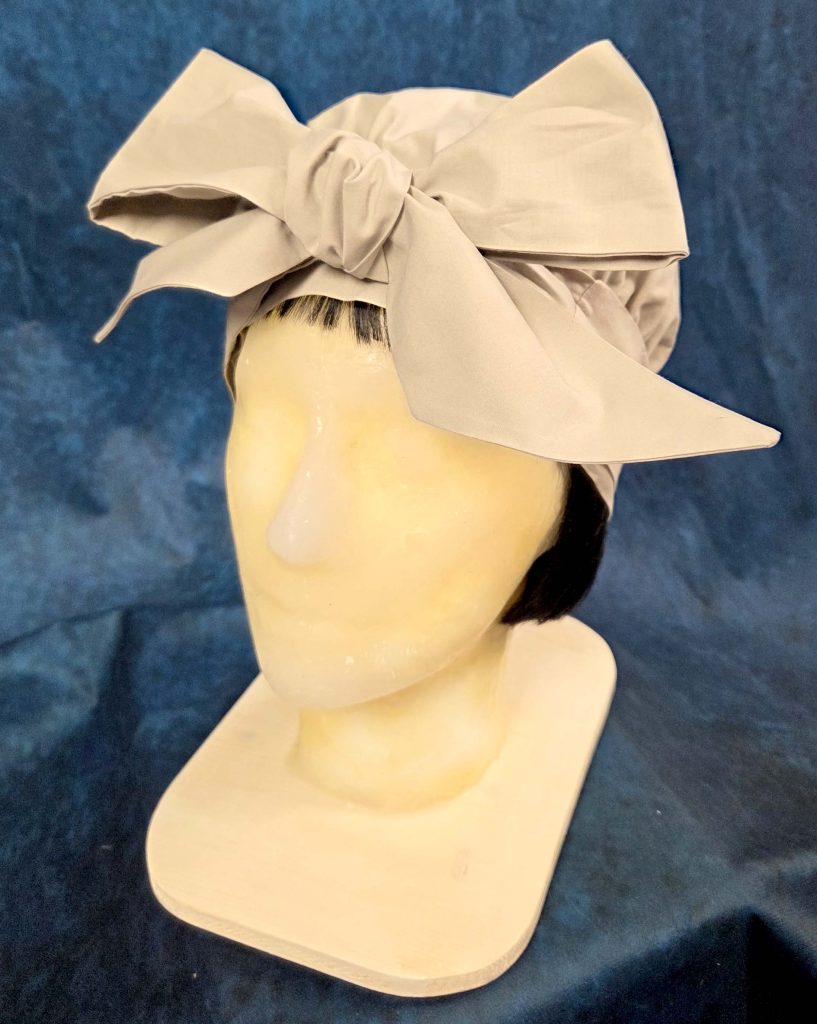
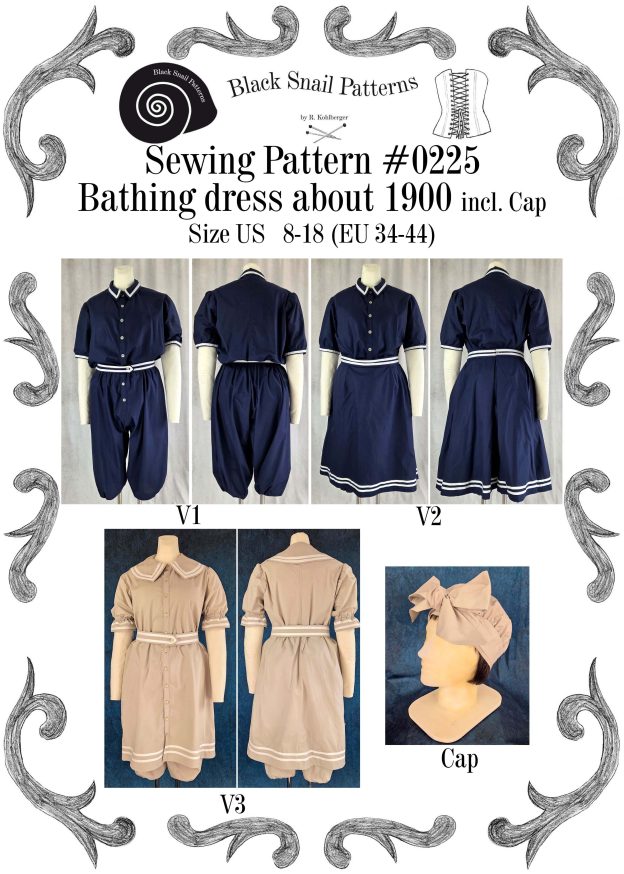
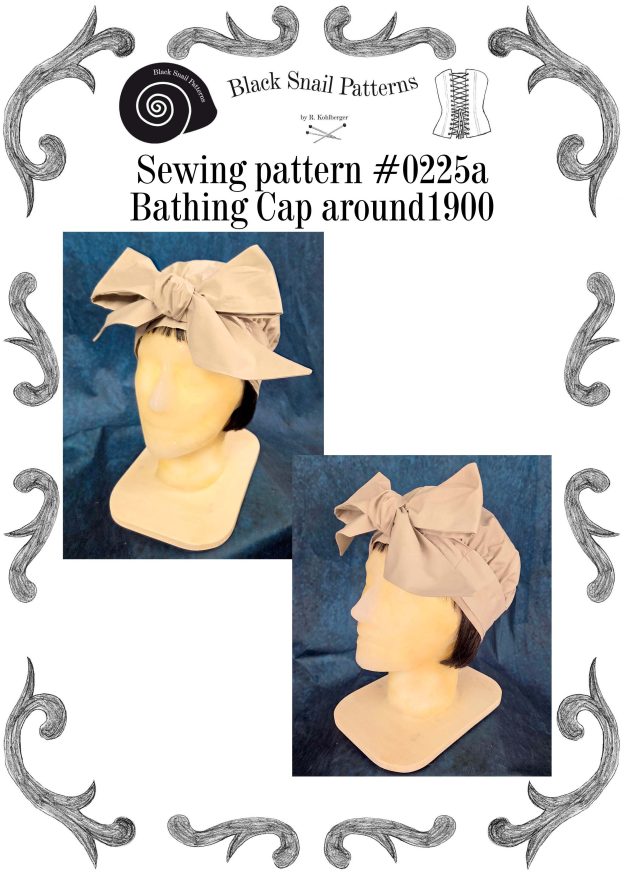
It’s been quite a while since my last post, but this time, I have something special for you—a free pattern for a bathing cap from around 1900. This cap is actually part of a larger sewing project—a full bathing dress from the same era—which I’ll be releasing soon.

I wanted to share this part early so you can get started right away, or simply enjoy making a unique accessory from the past. Stay tuned for the complete bathing dress pattern, which is coming soon!

English pattern

German pattern

I’m sorry that I only have a few pictures this time, but I hope the instructions are detailed enough to help you along and that you’ll end up with a lovely cap.

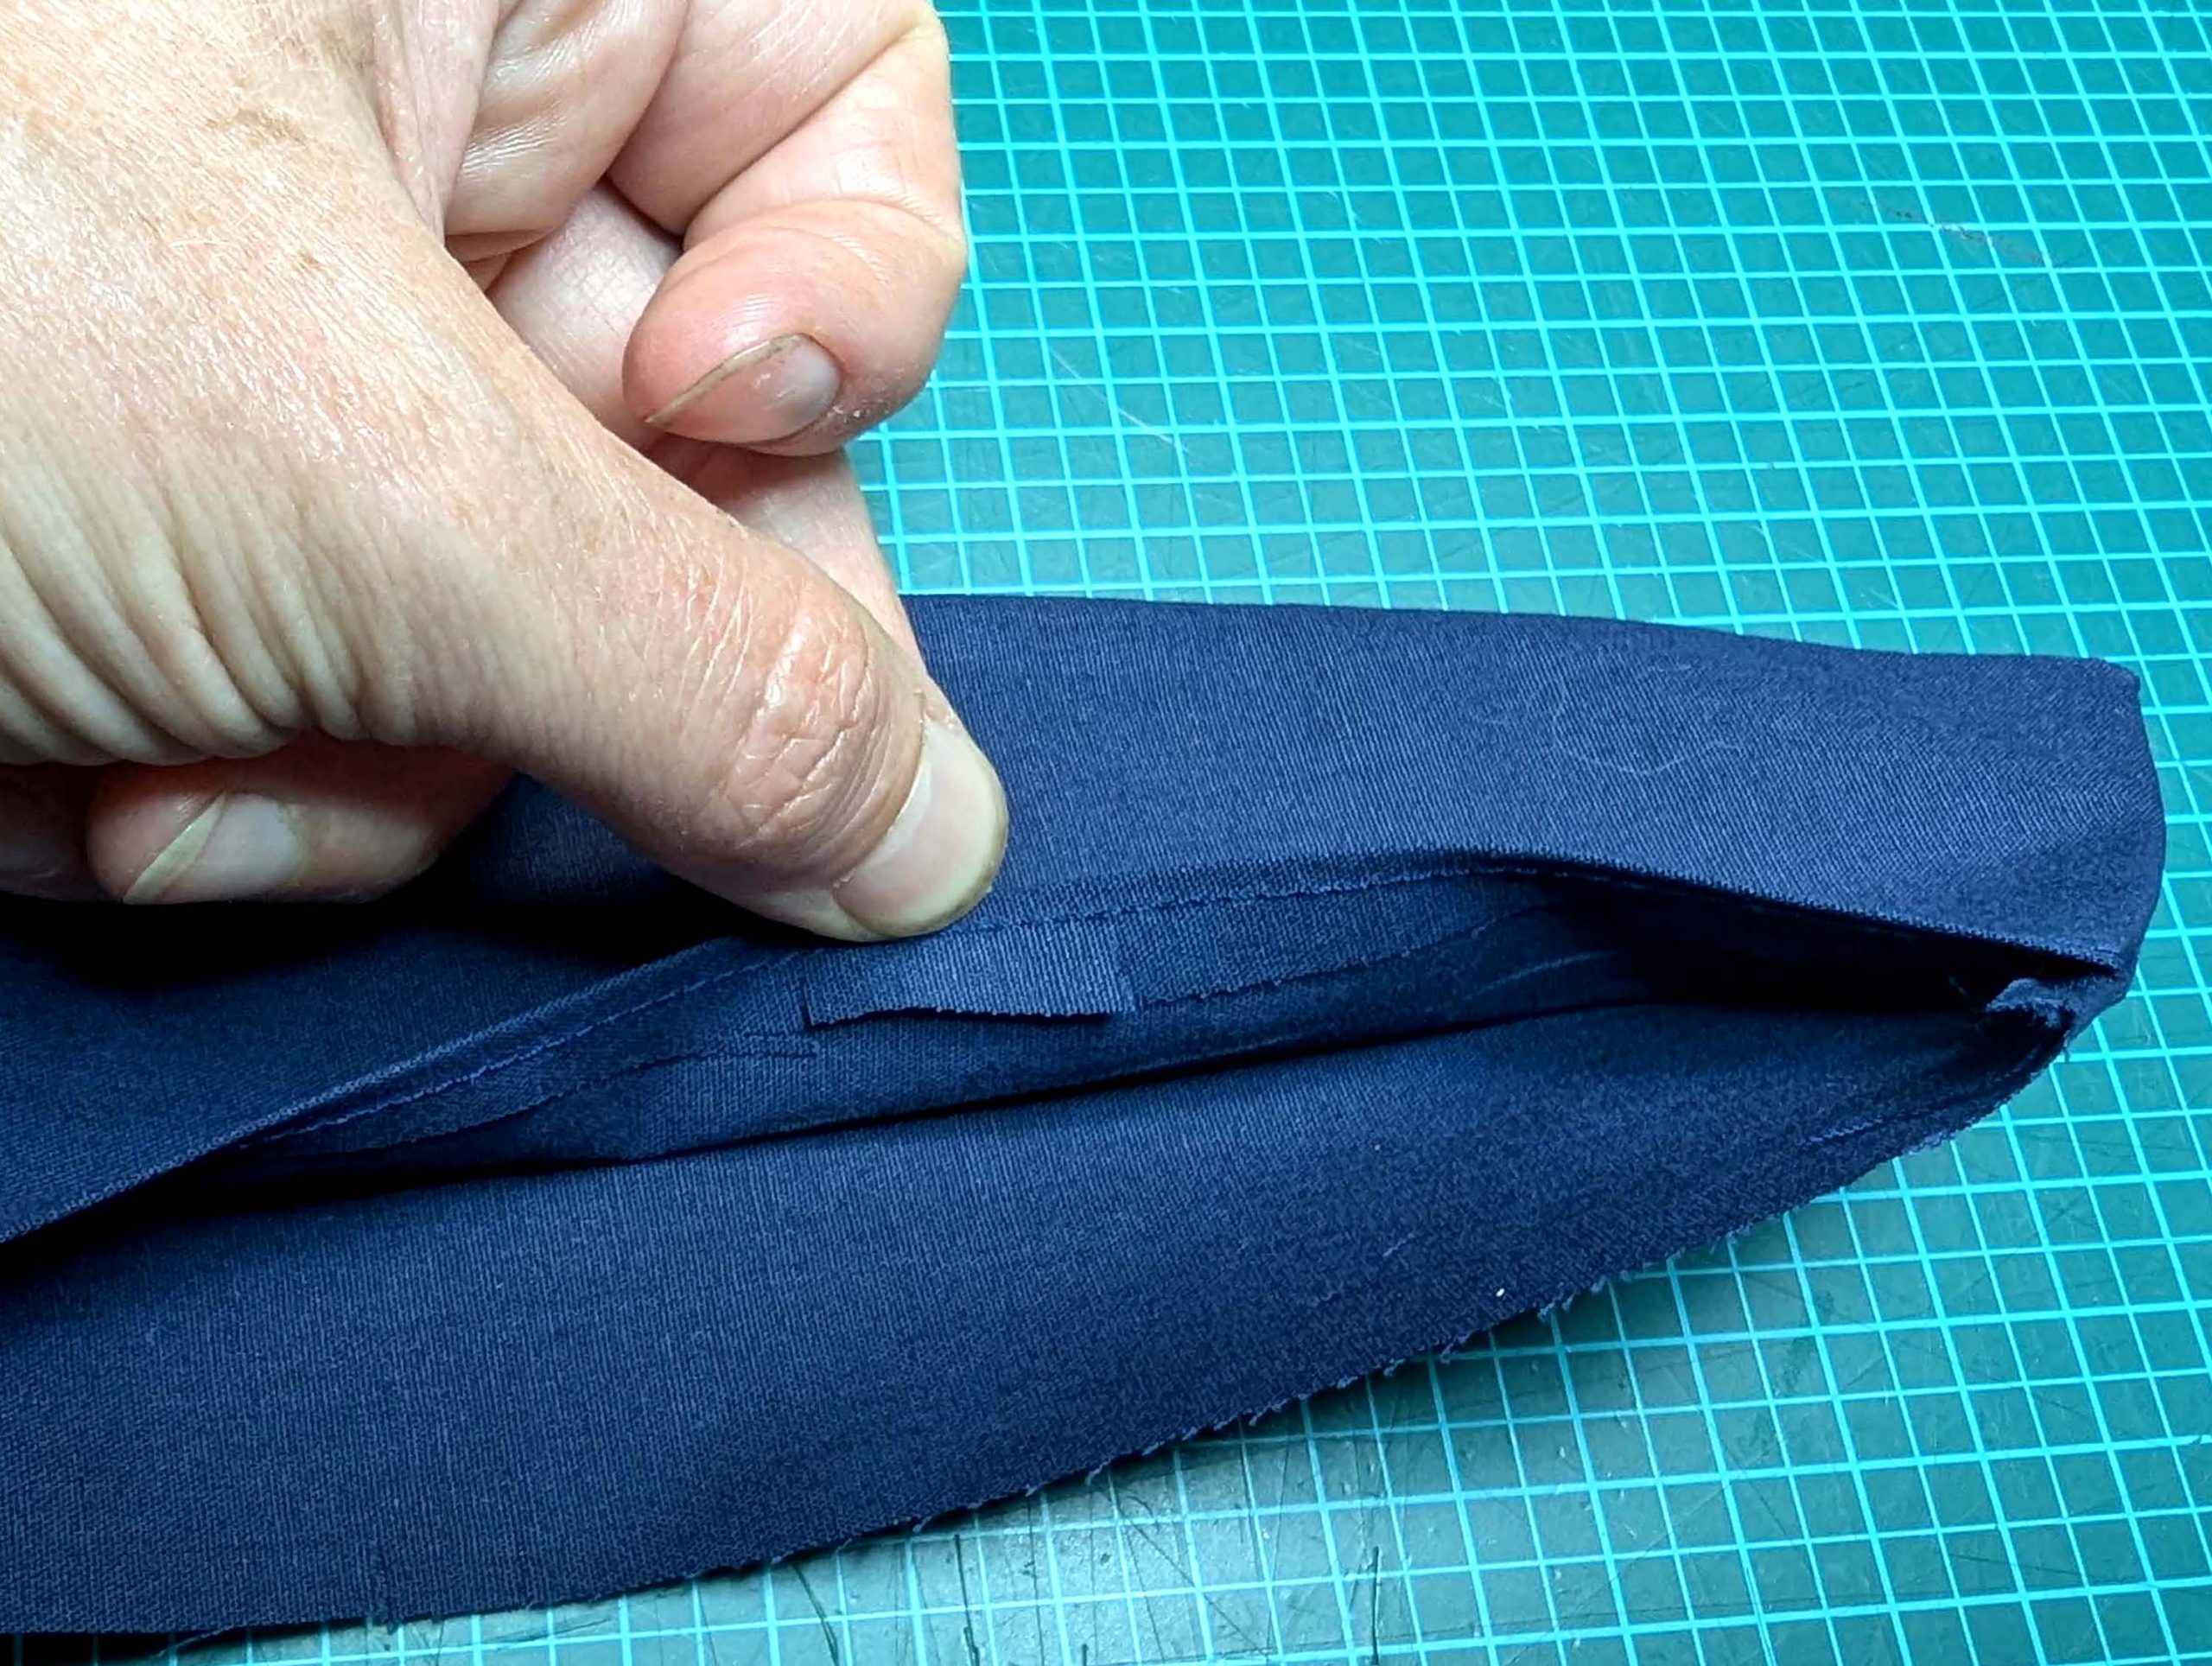
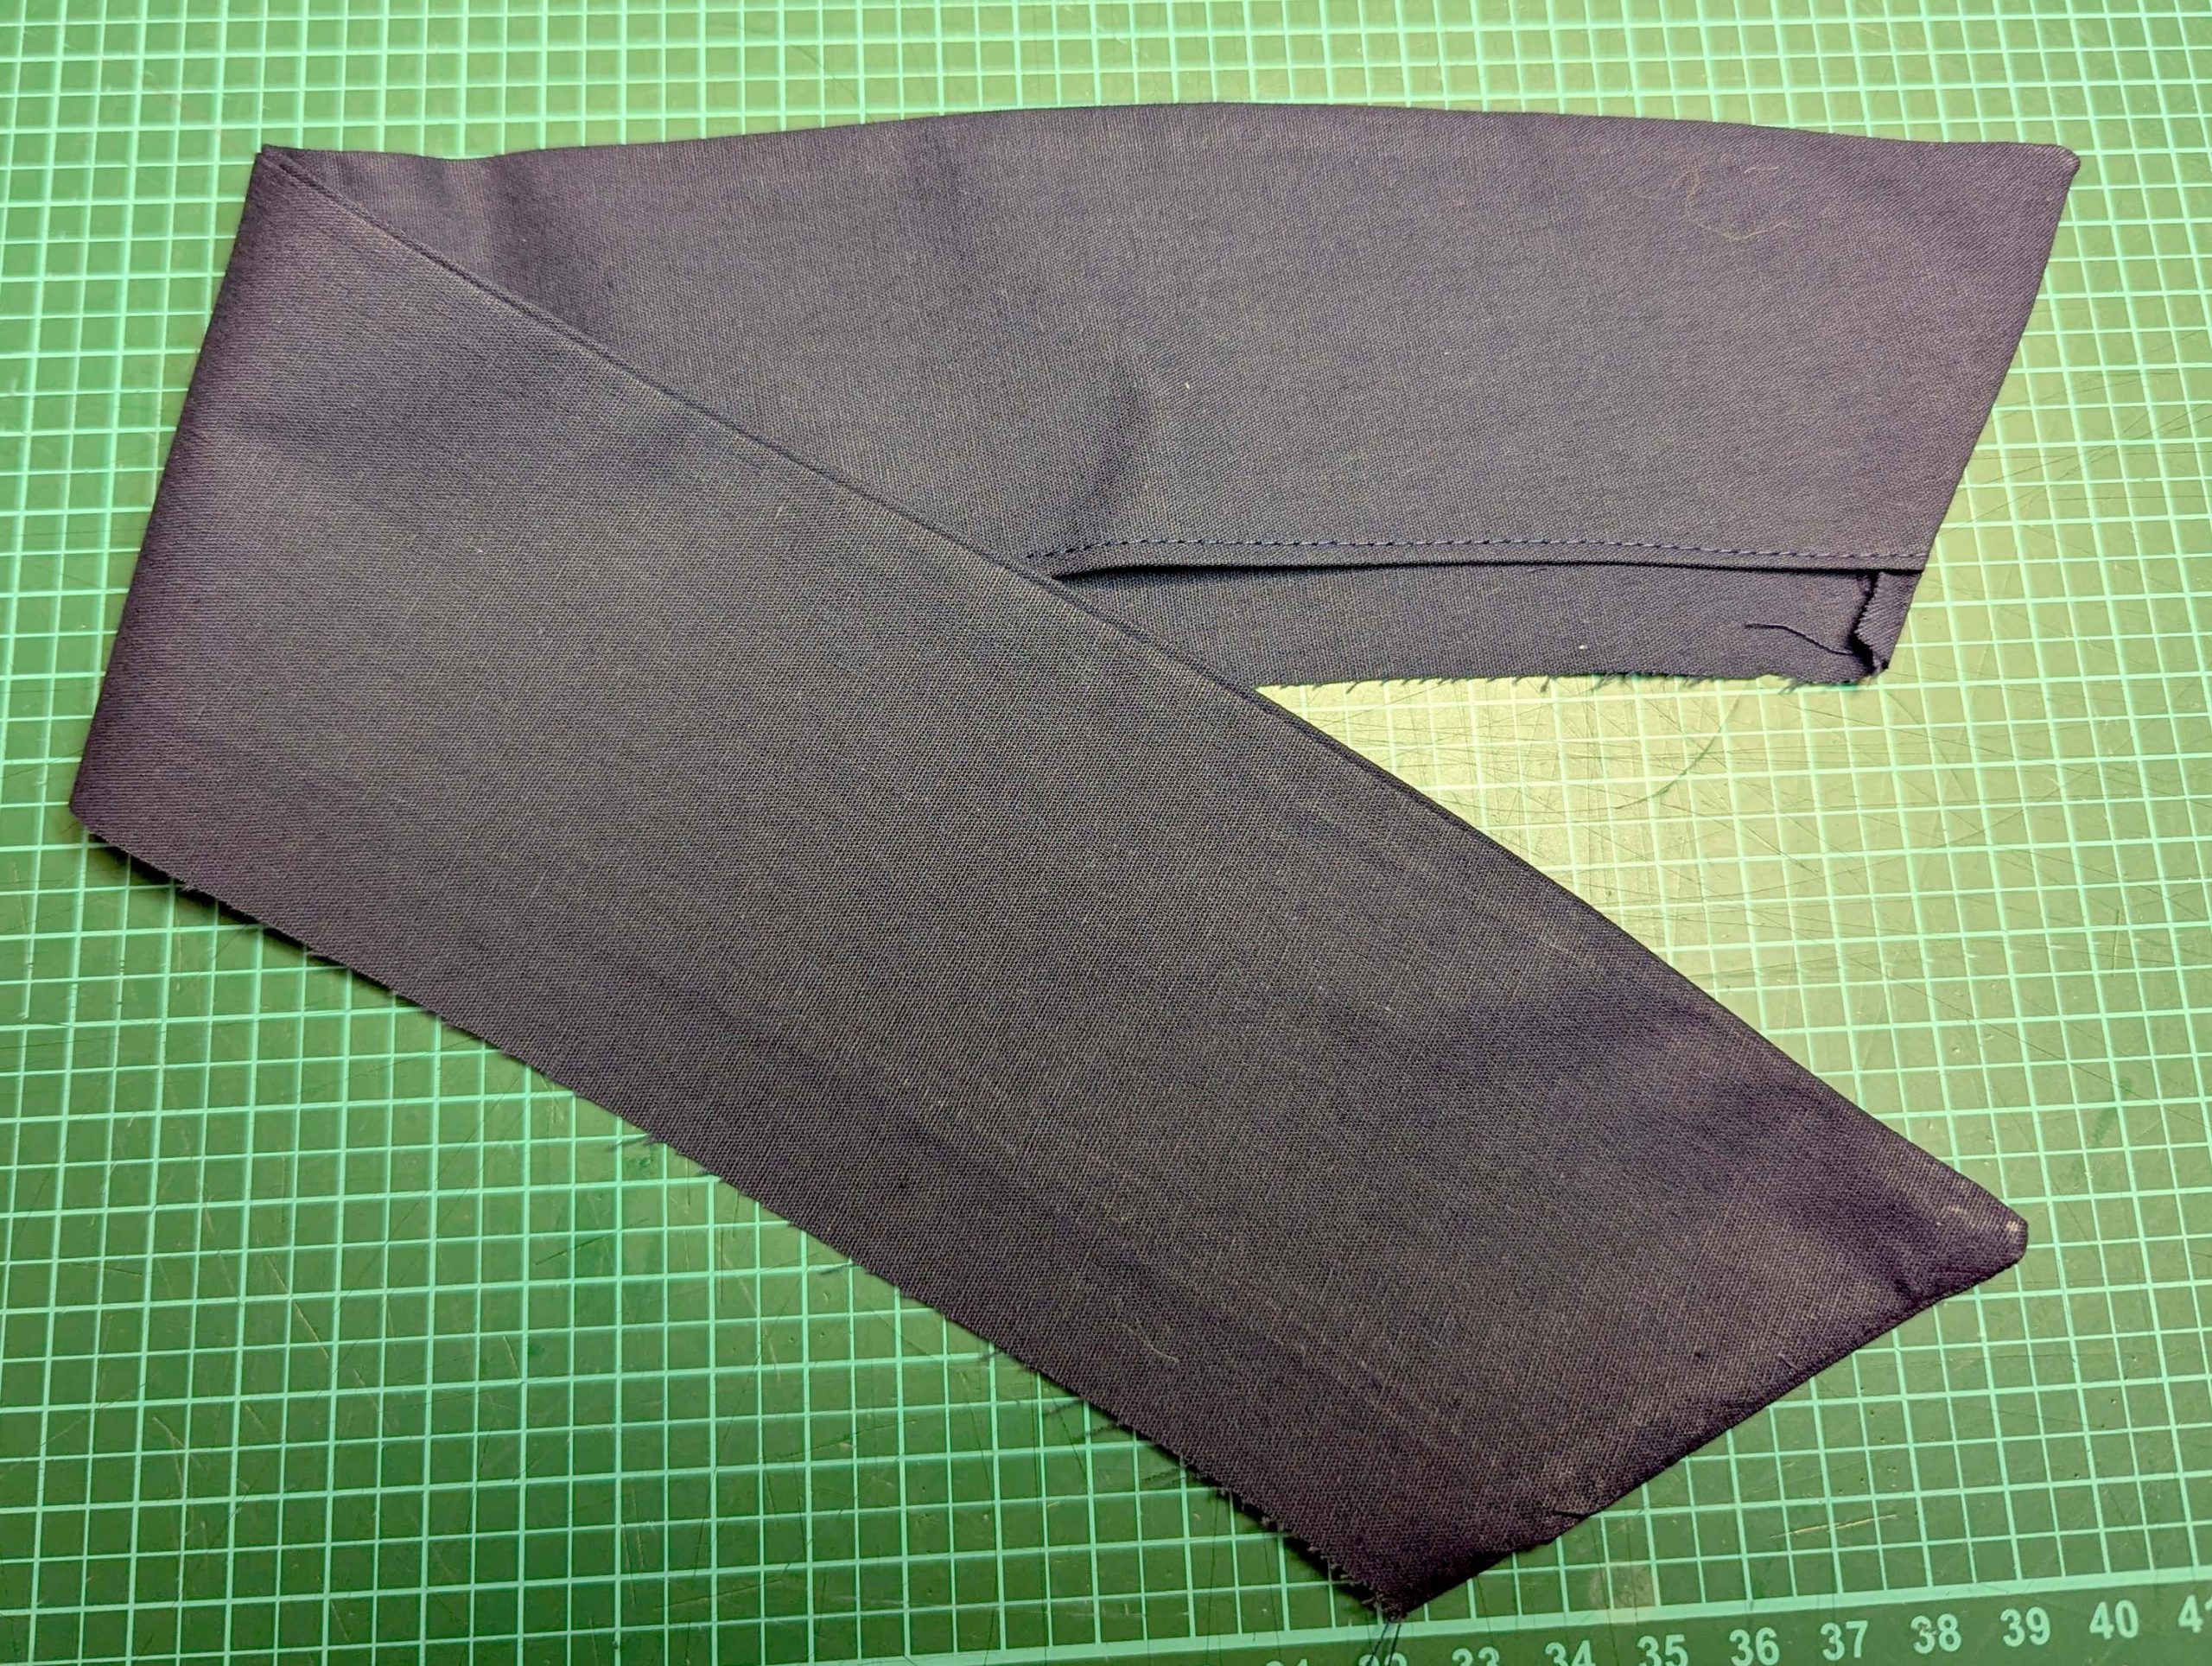
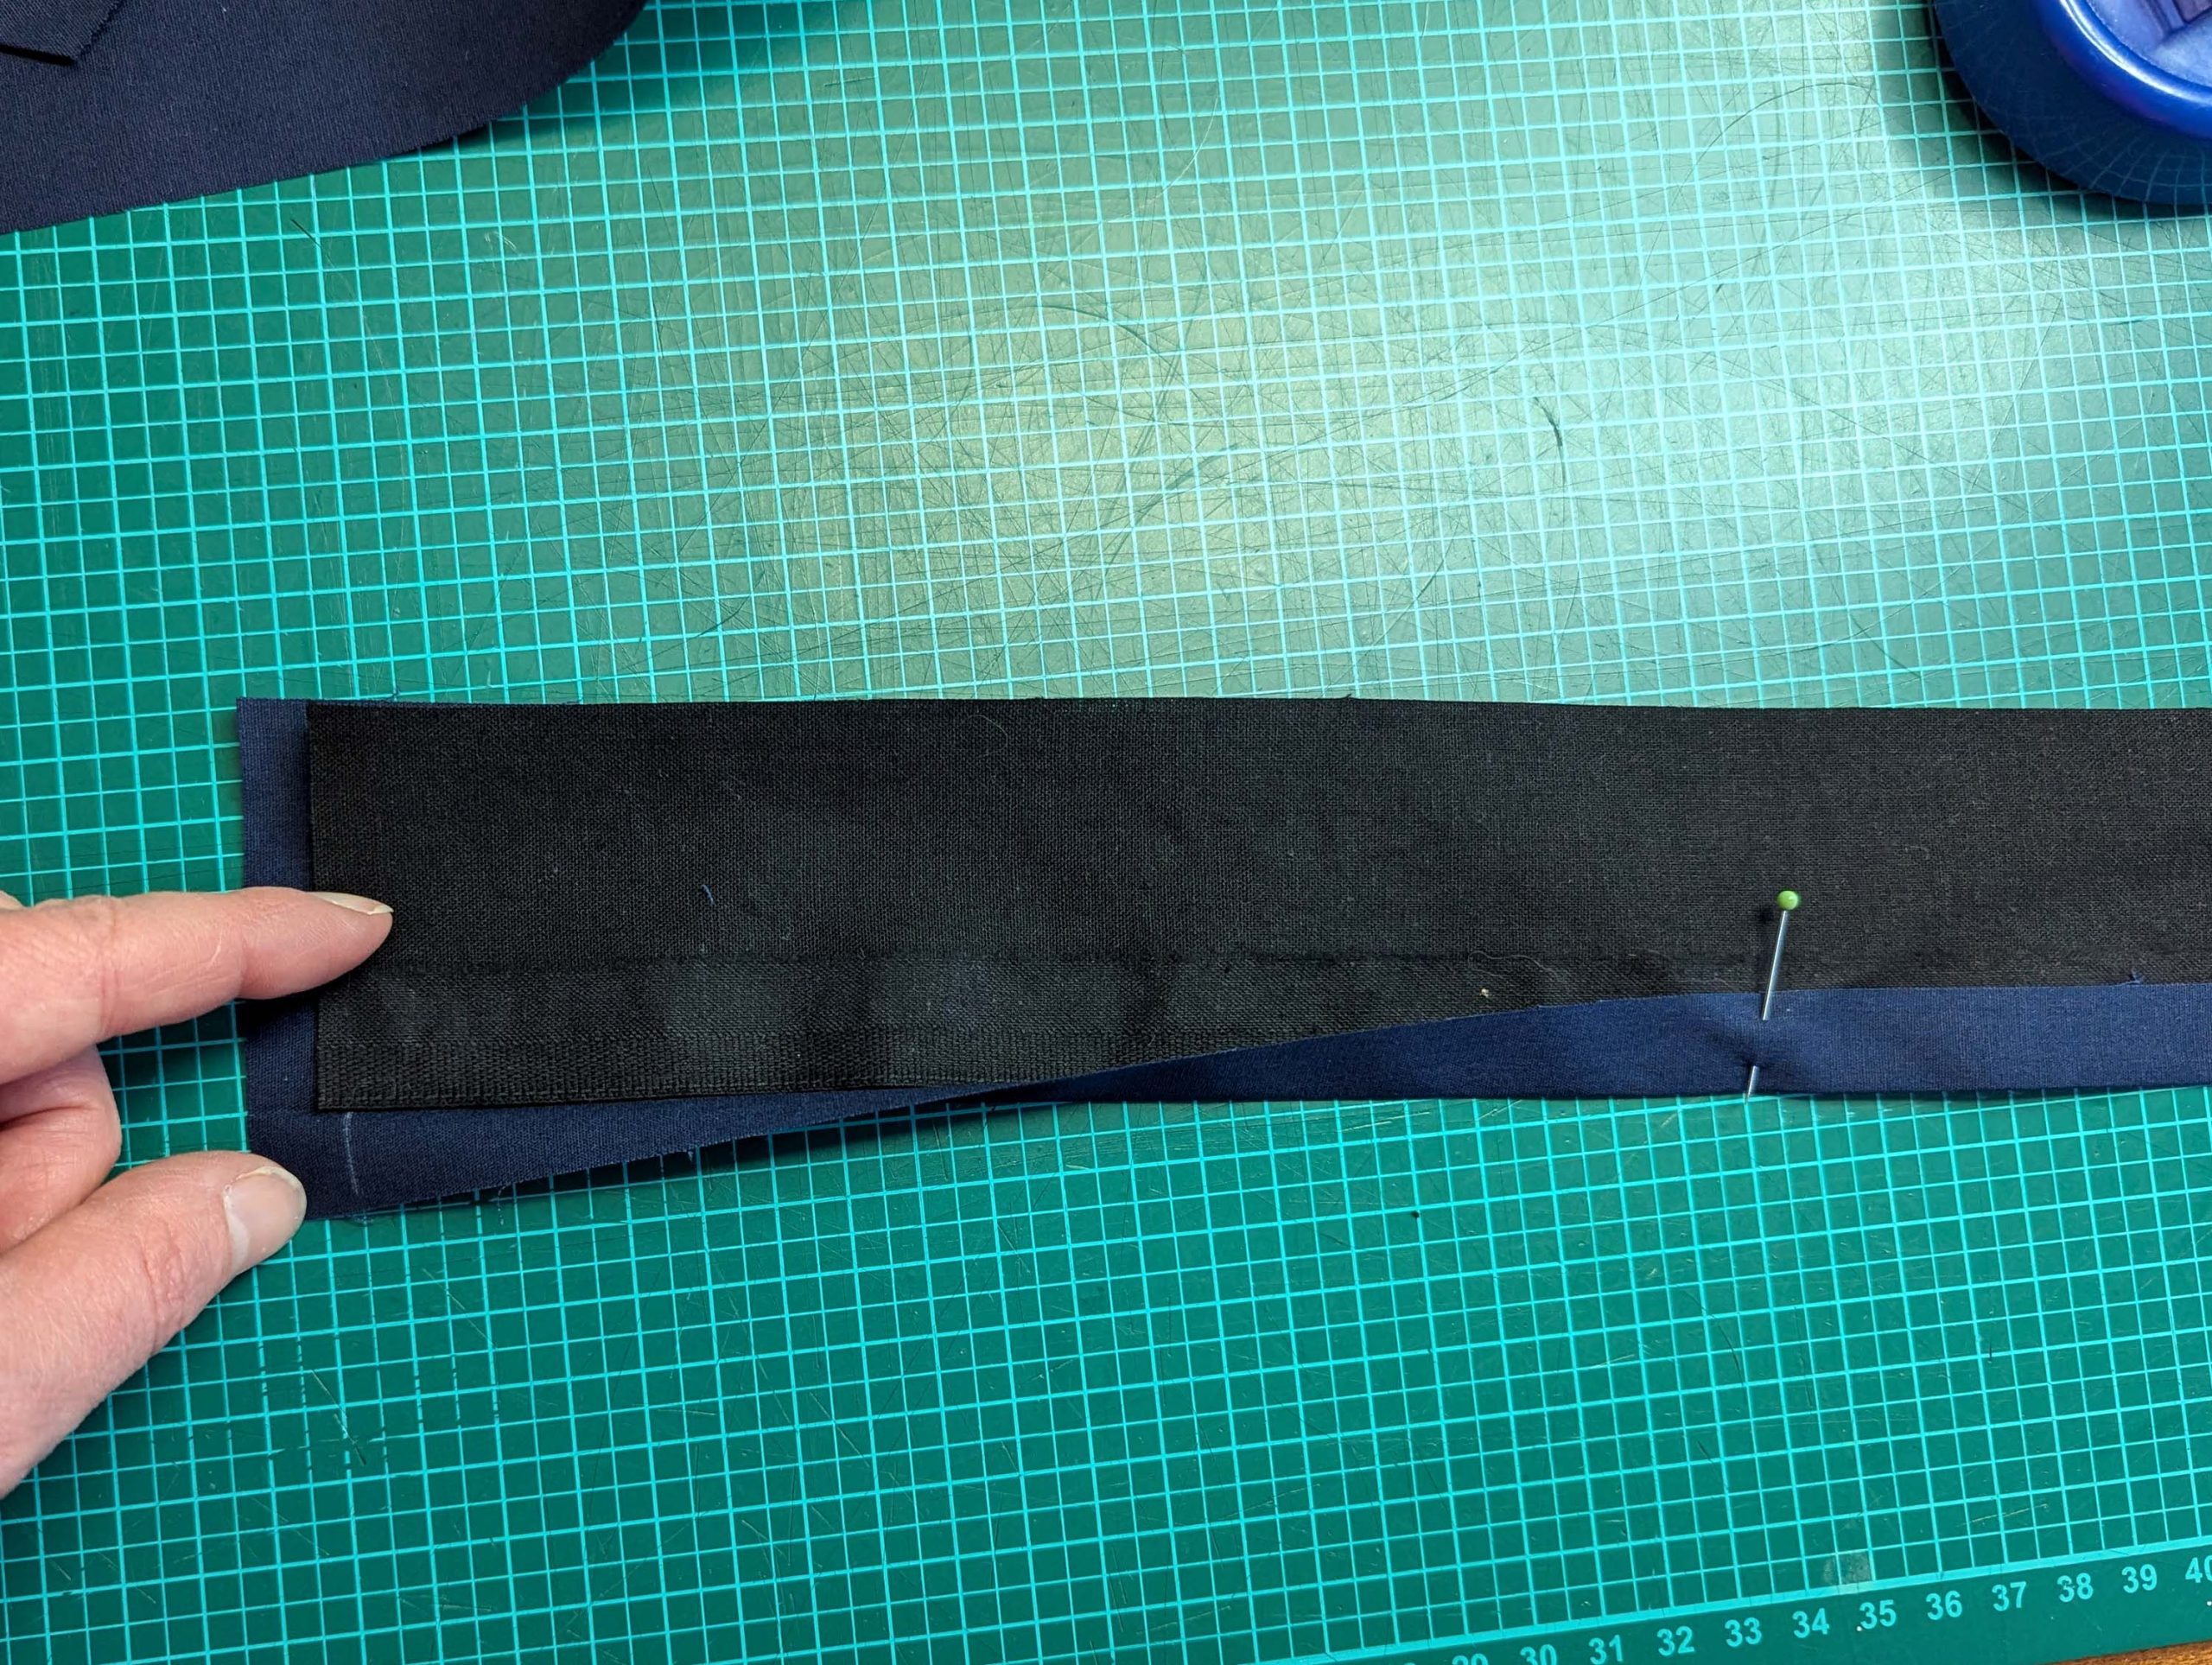
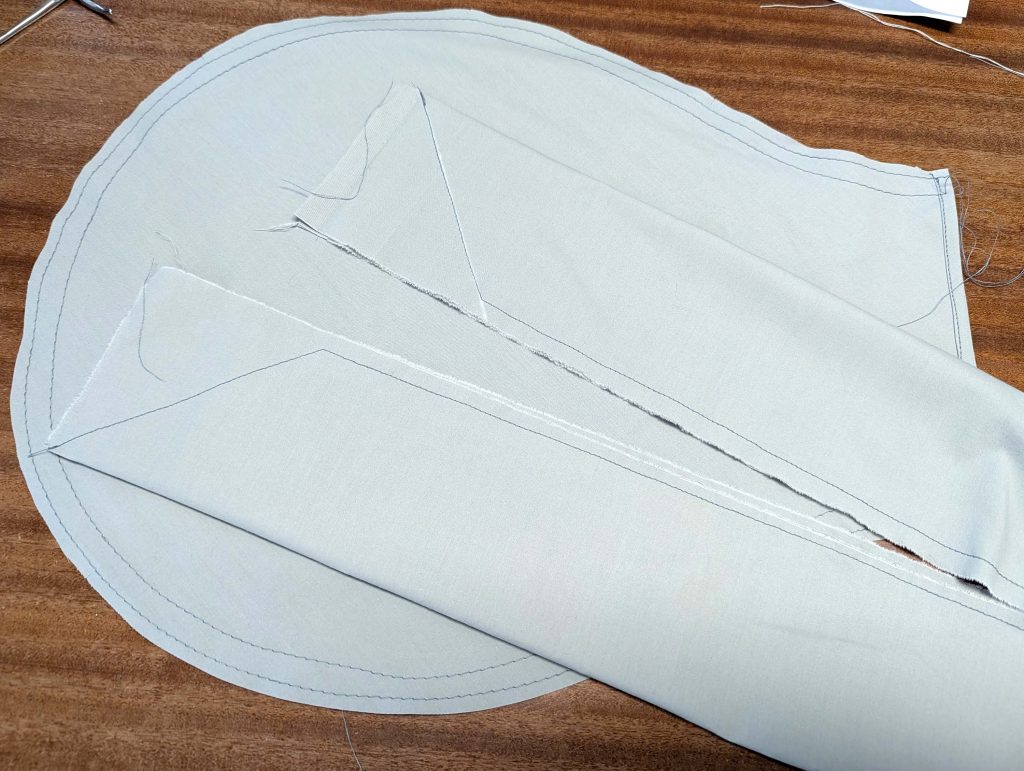
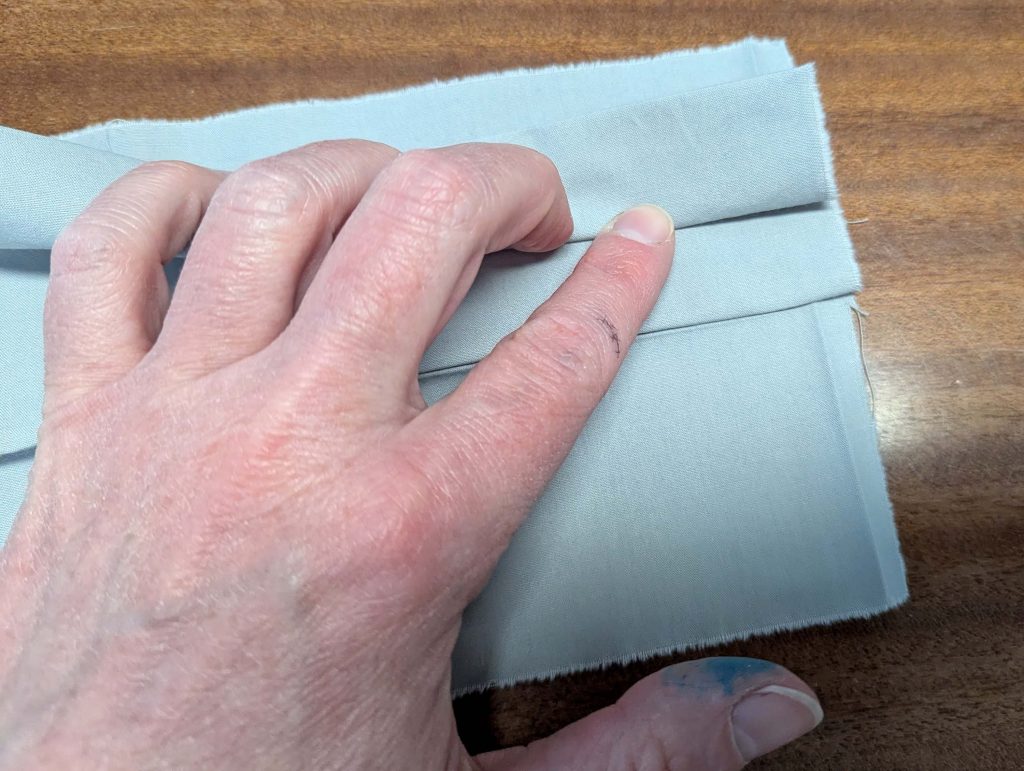
Take the top and double-turn in the straight edge narrow, stitch in place. Sew two rows of gathering threads along the curved edge. Take the strips for the bow and fold them in half lengthwise, right sides together. Sew along the angled and the long edge, reducing the stitch length at the edges. Trim back the seam allowances and turn the right way out, press.

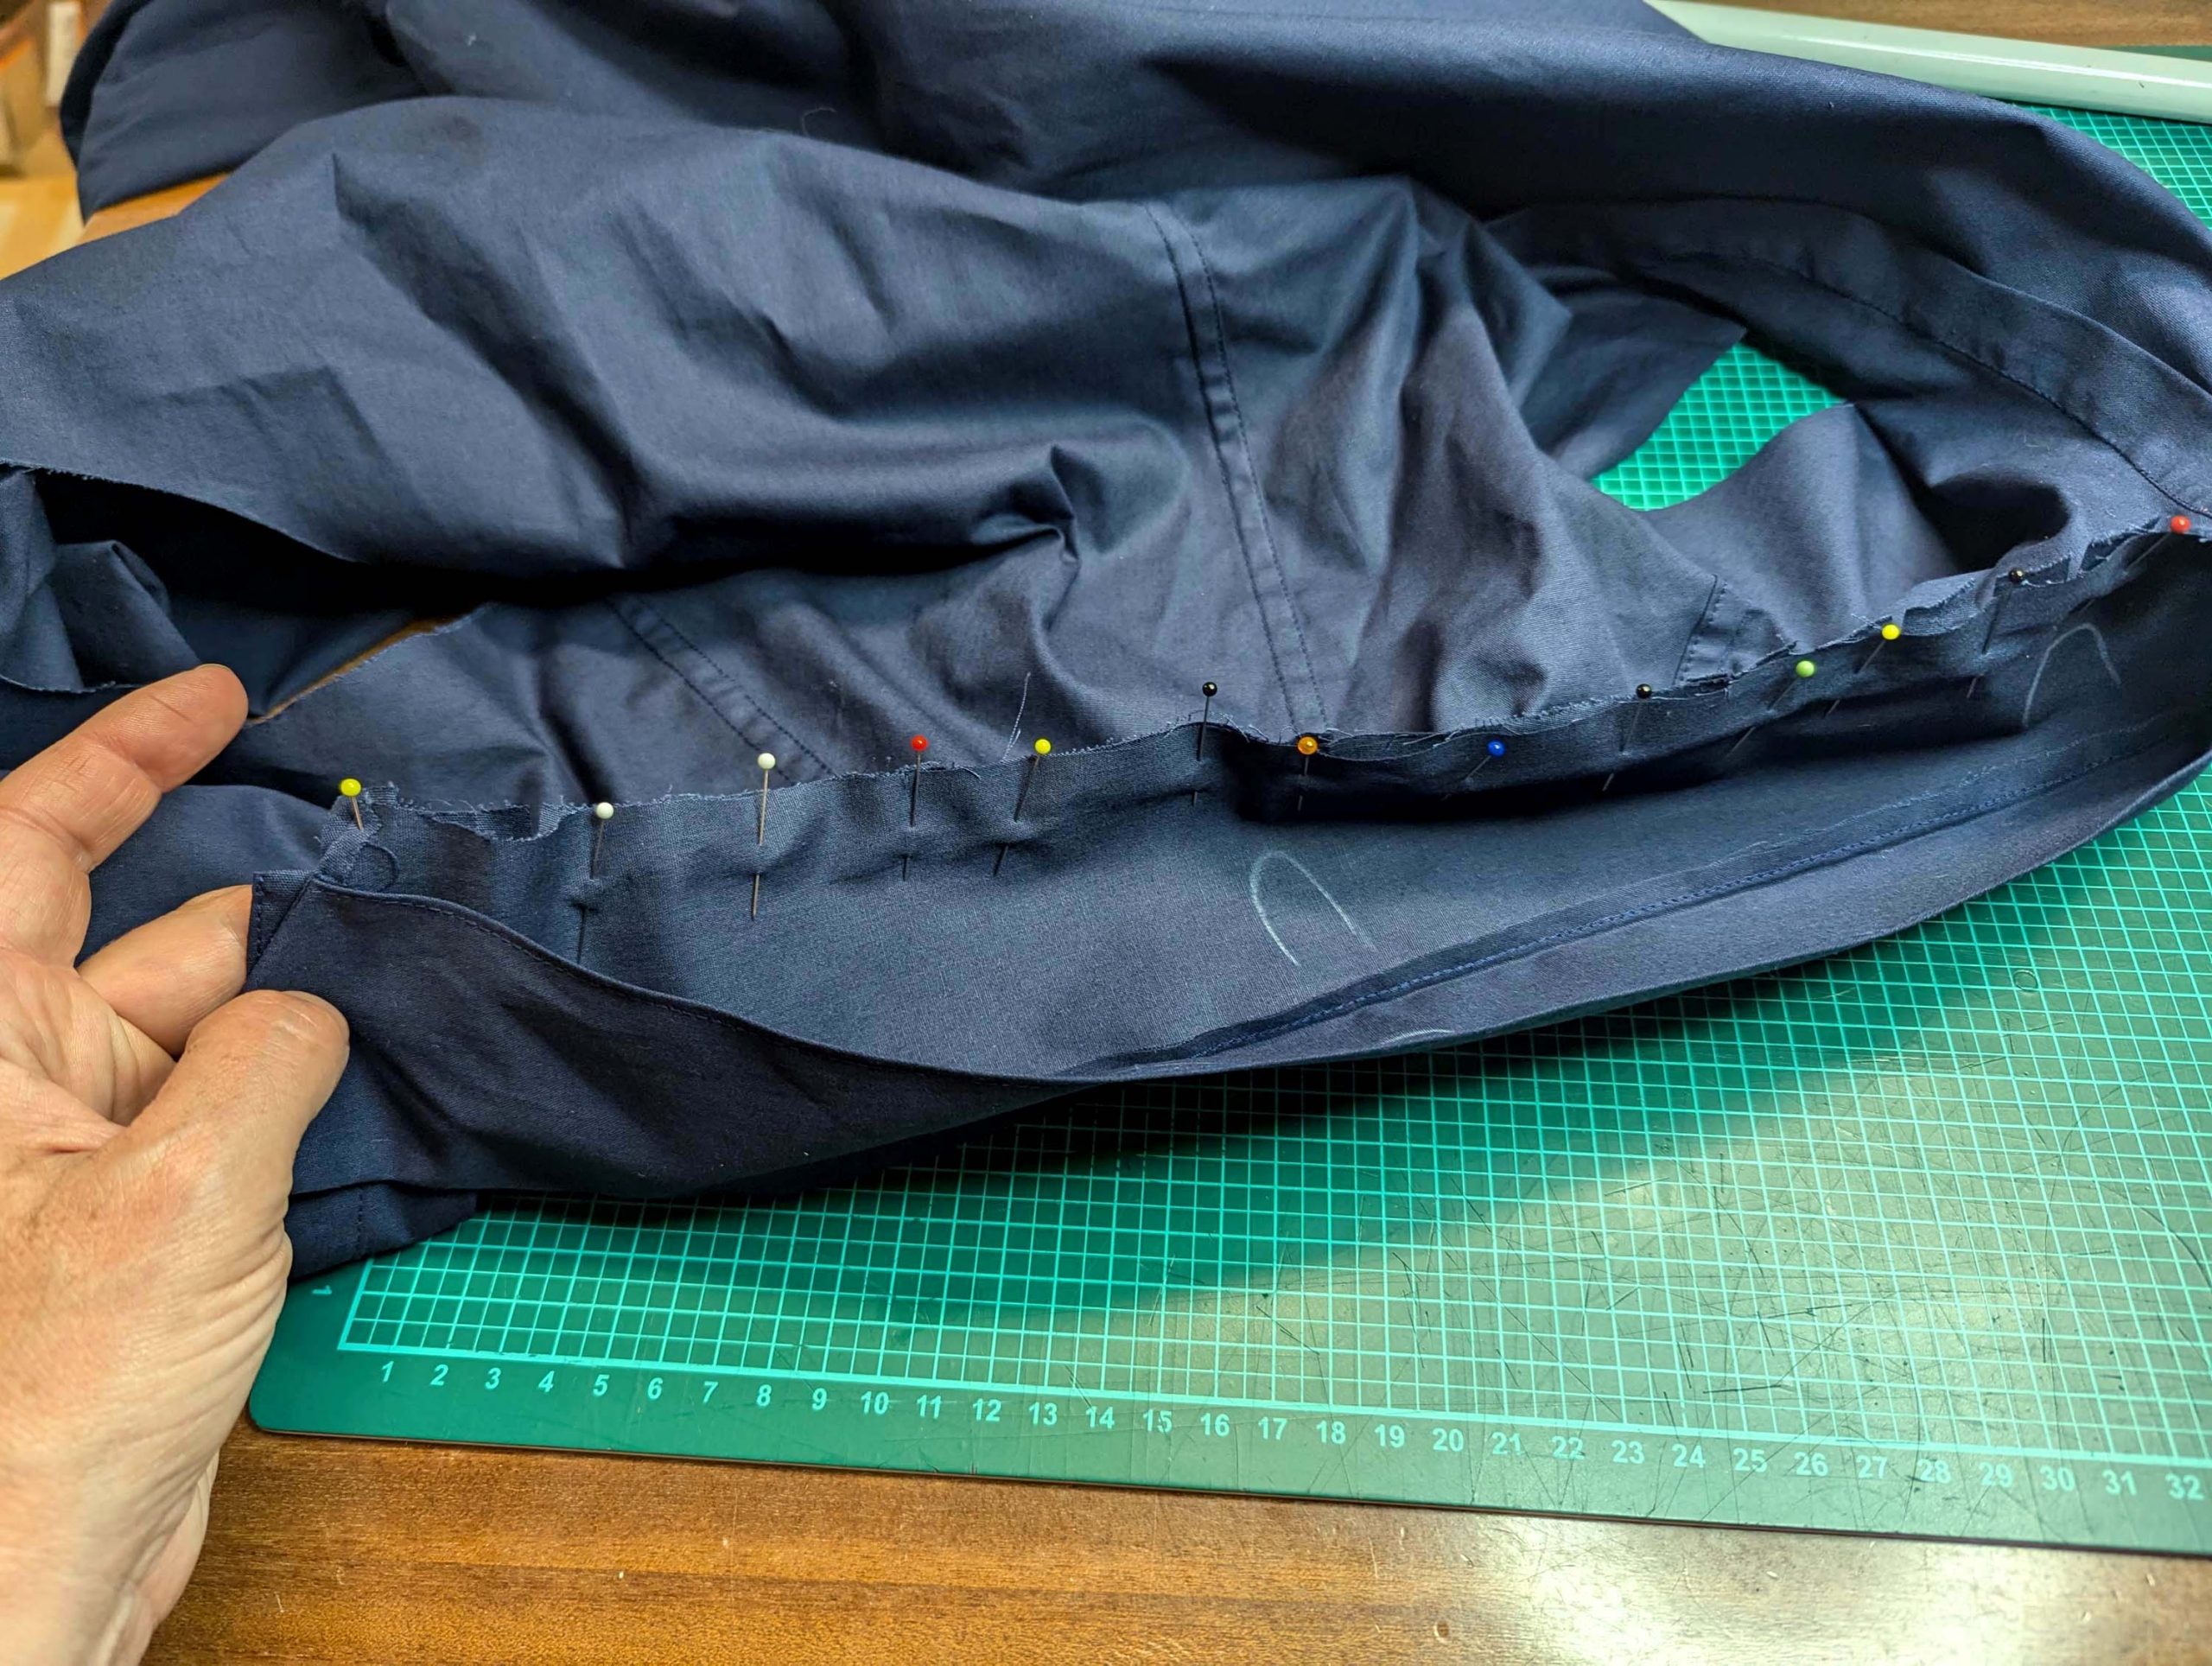
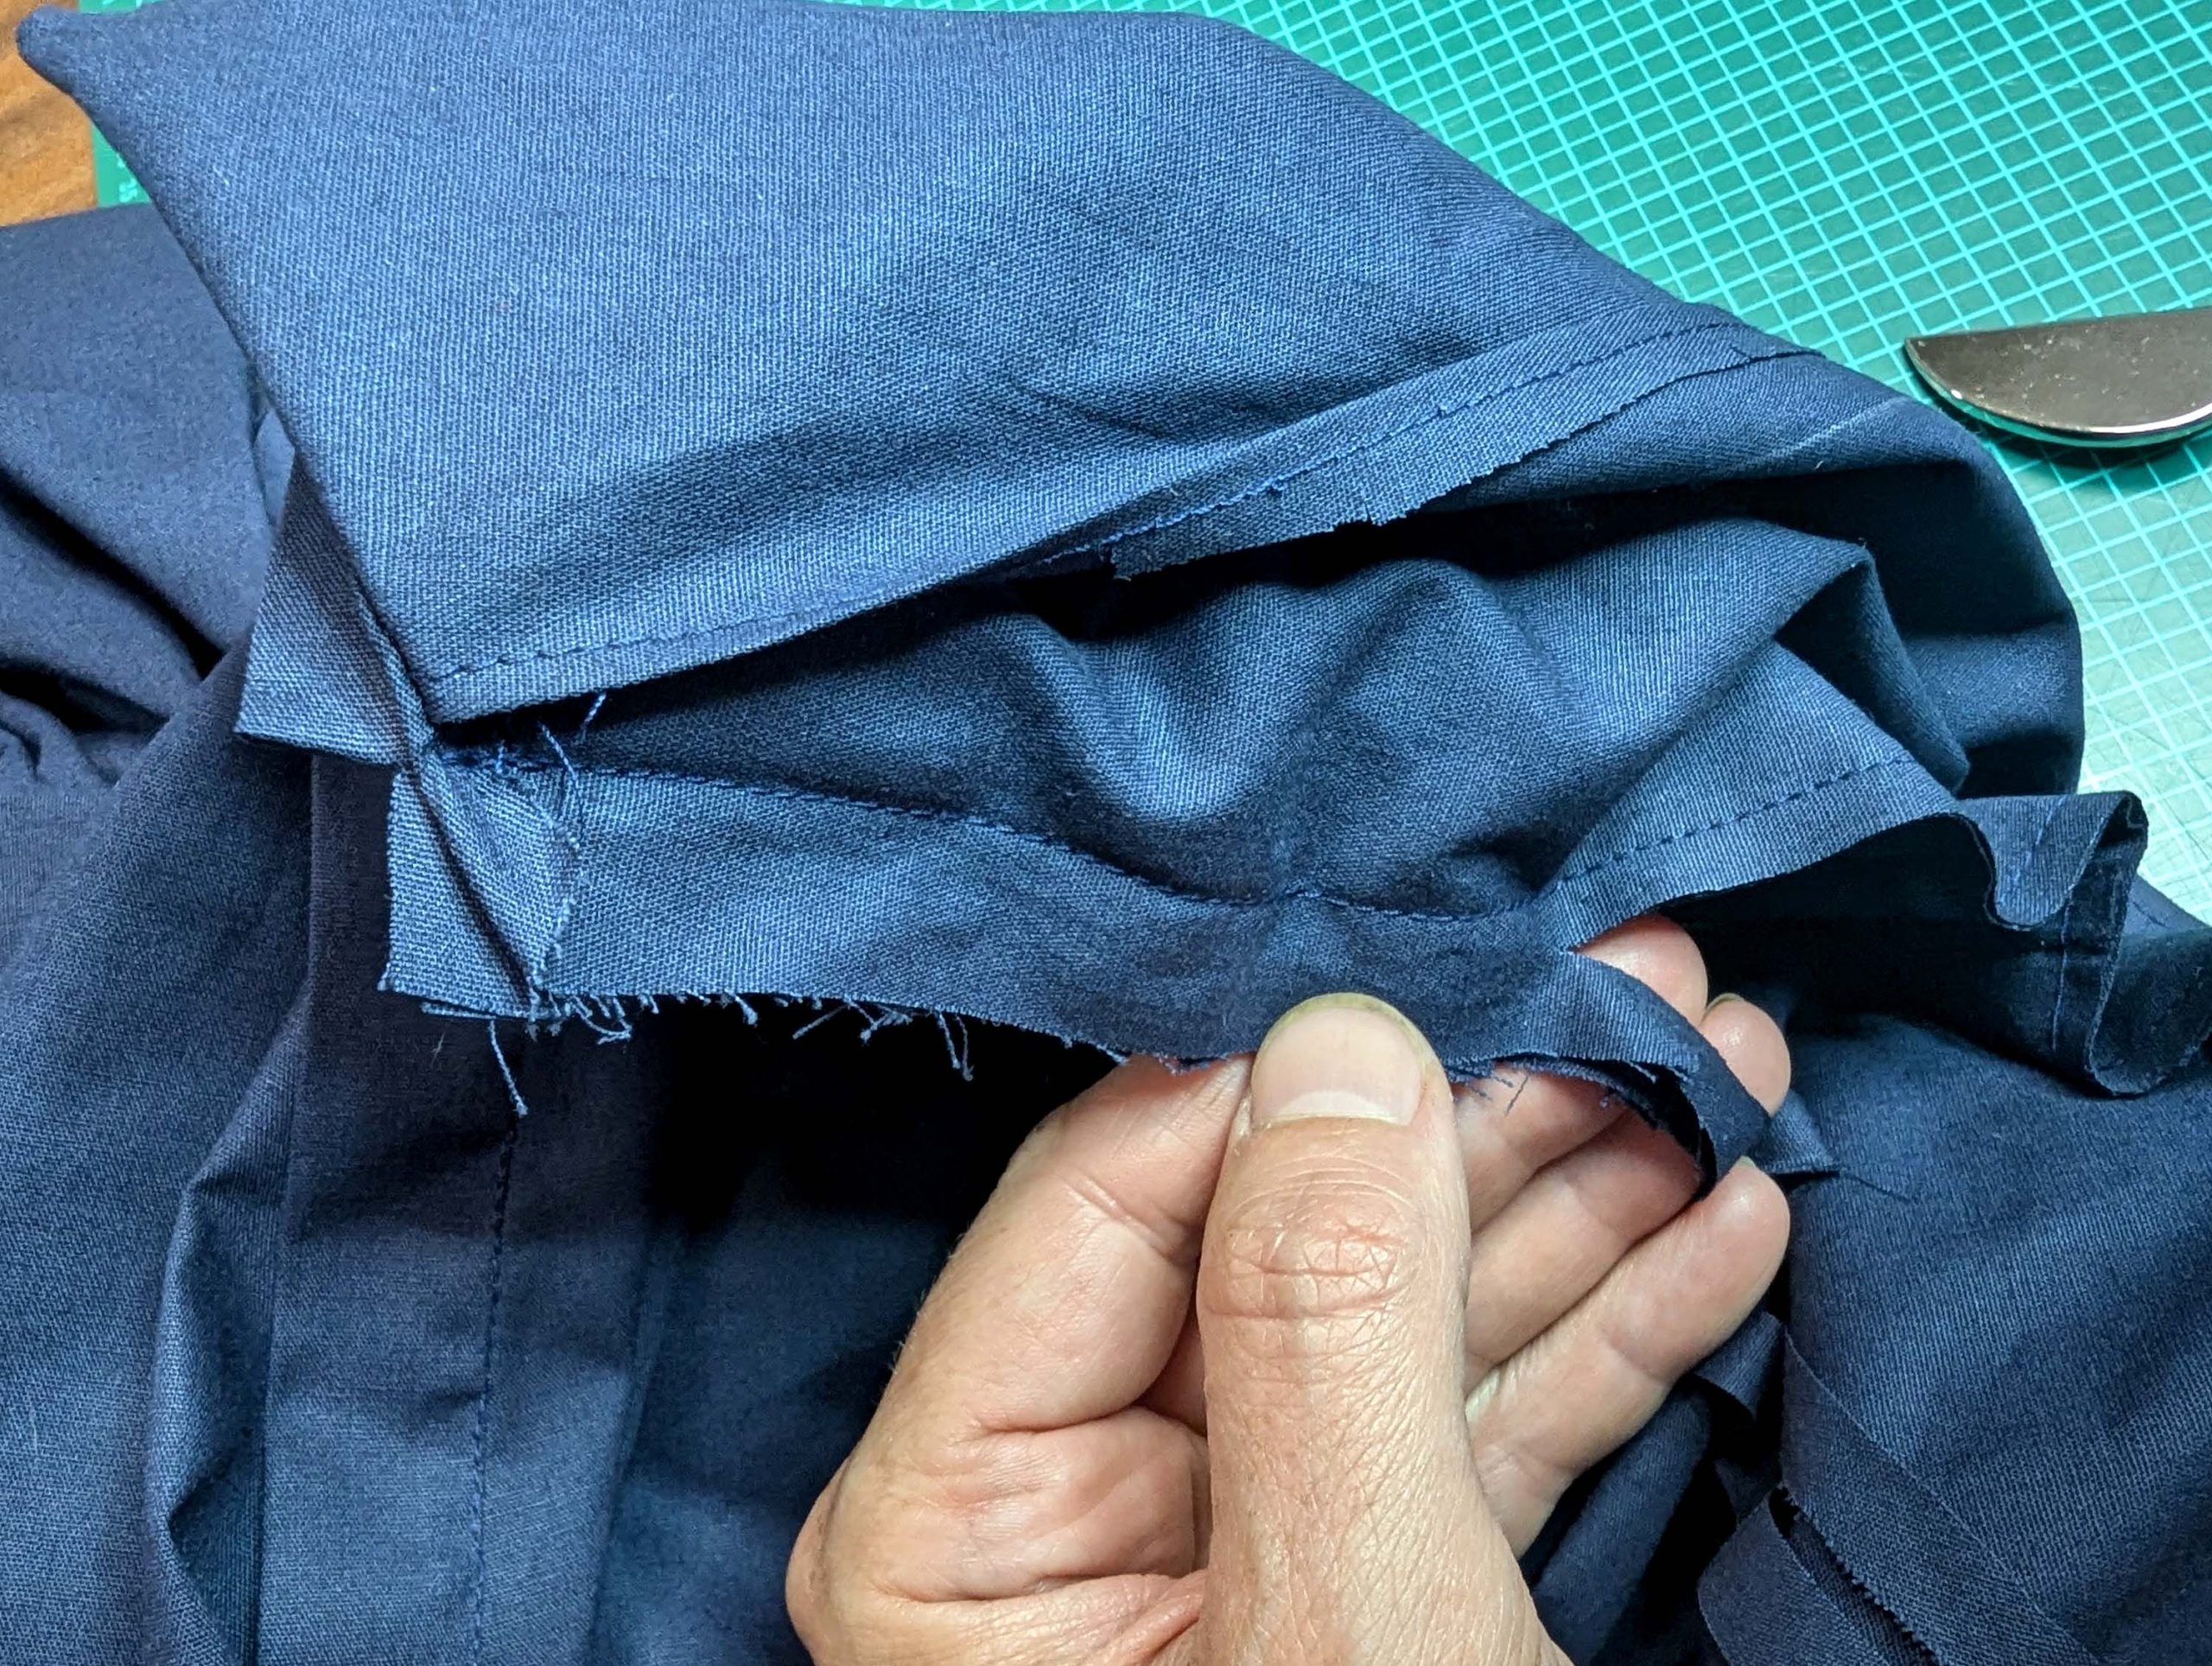
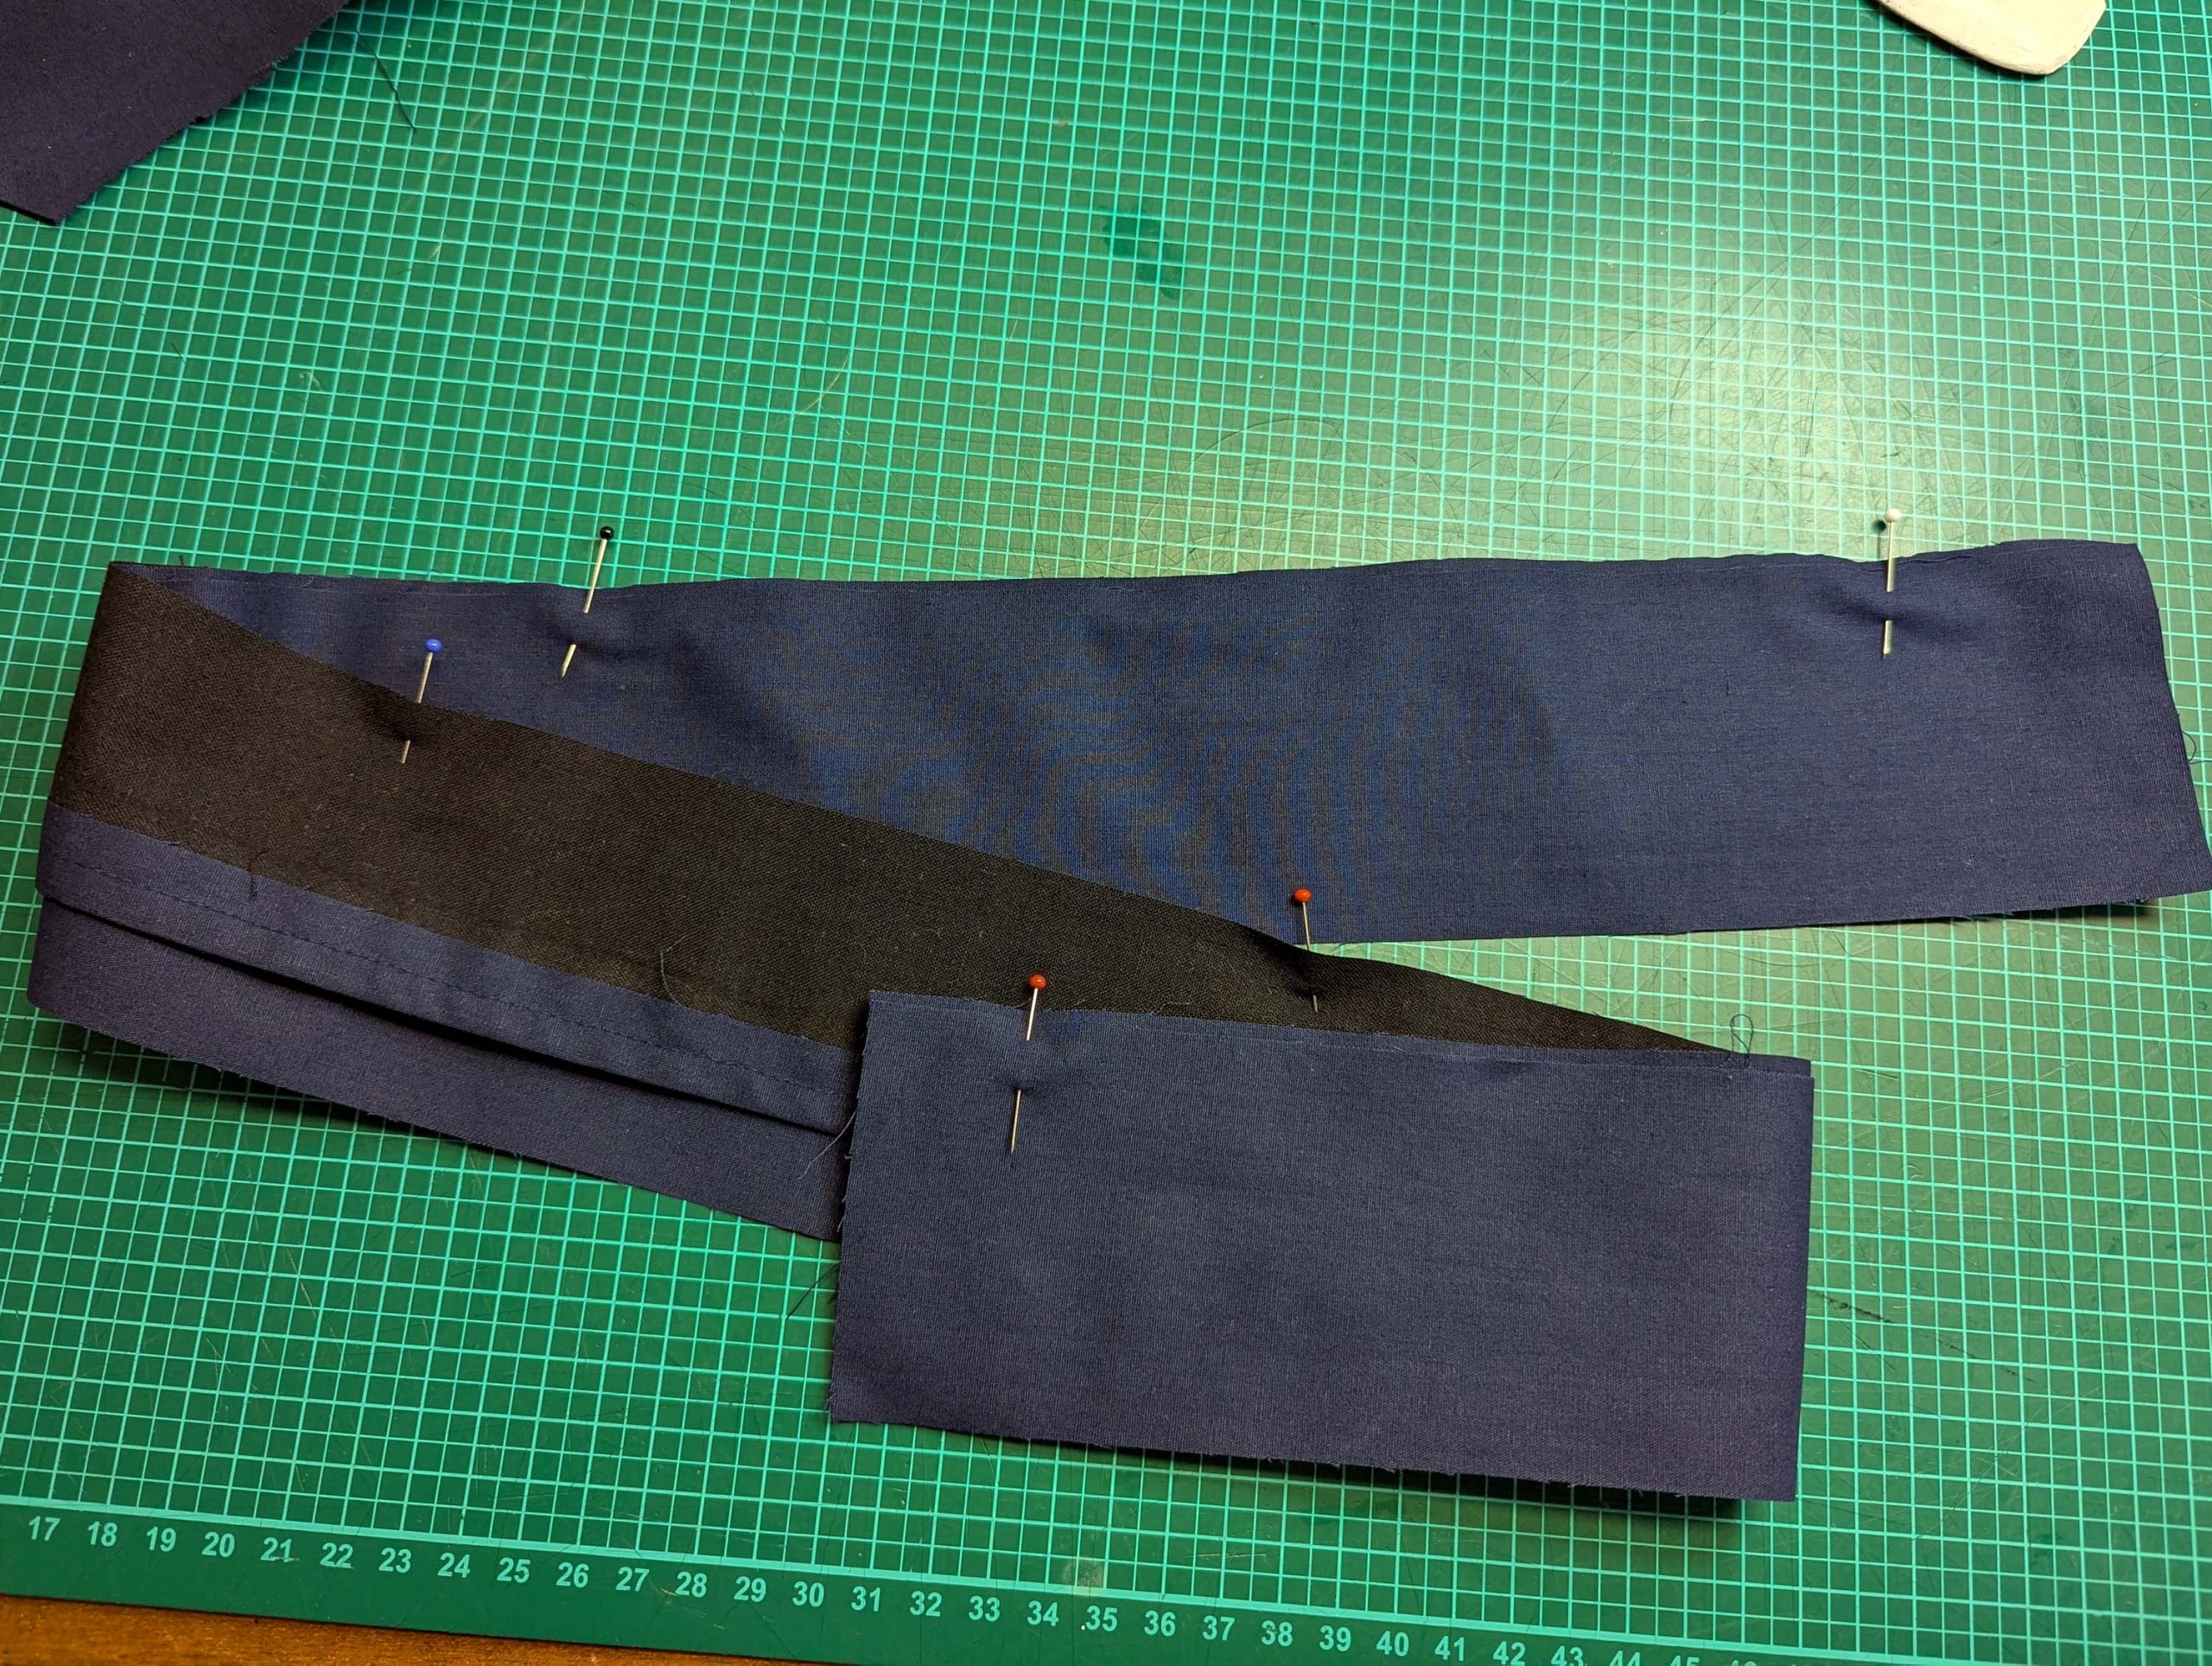
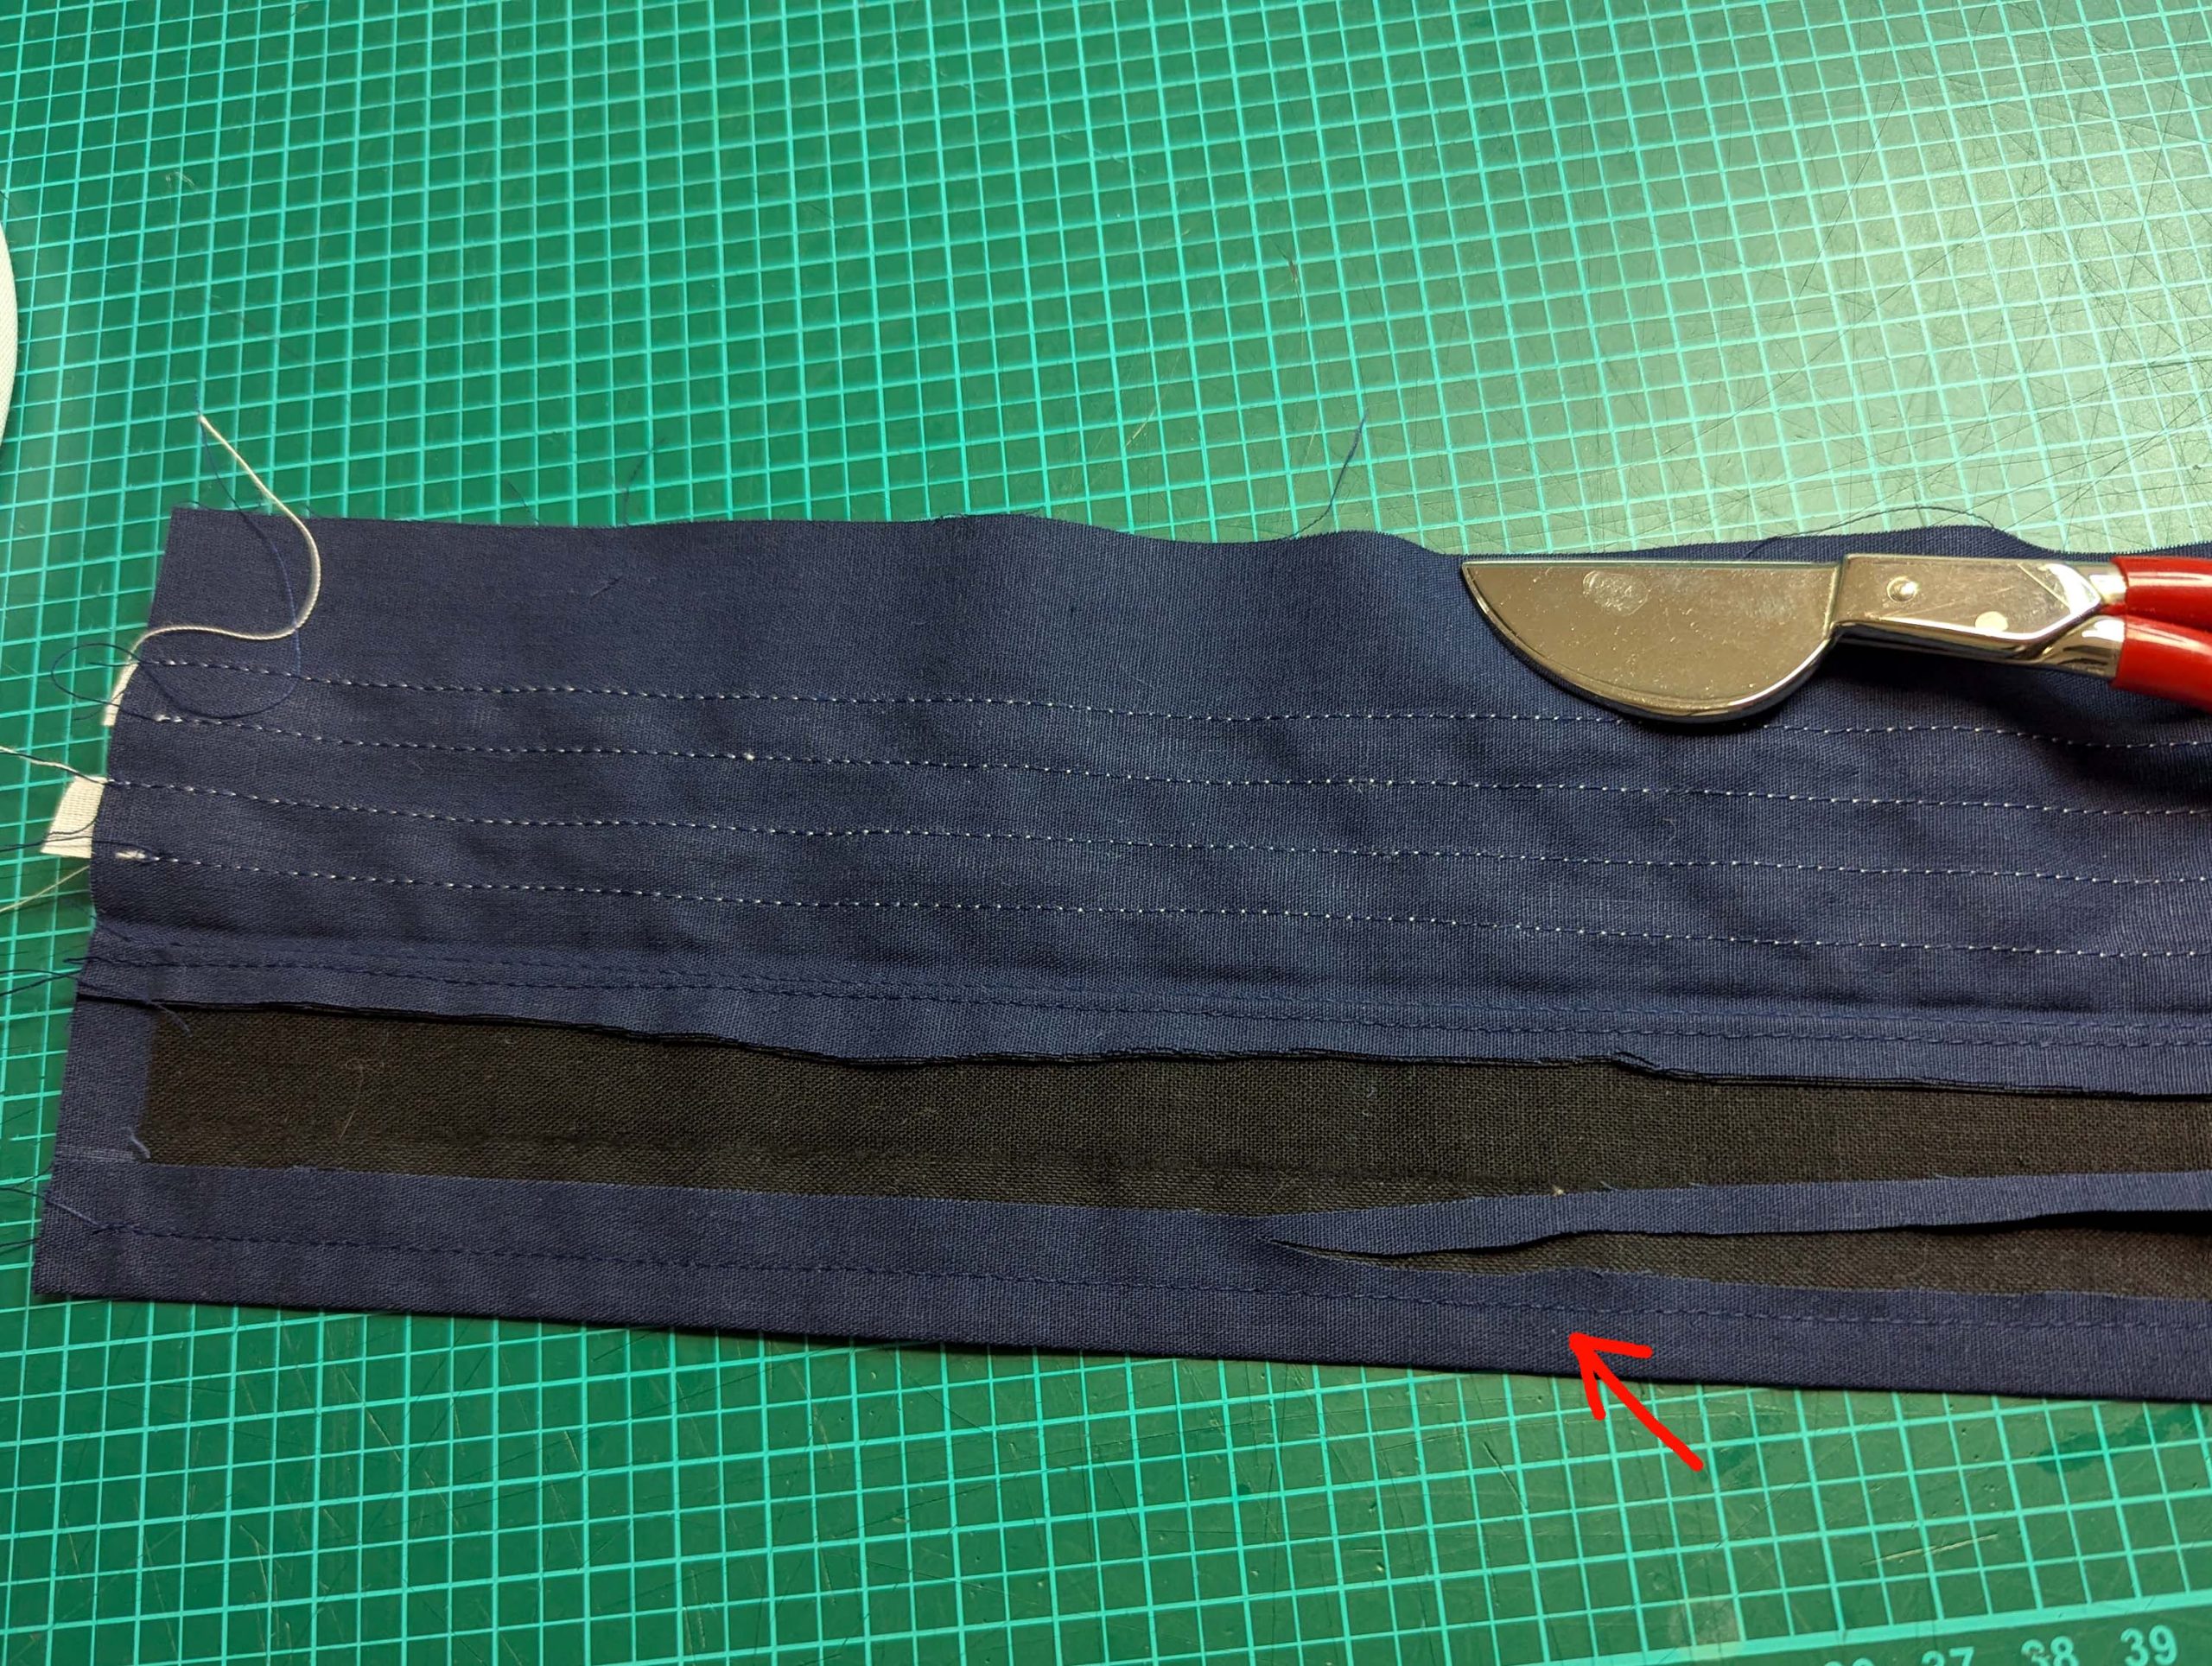
Take the headband and fold in half lengthwise, wrong sides together, press and reopen. Turn in the seam allowance along the inner edge, press and reopen.  Sew the headband to the top, matching all marks. To do so, pull the gathering threads and spread the width of the top evenly. Press the seam allowances towards the headband.

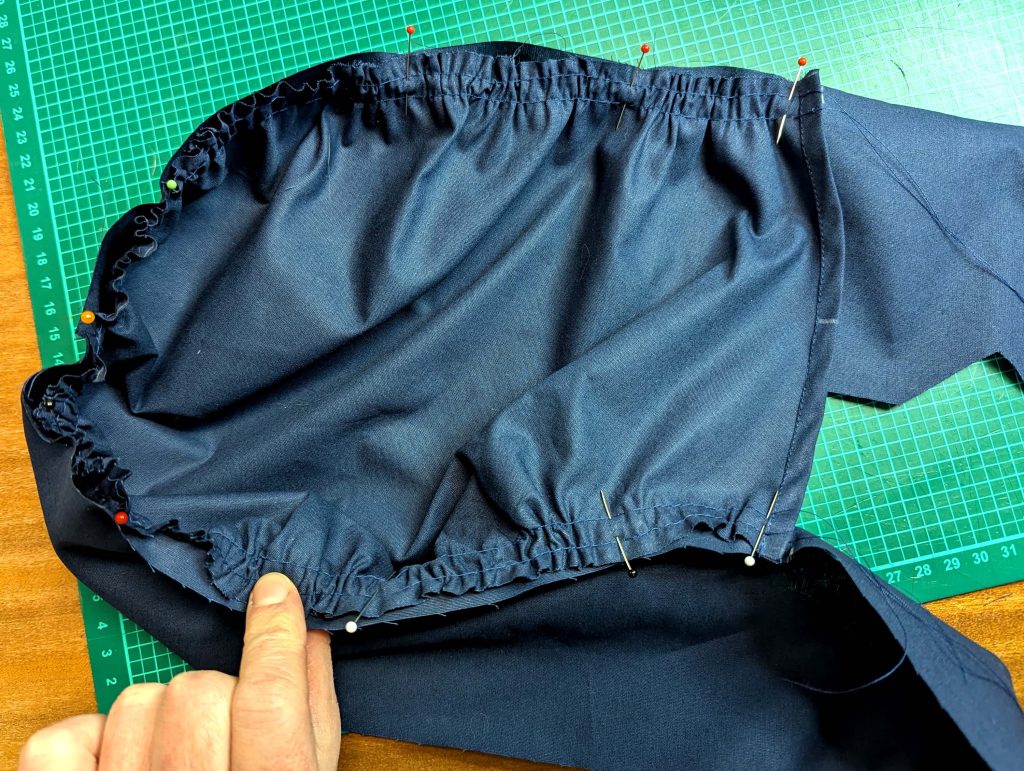
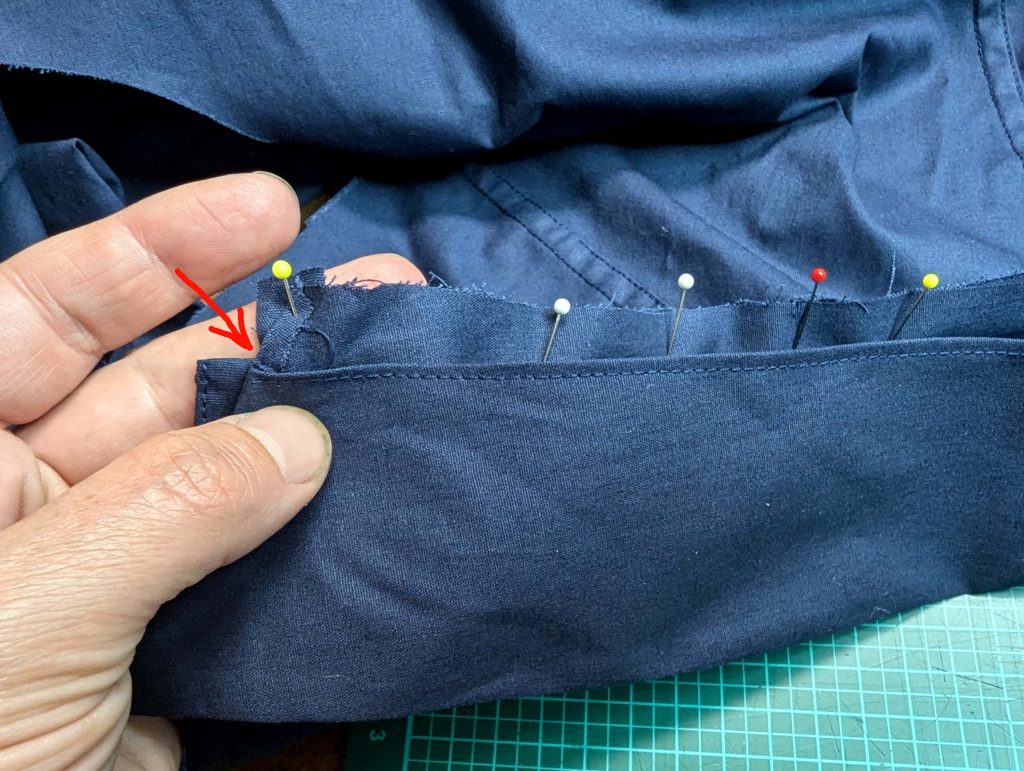
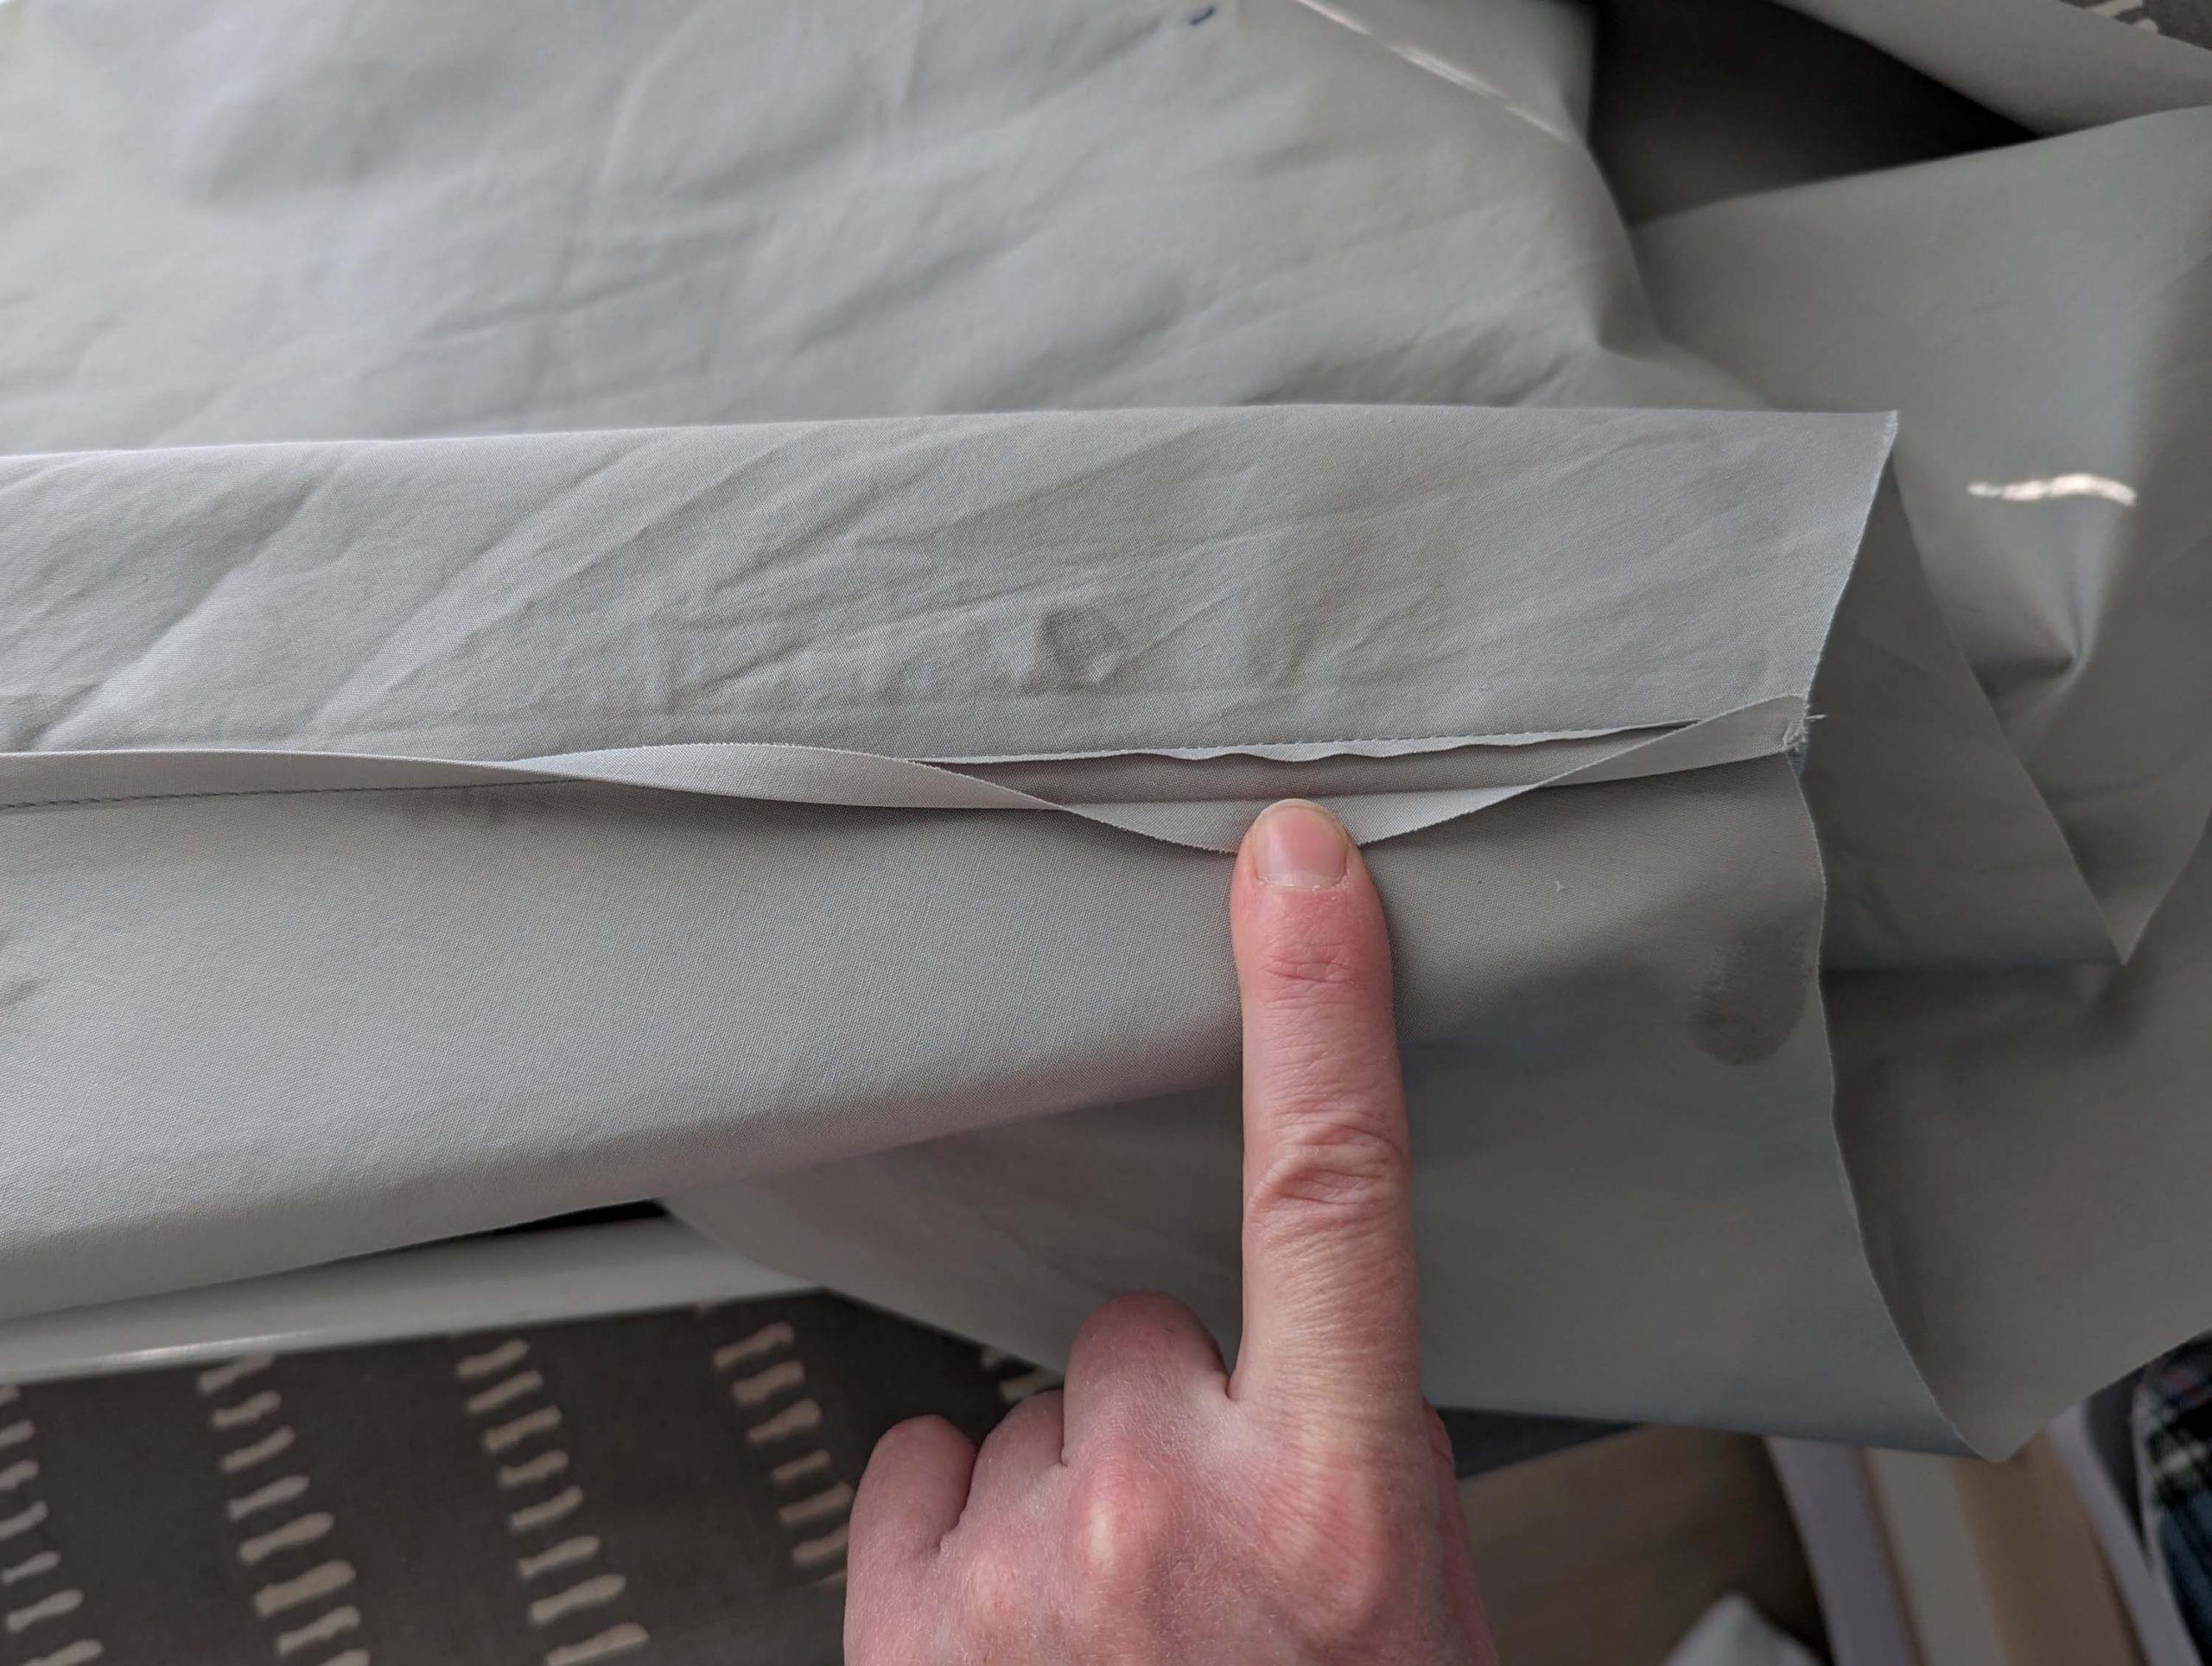
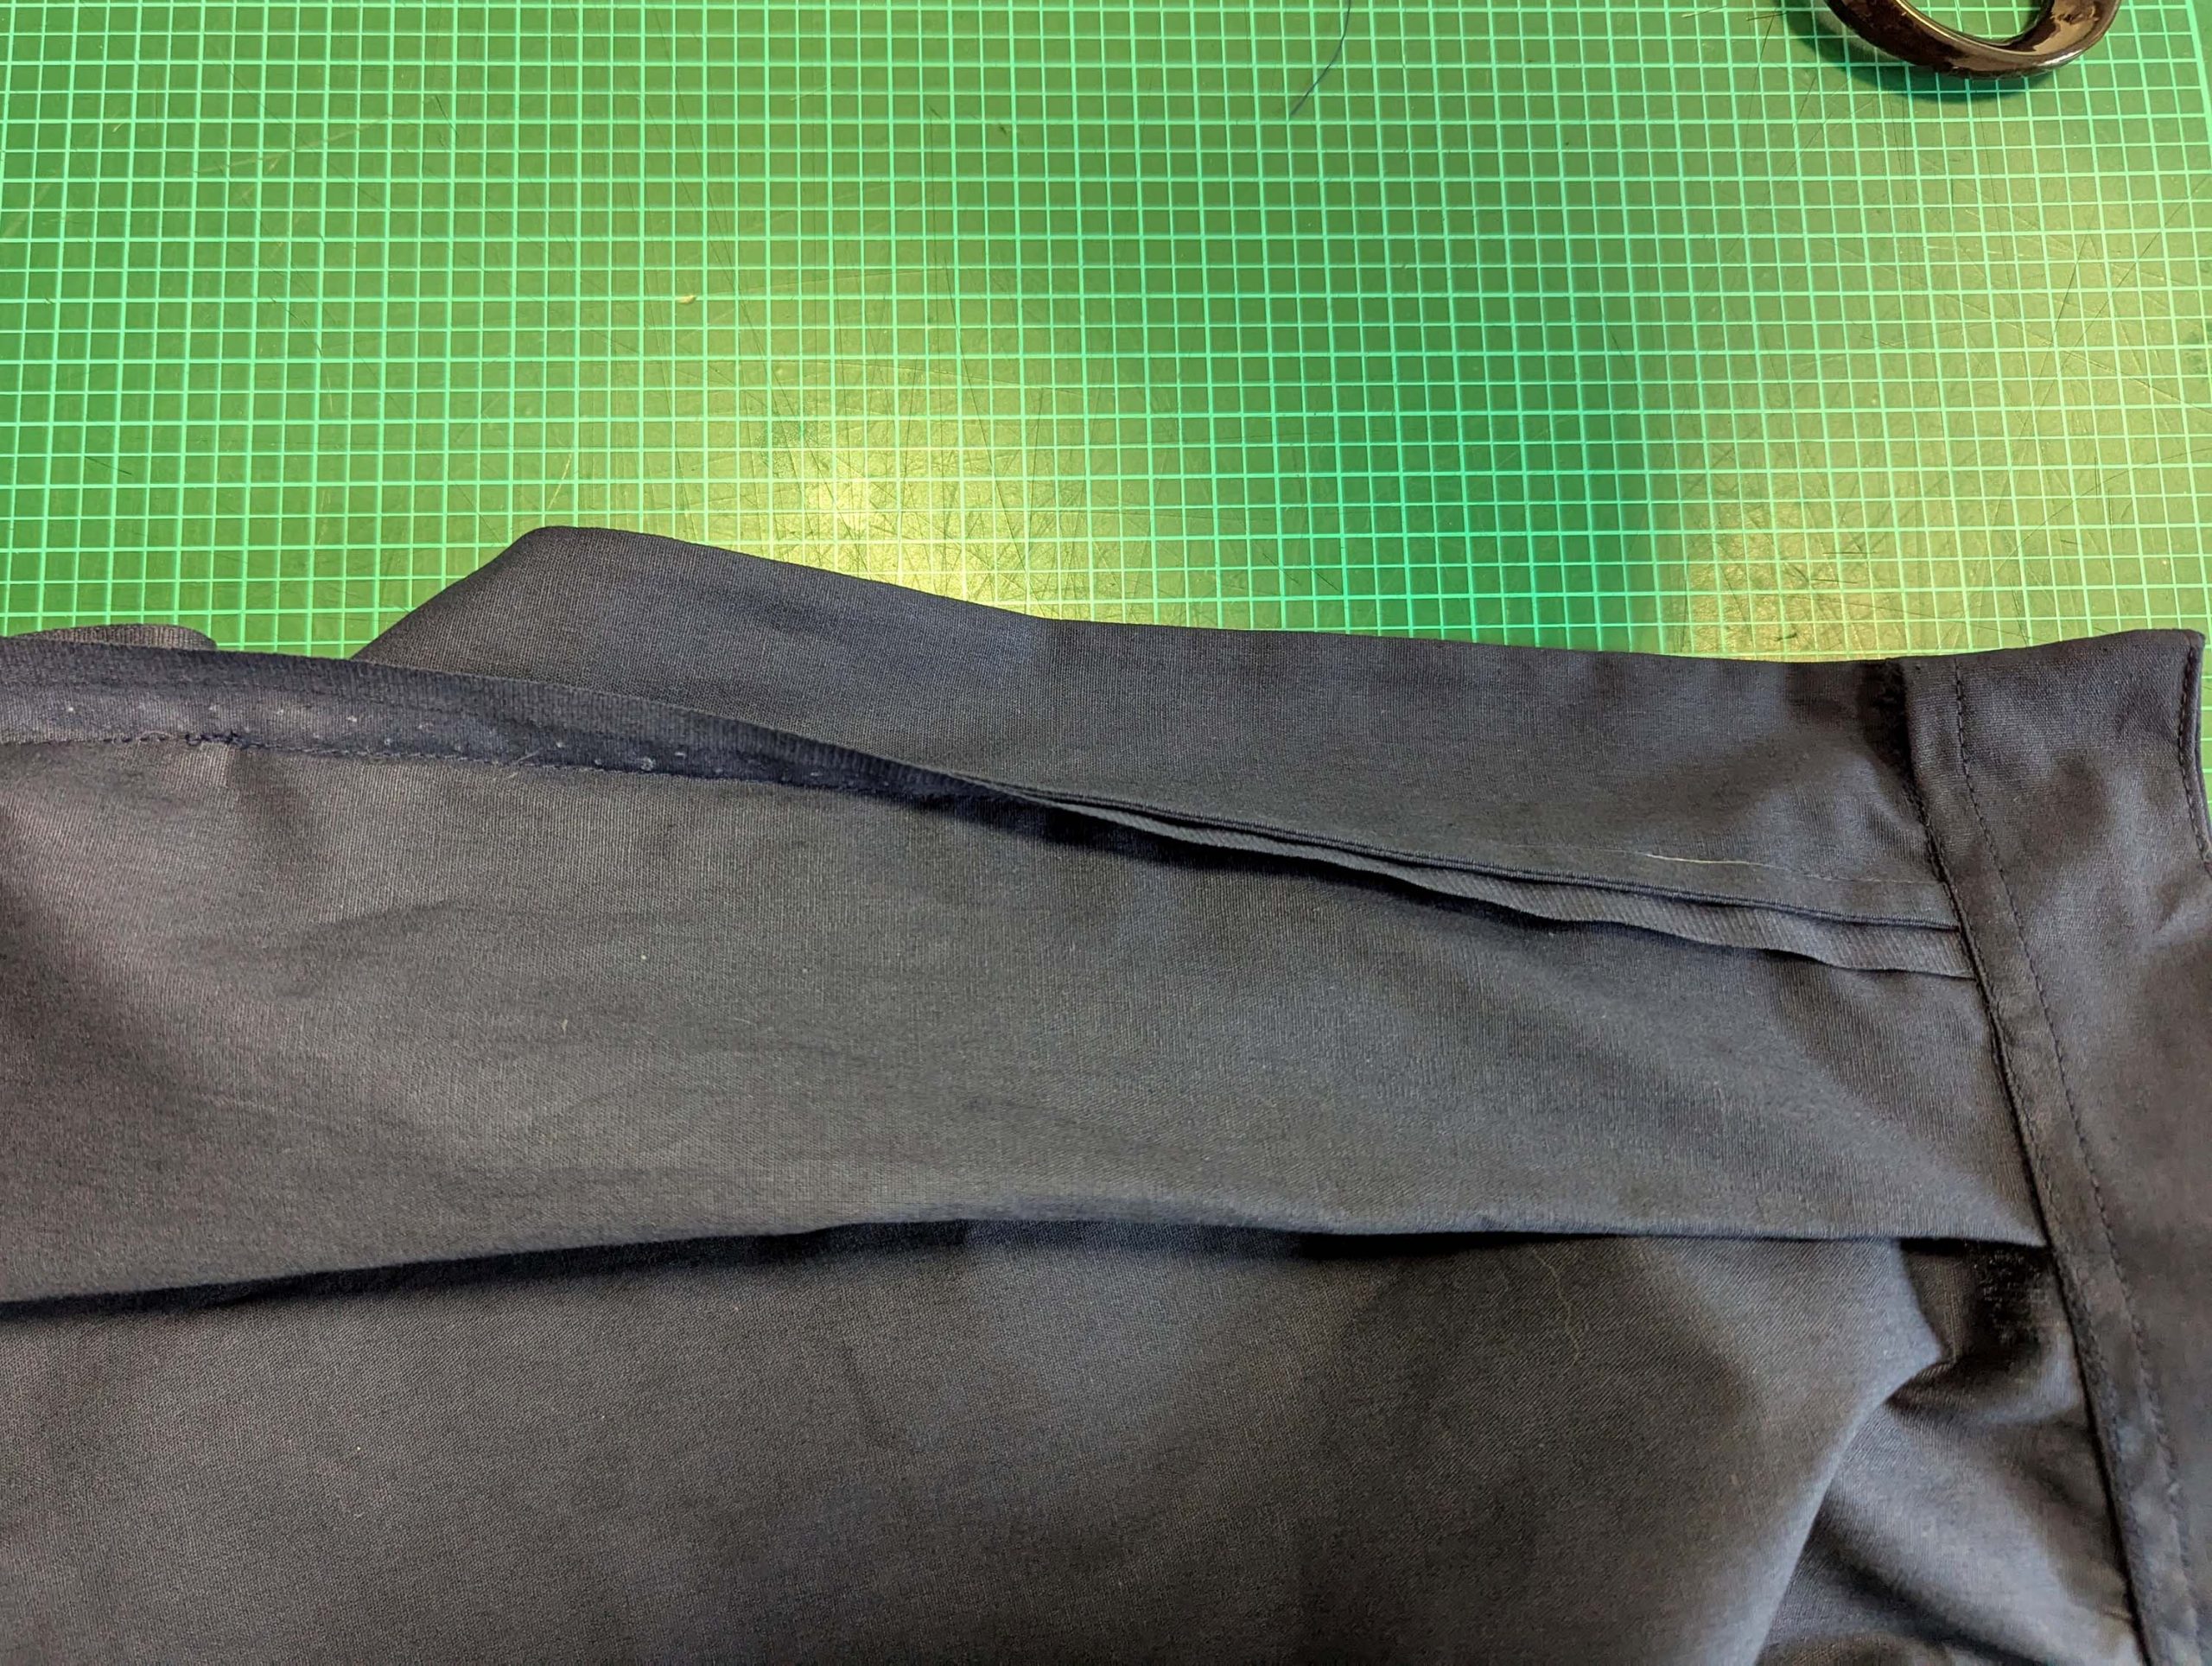
Fold the bow strips to match the width of the headband (2” (5cm)) along the open edge. Line up with the headband’s short edge, and fold the headband’s wrong sides together along the previously pressed-in edge, sandwiching the bow strip. Stitch along the short edge, then pivot and stitch down the long edge of the headband, without catching the bow strip, until reaching the top seam.

Trim back the seam allowance and turn the right way out. Press and line up the inner edge of the headband with the stitching line of the top.

Place the cap on your head, then wrap the headband around your head and tie a large bow at the front.

A bathing suit around 1900 – sewing pattern #0225 – Part 1 (The jumpsuit)

Welcome to my new tutorial! This time, I’m sharing a sewing pattern for a bathing suit from around 1900. The pattern is based on original designs and includes clear instructions to help you create your own historical bathing dress.

You can find the full pattern available for purchase in my shop. 

In the following steps, I’ll walk you through the sewing process. Each section includes tips and additional photos to help you along the way. Even if you’re new to historical sewing, this pattern is designed to guide you smoothly through each step.

The bathing suit in my pattern is based on a fashion plate from the book “The Cutter’s Practical Guide” from about 1900, featuring three different options. The first is a loosely cut jumpsuit, worn with a belt or a skirt (Fig. 1 and 2).  The second features extra pants, a bodice, and a skirt in one piece (Fig. 4). The pattern includes two different collar and sleeve options.

Let’s start with version 1, the jumpsuit! At first glance, the pattern may seem a bit confusing, so I recommend outlining your chosen pattern pieces to get a better overview.

(1) All pieces of this pattern are too large to cut on folded fabric. Instead, I laid my fabric flat on the floor and cut out each piece individually.

Continue reading

A bathing suit around 1900 – sewing pattern #0225 – Part 2 (Collar, Sleeves and Belt)

(4) Take the top collar and flatline with lightweight cotton, alternatively use fusible. Turn in the seam allowance along the neckline. Press and edgestitch from the right side. Trim back and notch the seam allowances. Line up the top collar with the under collar, right sides together. Shift the edges of the top collar about 1/8” (2mm) behind the edge of the under collar to allow for the turn of cloth. Stitch along the outer edges, reducing the stitch length at the corners. Trim back the seam allowances and turn the right way out, press.

Line up the under collar with the neckline, right sides together and sew, taking care to match the collar points exactly. Trim back and notch the seam allowances, press towards the collar.

Continue reading

A bathing suit around 1900 – sewing pattern #0225 – Part 3 (Skirt, Drawers and Dress)

Now that we’ve completed the jumpsuit, let’s move on to the next pieces of our bathing suit.

Let’s start with the skirt, which is designed to be worn over the jumpsuit.

(8) Cut all pieces from the fabric, leaving the selvages at the center back. Transfer all notches and marks carefully and sew the darts. Sew the backs to the front, right sides together, and finish with a flat felled seam.

(9) Take the placket and fold along the dotted line, right sides together. Sew along the bottom and side edges and trim back the seam allowances. Turn the right way out and press. Line up with the left back edge, right sides together. Sew with a 5/8” (1,5cm) seam allowance, starting at the top and stopping at mark (1). The width of the finished placket is 1 5/8” (4cm). Sew the center back seam, right sides together, stopping exactly at mark (1). Fold the excess fabric at the center back into a box pleat, regarding the marks.

(10) Take the waistband lining and flatline with a layer of midweight cotton fabric. Turn in the seam allowance along the bottom edge and stitch in place. Trim back the excess fabric. Line up with the waistband, right sides together, along the top edge, setting back the edge of the waistband about 1/8” (2mm) behind the edge of the waistband lining to allow for the turn of cloth. Sew along the top edge, trim back and press the seam allowance towards the lining. Understitch from the right side. For a neat and even finish, decorate the waistband with two parallel rows of white (contrasting) cotton tape now.

Continue reading

The Victorian Waistcoat – Sewing Pattern #0516 – Part 1 (Pockets) – Steps (1) and (2)

After the Norfolk jacket and the breeches, we’re now focusing on another essential garment in the men’s wardrobe: the waistcoat.

Similar to the patterns mentioned before, this one also originates from my early days as a pattern maker, marking my initial exploration into men’s tailoring in the 19th century. The waistcoat pattern represented my first endeavor in digital illustration, departing from my usual hand-sketching method. Despite the learning curve, it marked a significant milestone in my journey of pattern-making.

However, despite its age, a detailed blog post and sewing guide for the waistcoat was missing. That’s where this upcoming blog post comes in, especially focusing on the pockets. Join me as I delve into the nuances of constructing the waistcoat, offering practical insights and step-by-step instructions to help you bring this timeless garment to life.

Choosing the materials: A waistcoat, typically worn with trousers and a coat or jacket, evolved in material and style throughout the 19th century. At the start of the century, waistcoats were often crafted from contrasting materials. By the century’s end, they matched the trousers and jacket for informal occasions, forming a three-piece suit as we recognize today.

Similarly to modern practices, the back of the waistcoat was typically made from lighter materials. Polished cotton or fine twill/satin was commonly used for the back, straps, and lining.

Let´s dive into sewing, step by step as usual!

(1) As usual, start with cutting all the pieces from fashion fabric, interfacing, and lining, and carefully transfer all marks and notches, especially the little corner marks on the collar. The waistcoat is called collarless, but that´s not quite true, it´s kind of a shawl collar, just with a collar stand.


Now, let’s proceed straight to the intricacies of pocket sewing. I encountered some challenges with the 19th-century method, especially when working with thick wool fabric. The more angled breast pocket posed significant issues with bulk, therefore, I decided to change this pocket in the pattern to a less angled one. Also the pictures are not the waistcoat, to show you improved instructions, without all the mess I made with my first attempt on this wool fabric.

First, baste a piece of linen or cotton to the wrong side of the front, covering the pocket opening. Mark the pocket opening with a basting thread, clearly visible on the right side of the fabric.

Fold the welt in half lengthwise, wrong sides together, and press. Reopen and mark the inside, as well as the half line. Sew the outer pocket bag to the inner half of the welt using a 1/4” (7mm) seam allowance, right sides together. Re-check before sewing, and stitch exactly between marks (x). Trim back the seam allowances as shown and press towards the pocket.

Continue reading