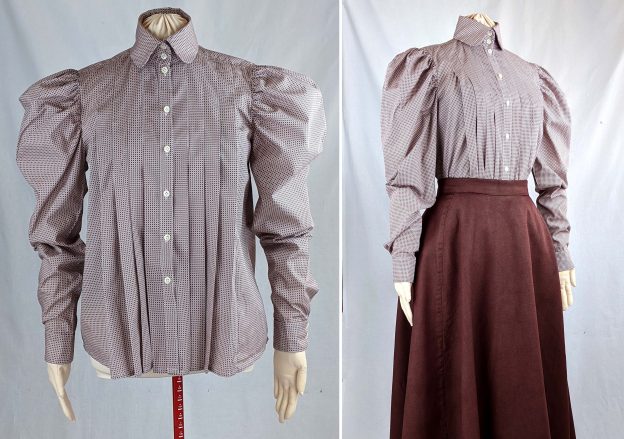
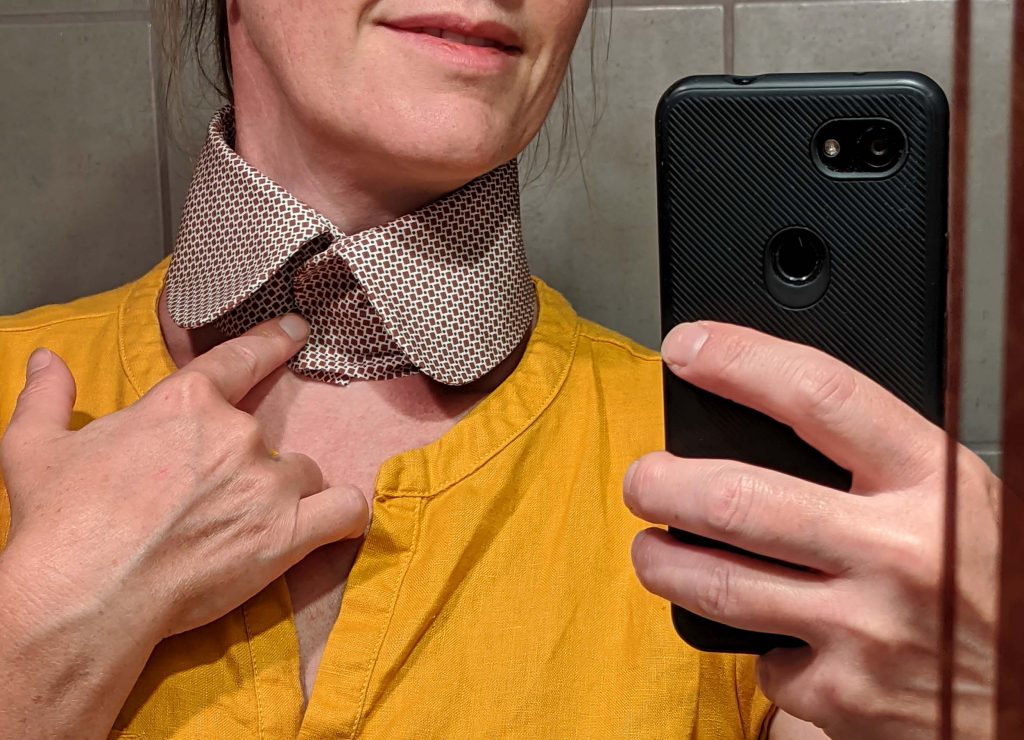
Hi there again! This time I made a tutorial for my Shirtwaist pattern #0314 with folds. Some of my customers reported problems with the narrow collar and how to adjust the neckline if you´d need a lager collar.
First of all, the most important thing is to make a mock-up for the collar. Compared to modern collars, often cut very wide and worn open, this collar has to sit tight around your neck, like a men´s shirt collar.
Making the collar wider, you´d have to widen the neckline accordingly and I think at that point many of you´re having problems, finding the neckline on the pattern because of the folds.
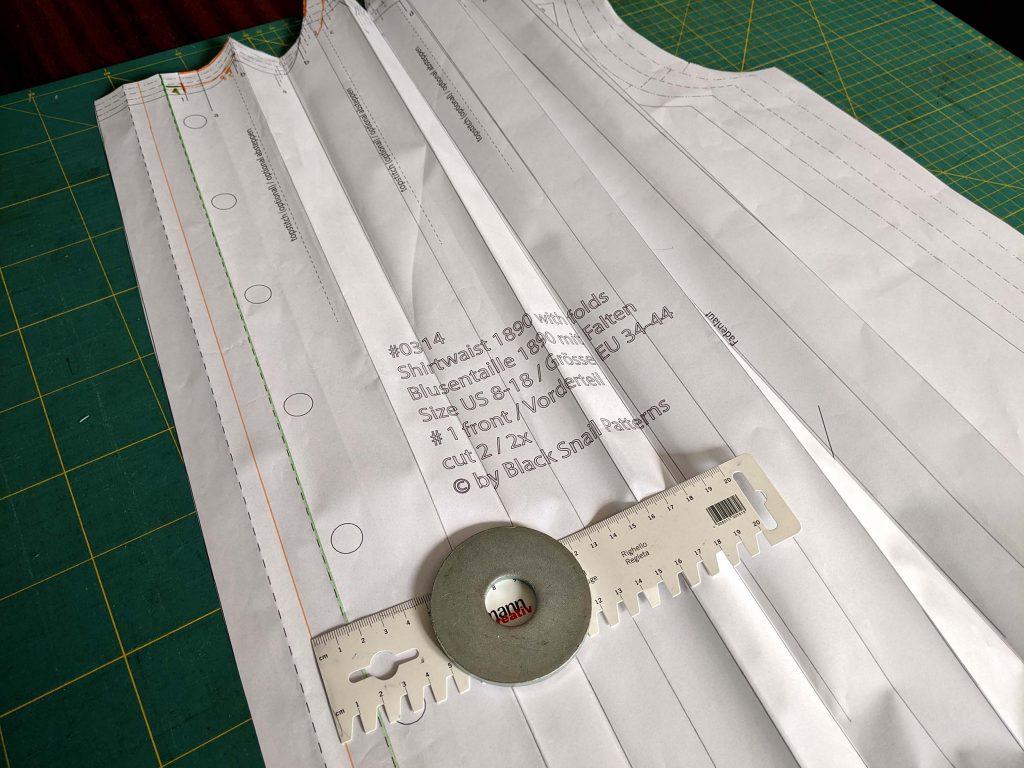
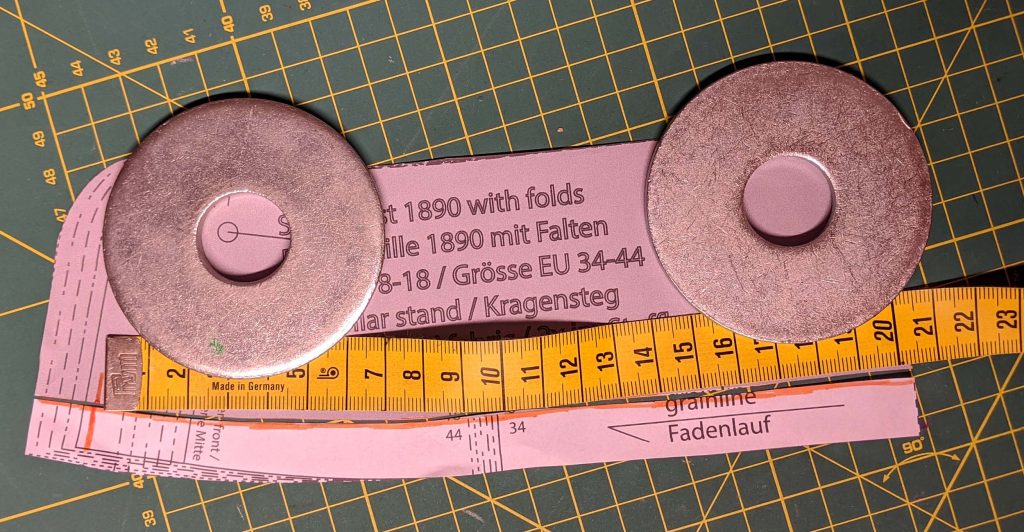
Take the front pattern from paper and make all the folds indicated on the pattern. From that point it will be easy to make all the changes needed.
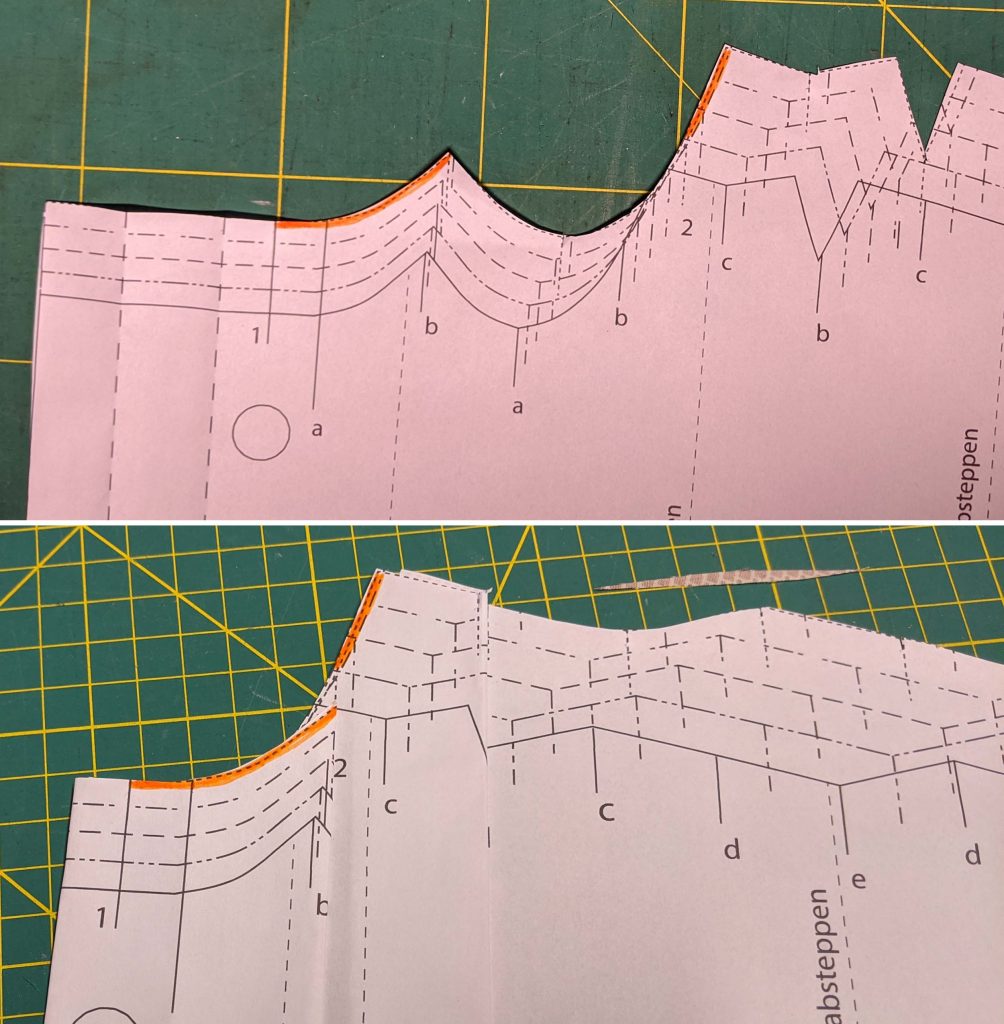
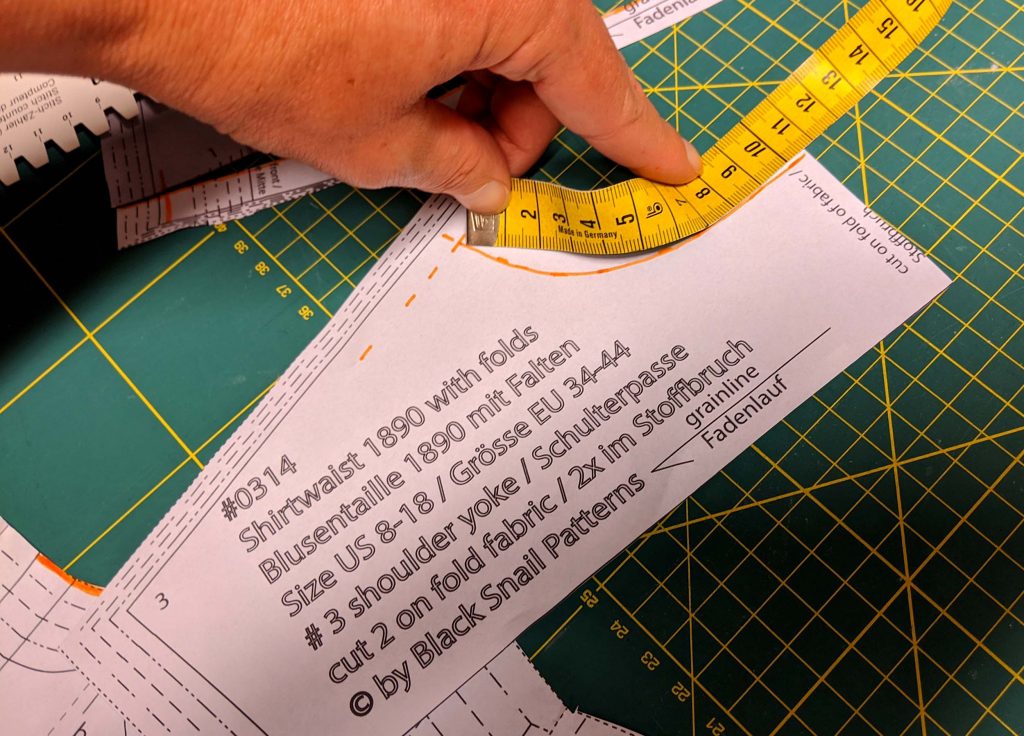
Using a 5/8” (1,5cm) seam allowance, draw the stitching line and measure.
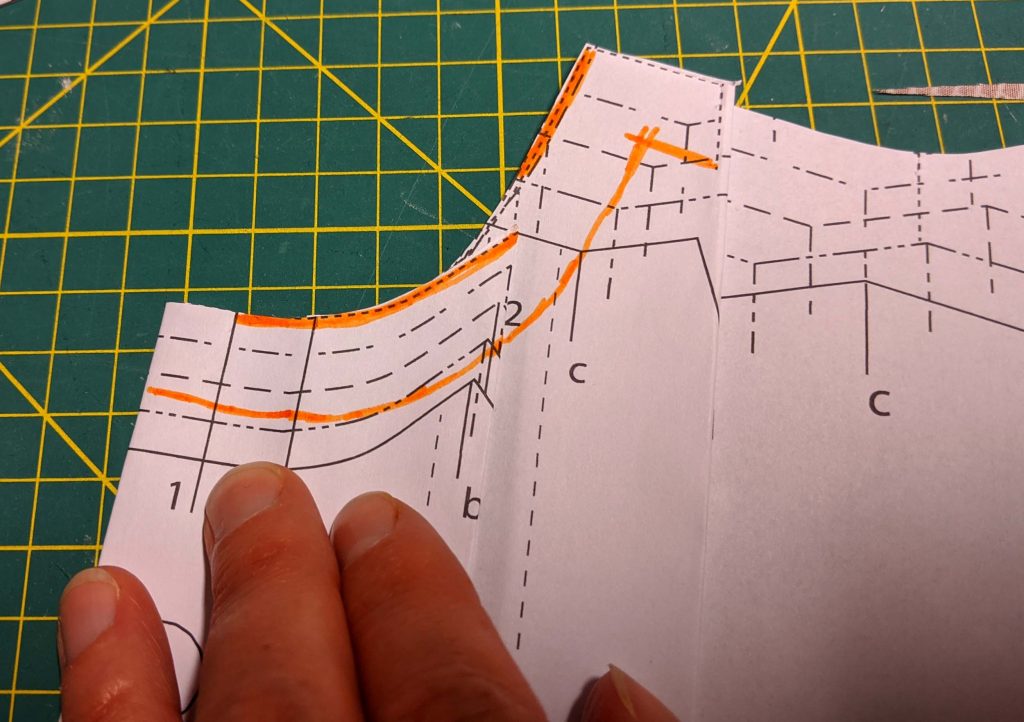
For a wider collar, adjust the neckline accordingly, widening the neckline more at front (v), about 3/8” (1cm), less at the shoulders (i), about ¼” (5mm), and just a bit at the back (h), about 1/8” (3mm).
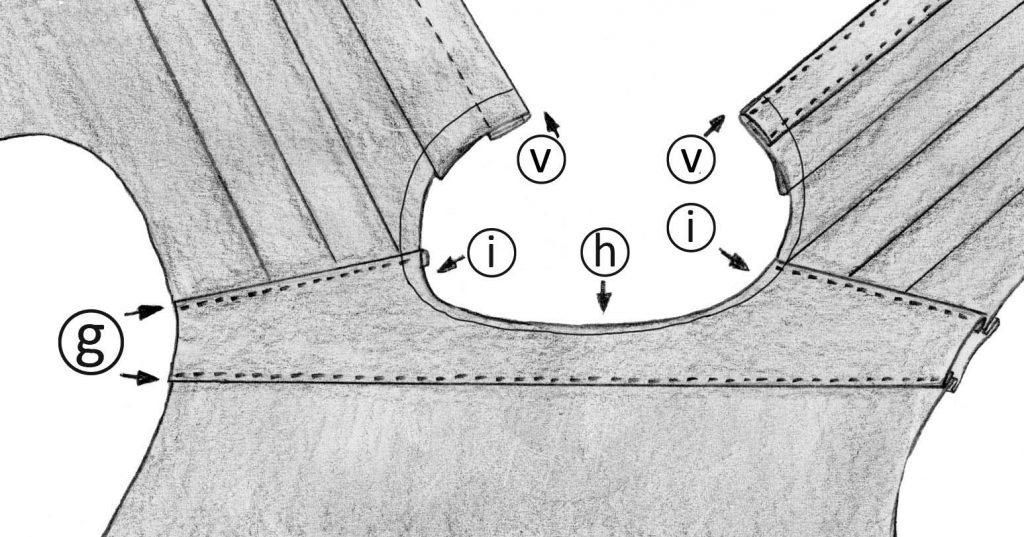
Re-measure along the new stitching line, dividing the neckline into several cuts (placket – green, front – orange, back – blue) as shown on the picture.
Another way would be to make a mock-up (perhaps without the folds) and adjust the neckline, trying on the mock-up. At the same time it´s easy to adjust the pattern for sloping shoulders.
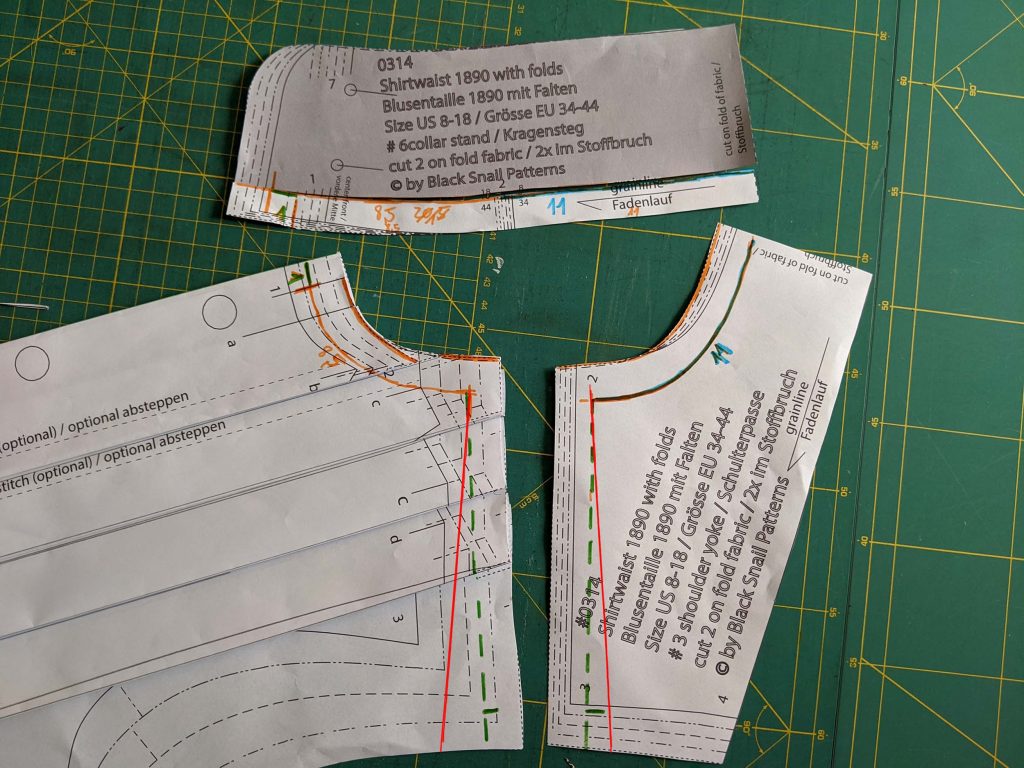
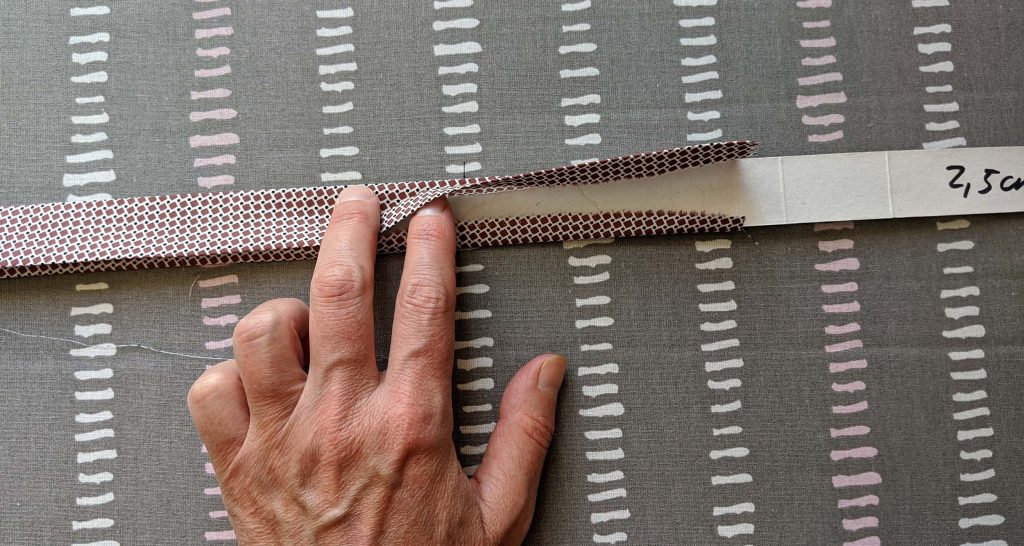
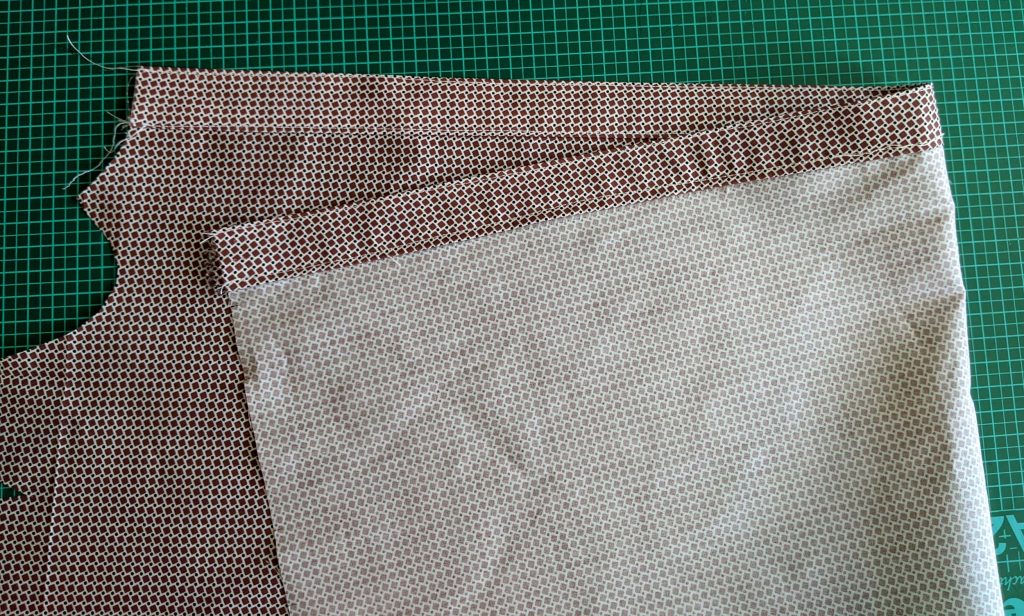
Another thing, missing in the pattern, was an extra button band on the right front, when sewing with printed fabrics, when the right and wrong side of the fabric doesn´t look the same way (the left front is just folded under). You´ll find many tutorials in the internet, showing you how to. I cut along the green line and made an extra button band from a 2 ¾” (7cm) wide strip of fabric, folded to a 1” (2,5cm) wide band. I put this band over the edge and topstitched.
Another way would be to add a seam allowance to the green line (orange line) and make a button band from a 2 5/8” (6,5cm) wide strip.