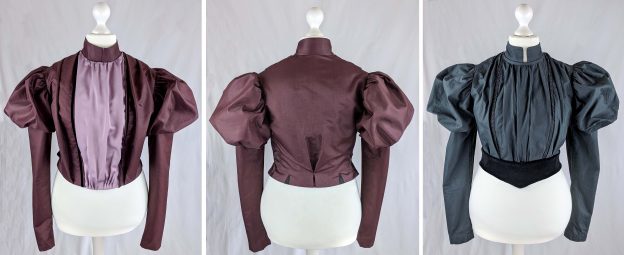
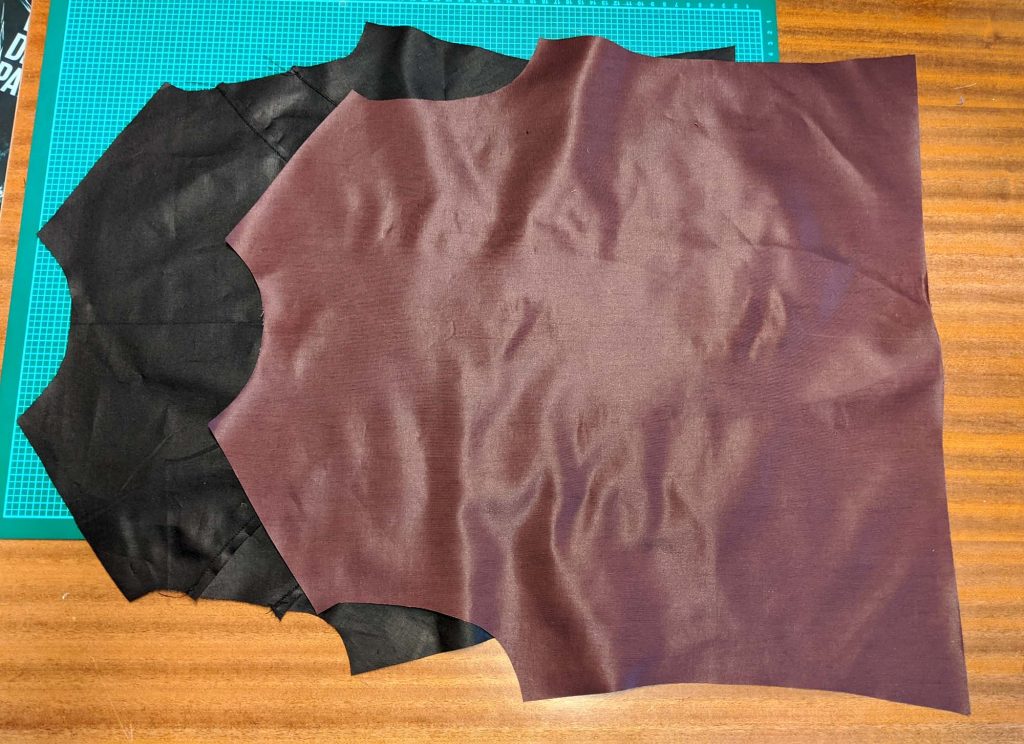
Many of you asked about the black blouse with the large puff sleeves that I showed underneath the 1890´s vests. I made this blouse from a black cotton fabric years ago and have worn it a lot at customizing events in recent years. After many washes, it looks like an extant piece from the 1890´s with many sings of wear. Time for a new one, and of course a sewing pattern!
This time I chose a mid to heave weight silk/cotton blend with some drape, a contrasting plastron from a soft satin, all mounted on a base of black polished cotton. With this stiffer fabric it turned out more a day bodice than a blouse. The first, made of light to medium-weight cotton, appears more like a blouse than a day bodice. So, depending on the chosen fabric the finished garment will turn out in different ways.
Both are mounted on a firm and tight fitting lining with boned seams as usual at that time. The lining base closes at the center front, edge to edge with hooks and eyes, covered by the plastron. The plastron is sewn on at the right side, with the edge covered by the fashion fabric of the front. The other side is closes layered underneath the fashion fabric with hooks and eyes.
If you´re interested in sewing the bodice together with me, you can buy my pattern here: Sewing pattern #0420
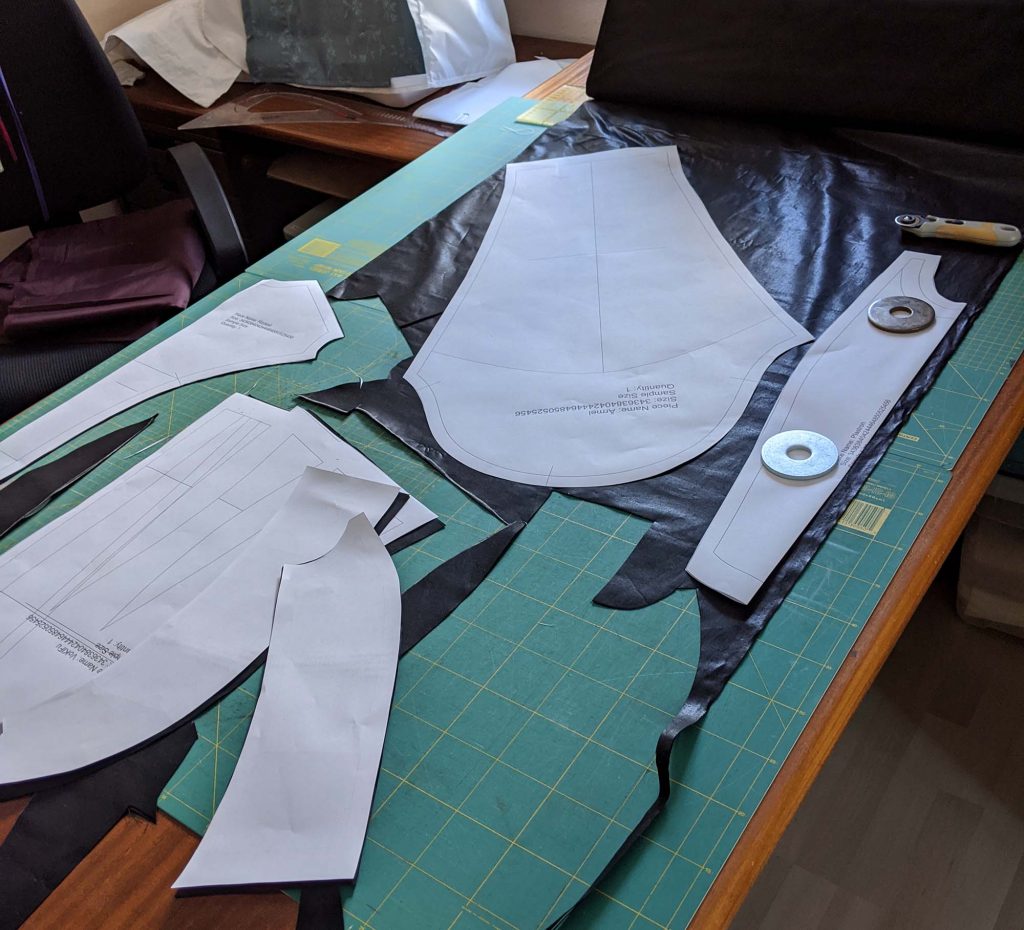
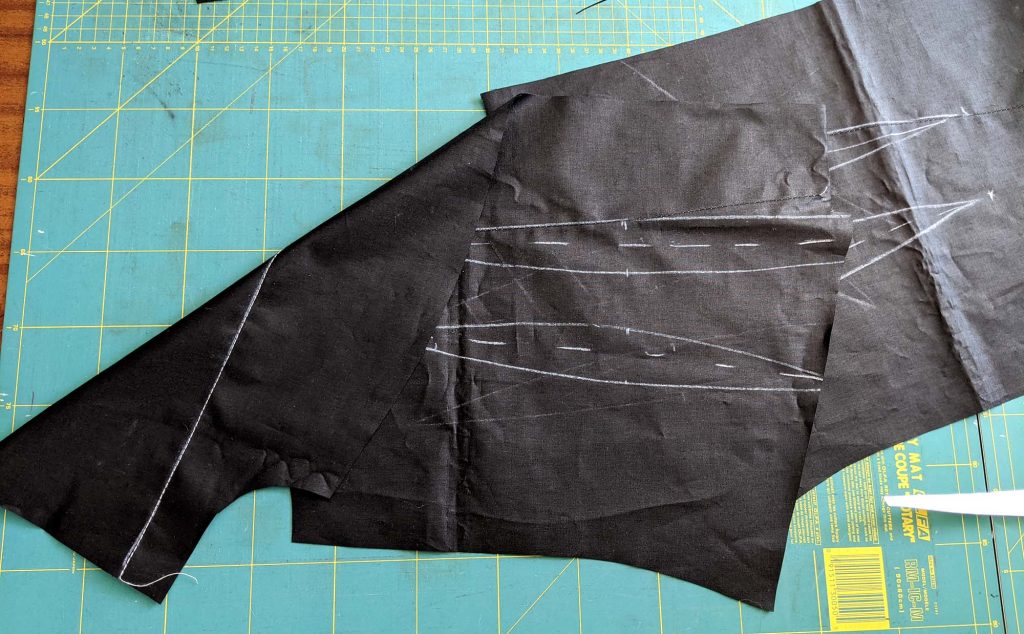
Let´s start! First thing to do is cutting out all the pattern pieces from fashion fabric and lining. I was asked about the fabric in the picture, it´s the polished cotton!
Sew all back pieces from the lining, right sides together and press the seam allowances towards the sides. Trim back if wanted and clip at the waistline before understitching the seam allowances to lay flat.
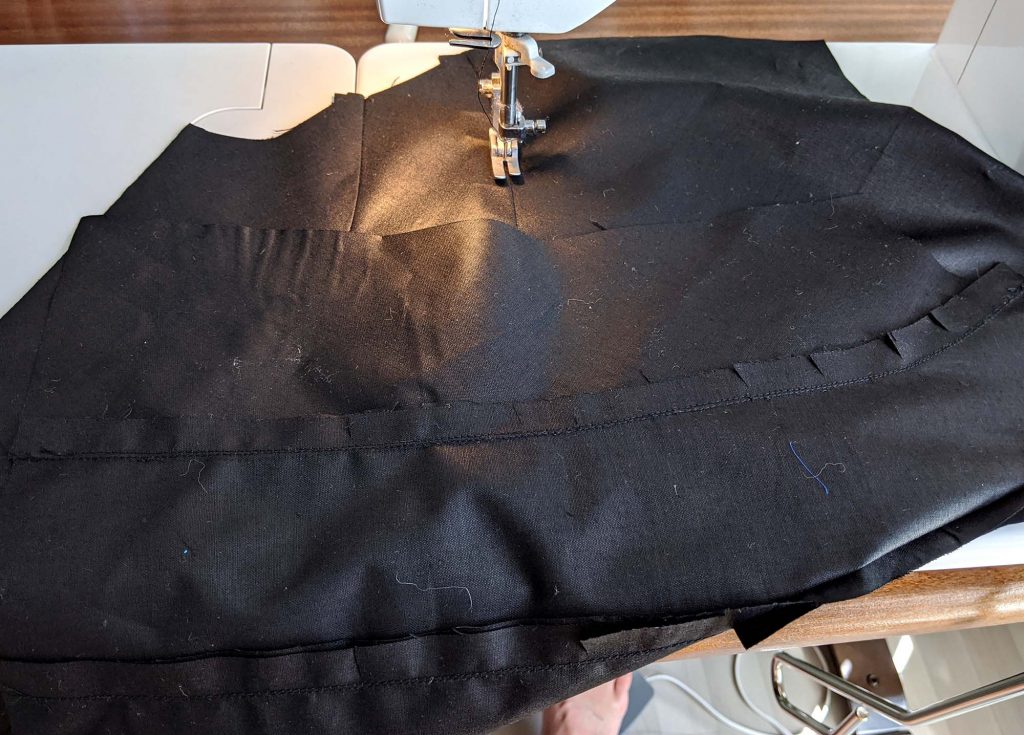
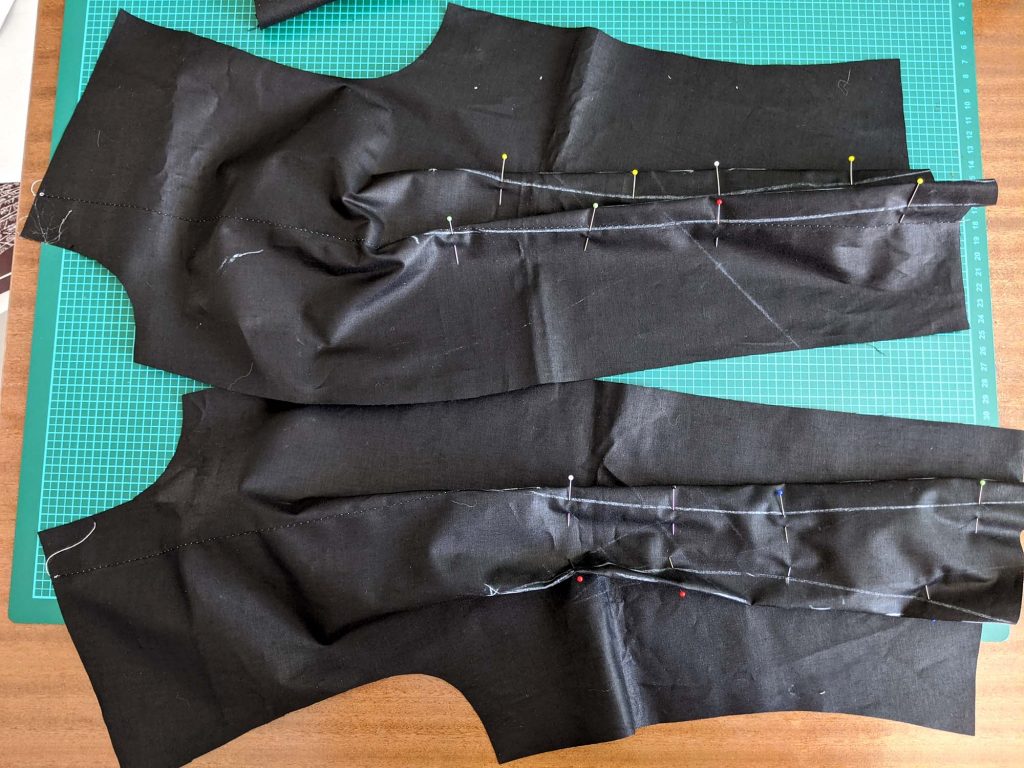
Place the back from the fashion fabric on top, with wrong sides together. Make a box pleat at the center back and baste the layers together.
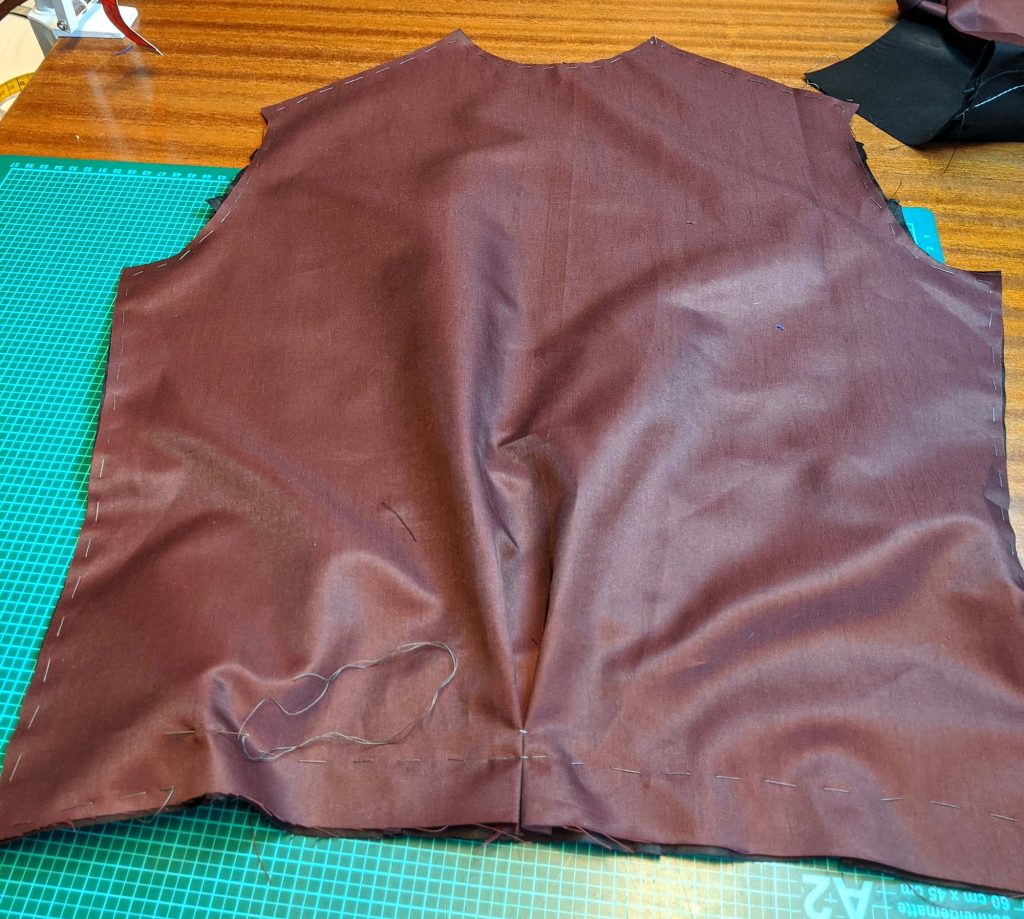
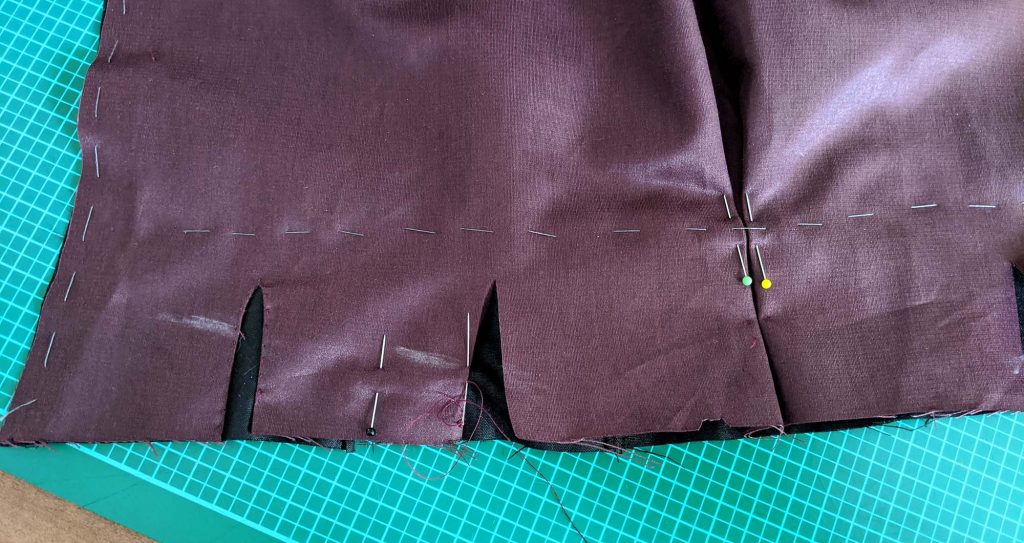
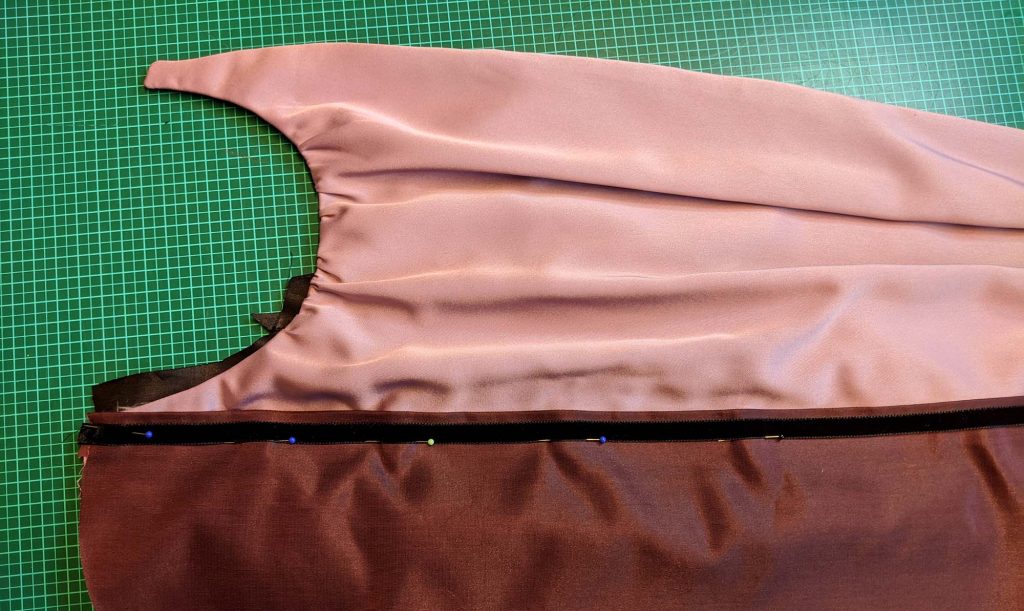
To match the peplum at the back, open the box pleat slightly at the bottom edge and slash the fashion fabric, ending about 5/8” (1,5cm) from the waistline. Turn in a narrow seam allowance along the slits and prick stitch to the lining layer.
Put the back aside and continue with the fronts: The center front of the lining is reinforced with a facing, to hold the hooks and eyes later. The facing is indicated by the gray area on the sewing pattern and is cut as an extra piece from lining fabric, indicated as piece #1a on the sewing pattern and cuttin diagramm. I´m sorry for not having more pictures sewing the facing.
Line up the front-facing with the center front edge, wrong sides together, and sew. Trim back the seam allowance to 3/8” (1cm), press towards the facing and understitch. Fold the facing and front lining with the right sides together and press the edge, rolling the seam slightly out of side towards the inside. Turn in a seam allowance of about 3/8” (1cm) at the loose edge of the facing and edgestitch to the front lining.
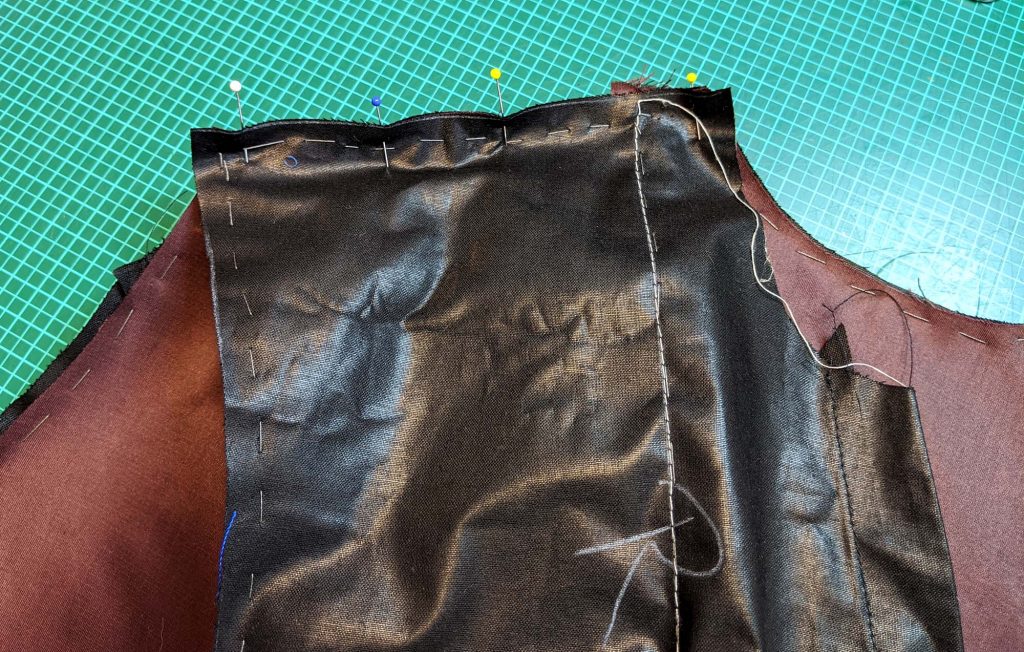
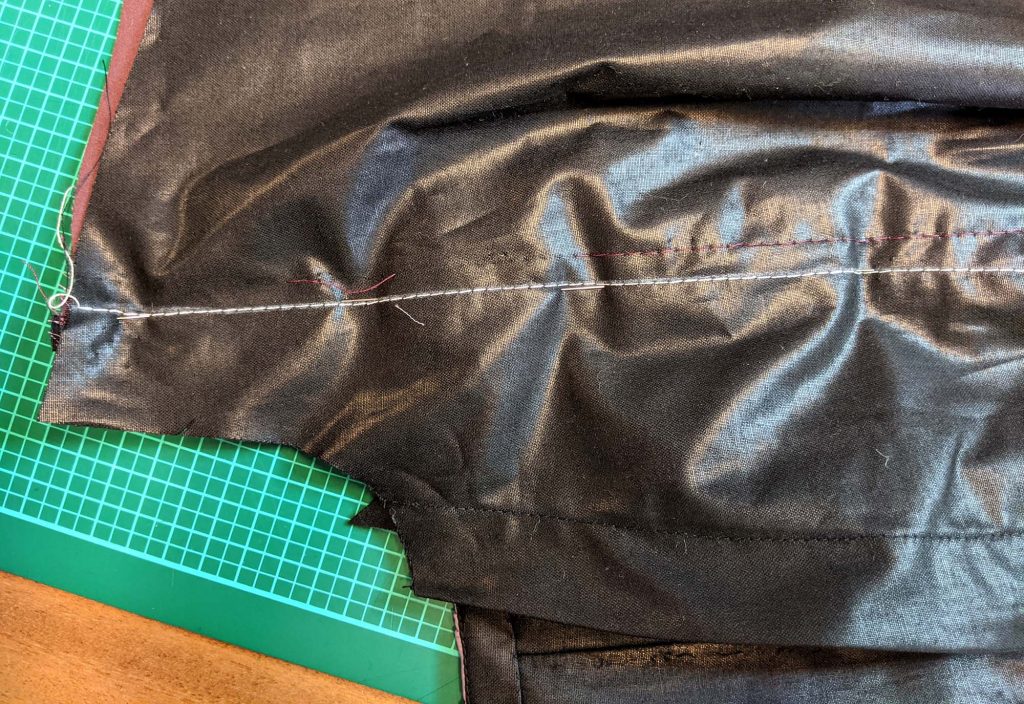
Mark the stitching line for the plastron with a contrasting basting thread (I did a quick machine basting, with a contrasting thread just on the top) and sew the darts, right sides together. Cut the darts and press open the seam allowances, alternativley, press the darts towards the sides and understitch – that´s what I did.
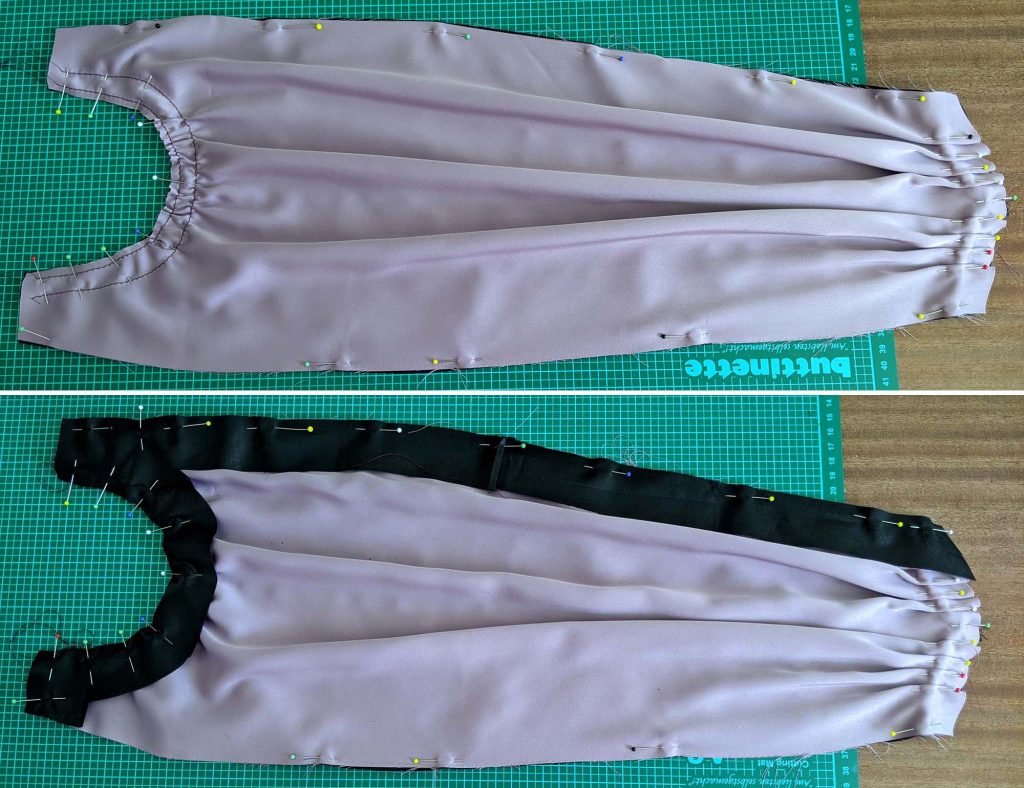
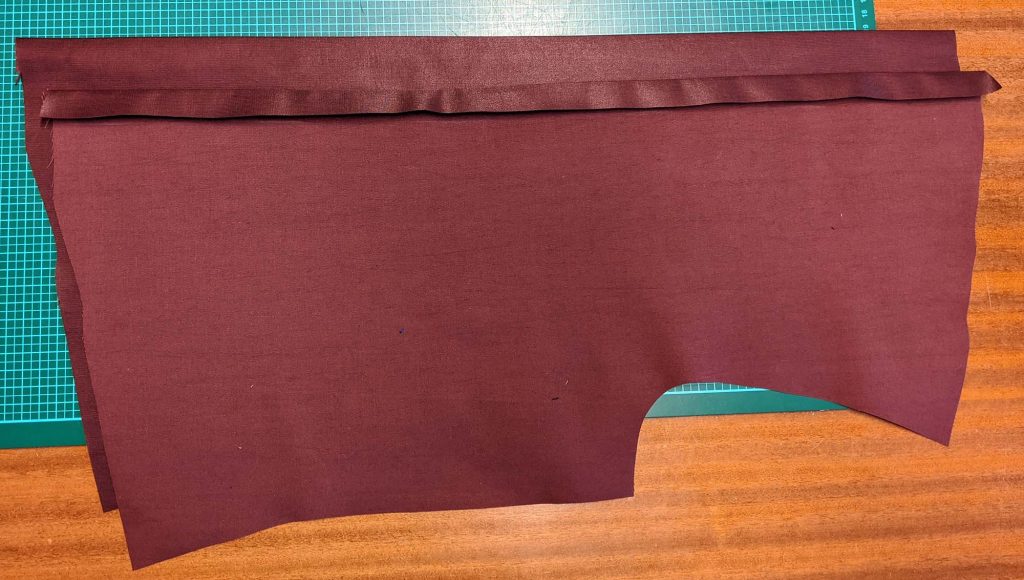
Sew rows of gathering threads along the top edge of the plastron from the fashion fabric. Line up with the plastron from lining, wrong sides together, gather the fashion fabric along the top edge by pulling the threads to fit the lining, spread the width evenly and baste in place. Make regular pleats at the bottom edge to fit the lining and baste. (Ok, I ommitted basting on the pictures, but later I did two rows of basting to hold the folds in place.)
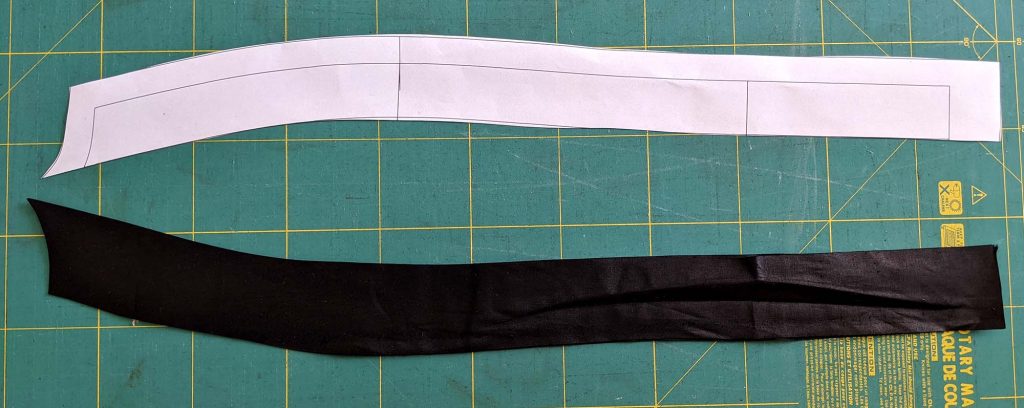
The plastron needs a very clean edge at the top and left edge, without showing the lining, especially at the top edge. The best to meet this prerequisites is a facing, (indicated by the gray area #7a on the sewing pattern), cut as an extra pattern piece. I pieced the facing as I didn´t had enought fabric left to cut as one piece (piecing is period). The right edge will be left raw, hidden underneath the right front from fashion fabric.
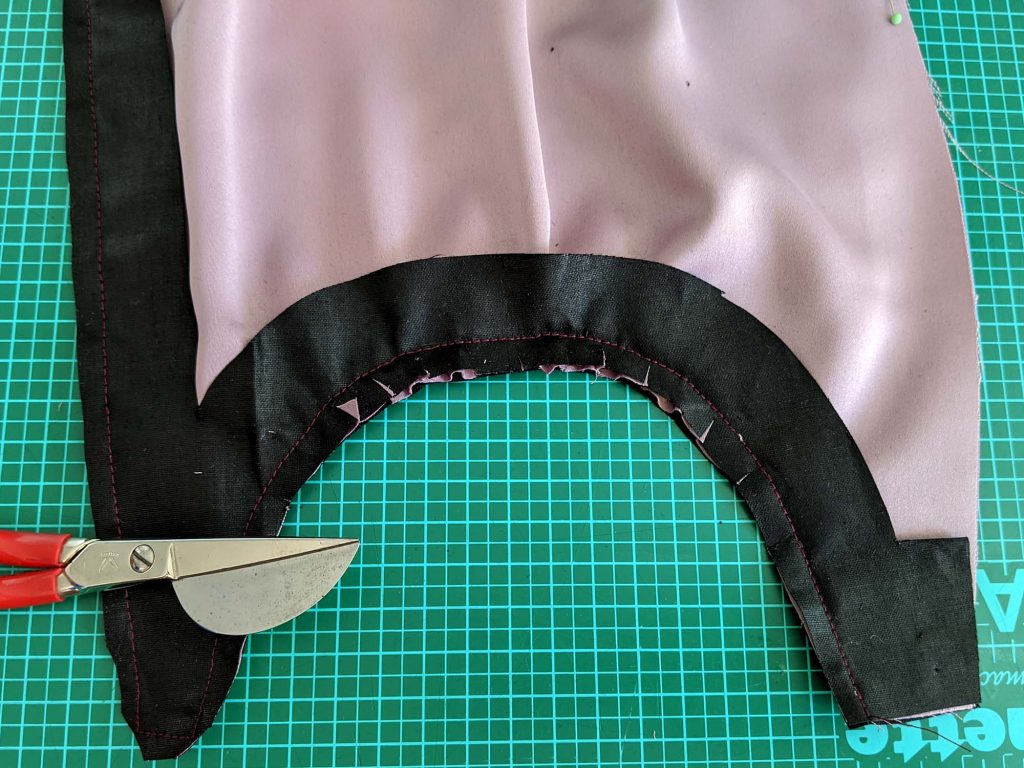
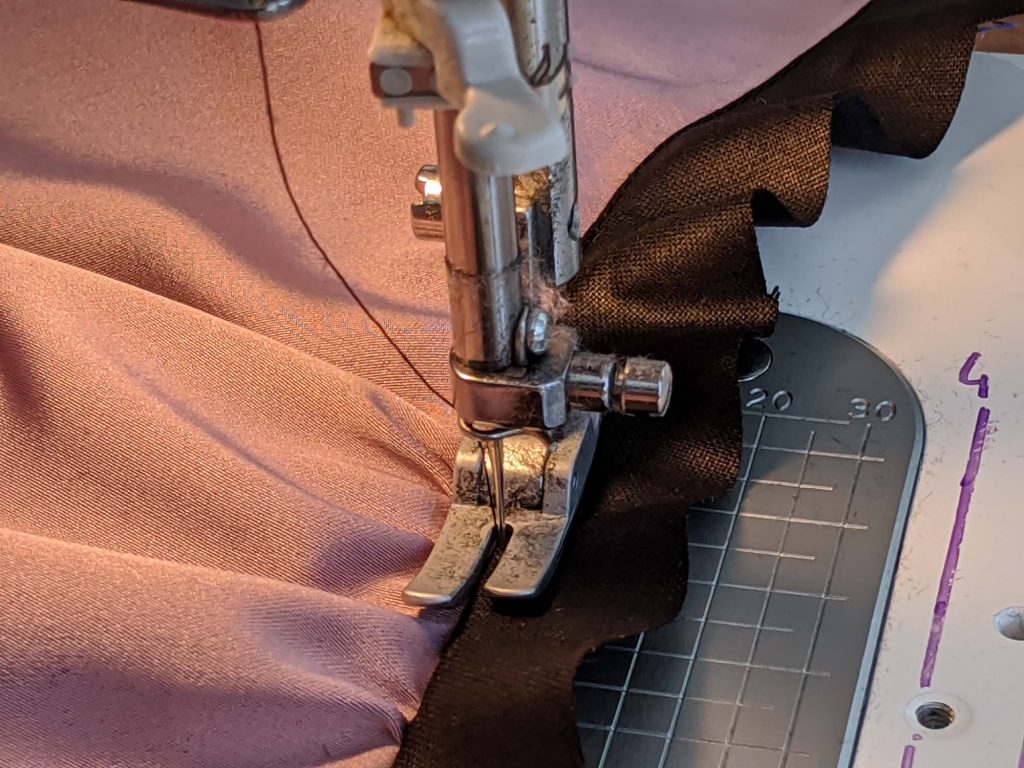
Line up the facing with the plastron, along the left and top edge, right sides together, and sew, reducing the stitch length at the corners.
Trim back the seam allowances, clip at the curve and understitch the seam allowances to the facing, sewing as far as possible towards the corners. This understitching will roll the facing out of sight towards the wrong side when turned the right way out!
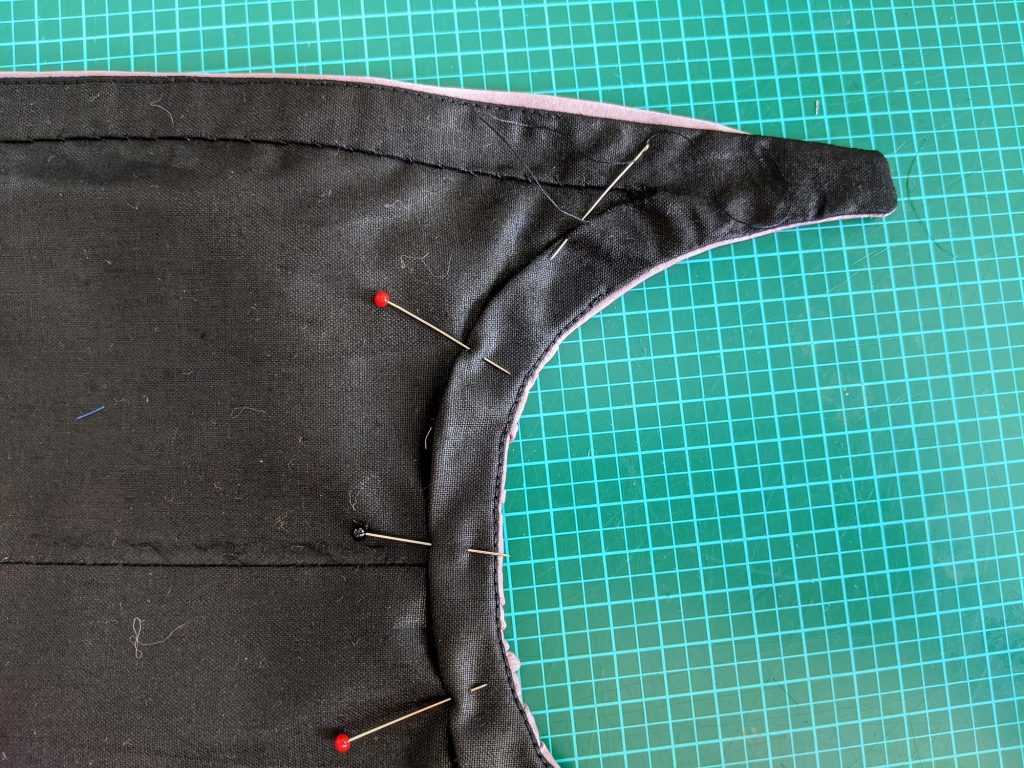
Turn the right way out and press the edges. Turn in a seam allowance of 1/8” (5mm) along the raw edge of the facing, notch at the corner and prick or fell stitch to the lining only.
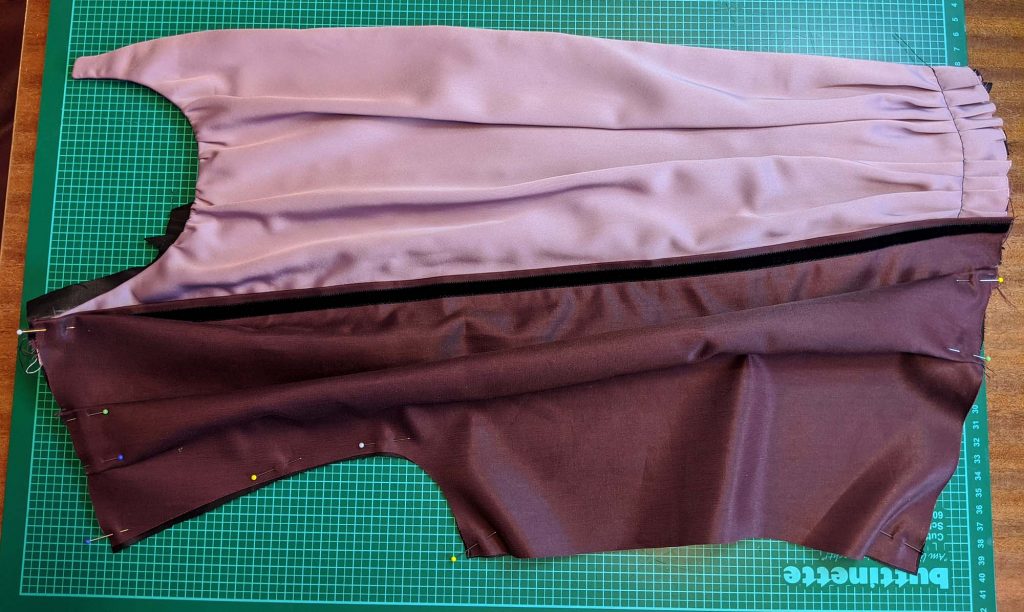
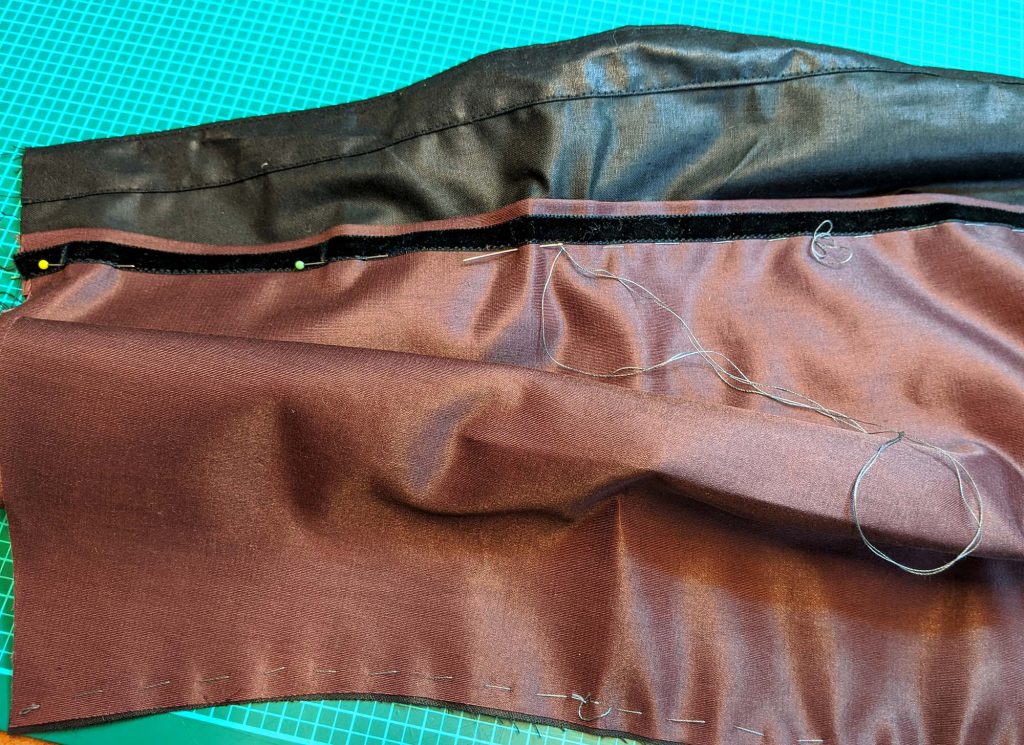
Take the fronts from the fashion fabric and turn in the seam allowance of 3/4″ (2cm) along the front edges. For my bodice, I decided to attach a velvet ribbon.

Now, place the plastron on top of the right front lining, wrong sides together, lining up the stitching lines and baste in place. Next, place the front from fashion fabric on top matching up the stitching lines exactly. Sew along that line, sewing all layers together.
Fold the pleats to match the shoulder seam and bottom edge of the lining layer and baste in place inside the seam allowances.
On the left side, just line up the stitching lines from the front and front lining and baste in place. Fold the pleats mirroring the right side.
Sew the shoulder seam, right sides together, press open the seam allowances and neaten the raw edges with overcasting stitches.