Tag Archives: cycling

#0316 Men´s Cycling Breeches Part 1 – Steps (1) to (5)

After updating the Norfolk Jacket, we’re shifting our focus to the breeches pattern, with an upcoming blog post dedicated to its update. Traditional trousers tailoring isn’t as straightforward as it may seem; it took me several years to master, and now I’m excited to offer you a solid foundation for your projects.

For further research, numerous preserved tailor’s books and magazines from that era are available as free PDF scans on the internet, providing additional insights into materials, cutting, and sewing techniques. The breeches featured in this sewing pattern are based on a pattern from the following book: W. D. F. Vincent (circa 1900): The Cutter’s Practical Guide to Jacket Cutting and Making, London.

The trousers featured in the sewing pattern have a fly front, a grown-on waistband, and are designed to be worn with buttoned suspenders. Additionally, the width of the trousers can be adjusted using straps and a buckle at the back.

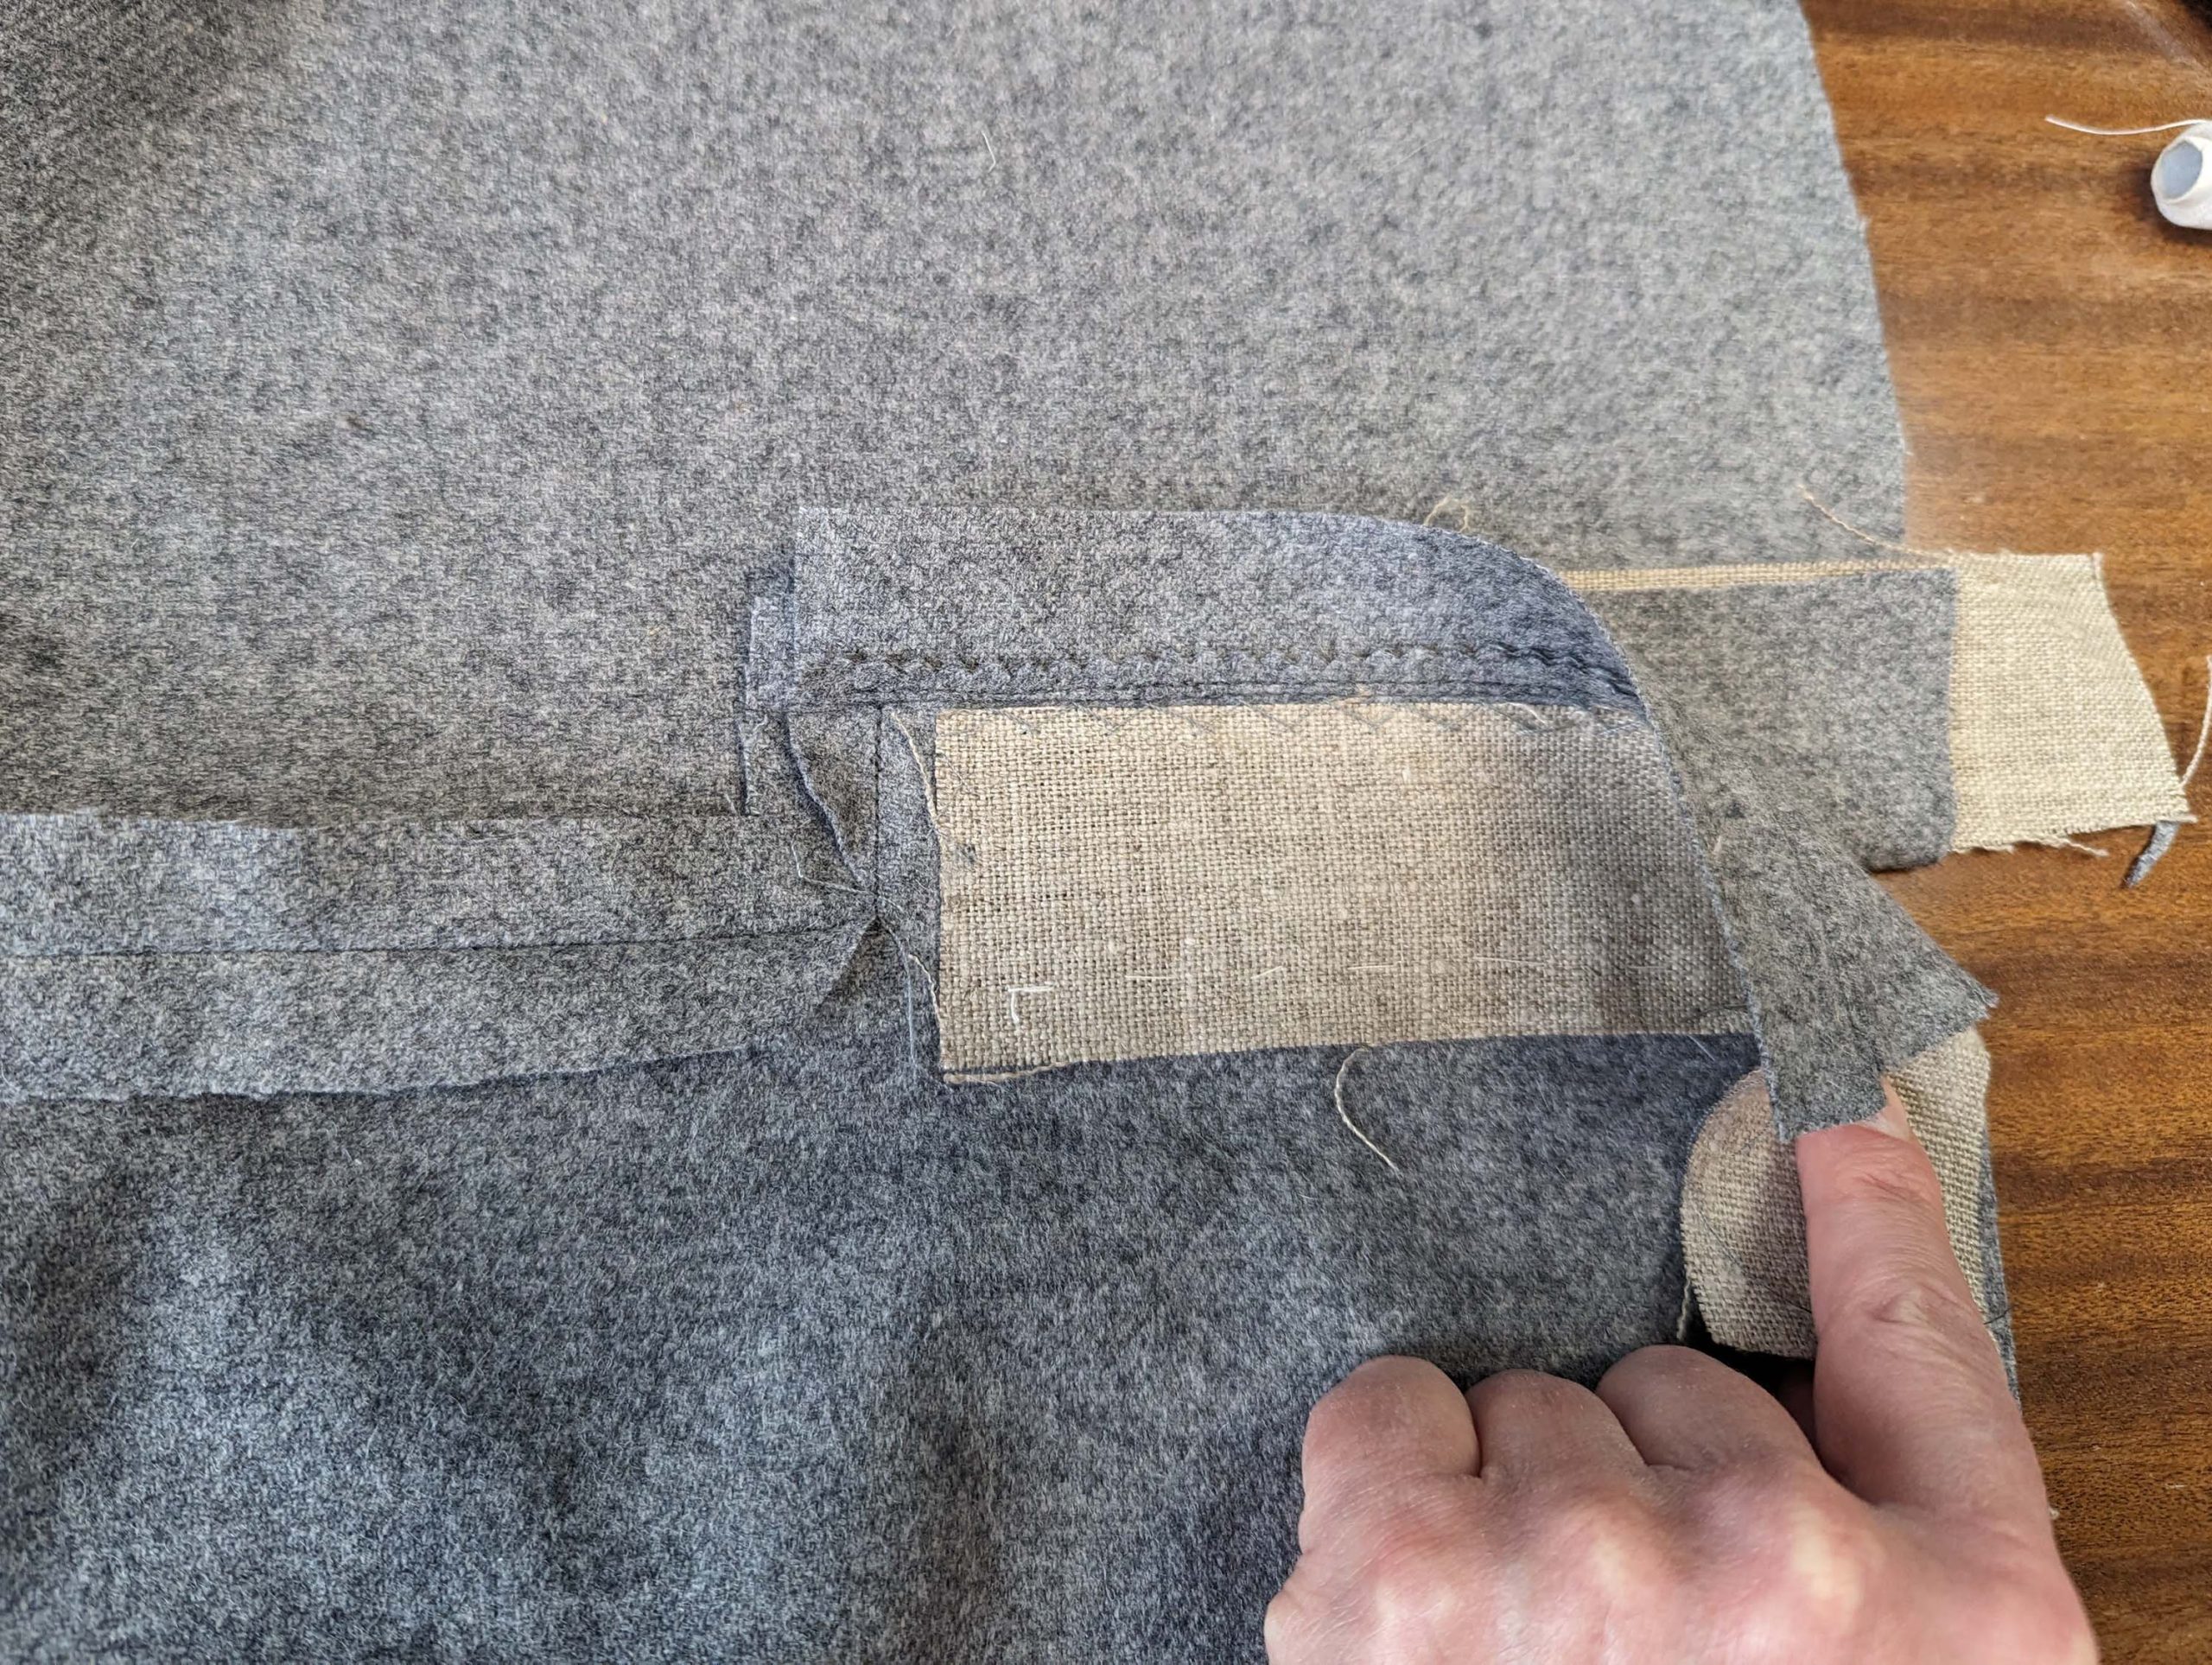
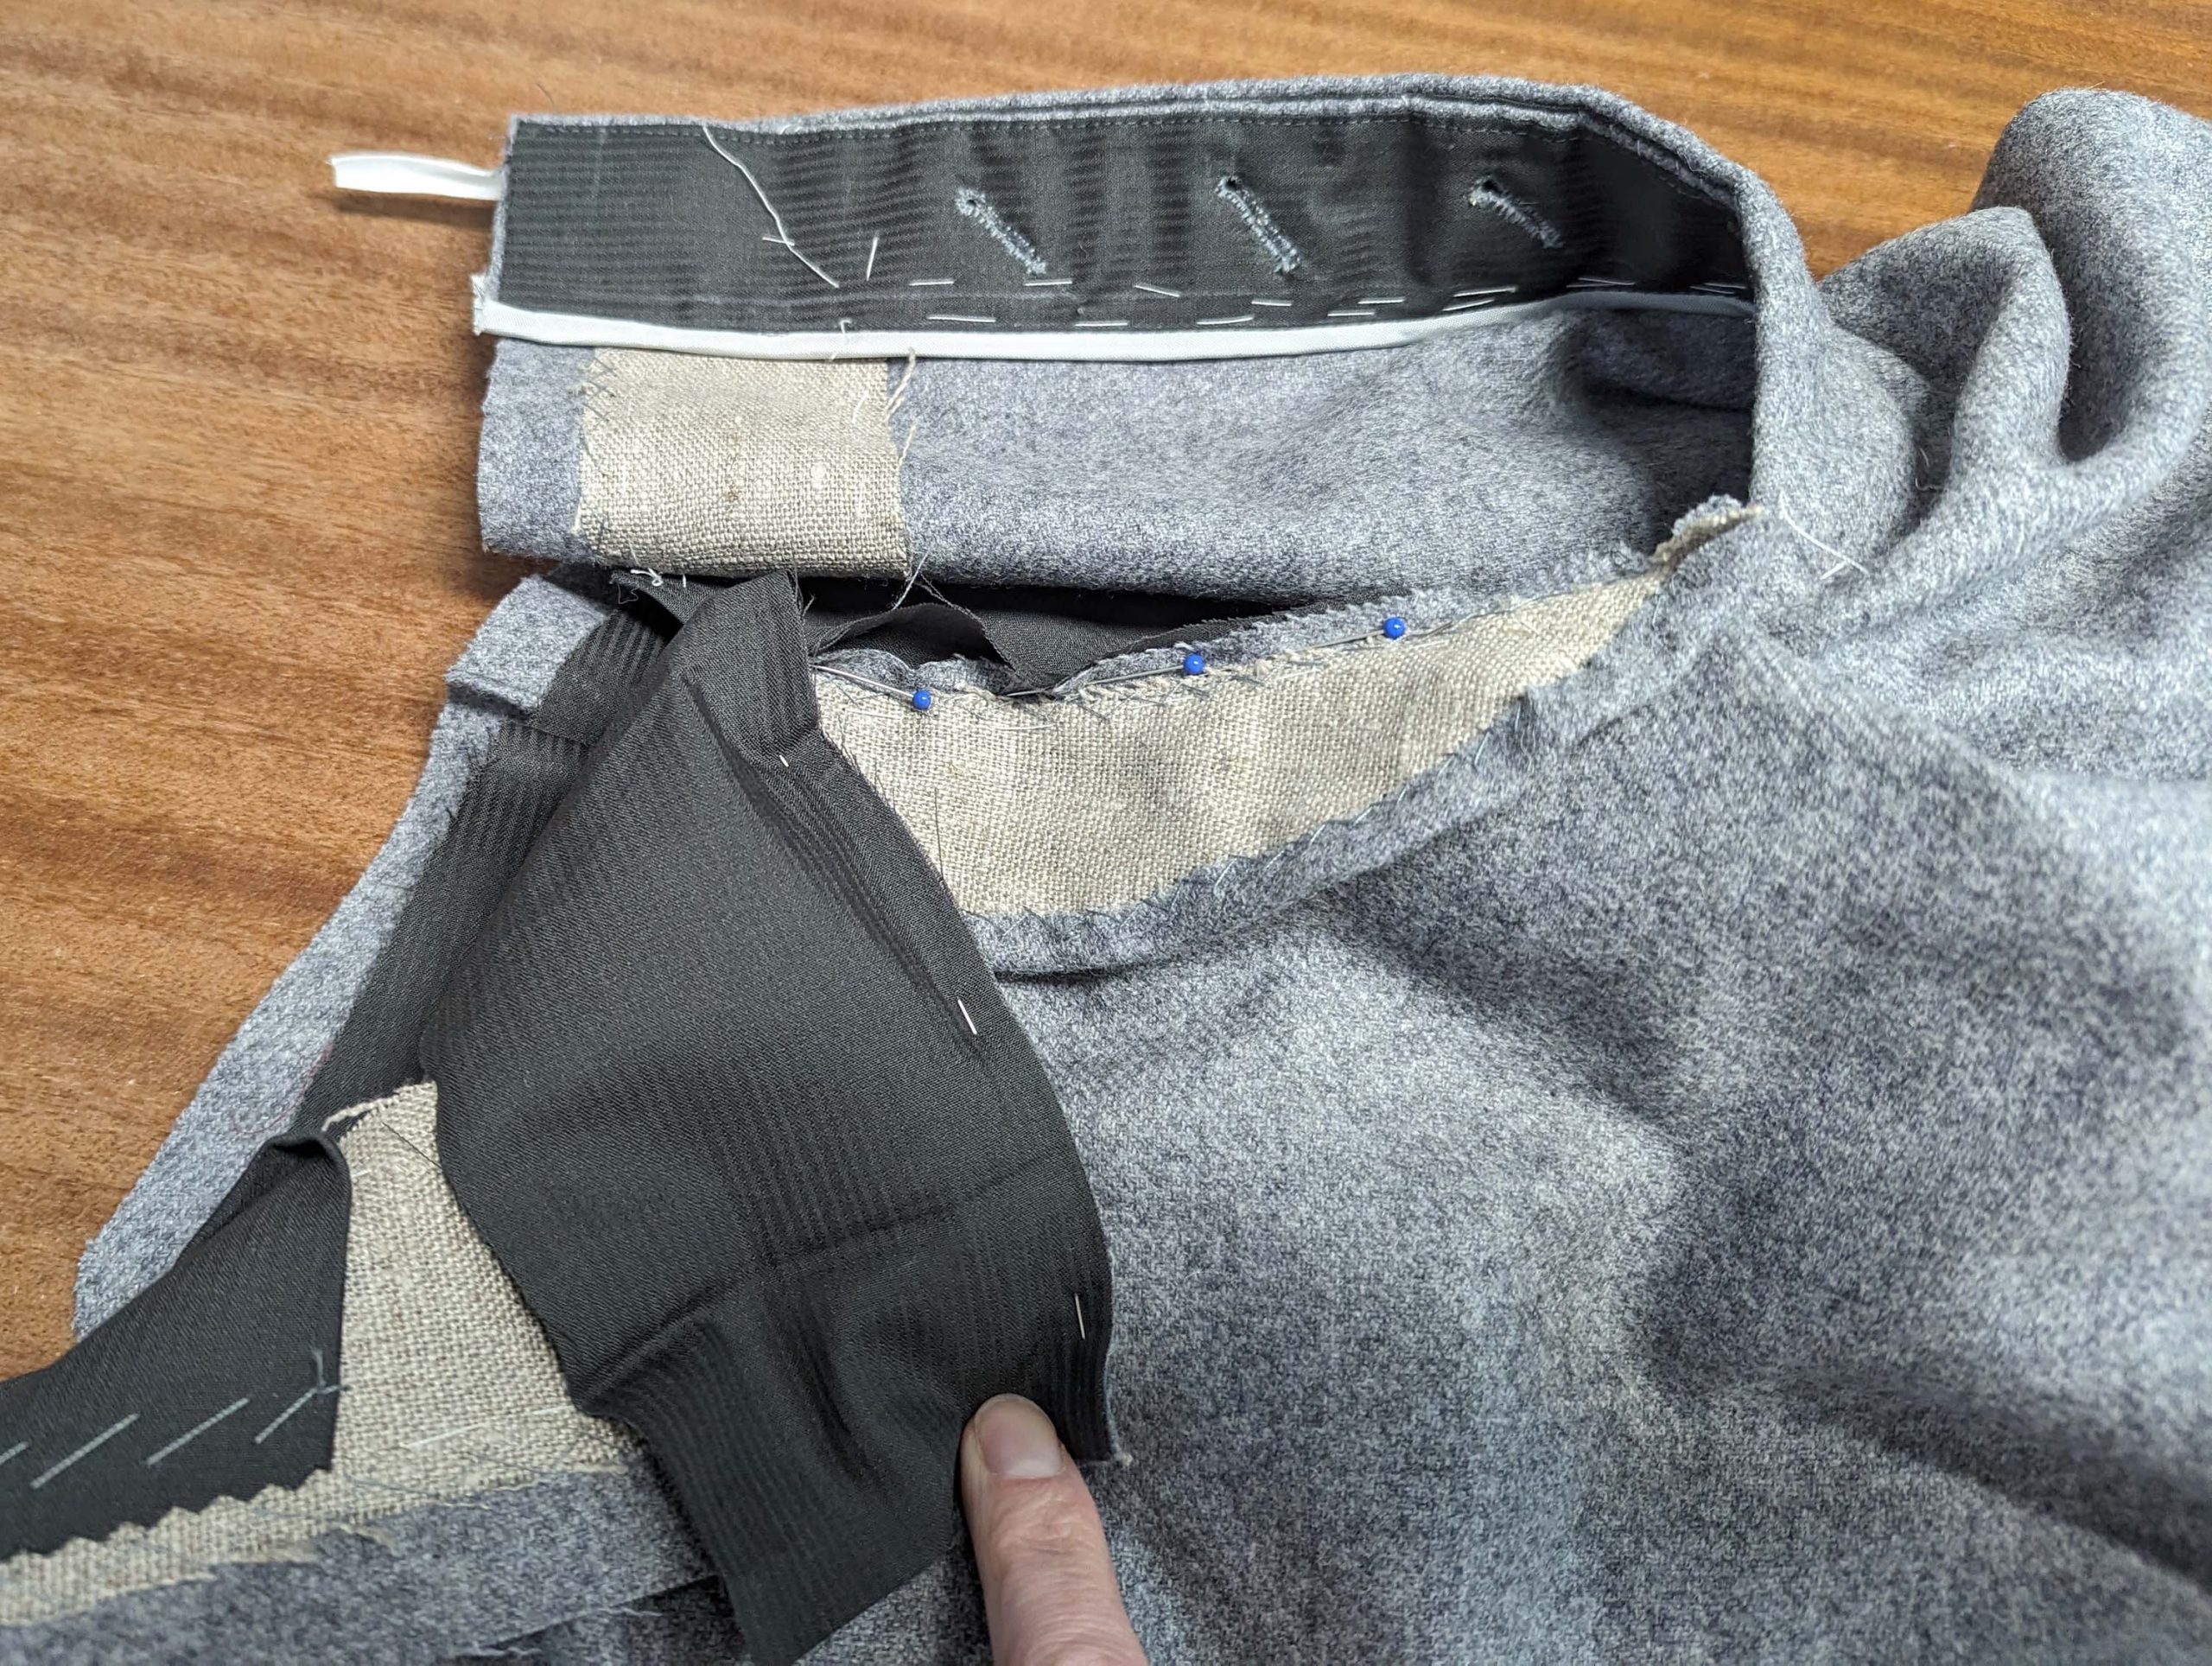
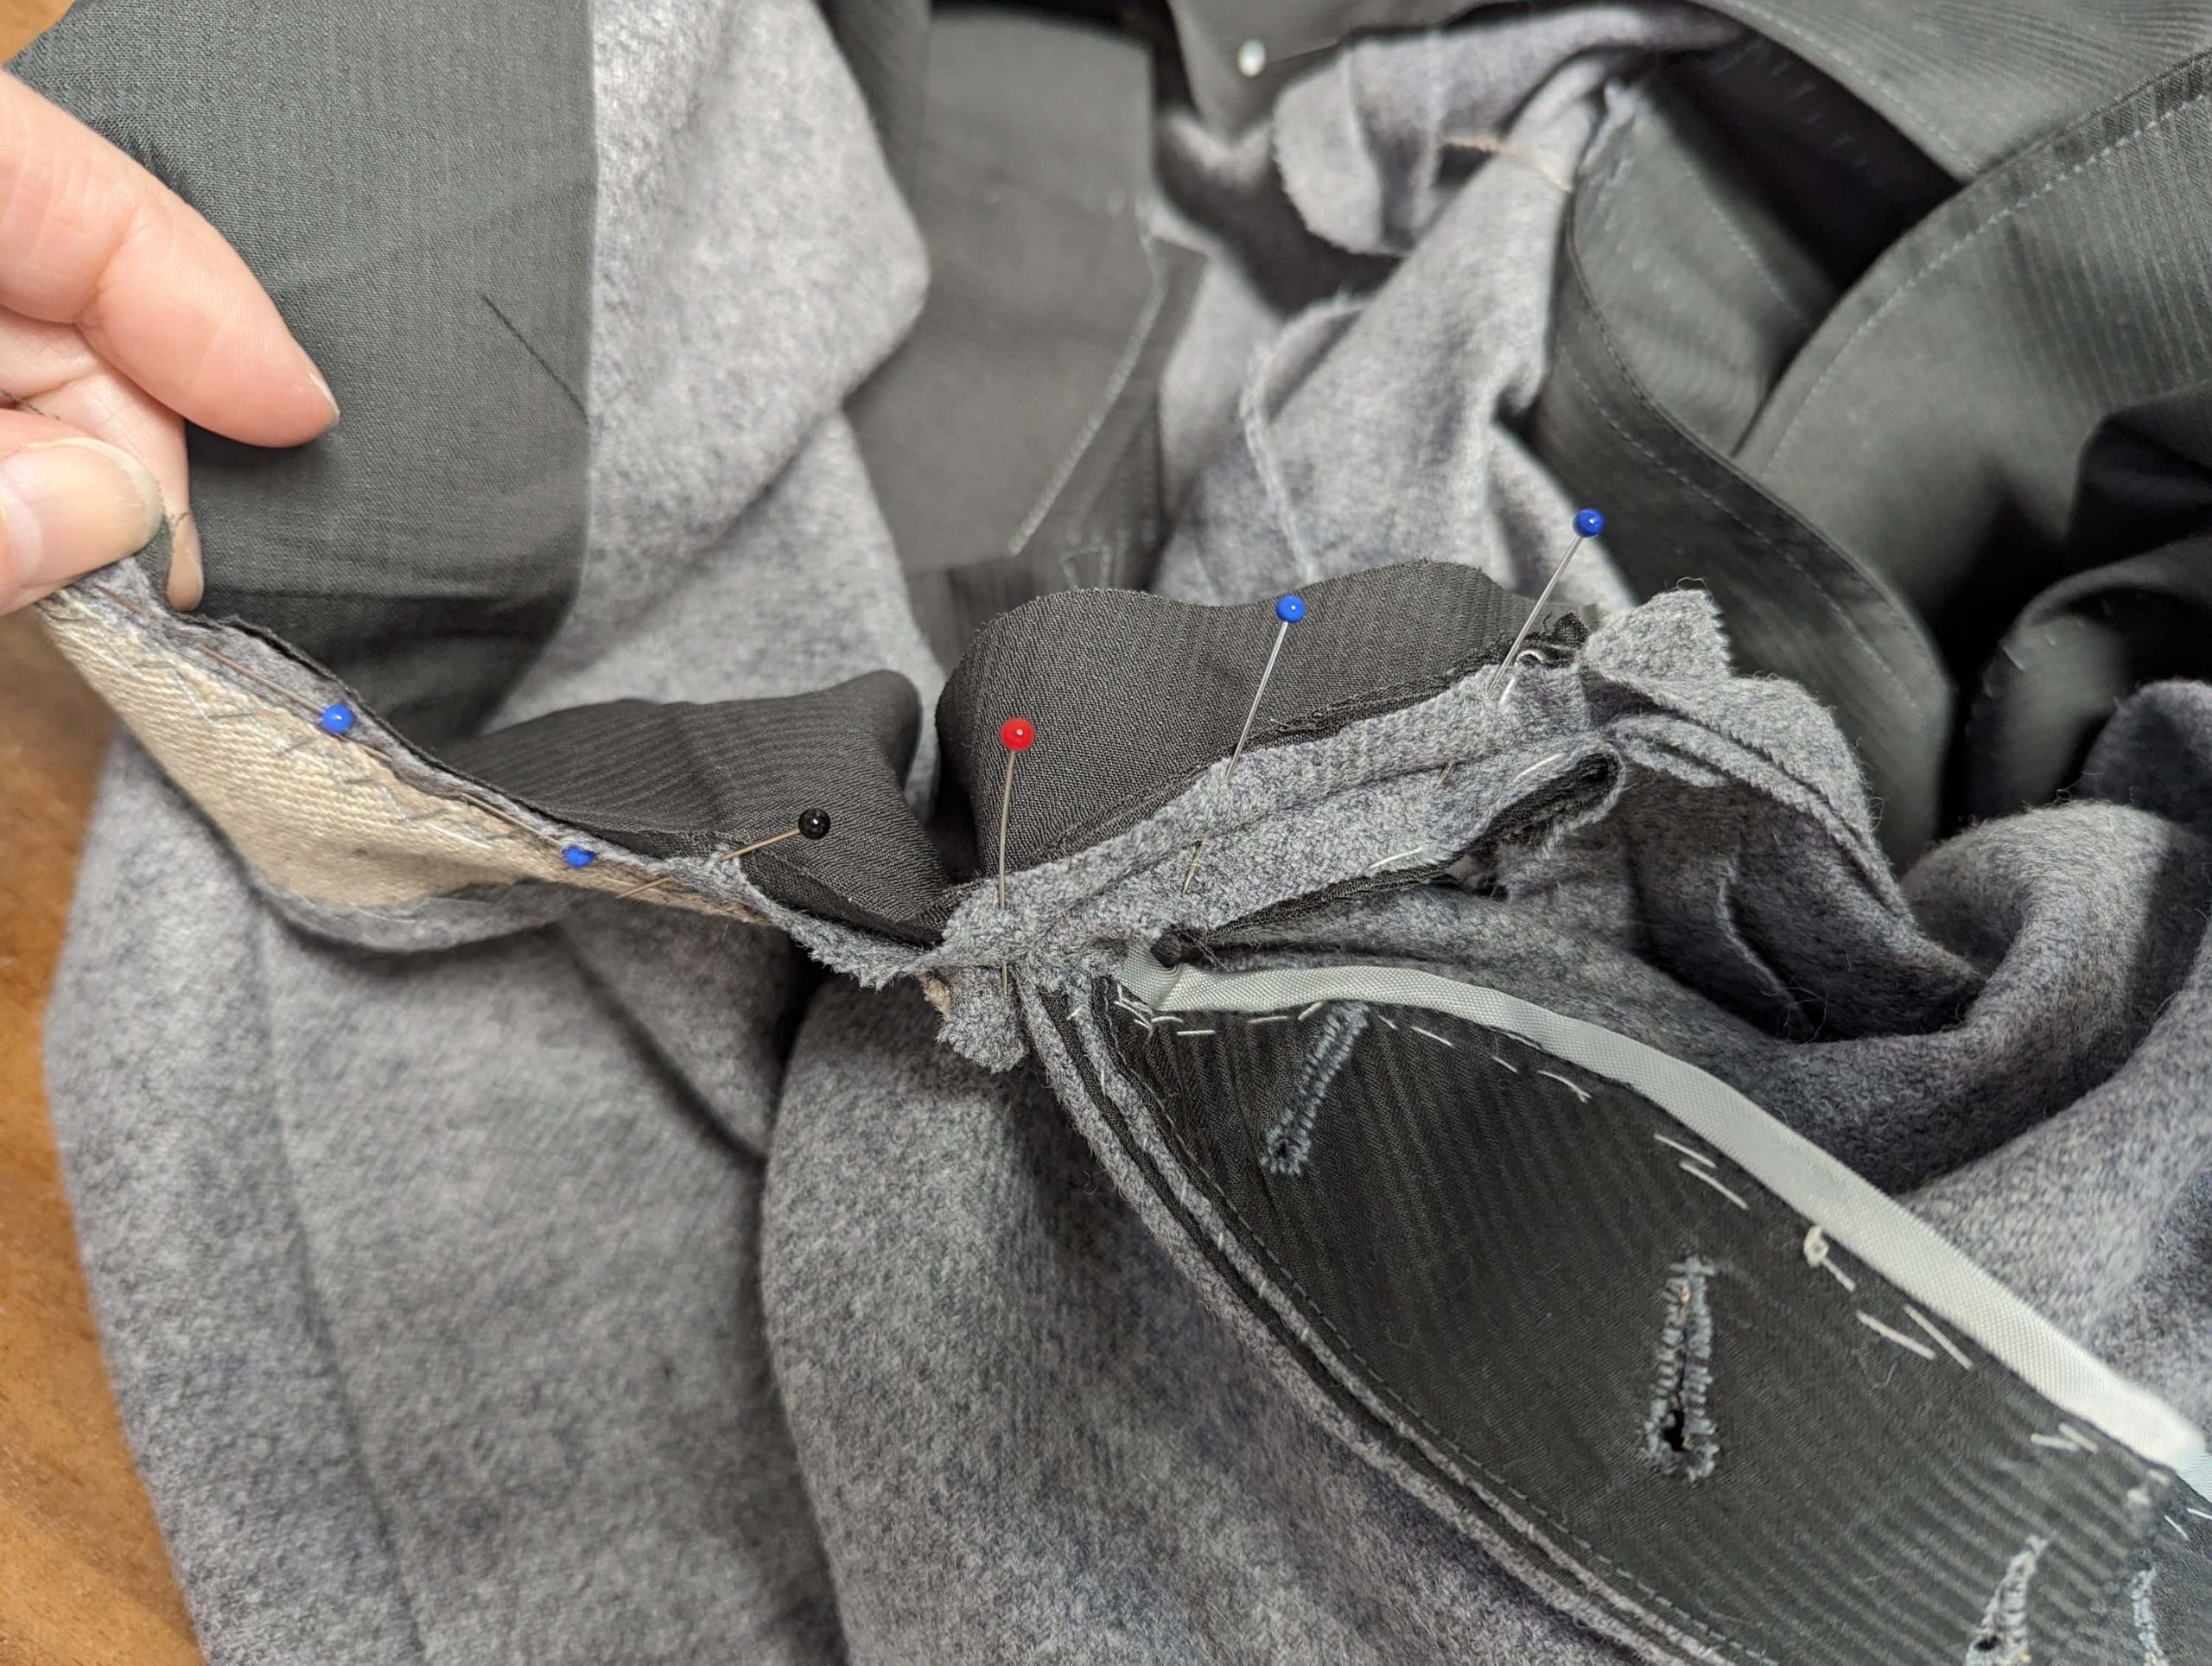
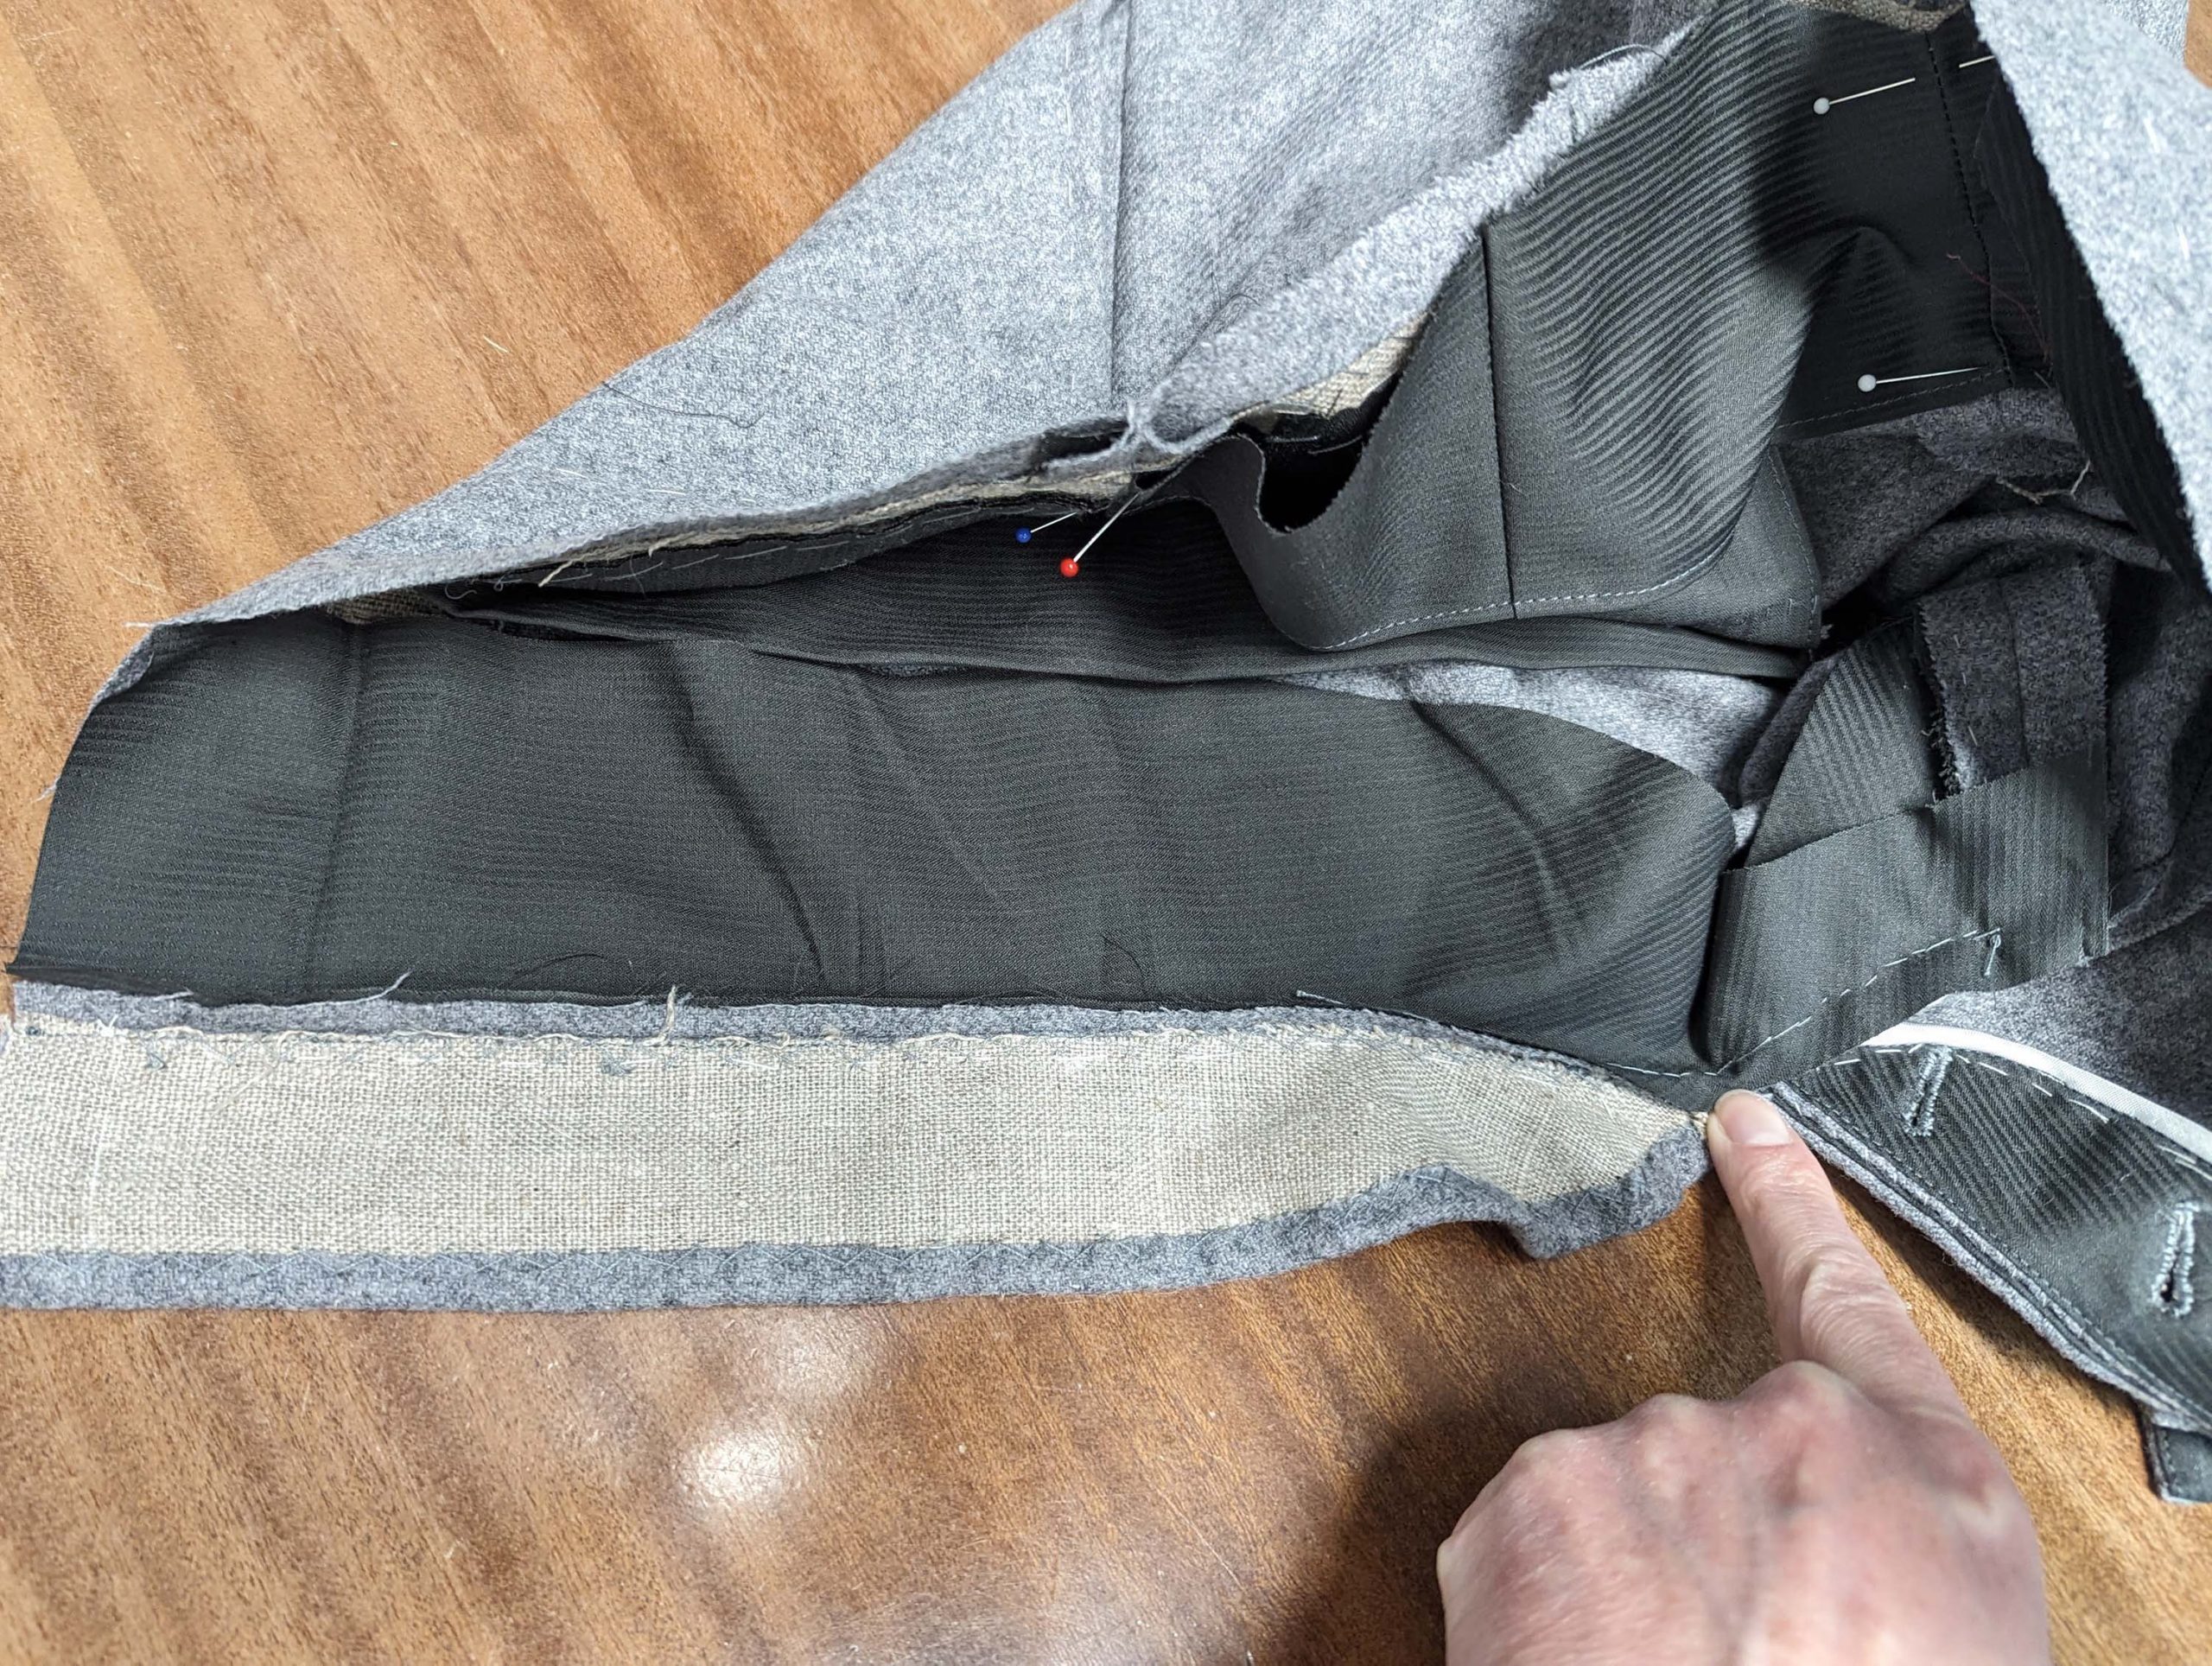
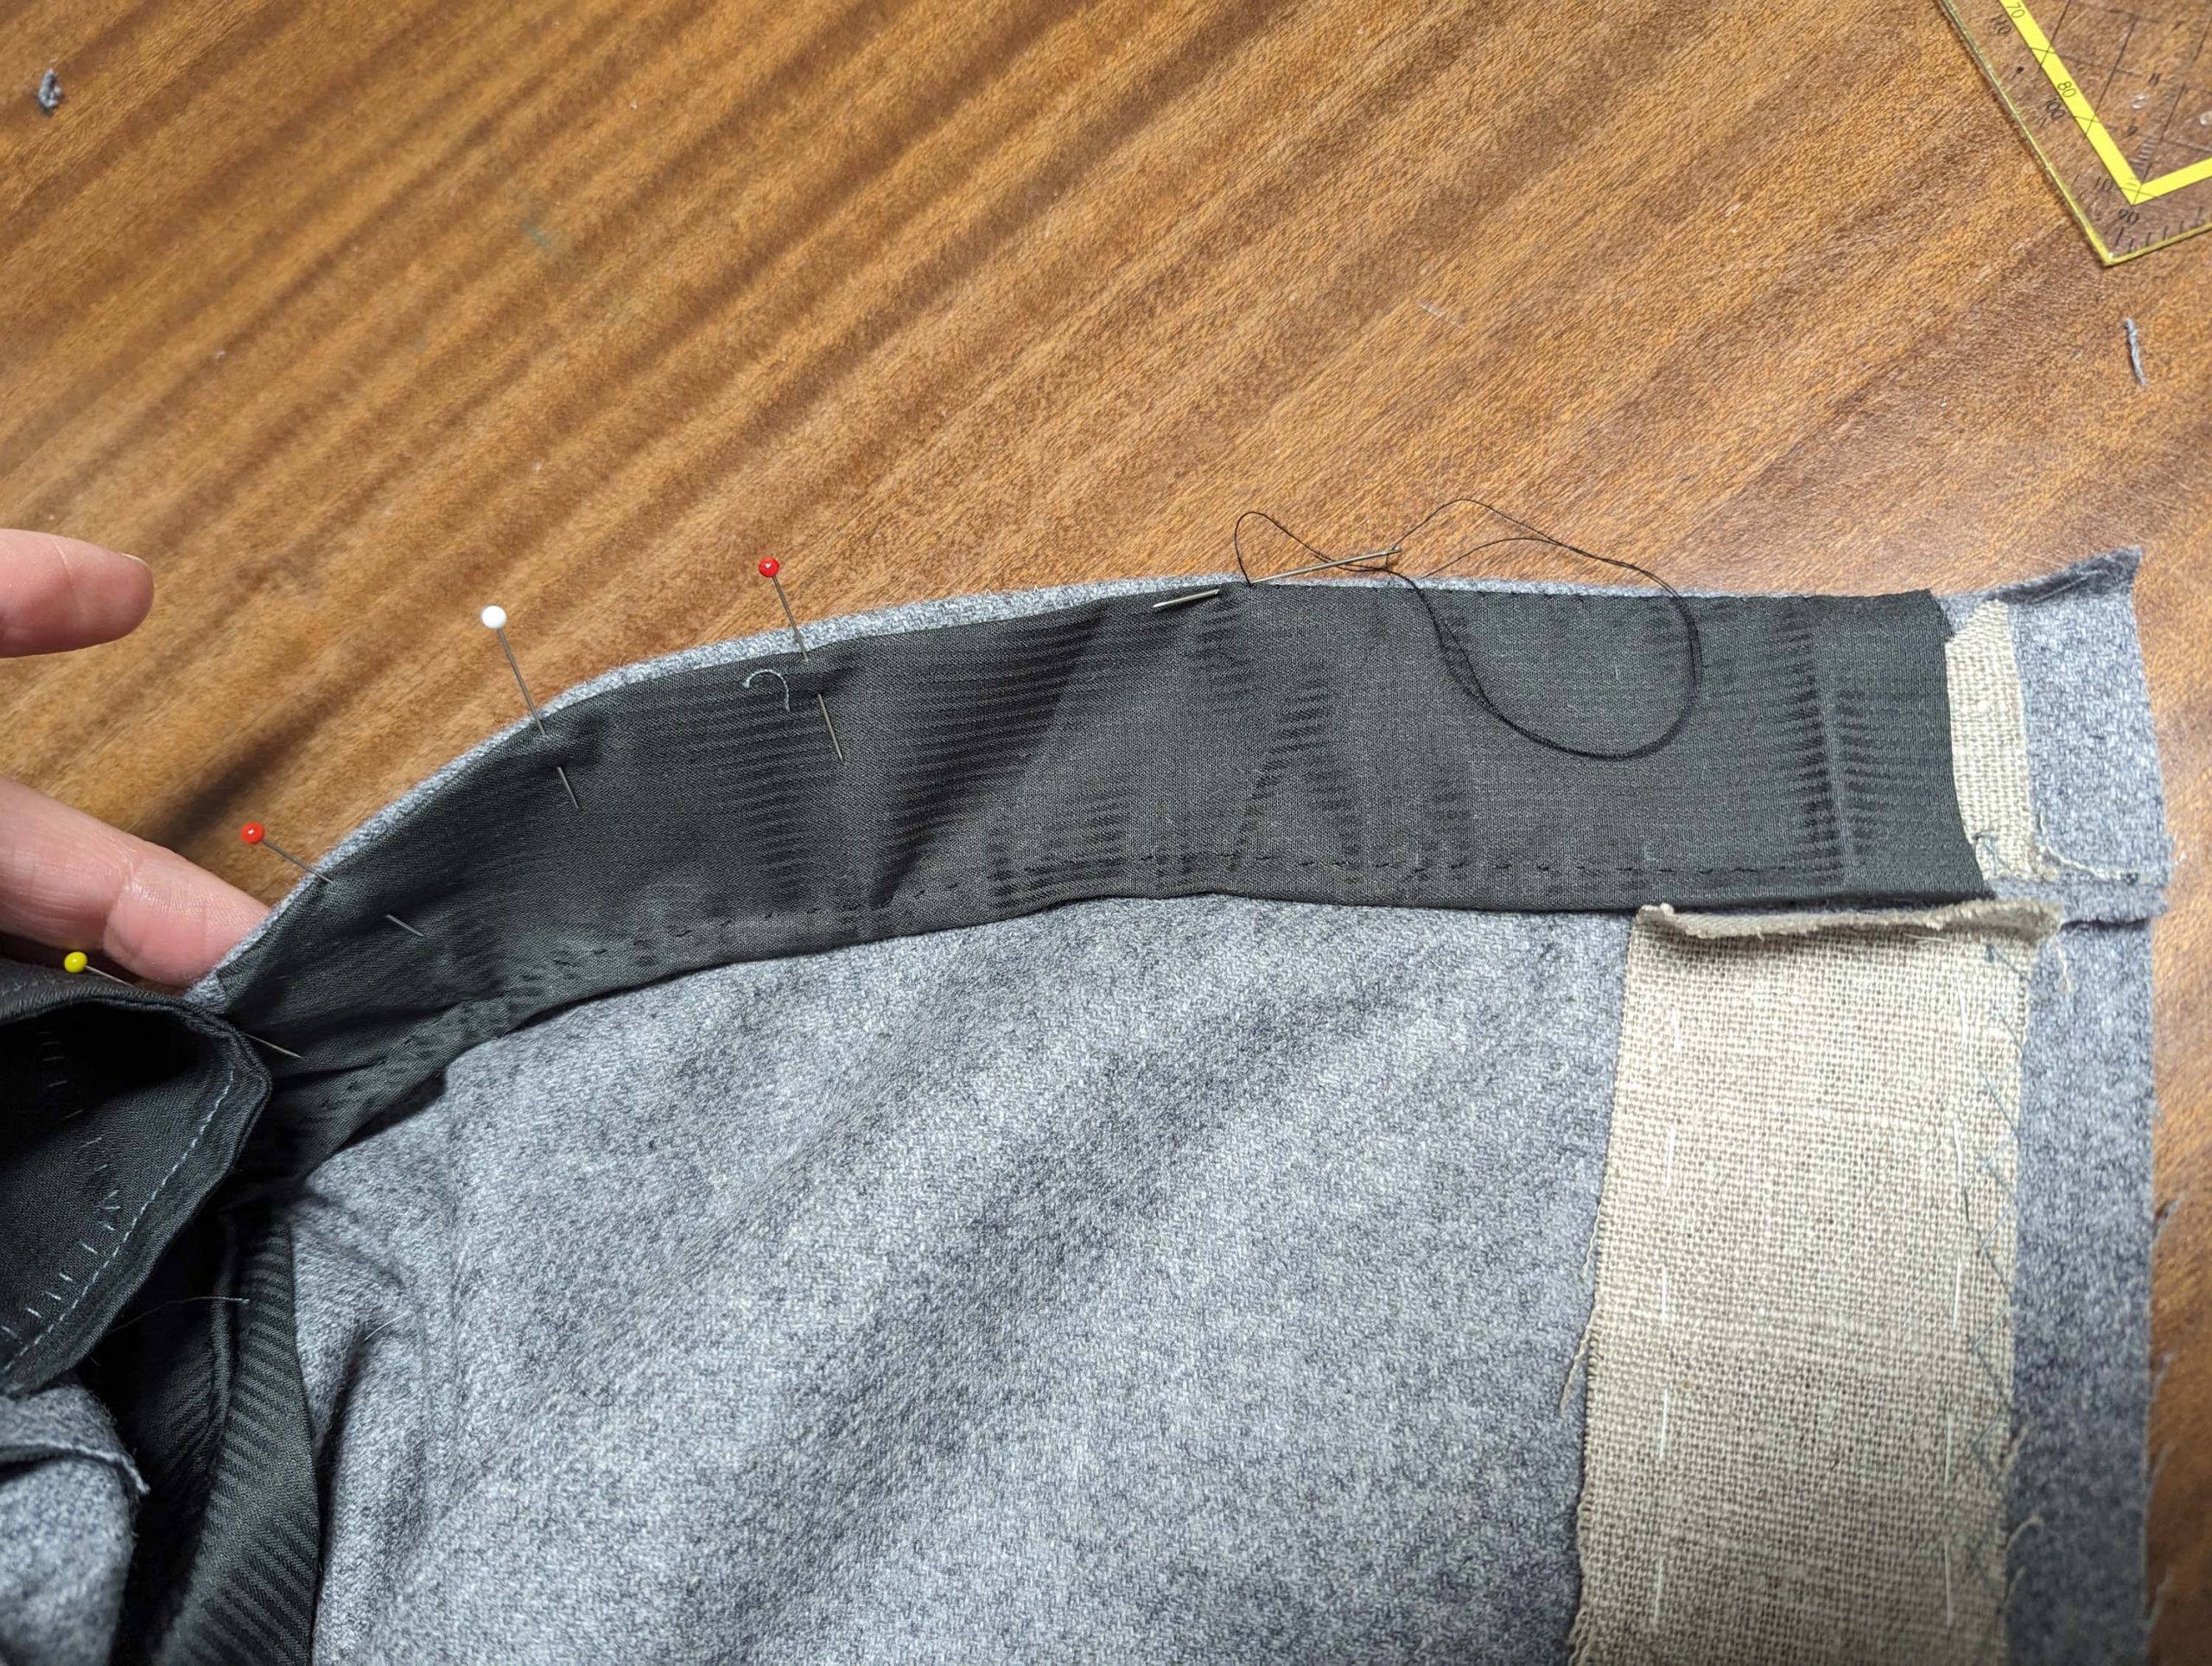
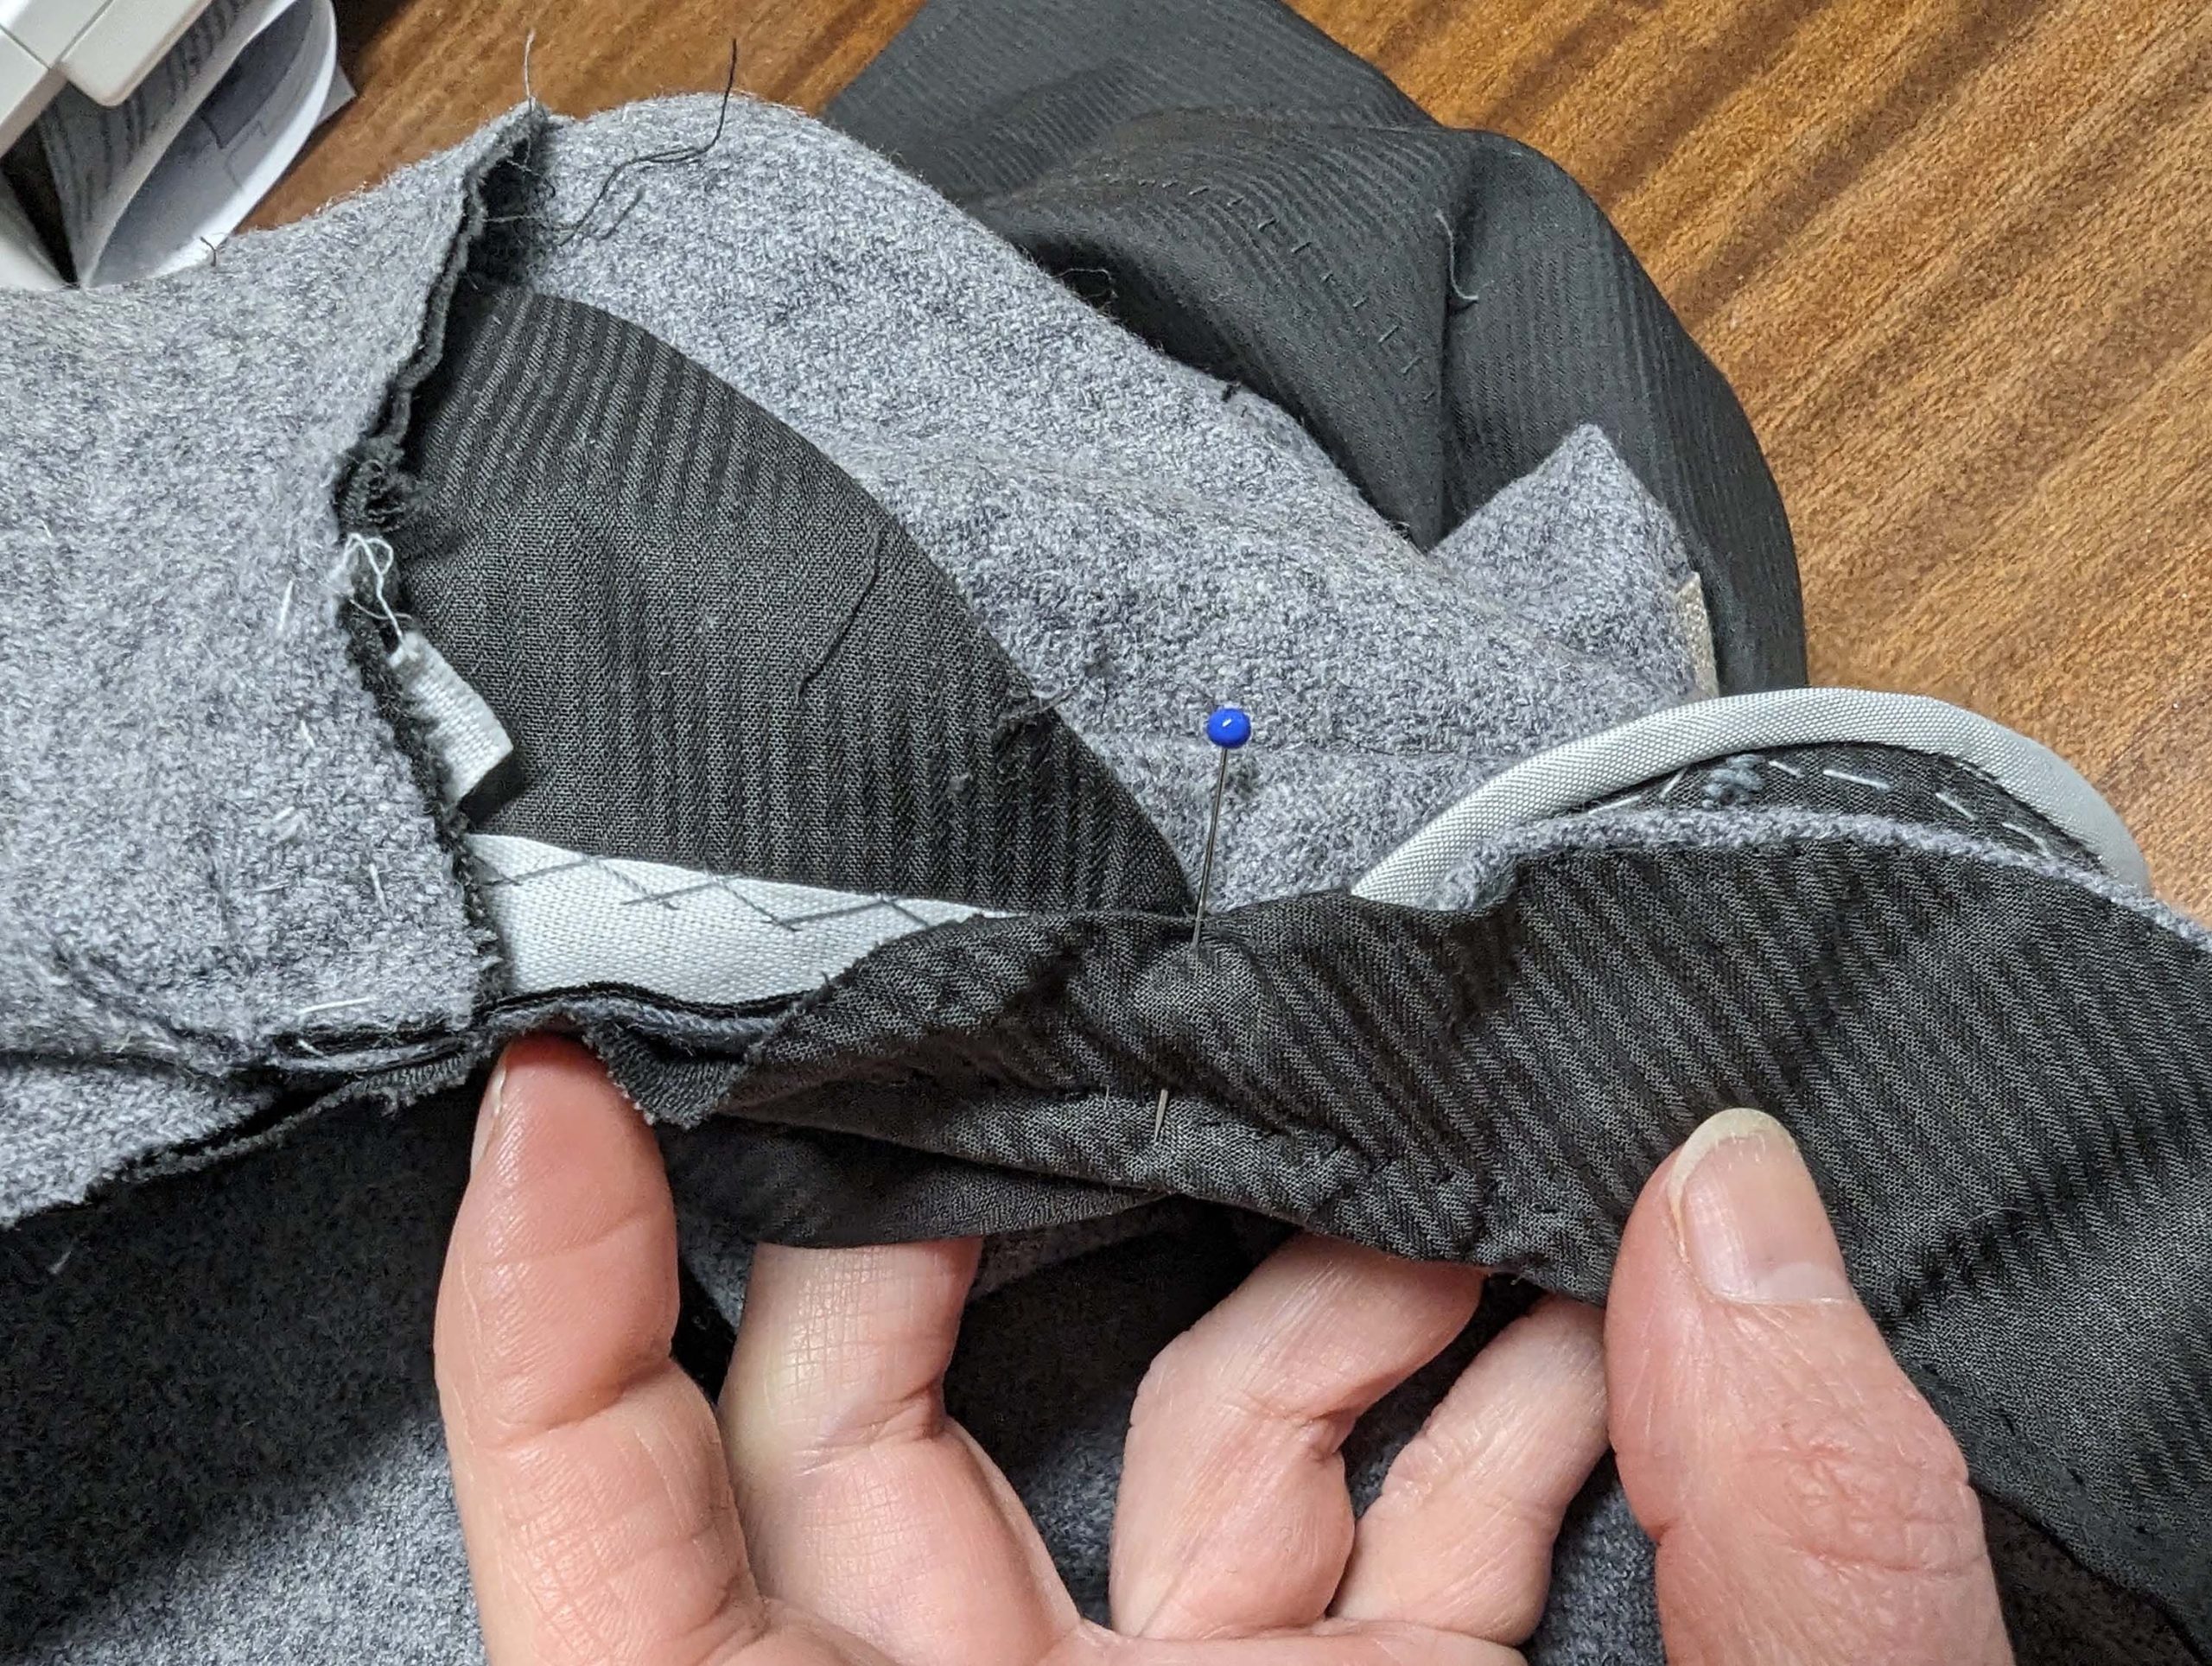
Durability was paramount for garments in the 19th century, so trousers were reinforced at critical points. They were basted to the wrong side of the fabric first, then stitched in place during construction. I made some mistakes while constructing the breeches, so I ask for your patience as I share my pictures and work through any challenges I encountered during the sewing process.

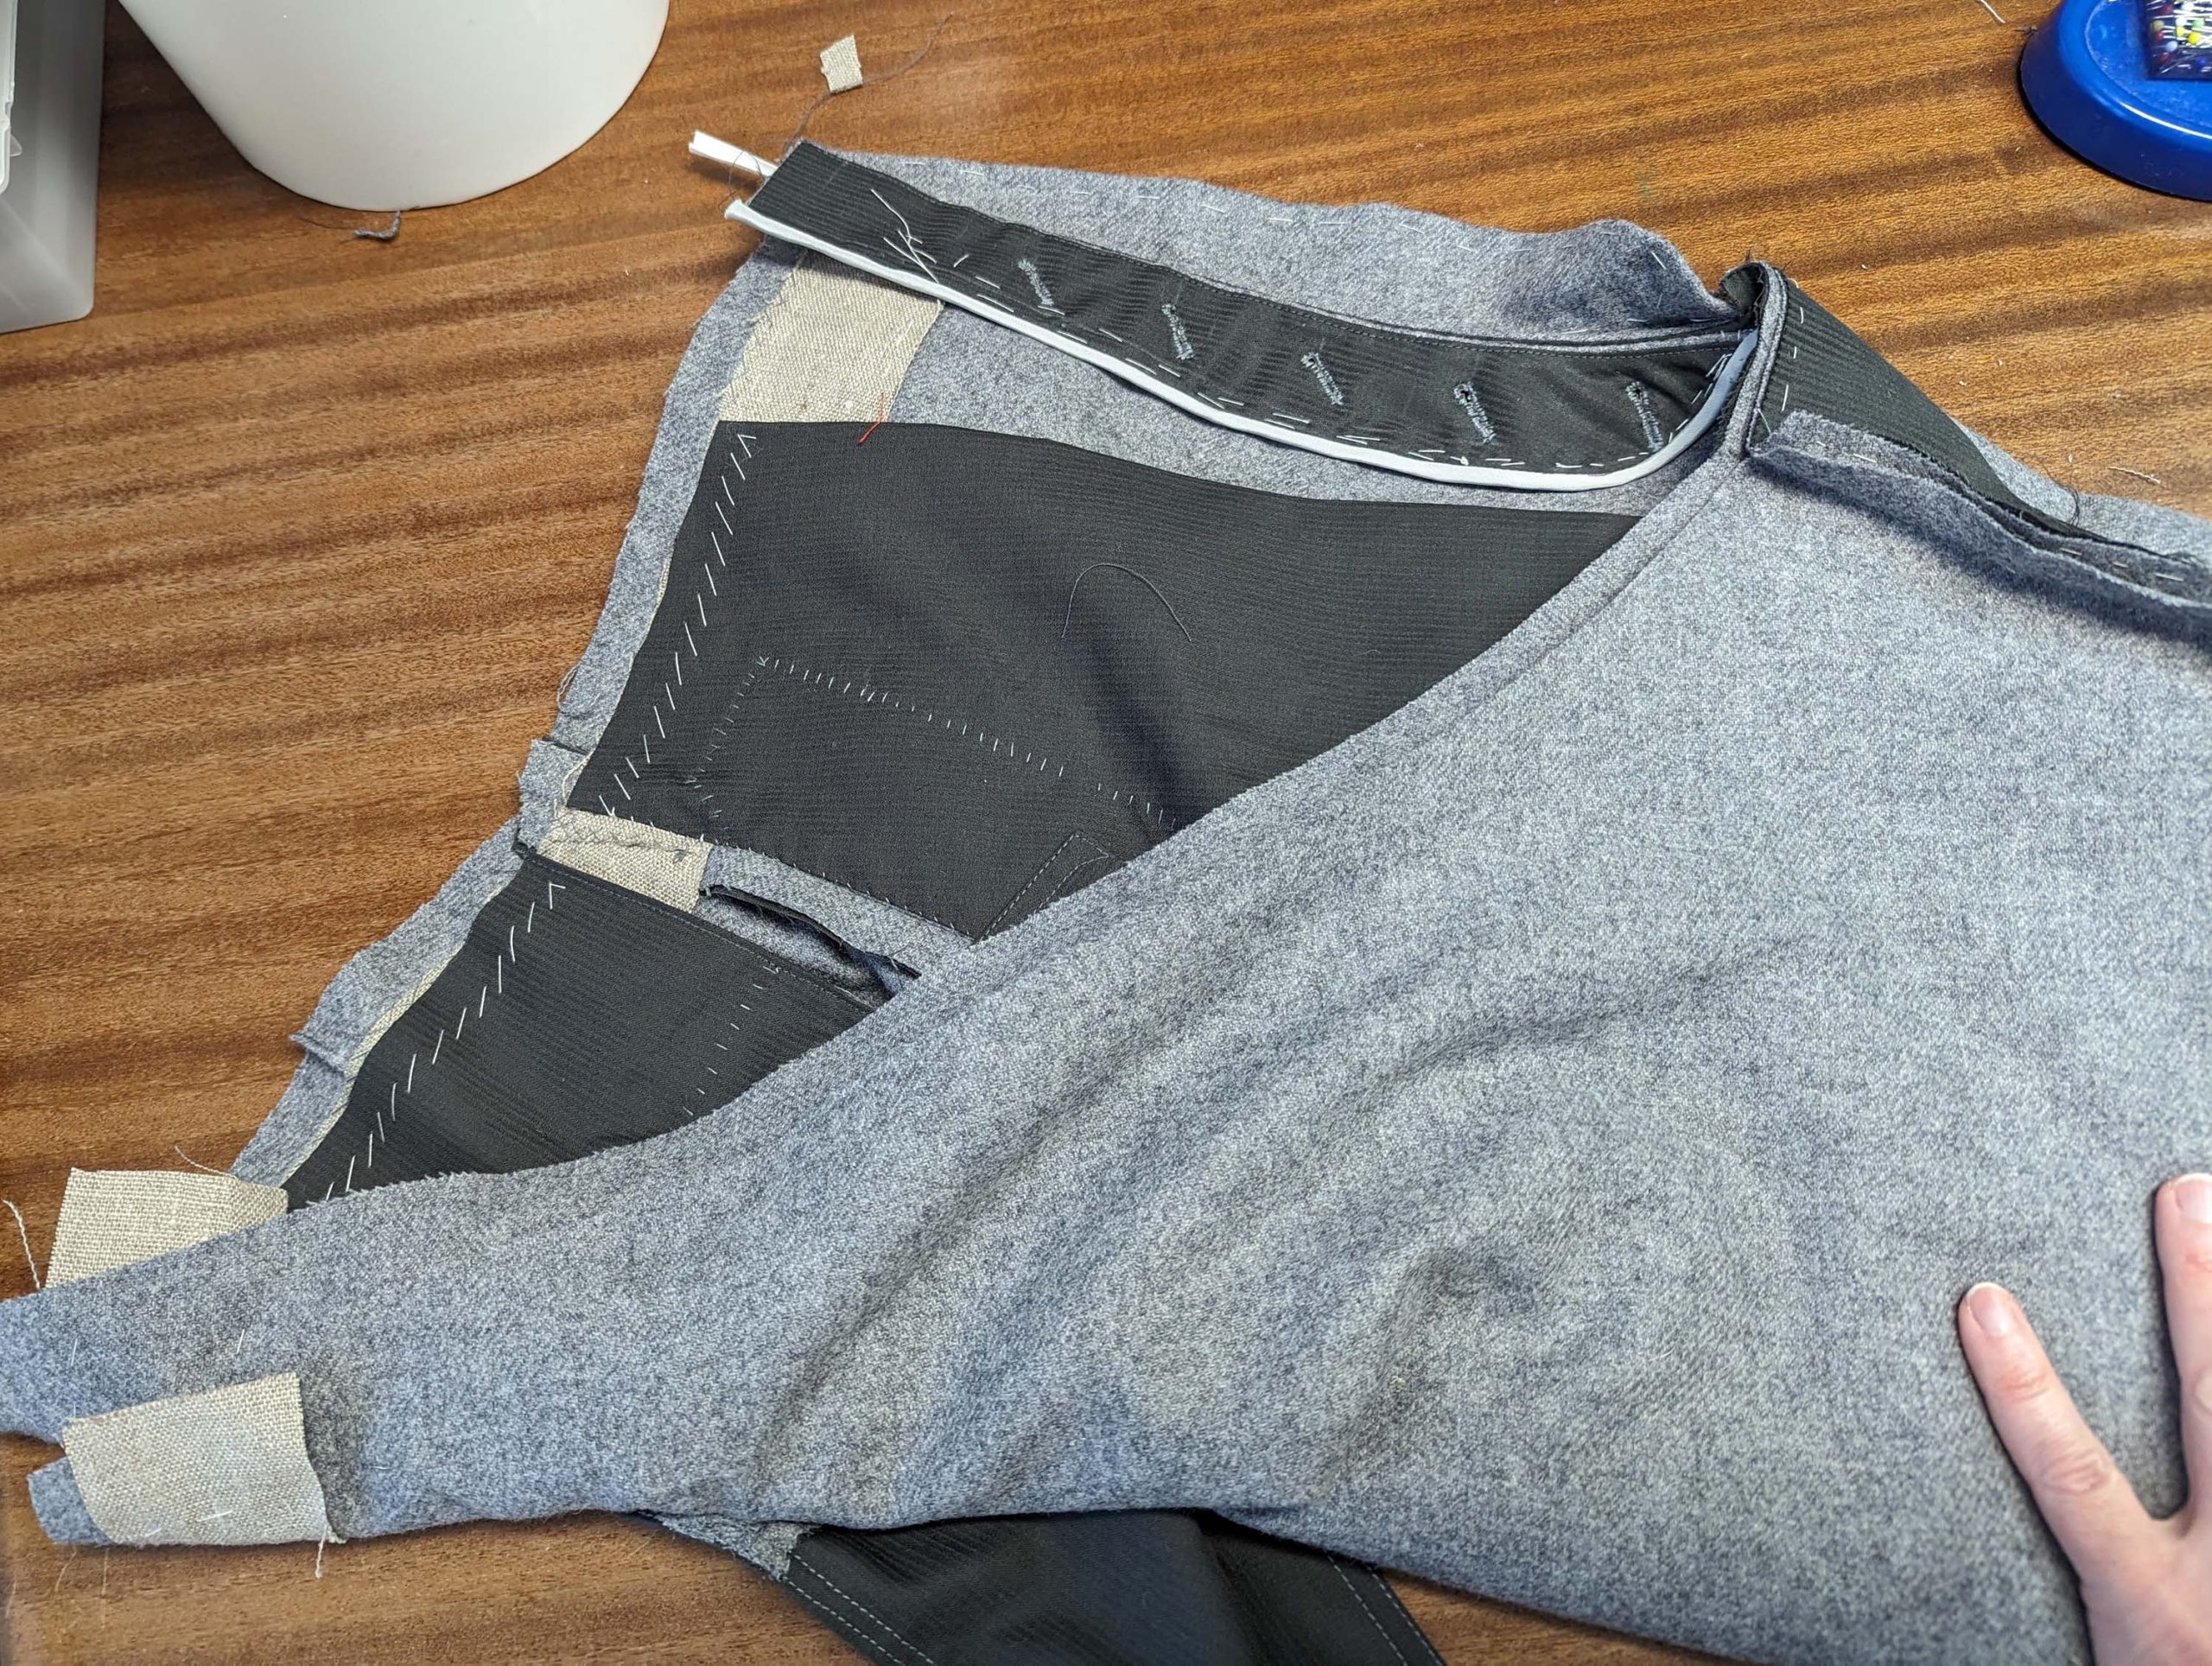
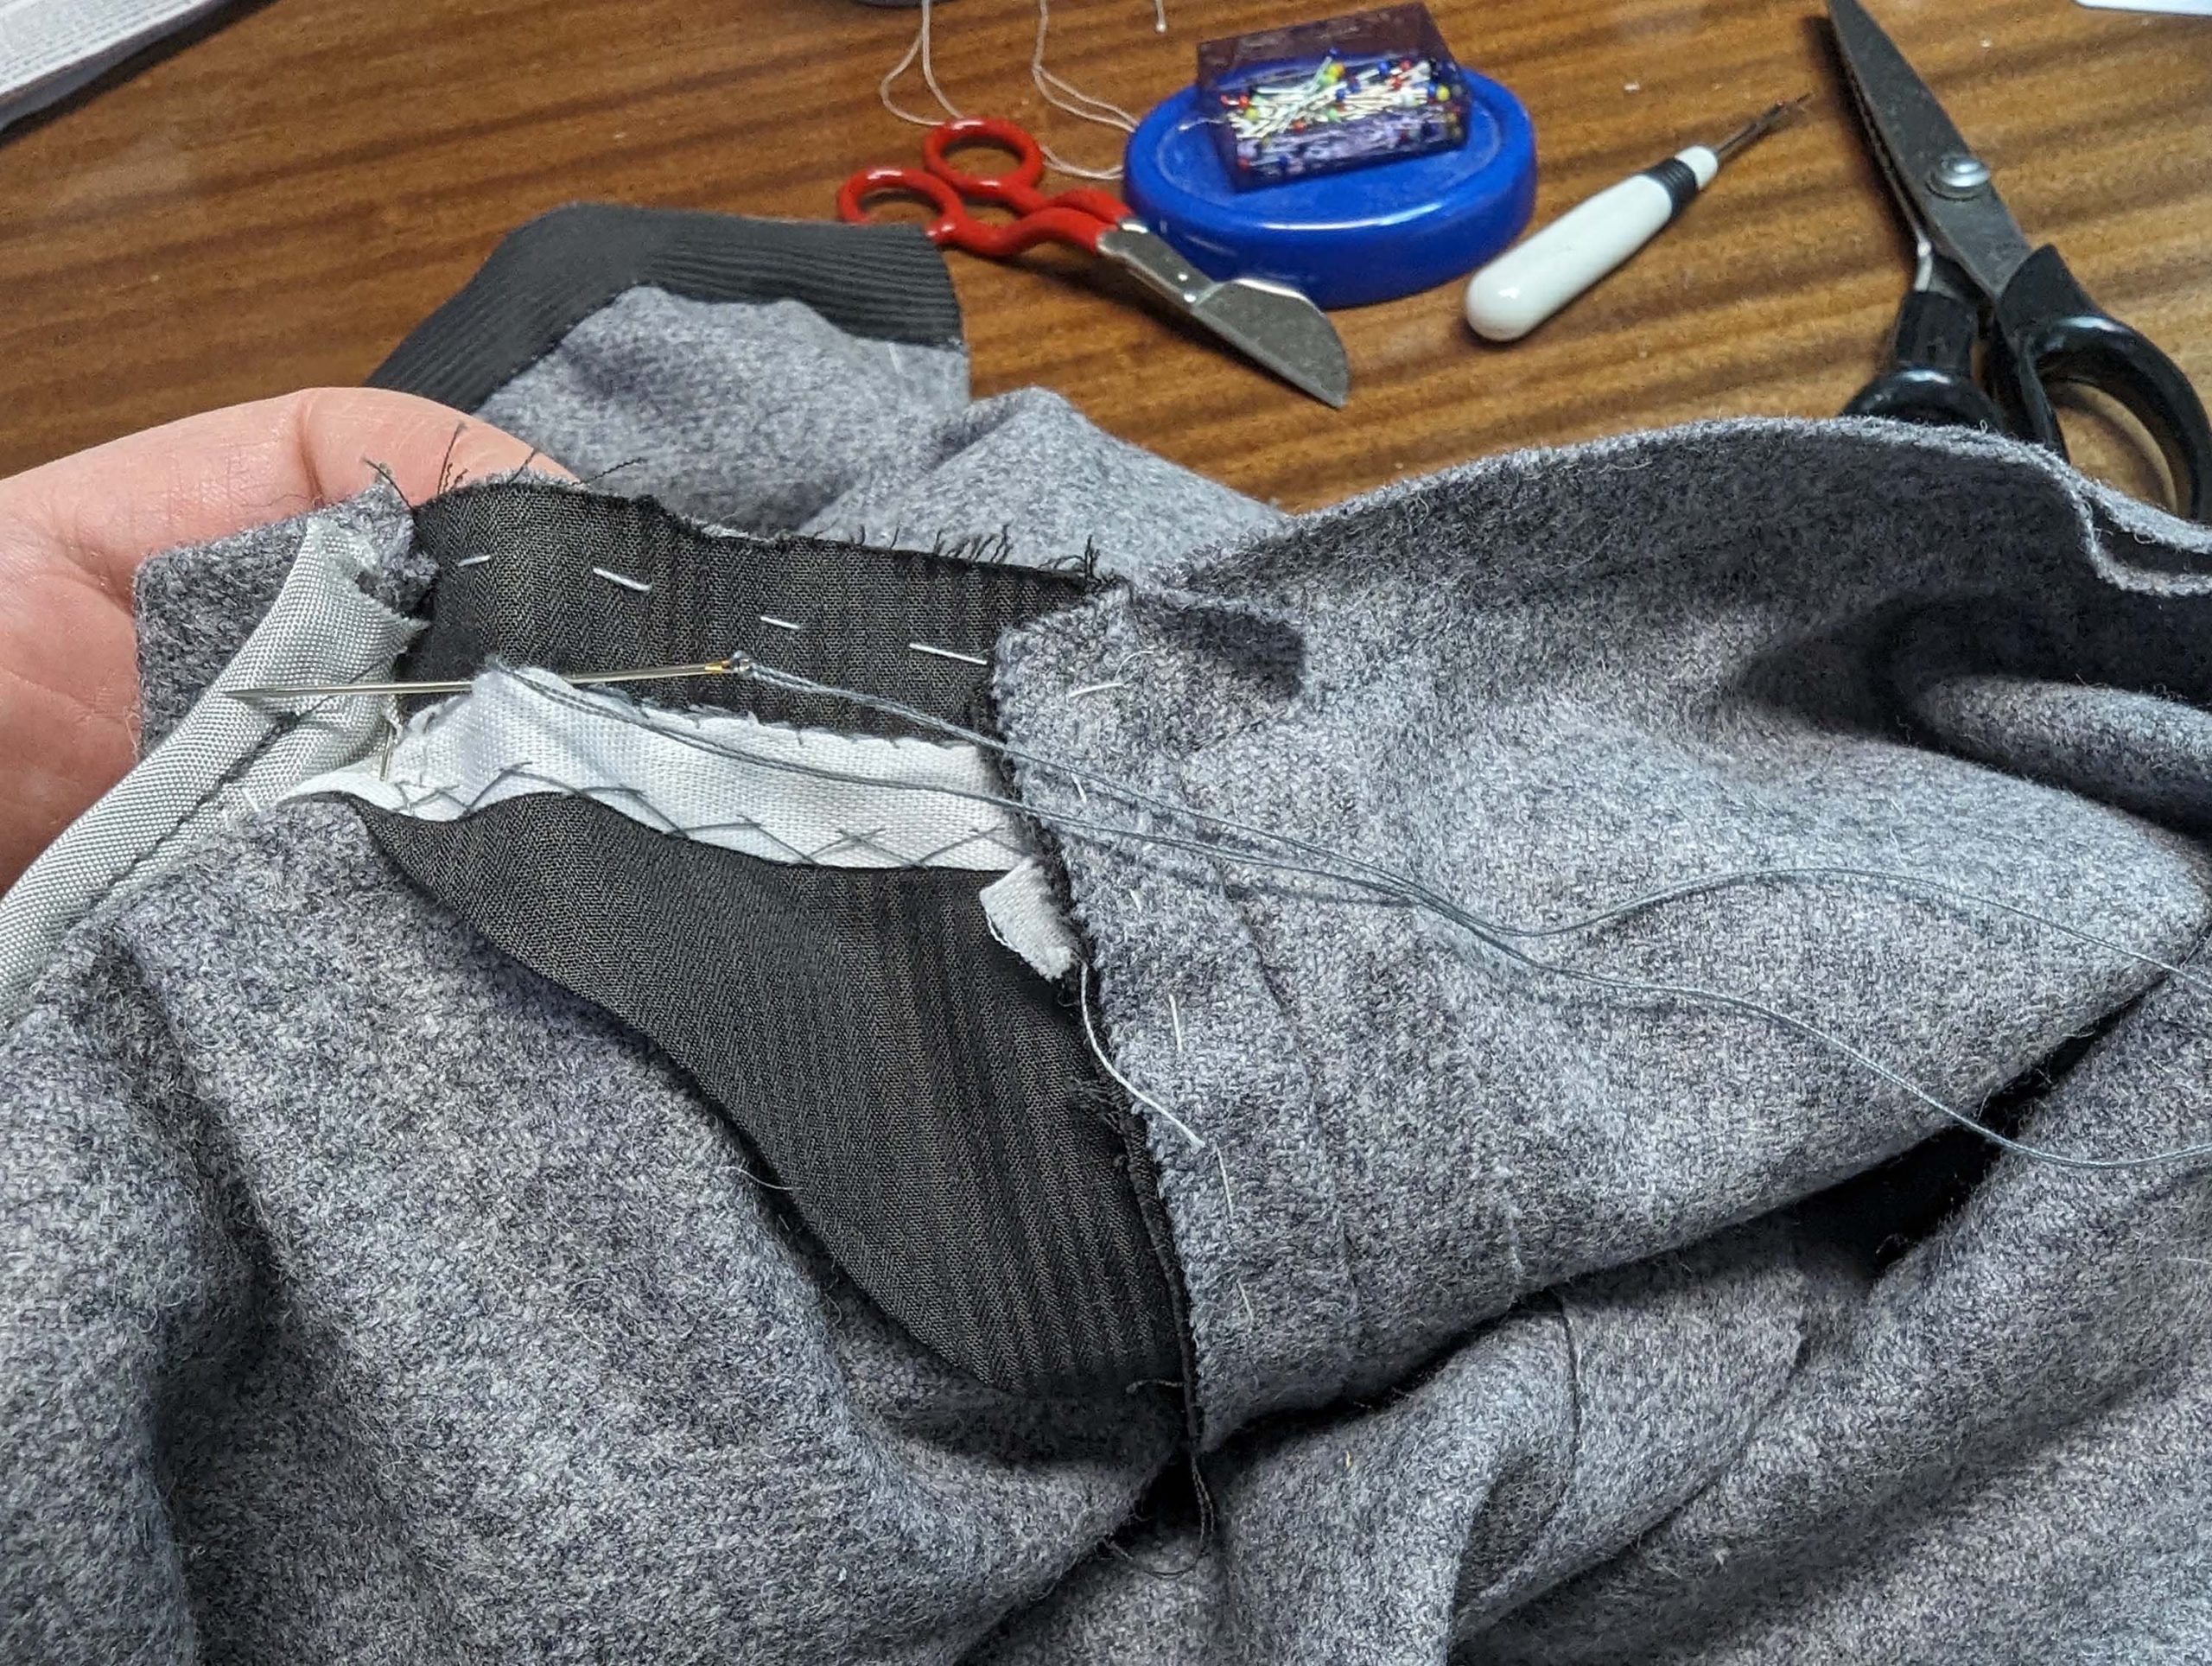
For the side pockets, the sewing pattern offers two methods for pocket construction: easy-to-sew in-seam pockets and the traditional tailored approach, which will be discussed here in detail. The hip pockets are optional, they are typically absent in most extant trousers.

The sewing techniques outlined in the instructions closely mirror the construction methods observed in extant garments and found in extant tailoring books.

Let’s start sewing step by step, starting with a mock-up as usual!

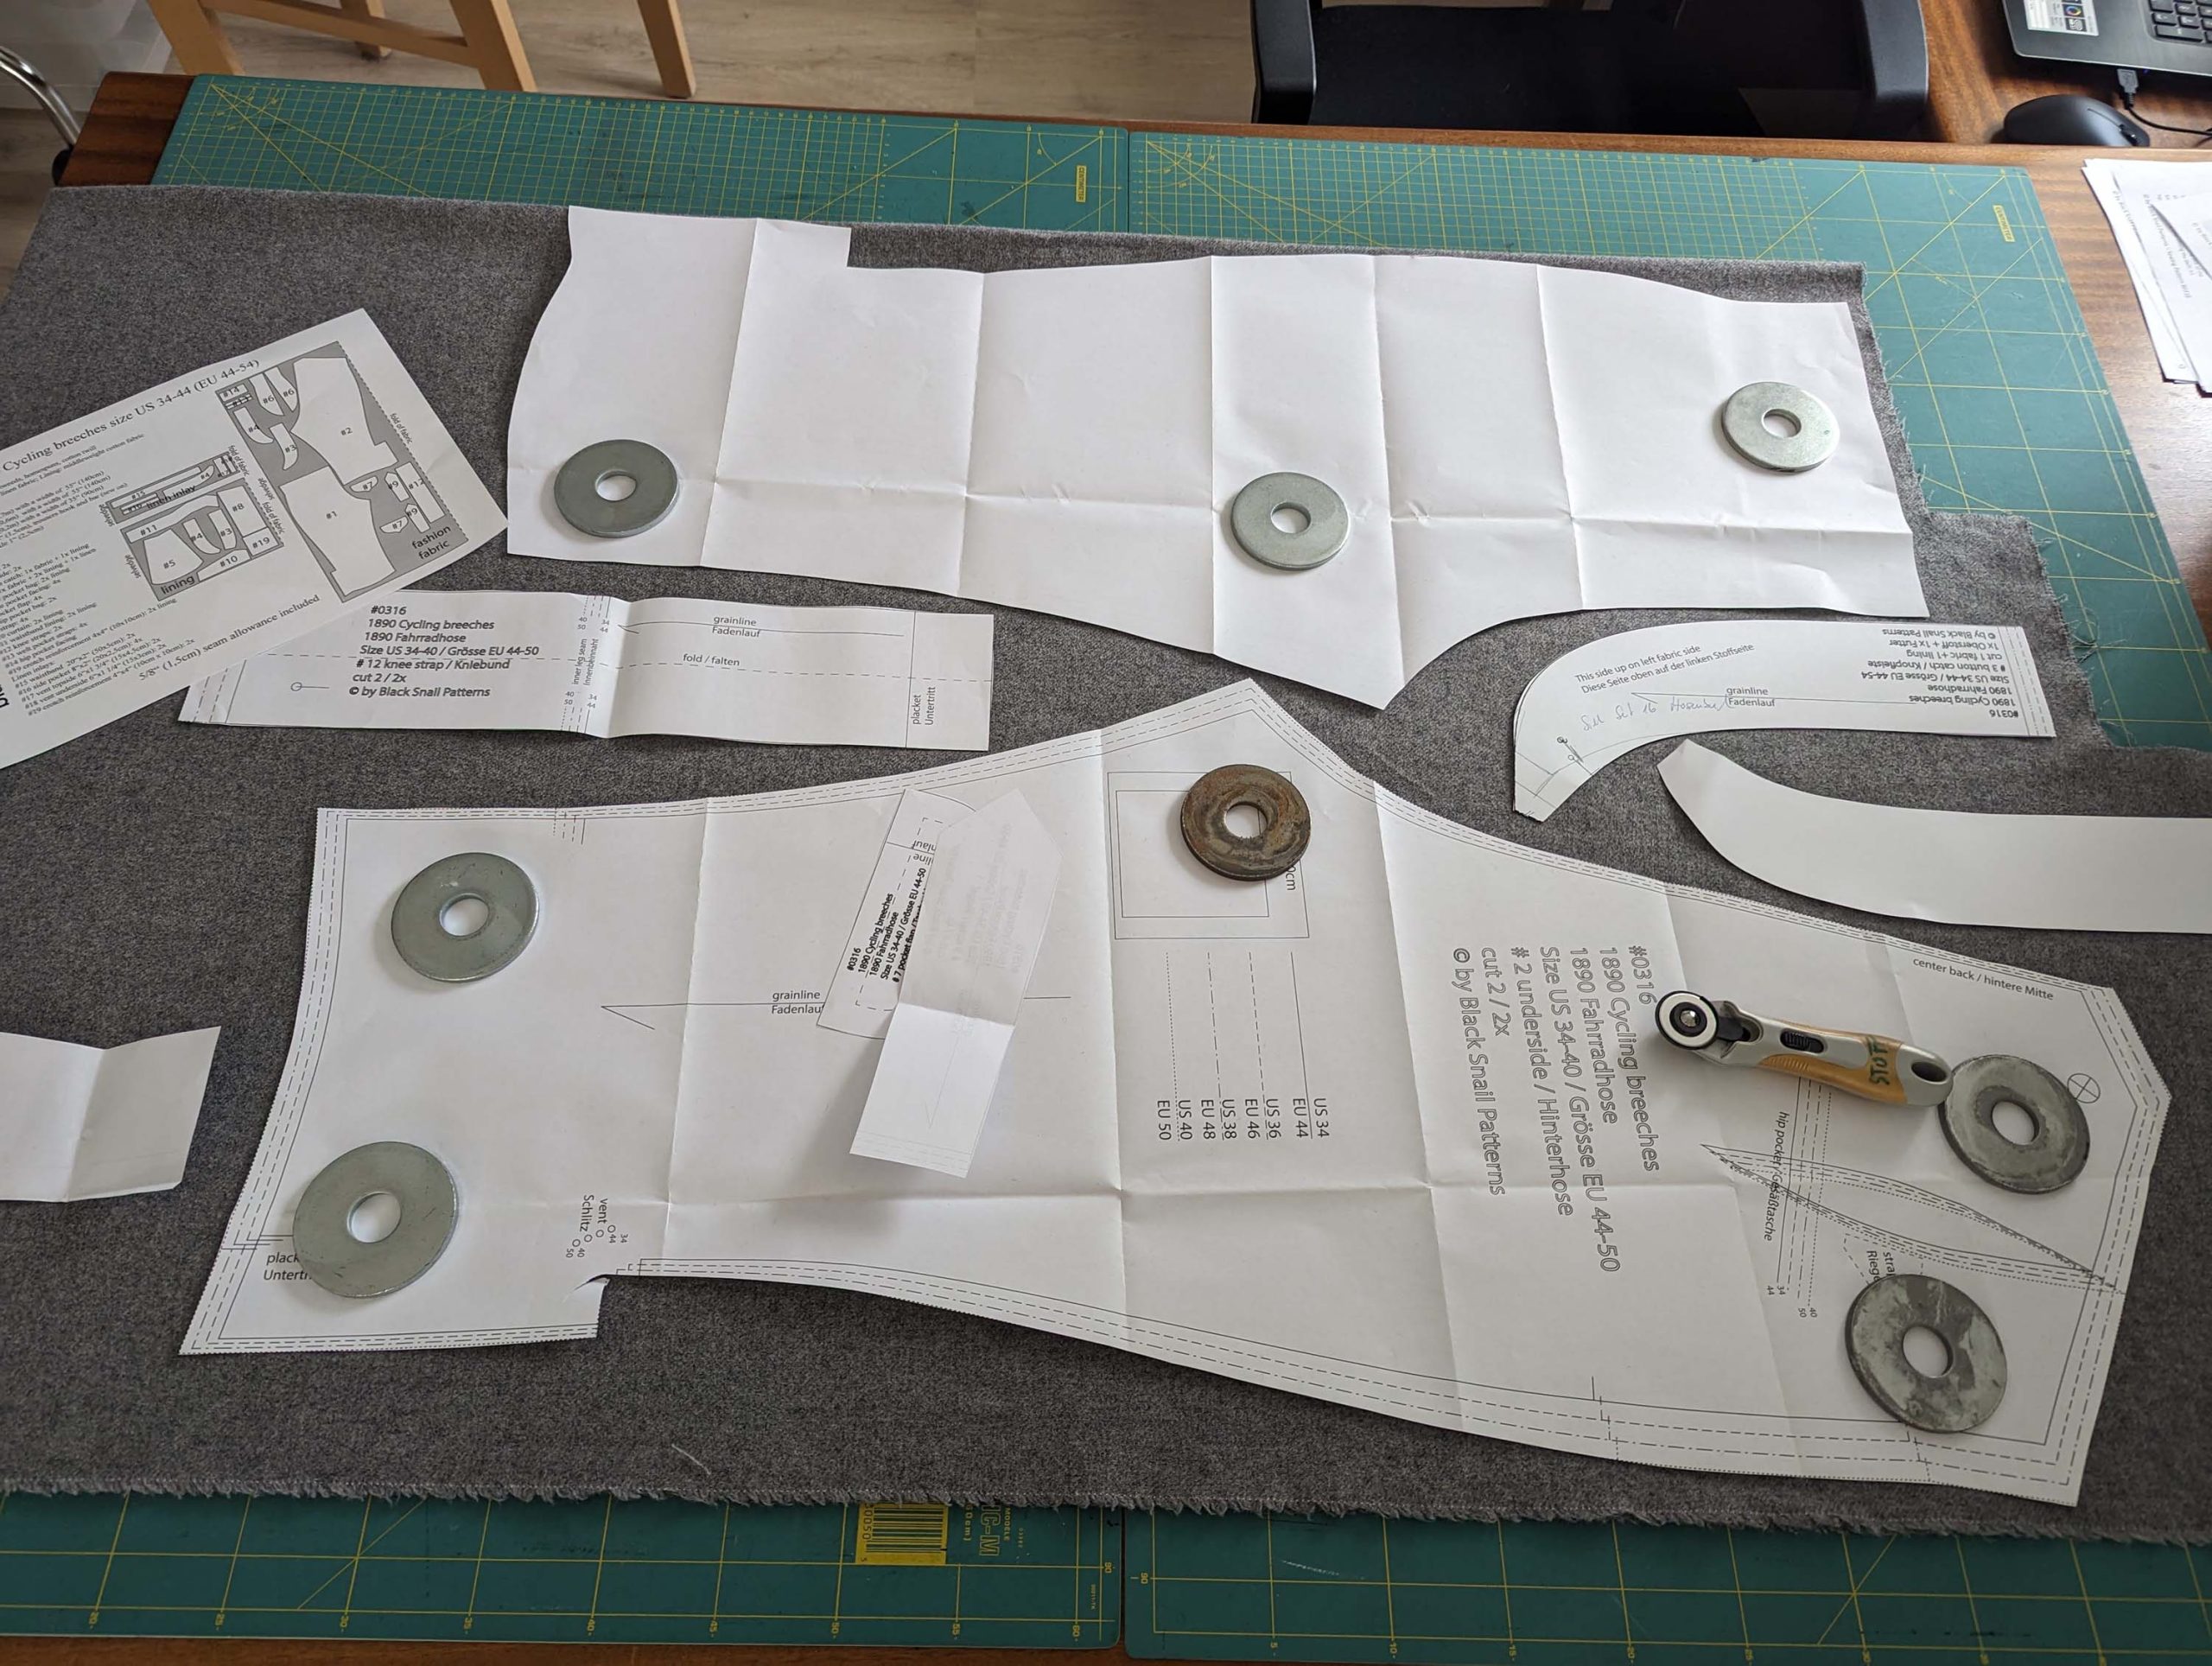
(1) Cut all the pieces from the fashion fabric, lining, and interfacing, as indicated on the cutting diagram.

Continue reading

#0316 Men´s Cycling Breeches Part 2 – Steps (6) to (10)

Part 1 – Steps (1) to (5)

(6) Side pockets V1 (the accurate way with pattern pieces #5):

Line up the pocket facing (#5b) with the side edges of the top and undersides, right sides together, matching marks (1) and (2). Sew exactly between the marks with a seam allowance of 1/2” (1,3cm) – please ignore the wrong position and material of the interlining, I replaced that later. Trim back the seam allowance of the facing only, slanted at the end of stitching, to reduce bulk, and fold to the side.

Line up the top and undersides along the side seam, right sides together, matching the marks and sew with a seam allowance of 5/8” (1,5cm). Sew from the top, until reaching mark (4), skipping the pocket opening between (1) and (2) . Notch the seam allowance of the undersides at mark towards the end of stitching and press open the seam allowances.

Continue reading

#0316 Men´s Cycling Breeches Part 3 – Steps (11) to (18)

Part 1 – Steps (1) to (5)

Part 2 – Steps (6) to (10)

(11) Turn the left leg the wrong way out.  Insert the right leg into the left one, right sides together, and line up along the crotch seam. Sew the crotch seam by hand, using a buttonhole thread or at least a double thread, starting at the center back and stopping exactly at mark (3) – don´t catch the waistband interfacing at the center back. Turn the right way out and press open the seam allowances. Trim back the seam allowances from point (3) to the inner leg seam to about ¼” (7mm). Stitch the seam allowances of the left topside to the fly placket.

At first glimpse, lining the fly-shield seems a bit complicated, maybe the pictures here will bring more clarity. Fold the shield towards the topside, right sides together, and line up the lining with the seam allowance of the topside, the right side of the lining faces the wrong side of the fashion fabric. Sew in the ditch, starting at the top, until reaching the inner leg seam. Fold the lining around the seam allowances and again, stitch in the ditch.

Smooth out the lining over the fly-shield and turn in the seam allowance along the side edge, trim back if needed. When reaching the bottom of the shield, lead the lining towards the inner leg seam, covering the raw seam allowances of the crotch. Fell stitch in place. My lining was a bit too narrow at the bottom, so the tape is showing.

Continue reading

Completing the Vintage Cycling Ensemble: Crafting a Classic Train Driver’s Hat – Sewing Pattern #0224

In our previous posts, we dived into the timeless appeal of a vintage three-piece cycling outfit, comprising the Norfolk jacket, cycling breeches, and matching waistcoat (ok, not quite finished jet, but in progress).

Now, to complete the ensemble and add that perfect finishing touch, we’re moving over to the world of headwear, with a tutorial on crafting your very own train driver’s hat or cap. This accessory not only evokes nostalgia for the 20th century but also offers practicality and style for any cycling adventure. Plus, by using the remaining fabric from your ensemble, you can achieve a cohesive look that’s both bespoke and charming.

Grab your free pattern here: Train Drivers Hat

Continue reading