Category Archives: 0421 – 1845s Day Dress

The 1845s Day Dress Tutorial Part 2 (Step 5 – 8)

Part 1 – Getting started Step 1-4

(5) The fronts and backs are ready prepared to be stitched together. First seam will be the shoulder seam, stitched from the back with a backstitch. I recommend to sew this seam by hand. At point (1 – red arrow) just the back is notched V-shaped and the seam allowances of the shoulder trimmed back to ¼” (5mm).

The seam allowance along the back neckline is trimmed back too, just leaving the uppermost layer of the piping.

Continue reading

The 1845s Day Dress Tutorial Part 3 (Step 9 – 12)

Part 1 – Step 1-4

Part 2 – Step 5-8

(9) Take the bodice and mark the stitching line around the armhole. Line up another length of piping and baste in place. Trim back the cord only at the start and stop (in the range of the armpit) to remove bulk and fold the ends of the bias tape crossing each other.

Insert the sleeve into the armhole, right sides together, matching the sleeve seam with the side seam of the bodice. Ease in the excess width of the sleeve by pulling the threads and spread evenly along the sleeve head. Sew the sleeve with a backstitch, right beside the piping cord (sew from the side of the bodice to get better controll of the piping cord). Trim back the seam allowances and neaten with an overcasting stitch.

Continue reading

The 1845s Day Dress Tutorial – getting started (Step 1-4)

Hi everyone, reading my blog!

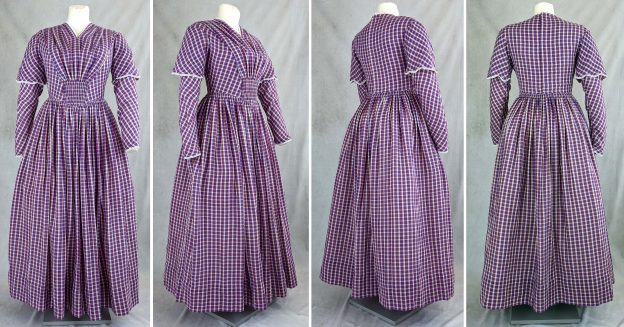
This time, I´ll show you the sewing process of my new 184s day dress, made from a checked cotton muslin. The pattern includes two versions of the dress, first a simple day dress, with V-shaped neckline, with the skirt attached to the bodice with cartridge pleats, and a second, more elegant version, similar to a dress, Jenna Coleman wears in the TV show “Victoria”.

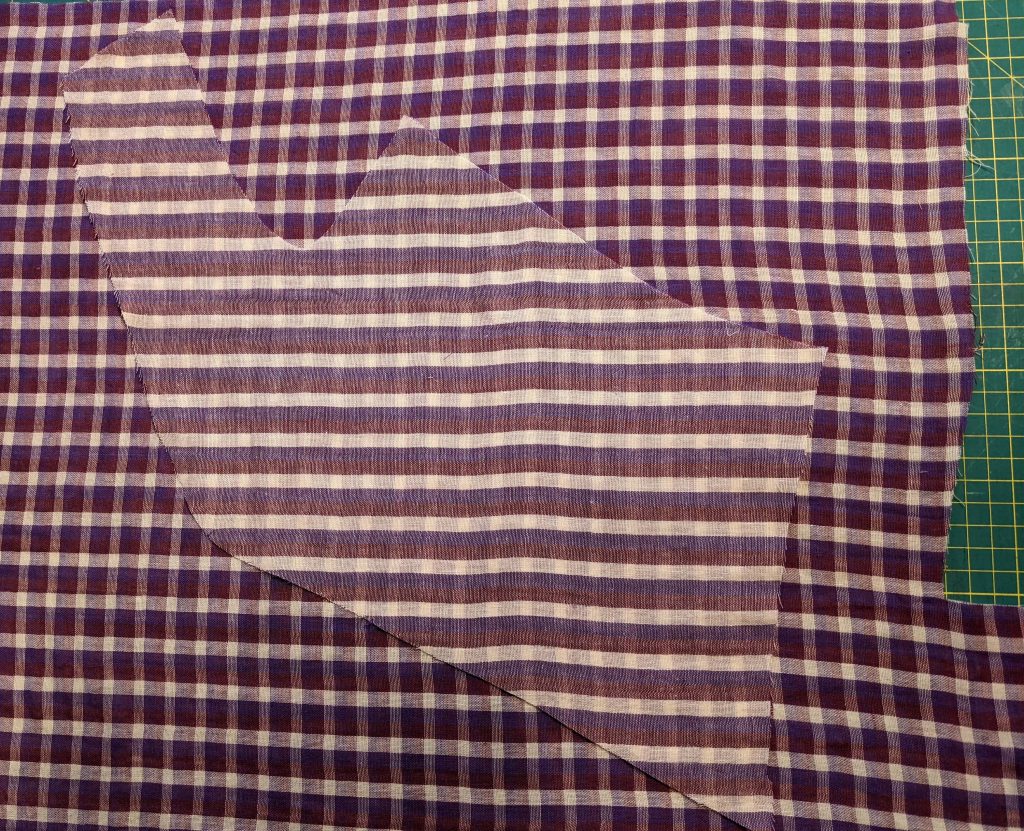
I found a checked cotton muslin in my preferred colors on Ebay, just the right fabric for a light and simple 1845s summer day dress.

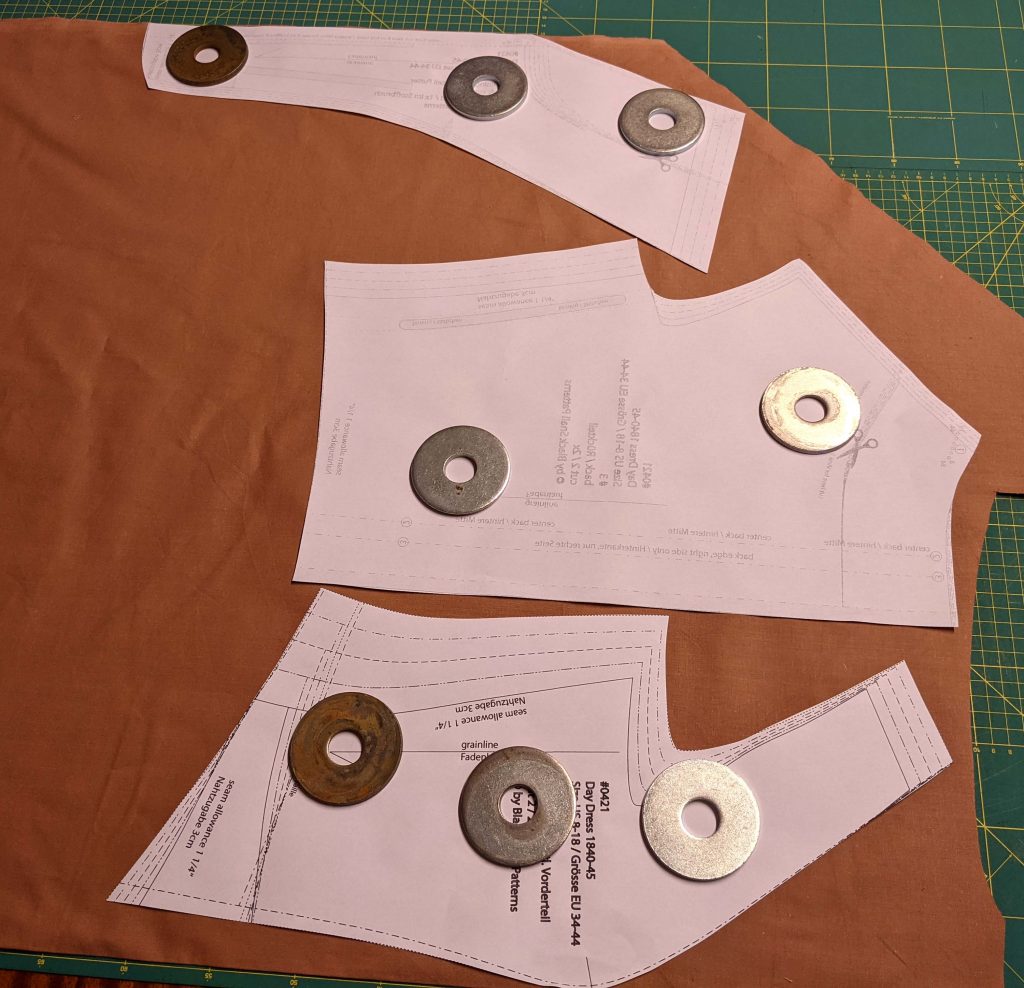
After washing and pressing the fabric, I started cutting out the pattern pieces. I tried to pattern match the checks as good as possible, with the fabric pulling out of shape even when watching (the fabric is a double layer muslin with stripes on the wrong fabric side).

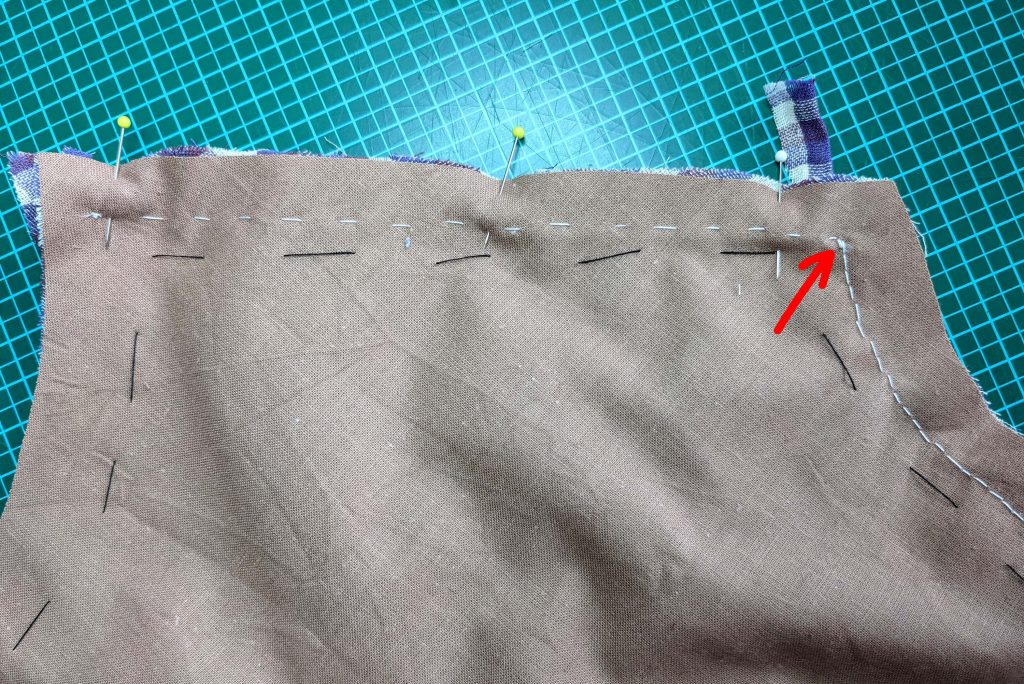
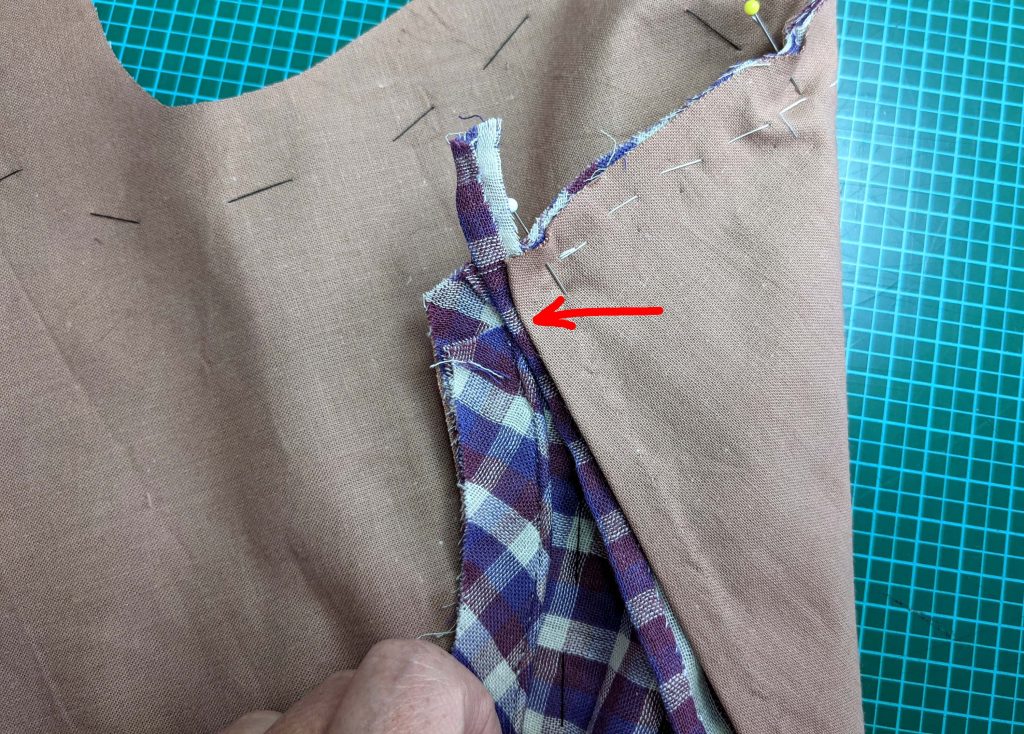
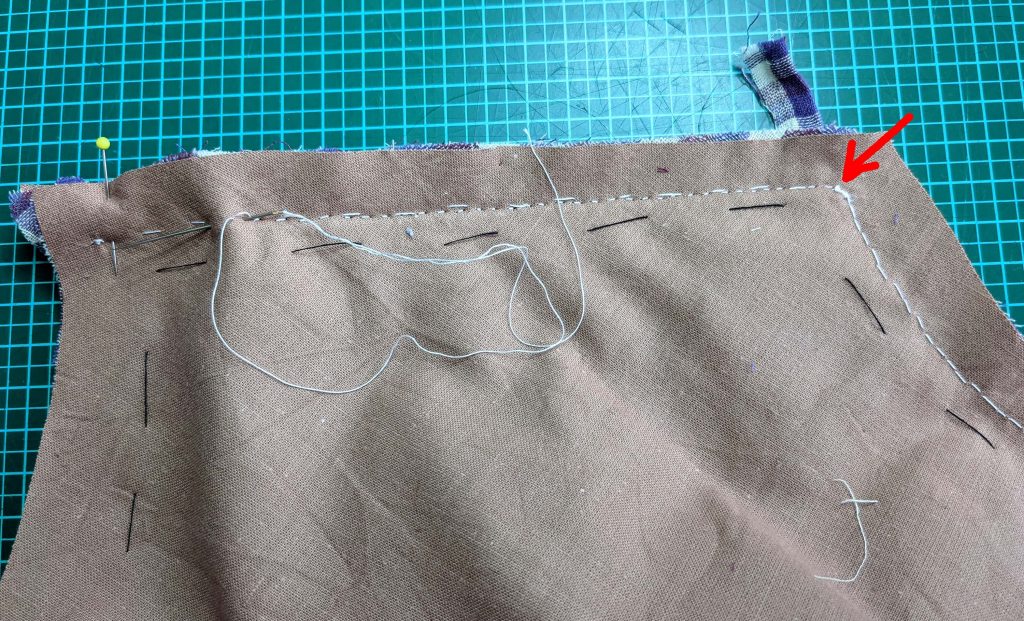
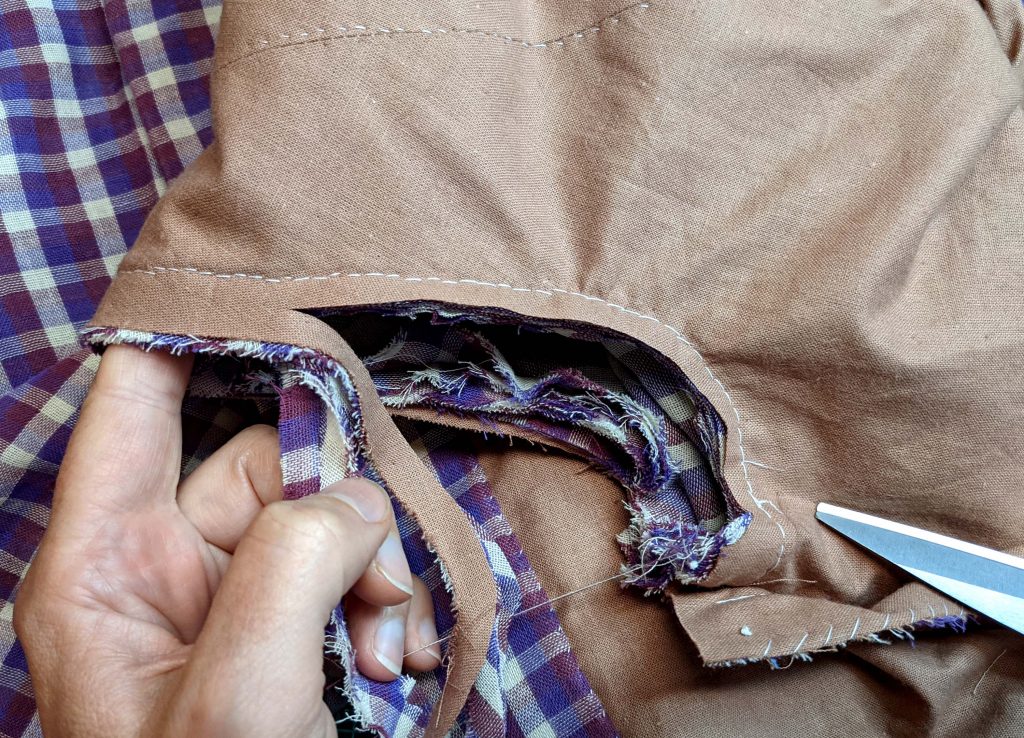
For the lining, I choosed a glazed cotton fabric in a (not really) matching color. I left the selvages on the fronts to avoid fraying.

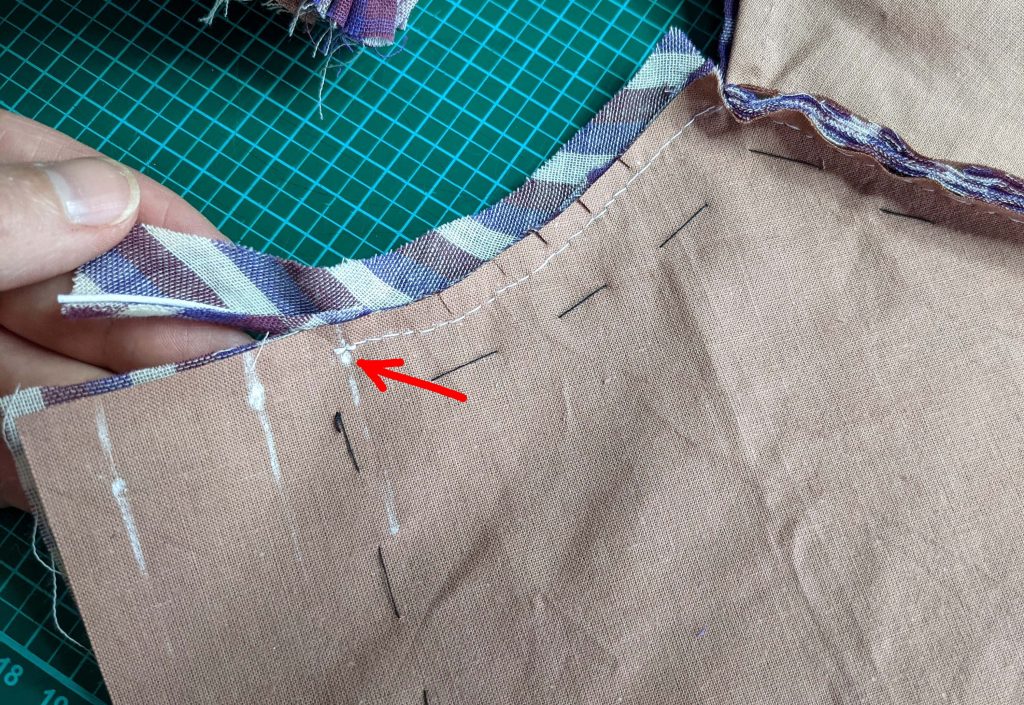
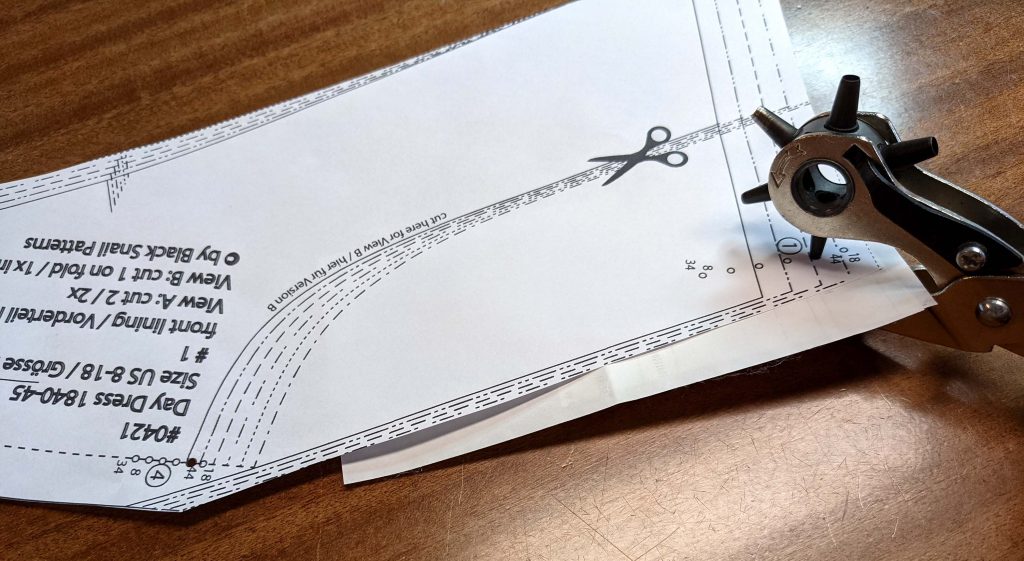
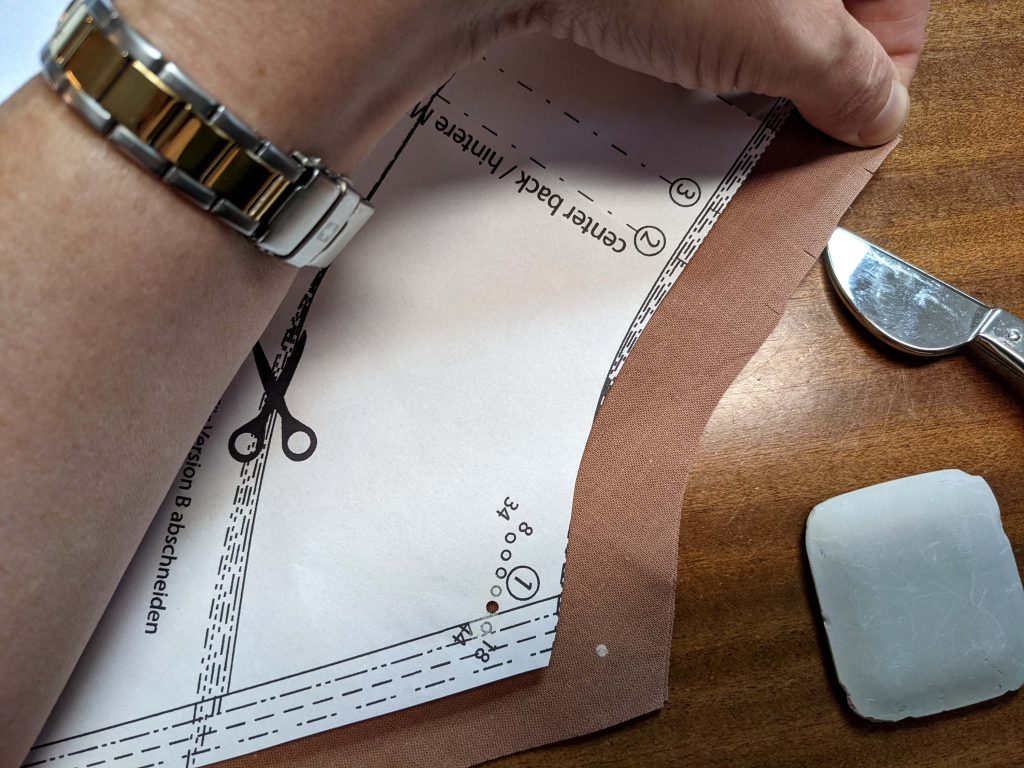
To transfer the neckline corner mark (1) easily, I punched holes into the pattern and marked it with tailor´s chalk. I made just notches to mark the back lines of the bodice.

Continue reading