Monthly Archives: February 2015

Thread bar

A nearly invisible way to close a garment is to use a thread bar instead of a metal eyelet.


Double up your thread, begin from the back to hide the knot, make a stitch in the desired width of your bar. Repeat till you have four threads, loose the threads a little bit to get a nice result.
Overcast the threads with a narrow buttonhole stitch, at the end stitch through to the back side and secure your thread with some stitches.

IMG_2325

IMG_2329

IMG_2331

IMG_2332

How to line a hem

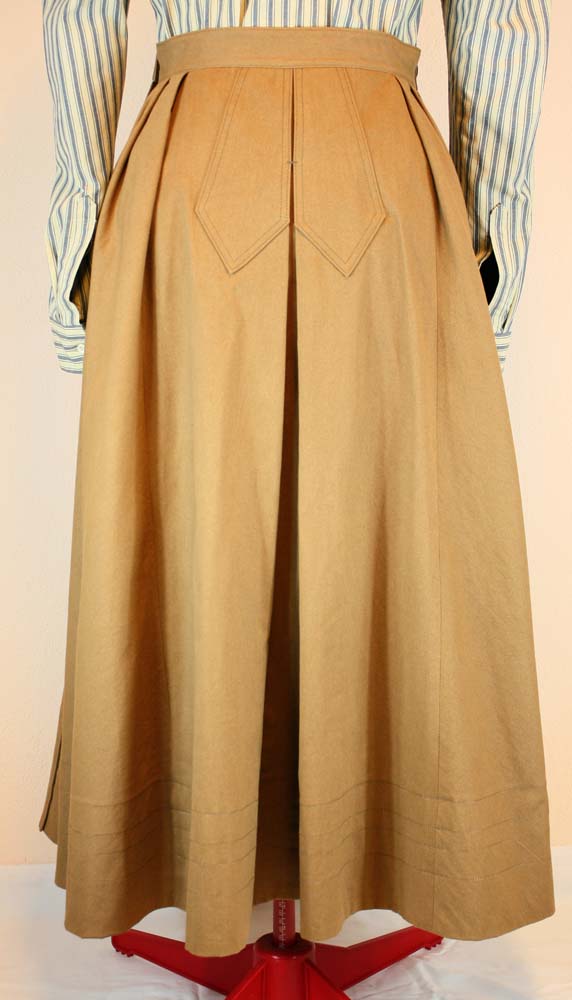
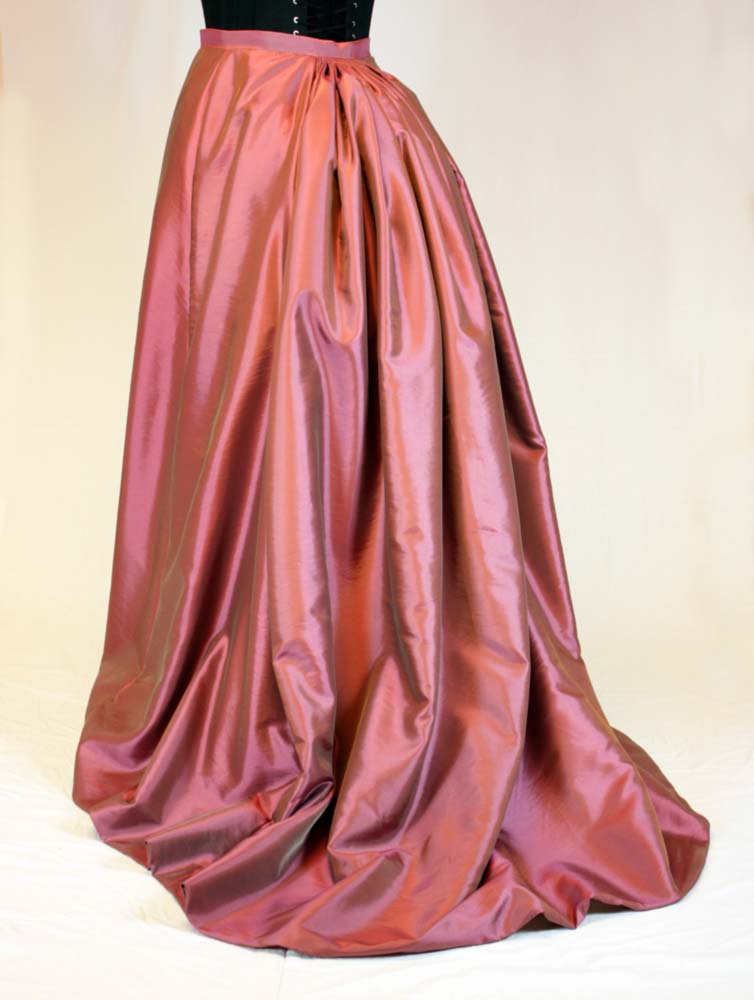
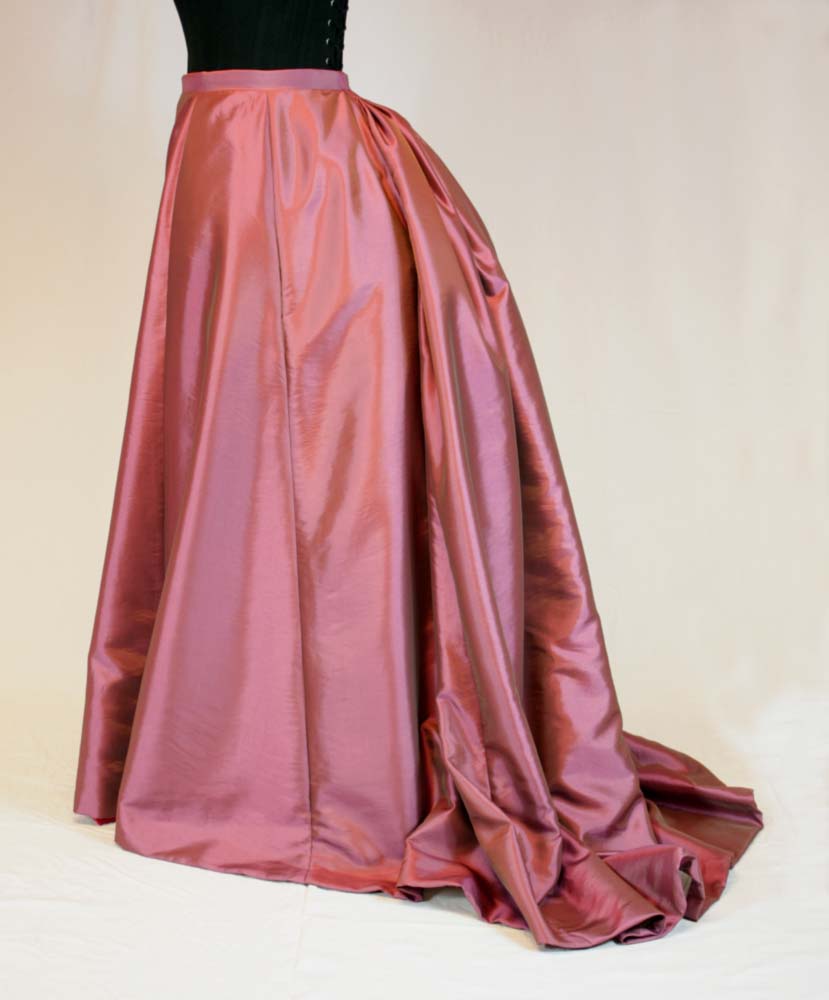
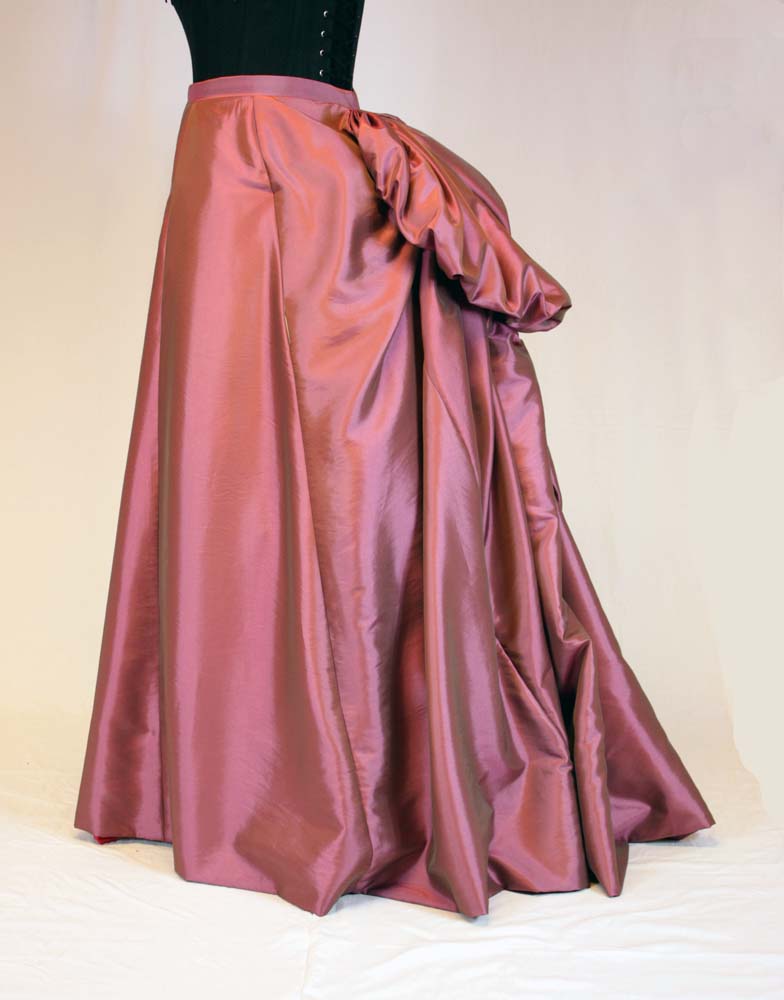
To achieve the perfect shape for your vintage skirt more support than just flatlining the skirt with cotton fabric is needed, especially the hem line needs additional structure. Depending on the choosed fabrics and materials the skirt will be washable or not.
In extant dresses often buckram is used, not only to reinforce the hemline, sometimes every  single skirt panel was interfaced throughout to achieve the desired shape. Buckram is still available, but can not be washed. When I made this skirt, I decided to use a washable and light weight hair canvas from polyester fibers.


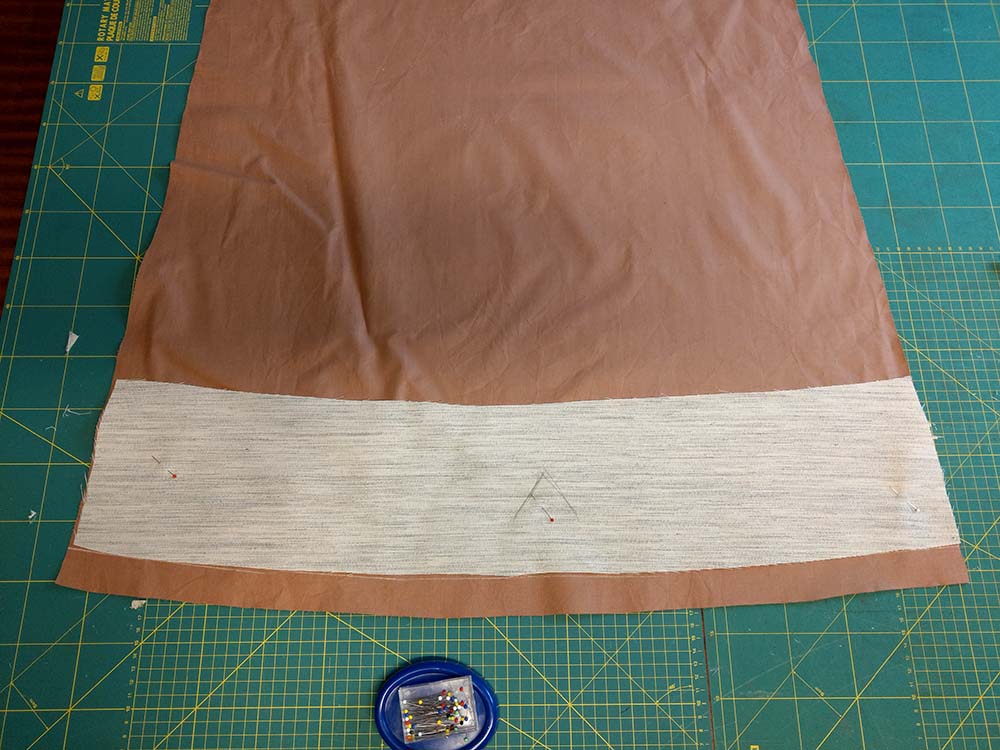
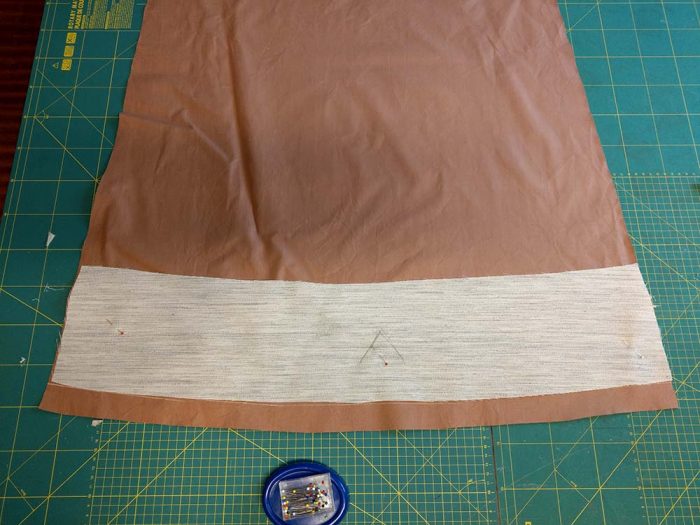
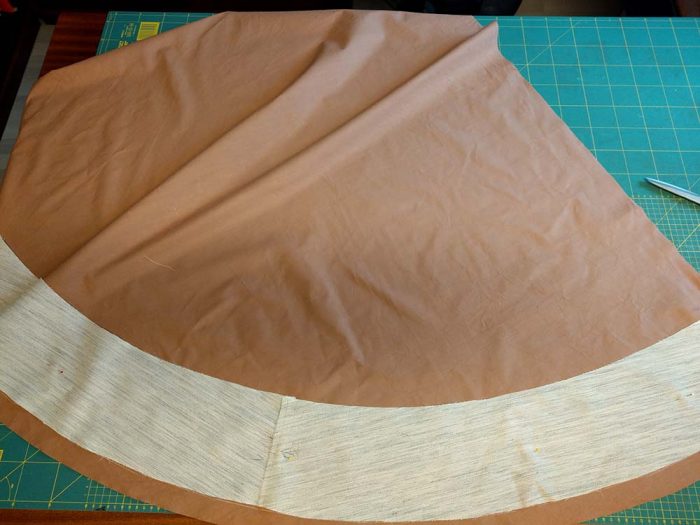
After cutting all pattern pieces from fashion and lining fabric (and of course a fitting with the panels basted together to determine the hemline), prepare the hem interfacing the following way: Take your pattern pieces (with all adjustments transferred) and mark the seamline. Draw another line circa 8″ (20cm) parallel to the seamline. Cut out this 8″ (20cm) wide hem-shaped strips and transfer to your stiffening fabric. For a hemline of several meters , you´ll needed to piece the strips, joining them with a simple overlapping seam (don´t forget to add seam allowance)
Place the skirt lining on top of a table with the wrong side up, and mark the hem line. Line up the interfacing with this line.


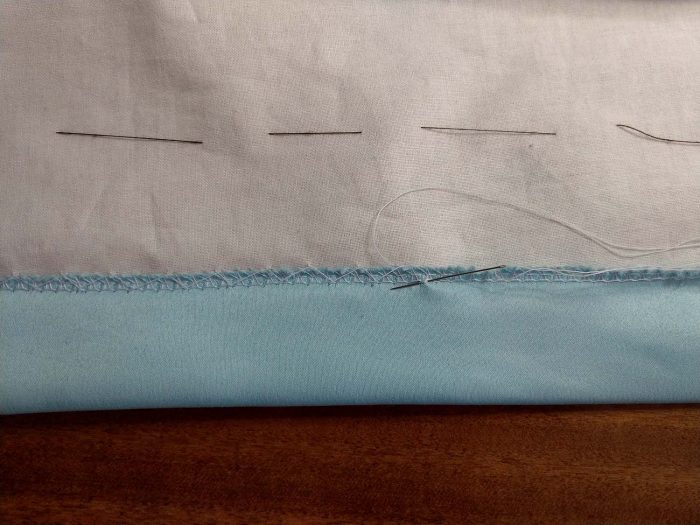
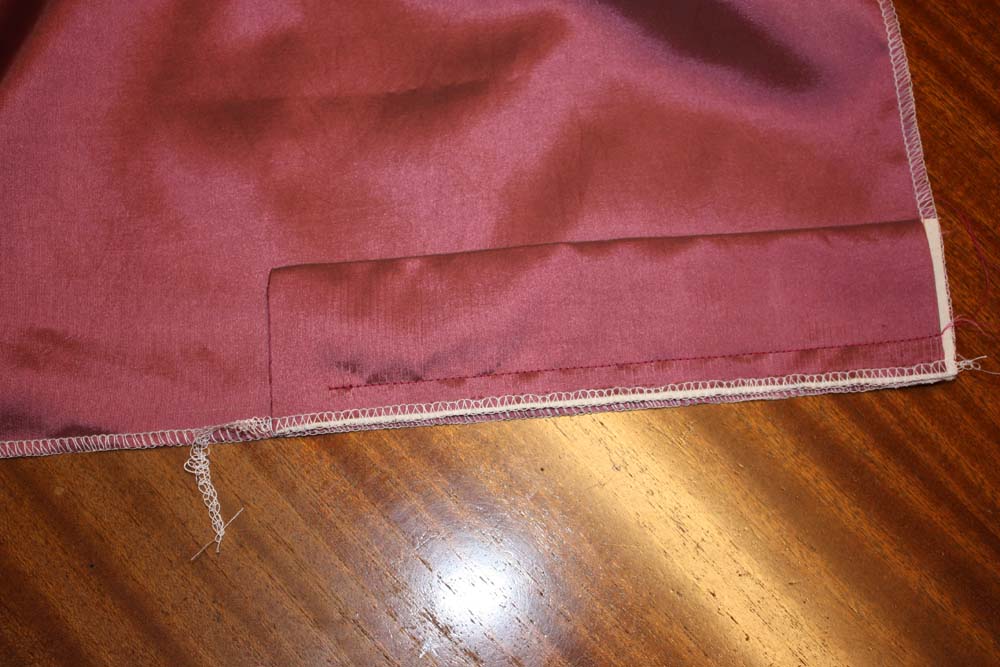
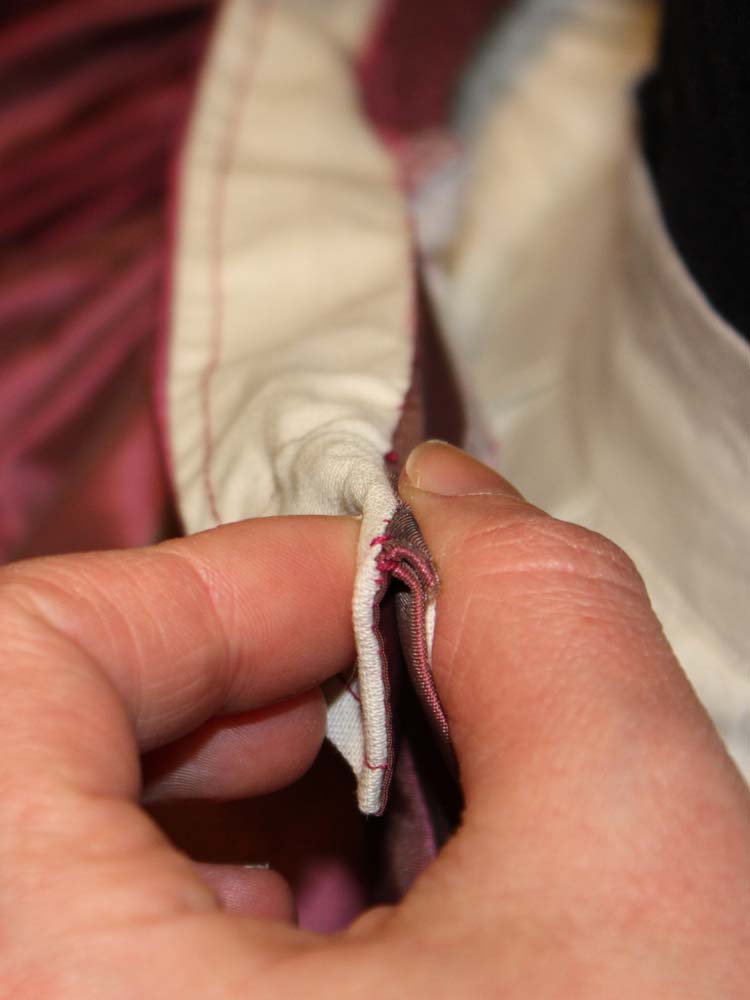
Sew the interfacing to the lining along both edges, circa 3/8″ (1cm) parallel from the edge. Turn the the hem allowance around the edge of the interfacing and stitch down the hem.


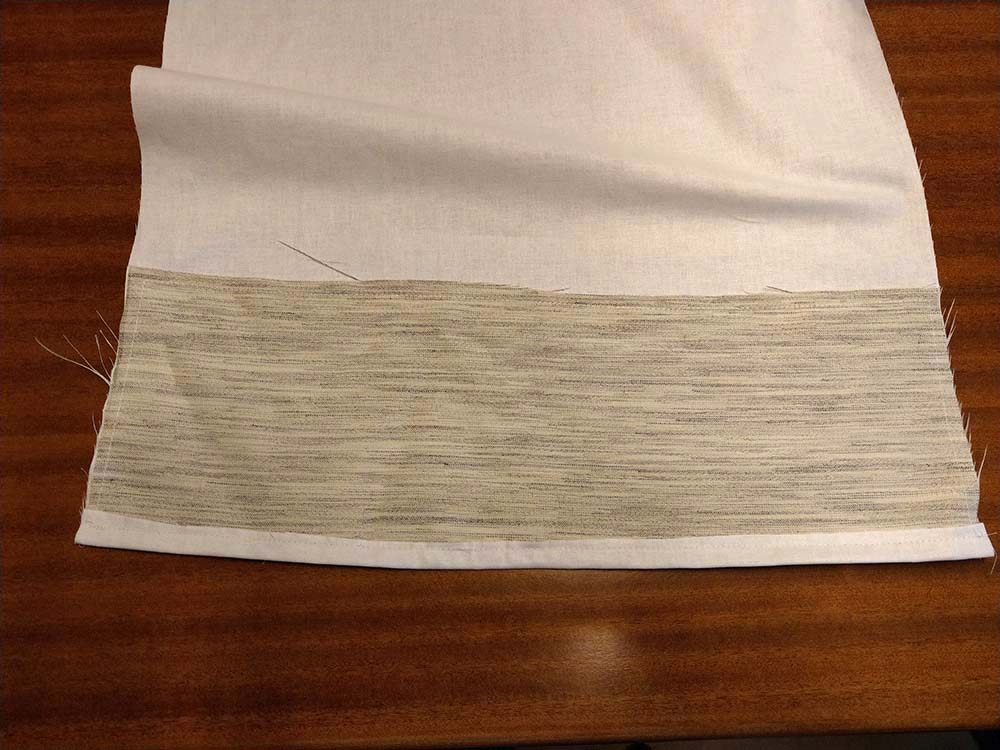
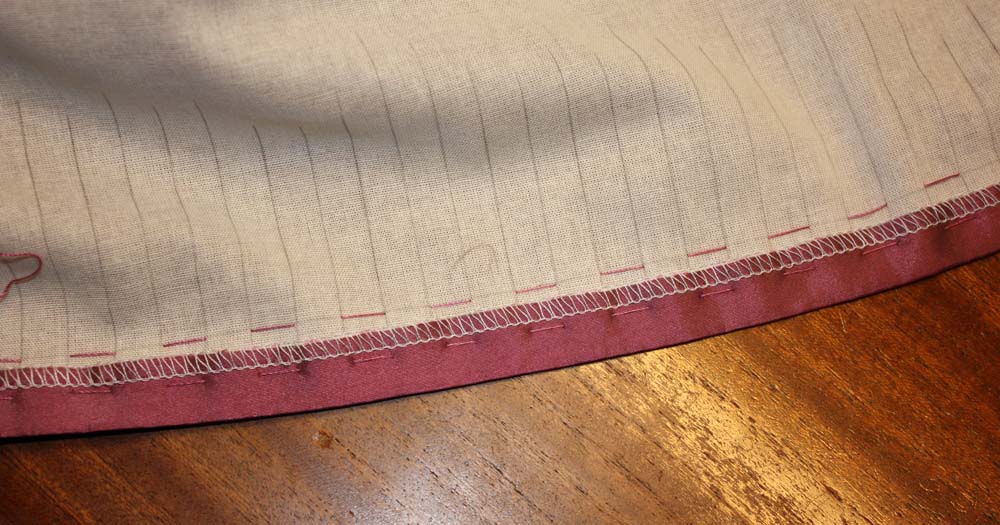
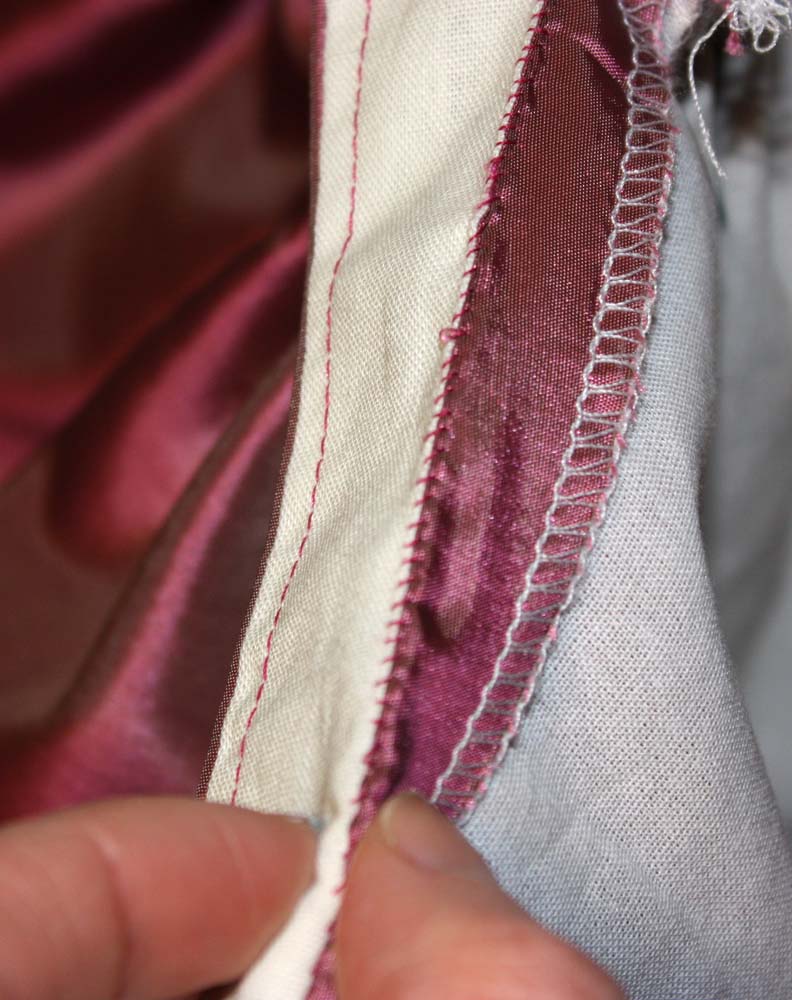
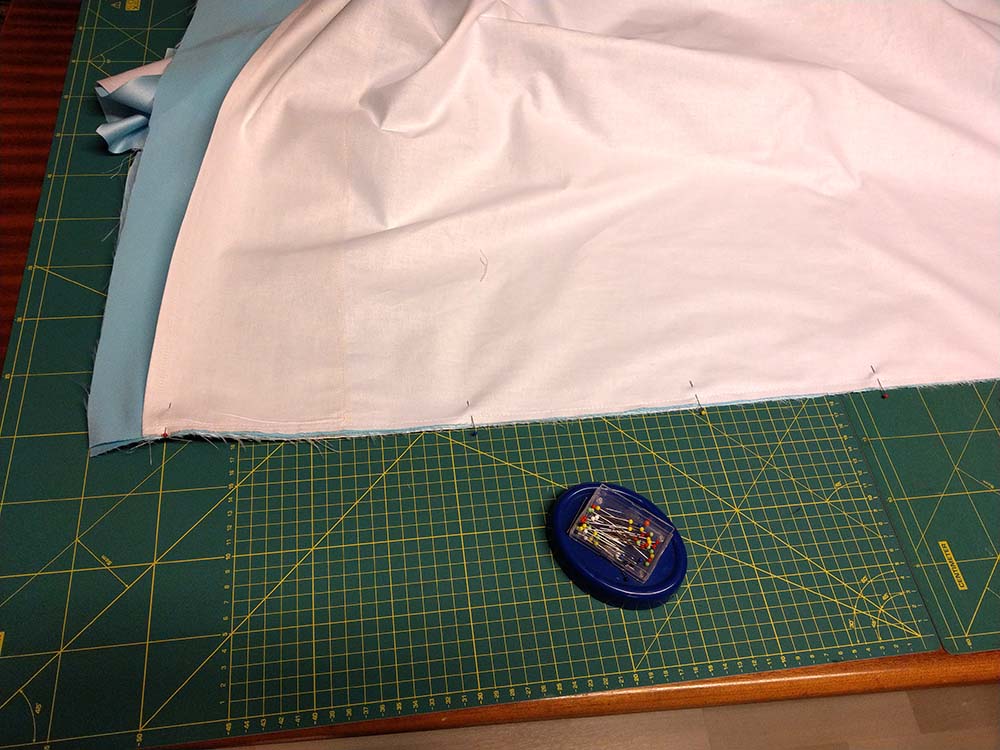
Next step is to flatline the fashion fabric: line up fashion fabric and lining, wrong sides together, and baste the two layers together inside the seam allowance. From her on treat the two layers as one and sew together the skirt as usual.


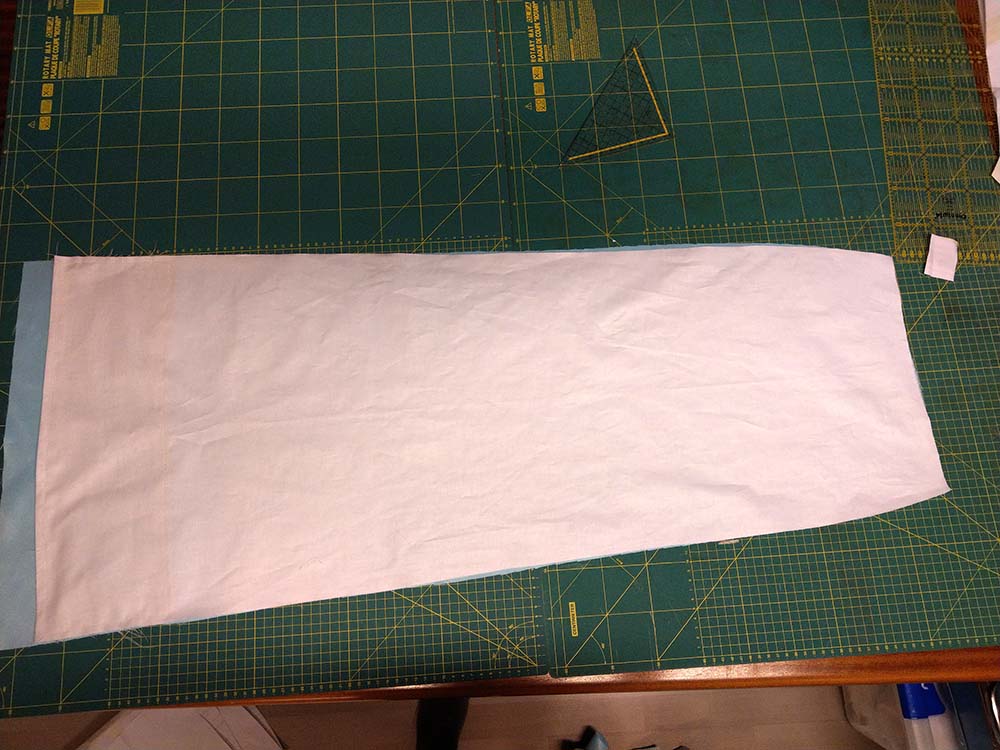
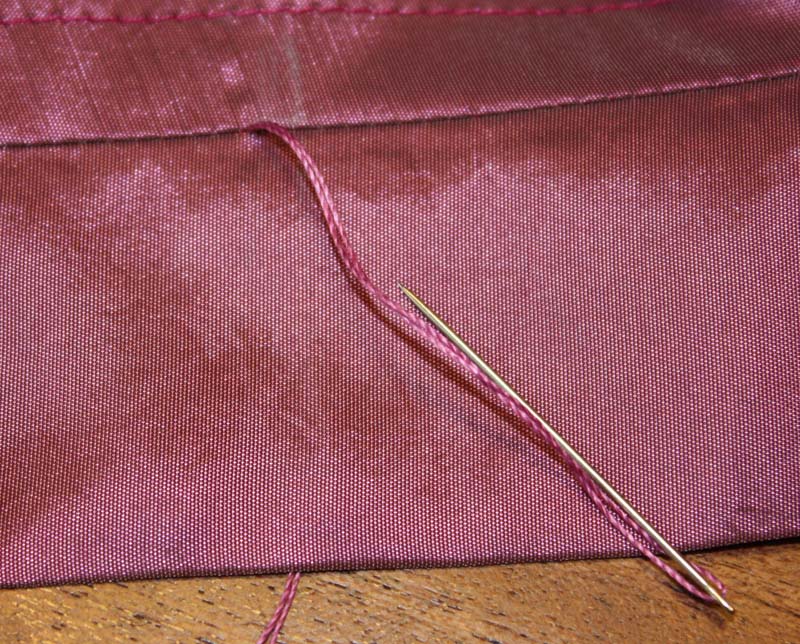
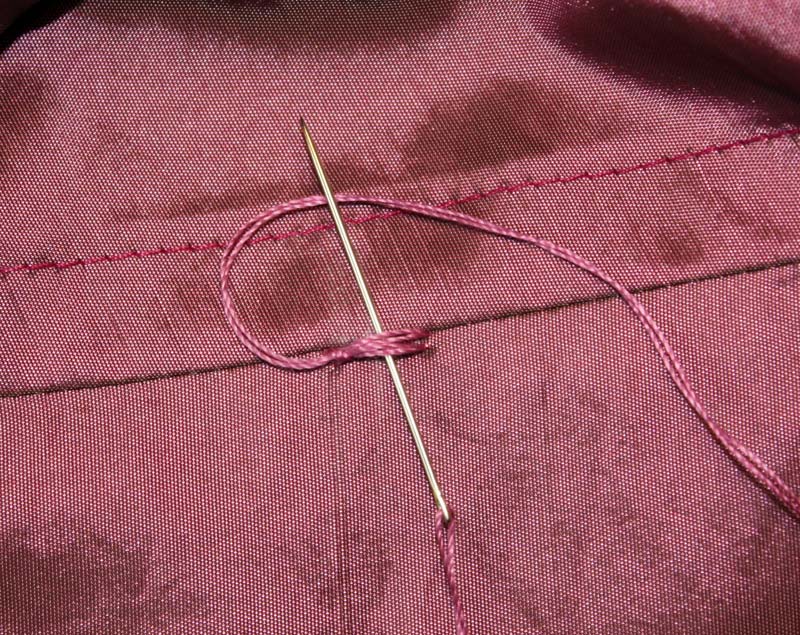
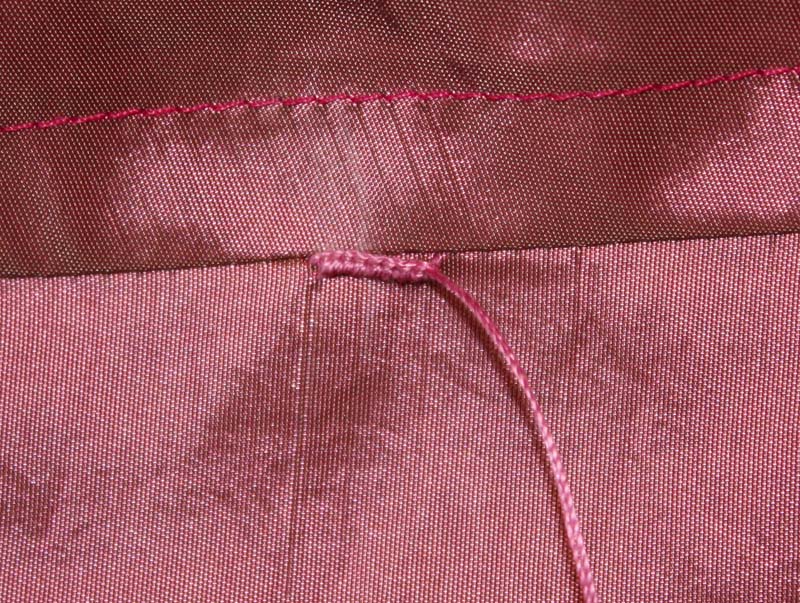
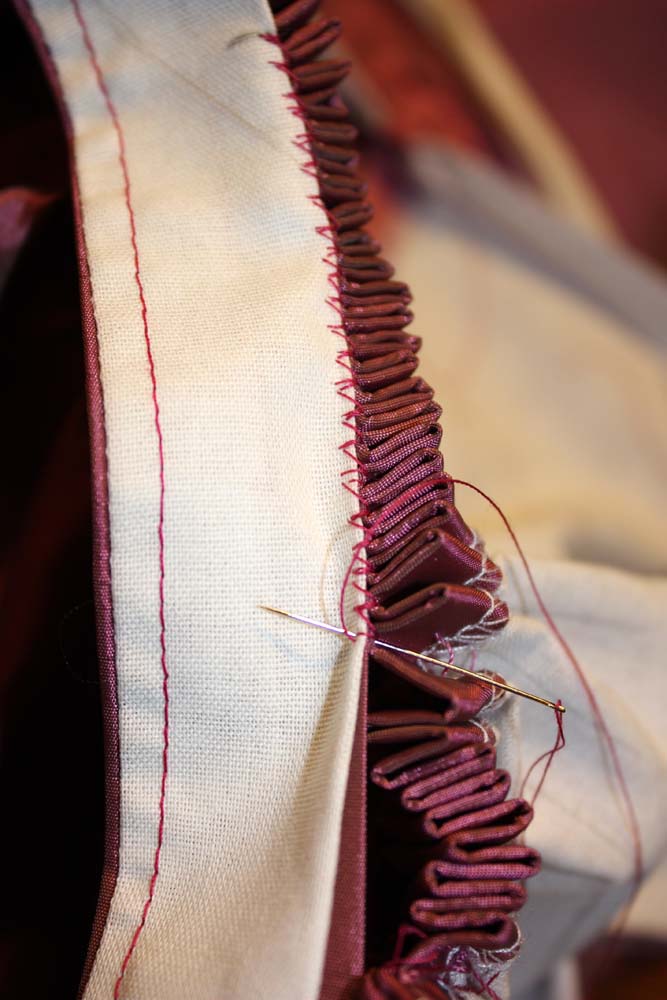
To finish the seam, turn the seam allowance of the fashion fabric around the edge of the lining towards the gament inside and fell or catch stitch to the lining. Cover the raw edge with a twill or a velvet tape.

Basic skirt for early bustle

I found a lovely fabric in a marvelous color. But what would it look best? I decided to make an early bustle dress. First I started with a basic skirt.
The upper fabric will be lined with cotton fabric and worked as one layer. Historically not correct I neatened the edges with my serger.
The skirt has a front and back part and two gores on each side. On the left side, I made a pocket between the two gores, on the right side the closure with a placket.

IMG_2264

The front part and side gores are joined smoothly to the waistband, the back part is shirred to cartridge pleats and sewn close to the waistband.
For the cartridge pleats fold the seam allowance of the back part to the inside and iron. Mark the depth of folds and sew with a strong thread. Two rows with a distance of 1cm (3/8”) are enough. First I chose 1cm for the depth of my pleats but later on, I decided to make the pleats 1,5cm (5/8”) deep for fitting the waistband.

IMG_2267

At the waistband do not use any interlining. Sew together the upper fabric and lining right sides together and turn inside out. The seam allowance of the lower edge would be folded to the inside of the waistband.
Historically correct fold the seam allowance of the upper edge of the skirt to the inside and iron. Lay on the waistband to the upper edge, right sides together and sew the waistband with small stitches to the skirt.

IMG_2275
IMG_2276

At the back part shirr fabric by pulling the threads firmly. Sew fold by fold to the waistband very closely together.

Sew on hooks and eyes and hem the skirt – ready!