

Part 1 from (1) to (7) – The bodice
Part 2 from (7) to (14) – The sleeves and skirt
Let’s continue with the Spencer, a short jacket designed to add contrast and character to the simple white dresses of the Regency era.
I used a leftover piece of hibiscus-colored silk from my stash—you might recognize it from the Bridgerton-inspired dress I made. Since there wasn’t much fabric left, I had to piece the back and omitted the train because I didn’t have enough fabric left.
While reading online reviews of this pattern, I noticed that several of you mentioned the back being quite wide and not fitting snugly—a problem I also noticed during my first fitting. To fix this, I adjusted the back pattern pieces for a closer fit and added an additional closure with a placket to the new version of the pattern.


(1) Sew together all pieces from the lining, right sides together, leaving the shoulder seam open jet. Press the seam allowances towards the side back piece.
(2) The optional Train, which I omitted due to a lack of fabric.
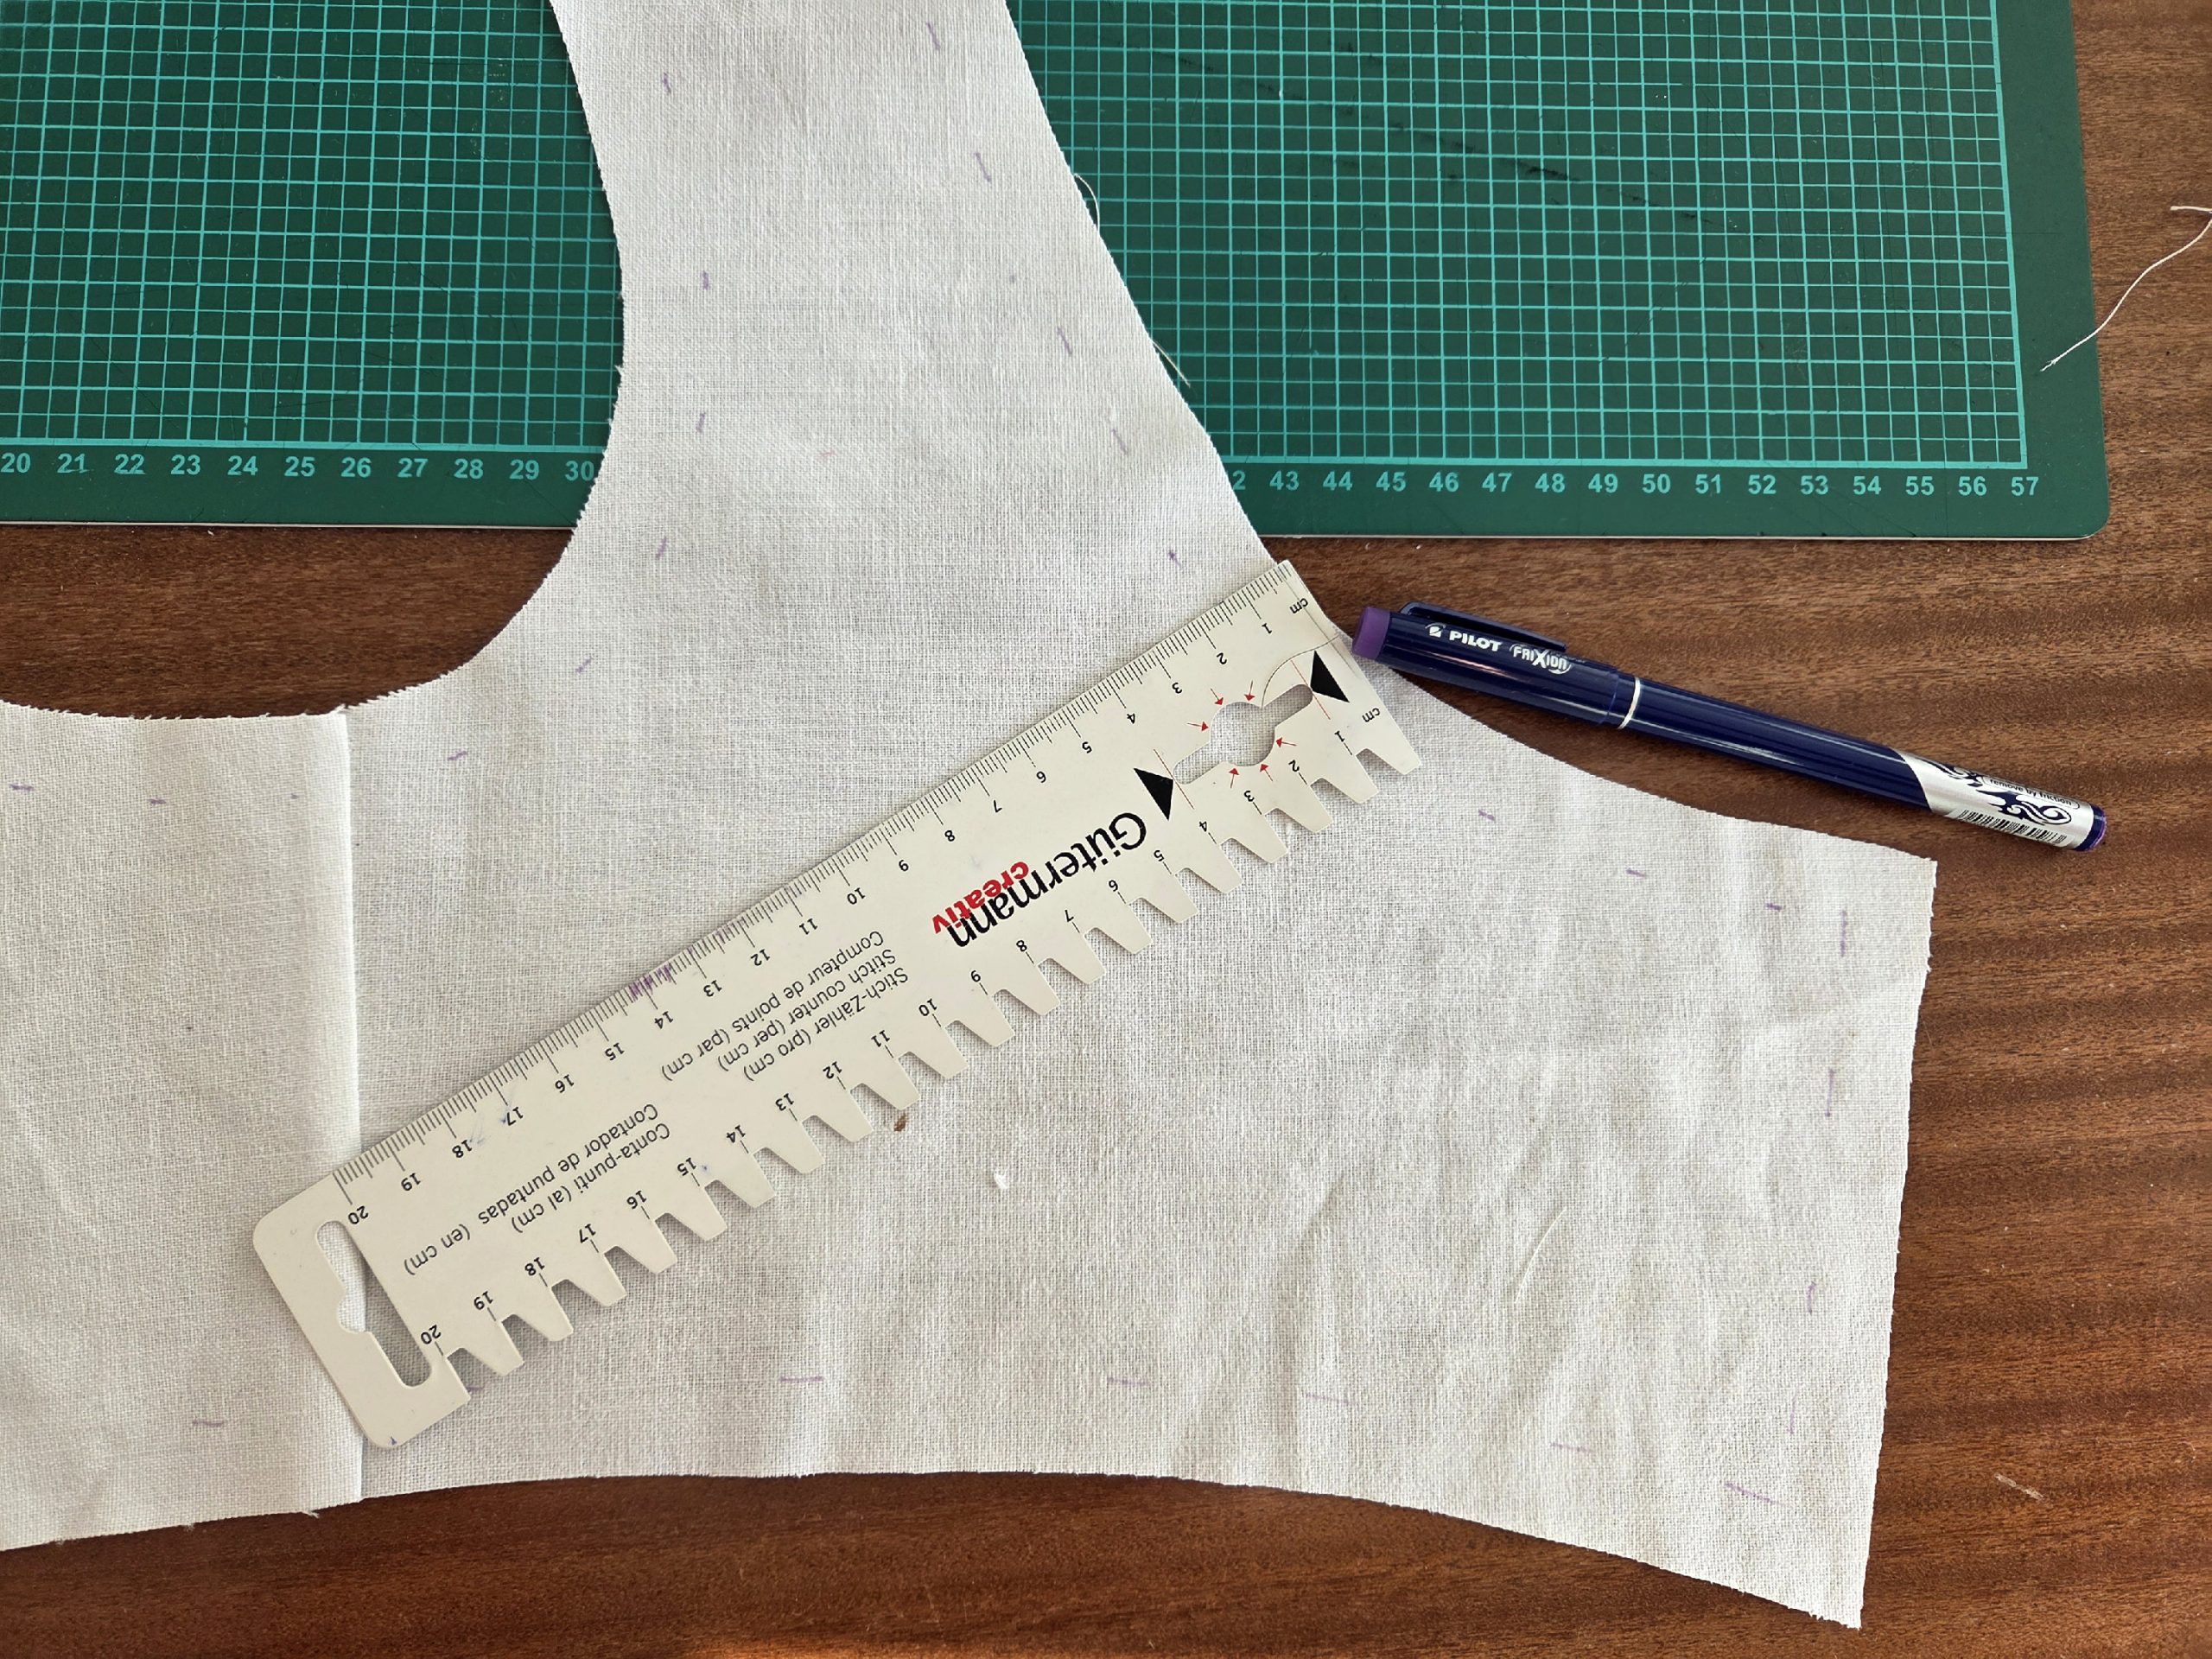
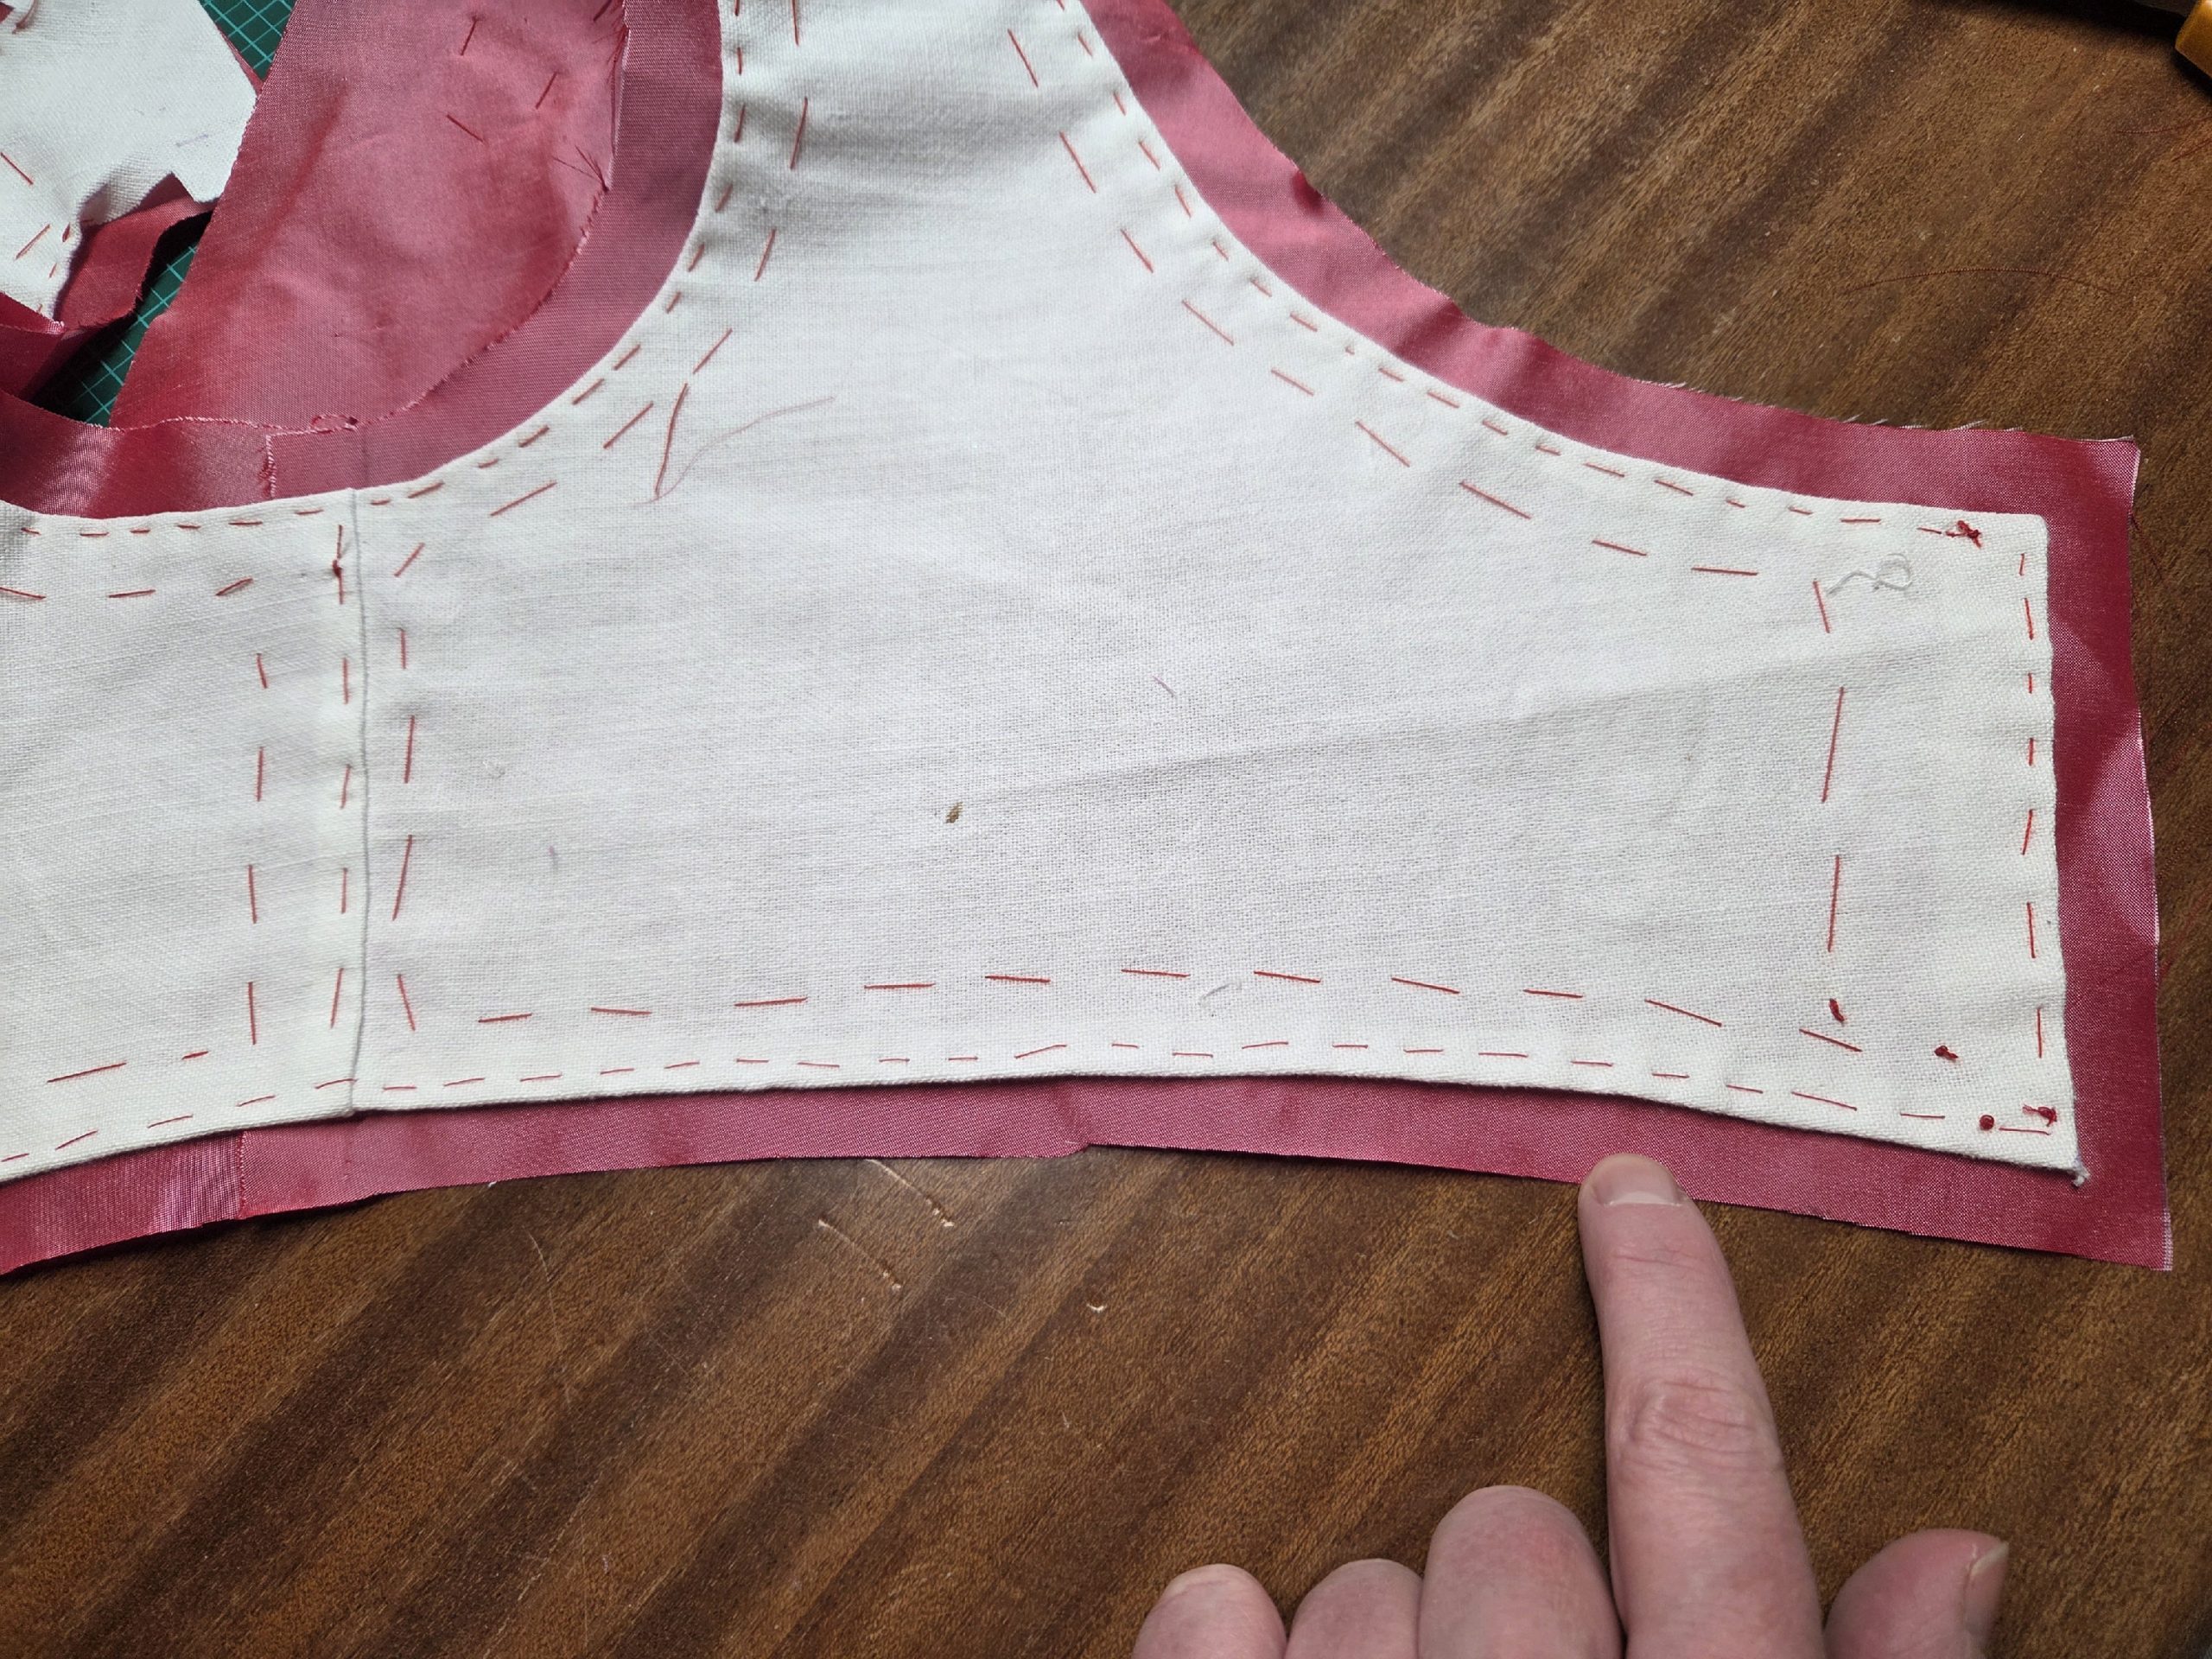
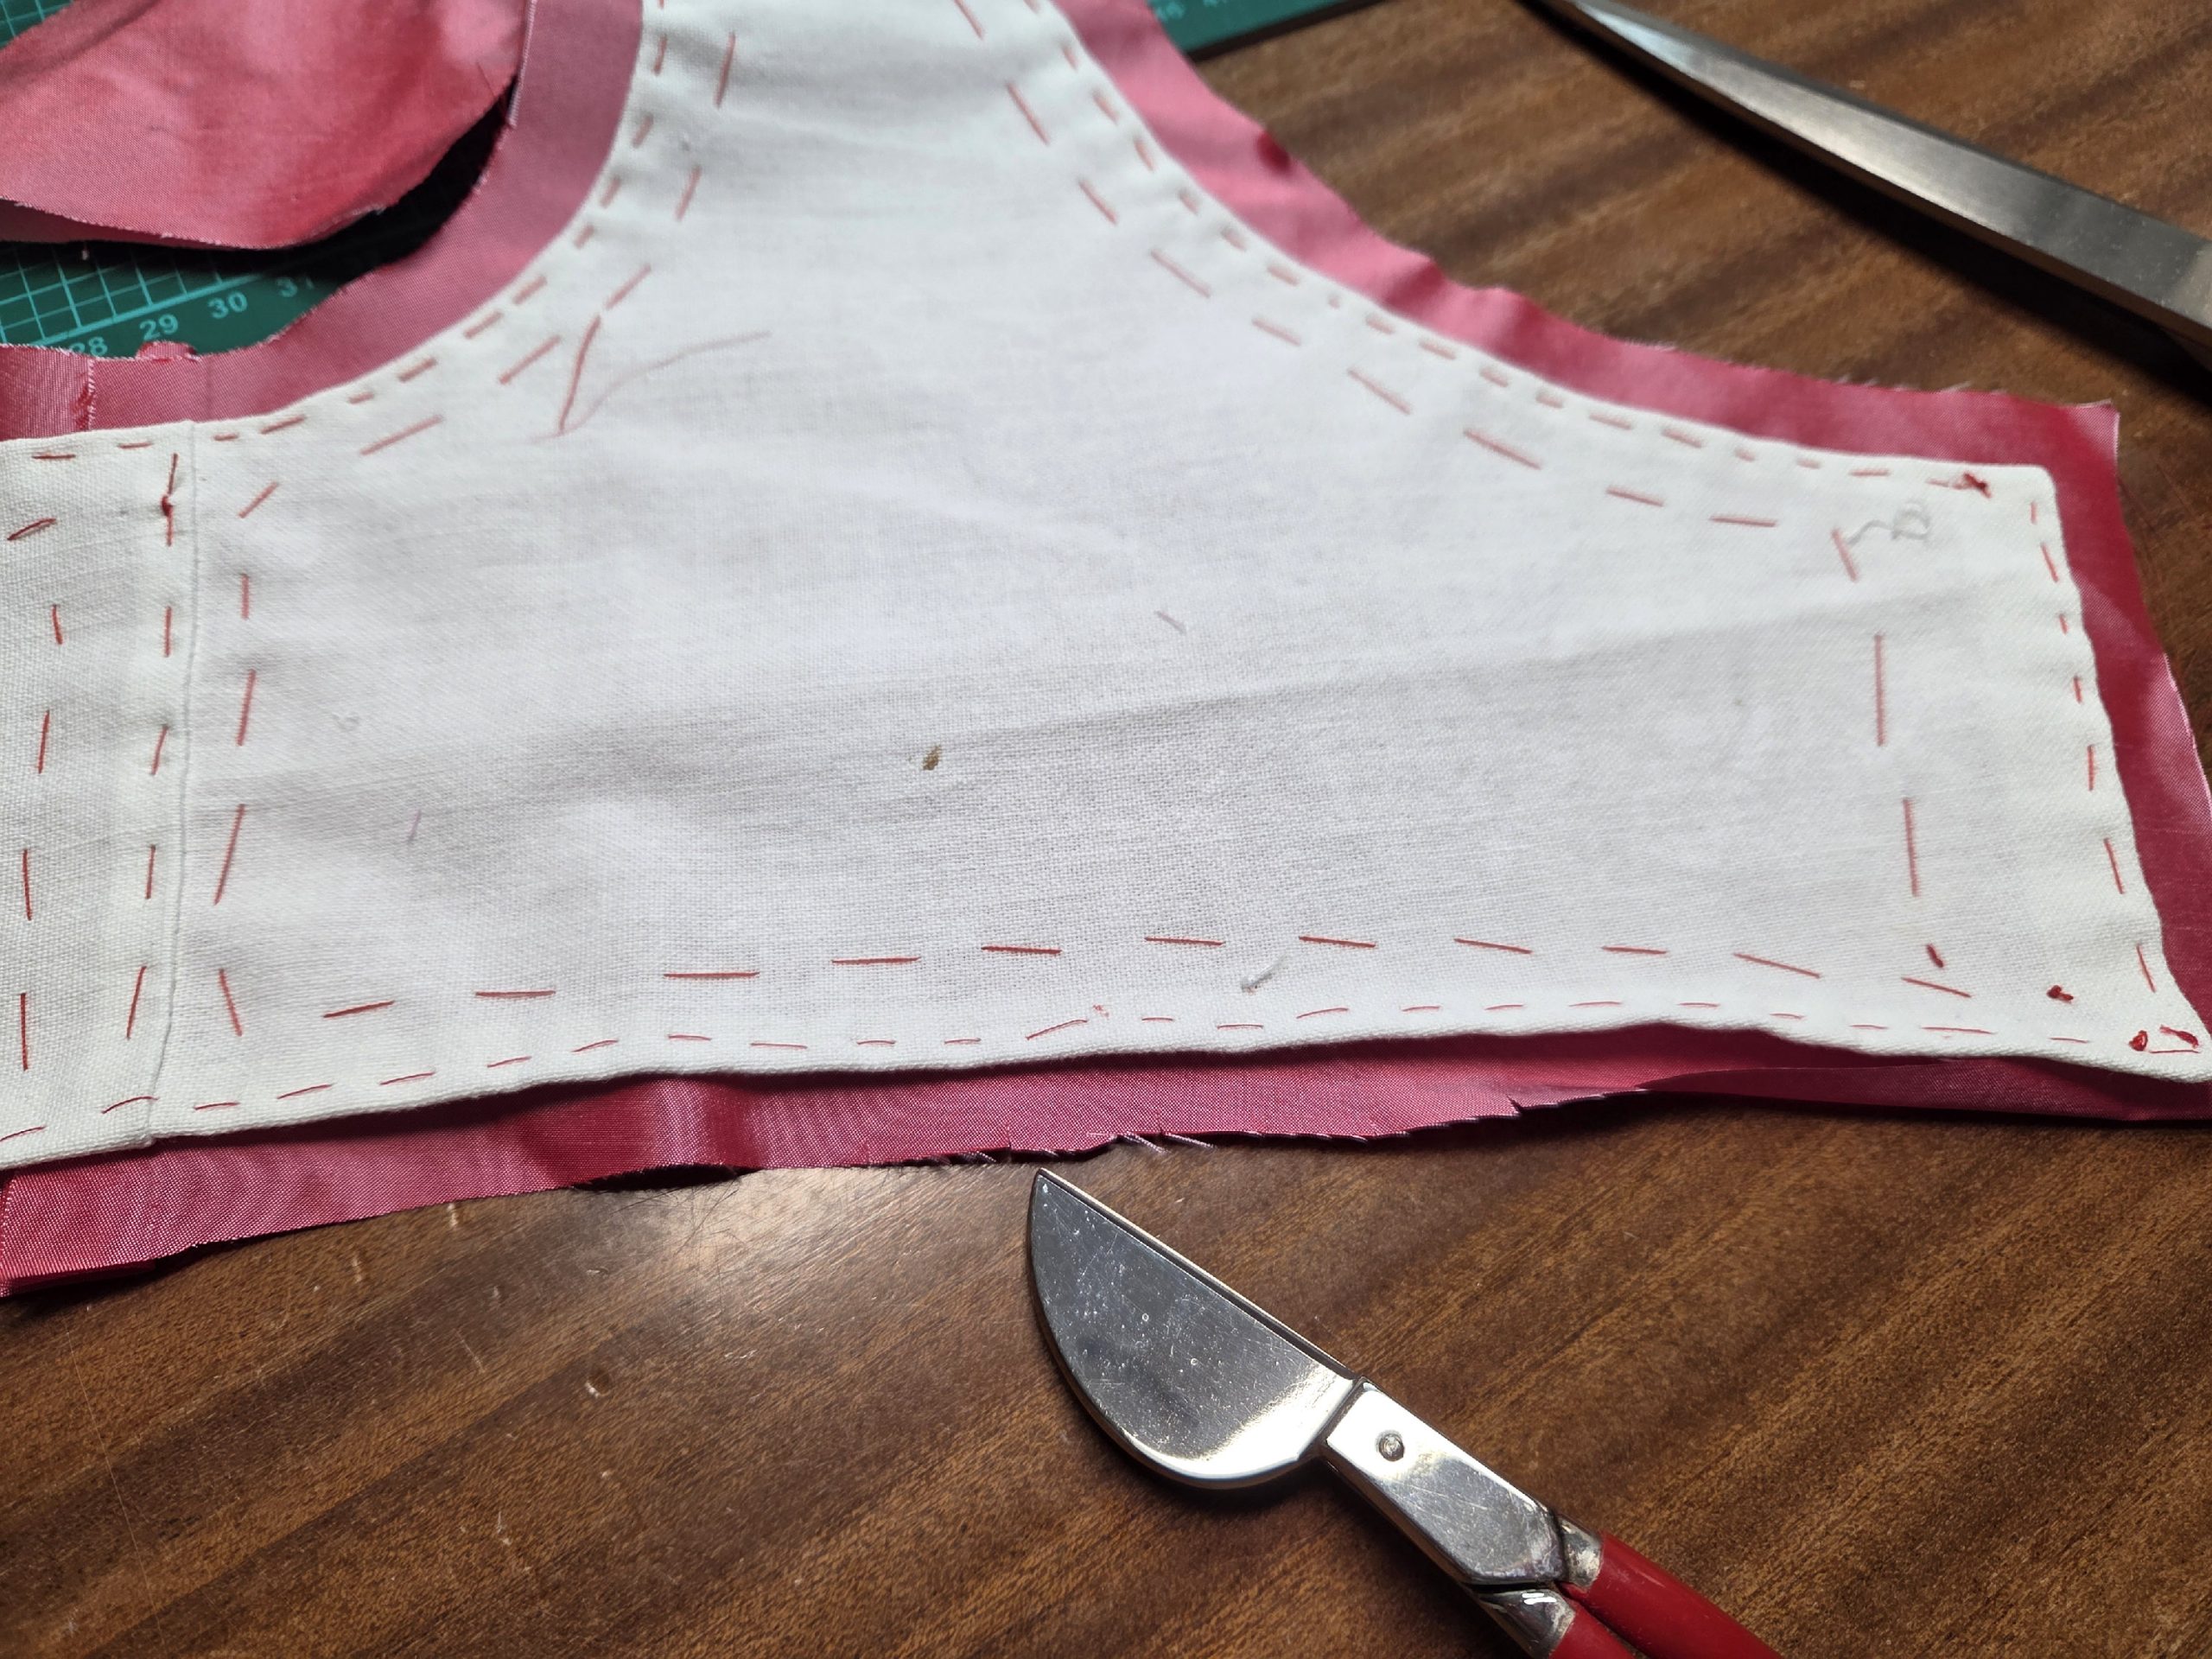
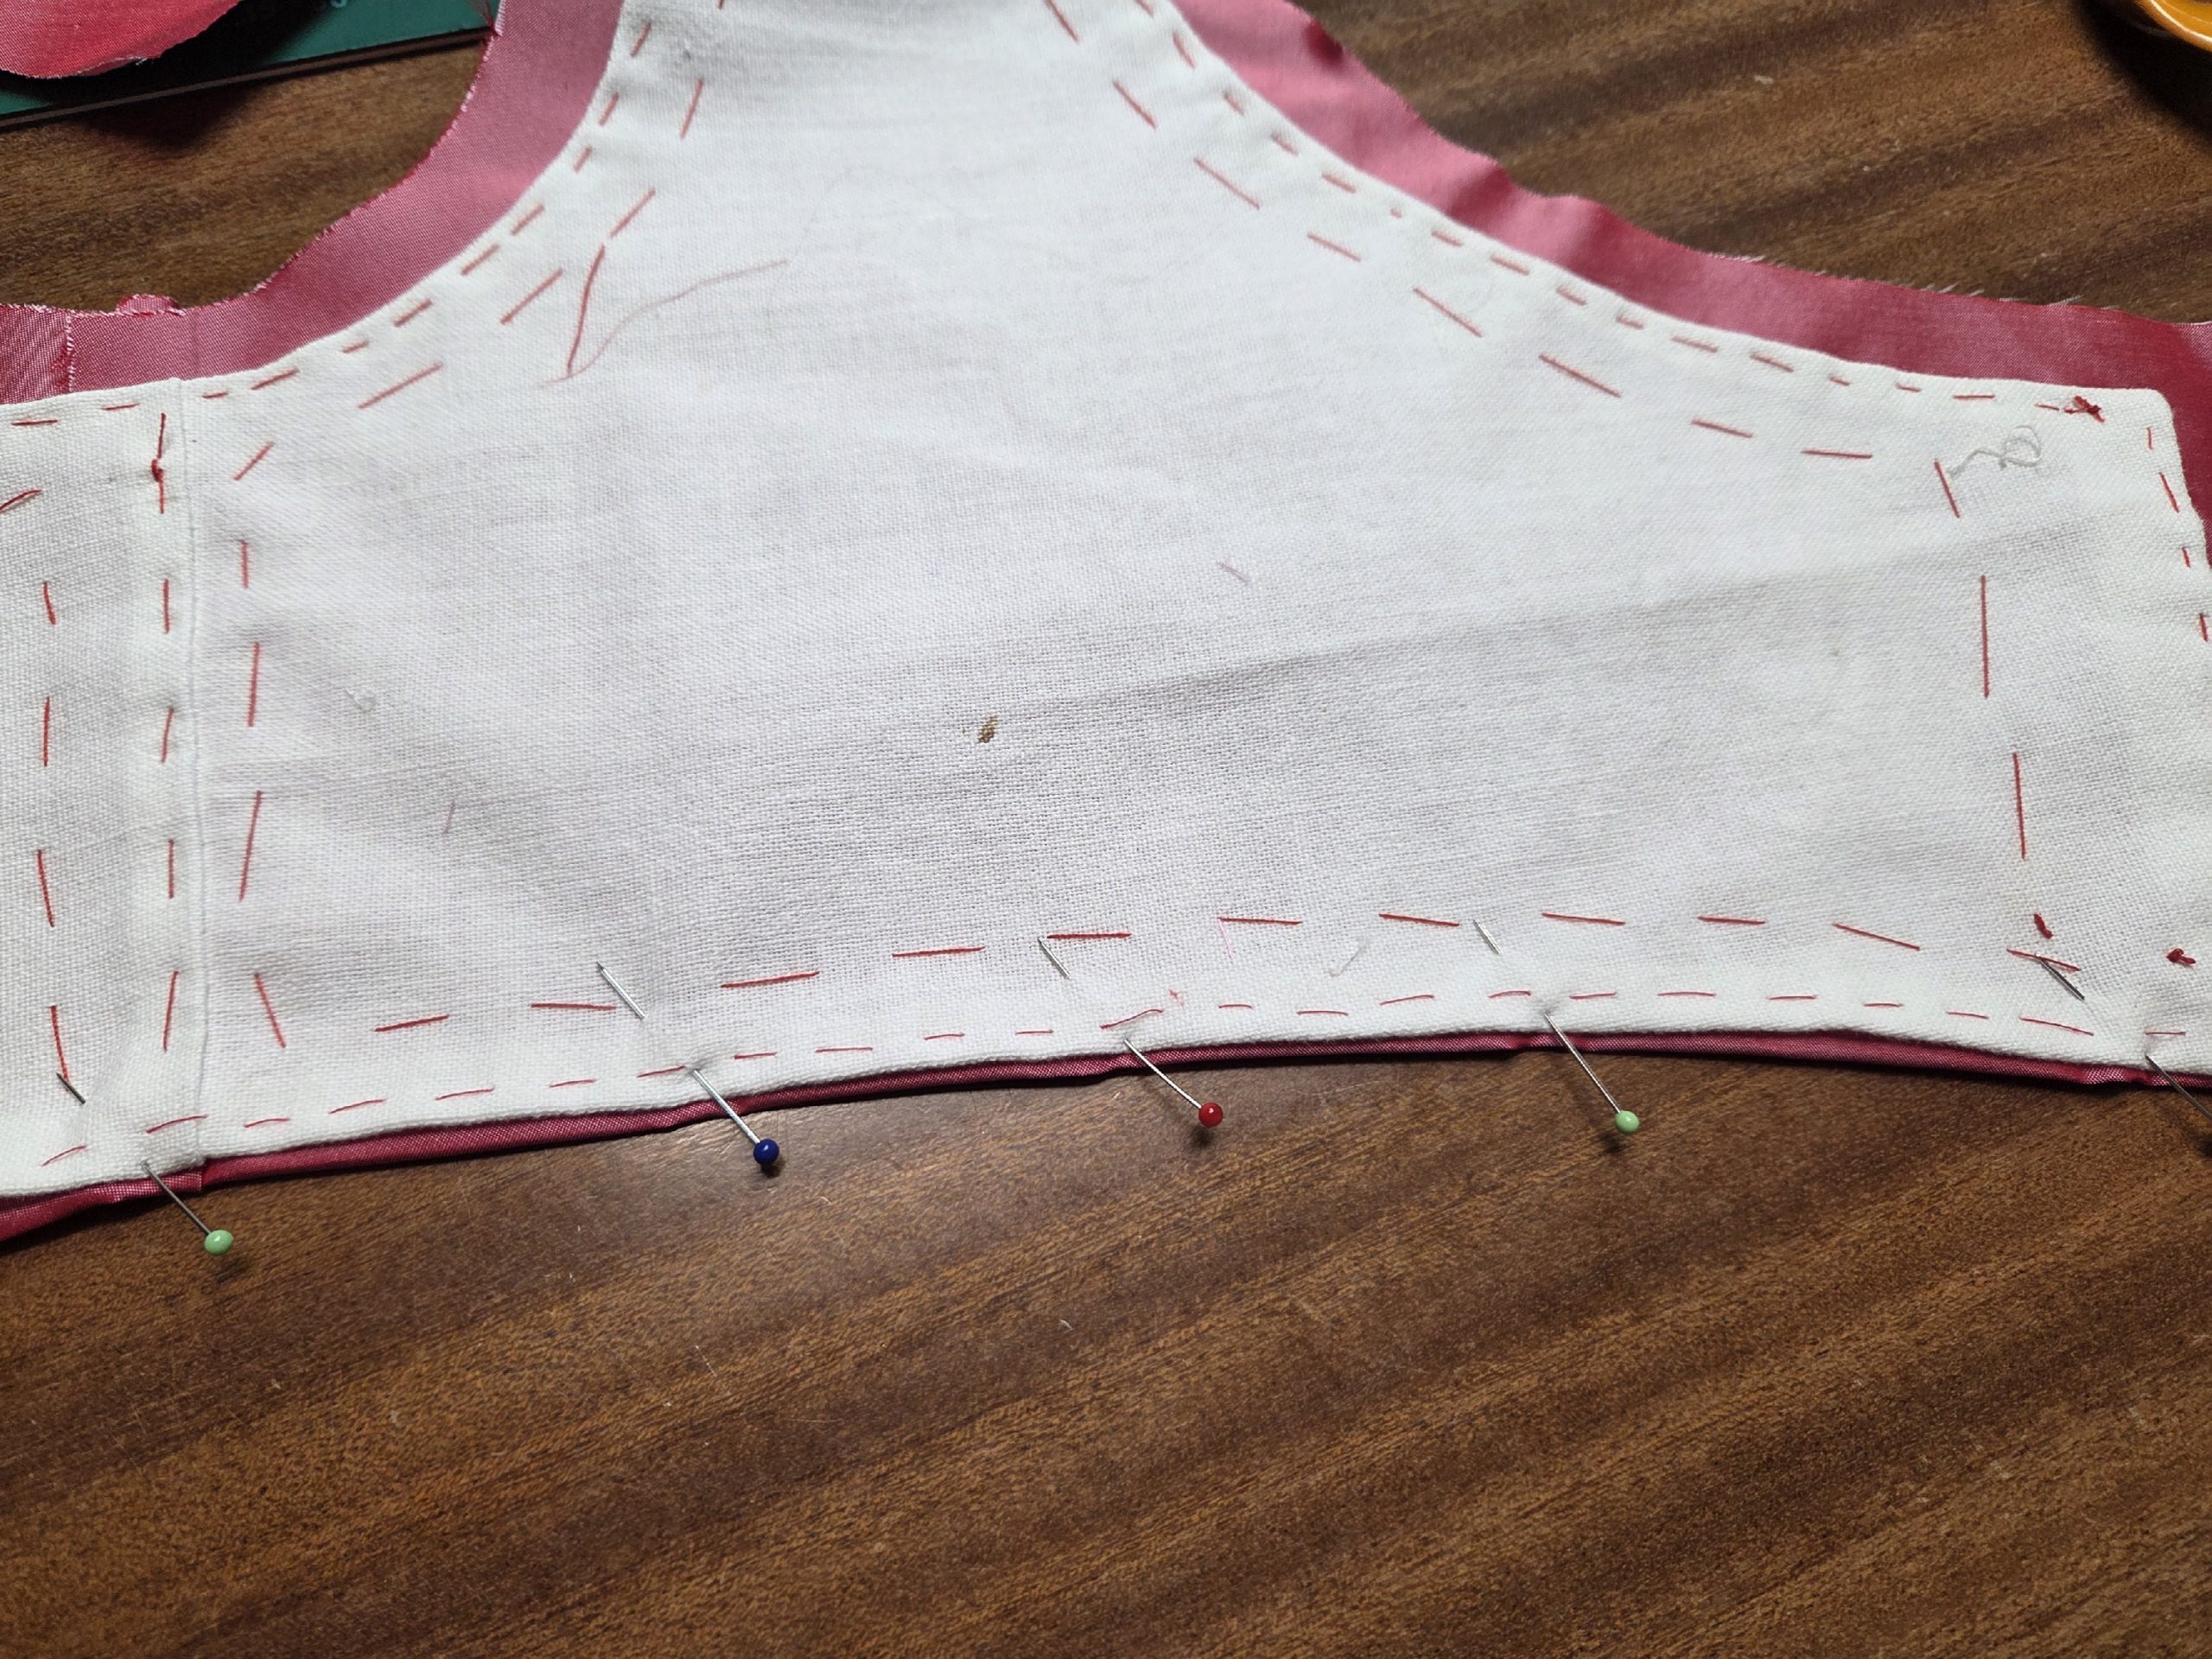
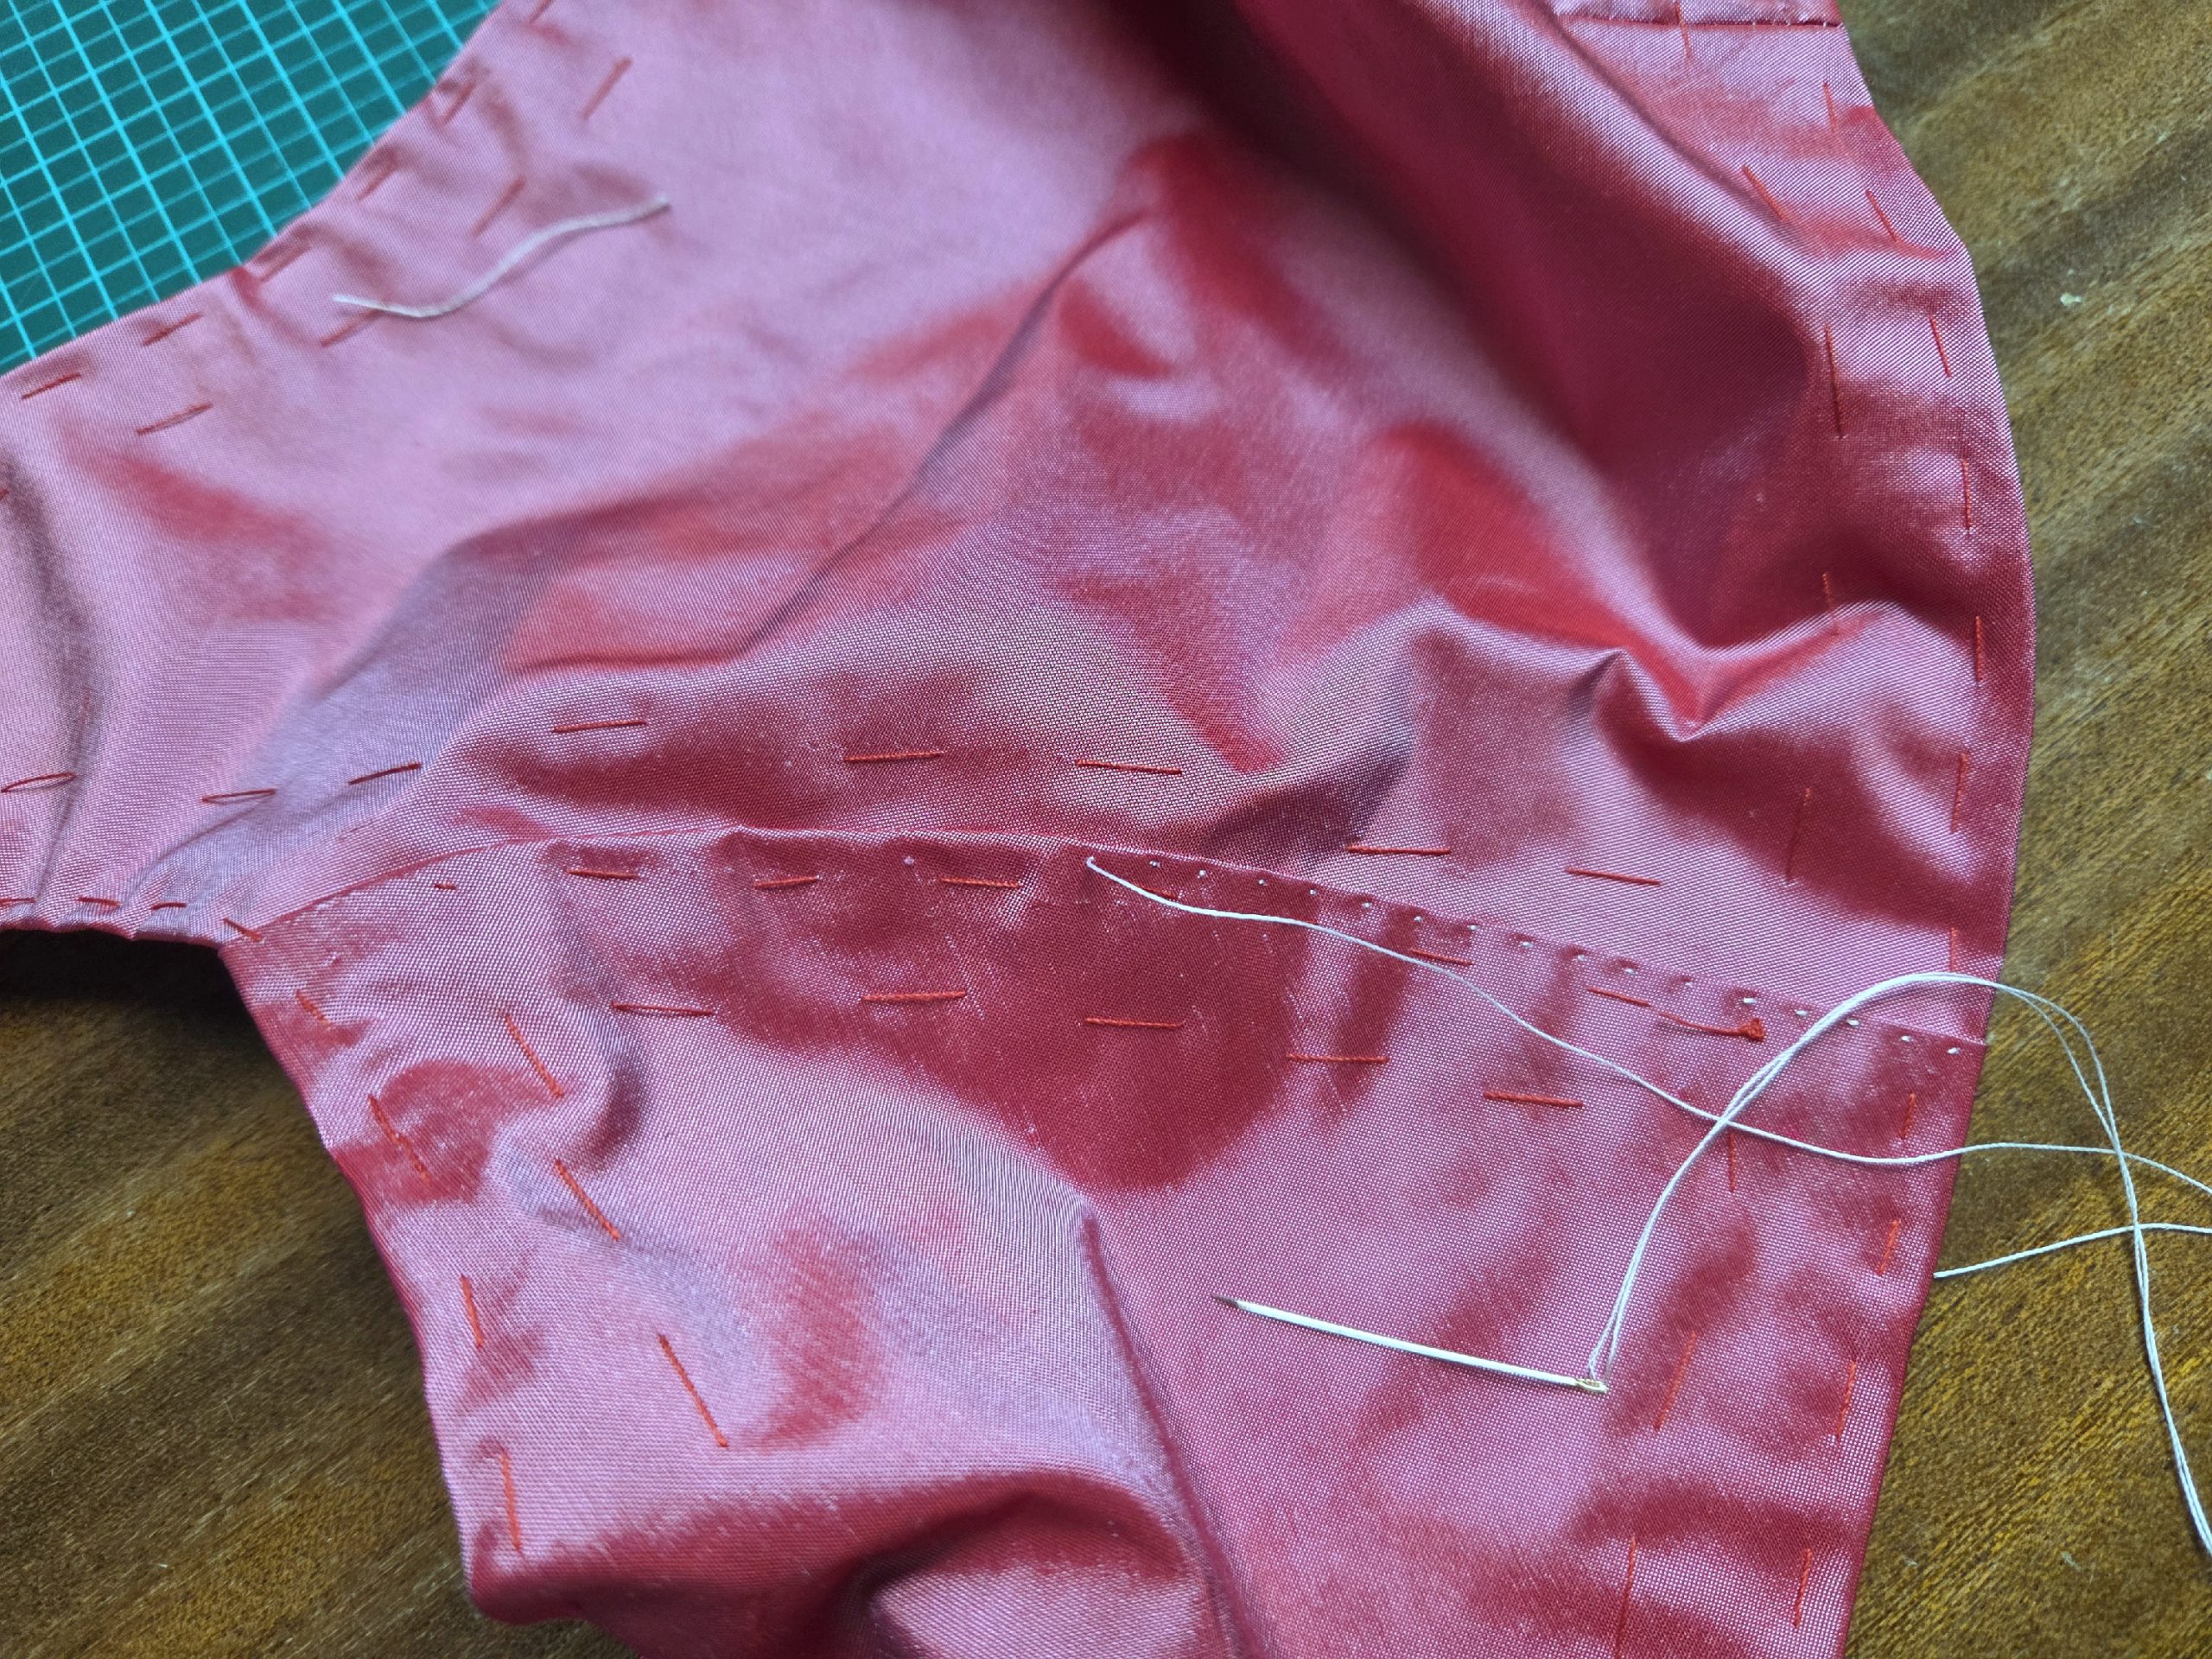
(3) Mark the stitching line along all edges and turn the seam. Trim and notch at the curves. Baste in place. Stop about 1 ¾” (4cm) from the shoulder seam. Before I turned in the seam allowances, I clipped them at the seams to reduce bulk. This was especially necessary because of the fabric I used: an old, sturdy linen sheet.
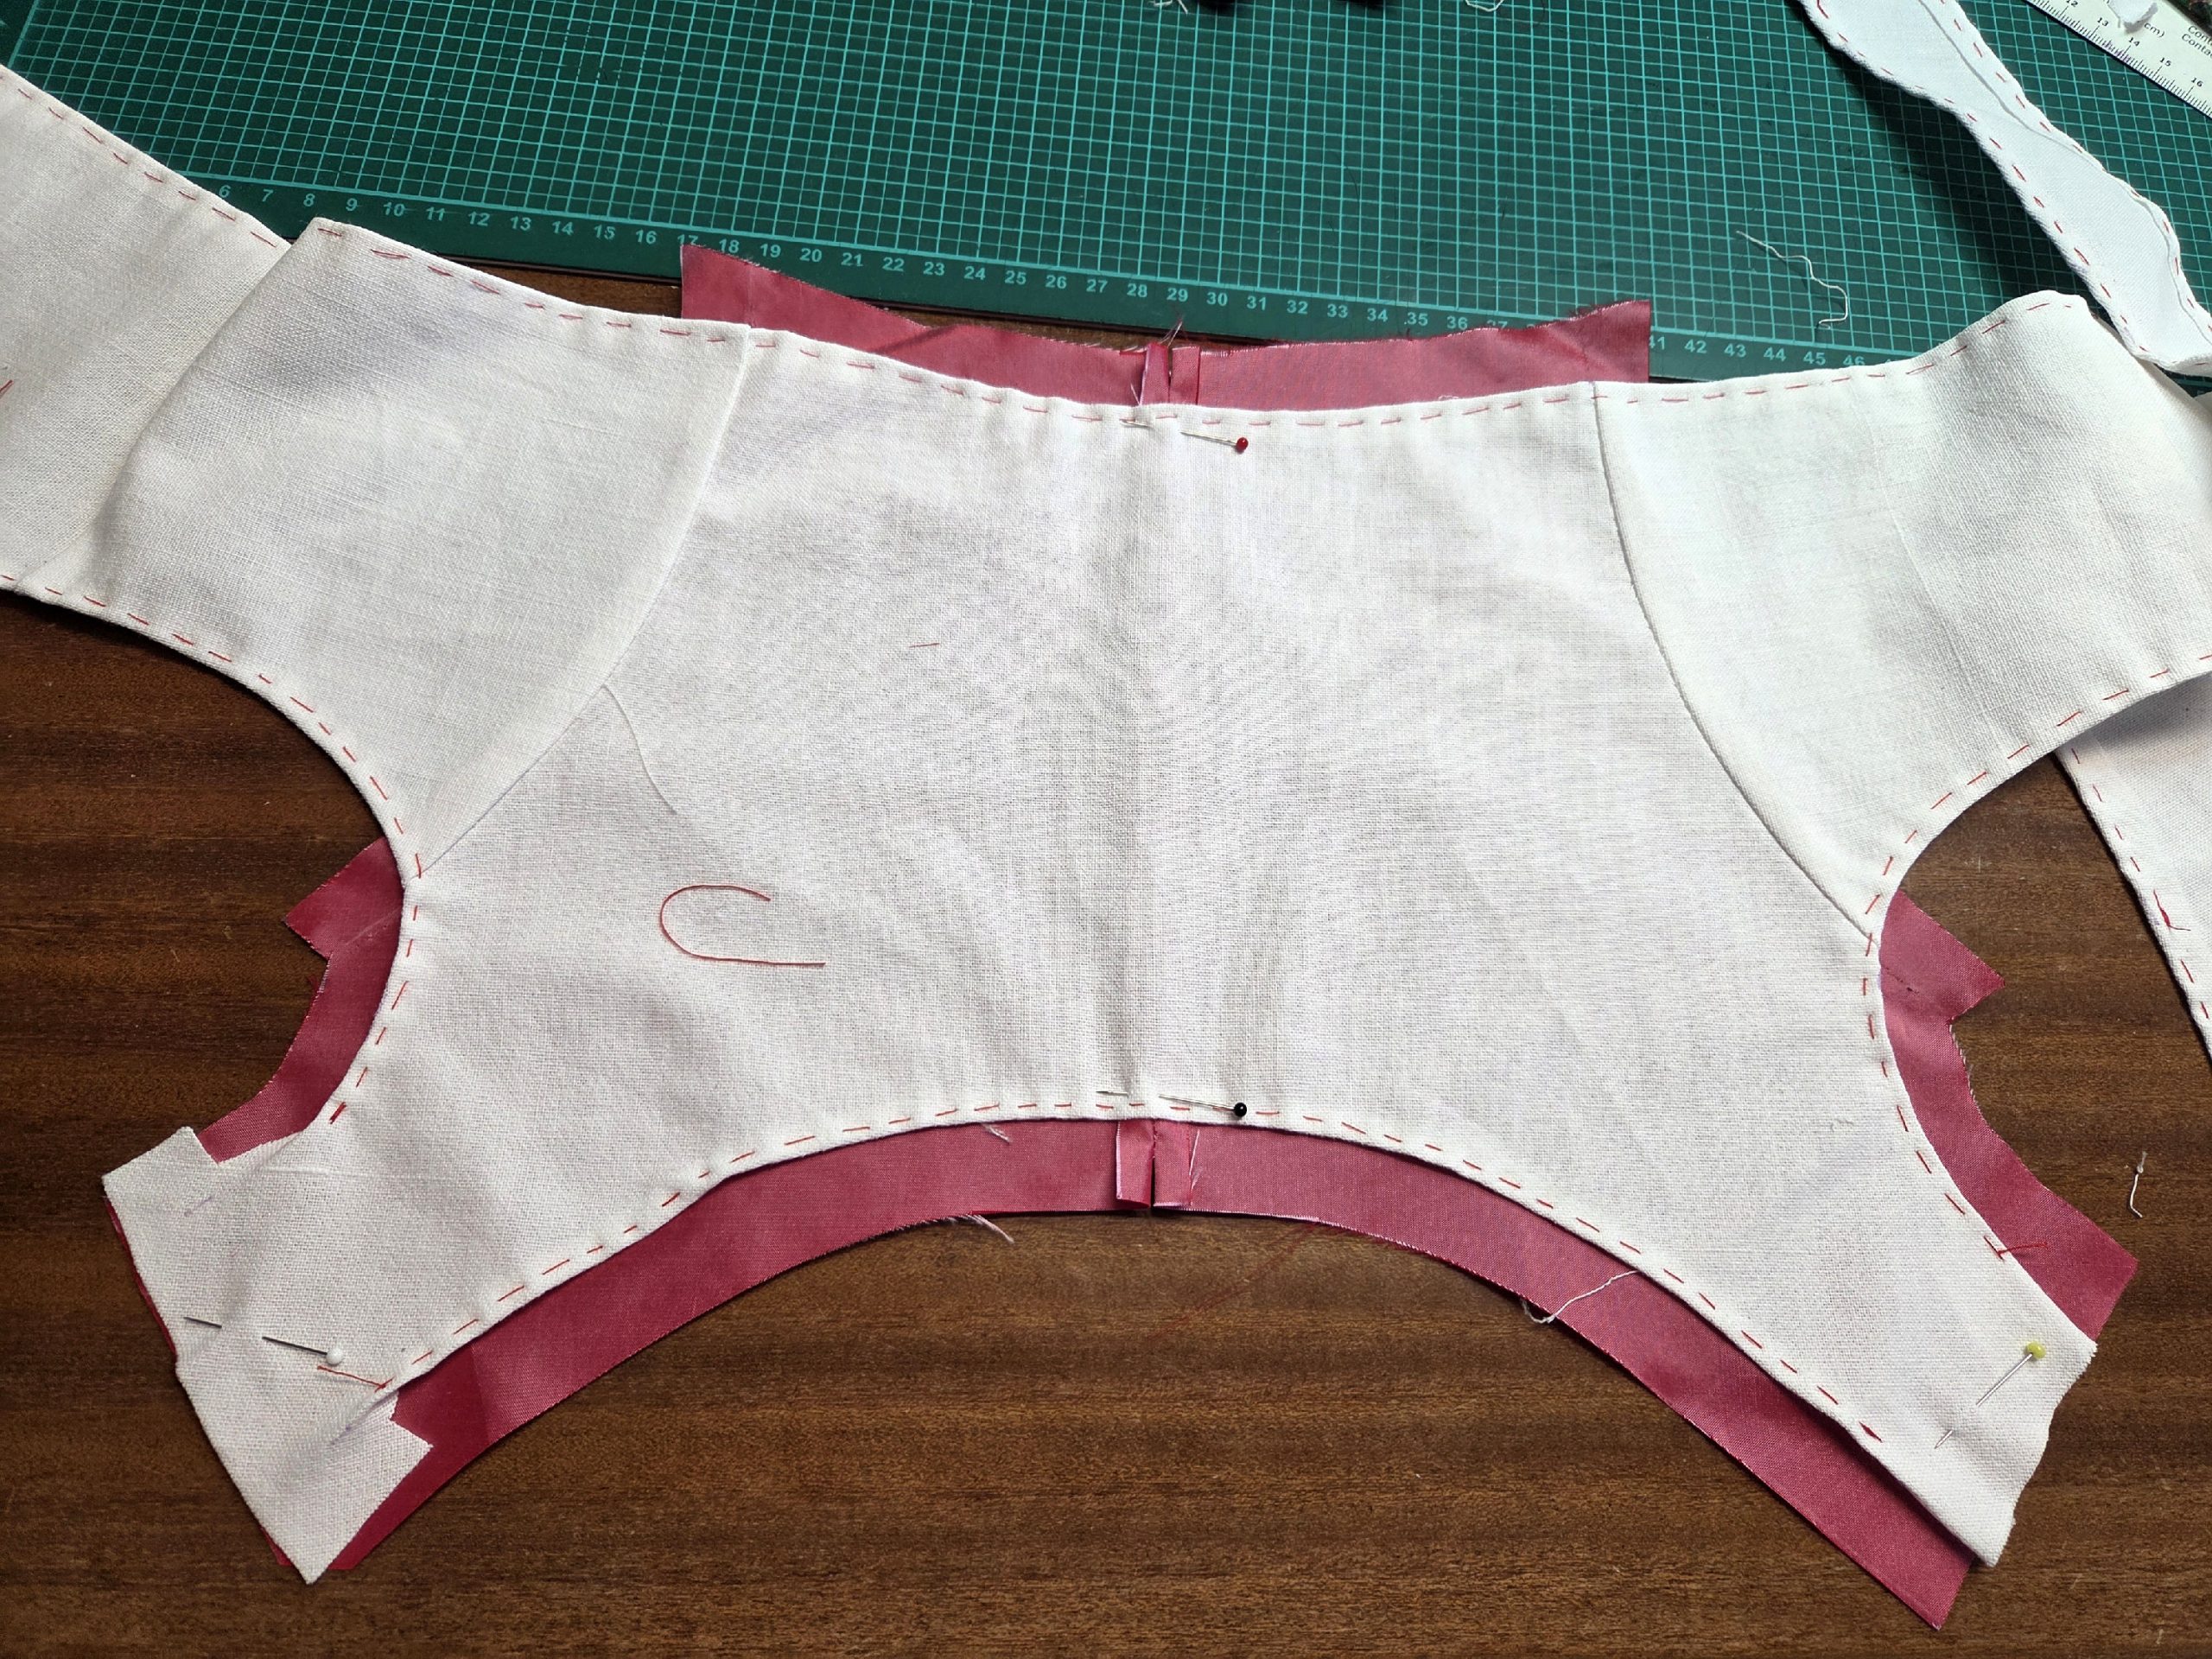
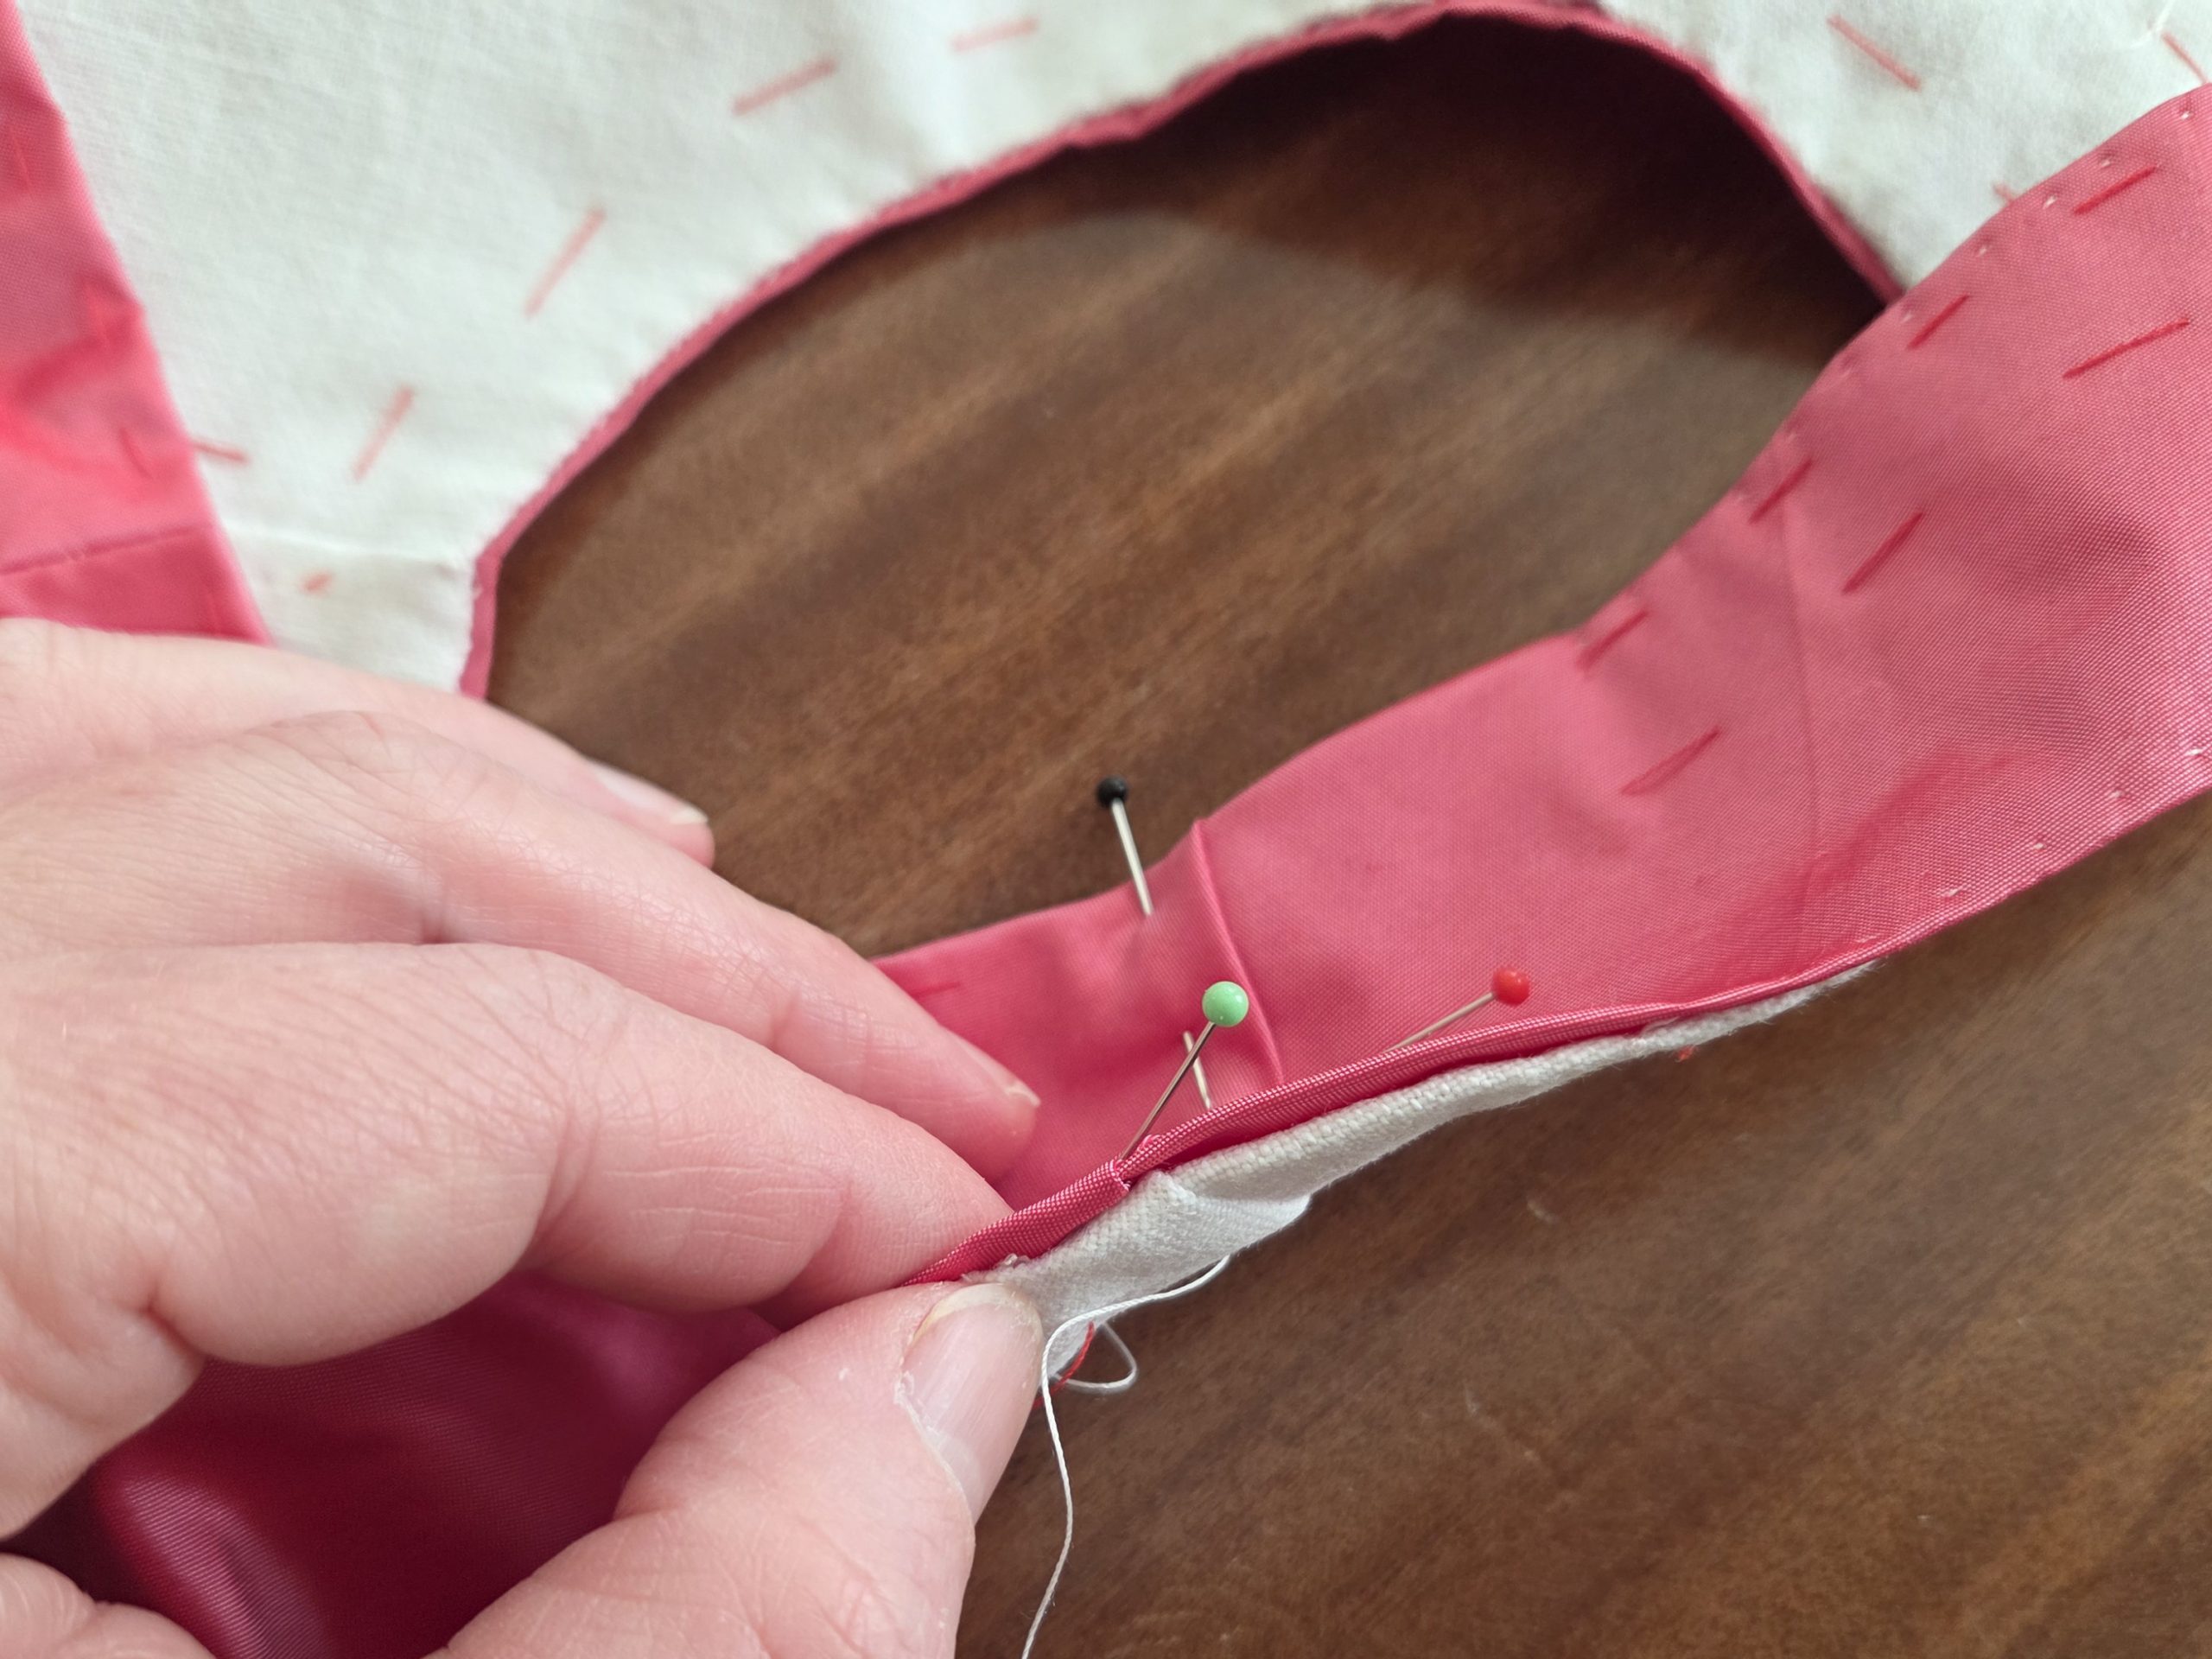
(4) Place the lining on top of the table with the right side down. Line up the front and the back pieces from the fashion fabric with the lining, wrong sides together, and baste in place. Take the side back pieces and place them on top. At the side back, turn in the seam allowances along the side and side back seam and baste in place.

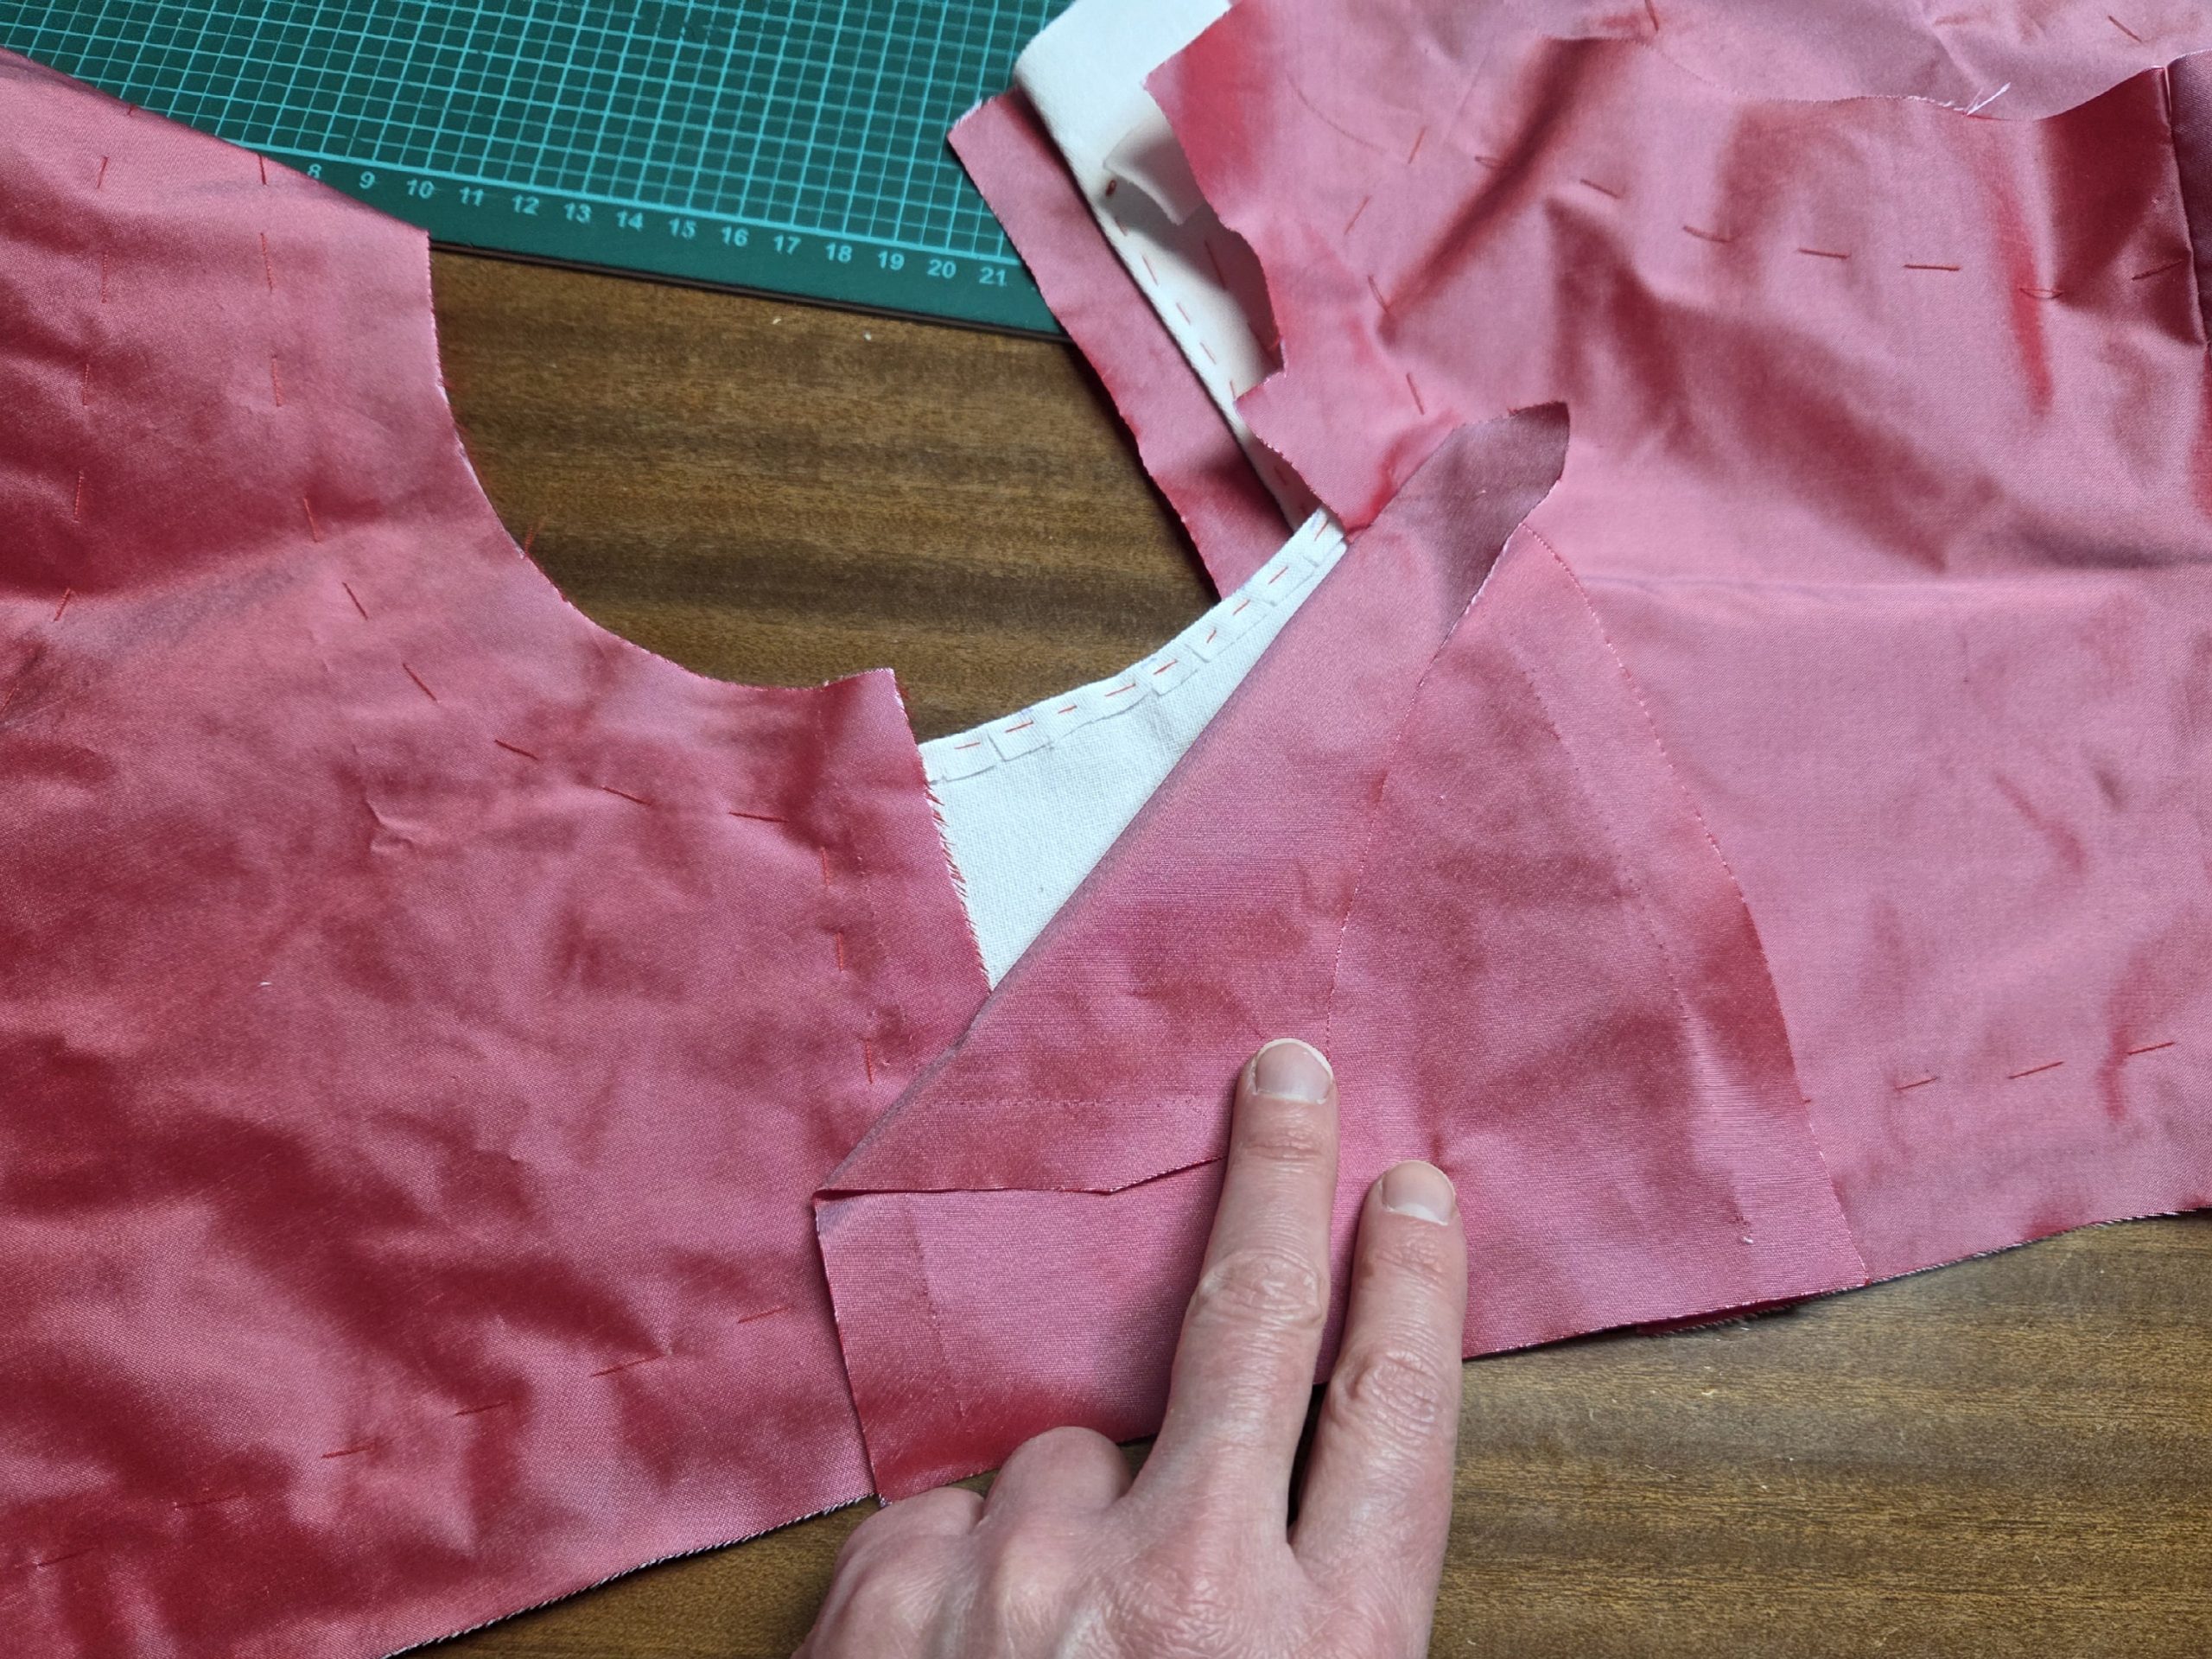
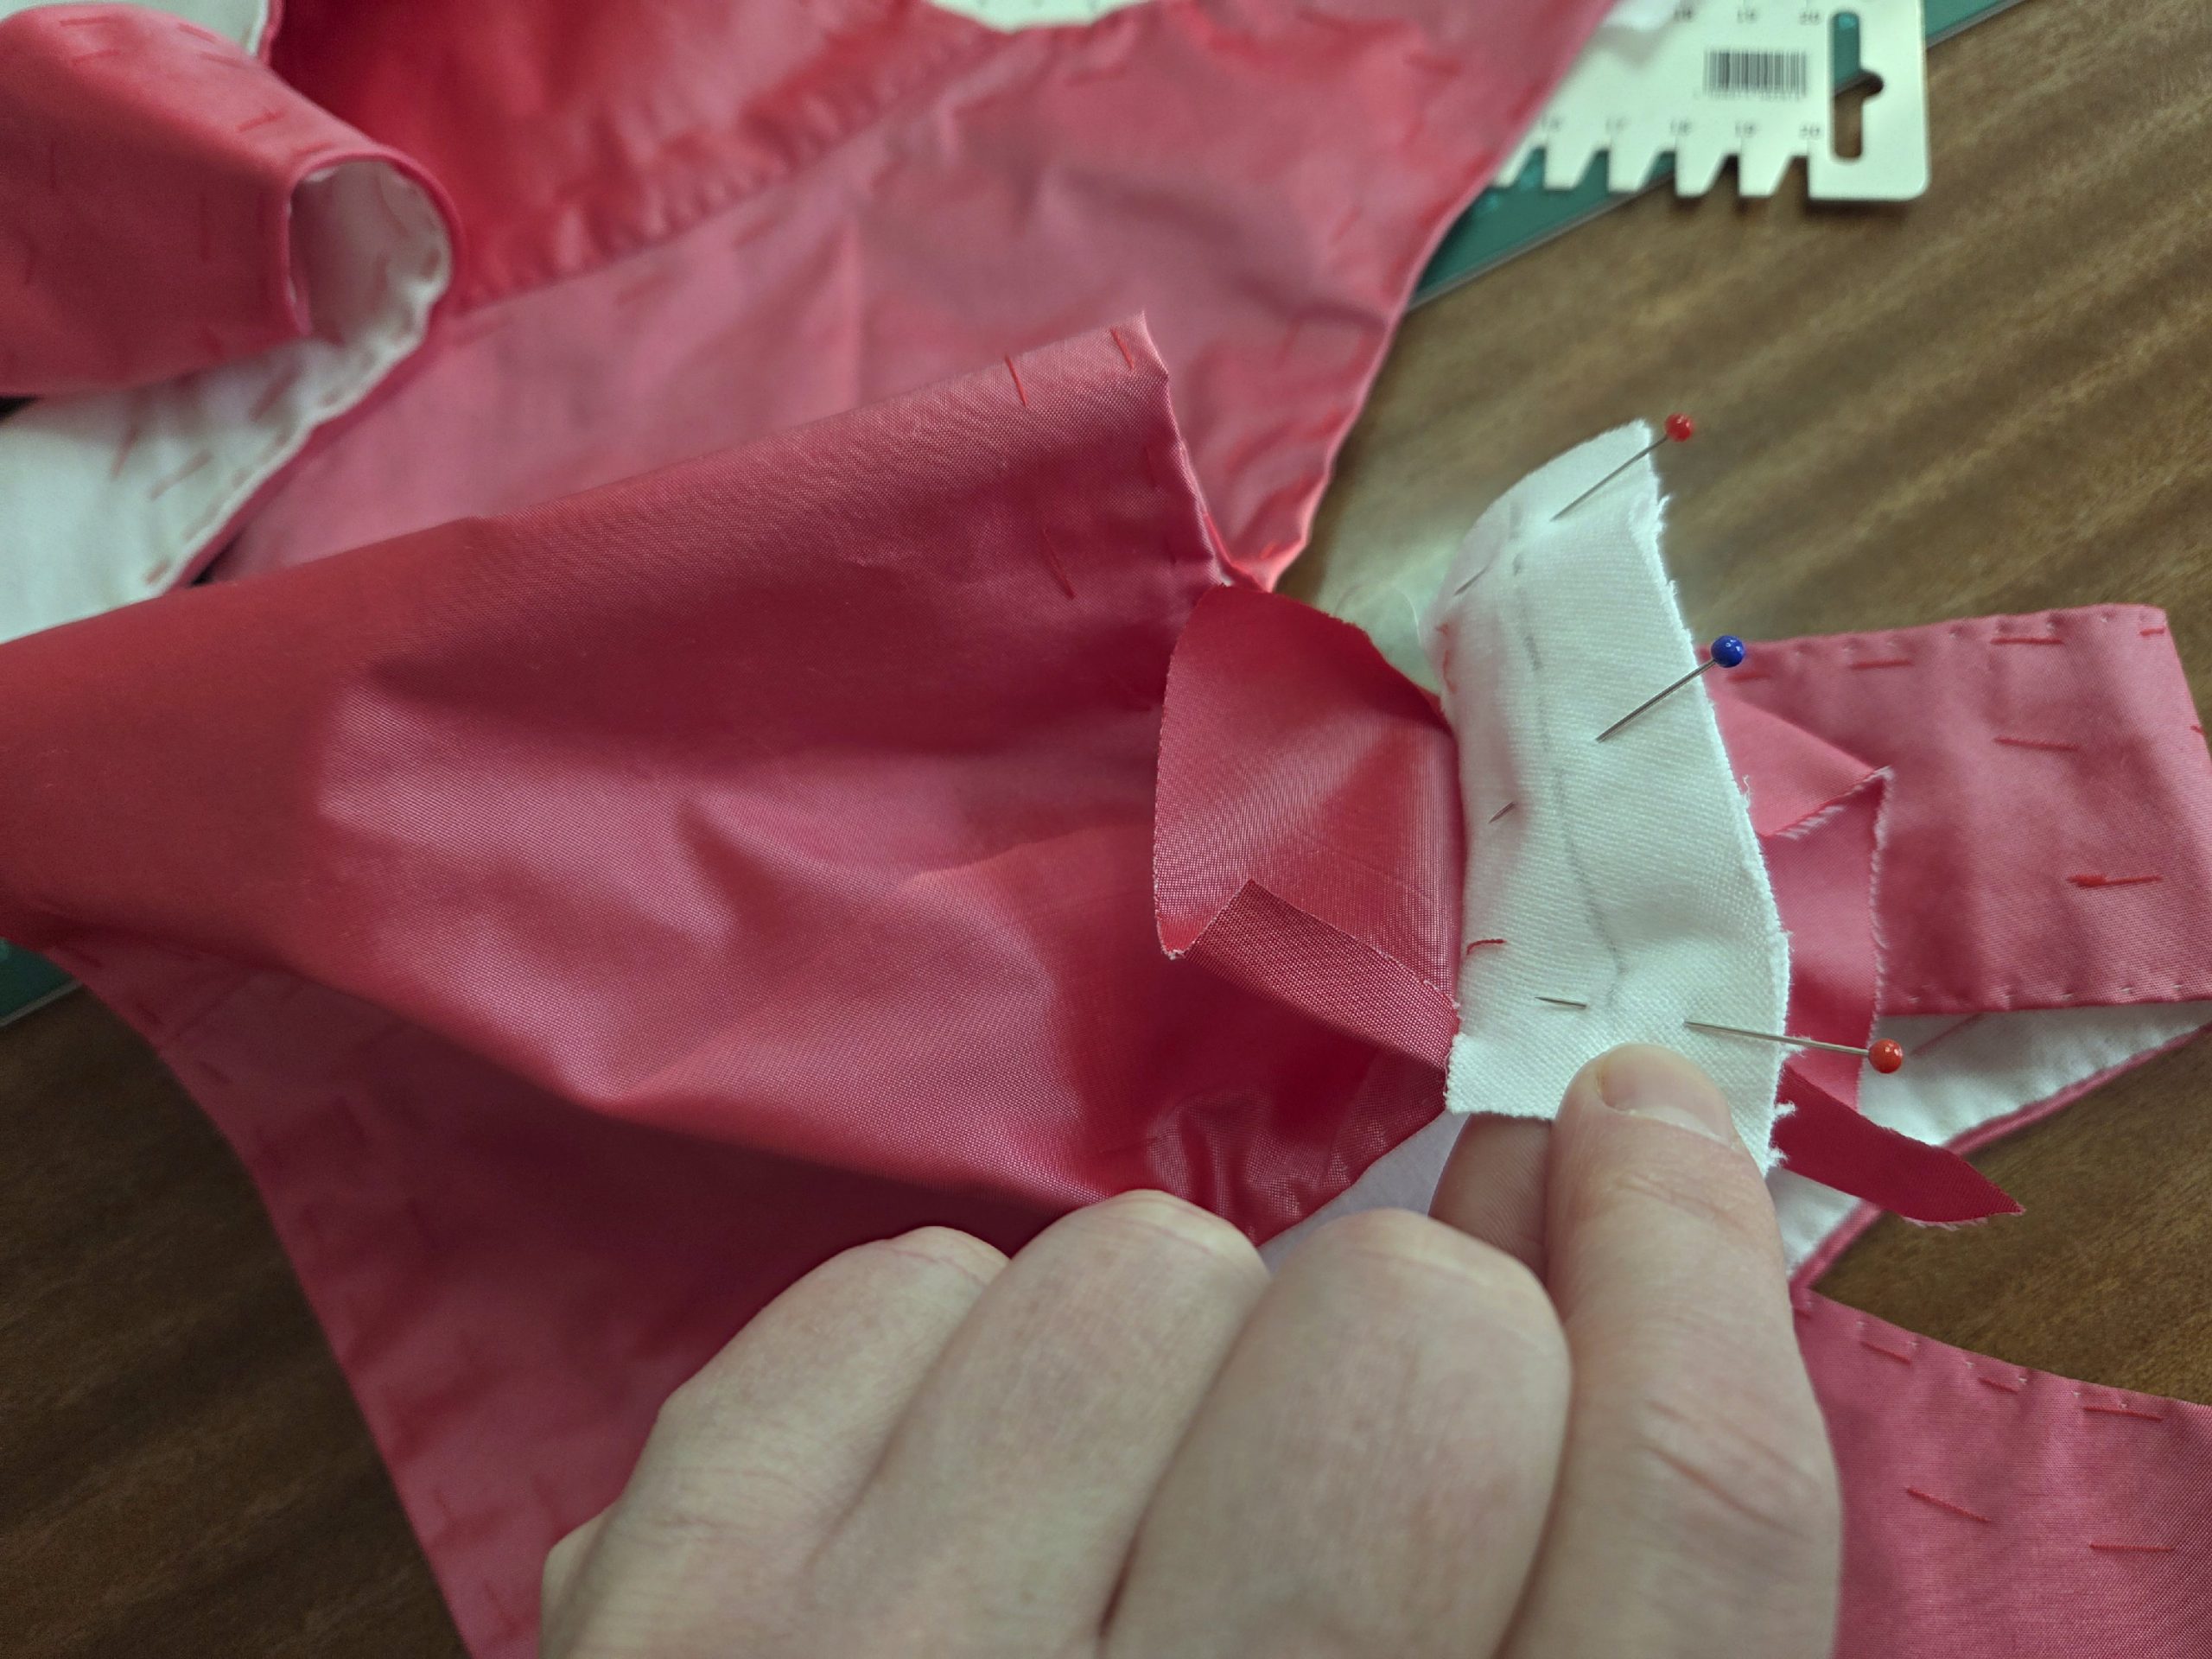
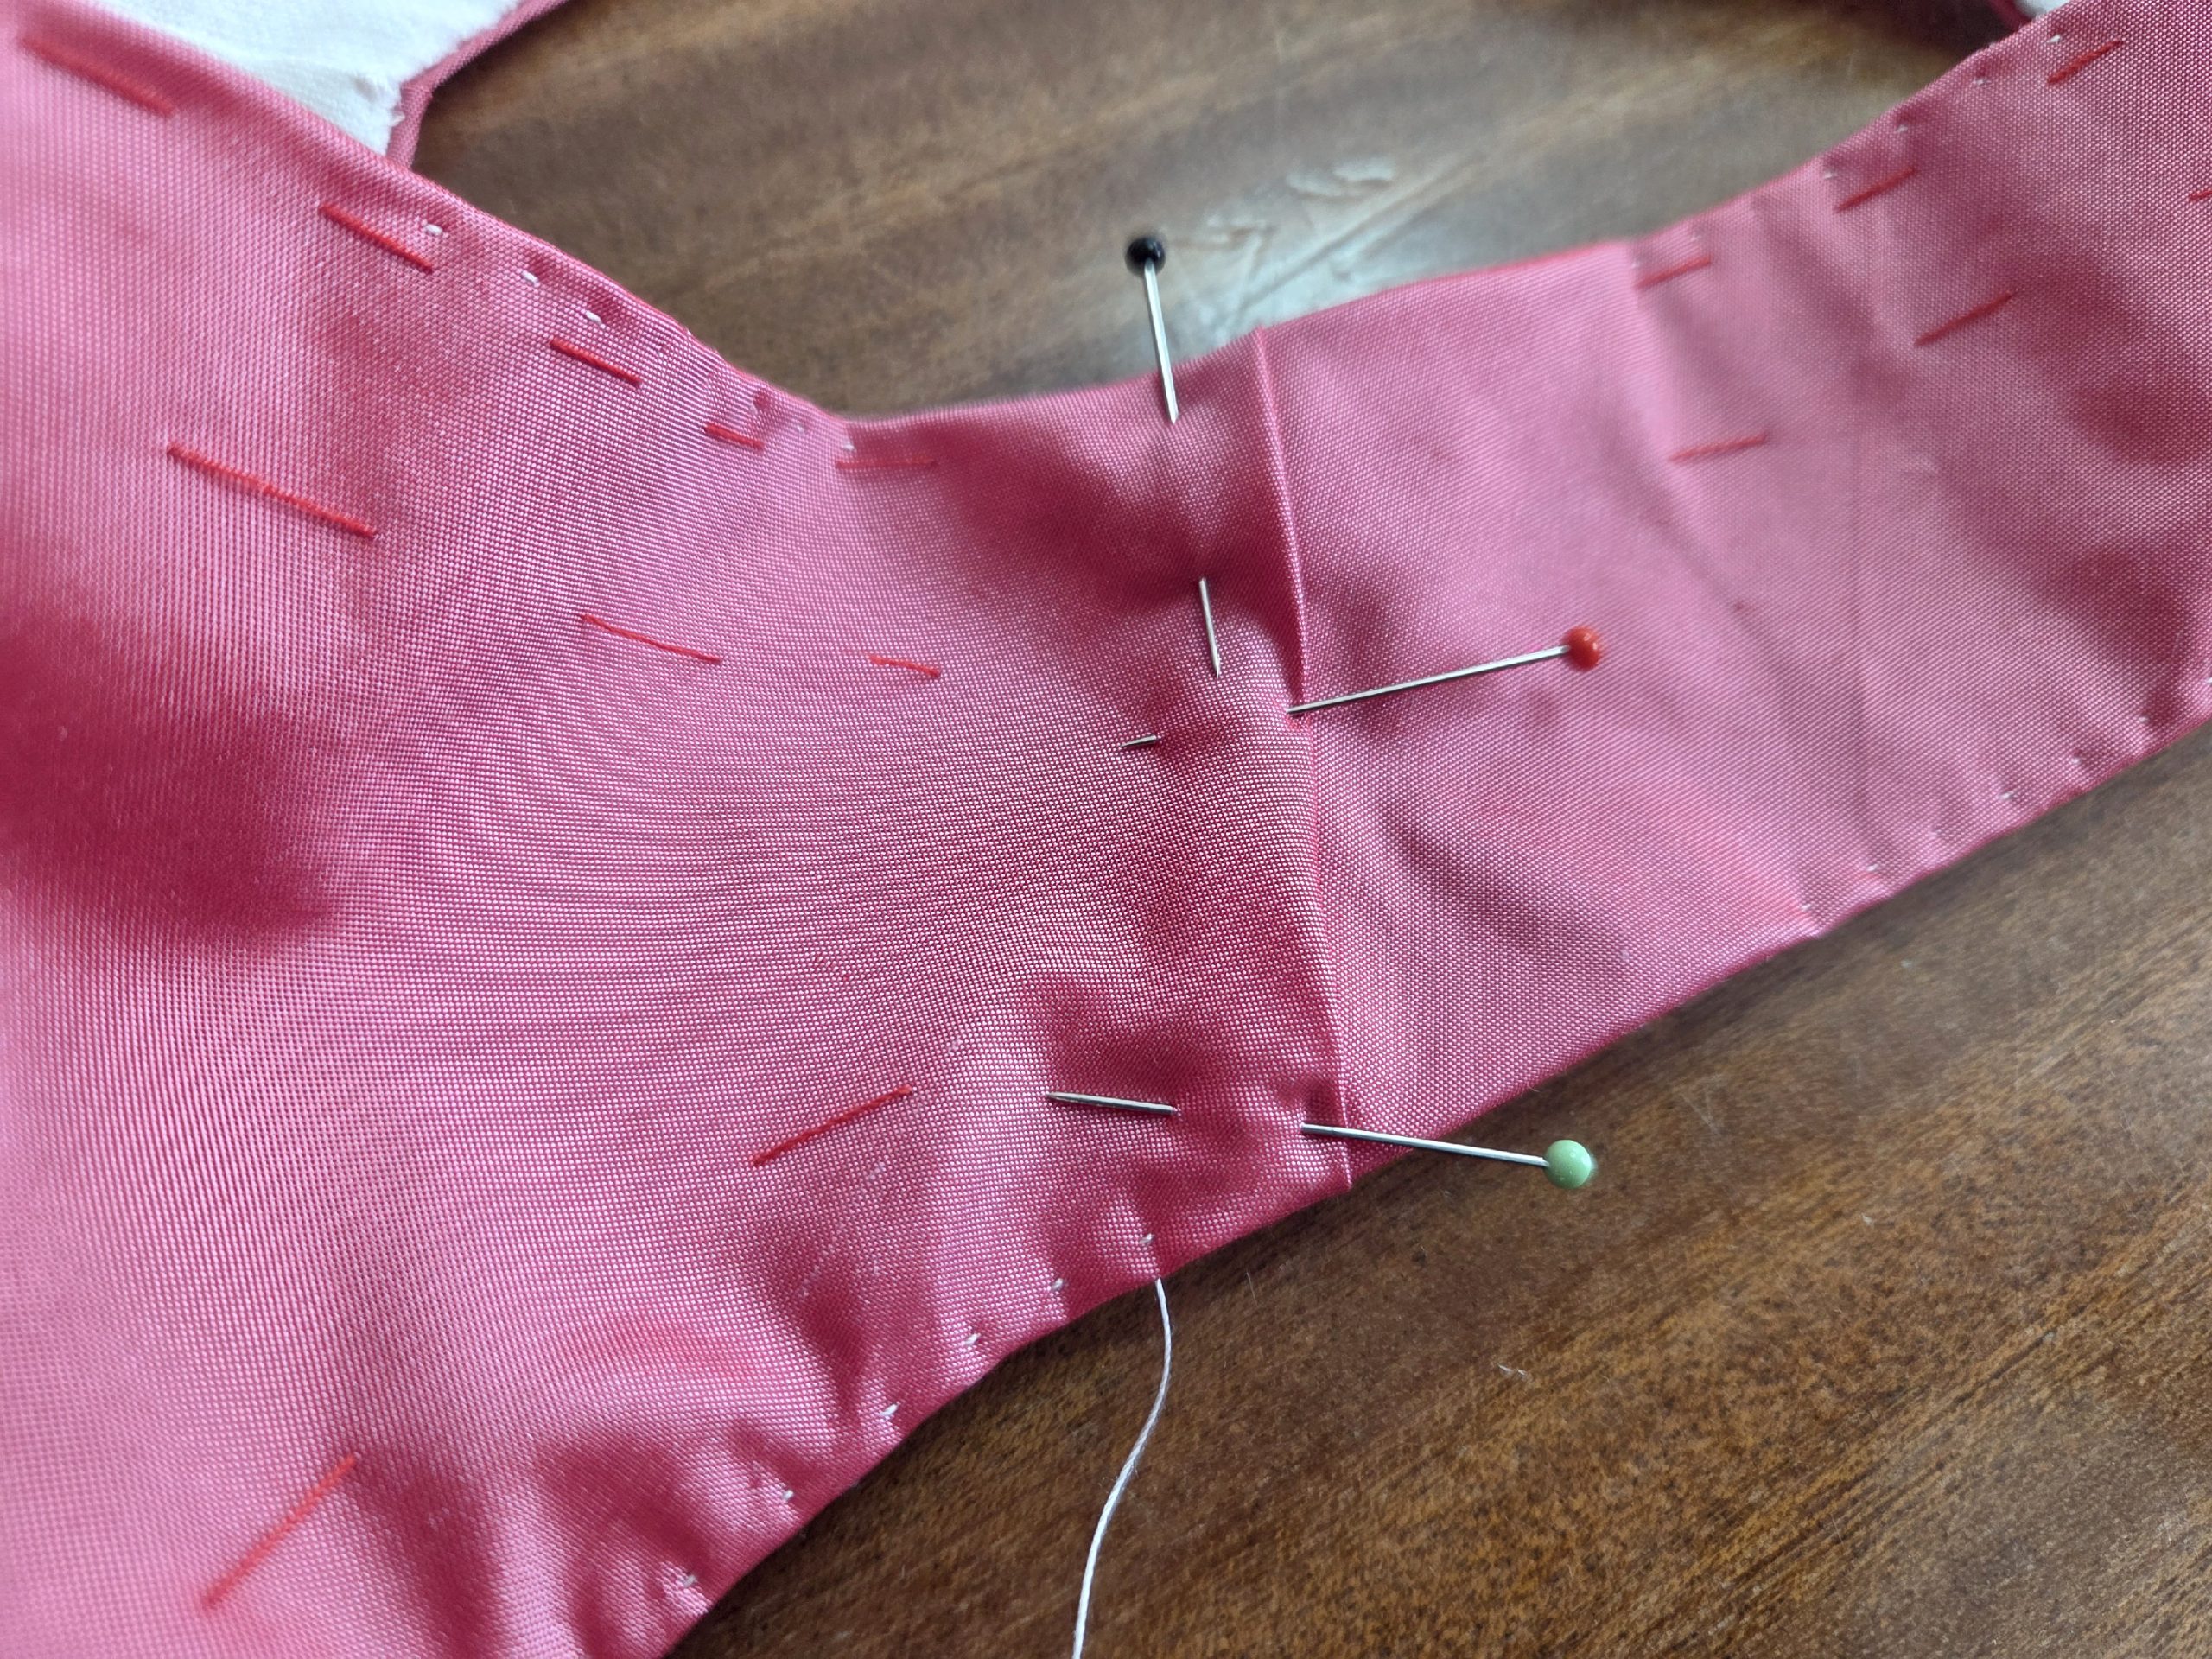
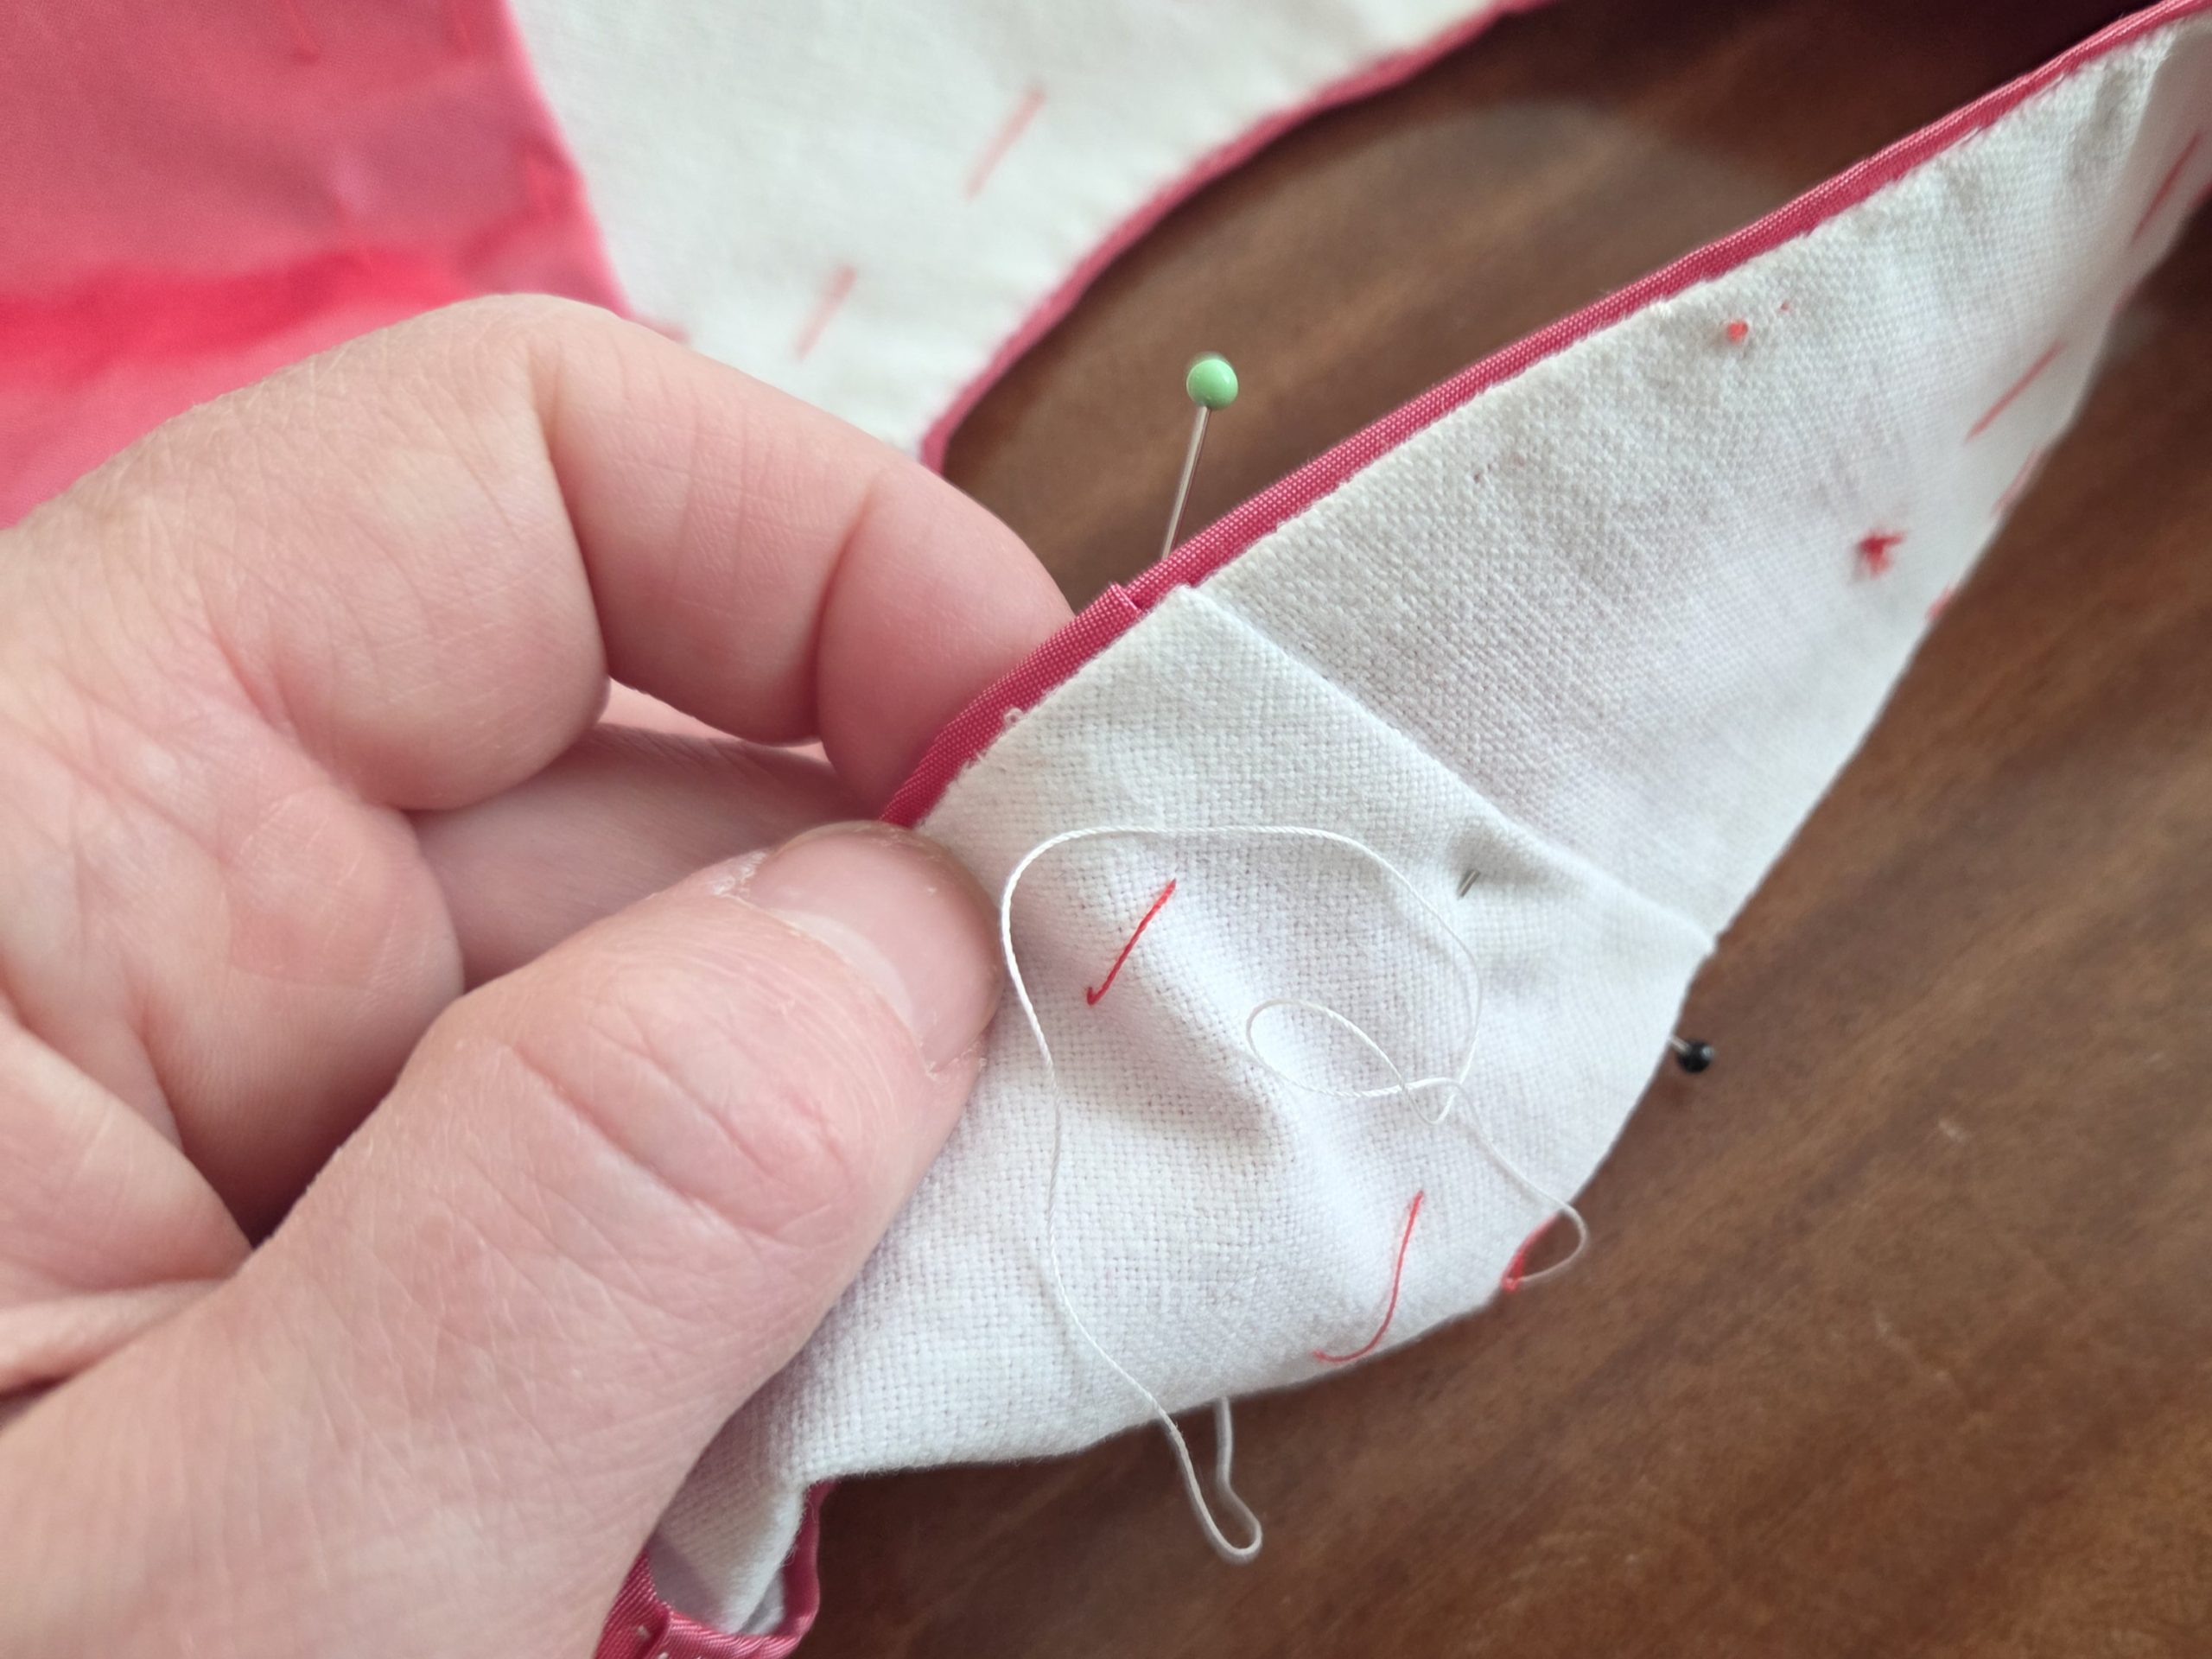
(5) Trim back seam allowances along all edges of the fashion fabric to 3/8” (1cm), notch carefully at the curves, turn in and baste in place to prepare the edges to be sewn with the “point à rabattre sous la main“. Stop with your basting about 1 ¾” (4cm) from the shoulder seams.
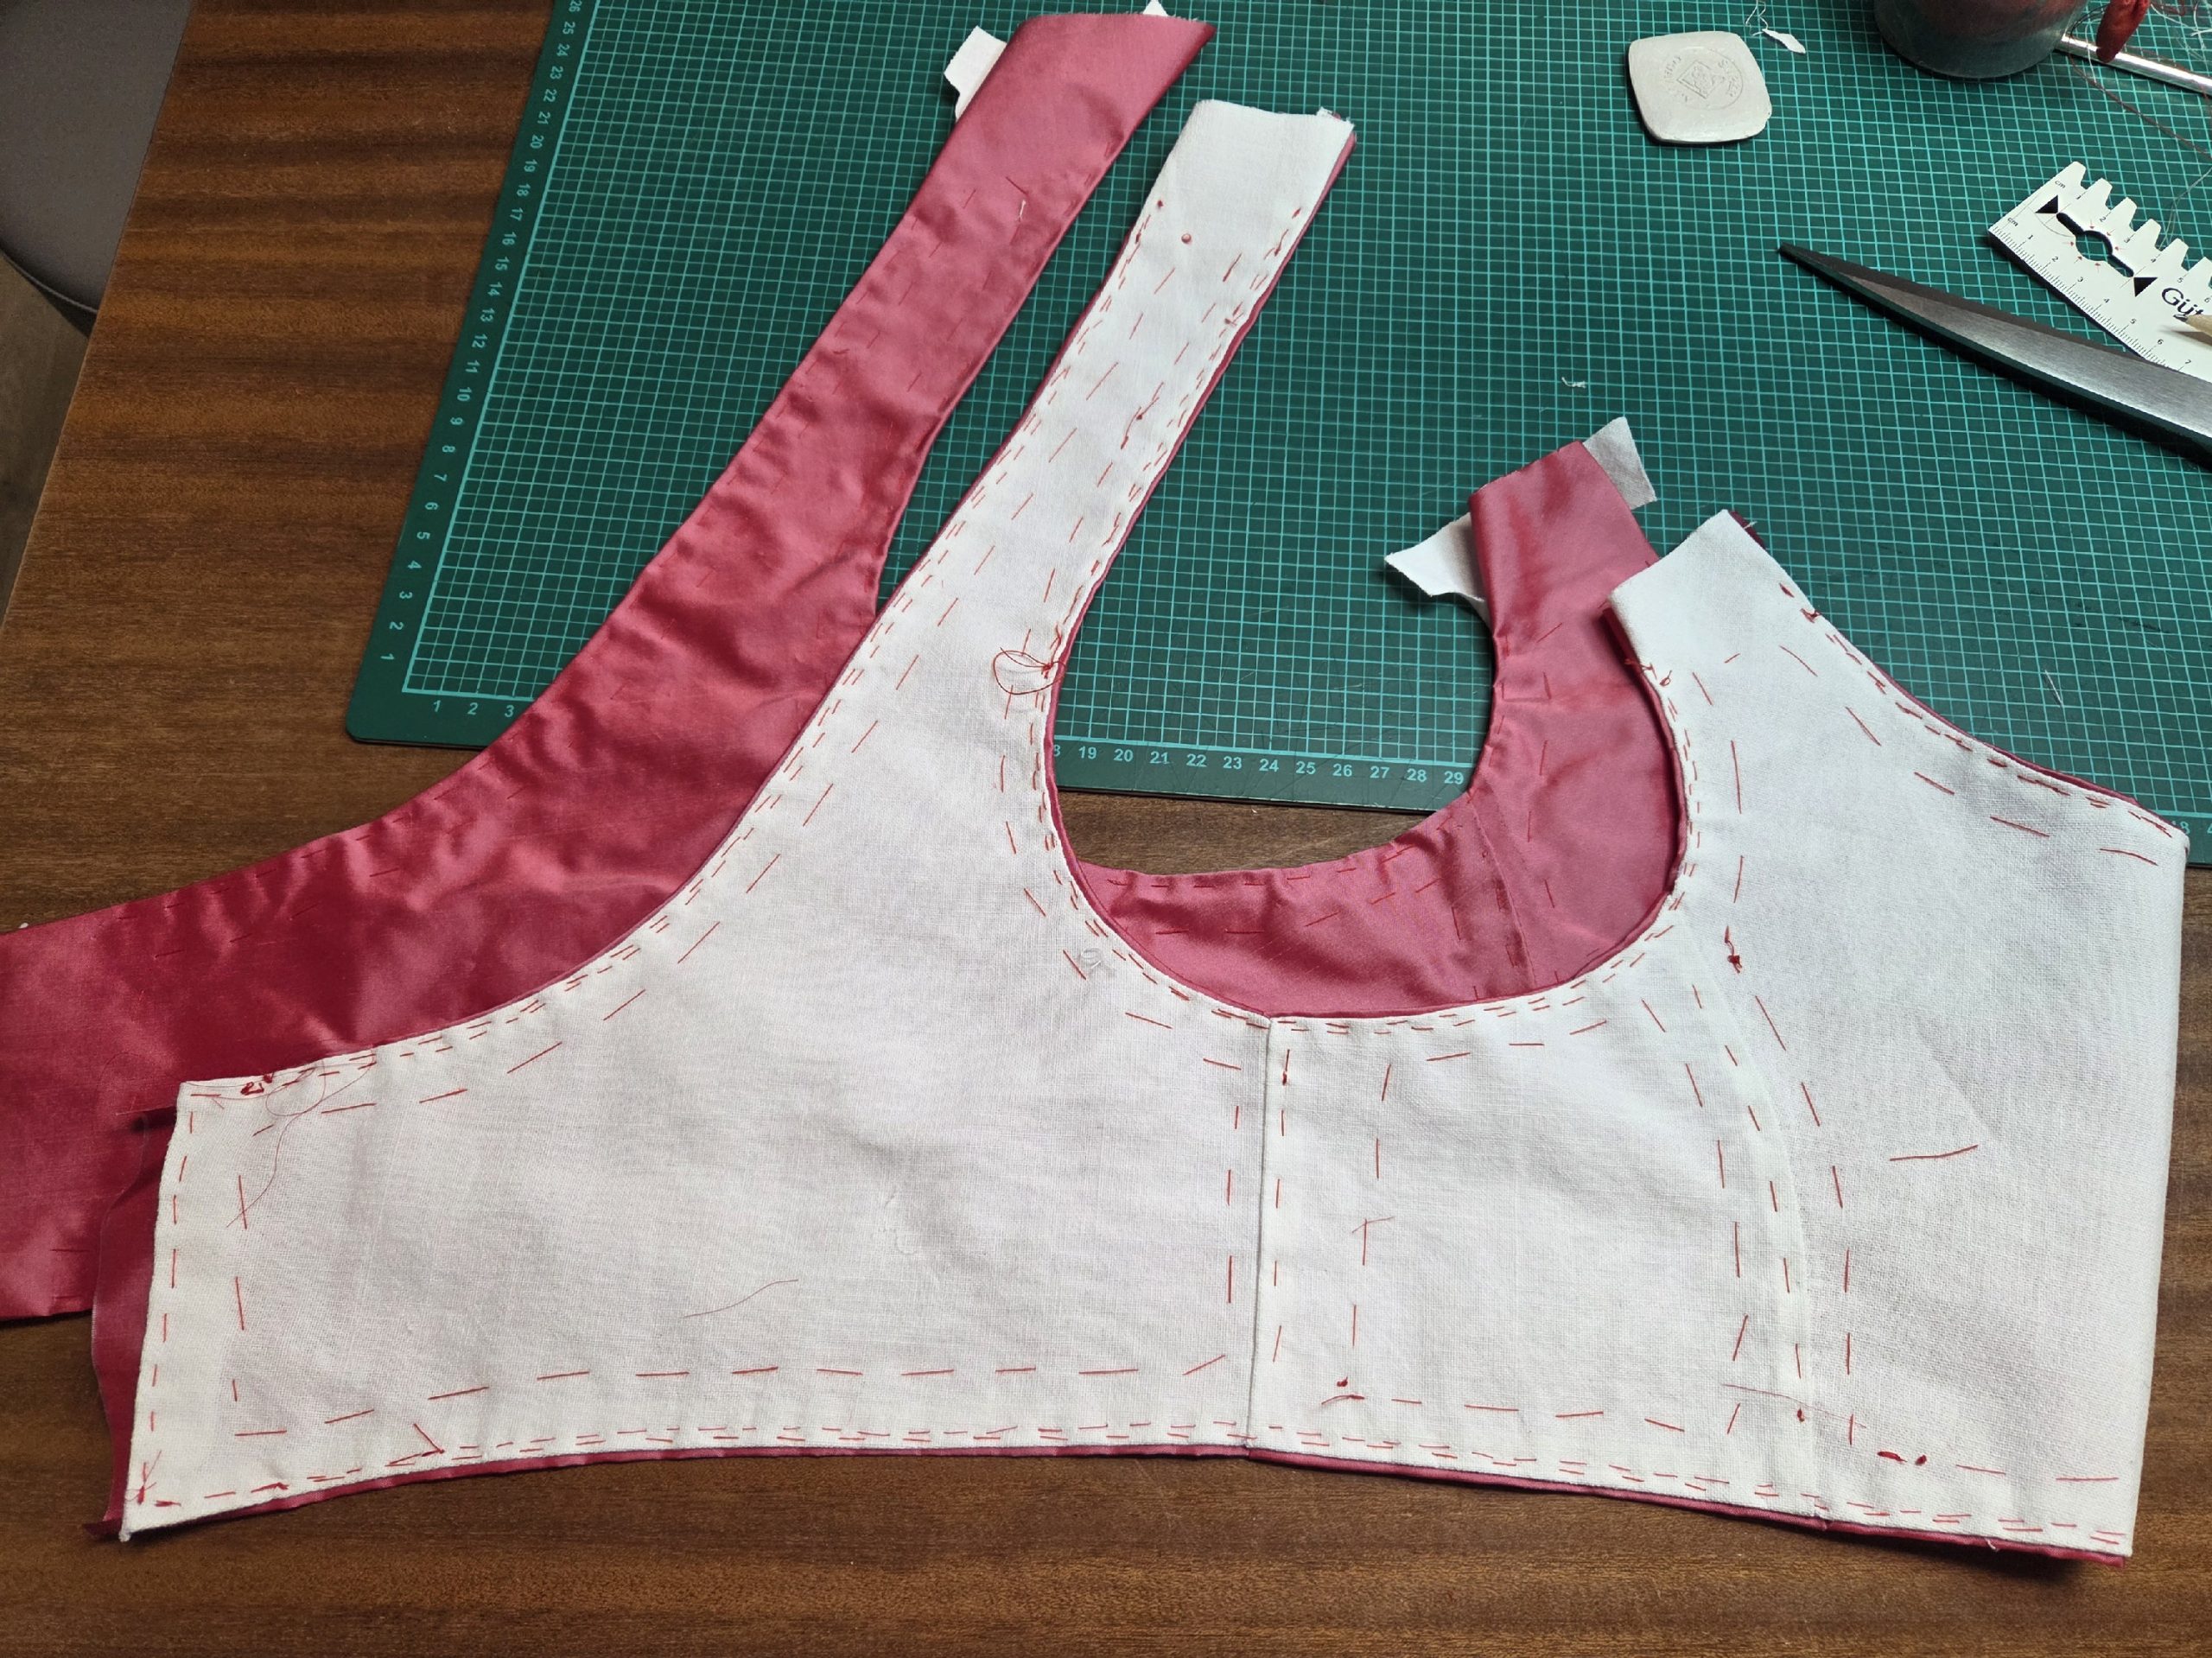
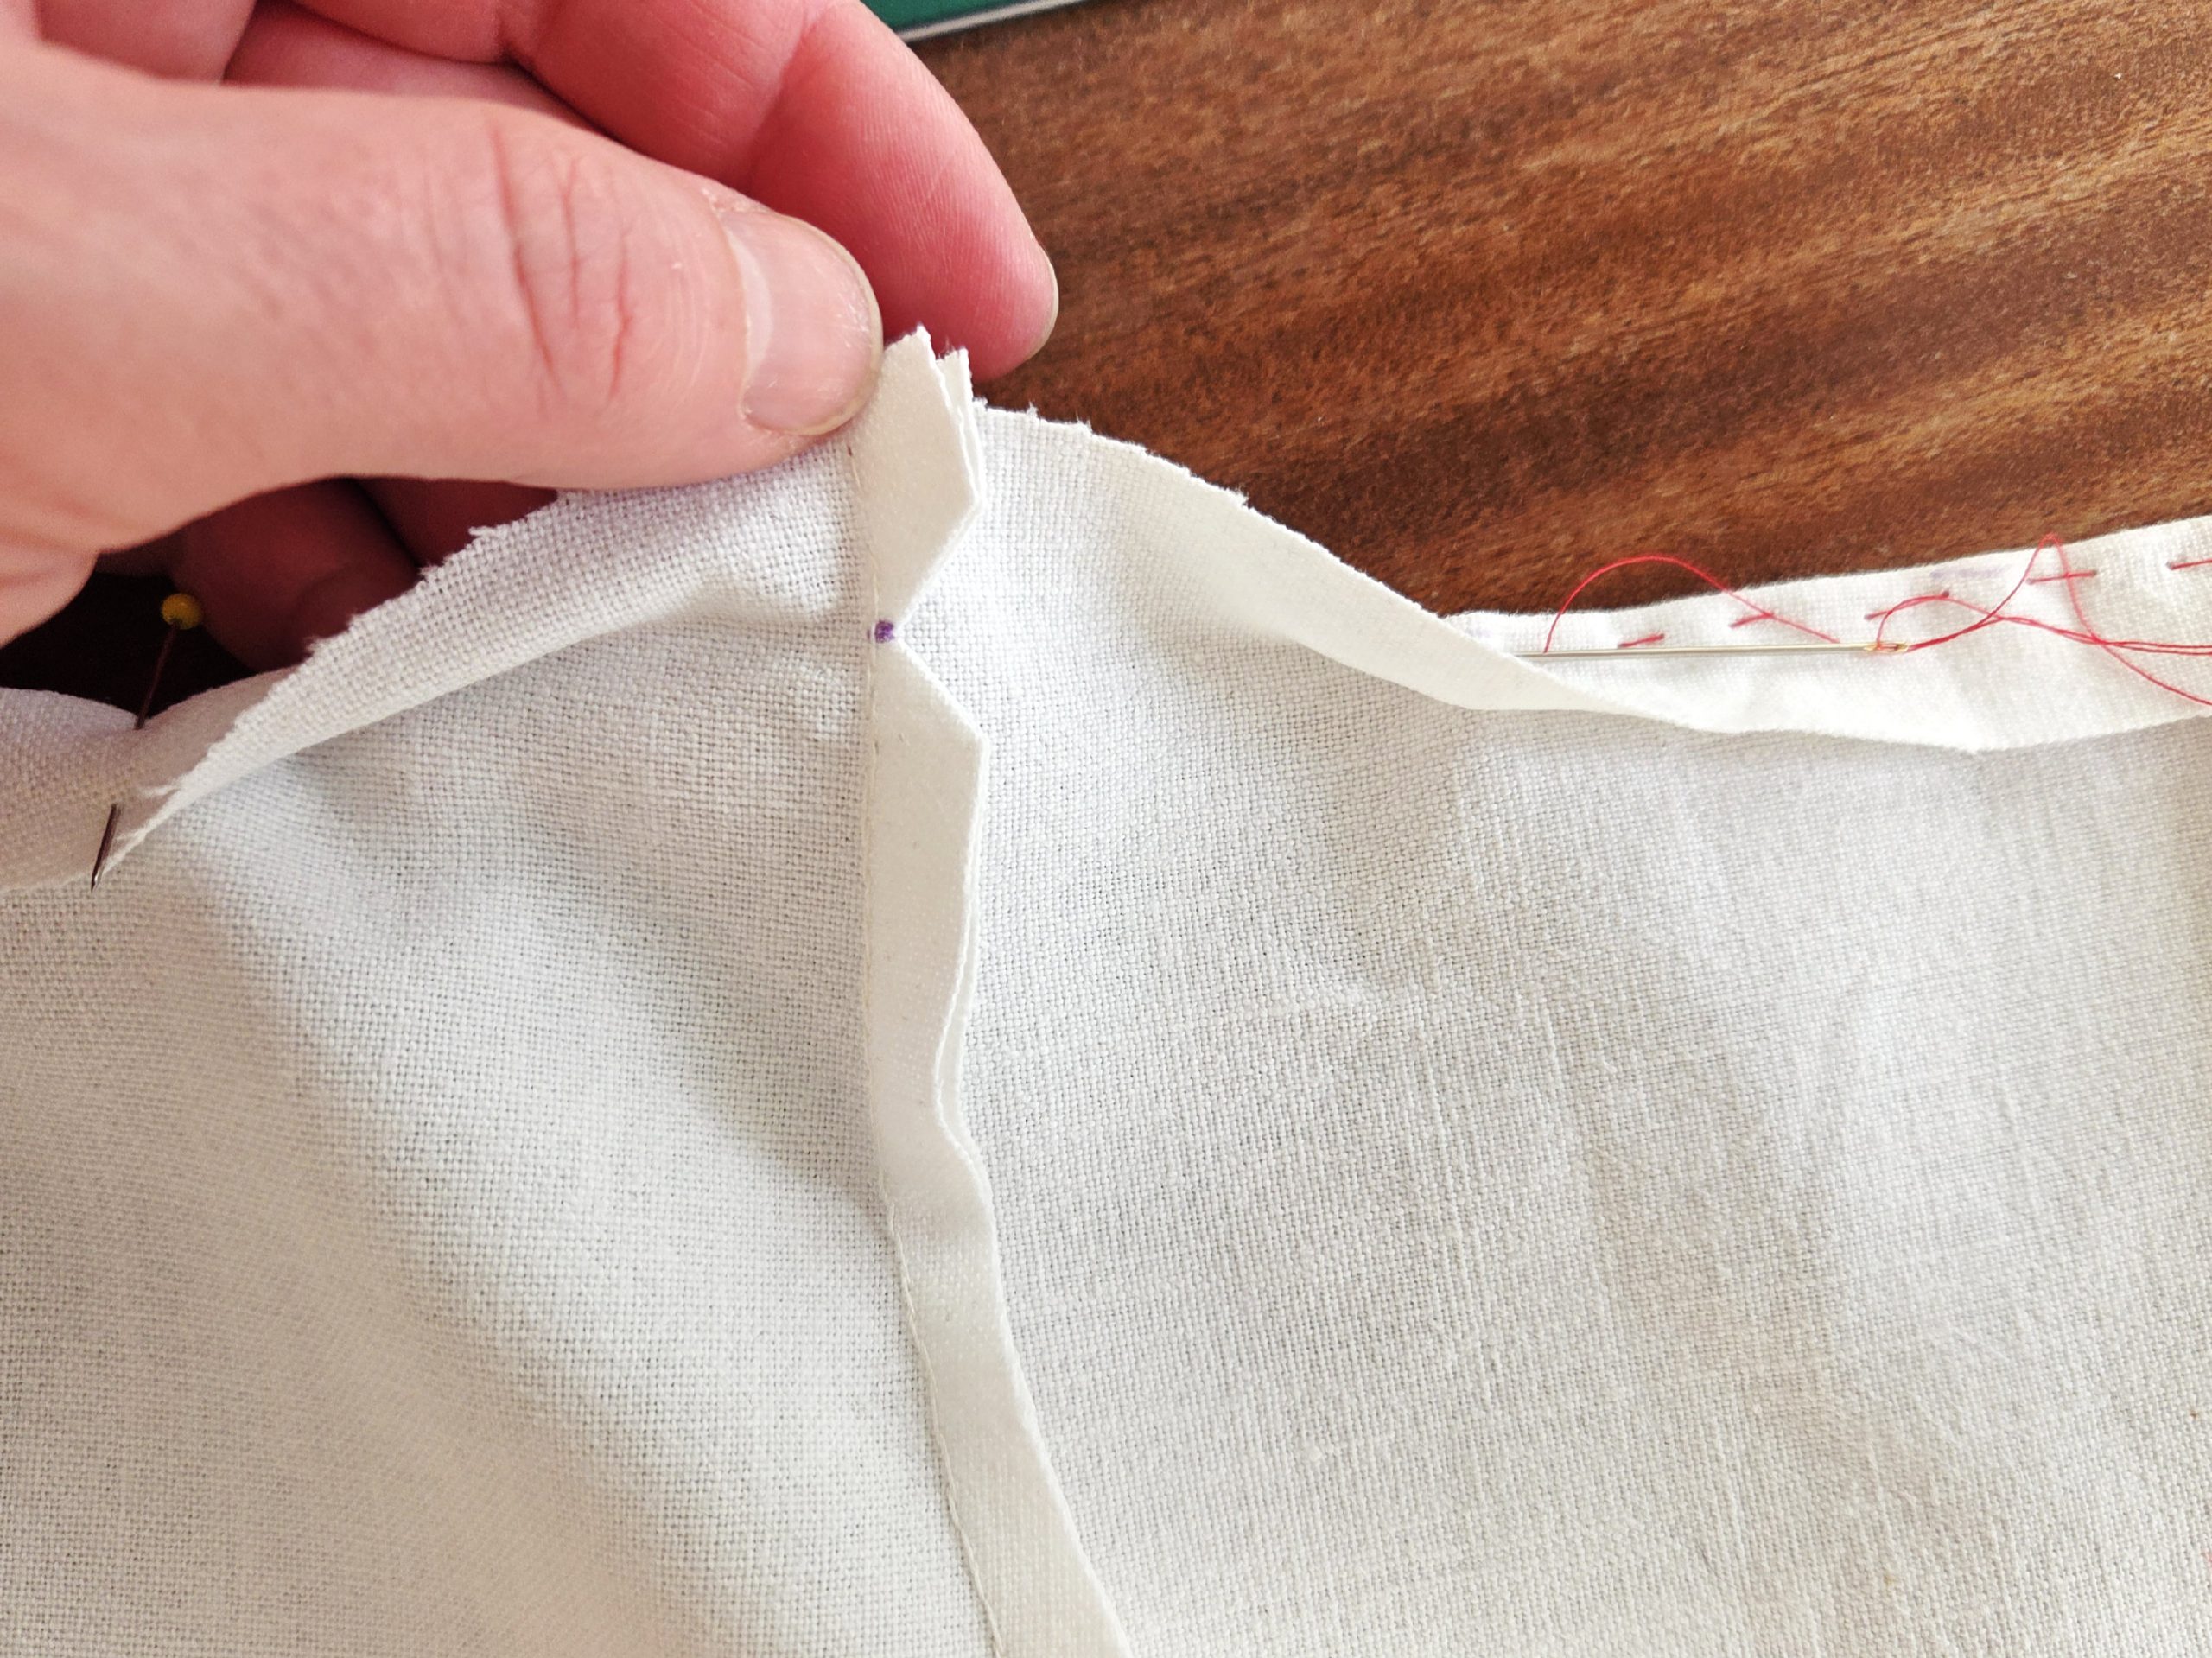
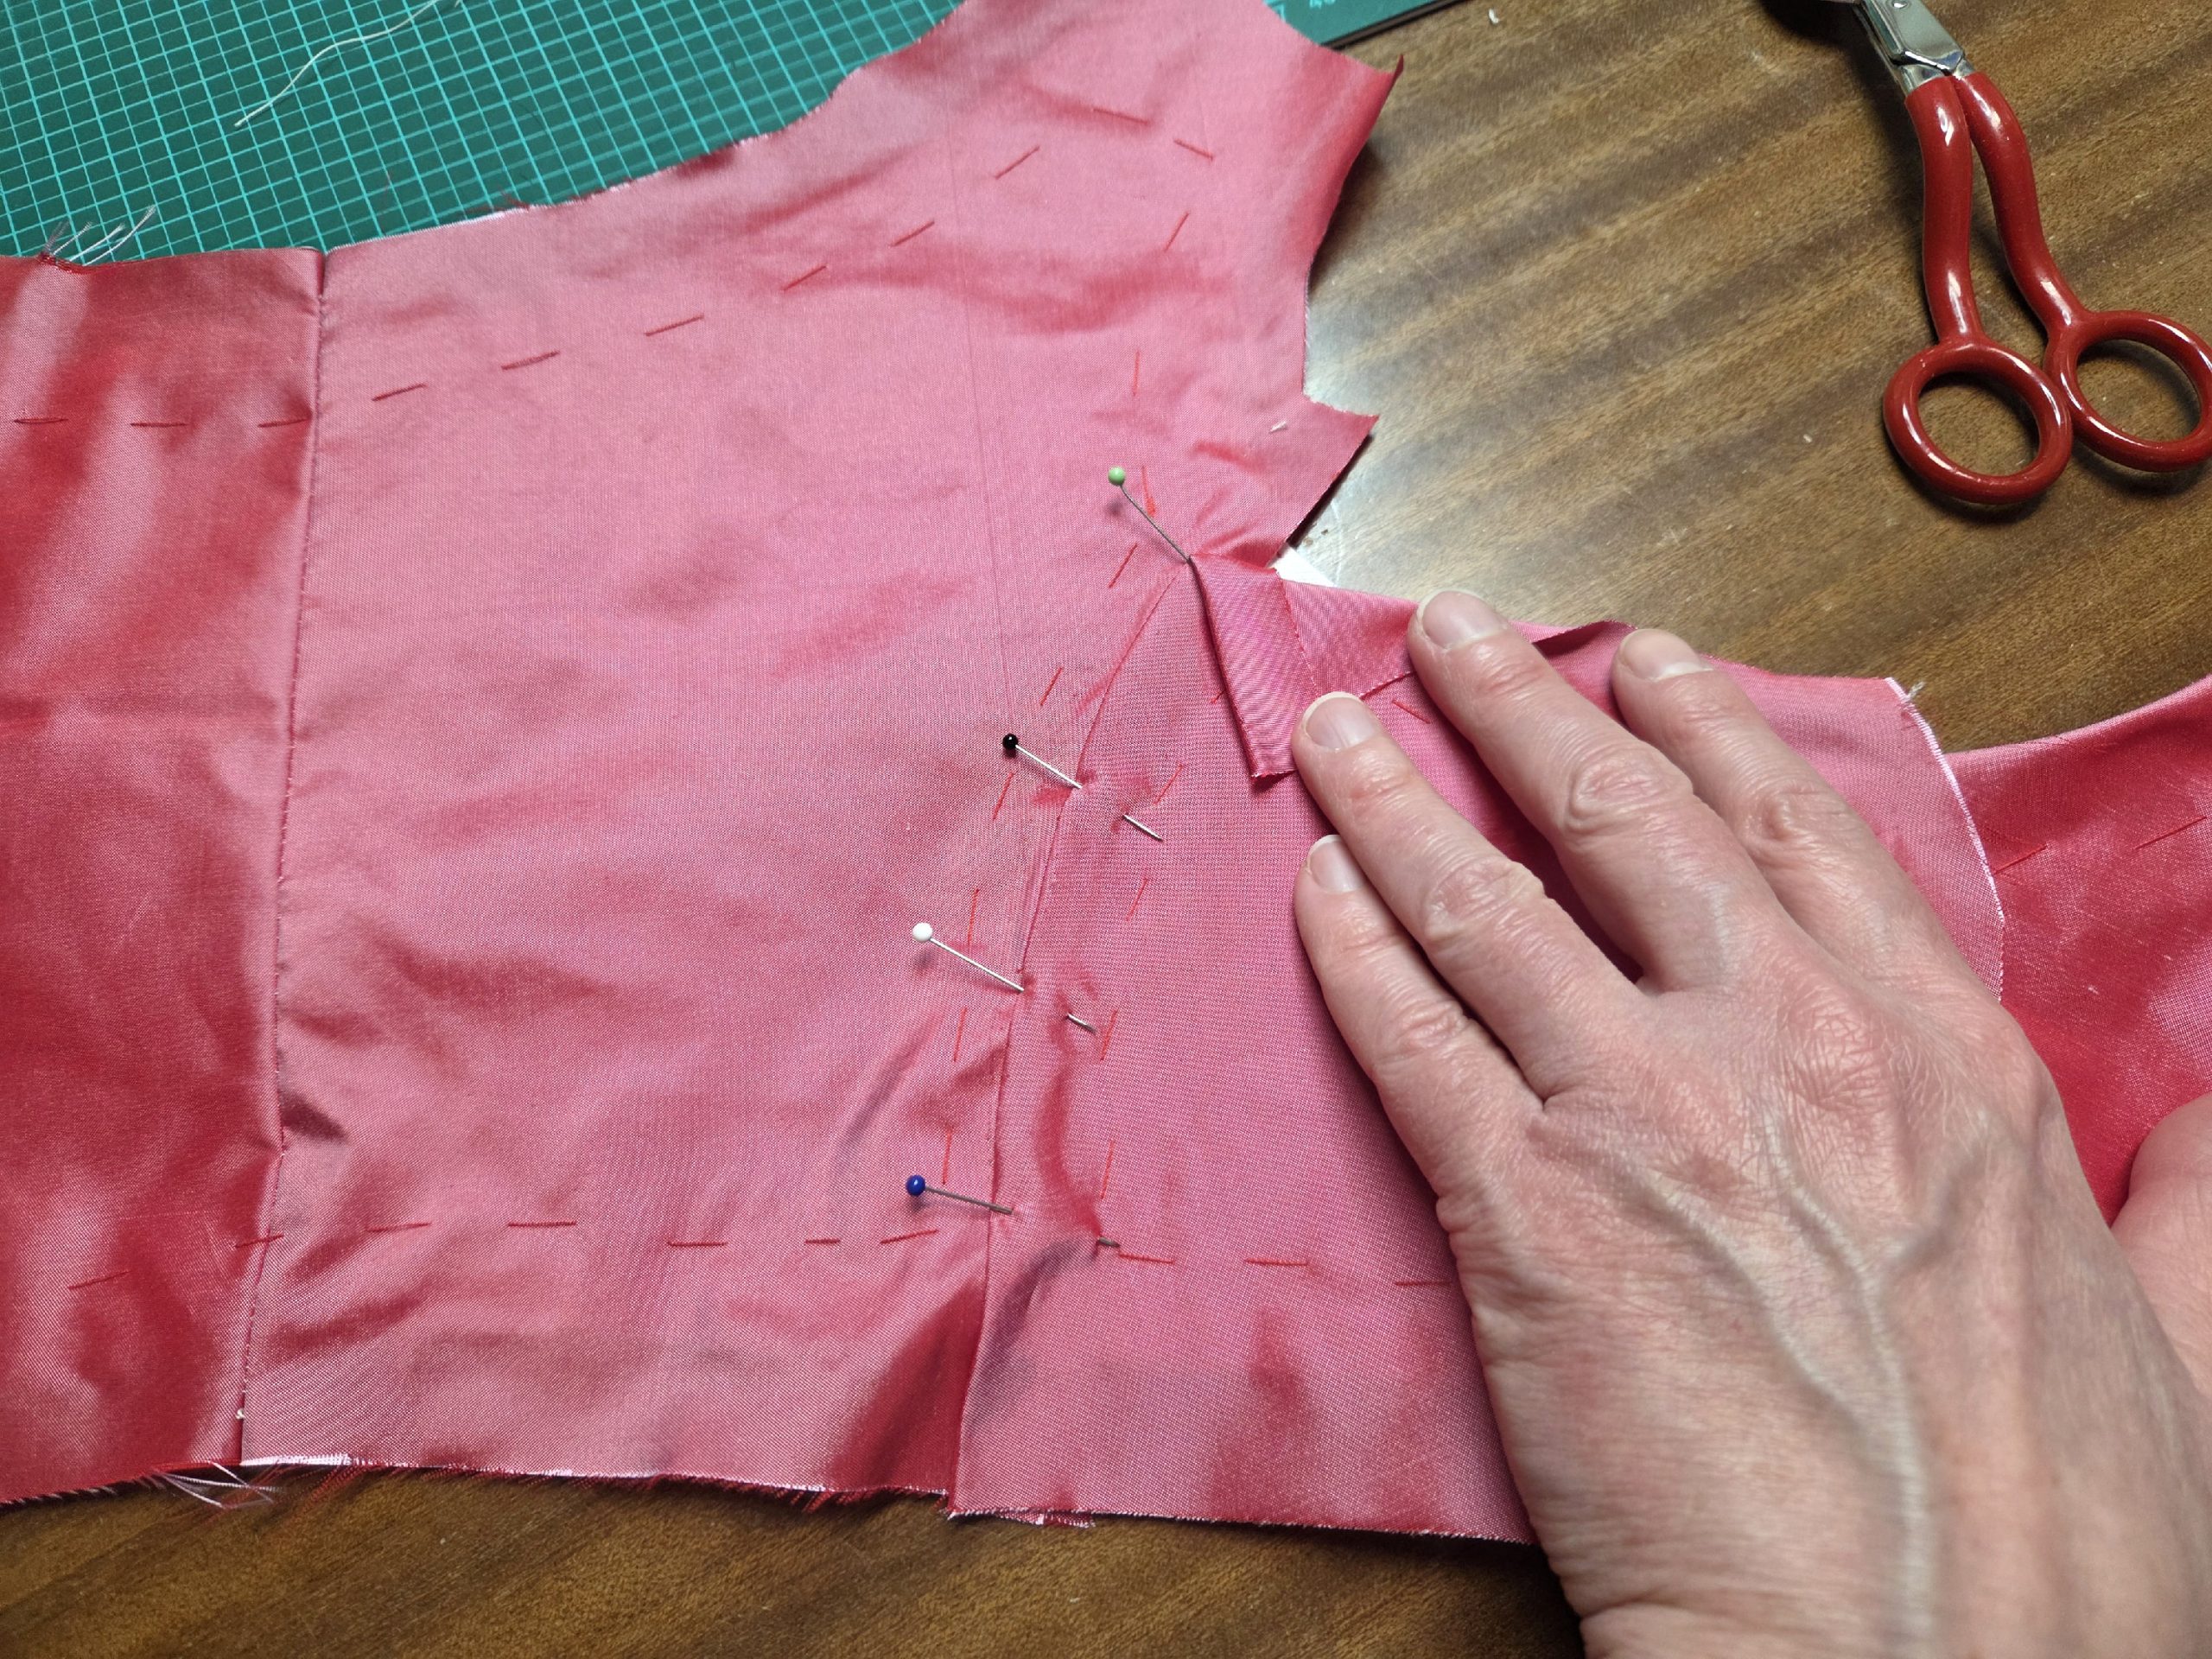
(6) Sew the shoulder seams, from the lining only, right sides together. Trim back the seam allowances and press towards the front piece, again, notching when necessary to avoid bulk. Turn in the seam allowances, and baste in place.
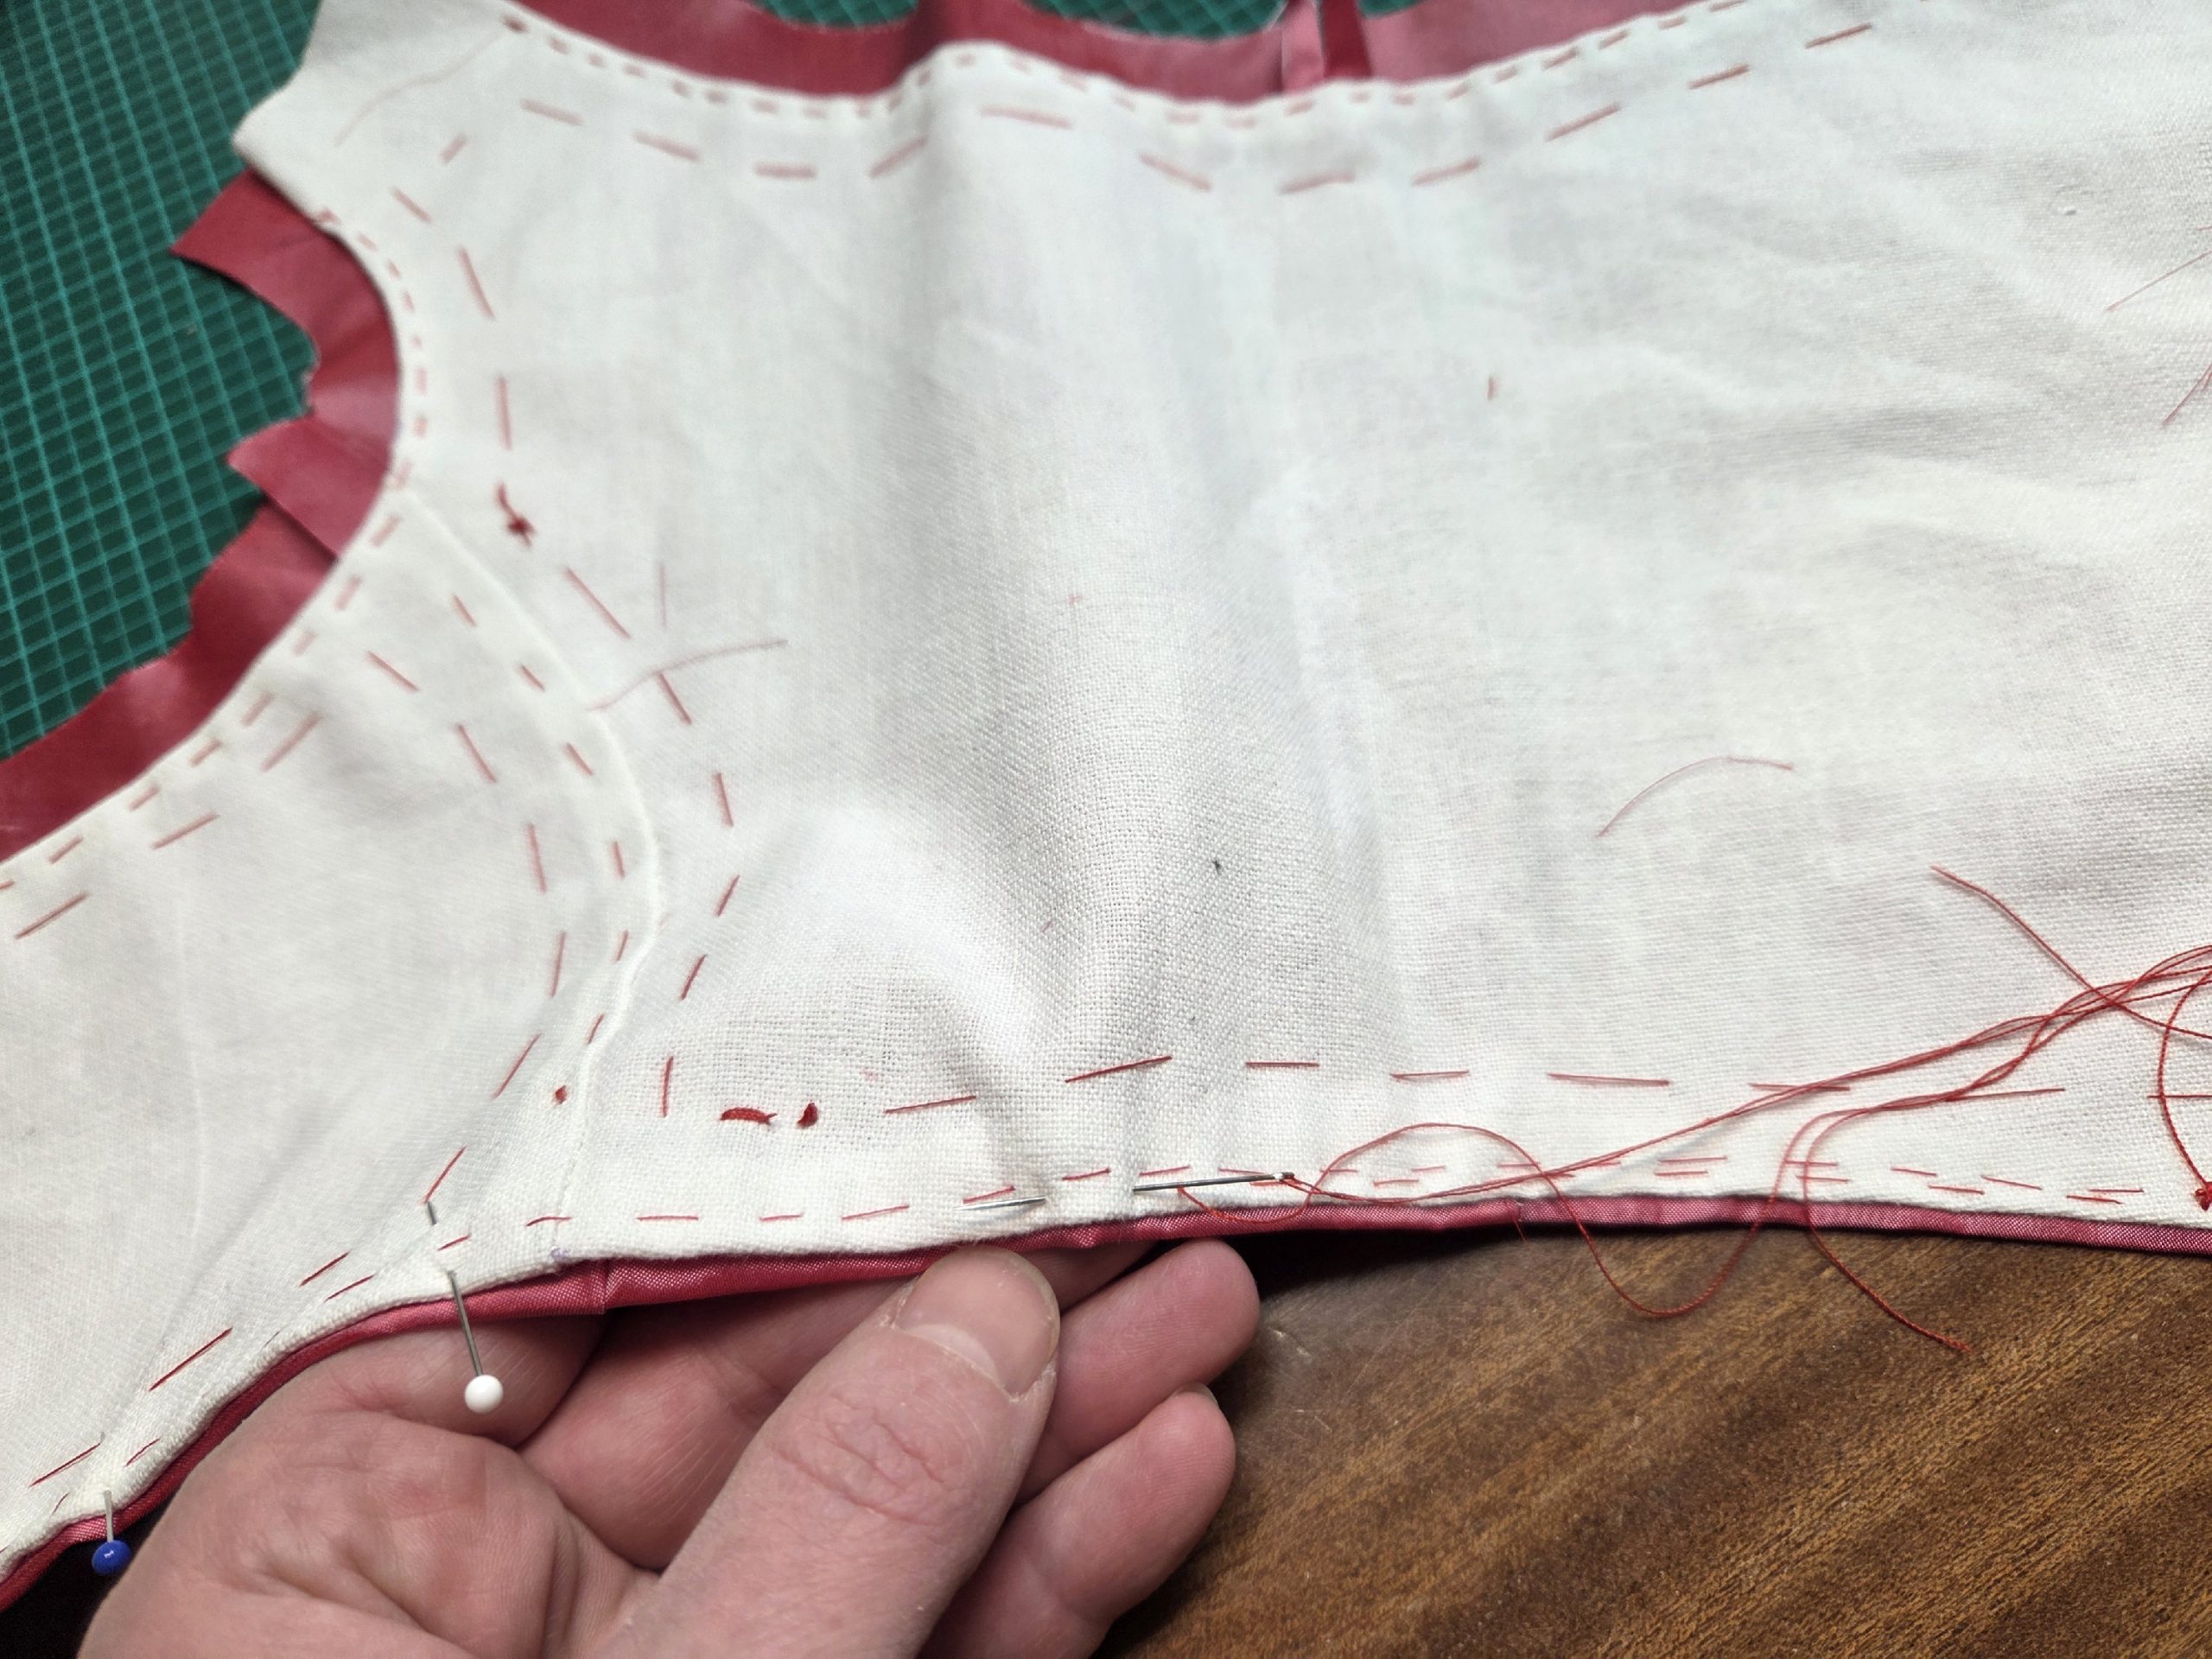
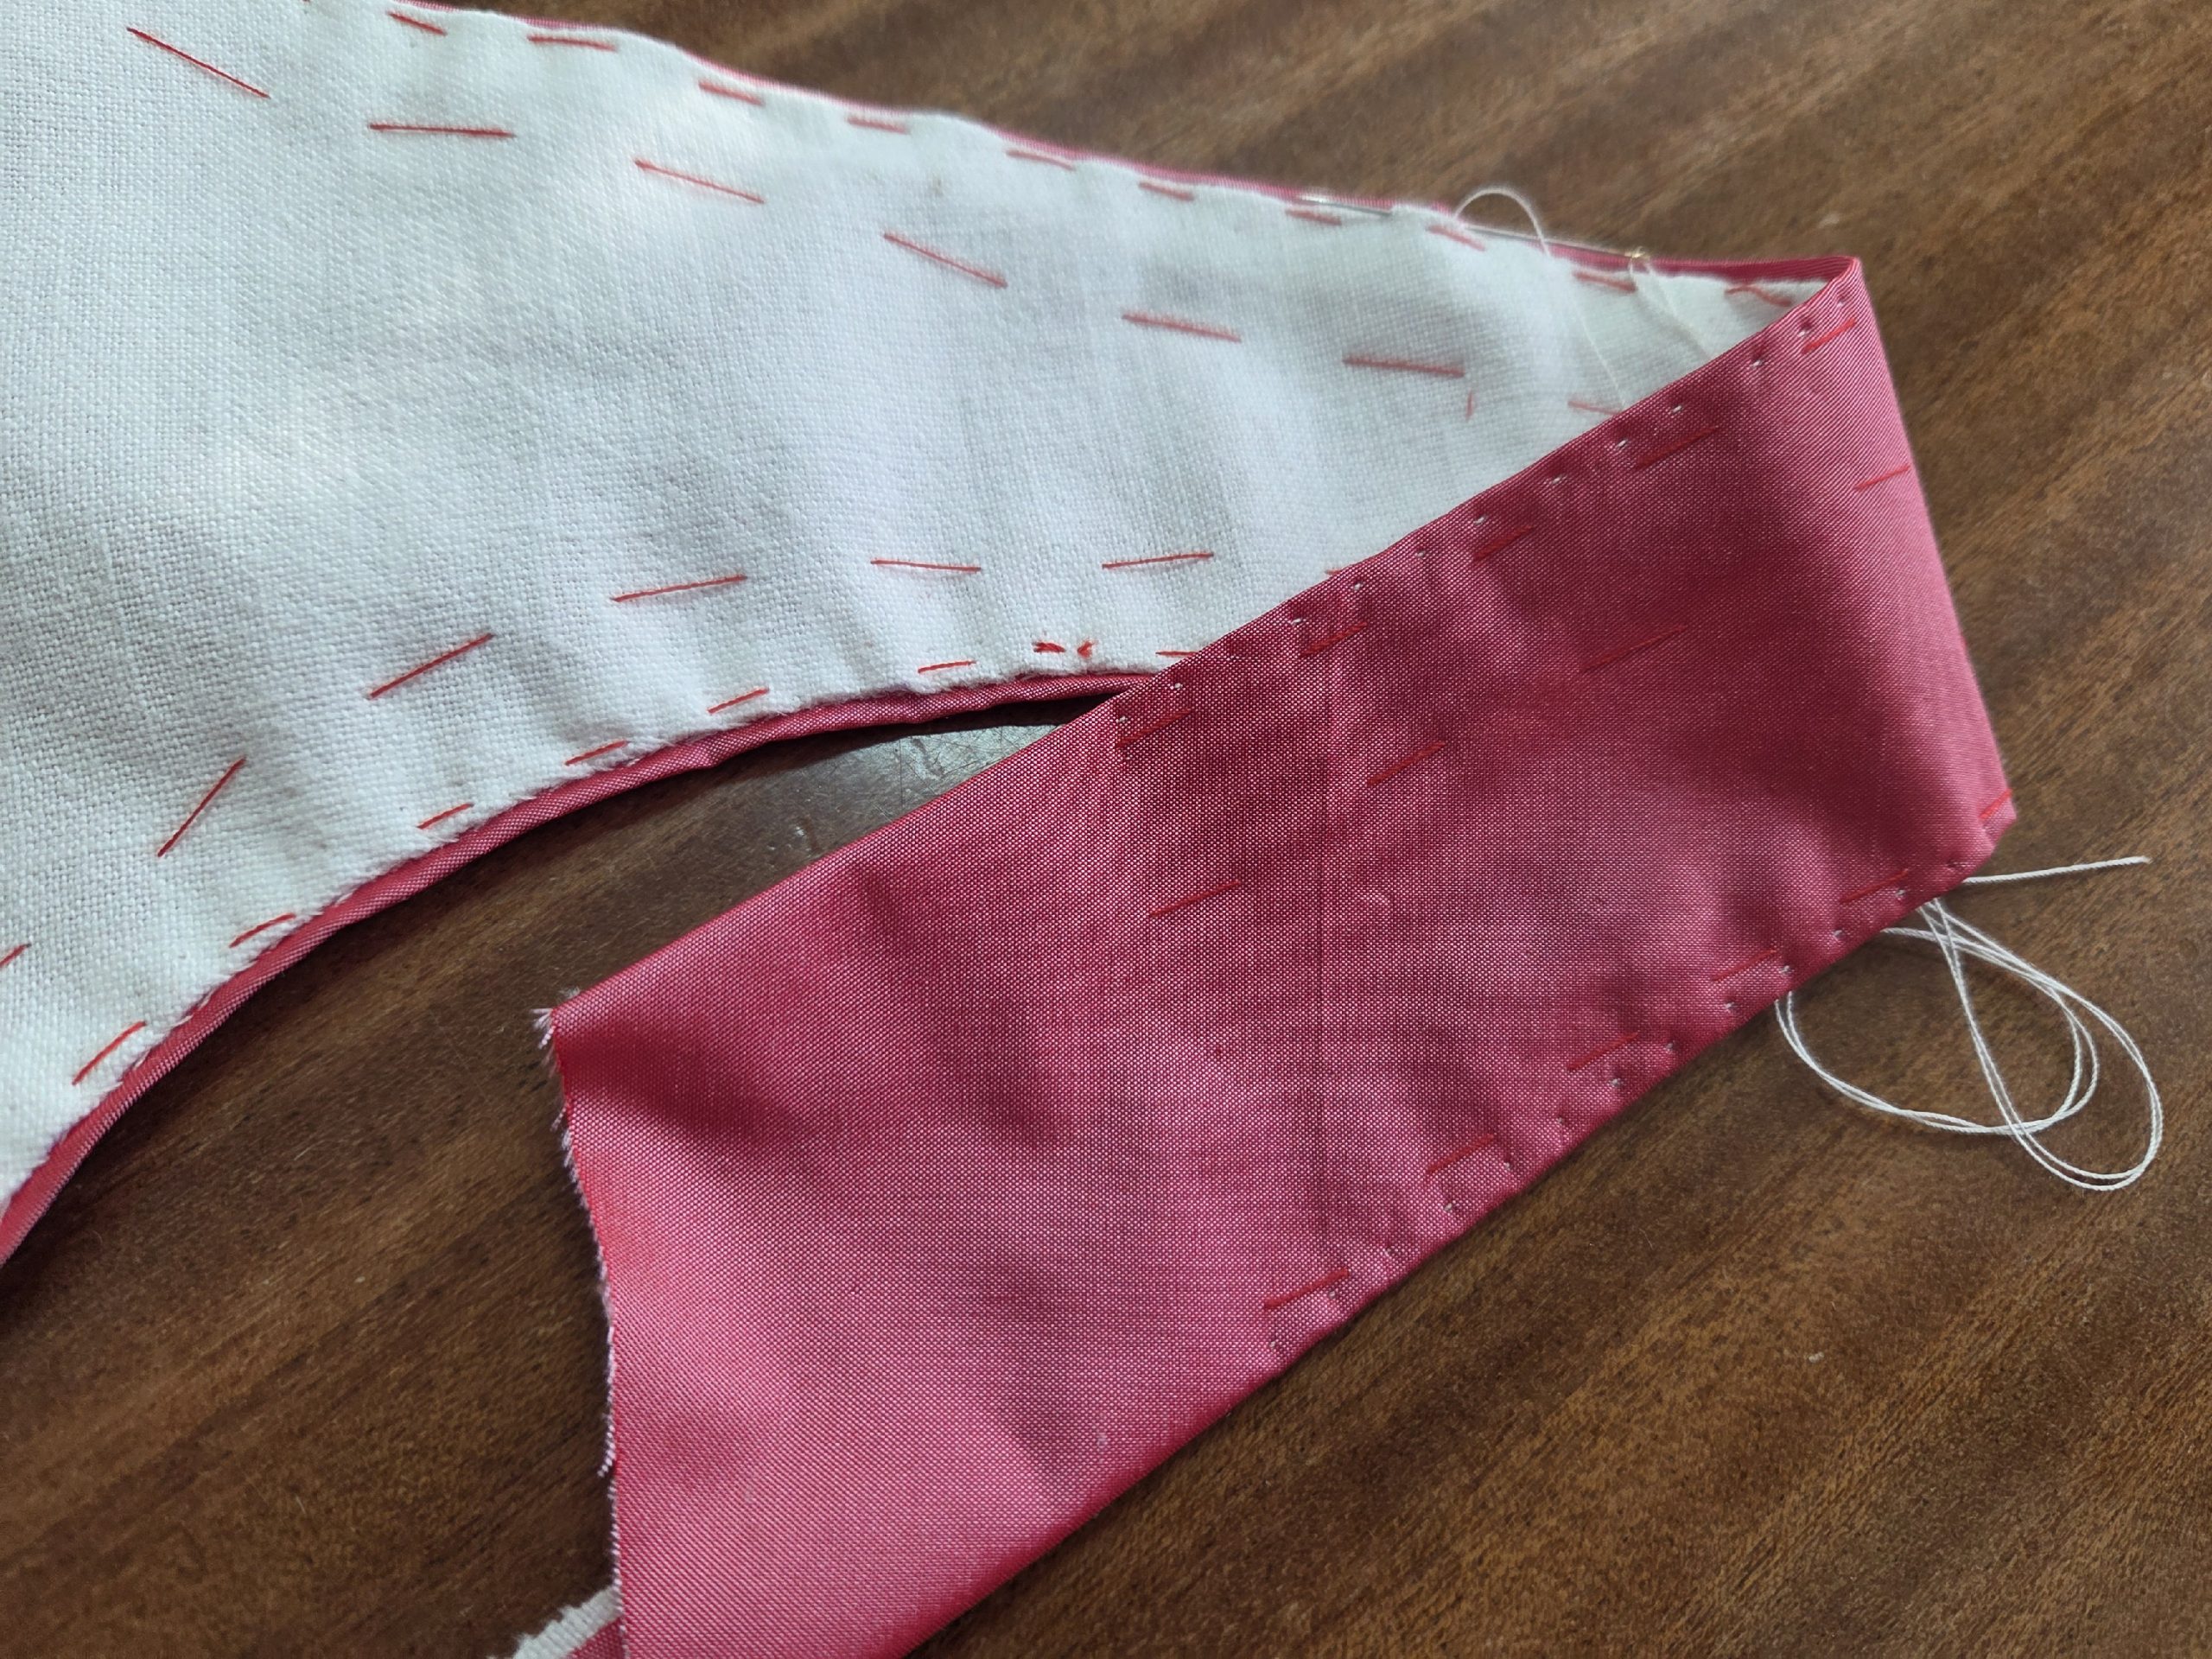
Turn in the seam allowances along the edges of the fashion fabric as shown. Smooth out the shoulder edge of the back piece, covering the shoulder seam from the lining. Turn in the seam allowance along the shoulder seam at the front piece and place it on top.
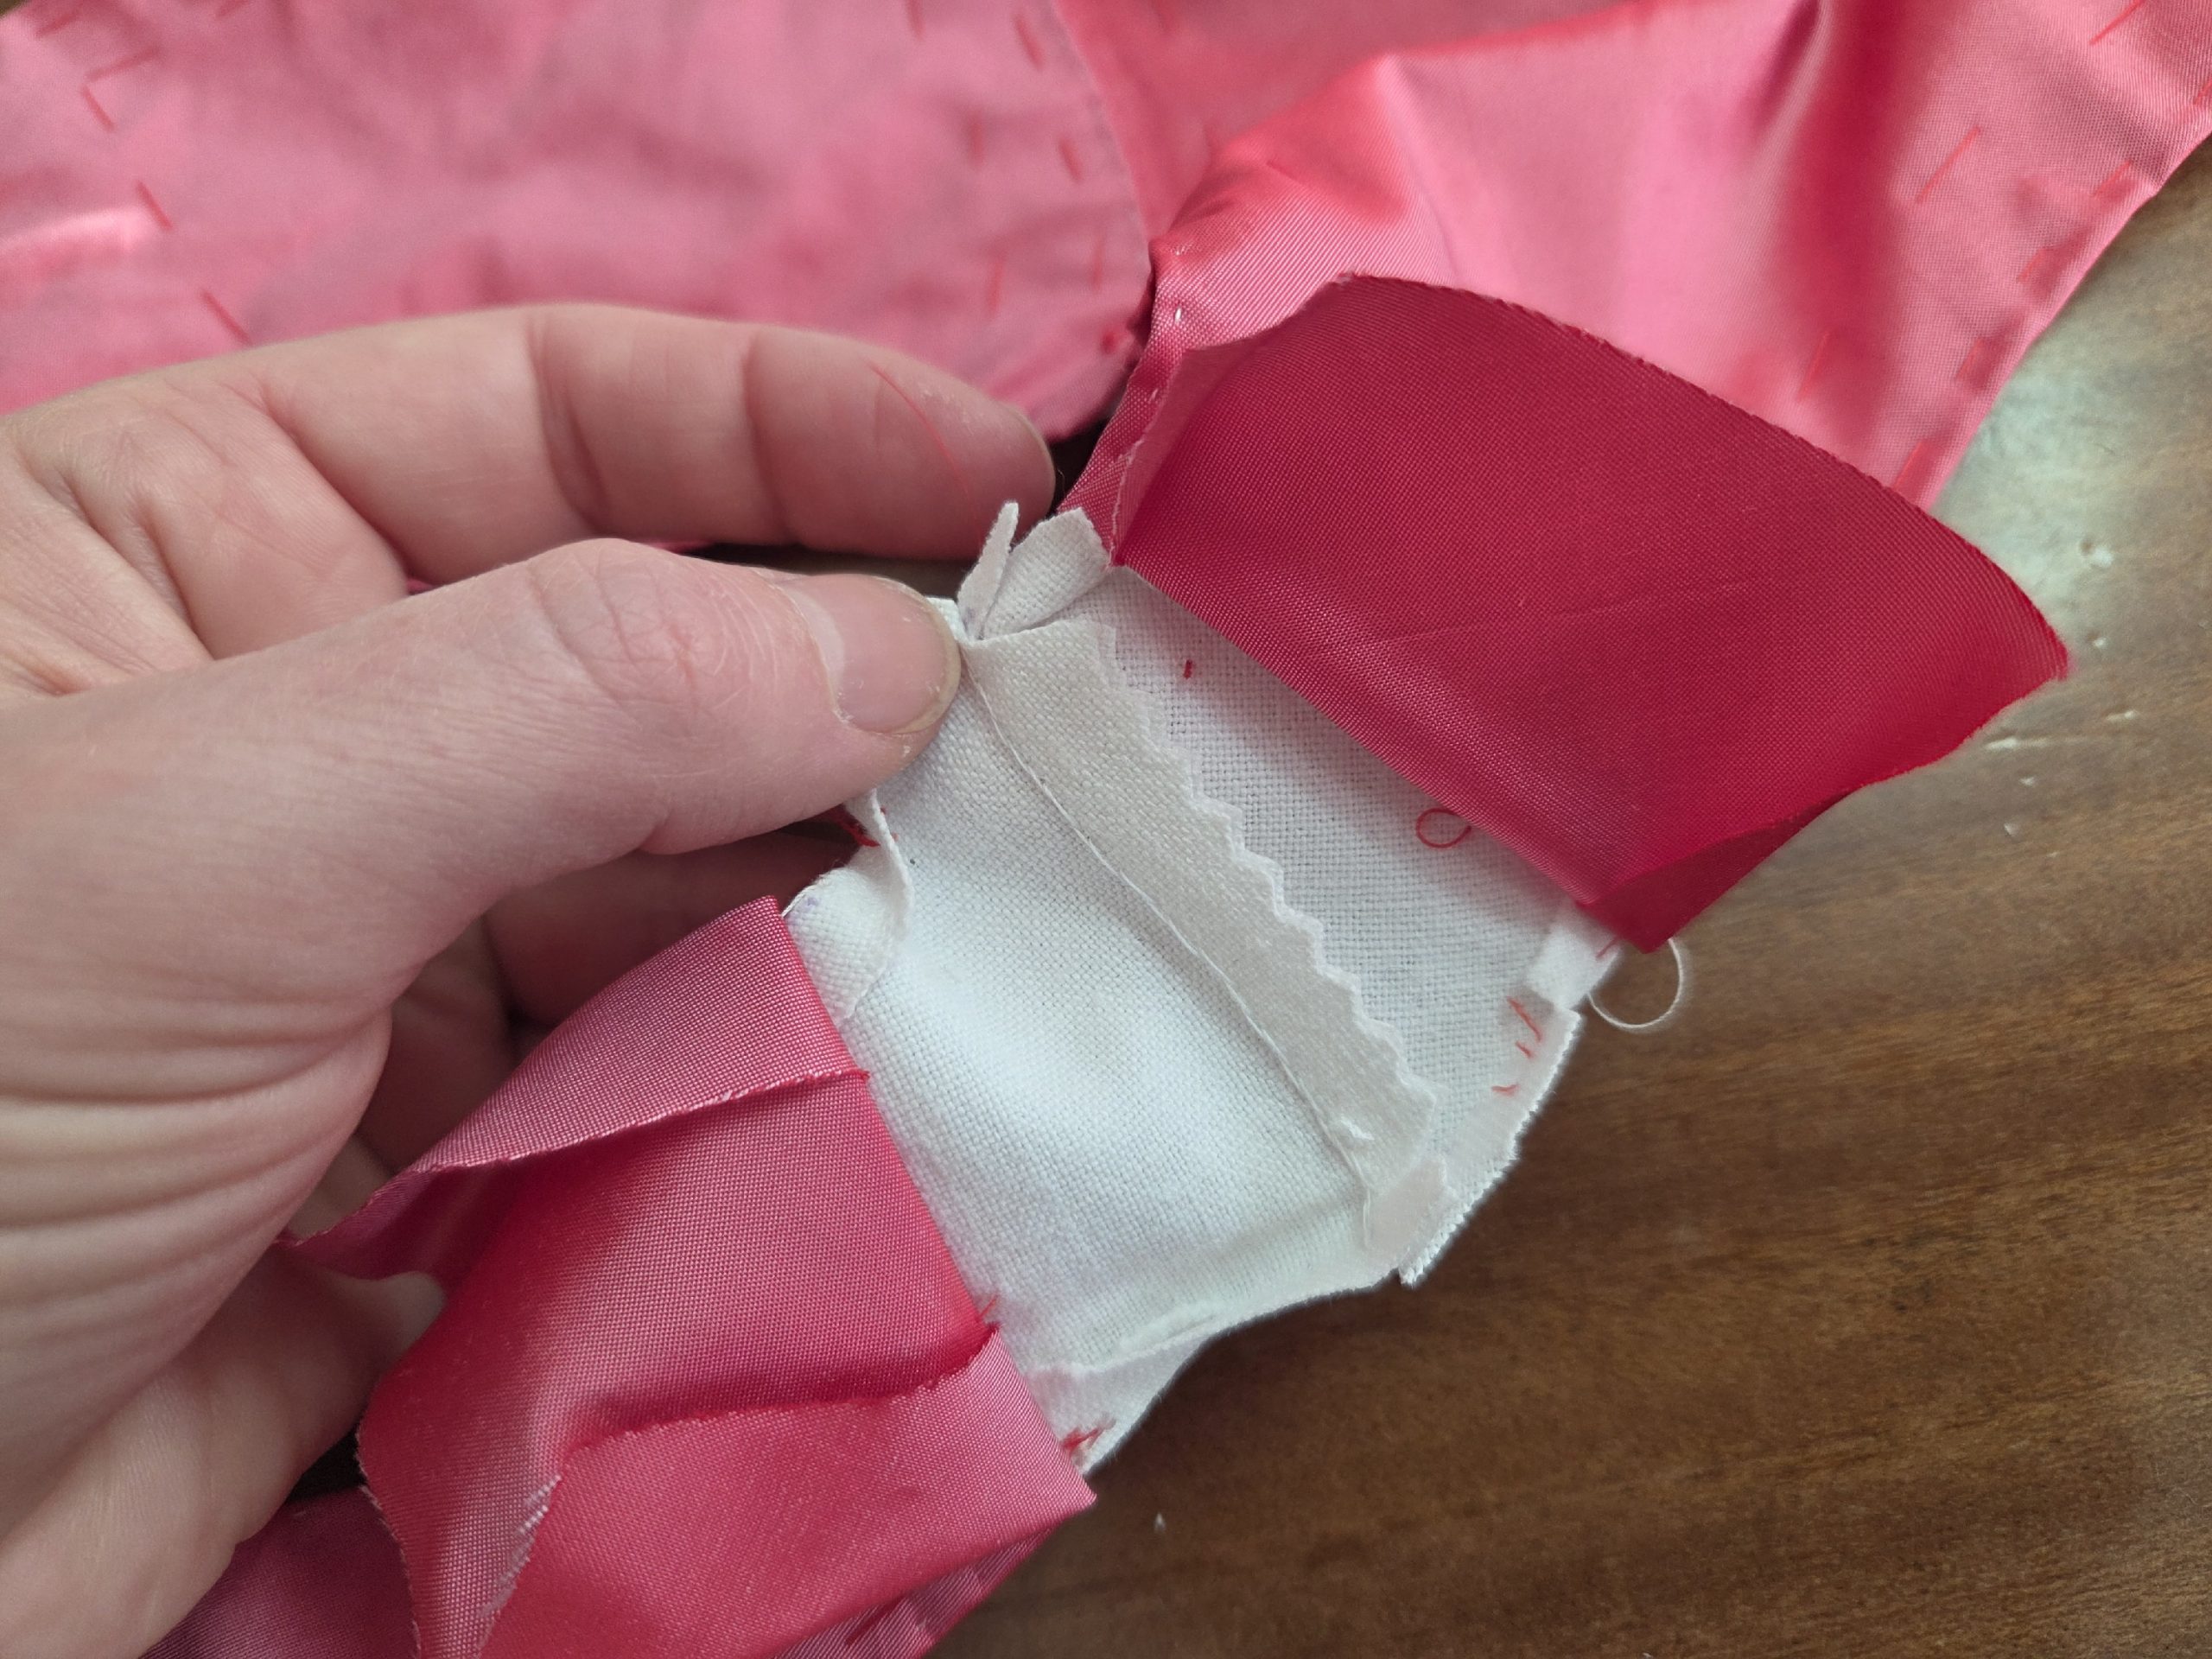
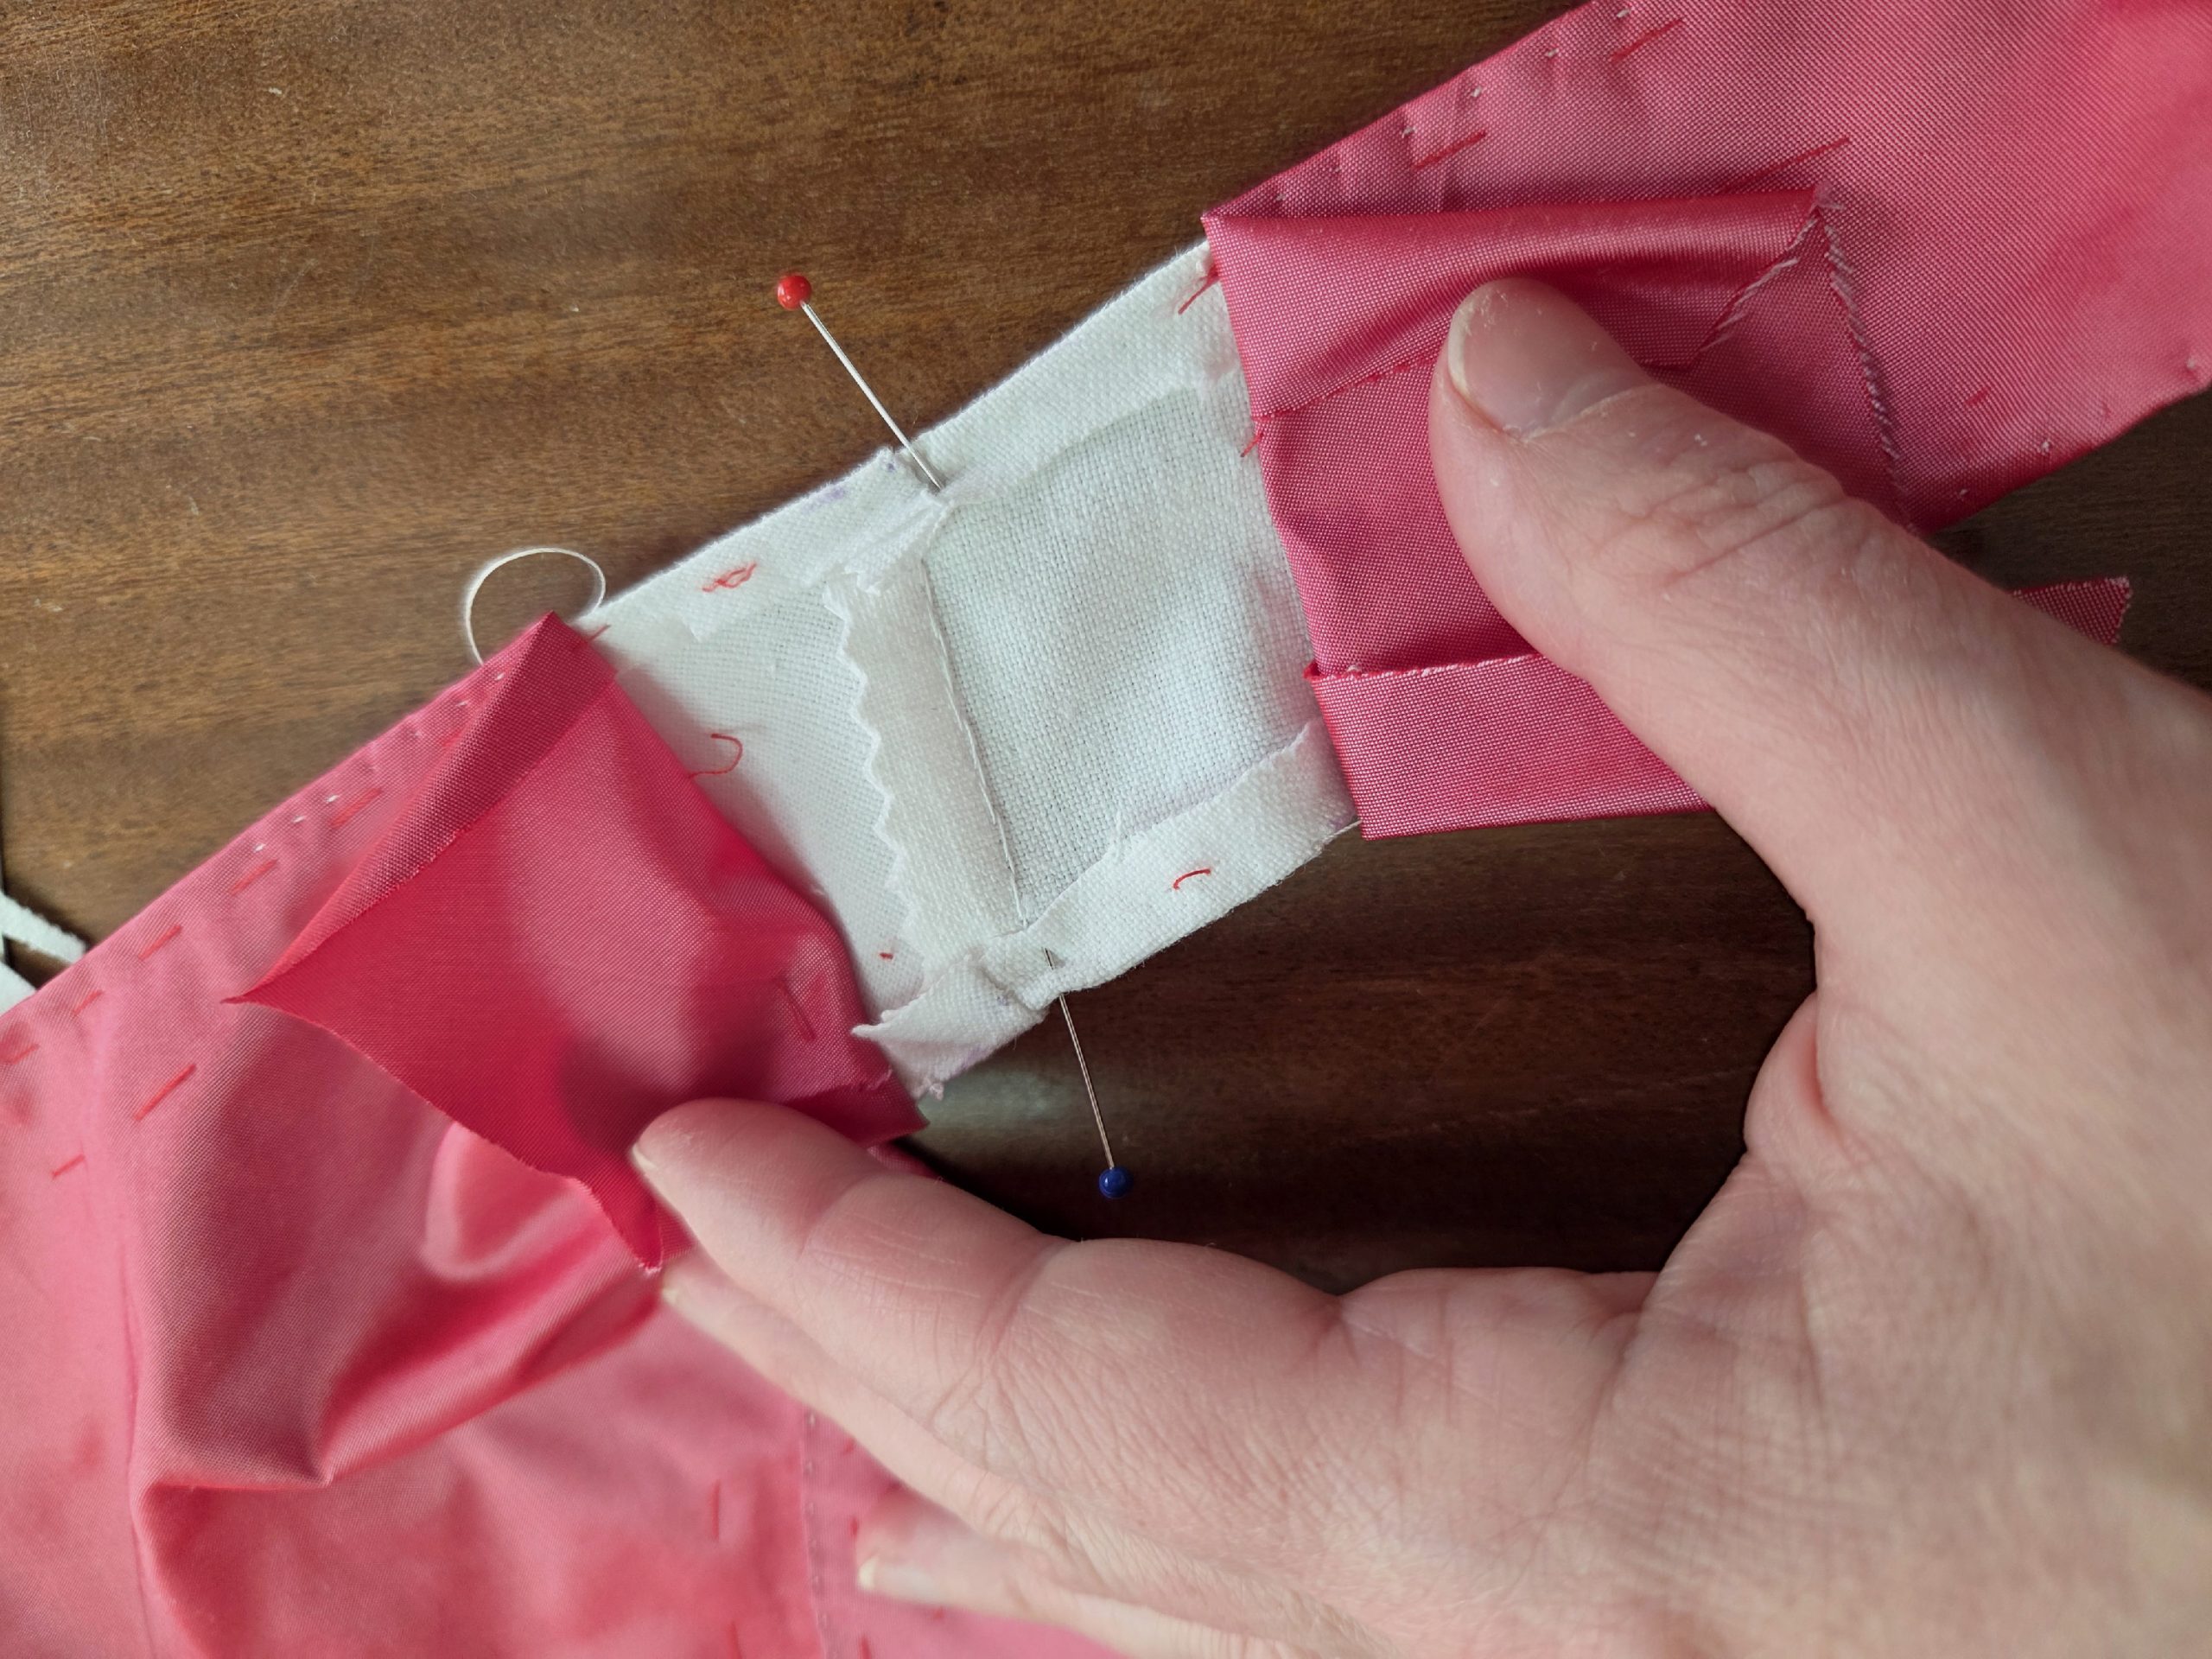
Sew down the edge of the shoulder seam from the right side with a prick stitch through all layers, do the same along the side seam and side back seam.
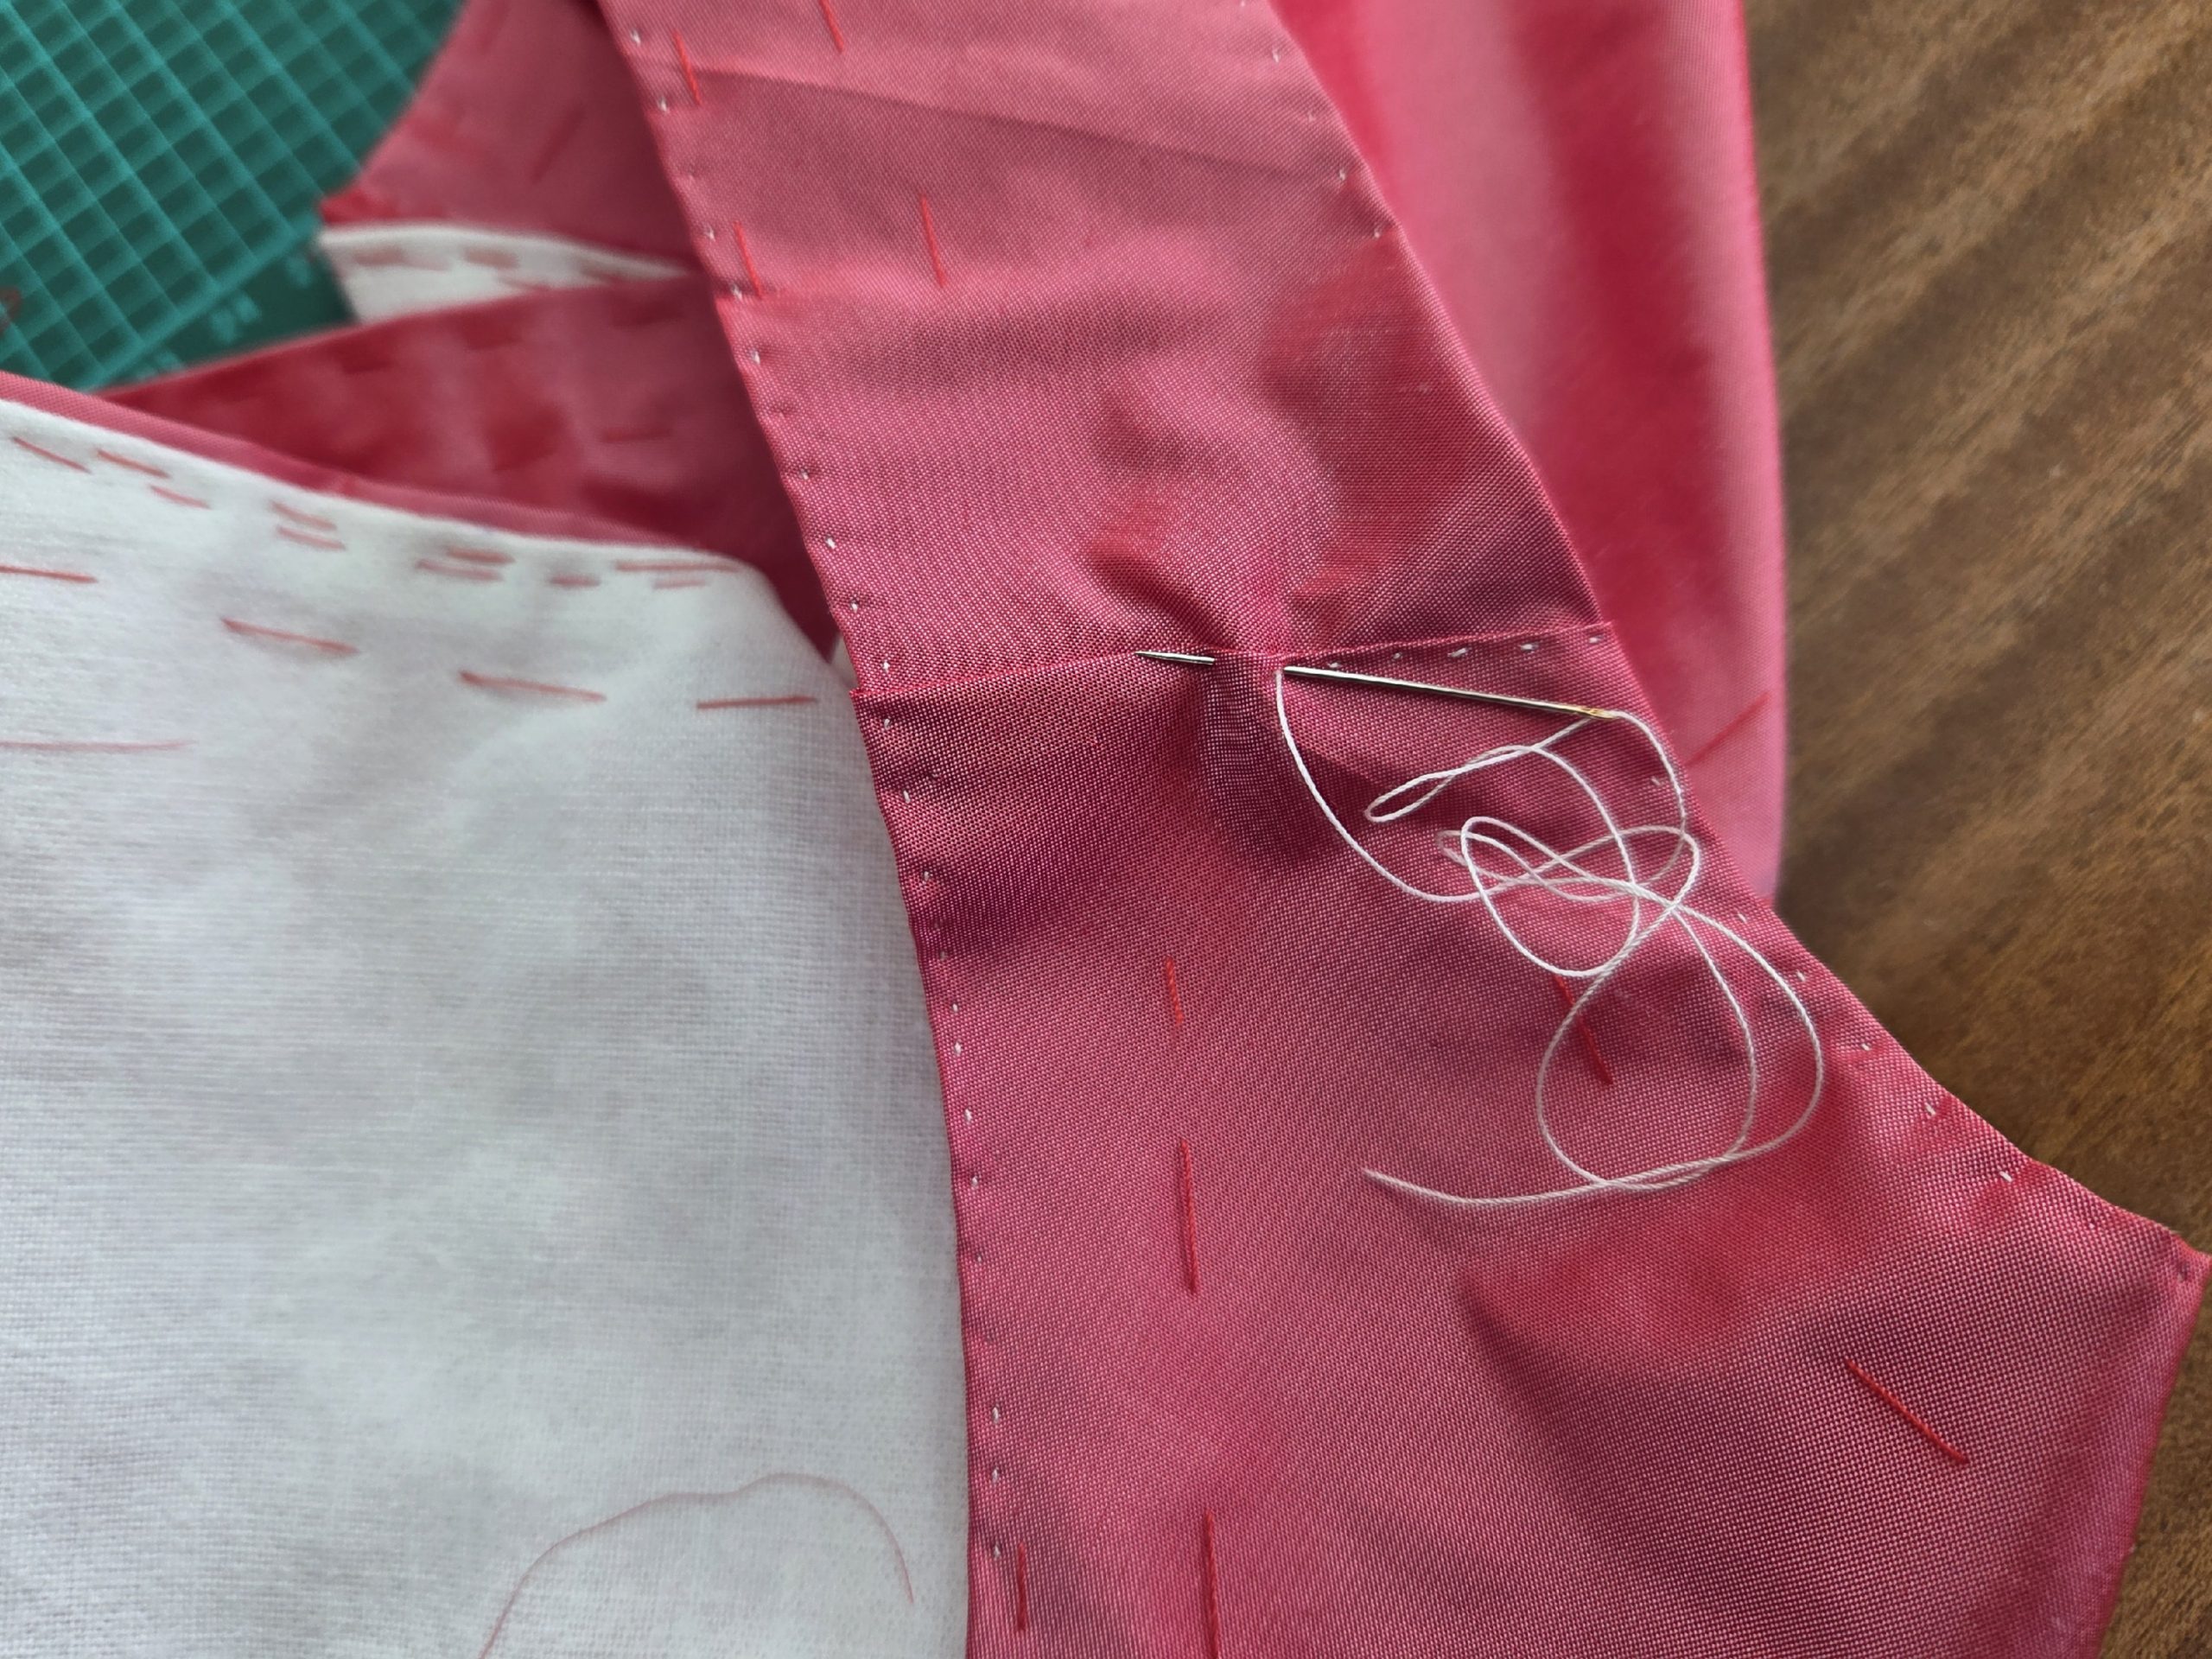
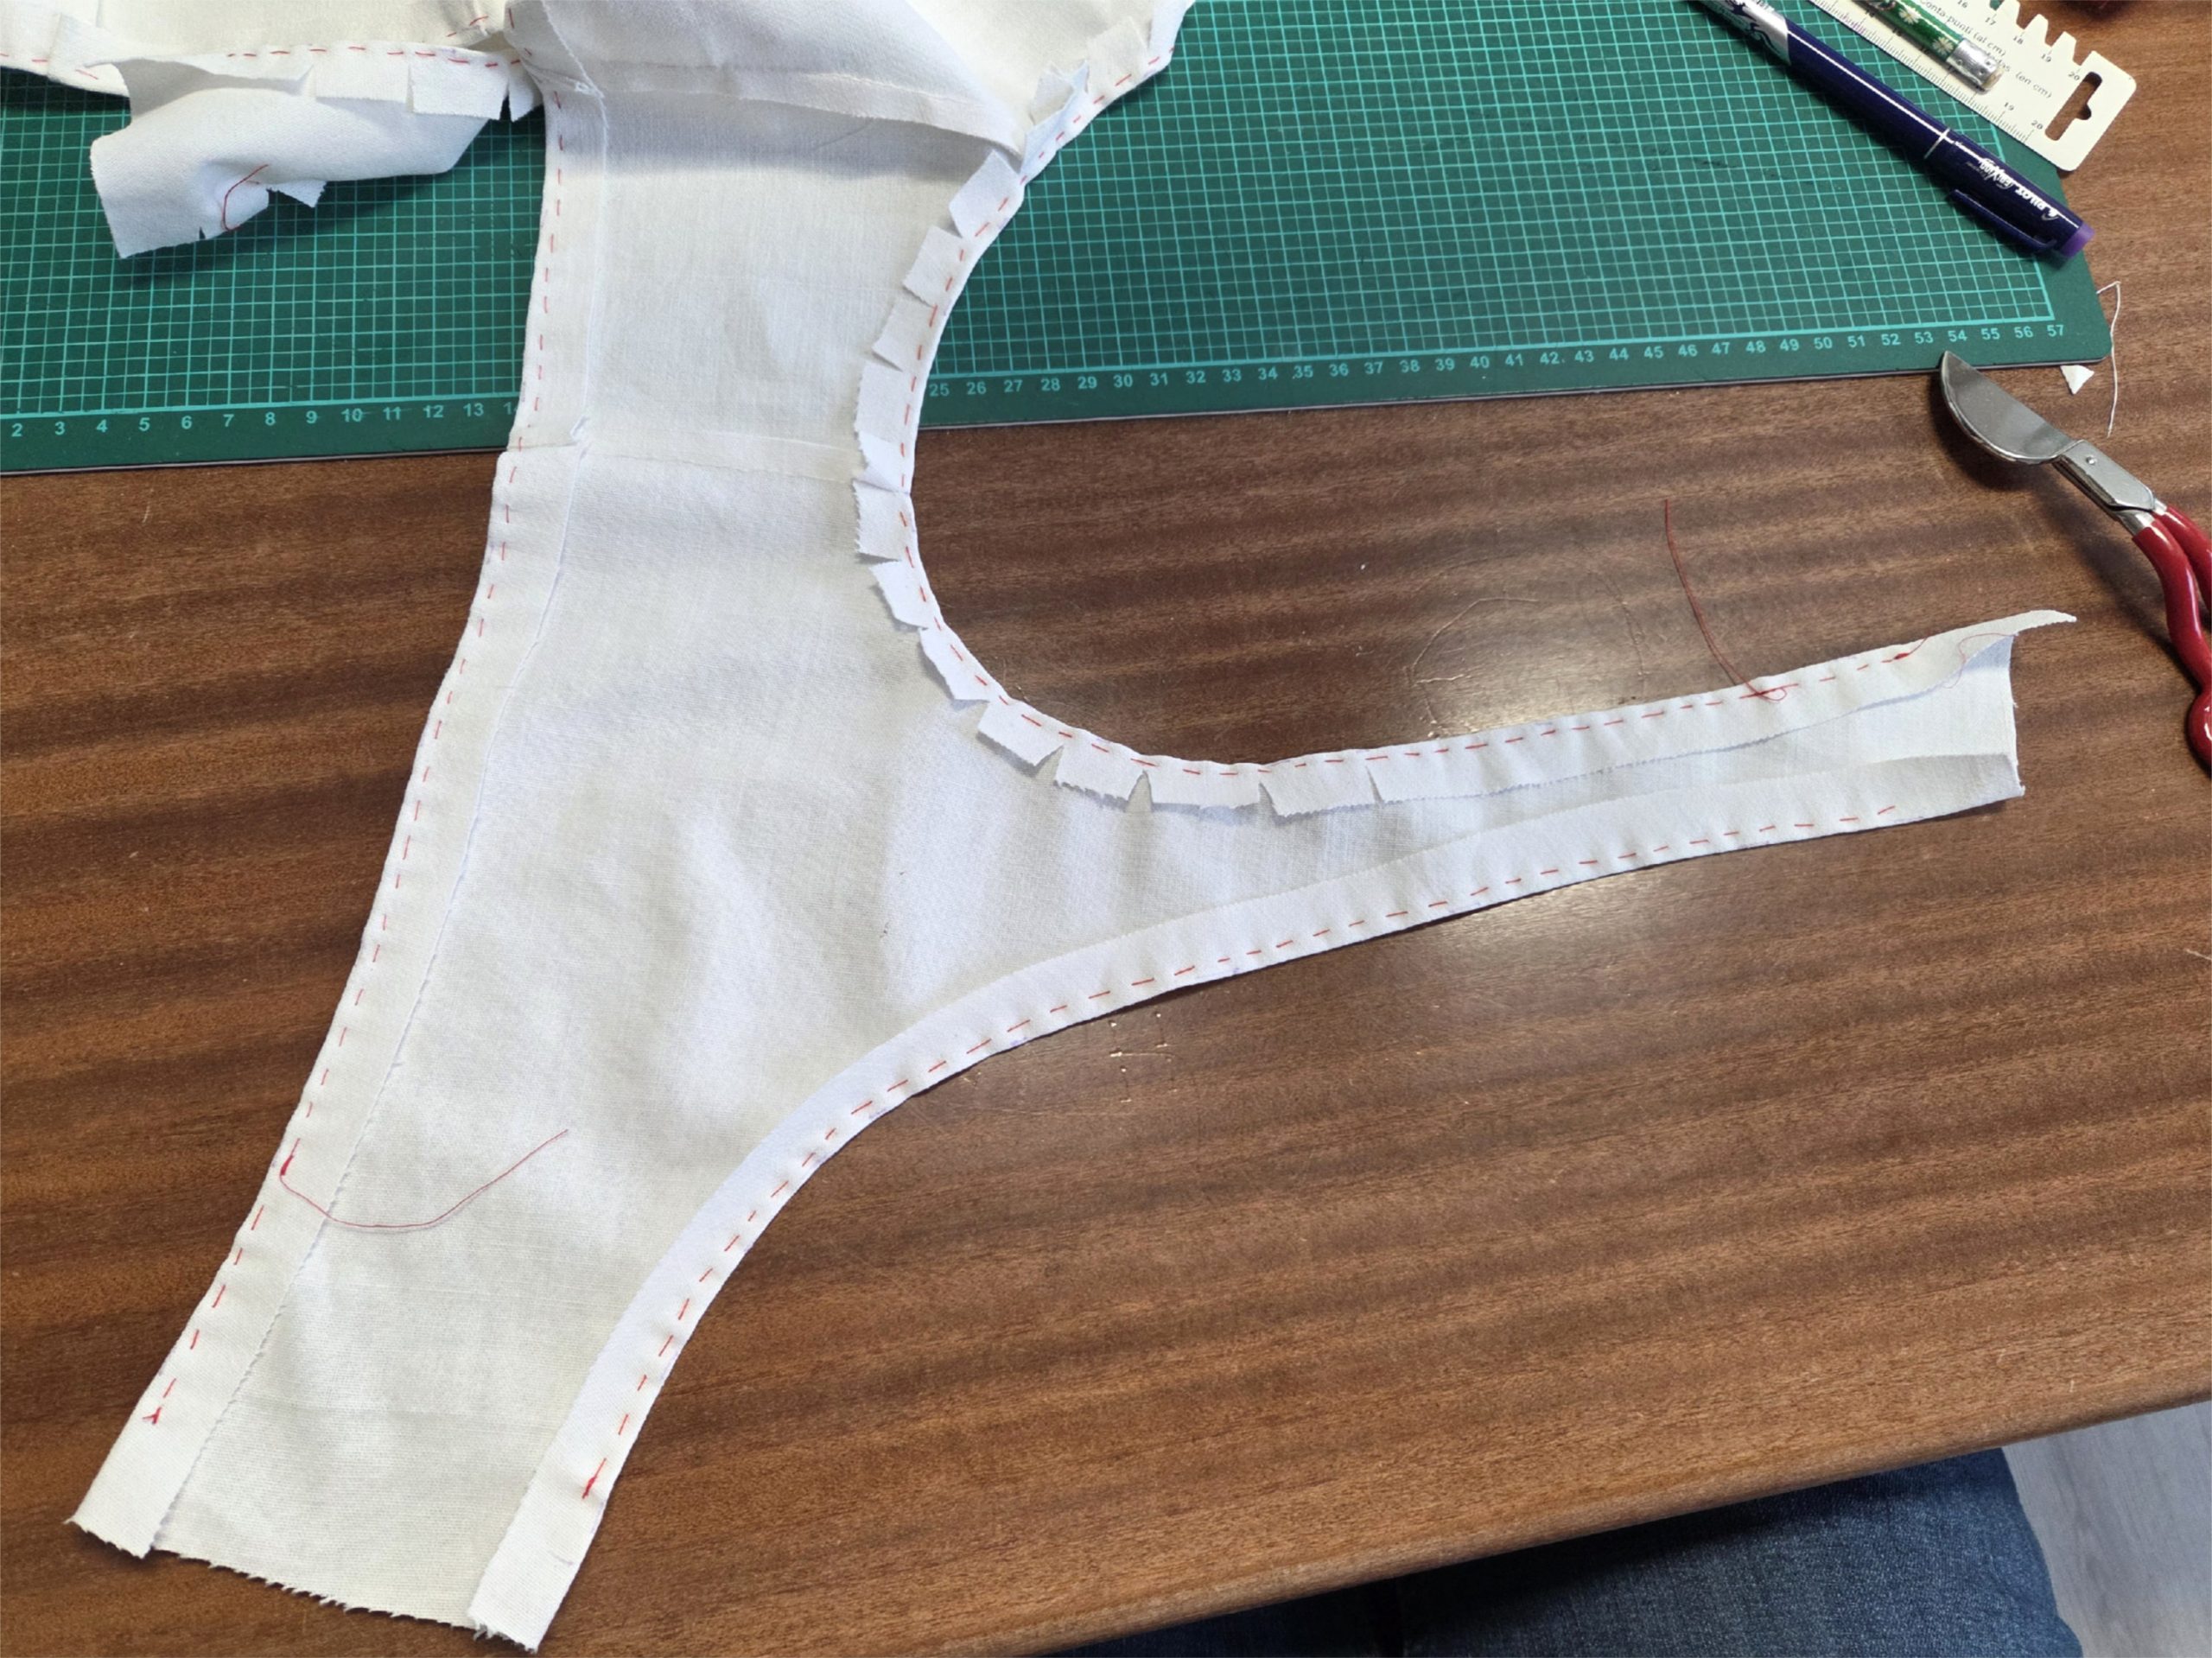
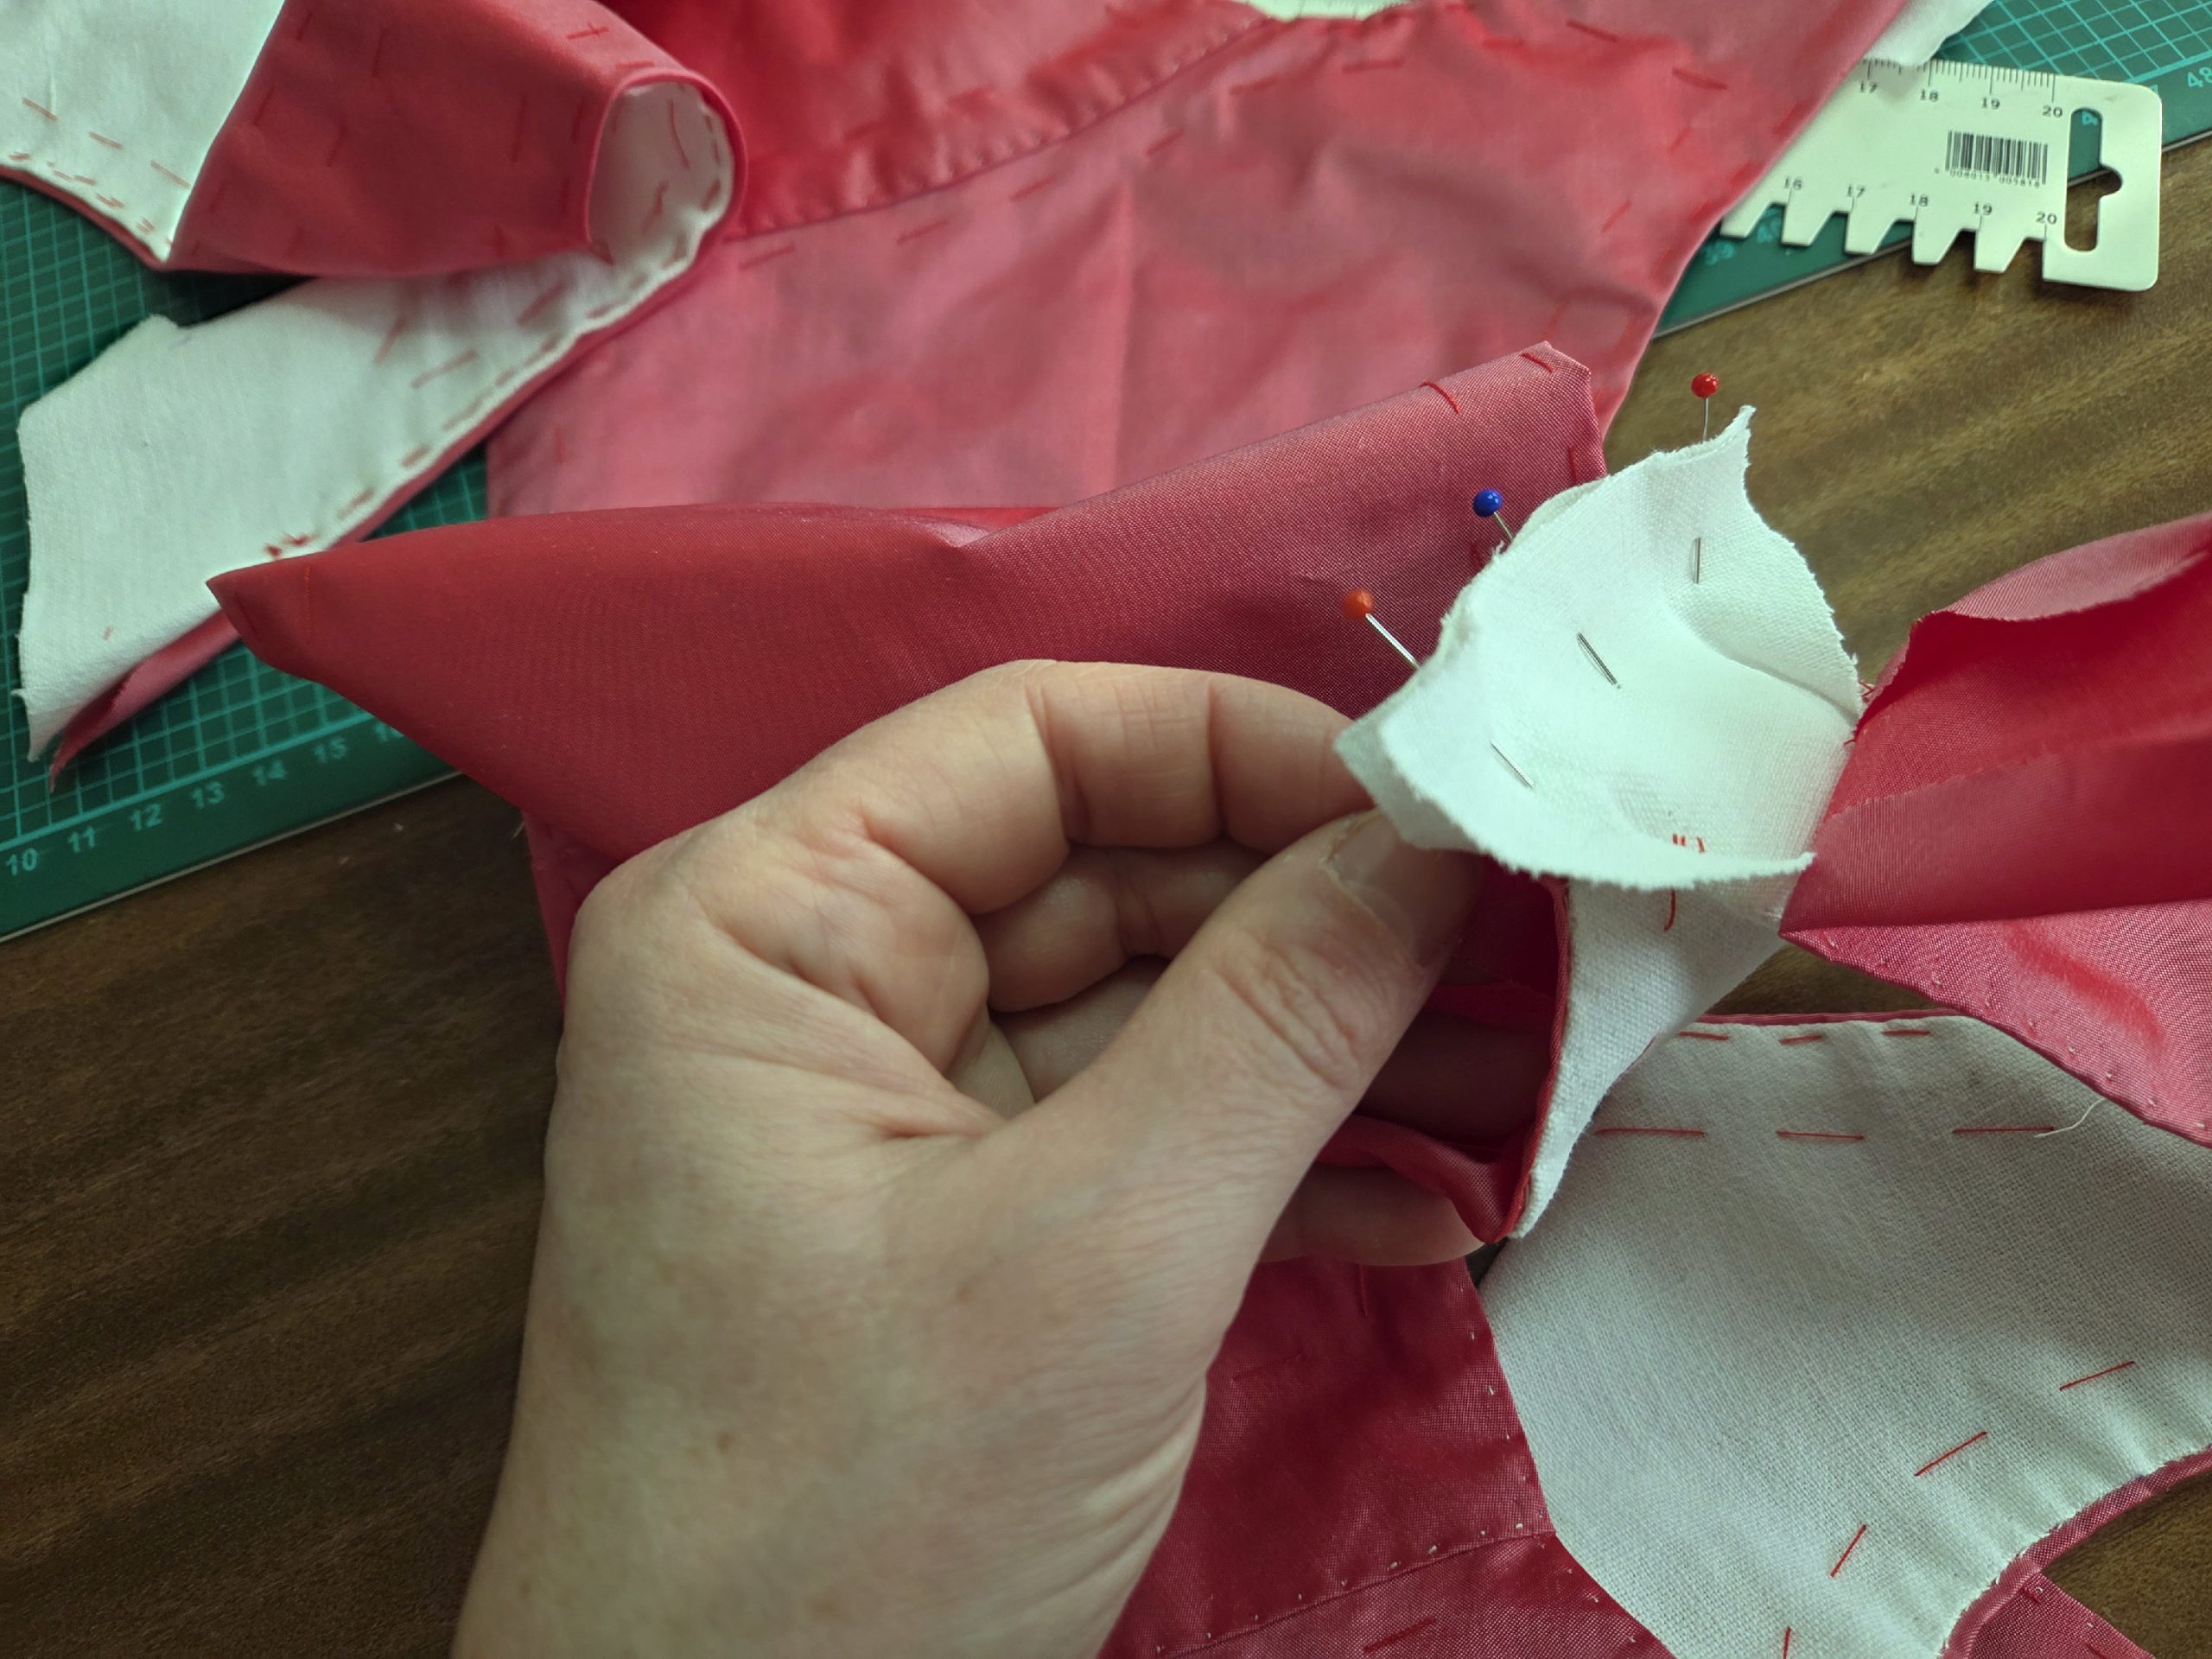
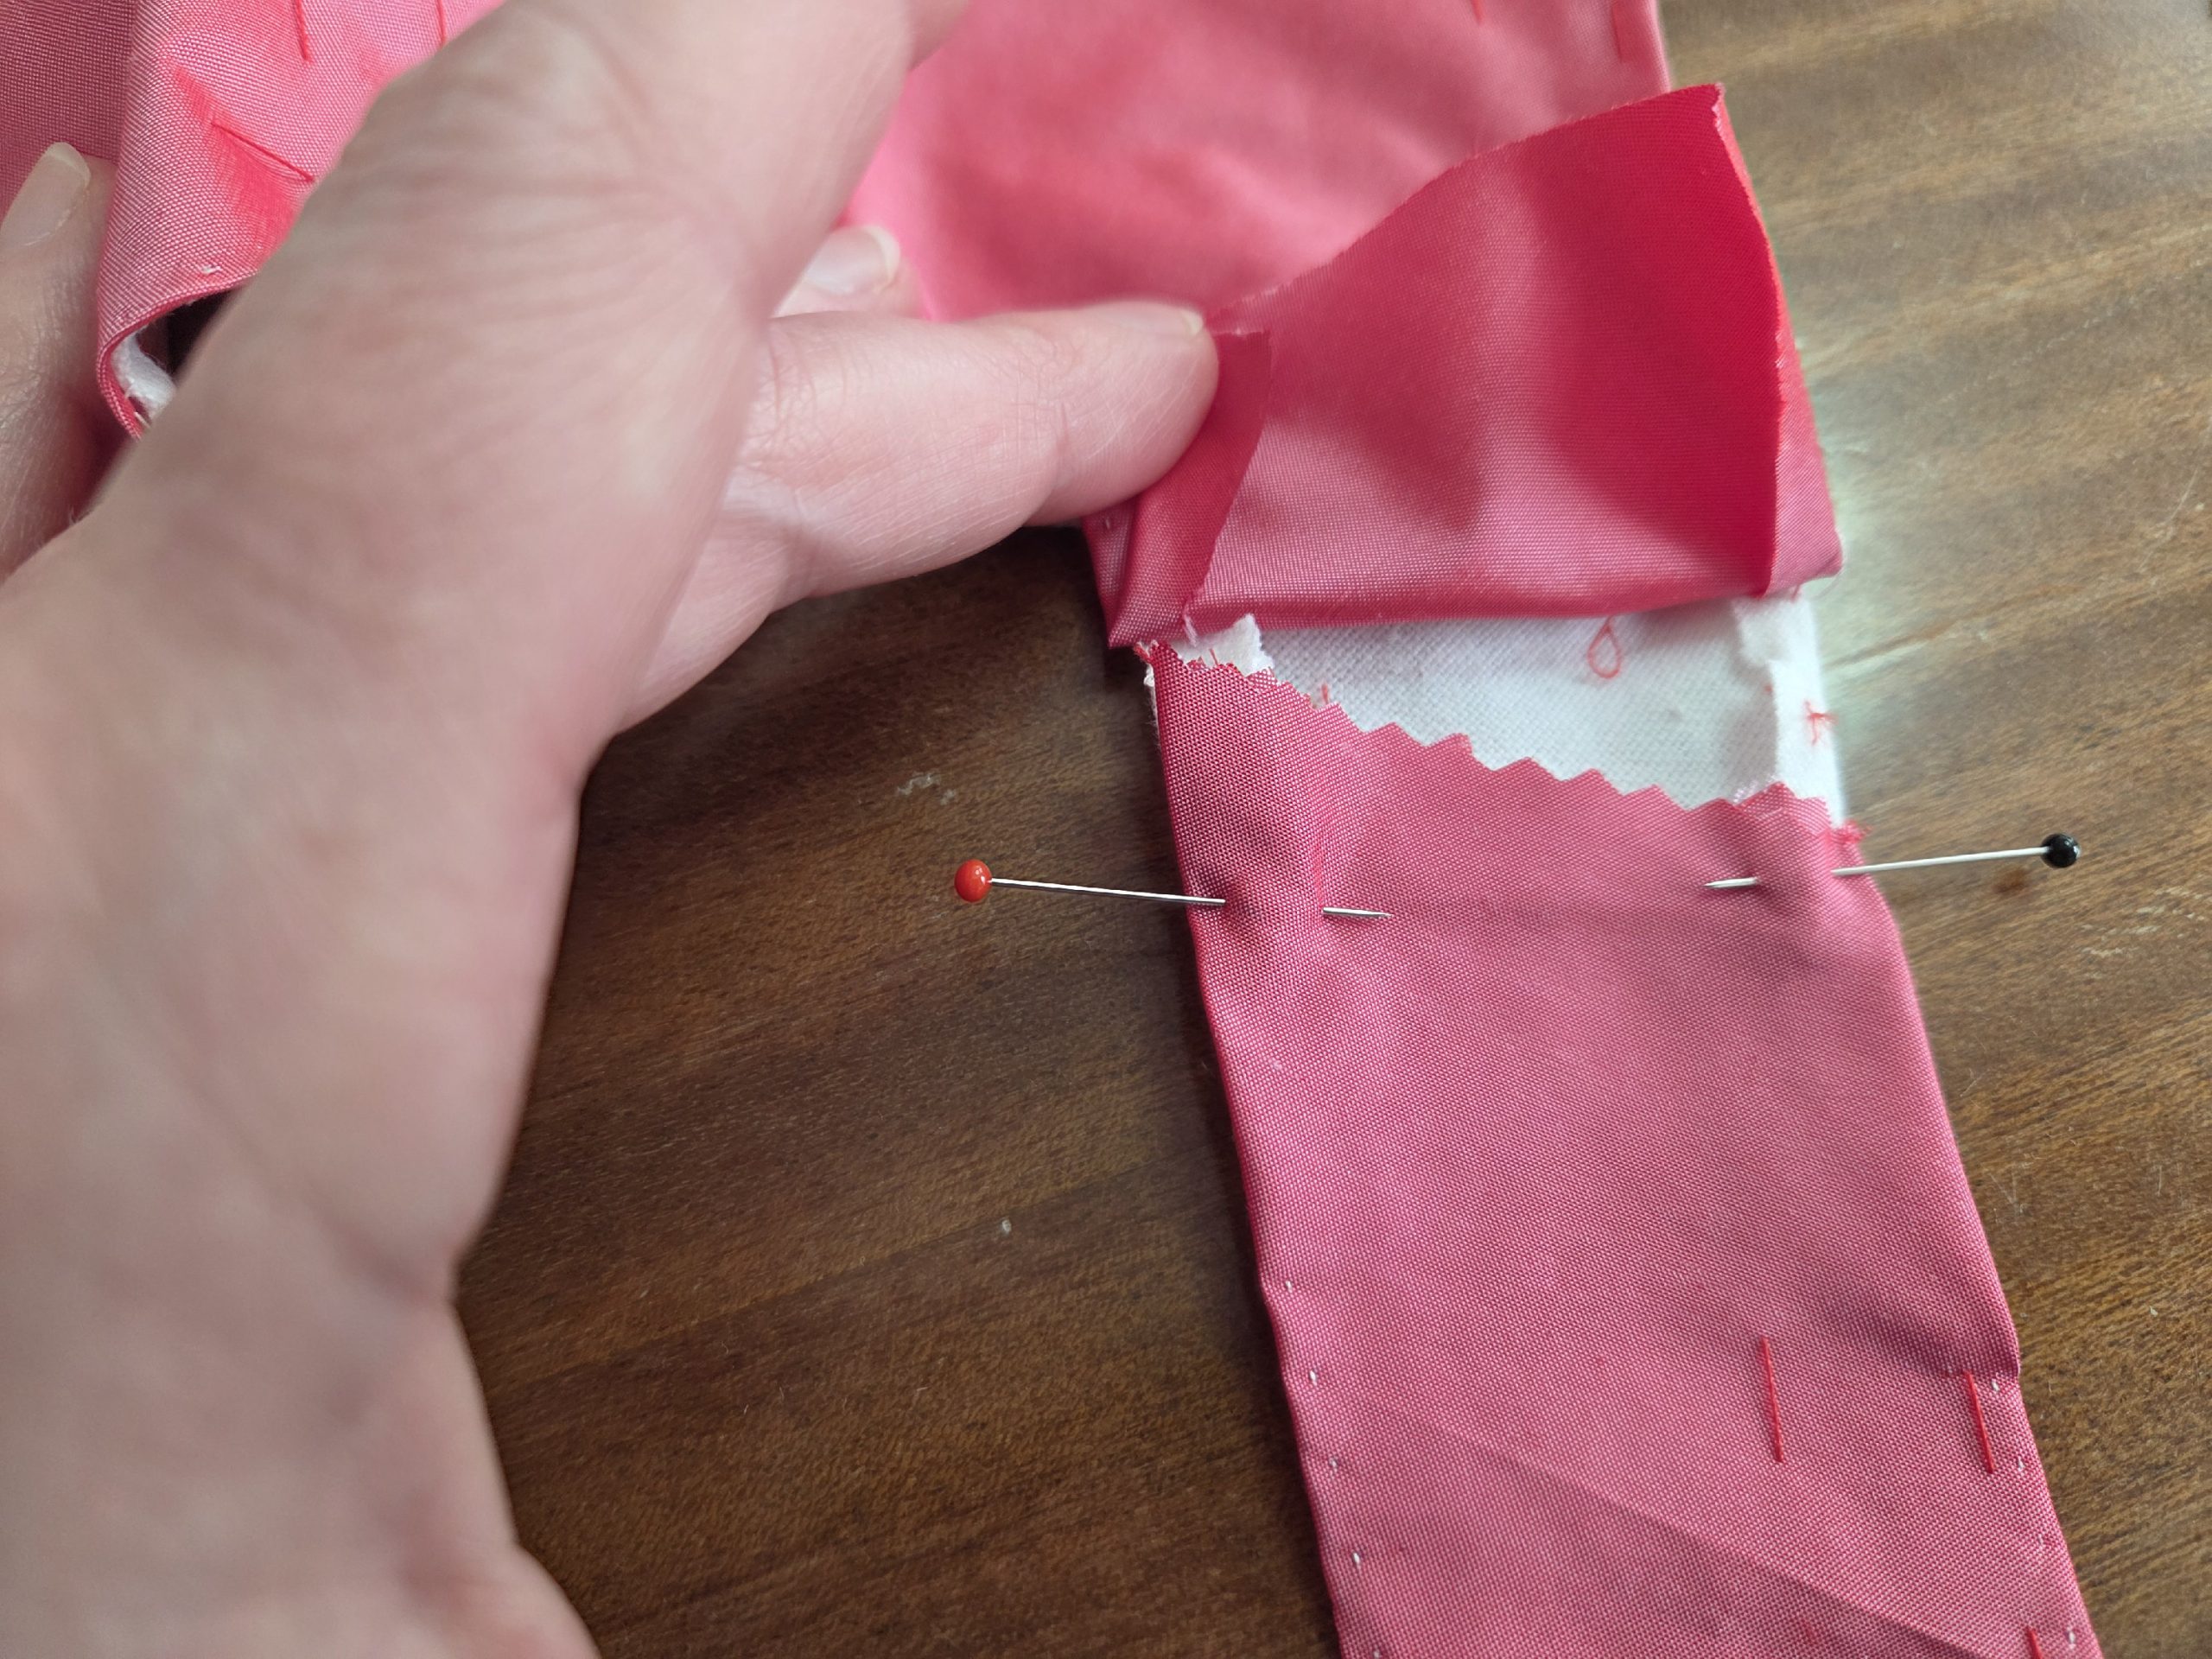
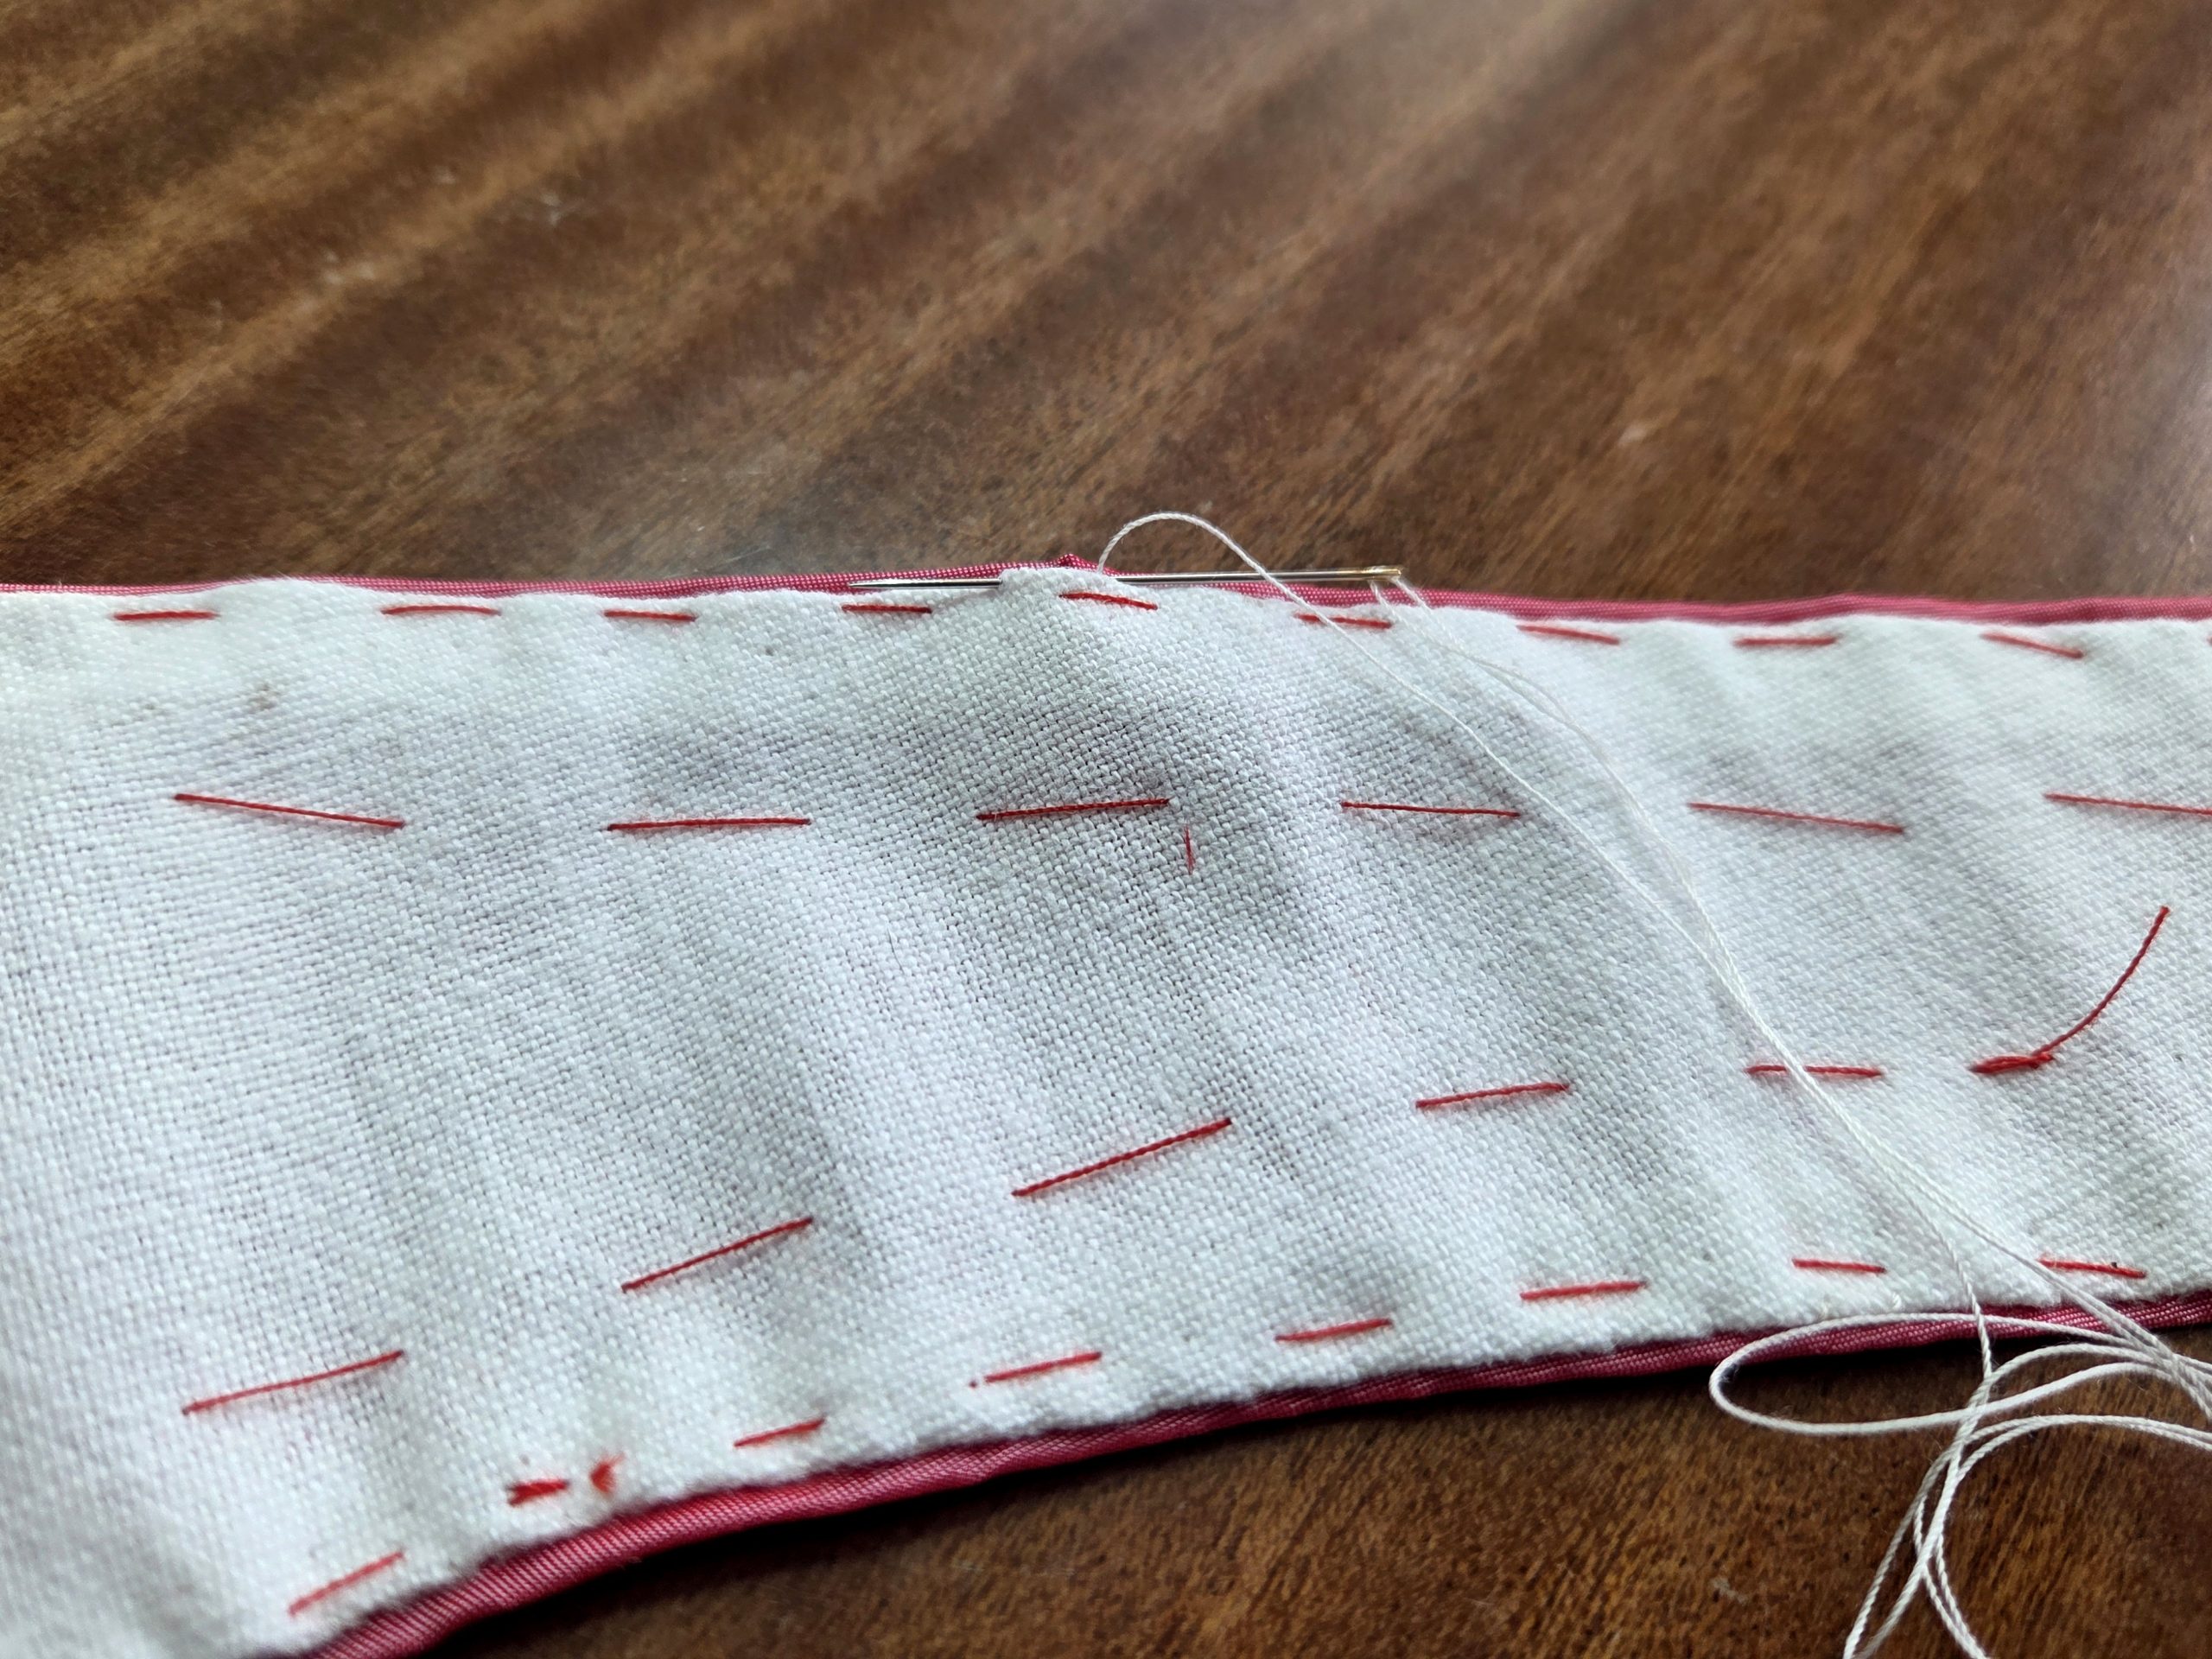
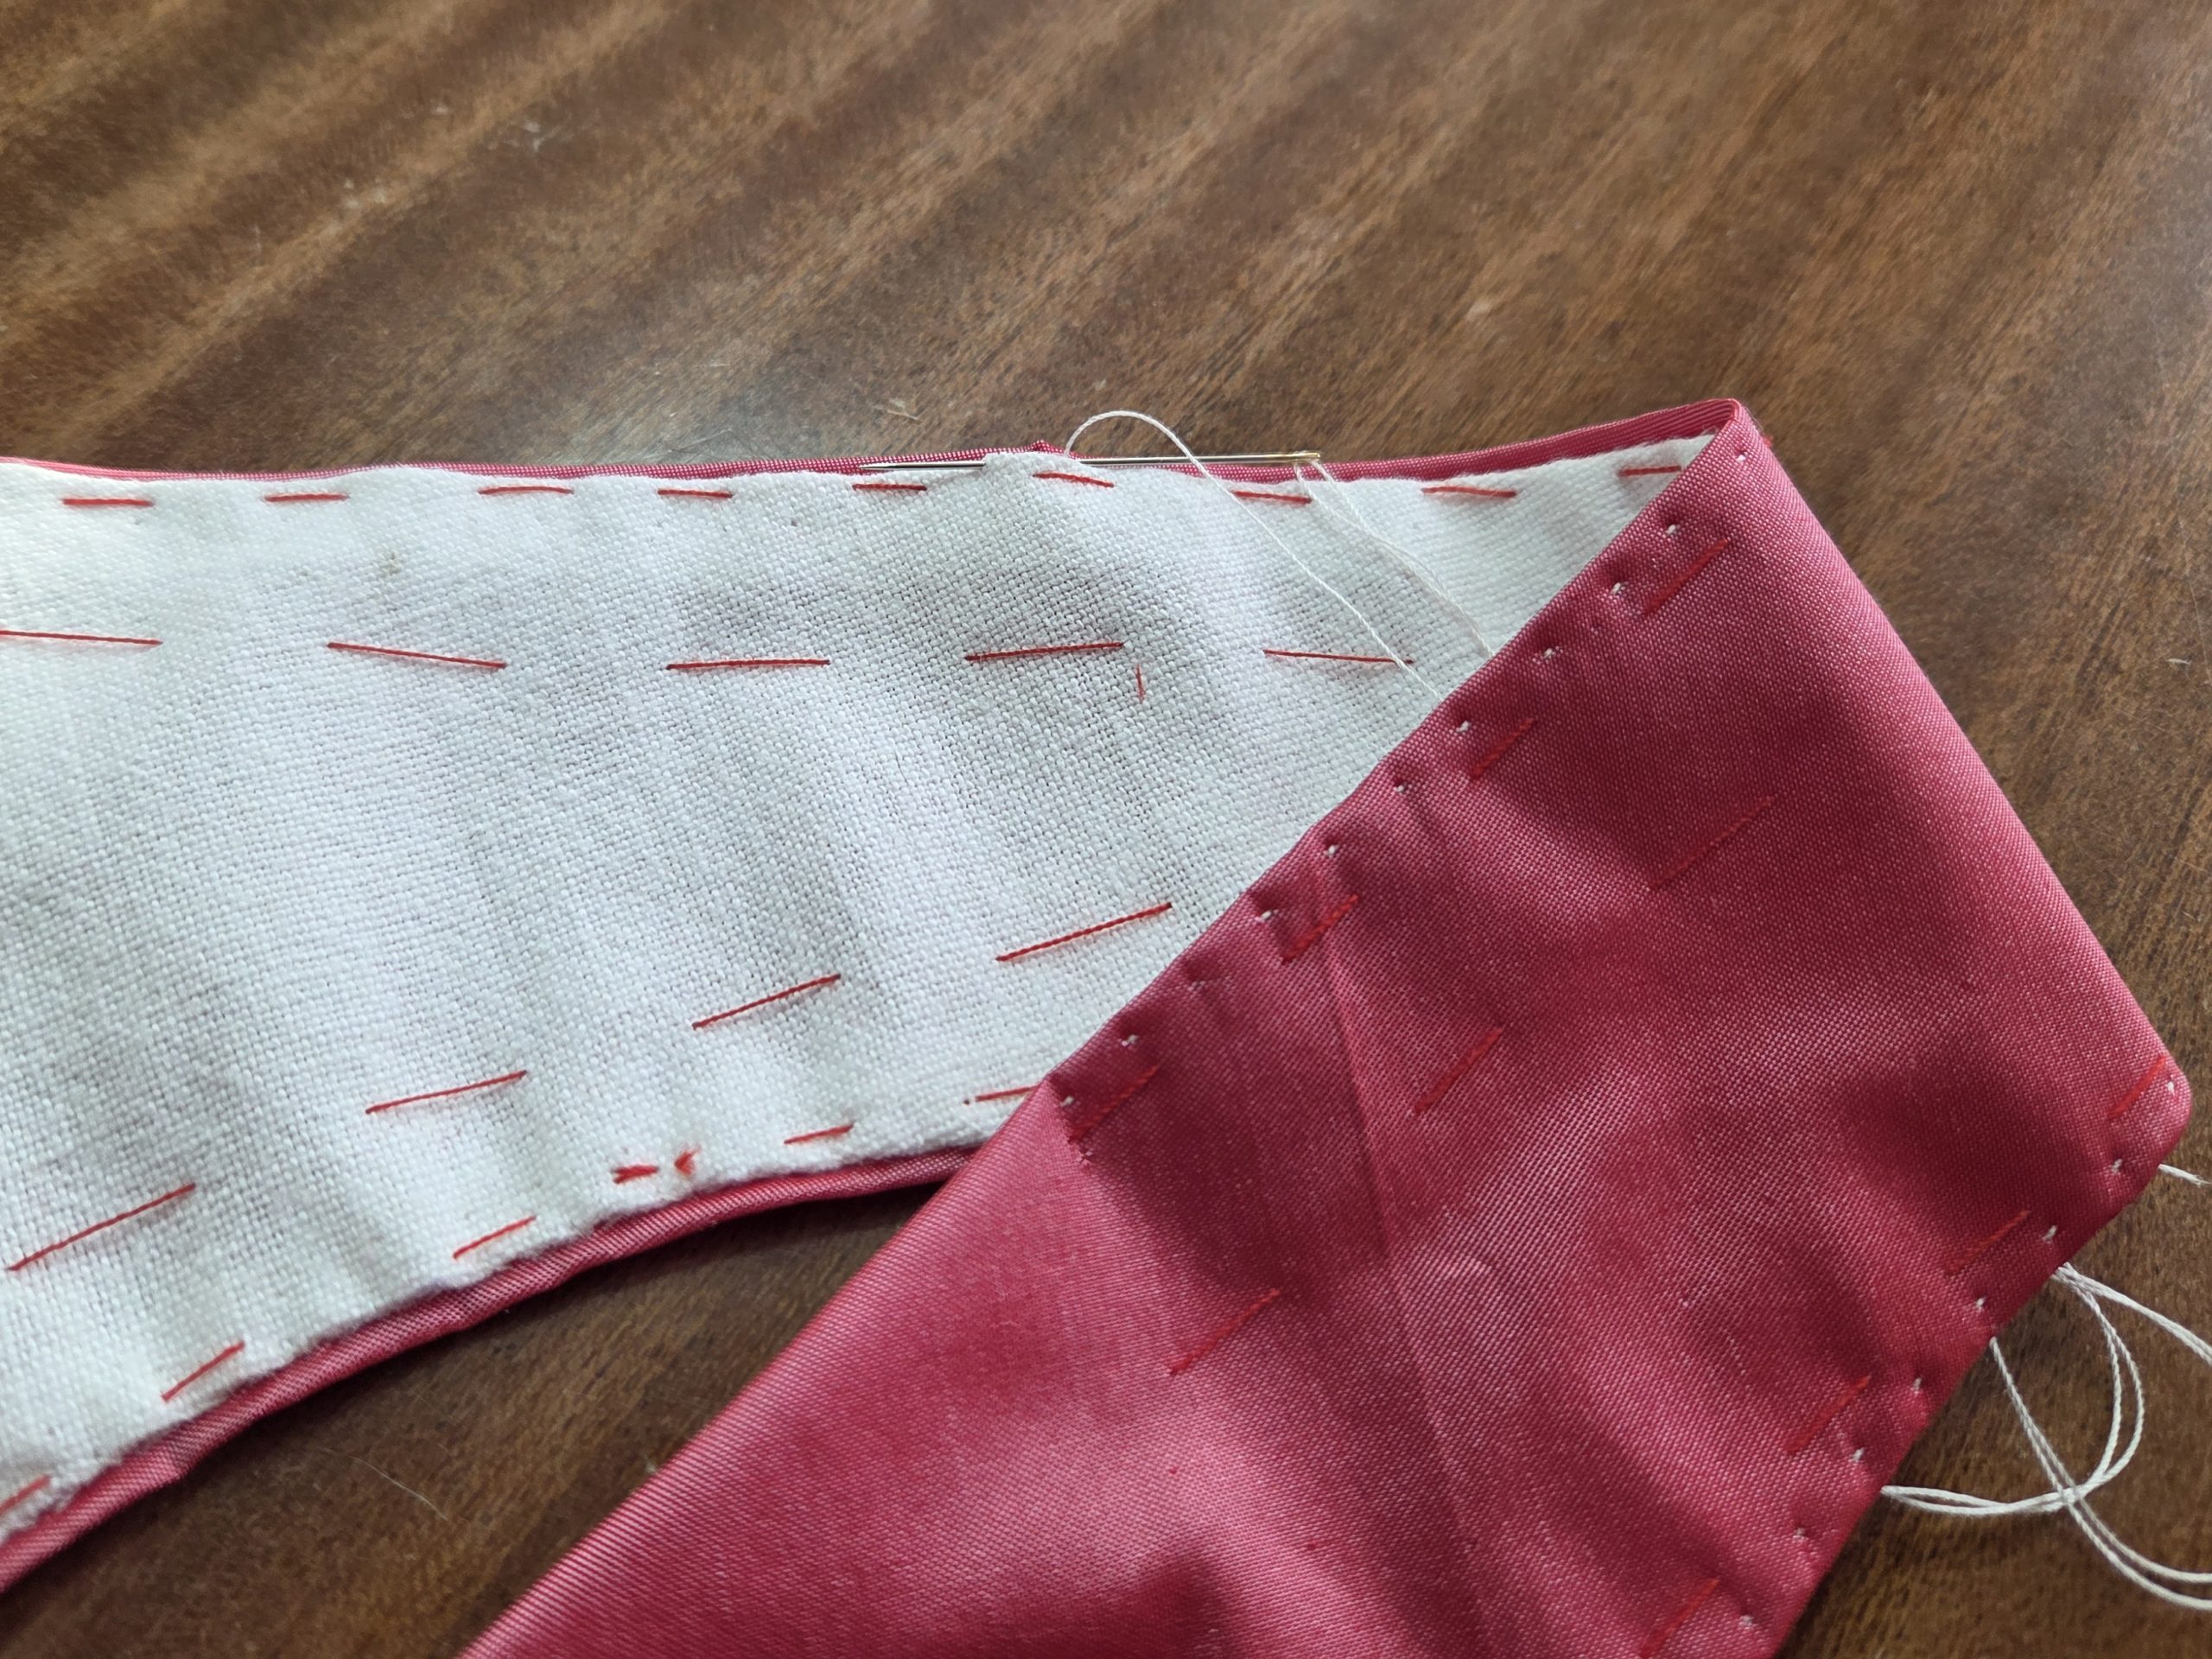
(7) Sew along all edges with the “point à rabattre sous la main“.
(8) Remove all basting threads and attach hooks and eyes at the center front to close the spencer.
Feel free to style the dress with a shawl and a matching reticule. Pineapples were very fashionable at the time. You can find a knitting tutorial for the bag here: https://knitty.com/ISSUEss12/FEATss12SIT.php?printOption=printNoImages
Finished!
If you’d like to sew the dress yourself, you can purchase the pattern in my shop or on Etsy and follow along as I make it.