As I recognized lately, I never made a tutorial with detailed pictures of this dress. So that’s going to be changed at this moment.

Ever since I released the sewing pattern, I’ve received questions about how it was made, from choosing the fabric to assembling those little hand-sewing details that make it special. Today, I’m finally taking you behind the scenes—step by step, with plenty of close-up photos—to show you exactly how this dress comes together. Whether you’re planning to sew the dress or just curious about the process, this tutorial will guide you through every part. Let’s get started!
If you’d like to sew the dress yourself, you can purchase the pattern in my shop or on Etsy and follow along as I make it.
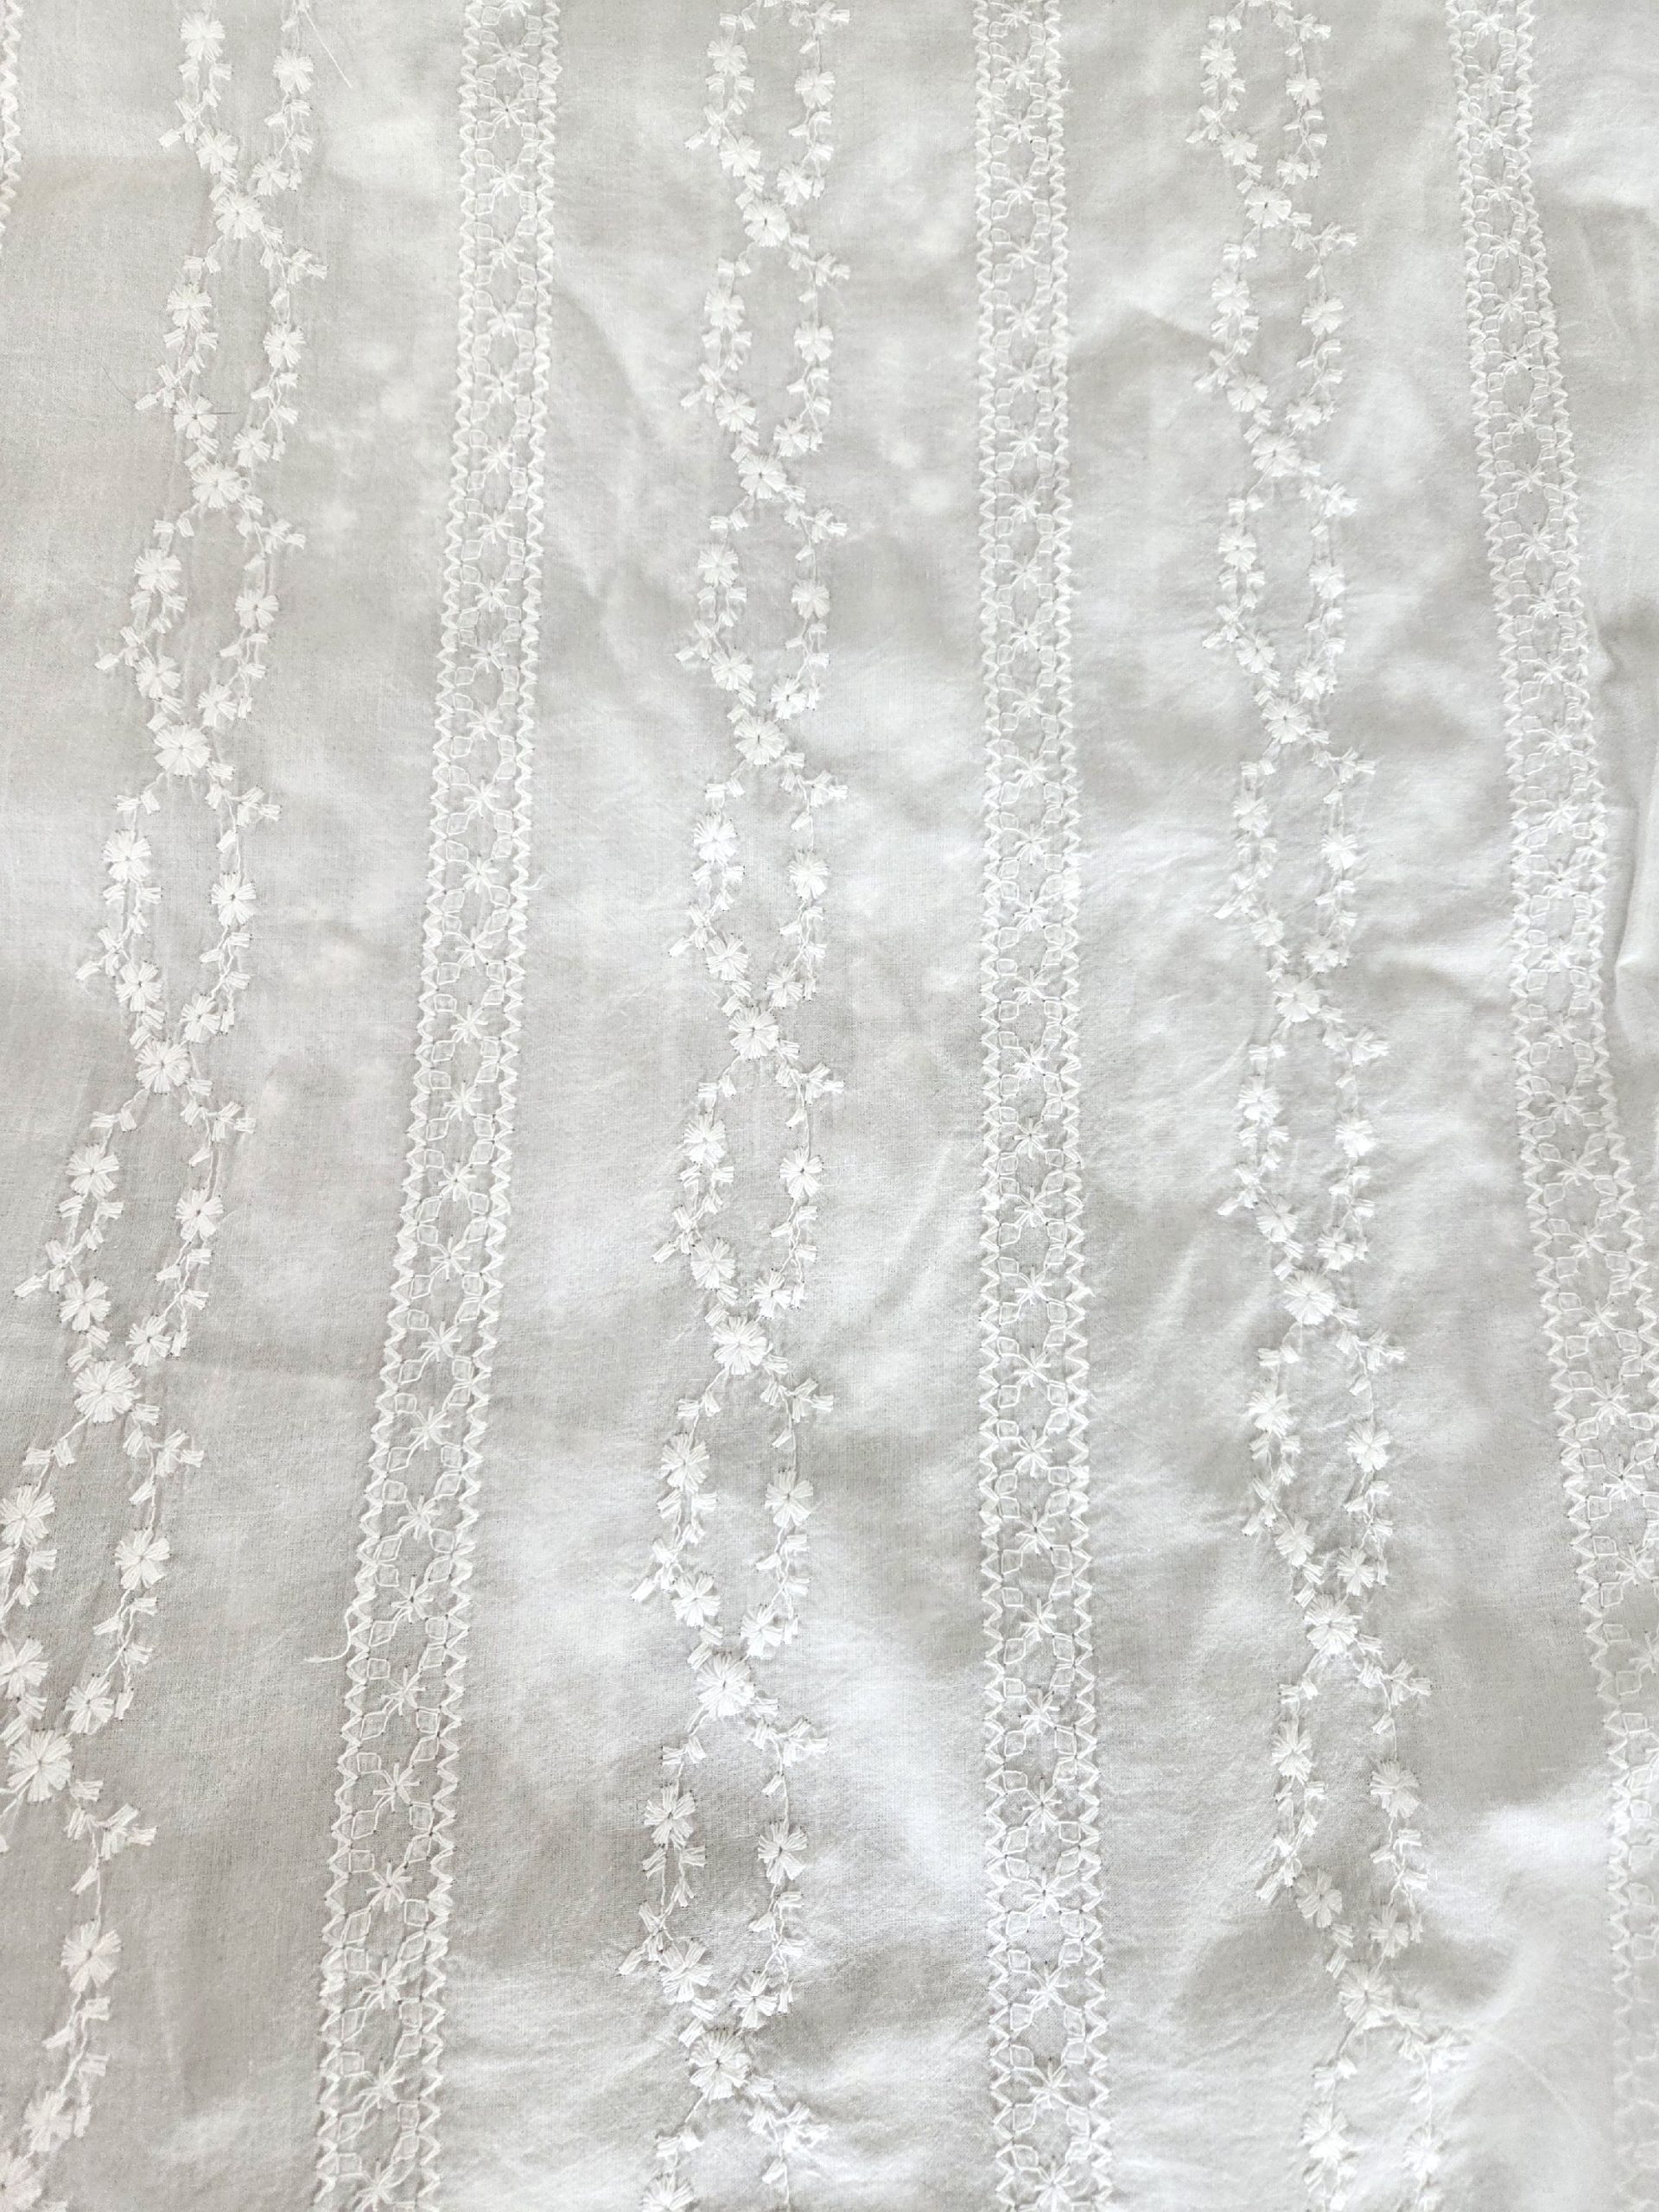
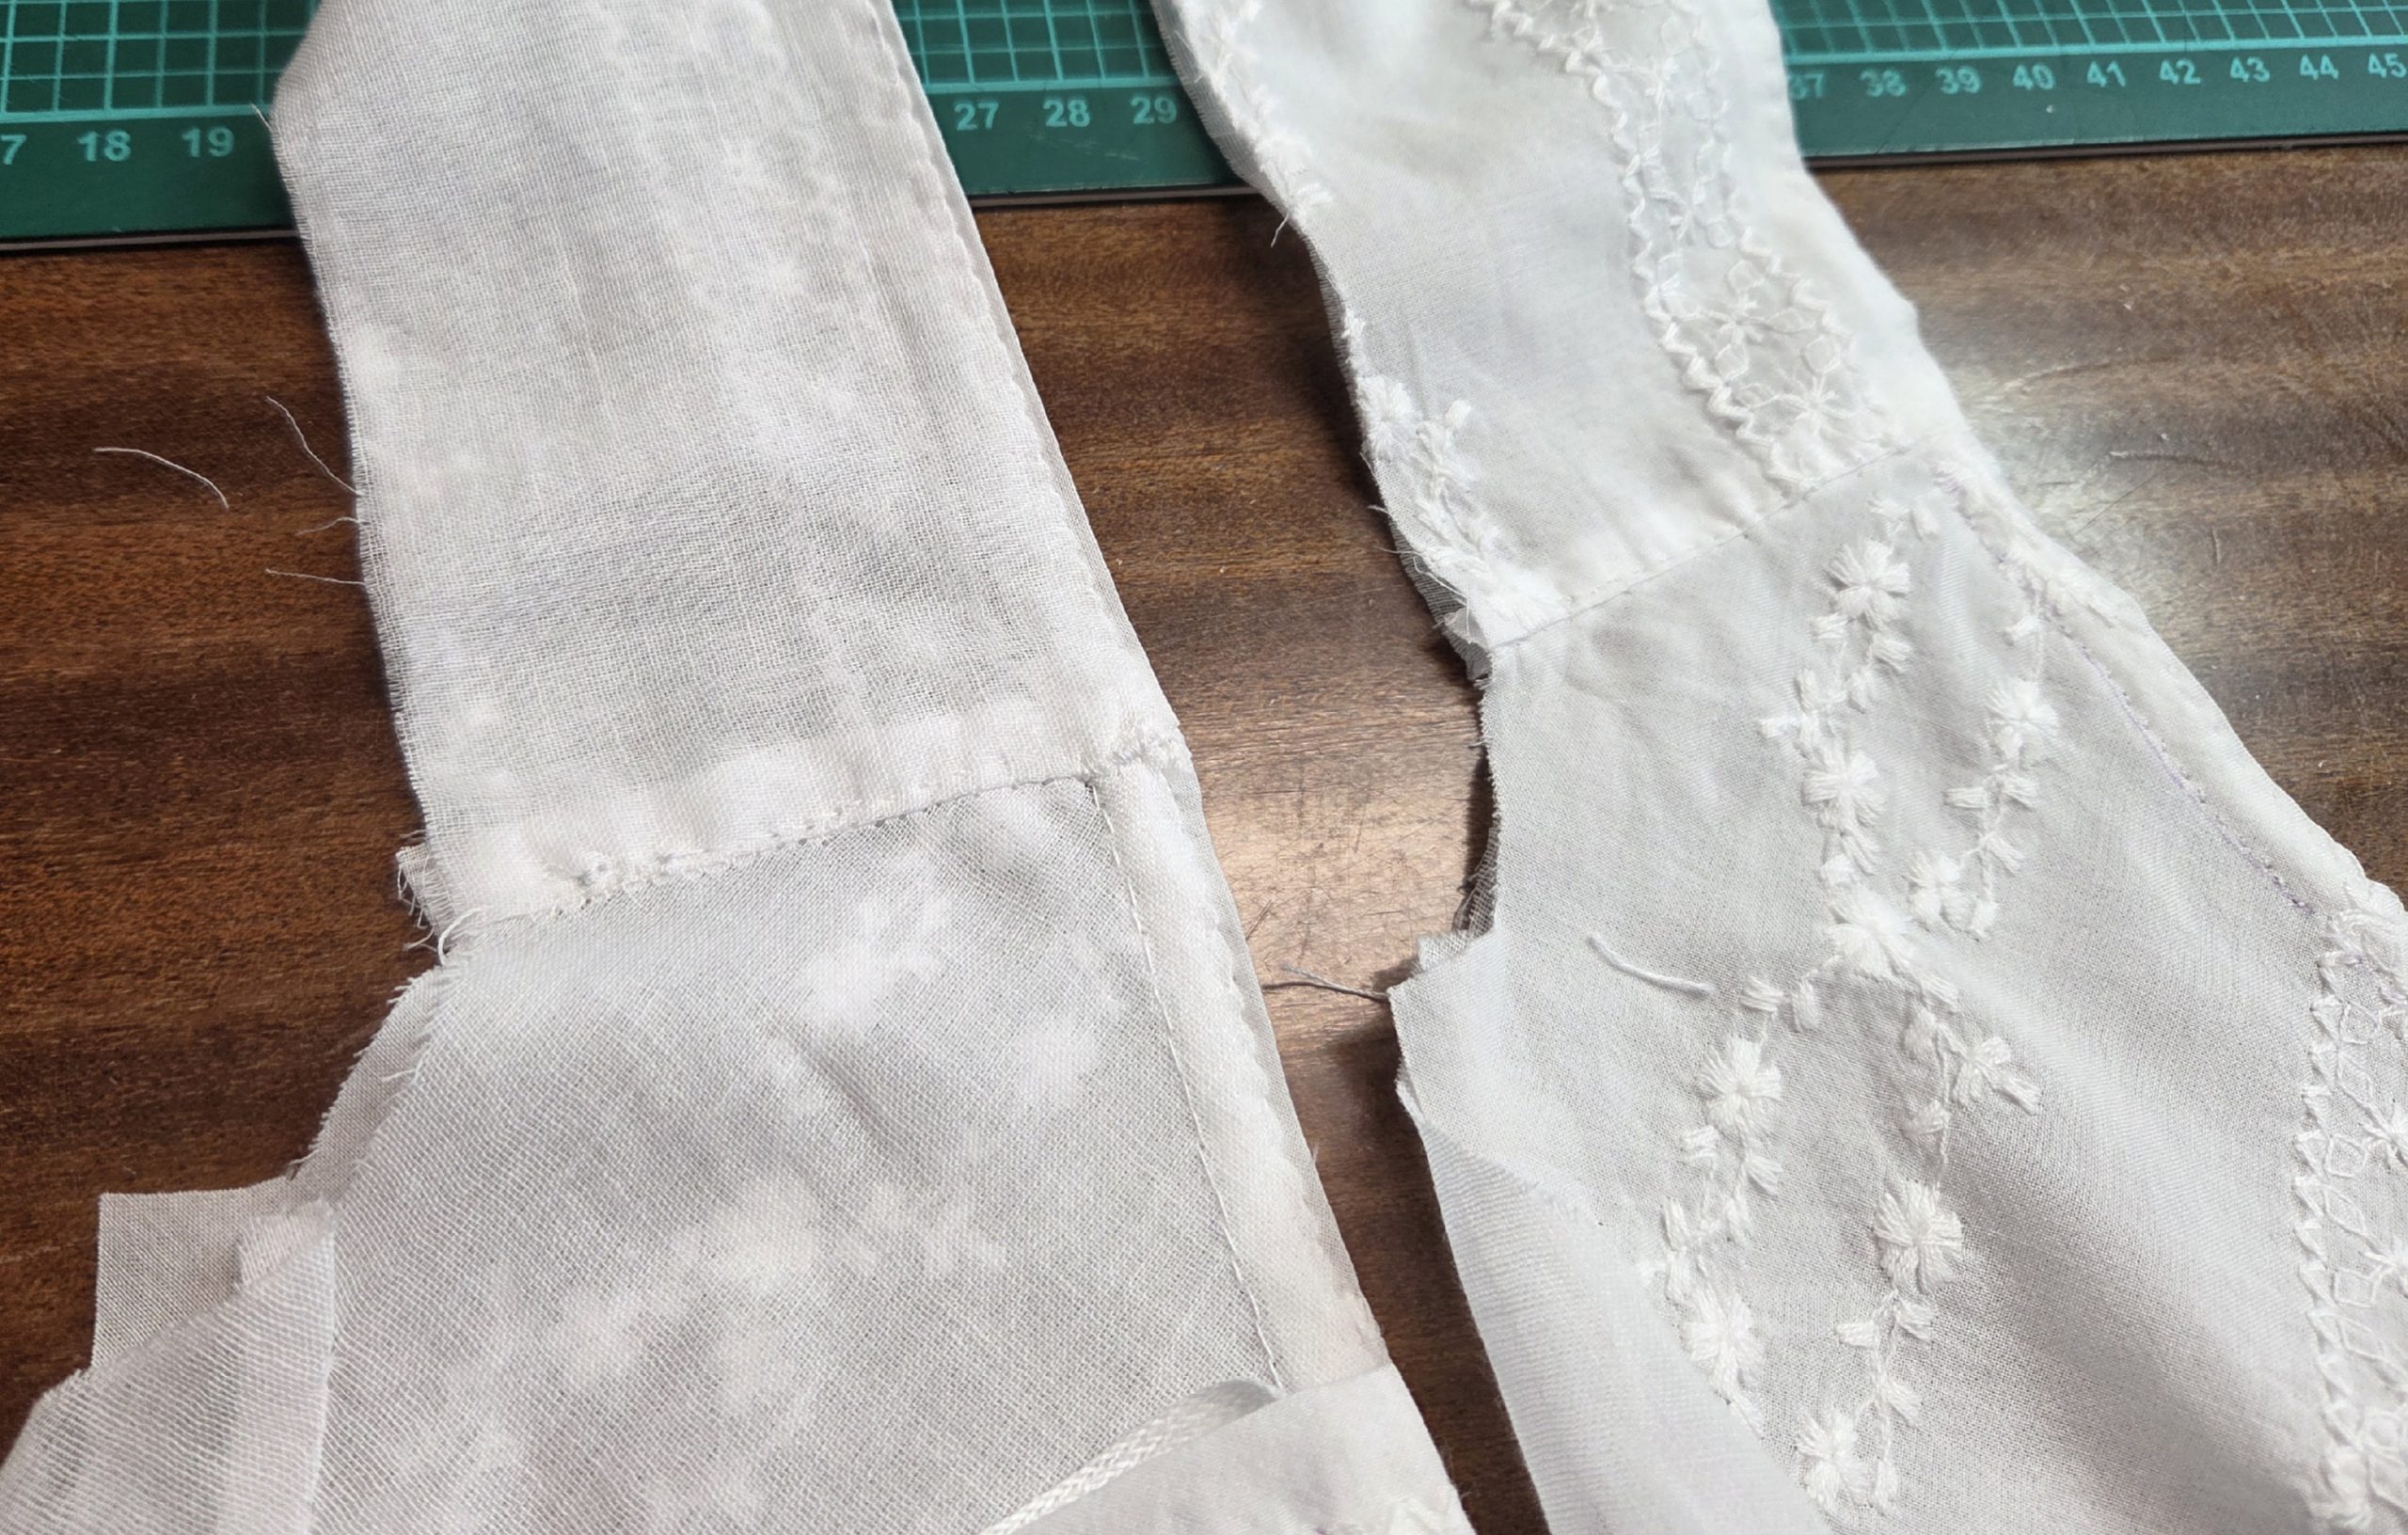
The first dress I made was from some very old Swiss lawn fabric, which, in its previous life, was my grandma’s curtain. Because of its age, the fabric is now quite fragile, so I’ve decided not to wear the dress again in order to preserve it.
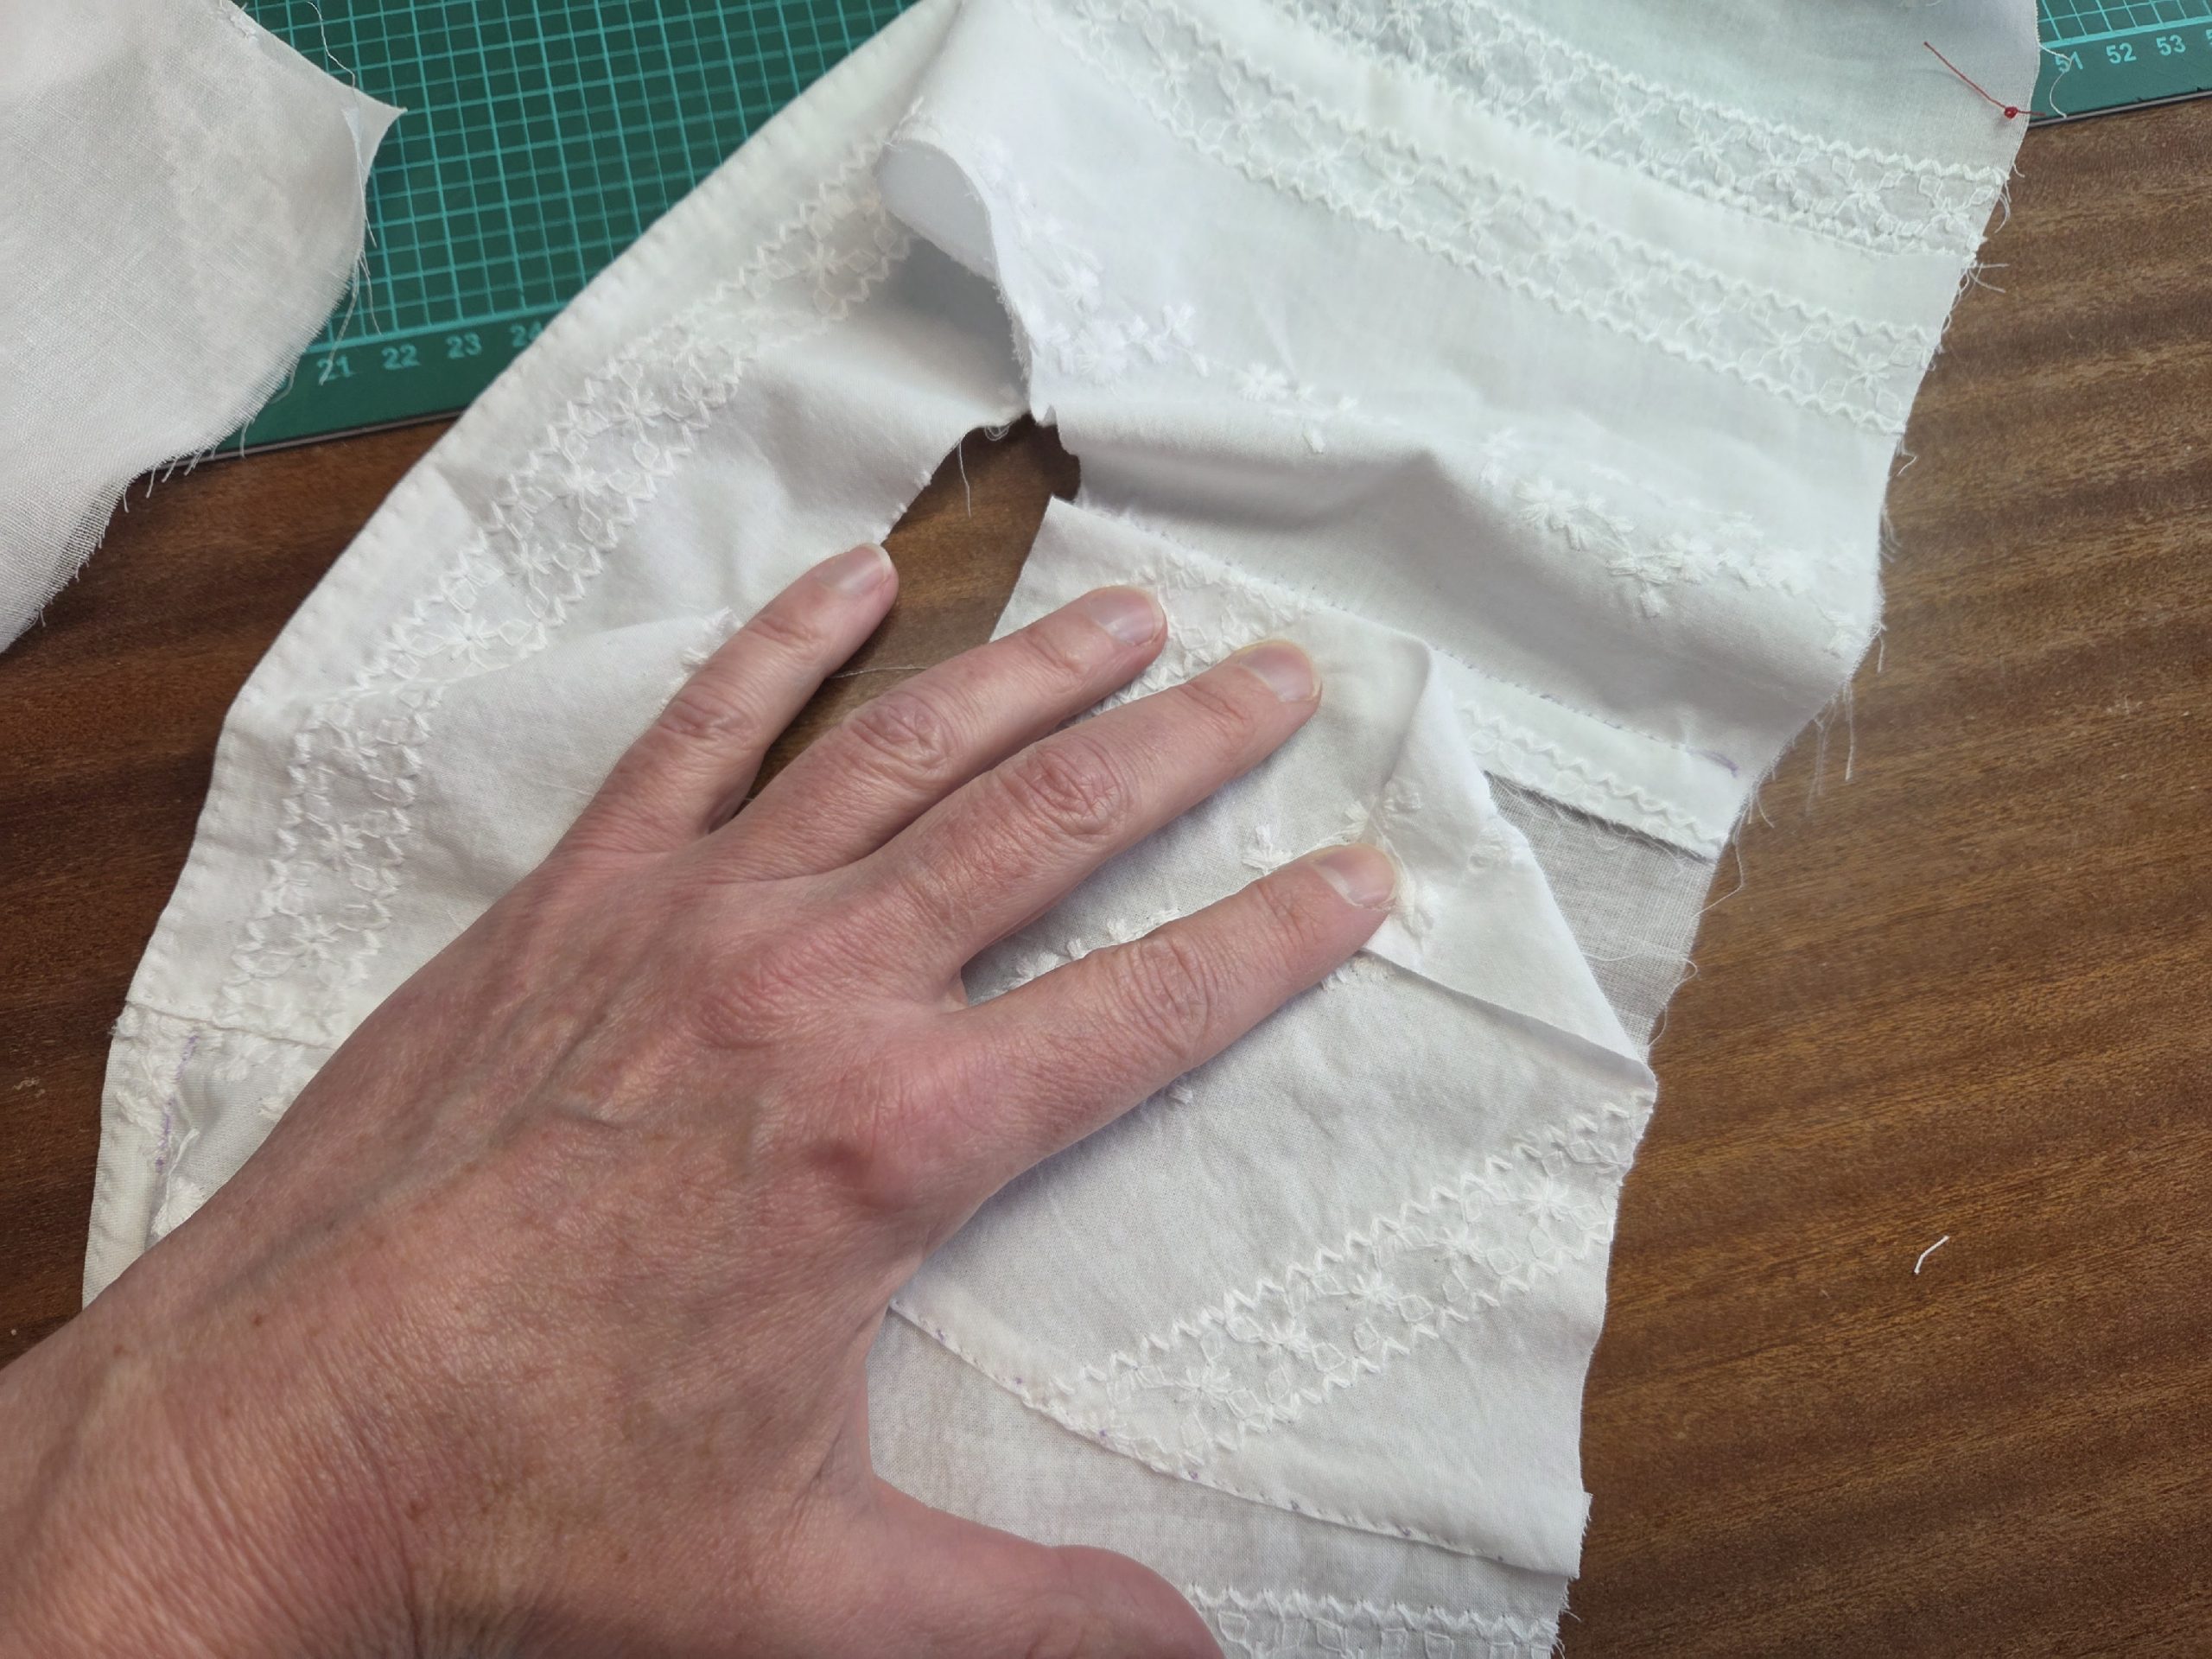
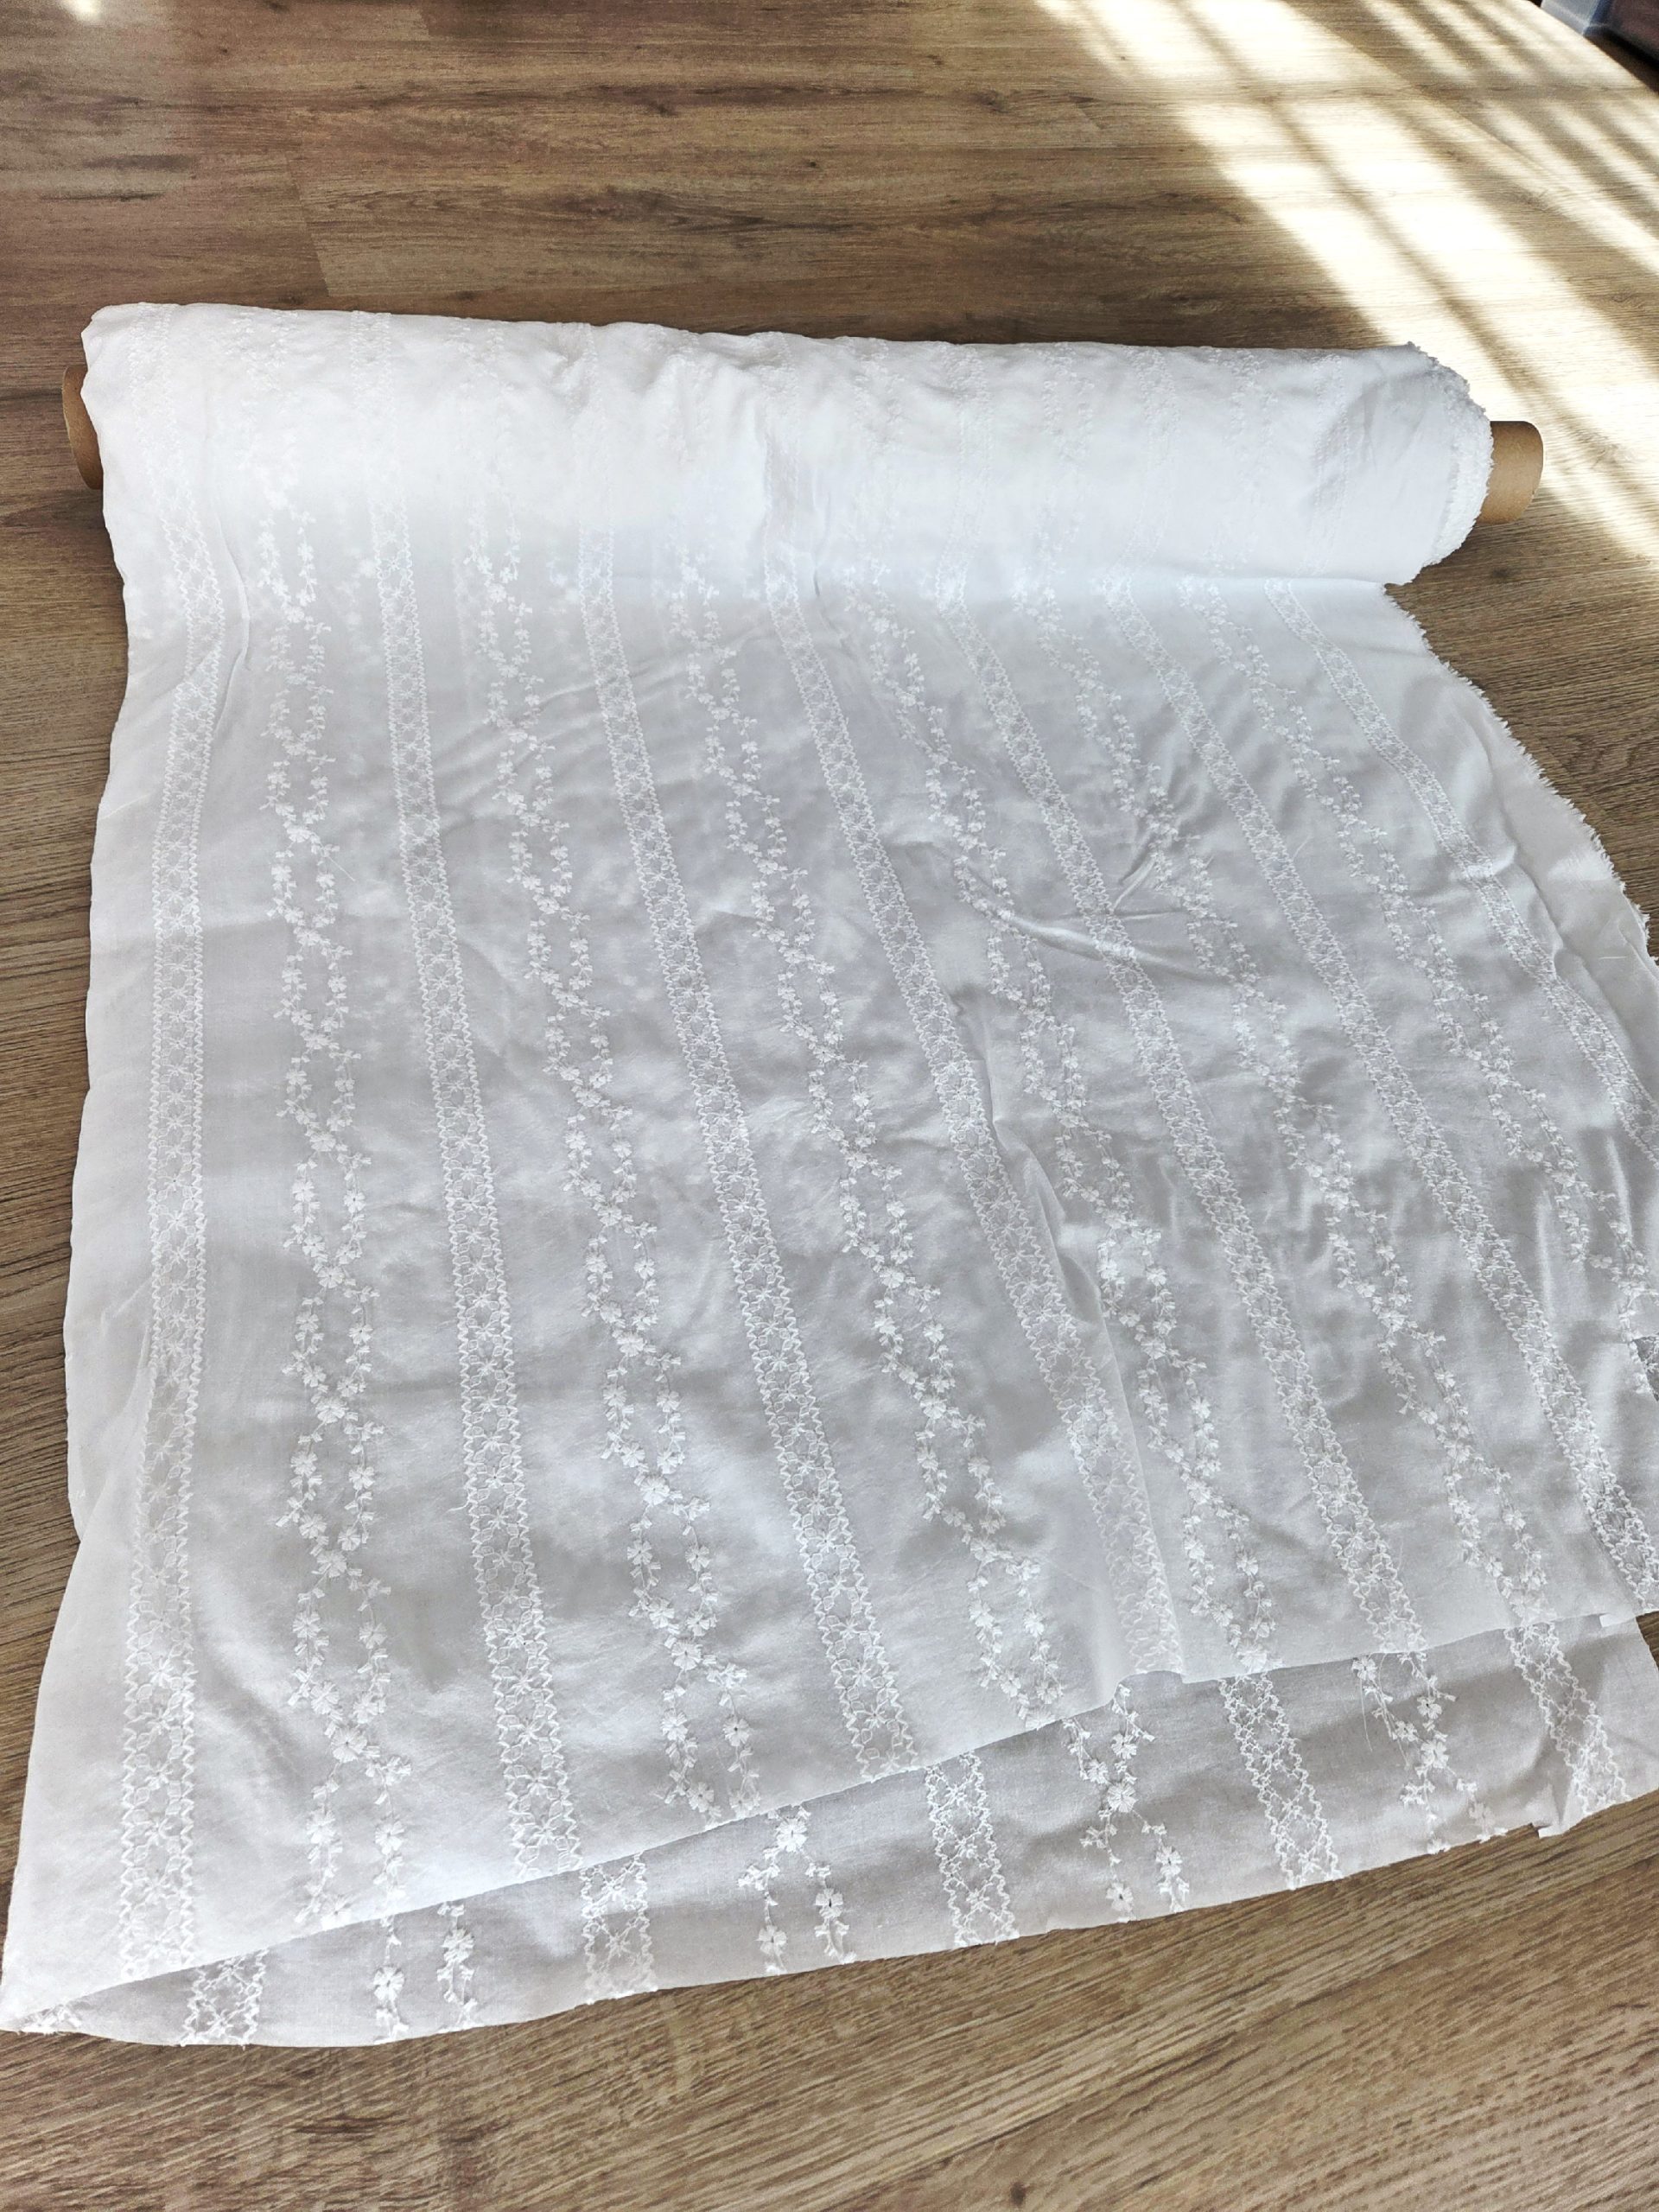
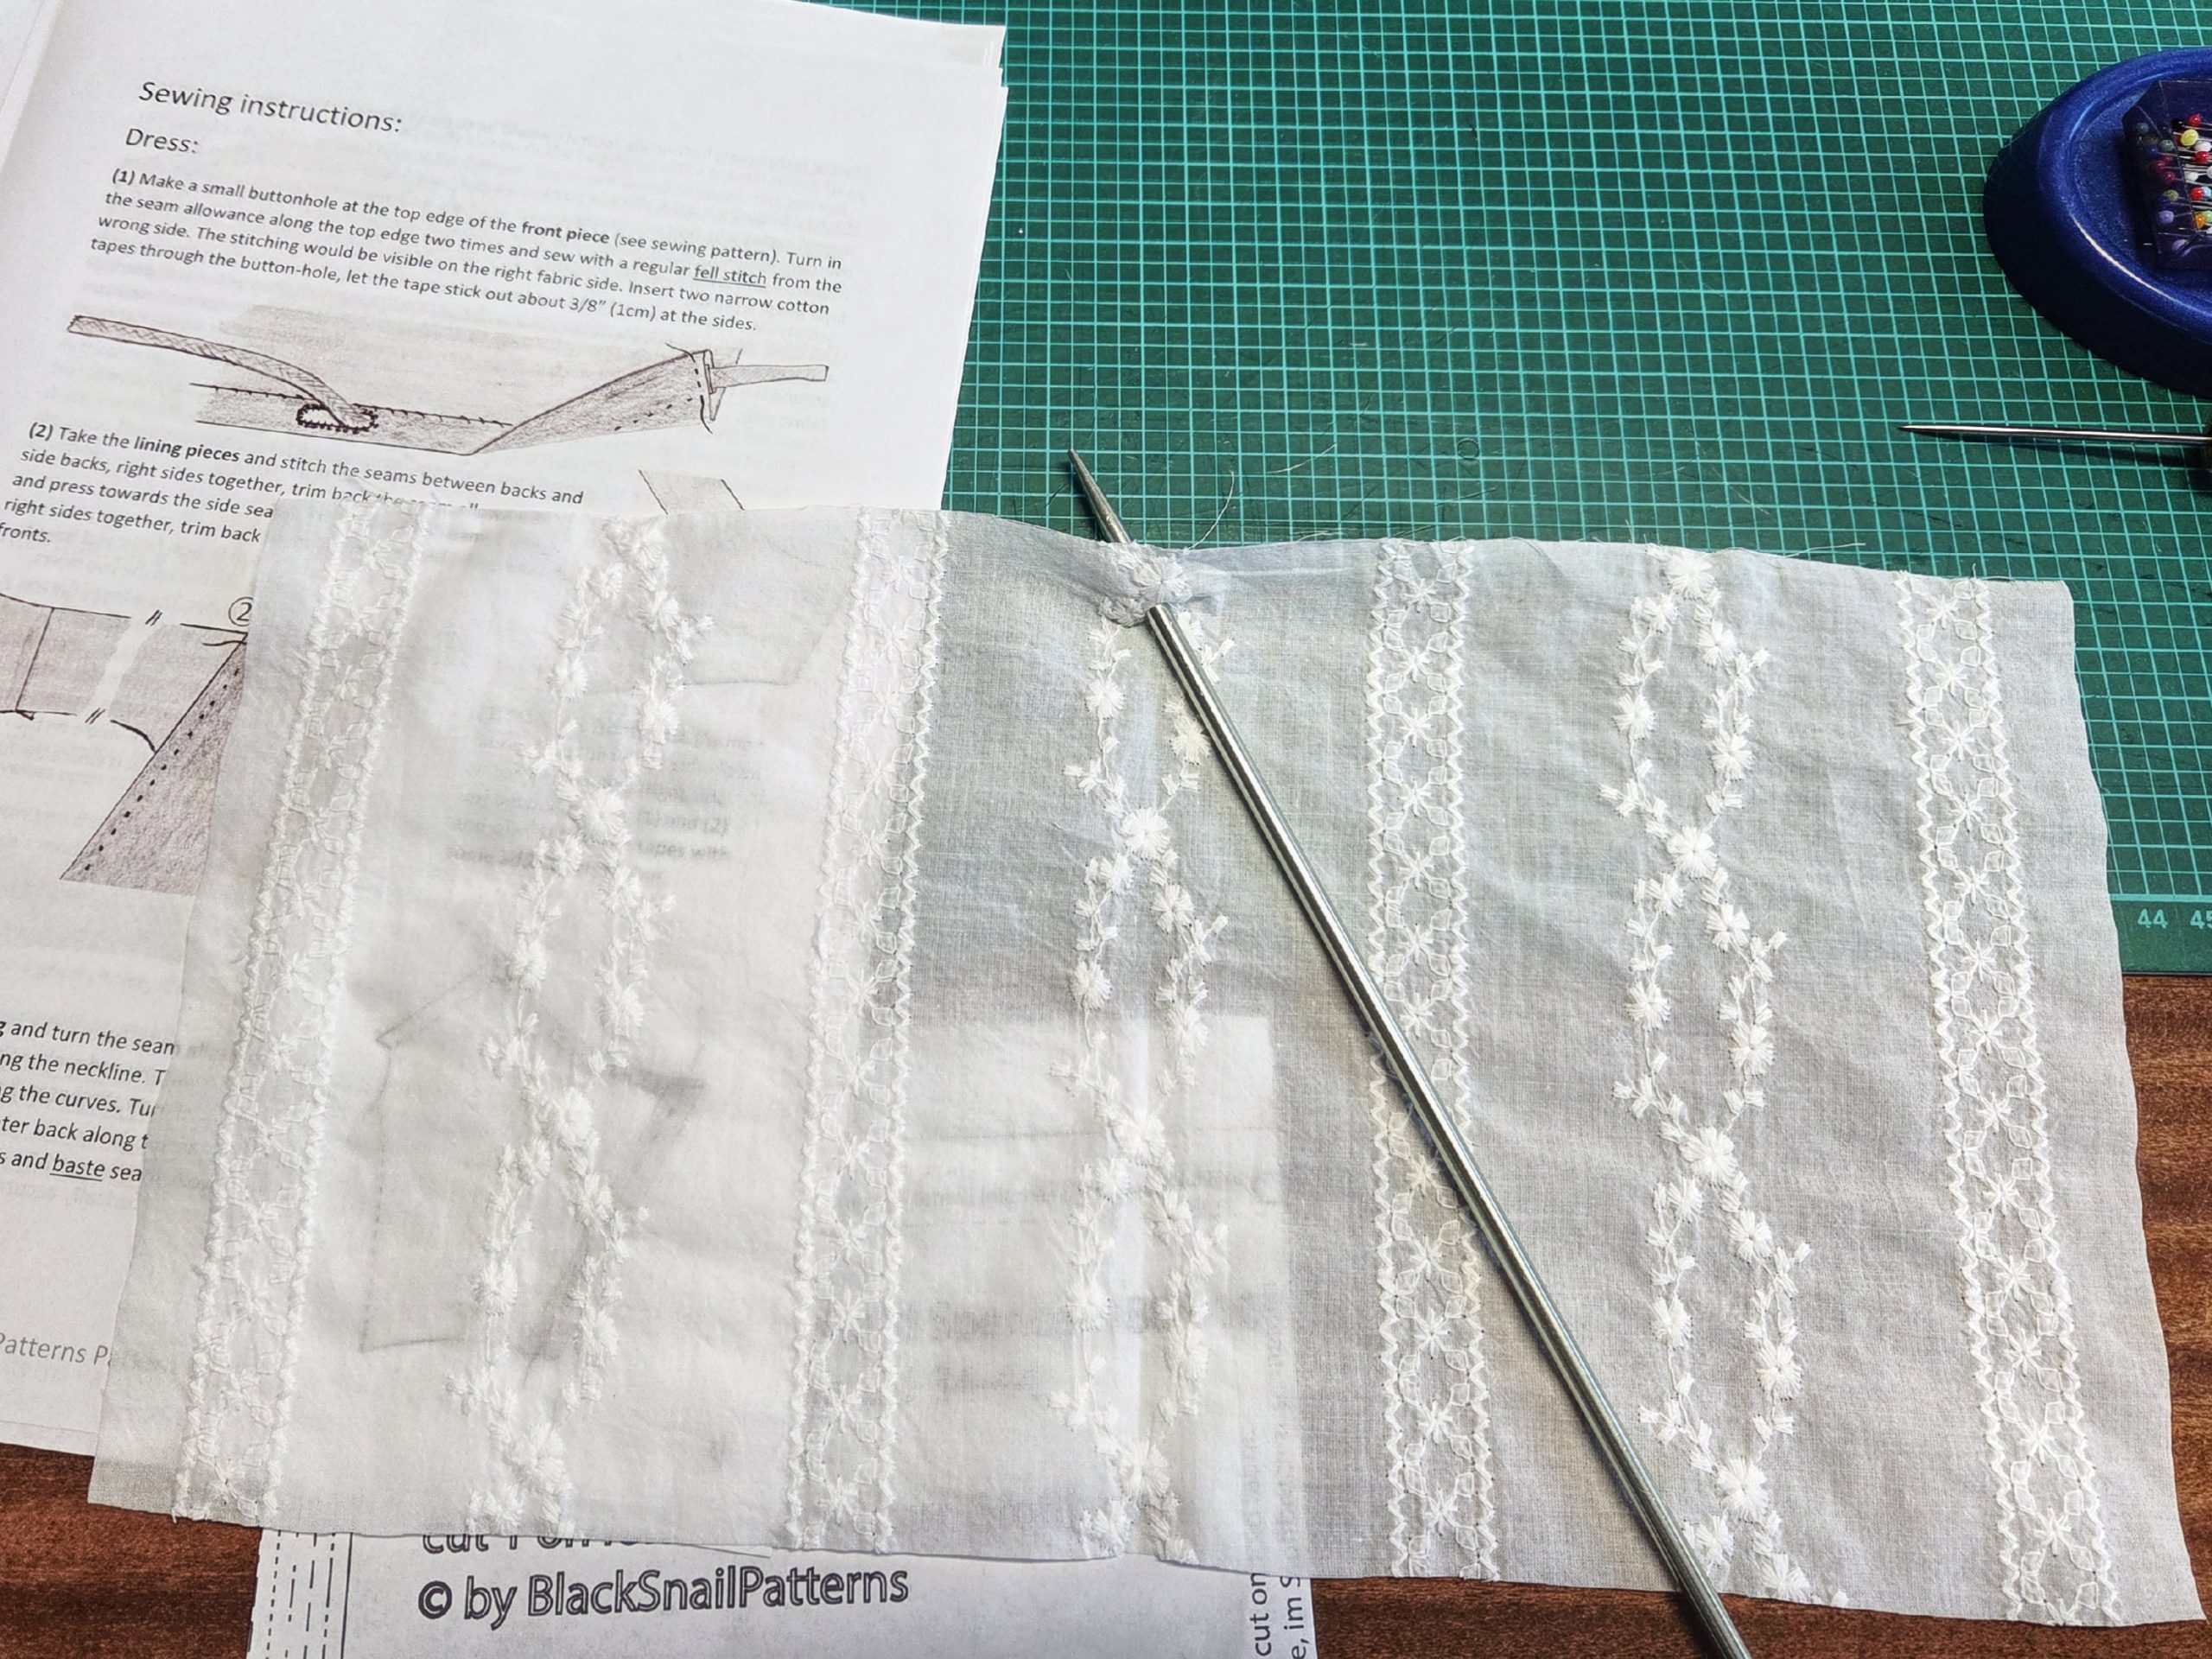
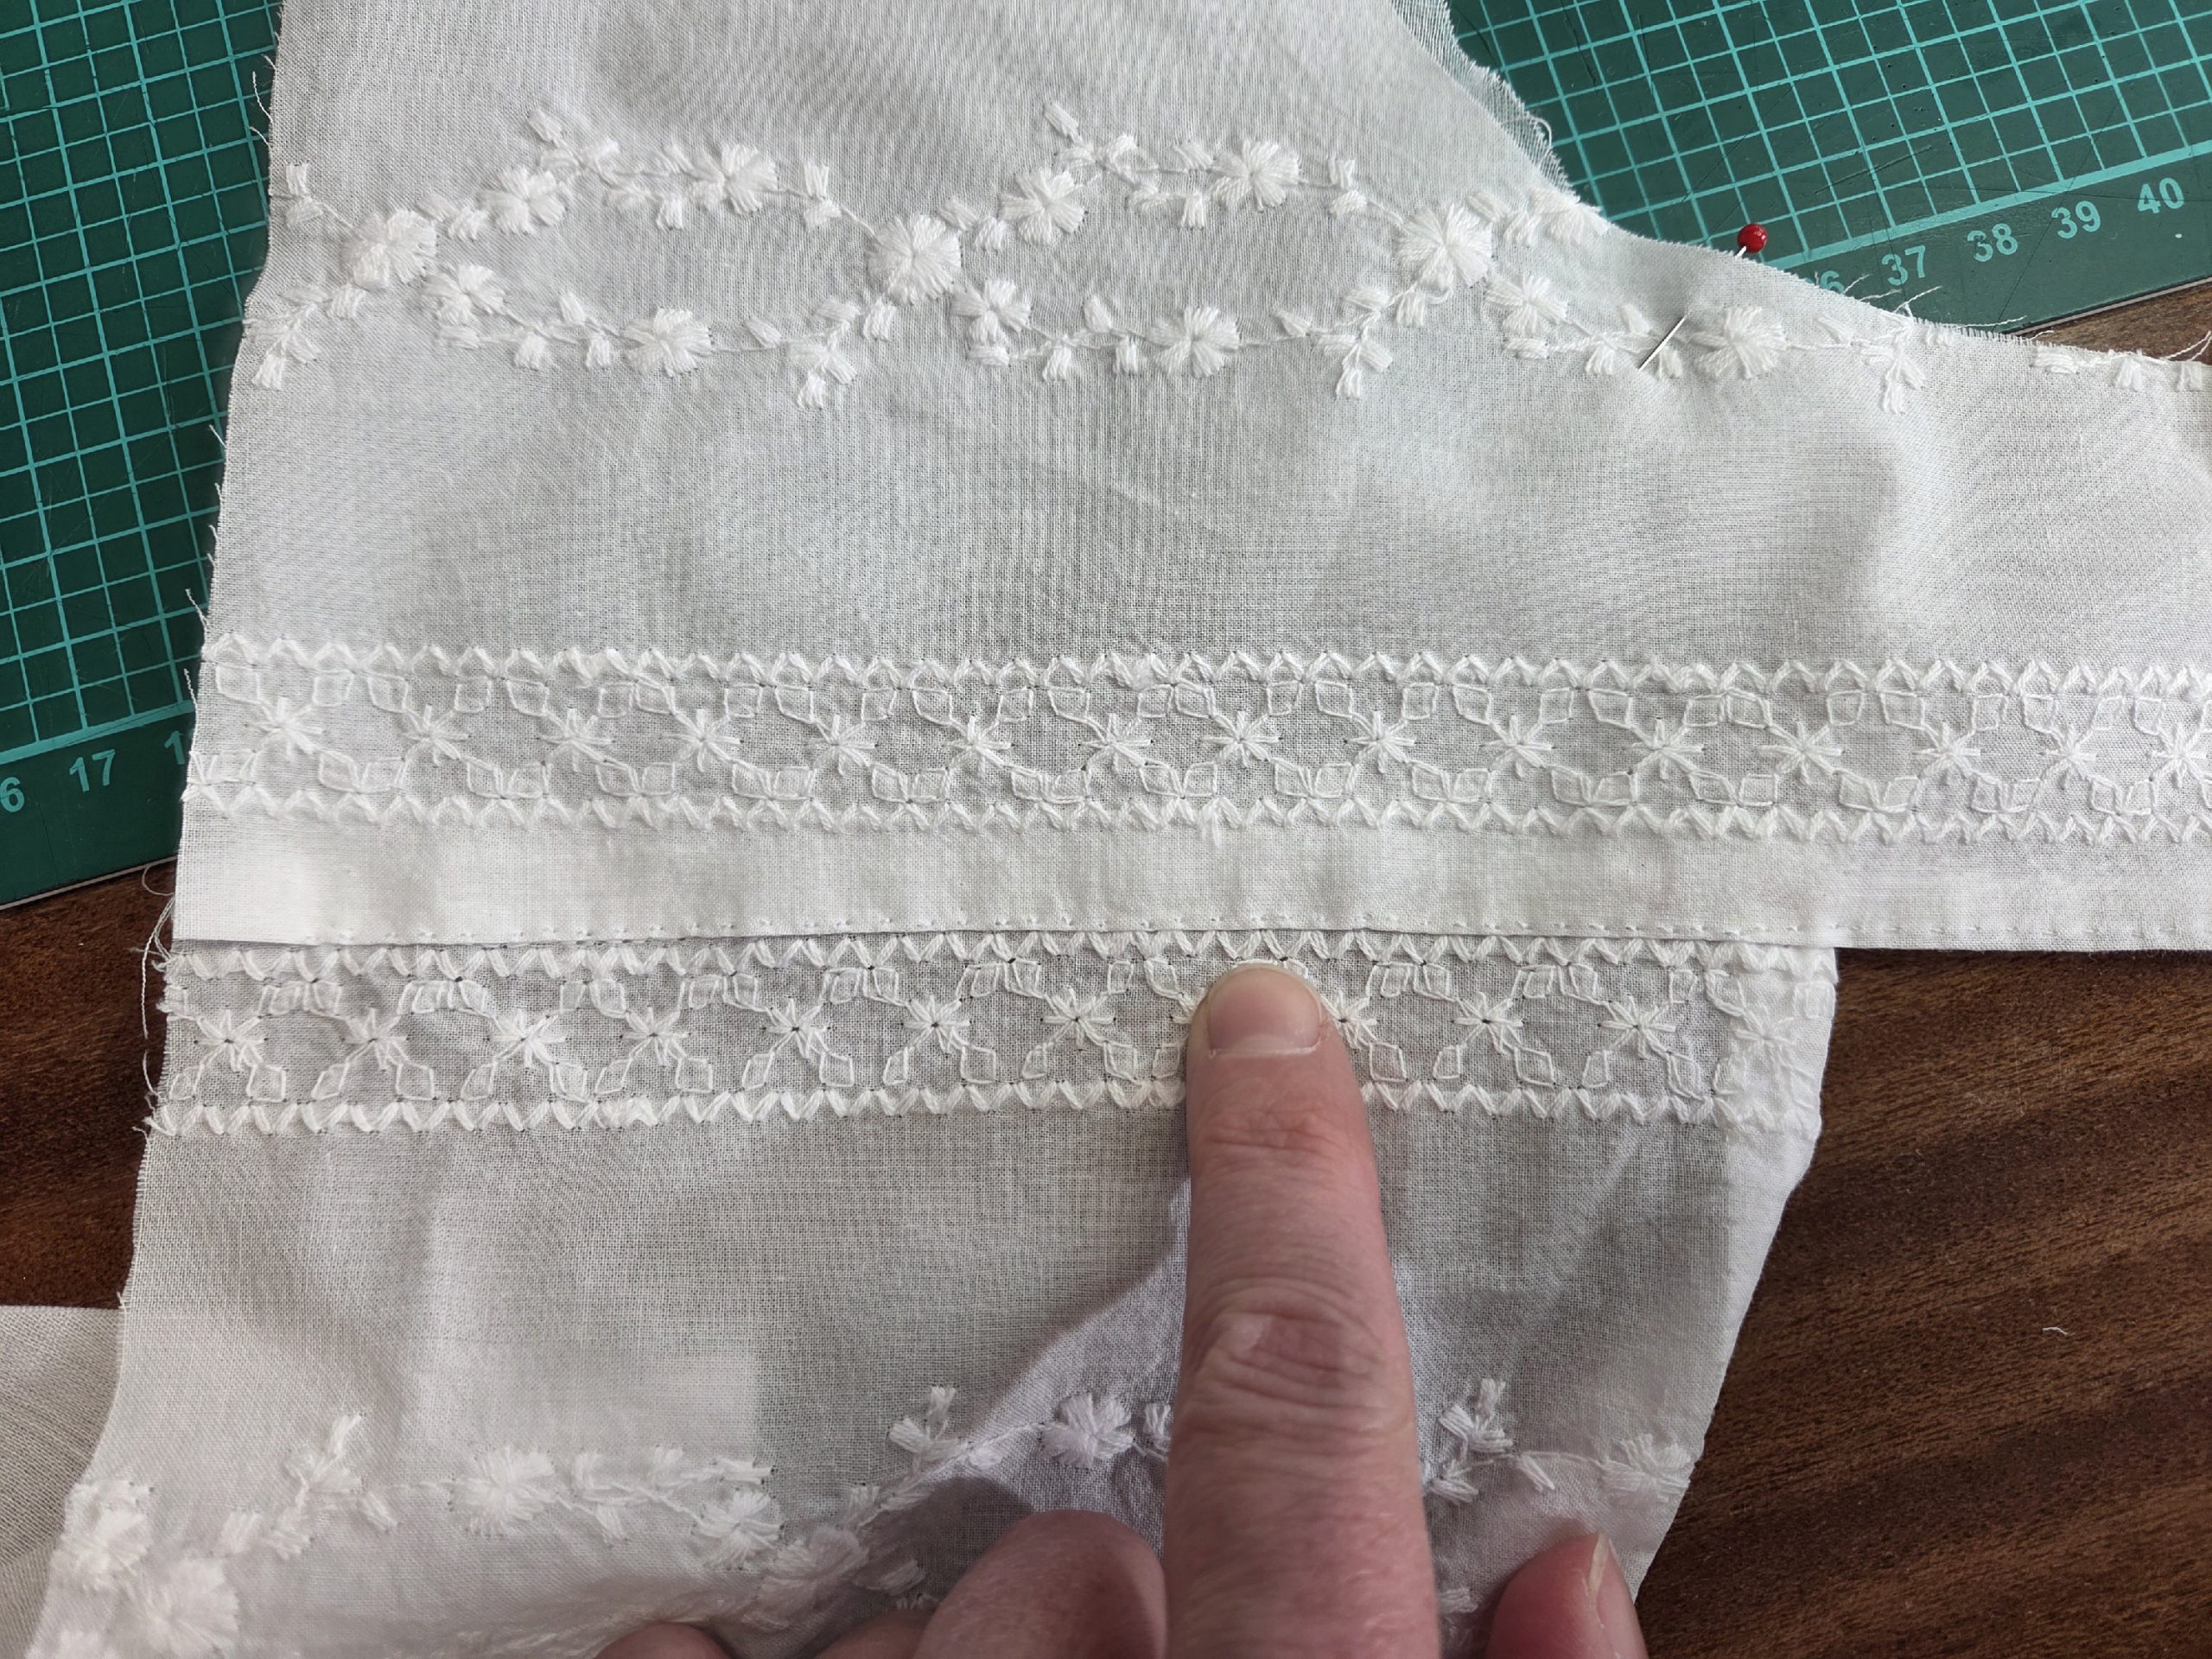
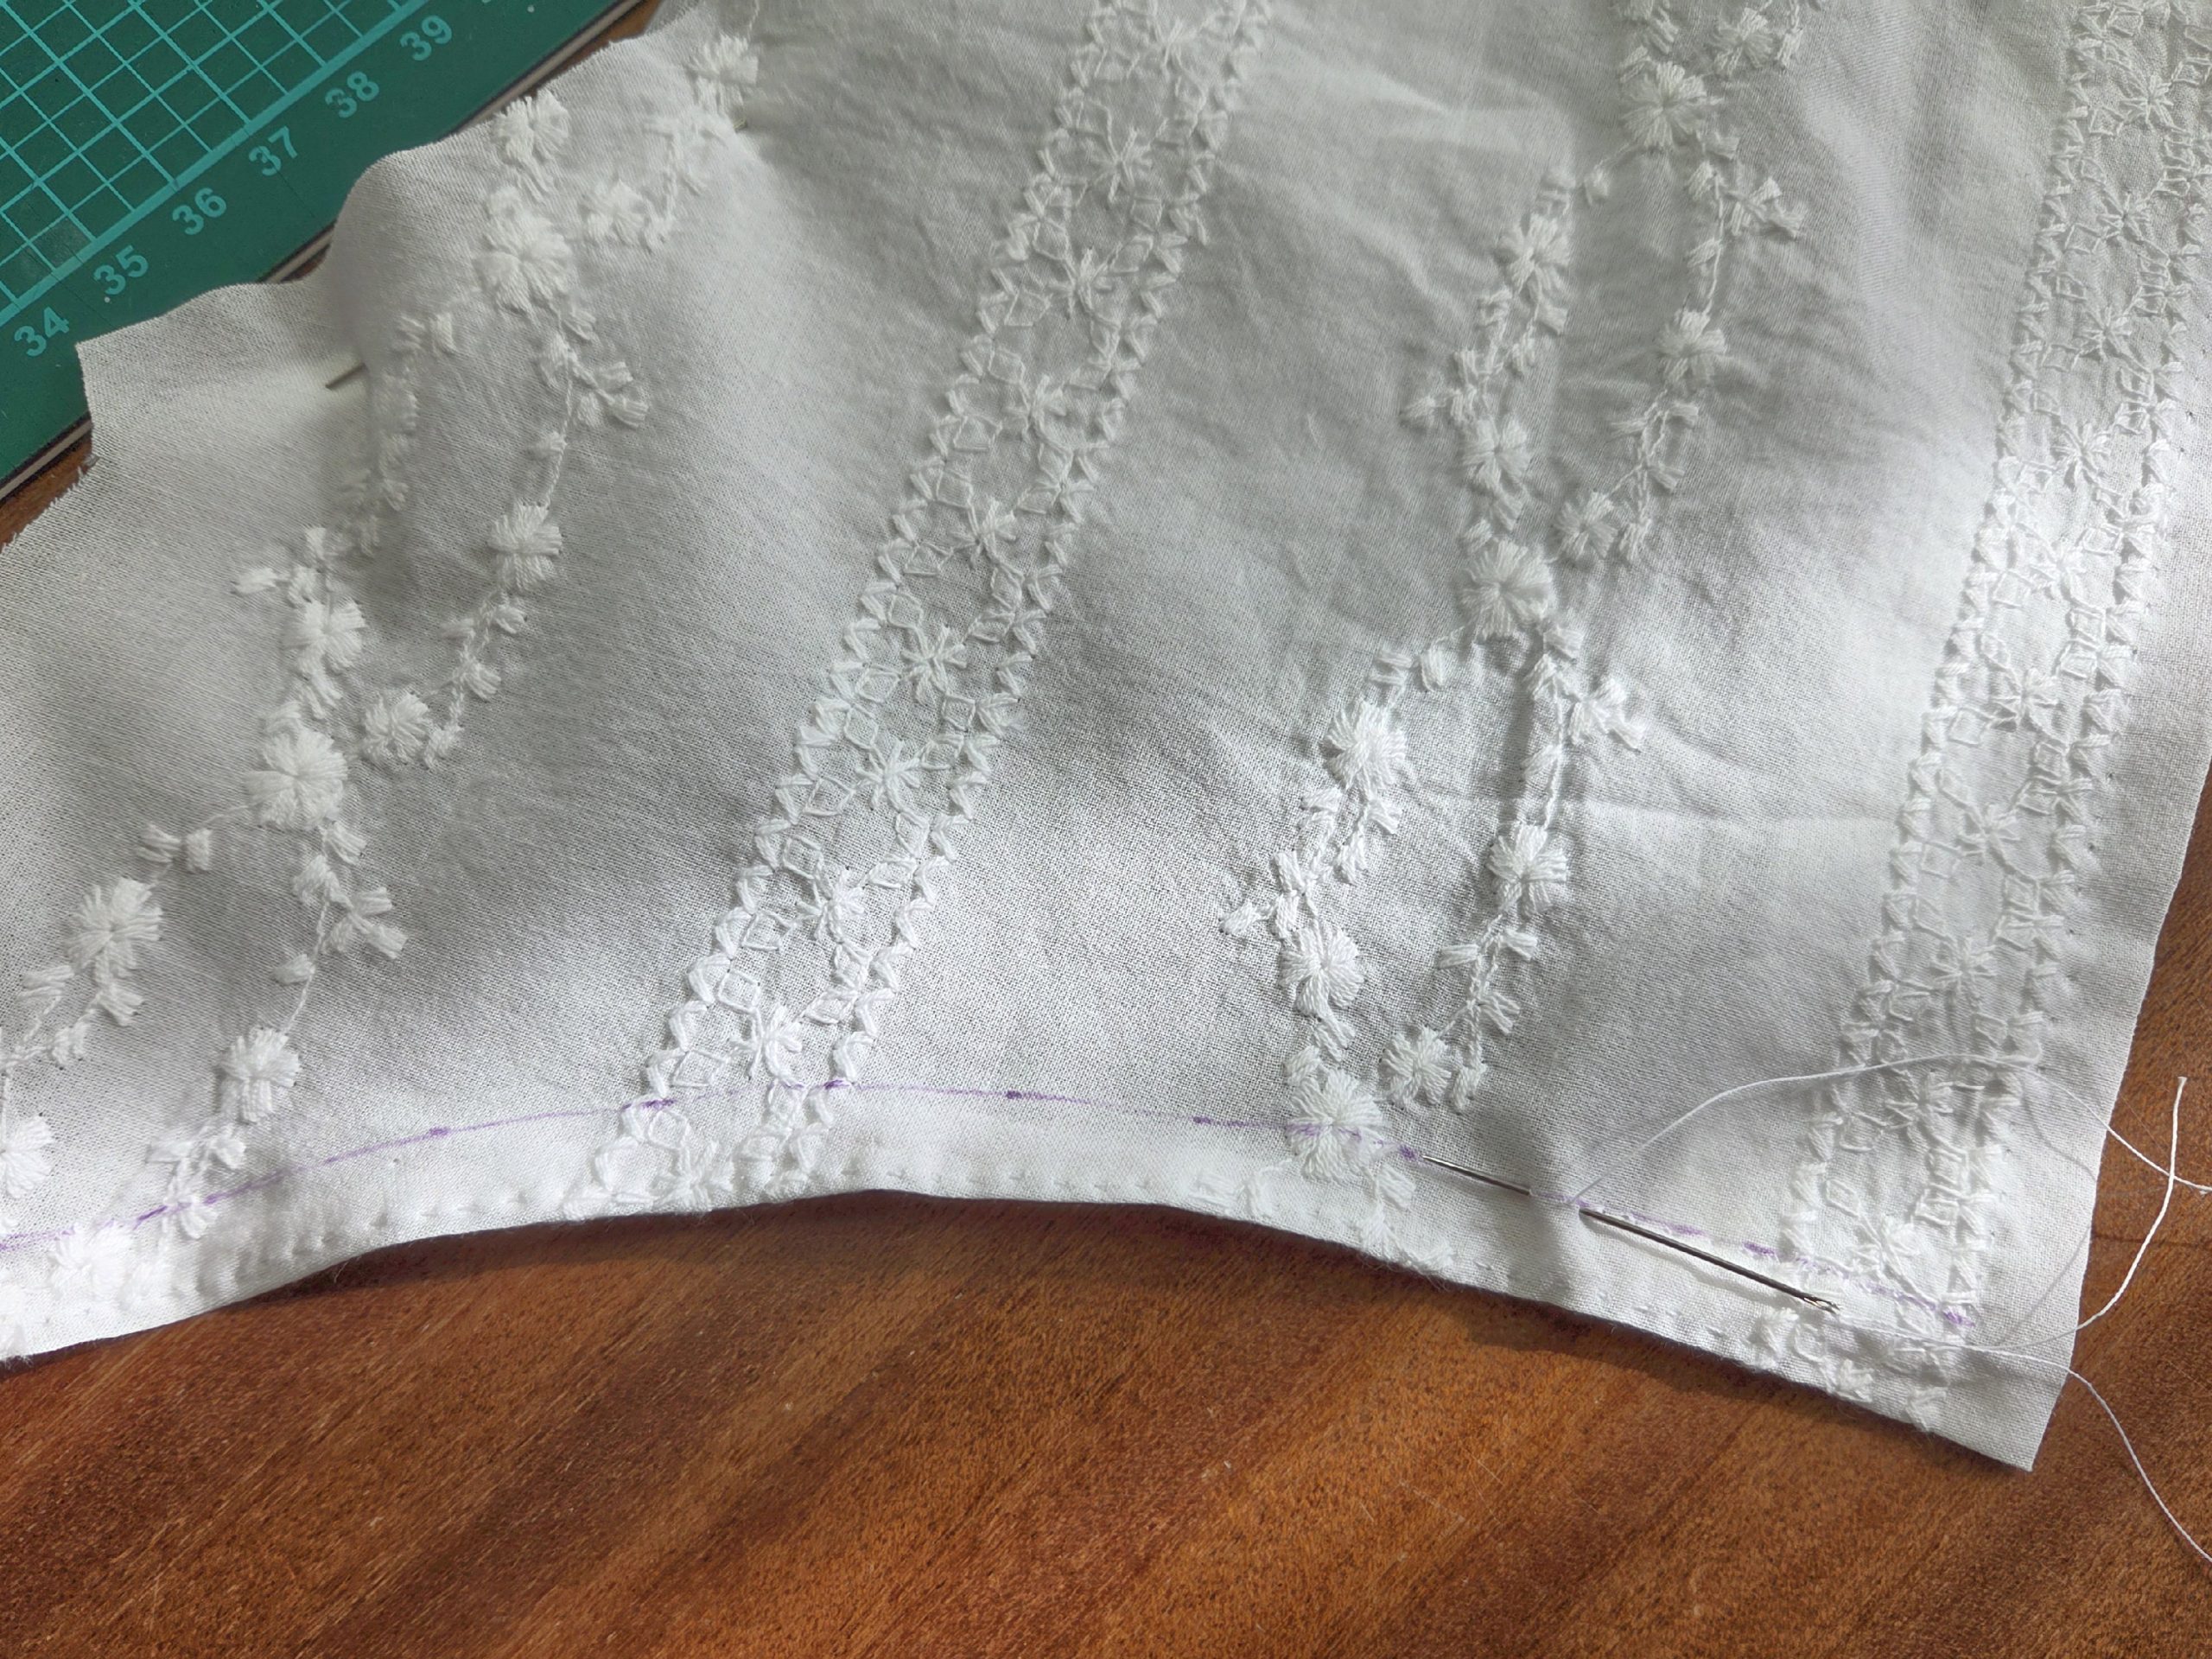
When searching online, I couldn’t find a fabric exactly like it—only plain white lawn or some embroidered cotton lawn options. In the end, I chose the embroidered cotton lawn. Its striped embroidery pattern made cutting the fabric a little more interesting, as I wanted to center the stripes at the front and ensure the pattern aligned seamlessly when sewn together.
Some of you commented on the very short bodice, or rather, the very high waistline. On one hand, this is historically accurate; dresses from that era were meant to be worn with the appropriate undergarments—at the very least, short stays. On the other hand, I realize this style can make it difficult to wear the dress with a modern bra, and I know many of you prefer that option. This time, I decided to add another 2 cm to the bottom edge of the bodice. Let’s see how this changes the shape of the dress compared to the original.
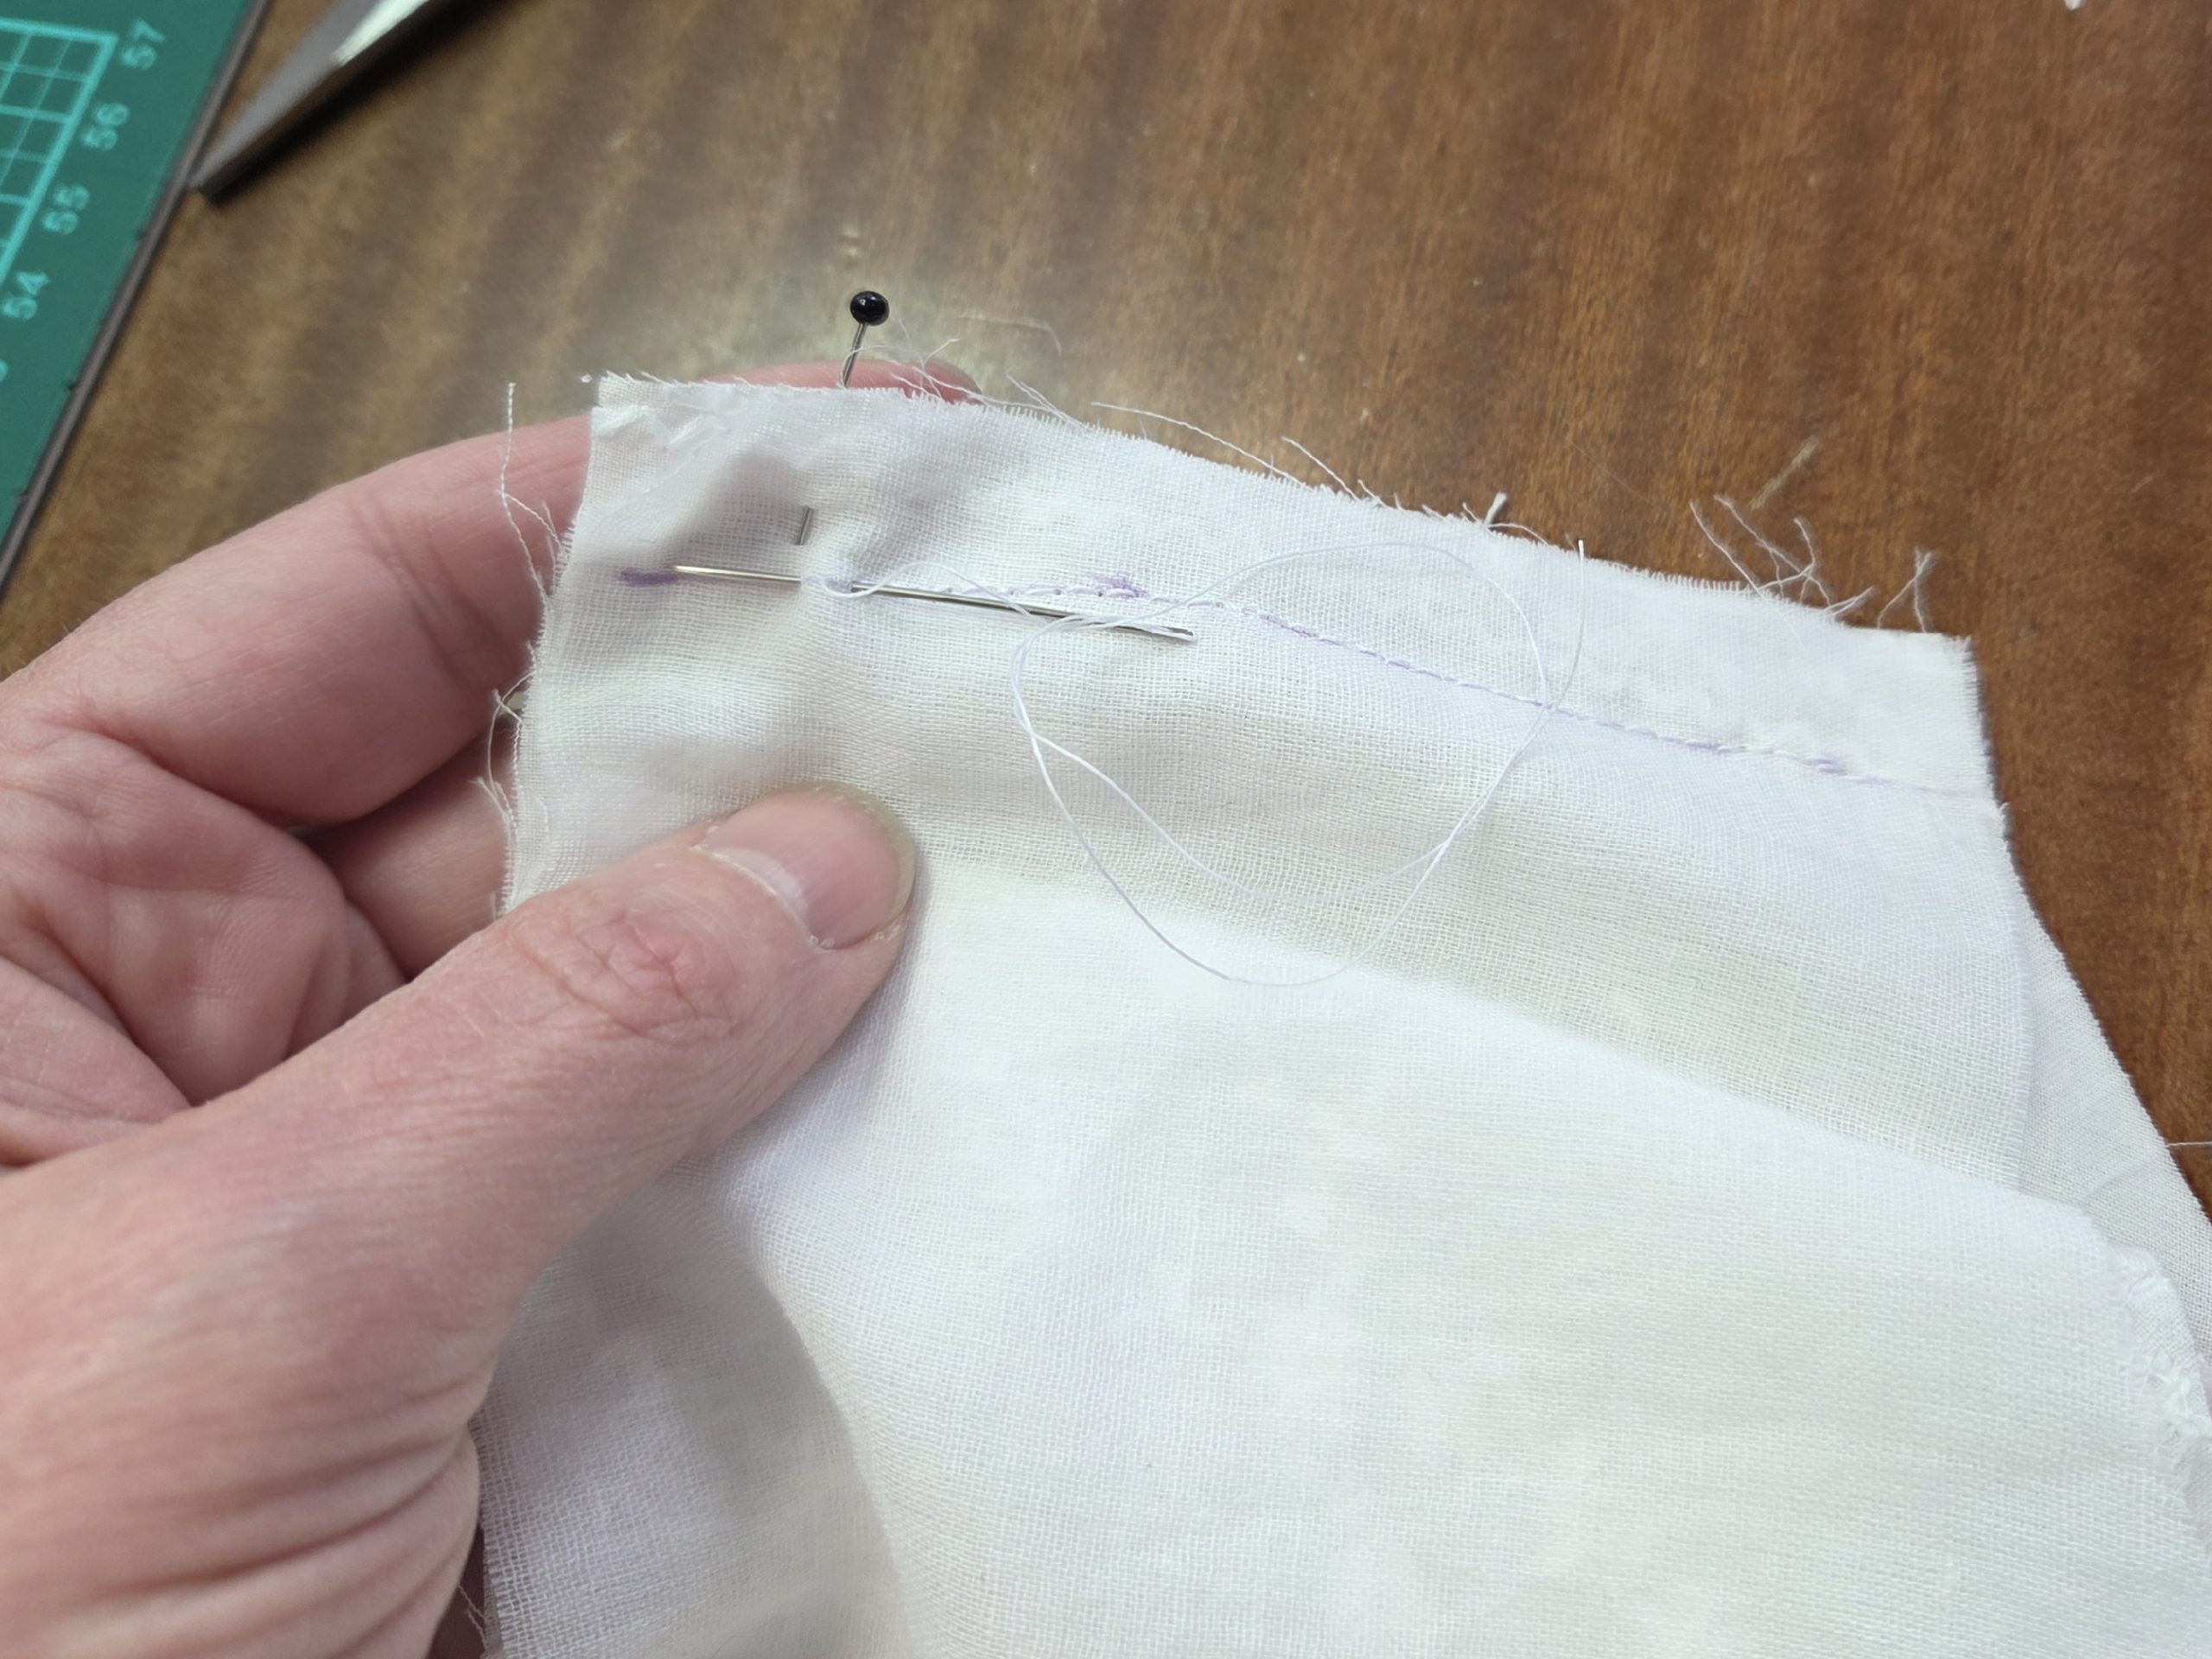
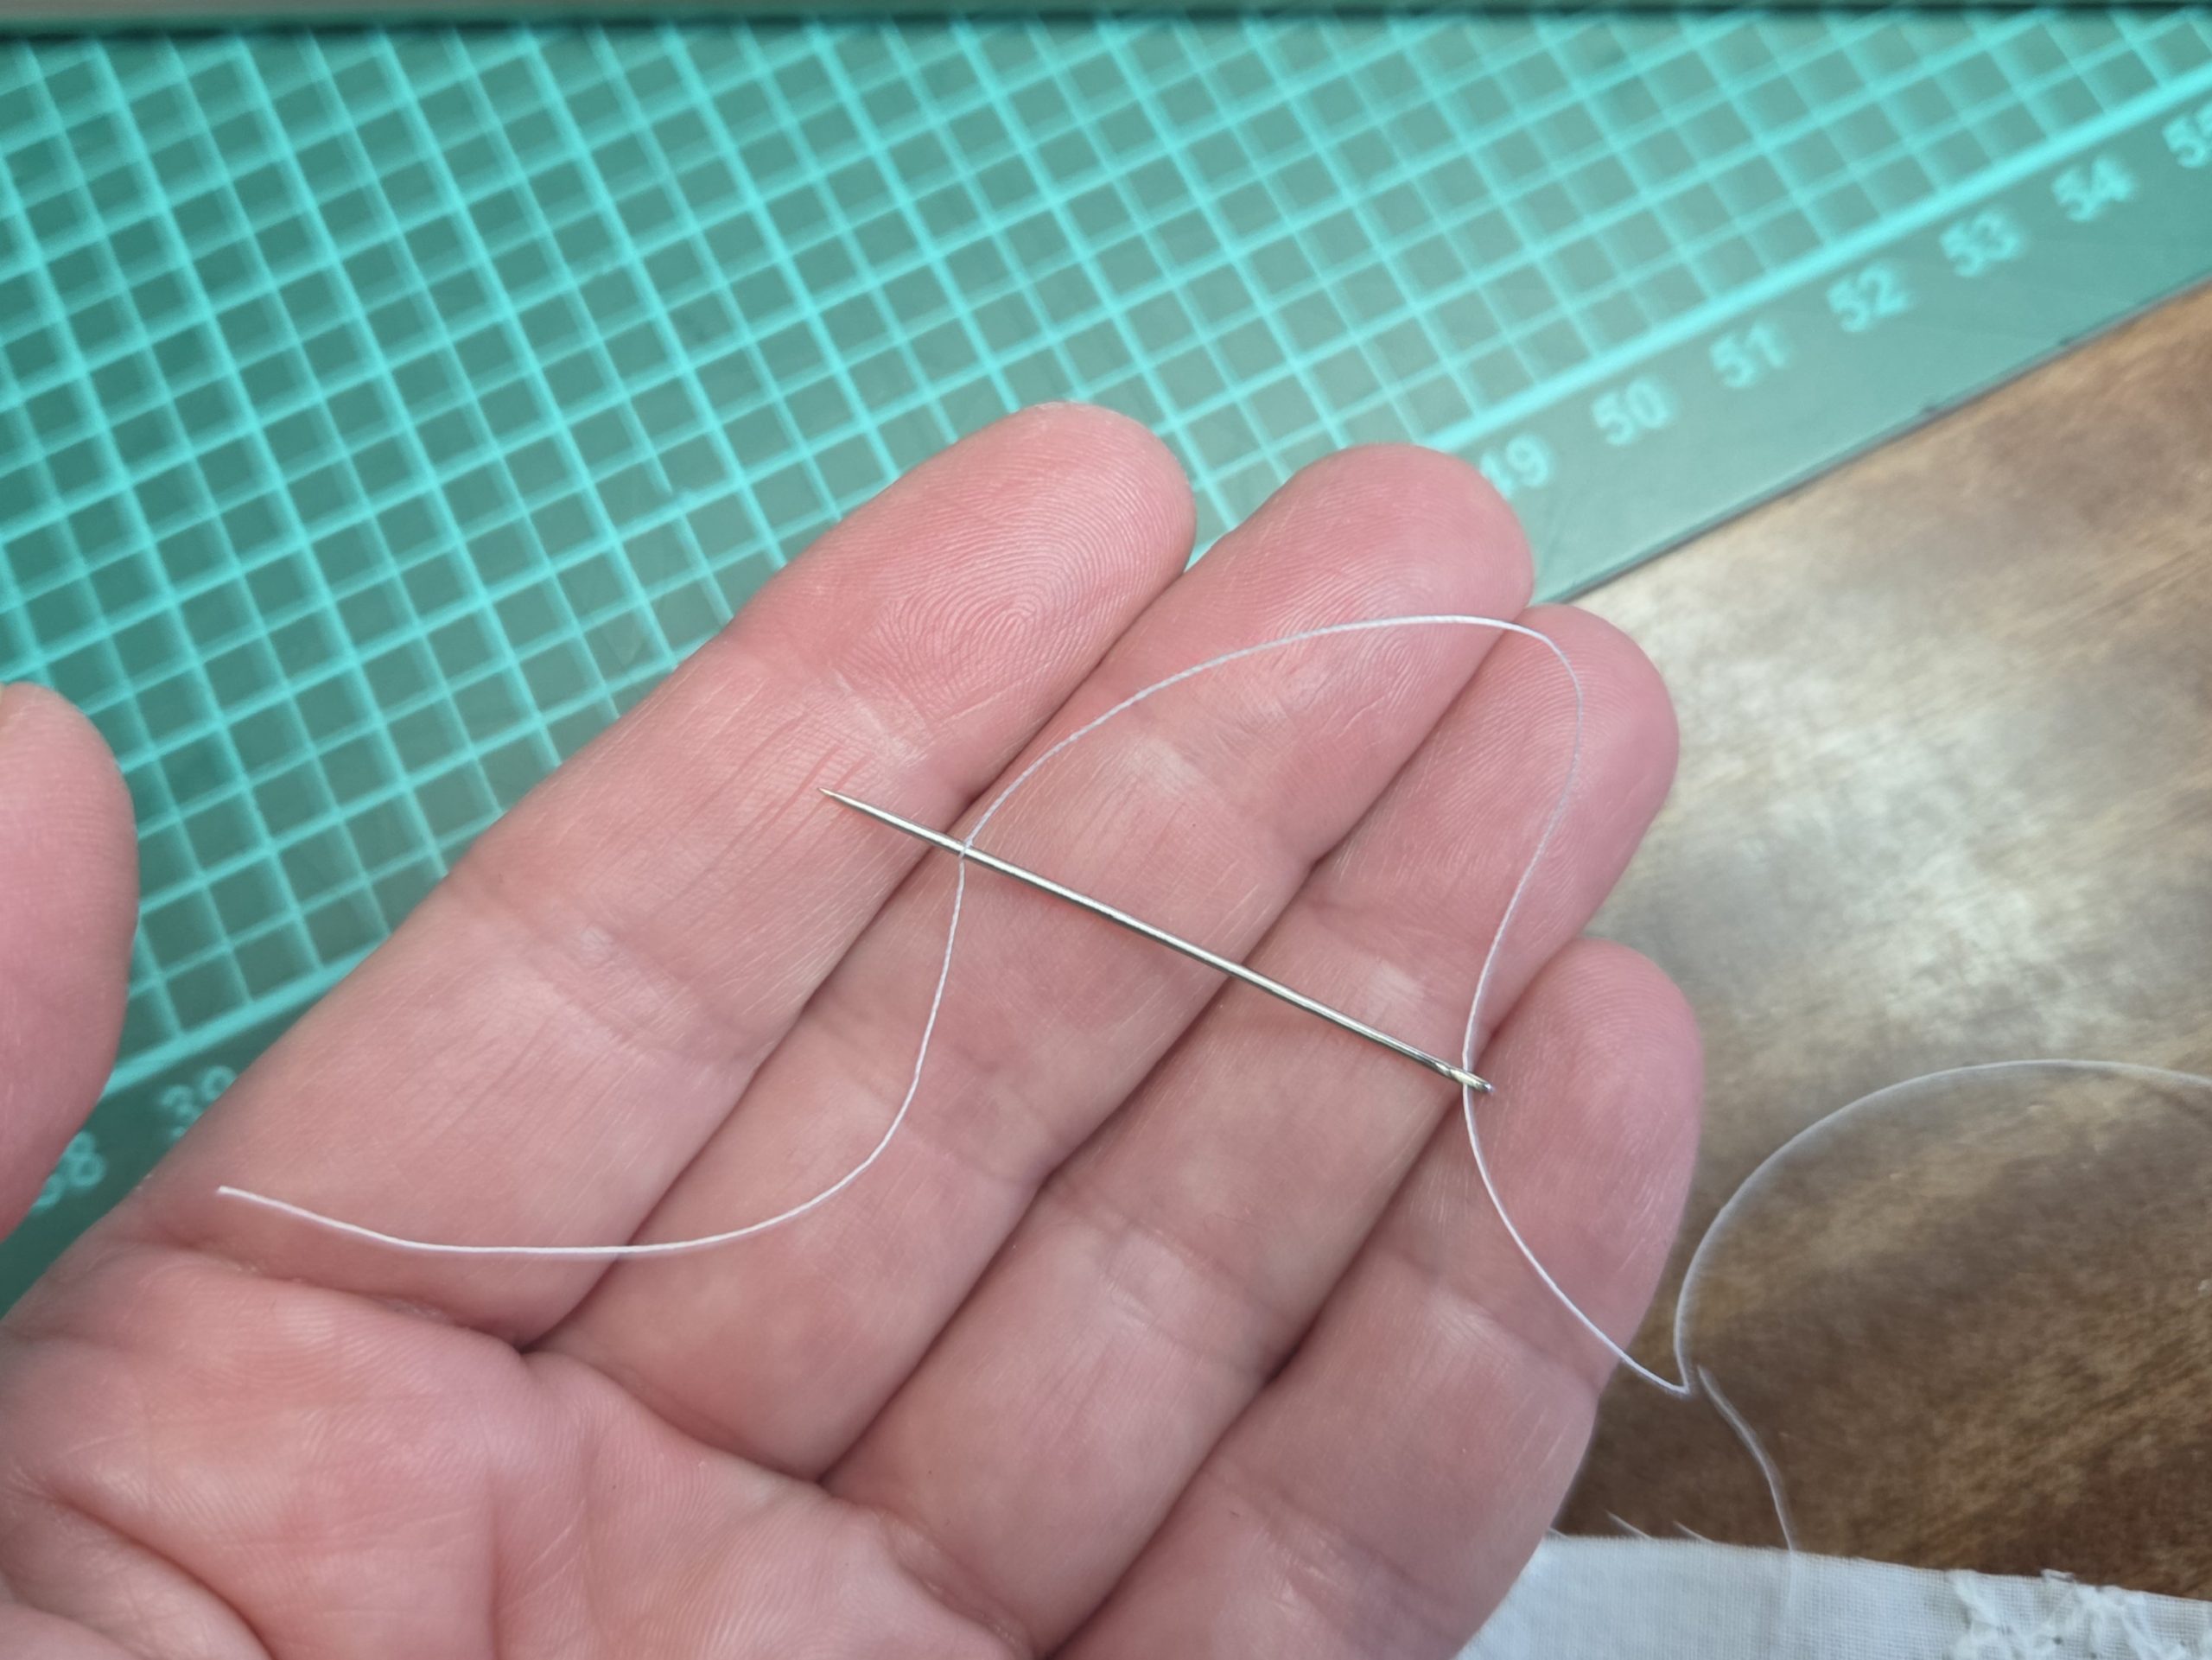
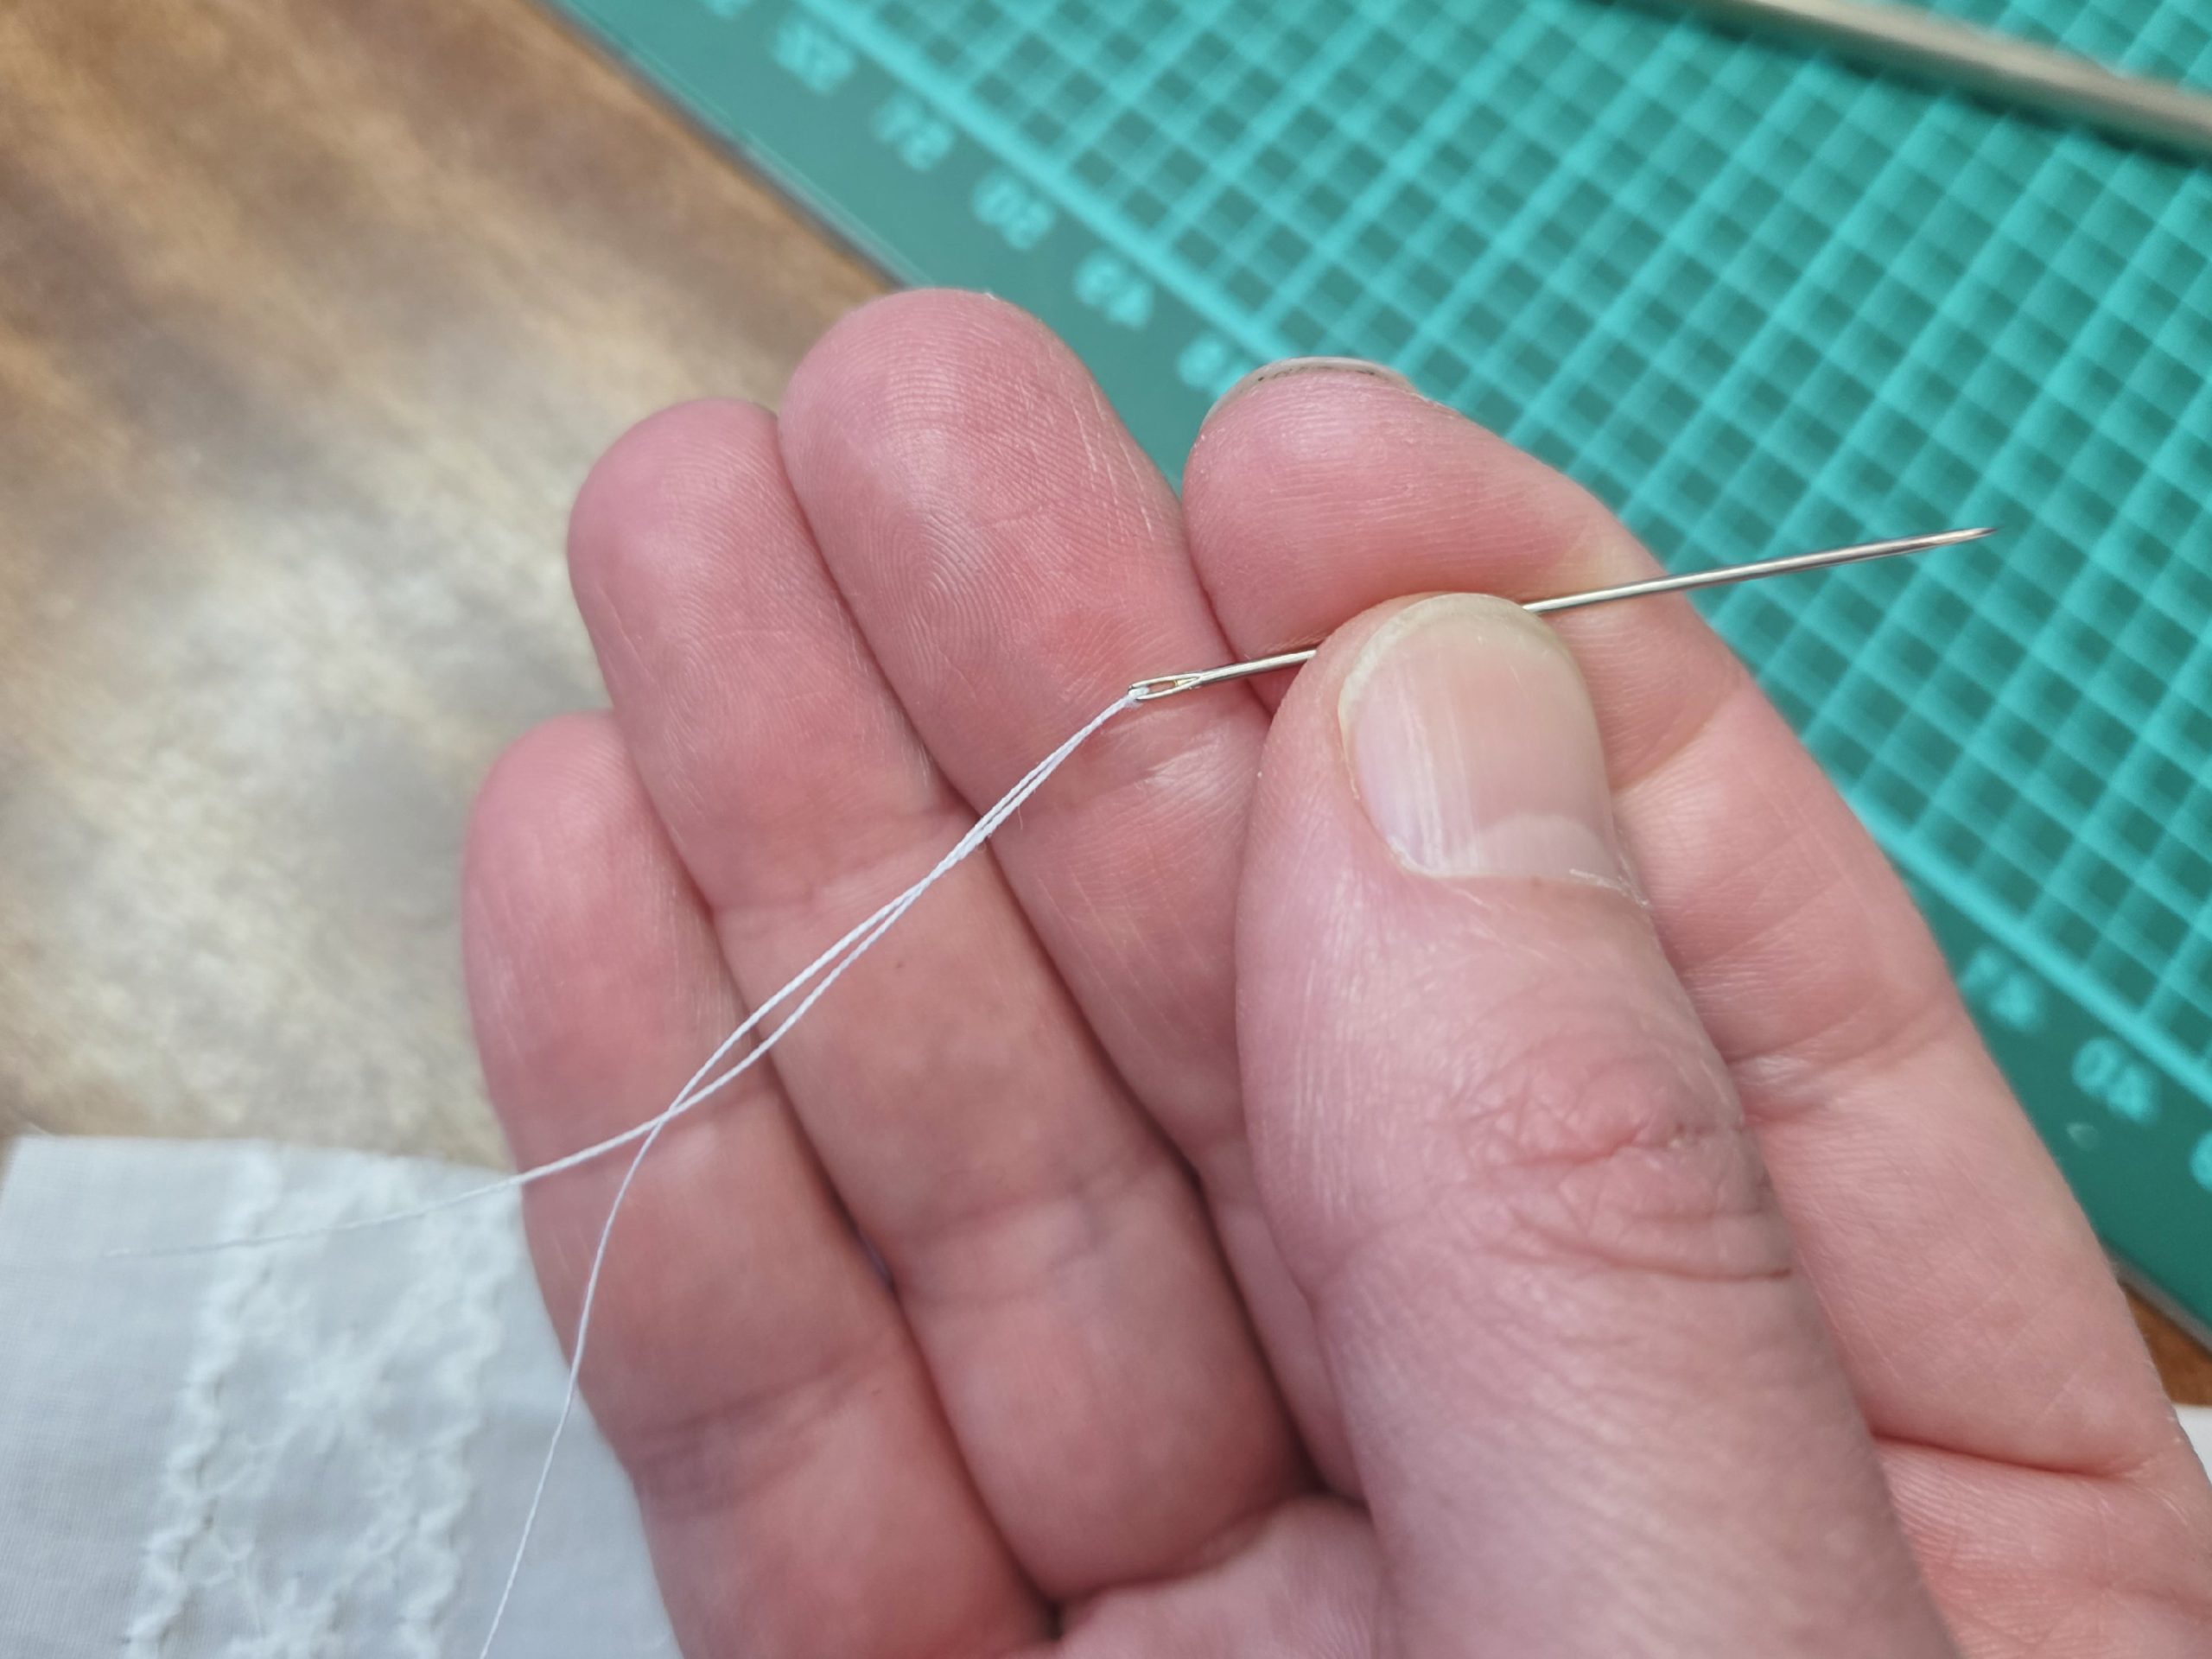
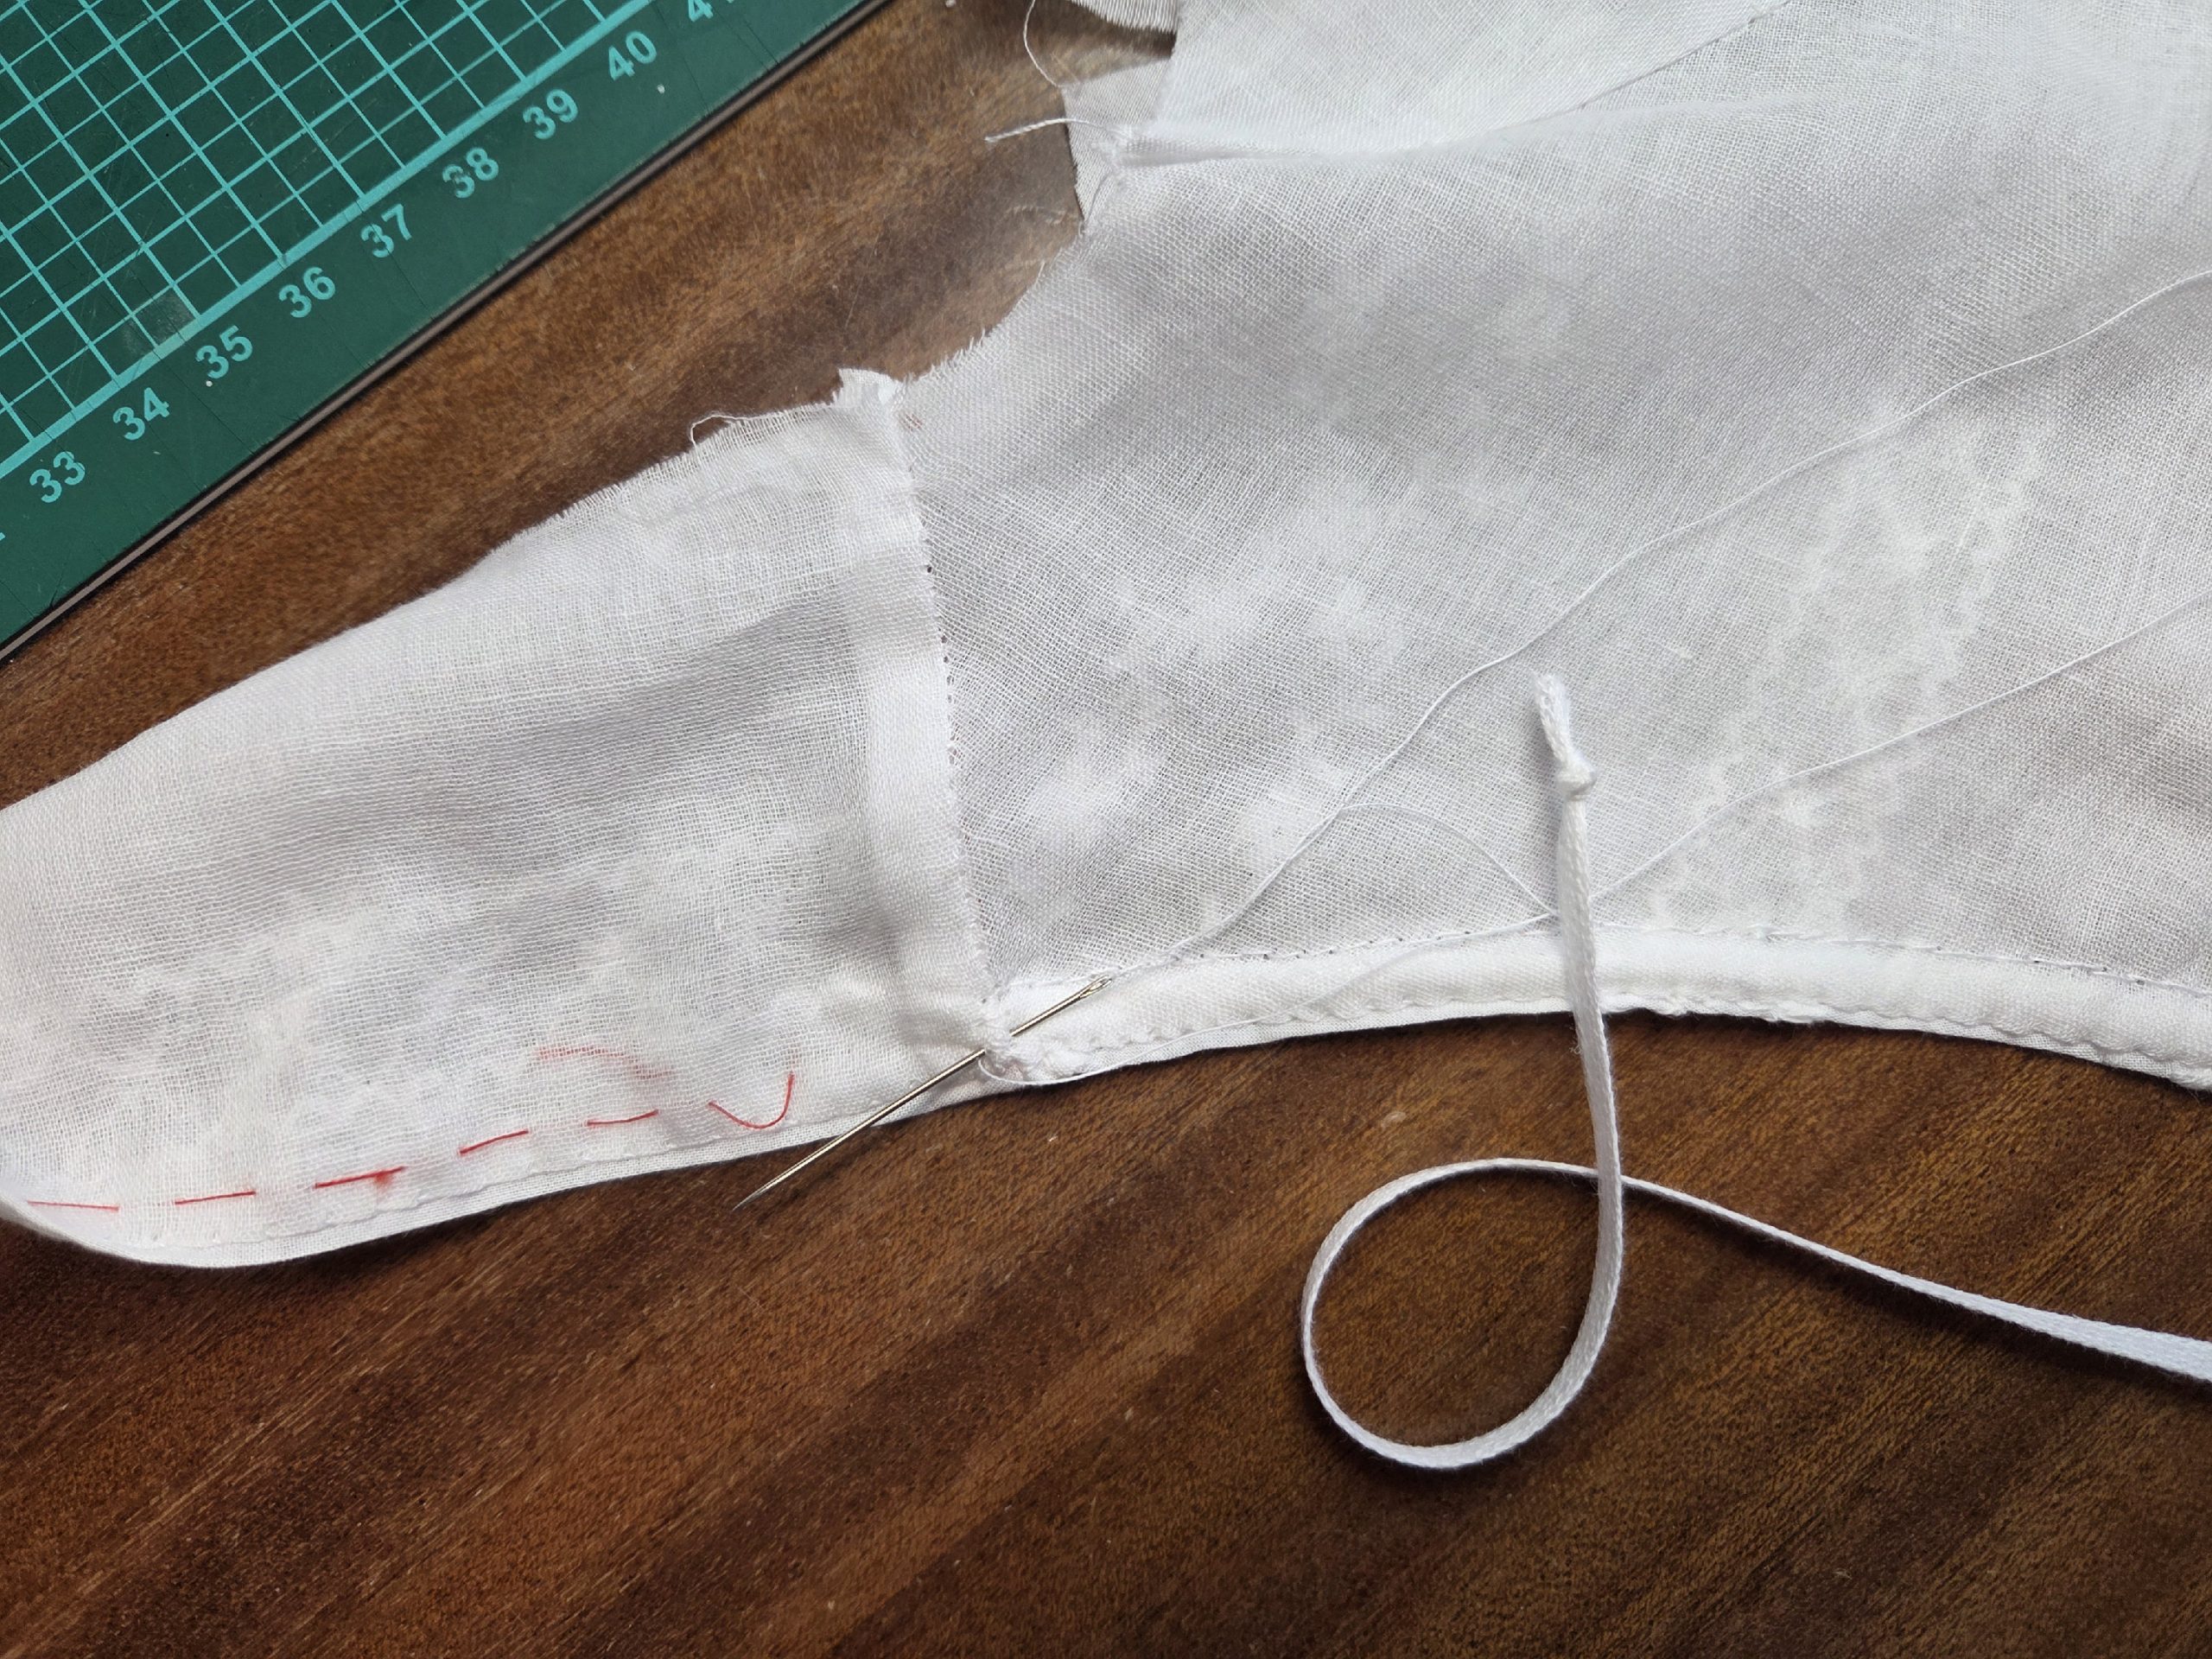
Hand sewing isn’t everyone’s favorite—sometimes it can feel wonderfully meditative, and other times just frustrating, especially when the thread slips out of the needle. To prevent this, I use the technique shown in the following pictures whenever my thread is getting short. I pierce through the thread about 2″ from the end and pull the needle all the way through.
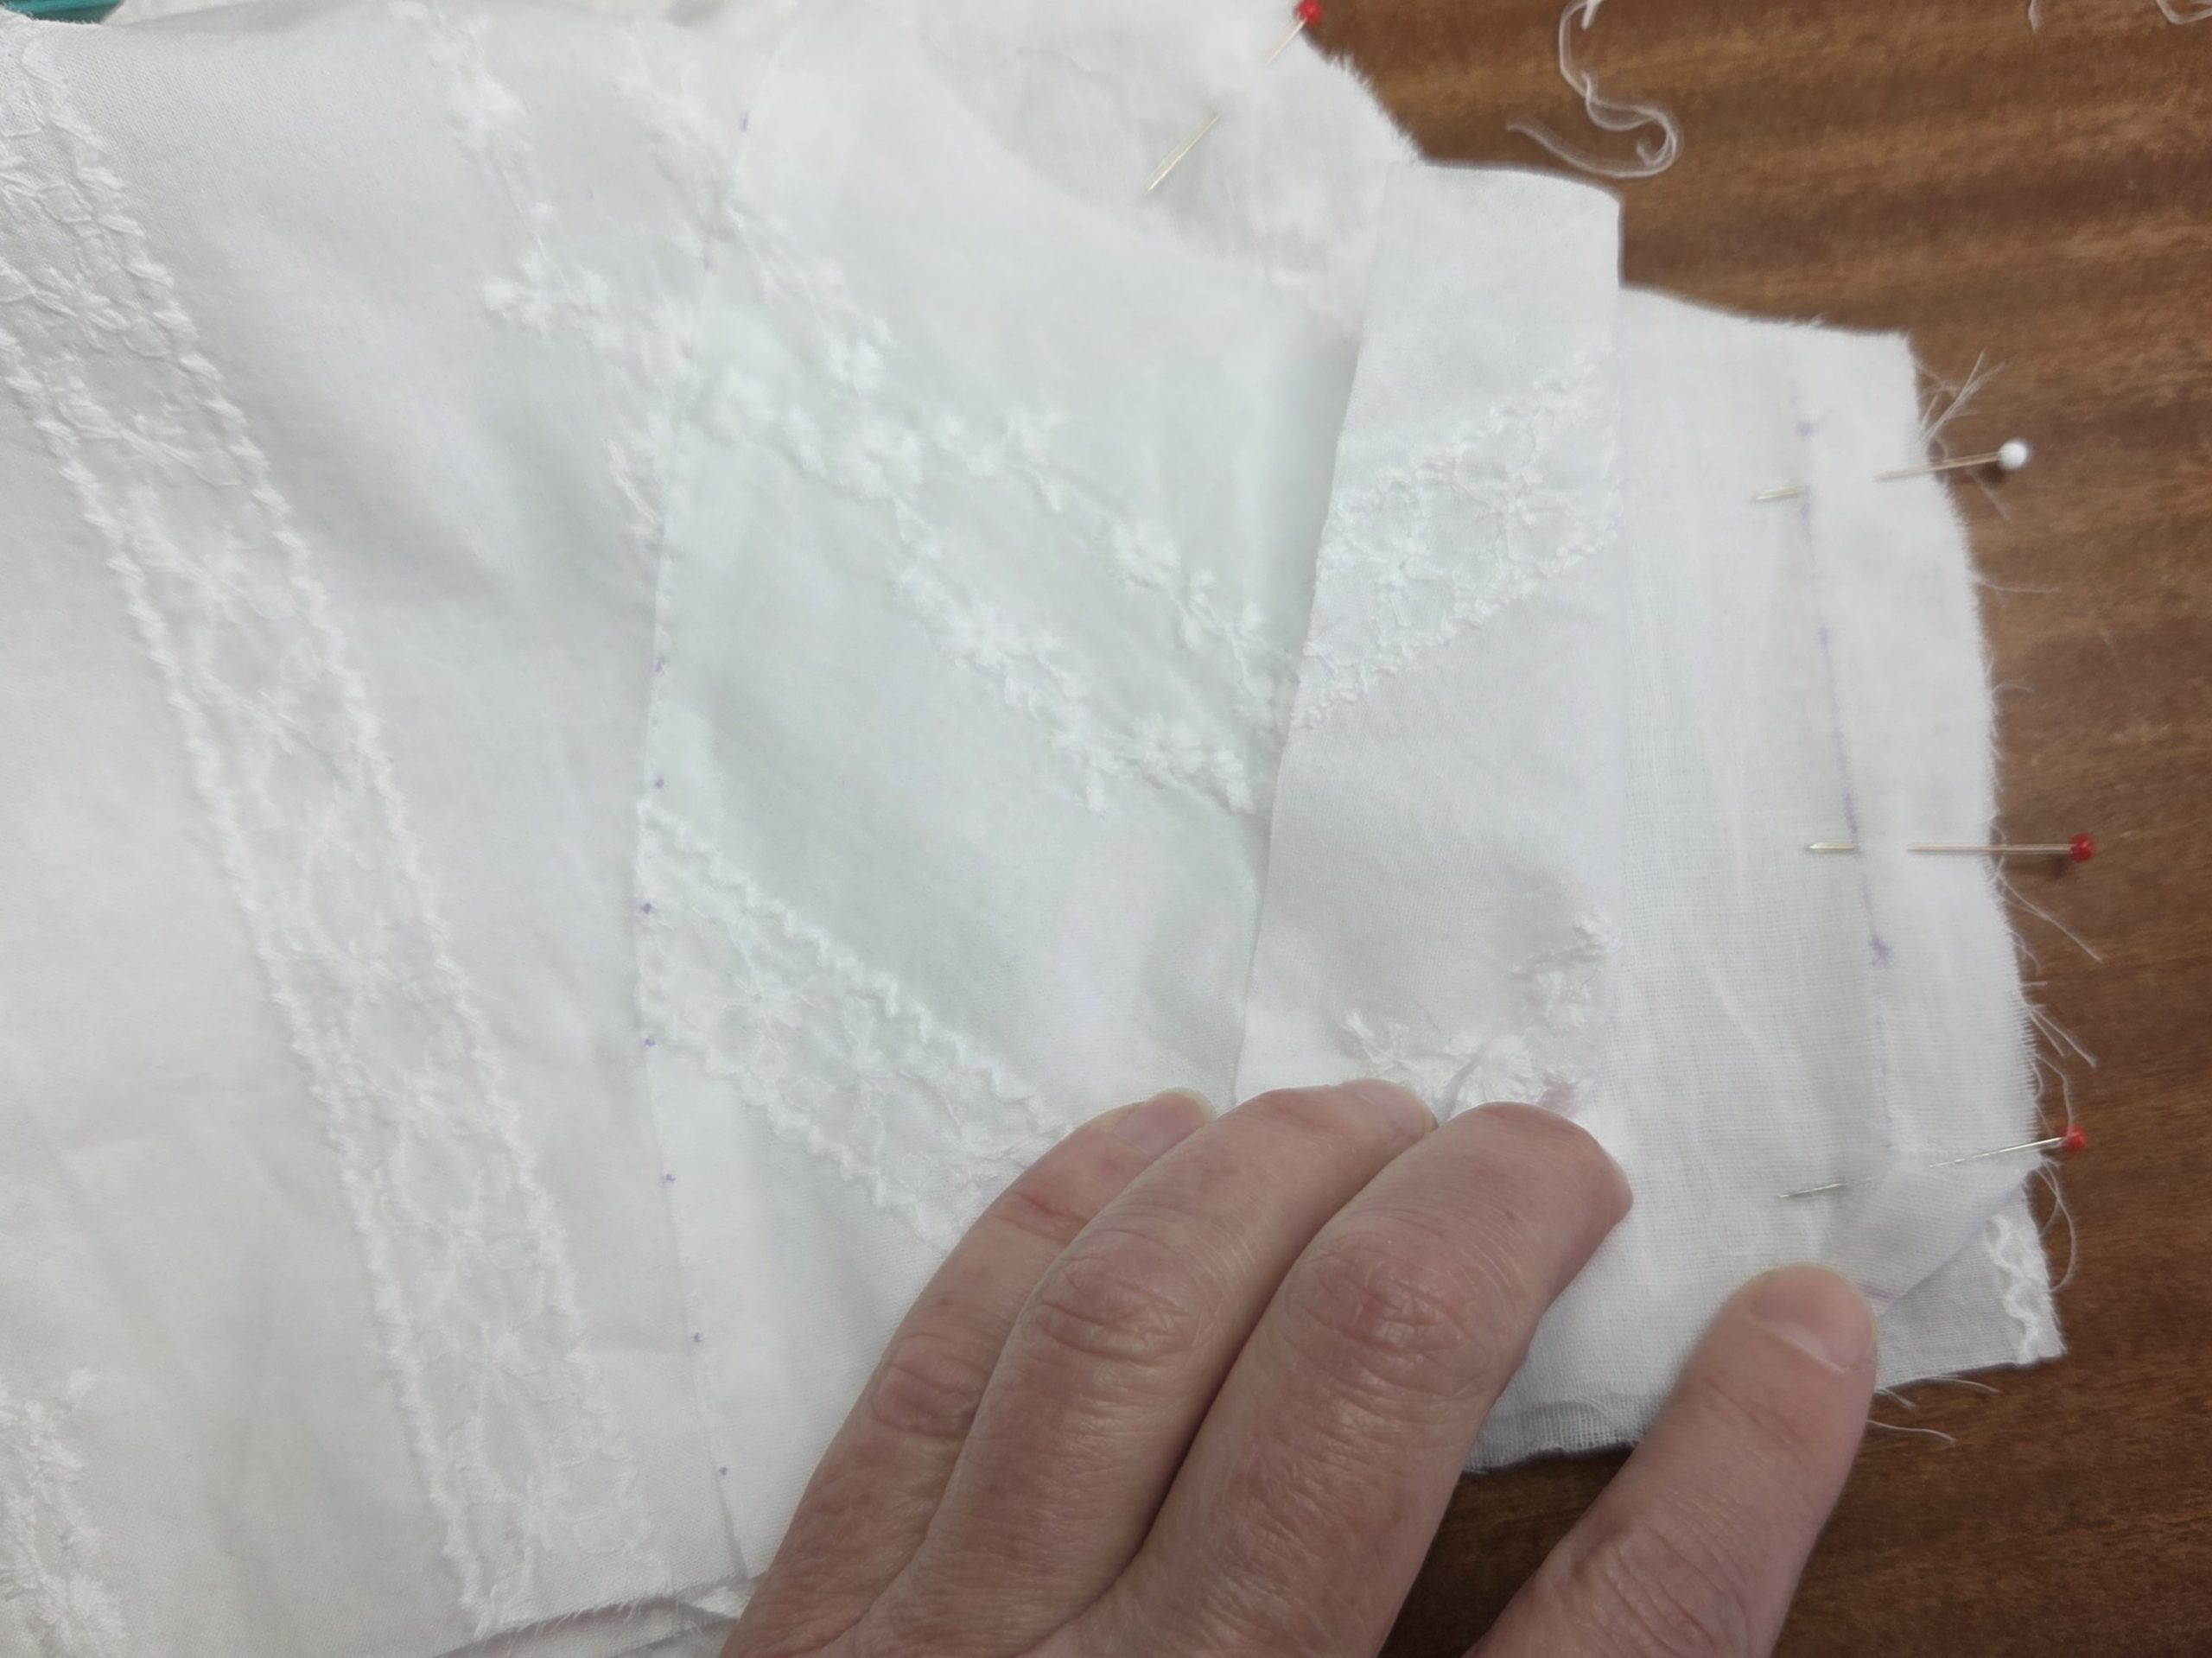
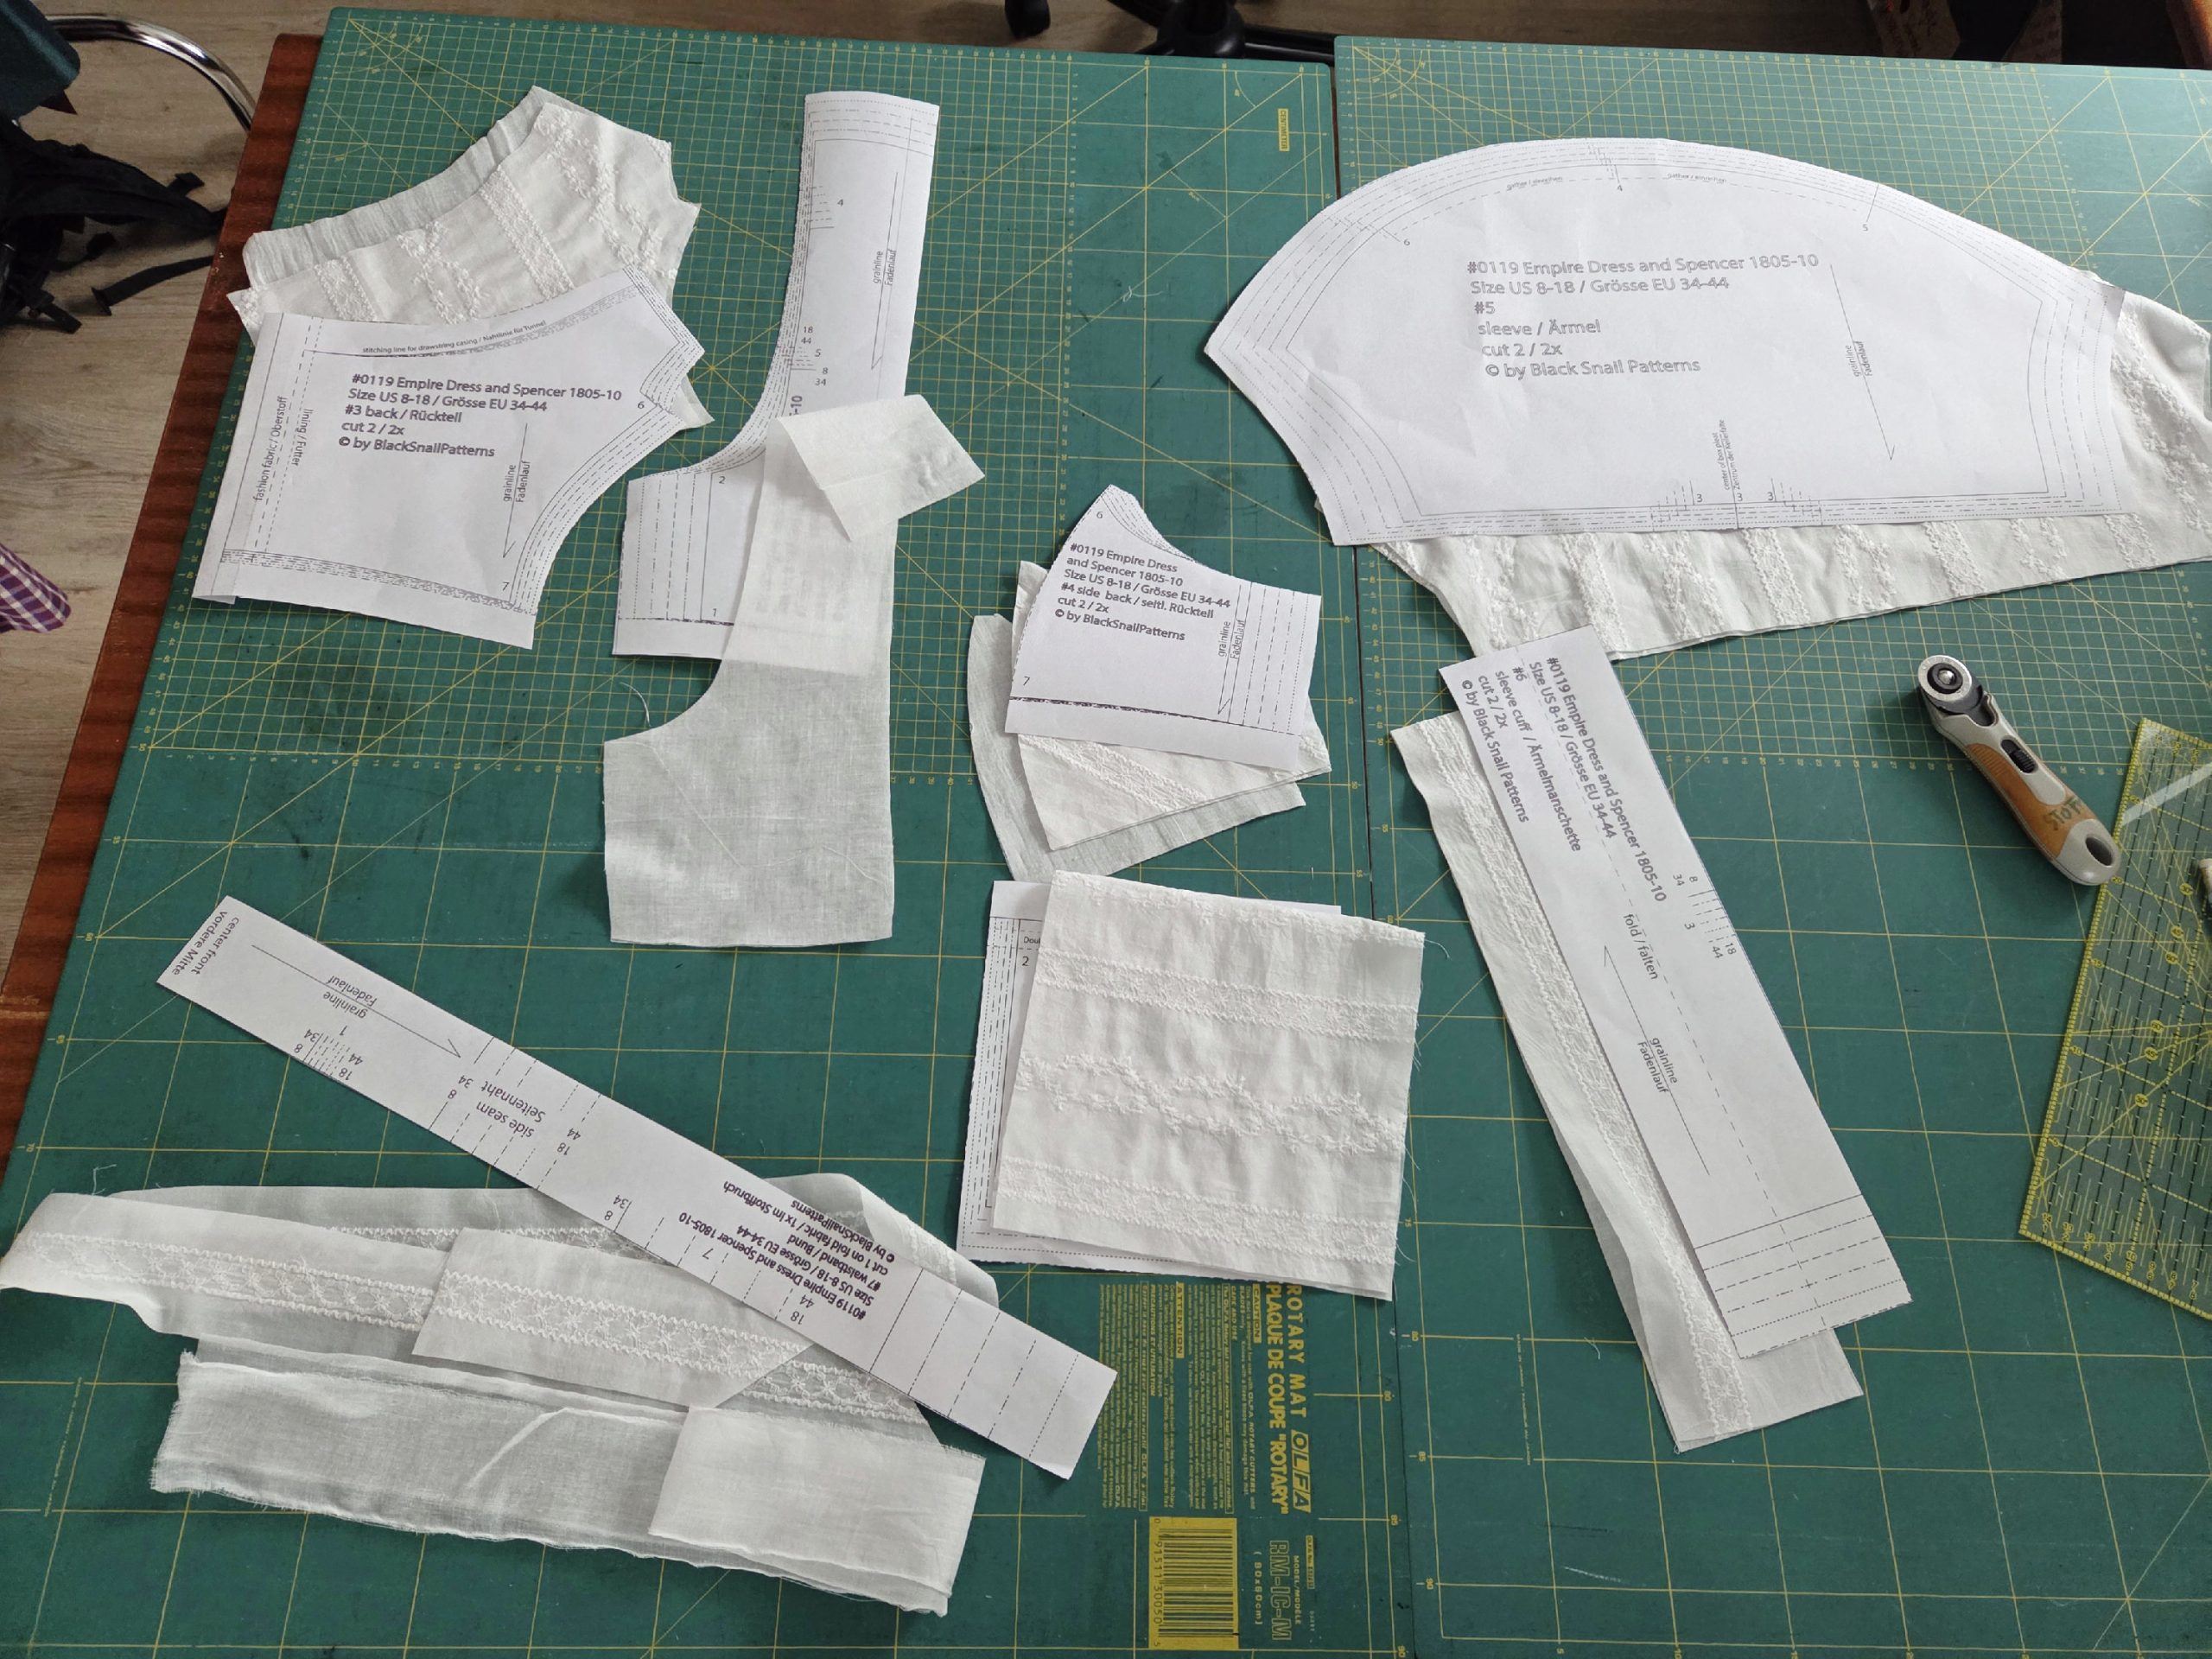
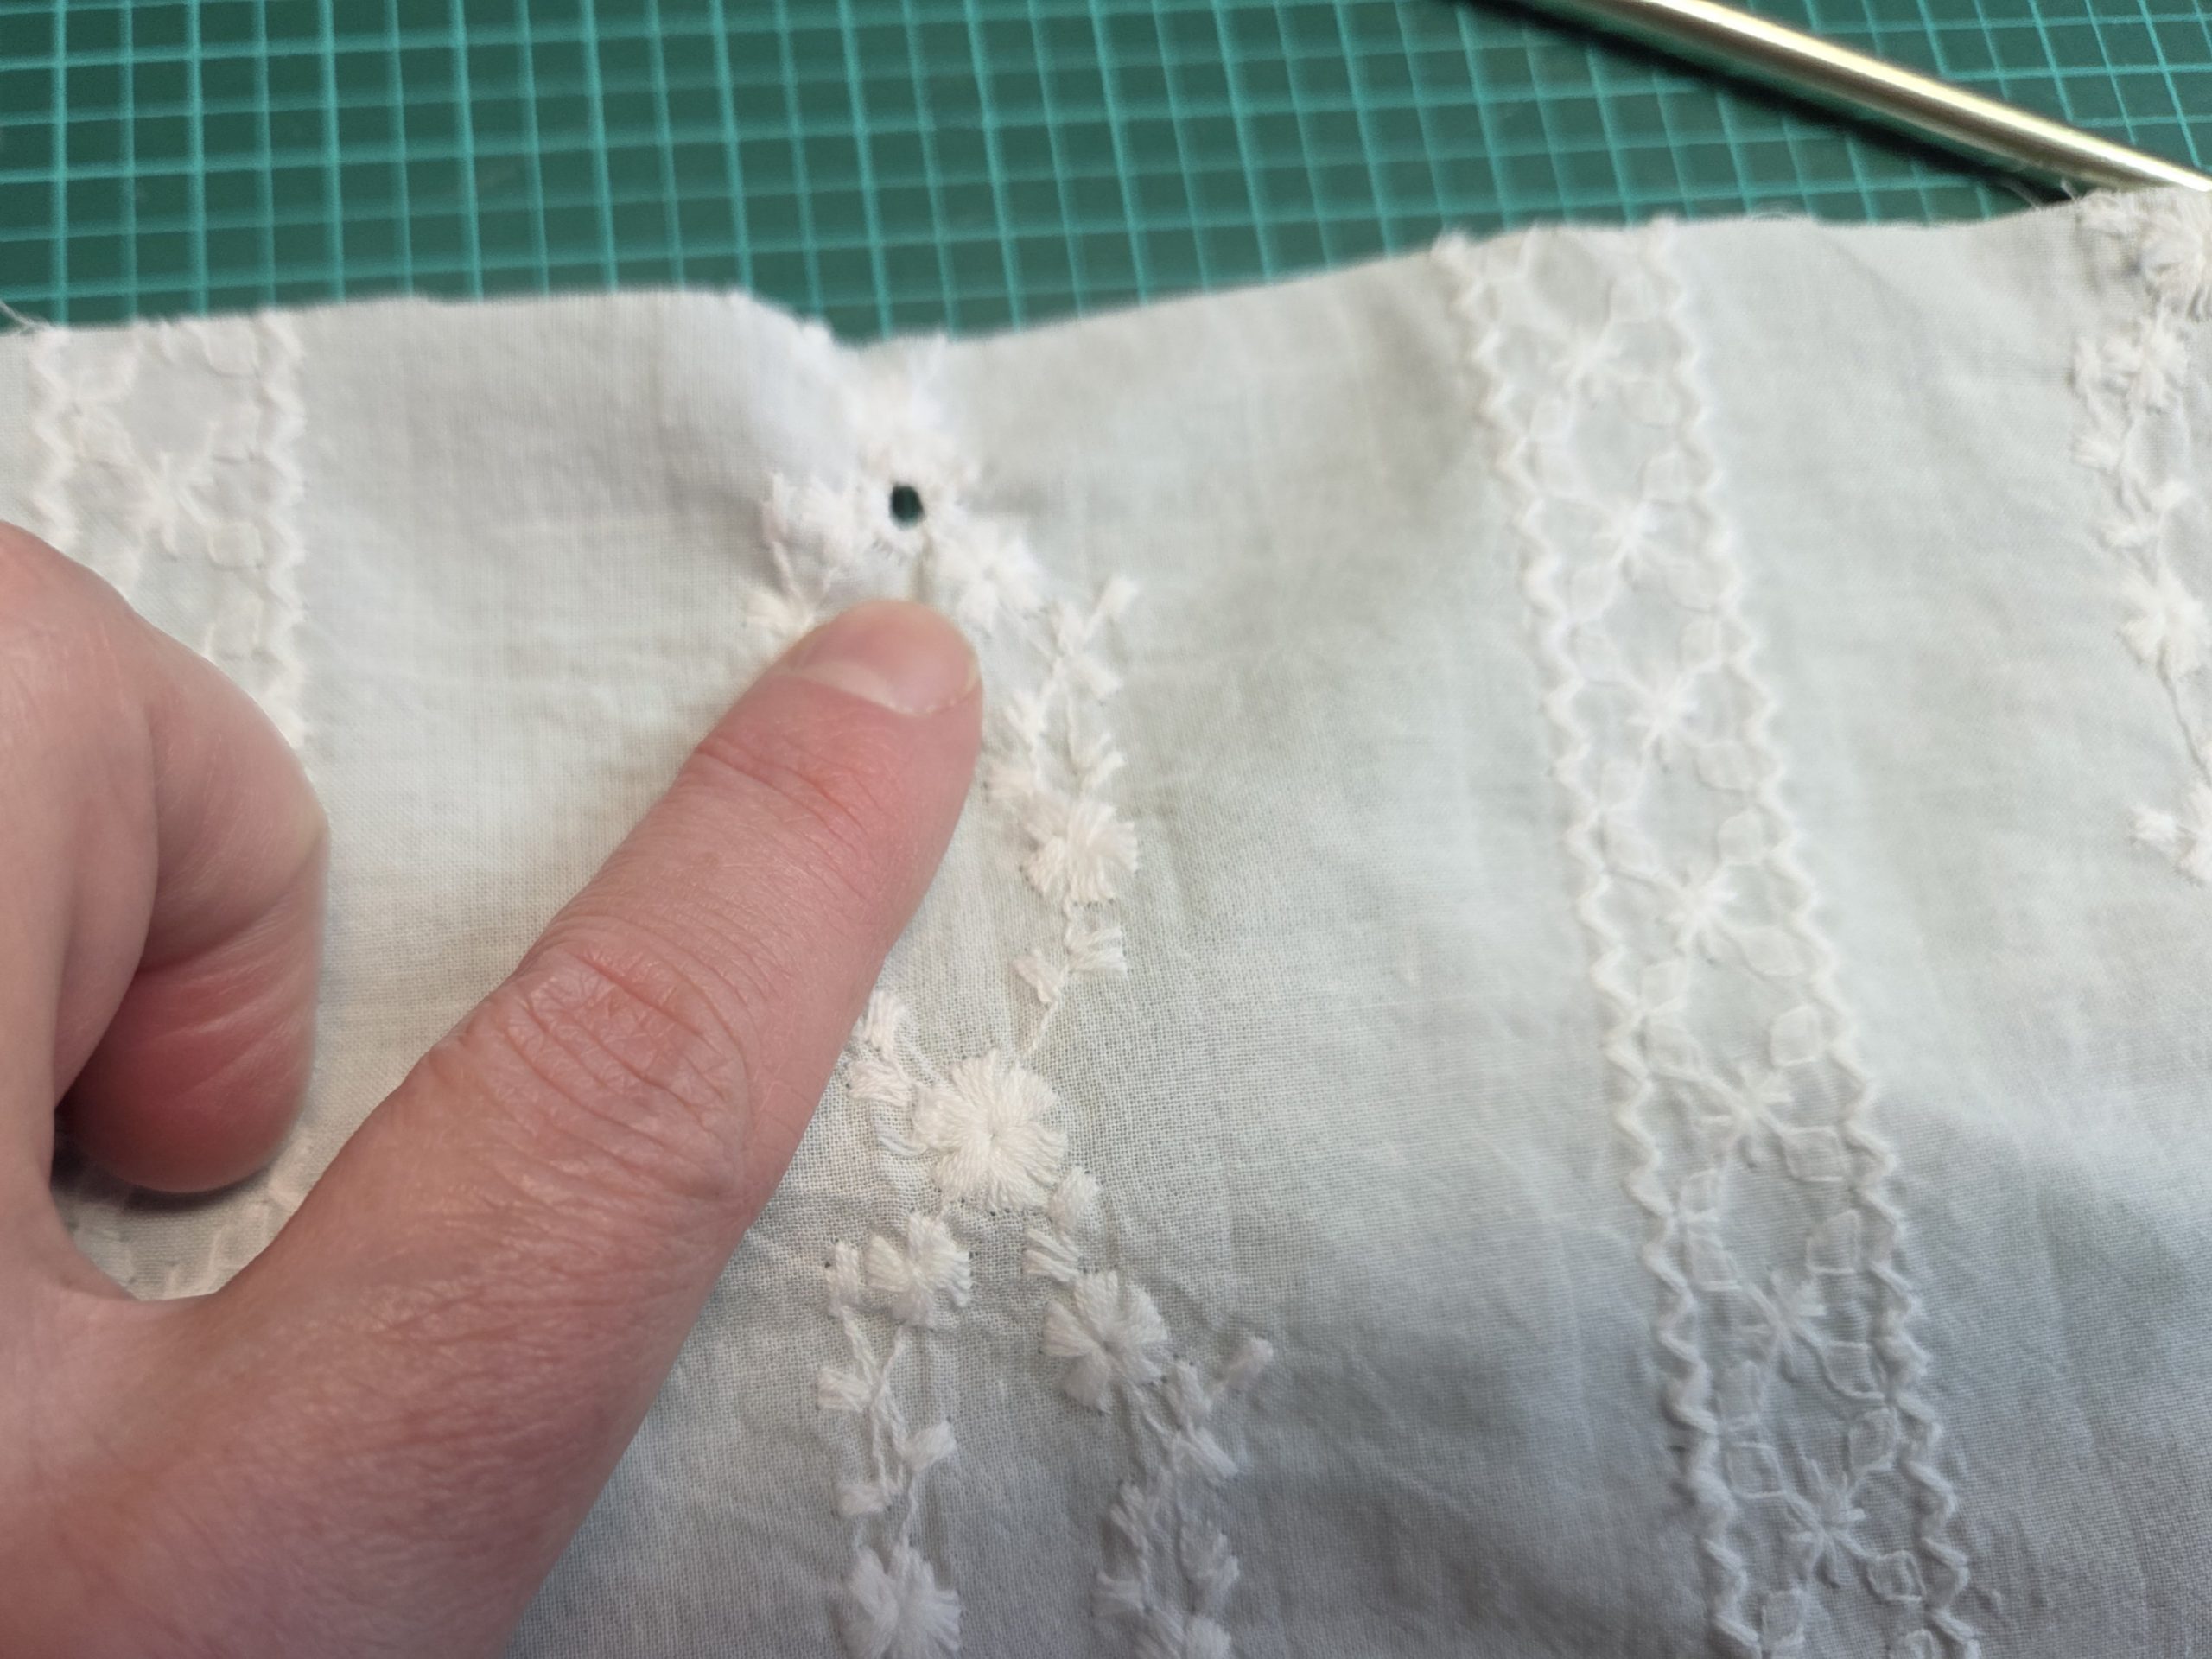
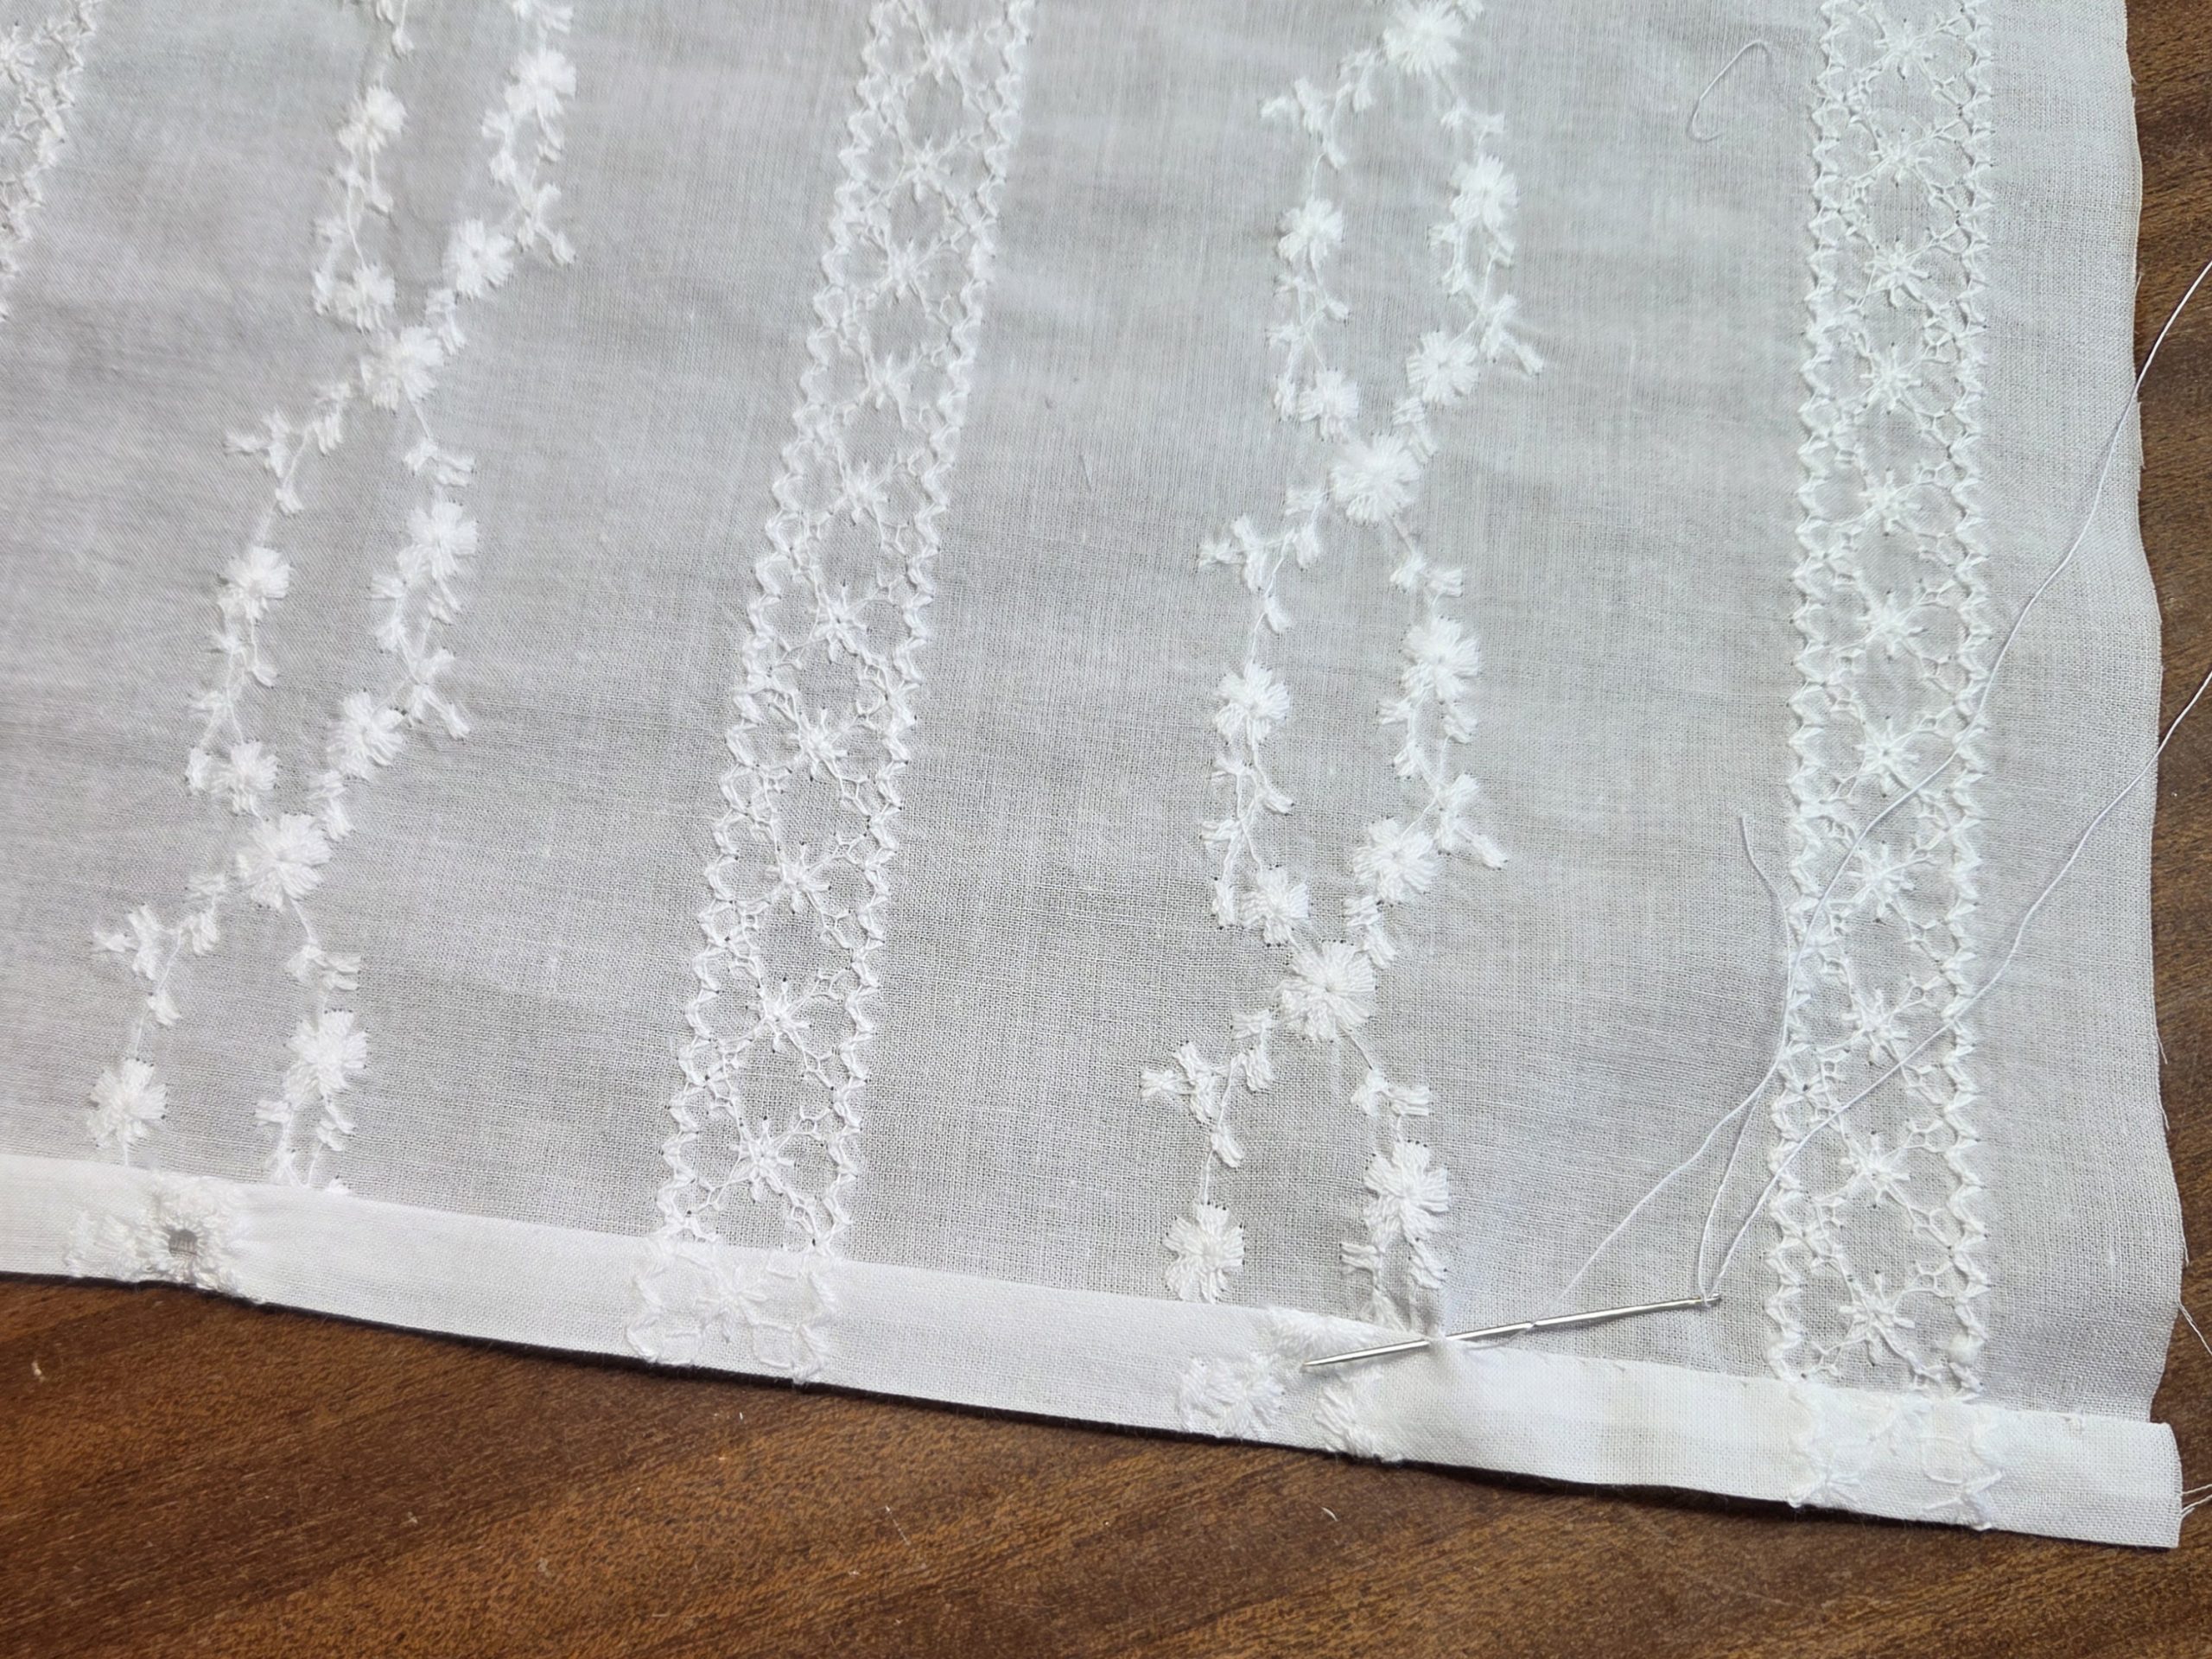
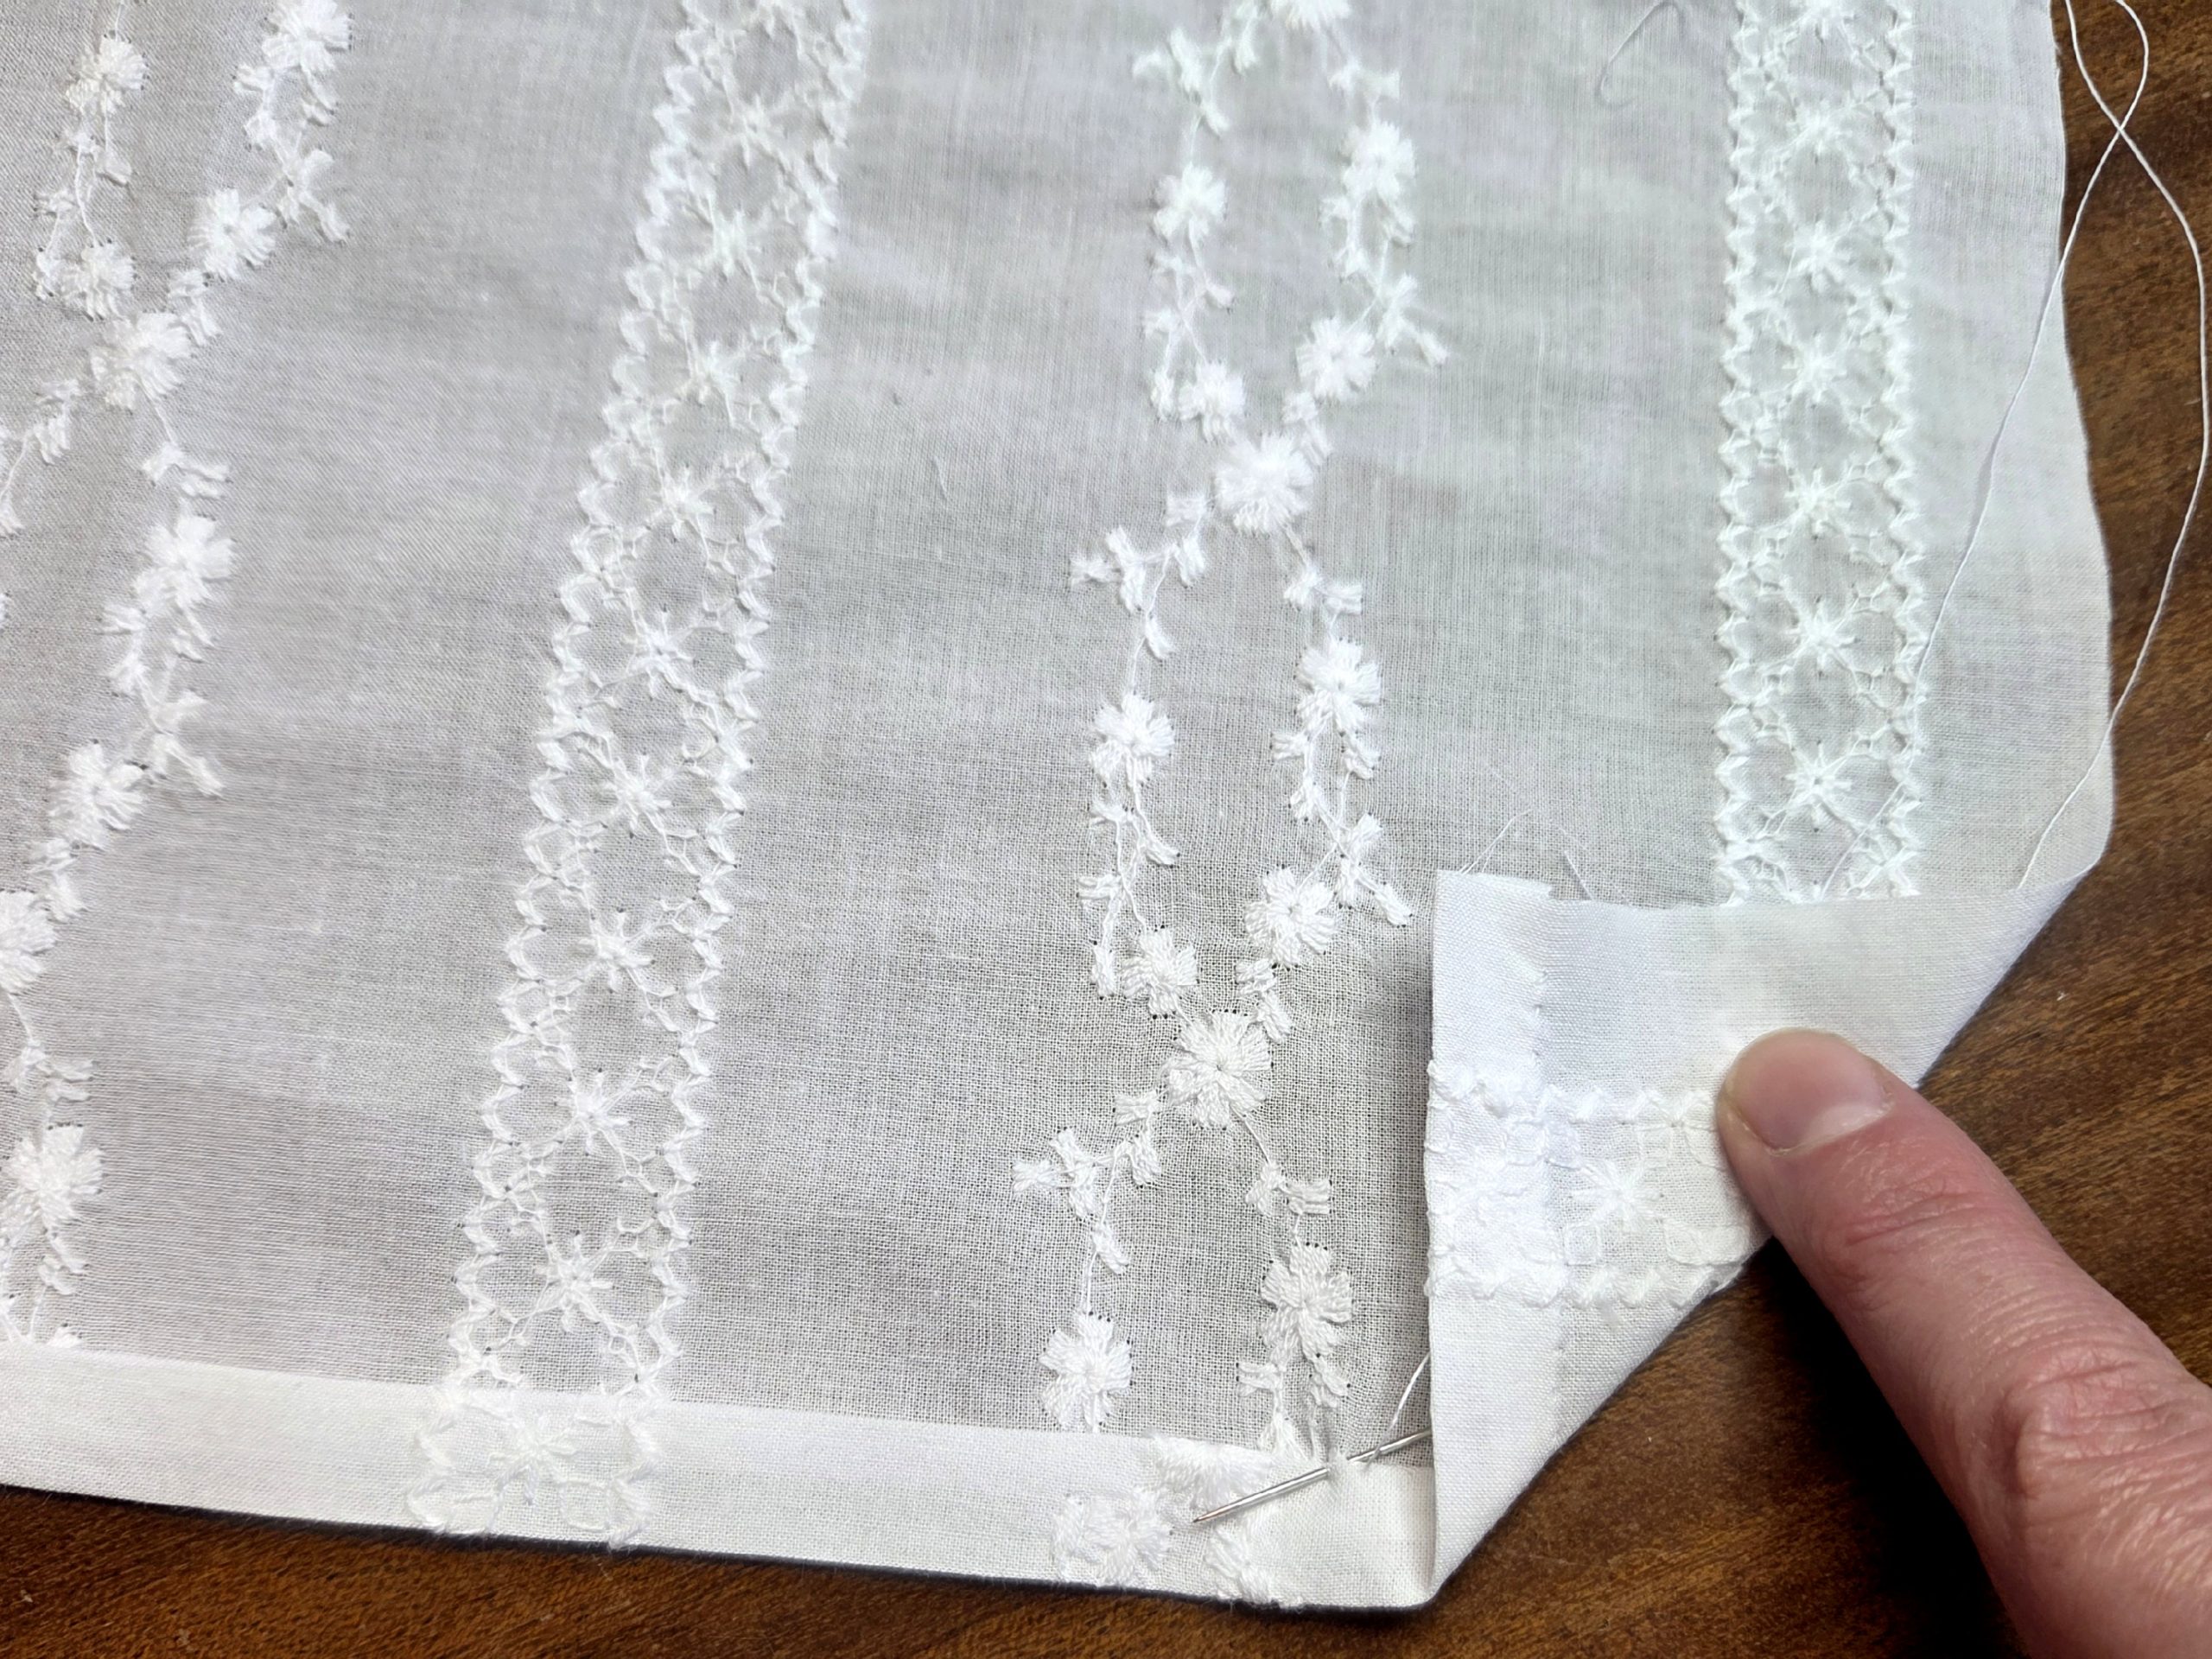
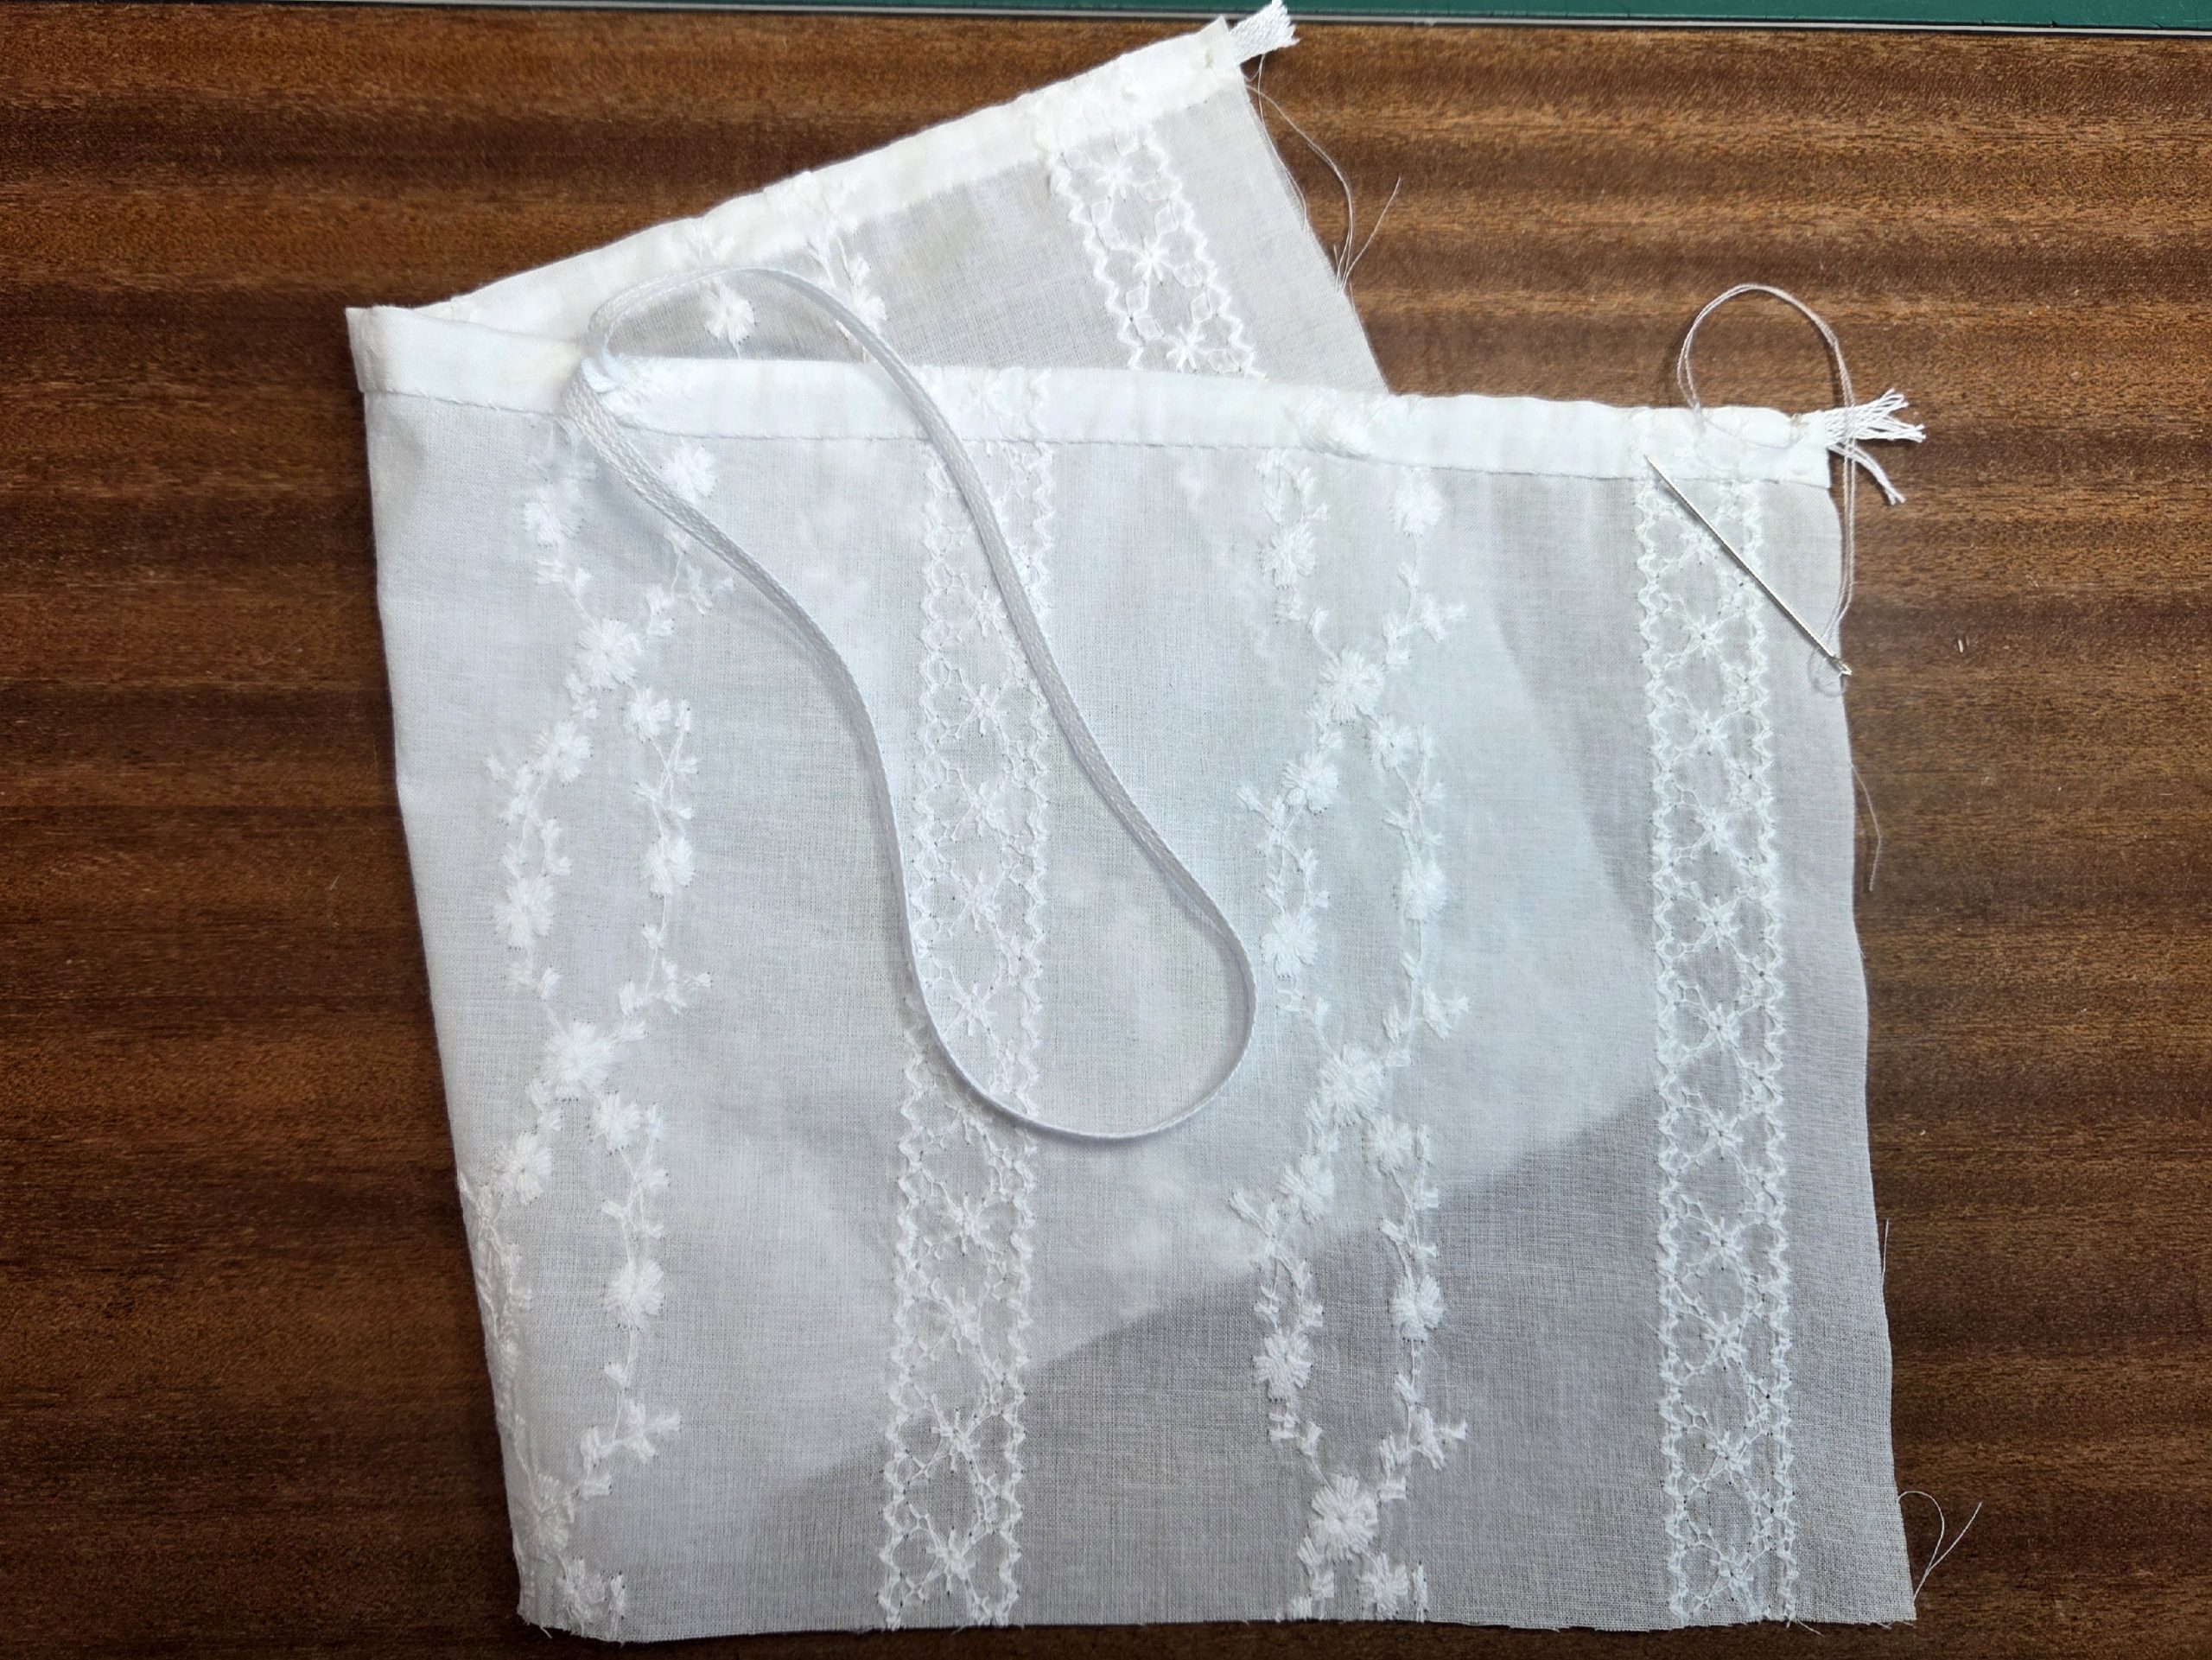
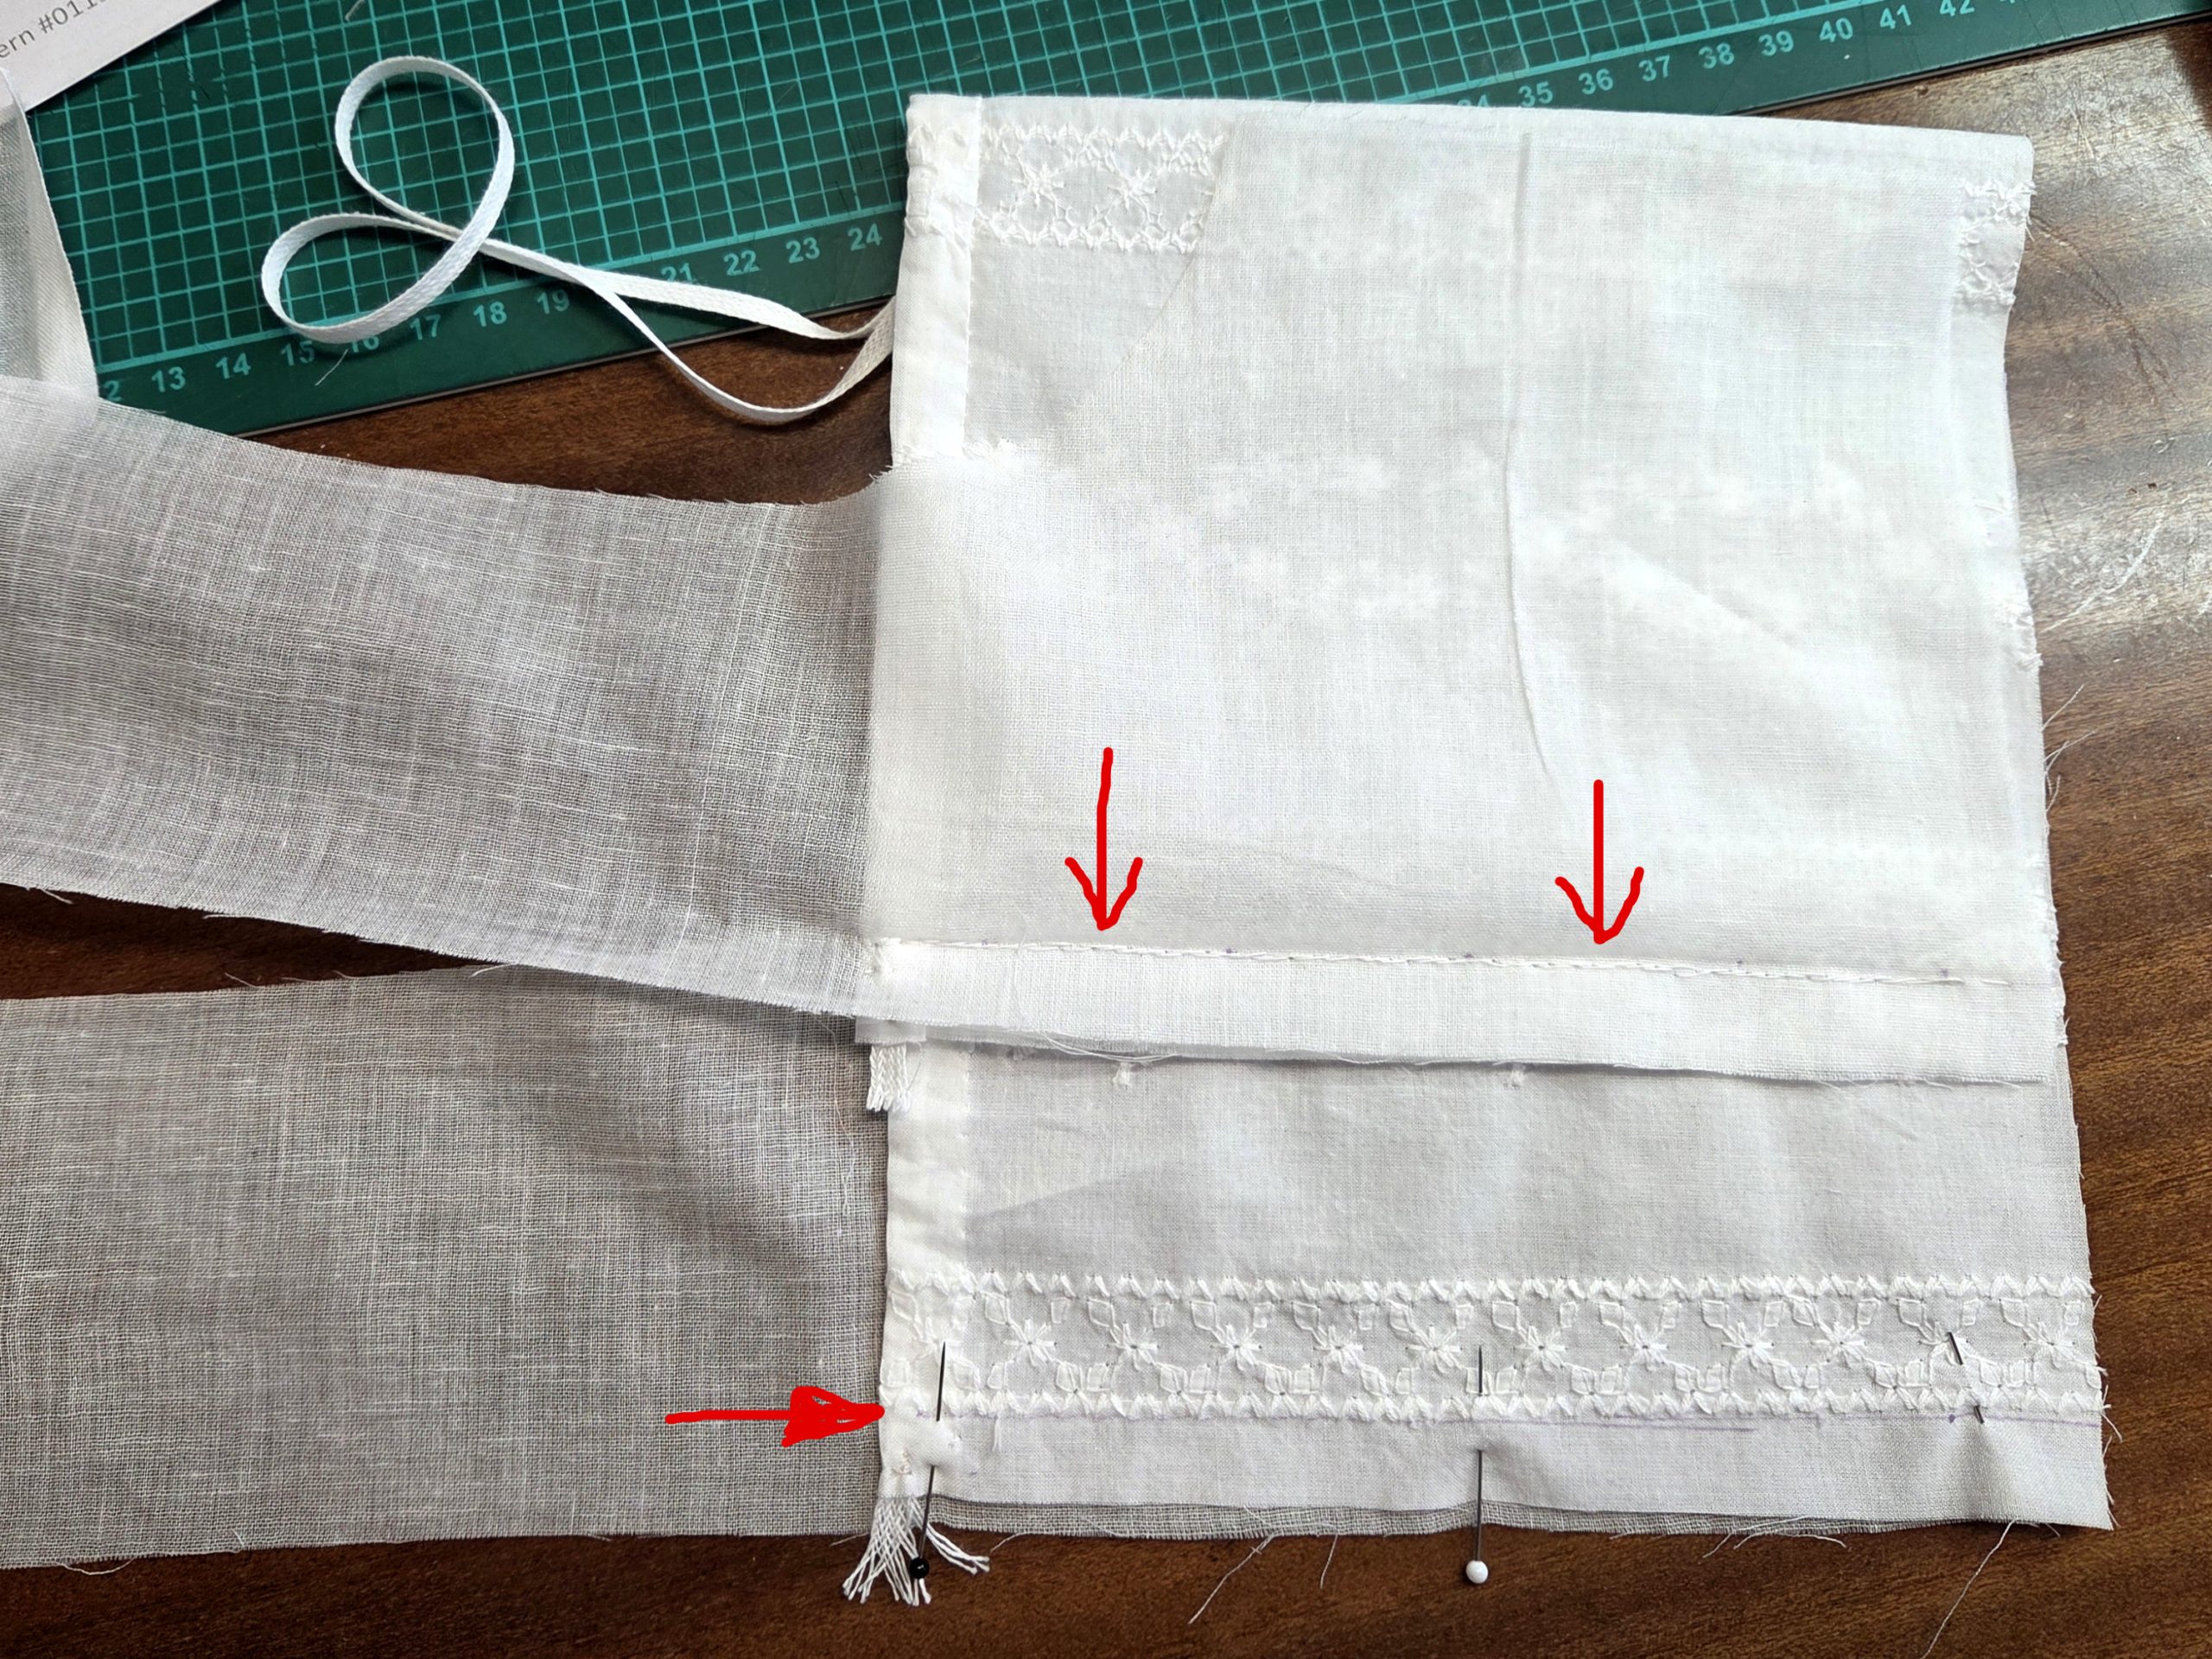
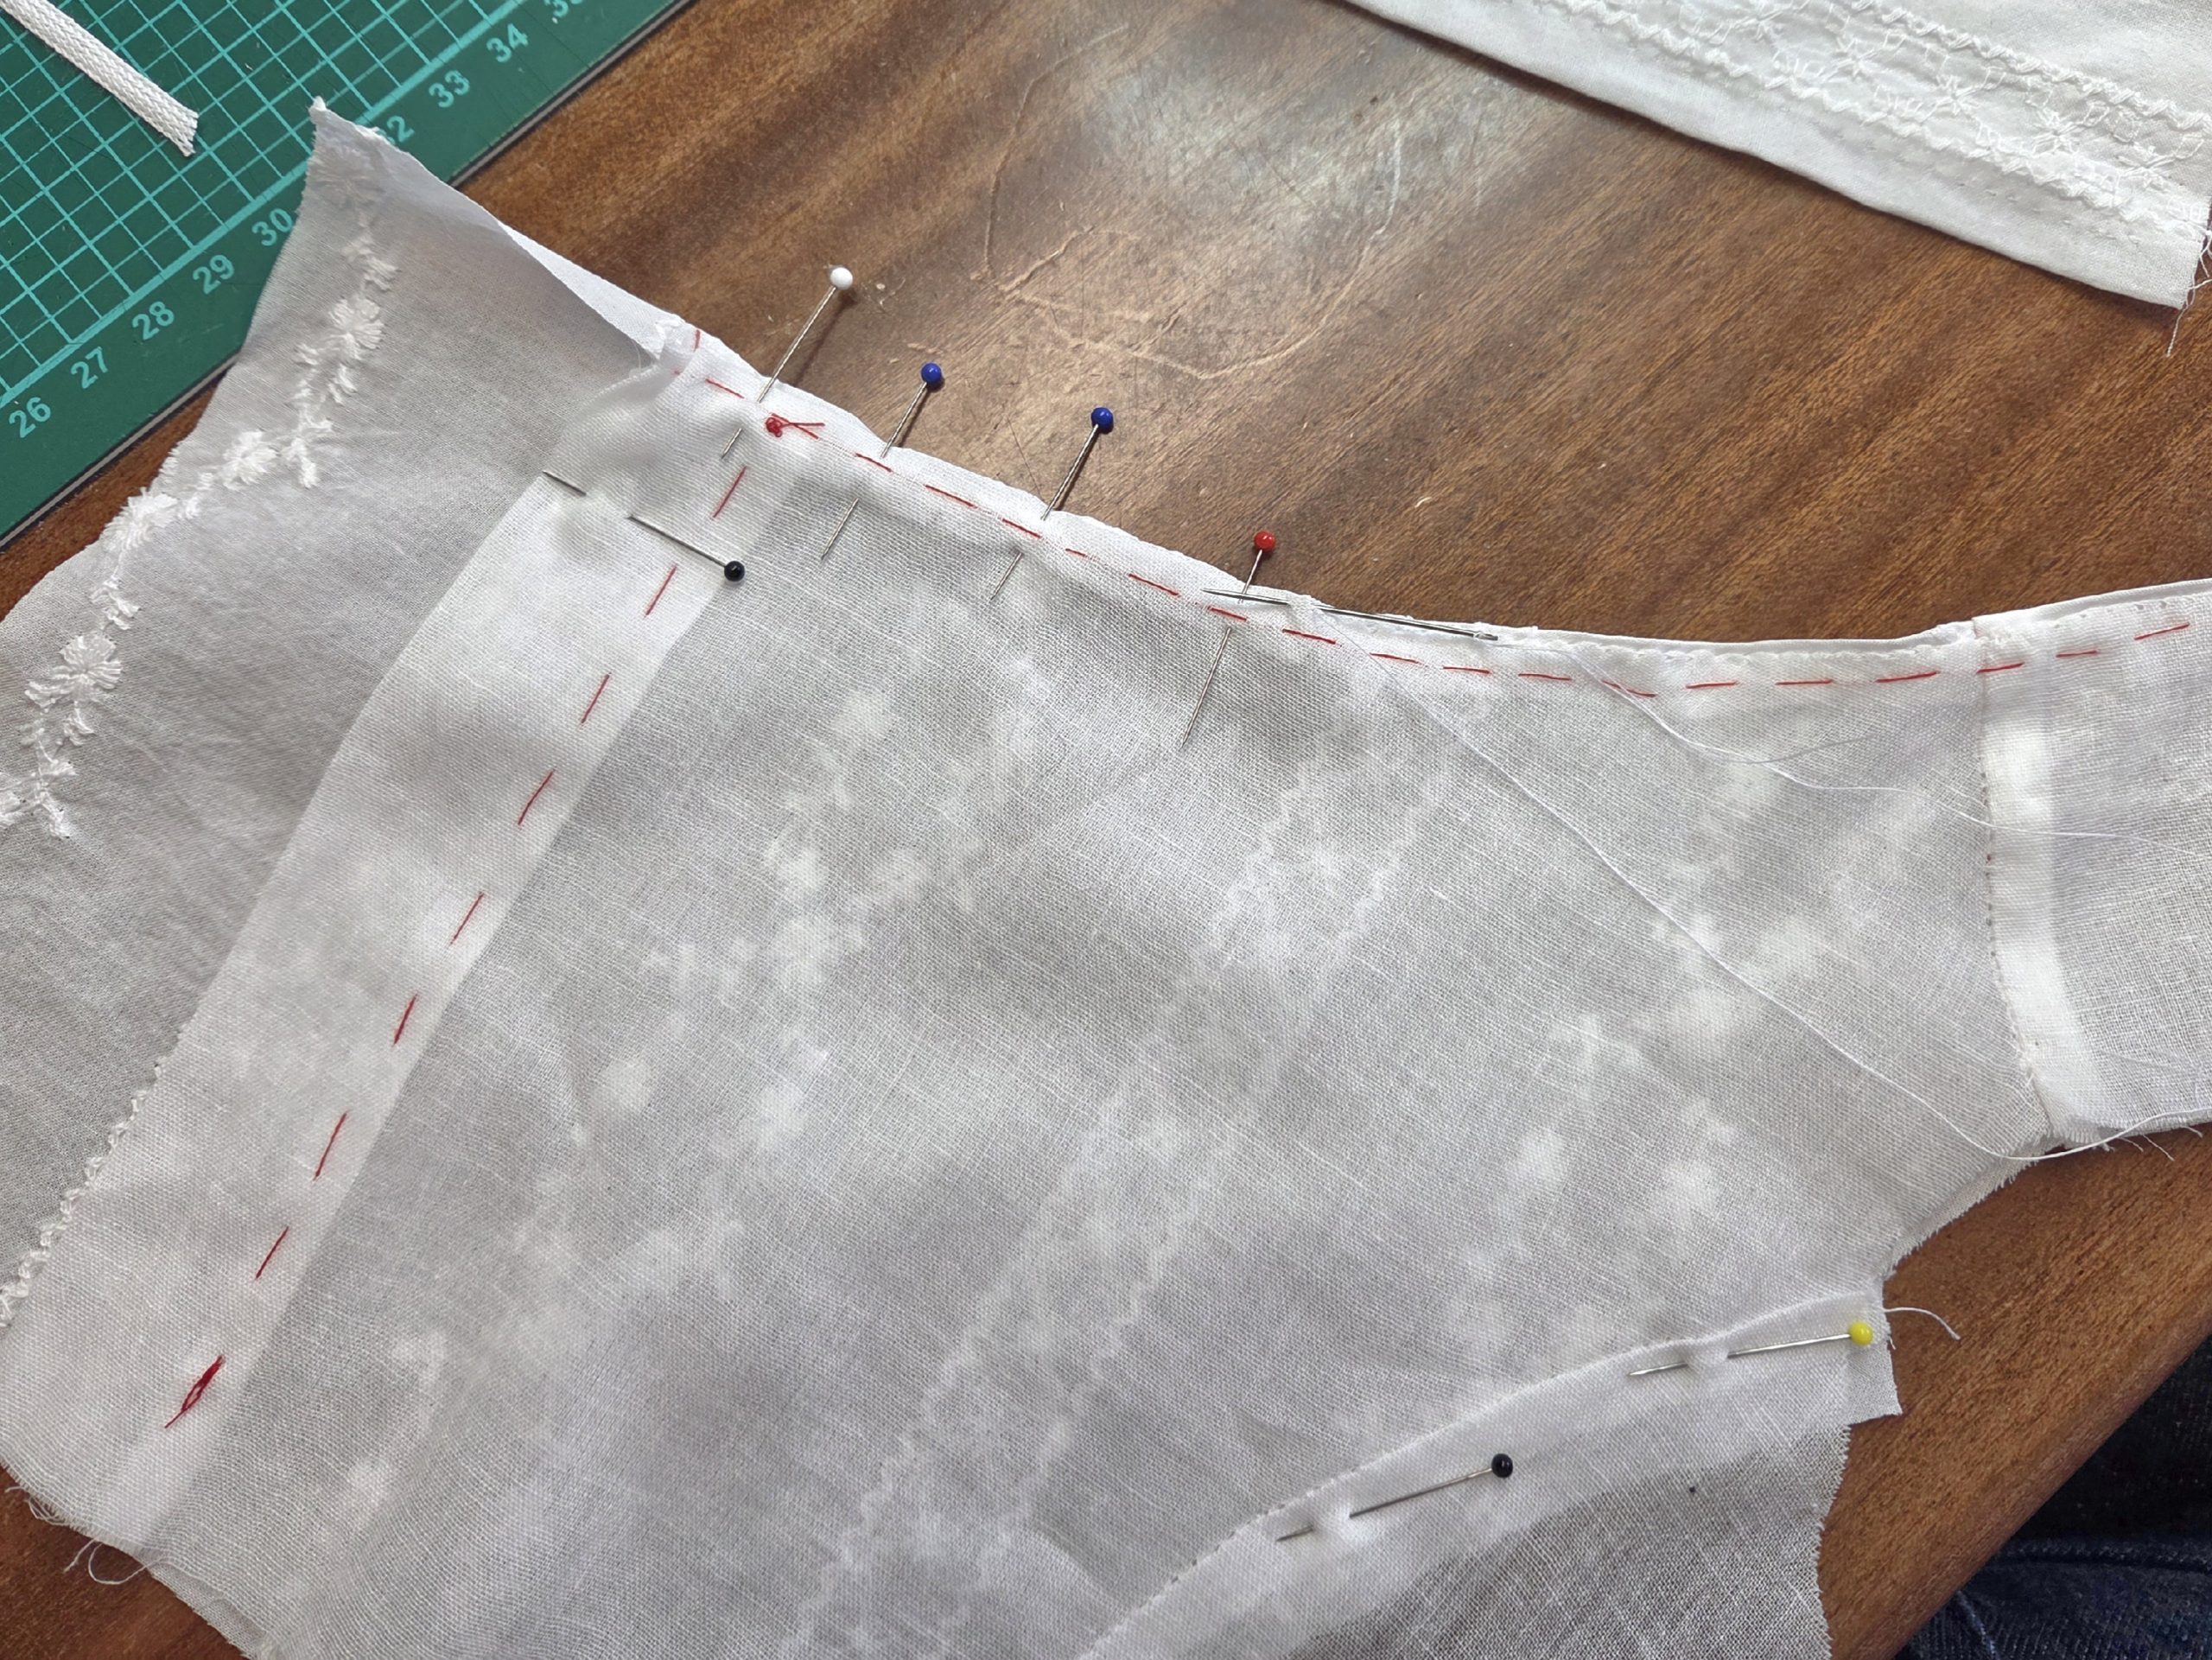
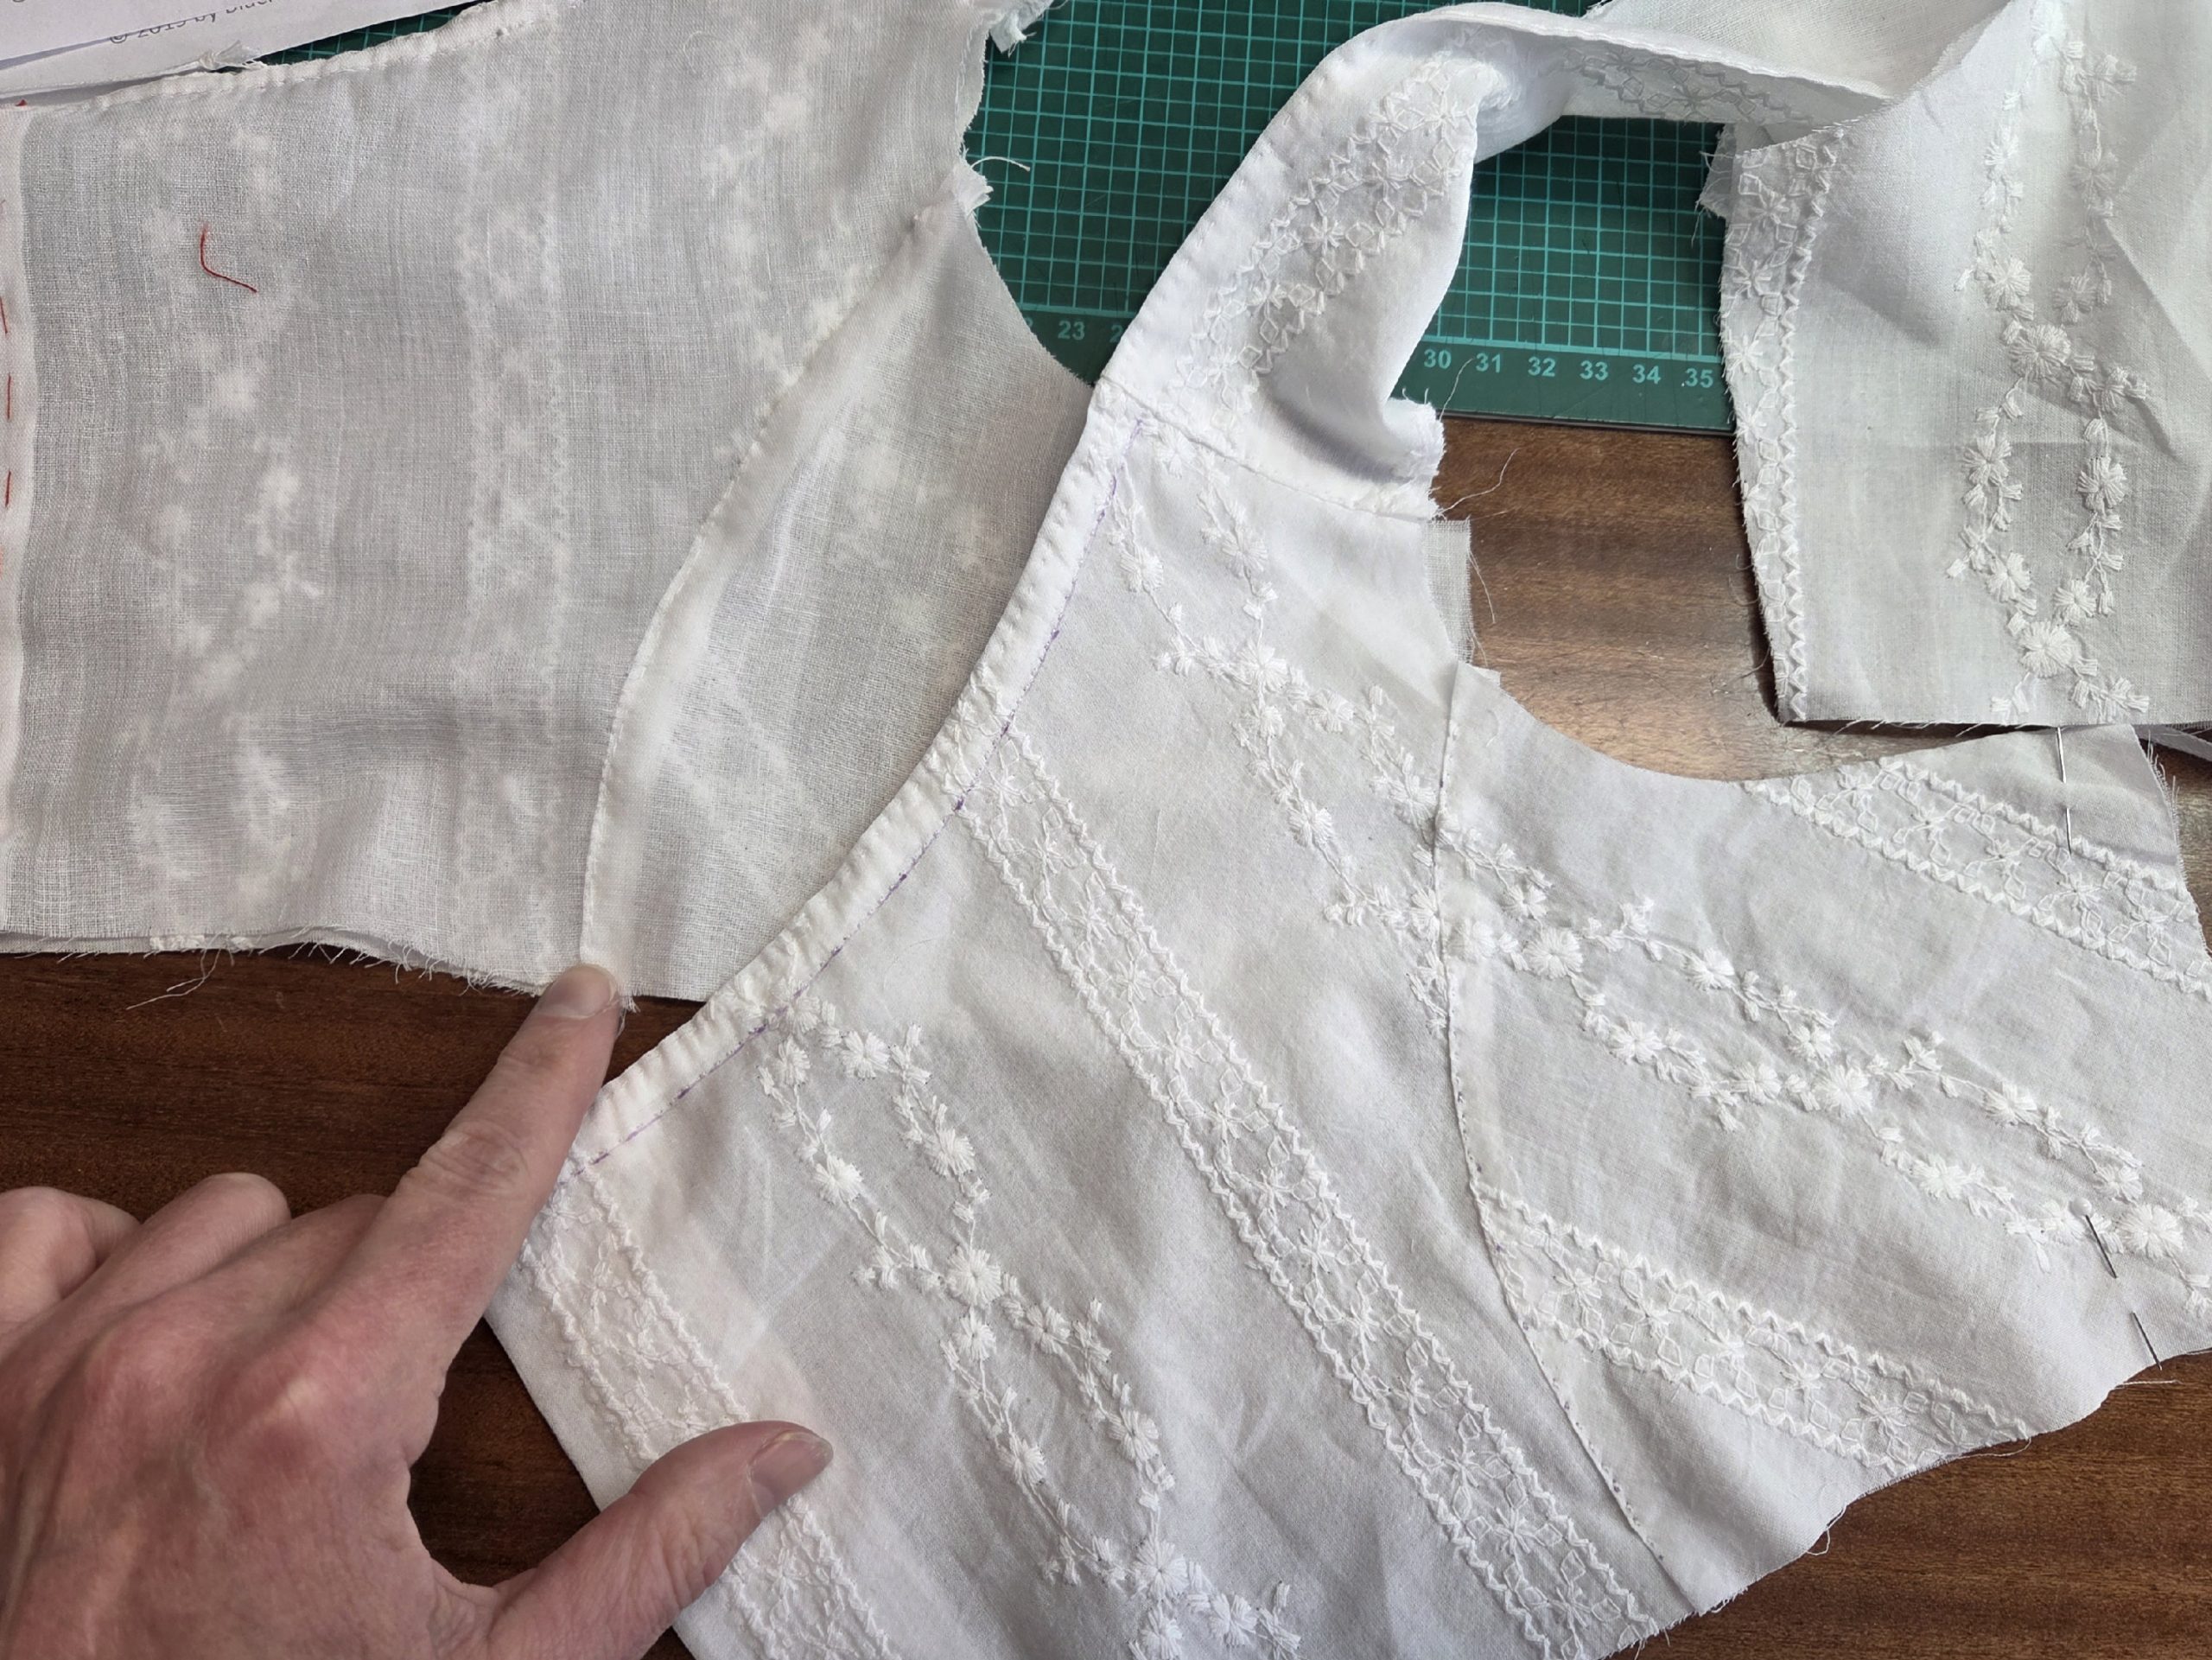
(1) After cutting all the pieces from the fabric – taking extra care to match the pattern if you’re working with embroidered material – start with the front piece. Make a small buttonhole at the top edge of the front piece. Turn in the seam allowance along the top edge two times and sew it down with a regular fell stitch from the wrong side. The stitching should be just slightly visible on the right fabric side. Insert a narrow cotton tape through the button-hole, let the tape stick out about 3/8” (1cm) at the sides and bar tack in place there.

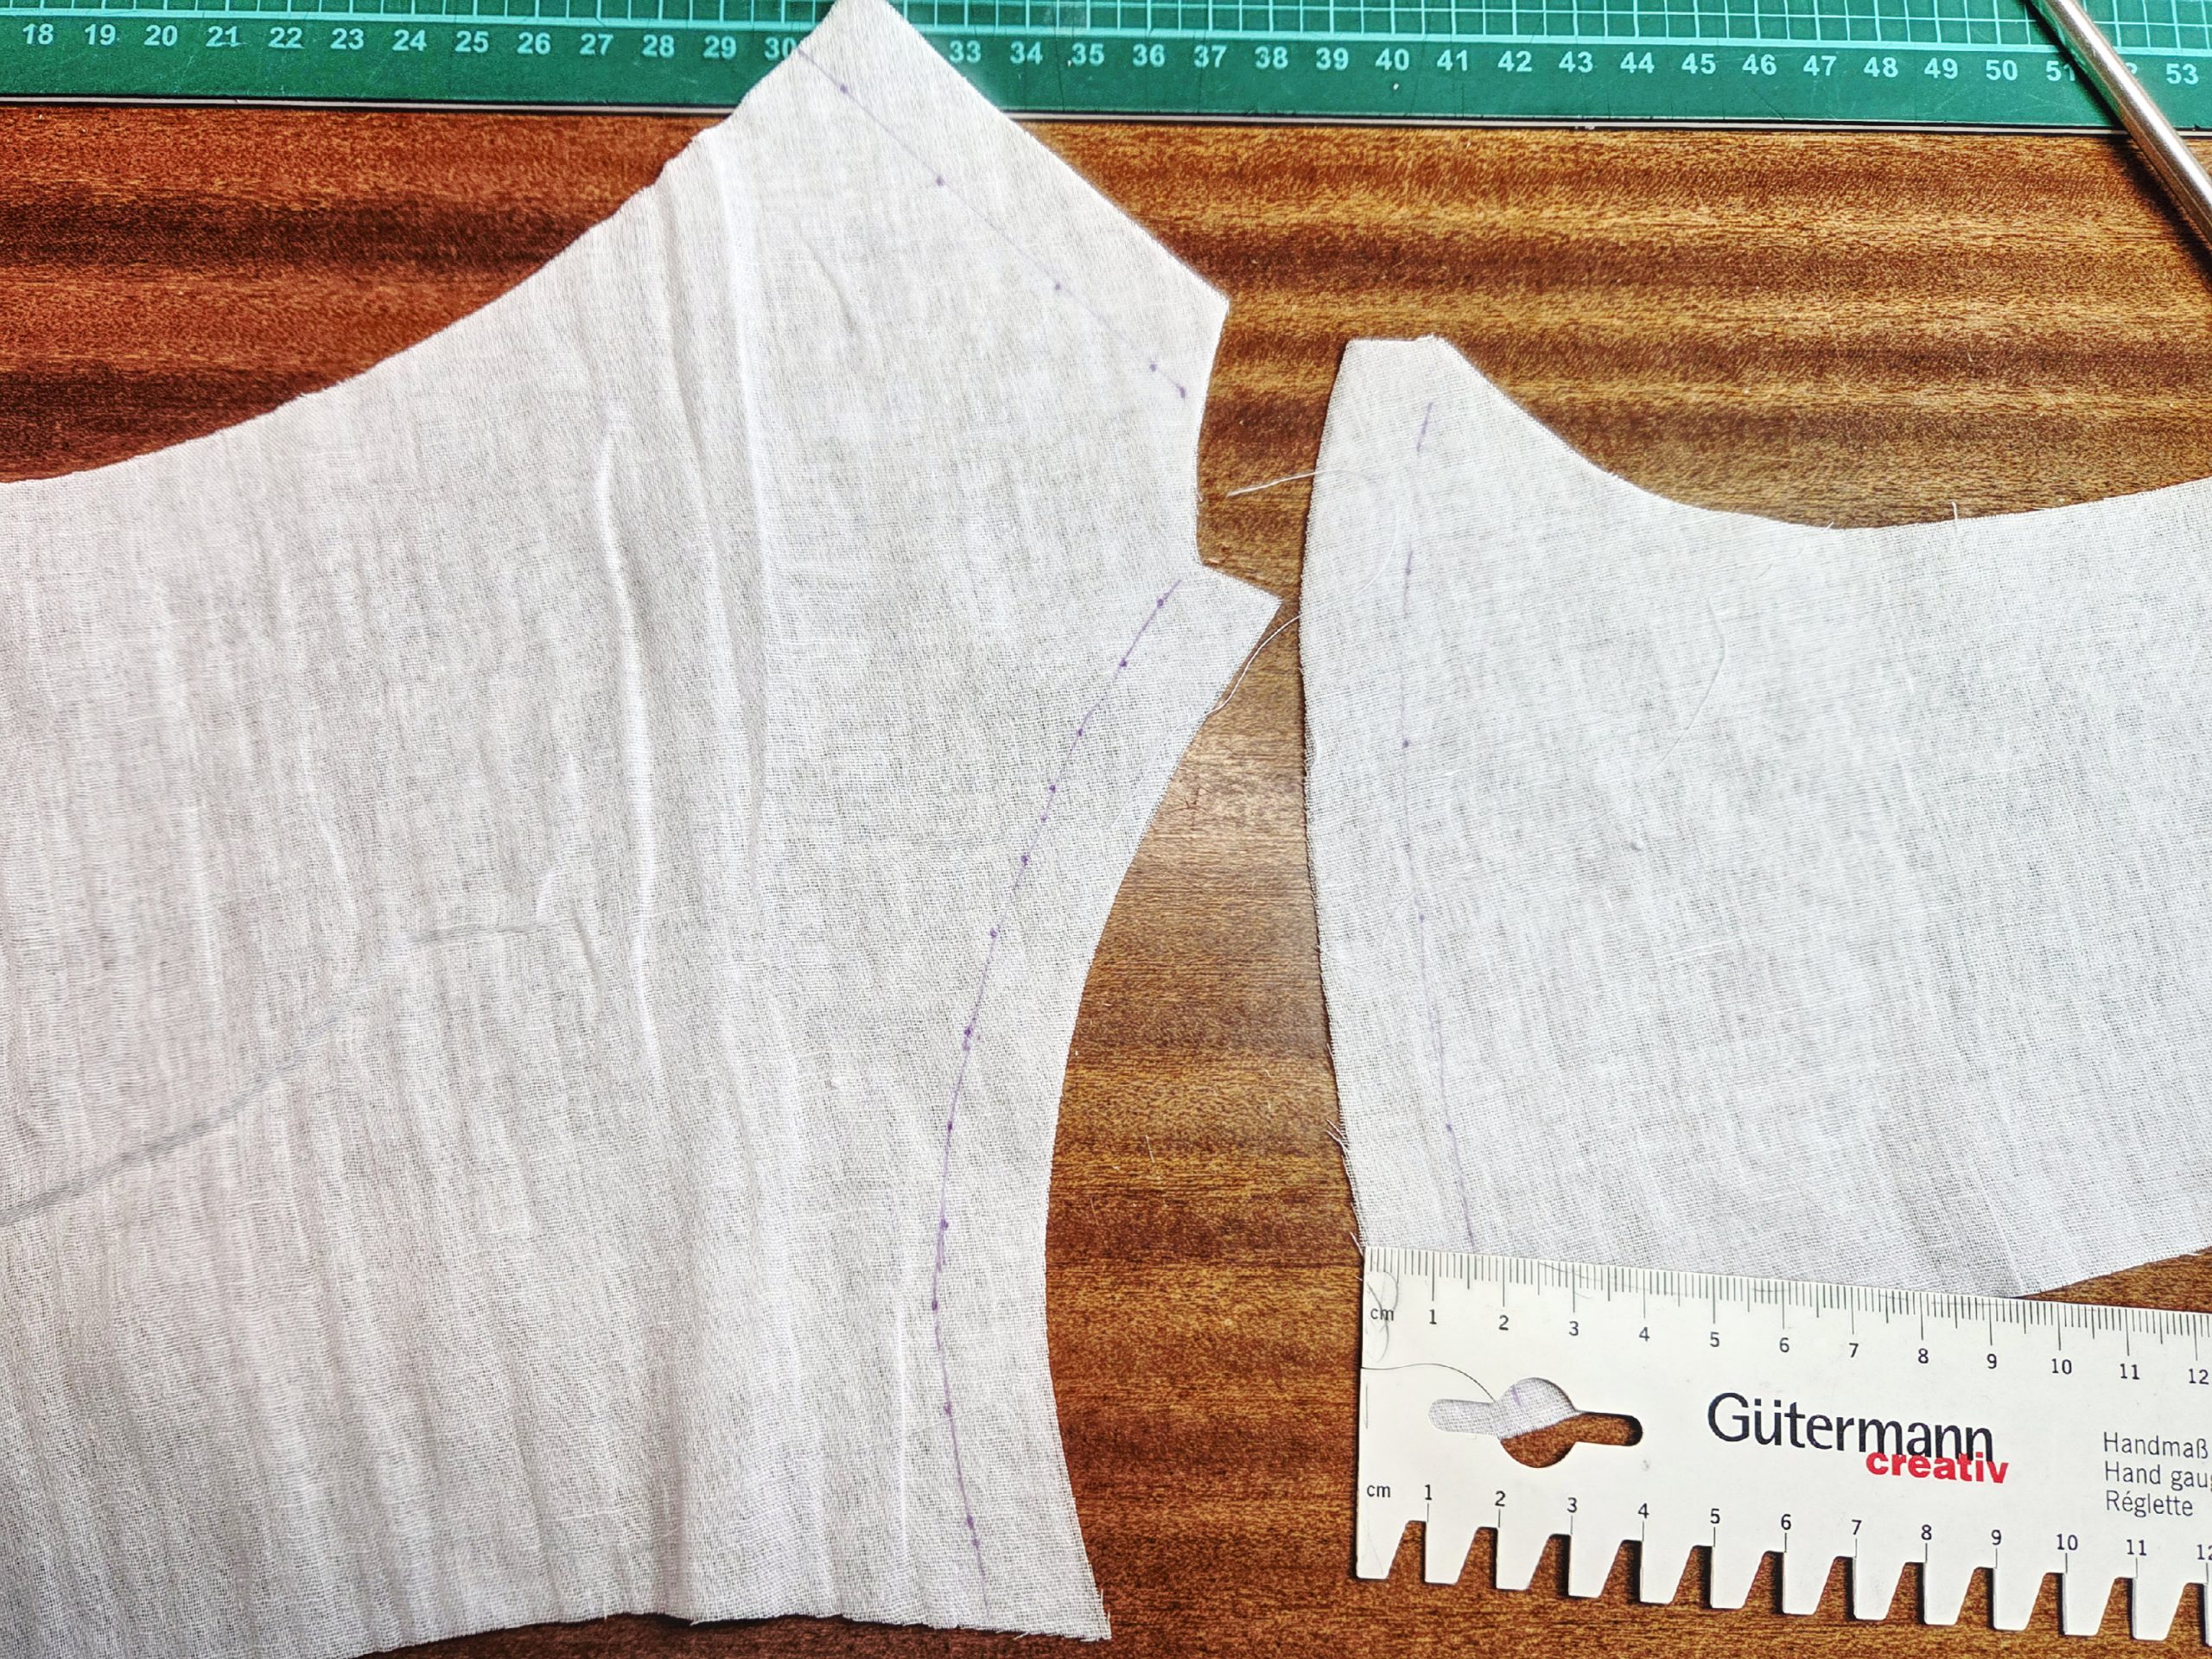
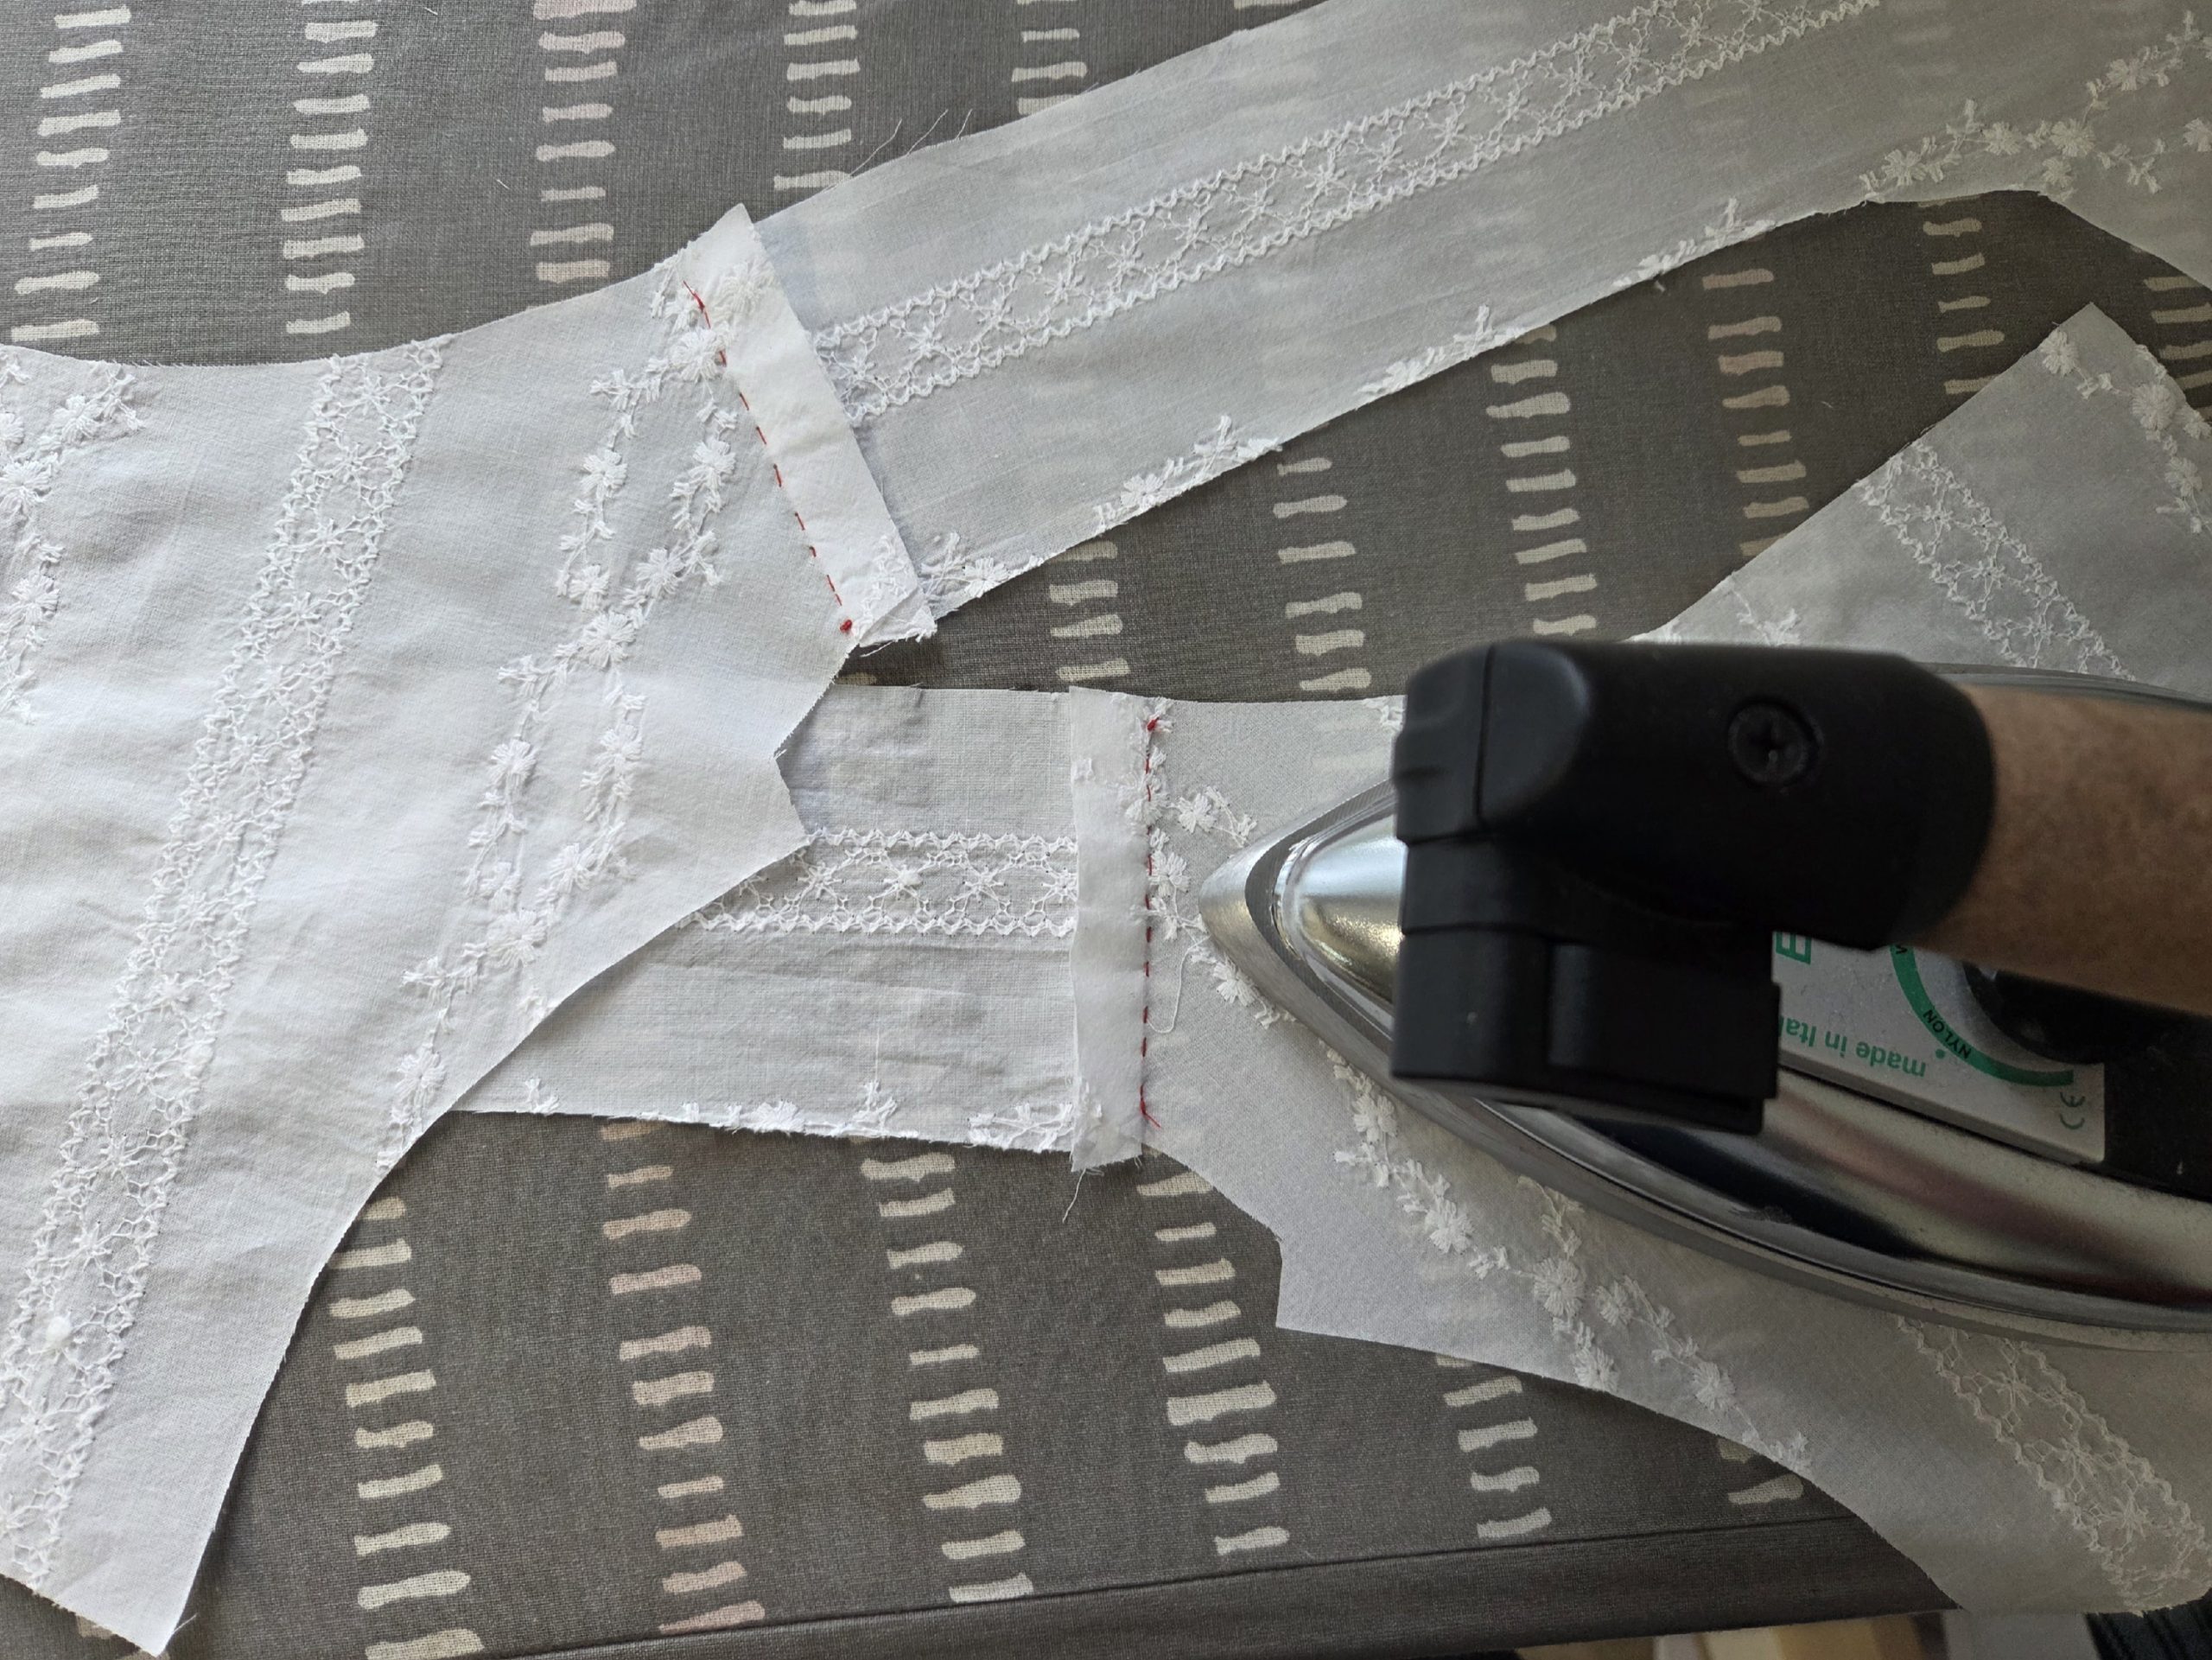
(2) Take the lining pieces and sew the side back and shoulder seam, right sides together, trim back the seam allowances to 3/8” (1cm), and press towards the side seam and the front.

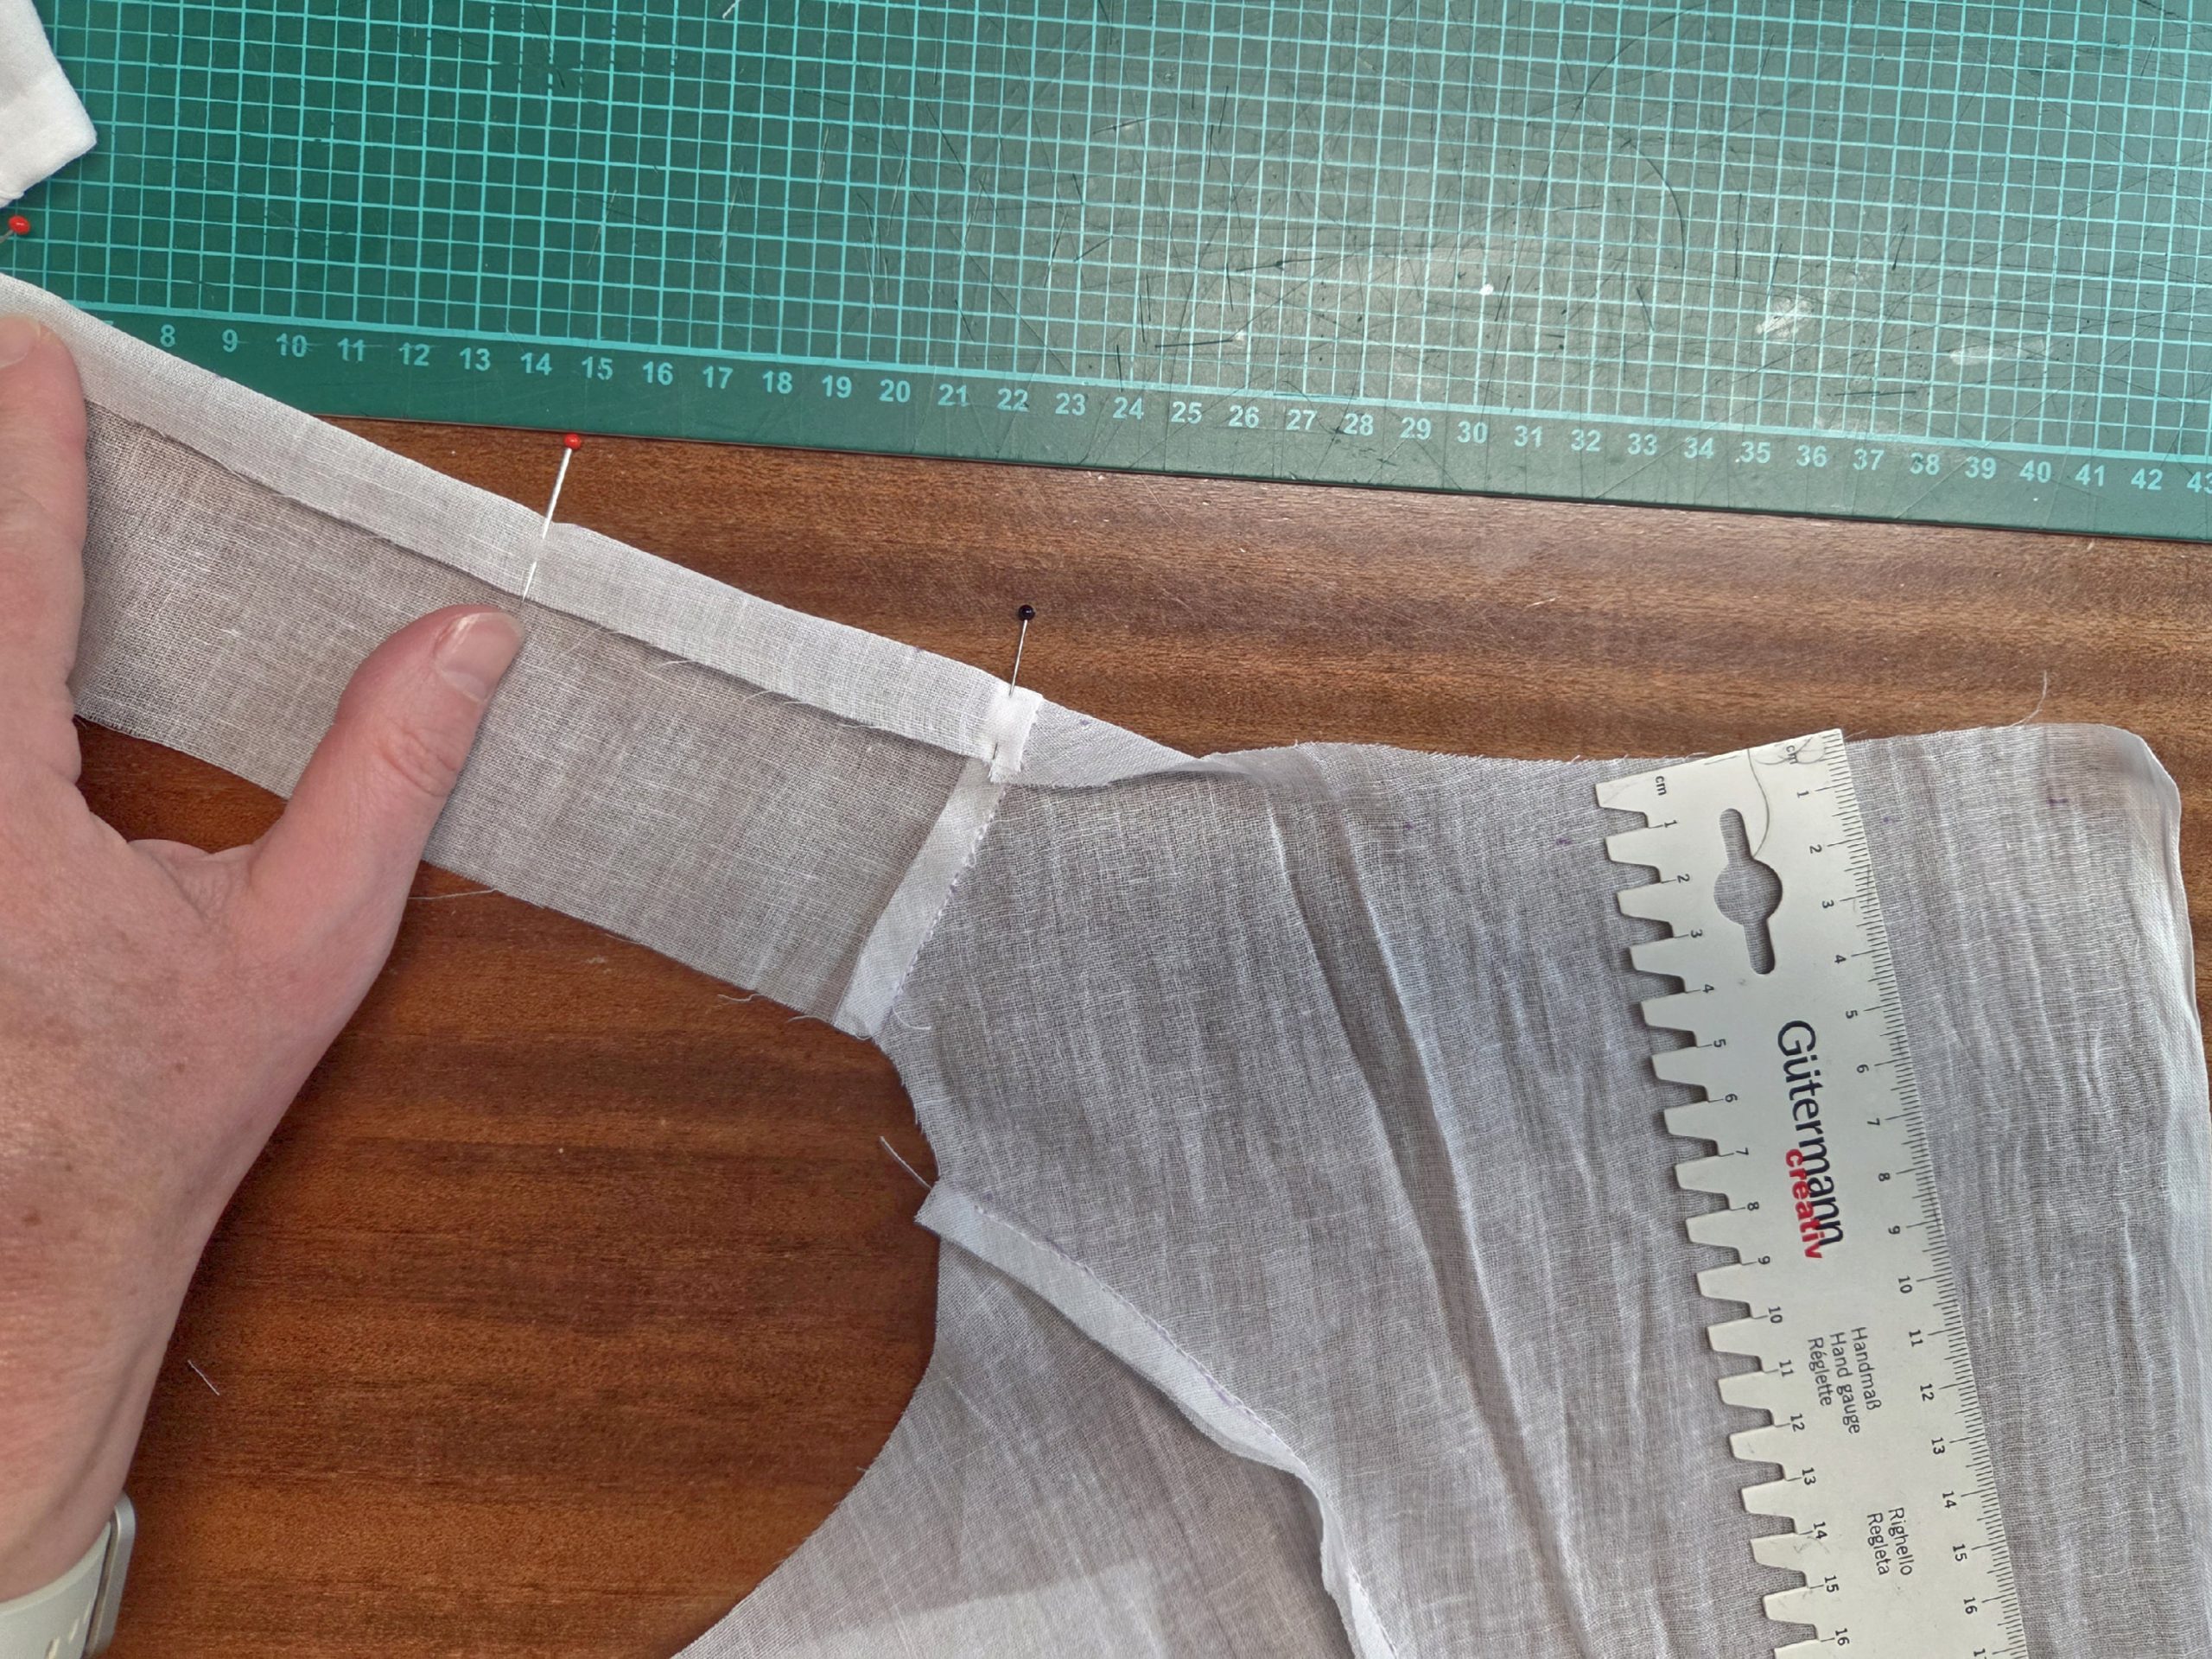
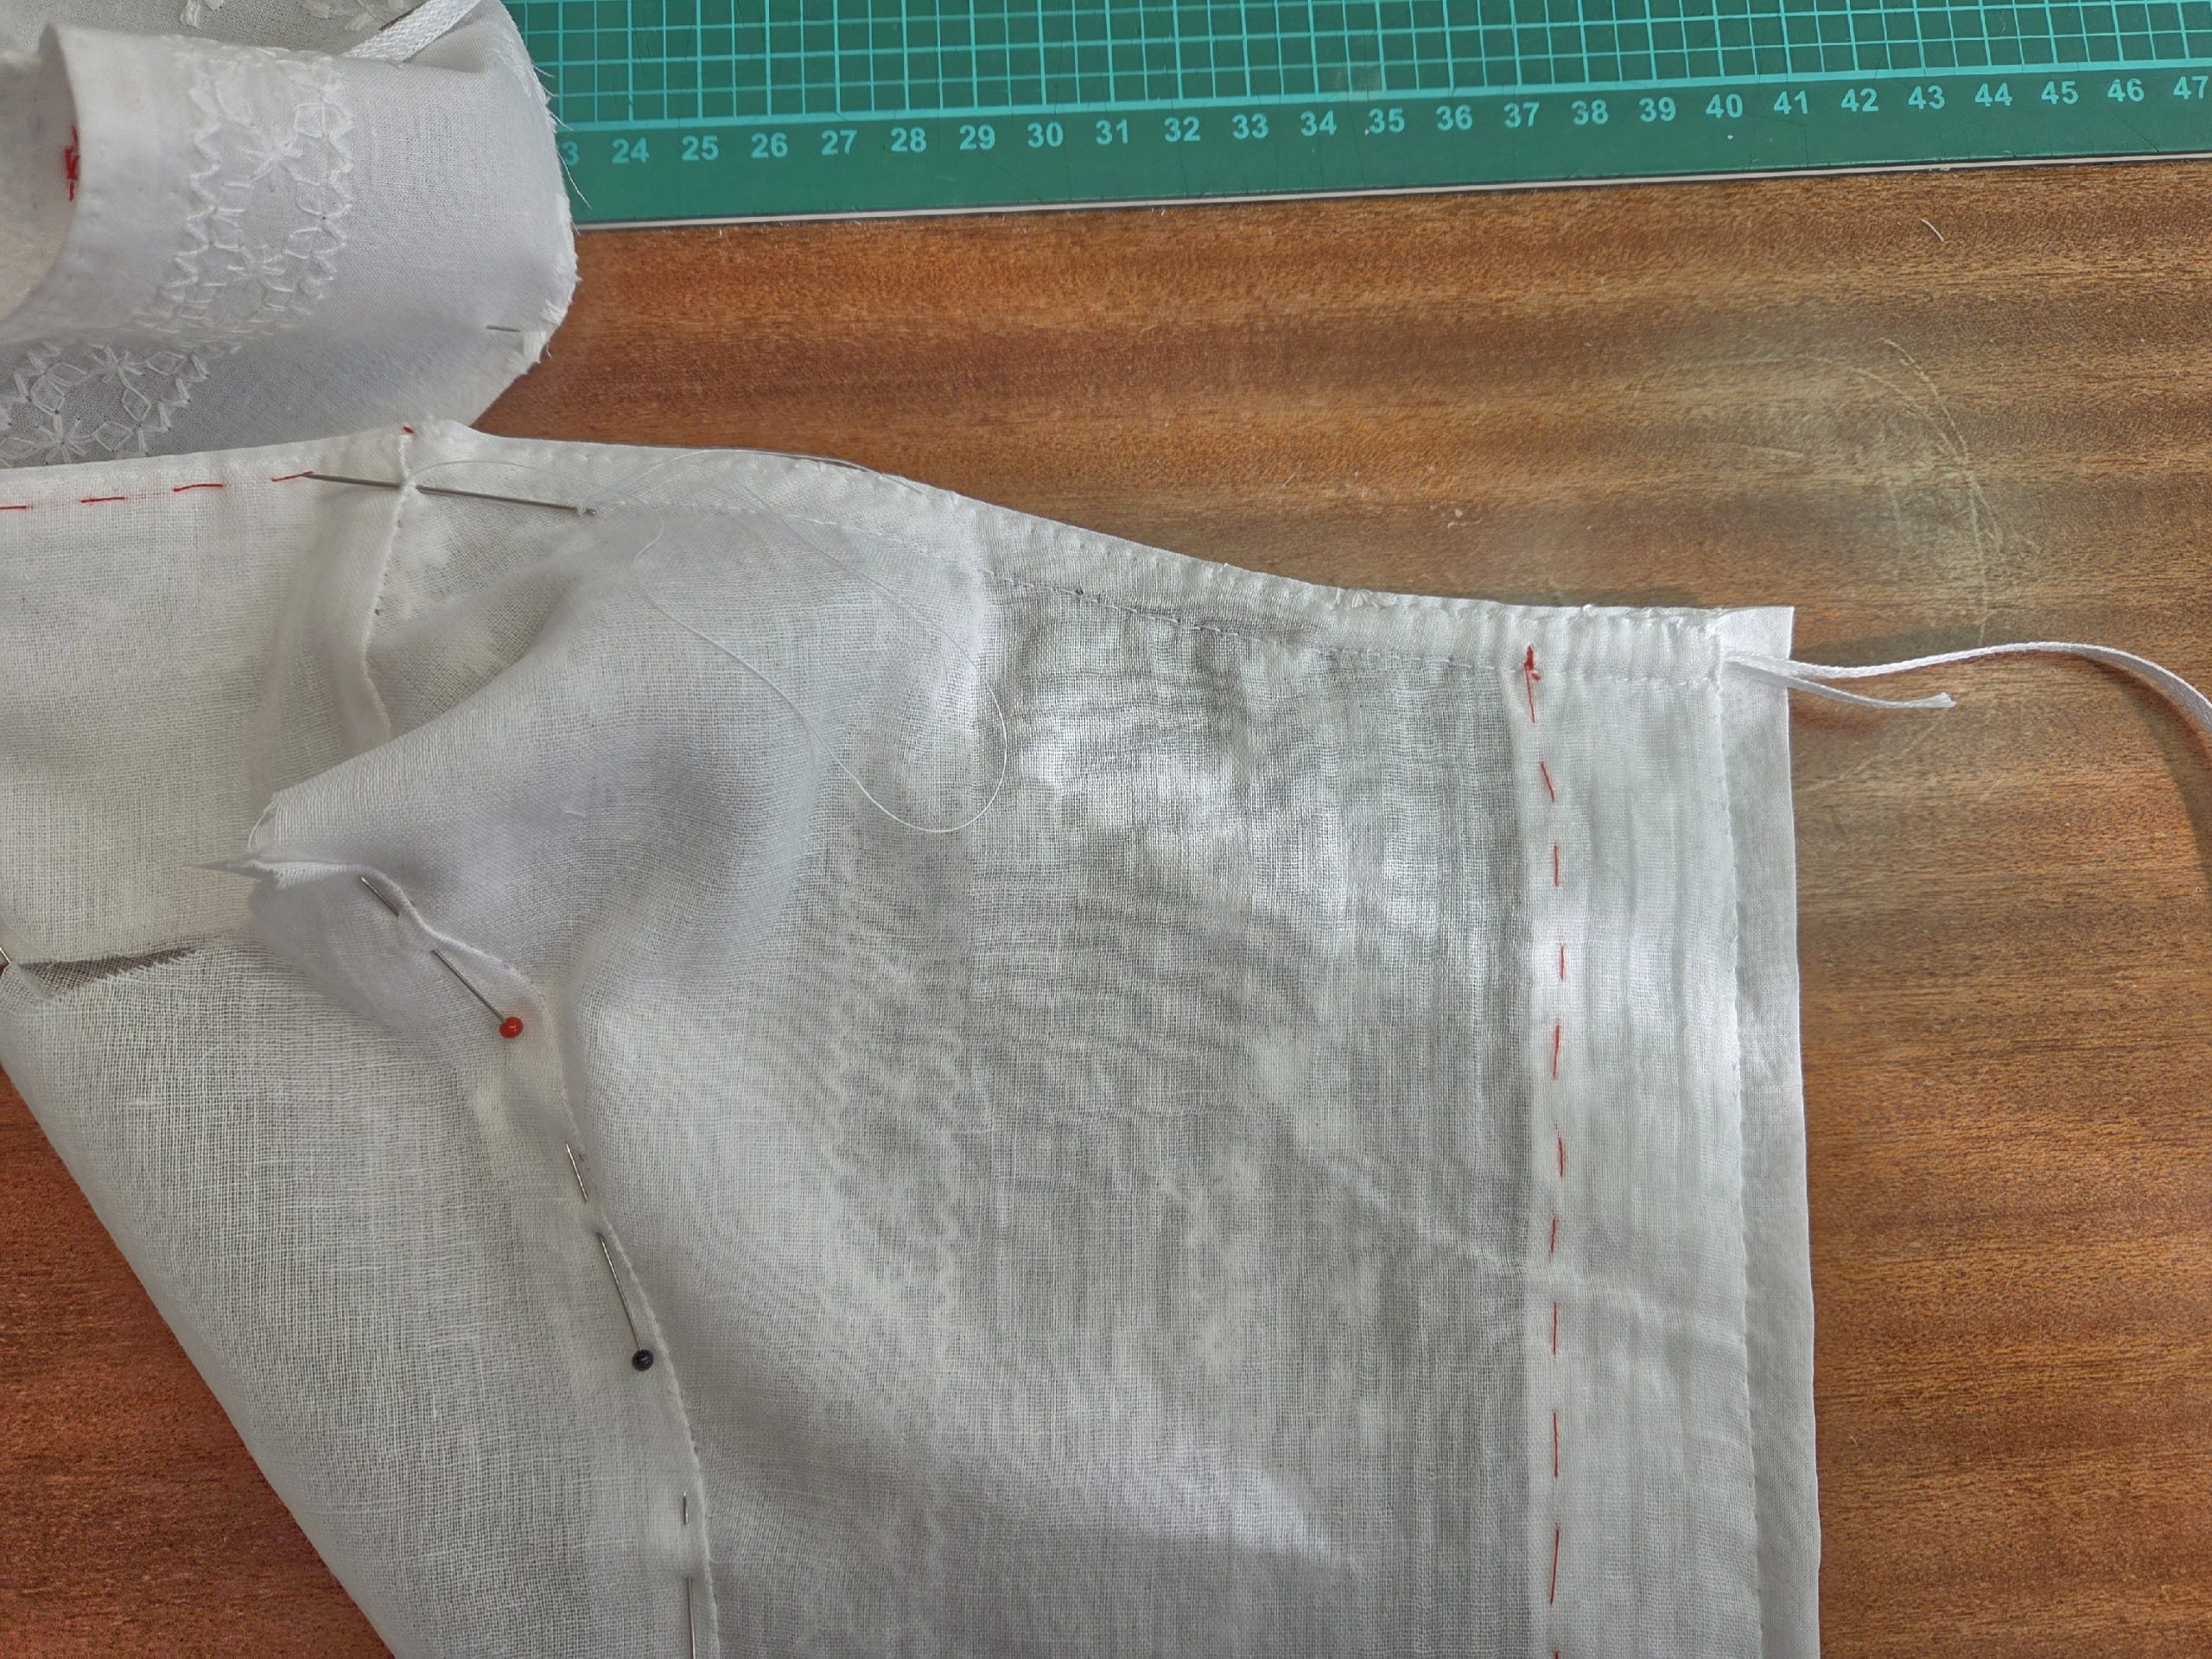
(3) Place the front piece from the fashion fabric with the wrong side down on top of the lining’s right side, matching marks (1) and (2). Sew with a back stitch. Secure the drawstrings again with some additional stitches.
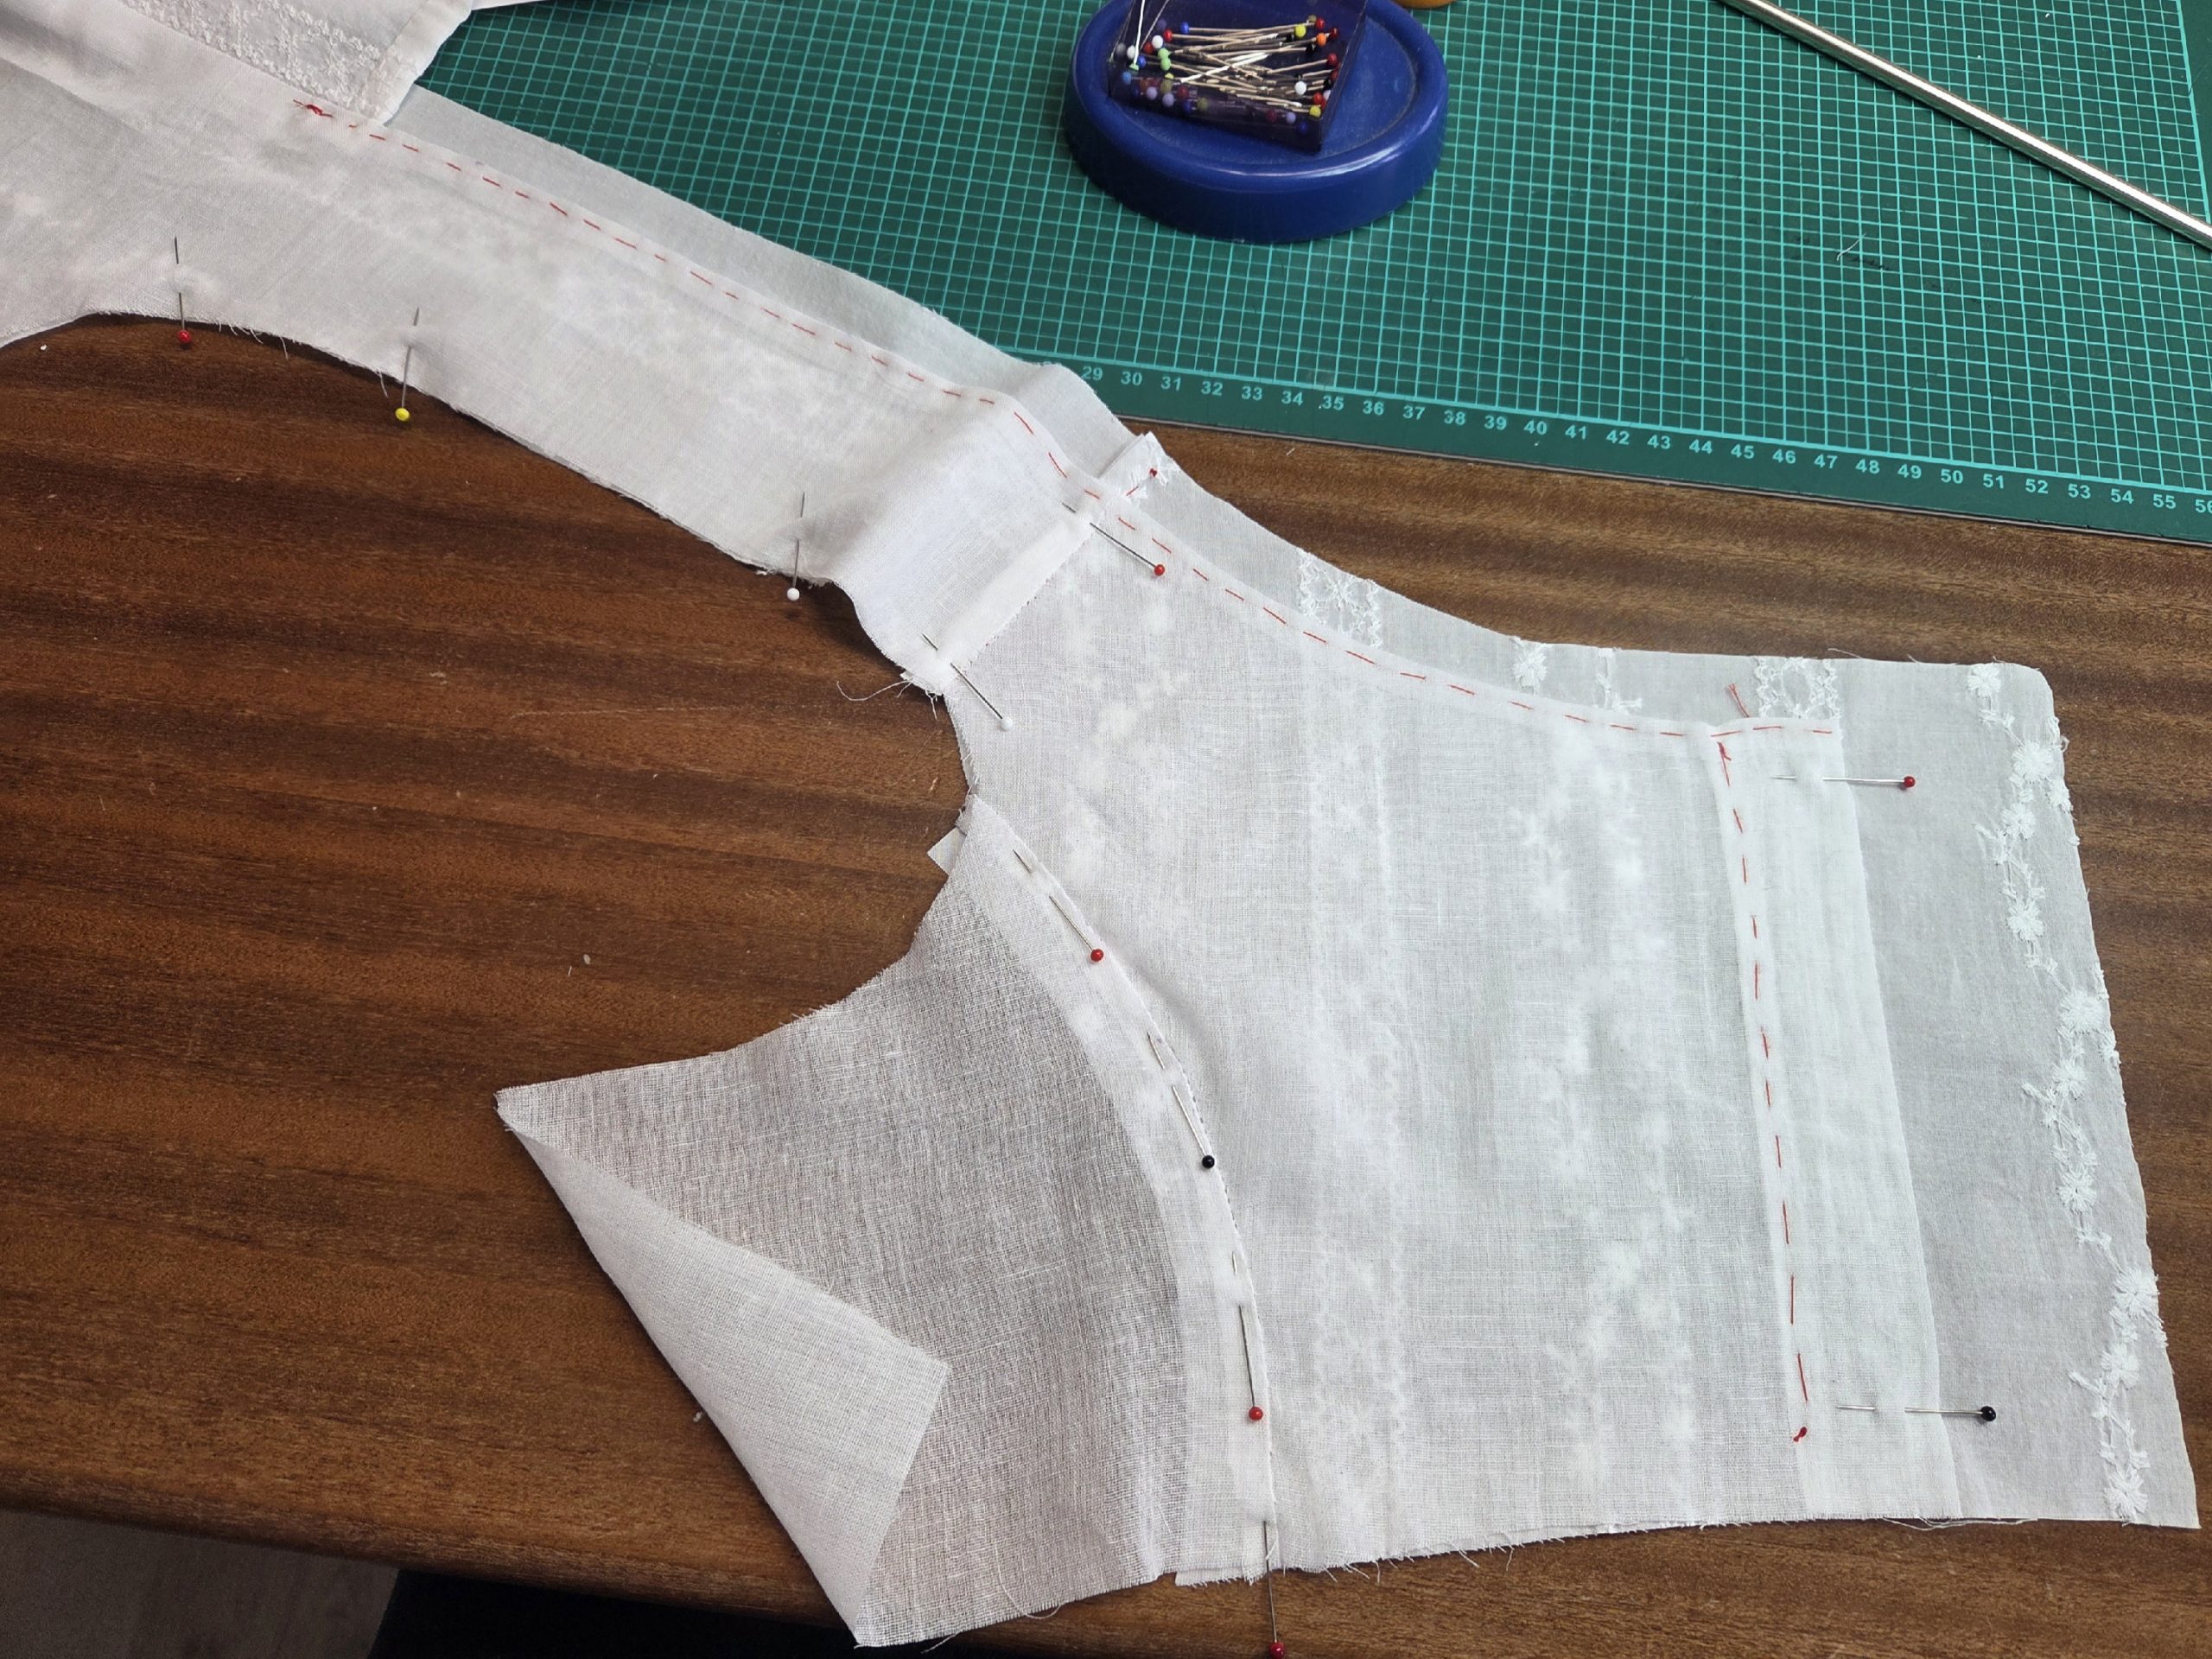
(4) Turn in the seam allowances along the neckline at the front and back lining. Trim back if needed and notch carefully along the curves. Turn in the seam allowance at the center back along the line marked on the pattern for the lining. Press and baste the seam allowances in place. Smooth out the front from the fashion fabric and fold the seam allowances towards the sides, baste in place.
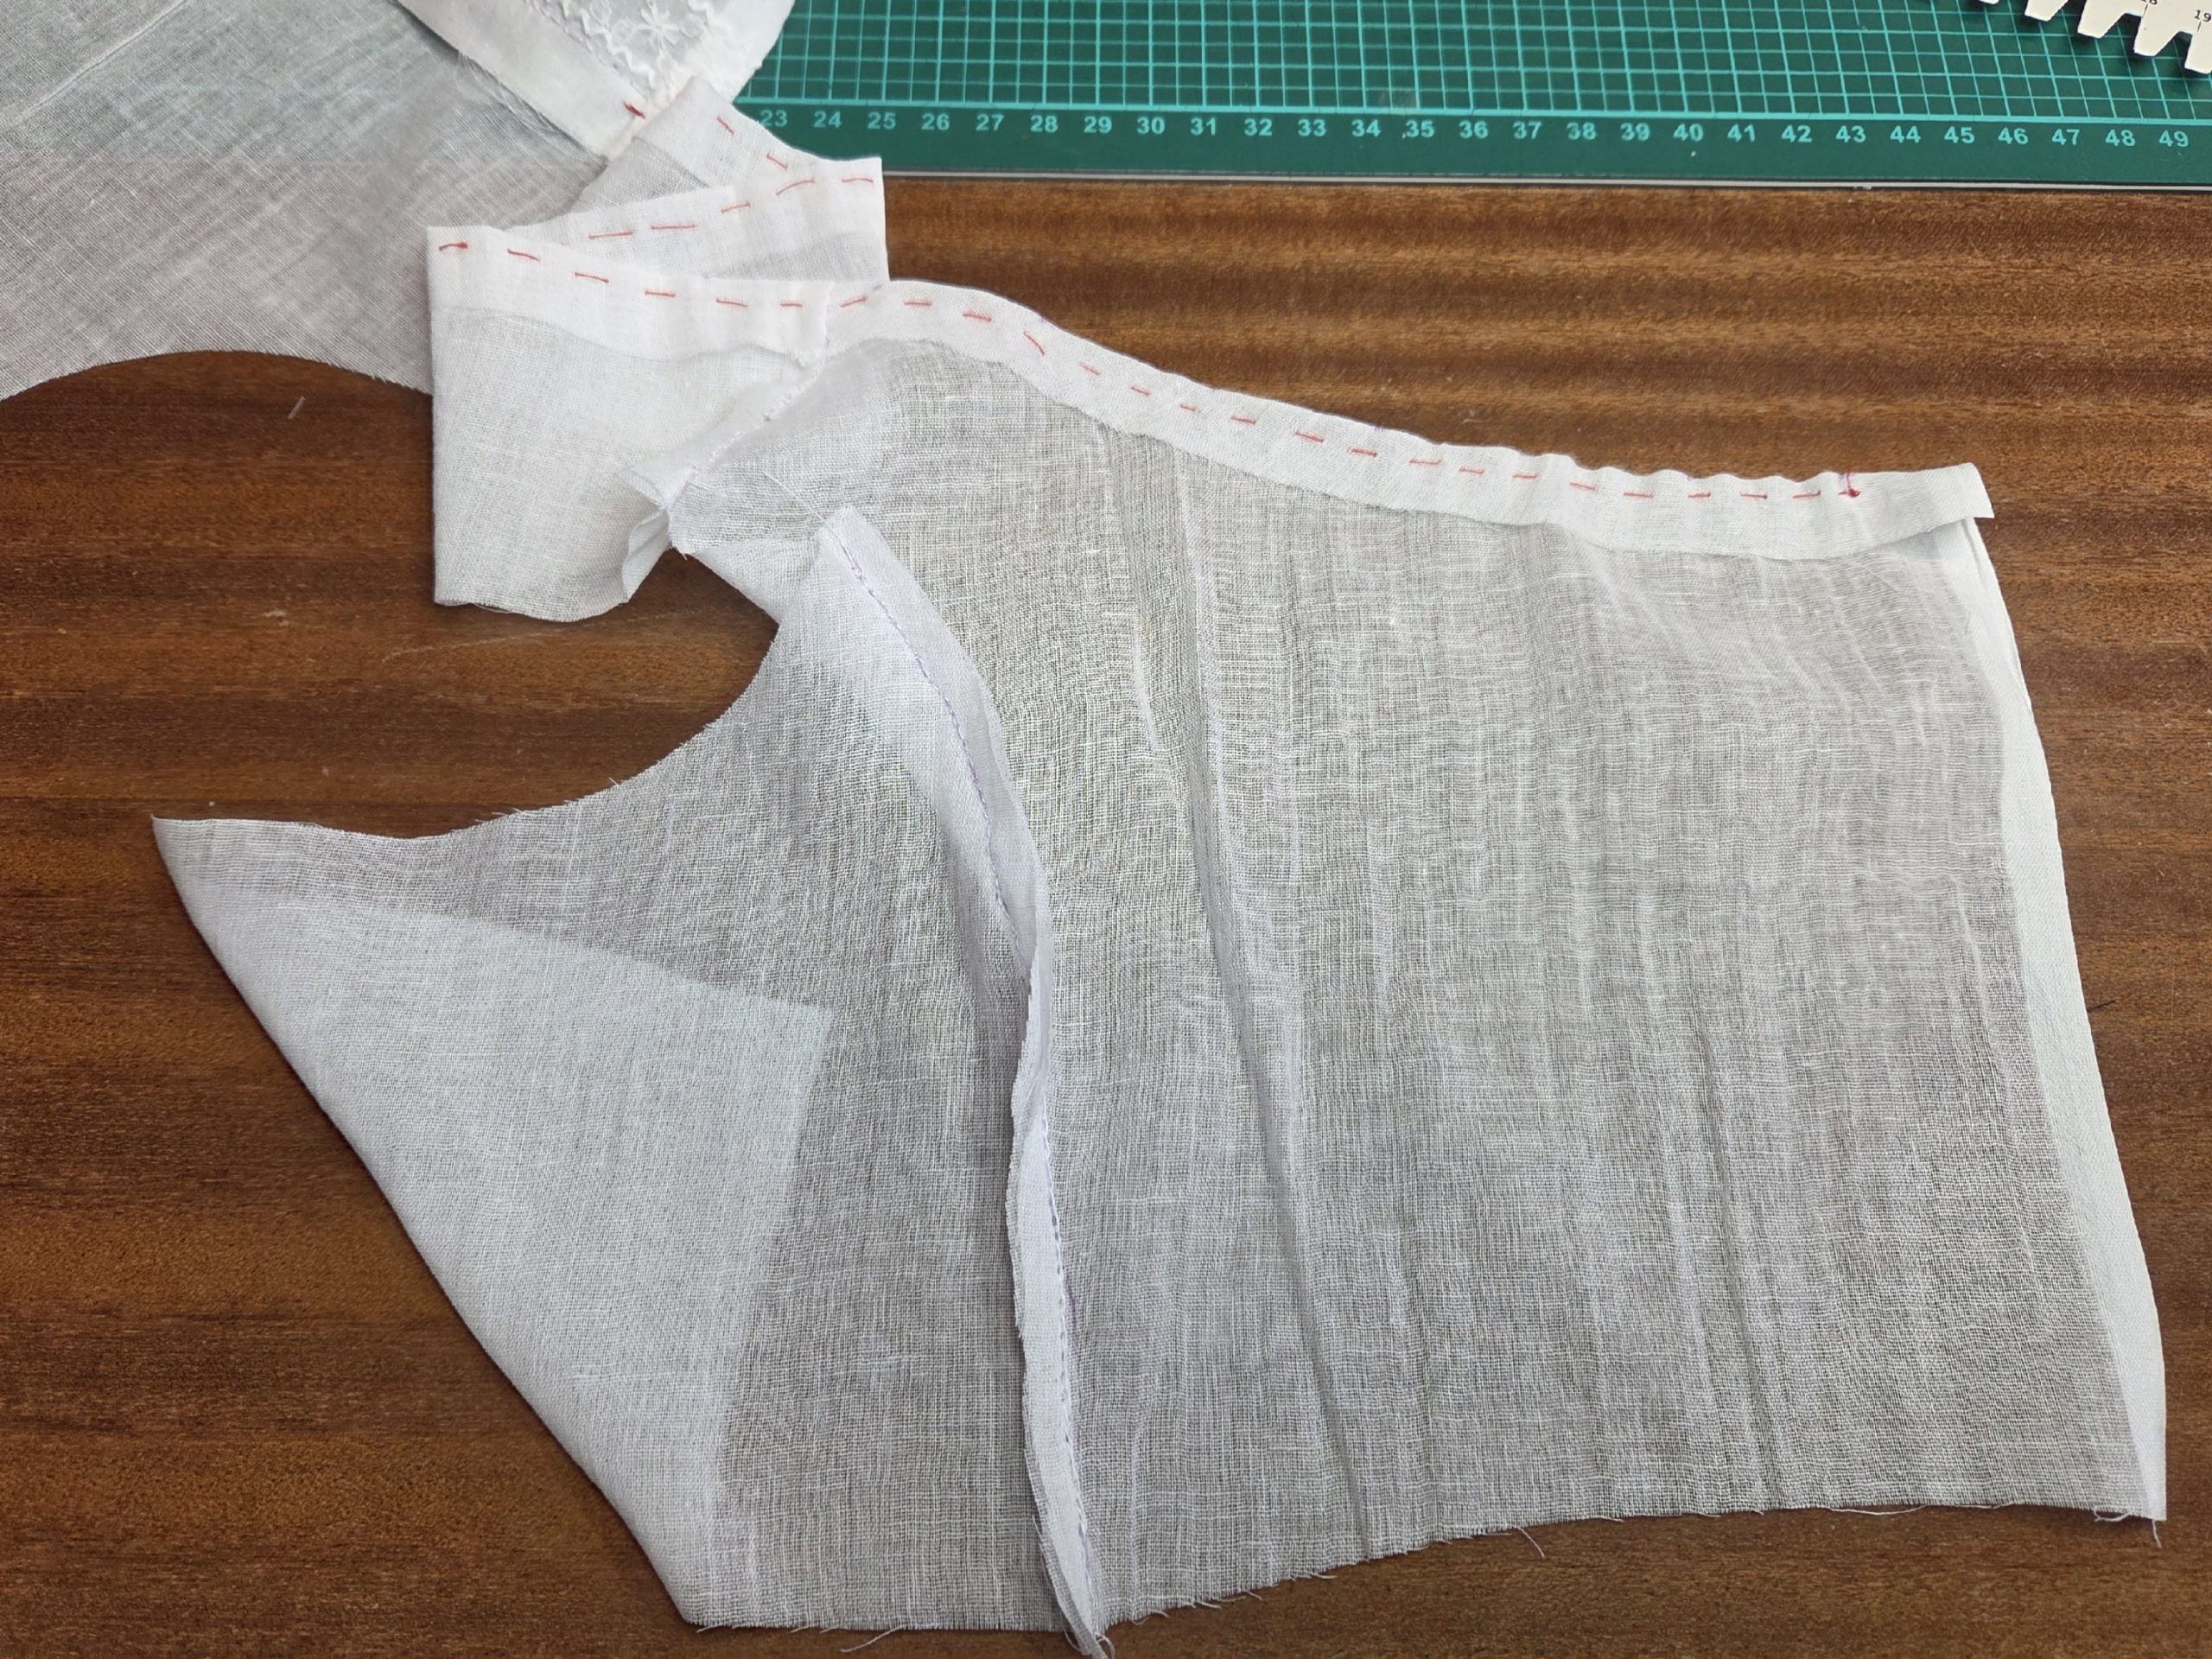
(5) Take the pieces from the fashion fabric and just baste the shoulder seam, right sides together. Trim back seam allowances and press towards the front.
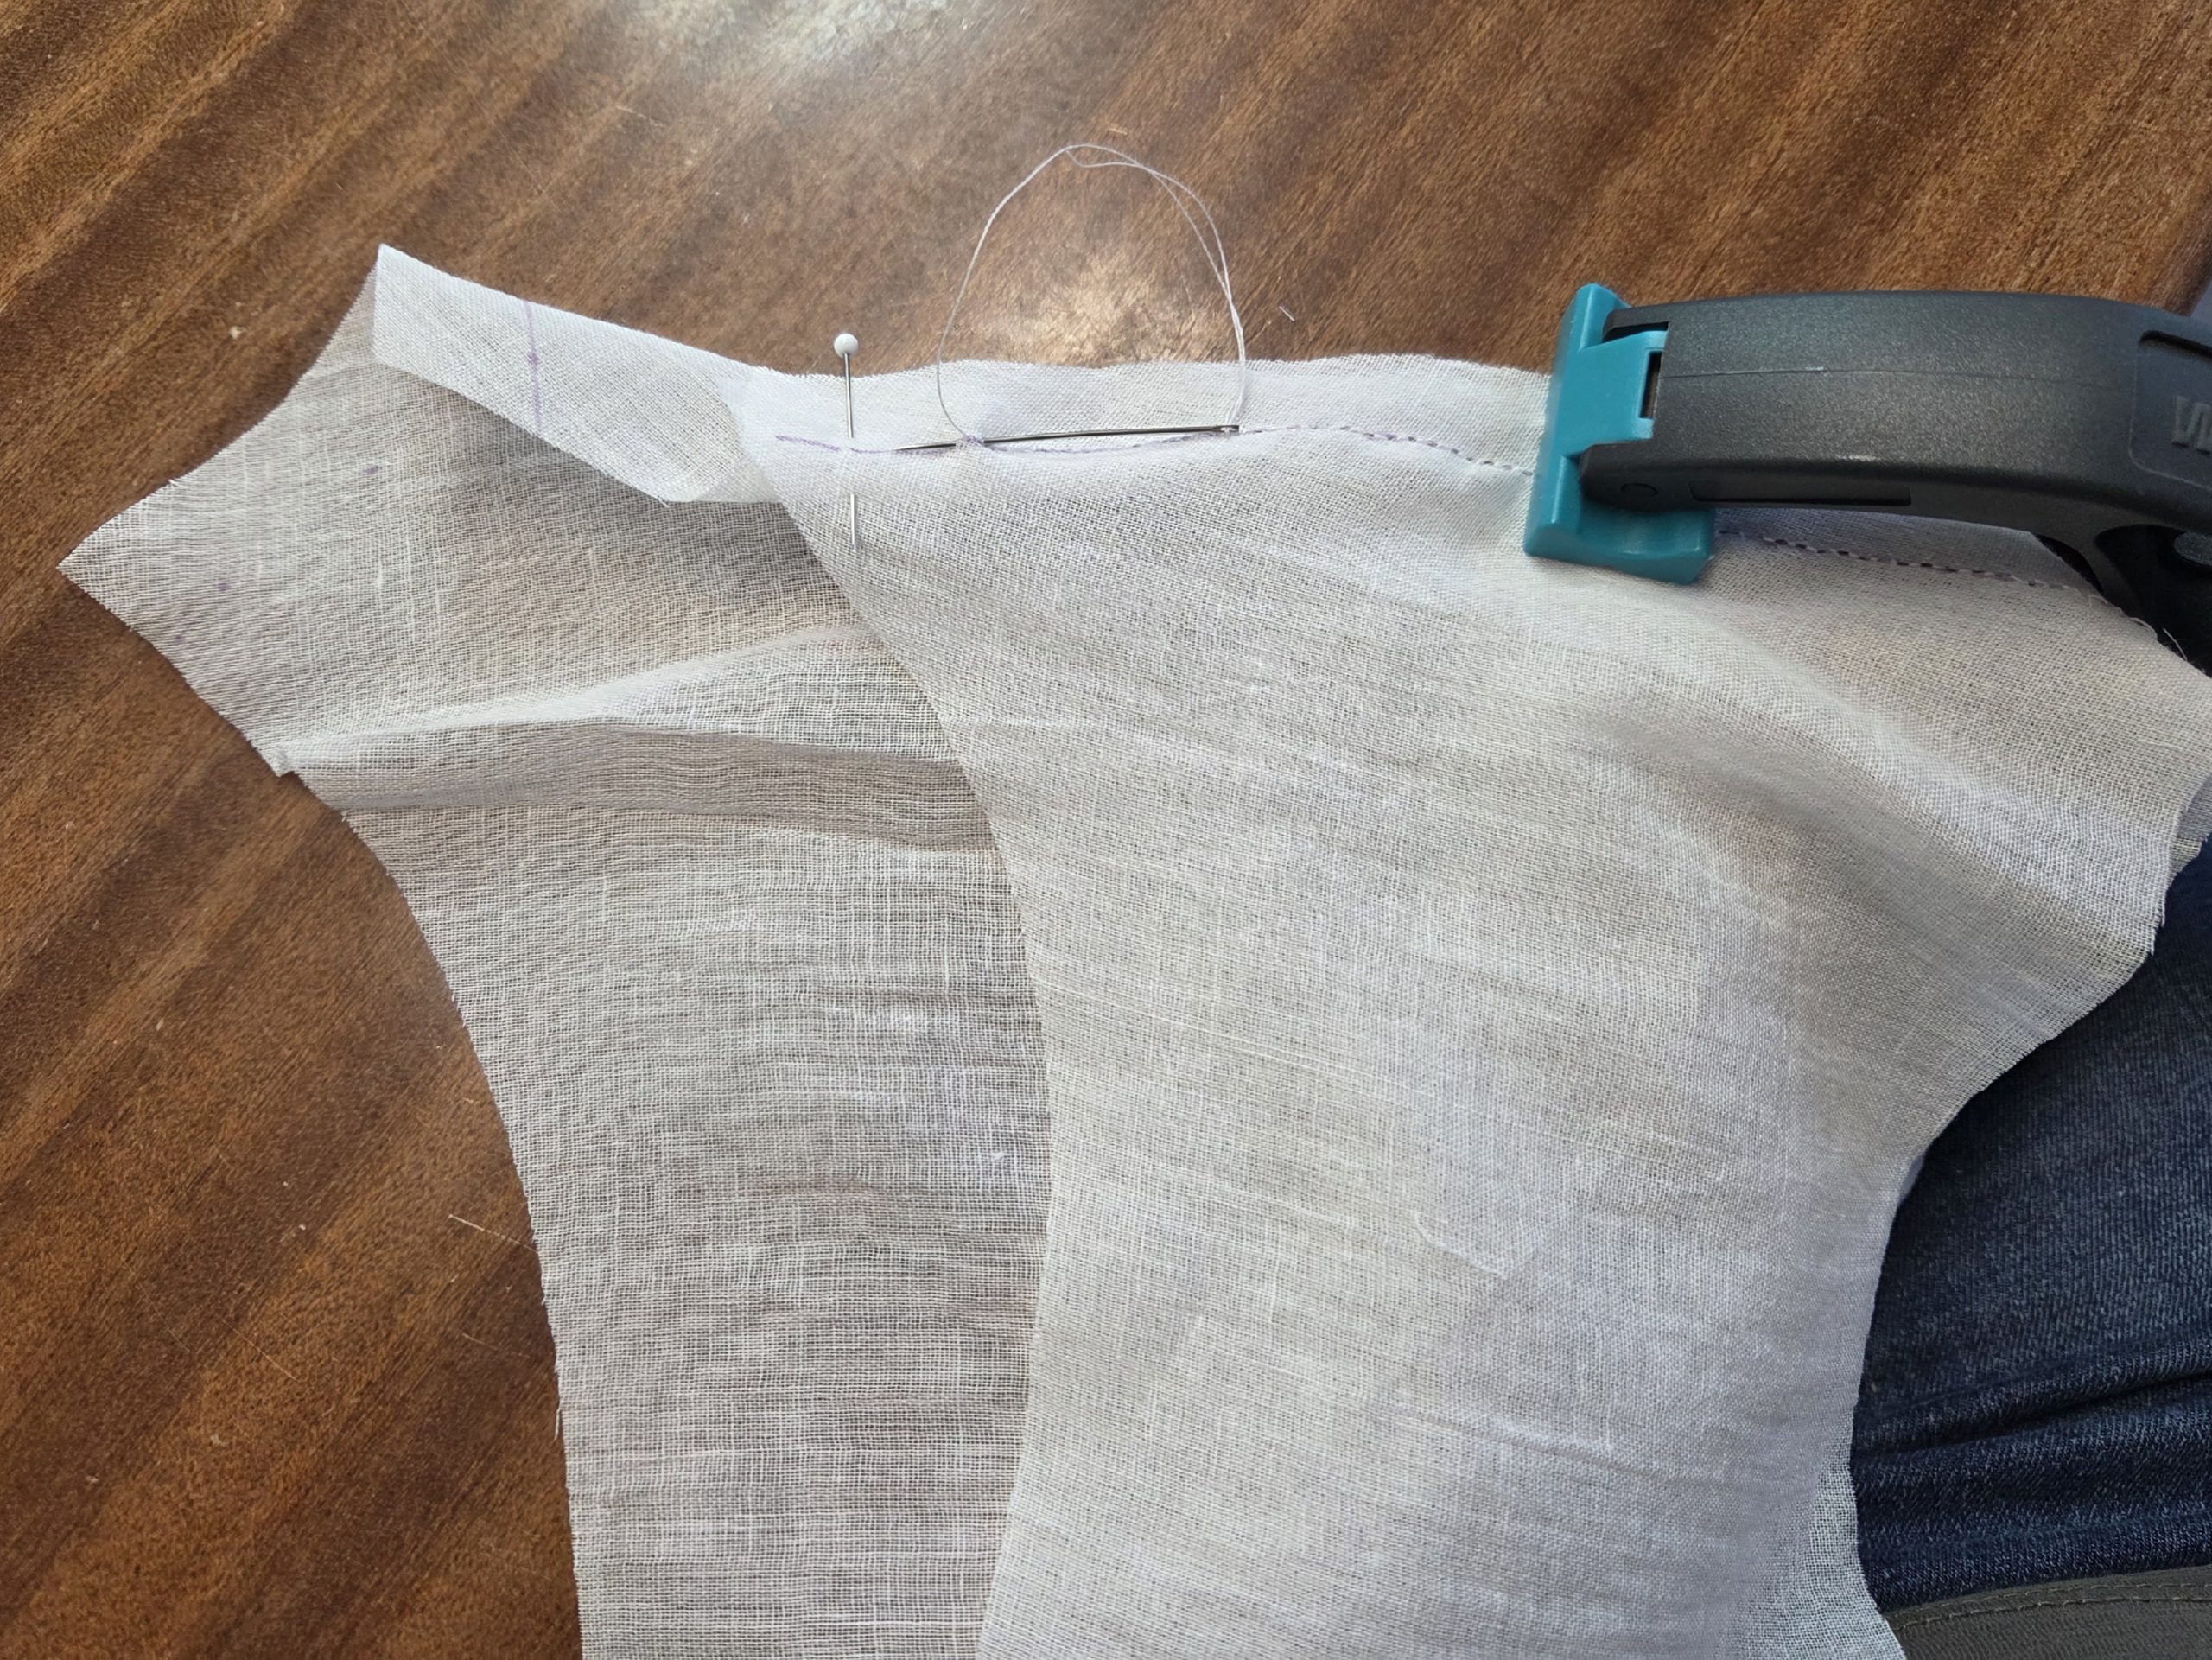
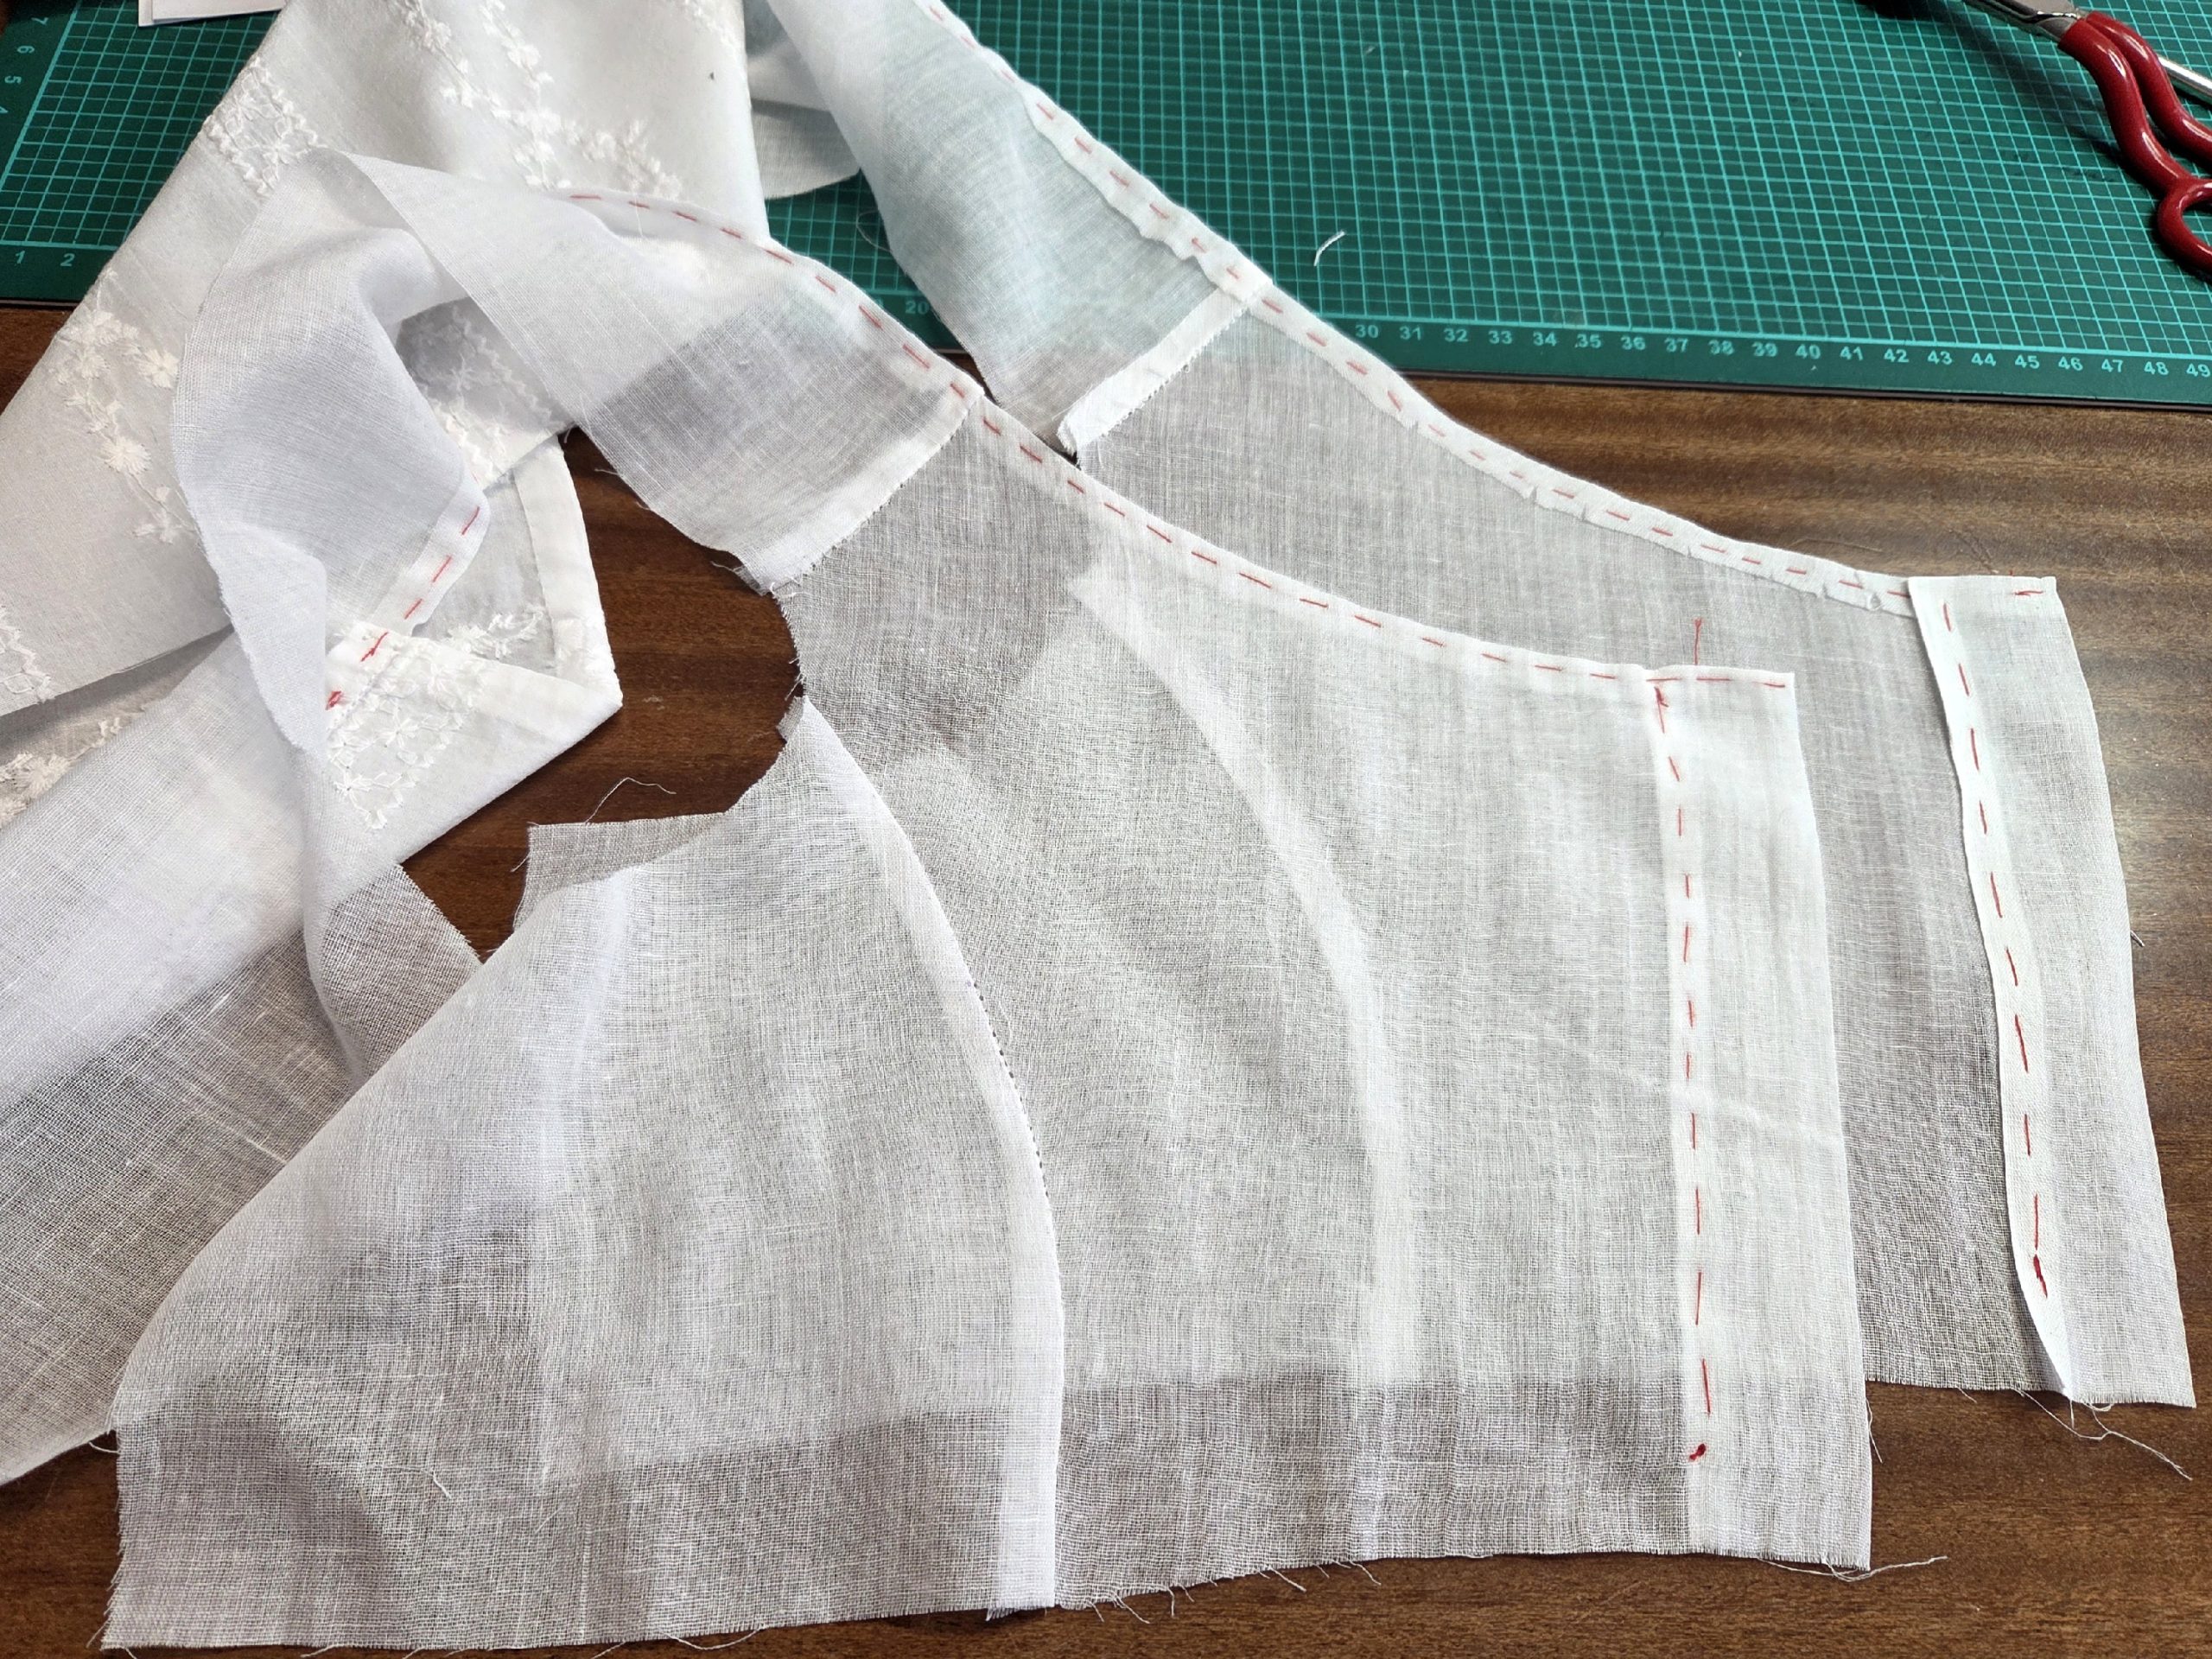
Line up the front and back of the fashion fabric with the lining, wrong sides together, matching all seams. Baste the layers together, about 1 ¼” (3cm) from the edges.
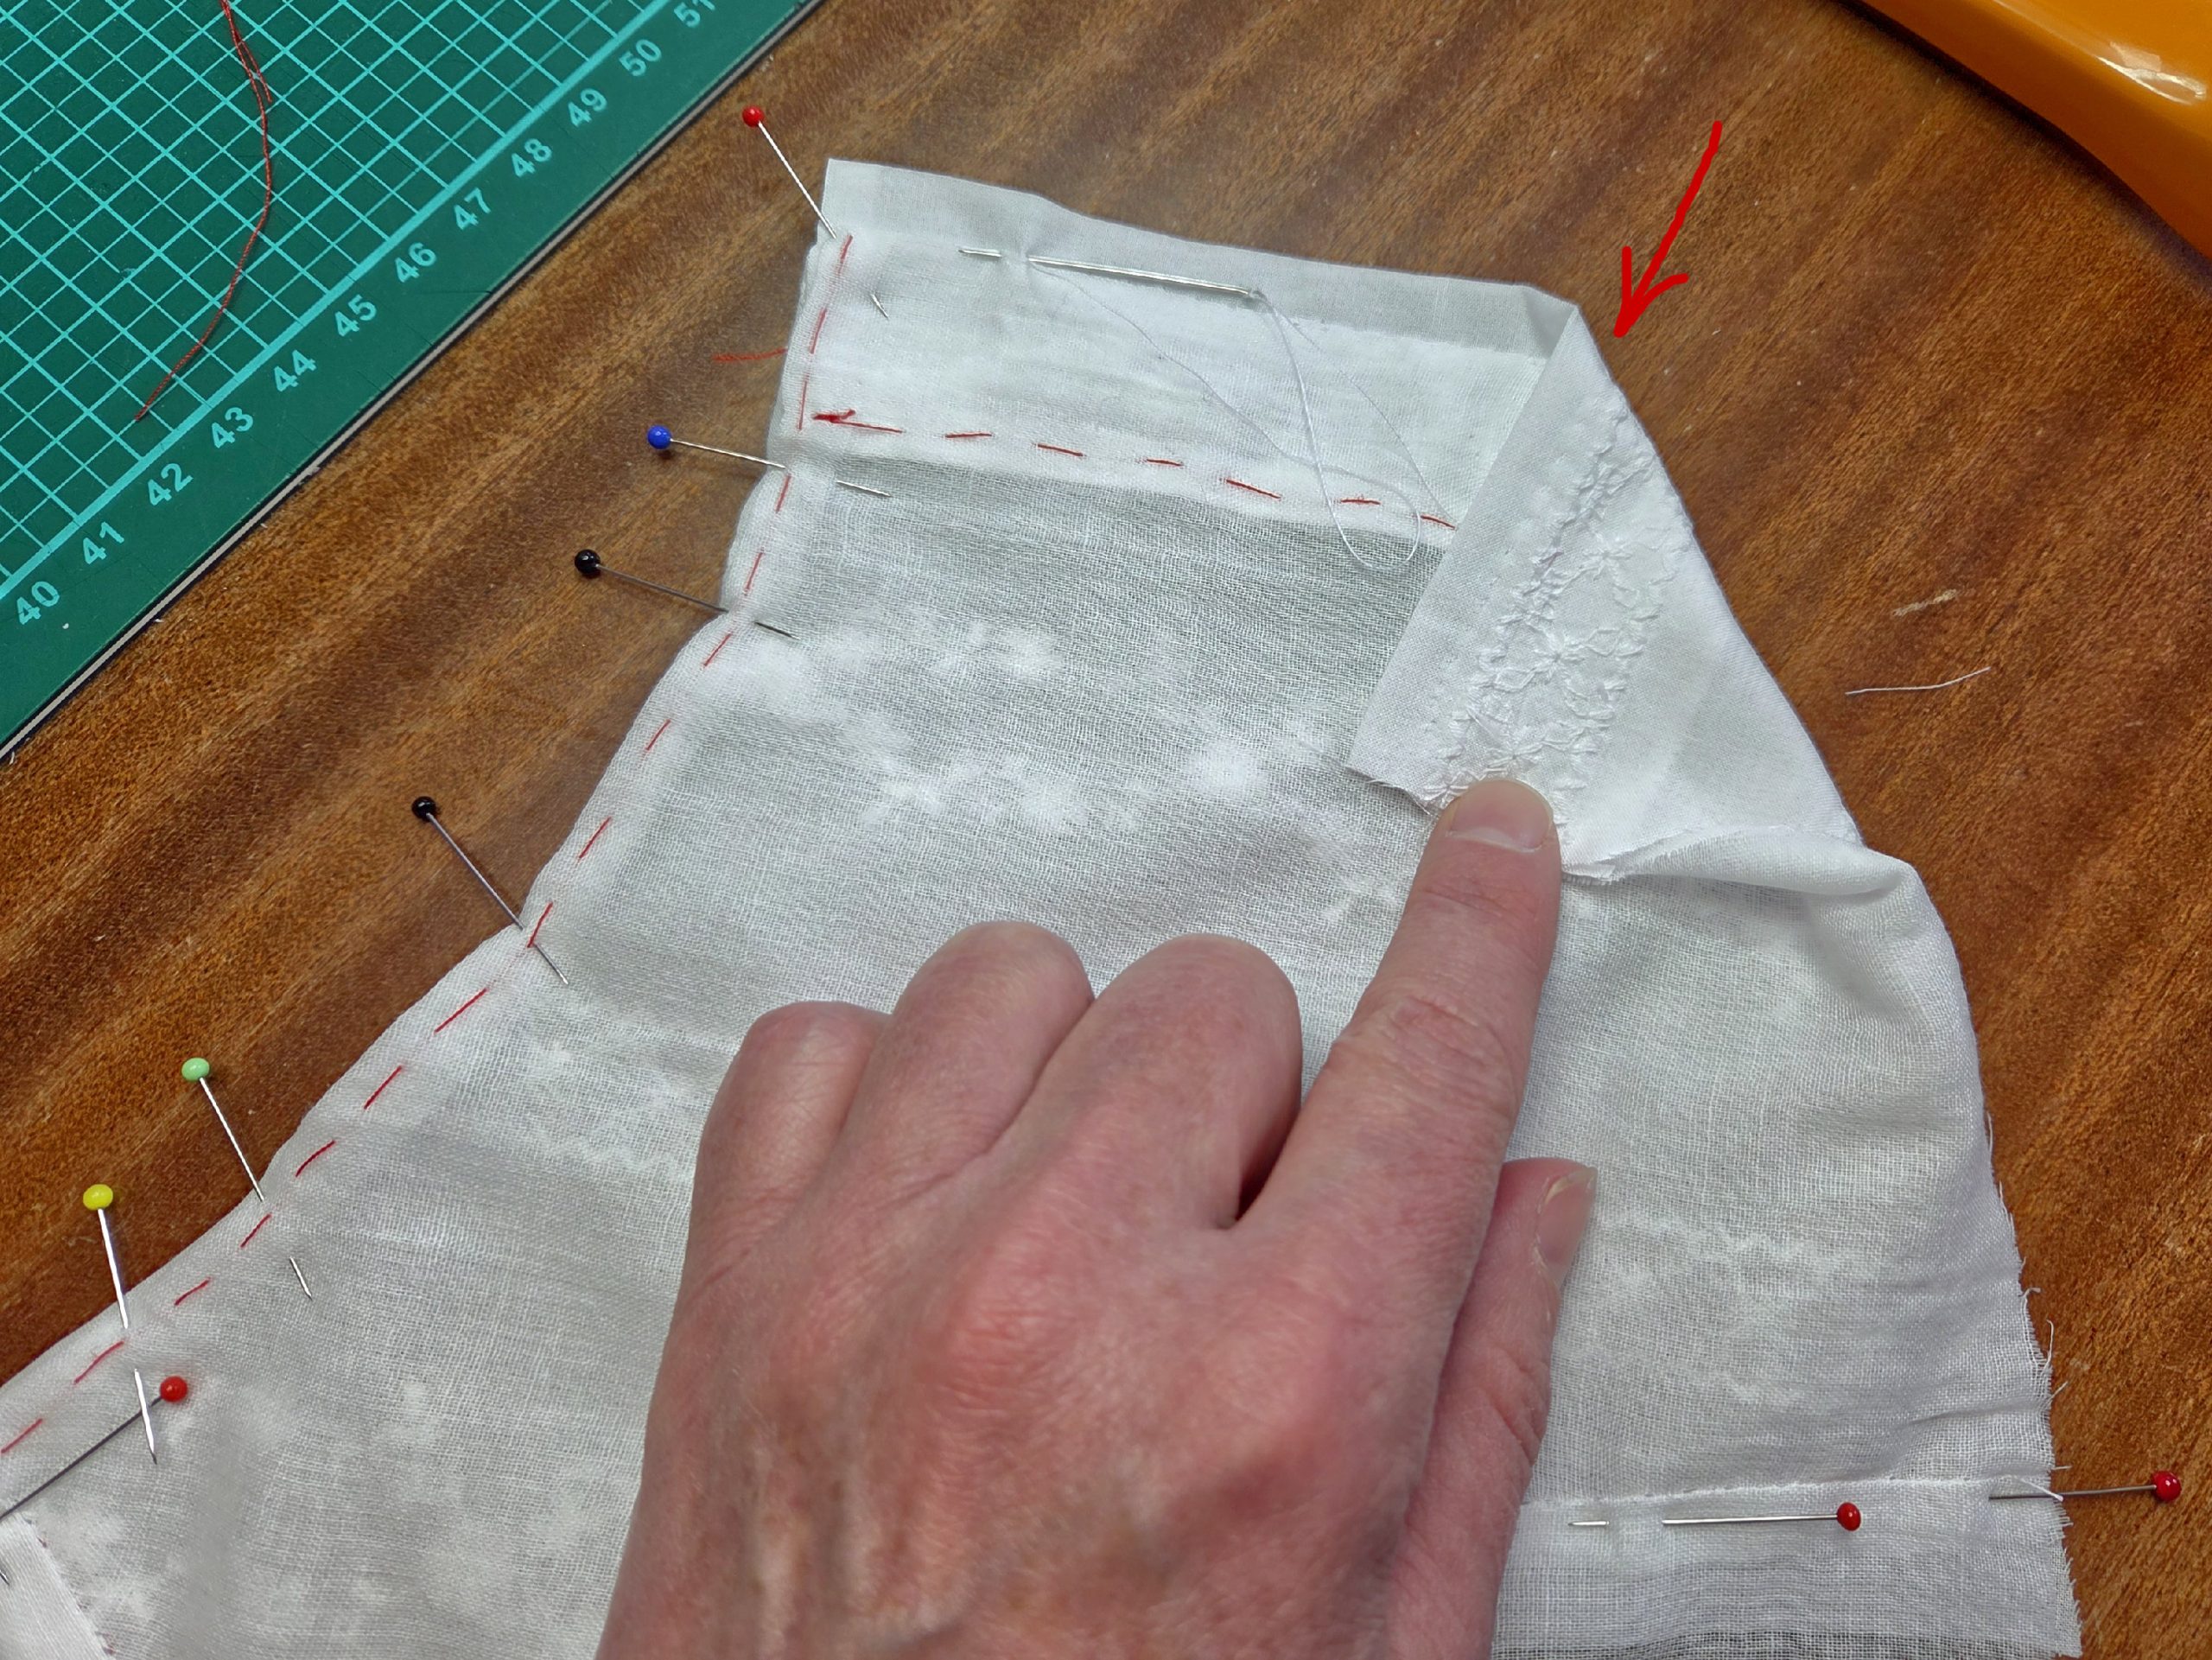
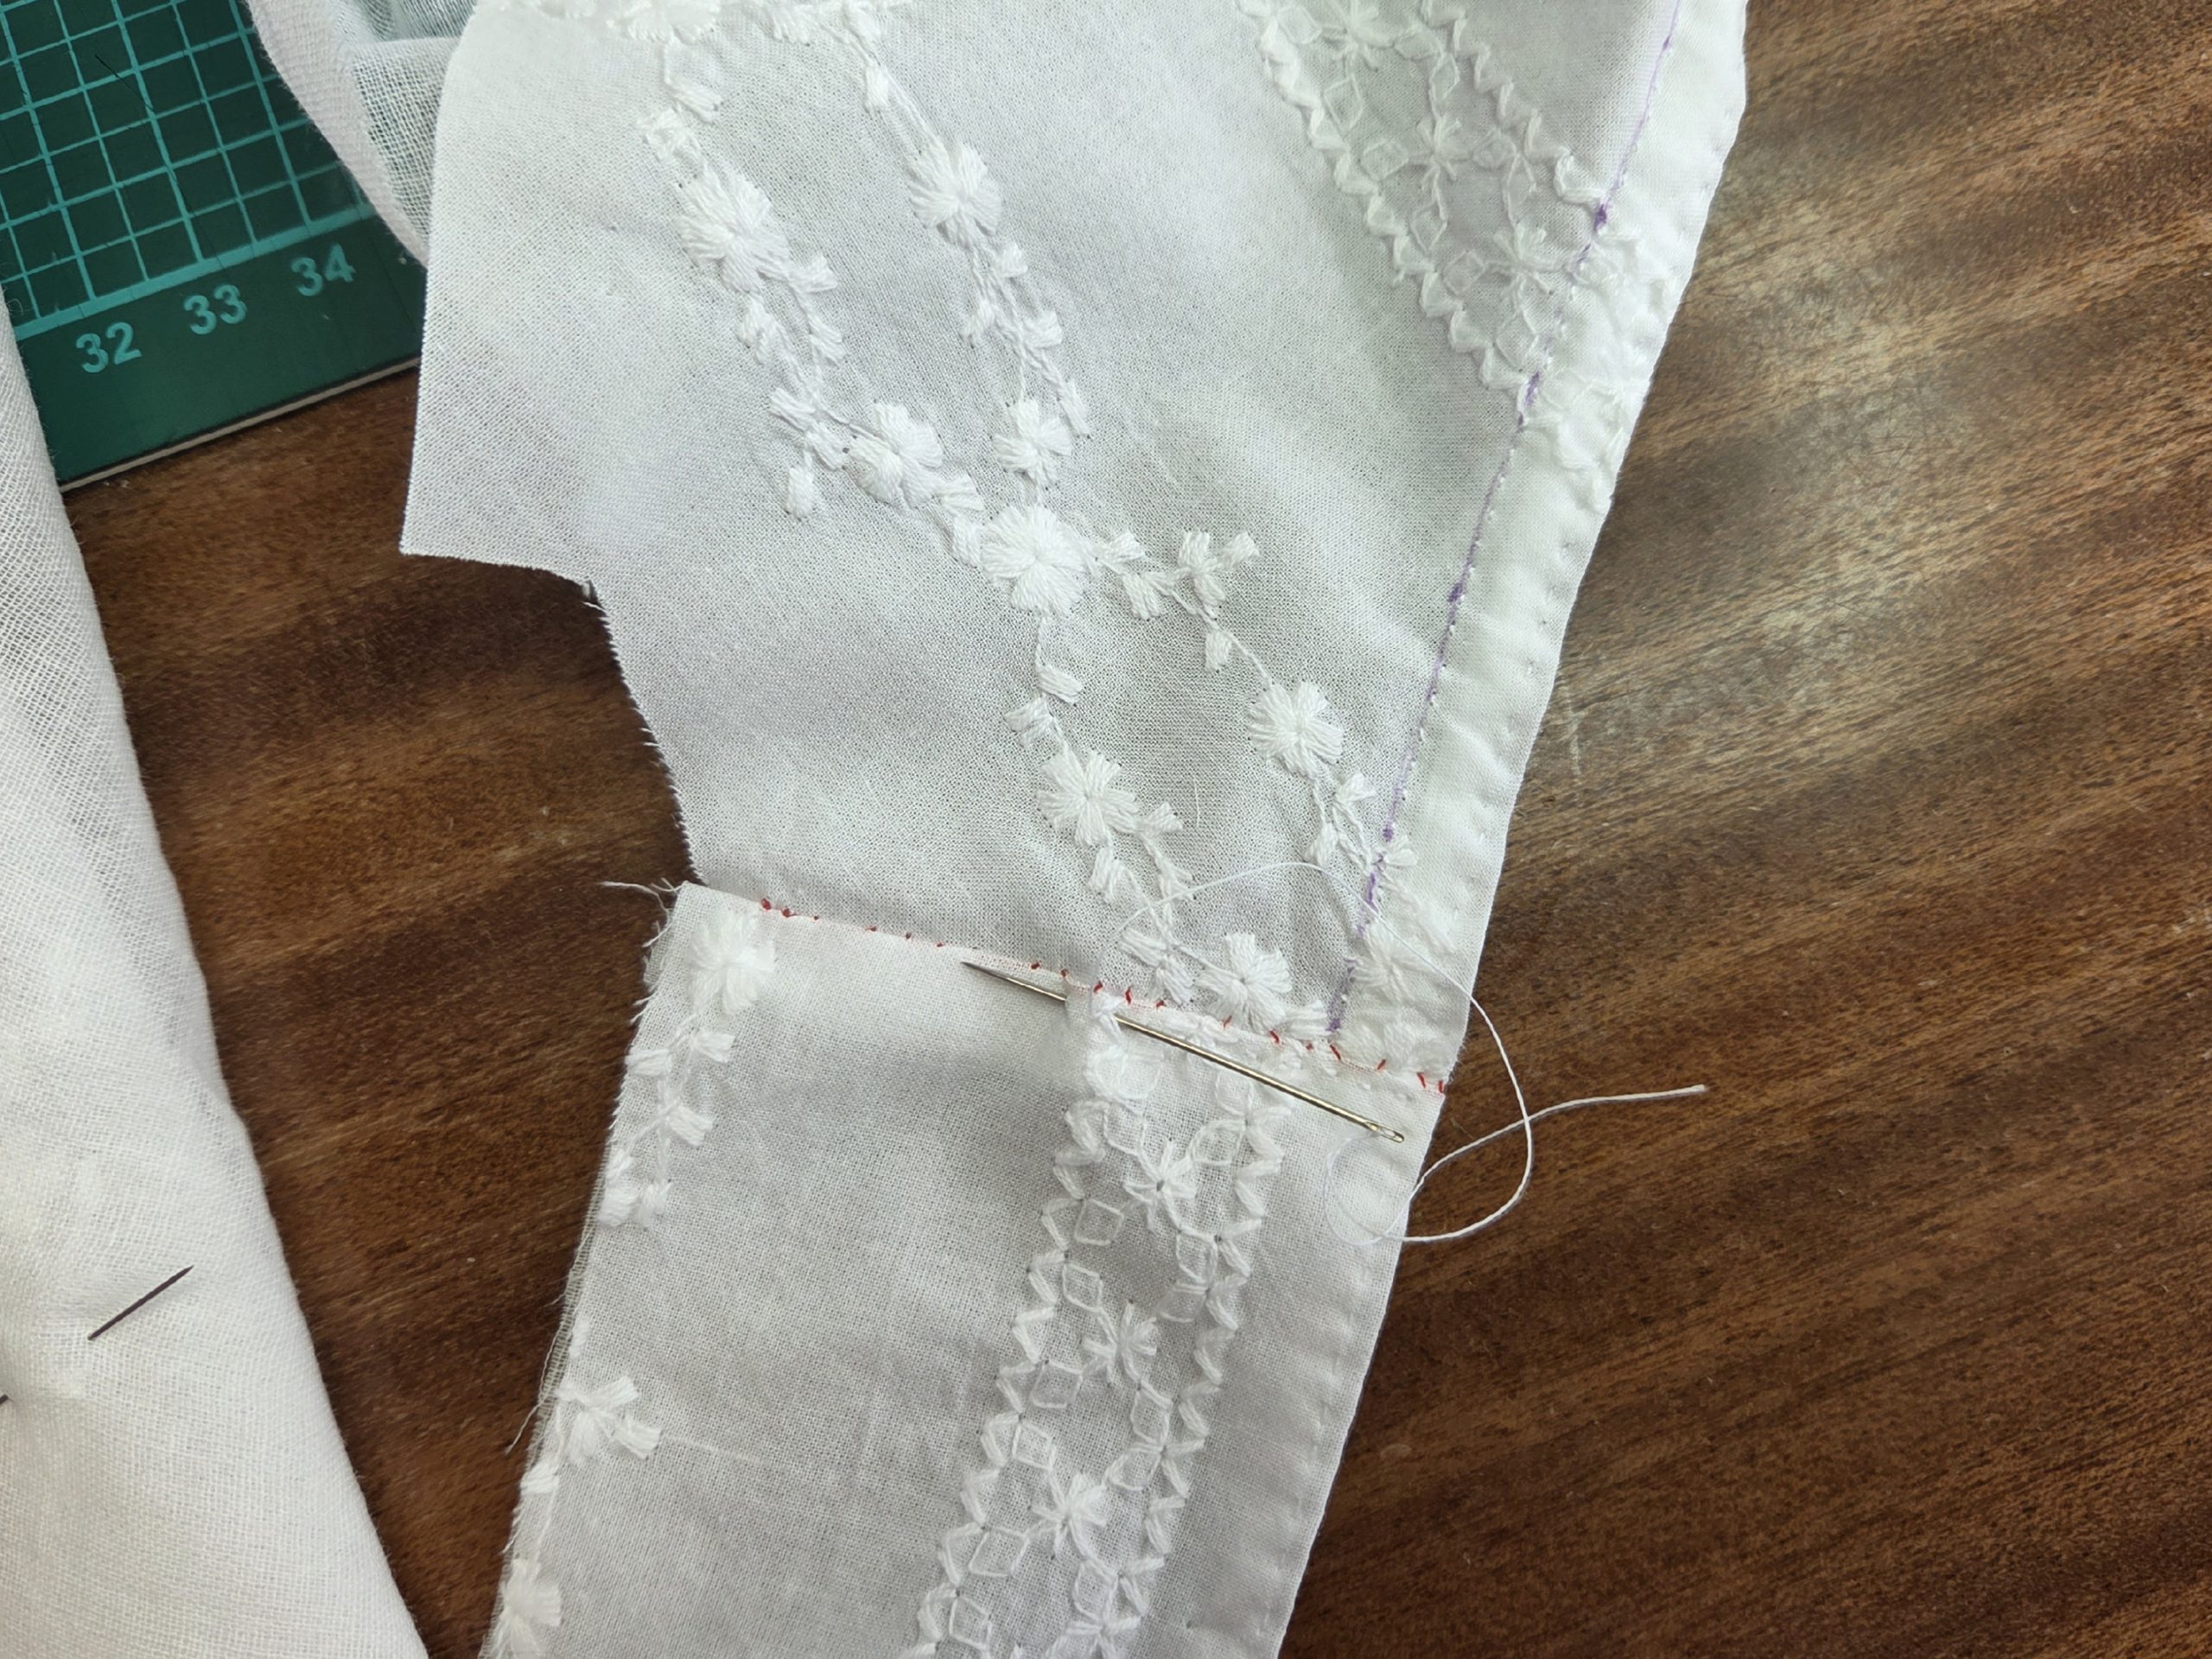
Trim back the seam allowance of the fashion fabric along the neckline and front edge between (1) and (2) to 3/8” (1cm). Turn in the seam allowances, notching them carefully at the curves.
The fashion fabric’s edge now must extend past the edge of the lining about 1/8” (1-2mm), preparing to be sewn with the point à rabattre sous la main. Turn in the seam allowance at the center back along the marked line (fashion fabric); the edge must extend past the edge of the lining about ¼” (5mm).
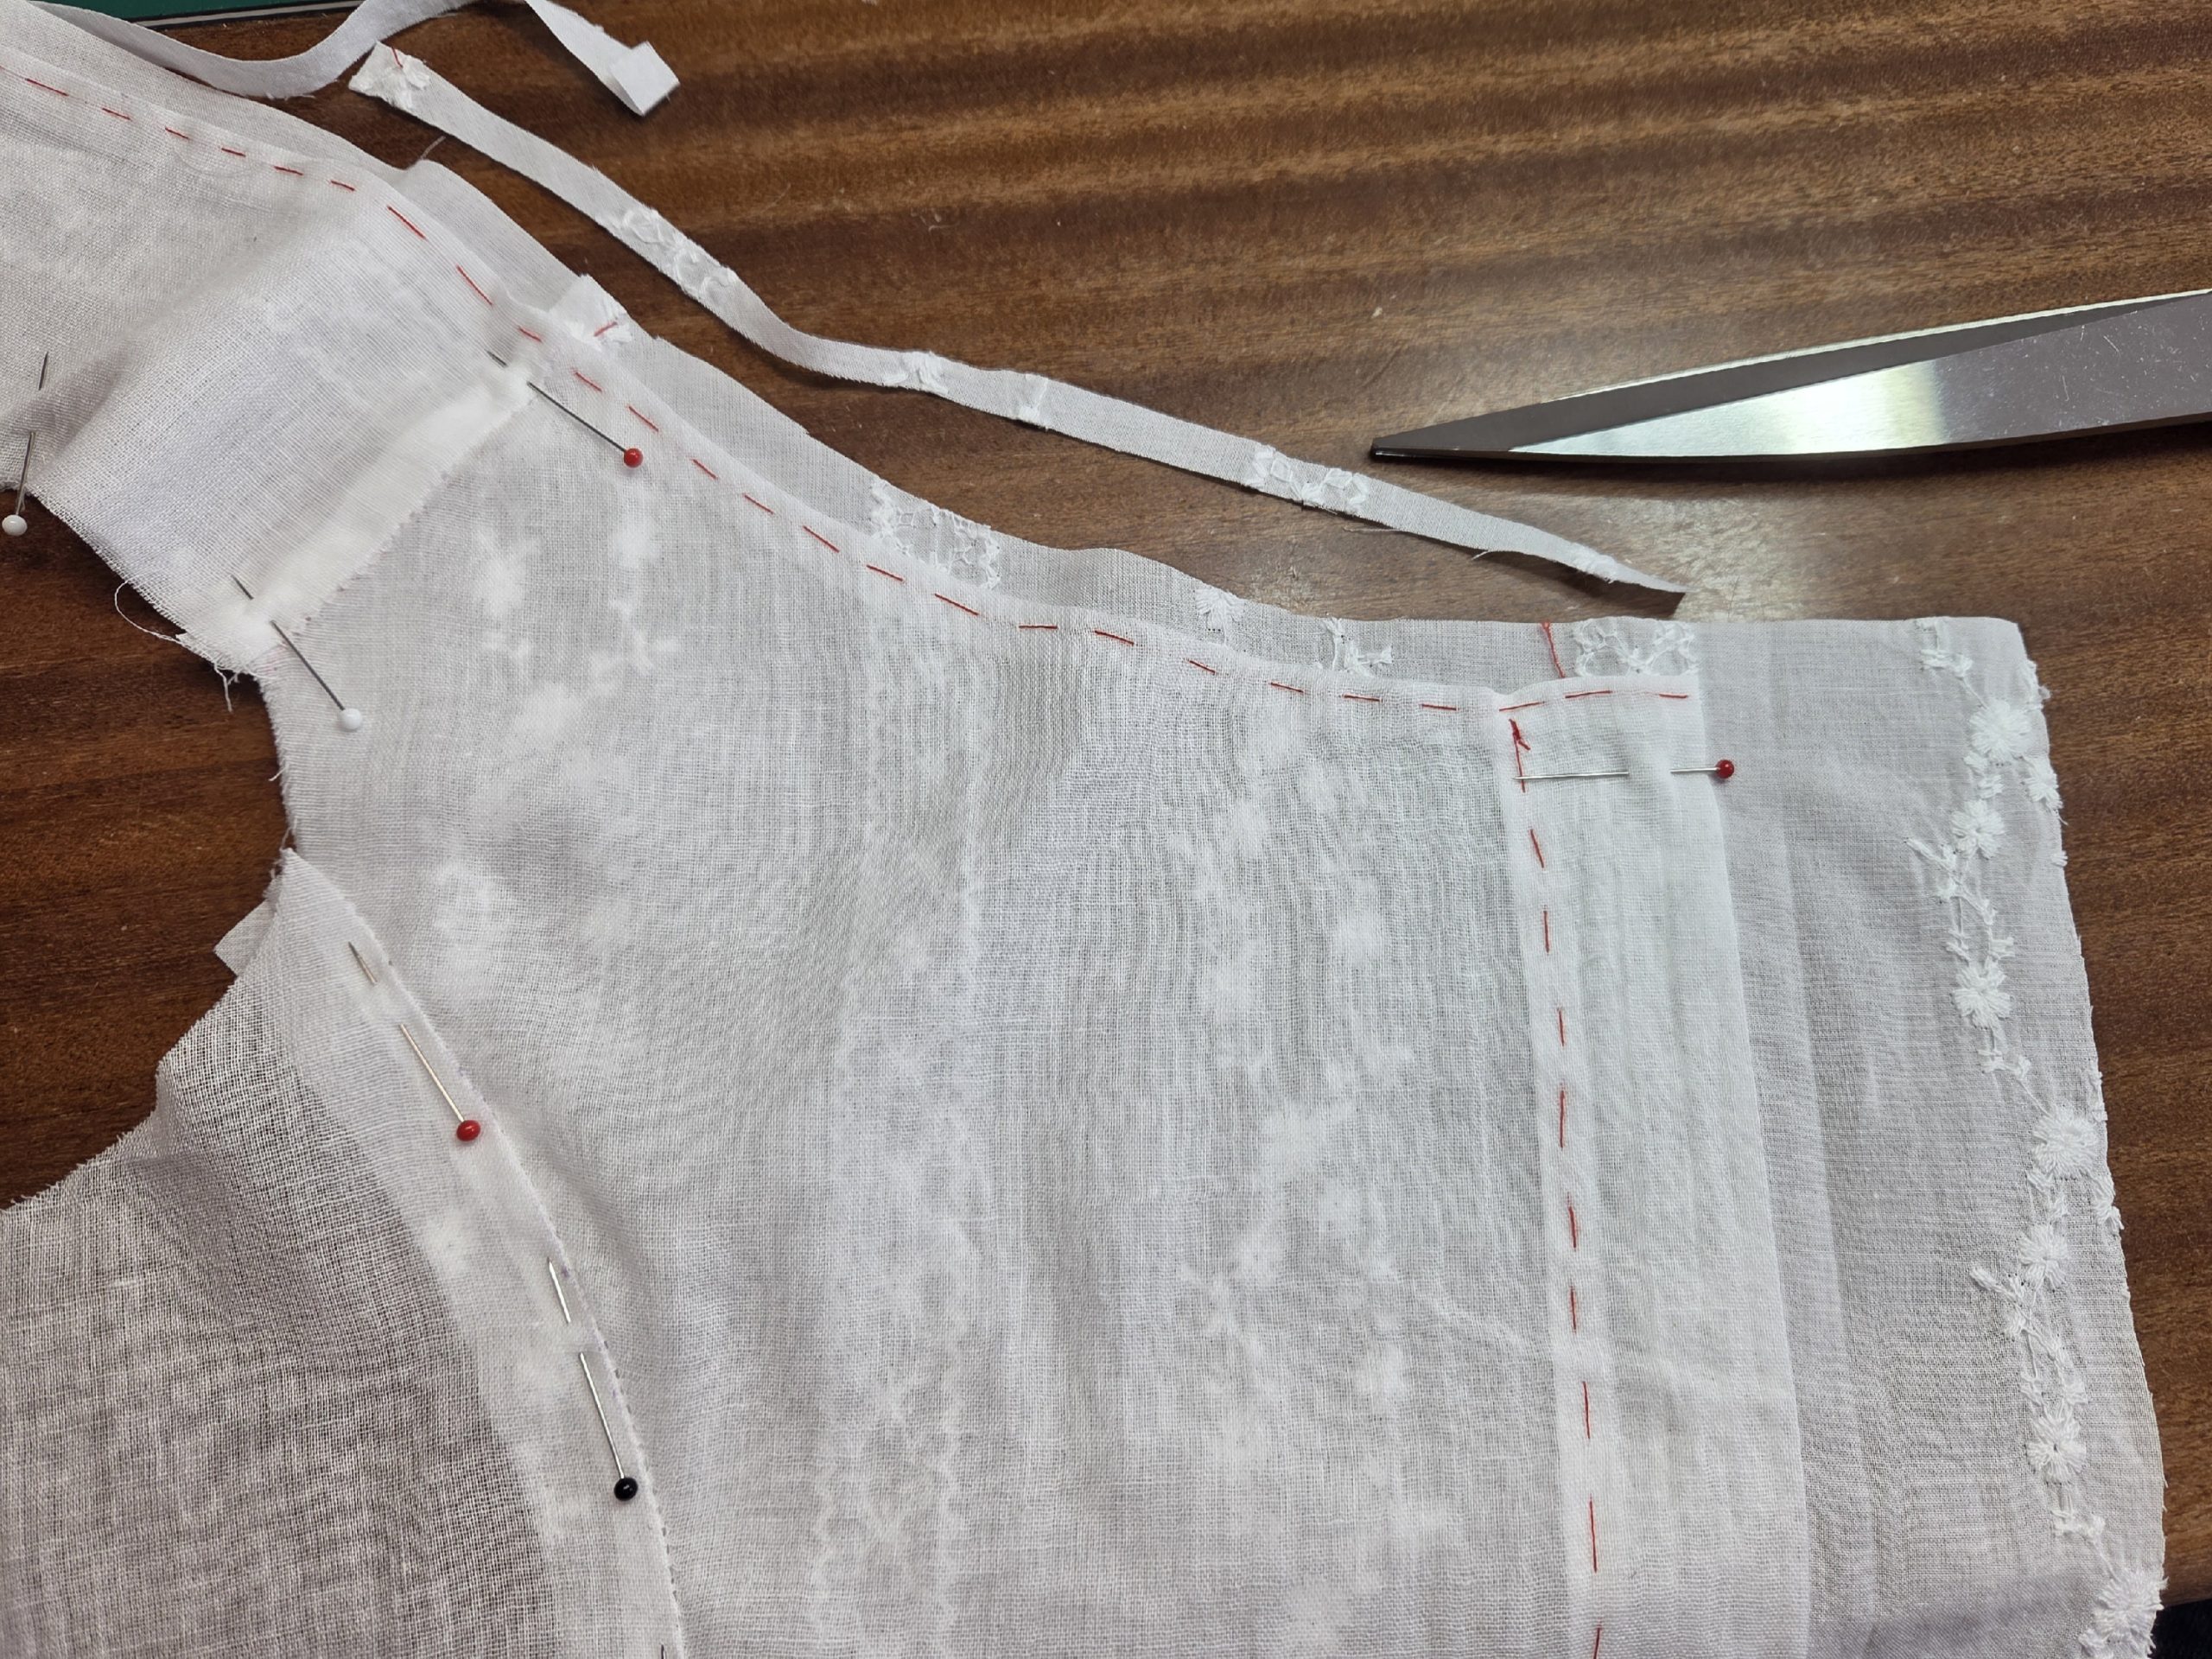
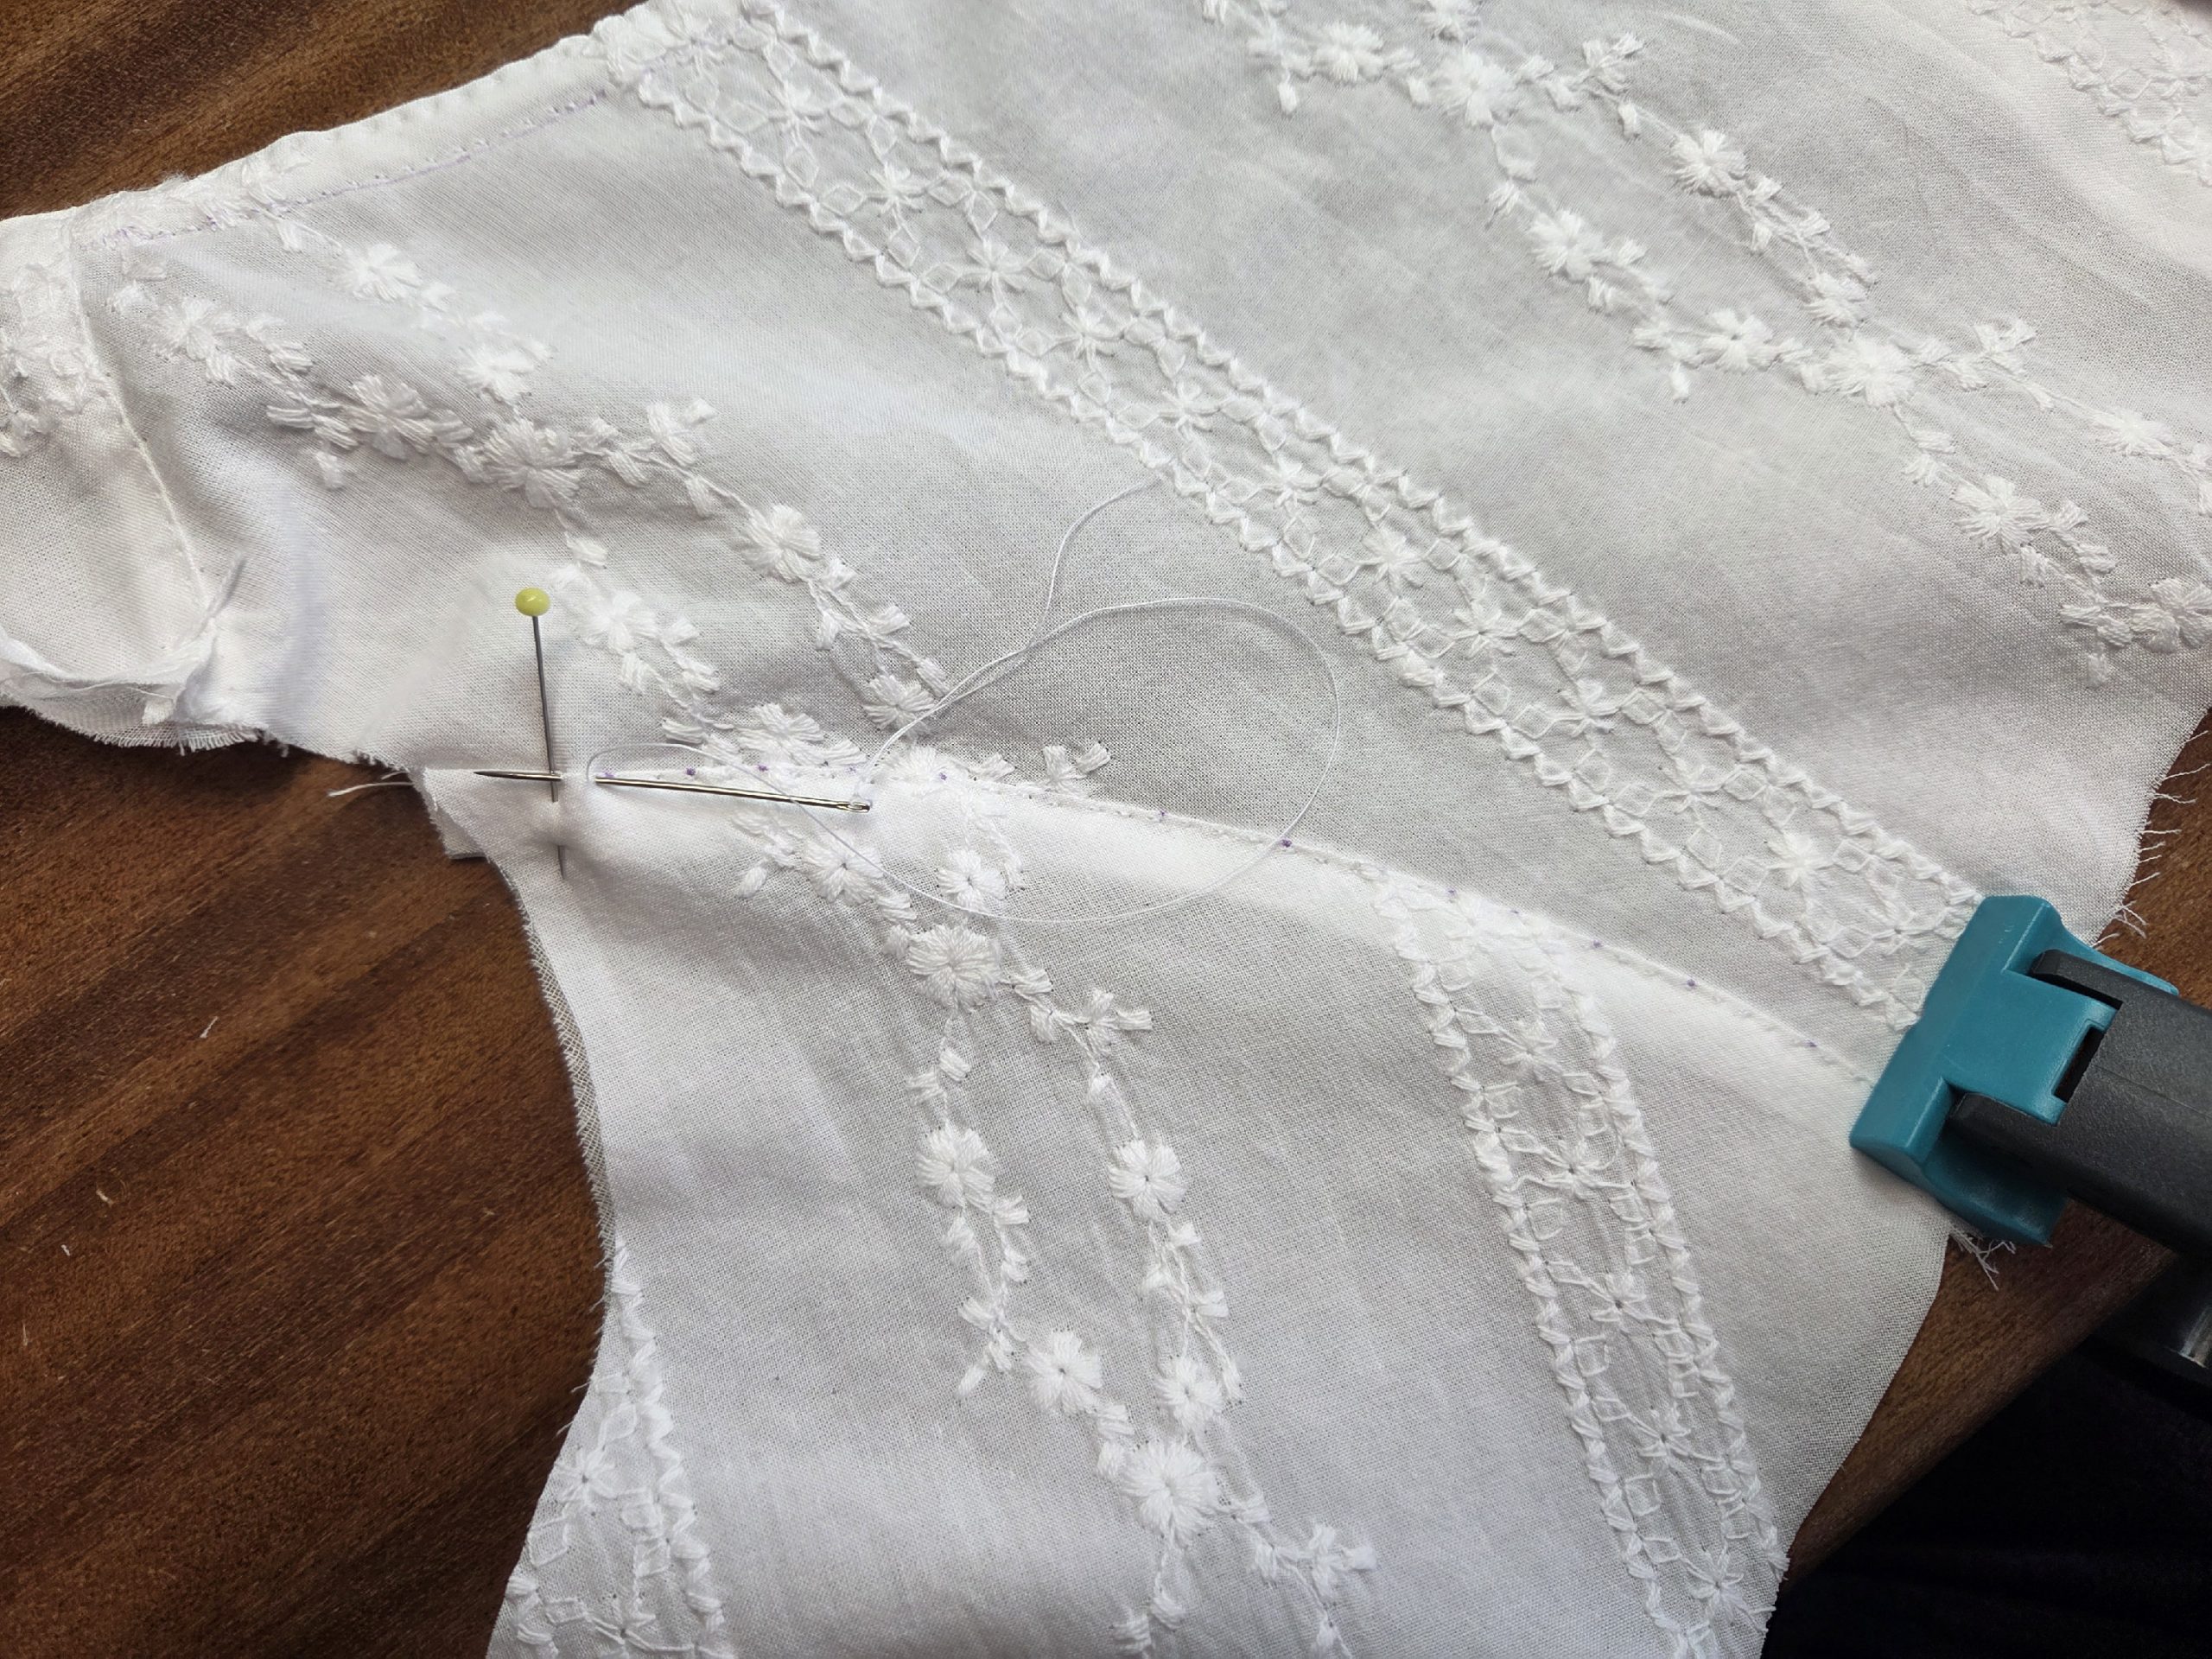
First baste, then sew the edges along the neckline and center back with the point à rabattre sous la main, leaving an opening for the drawstring at the top.
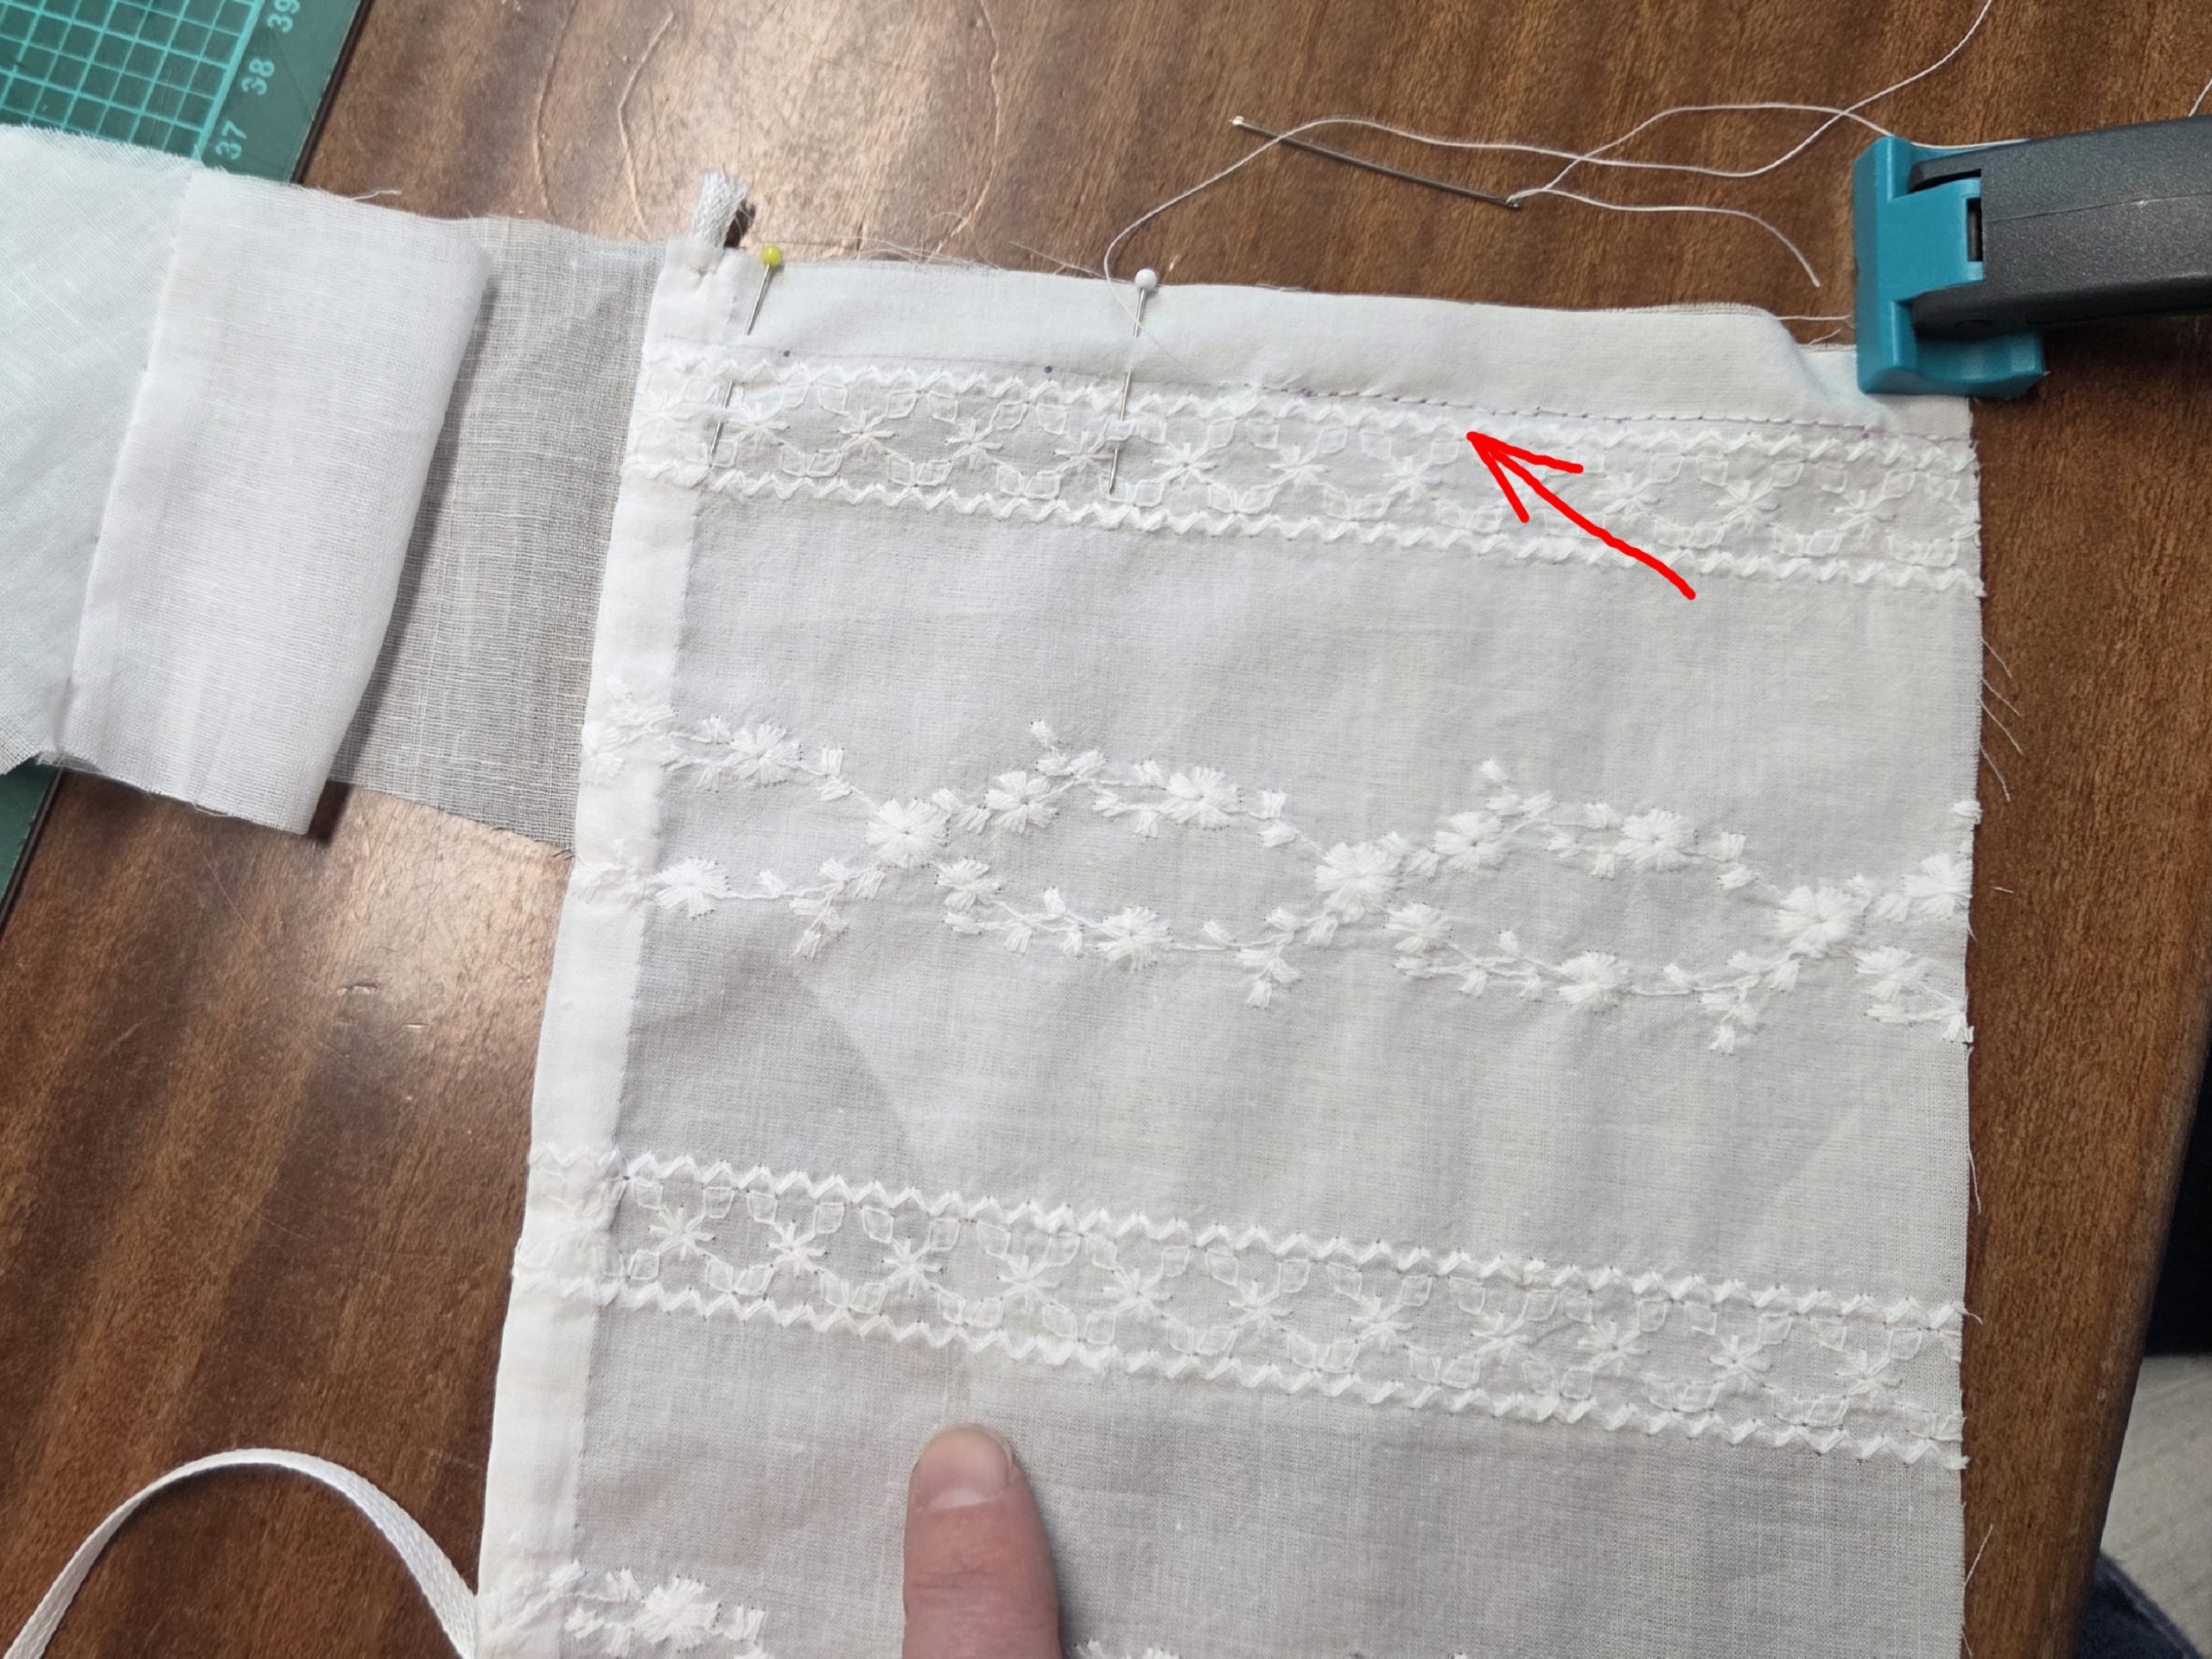
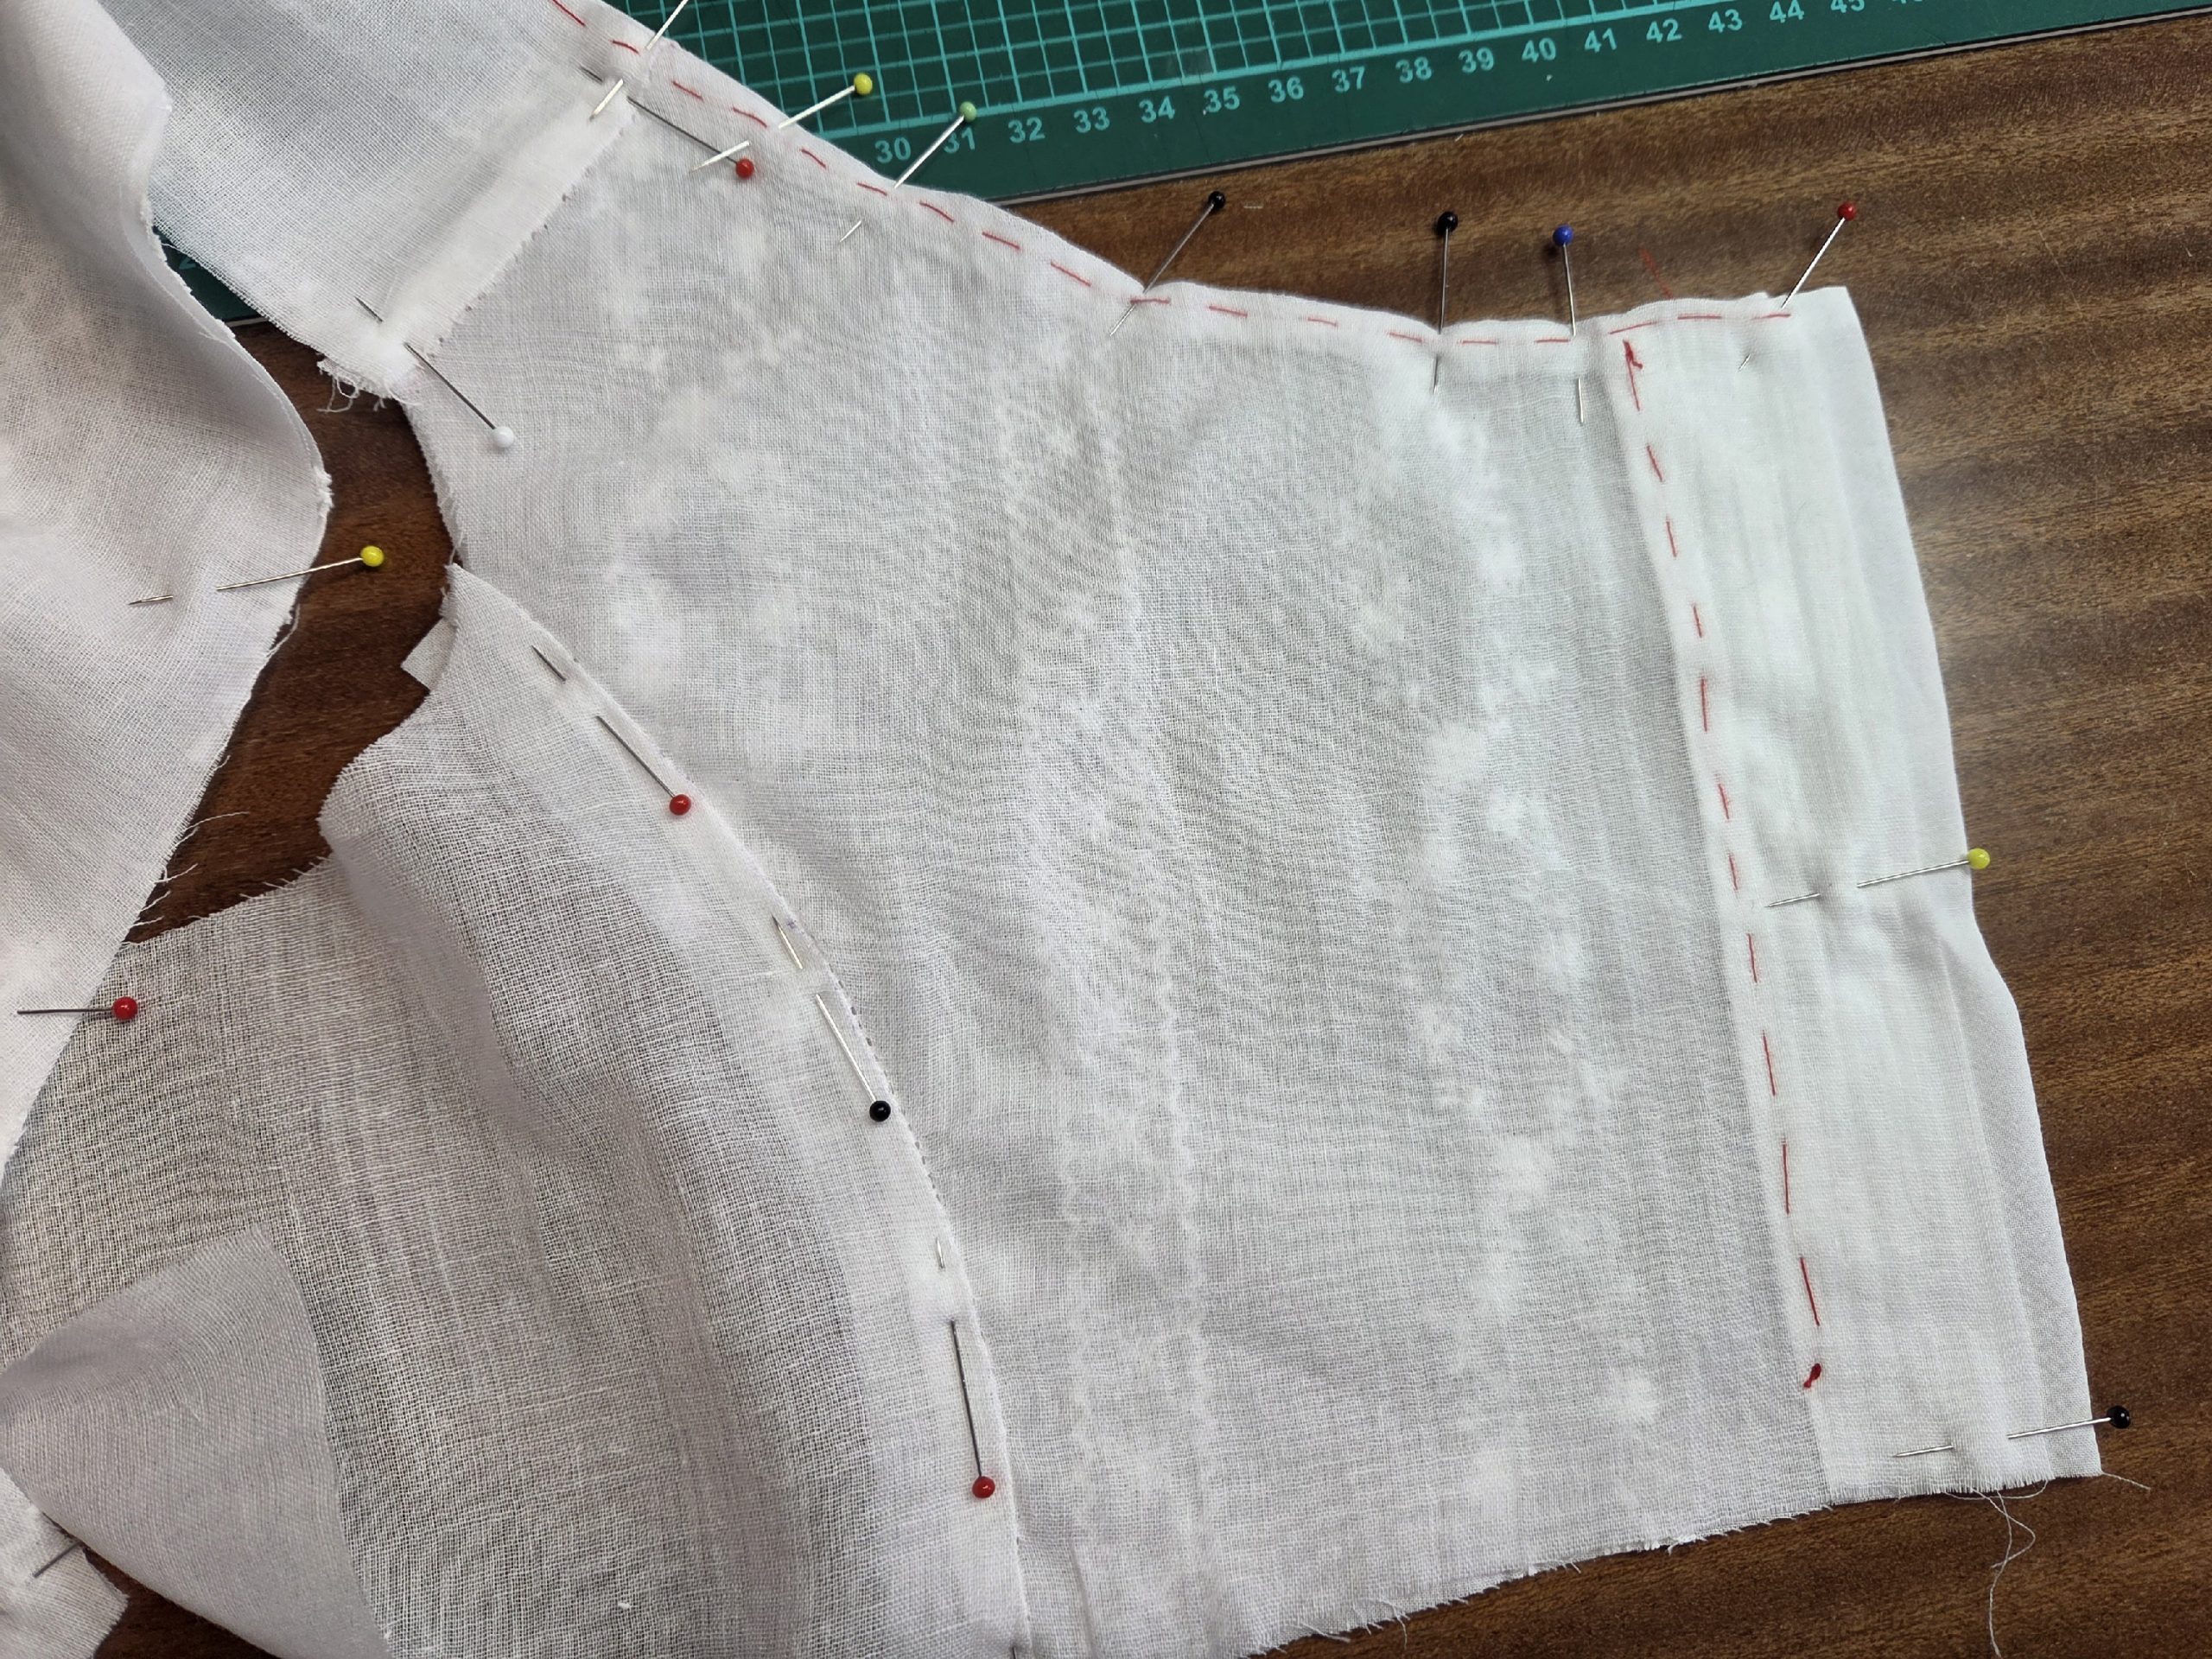
Between marks (1) and (2), attach the front edge, with a prick stitch from the right side through all layers, covering the first stitching.
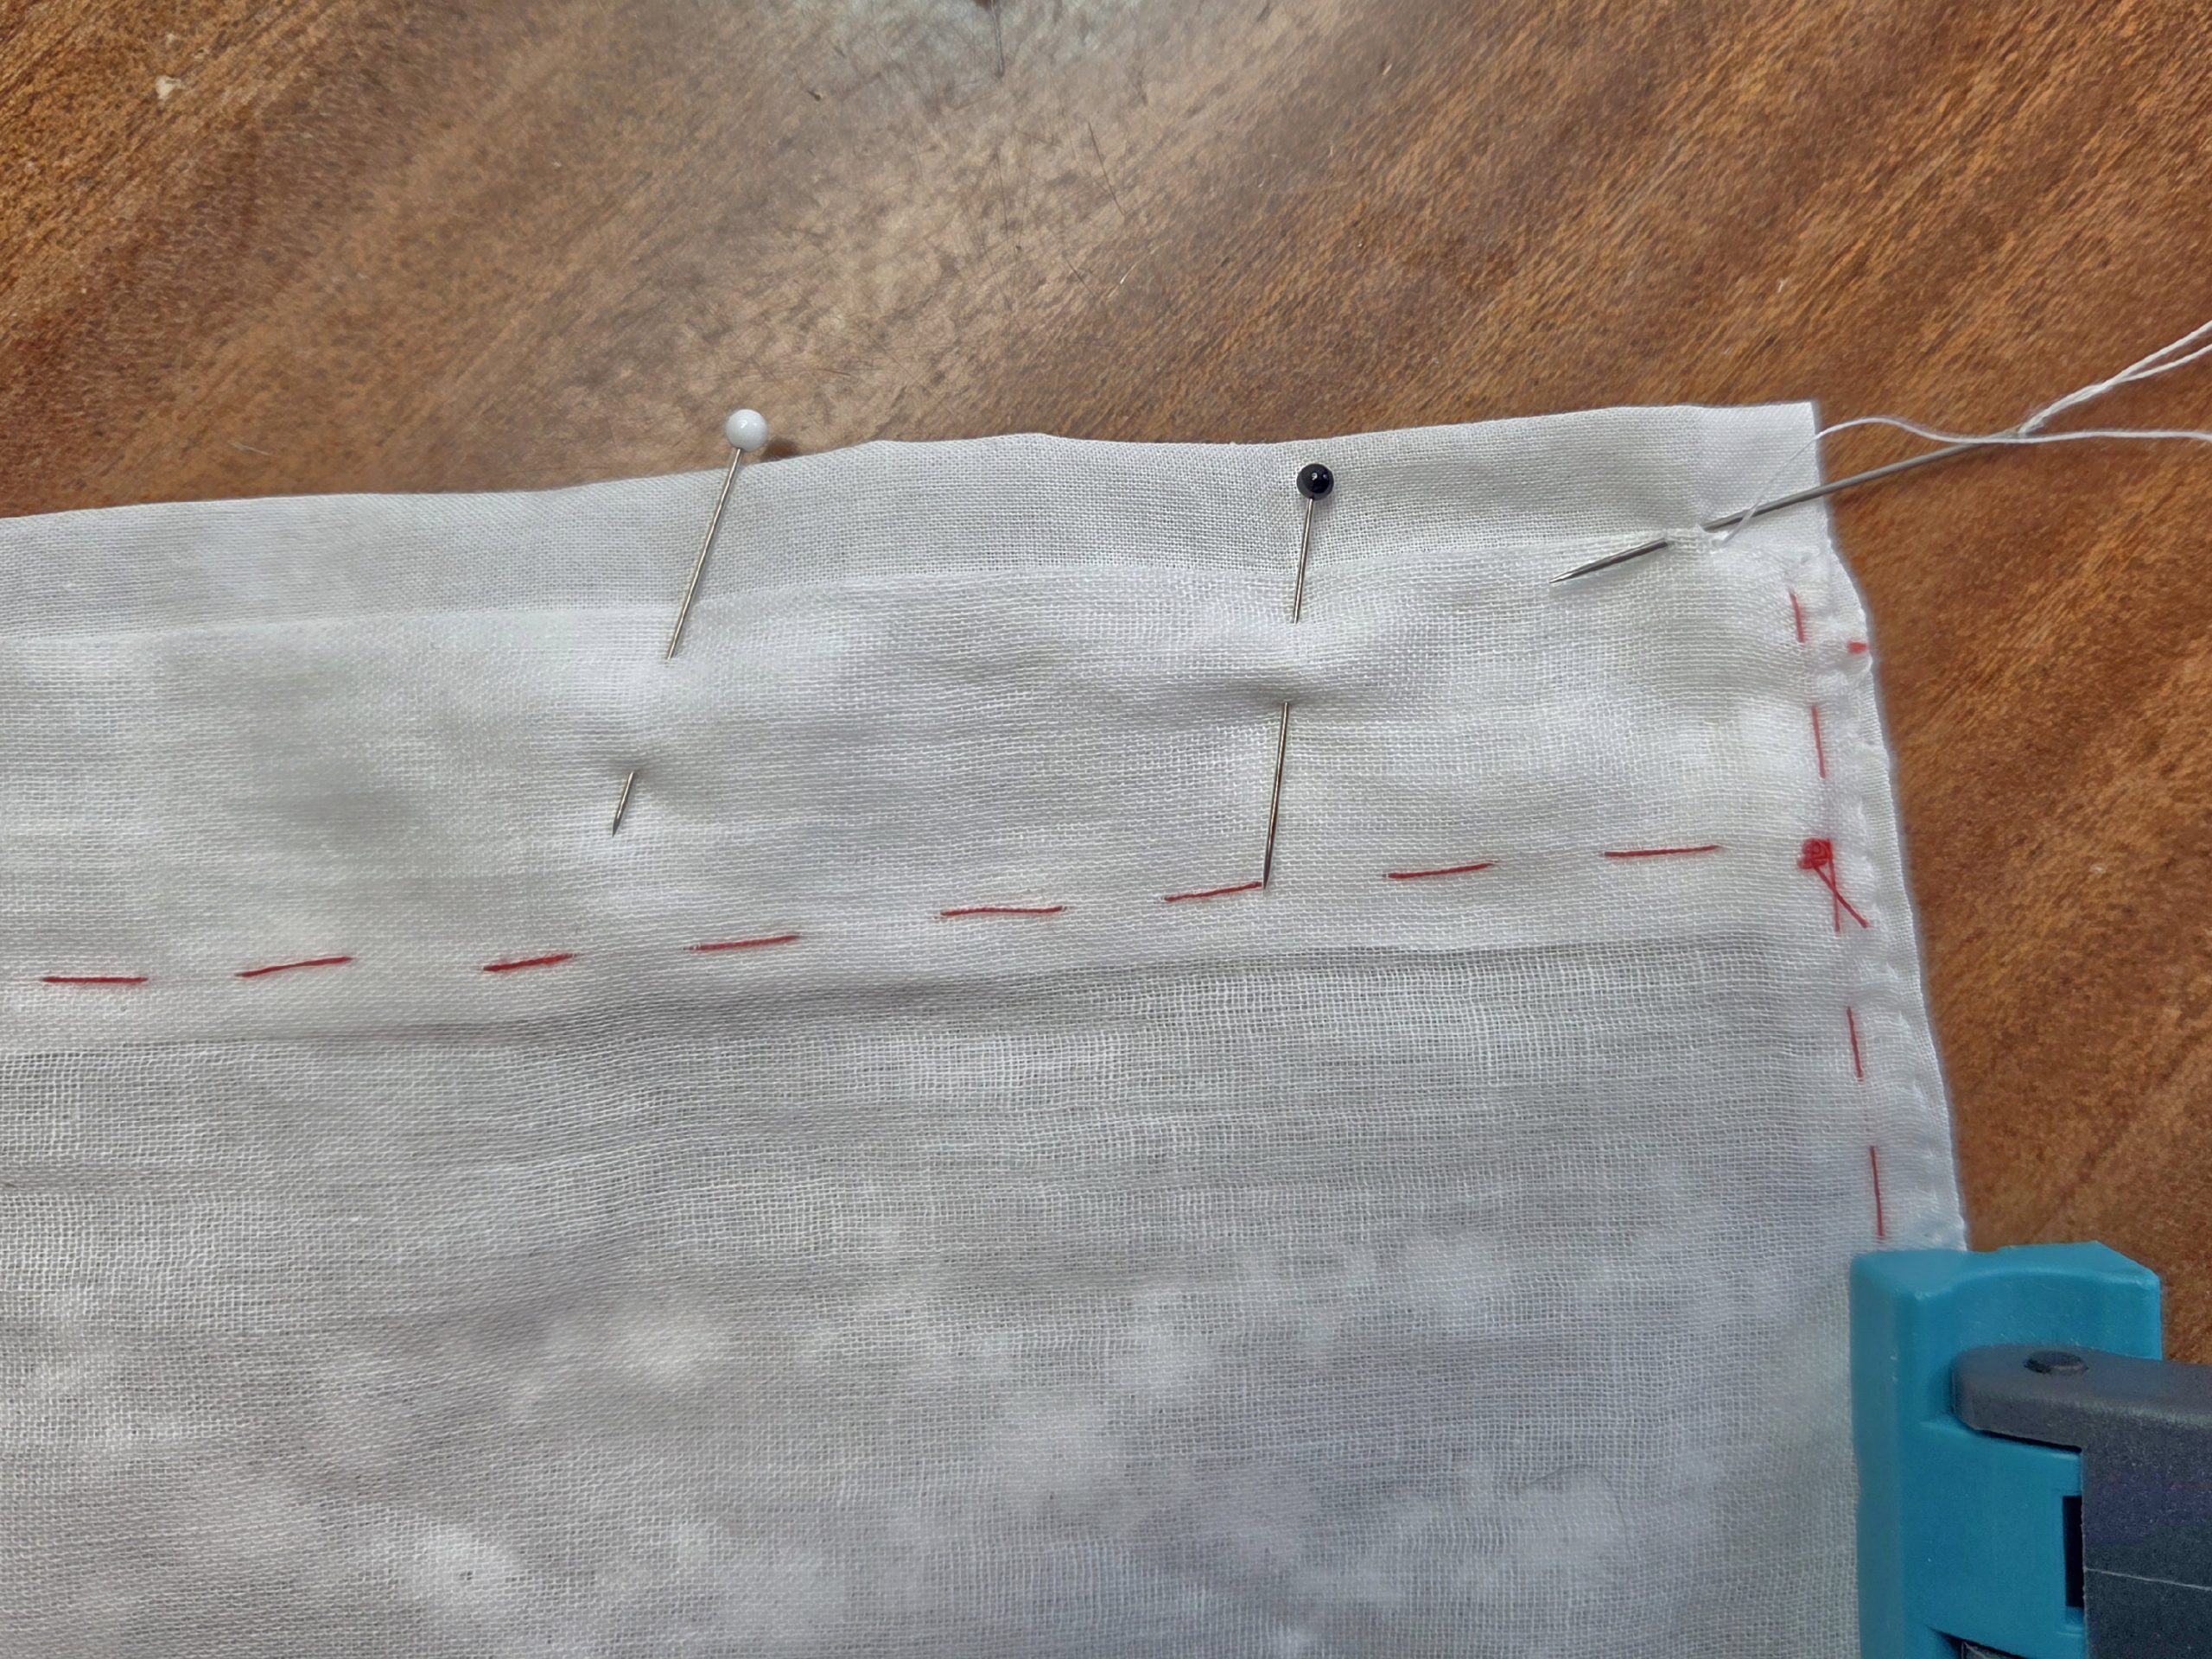
At the back only, sew with a prick or back stitch about ¼” (5mm) parallel to the edge to create a tunnel. Thread the tunnel with a drawstring and fix it at the shoulder seam securely. From the right side, sew along the shoulder seam through all layers with a prick stitch.
(6) Take the side back piece from the fashion fabric and turn in the seam allowance along the side back seam, trim back if needed. Line up with the corresponding lining piece, wrong sides together, and baste in place. Sew the side back seam right beside the edge with a prick stitch through all layers as described before at the shoulder seam.
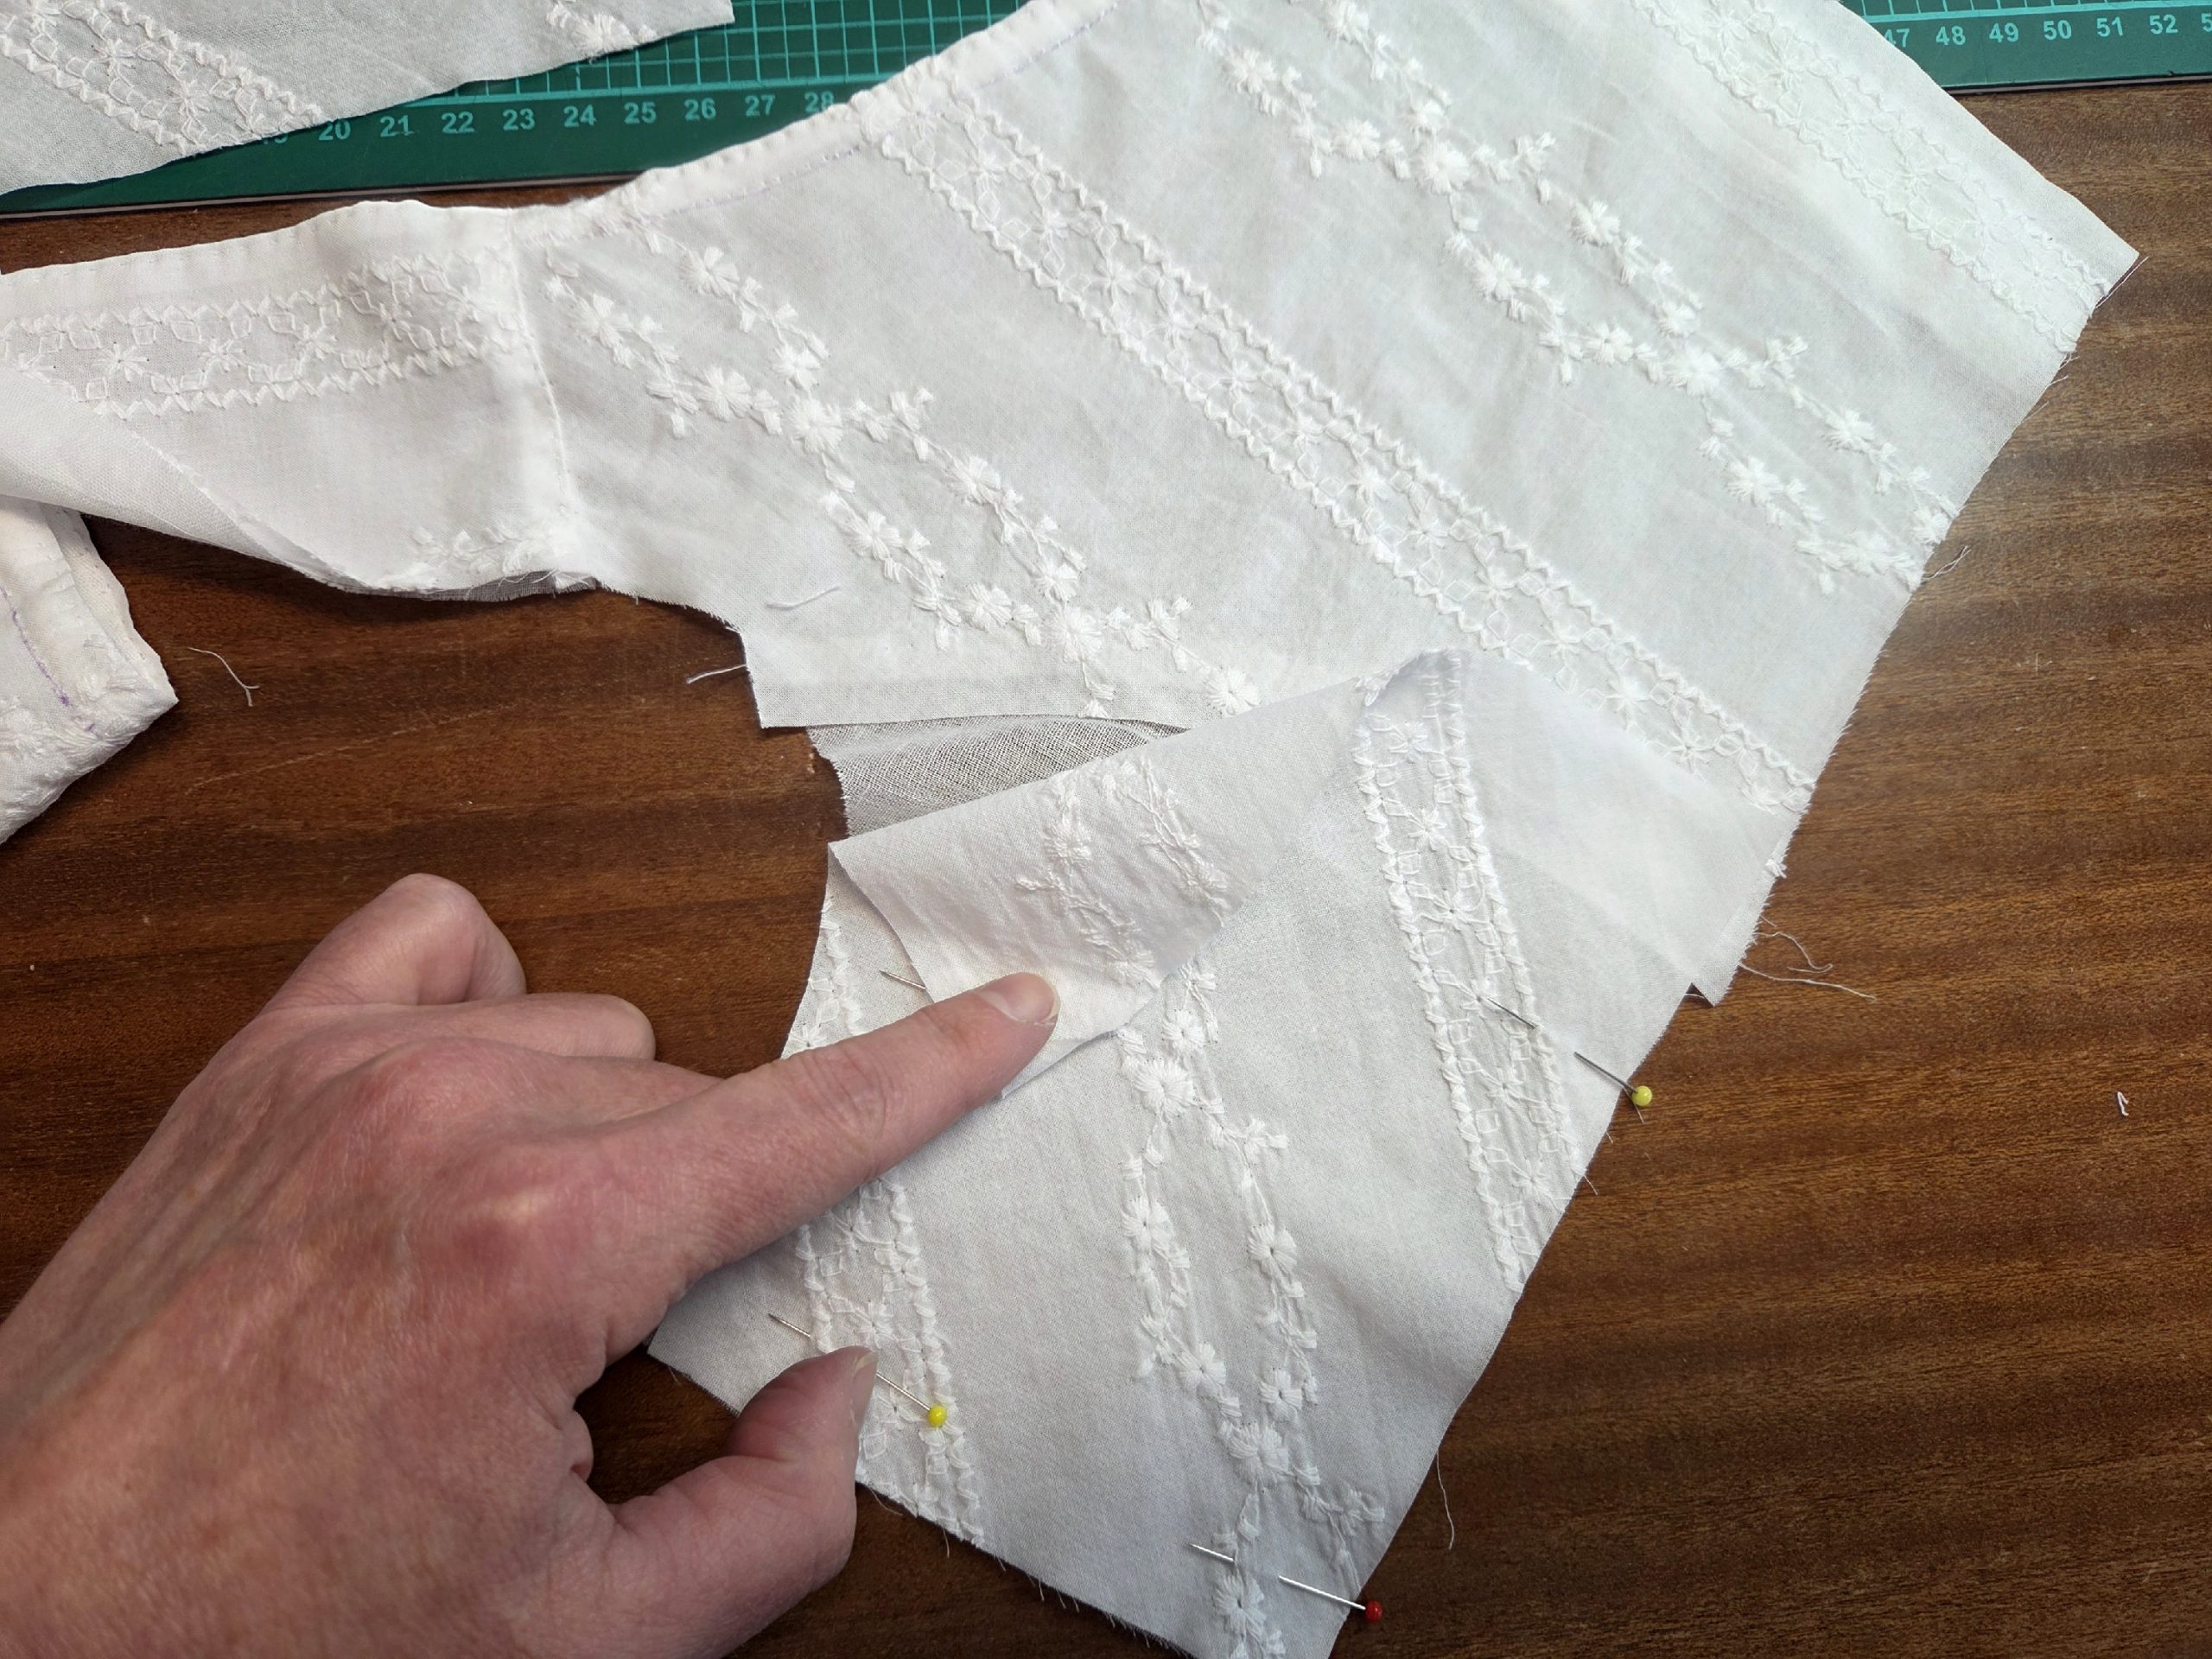
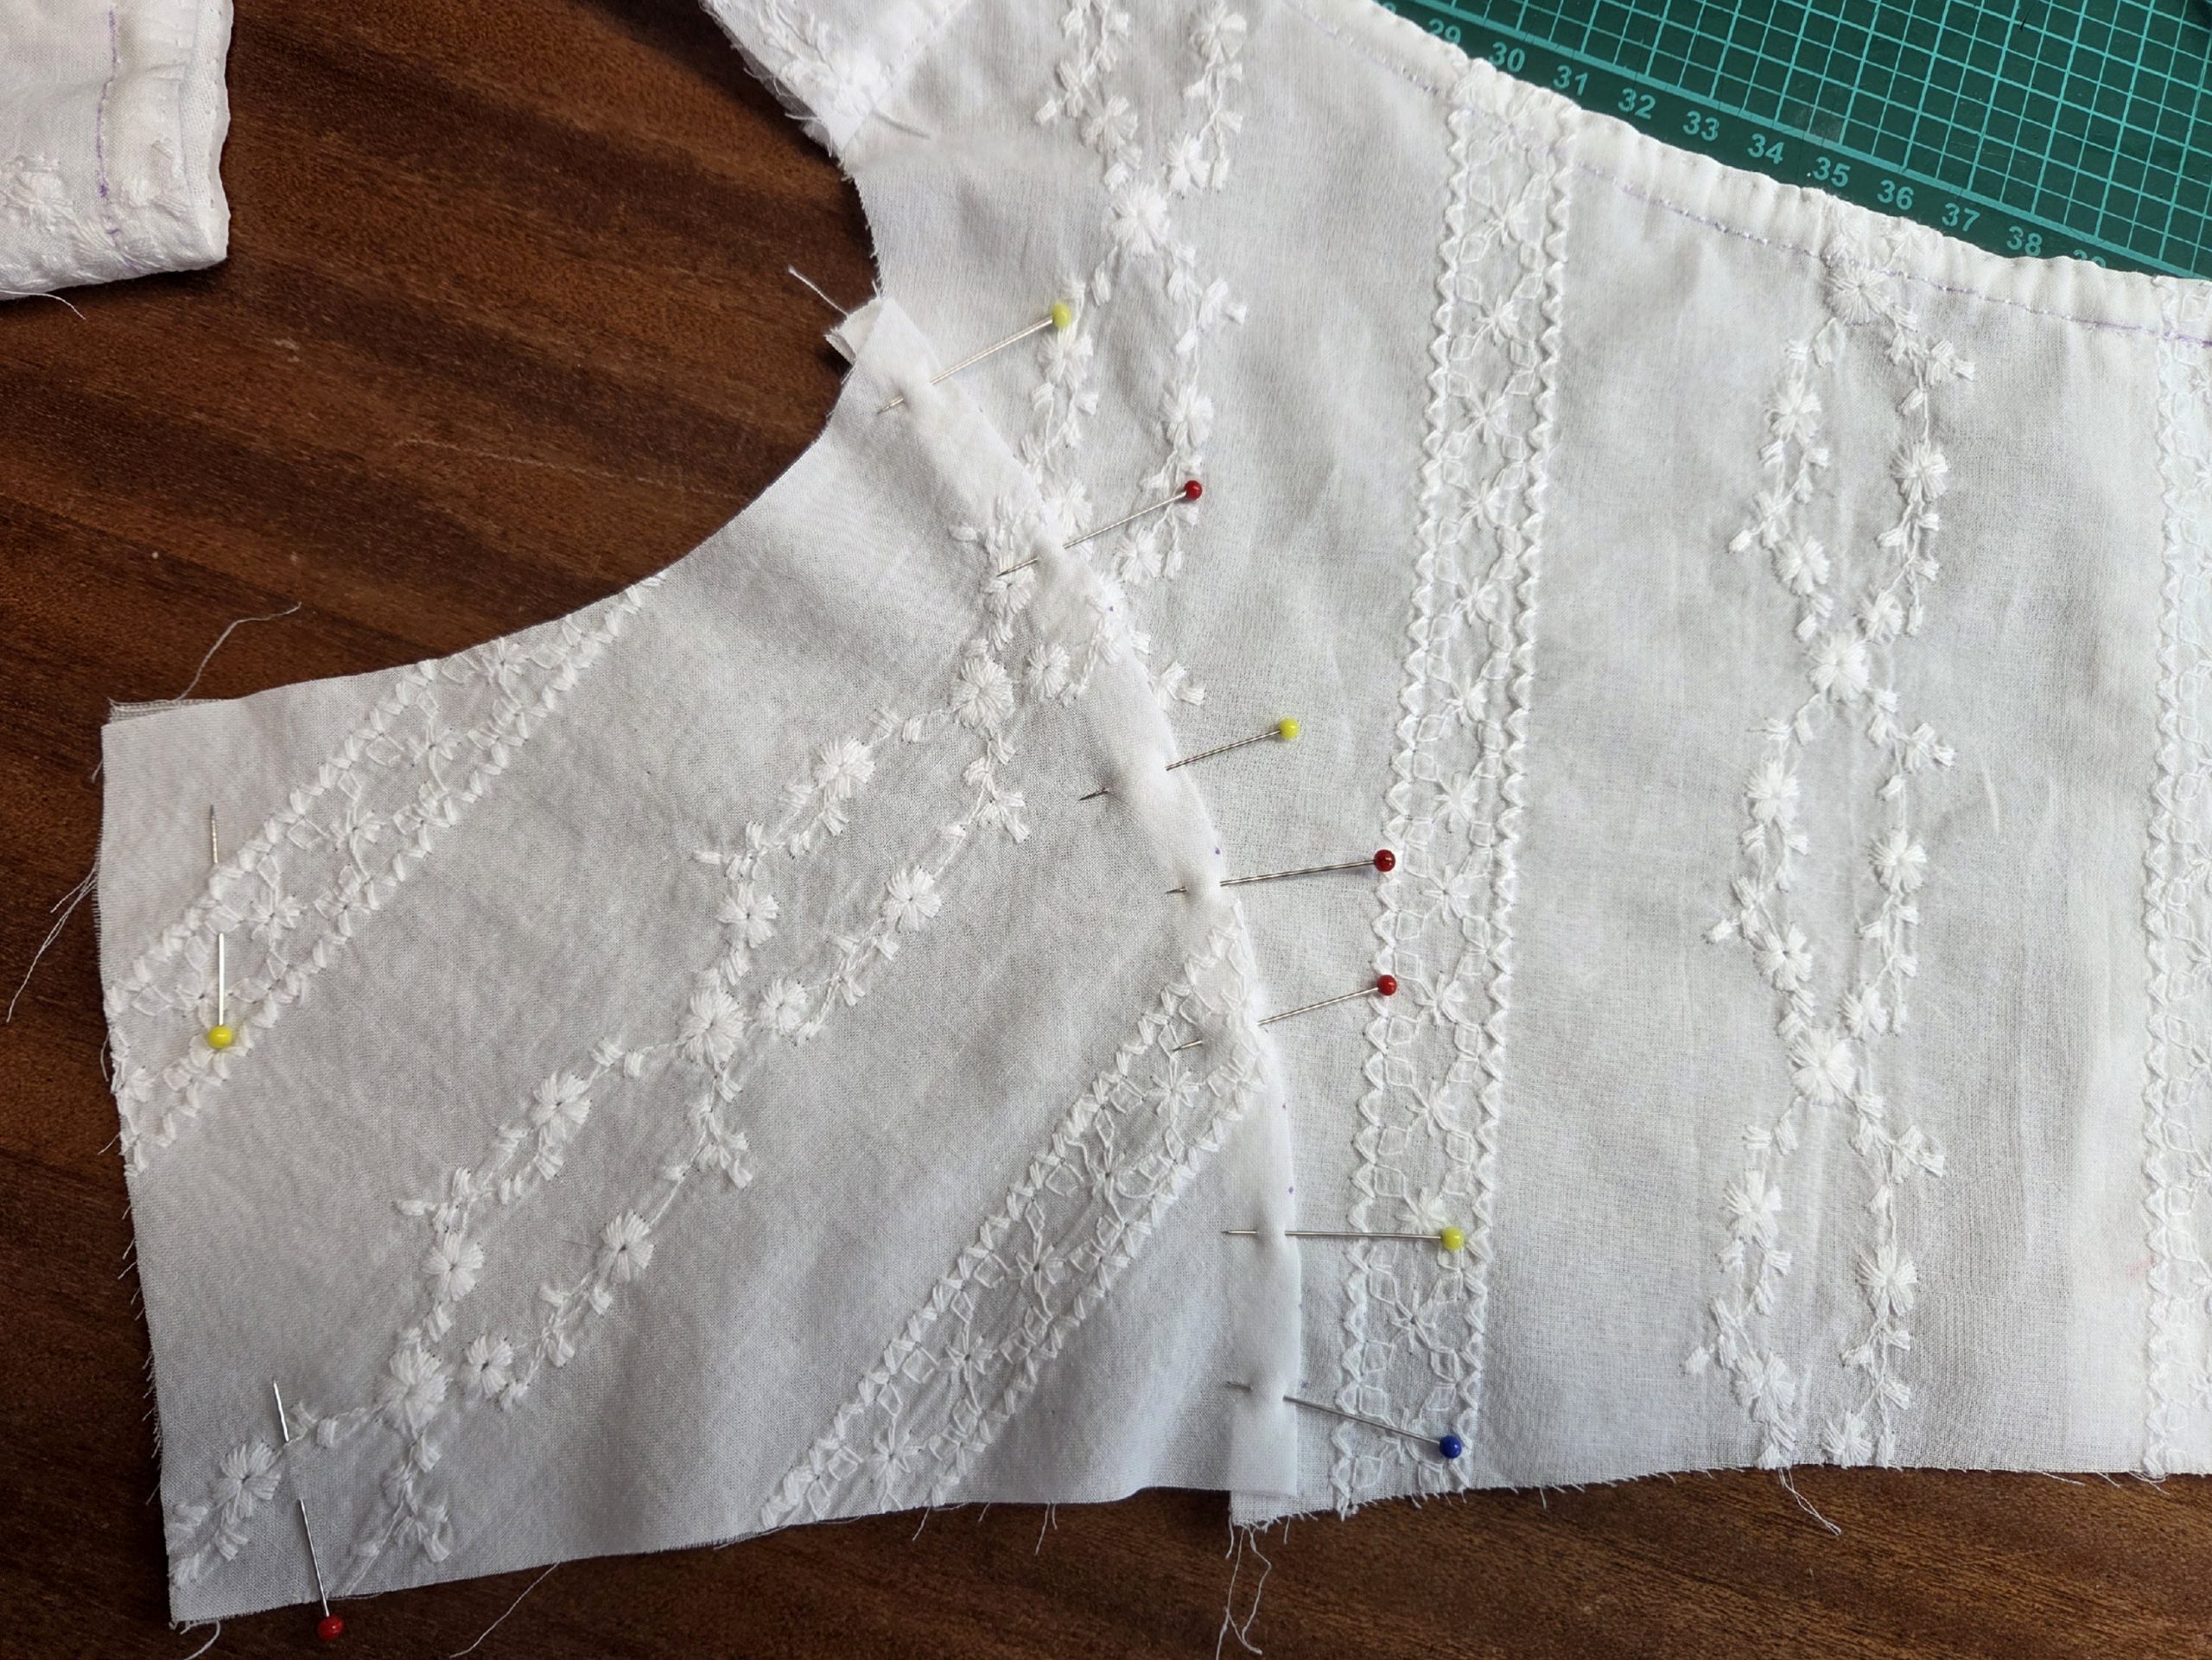
(7) To sew the side seam, fold the fashion fabric of the side back to the side, and line up the lining, right sides together. Treat the two layers of the front (lining and fashion fabric) as a single layer. Sew and press the seam allowances towards the back. Turn in the seam allowance of the side back´s side edge and line up with the side seam, covering the stitching done before. Sew with a prick stitch, as described before.