The last garment missing to complete our men´s wardrobe is the Tailcoat. Again, this blog post will supplement the sewing instructions for my pattern. The sewing techniques described in the instructions will follow the construction methods seen on extant garments as much as possible, with some extra information and pictures here.
Please be aware, that this is a hand-sewing pattern, all long seams can be sewn by machine, but many steps can be only done by hand. Some steps are quite tricky, even for an experienced sewer, some steps are unfamiliar compared to modern sewing techniques.
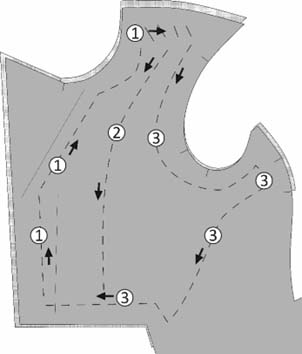
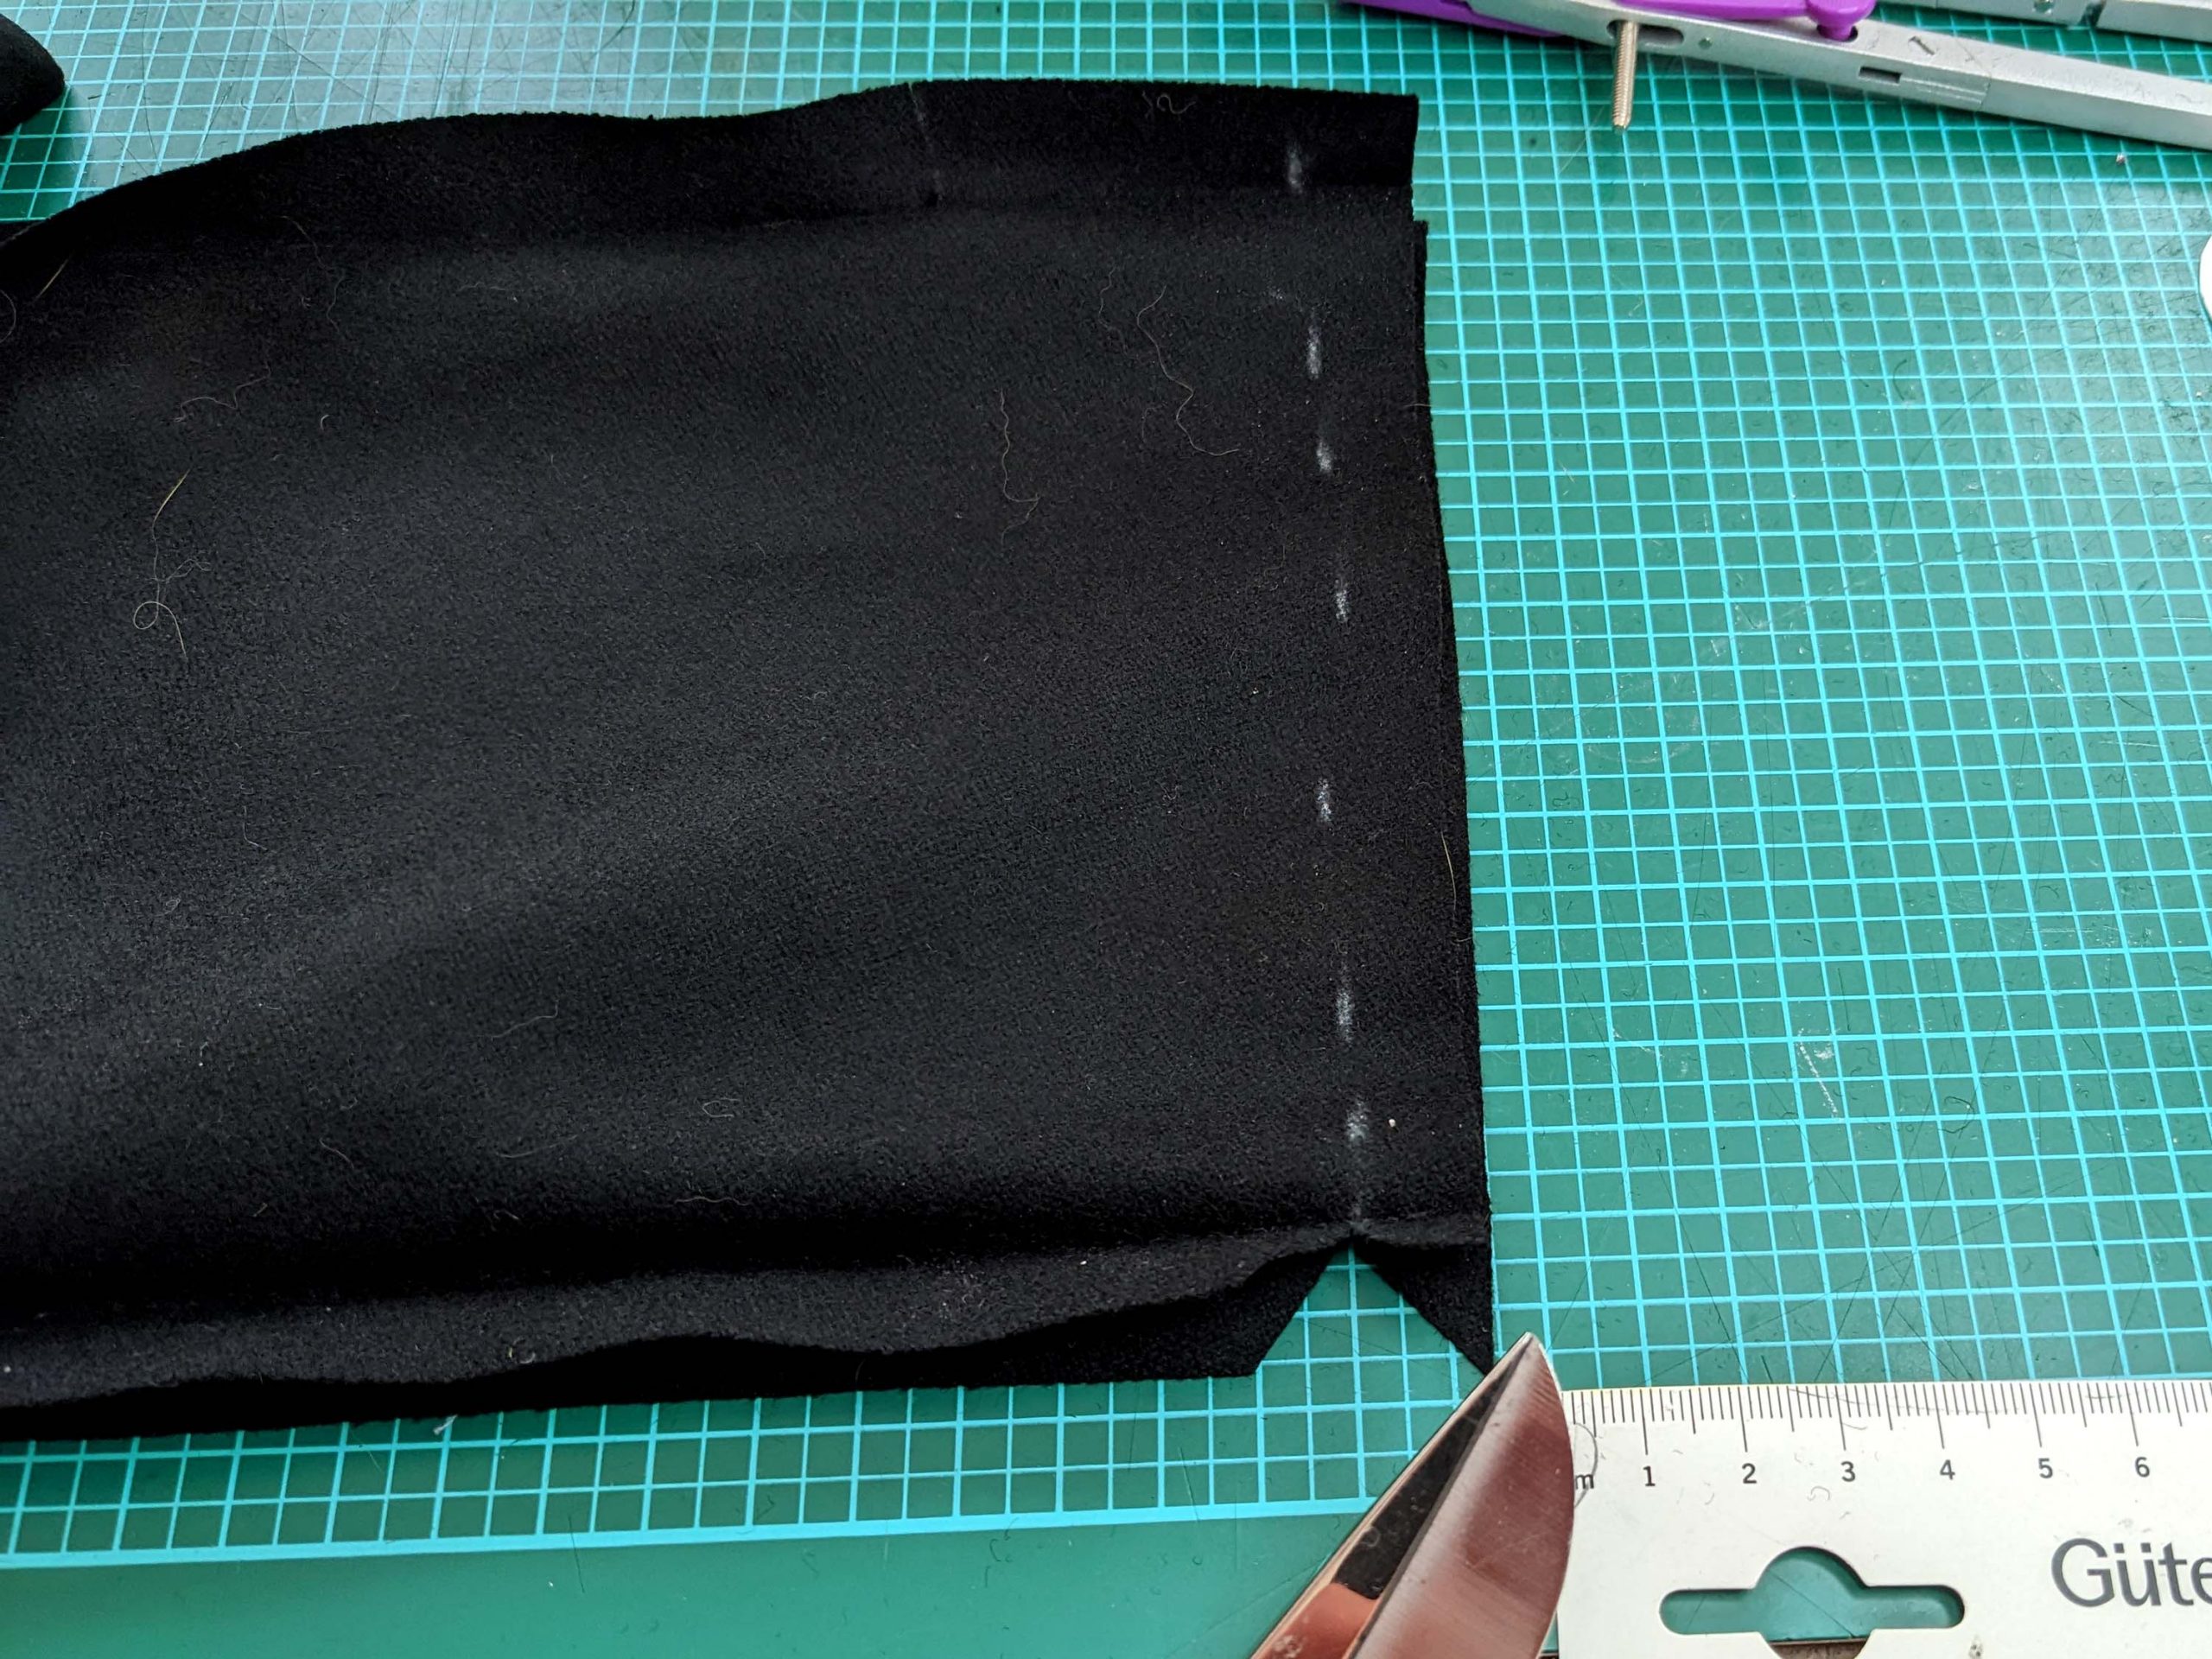
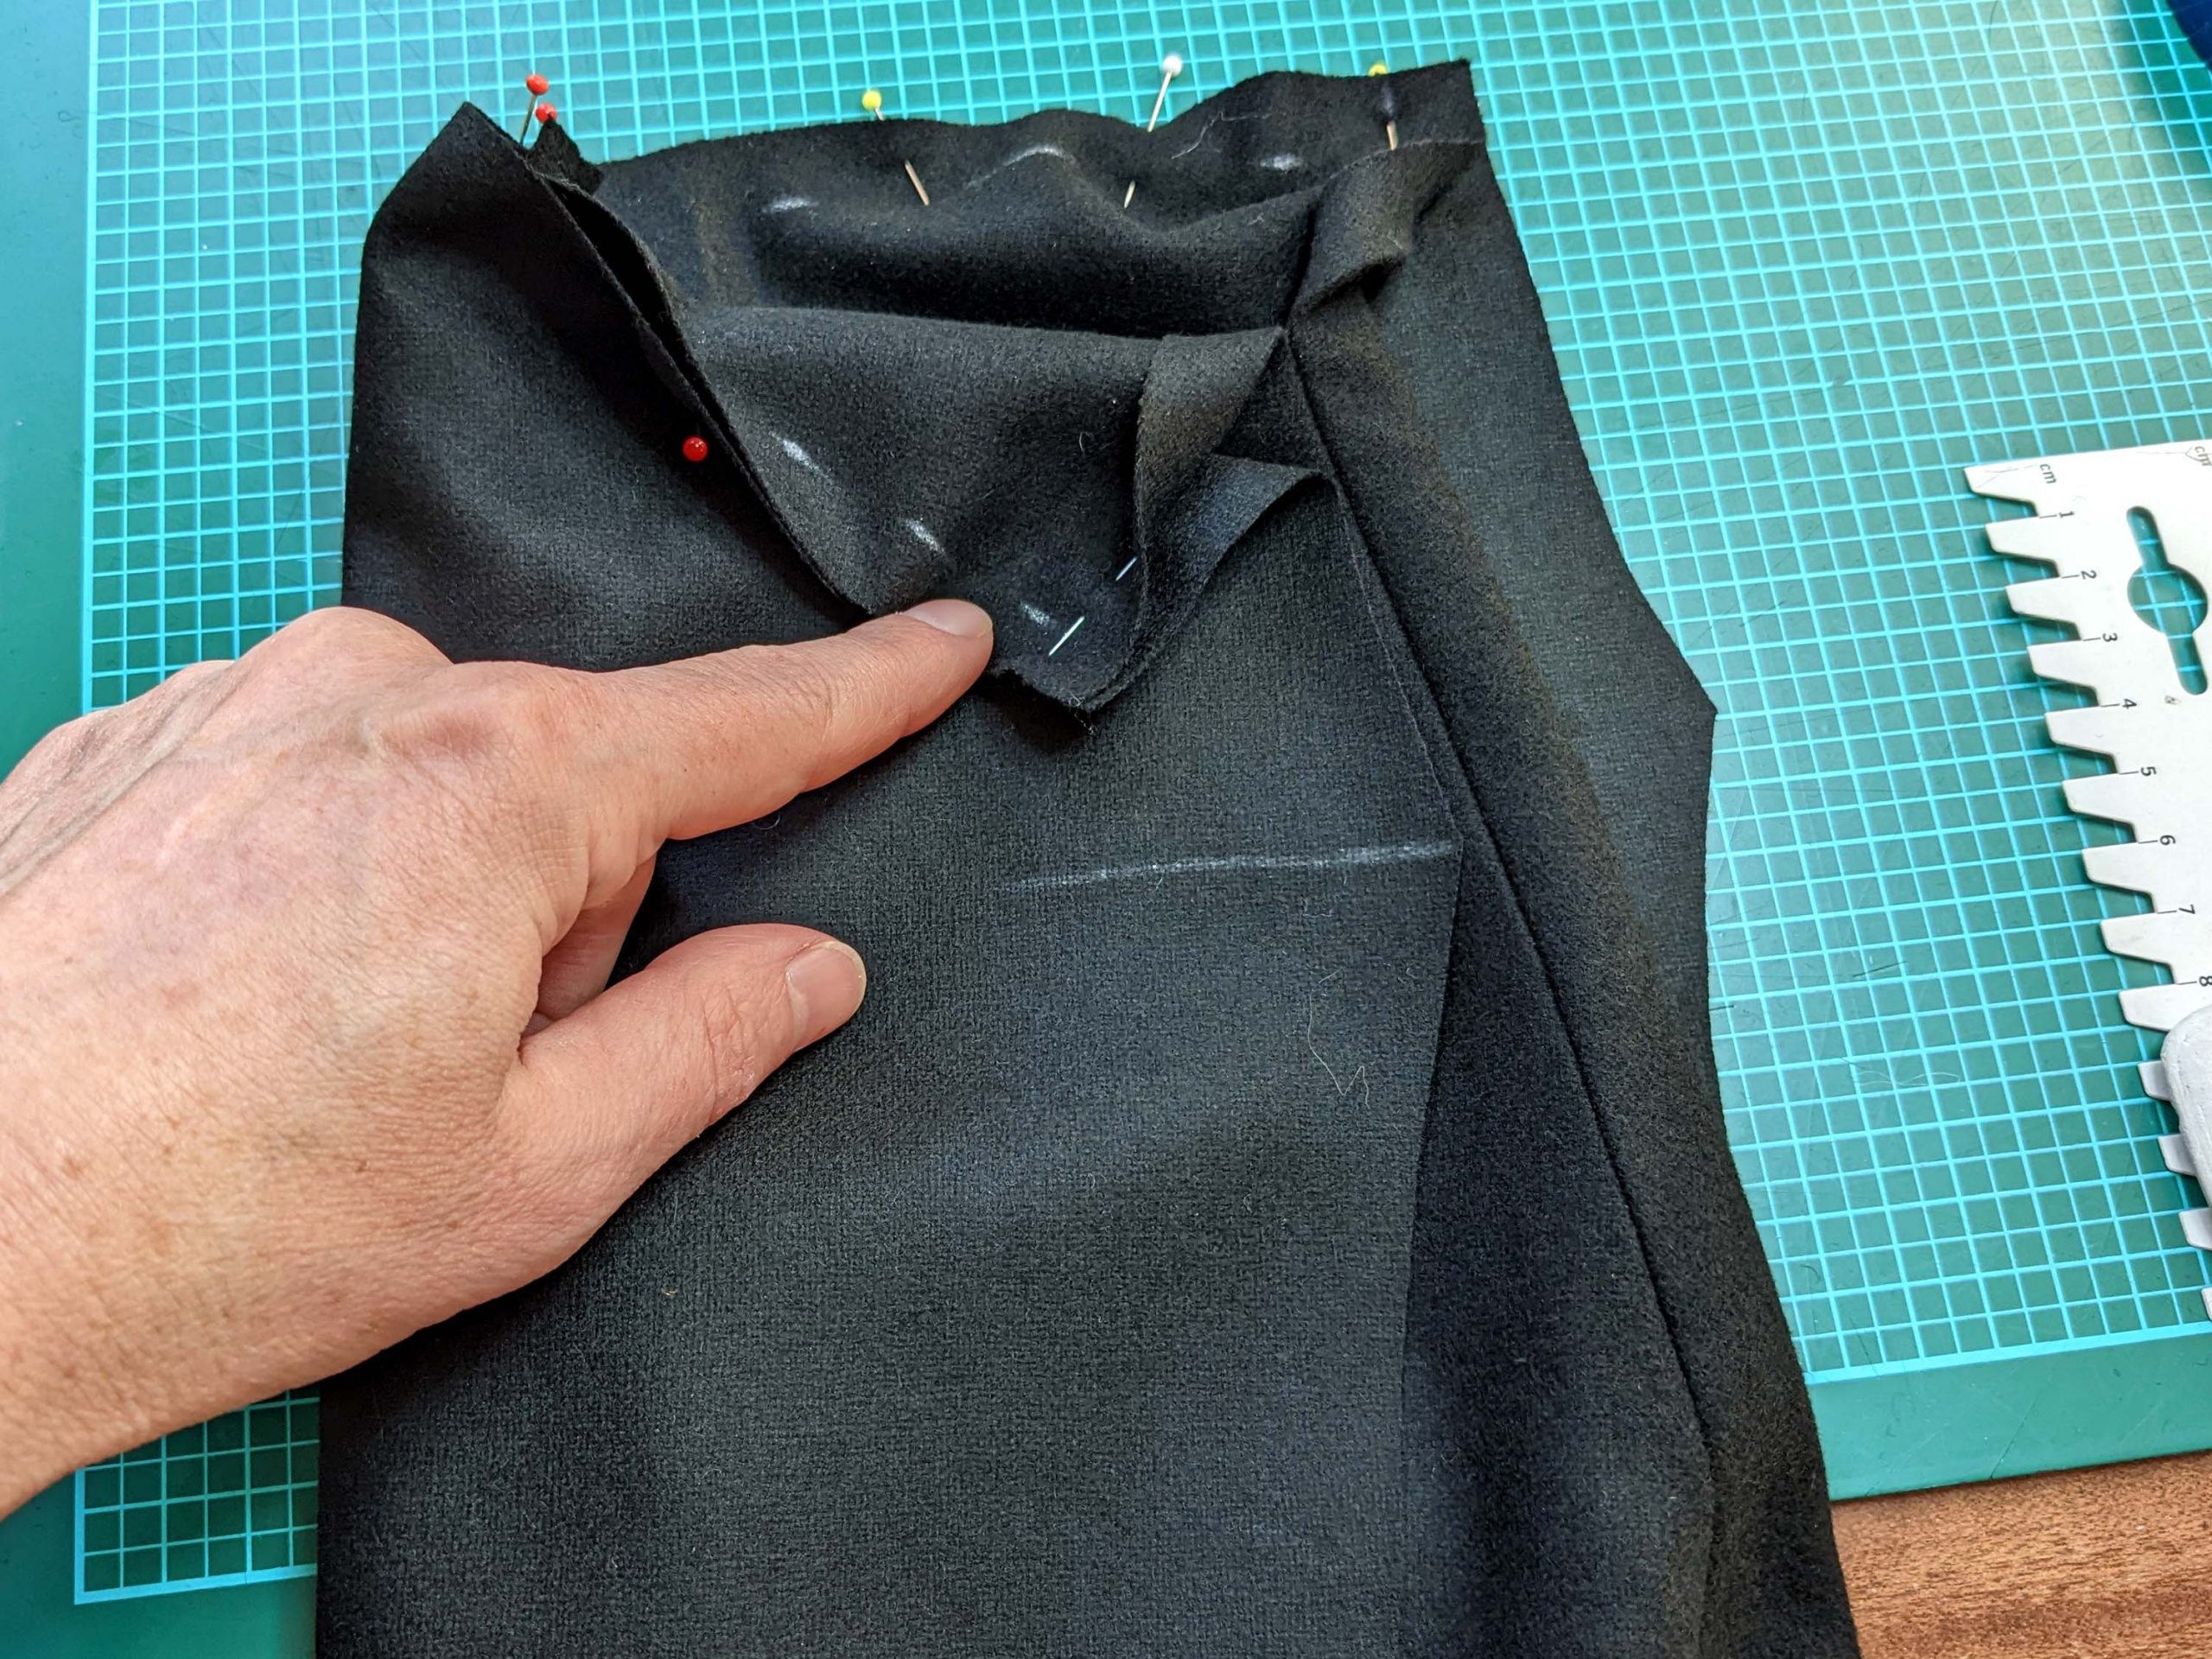
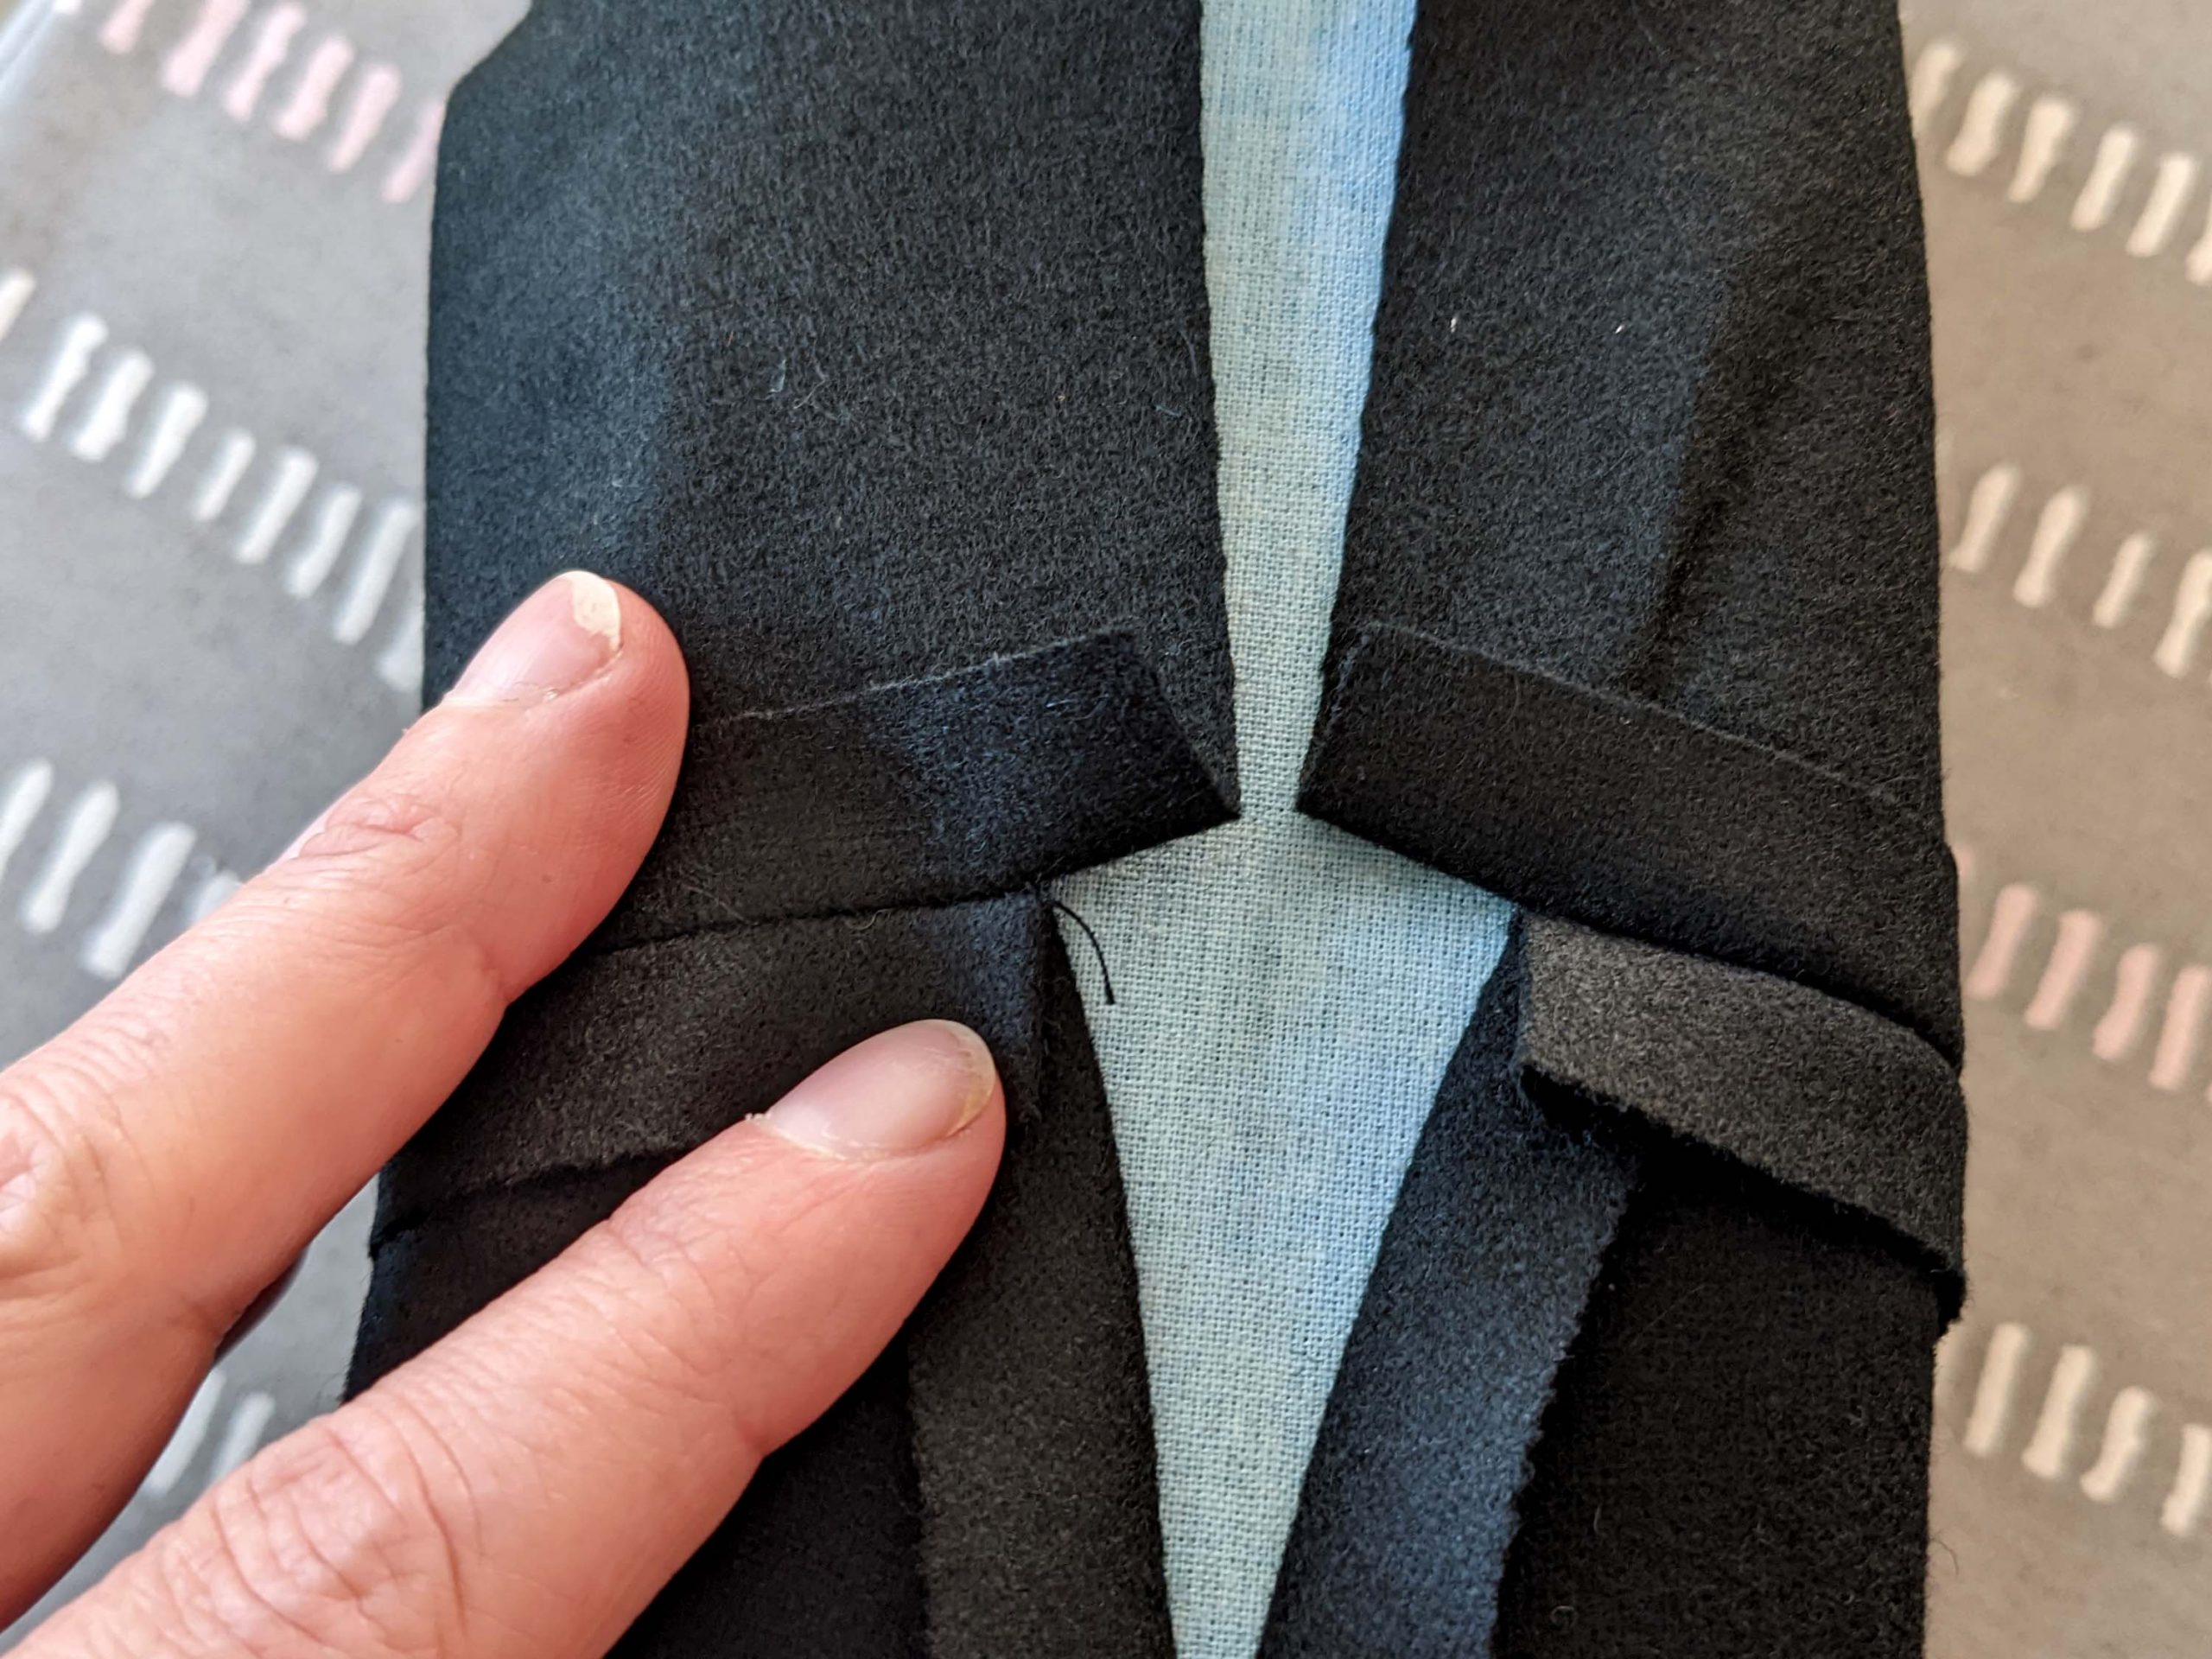
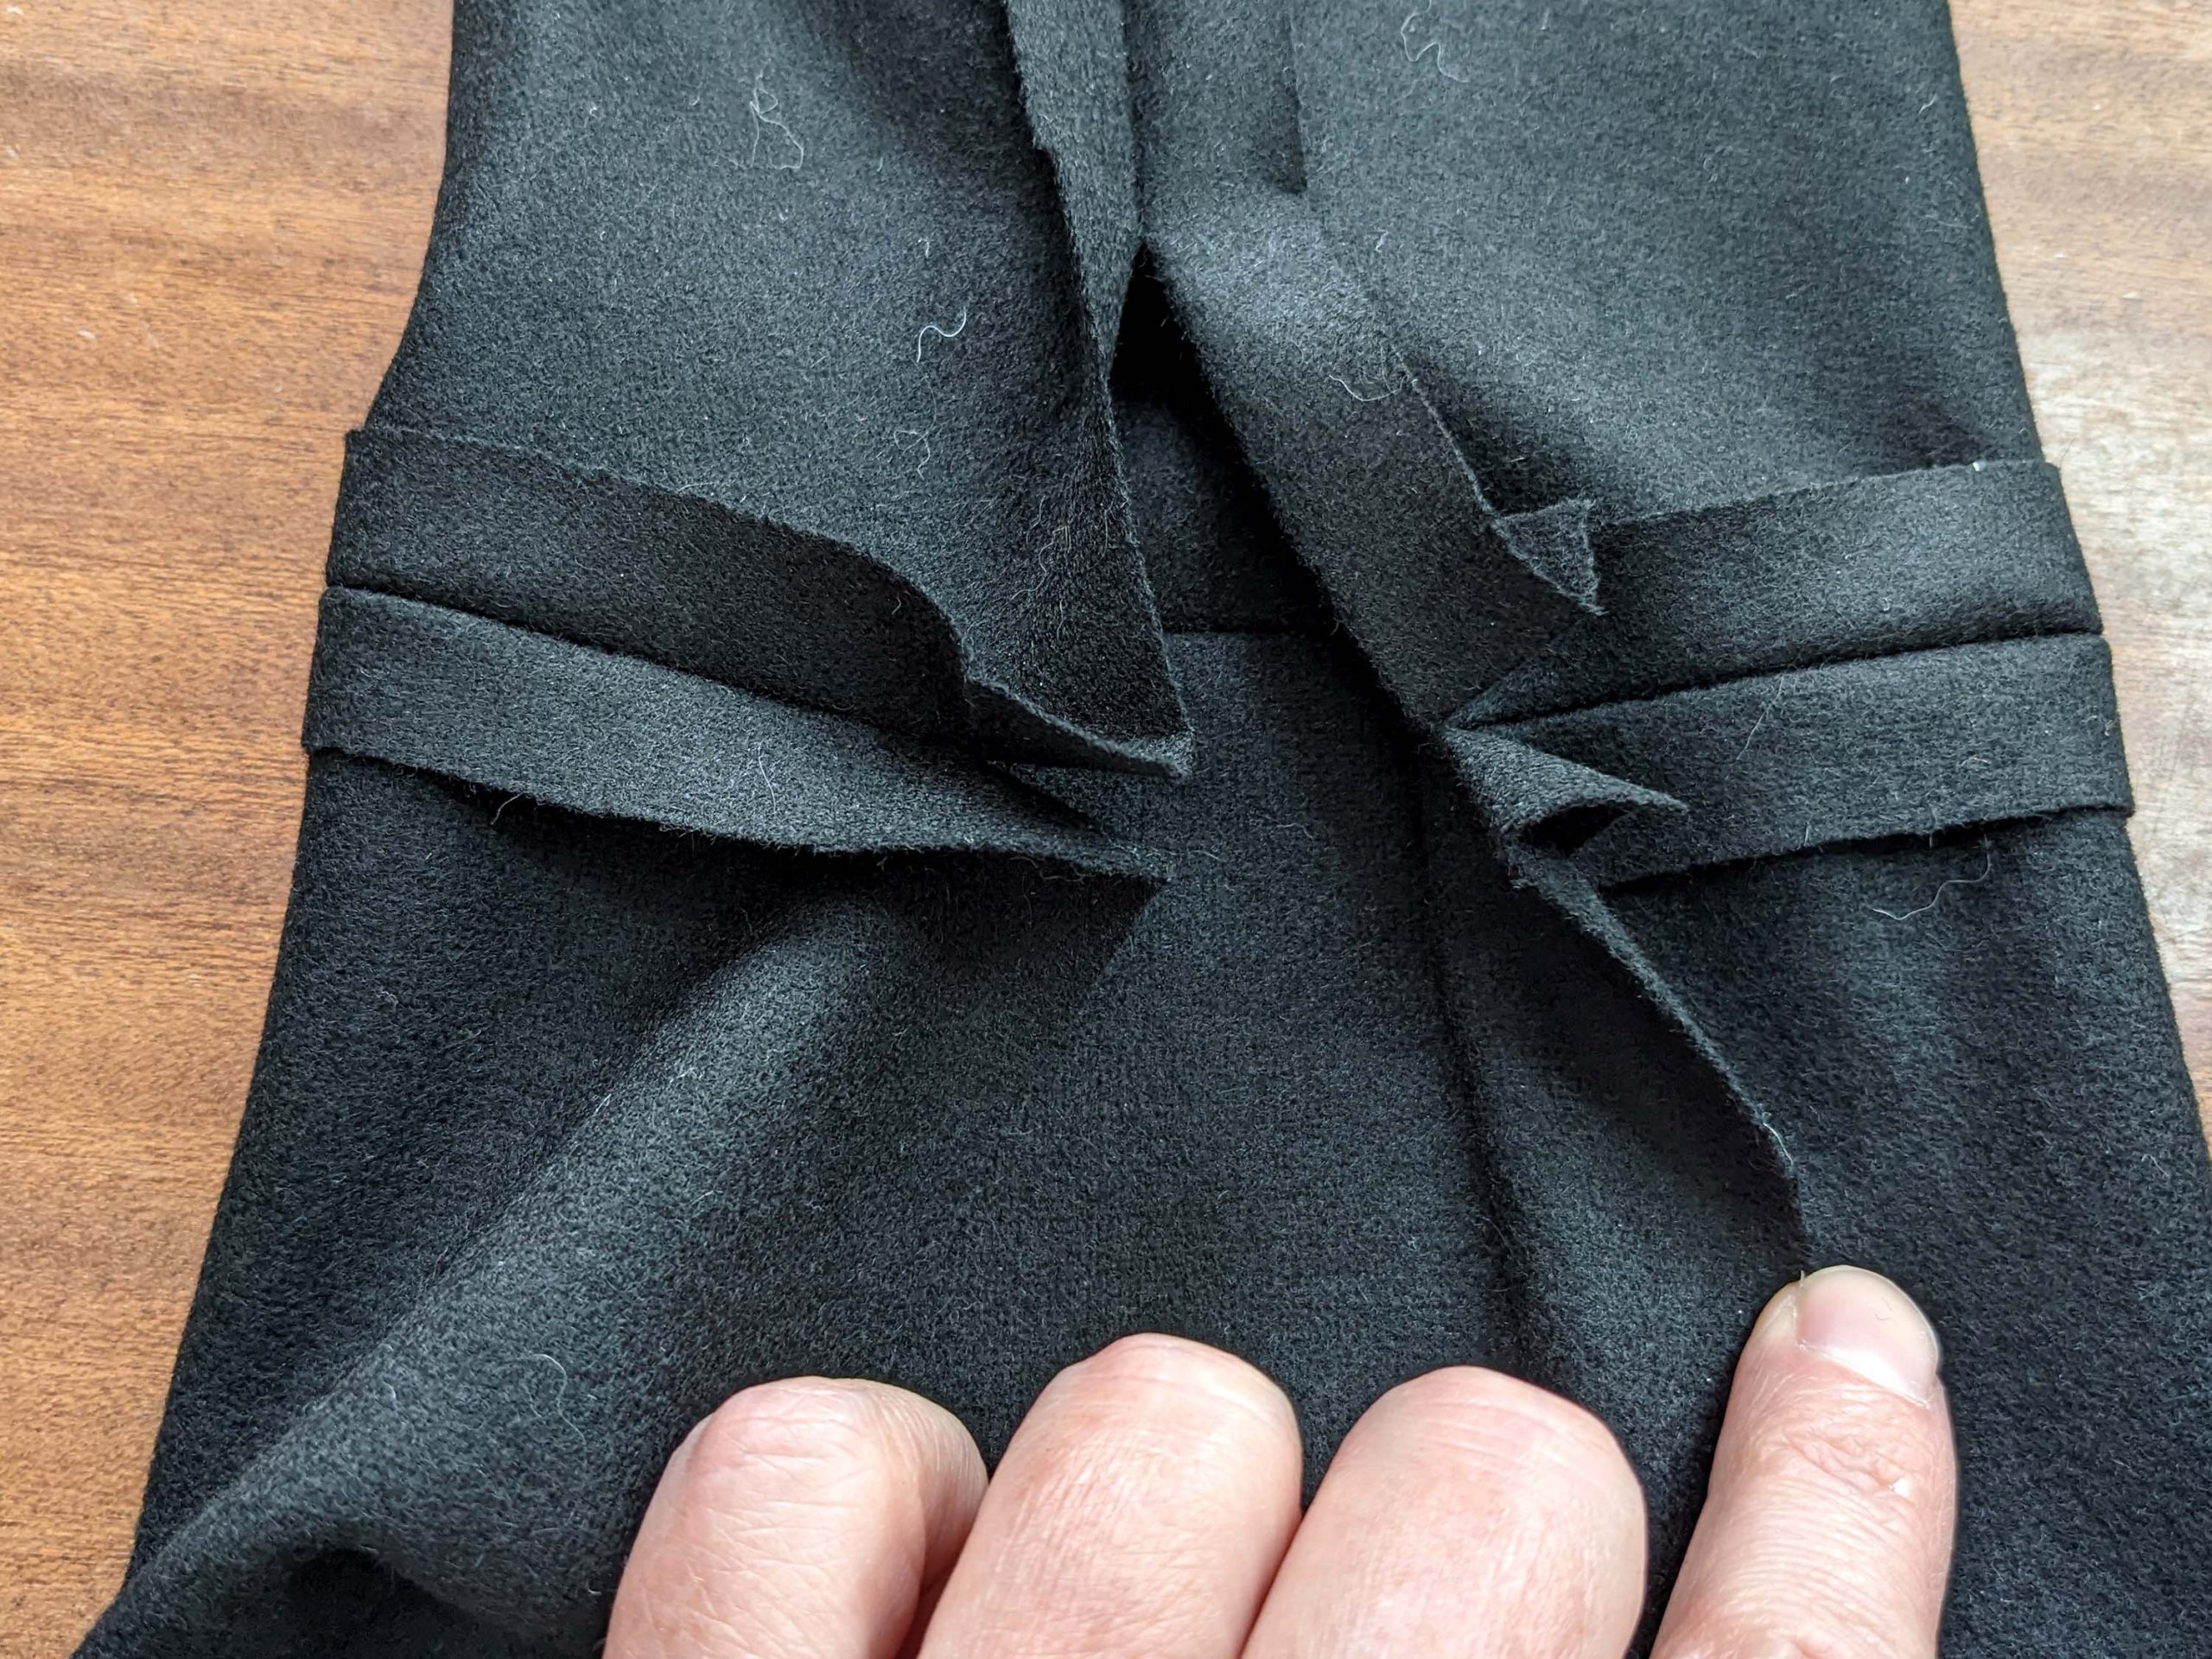
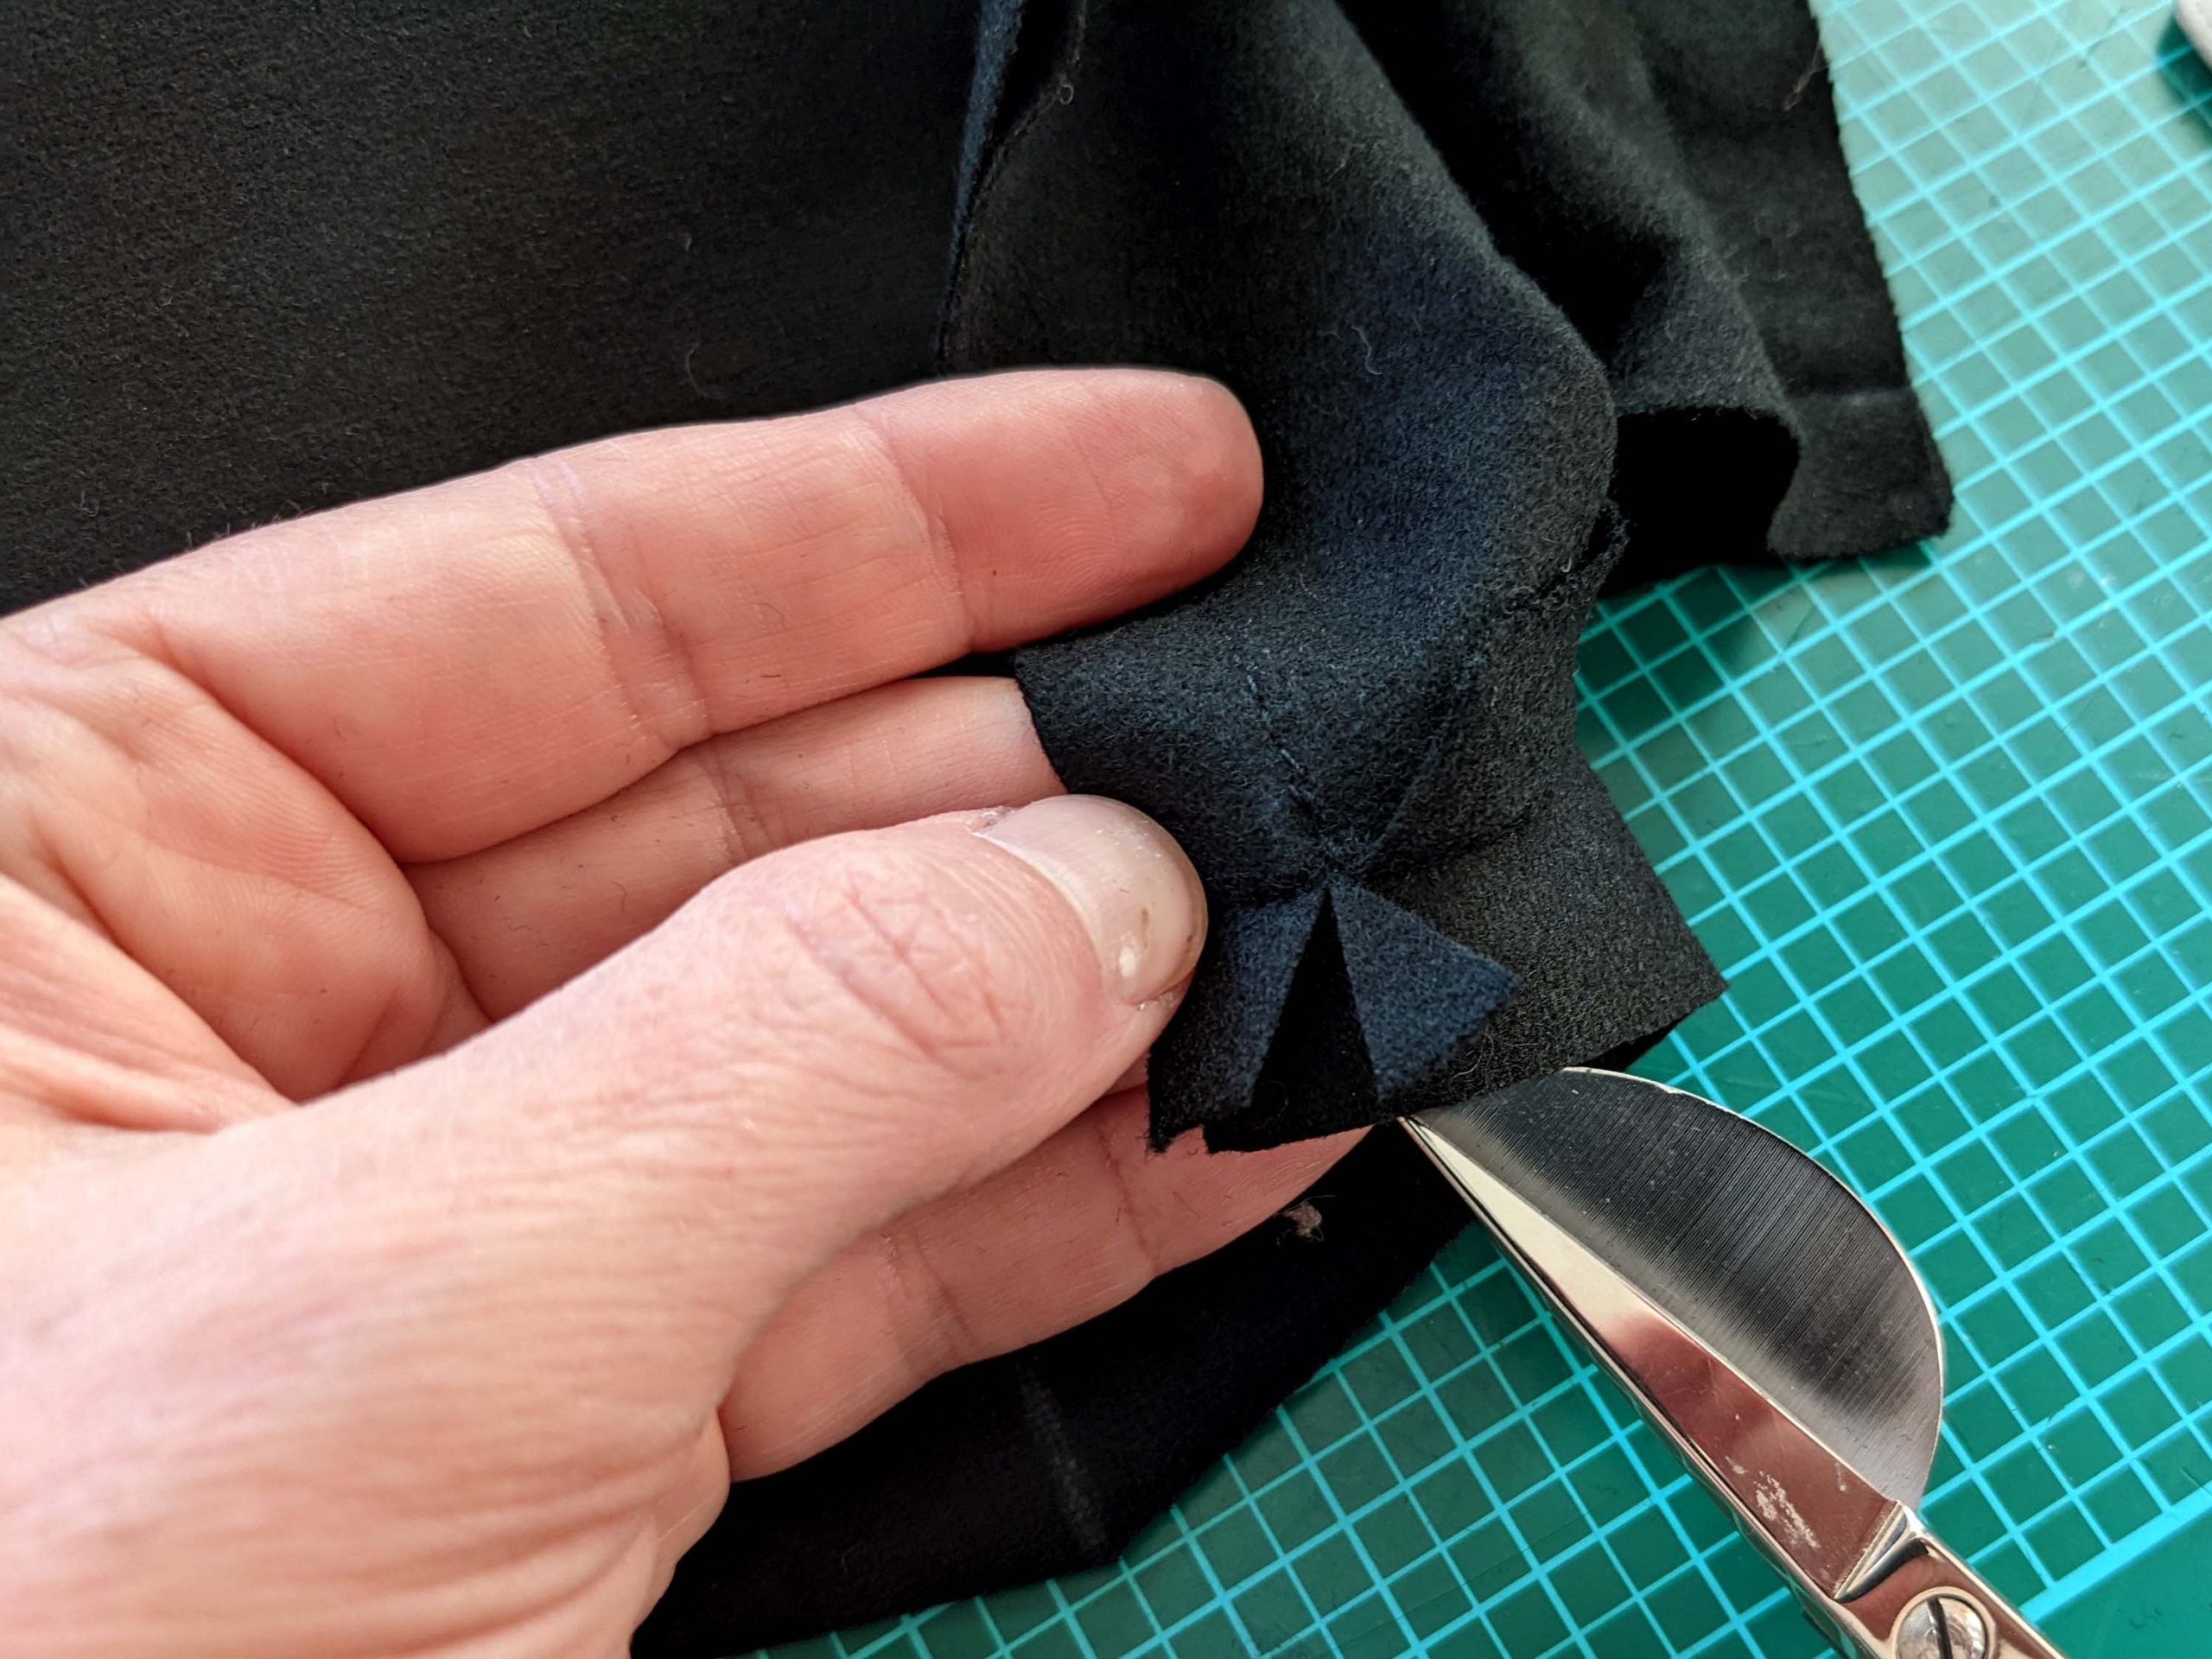
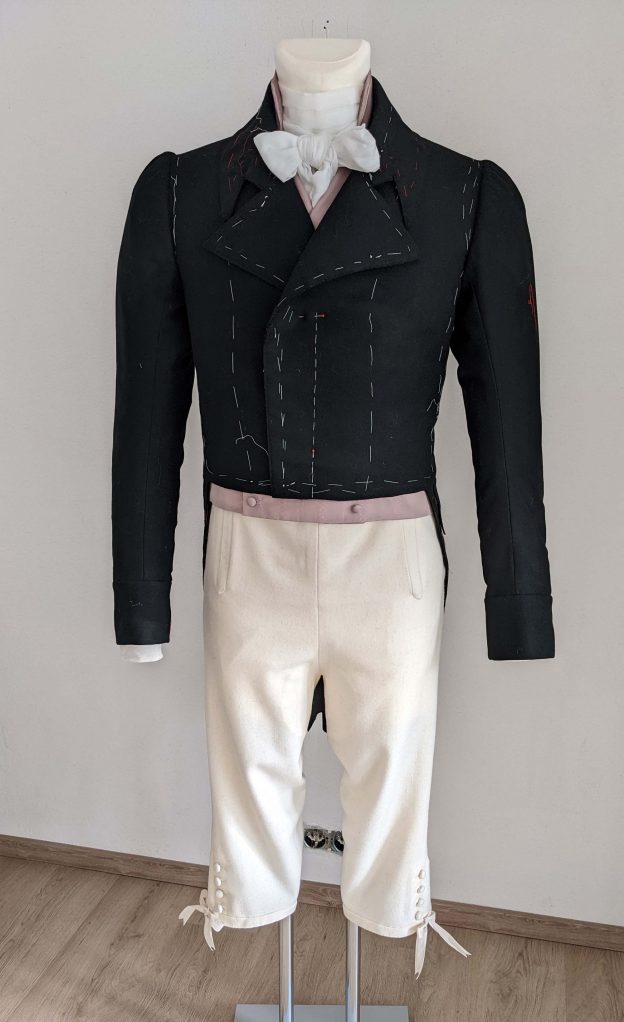
I´m going to show you the making of a double-breasted Tailcoat of the early 19th with many of the typical characteristics of these days. The body has three seams only, a center back seam, two back side seams, moved wide into the back, and no waist seam. Front and back tails are sewn together along the back side seam, pleated into a backward opening fold. The pocket opening is hidden inside these folds. The back opens into a vent beneath the waist.
The double-breasted front ends about 1” above the natural waistline, showing the waistcoat underneath. Breast padding supports the front and no shoulder pads are installed. The sleeves are pretty long, reaching the basal thumb joint, and finishing with a cuff. All the extra width at the sleeve head is gathered at the front. The collar features the typical m-notch. The body is lined with polished cotton fabric. The front facings are extended to meet at the center back.
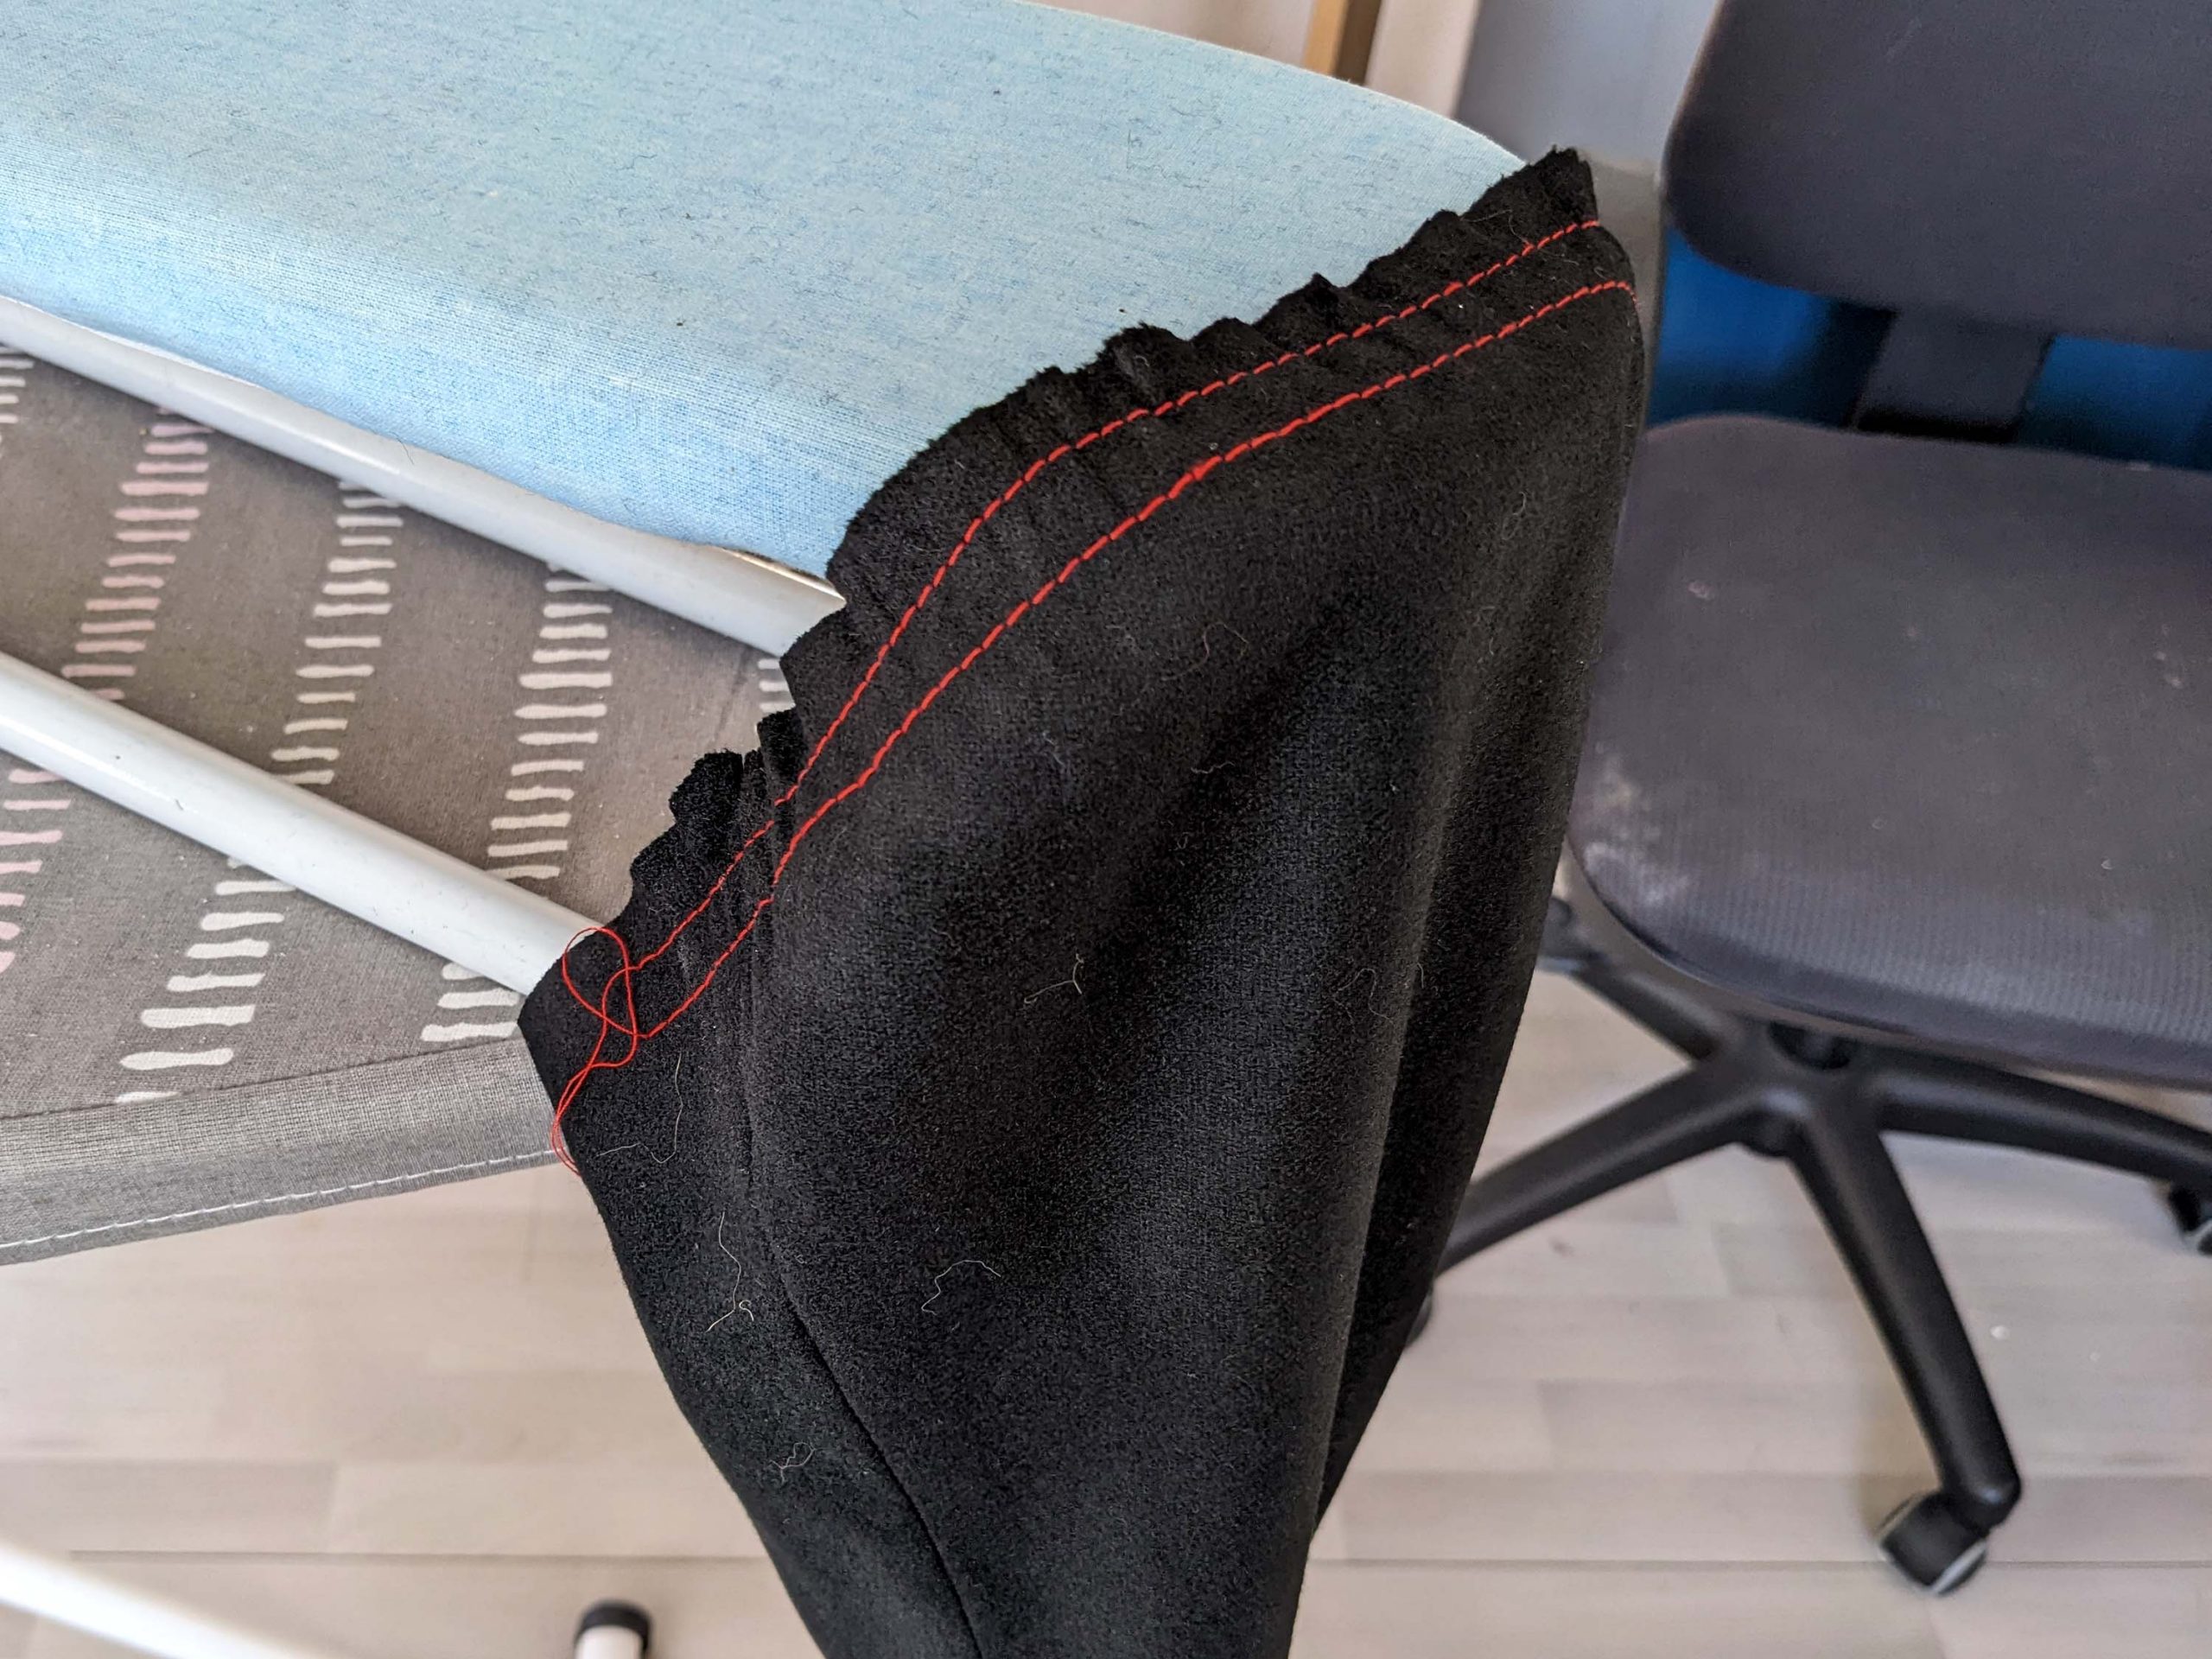
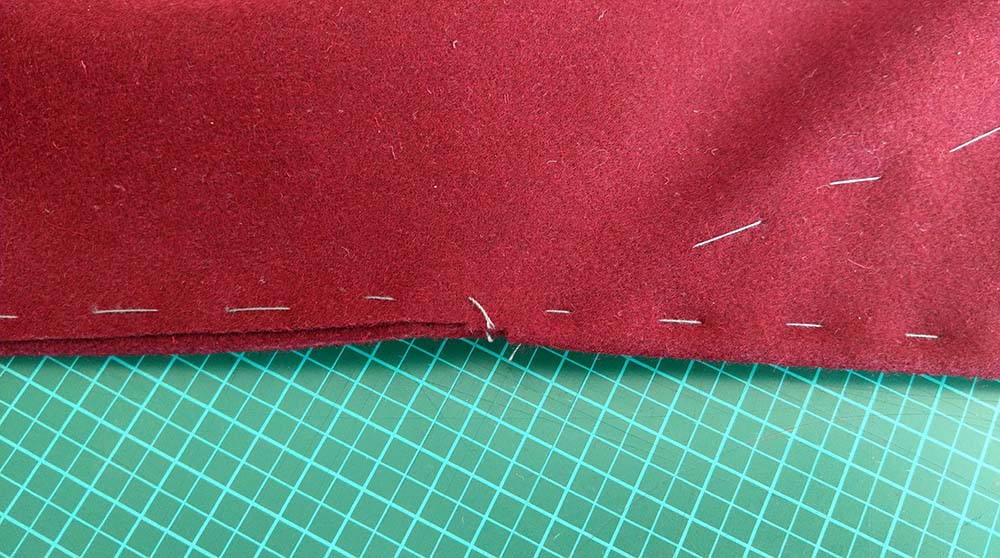
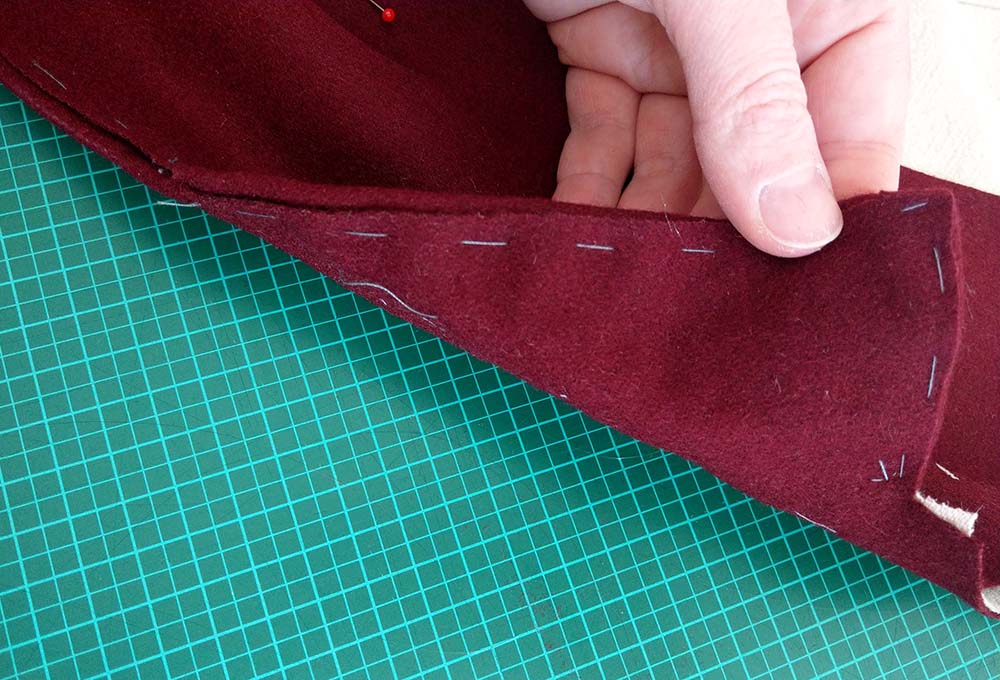
The edges of non-fraying wool fabrics like felted wool will be left raw. When working with a fraying fabric, I recommend sewing the tailcoat in a more “modern” way.
The first possibility would be to line up the top and bottom layers, wrong sides together. Then turn the seam allowances under and sew all edges with a slip stitch, described in this blog post of my Romantic Tailcoat: https://patterns.bplaced.net/blog/1840s-tailcoat-part-4-1840er-tailcoat-teil-4/
The second possibility is even more modern, sewing collar and lapels with the right sides together and then turning the right side out, as usual nowadays: https://patterns.bplaced.net/blog/an-1830s-frock-coat-part-1-ein-1830er-gehrock-teil-1/
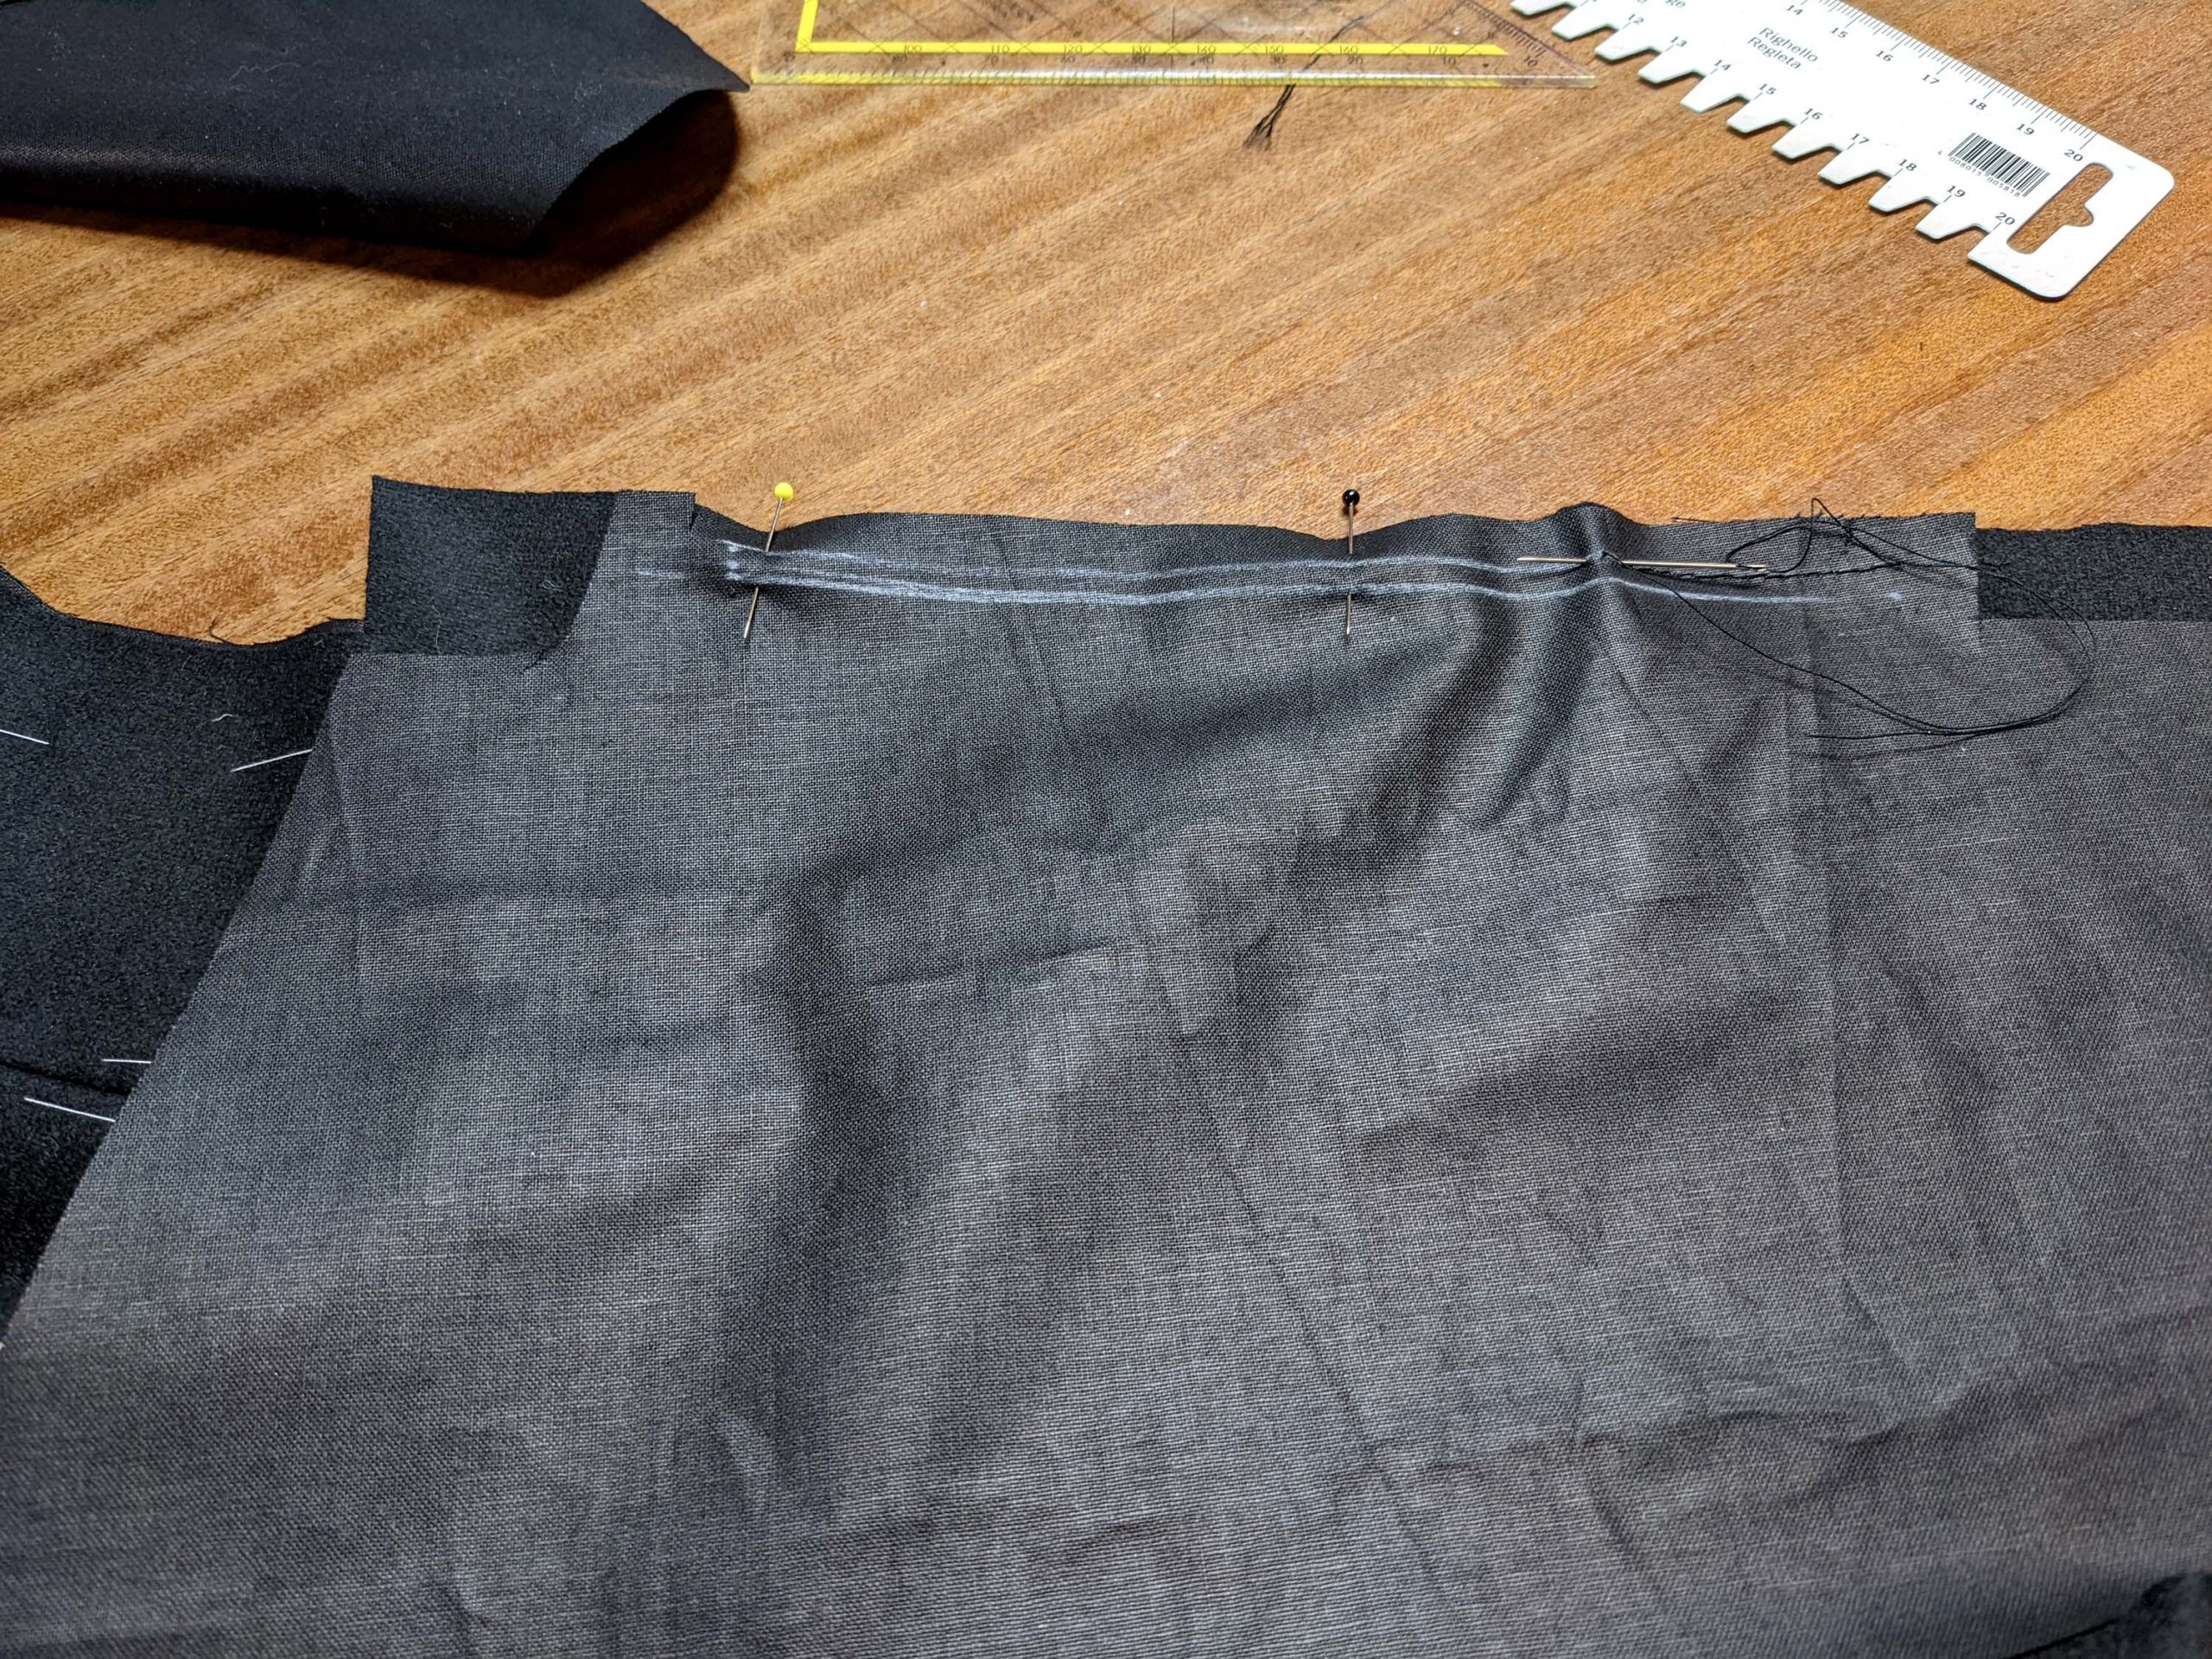
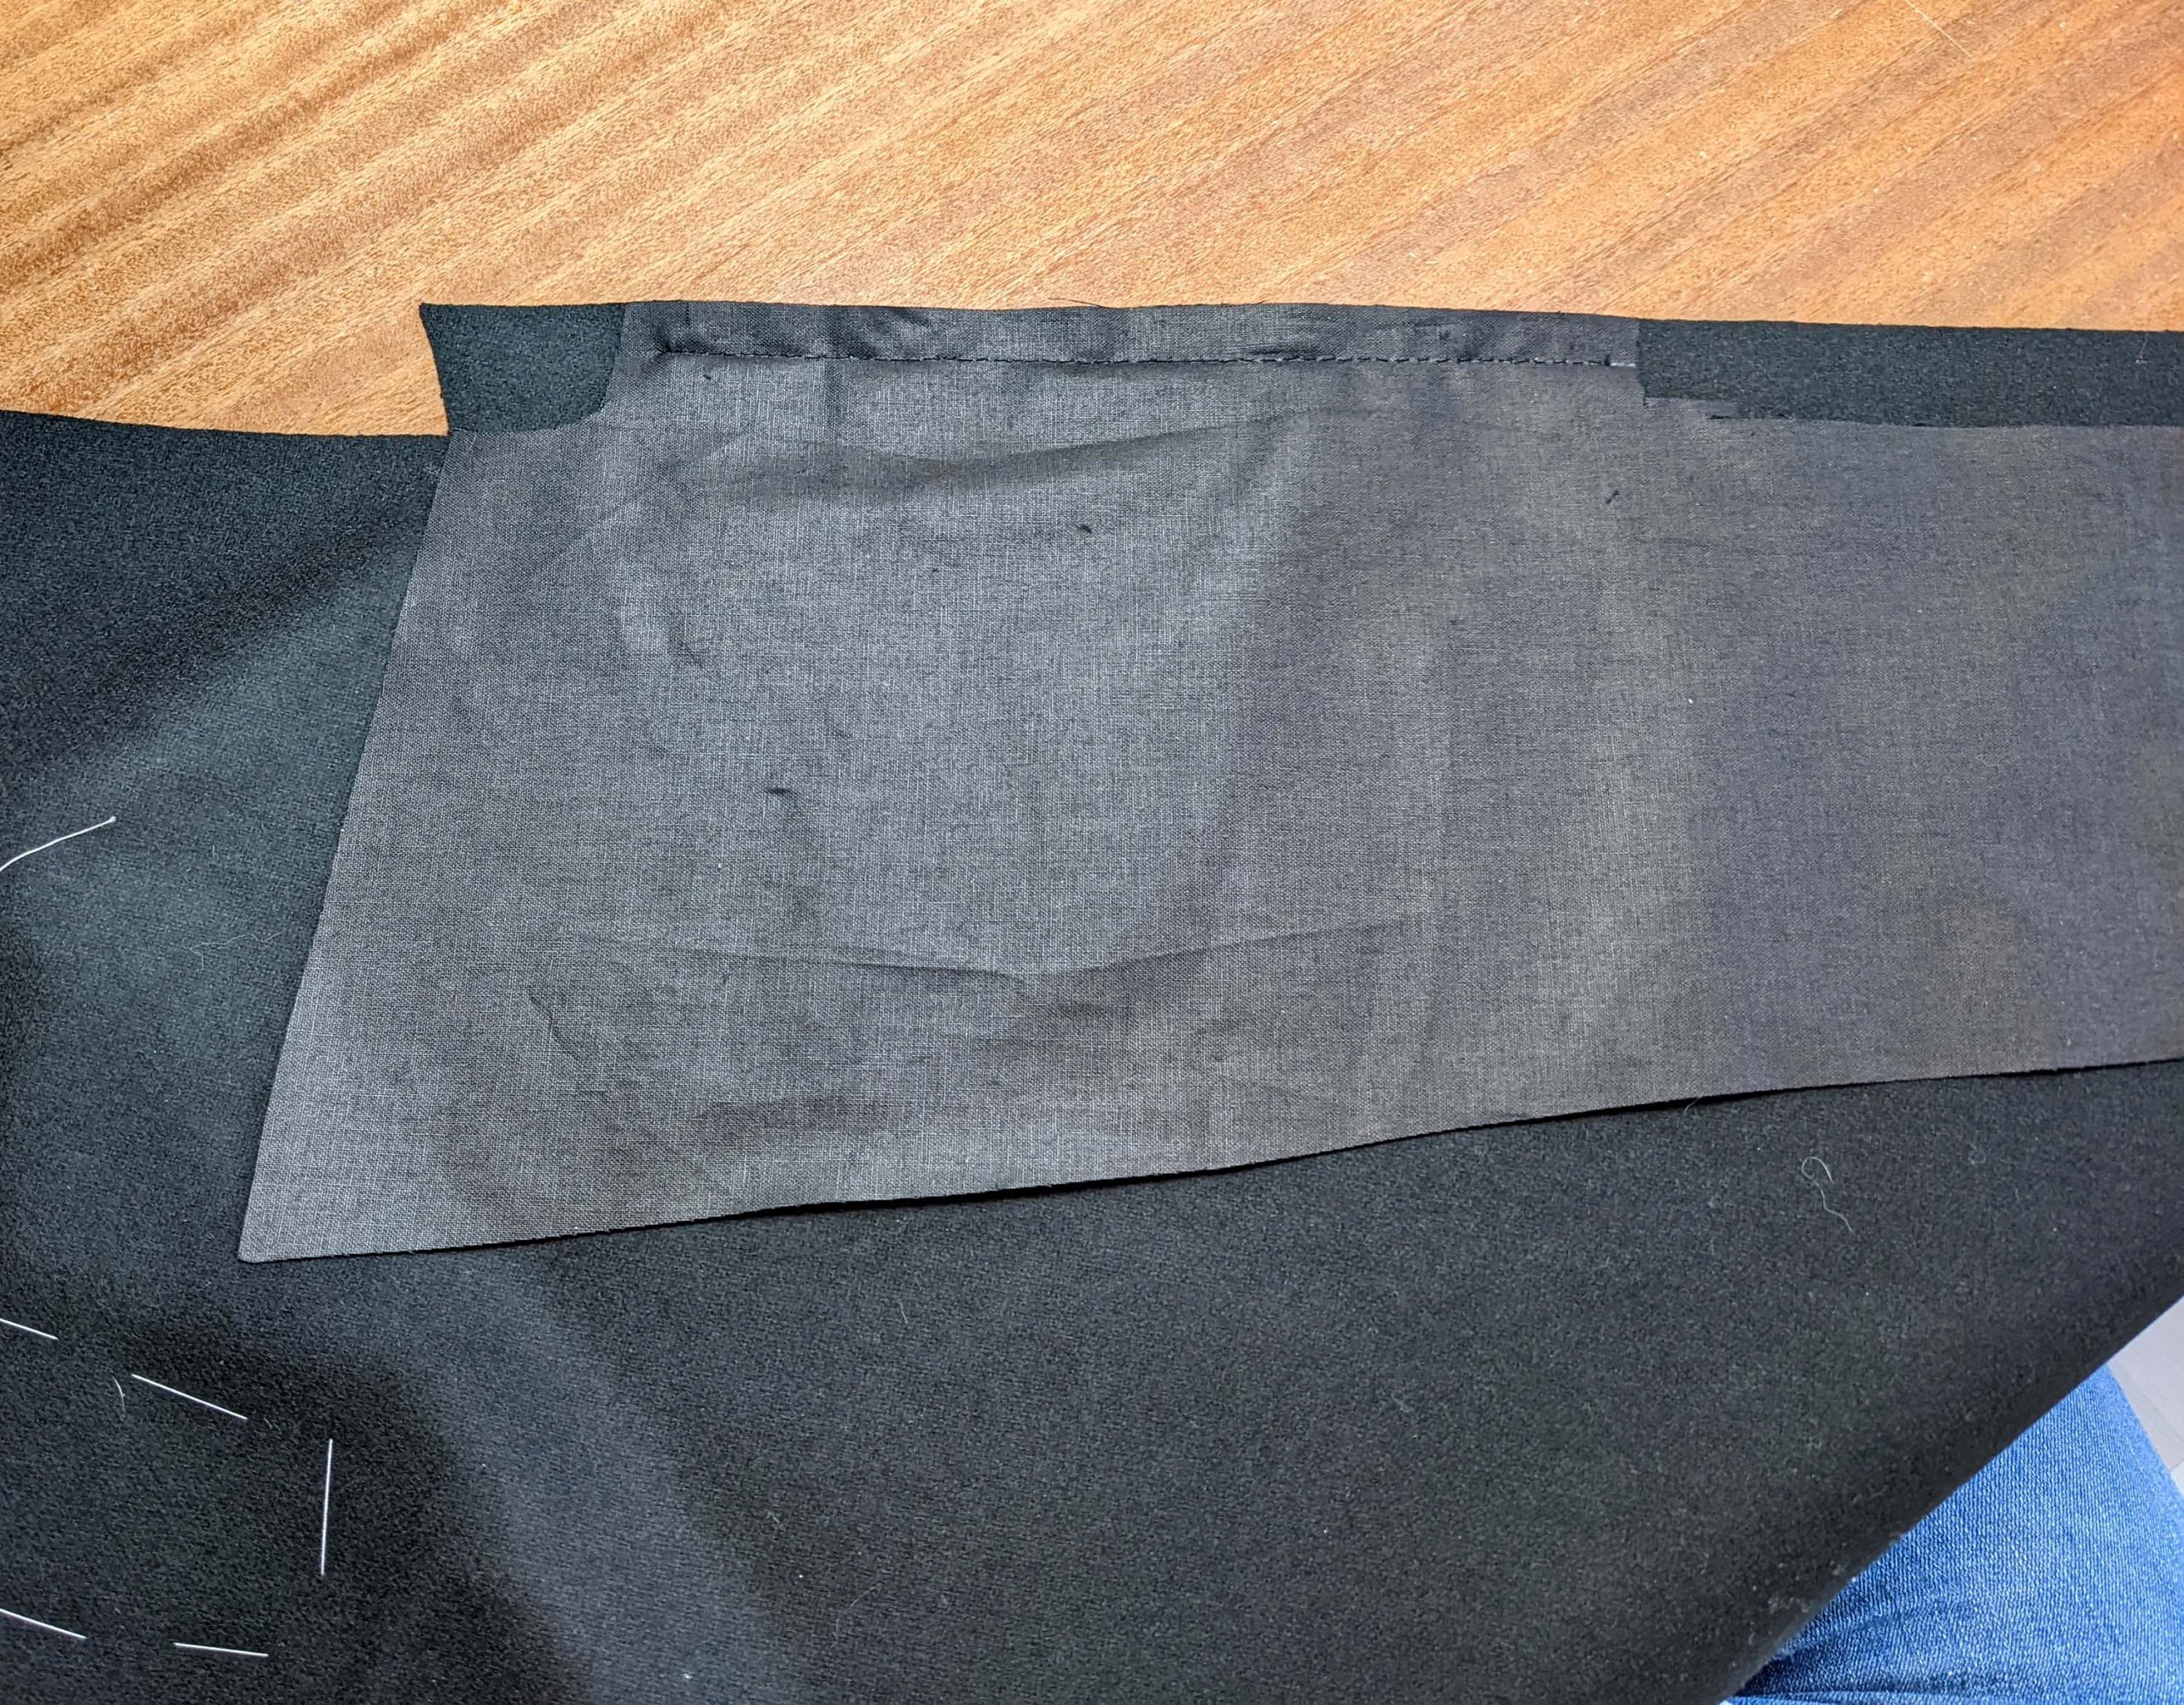
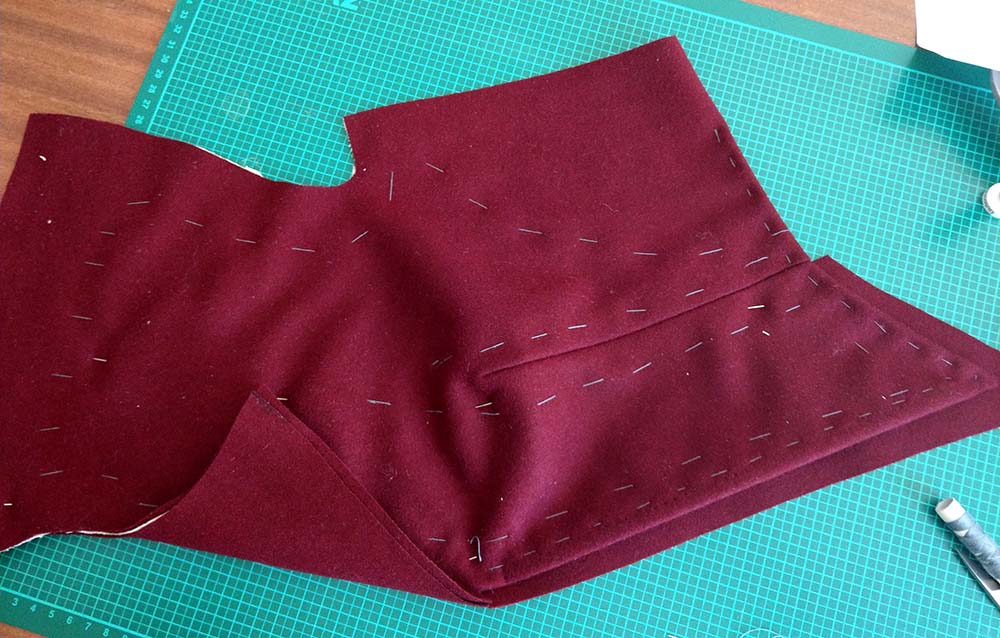
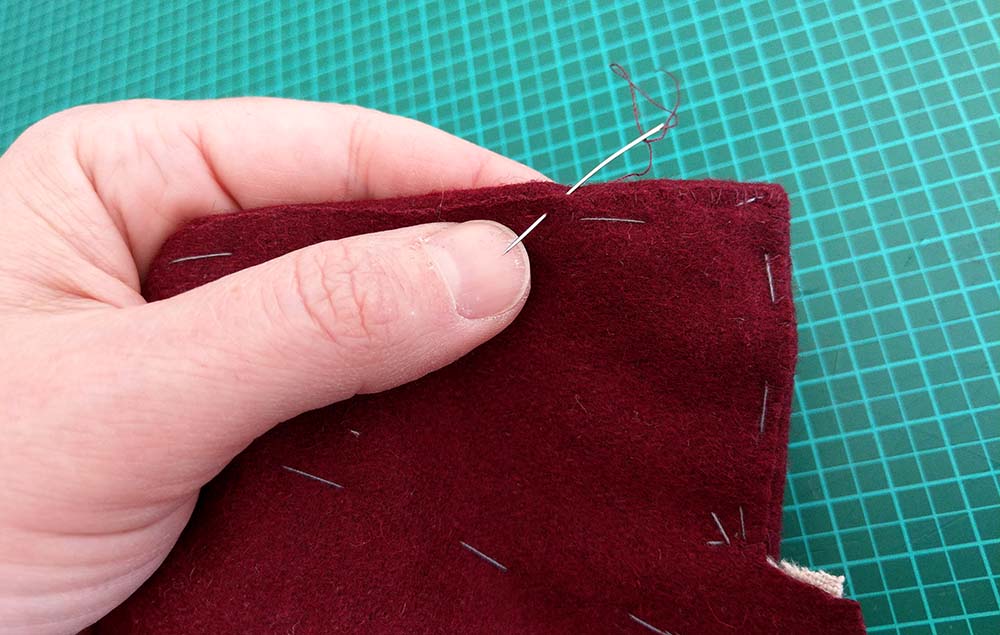
A third (for moderate fraying fabrics) would be to turn under the seam allowances of the top layer, trim back the seam allowance of the bottom layer to the net, and slip or fell stitch the bottom layer in place: