
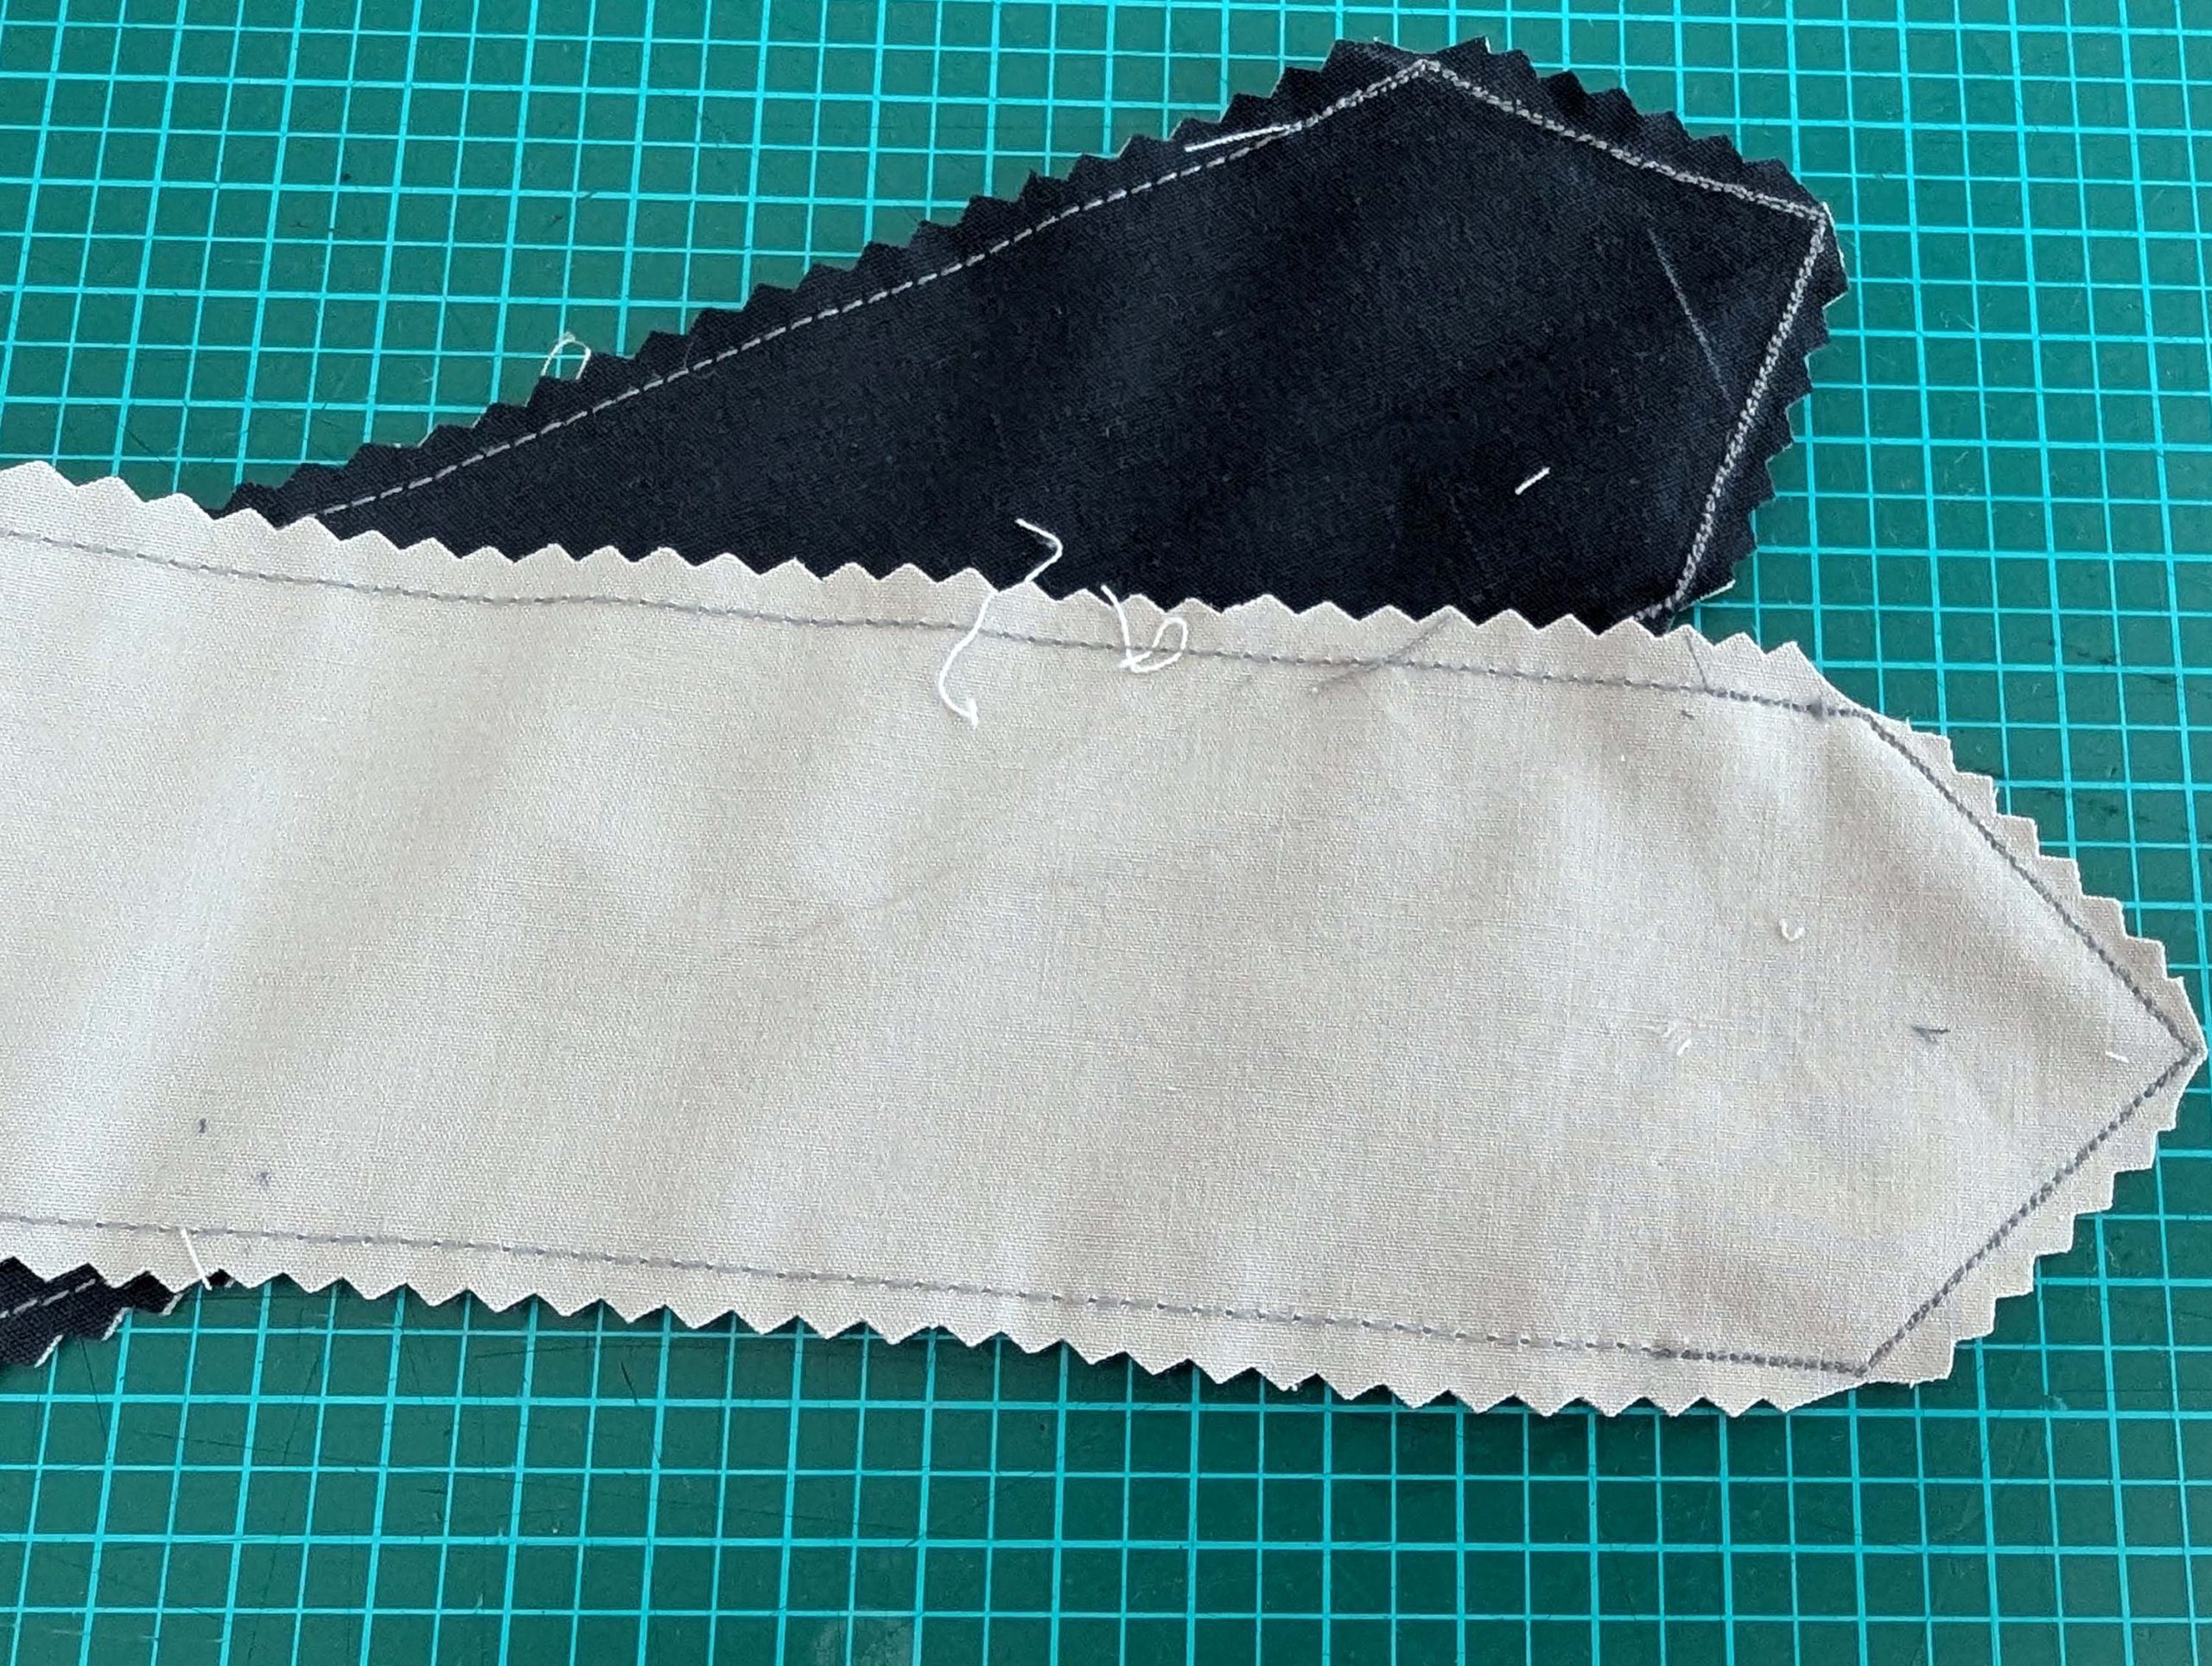
(4) Take the top collar and flatline with lightweight cotton, alternatively use fusible. Turn in the seam allowance along the neckline. Press and edgestitch from the right side. Trim back and notch the seam allowances. Line up the top collar with the under collar, right sides together. Shift the edges of the top collar about 1/8” (2mm) behind the edge of the under collar to allow for the turn of cloth. Stitch along the outer edges, reducing the stitch length at the corners. Trim back the seam allowances and turn the right way out, press.
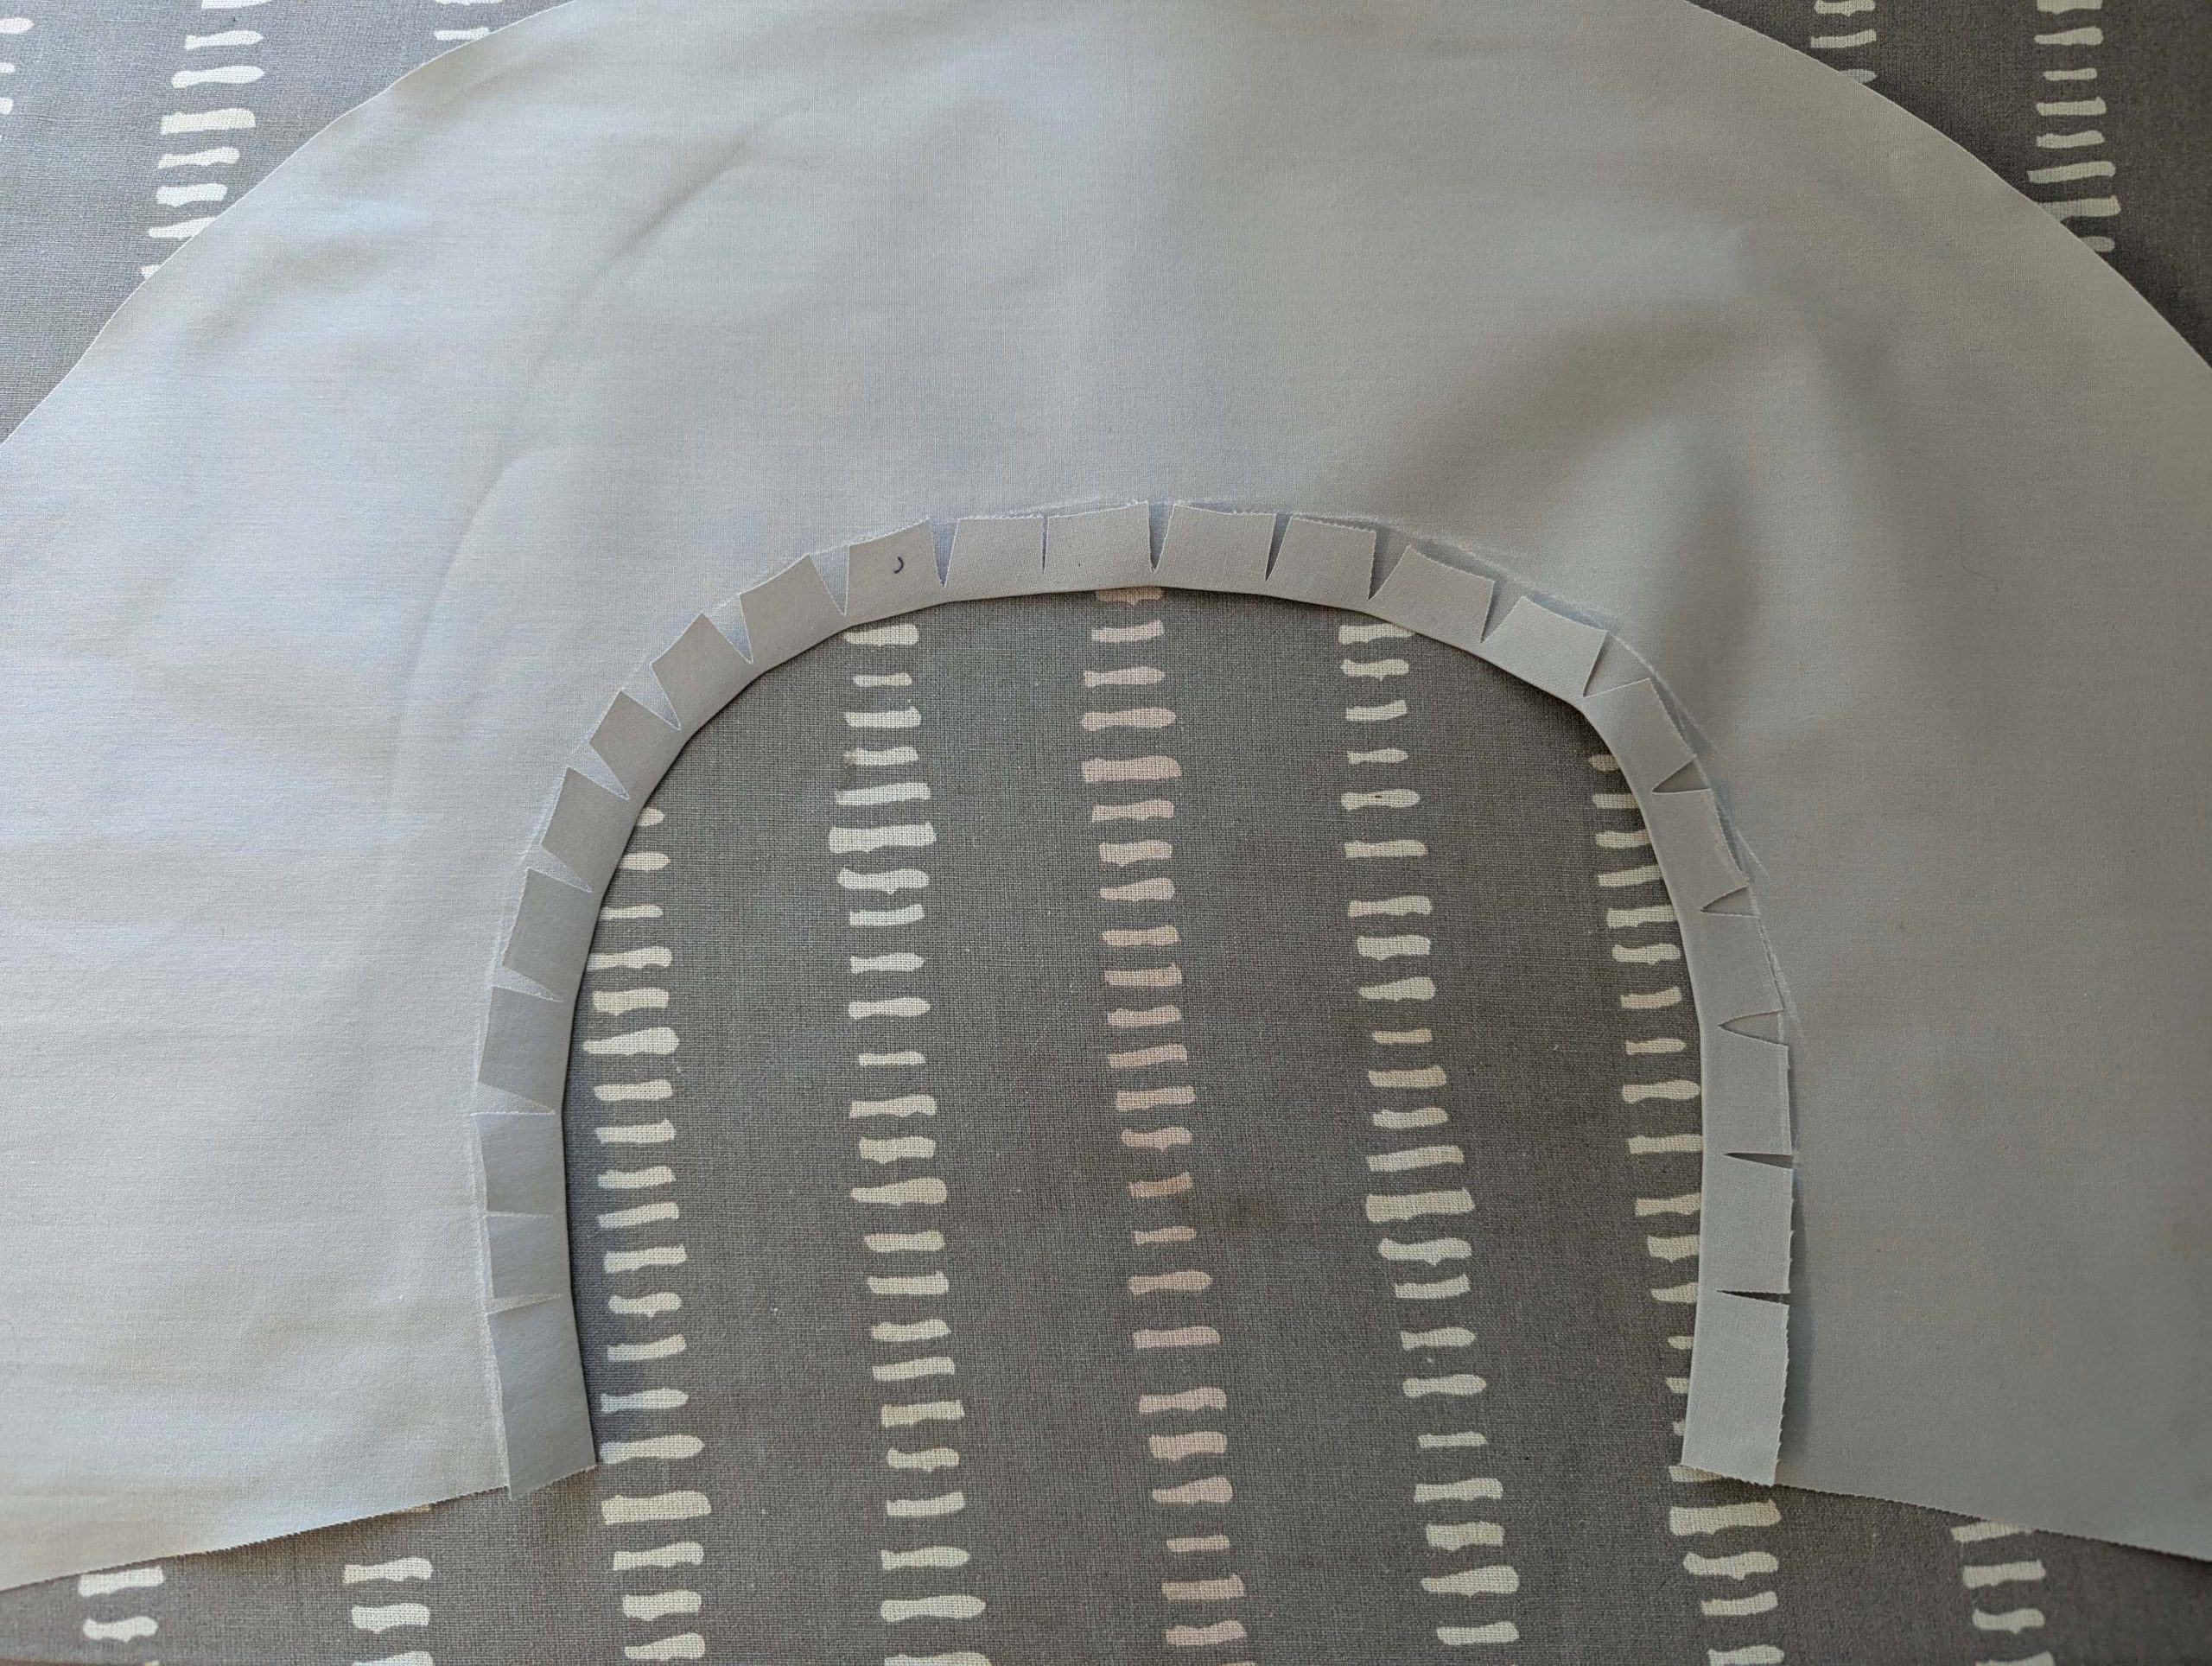
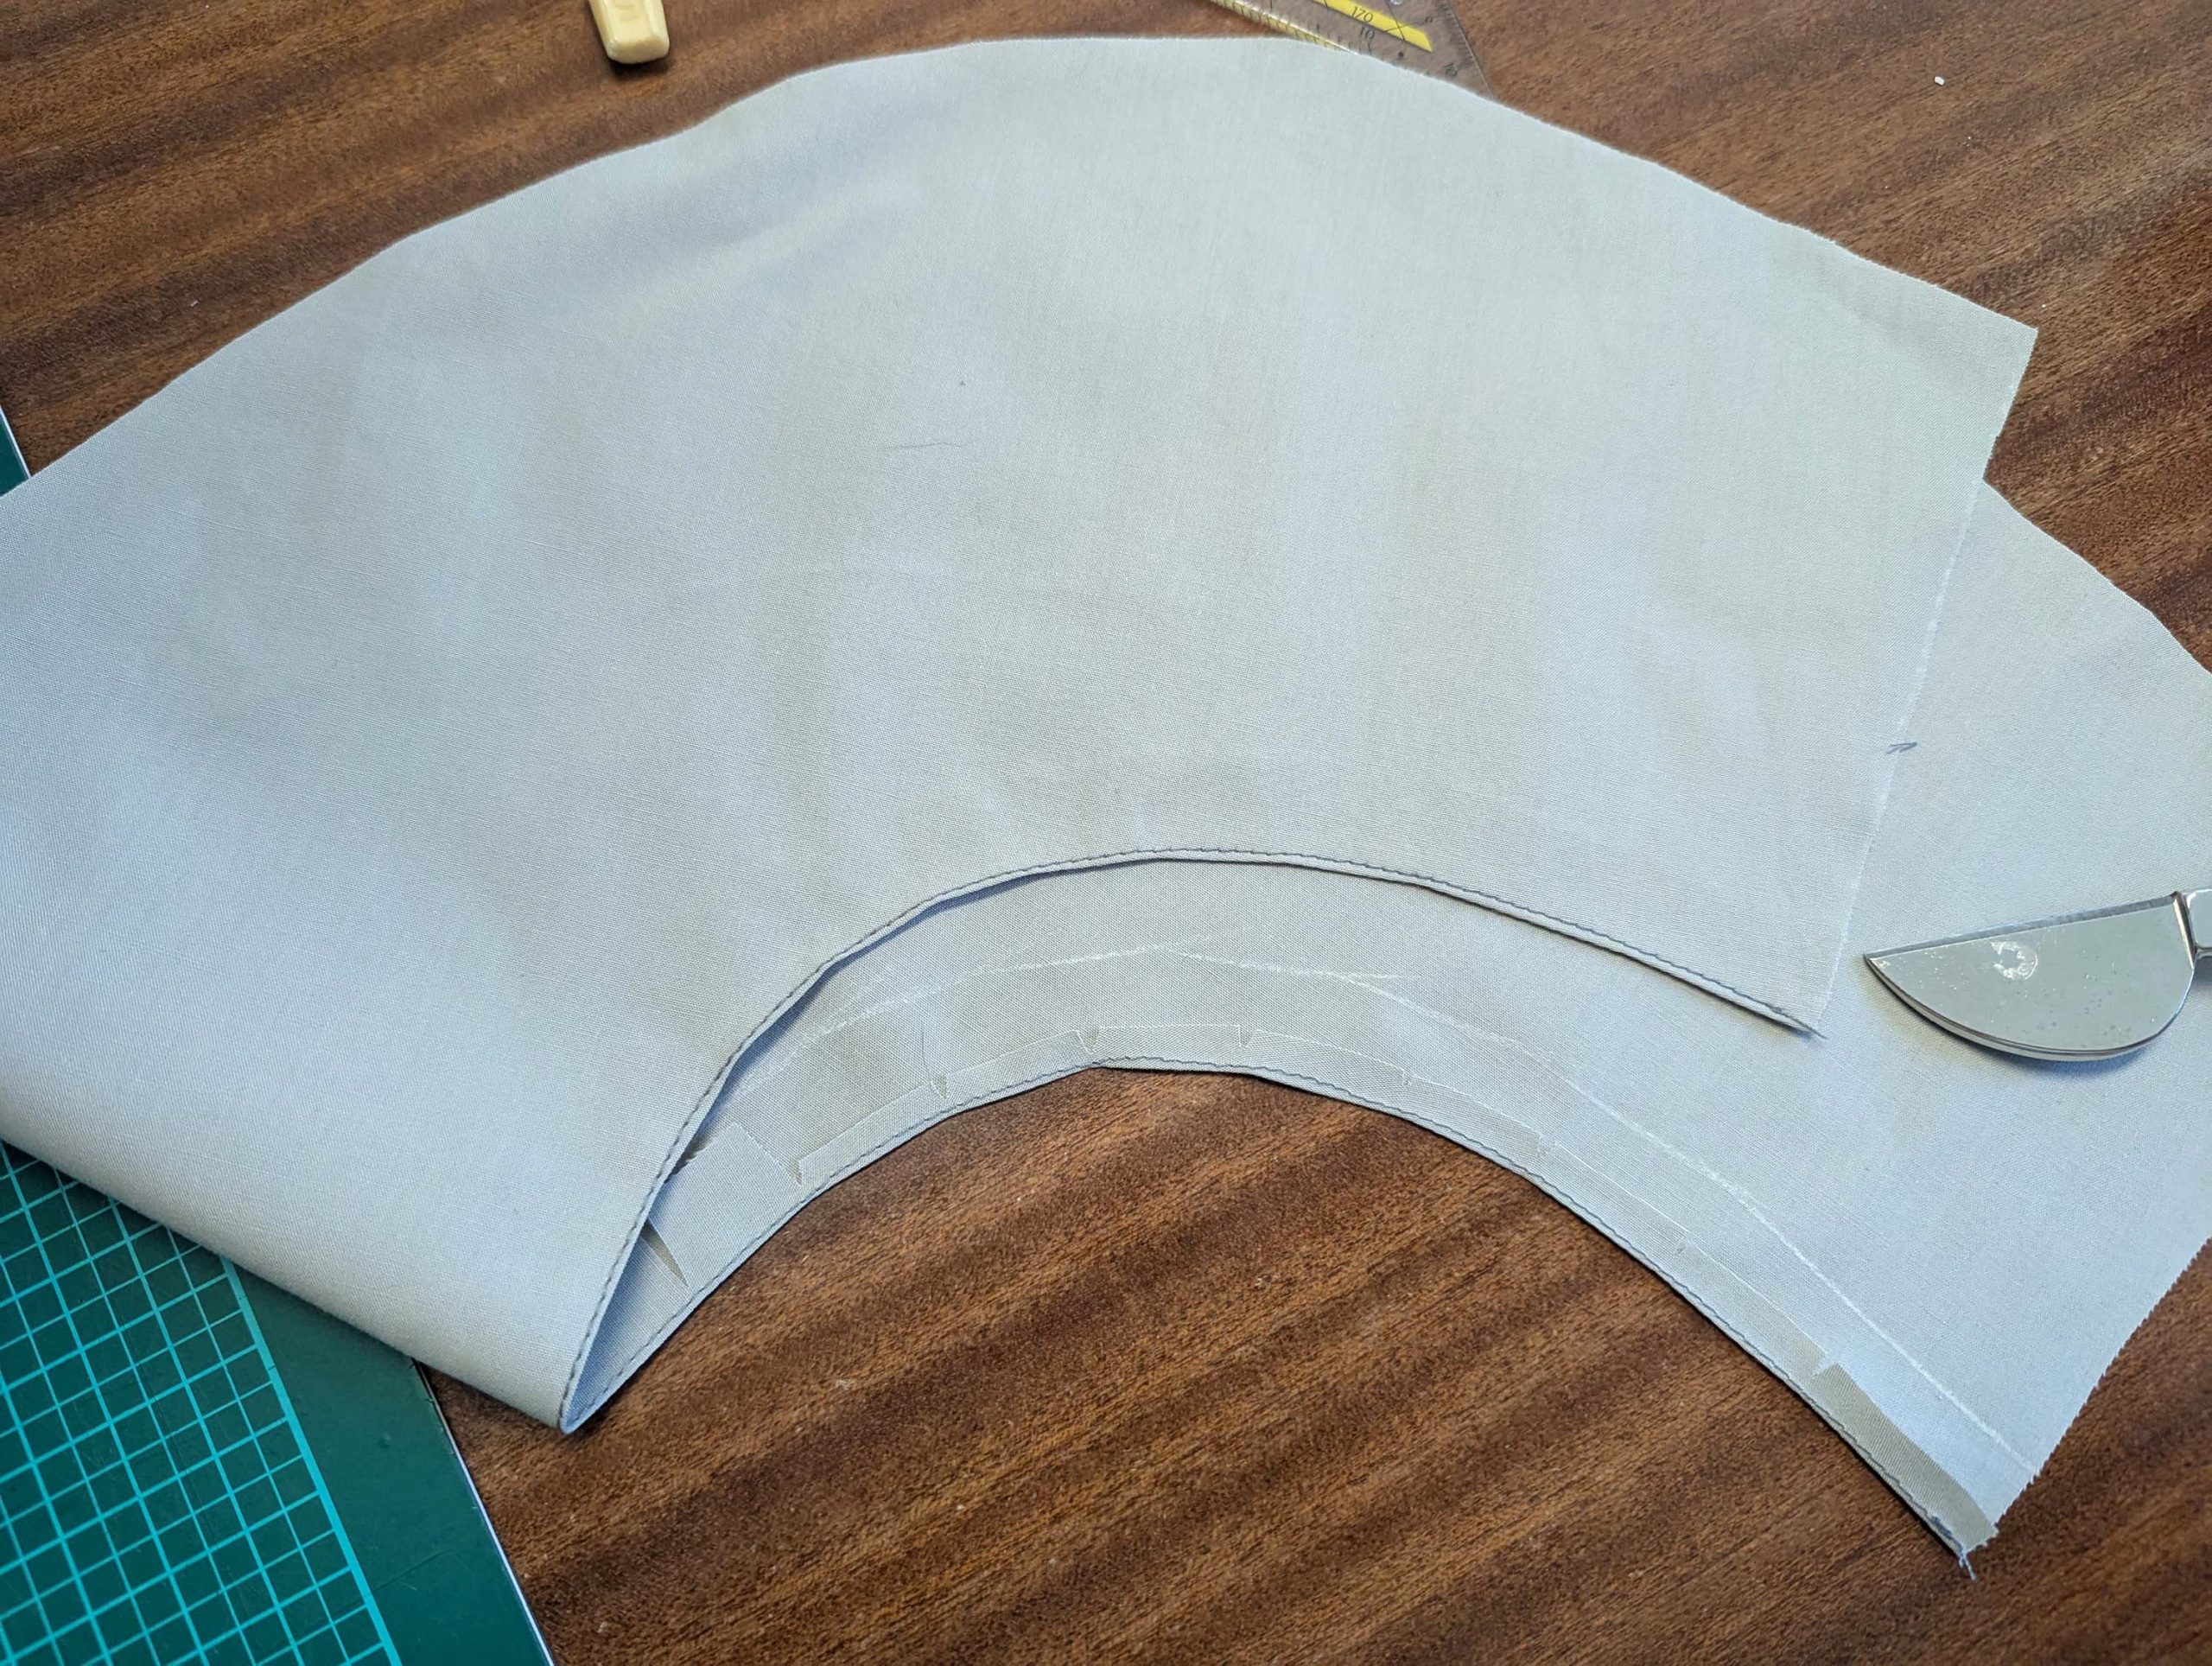
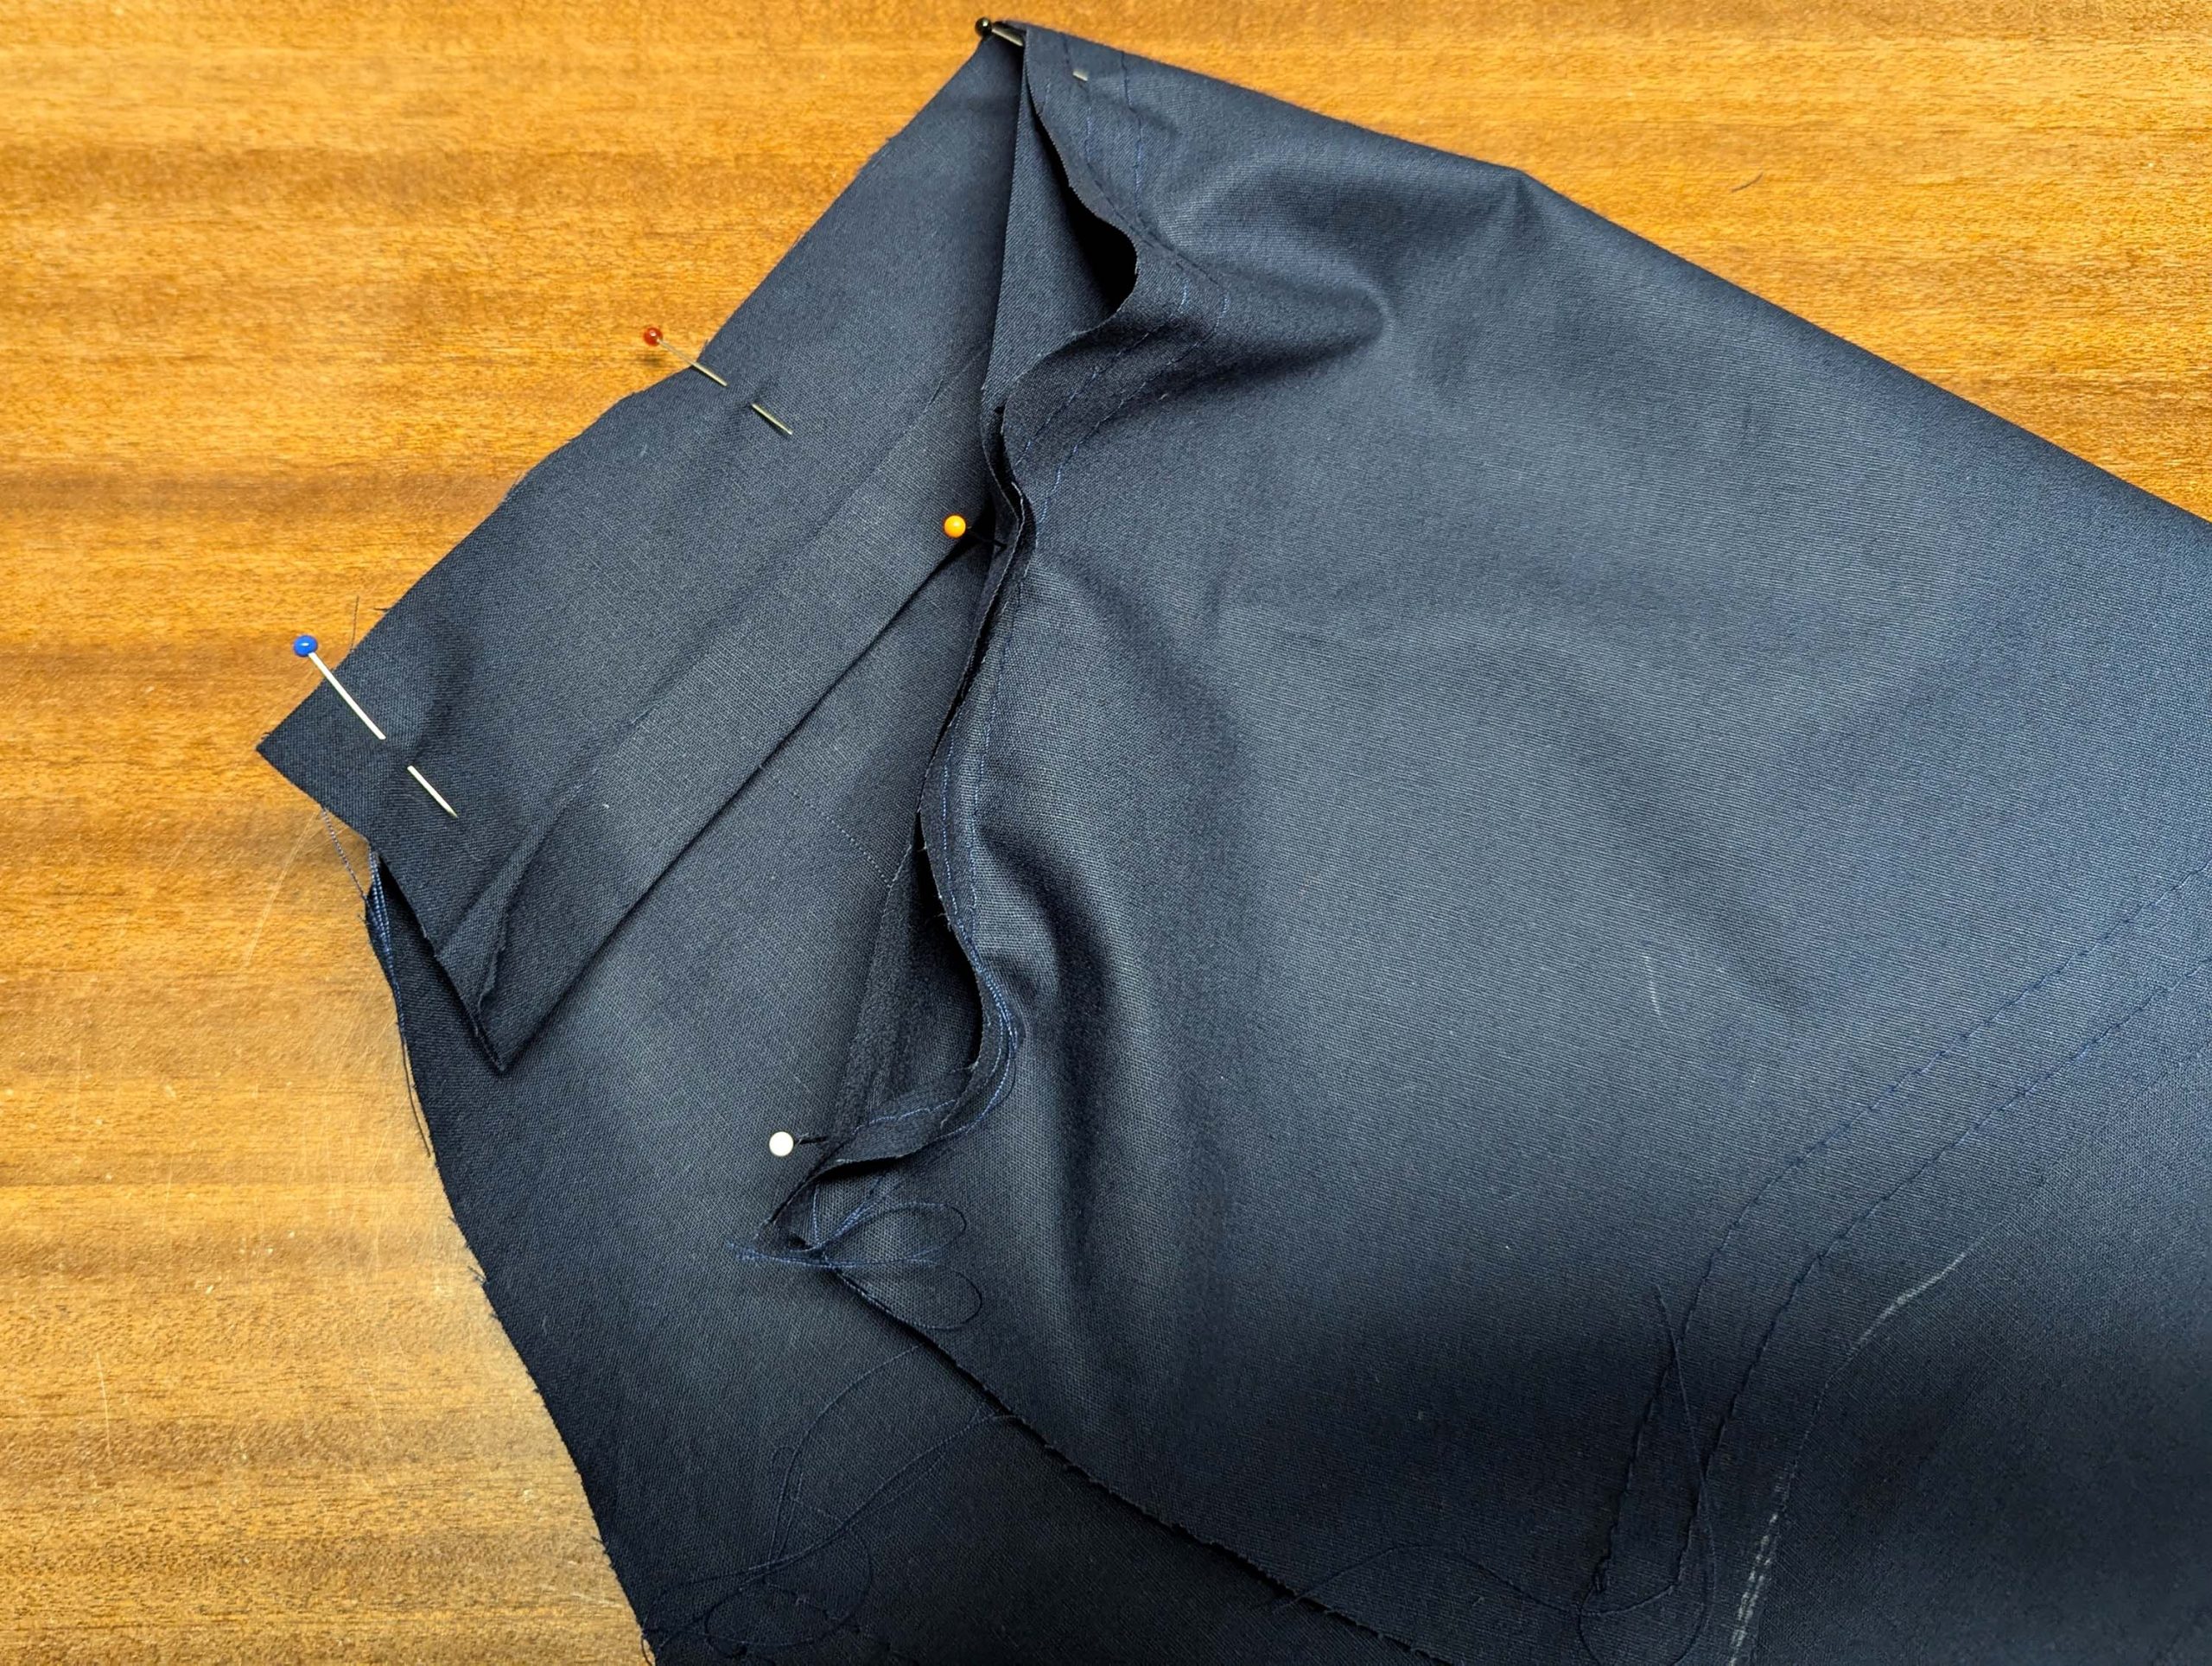
Line up the under collar with the neckline, right sides together and sew, taking care to match the collar points exactly. Trim back and notch the seam allowances, press towards the collar.
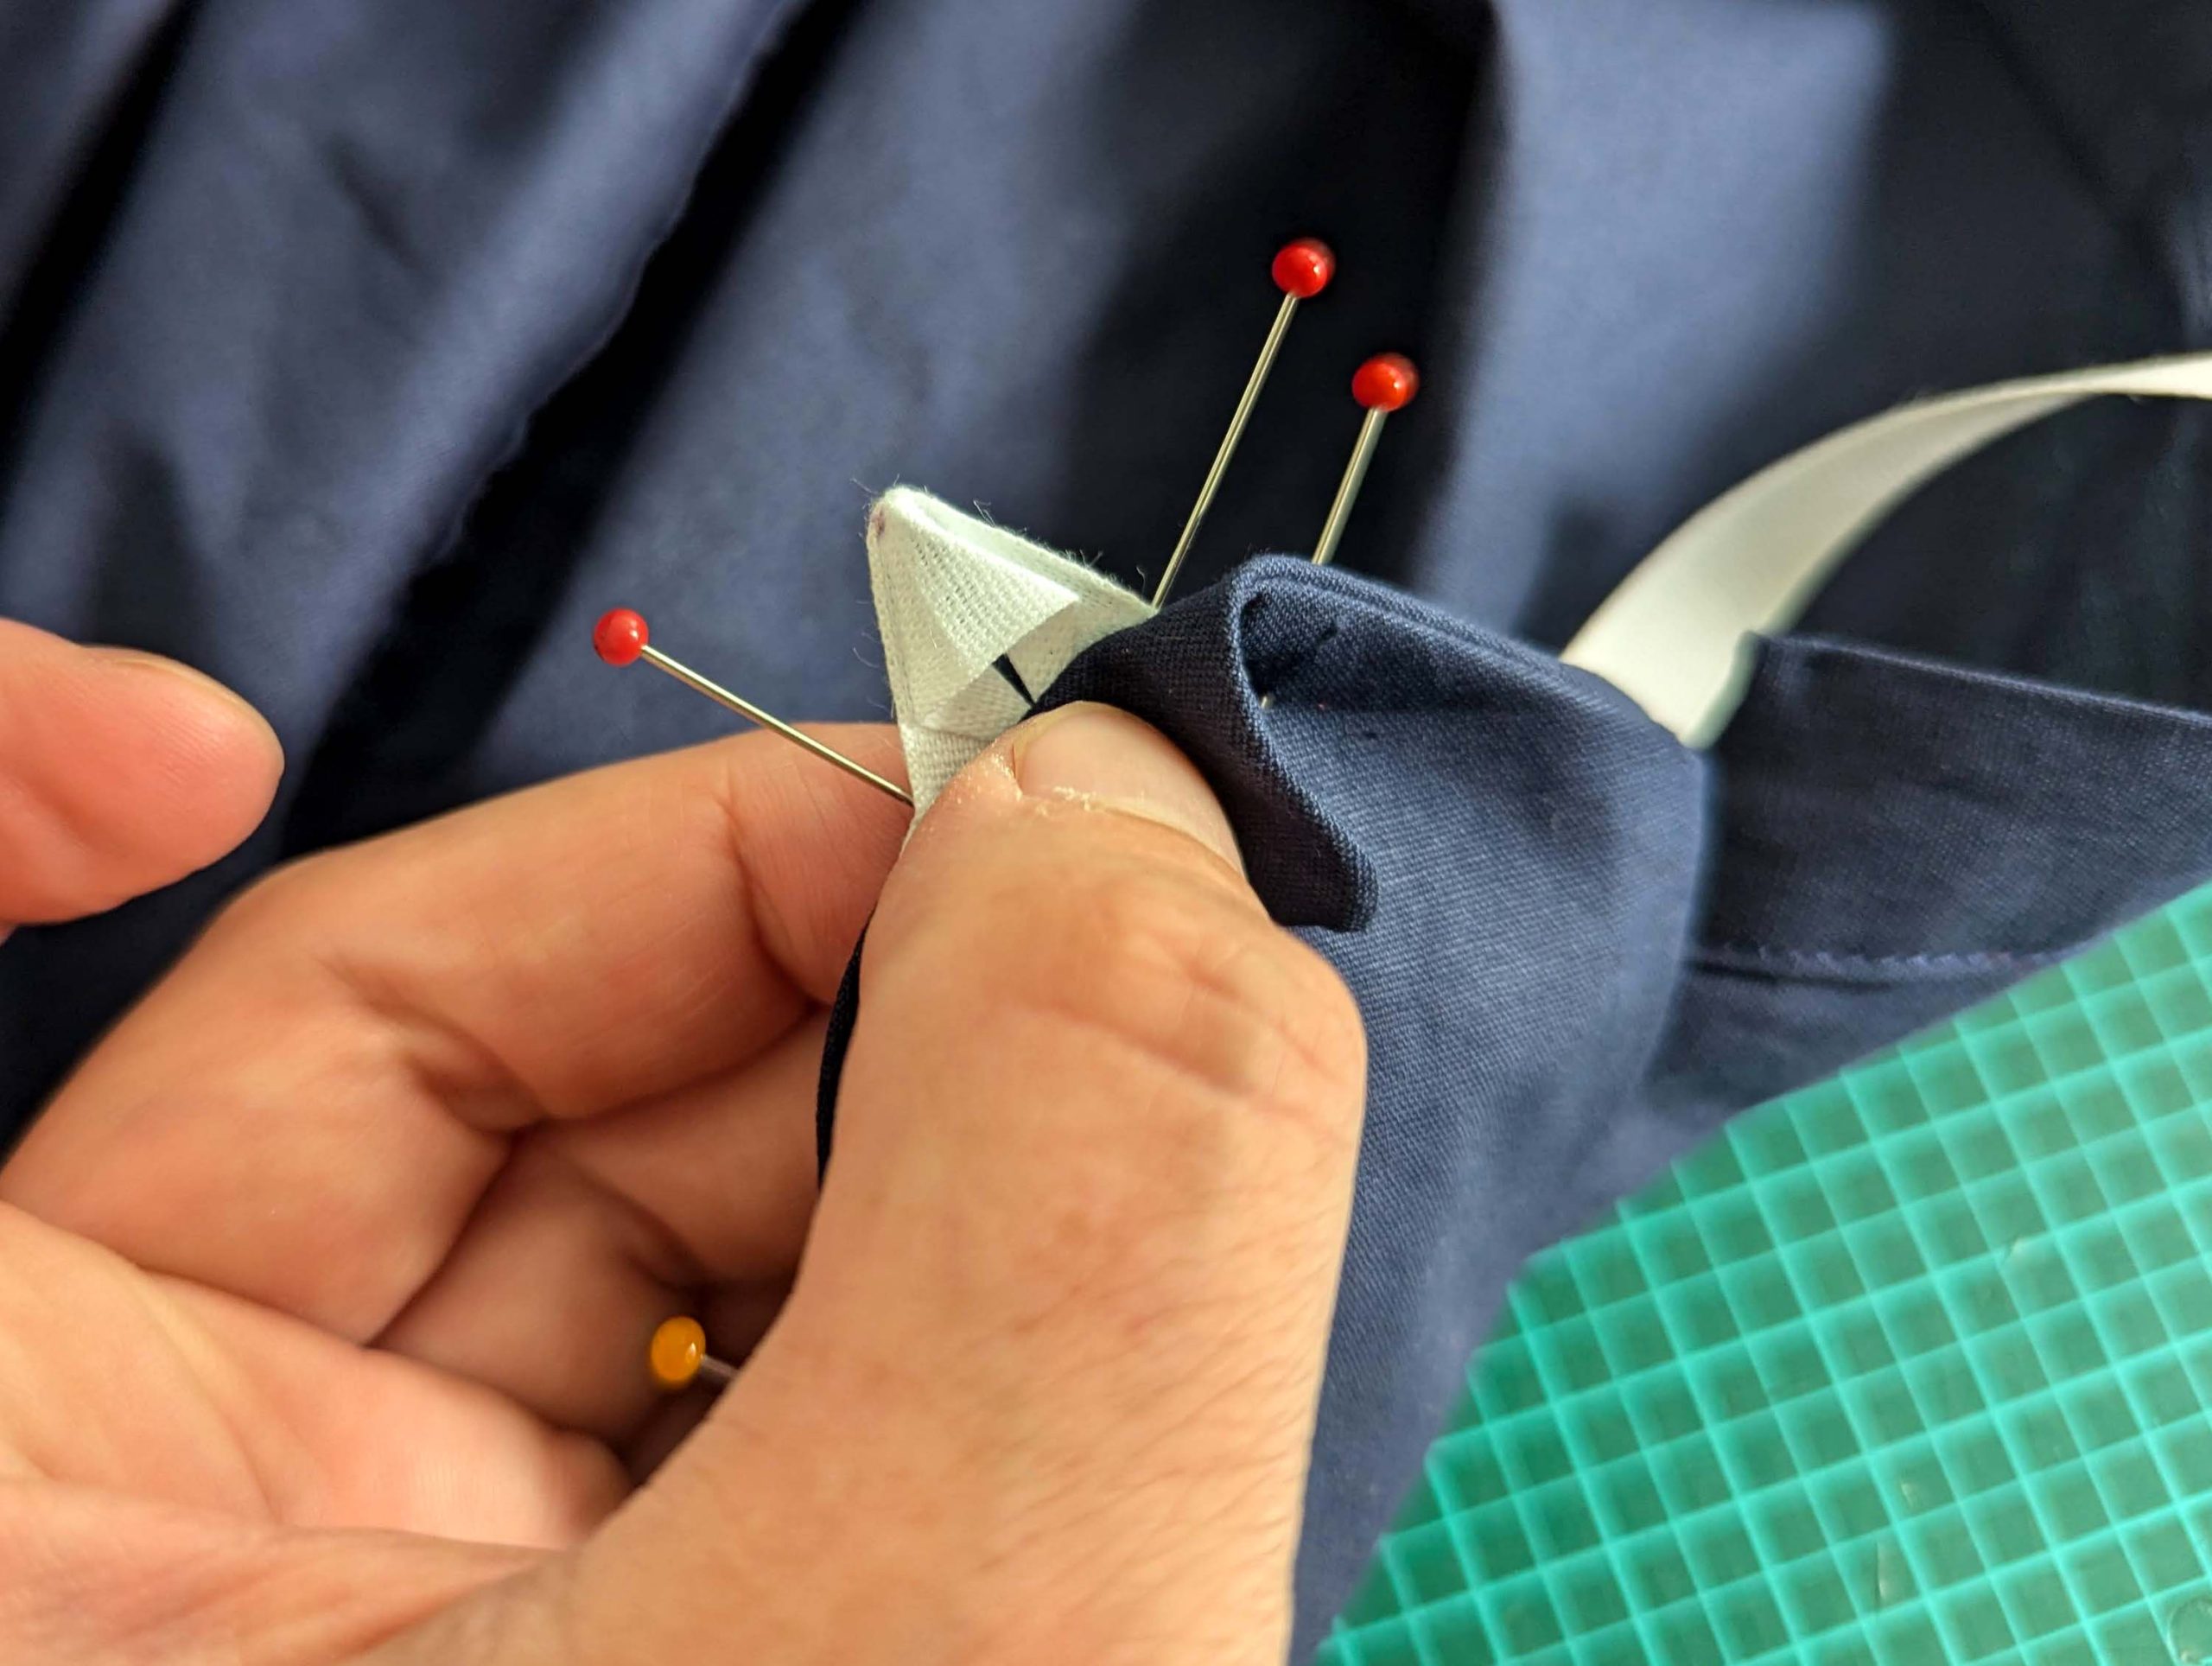
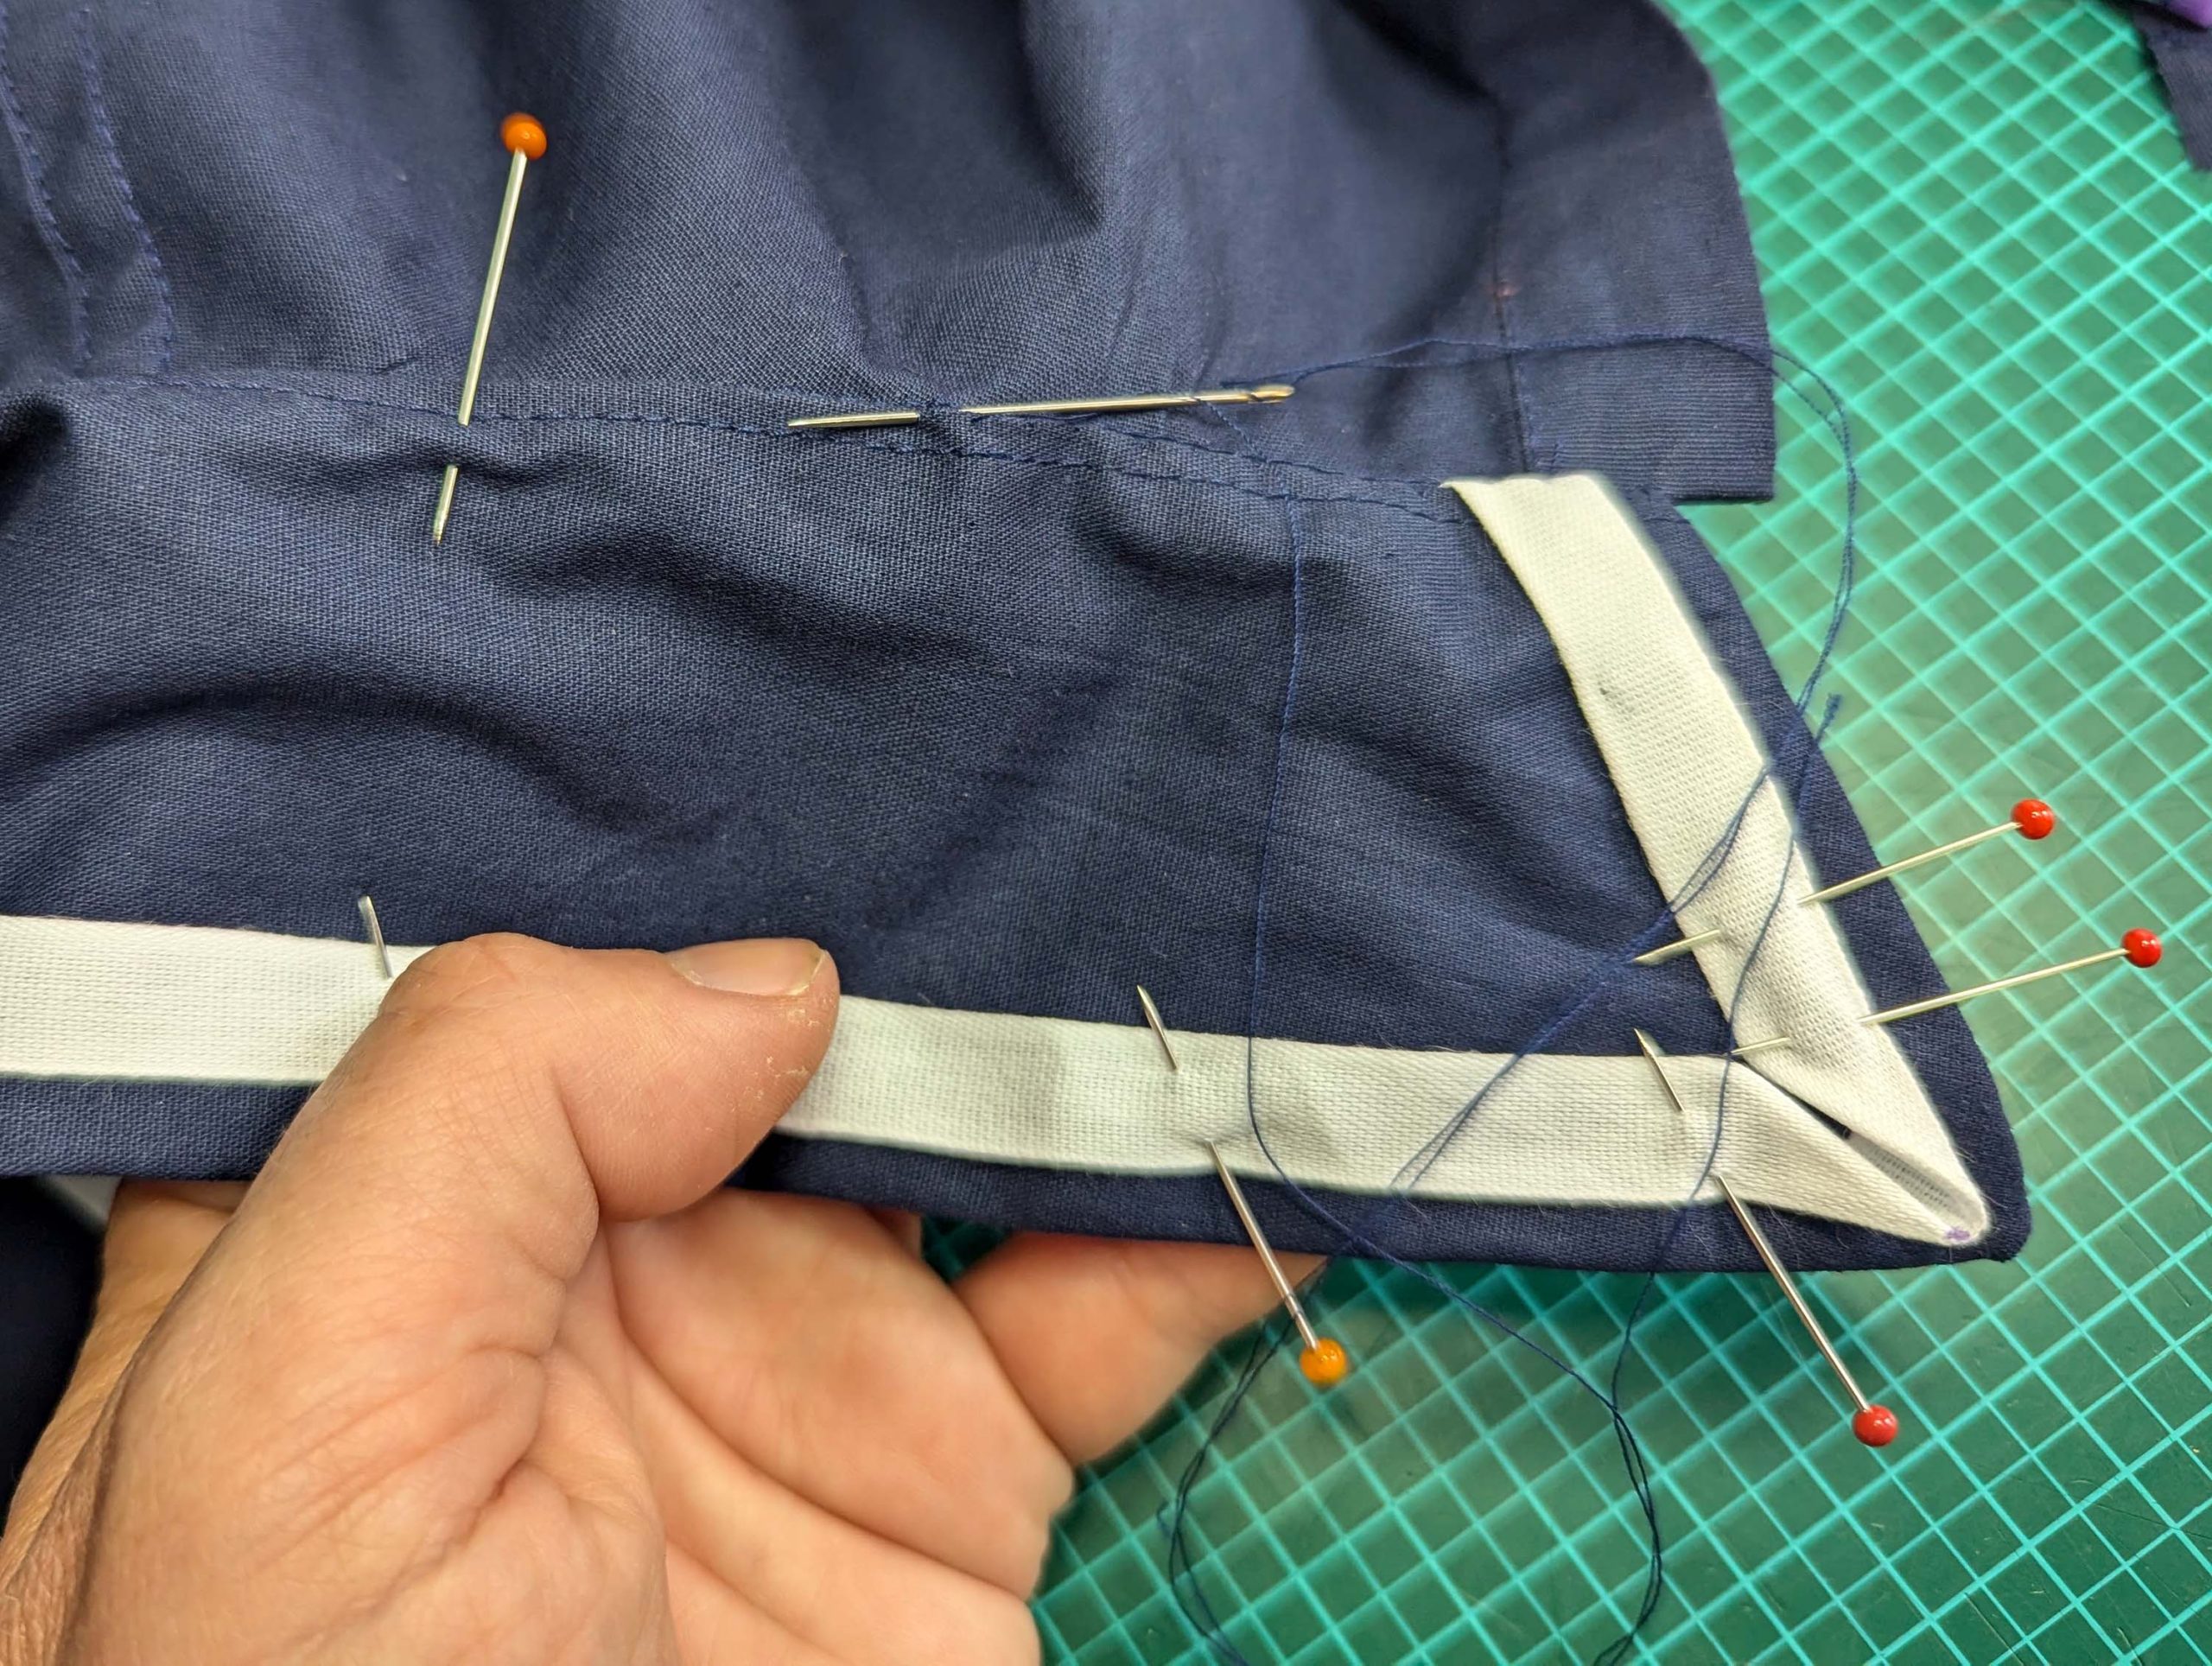
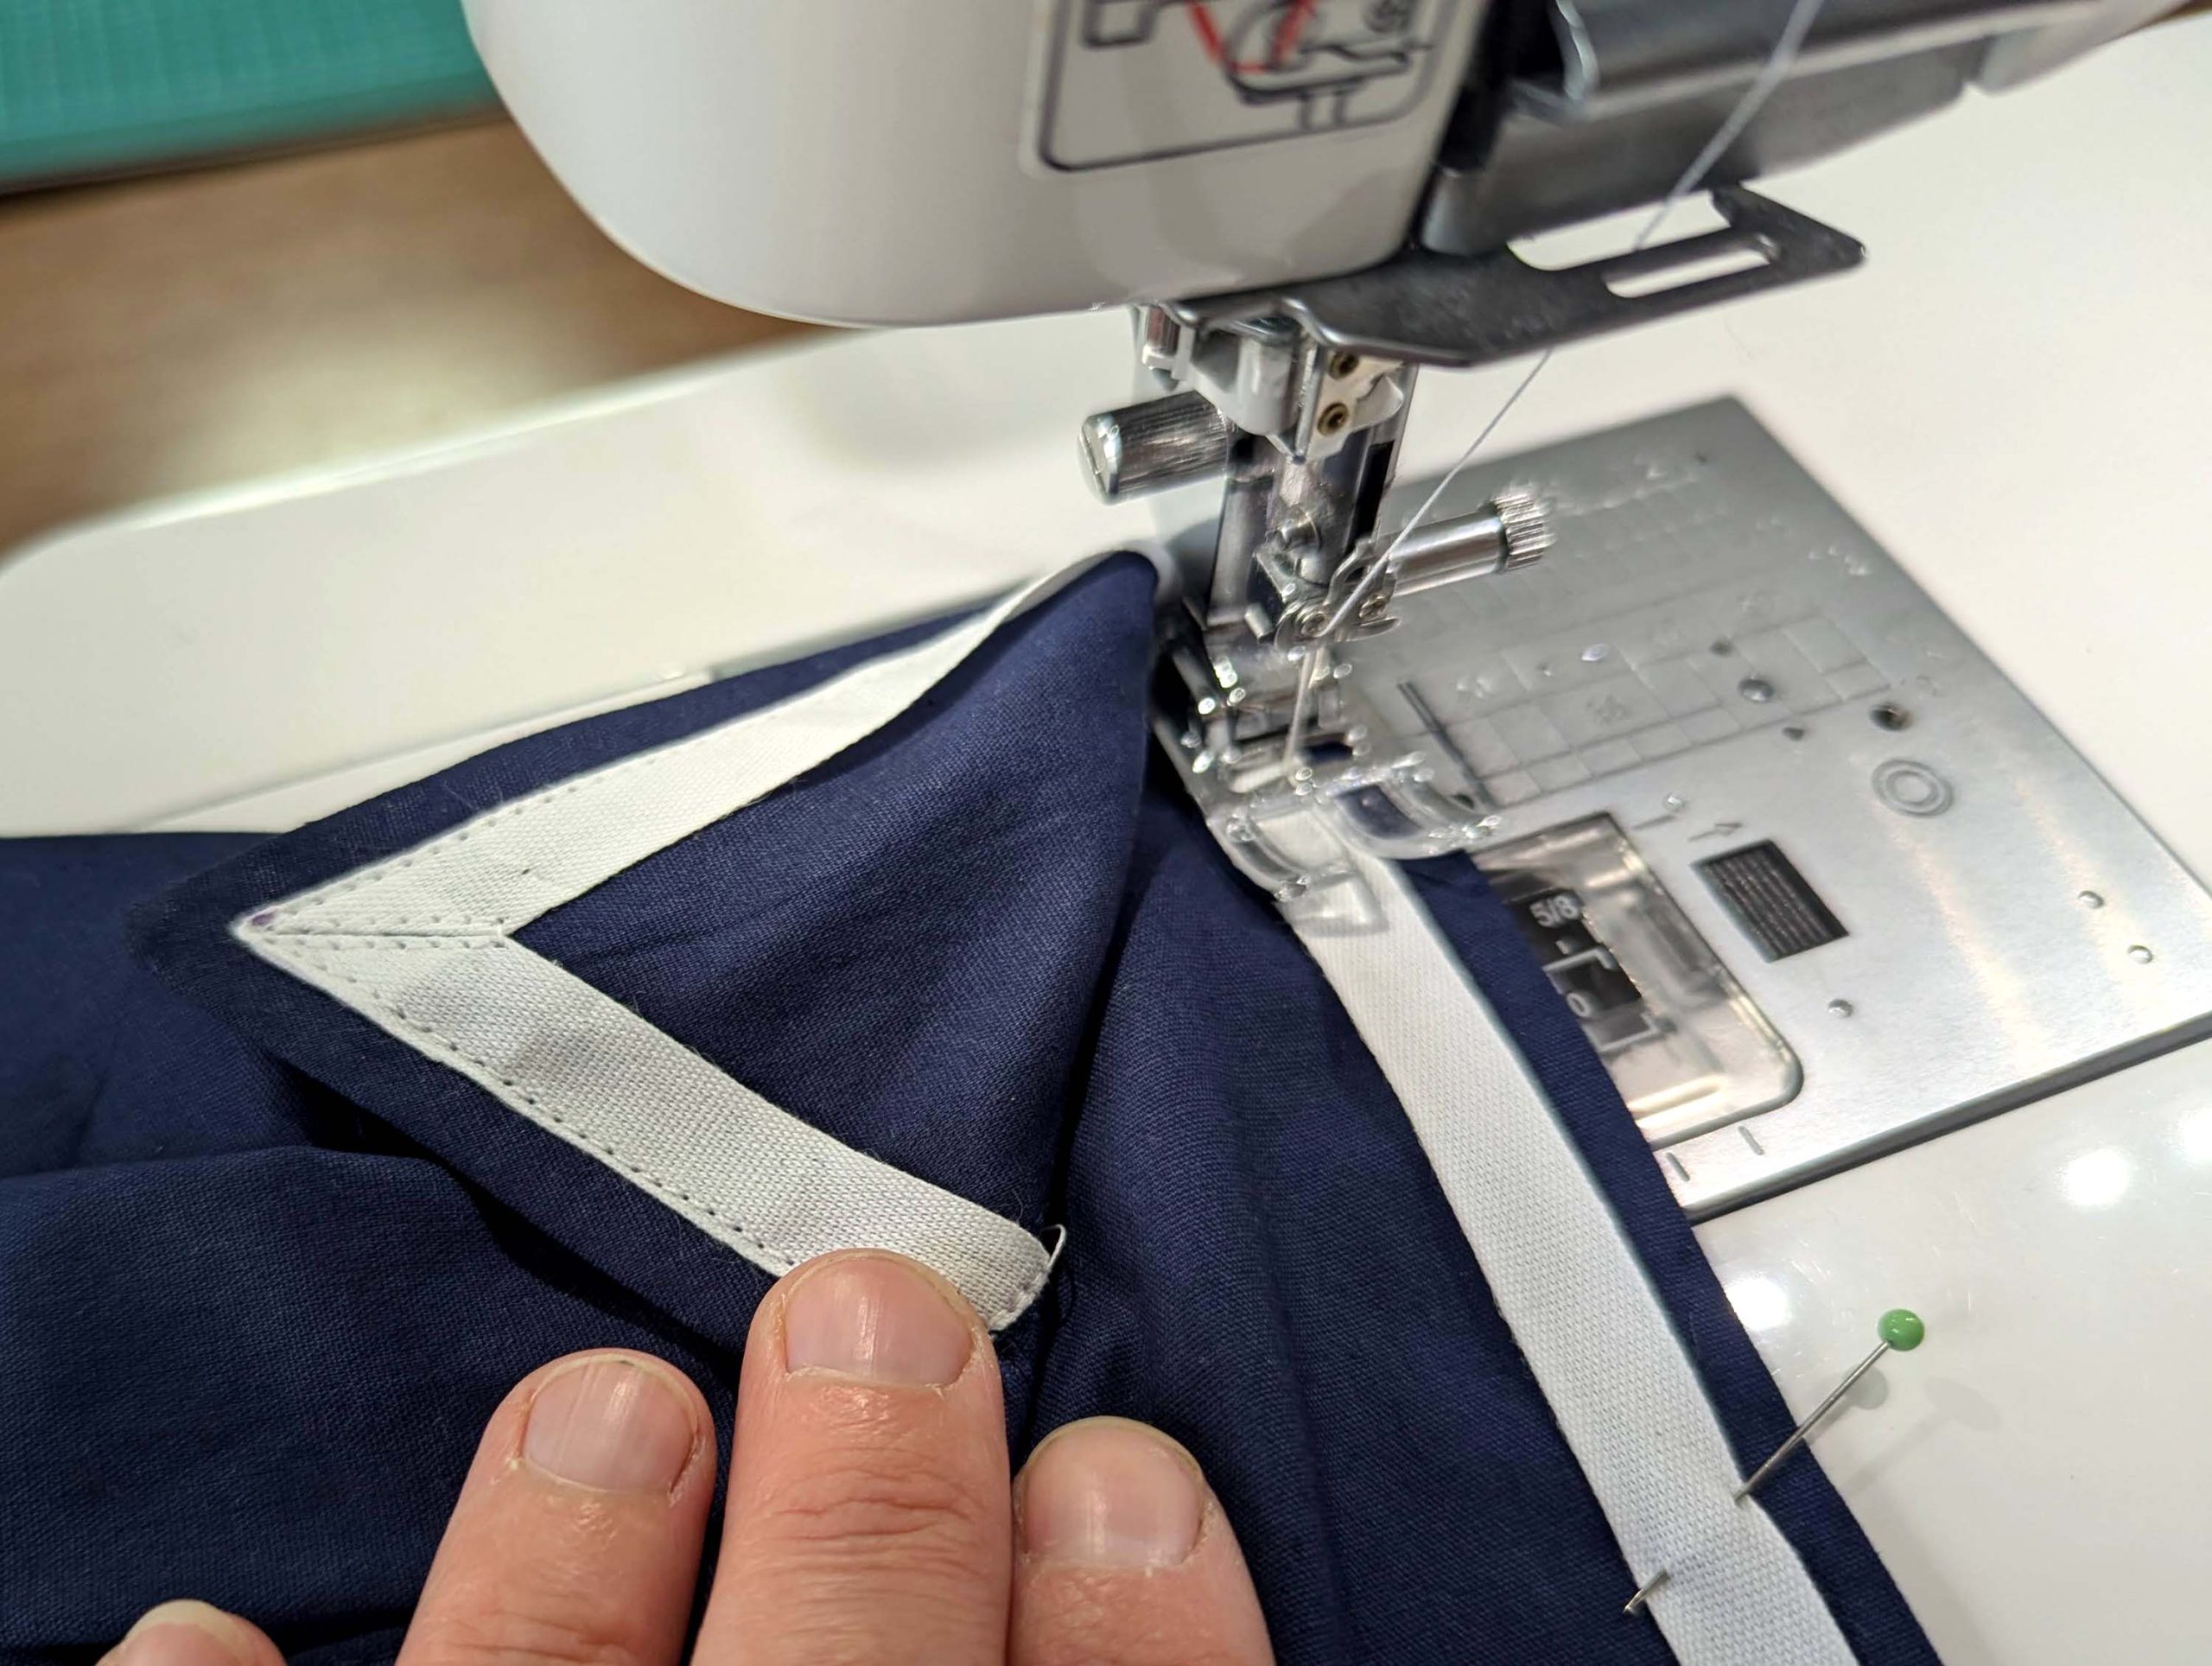
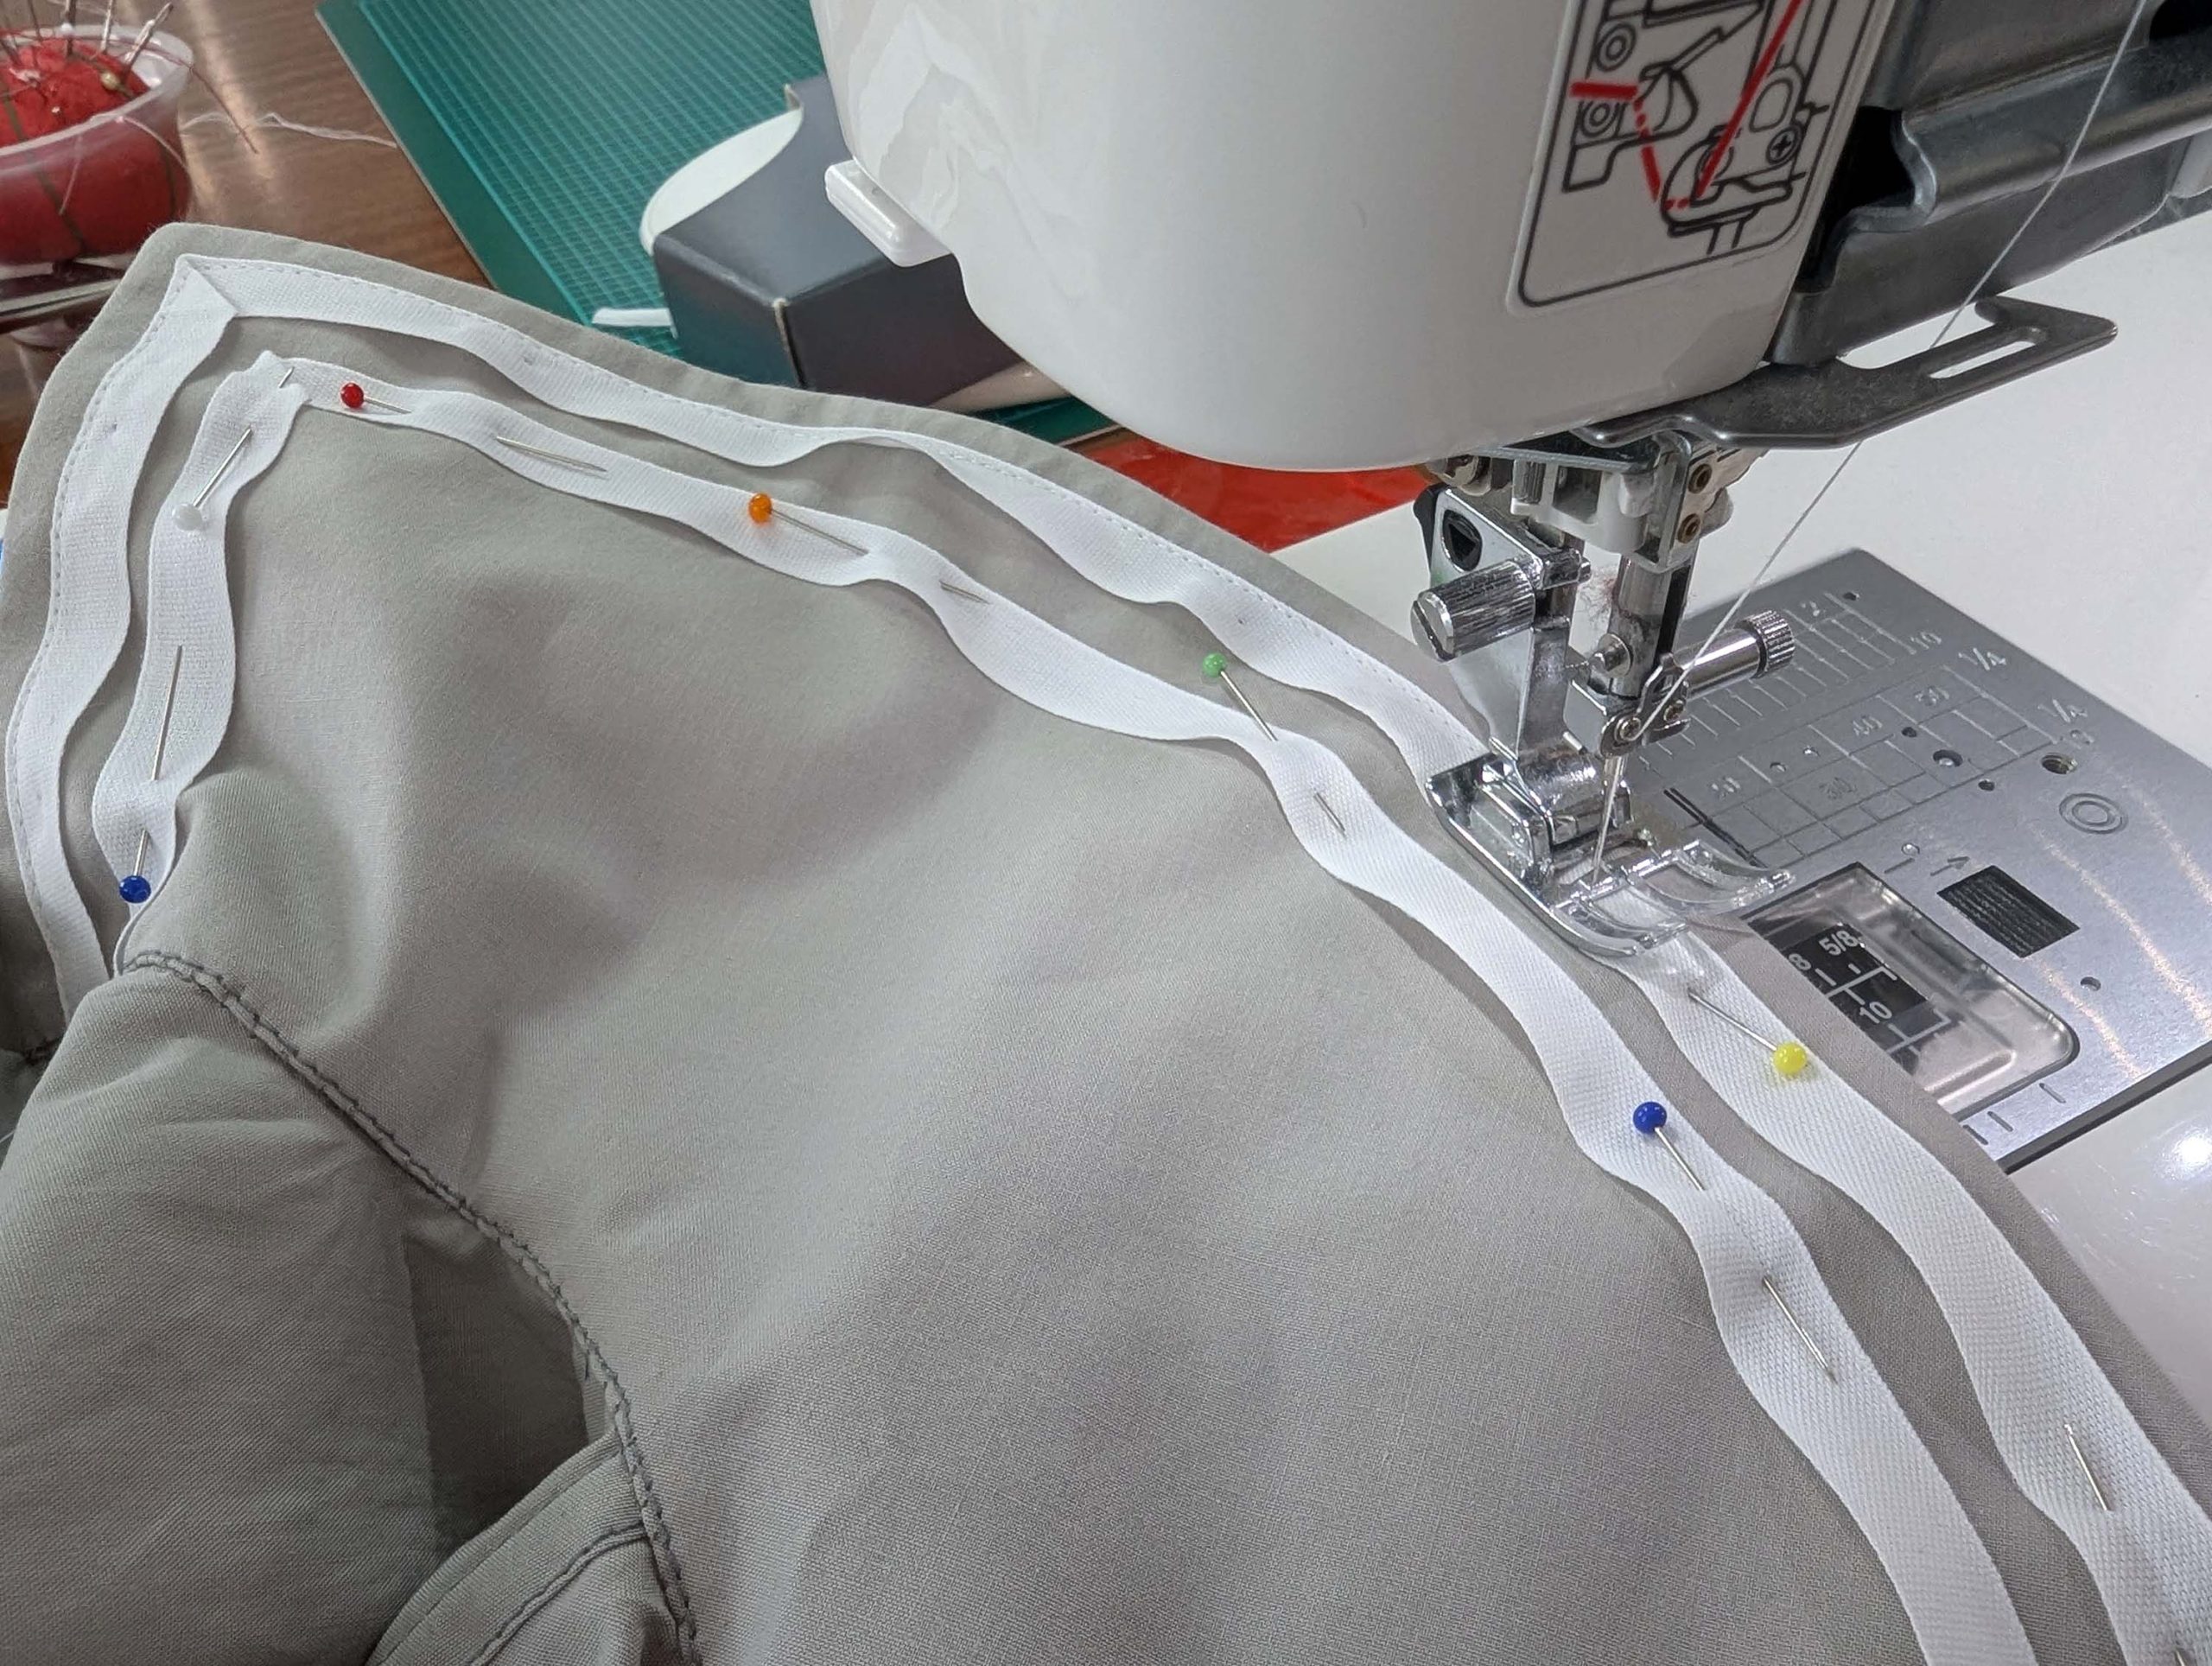
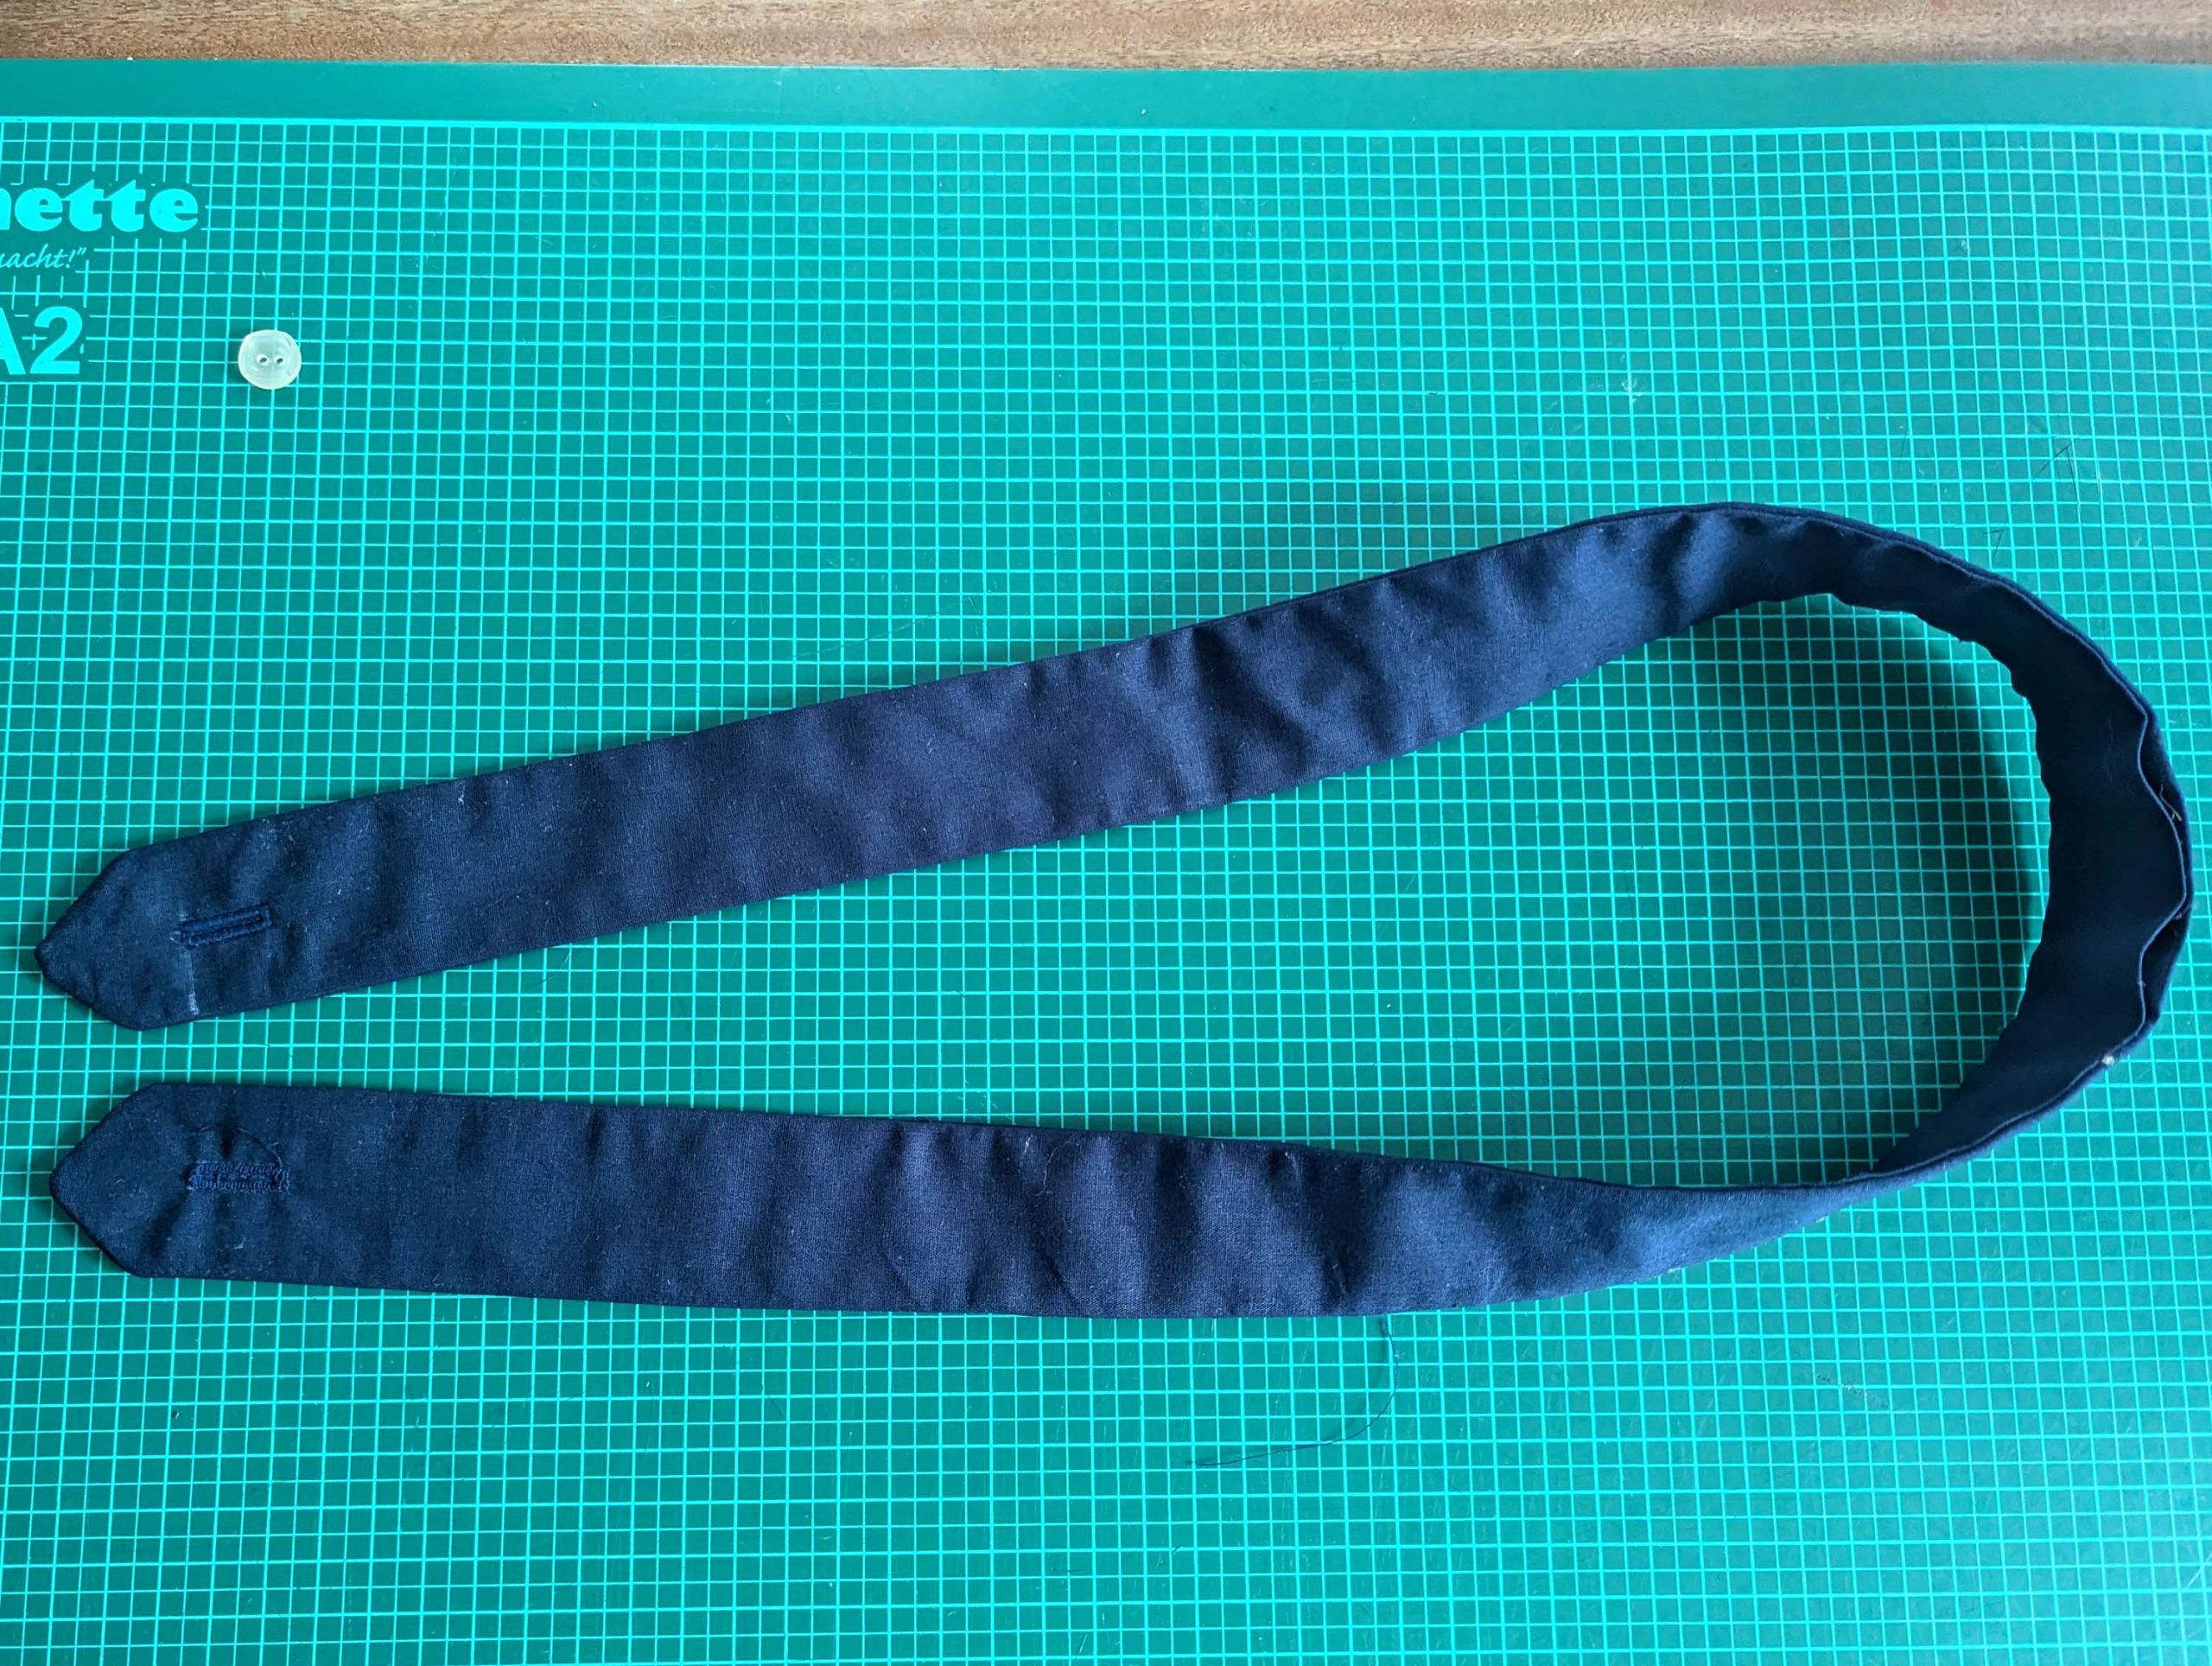
I prefer to add all embellishments with the contrasting cotton tape at this point to conceal the ends inside the collar before lining up the turned-in edge of the top collar with the stitching line and fell stitch in place.
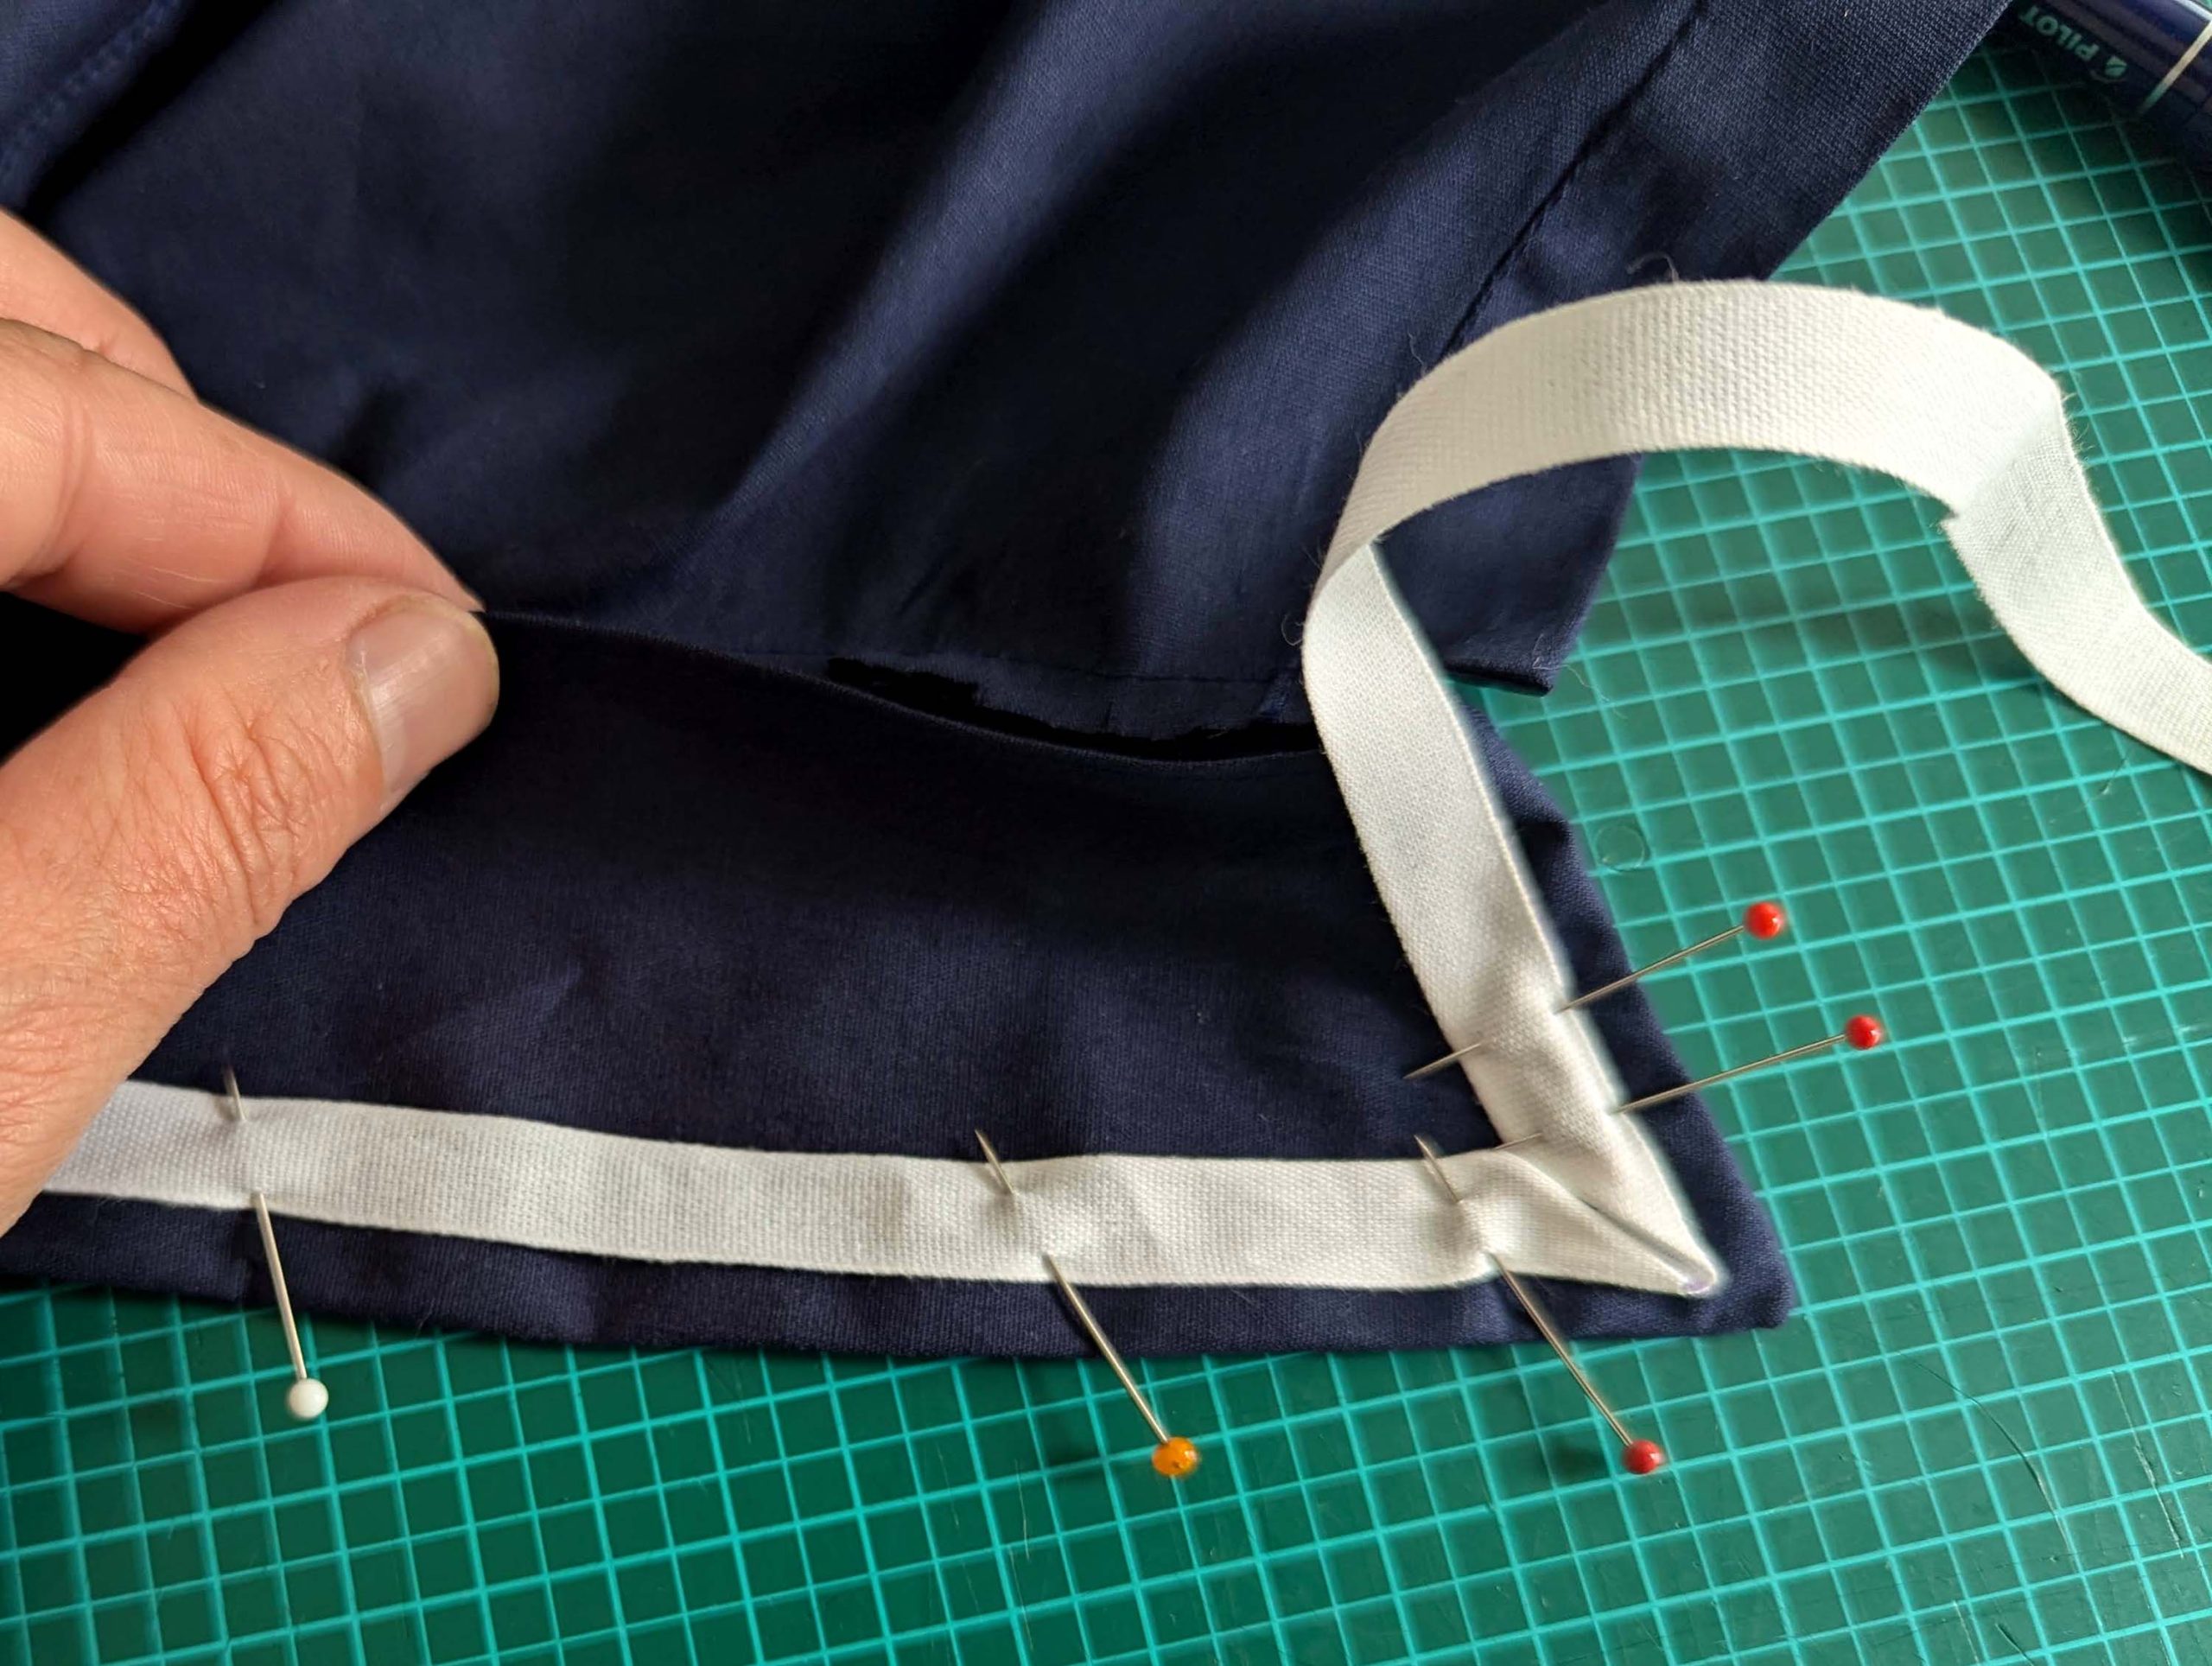
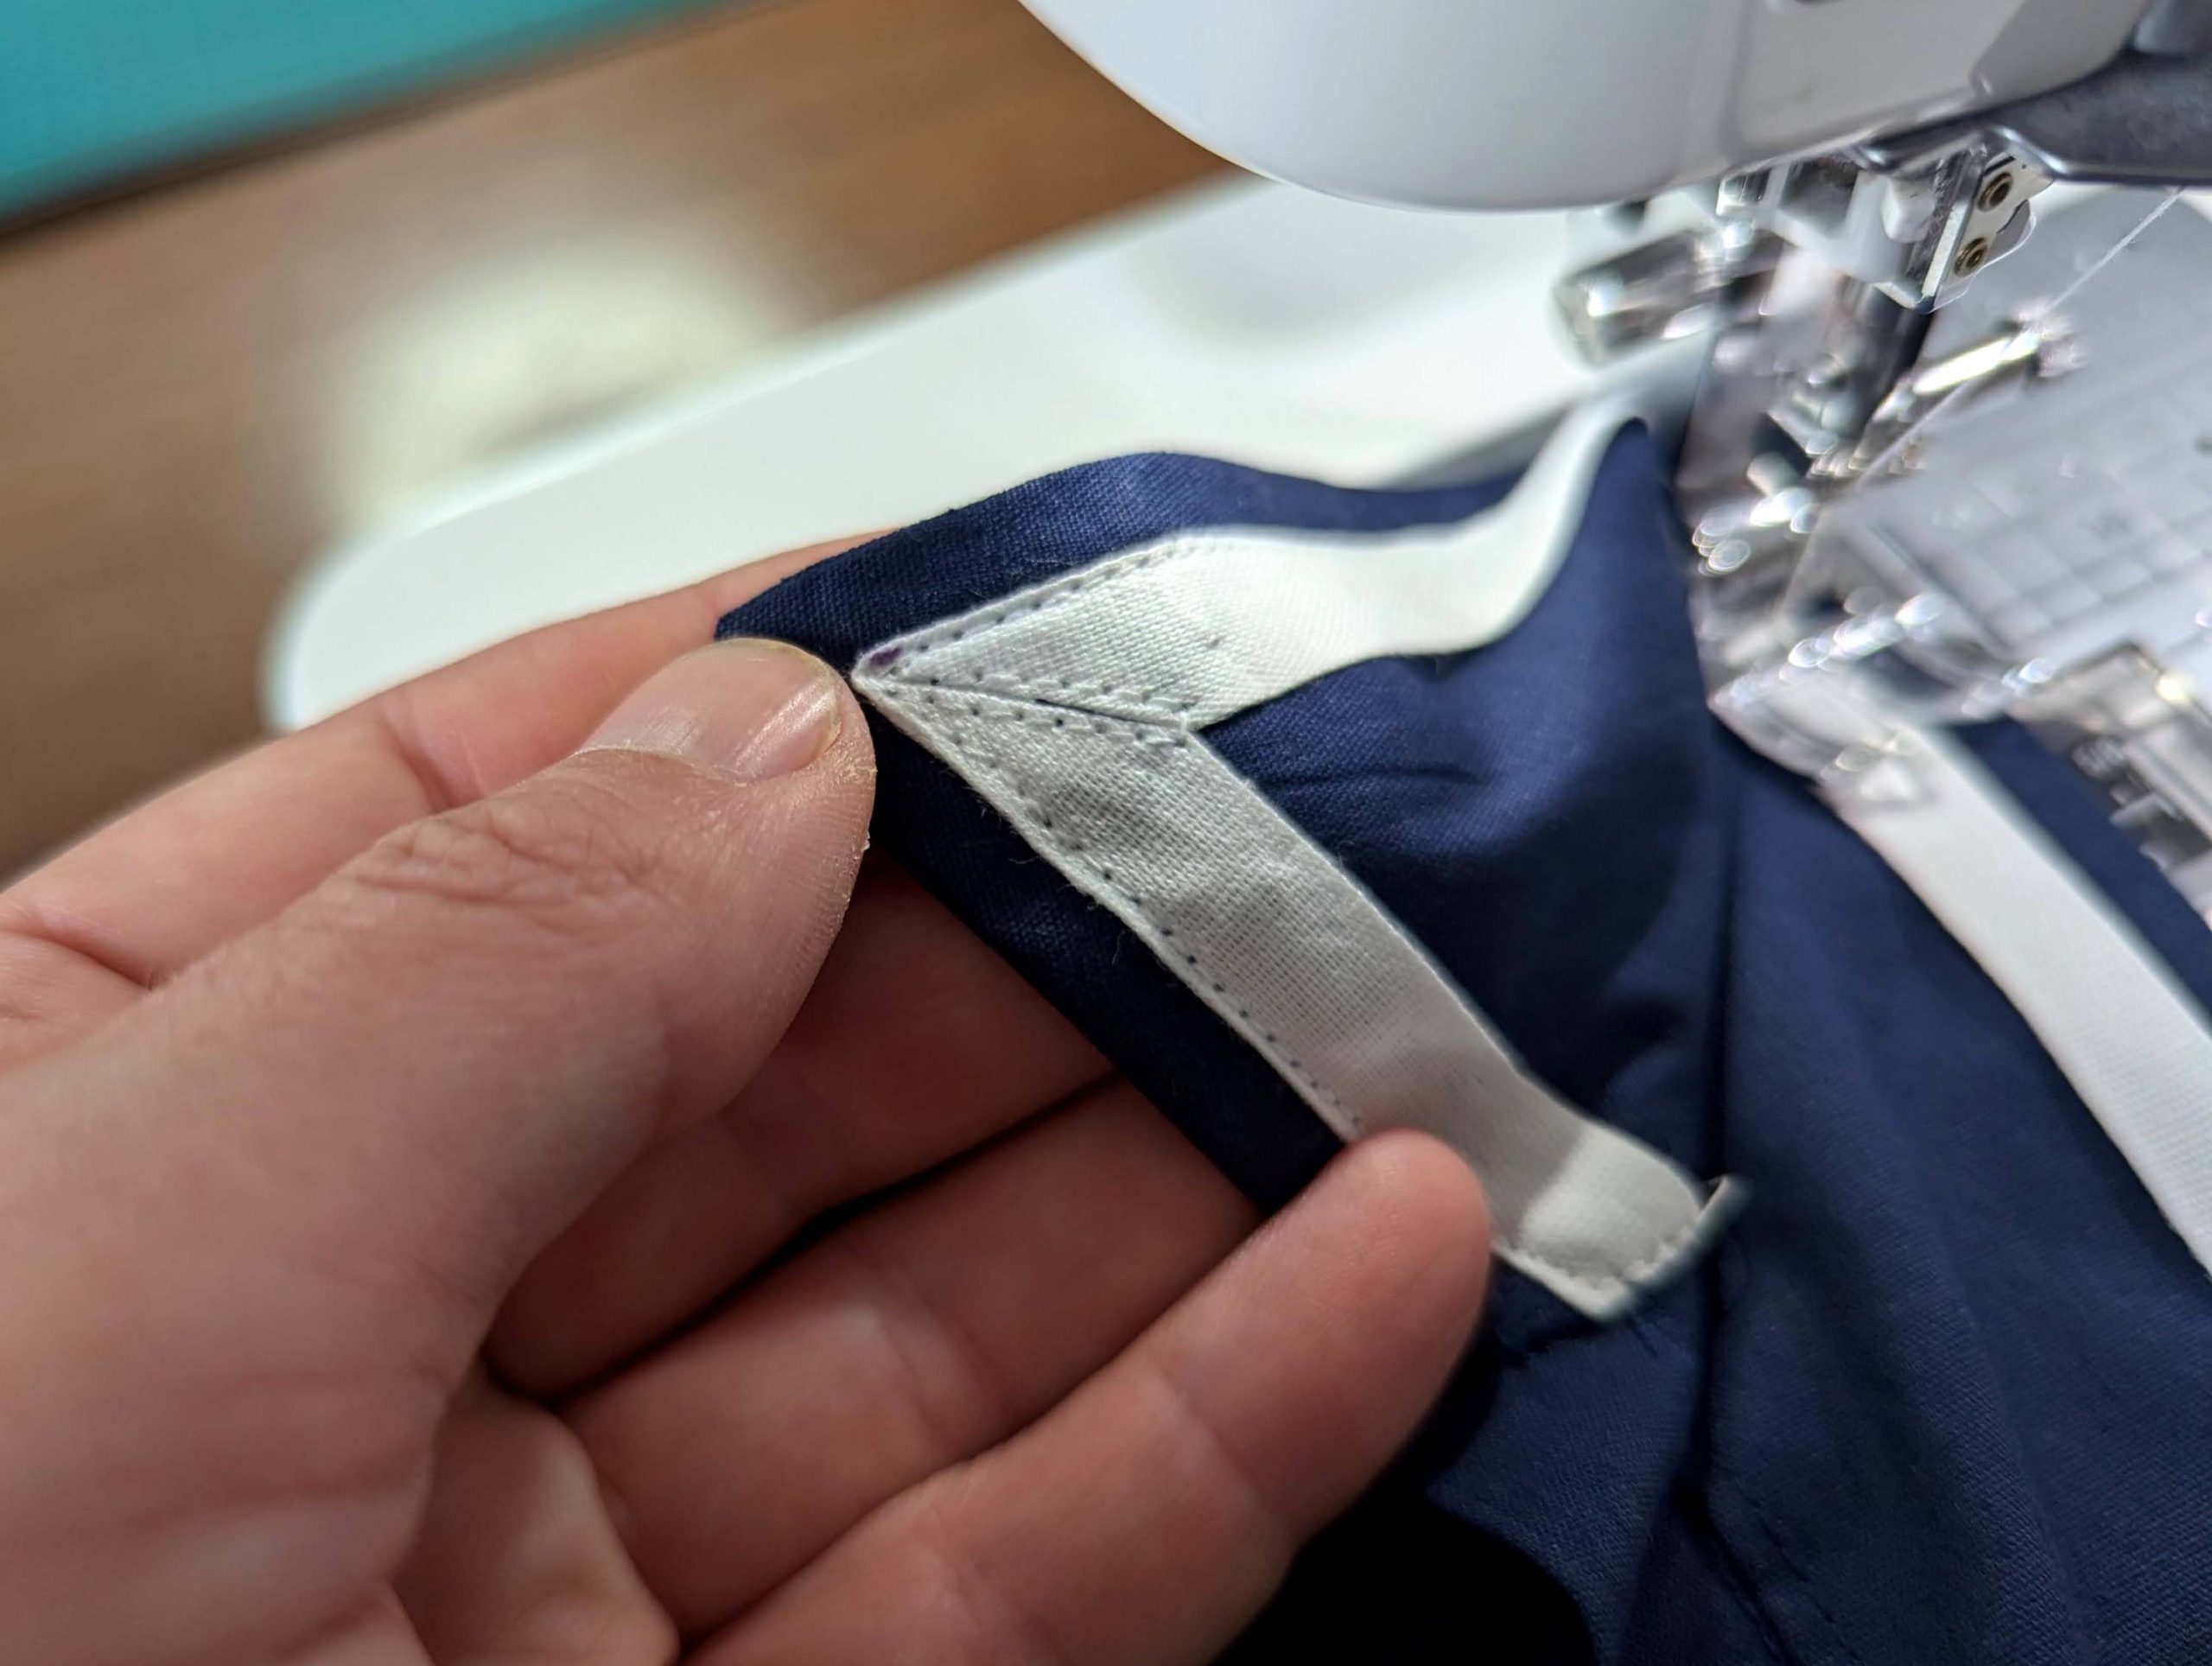
It´s the same for the larger collar.

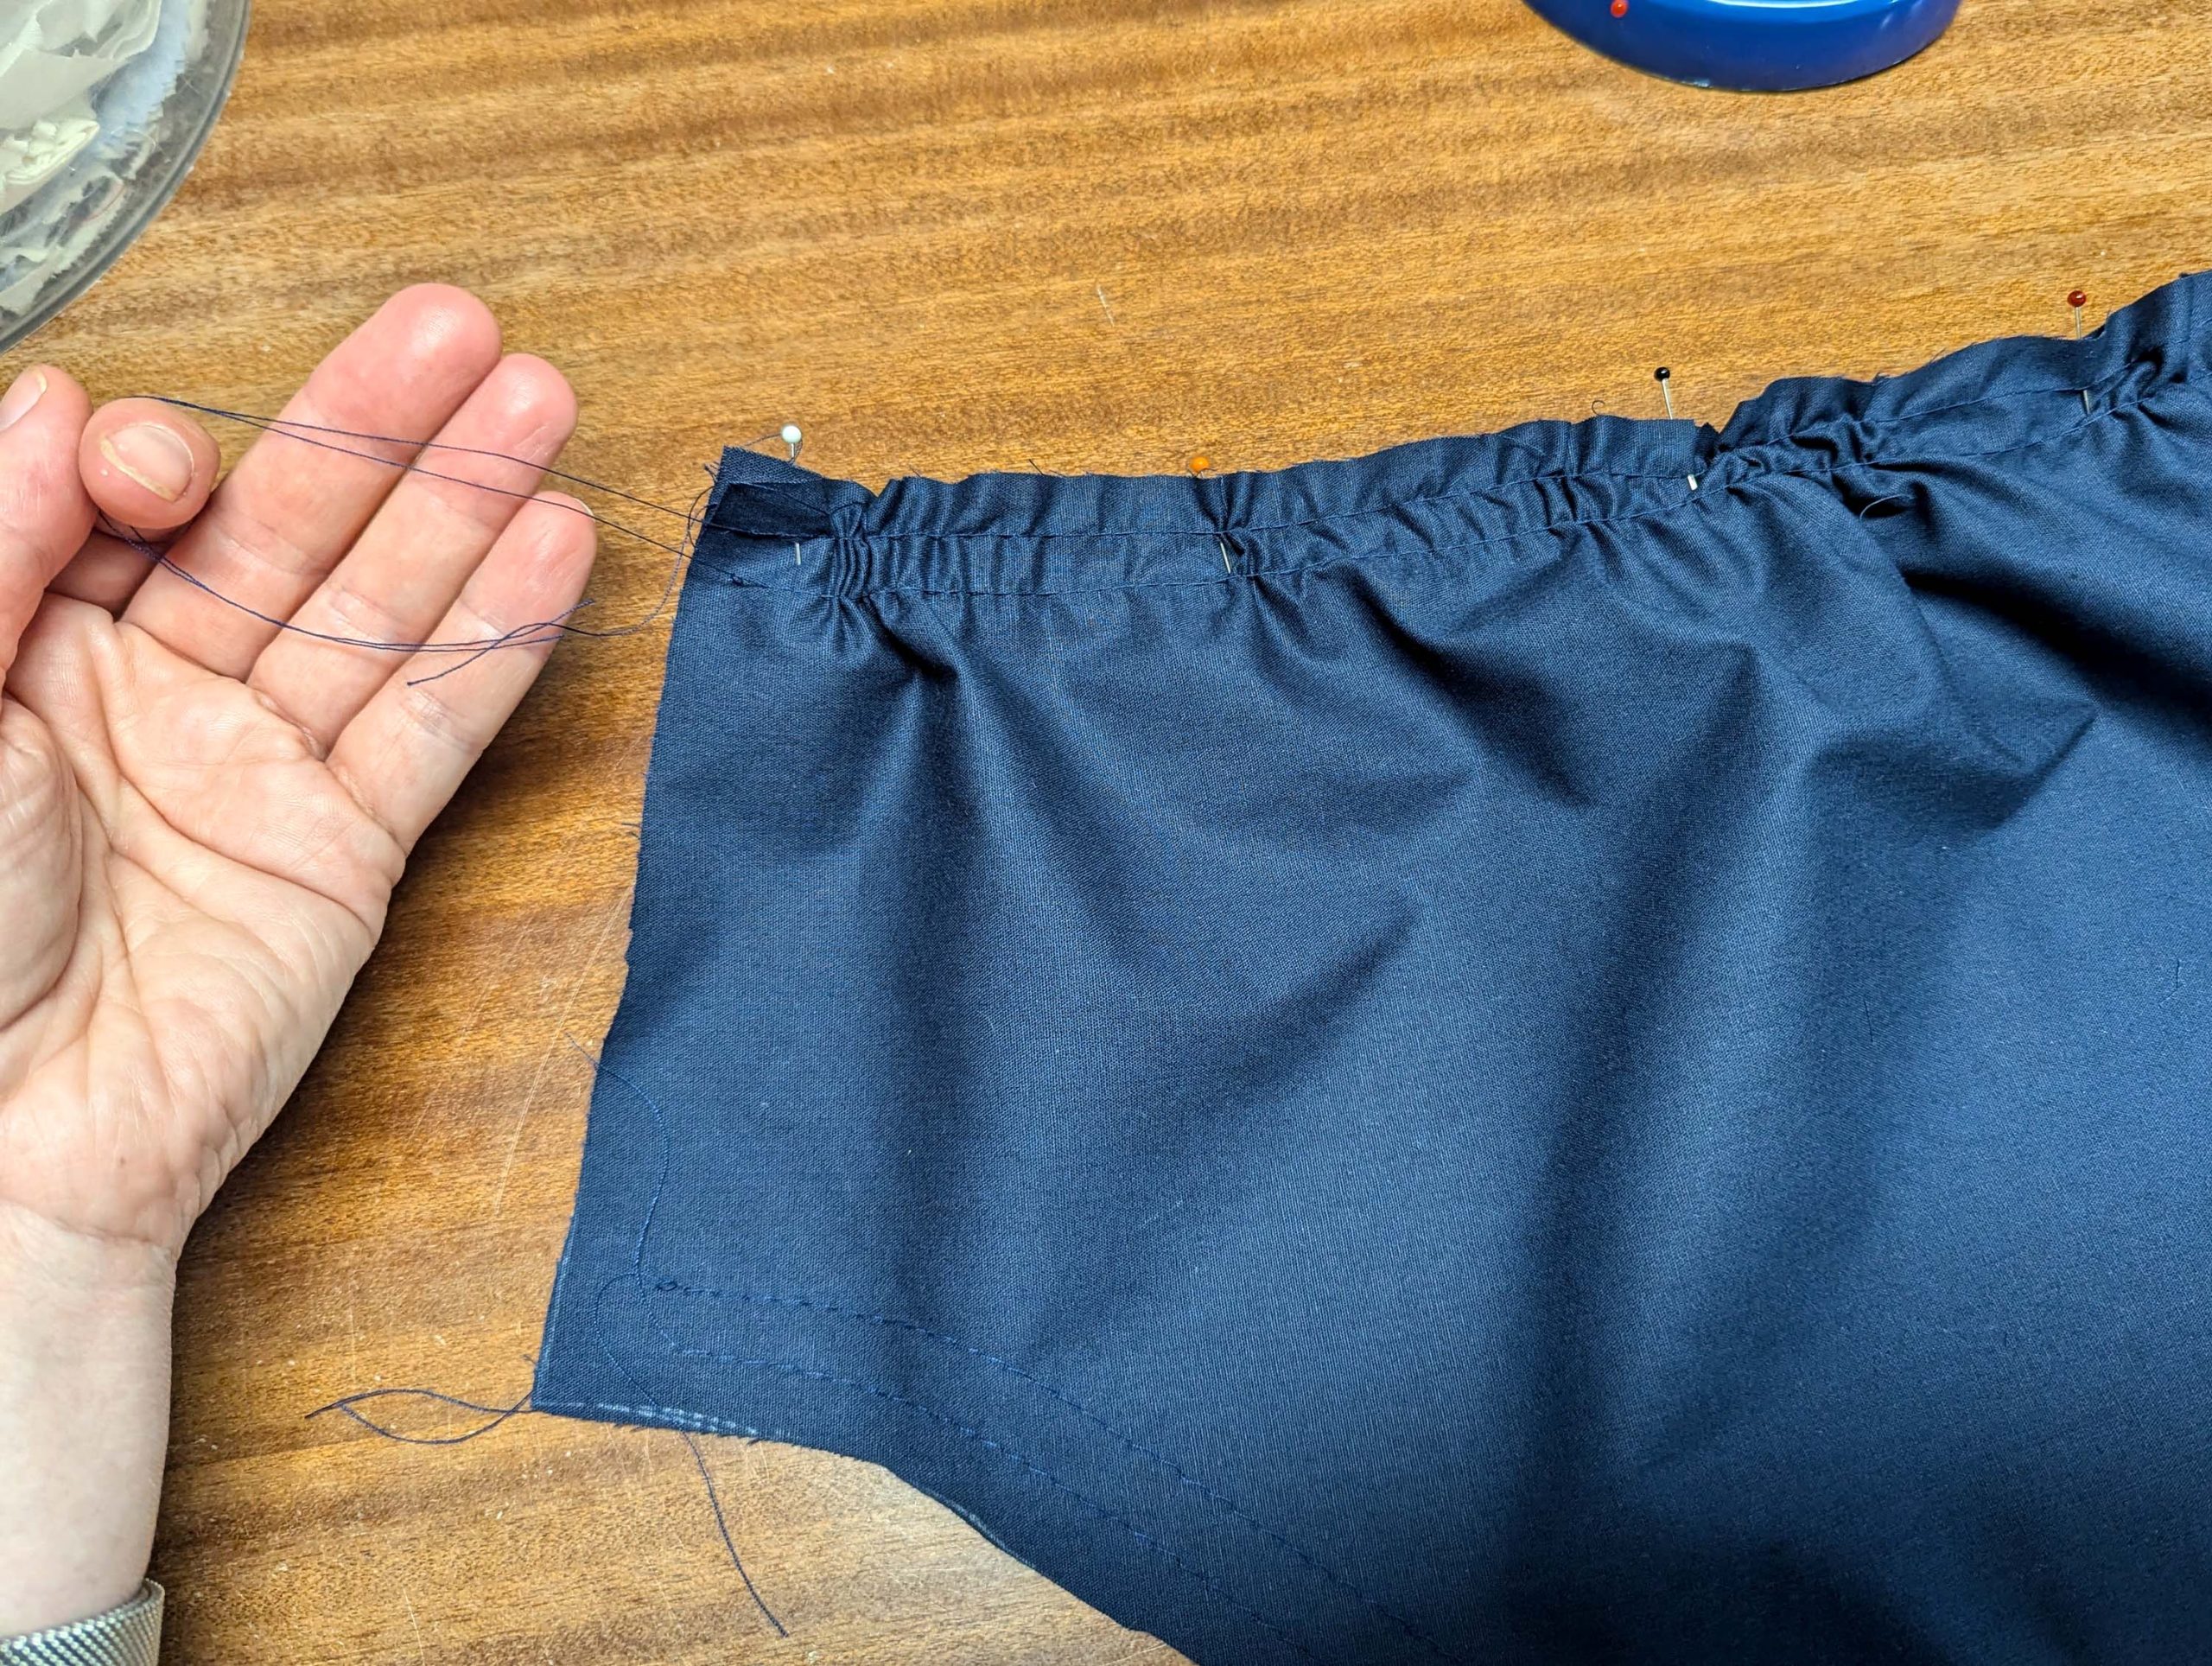
(5) V1: Take the short sleeve: cut along the line, indicated on the pattern. Sew two rows of gathering stitches along the sleeve head and bottom edge. Sew the sleeve seam, right sides together and finish as a flat felled seam.
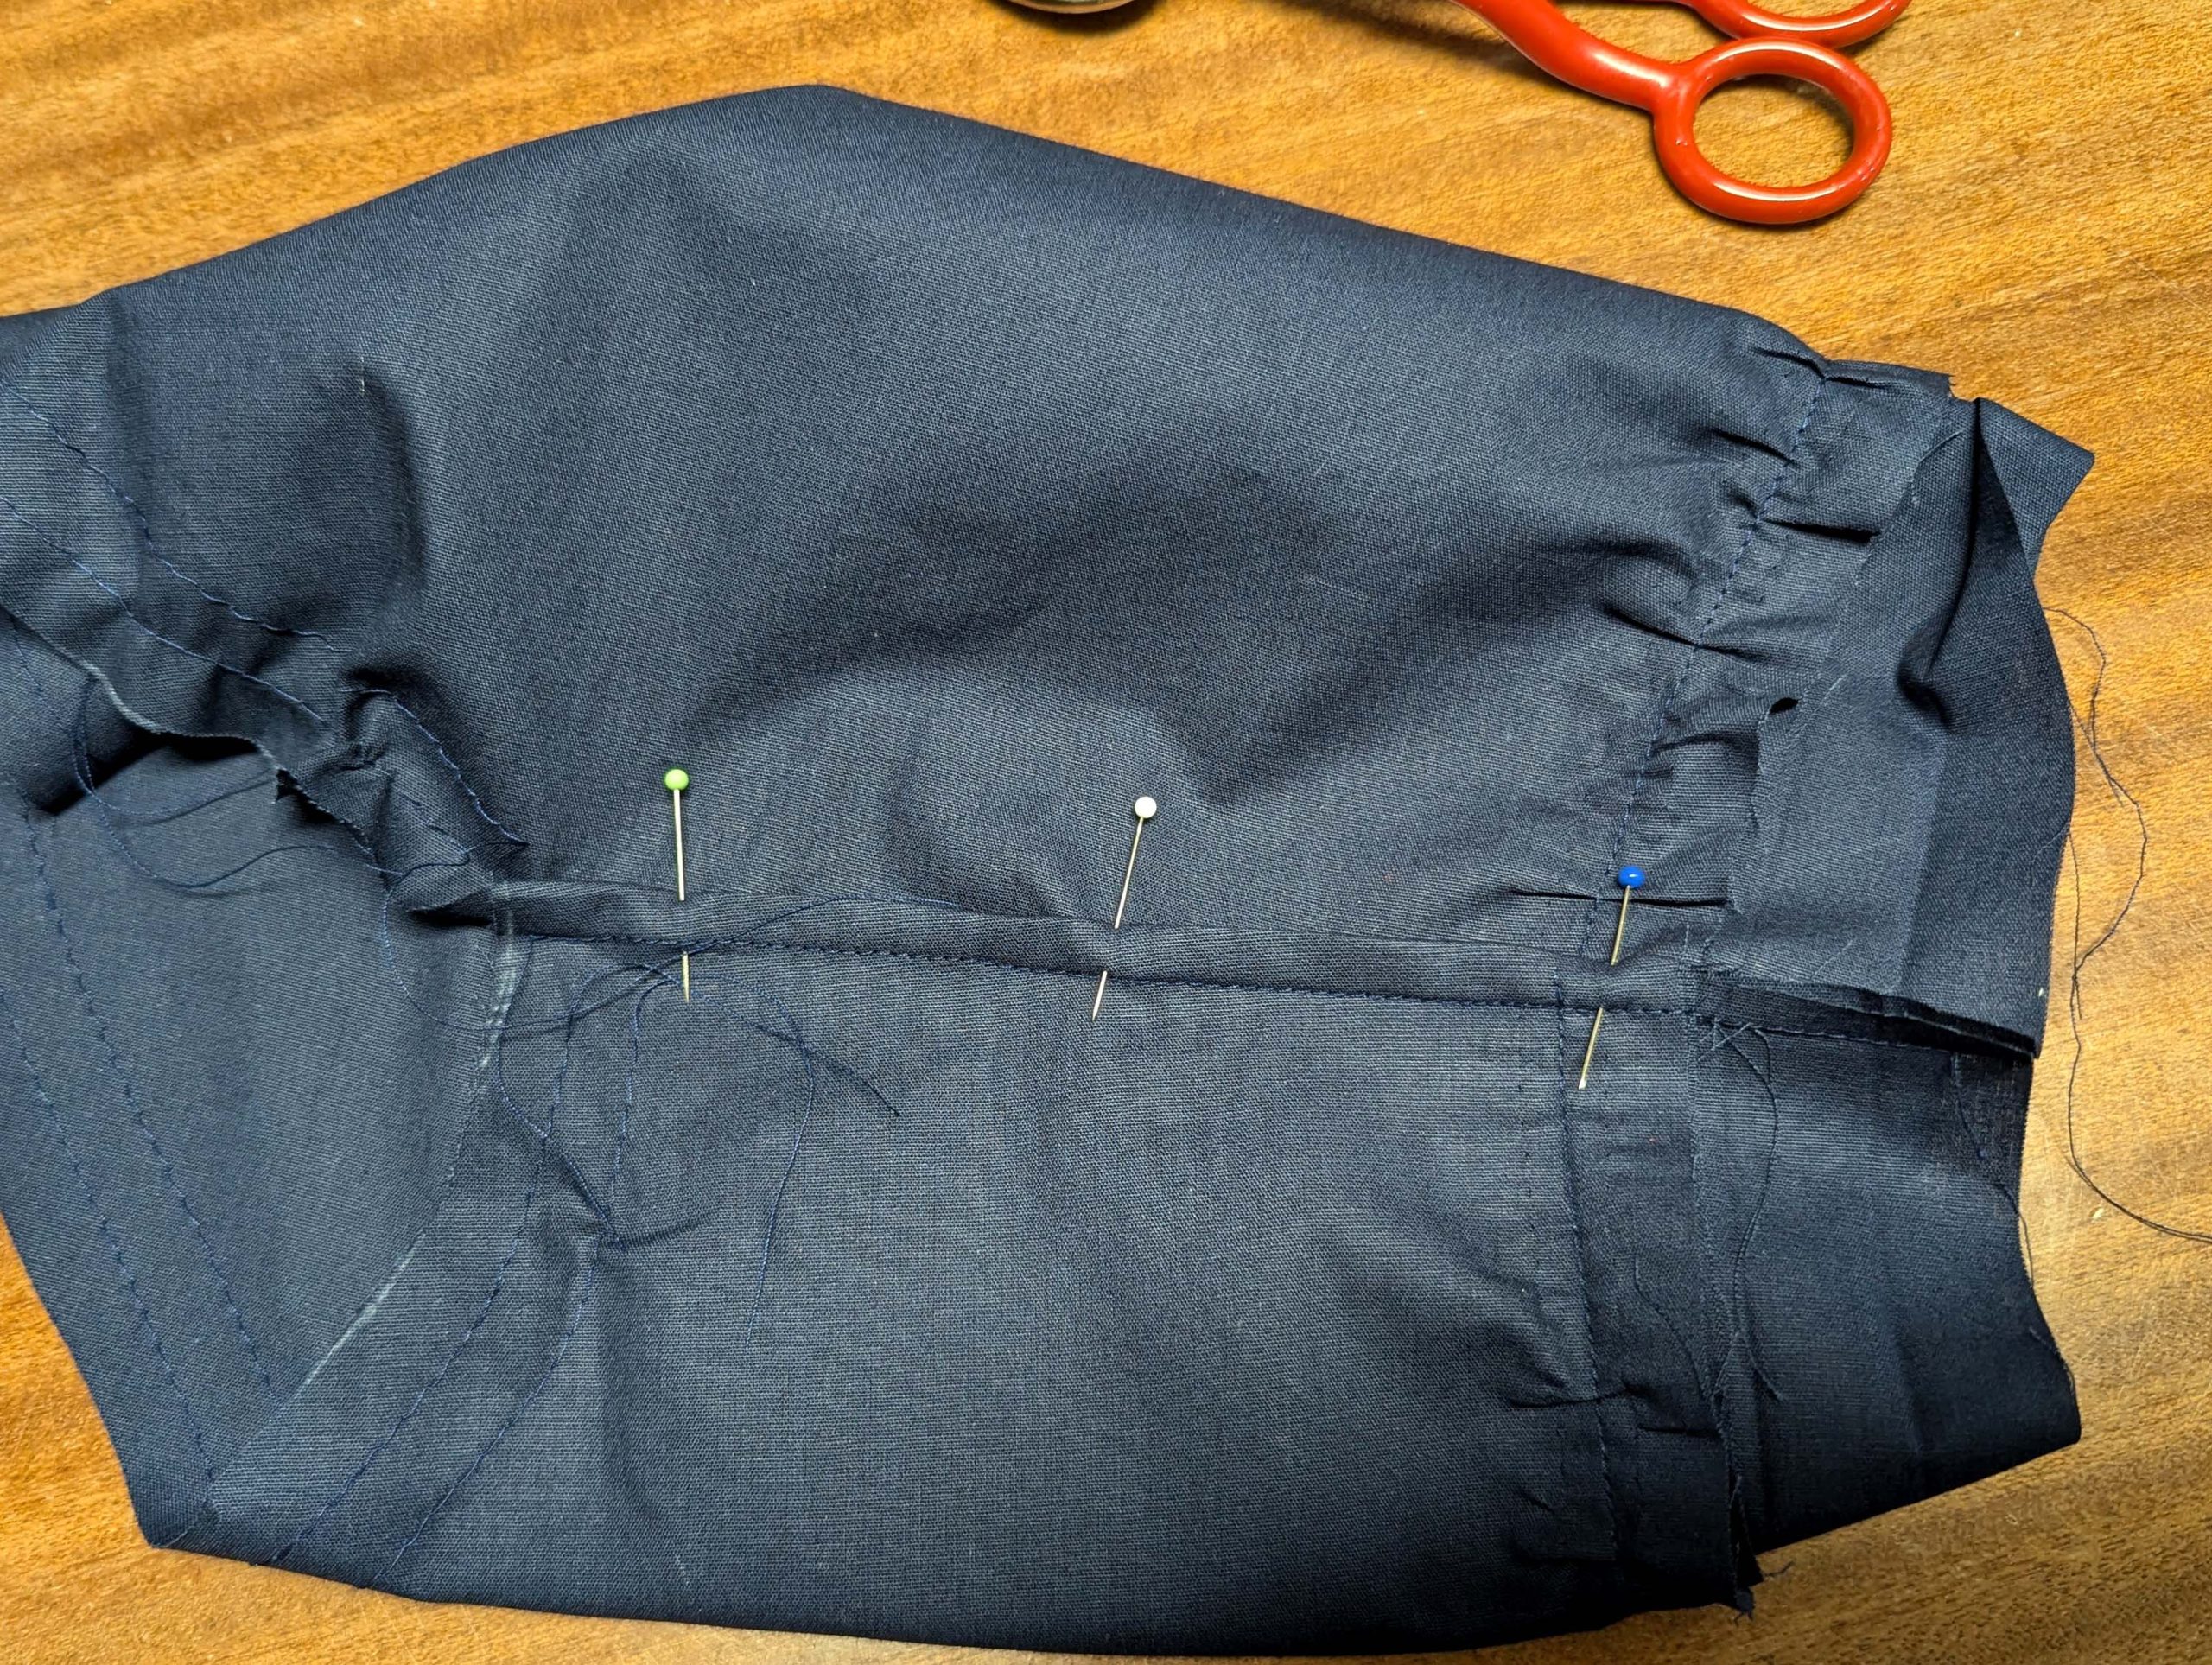
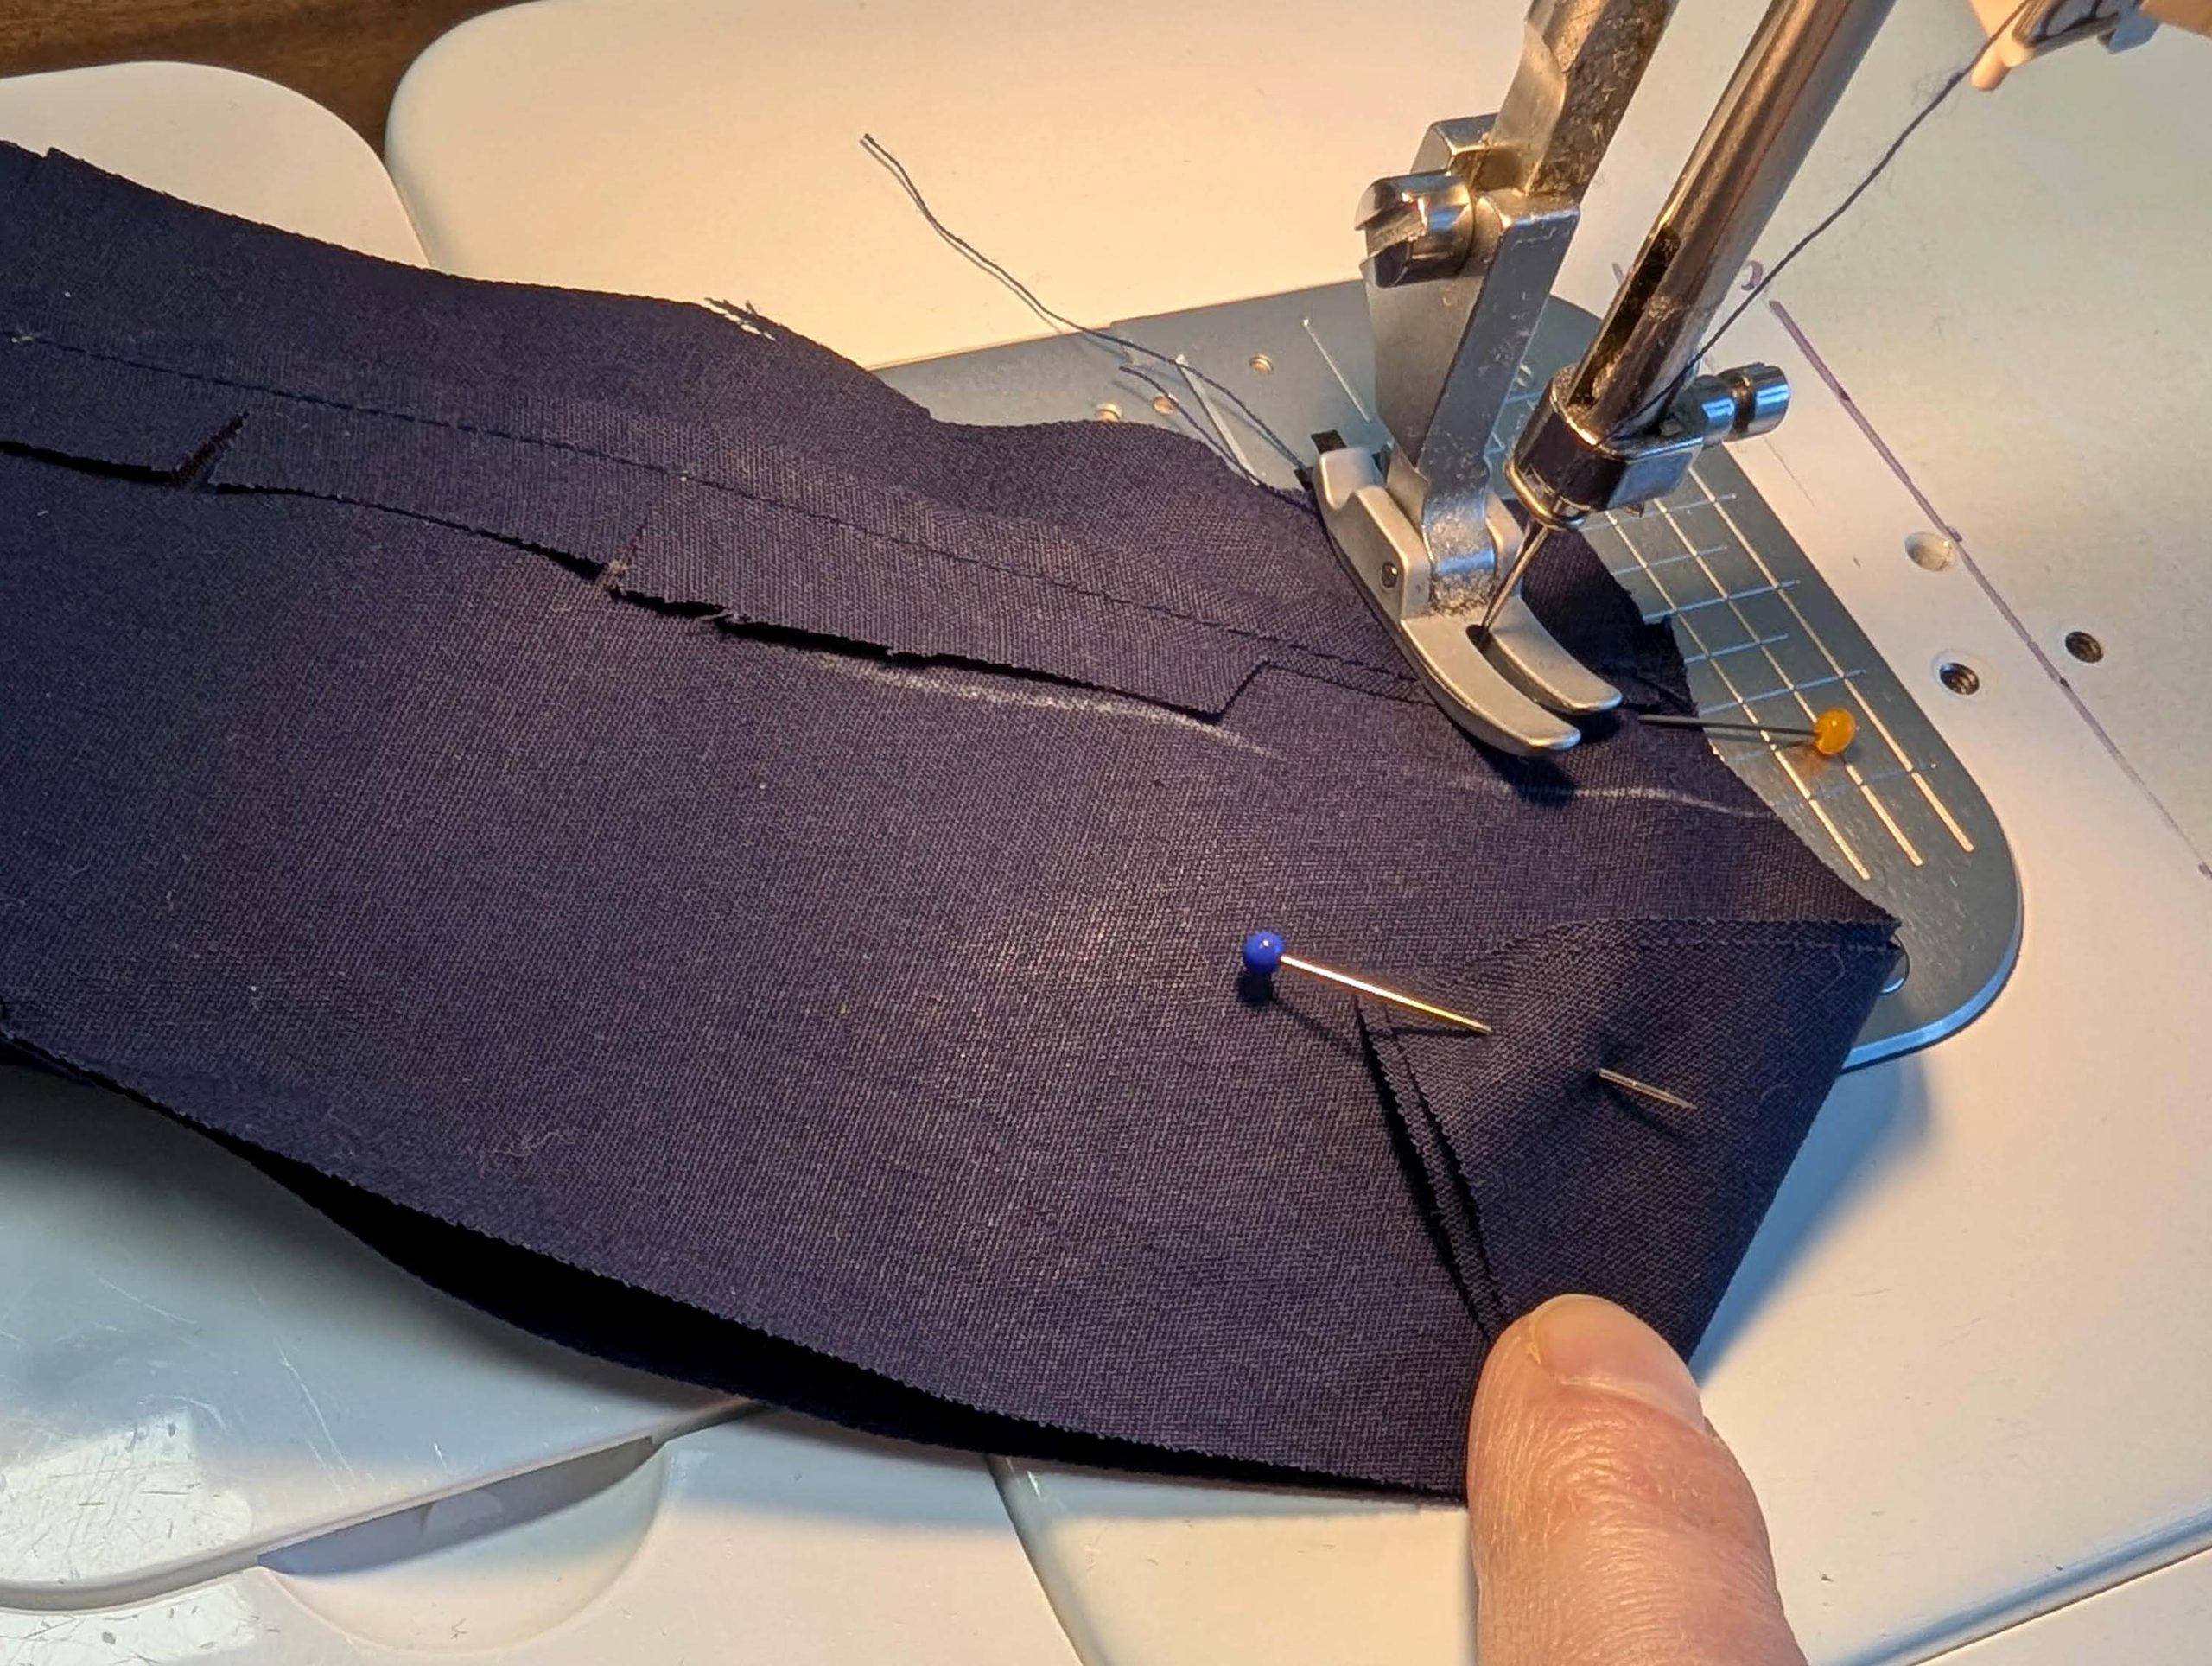
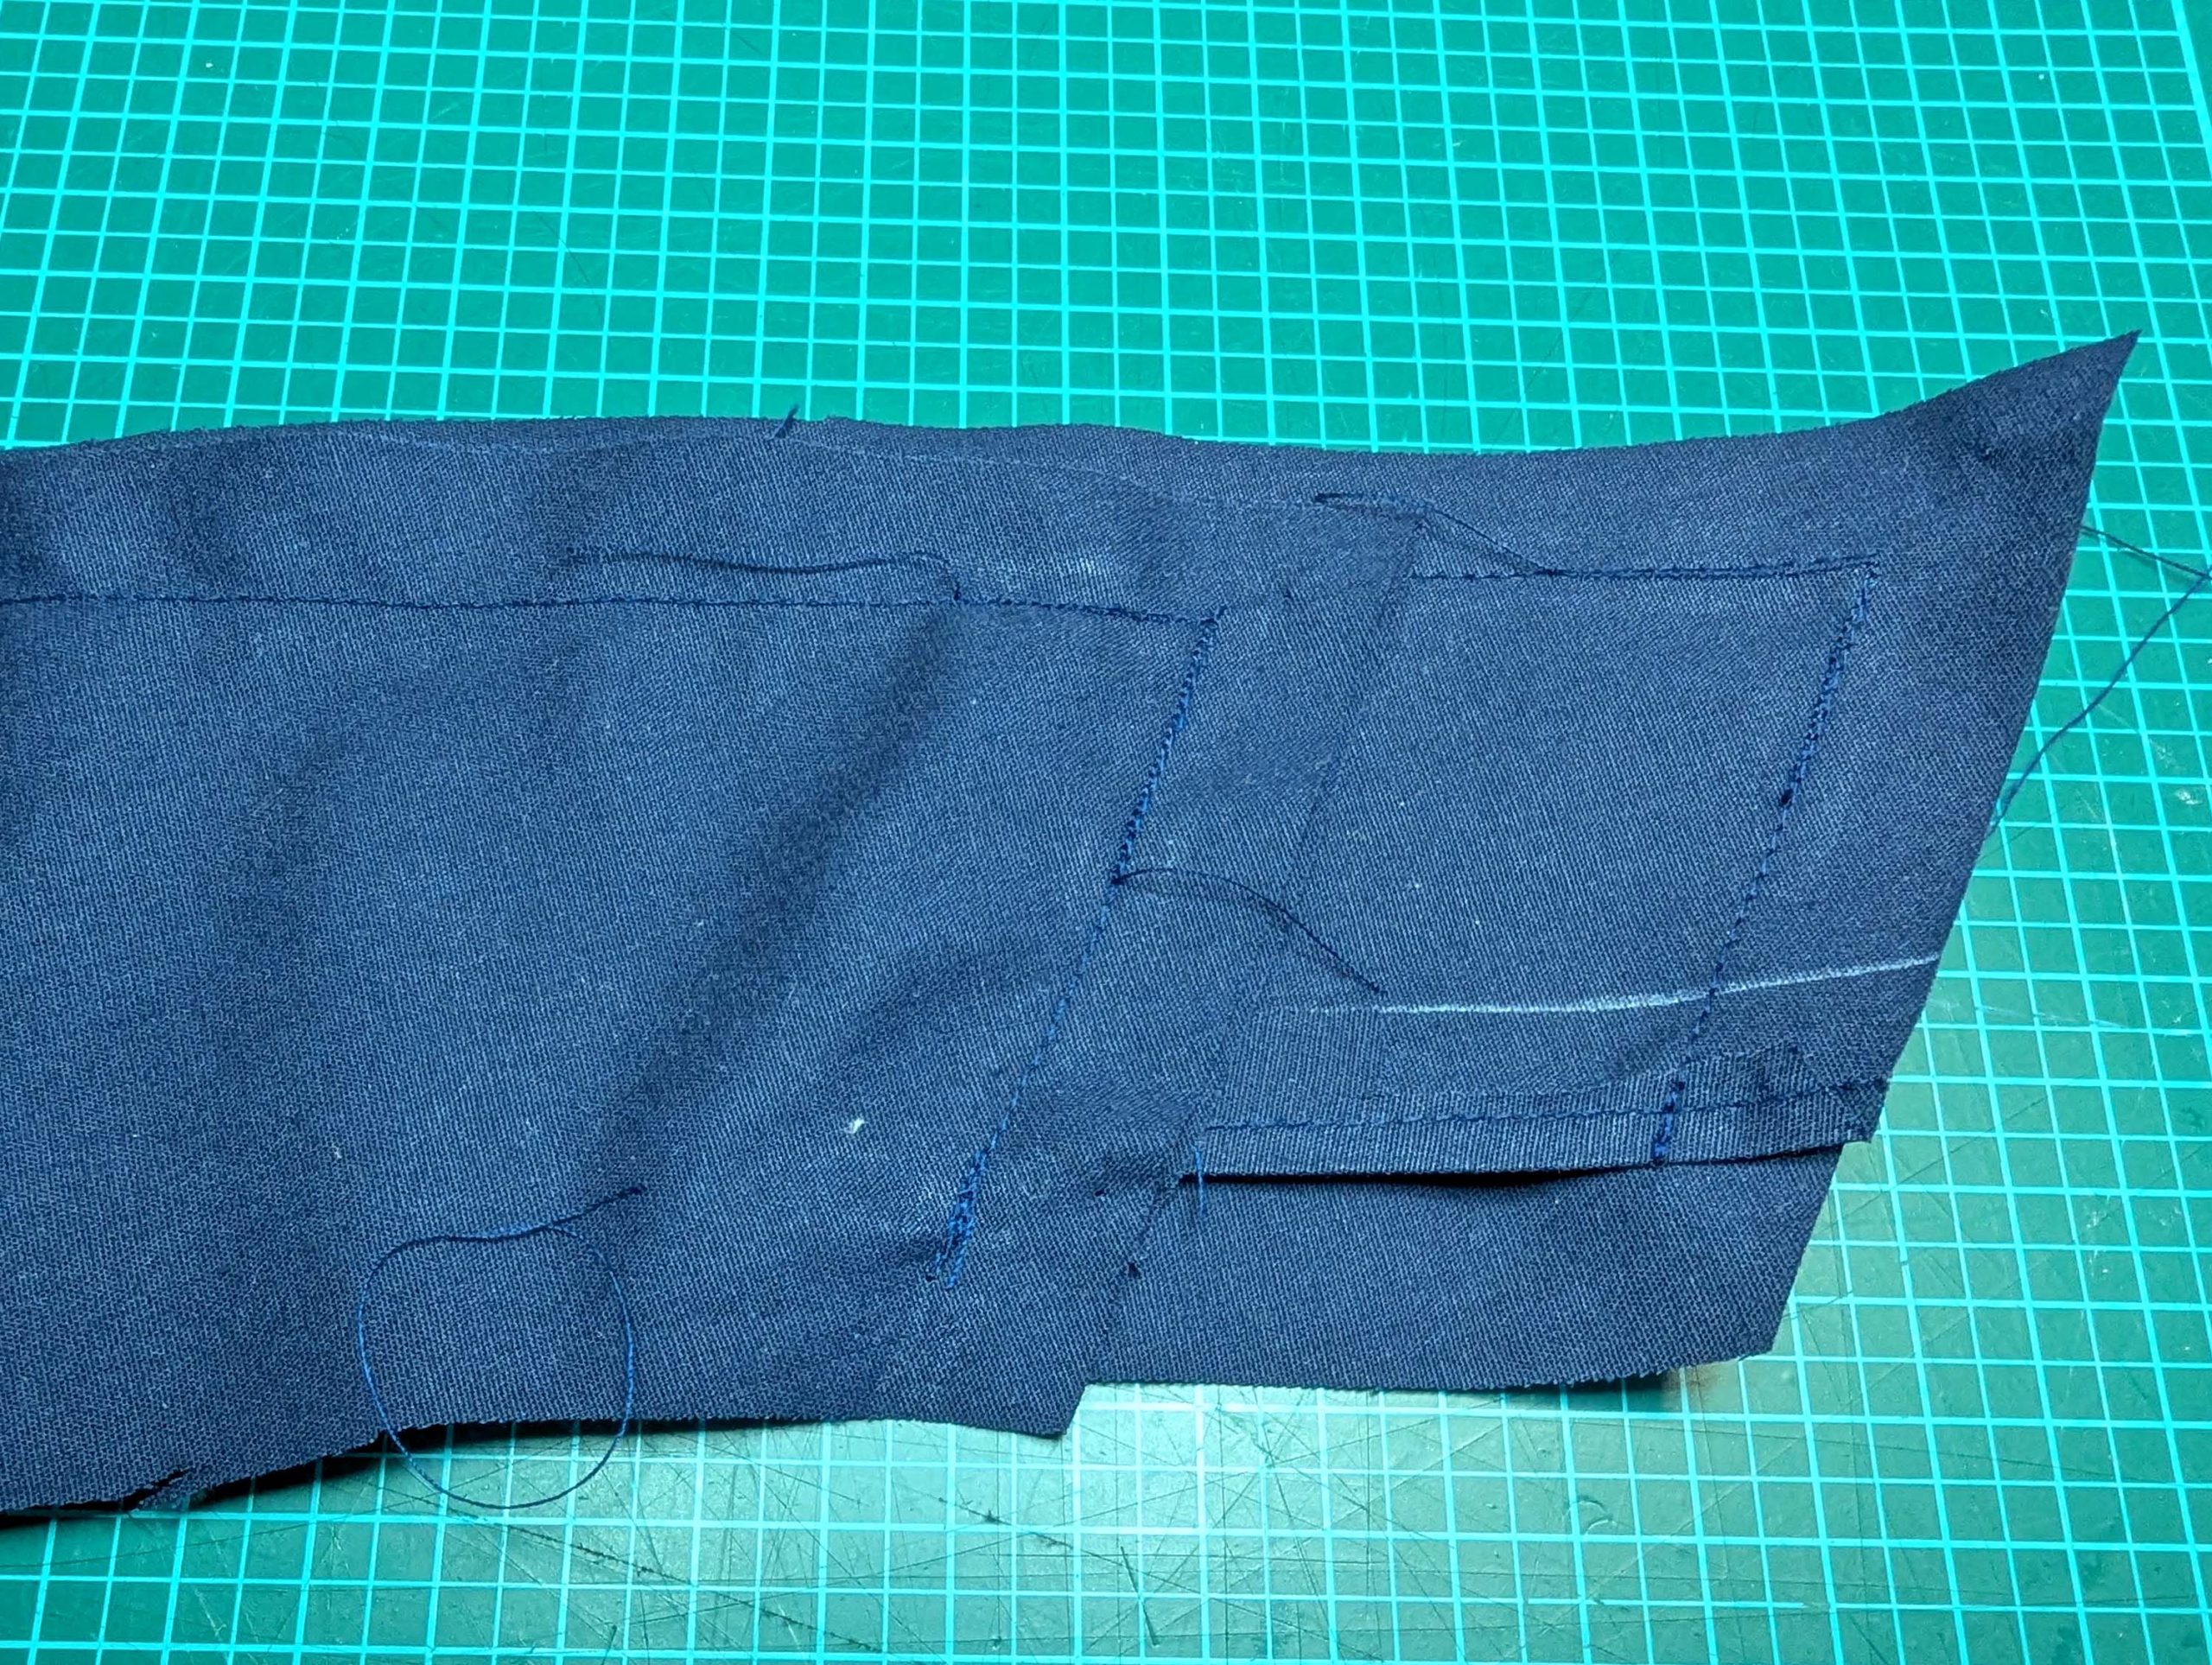
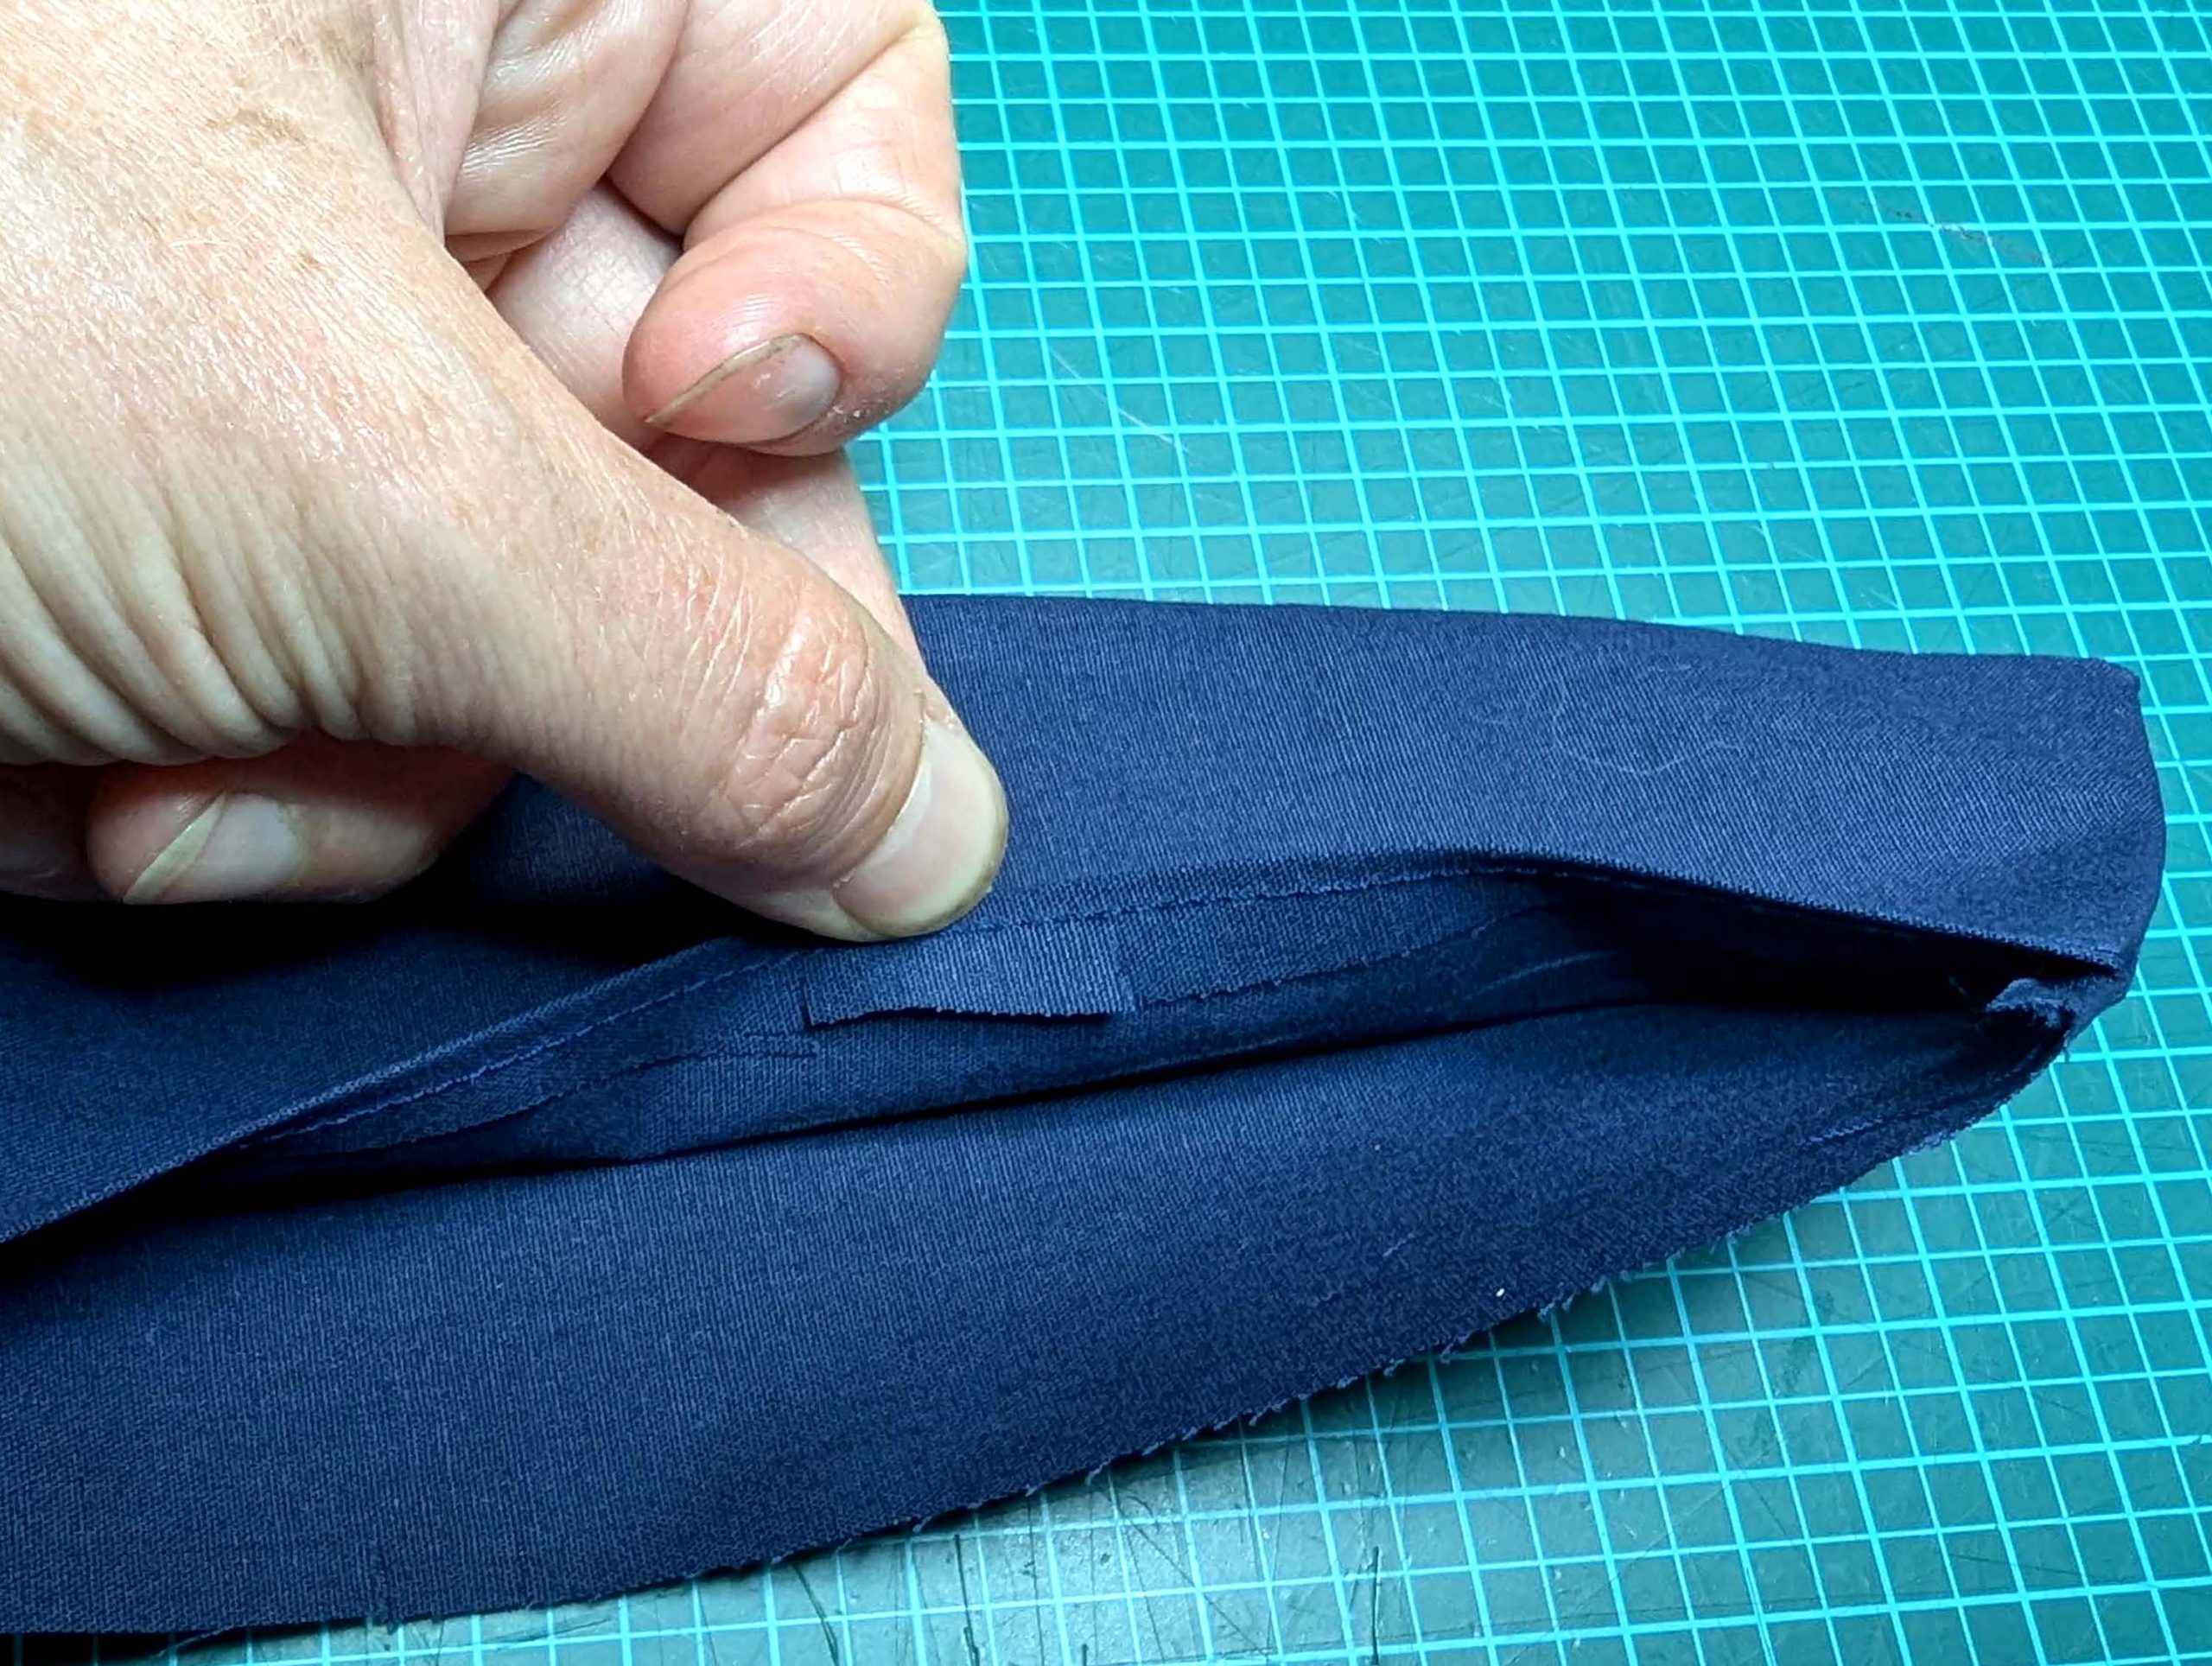
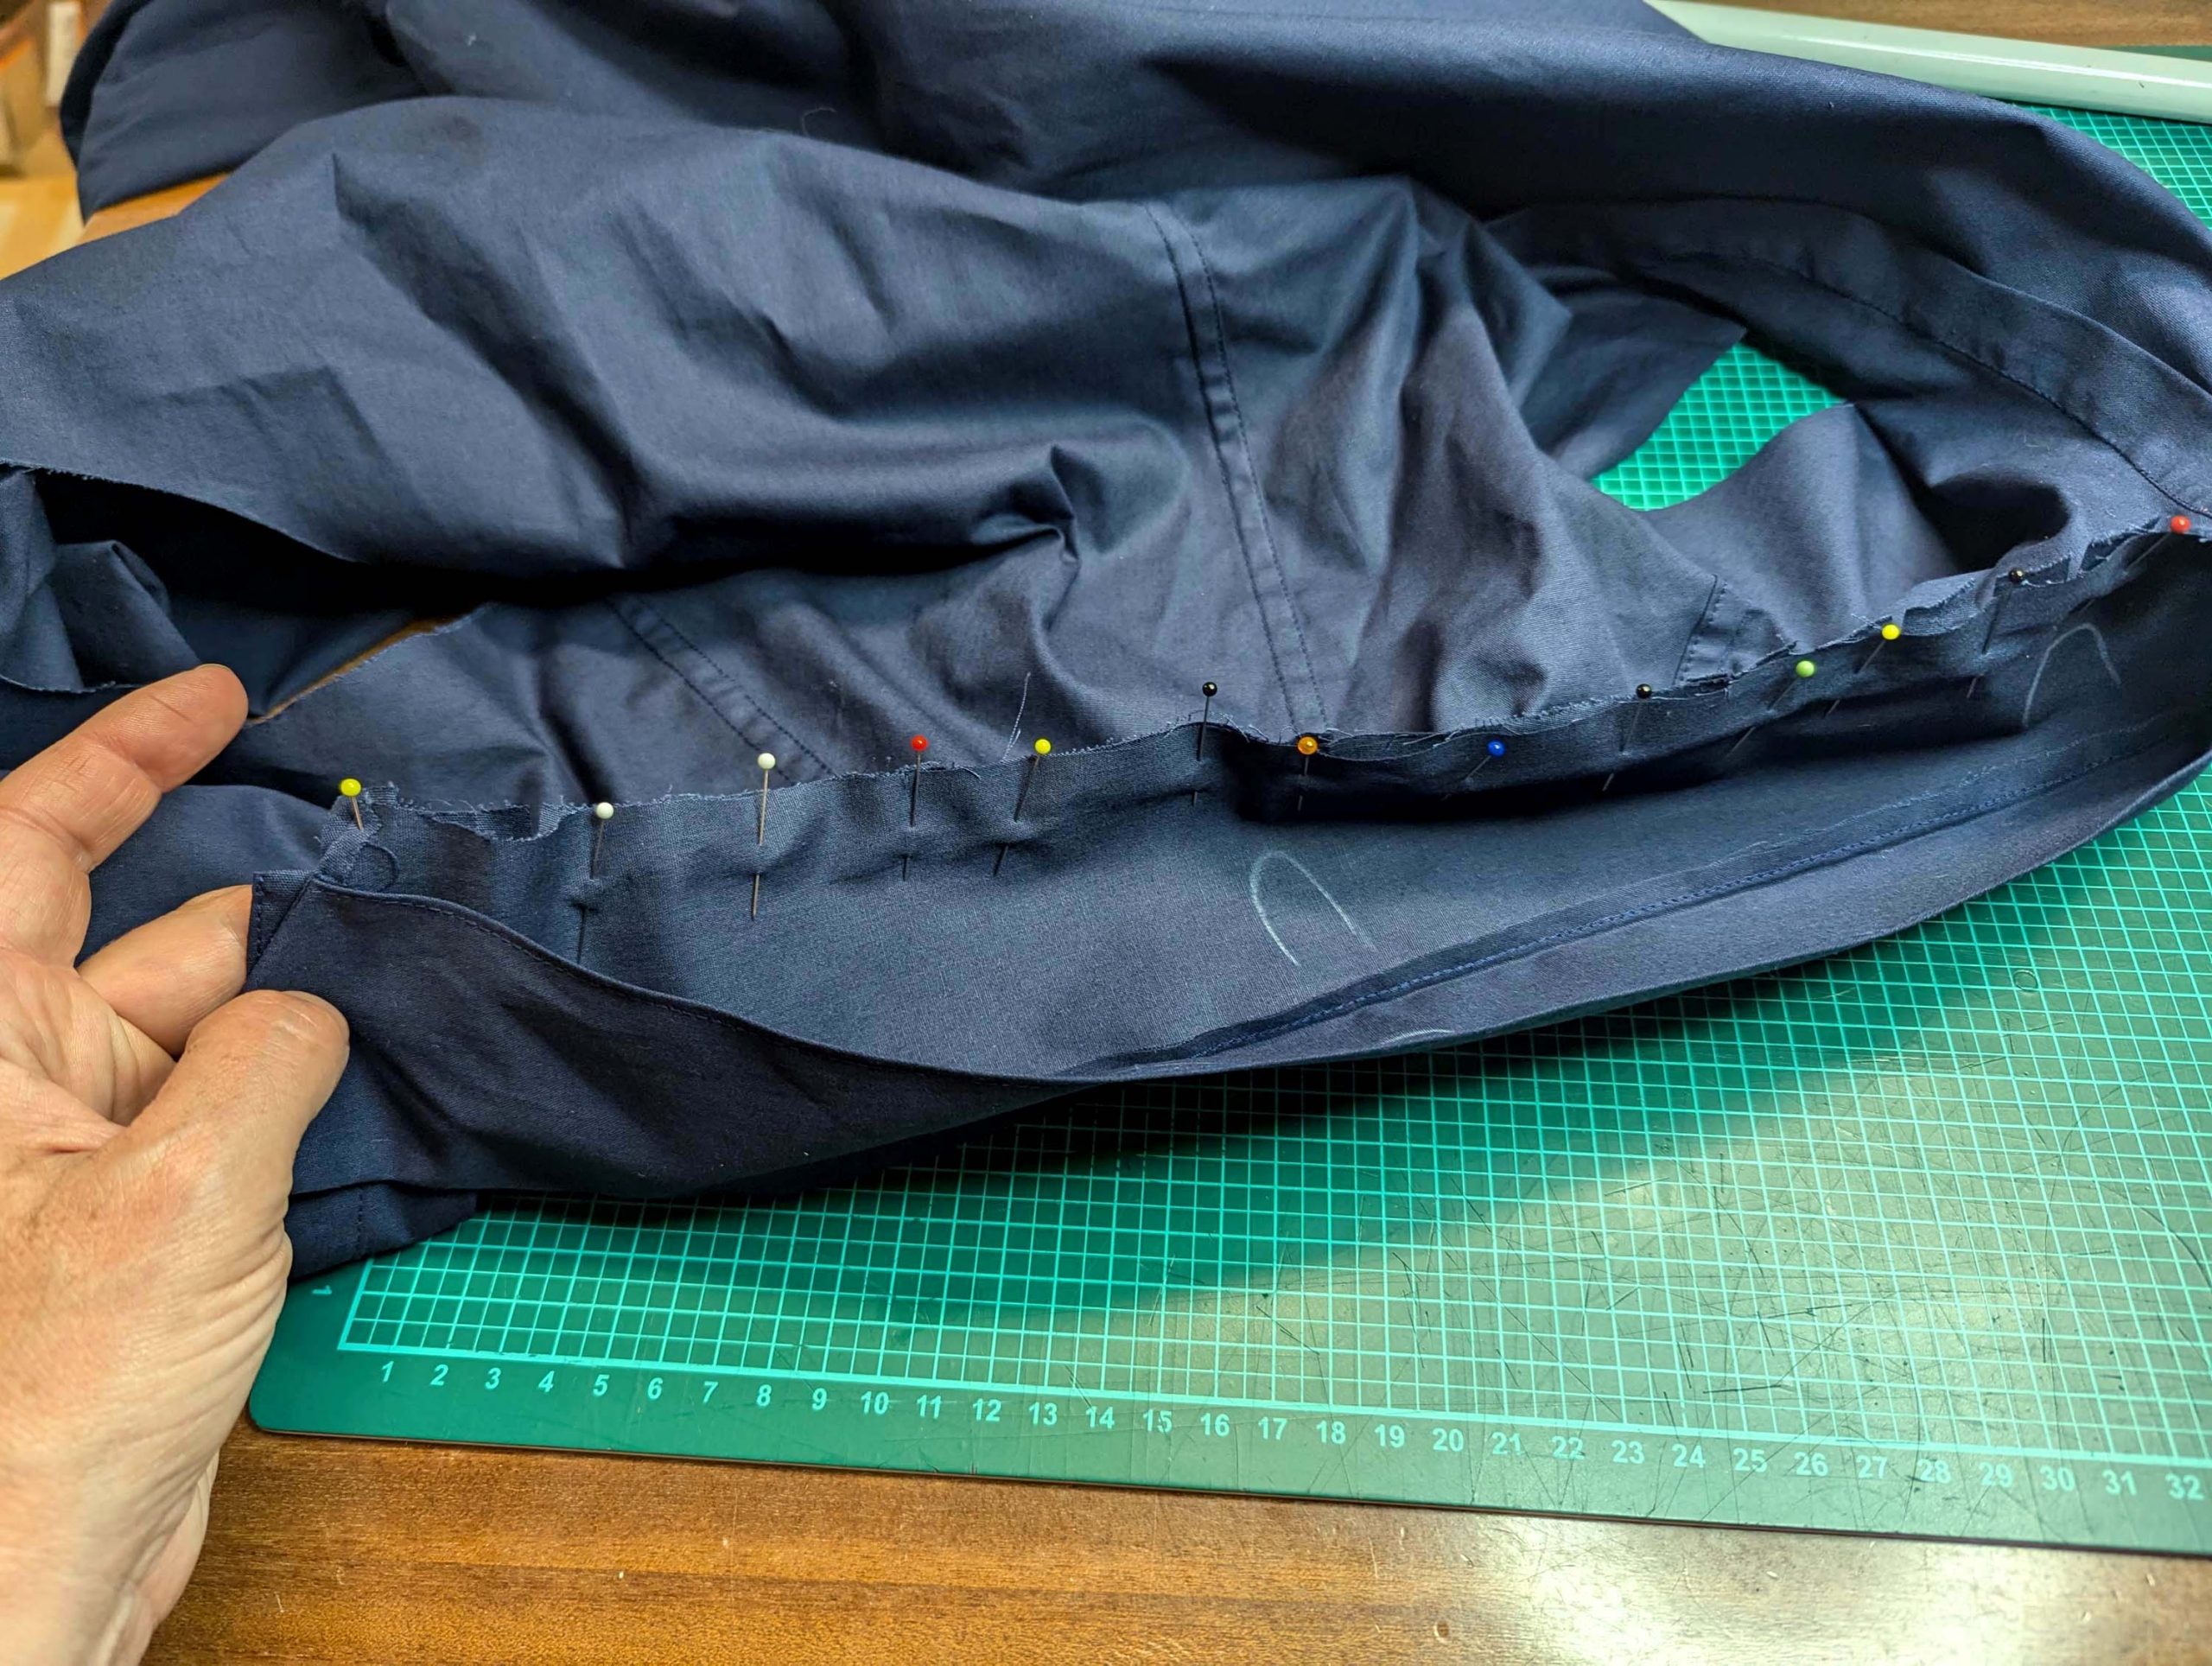
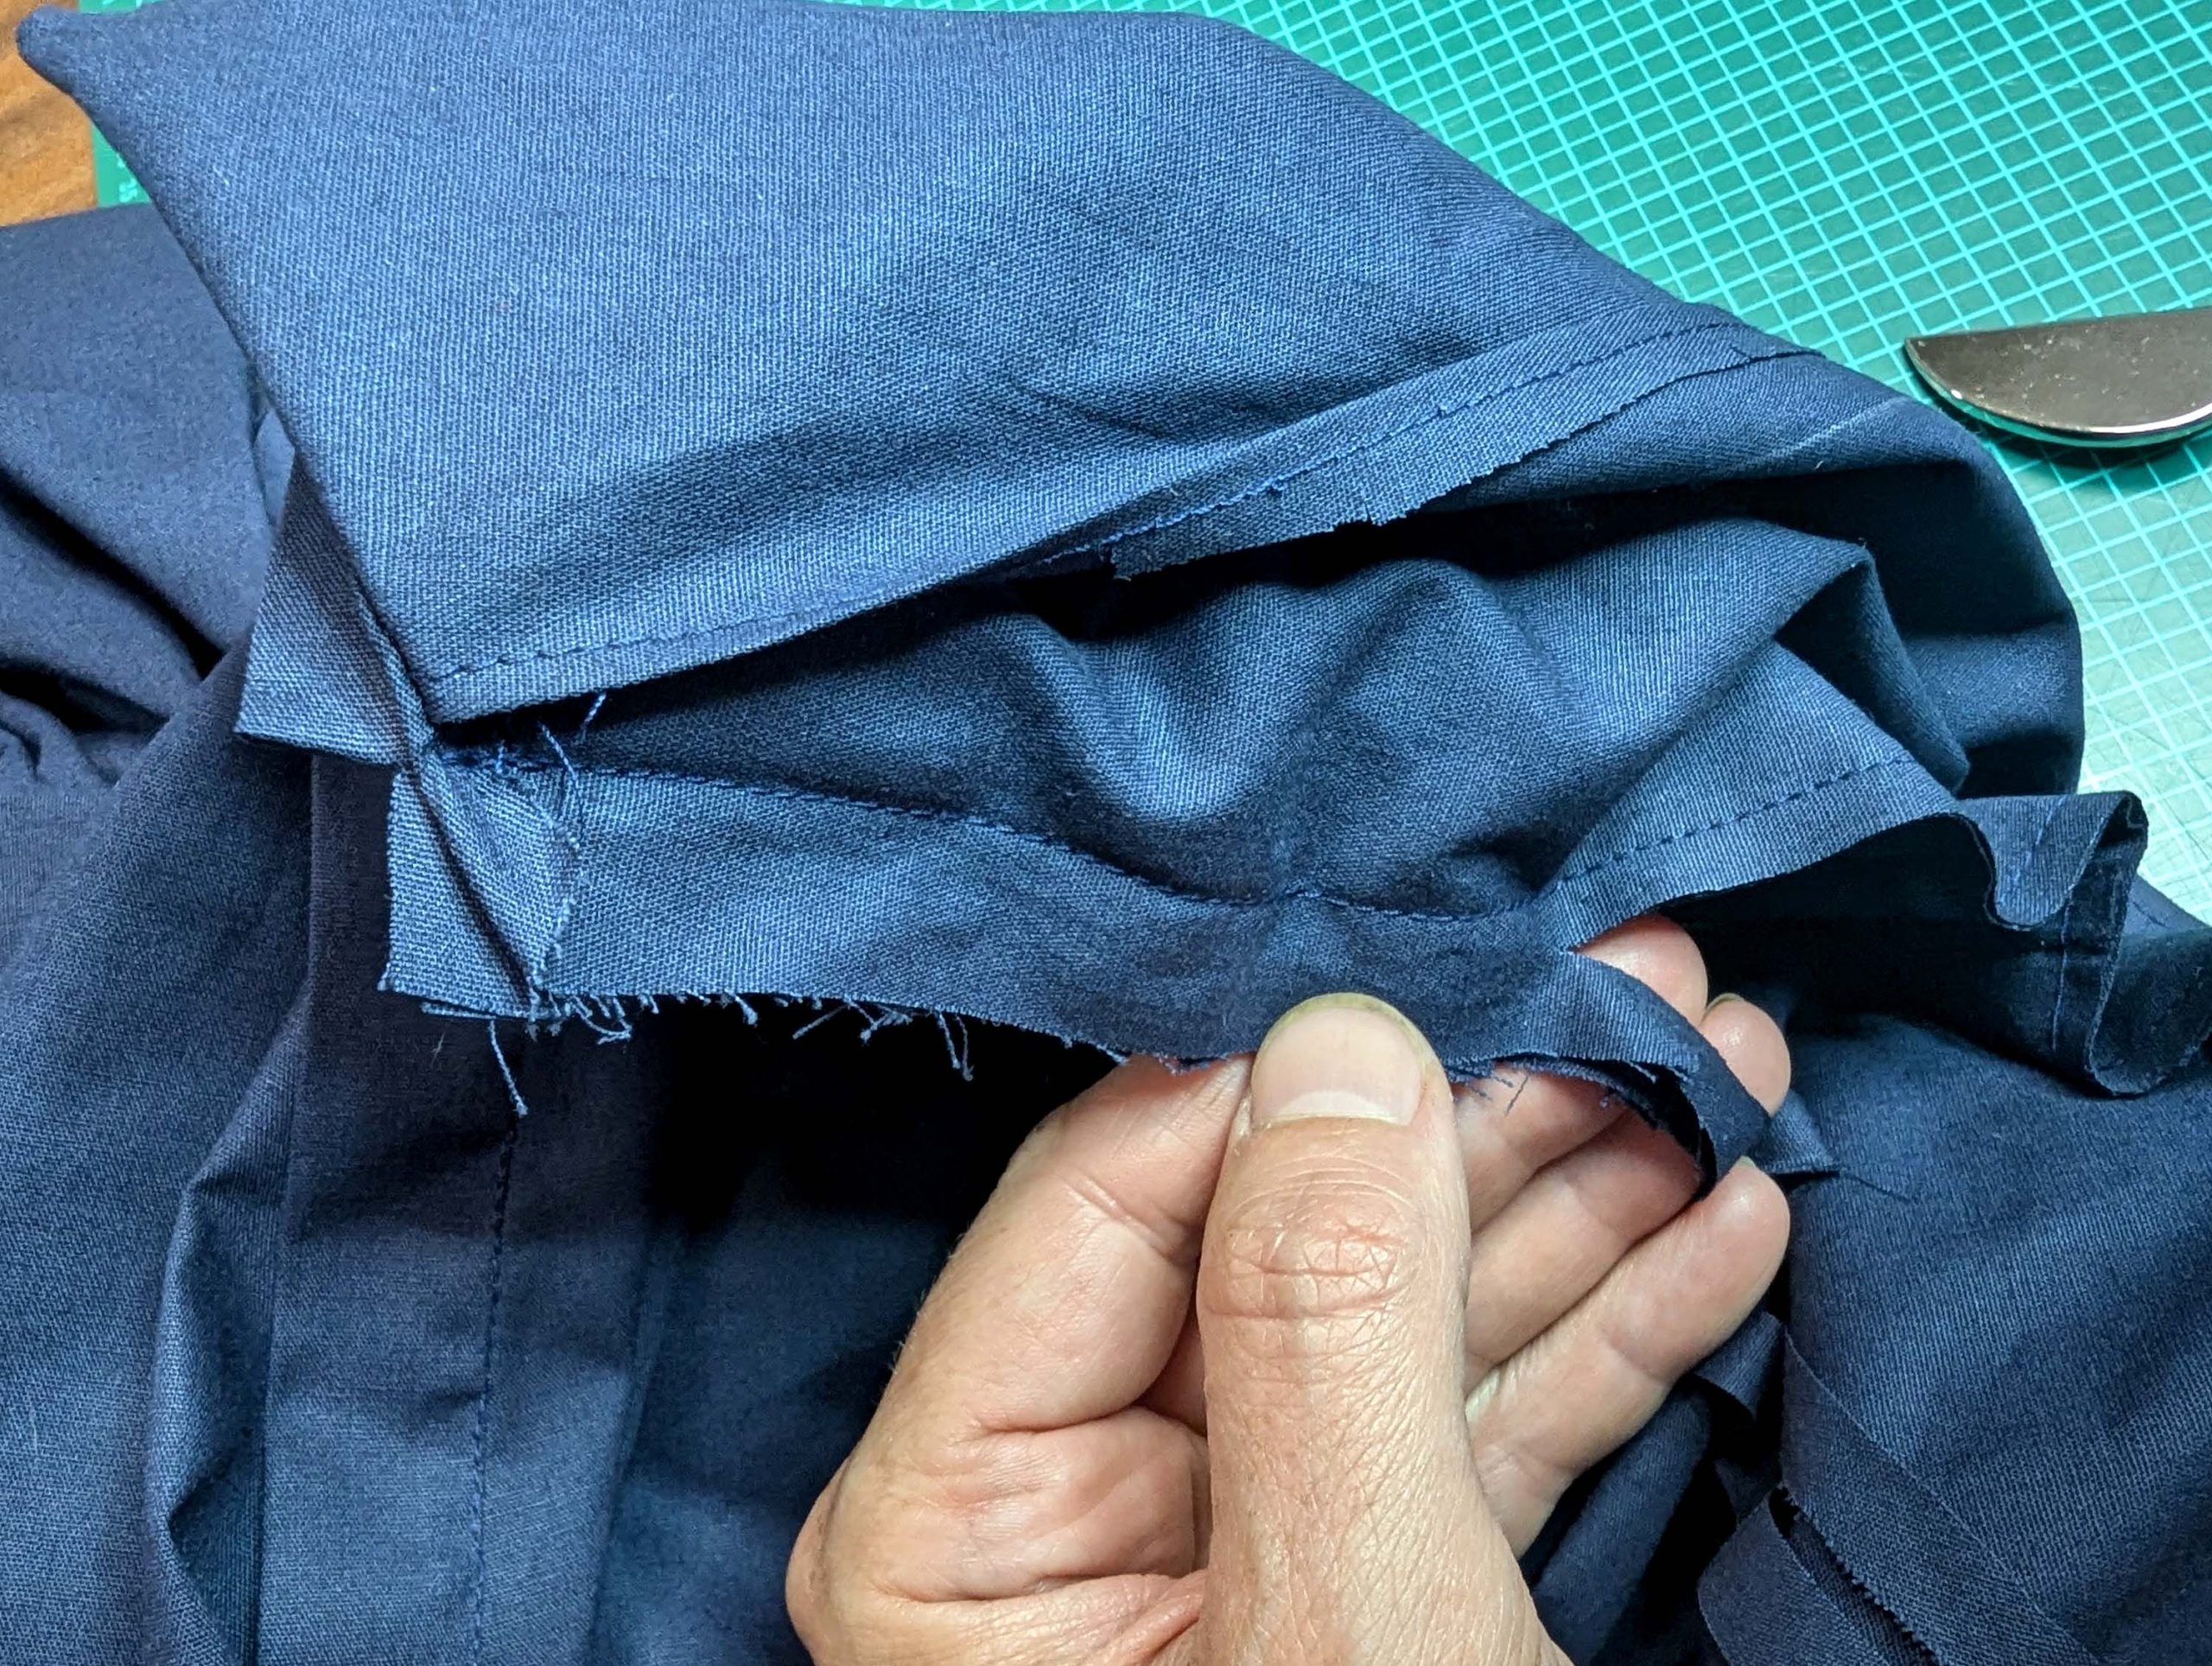
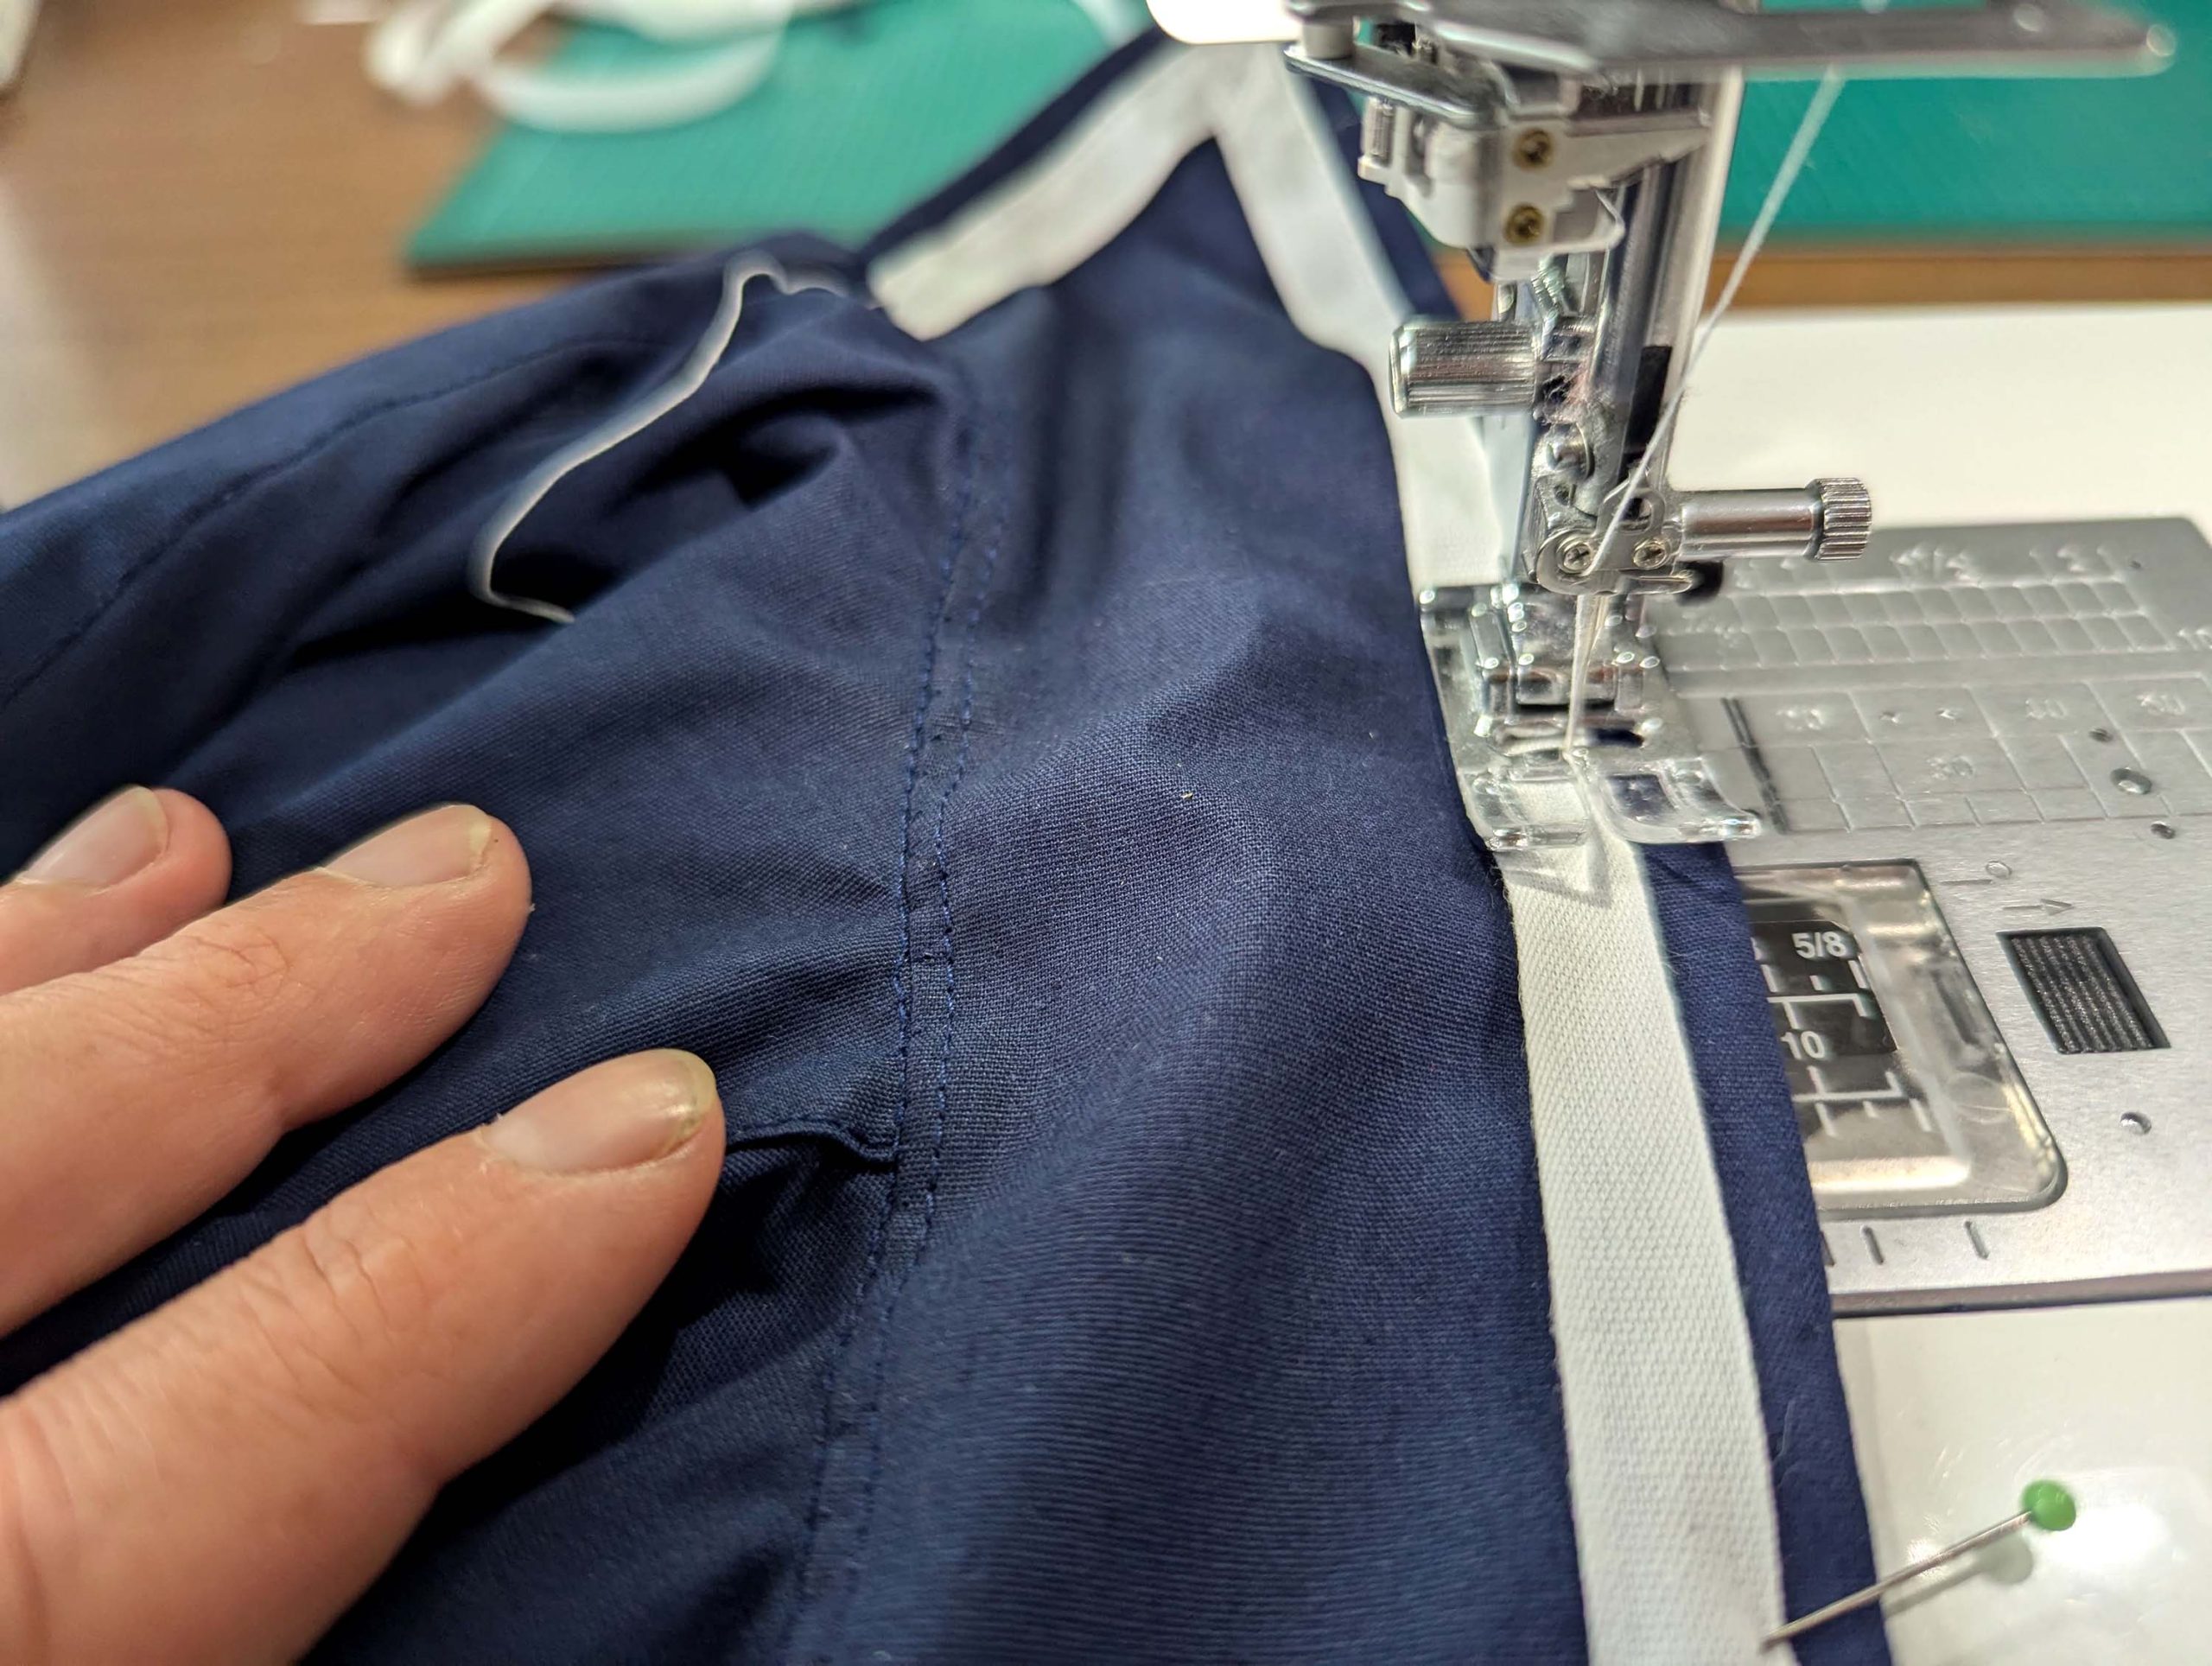
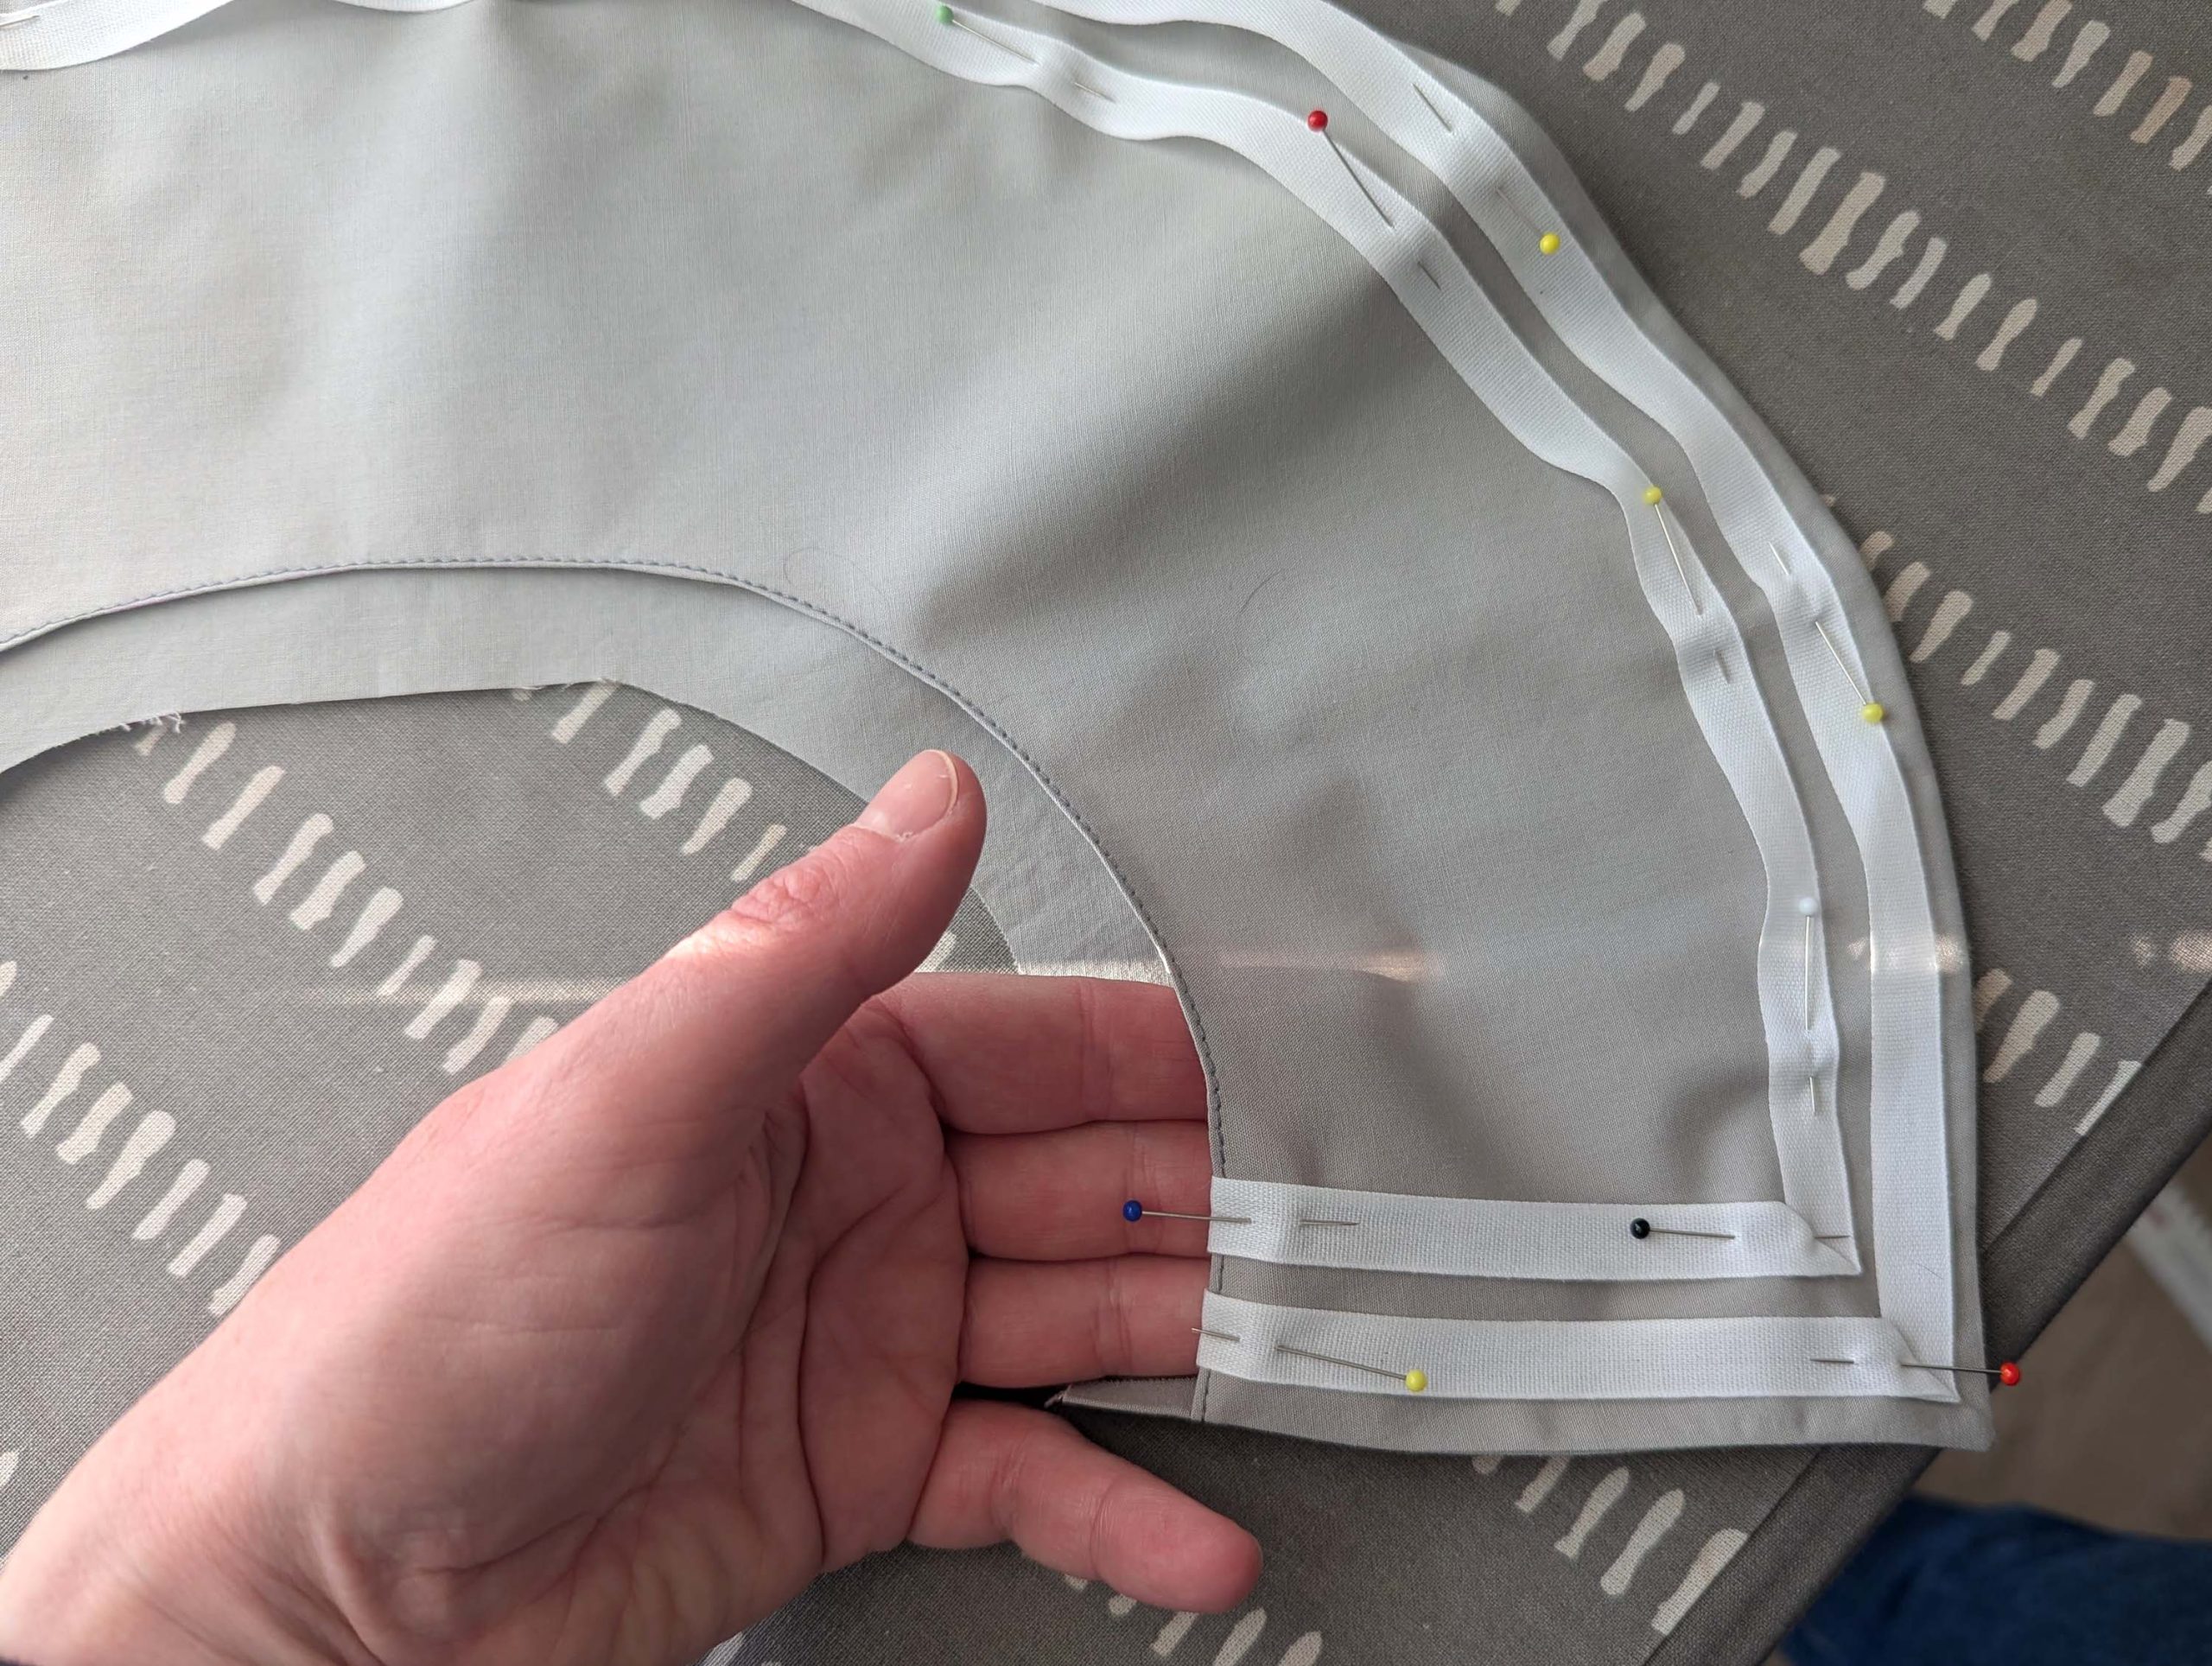
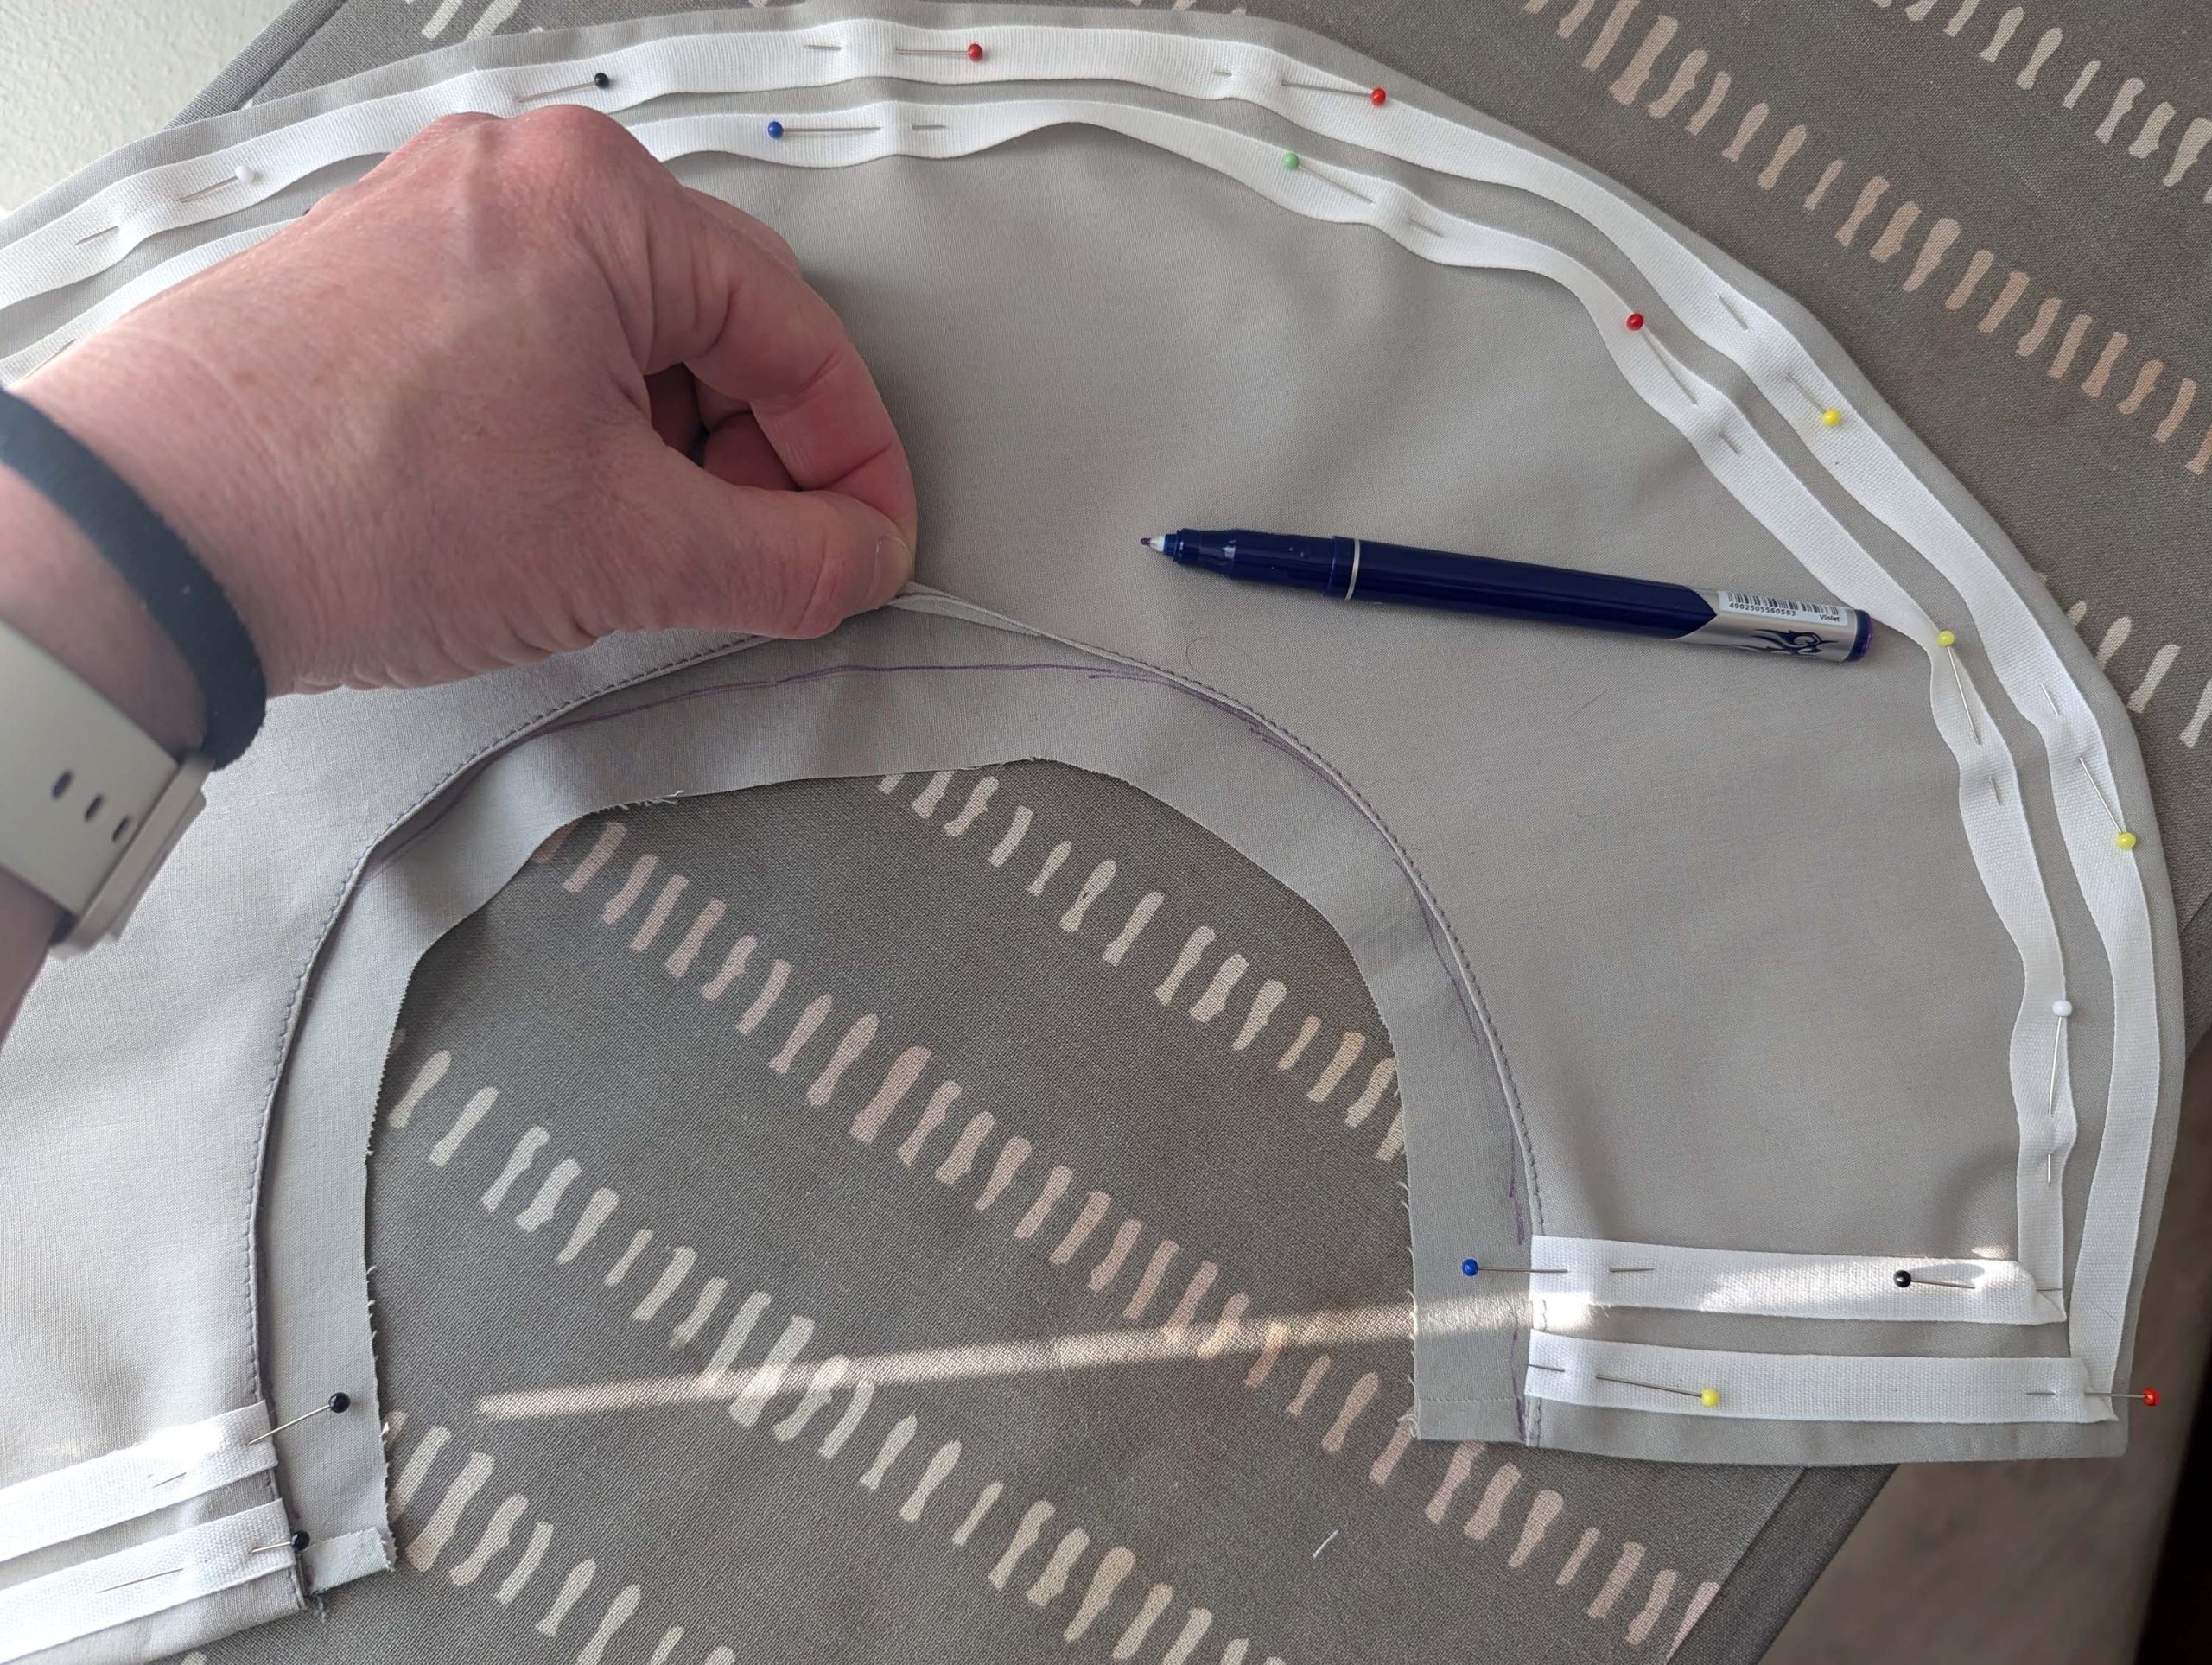
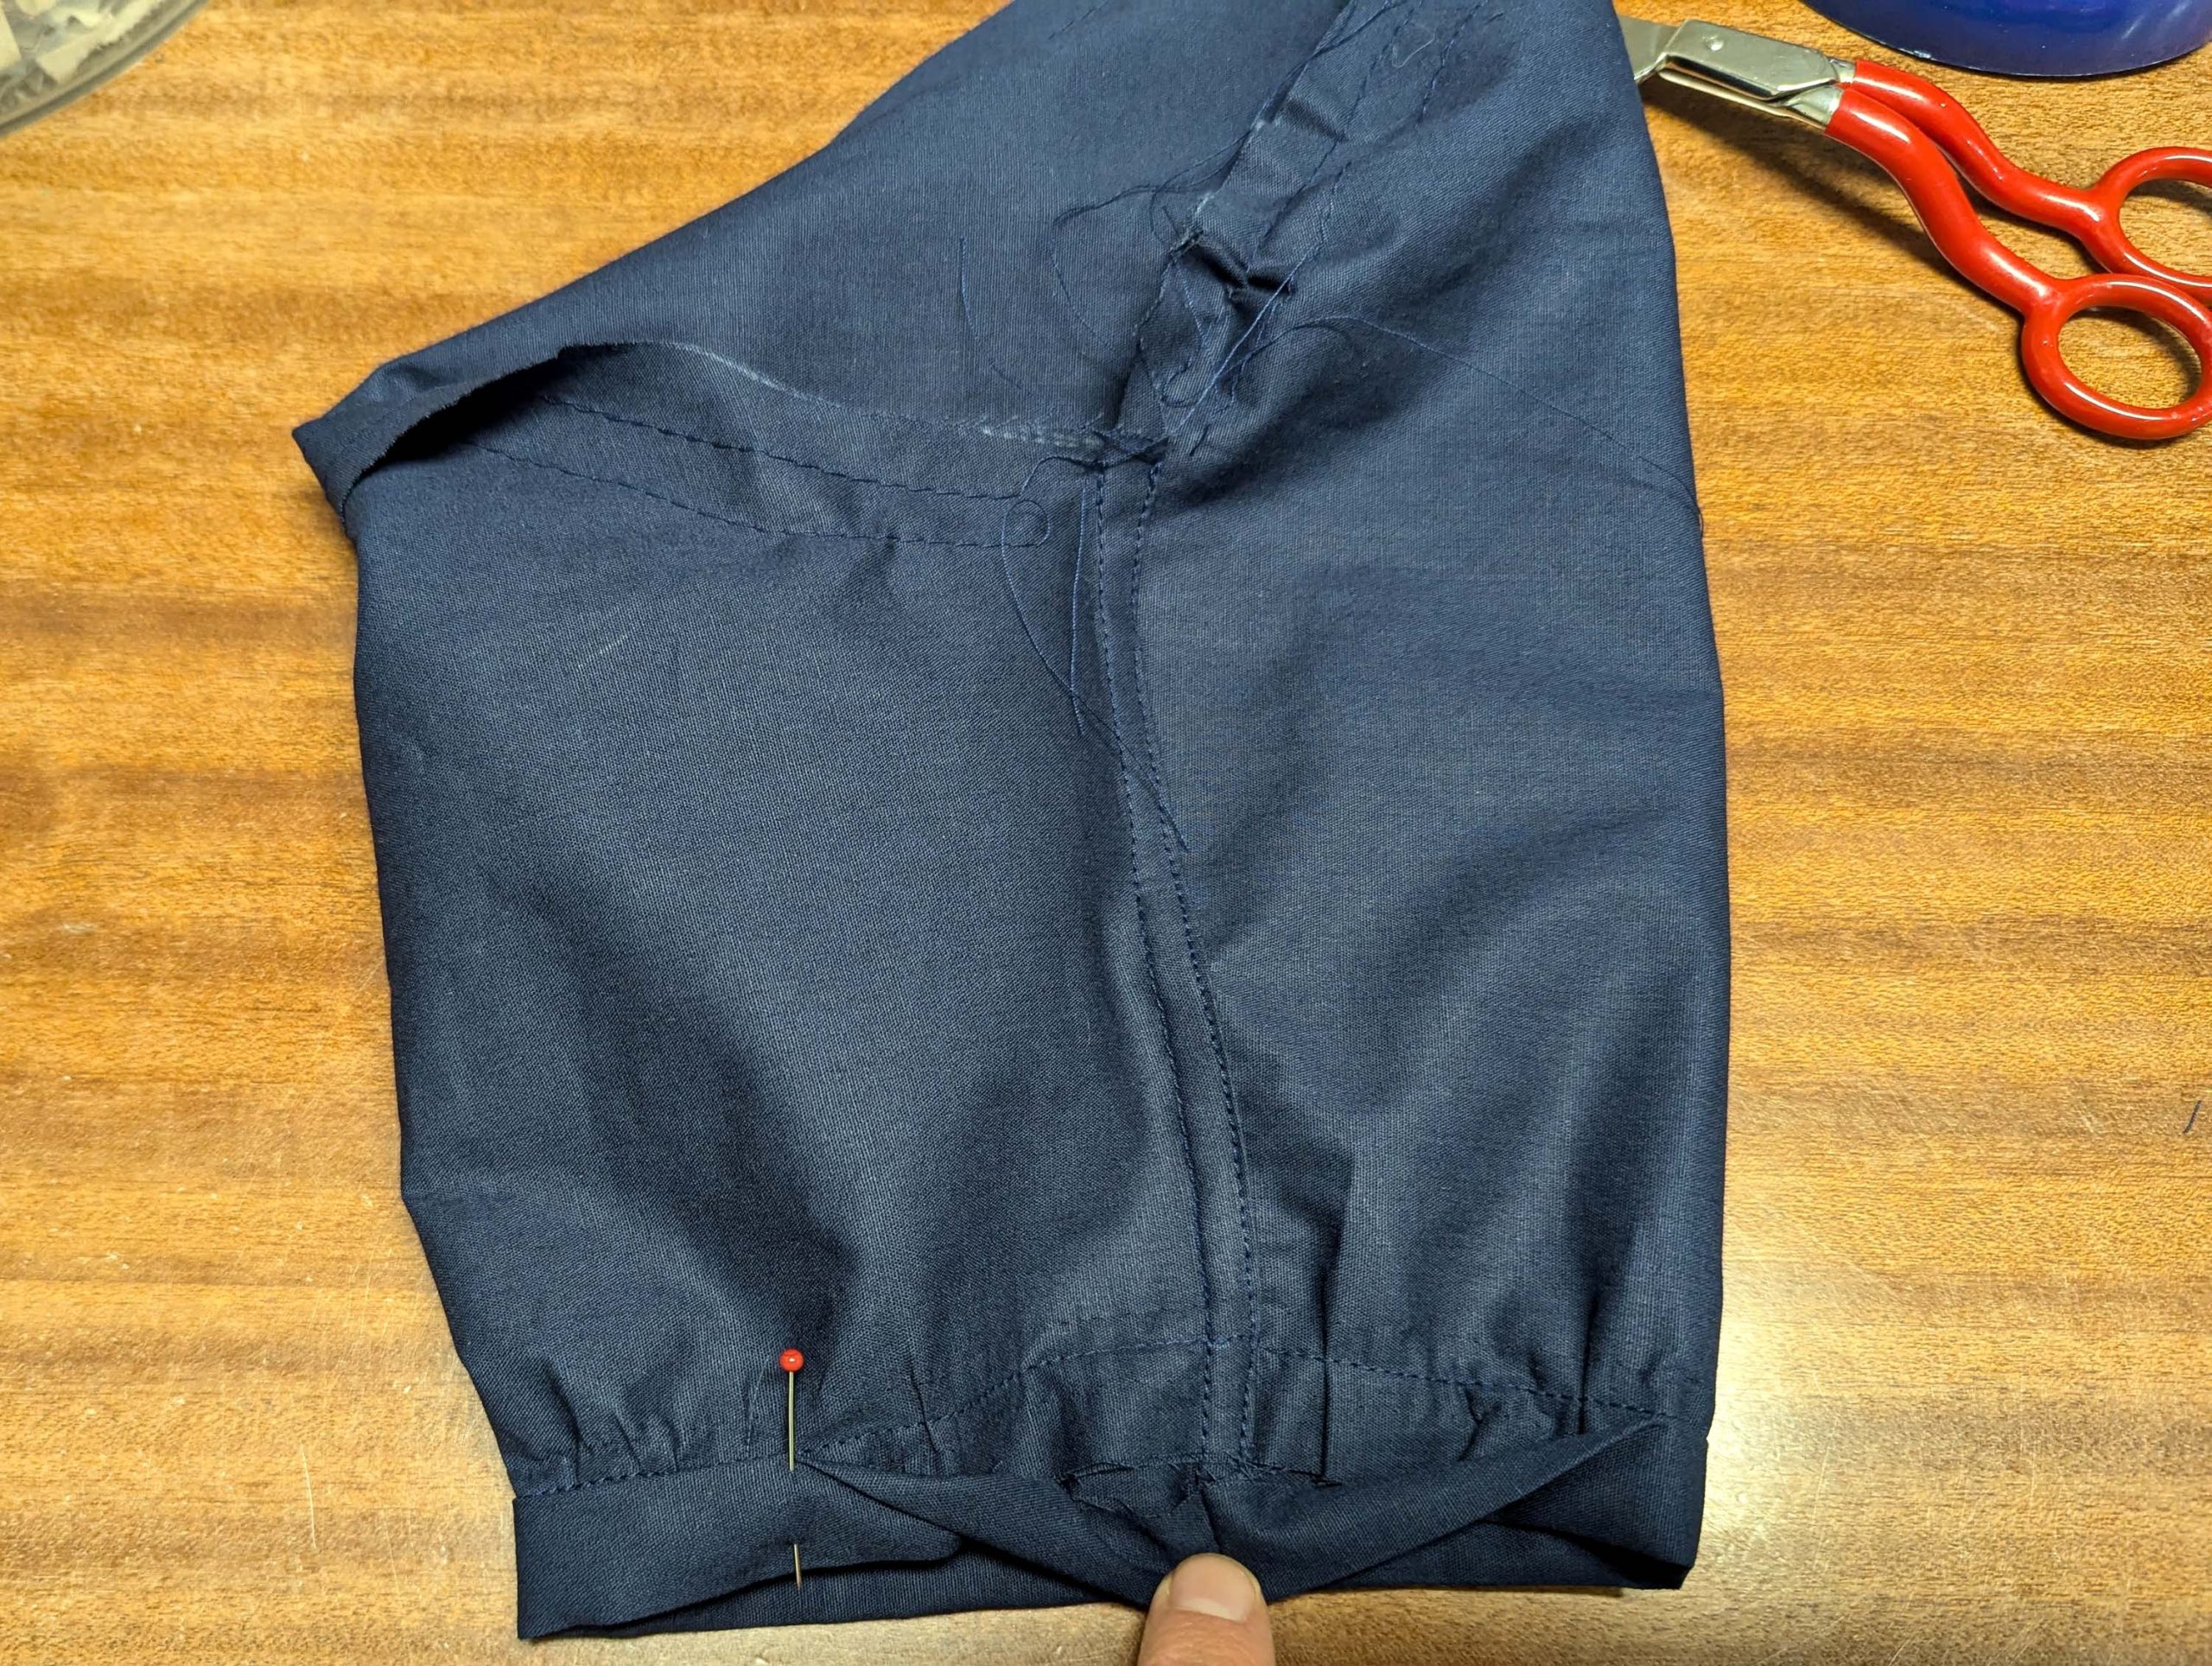
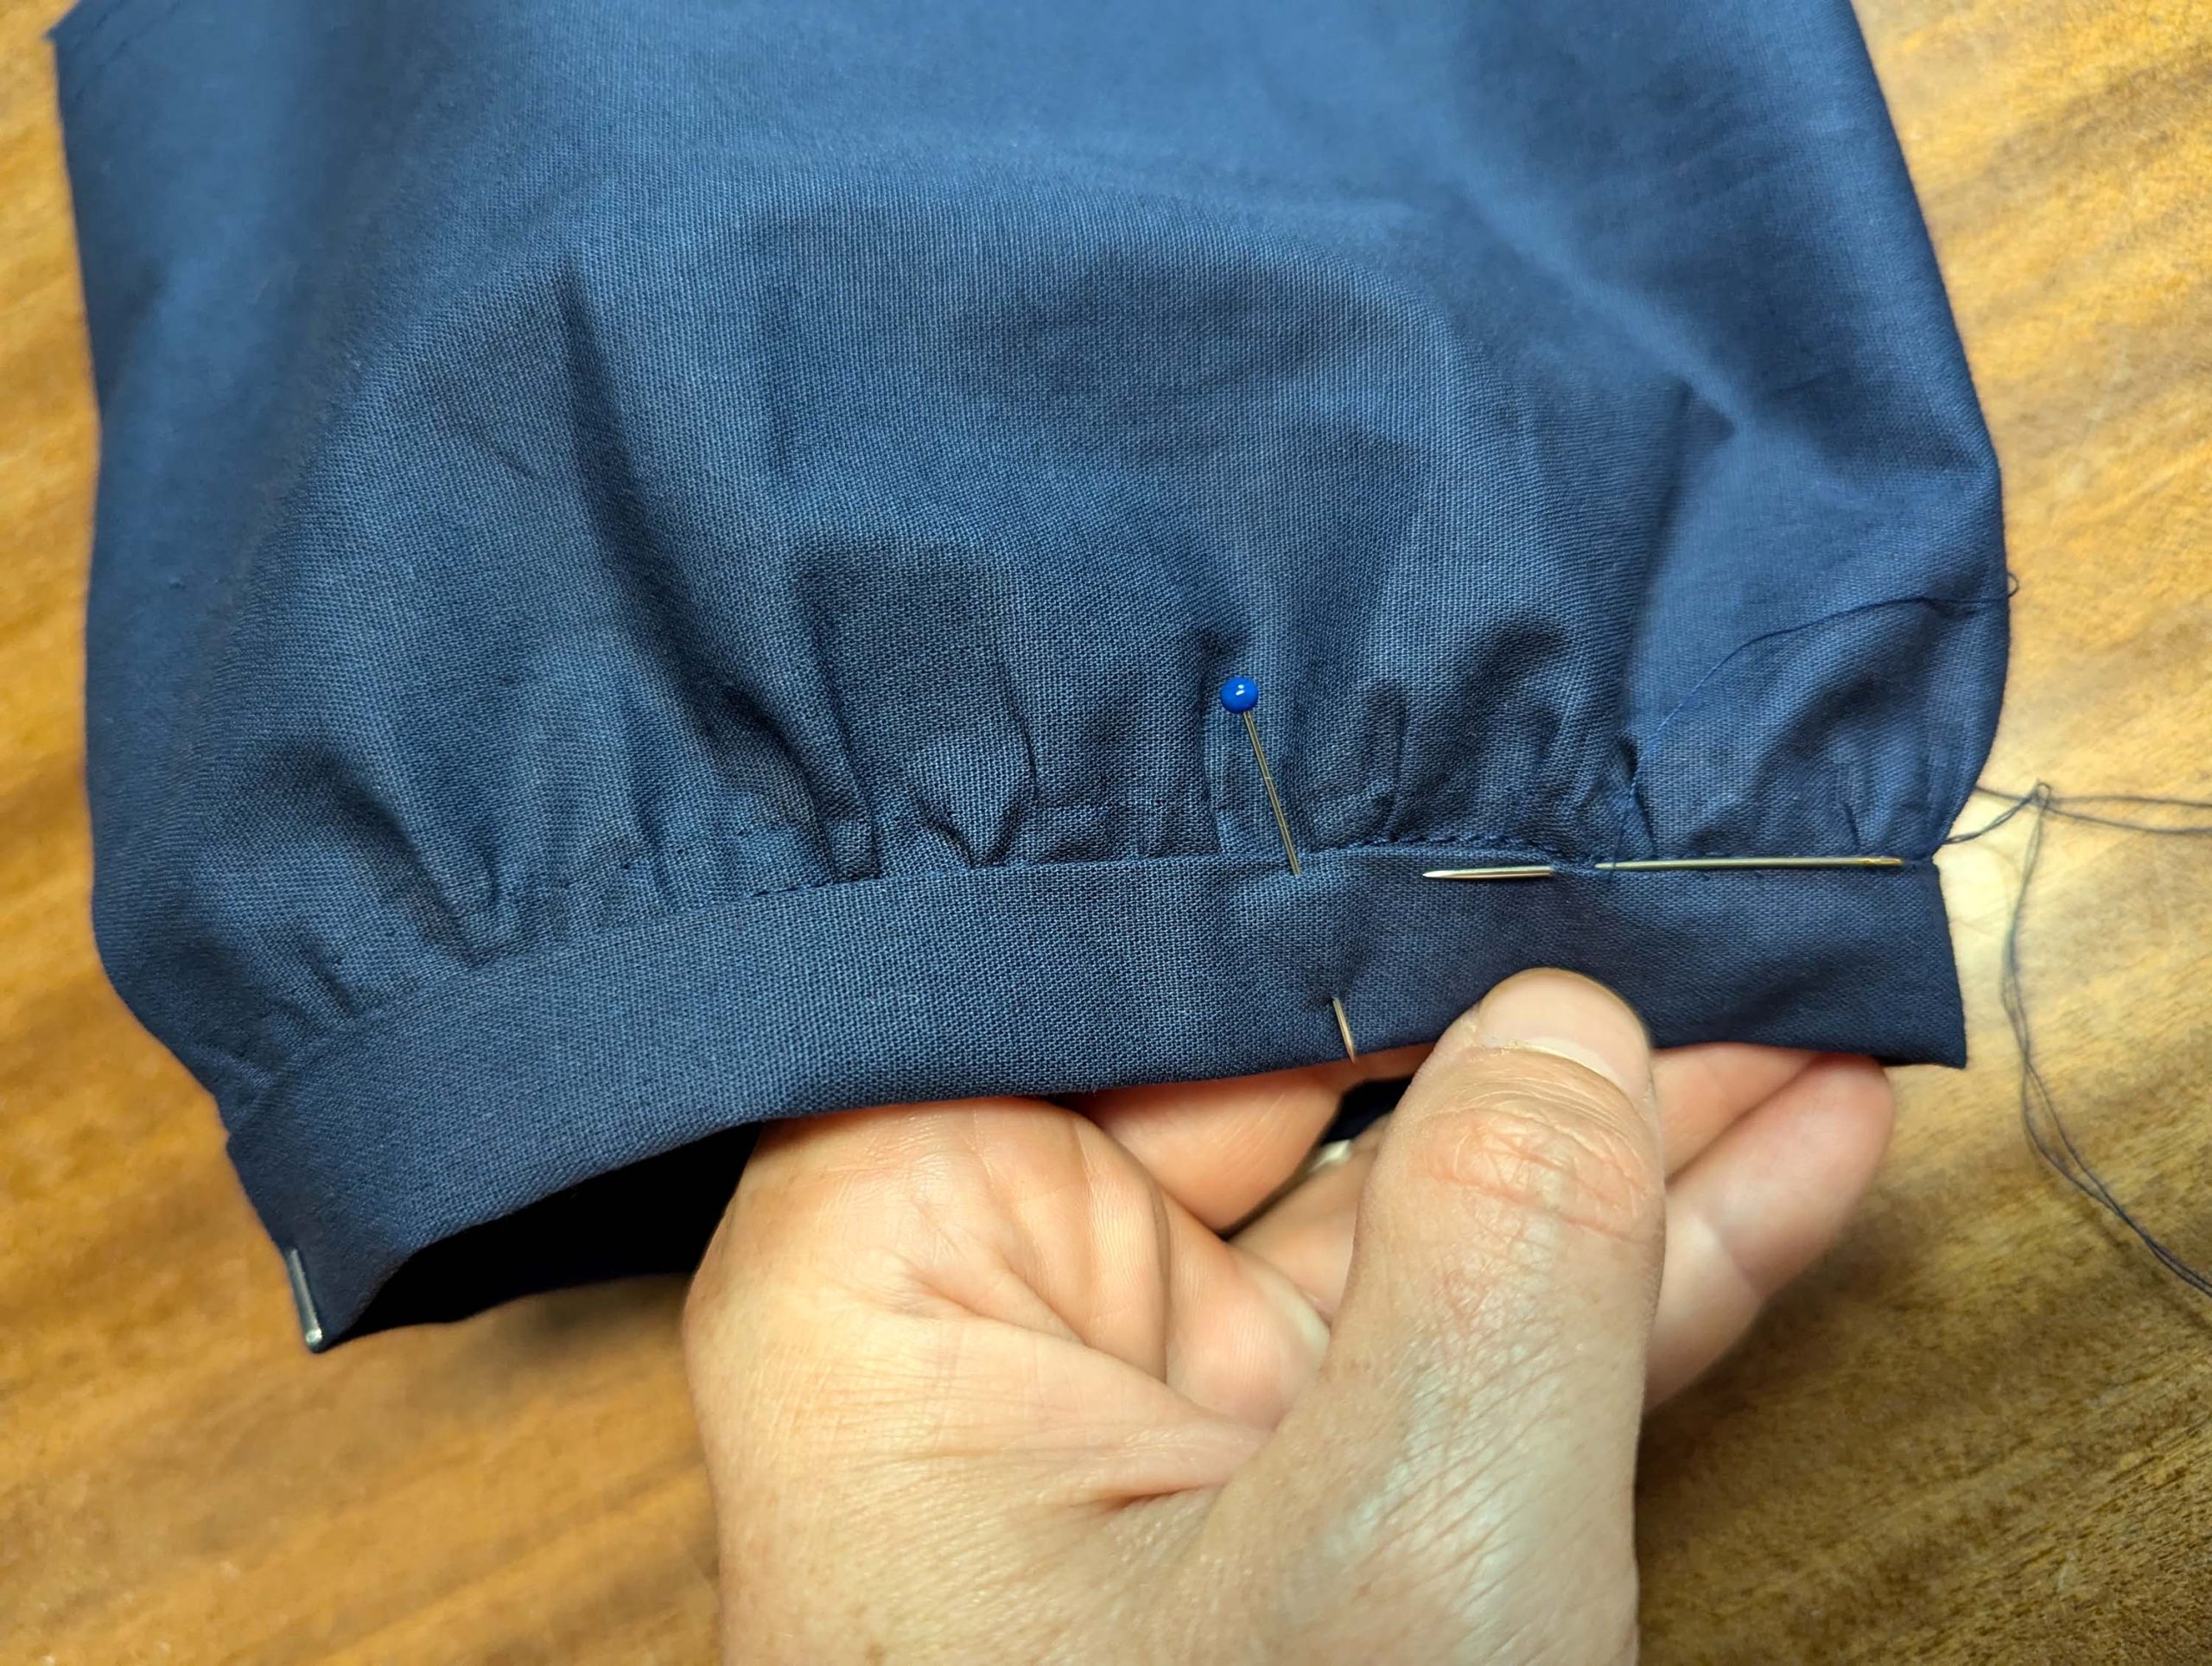
Take the sleeve cuff, fold it half lengthwise, wrong sides together, and press. Reopen and turn in the seam allowance along the inner edge, press. Re-open and sew the cuff to a ring, right sides together, press open the seam allowances. Line up the cuff with the bottom edge of the sleeve, right sides together, pull the gathering threads to match the cuff and spread the width evenly. Sew, trim back the seam allowances and fold the cuff along the pressed line wrong sides together, covering the raw seam allowances . Line up the turned-in inner edge with the stitching line and fell stitch in place.
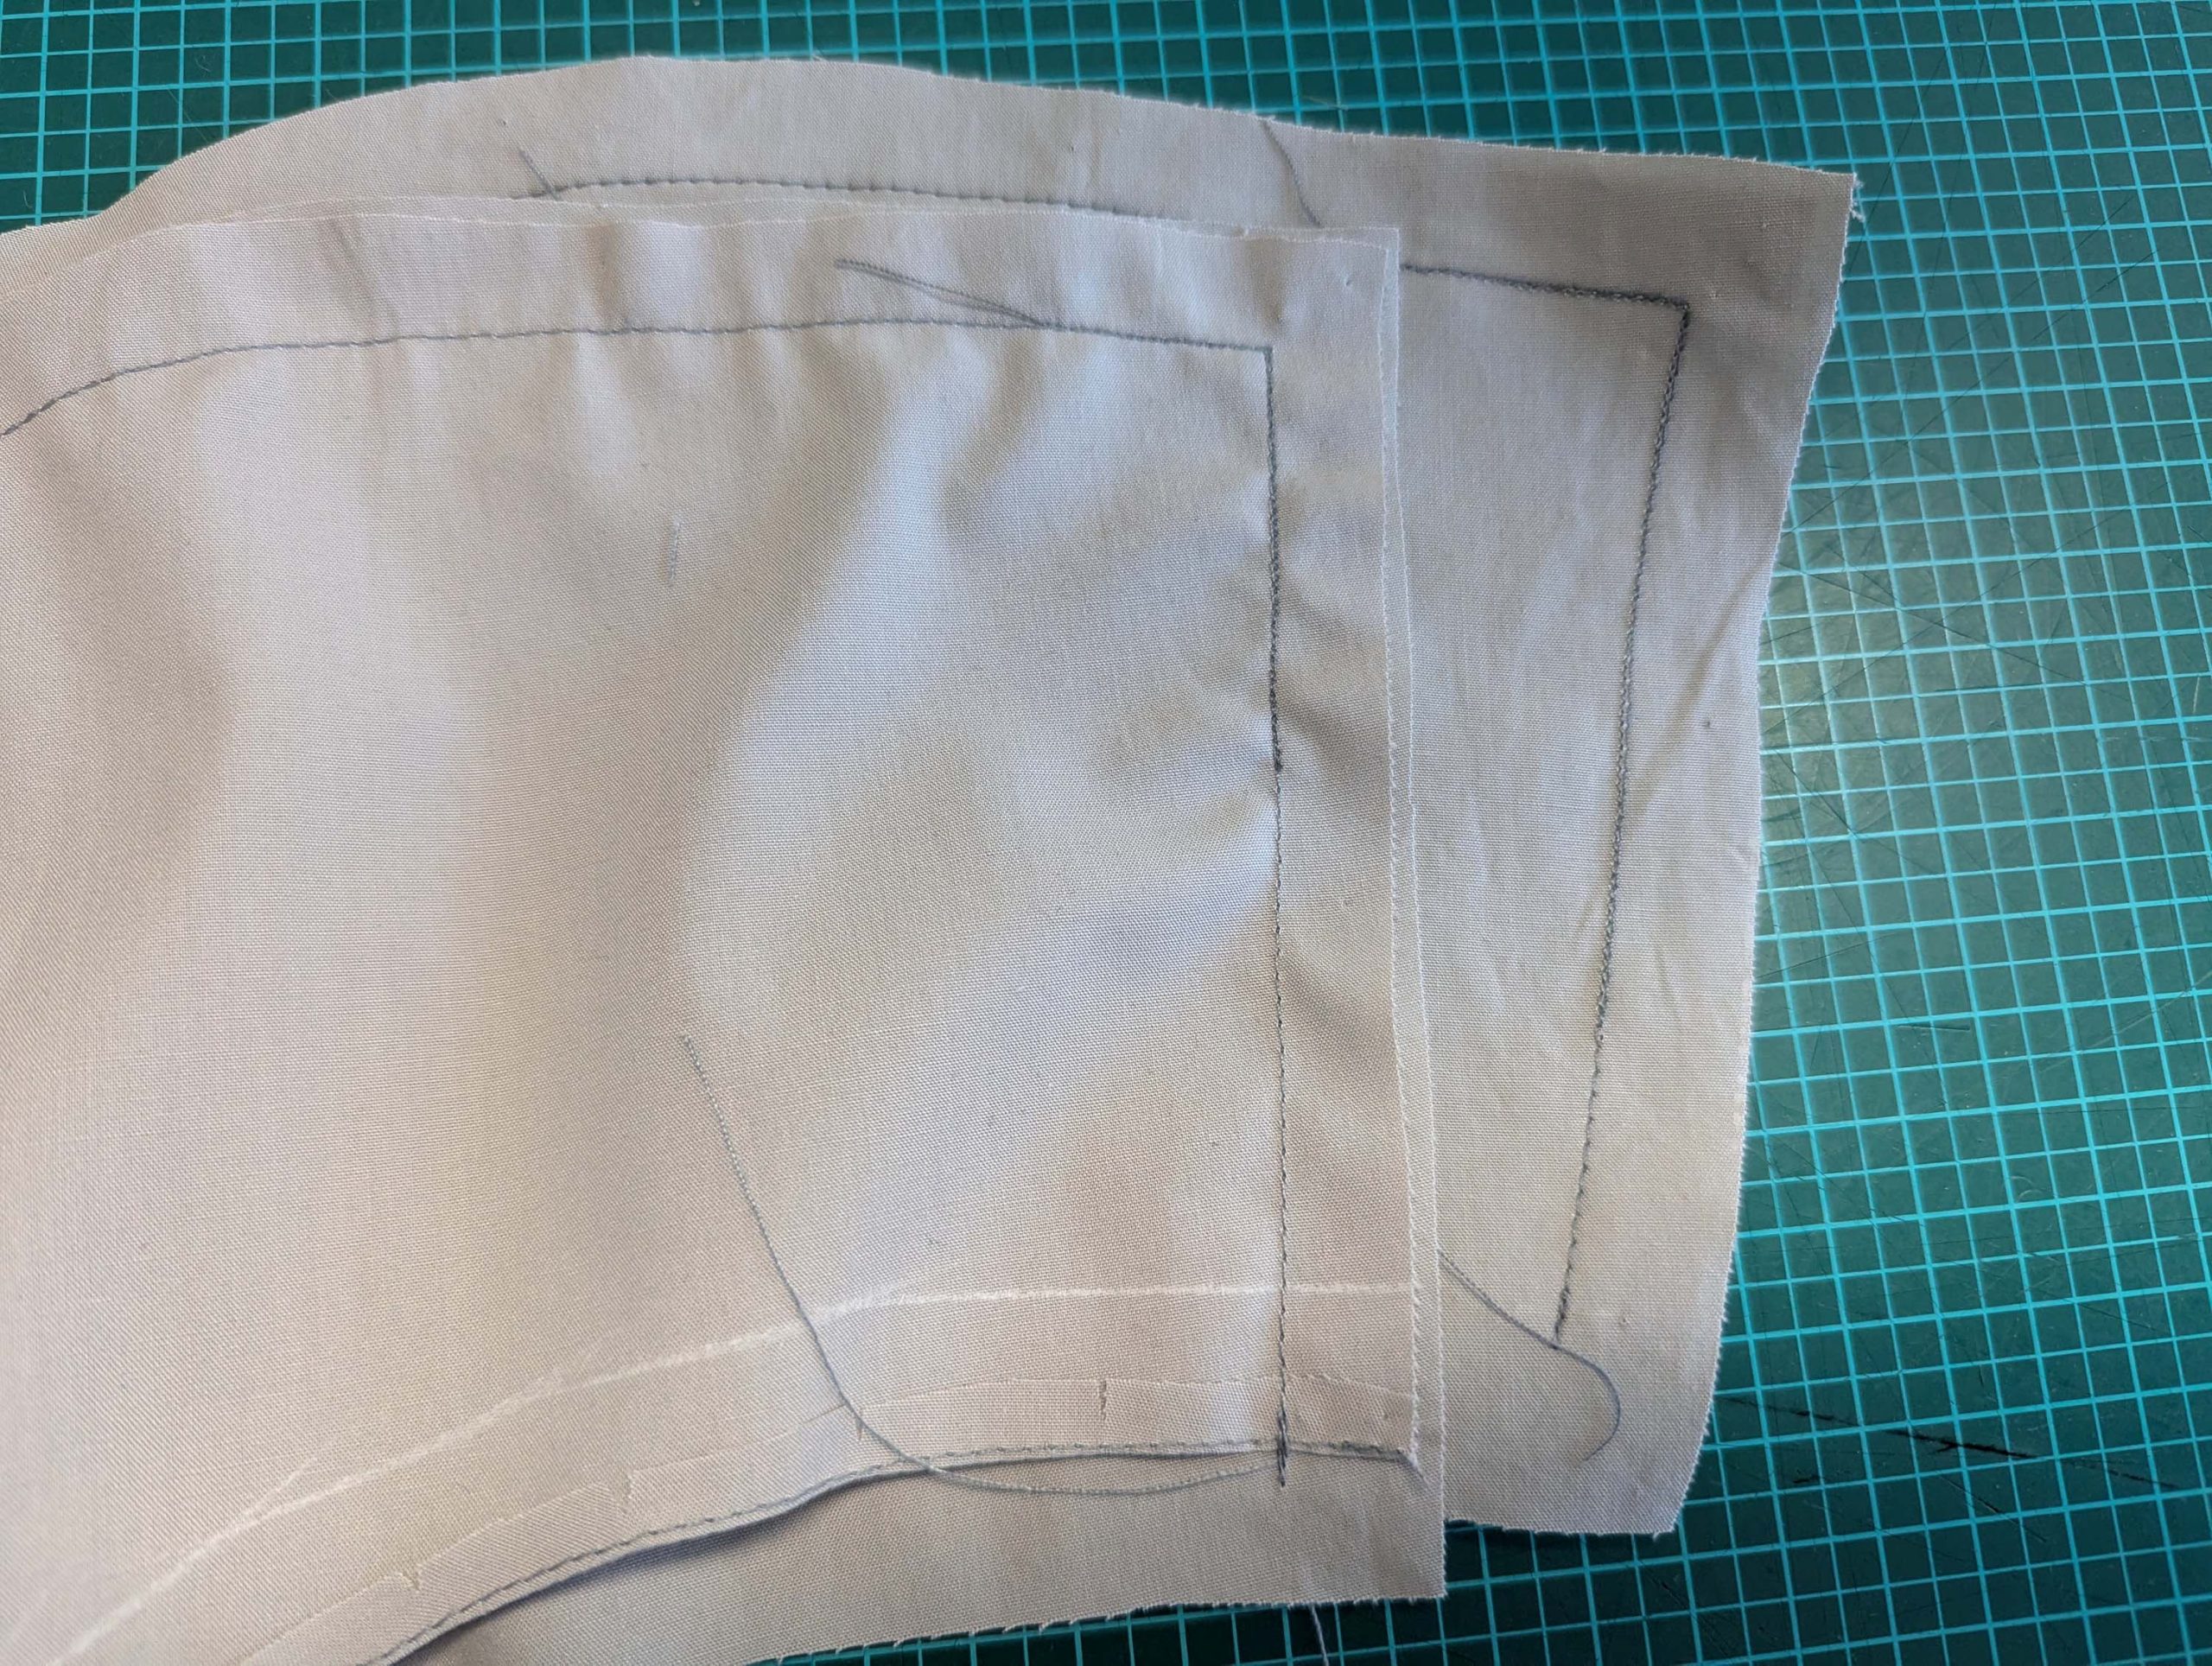
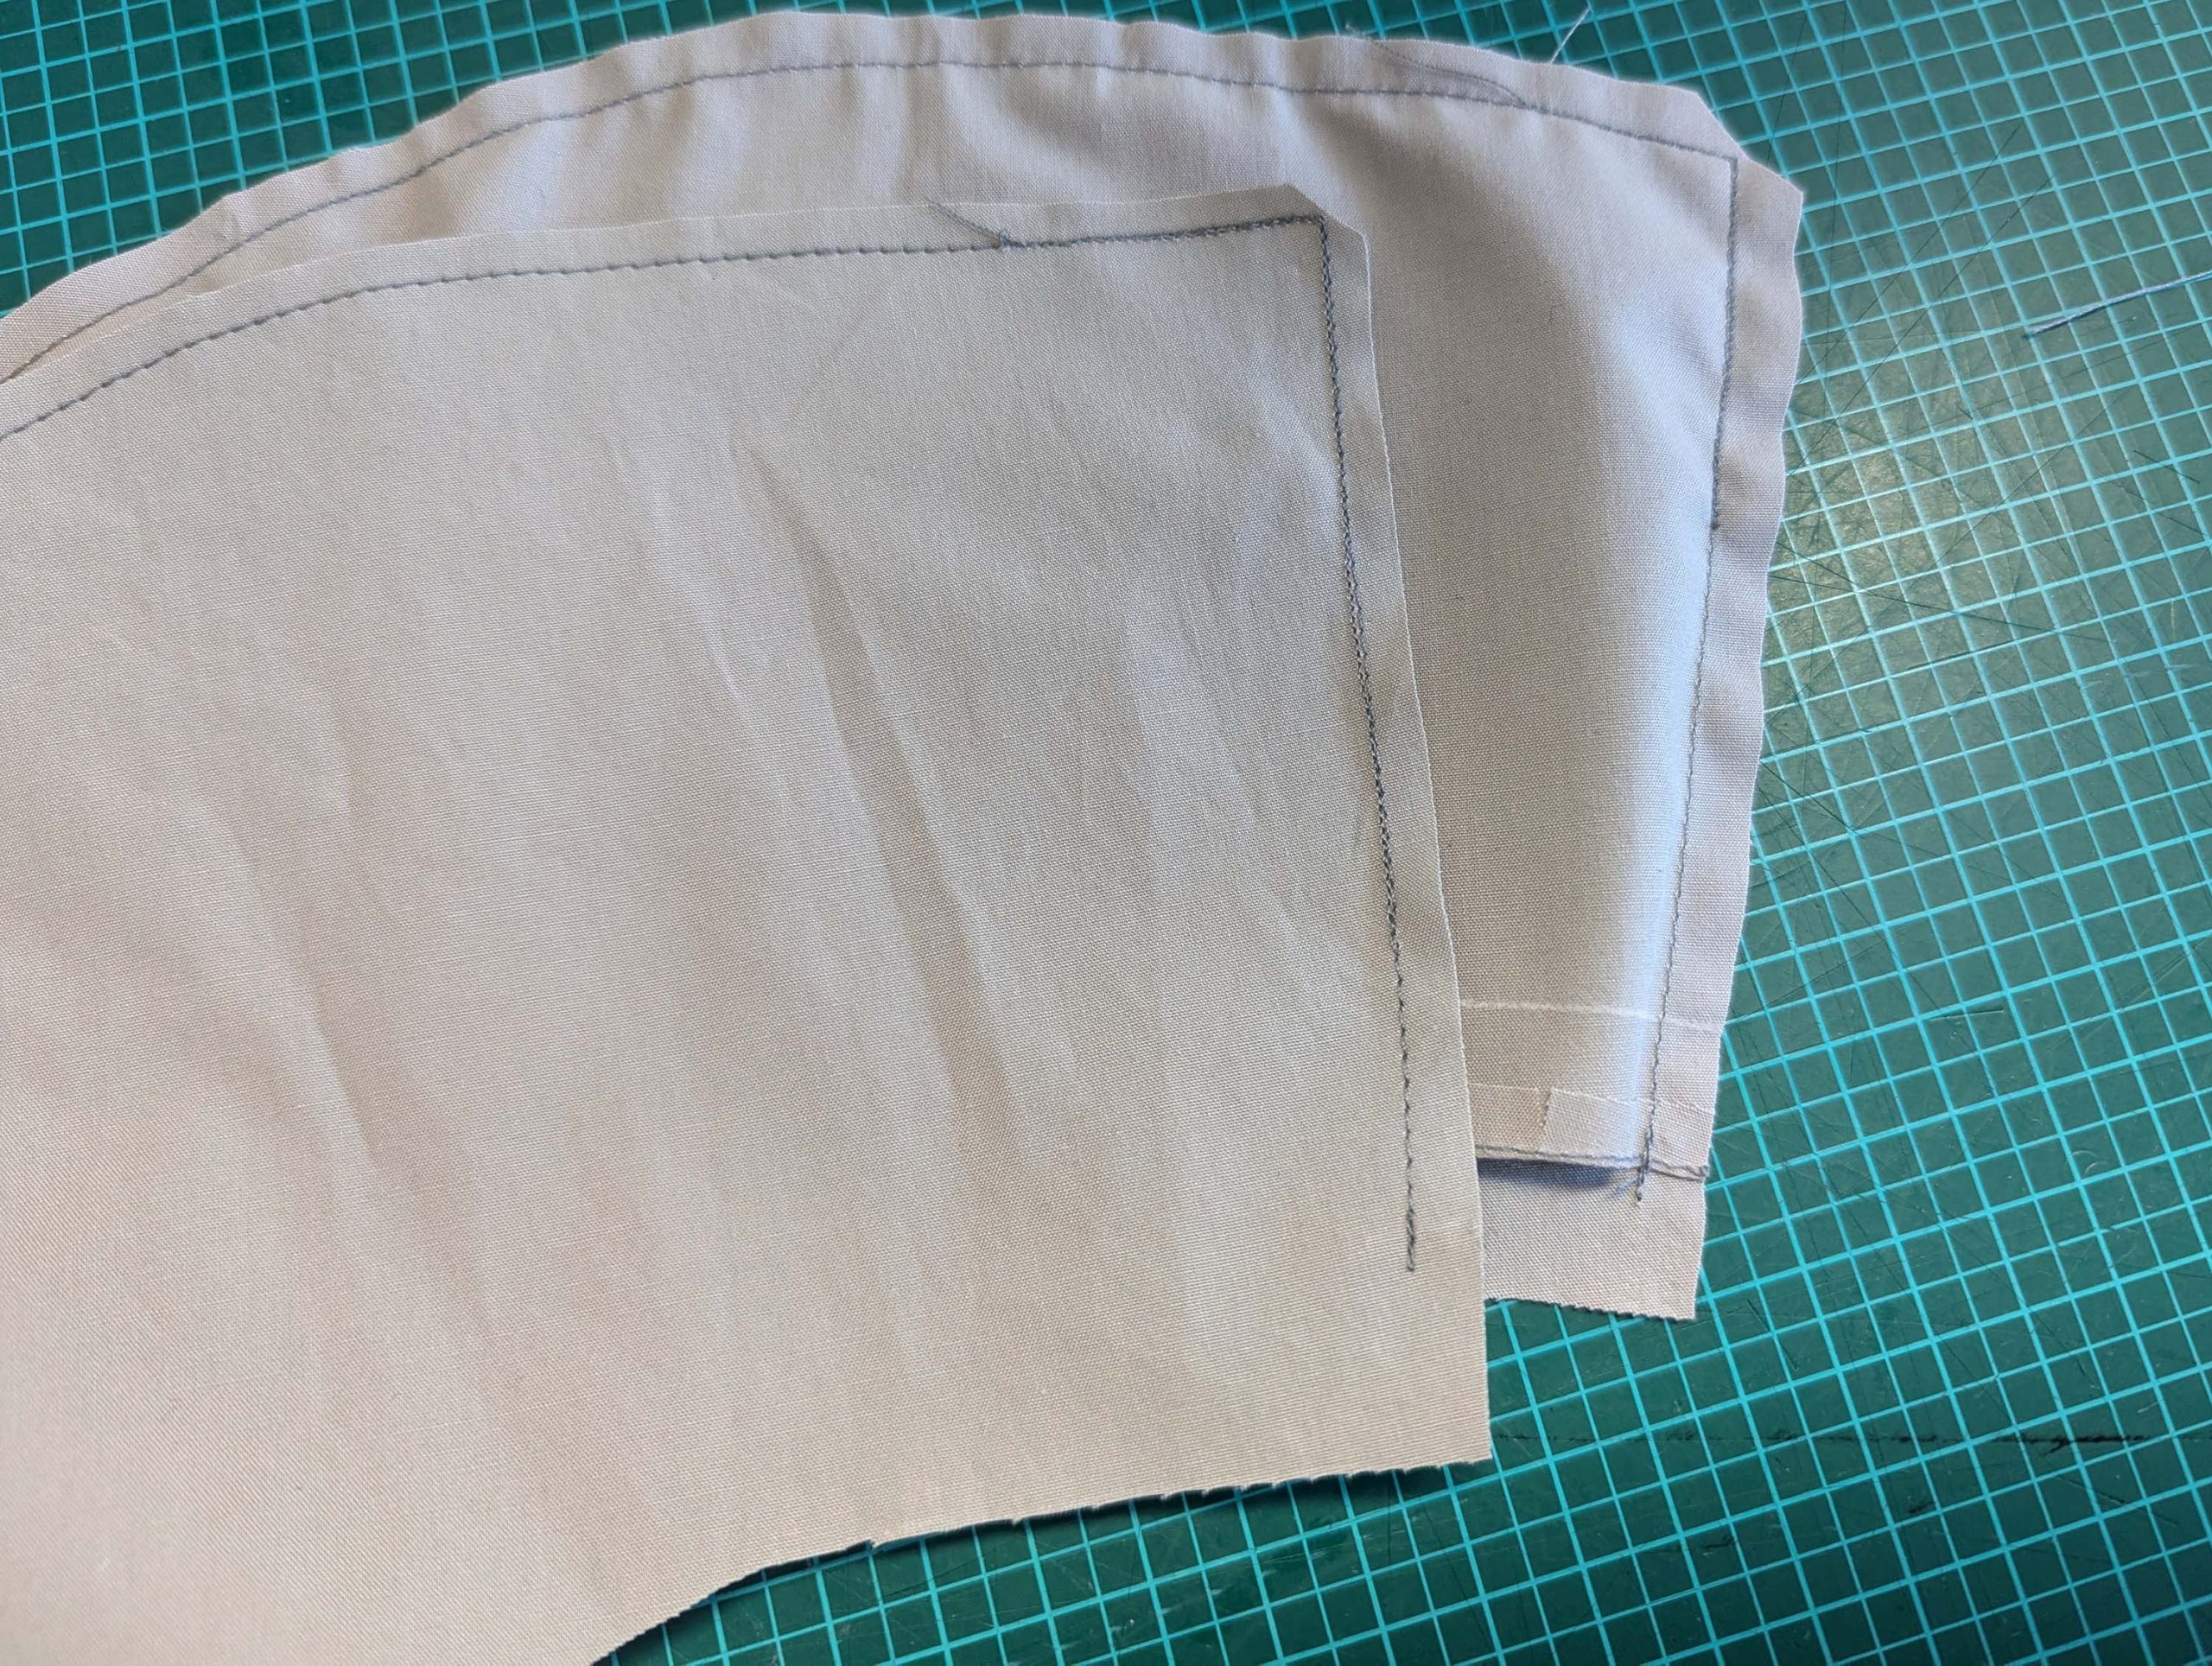
V2: The longer sleeve: just sew rows of gathering stitches along the sleeve head. Take the 1” (2,5cm) wide strip of fabric and double-turn in a narrow seam allowance along the short edges. Turn in the long edges as you´d form a bias binding. Line up along the line, indicated on the pattern, keeping a distance of about 1” (2,5cm) from the edges. Stitch in place along the long edges. Sew the sleeve seam, right sides together and finish as a flat felled seam. Double-turn in the sleeve hem, and stitch in place. Thread the tunnel with a narrow drawstring.
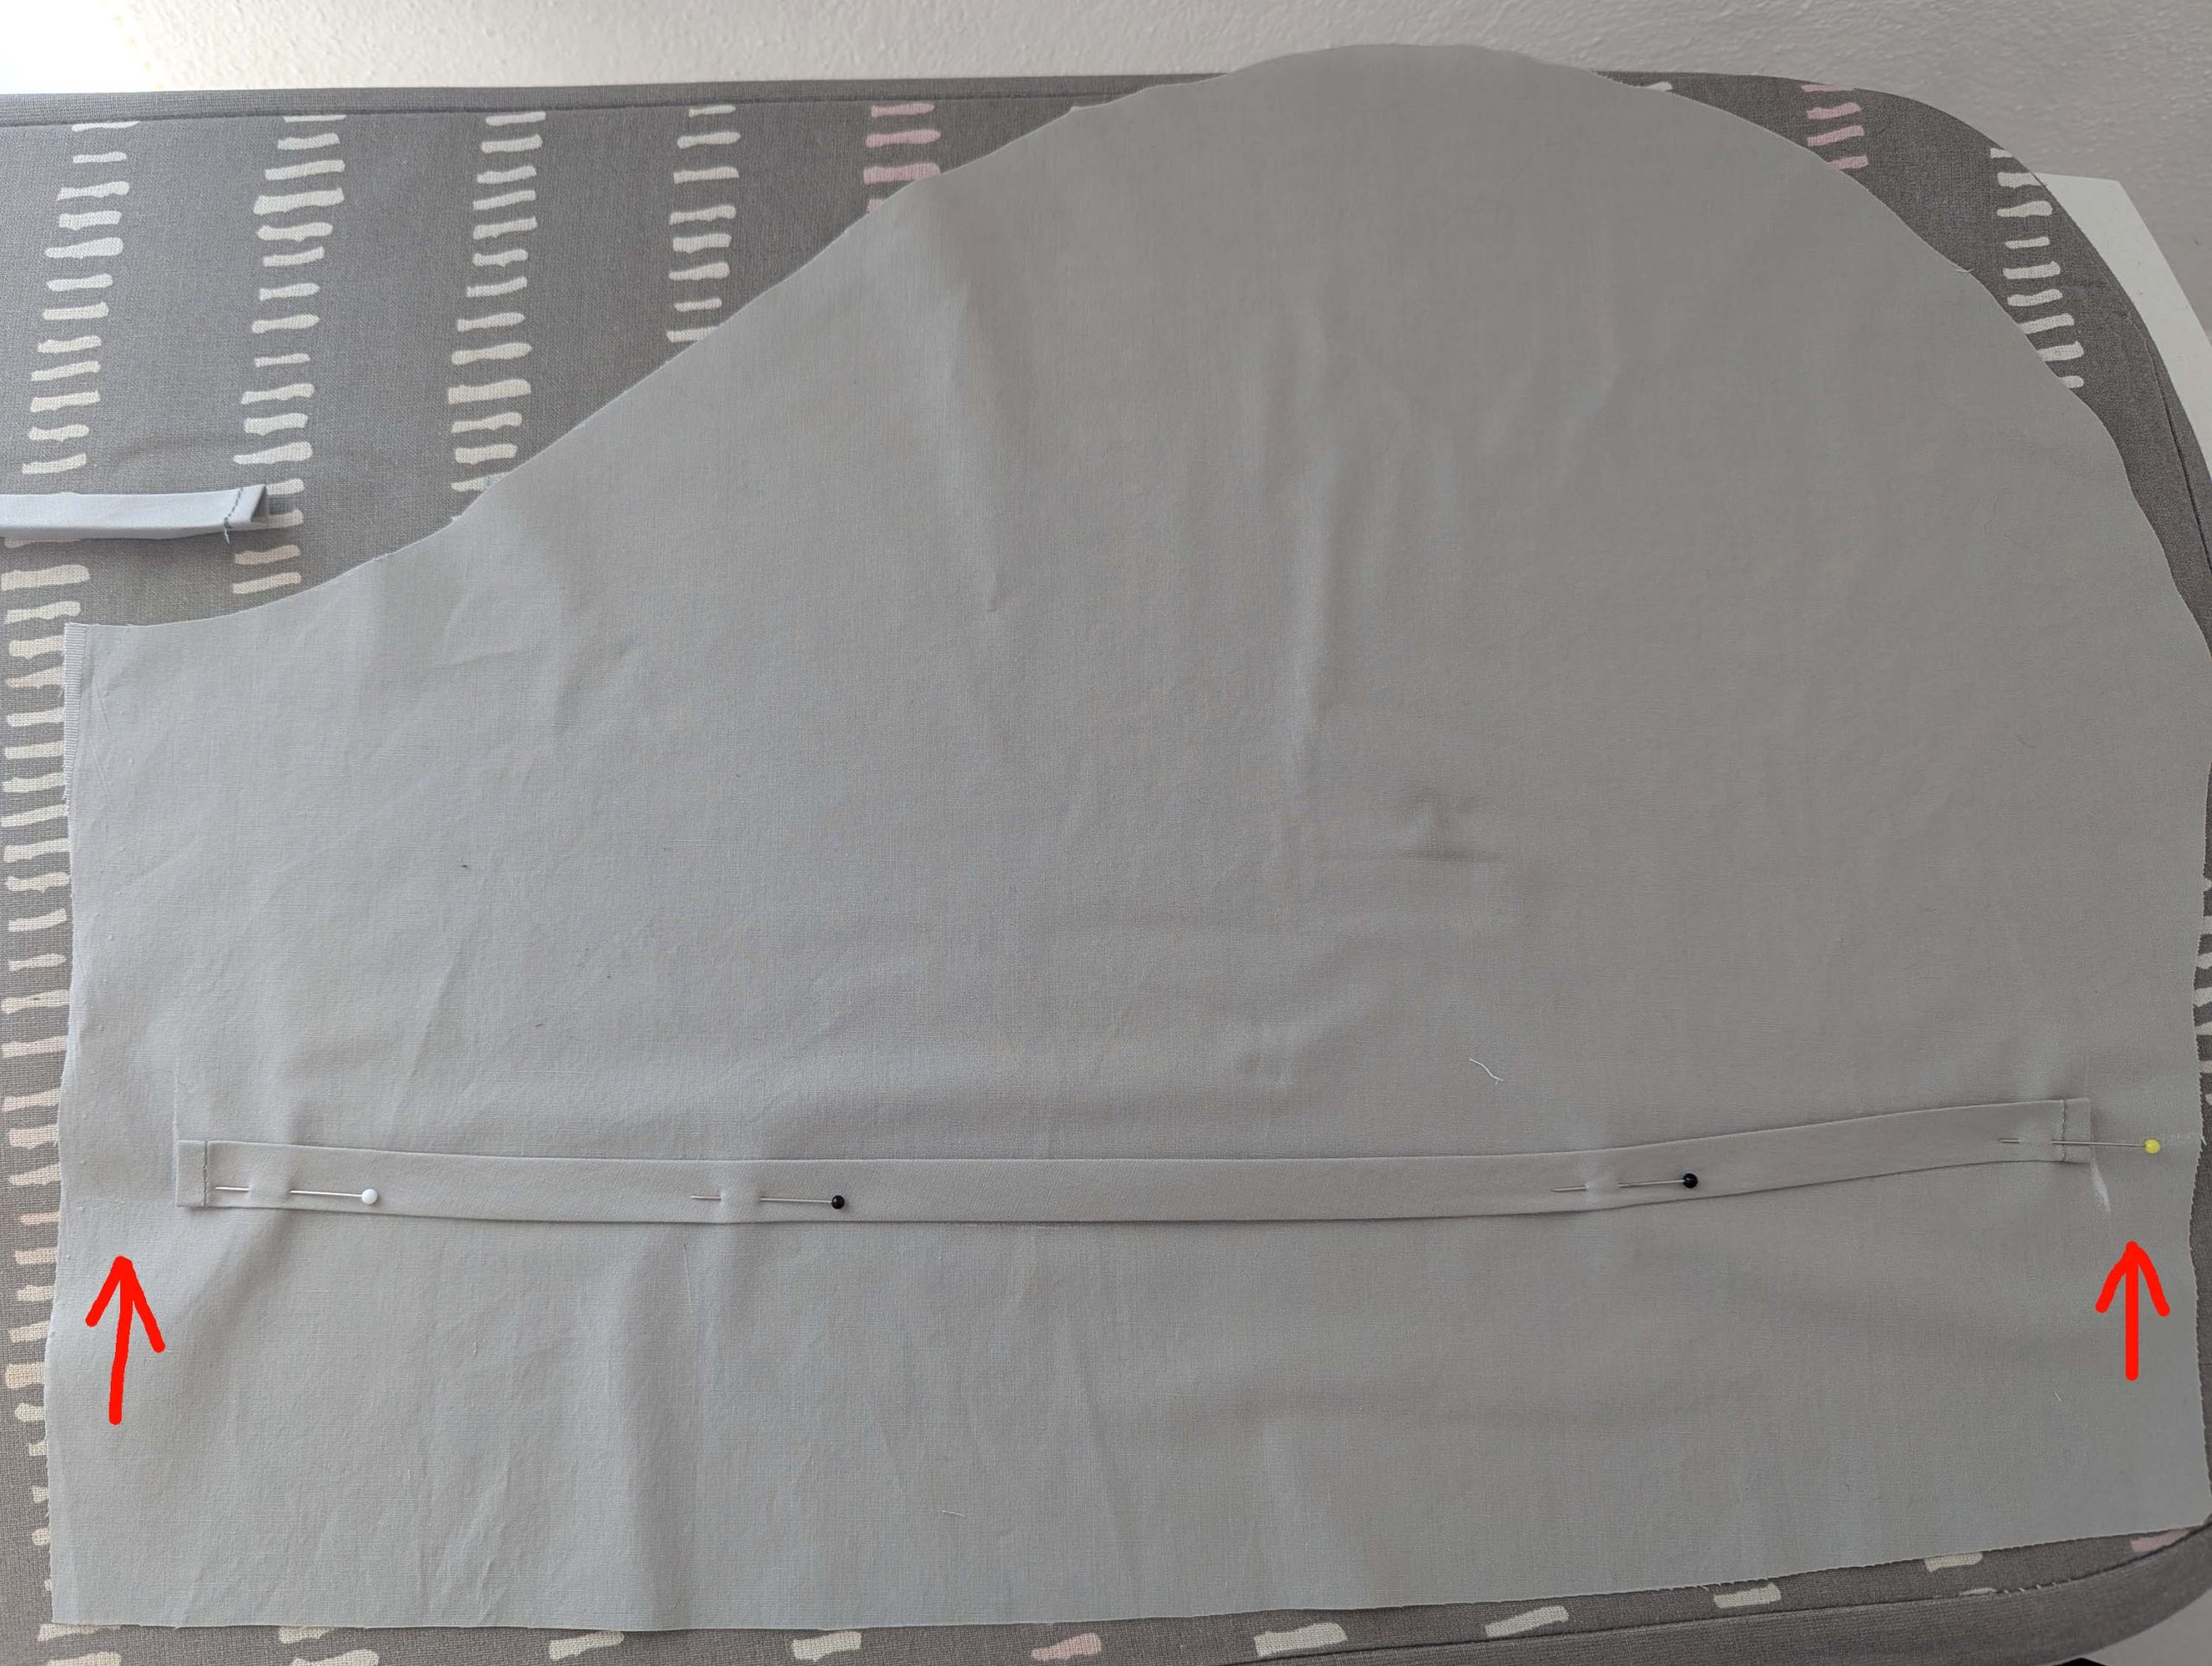
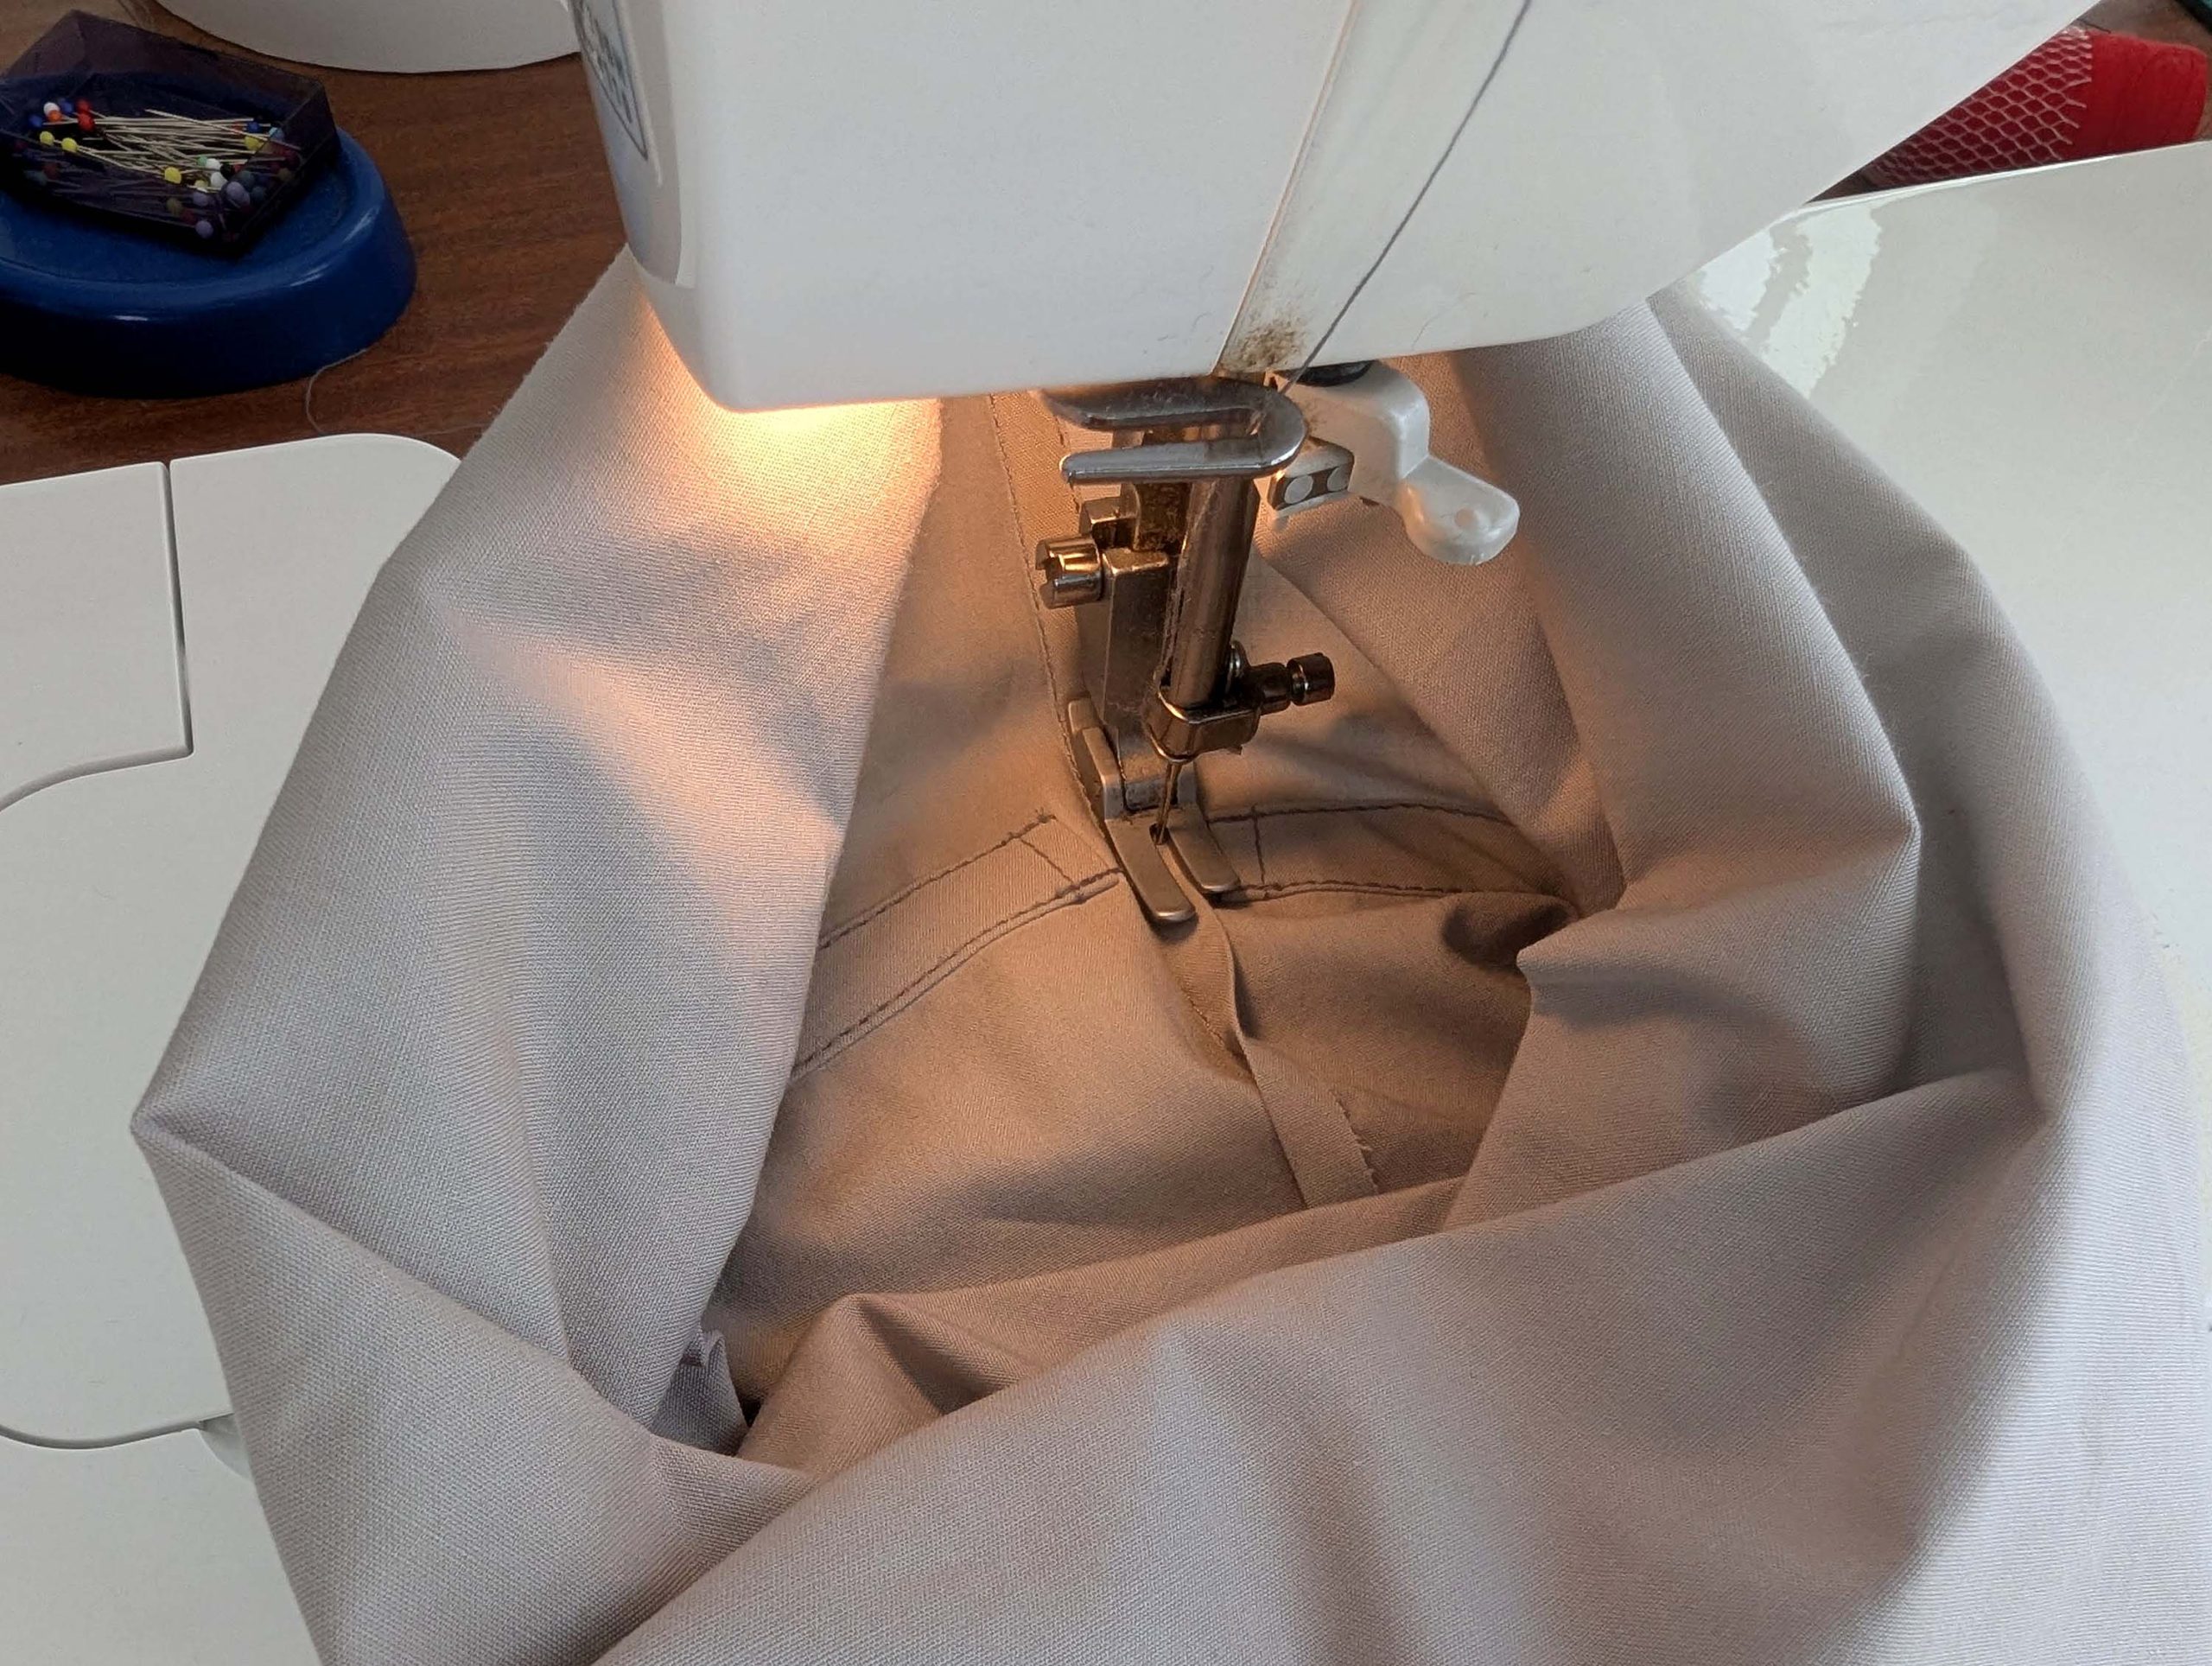
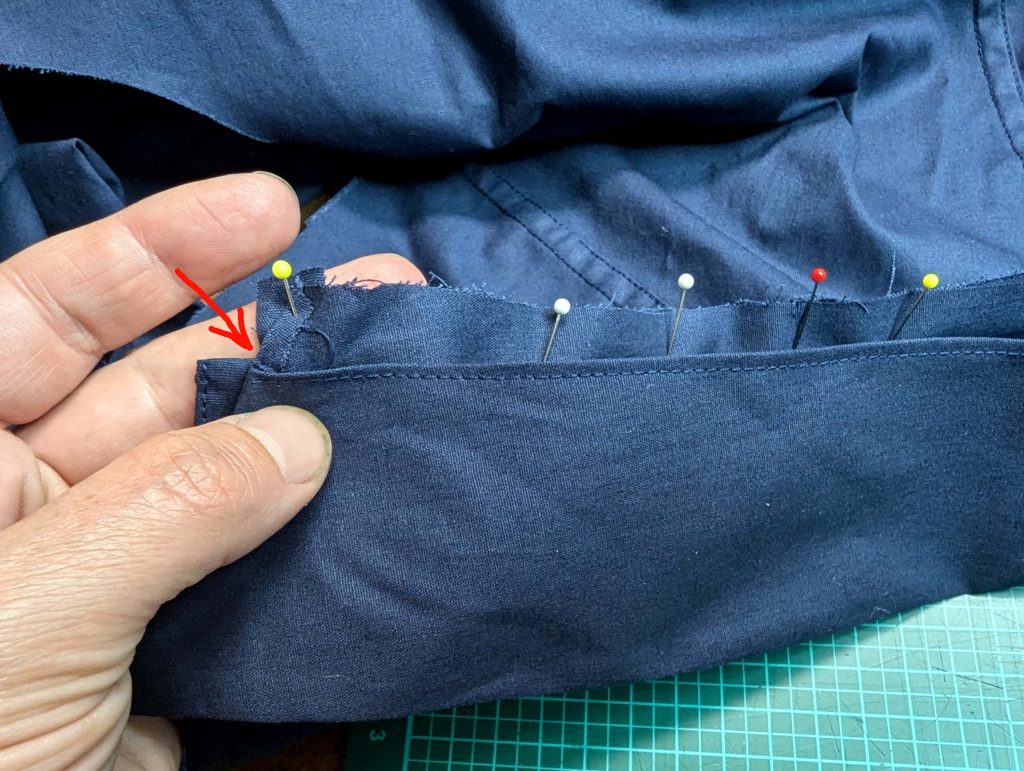
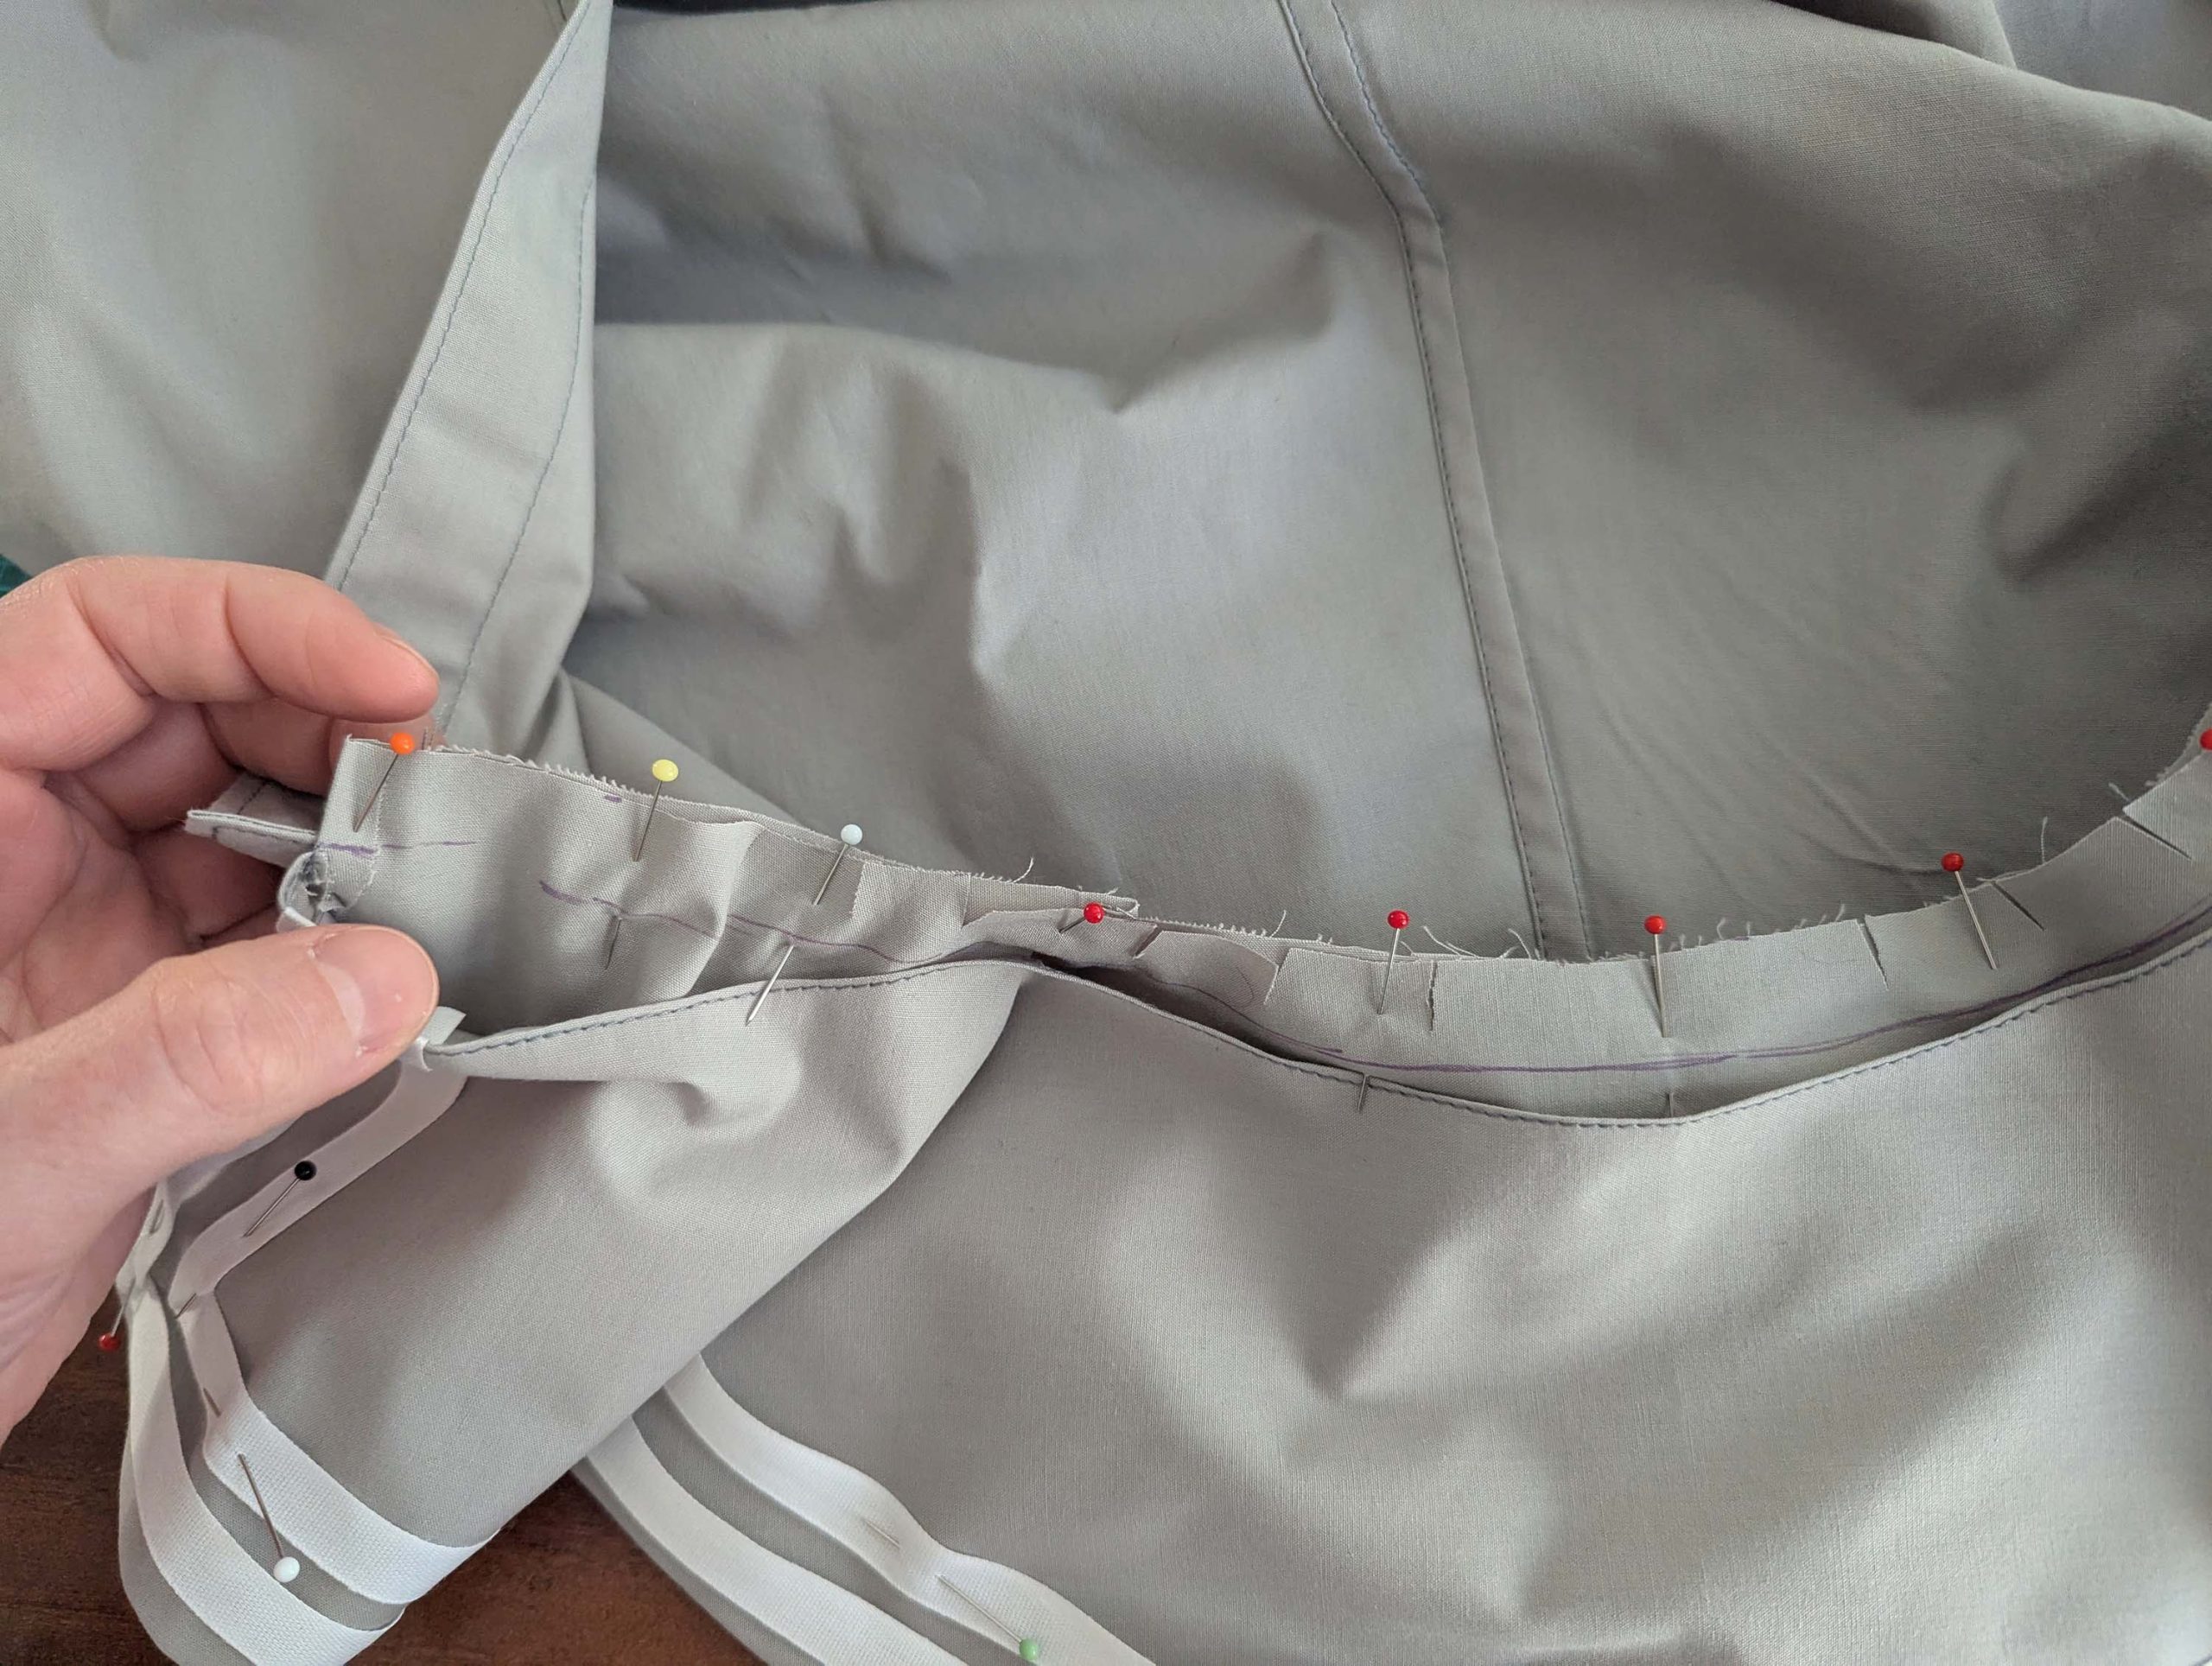
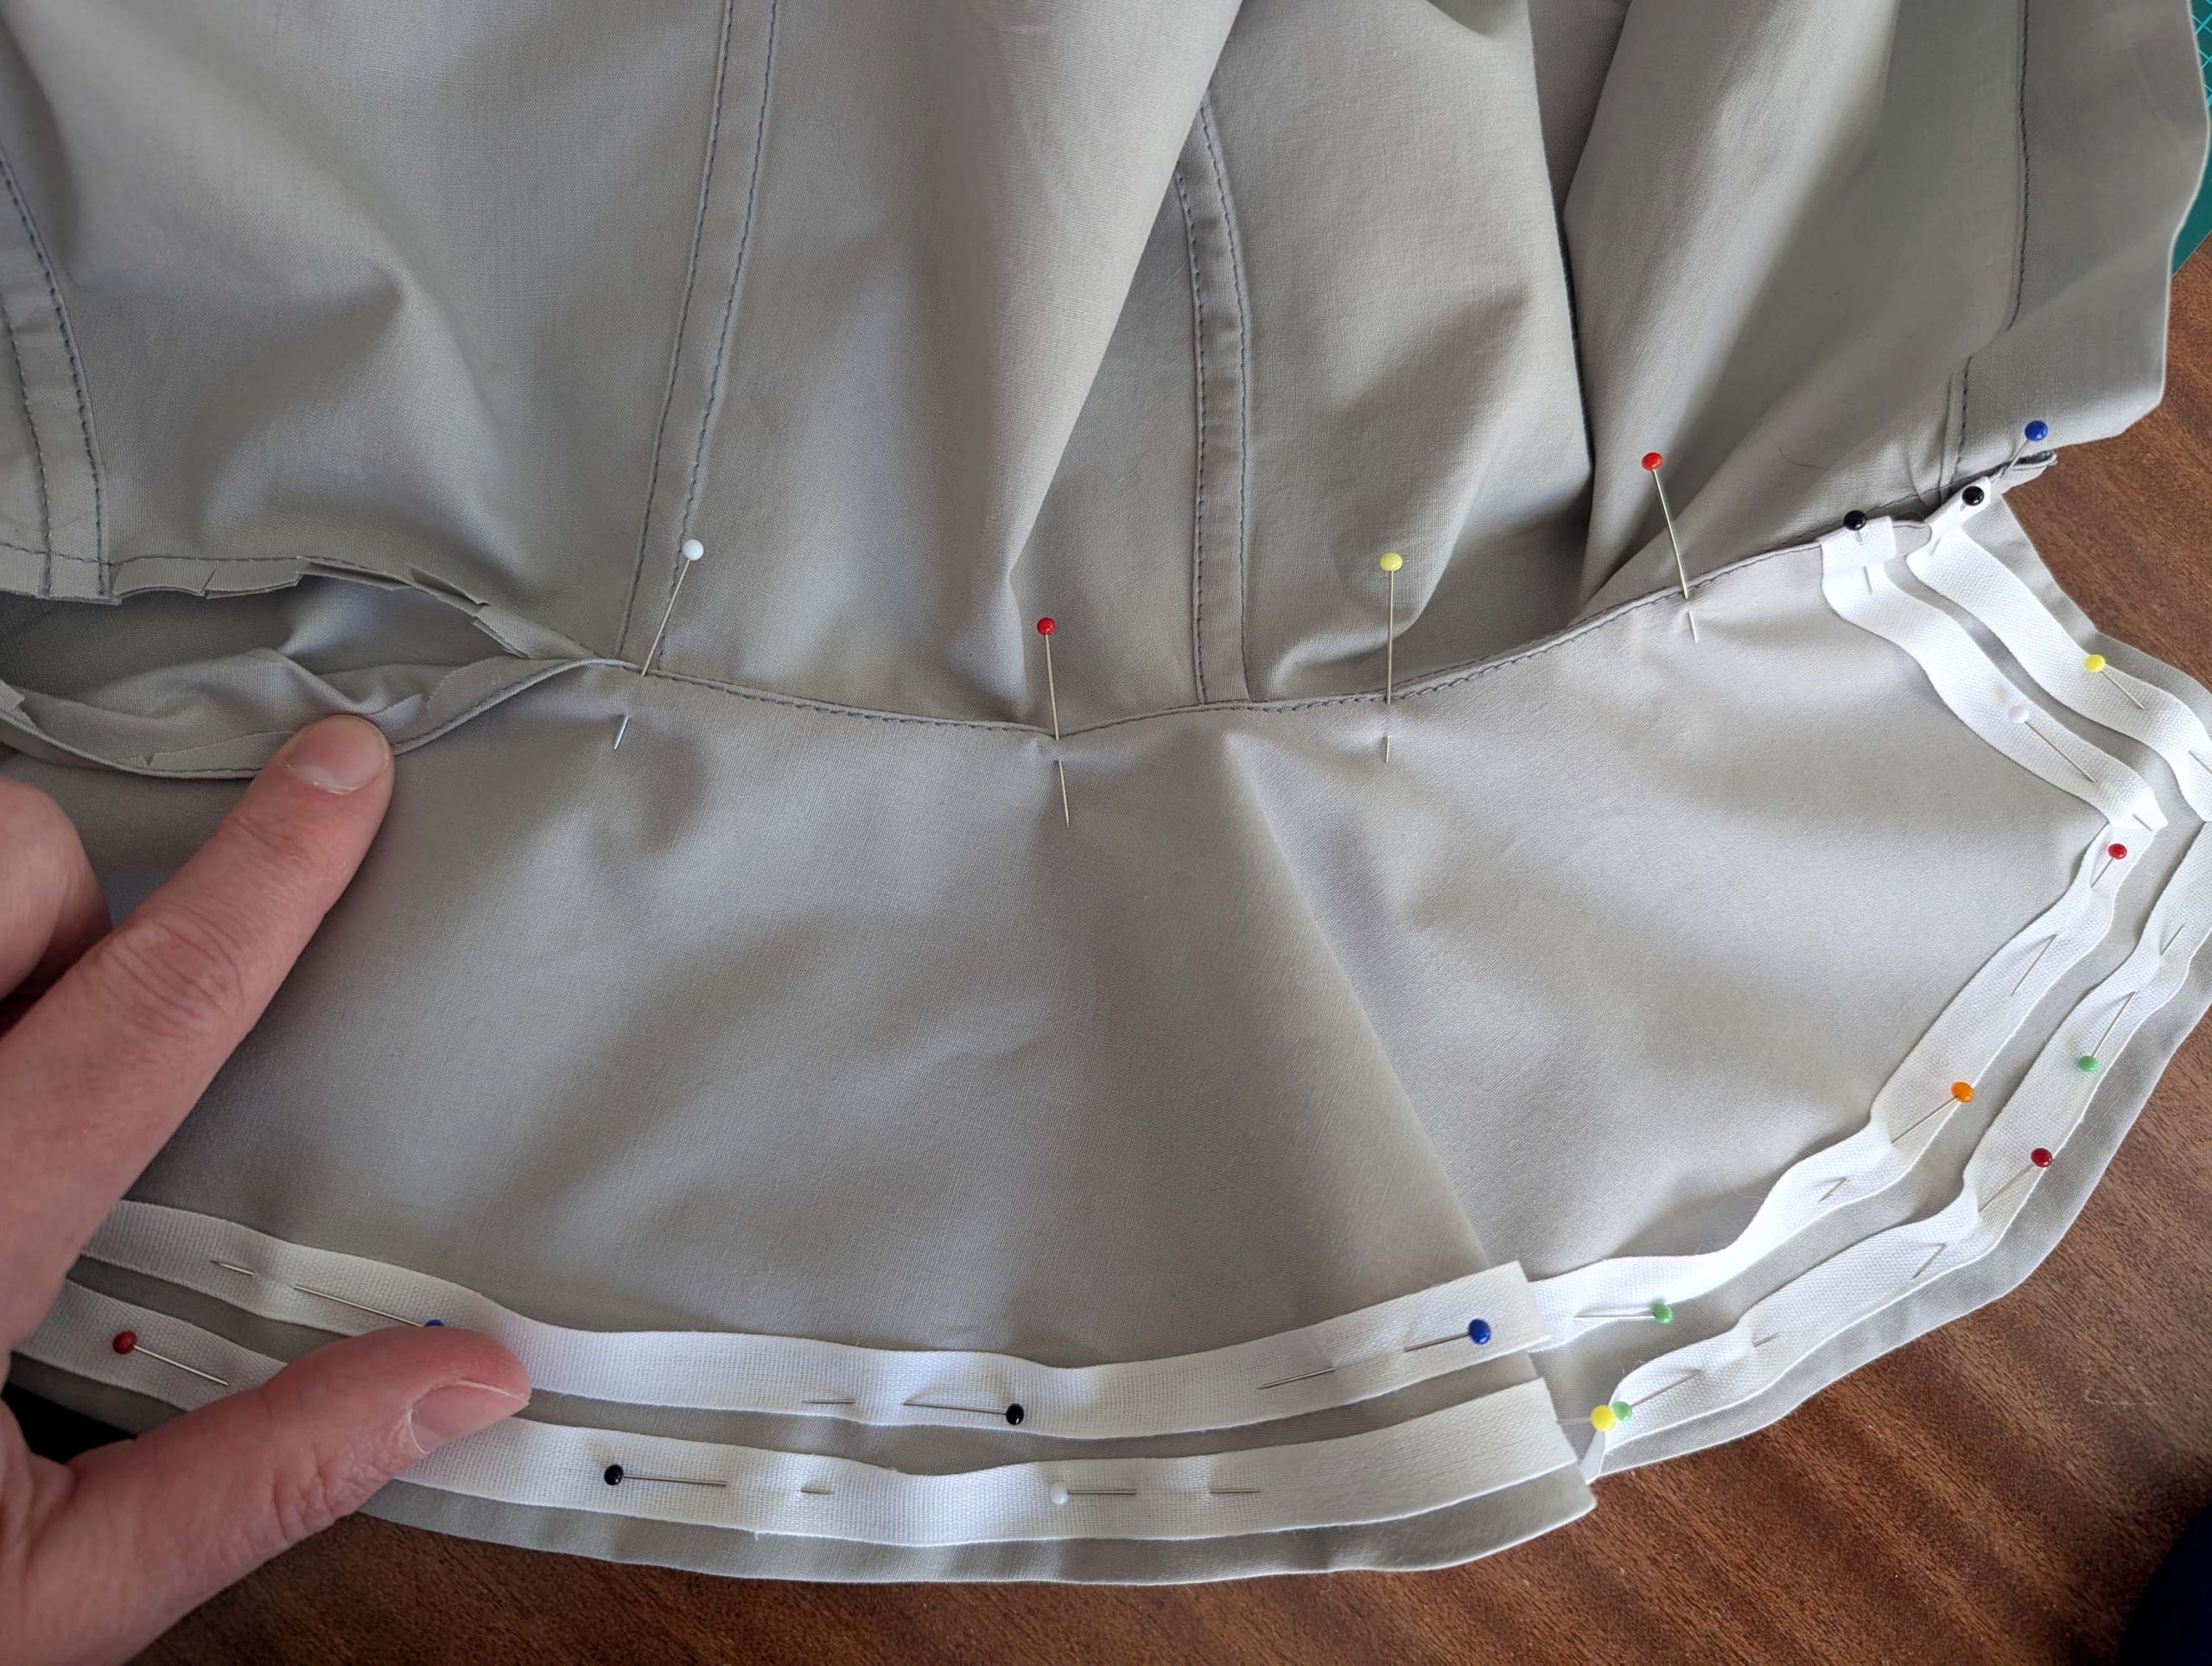
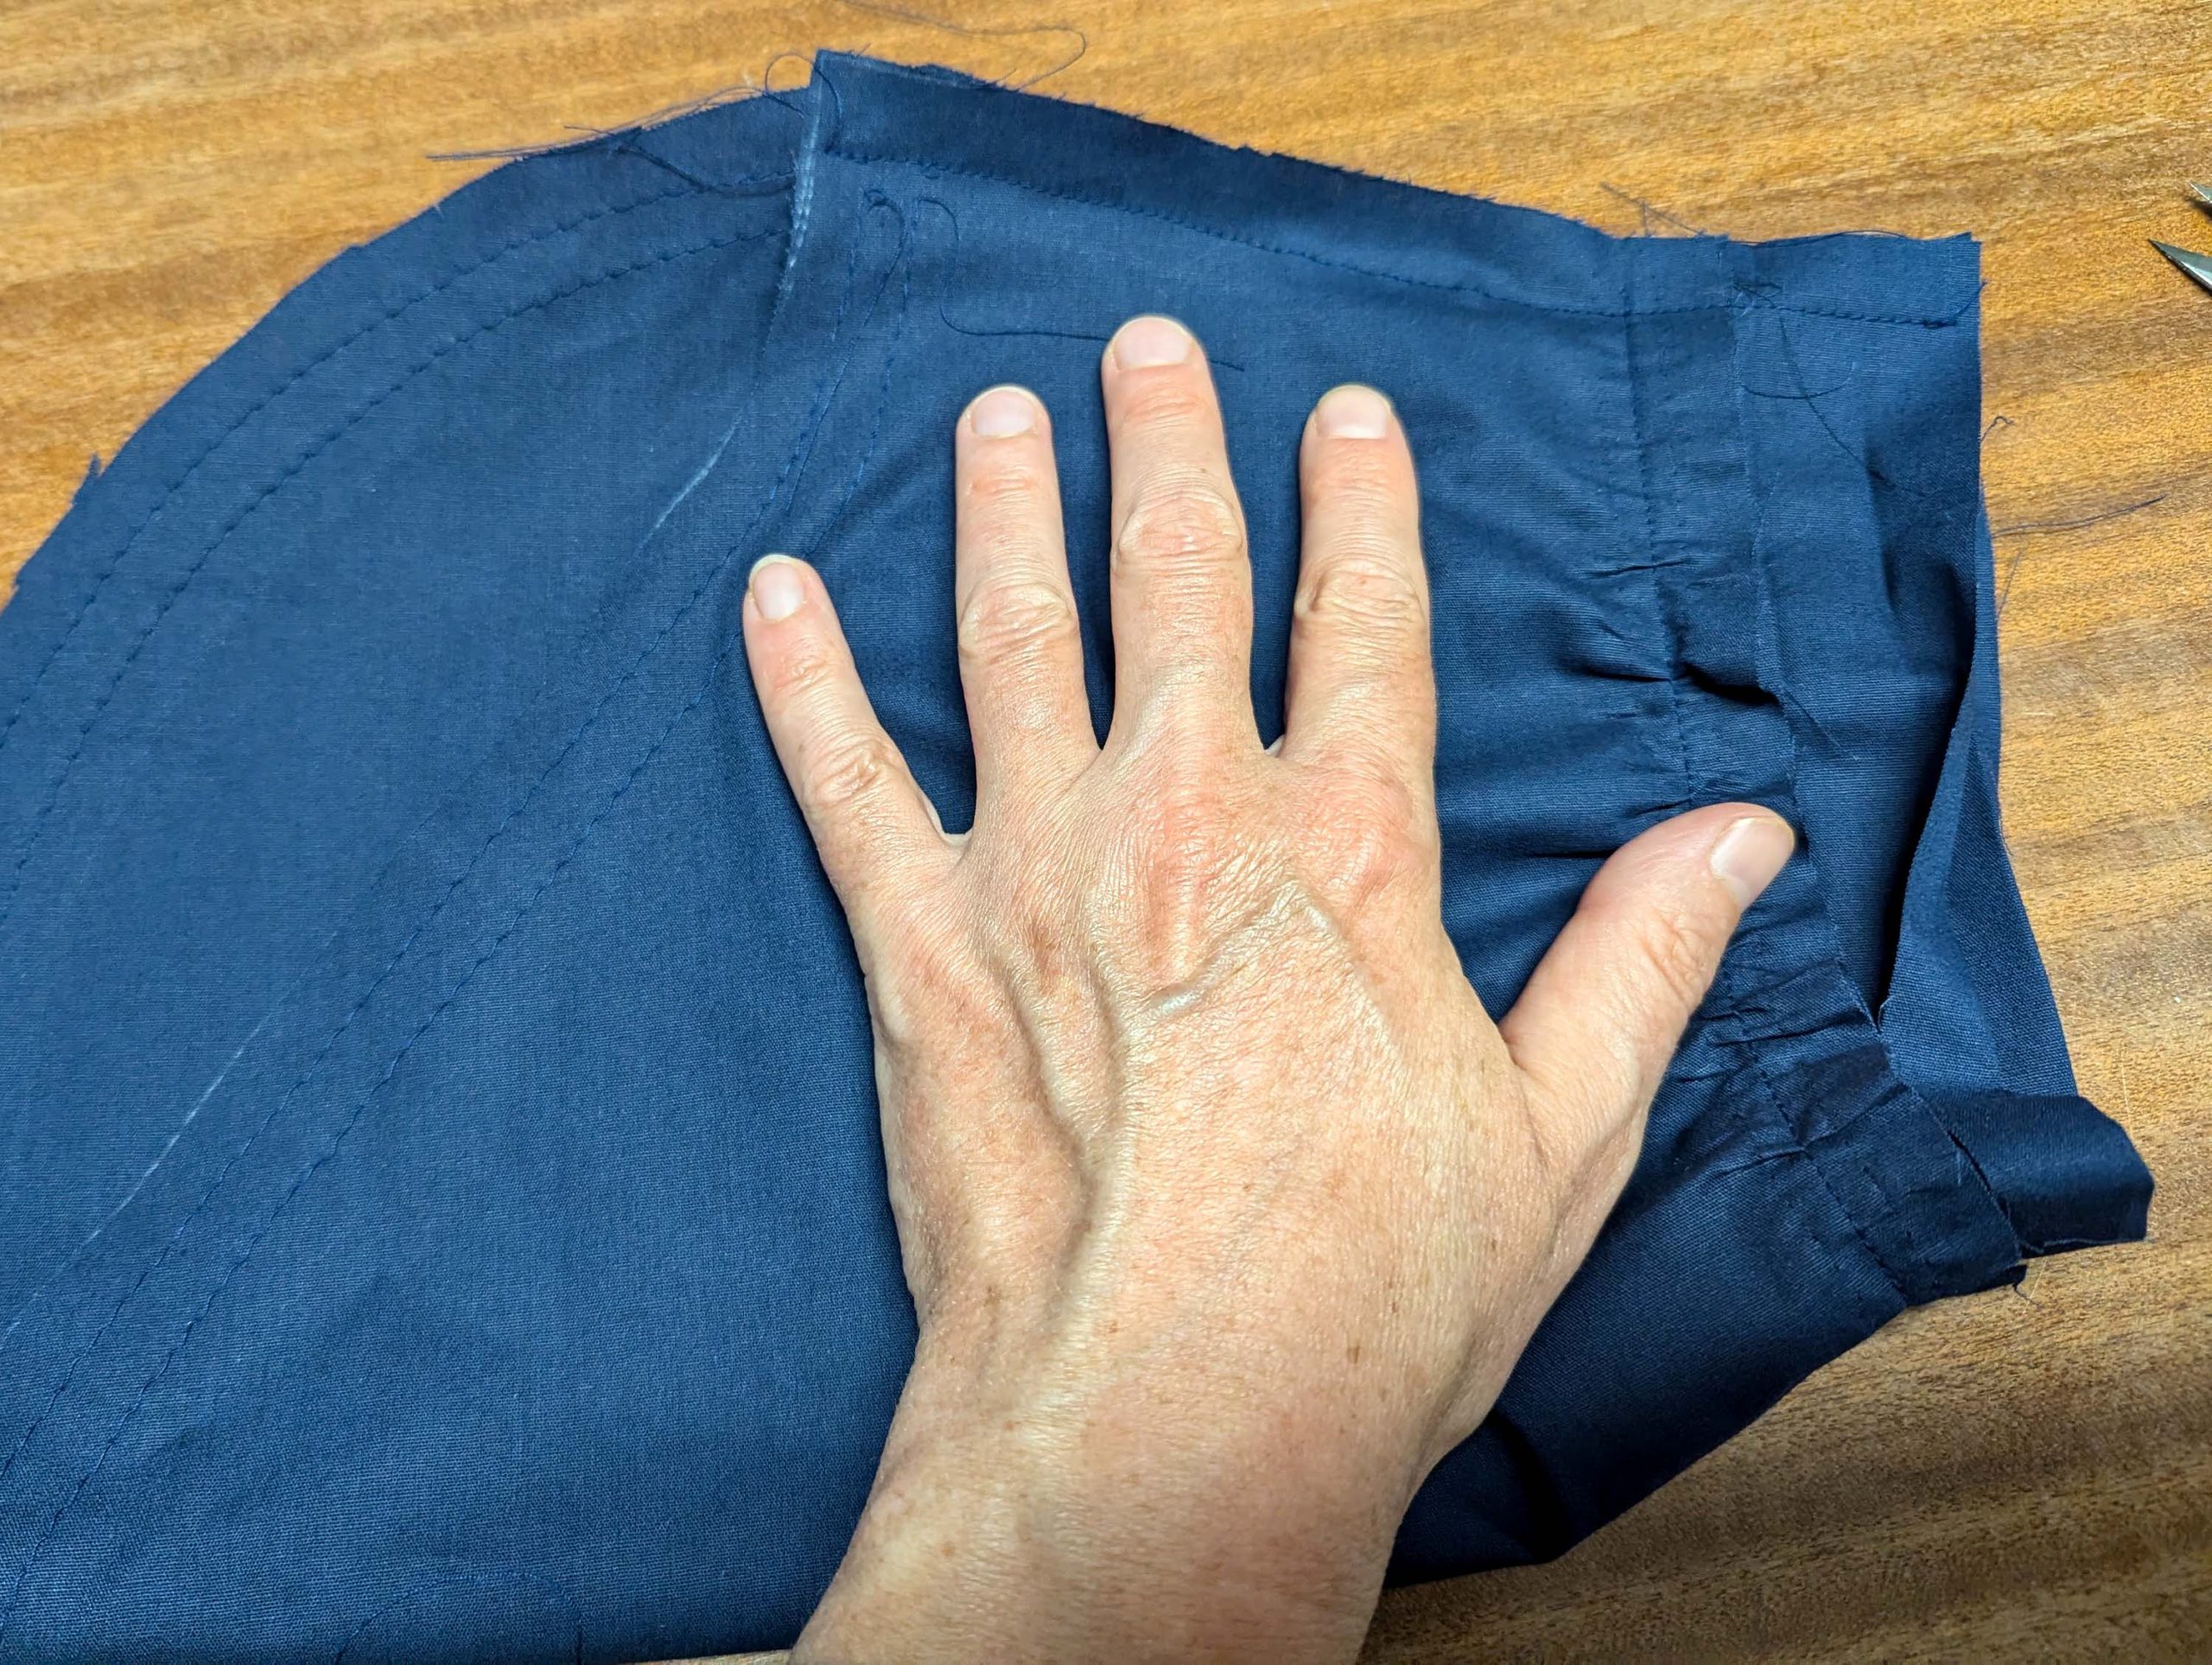
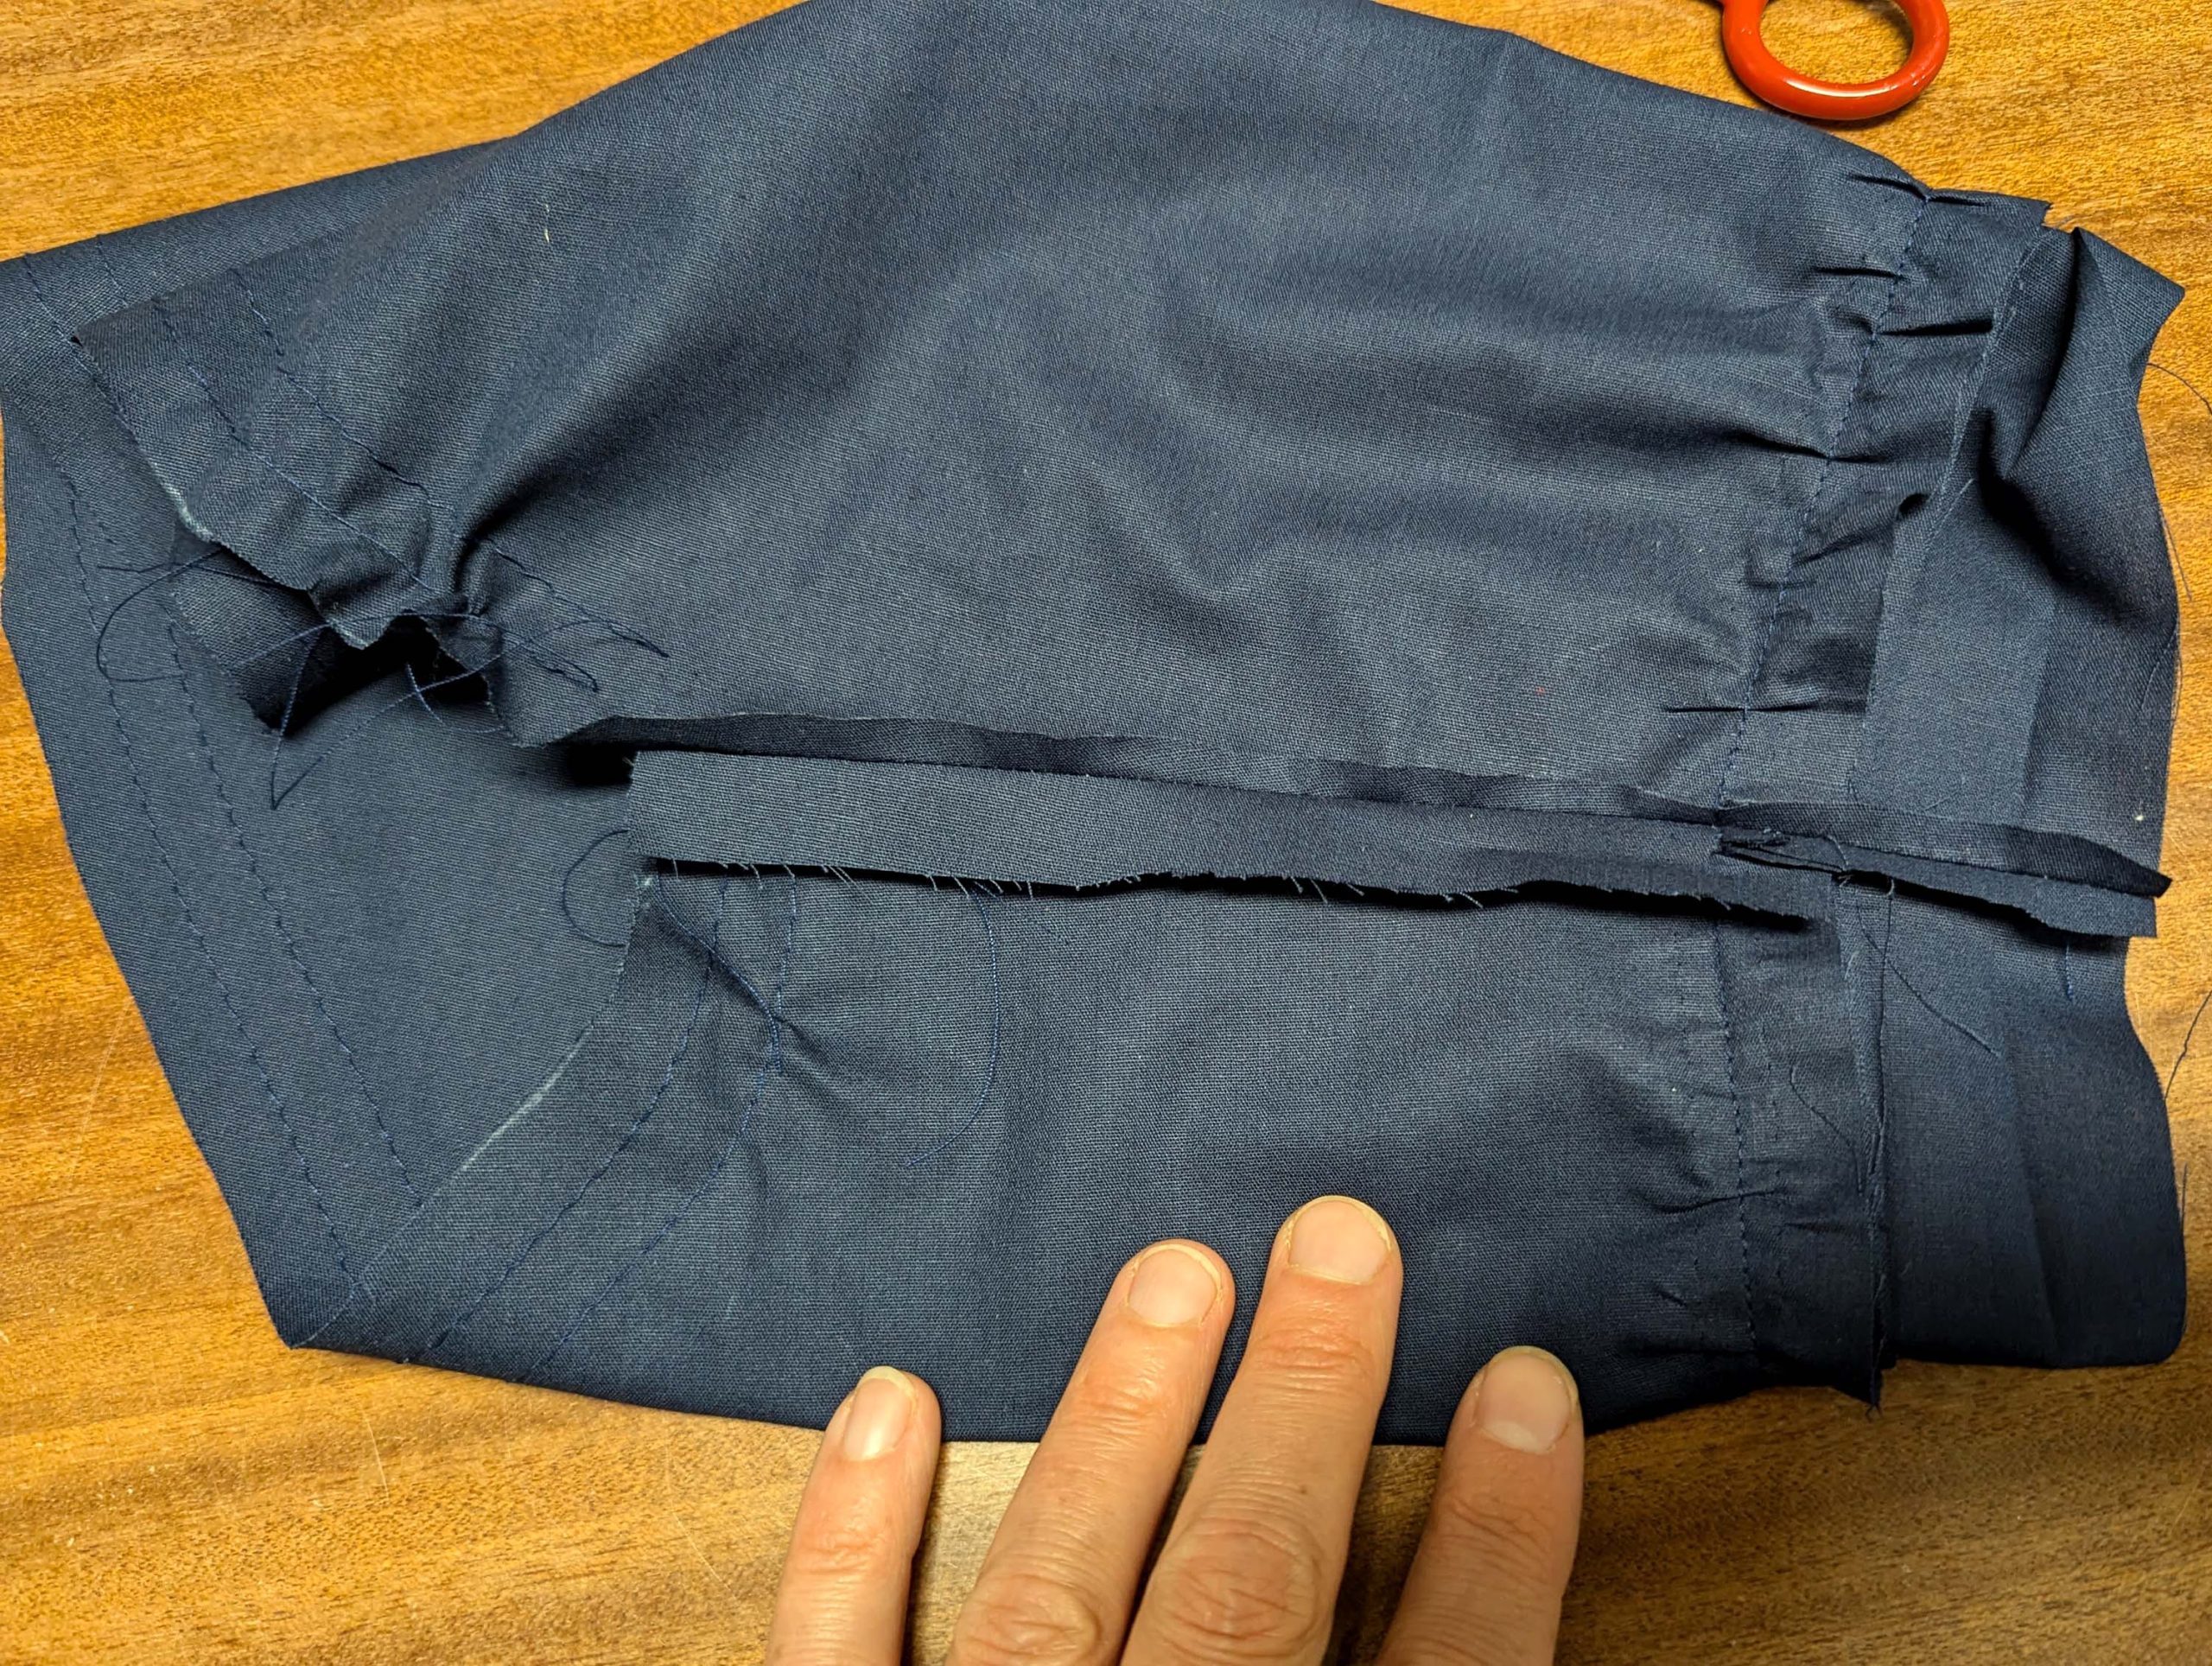
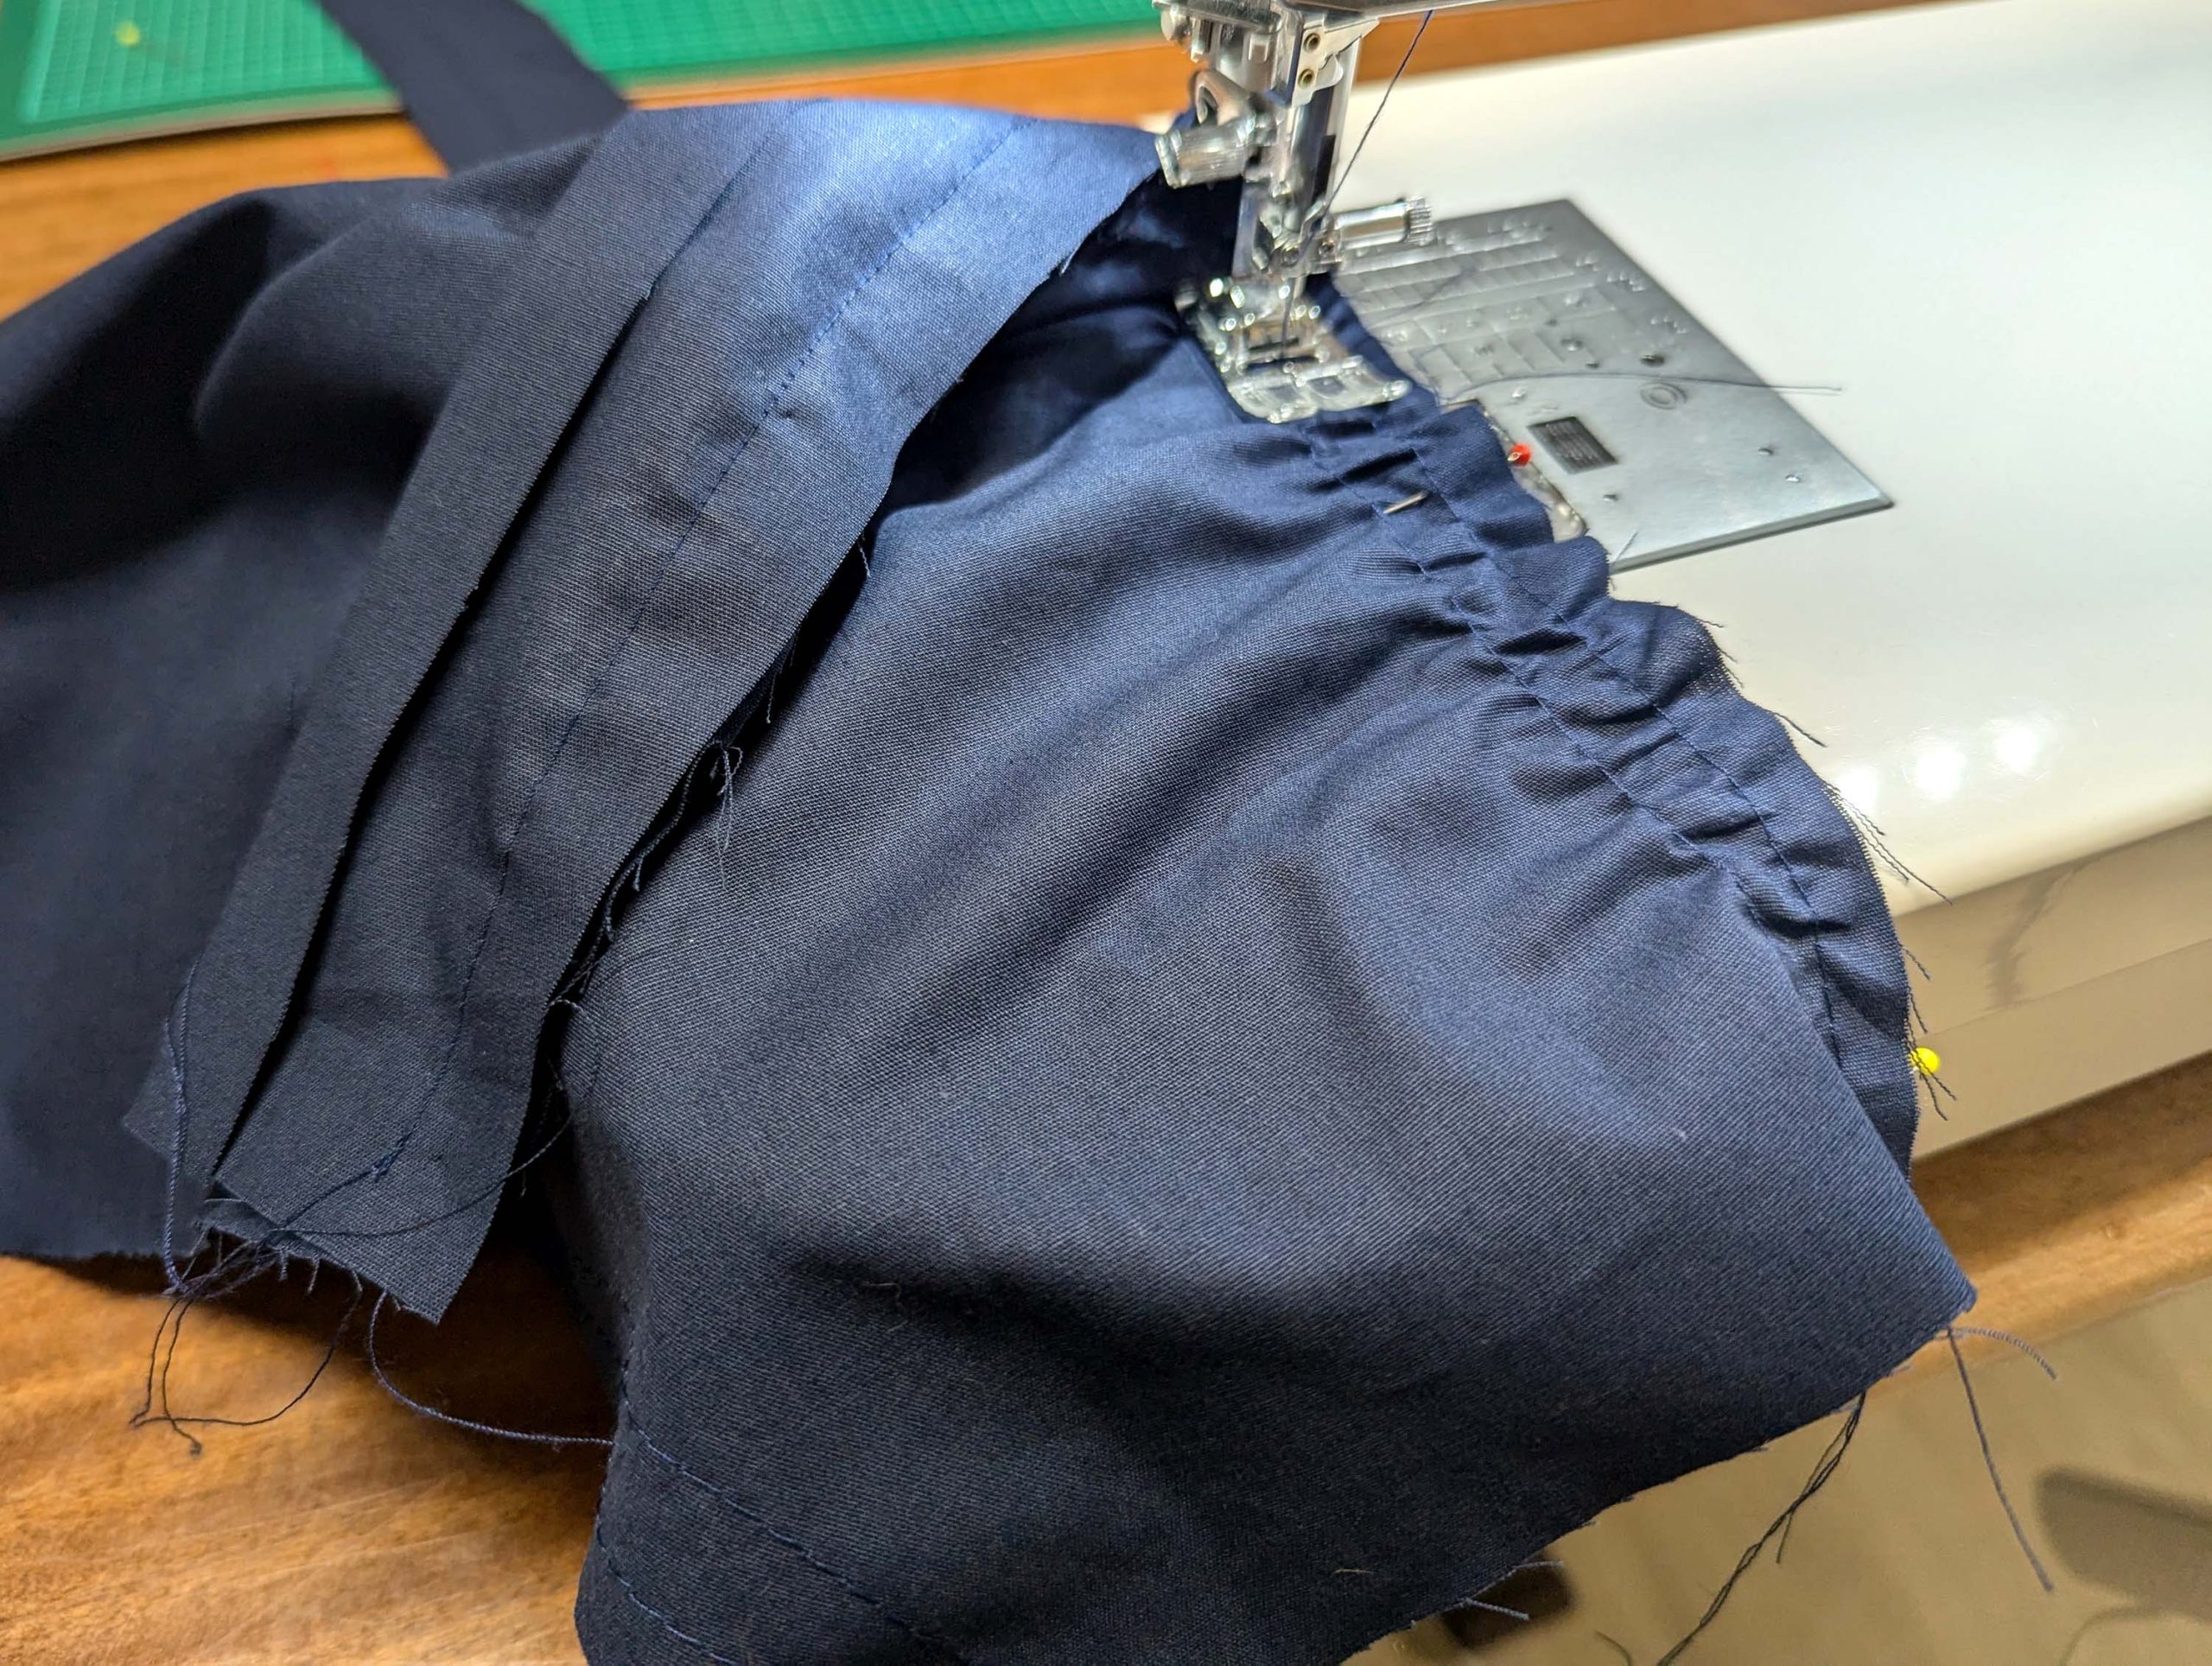
Sew the sleeve to the bodice, right sides together, matching all marks. Pull the threads to match the armhole and spread the excess width evenly. Trim back the seam allowance to 3/8” (1cm) and finish with a zigzag or overcasting stitches.
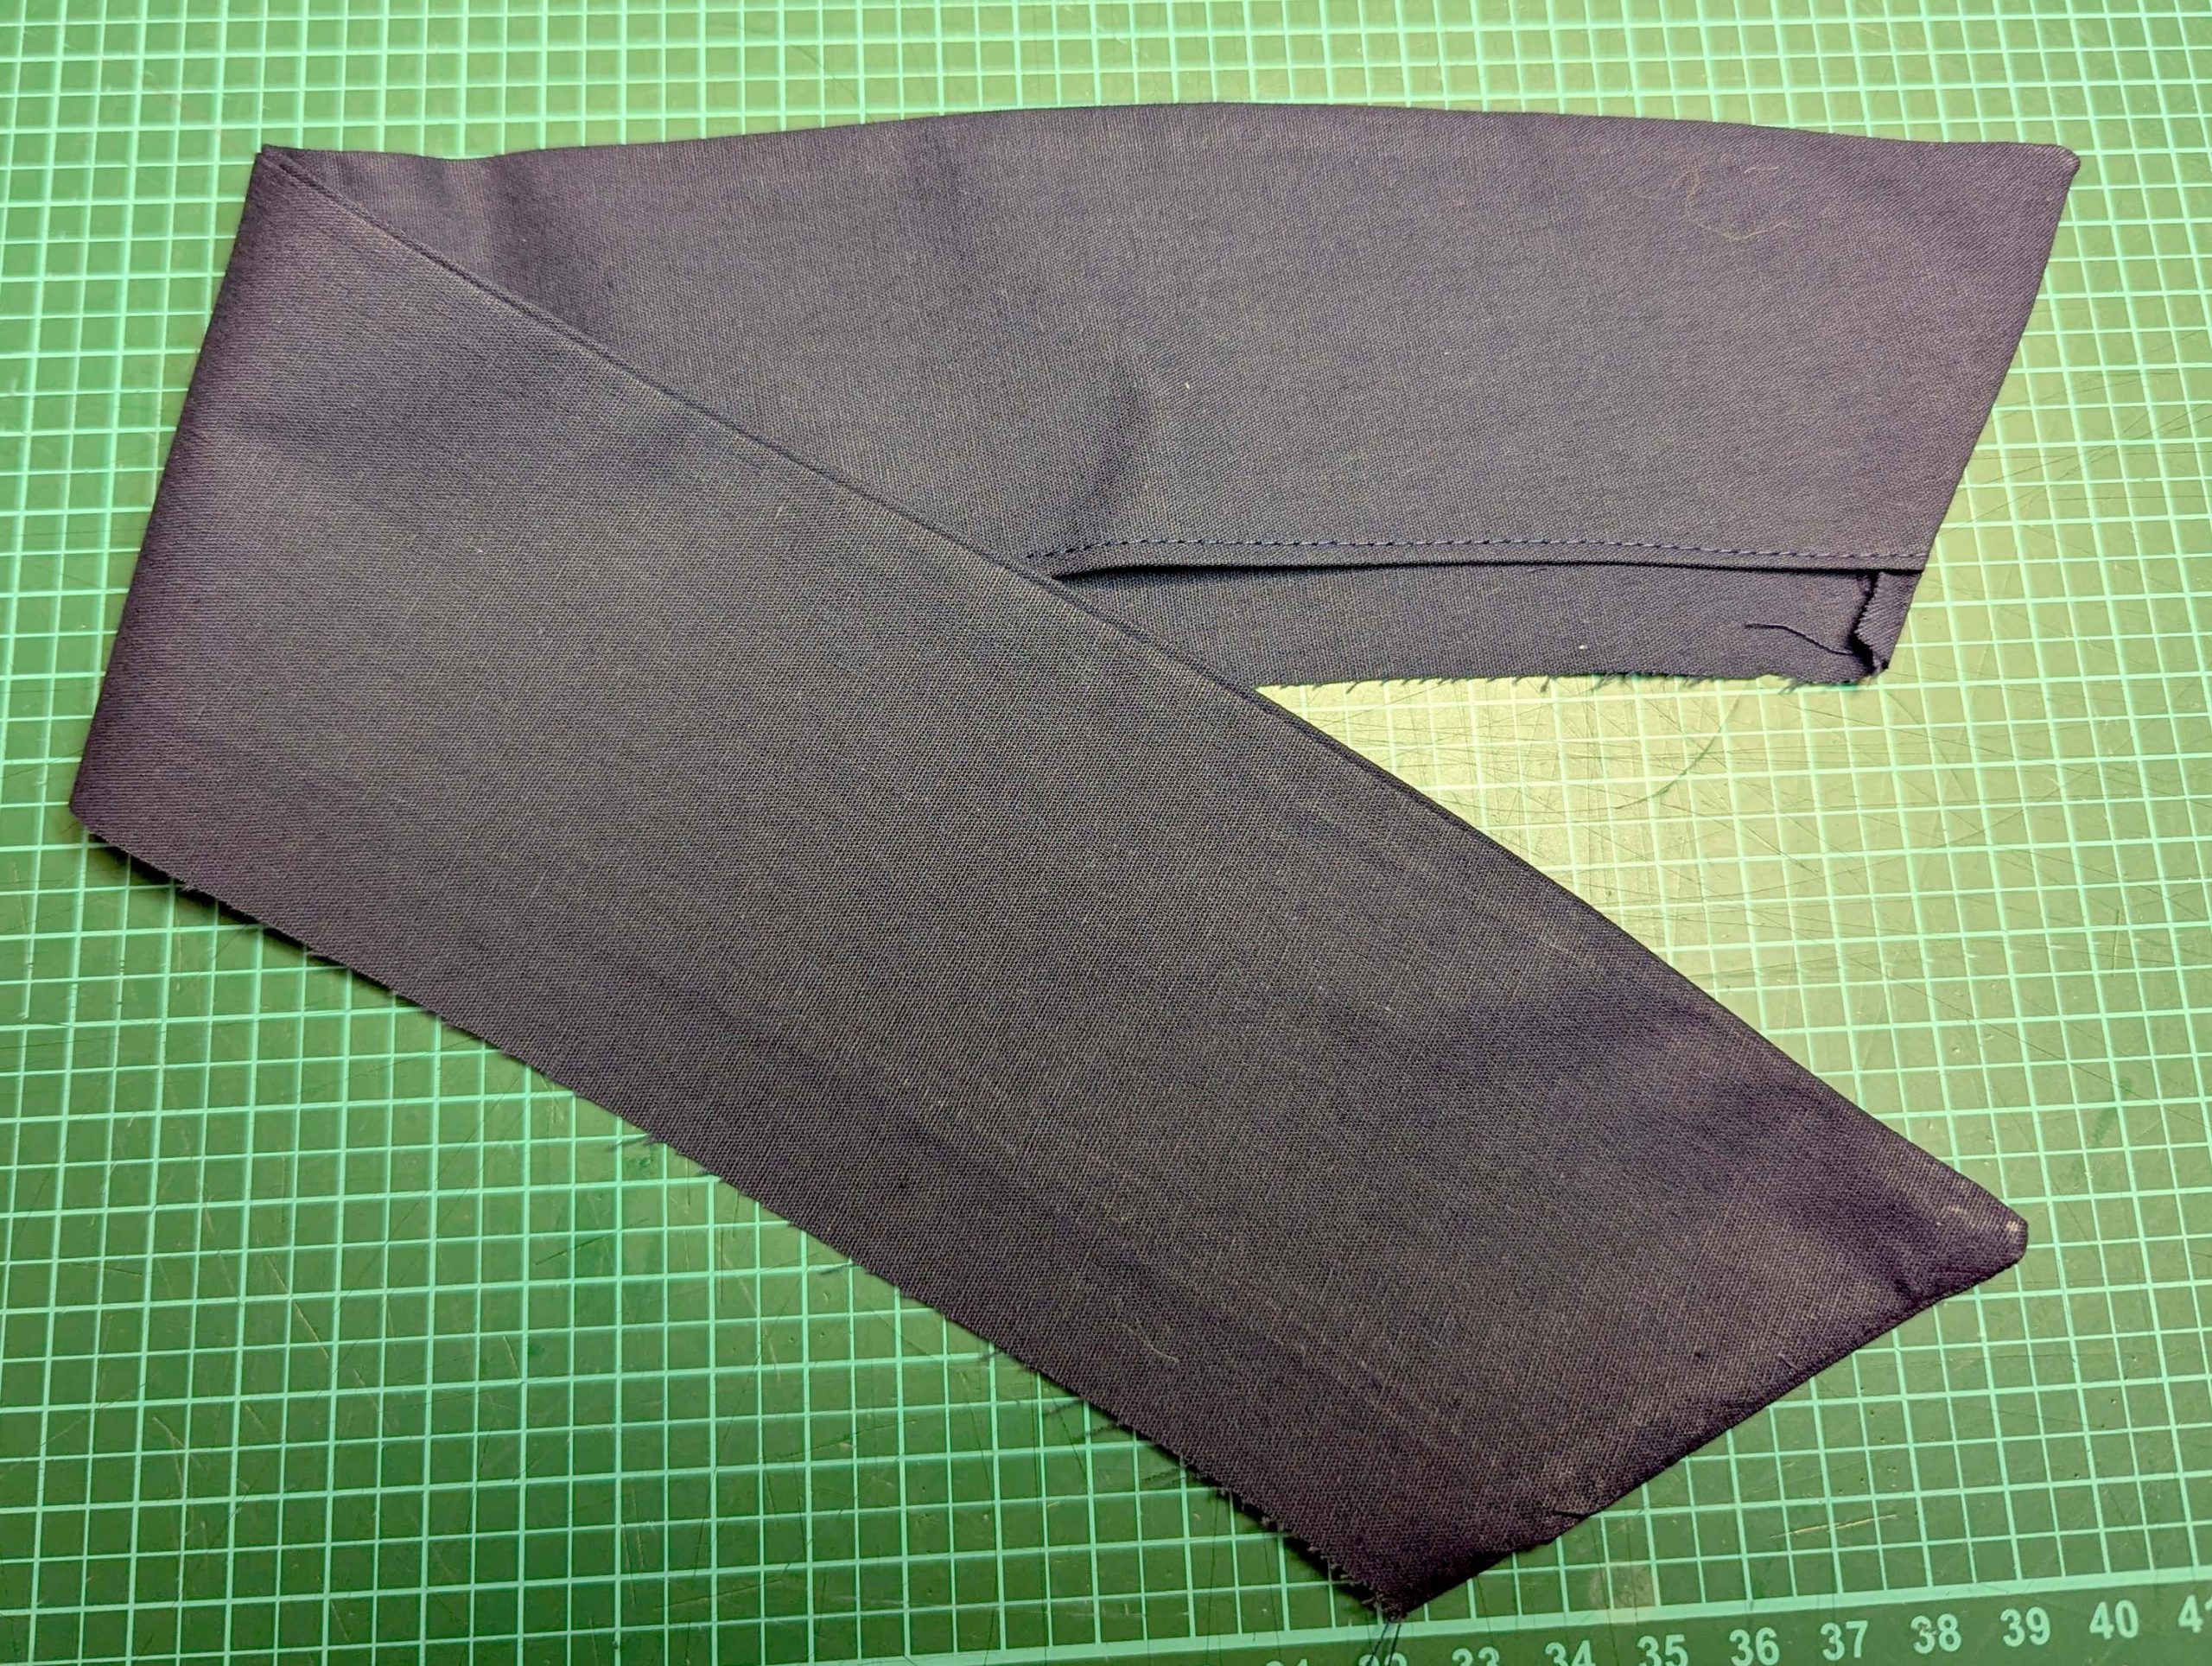
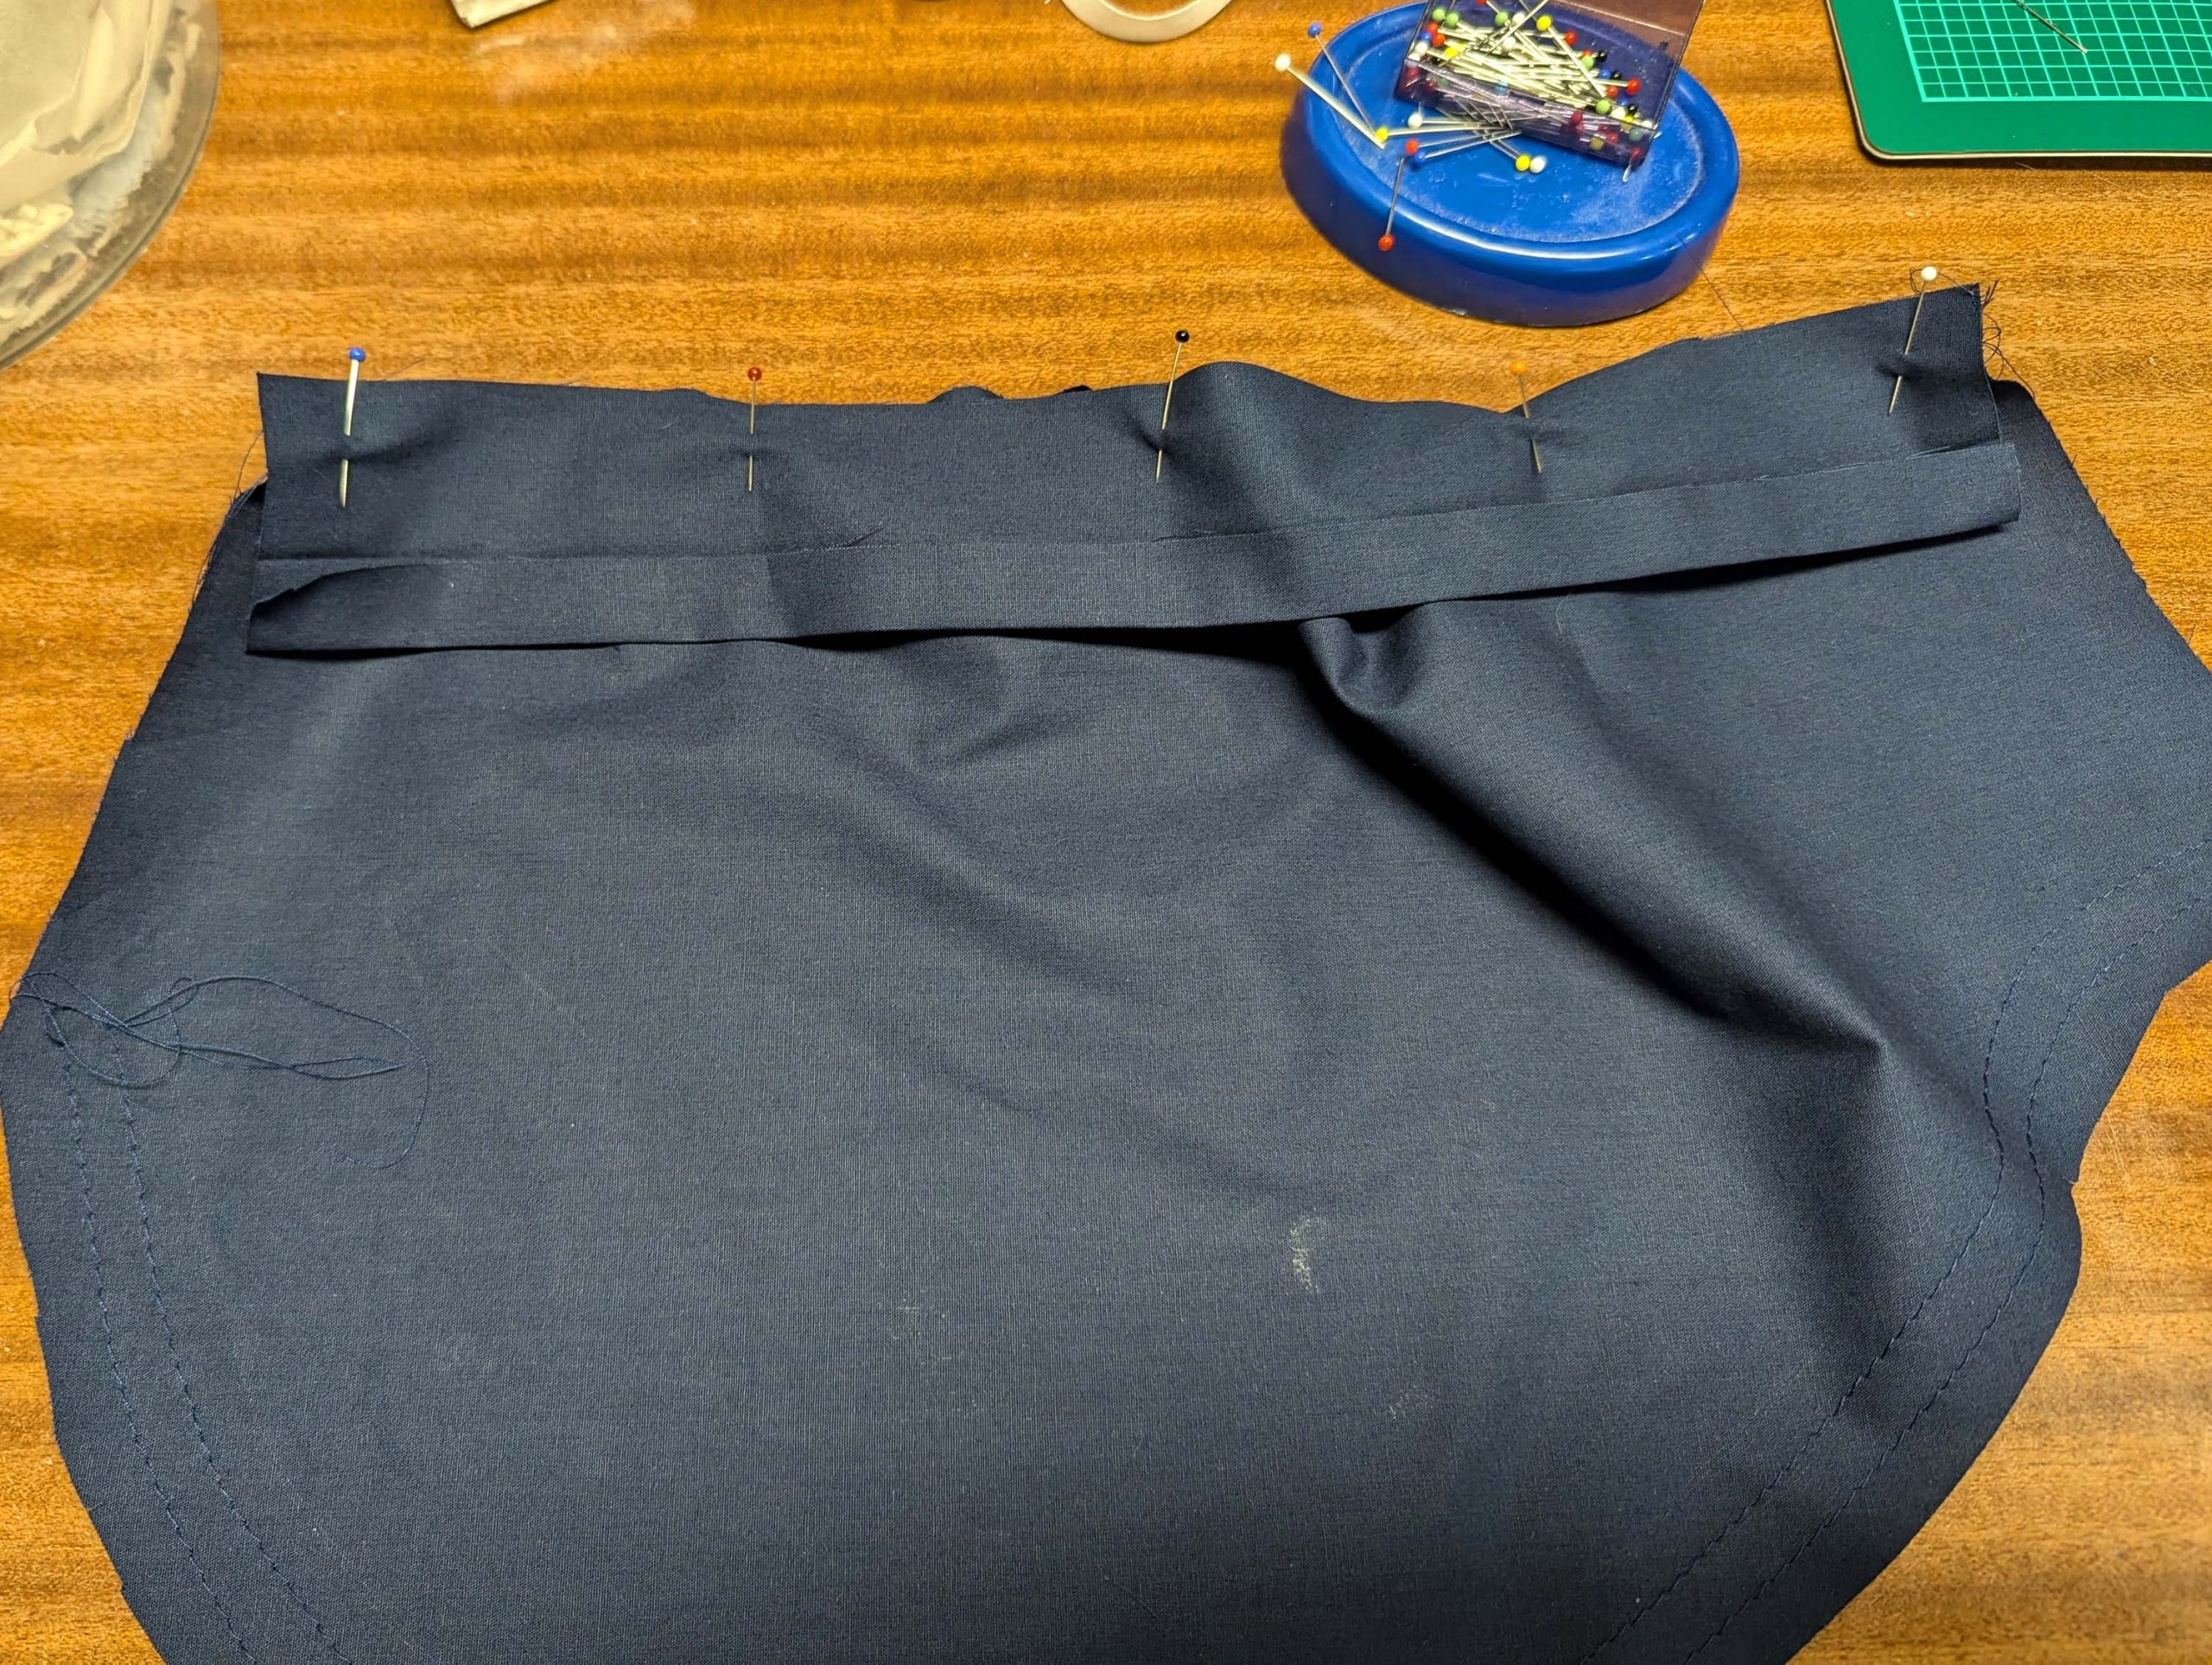
(6) For the belt, line up the two waistband layers, right sides together. Place another lining layer from a stronger cotton fabric on top. Sew all the way around, leaving an opening, and reducing the stitch length at the corners. Trim back the seam allowances and turn the right way out. Press and close the opening with invisible stitches.
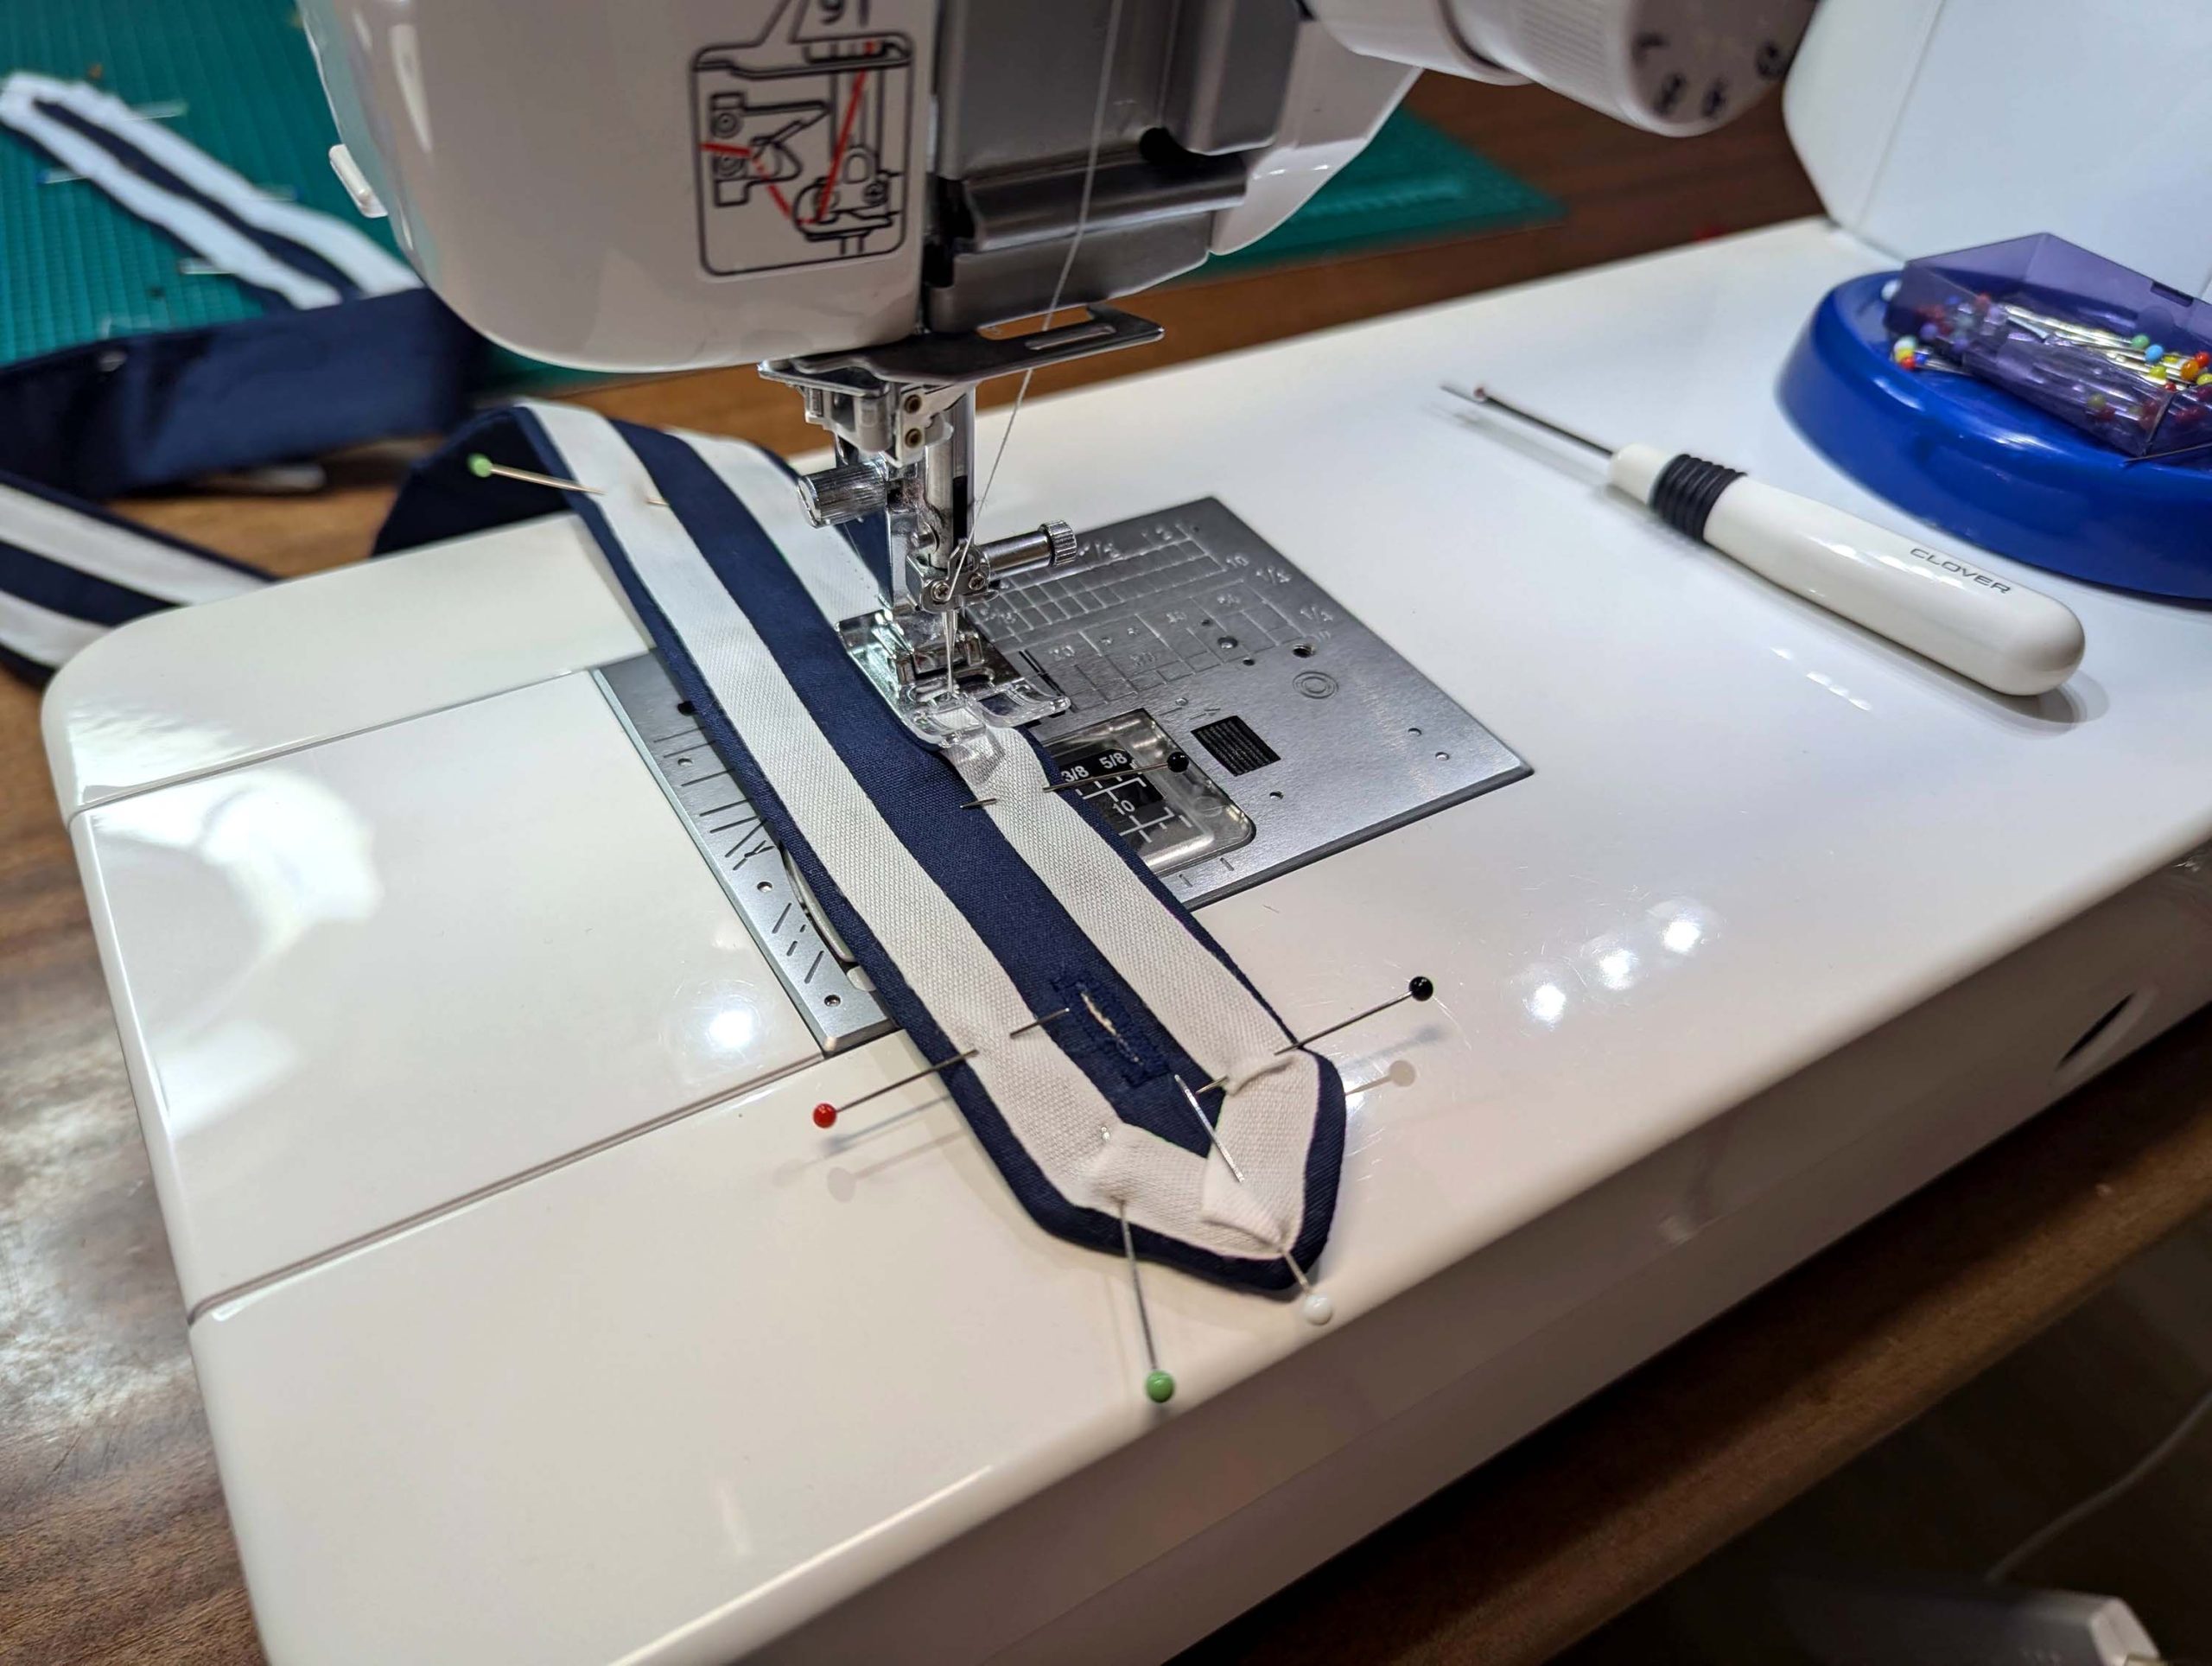
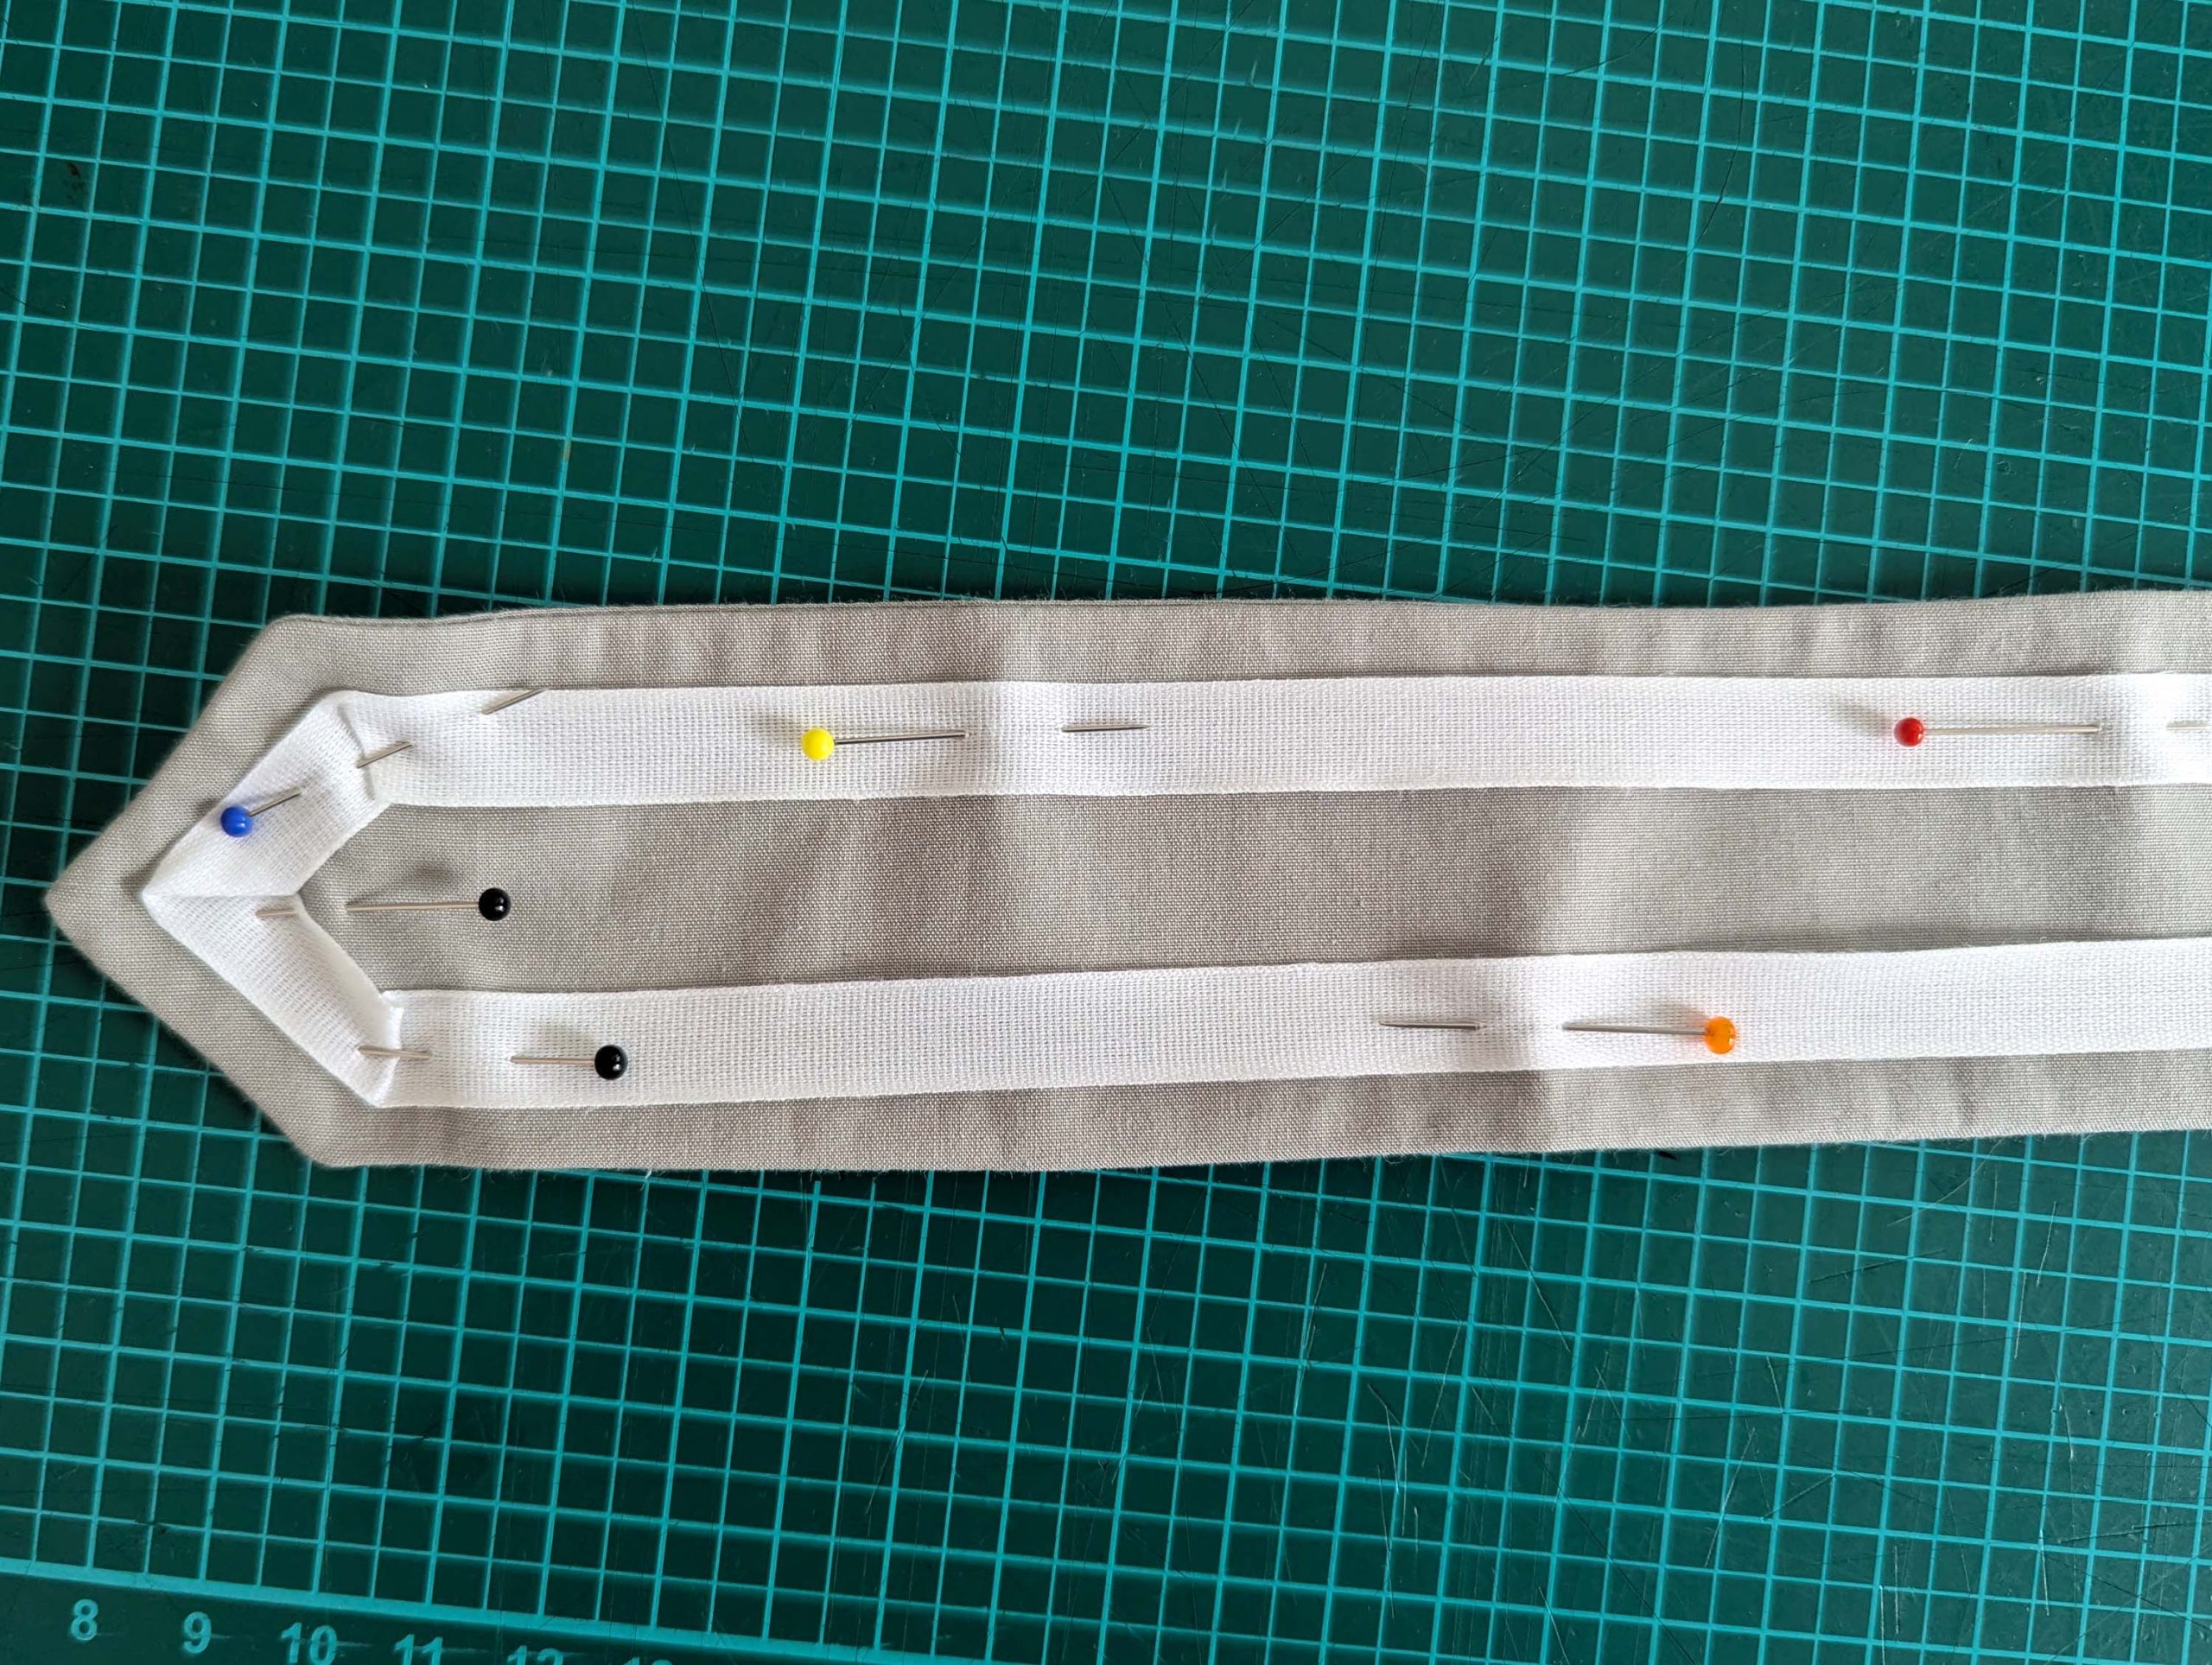
Decorate with cotton tape as desired. Sew all the buttonholes and buttons to the belt.
In the next post, we’ll move on to the skirt, drawers, and dress—bringing us closer to finishing the complete bathing suit ensemble.