As I recognized lately, I never made a tutorial with detailed pictures of this dress. So that’s going to be changed at this moment.
Ever since I released the sewing pattern, I’ve received questions about how it was made, from choosing the fabric to assembling those little hand-sewing details that make it special. Today, I’m finally taking you behind the scenes—step by step, with plenty of close-up photos—to show you exactly how this dress comes together. Whether you’re planning to sew the dress or just curious about the process, this tutorial will guide you through every part. Let’s get started!
If you’d like to sew the dress yourself, you can purchase the pattern in my shop or on Etsy and follow along as I make it.
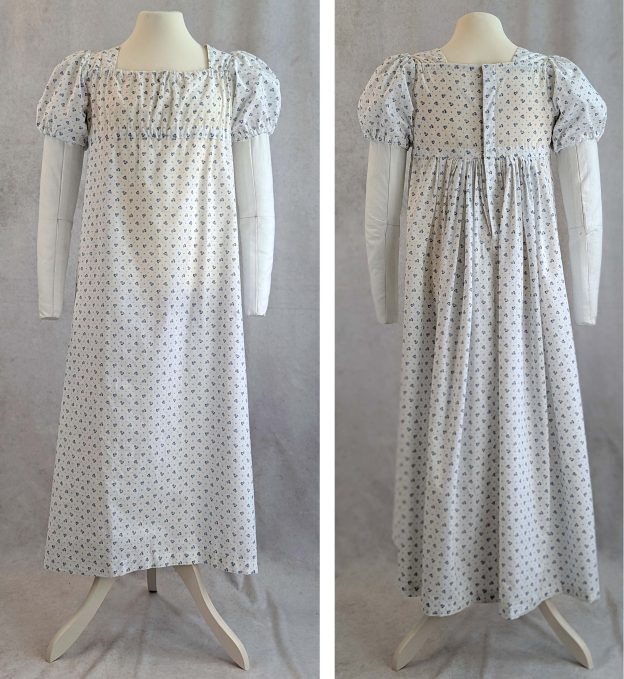
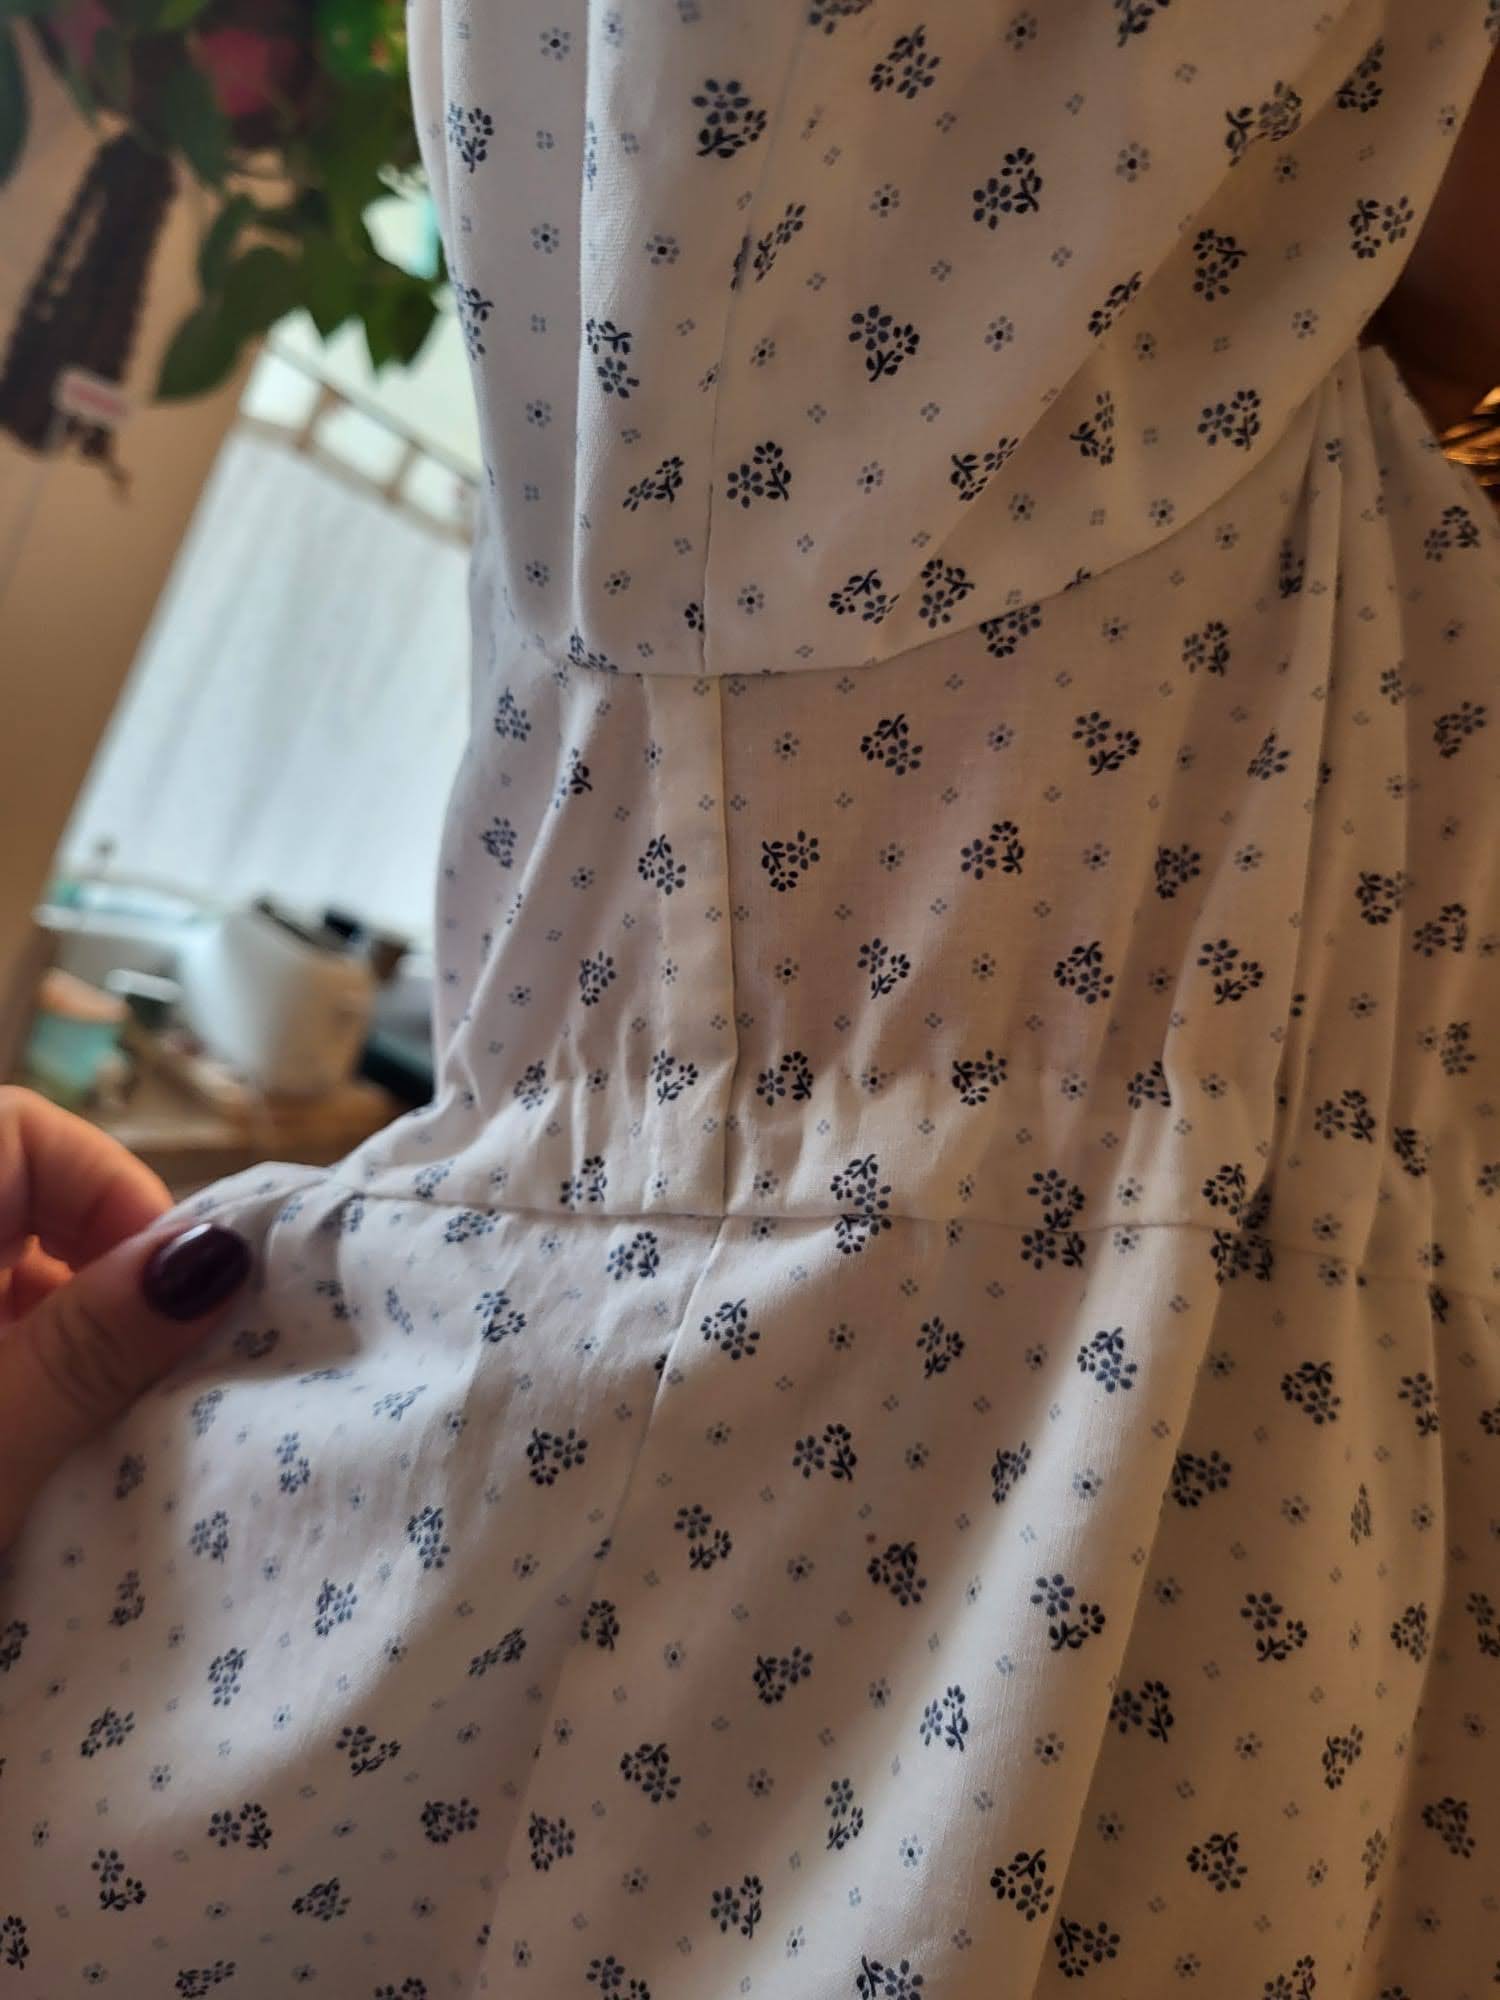
The first dress I made was from some very old Swiss lawn fabric, which, in its previous life, was my grandma’s curtain. Because of its age, the fabric is now quite fragile, so I’ve decided not to wear the dress again in order to preserve it.
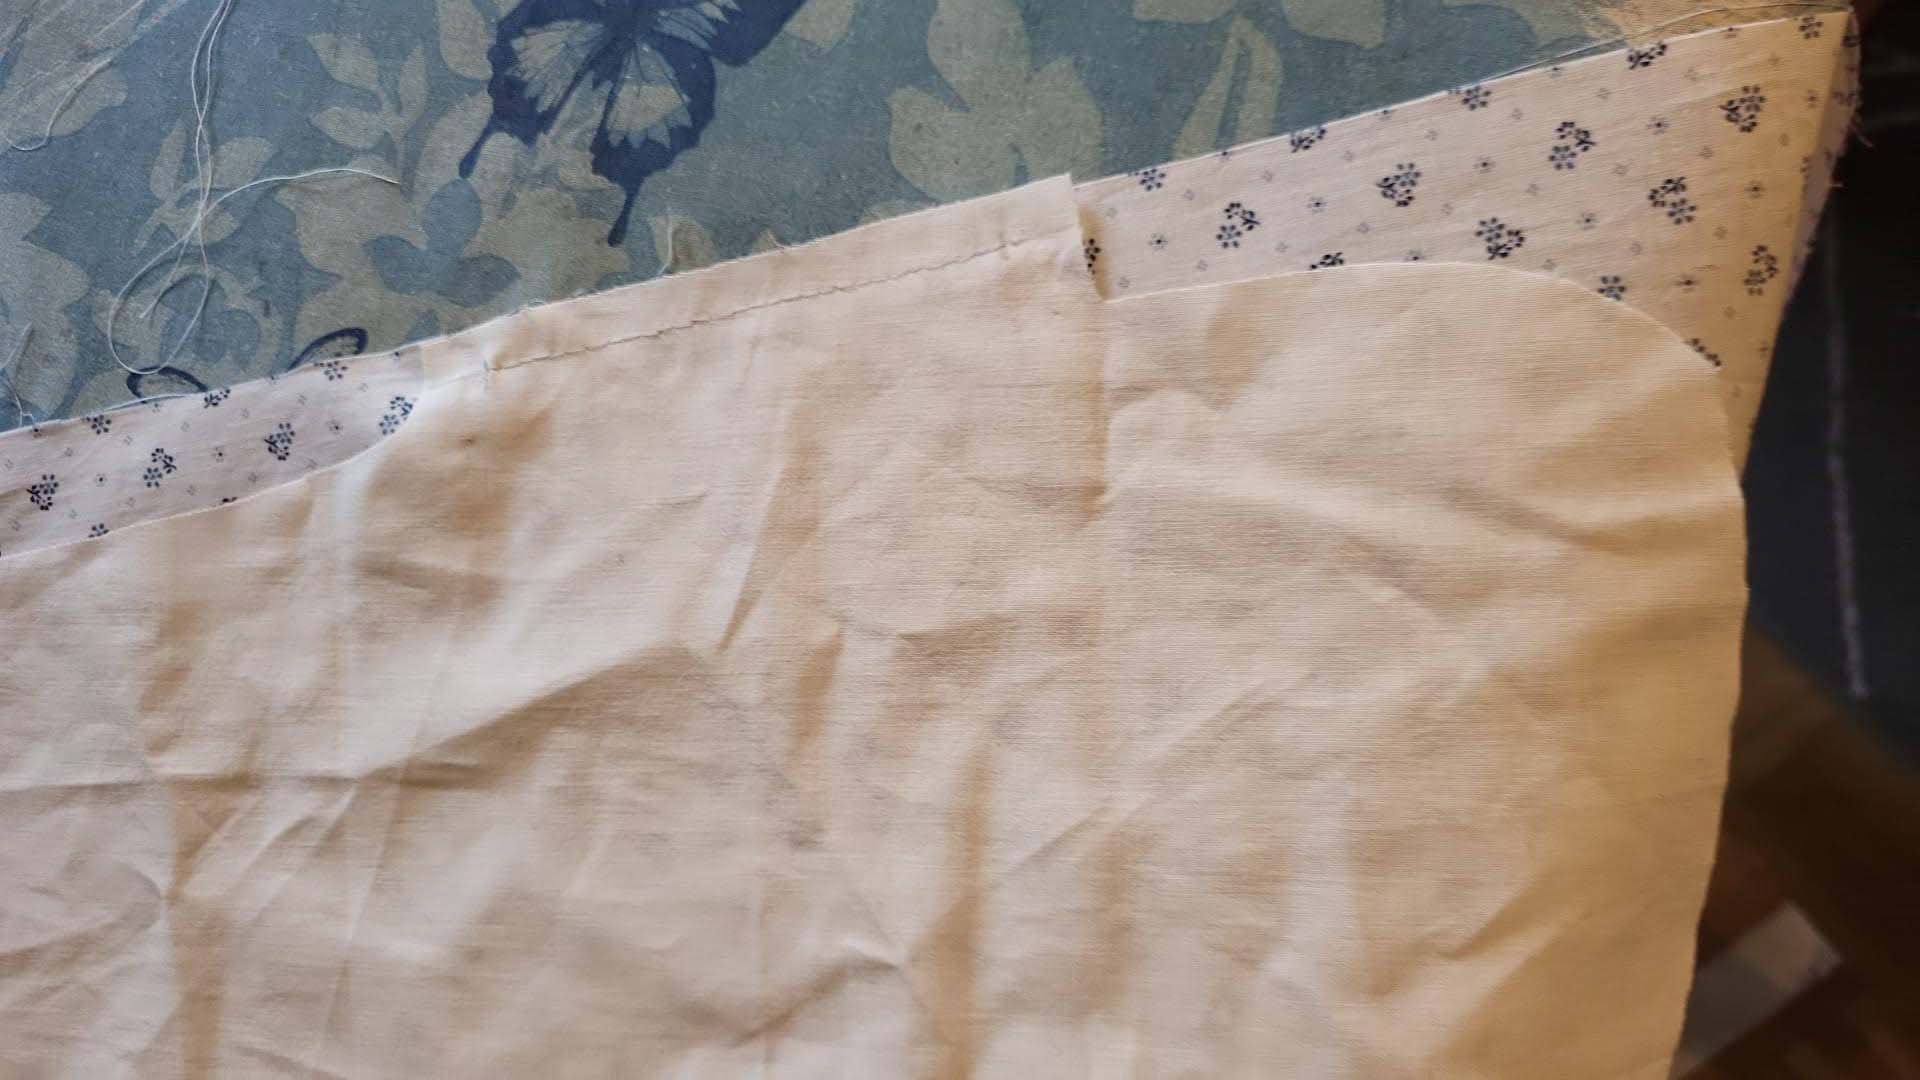
When searching online, I couldn’t find a fabric exactly like it—only plain white lawn or some embroidered cotton lawn options. In the end, I chose the embroidered cotton lawn. Its striped embroidery pattern made cutting the fabric a little more interesting, as I wanted to center the stripes at the front and ensure the pattern aligned seamlessly when sewn together.
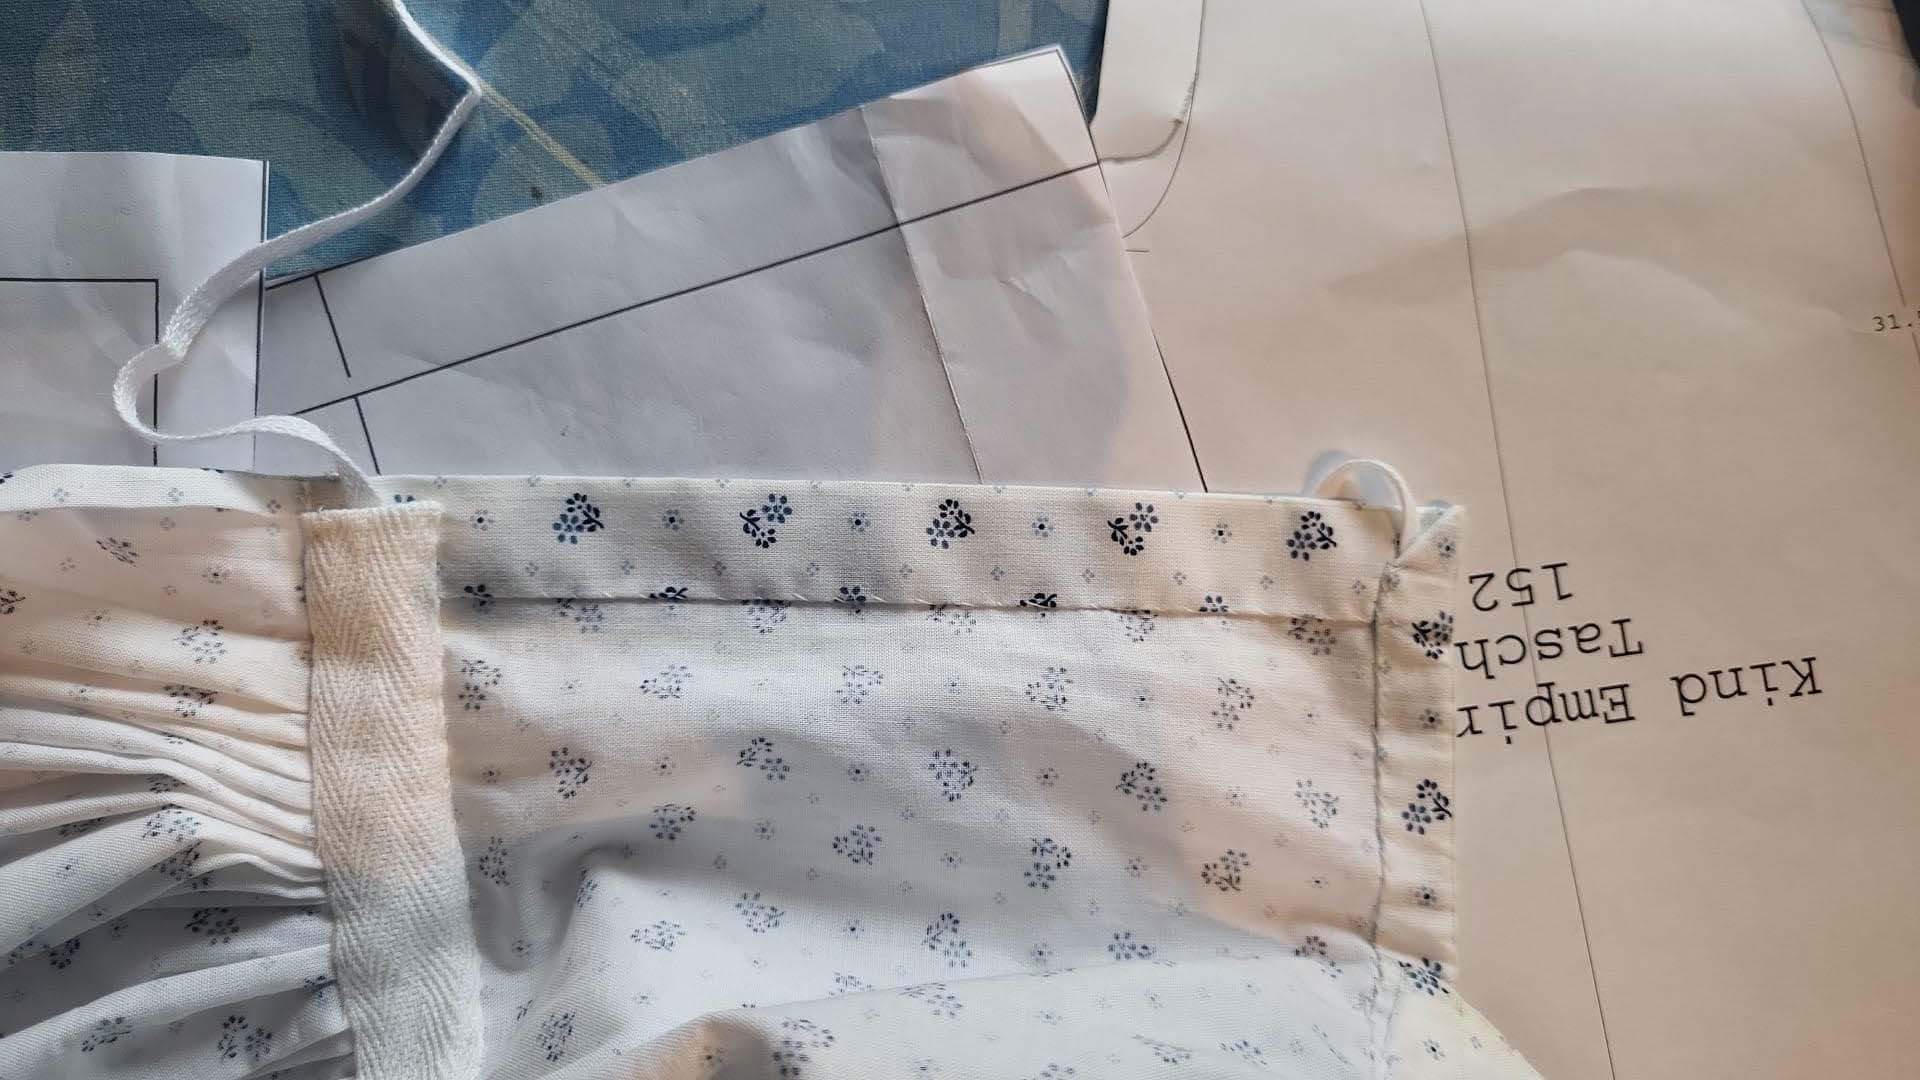
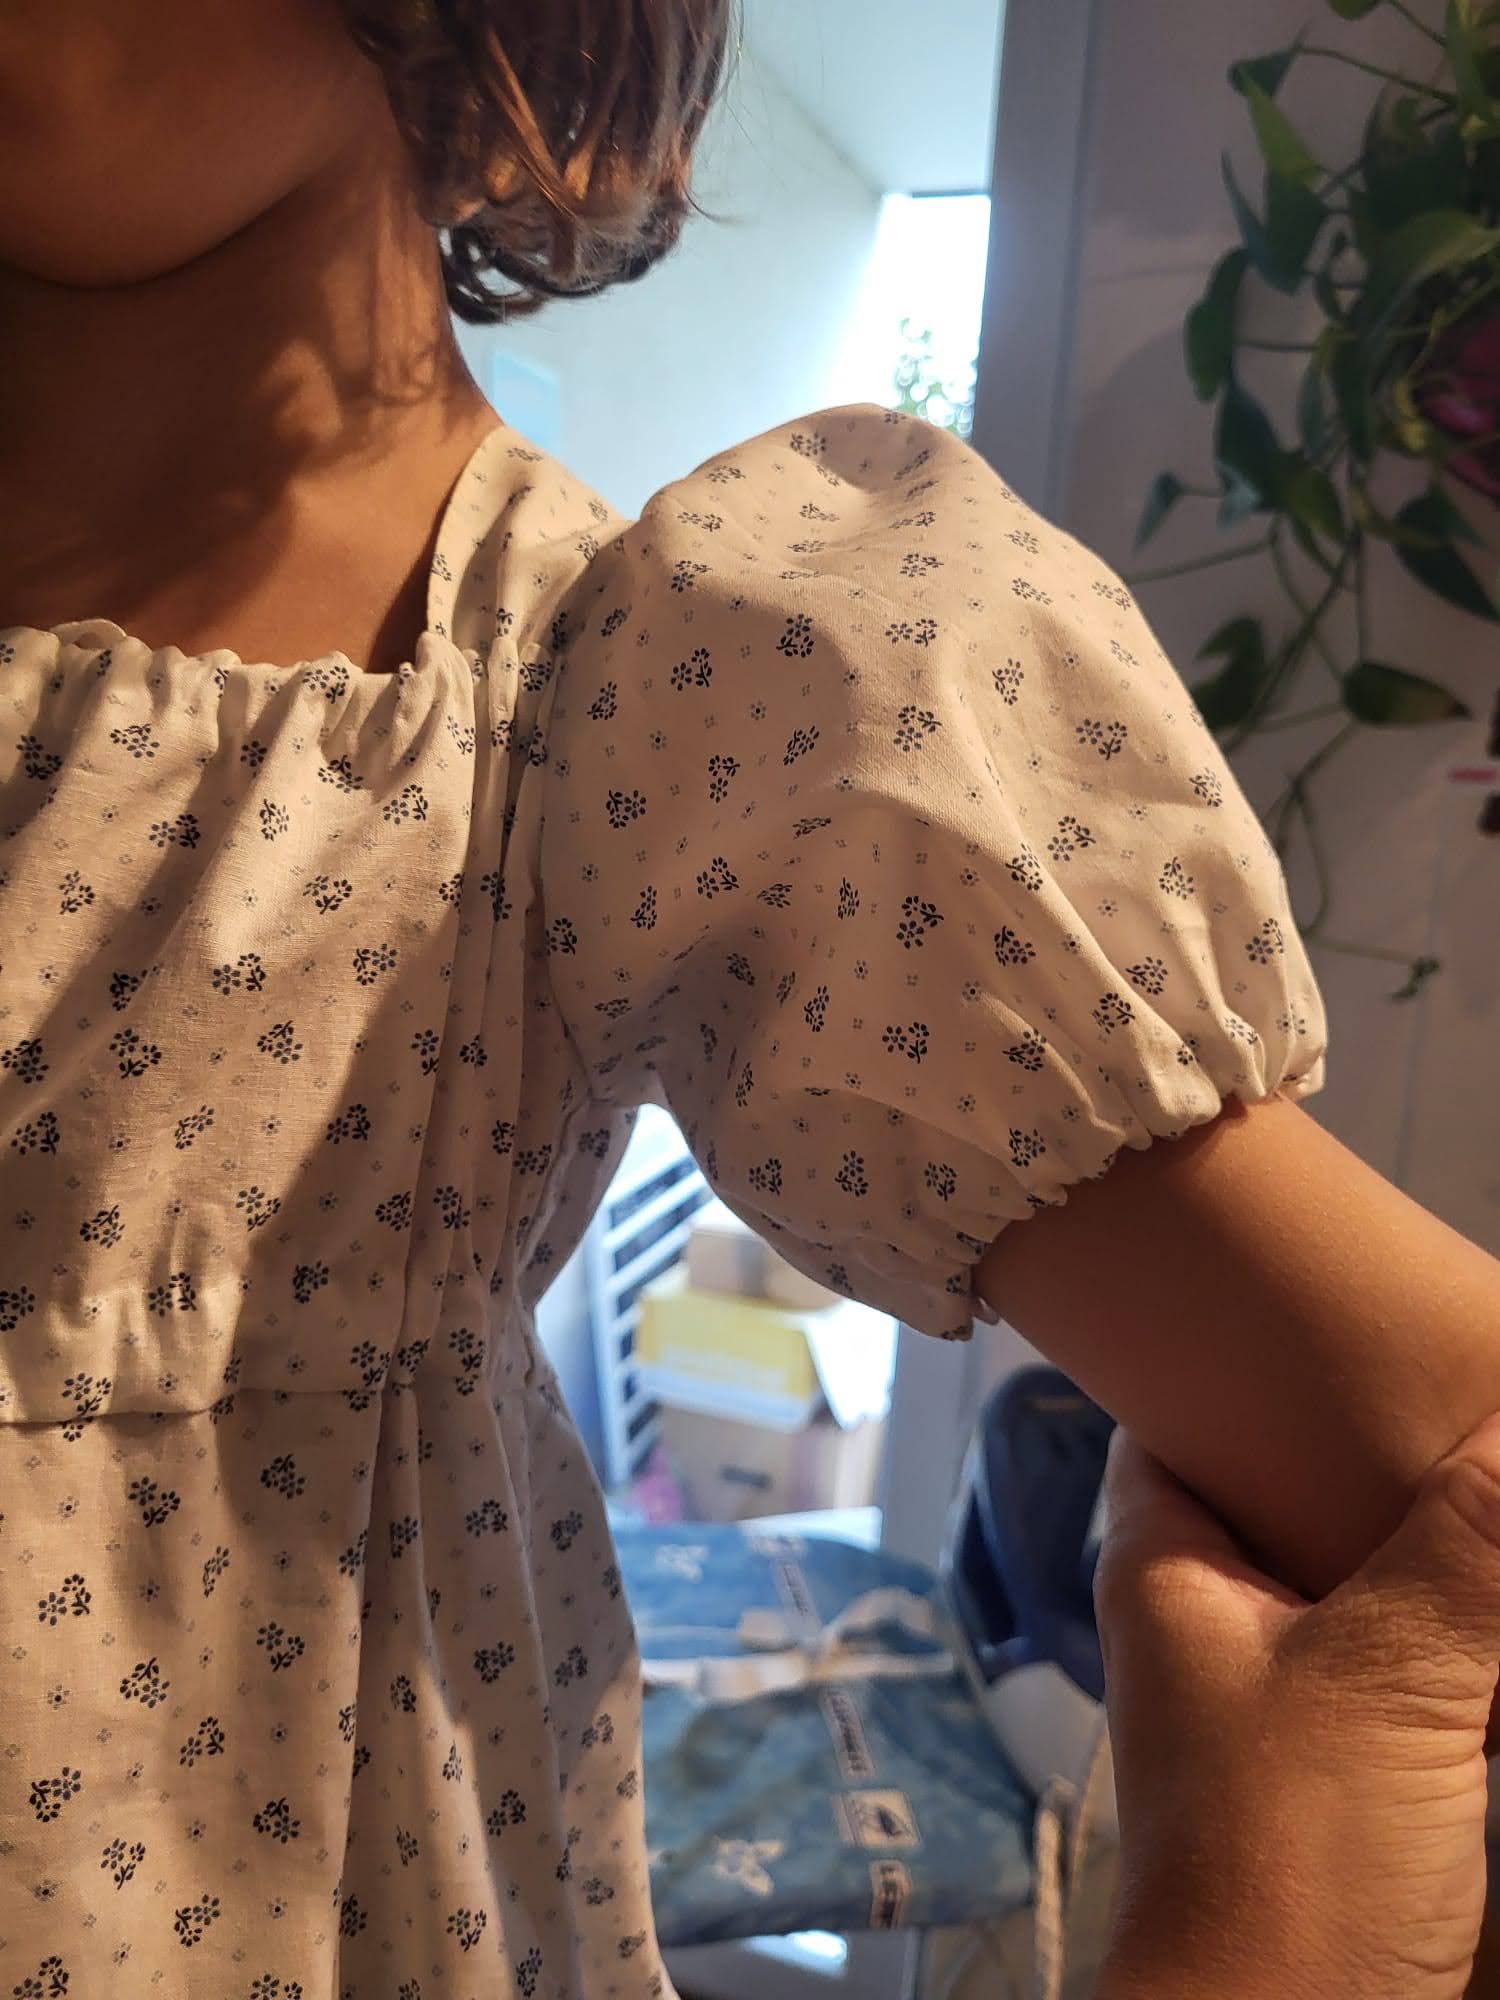
(8) Gather the sleeve head between the markings, make a box pleat at the bottom edge, and baste in place. Sew the sleeve seam, right sides together, and neaten with a flat felled seam.
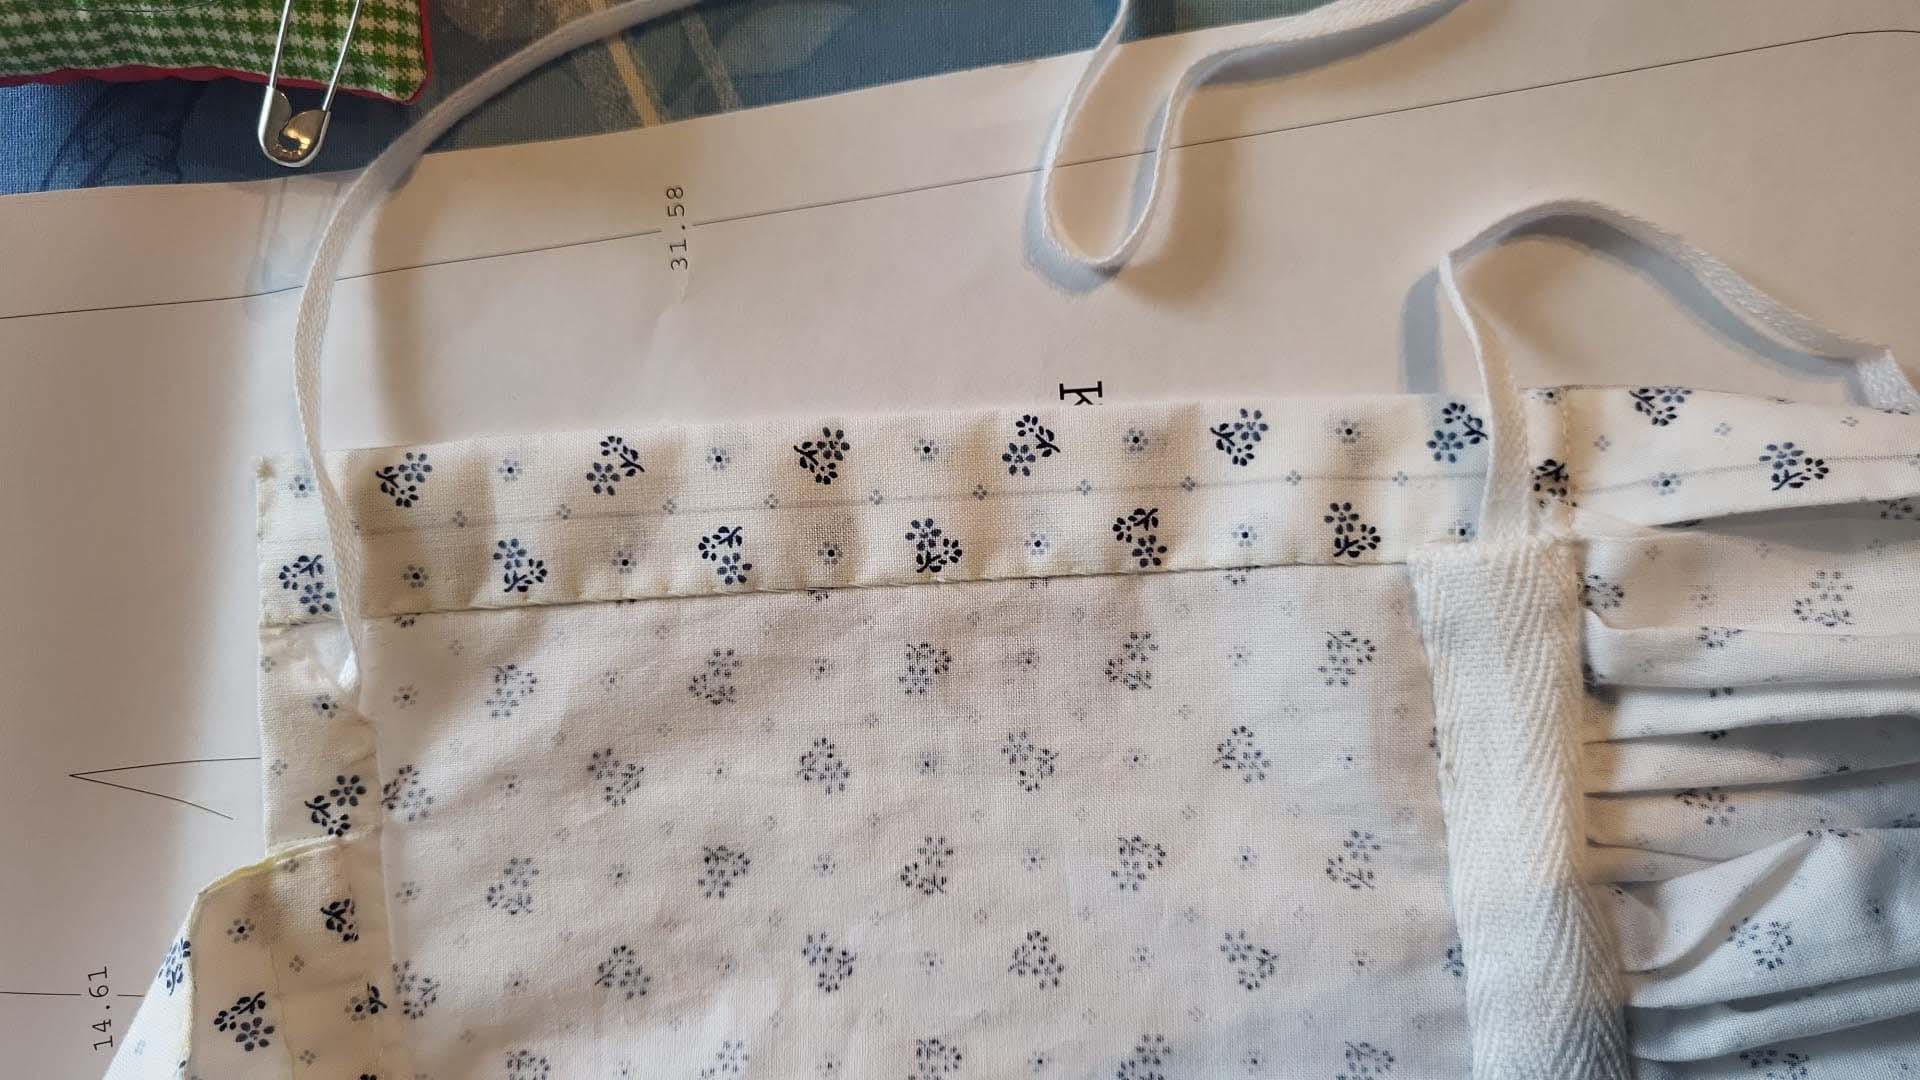
(9) Fold the sleeve cuff lengthwise along the centerline, wrong sides together, and press the edge, reopen. Sew the cuff into a circle, right sides together. Pin the sleeve cuff to the sleeve’s bottom edge, right sides together, and sew. Trim back the seam allowances and press towards the cuff. Turn in the seam allowance along the loose edge and fold the cuff along the previously pressed edge, wrong sides together, lining up the edge with the cuff stitching. Sew with a felling stitch.
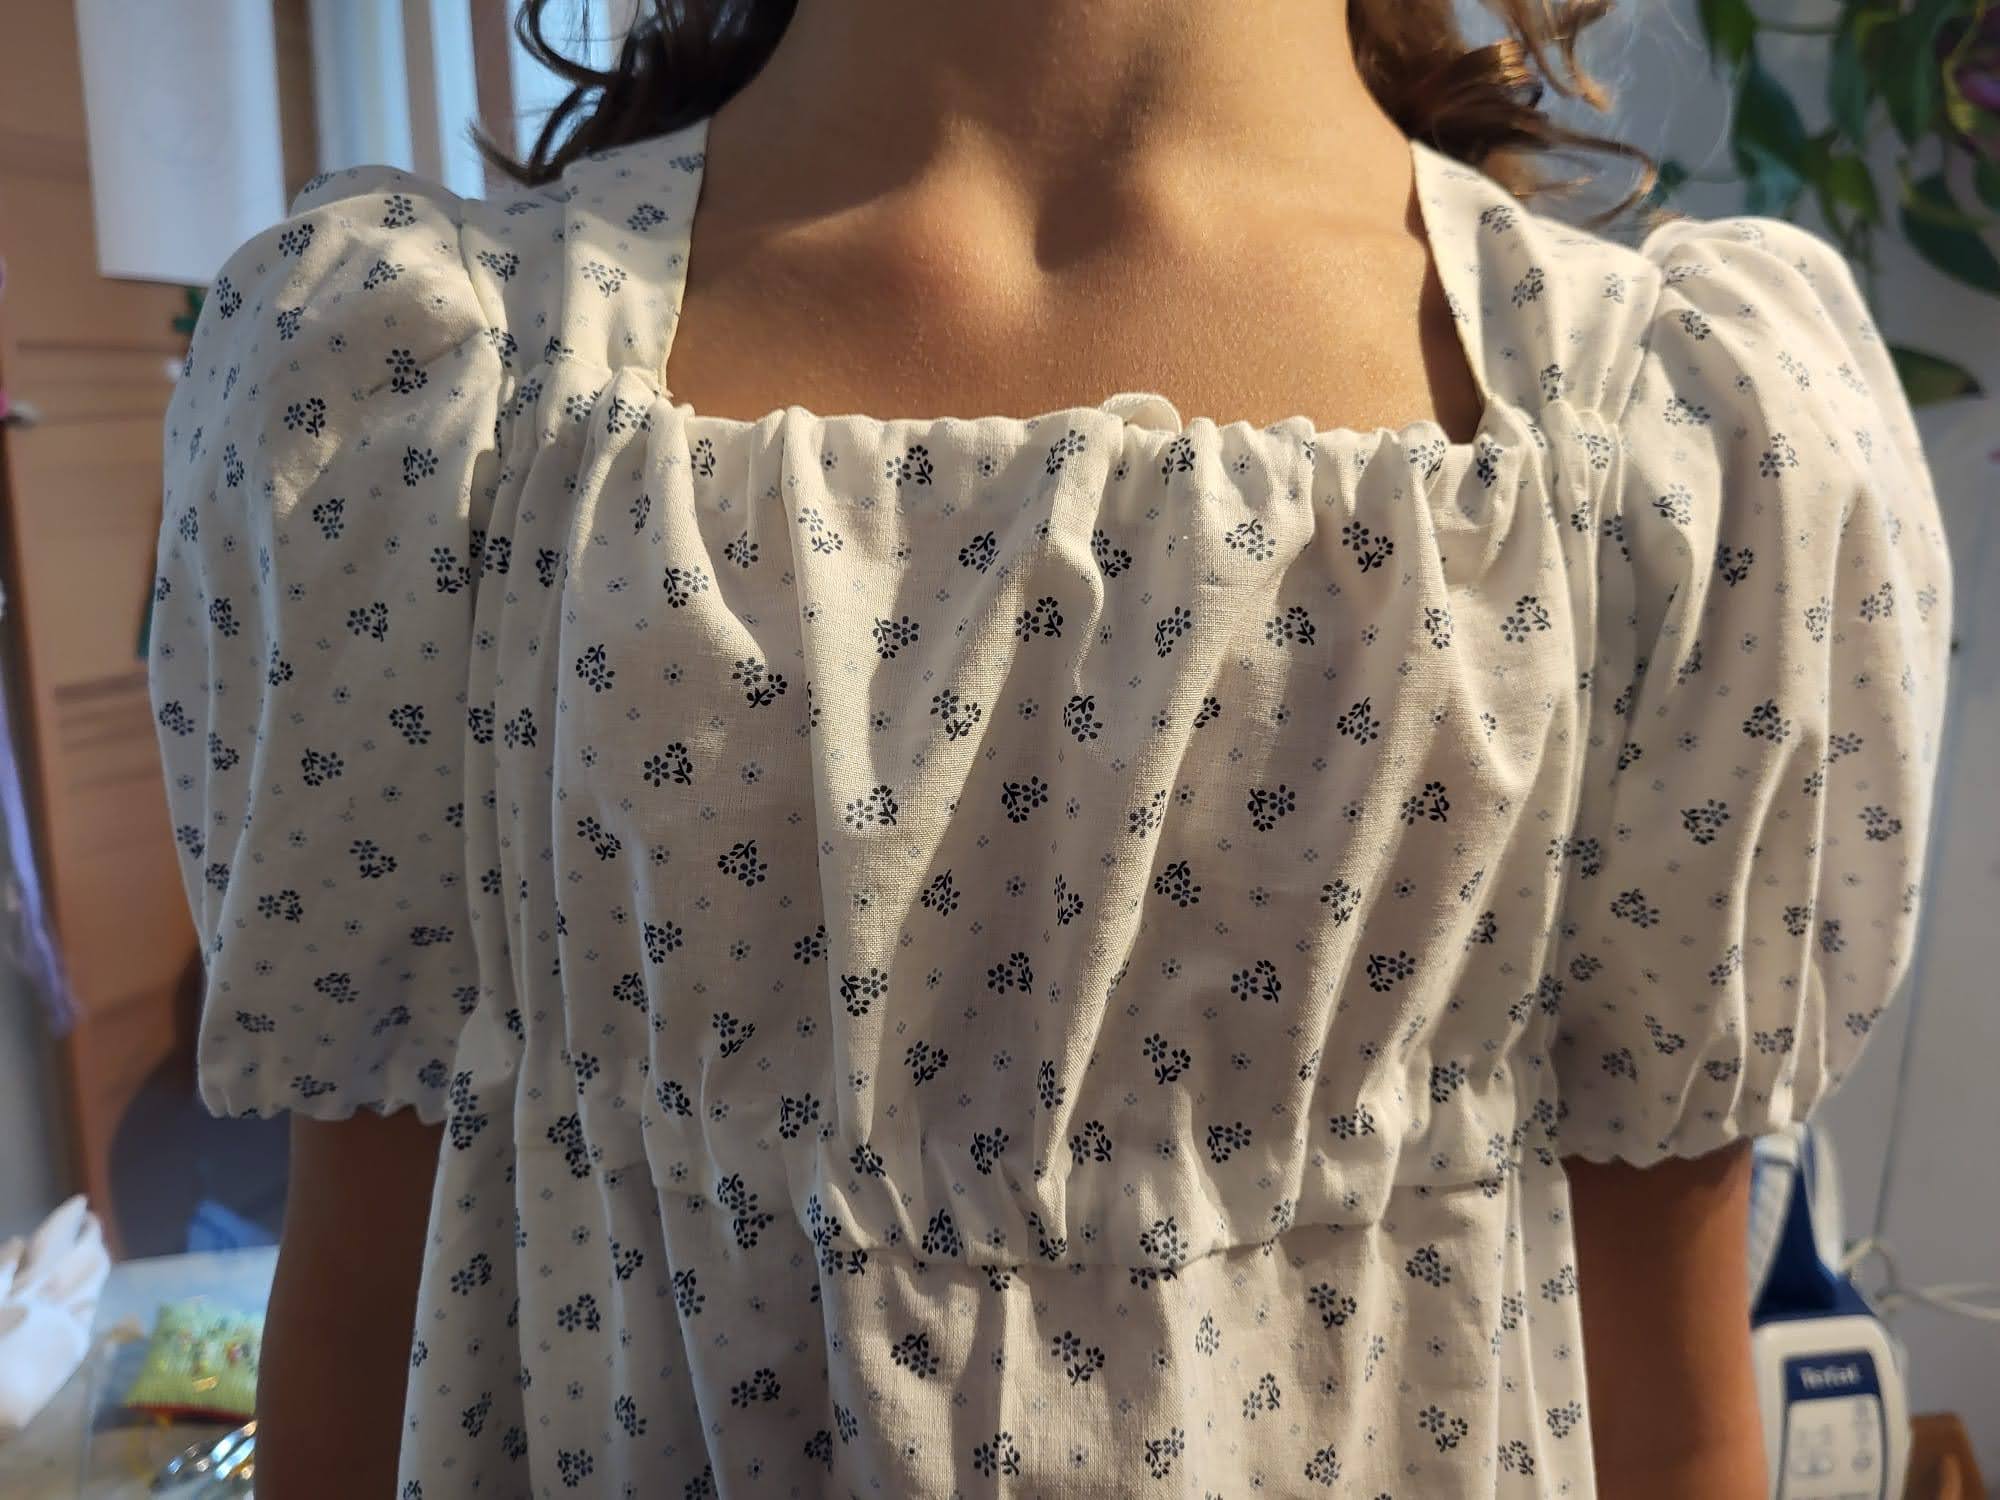
(10)Sew the sleeve into the armhole, right sides together, matching all marks. Pull the gathering threads and spread the width evenly between Mark (5) and (6). Trim back the seam allowances to 3/8” (1cm) and neaten with an overcasting stitch.
Let’s continue with the Spencer, a short jacket designed to add contrast and character to the simple white dresses of the Regency era.
I used a leftover piece of hibiscus-colored silk from my stash—you might recognize it from the Bridgerton-inspired dress I made. Since there wasn’t much fabric left, I had to piece the back and omitted the train because I didn’t have enough fabric left.
While reading online reviews of this pattern, I noticed that several of you mentioned the back being quite wide and not fitting snugly—a problem I also noticed during my first fitting. To fix this, I adjusted the back pattern pieces for a closer fit and added an additional closure with a placket to the new version of the pattern.
(1) Sew together all pieces from the lining, right sides together, leaving the shoulder seam open jet. Press the seam allowances towards the side back piece.
When Laura joined my team, she brought her passion for historical fashion and a unique perspective as a mother of two girls. It seemed fitting that her first pattern project would be a lovely girls’ dress from the Regency era (1800-1810). Based on several surviving children’s garments from this period, this dress captures the essence of early 19th-century childhood fashion – comfortable, practical, and utterly delightful.
The Regency era marked a significant shift in how children were dressed. For the first time in history, children’s clothing was designed with their comfort and freedom of movement in mind, rather than simply miniaturizing adult fashions. Our pattern stays true to this revolutionary approach, featuring clever design elements like drawstrings and adjustable elements that allow the dress to “grow” with the child. This practical consideration was just as important to parents then as now.
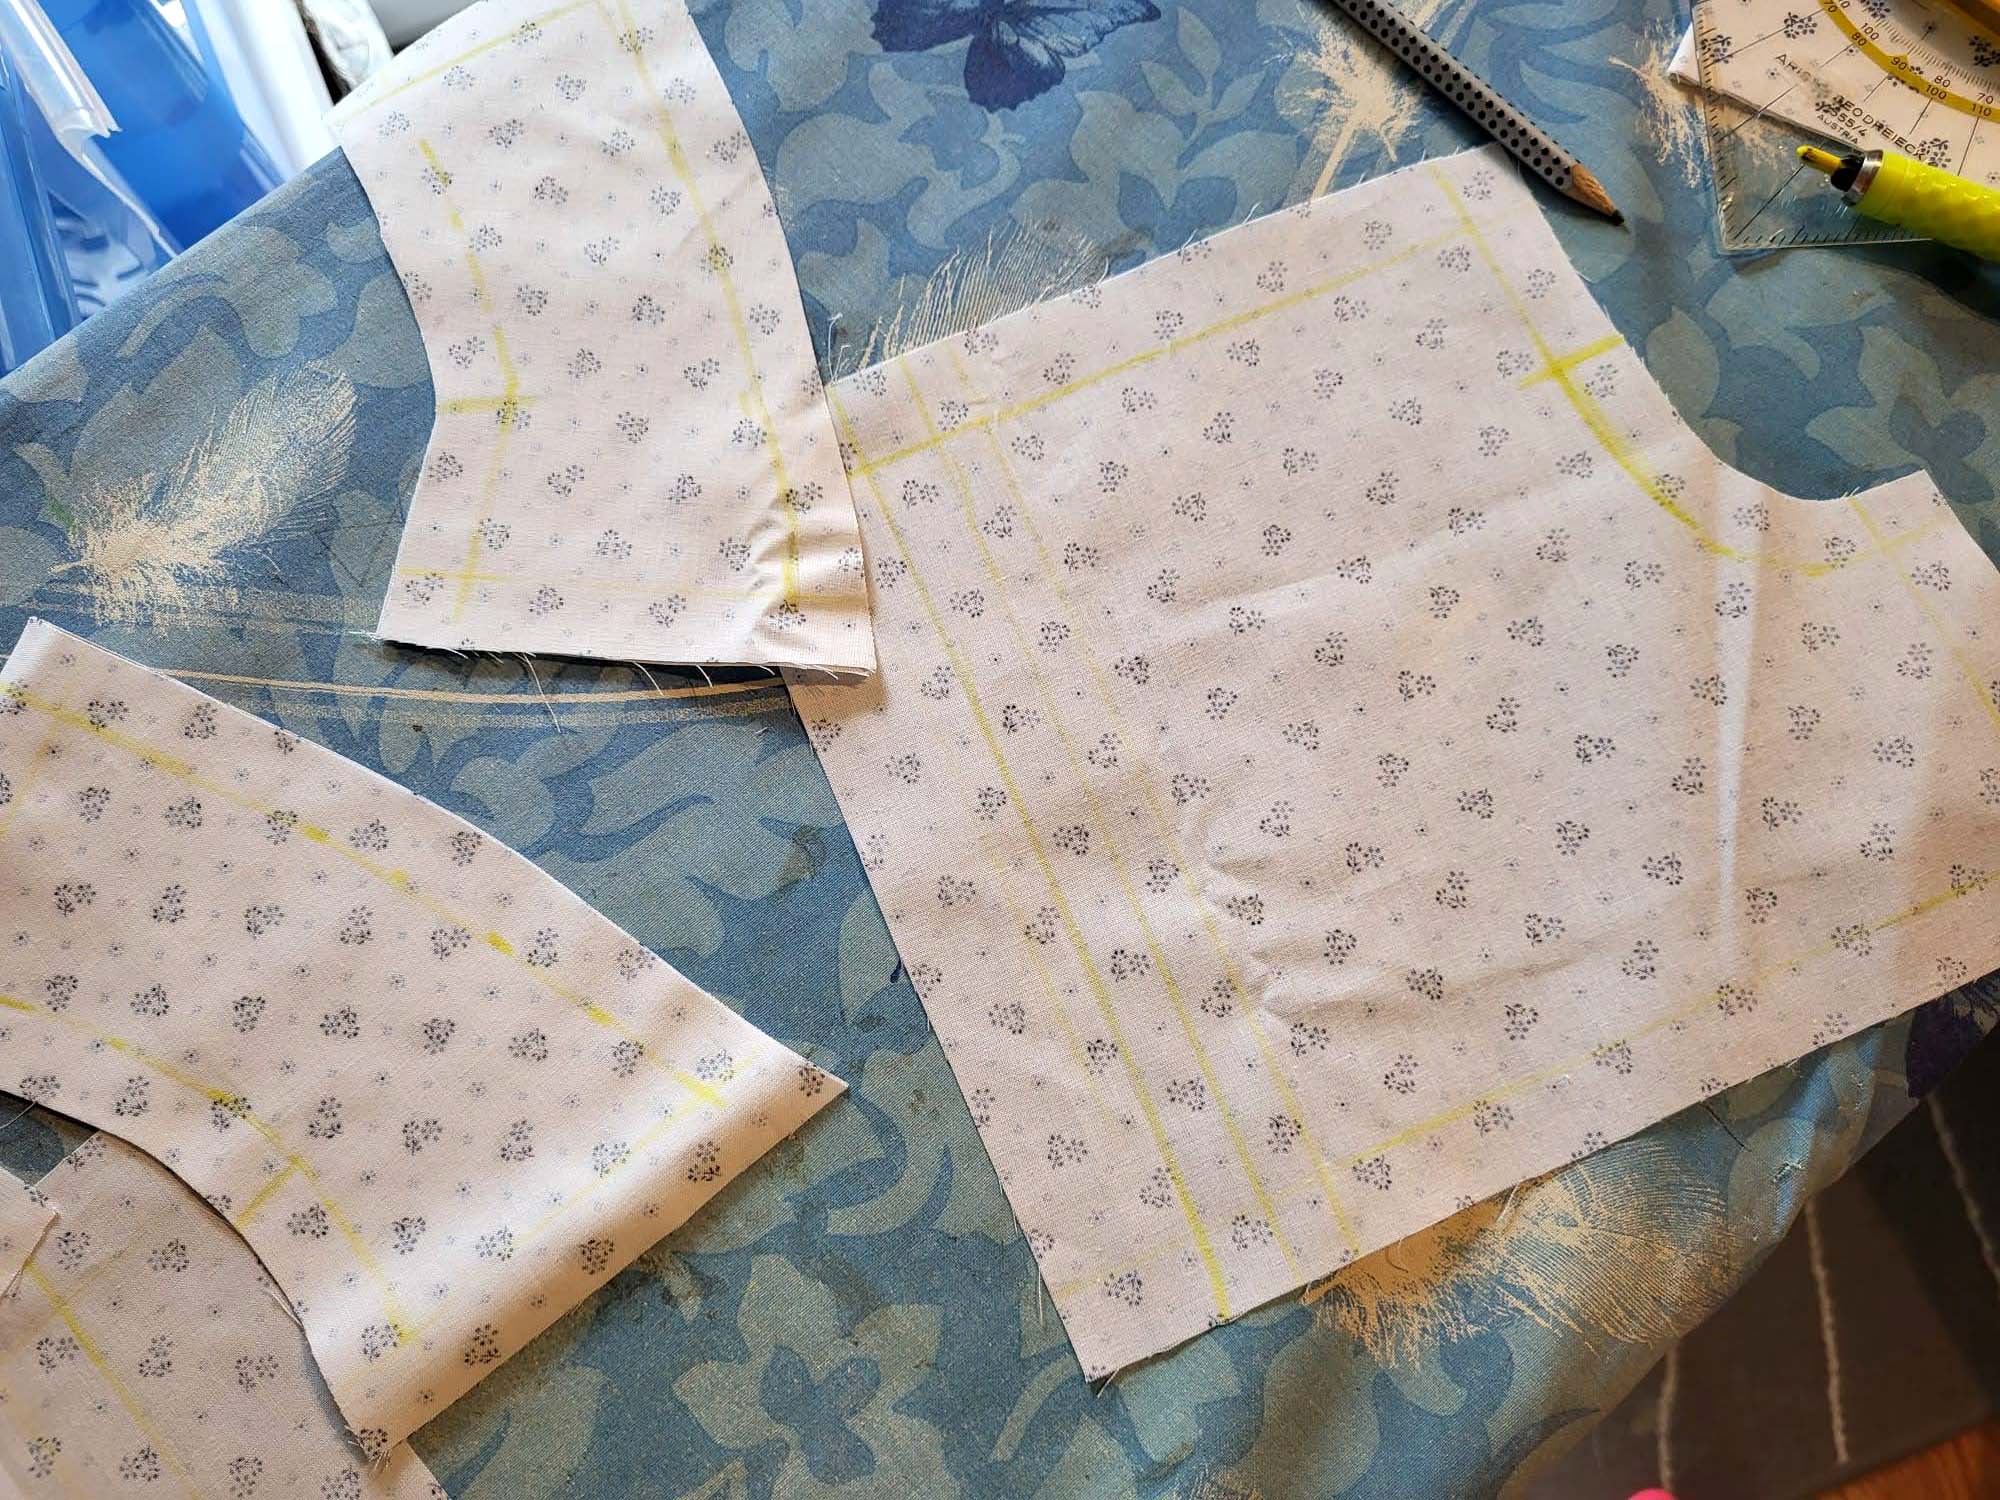
(1) After carefully cutting all your pattern pieces and transferring all markings, we’re ready to begin the sewing process. Before we dive in, remember: Always make a mock-up using inexpensive fabric first to check the fit, especially around the bodice area. Transfer any adjustments to your paper pattern before cutting into your final fabric.
Pro tip: If your fabric has a nice, even selvage, consider using it for the center back of the skirt – this clever detail saves you from having to finish those edges separately.
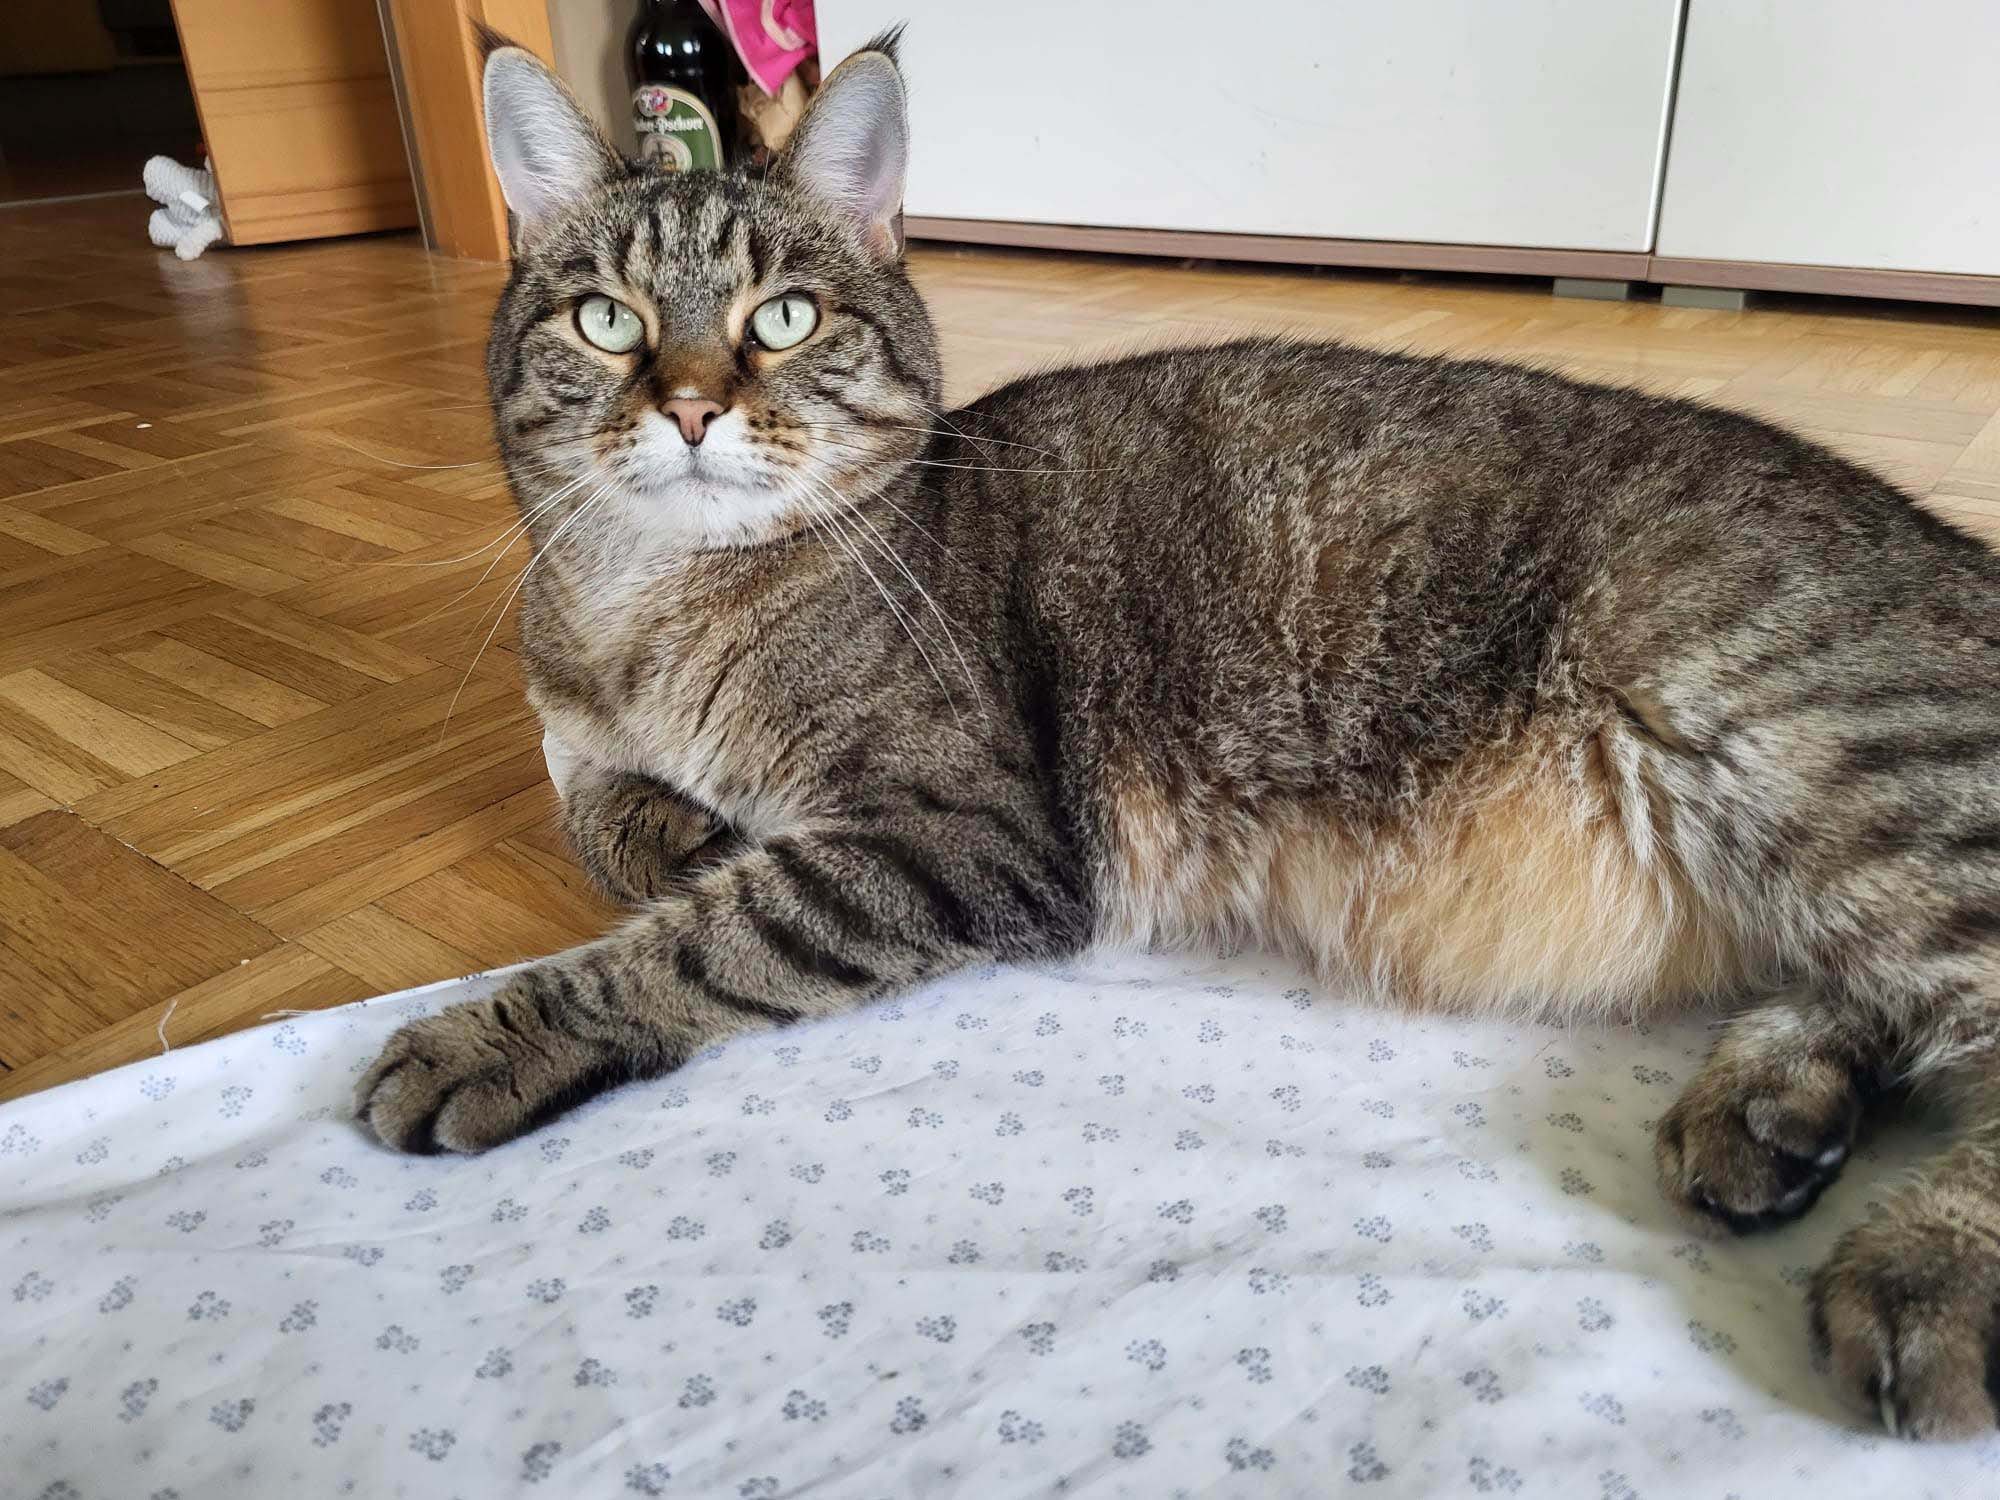
And speaking of Laura’s sewing process – she always gets plenty of “help” from her cats, who seem to think that pattern pieces make excellent napping spots and fabric layouts aren’t complete without a cat inspection!
Now, let’s start sewing!
(2) At the center front of the front piece, sew a small buttonhole to the seam allowance, where indicated on the sewing pattern.
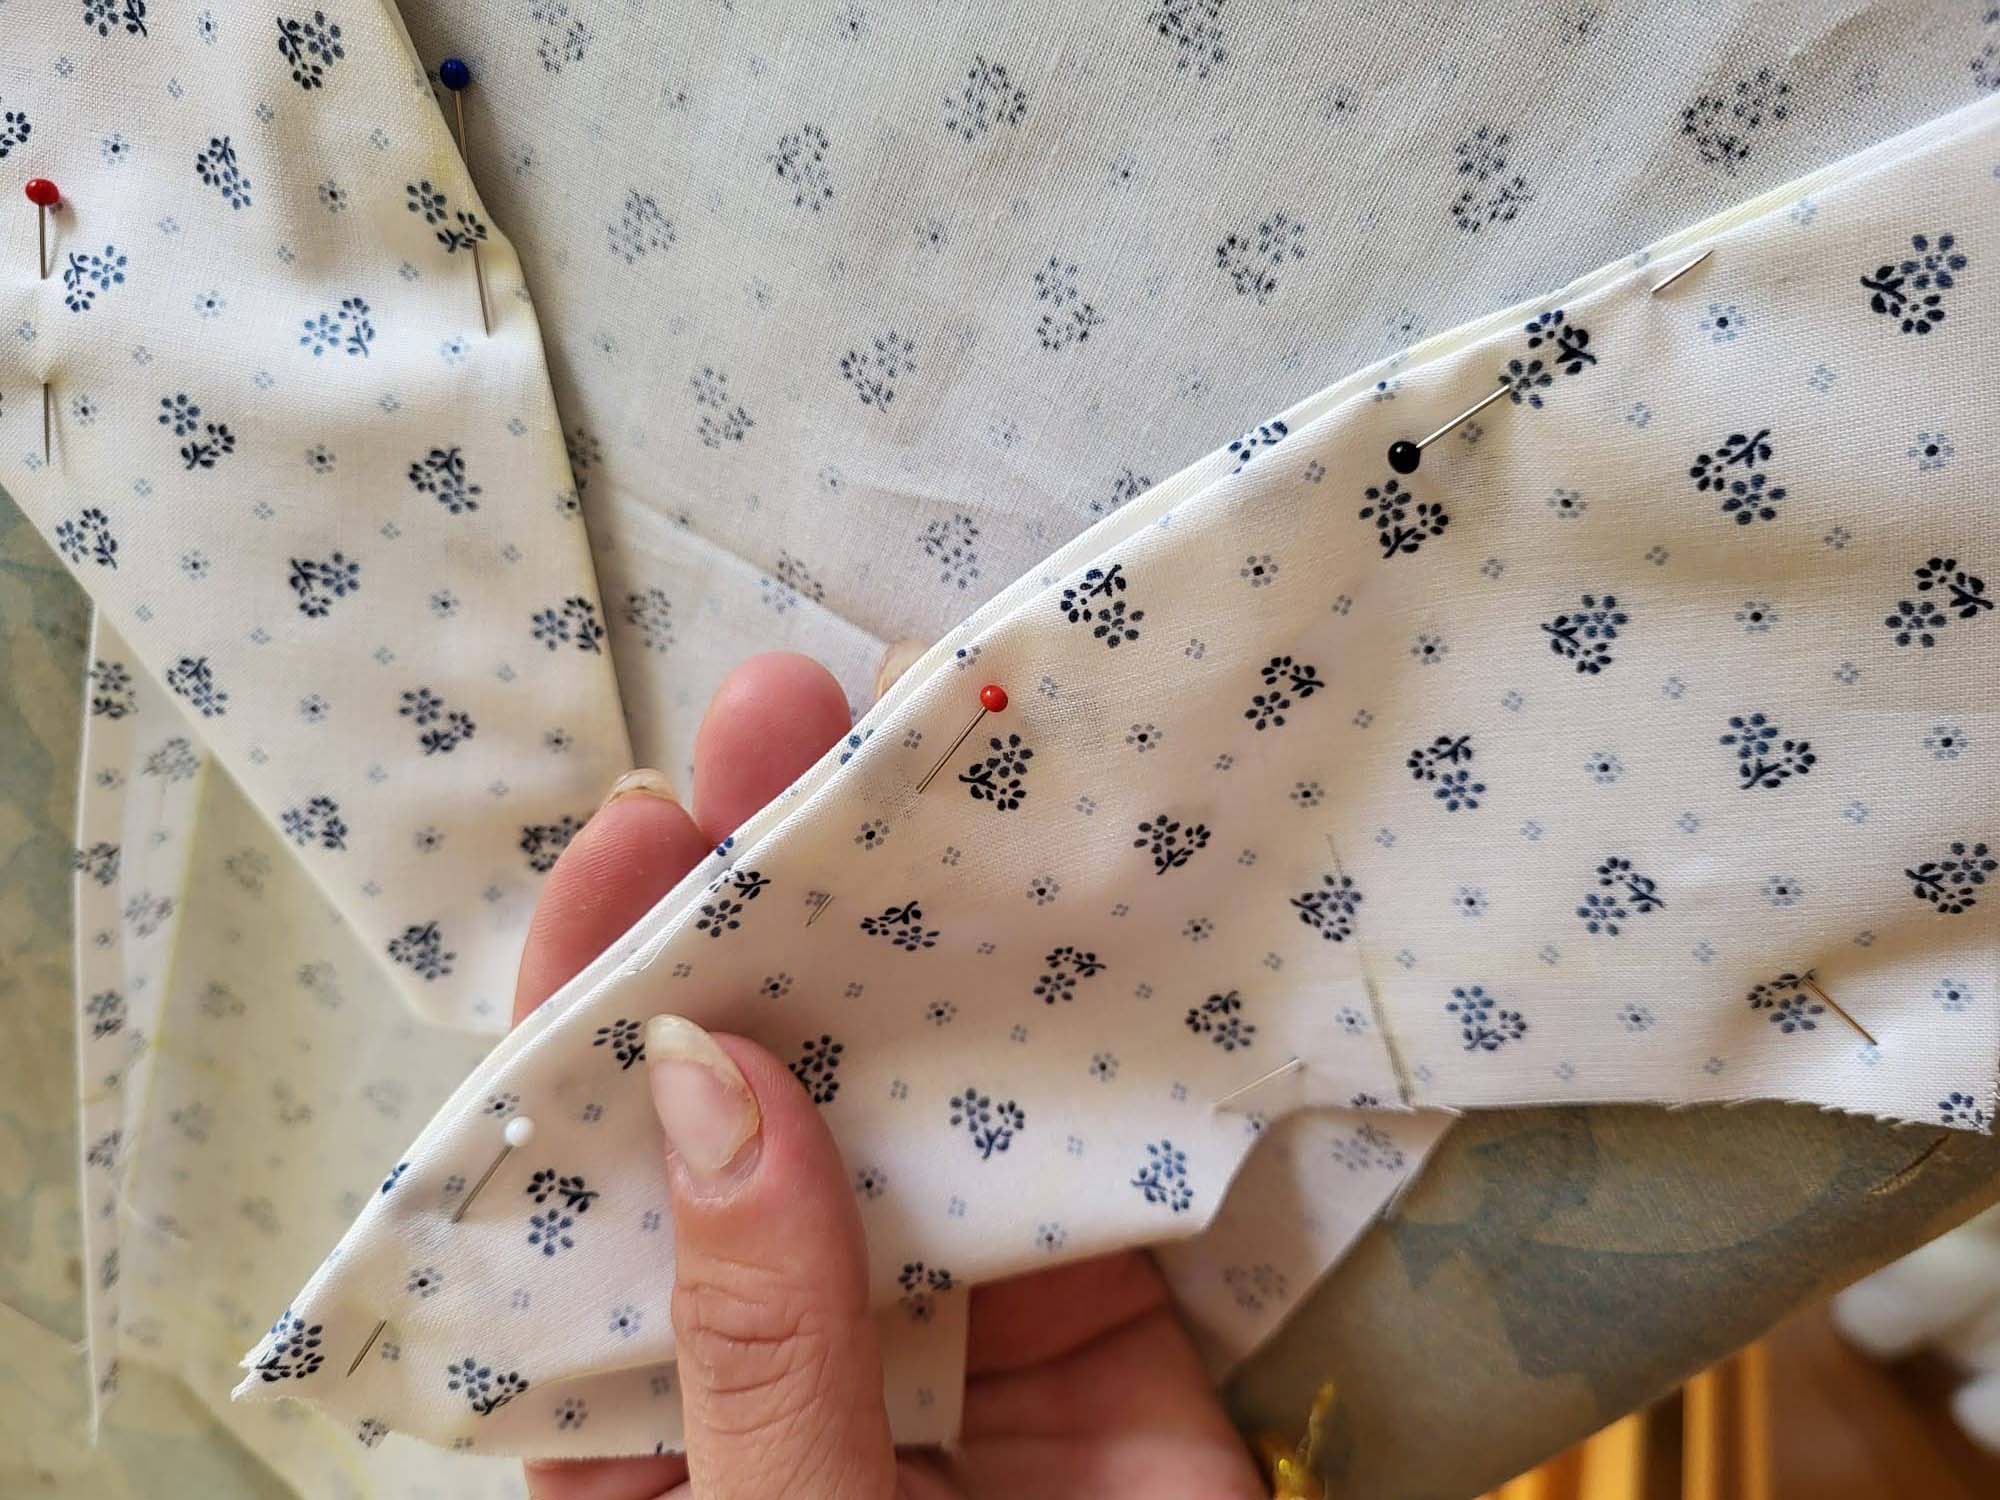
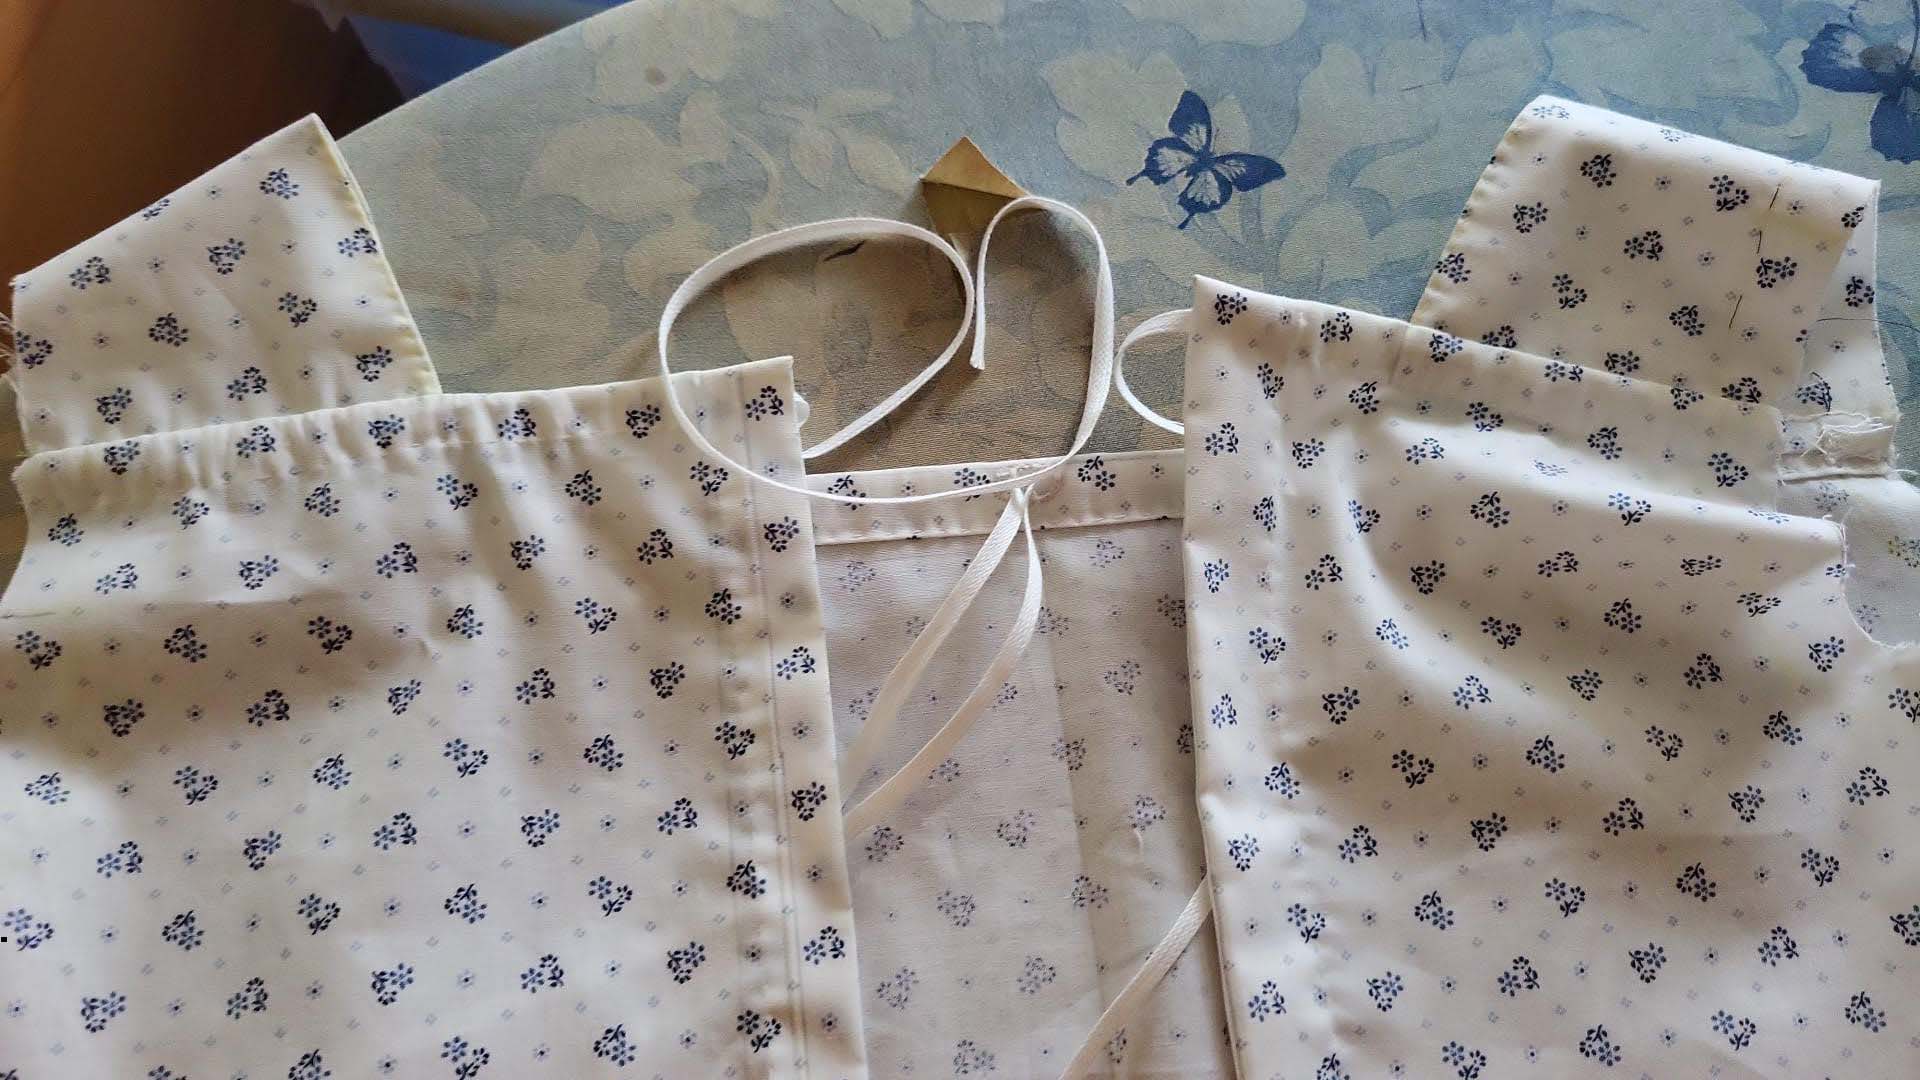
(3) Take the shoulder straps from fashion fabric and lining and turn in the seam allowance along the neckline (b), clip if needed. Line up the straps, wrong sides together. For the point à rabattre sous la main the edge of the fashion fabric should extend beyond the edge of the lining about 1/8” (2mm).
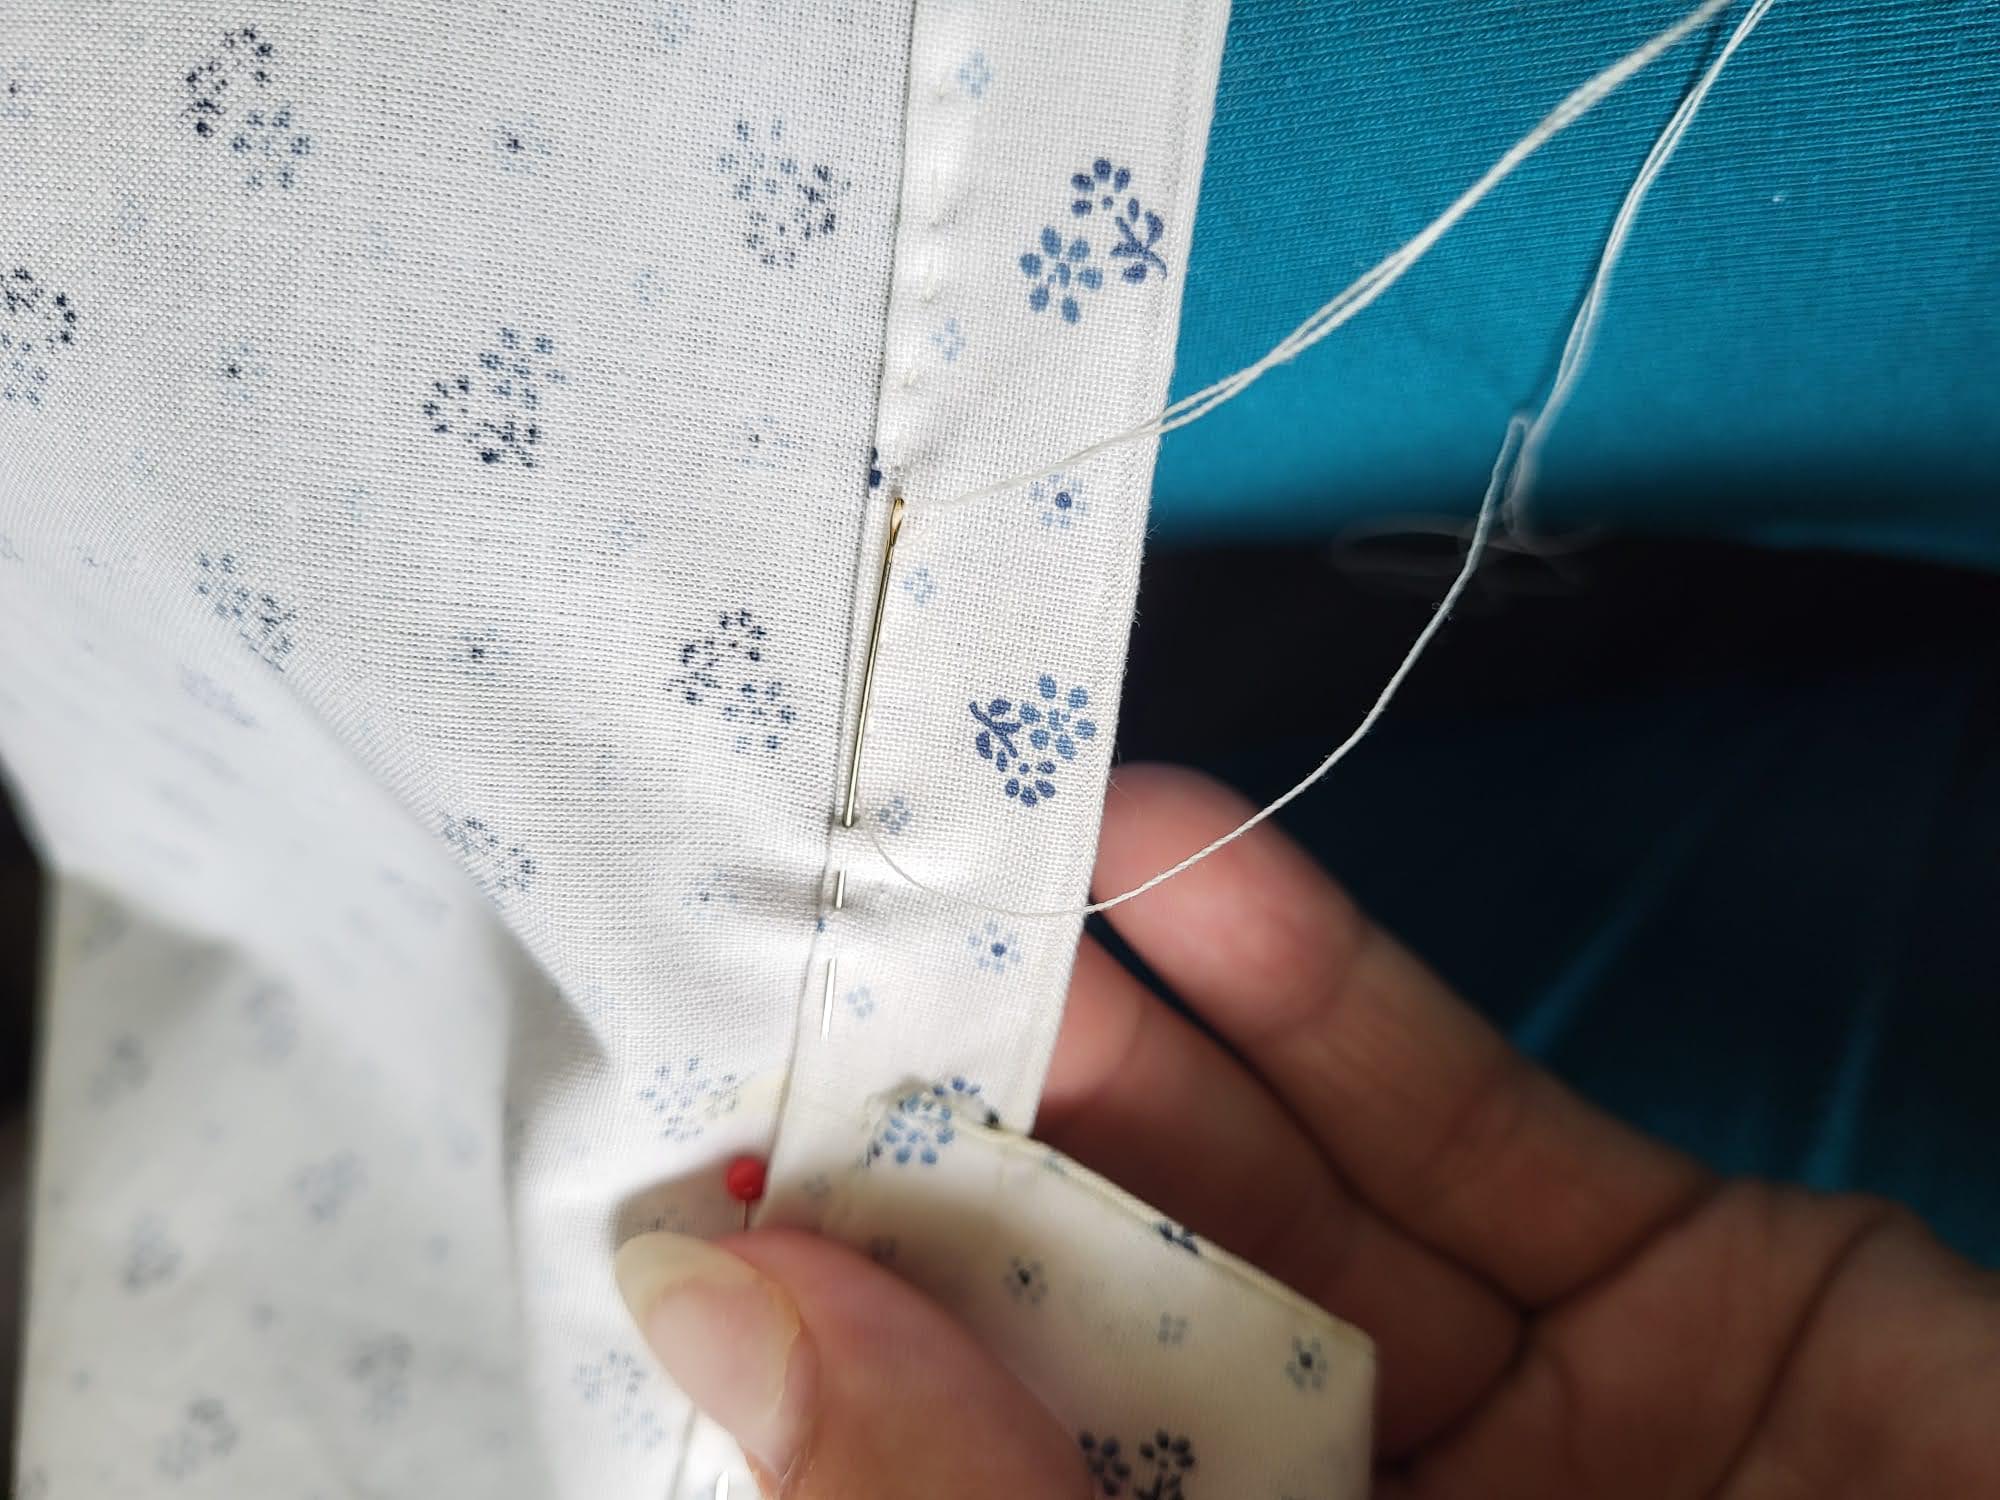
Sew the shoulder strap to the front, right sides together, respecting mark (5). Sew with a back stitch – take care of the 1 3/4” (2cm) seam allowance here. Double-turn in the seam allowance along the top edge of the front, 3/8” (1cm) each. Instead of equal folds, Laura took a slightly different approach here, she first made a narrow turn, followed by a wider. Instead of a fell stitch, she used a narrow running stitch. Because of this, she had to turn in the seam allowance of the strap on top of the tunnel. Just take care, that you can thread the tunnel with the drawstrings later. Thread the tunnels with narrow drawstrings, reaching from the side to the buttonhole. Let the drawstring extend beyond the sides about 3/8“ (1cm) and secure with some stitches.
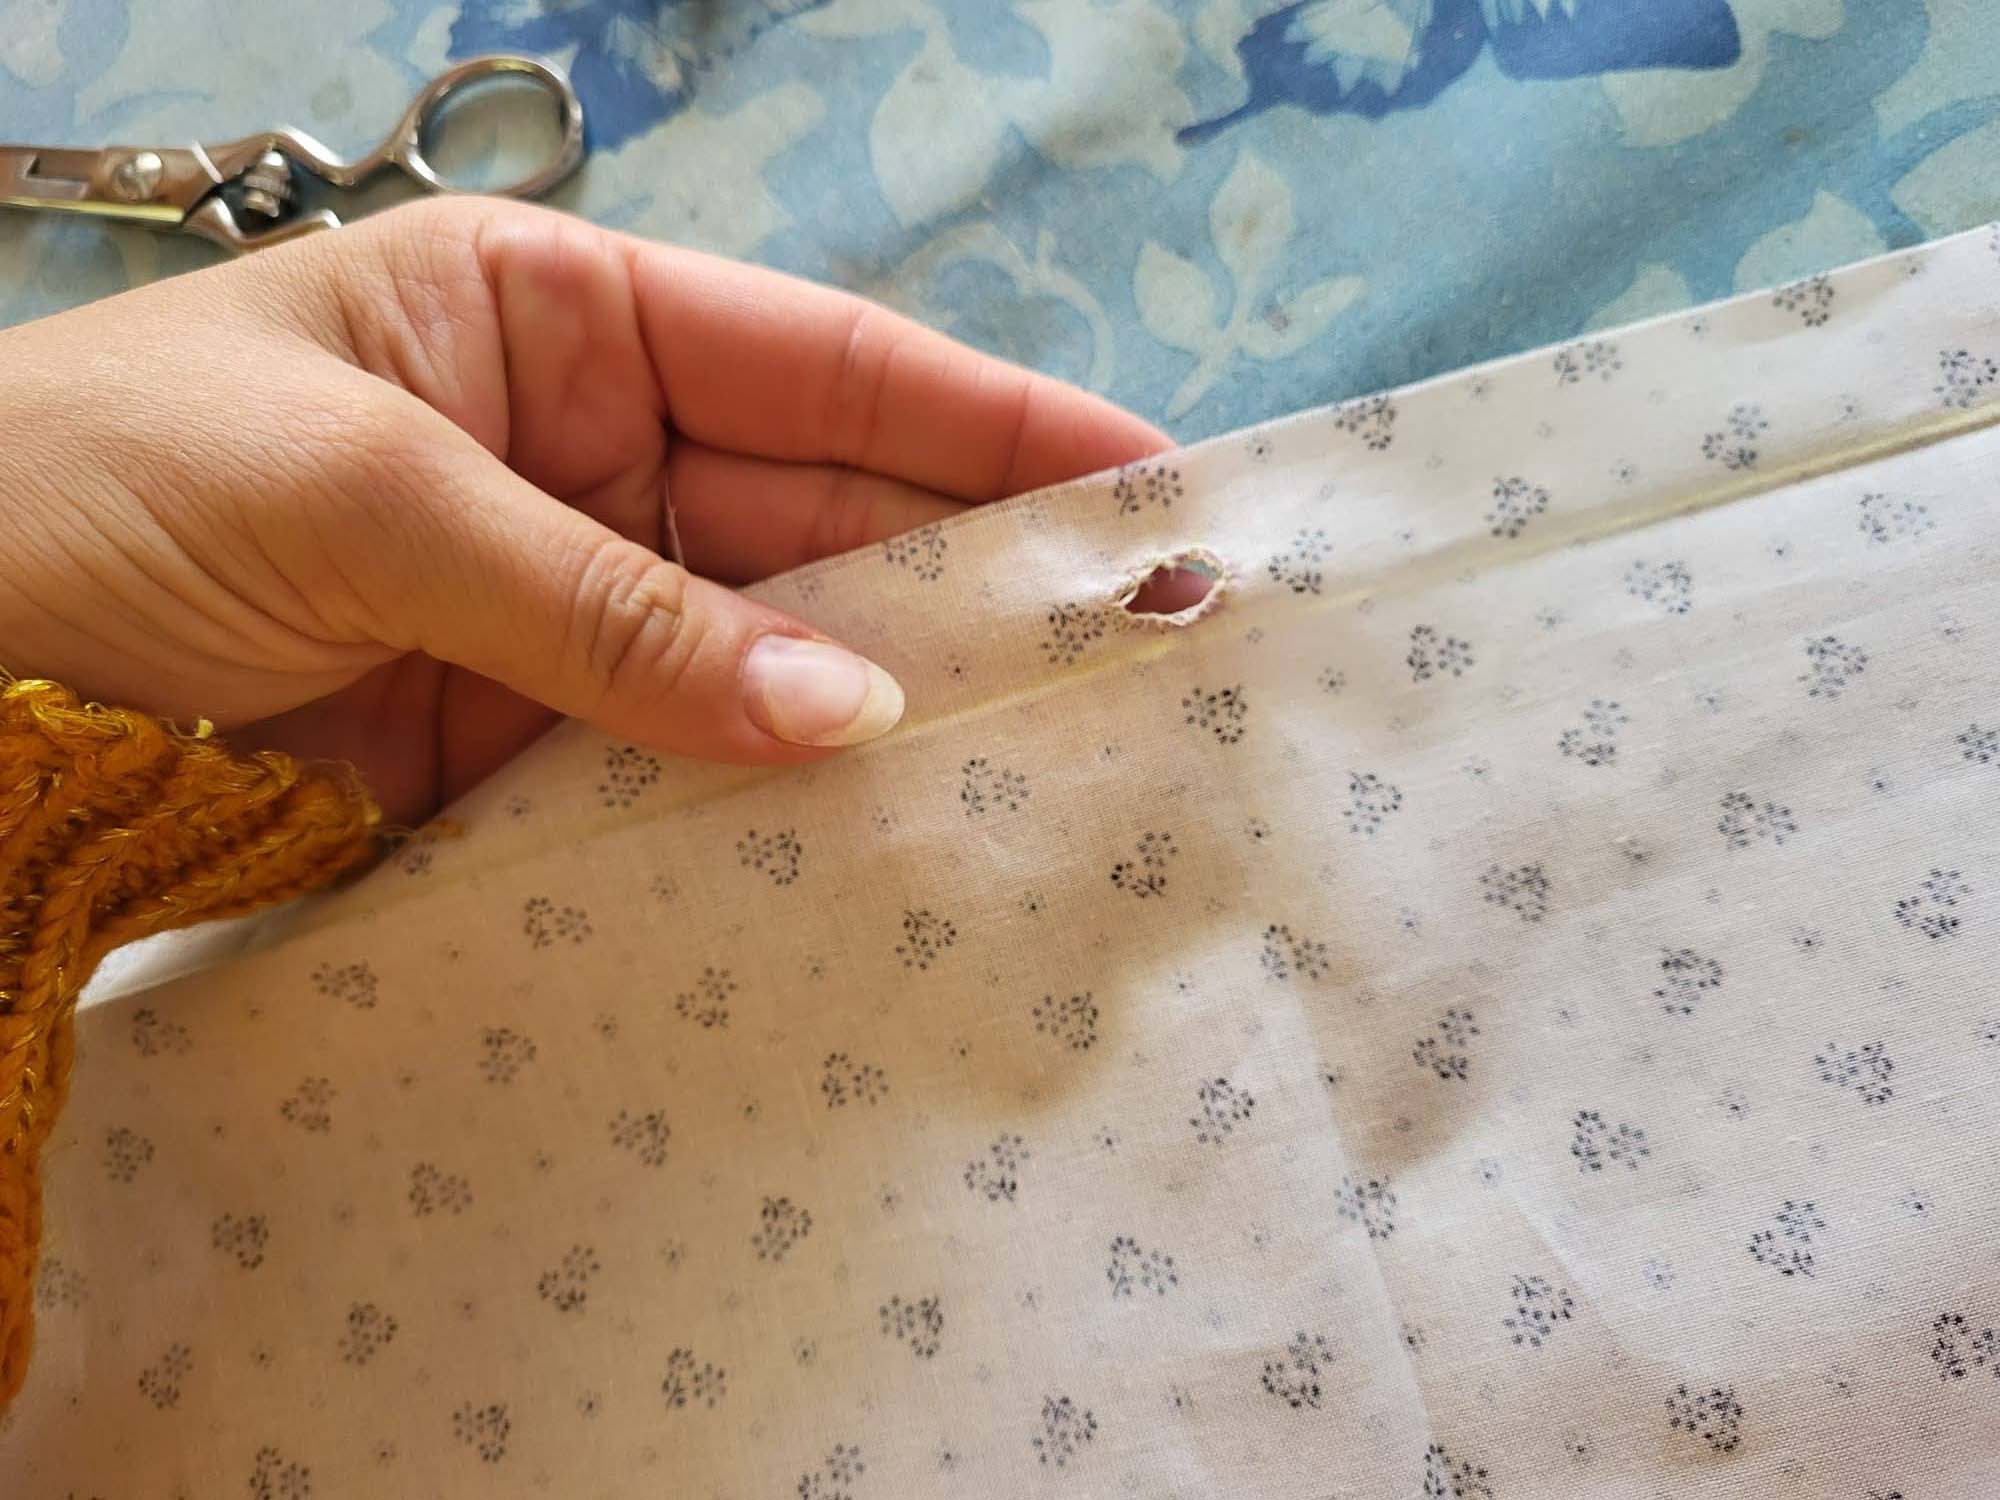
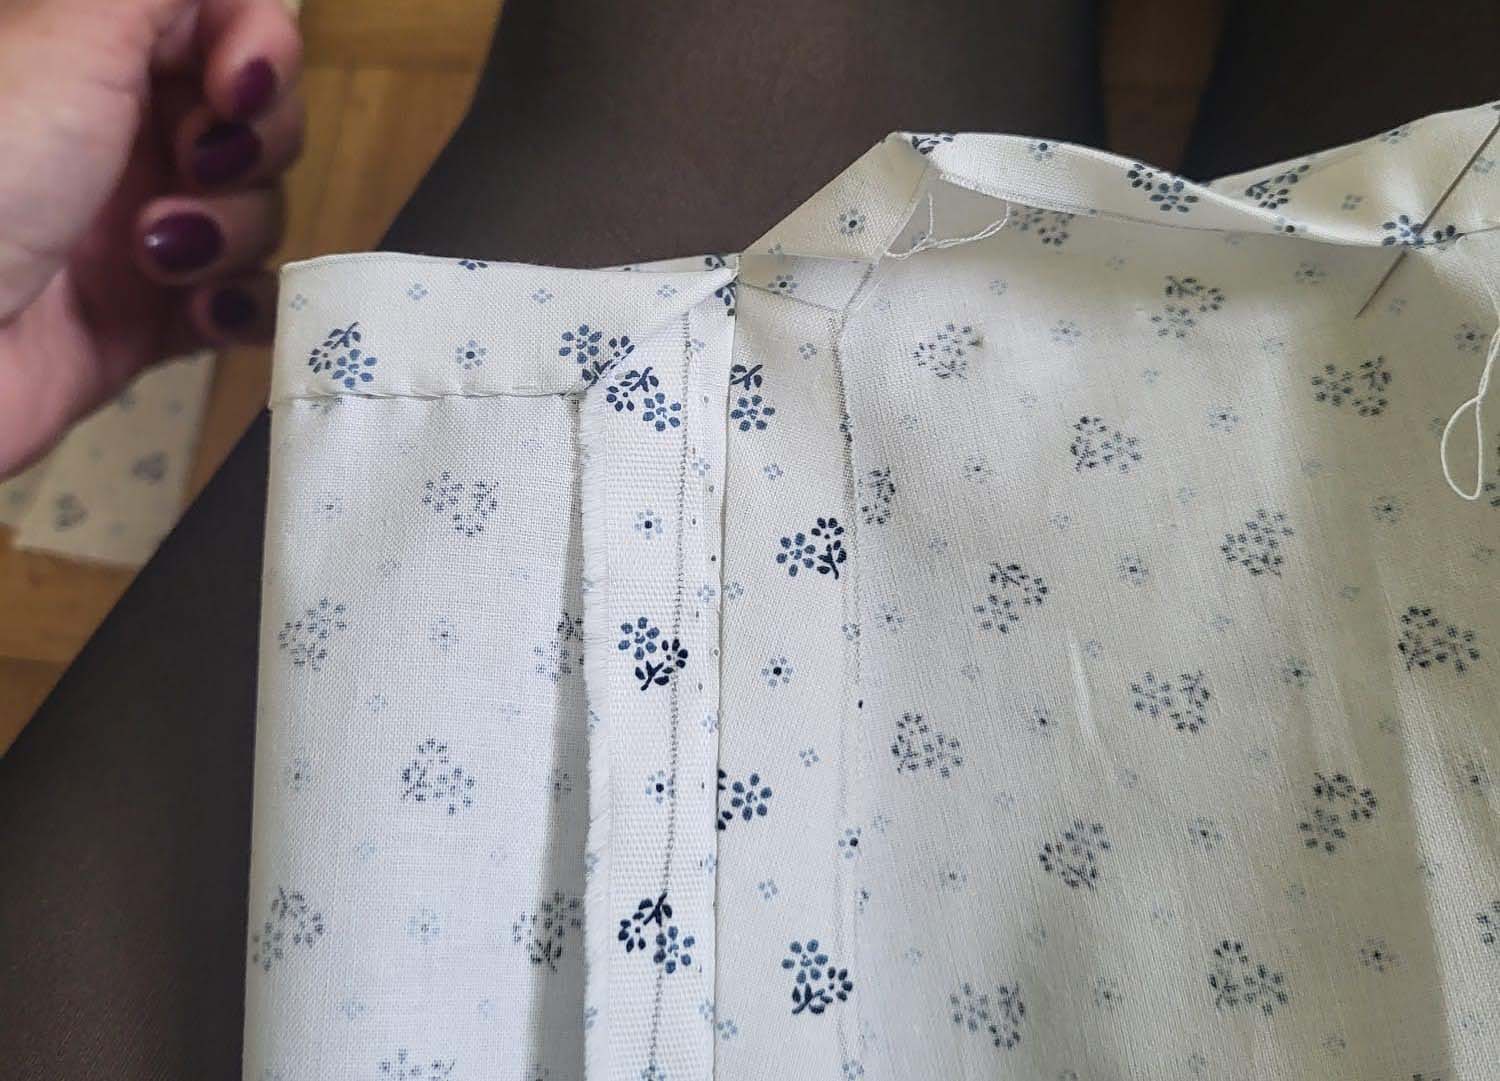
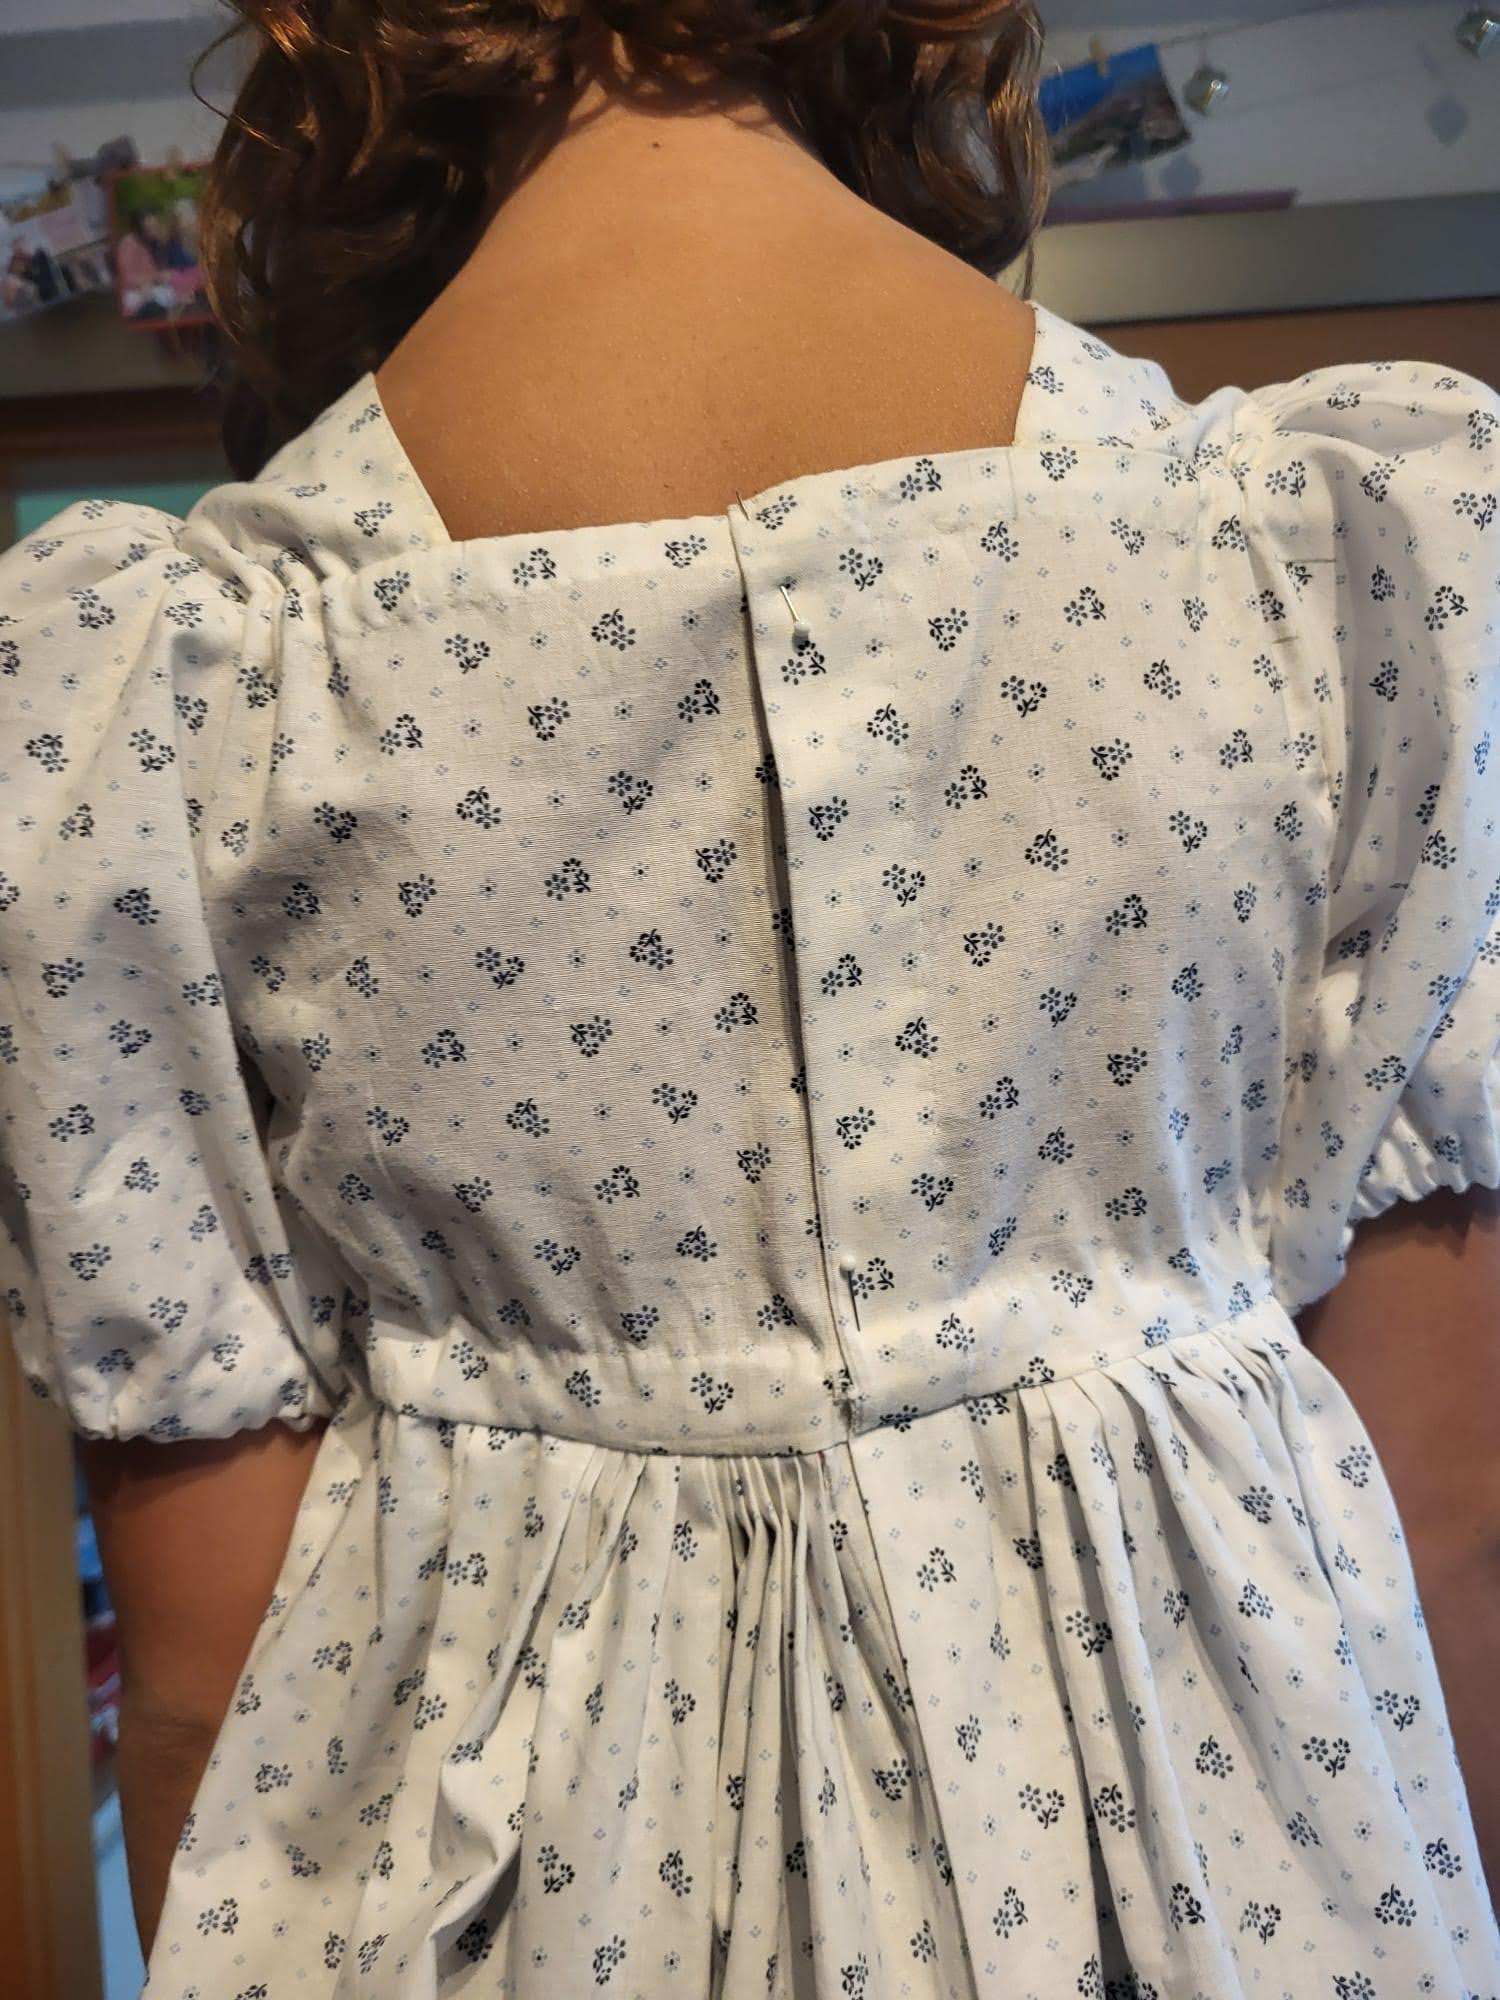
(4) And it´s the same procedure at the back! Here’s a clever detail that Laura came up with while developing this pattern: She discovered an elegant way to finish the back edges of the bodice where the drawstrings will be inserted. As a mom who knows the importance of sturdy construction in children’s clothing, she wanted to ensure these openings would hold up well to regular use and dressing. But see for yourself!
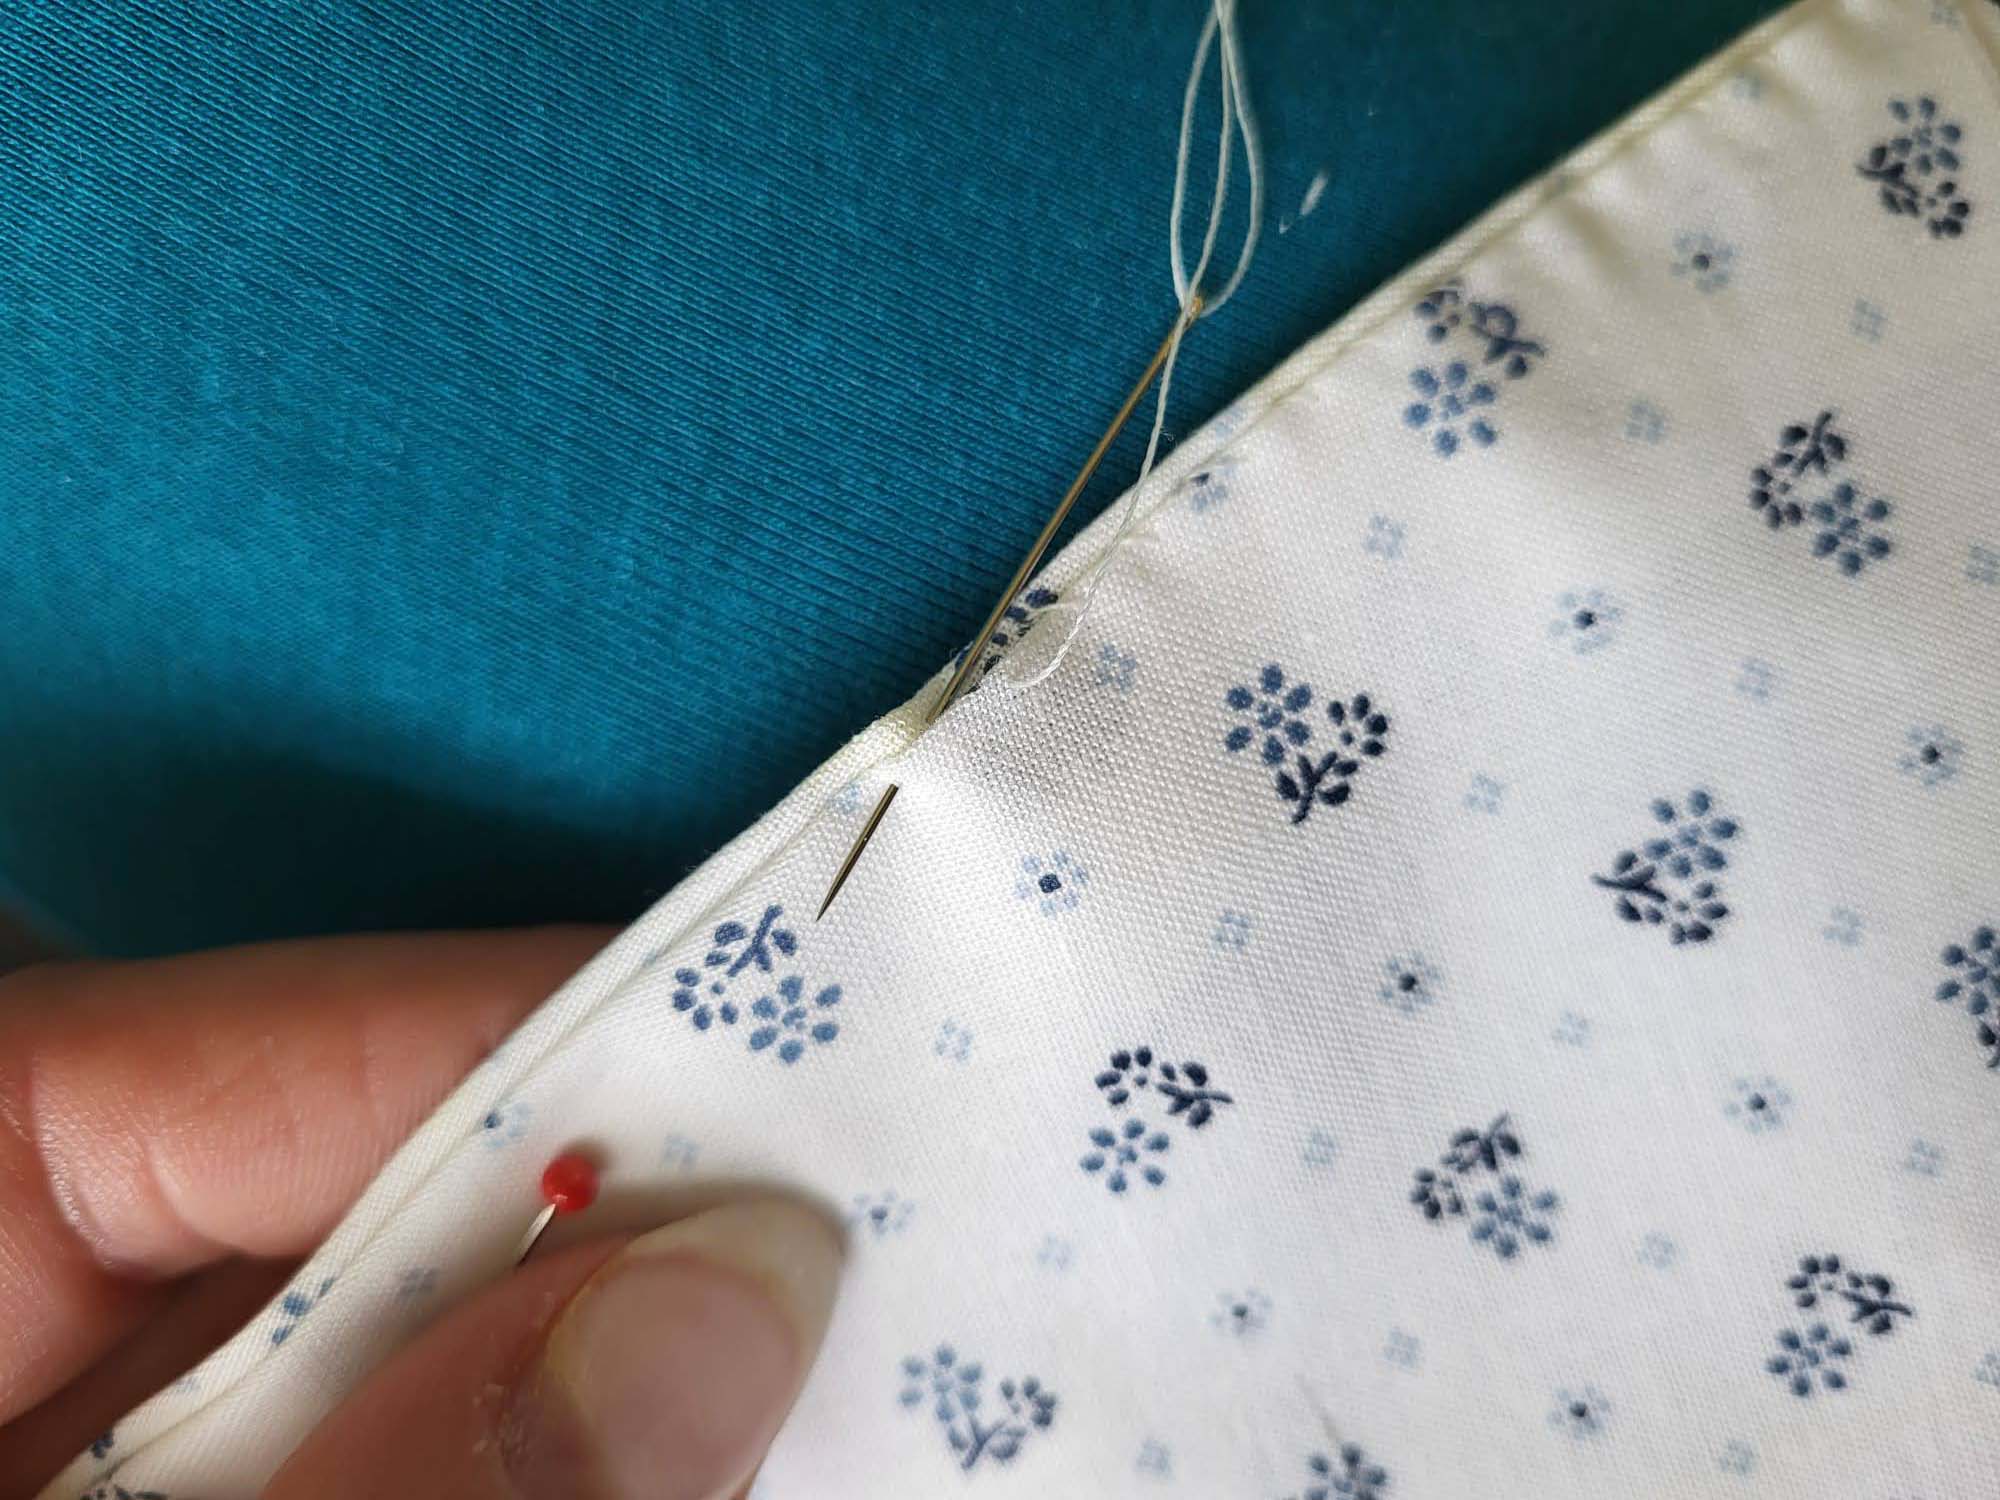
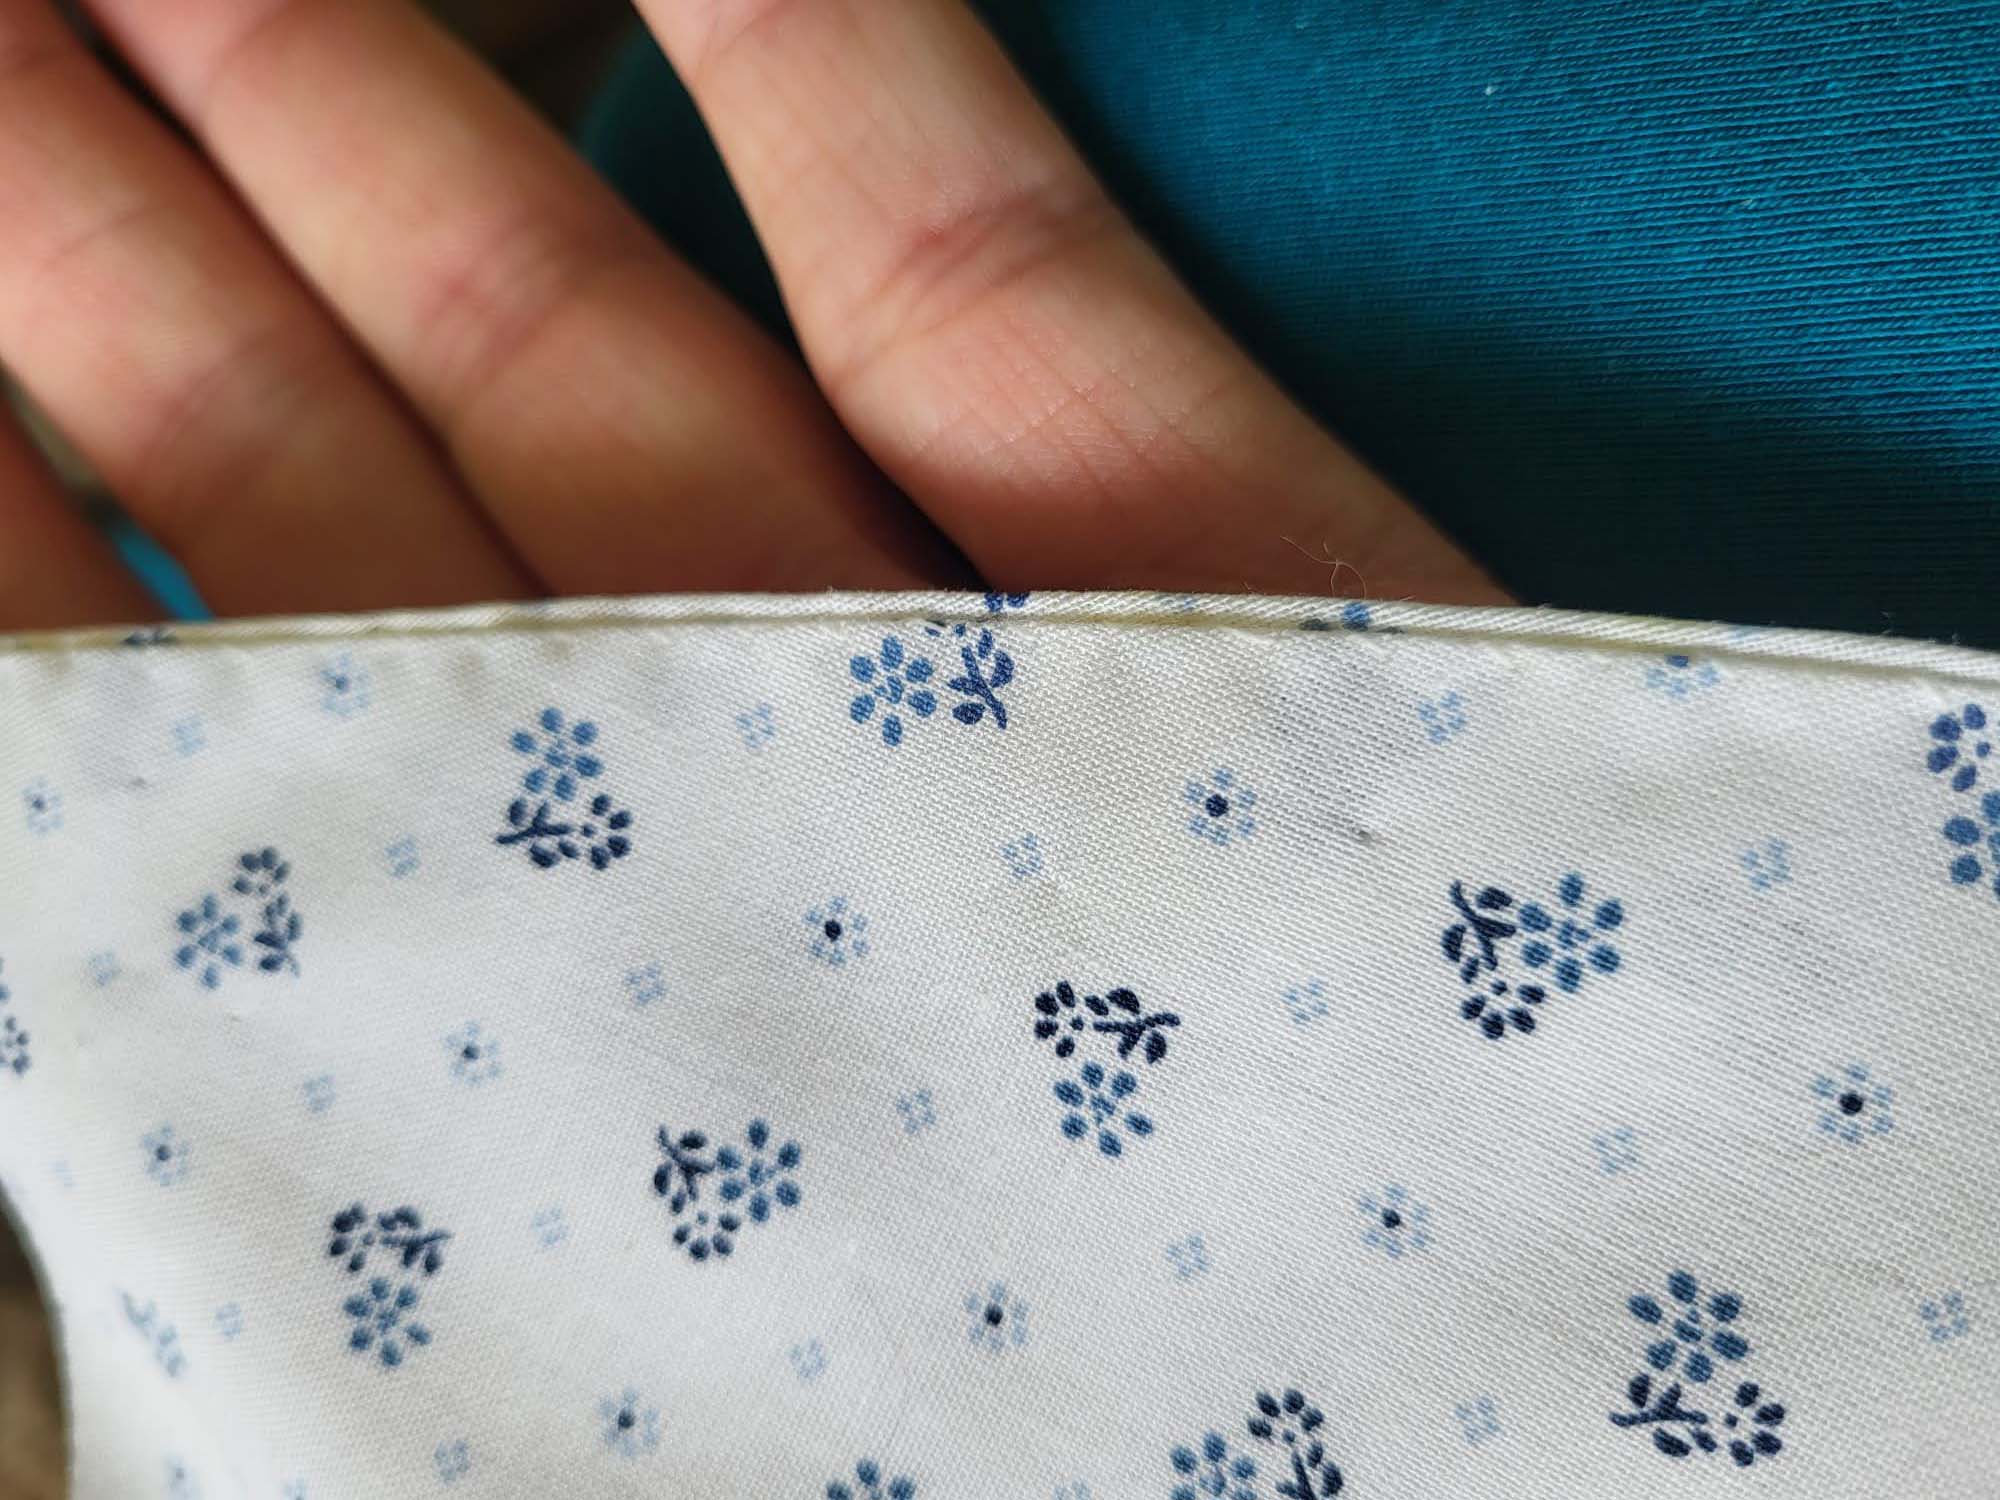
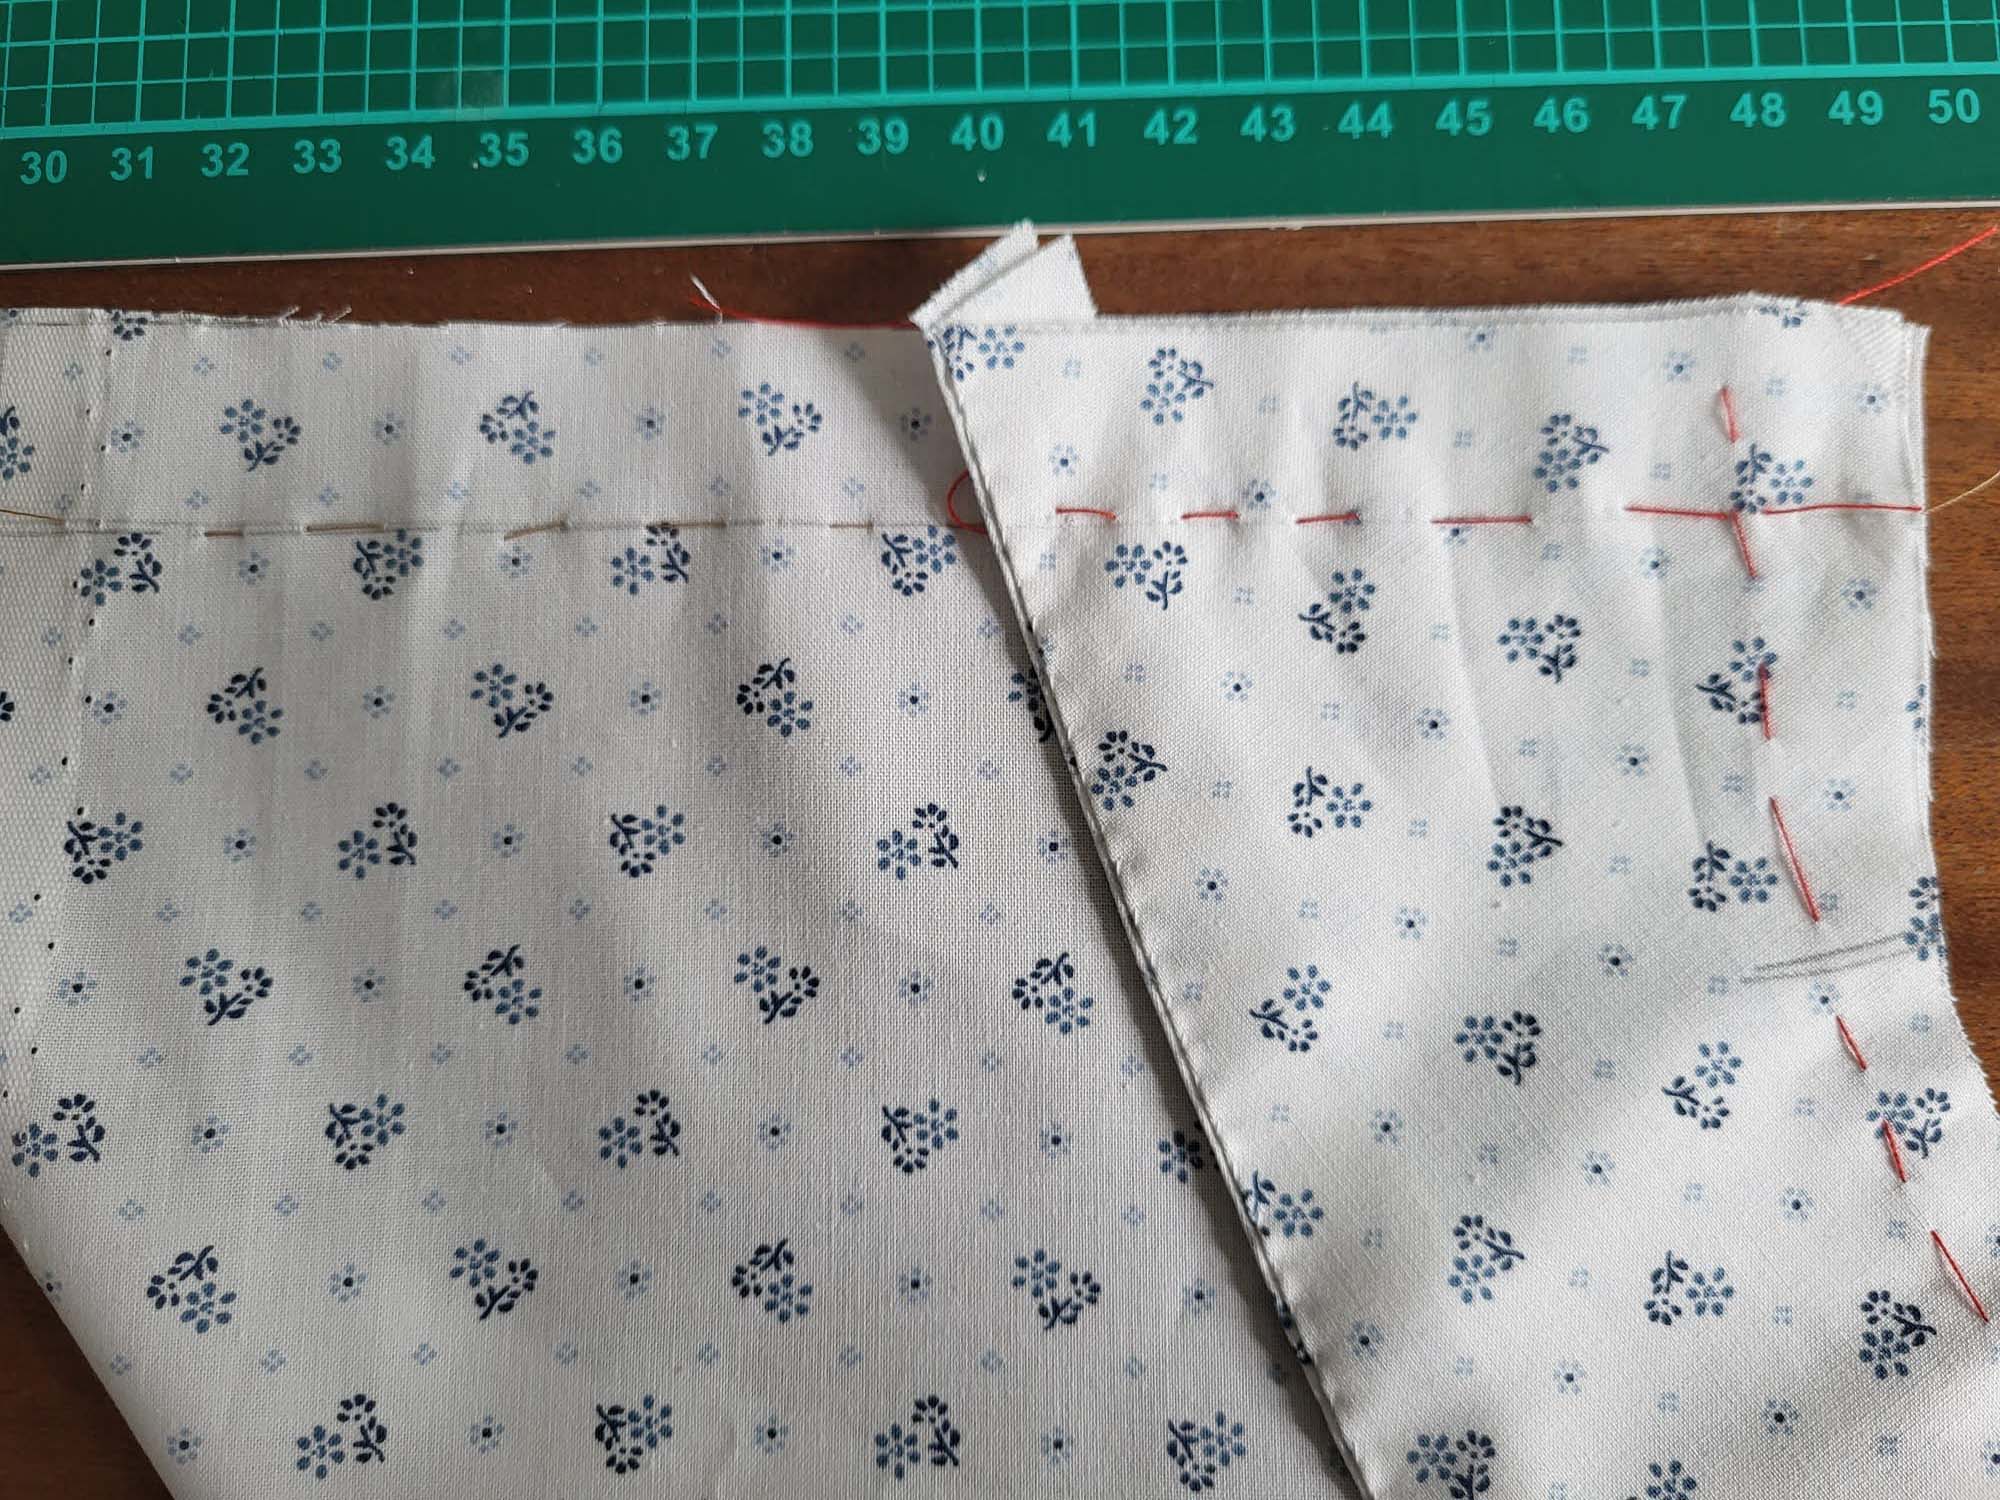
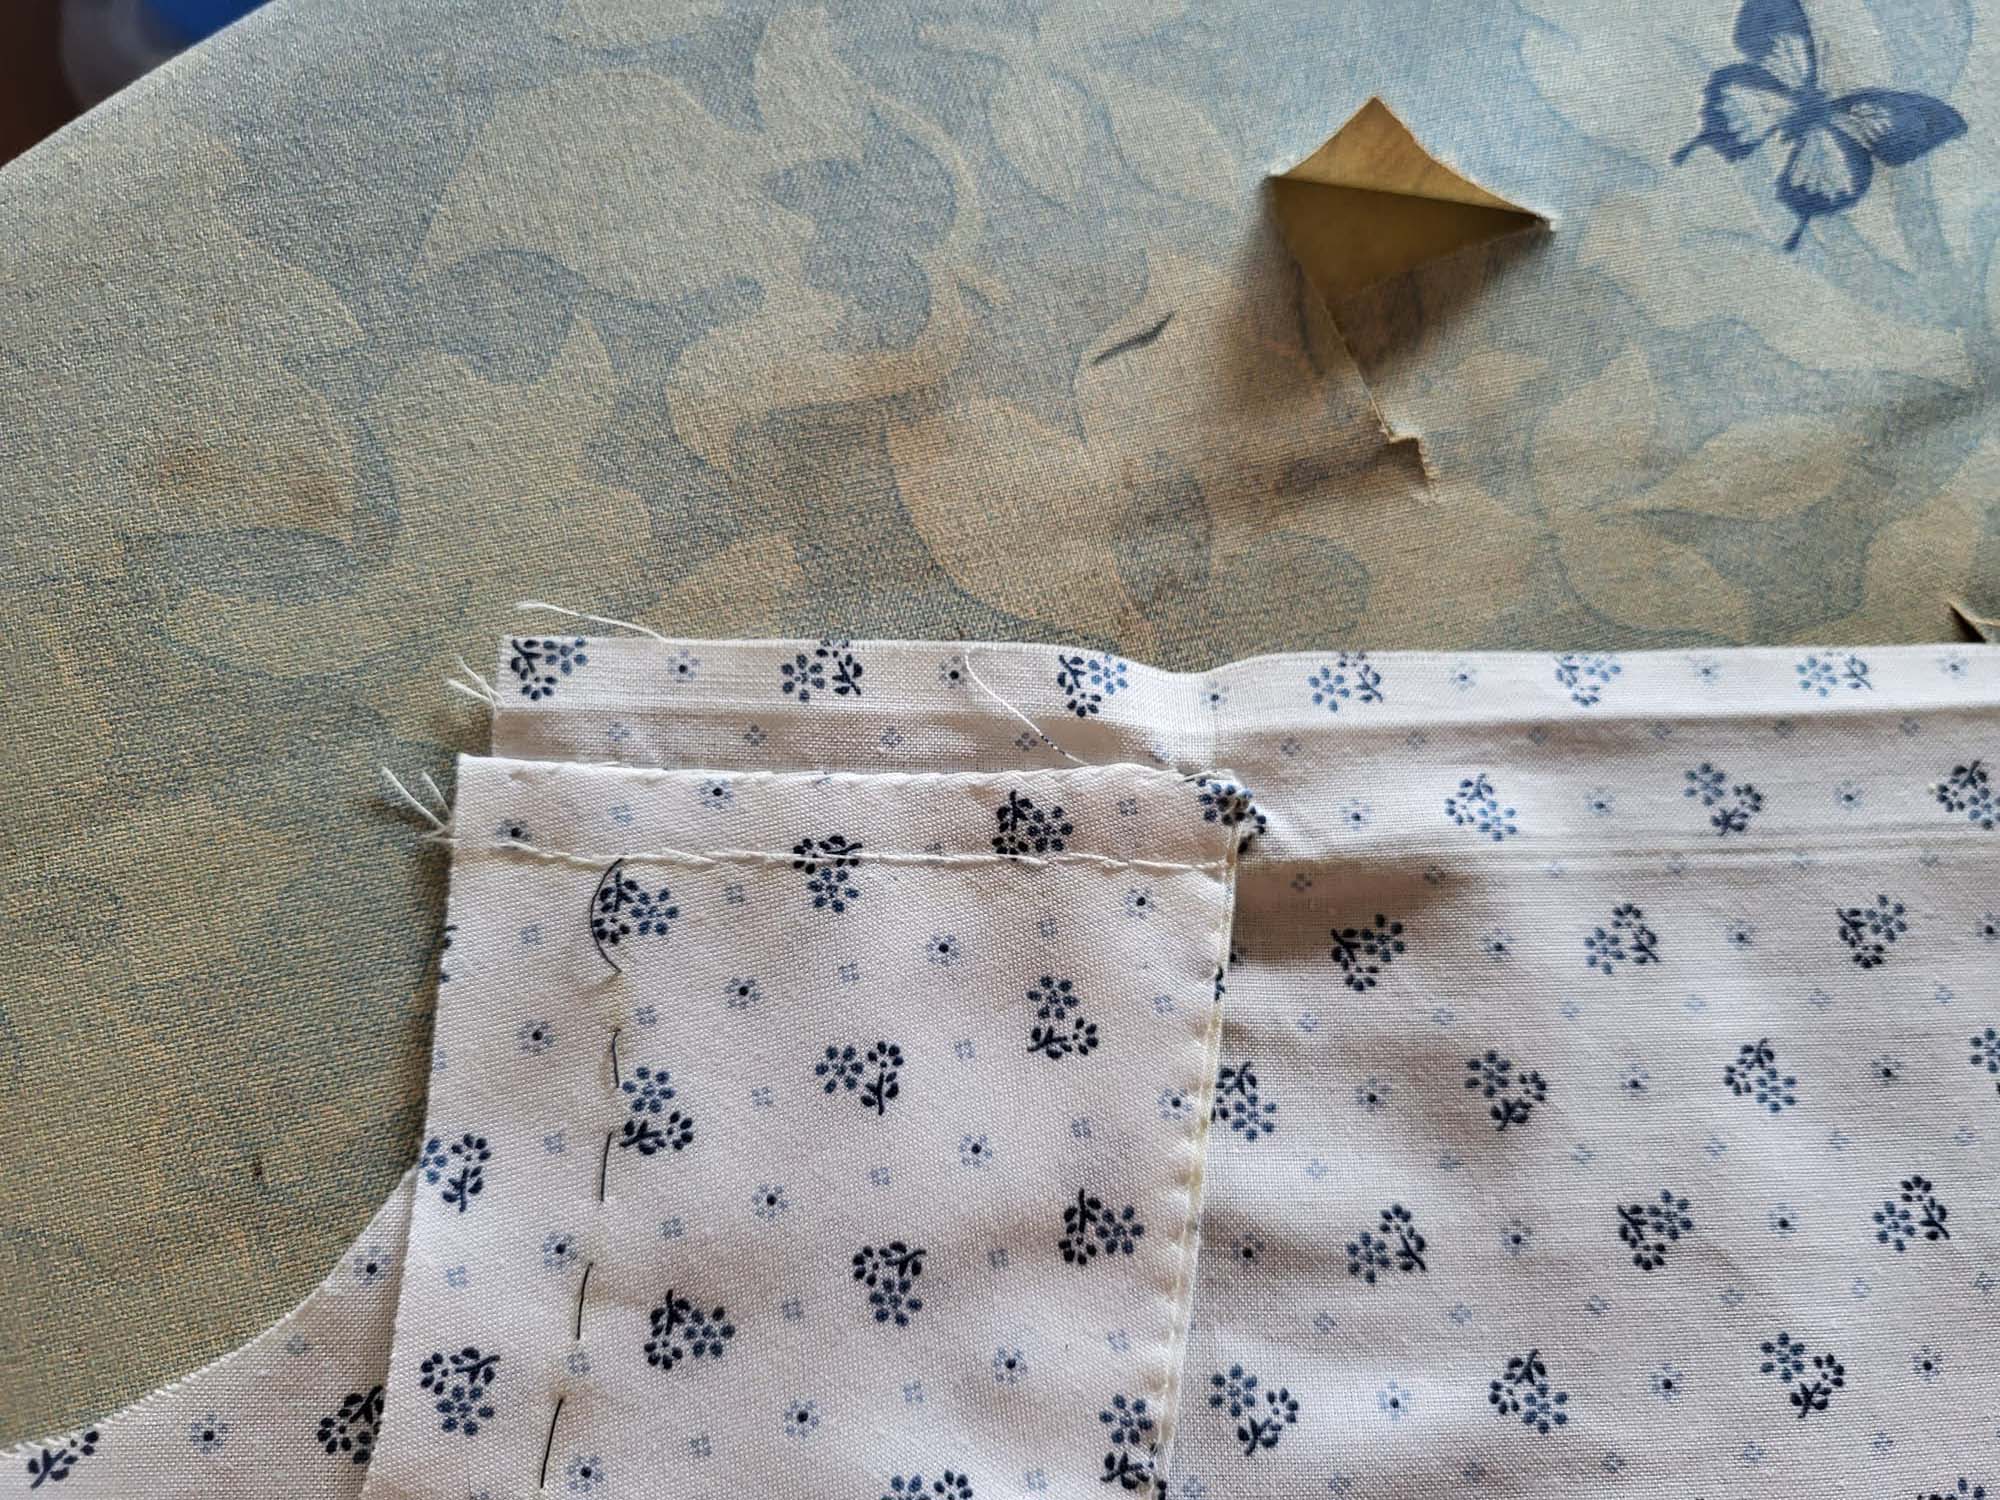
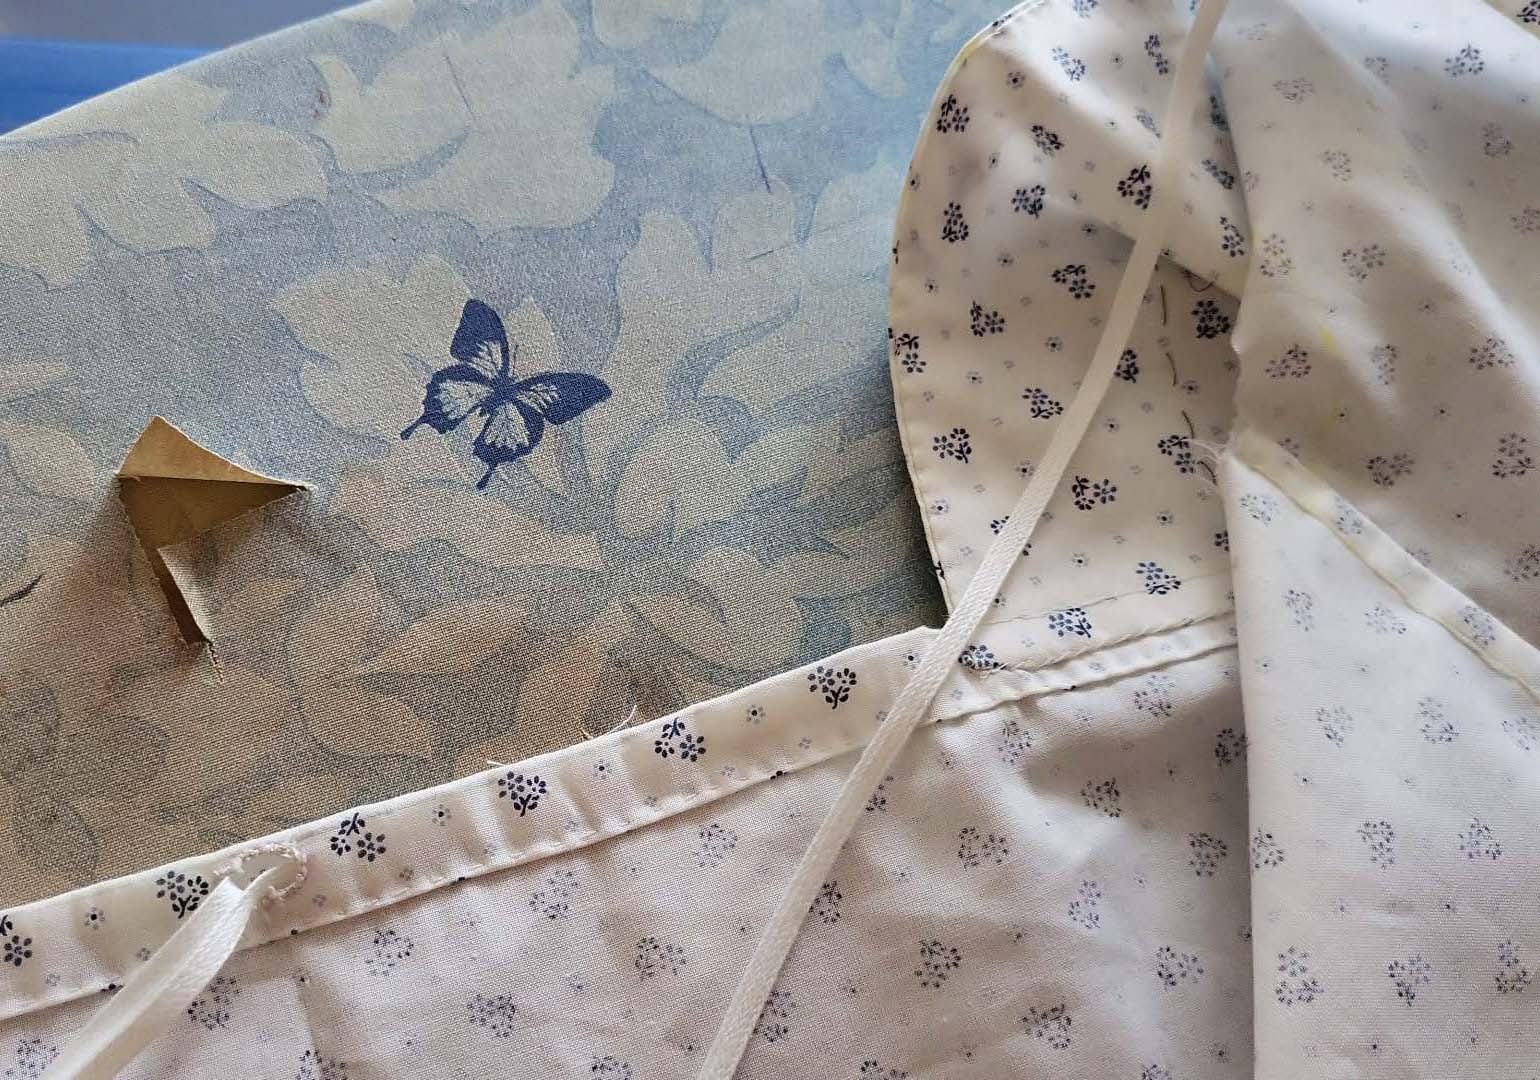
Left Side: Turn in a narrow seam allowance of about 3/8” (1cm) along the left back edge. Again, turn in along the center back, marked as line (2). Press and fell stitch in place (i)
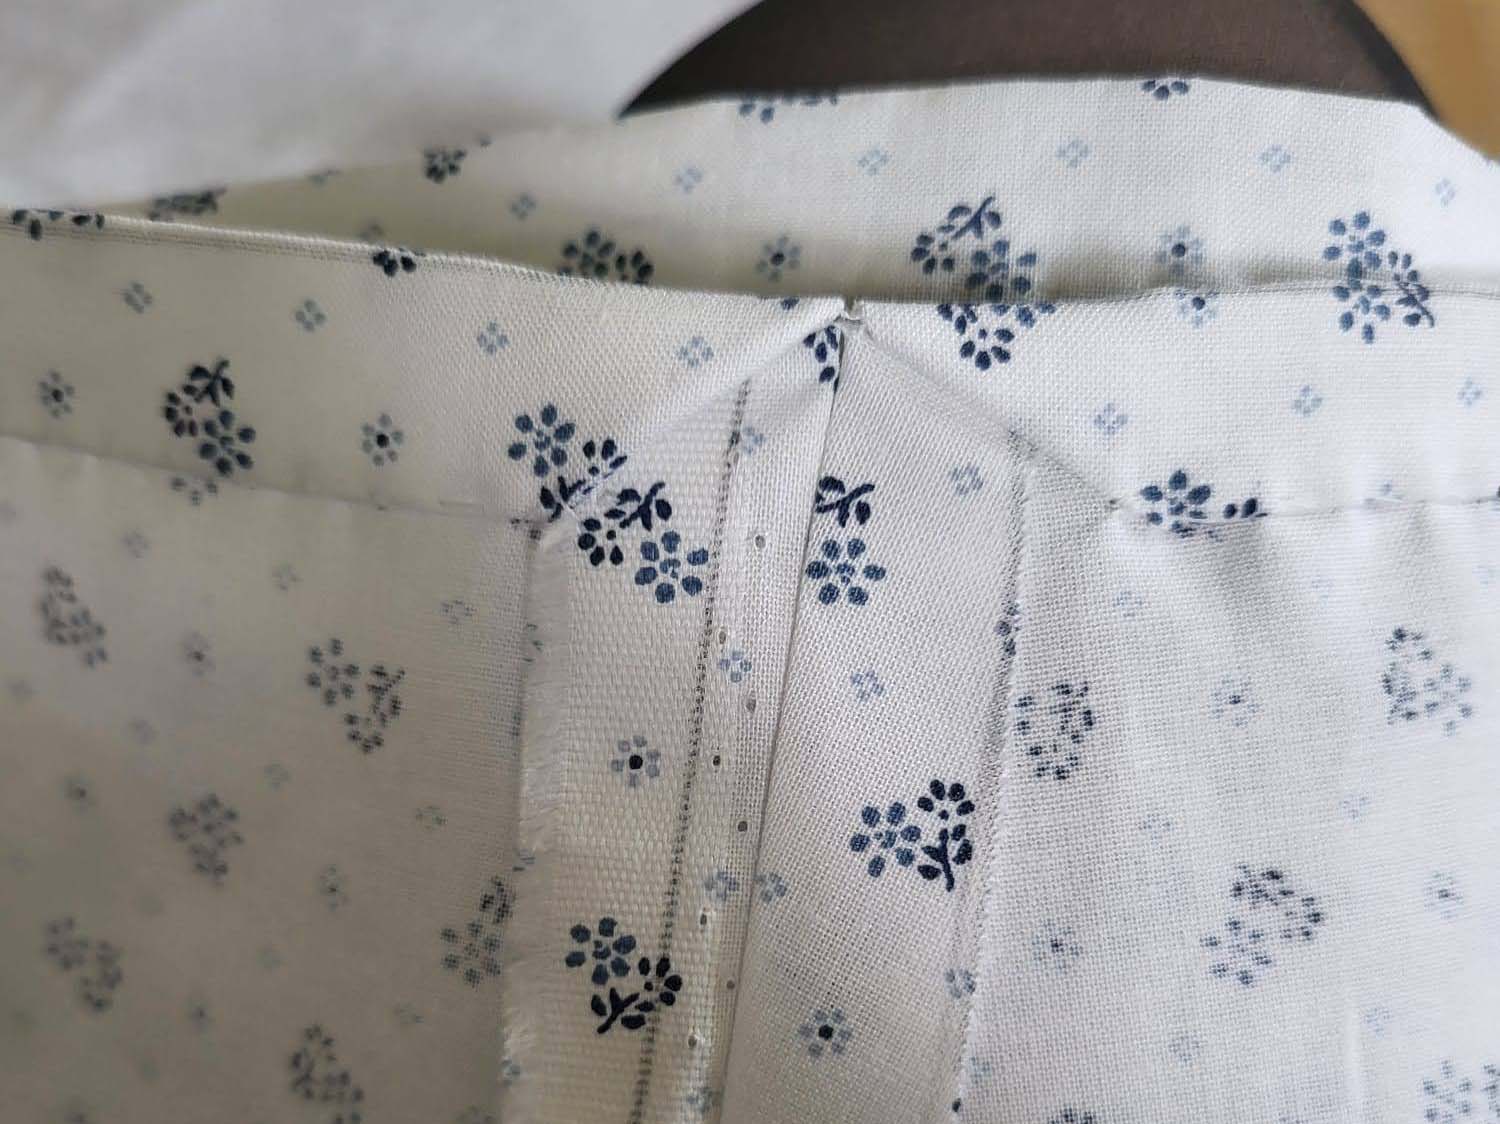
Right side: Turn in a narrow seam allowance of about 3/8” (1cm) along the right back edge. Then, turn in again along line (1), press, and fell stitch in place, creating a narrow placket.
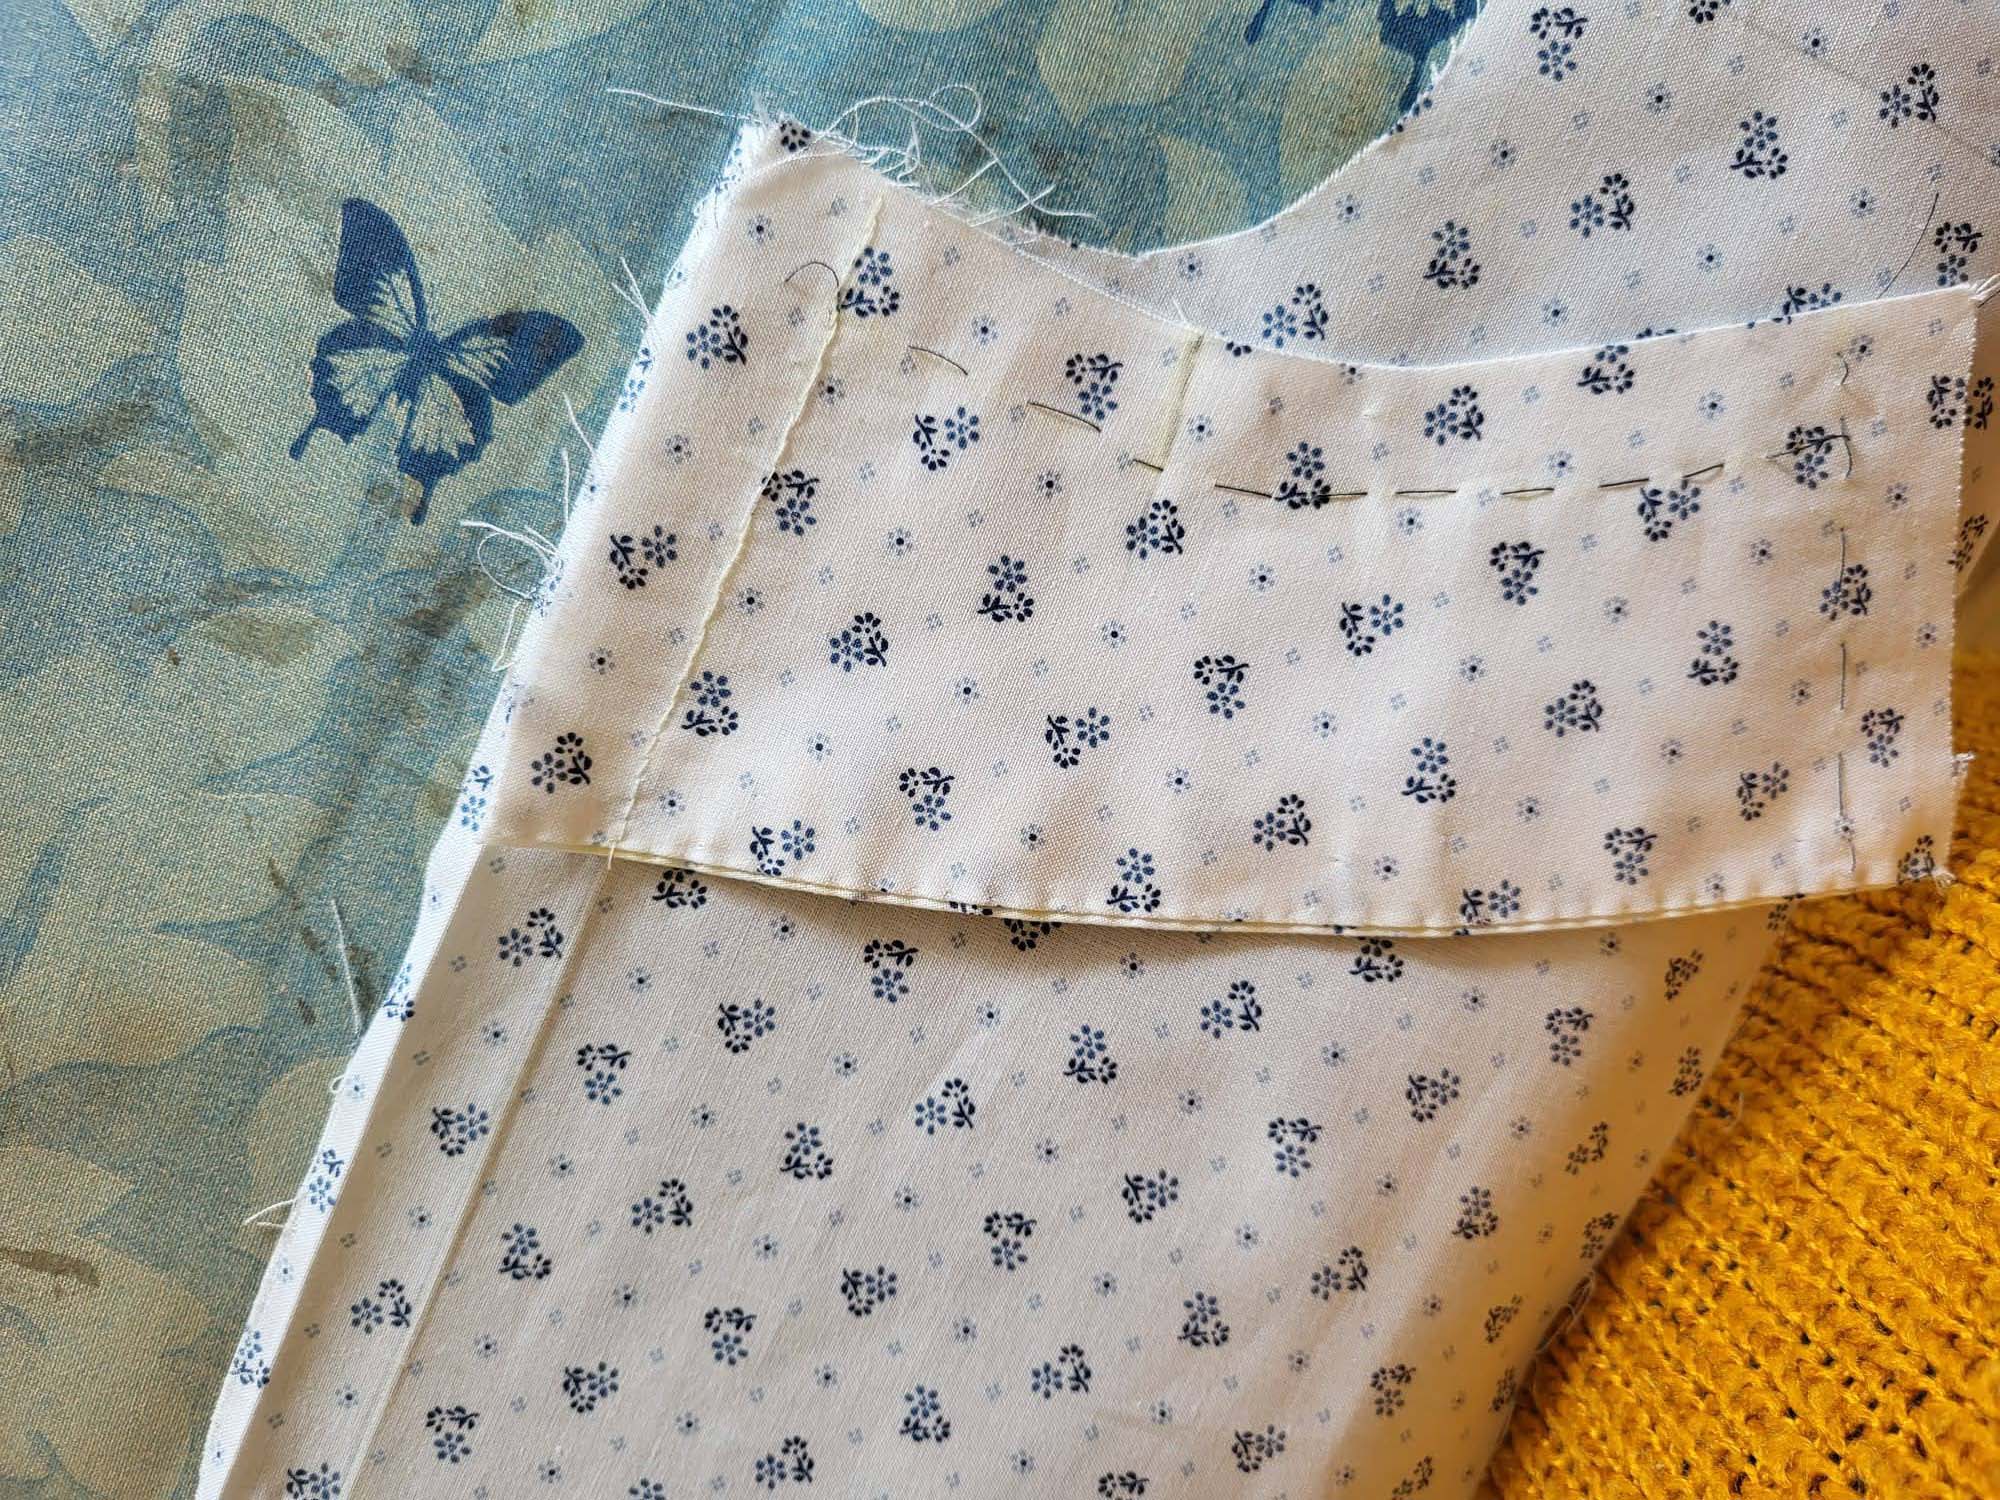
Turn in the upper corner, and then double-turn in the seam allowance along the top edge of the back in the same way as you did with the top edge of the front. Fell stitch in place and thread the tunnel with a drawstring, secure the tape with some stitches at the armhole.
(5) Sew the side seam, right sides together, press the seam allowances toward the front and neaten with a flat felled seam.
(6) Gather the sleeve head between marks (6) and (7) (m). Sew the sleeve seam, right sides together and neaten with a flat felled seam. At the bottom edge of the sleeve, turn under the seam allowance twice, 3/8” (1cm) each time, and fell stitch in place. Leavean opening of about ¾” (2cm) at the sleeve seam, creating a tunnel for a drawstring (o).
Gather the sleeve head by pulling the gathering threads and spread the width evenly between marks (6) and (7). Sew the sleeve to the armhole, right sides together, respecting all marks .
Trim back the seam allowance to about 3/8” (1cm) and finish with overcasting stitches. Once again, secure the drawstrings of the top edges of the bodice.
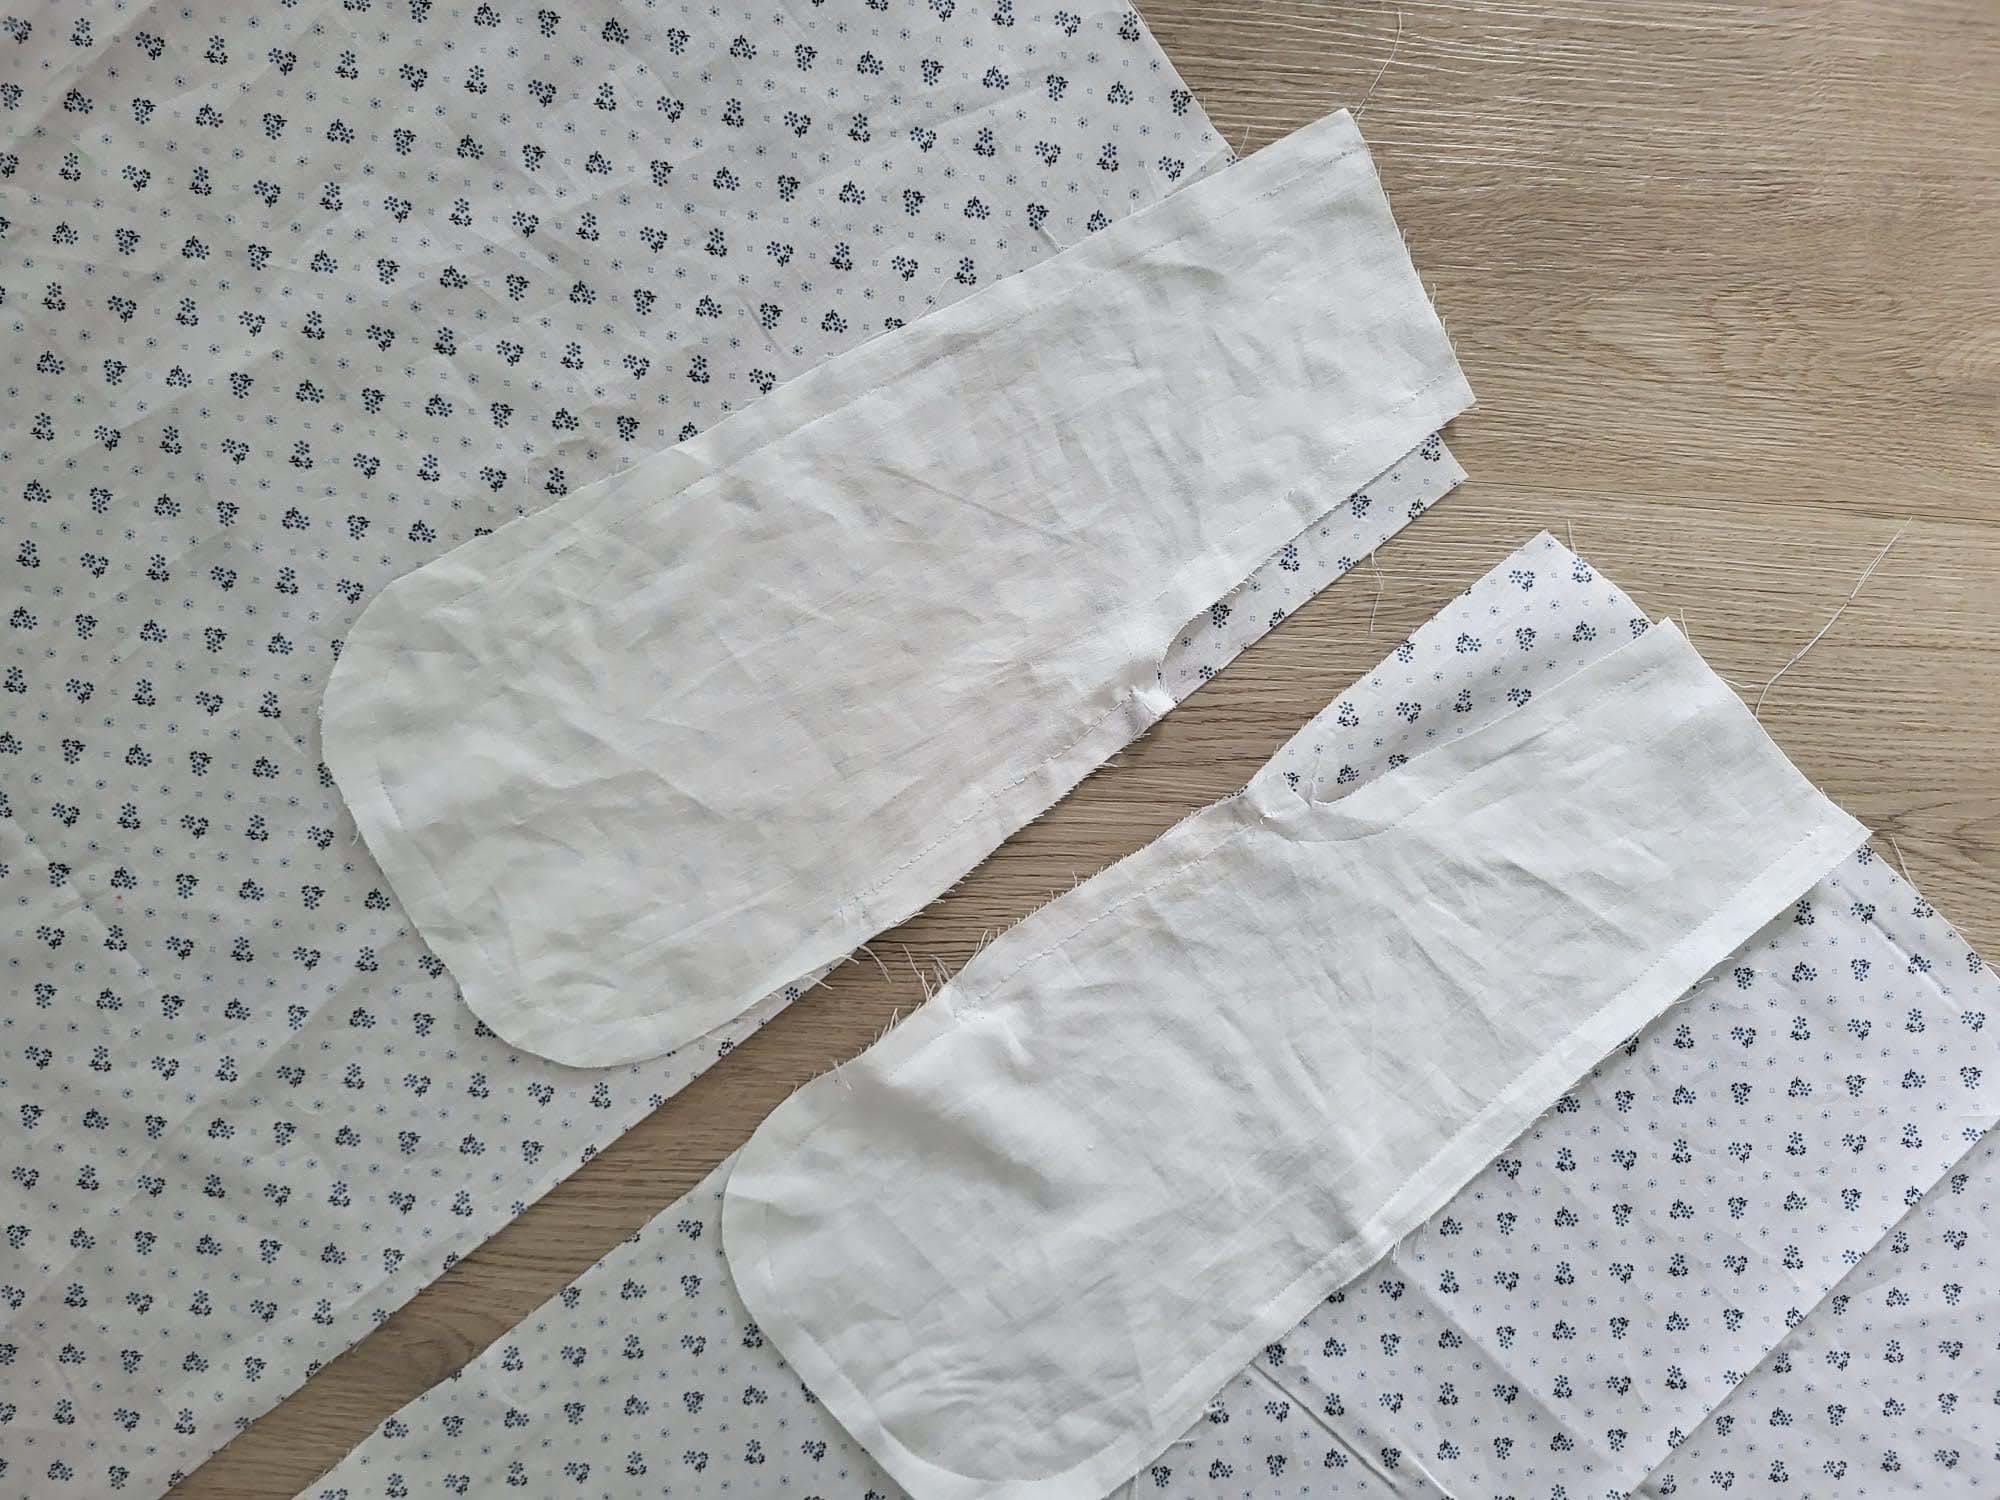
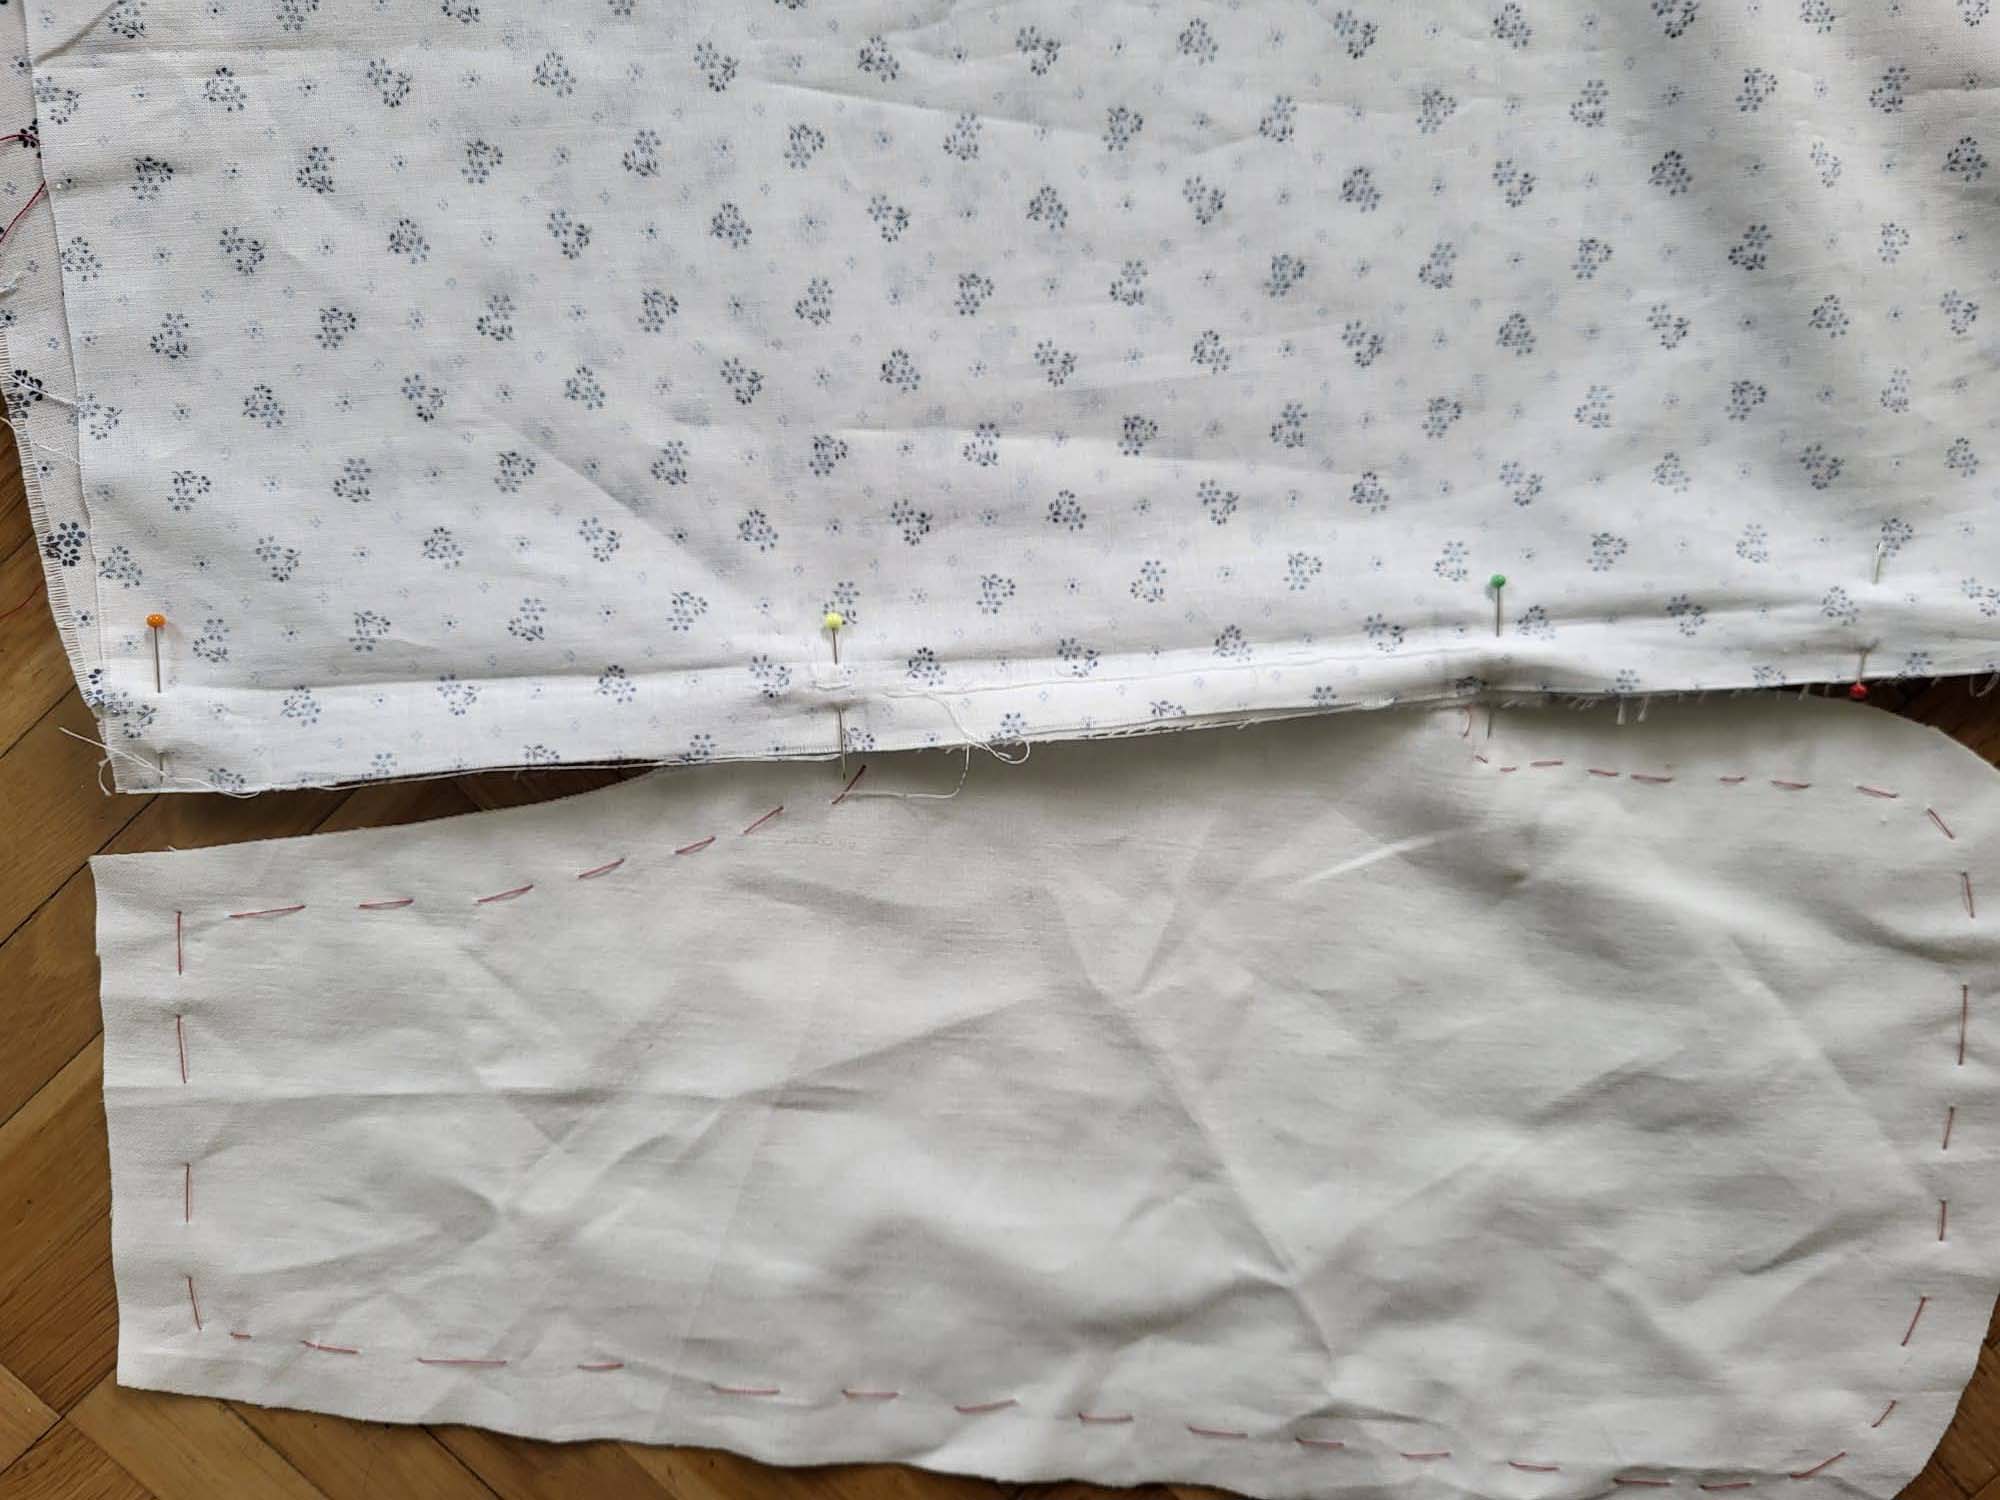
(7) Take the pockets and line up with the right edges of the front and back skirt, right sides together, respecting mark (9) and (10). Sew with a seam allowance of 3/8” (1cm), sew slightly beyond the markings.
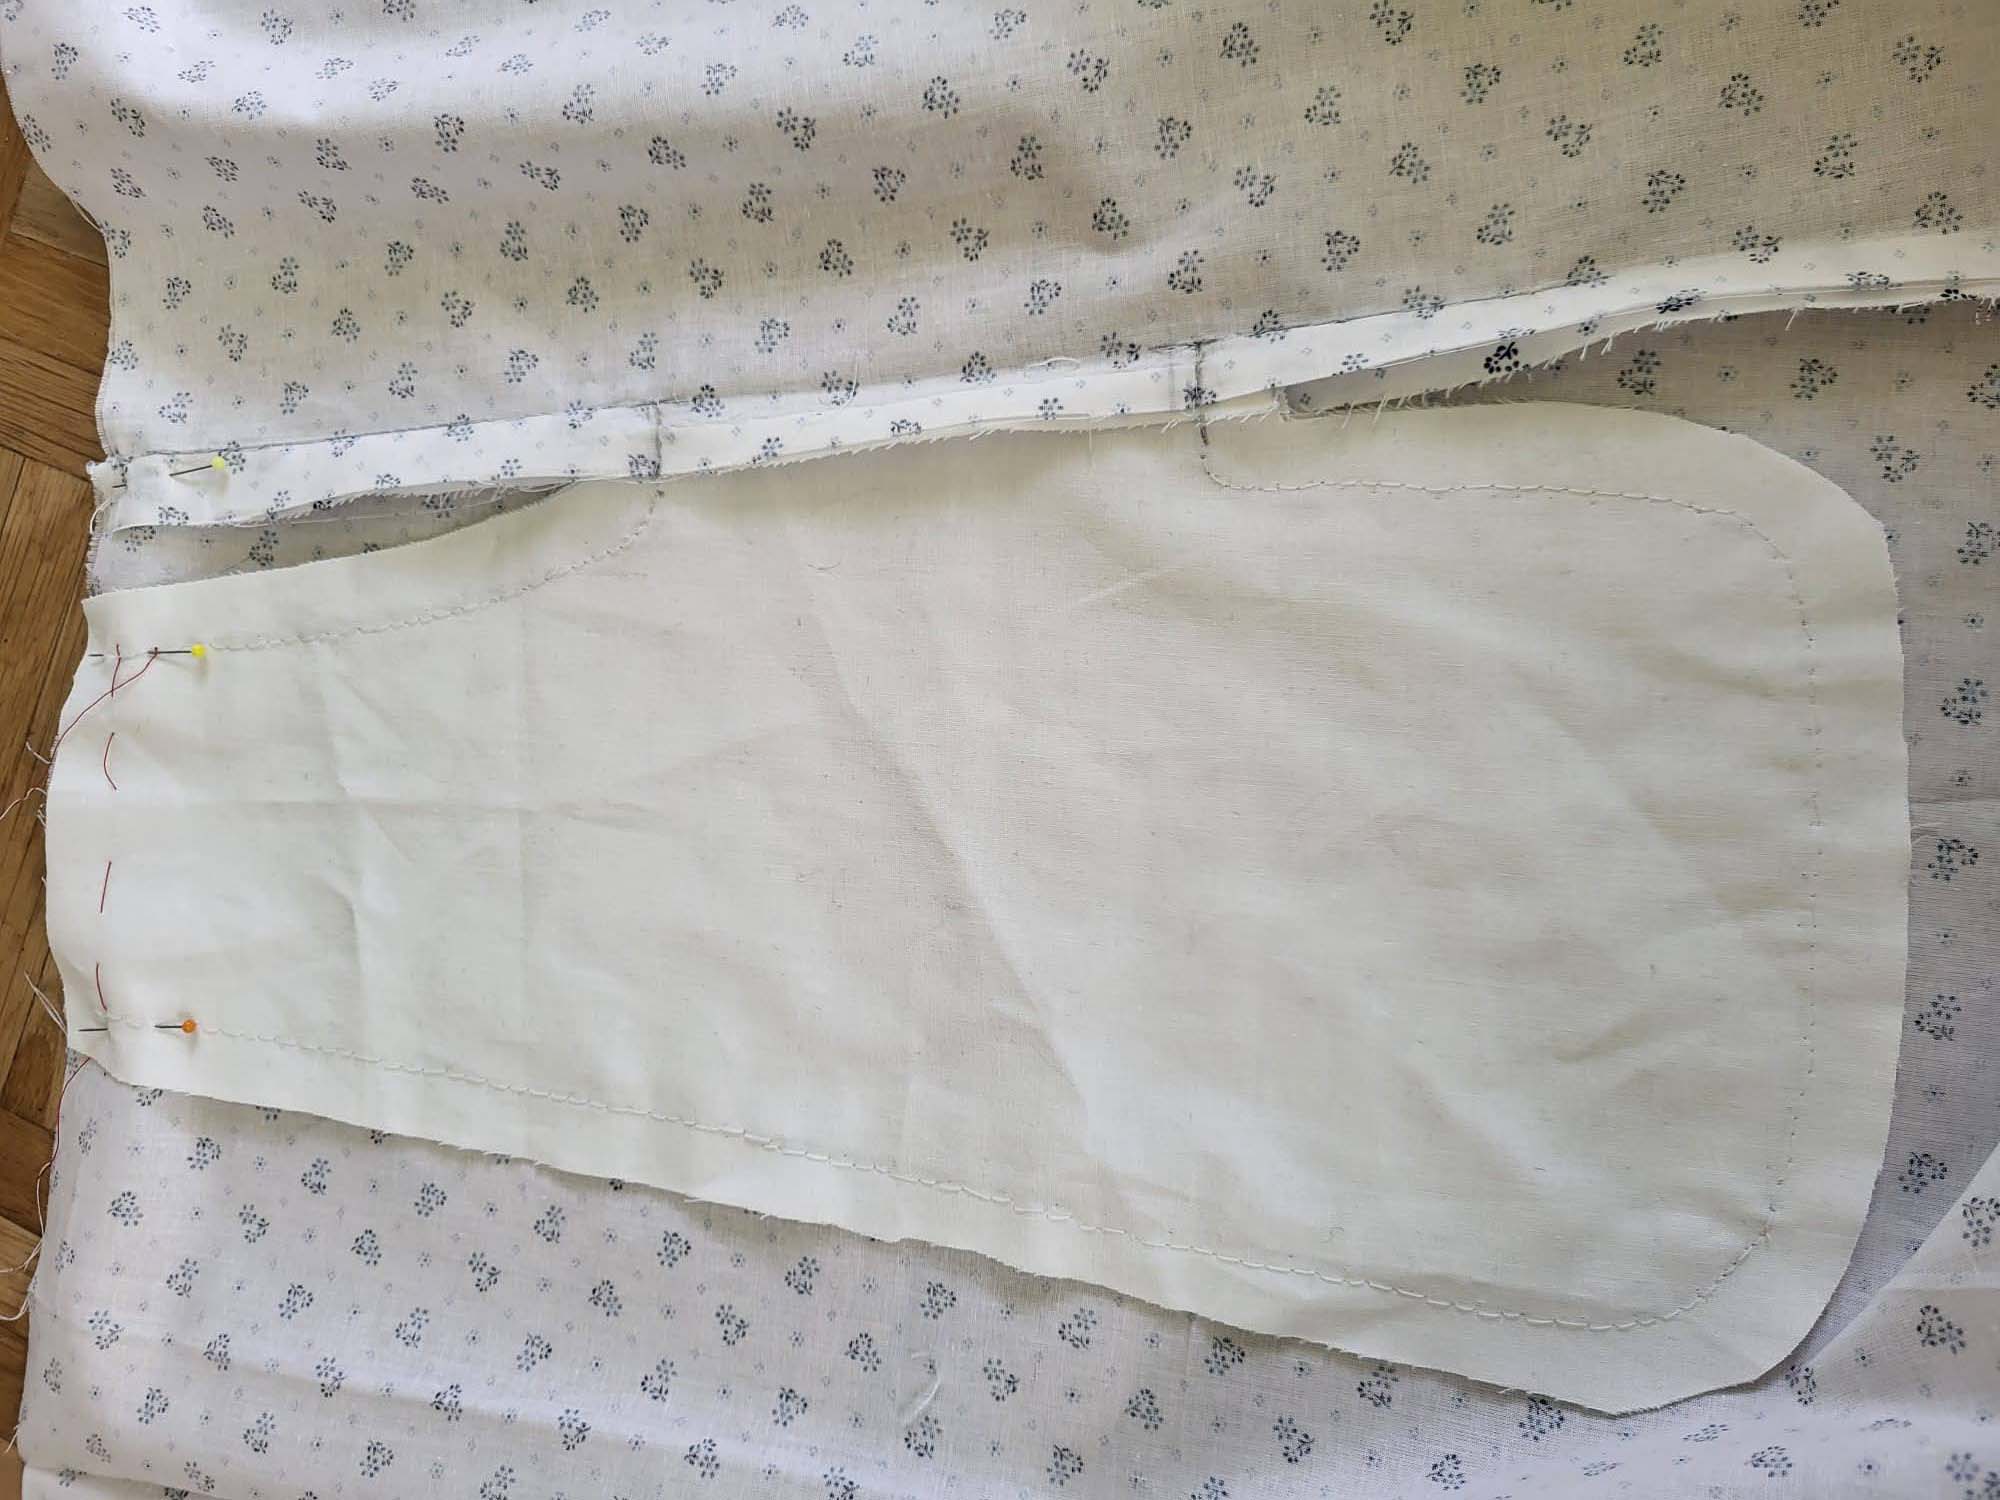
Fold the pockets to the side. Line up the front skirt with the back skirt, right sides together, respecting the marks and sew with a seam allowance of 5/8” (1,5cm) along skirt and pocket. The procedure is the same as for a modern in-seam pocket. Press the seam allowances towards the front skirt and neaten with overcasting stitches. Smooth out the pocket towards the top edge of the front skirt and baste in place.
Sew the left side seam, right sides together, if wanted, make another pocket here. Press the seam allowances towards the front and neaten with overcasting stitches.
(8) Sew the center back seam of the skirt, right sides together, leaving the vent open. Press open the seam allowances and finish them if needed. Optionally, secure the vent with a prick stitch. Gather the back skirt along the top edge and spread the width evenly. Sew the skirt to the bodice, right sides together, respecting marks (11). Ease in the excess width of the front skirt. Press the seam allowances towards the bodice and trim back to 3/8” (1cm).
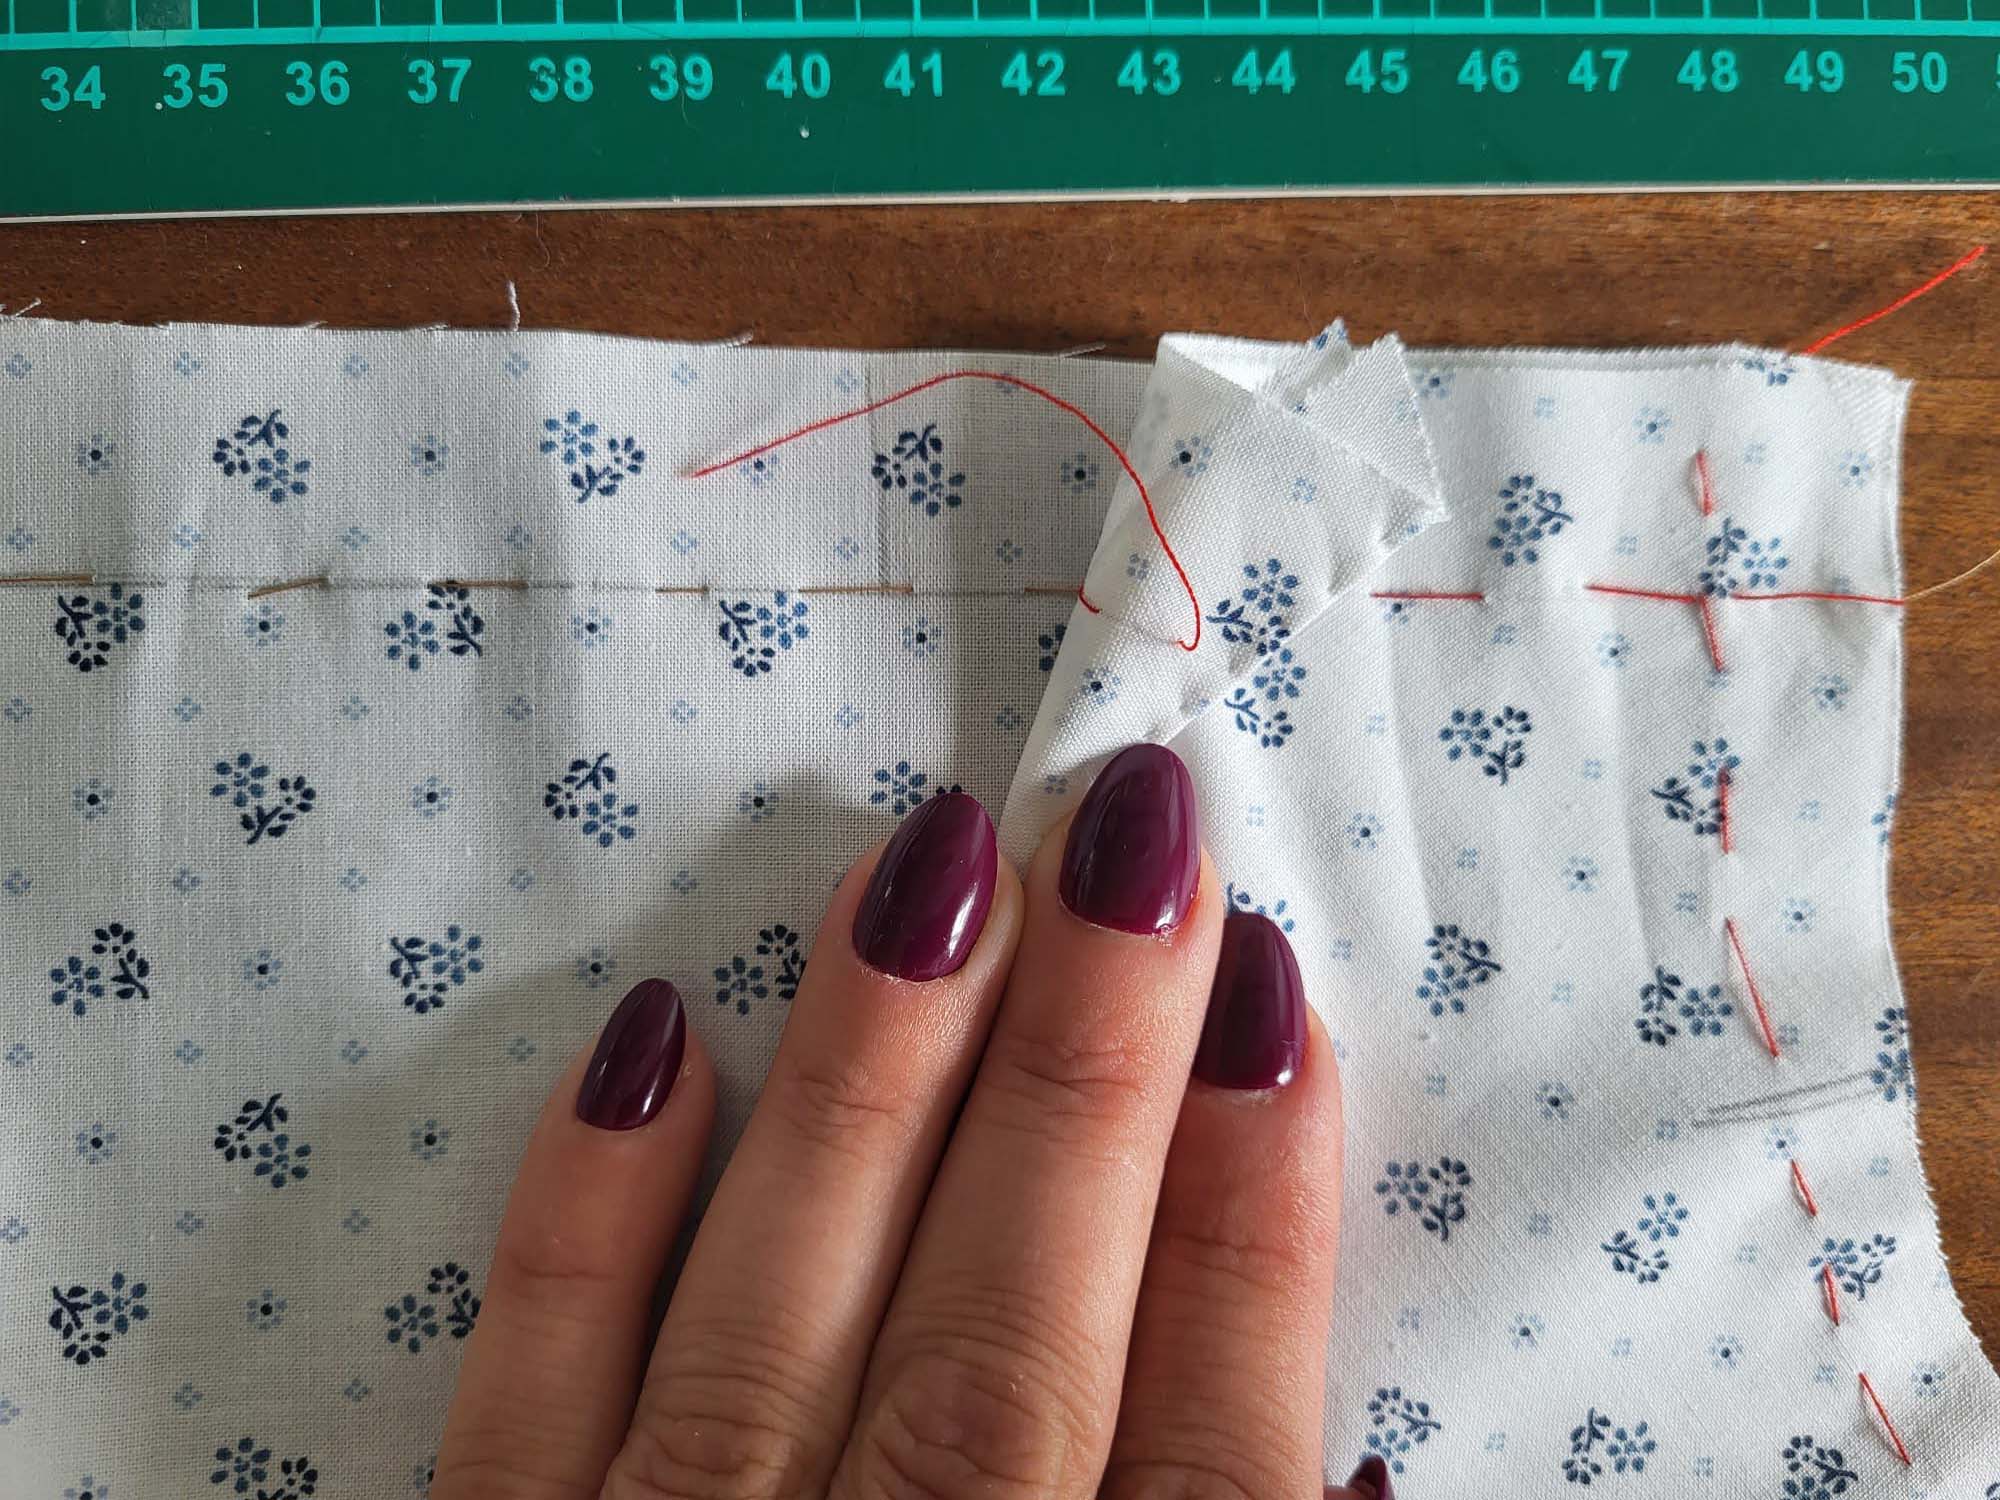
Take the bias binding, Laura used herringbone tape instead, and double-turn in narrow one of the short edges, and stitch in place. Starting at the right center back (see illustration), line up the bottom edge of the bias binding with the stitching line. At the left back, the bias binding reaches the edge. Trim back the bias binding accordingly, considering a matching seam allowance to double-turn in narrow as well. Fell stitch the bias binding to the dress along both long edges, forming a tunnel. The upper stitching will be visible on the right side, so take care, making regular and tiny stitches.
Make a fitting, and determine the length of the skirt. Turn under the hem allowance twice and stitch in place.
Last steps: thread the tunnel at the sleeves and waist with drawstrings, a narrow one for the sleeve, and a wider one for the waist. If the dress gaps at the back, attach hooks along the right back edge and sew corresponding thread bars on the left side.
Laura’s daughter loves this comfy dress – and who can blame her? It’s become her favorite for reenactment events.
The last garment missing to complete our men´s wardrobe is the Tailcoat. Again, this blog post will supplement the sewing instructions for my pattern. The sewing techniques described in the instructions will follow the construction methods seen on extant garments as much as possible, with some extra information and pictures here.
Please be aware, that this is a hand-sewing pattern, all long seams can be sewn by machine, but many steps can be only done by hand. Some steps are quite tricky, even for an experienced sewer, some steps are unfamiliar compared to modern sewing techniques.
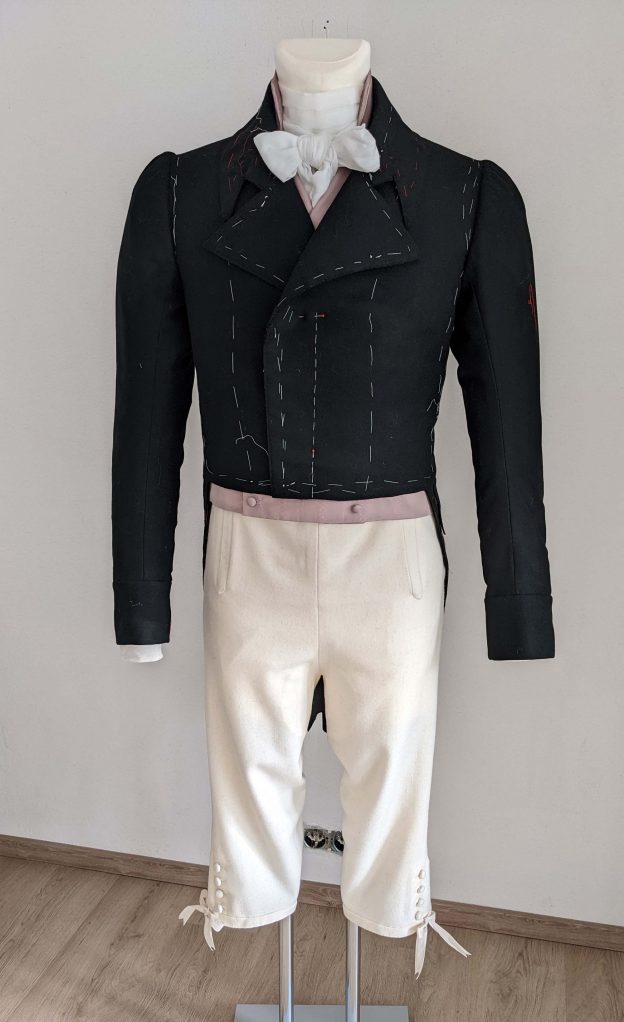
I´m going to show you the making of a double-breasted Tailcoat of the early 19th with many of the typical characteristics of these days. The body has three seams only, a center back seam, two back side seams, moved wide into the back, and no waist seam. Front and back tails are sewn together along the back side seam, pleated into a backward opening fold. The pocket opening is hidden inside these folds. The back opens into a vent beneath the waist.
The double-breasted front ends about 1” above the natural waistline, showing the waistcoat underneath. Breast padding supports the front and no shoulder pads are installed. The sleeves are pretty long, reaching the basal thumb joint, and finishing with a cuff. All the extra width at the sleeve head is gathered at the front. The collar features the typical m-notch. The body is lined with polished cotton fabric. The front facings are extended to meet at the center back.
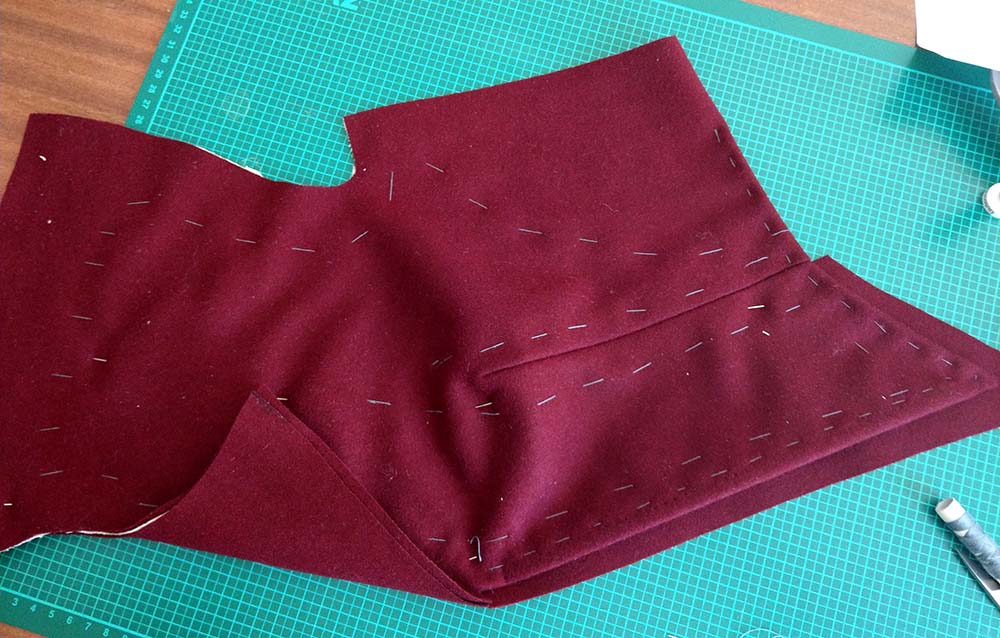
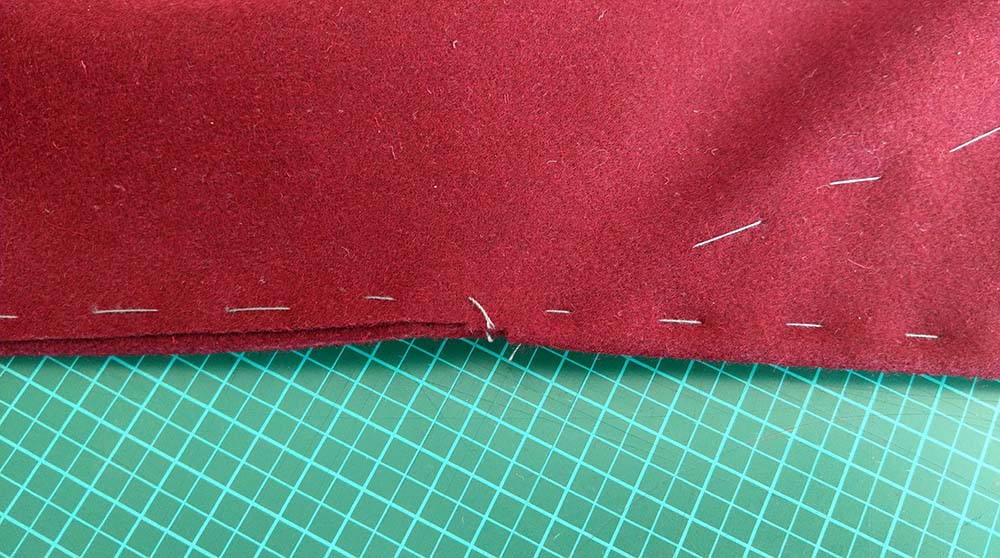
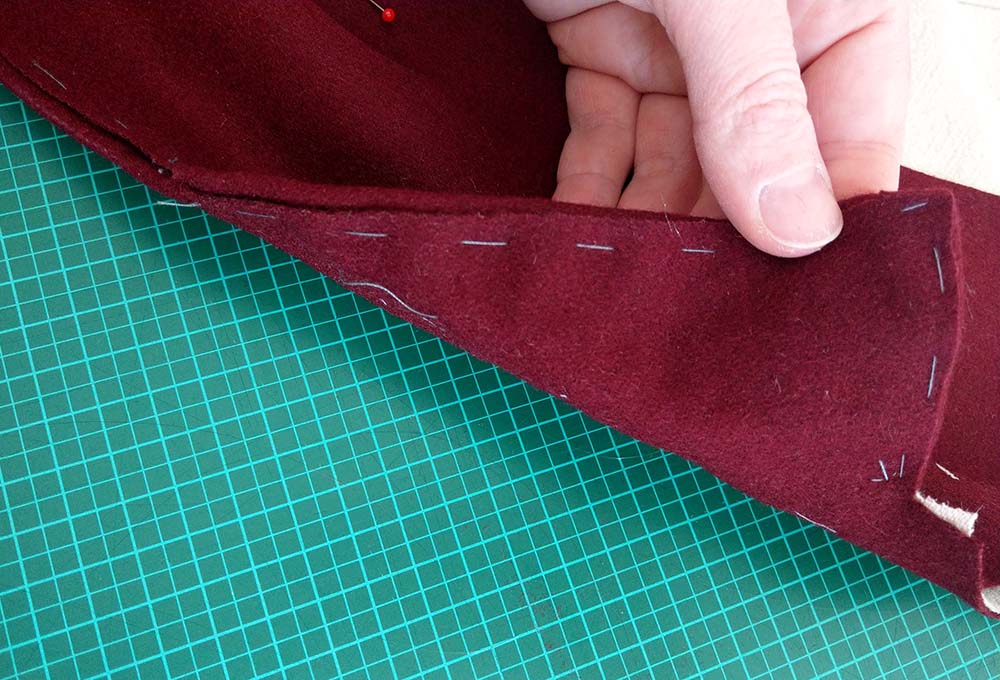
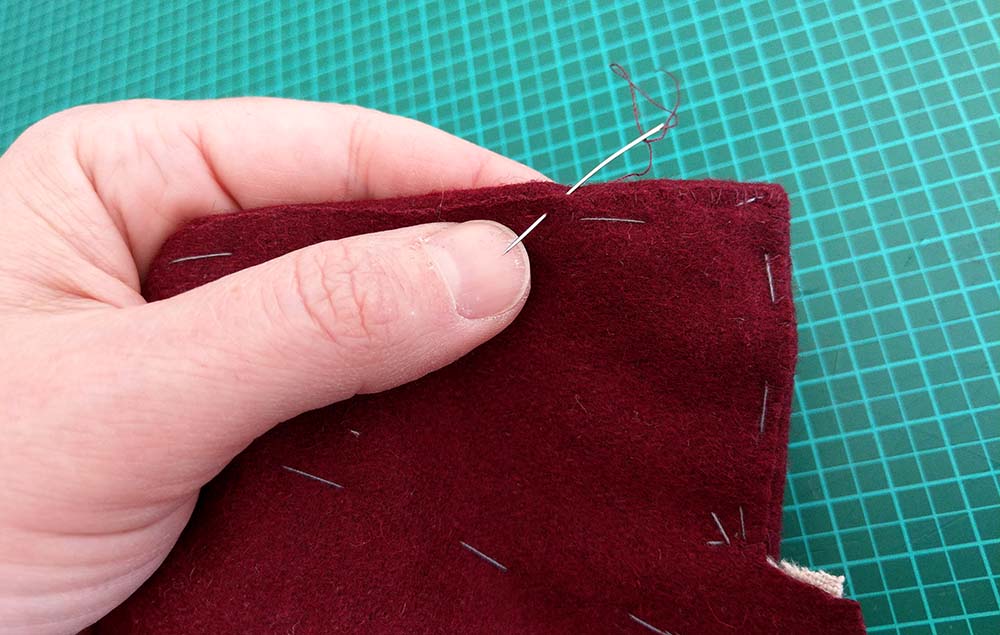
The edges of non-fraying wool fabrics like felted wool will be left raw. When working with a fraying fabric, I recommend sewing the tailcoat in a more “modern” way.
A third (for moderate fraying fabrics) would be to turn under the seam allowances of the top layer, trim back the seam allowance of the bottom layer to the net, and slip or fell stitch the bottom layer in place: