
Part 1: Preparing the back and fronts
Part 2: The collar and bottom facing
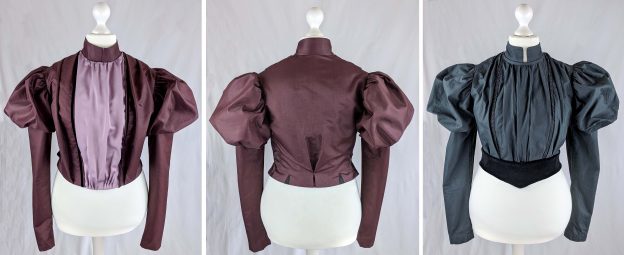
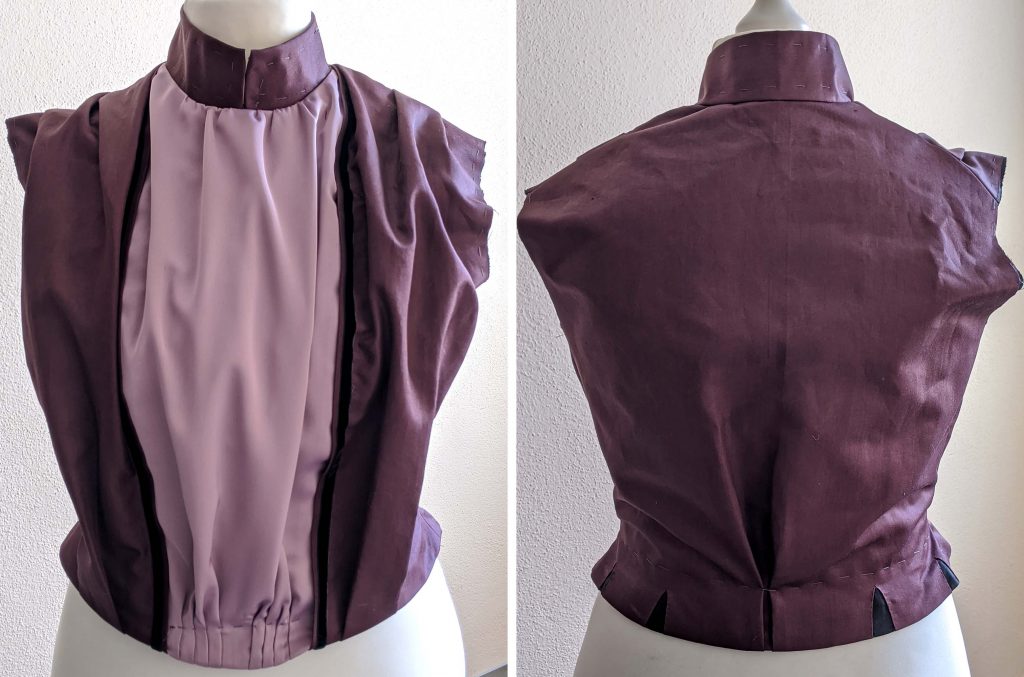
The bodice is nearly finished, just the sleeves and some details are missing!
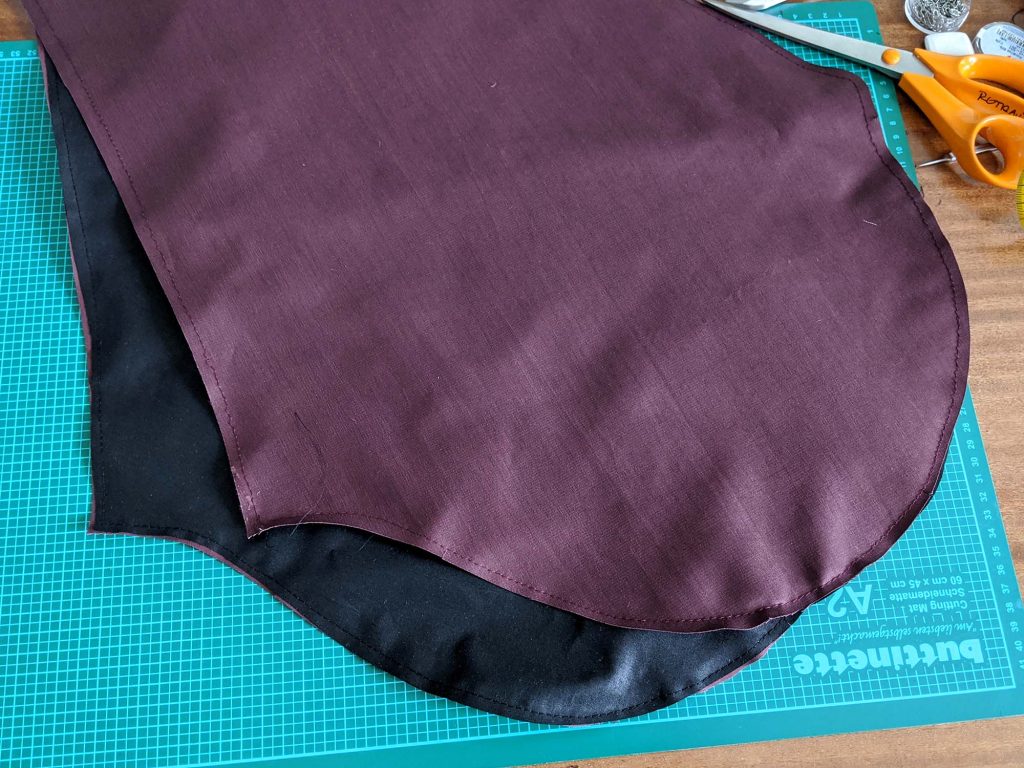
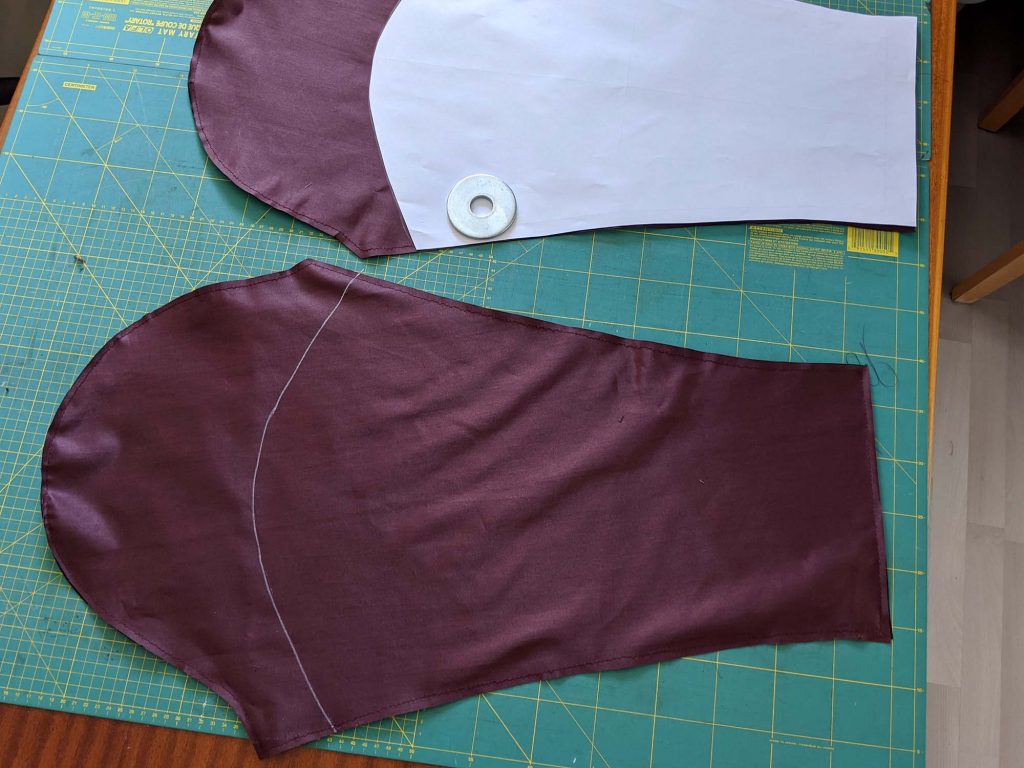
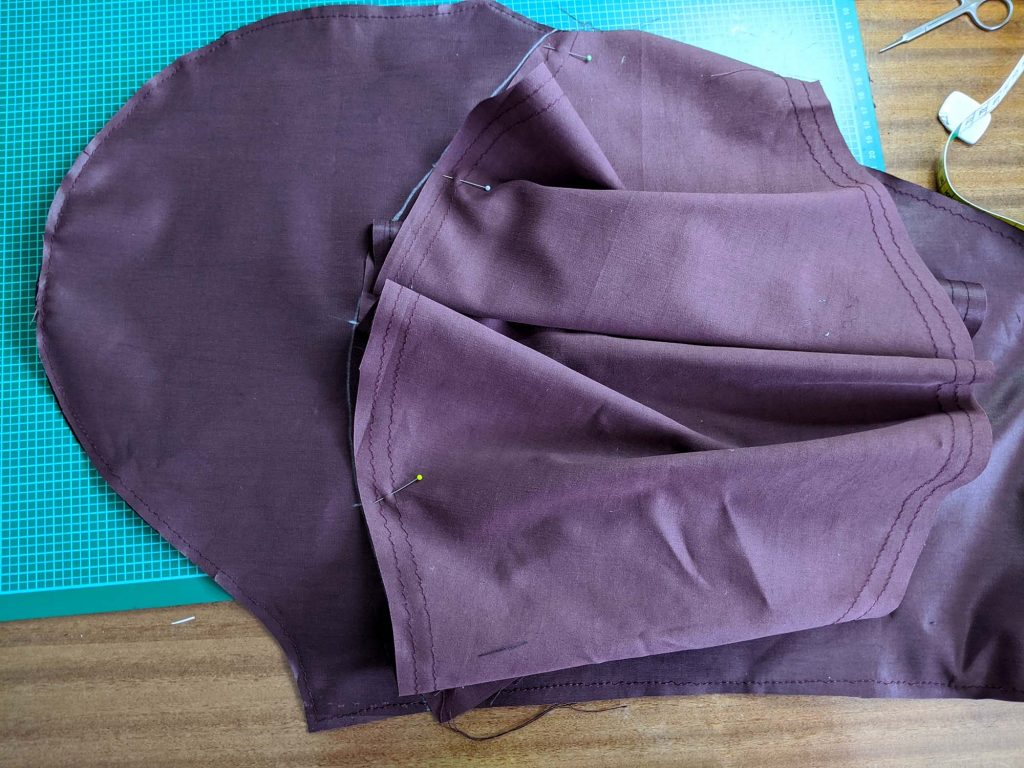
Flatline the sleeve with the polished cotton fabric (I did a fast machine basting) and mark the line for the puff sleeve on the right fabric side.
Sew two rows of long gathering stitches along the top and bottom edge of the puff sleeve. Line up the bottom edge with the marked line, right sides together, with the raw edge of the puff pointing towards the sleeve head. Gather to the length needed and spread the width evenly. First baste, then stitch in place between the two rows of threads.
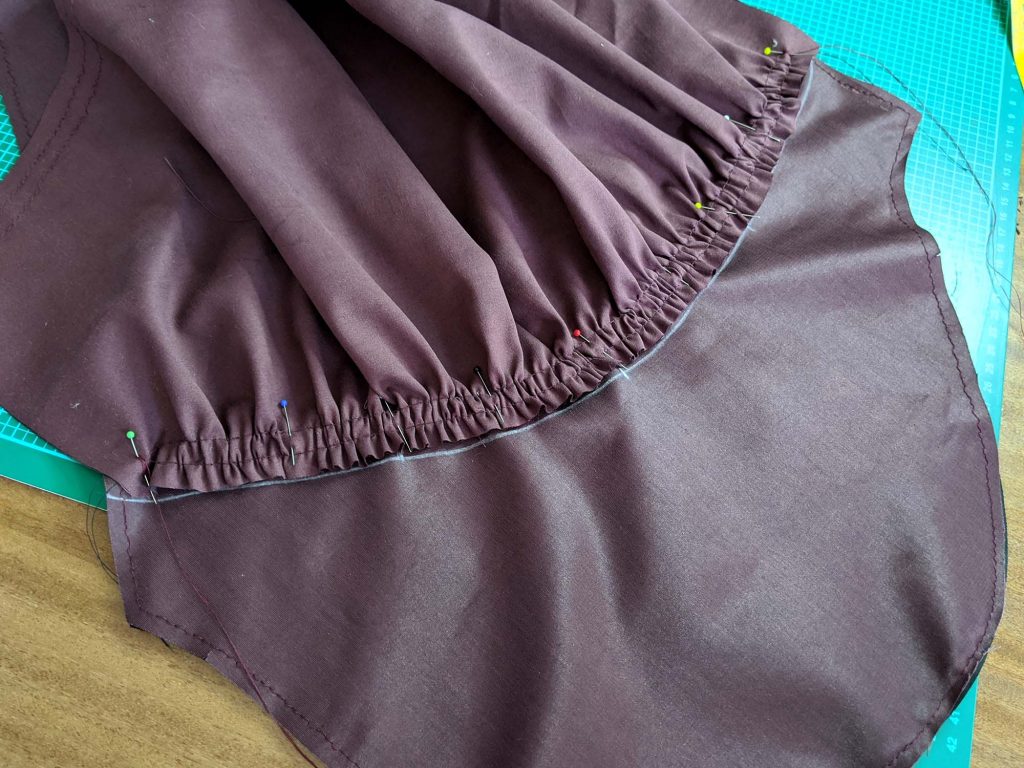
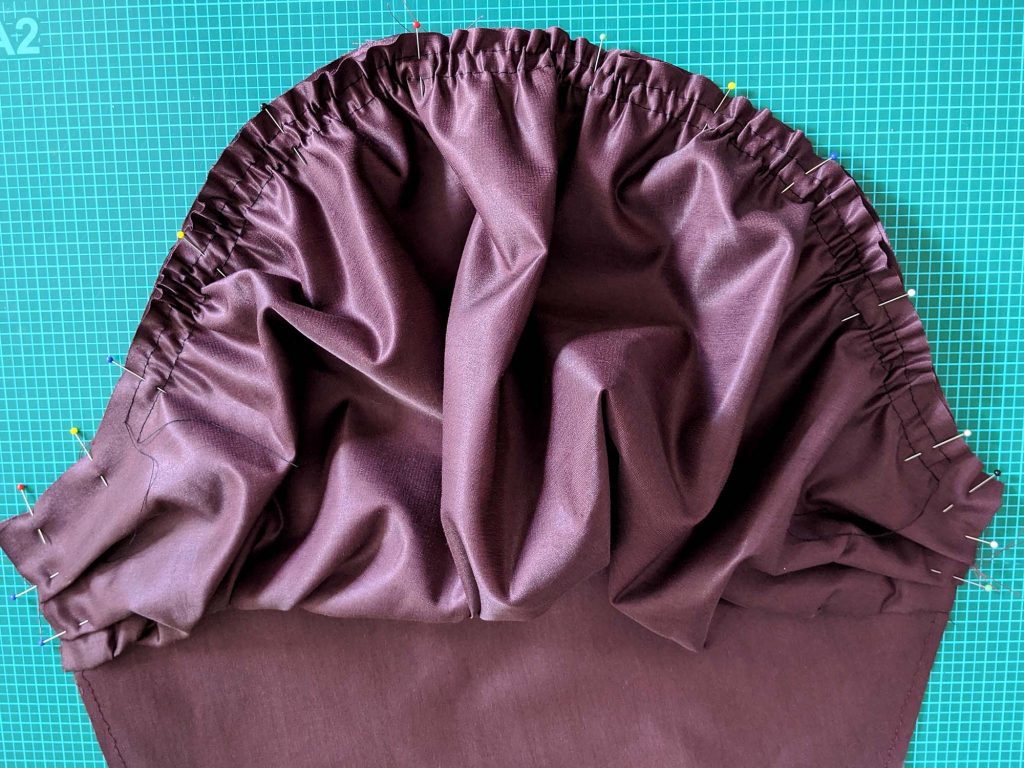
Fold the puff upwards, lining up the sleeve-head of the sleeve and puff sleeve. Baste in place with two rows of long stitches, to gather the sleeve head before sewing the sleeve to the armhole. Lay the excess width of the puff sleeve along the sleeve seam into 2-3 folds on each side and baste in place.
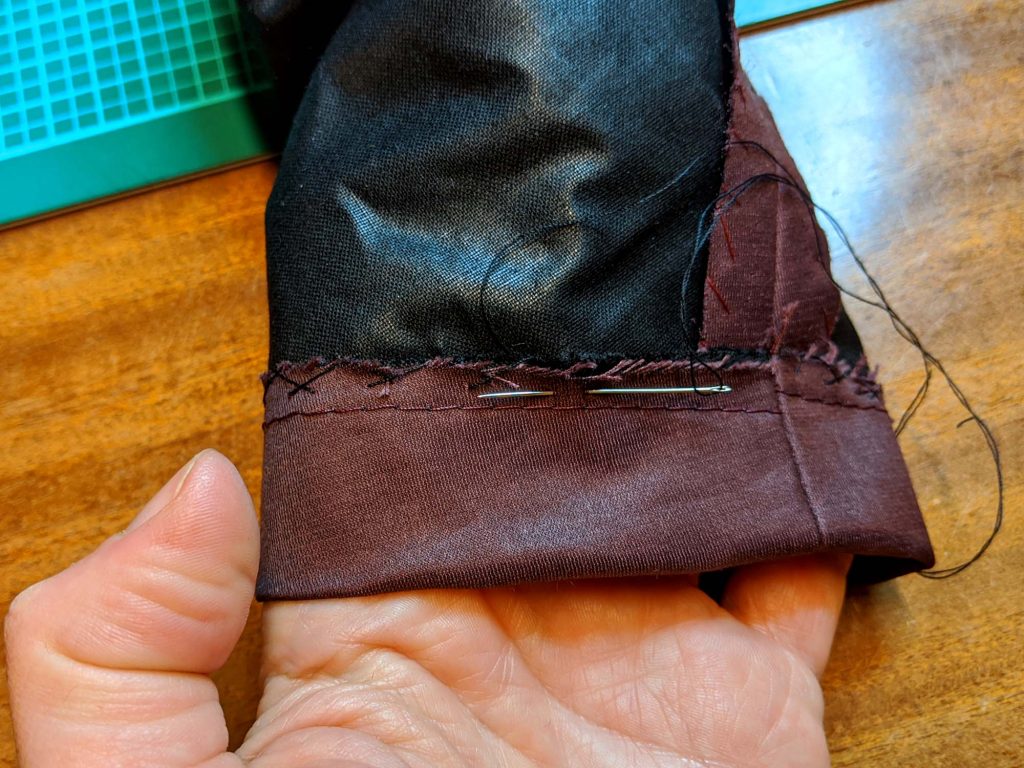
Sew the sleeve seam, right sides together, and press open the seam allowances. Neaten the seam allowances with overcasting stitches. Turn in the hem allowance of 1 ¼” (3cm), press and catch or fell stitch to the flatlining only. Cover the raw edge of the hem with a velvet ribbon.

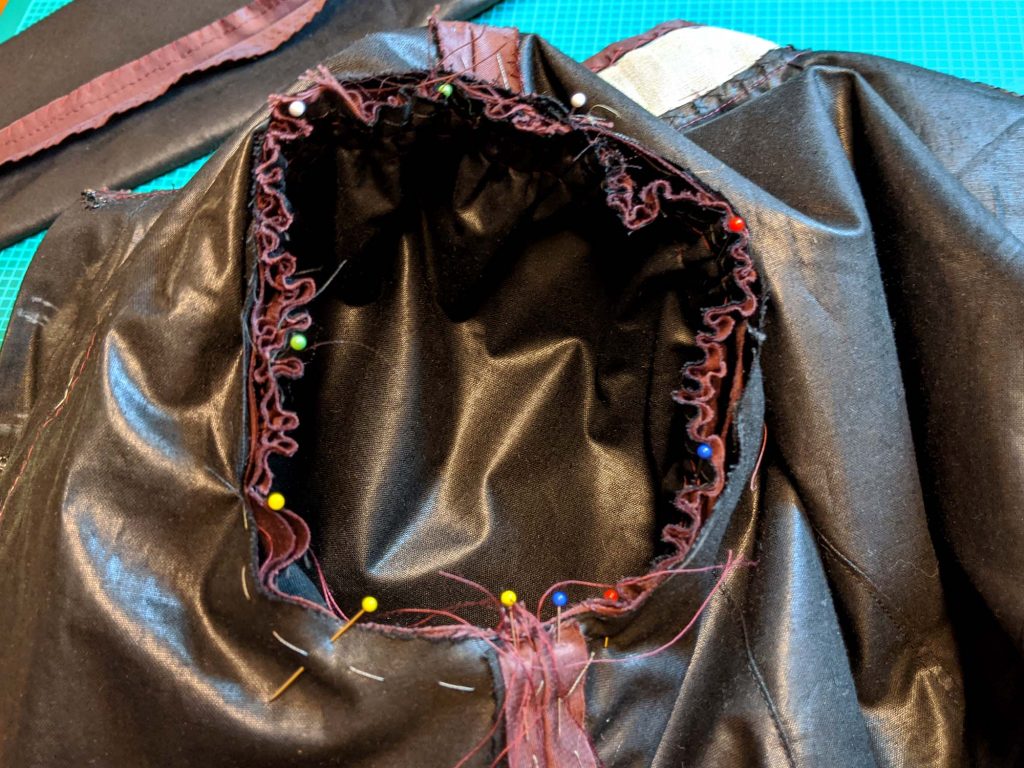
Pin the sleeve into the armhole, right sides together, the sleeve seam matching the side seam and the mark (1) matching the shoulder seam. Along the armpit, the sleeve is set in just with little ease, along the sleeve head to fit the armhole, spread the width evenly and sew. Neaten the raw seam allowances with overcasting stitches.
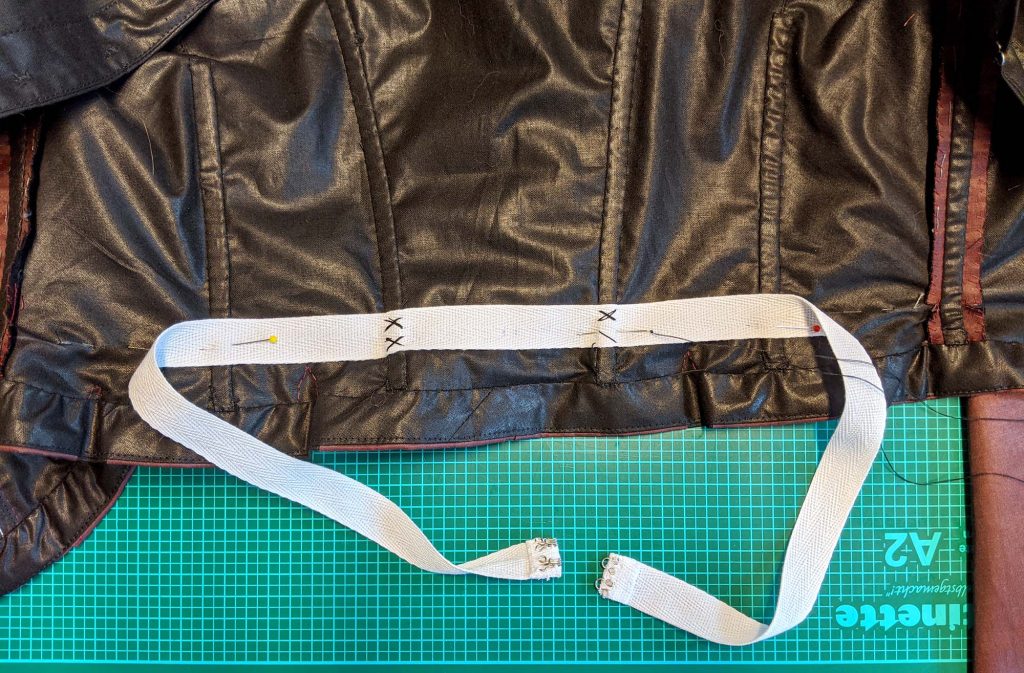
Sew bone casings to the seams and darts indicated on the pattern (fell stitch to the lining and seam allowances only), insert the bones and close the casings carefully. Sew a waistband to the back seams along the waistline.
FINISHED! Want to sew the blouse by yourself? Here you can buy the sewing pattern.