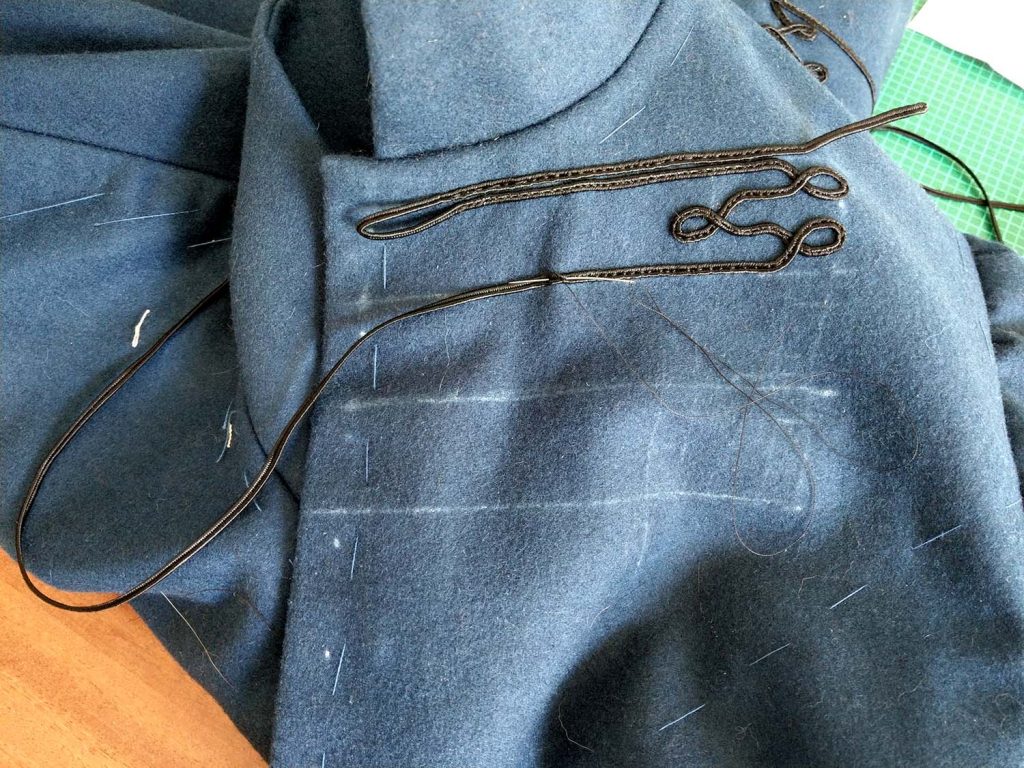
Recently I was asked about a tutorial regarding to my sewing pattern #0319, the Empire Spencer or Redingote. So far there have only been instructions for the muff, the cap and the soutache embroidery. I found lot´s of pictures I took during the sewing process I want to share with you, follwing the instructions step by step.
Perhaps you´ll be missing some of the details that can be found in the instructions, because this tutorial is just intended to supplement my sewing pattern, available through my Etsy shop, with additional pictures.
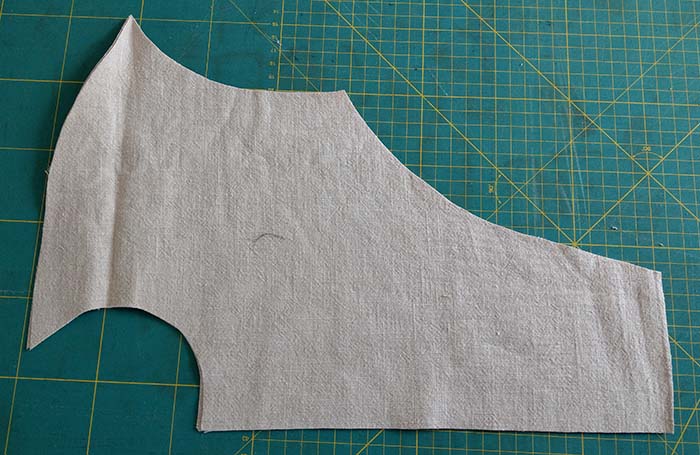
First step always should be a mock-up, fitted to be worn over a dress, made of a fabric similar to your fashion fabric.

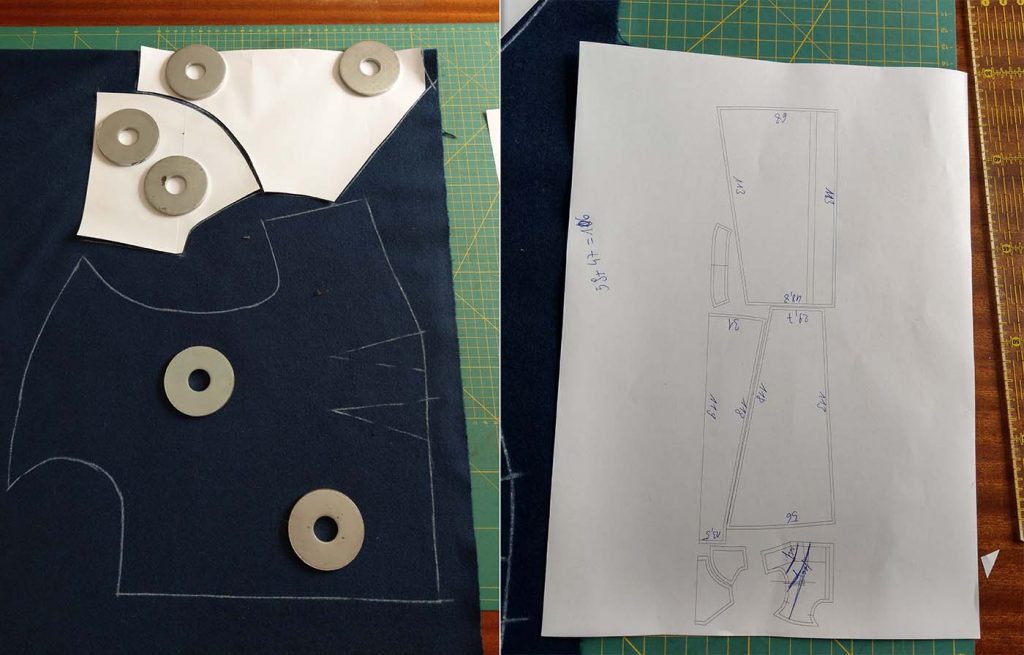
Cut all pieces from fashion fabric, interfacing and lining as shown on the cutting diagram. Mark all darts and notches. A seam allowance of 5/8” (1,5cm) is included in my patterns.
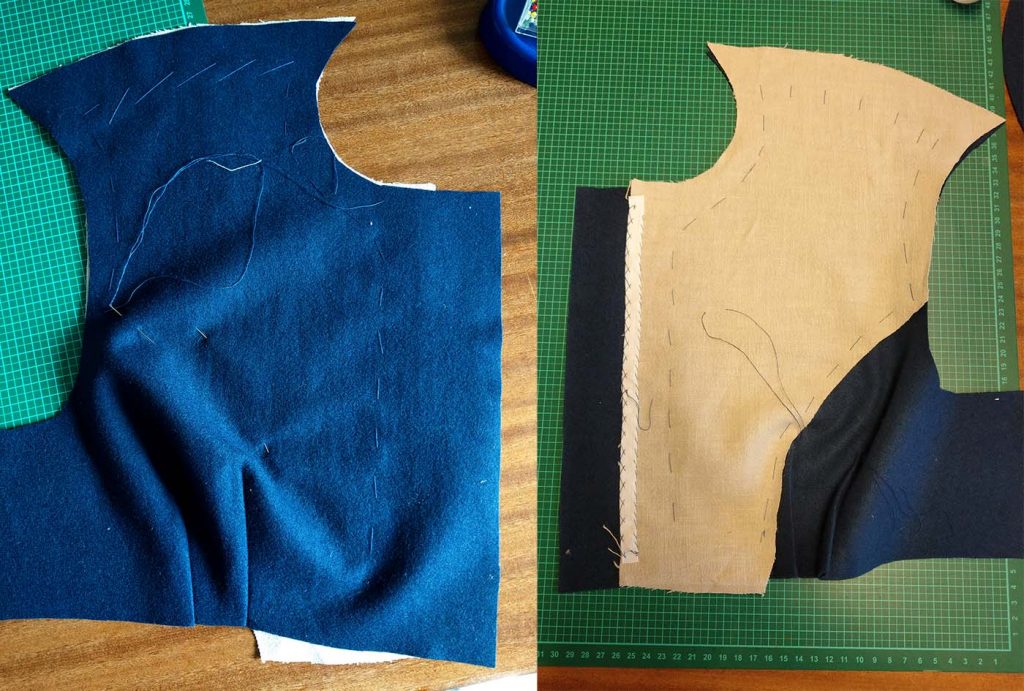
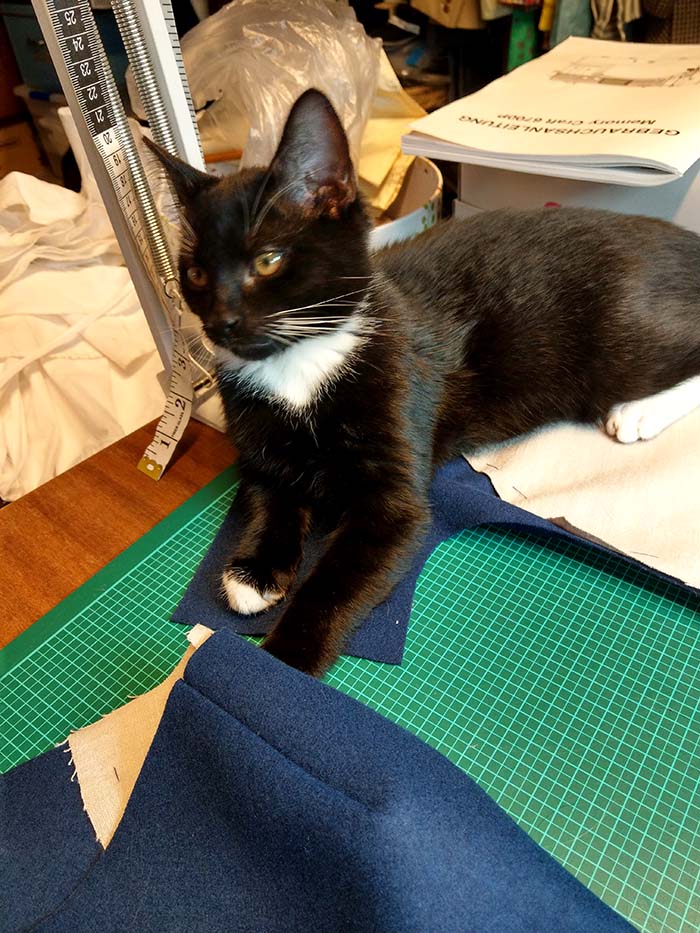
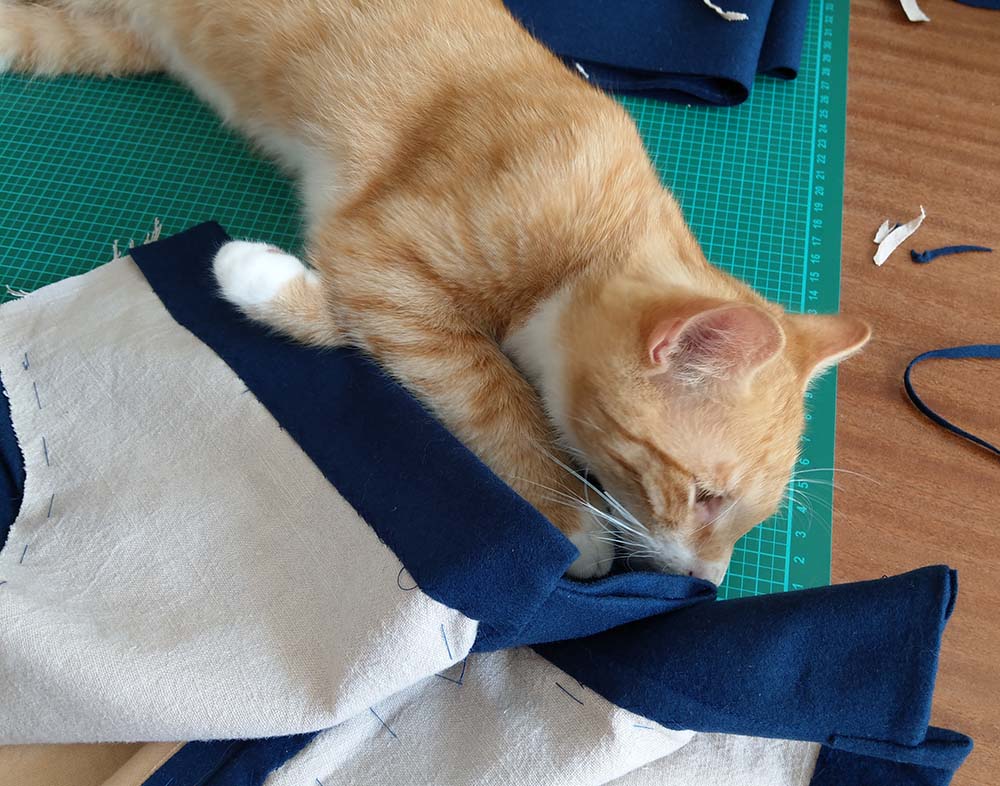
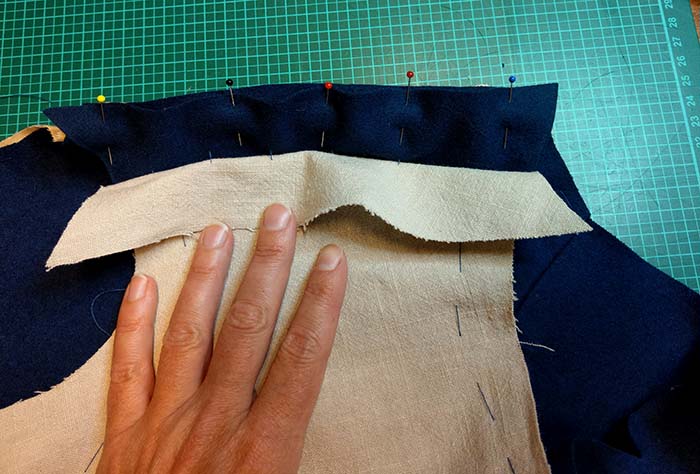
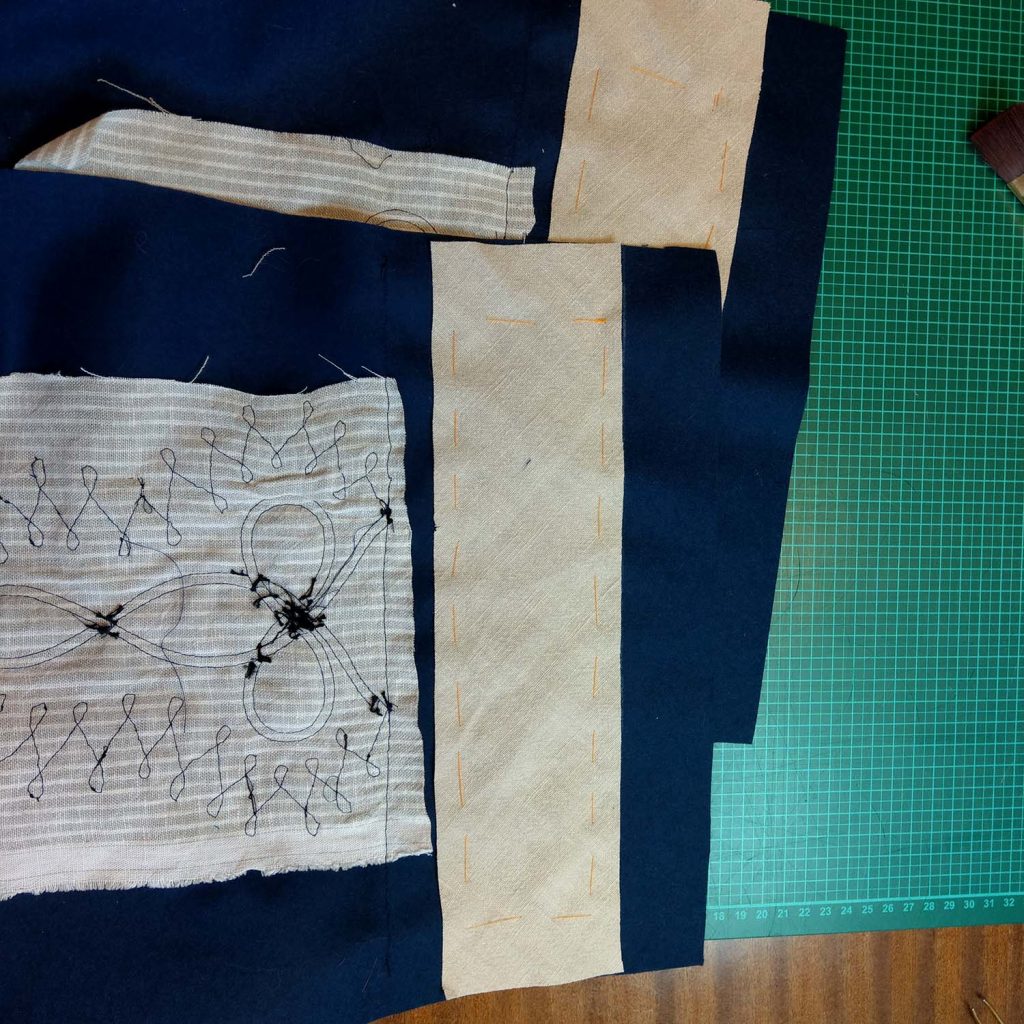
Step (1) – How to prepare the fronts, sewing the darts, basting the interfacing and the cotton tape. Important, never reject the help of your pets!
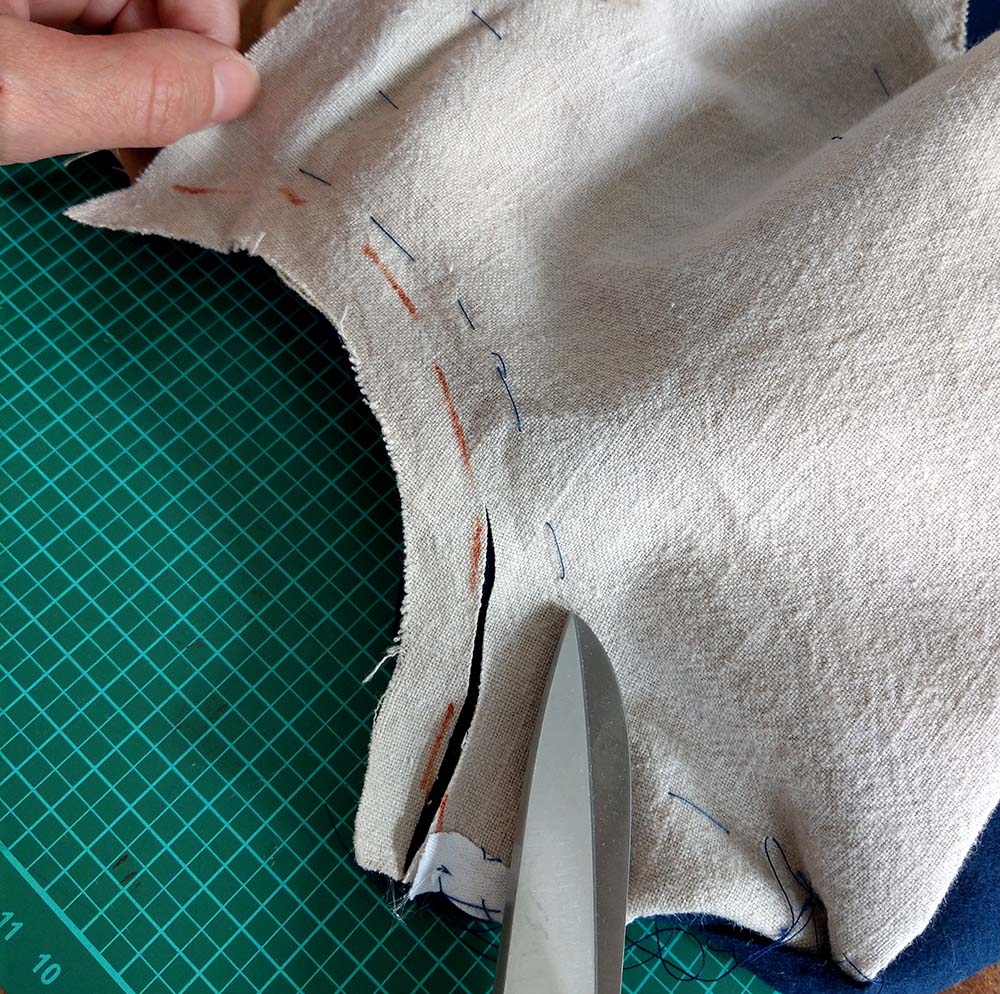
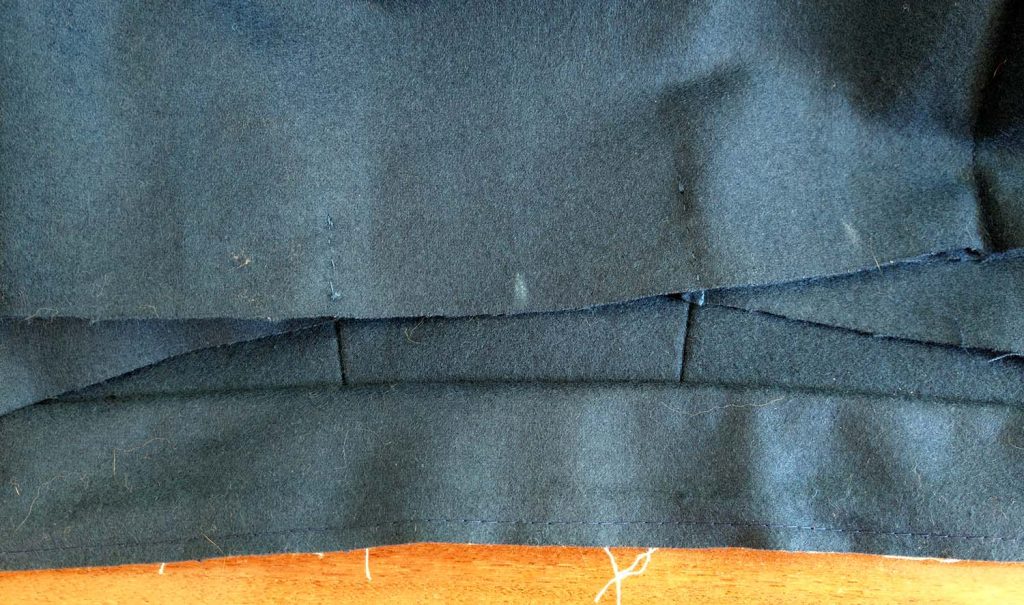
Step (2) – The back: I marked the wrong sides of the side back pieces to avoid confusion. Pressing open all the seams carefully is absolutely necessary for a neat finish!

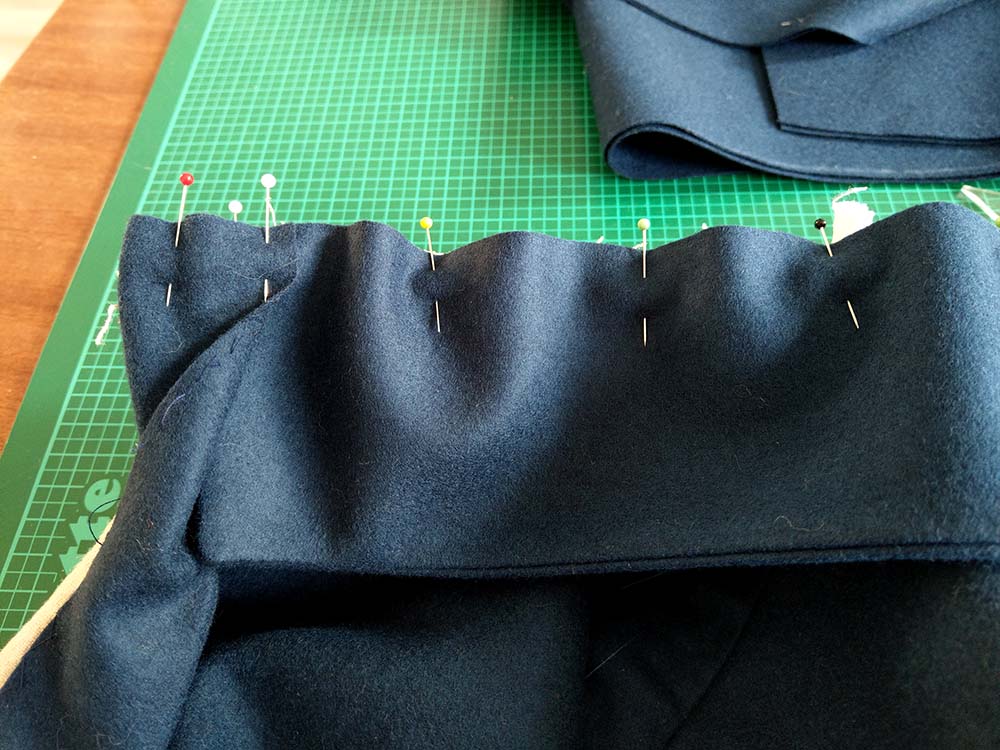
Step (3) – The shoulder seam, with the interfacing folded to the side and the front pined to the back, easing in the fullness of the front. Just the cotton tape mentioned in the instruction is missing jet.
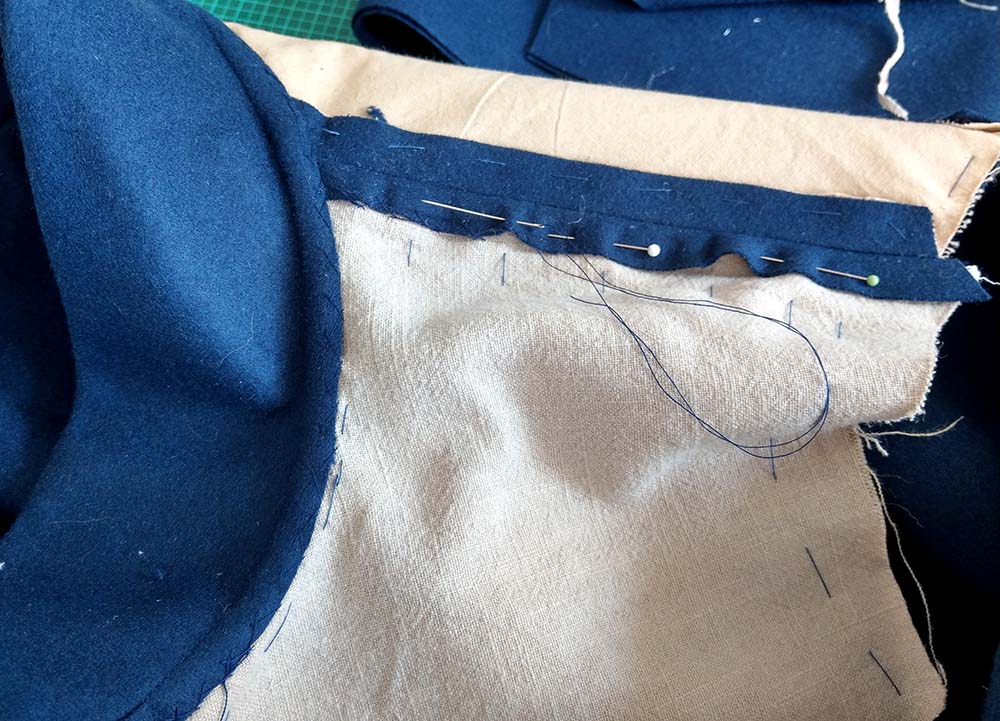
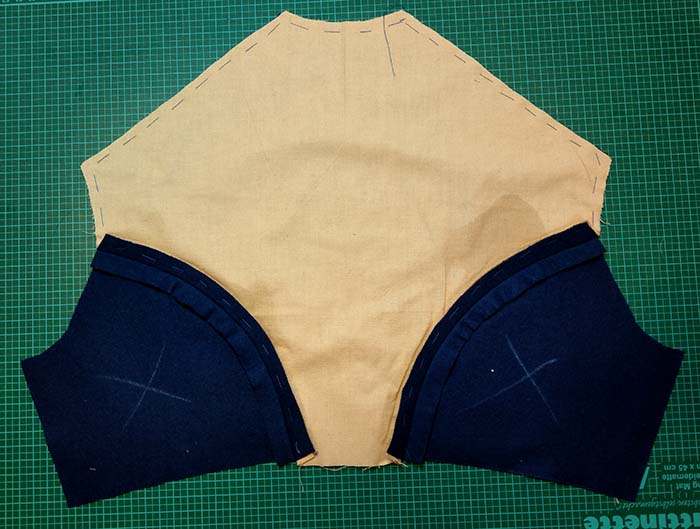
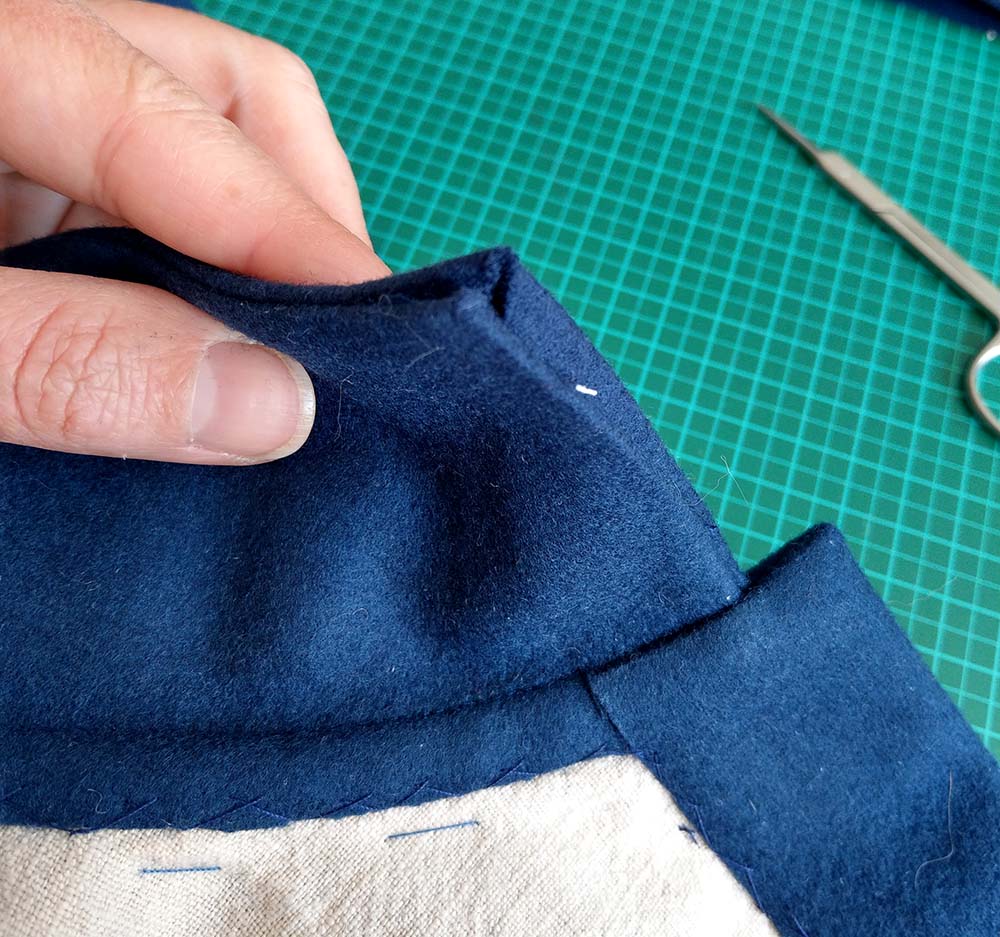
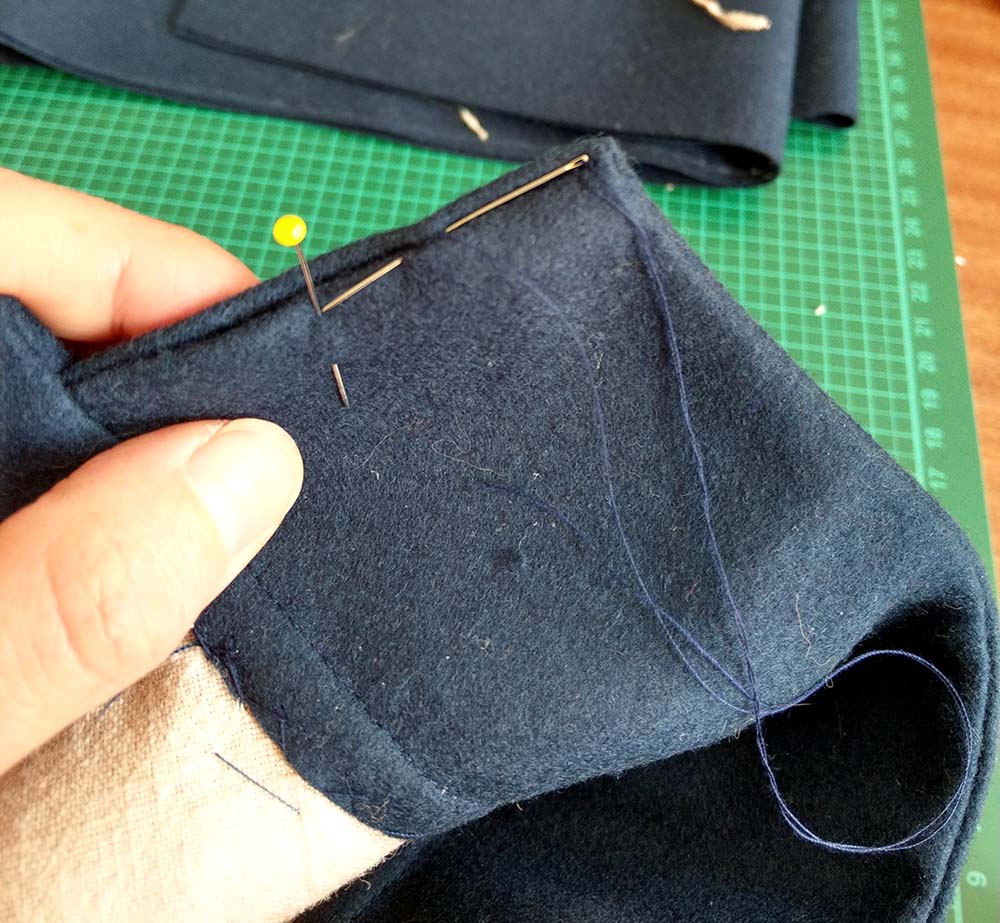
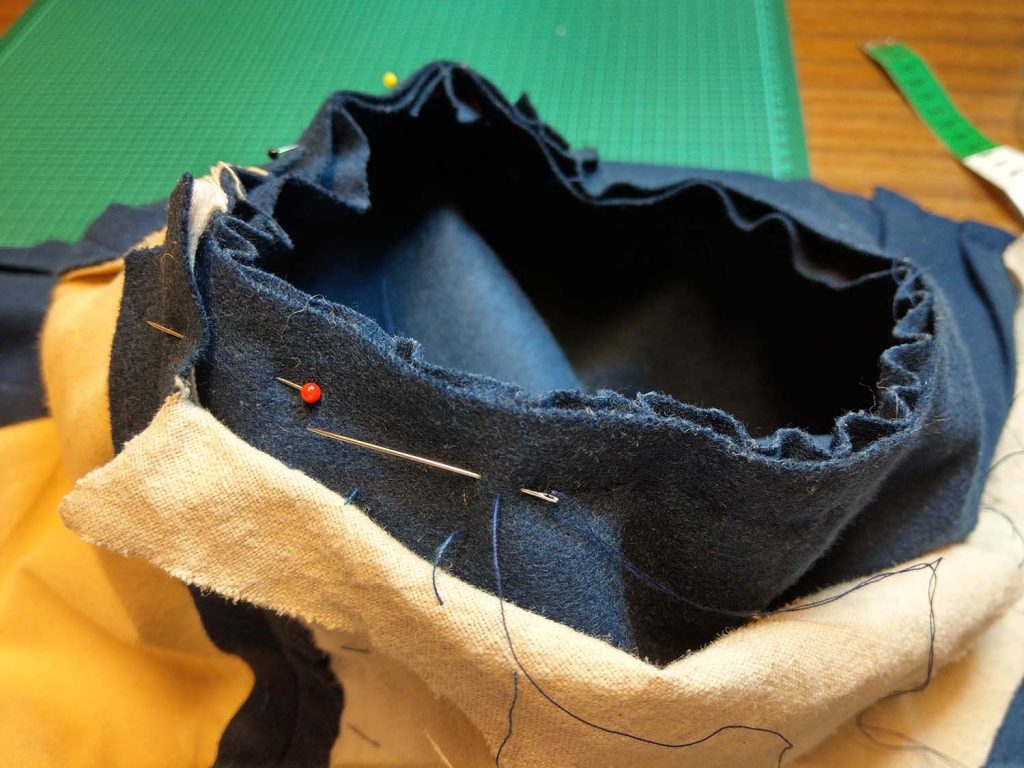
Step (4) and (5) – The collar and front edge: There are no pictures, showing the sewing process exactly as told in the instructions, because I made the collar in a different way when I took the pictures. I lined up the two layers of the collar, right sides together, stitched along the front and top edge and turned the right way out. I sewed the collar to the neckline, with both layers of the collar and the front facing folded right sides together, stitched in place at the same time. I decided to change that in the instructions because I had too much bulk at the neckline that way. I´ll show you the pictures anyway to get some impressions of the collar and front edge.
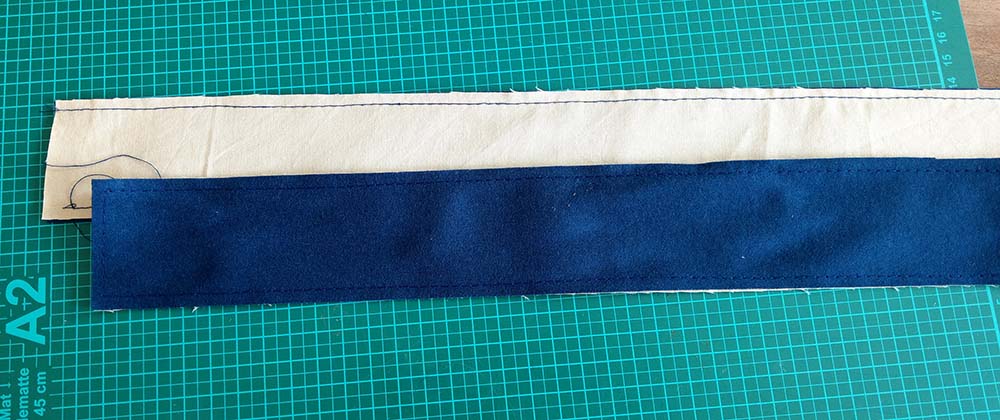
Step (6) and (7) – The collar lining and front facing: The collar unpicked and sewed the right way. I made the lining from the fashion fabric, better serves a polished cotton, again to avoid bulk and get a neat and period accurate finish.
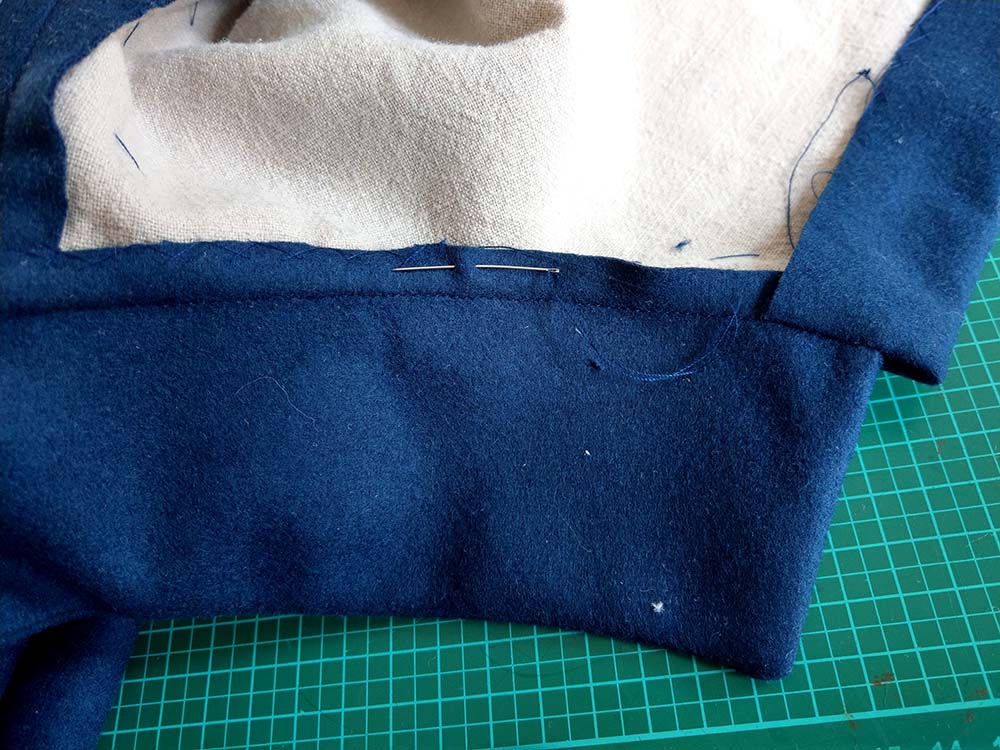
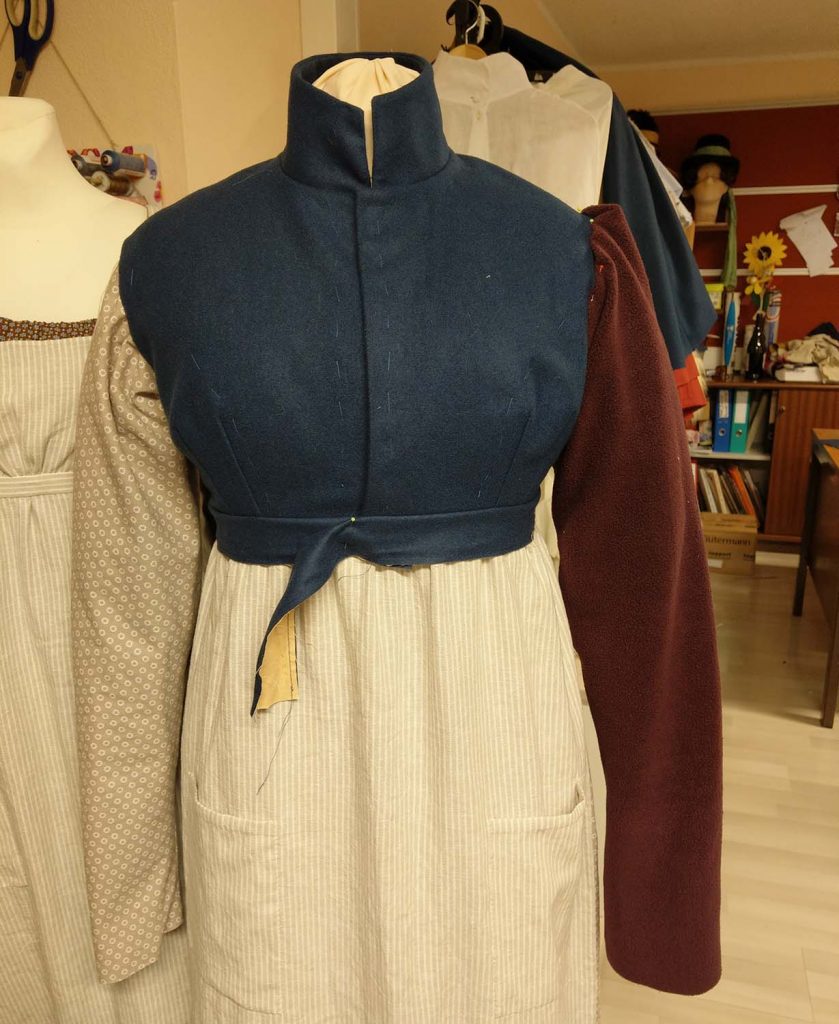
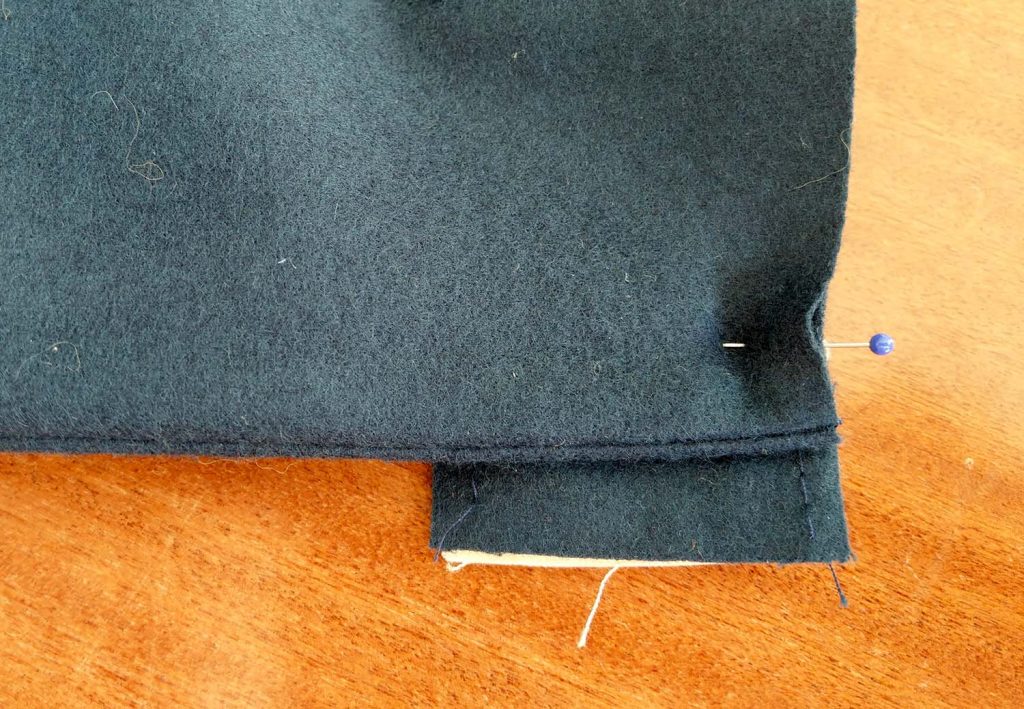
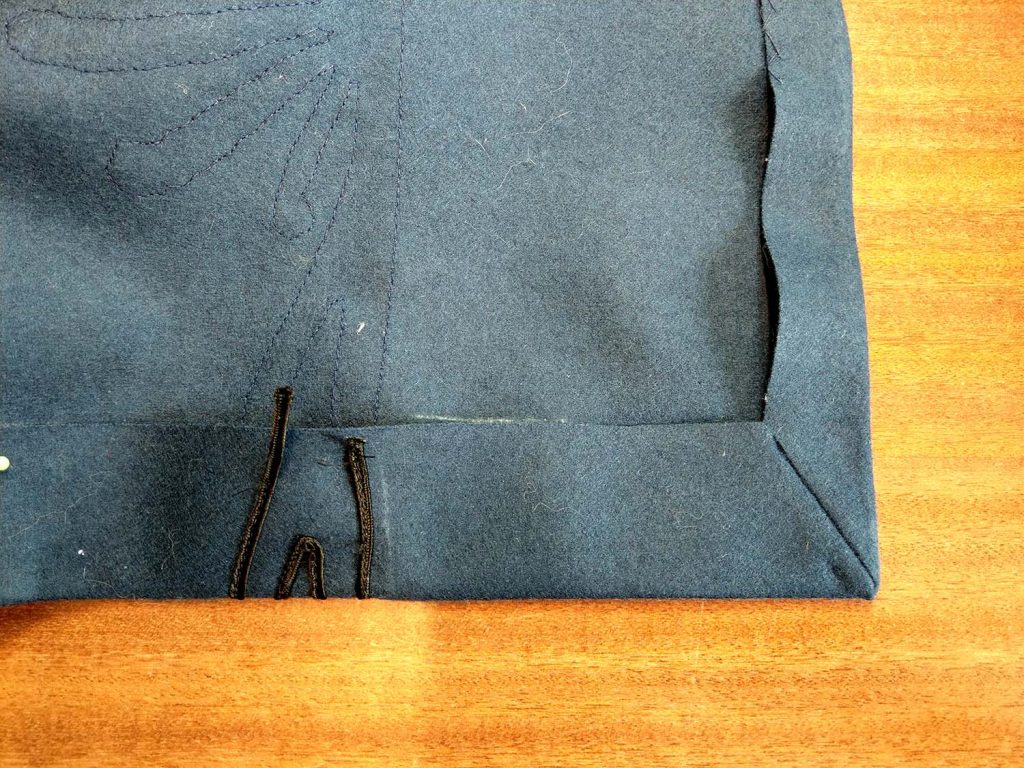
Step (8) and (9) – Side seams and waistband: The pictures say more than words!
Step (10) and (11) Step 10 has its own tutorial: klick
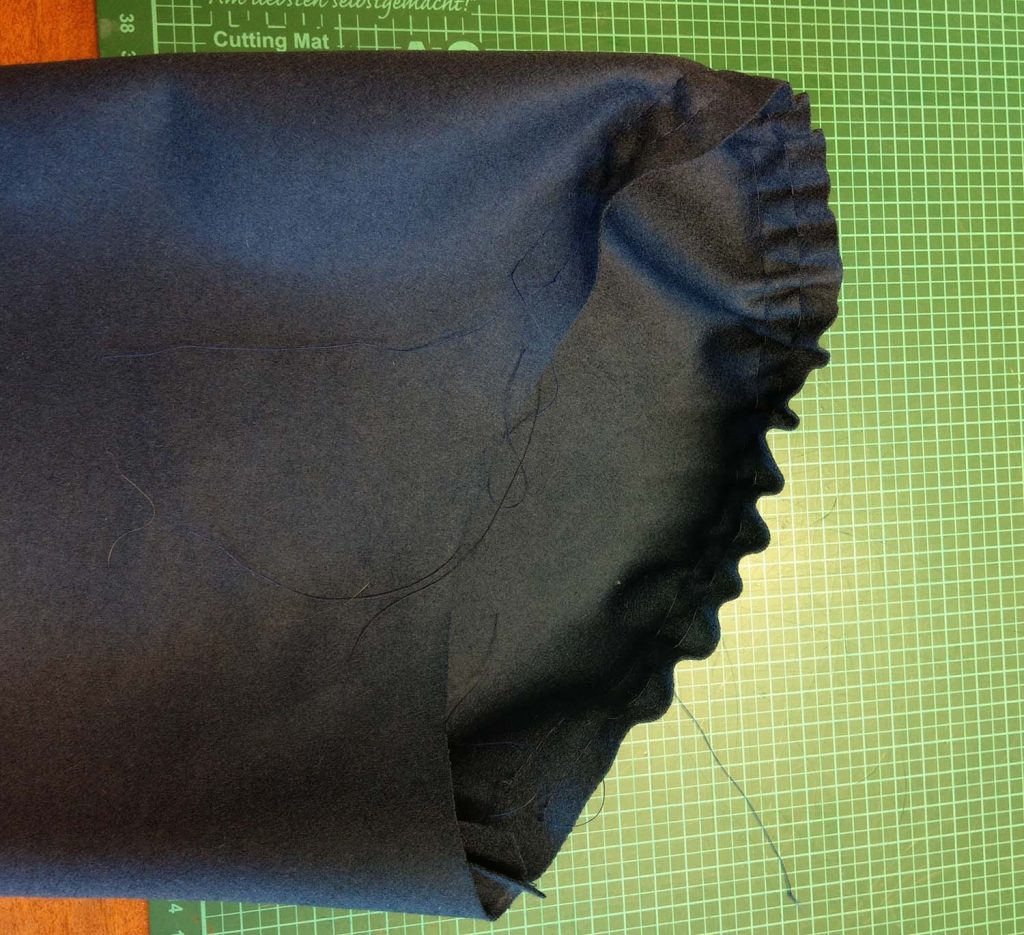
Here I show you how to prepare the sleeve before pinning it into the armhole.
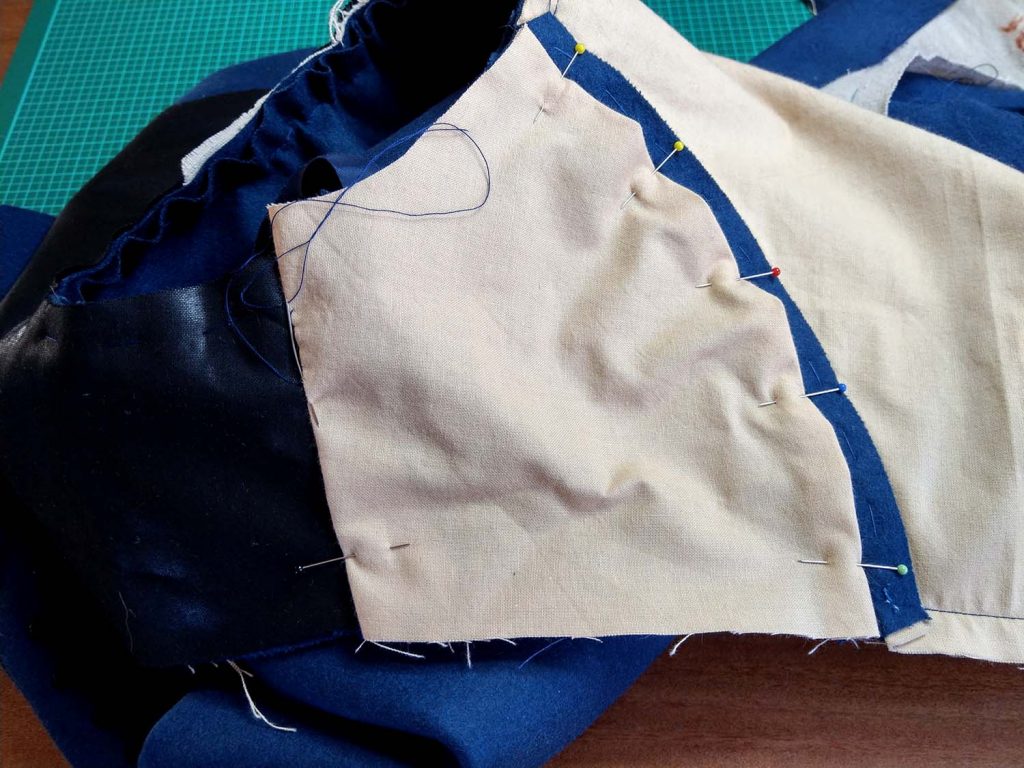
Step 12 – The front lining

Step (13) – The side back lining:
Step (14) – The sleev lining: Sorry, no picture
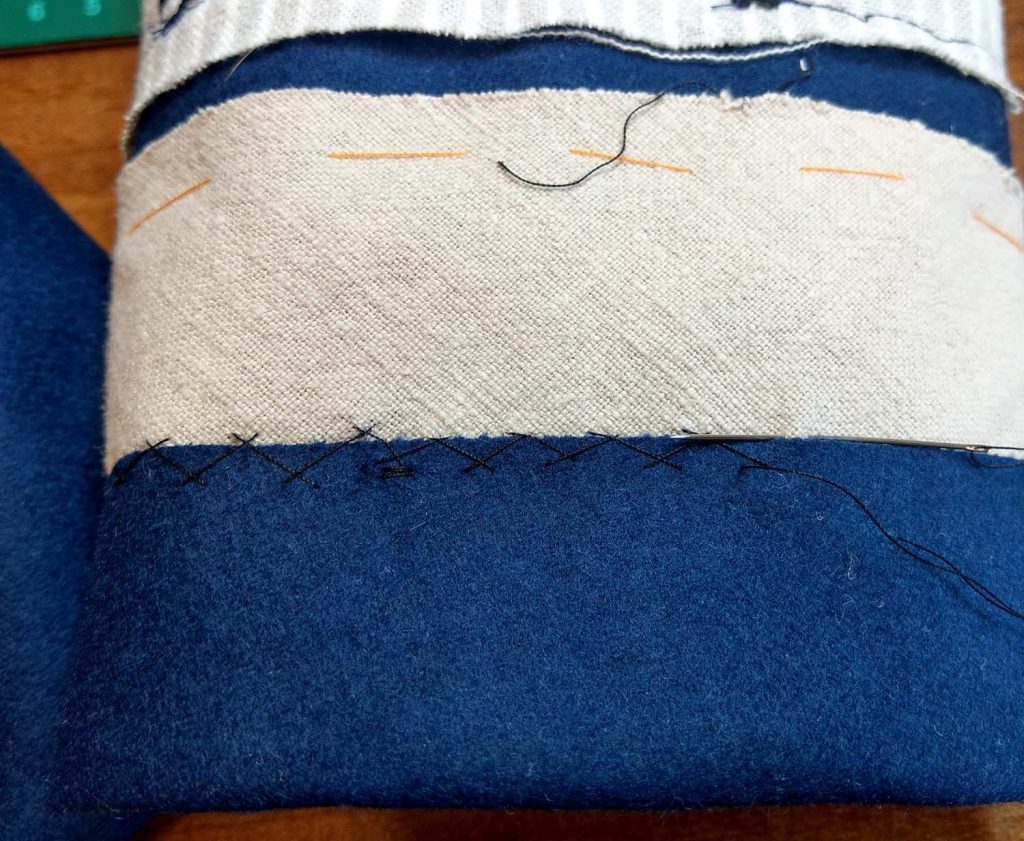
Step (15), (16) and (17) – Sewing the waistband to the bodice
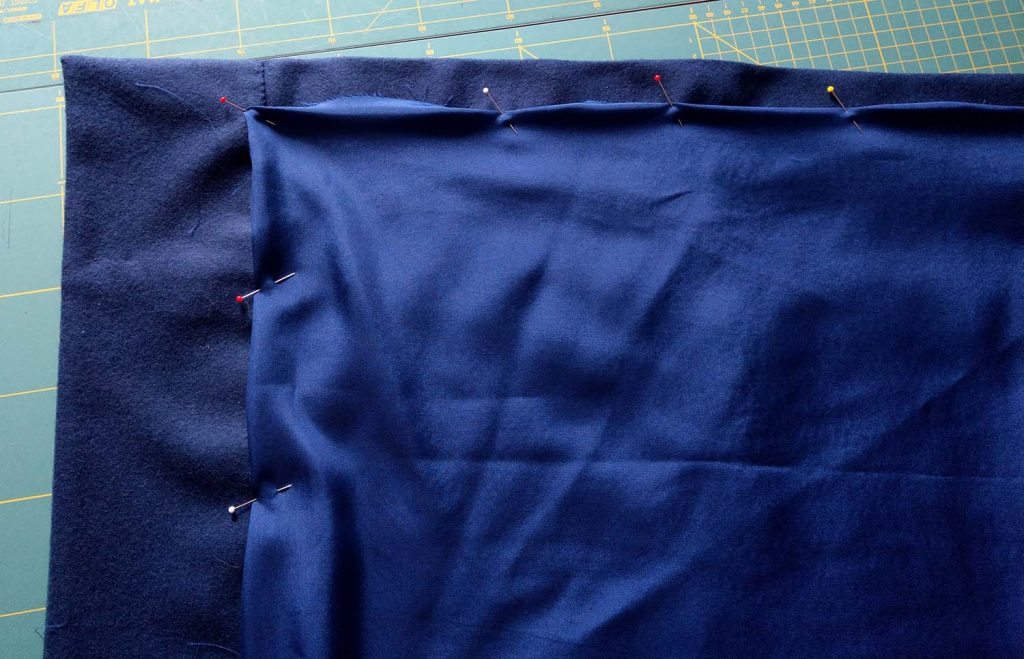
Step (18) to (21) – The skirt: I´m sorry, there just view pictures. I didn´t flatline my fabric (it´s heavy enought at it´s own), just made a lining from a lightweight and slippery lining fabric, to allow the skirt sliding easily over the fabric of a dress.

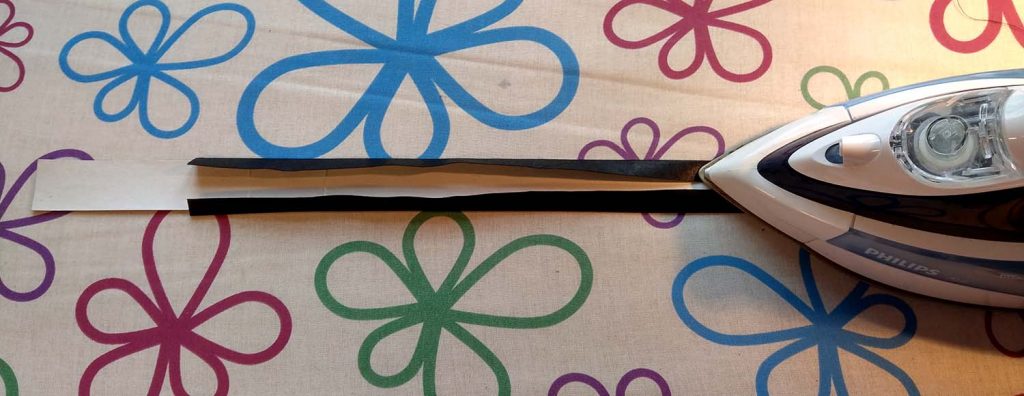
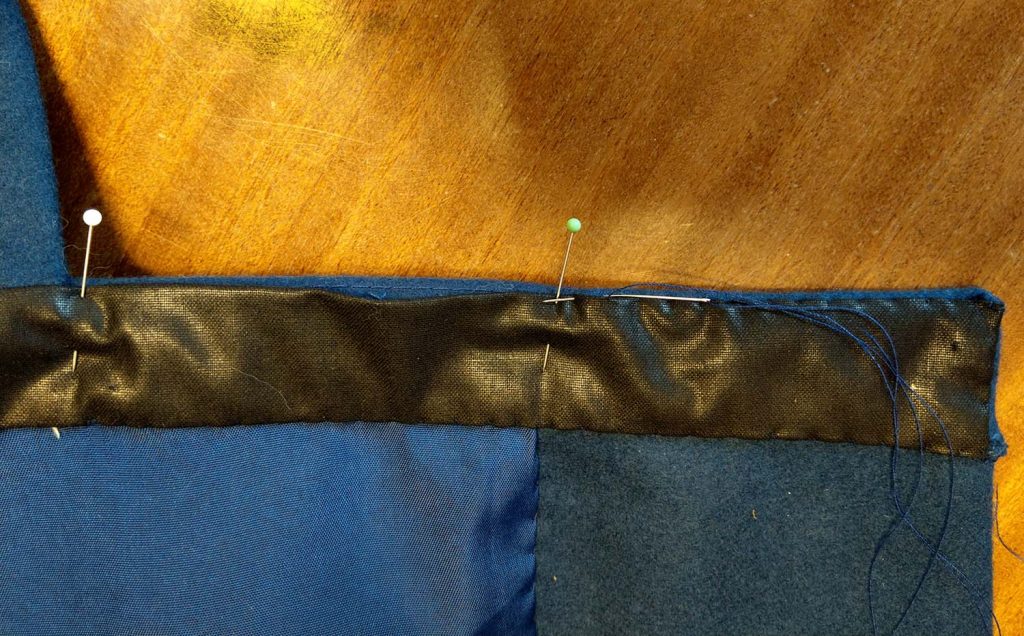
Step (22) – Lining the waistband

Step (23) – The buttons: sorry, no pics!
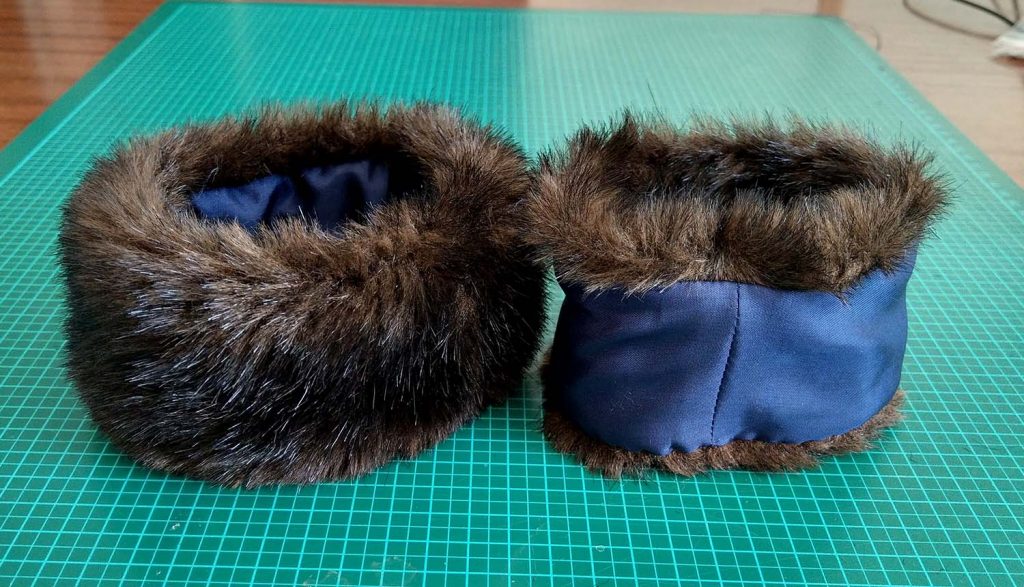
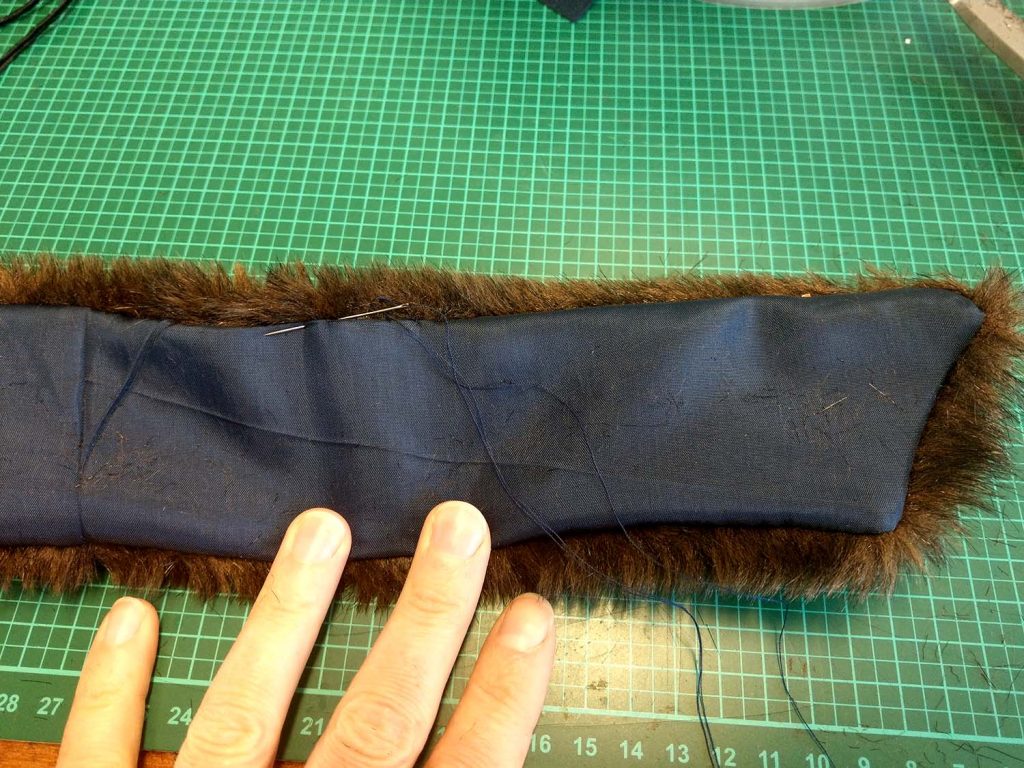
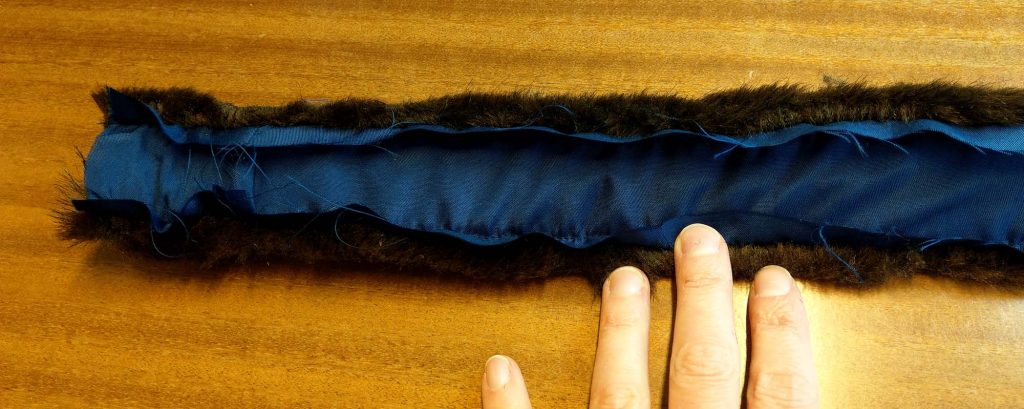
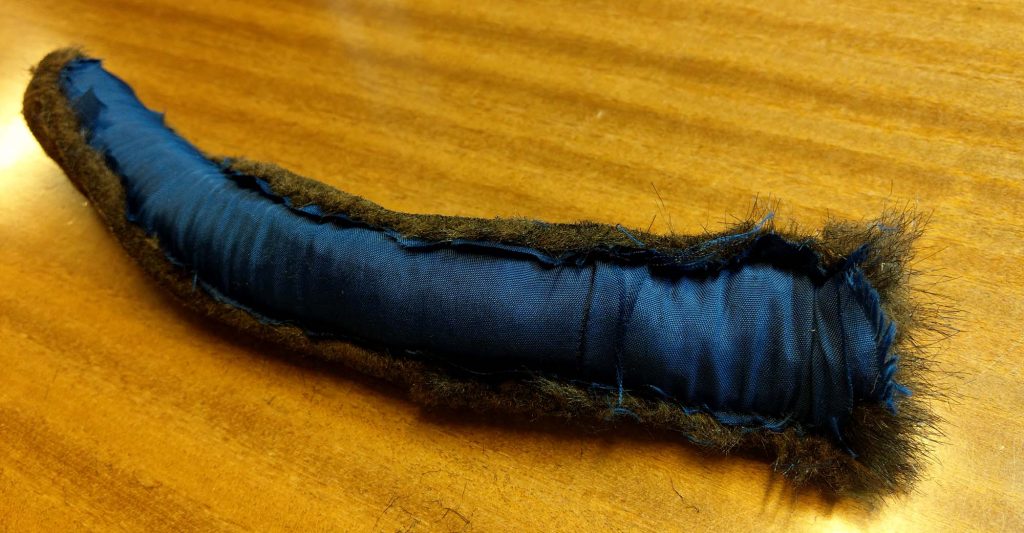
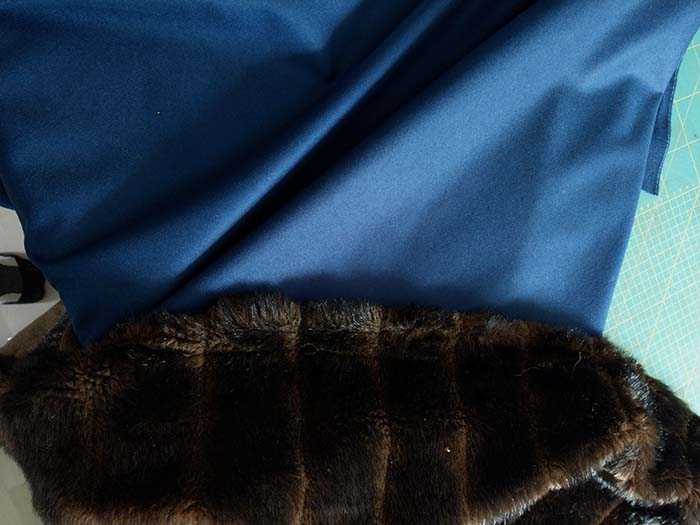
Step (24) and (25) – Fur trimmings: