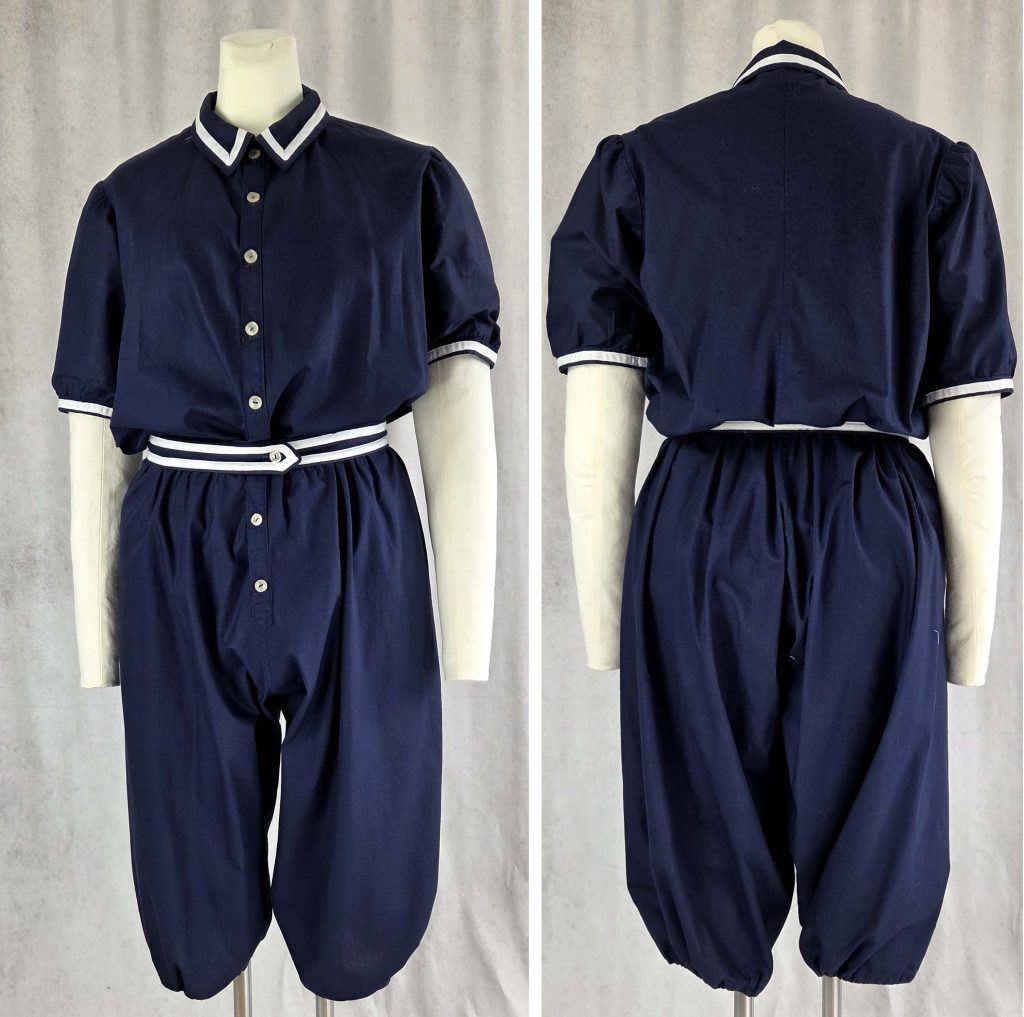
Now that we’ve completed the jumpsuit, let’s move on to the next pieces of our bathing suit.
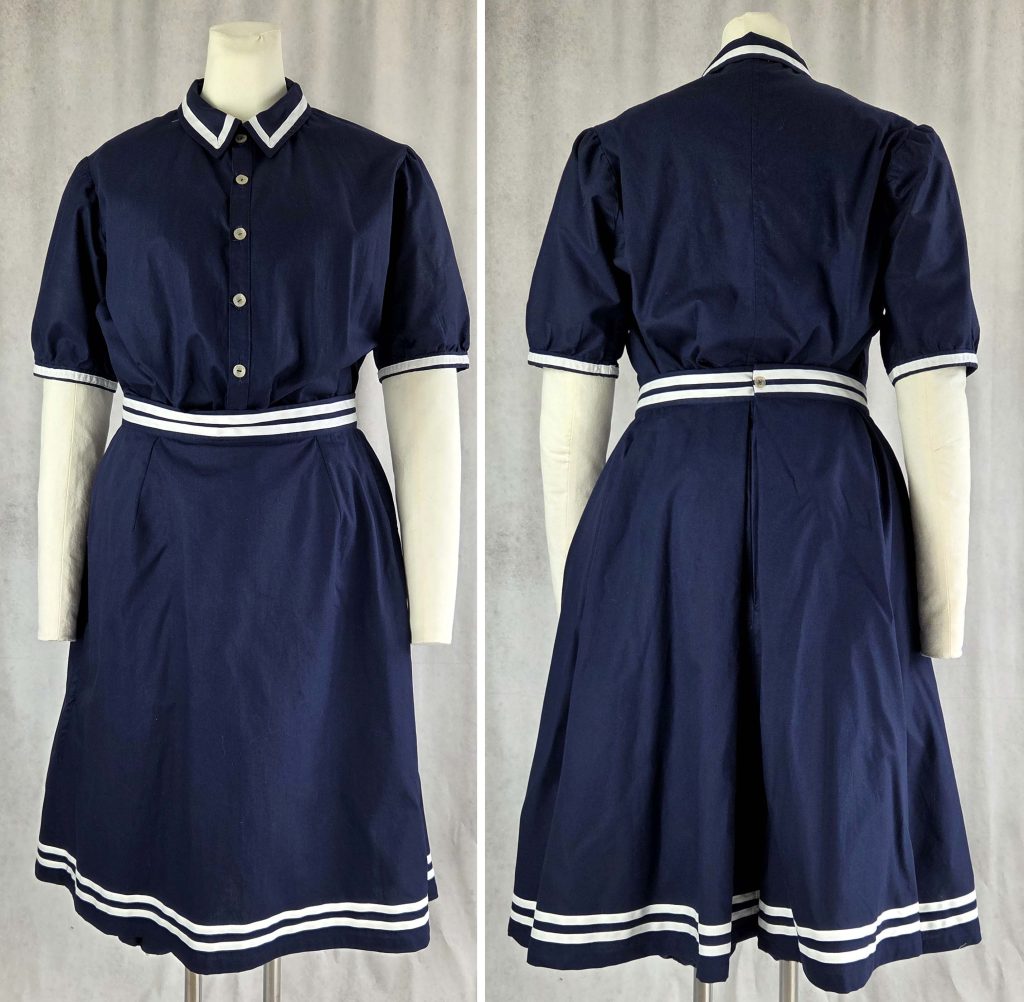
Let’s start with the skirt, which is designed to be worn over the jumpsuit.
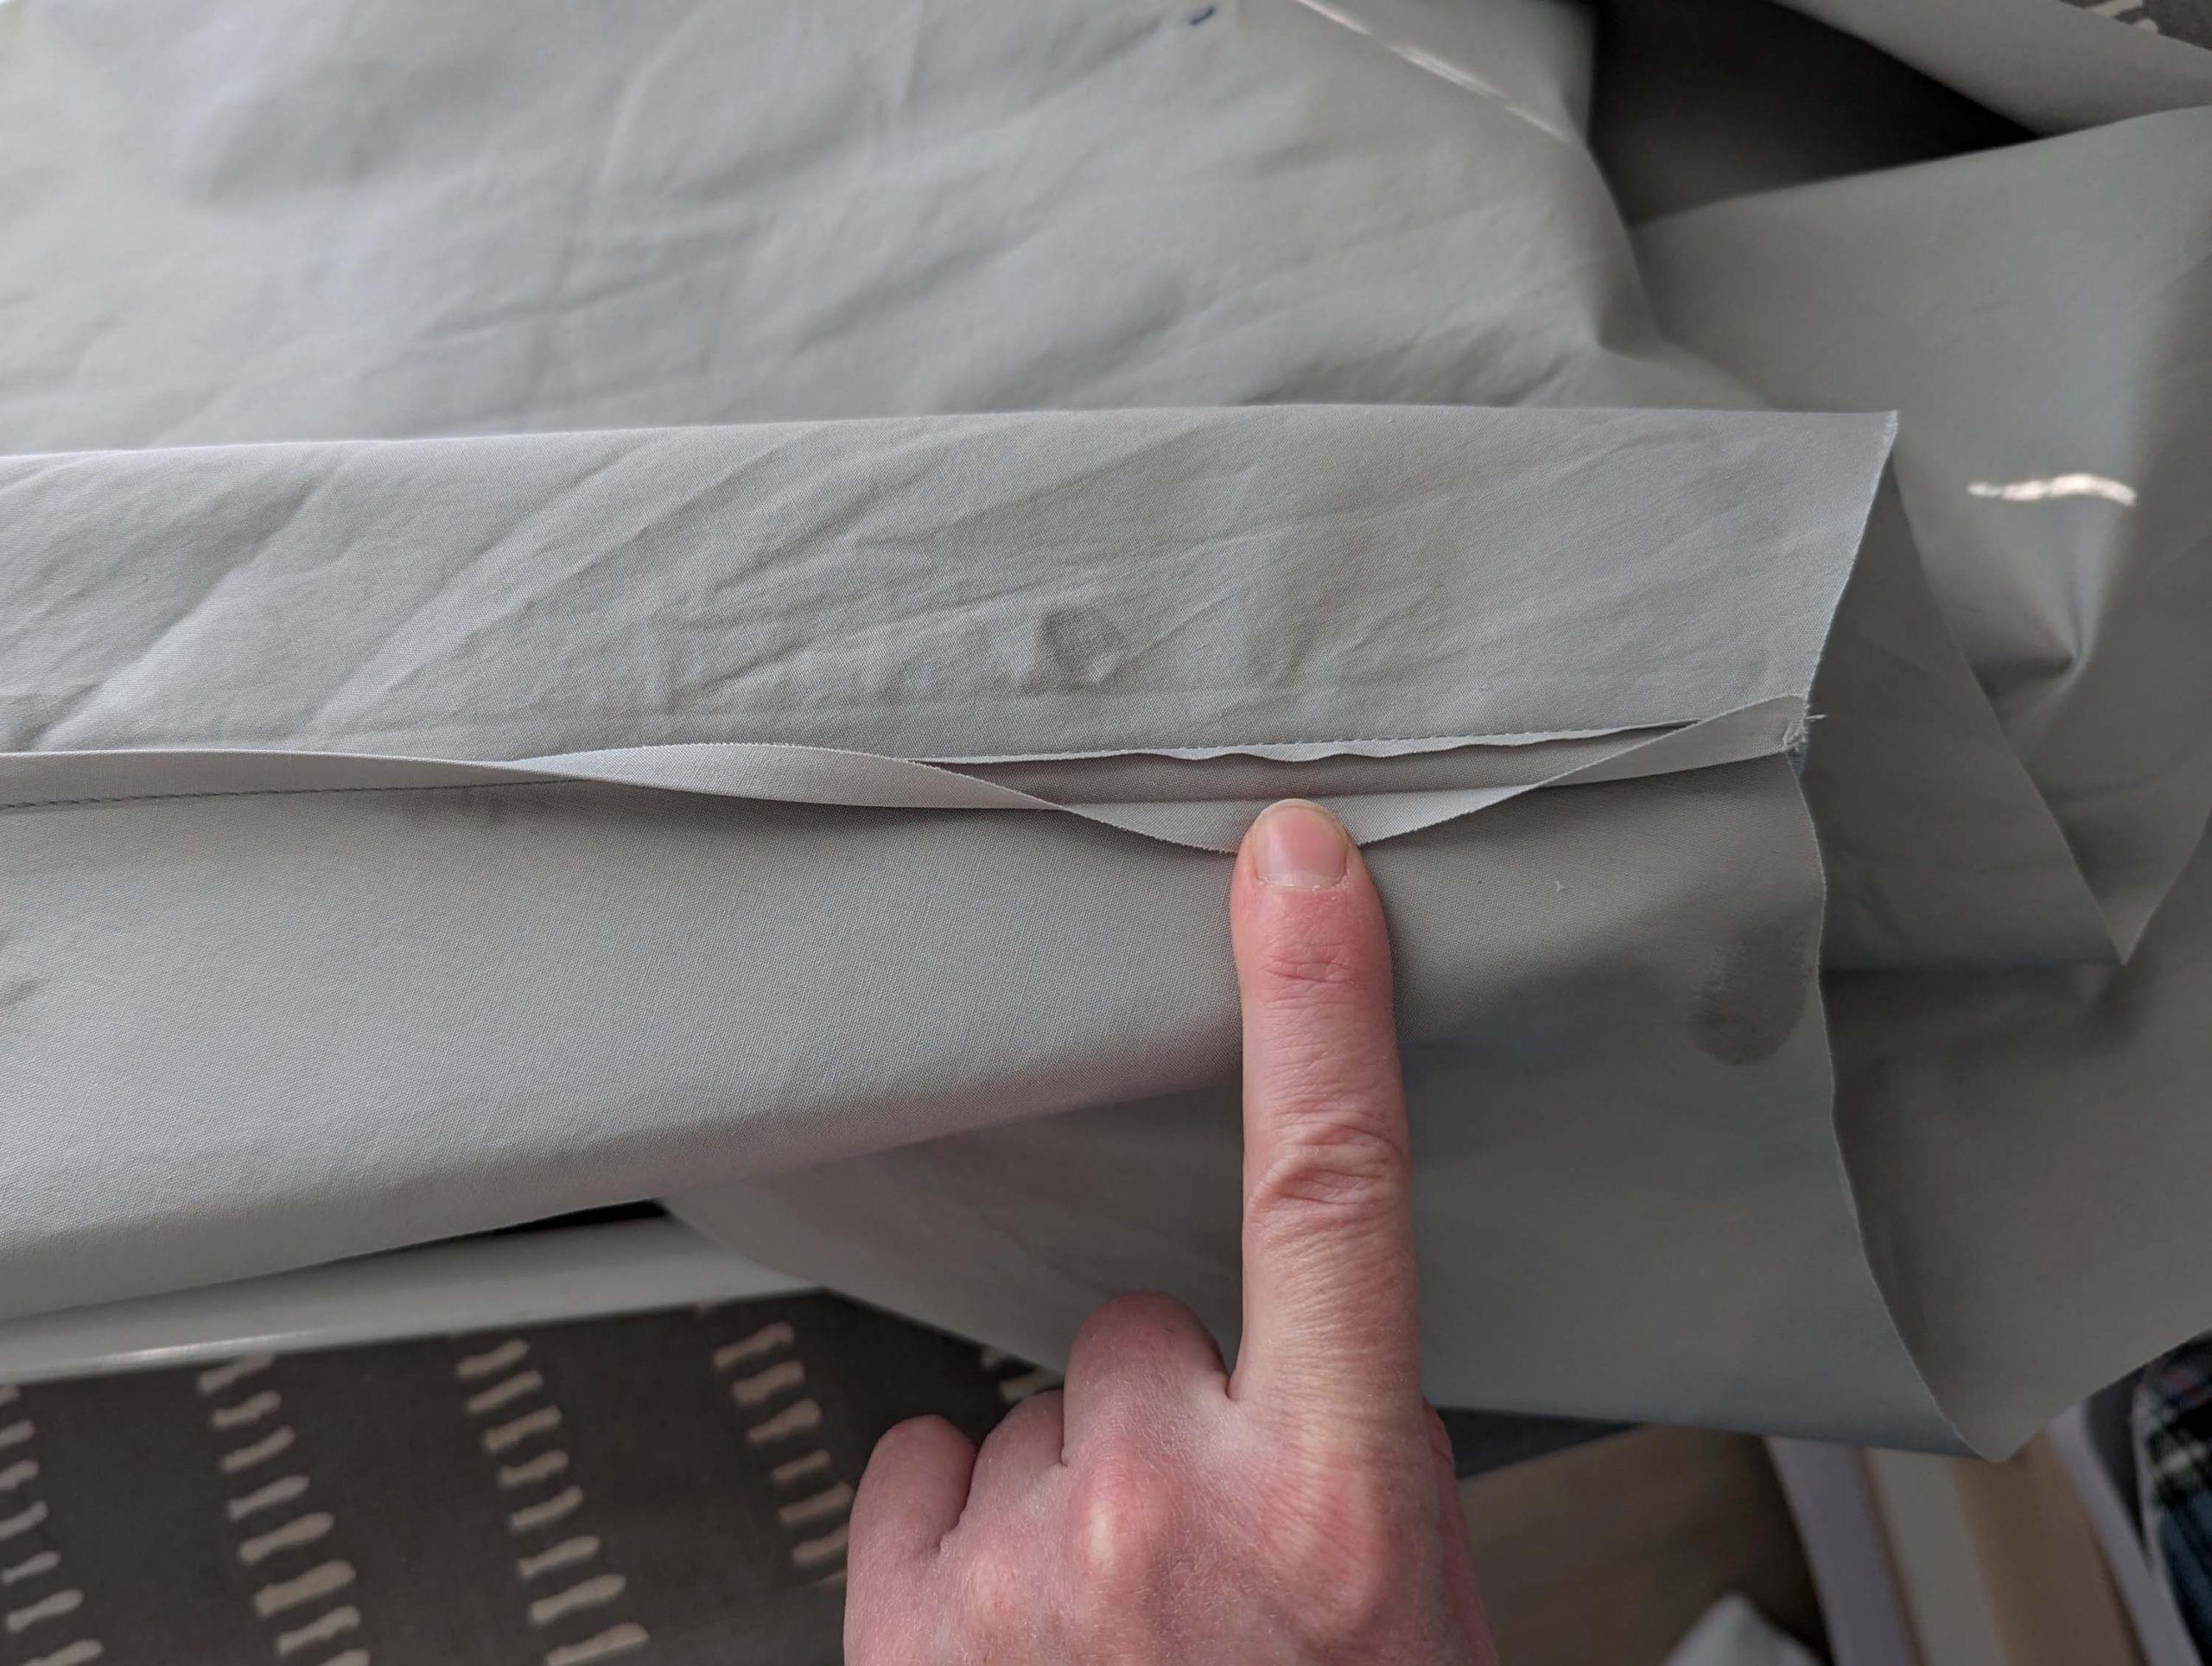
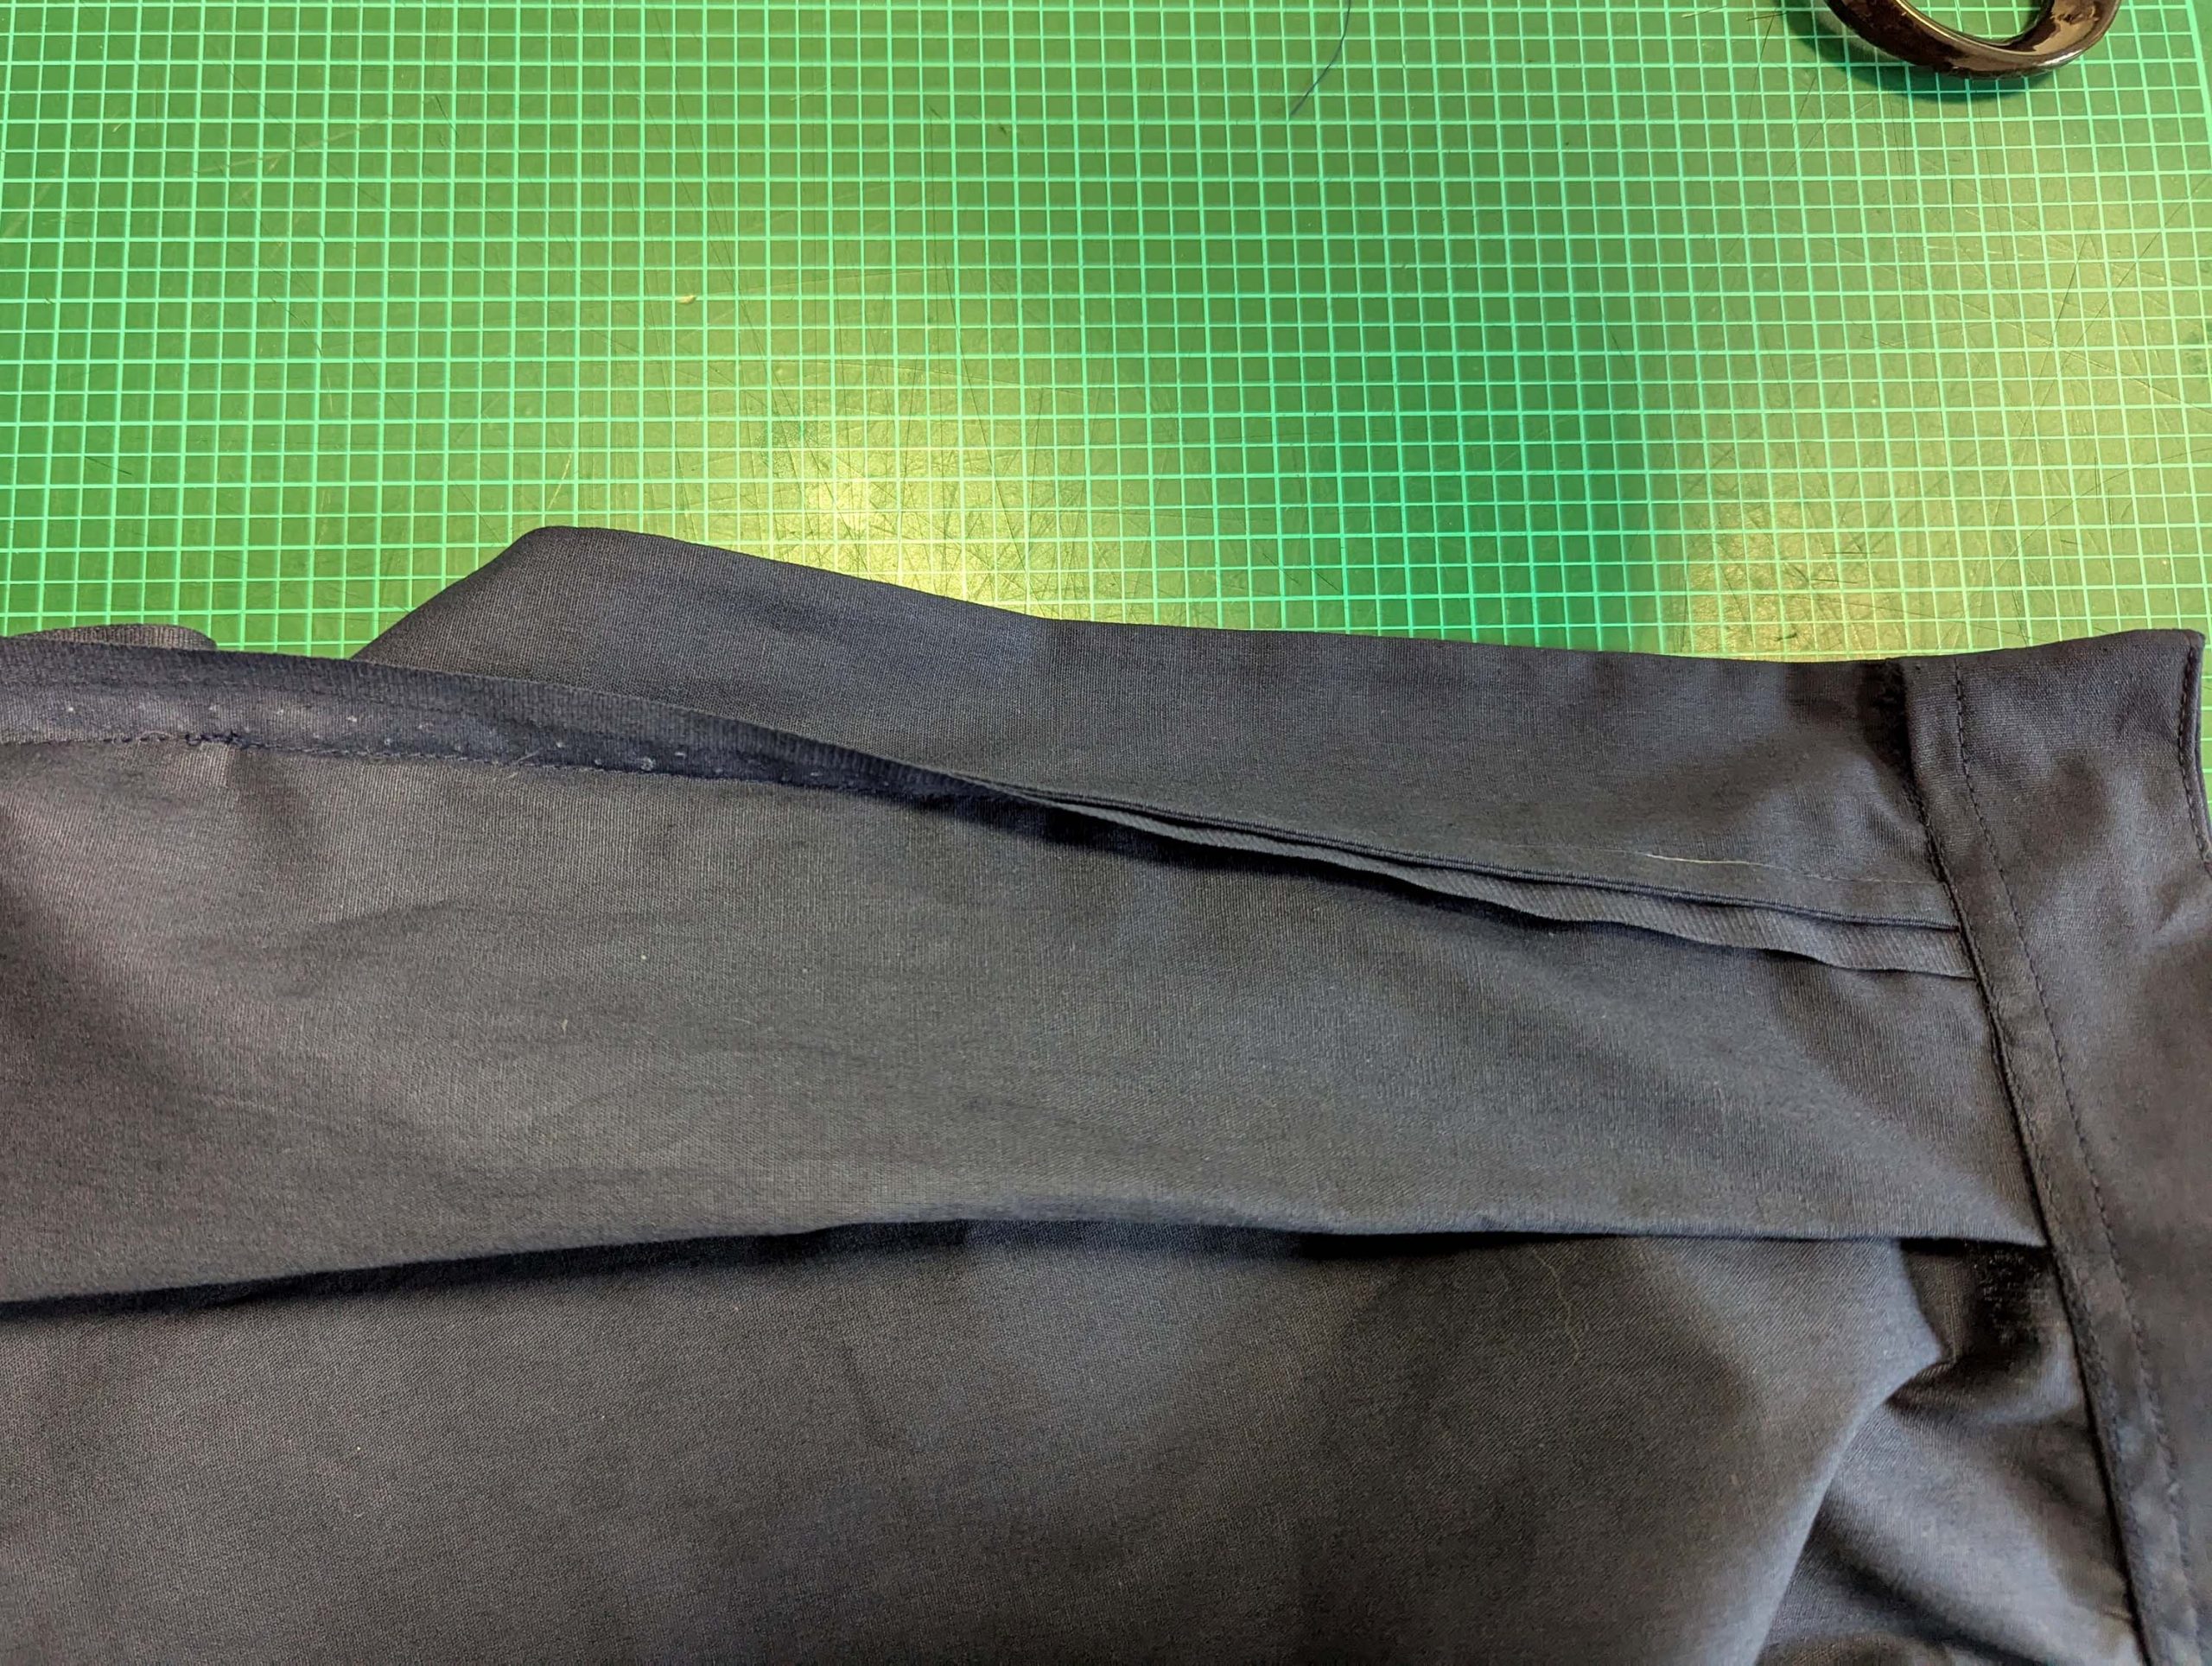
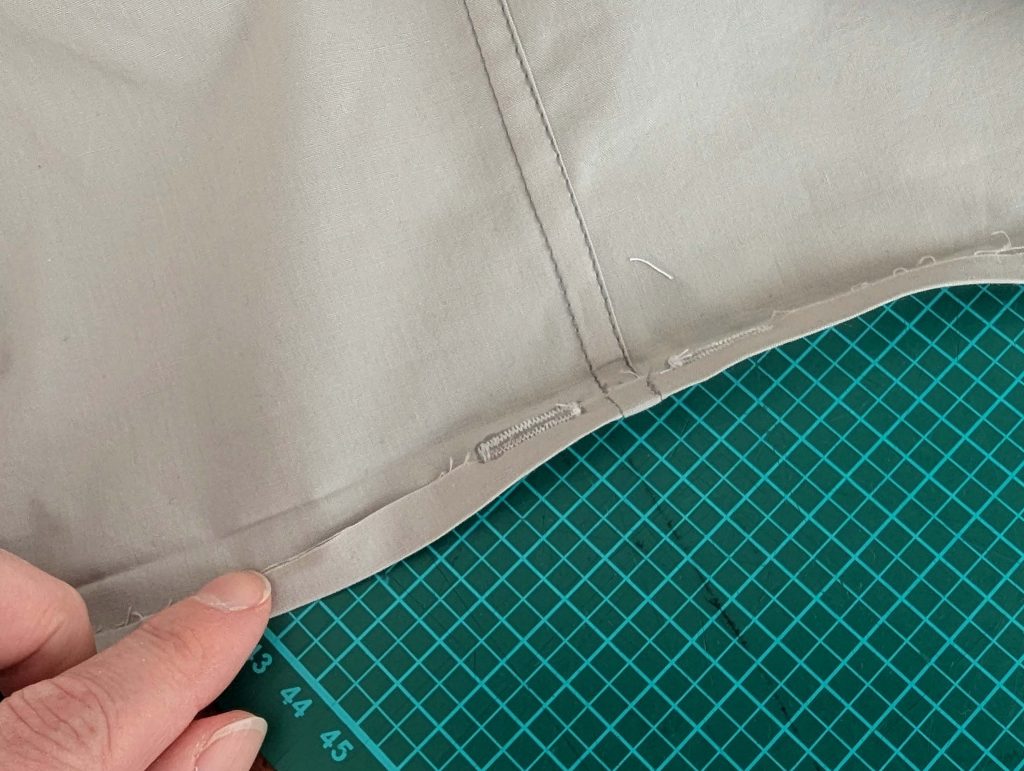
(8) Cut all pieces from the fabric, leaving the selvages at the center back. Transfer all notches and marks carefully and sew the darts. Sew the backs to the front, right sides together, and finish with a flat felled seam.
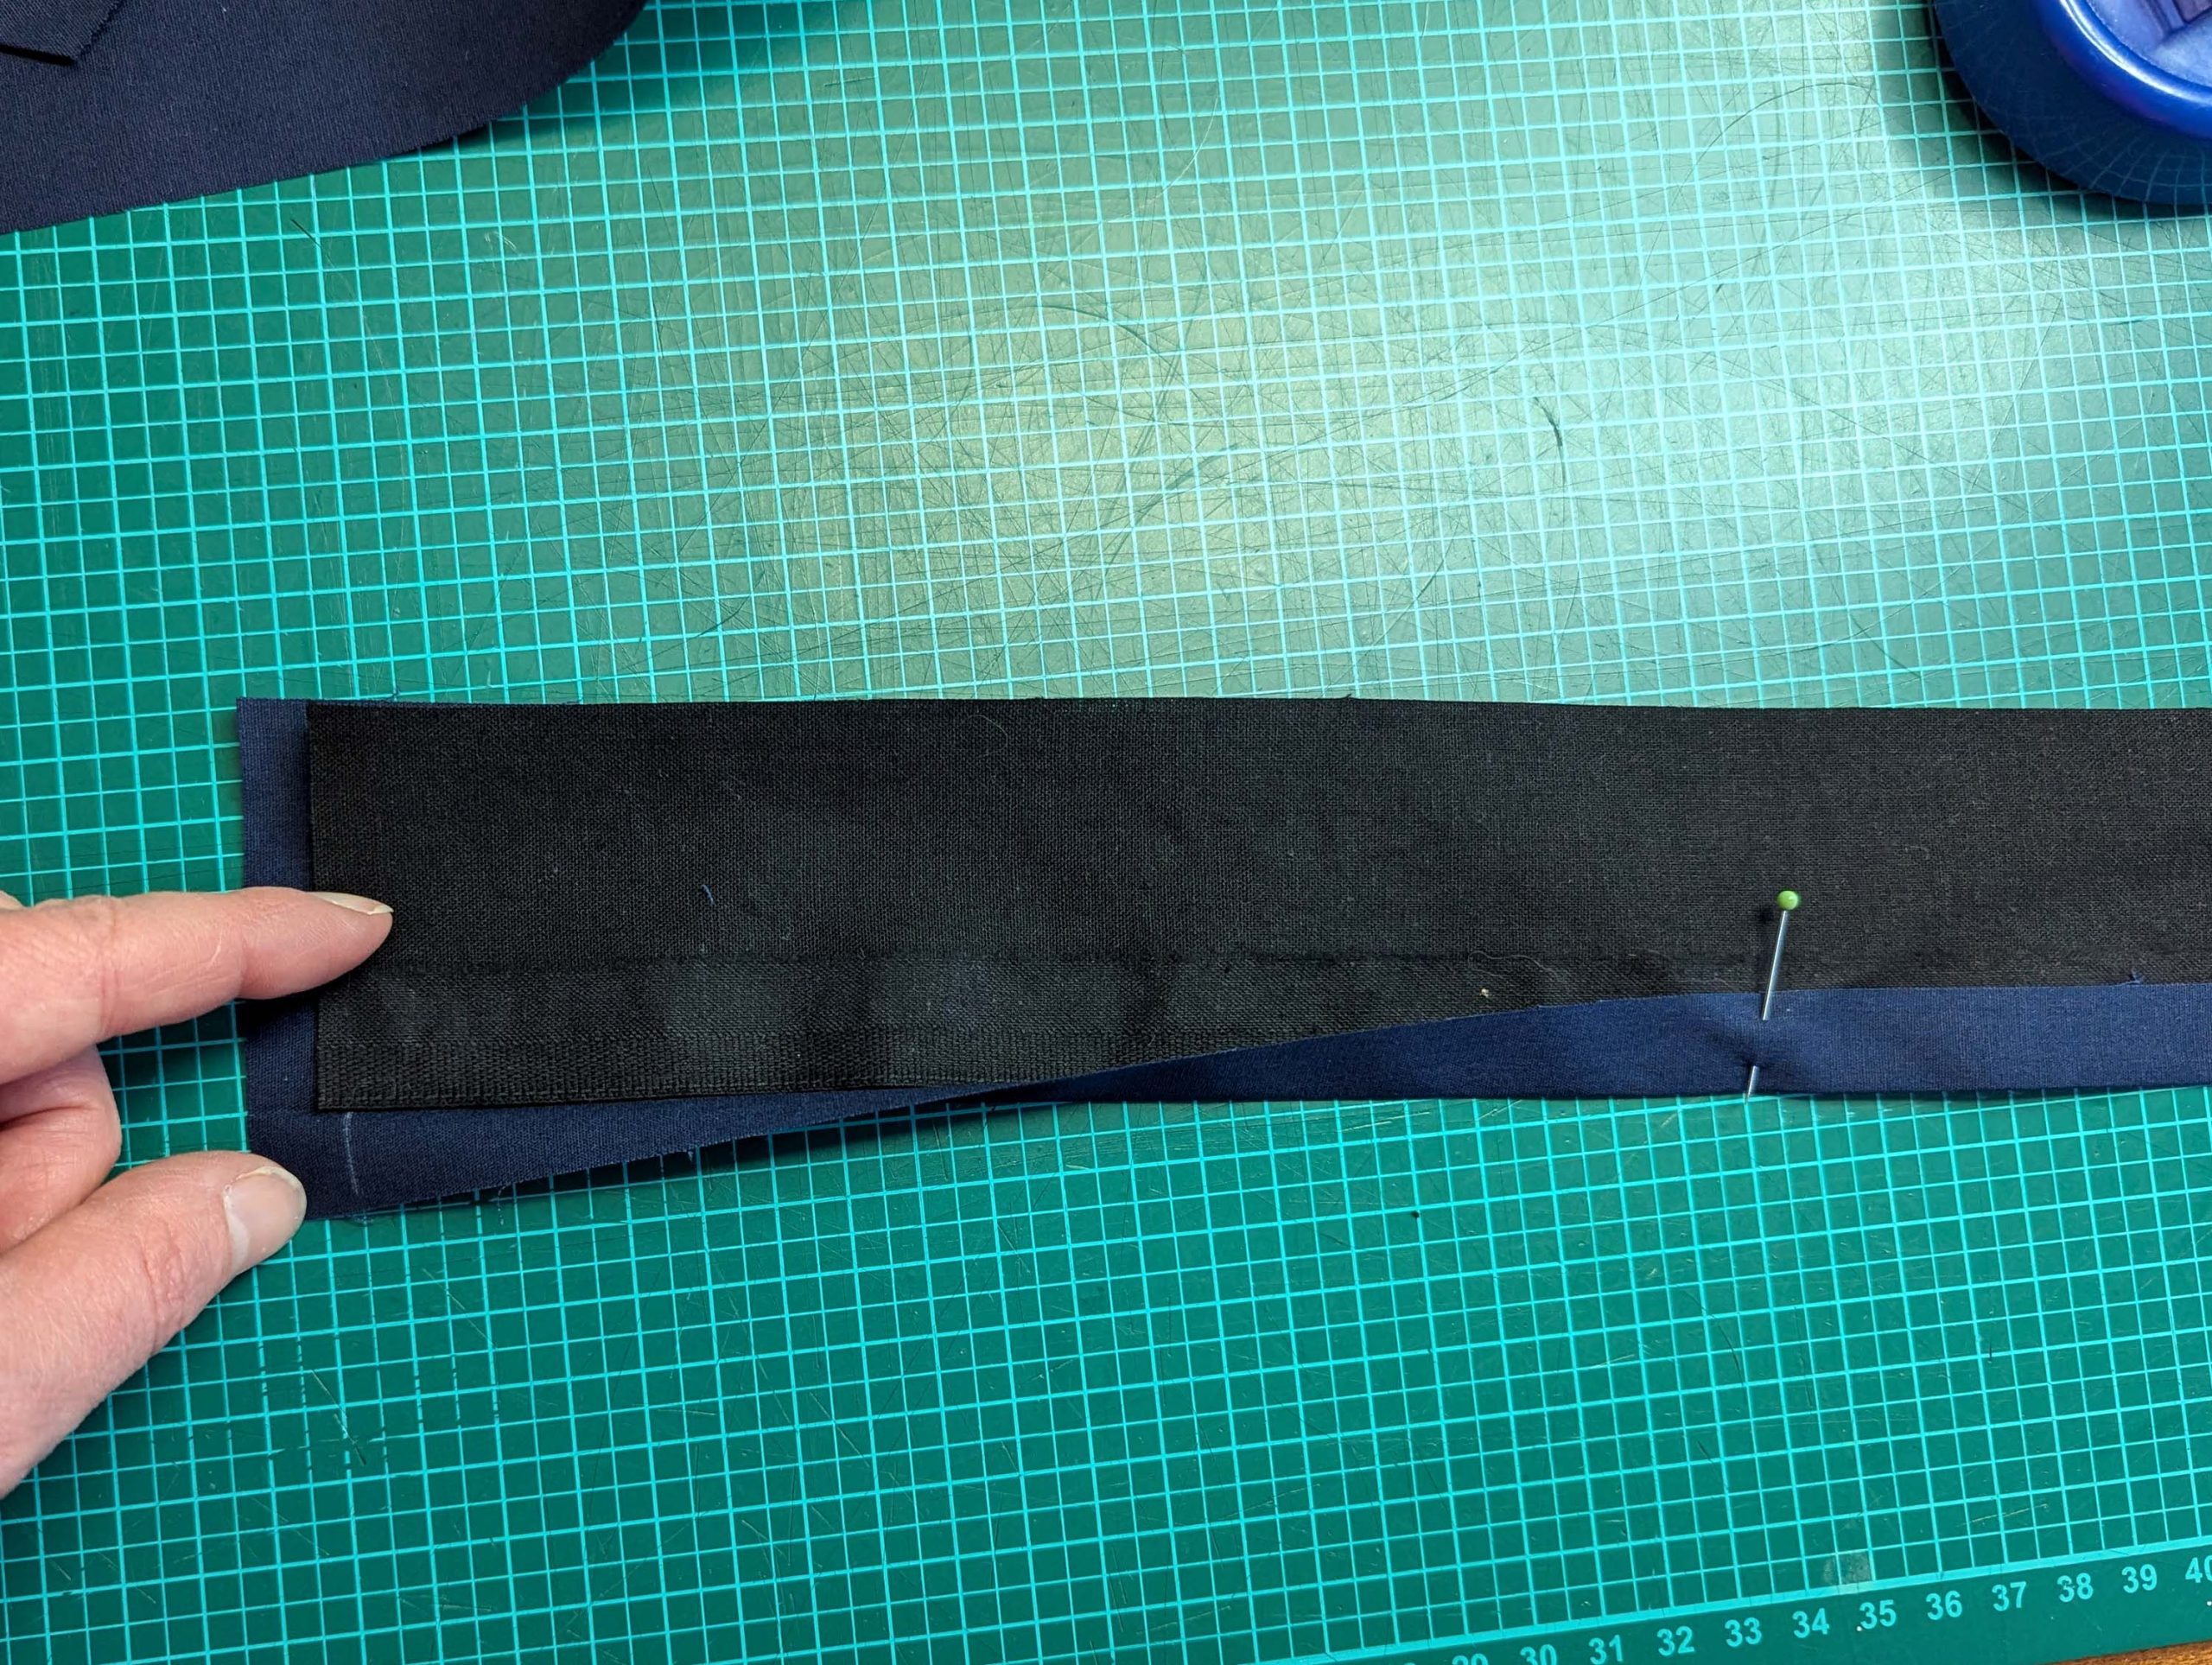
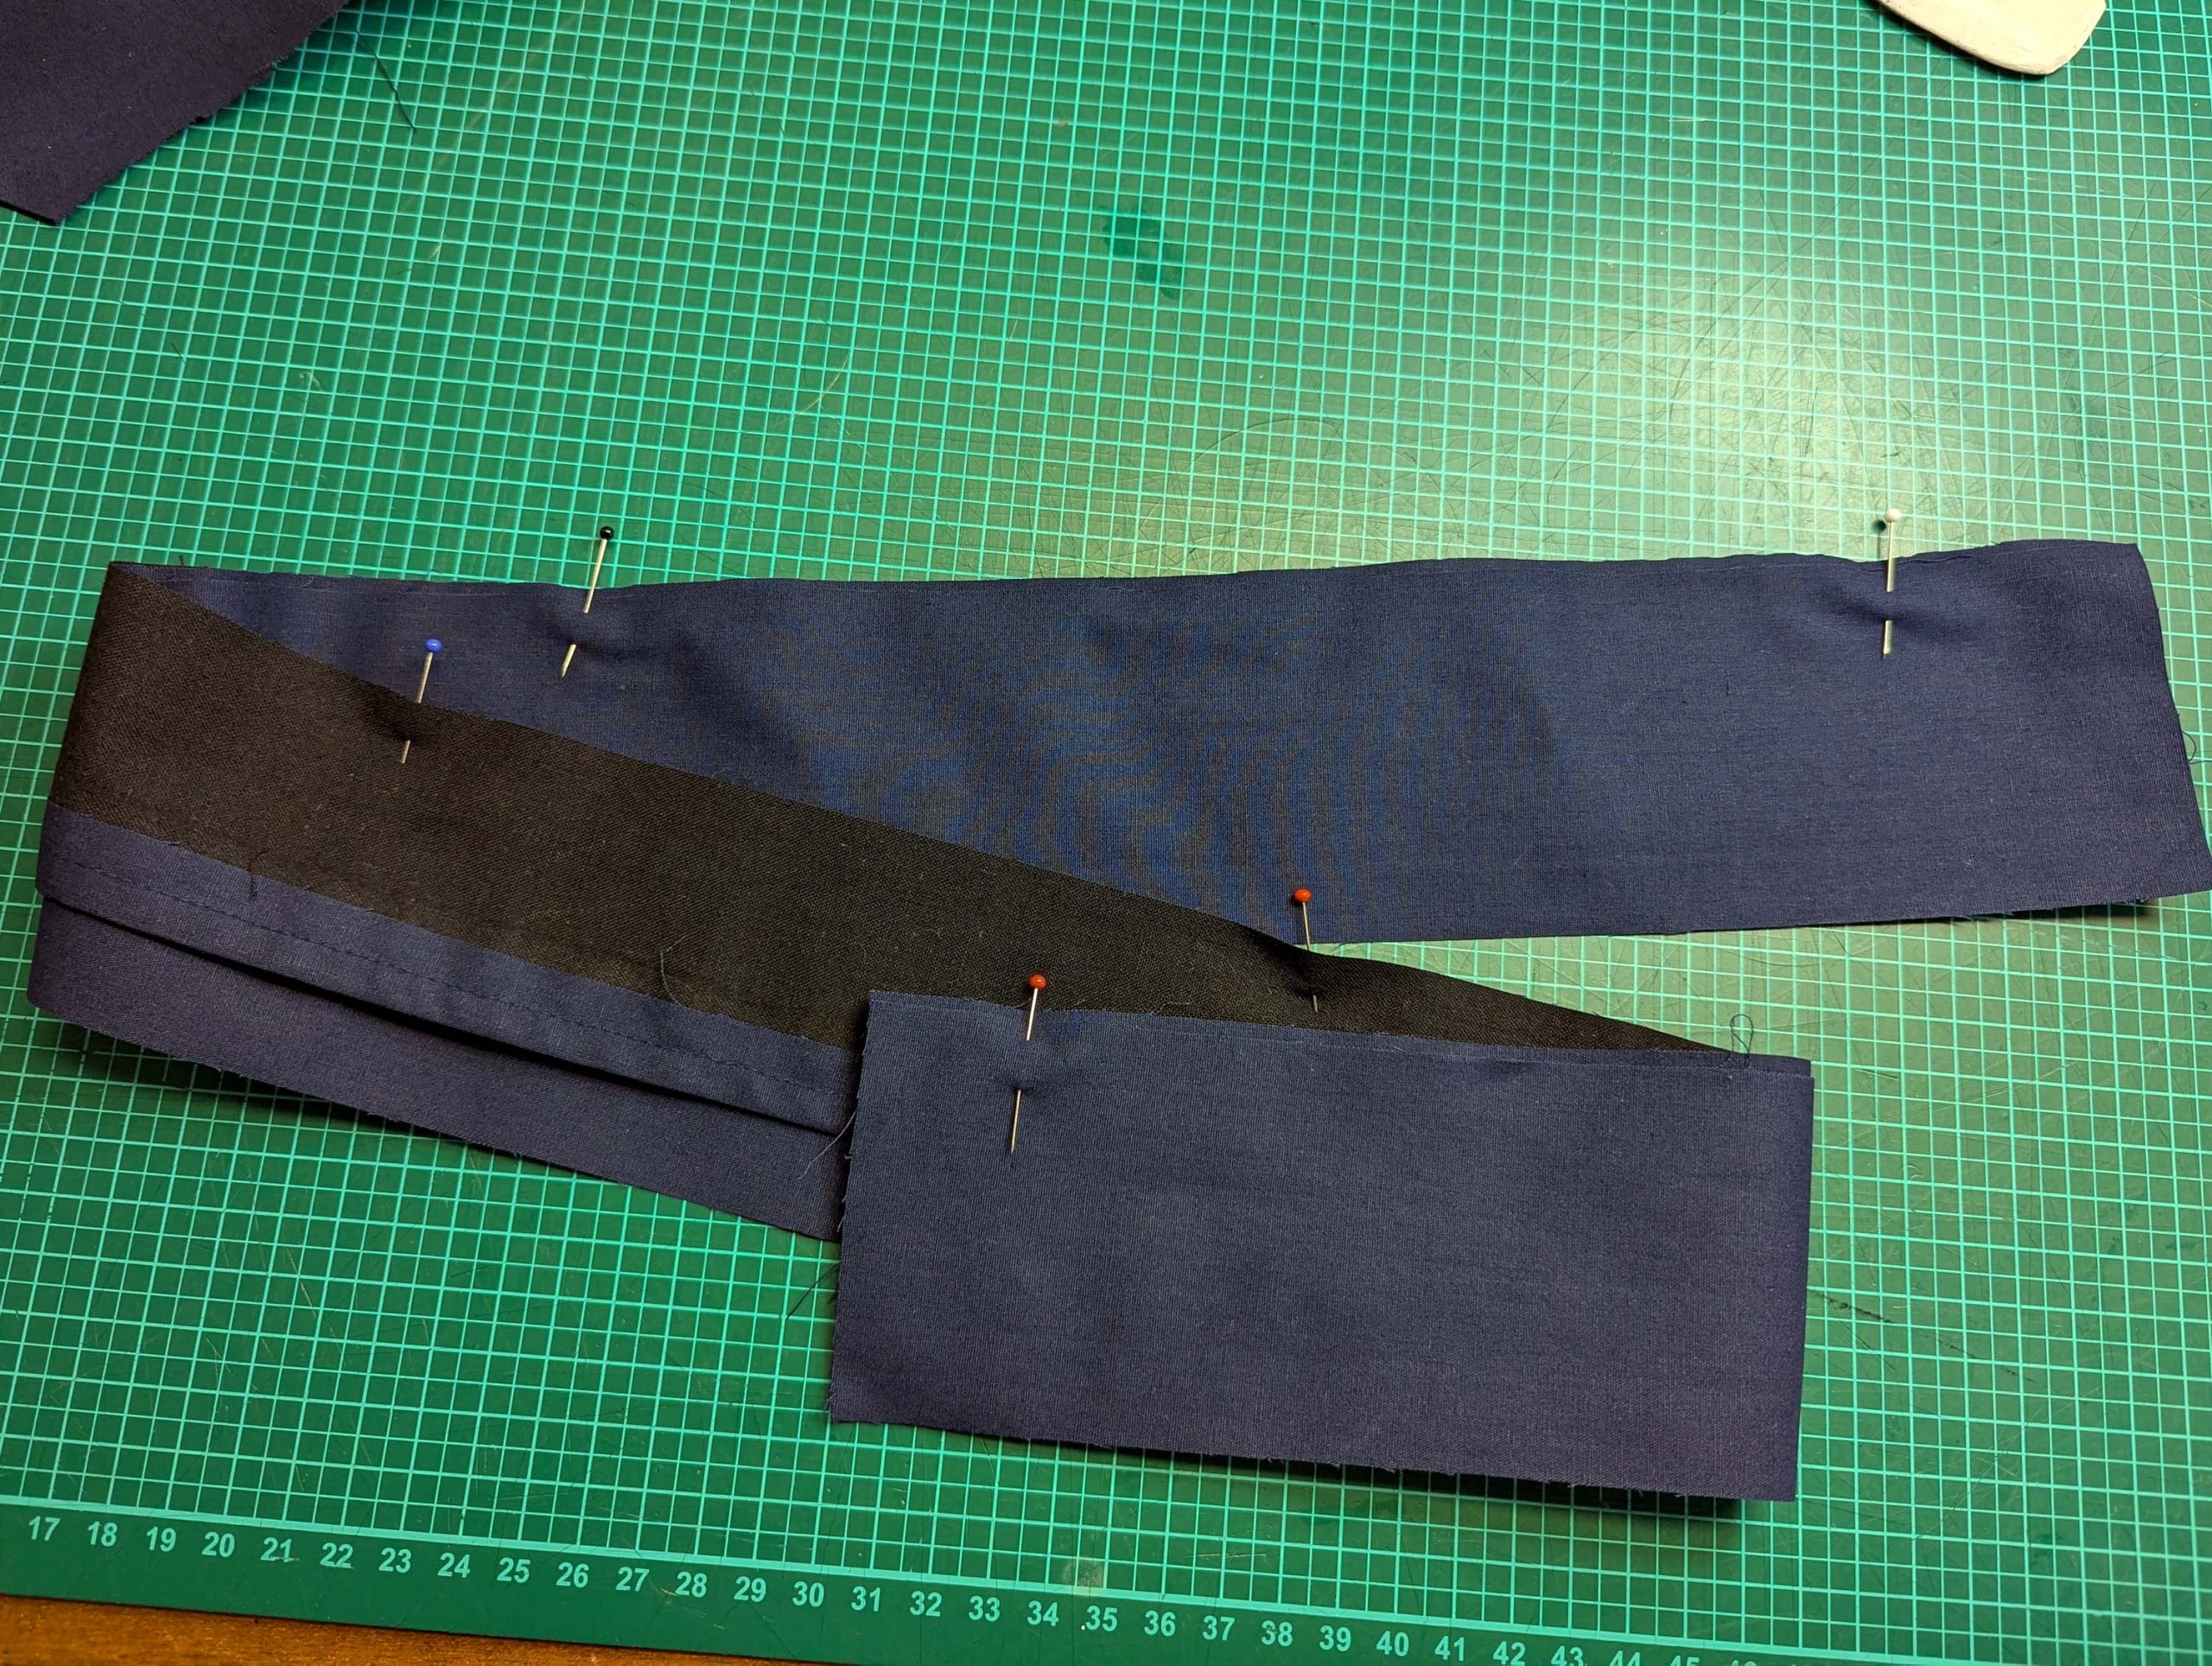
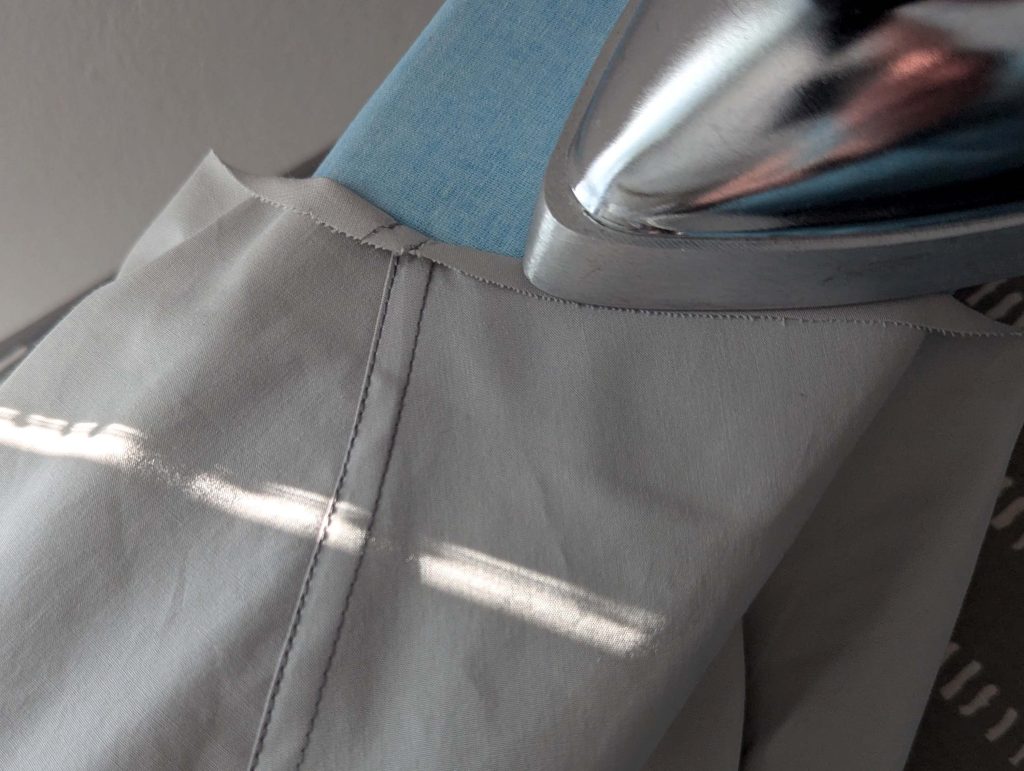
(9) Take the placket and fold along the dotted line, right sides together. Sew along the bottom and side edges and trim back the seam allowances. Turn the right way out and press. Line up with the left back edge, right sides together. Sew with a 5/8” (1,5cm) seam allowance, starting at the top and stopping at mark (1). The width of the finished placket is 1 5/8” (4cm). Sew the center back seam, right sides together, stopping exactly at mark (1). Fold the excess fabric at the center back into a box pleat, regarding the marks.
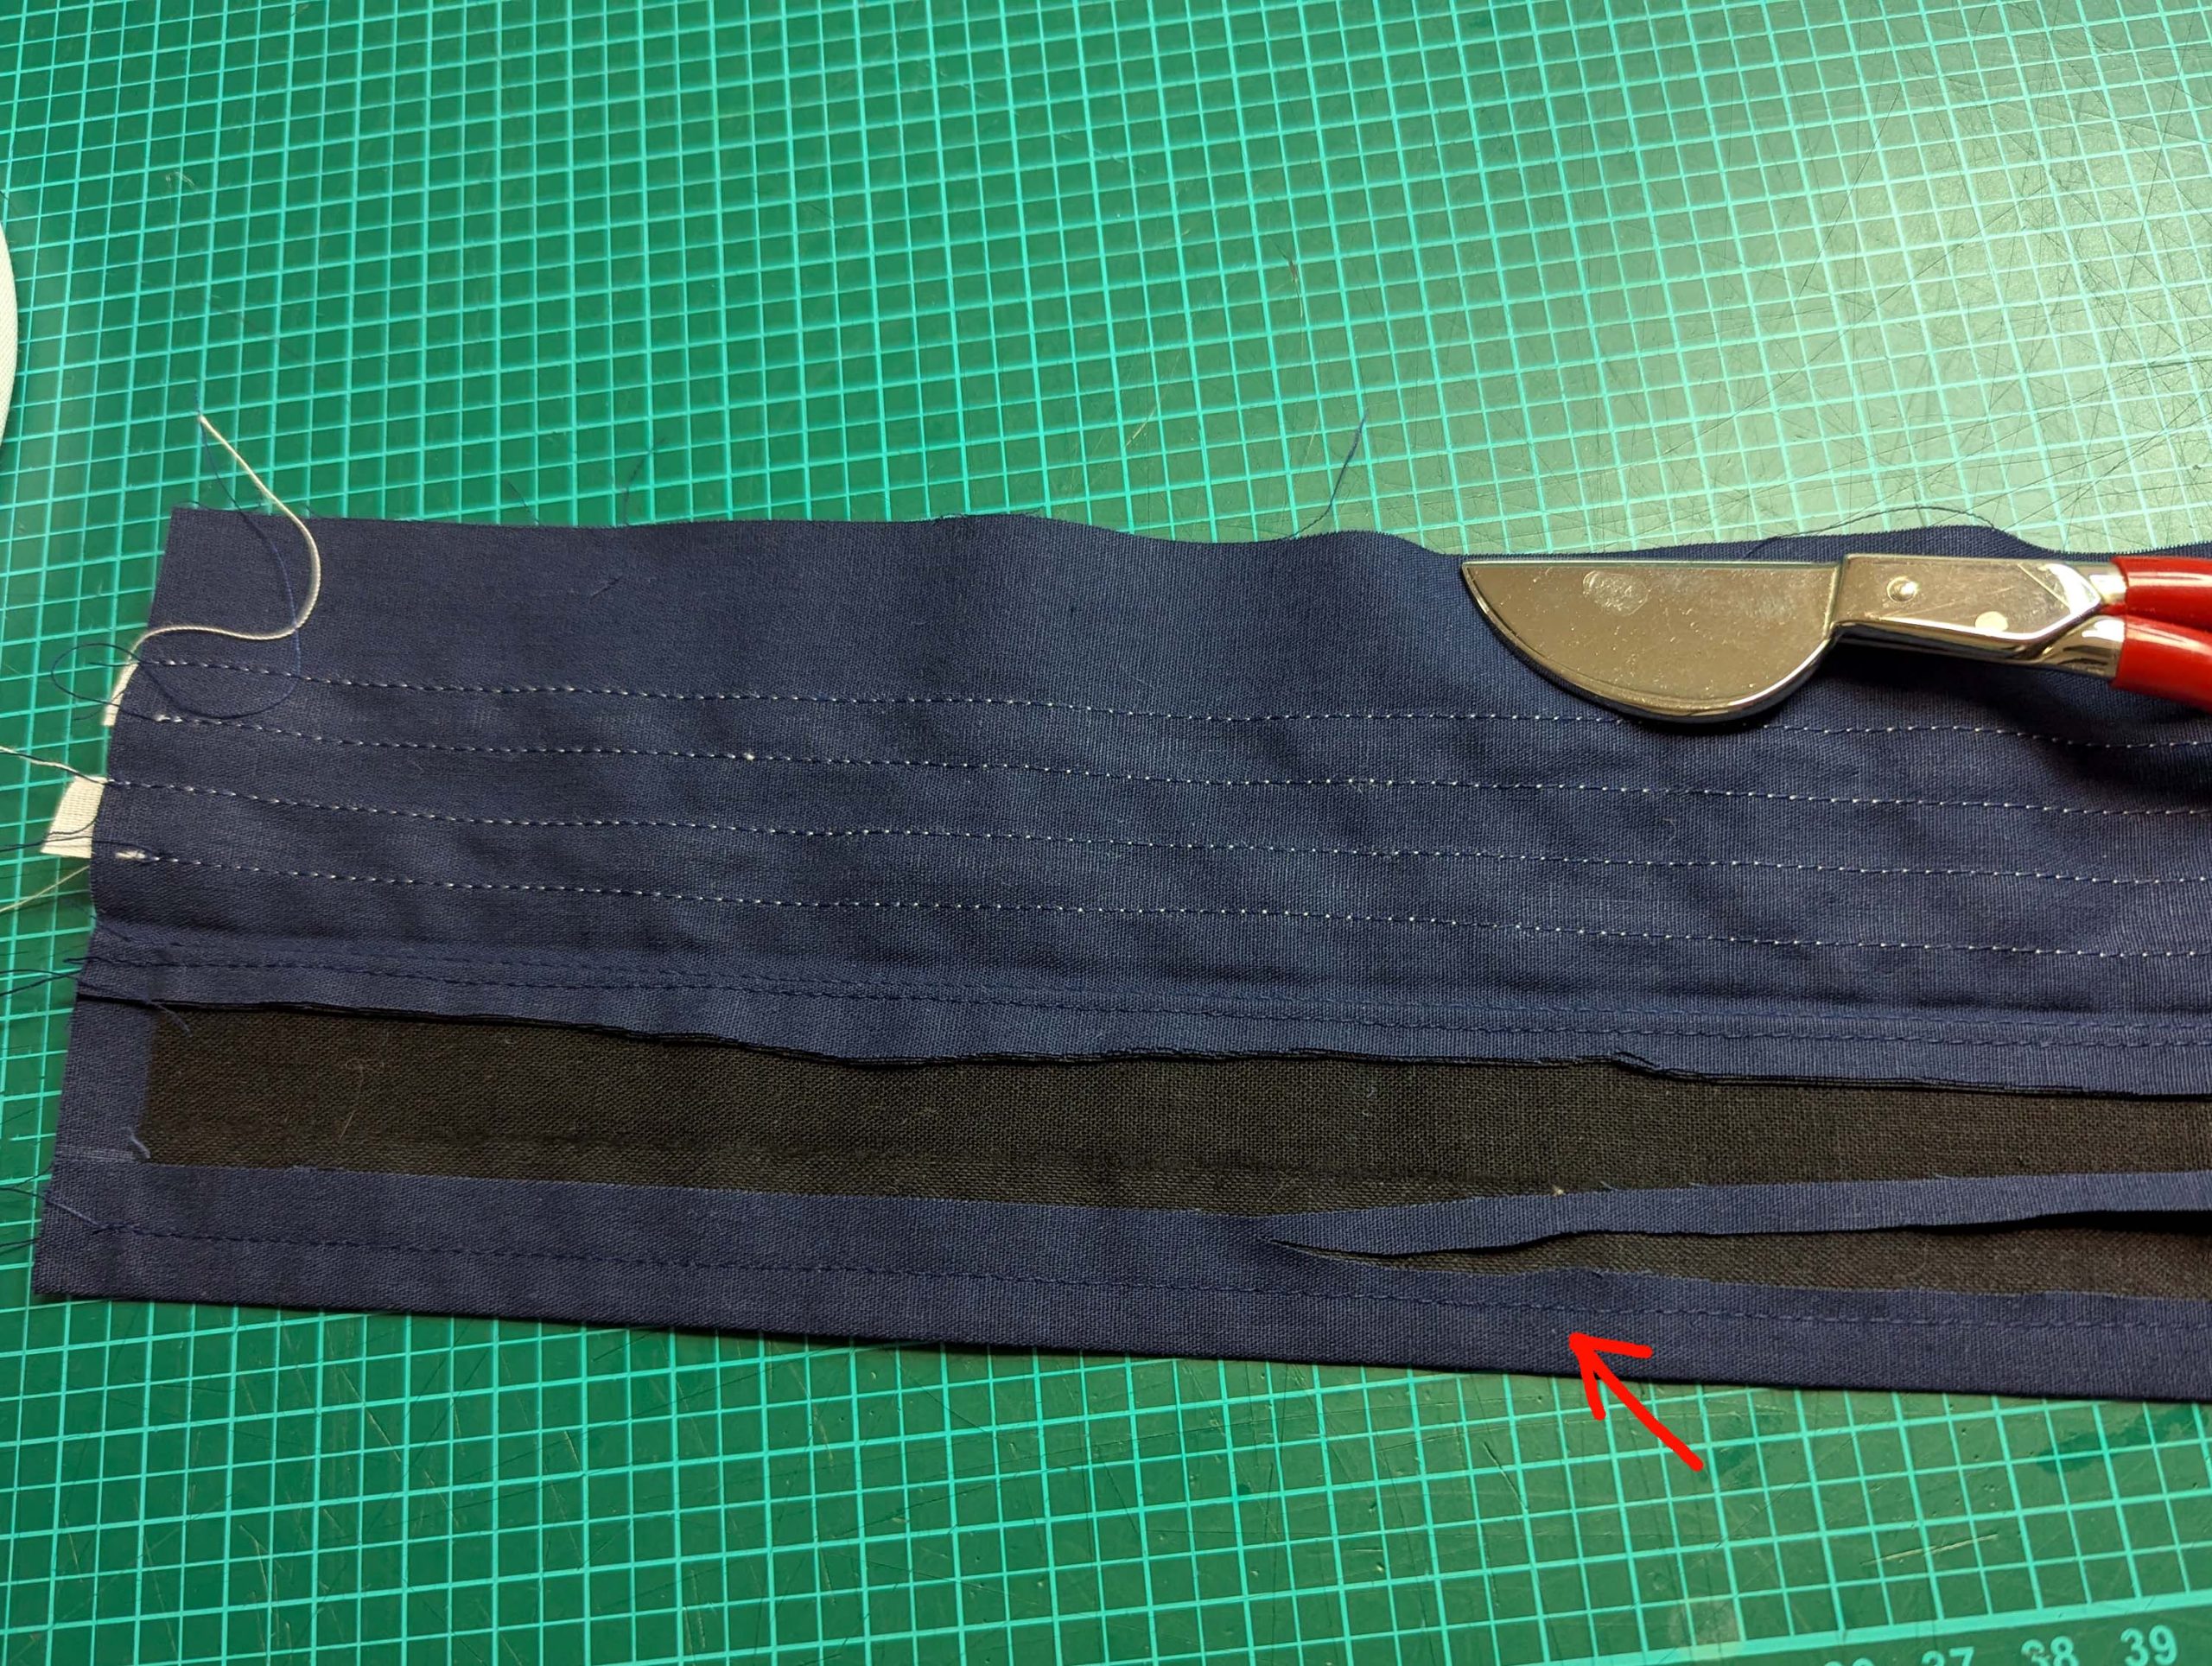
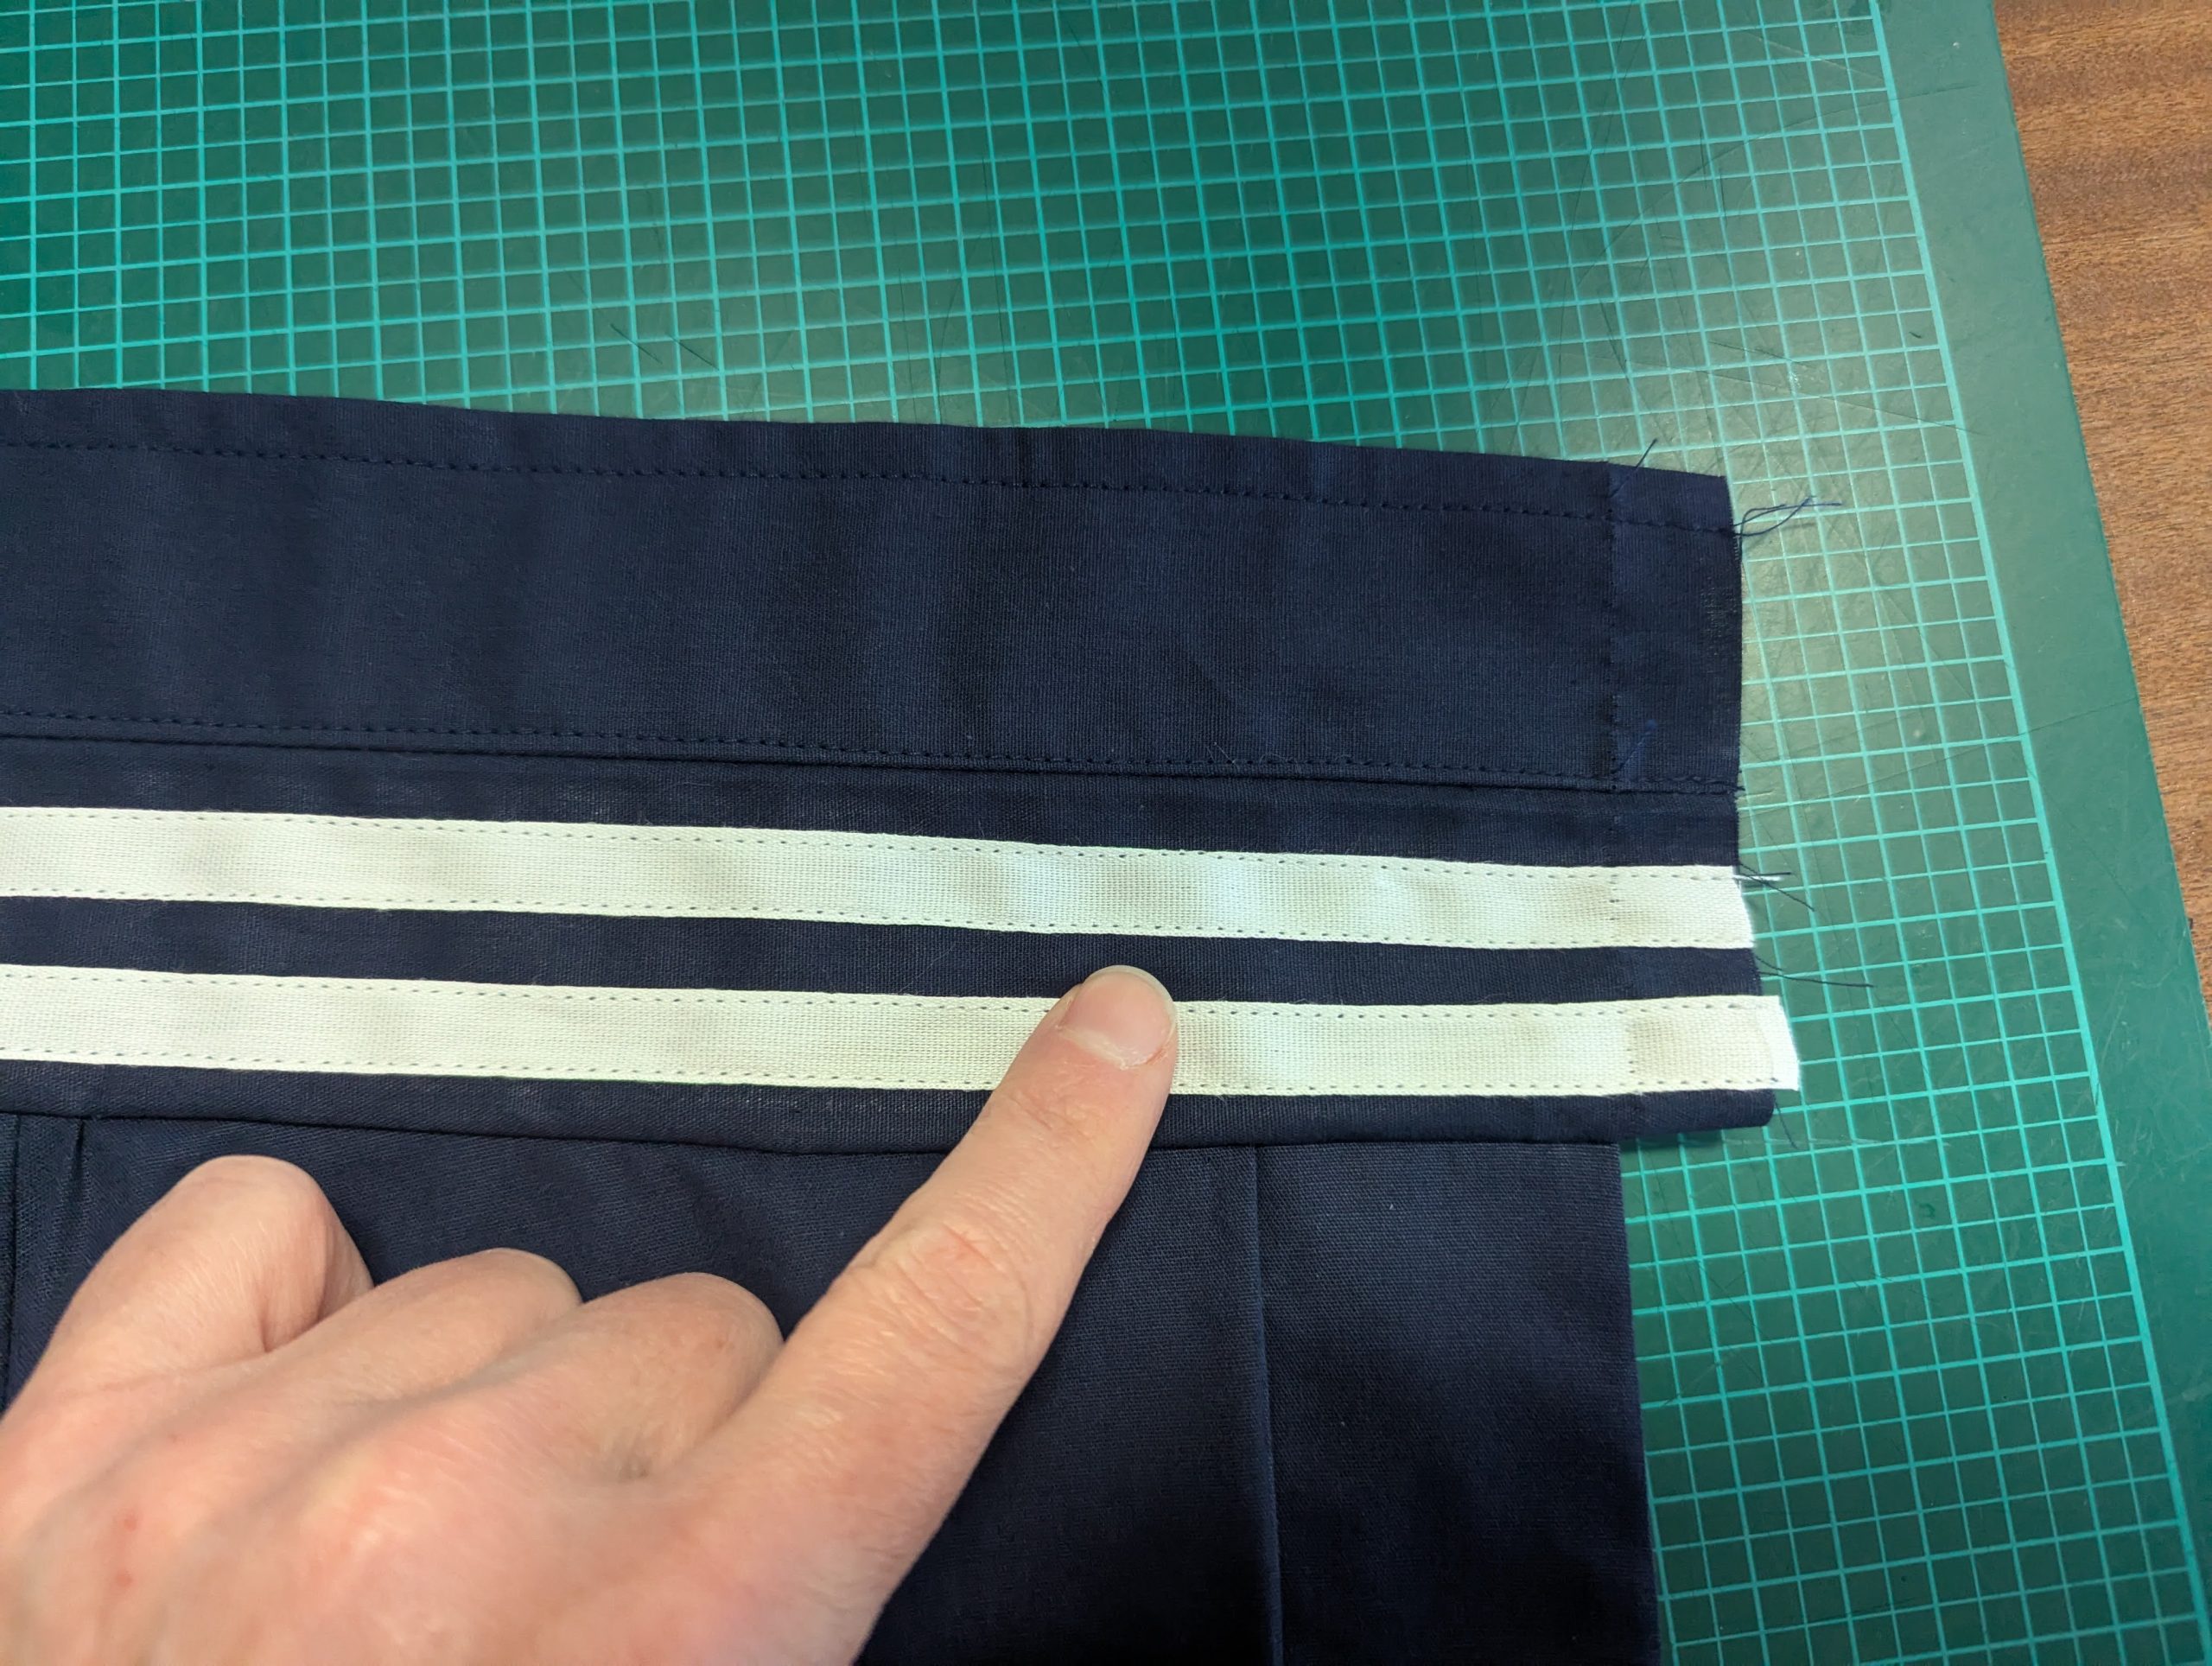
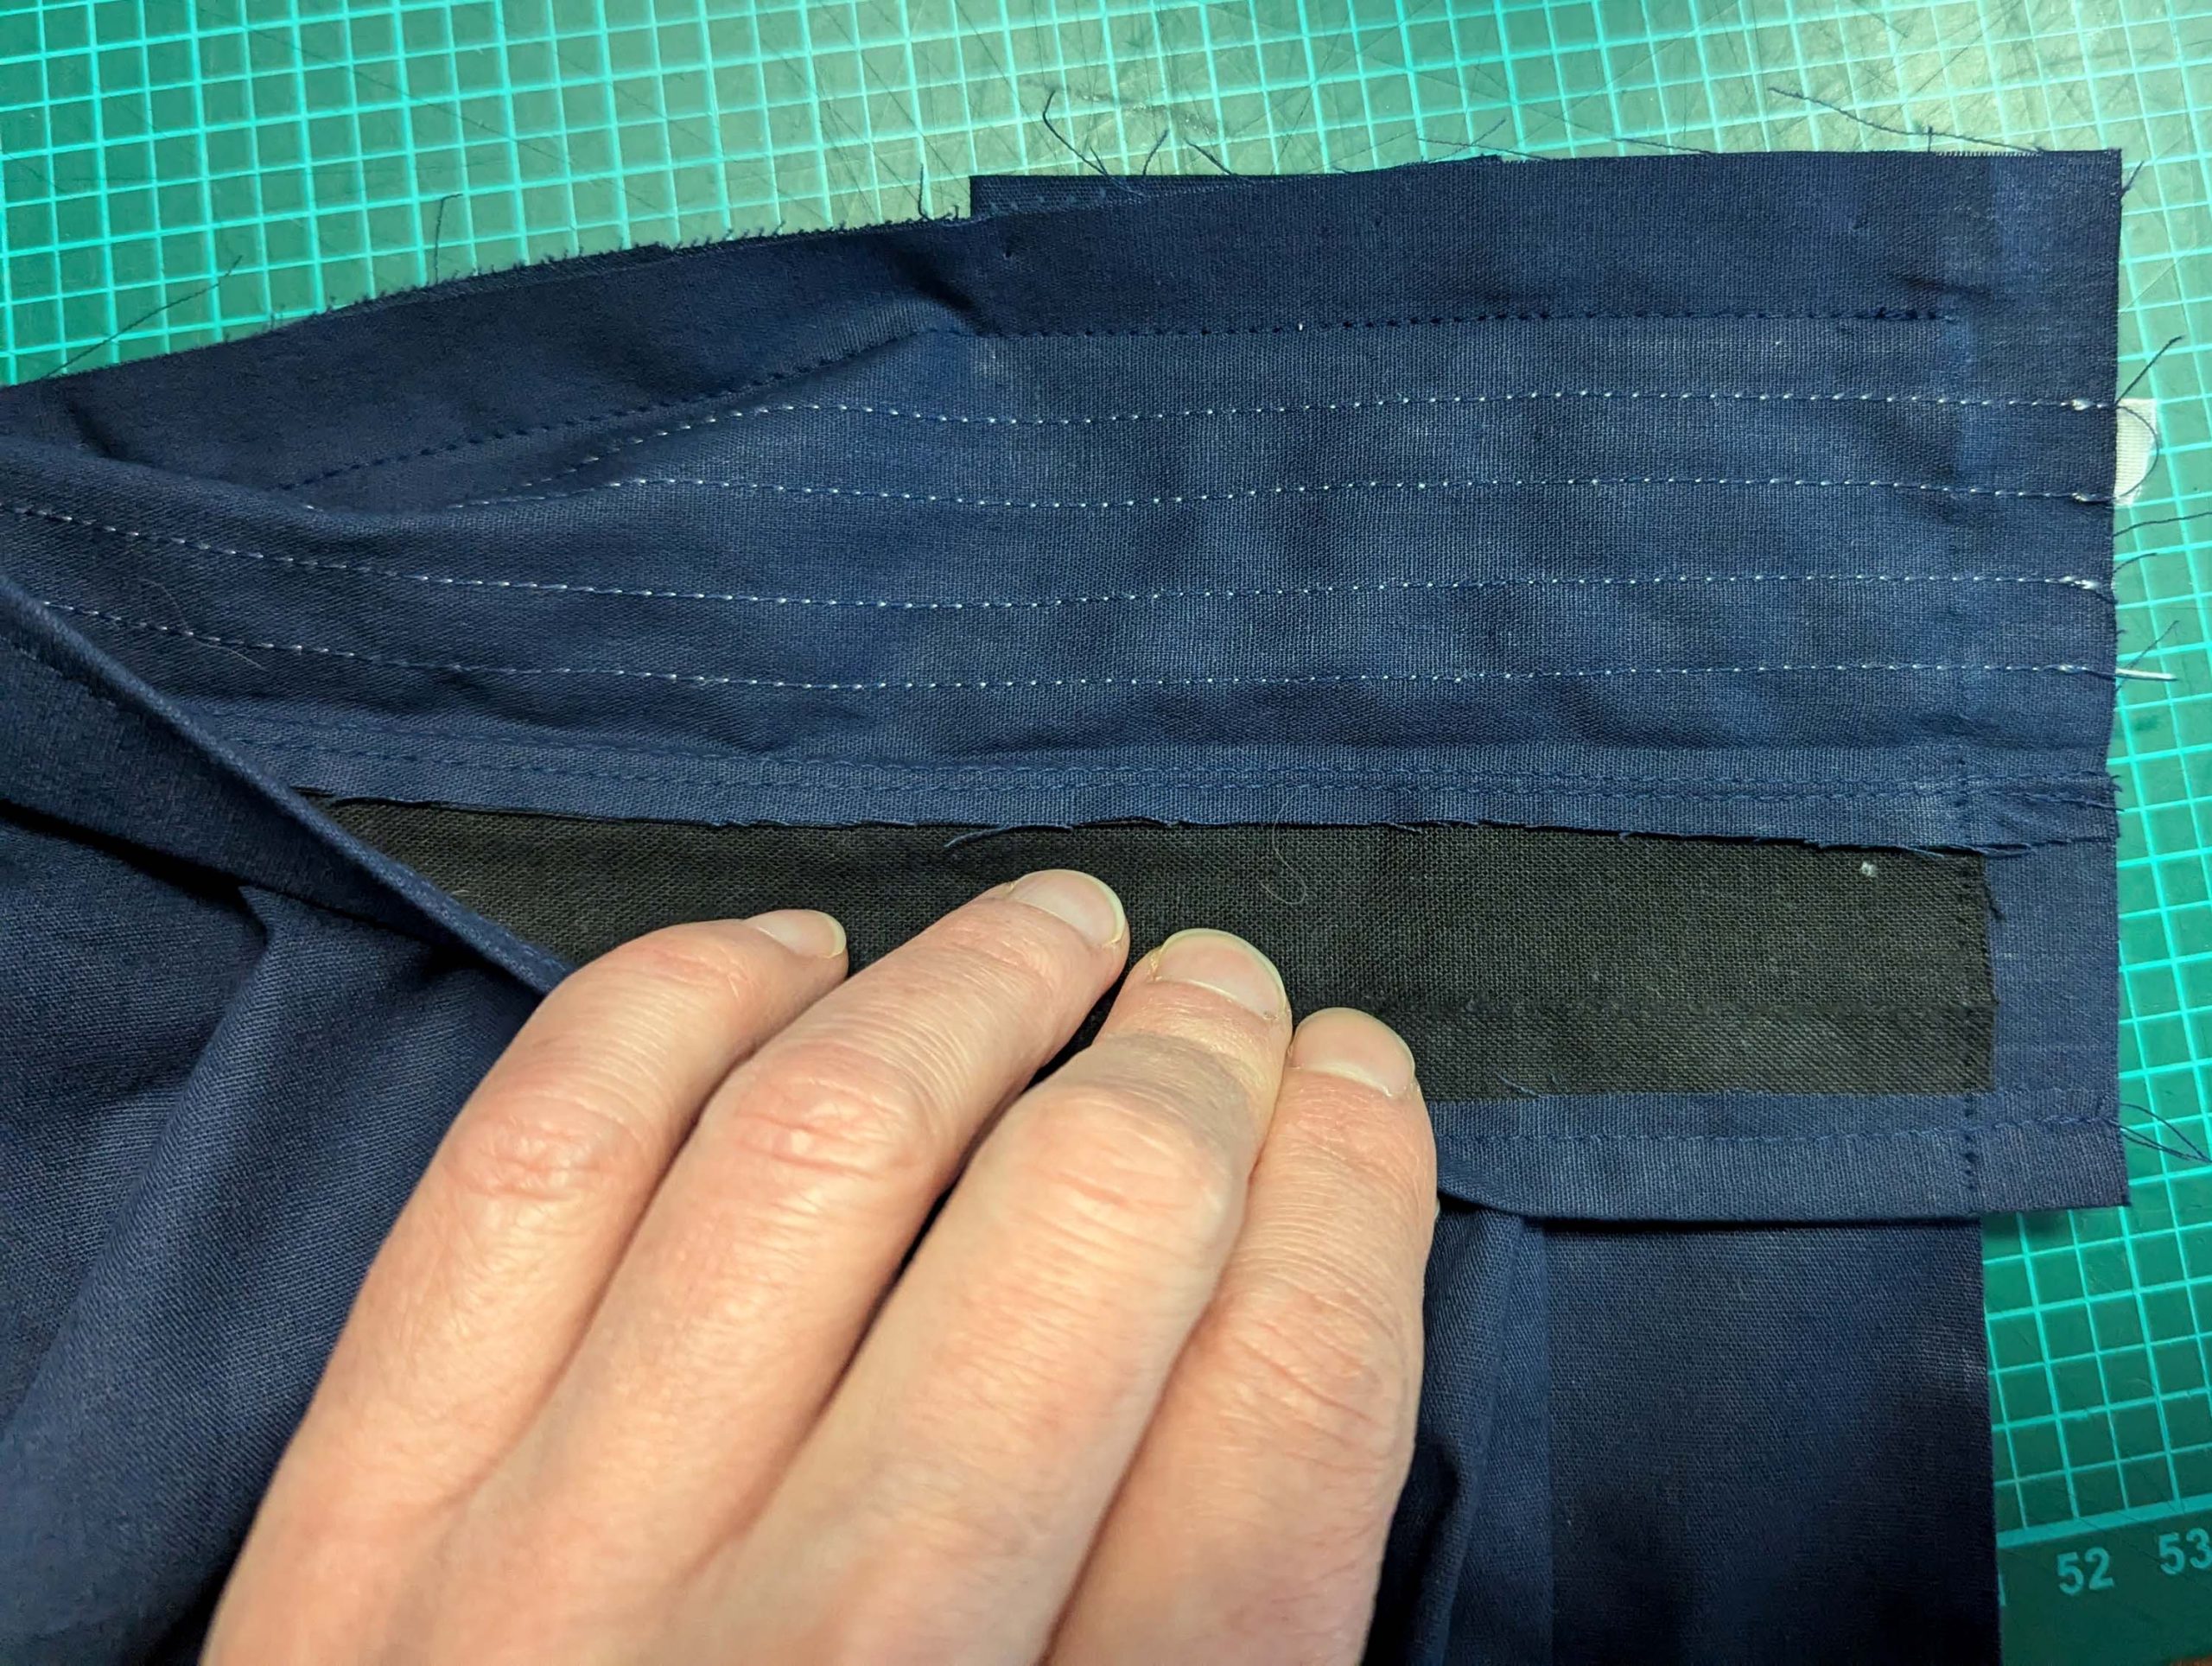
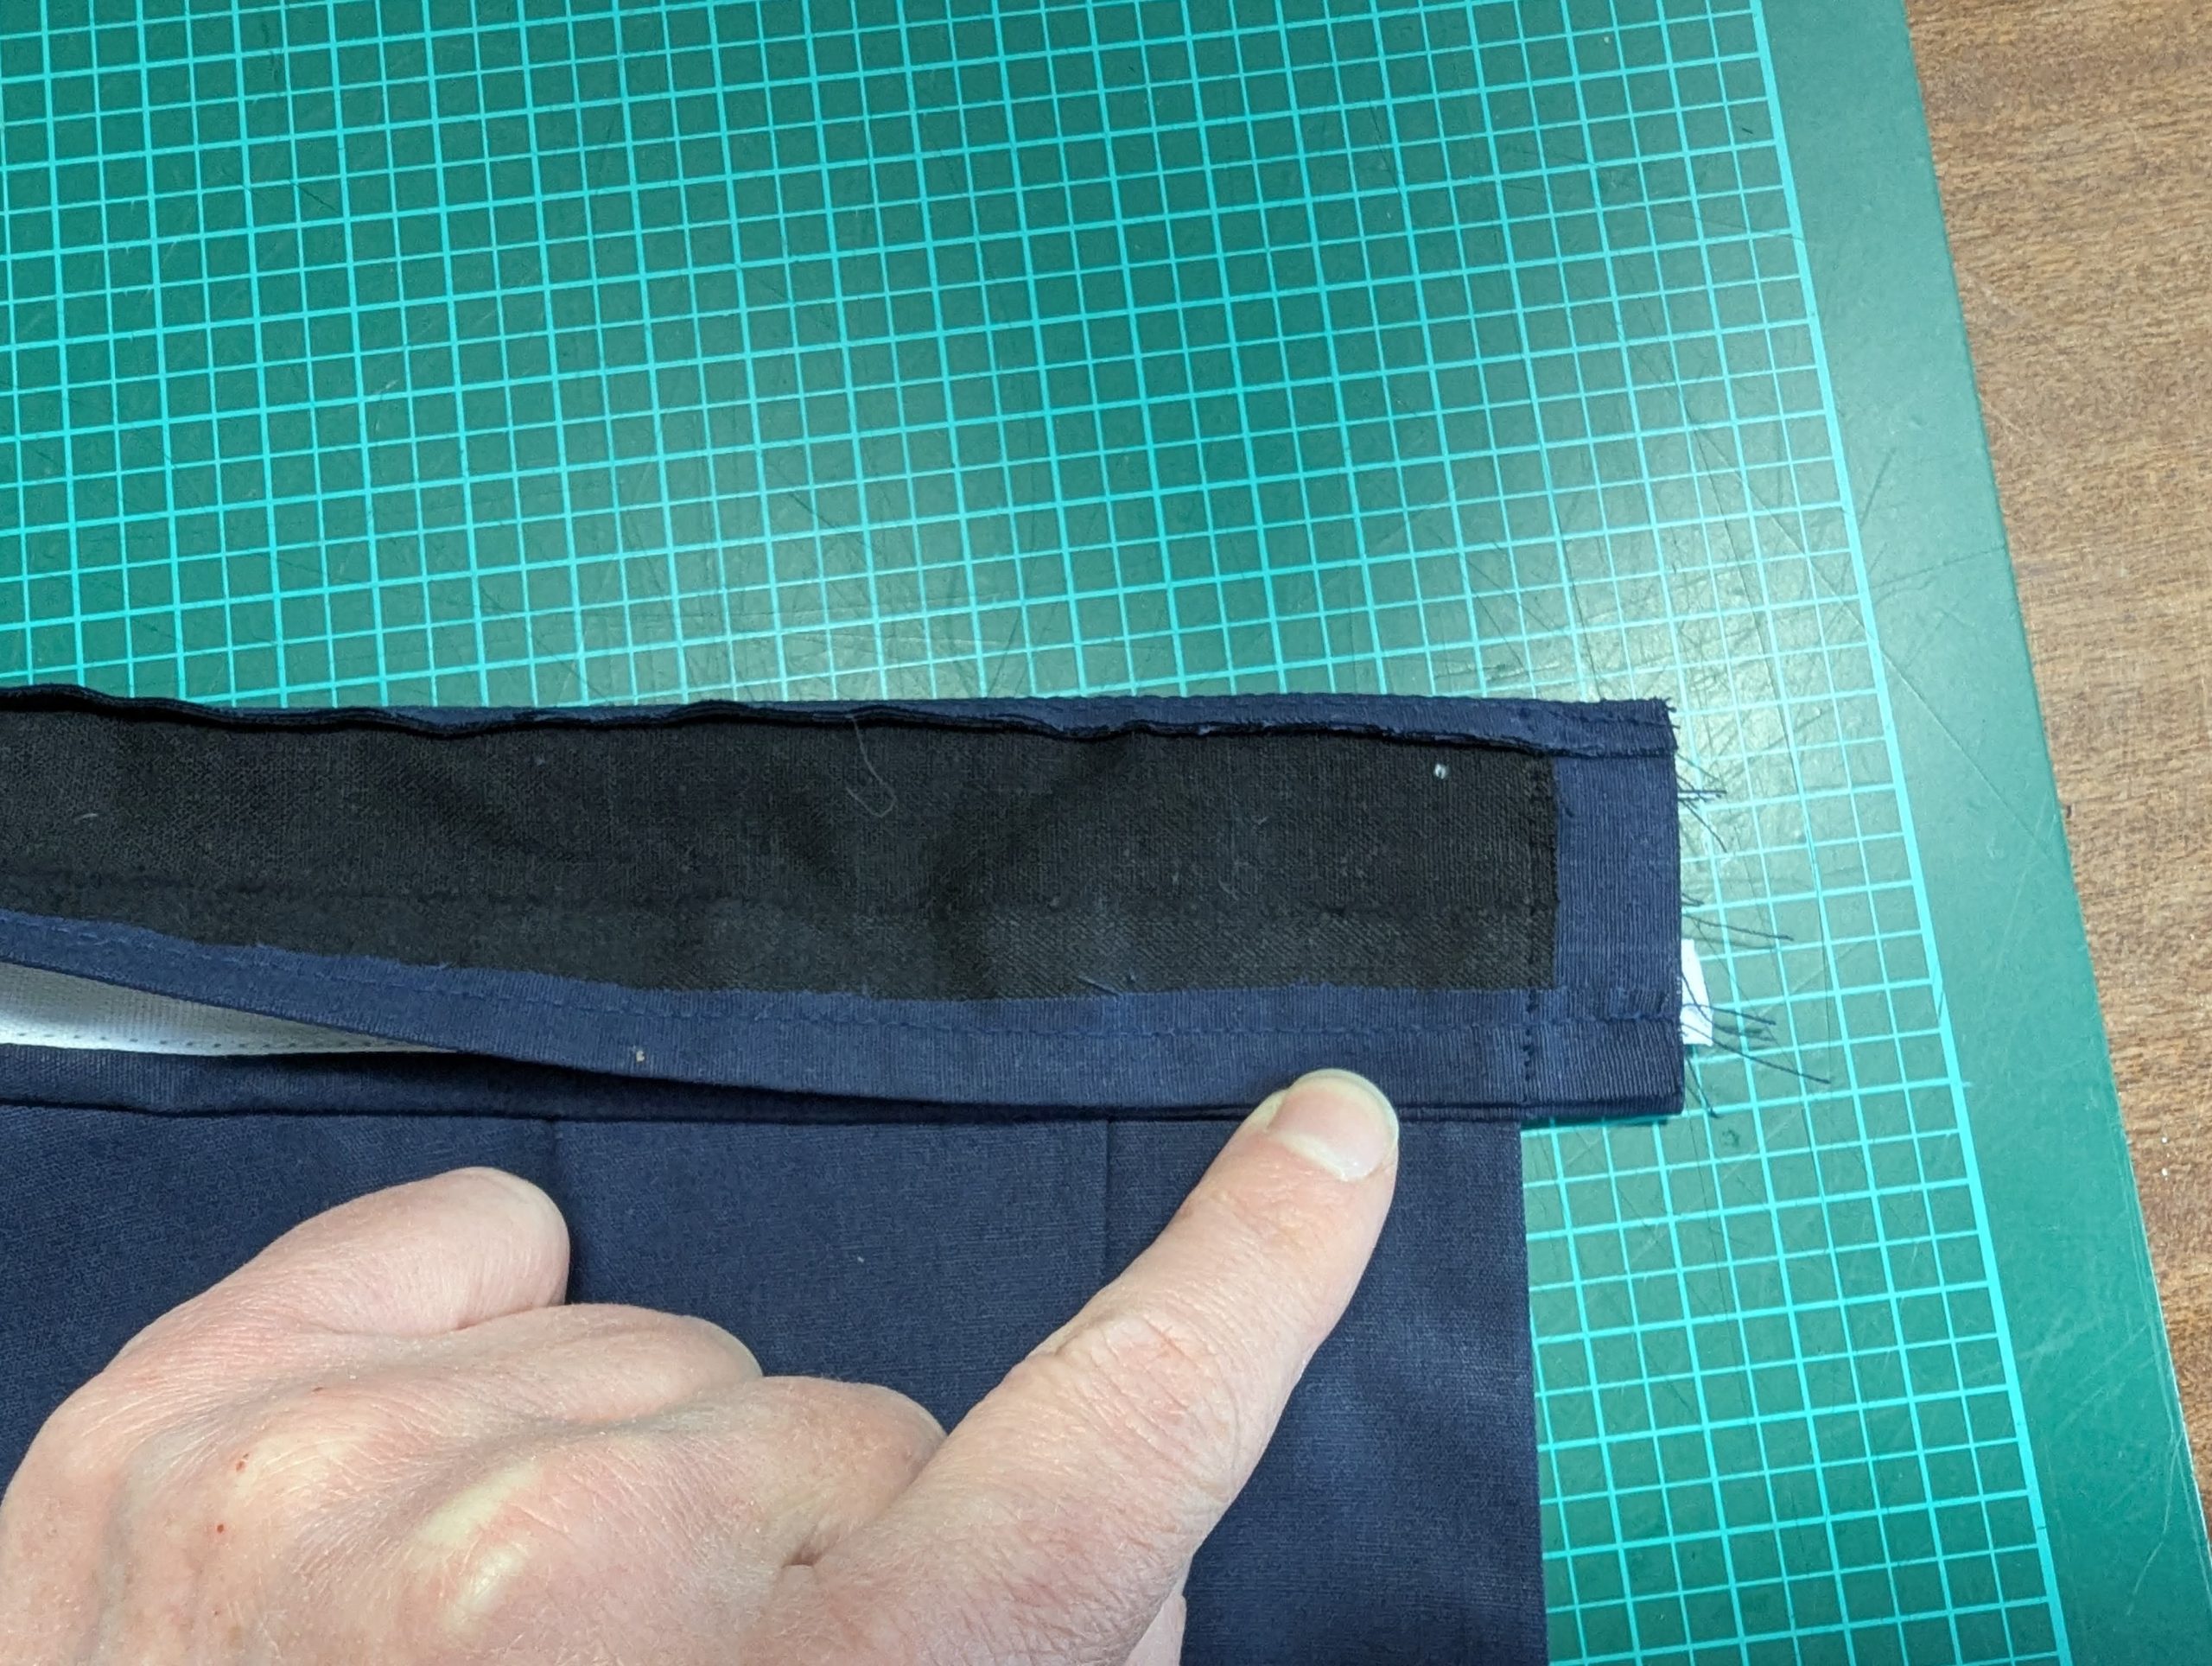
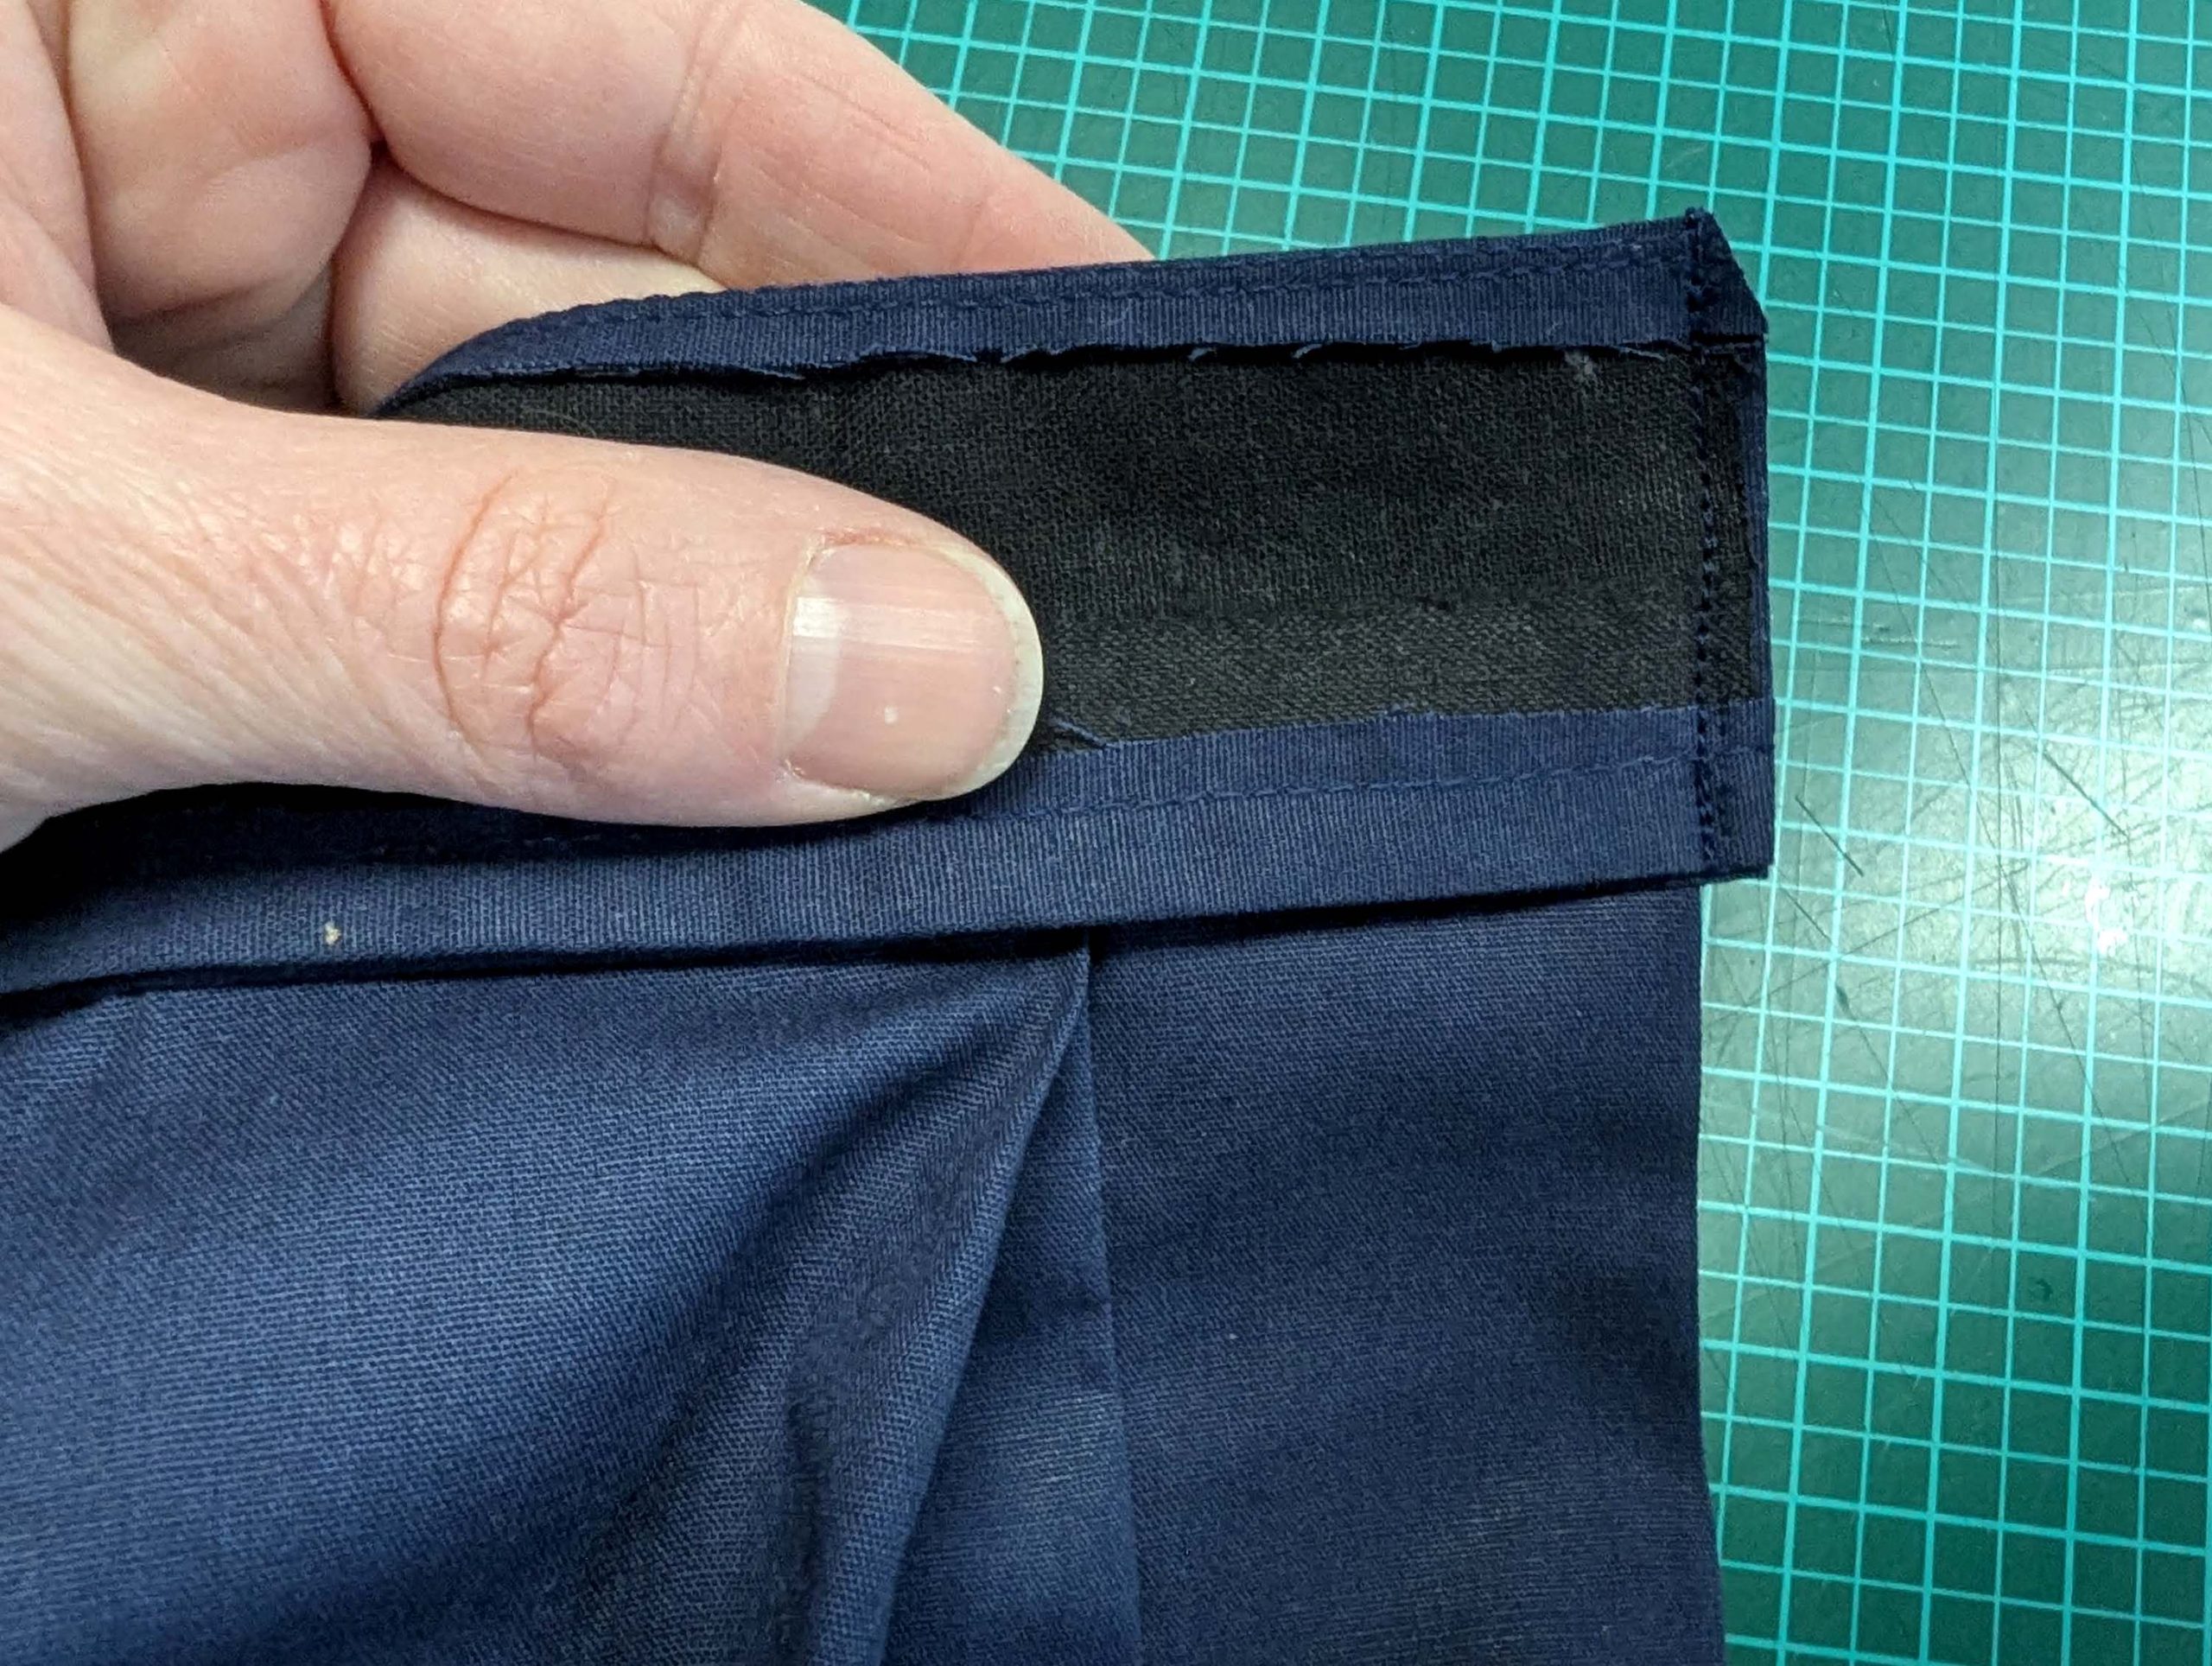
(10) Take the waistband lining and flatline with a layer of midweight cotton fabric. Turn in the seam allowance along the bottom edge and stitch in place. Trim back the excess fabric. Line up with the waistband, right sides together, along the top edge, setting back the edge of the waistband about 1/8” (2mm) behind the edge of the waistband lining to allow for the turn of cloth. Sew along the top edge, trim back and press the seam allowance towards the lining. Understitch from the right side. For a neat and even finish, decorate the waistband with two parallel rows of white (contrasting) cotton tape now.

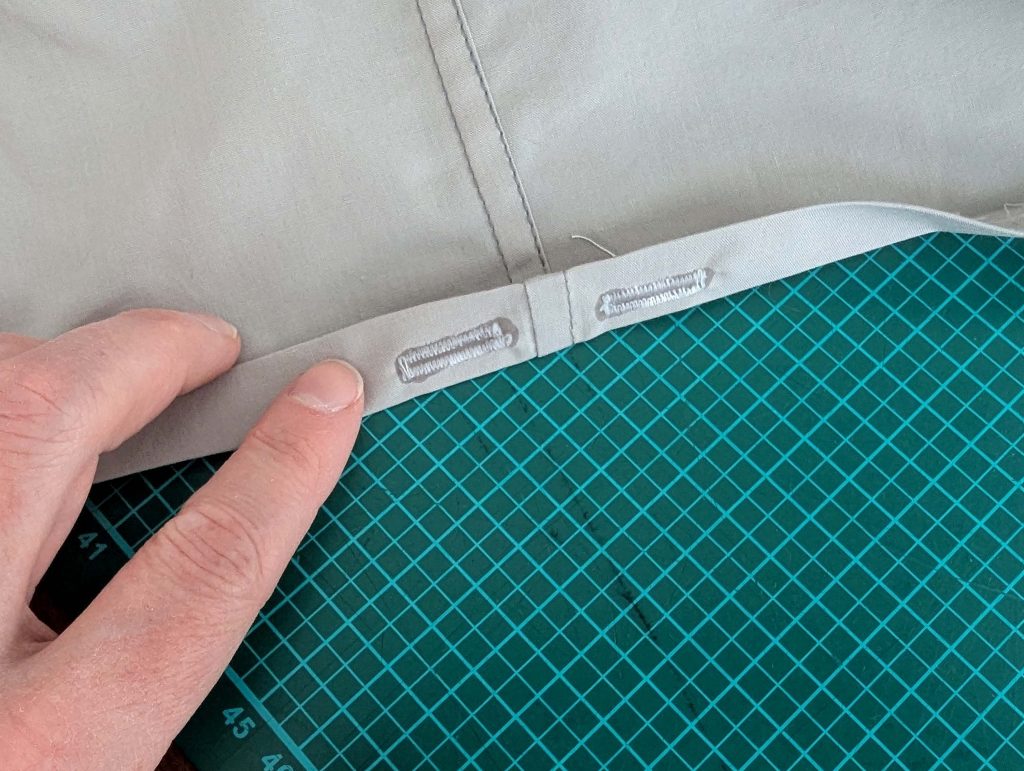
Line up the waistband with the top edge of the skirt, right sides together, and sew, respecting all marks. Trim back the seam allowances and press the seam allowances towards the waistband. Fold the waistband lining and waistband right sides together along the top edge, and turn the seam allowances of the top edge towards the lining. Sew along the short edges, trim back the seam allowances and turn the right way out.Line up the bottom edge of the lining with the stitching line and fell stitch in place. Make a buttonhole and attach the corresponding button. If the placket shows any gaps when worn, reinforce the closure by adding hook and eye sets at the waistband.
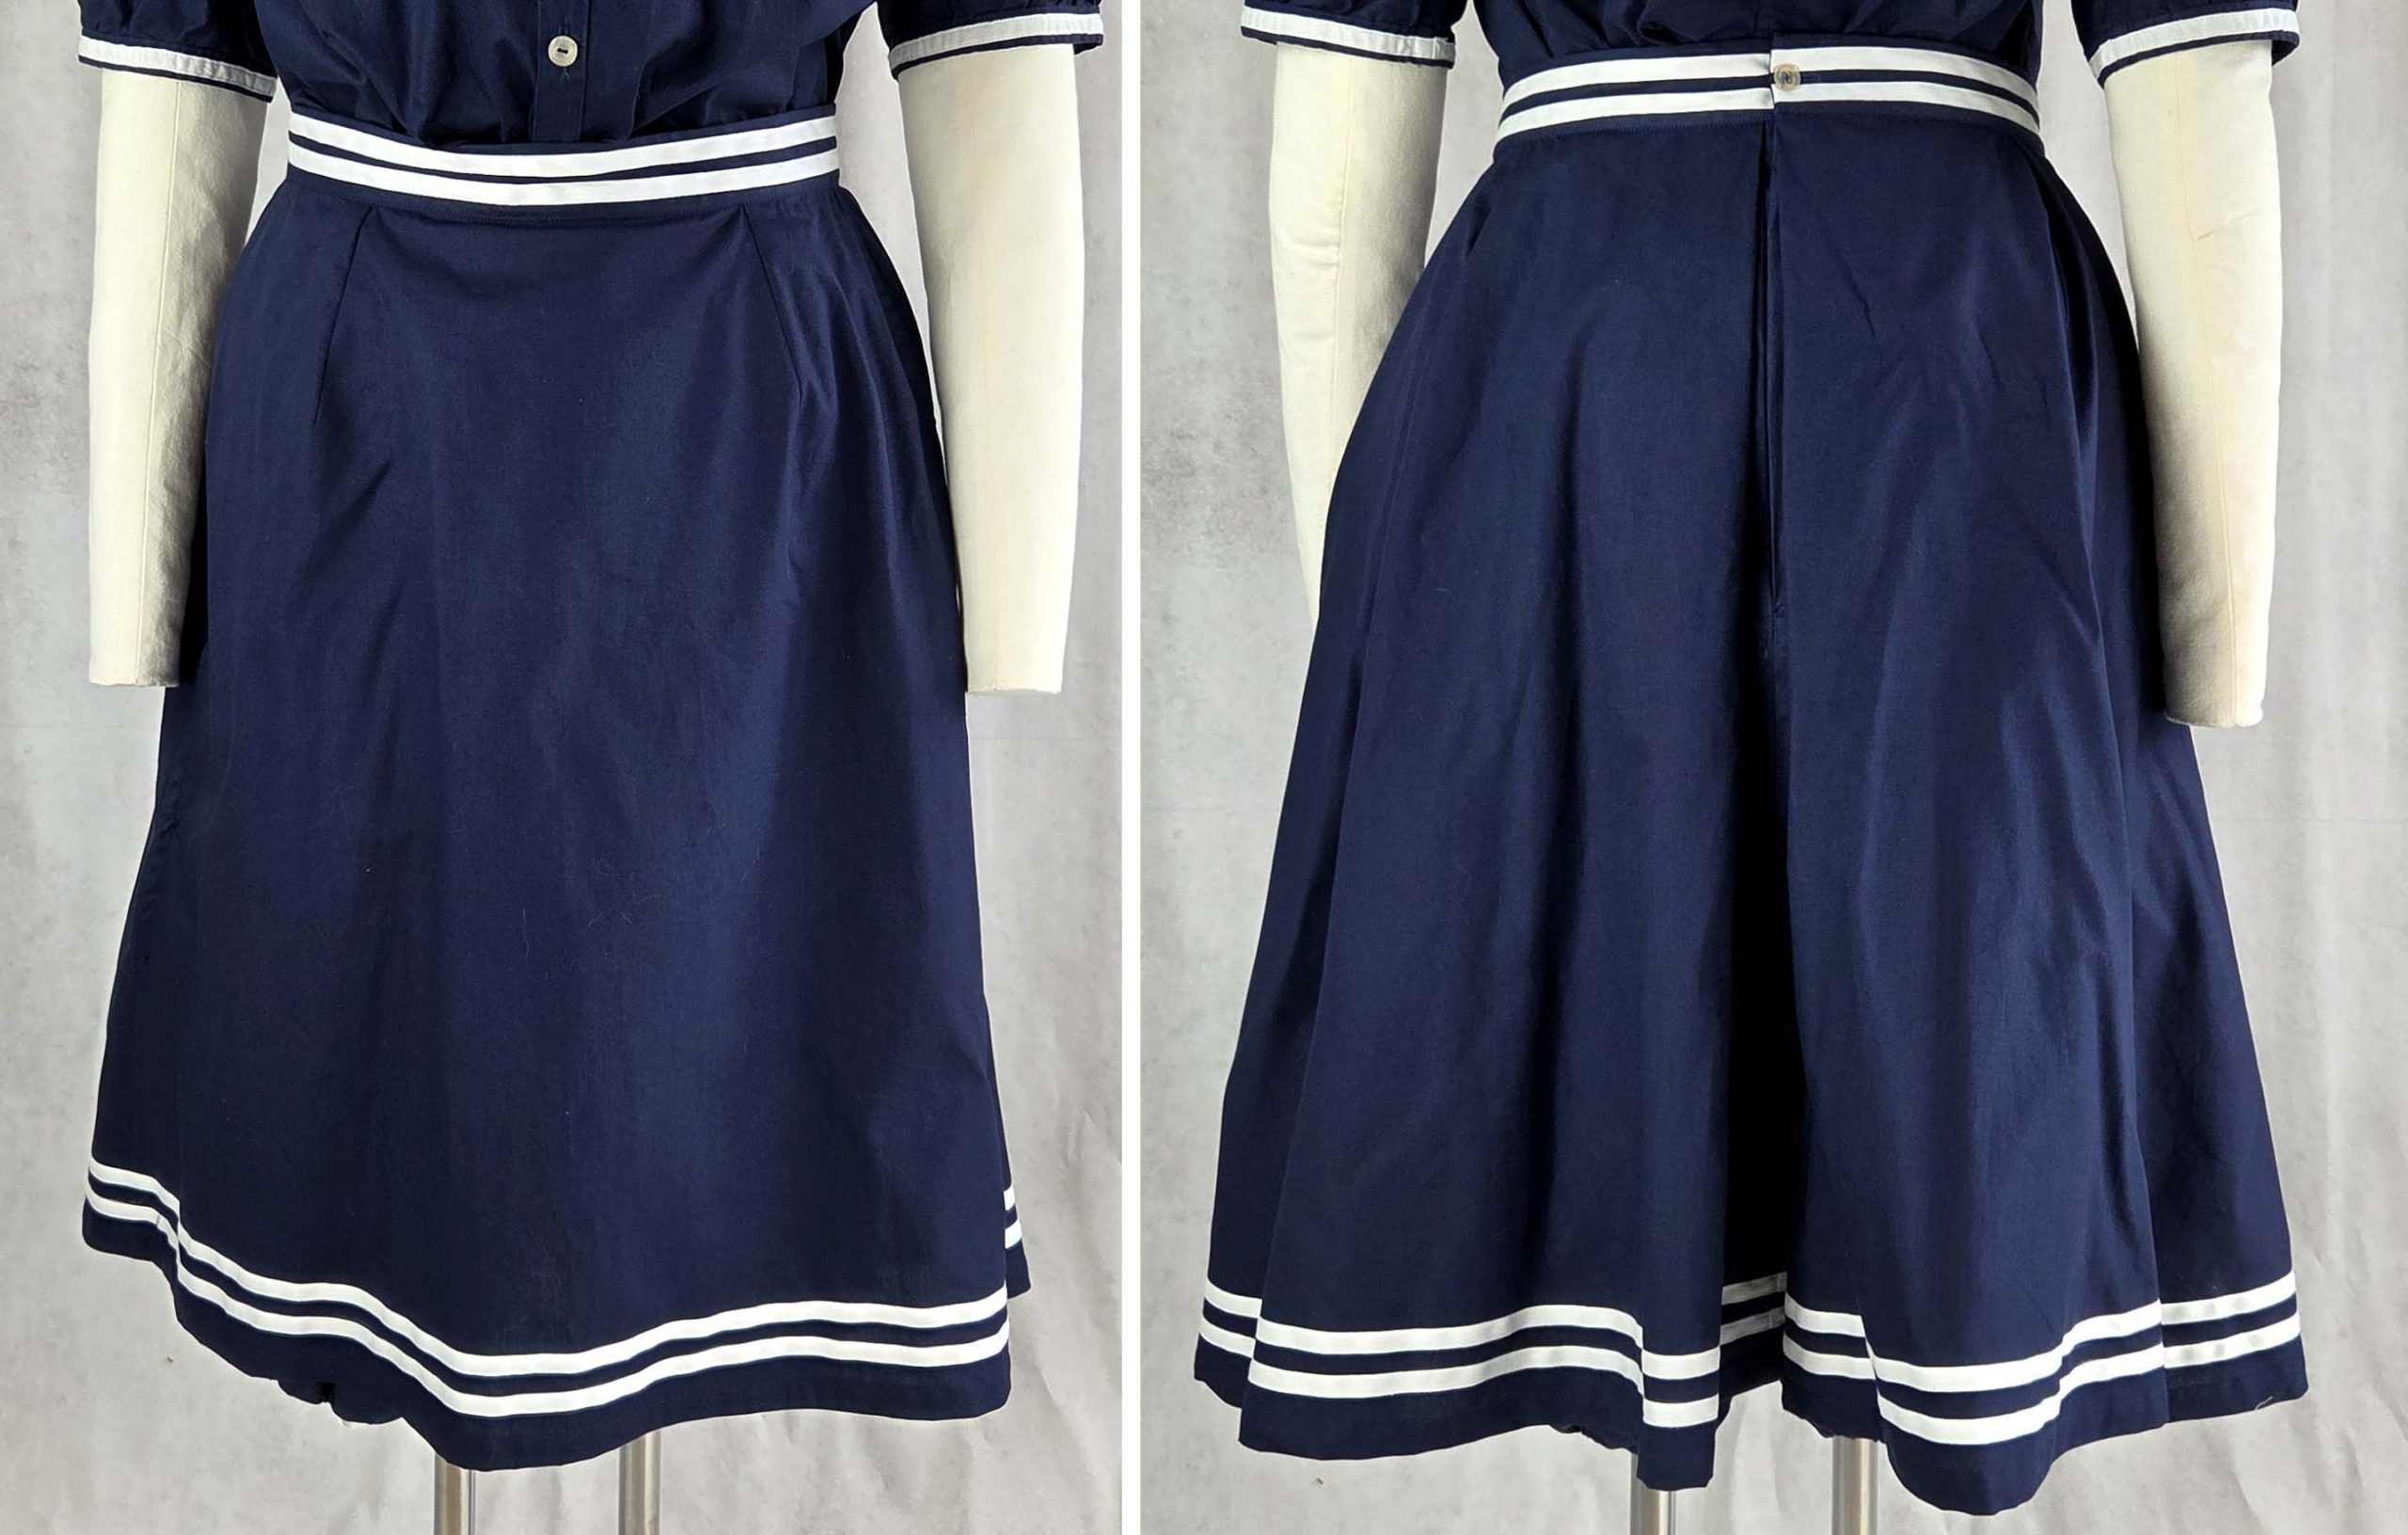
(11) Double turn in the hem allowance and stitch in place, decorate the hem with two rows of white (contrasting) cotton tape.
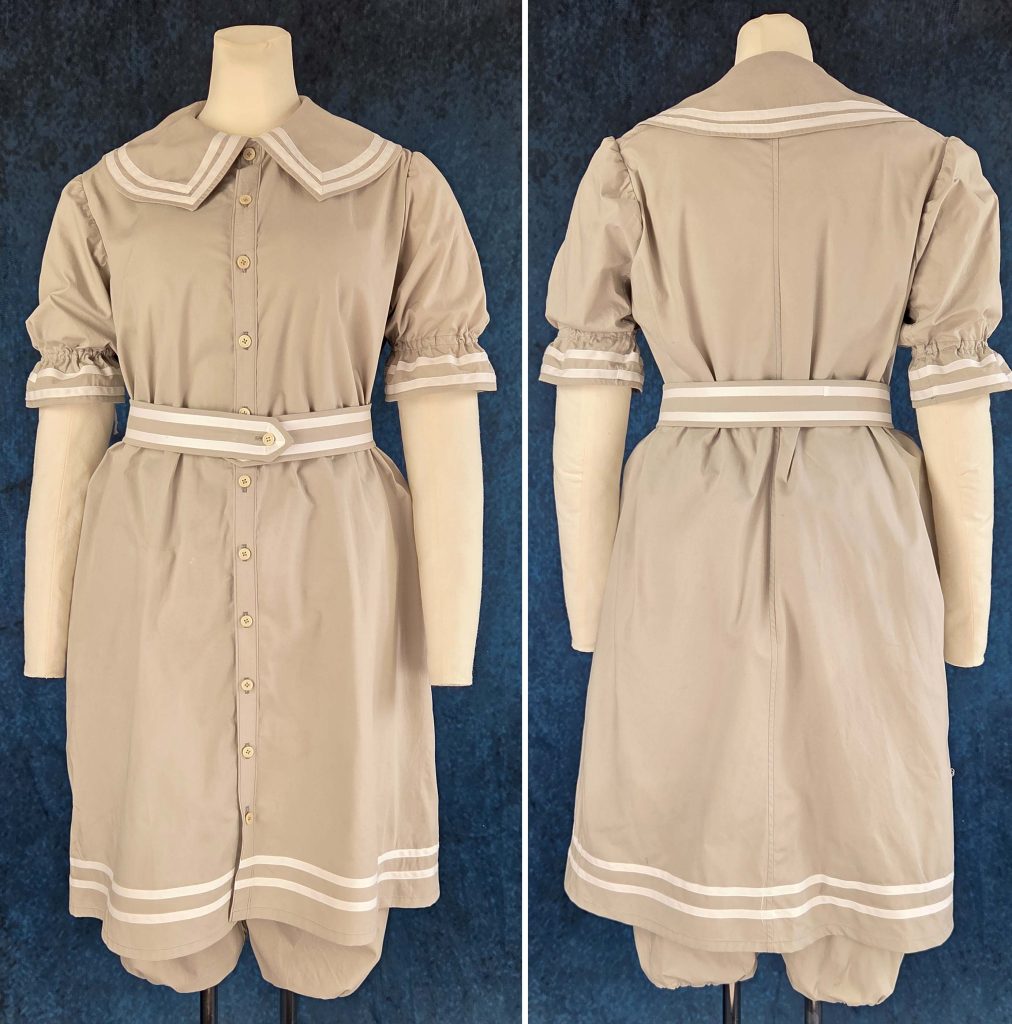
Let´s move forward to Version 3, the dress with pants underneath.
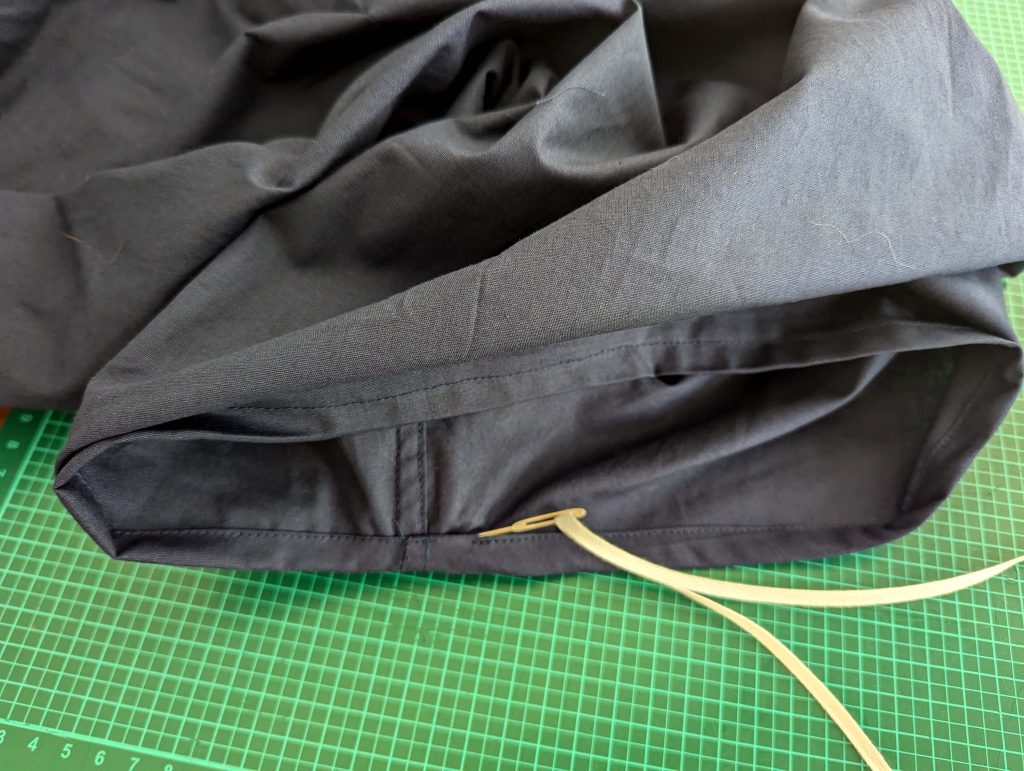
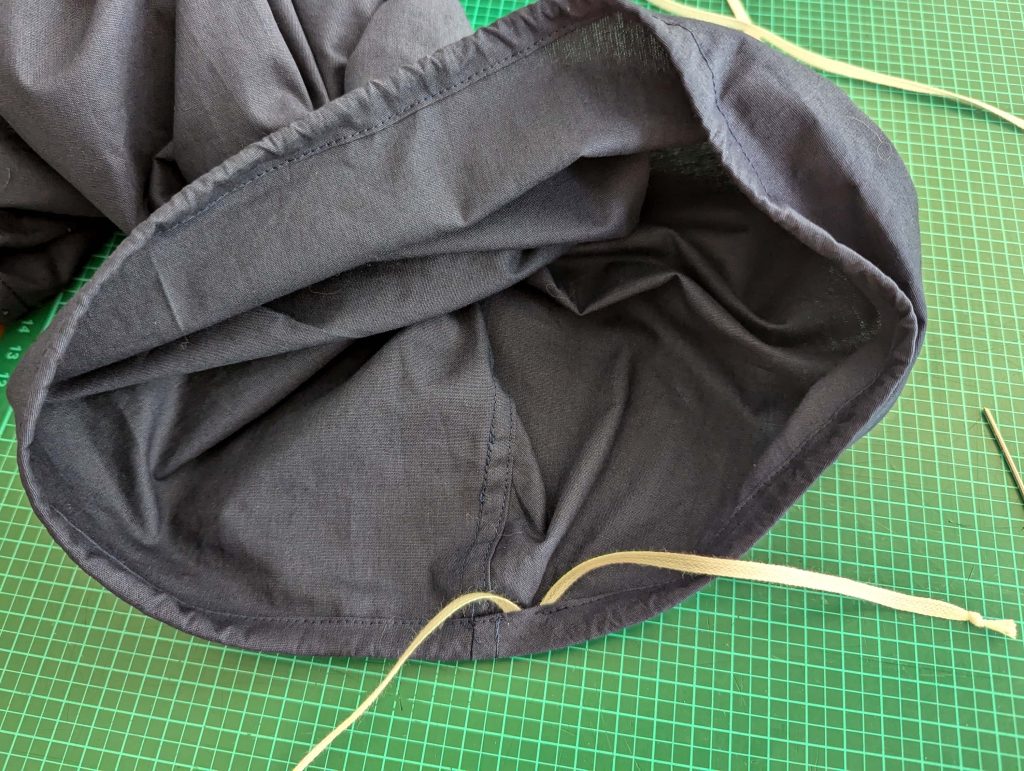
(12) Take the pieces for the pants and sew the inner leg seam and finish as a flat felled seam, followed by the crotch seam, finished as a flat felled seam as well. Double-turn in the leg hem and stitch in place, leaving an opening about 1” (2,5cm) long around the area of the leg seam, creating a tunnel. At the top edge, double-turn in the 1” (2,5cm) wide seam allowance. Instead of leaving an opening, sew a buttonhole to the seam allowance on each side of the center front. Stitch in place. Thread the tunnels with drawstrings, a narrow one at the legs, a wider one at the waist.

Now the last piece, the dress:
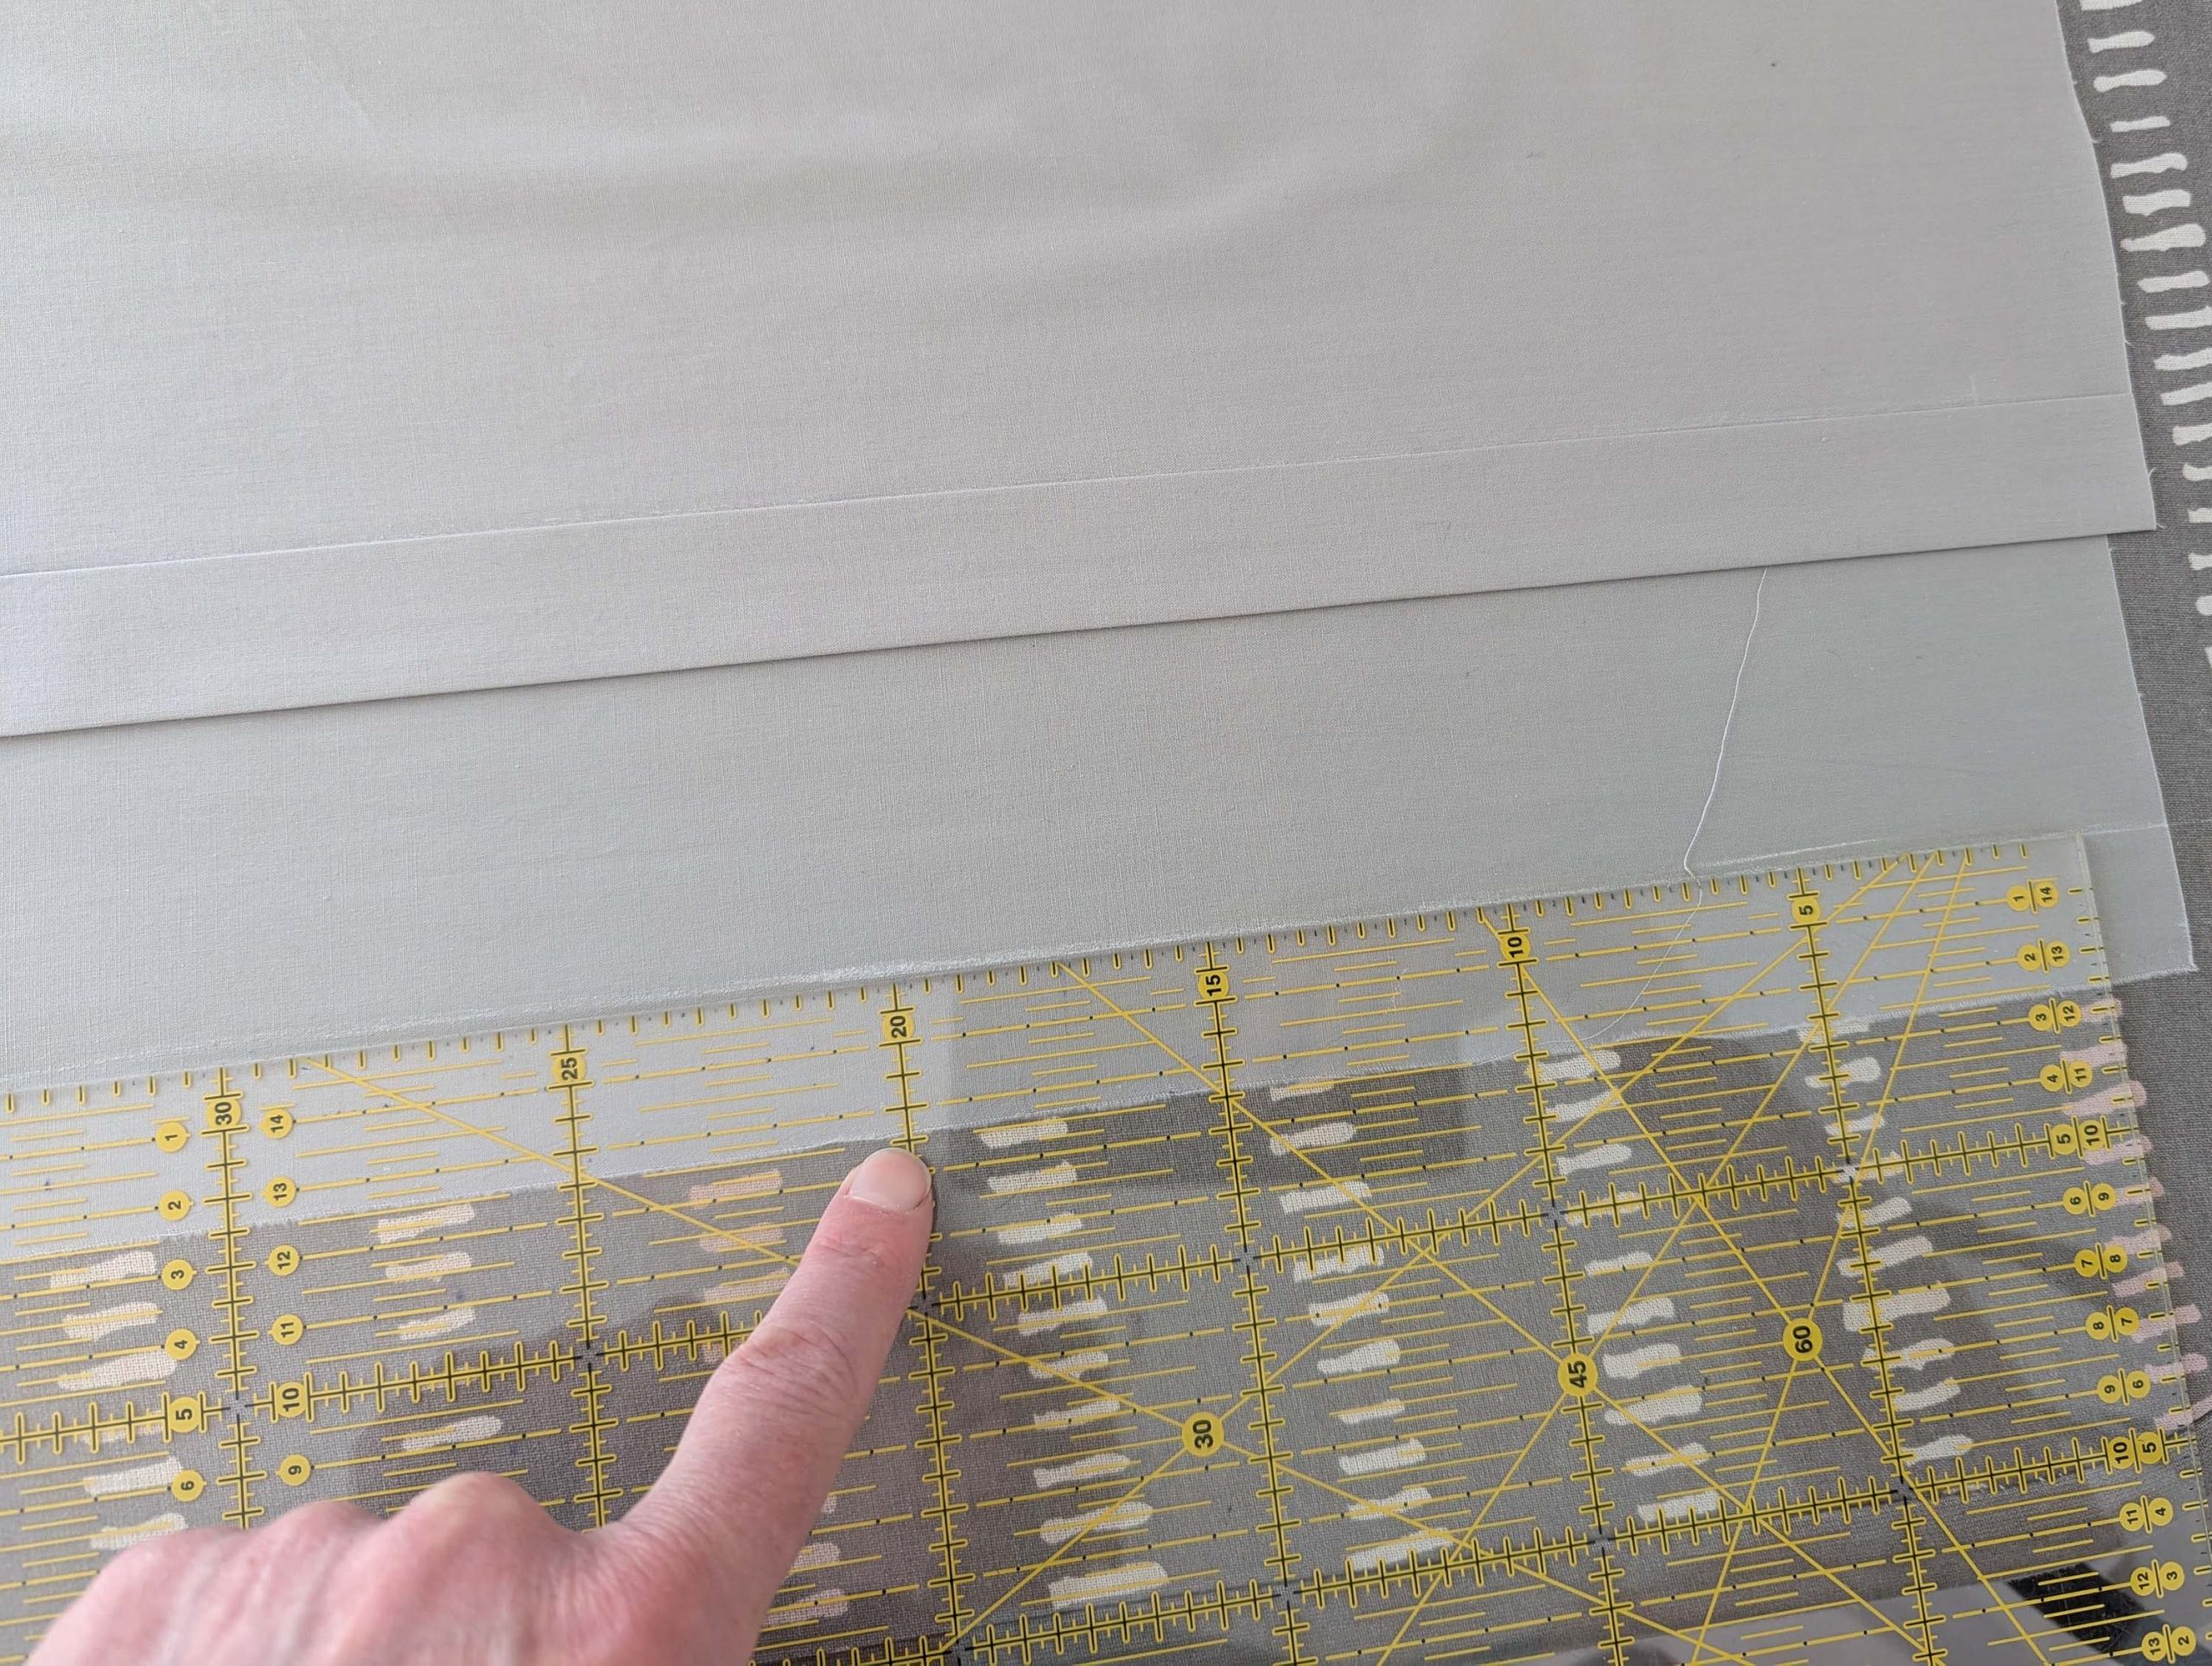
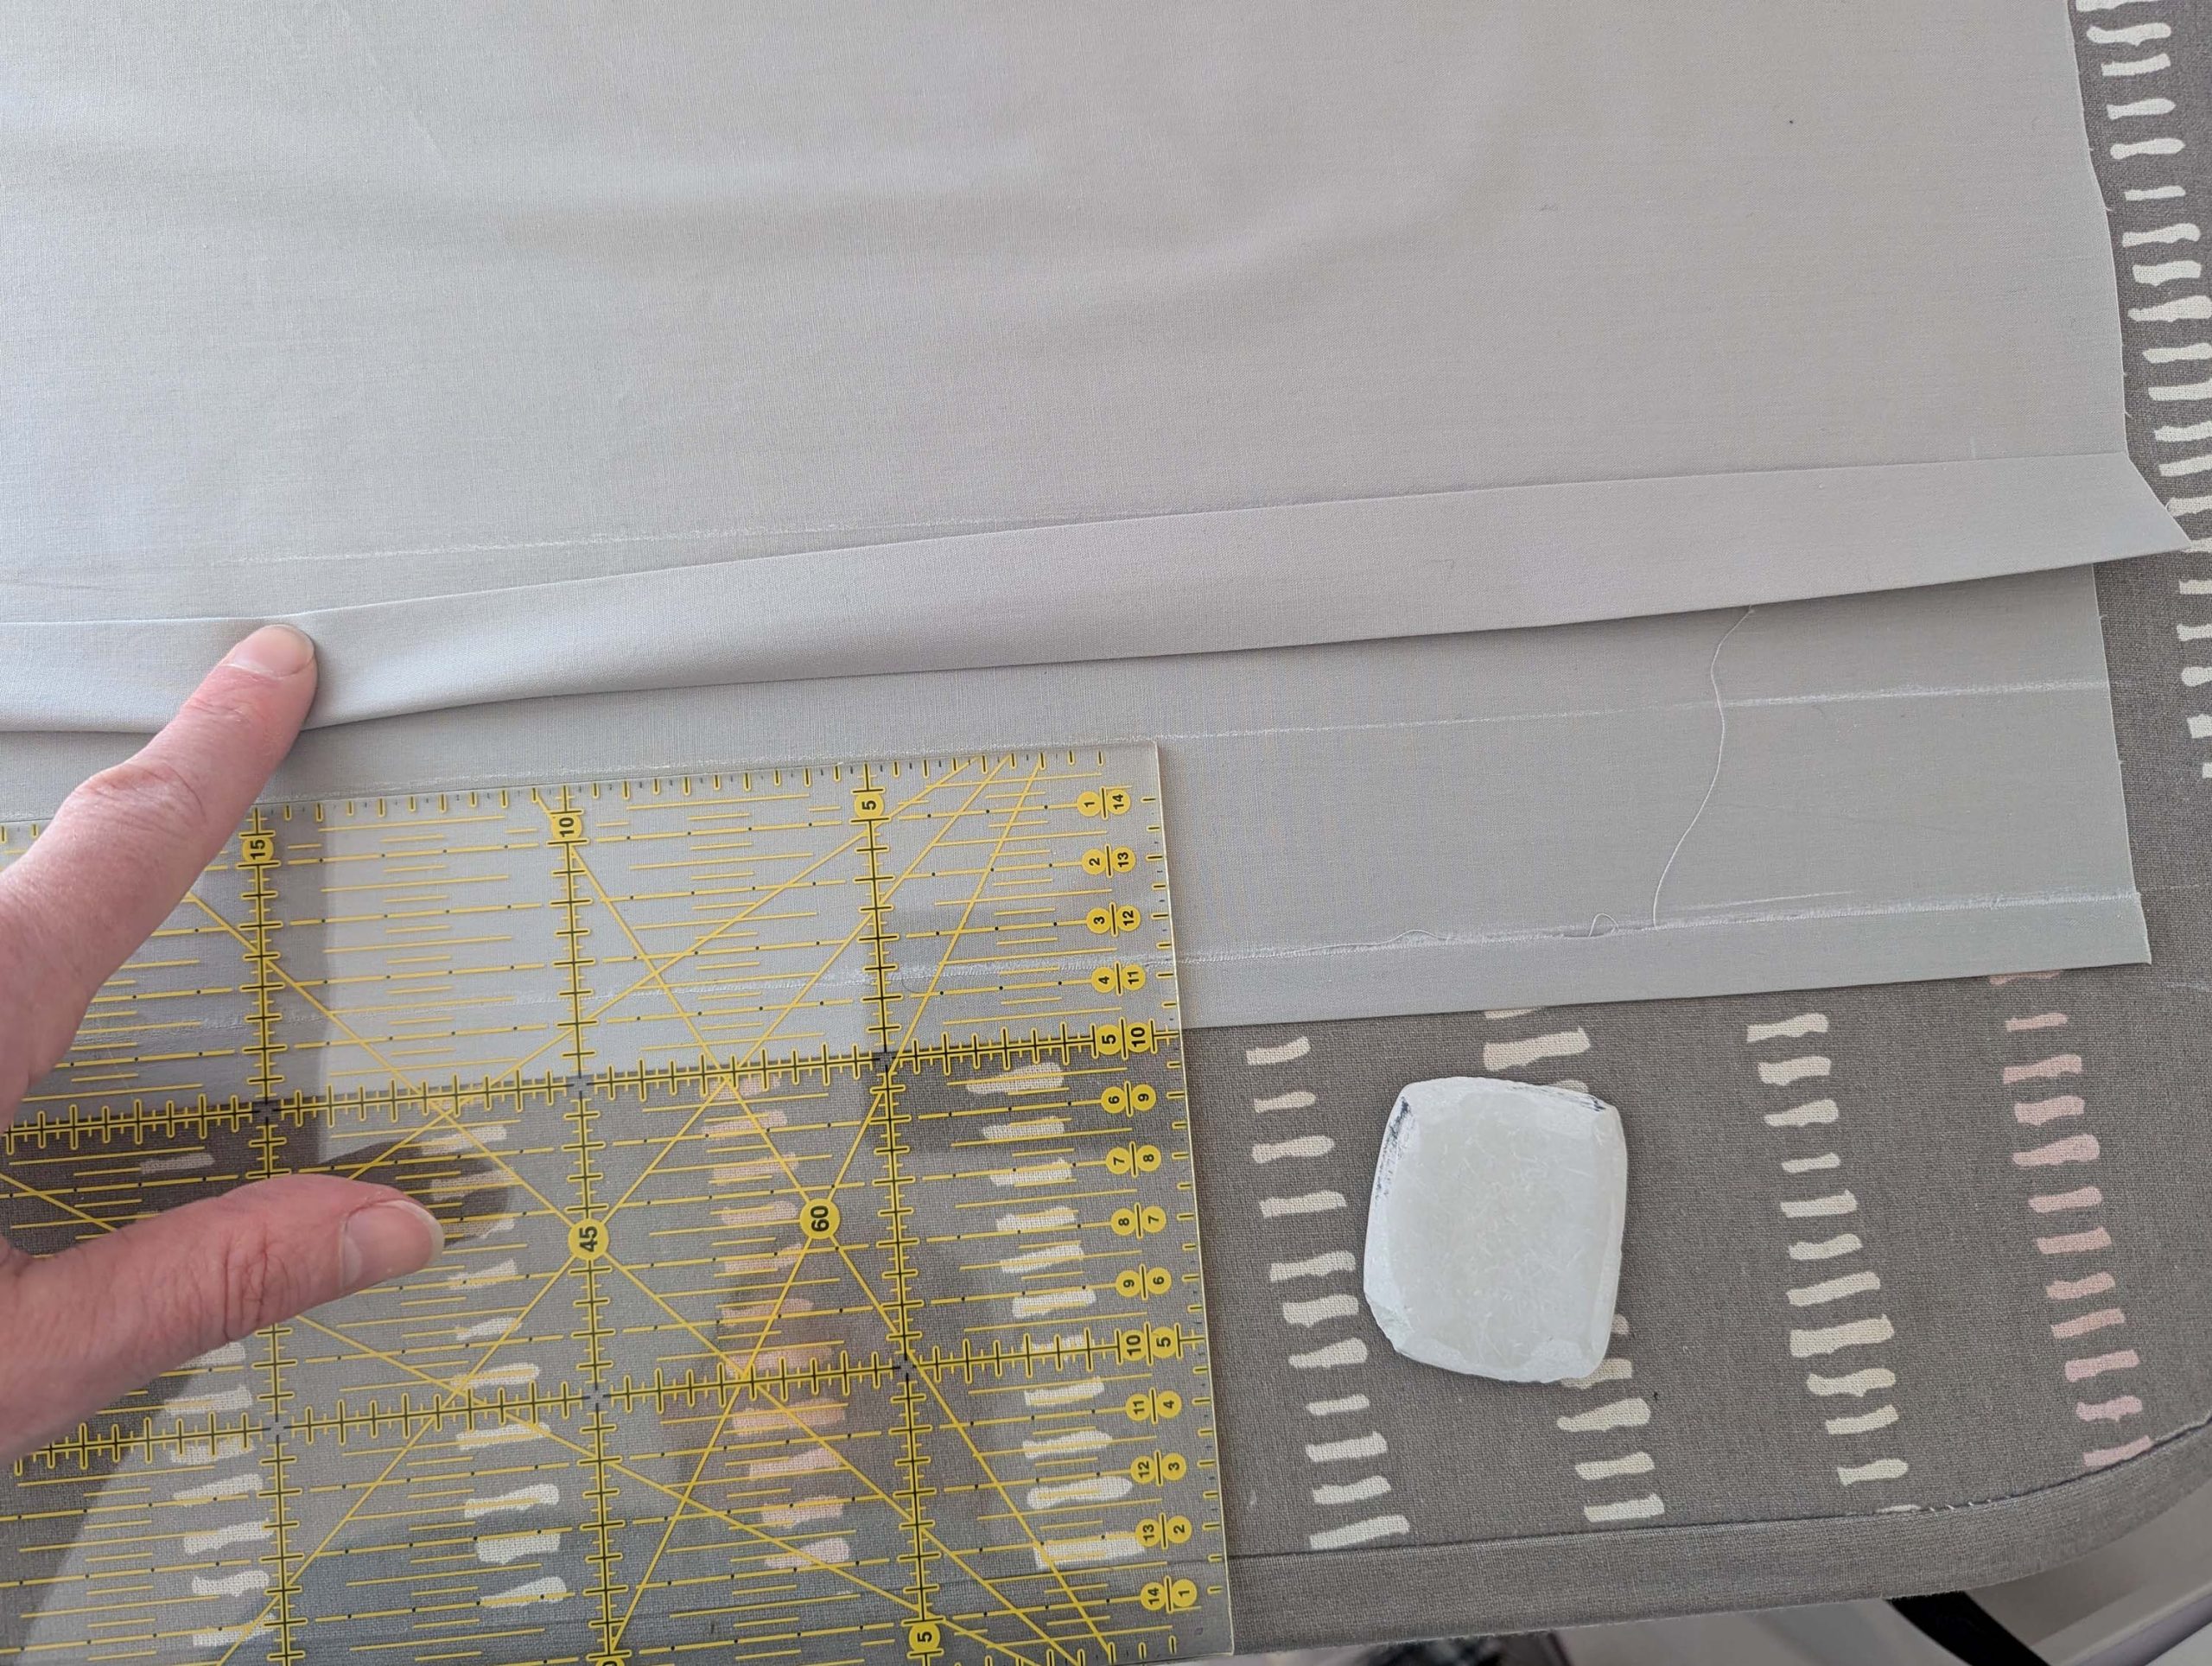
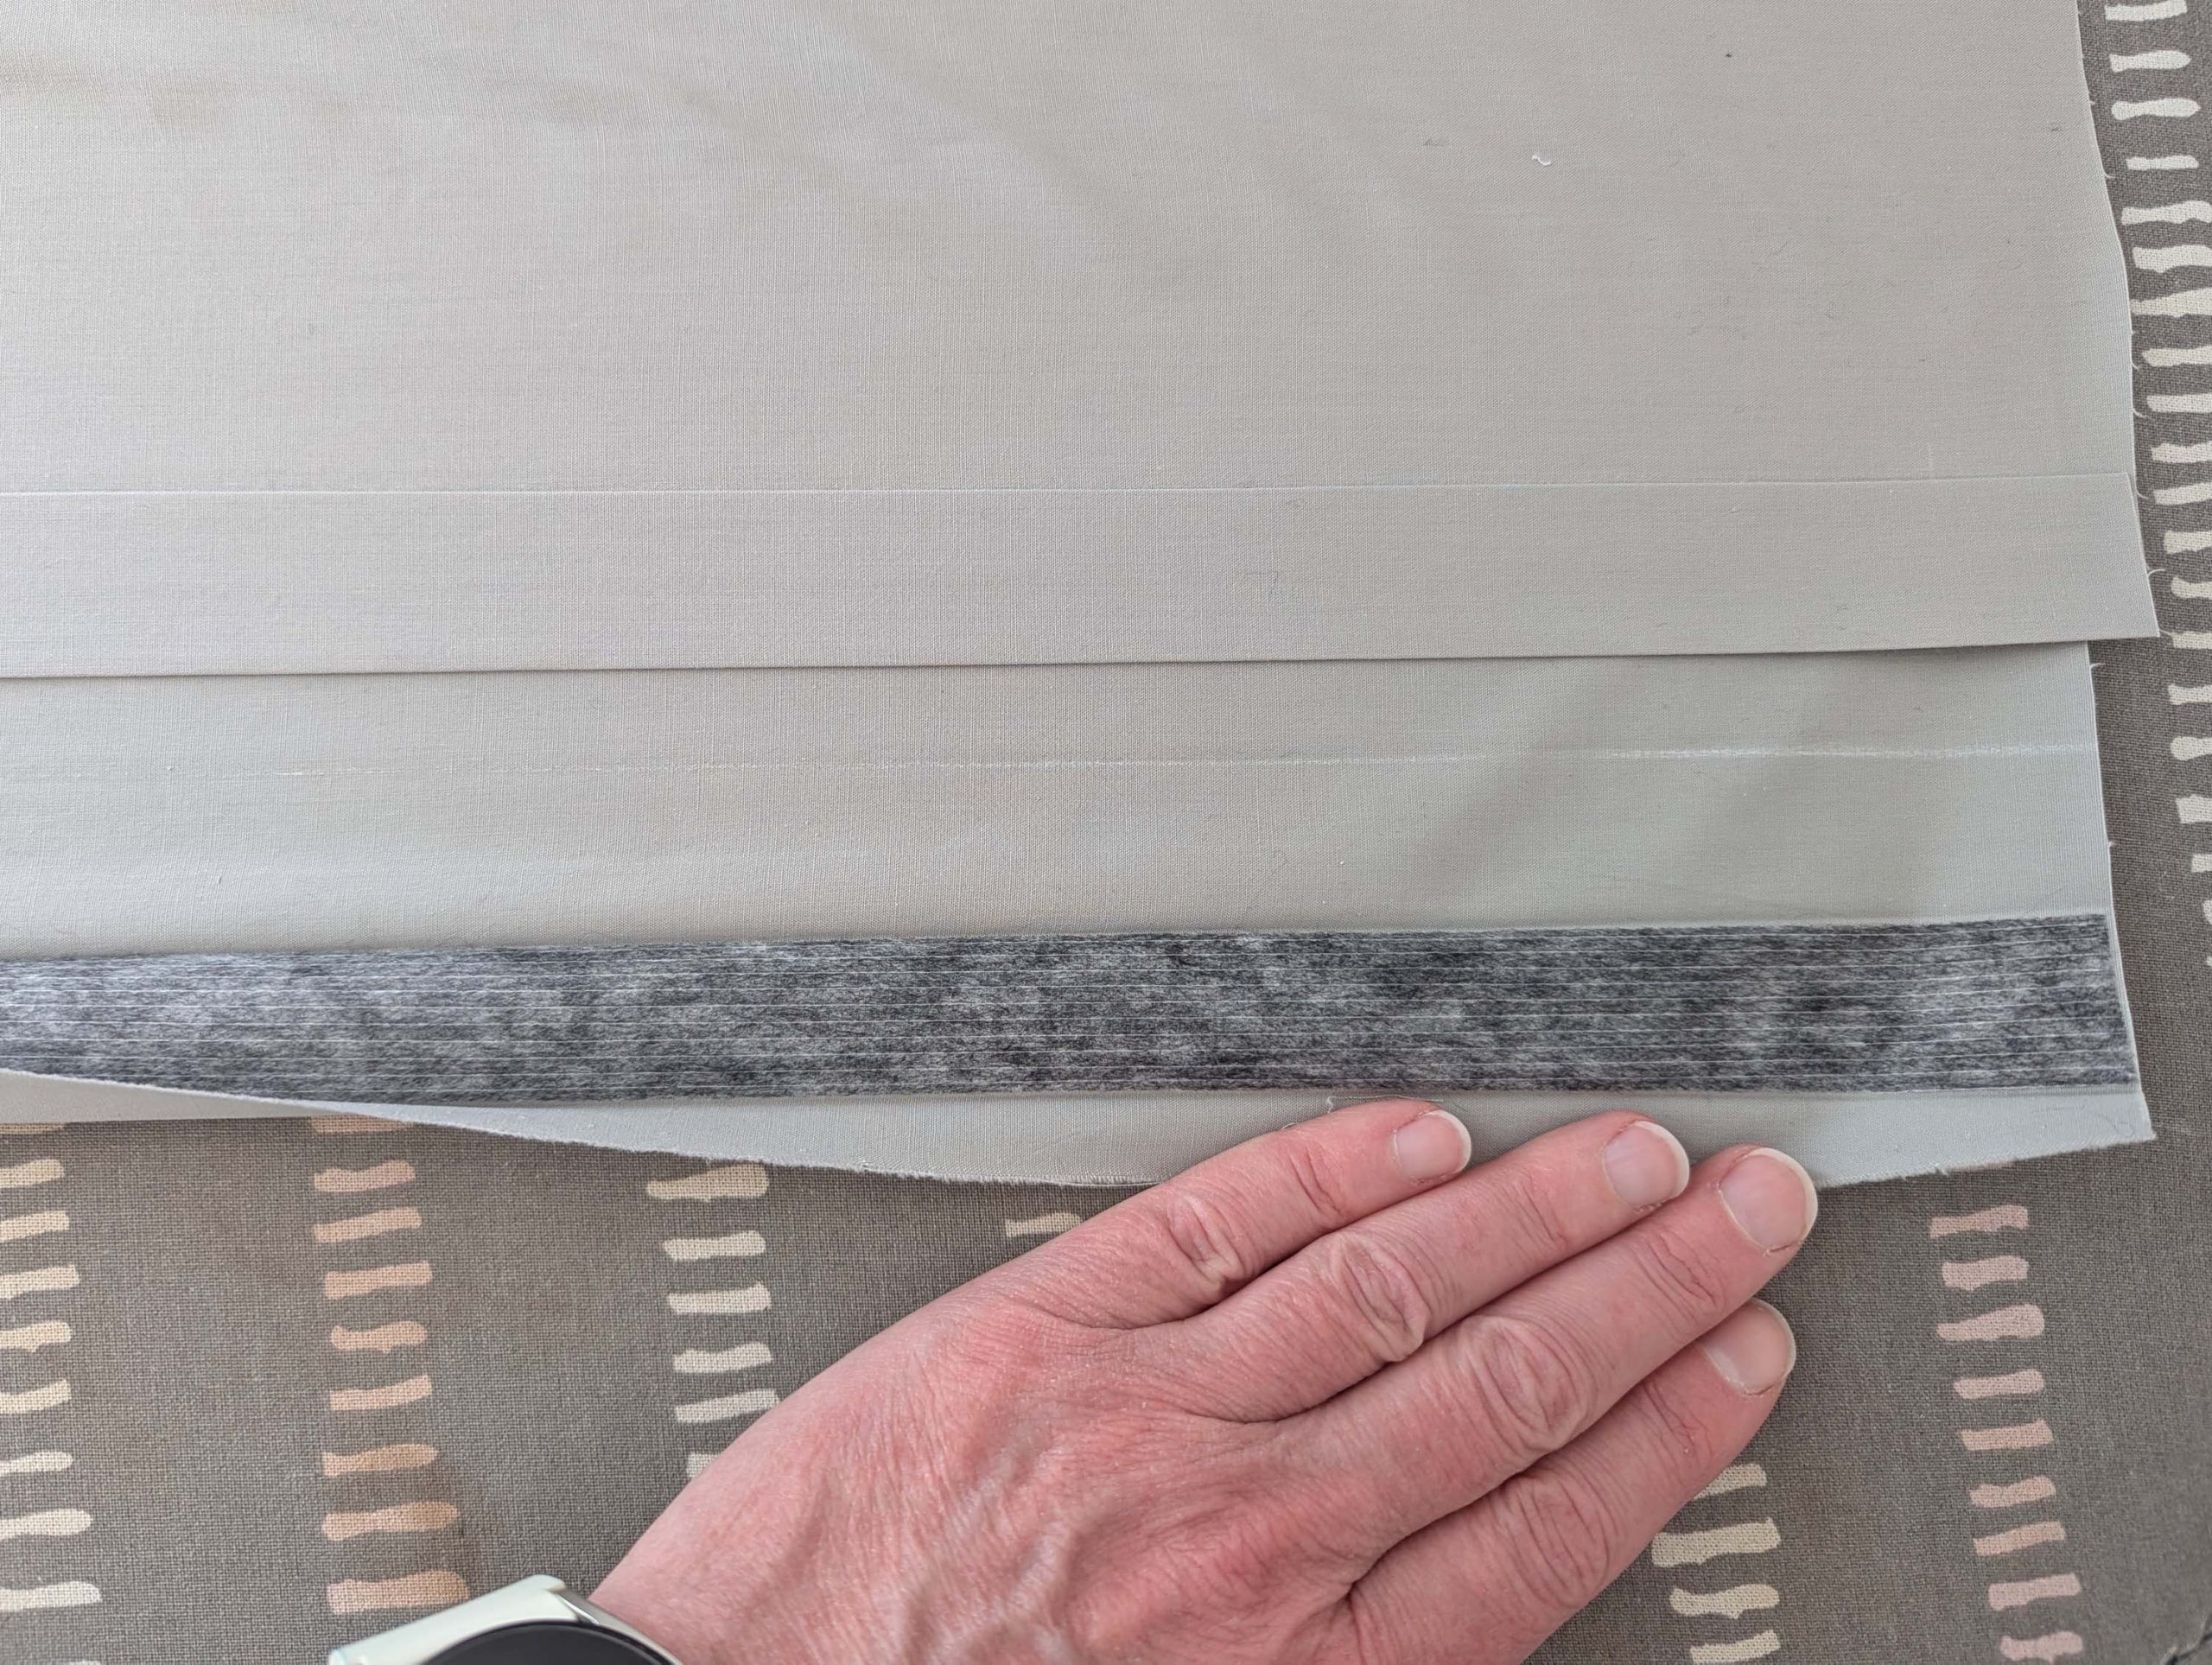
(13) To create the placket, place both fronts on the table, with the front edge towards you and the neckline towards your right side. One front is right side up, the other is the wrong side up. Turn in the fronts twice along the lines, indicated on the pattern. Optionally, reinforce with a 1” (2.5 cm) wide strip of fusible. This will also be the width of the finished placket.
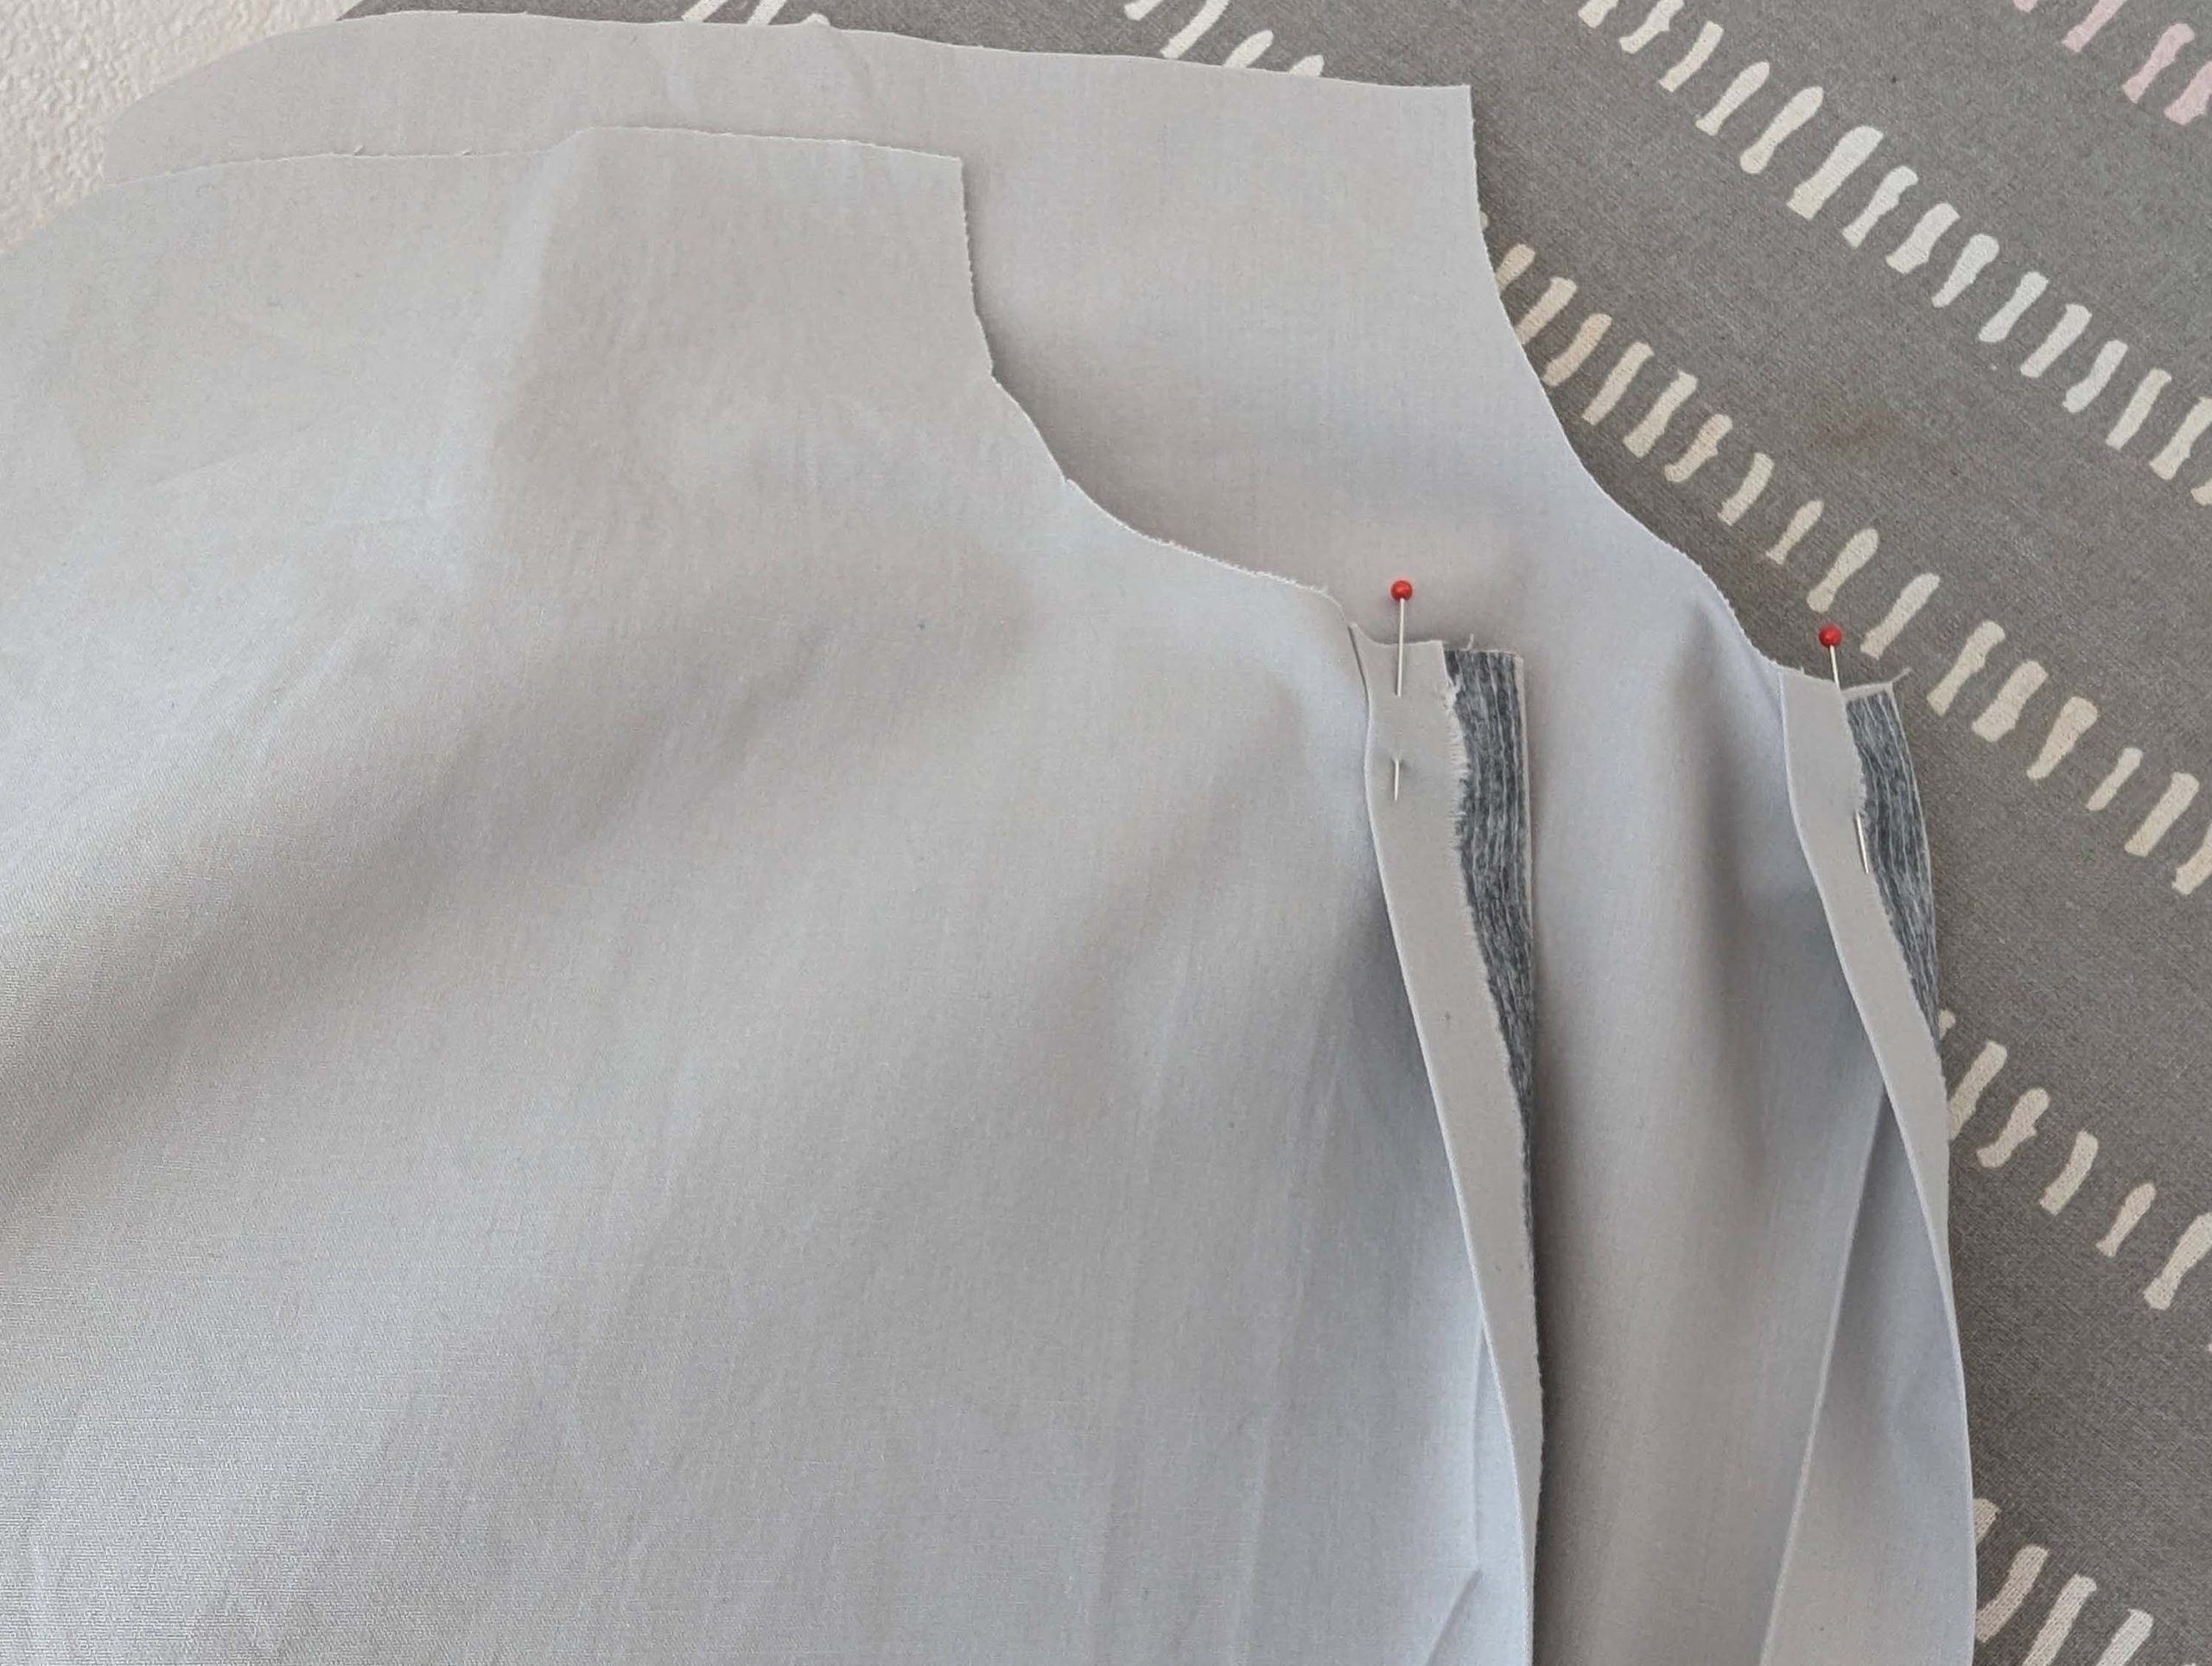
Left front: At the neckline, fold the placket along the later front edge, right sides together, and stitch just 1/2” (1,25cm) along the neckline until reaching the center of the placket. Notch and trim back the seam as shown and turn the right way out, wrong sides together along the front edge line. Edgestitch in place,
Right front: Fold the placket wrong sides together along the later front edge and repeat the steps mentioned before. Turn the right way out, right sides together and edgestitch in place, then edgestitch along the front edge.

(14) Sew the shoulder and center back seam, finishing both as a flat felled seam. Double-turn in the hem and stitch in place.
For instructions on sleeves, collars and belt, please refer back to post 2.