Tag Archives: Corset

#0126 Late 18th-century Stays Part 1 (Step 1-5)

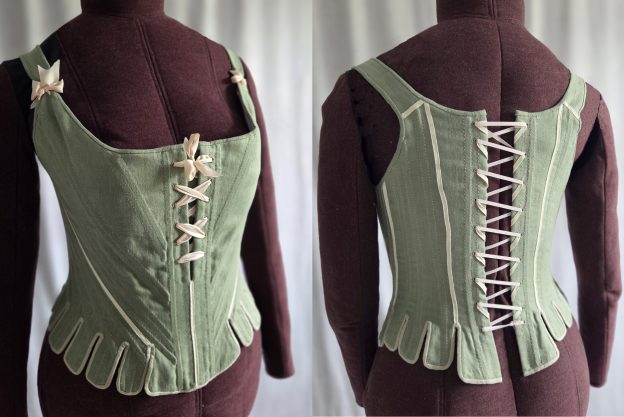
I’m very happy to share my new late 18th-century stays pattern with you finally.

This project has been in the making for quite some time and is the result of careful study of historical construction techniques. My goal was to create a pattern that is both accurate and approachable, while still working well for the modern body.

With this pattern, I’ll guide you through the process step by step, including historically accurate techniques such as constructing each panel individually and assembling them with whip stitch. At the same time, you’ll have the flexibility to choose where modern methods might suit you better.

If you’ve ever wanted to explore 18th-century sewing or add a pair of stays to your wardrobe, this pattern is a great place to start.

First of all, you’ll want to think about your fabric choice. Most extant stays from this period are constructed from two to three layers of fabric, often with two coarse linen base layers to protect the fashion fabric. An additional cotton lining is sewn to the inside to protect the stays from sweat, and can easily be replaced if necessary.

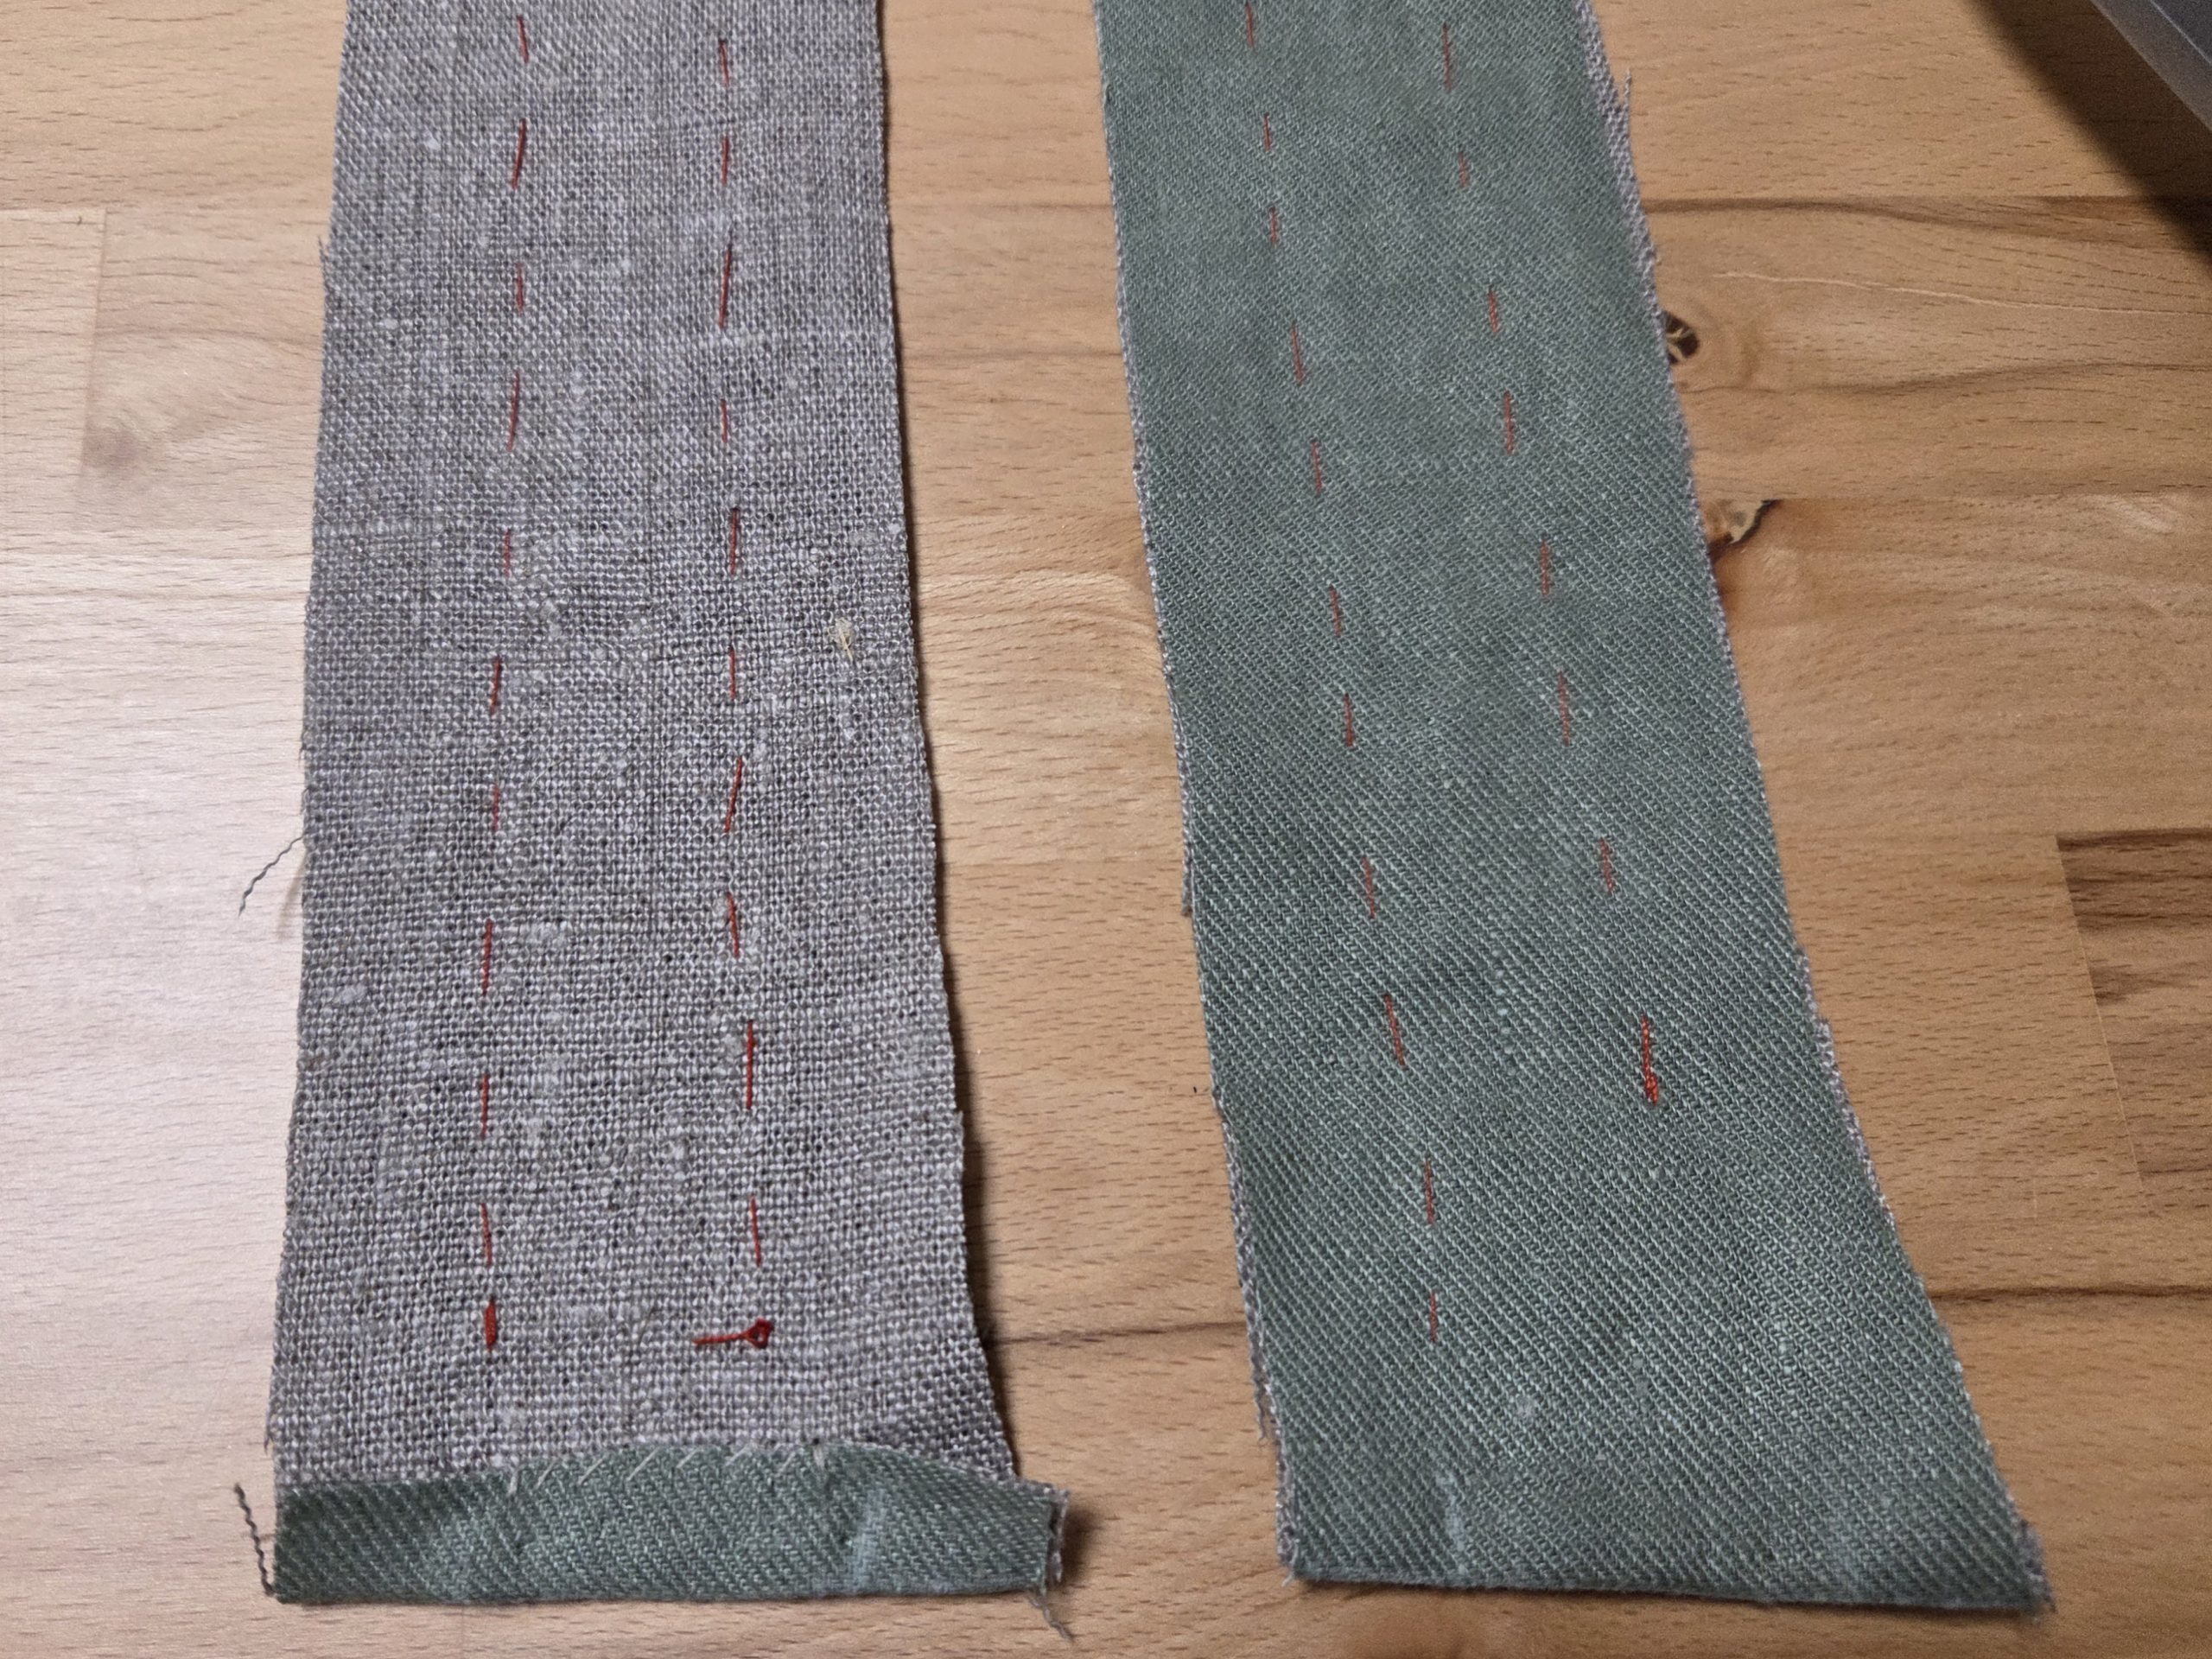
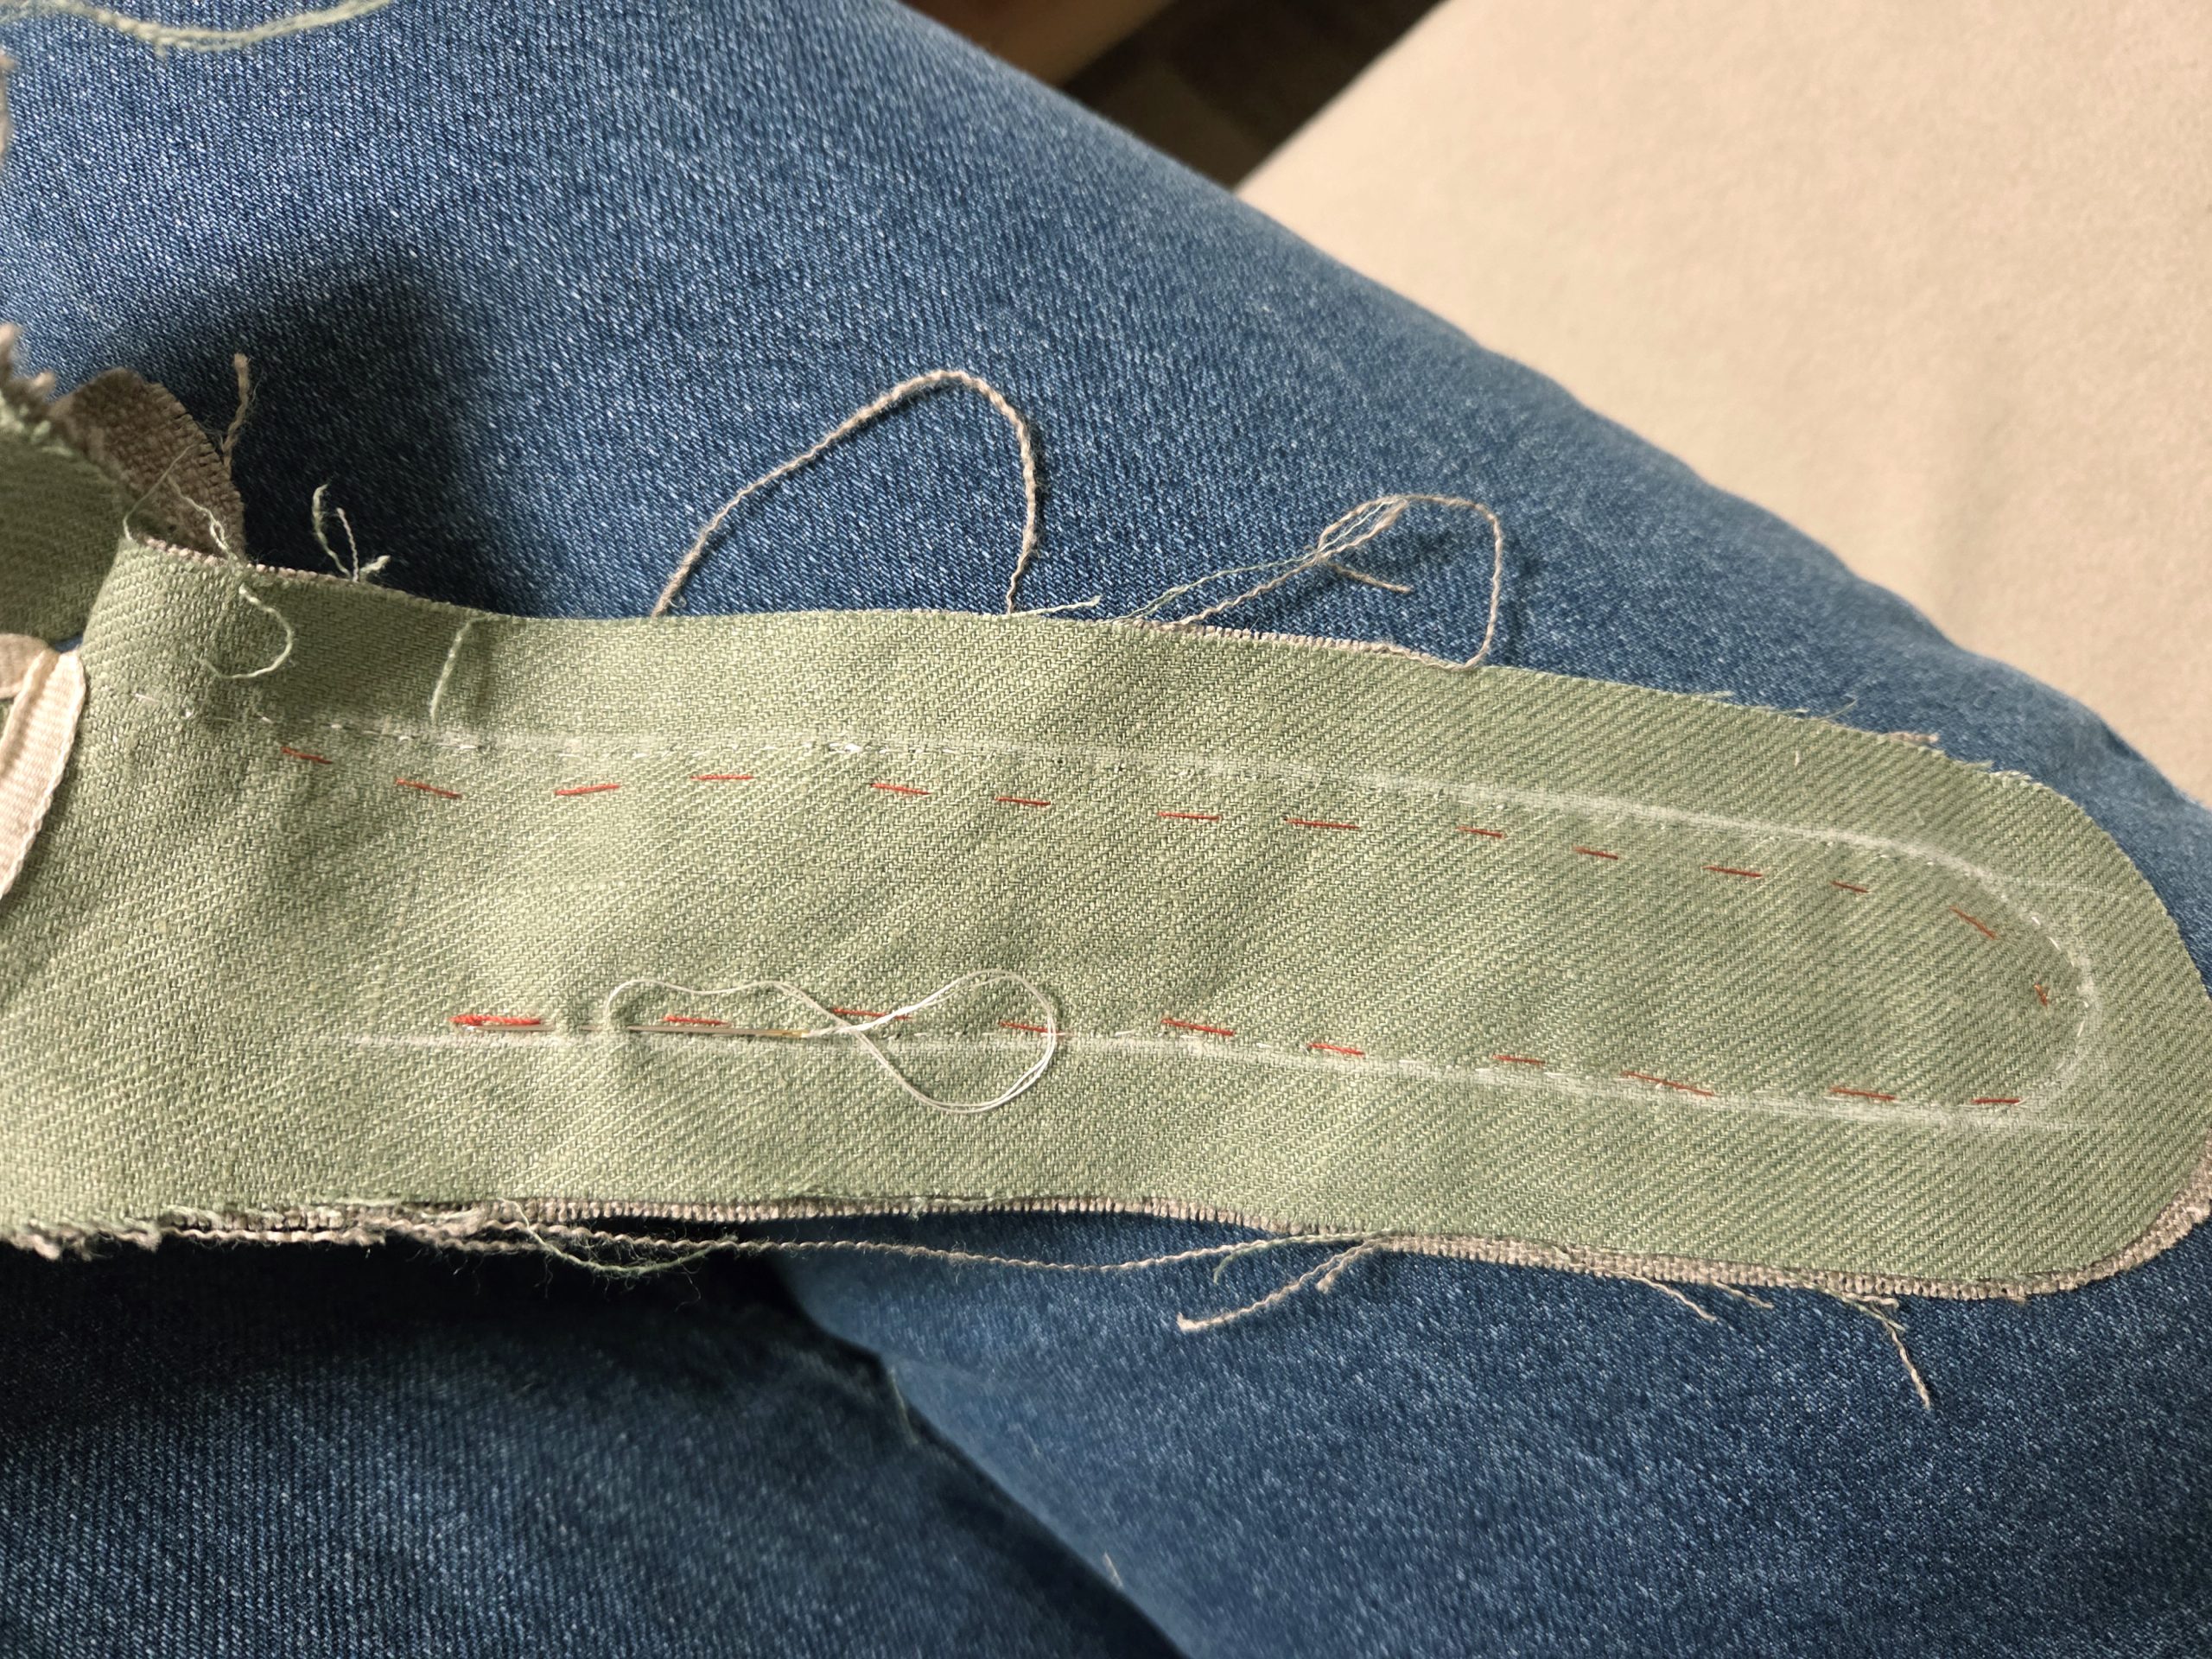
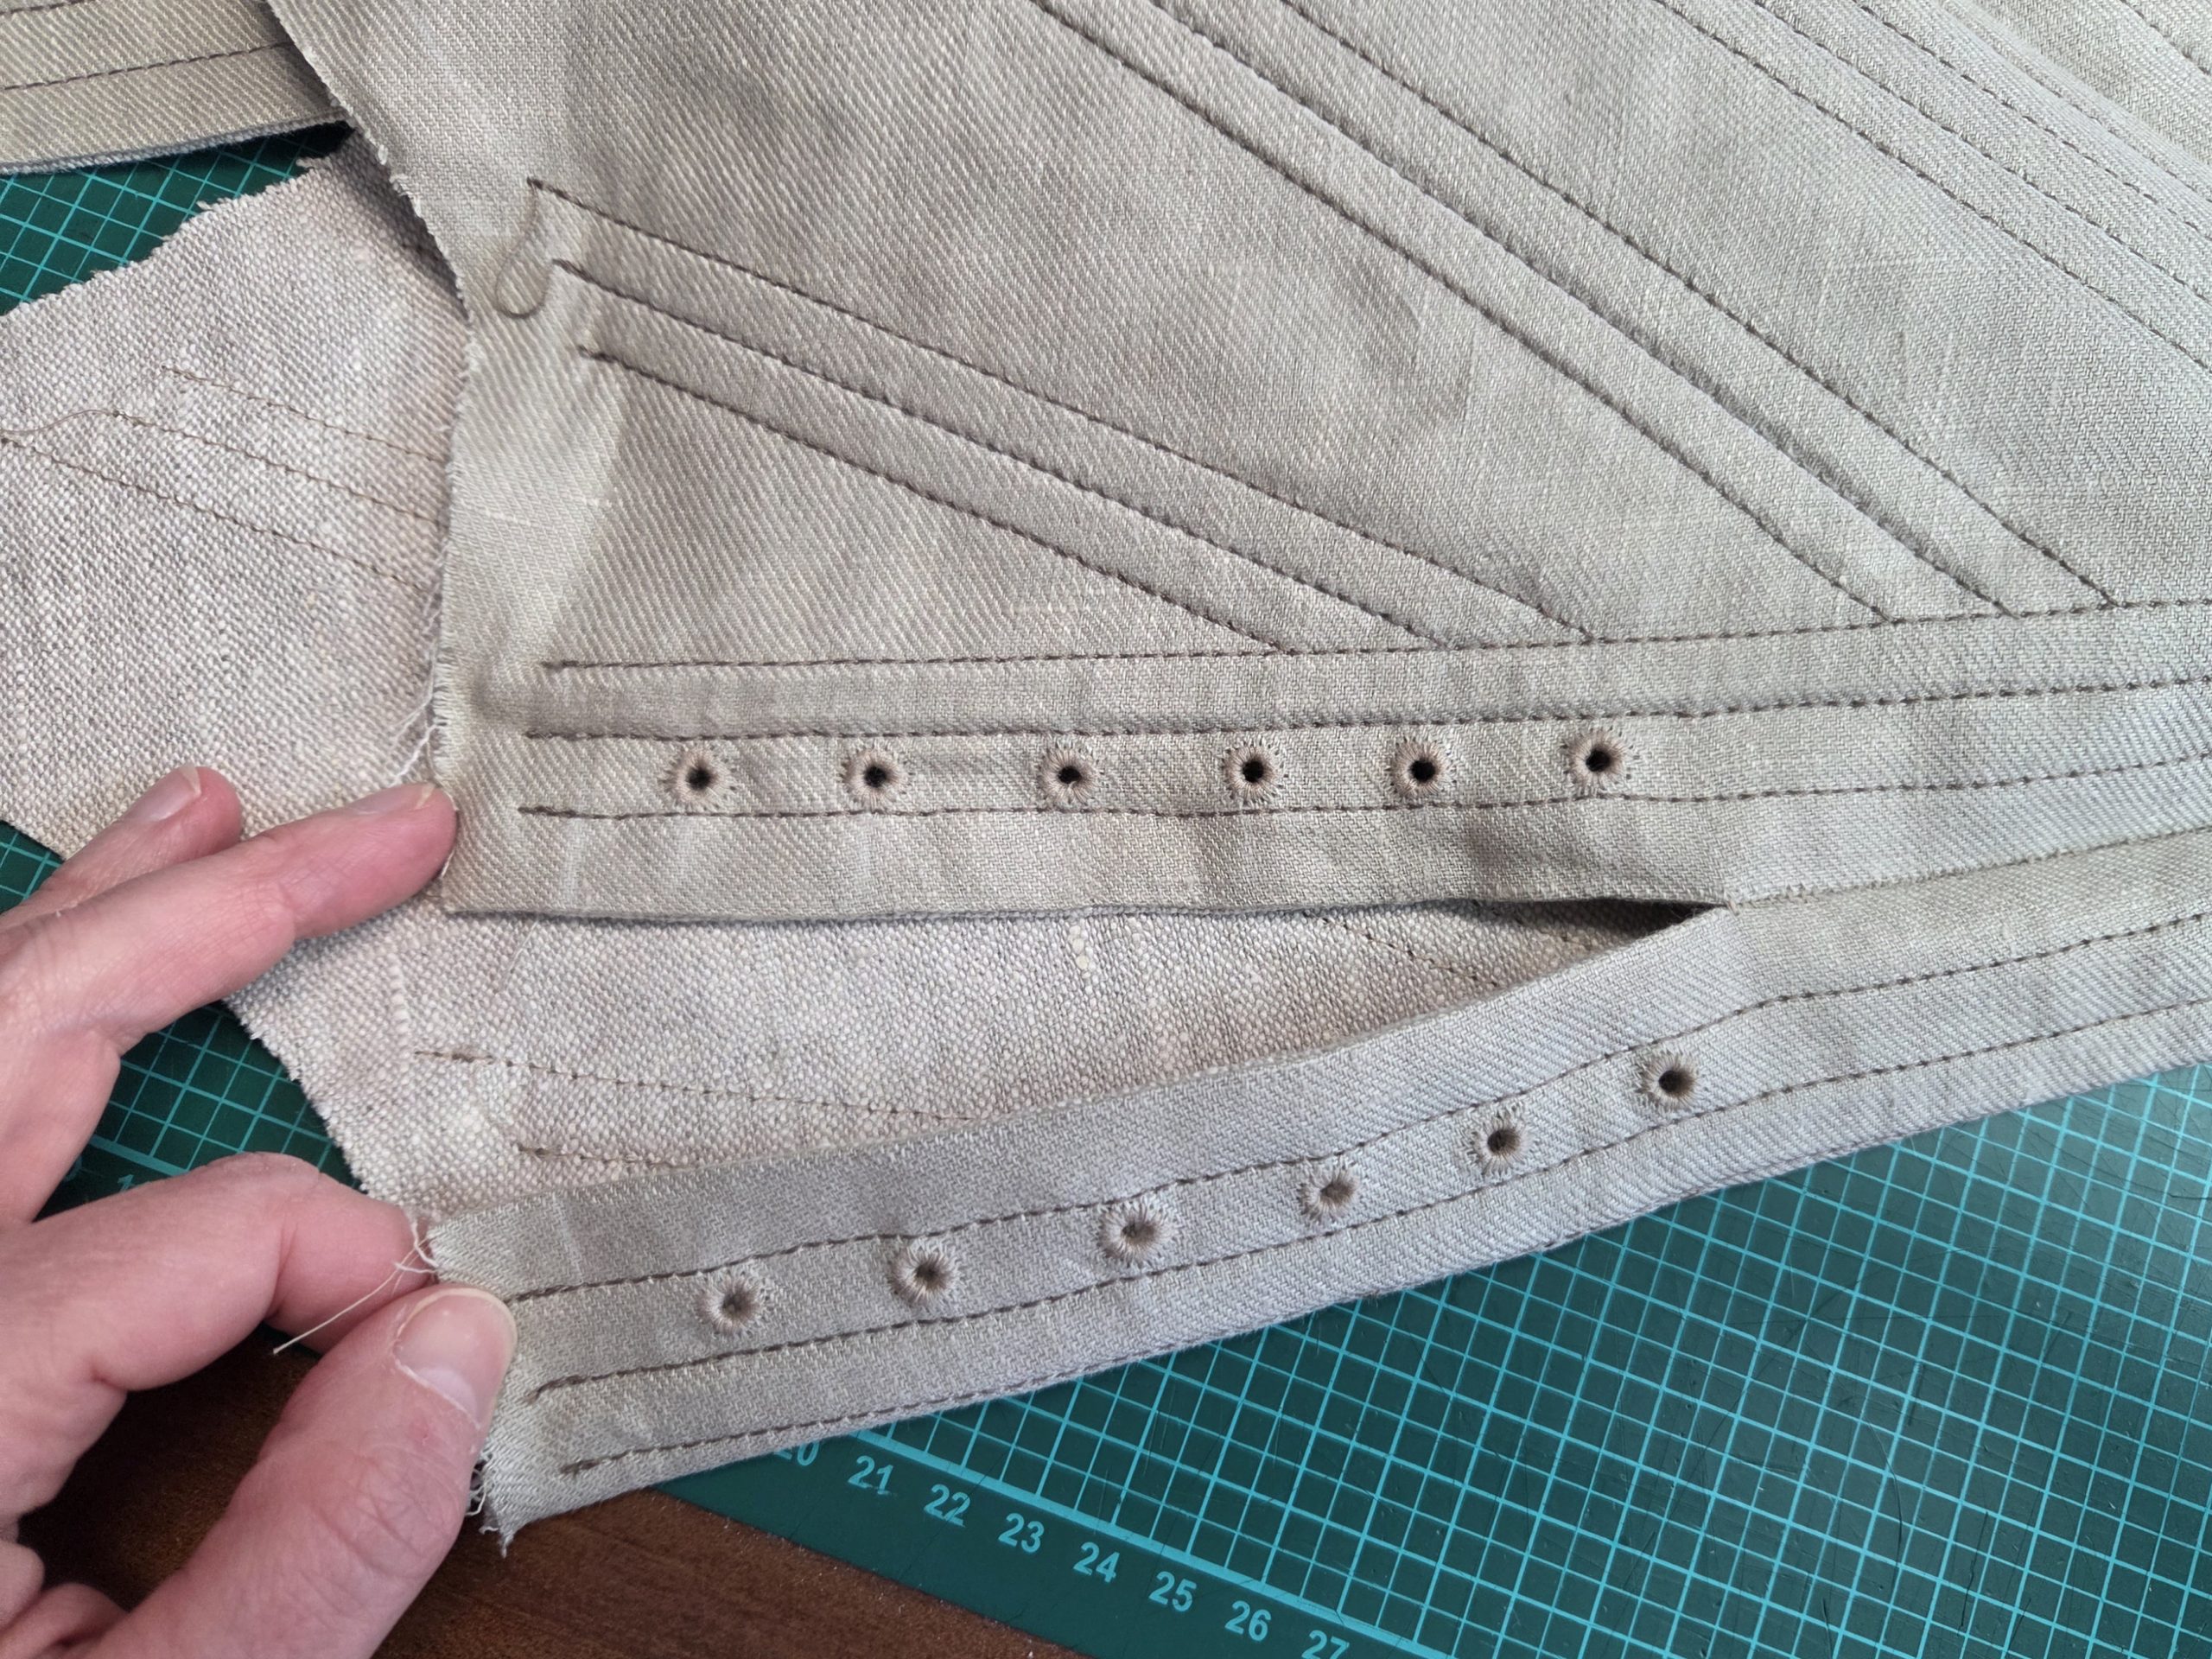
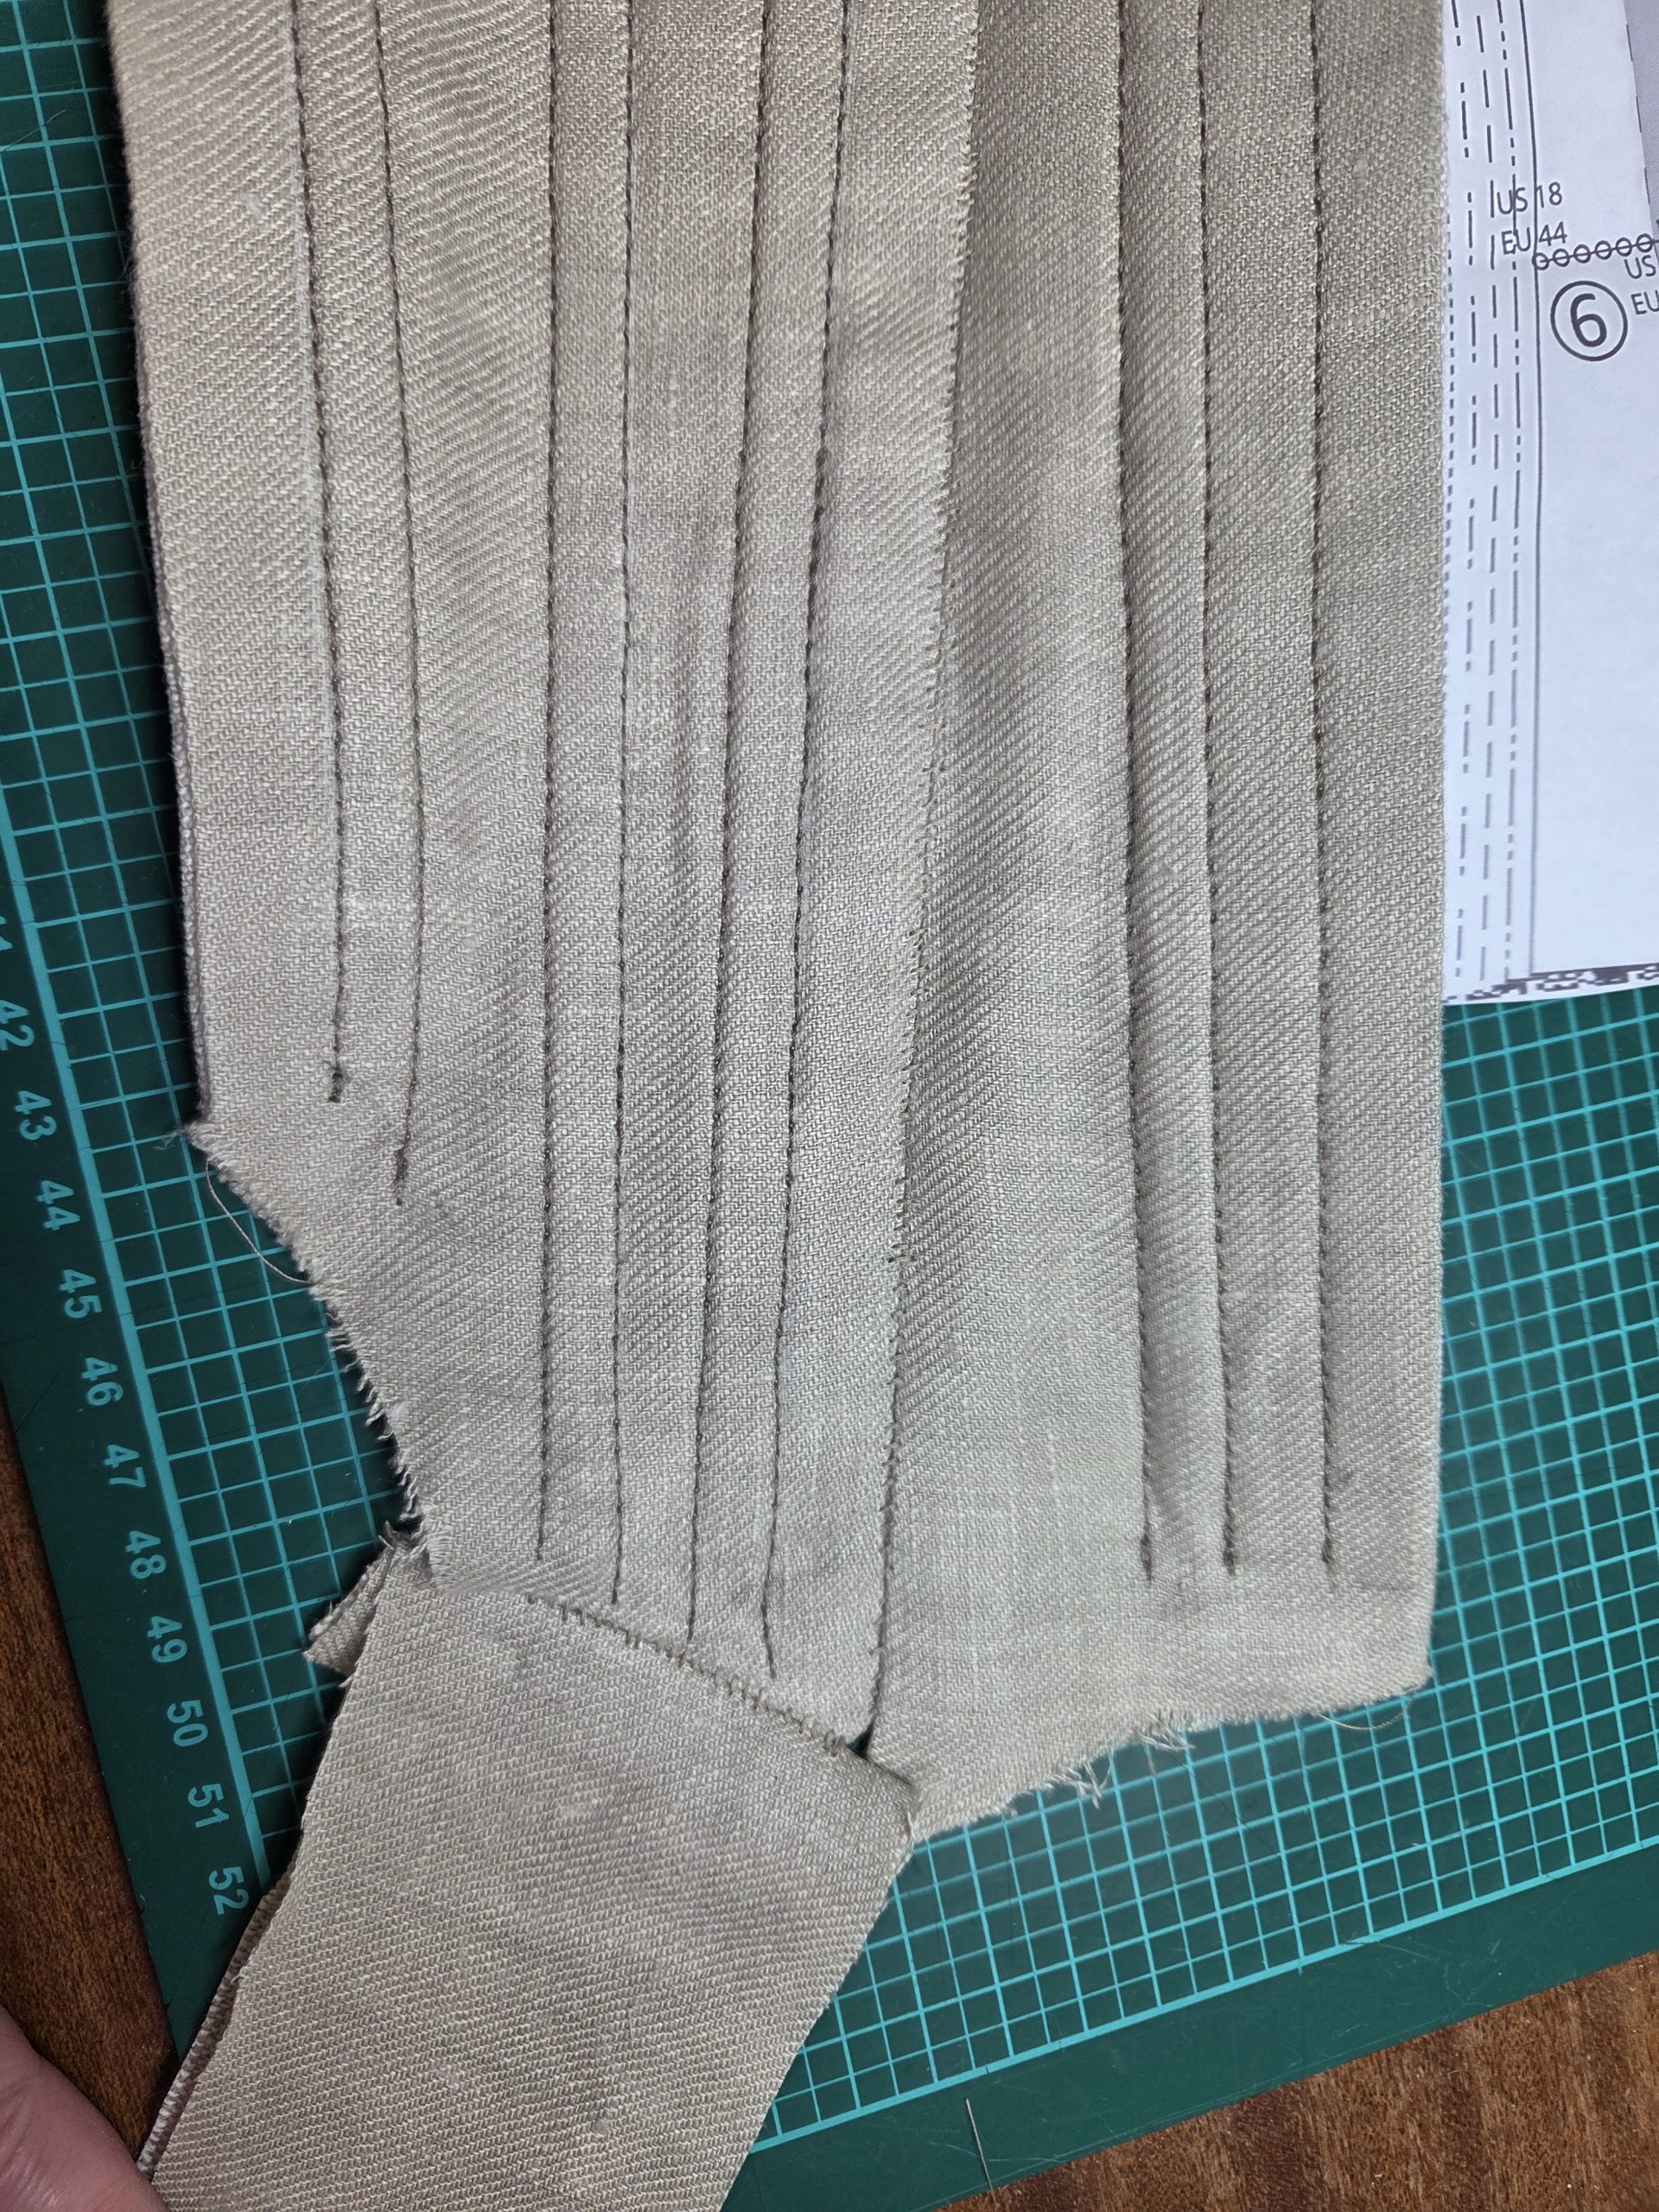
For my sample, I used a single layer of coarse, heavy linen as the base and a lovely linen twill as the top layer. For the boning channels, I chose a contrasting silk buttonhole thread and stitched the channels using a half backstitch.

For more details on 18th-century stays, I warmly recommend these two books: Corsets and Crinolines by Norah Waugh and Patterns of Fashion 5: The Content, Cut, Construction and Context of Bodies, Stays, Hoops and Rumps c. 1595–1795.

It’s time to move directly into cutting our fabrics and starting to sew. As always, we’ll follow the pattern instructions step by step with many pictures, followed by a short detour on how to sew some of the corset’s trickiest and most time‑consuming parts with the sewing machine.

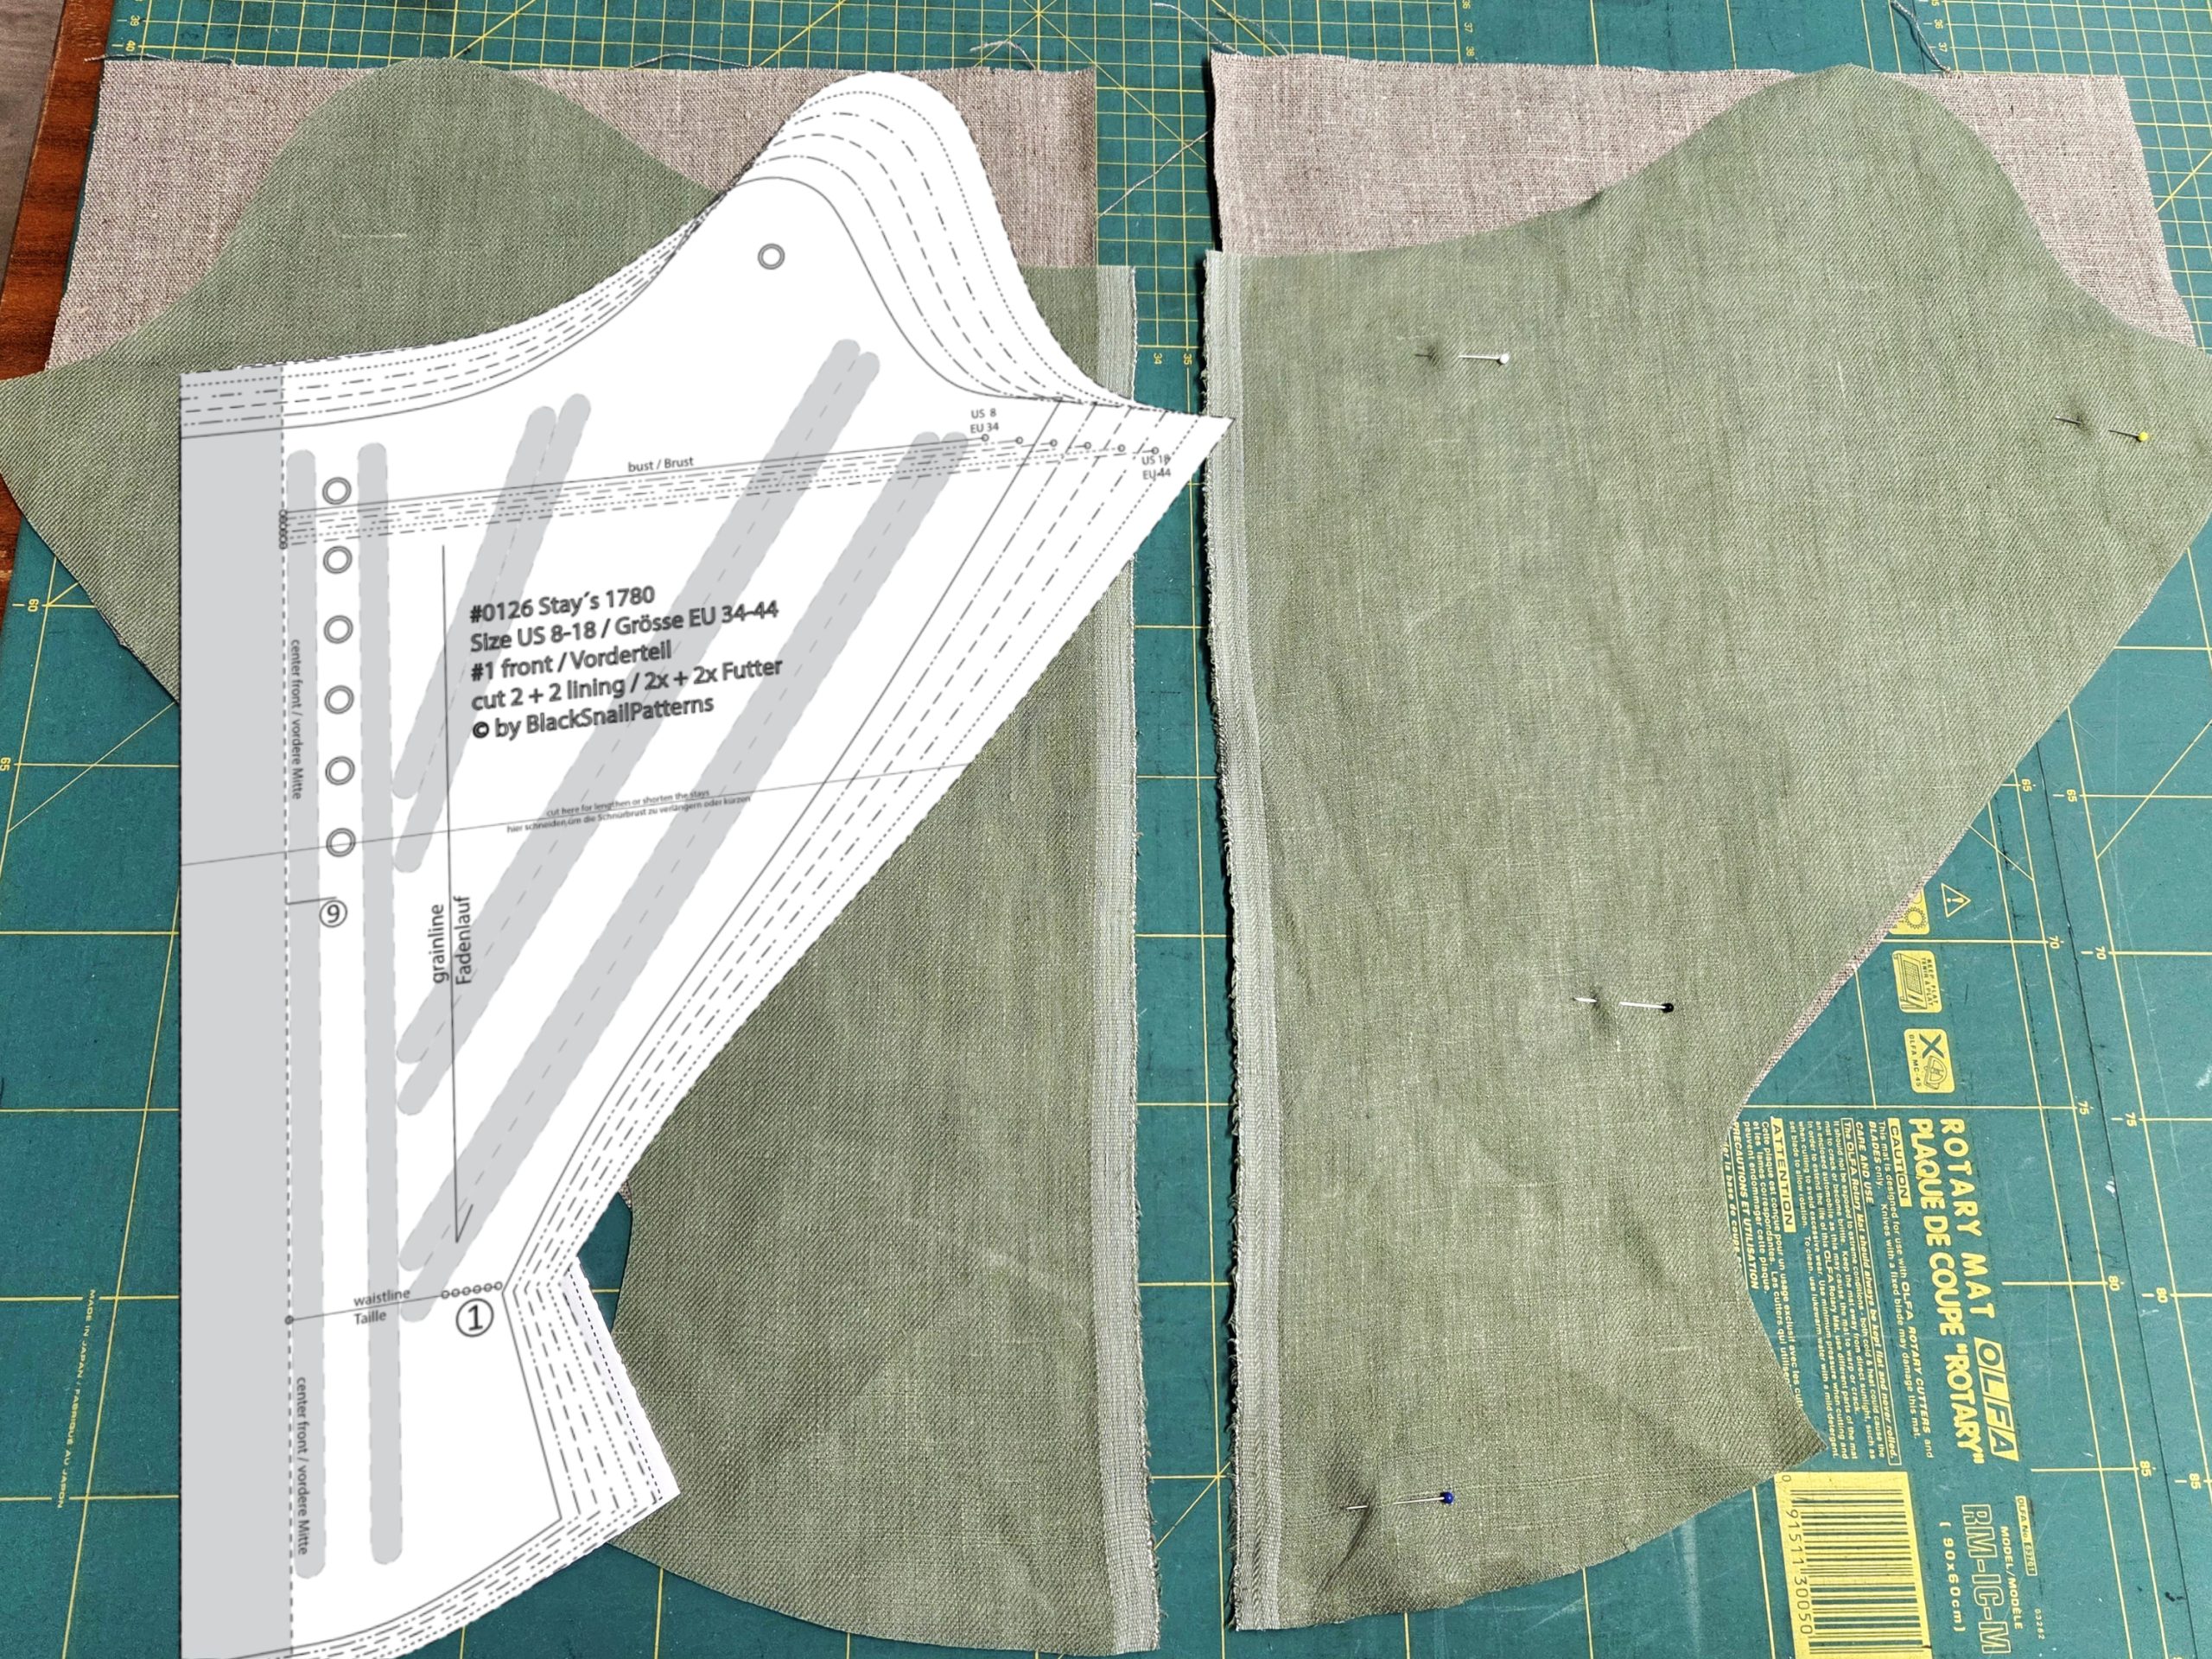
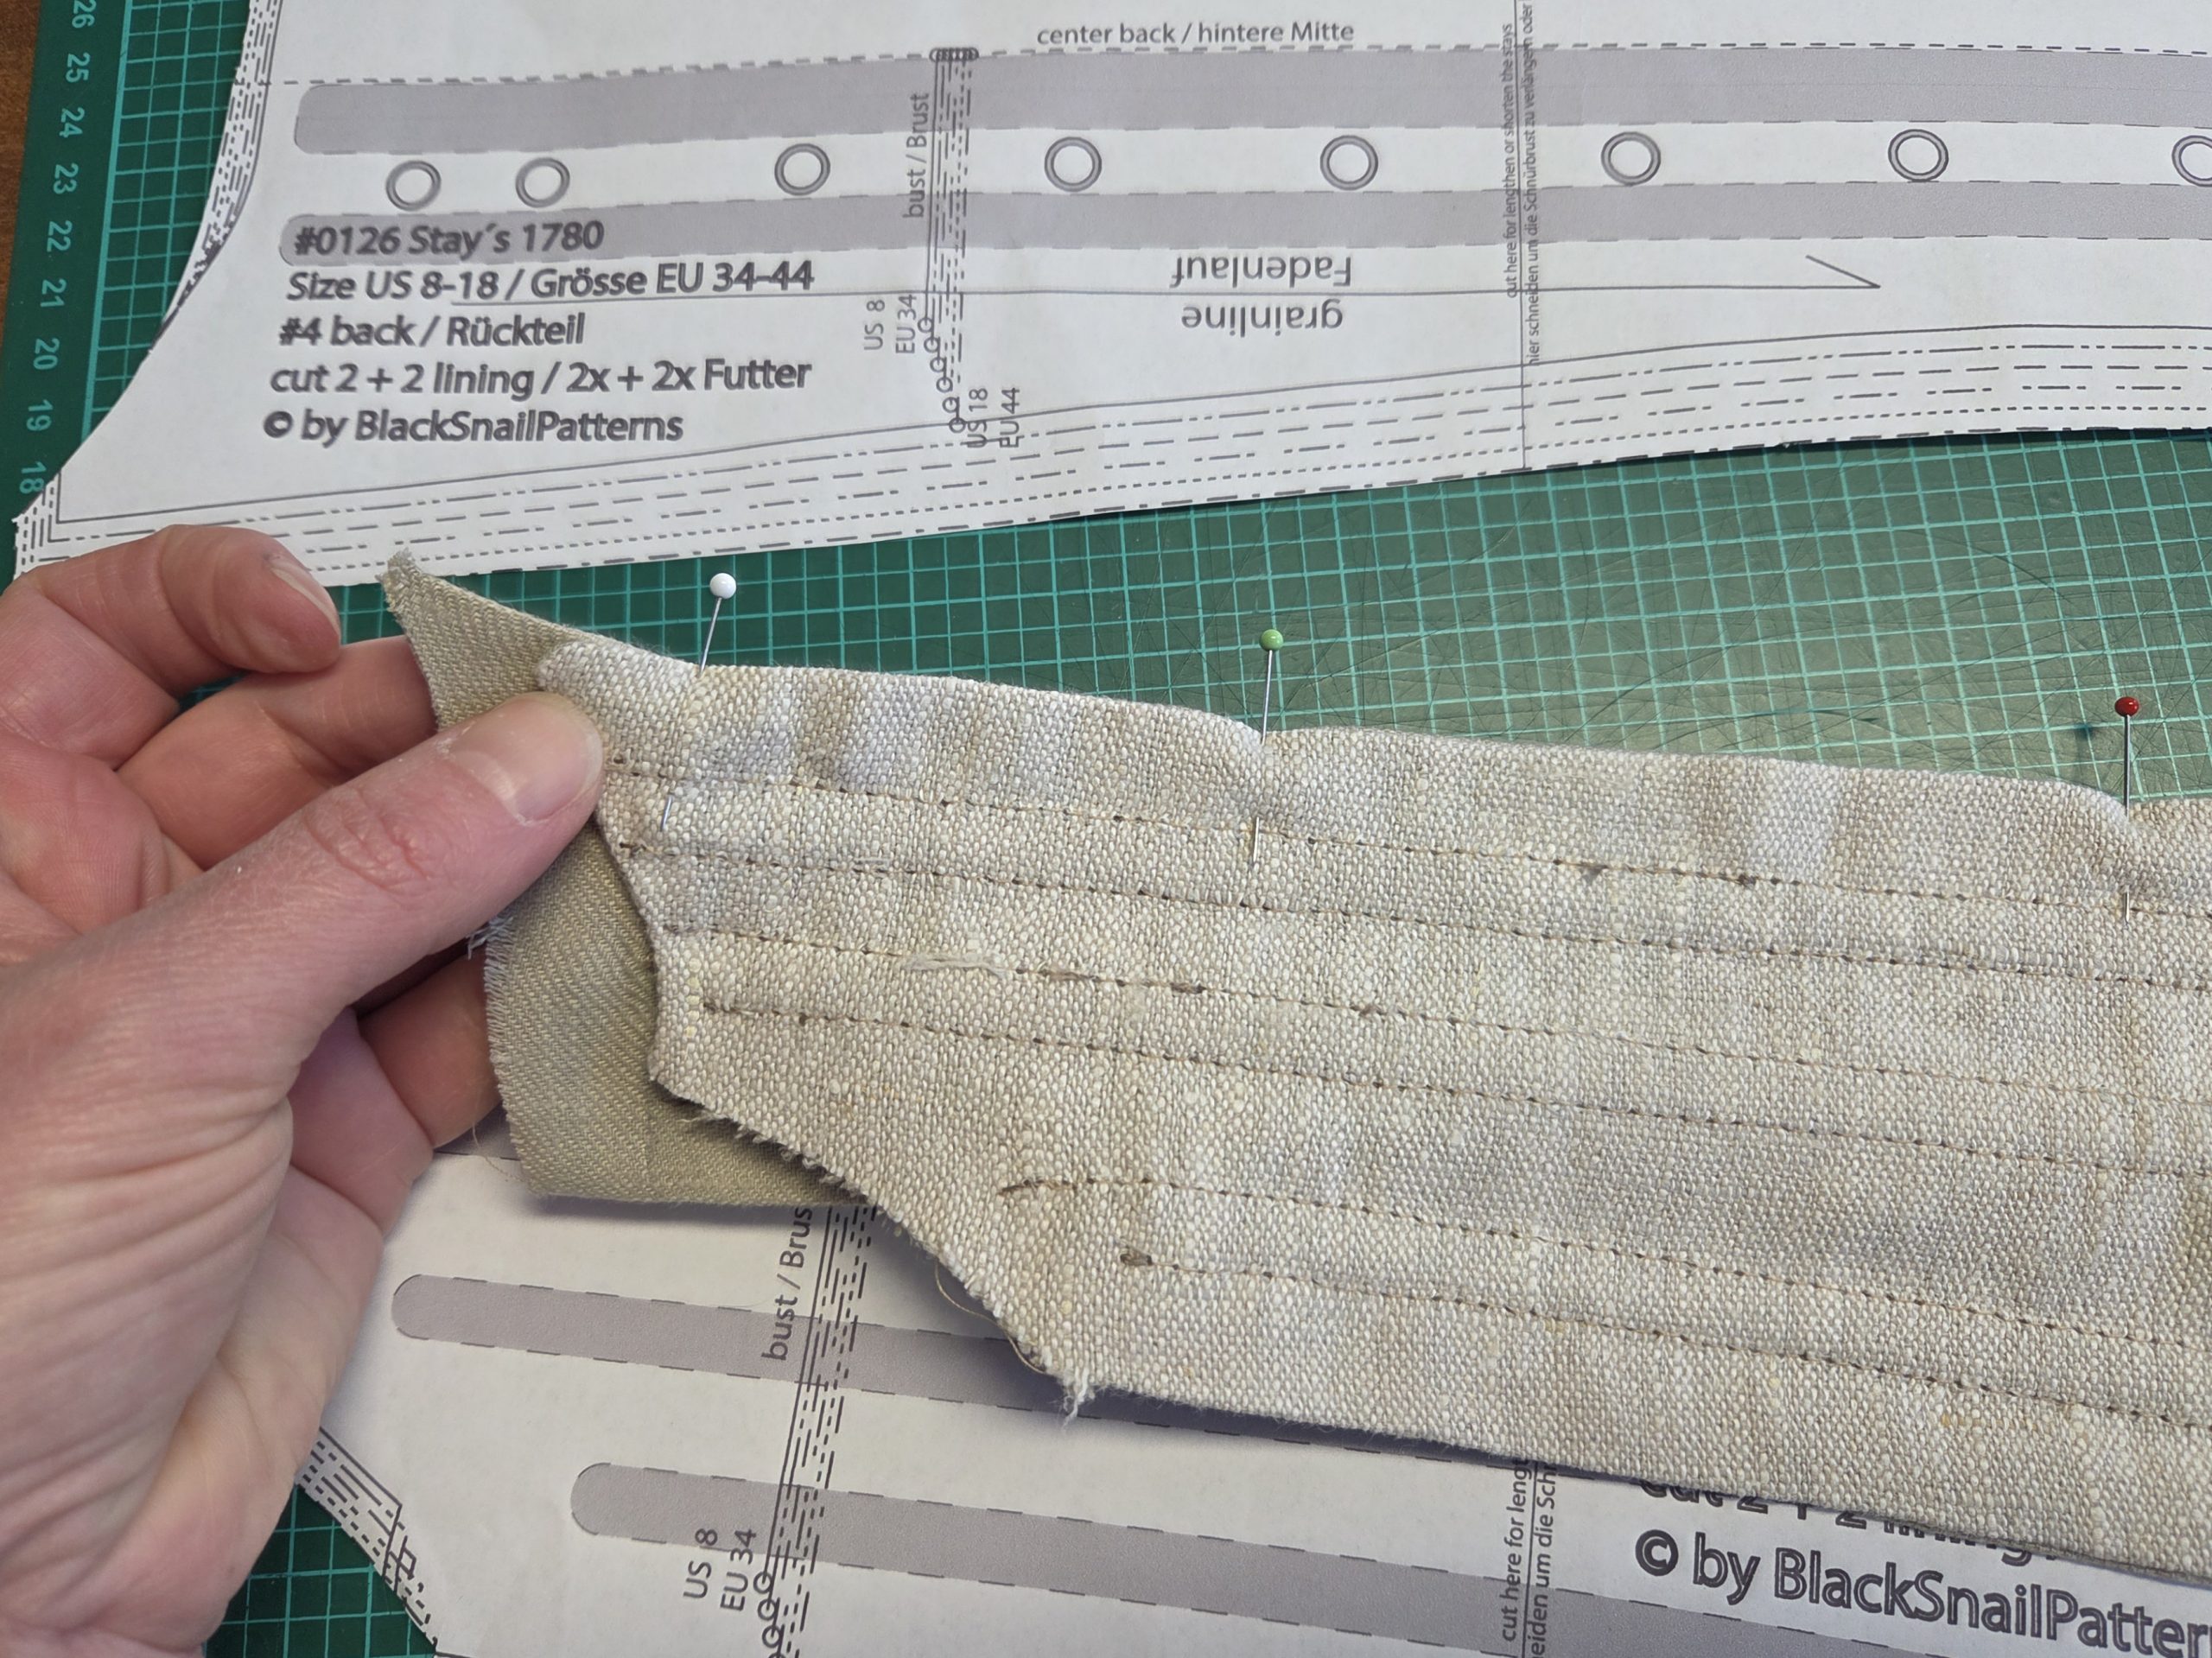
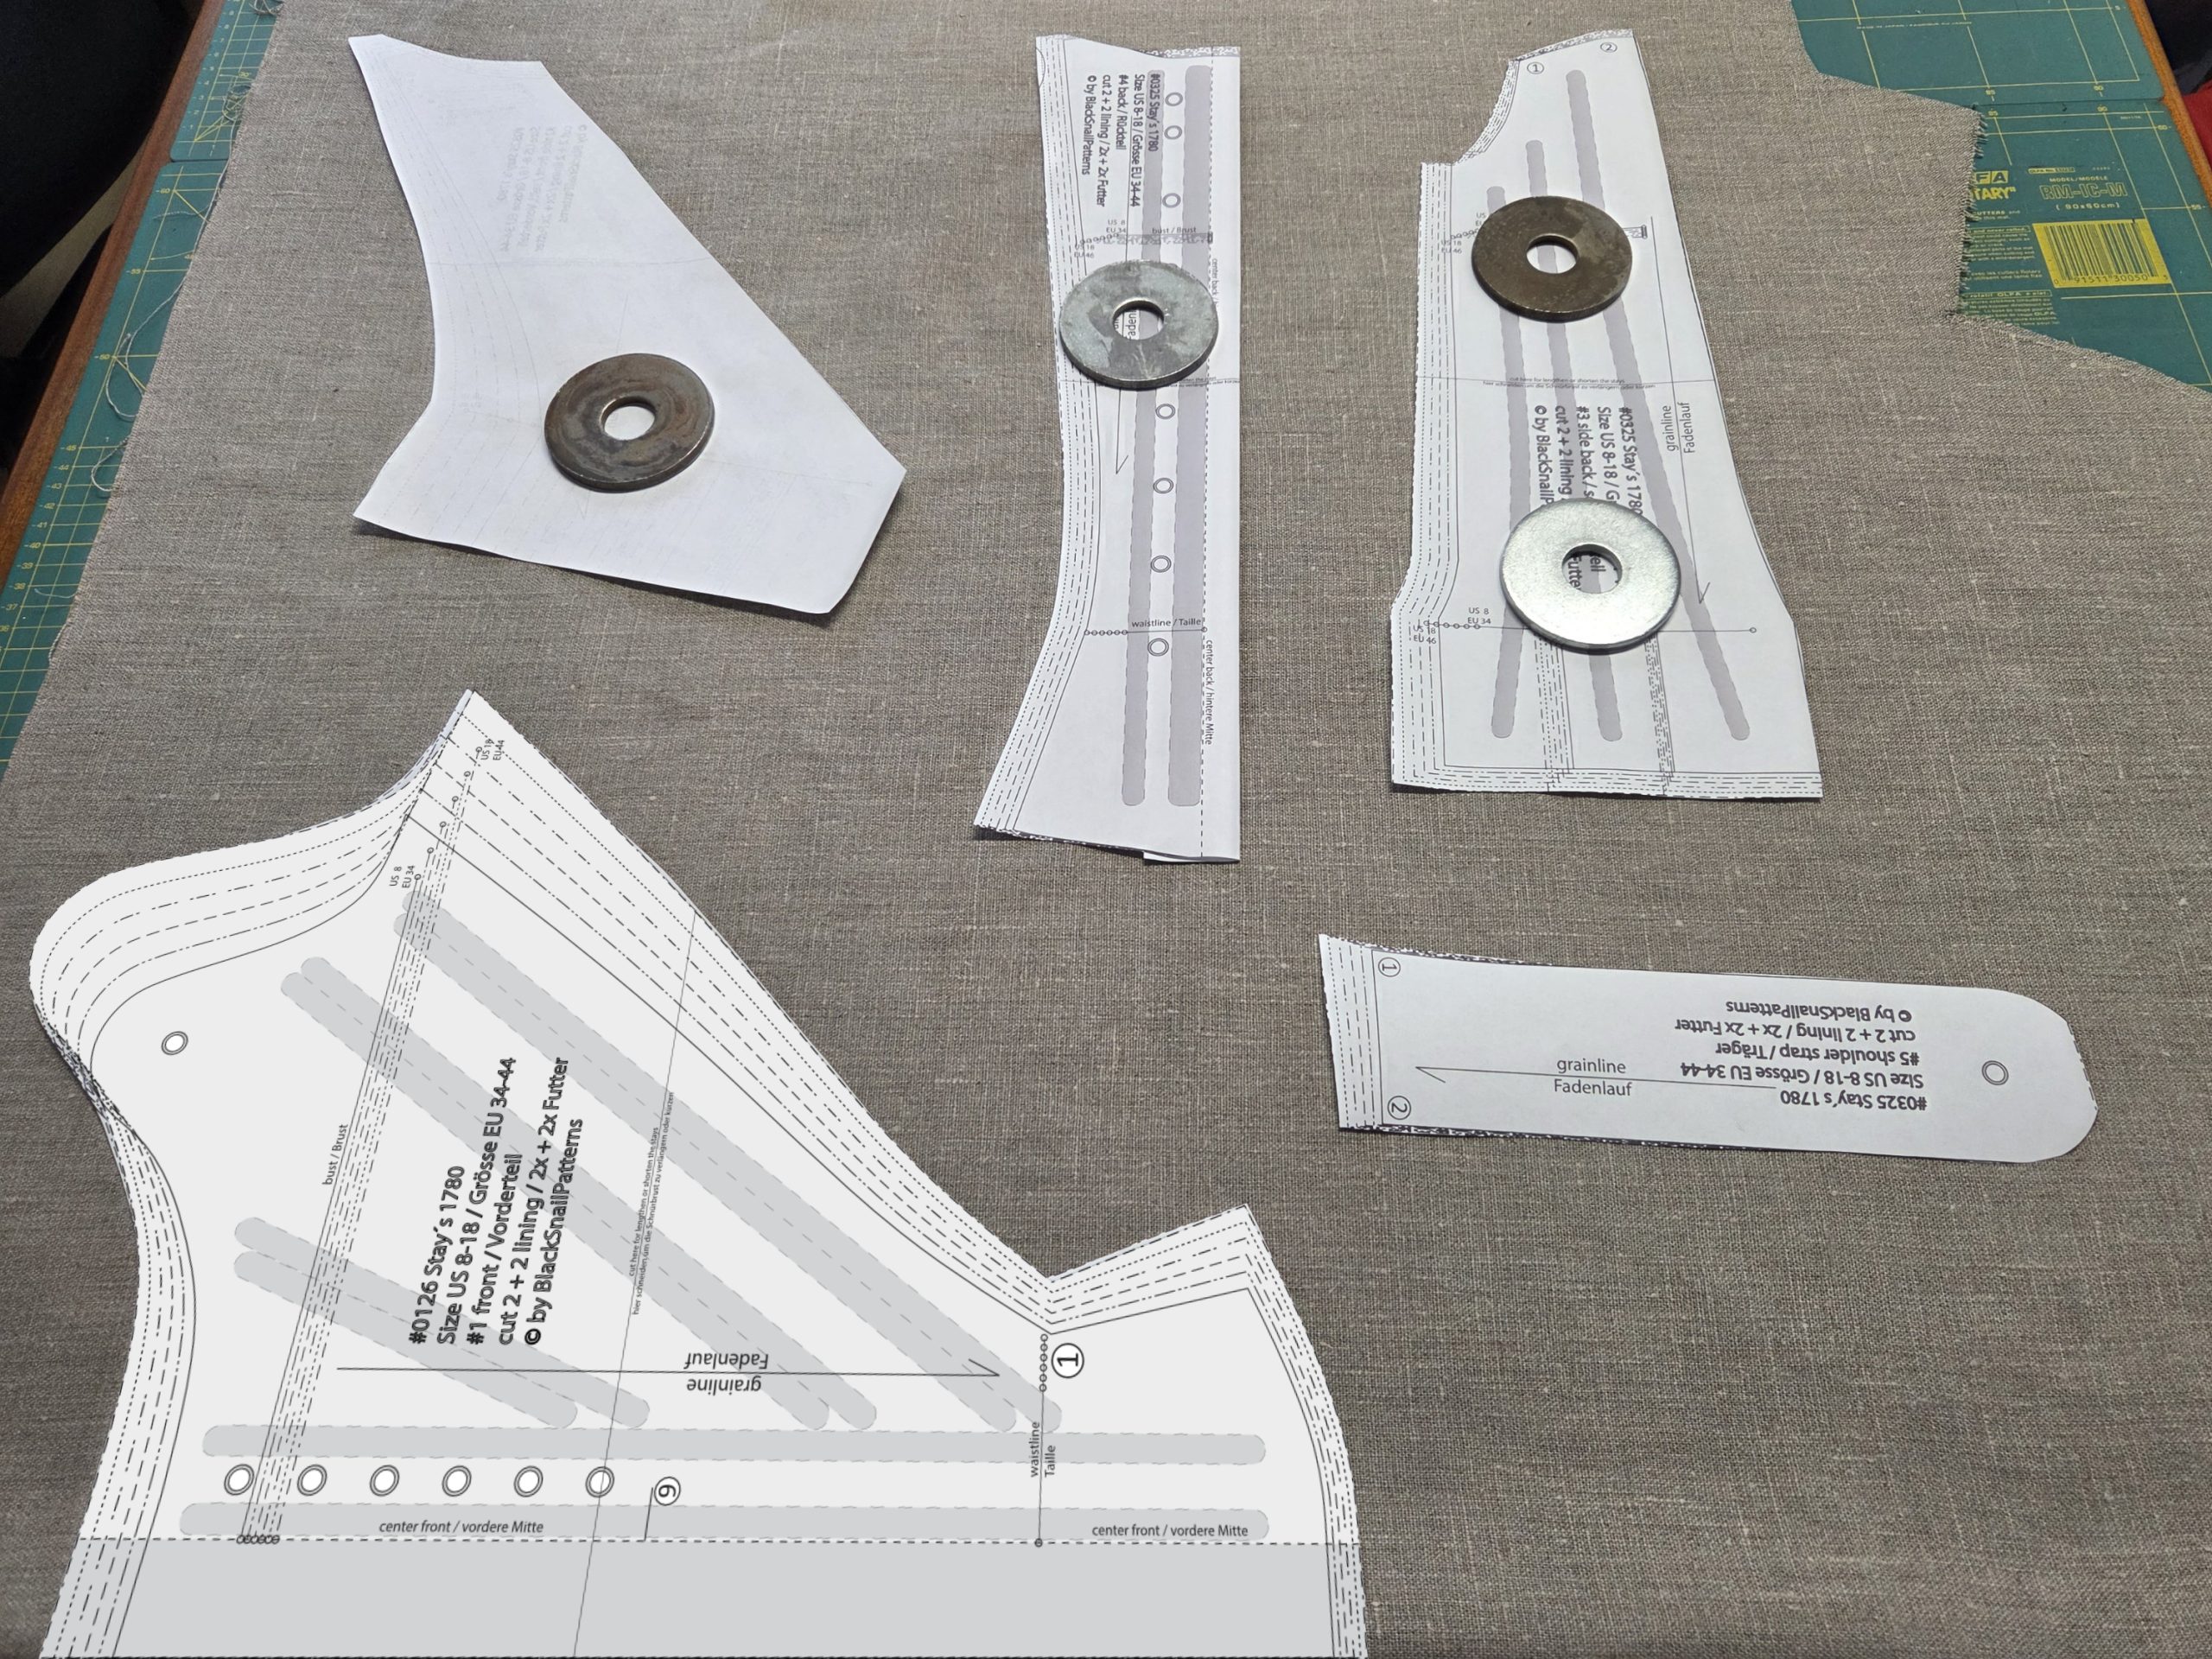
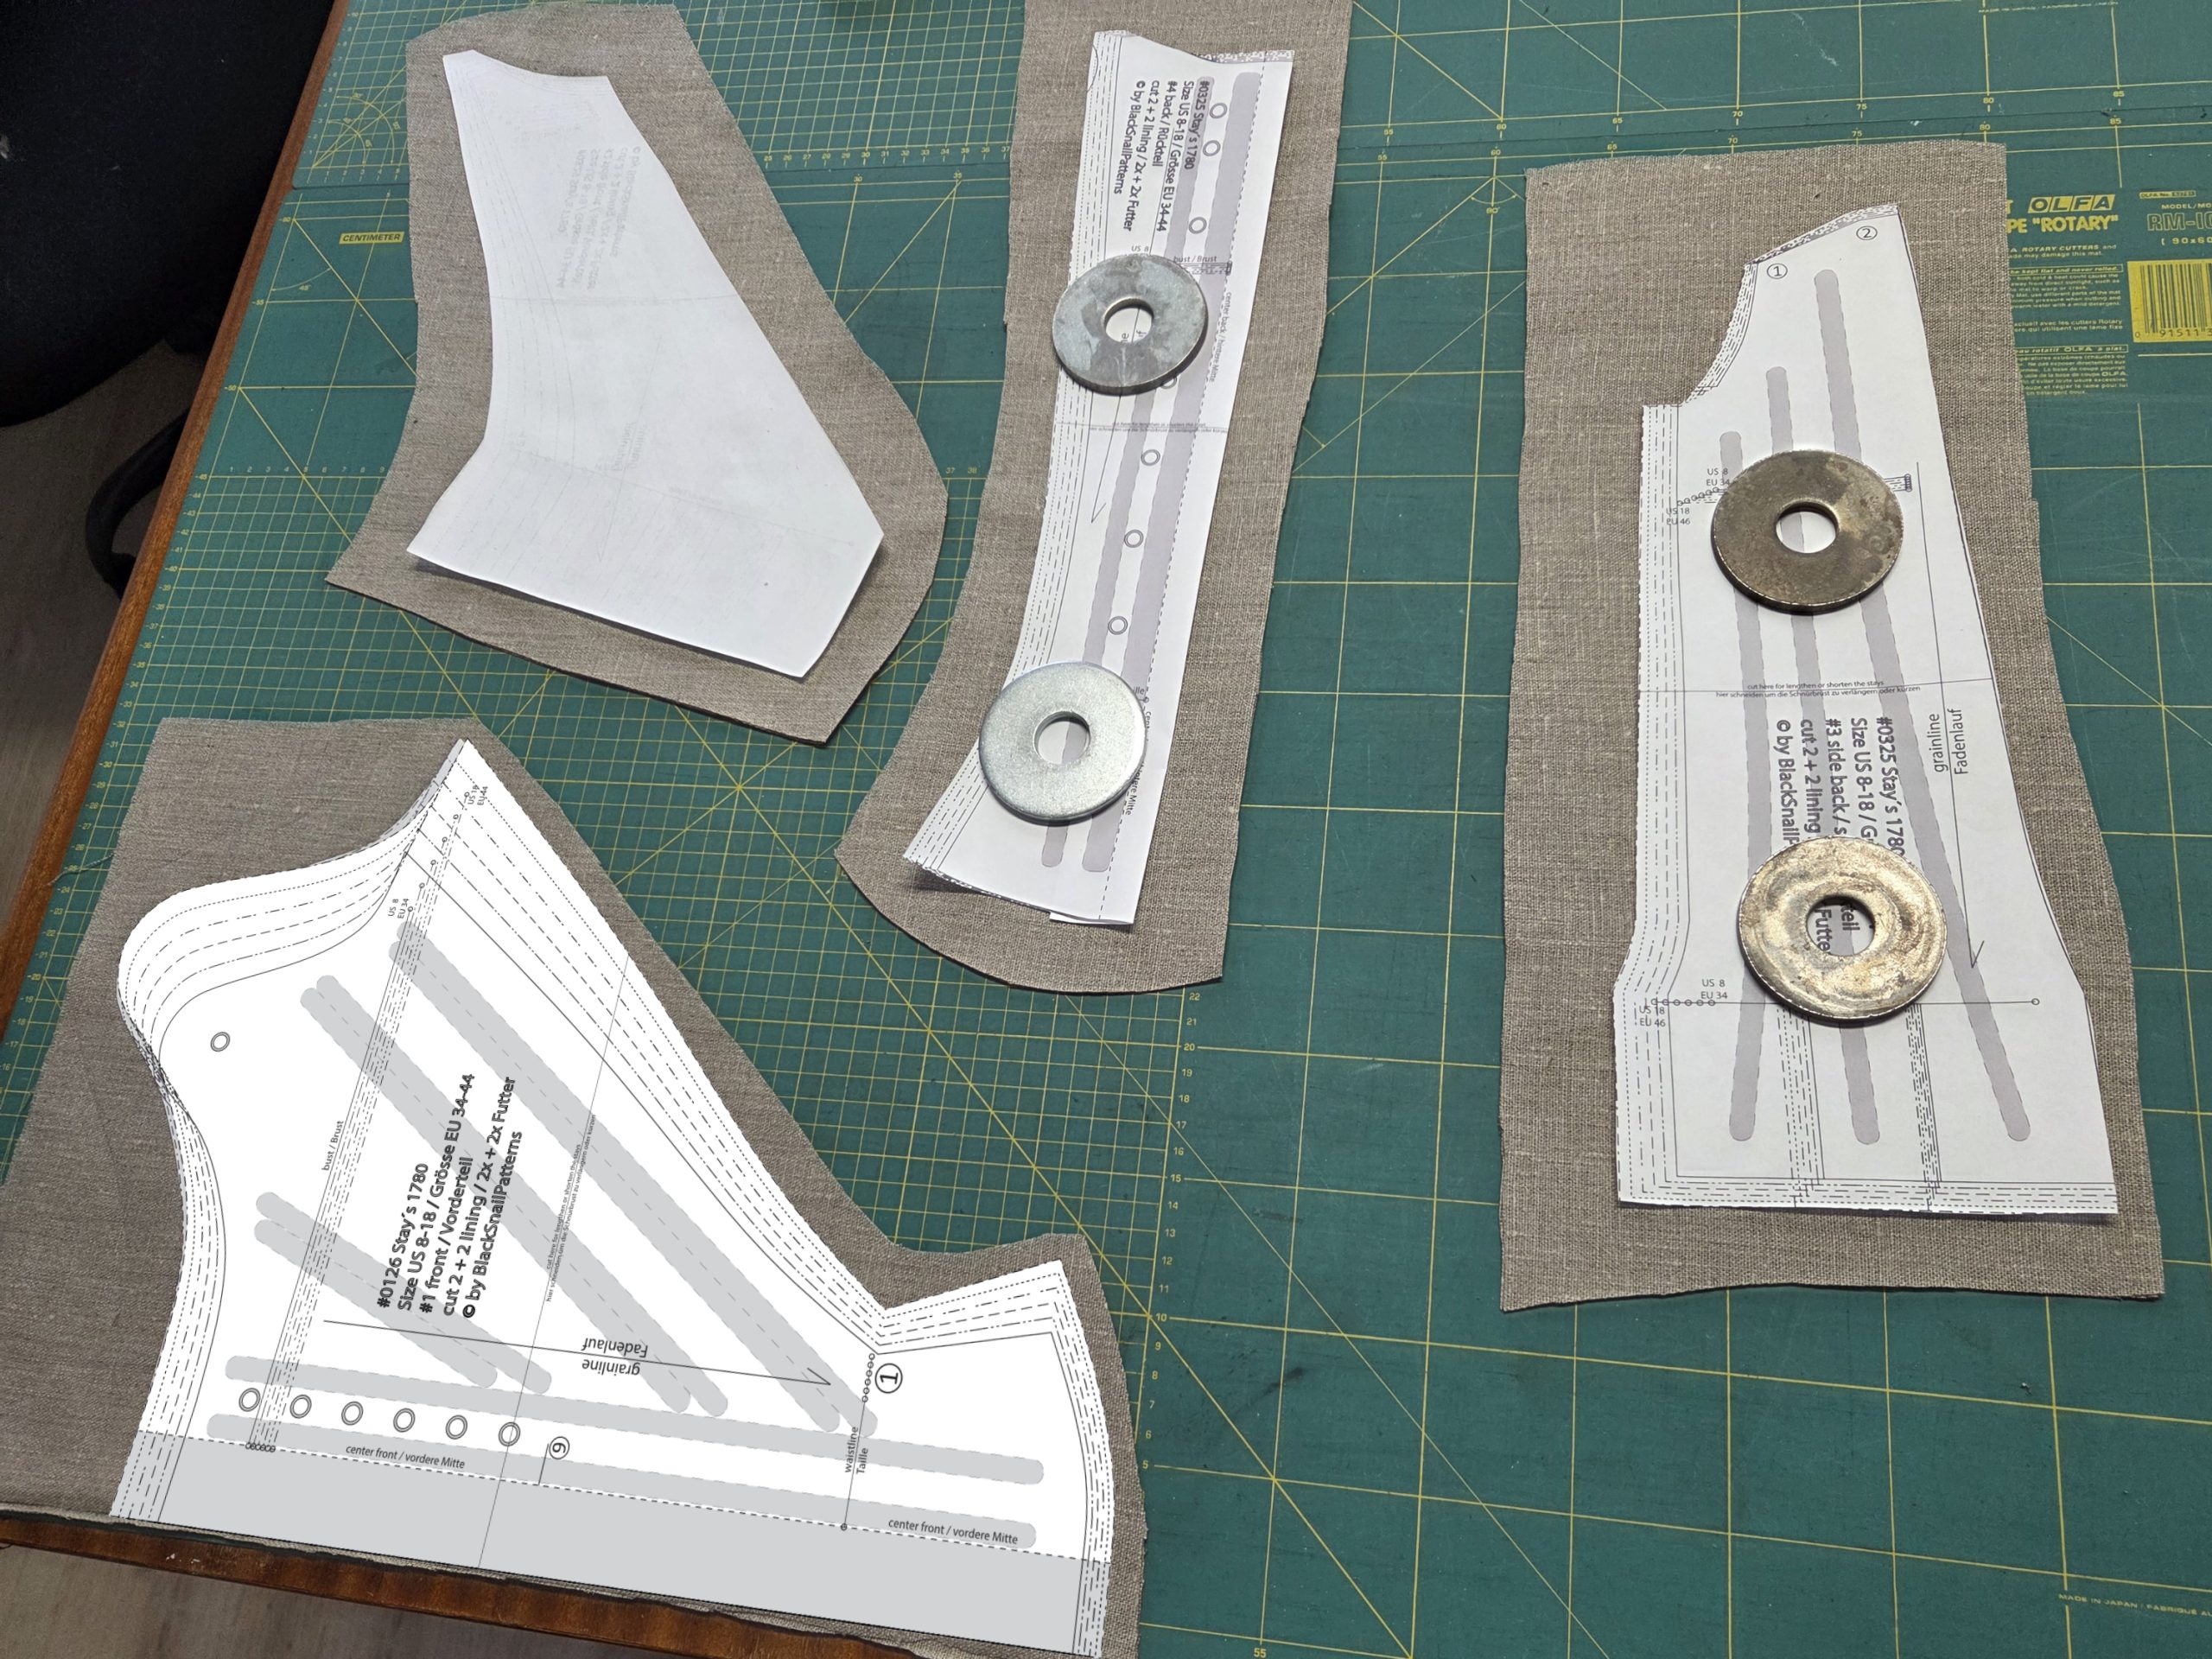
(1) Cut out all pieces: basic layer (one or two layers), fashion fabric, and the lining. I decided to cut my pieces from fabric slightly larger than the pattern pieces, which in the end wasn’t necessary. I was simply worried that the pieces would shrink once the boning was added.

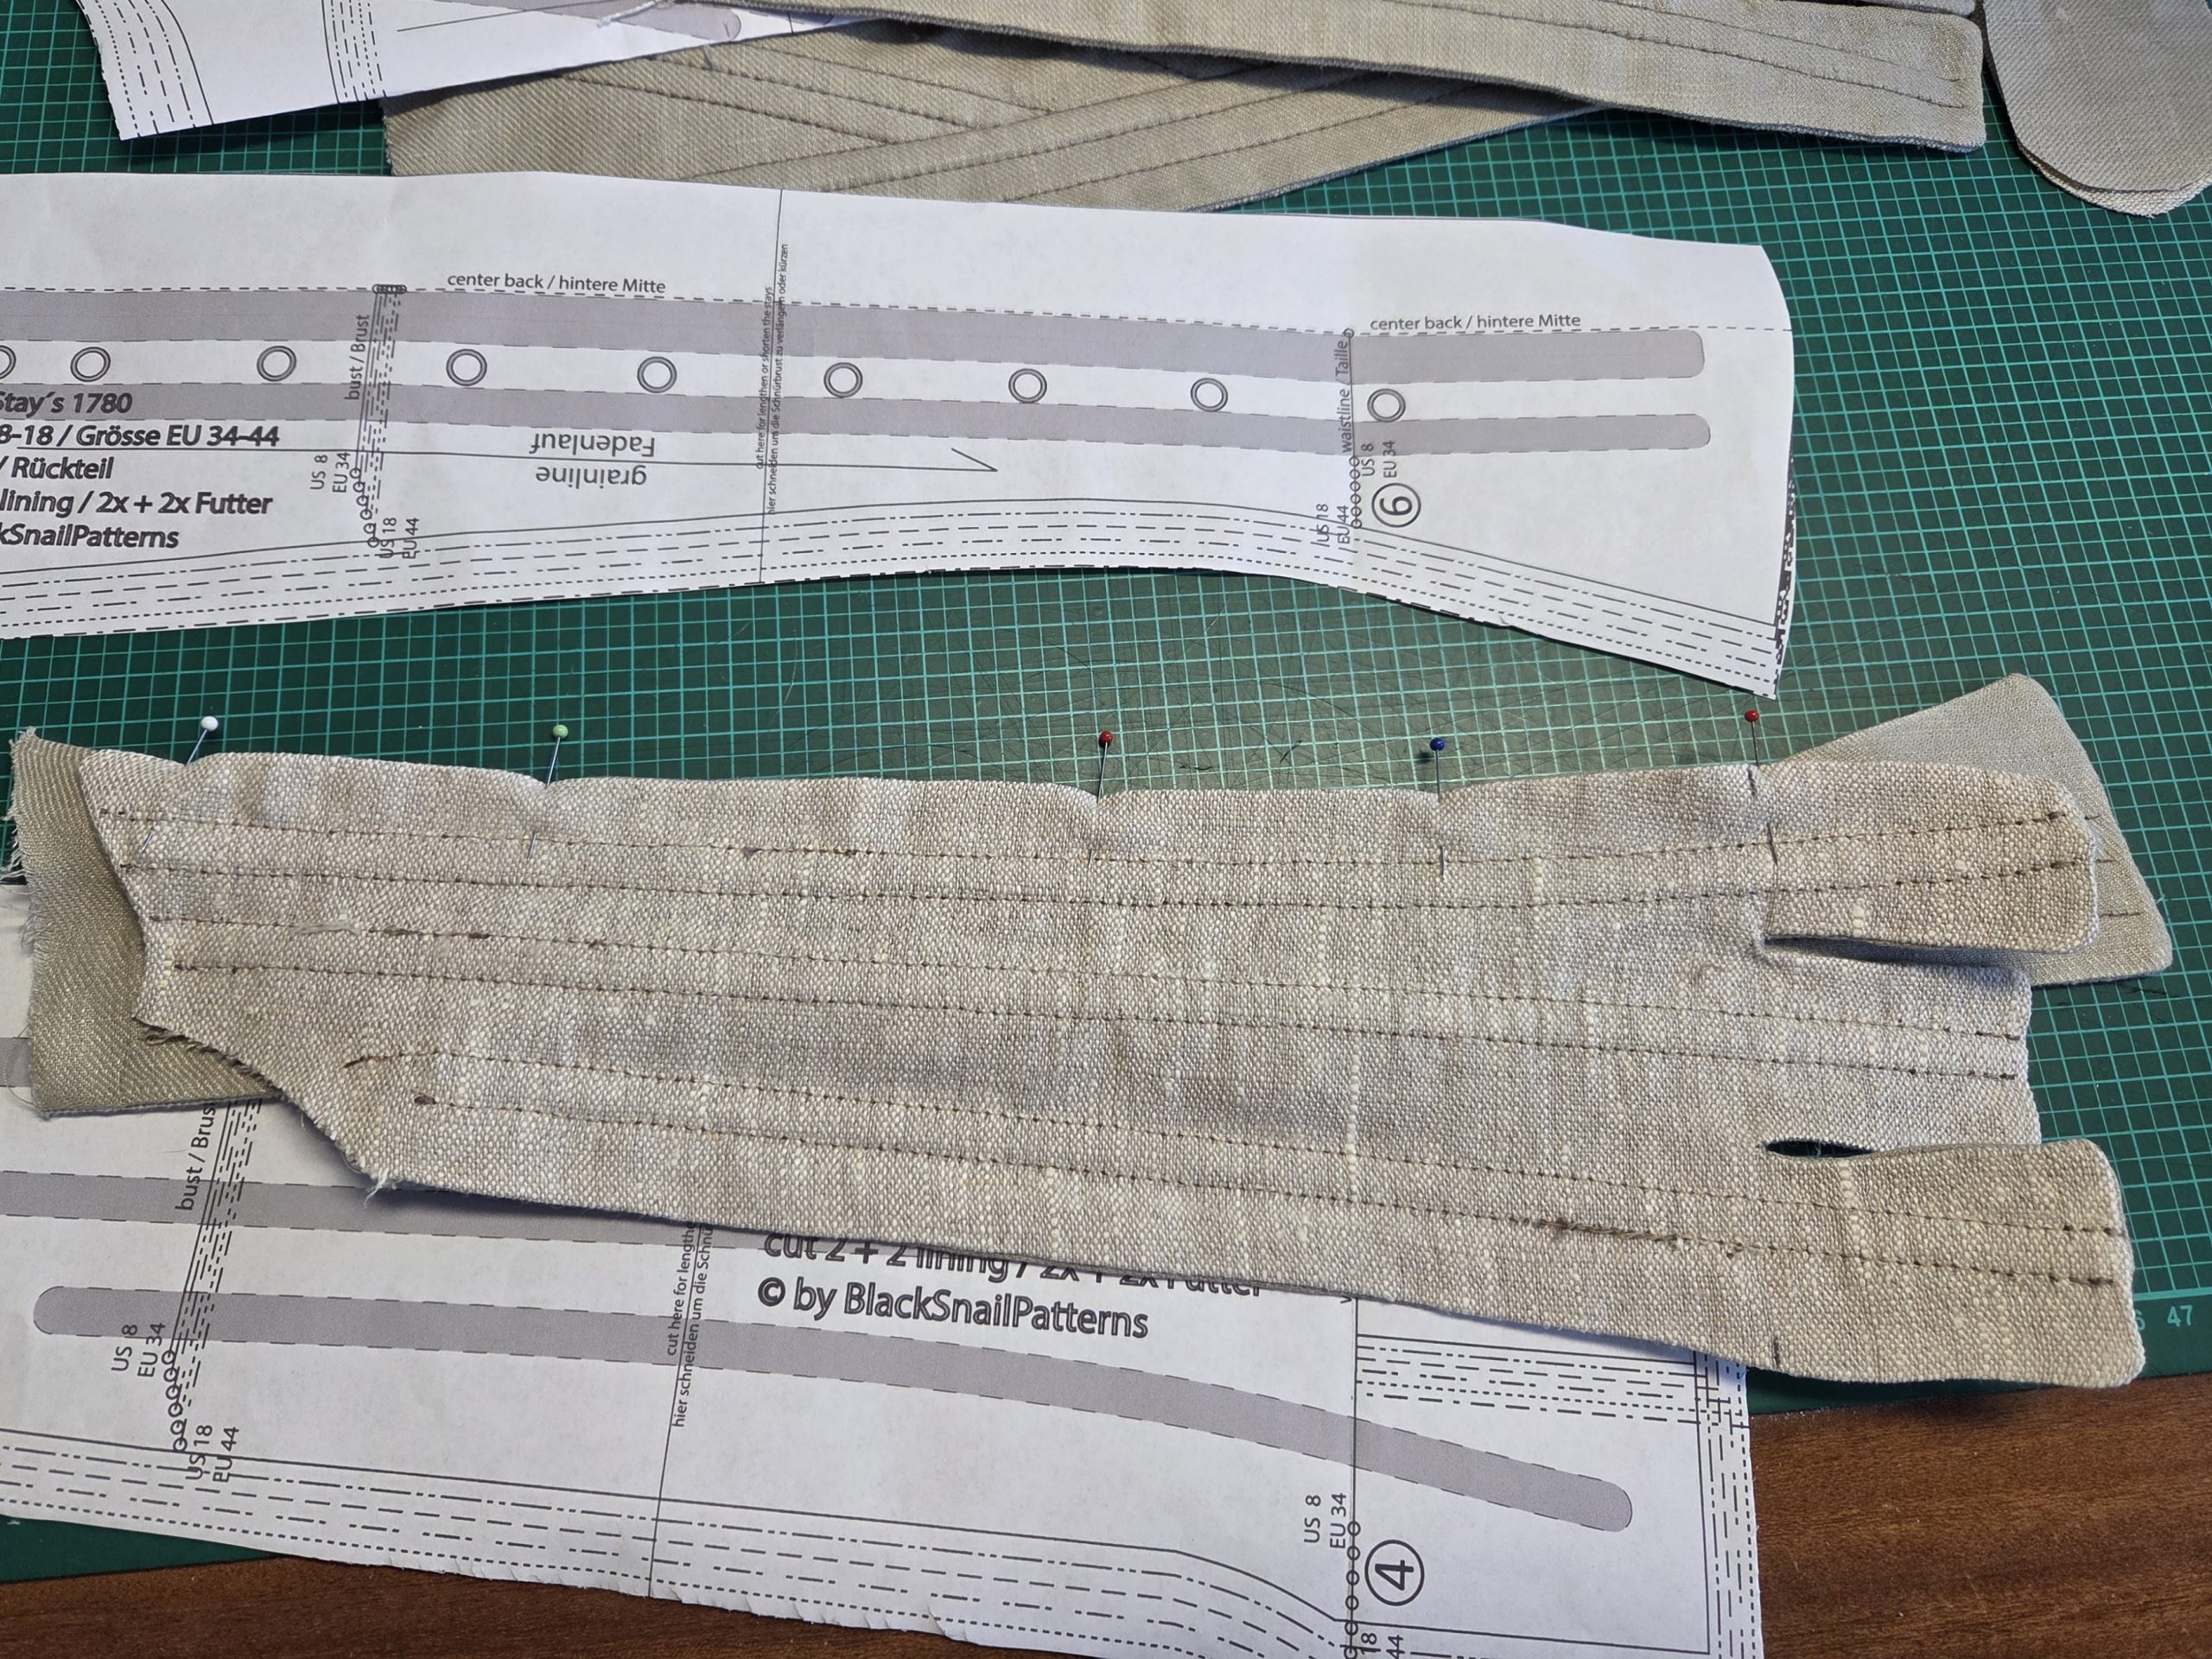
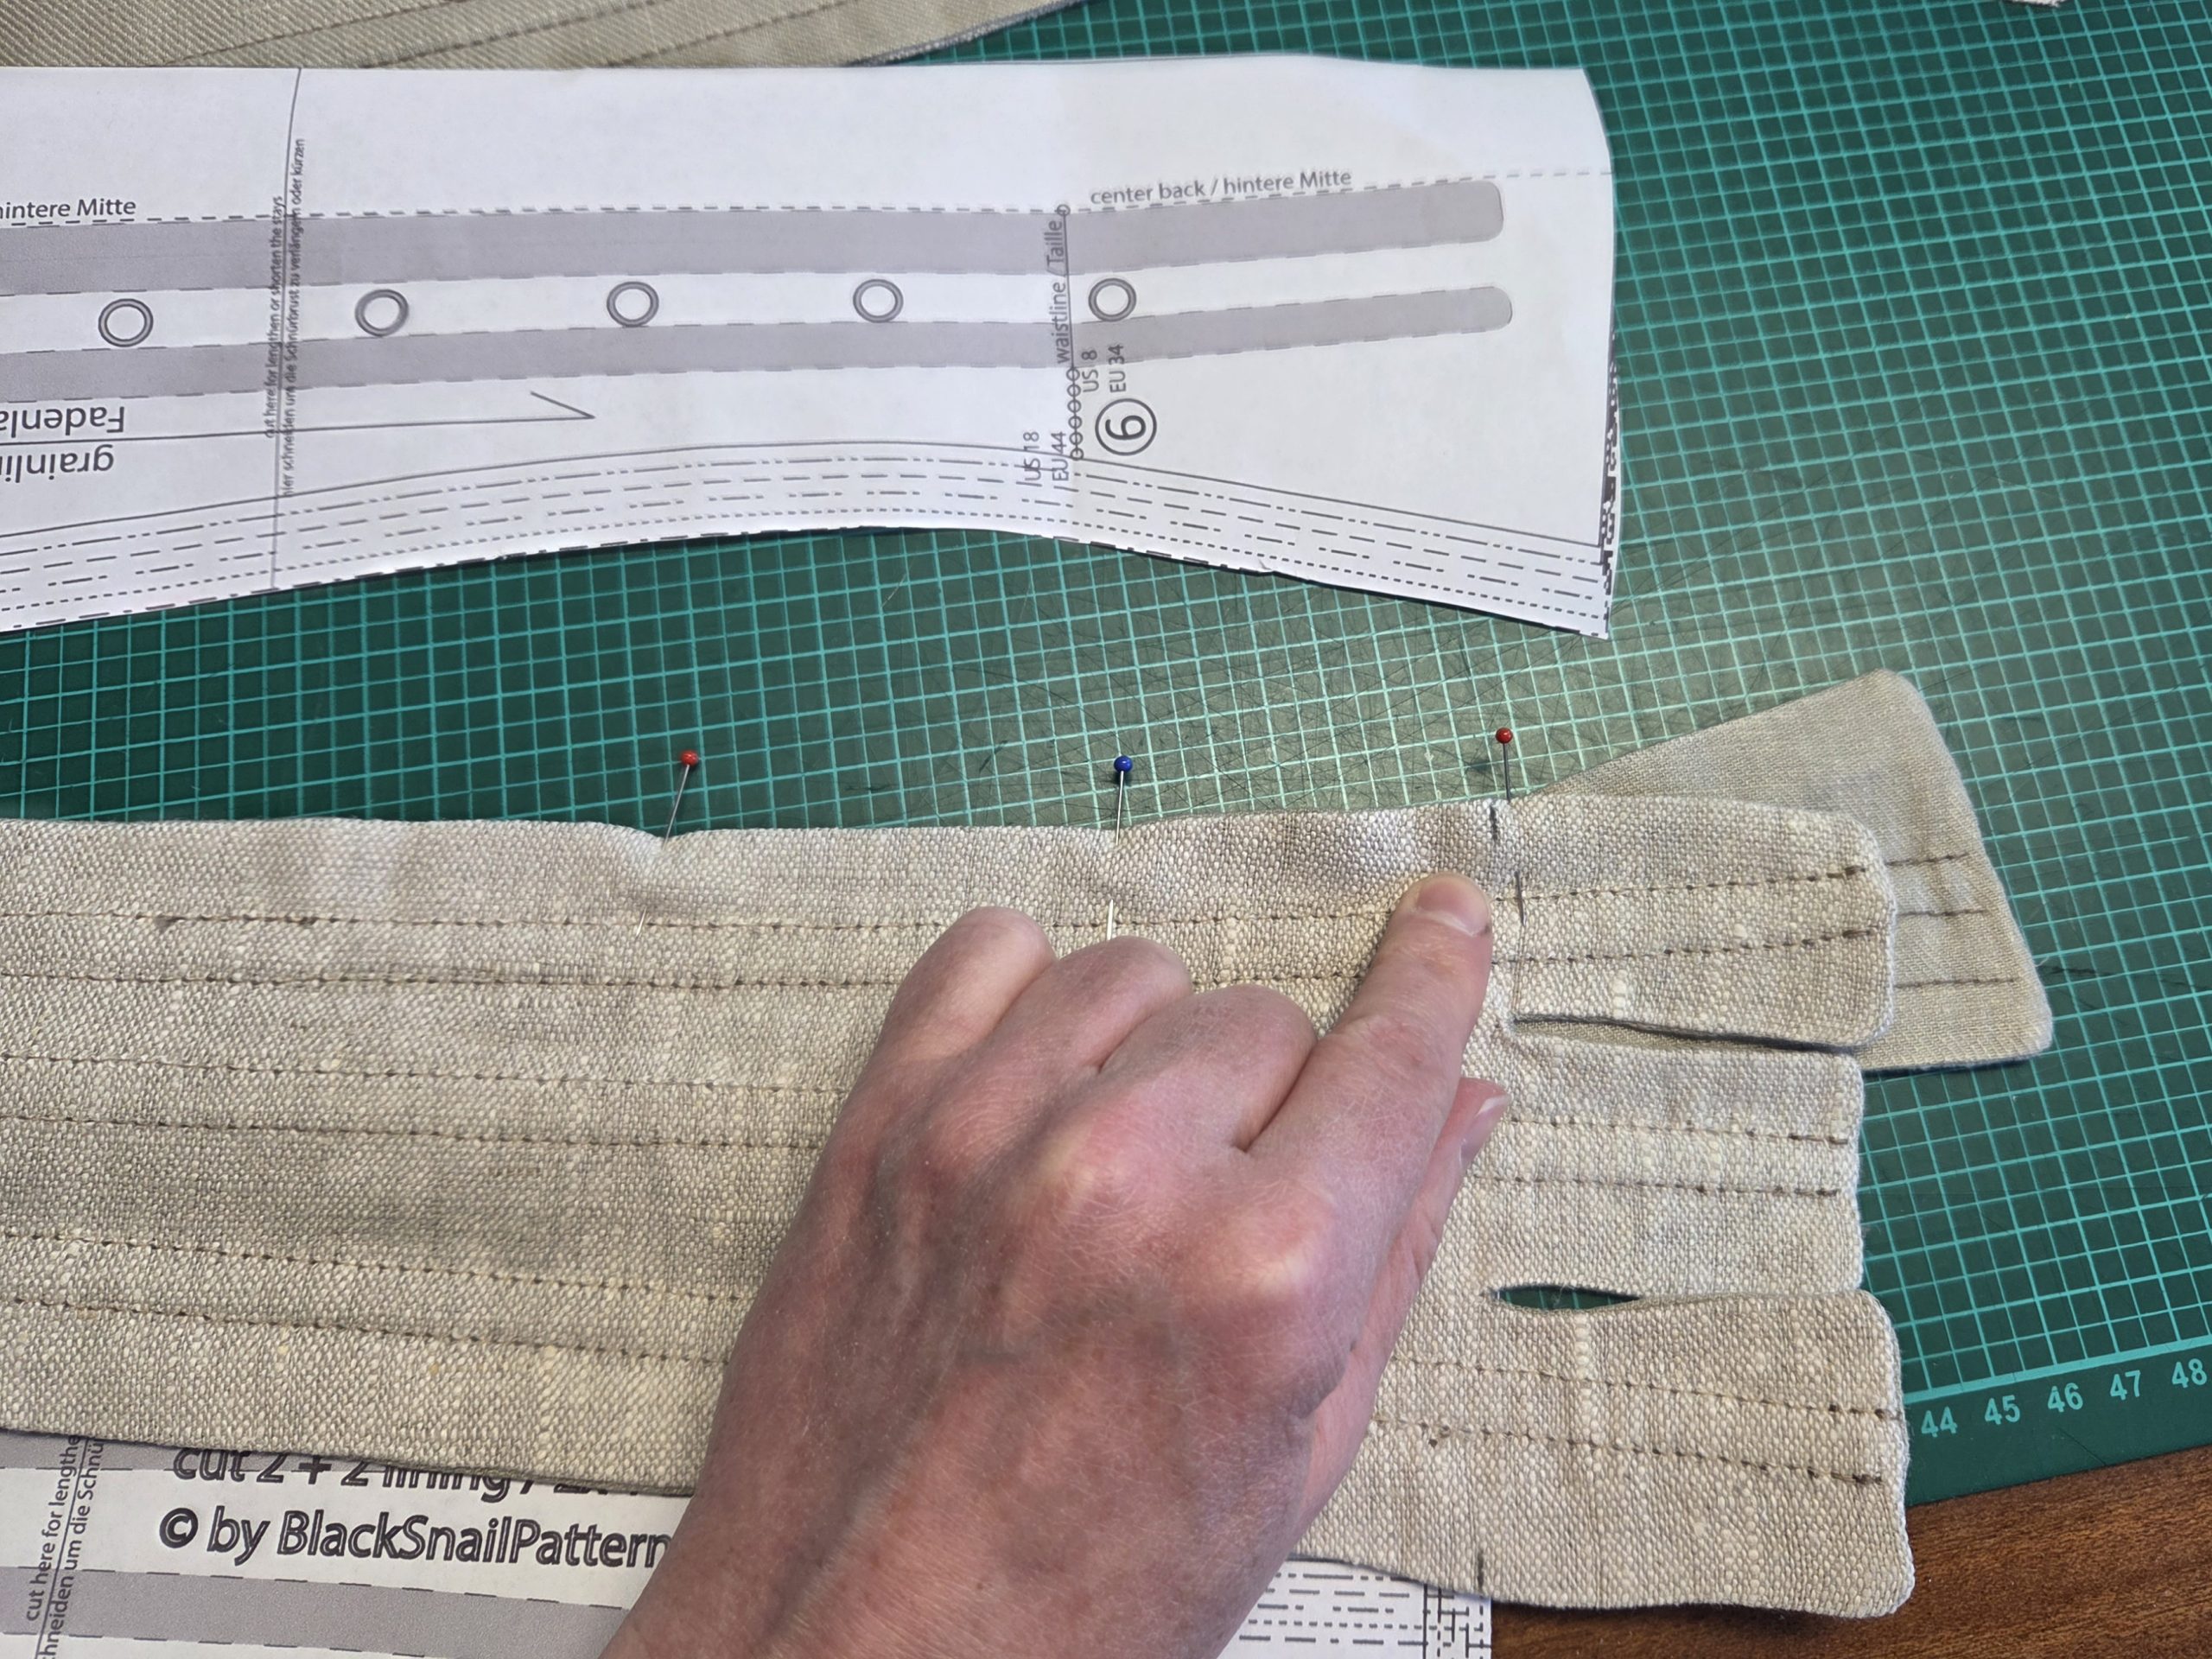
Line up the basic layer with the fashion fabric, wrong sides together, optionally the second basic layer in between. Mark the stitching lines; seam allowance is 1 1/4”  (3cm) along the center front and center back, 5/8” (1,5cm) along all other edges, and baste along the stitching line.
Continue reading

#0126 Late 18th-century Stays Part 2 (Step 6-12)

Part 1 ( Step 1-5)

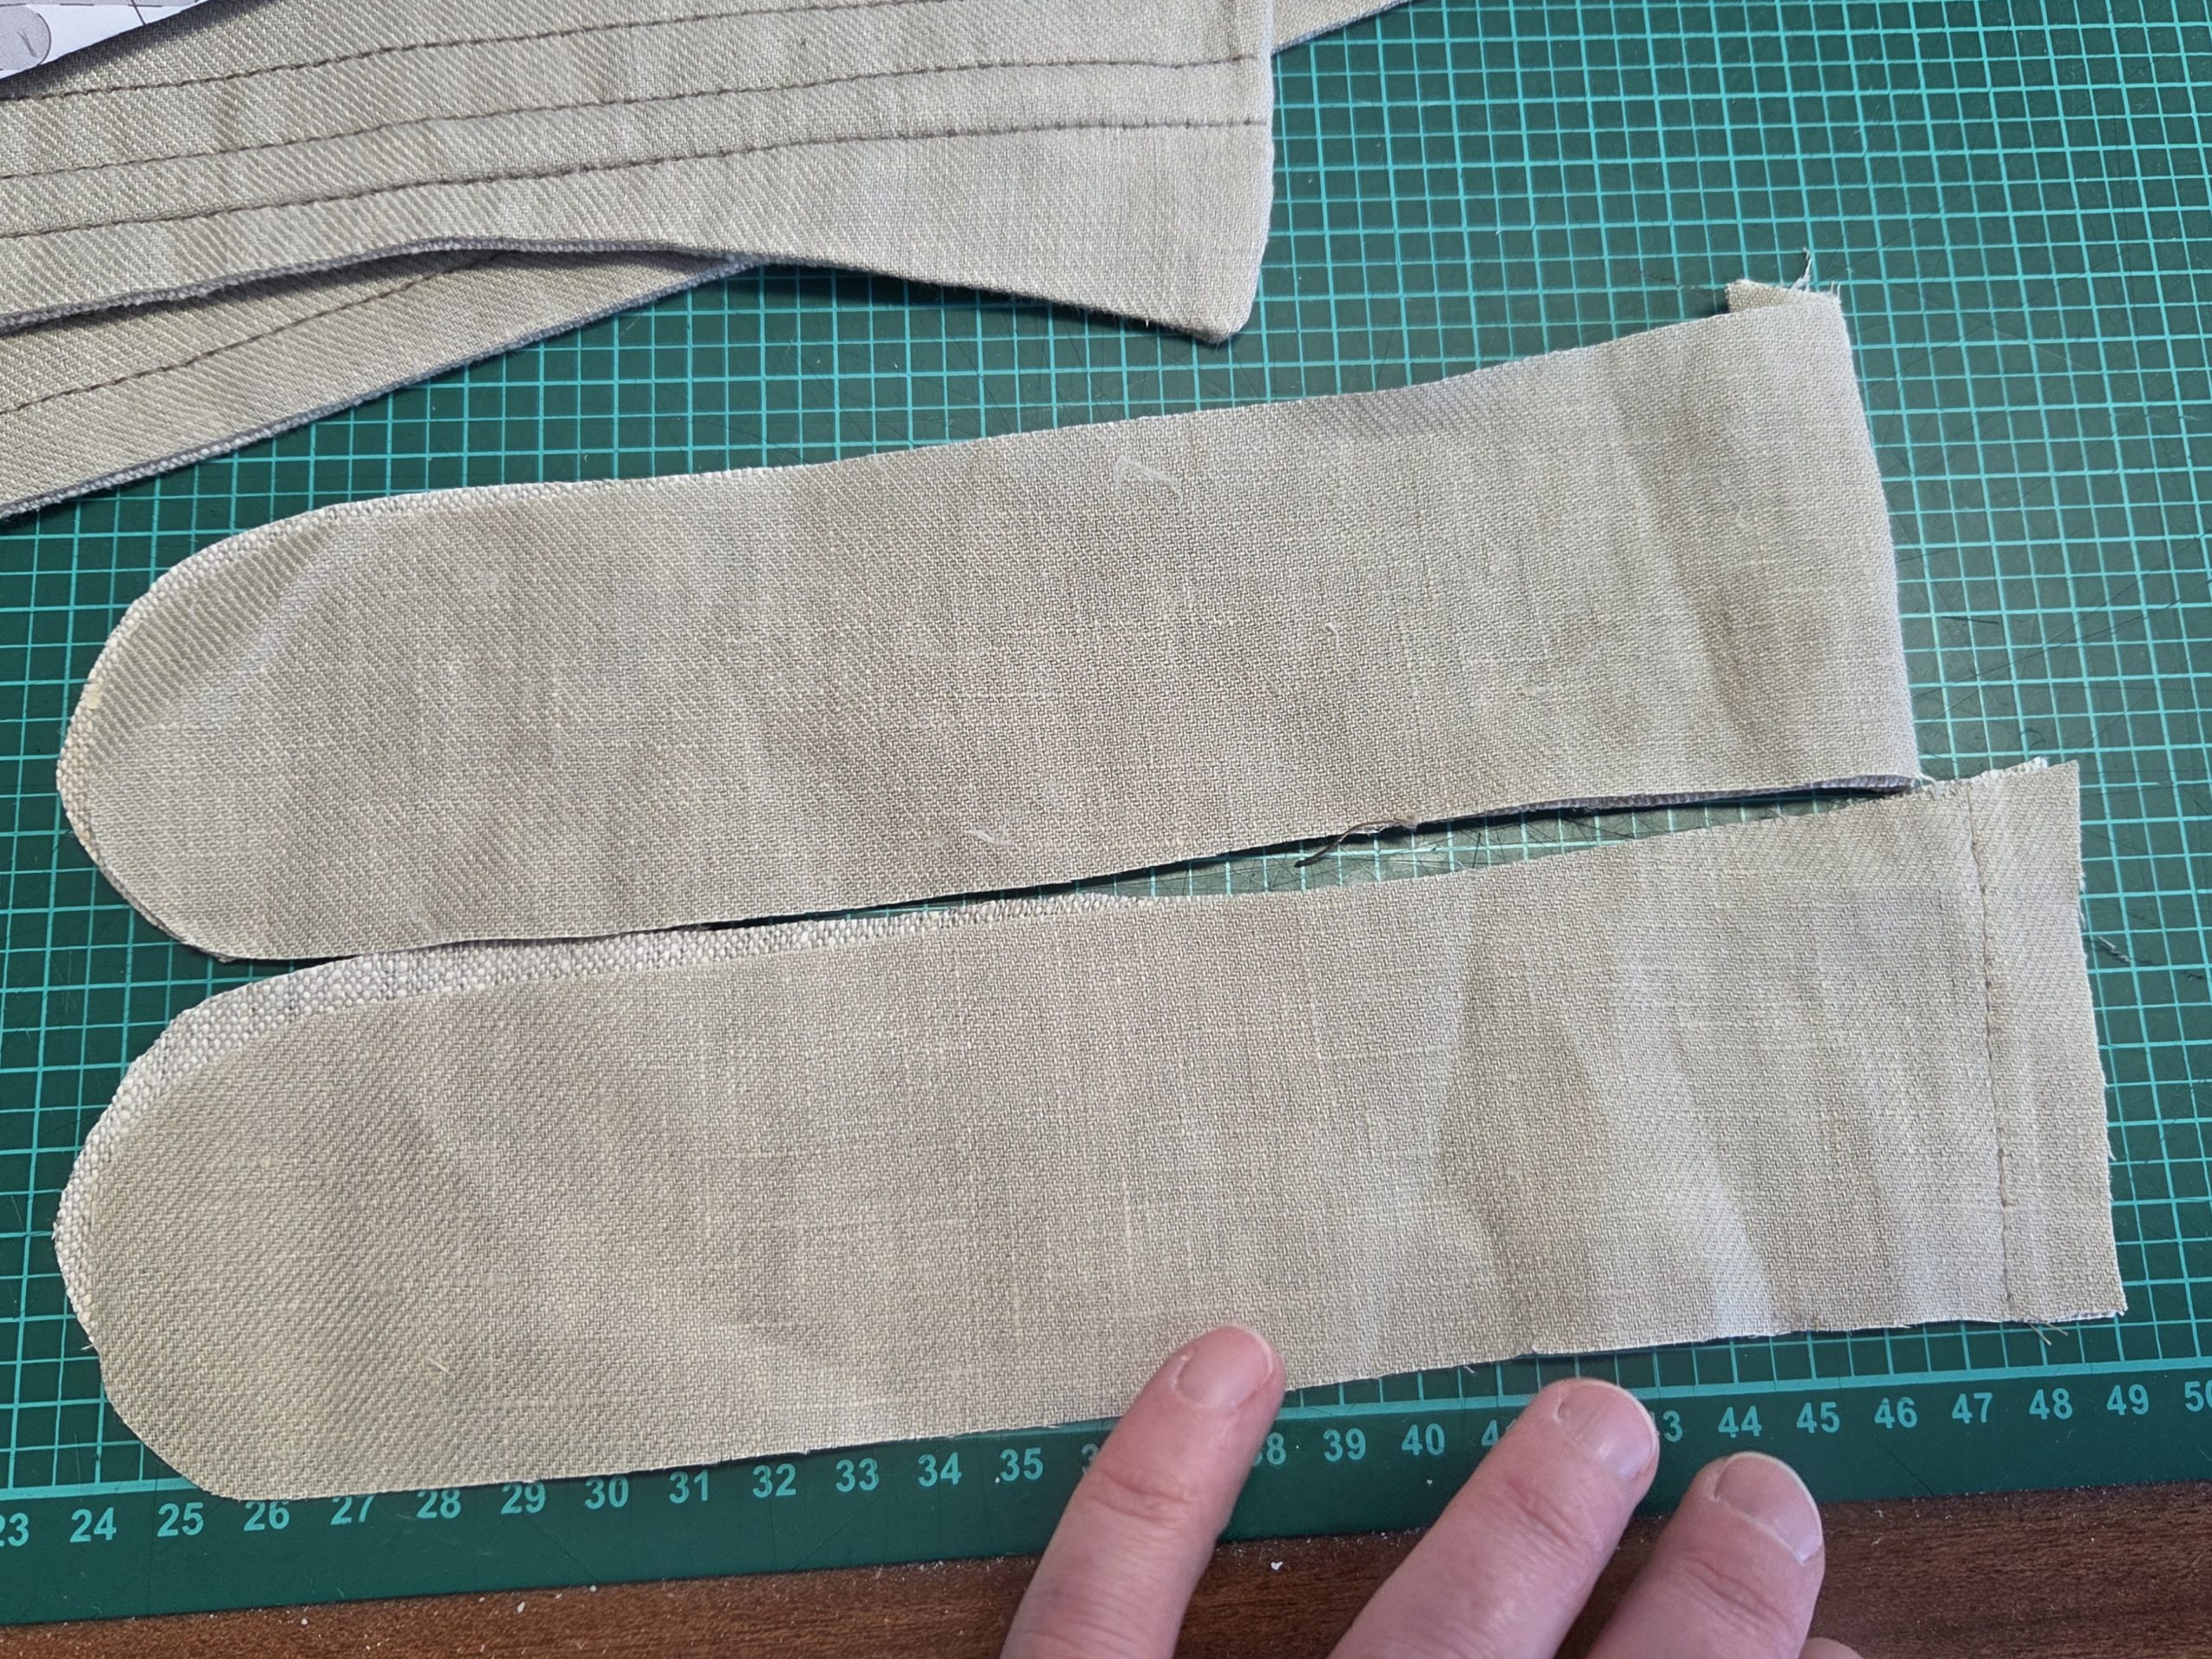
(6) Take the shoulder straps and turn in the seam allowances between (7) and (8). Fell to the basic layer as described before.

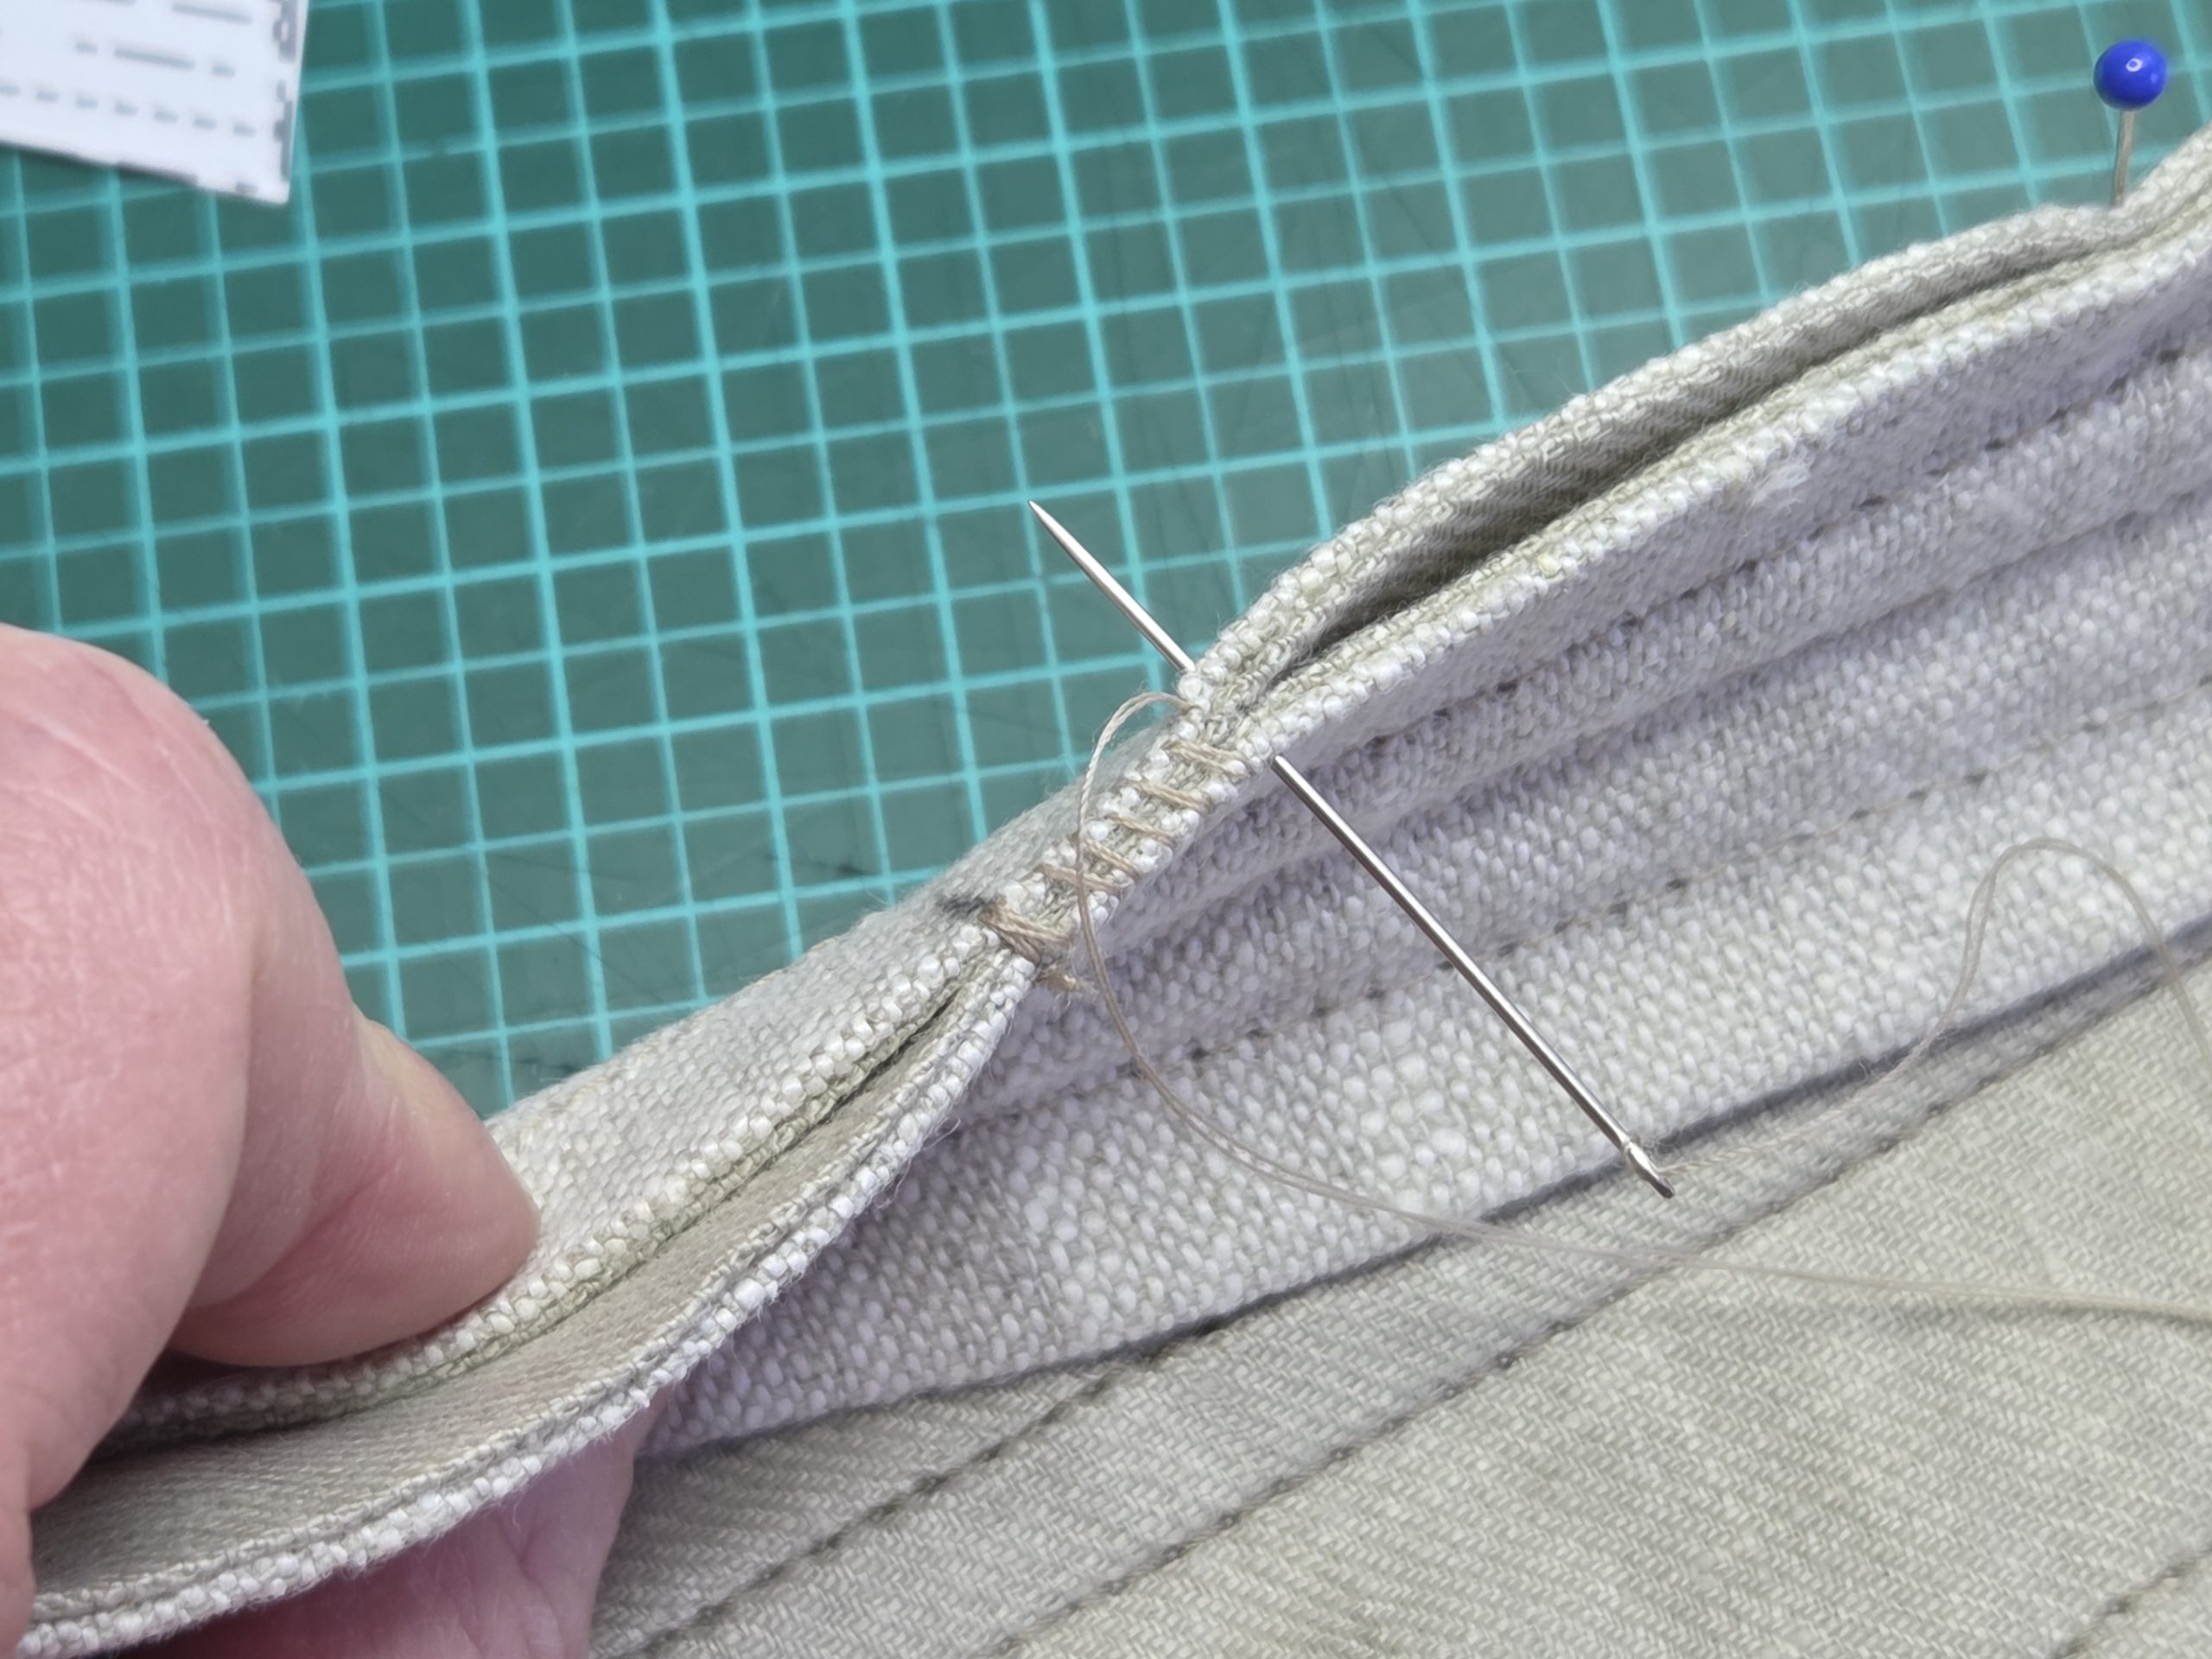
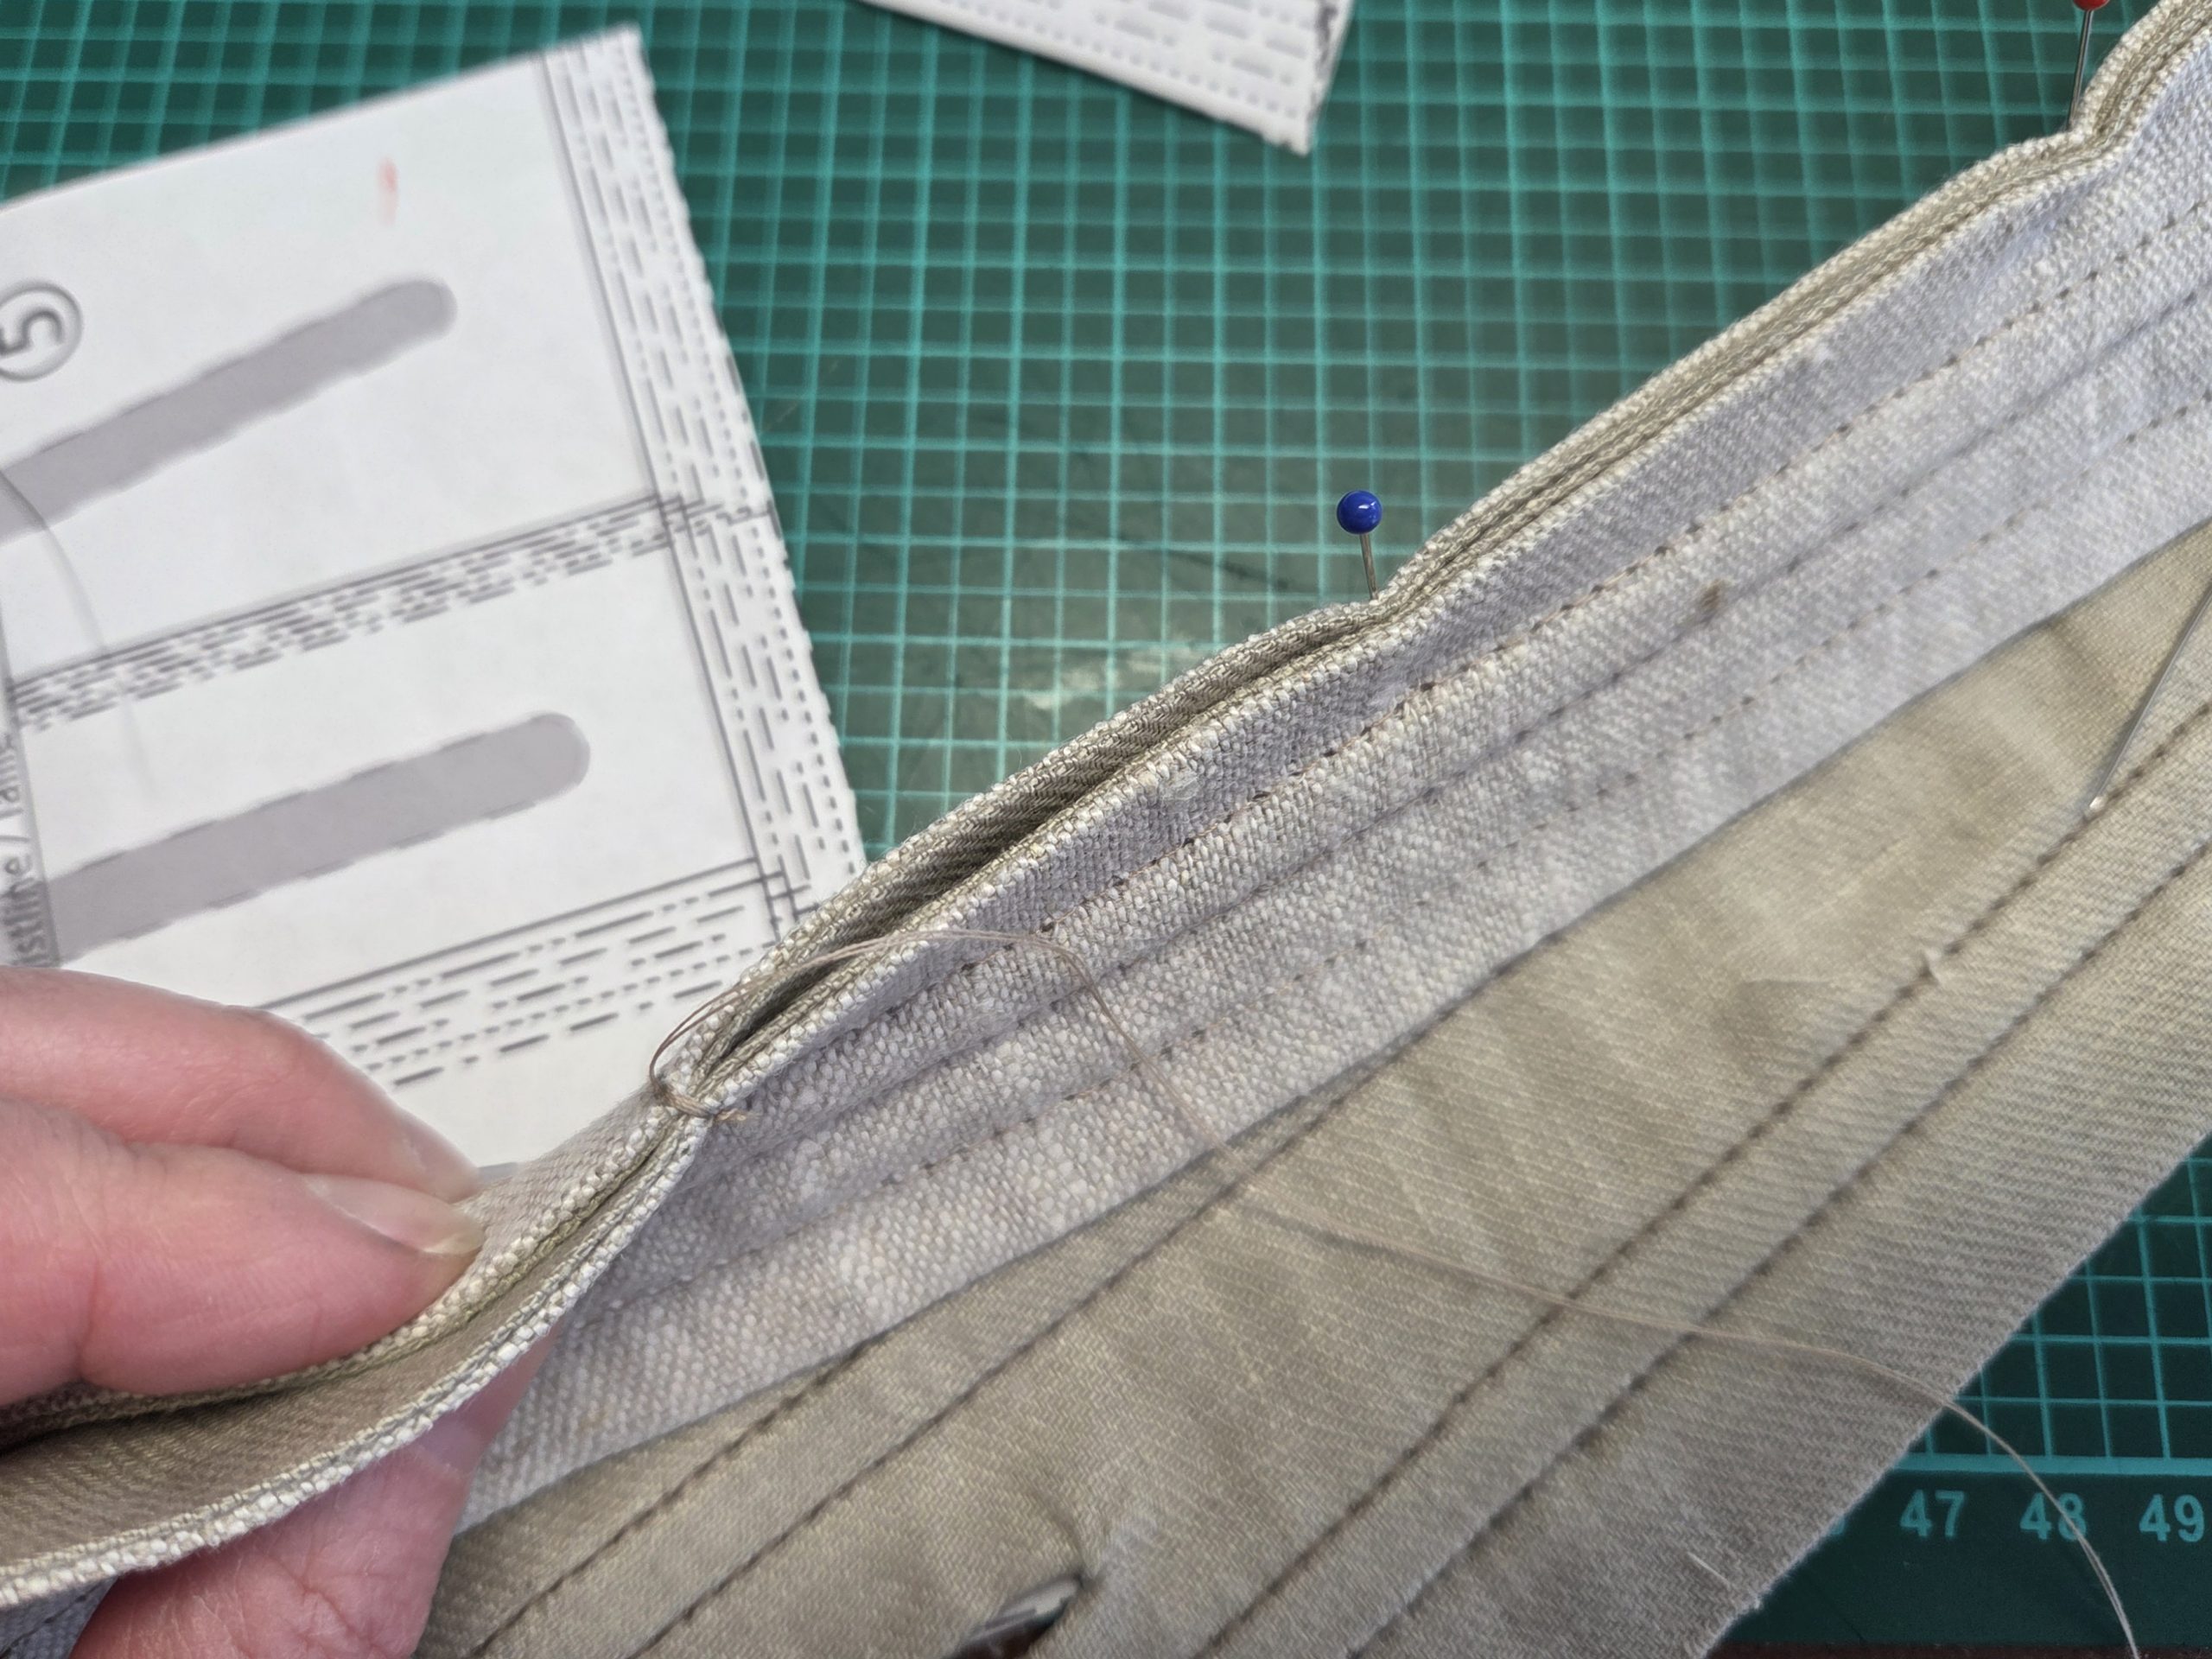
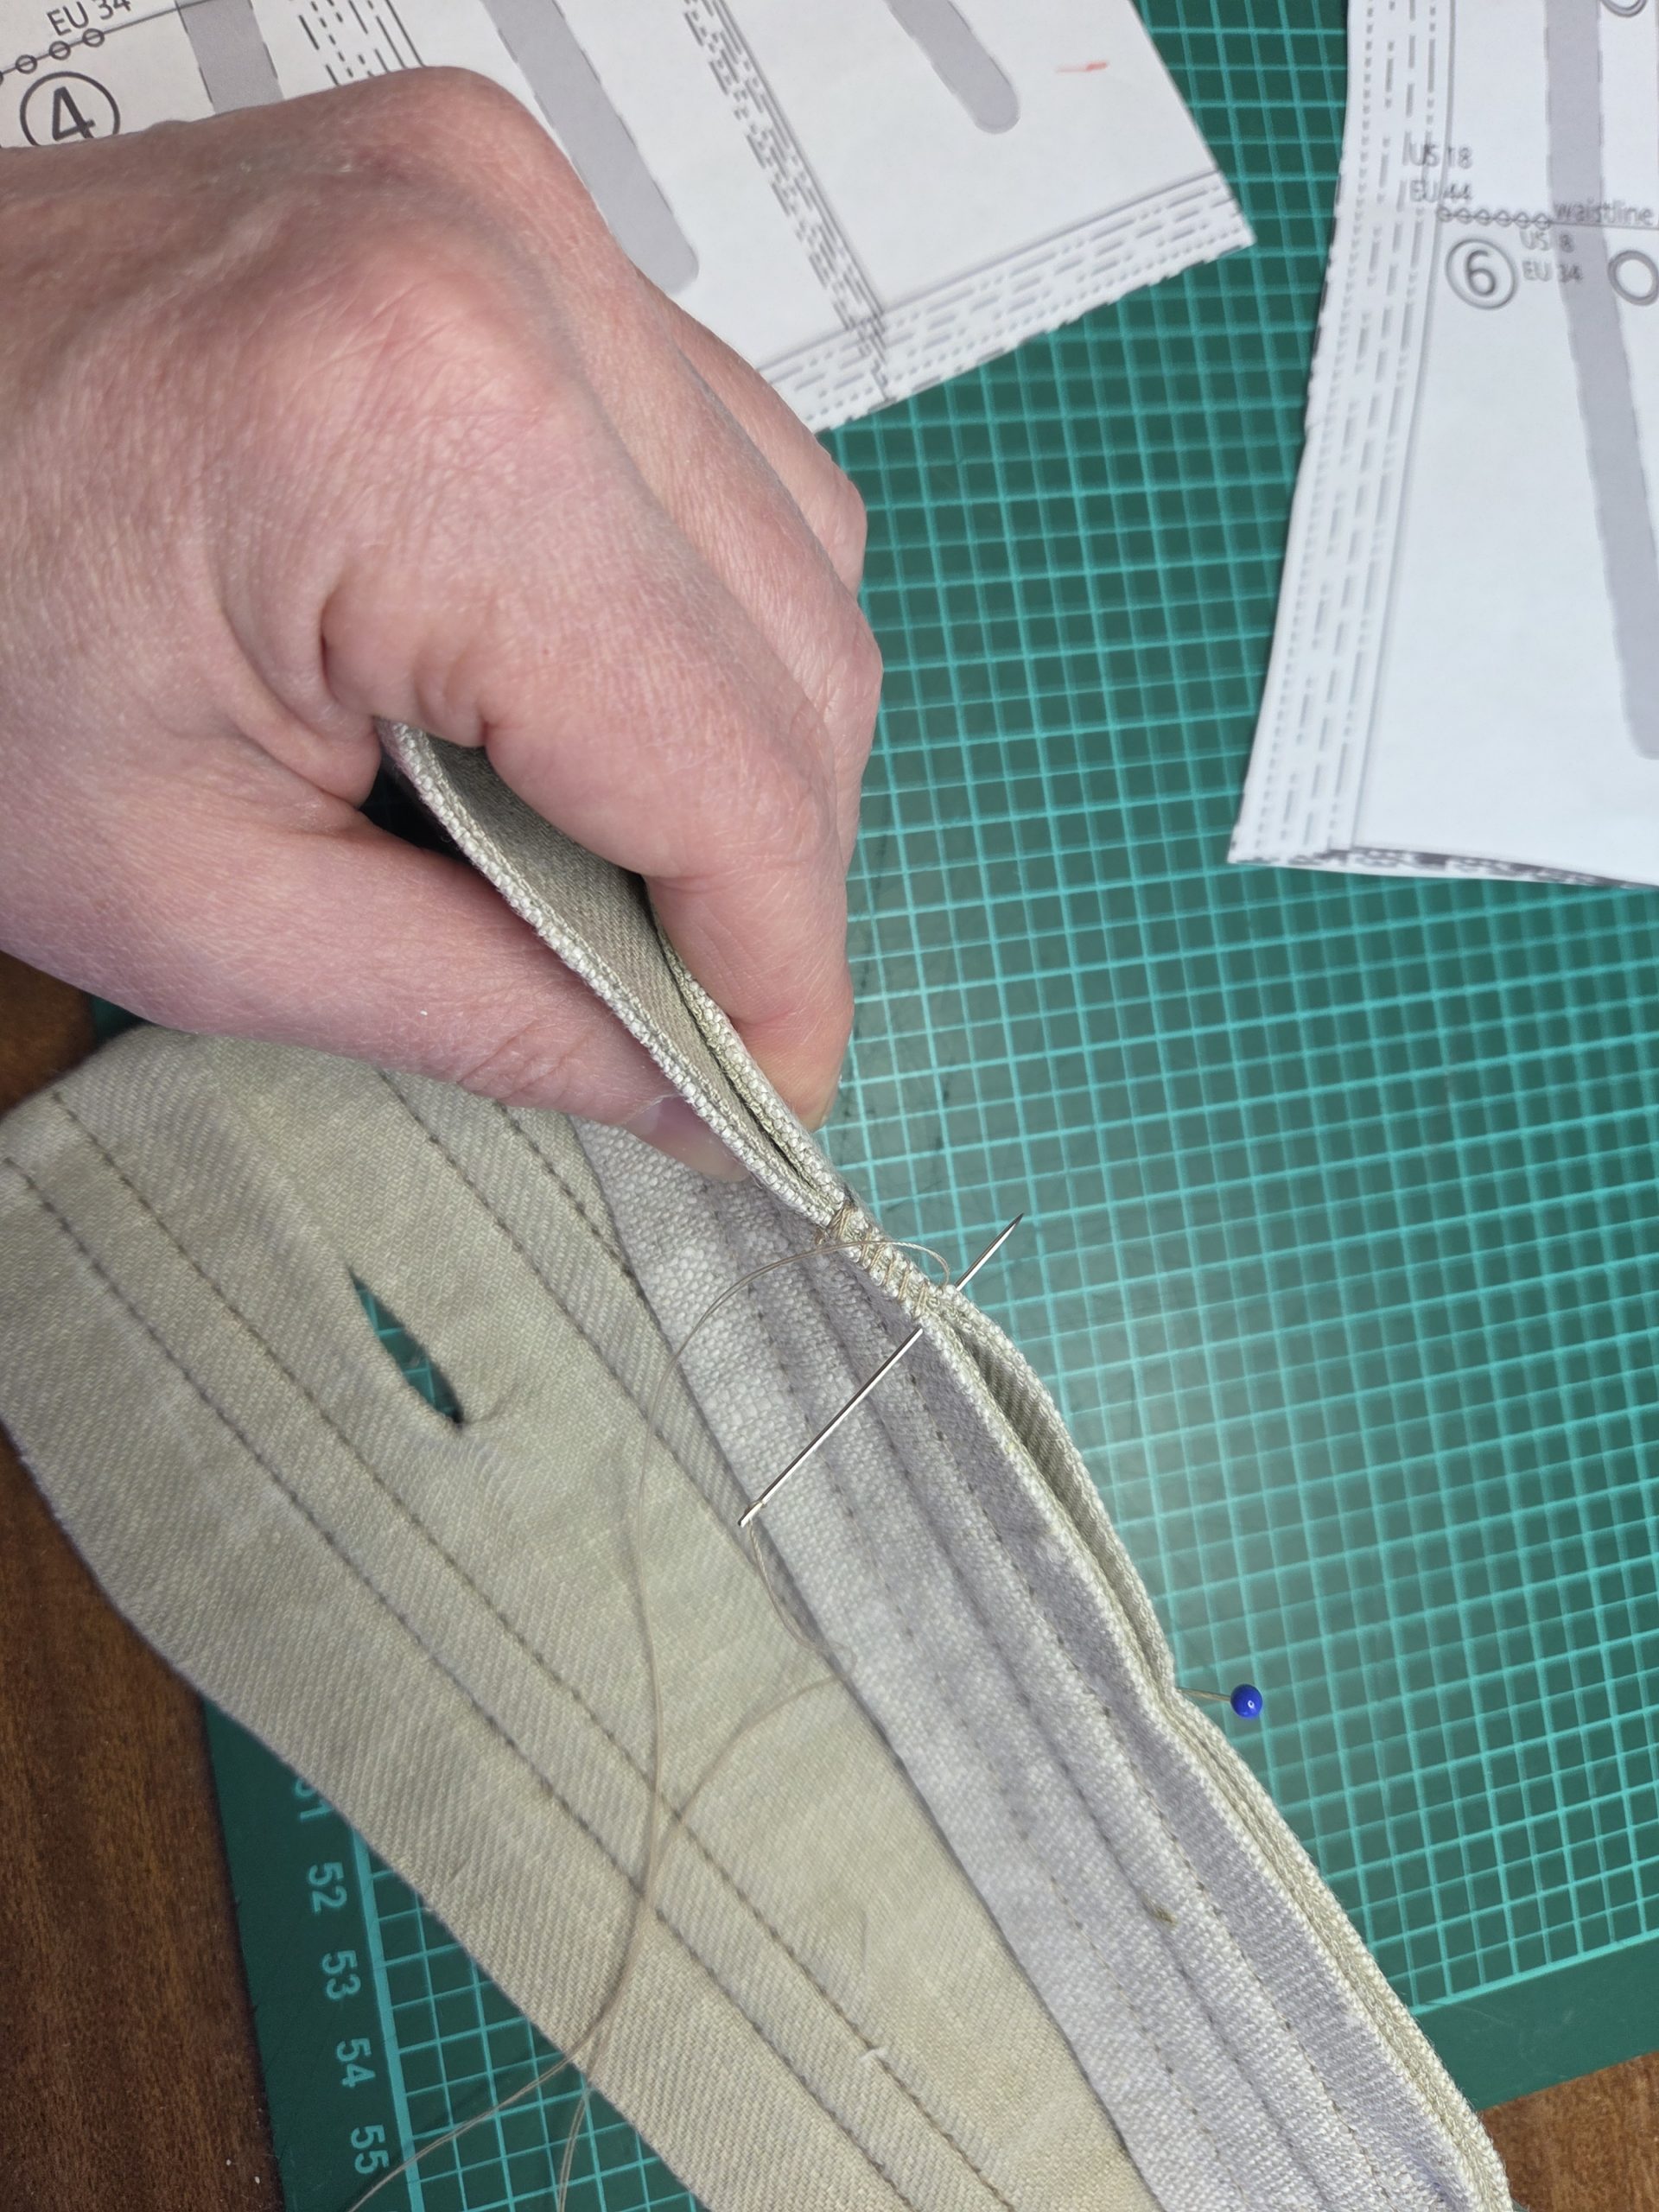
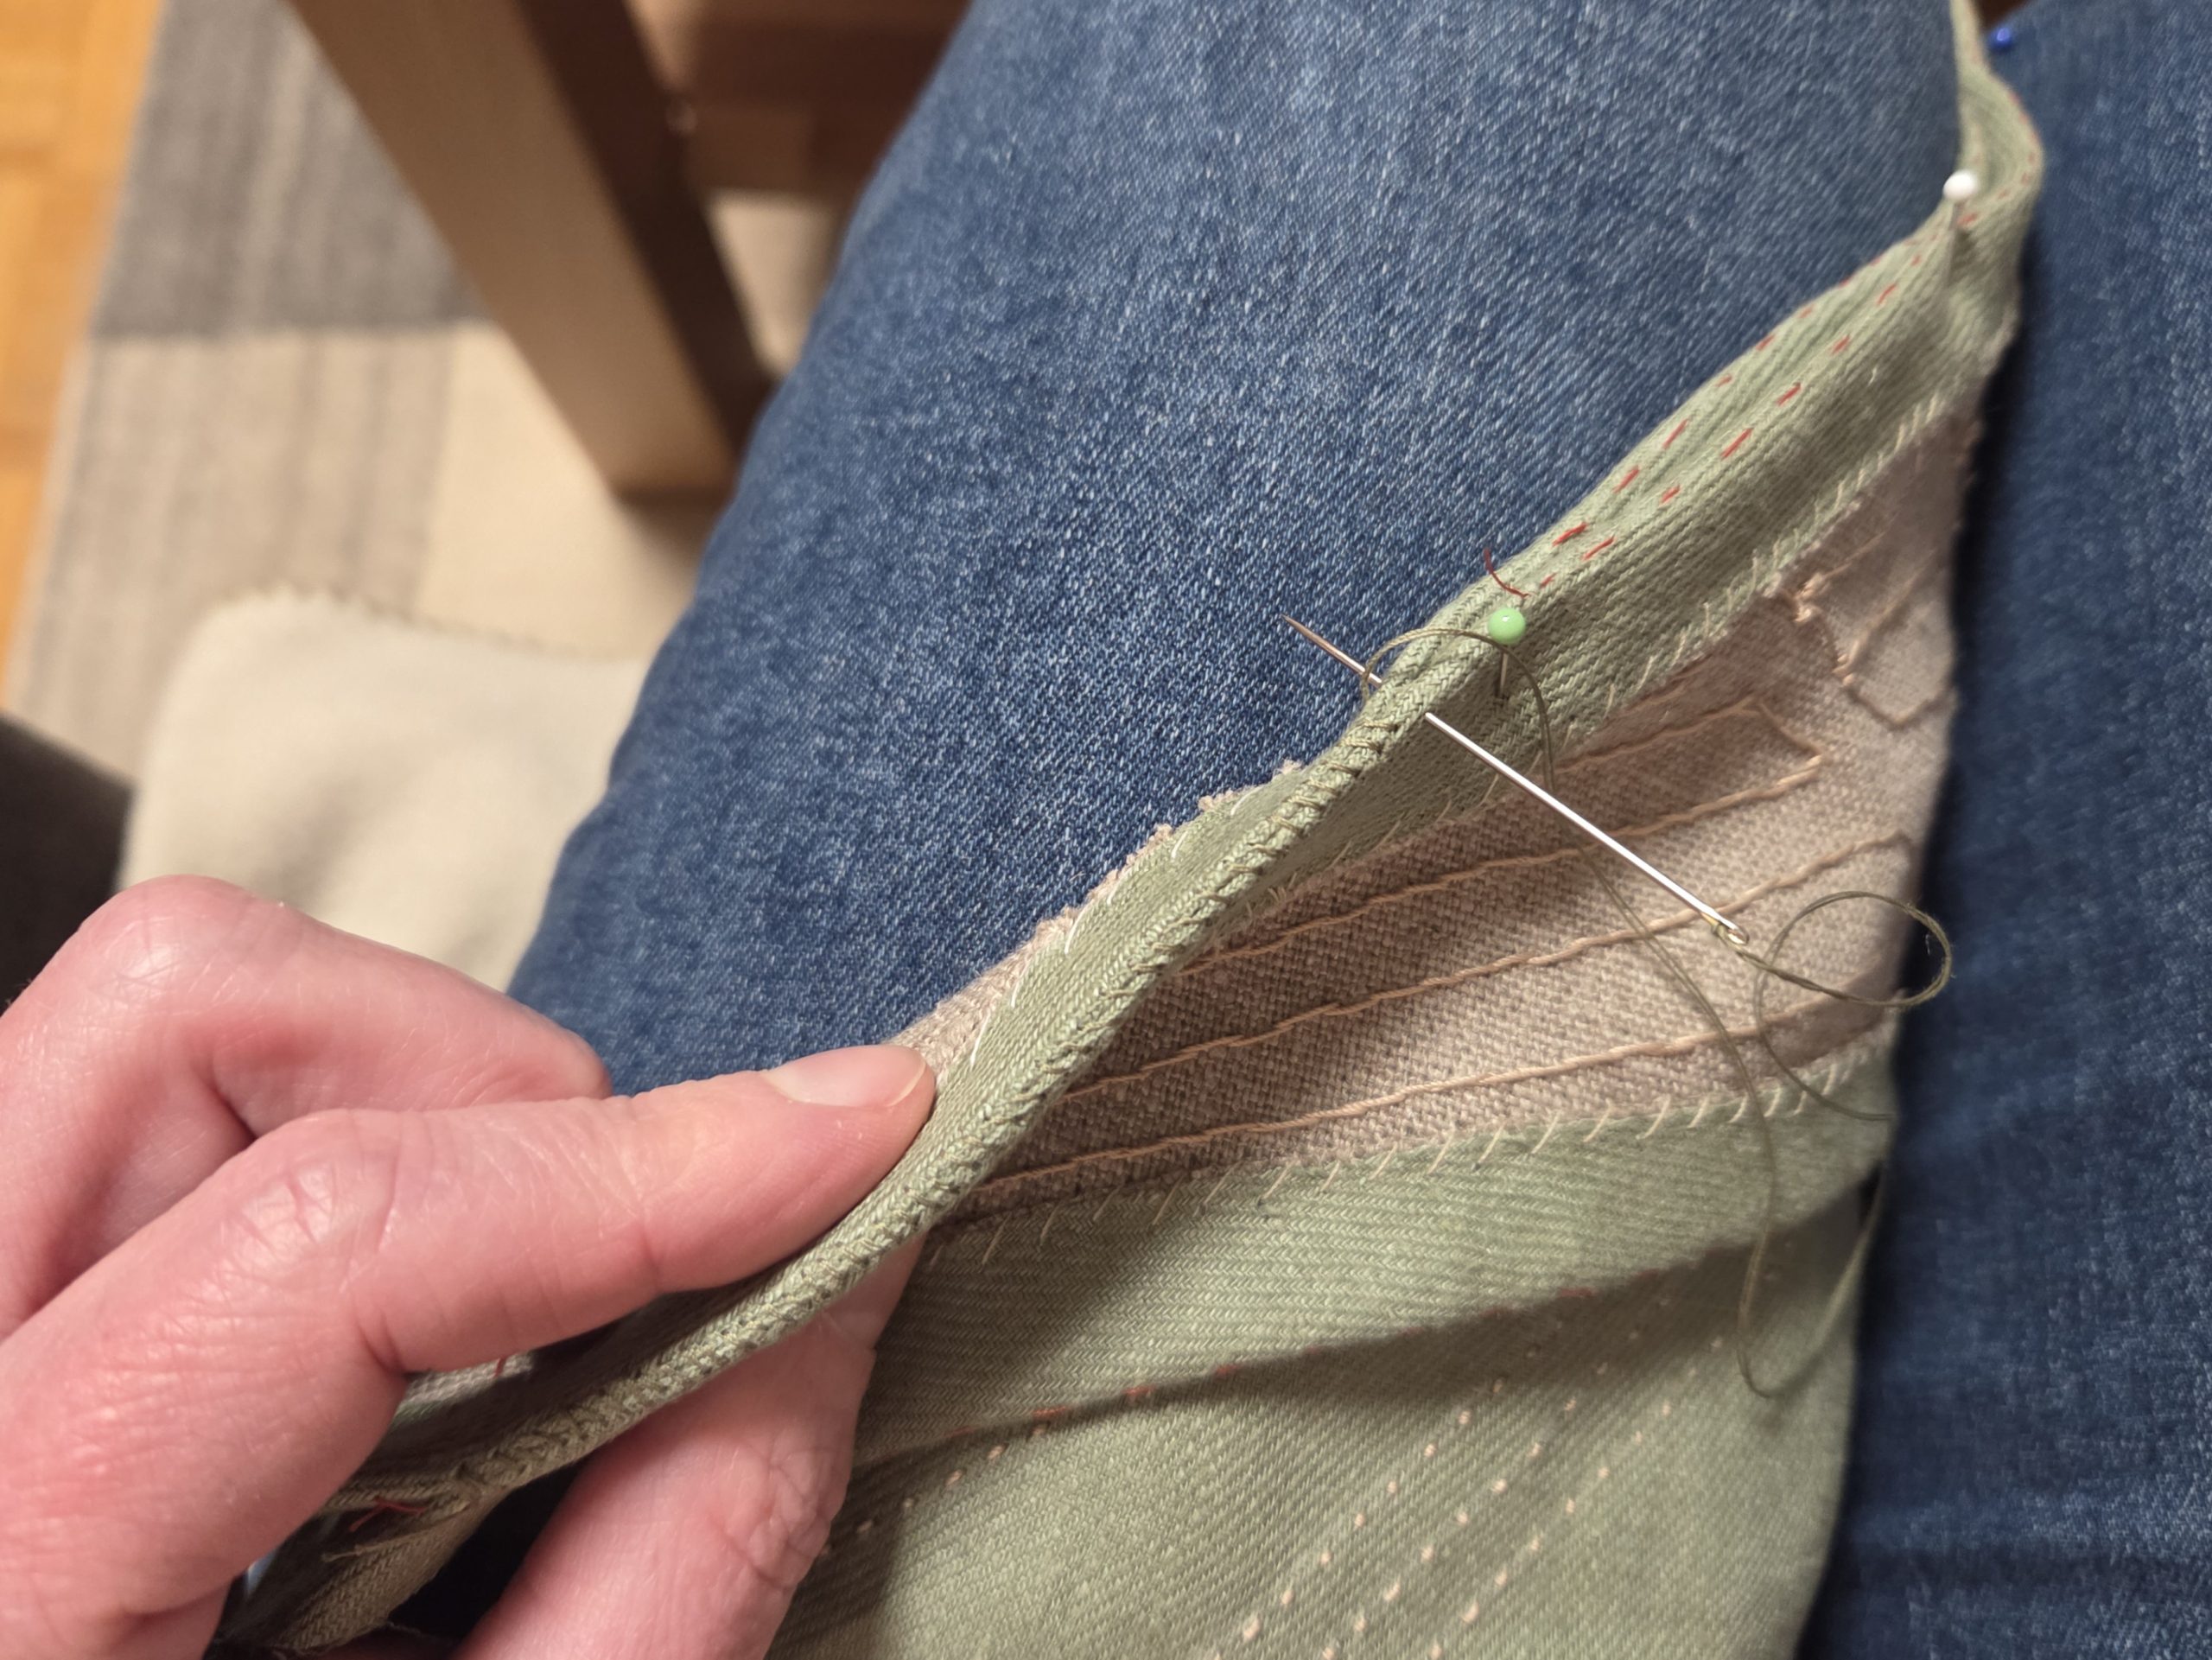
(7) Now all the pieces are prepared, and the side edges of each panel are cast individually. First, take the fronts and line them up along the center front, right sides together. With a double-threaded needle, whip-stitch together the fronts from the bottom until reaching point (9). Bar tack the ends securely and press open.

Line up the front and side front, right sides together, matching points (1) and (2). Then, again with a double-threaded needle, whip stitch together, starting at points (1) and (2). Stop right before reaching the seam allowance at the top. In the same way, whip stitch the side back to the side front, matching points (3) and (4), and the back to the side back, matching points (5) and (6). Finally, whip stitch the strap to the side back, matching points (7) and (8).

Continue reading

1830-40´s Corset

IMG_5243All tunnels stiched? Now it is time to add the cording. The technique is called Trapunto, that means you add the cords after stitching the tunnels. This is a time-consuming and exhausting work, nobody told it would be easy. You can avoid this step with adding each piece of cord after you stitched one side of the tunnel, then make the second seam beside the cord. The result will be smoother with the Trapunto technique.
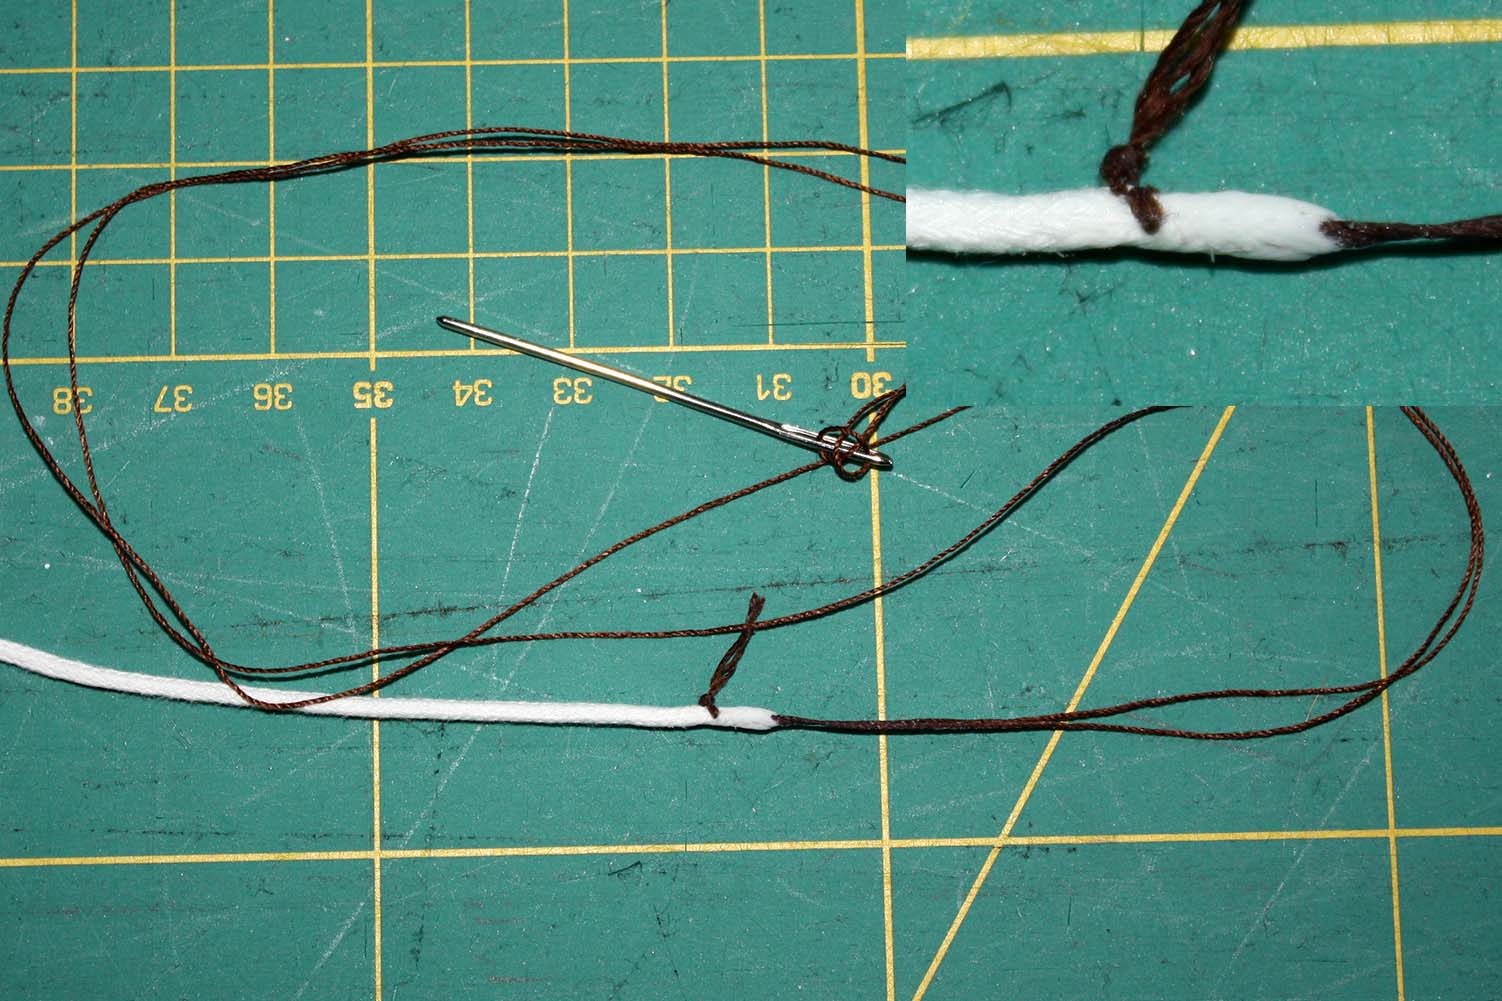
For adding the cord, I threaded a blunt point needle with a strong buttonhole thread, make a couple of stitches through the end of the cord. To harden the cord´s end I used glue and let it dry for some hours.
Widen the holes with an awl. If you have problems pulling through the cord you can widen the tunnel with the awl first.
Pull the cord through the tunnel, the end should just slip into. Cut off the cord close to the fabric and shove the end back into the tunnel with your awl.


IMG_5160 Continue reading

1830-40´s Corset

IMG_5243

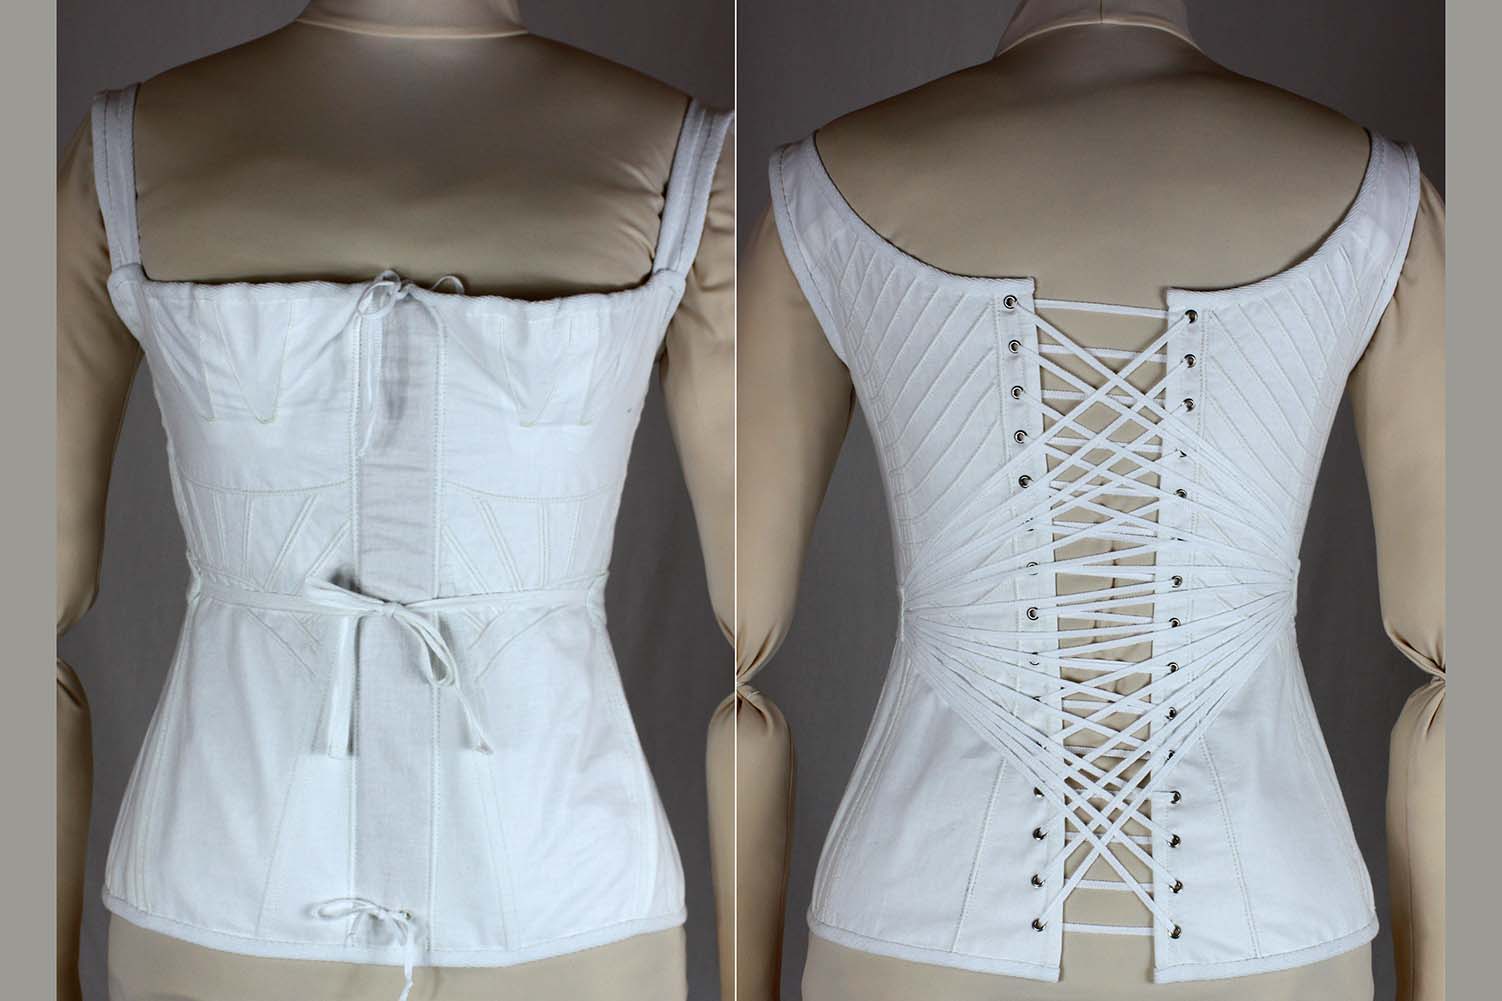
When I decided to make a new 1830´s corset, I thought a lot about the lacing first. My old one had a back and front lacing; nevertheless, I had trouble to pull it over my hips or my head, struggling with all that mess of lacing cord. I asked my husband for help, but every closure more complex than a zipper causes him shaking and sweating hands. This year I´m going to join our summer ball alone, with no helping hand available. Searching the internet, I found this interesting self-lacing corset:


https://collections.lacma.org/node/233817

Continue reading