
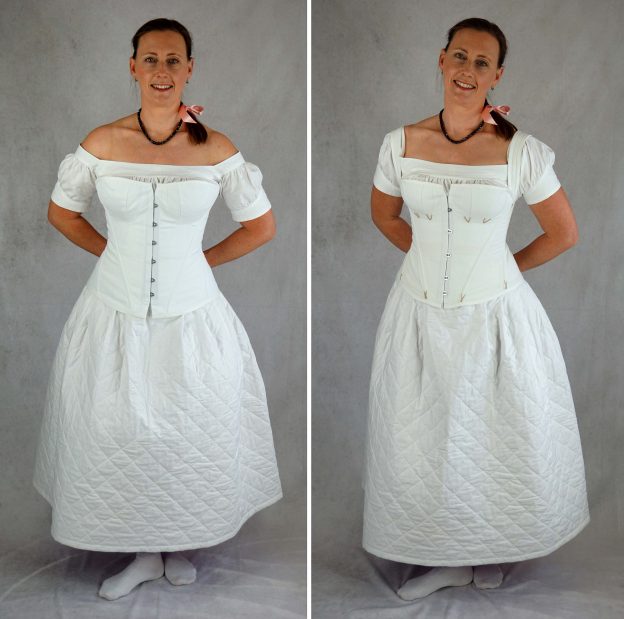
Quilted petticoats where worn from the middle of the last century until the end of the 19th century, warming the body and shaping the overskirts at the same time. A quilted petticoat is a very simple garment, made of a double layer of rectangle pieces of fabric, padded with wool or cotton, commonly attached to a boned hip yoke to avoid bulk around the belly during the romantic period. I´m not a passionate quilter, that´s why I kept the quilting pattern of my petticoat simple, just a diamond pattern. On extant petticoats, you can see quilting patterns ranging from just parallel lines to fancy and complex designs.
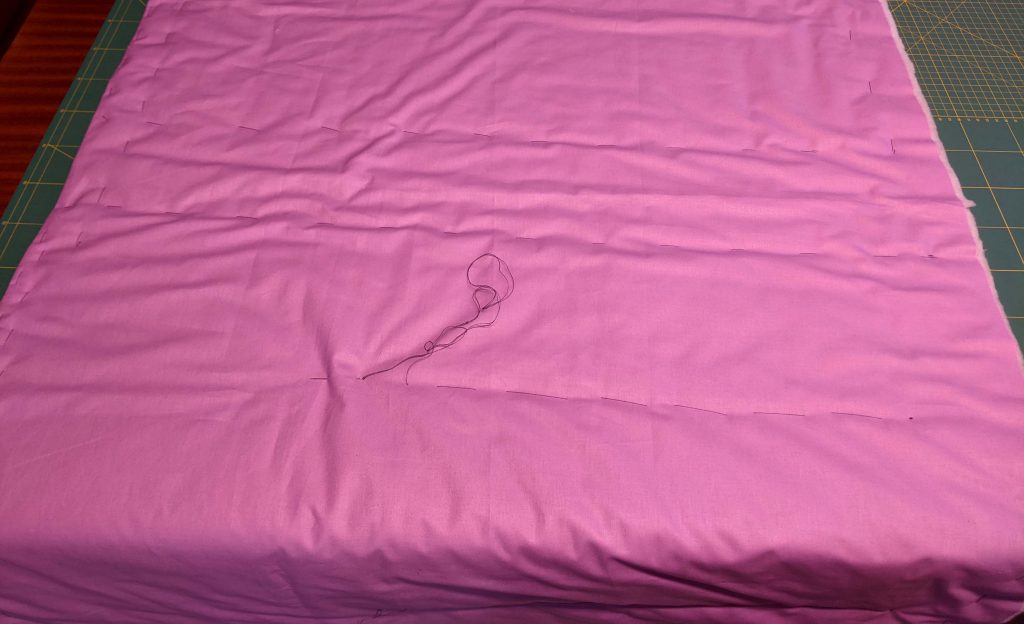
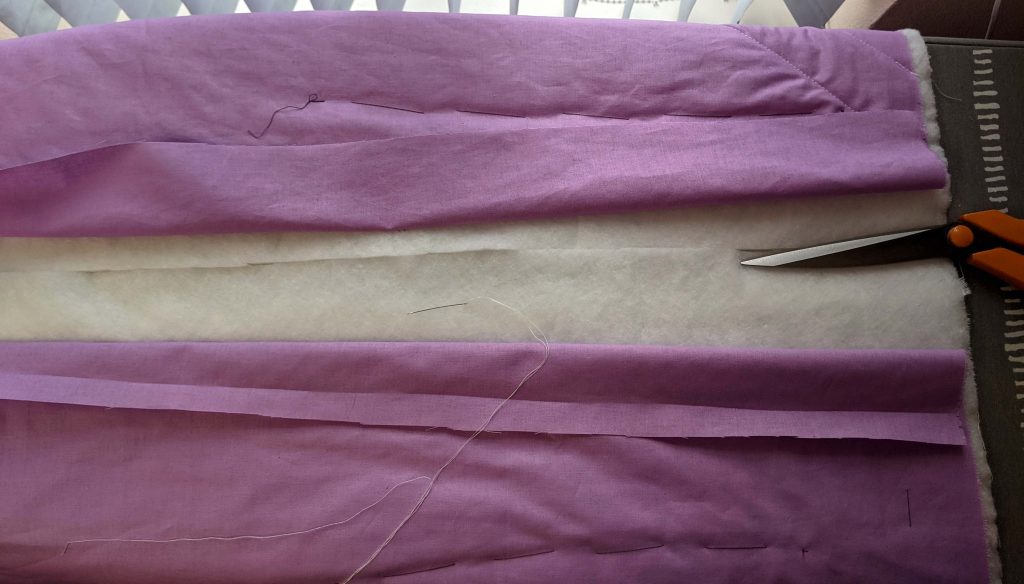
I decided to use different colors of a polished cotton for the top and lining layer and sew them together along the bottom edge. It would have been easier not to do so, as the fabric warped in all directions I didn´t want. On this picture, I basted my batting to the lining layer and sewed the two pieces of padding needed together edge by edge with some rough stitches.

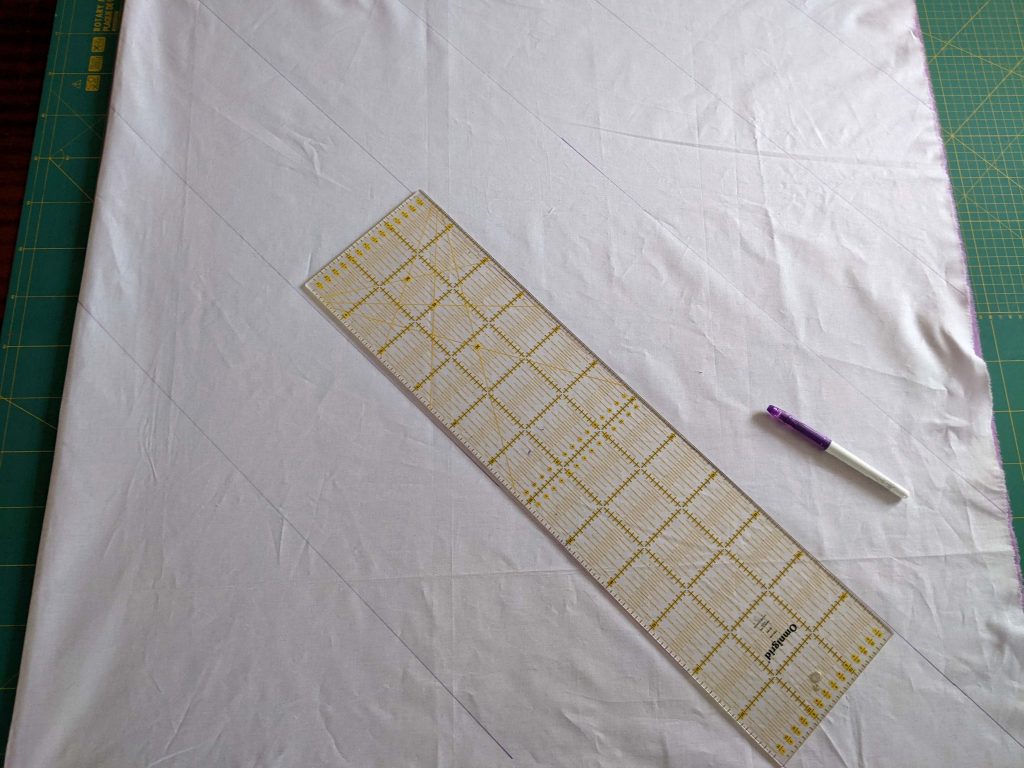
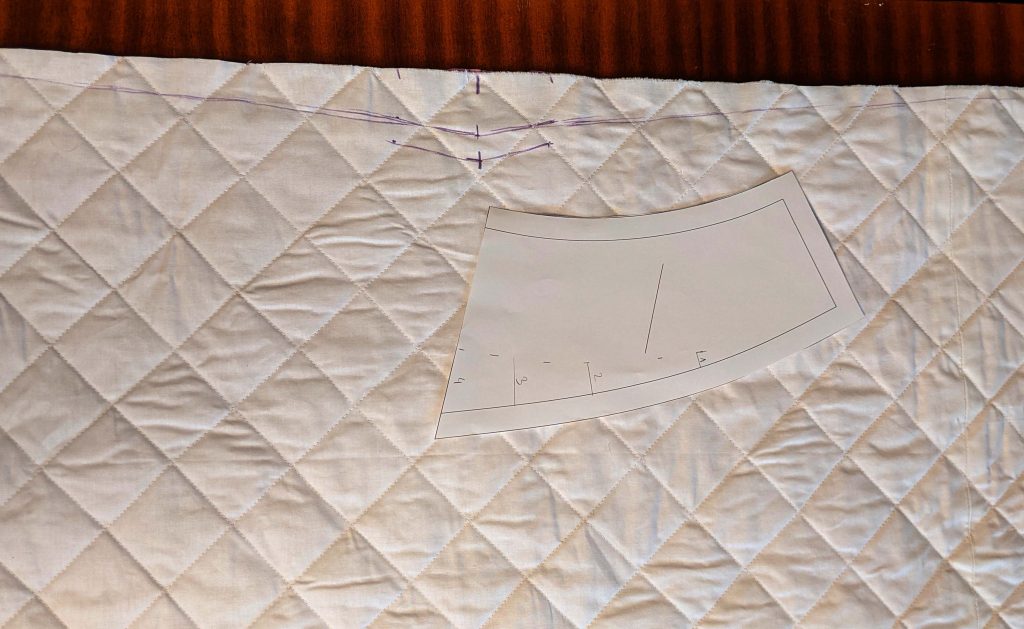
I smoothed out the top layer on top of the fabric and traced my quilting design, before I basted together all layers before quilting the petticoat.
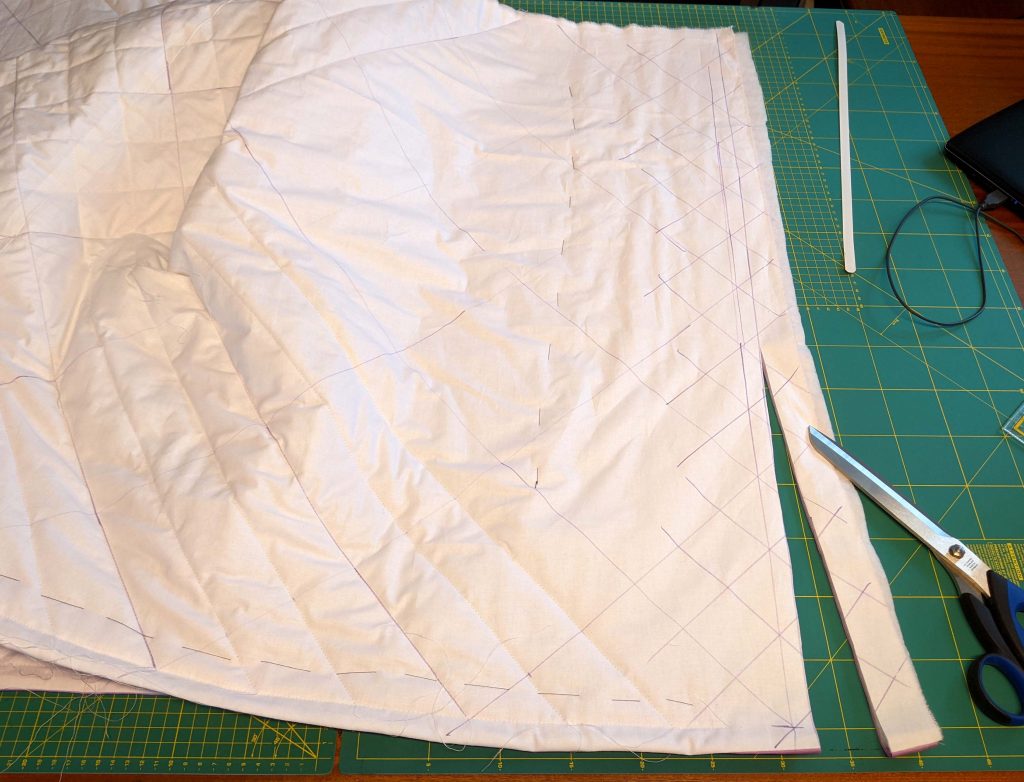
I decided to machine quilt the petticoat and even that pushed me to the limit of my patience – I like things to go quickly! I stopped quilting the rows about 5” (10cm) from the center back and sewed the center back seam from the fashion fabric right sides together, leaving a vent at the top edge. Because of all that warping of the fabric I had to adjust my center back edge as well as my quilting design (it´s just underwear).
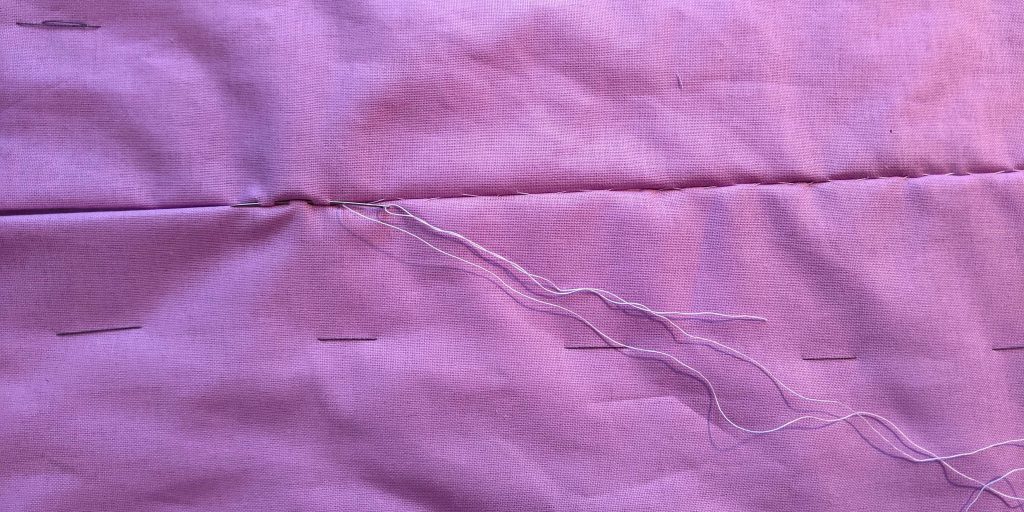
After pressing open the seam allowances, I smoothed out the batting over the seam and trimmed back the batting edge to edge.
I had to adjust the lining as well, turned in the seam allowances and lined up the edges with the center back seam from the top layer. It´s up to you to sew that seam with a whip stitch or a ladder stitch (as I did). At the vent just fell stitch together the top layer and the lining.
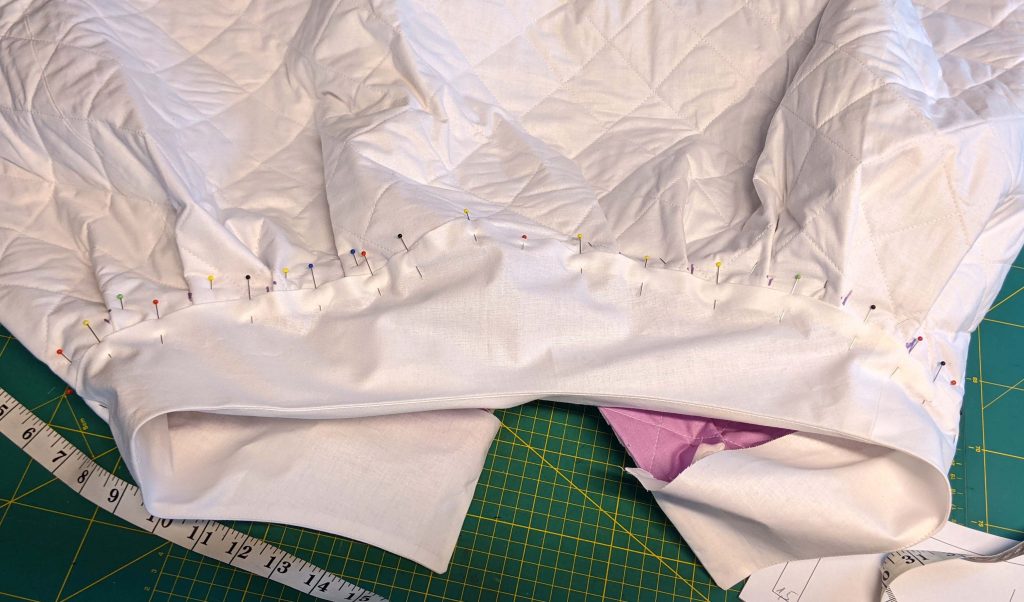
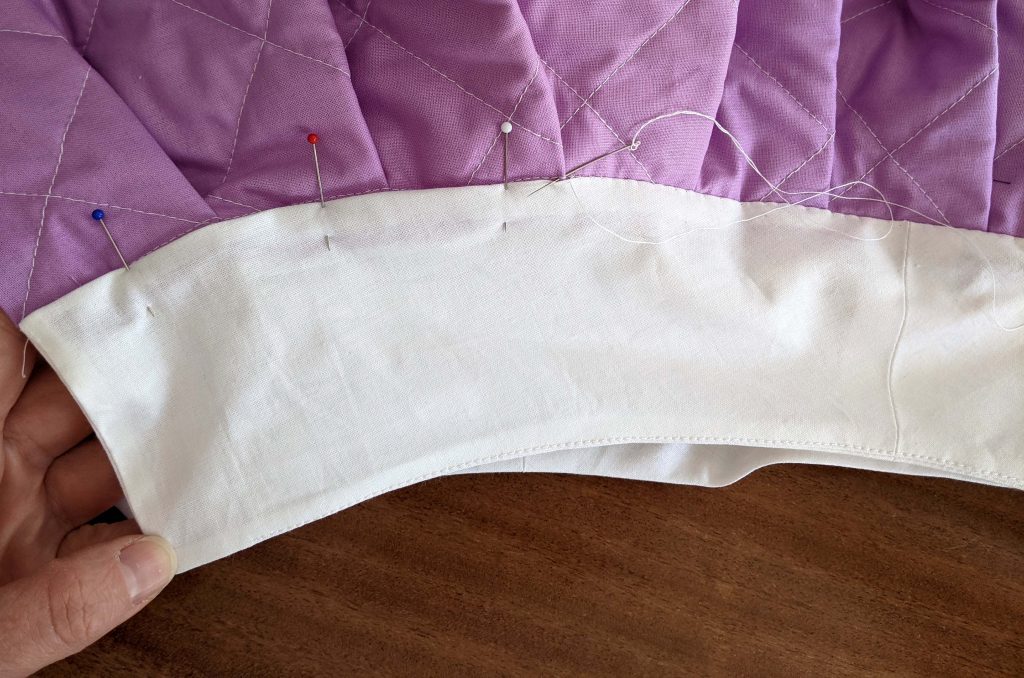
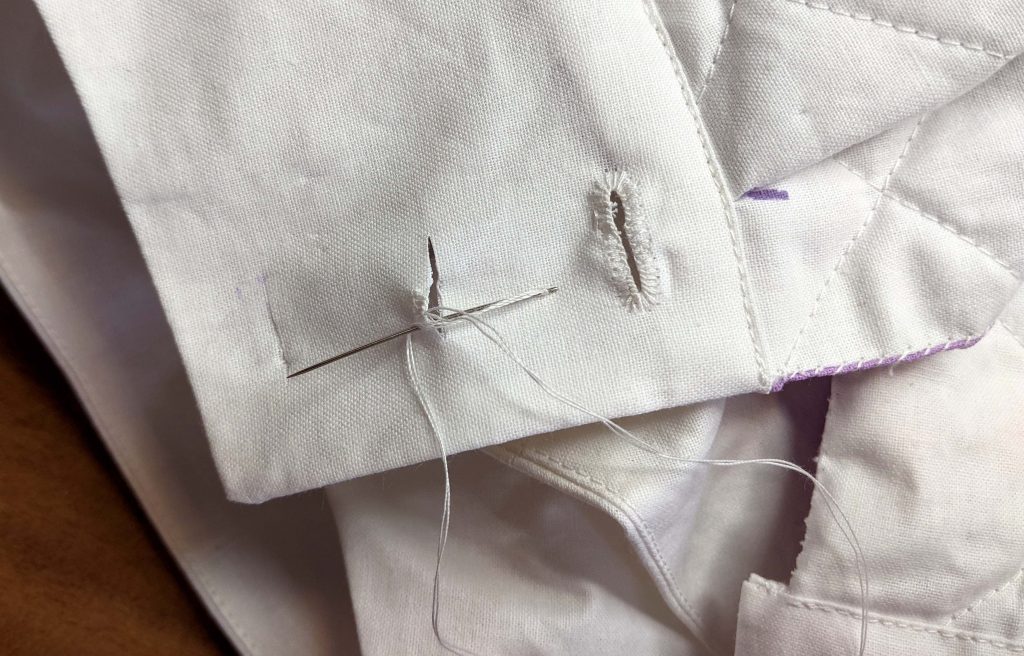
Before I pleated the petticoat to match the yoke, I had to V-shape the top edge at the center front to follow the pointed front of the yoke. After sewing the petticoat to the outer layer of the yoke, I turned in the seam allowance along the bottom edge of the inner layer and fell stitched along the stitching line, covering the raw seam allowances. Last step was to sew button holes and sew on buttons and insert the boning at the center front of the yoke.
Perhaps you are missing some of the details that can be found in the instructions, because this tutorial is intended to complement my sewing pattern, which is available through my Etsy shop.