Part 1: https://patterns.bplaced.net/blog/?p=2651
Part 2: https://patterns.bplaced.net/blog/?p=2672
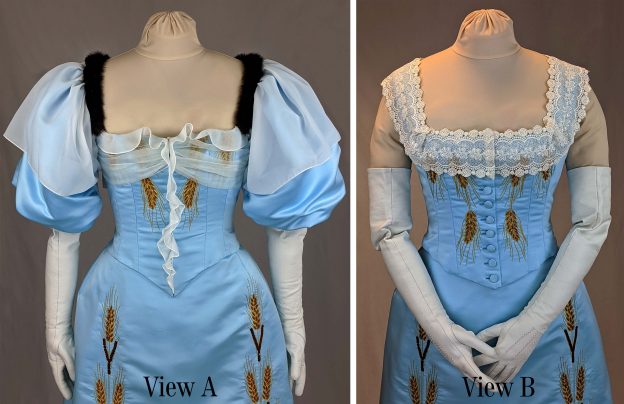
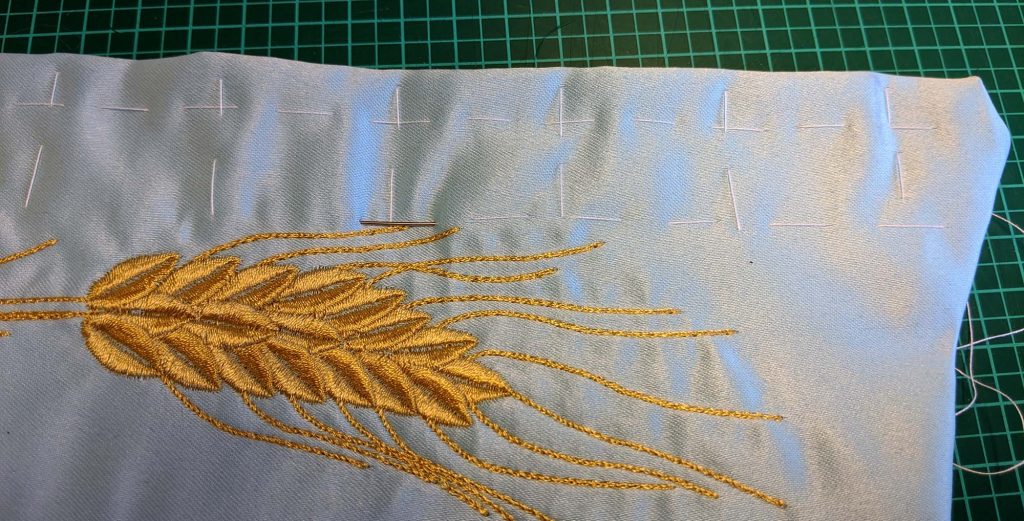
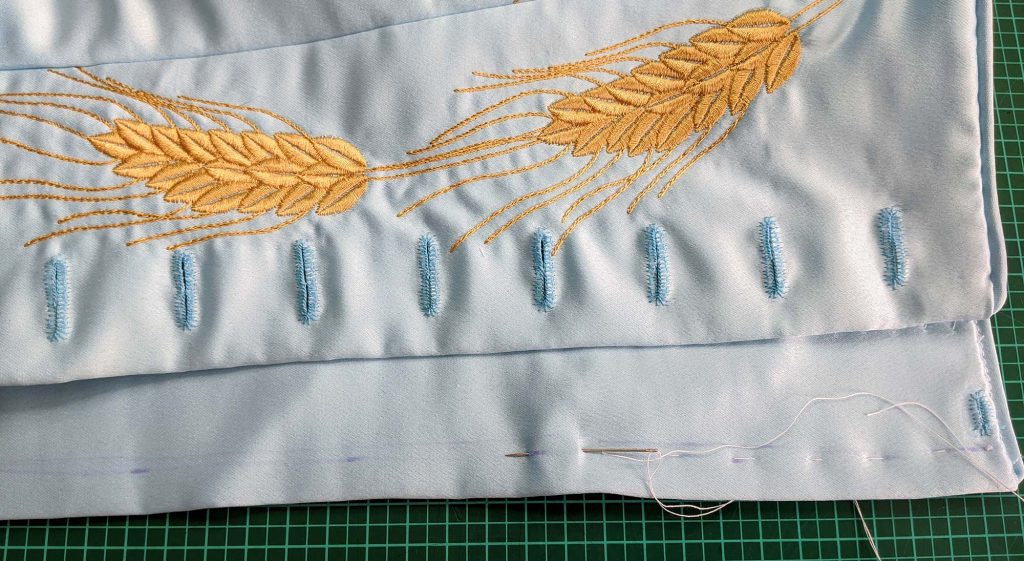
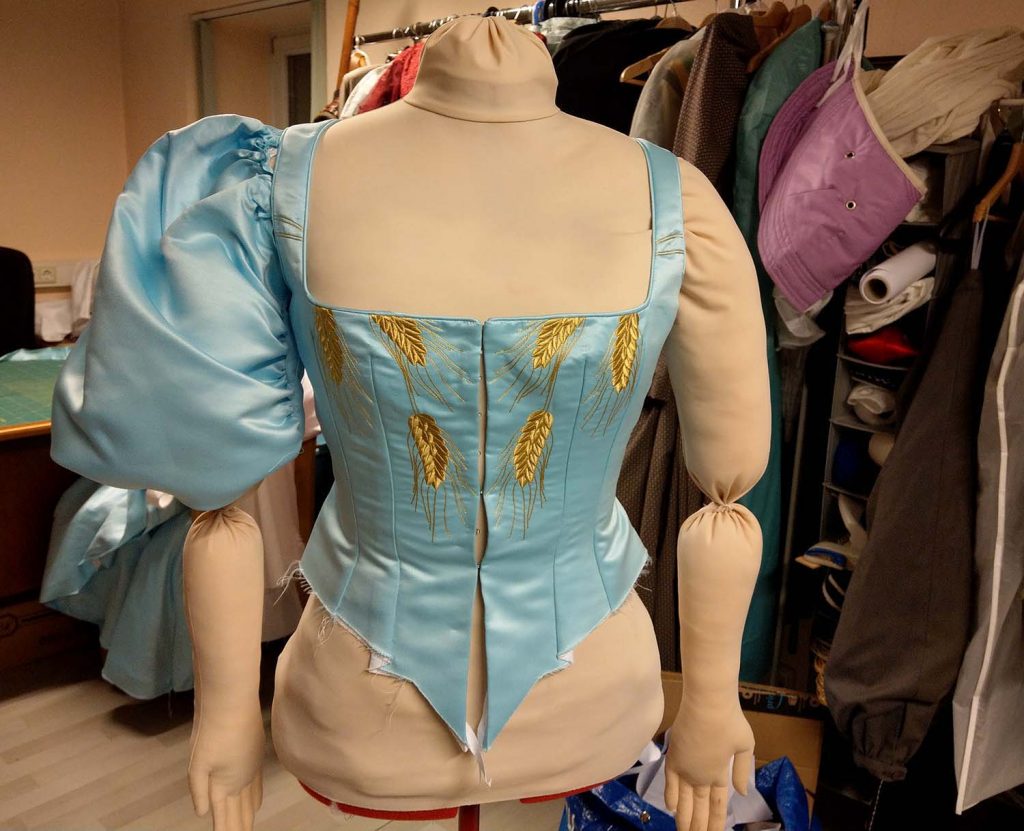
For the button down front of View B mark the center front with a basting thread, as well as every single button hole.
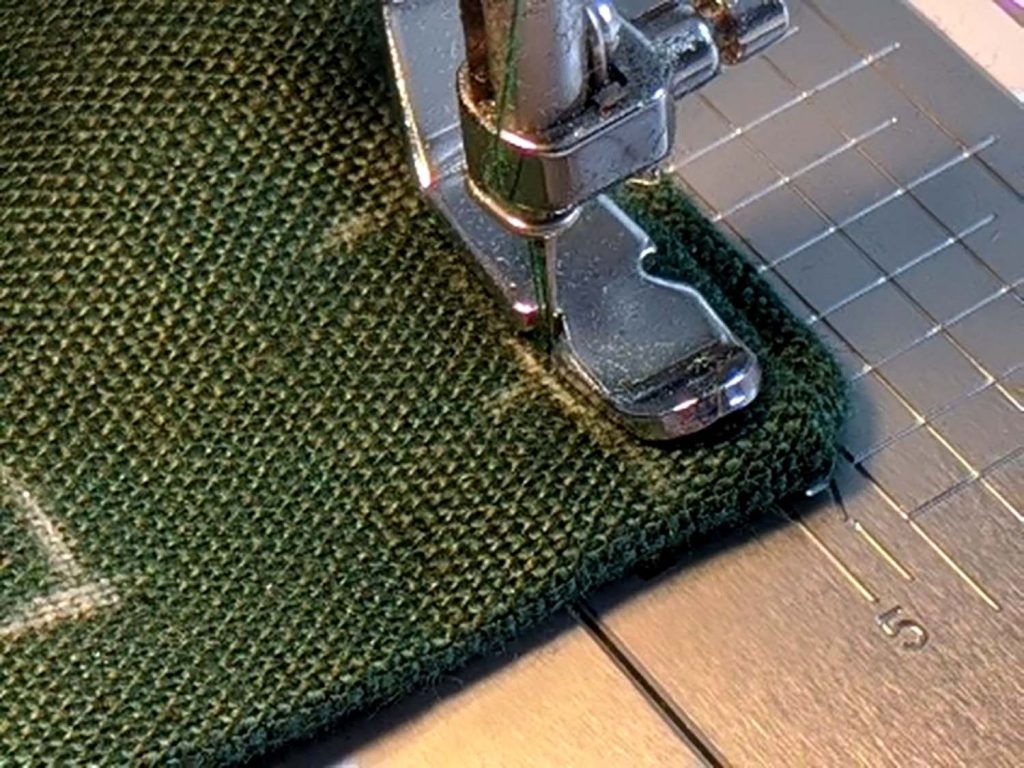
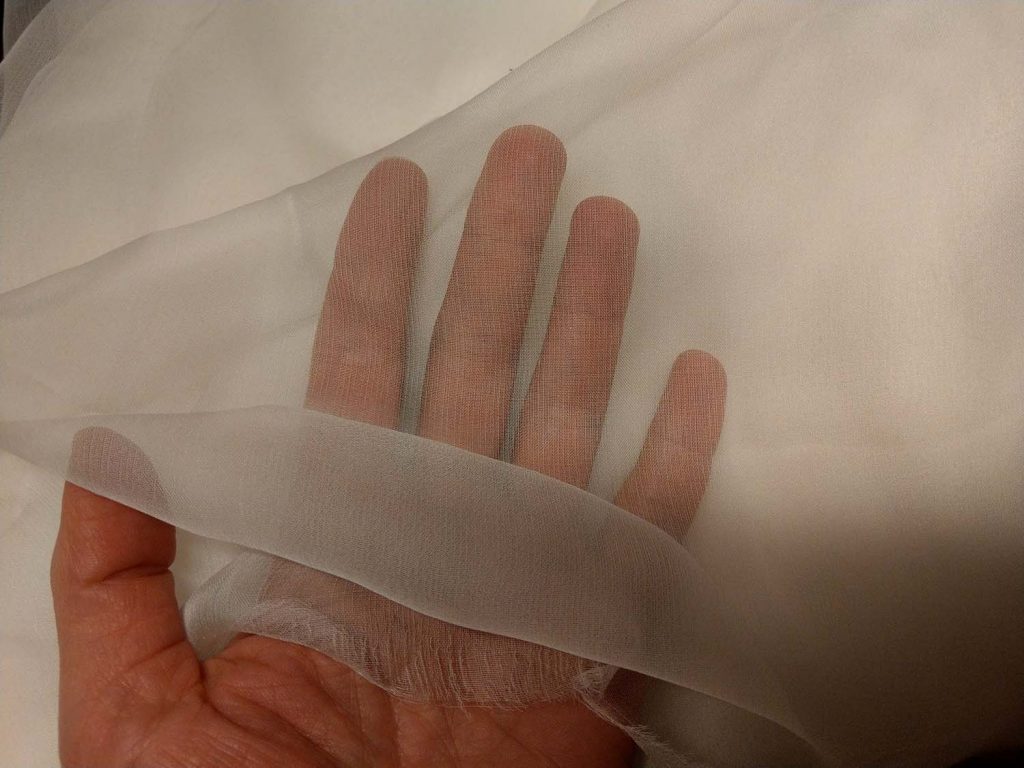
These are pictures of another dress, but the button holes are made the same way. Sewing with a delicate fabric, best is to make a button hole on scrap fabric, with all layers simulated you´re having on your bodice. Stitch around the button hole with short stitches, don´t lock at start and stop but pull the threads in between top layer and facing.
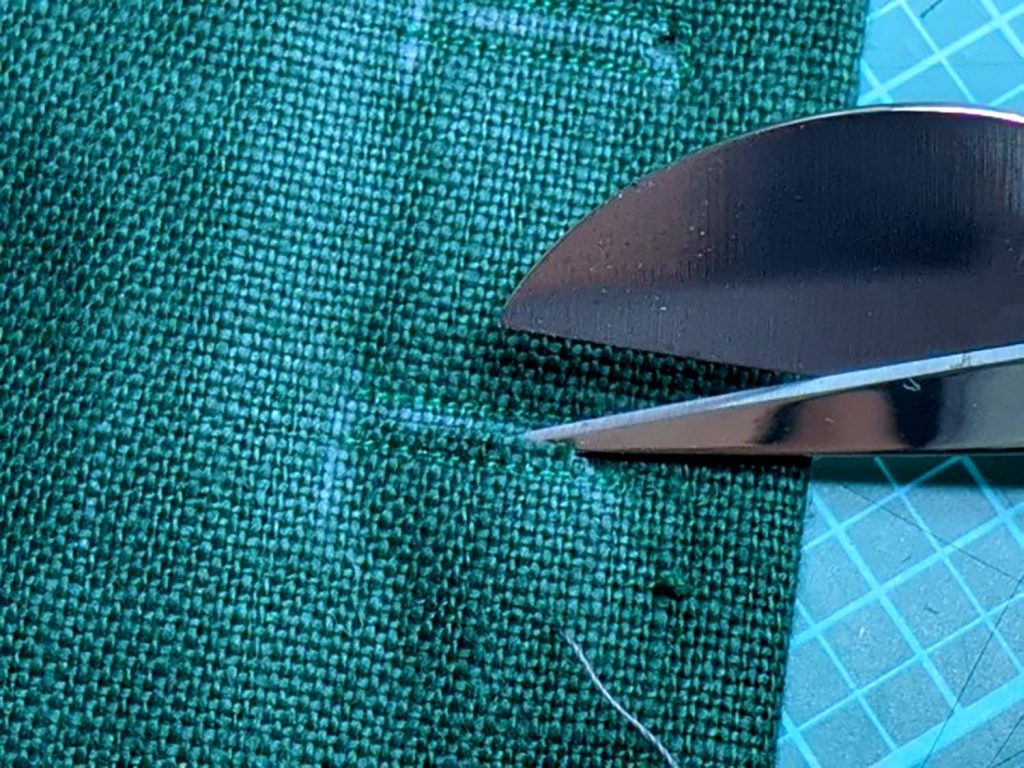
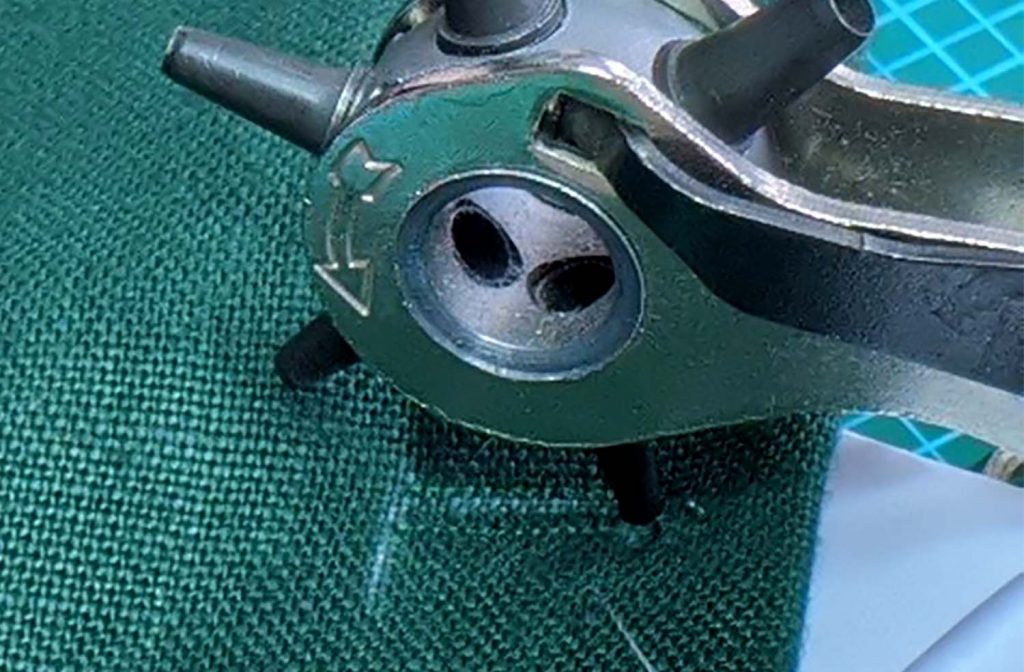
Cut open the button hole, make an eye if wanted. Overcast the edges with a matching fine thread.
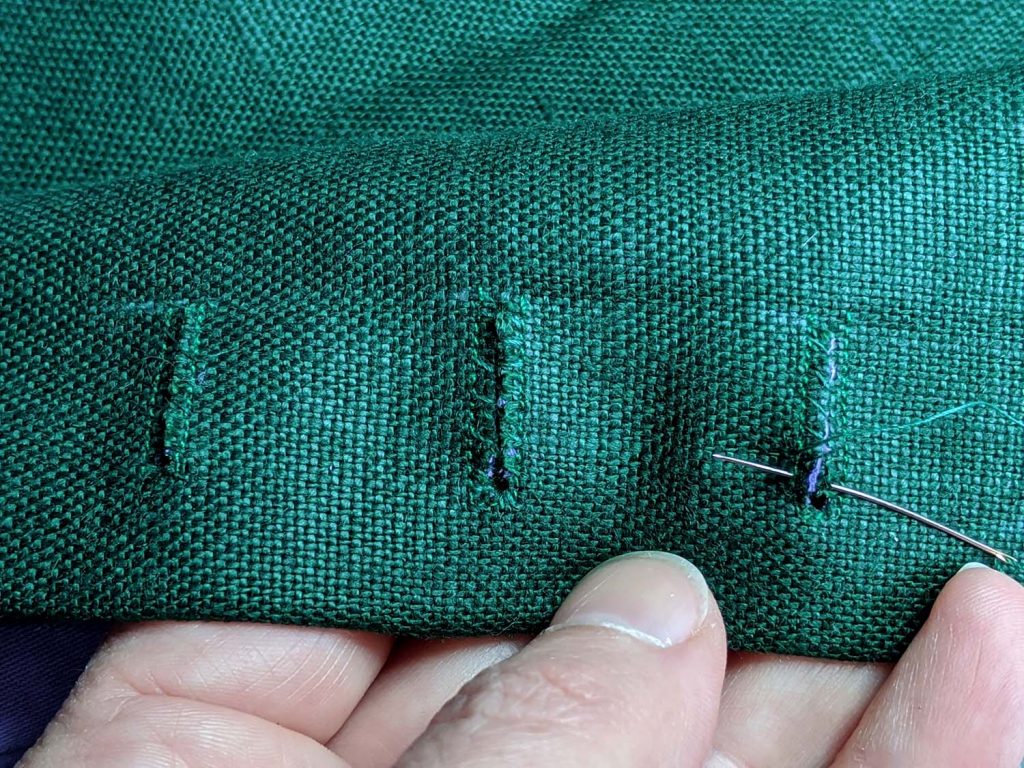
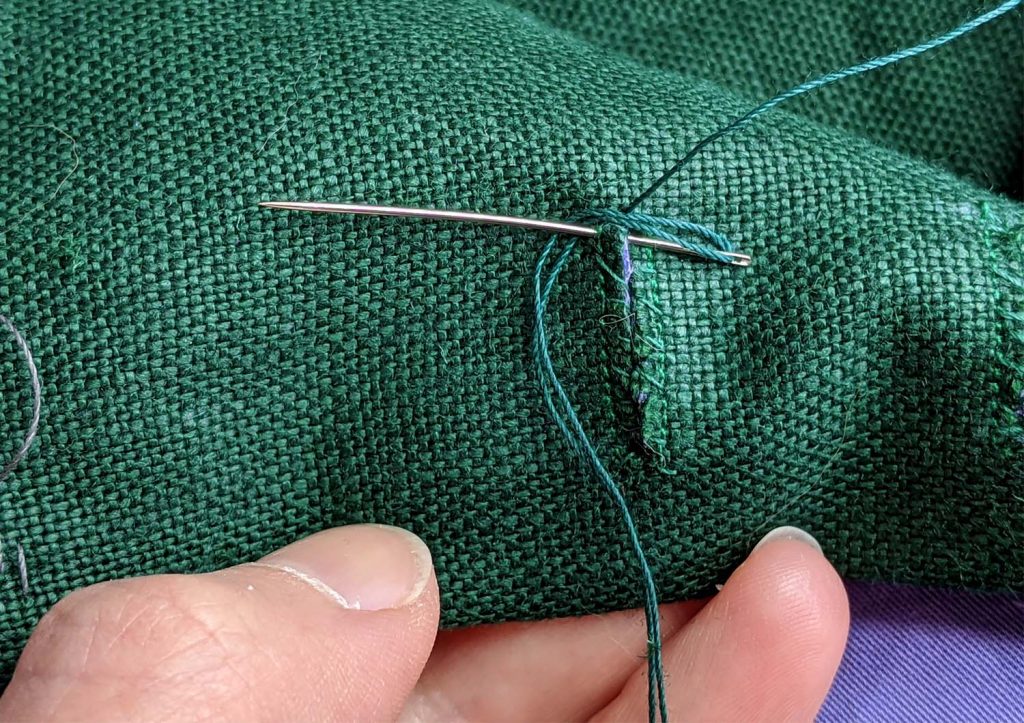
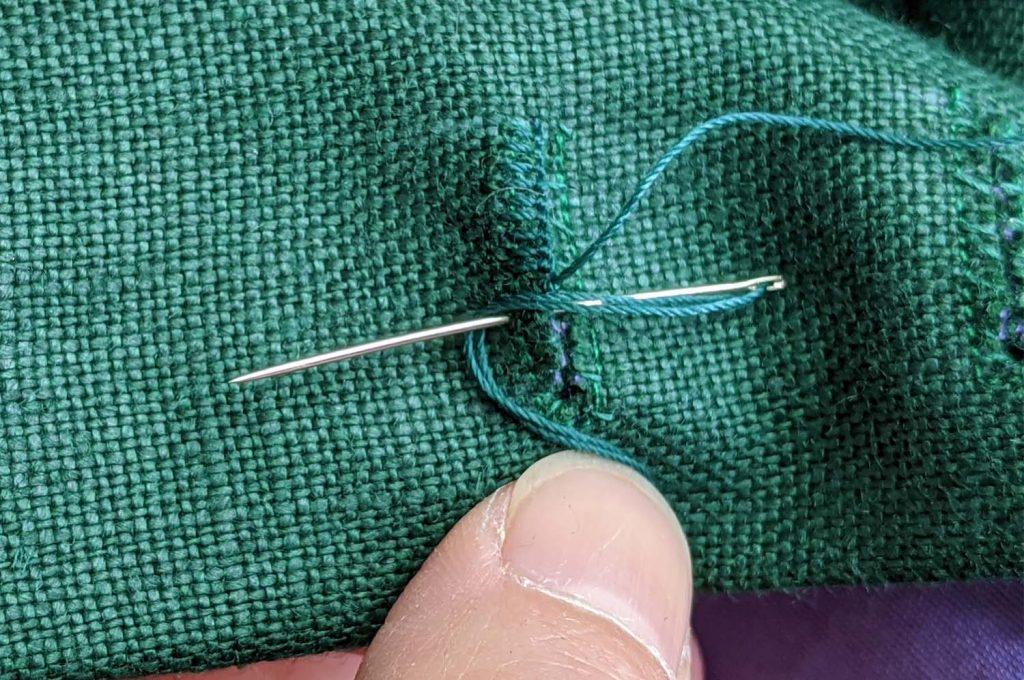
Don’t knot the end of your button hole thread, just leave a tail of some centimeters and make your first buttonhole stitch. Go around until reaching the start again and make a bar at the end if wanted.
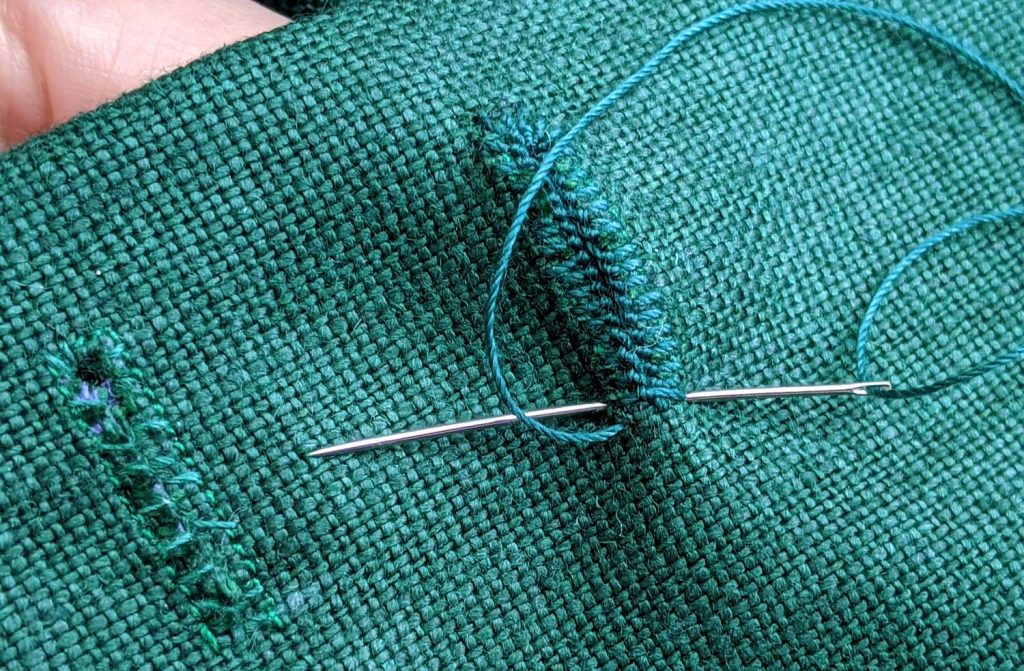
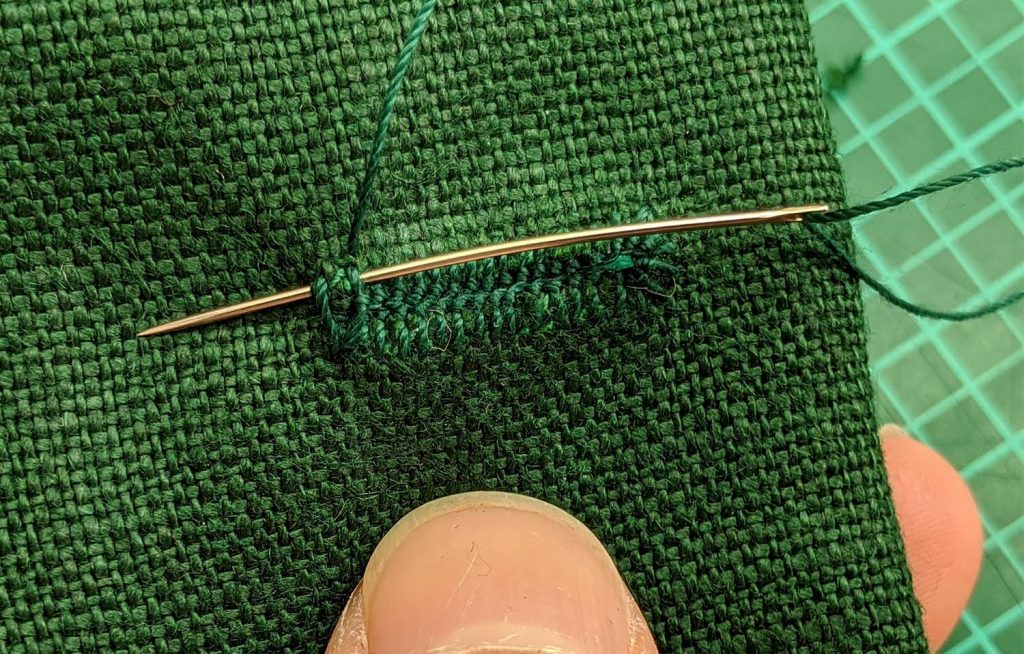
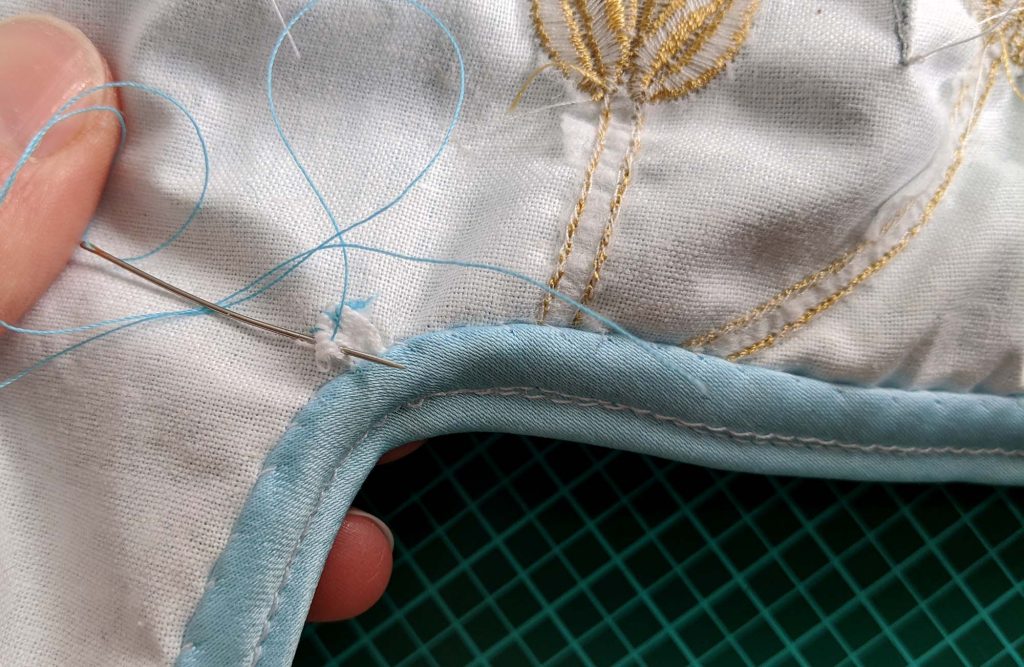
On the bodice I started sewing in the middle of the slit, when reaching that point again, I went through the first knot with my needle to finish the button hole with some stitches on the wrong side.
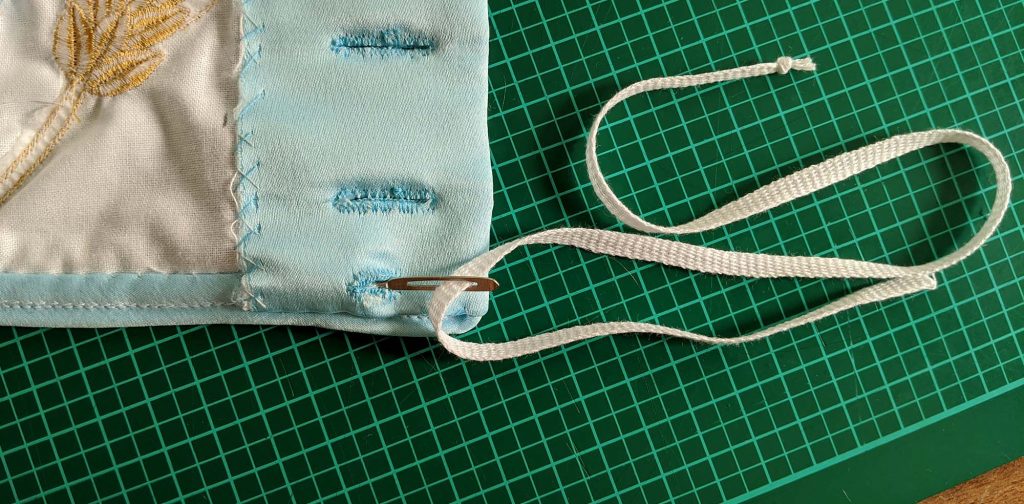
Thread a needle with the drawstring and insert through the eye into the tunnel, formed by the piping. Lead out at the corner and bar tack to the lining.
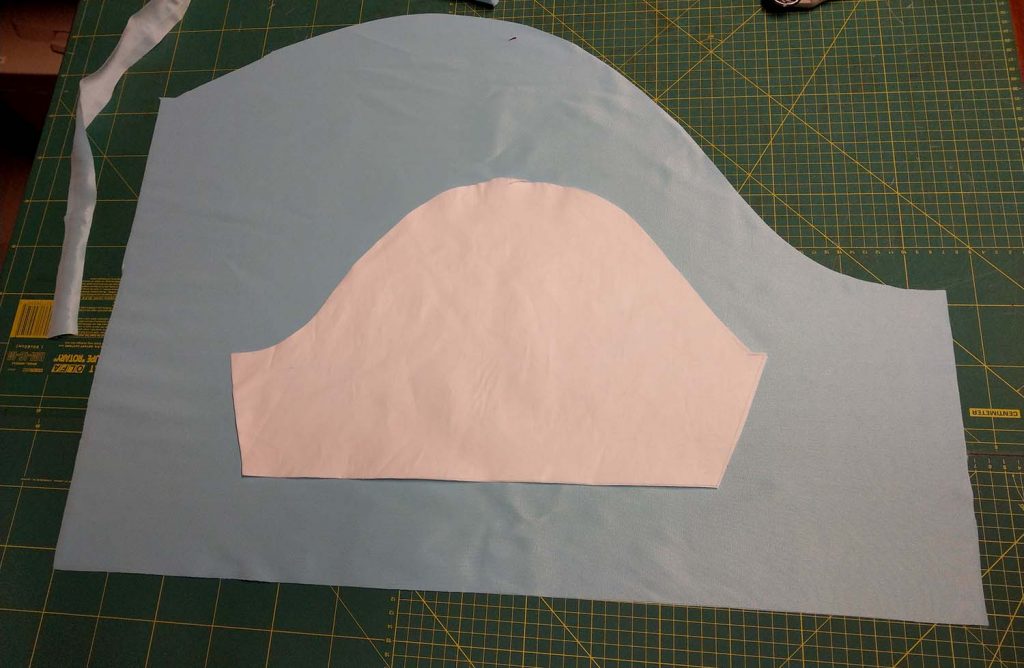
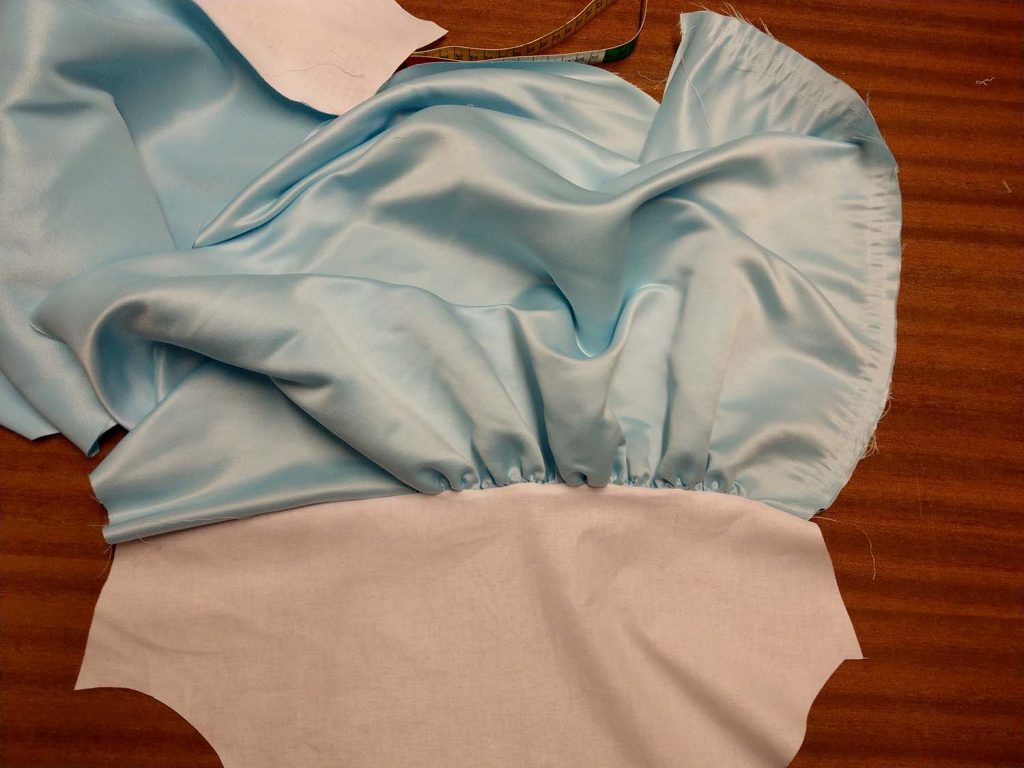
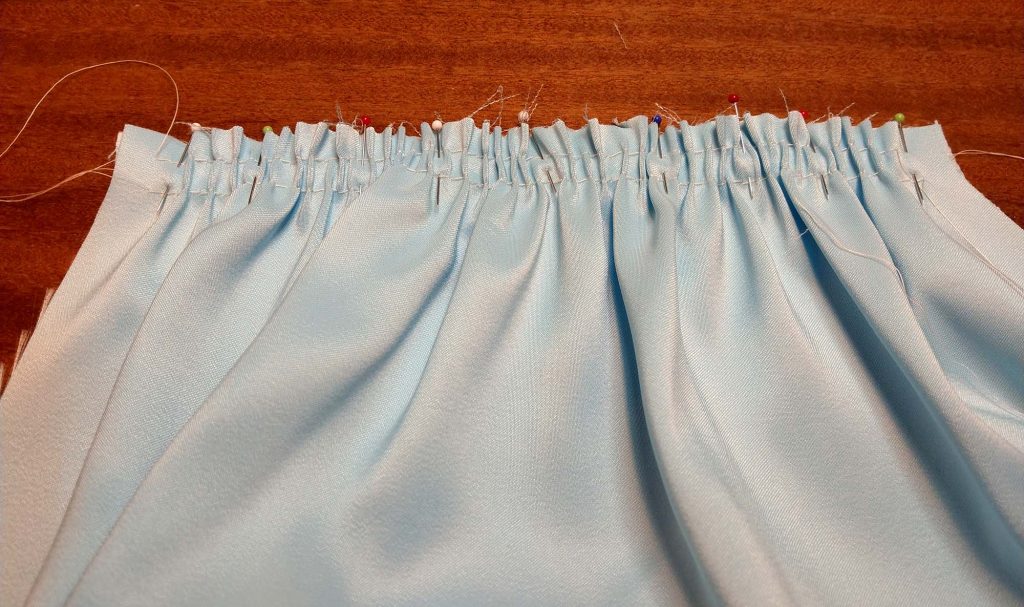
On the following pictures you´ll get an impression of the size difference of the sleeve from fashion fabric and lining and all the shirring needed, to match the seams.
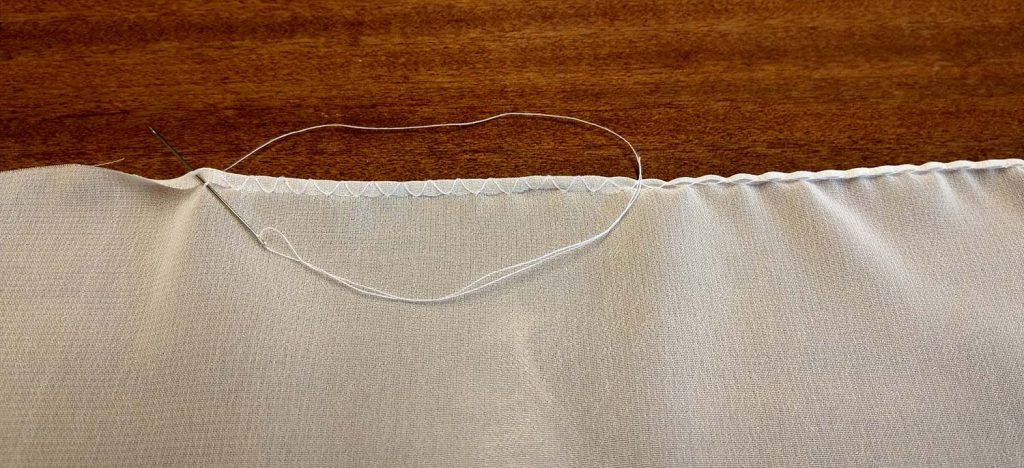
The bottom edge from the wrong and right side:

The sleeve seam and a first glimpse on that huge sleeve:
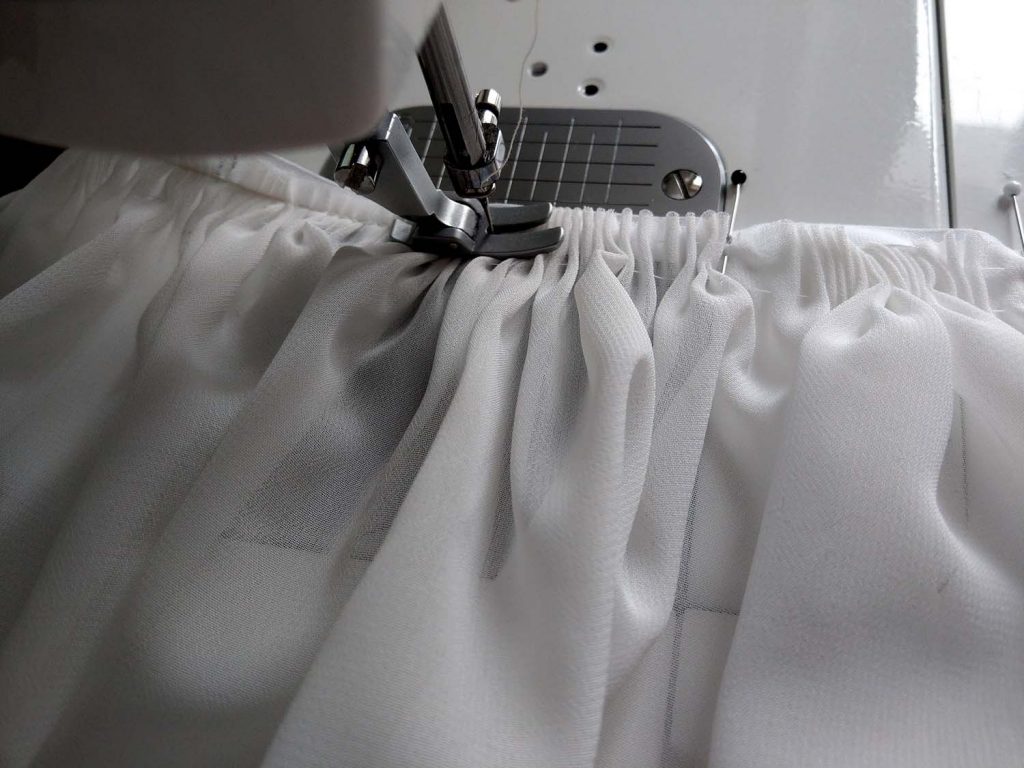
After sewing the sleeve to the armhole it´s time to do all that trimmings and flounces. First of all, sewing meters of rolled hems on sheer and delicate fabrics.
Then gathering and stitching the flounces to a cotton tape to be sewn to the inside of the bodice.
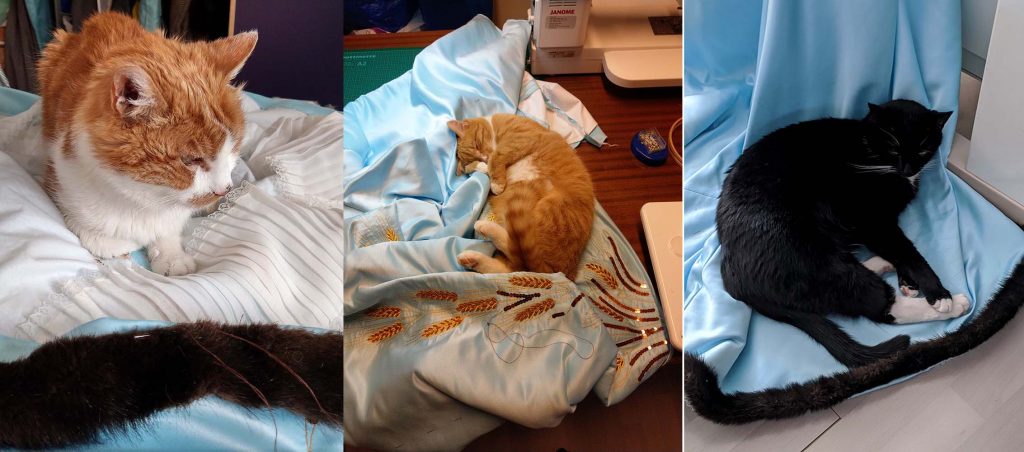
The dress was finished in time, I thank my three cats for the help! Visit my pattern shop if you feel like sewing the bodice: http://www.blacksnailpatterns.com