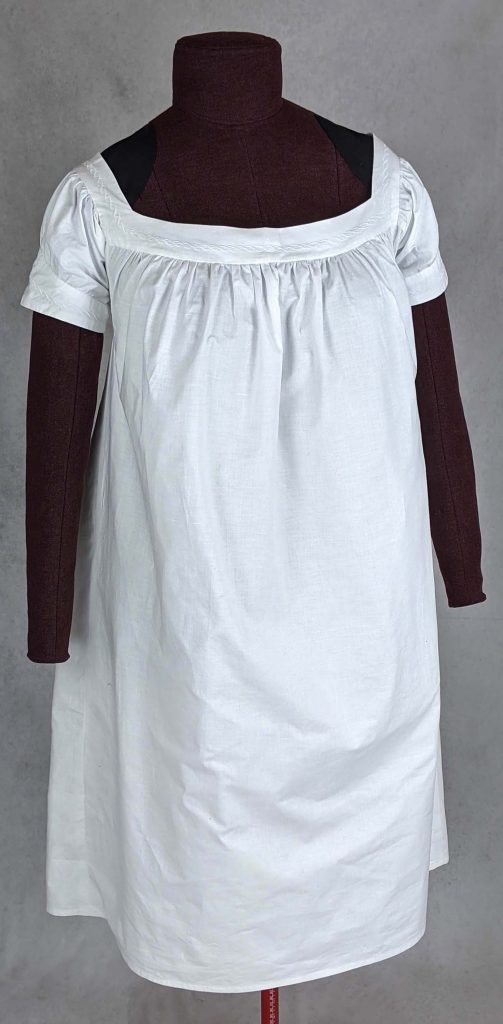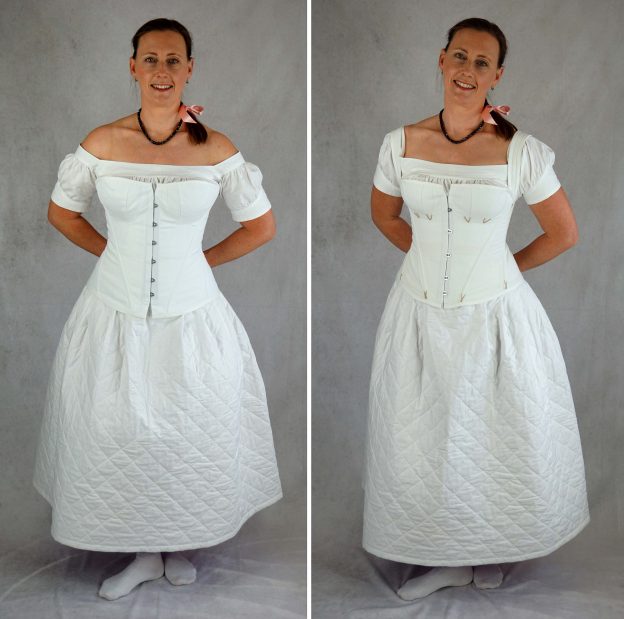
Finally, the matching underwear for the last two dress patterns I published recently is finished. Two corsets, a chemise and a quilted petticoat (quilting won’t be my passion in the future either) later I´m happy to present my new sewing pattern for 1840´s to 1860´s underwear.
Beside the sewing instructions, coming with the pattern, I´ll show some additional information and pictures here in my blog.
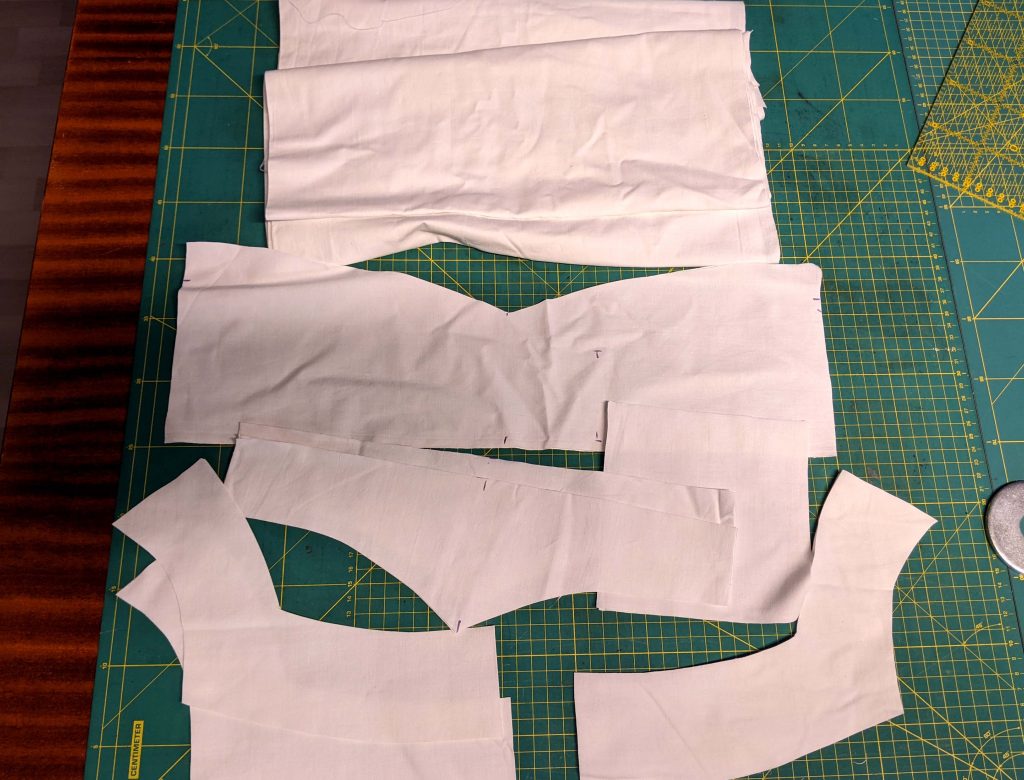
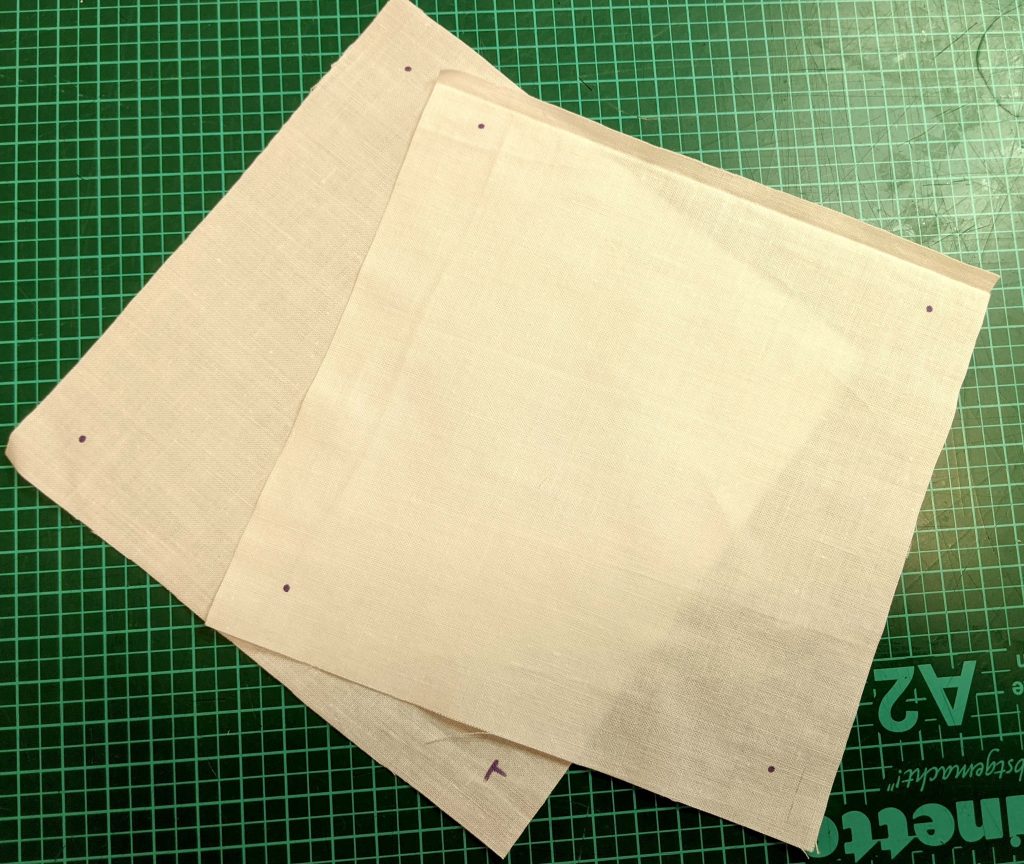
Let´s start with the chemise, all pattern pieces prepared for sewing.
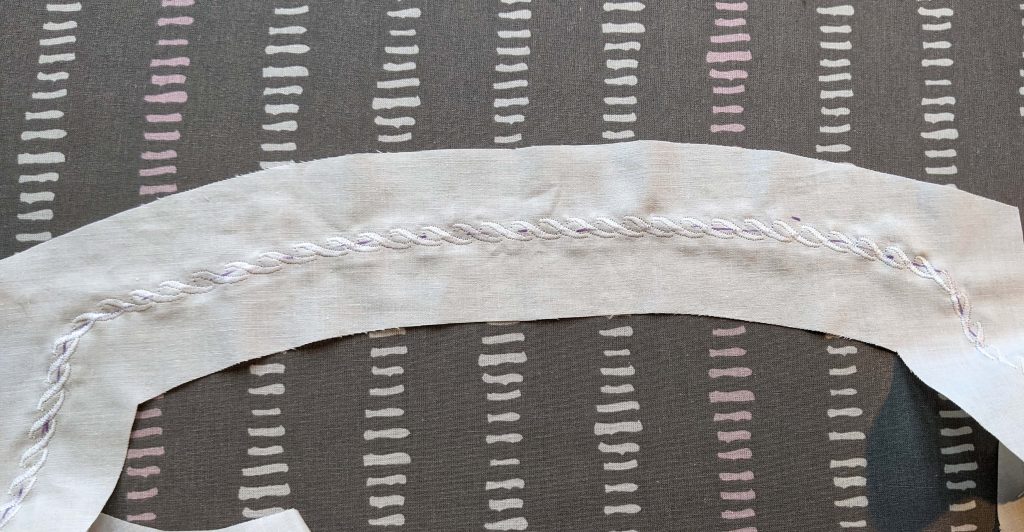
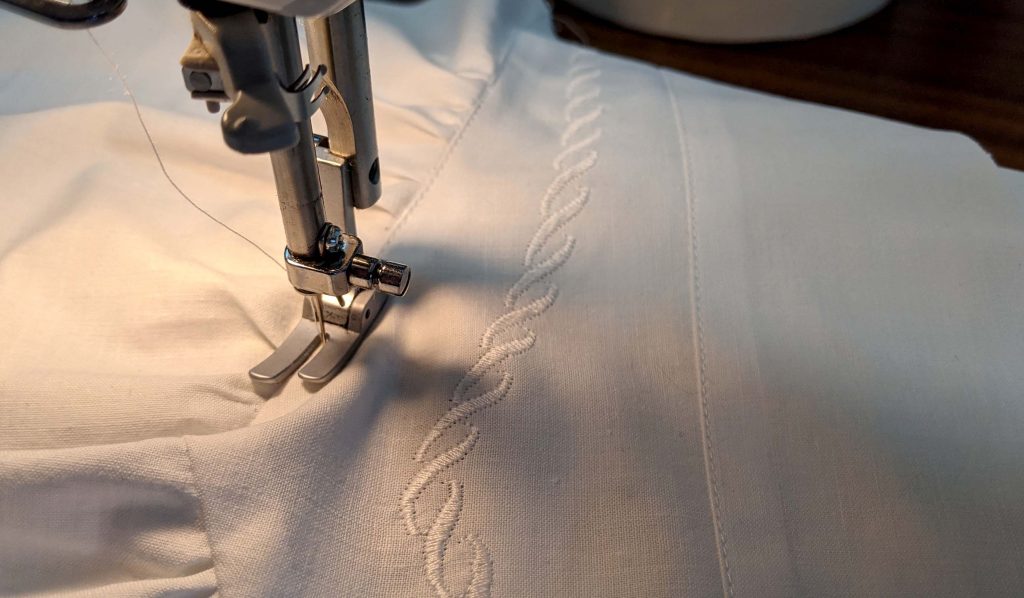
Before I made up the sleeves, I decided to sew the yoke and embroidered it with a decorative stitch of my sewing machine. Instead of polyester thread I used a cotton thread for all seams and the embroidery.
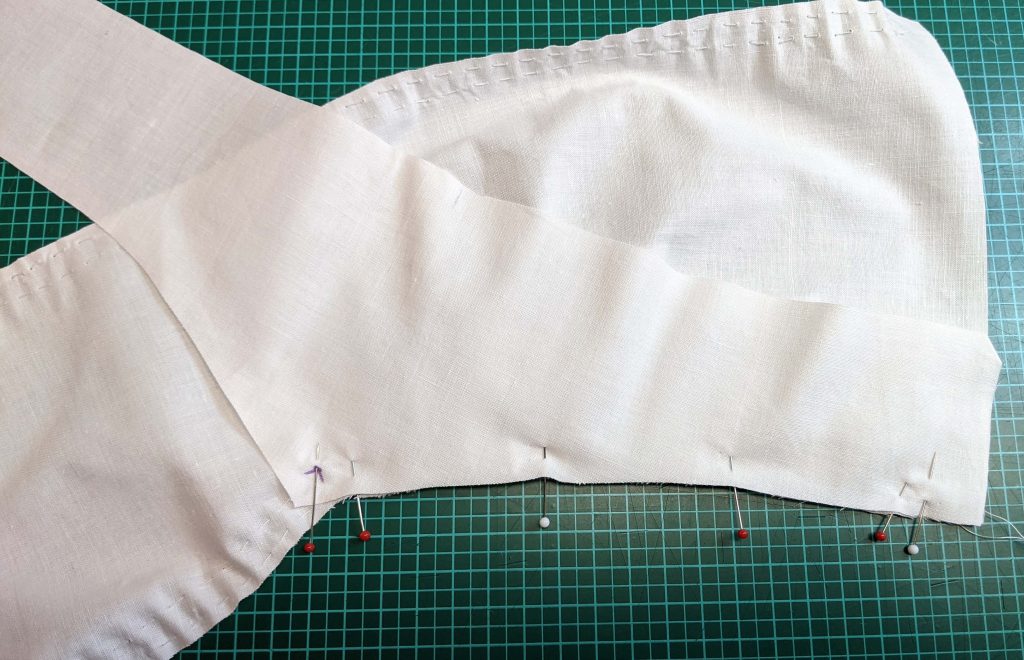
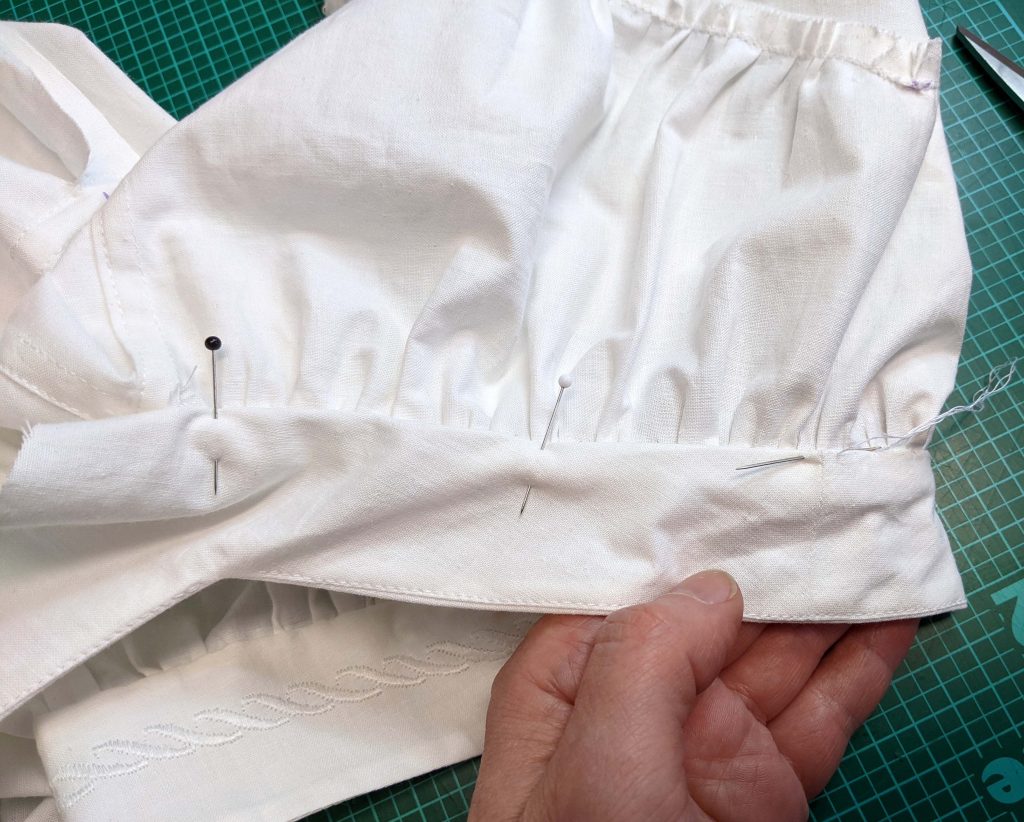
After doing all the gathering on front, back and the sleeves, I lined up the bottom edge of the sleeve with the sleeve cuff and clipped the sleeve at the corner to sew more easily.
After stitching the sleeve to the cuff, I pressed the seam allowances towards the cuff and edge stitched from the right side to hold them in place. Then I attached the inner cuff to the outer cuff, right sides together, pressed the seam allowances towards the inner cuff and understitched from the right side. The last step was to do the embroidery.
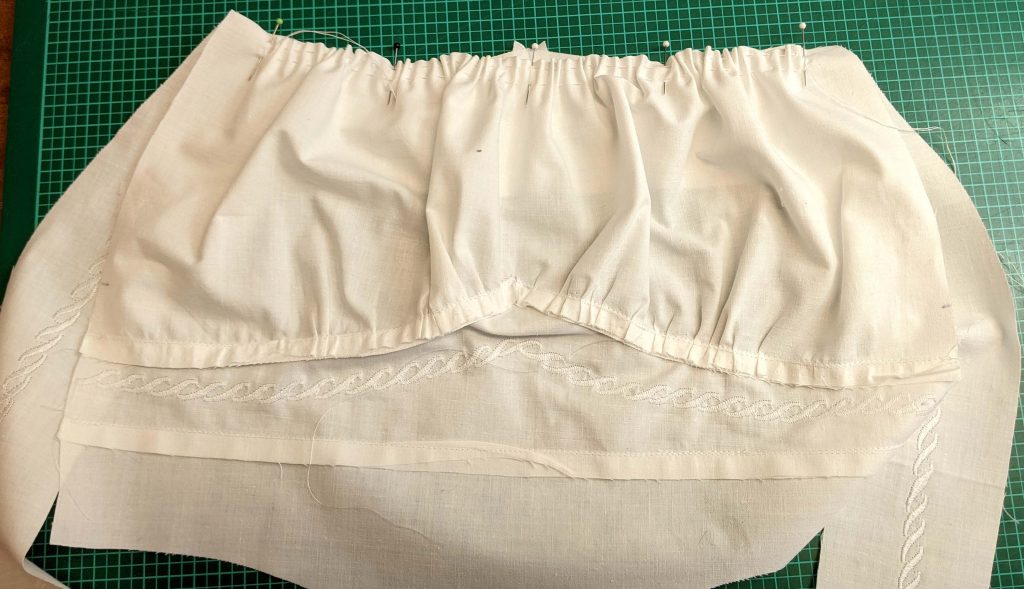
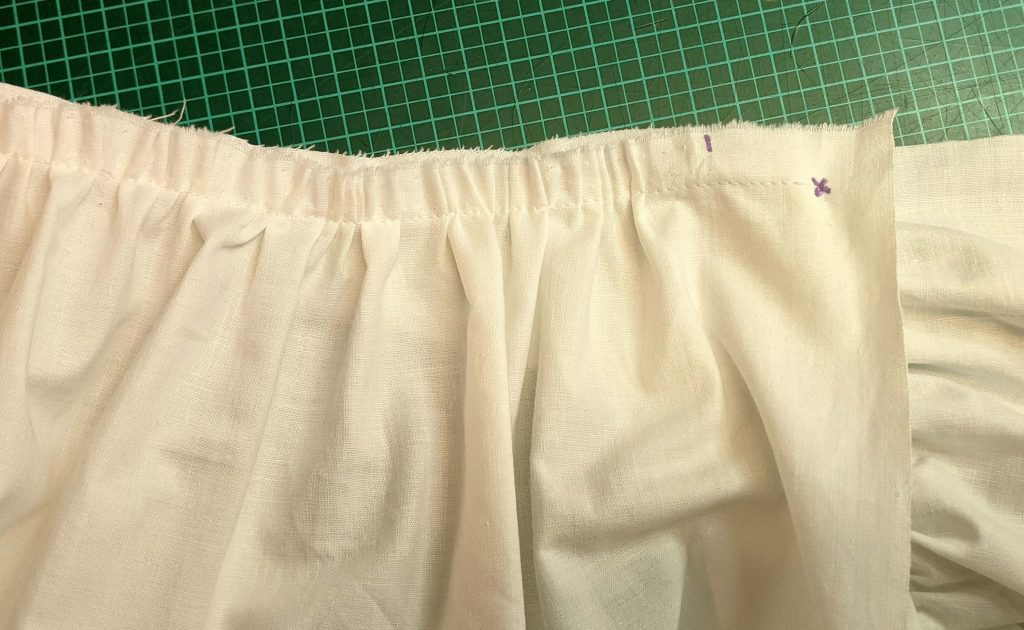
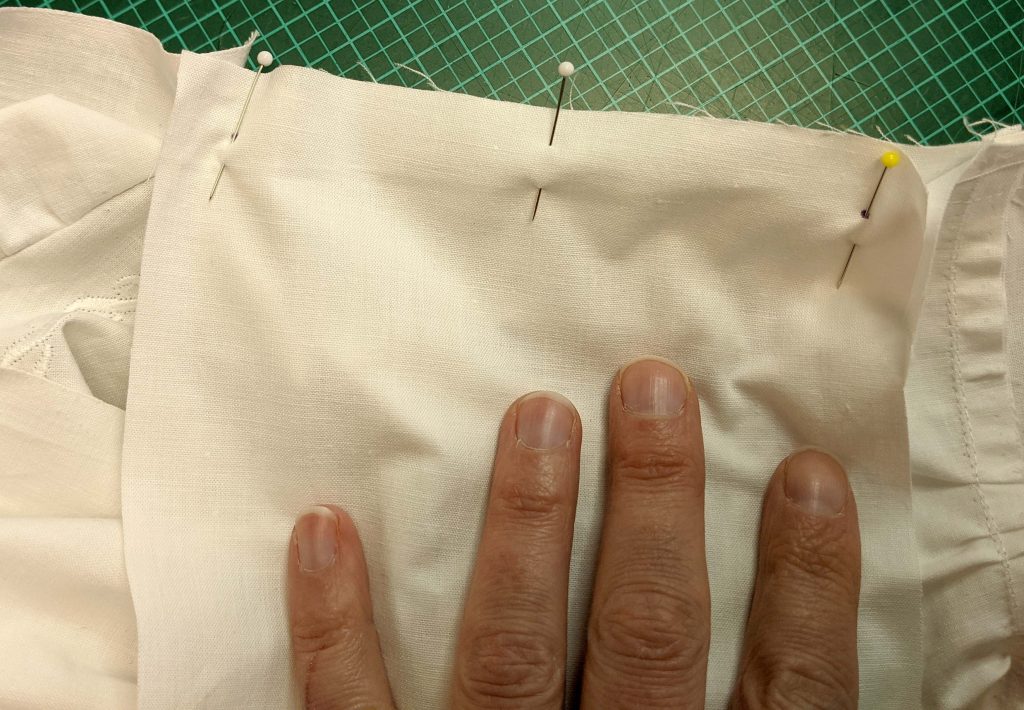
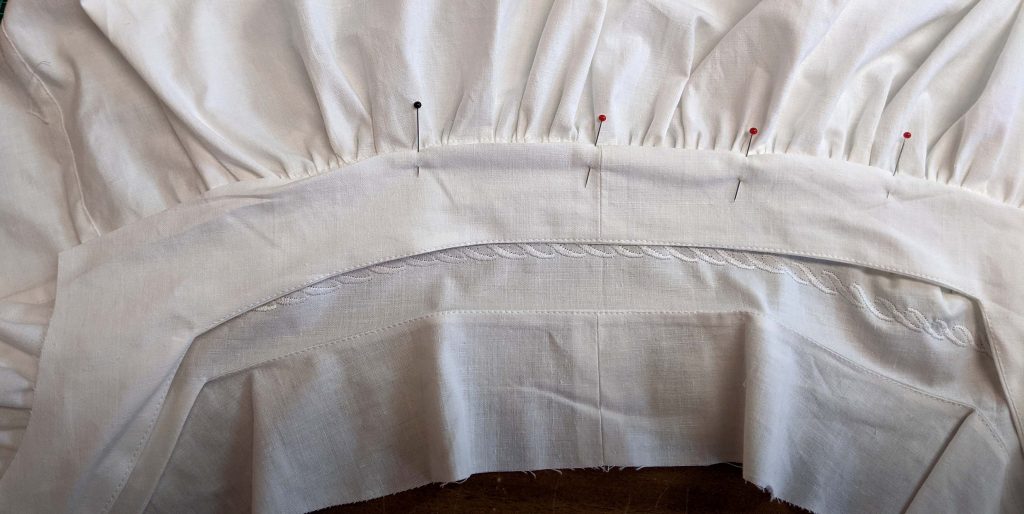
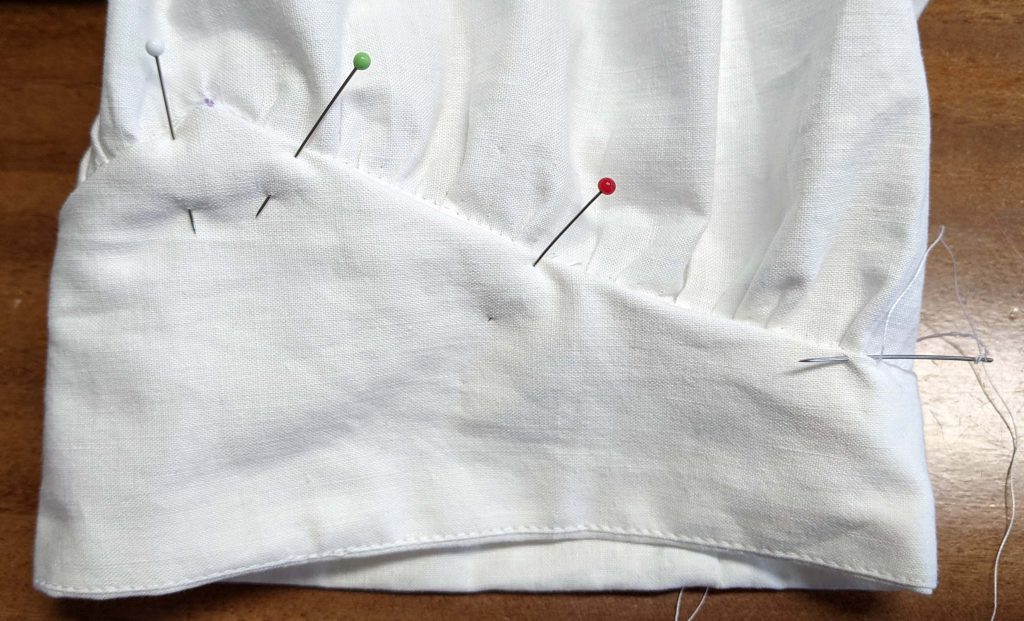
Here you can see the front and sleeve gathered and lined up with the corresponding yoke edge. The cross marks the end of stitching, referring to mark (3) and (4) on the sewing pattern. The small part, left plain at the end, referrs to (f) in the instructions.
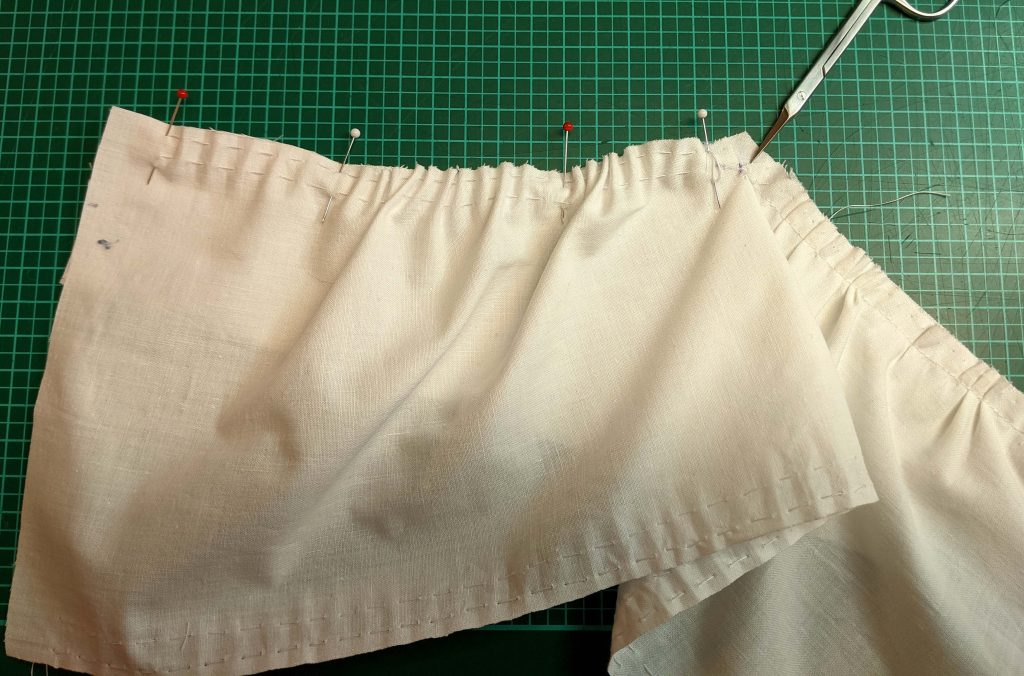
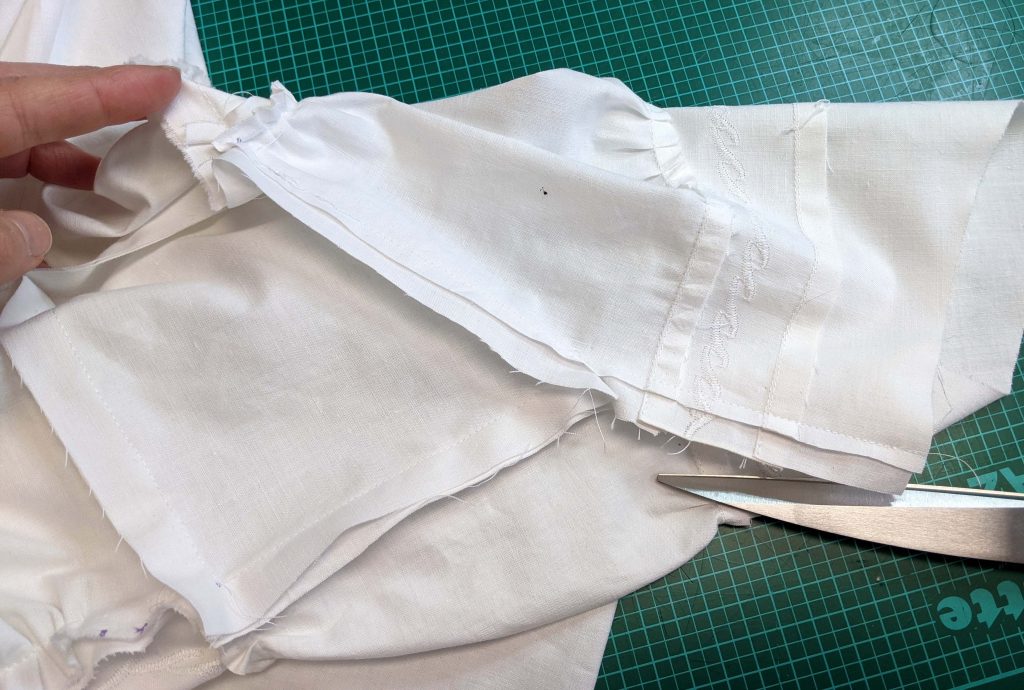
Then I sewed the side and sleeve seams, leaving the opening for the gusset at the armpit.
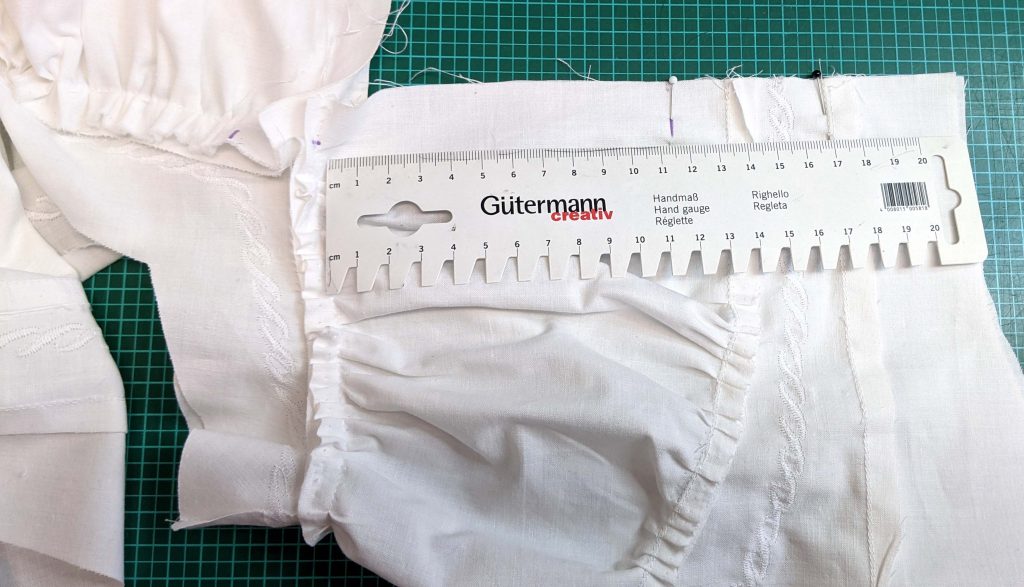
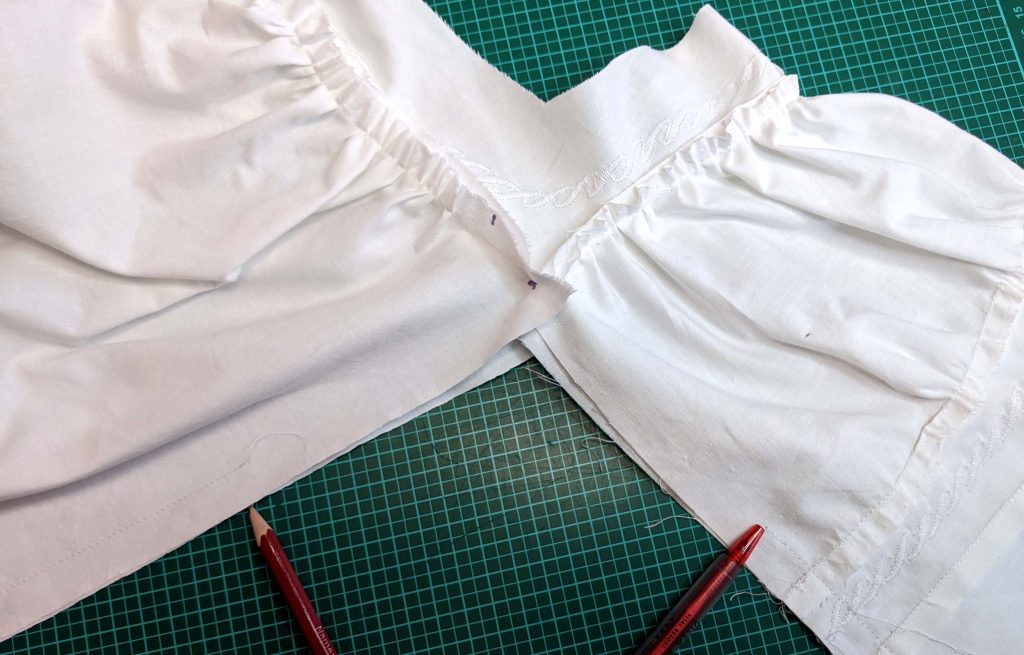
I made all the marks needed on the gussets with a heat erasing pen to pin into the opening exactly.
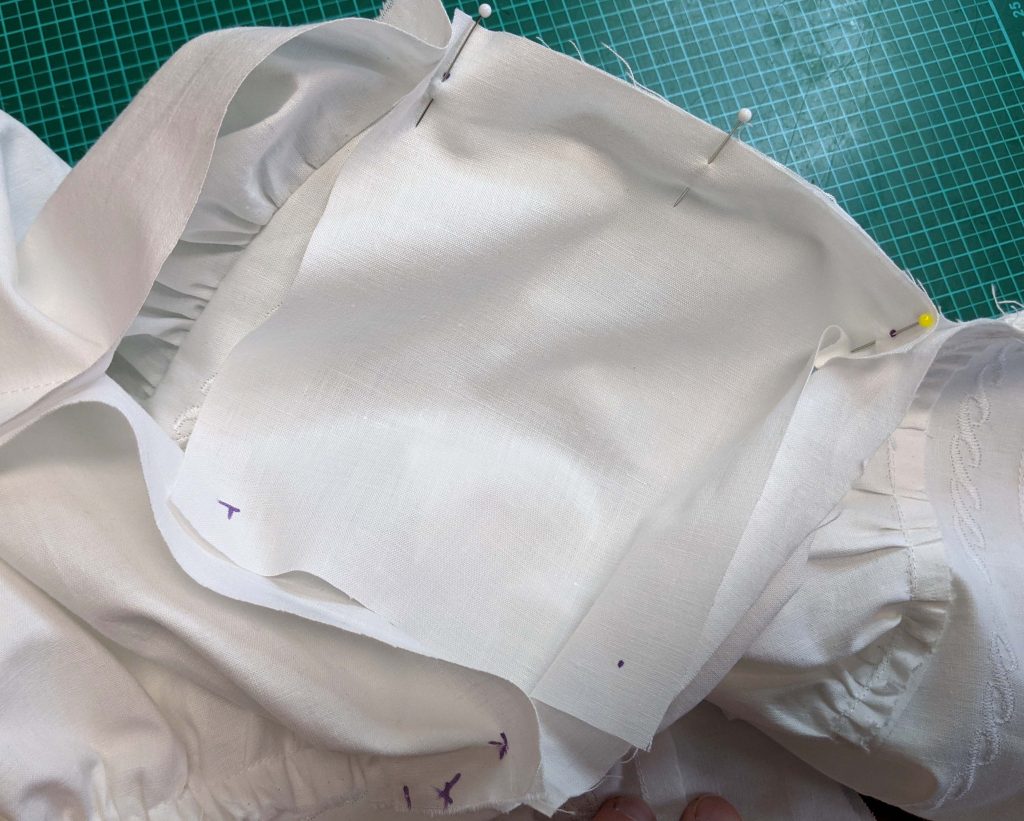
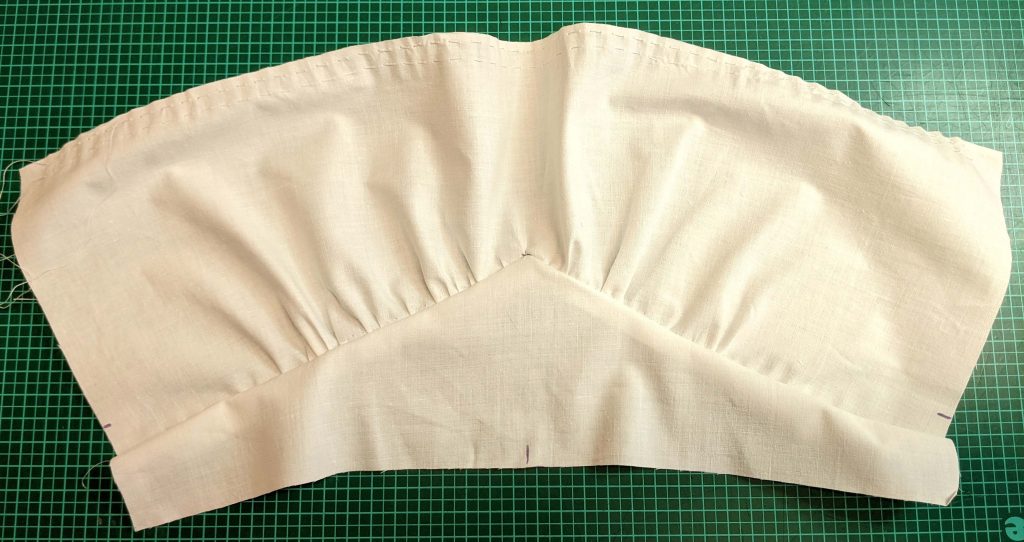
I had some nice selvedges on my fabric, which I left on the front and backs. Because of this, I didn´t had to make flat felled seams along the sides, but the flat felled seams on the gusset principally are made the same way as described in the instructions. You´d just need a point to start, my starting point is shown by the pencil at the sleeve seam.
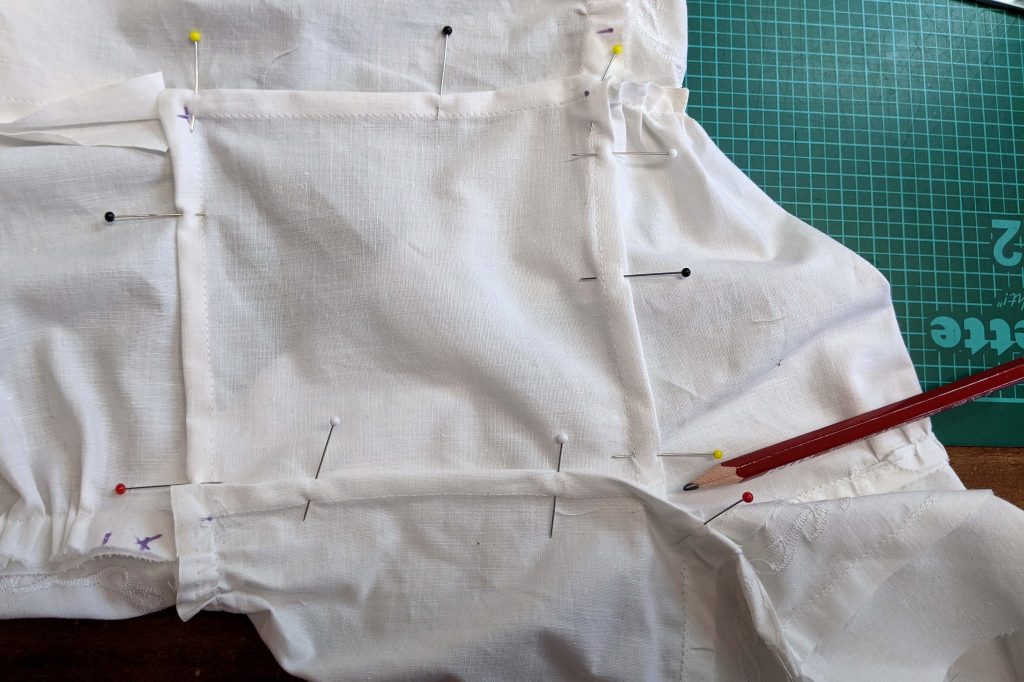
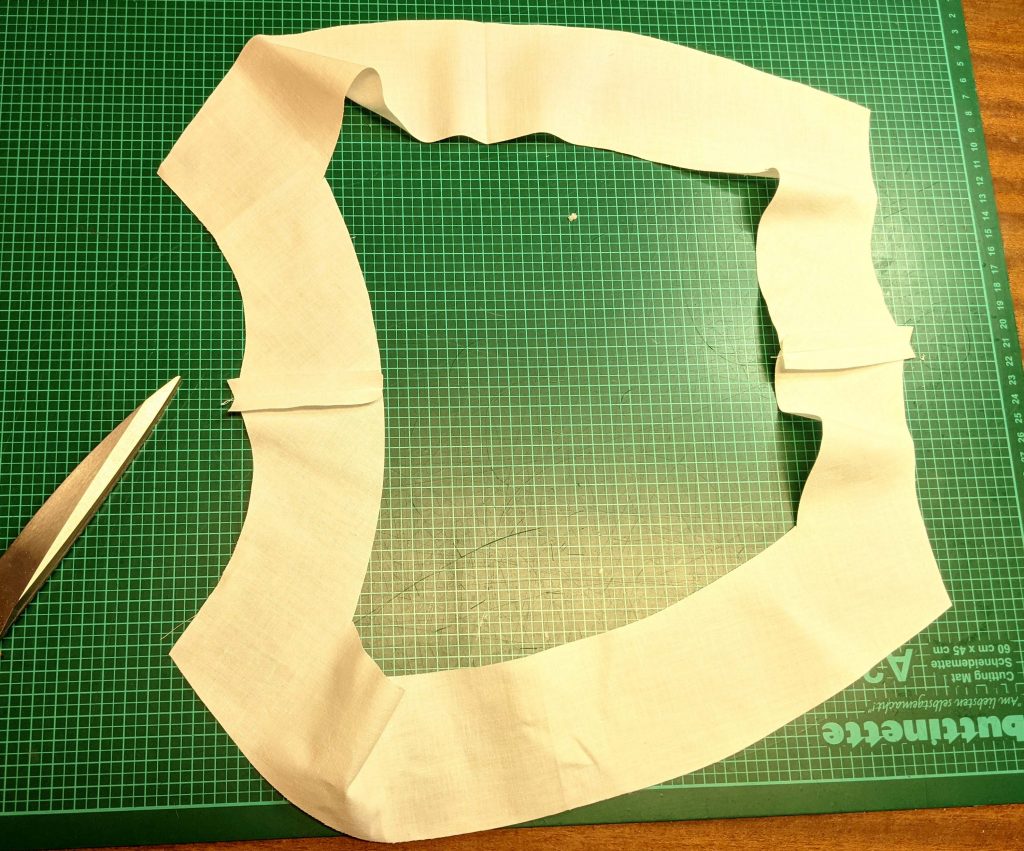
To cover all the raw seam allowances of the front, back and sleeve, I lined up the inner yoke with the outer and stitched along the neckline. After trimming back and understitching the seam allowances, I folded the inner yoke to the inside, turned in the raw seam allowance and lined up the edge with the stitching line of front, back and sleeves, covering all the raw seam allowances. I did the same at the sleeves, where the inner cuff was folded to the inside. Finally, everything was fell stitched in place.
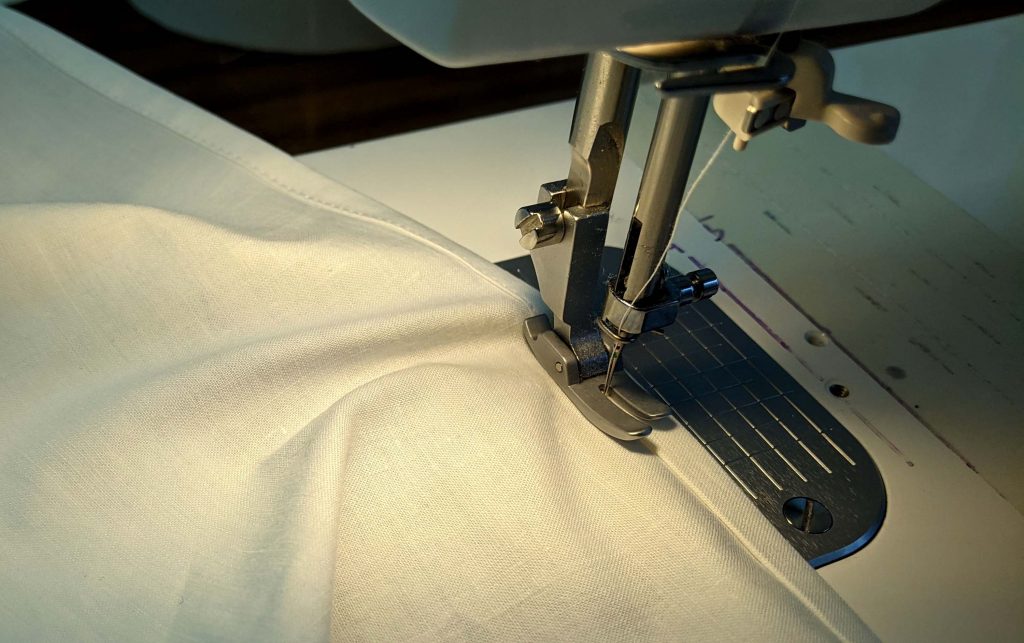
Last step was to double turn in the hem and topstitch.
Perhaps you are missing some of the details that can be found in the instructions, because this tutorial is intended to complement my sewing pattern, which is available through my Etsy shop.