
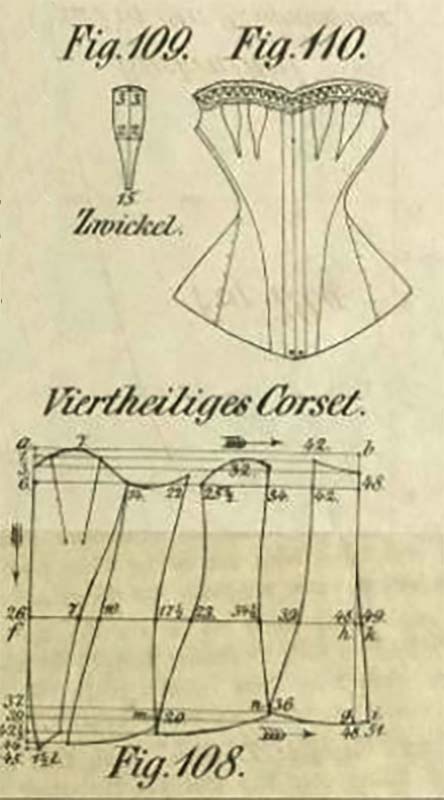
The first time I stumbled over this corset was some years ago, when I made the young Queen Victoria cosplay for my daughter. I was looking for an easy to sew, period accurate and comfortable corset for a 16 years old and found a four gored corset dated to 1844 in Norah Waughs “Corset and Crinolines”. Further research leaded me to the original publication of the pattern, “Vollständiges Lehrbuch der modernen Bekleidungskunst für Damen“ from C. Kawitsch and H. Klemm, Dresden 1852. The 3rd edition from 1856 is downloadable via the digital collections of the University of Dresden: https://digital.slub-dresden.de/werkansicht/dlf/29313/5/0/
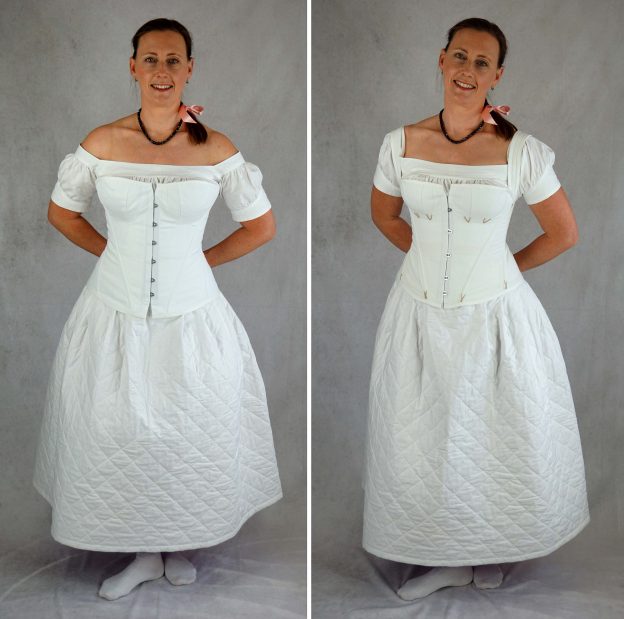
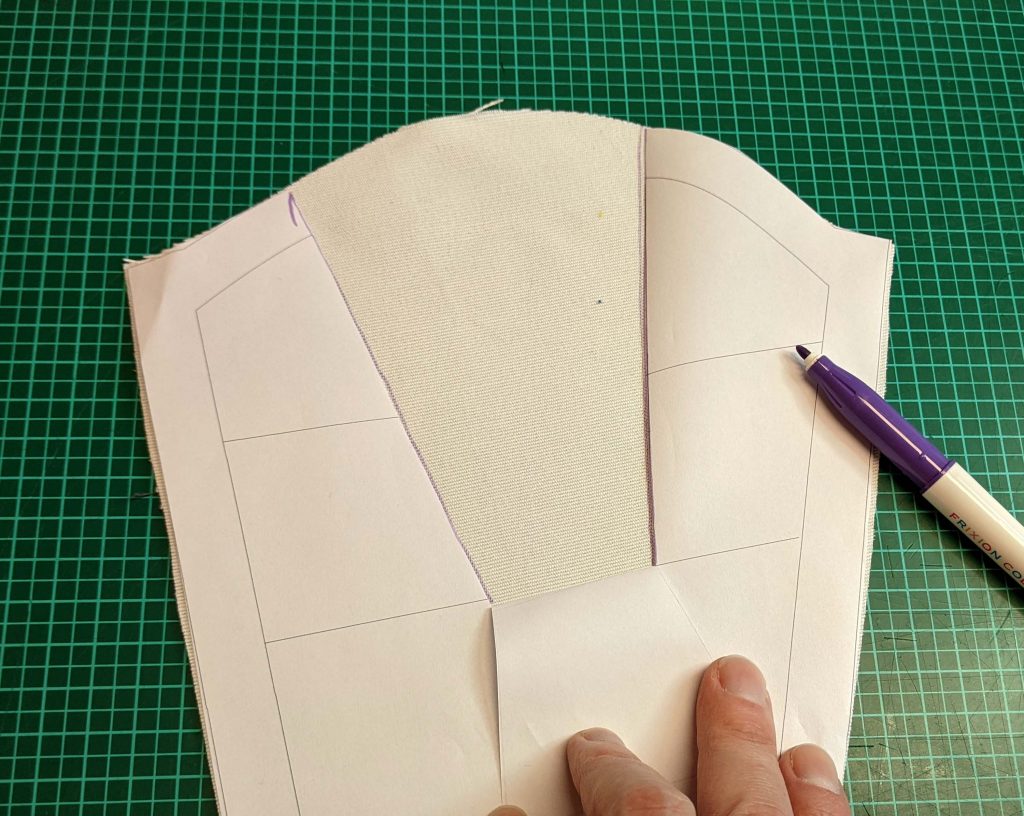
The original pattern served well for a very slender young girl, just when I mad my first mock-up, I noticed, that it is cut very deep at the armpit and will work better with shoulder straps. At this point I decided to make two corsets, one with shoulder straps and another without. The patterns are similar, just the top edge is raised at the armpit to give the support needed at the sides without straps.
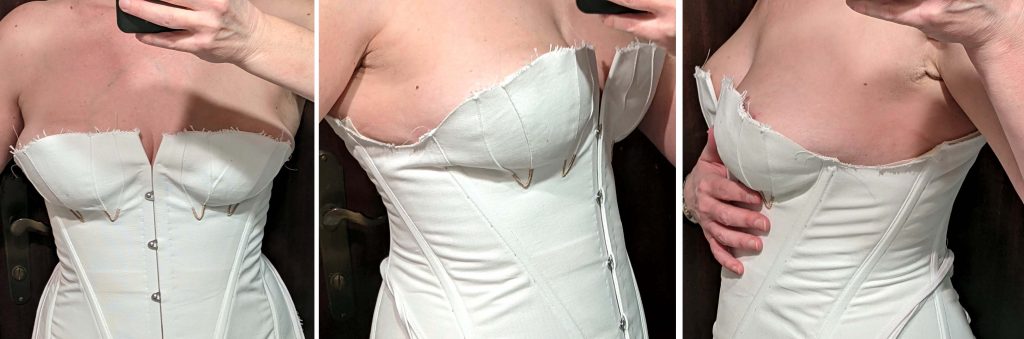
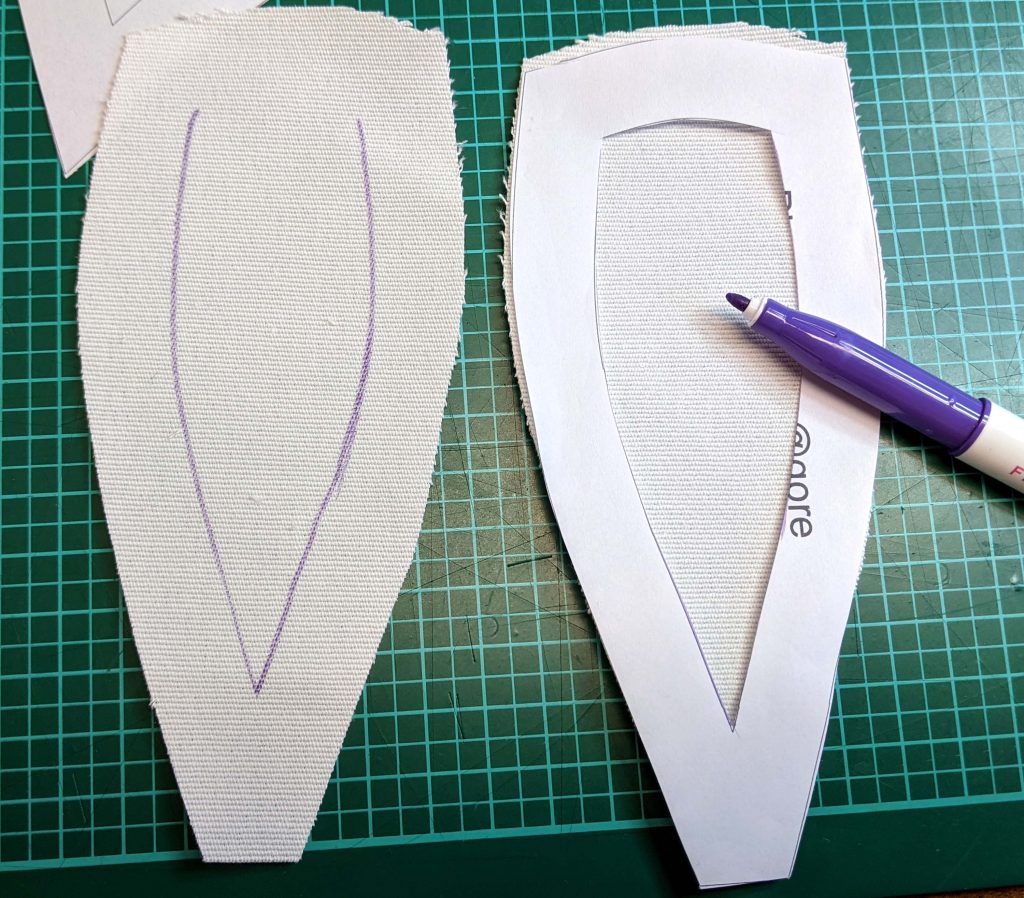
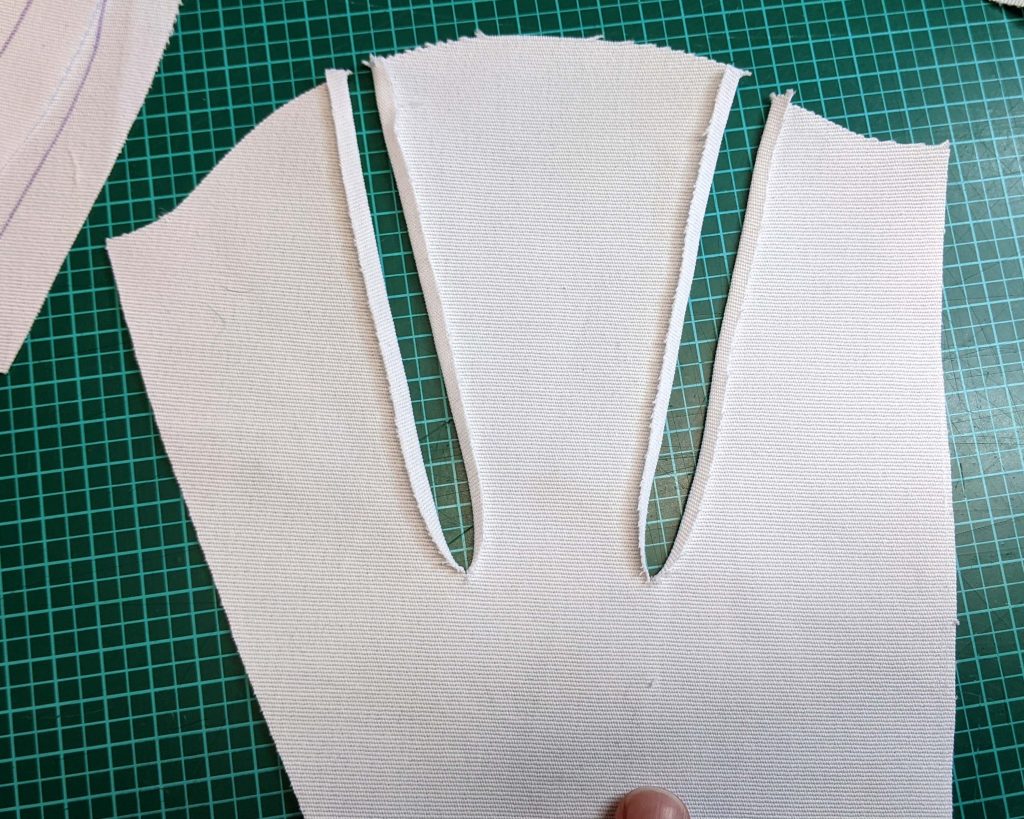
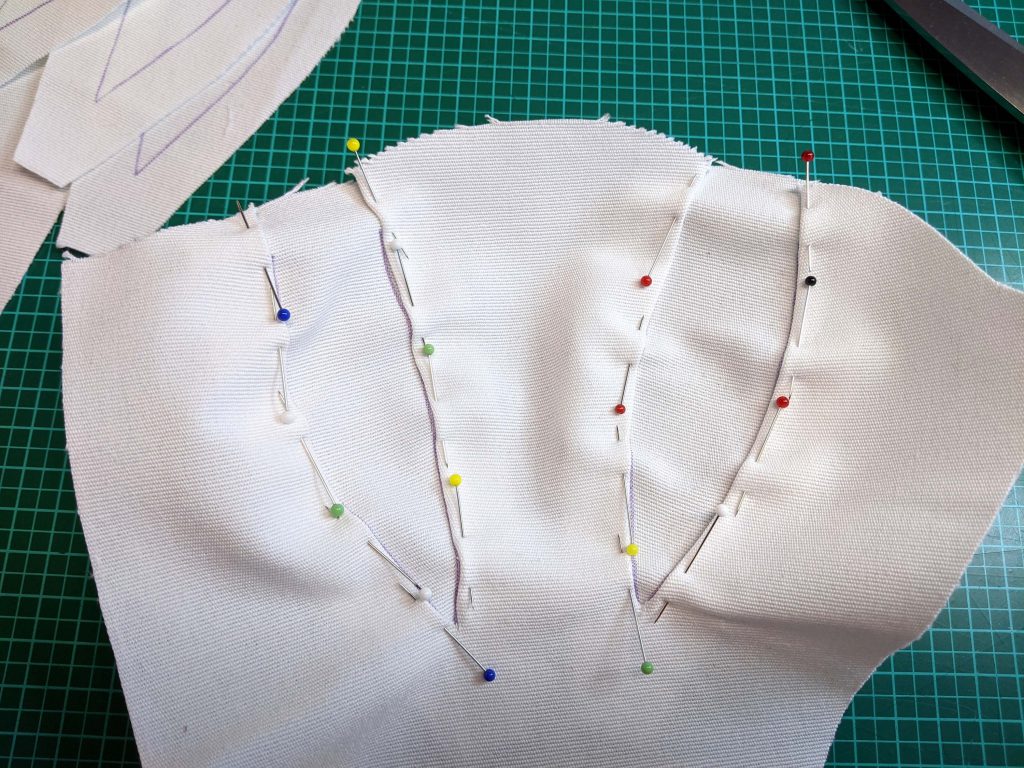
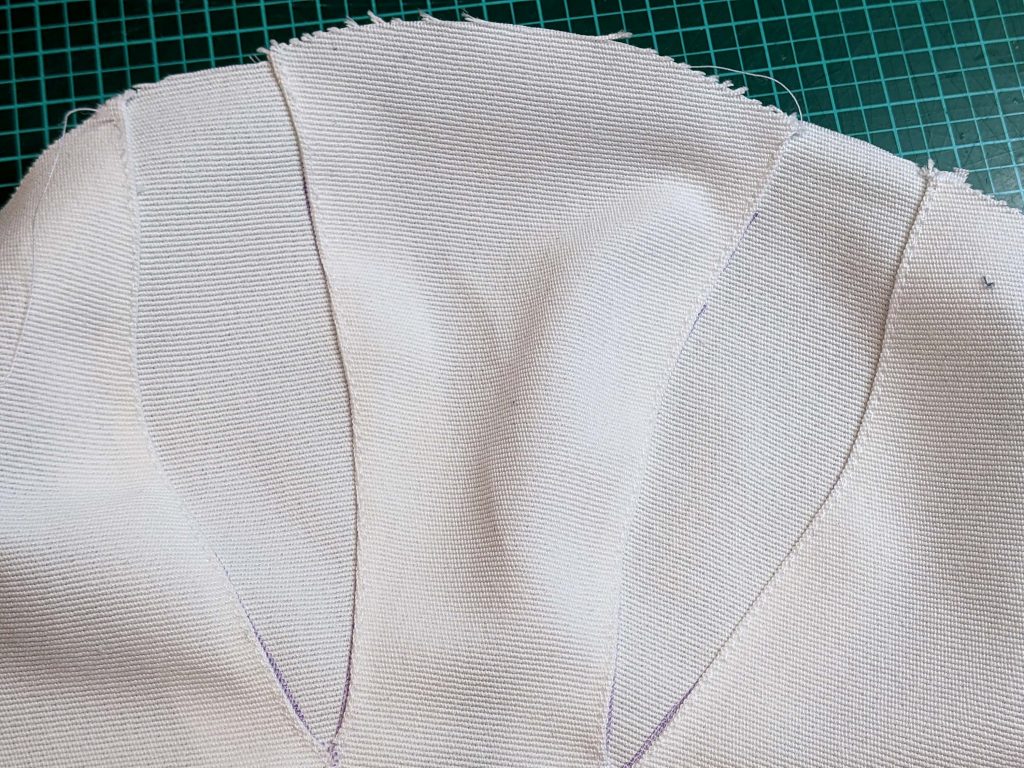
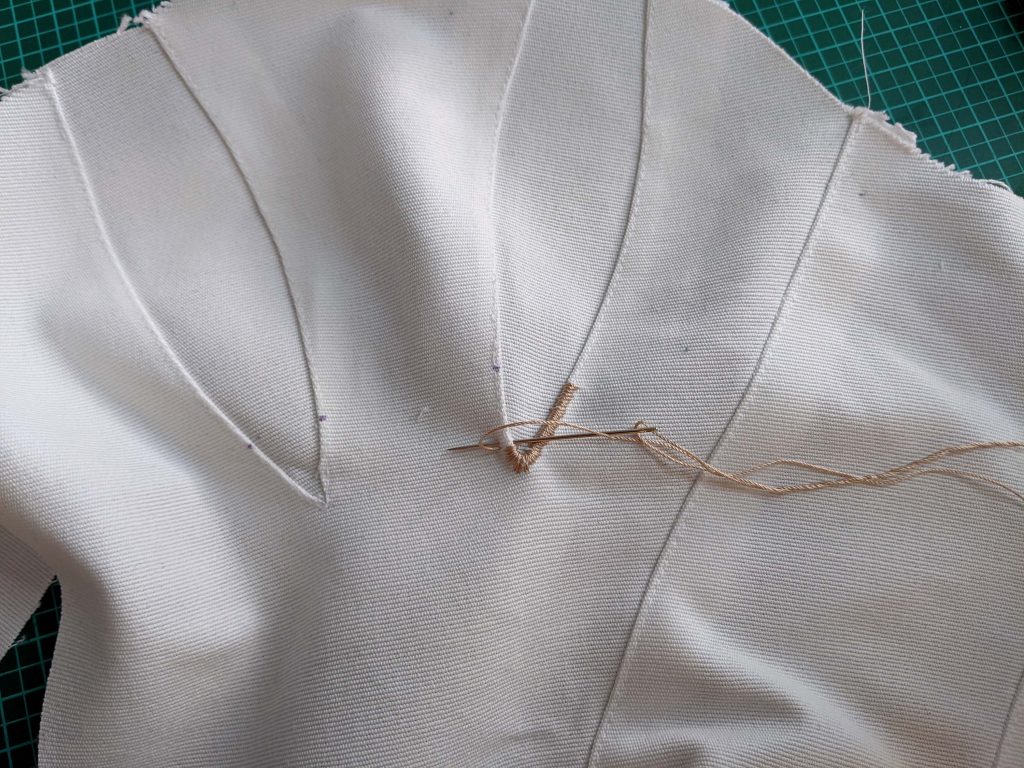
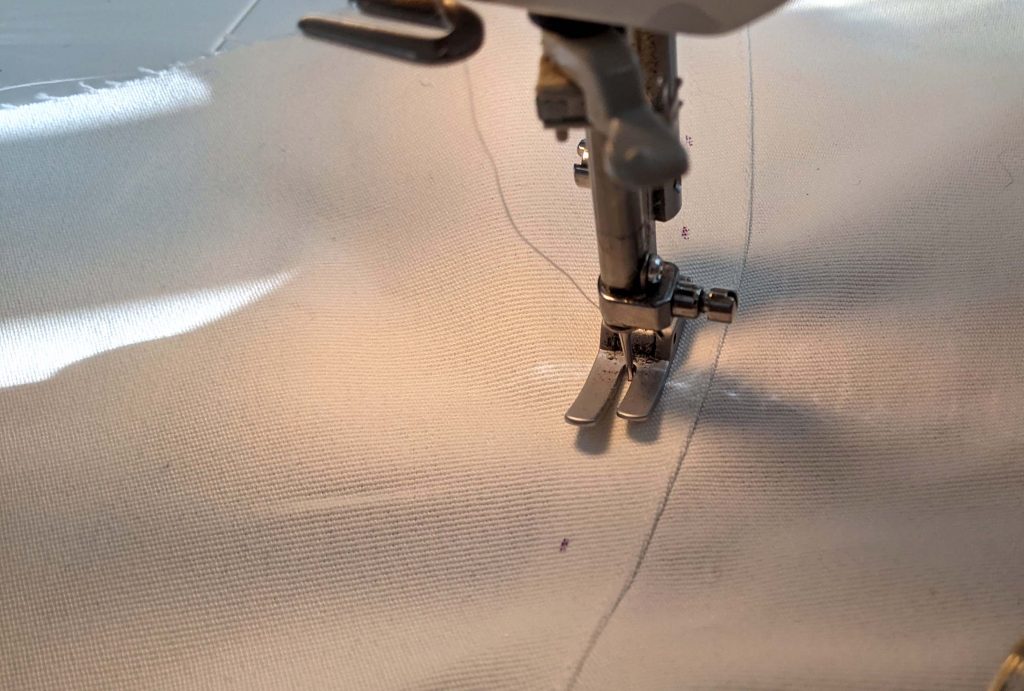
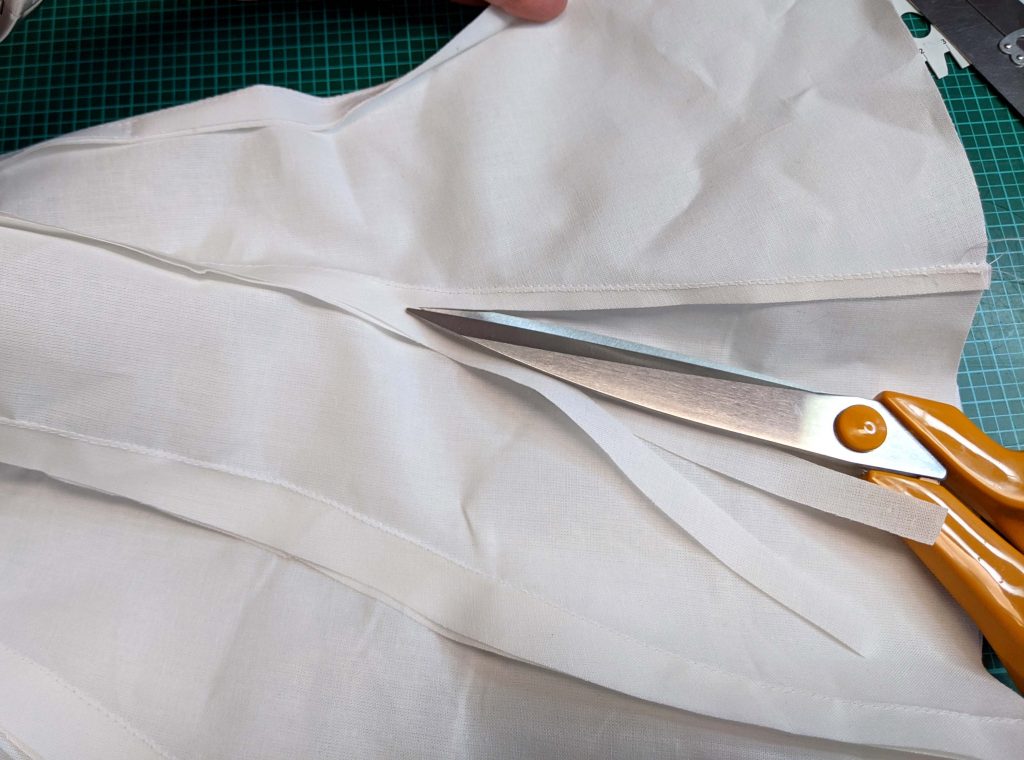
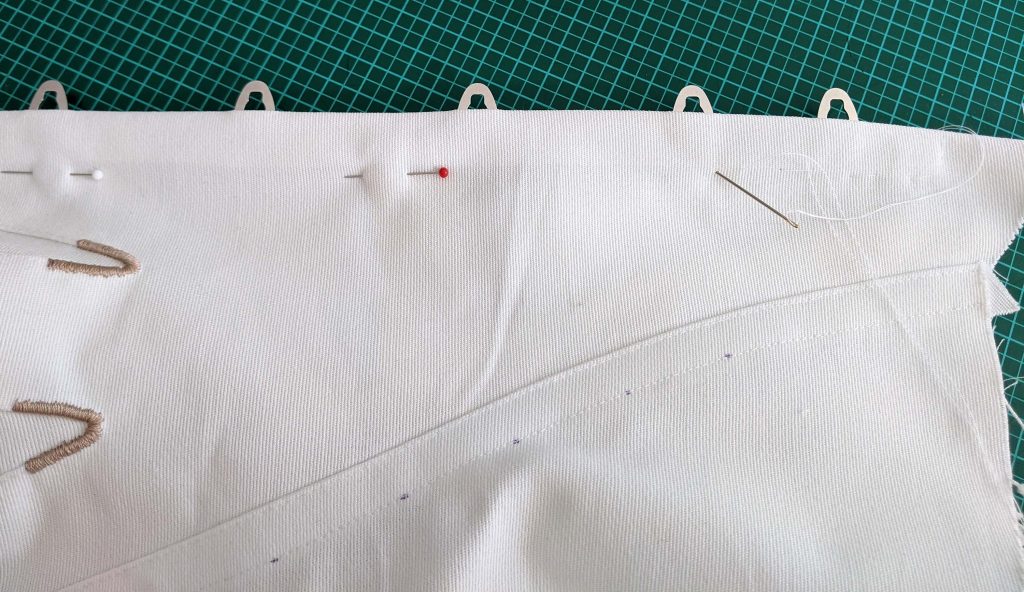
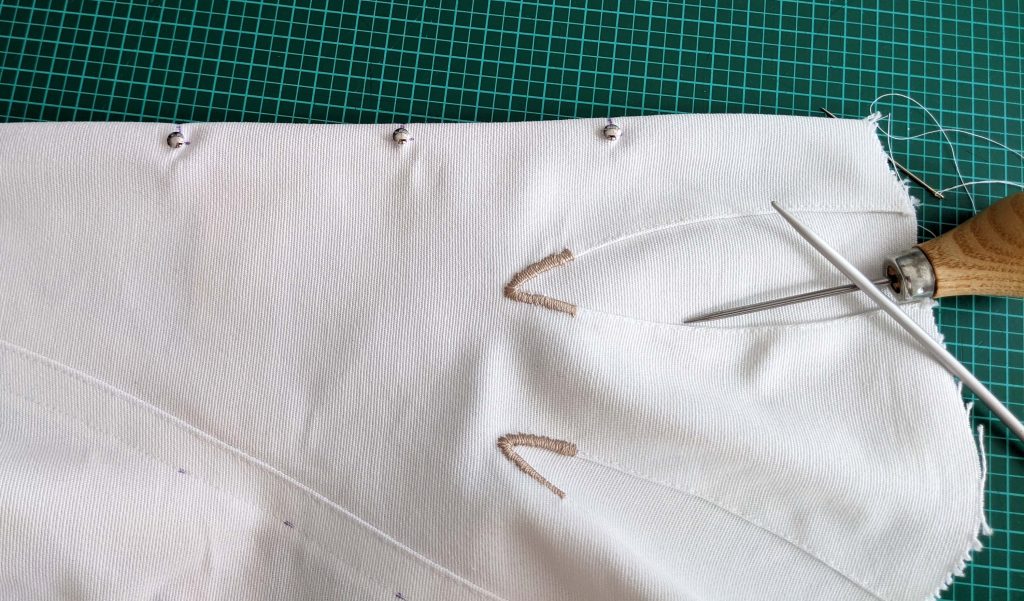
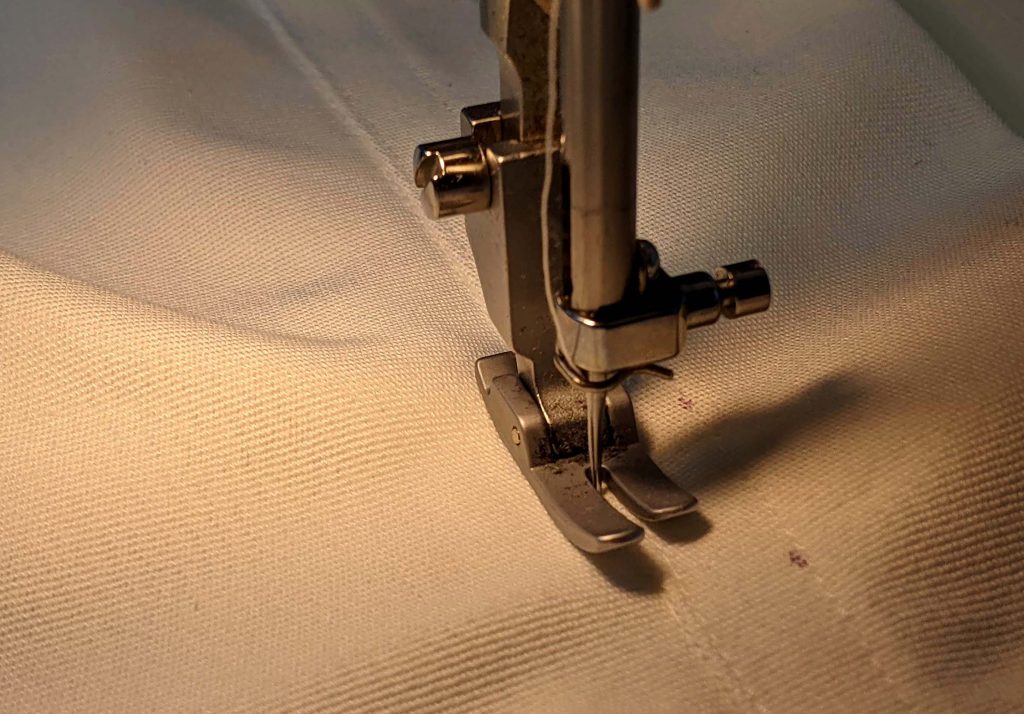
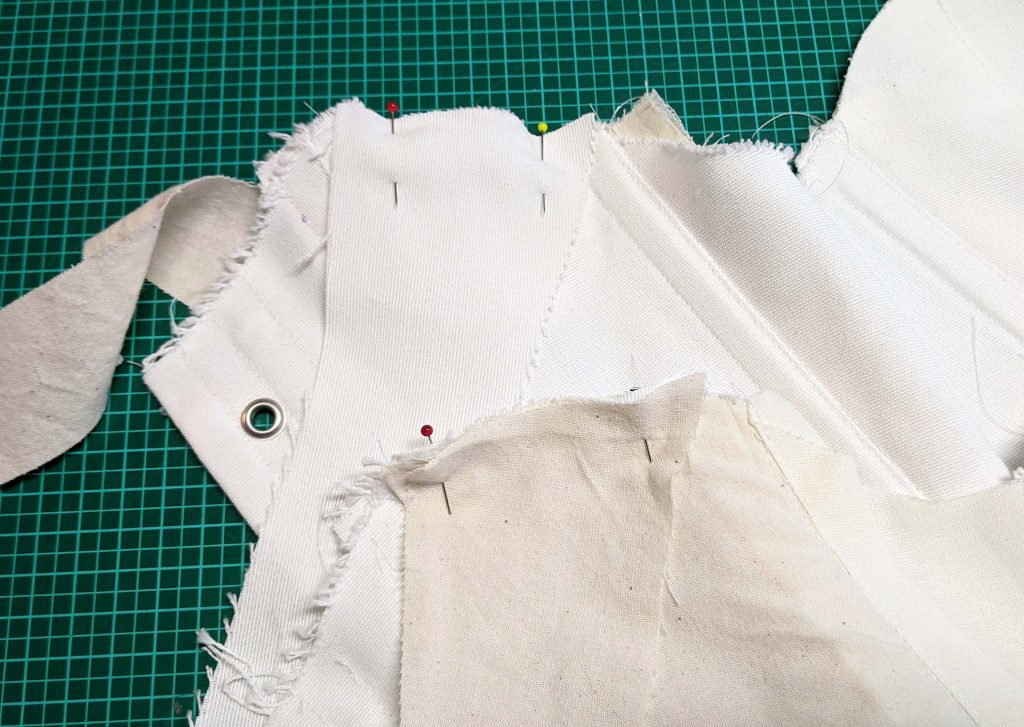
Let´s start sewing the corset! Inserting gussets to a corset is not as difficult as it seams to be in the first moment. I cut the slits and turned in a narrow seam allowance, lined up the edges with the marked line on the gussets and pined in place. After edgestitching the gussets to the corset, I made a decorative bar with a contrasting (silk) thread to avoid fraying. On the lining, I omitted that step, but a bar tack, made with the sewing machine will serve was well.
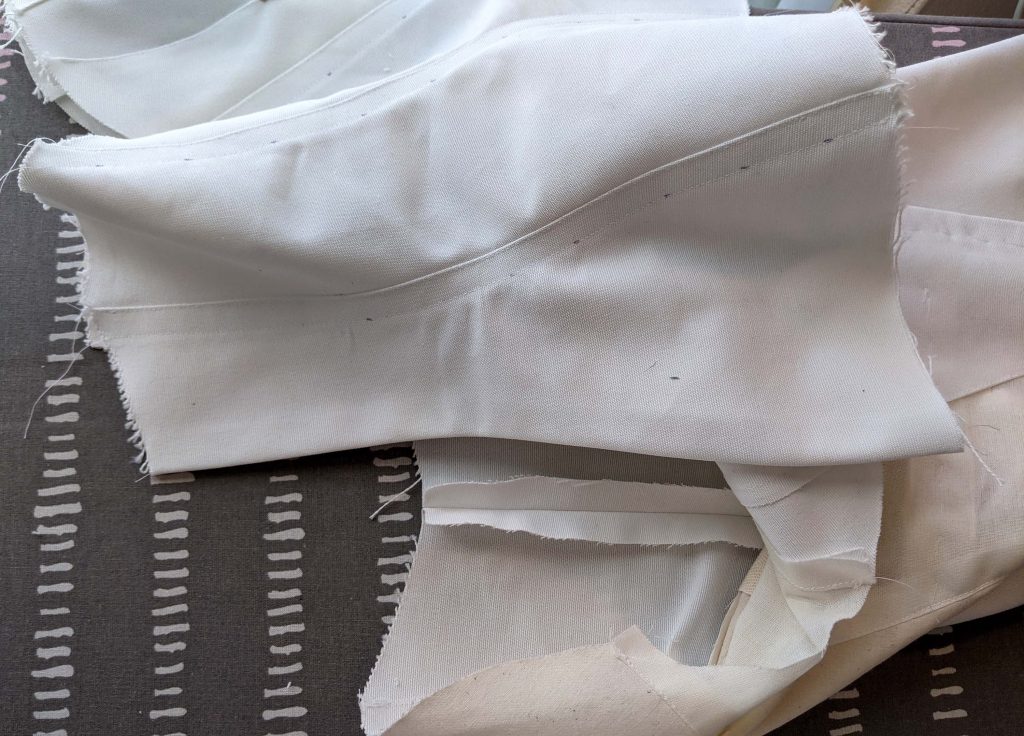
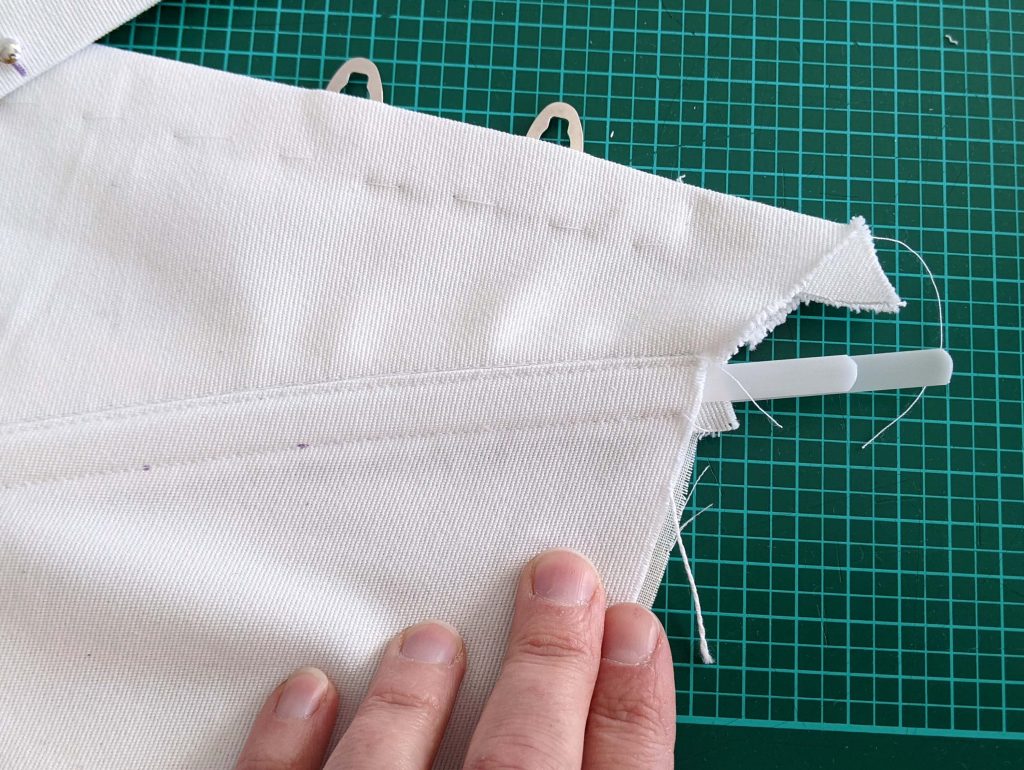
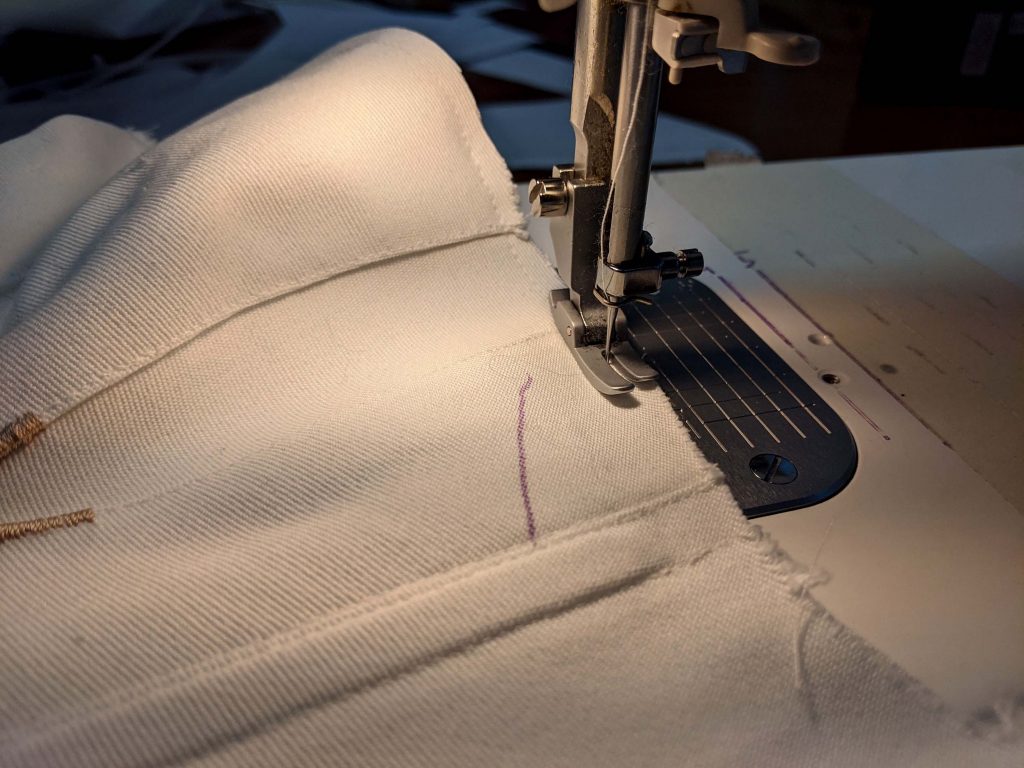
I sewed together all corset panels from the coutil and pressed the seam allowances toward the back. I understitched the seam allowances from the right side, right beside the edge and made another row of stitching, parallel to the first, forming the boning channels at each seam.
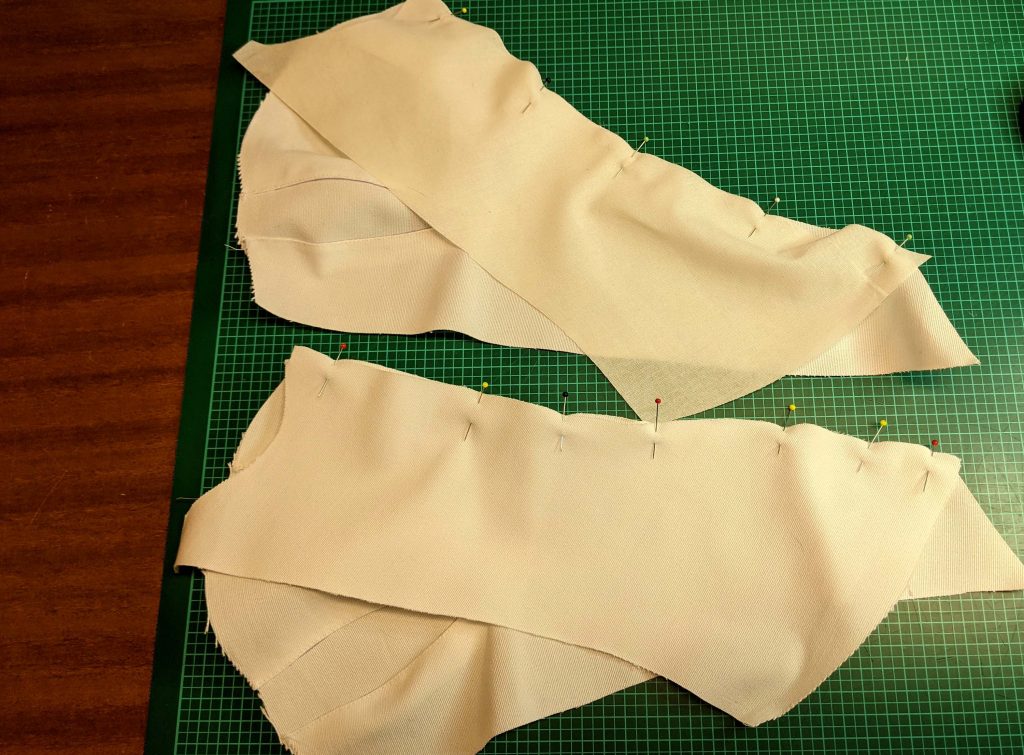
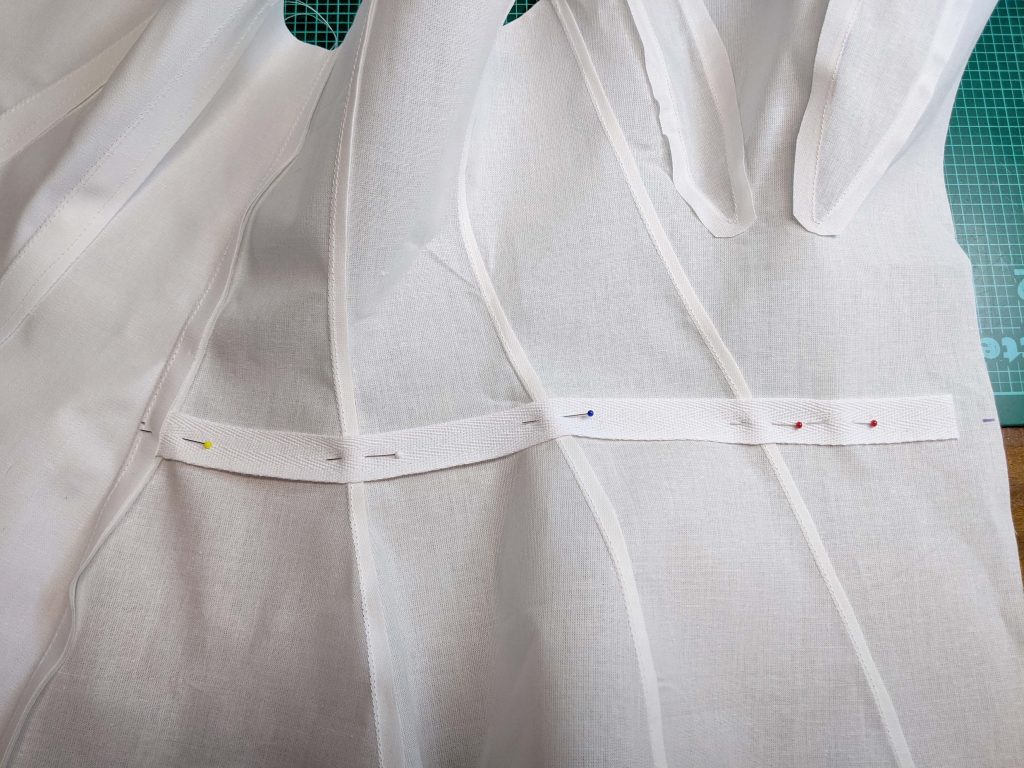
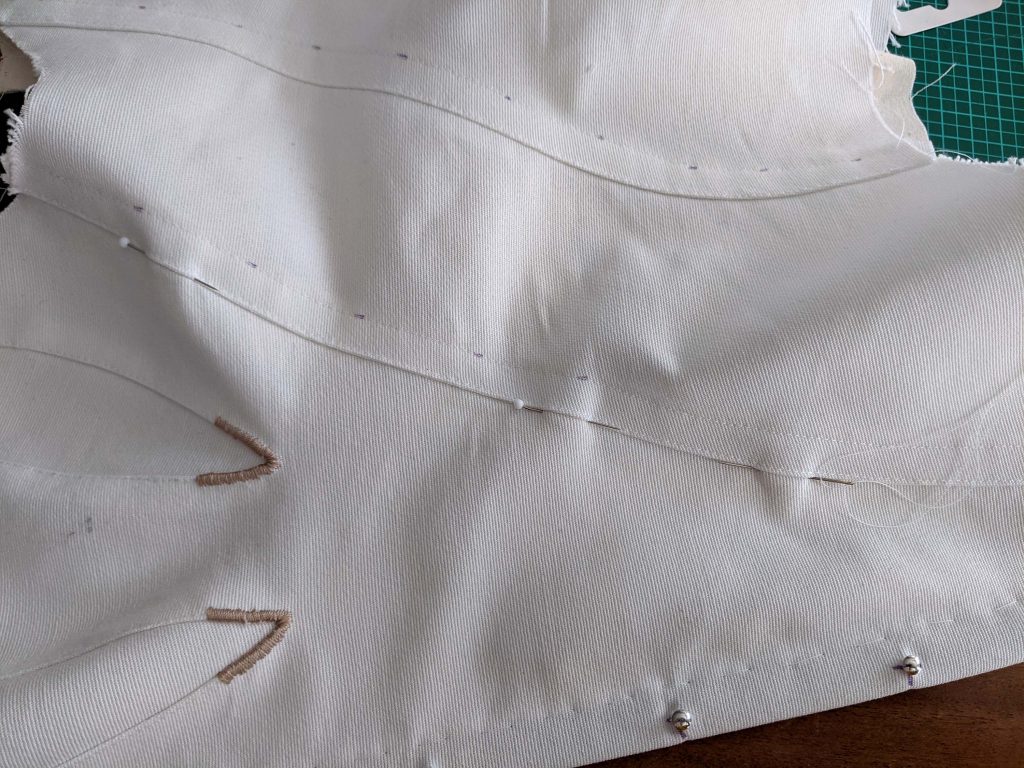
The lining panels are stitched together as well, just the seam allowances will be pressed towards the front and trimmed back to reduce bulk. I lined up the waistband along the waistline of the lining and basted in place. I accidentally understitched the seam allowances before I basted the waistband on top, just doesn´t matter that much, it is hold in place later by the stitching which holds together the two layers of the corset. You can see as well, that I trimmed back the seam allowance at the gussets to avoid bulk.
I lined up the top layer with the lining, right sides together and stitched along the center front, leaving openings for the eyes of the busk, the left center front is stitched down nonstop.
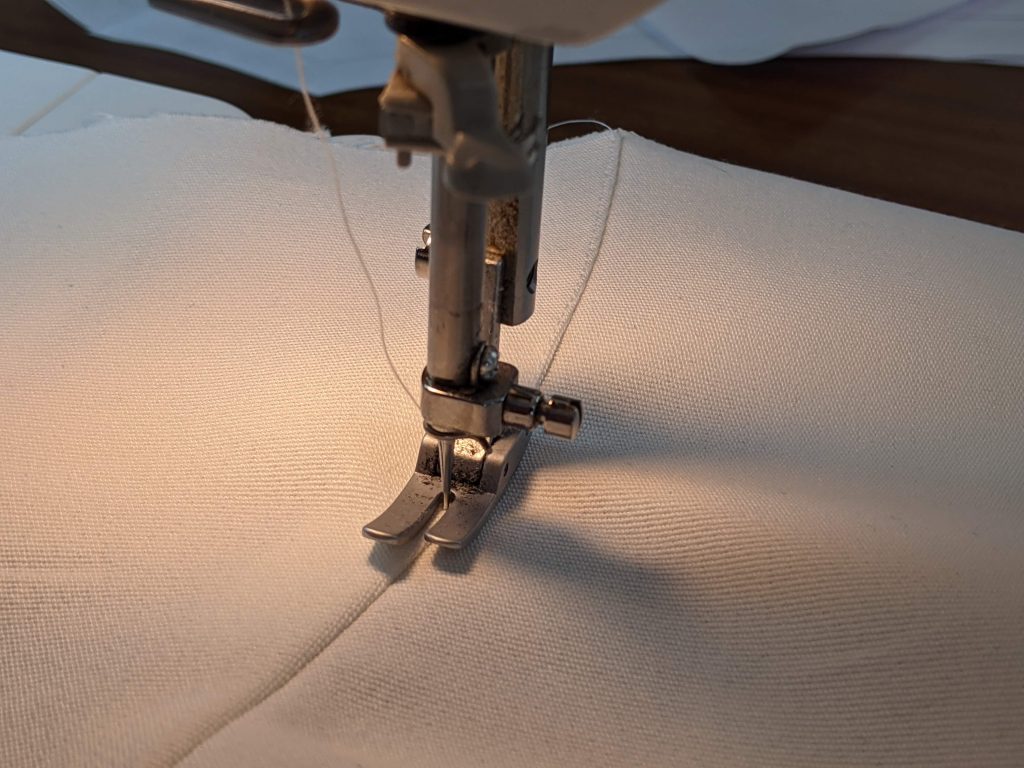
Here you see the right busk side, slided through the openings. I basted along the edge of the busk before I sewed with the zipper foot to hold in place the busk permanently. On the left side, I pierced holes with an awl, widened them with a knitting needle and pushed the knobs of the left corset busk through.
Time to sew down the center back, right sides together. After pressing open the seam allowances, I lined up all the seams of the top and lining layer and basted along the seams, before I stitched in the ditch of the seams to hold the layers together permanently.
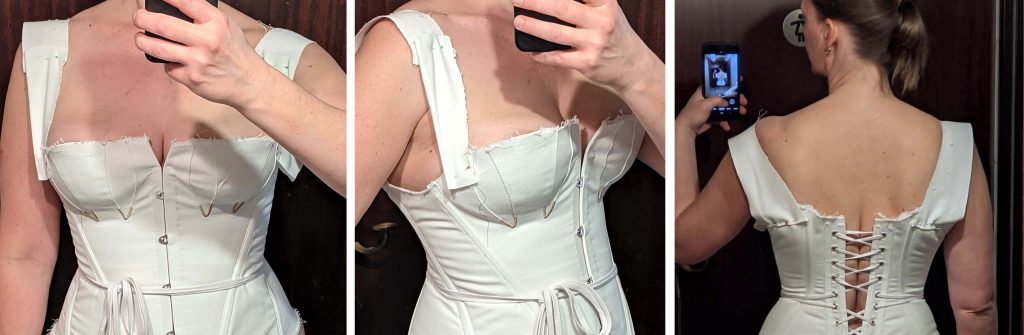
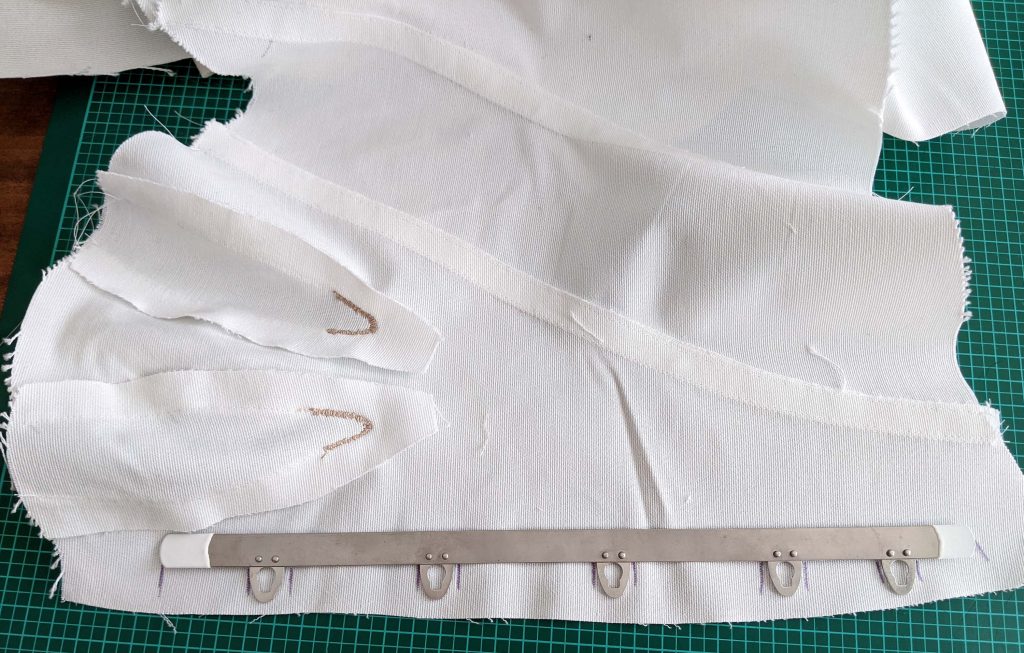
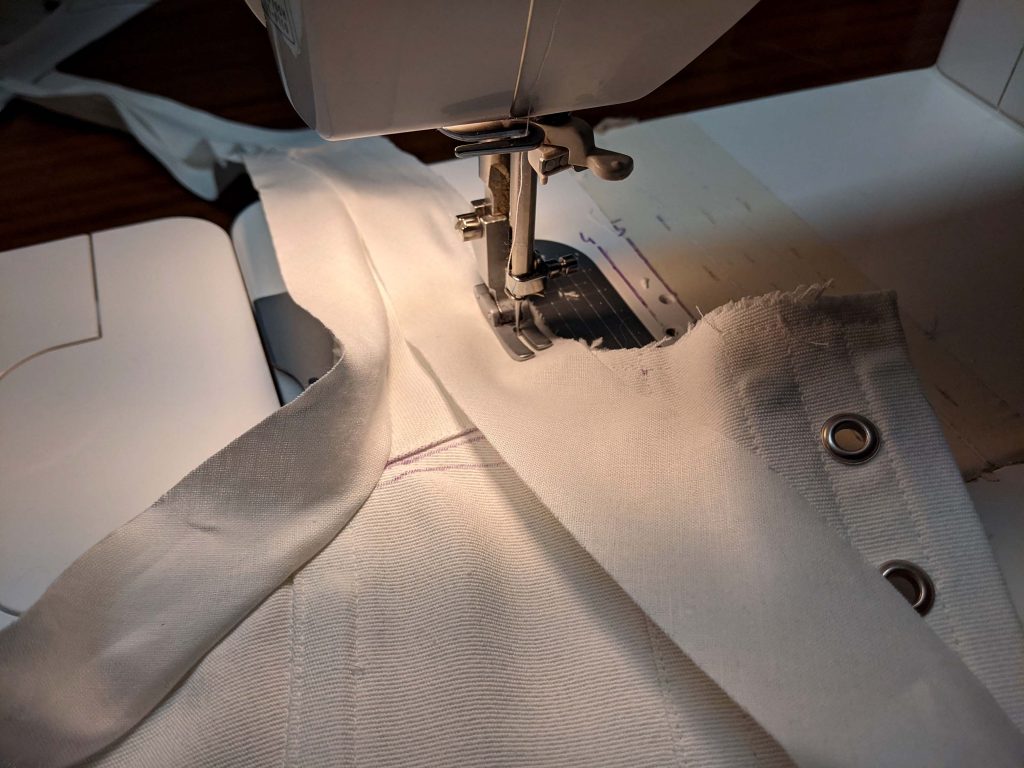
After that step, I stitched down the center back edge to form my boning channels, inserted grommets and sewed the shoulder straps to the corset (with the corset “sandwiched” between the two strap layers). I cut my boning to the length needed and inserted into the channels. The corset is barely boned, that’s why I decided to insert two layers of plastic boning into each channel formed by a seam.
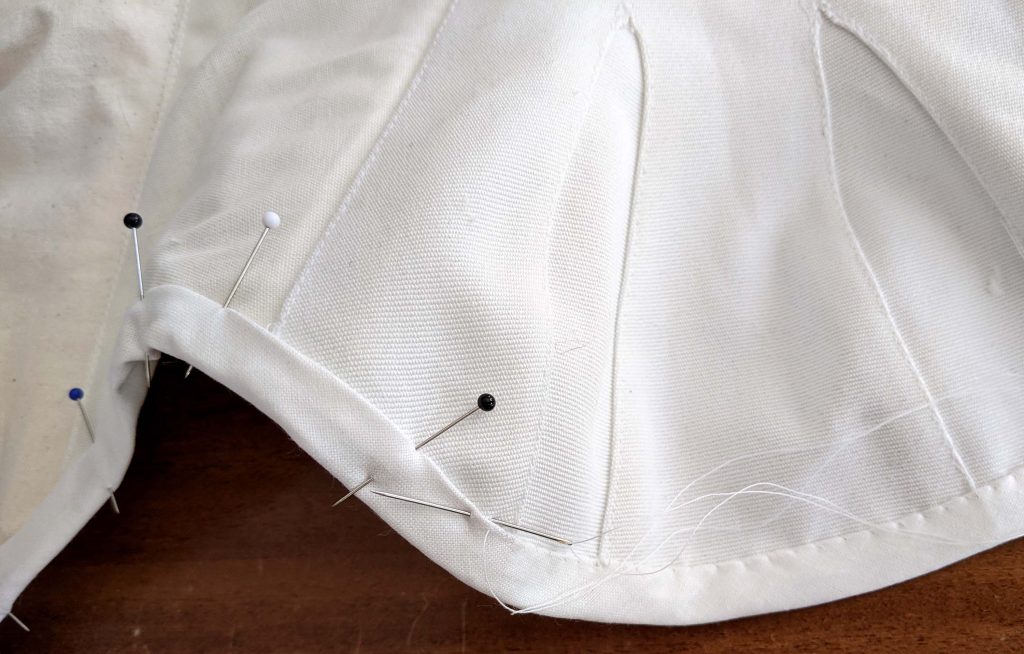
The final steps: I trimmed back the seam allowances along the top and bottom edge, as well as along the shoulder straps, before I neatened the edges with bias binding.
This isn´t the only way to sew a corset, feel free to choose your favorite method.
This tutorial is intended to complement my sewing pattern, which is available through my Etsy shop. Perhaps you are missing some of the details that can be found in the instructions.