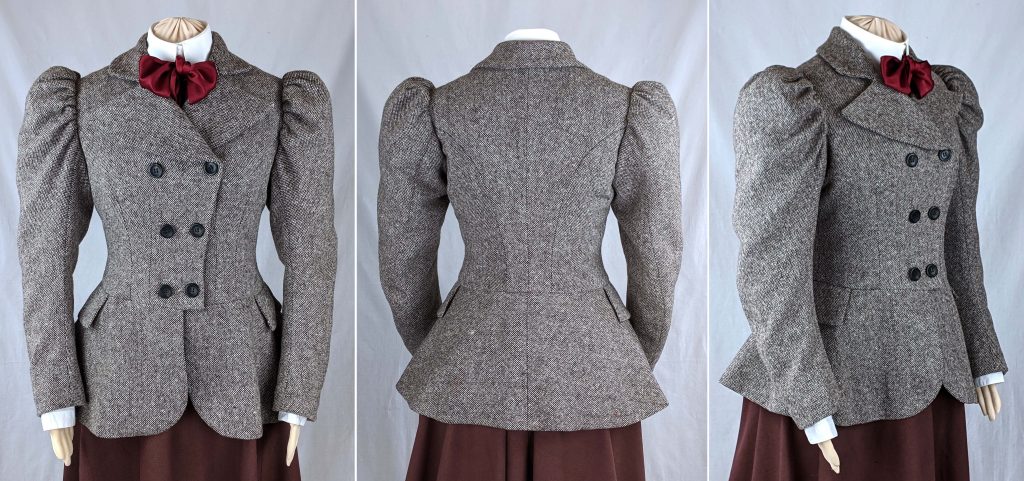
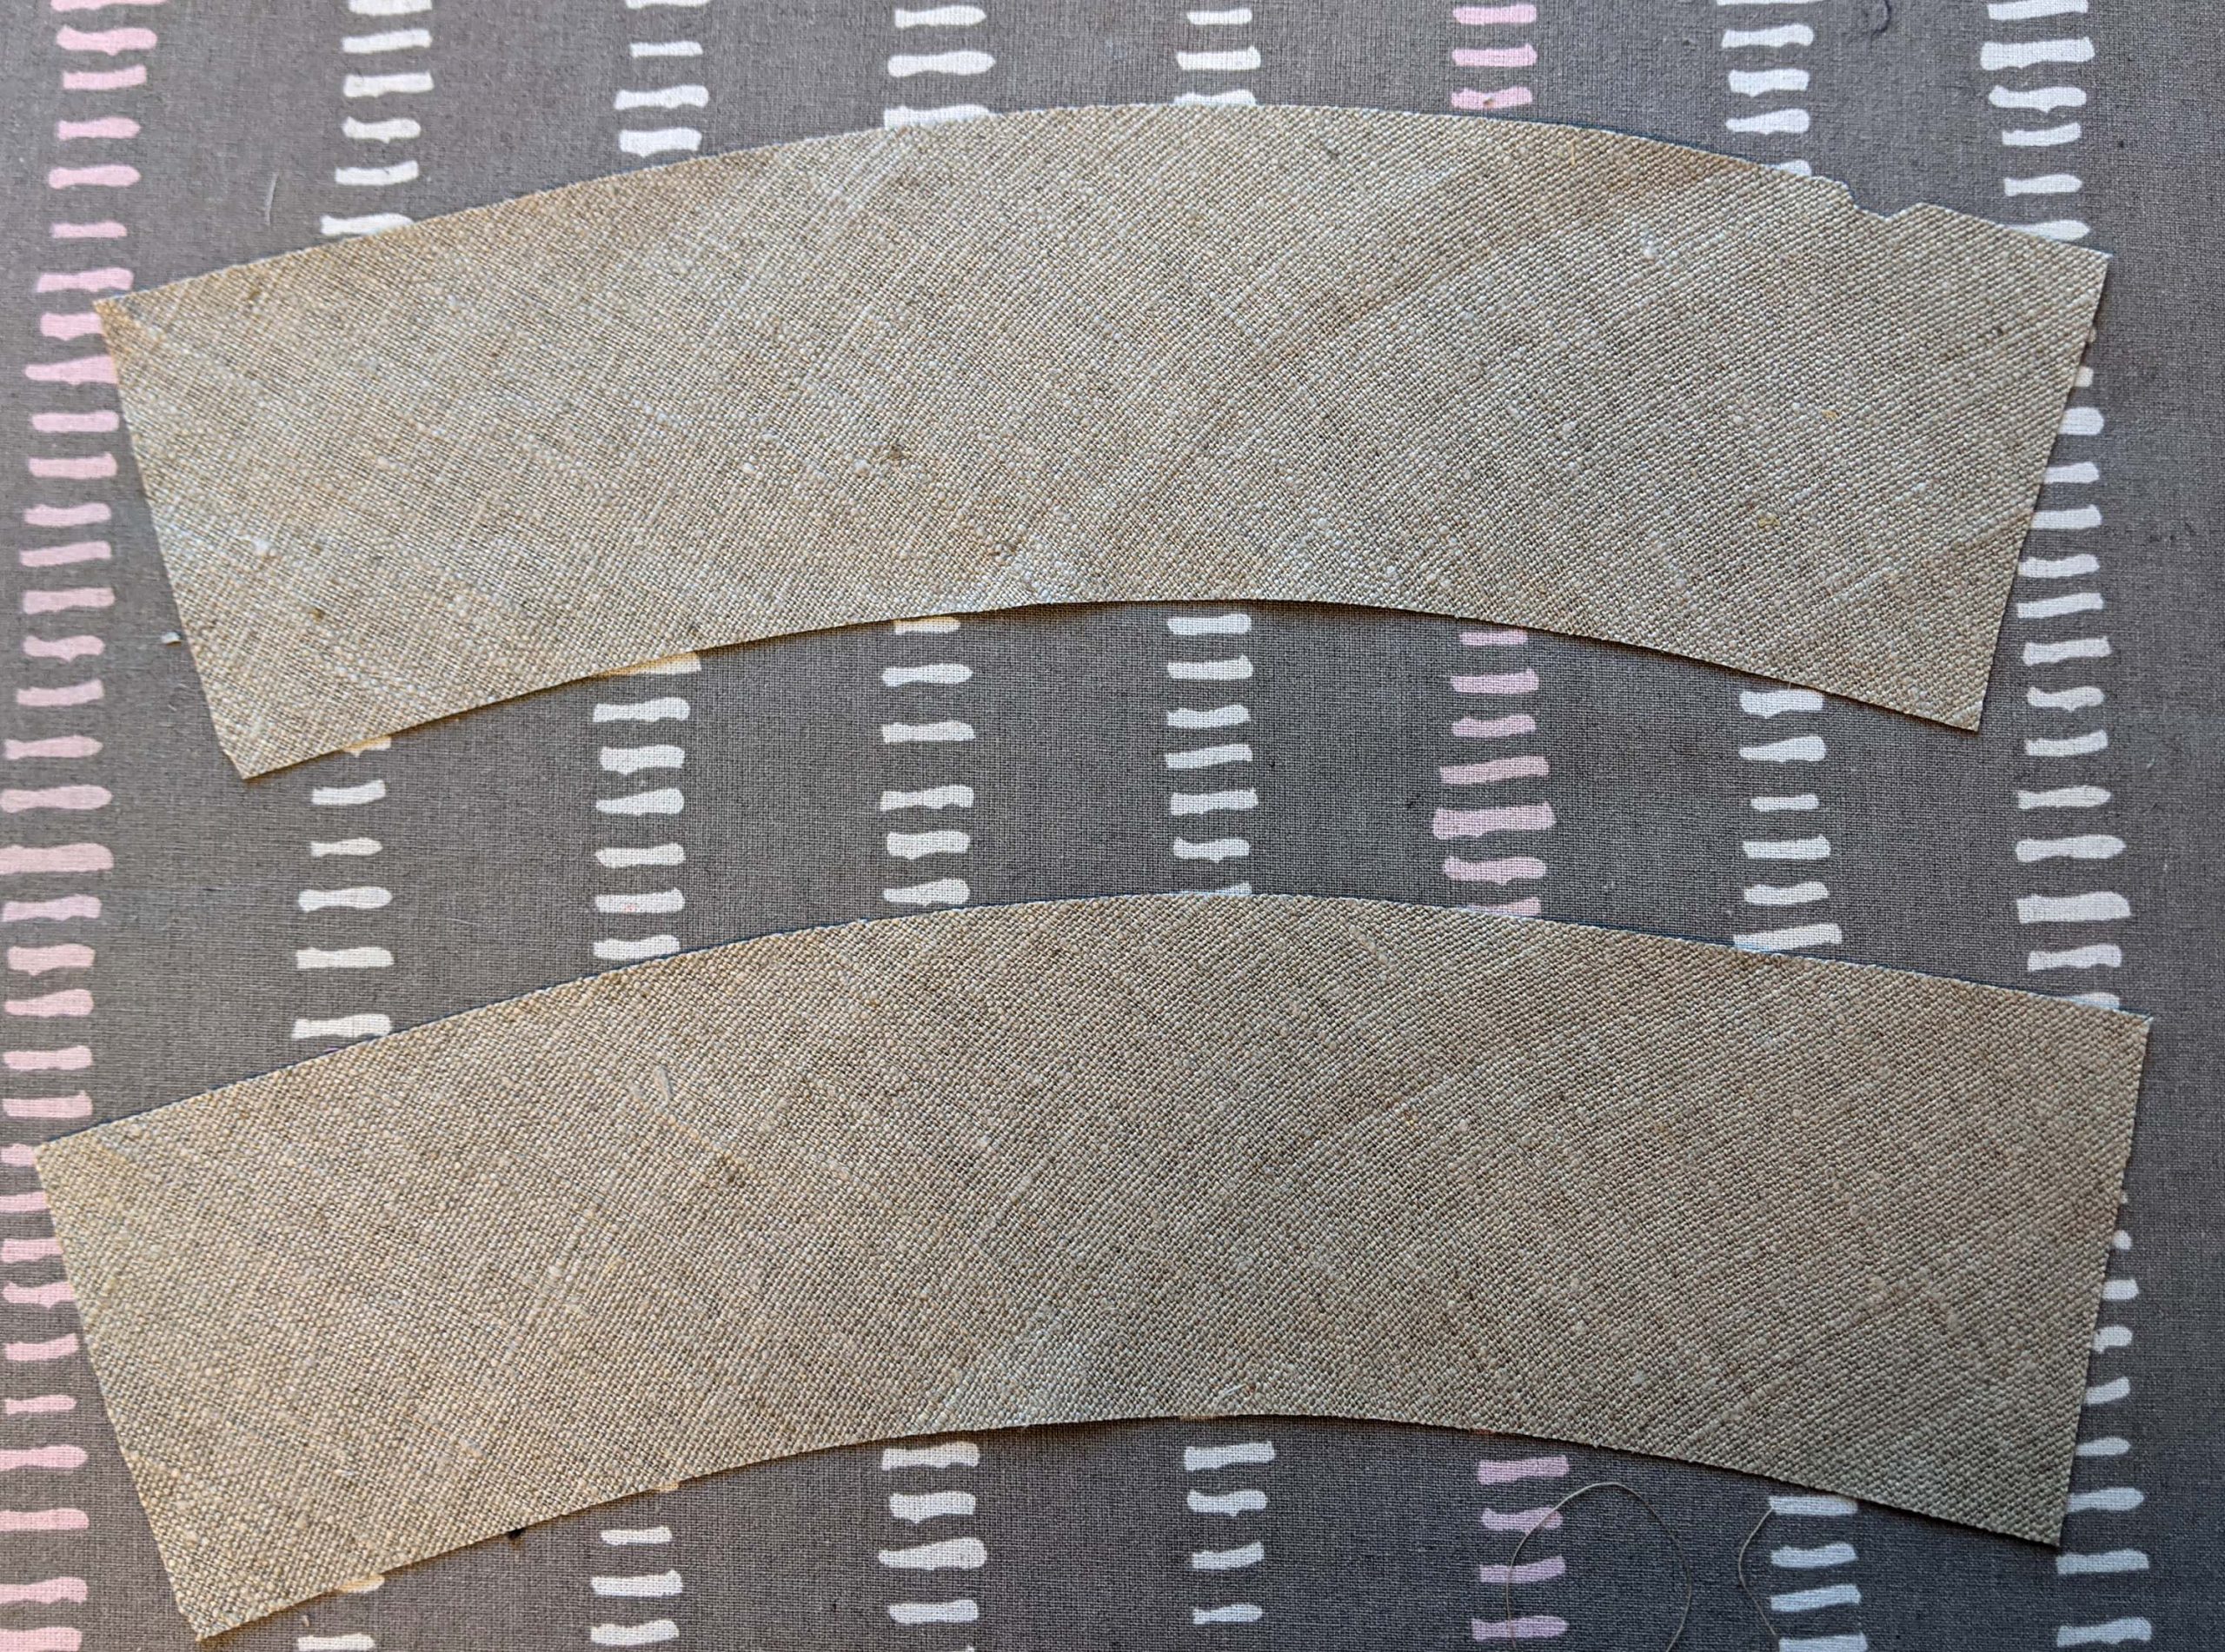
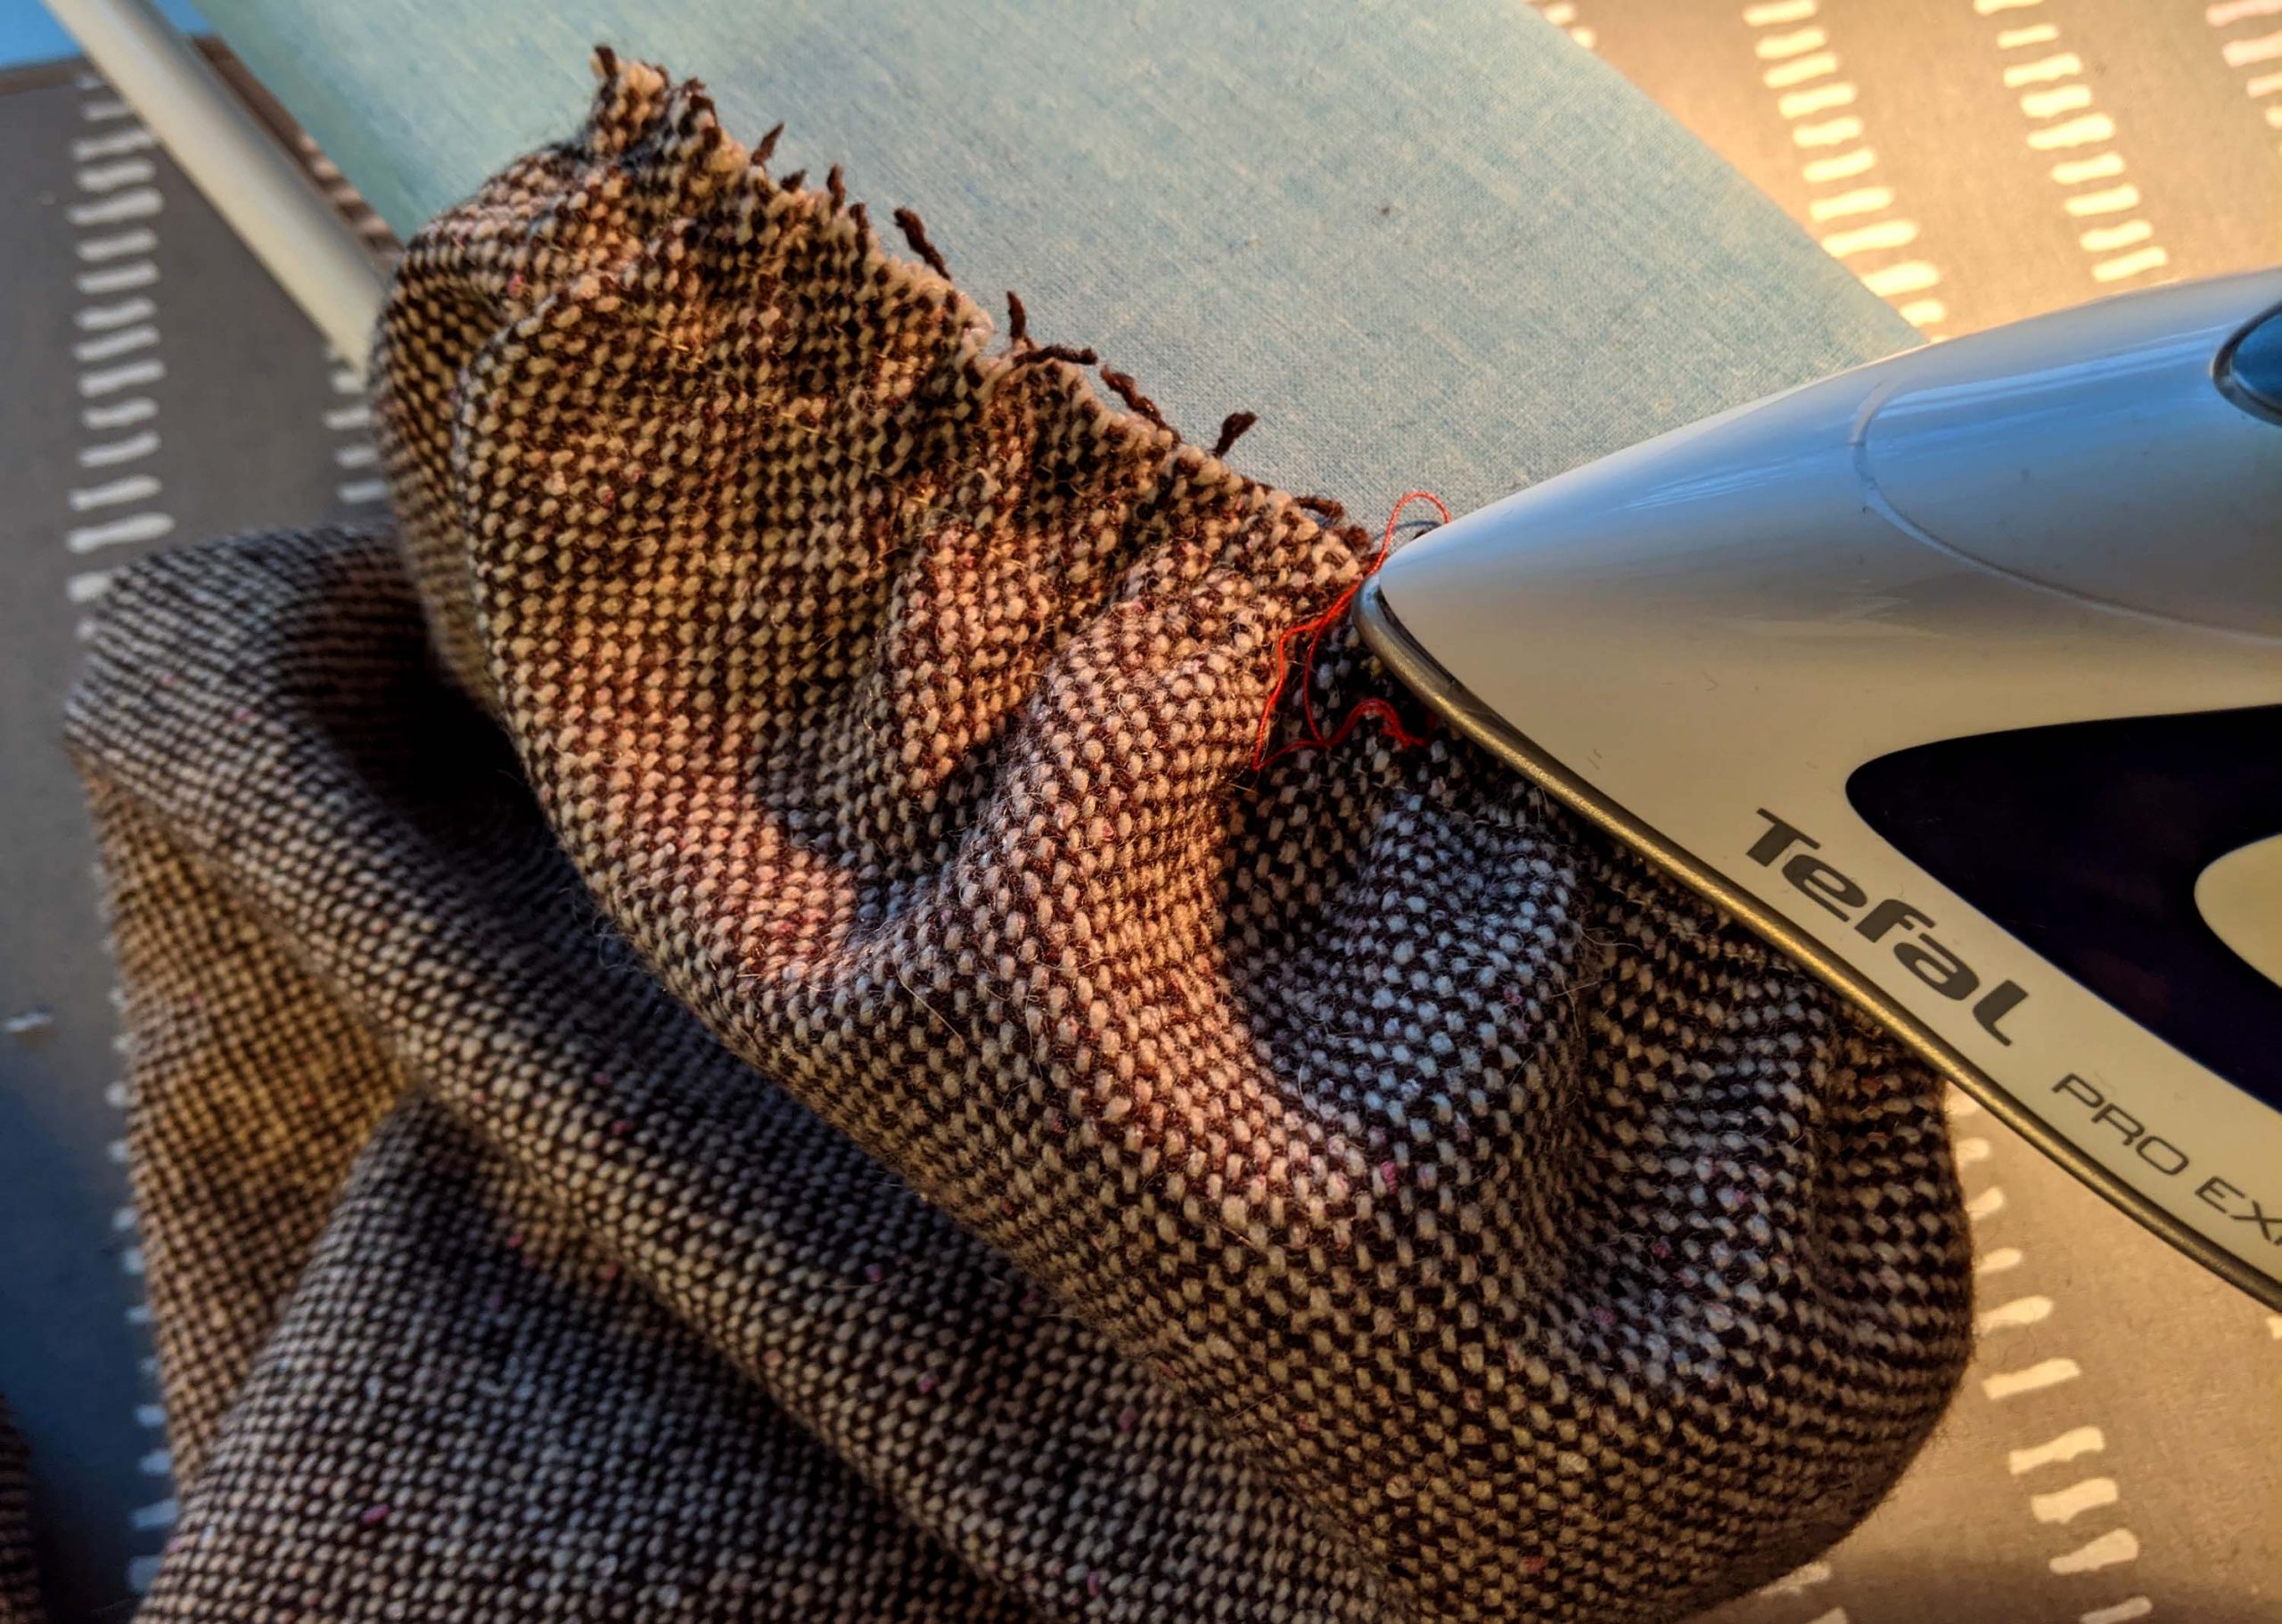
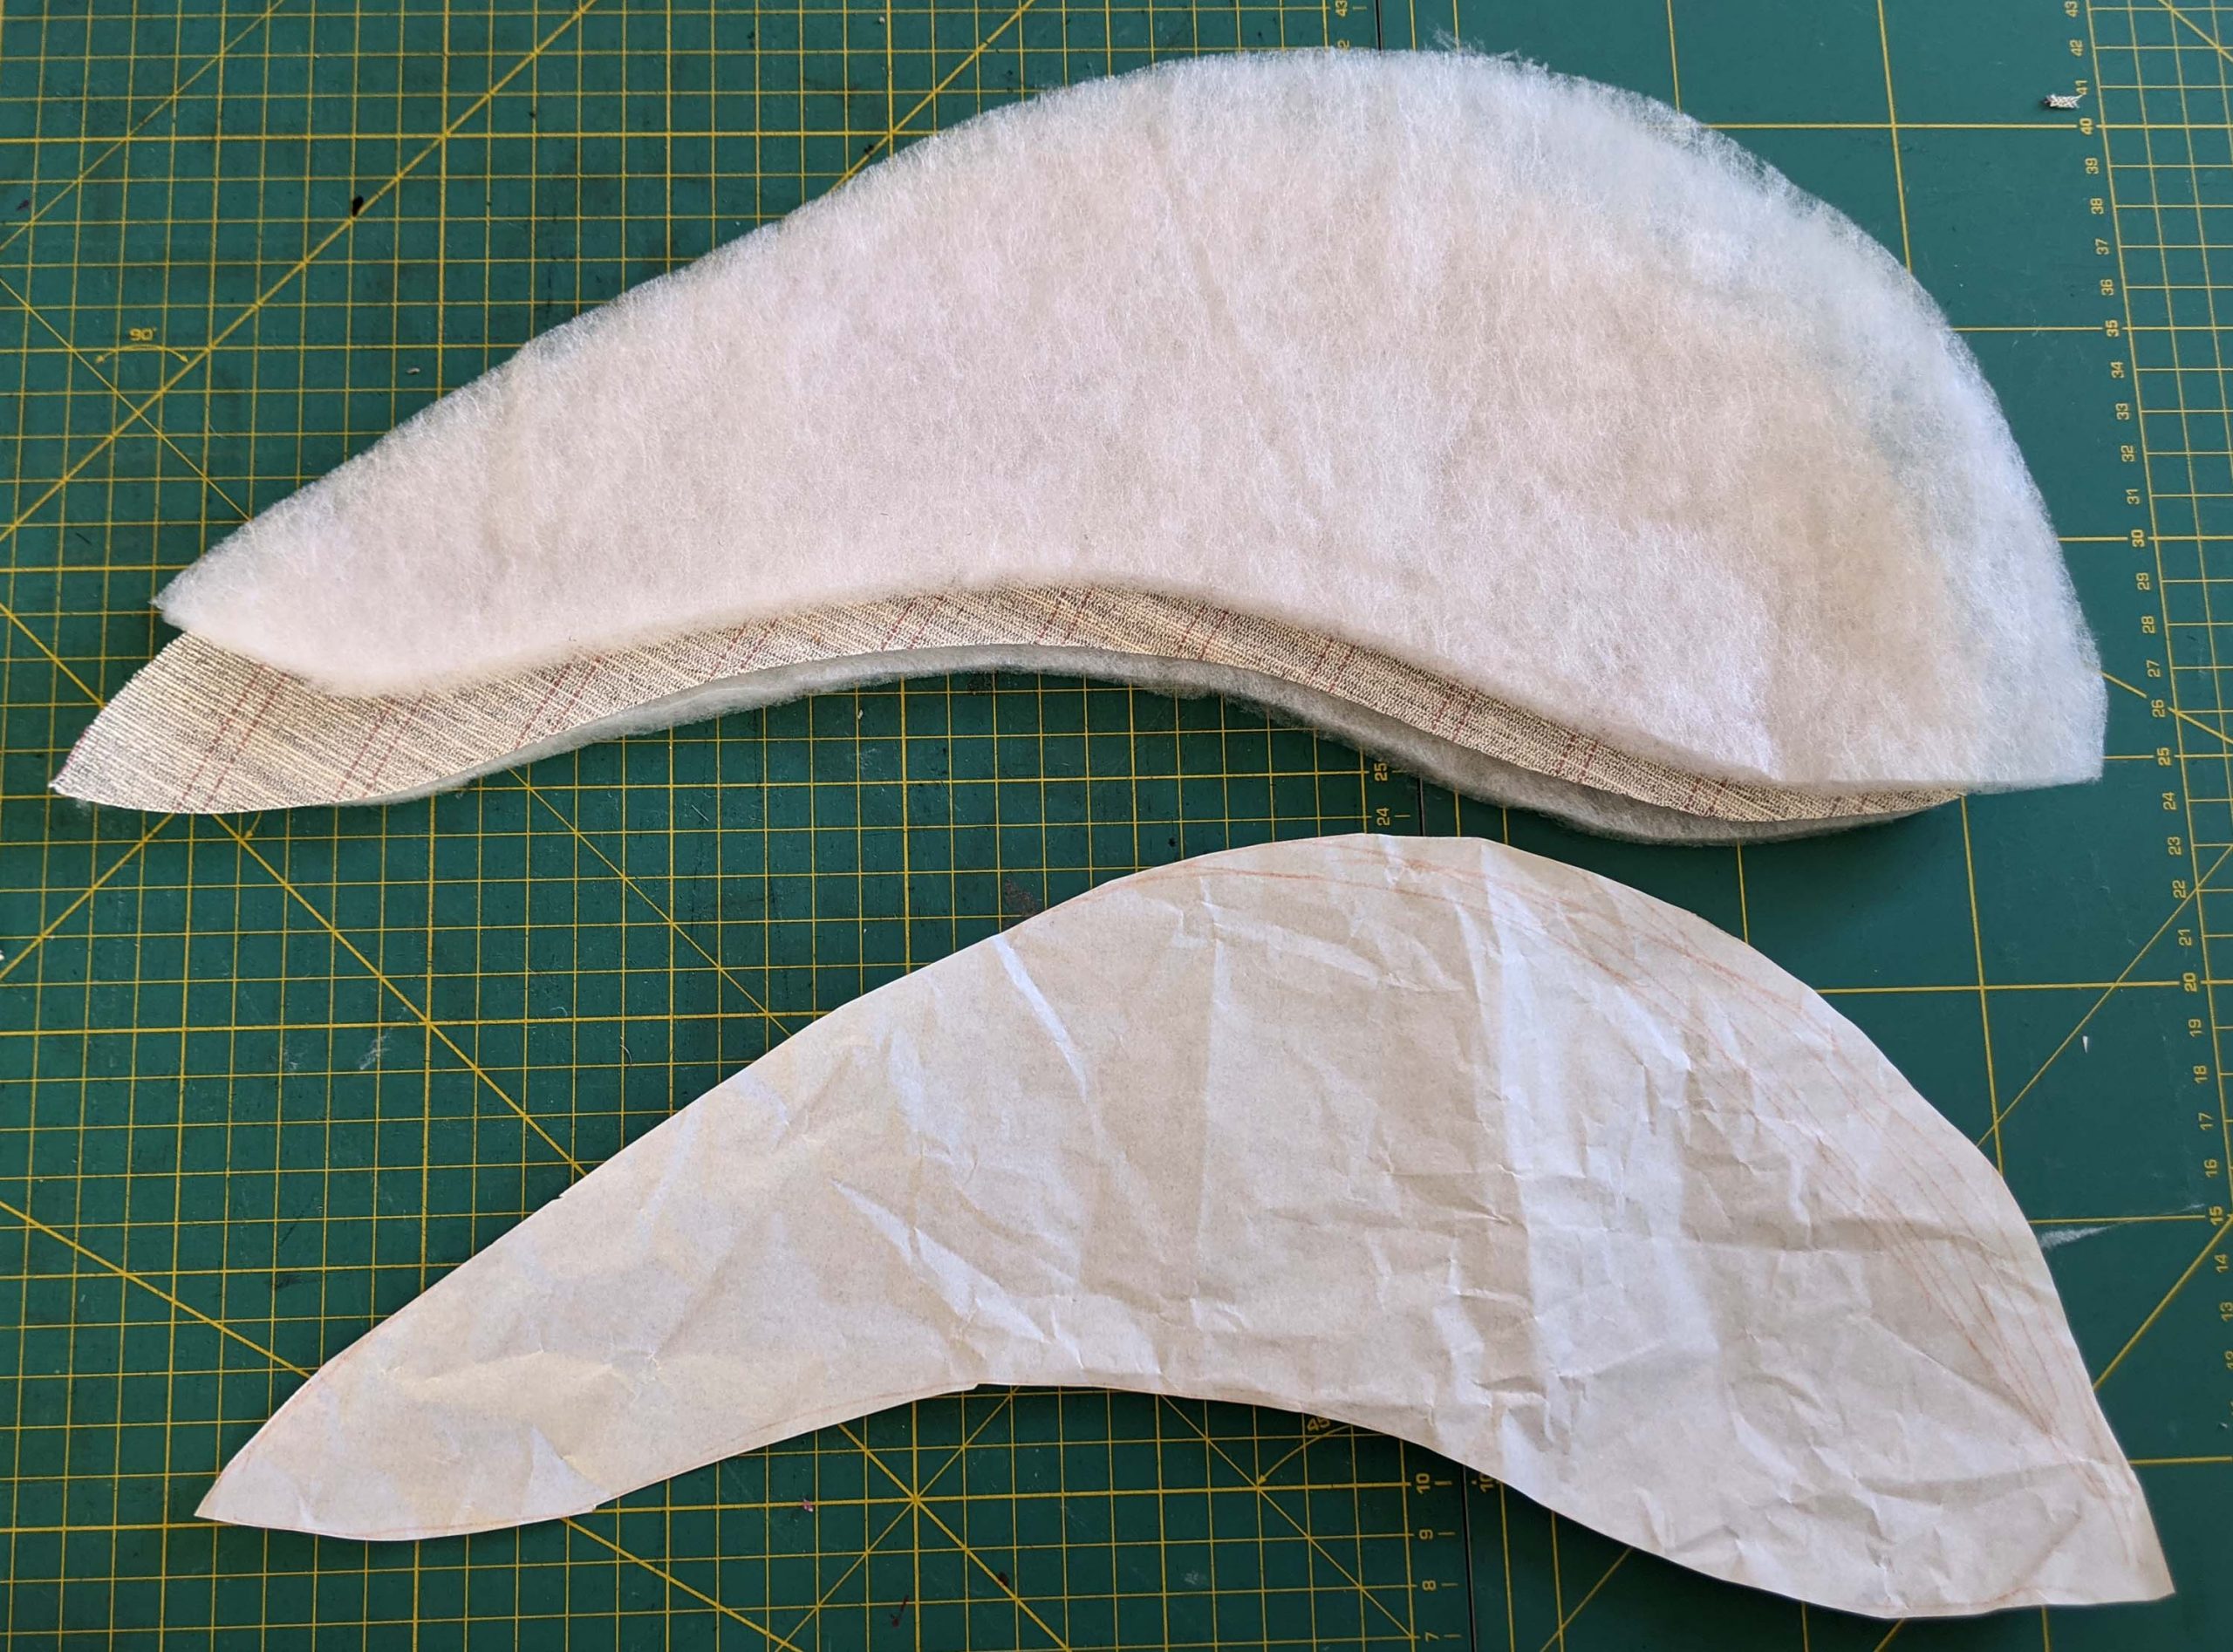
It´s time to get finished! Just the sleeves and some details are missing. I decided to take the smaller lining sleeves, still enough pouf for my purposes. This is the canvas for the sleeve hem, cut on the bias and shaped into a slight curve with the iron.
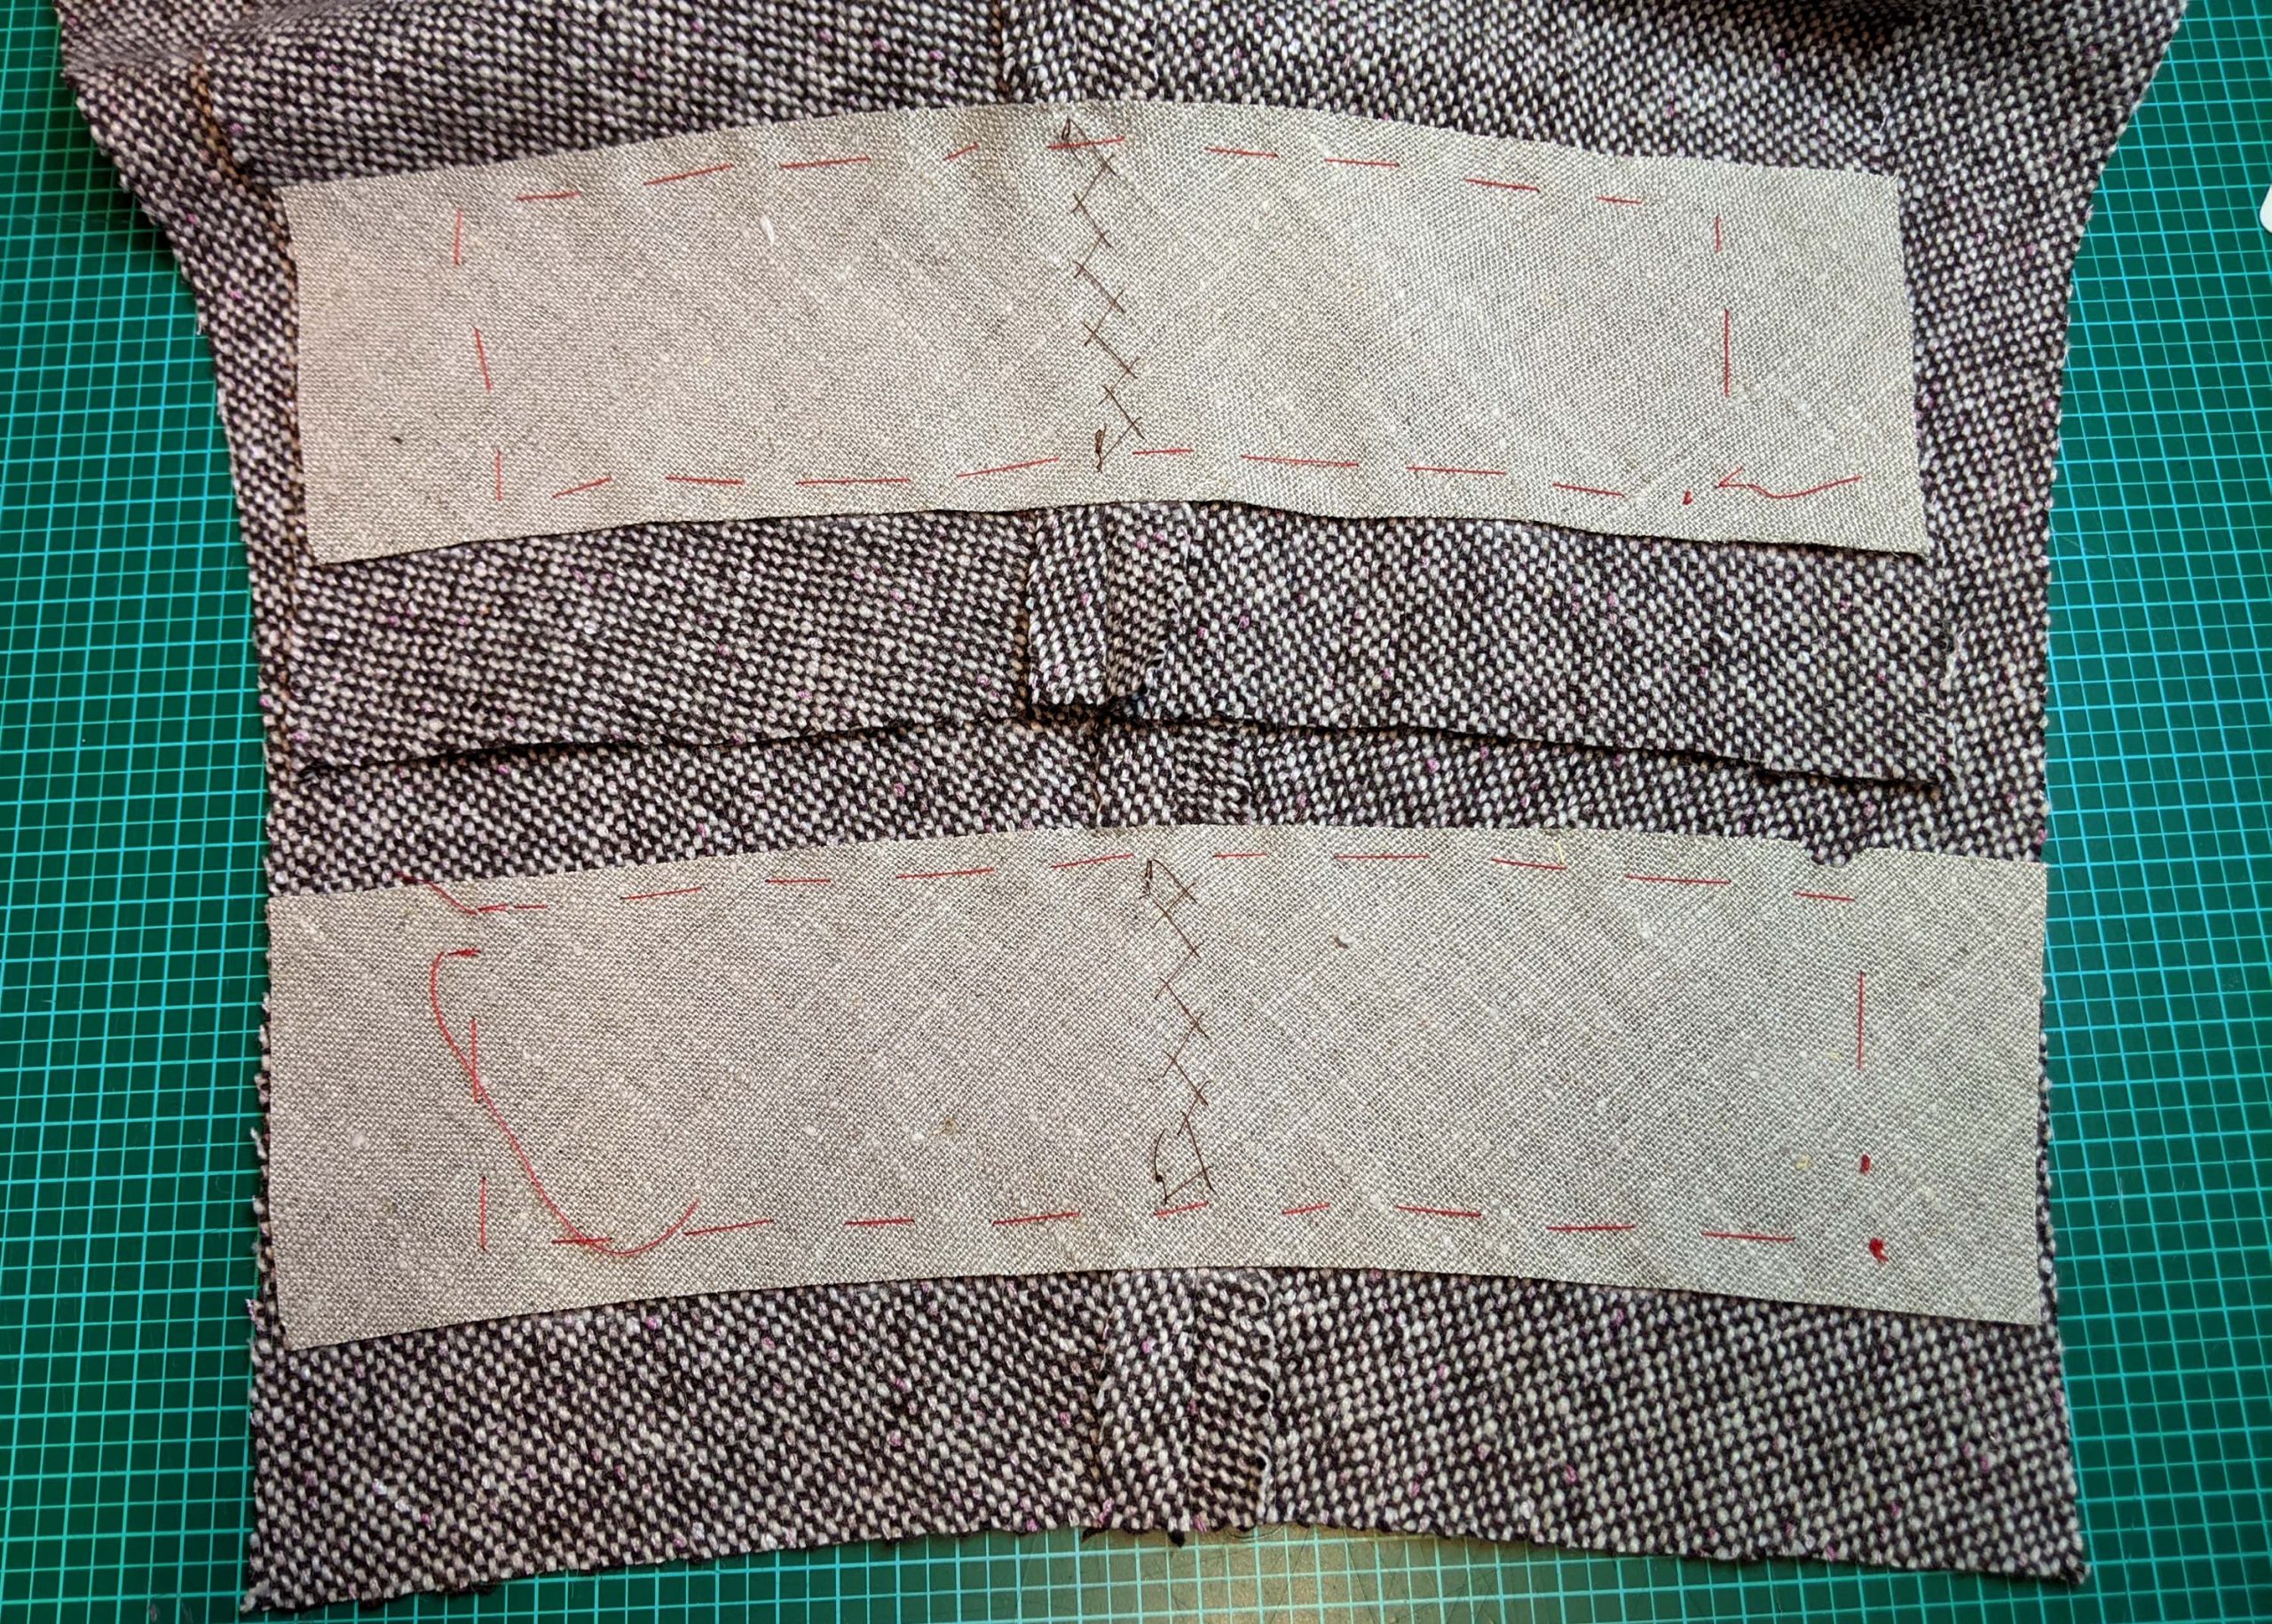
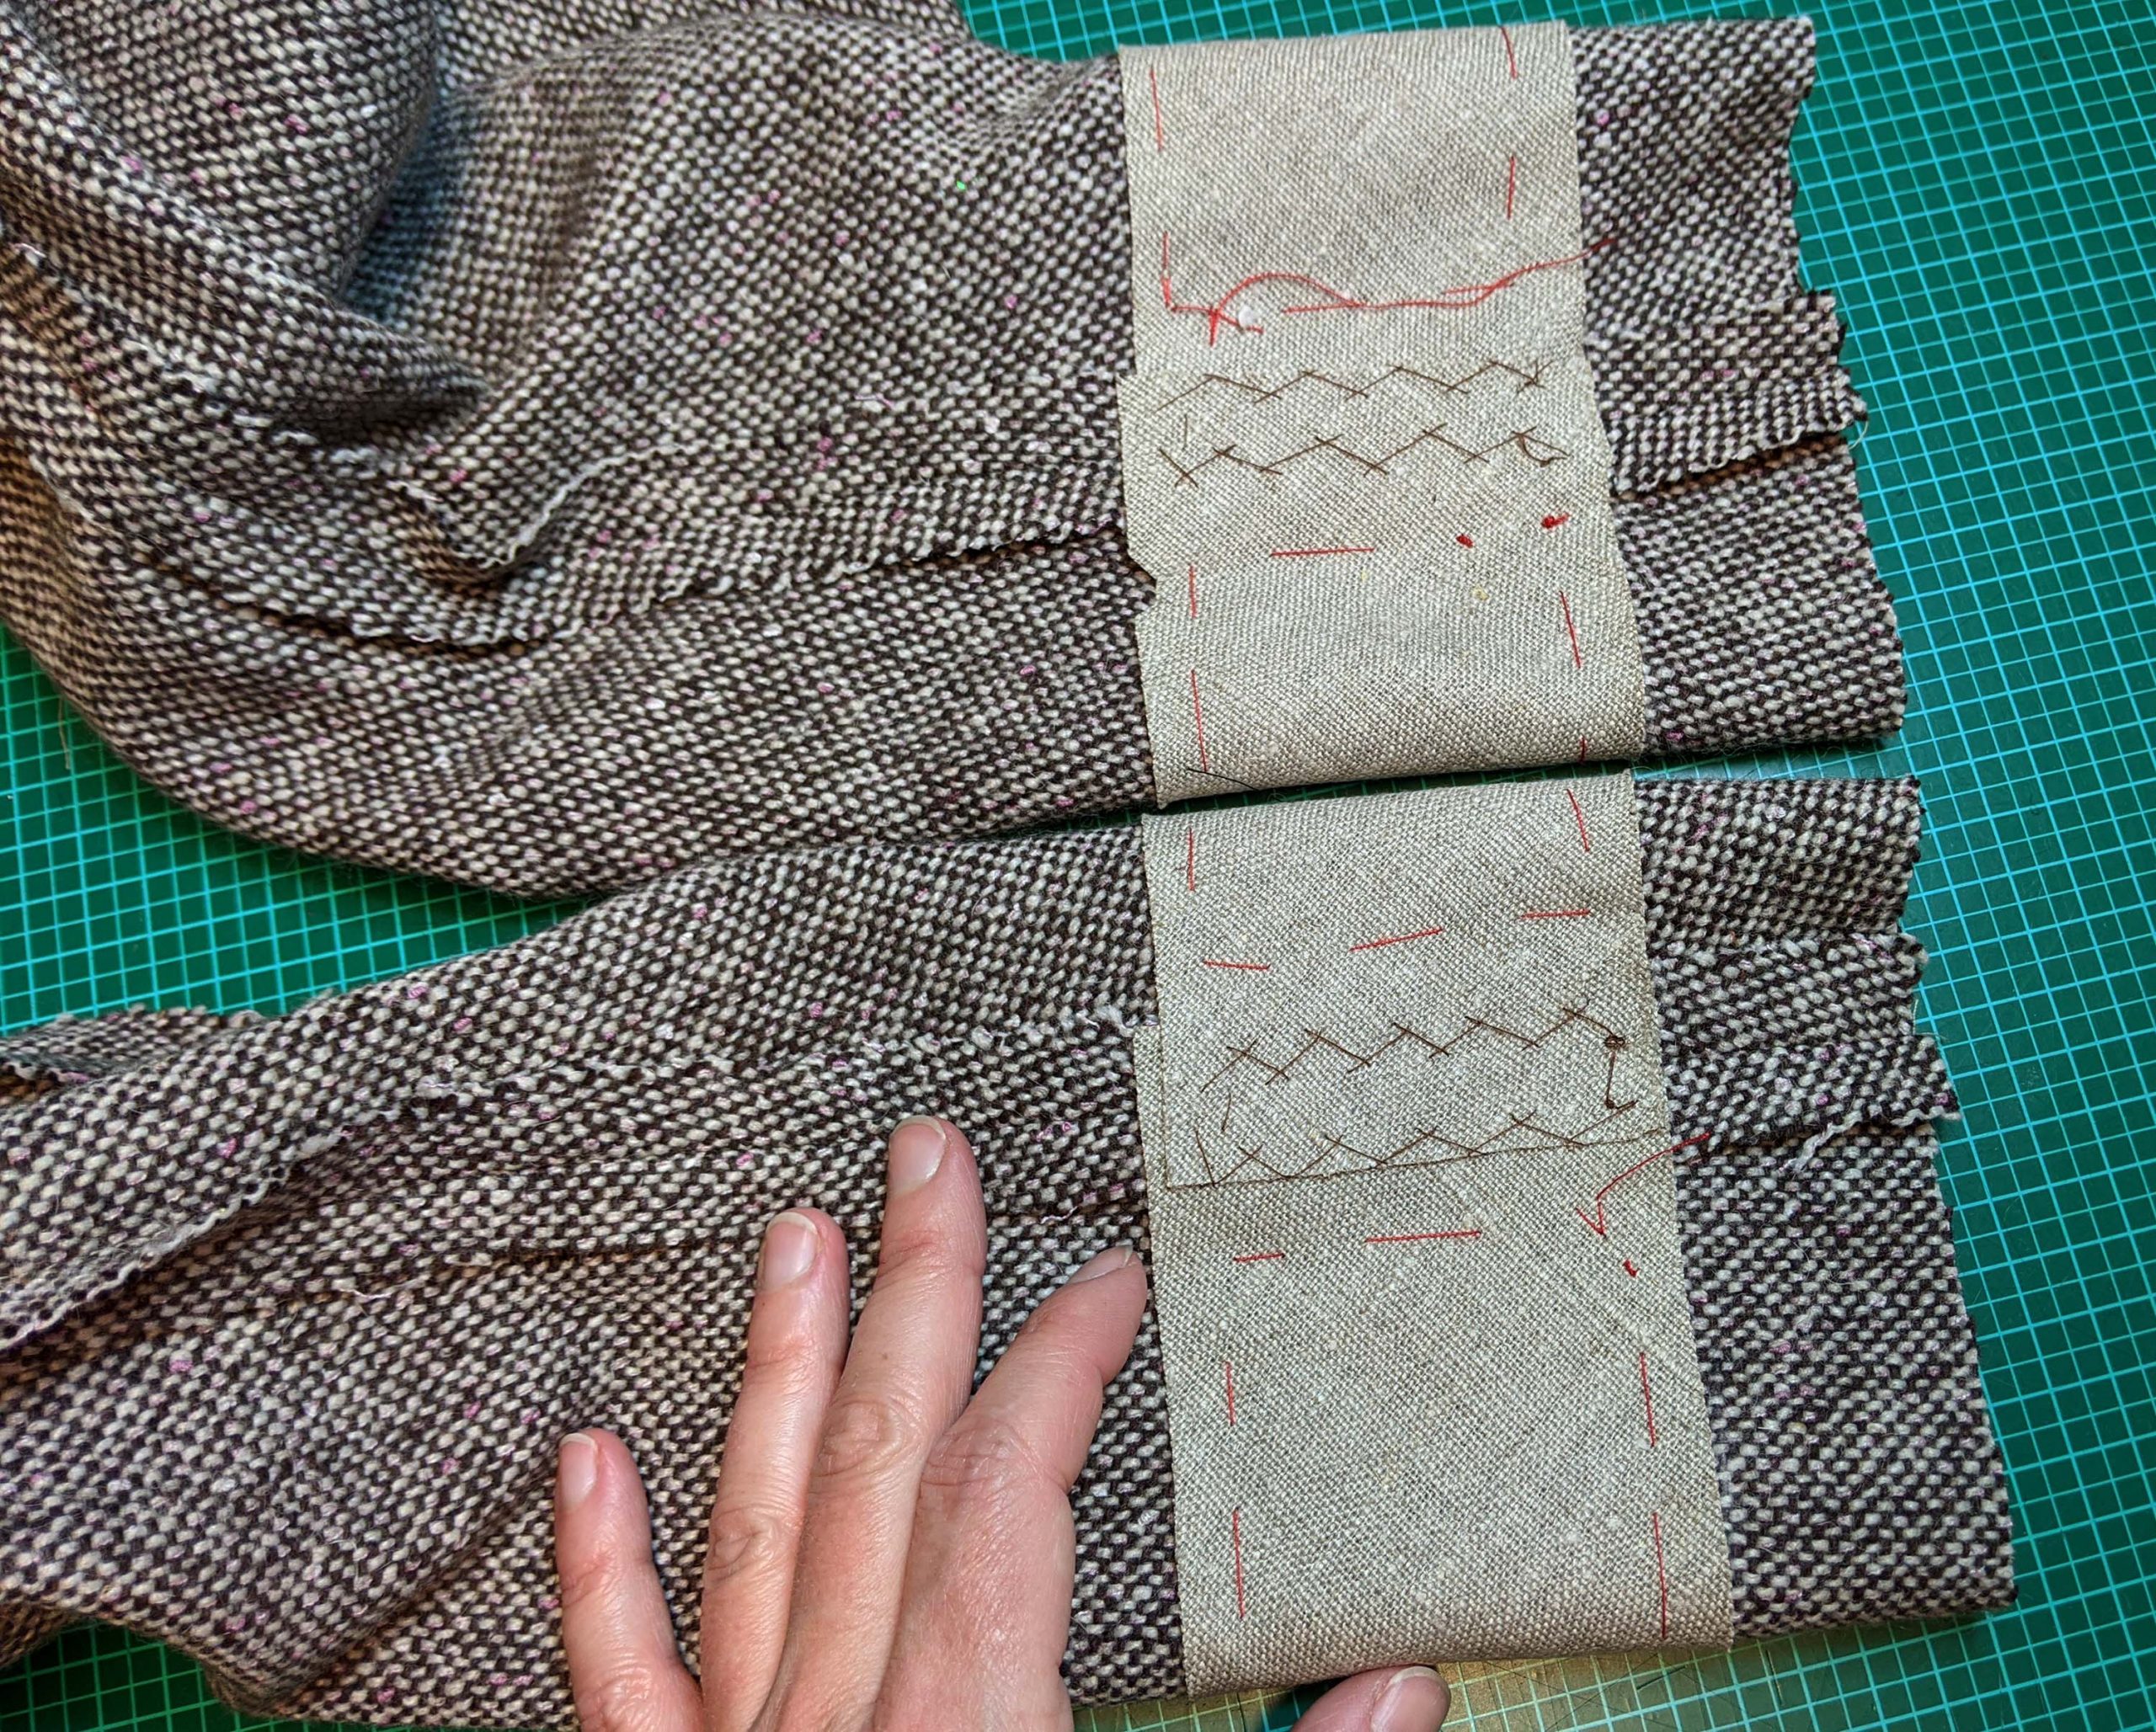
After sewing the back sleeve seam, line up the canvas with the hemline and baste in place, and catch stitch to the seam allowances. Sew the front sleeve seam while folding the canvas to the side. Press open the seam allowances and smooth out the canvas over the seam, and catch stitch in place. Turn in the hem allowance and catch stitch to the canvas.

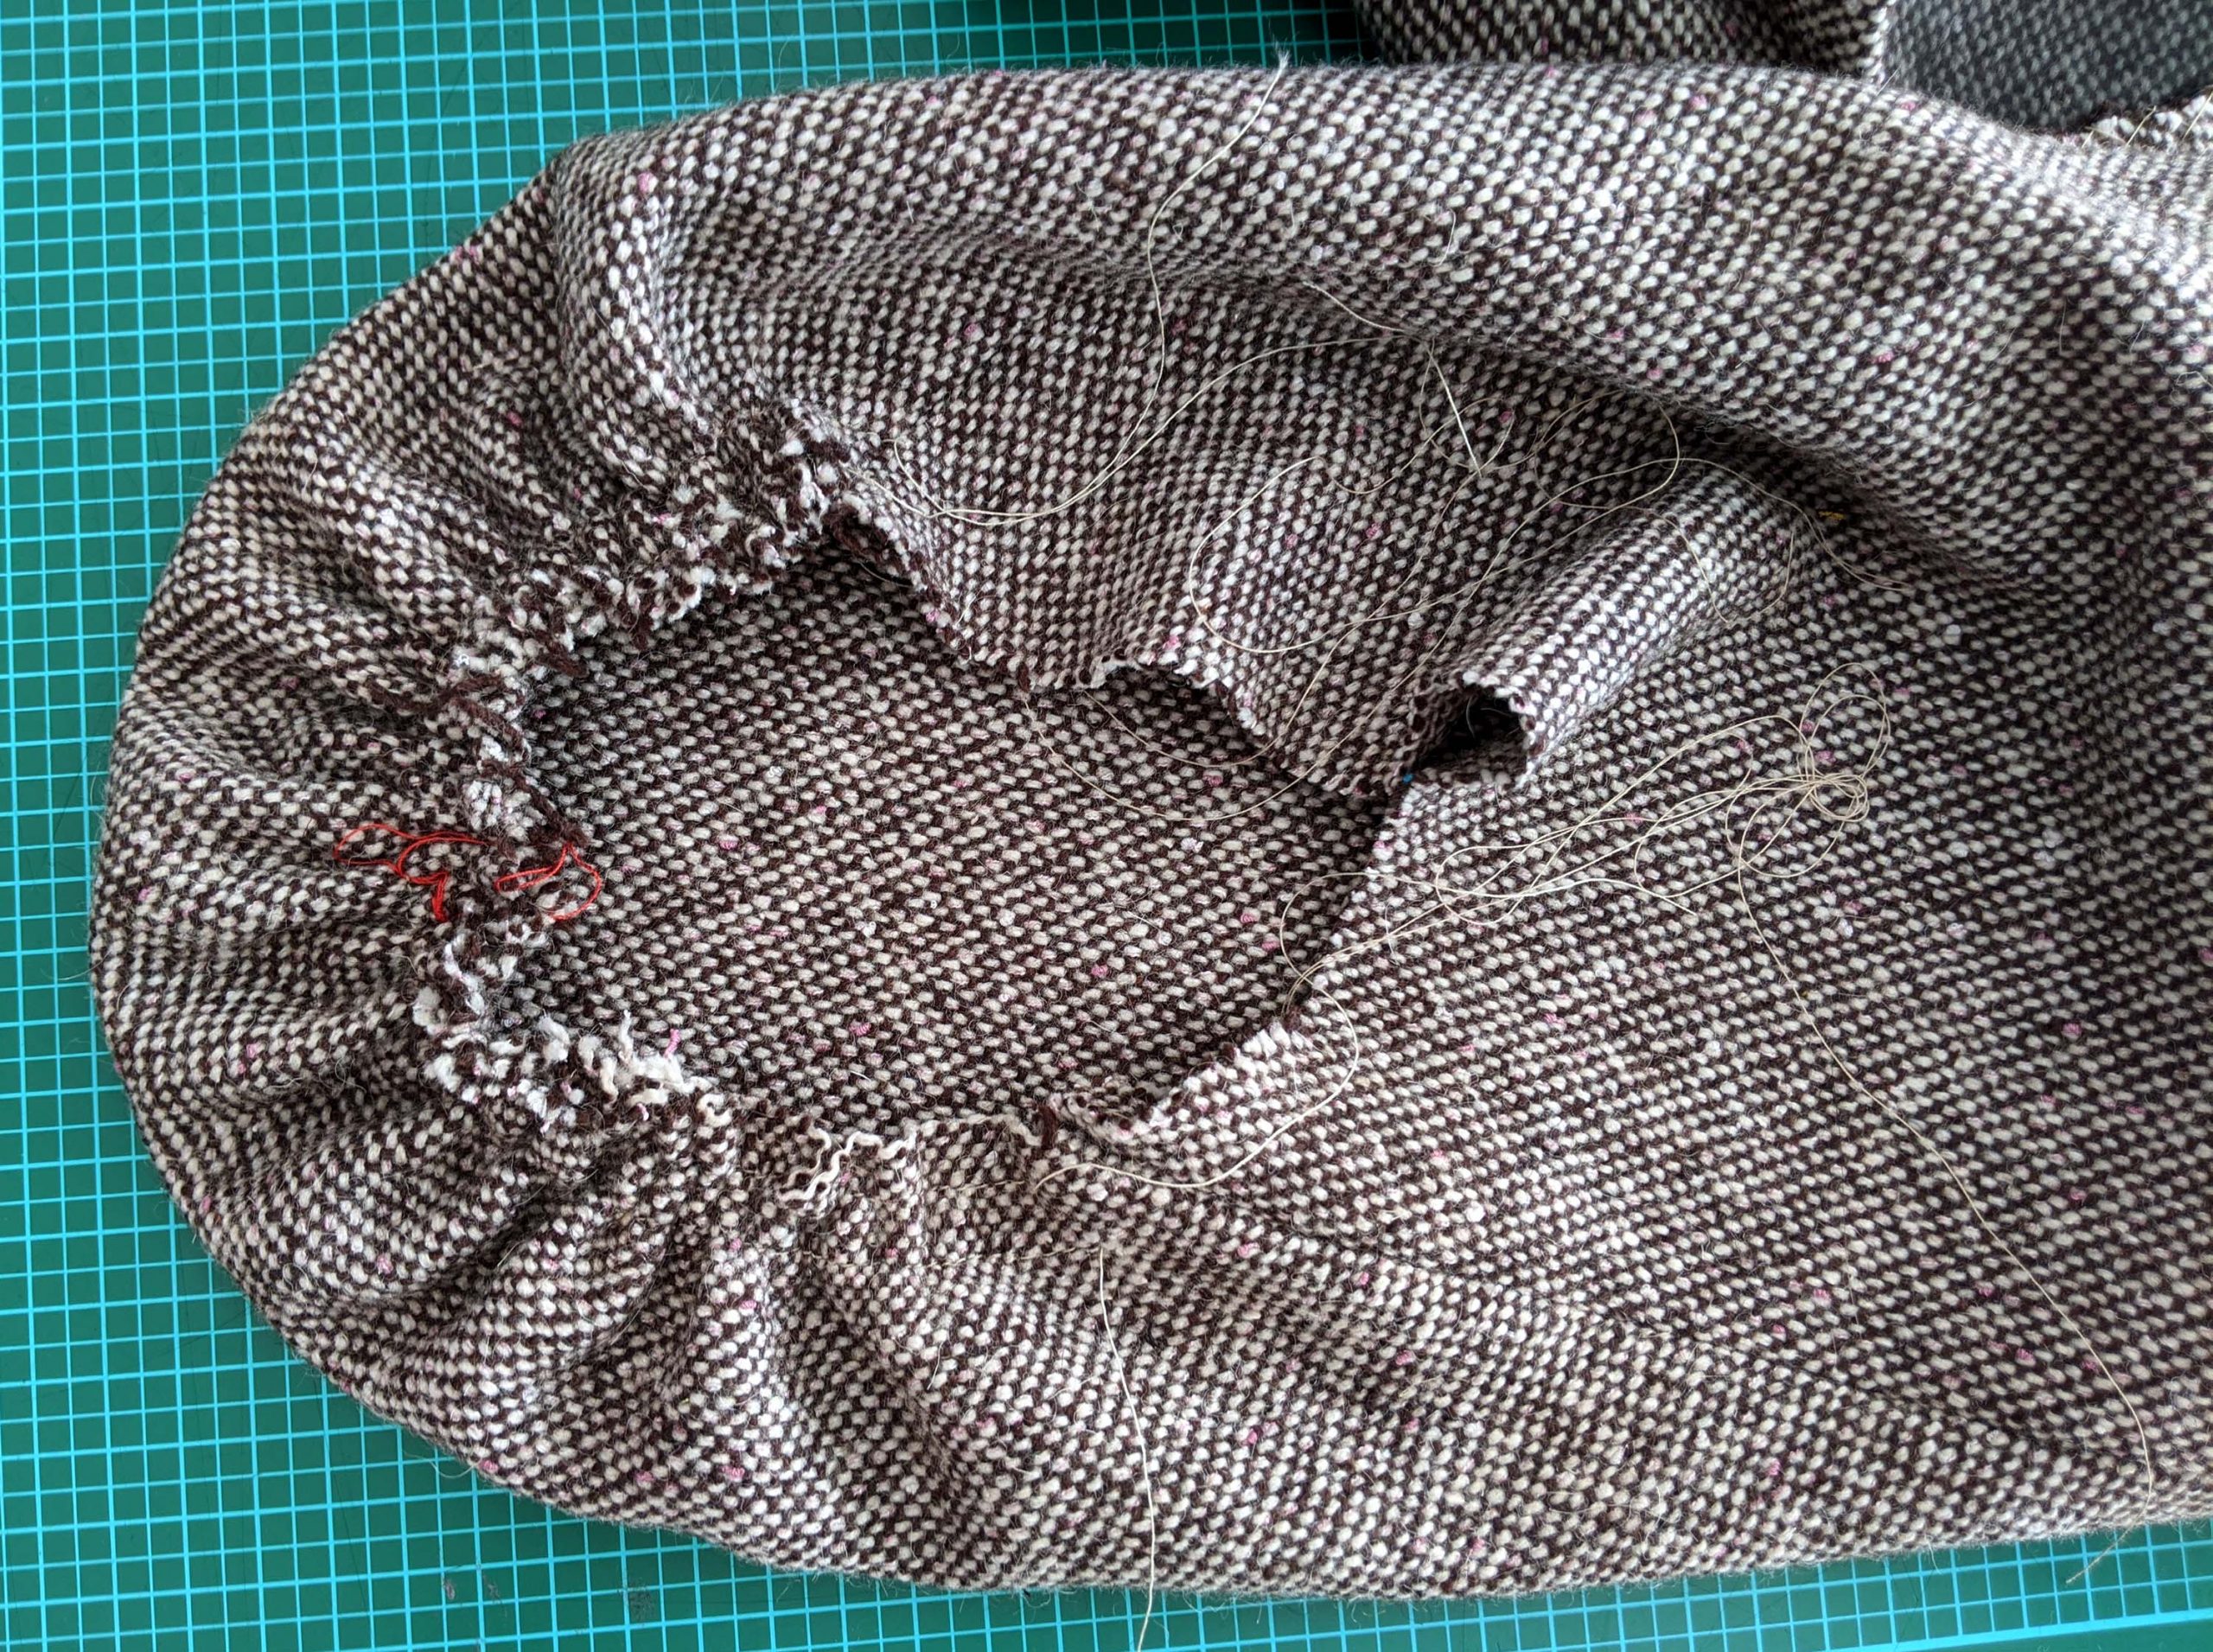
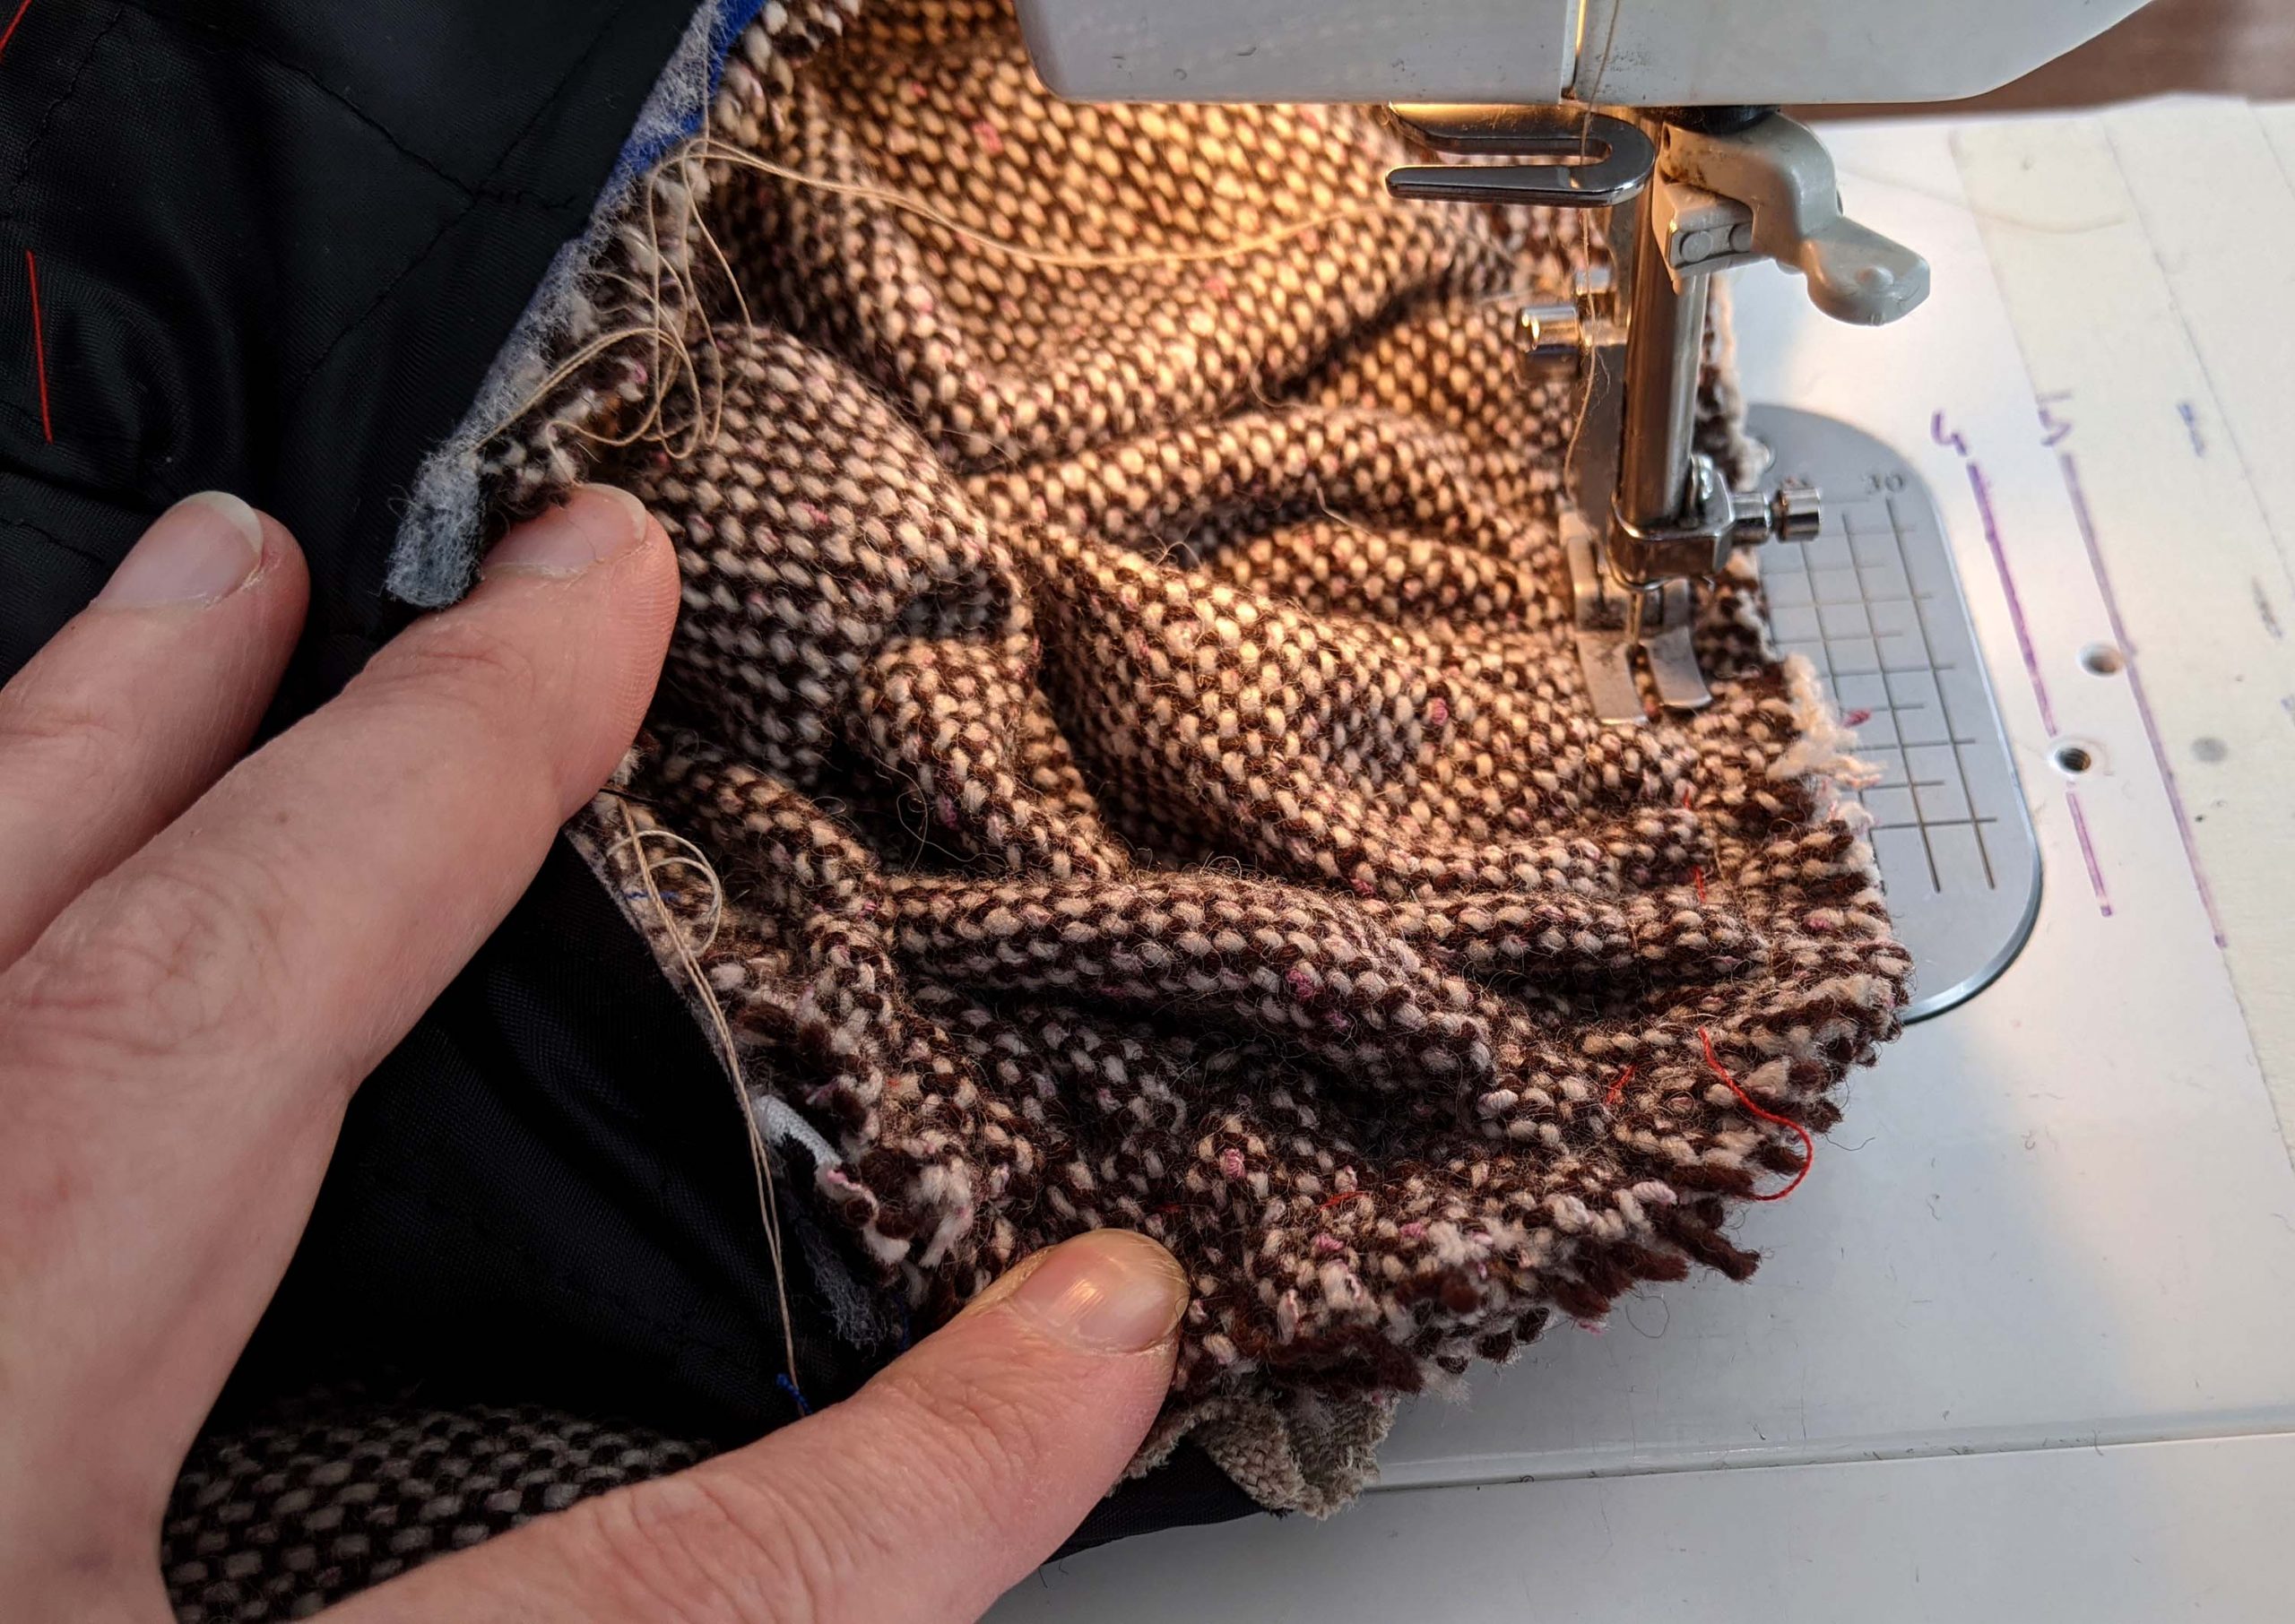
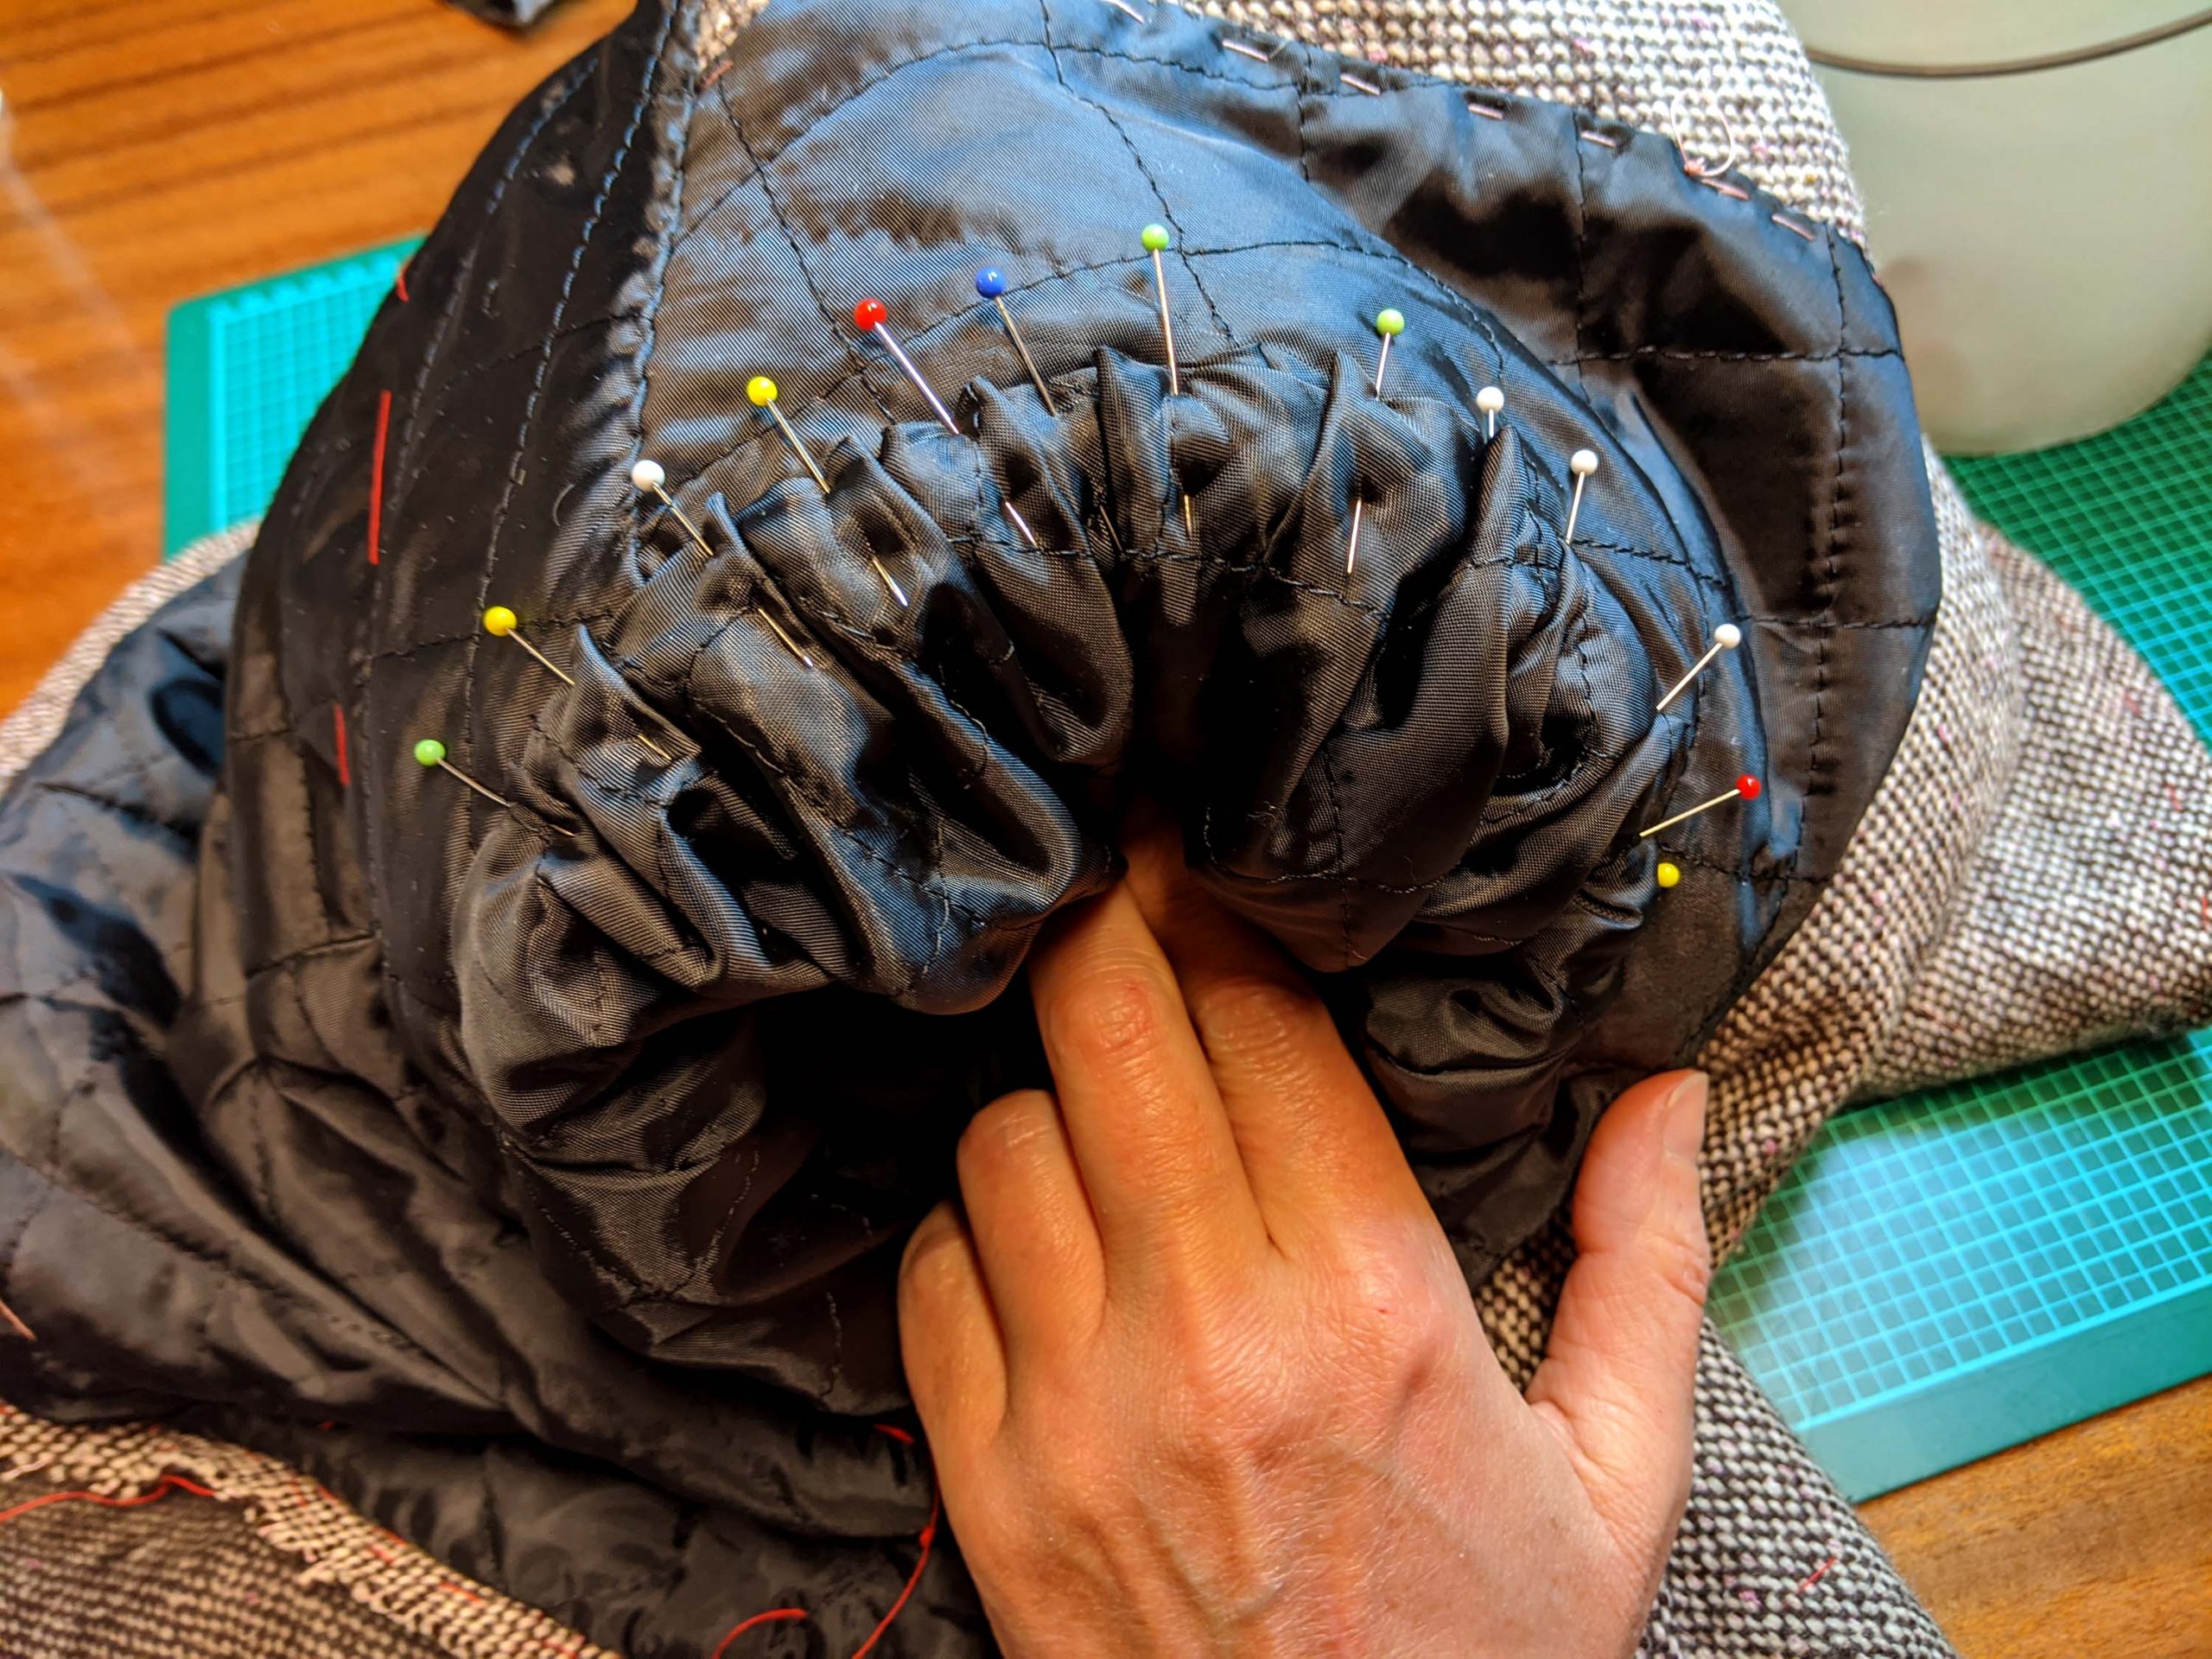
Pull the gathering threads at the sleeve head and try to shrink as much fabric as possible before you insert the sleeve into the armholes. Baste the sleeves just to the fashion fabric, without catching the front canvas or the lining. Sometimes it´s easier to sew the sleeve by hand, but in this case, I decided to sew with the sewing machine, trying to spread the width as evenly as possible.
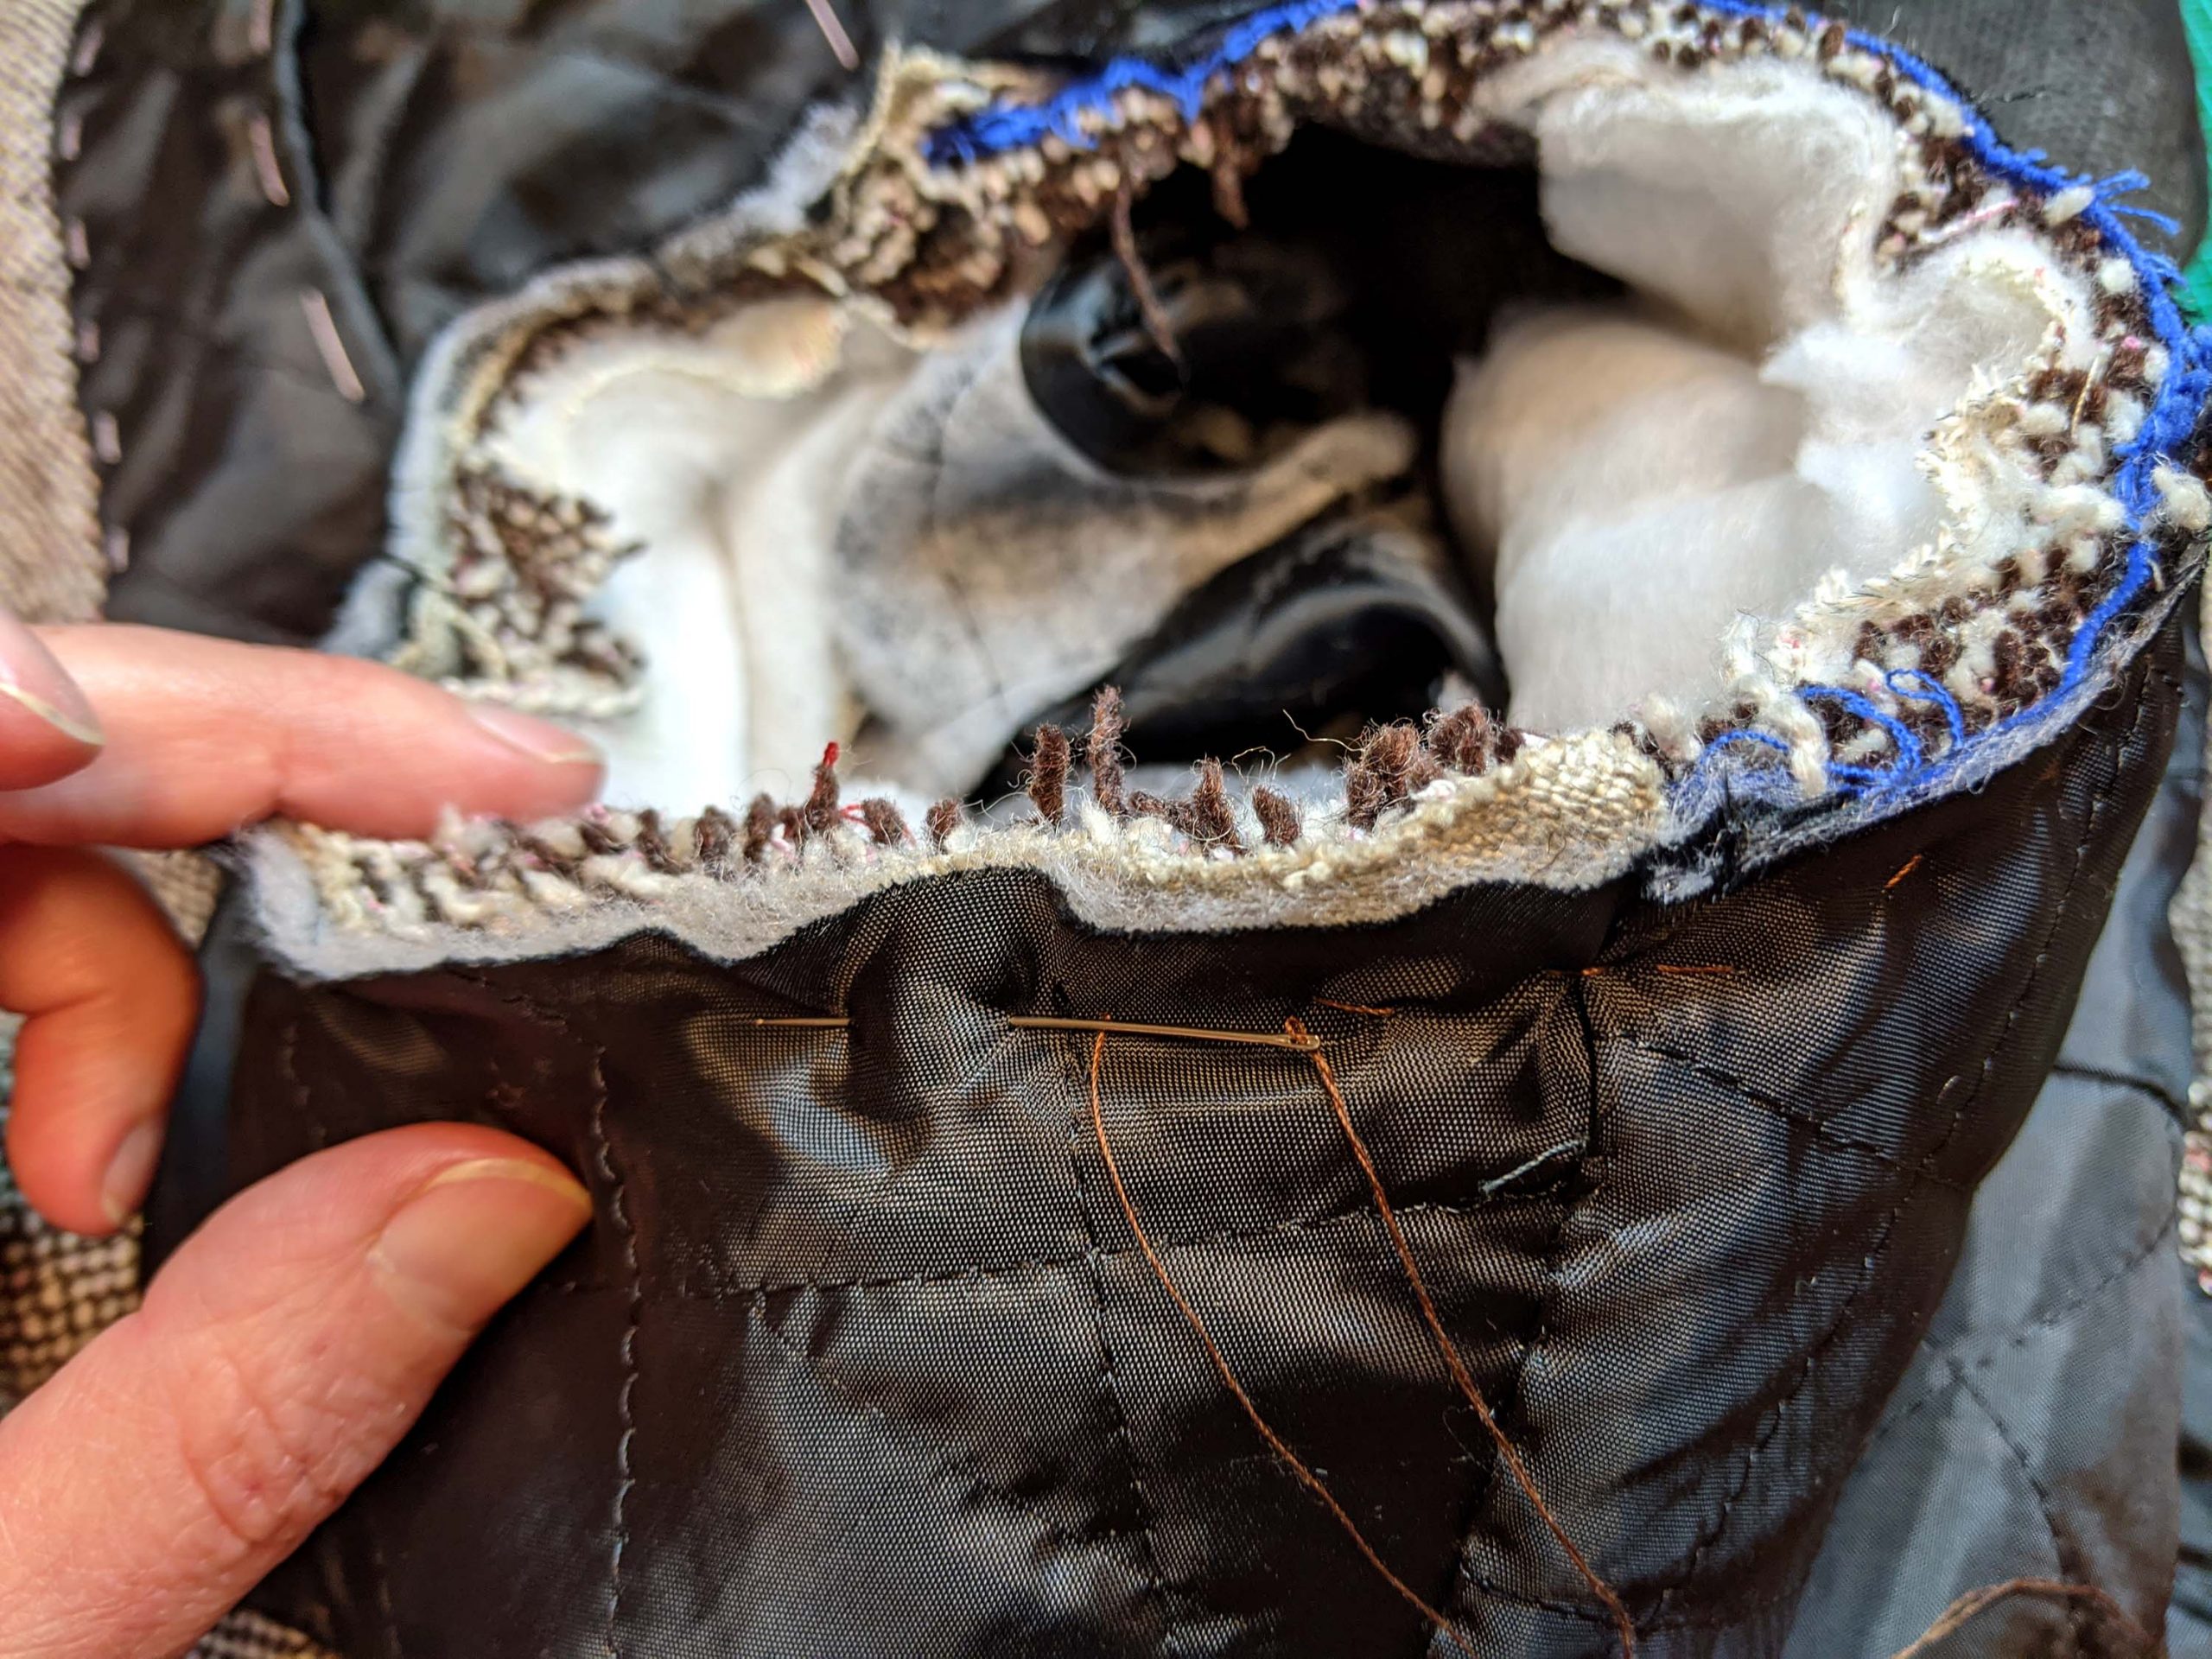
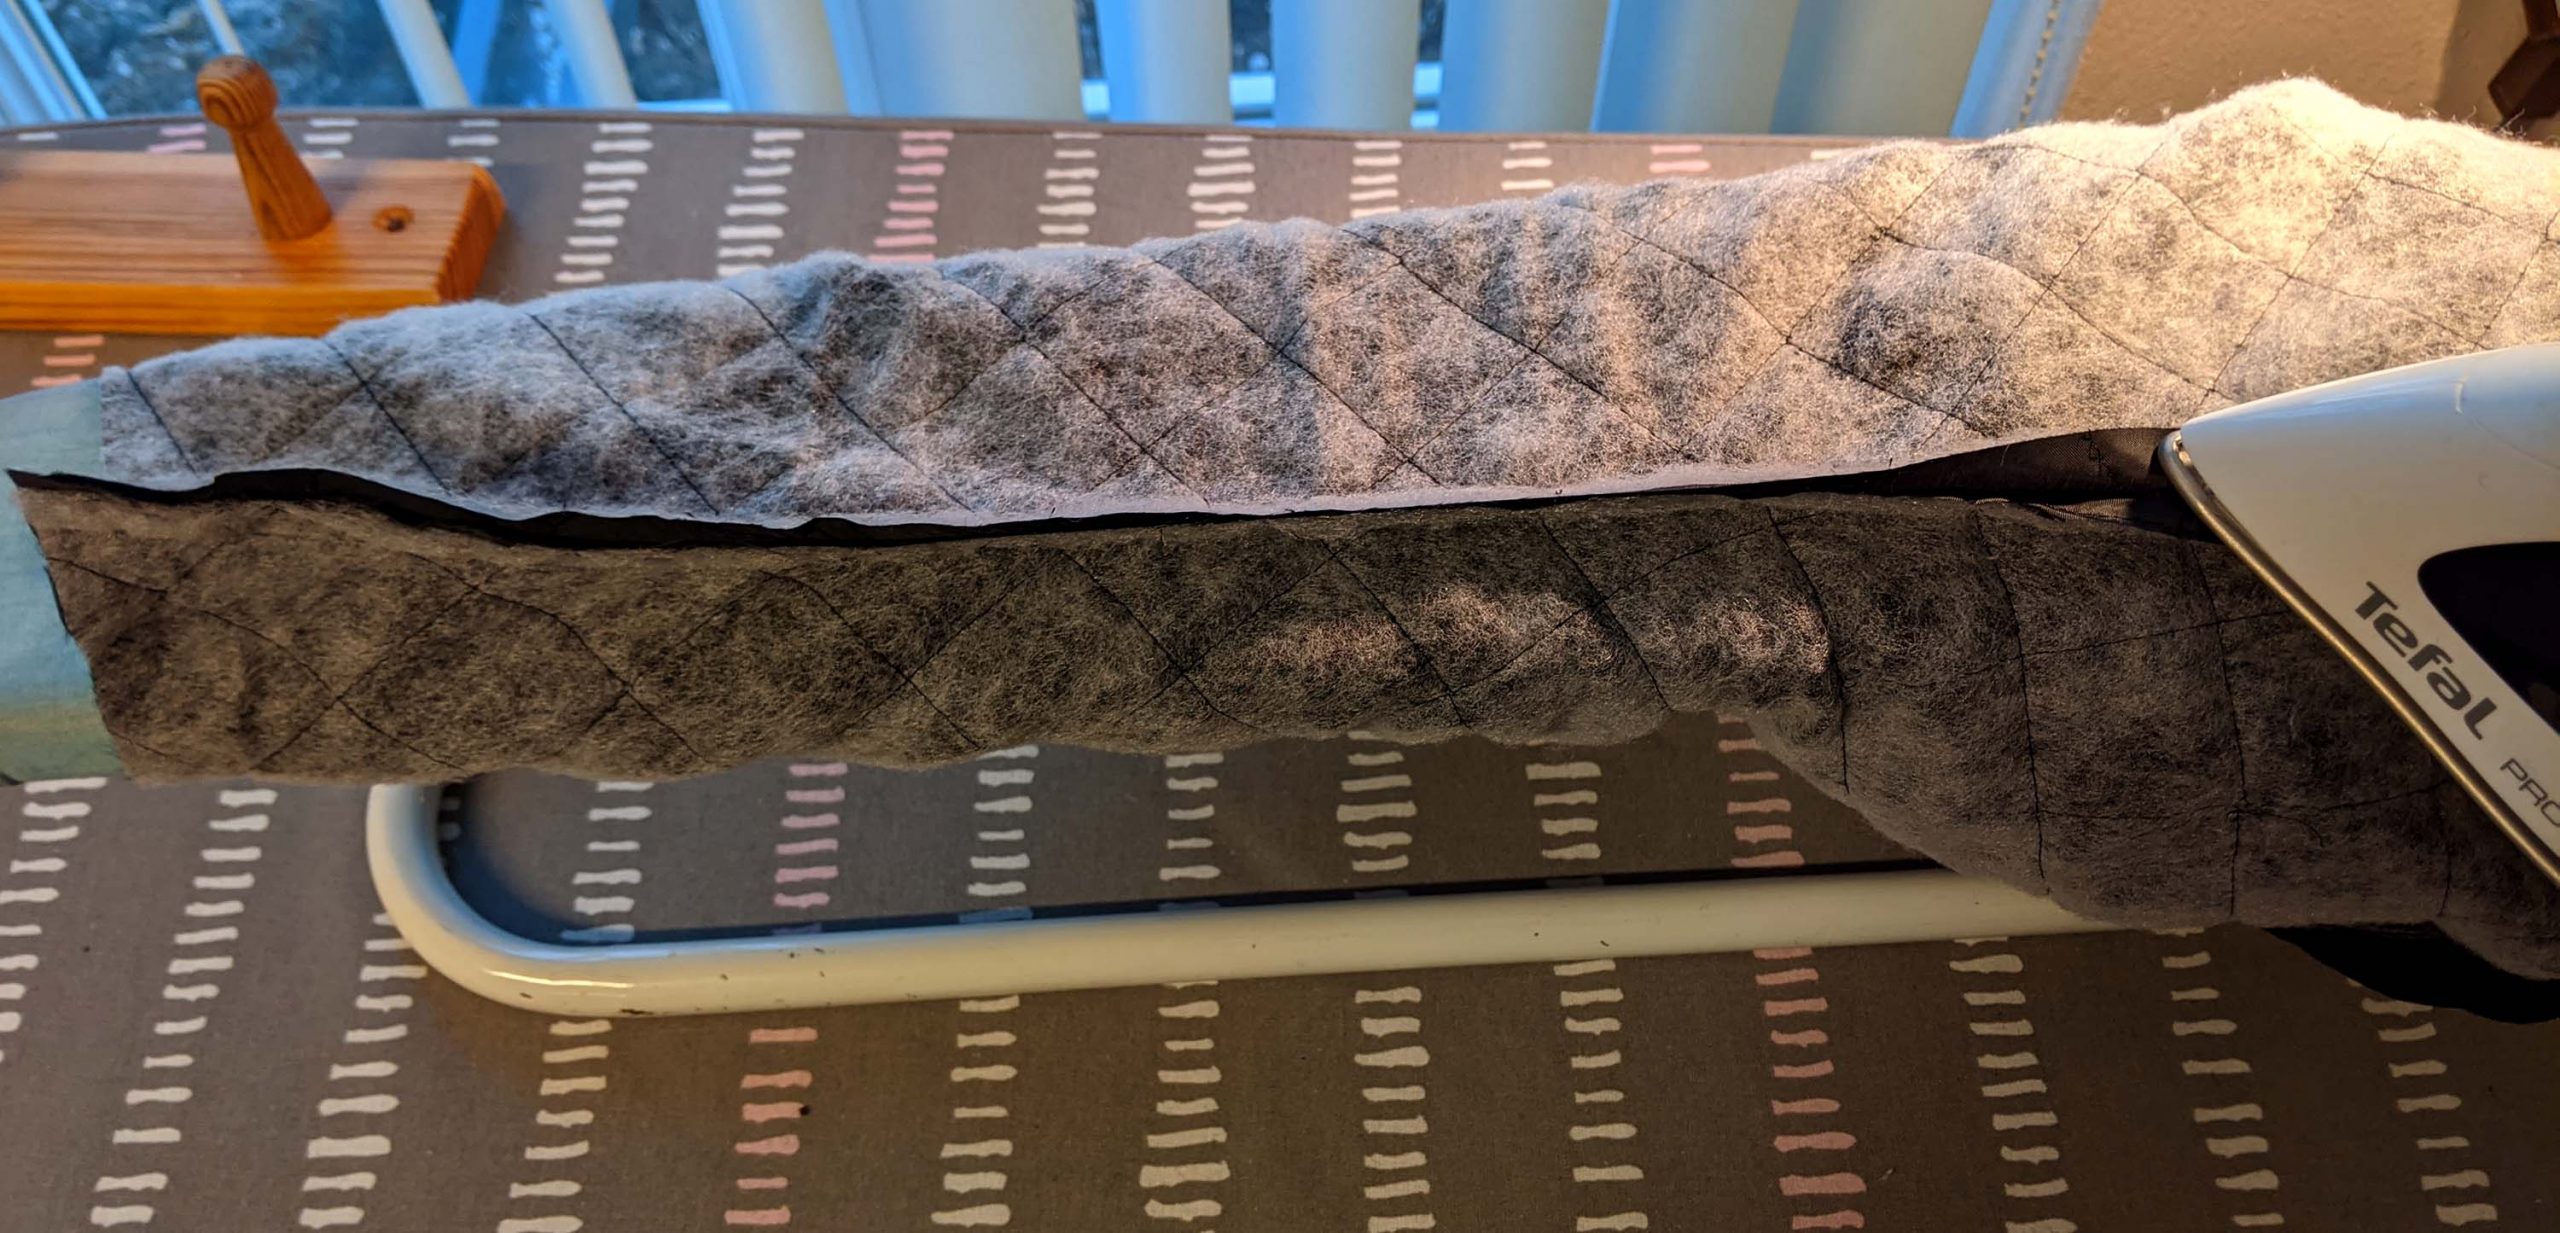
Puh, everything was ok after the first try, I usually sew sleeves at least twice! When I tried on my jacket the puff sleeves were hanging down sadly. What would help? A pillow? After some thought, I decided to make a sleeve head roll. In the first picture, you can see my first try (of 4), just to imagine how to baste the roll to the seam allowance of the sleeve head, without any stitches showing on the right side of the jacket. The second picture shows the perfect roll form, just don´t sew the long edge to the armhole as you´d do with a customarily shaped sleeve. The short edge is on the right, with the thinner end pointing towards the front. The short edge is on the right, with the thinner end pointing towards the front. Consisting of one layer of canvas, sandwiched between two layers of padding to fill the puff.
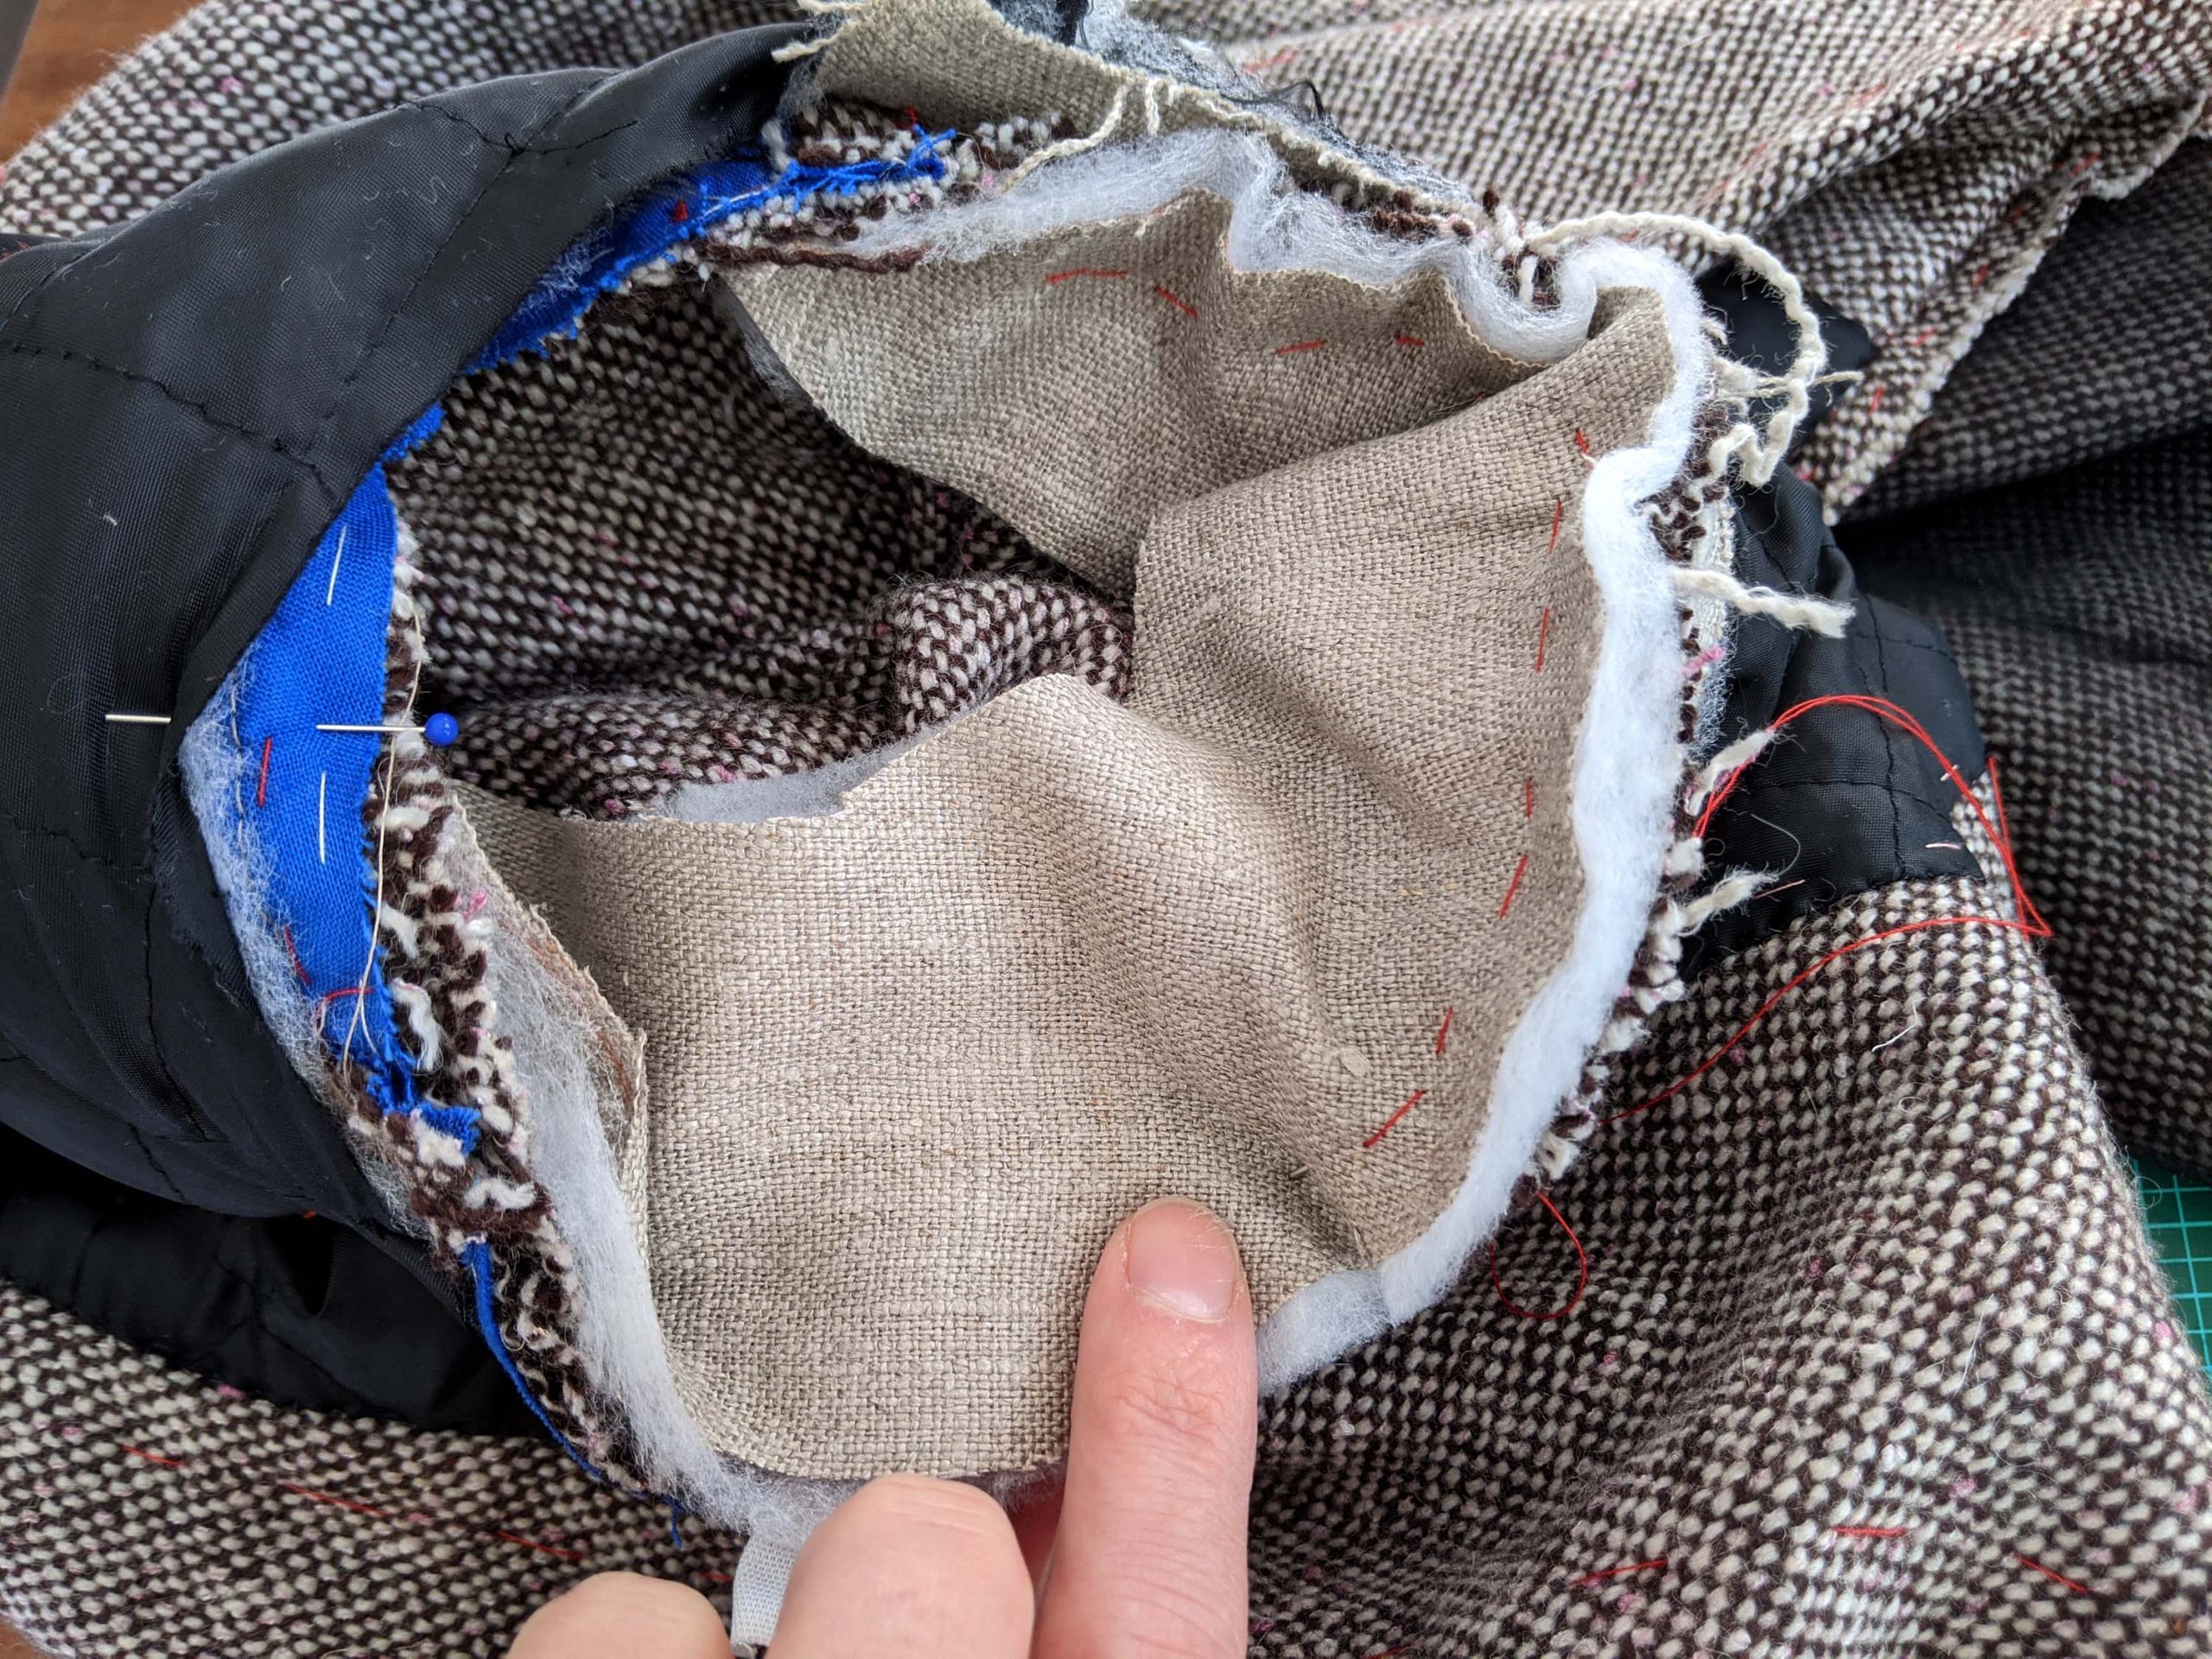
As you sew just the fashion fabric when inserting the sleeve, baste together all the layers (fashion fabric, canvas and lining) after and trim back the seam allowance to 3/8” (1cm), without any stitches showing on the right side of the jacket.
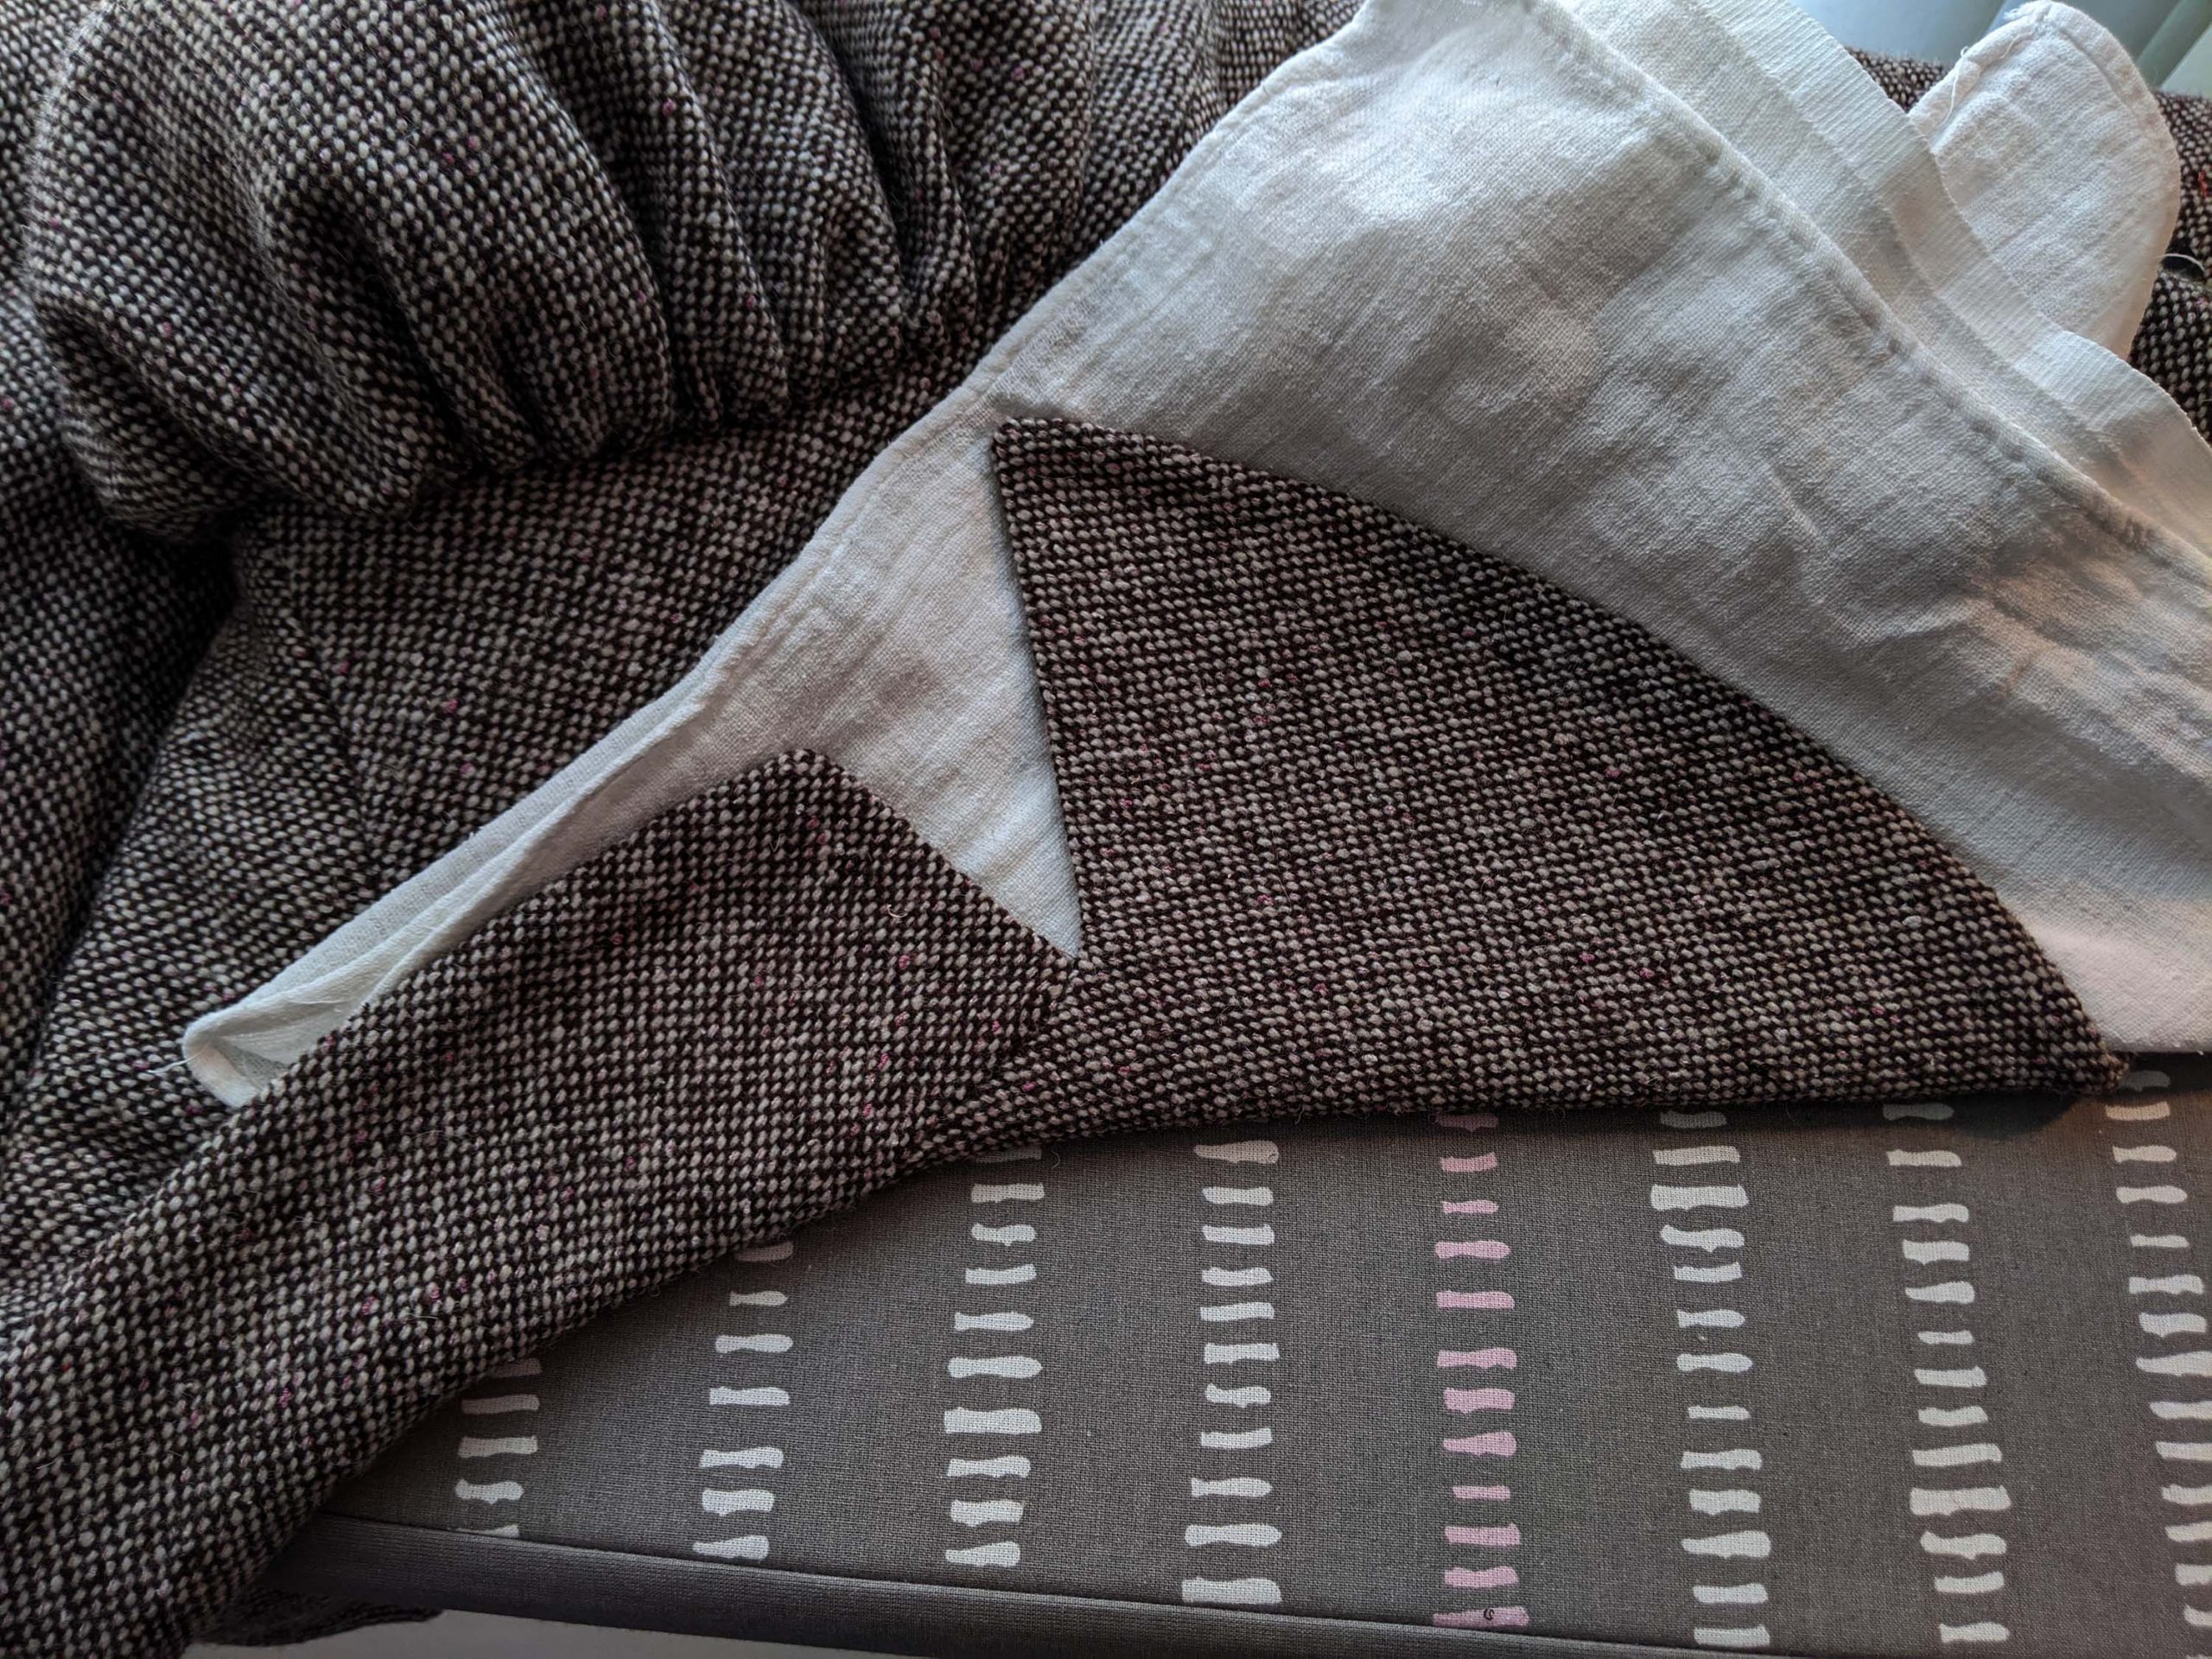
I described how to cut the sleeve from the lining in part 1 of this tutorial, cutting the lining without the hem allowance. Sew the sleeve from the lining and press open the seam allowances carefully with low heat when using padded lining. Turn in a seam allowance of 5/8” (1,5cm) along the hem and fell stitch to the hem allowance of the sleeve, about 5/8” (1,5cm) from the edge. Take care to match the seams right.

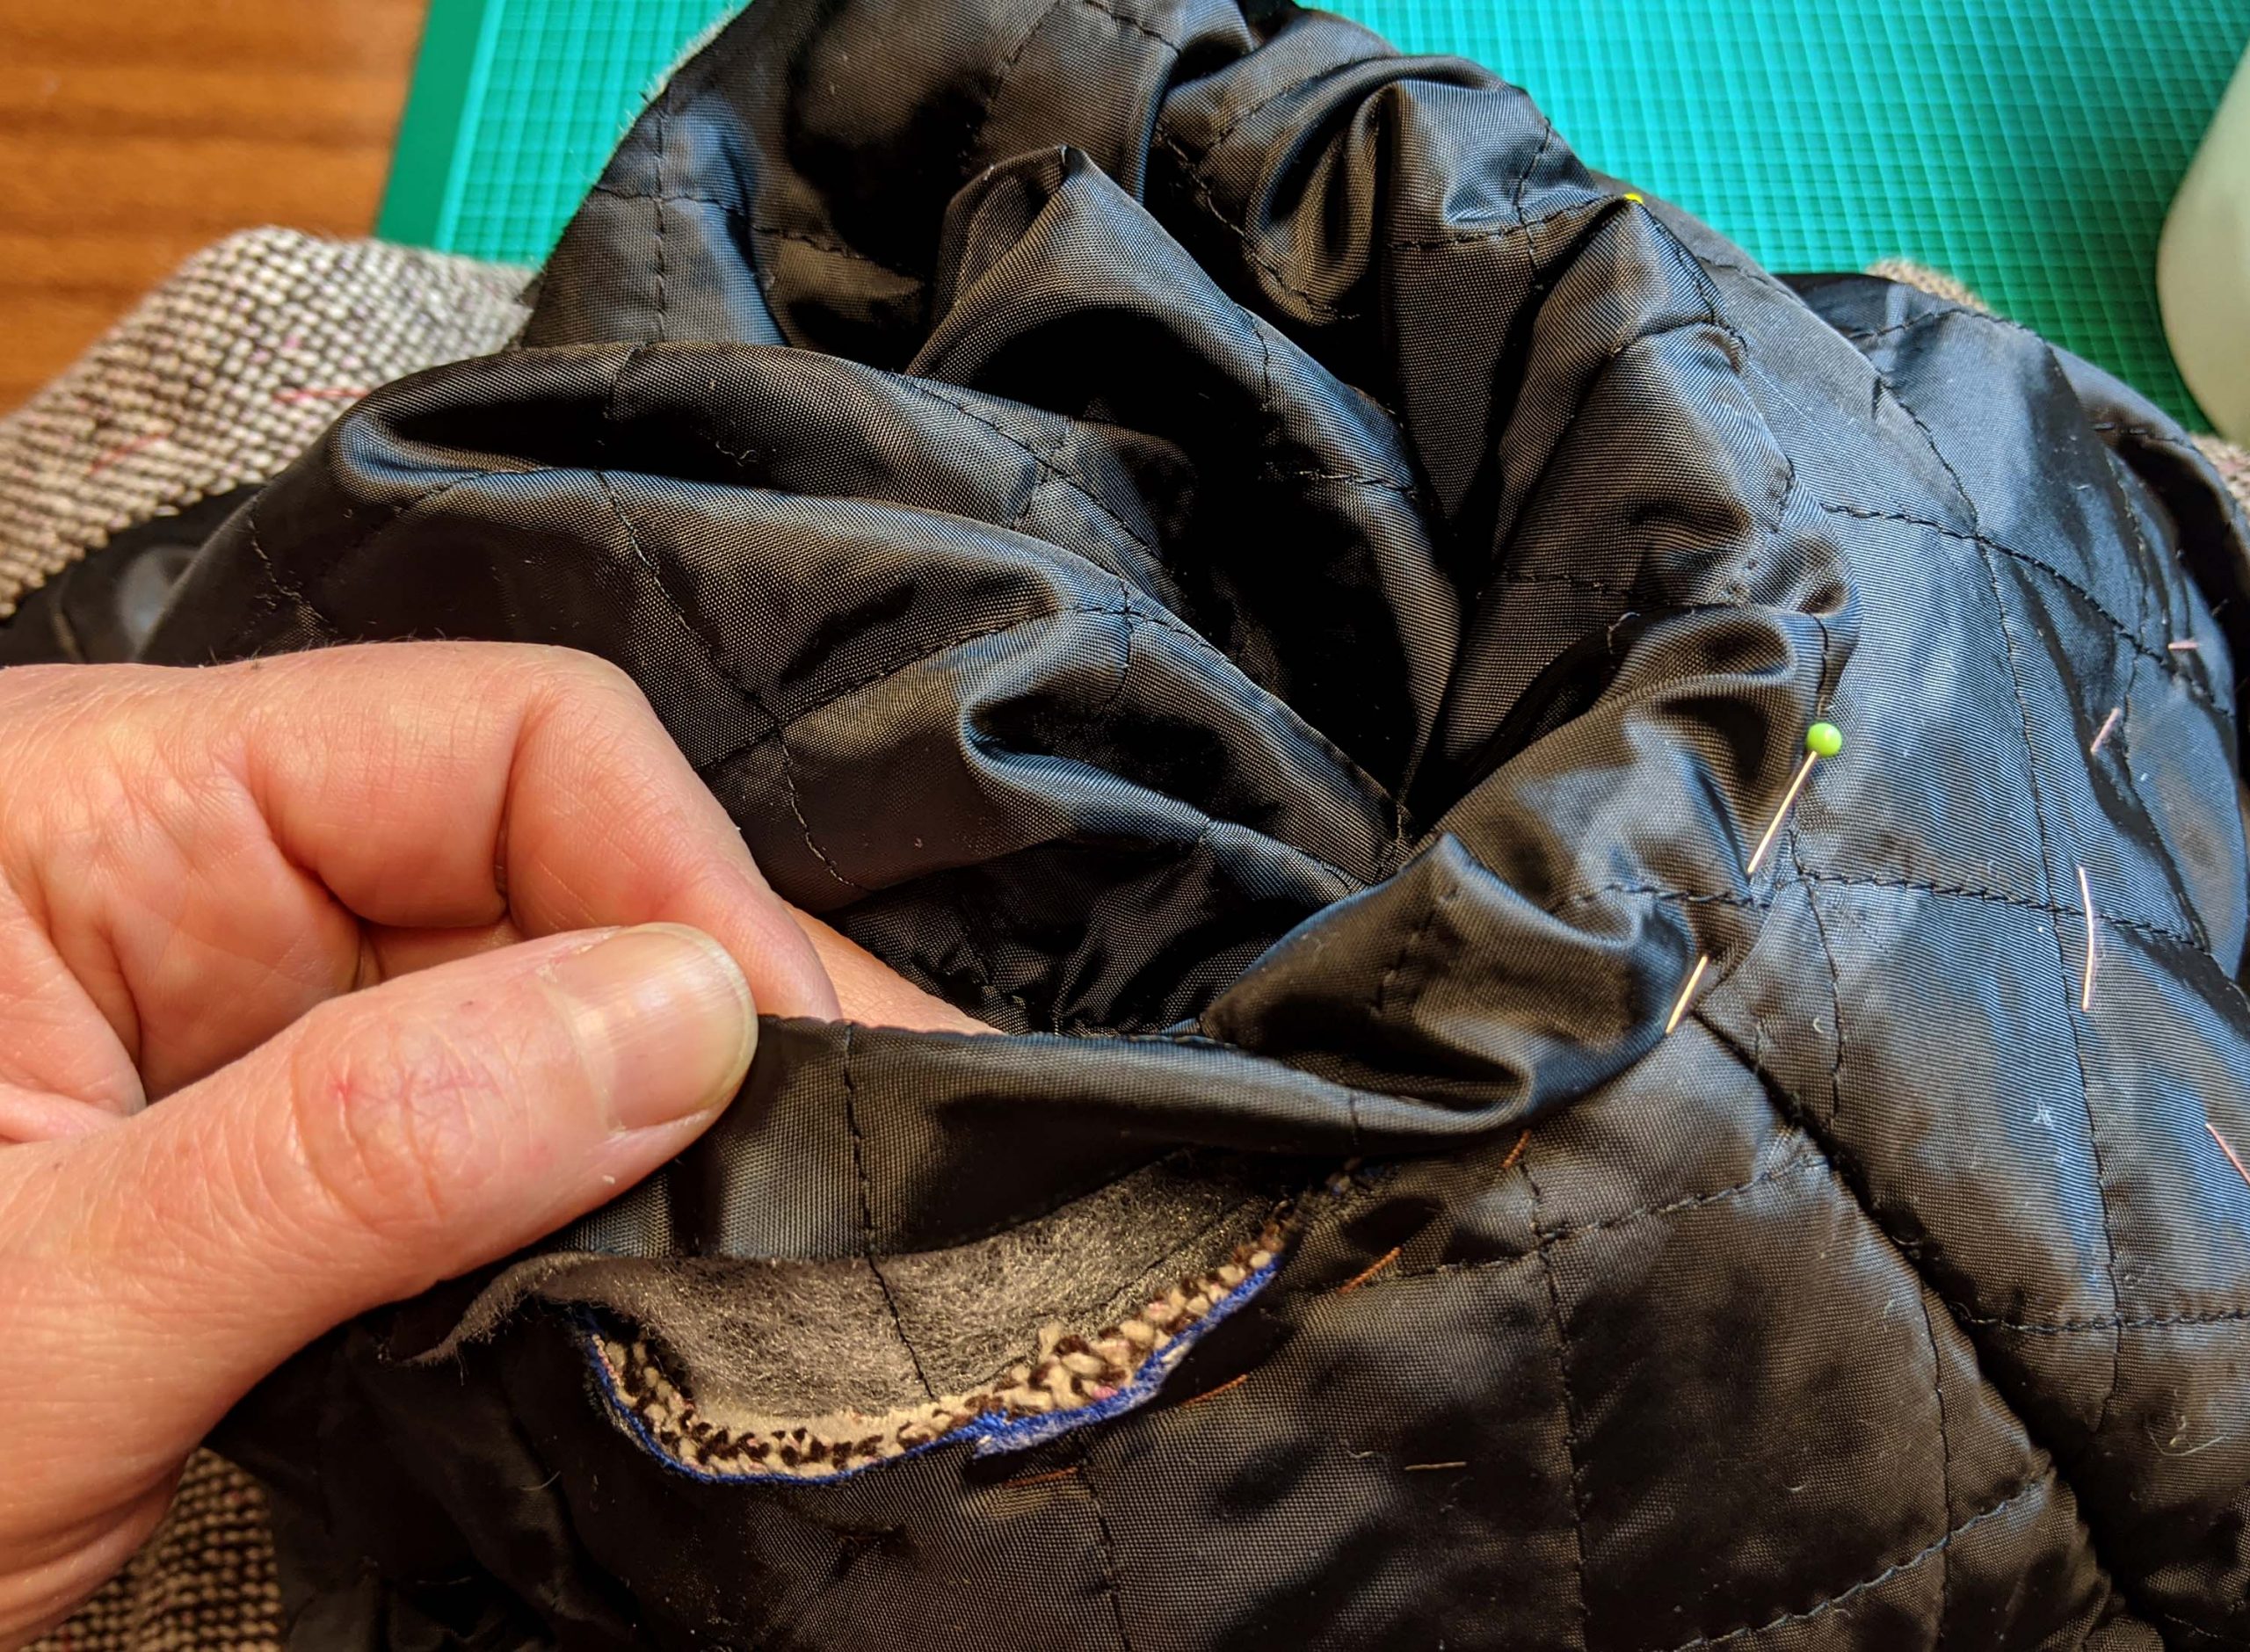
Turn the bodice of the jacket the wrong way out and pull the sleeve lining through the armhole. Turn in the seam allowance and line up the edge with the stitching line of the sleeve, covering all the raw seam allowances. Lay the excess width of the sleeve head into small folds and fell stitch in place. I was asked, why I made the lining quite the same shape and width as the sleeve from the fashion fabric. The answer is, if I wear an 1890s puffed sleeve blouse underneath, I´d need the room, preventing my blouse sleeves to collapse totally.
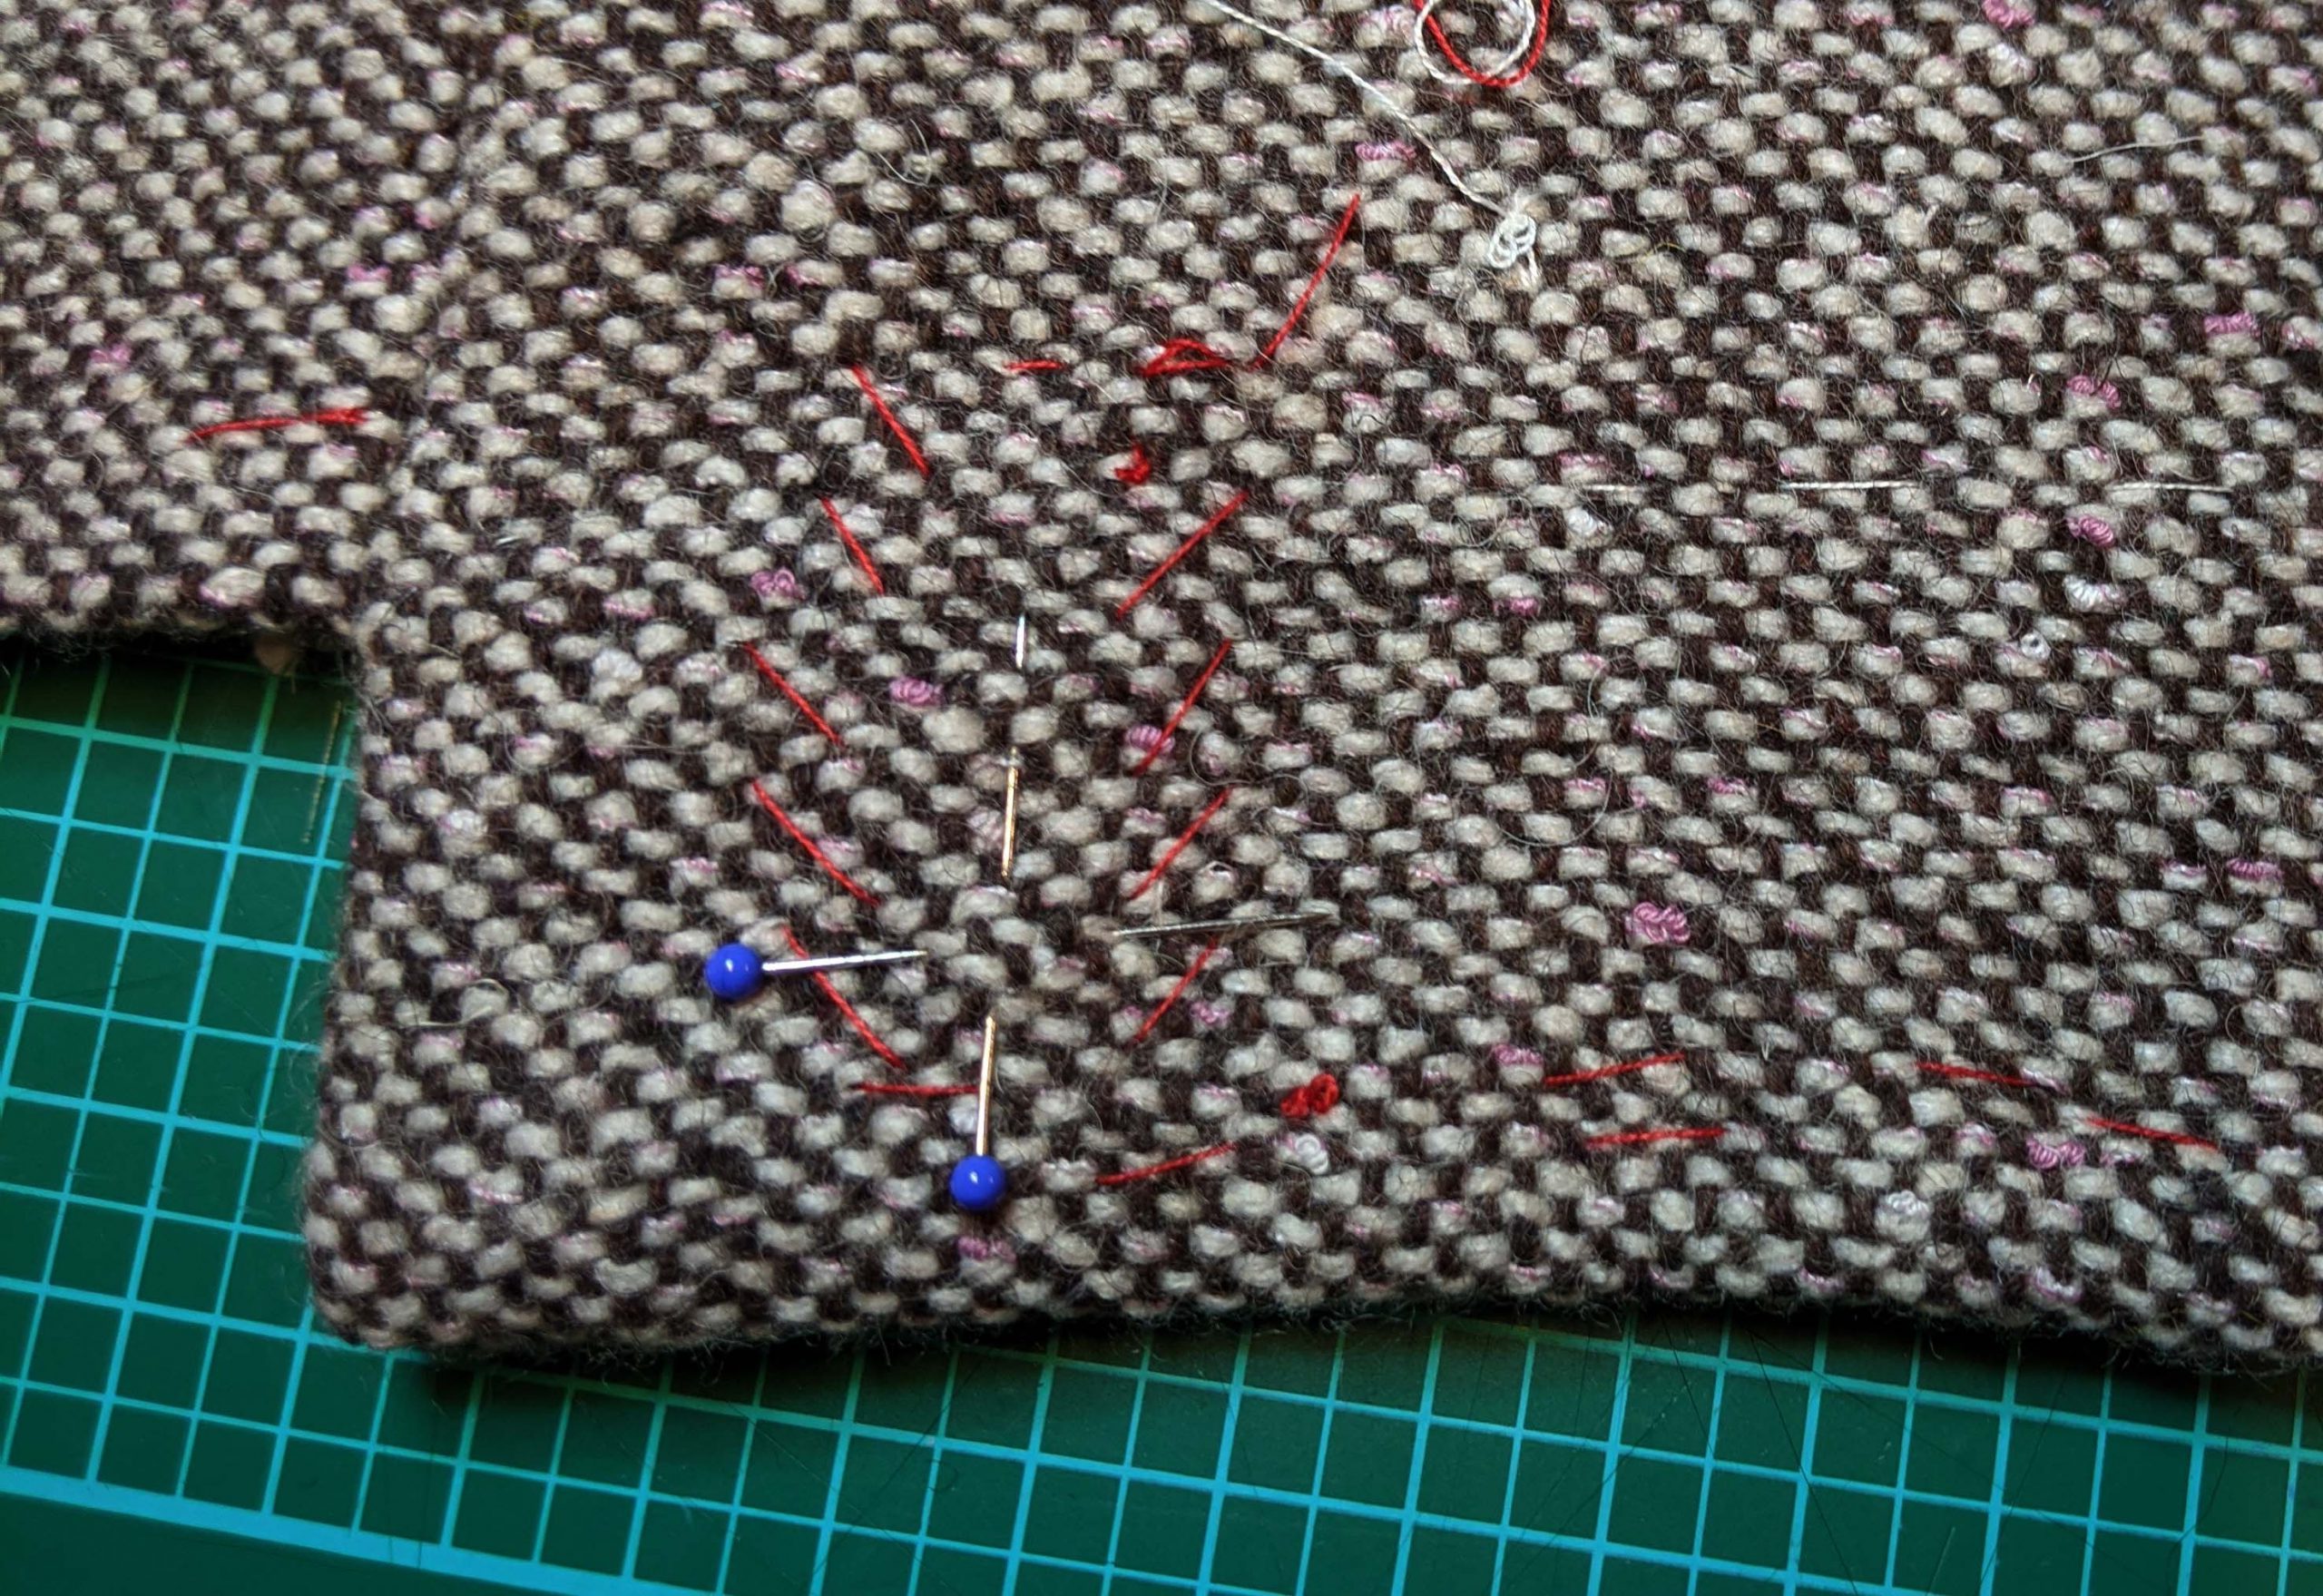
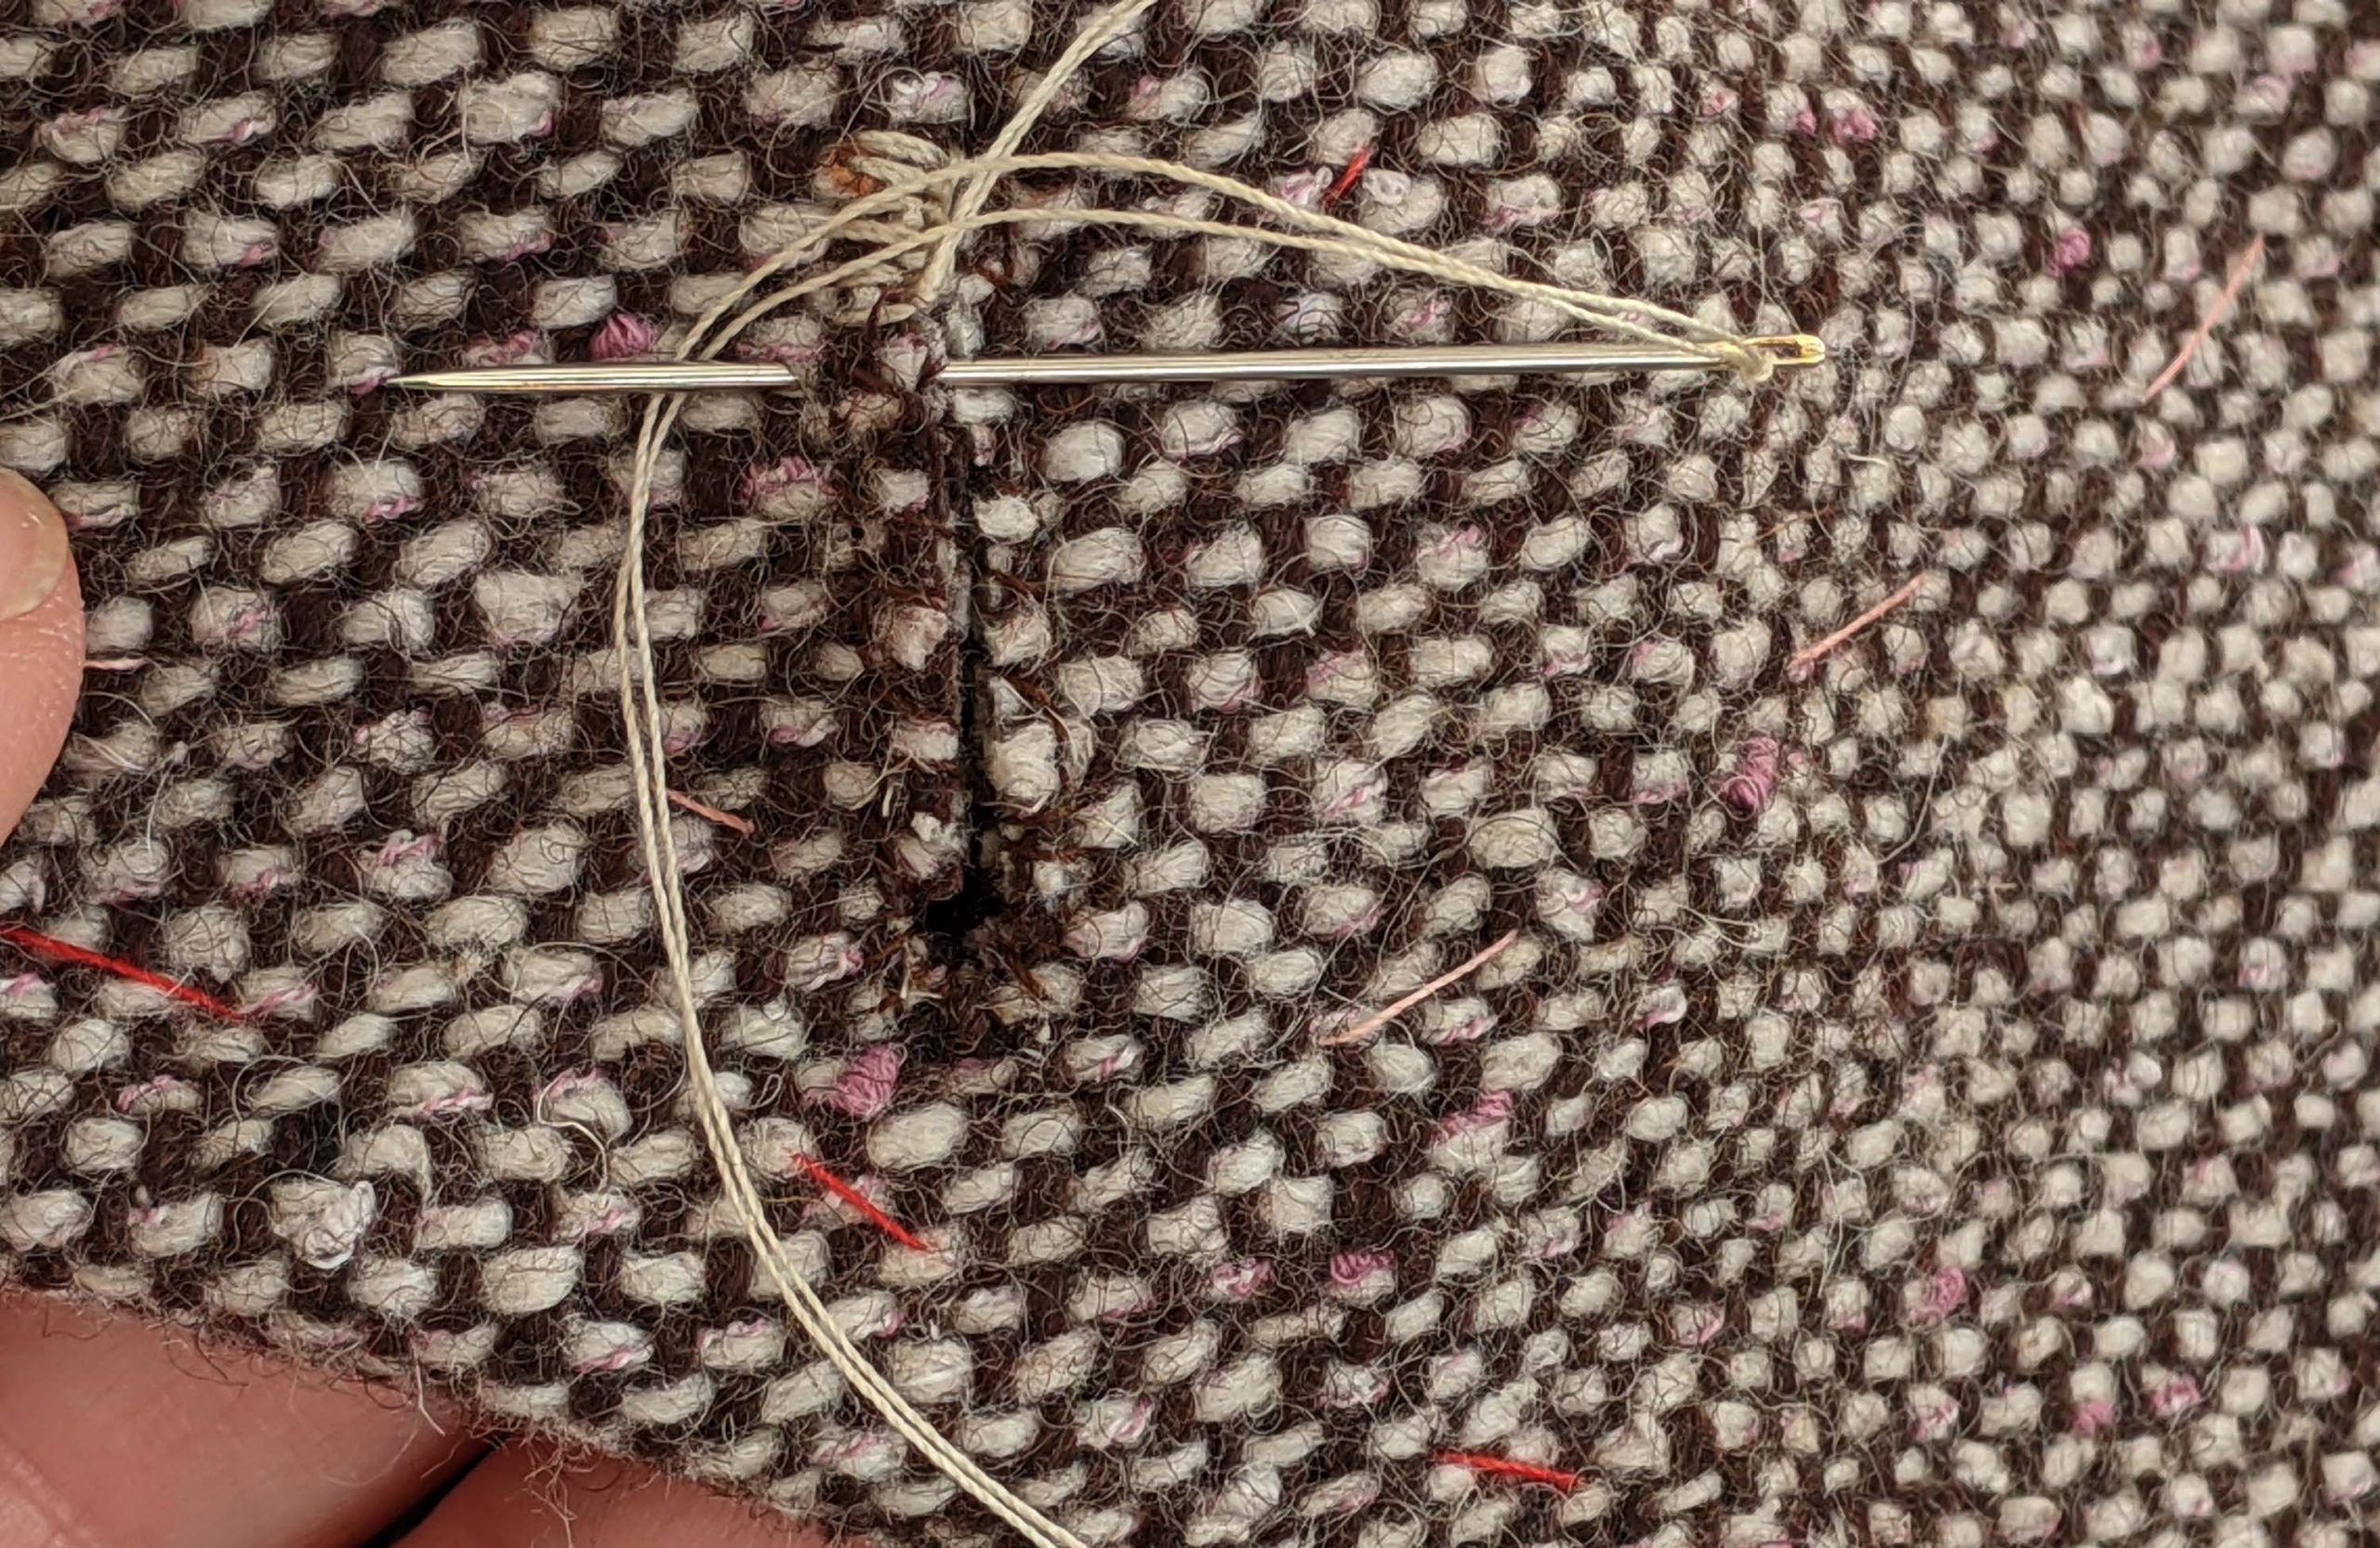
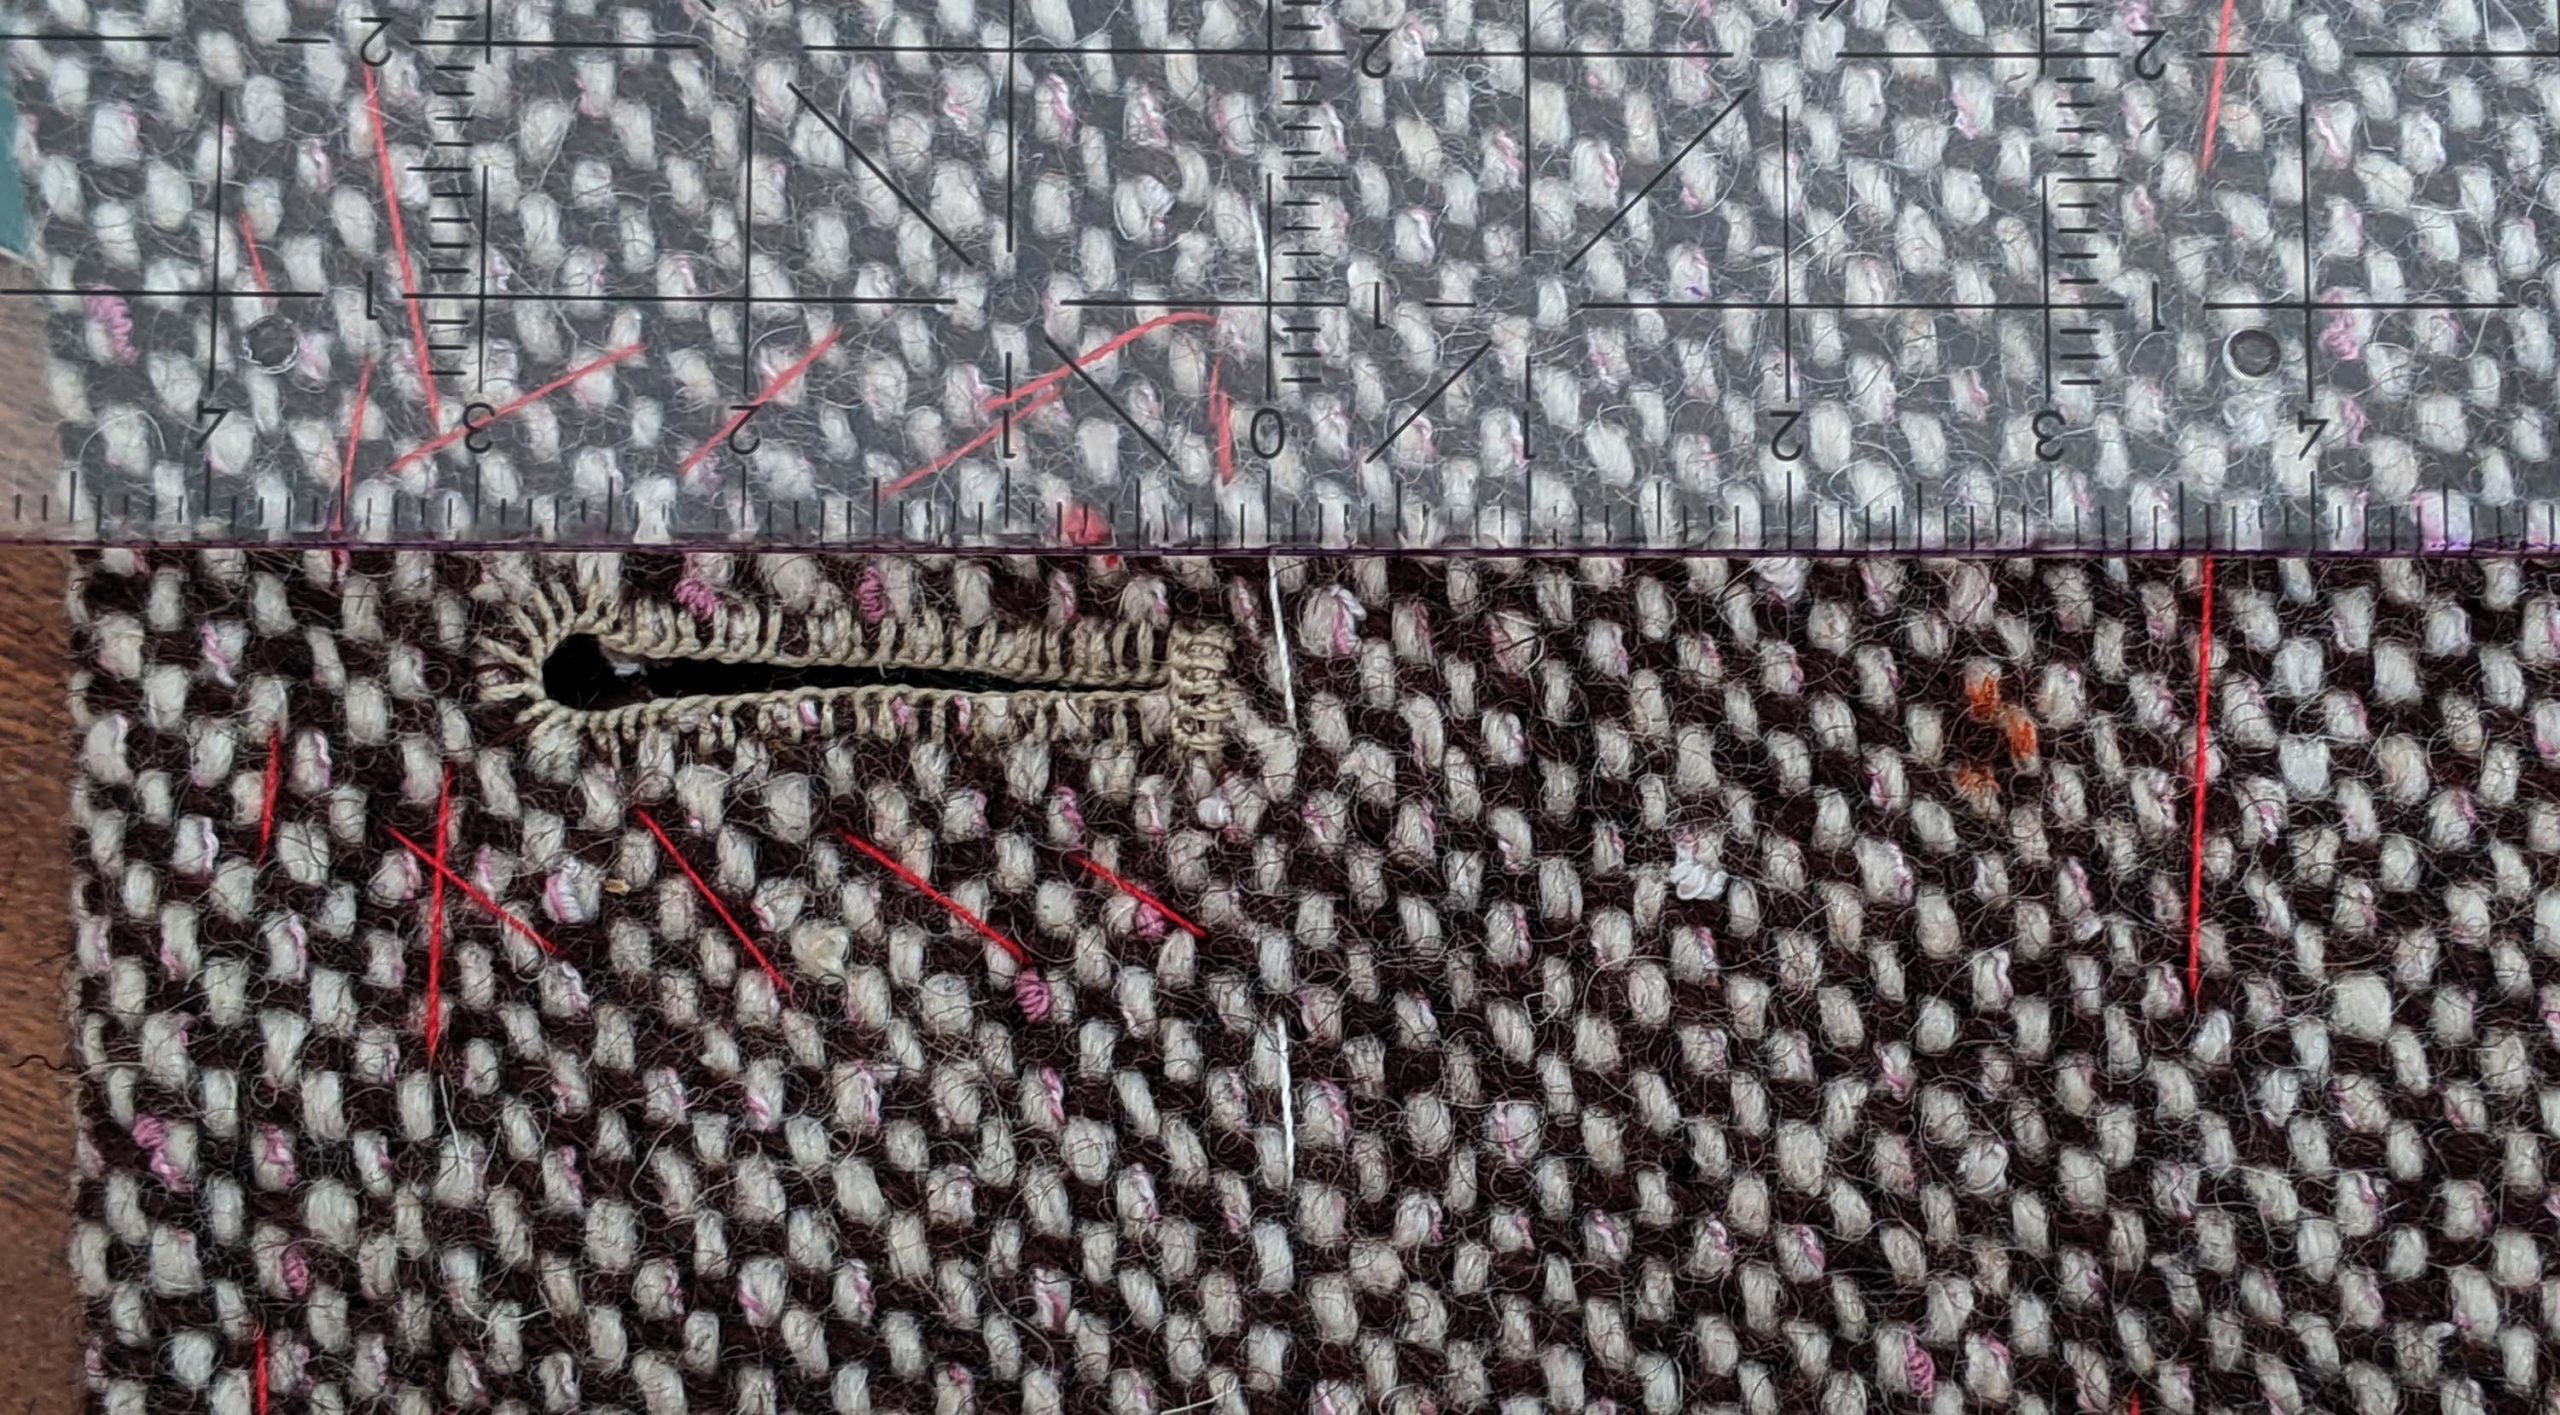
Time to sew the button holes! Mark the position of the buttonholes on the right front side and baste together all the layers. I prefer stitching around the buttonhole with the sewing machine with a reduced stitch length. I don´t lock or backstitch the ends, but pull the threads to the back, backstitching there with a hand sewing needle. In addition, to overcast the cut edges, I prefer to put on Fray-check before cutting the holes.

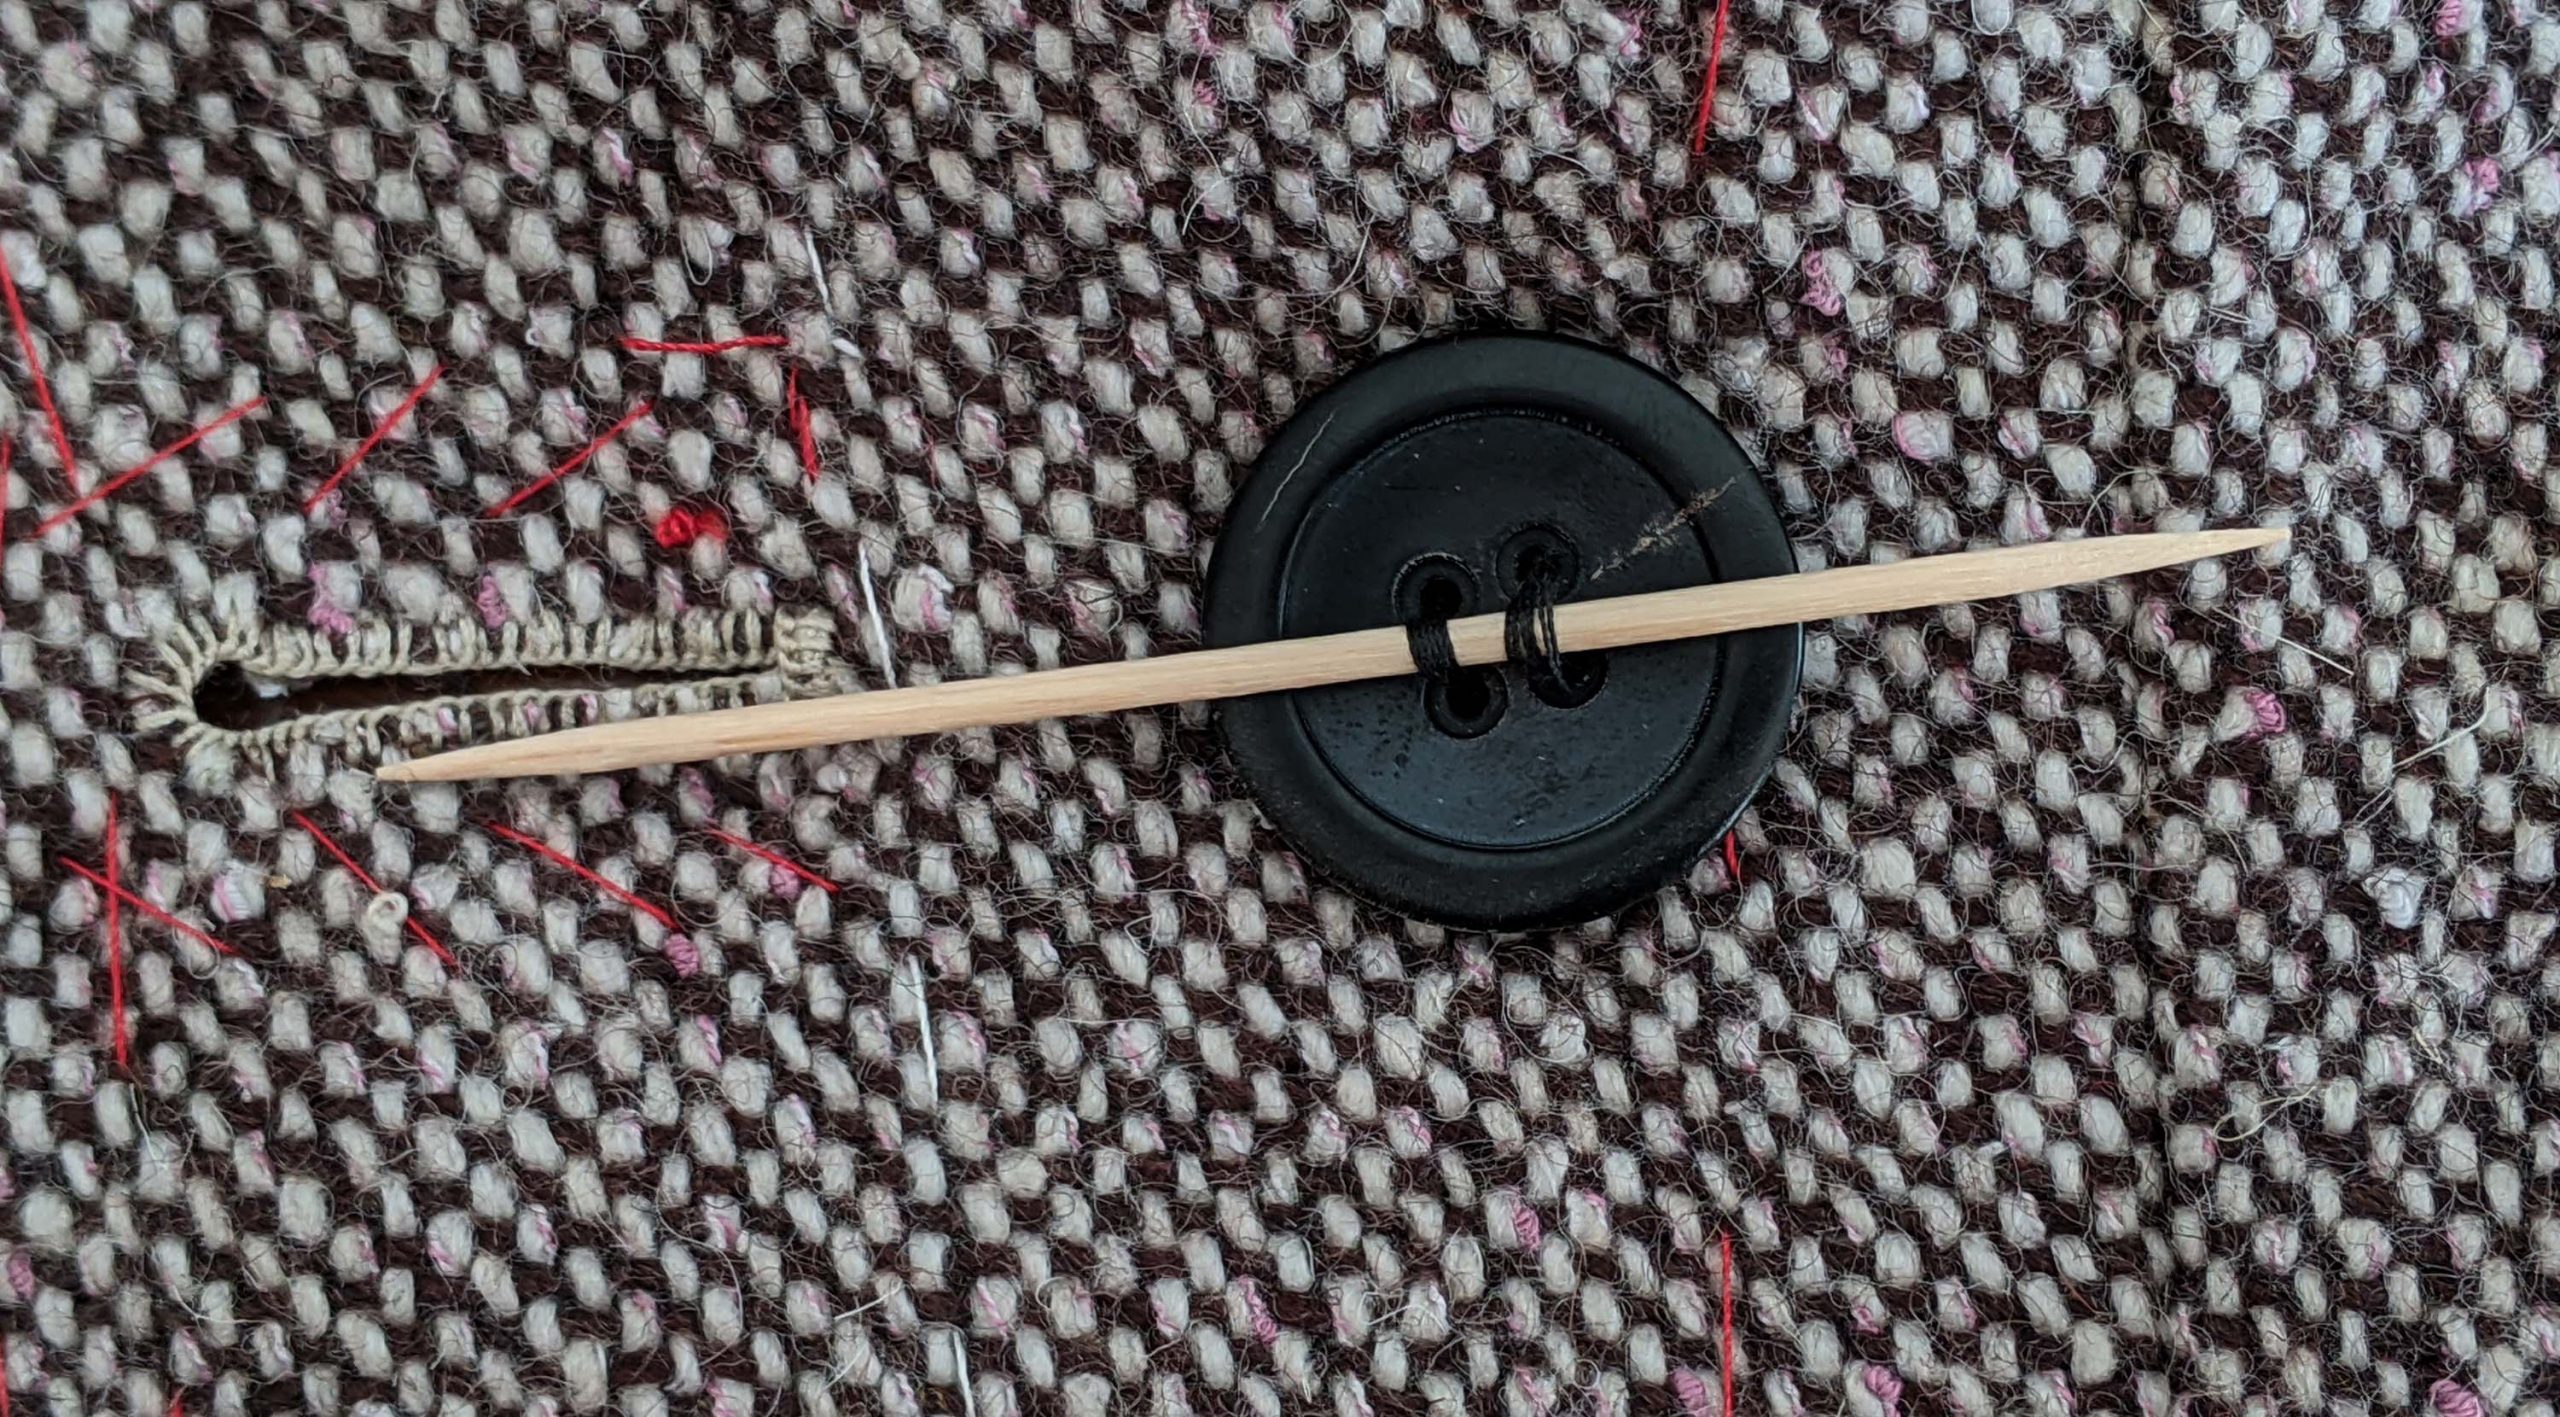
In the end, I was very happy, that I marked the center front with a basting thread just at the beginning of the sewing process, so I could easily mark the position of the buttons and sew them to the coat with a thread shank with the help of a toothpick.
The last was to remove all the basting threads and give the jacket the last press. To avoid a crease at the lapel and collar, place some rolled-up pressing cloth under the lapel. Let everything cool down before proceeding with the other side.
The finished jacket from all sides. I´m very satisfied with the result and that I have managed to only use fabrics and materials from the stash!