Hi everyone!
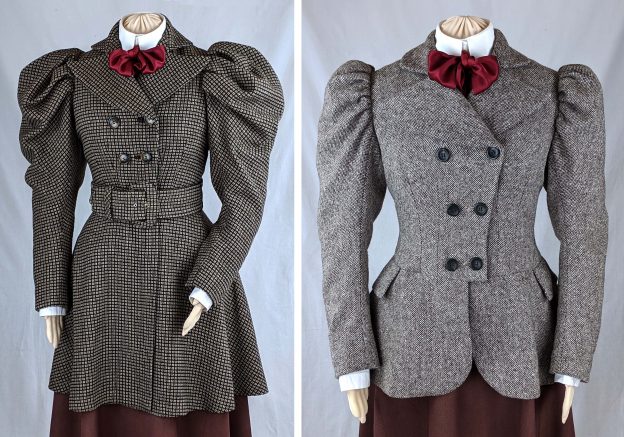
In this tutorial I´ll show you how I made View B of my pattern #0520. The jacket is a pretty old project from the beginning of my historical sewing journey when I needed a coat or jacket for cold winter days. I browsed extant fashion plates, dresses and sewing patterns, decided to make View A of the jacket for my purposes. I developed the View B with the thought of a perfect winter jacket for history bounding.
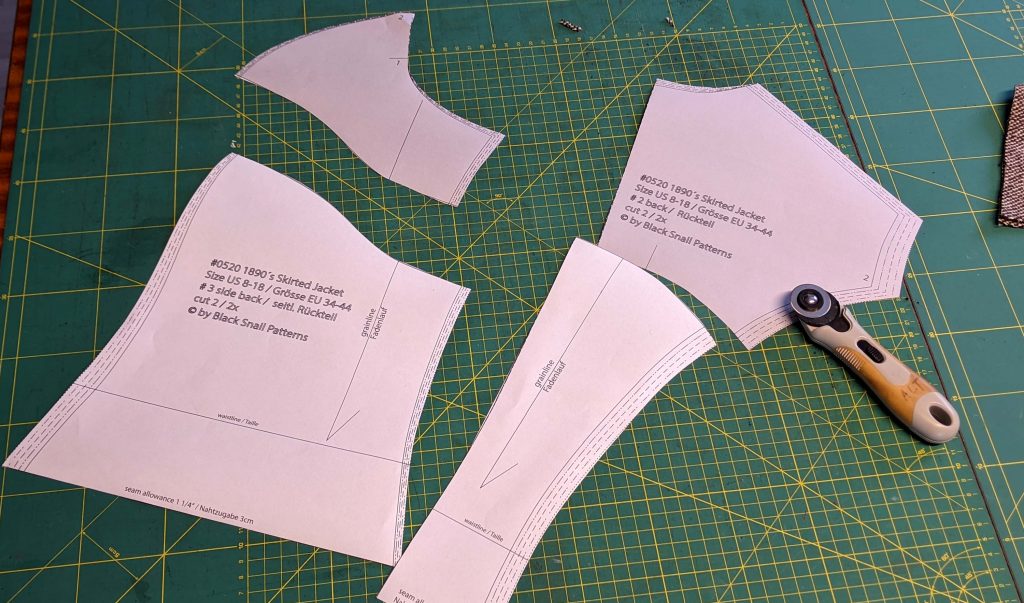
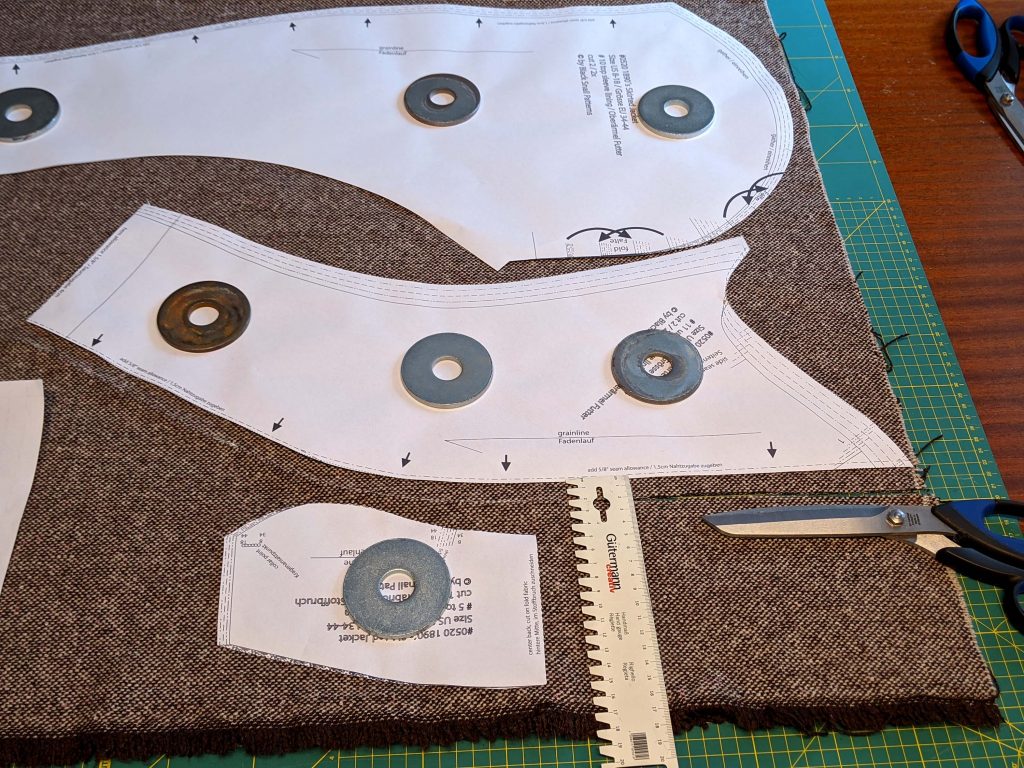
First, some words about the pattern and how to cut all the pieces from the fabric. The maximum for my patterns are three sheets of the A0 format, sometimes difficult to realize for historical patterns. For this reason I can´t offer extra pattern pieces for all the pieces needed, sewing a historical dress or jacket, just trying to keep the pattern clear and easy to follow. Ever seen an extant pattern sheet from a fashion journal?
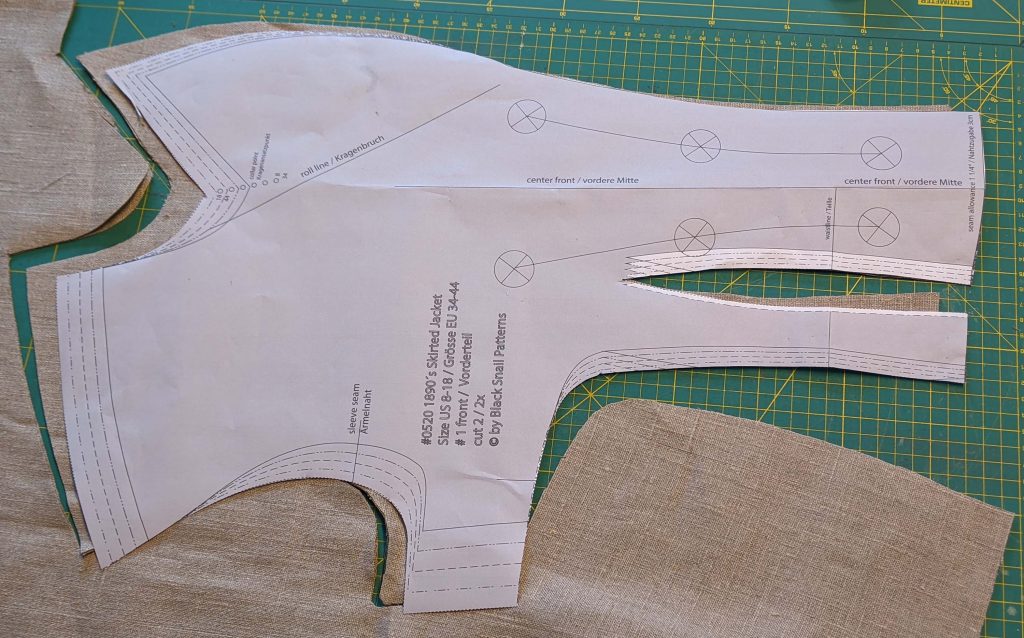
There´s just one pattern piece for the large leg-o-mutton sleeve of View A, with the smaller View B sleeves (or lining sleeves) integrated to the large one.

All my patterns come with a seam allowance of 5/8” (1,5cm), just where you can see the arrows (the back sleeve seam) you´ll have to add when cutting from the fabric.
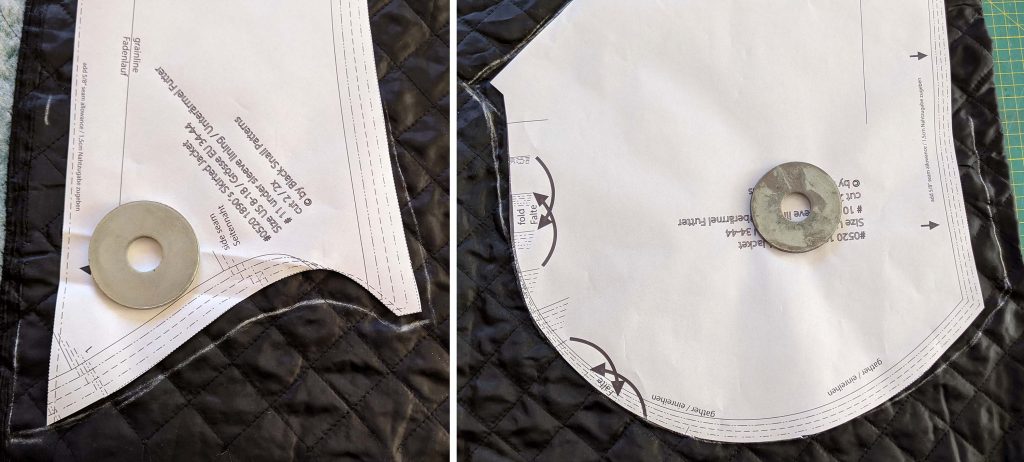
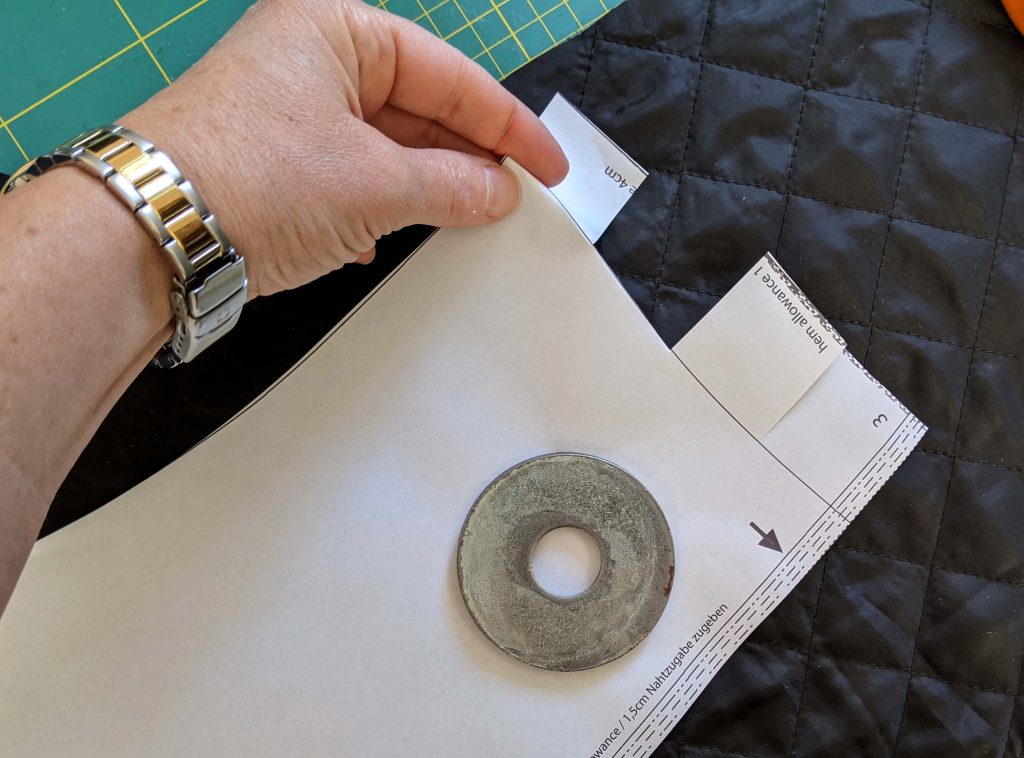
It´s the same procedure, when using the large leg-o-mutton sleeve. Cut the large sleeve from the fashion fabric first, then cut the lining pieces as shown, with some extra ease at the armpit, just without the hem allowance at the bottom edge. To avoid the small paper pieces getting lost, I prefer to fold away the excess paper instead of cutting off. Along the curved edges of the sleeve hem I clipped the hem allowance to do so.
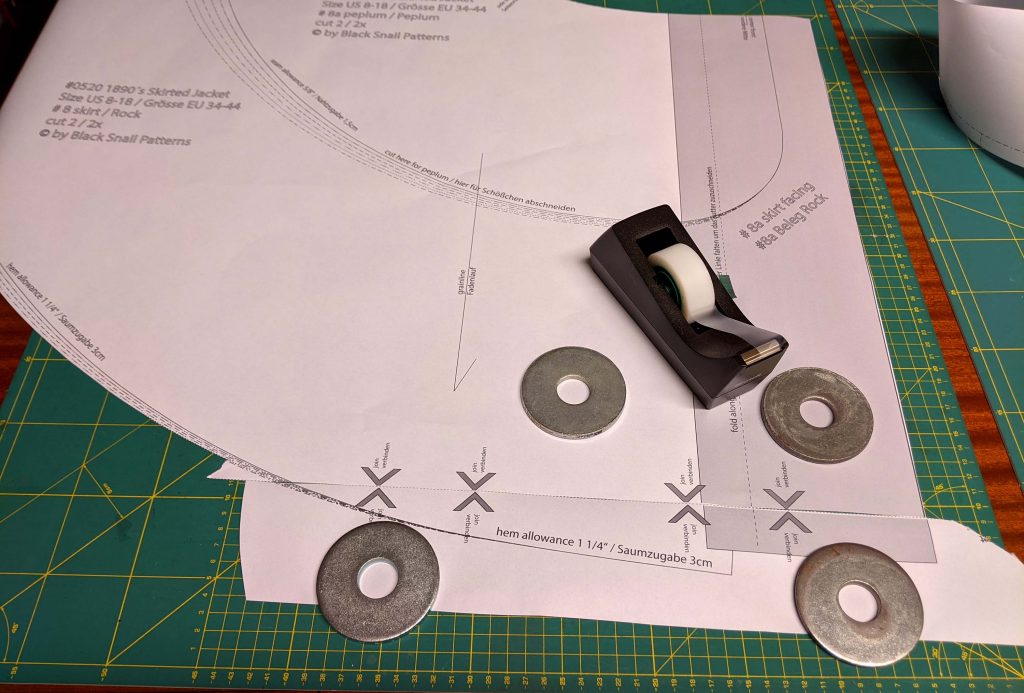
Next would be to decide to make the skirt or the peplum. Time again for some pattern manipulation. The pattern piece for the skirt is too large to fit on an A0 sheet throughout. It´s divided into two parts and needs to be put together.
I recommend to make up the jacket first and measure the bottom edge to choose the right size, with an ease of about ¾” (2cm) at the top edge of the peplum or skirt. The peplum would be easy, just follow the lines, indicated on the pattern.
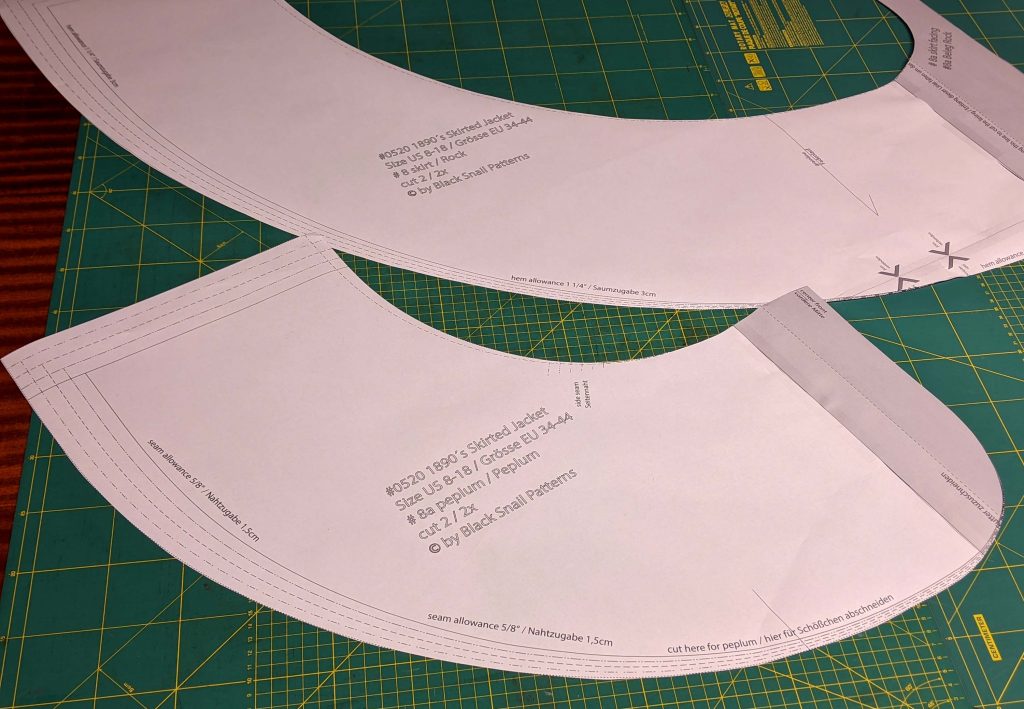
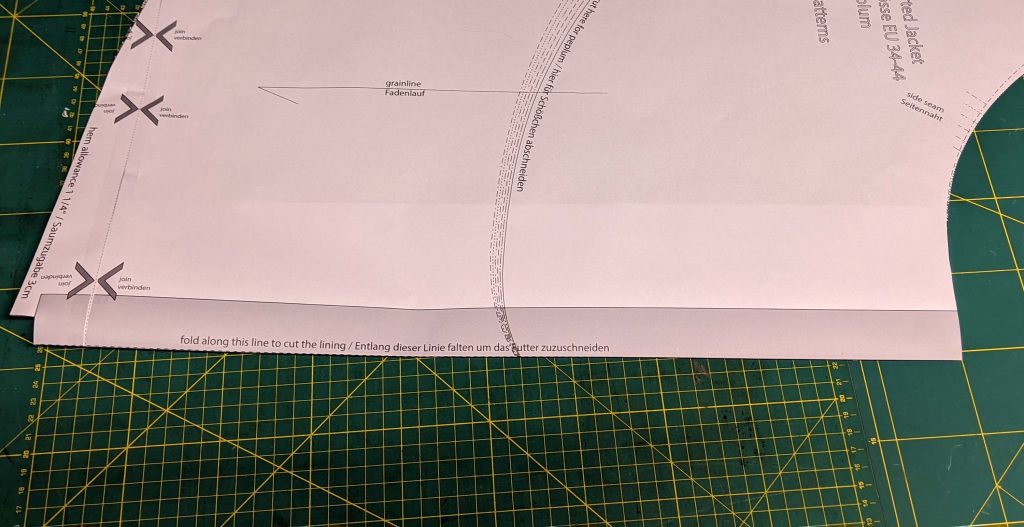
The skirt requires some considerations. First, cut the skirt from the fashion fabric. For the facing, cut the pattern piece along the indicated line (grey area) and cut the facing from the fashion fabric – the grey area. For the lining stick together the pieces again and fold along the line, indicated for the lining. When storing the pattern later, there´s no extra pattern piece.

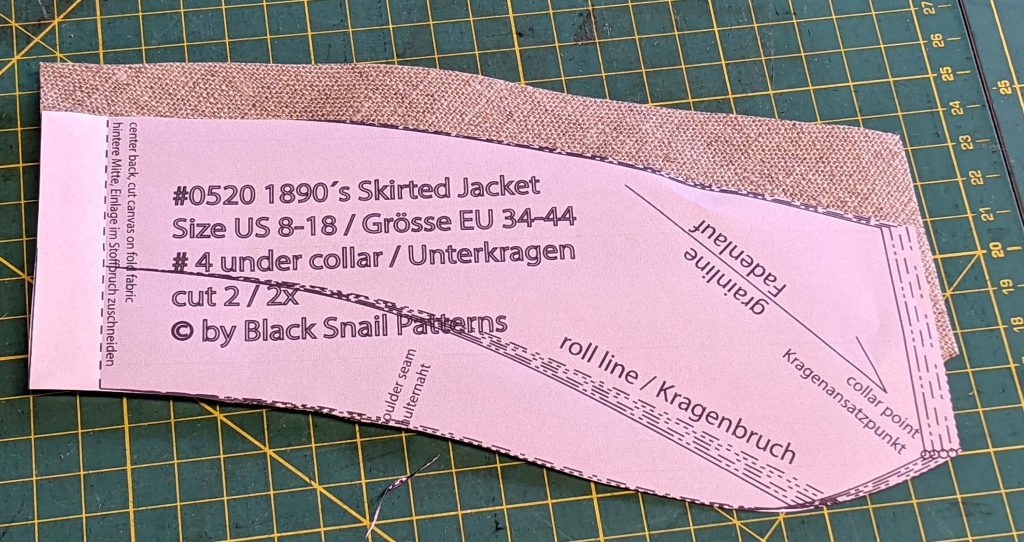
This also applies for the pattern pieces of the interfacings. First, cut the whole piece from the fashion fabric. Then, cut the pattern piece along the indicated lines for the interfacings – grey areas.