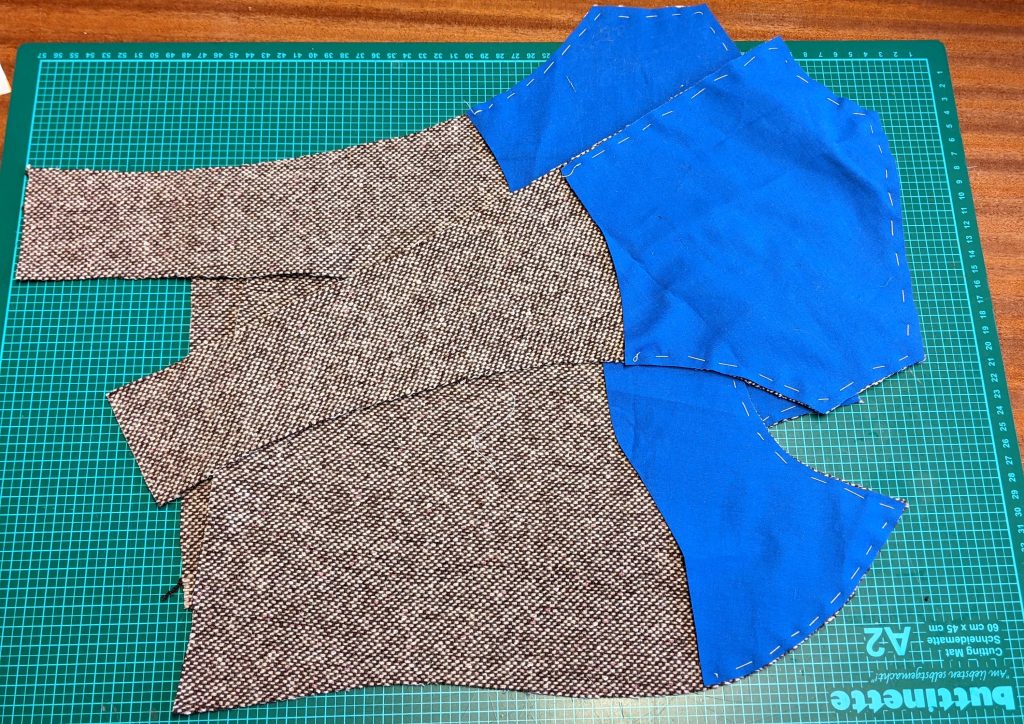
When sewing the jacket, I tried to document the sewing process as accurate as possible, paying special attention on all the tailoring techniques coming up throughout the instructions. I´m sorry for the coat fabric being absolutely not photogenic, and the threads merging with the background. I had to use all material from stash due to the Covid Pandemic. Some steps are deviating from the instructions of the pattern, because many things can be made in different ways with the same result. In the first post I showed you how to use the pattern and cutting the pieces from the fabric, now it´s time to sew!
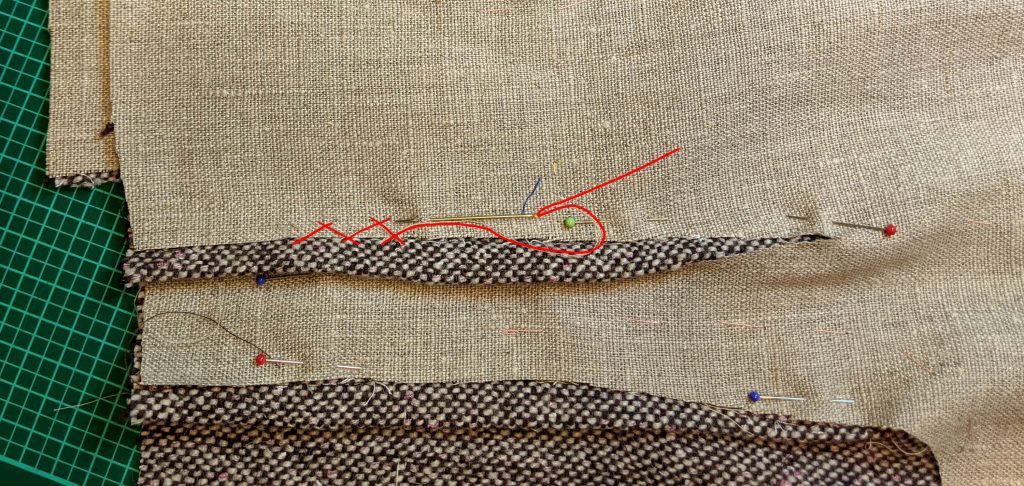
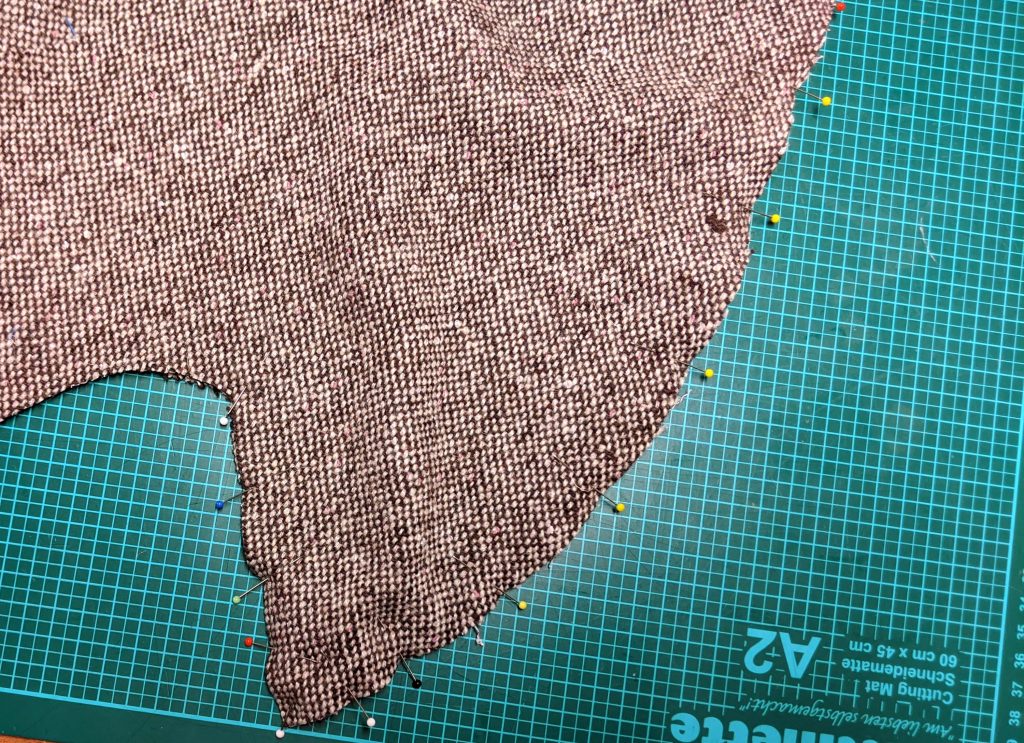
A very important step is to mark essential lines on the bodice, like the center front, darts and waistline. Best serves a contrasting basting thread, visible on both sides and which can be removed without residues. I recommend hand-basting the bodice for the first fitting, as well as basting the darts before stitching with the sewing machine.
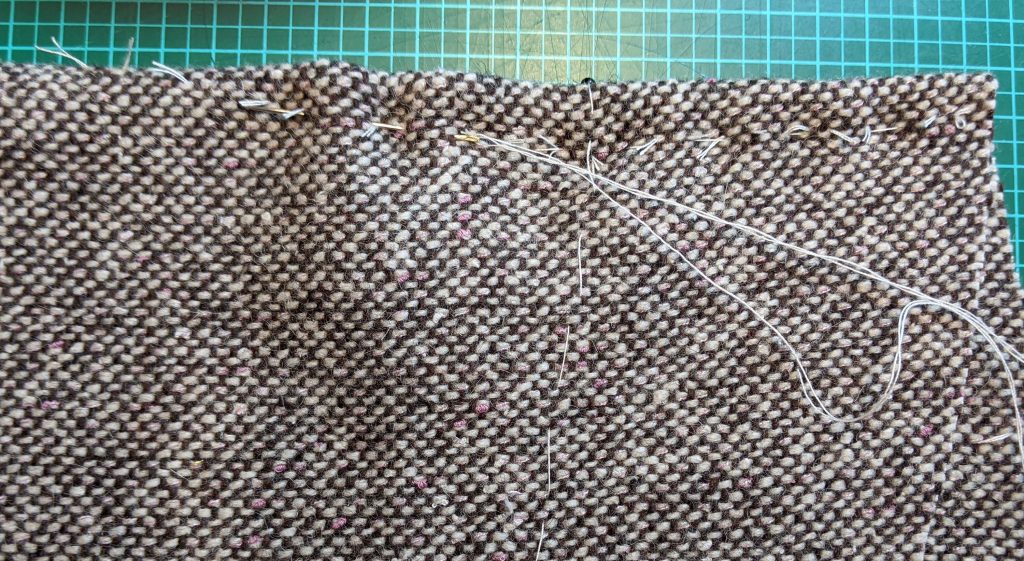
Hand-basting allows more control over the fabric, without the risk of shifting the layers while machine stitching. This is important as well, when basting the lining to the backs and flatlining some selected pieces.
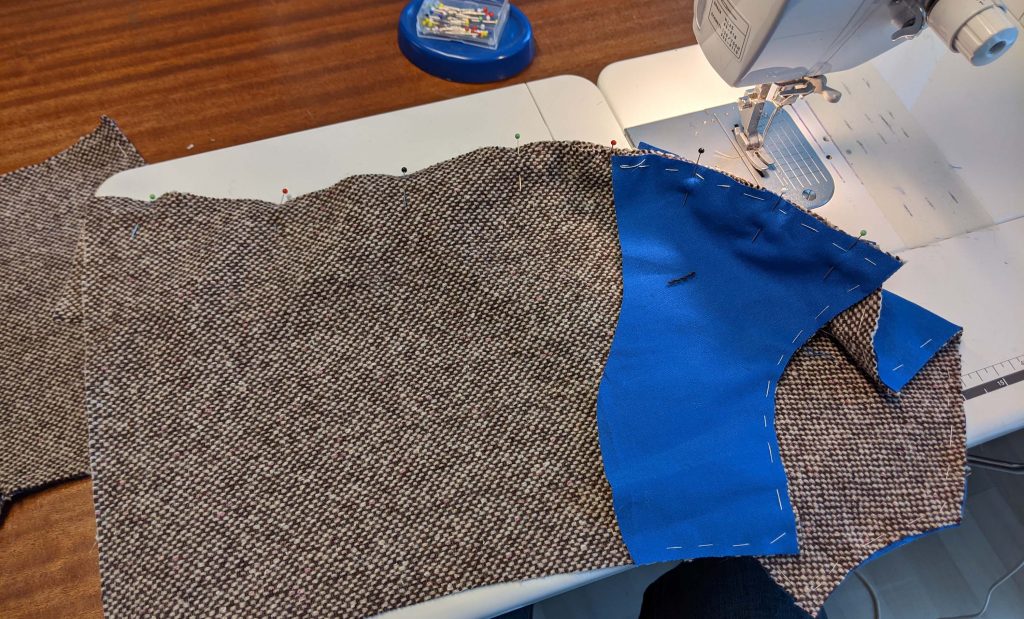
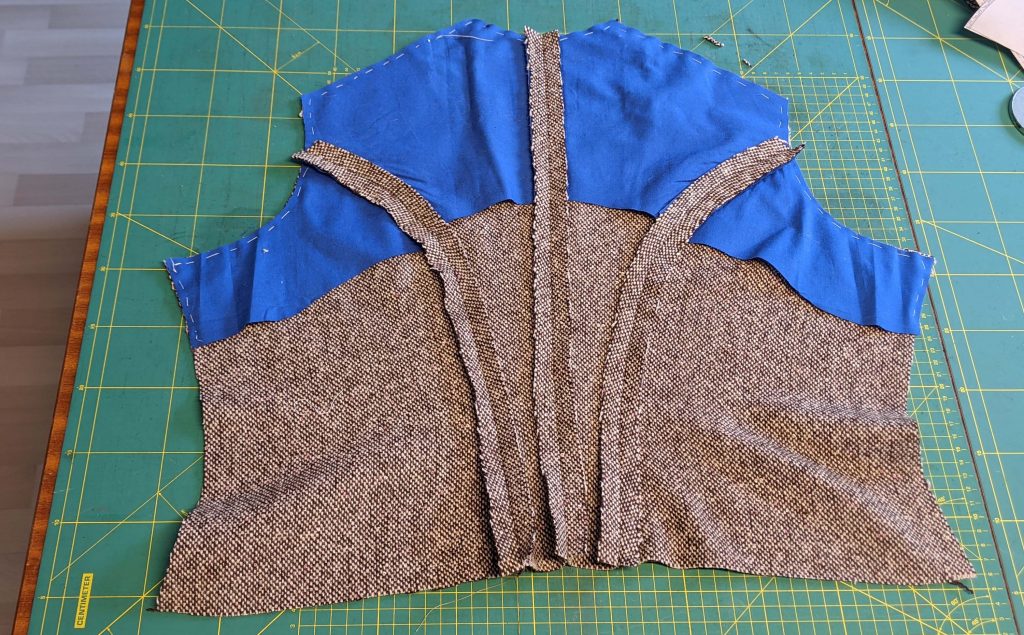
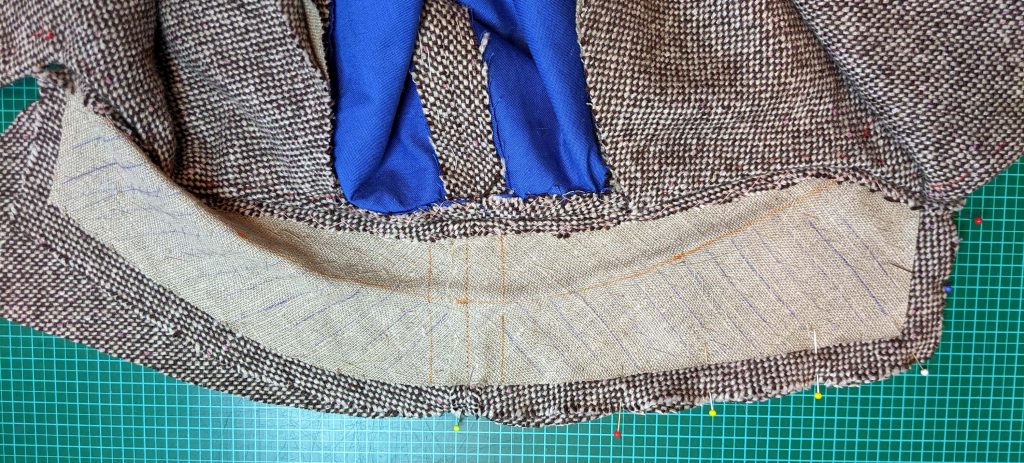
After lining the backs and side backs stich them together, easing in the excess width of the side back at the upper portion of the seam. Pressing the seams carefully is also something very important when sewing this jacket.
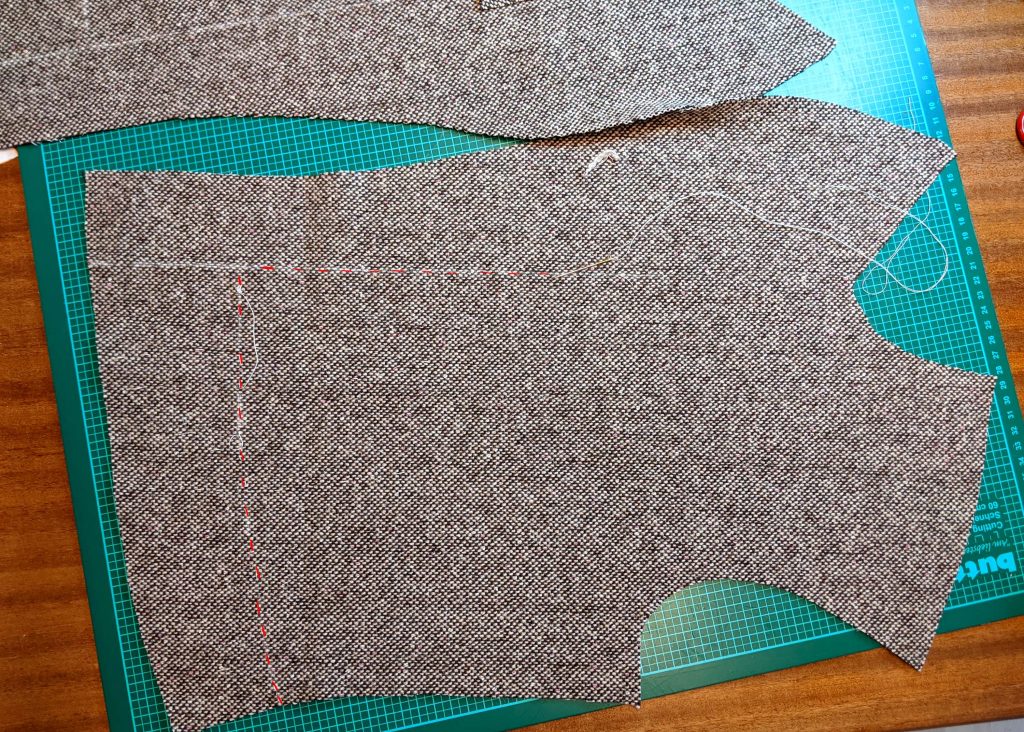
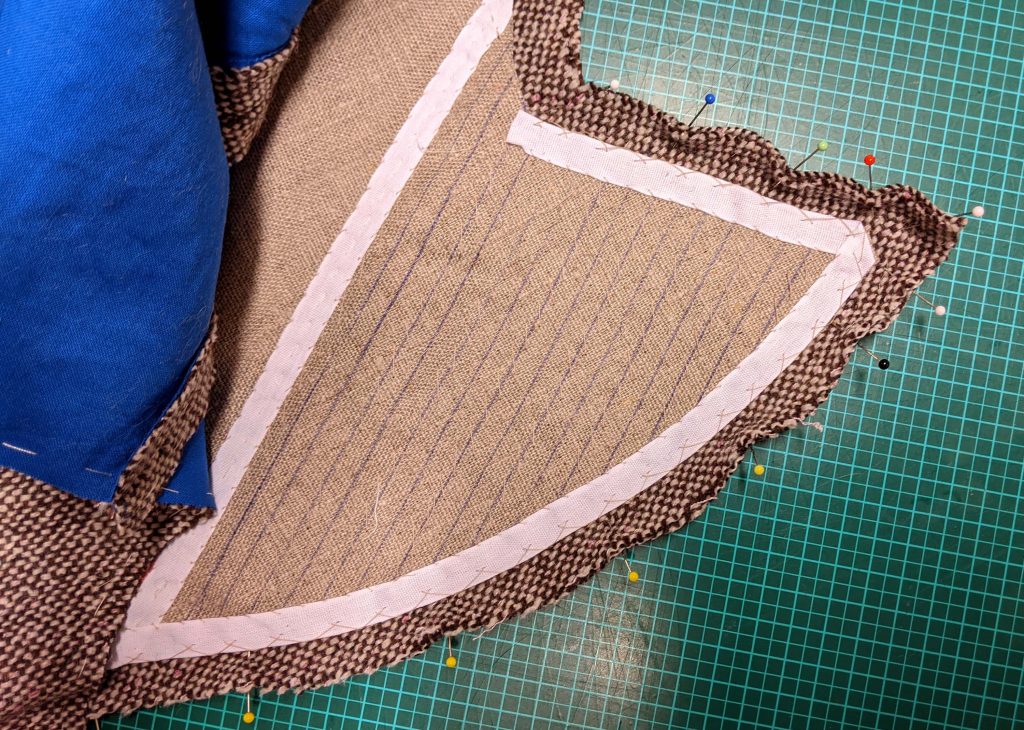
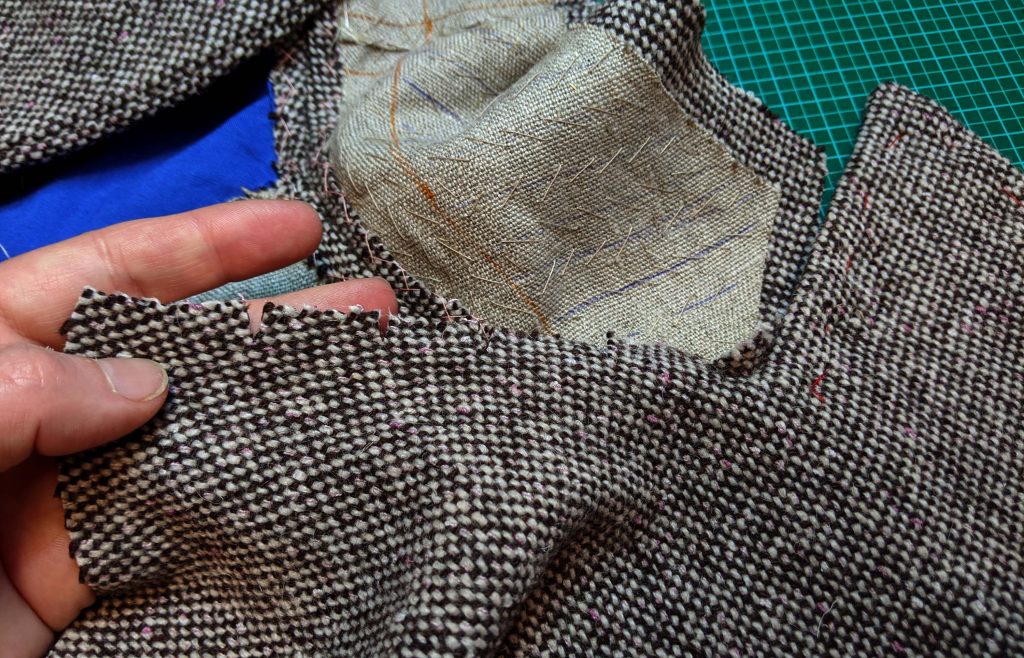
Time to prepare the fronts. After sewing the darts, line up the canvas with the fronts and baste in place. Line up the edges of the canvas cut out darts with the stitching lines and catch stitch in place.
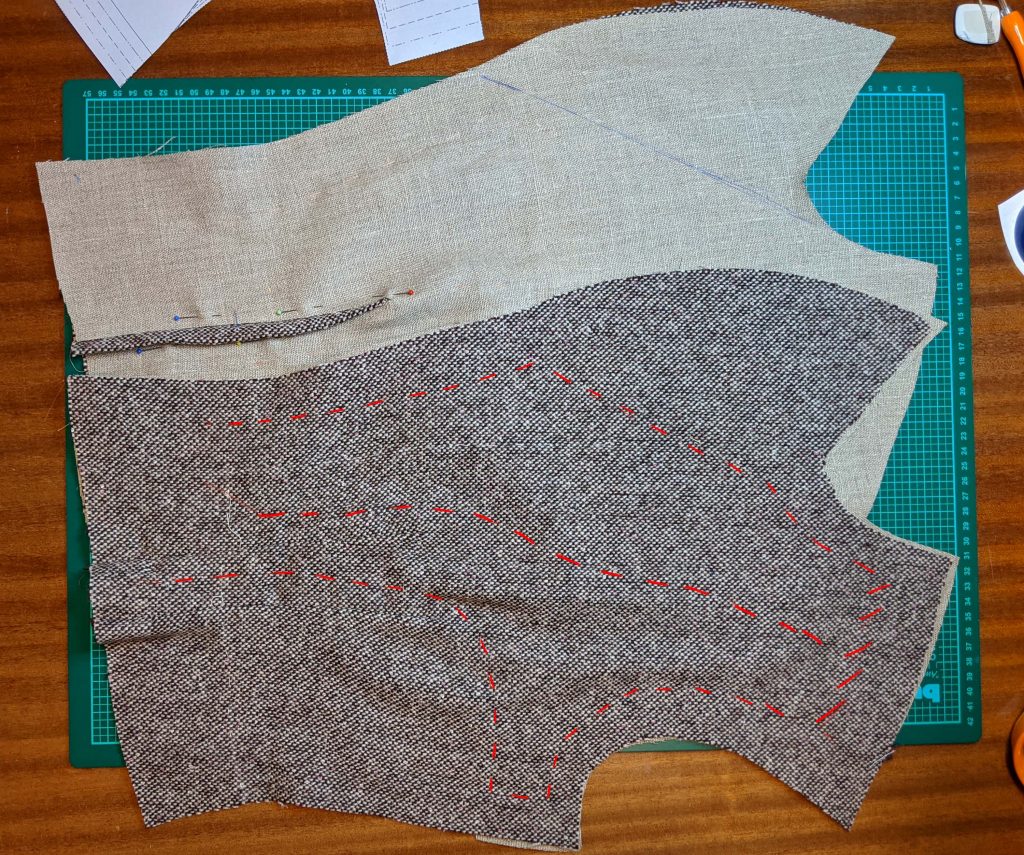
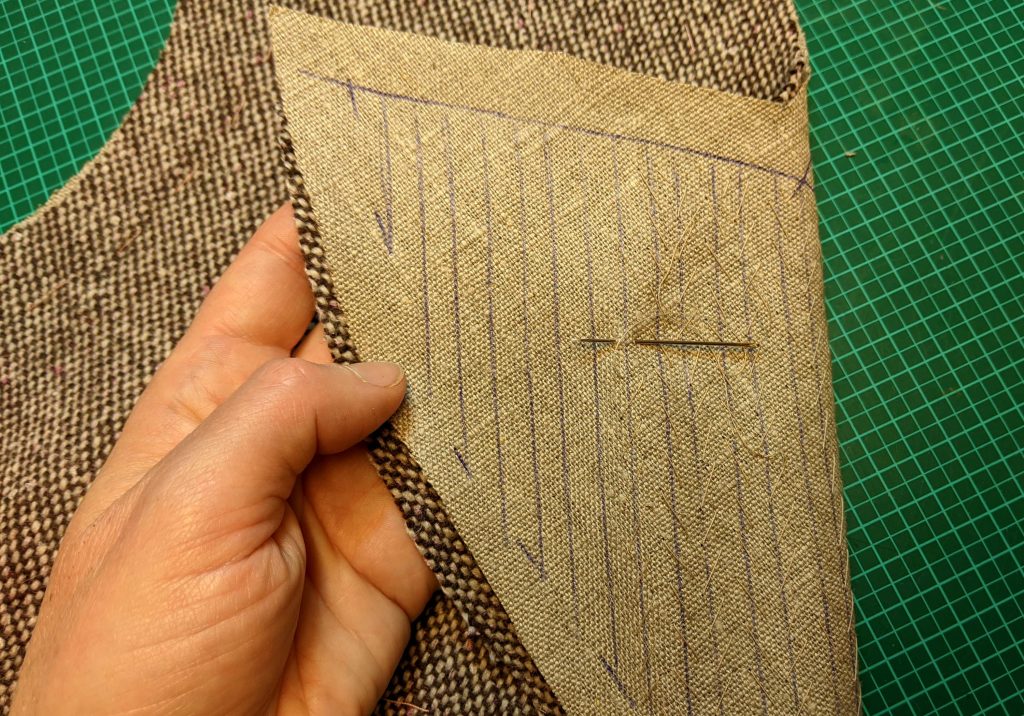
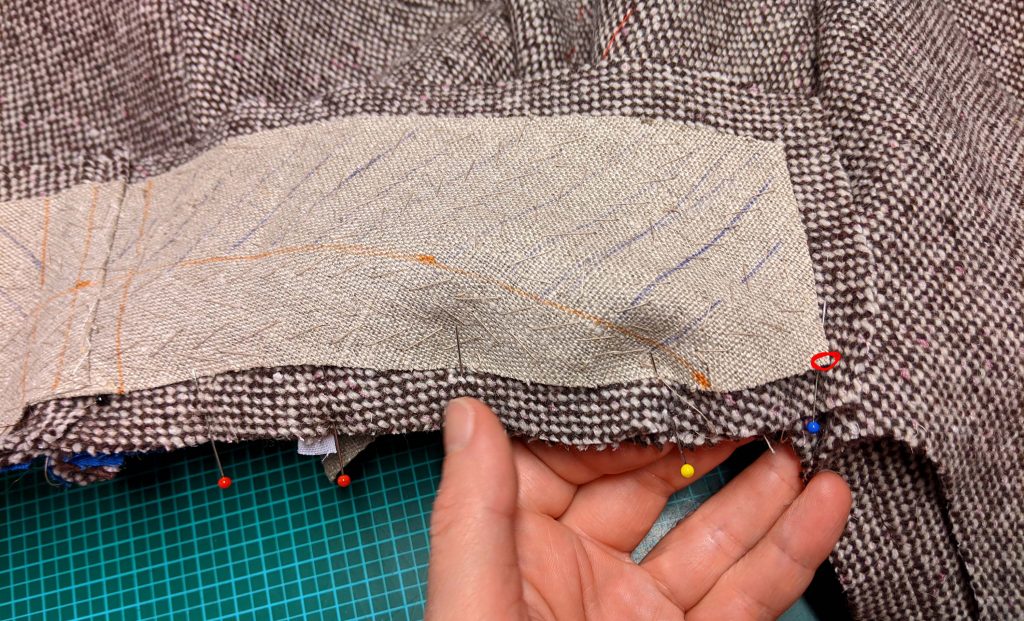
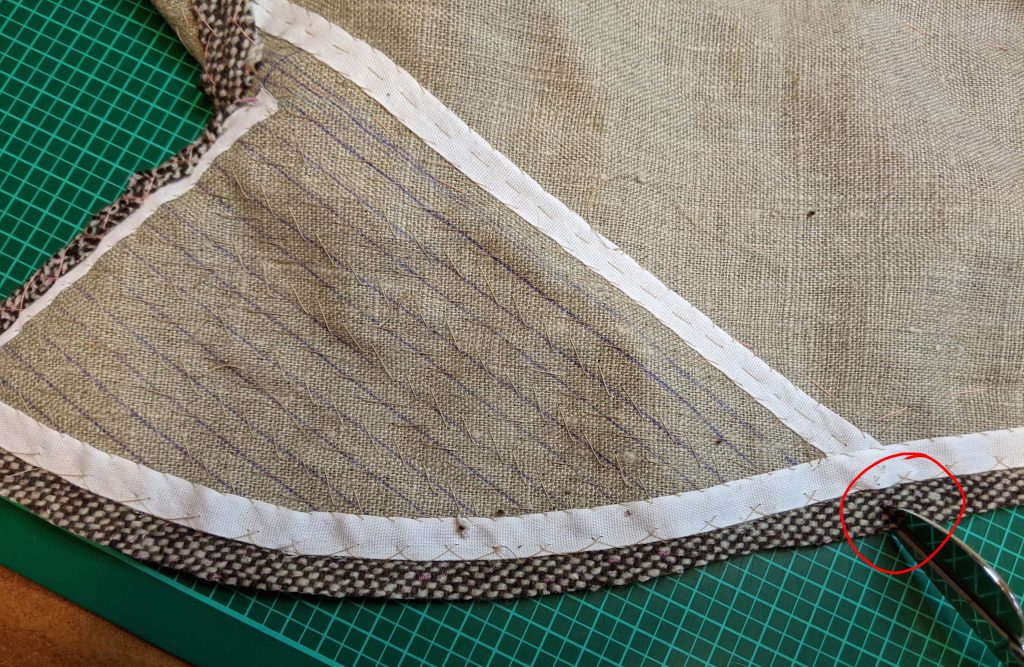
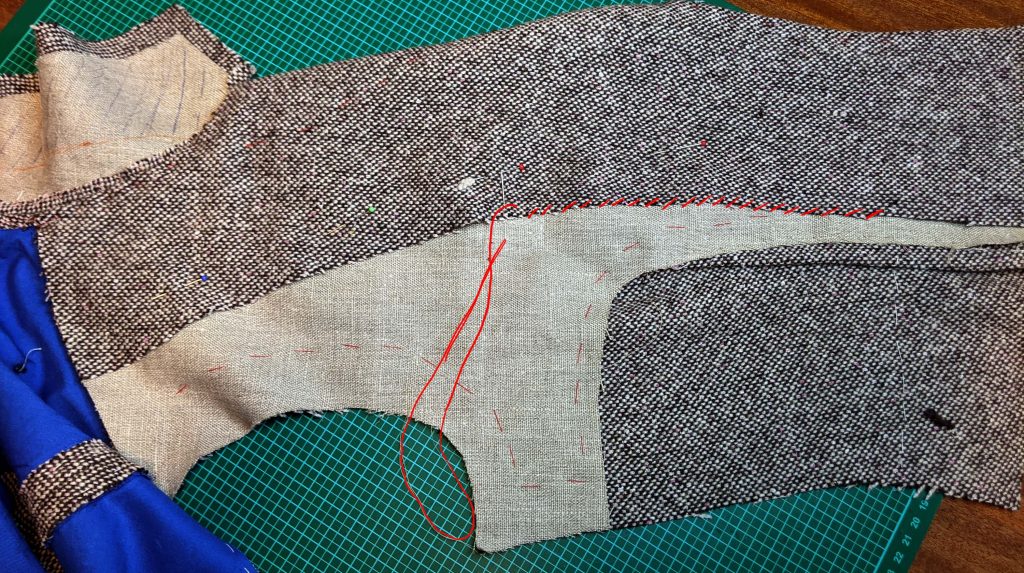
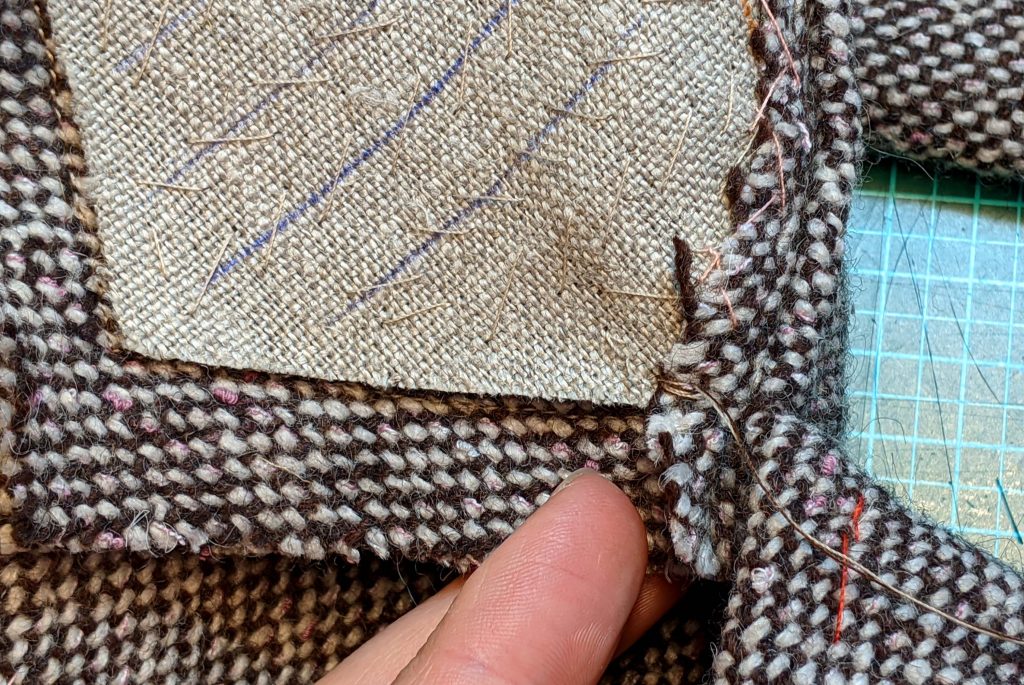
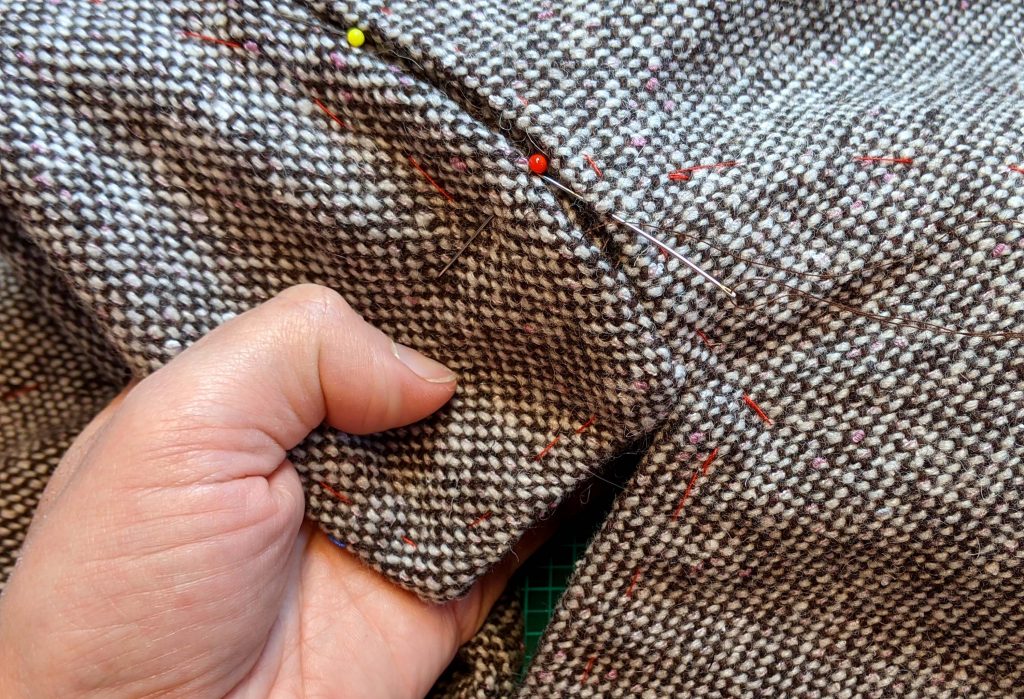
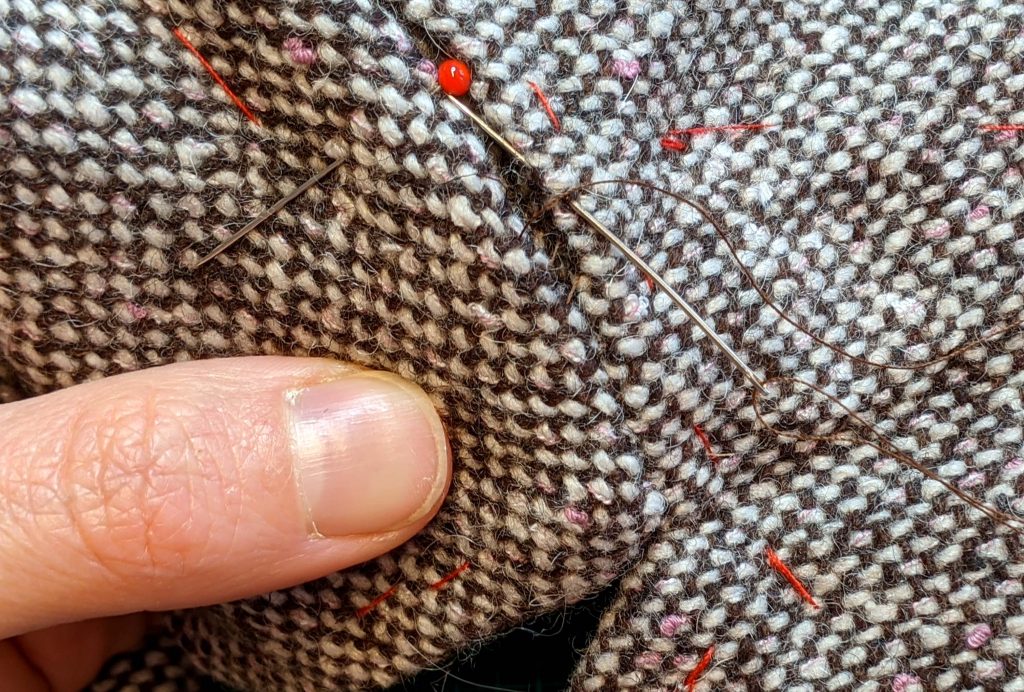
Mark the seamline on the canvas along the front edge, as well as along the lapel and neckline. Mark the roll line and start pad stitching about ¾” (2cm) behind the roll line. Fold the lapel over your hand’s edge to give it the right shape. Don´t reach out the seam line with the stitches, as the canvas will be trimmed back just behind that line. To keep my pad stitching regular, a marked parallel rows on my canvas before. As you can see on the picture, with turning the lapel down while pad stitching, the edge of fashion fabric and canvas won´t line up anymore. It is important to adjust the seamline before trimming back the canvas. The front will not lay flat anymore on the table, but creasing along the roll line.

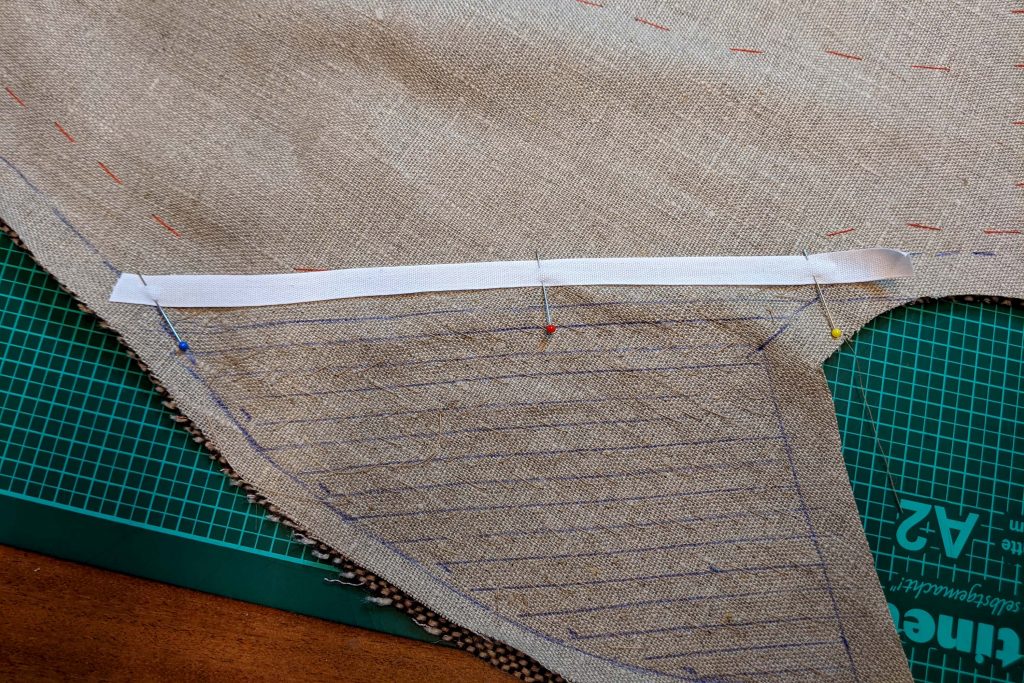
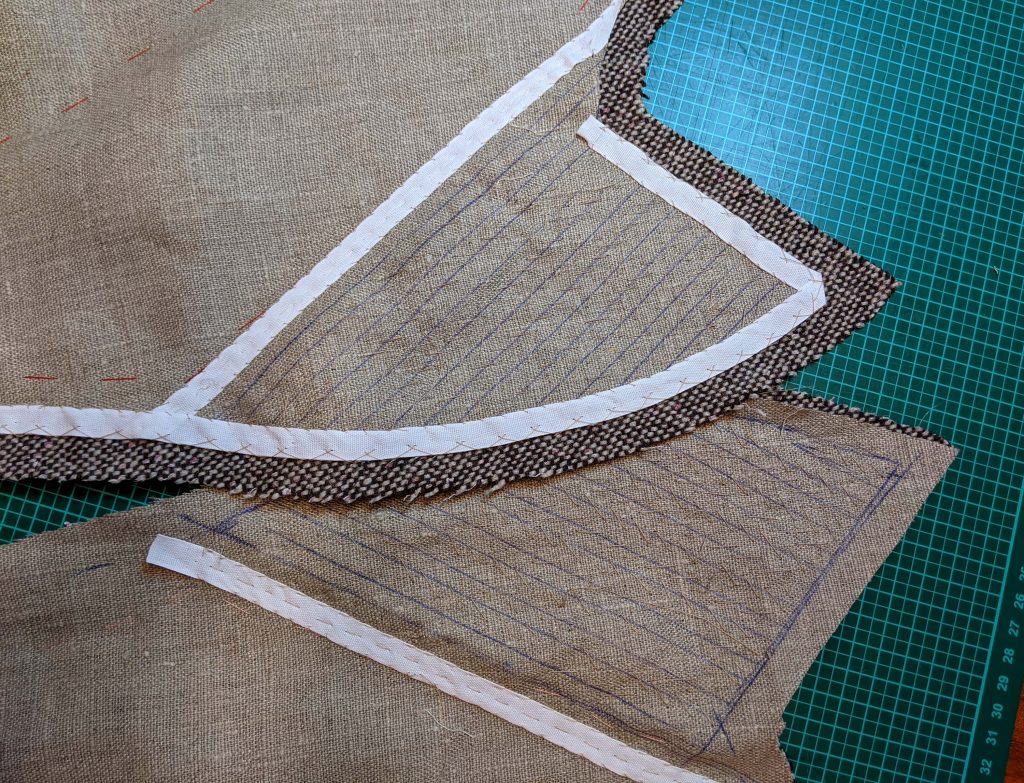
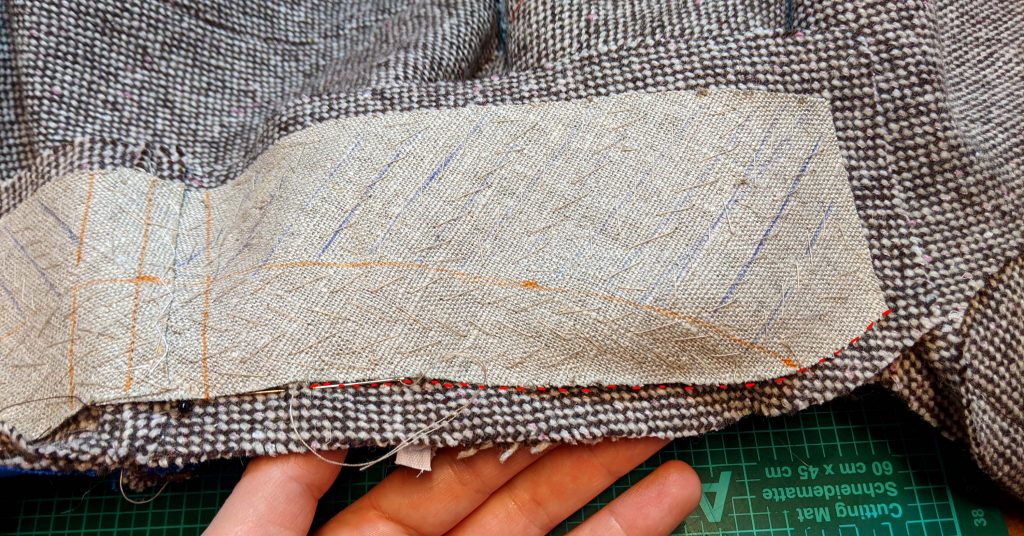
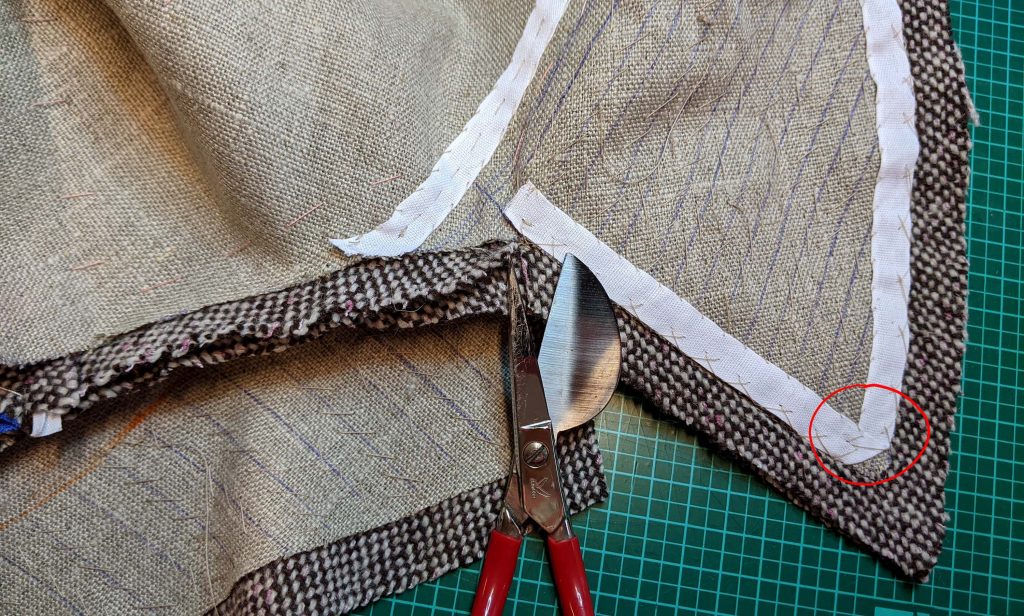
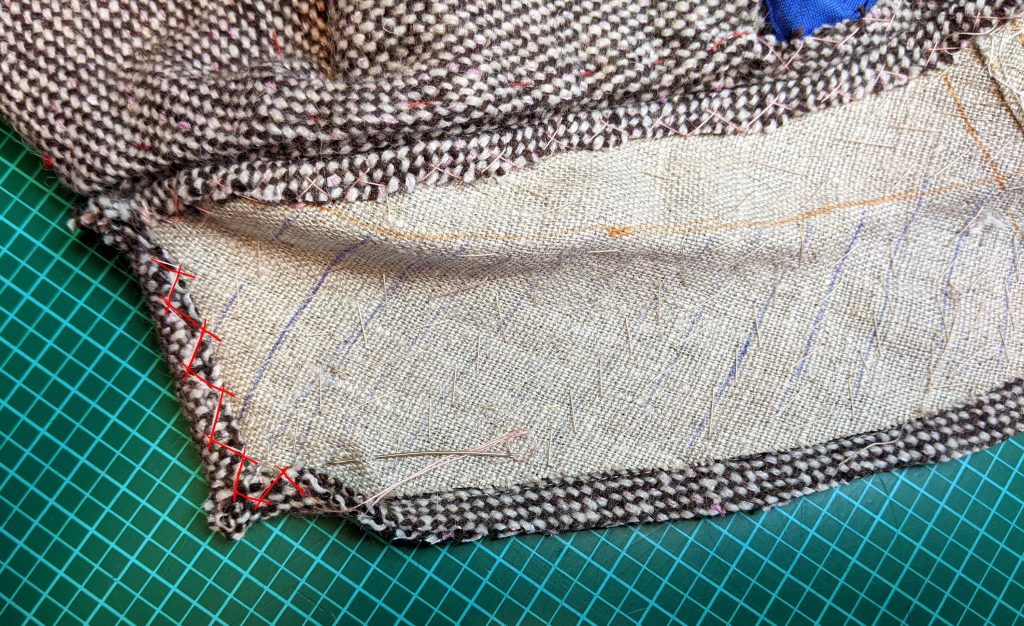
Attach a bridle or cotton tape right behind the roll line, the tape should lay quite tight, about ¼” (5mm) shorter than the roll line. This will help the lapel turning down easily later. Attach another bridle tape loosely along the seamline, covering the edge of the canvas after trimming back just behind the seamline. Start at the collar notch and continue along the front edge. Rotate the tape at the corner of the lapel for a neat result and trim back the tip of the canvas a little. Fell or catch stitch the tape carefully to the fashion fabric along the seamline (stitches should be nearly invisible from the right side), fell stitch the edge vis-à-vis to the canvas only.
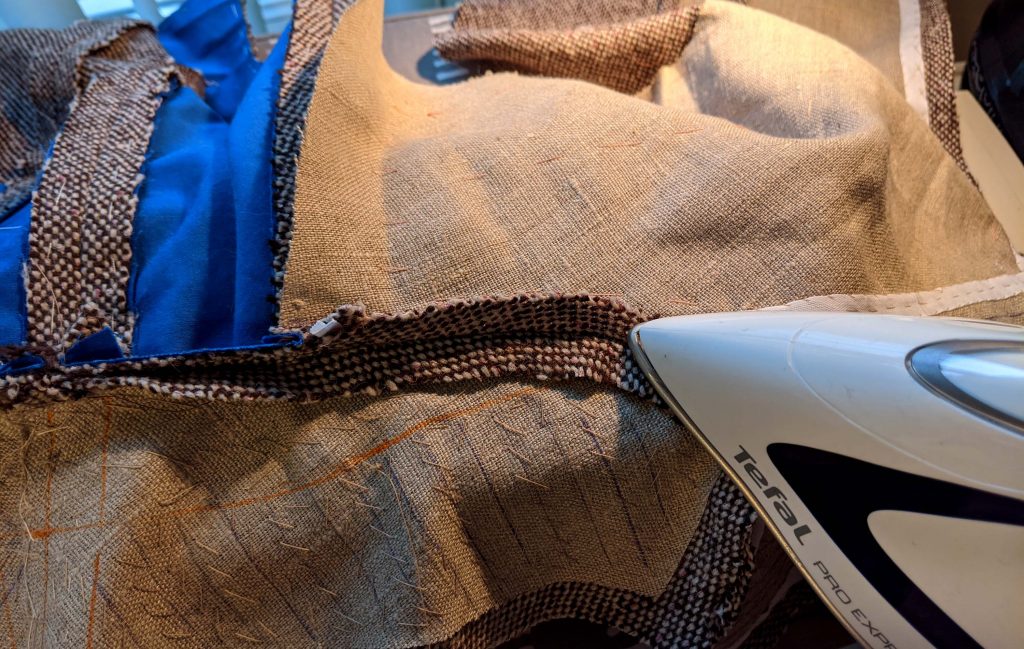
Sew the shoulder seams with the fronts up, folding the front canvas to the side. Catch a cotton tape while sewing to prevent from stretching later. Press open the seam allowances and smooth out the canvas over the shoulder seam.
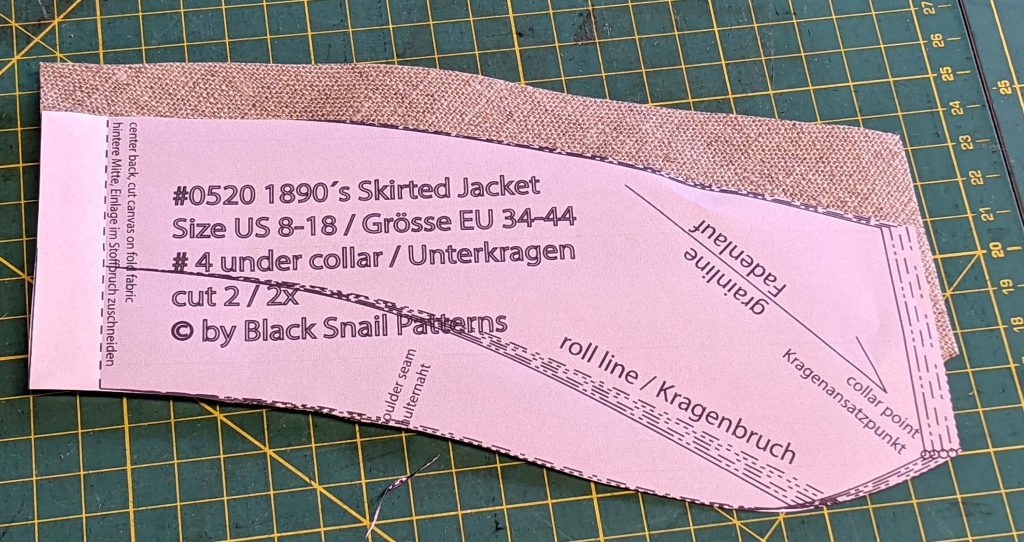
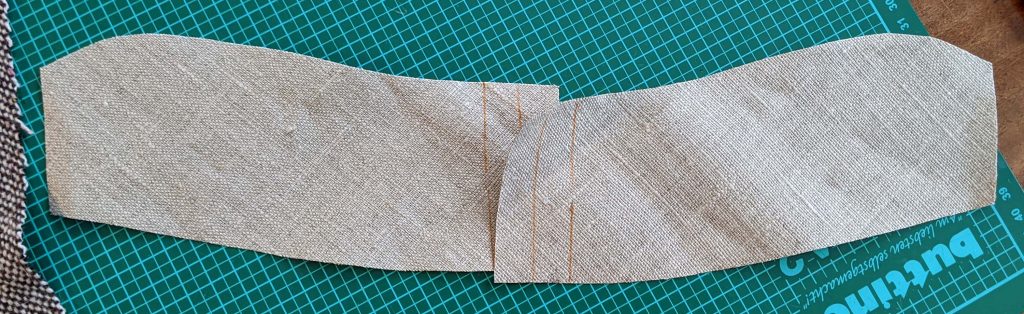
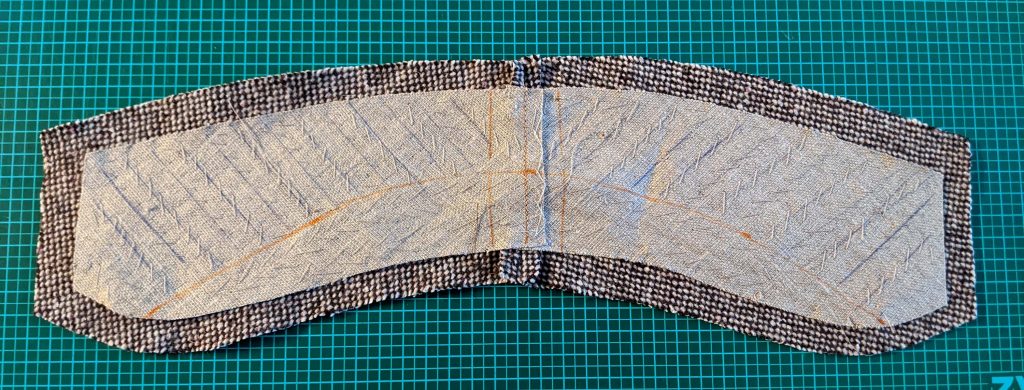
Preparing the undercollar I decided to make the things a bit different. Instead of cutting the collar canvas in one piece, I decided to cut two, just to save some fabric. To avoid bulk at the center back, I sewed the pieces layered, marking the seamlines before, and sewing down the edges with a catch stitch.
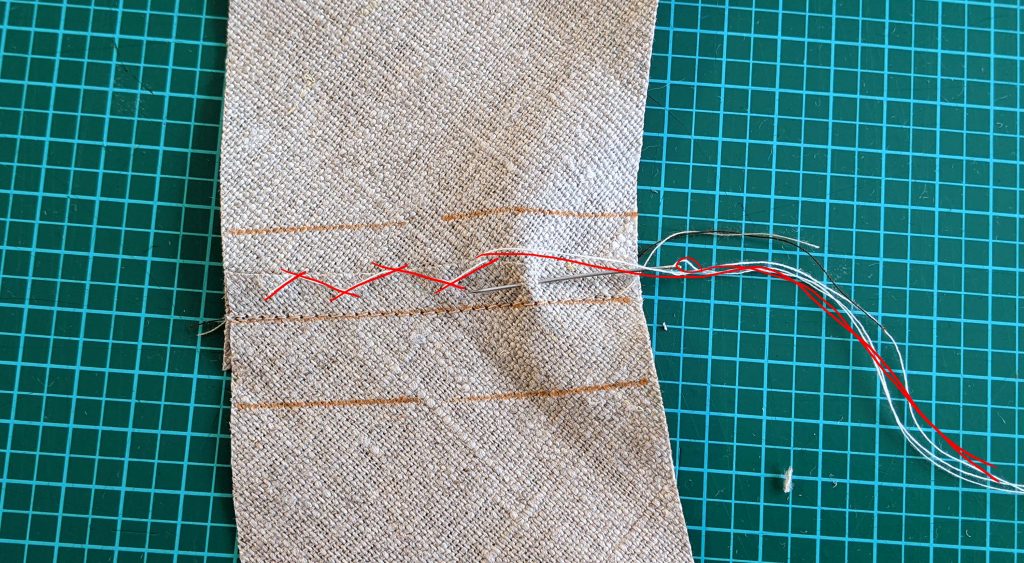
Again, I marked the roll line on the canvas, as well as lines for orientation.
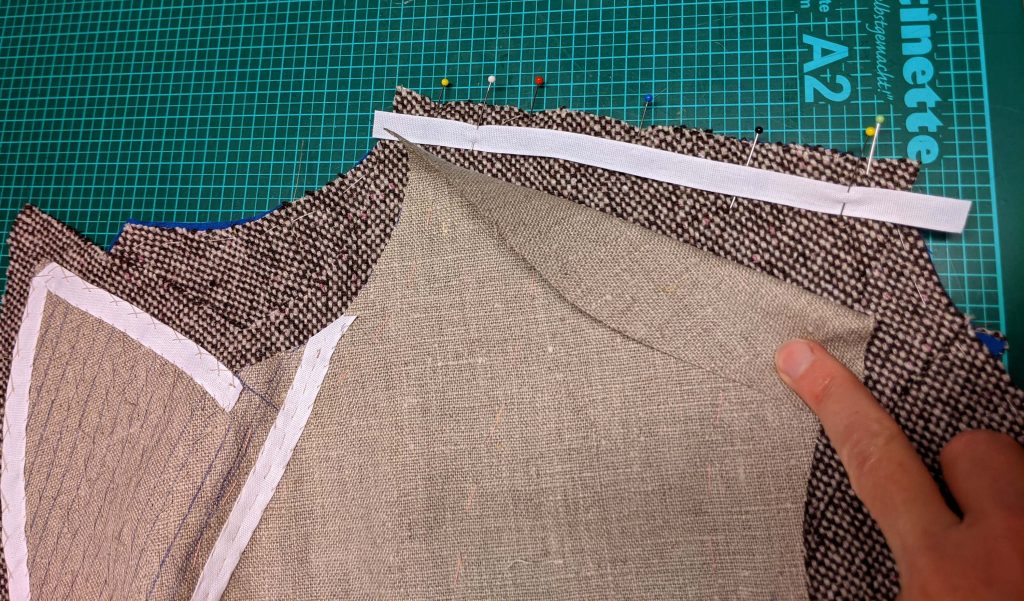
Pin the under collar to the neckline, right sides together, easing in the excess width of the collar at the shoulder seam, and sew exactly from collar notch to collar notch, without catching the canvas. I decided to stitch this seam by hand, just to have all the control needed matching the collar points.
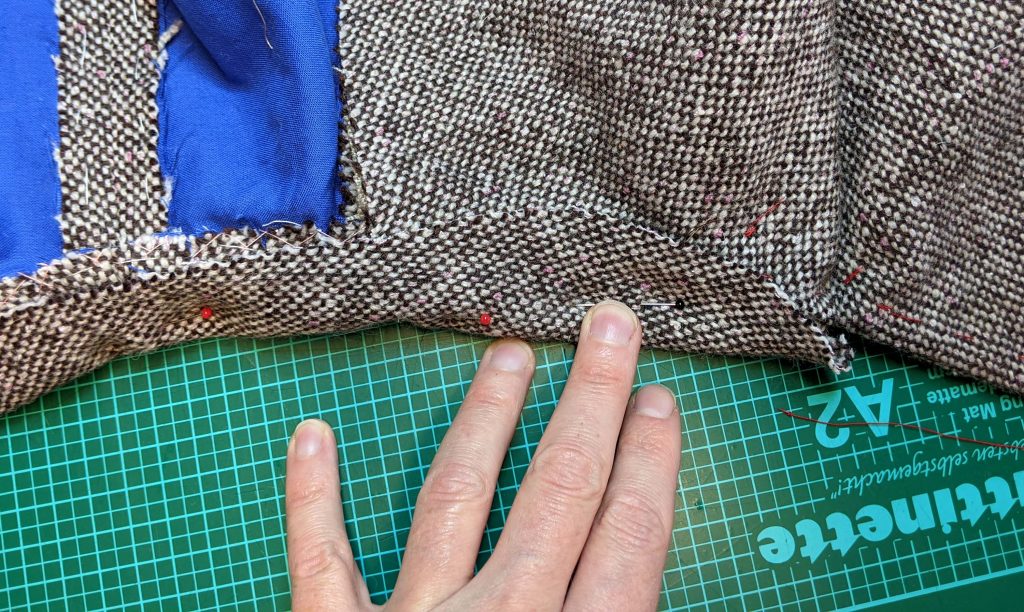
Next is to line up the front facings with the fronts and pin and baste in place. The turn of cloth has already been taken into account when patterning, so when lining up the pieces, you´ll have some extra width at the point of the lapel. Lining up the edges will roll the point towards the canvas side.
Sew right beside the bridle tape, start exactly at the collar notch. Sew along the lapel and down the center front, sew with a reduced stitch length just before and after the corner of the lapel. On the picture you can see the tape rotated at the corner. Clip the seam allowance of the front and front-facing at the collar notch, reaching the end of stitching. Trim back the seam allowances along the neckline to about 3/8” (1cm), clip at the curves, and press open.
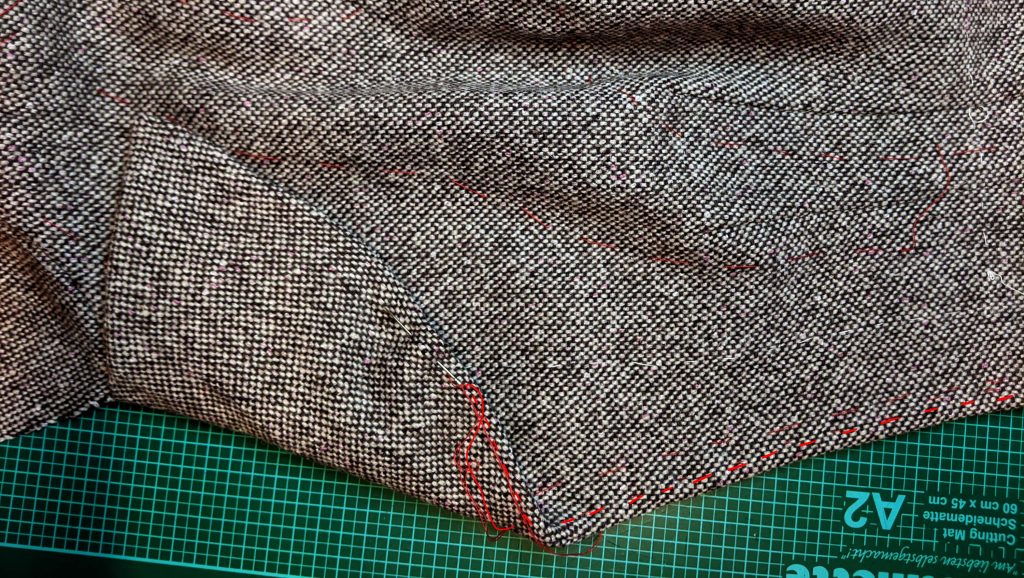
Trim back the seam allowances along the lapel and front edge, angled at the corner. Clip towards the stitching at the roll line. Along the edges of the lapel, fold the seam allowances towards the canvas and catch stitch to the canvas – already done along the top edge of the lapel. This technique automatically rolls the seam slightly out of sight toward the garment wrong side and helps to keep edges and corners precise and flat when turned the right way out.
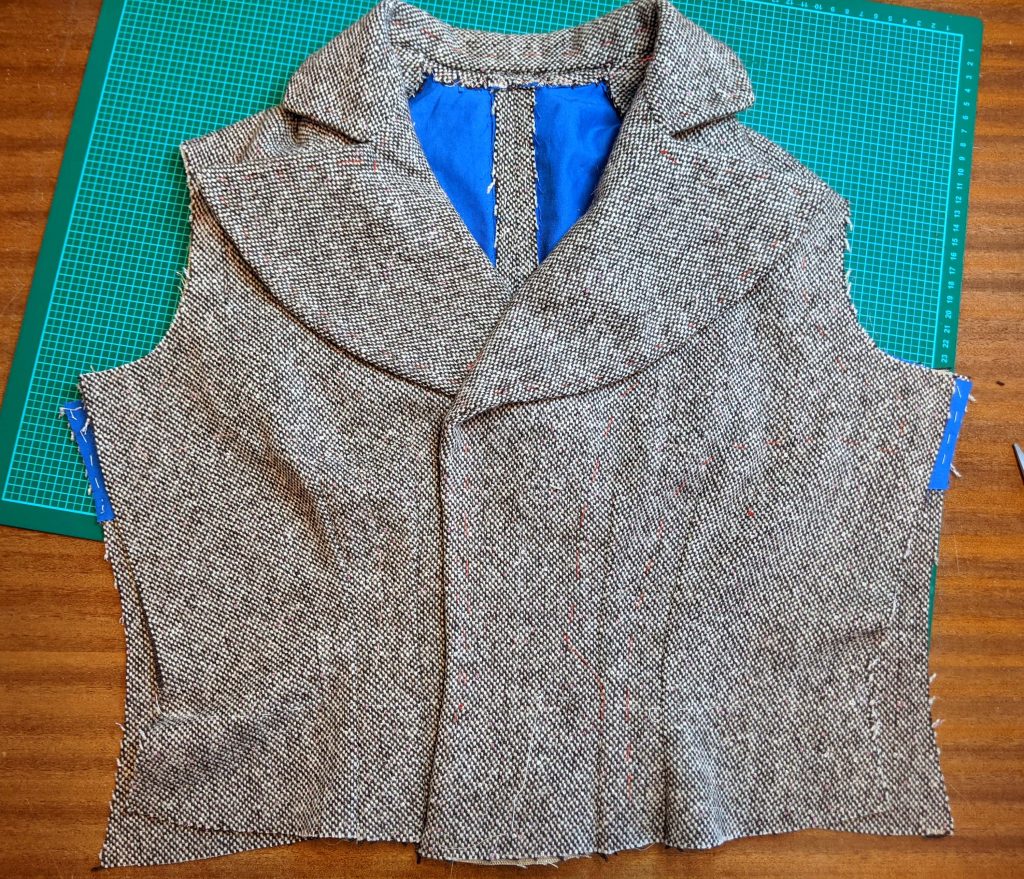
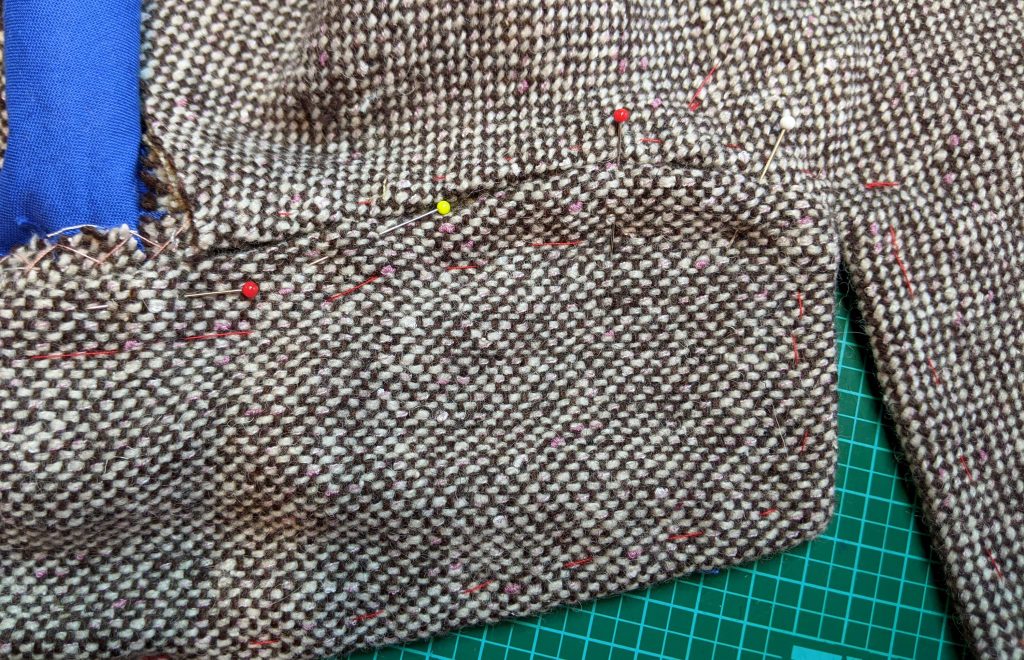
Turn the lapel the right way out and press the edges, baste along the edges to keep in place. Turn down the lapel along the roll line and baste through all layers right behind the roll line to get the width needed for the turn of cloth.
Clip the seam allowance of the front facing along the neckline and turn in. Line up with the stitching line of the collar and baste in place. Fell stitch the loose edge of the facing to the canvas.
The last step to finish the bodice is attaching the top collar. Line up the top collar with the under collar, right sides together, again, there will be some excess width at the top collar, rolling the corners towards the canvas. Sew right beside the collar canvas, it is very important to start and stop sewing exactly at the collar notch. To match the collar notch exactly, don´t lock or backstitch, but leave a long thread tail at each end. Unpick some stitches if needed. Thread a needle and sew the remaining seam by hand, lock the threads.
Trim back the seam allowances, angled at the corners, and turn towards the collar canvas. Catch stitch the seam allowances to the canvas.
Turn the collar the right way out, and press. Baste along the edges and the roll line, giving the collar the width needed for the turn of cloth. Turn in the seam allowance along the bottom edge of the collar, trim back carefully if needed, angle at the corners, and line up with the stitching line of the collar. Baste in place.
Sew the collar to the facing with an invisible ladder stitch. At the back portion of the neckline, stitch down the collar with a felling stitch.
Time to relax…