
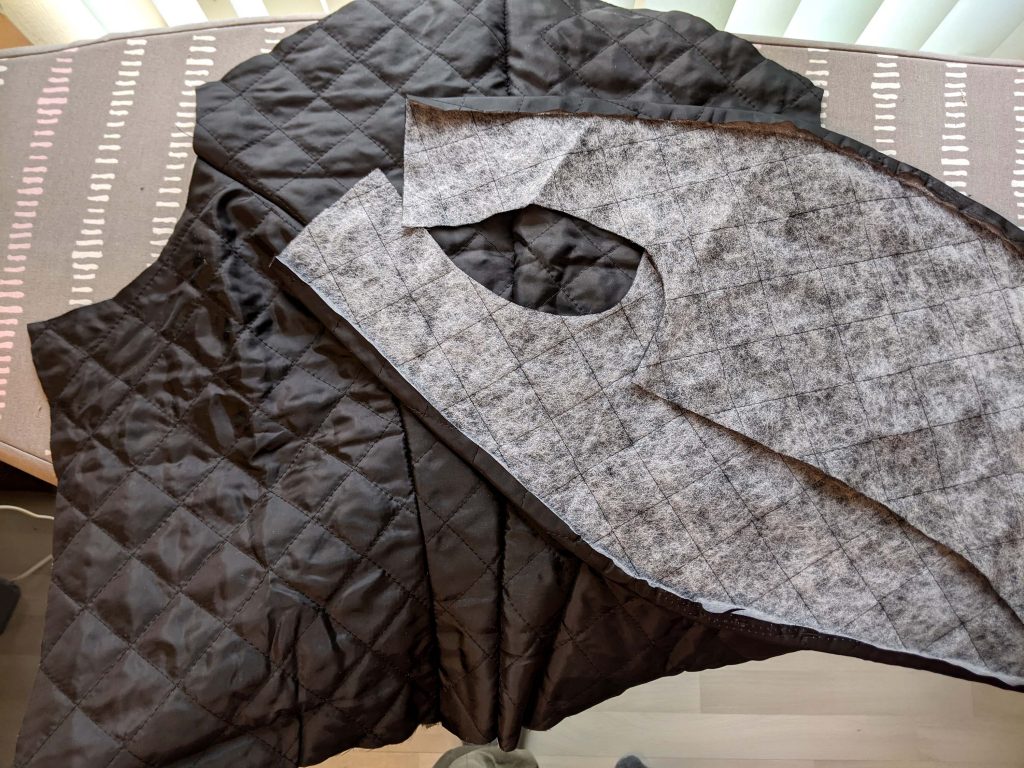
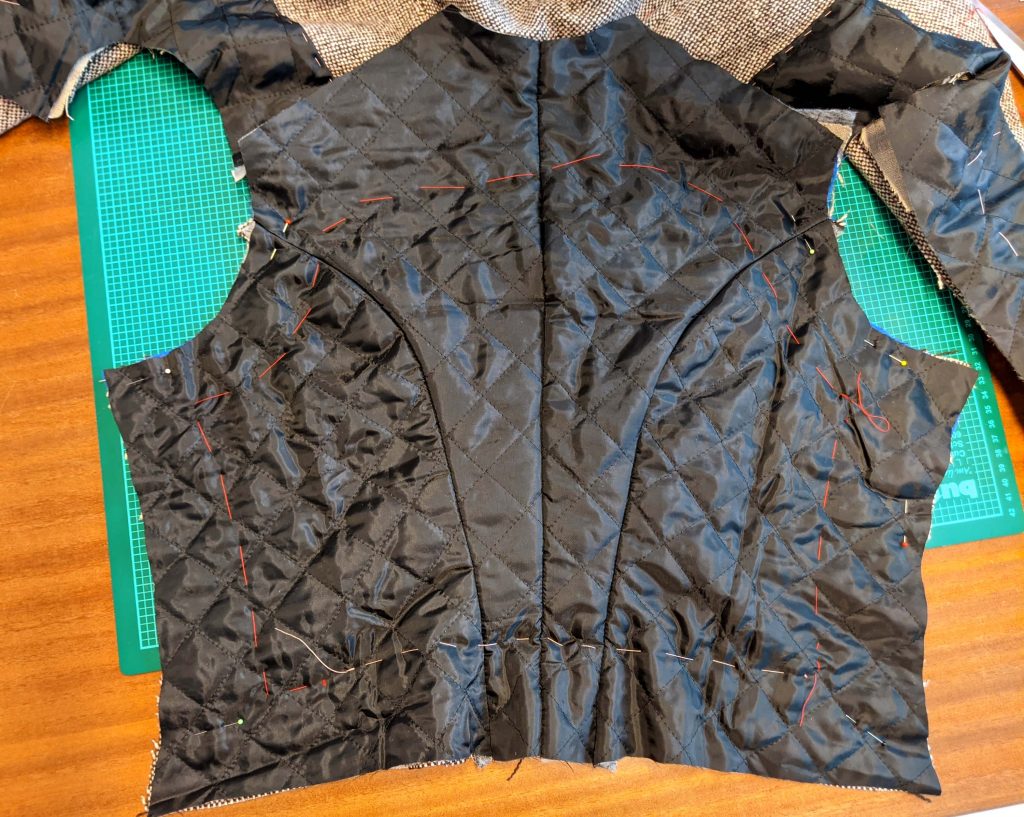
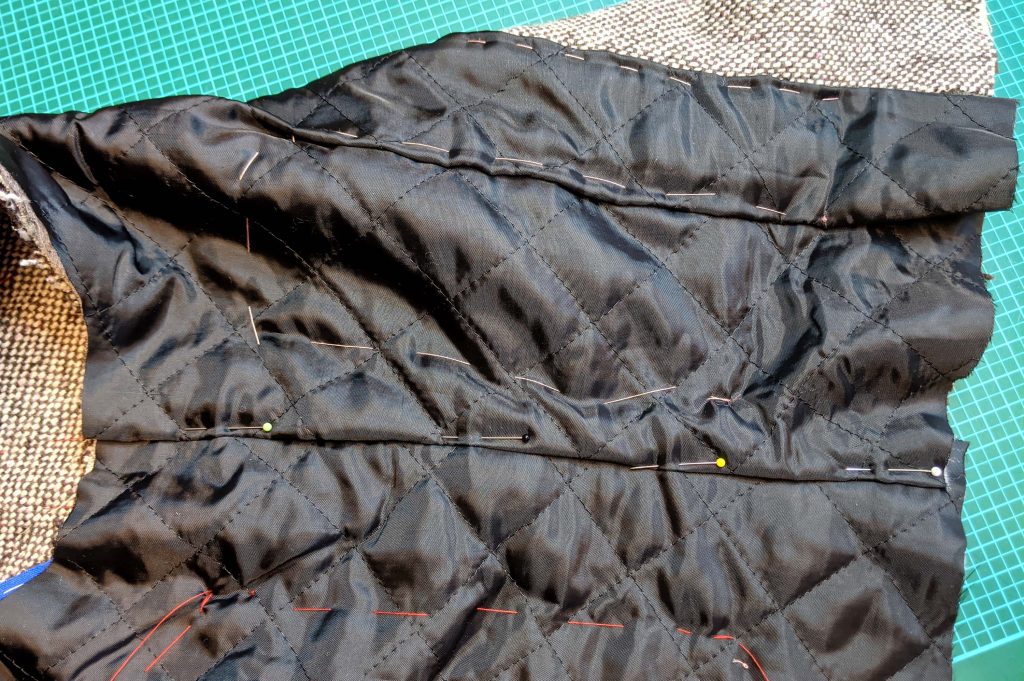
This is my padded lining, the fronts and back ready prepared. I had to be very careful pressing the seam allowances, as the polyester fibers where melting when pressing with an average heat.
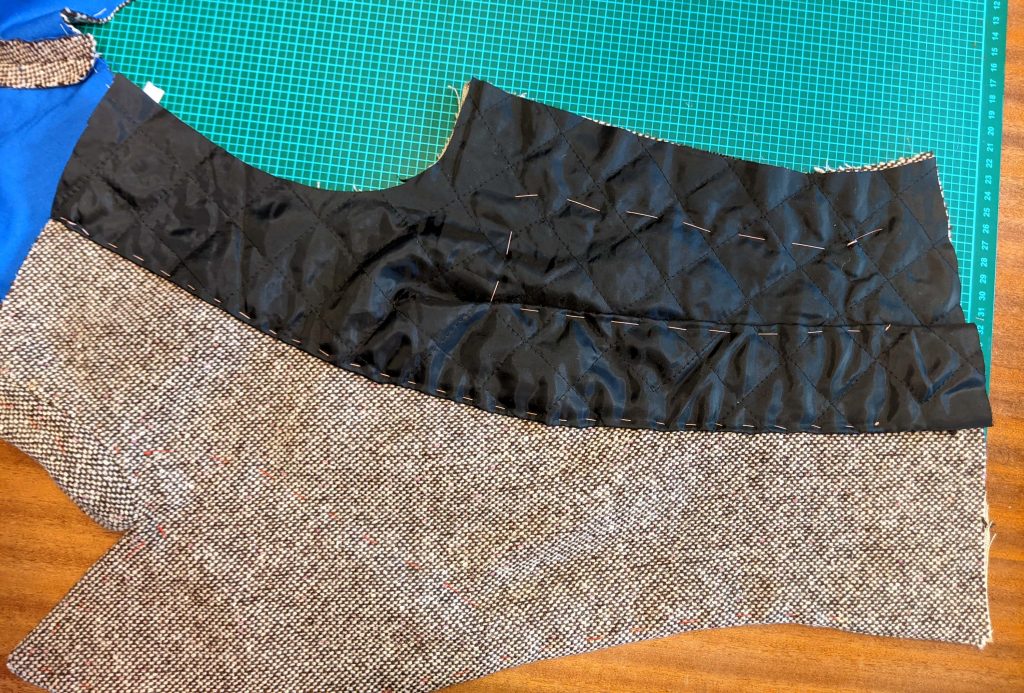
This is the front lining with the dart just basted, to get some ease later. As you can see, I stopped basting about 2” (5cm) from the bottom edge as I´ll have to attach the skirt or peplum later.
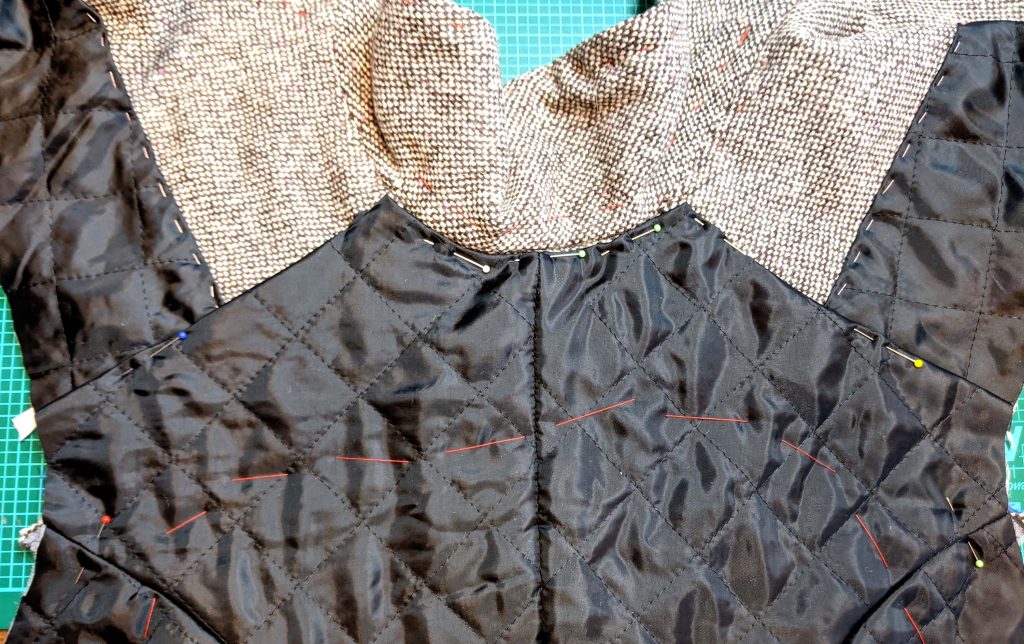
At the shoulder smooth out the seam allowances over the seams and baste just to the seam allowances. This basting will remain in the jacket, no stitches should be visible on the right fabric side.
And the same with the back, basted in place first. Then turn in the seam allowances, line up the edges with the shoulder and collar seams and baste in place. Again, stay with your basting about 2” (5cm) away from the bottom and side edges, leave about 1” (2,5cm) loose at the shoulders to sew the sleeves easily later without catching the facings or lining.
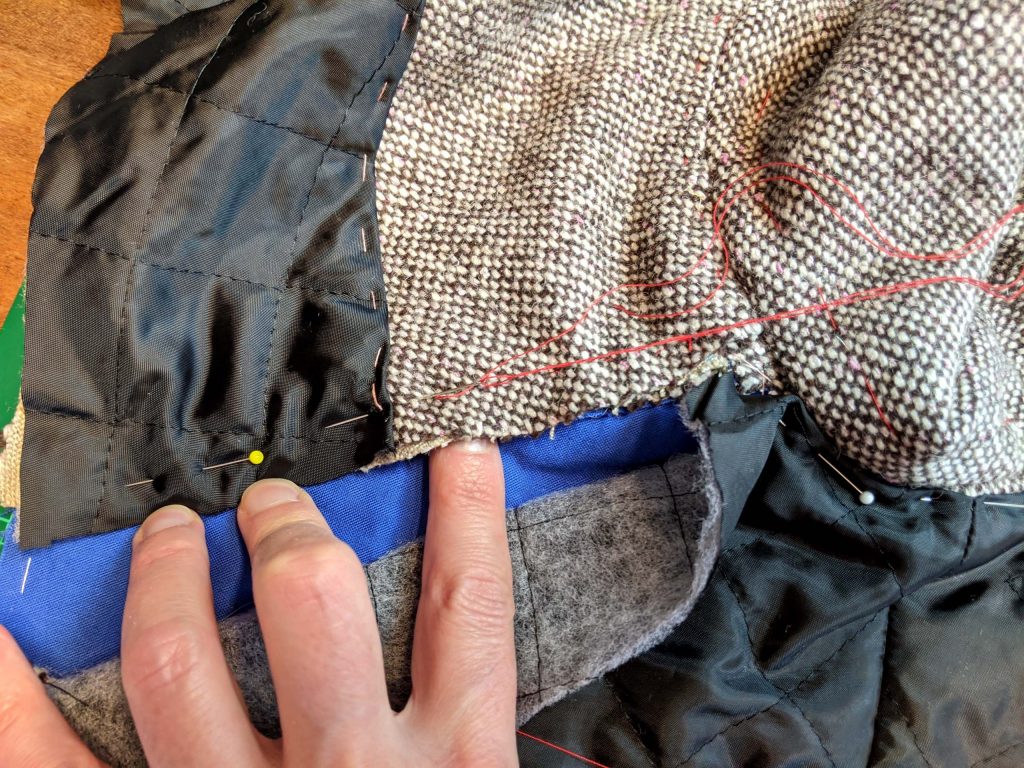
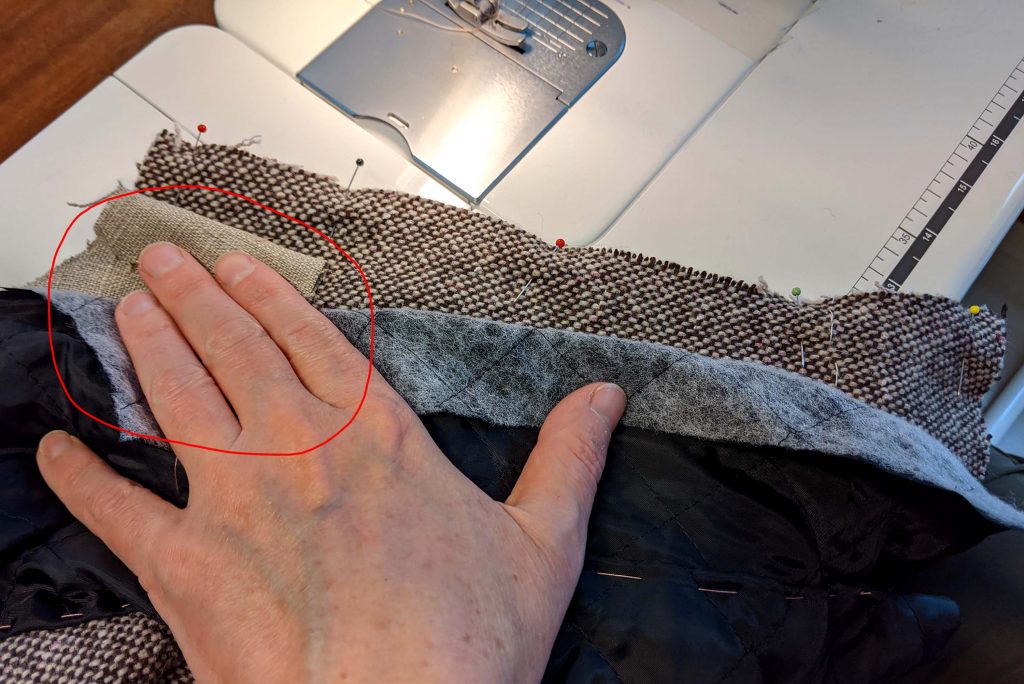
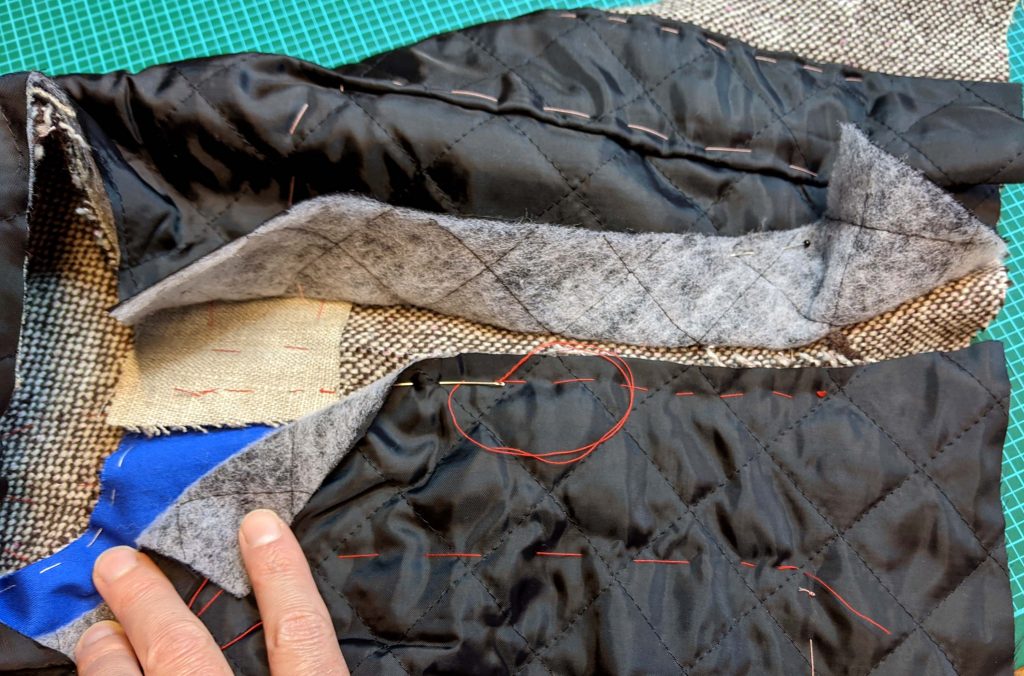
Sew the side seams in the same way as the shoulder seams, without catching canvas and linings. After pressing open the seam allowance smooth out the front canvas over the side seam, followed by the back lining. Last, turn in the seam allowance of the front lining and baste in place. Again, stop basting and felling about 2” (5cm) from the bottom edge.
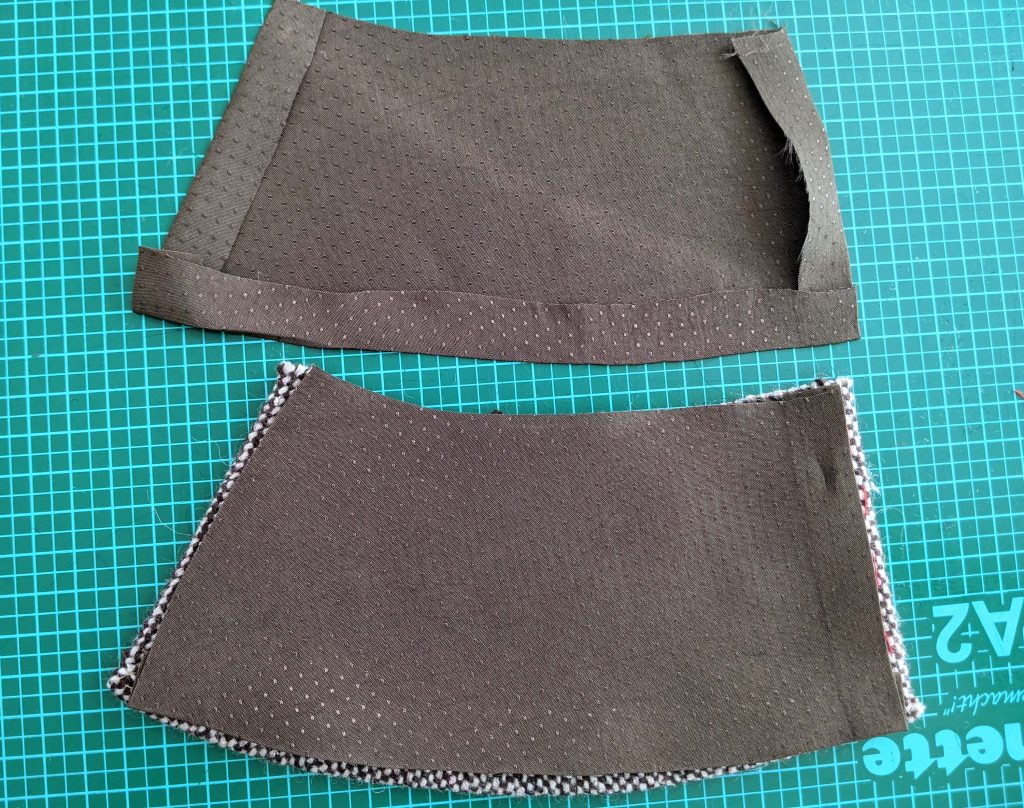
The lining is done, now I´ll show you how to sew the peplum (sorry for not showing the skirt, but the skirt is easier to sew). When planning to make the jacket with a peplum, I wasn´t quite sure if I´d like pockets or not. I made the peplum without the pocket openings first, I just made the flaps, adjusted the them about two times and changed the position several times until I liked the look. Because of this, some pictures are a bit different than the illustrations in the instructions.
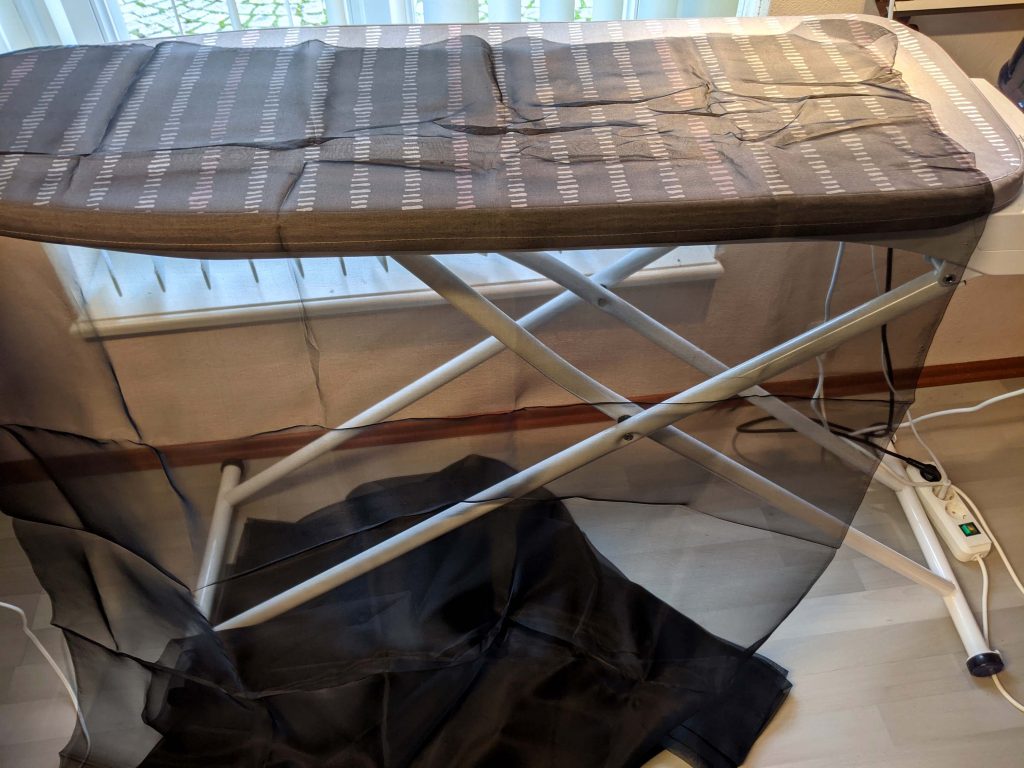
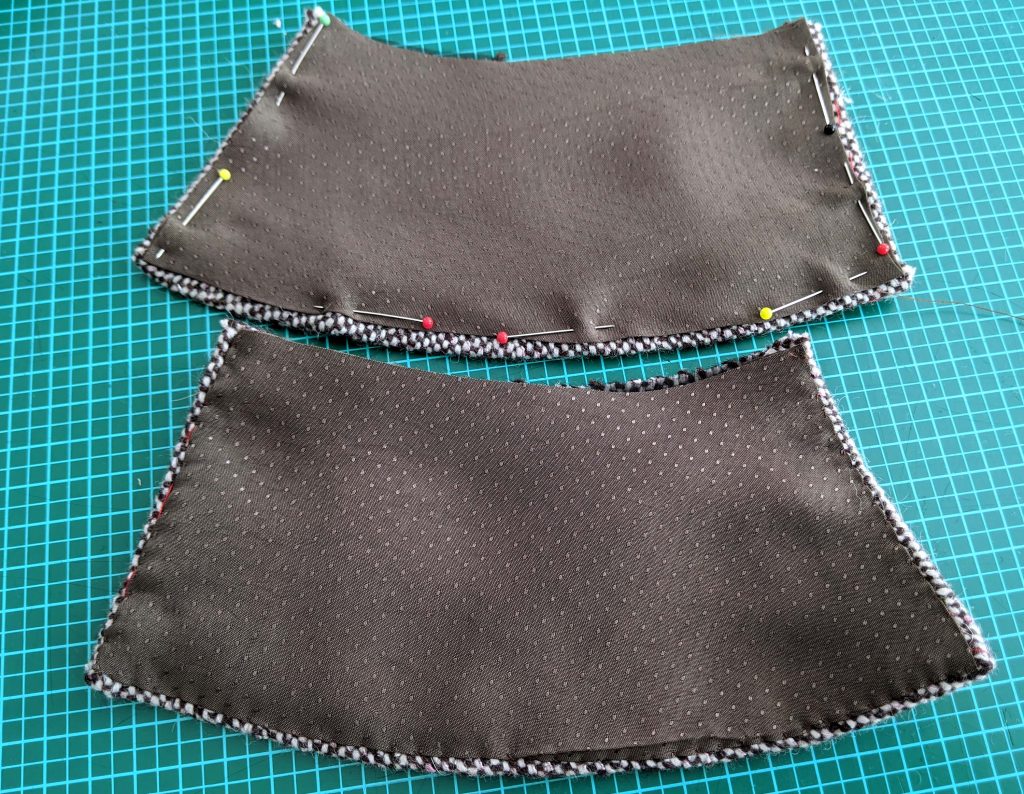
I urgently recommend flatlining the peplum for a neat look. I used silk organza, a fabric with unique characteristics. Stiff and lightweight at the same time it´s the perfect flatlining.
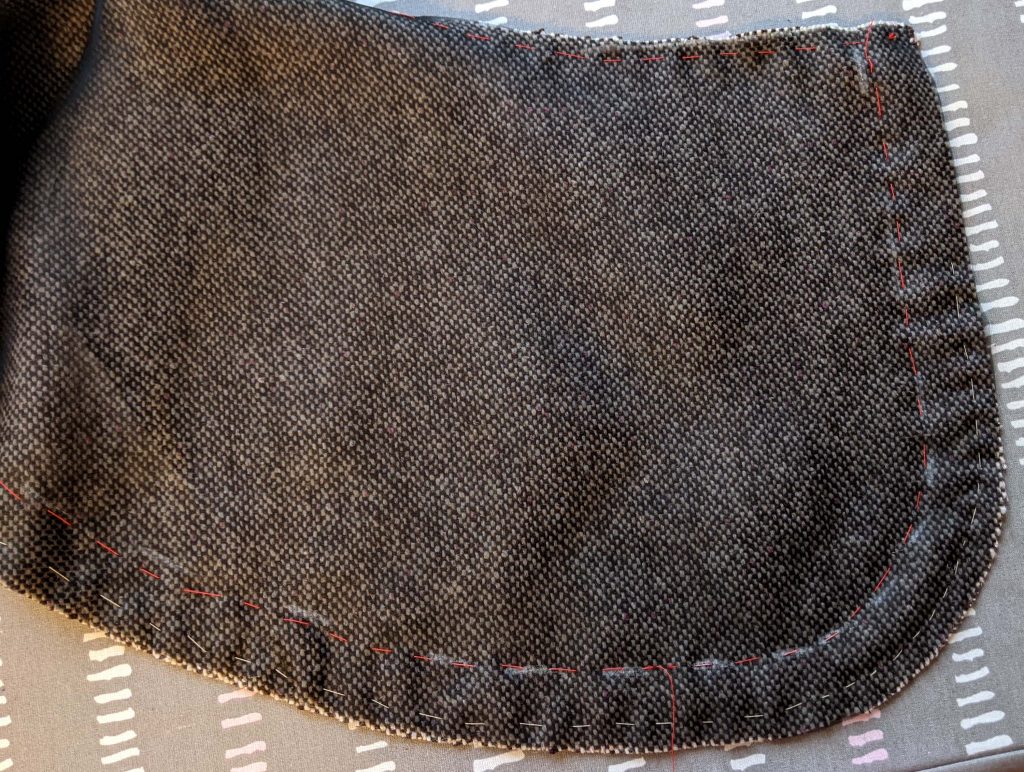
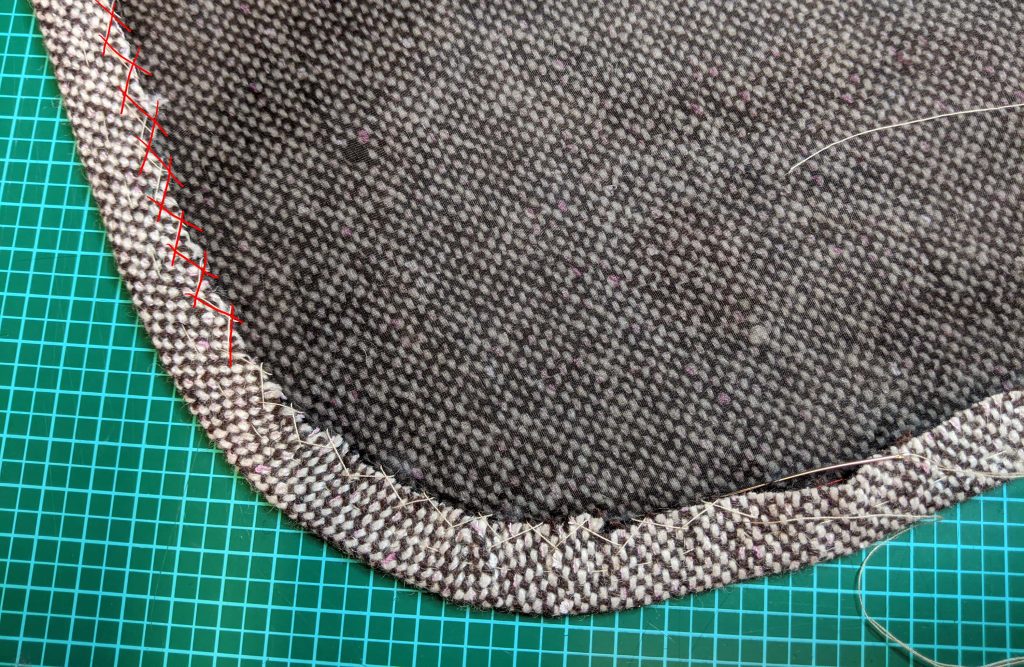
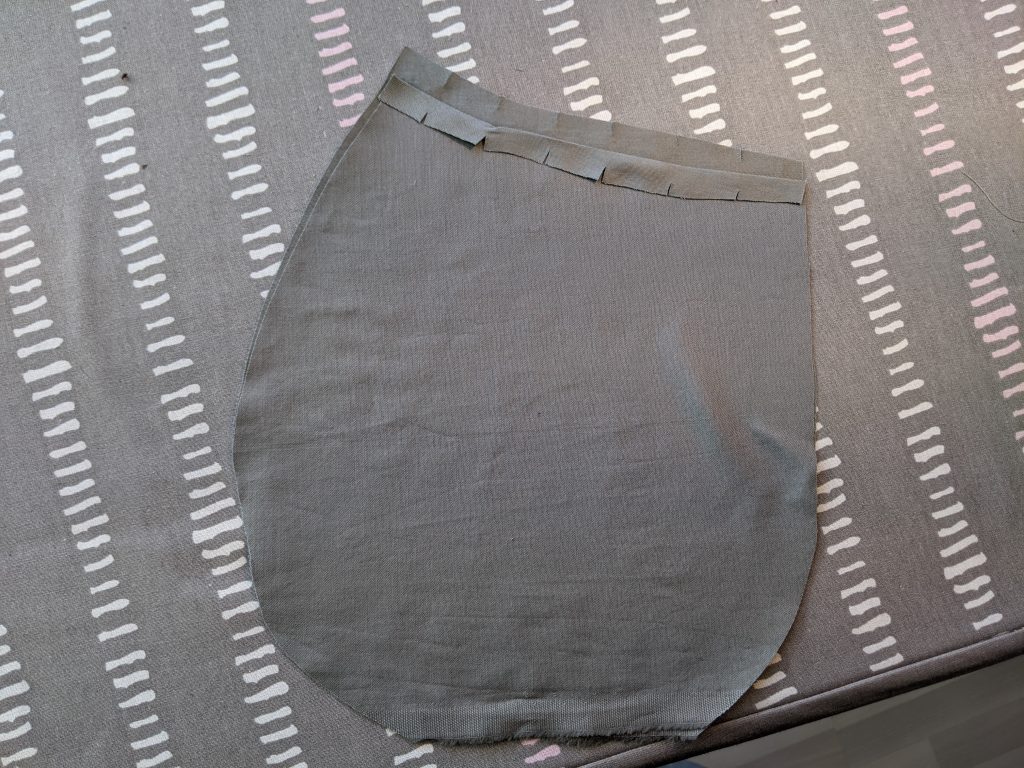
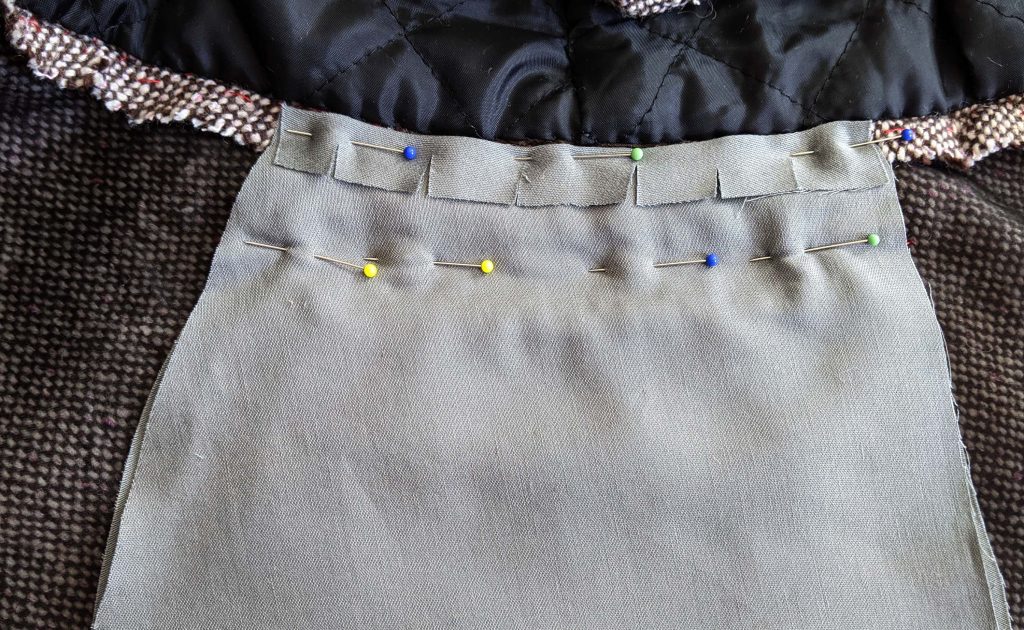
Here you can see the curved front of the peplum, flatlined with the silk organza and ease basted along the curve. The chalk marks are indicating where the edge of the seam allowance has to be lined up when turned in.
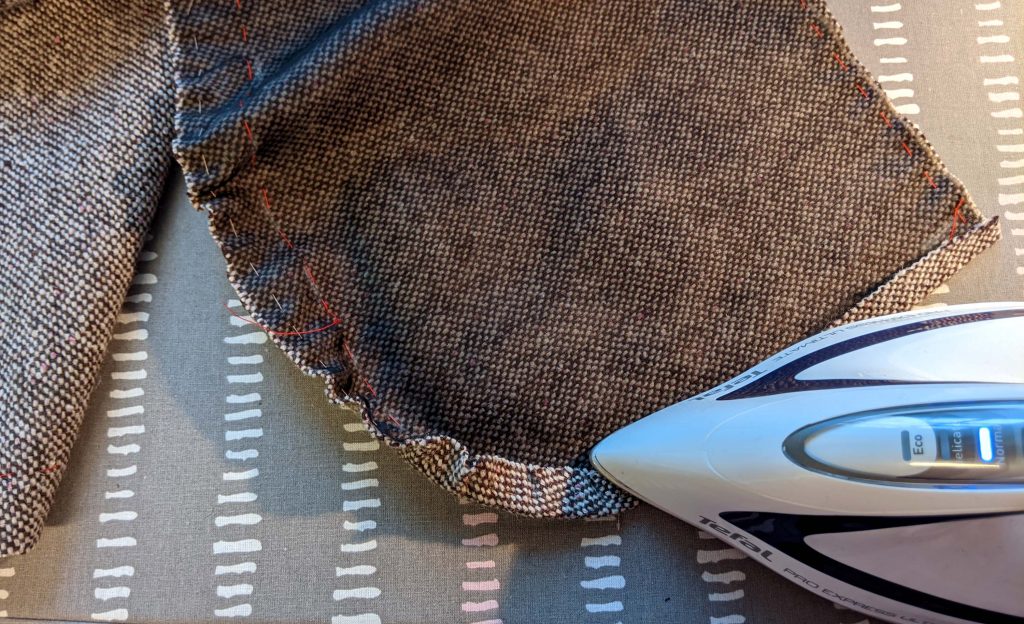
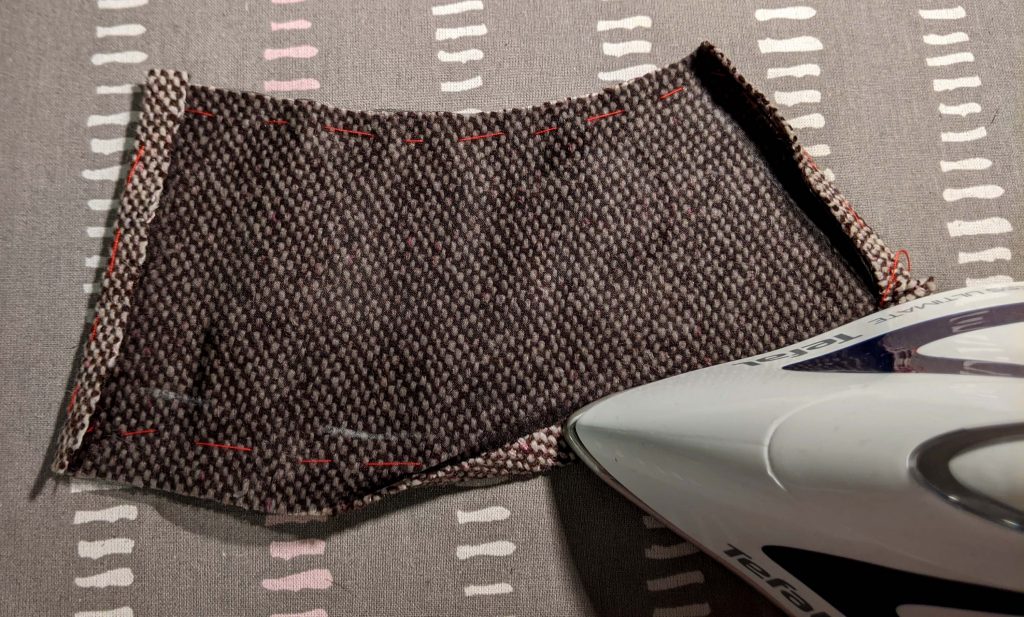
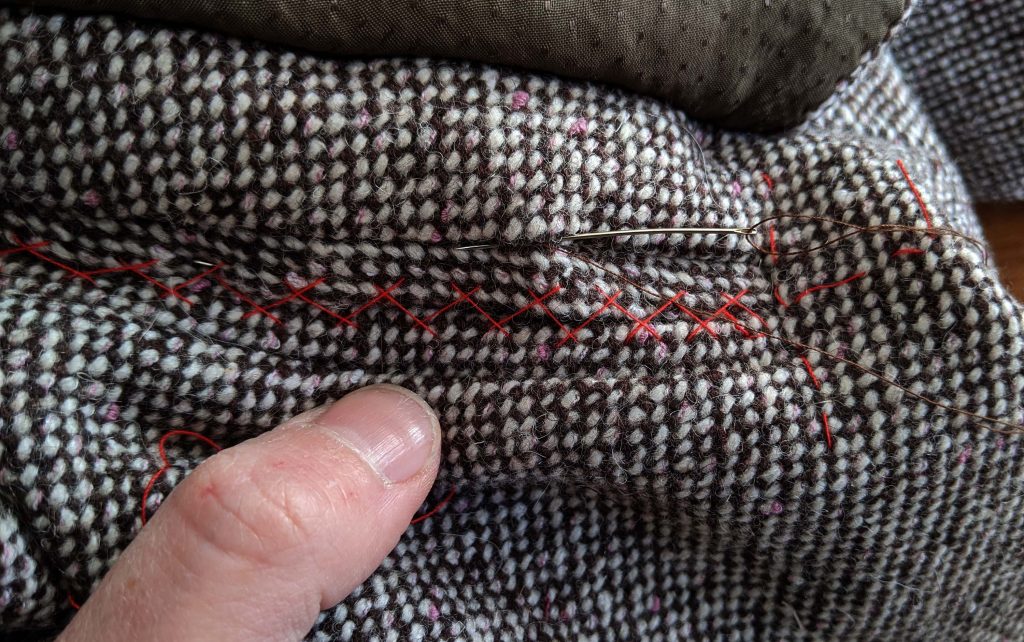
After that, turn in the seam allowances, pull the threads of the ease basting and press in place. Catch stitch the seam allowance to the flatlining only.
Prepare the pocket flaps in the same way. Turn in a seam allowance of about ¾” (1,8mm) along the edges of the lining, that the edge of the fashion fabric extends past the lining a bit. No stitches of the felling should be visible on the right fabric side.
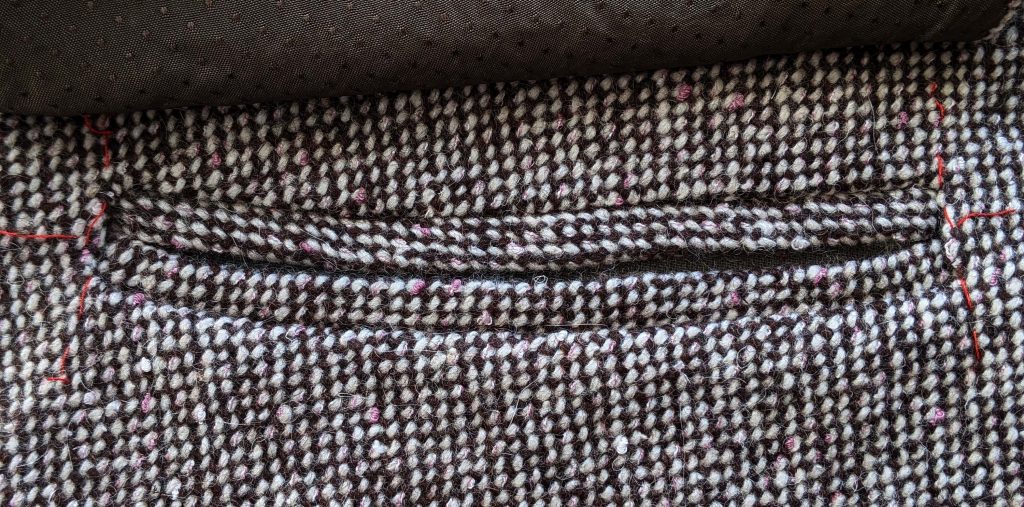
For the curved pocket opening, cut the welts on the bias and fold in half lengthwise, wrong sides together. Line up along the pocket opening, marked with basting threads and sew.
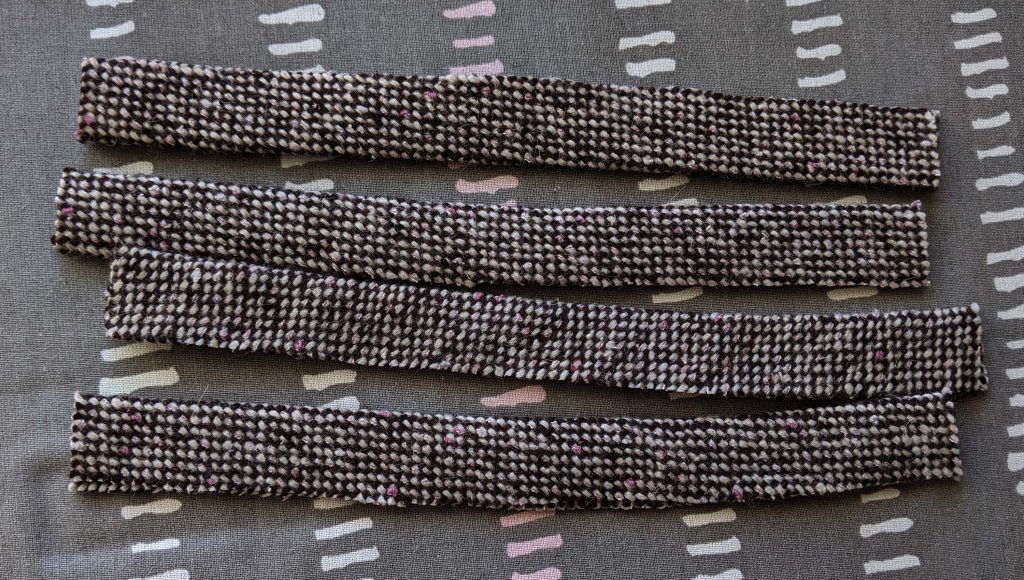
For the curved pocket opening, cut the welts on the bias and fold in half lengthwise, wrong sides together. Line up along the pocket opening, marked with basting threads and sew in the same way as any double welt pocket. Sew the pocket opening with a catch stich. Take the front pocket and turn in the seam allowance along the curved top edge, clip before. Line up with the stitching line of the bottom welt and fell stitch in place.
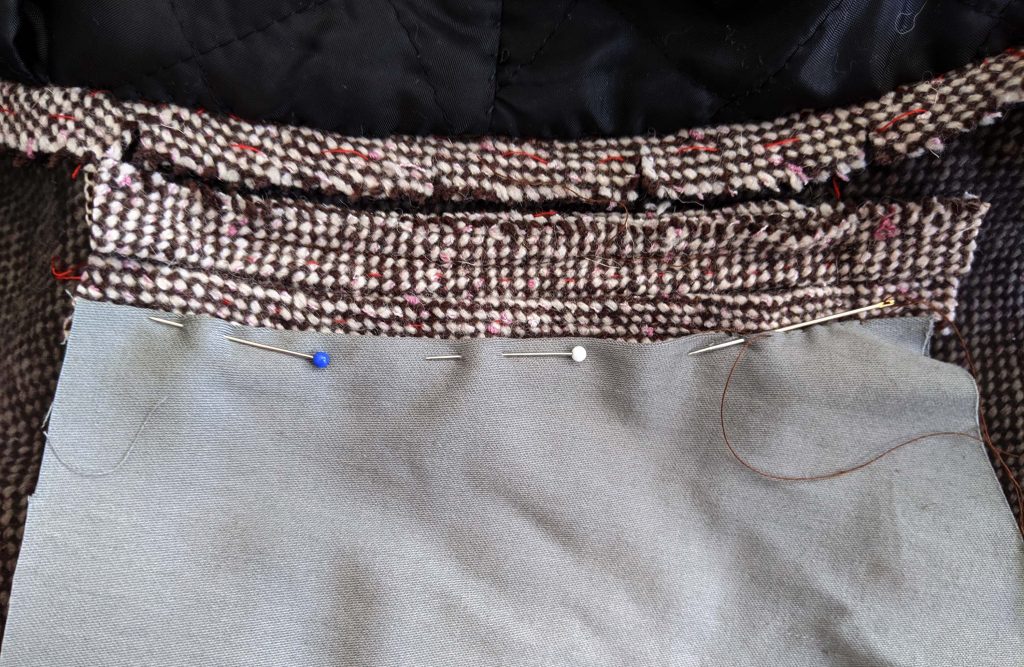
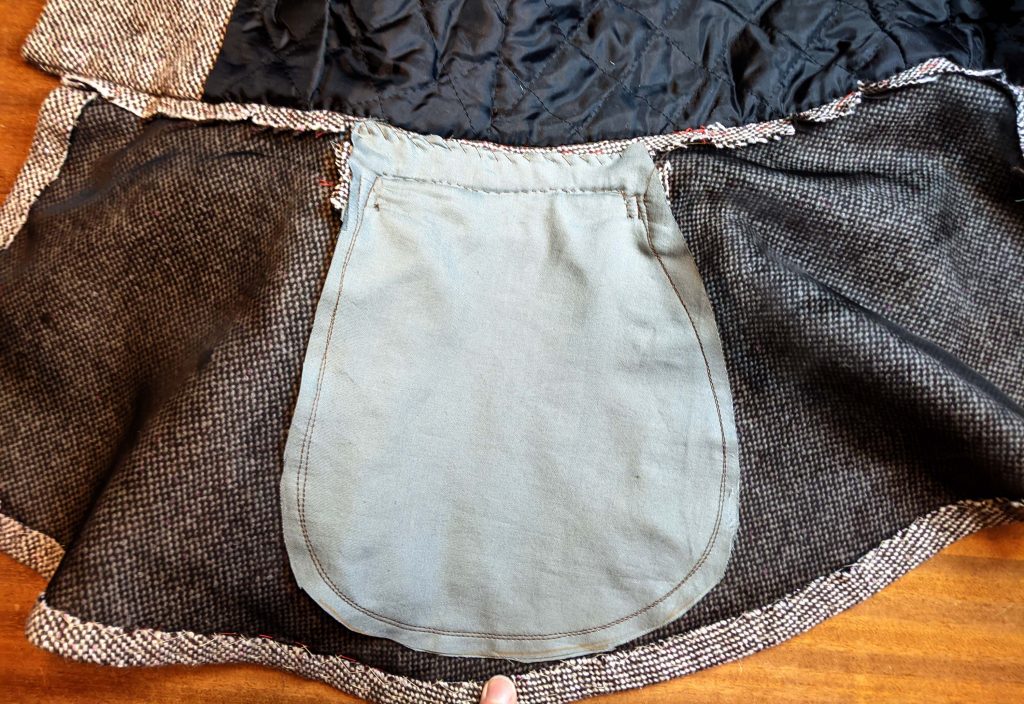
Take the inner pocket and line up with the front pocket, the inner pocket reaches the top edge of the peplum (ignore that the peplum is already sewn to the bodice as I explained before). Baste (or just pin as I did) around the pocket opening and turn to the peplum with the right side up. Sew in the ditch of the welt along the side and top edges. Sew the pockets with a double stitching line.
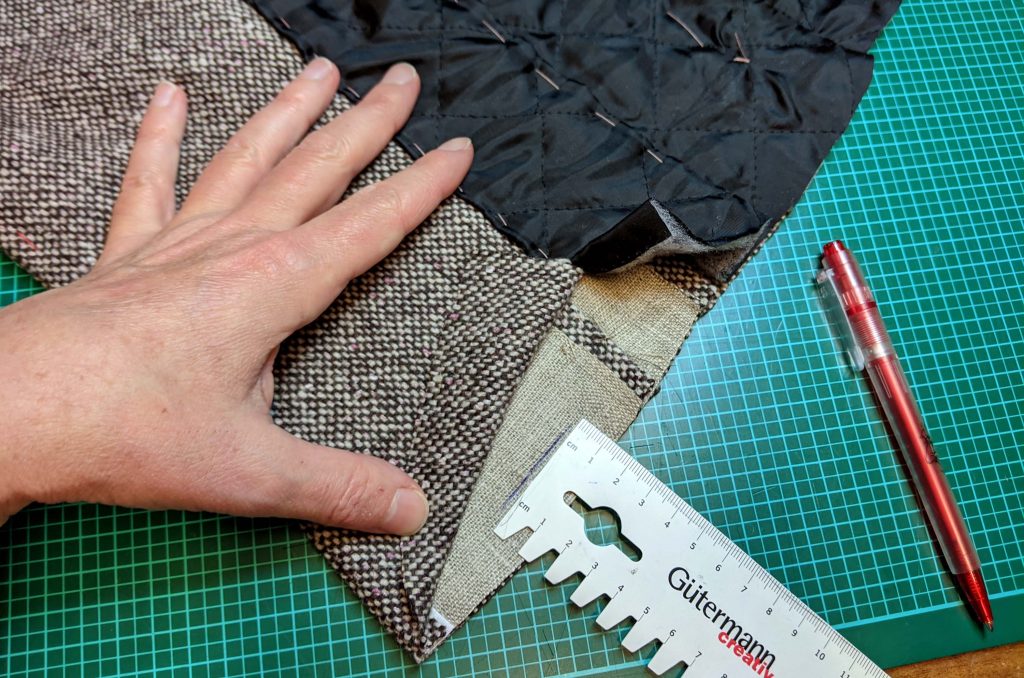
Time to sew the peplum to the bodice. Trim back the bottom edge of the bodice to 5/8” (1,5cm) seam allowance. Take care to match the fronts exactly. Mark the stitching line on the canvas and trim back the canvas only behind that line to remove bulk. Remove some stitching of the basting if needed (this was the reason to stop basting some inches before the bottom edge).
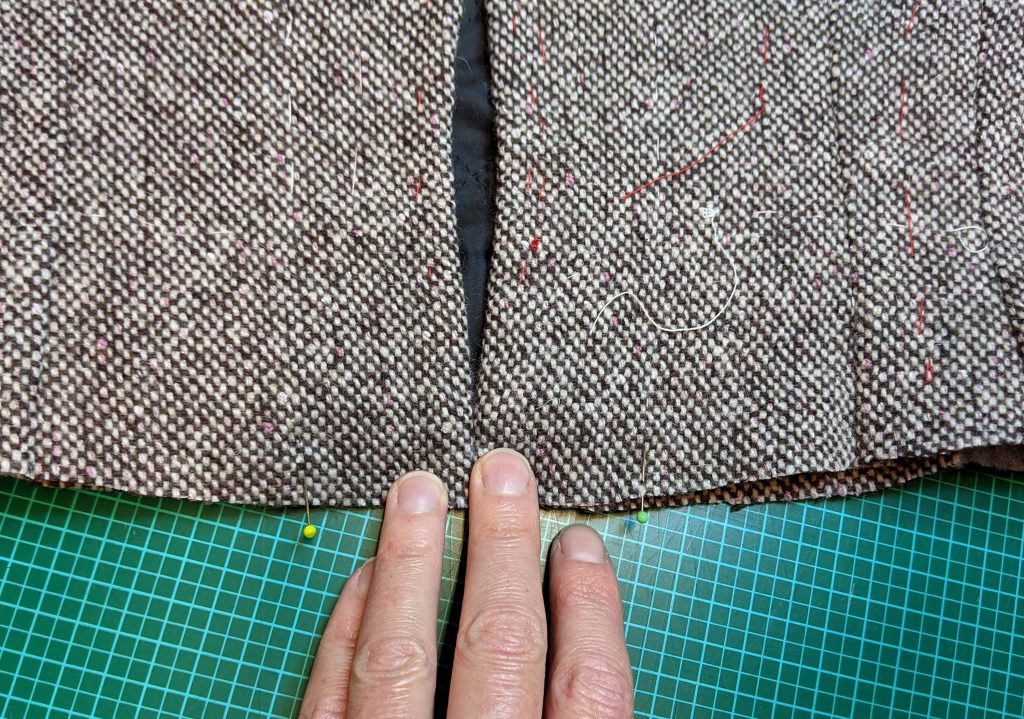
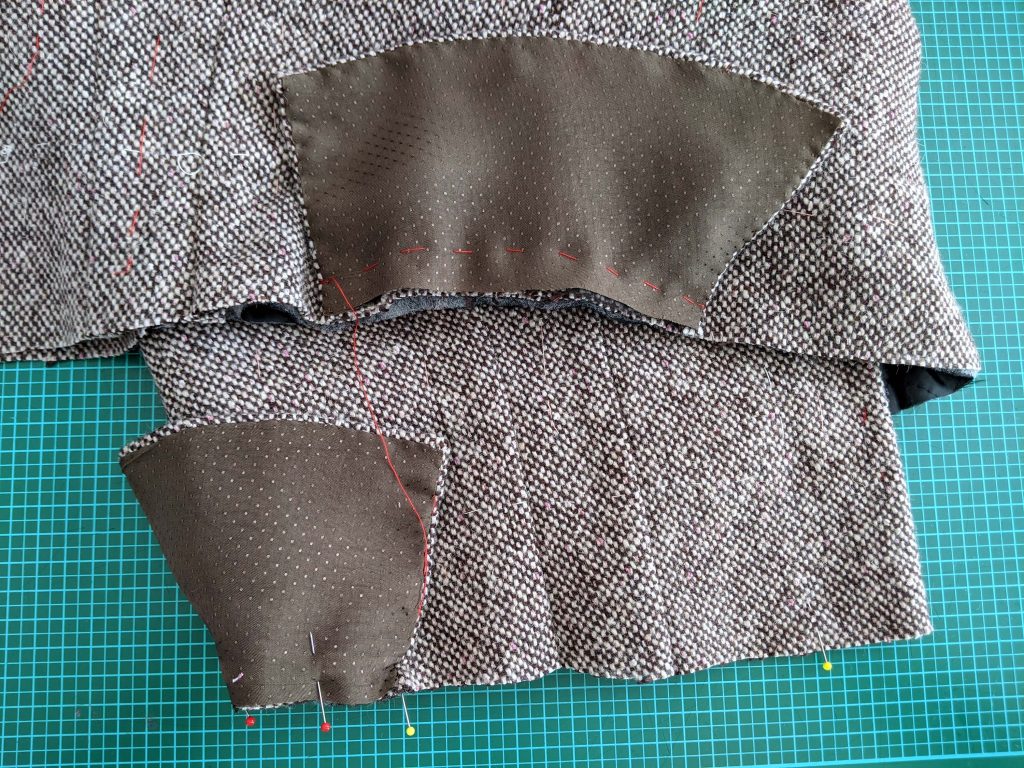
First, line up the pocket flaps with the bottom edge of the bodice, then the peplum. I recommend basting first. This will help to fold the facing and lining to the side and match the center front exactly. Do not catch any linings and the canvas when sewing.

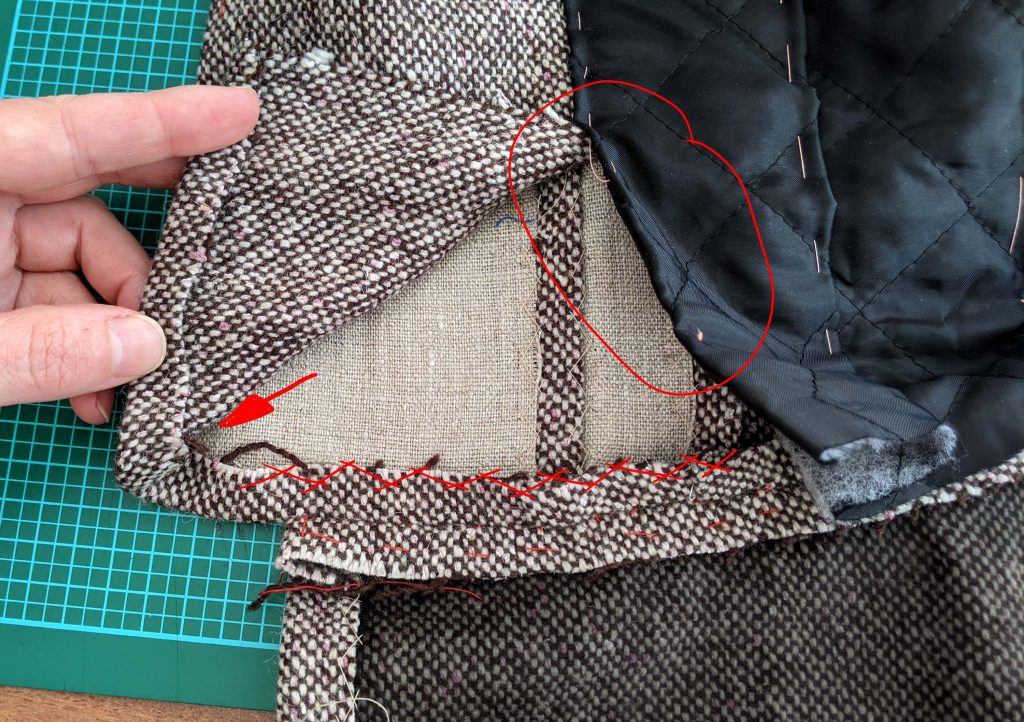
Press open the seam and turn in the seam allowances of the bodice and front facing against each other. Trim back the seam allowance at the front edge carefully to remove bulk (arrow). Catch stitch the seam allowance of the bodice to the canvas, darts and seam allowances. Again, remove some basting stitches if needed.

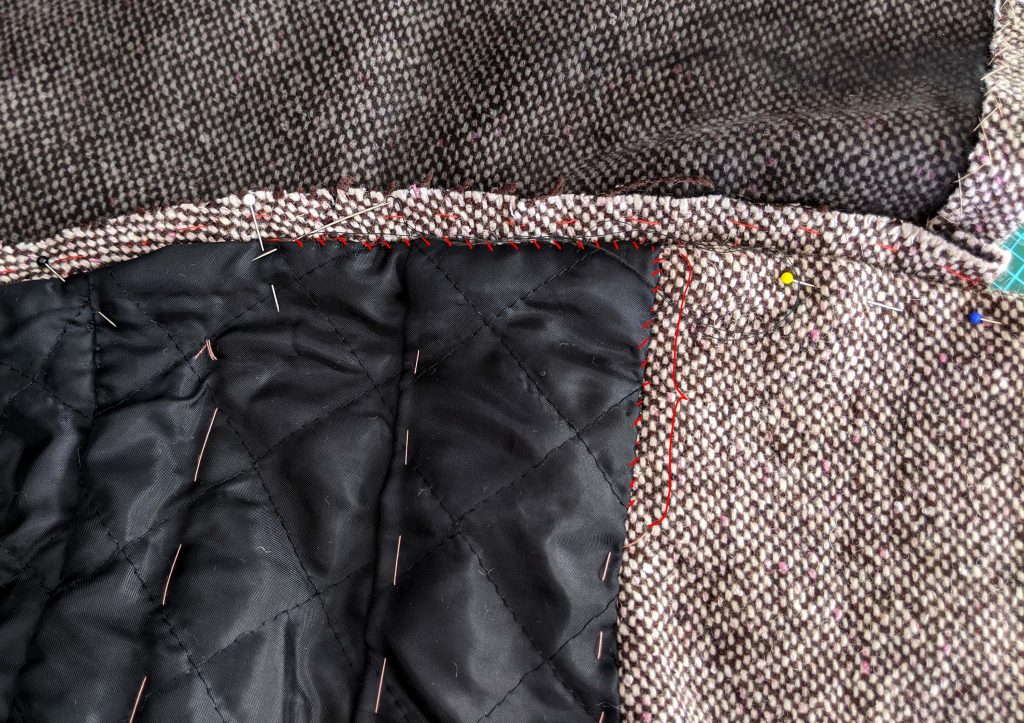
Fell stitch in place the front facing along the bottom edge and all the lining edges still left loose, after turning in the seam allowances of the lining along the bottom edge, lining up with the stitching line of the peplum.
I don´t have a picture of lining the peplum, but it´s the same principle like lining the pocket flaps, with the edge of the fashion fabric extending past the edge of the lining a bit and fell stitched in place all around.
Part 4 comming soon…