Some years ago I fell in love with an 1894´s evening gown from Worth. Just a drawing but the dress looked so elegant with its giant sleeves, small waist and flaring skirt, embroidered with branches of wheat. At that time I thought that I couldn’t do the thing with my sewing and embroidery skills. After some years of practice and research I decided to start with that dress, planning to wear it at the ball, during the Belle Époque week in Kandersteg (Switzerland) 2019.
Here is another extant gown from Worth, accessible via the online collection of the Metmuseum, shows a similar embroidery design. The dress dates just some years later, about 1900, without that giant sleeves, but with almost the same shape of bodice and skirt.
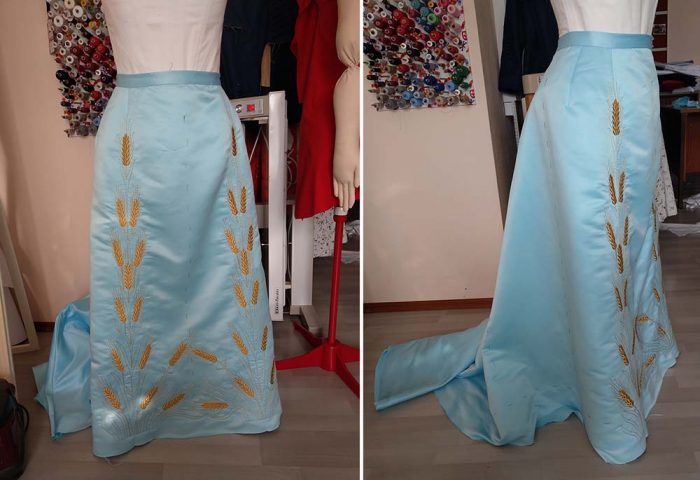
For the skirt I used as a base my 1890´s Fan-Skirt pattern. I made the front gore a bit narrower, with the side seam moved forward to the position of the original darts, an extra side piece with darts at the position of the original side seam to fit the hips. I made the skirt with a train, which was not a good idea at all, as I had to loop up the train for dancing. And I danced a lot when wearing the dress the only time so far.
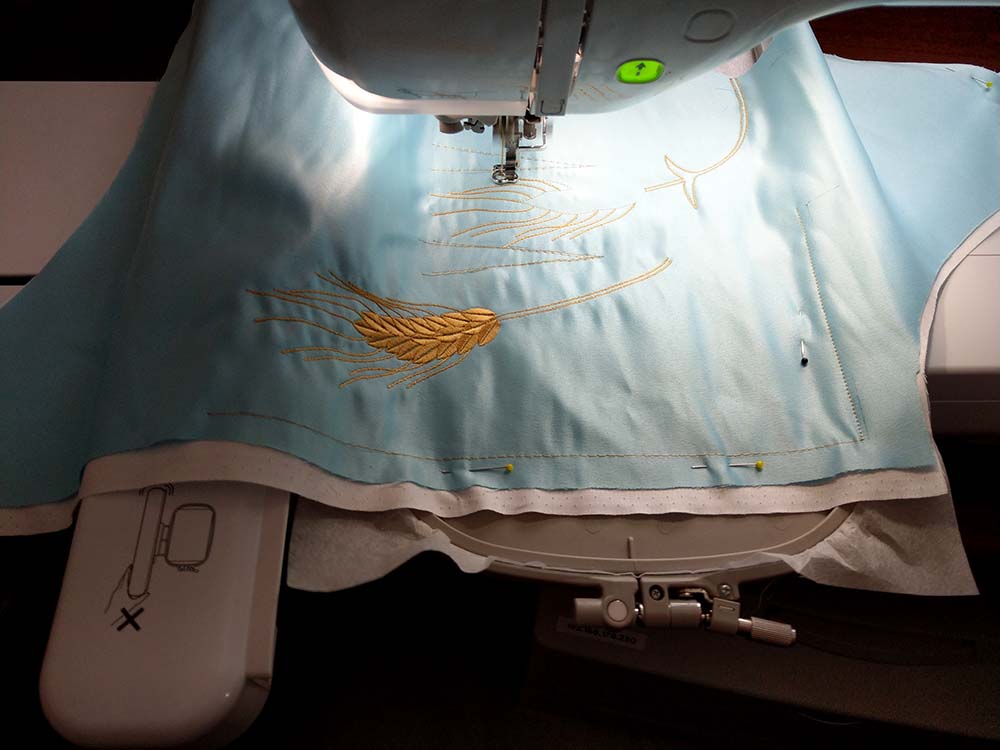
All embroidery is machine made, except the sequins and pearls, nevertheless it took me hours finishing the skirt and bodice. All the emboridery of the bodice has to be done before sewing the darts and joining the bodice pieces.
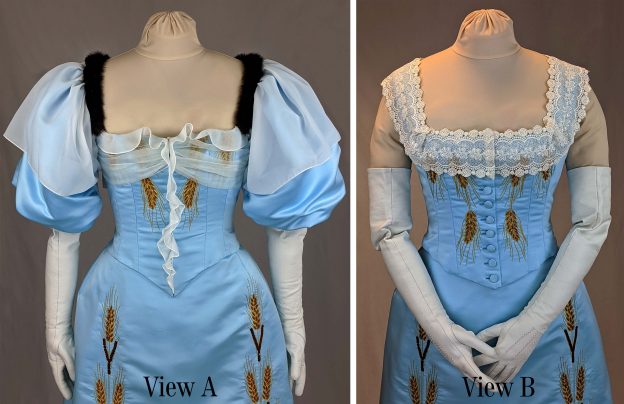
In this tutorial I´ll focus on the bodice, in the meantime I made to different versions, the same you get when buying my pattern. View A shows the bodice with the giant sleeves, closed edge to edge in the front with hooks and eyes, decorated as close to the template from Worth as possible. View B shows the bodice sleeveless, with a button down front, suitable for evening gowns from 1880 to 1890 and again the time around 1900, when the giant sleeves came out of fashion.
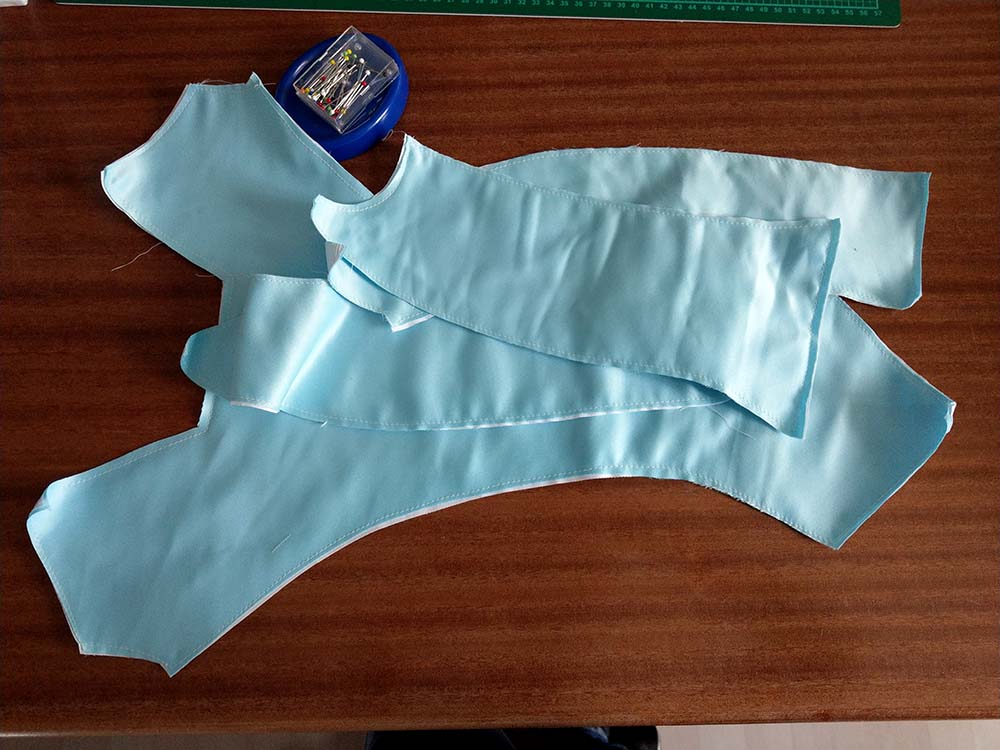
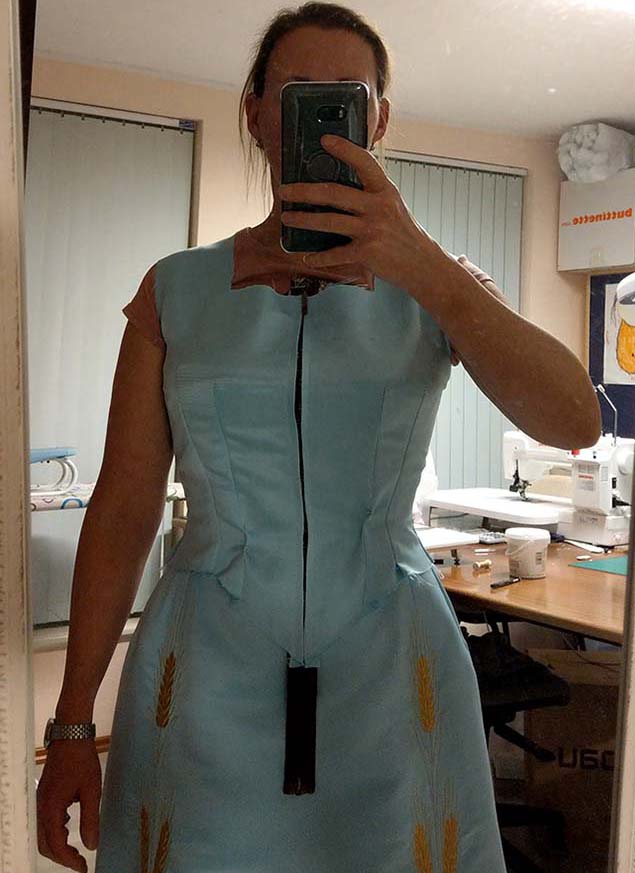
Let´s start! First of all, of course after you made a good fitting mock-up, is a fitting with all bodice pieces basted together, to check the position of the seams and darts again, as many mock-up fabrics do not act like your flatlined fashion fabric. On the picture you can see, that I inserted a dividable zipper to the center front, to make the fitting easier, especially if you don´t get help from an experienced seamstress.
All back bodice pieces, flatlined (machine-basted) and ready to put together. When working with heavily fraying fabrics, I recommend to neaten all edges with an overcasting stitch before sewing.