Part 1: https://patterns.bplaced.net/blog/?p=2651
OK, last time we did the fitting of the bodice, now it´s time to sew. This is the back, with all pieces joined and the seam allowances pressed open. Next step would be to sew the shoulder seam, then turning in the front facing and pressing the edge before piping the neckline.

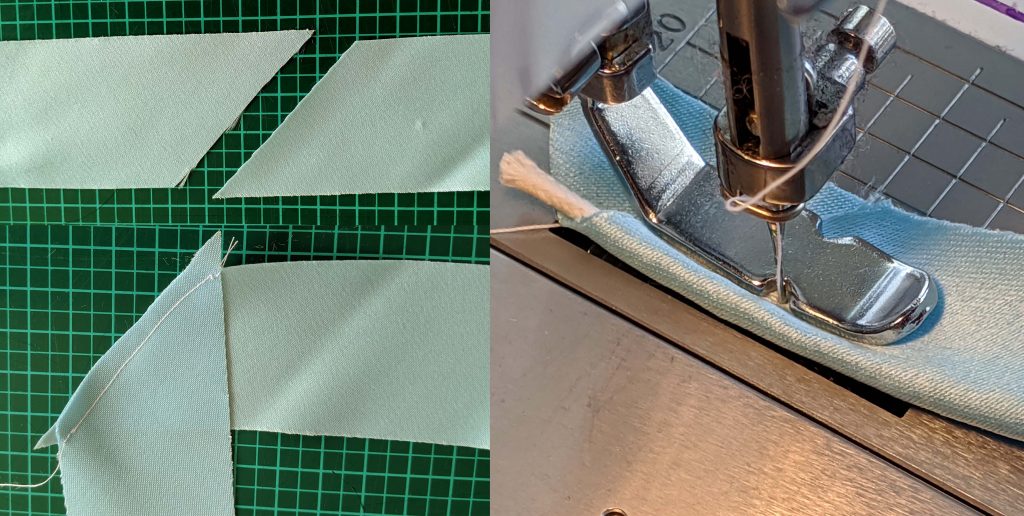
For the piping I joined several strips, cut on the bias and folded in half lengthwise, wrong sides together. I inserted a piping cord, with a diameter about 1/8” (2mm) and stitched with the zipper food along the cord.
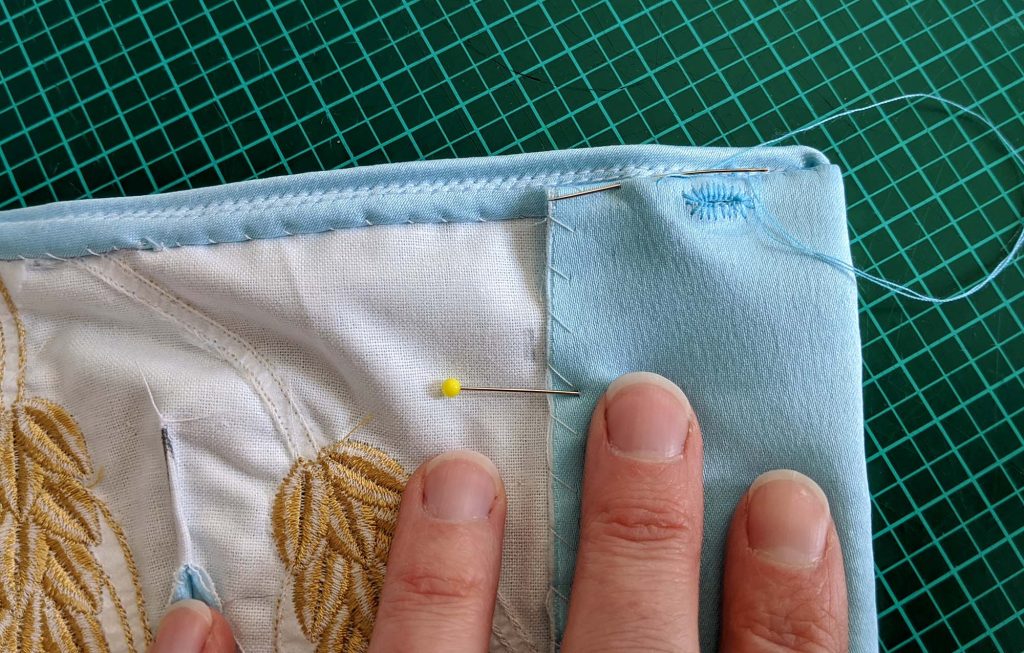
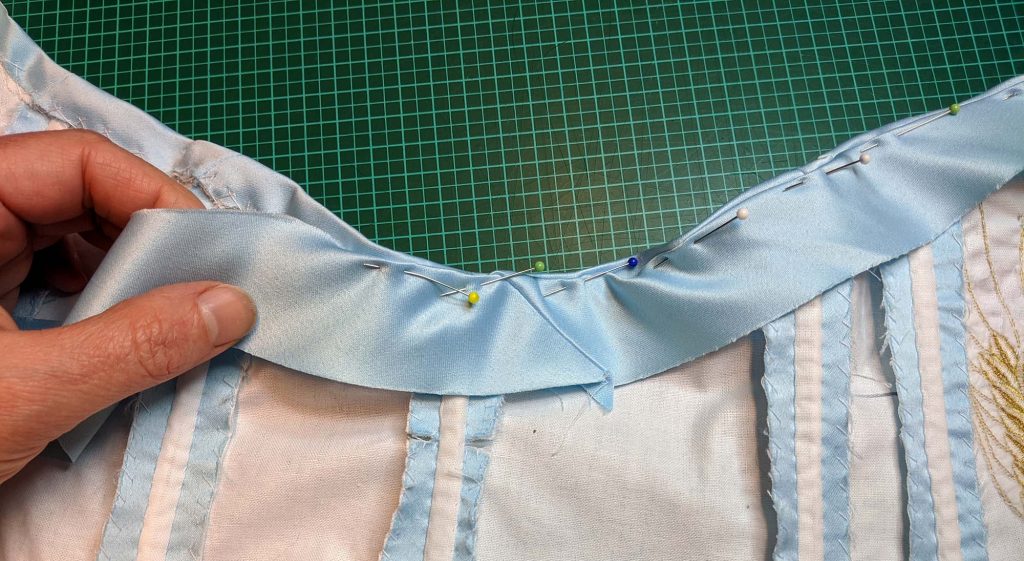
The piping is then pinned to the neckline and stitched to the neckline (and armhole) with the zipper foot. This time as close to the cord as possible.
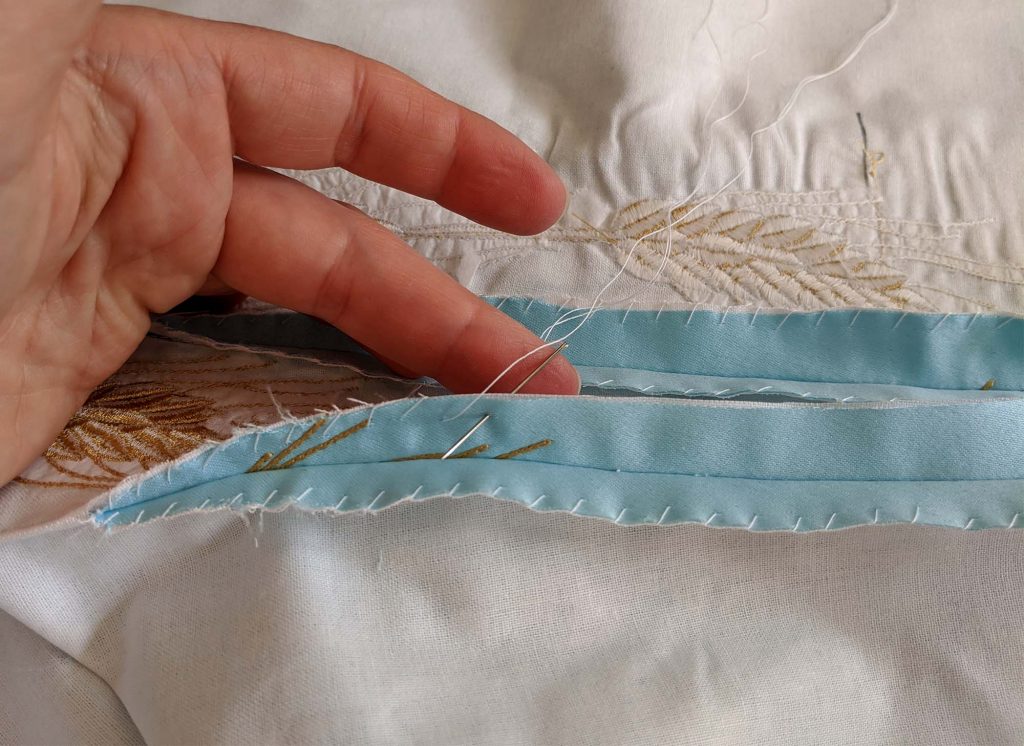
To finish the piping, trim back all seam allowances and clip at the curves, except the top layer. The top layer is folded around and fell stitched to the lining. Take care there are no visible stitches from the right side.


At the front, the stitching starts and stops exactly at mark (1A) or (1B), the point, where the piping meats the pressed in crease of the front facing. At that point, notch the seam allowance of the piping V-shaped and fold downwards. Make an eyelet for the drawstring (that regulates the neckline a bit) and turn in the front facing along the crease. Fell stitch the top of the facing, with the seam allowance turned in along the stitching line of the piping.
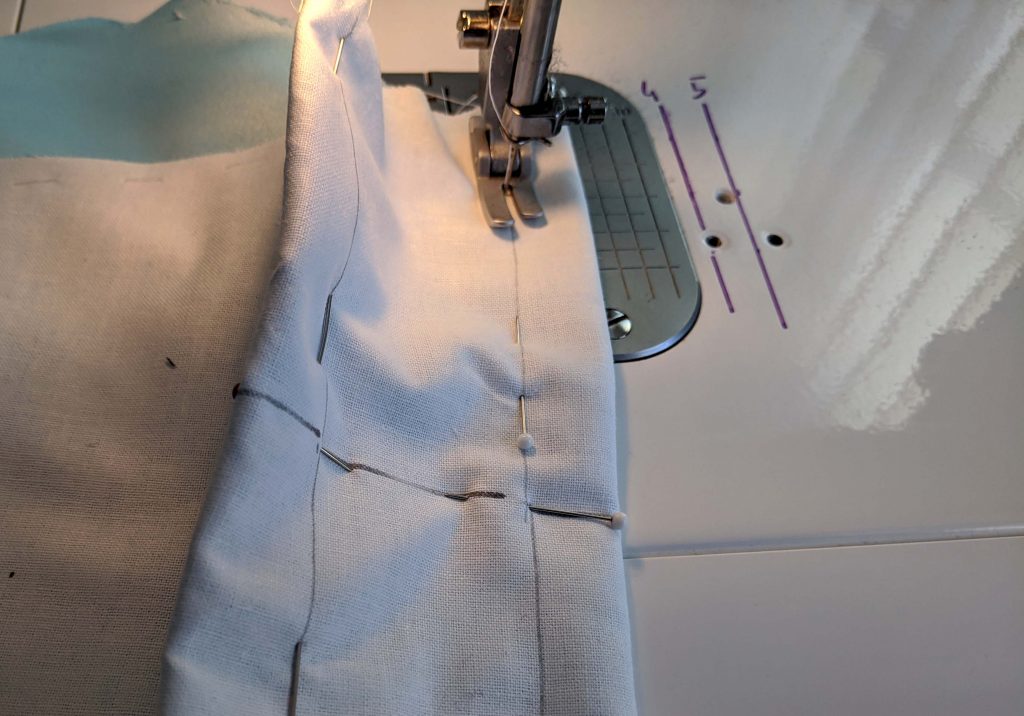
I sew the darts the following way. After marking the position of the dart I pin and start sewing from the bottom edge (better than pinning would be basting). At the point I reduce the stitch length and phase out without locking the seam. A leave long tails and knot the threads before I thread a needle and lockstitch carefully in place.
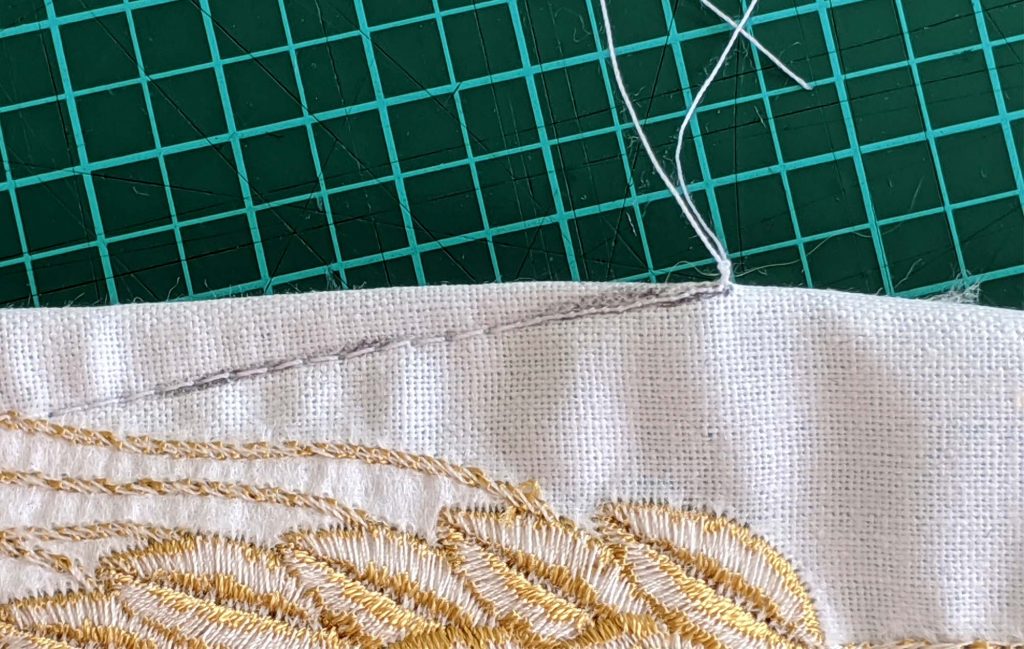
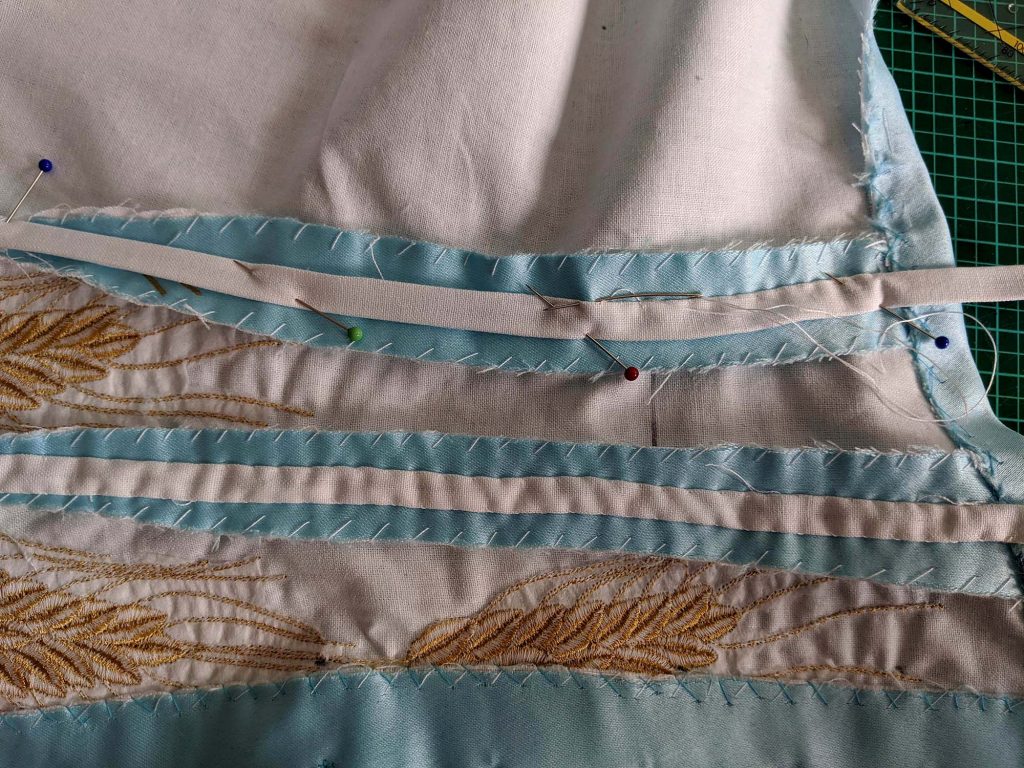
The darts will be cut and the raw edges neatened with overcasting stitches. The seam allowances are pressed open to place boning channels on top later.
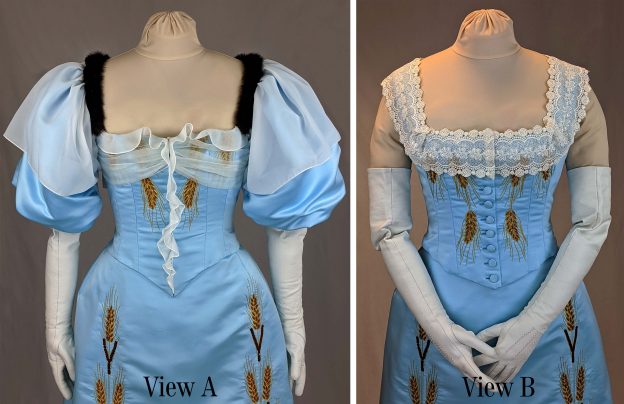
Next I´ll show you, how to finish the bottom edge at the center front for the button down front (View B) as it´s more tricky and needs a bit more patience then the edge to edge finish. First is to mark the stitching line on the right fabric side with a vanishing marker, alternatively with a basting thread, and clip the seam allowance at the front edge.

Turn to the wrong side and turn in the seam allowances, a bit more at the facing. Fold the facing along the crease to the inside, now the edge of the top layer should extend past the facing a little bit. Fell stitch the facing in place after checking if both sides are the same size.
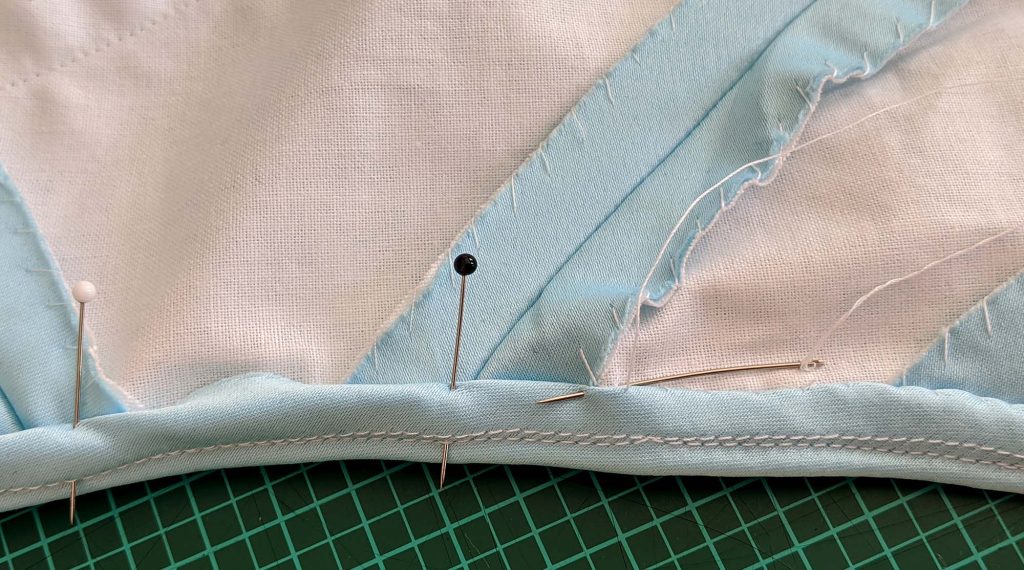
All seams and darts are boned in the same way, a tunnel is fell stitched centered to the seam allowances. At the center back, where is no seam, to the lining only.

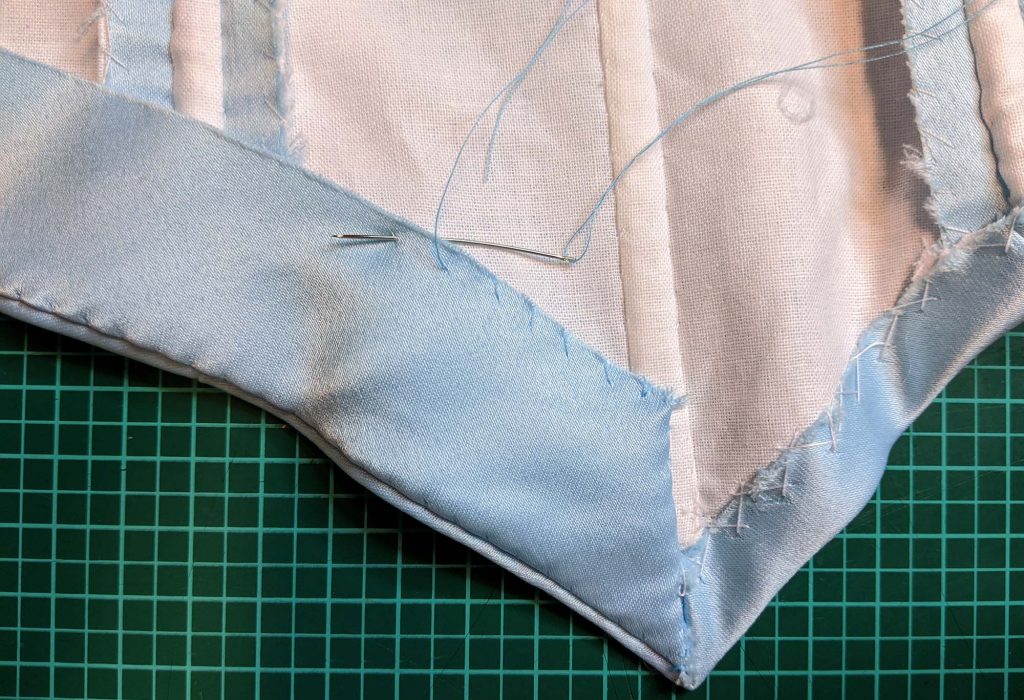
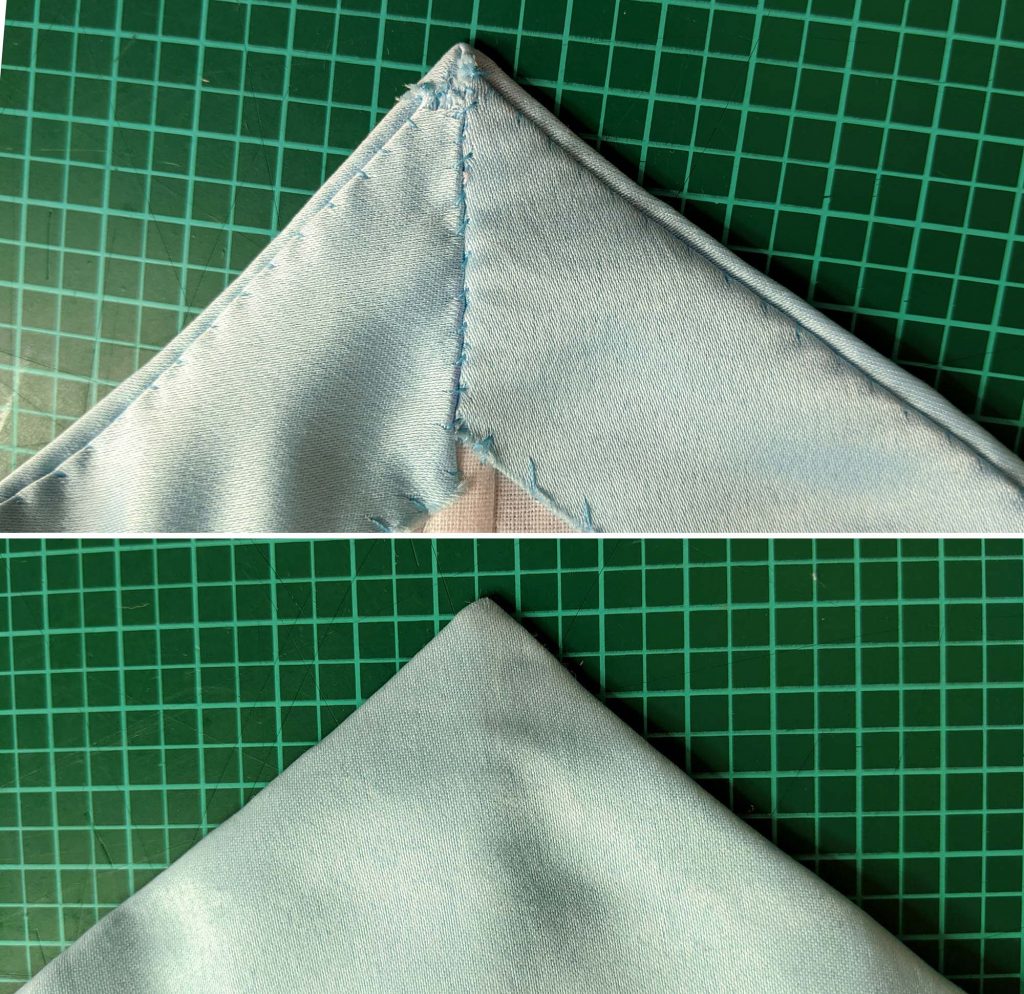
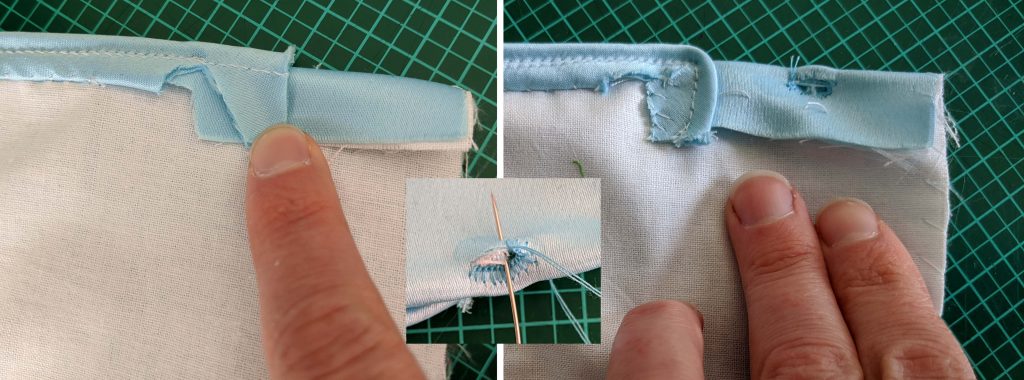
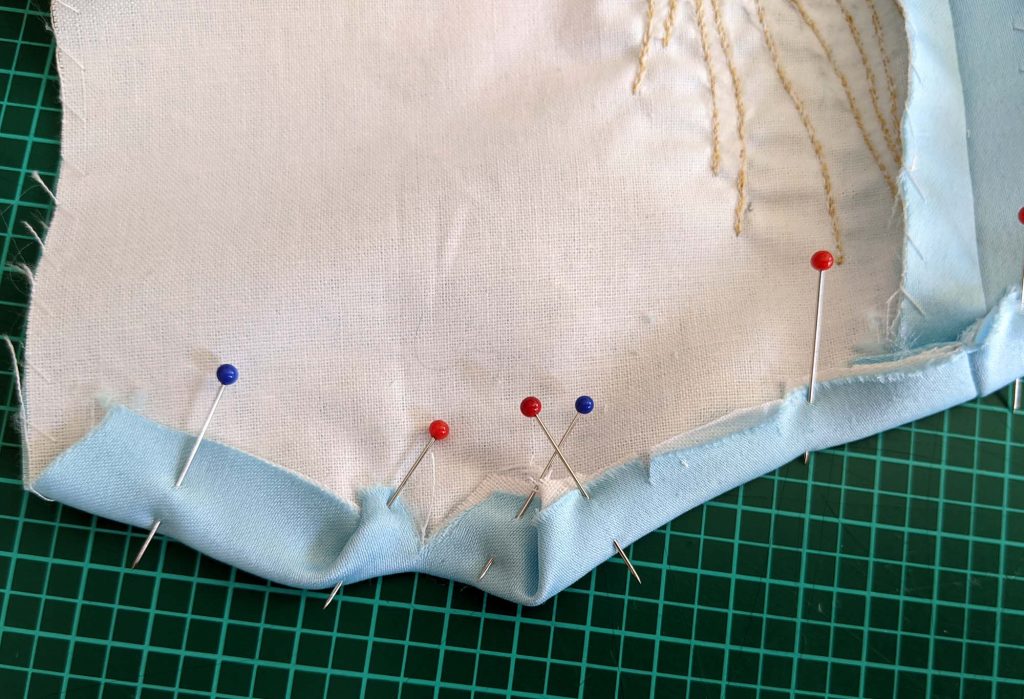
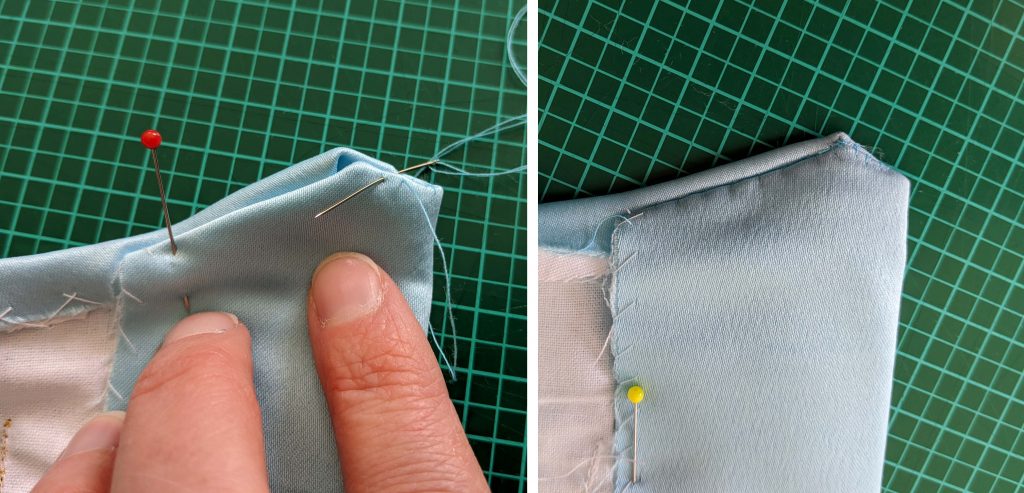
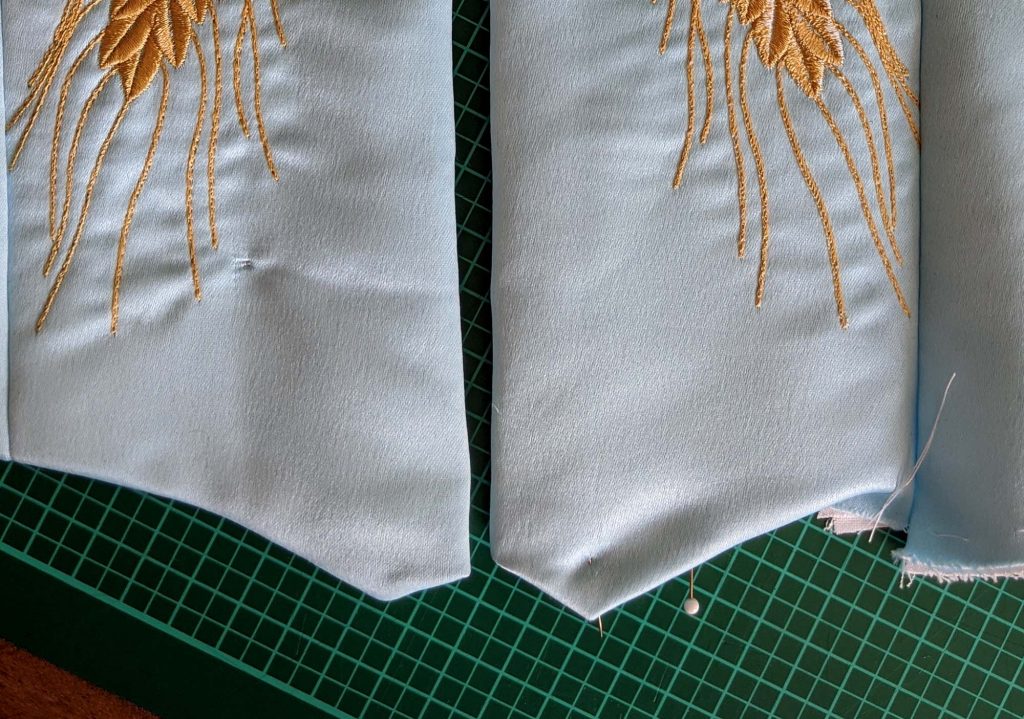
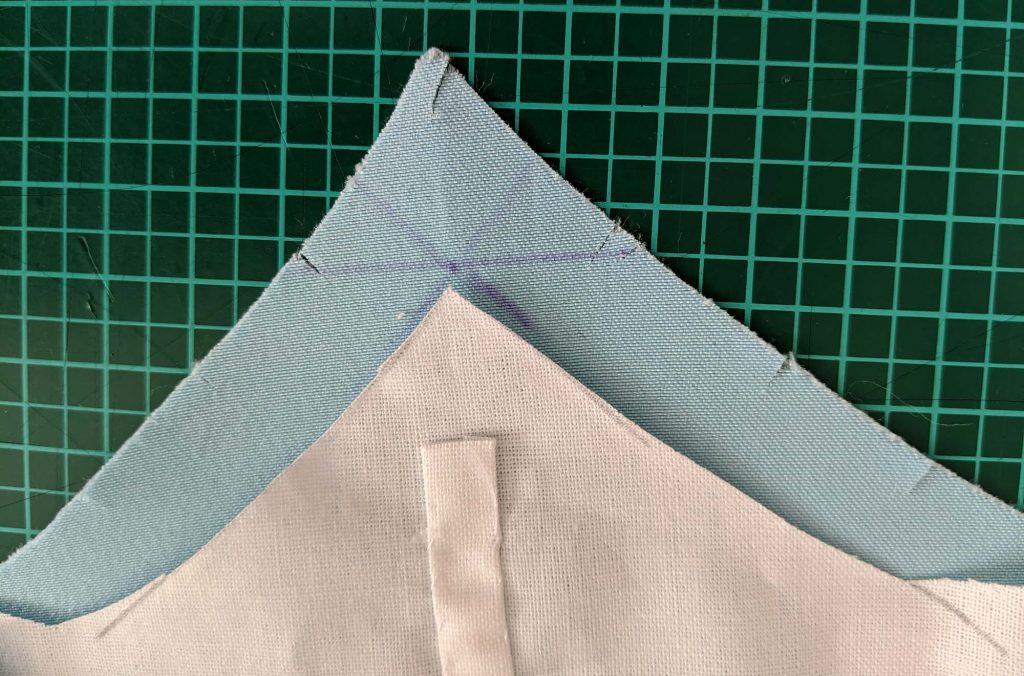
The best way to finish the pointed center back bottom edge is to trim back the lining to the net pattern and miter the point from fashion fabric.
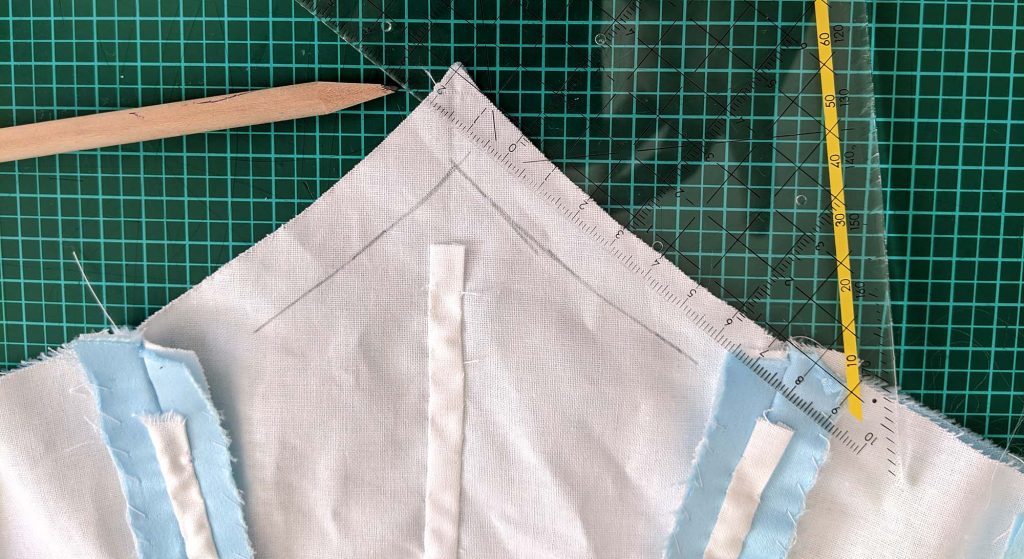
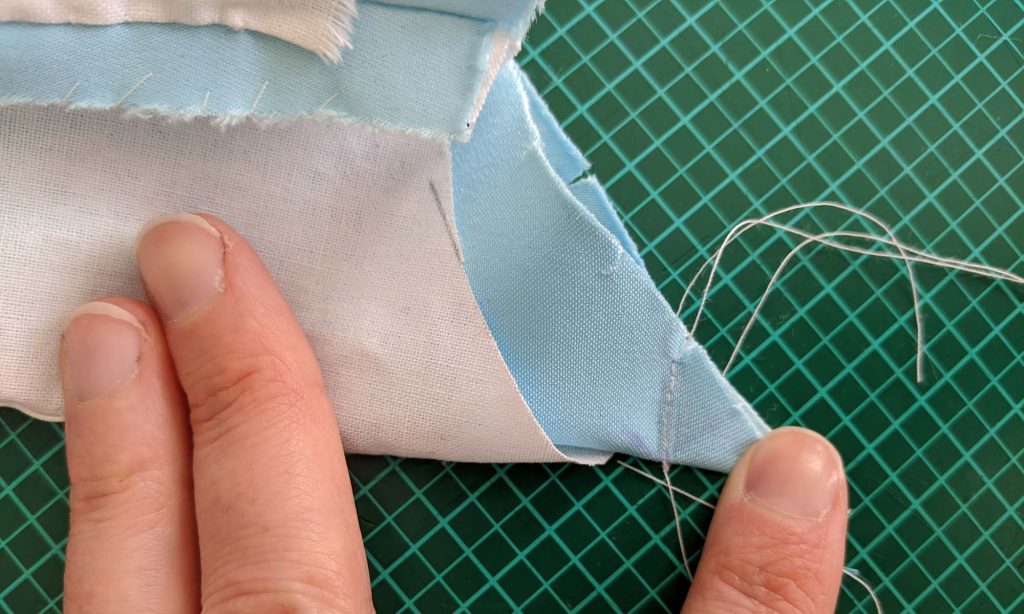
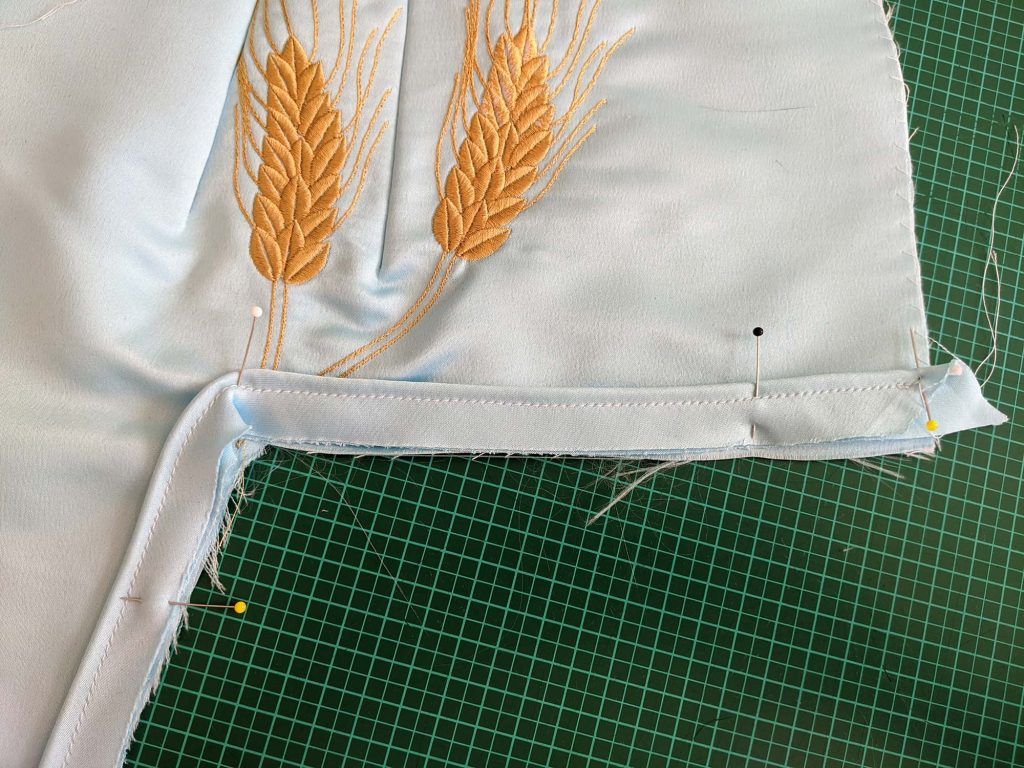
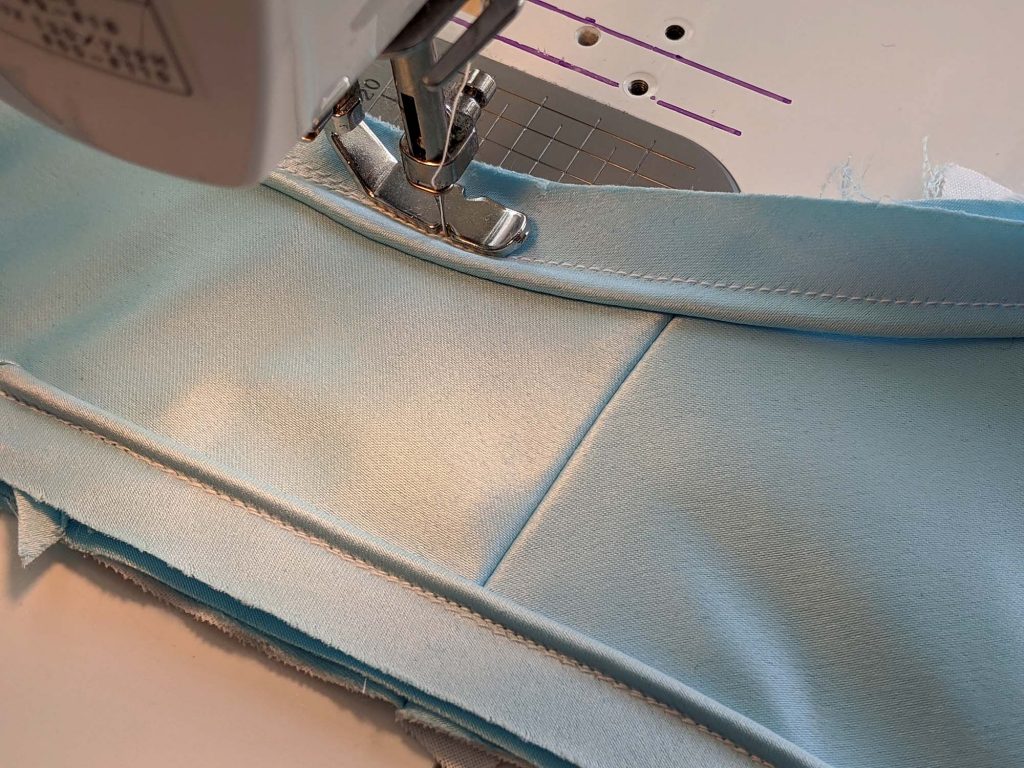
The bottom edge is faced with a strip of fashion fabric, cut on the bias, with the bottom edge turned in and lined up with the bottom edge of the bodice, wrong sides together. The edge of the bodice has to extend past the facing a bit.
At the pointed center back, the stripe is cut to the shape of the point and fell stitched in place. In the end it is important, how it looks from the right fabric side.