Now it´s time to sew together all parts of the vest.
Sew the front facing to the bottom facing, matching all marks, right sides together and press the seam allowance towards the bottom facing. Close the center back seam – the collar, right sides together, trim back the seam allowance and press open.
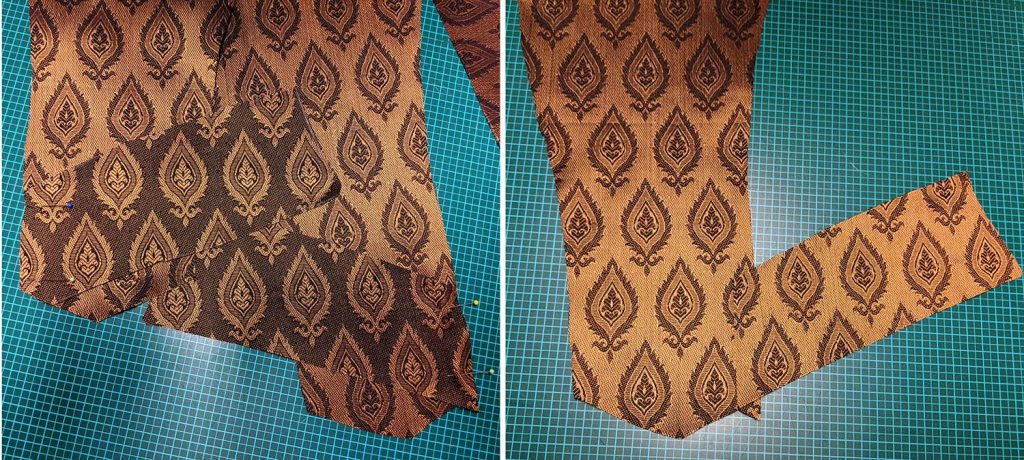
Line up the facing with the fronts, right sides together and sew along the front, bottom edge as well as the collar, reduce stitch length at corners. Trim back the seam allowance, sloped at the corners, notch the seam allowance where the collar starts to turn.
Turn the seam allowance of the collar towards the canvas and catch stitch to the canvas only.
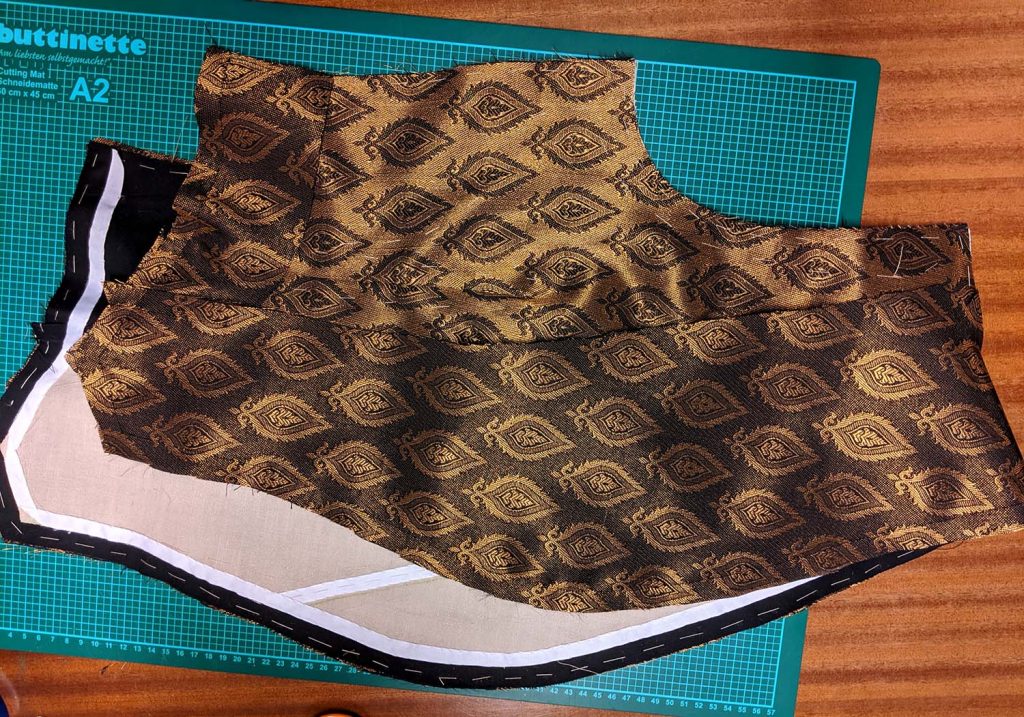
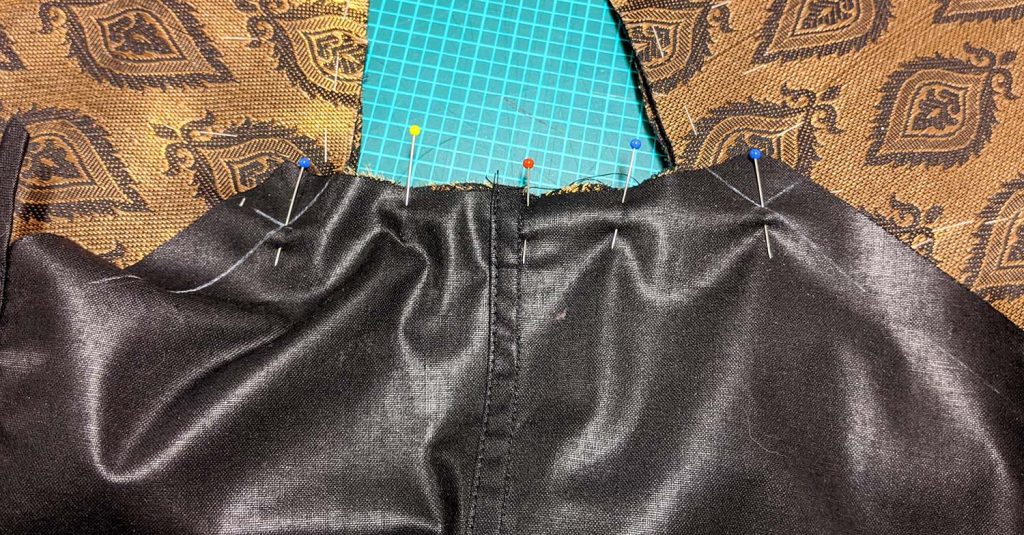
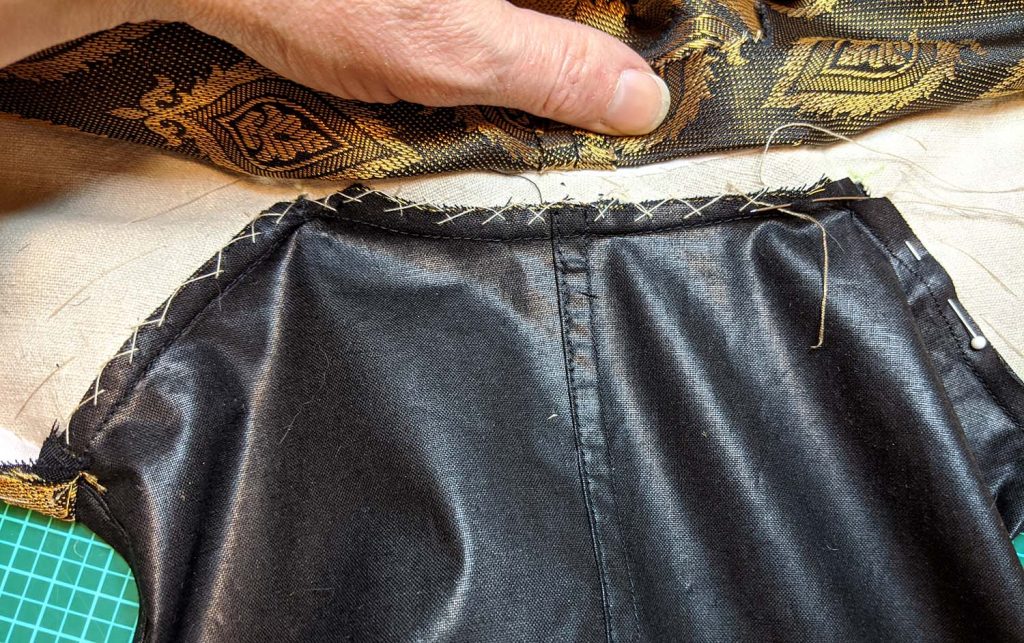
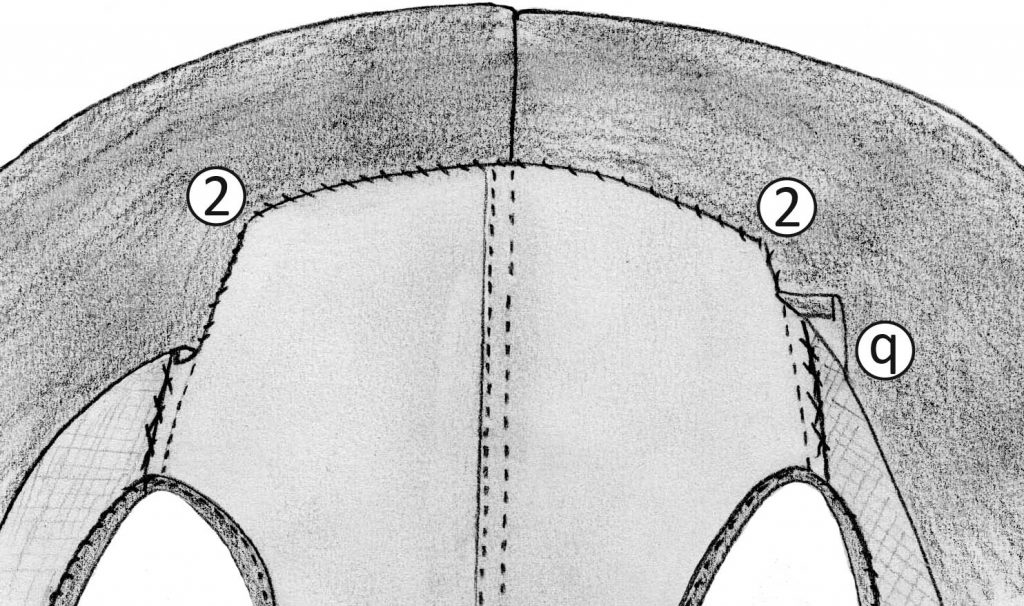
To sew the back to the front, start with the shoulder seam. Fold the facing to the side and close the shoulder seam, right sides together, folding the seam allowance of the front armhole around the finished back armhole edge (left side on first pic). Start stitching exactly at the corner (mark (2) on the pattern) , trim back the seam allowance and notch the seam allowance of the front towards the corner. Press the seam allowances towards the front.
Sew the back to the front (collar) along the neckline, right sides together, matching all marks, start and stop stitching exactly at the corner (mark (2) on the pattern).
Trim back the seam allowance along the neckline, clip and press towards the collar. Catch stitch the seam allowances of the neckline and shoulder to the canvas.
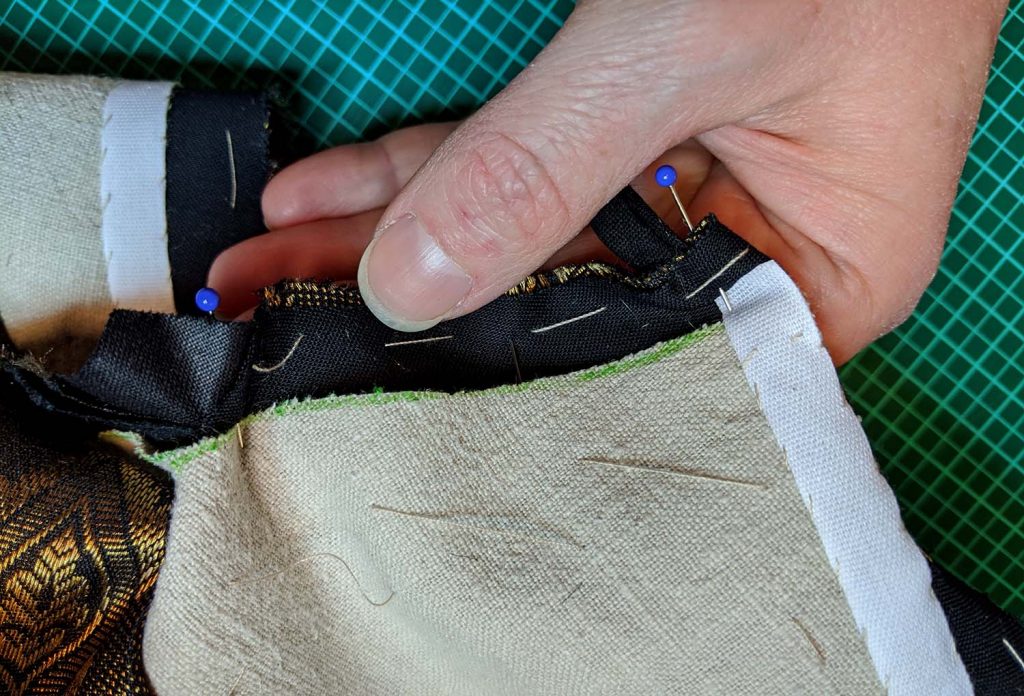
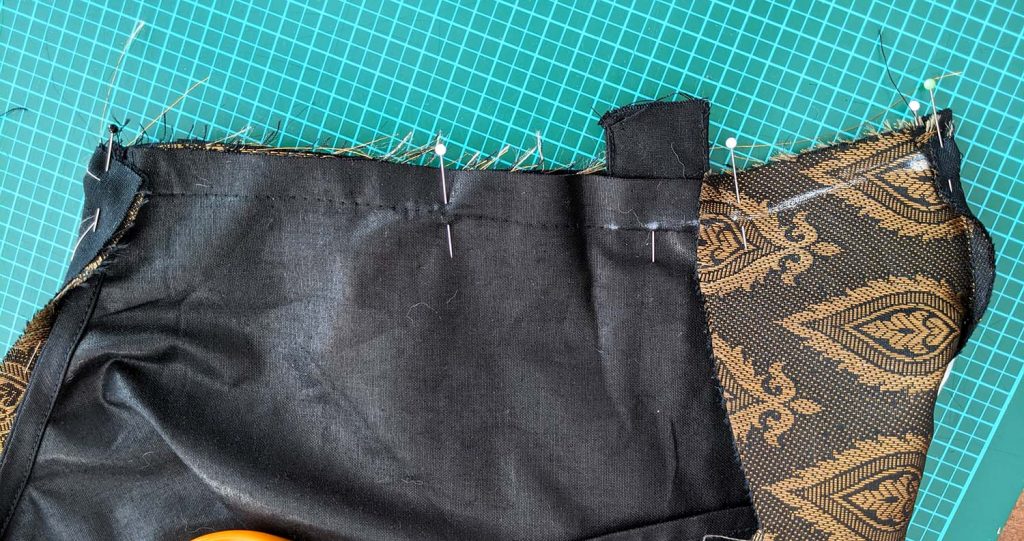
Time to close the side seam: line up front and back, right sides together, matching all marks. At the armhole, fold the seam allowance of the front around the finished edge of the back armhole. At the bottom edge, fold the bottom facing around the finished bottom edge of the back, with the seam allowance turned towards the facing. Sew from top to bottom and trim back the seam allowances. Pull the front to the side and press the seam allowances towards the front.
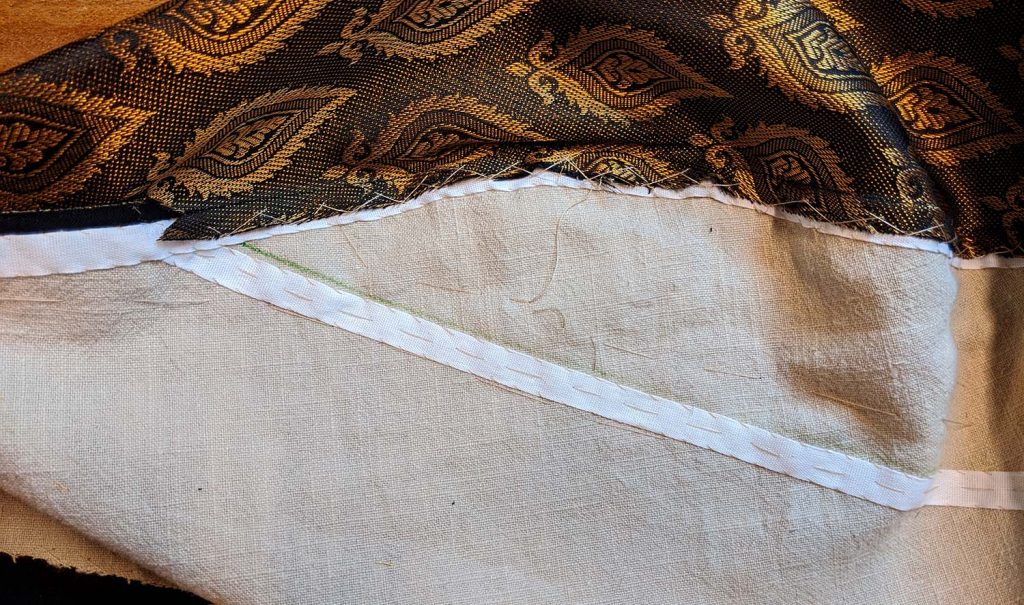
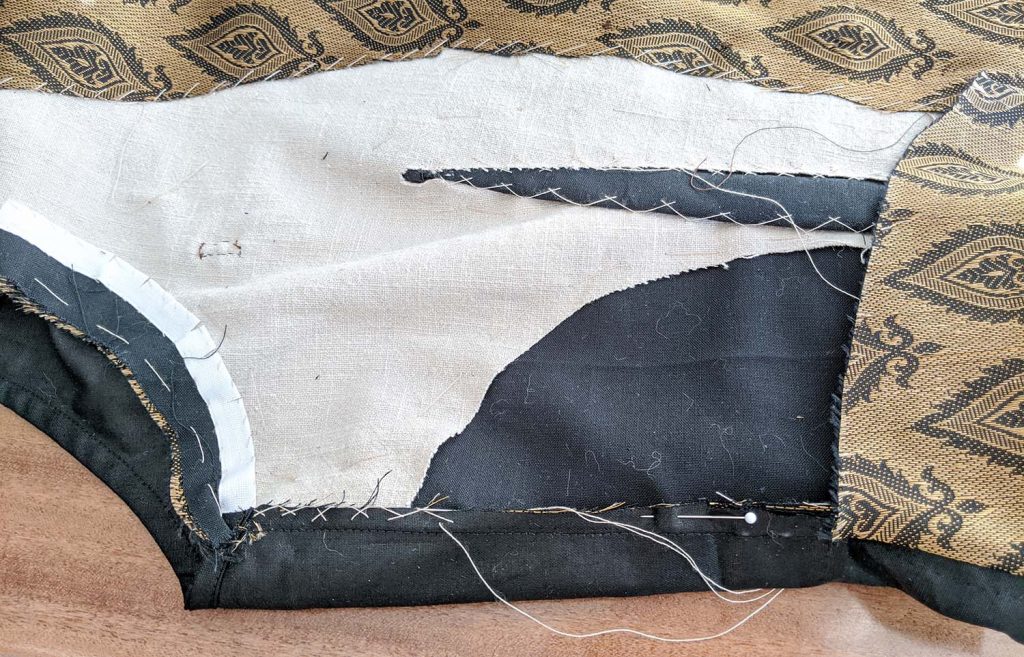
Turn the vest right side out and press the edges, rolling the seams of front and bottom edge slightly out of sight toward the garment wrong side, the collar edge toward the underside. Baste along front, bottom and collar edge through all layers to hold the edges in place. Turn down the collar along the roll line and smooth out the facing, giving the width needed for the turn of cloth. Baste about 3/8” (1cm) behind the roll line through all layers. Fell stitch the loose edge of the facing to the canvas (upper edge of image). Catch stitch the seam allowances of the side and shoulder seam to the canvas / flatlining. At the armhole, clip the seam allowance carefully at the curves and turn the seam allowance around the tape, trim back and clip at curves, fell or catch stitch to the canvas. Press the edge and baste in place. Catch stitch the seam allowance to the flatlining to hold in place securely.
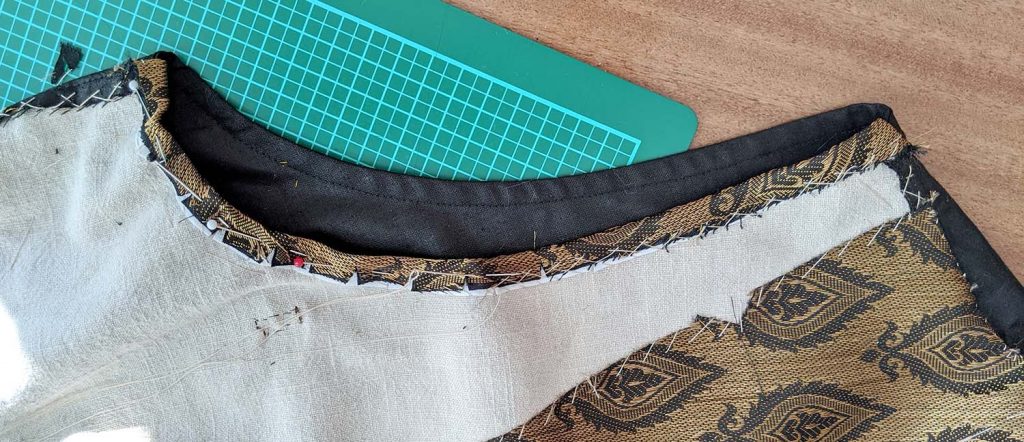
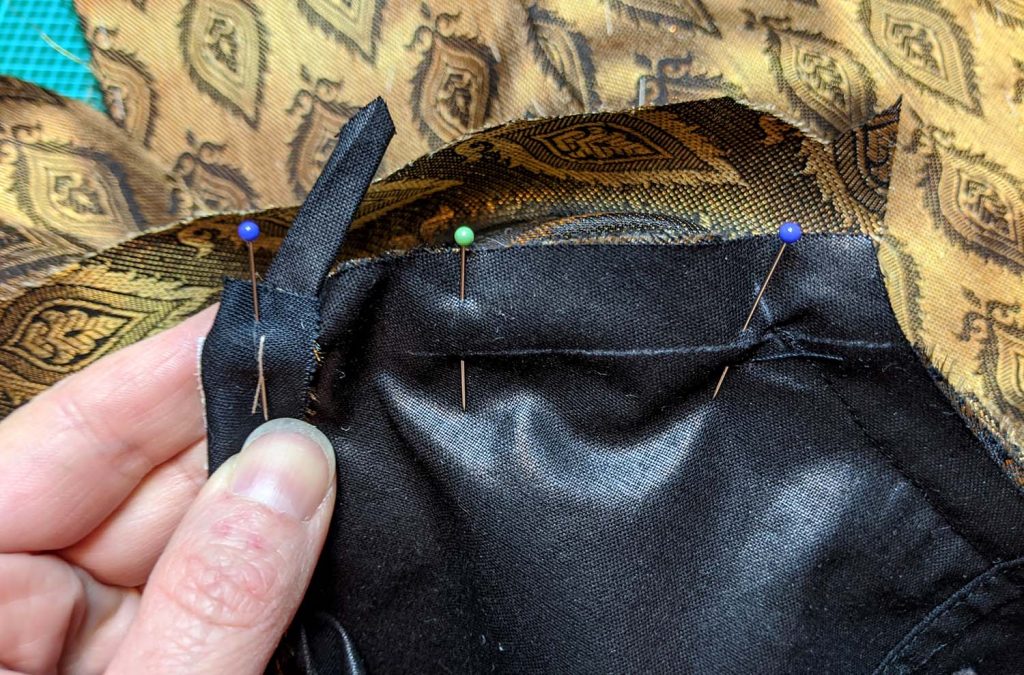
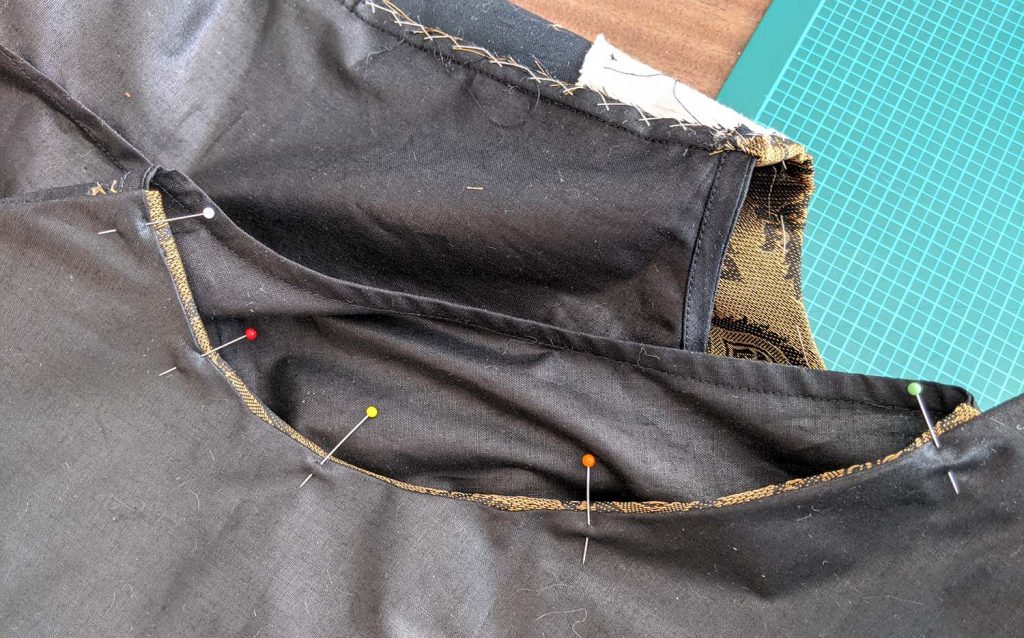
Along neckline and shoulder, notch the front facing towards the corner (mark (2) on the pattern) and turn in the seam allowance, trim back and clip if needed. Line up the turned in edge with the stitching line of neck and shoulder.
Now take the front lining and turn in all seam allowances, press. With the wrong sides together, baste the lining to the fronts, lining up all seams. Lay the excess width along the shoulder seam into a fold. Fell stitch the lining to the front along all edges, taking care no stitches are showing on the right side of the vest. Along the armhole, push the lining slightly behind the edge of the fashion fabric to keep the lining out of sight.
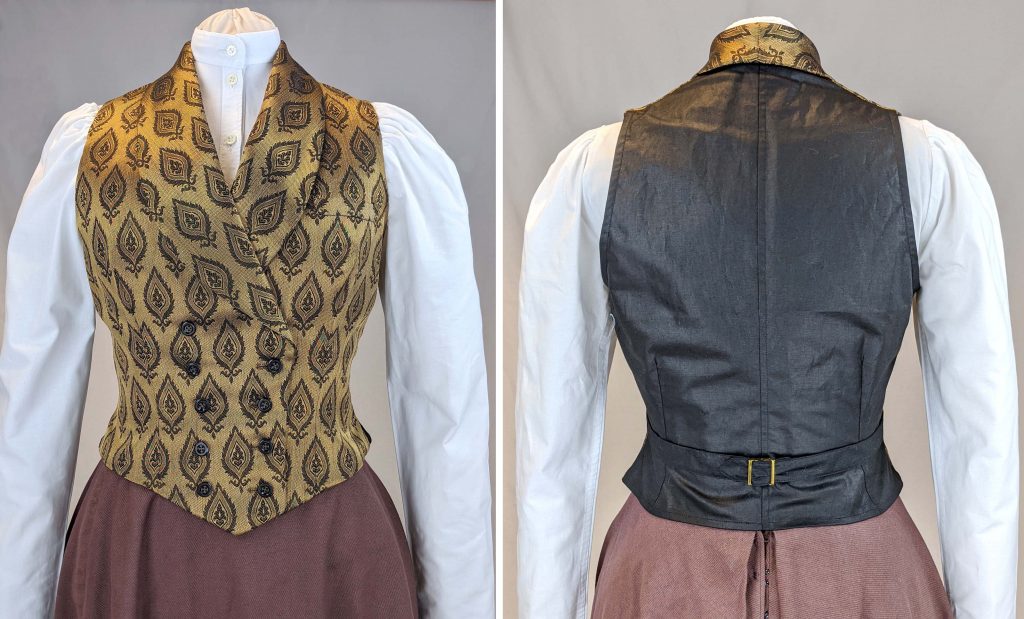
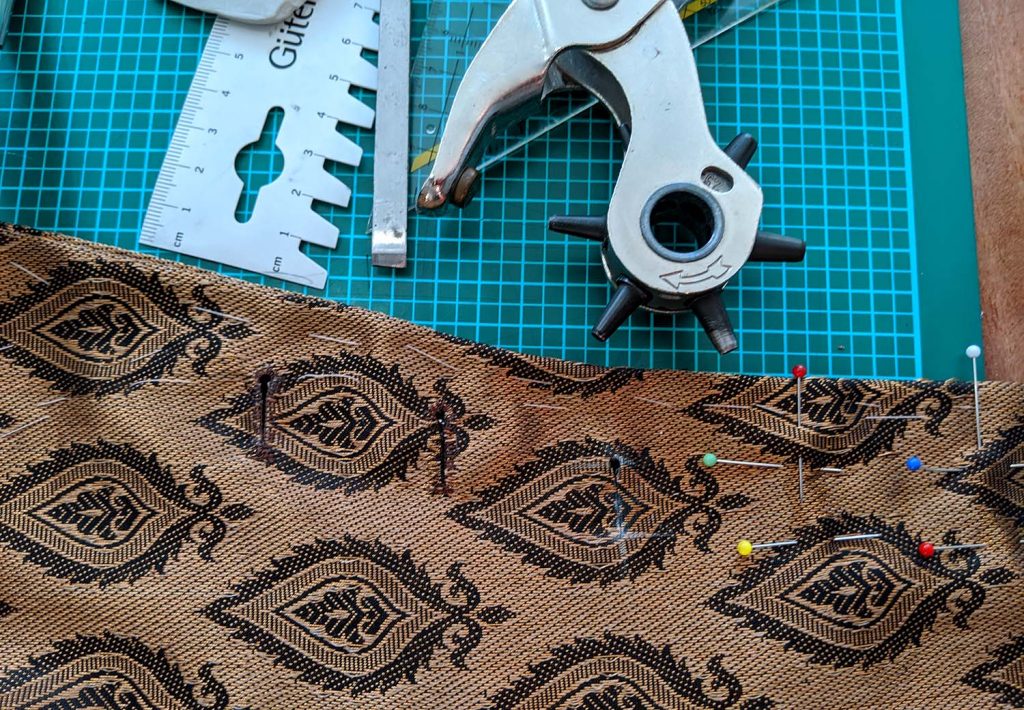
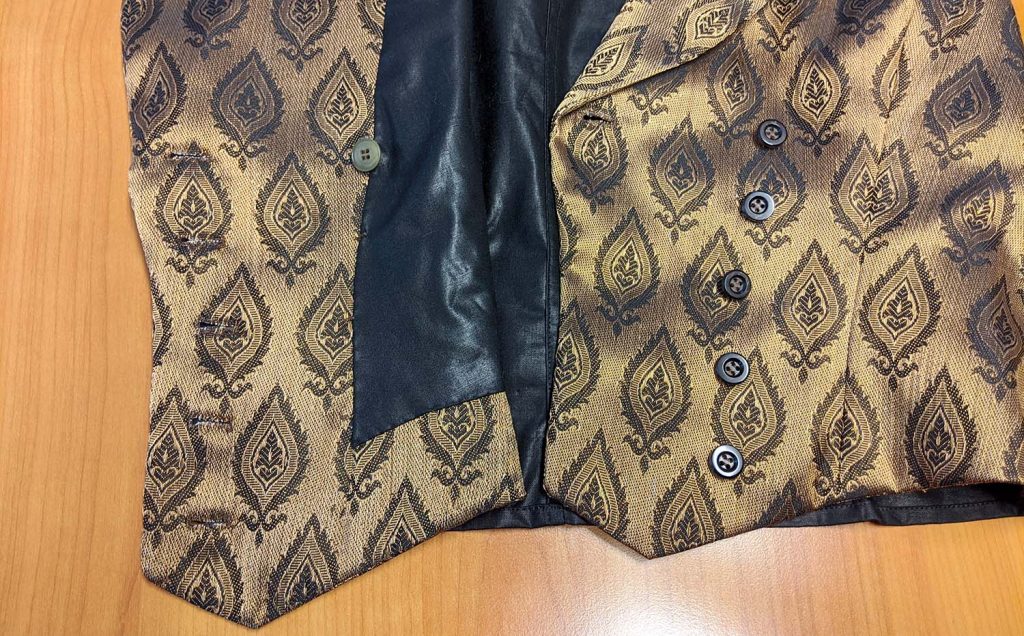
The very last step: button holes and buttons. Mark the position of the button holes on the right front and sew eyelet button holes, on the left side sew just the uppermost. With that delicate and fraying brocade I treated all button holes with fray chek before cutting open.
Mark the center front on both sides and line up, with the right side on top to get the position of the buttons. Sew on all buttons, for the invisible button, corresponding to the left uppermost button hole you can use a flat and cheap button, sewn to the wrong side of the west.
Remove all basting threads and press the vest for a last time, be careful when pressing down the collar along the roll line. The goal is not a sharp edge, but a collar turning smoothly along the roll line. Mount the buckle.