
Part 1 General Information
Part 2 Fronts
The sewing pattern is available via Etsy.
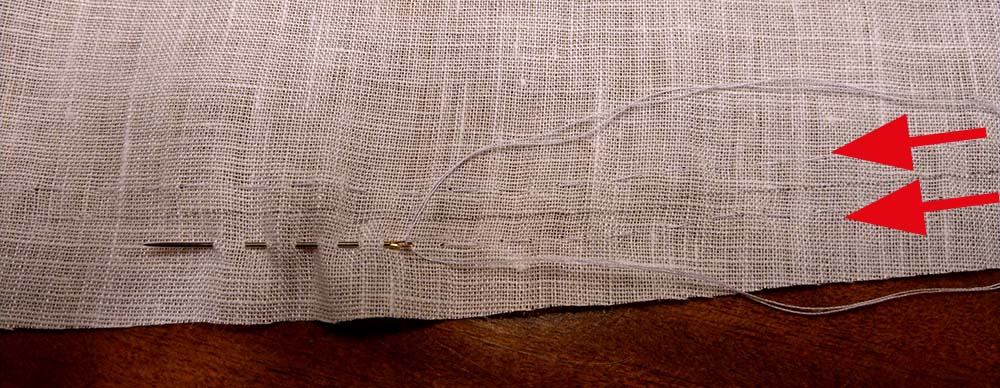
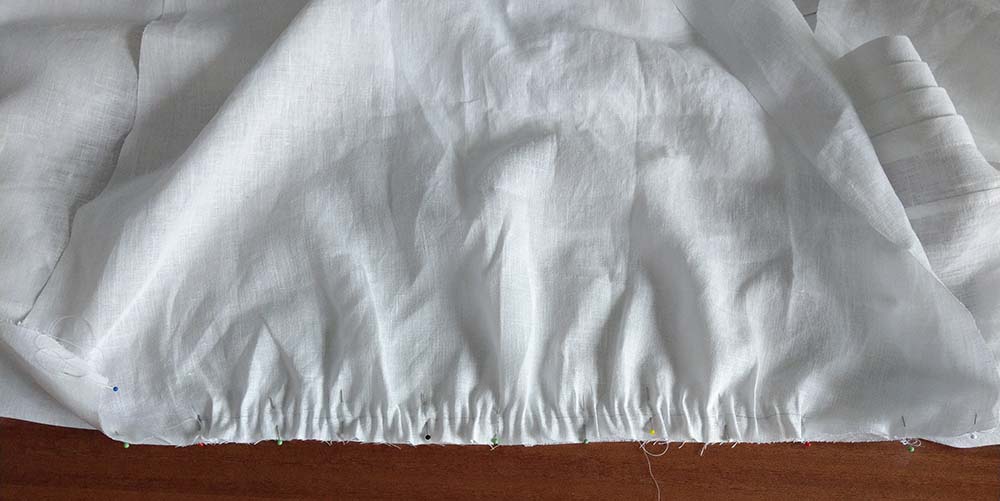
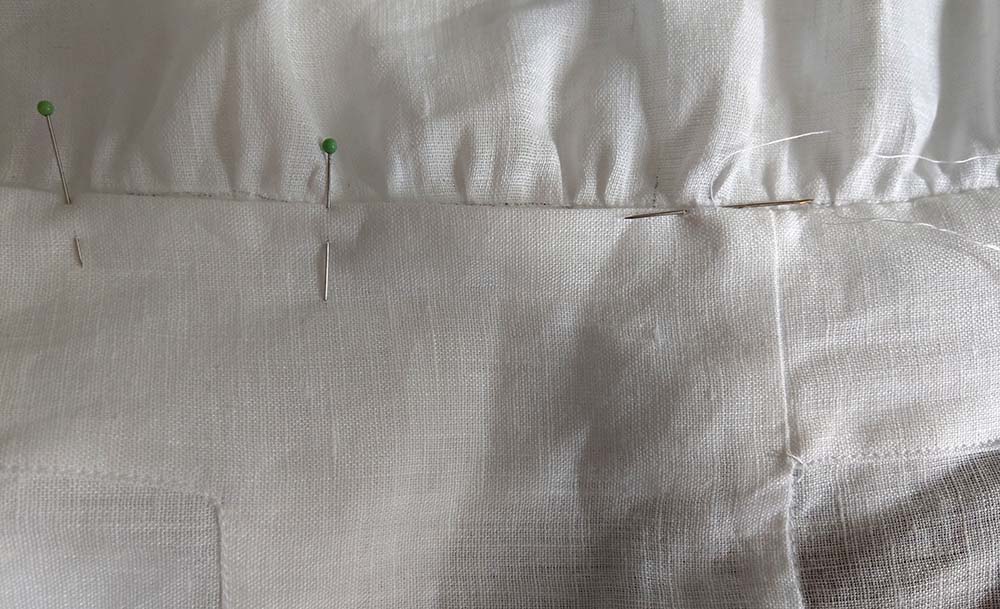
Gather the sleeve head with two rows of a running stitch. Pin into the armhole, right sides together, spread the width evenly between the marks and sew.
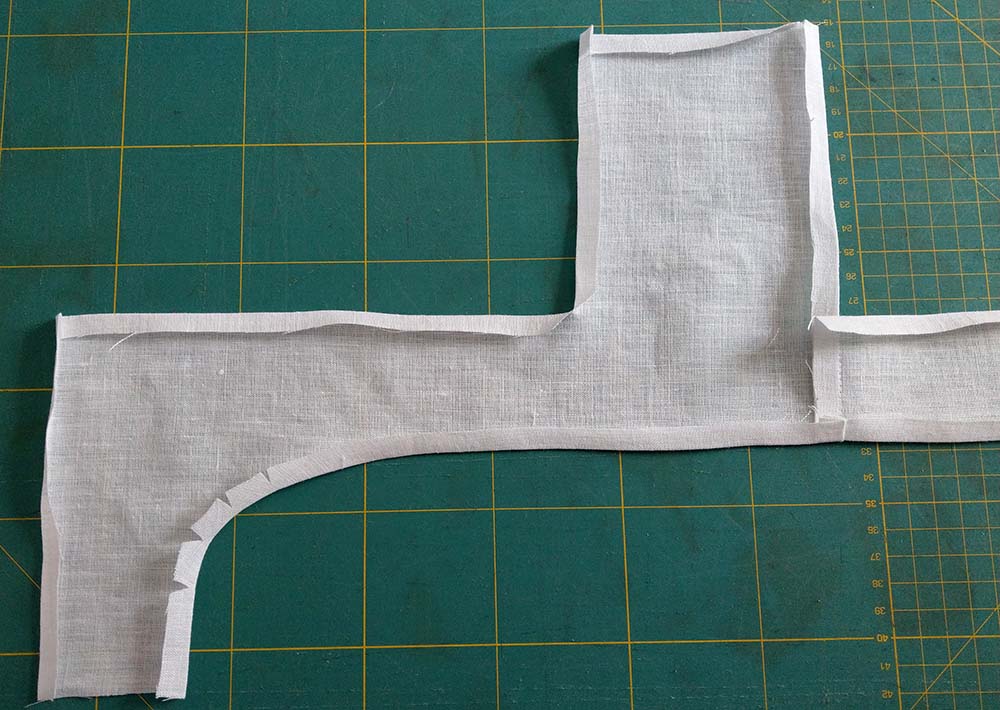
Prepare the yokes. The sewing pattern shows the yoke as one piece without seams; here I made it from two pieces, because the yoke often was made from pieced rests. Turn in all seam allowances, except at the side seam. Notch were needed, at corners and curves.
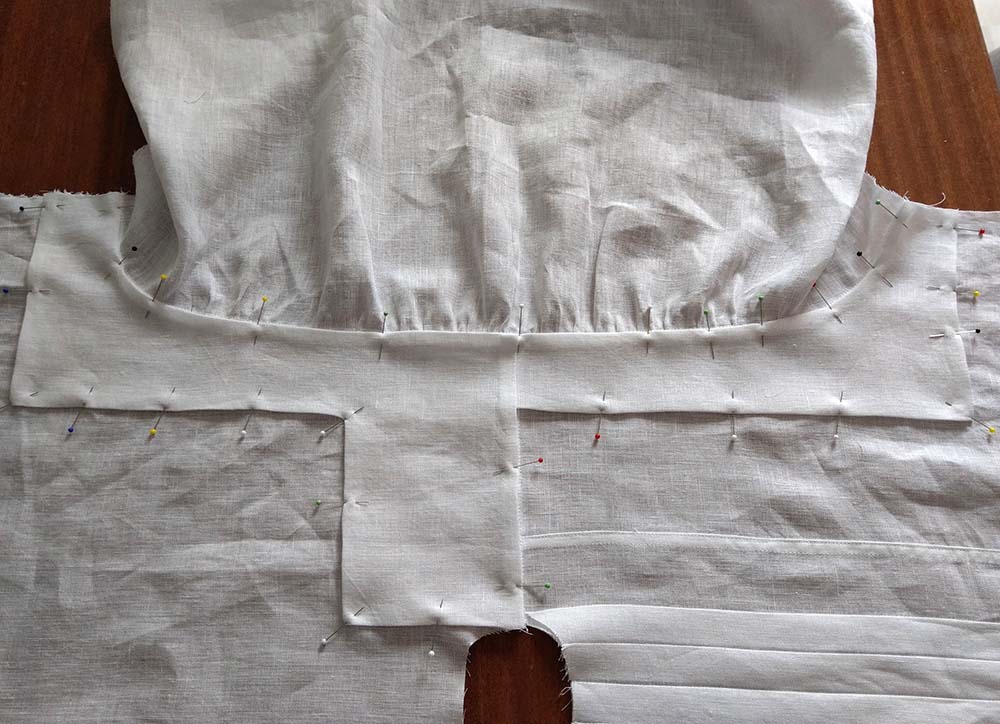
Line up the yoke with the shoulder and sleeve seam, wrong sides together, pin in place carefully. Fell stitch the yoke along the shoulder and sleeve seam, topstitch all remaining edges.
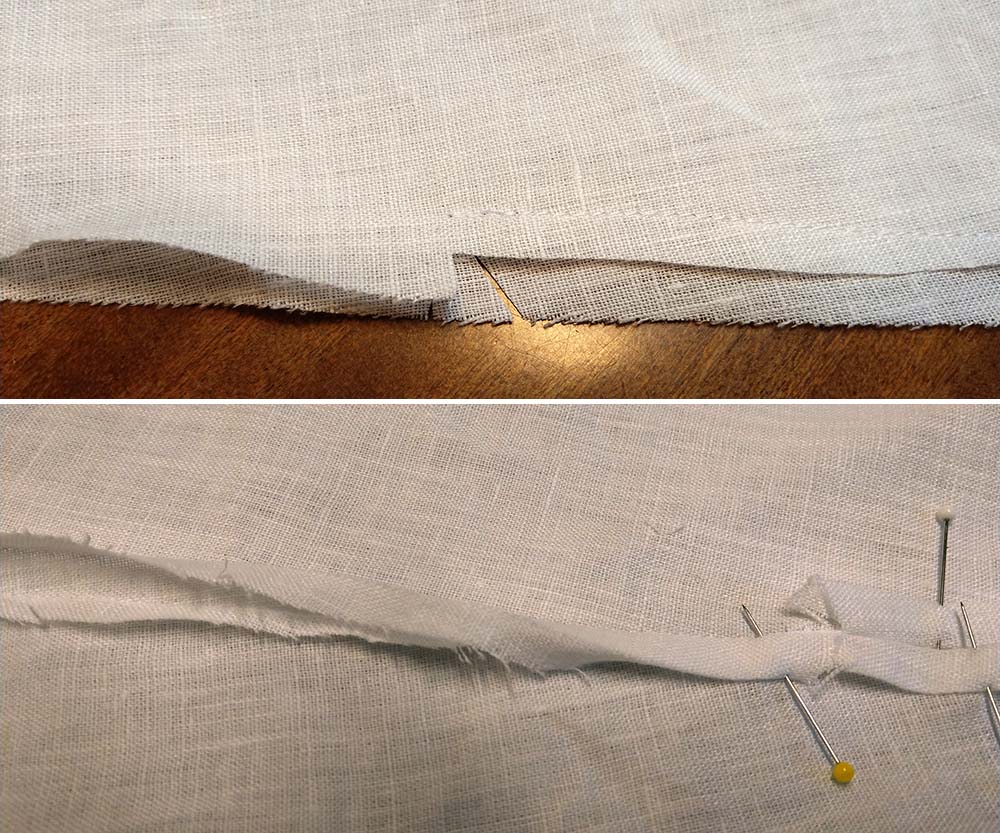
Close the side and sleeve seams, right sides together, stop at vent marks. Trim back the seam allowance of the back to ¼” (5mm). Notch seam allowances at the vents towards end of stitching and fold the front seam allowance over the back one to get a flat felled seam, topstitch.
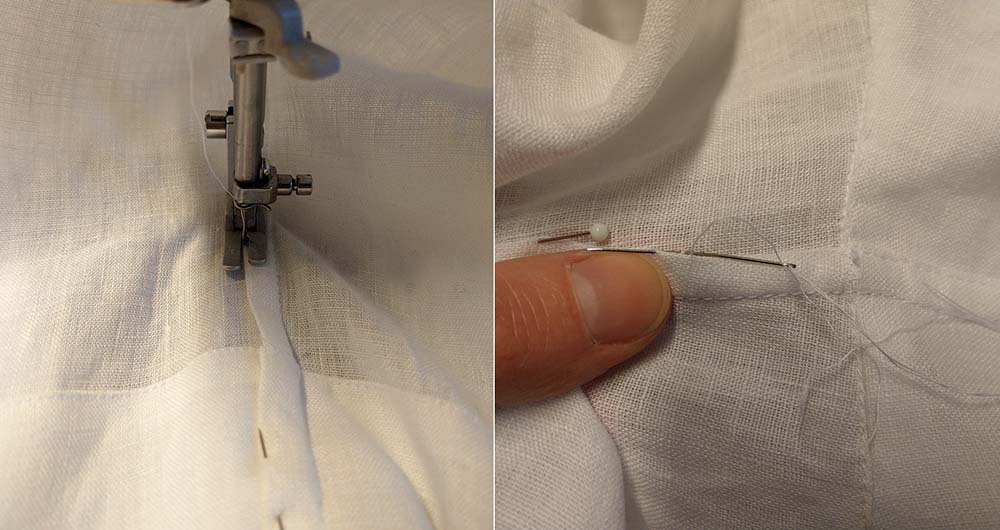
 You can make that stitching with the sewing machine or by hand with a slip stitch, especially along the sleeve machine sewing would be a little bit tricky. Turn in the seam allowances along the vent and bottom edges twice and sew.
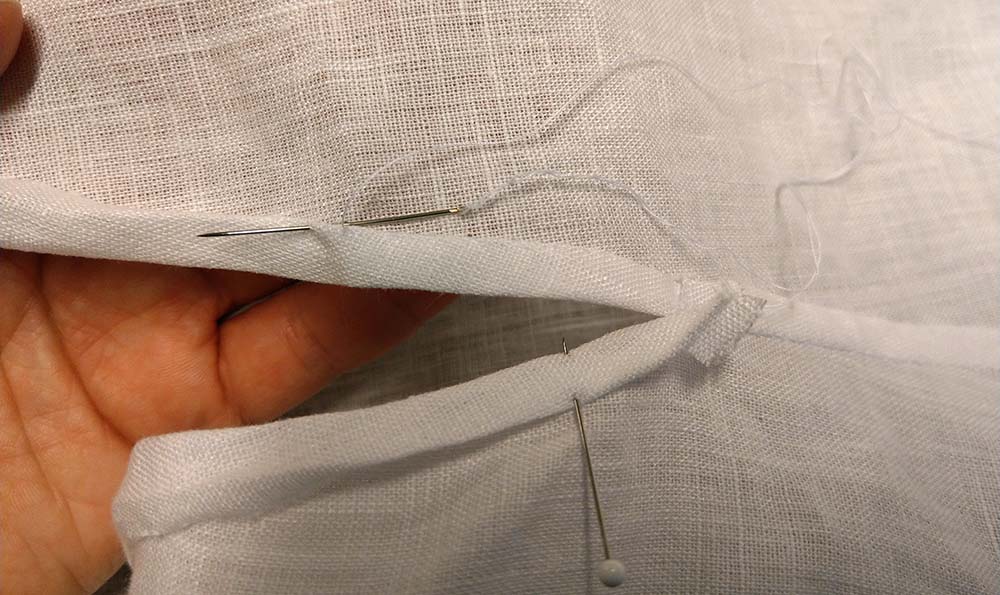
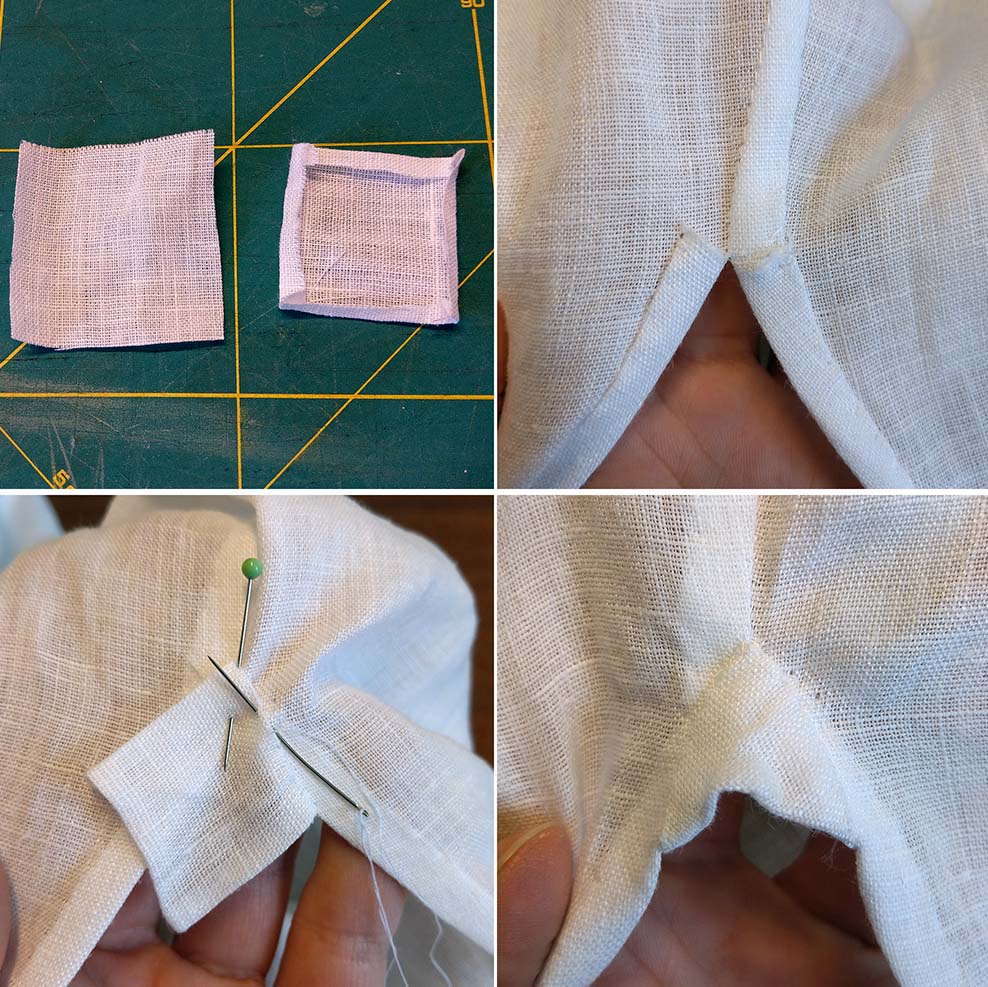
The vent corners are a weak point of the shirt, some edges are still left raw. To strengthen the corners insert small gussets. Take a square piece of fabric, turn in seam allowances and attach at the corners.
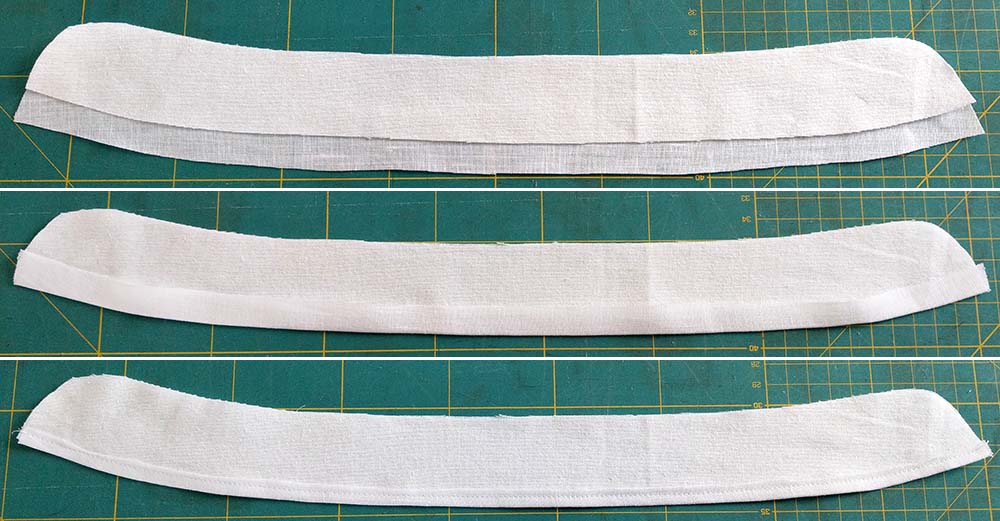
Collar and cuffs: Cut the interlining of collar and cuffs without seam allowance along the bottom edge. Line up the interlining and inside collar/cuff and turn in the bottom seam allowance. Topstitch about ¼” (5mm) from the edge and trim back the seam allowance.
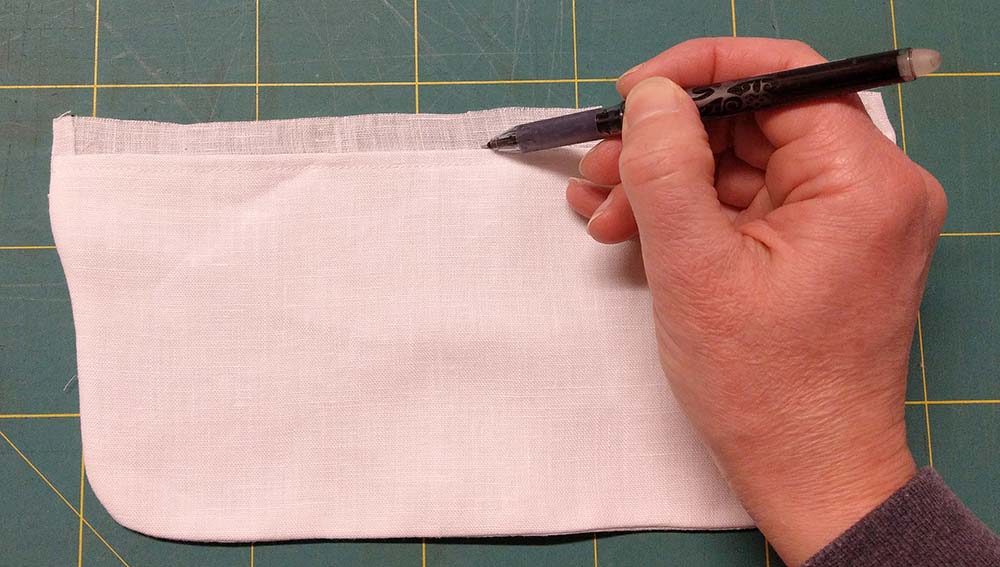
 Line up the interlined piece with the outside collar/cuff, right sides together and sew. Trim back the seam allowance to ¼” (5mm), turn the right side out and press carefully. Mark the stitching line on the outside piece with an erasable marker.
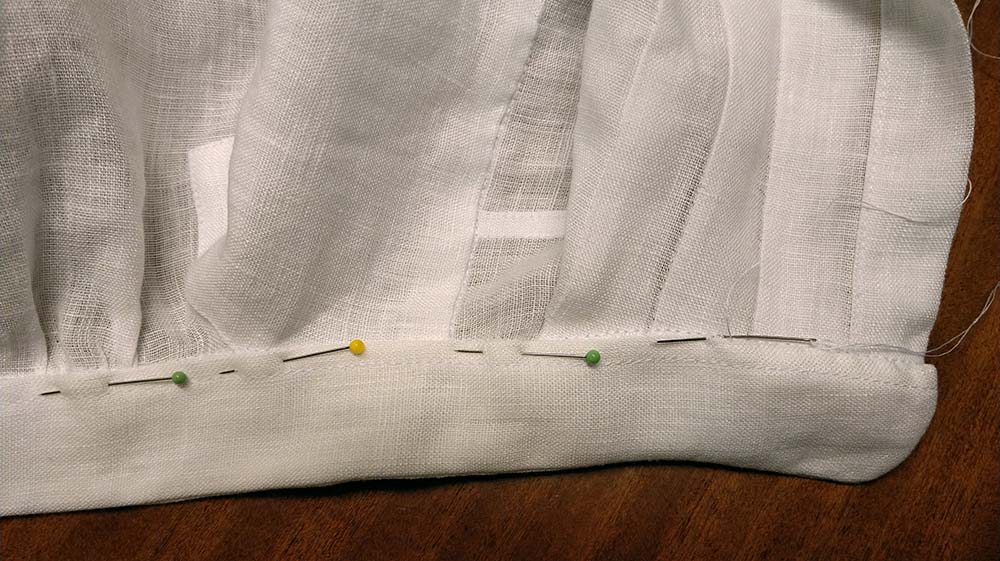
Gather the back neck with two rows of a running stitch and attach the collar, right sides together. Spread the width at the back neck evenly. Trim back the seam allowance and attach the collar on the inside with a fell stitch.
Attach the cuffs in the same way.

The sewing pattern is available via Etsy.
Part 4 buttonholes
Stock collar