
The sewing pattern is available via Etsy.
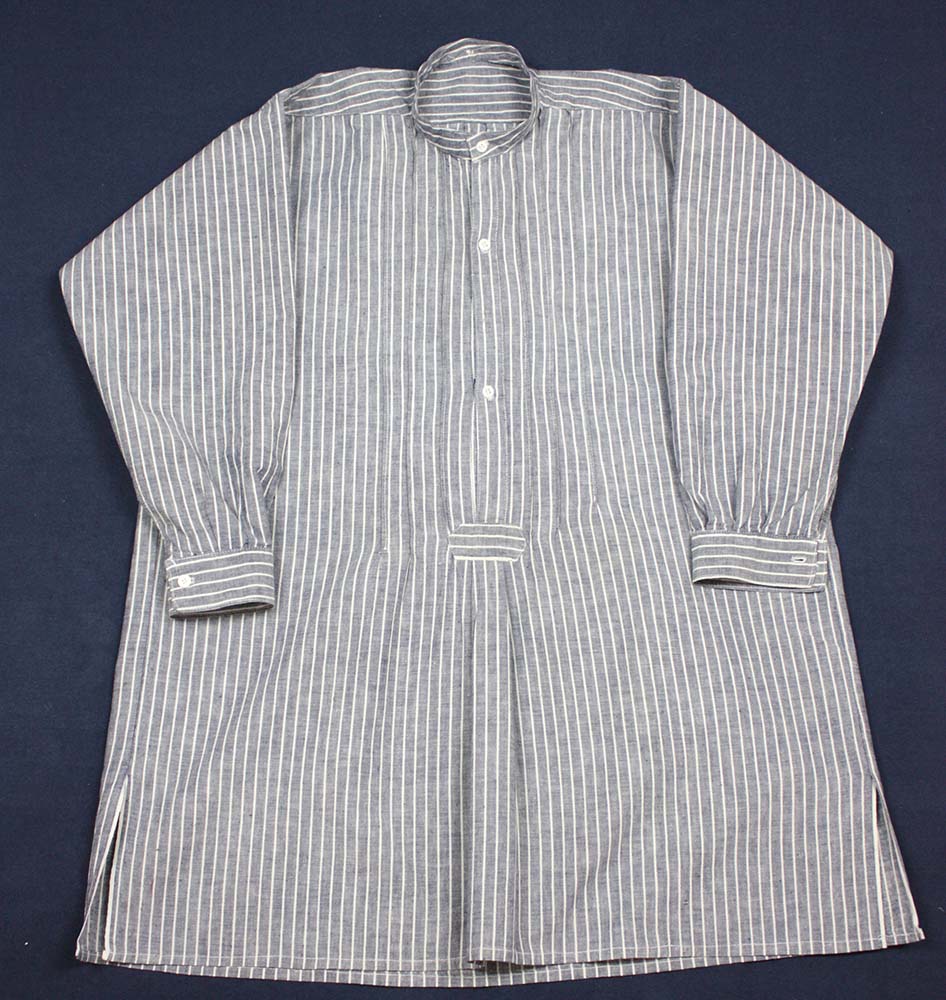
I want to start with a simple shirt without a bib front. The picture shows a shirt from my collection. A bar covers the end of the button tab, underneath the bar the shirt front is laid into a box pleat. The bar can be shaped as desired, rectangular, or as shown on the picture.
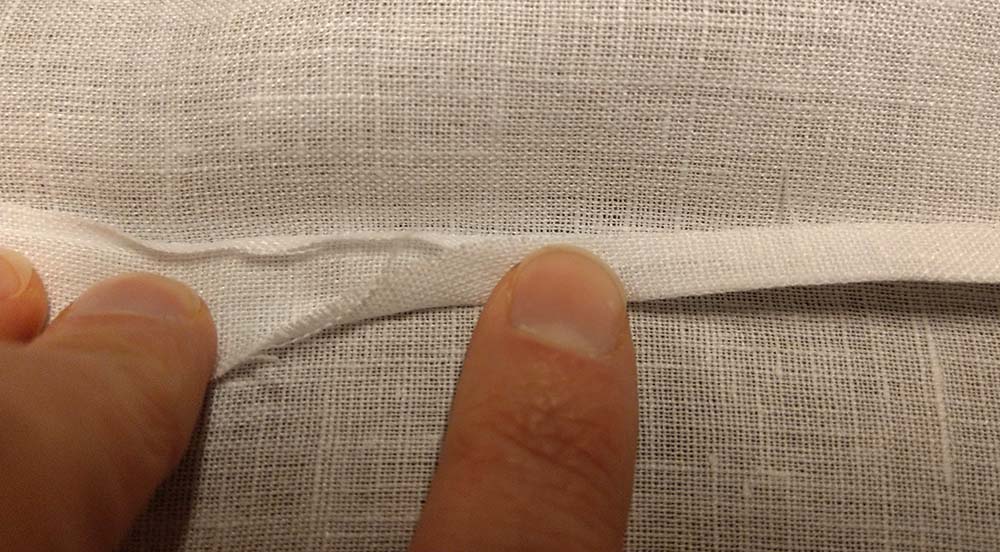
Cut the front of the shirt T-shaped, take care to cut exactly on the straight grain. Fold both edges twice to form the button tabs and topstitch.
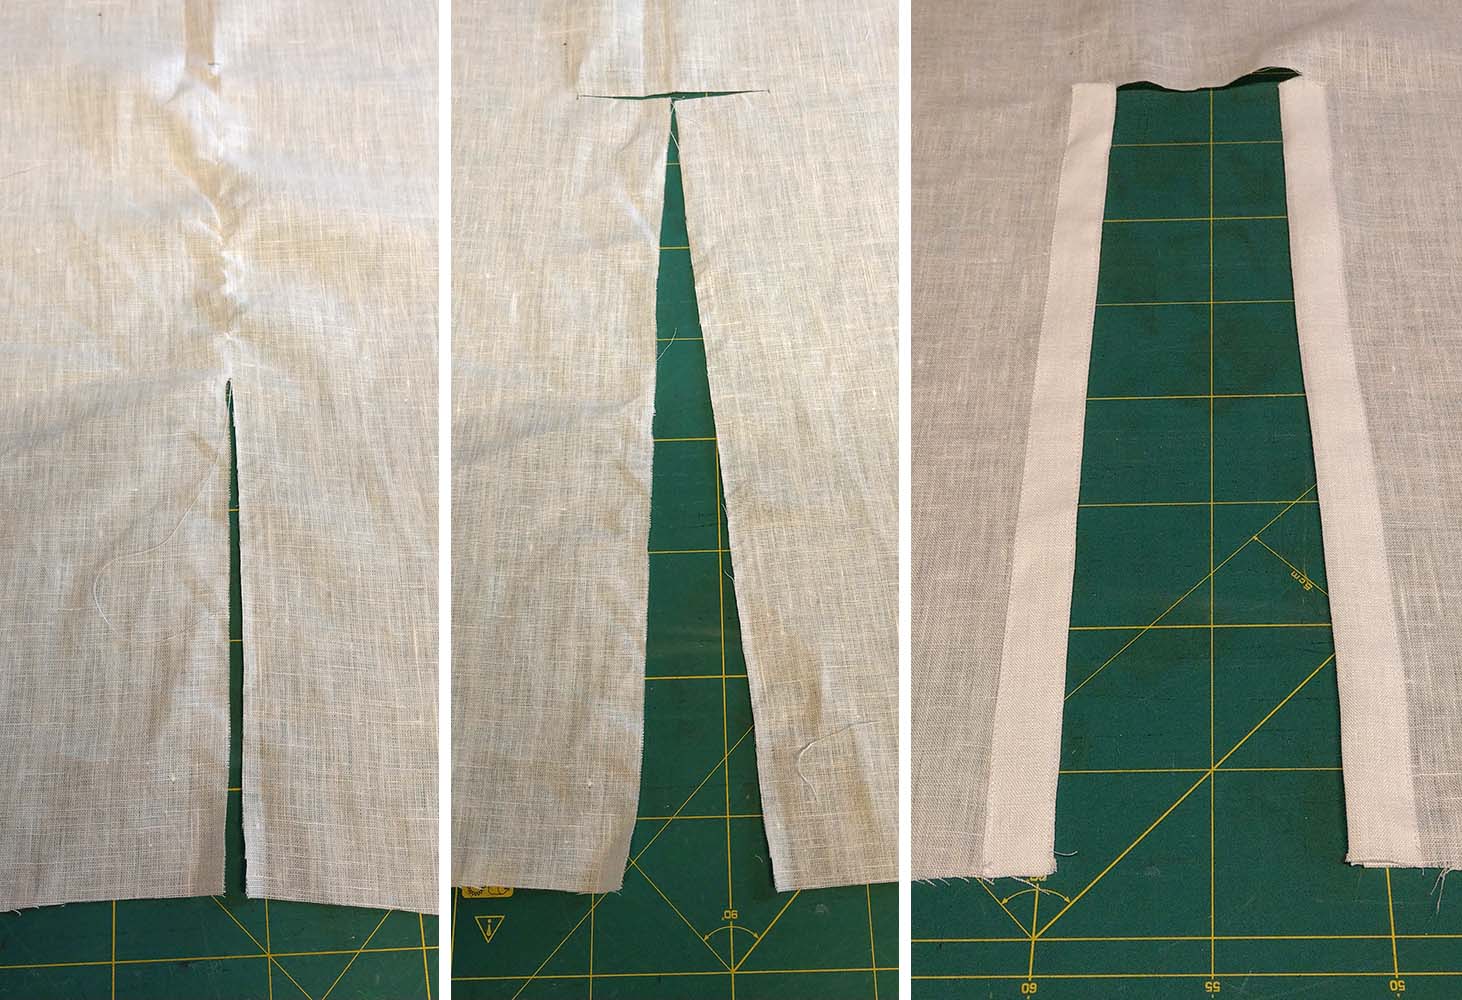
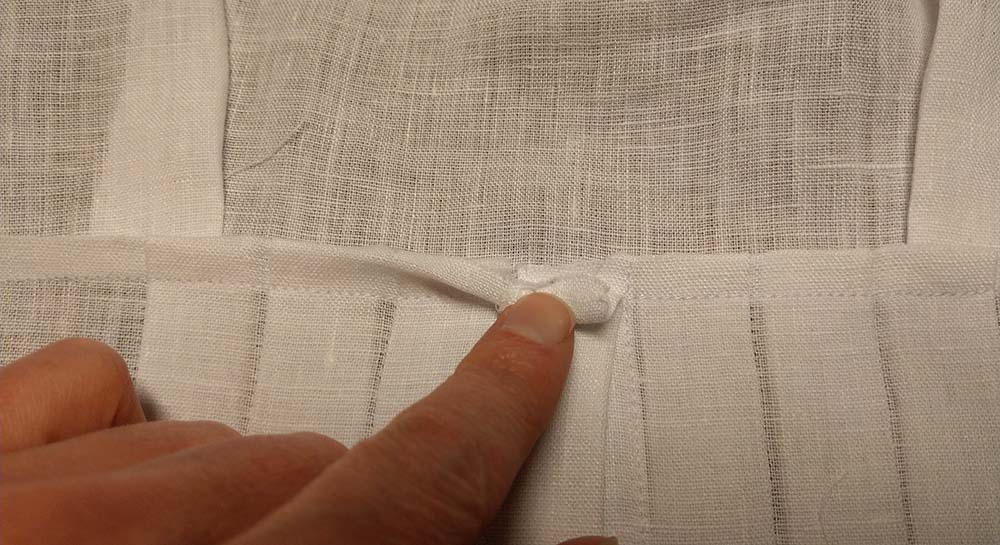
Line up the two tabs along the center front, left side is on top. Lay the excess fabric of the front into a box pleat. Fix the box pleat with some stitches to the end of the button tab. Take a piece of fabric for the bar, turn in the seam allowance and place on top of the button tab end. Attach with a prick stitch or a fell stitch. Cover the end of the button tab on the inside with a piece of fabric too.

For the bib front, cut the front along the marked lines on the front part and make a fold on each side.
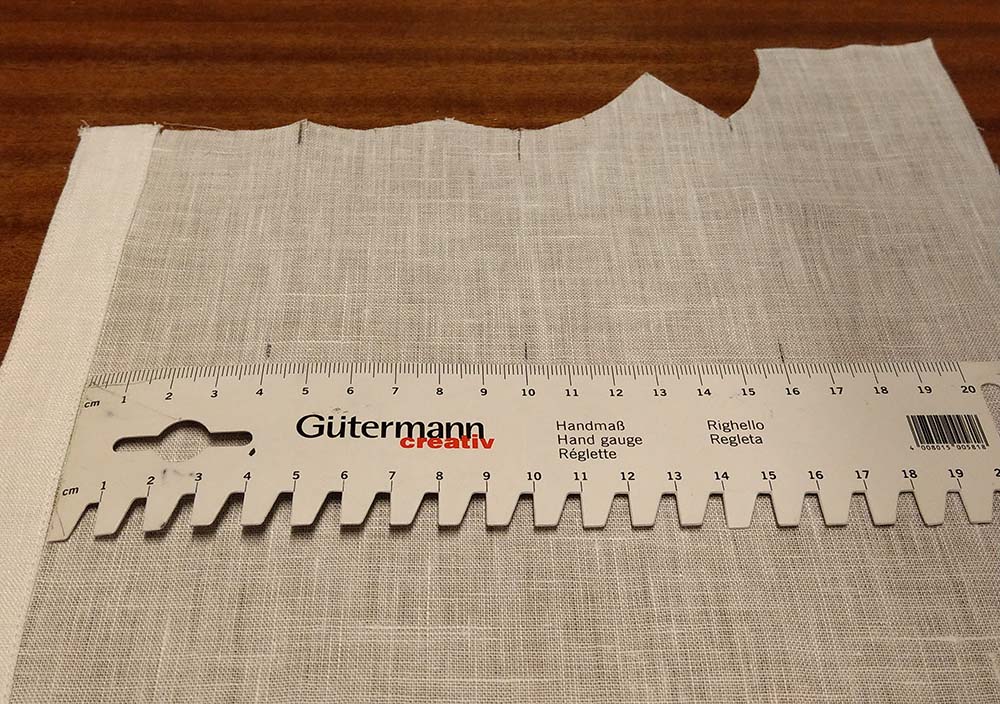
Take the bib pieces and fold the front edges to form the button tabs and topstitch. Left side will be on top again. Mark the position of the pin tucks, press in the folds edges before sewing.
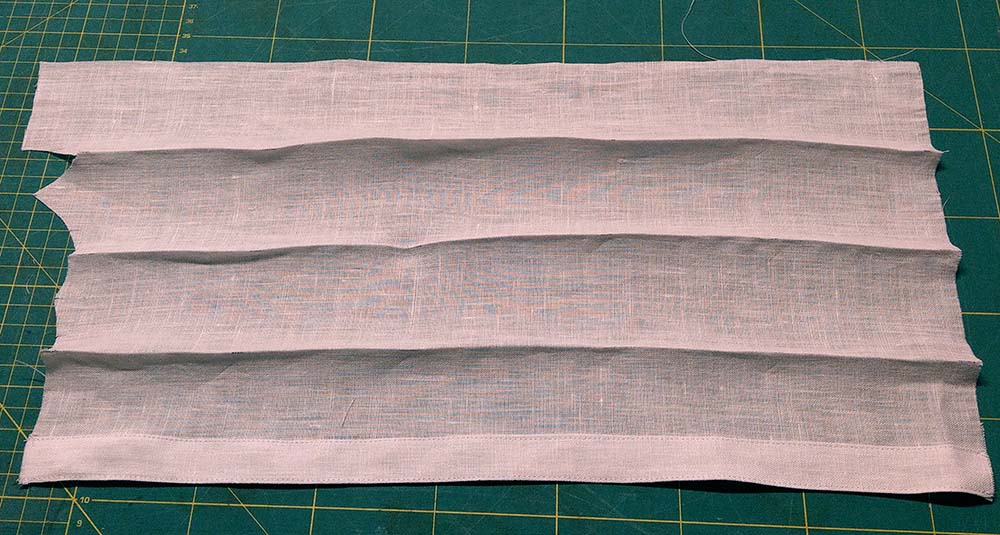
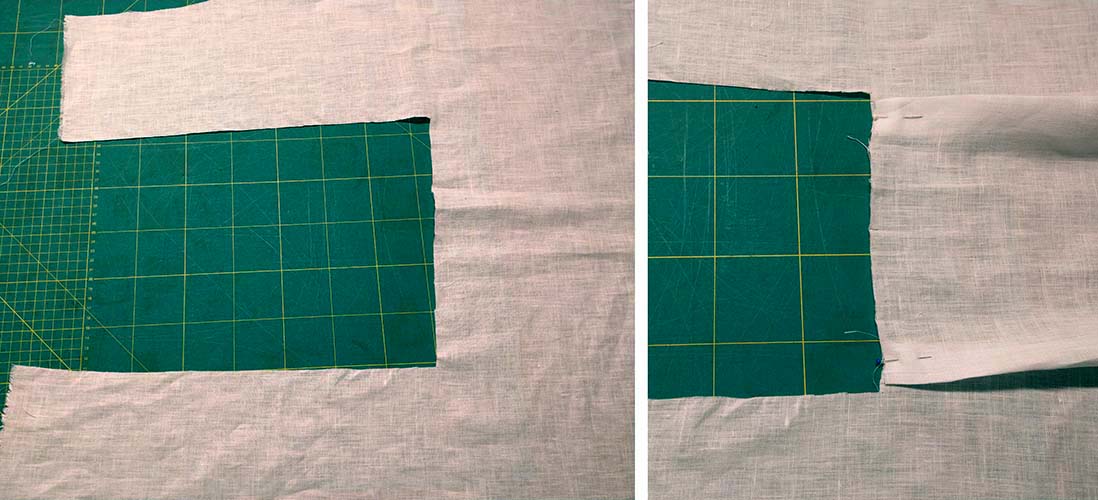
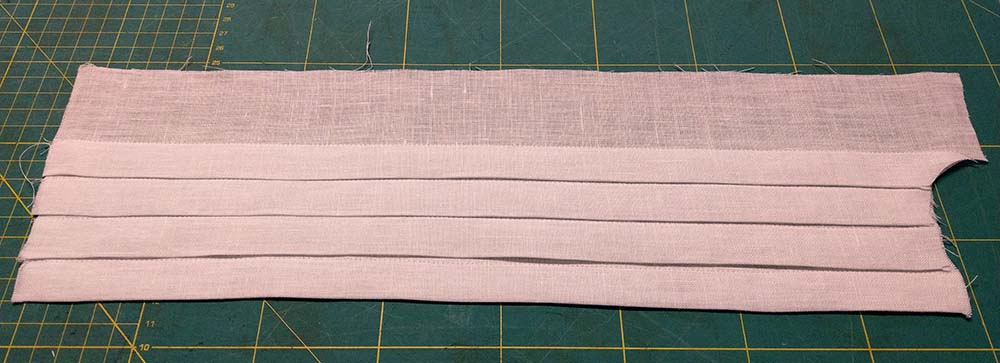
Press all pin tucks towards the center front. Line up the bib insertion pieces along the center front and pin/baste together – left side on top.

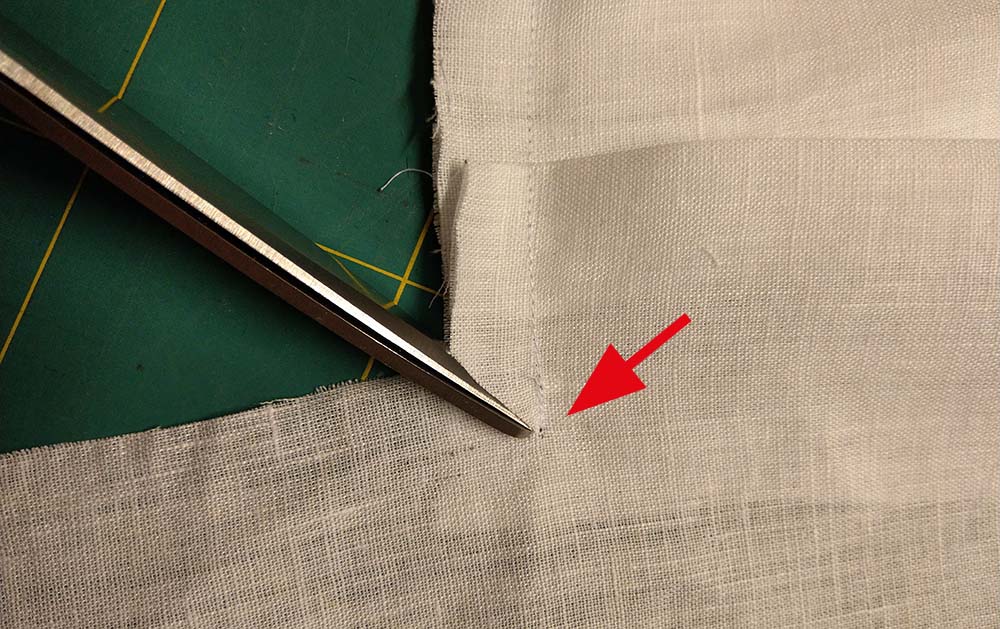
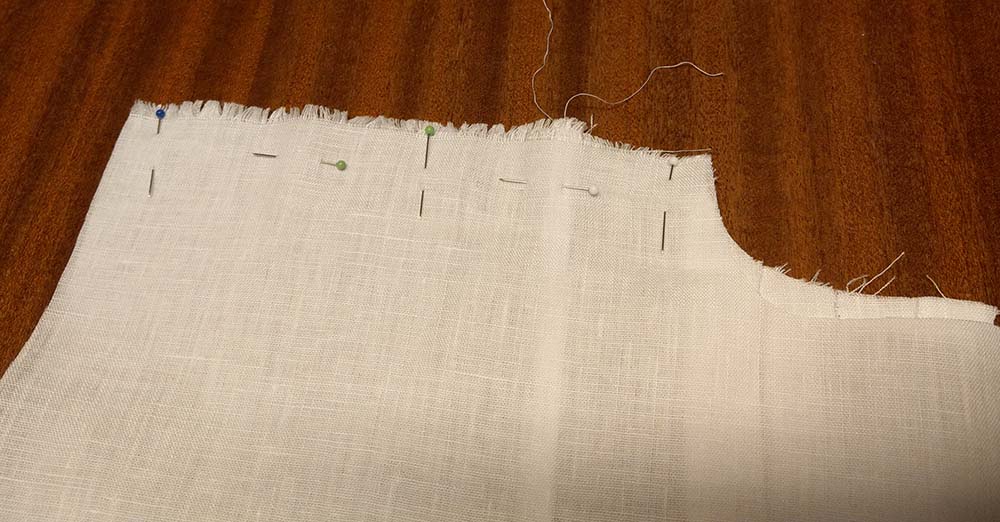
Take the bib insertion and place it along the cutout bottom edge of the shirtfront, right sides together. Vary the folds at the shirtfront if necessary. Take care to match marks at the corners. Sewing starts and stops exactly at marks.

Notch the seam allowance of the shirtfront towards end of stitching. Turn the shirtfront 270°, pivot pint is the end of stitching and sew the side edges, start exactly at the preexisting seam.
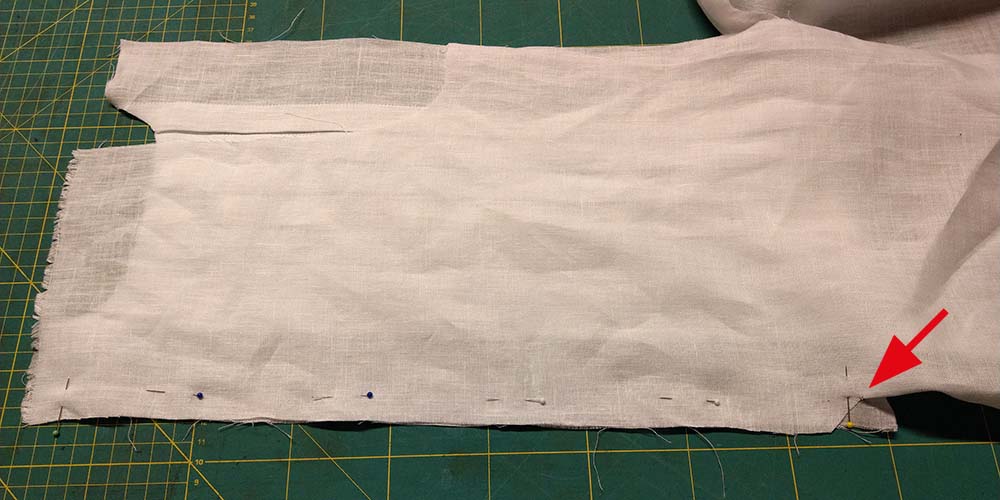
Trim back the seam allowance of the shirtfront only, fold the seam allowance of the bib around and sew. This is called a flat felled seam. Trim back excess fabric at the end of the tab to avoid bulk.

Now the fronts are prepared and all following steps are the same, independently from the chosen front style. Next is to close the shoulder seams, right sides together. Trim back the seam allowance to ¼” (5mm) and press towards the back.
The sewing pattern is available via Etsy.
Part 3 Sleeves and collar
Part 4 Buttonholes