Category Archives: Victorian

Construction of a 1830-60 men´s shirt Part 1

Before I´ll show you how to sew an early Victorian men´s shirt, I want tell you a bit about the little but obvious differences between Victorian and Georgian men´s shirts.

During Georgian and Regency era, a shirt always was a quite simple piece of clothing, made from rectangular pieces. Gussets provided sufficient movement at the shoulders and underarms. Excess width was gathered along the neckline and sleeves. Nearly nothing of a shirt was visible underneath a high-necked waistcoat, except from the jabot, made from fine fabric.

Men´s Shirt with Jabot and high stand-up collar about 1800 / Continue reading

A 1830´s Stock Collar for my husband

During the last months I sewed some 1830´s clothes for my husband. He got trousers, skirts, waistcoats, a Frock Coat and a Tail Coat. To be properly dresses just a stock collar was missing.  I´ll show you how I made it from silk sateen fabric and inlay, all fabrics came from stock except the buckle. 


First, I cut two collar pieces from the inlay, one on the straight, one on the bias. As it was a fusible inlay I didn´t had to pad stitch the pieces together, just fuse with the iron. Now it had the desired stiffness for my collar. Then I covered the inlay with the silk sateen using a catch stitch on the inside.

IMG_4563


Next was to cover two pieces of linen for the belts with the sateen and prepare two straps for the buckle on the back.

IMG_4610


I attached the belts to the collar with the straps for the buckle underneath.

IMG_4613

IMG_4614

IMG_4615

IMG_4616


I placed the belt pieces on top of the collar and basted them to the collar on the center front. Think of additional width needed for the belt when the collar lays around the neck.
For the bow, I lined up the two straps, right sides together, and sewed around. I left an opening and turned inside out after trimming the seam allowances. I pressed the bow strap carefully and closed the opening with some invisible stitches. I made a bow, arranged the loops and ends carefully and fixed everything with some stitches. Then I attached the bow to the collar.
I covered the back of the collar with lining fabric, attached with a felling stitch.

IMG_4617


For the inside collar I lined up the collar pieces, right sides together, sewed and trimmed back the seam allowances.  I turned the inside out and pressed. I lined up the straps for the collar stand, right sides together. Placed the collar pieces between, leaving a gap at the center front, and stitched along short and upper edges.  I trimmed back the seam allowances, turned inside out and pressed.  I turned in the seam allowances of the bottom edge of the collar stand and stitched along the bottom edge.
At least I starched and pressed the inside collar, folded the front edges and basted to the inside of the stock collar.

IMG_4619

IMG_4629

IMG_4628

IMG_4630


You can download the pattern for the stock collar here, have fun with sewing:

0217_StockCollar1830


Patch pocket for a bustle dress

In this tutorial, I want to show you, how to sew a patch pocket for a Victorian bustle dress. You can see these pockets on several extant dresses, house dresses, as well as walking dresses, and of course on fashion plates. But what were these pockets for? Years ago, when I started my sewing pattern business I thought to hold a parasol. But that seems to be wrong. They maybe were meant to hold a handkerchief, a fan or just for decoration, as there are now visible signs of wear inside and outside the pockets on extant dresses. Visit this great article for more details. https://brokecostumer.blogspot.com/2016/02/that-mysterious-pocket.html?fbclid=IwAR1jeTo3wuViCpFIlyFCTMpjn-ph8oKwpQ2yoI_BS6Pv1xu1iKfA3_HBPdA

Draft the pattern on a piece of paper, ad seam allowance just at the sides.

img134

Cut from upper fabric and lining. The two layers will be treated as one. Lower the tension of your upper thread and sew with a long running stitch along the horizontal lines and along the top and bottom edges. Shirr fabric, at the bottom from 20cm to 12cm, at the top from 32cm to 24cm, and along the horizontal stitching too.
I decided to add a lace trim before shirring the fabric.


Cut a strip of fabric on the straight grain, fold like you would fold a bias tape, and cut to parts with a length of 15cm, 19cm, 23cm and 27cm. I added more trimmings first.
Open your folded strips of fabric and pin them in place. Sew along the fold line. Fold your strip again and sew the open edge with invisible stitches to the pocket. At the top and bottom fold the strip over the edge and sew to the back side.

IMG_2416

If desired trim with lace all around the edges.

IMG_2417

Sew pocket to your overskirt. The first edge you can do with your sewing machine, the bottom, and the second side sew by hand.


Basic skirt for early bustle

I found a lovely fabric in a marvelous color. But what would it look best? I decided to make an early bustle dress. First I started with a basic skirt.
The upper fabric will be lined with cotton fabric and worked as one layer. Historically not correct I neatened the edges with my serger.
The skirt has a front and back part and two gores on each side. On the left side, I made a pocket between the two gores, on the right side the closure with a placket.

IMG_2264

The front part and side gores are joined smoothly to the waistband, the back part is shirred to cartridge pleats and sewn close to the waistband.
For the cartridge pleats fold the seam allowance of the back part to the inside and iron. Mark the depth of folds and sew with a strong thread. Two rows with a distance of 1cm (3/8”) are enough. First I chose 1cm for the depth of my pleats but later on, I decided to make the pleats 1,5cm (5/8”) deep for fitting the waistband.

IMG_2267

At the waistband do not use any interlining. Sew together the upper fabric and lining right sides together and turn inside out. The seam allowance of the lower edge would be folded to the inside of the waistband.
Historically correct fold the seam allowance of the upper edge of the skirt to the inside and iron. Lay on the waistband to the upper edge, right sides together and sew the waistband with small stitches to the skirt.

IMG_2275
IMG_2276

At the back part shirr fabric by pulling the threads firmly. Sew fold by fold to the waistband very closely together.

Sew on hooks and eyes and hem the skirt – ready!

Paletot 1876 – How to Part 2

Part 1 / Teil 1

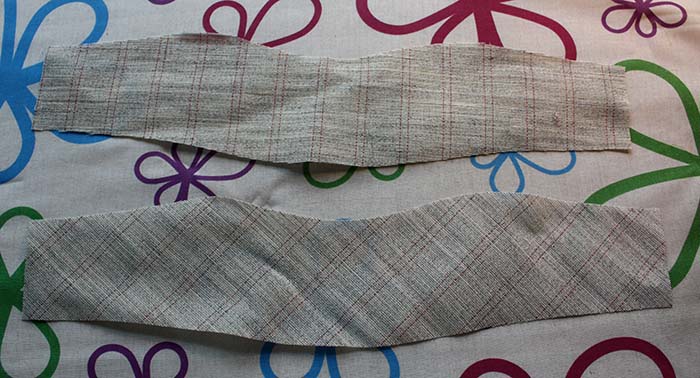
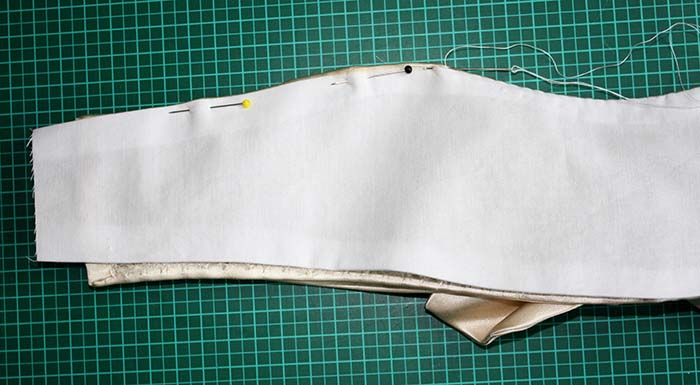
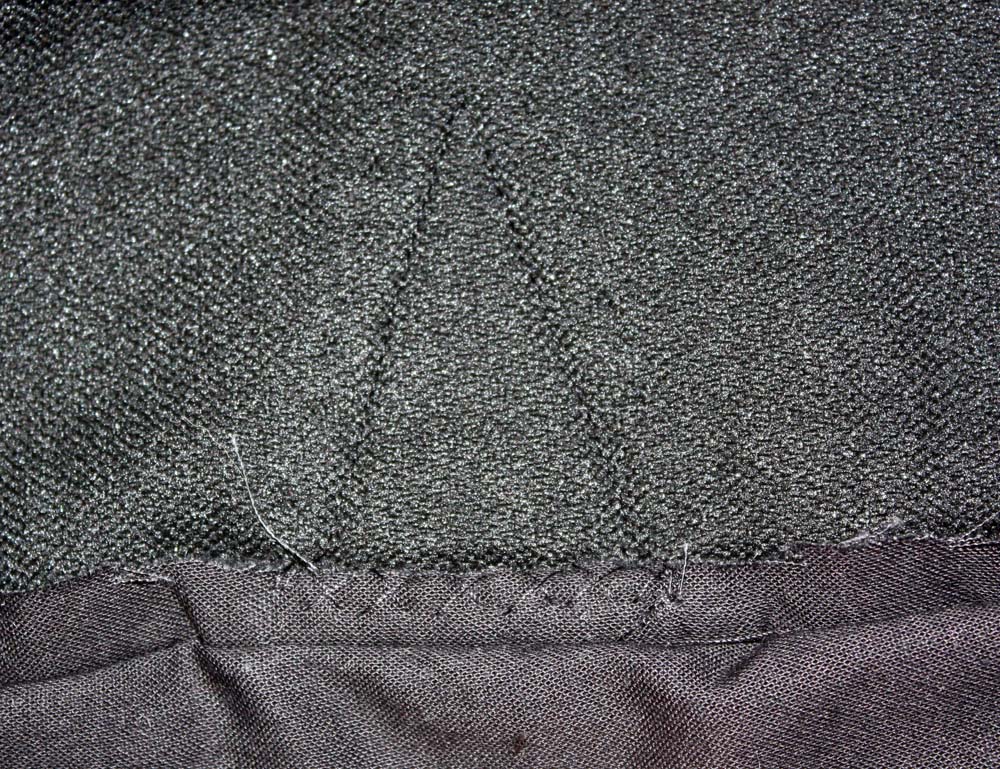
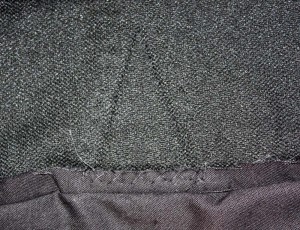
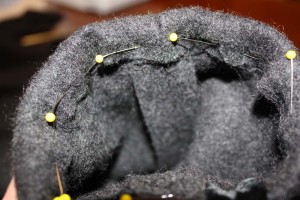
5. Close collar facing at center back sew to collar piece, right sides together. Trim seam allowance and clip curves. Within the range of your velvet appliques sew seam allowance with a cross stitch to outer fabric, be careful not to stitch through appliques. Press collar edge so you won´t see your seam at the outside.

IMG_2090


6. Hem:

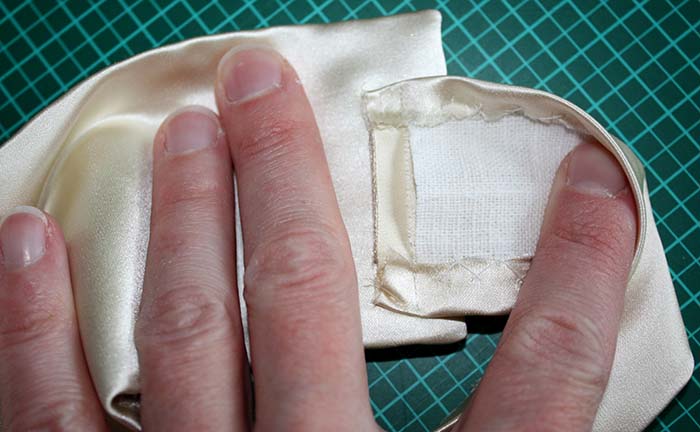
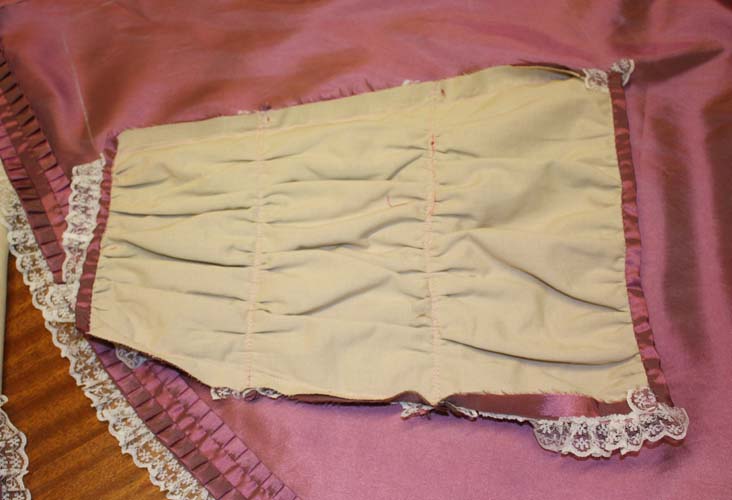
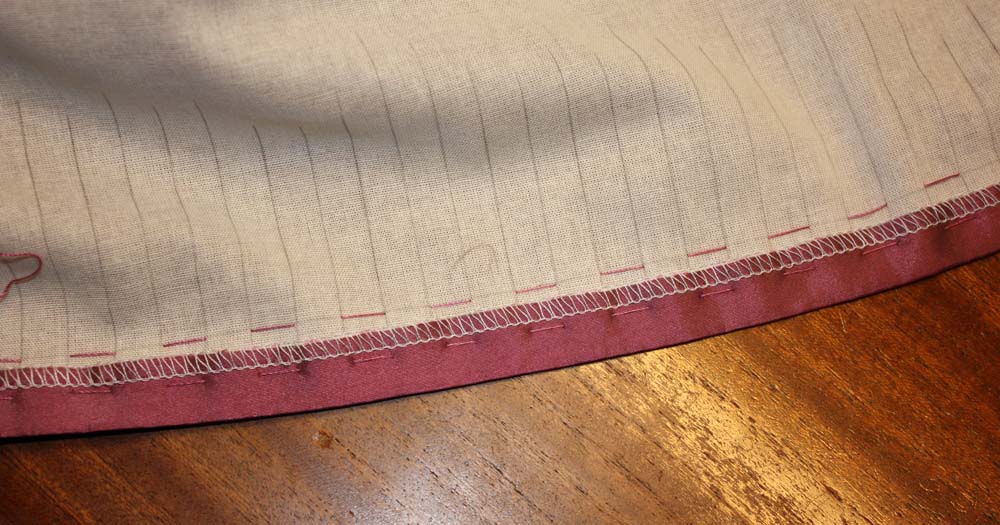
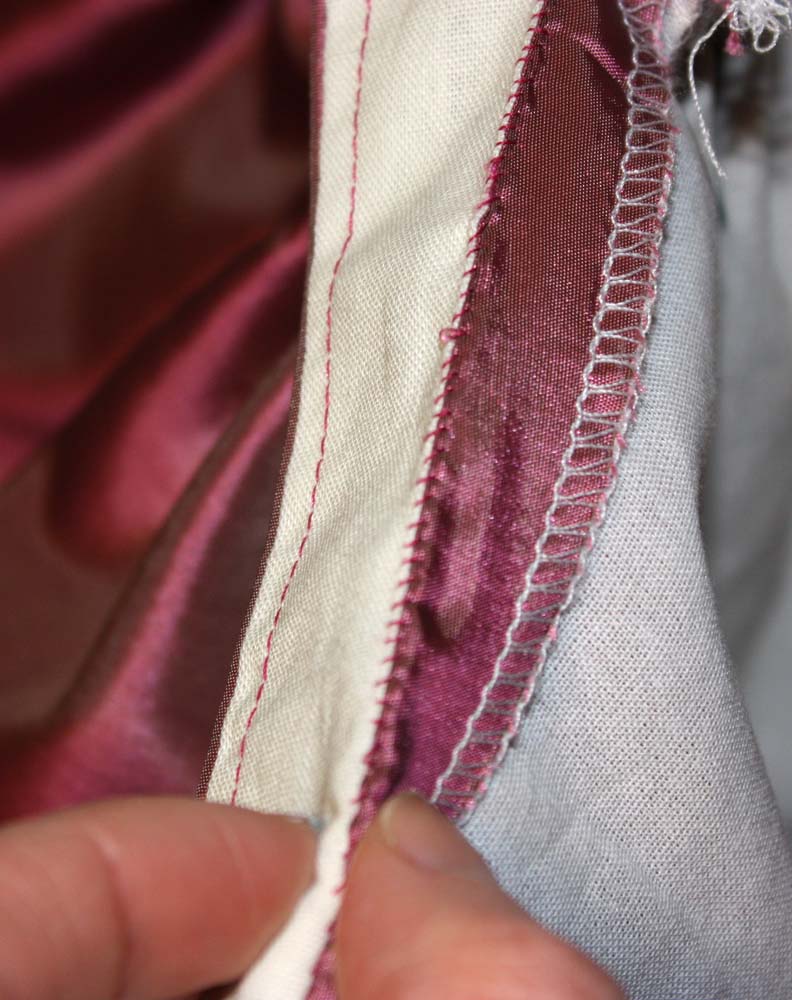
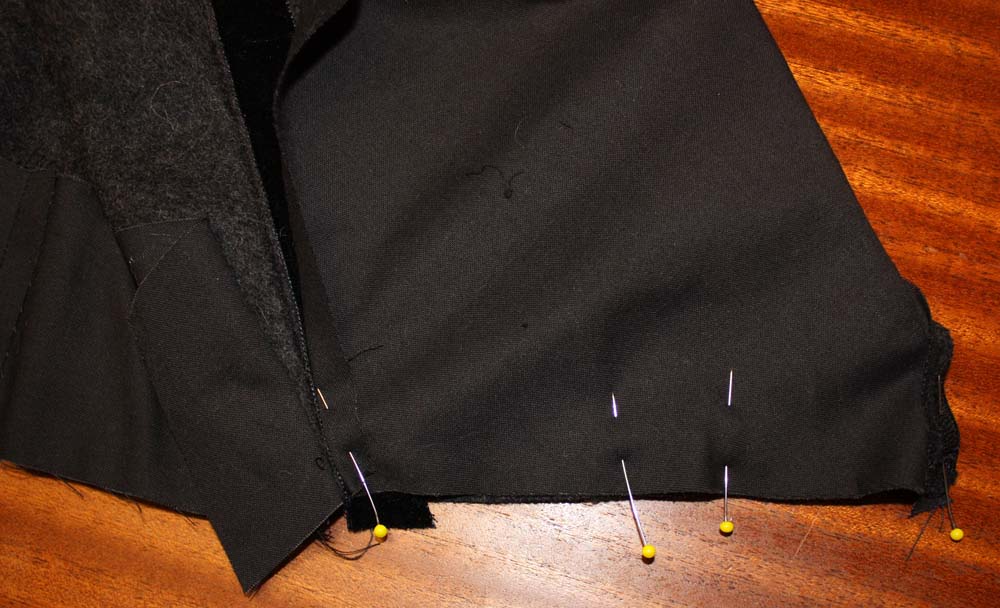
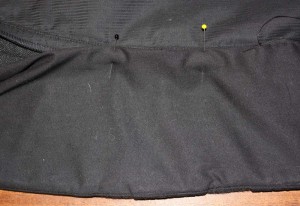
For the hem facing cut a strip of fabric 3 1/8” (8cm) wide, 67” (170cm), size 18-26 (EU 44-52) 79” (200cm) Long.                          Pin lining and outer fabric of collar at hem line, right sides together, fold front edge seam allowance towards lining. Fold in seam allowance of the loose end of collar facing. Pin facing strip to hem line, at collar seam overlap collar facing.

IMG_2094

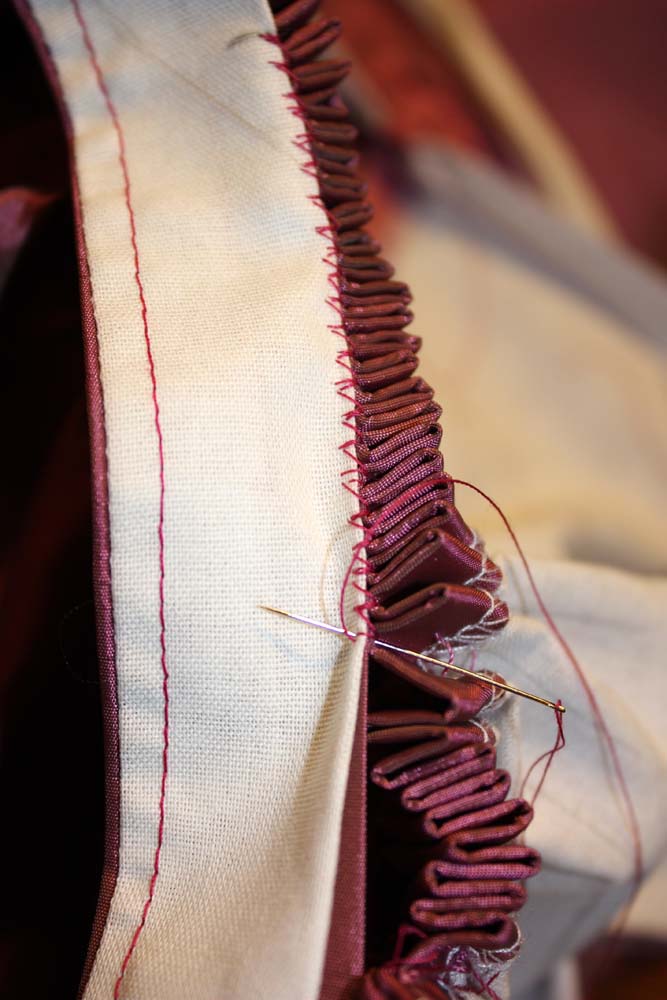
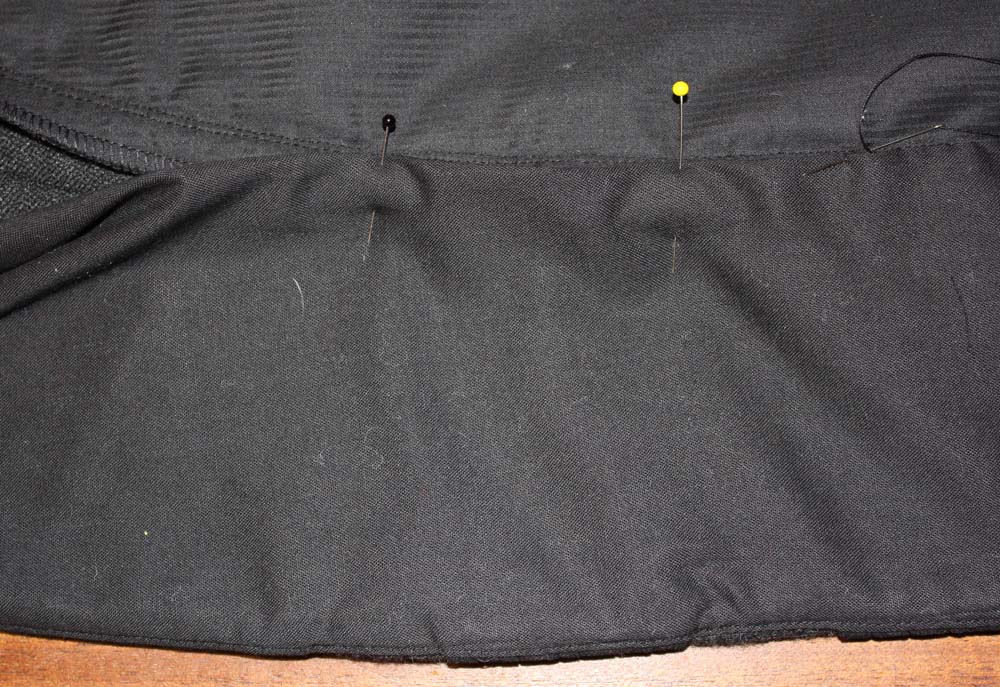
Sew hem, don’t catch lining of pleats. Trim seam allowance, clip corners and turn right side out. Fold in upper seam allowance of strip and sew with a felling stitch just to lining, spread fullness when needed. Press pleats again.

IMG_2097

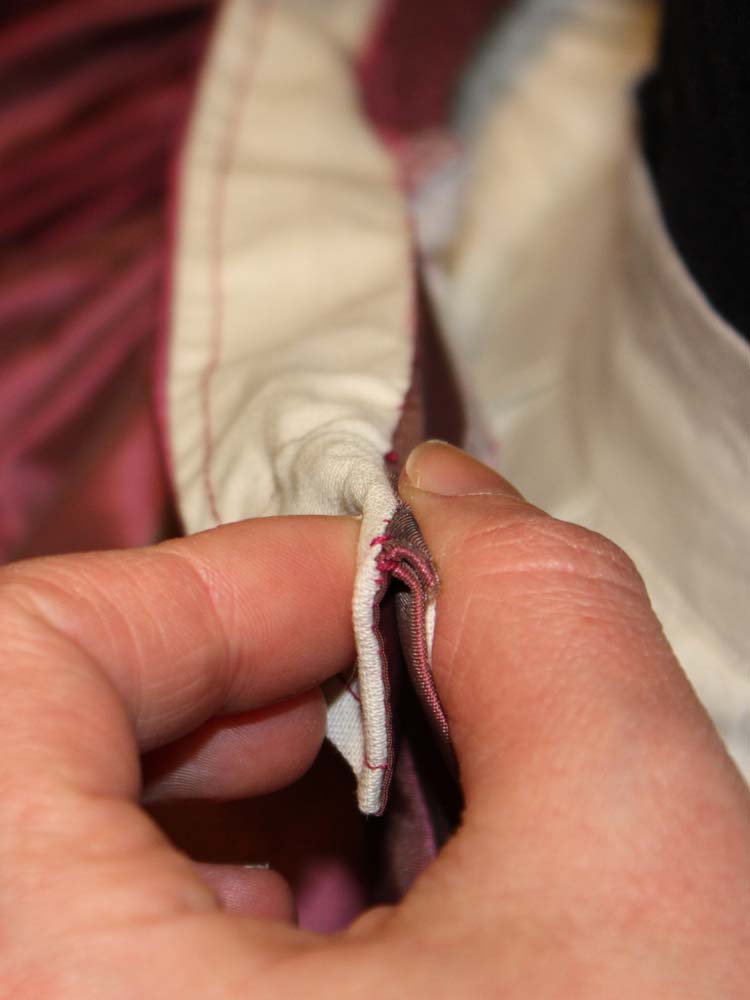
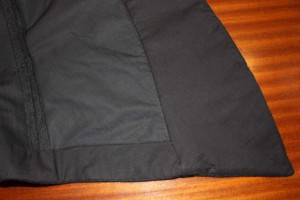
Fold in seam allowance of collar facing and sew to collar seam. Lay excess fabric to a little fold at bust point.

IMG_2091

IMG_2096


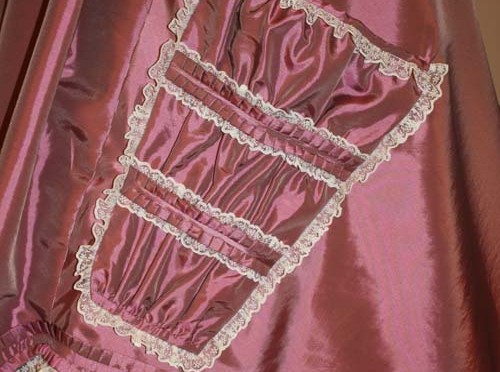
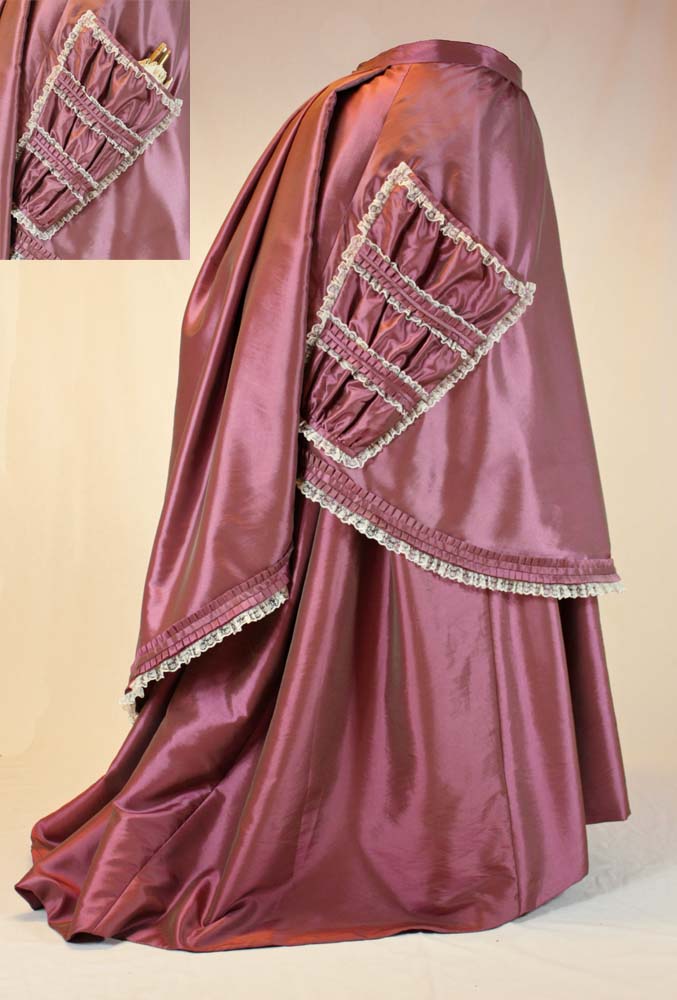
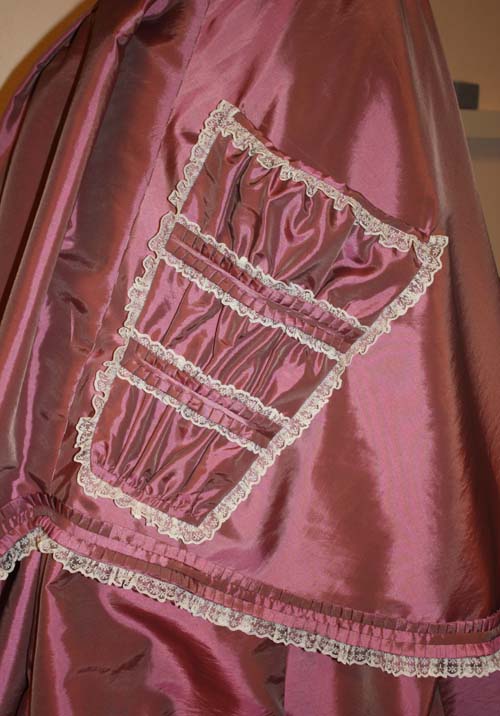
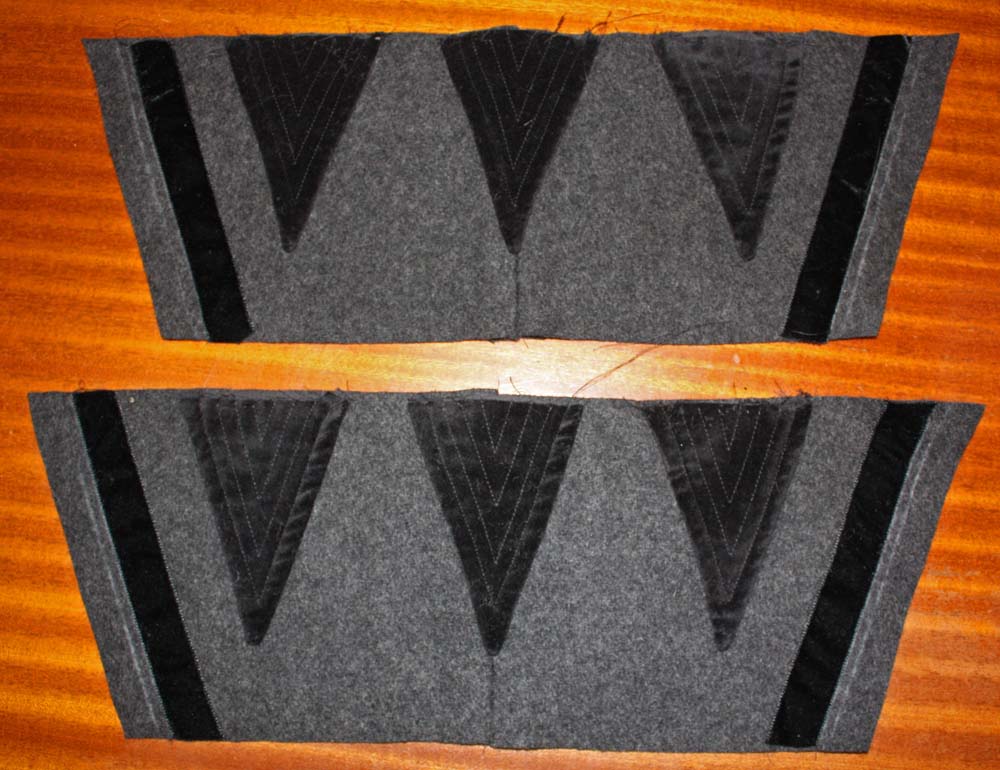
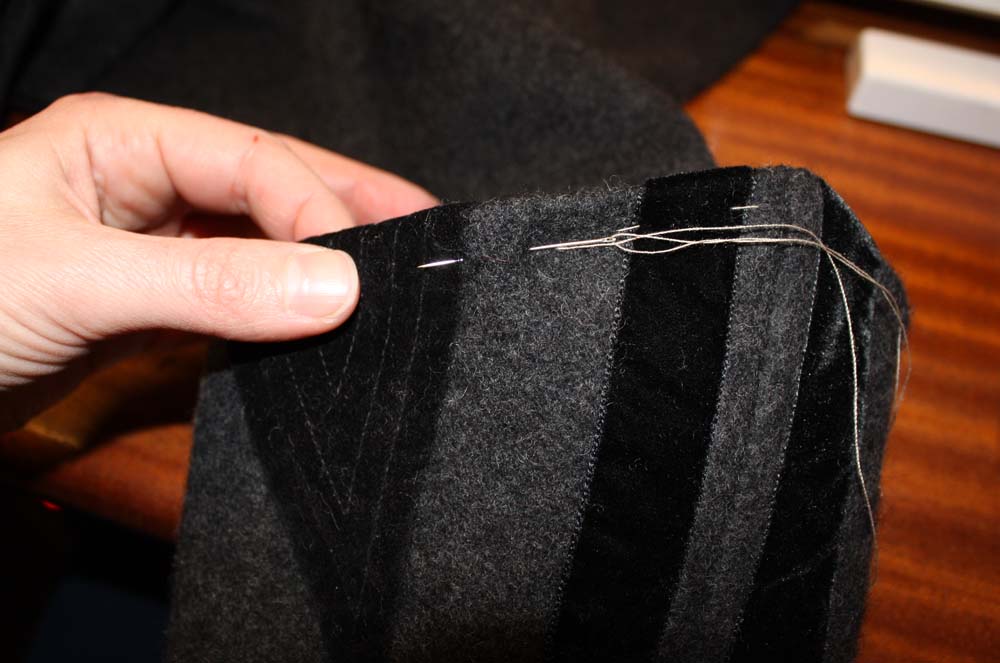
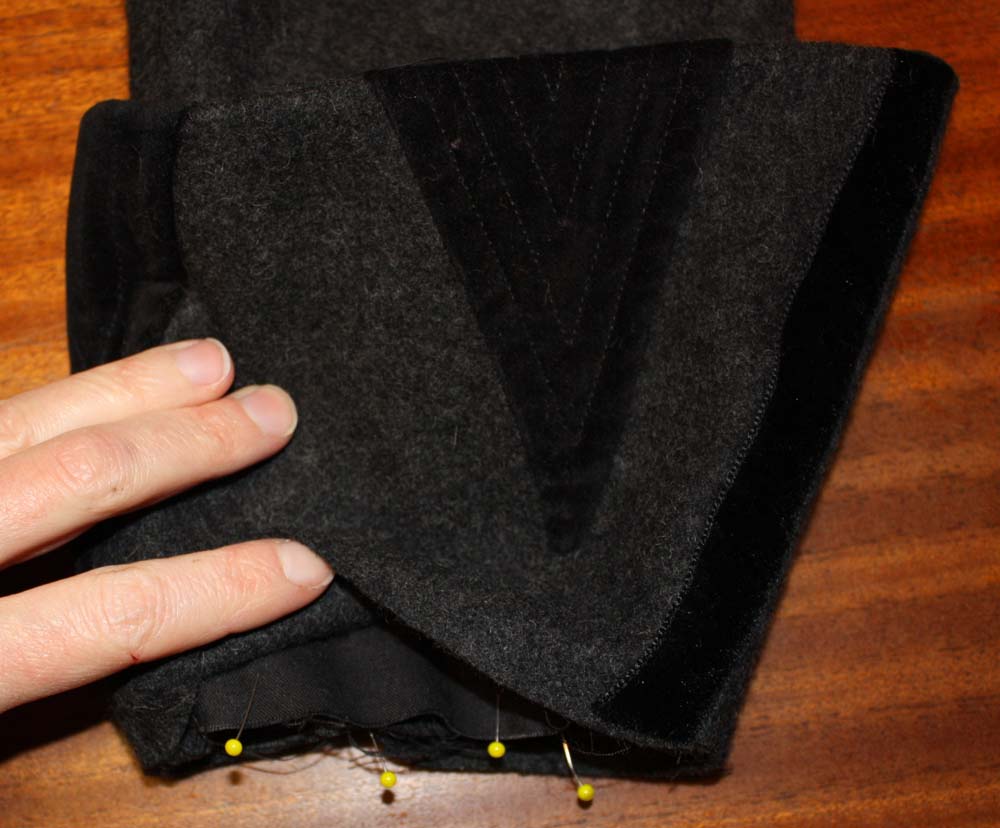
7. Close back seam of sleeve, make gathering stitches at sleeve head. Close front seam, press.                                                                                               Mark and sew velvet appliques to cuff as described before.              Close side seam of cuff and cuff lining. Sew cuff to cuff lining at upper edge, right sides together, trim seam allowance. Turn inside out, press edge so you can´t see the seam from outside. At velvet appliques fix seam allowance with a cross stitch to the outer fabric like you did before at the collar.

IMG_2099

IMG_2103

IMG_2107

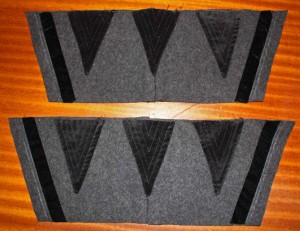
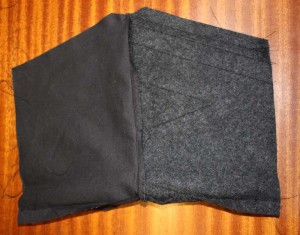
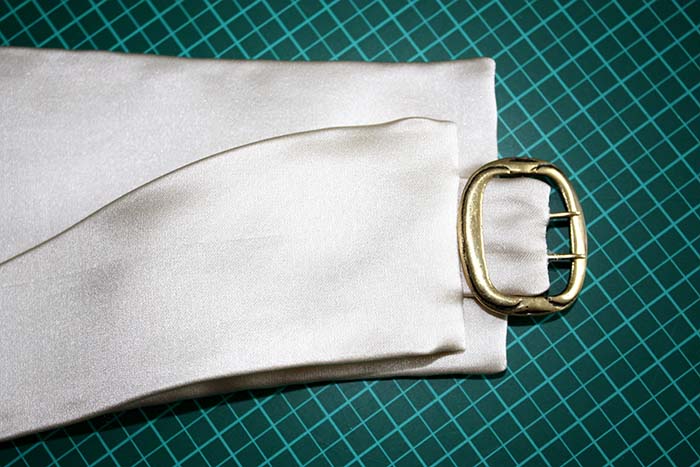
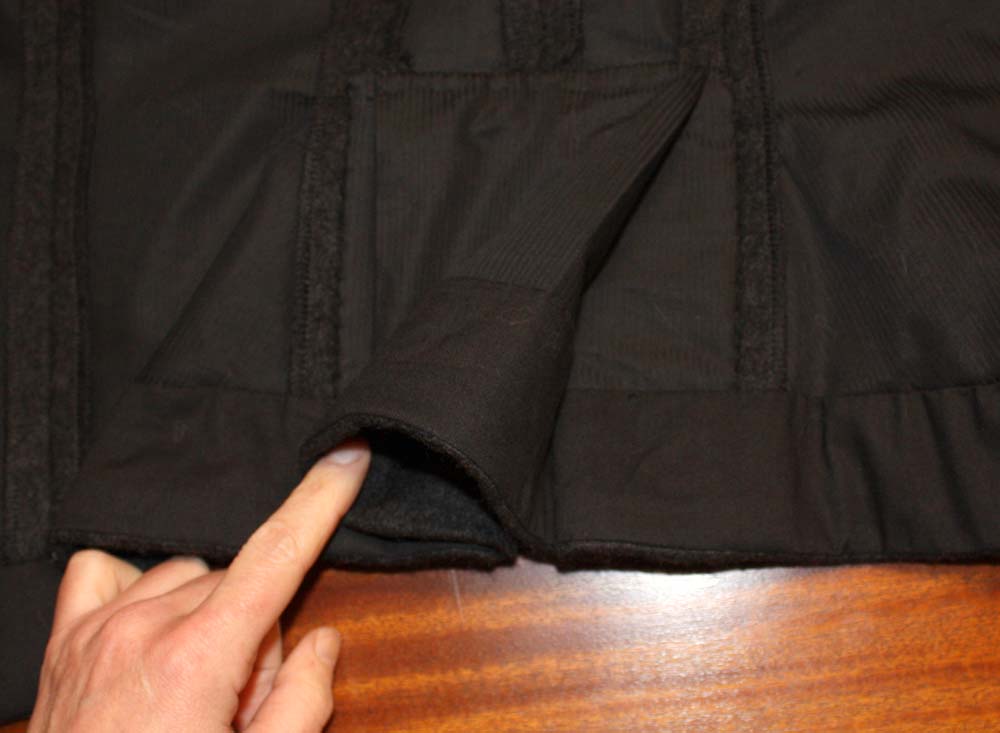
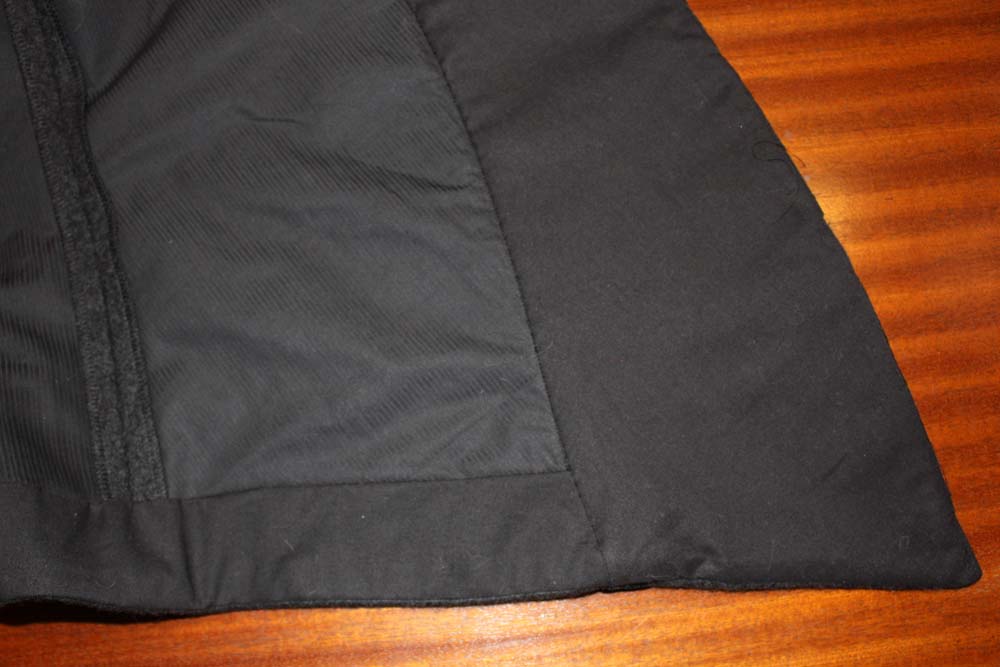
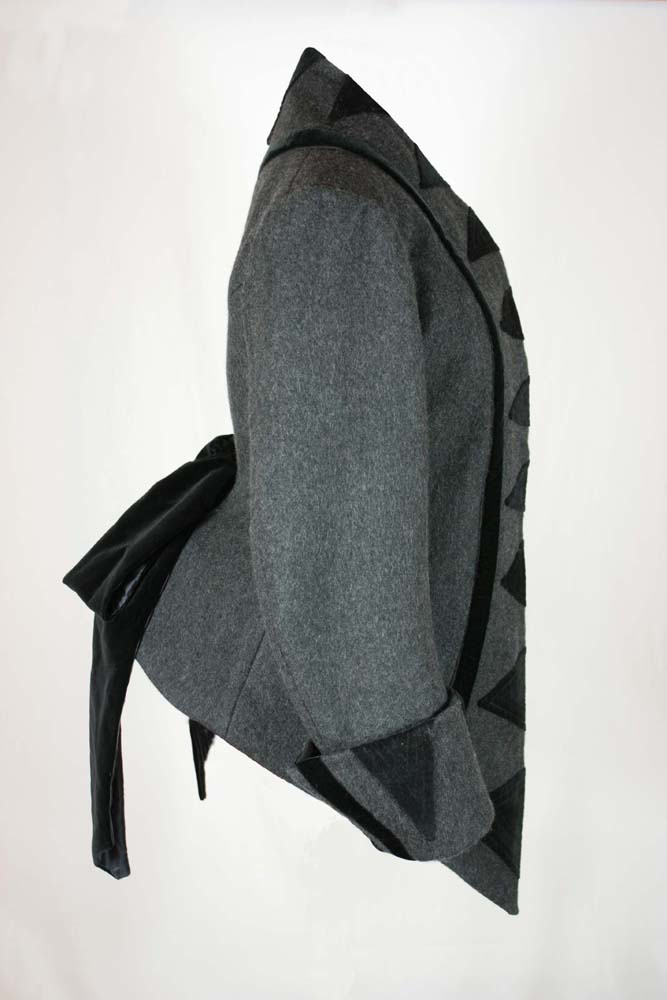
Sew cuff lining to cuff. Trim seam allowance exactly to 3/16” (1/2cm), fold cuff hem neatly to the inside of sleeve and stitch down (see profile)

IMG_2104

IMG_2108Bild 12

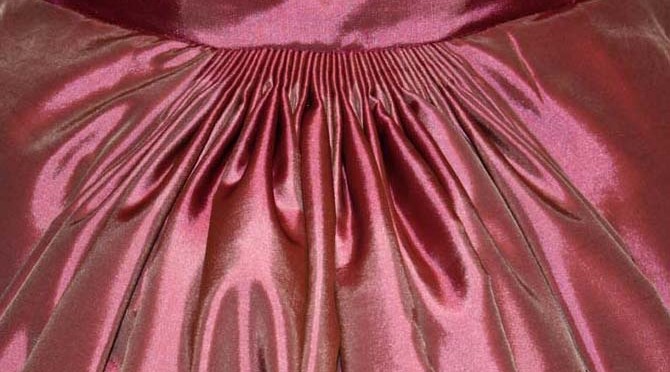
Set in sleeve according marks. With a modern sleeve you will spread most of the fullness to back armhole and sleeve head. This is a Victorian sleeve, at the back armhole insert the sleeve quite plain, spread the fullness at the sleeve head between shoulder seam and forearm pitch.                                                                                                                 Sew sleeve lining and insert to sleeve. At the armhole attach at seam allowance. At hem fold in seam allowance and sew to hem allowance of cuff. Cover with a velvet ribbon.


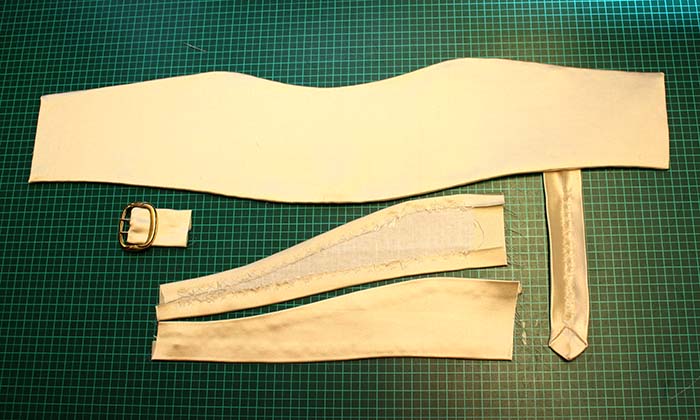
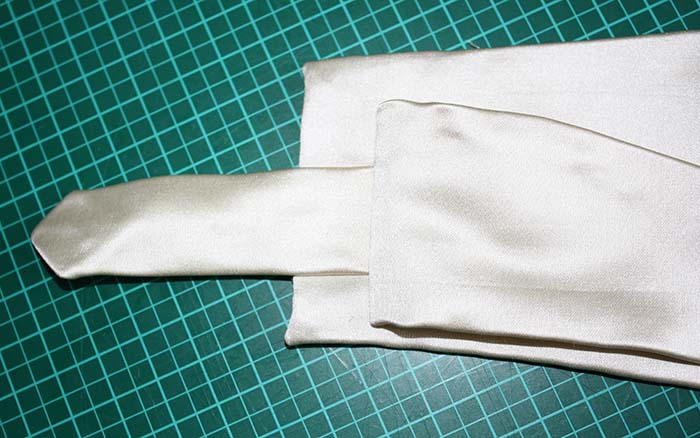
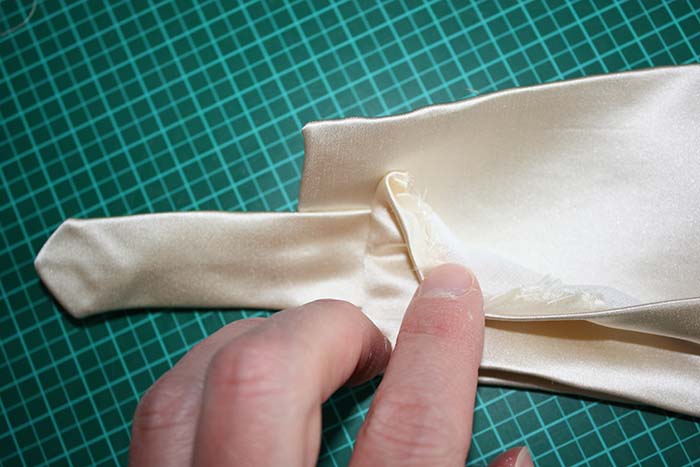
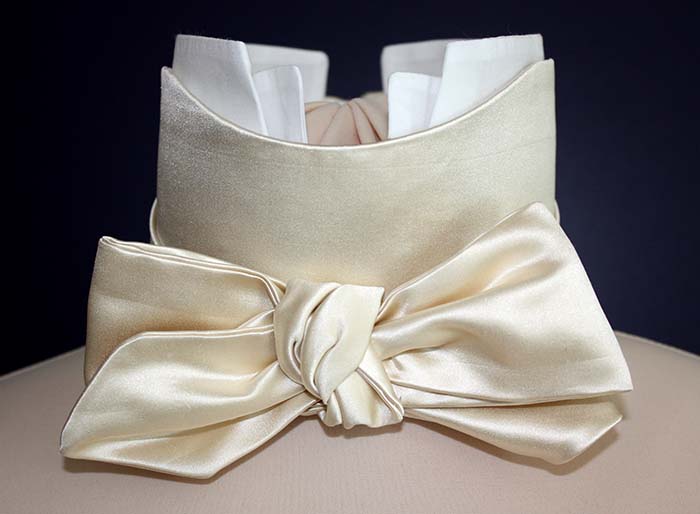
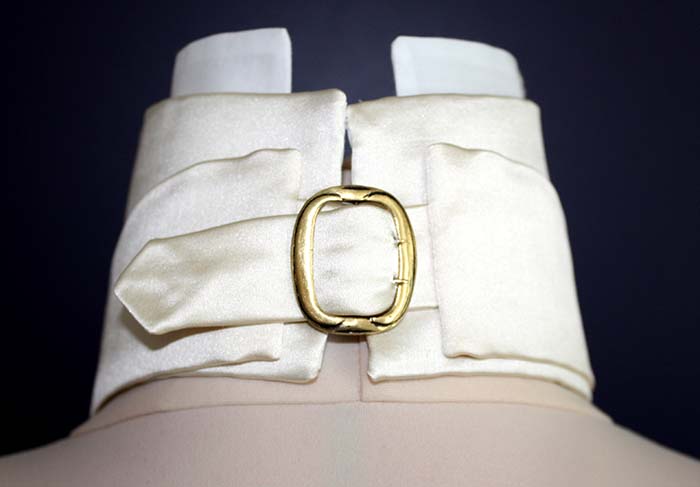
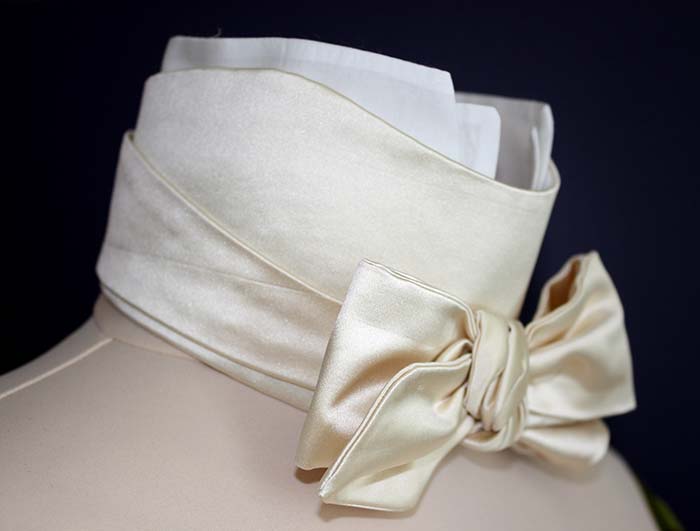
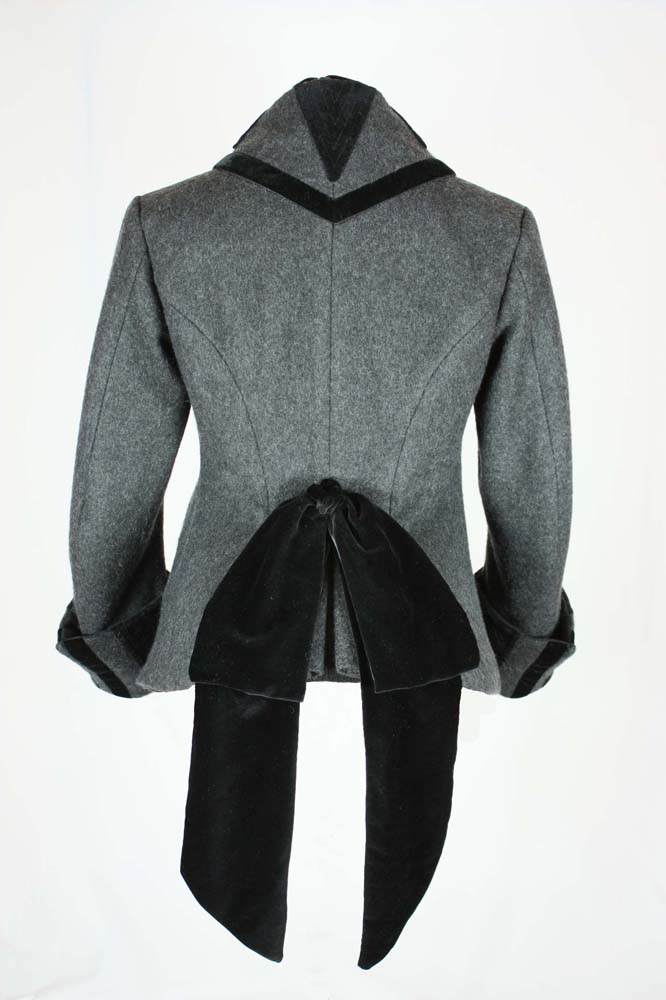
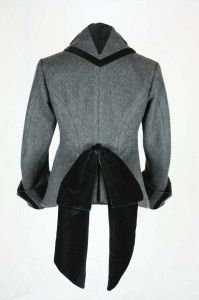
8. Sew on Hooks and Eyes, sew velvet placket to the inside of left collar piece between first and last hook.                                                  Measure waistband and sew to seam allowance of center back, sew on hooks and eyes in front.

IMG_2109


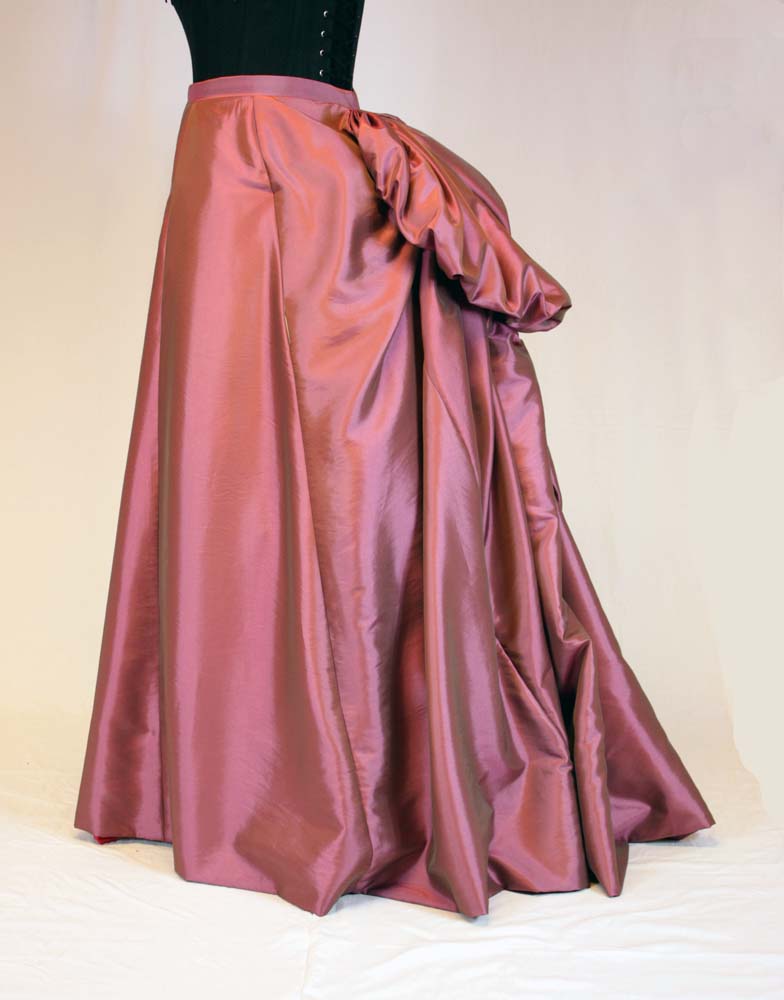
9. Face stripe of velvet 79” x 6” (200 x 15cm) with sateen lining, bevel ends at an angle of 45°, make a bow and sew to center back.

You can by the pattern for this jacket here

IMG_2119 klein                        IMG_2125 klein

IMG_2148 klein