
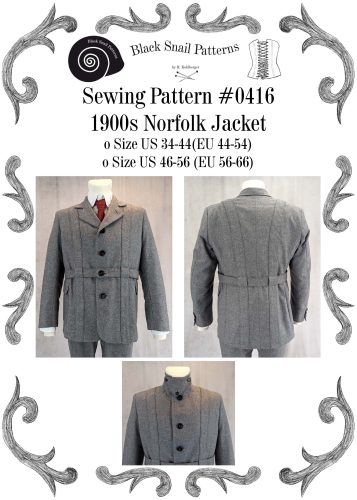
We are thrilled to announce that we’ve revealed our revamped sewing pattern, #0416 – The Norfolk Jacket! Get ready for an in-depth showcase as we share detailed instructions and everything you need to know to master the art of creating tailored men´s garments. Whether you’re a seasoned stitcher or a sewing enthusiast embarking on a new project, the Norfolk Jacket promises a captivating journey into historical men’s fashion.
Find the sewing pattern via my website: #0416 1900s Norfolk Jacket
Find printable patterns for the lining pockets here: Small / Large
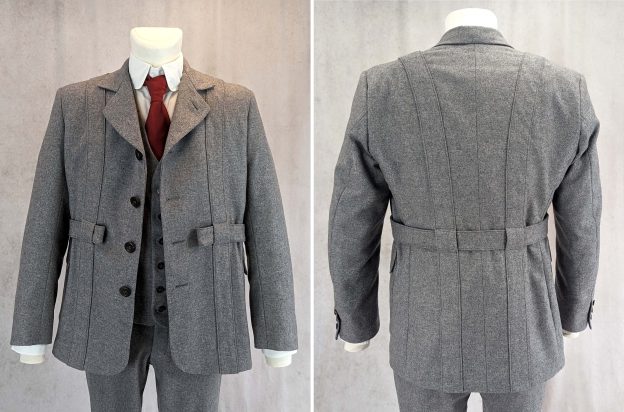
In the world of classic men’s clothing, the “Norfolk Jacket” occupies a special place as a jacket for many occasions. Originating as a young men’s jacket in the 1860s, it gained early popularity within the Rifle Corps of the Volunteer Movement and later became a symbol of comfort for country sports like riding and hunting.
As the jacket transcended social classes, it evolved into a versatile garment that was popular with cycling enthusiasts at the turn of the century. Advertising at the time highlighted the jacket’s adaptability, allowing for customization in terms of style and fabric, from tweed to linen.
This interpretation of the Norfolk jacket is rooted in the historical patterns found in J. P. Thornton (1885): The International System of Garment Cutting, London. and W. D. F. Vincent (around 1900): The Cutters Practical Guide to Jacket Cutting and Making, London.
Before delving into the sewing process, let’s discuss some key factors about men’s tailoring.
In the world of men’s fashion, the art of tailoring is a step-by-step process, where every stage contributes to the overall quality of the final piece. The result is not just a piece of clothing but a manifestation of skill, dedication, and timeless style.
Embarking on the journey of sewing a tailored garment is an exciting endeavor. While my instructions are designed to guide you every step of the way, it’s important to recognize that it might not be a breeze, especially if you’re new to the craft. Patience will be your greatest ally.
Tailoring demands attention to detail, precision in cutting and stitching, and a willingness to take your time with each stage of the process. Don’t be discouraged by any initial challenges; rather, view them as opportunities to refine your skills and understanding. Remember, every stitch is a step closer to a tailored masterpiece that reflects your dedication and newfound skills.
When choosing fabrics for your jacket, opt for medium-weight wool fabrics with some drape. Additionally, it’s advisable to steer clear of fabrics with intricate checks or patterns, as they can present challenges in pattern matching and alignment, requiring more advanced skills. Starting with simpler, solid-colored wool fabrics will provide a smoother learning experience for beginners.
Creating a mock-up, also known as a muslin or toile, is a crucial step in the tailoring process, think of it as a practice run before working with your chosen fabric. The mock-up allows you to test the pattern for fit, identify potential adjustments, and familiarize yourself with the construction steps.
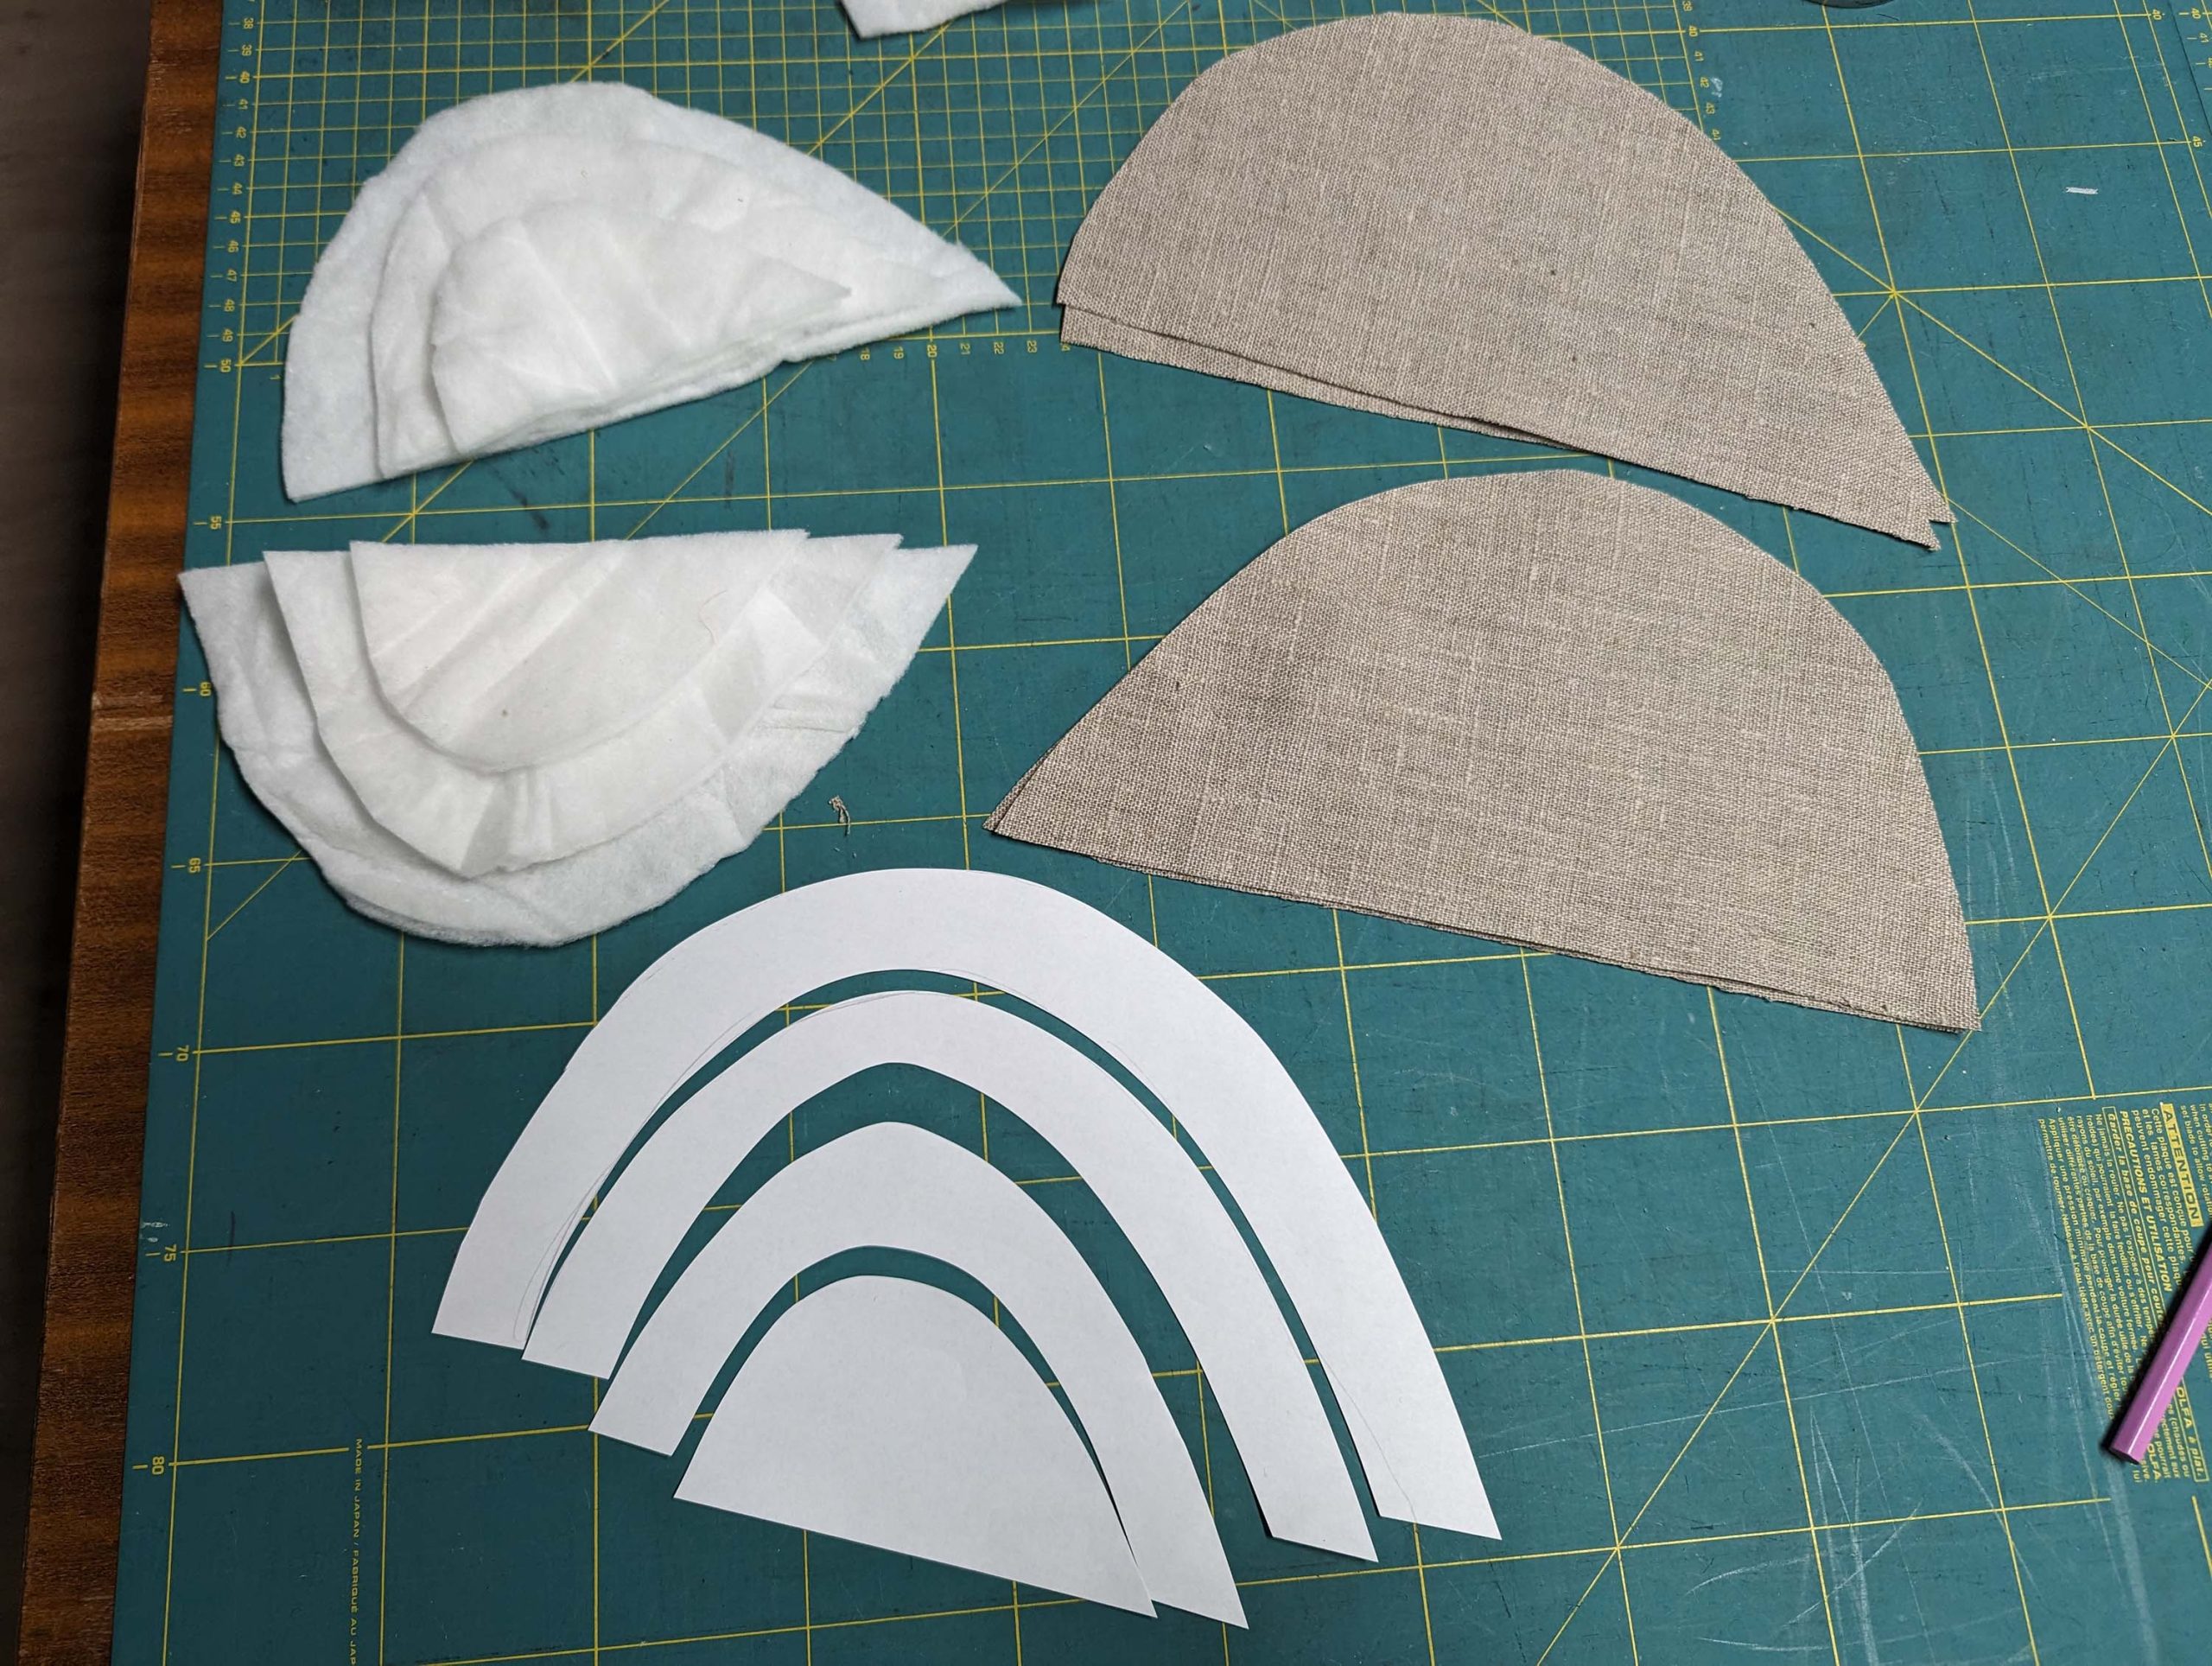
Choosing the right interfacing depending on the fashion fabric is crucial for achieving the desired structure and finish in your tailored garment. Each component serves a specific purpose in enhancing the overall fit and appearance of the final piece.
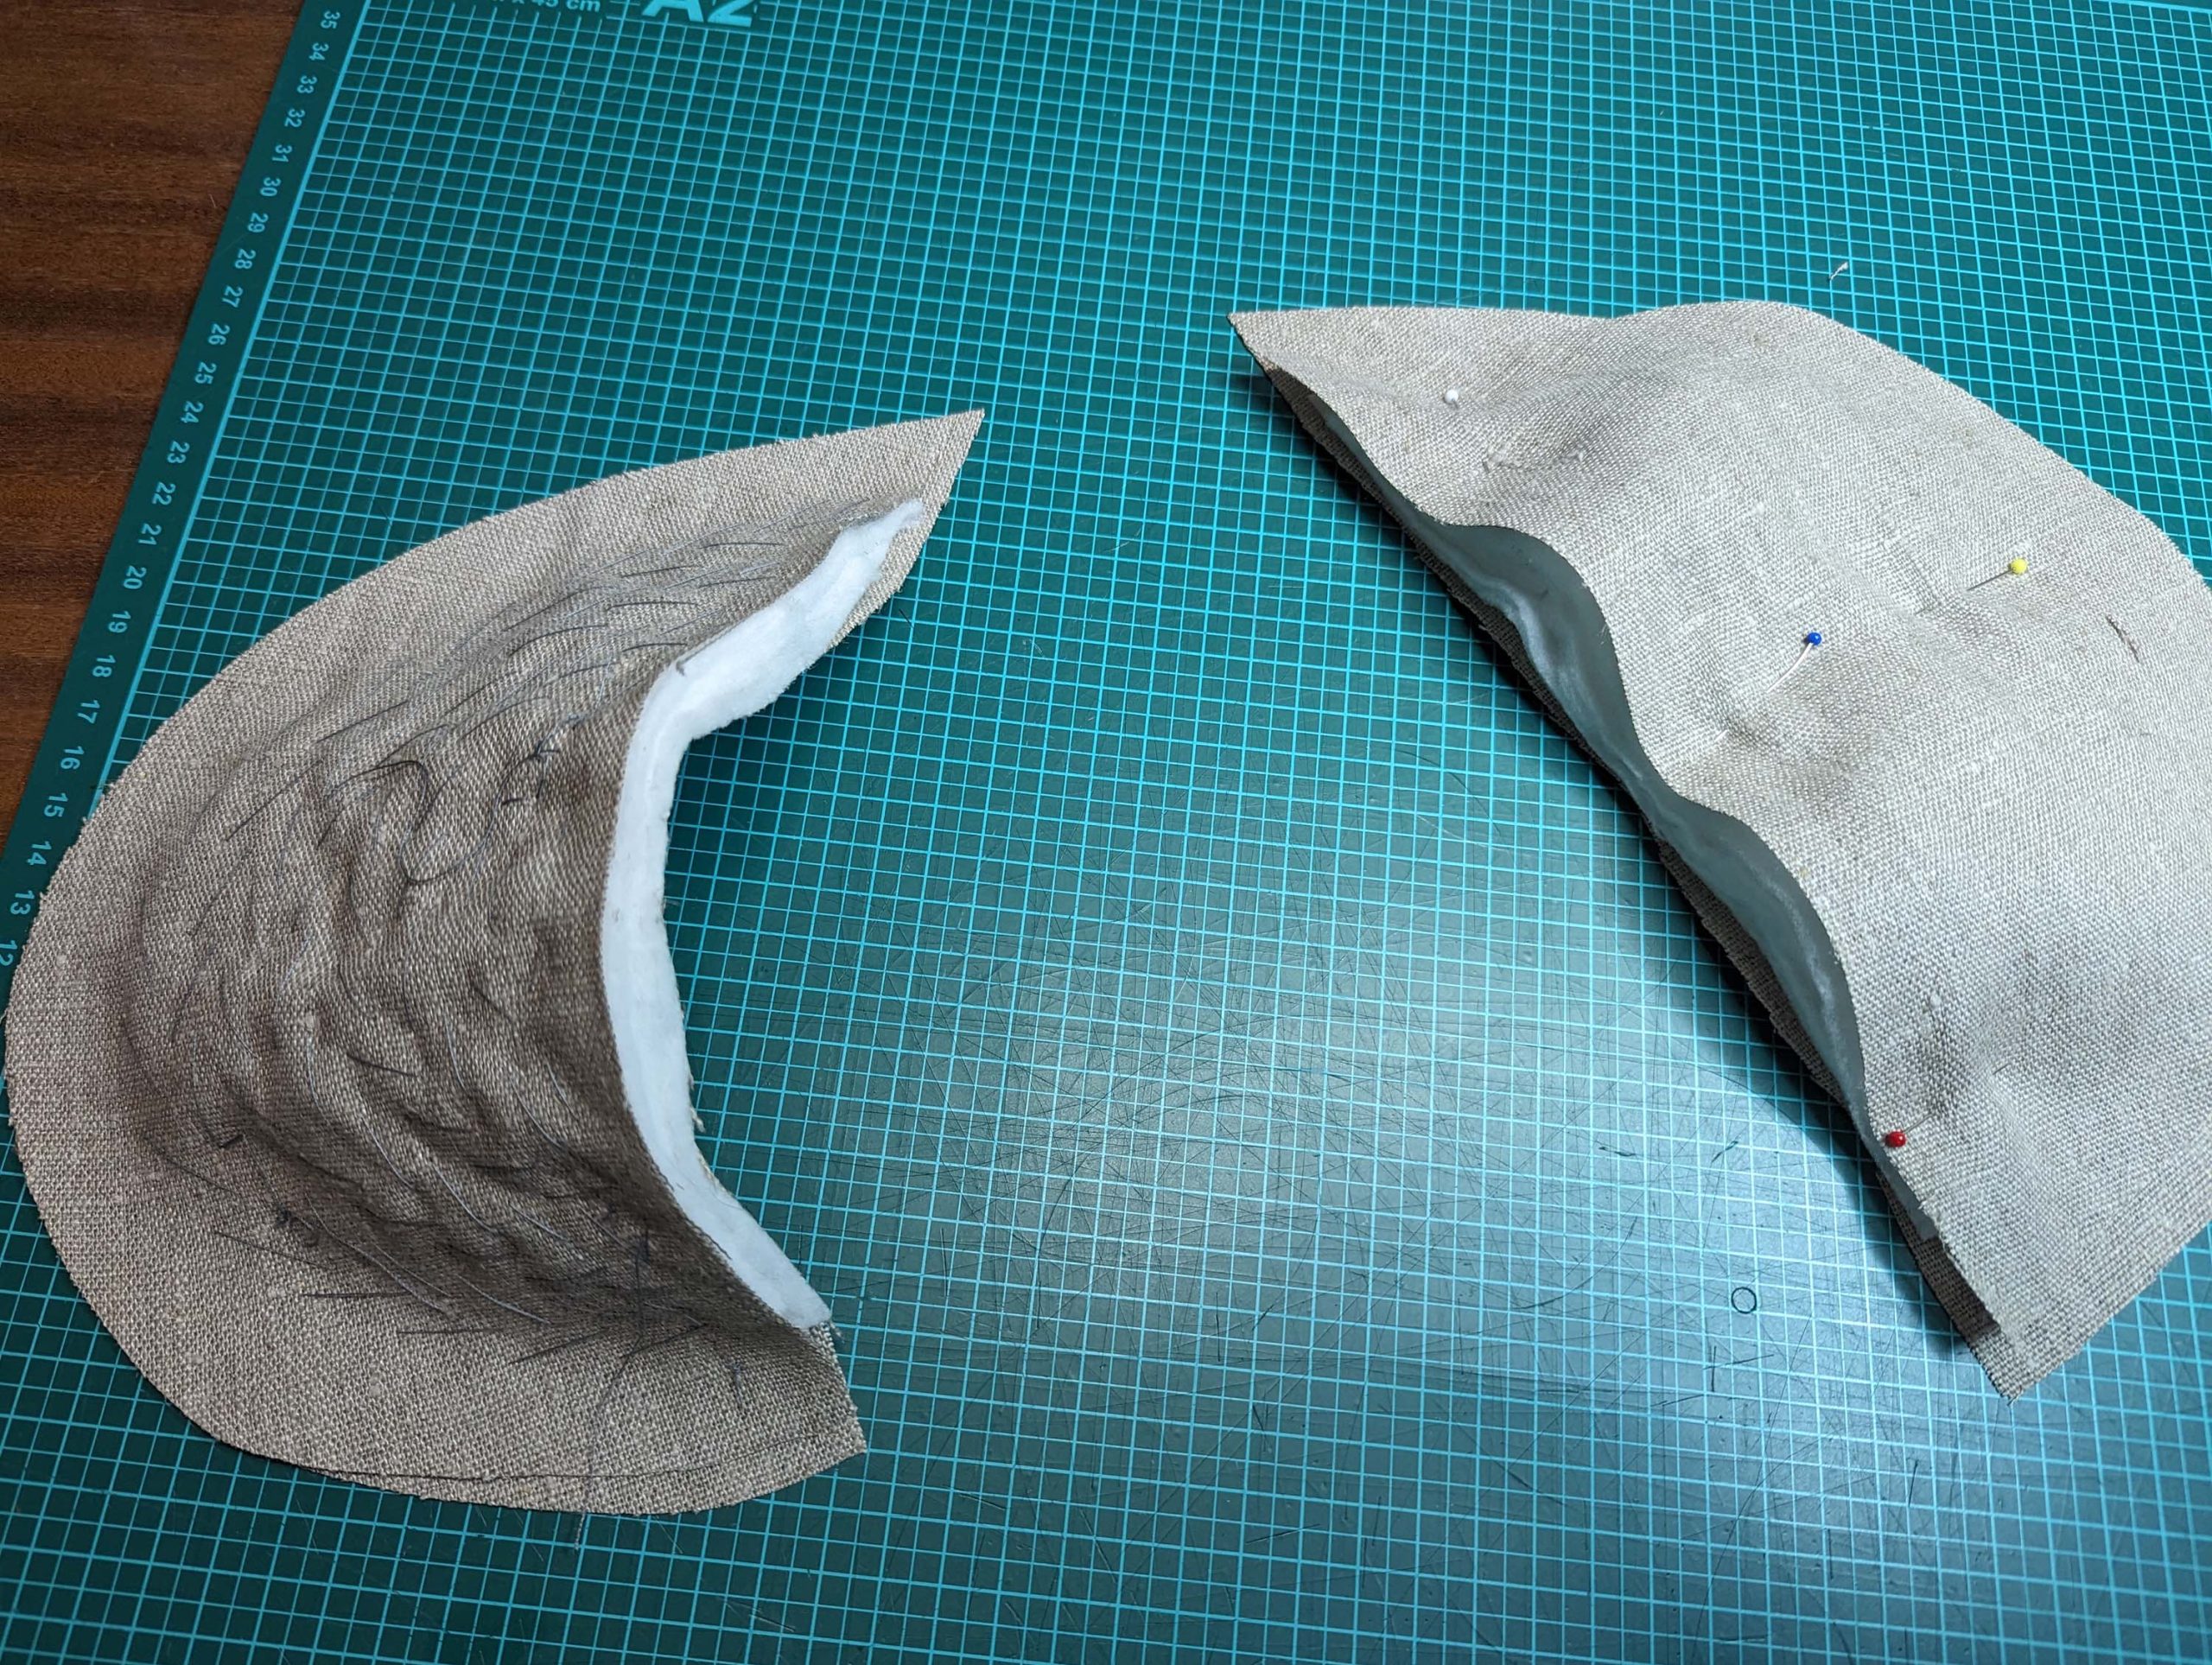
Hair canvas is a traditional and essential interlining used in tailoring to provide structure, support, and shape to various parts of a garment. Hair canvas is typically made from a blend of horsehair and cotton fibers, nowadays, the horsehair often is replaced by synthetic fibers. It comes in different weights, allowing tailors to choose the appropriate thickness for specific areas of a garment. Lighter weights are often used for more delicate fabrics, while heavier weights provide robust support.
Hair canvas is commonly used in areas like lapels, under collars, front chest panels, sleeve pads, and the sleeve hem. The canvas is pad-stitched to the garment, creating a structured yet supple foundation.
I personally prefer a heavyweight, and stiff linen fabric, replacing the hair canvas in historical garments, that´s what you´ll see later when sewing the jacket.
For interfacing the back, pocket, and loop areas, as well as the sleeve head I recommend some light to mid-weight cotton fabric. The same fabric is used for flatlining one layer of the belt.
In the era when the Norfolk jacket design originated, shoulders weren’t supported by the large shoulder pads commonly used in contemporary fashion. However, adding some support to the shoulders is essential to maintain the structure of the garment. To achieve this, it’s recommended to craft your shoulder pads from layers of padding.
Let’s now transition to the practical side of things. As we move through the steps, consider the Norfolk jacket as more than just a project – it’s a bridge between past and present. Each step holds its challenges and rewards, contributing to the final result. So, with an awareness of the journey ahead, let’s start crafting your Norfolk jacket, combining history with creativity, one stitch at a time.