
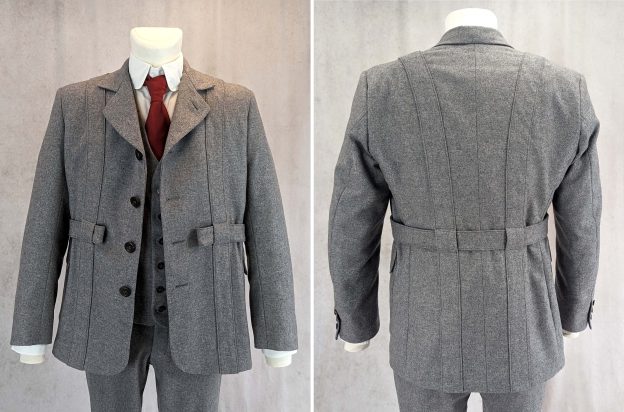
Now that we’ve laid the groundwork with considerations and preparations, let’s seamlessly transition into the practical aspect of bringing your Norfolk jacket to life. Part 2 and further, focuses on the step-by-step sewing process, where we’ll meticulously guide you through each stage.
As you progress through the project, you may come across some minor adjustments or deviations when looking at the pictures. These small changes are a part of the pattern-making process, when choosing a better option for you later.
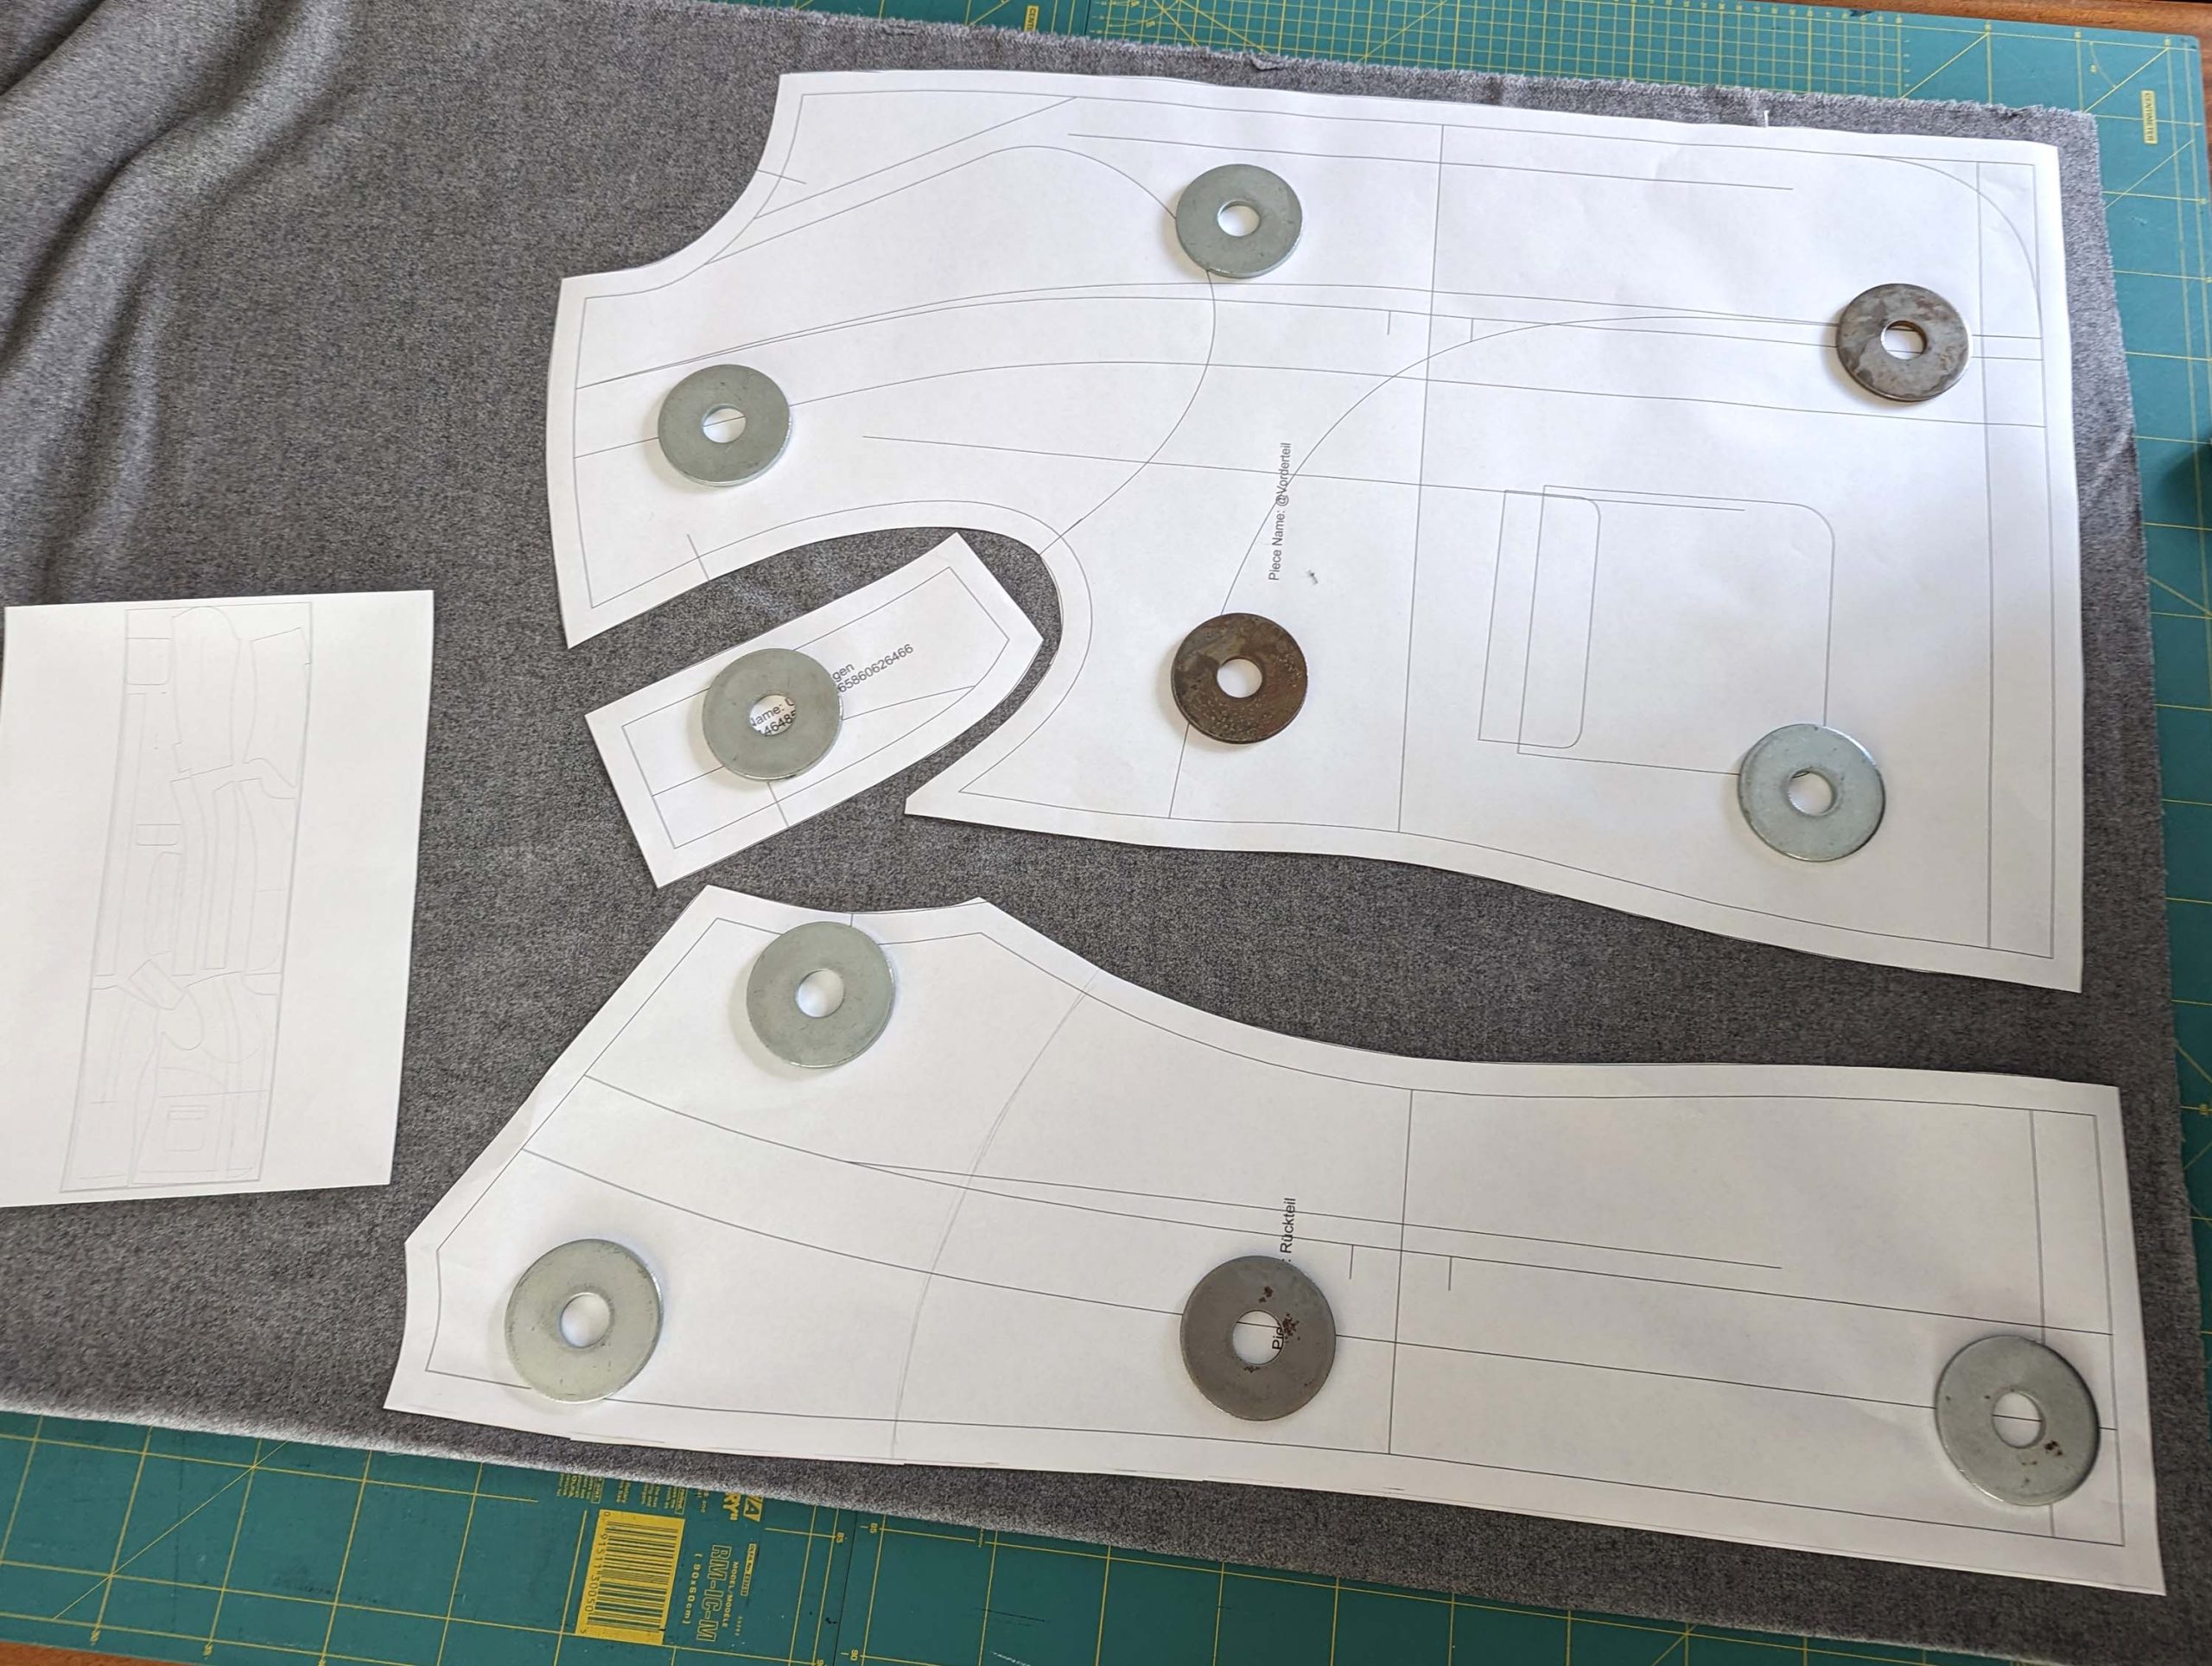
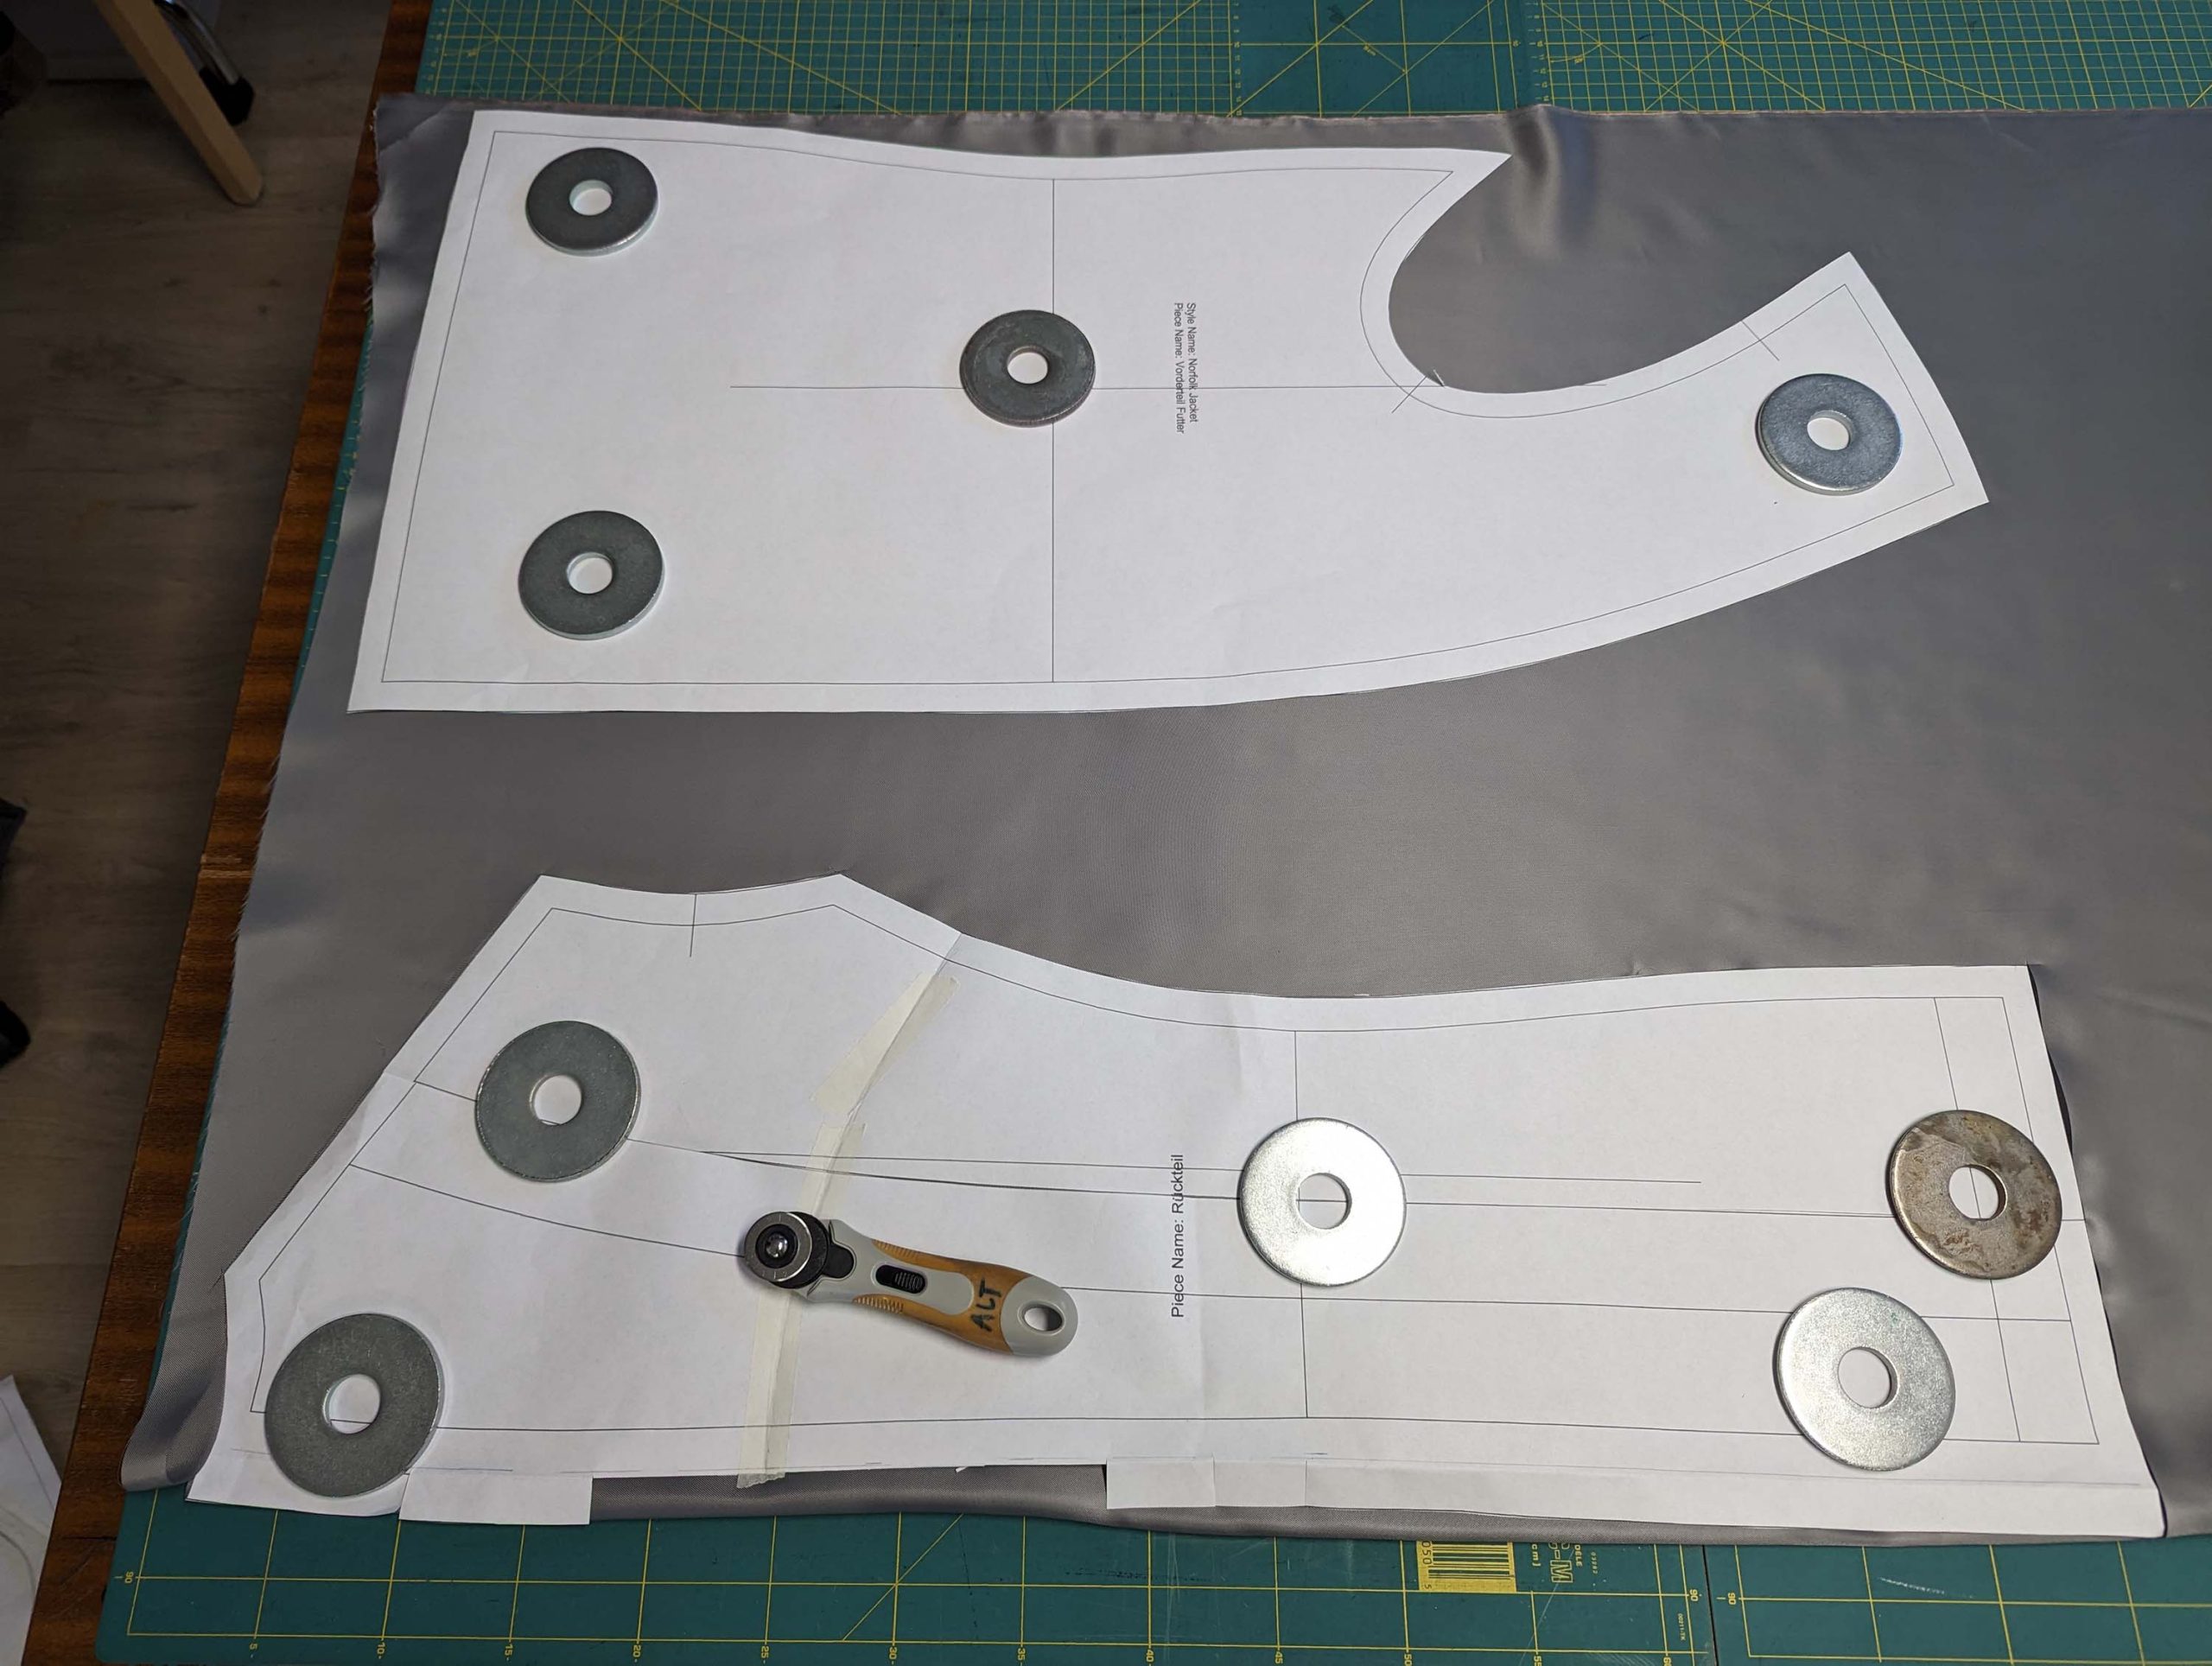
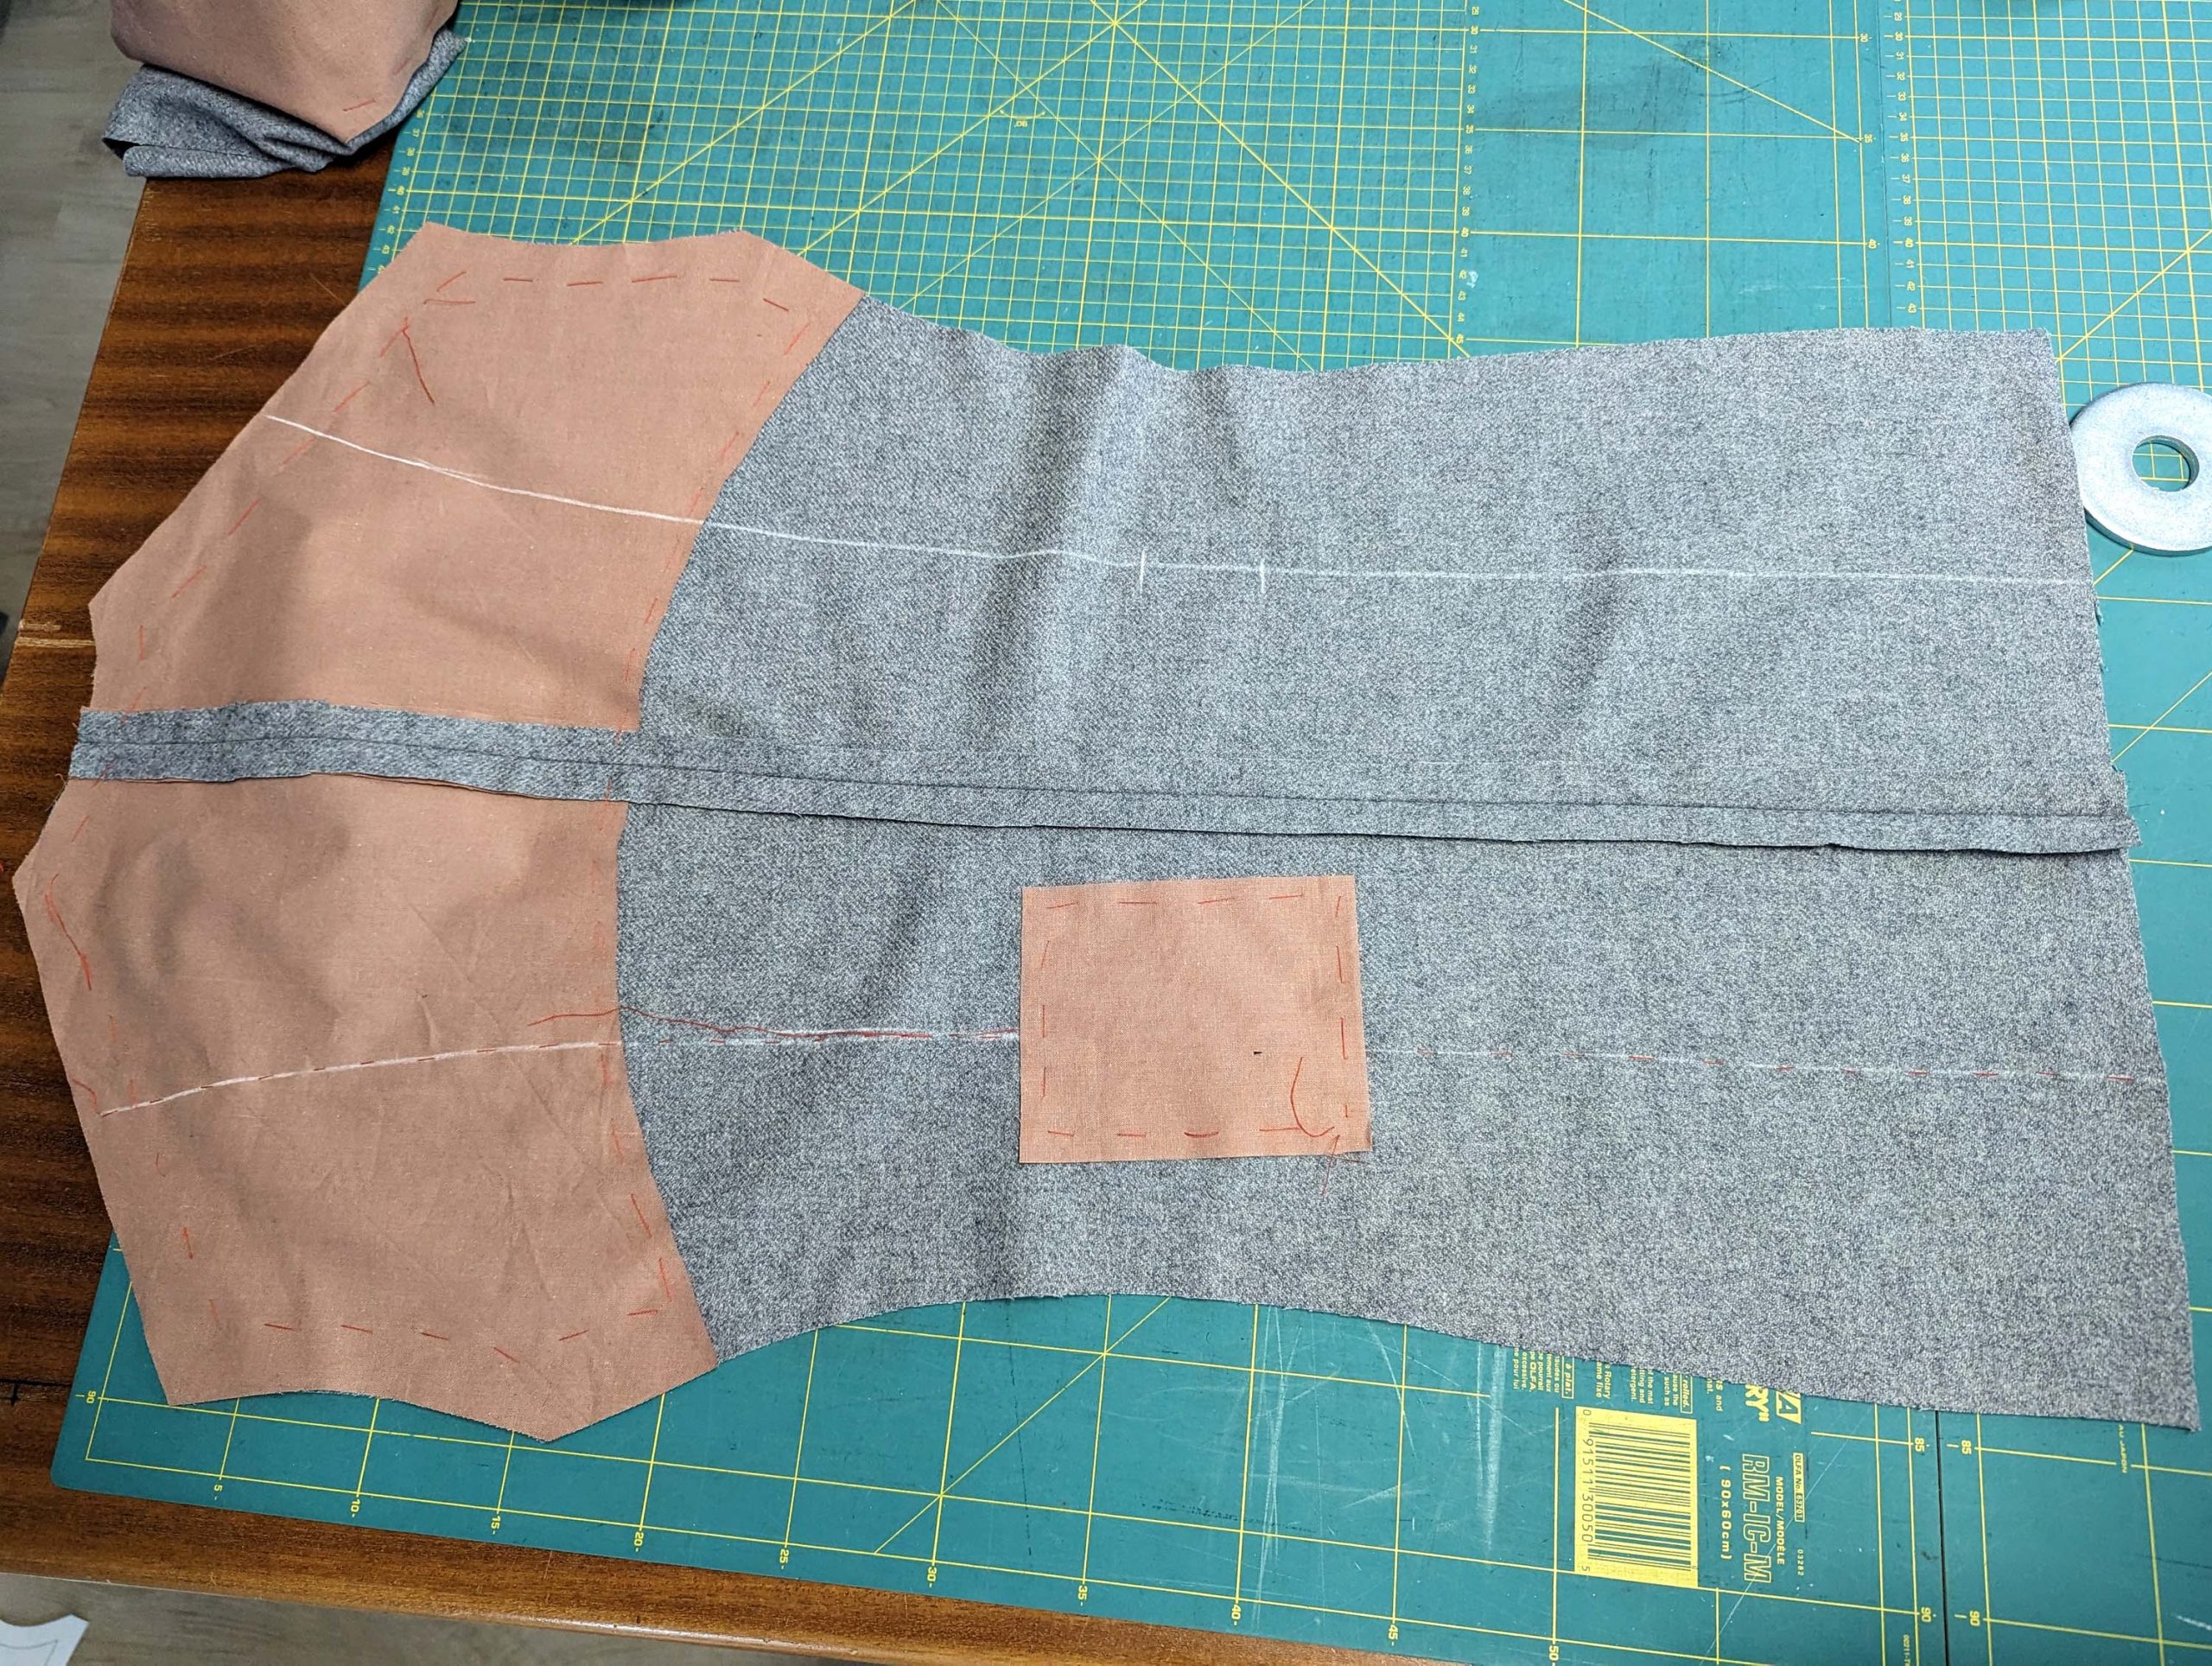
(1) After you´re satisfied with your mock-up, cut all pieces from fashion fabric, lining, and canvas. Cut the lining as described in the instructions, the back on fold with the grey strip added and some extra width at the sleeves.
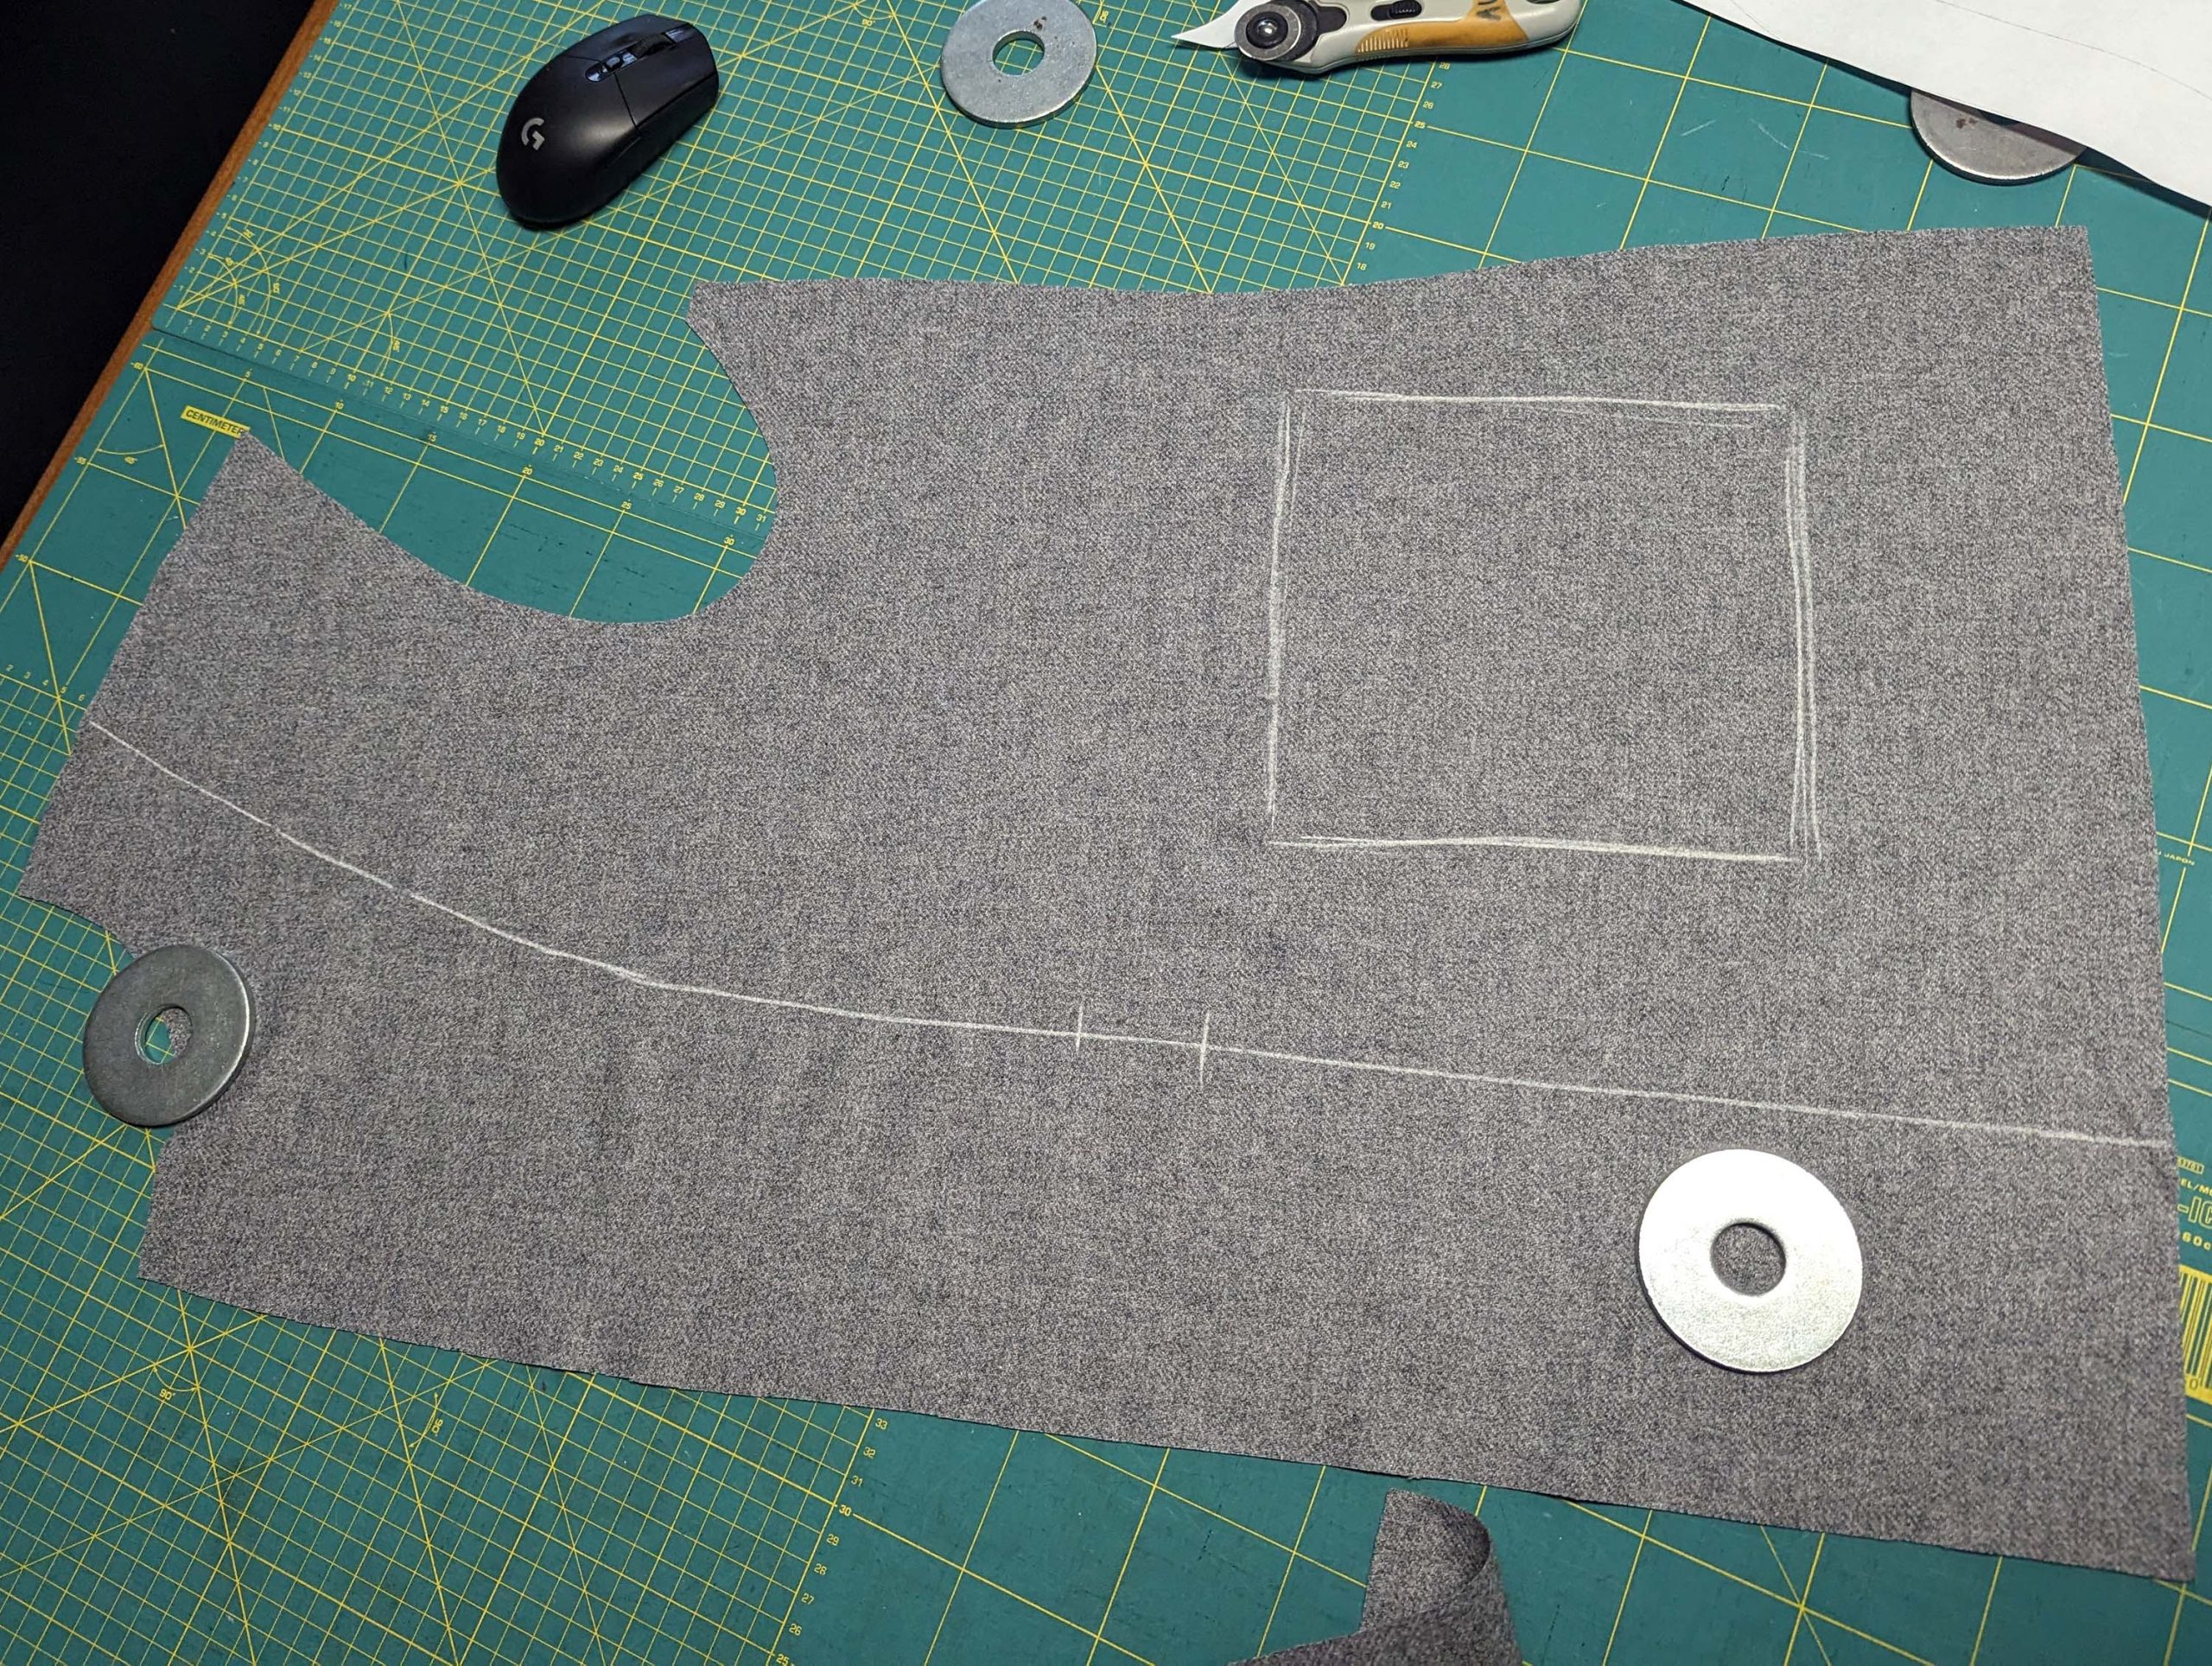
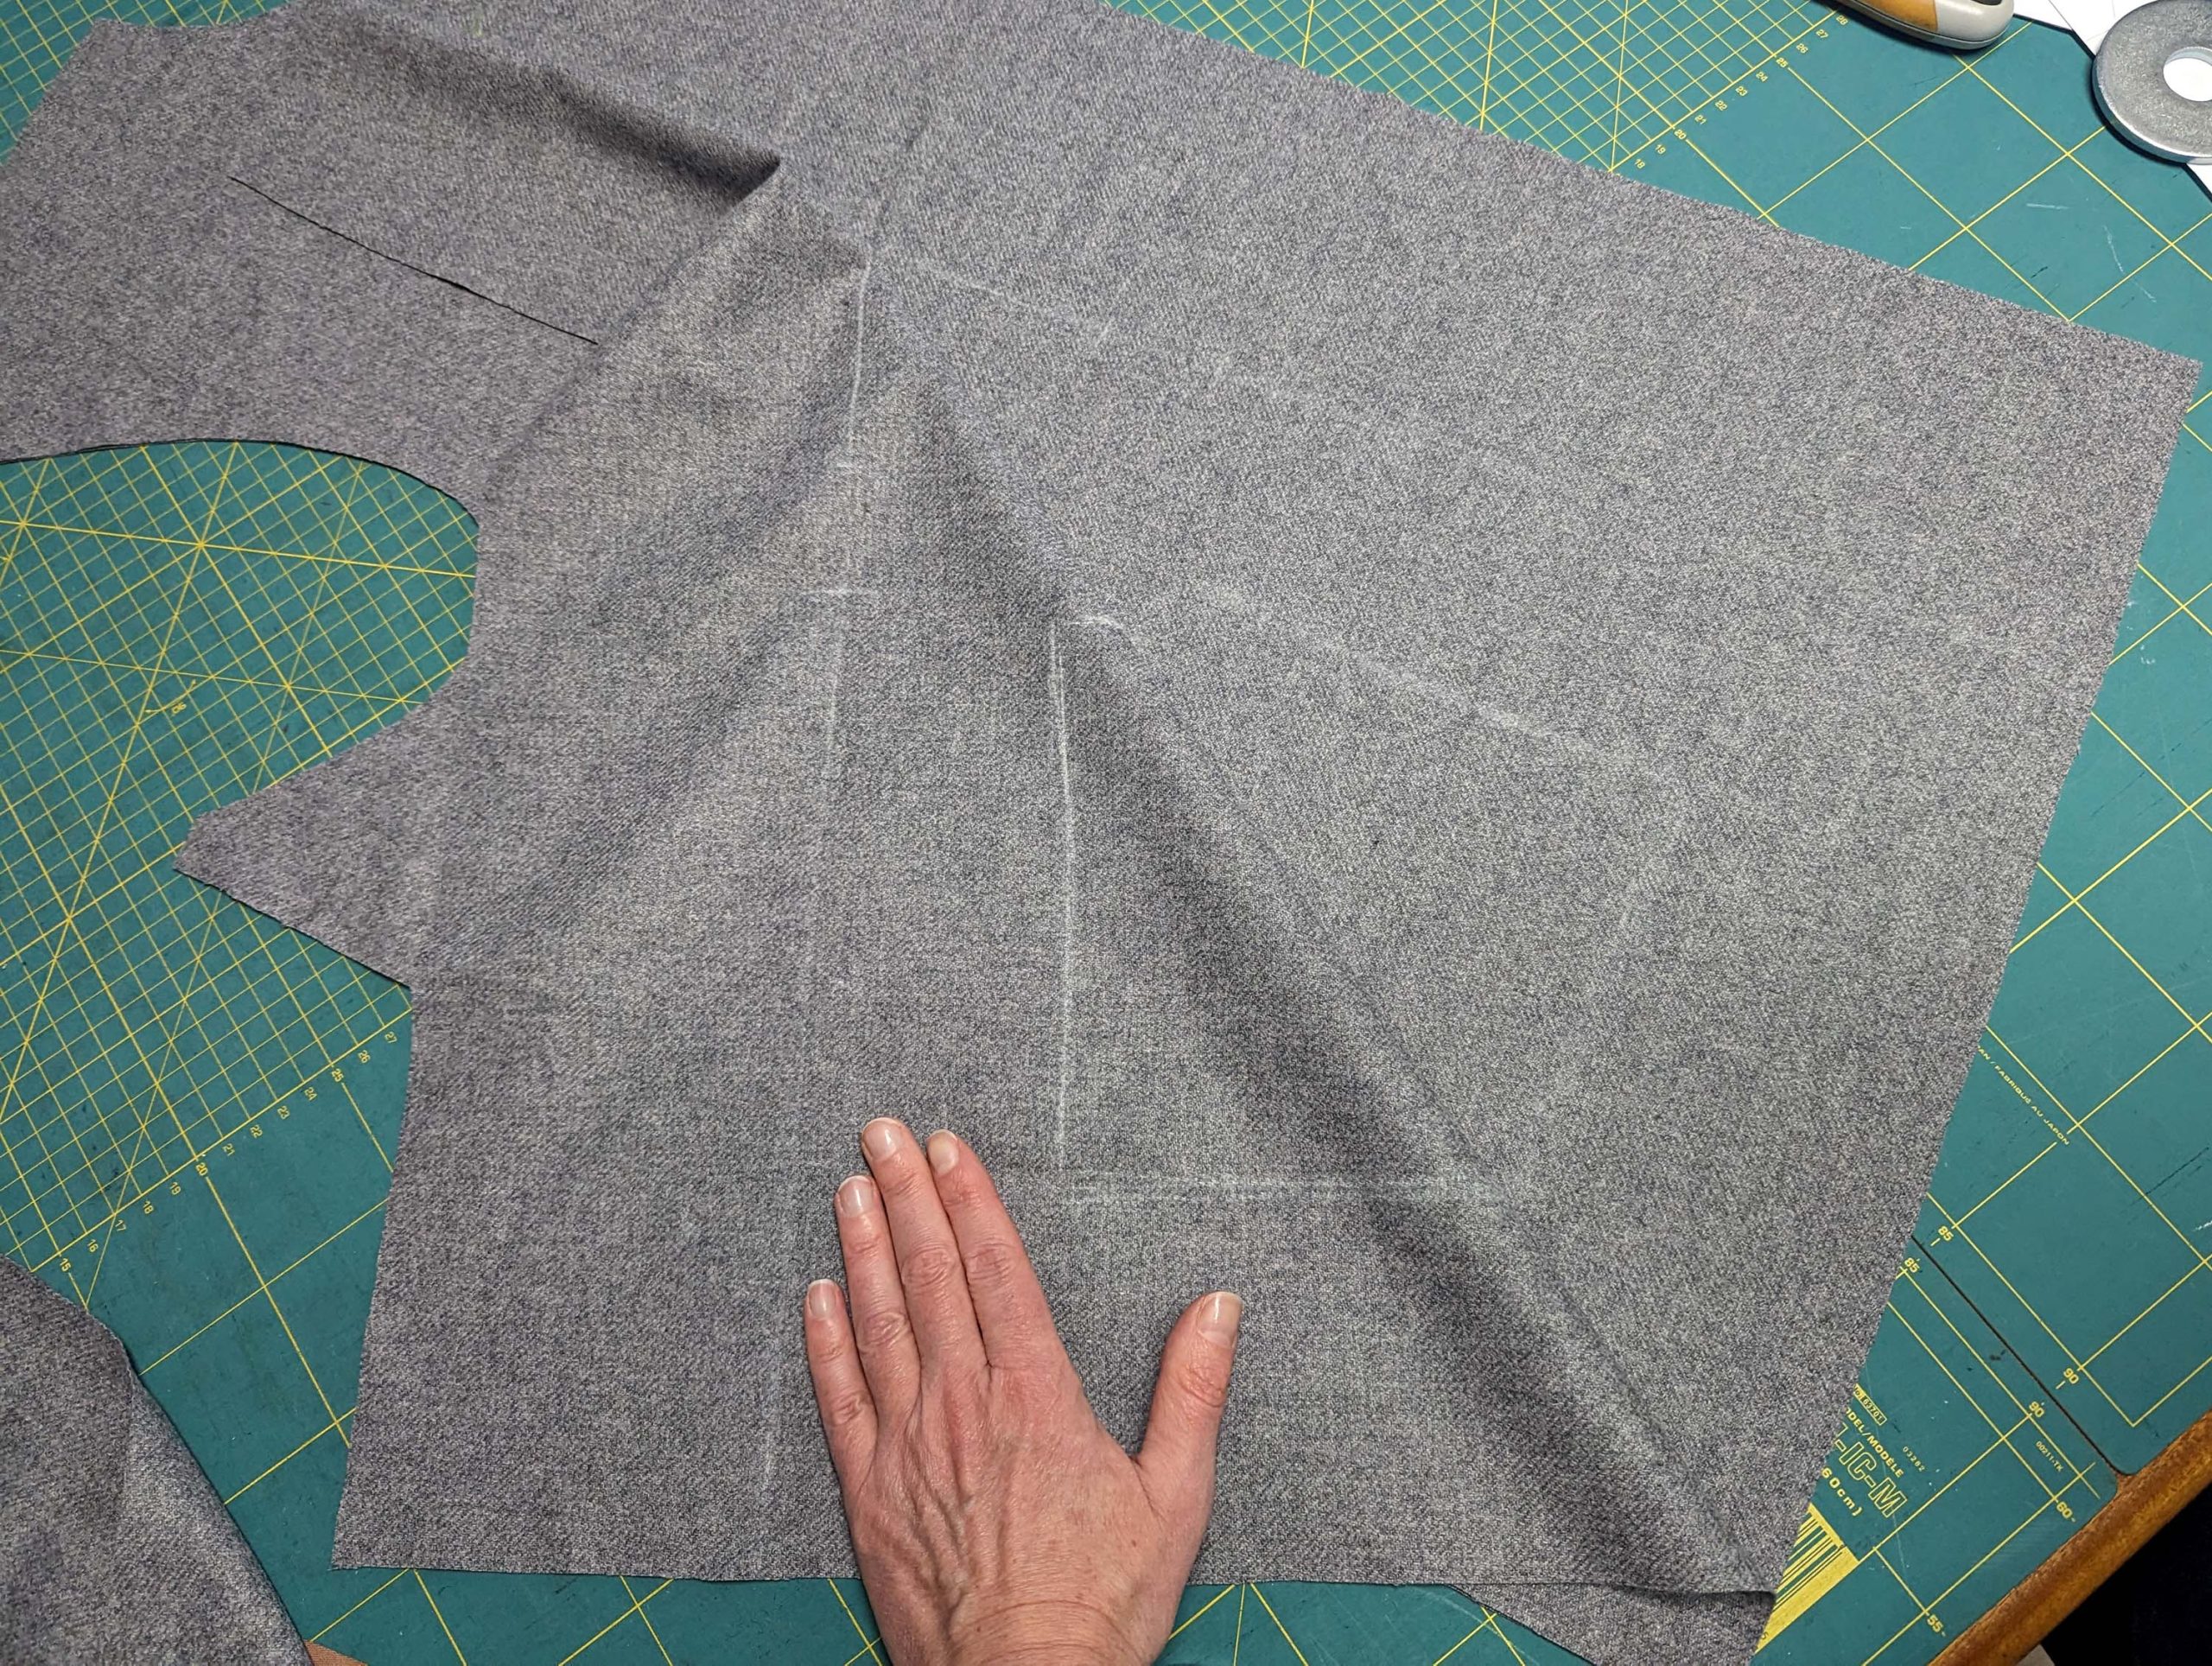
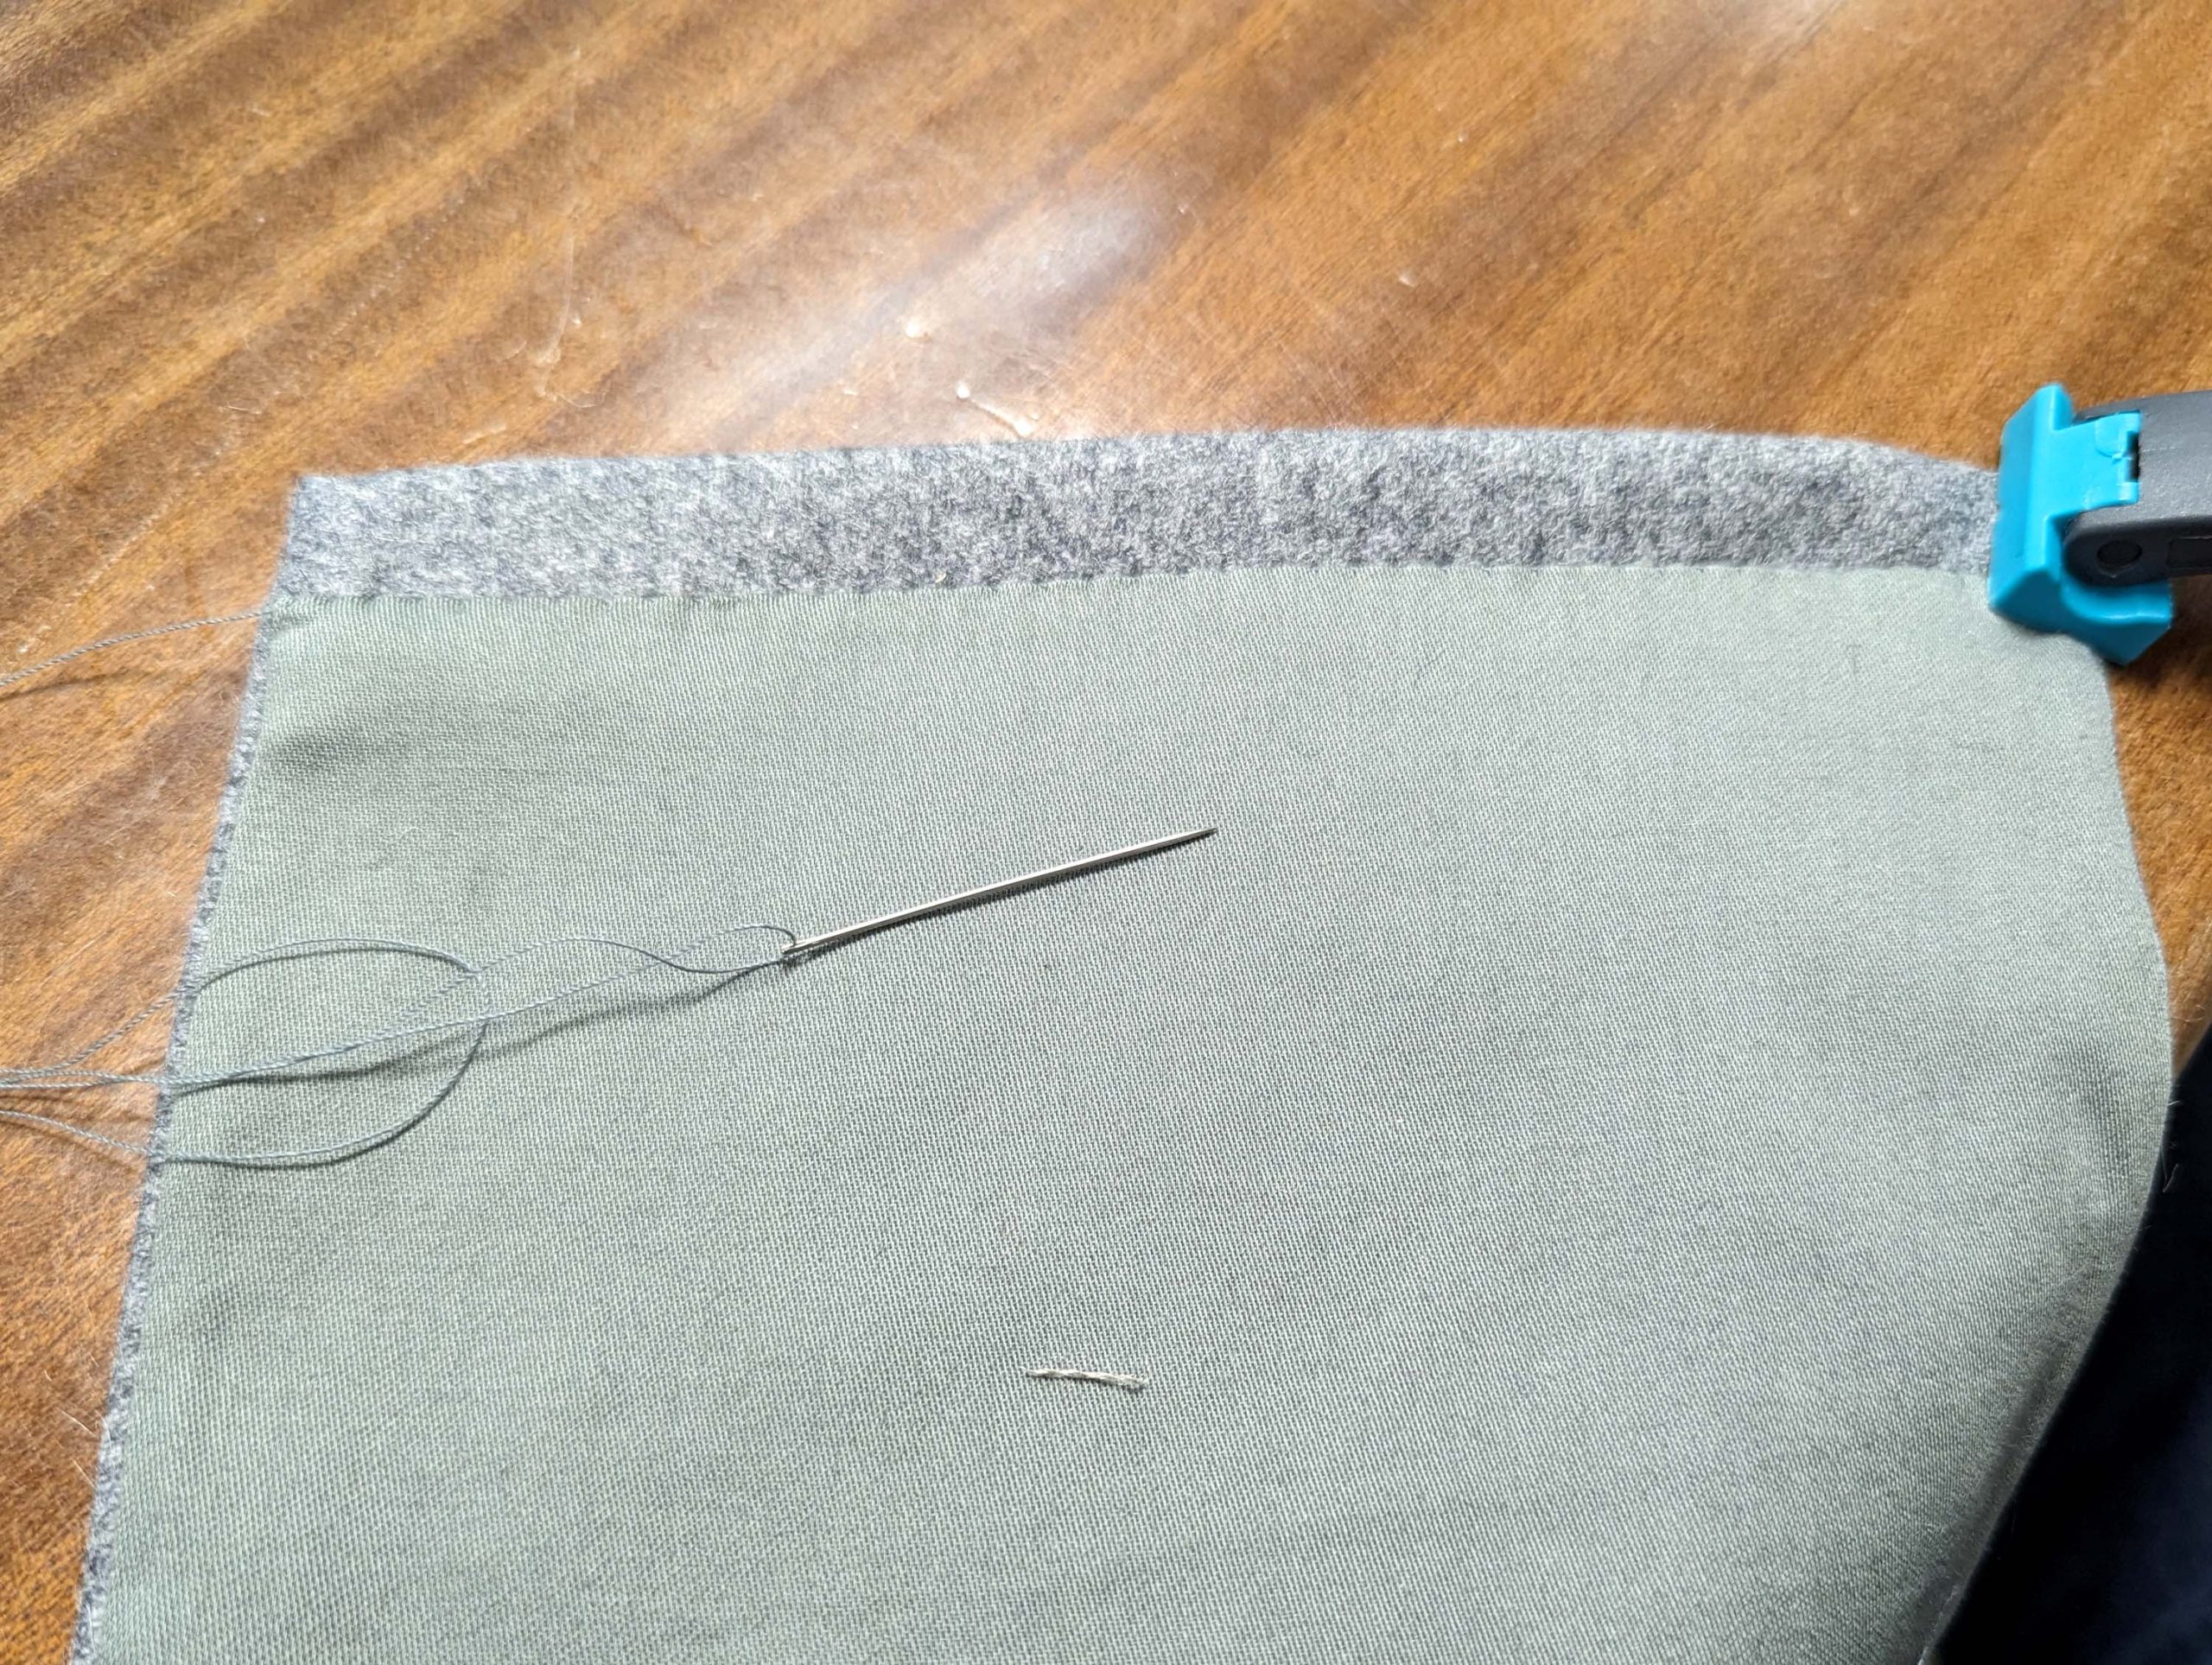
(2)Transfer all the marks and notches, mark with chalk on the wrong side, and “copy” the lines to the mirror piece. Baste along the lines to mark the position of the pocket and strips on the right side.

Reinforce critical points as told.
Stretch the edges of the shoulder, the front armhole, and the neckline shrink the area under the collarbone.
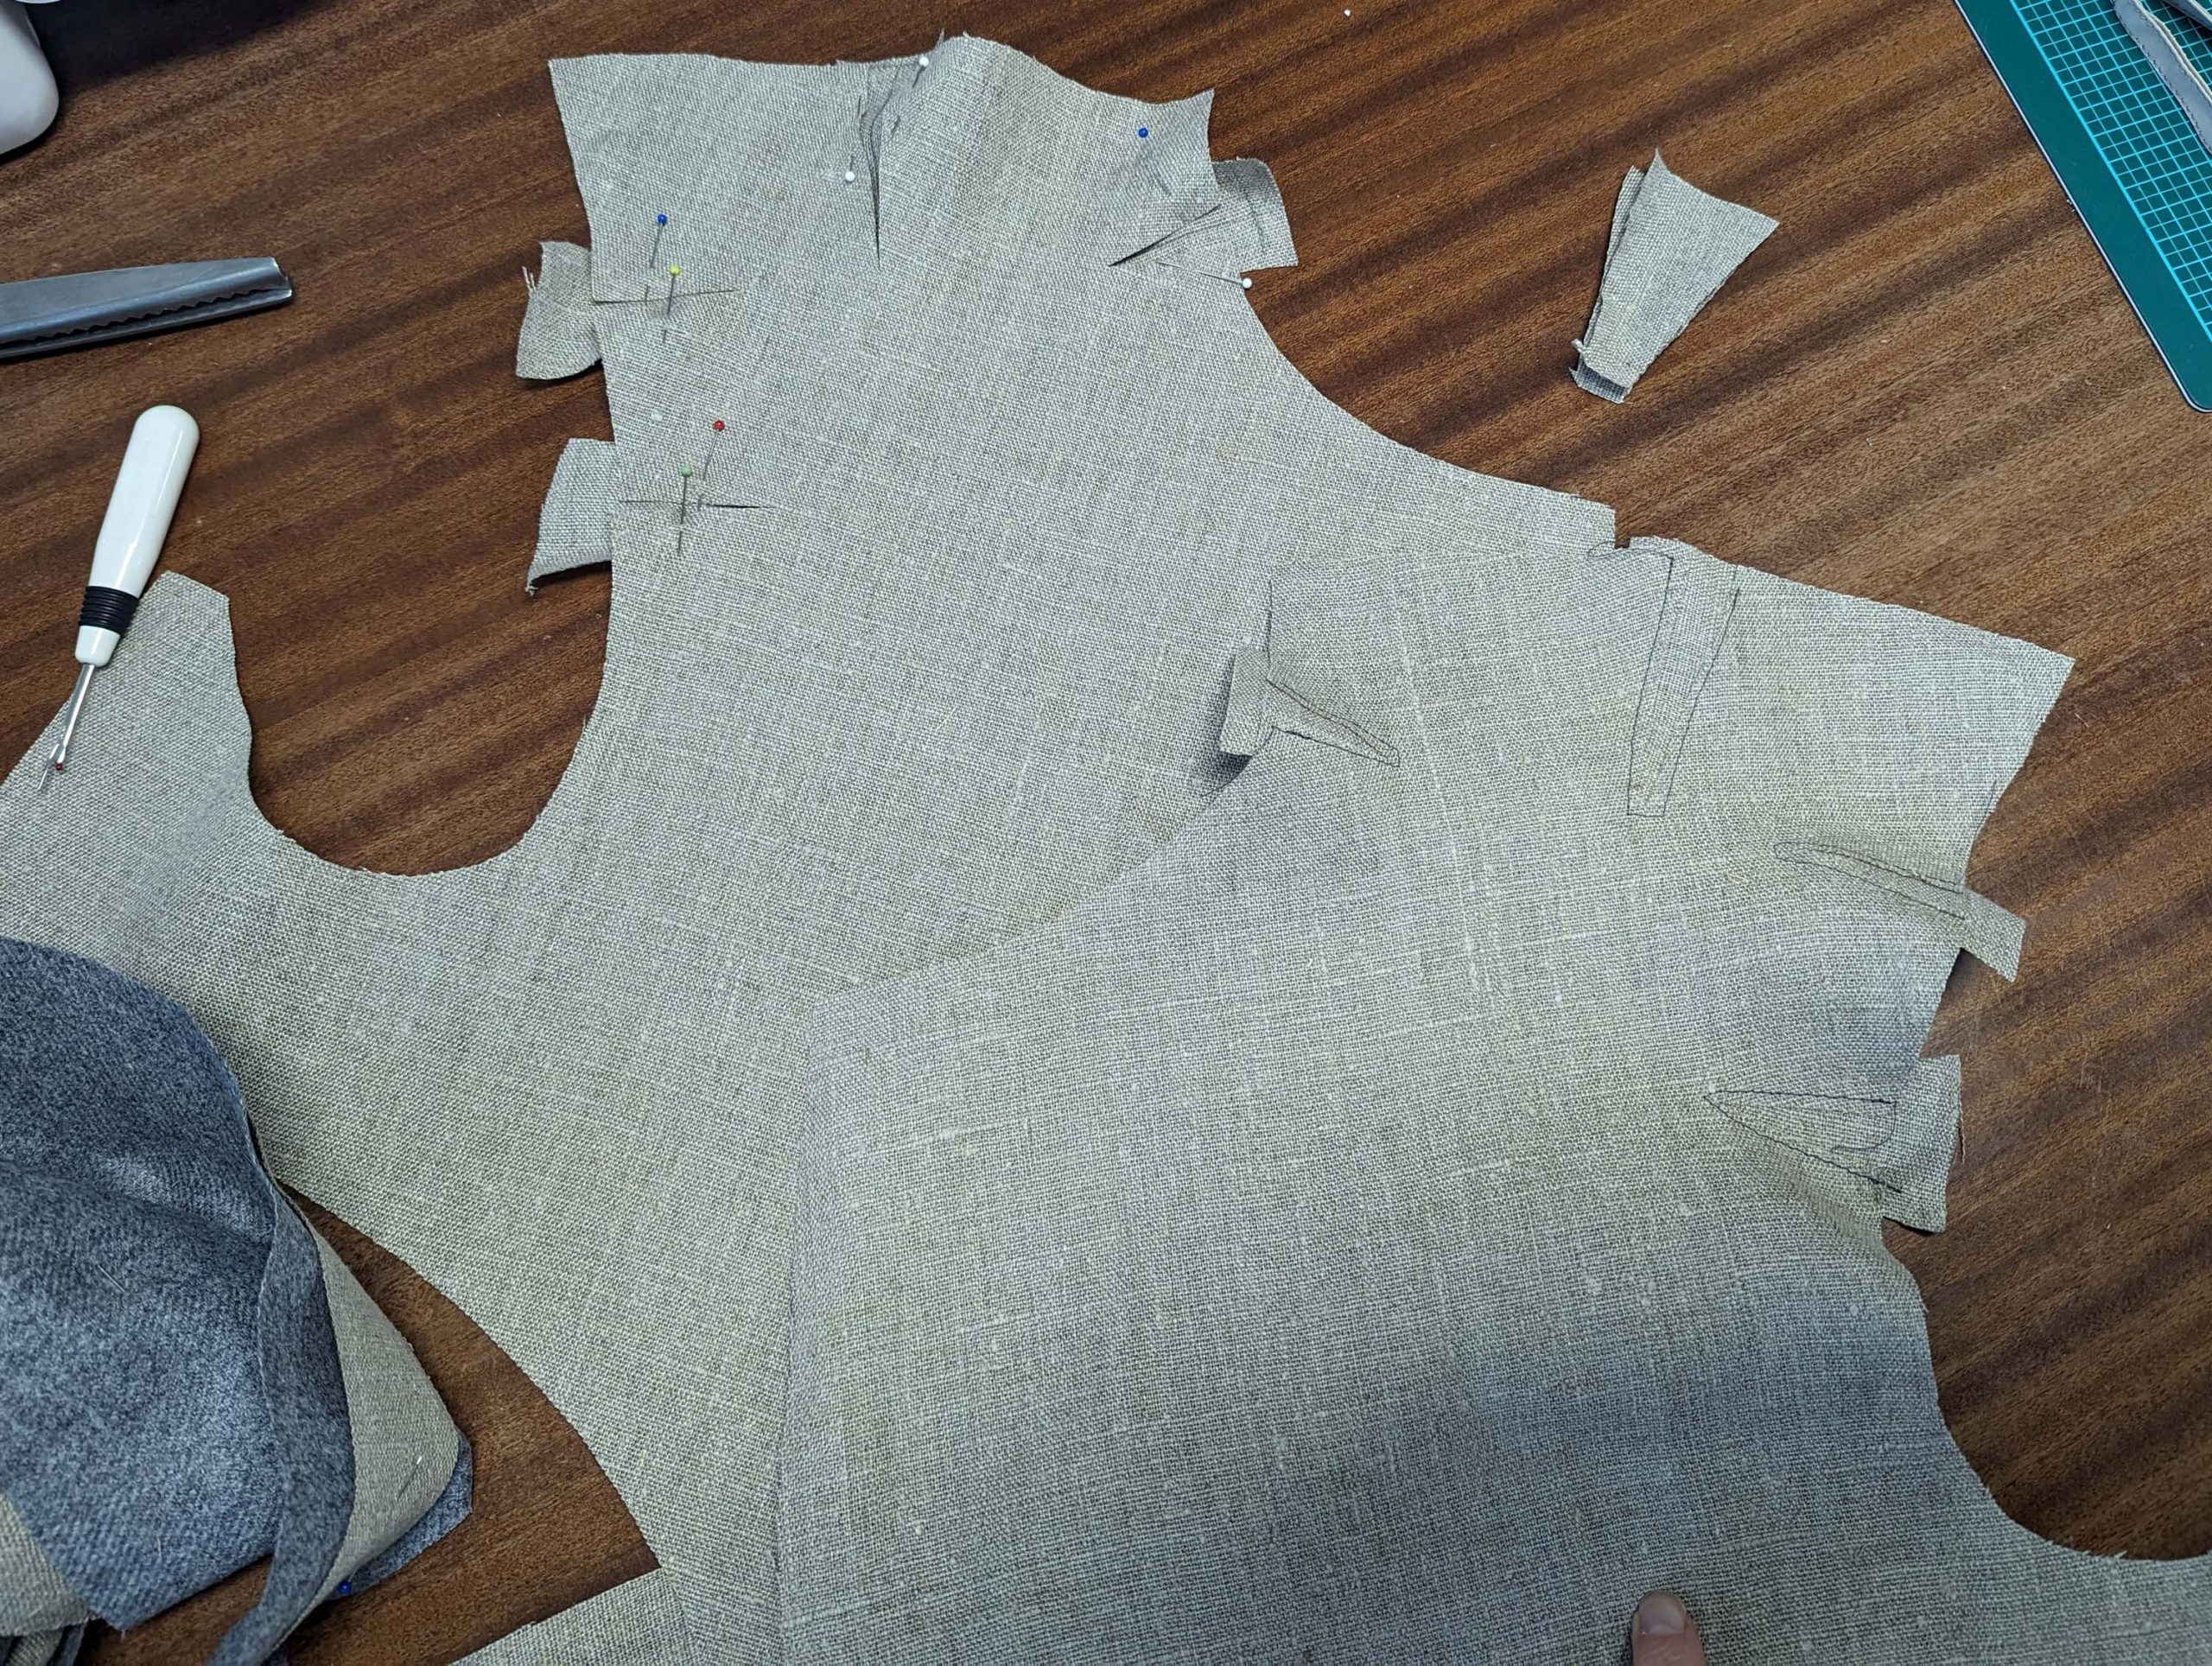
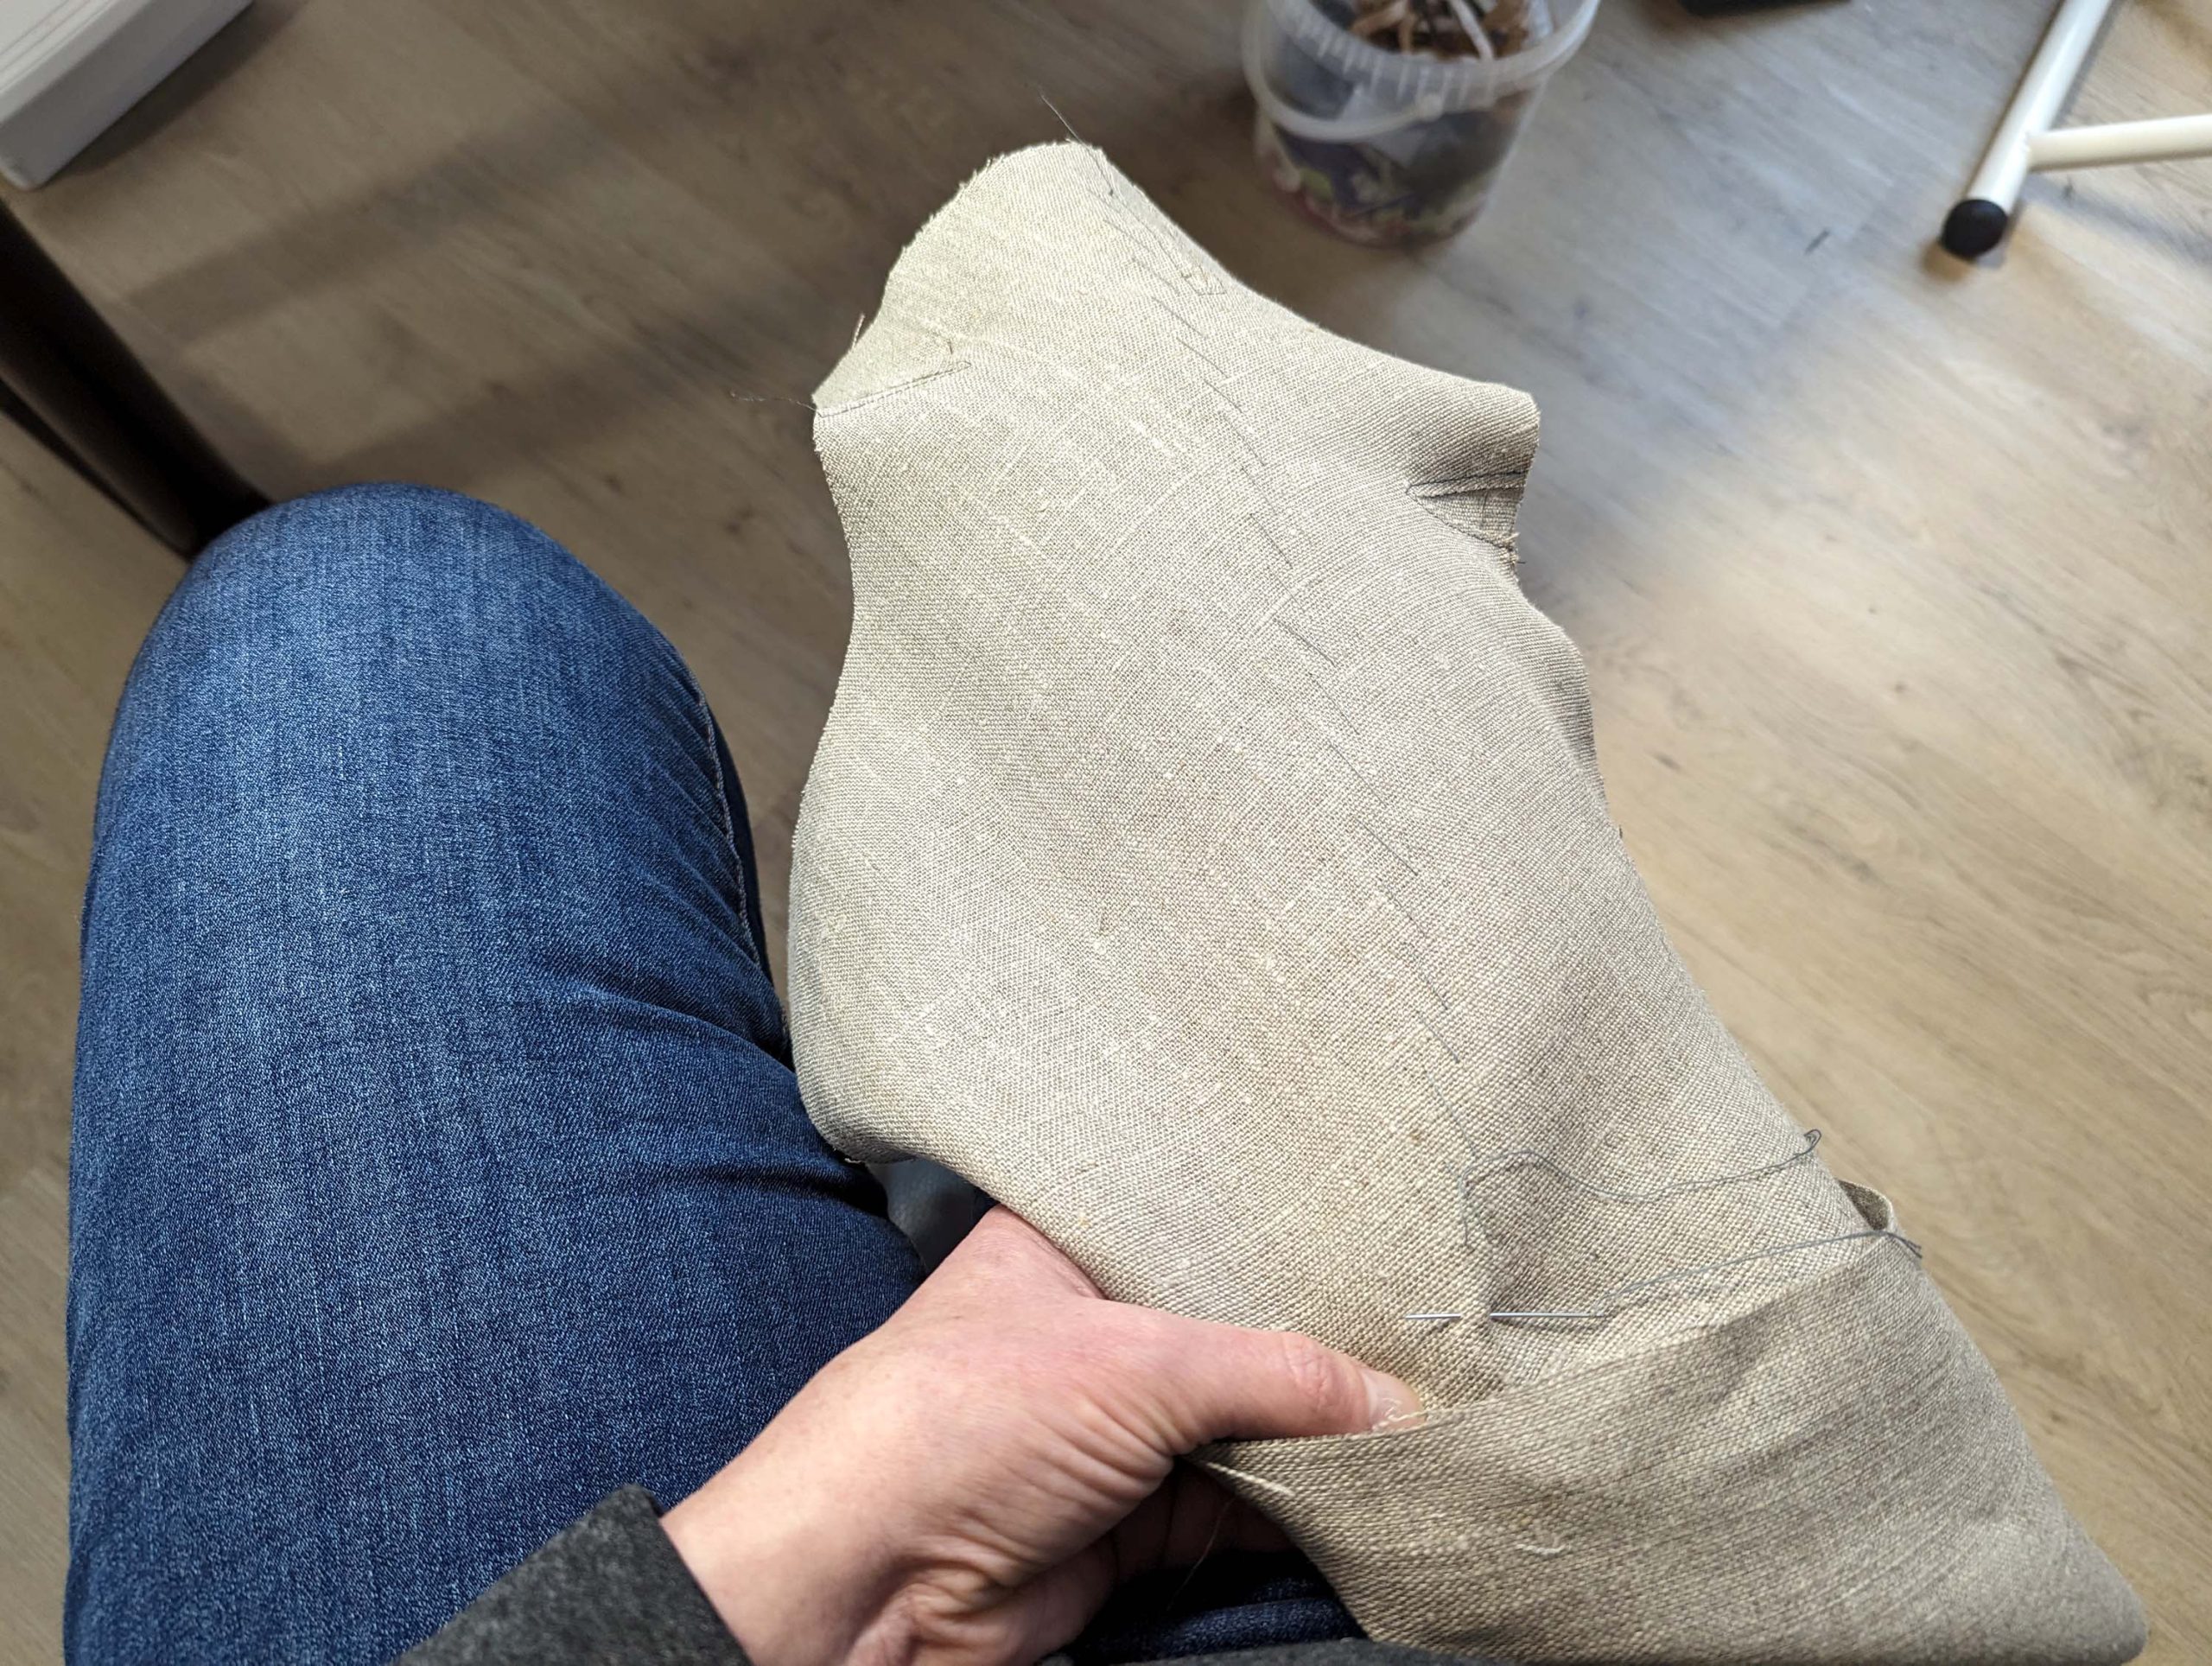
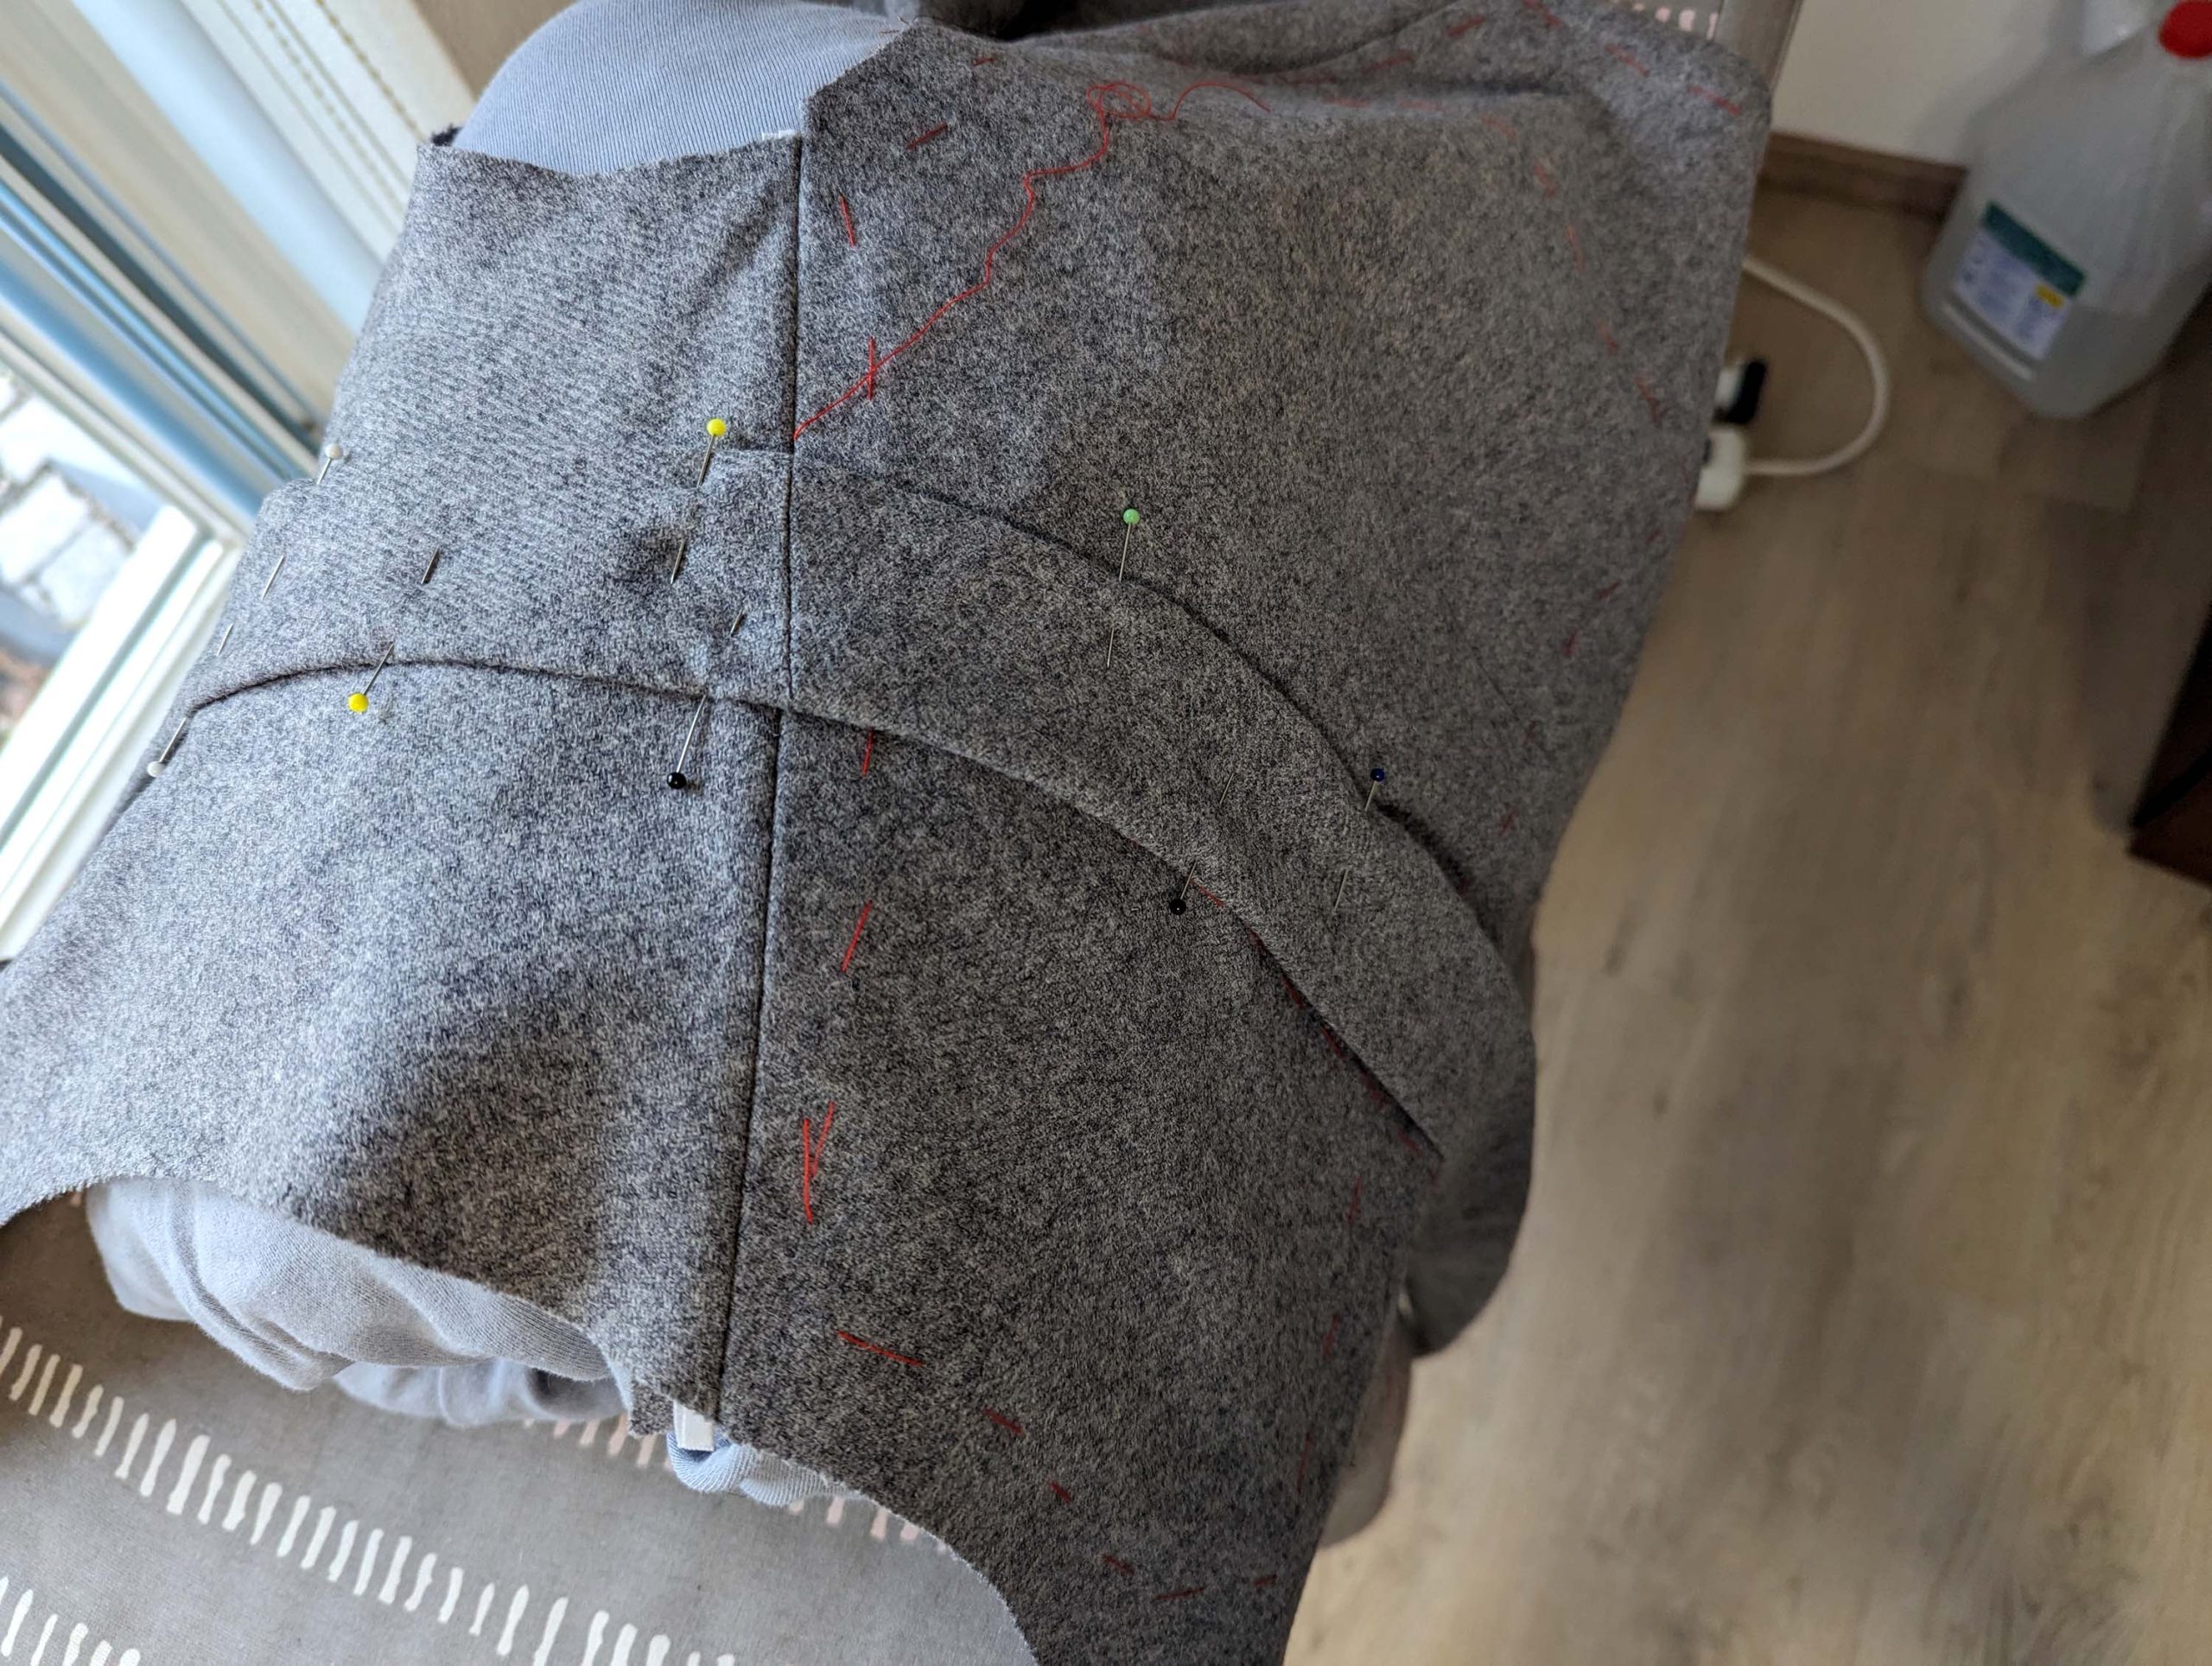
(3) Slash the front and chest canvas, where indicated on the pattern, and insert the V-shaped pieces. The inserts of the front and chest are slightly offset to avoid bulk.
Line up the chest canvas on top of the front canvas, and pad stitch together, molding the rounding of the chest with a tailor’s ham or a pillow, I just used my thigh. Start your pad stitching, going down in the middle finishing one side, and then the other. The last picture shows the finished front canvas, already lined up with the front.
The material I used, was stiff linen for the front, and hair canvas for the chest. The chest canvas is cut with the grain following the roll line. Mark the roll line.
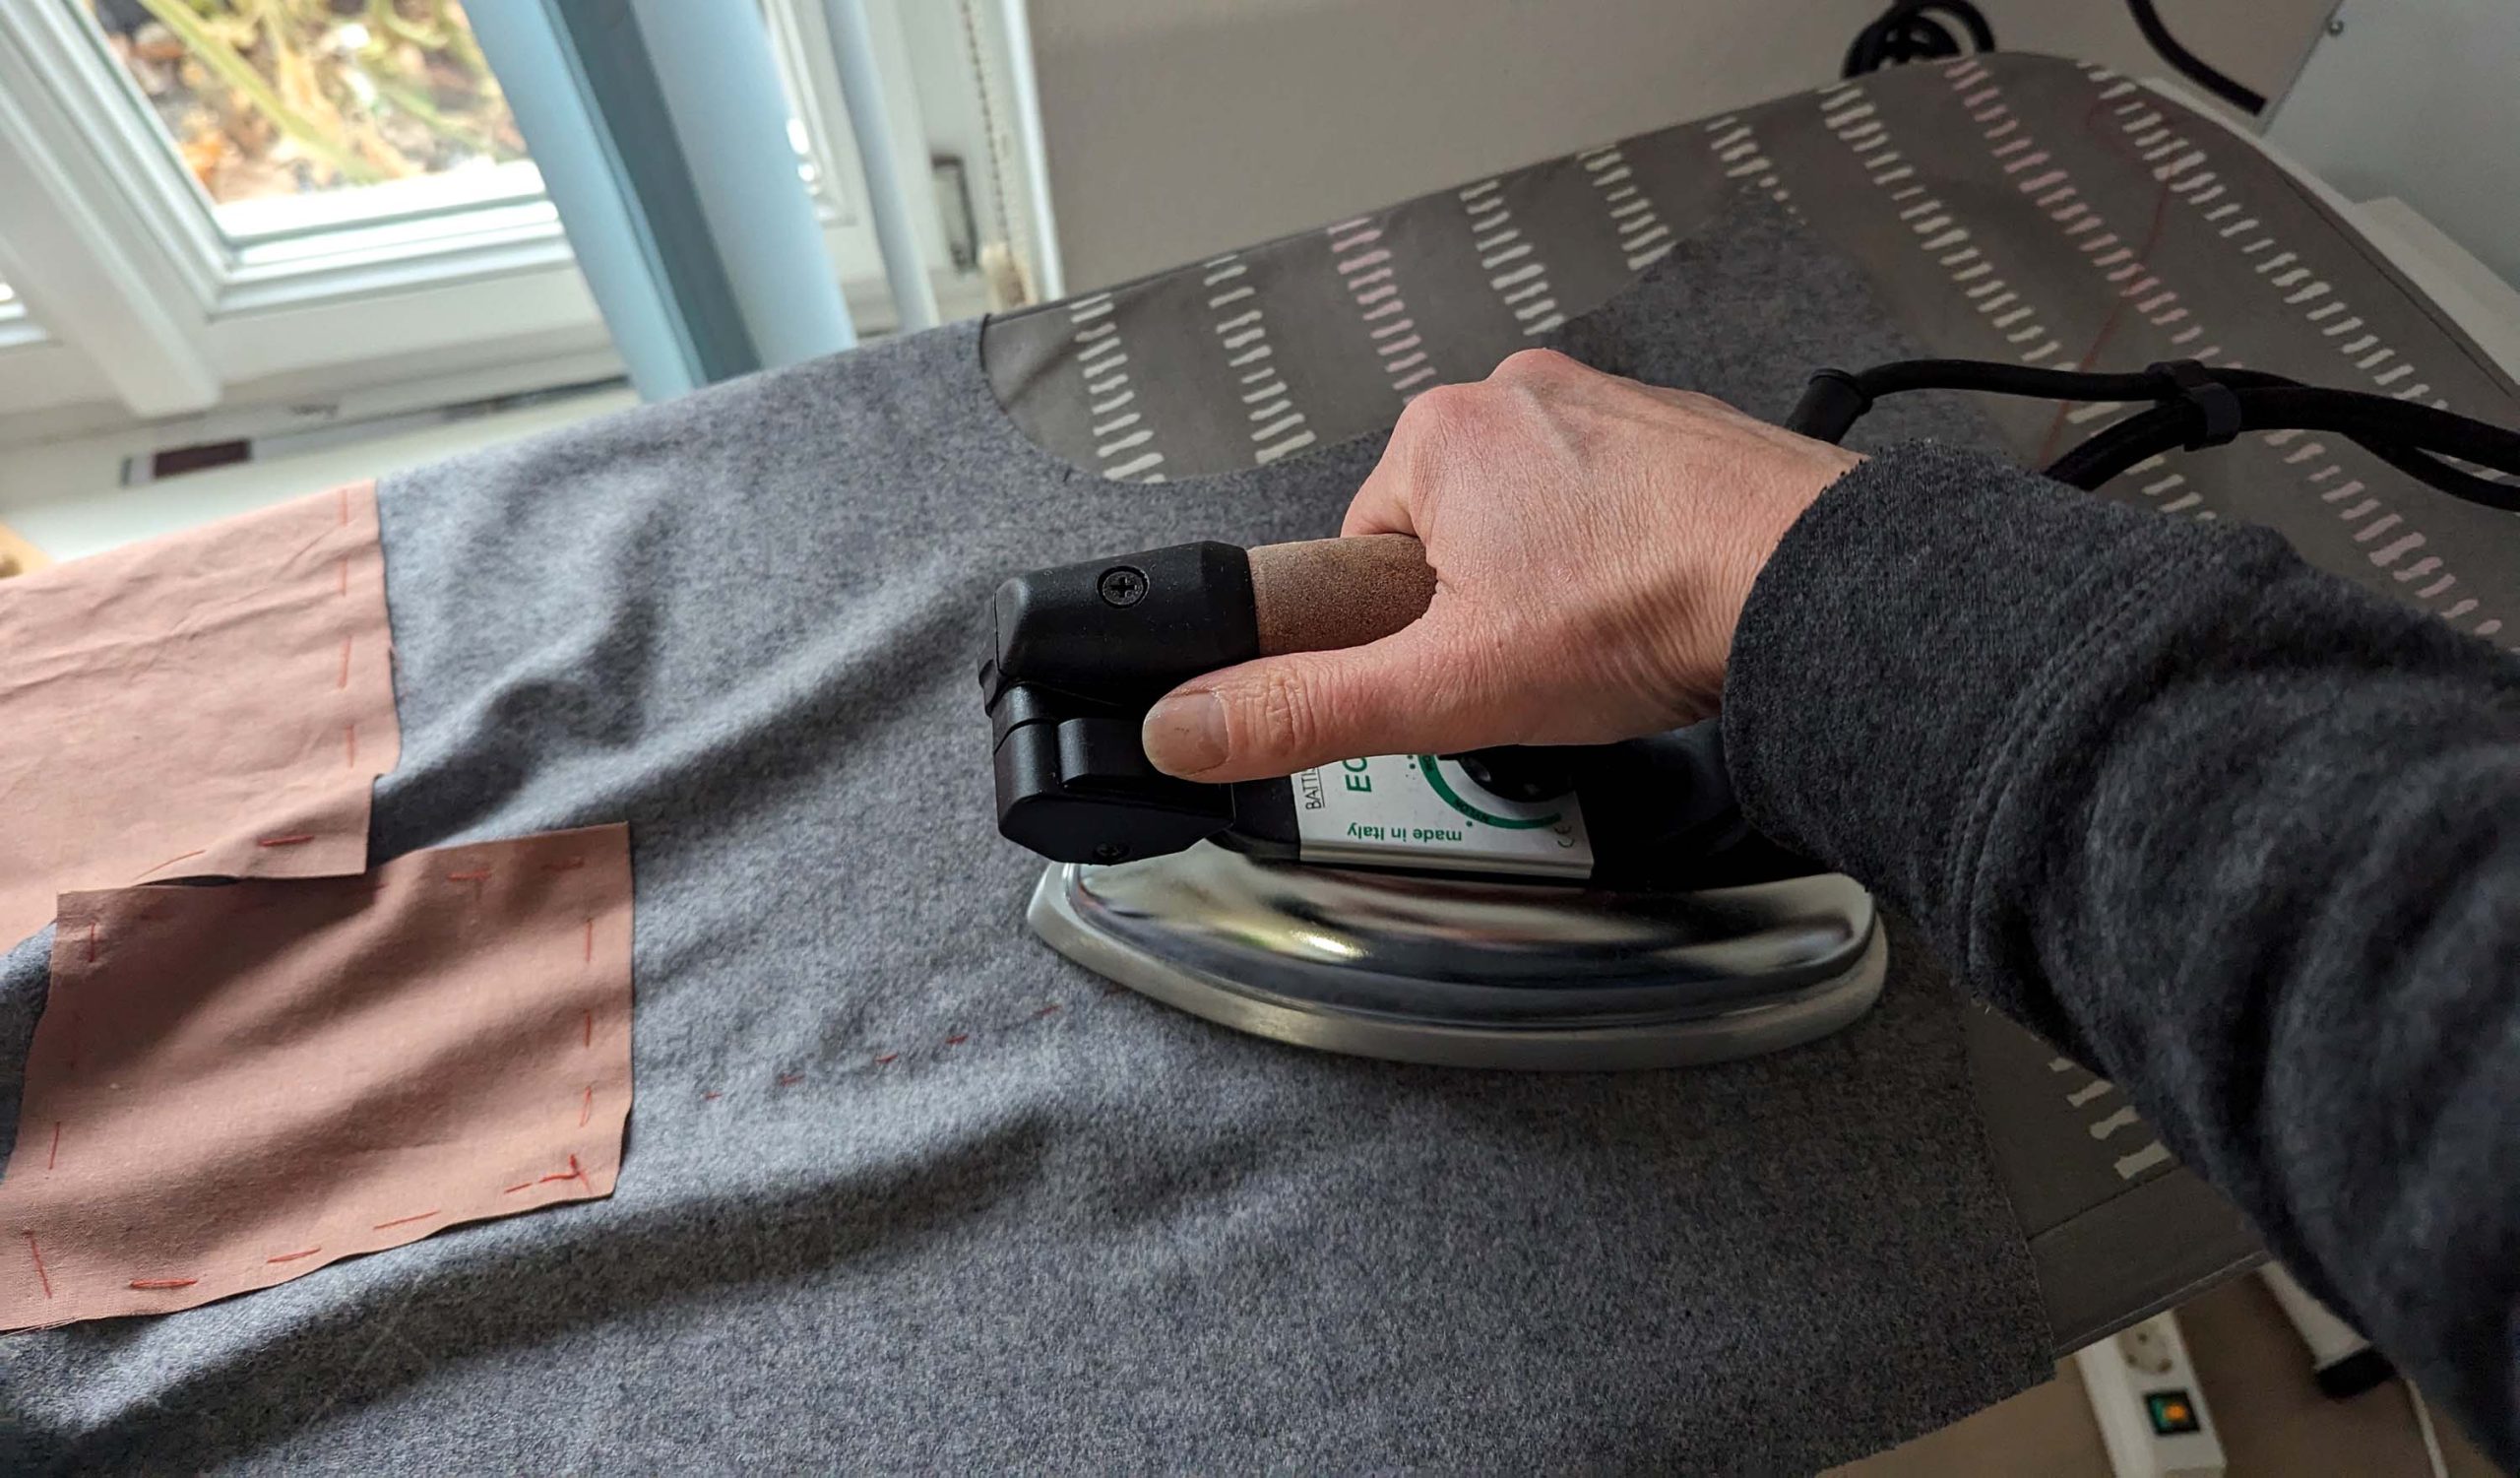
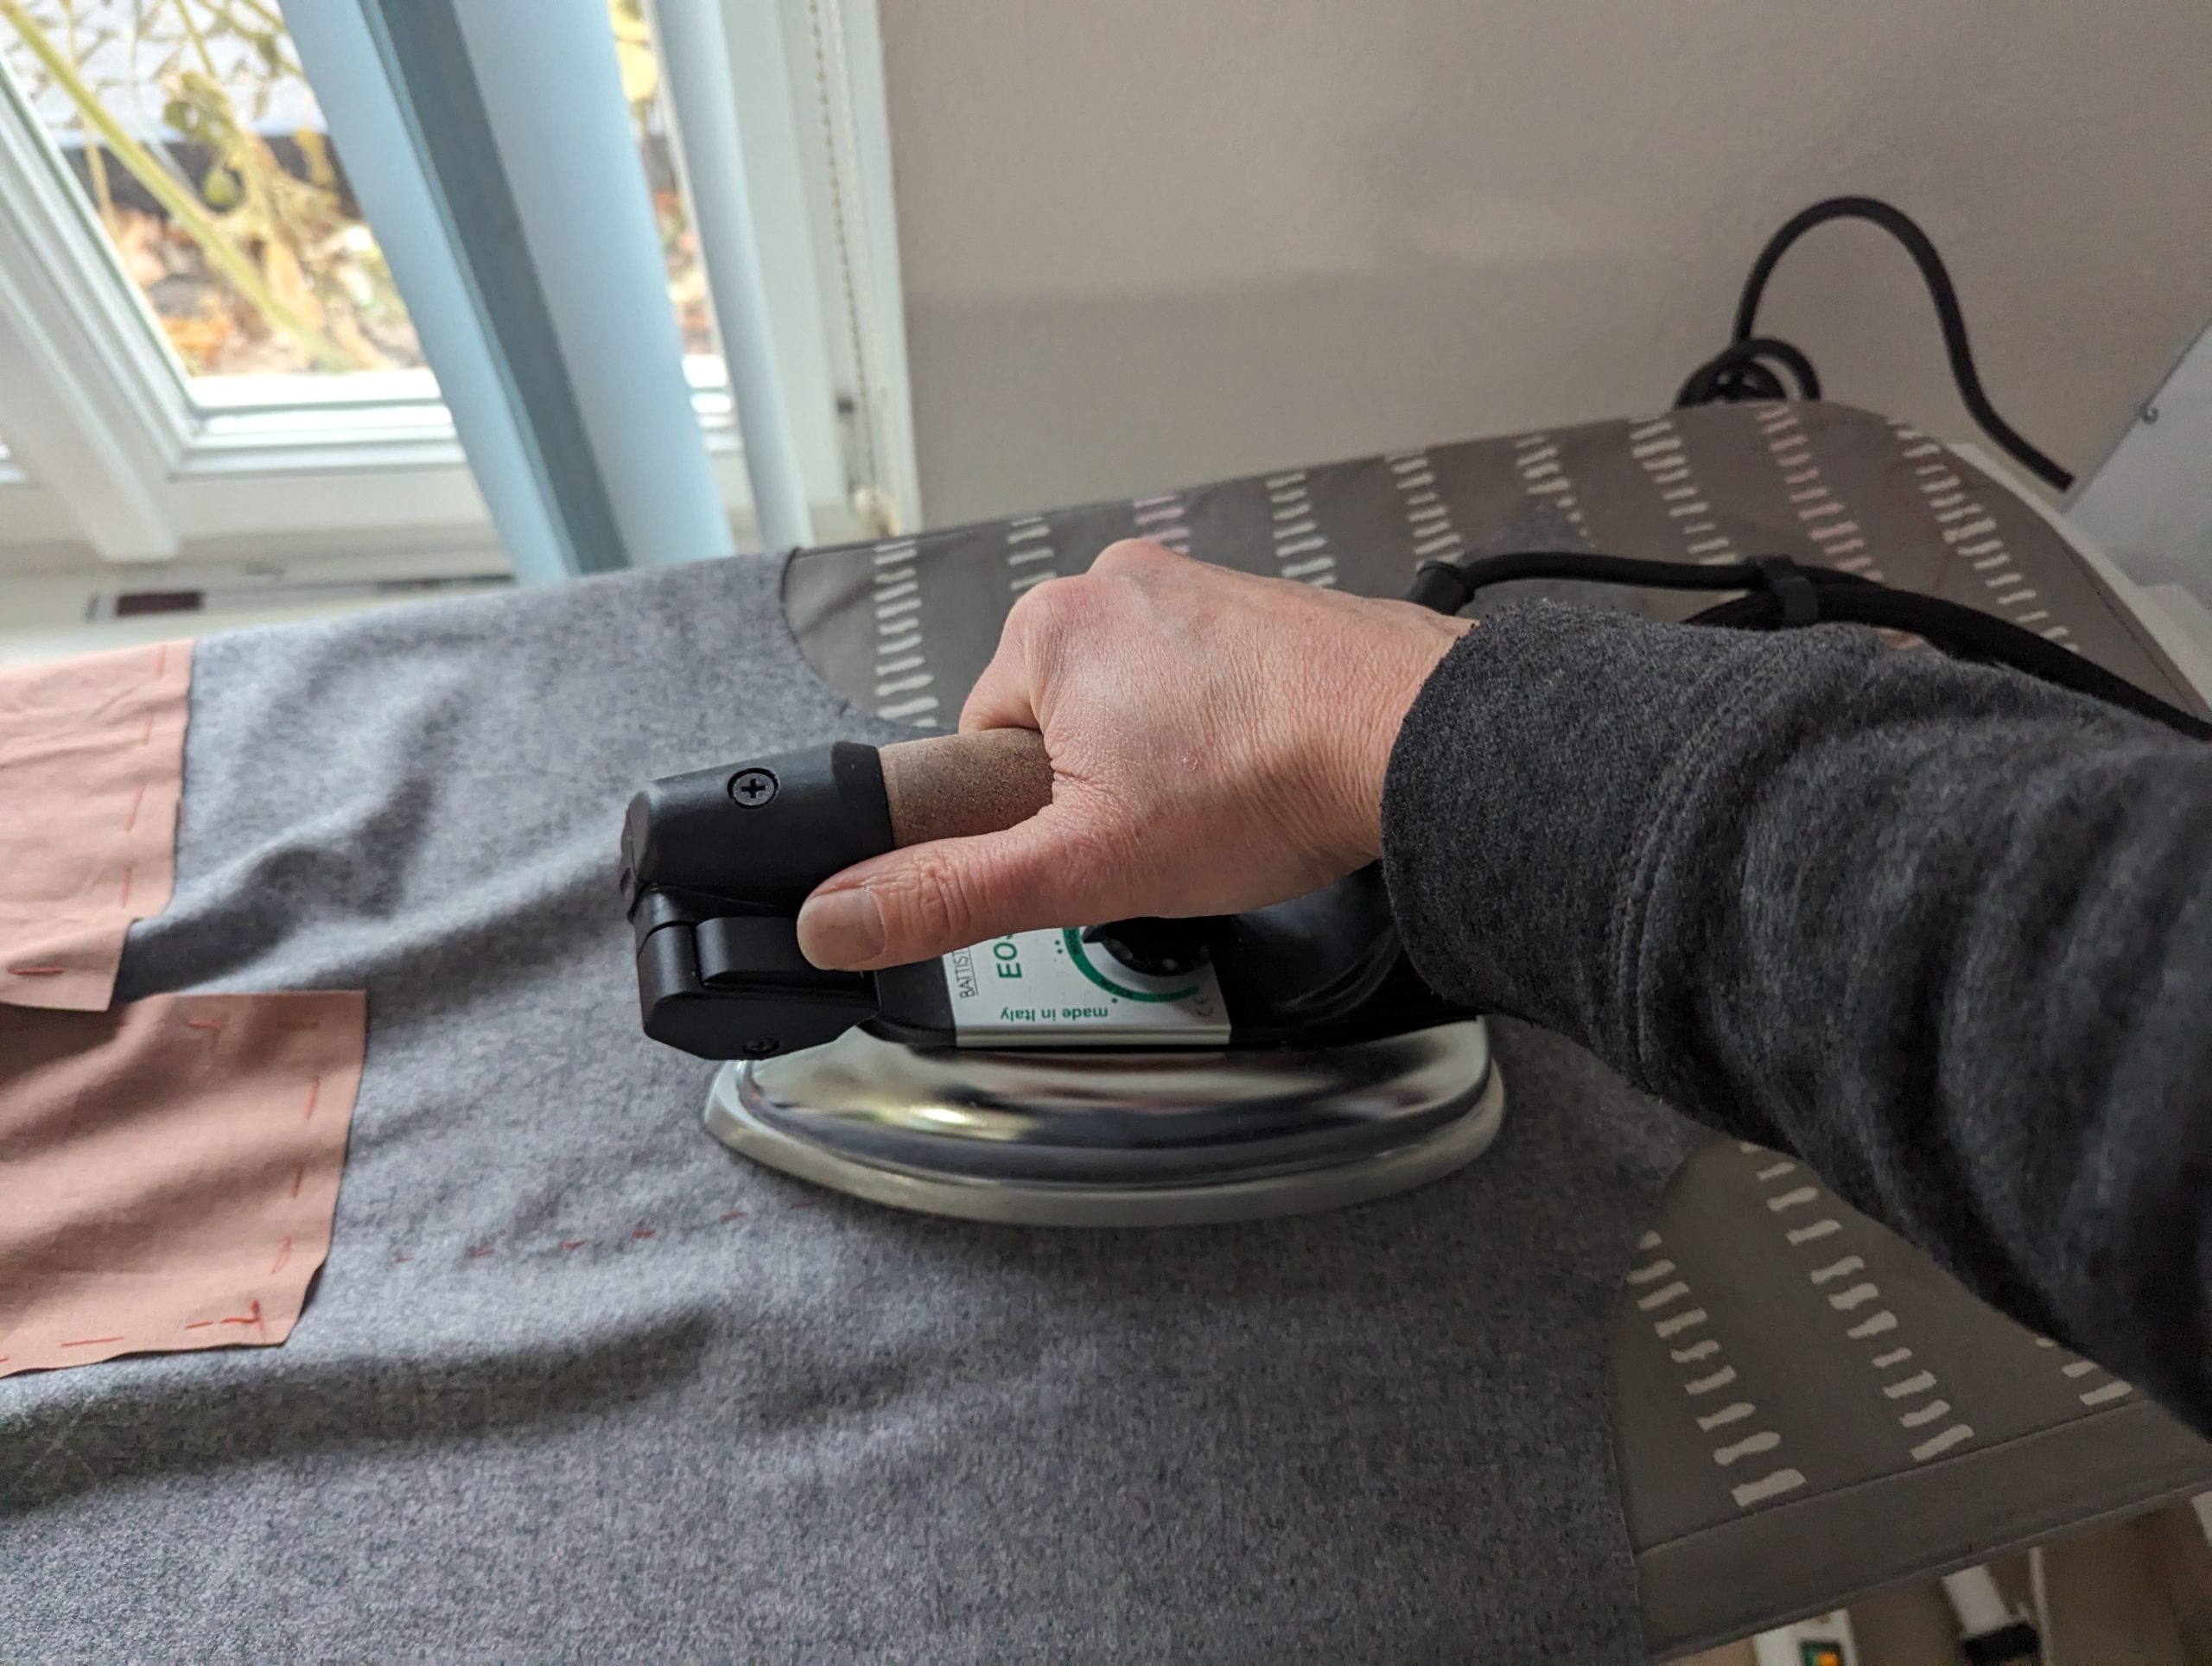
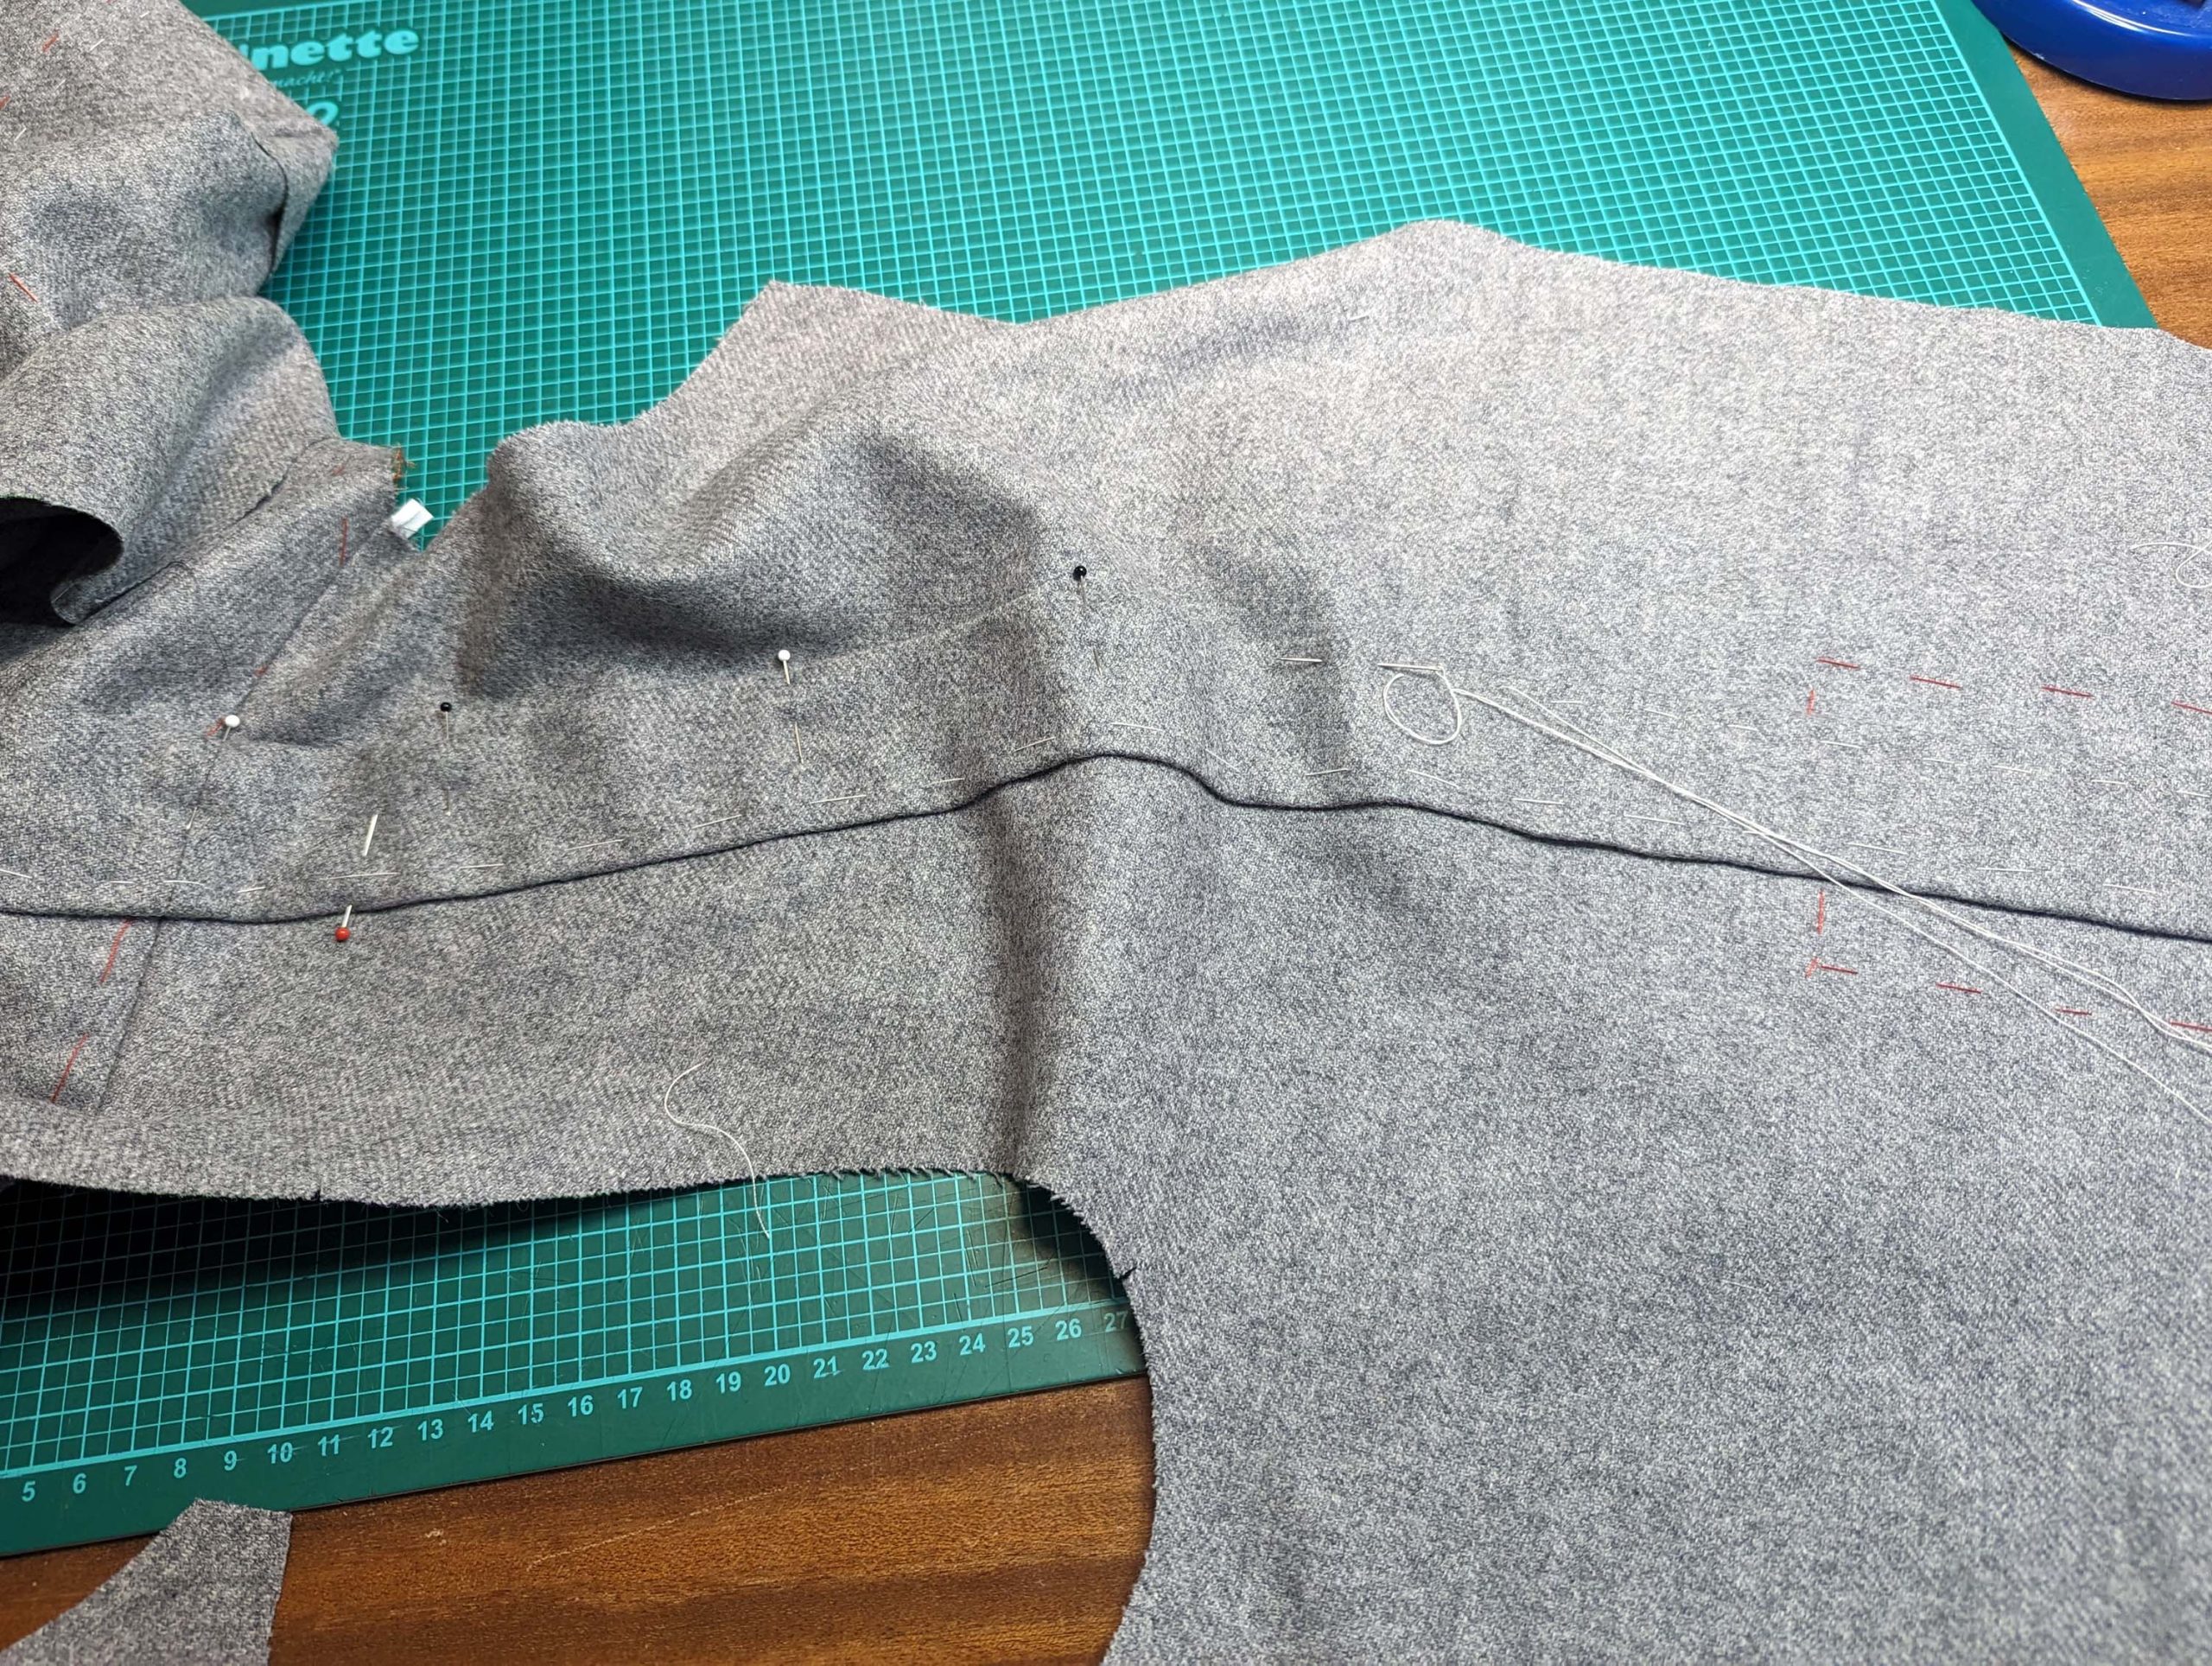
(4) Sew the shoulder seam, right sides together, easing in the excess width of the back. Sew with the front side up and place a stay tape underneath your presser foot while sewing. Press open the seam allowances. Normally, you wouldn´t sew the shoulder seam at this point, it´s just that we need to attach the straps before we can baste the canvas to the front.
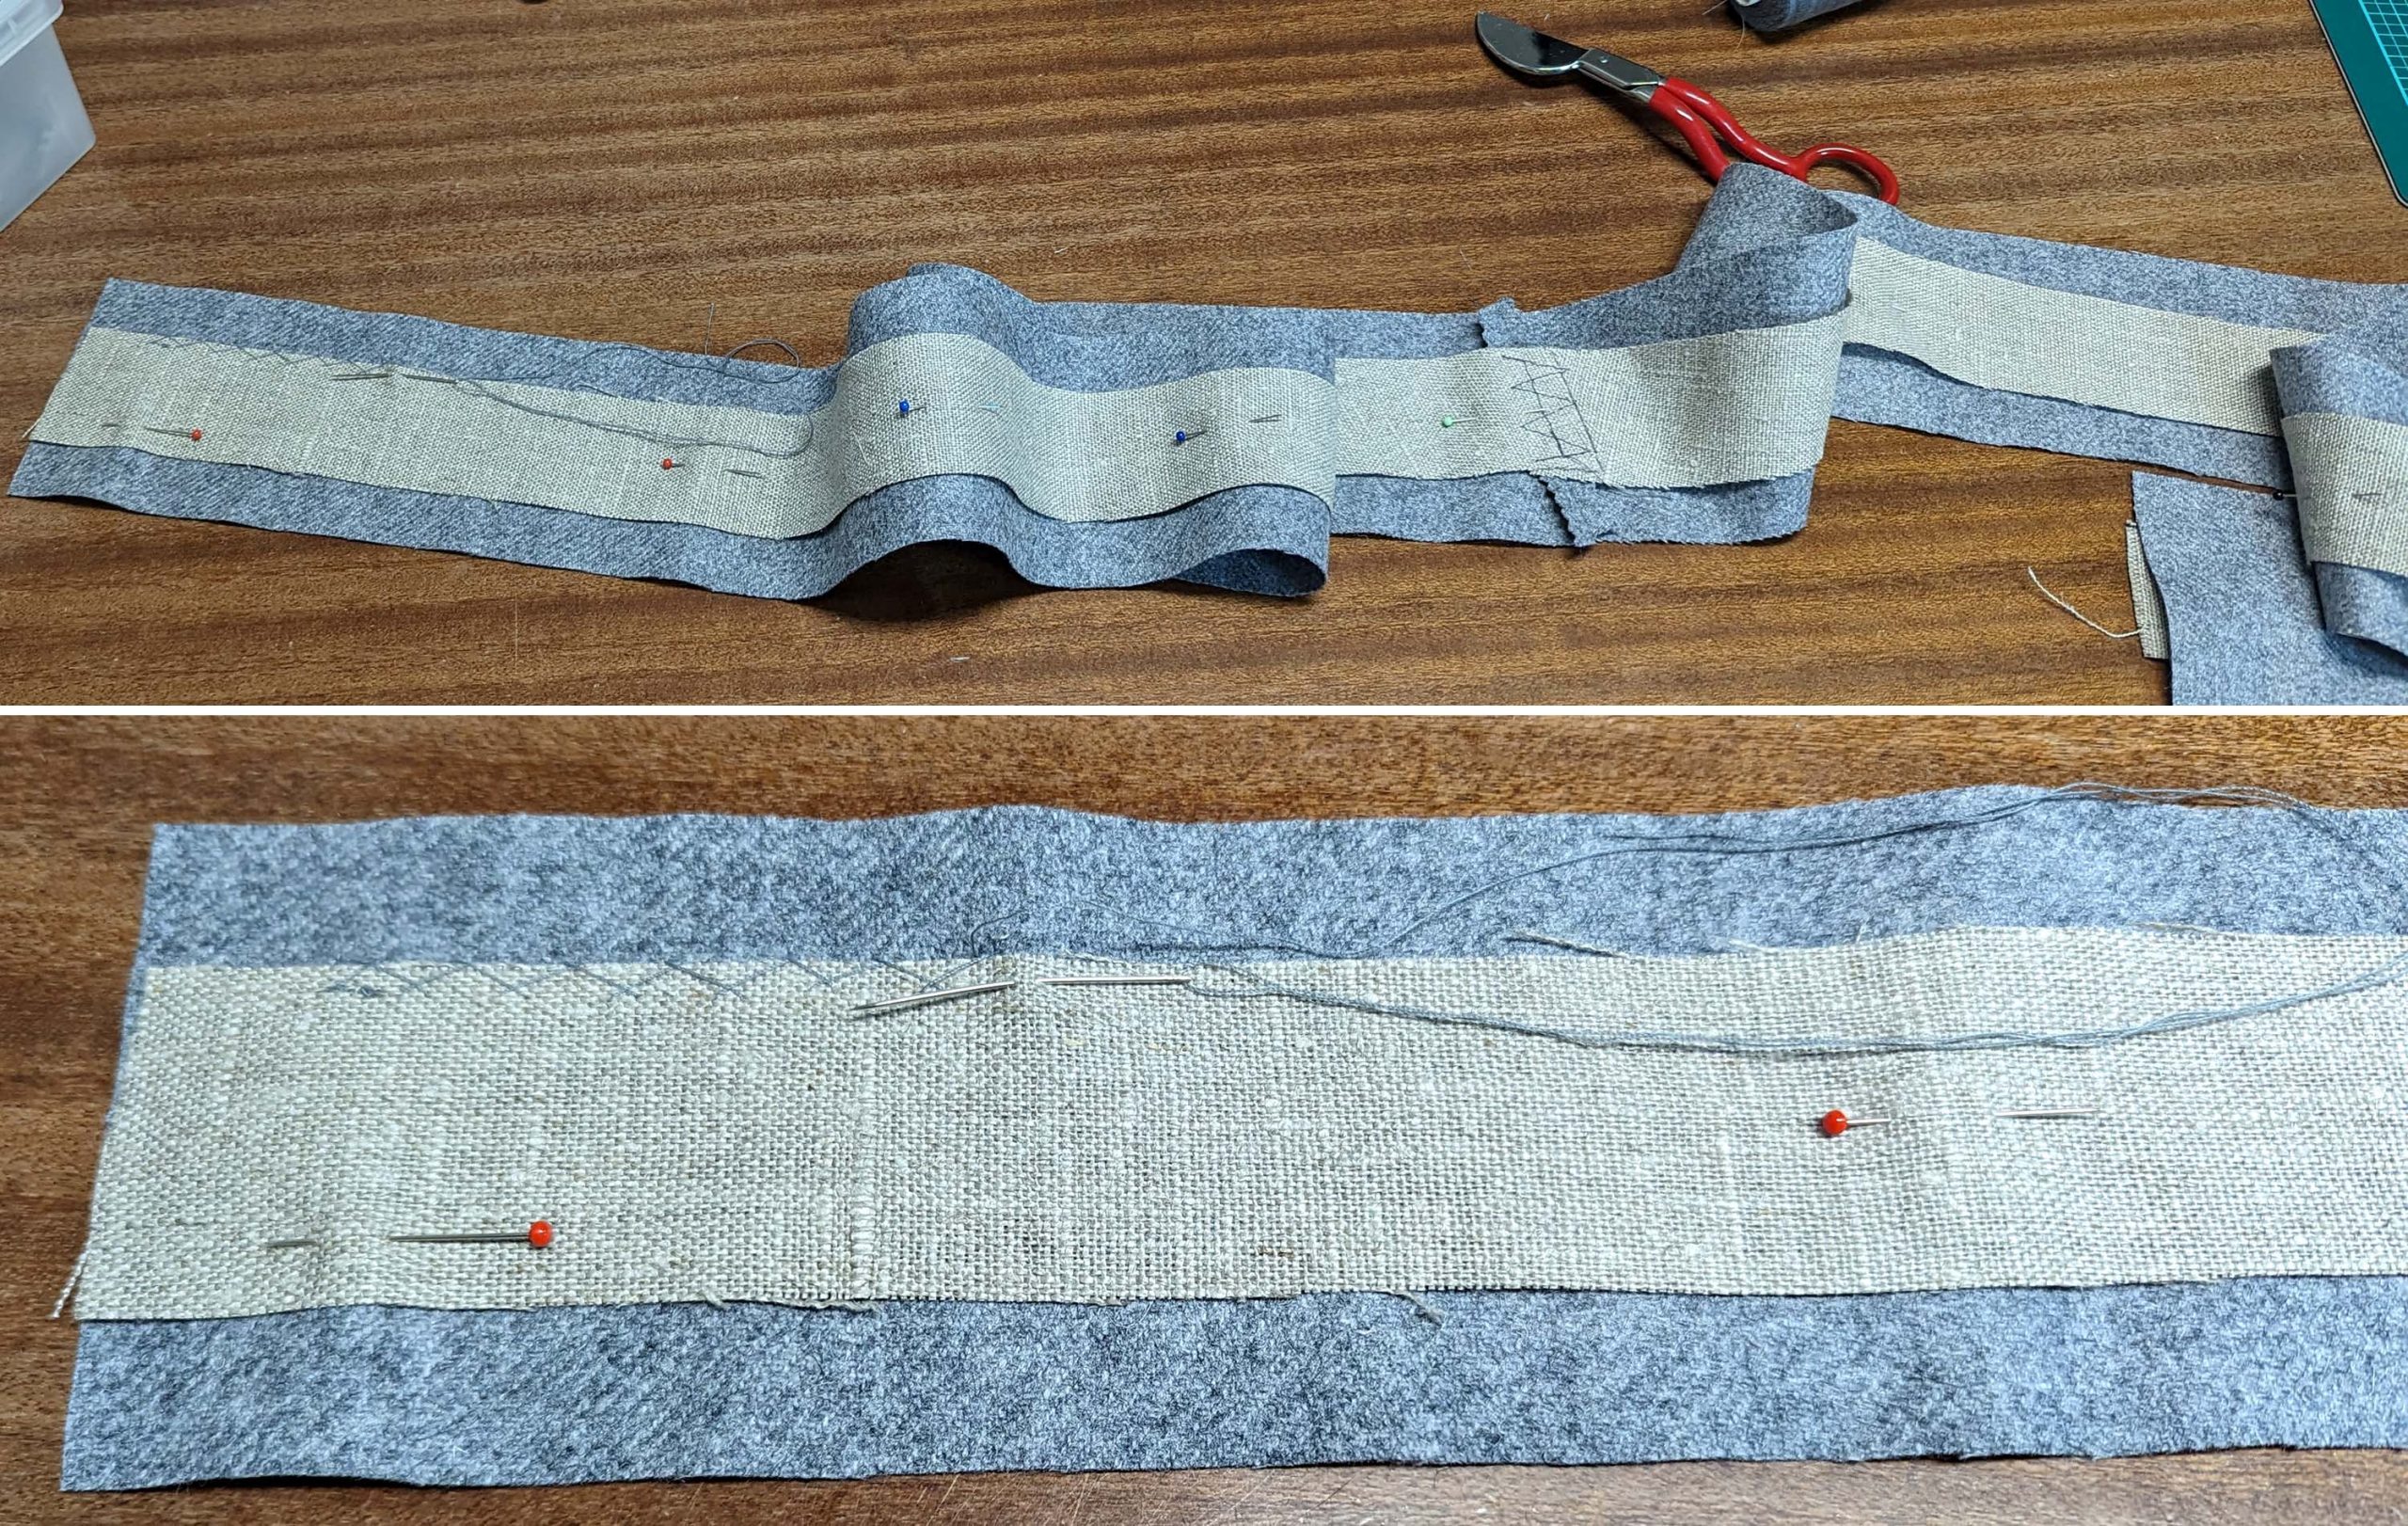
(5) The straps are sewn along the shoulder seam, right sides together, and the seam allowances are trimmed back and pressed open. The shoulder seam of the interfacing/canvas is sewn overlapping, avoiding bulk at the shoulder.
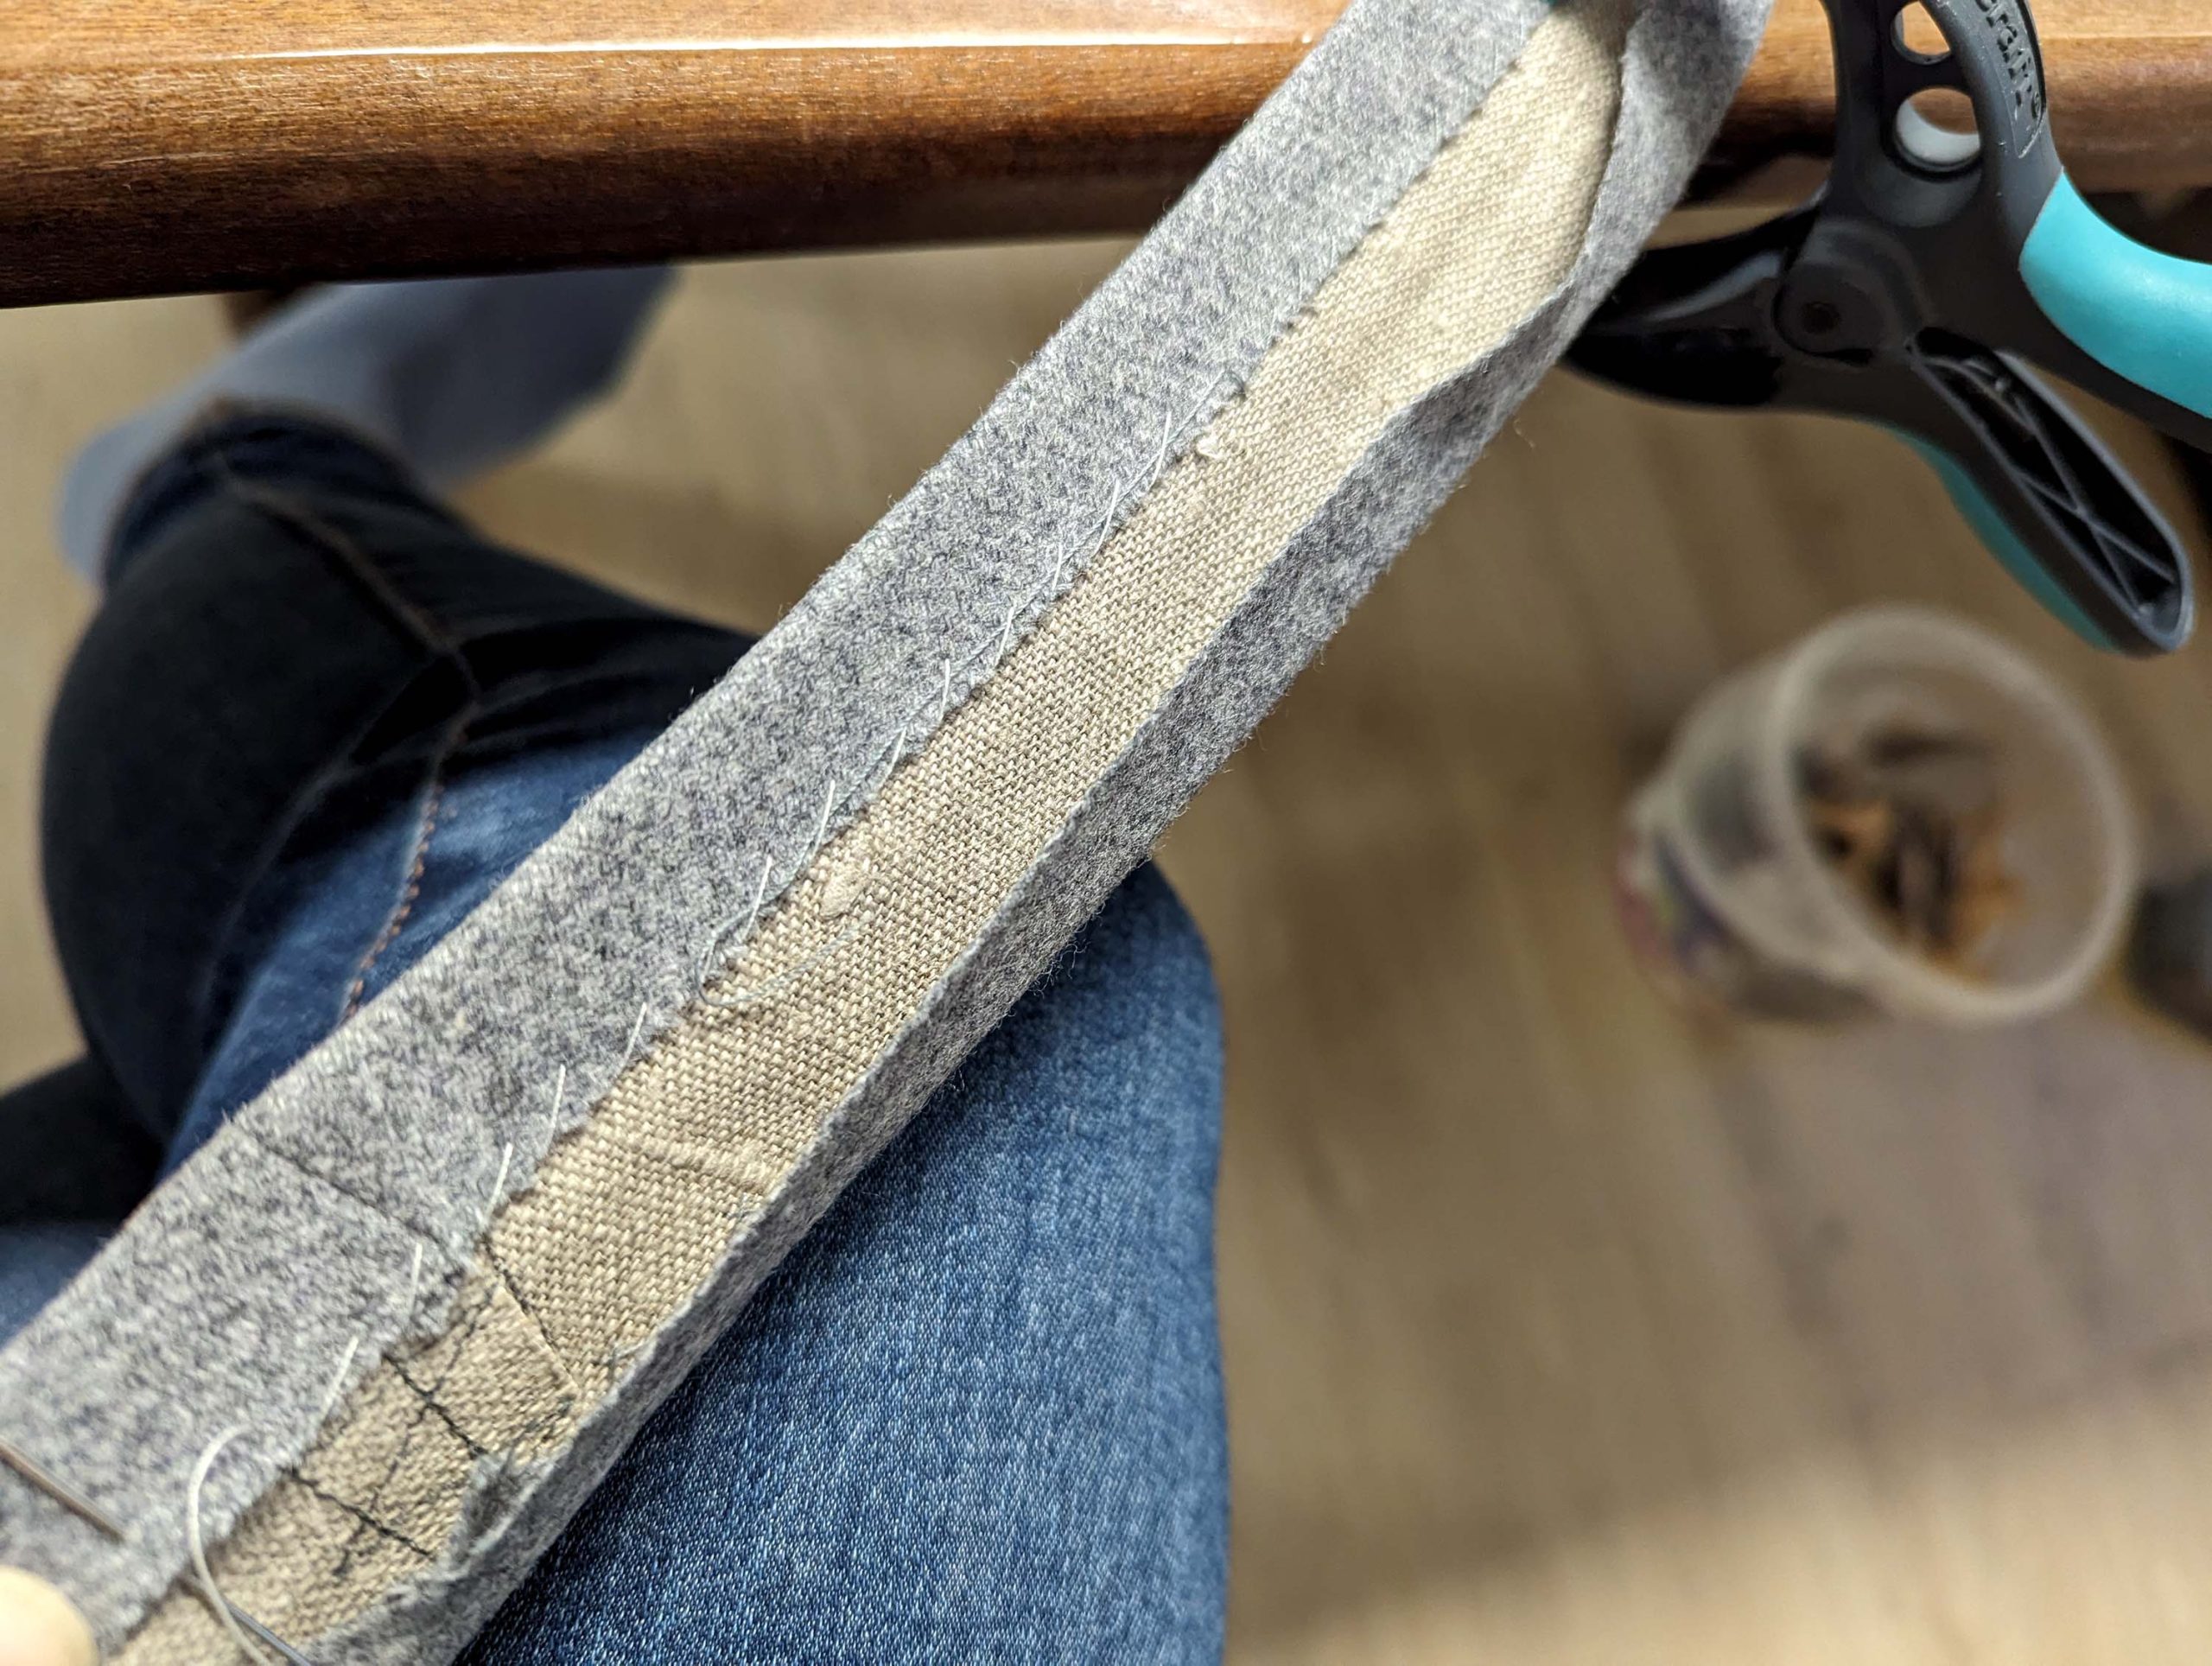
Then place the interfacing centered on the wrong side of the strap and baste in place. Sew along the edges with a catch stitch, taking care, that the stitches are barely visible on the right side of the fabric. Turn the seam allowances of the strap, around the edges of the interfacing. Sew the turned-in edges to the interfacing with a loose pad stitch, taking care there are no stitches visible on the right side of the strap, and press.
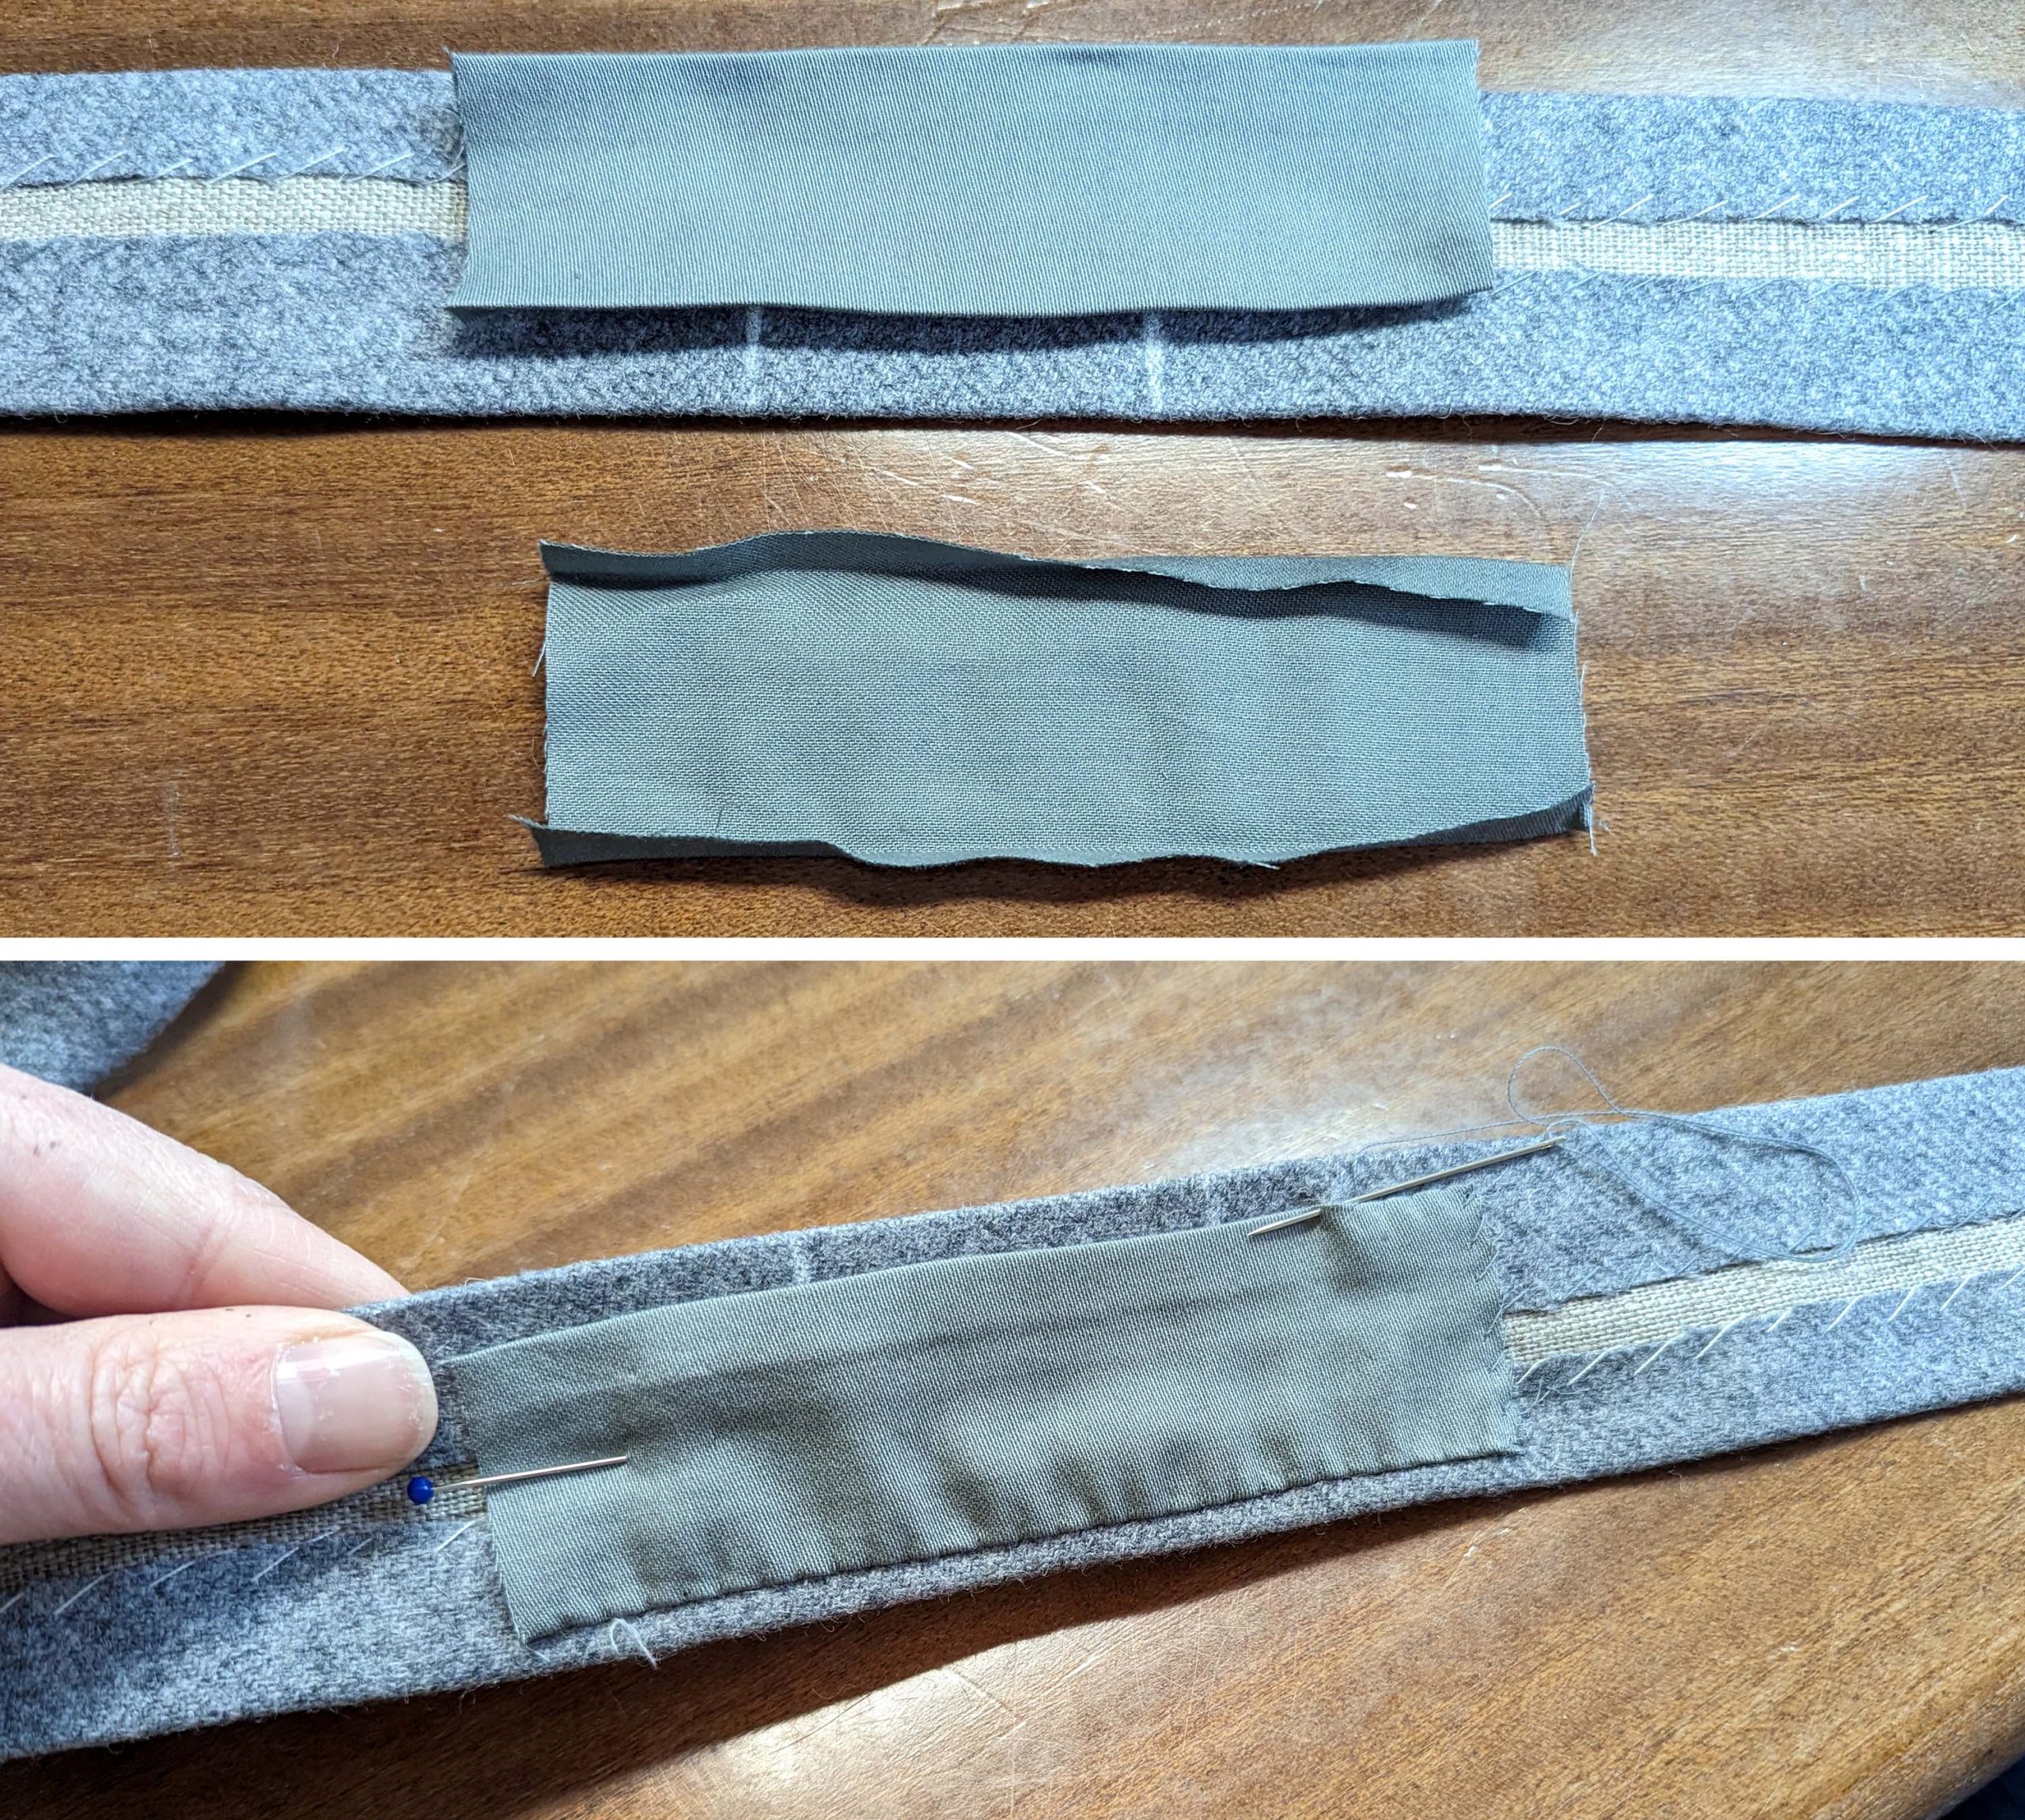
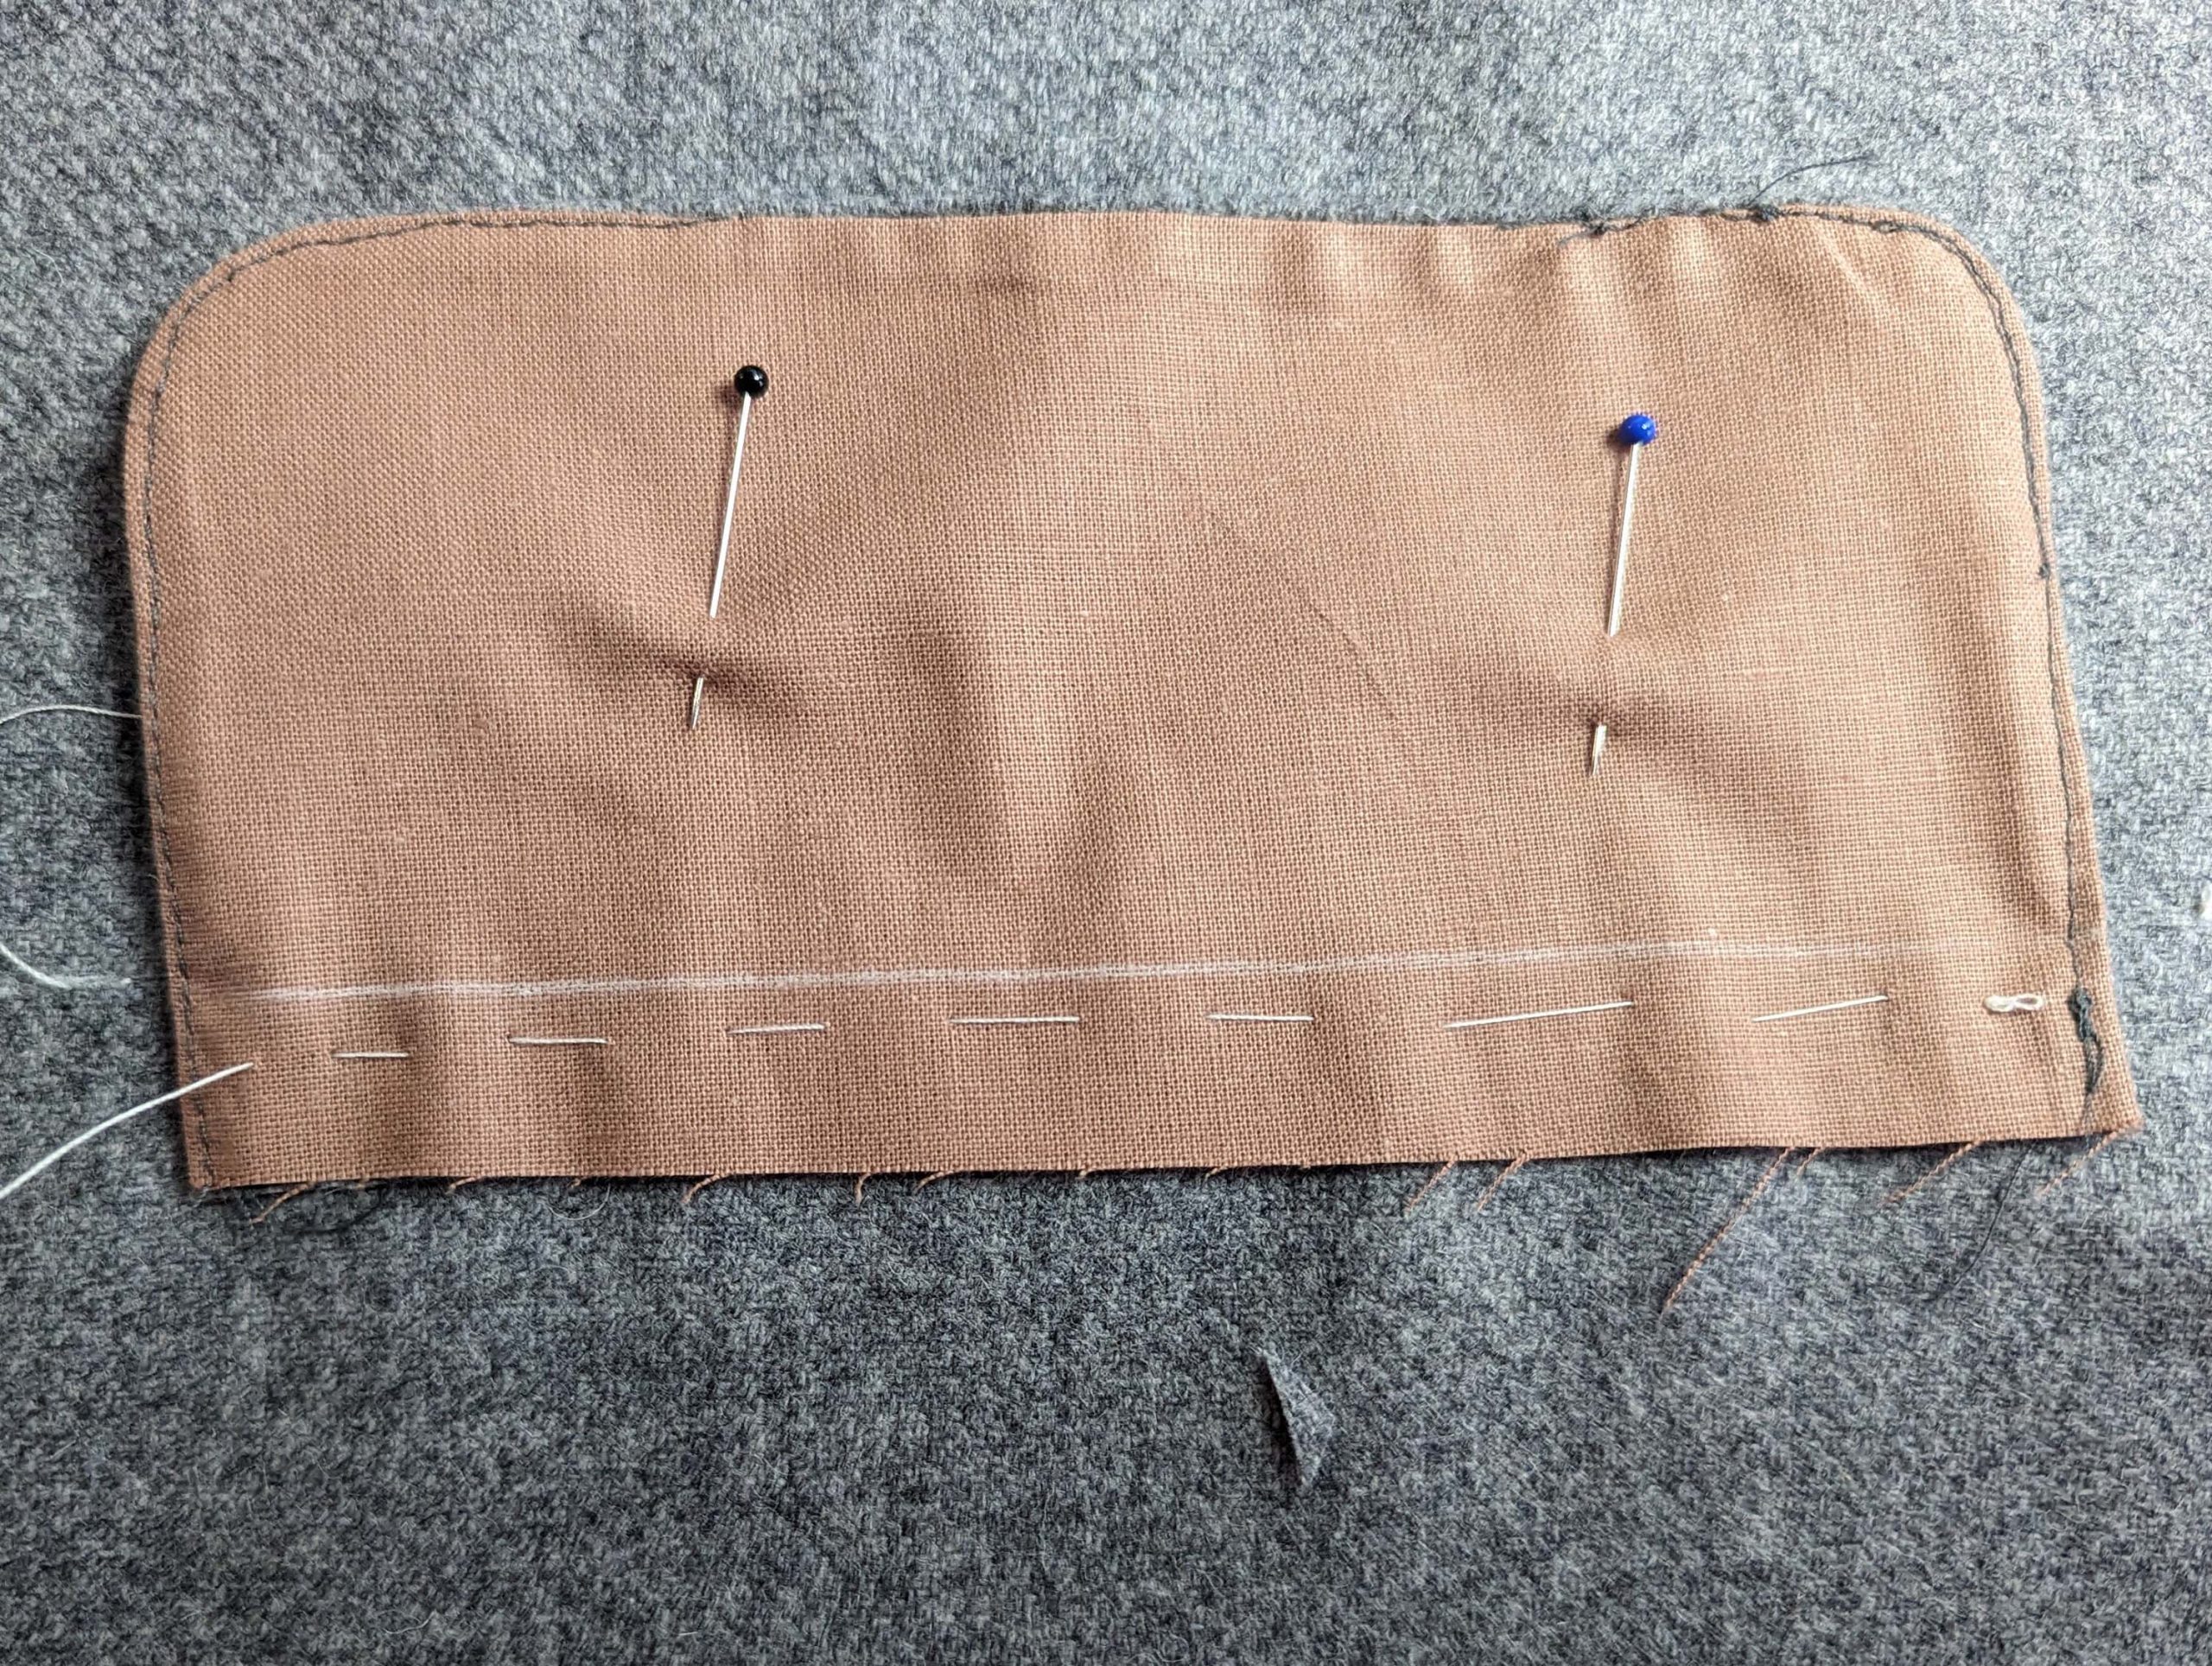
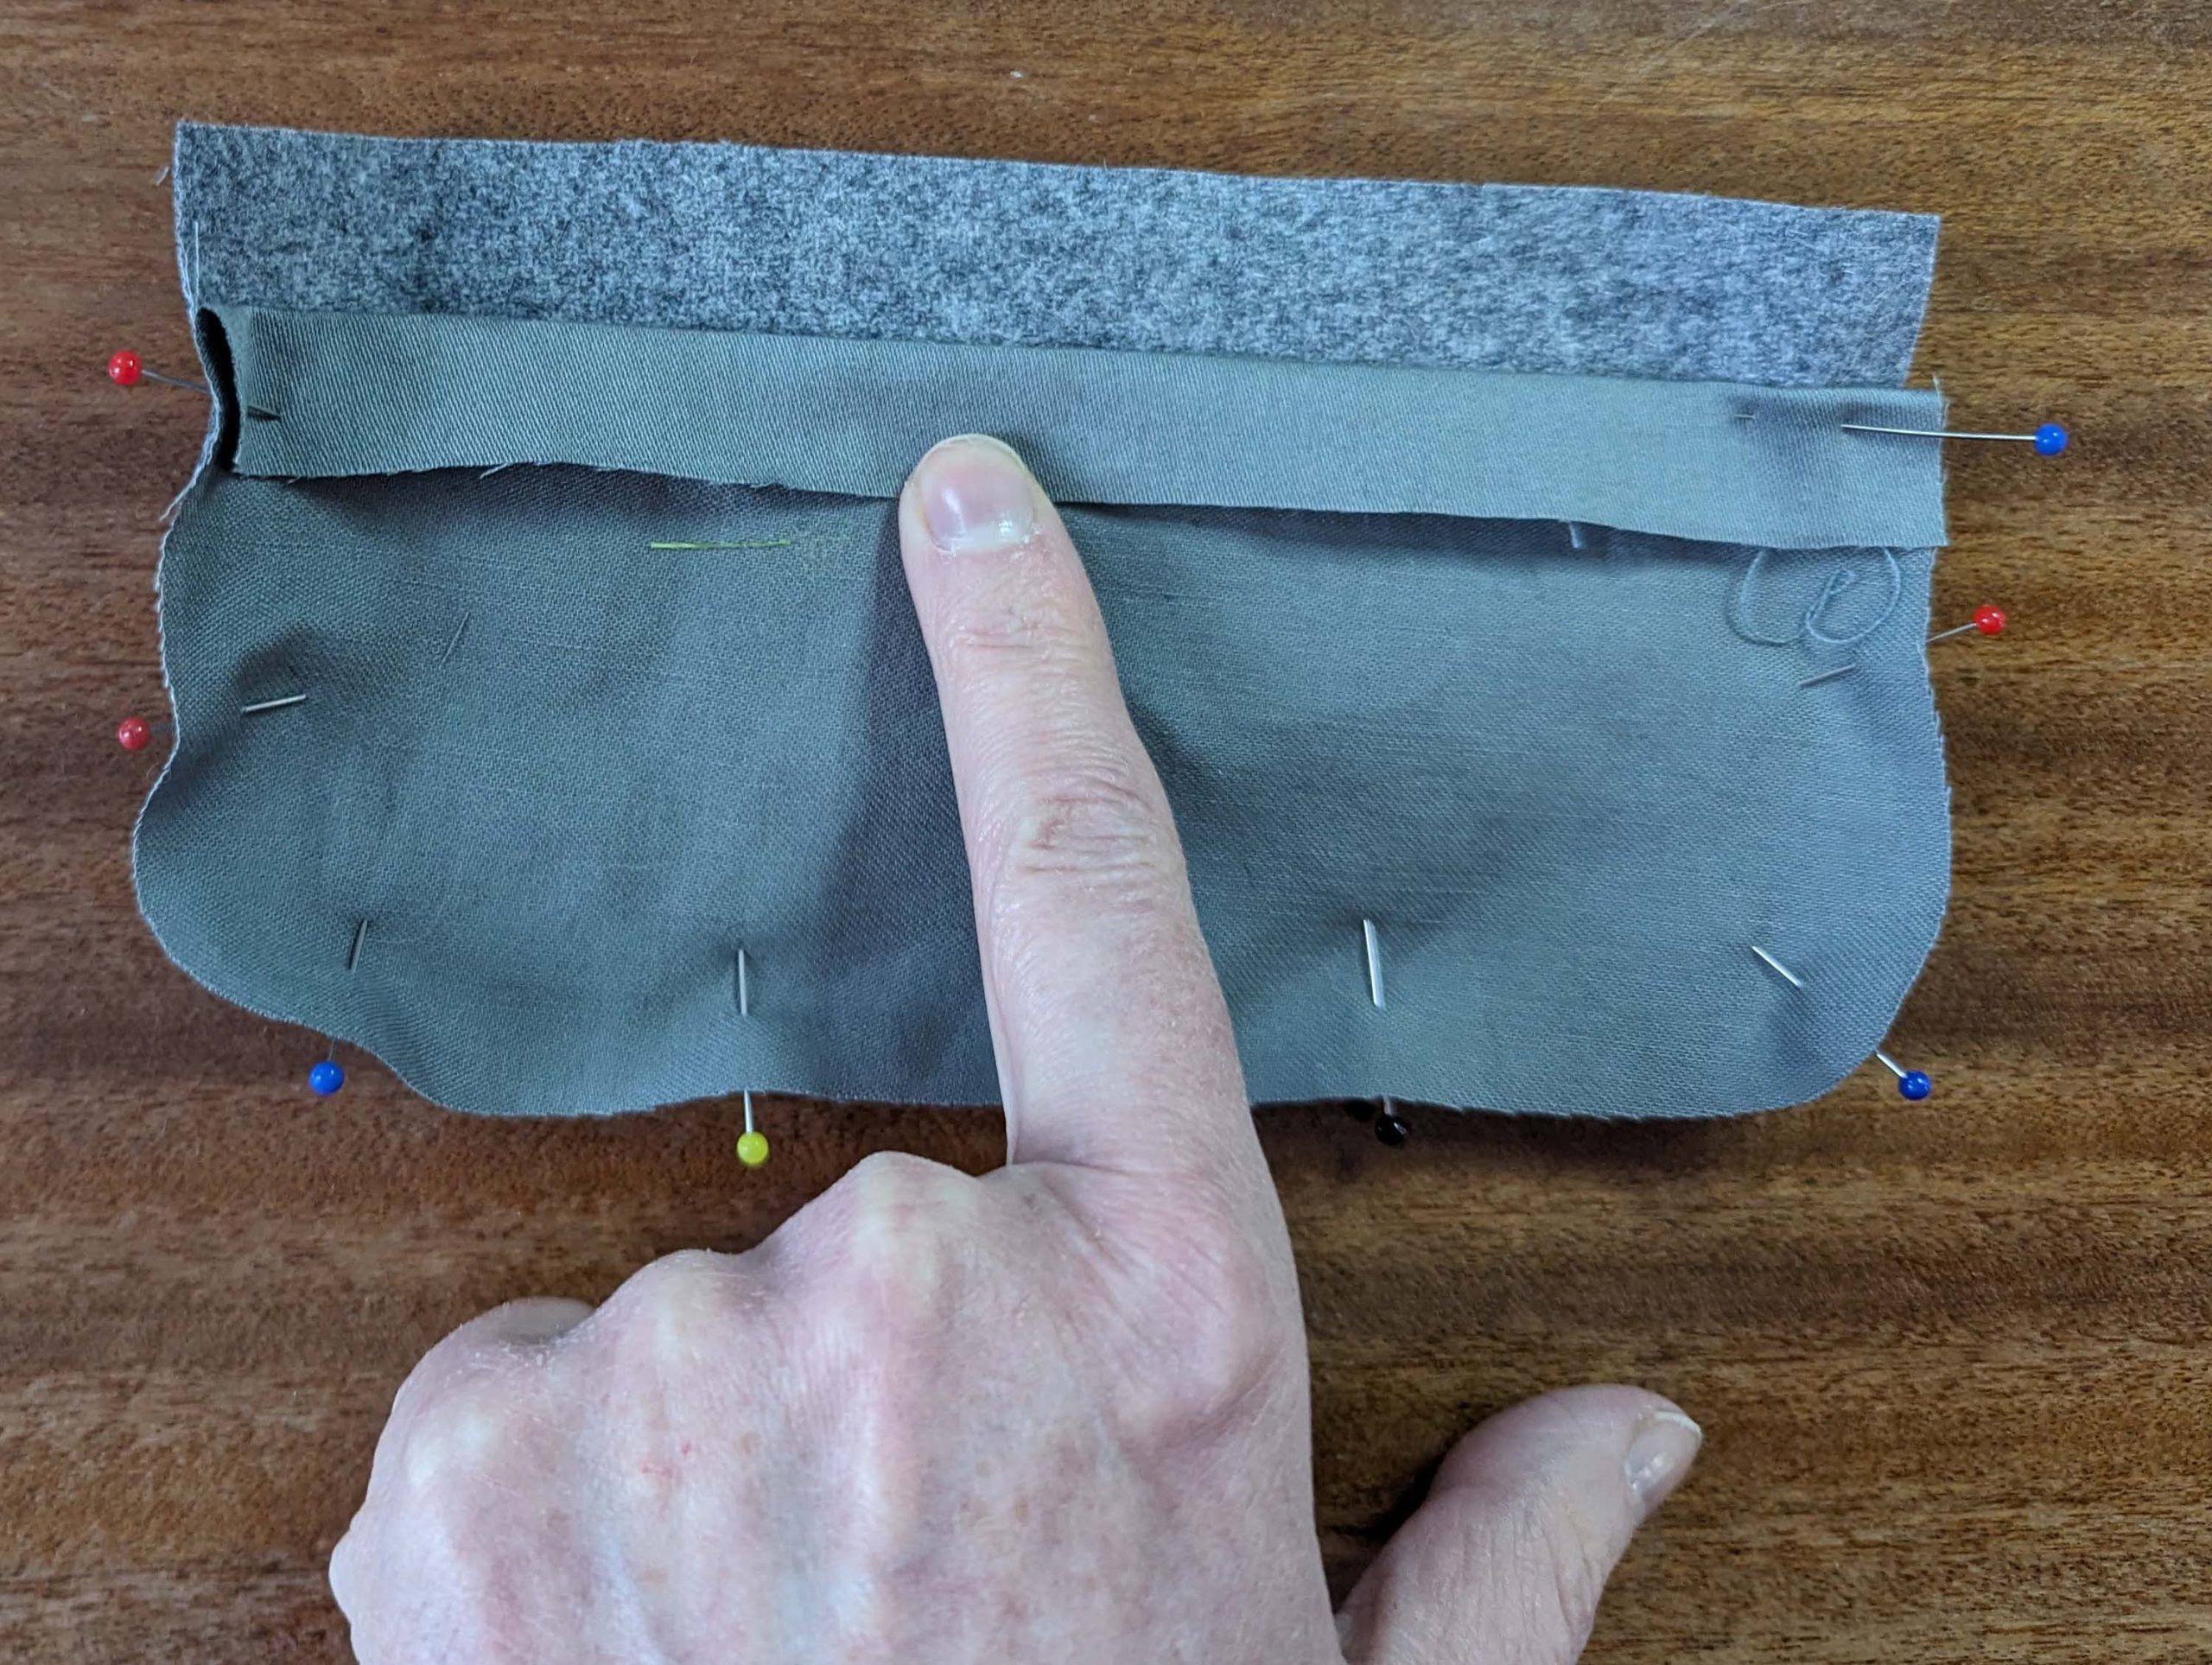
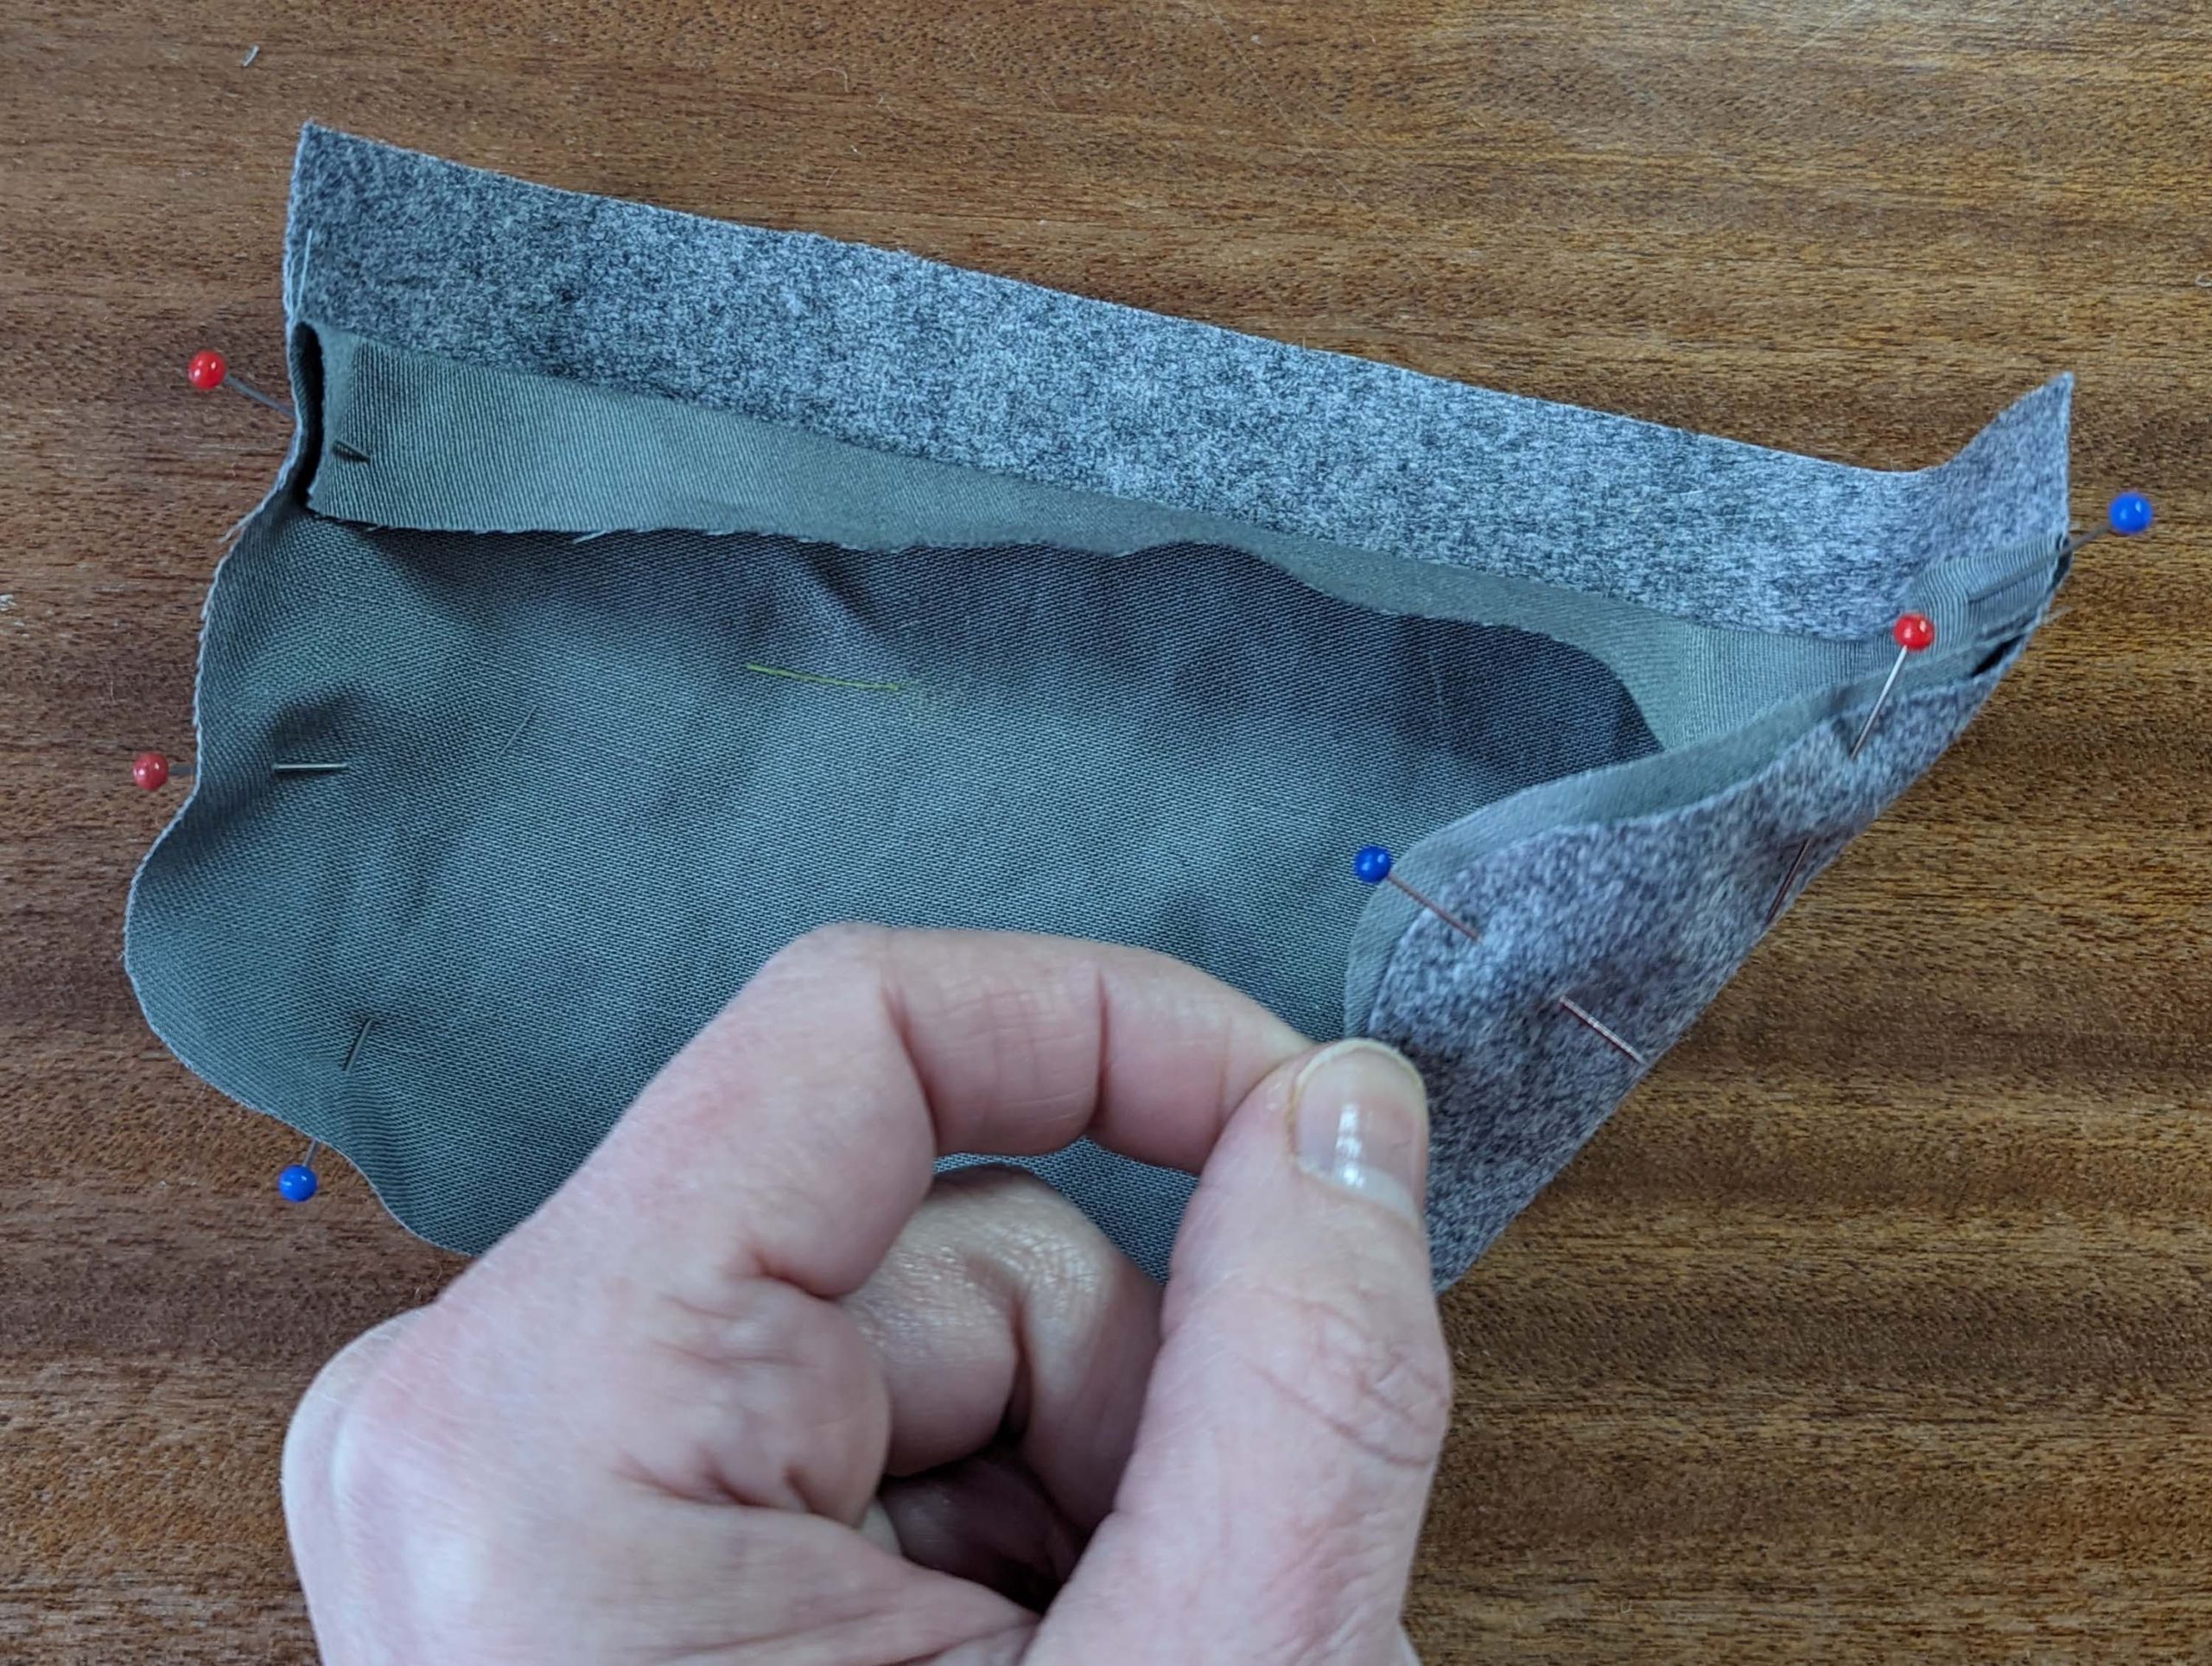
Take the rectangular piece of lining fabric, turn in the seam allowance along the long sides, and line up with the strap at the area of the belt loops, wrong sides together. Fell stitch to the strap along all edges.
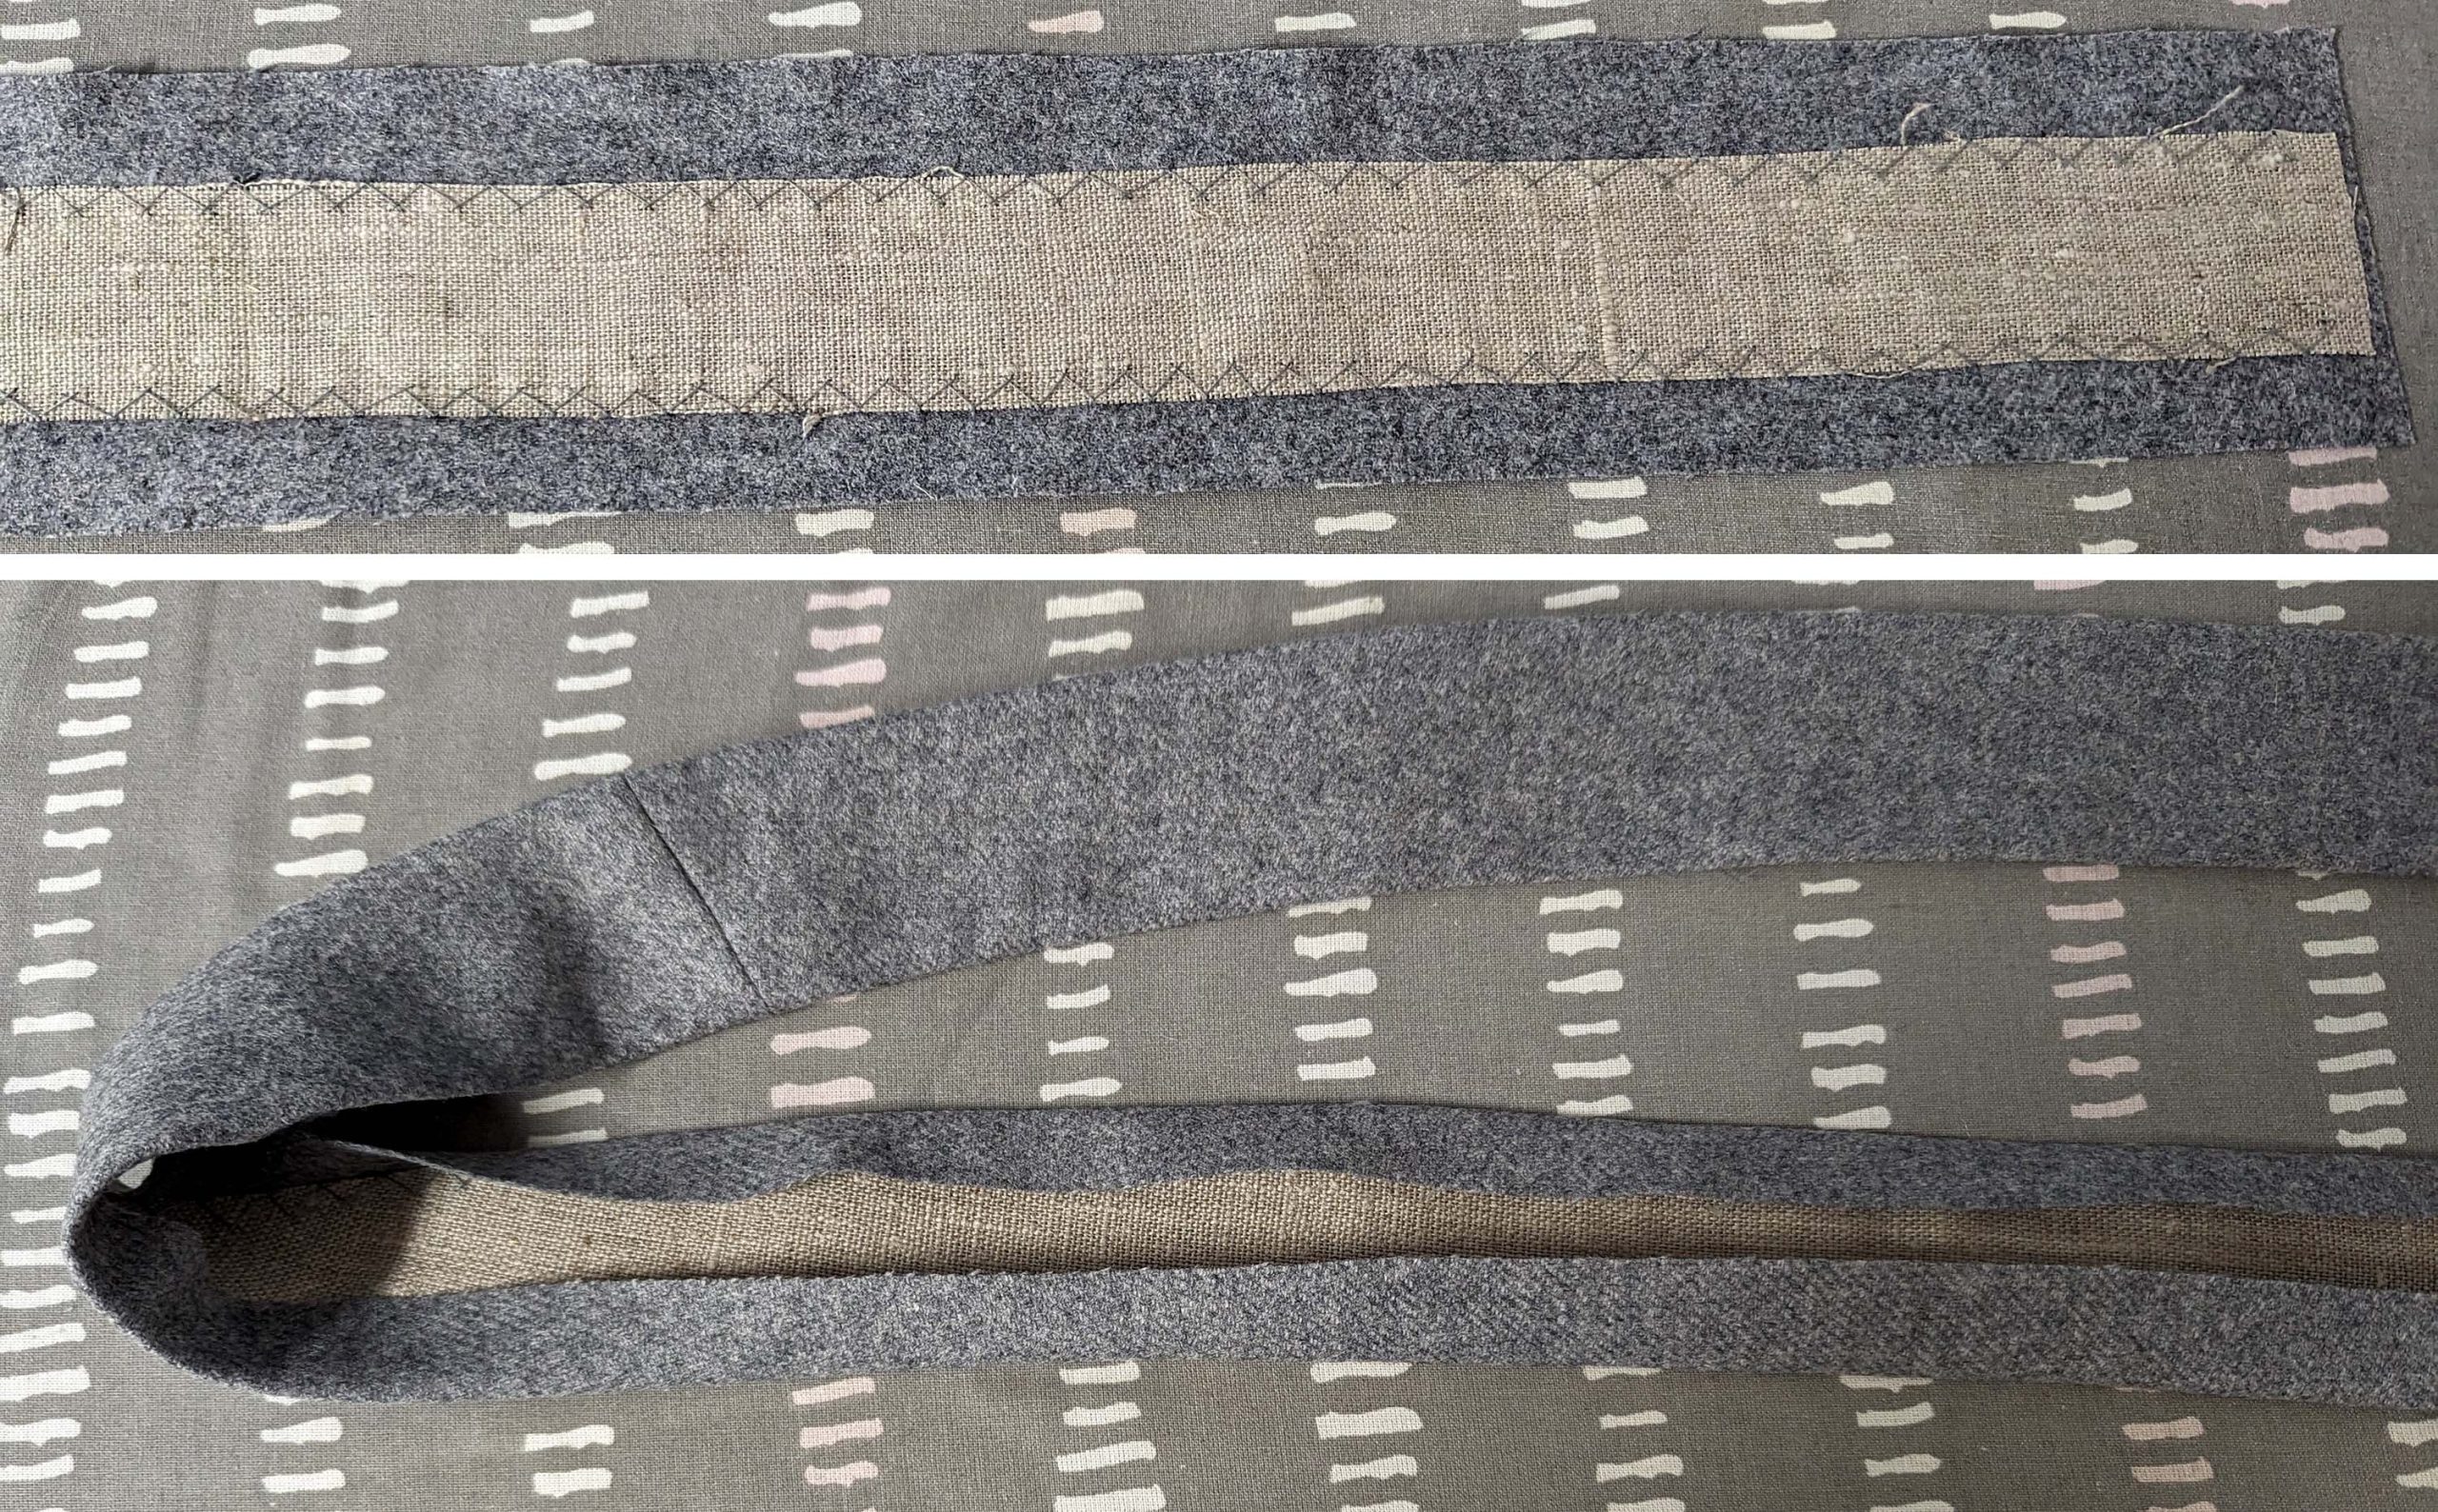

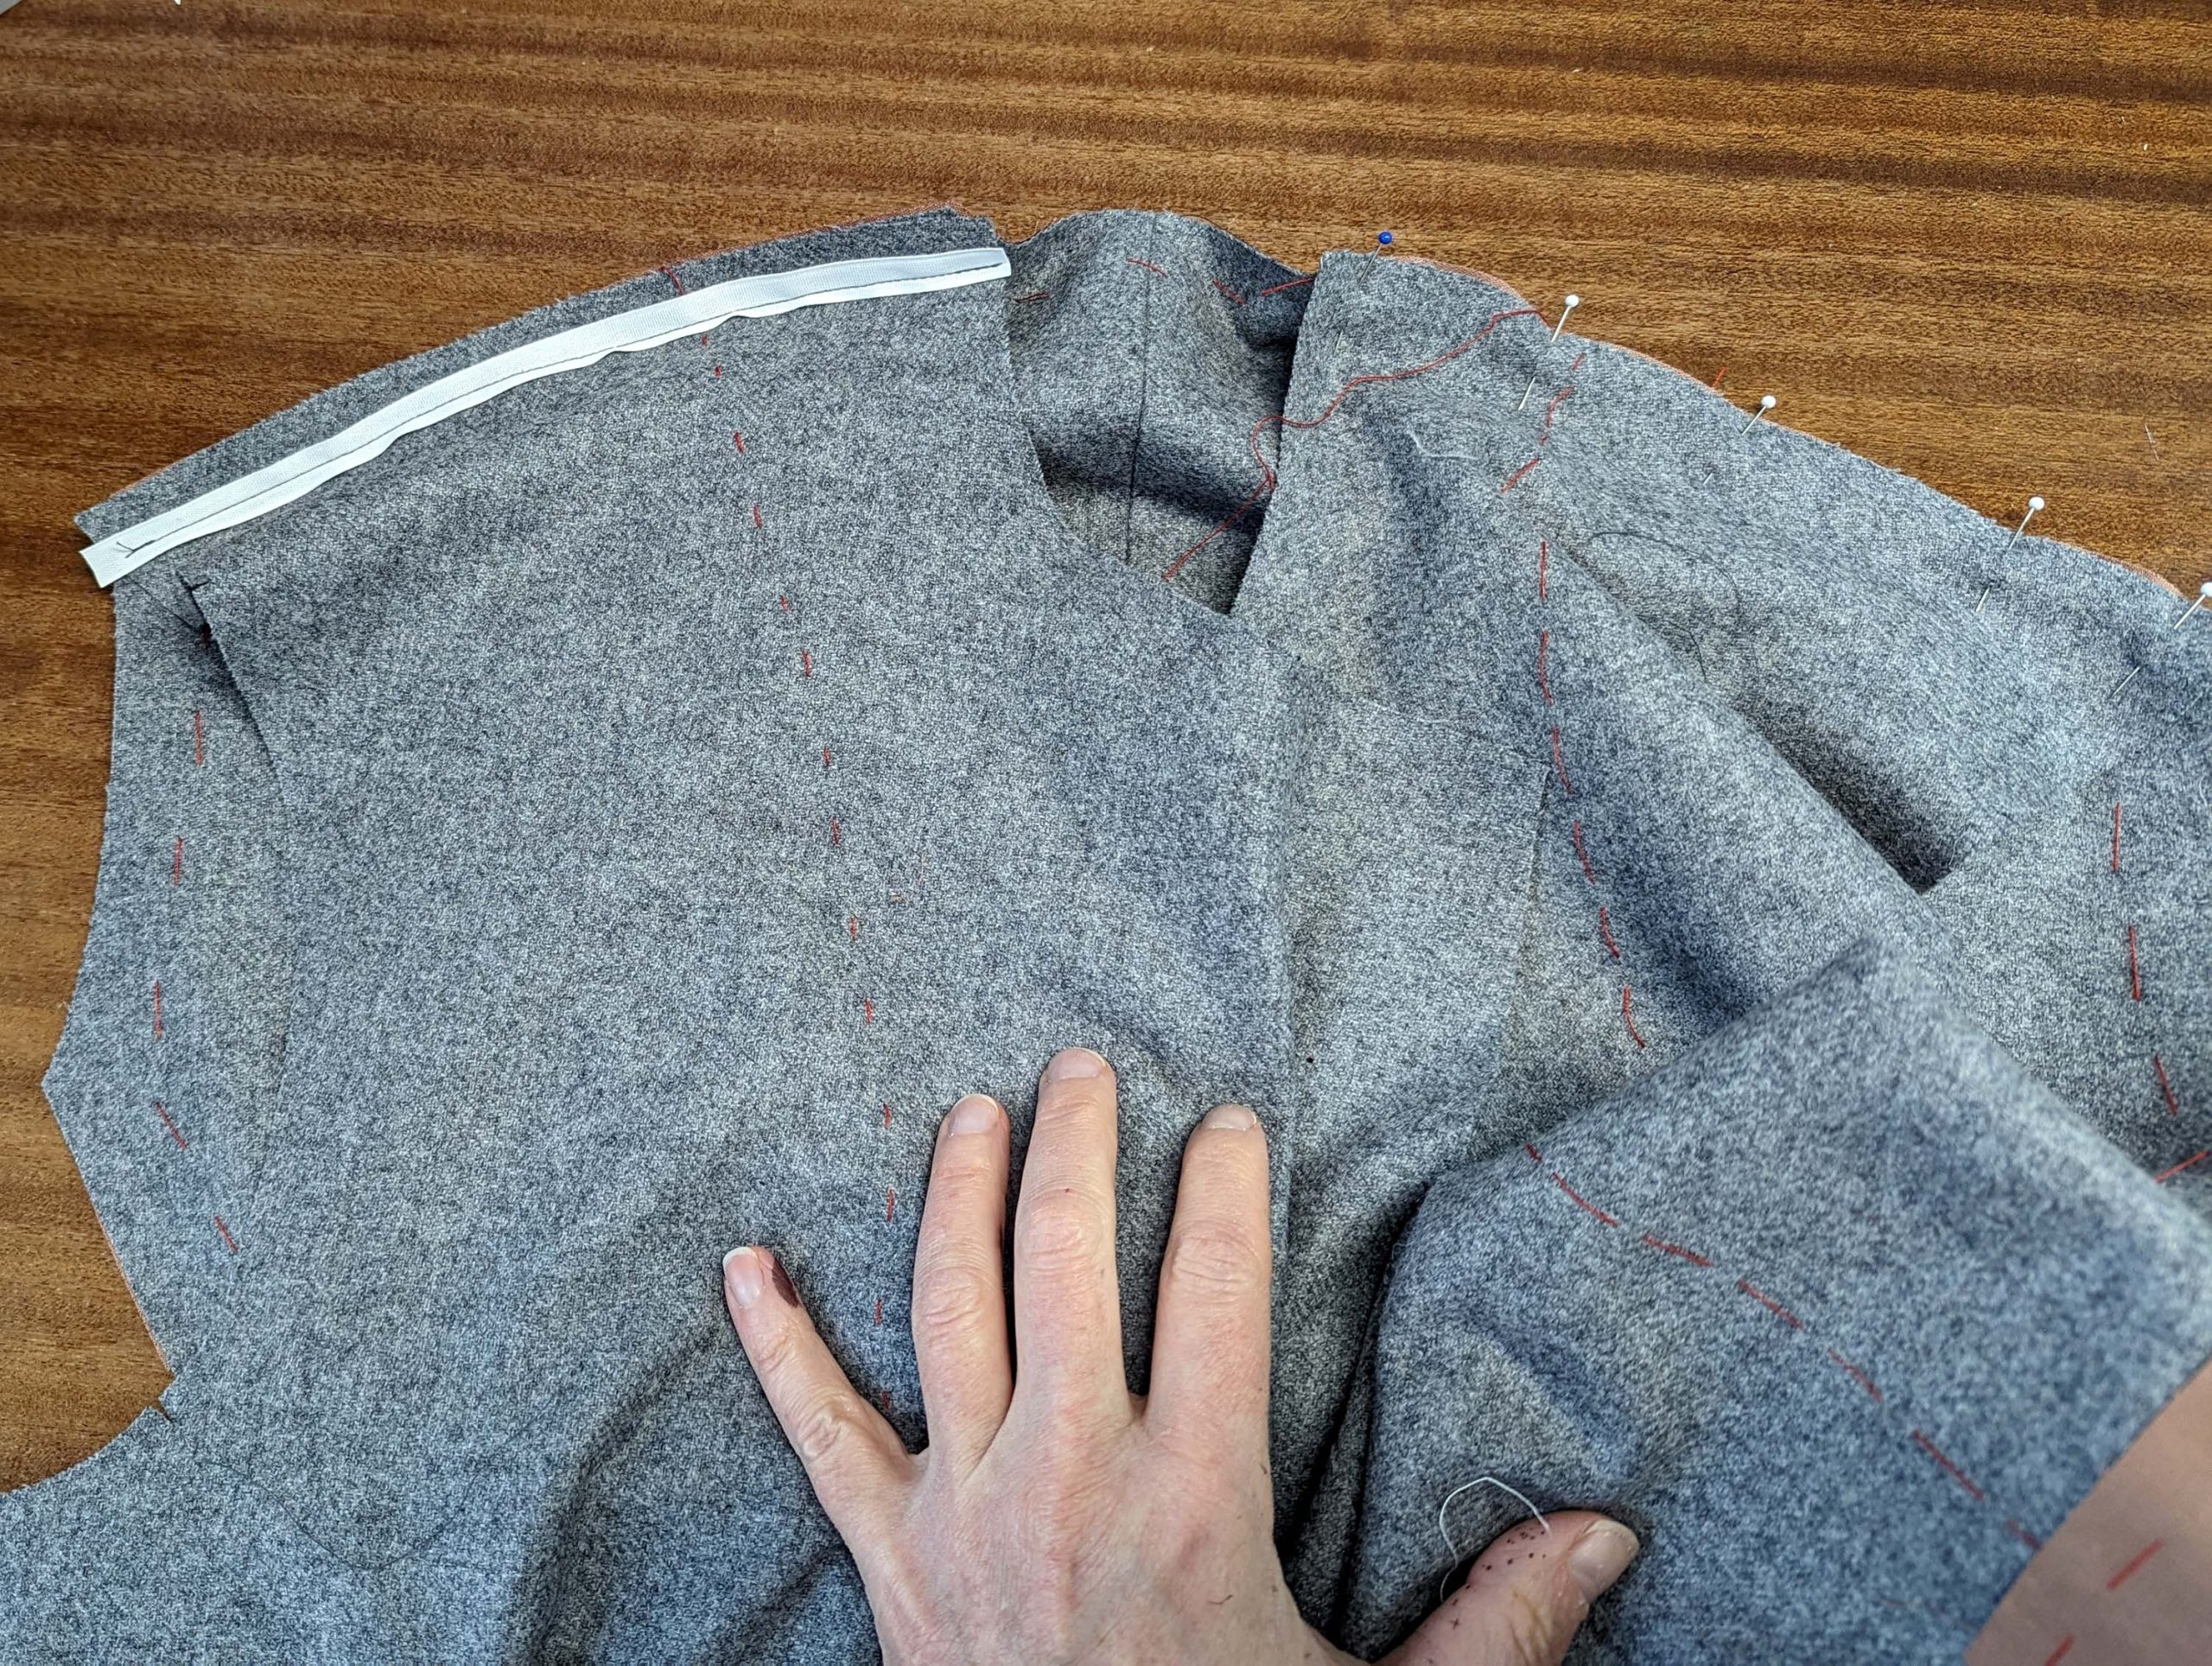
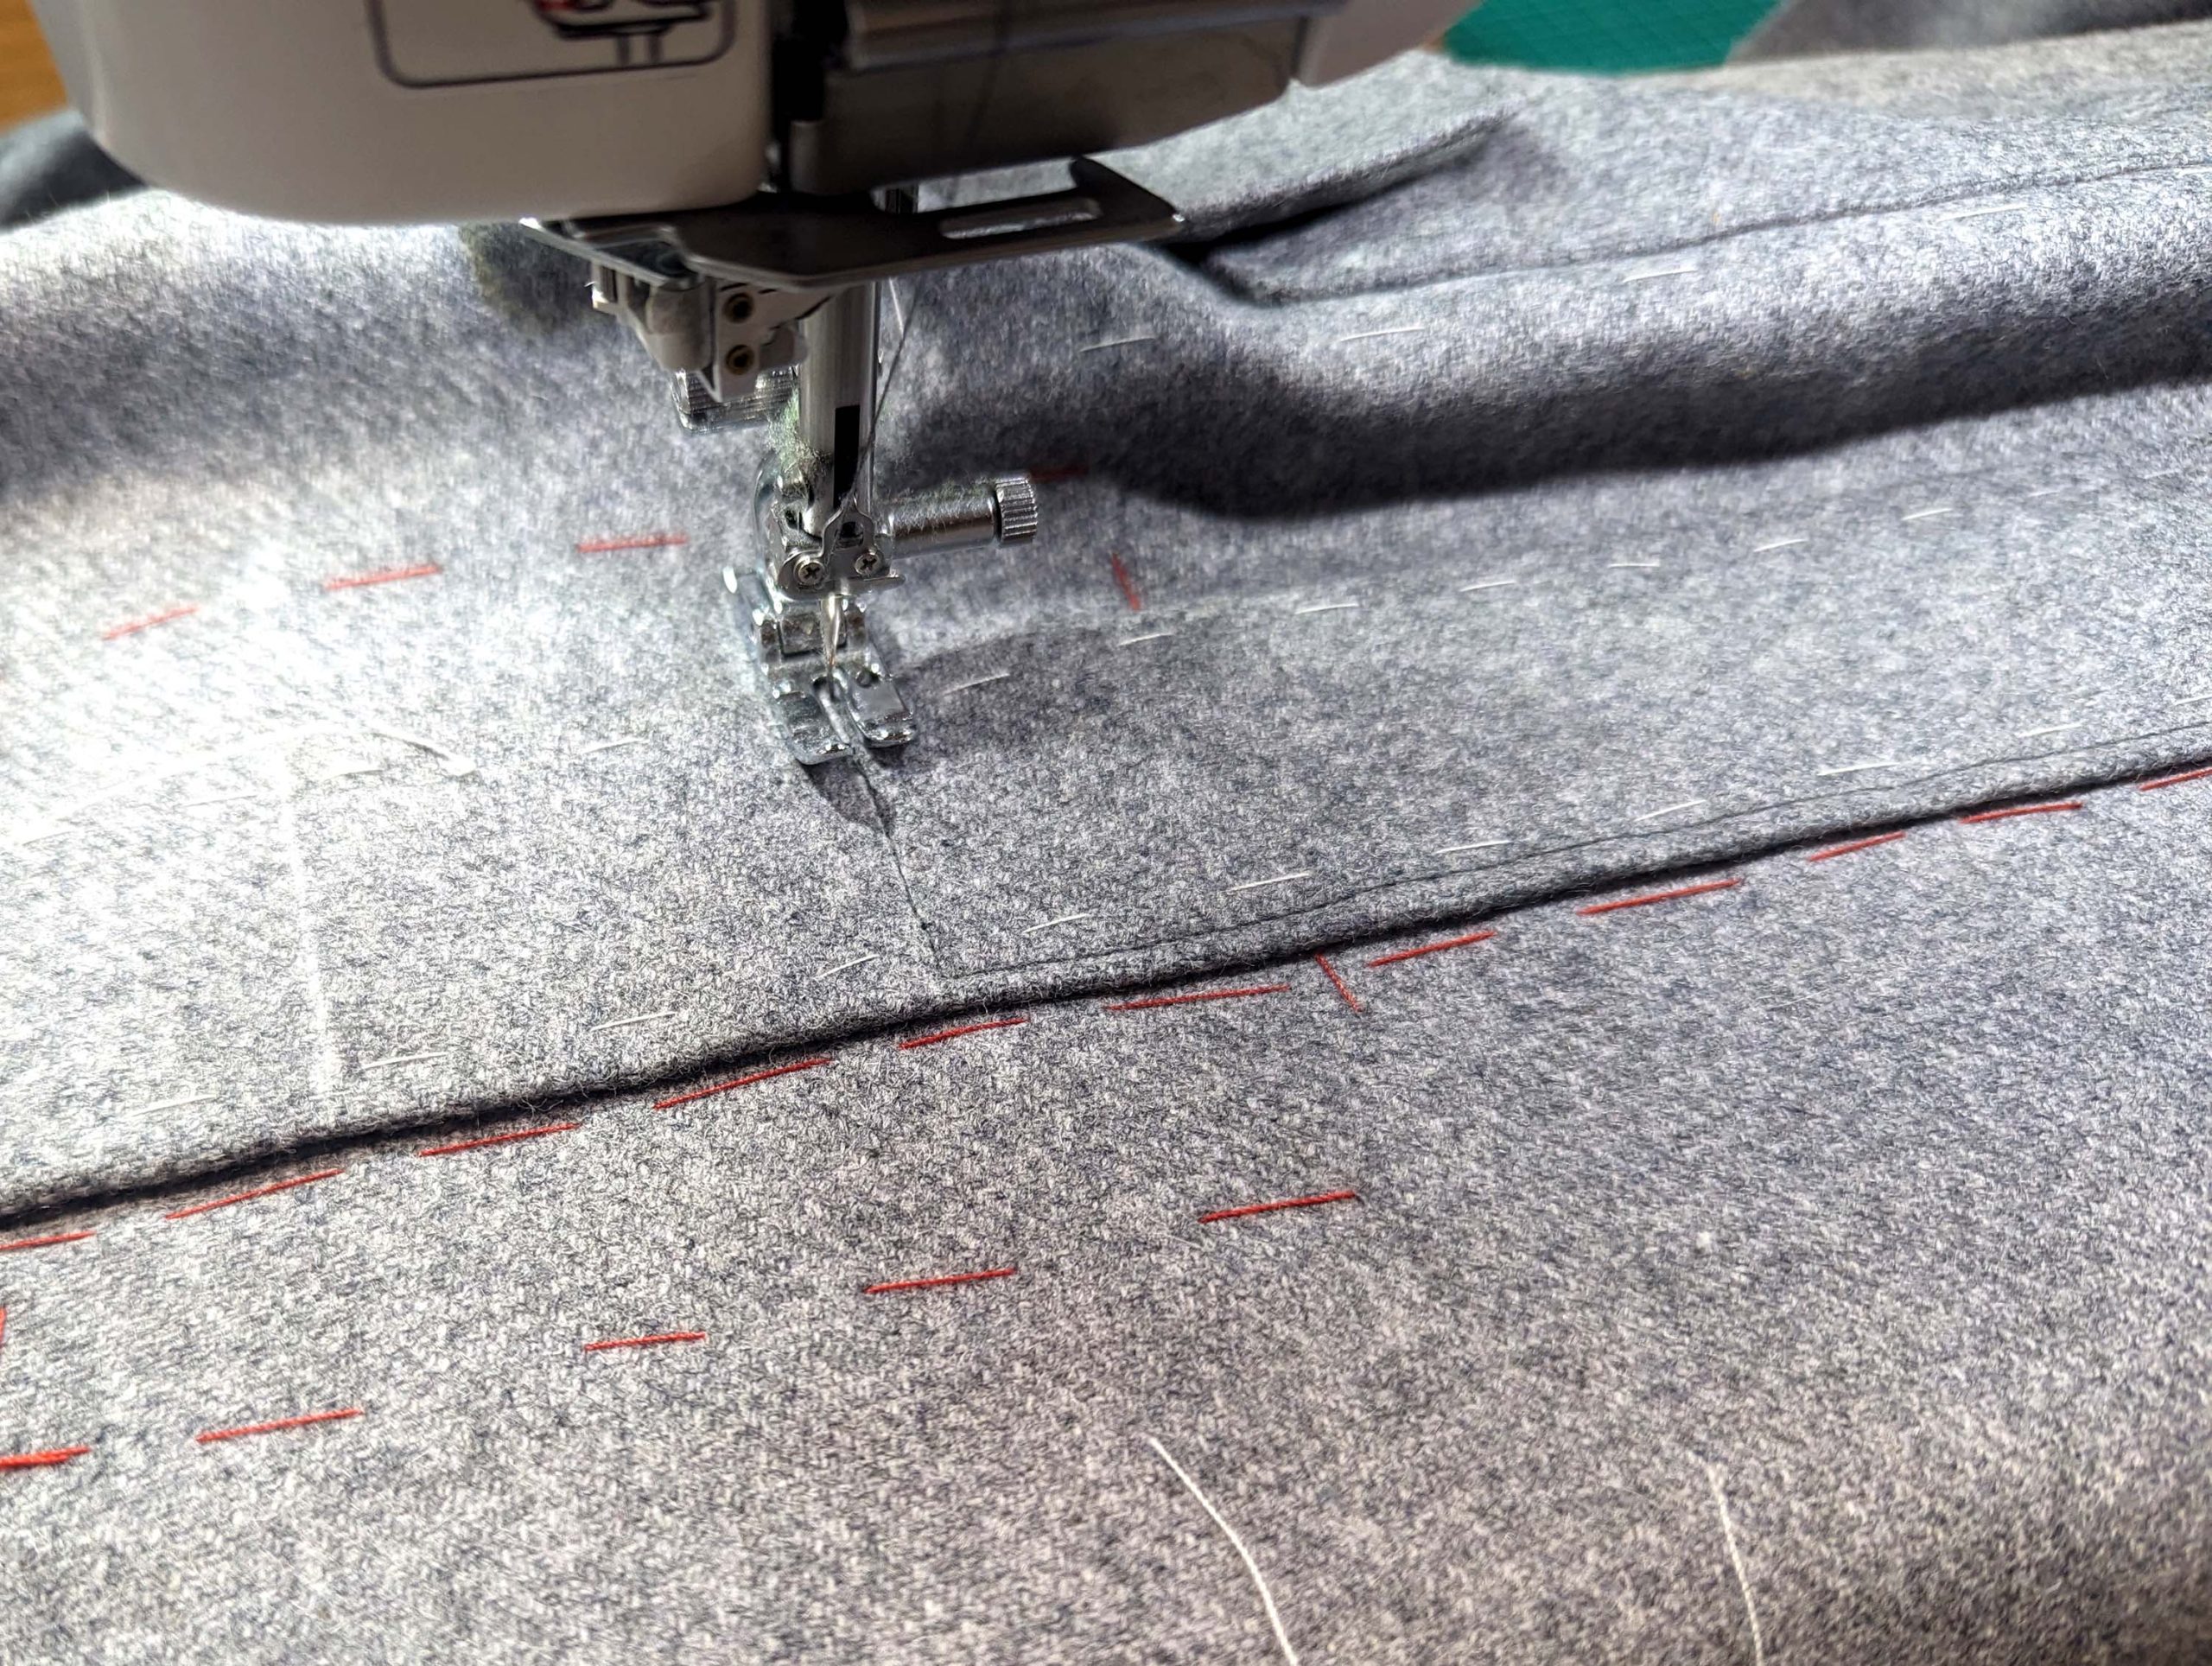
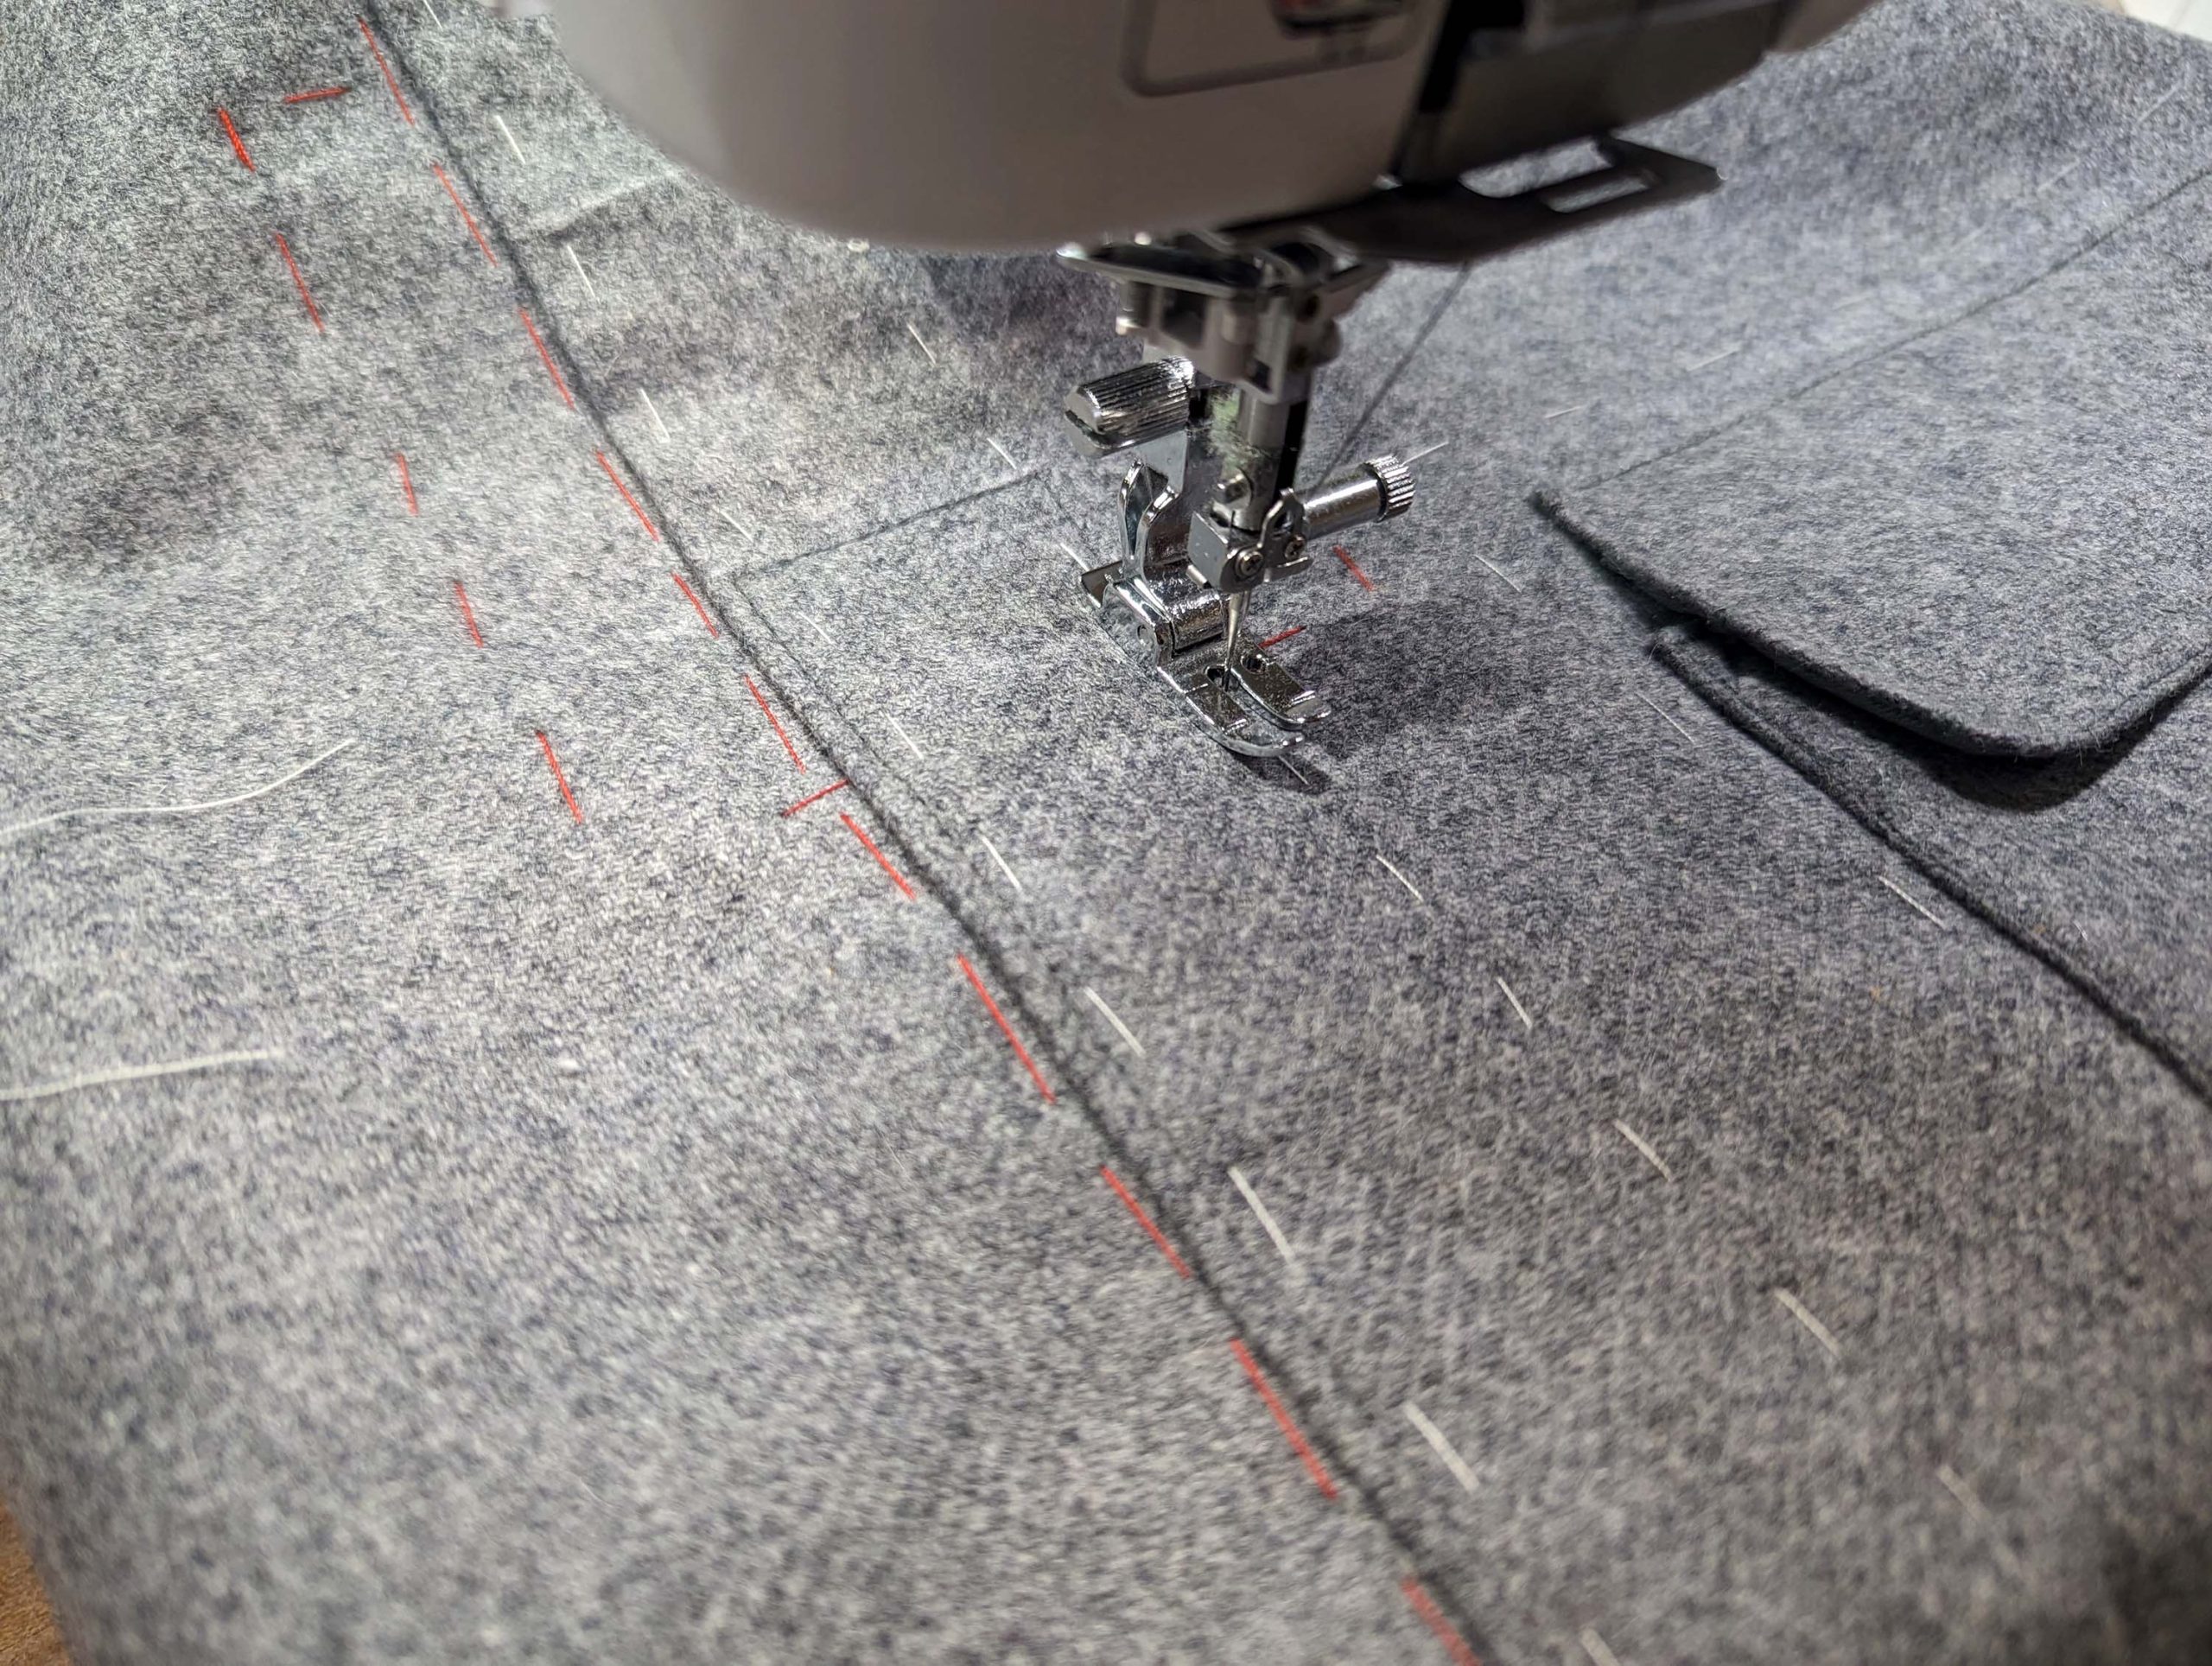
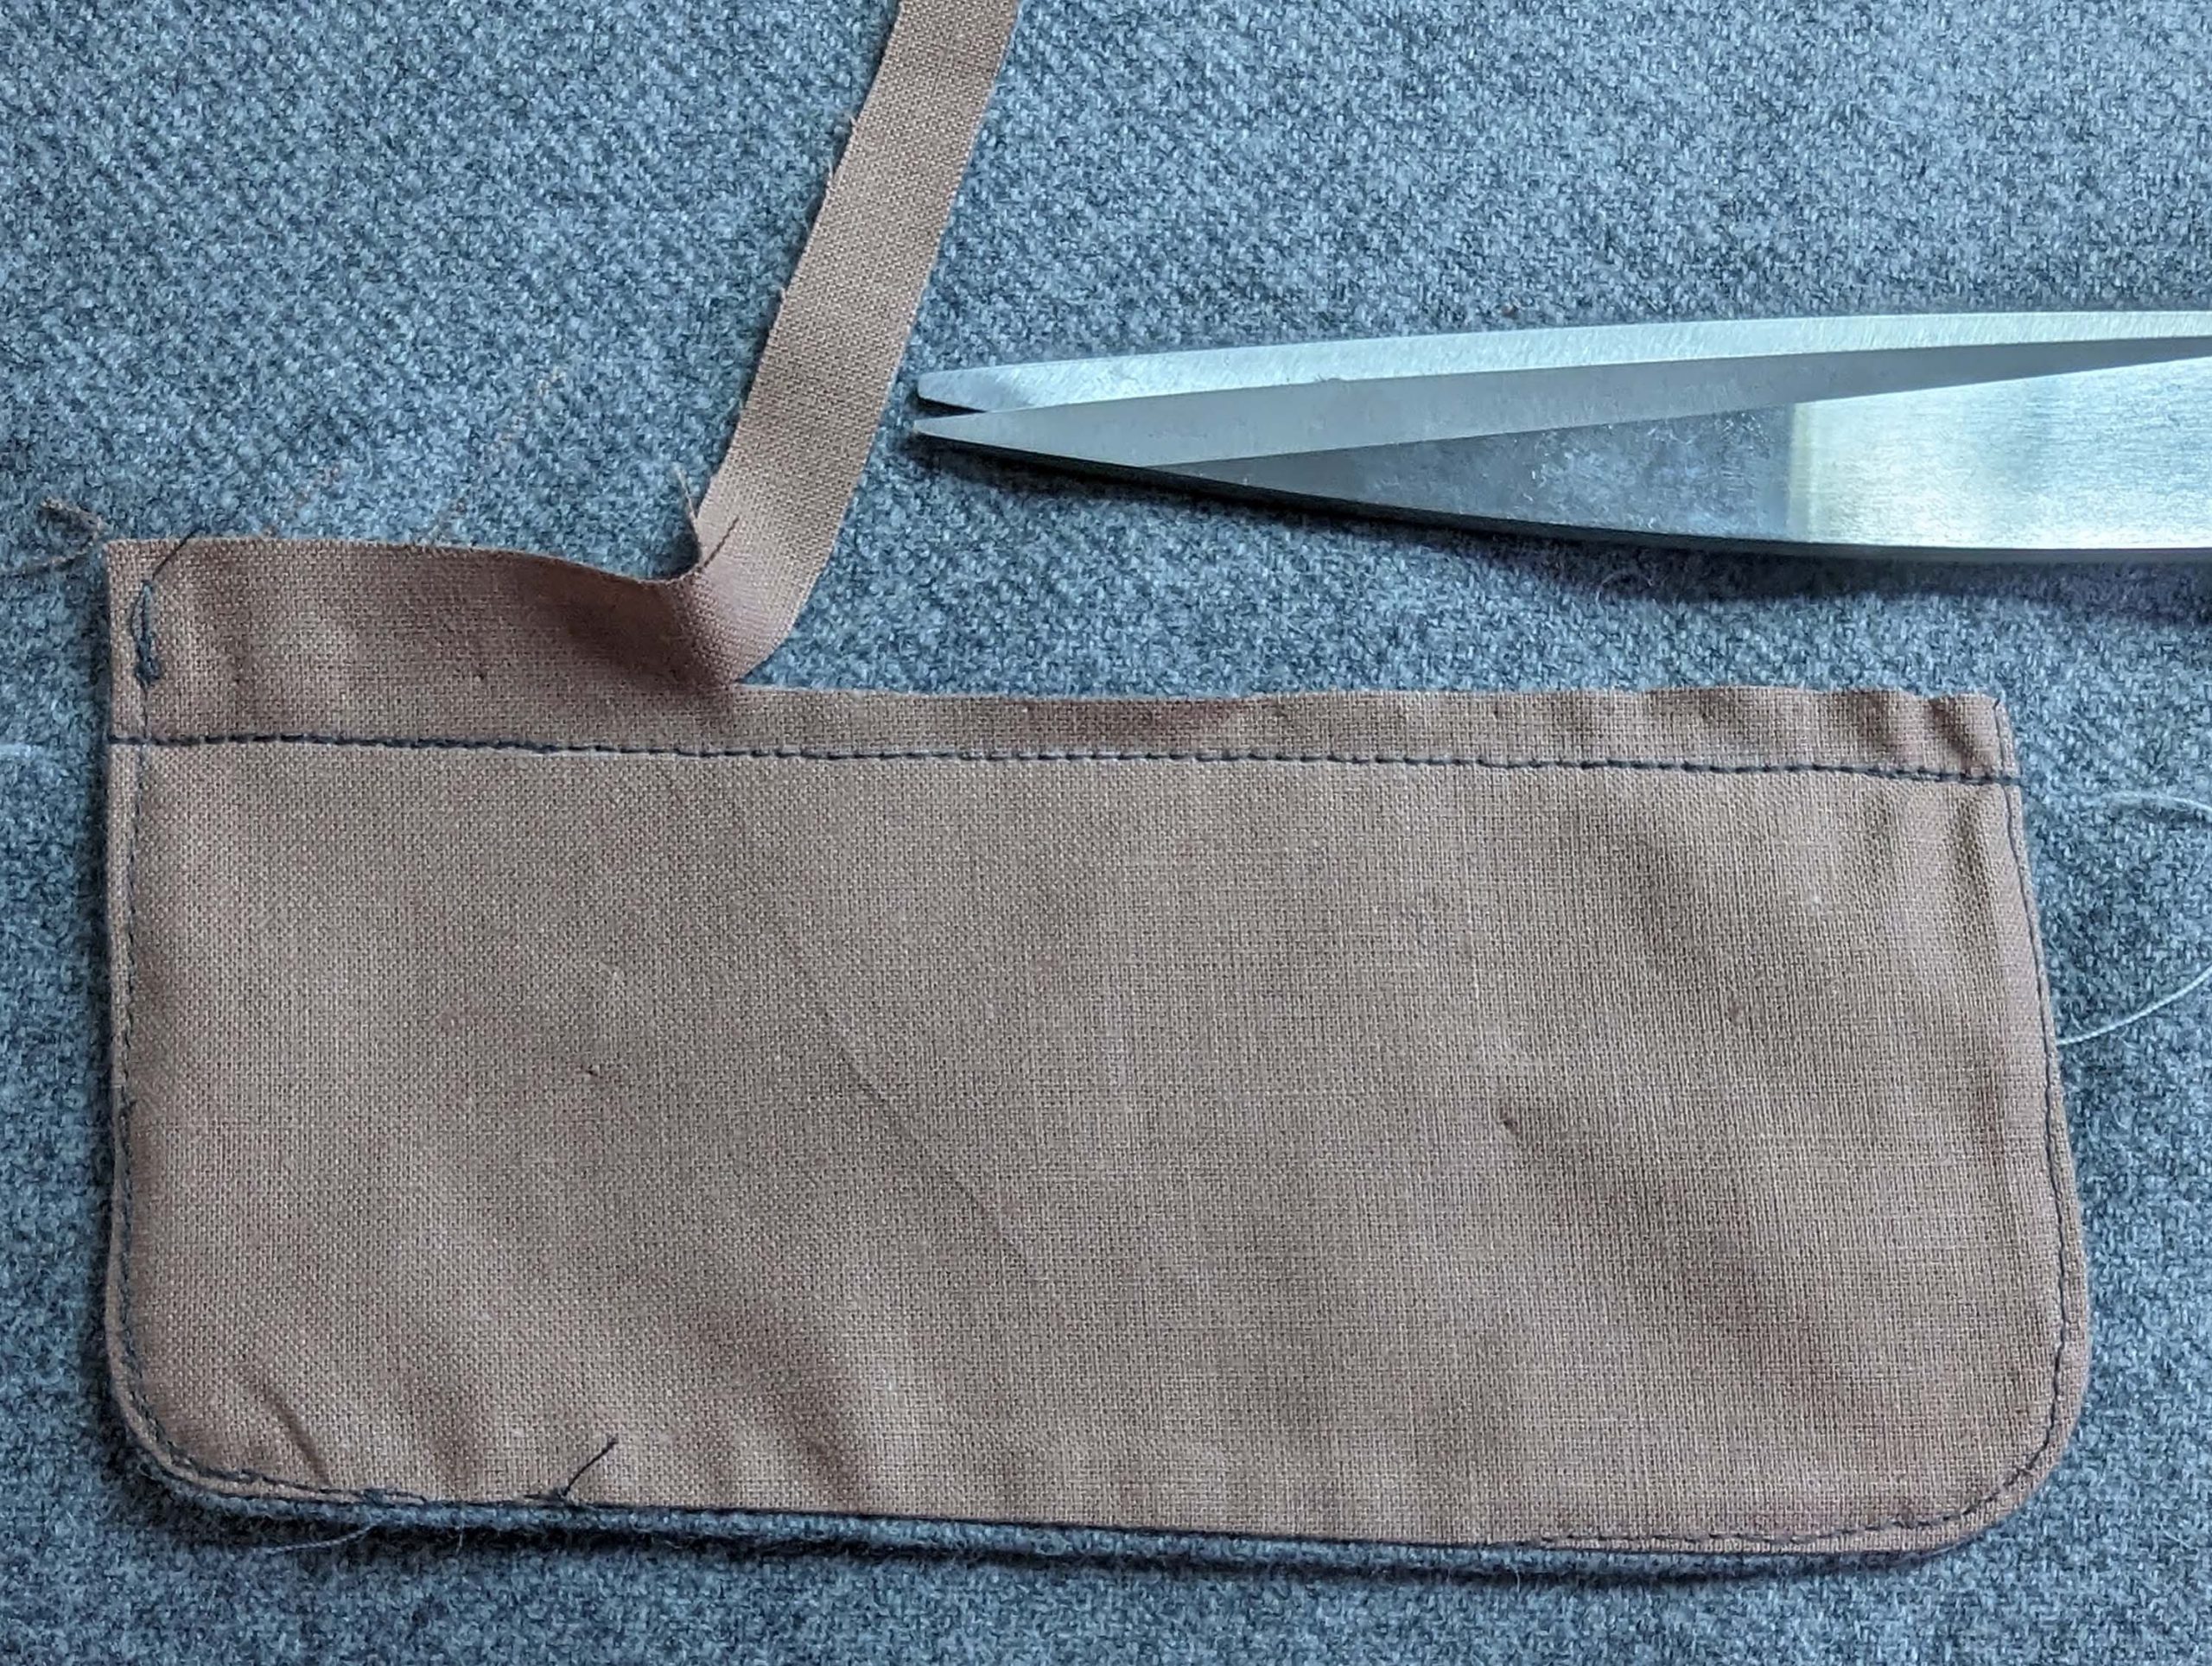
(6) Line up the strap along the lines, marked on the front/back, giving the extra width needed by simulating the rounding of the shoulders and chest, and baste in place. The best would work to do this on a dress form, I used a rolled-up bedsheet.
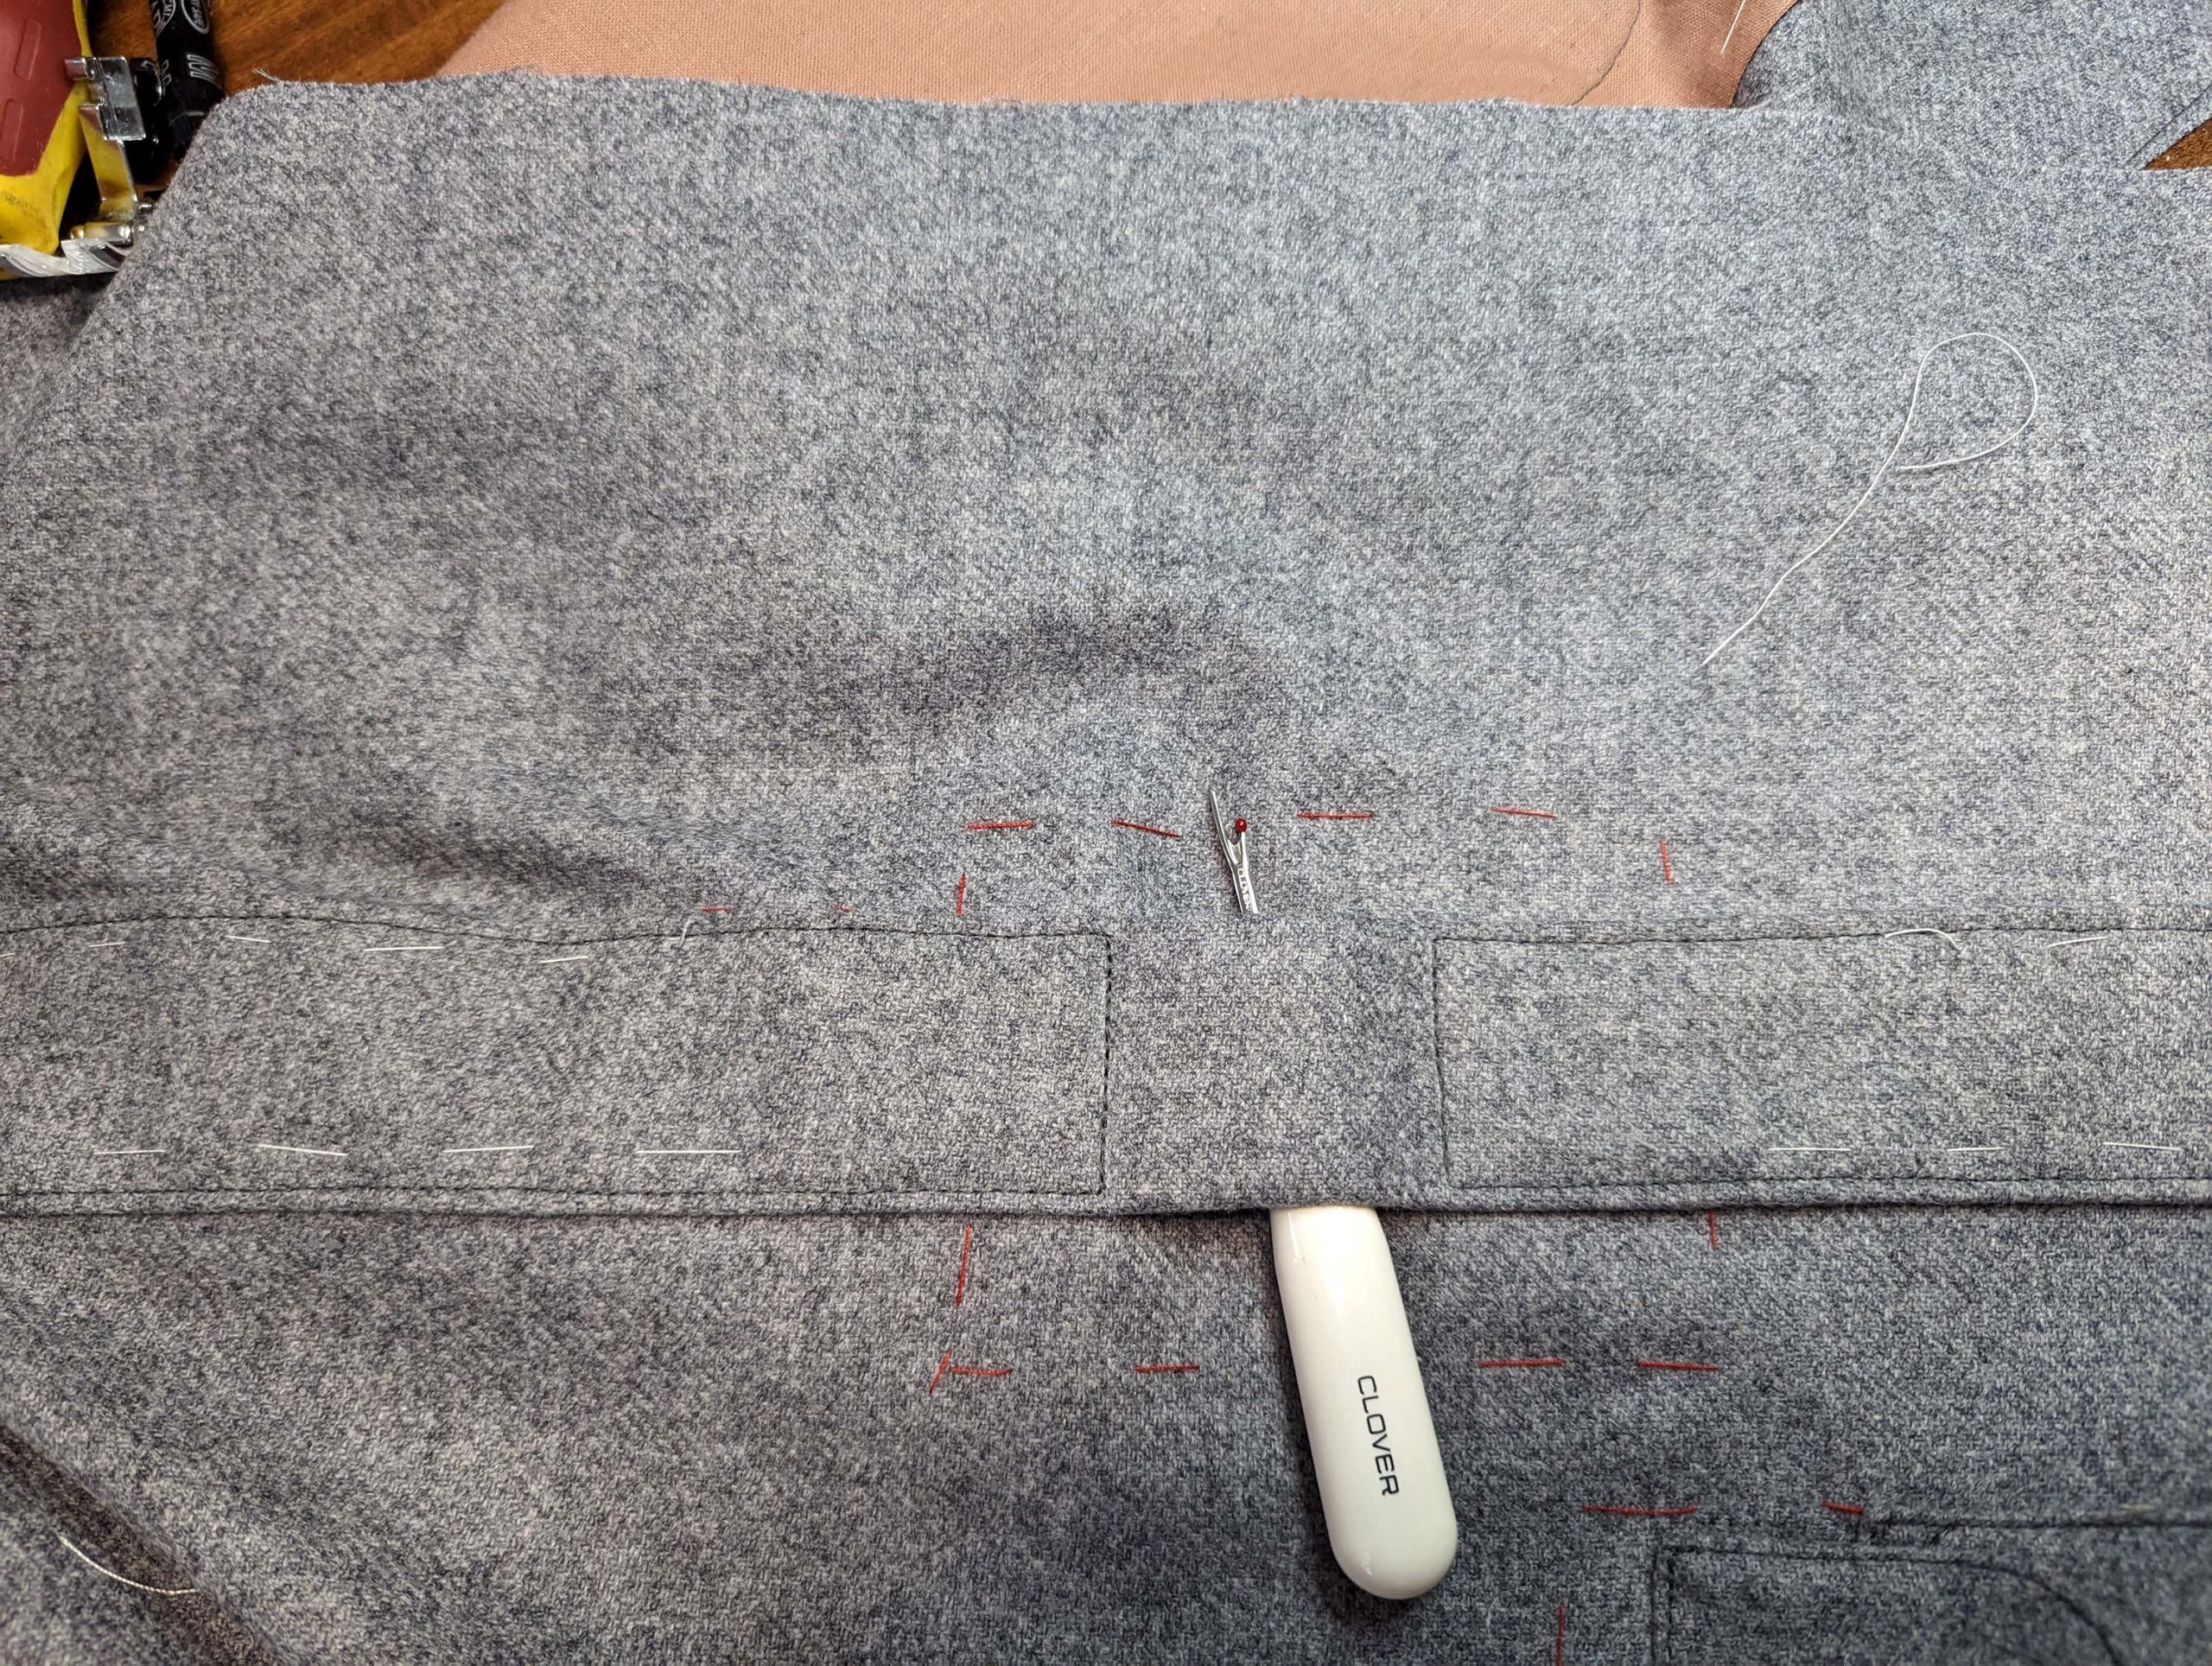
Now it´s time to think about the design. How´d you like your topstitching? Stay with the design chosen once, to achieve a cohesive look. Topstitch the strap to the front and back, leaving the belt loops open. Bar tack the area of the loops decorative as desired.
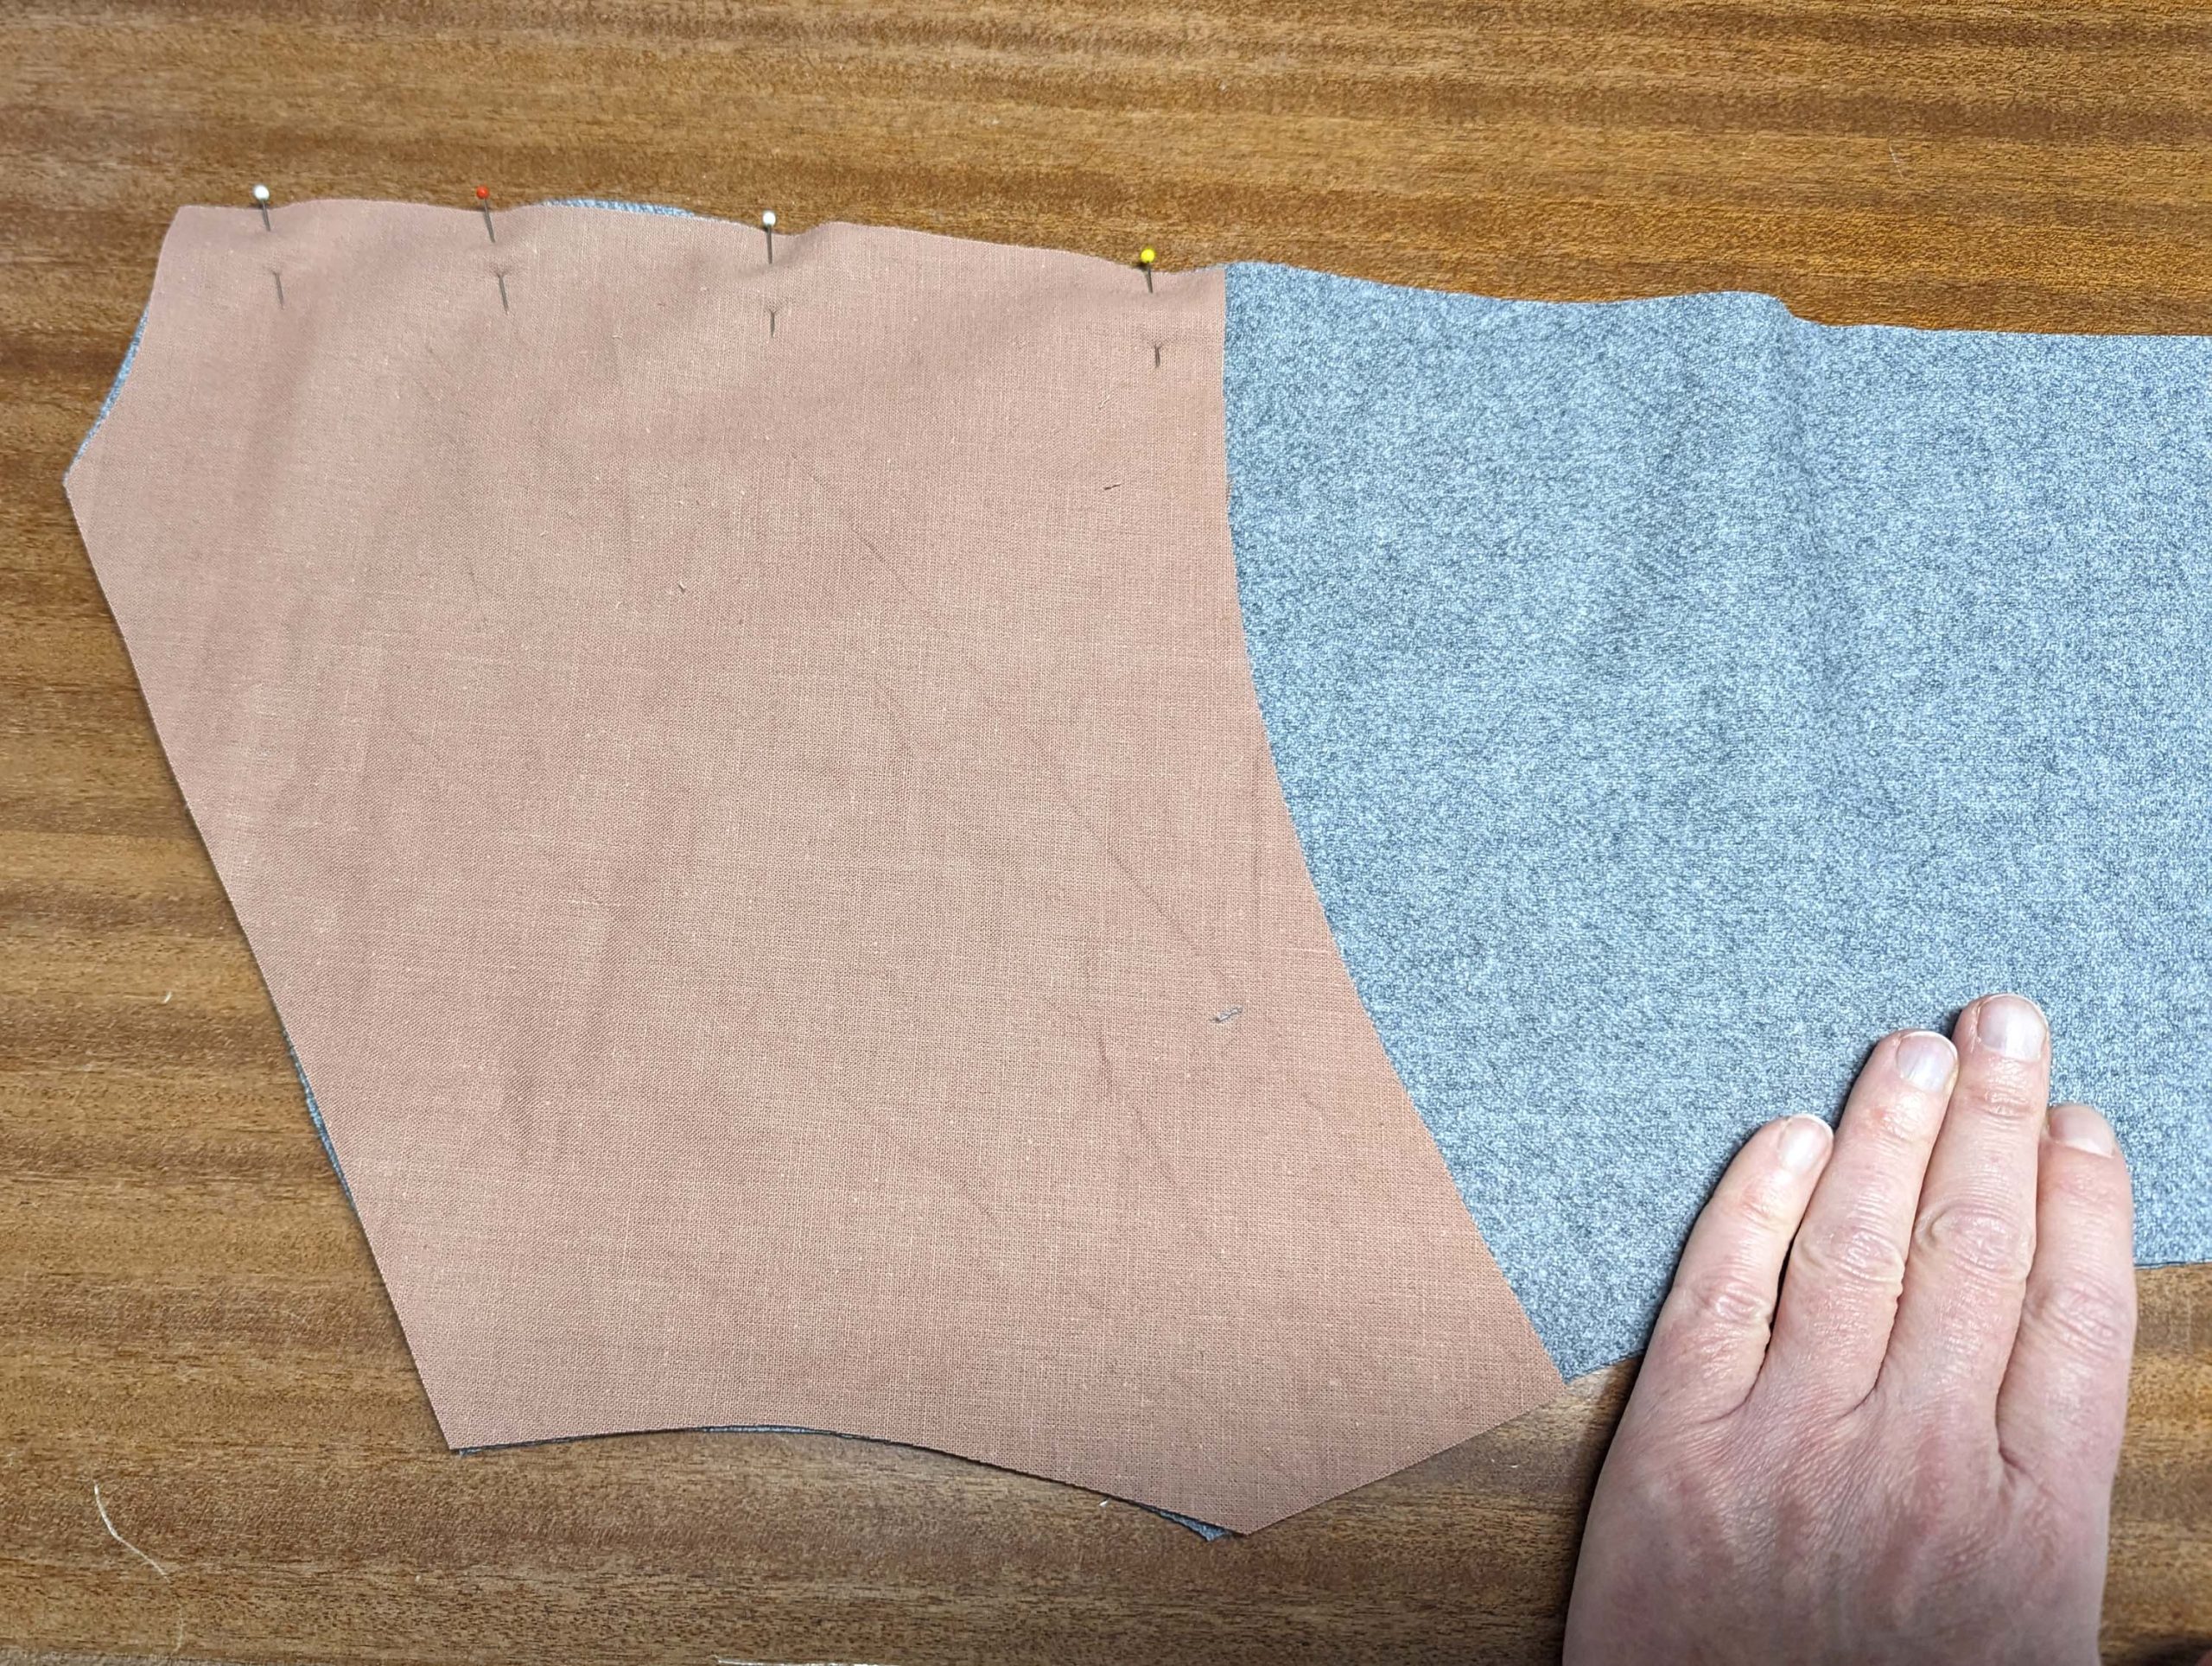
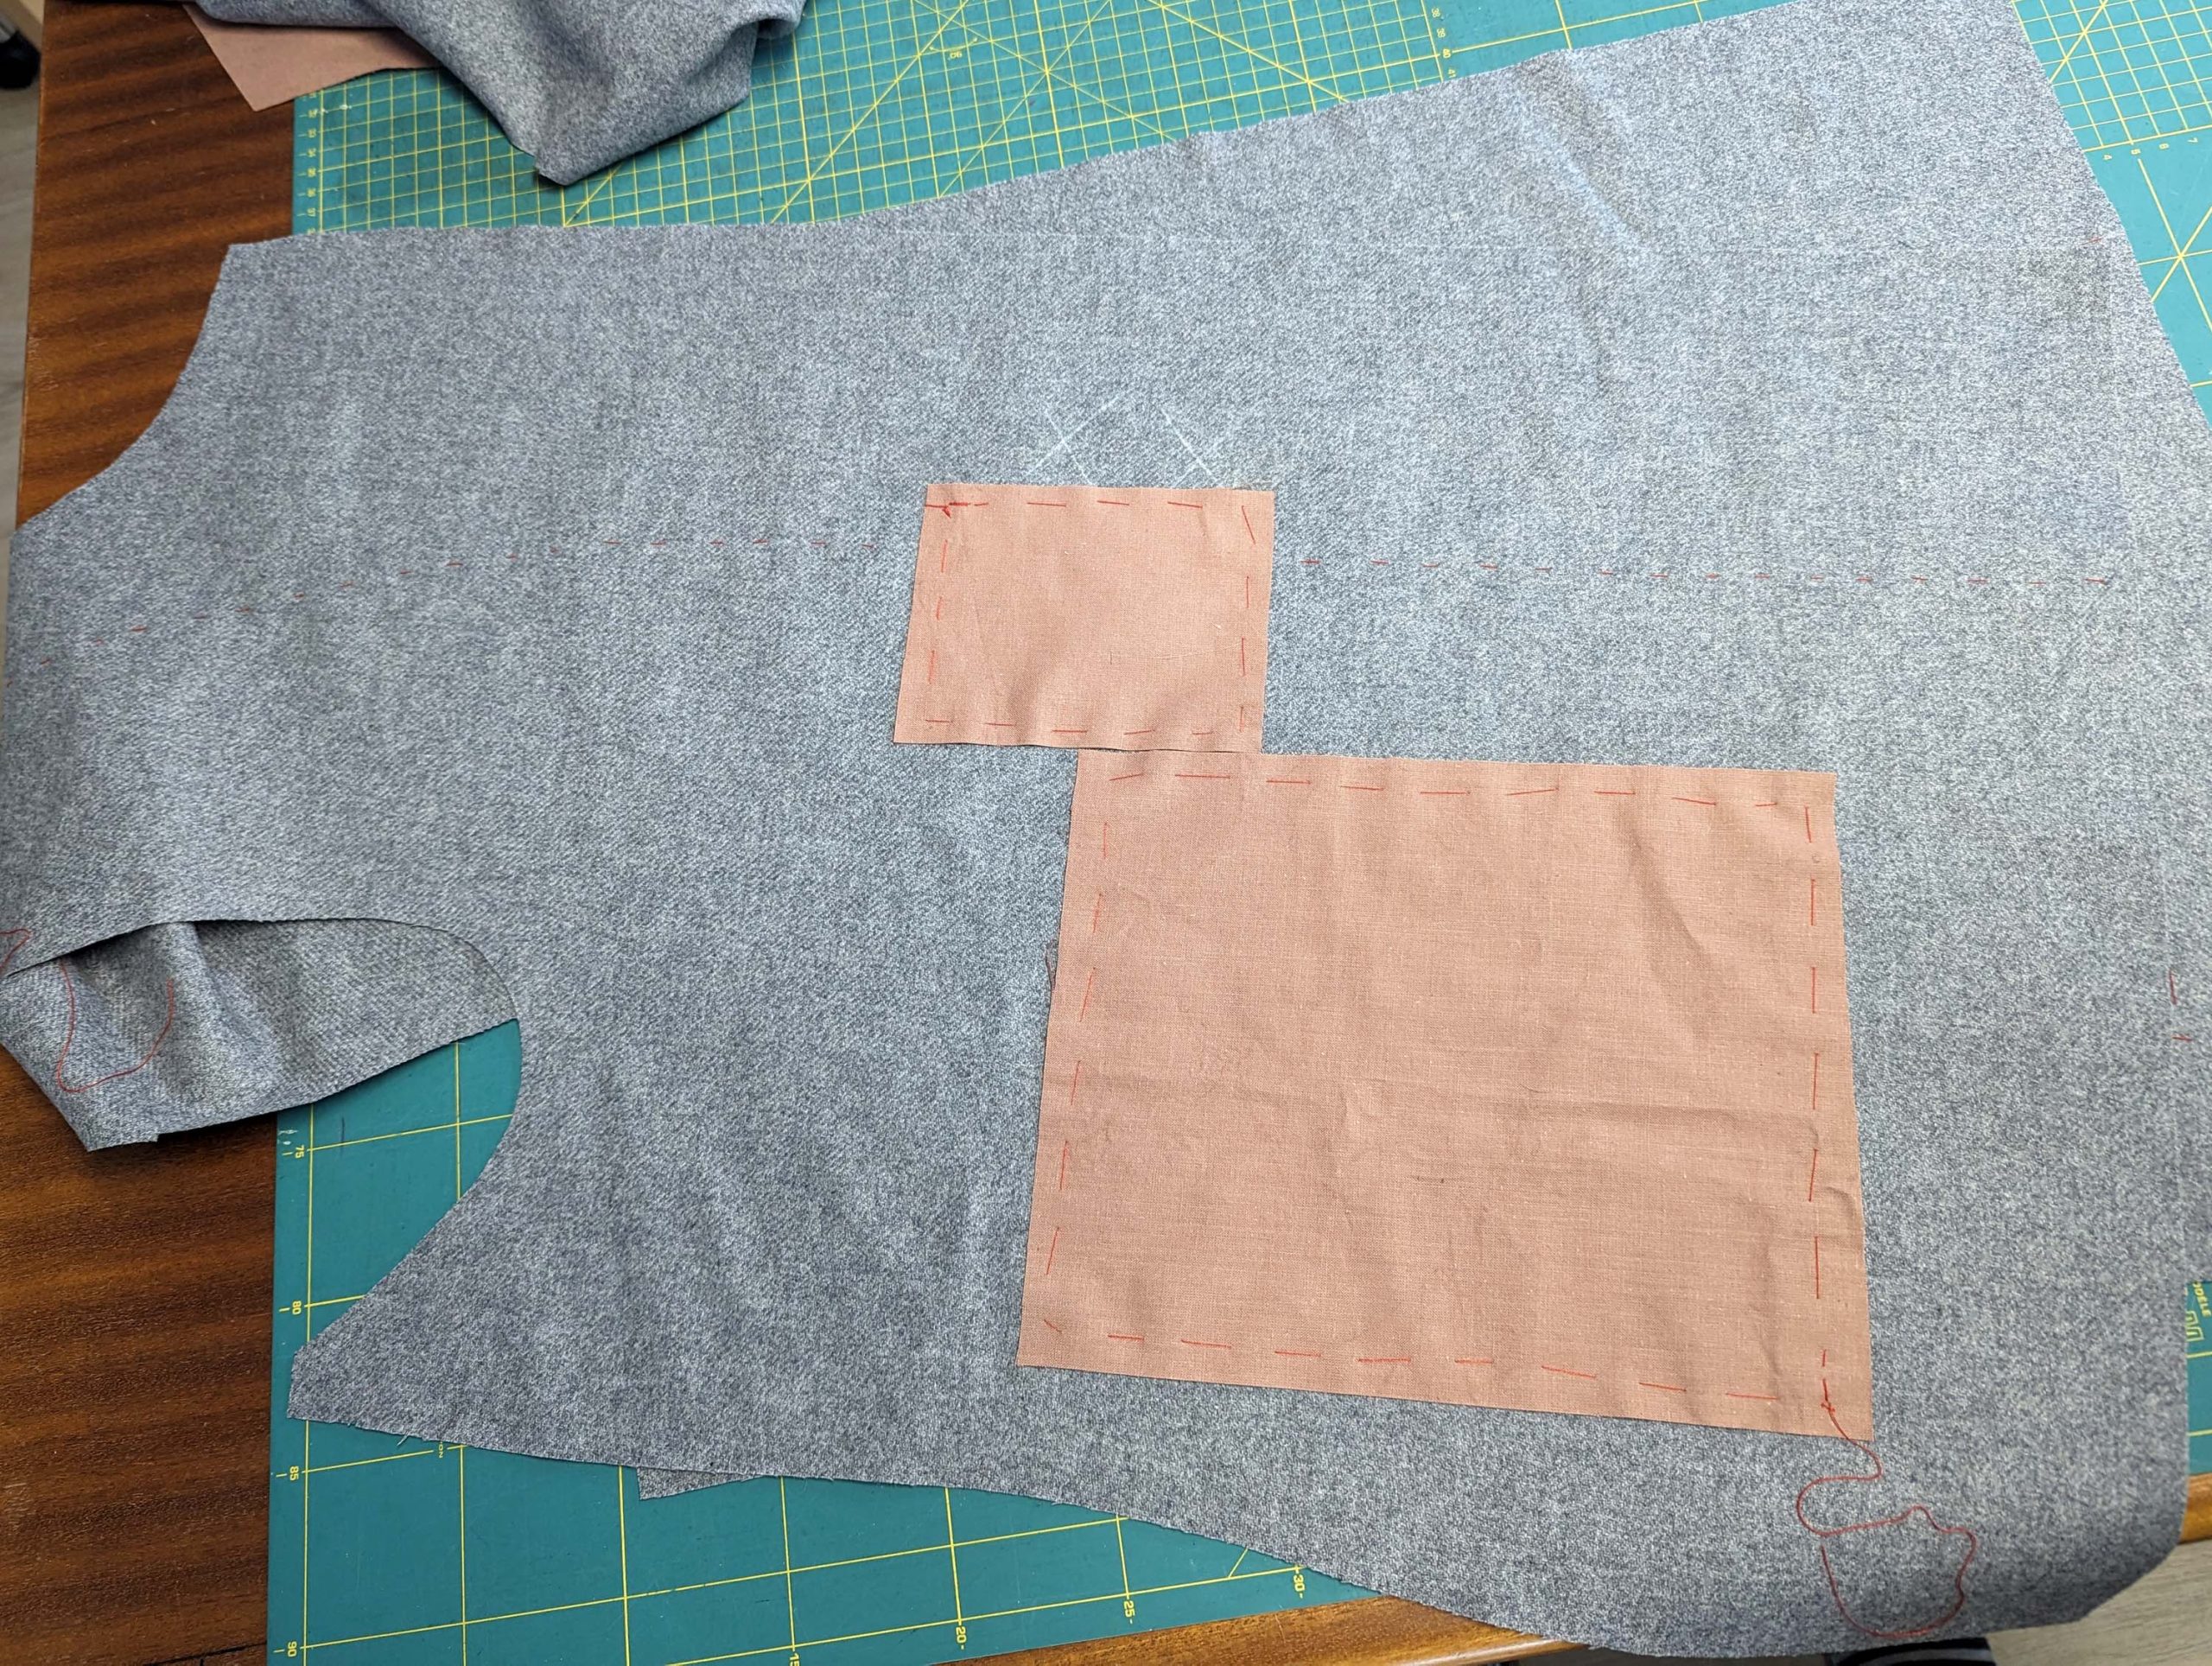
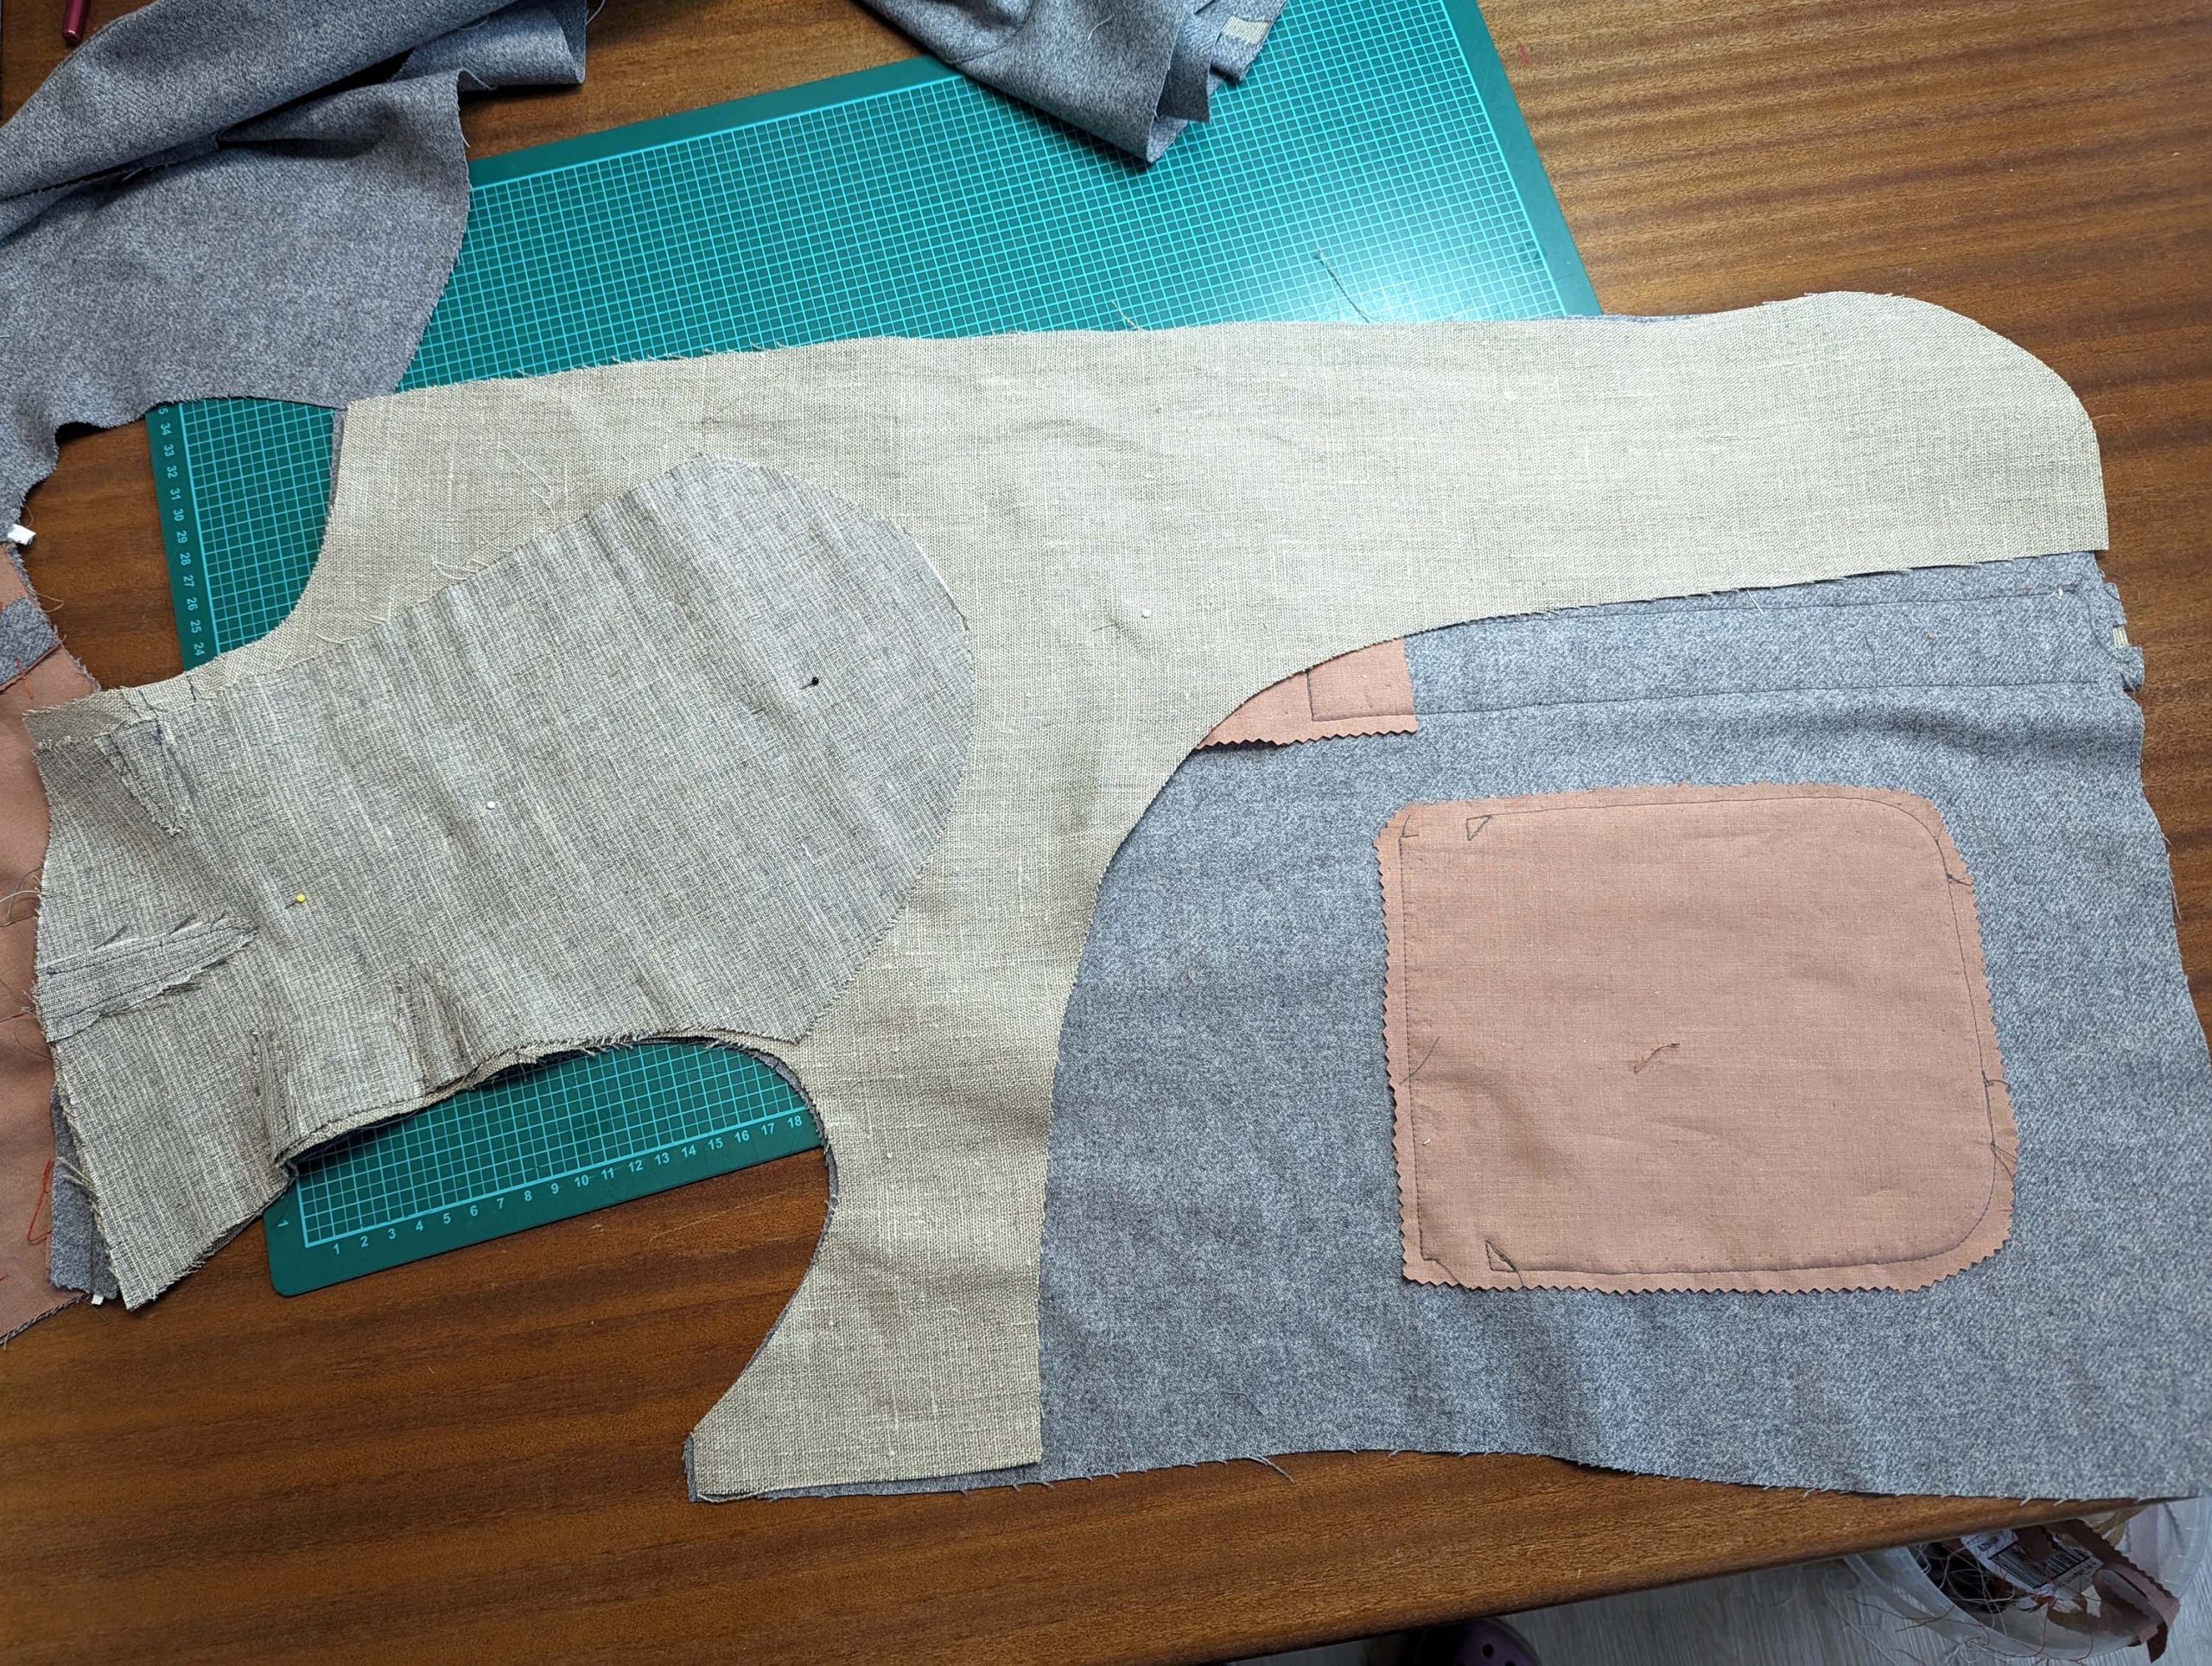
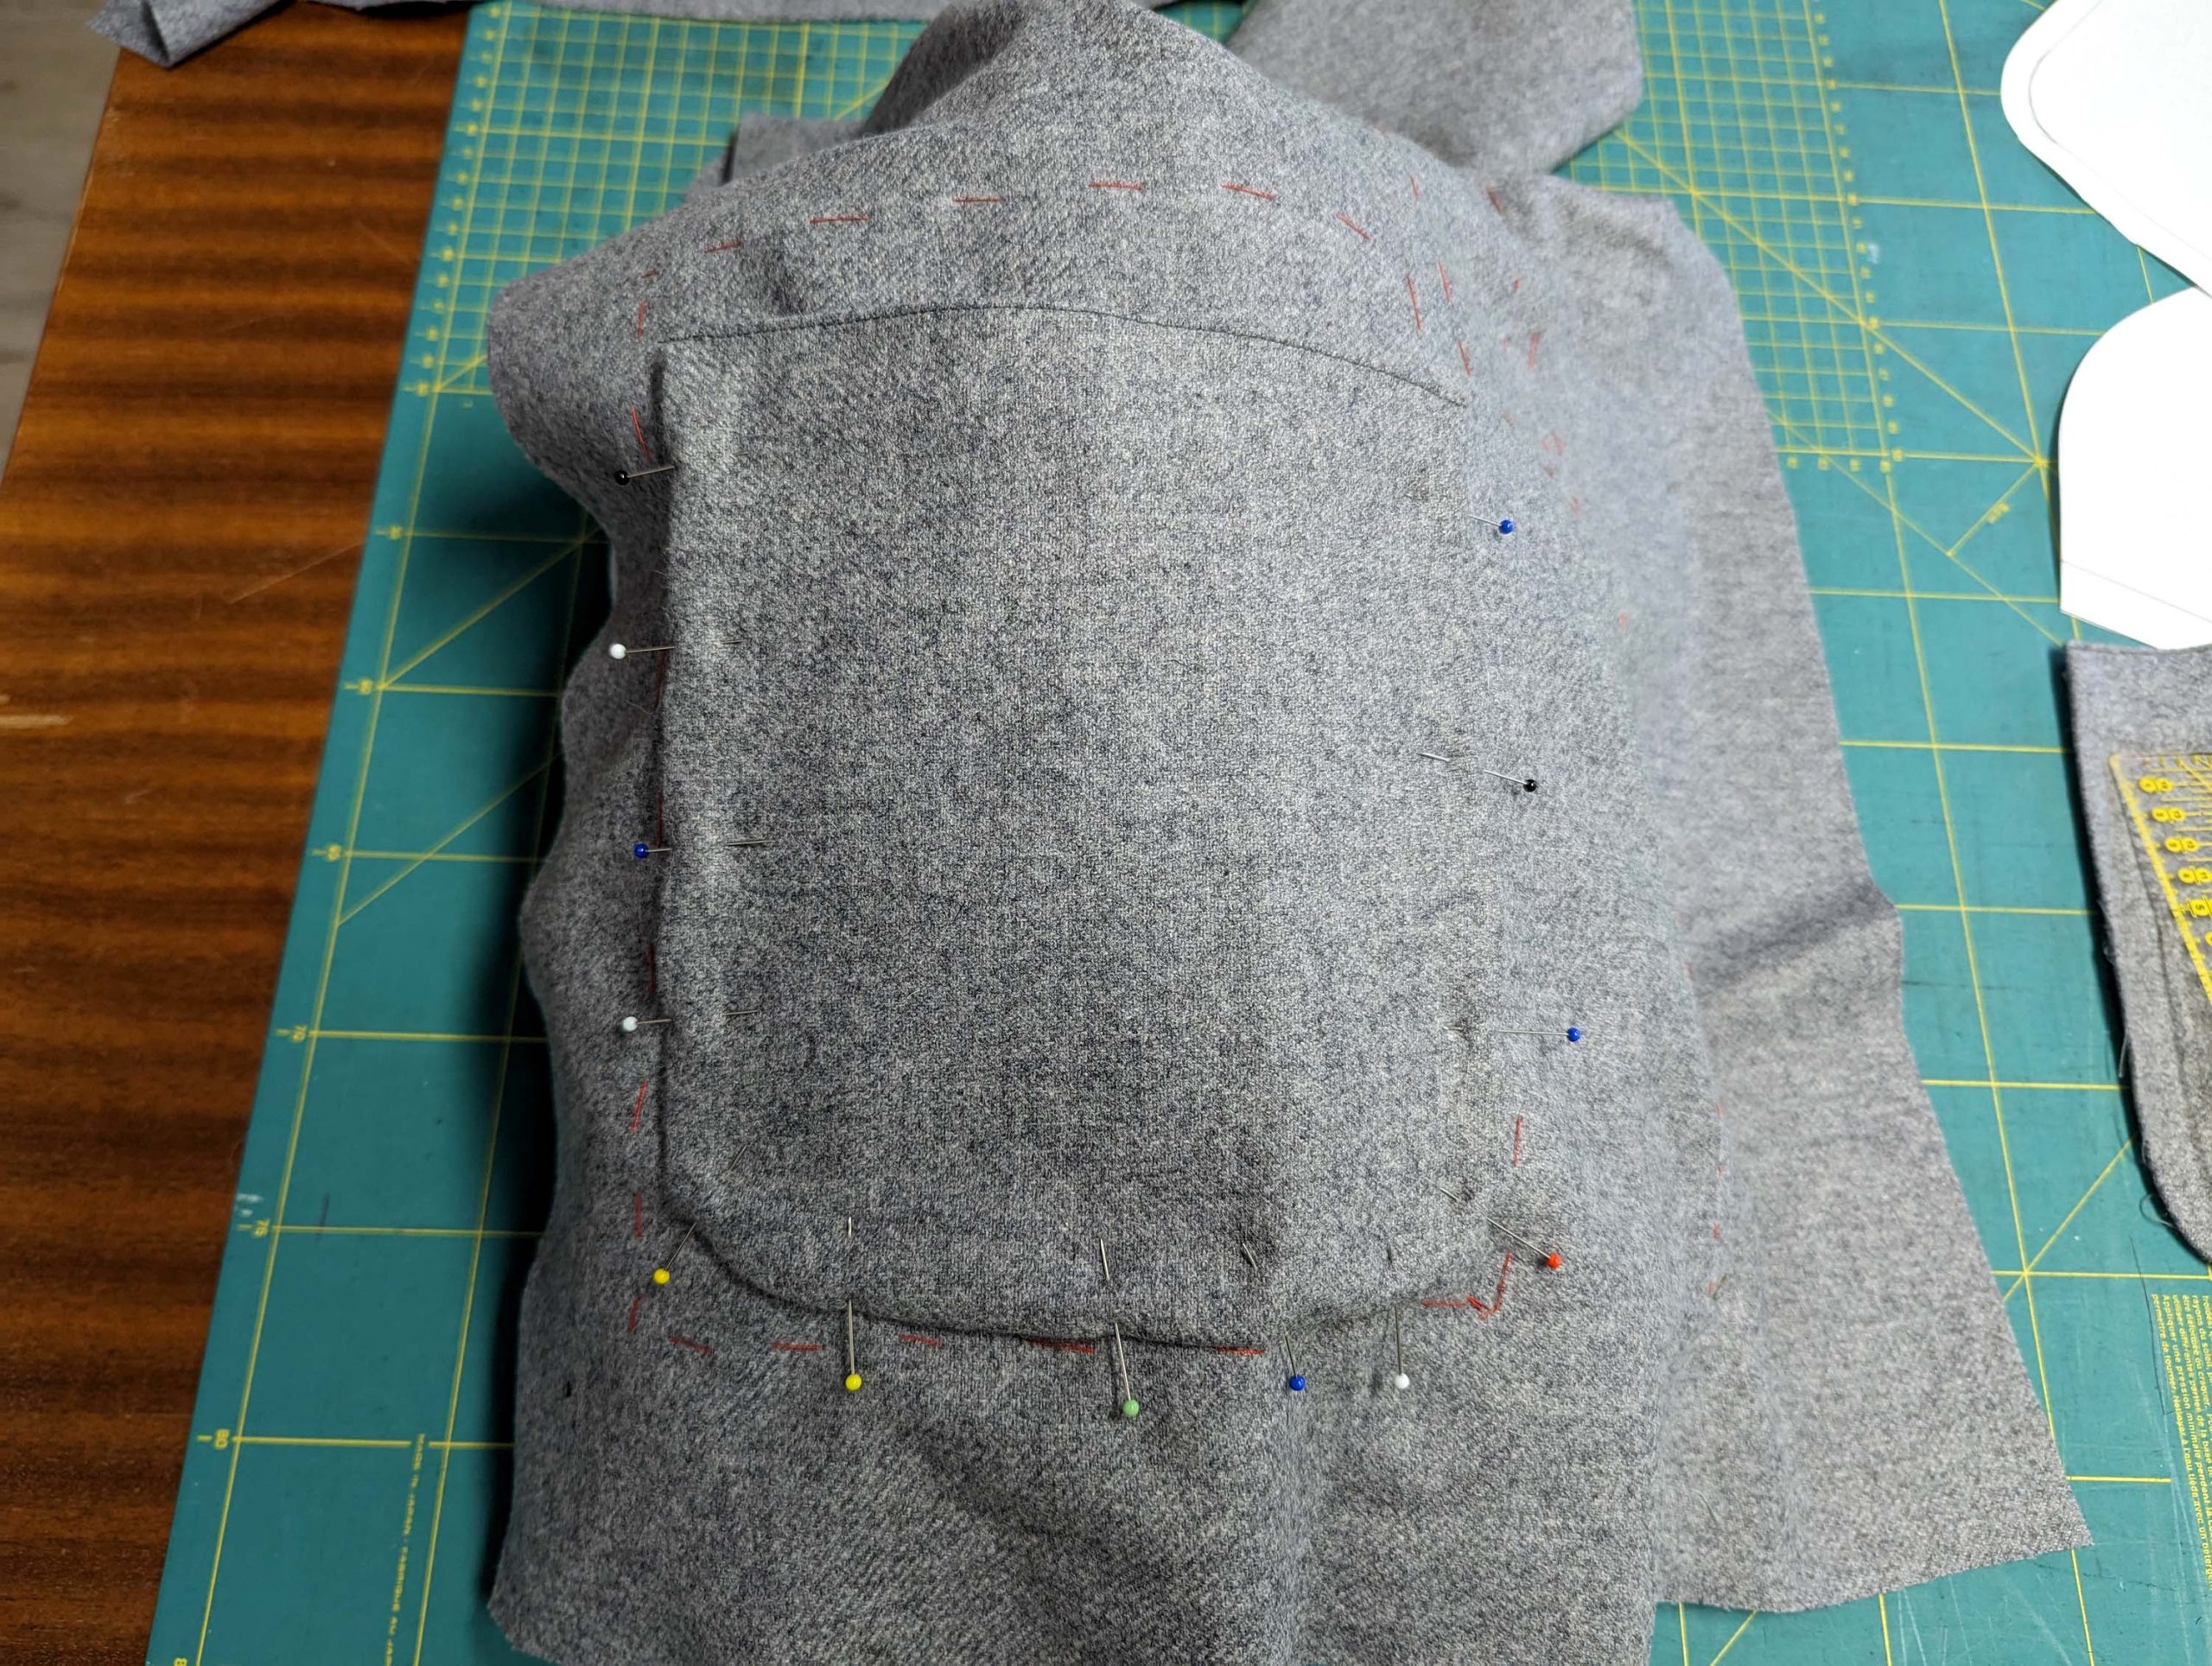
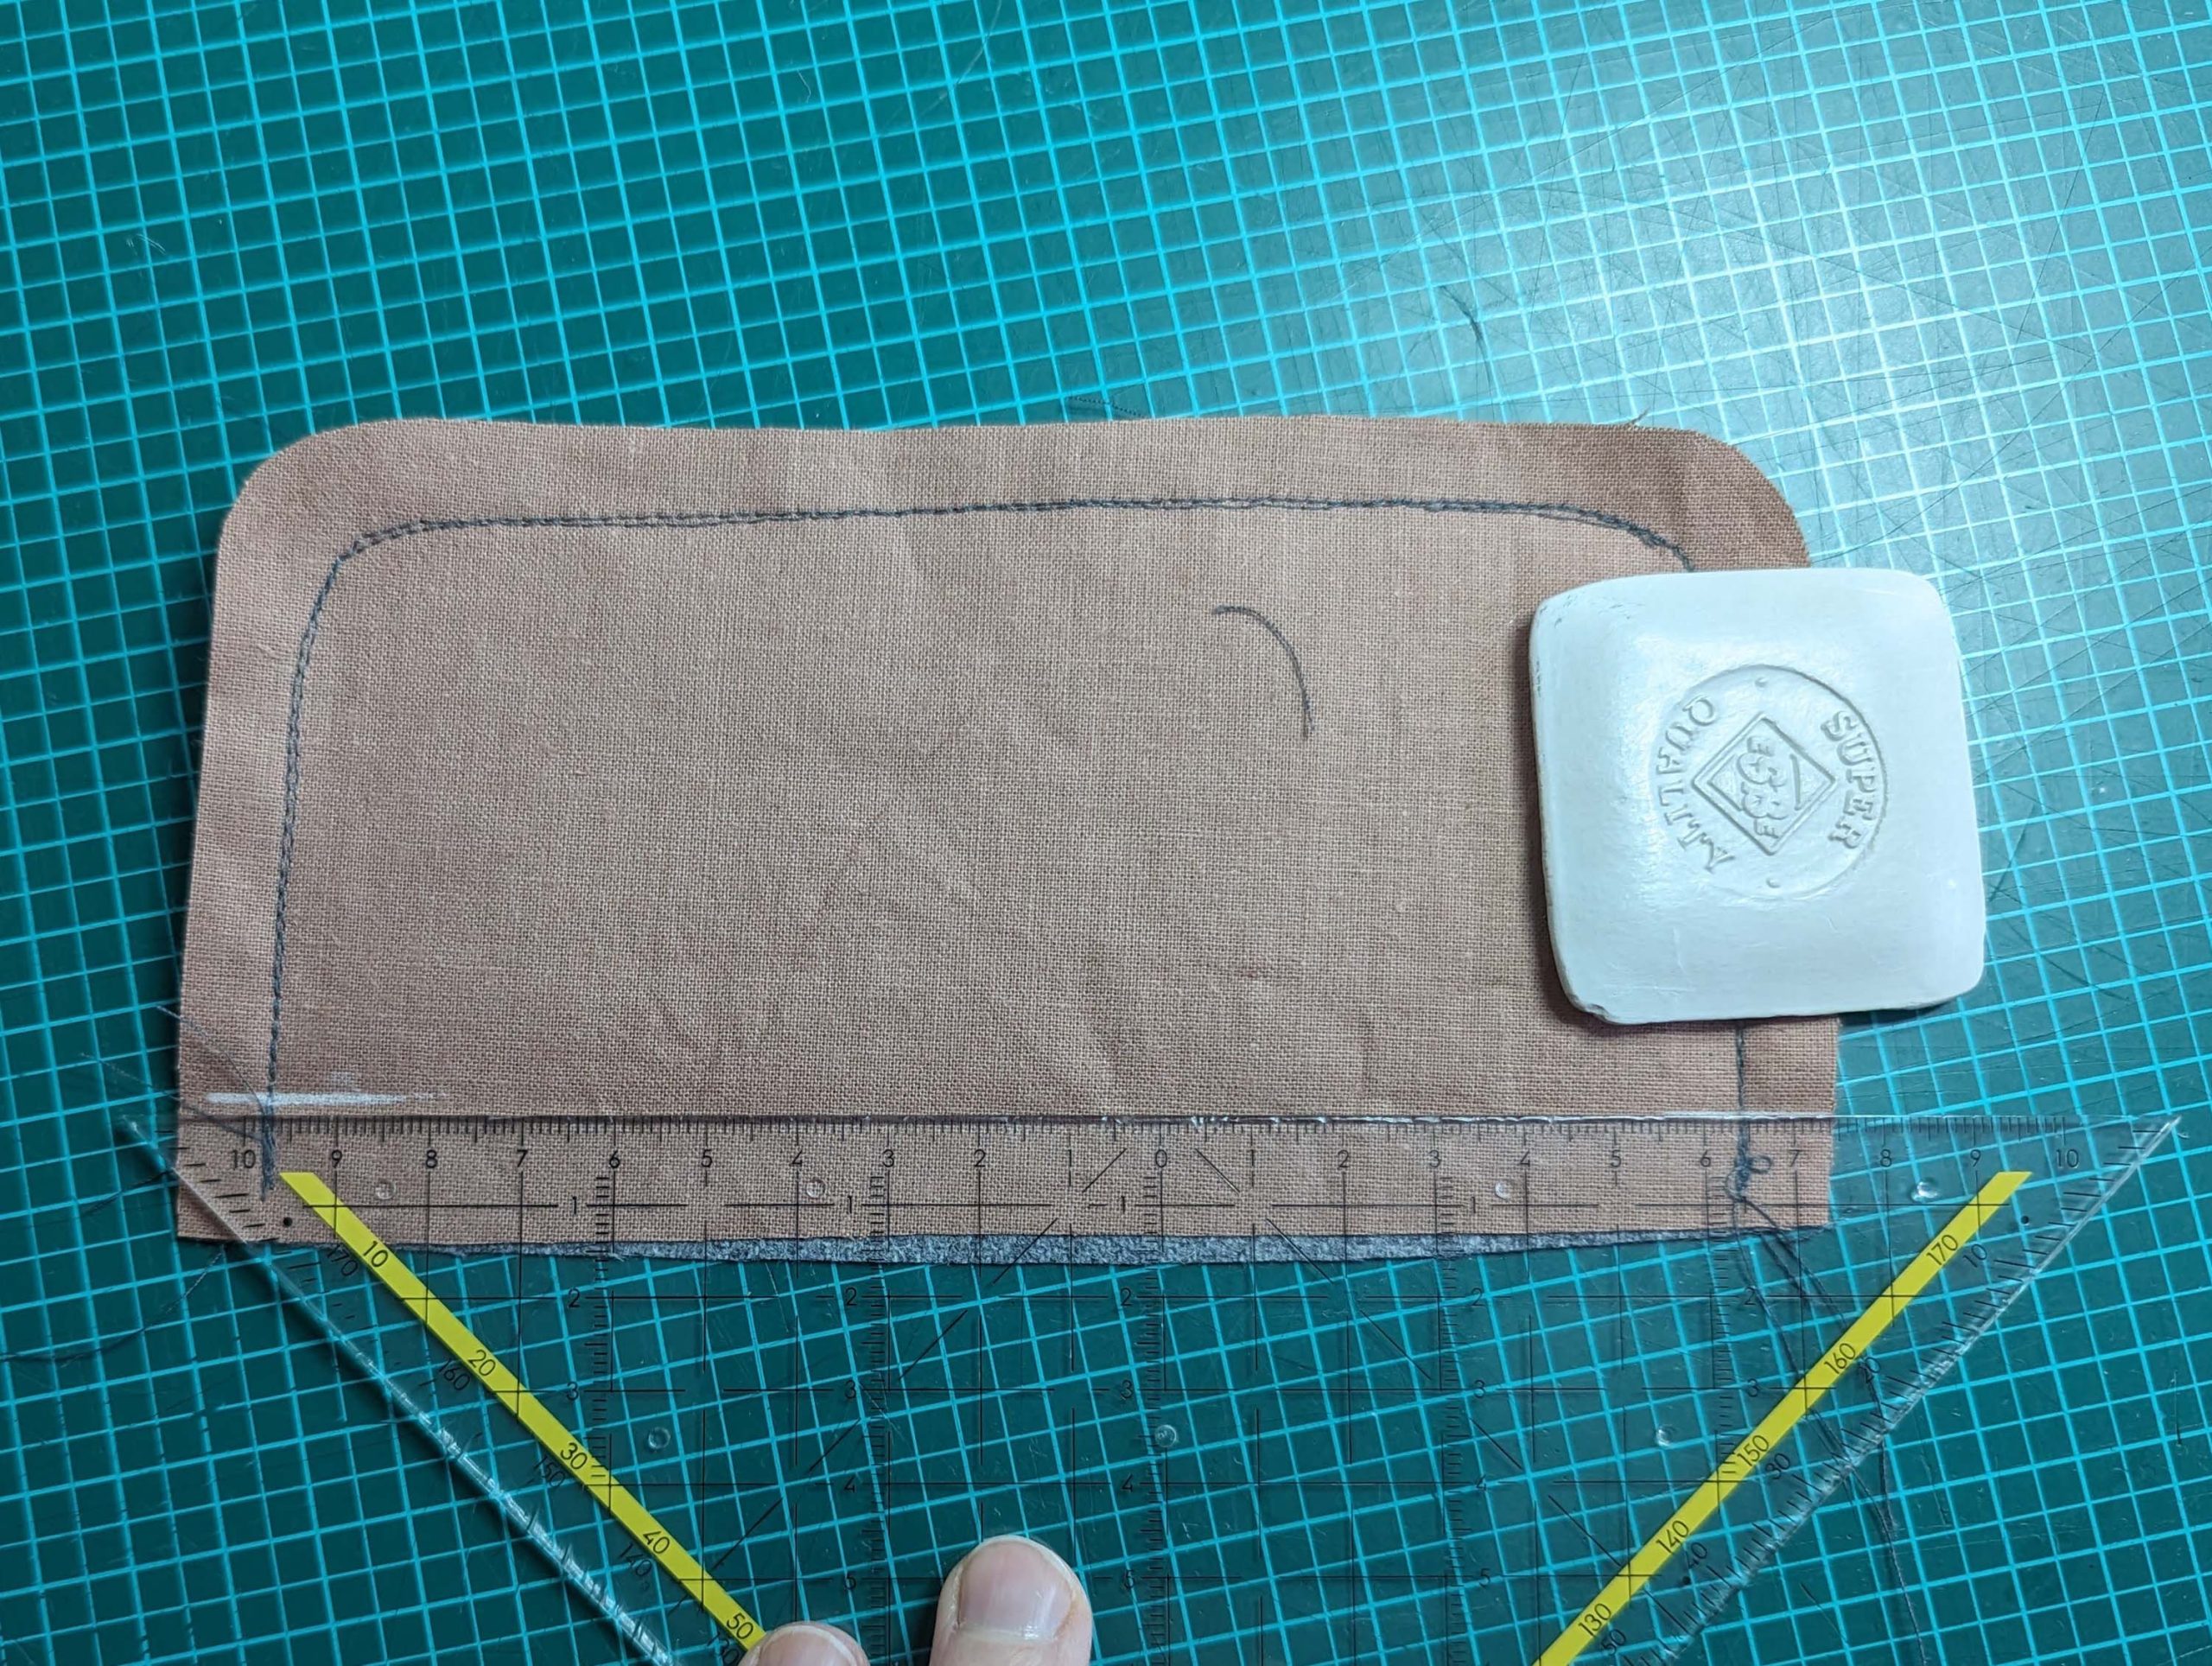
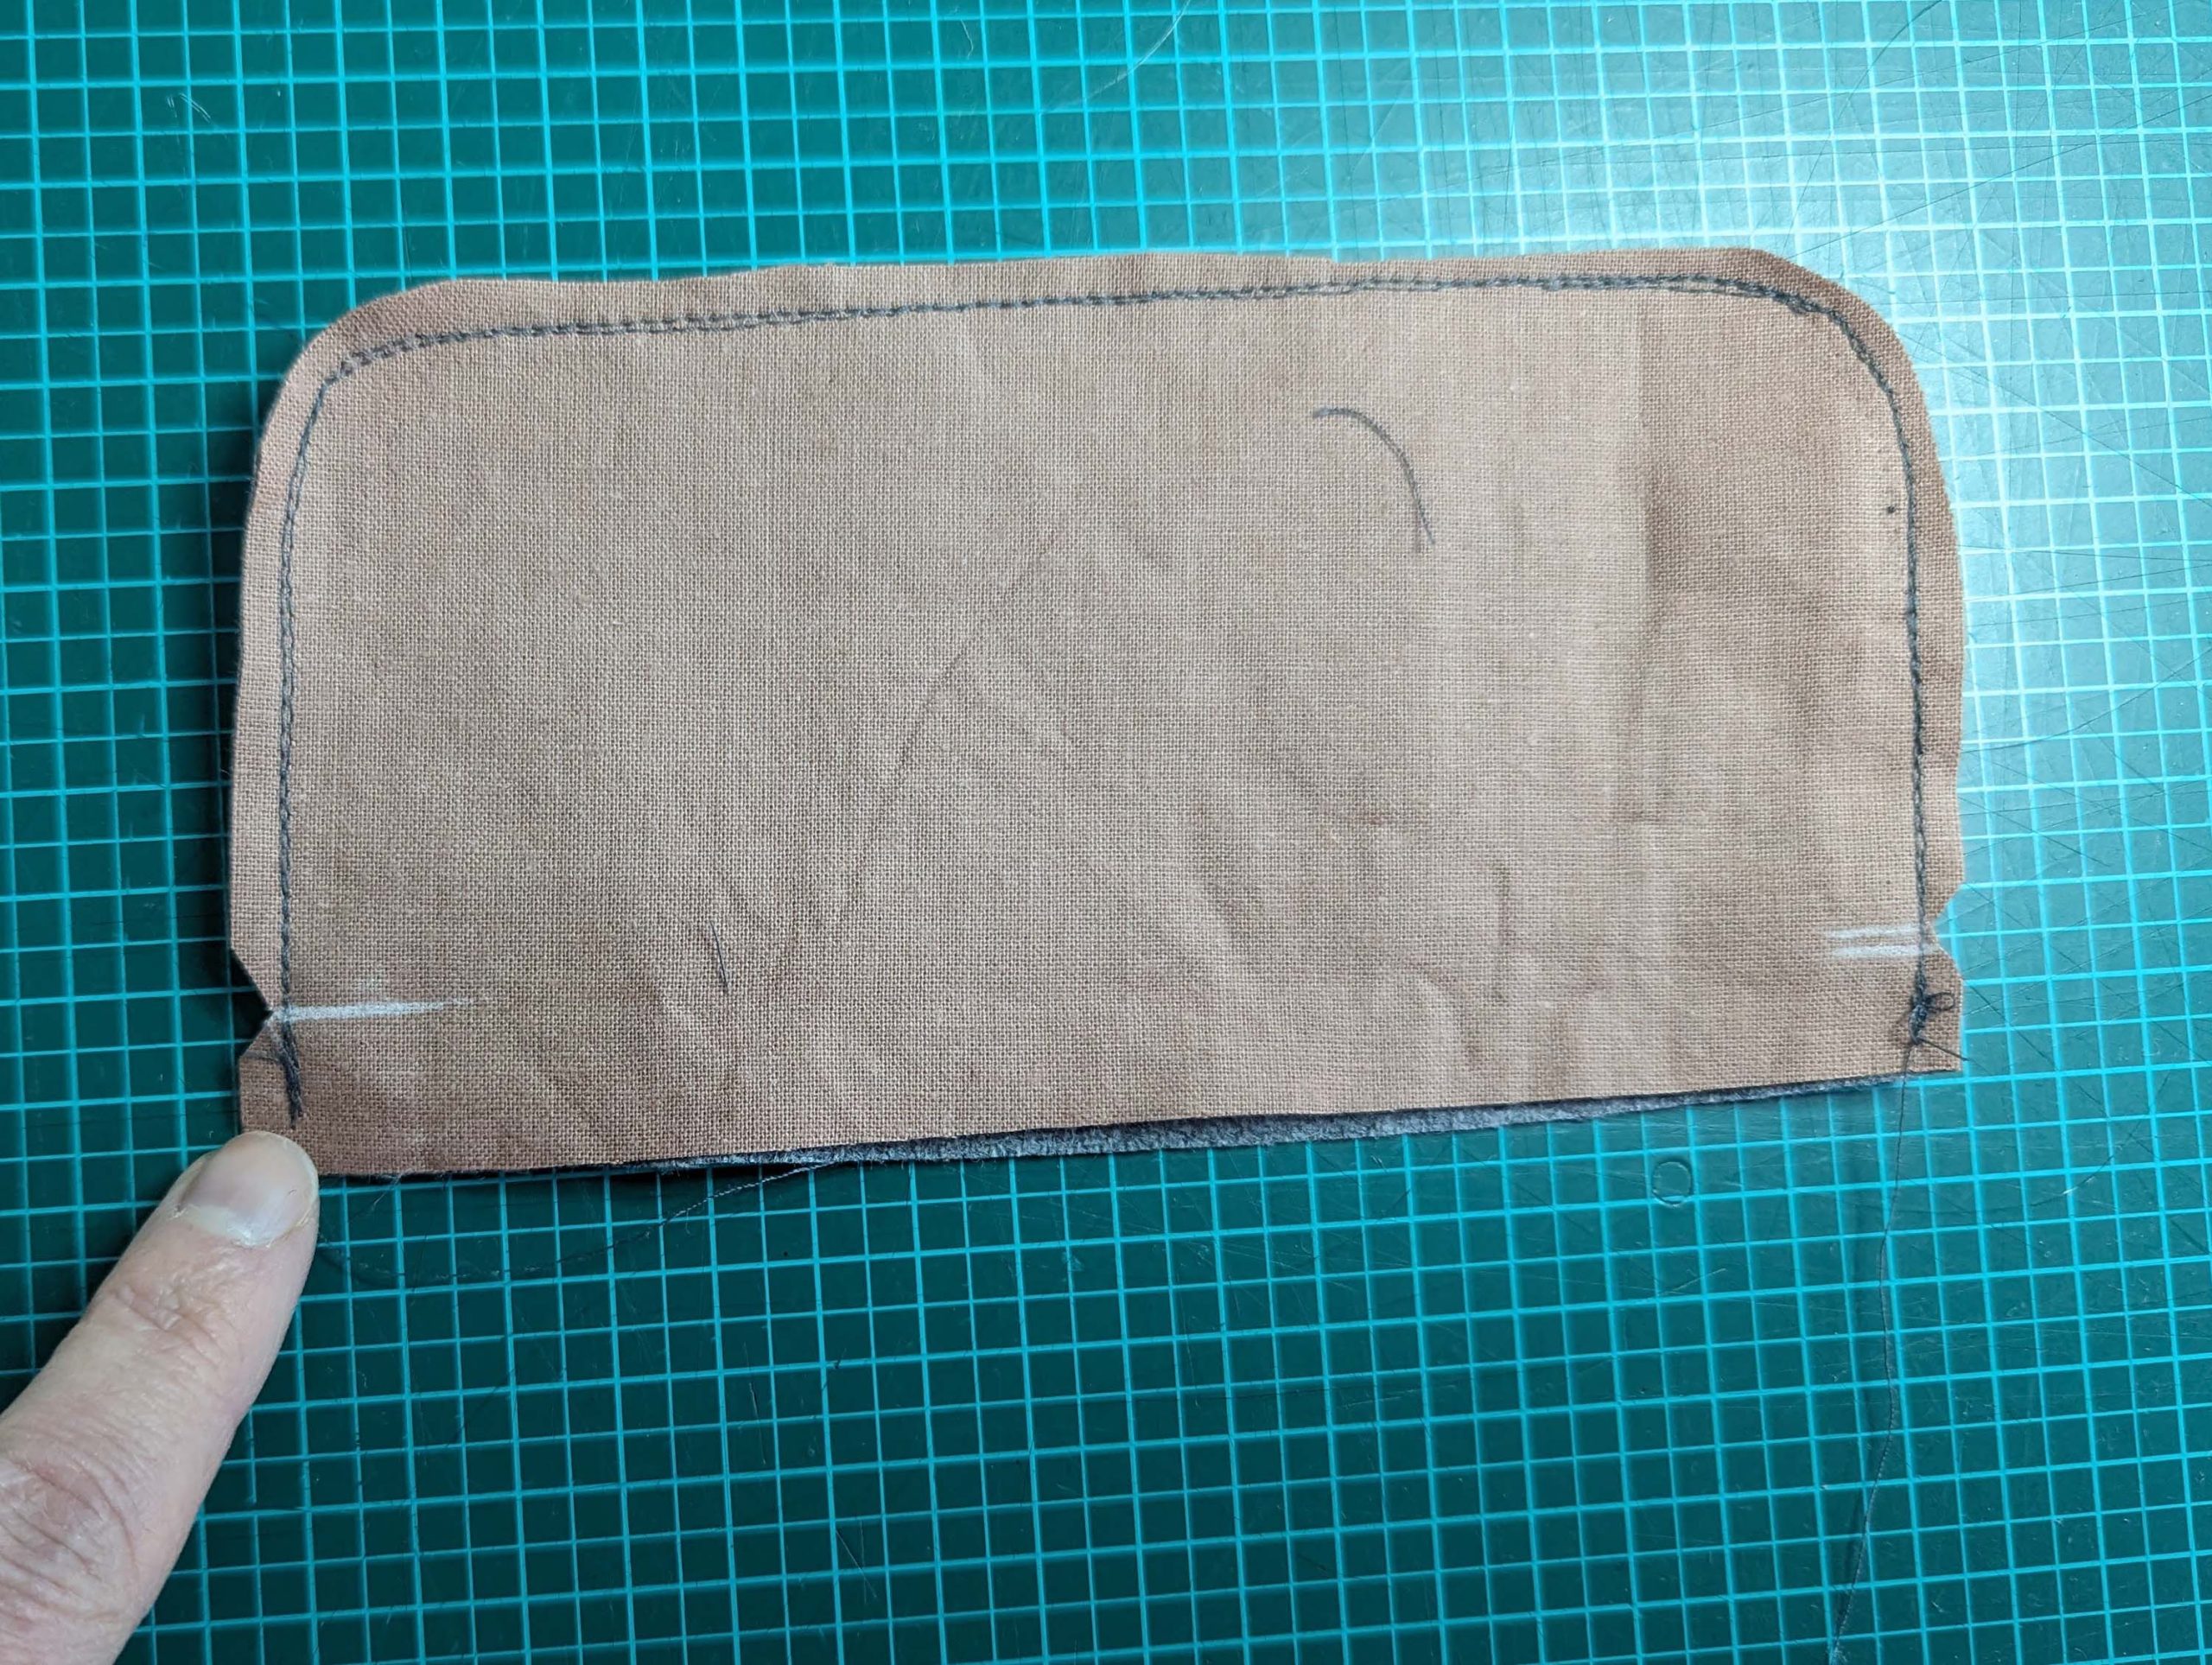
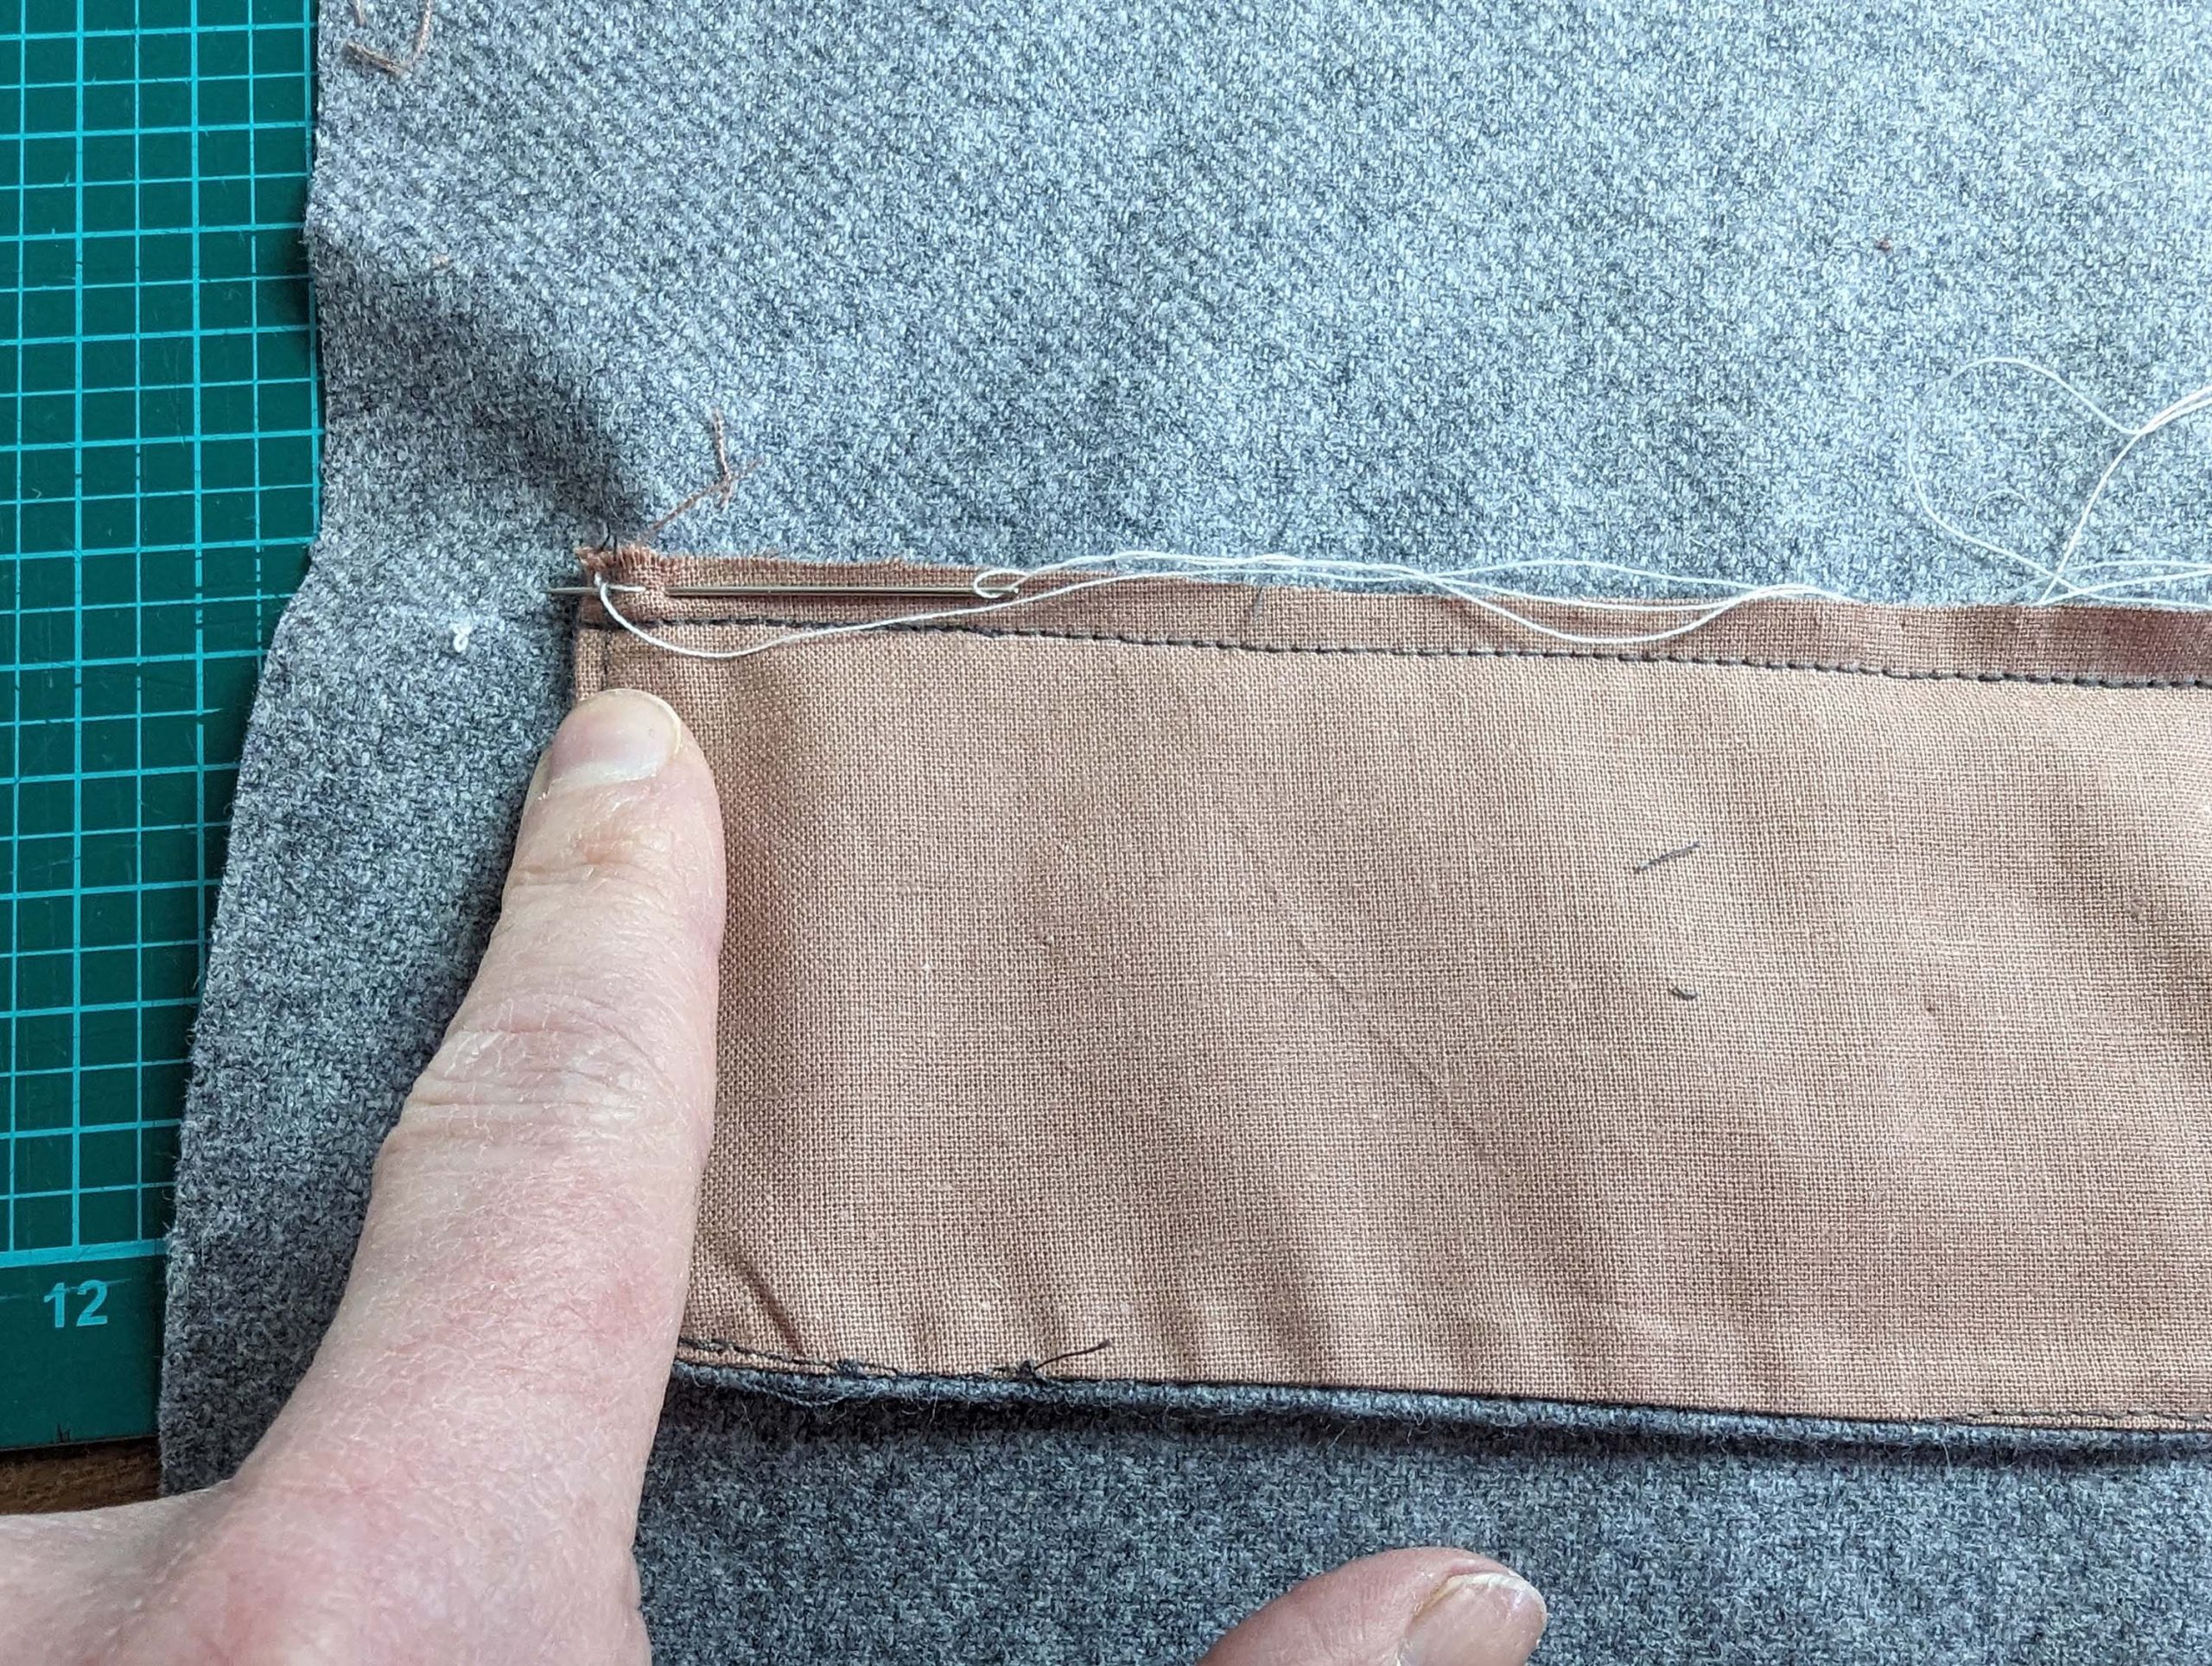
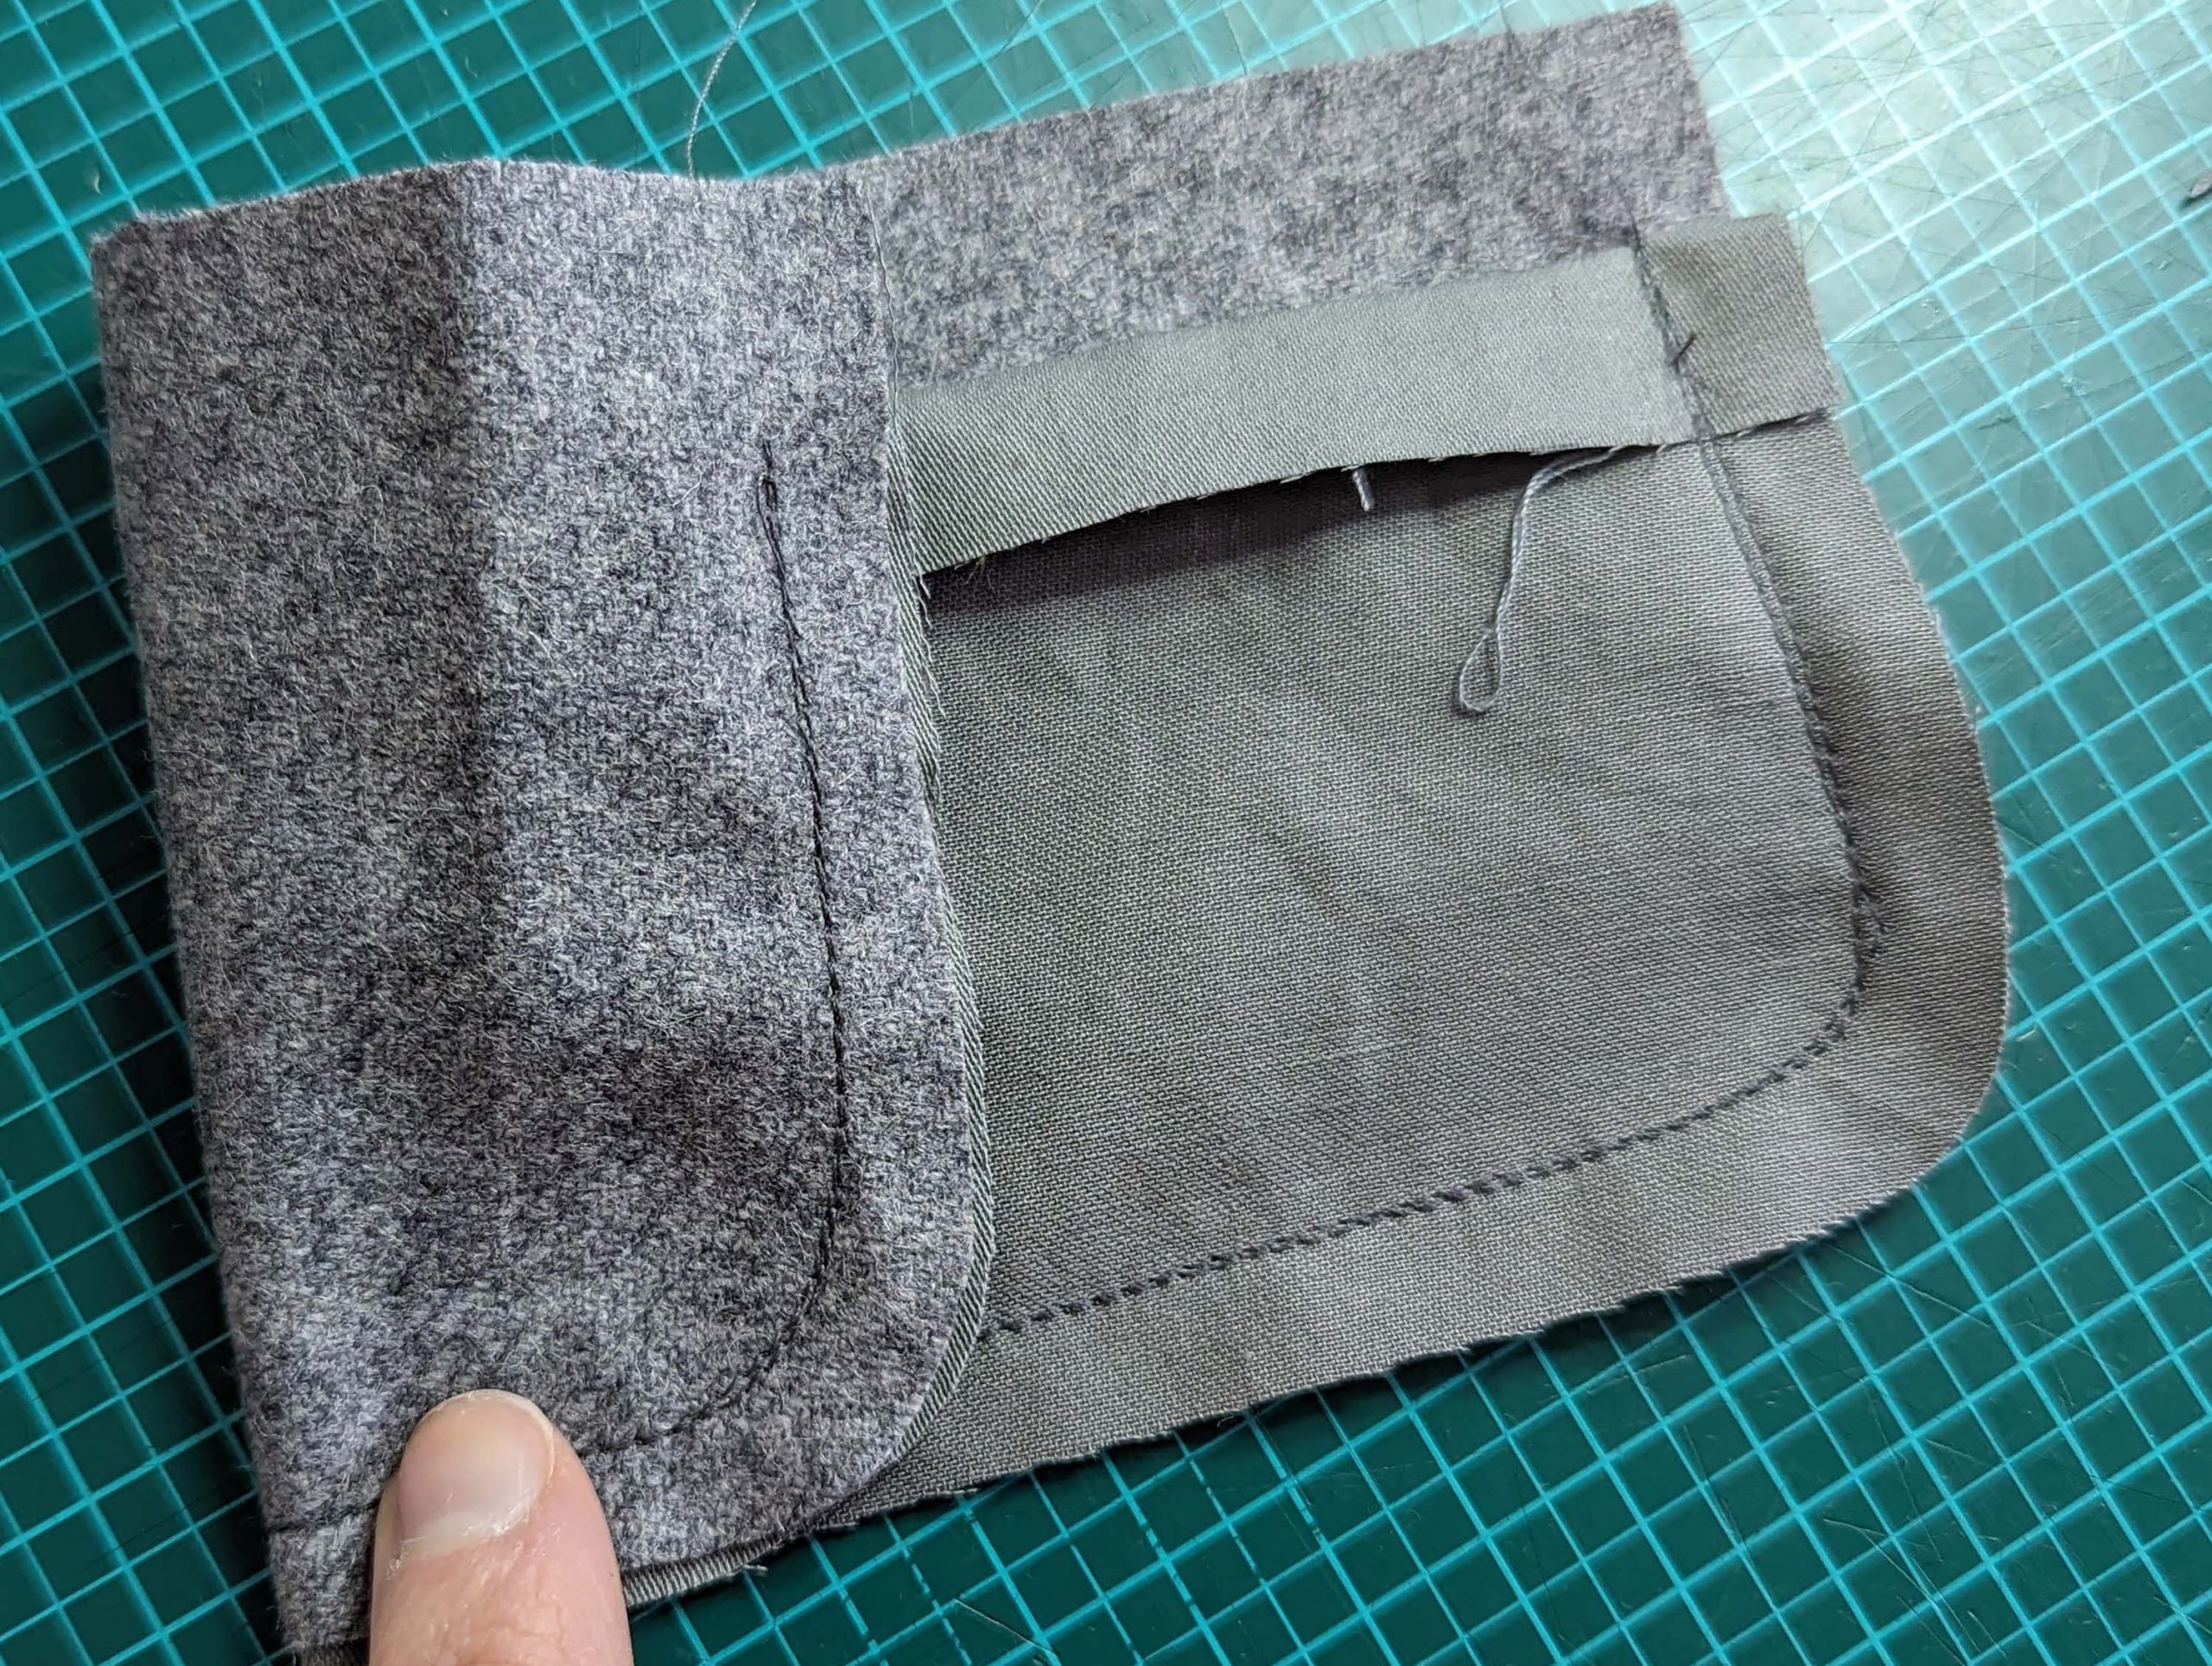
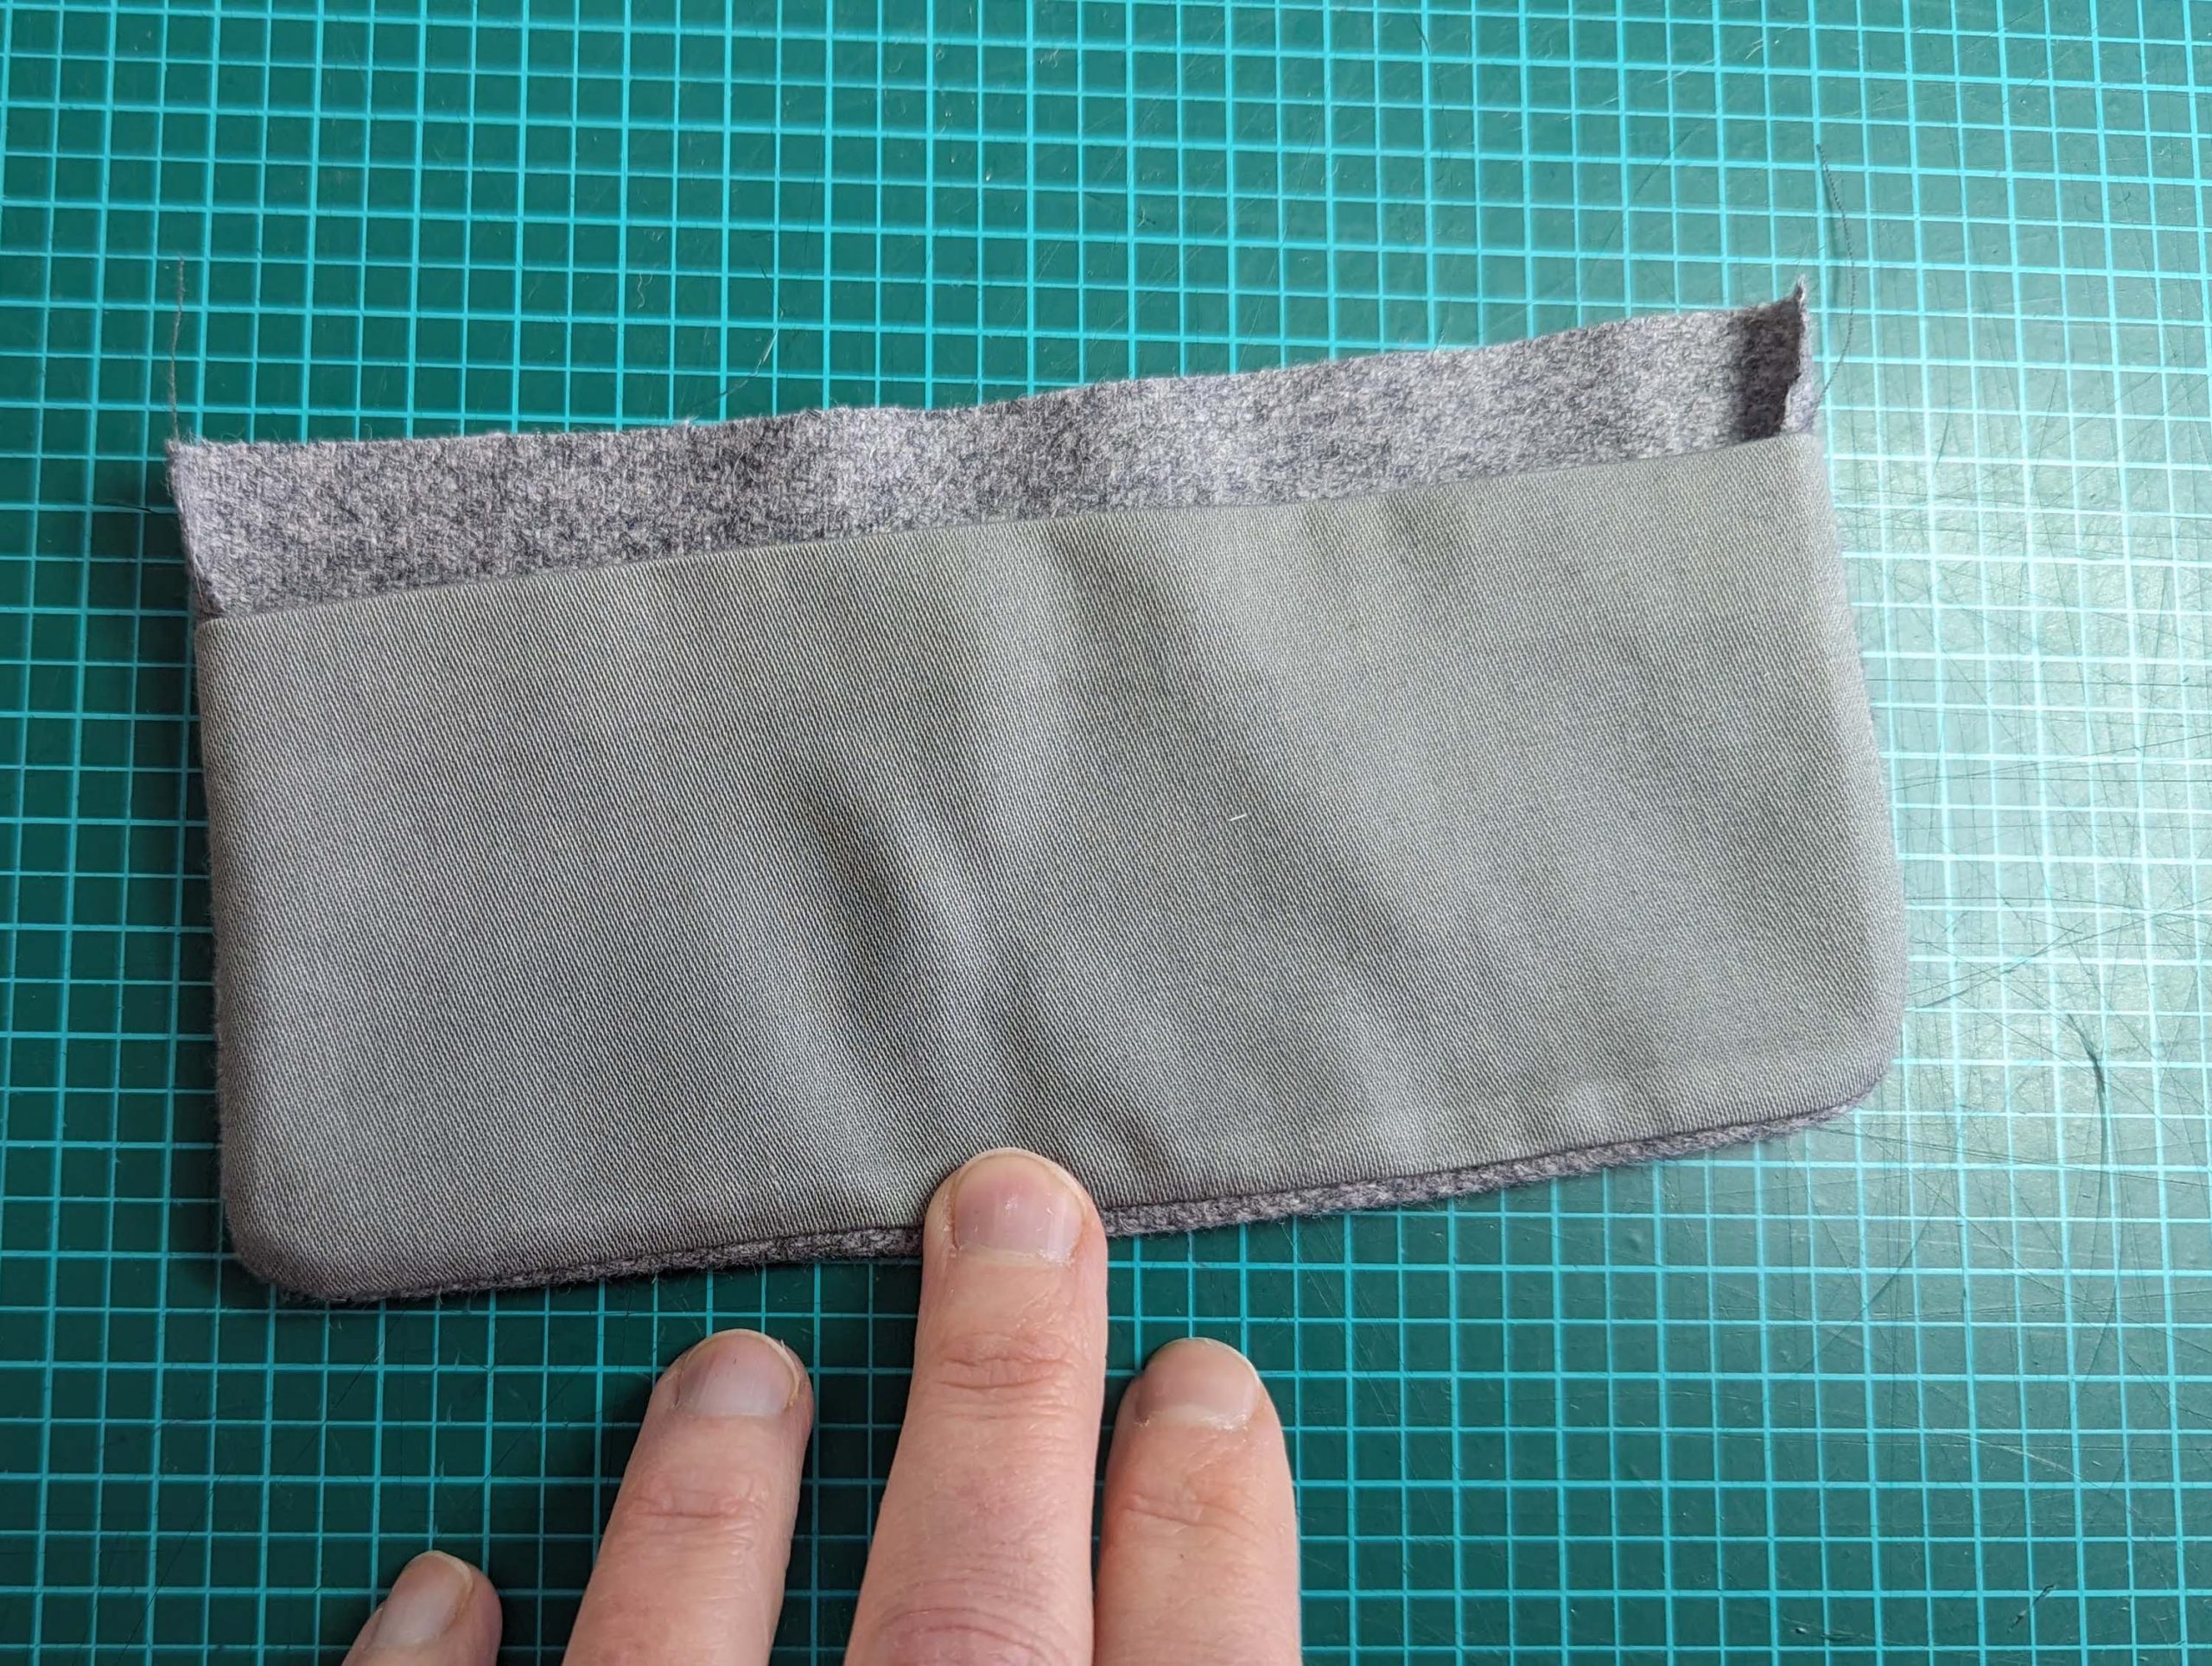
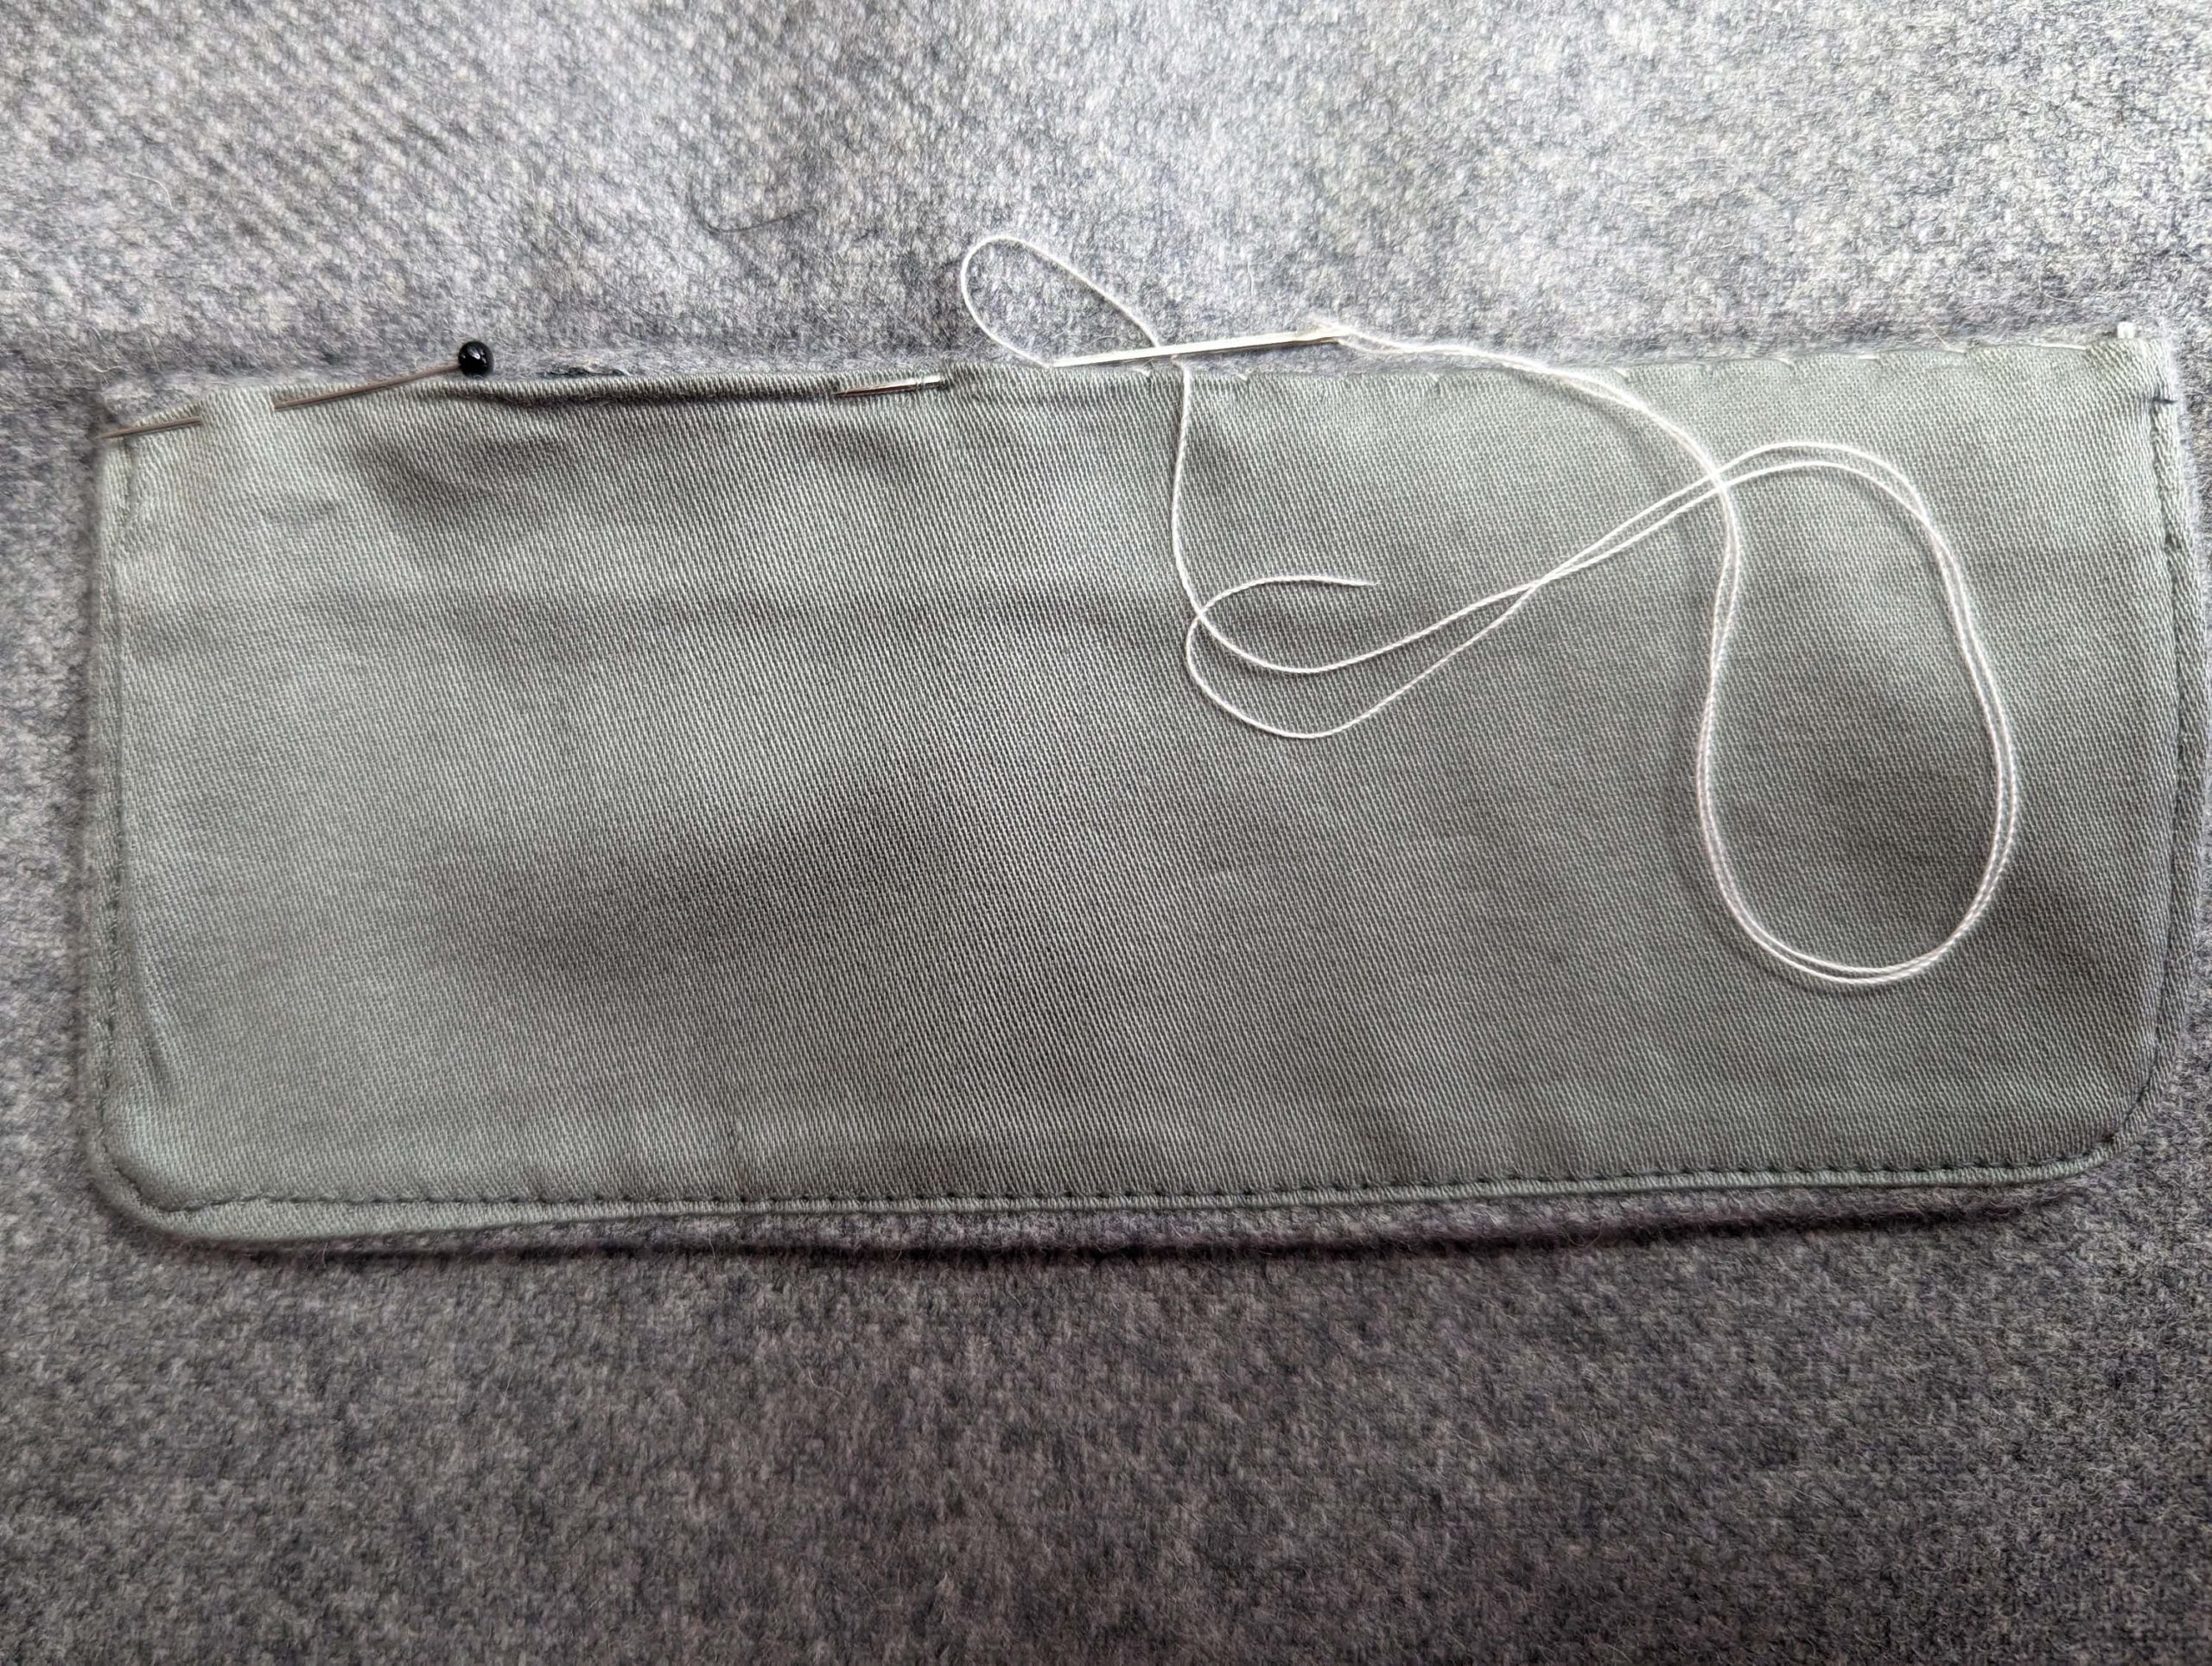
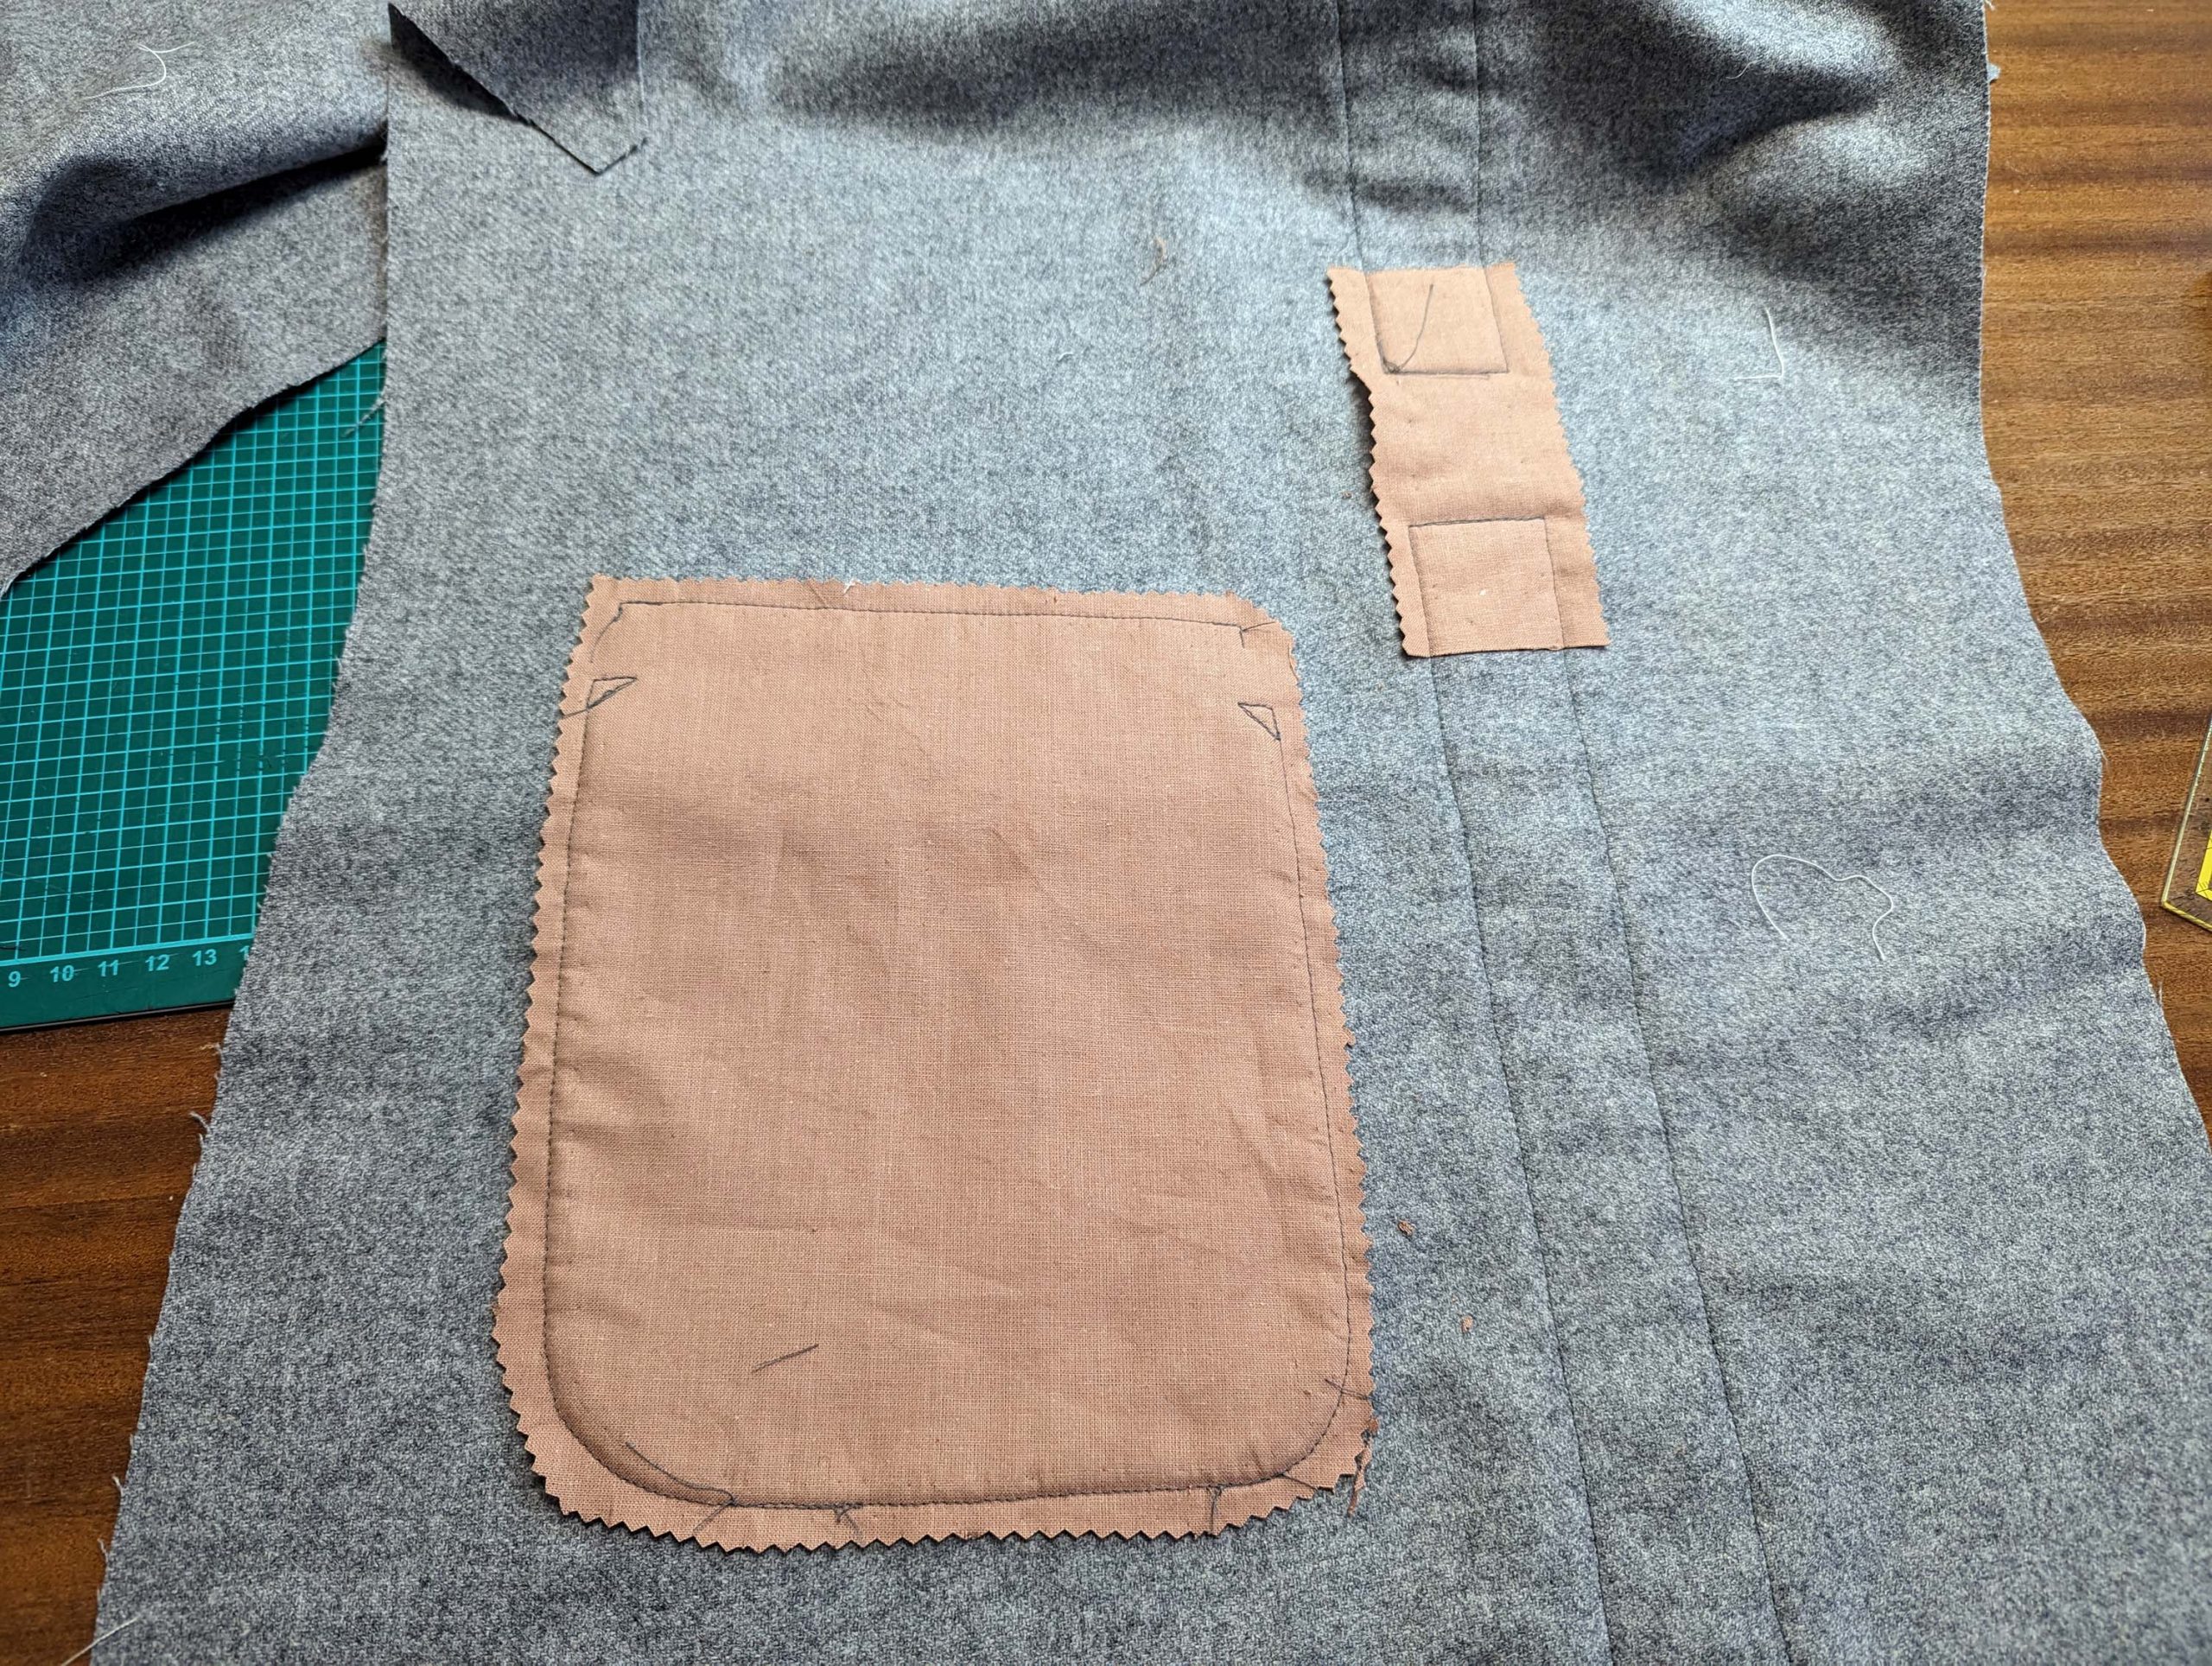
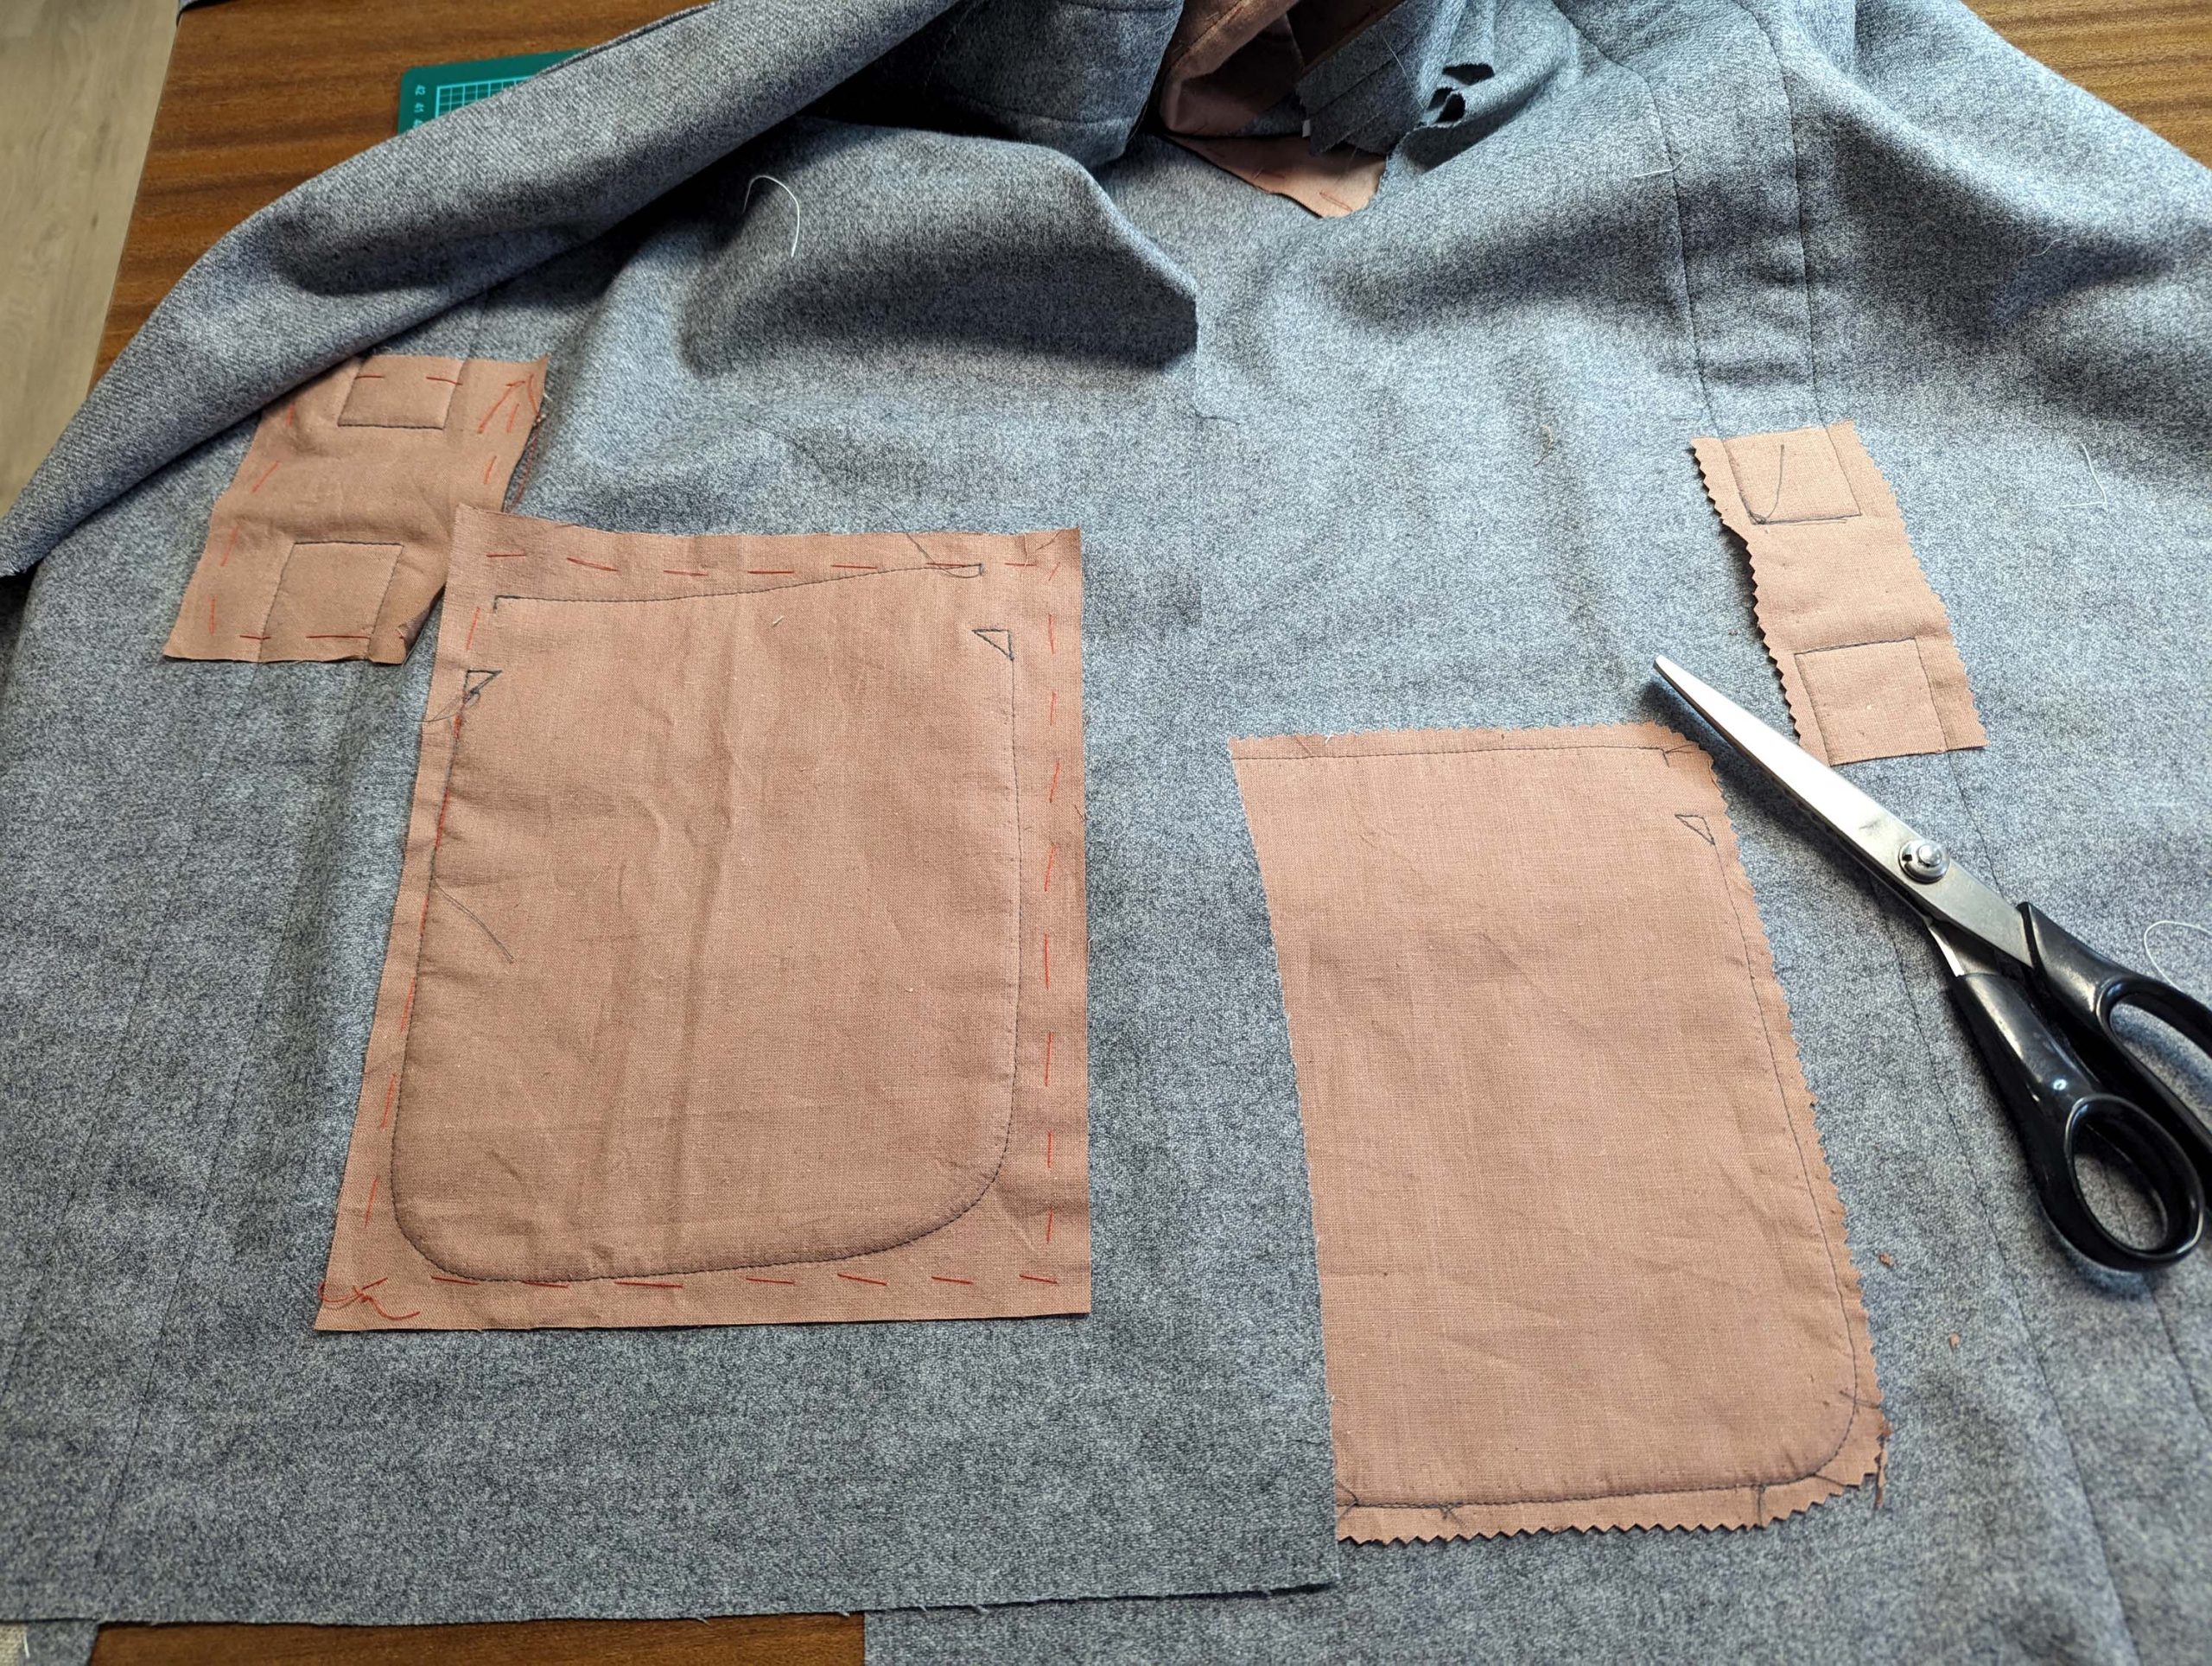
(7) + (8) Now it is time for the pockets. Line up the patch pocket with the lining, wrong sides together. Use a color-matching cotton fabric for the lining. The lining for the patch pocket is indicated by the grey area on the sewing pattern.
Turn in a seam allowance of 5/8” (1,5cm) along the top edge of the lining, and turn in a seam allowance of 1 ¼” (3cm) along the top edge of the fashion fabric. For the turn of cloth needed, push the edge of the fashion fabric about 1/8” (2-3mm) behind the edge of the lining.
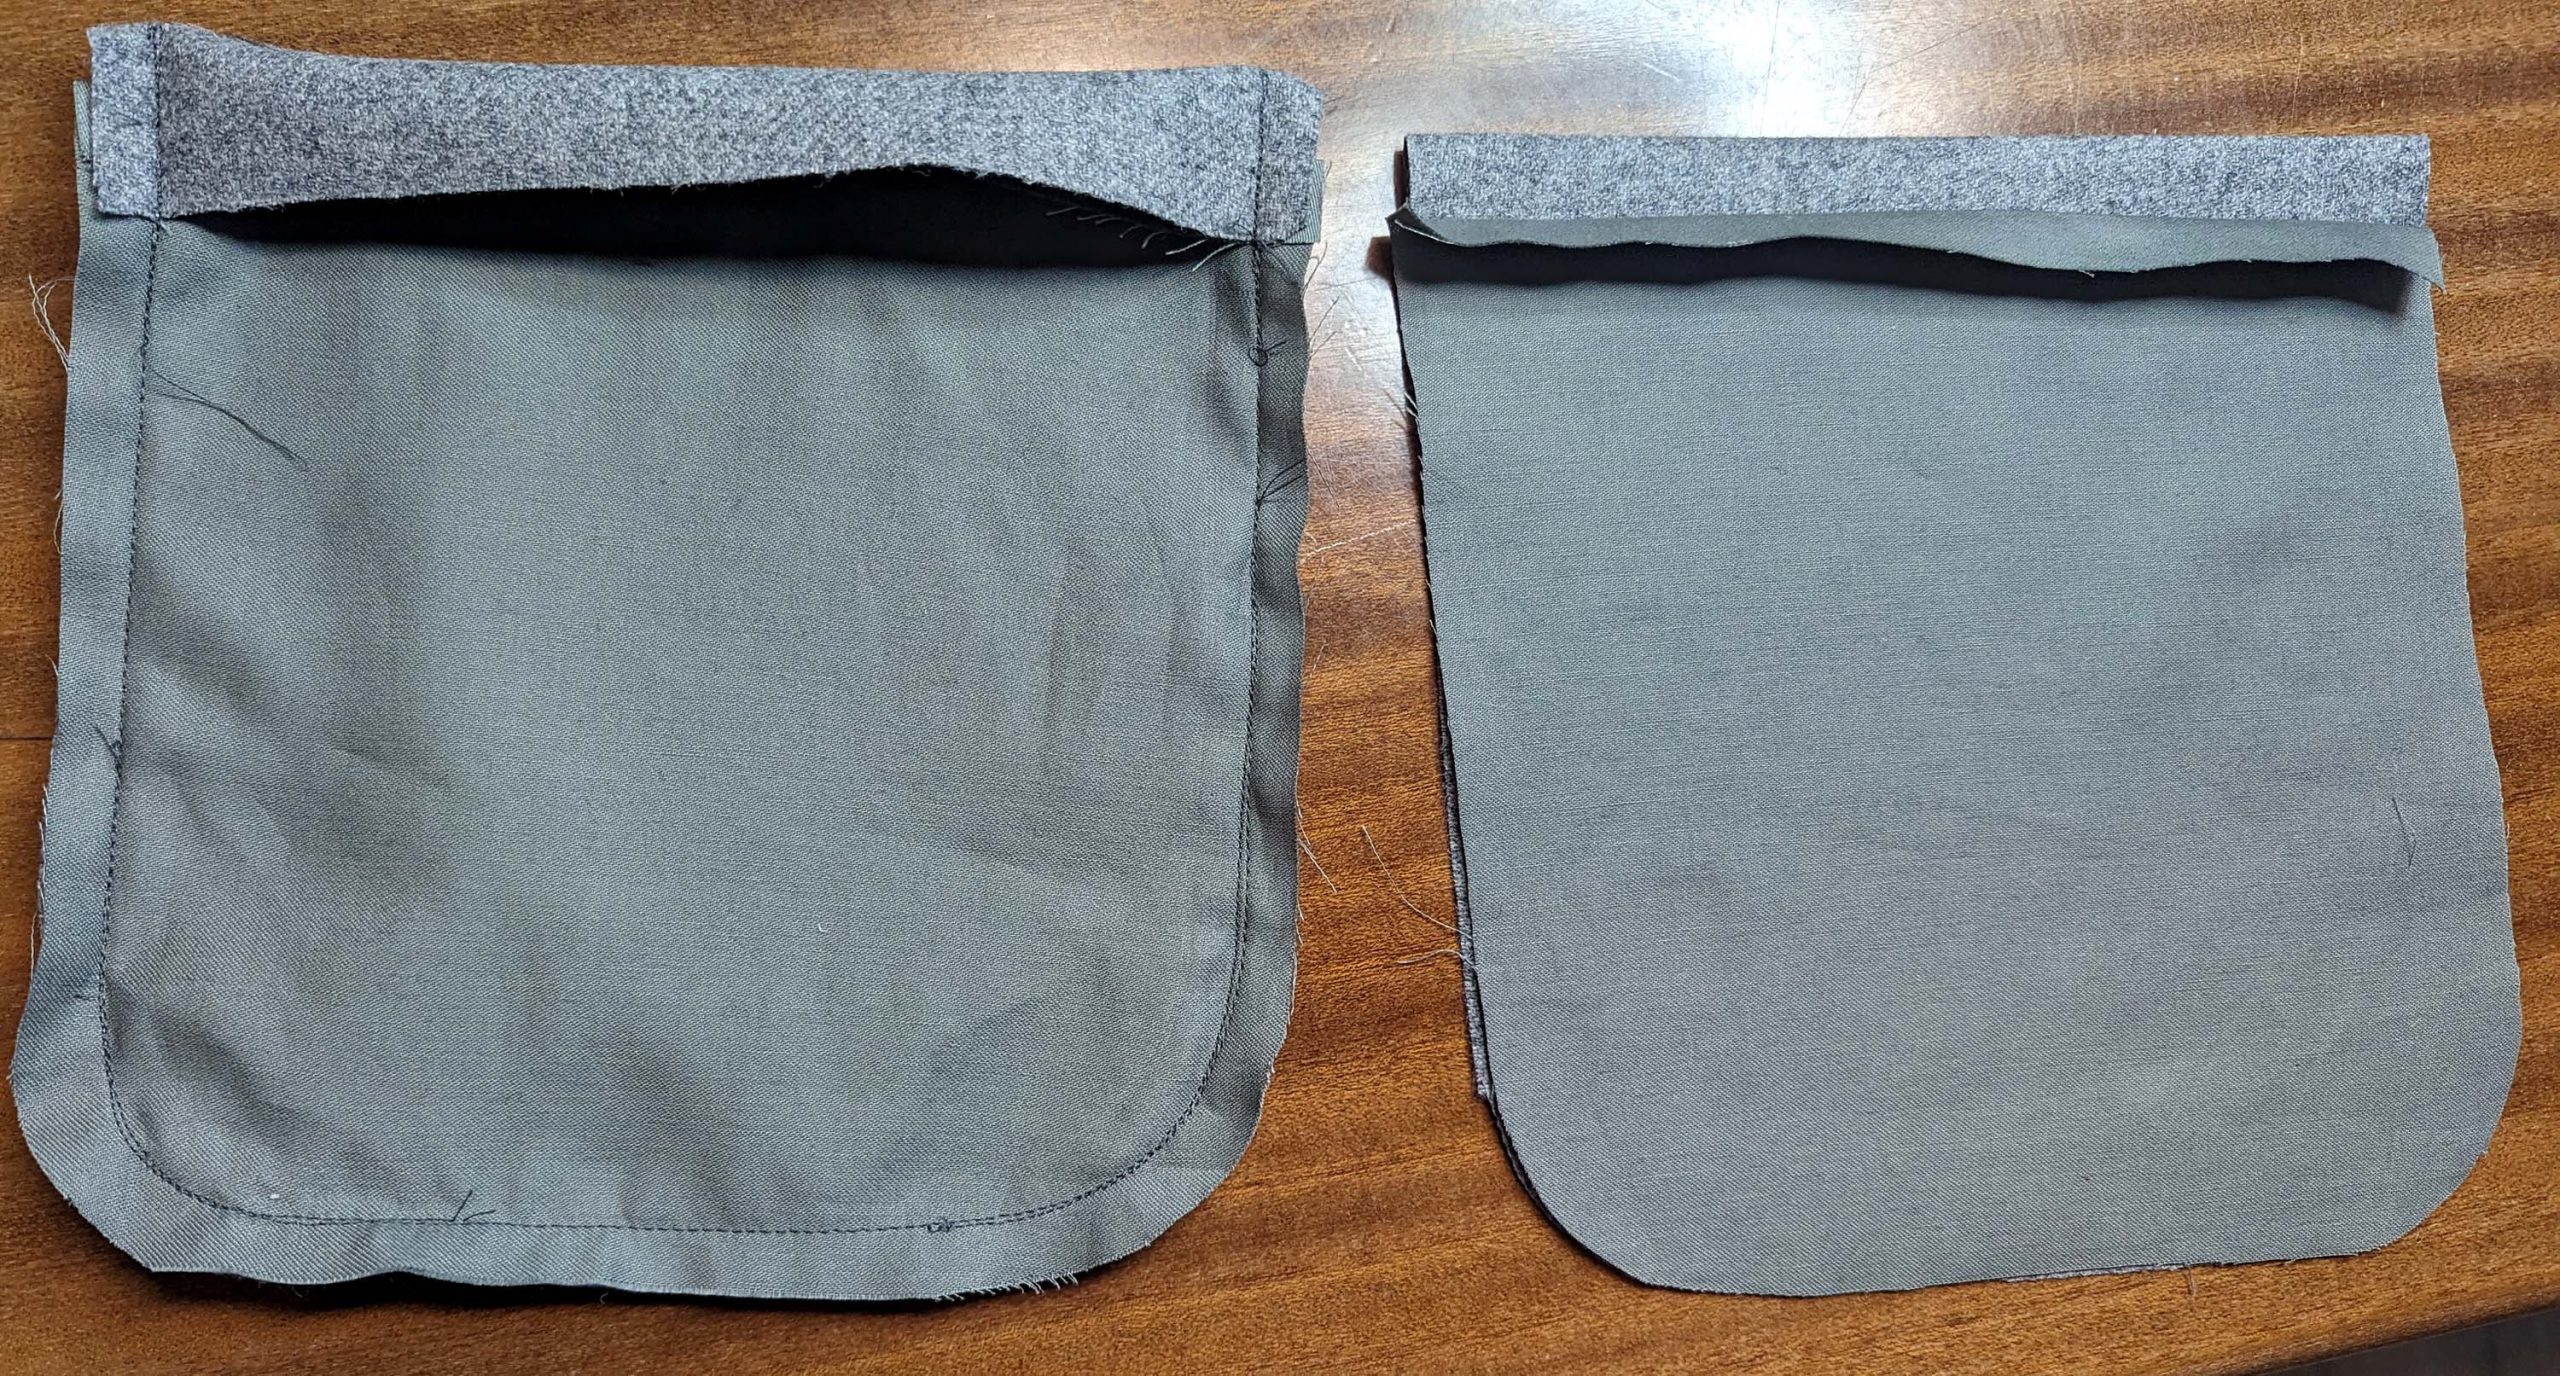
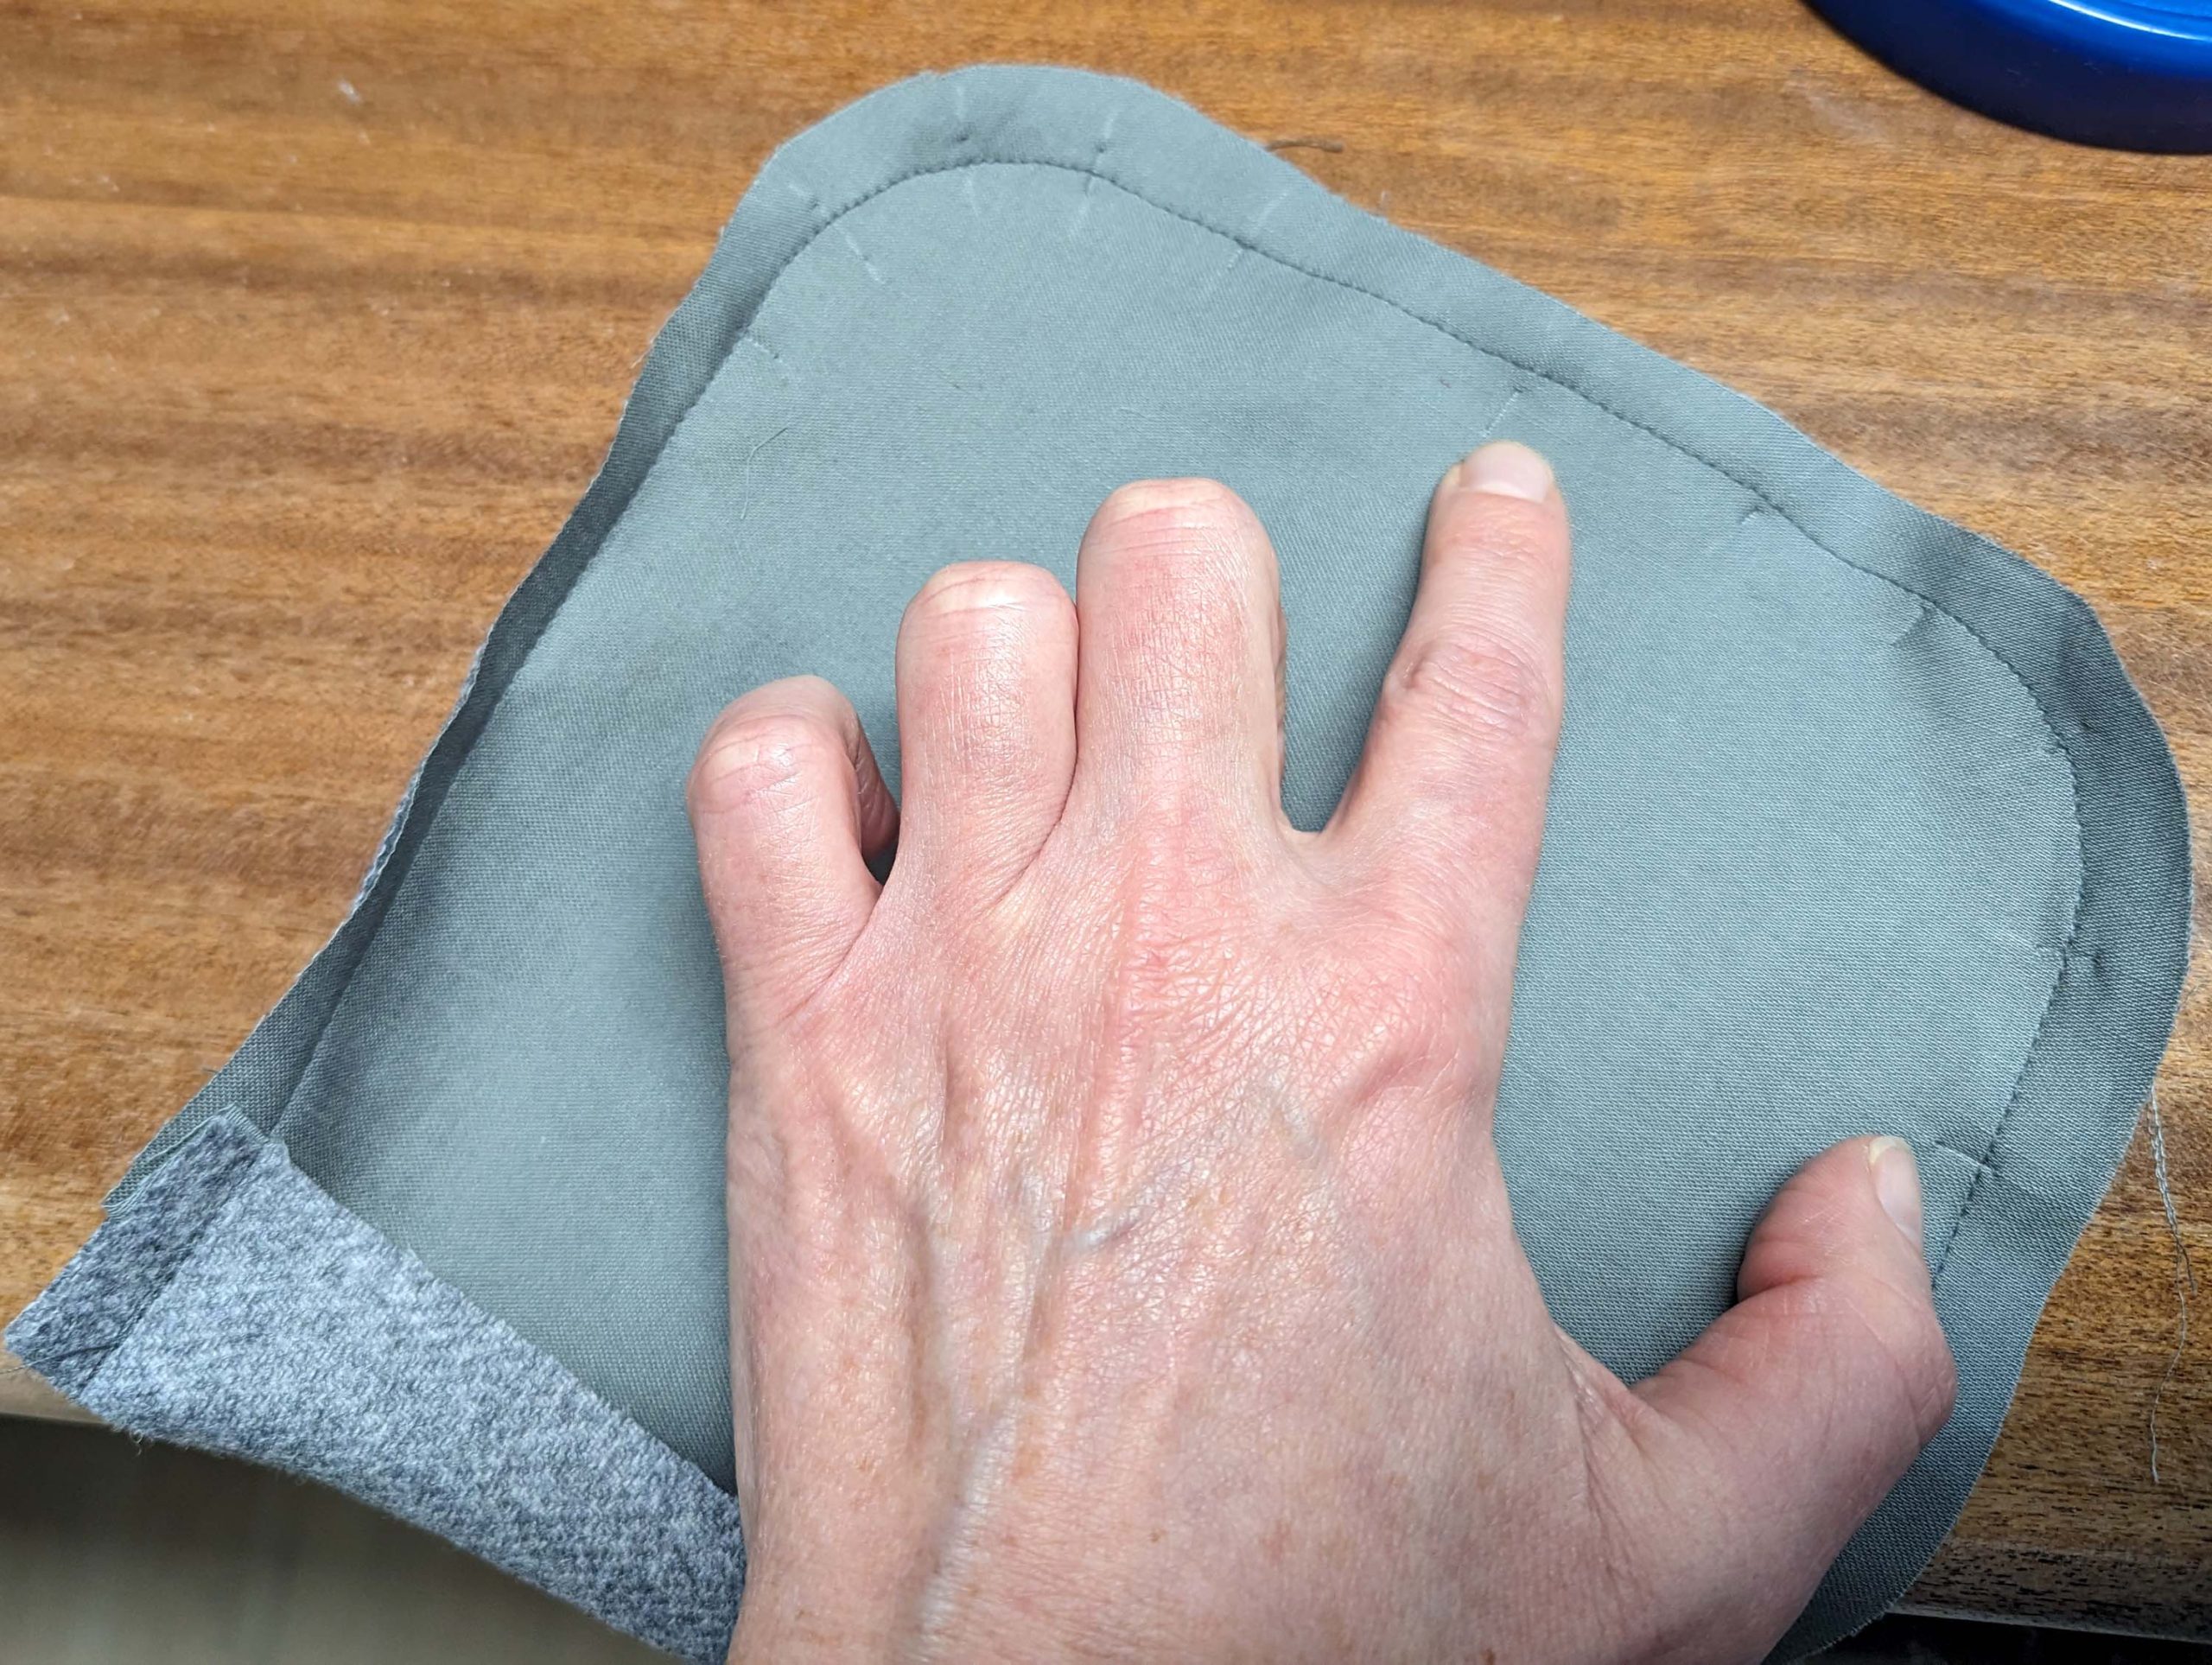
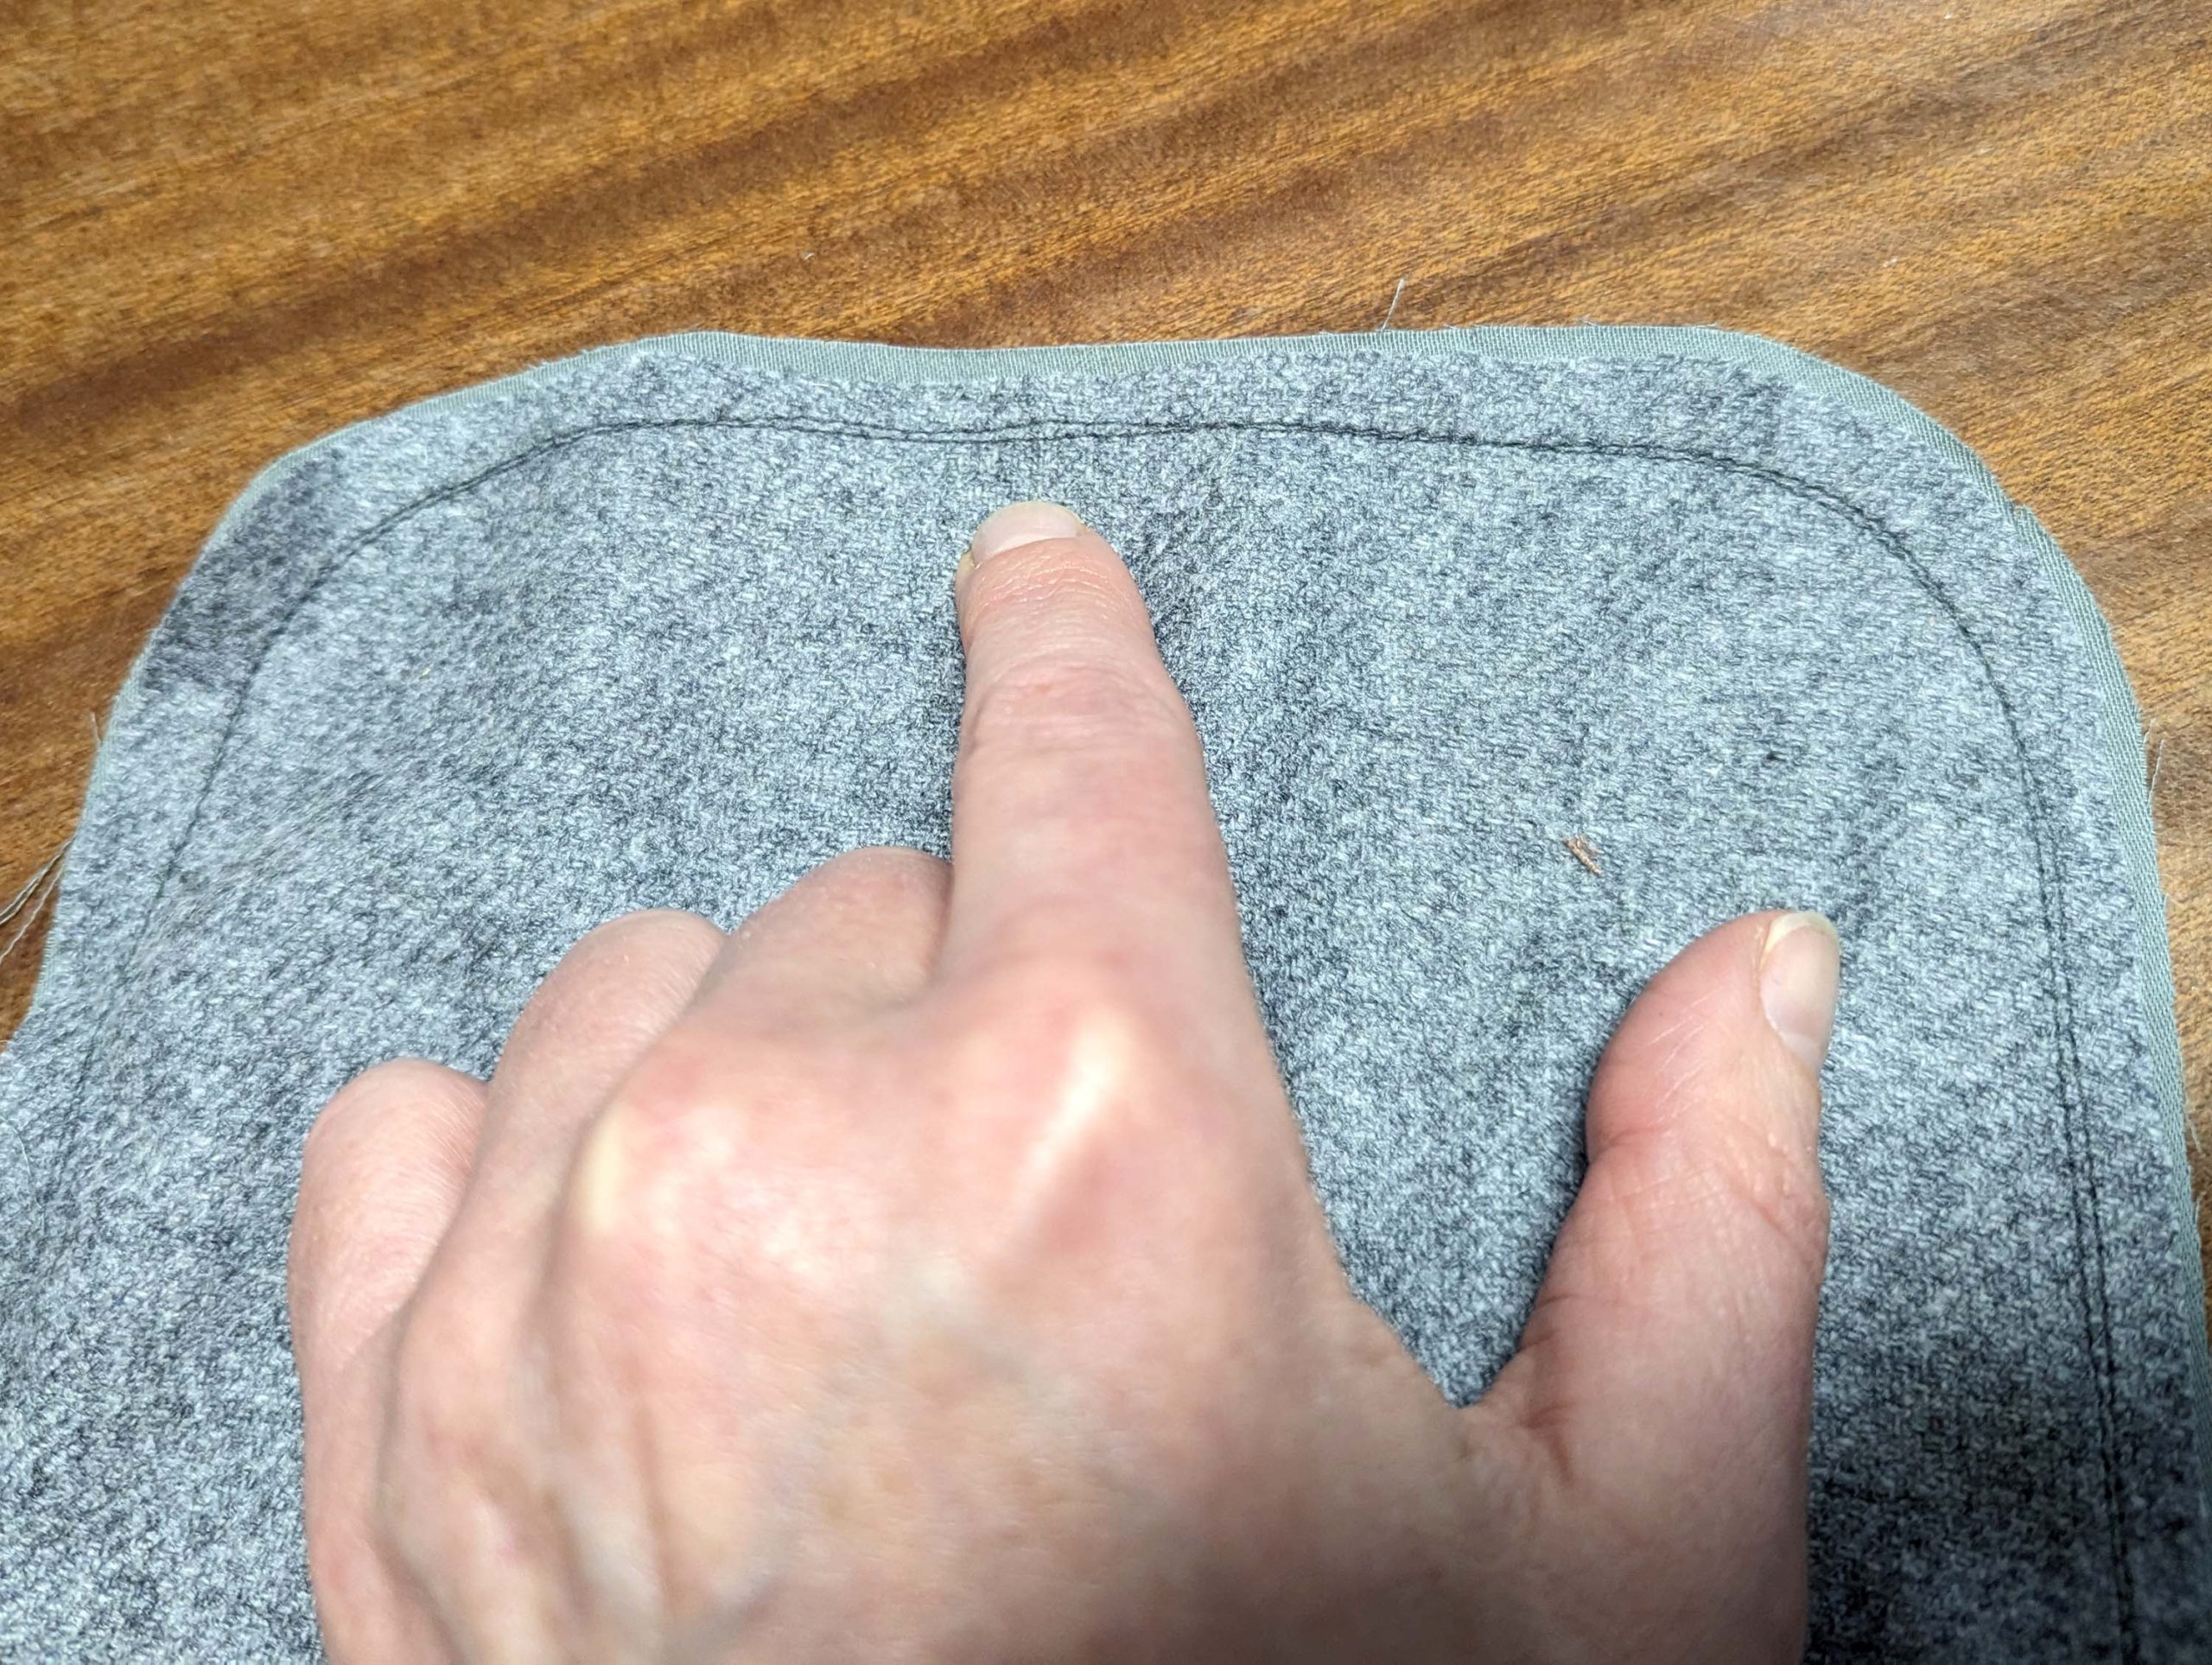
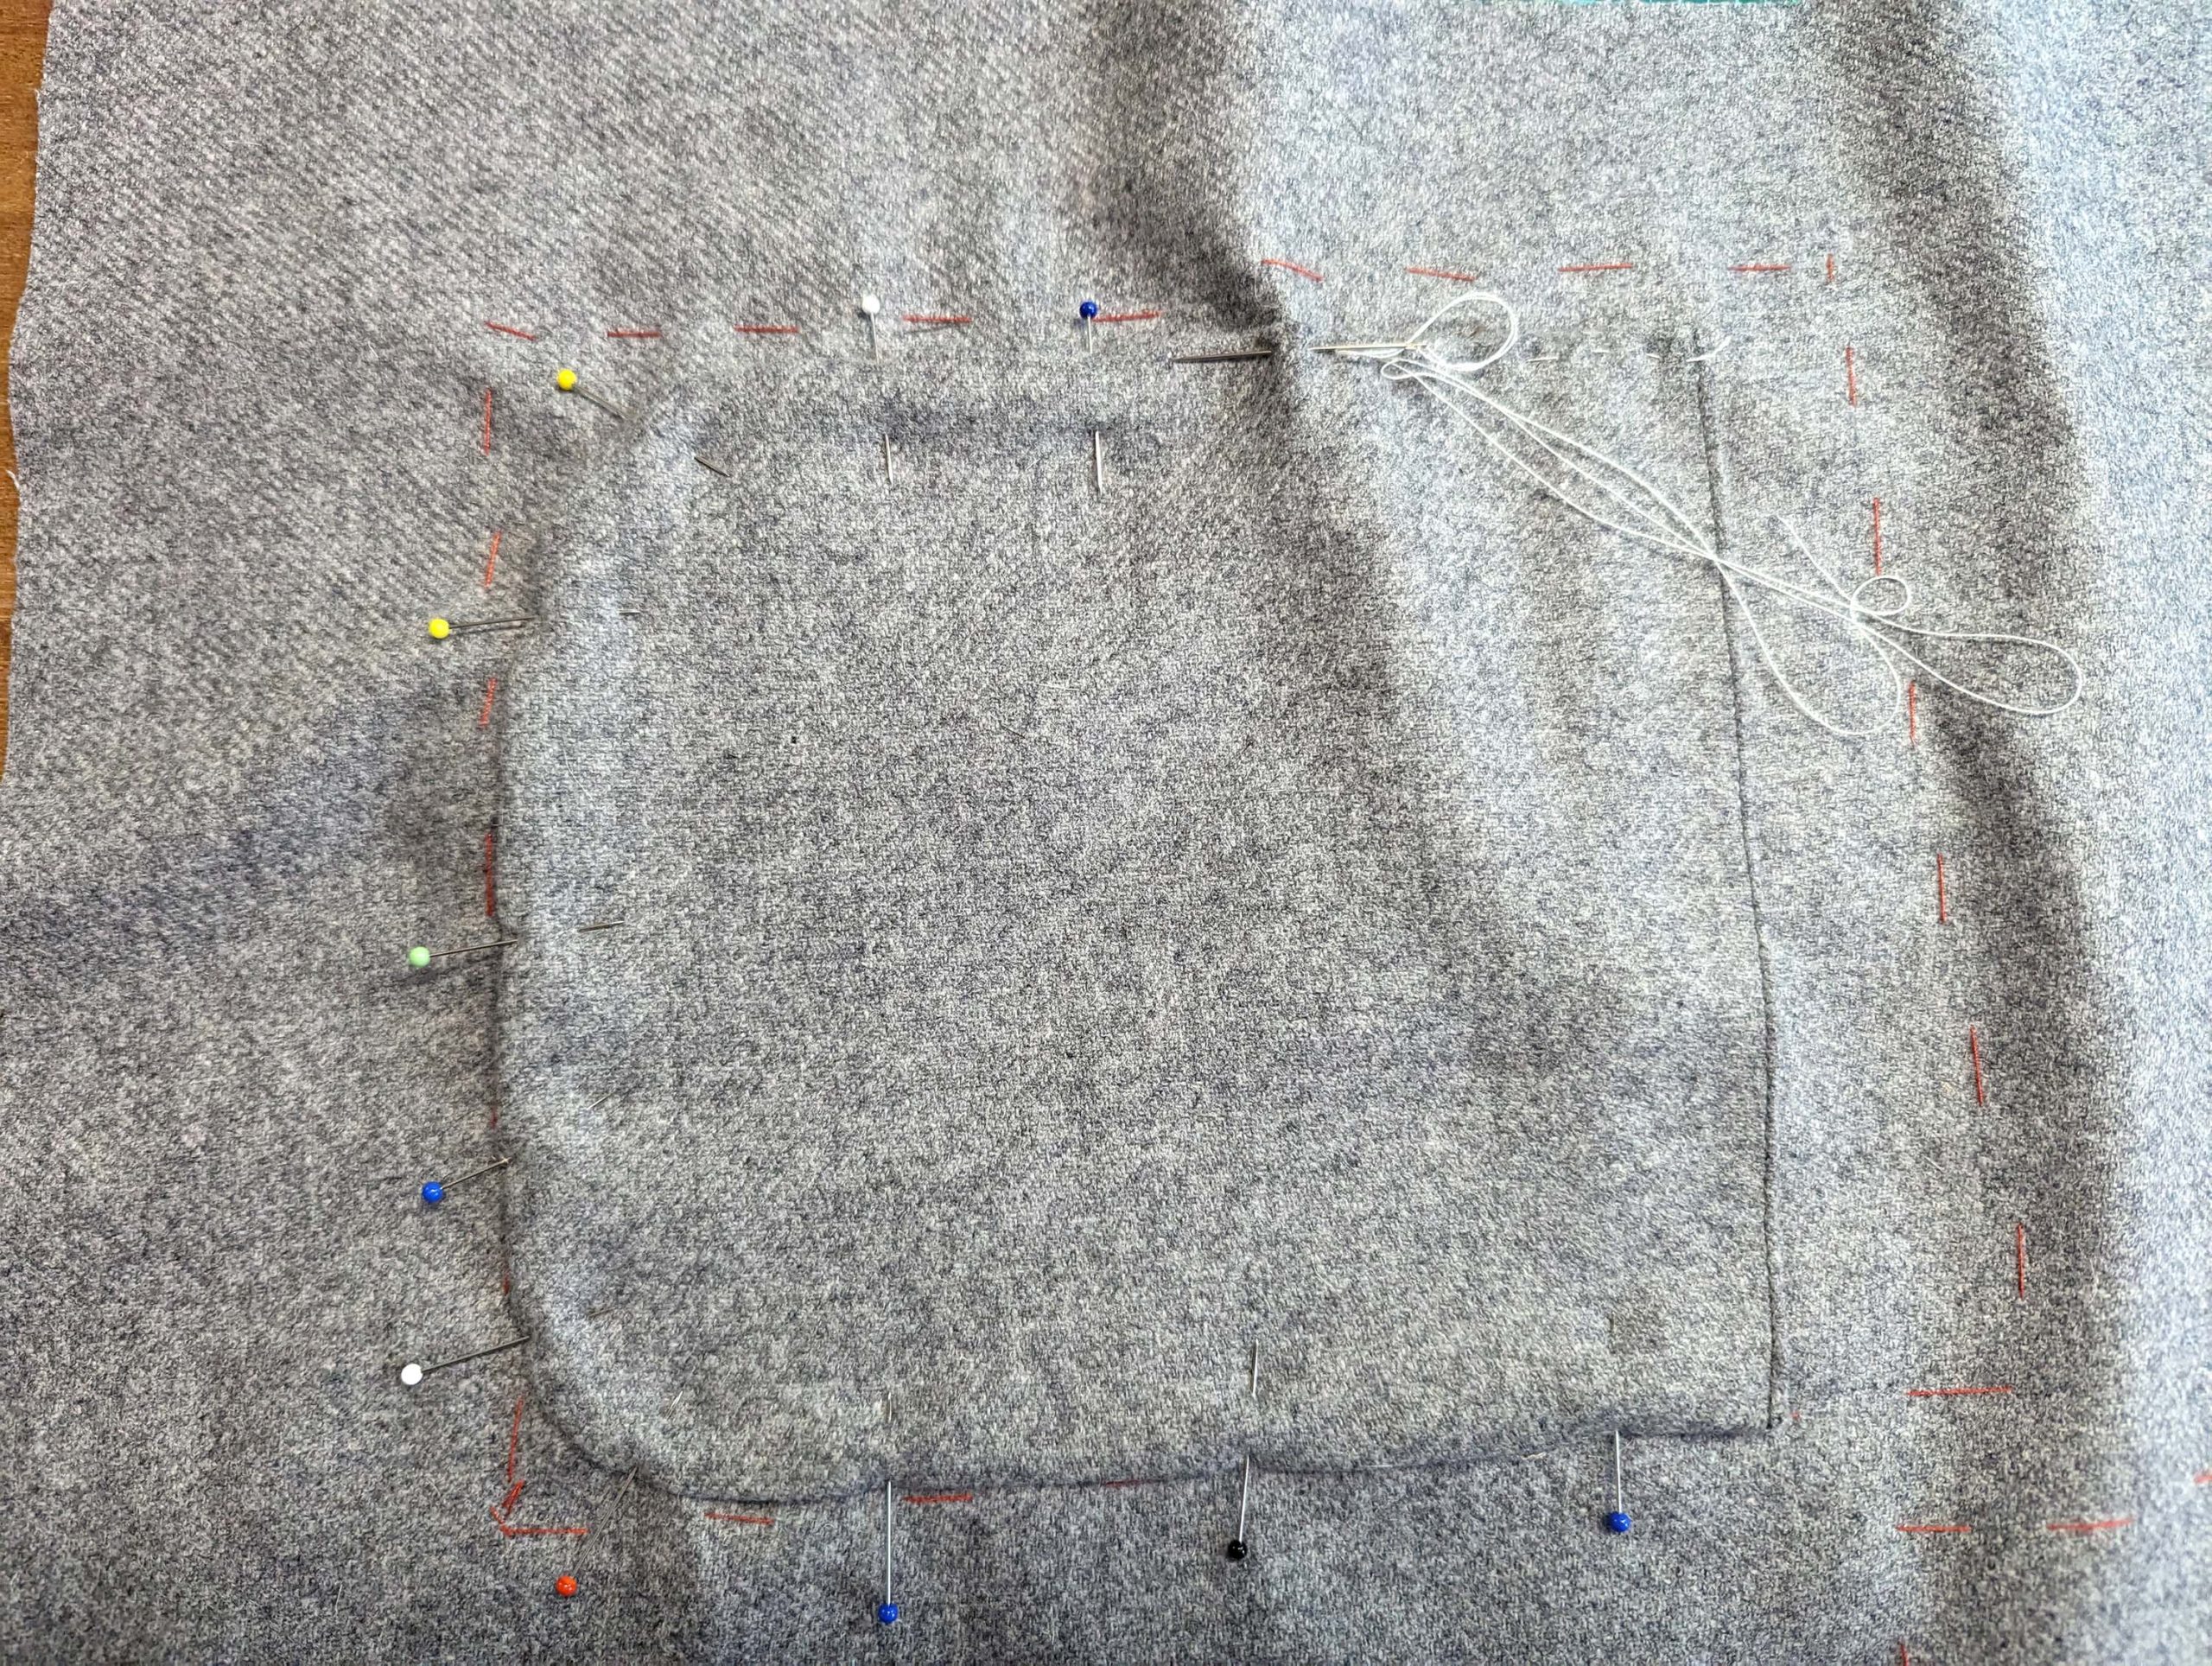
Before sewing, fold the seam allowance along the top edge of the fashion fabric right sides together. Stitch along the side and bottom edge, reducing the stitch length at the start/stop and curves. Begin by sewing with the lining on top, then turn around and stitch again with the fashion fabric facing up, correcting any uneven stitching. Trim back the seam allowances and turn the right side out. Press, ensuring that the sewing line stays slightly offset on the wrong side. Fell stitch the lining to the seam allowance of the fashion fabric along the top edge on the inside of the pocket.
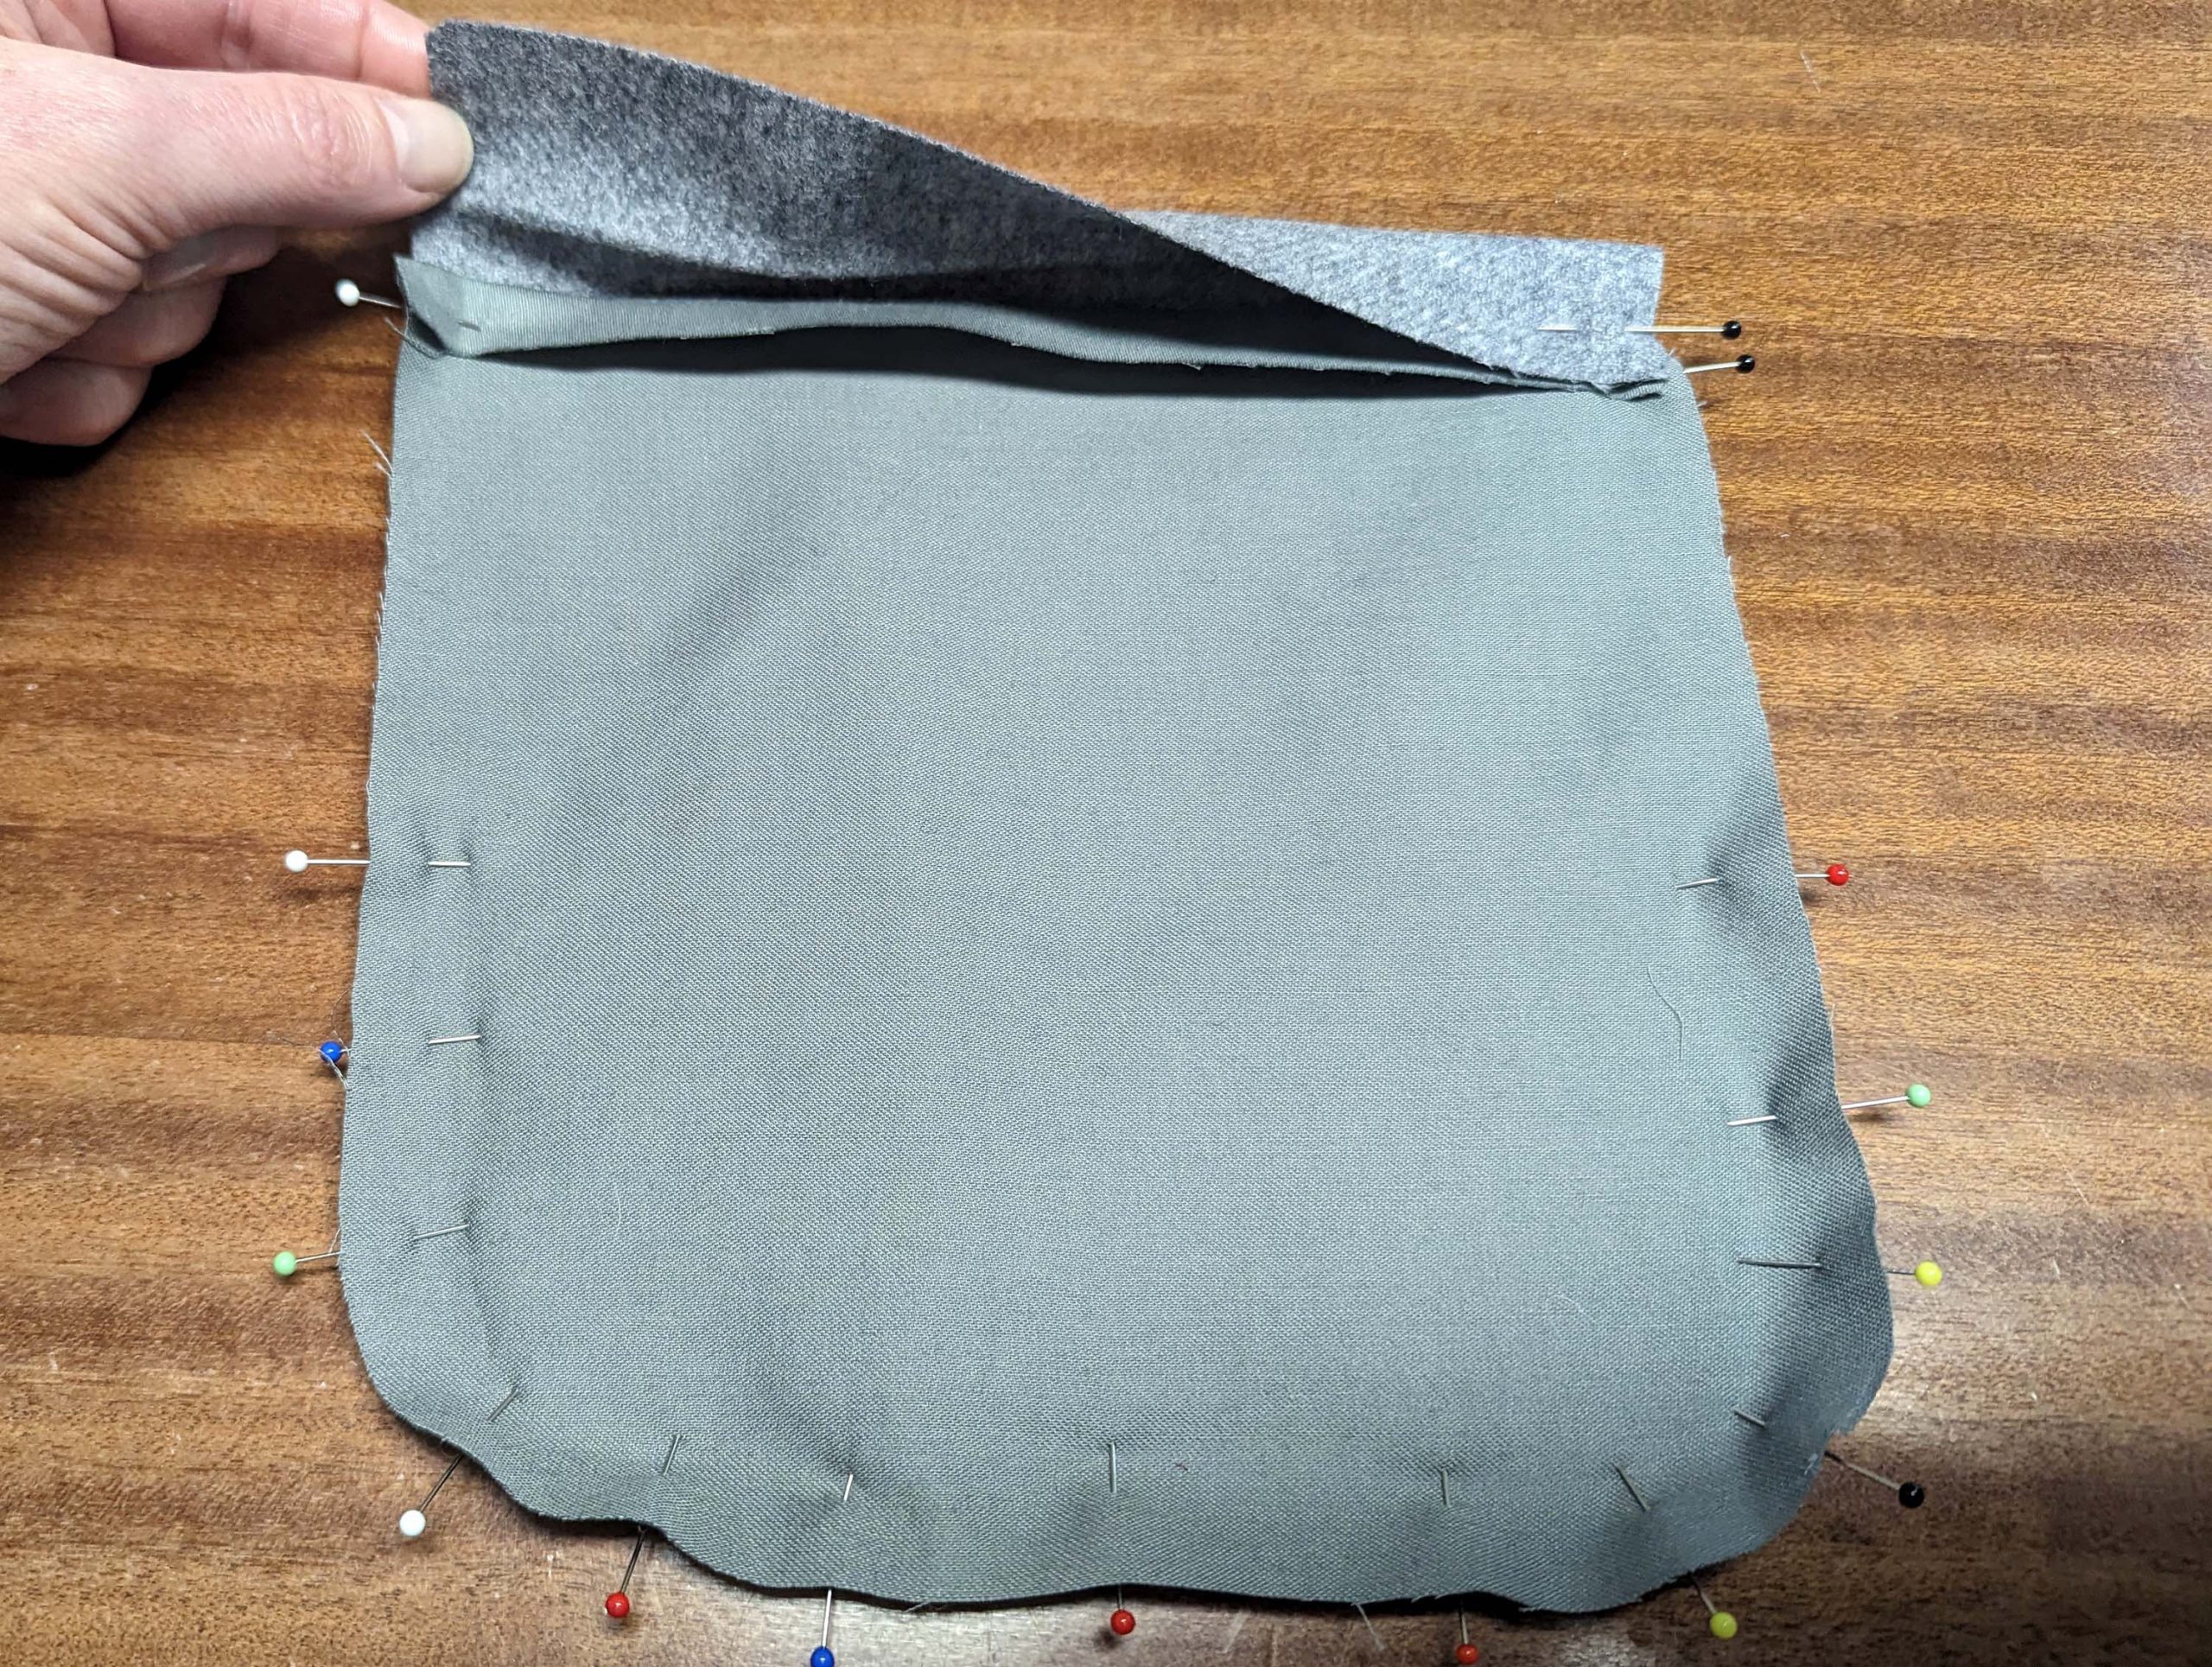
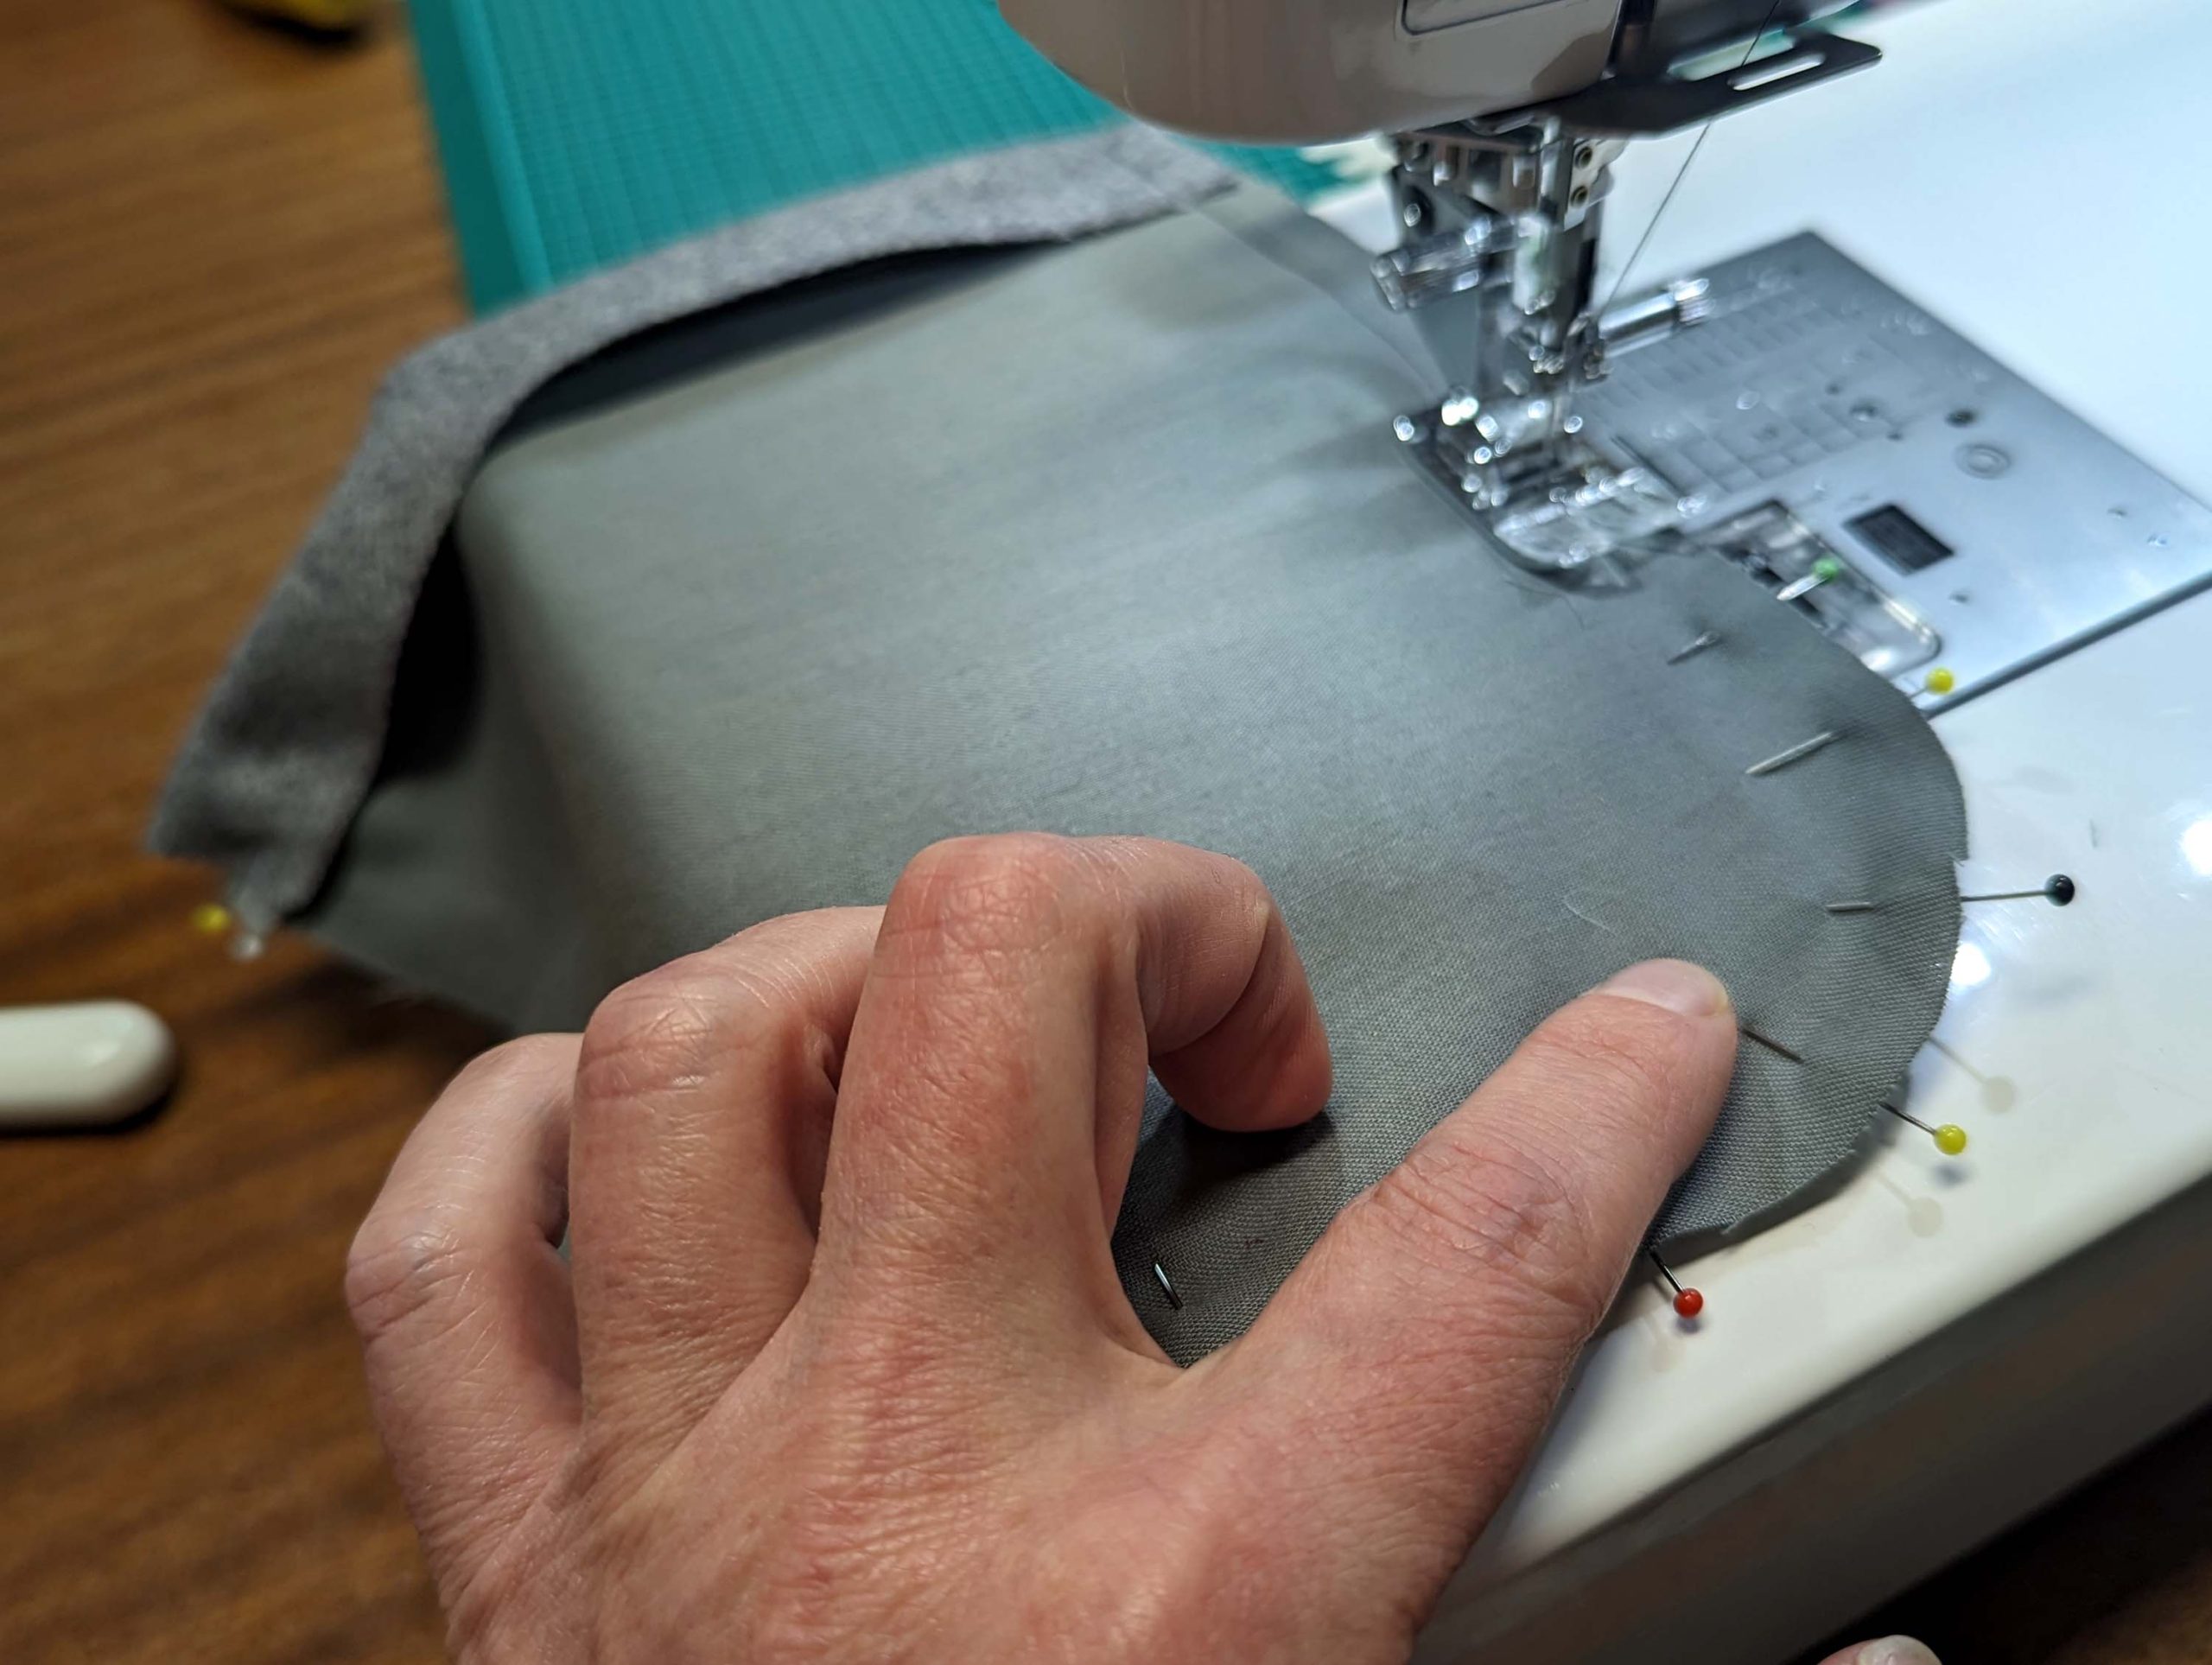
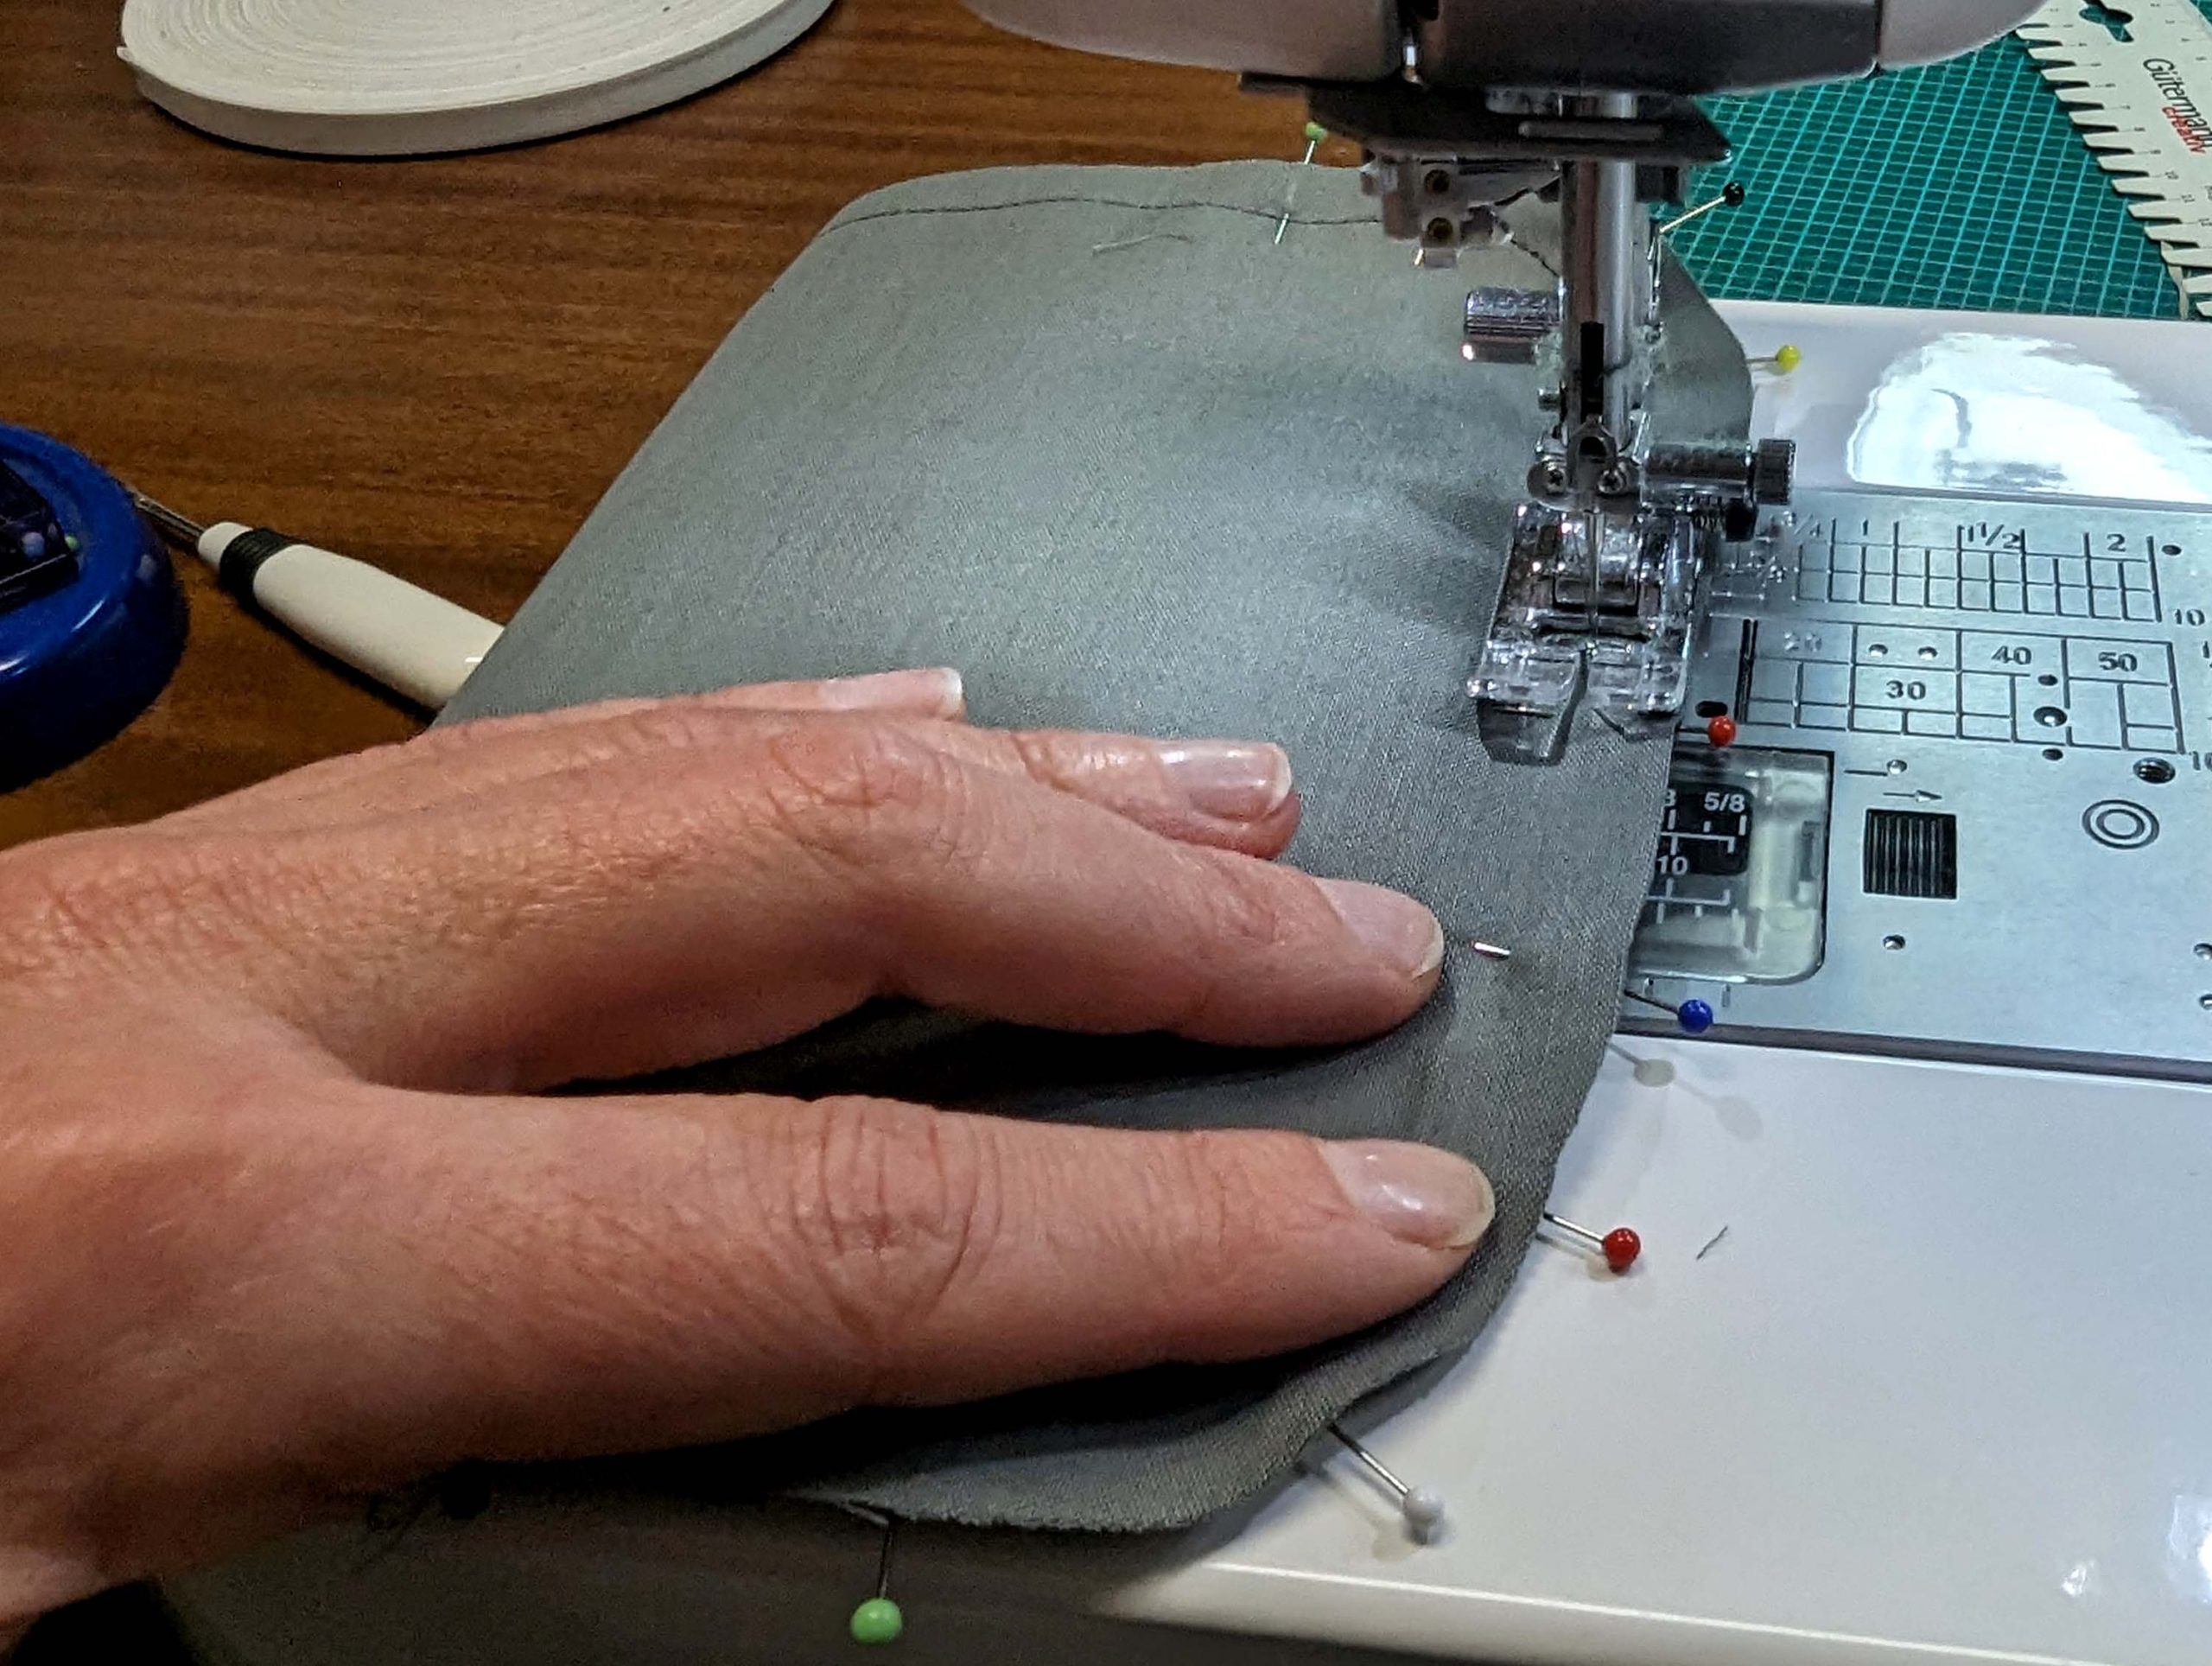
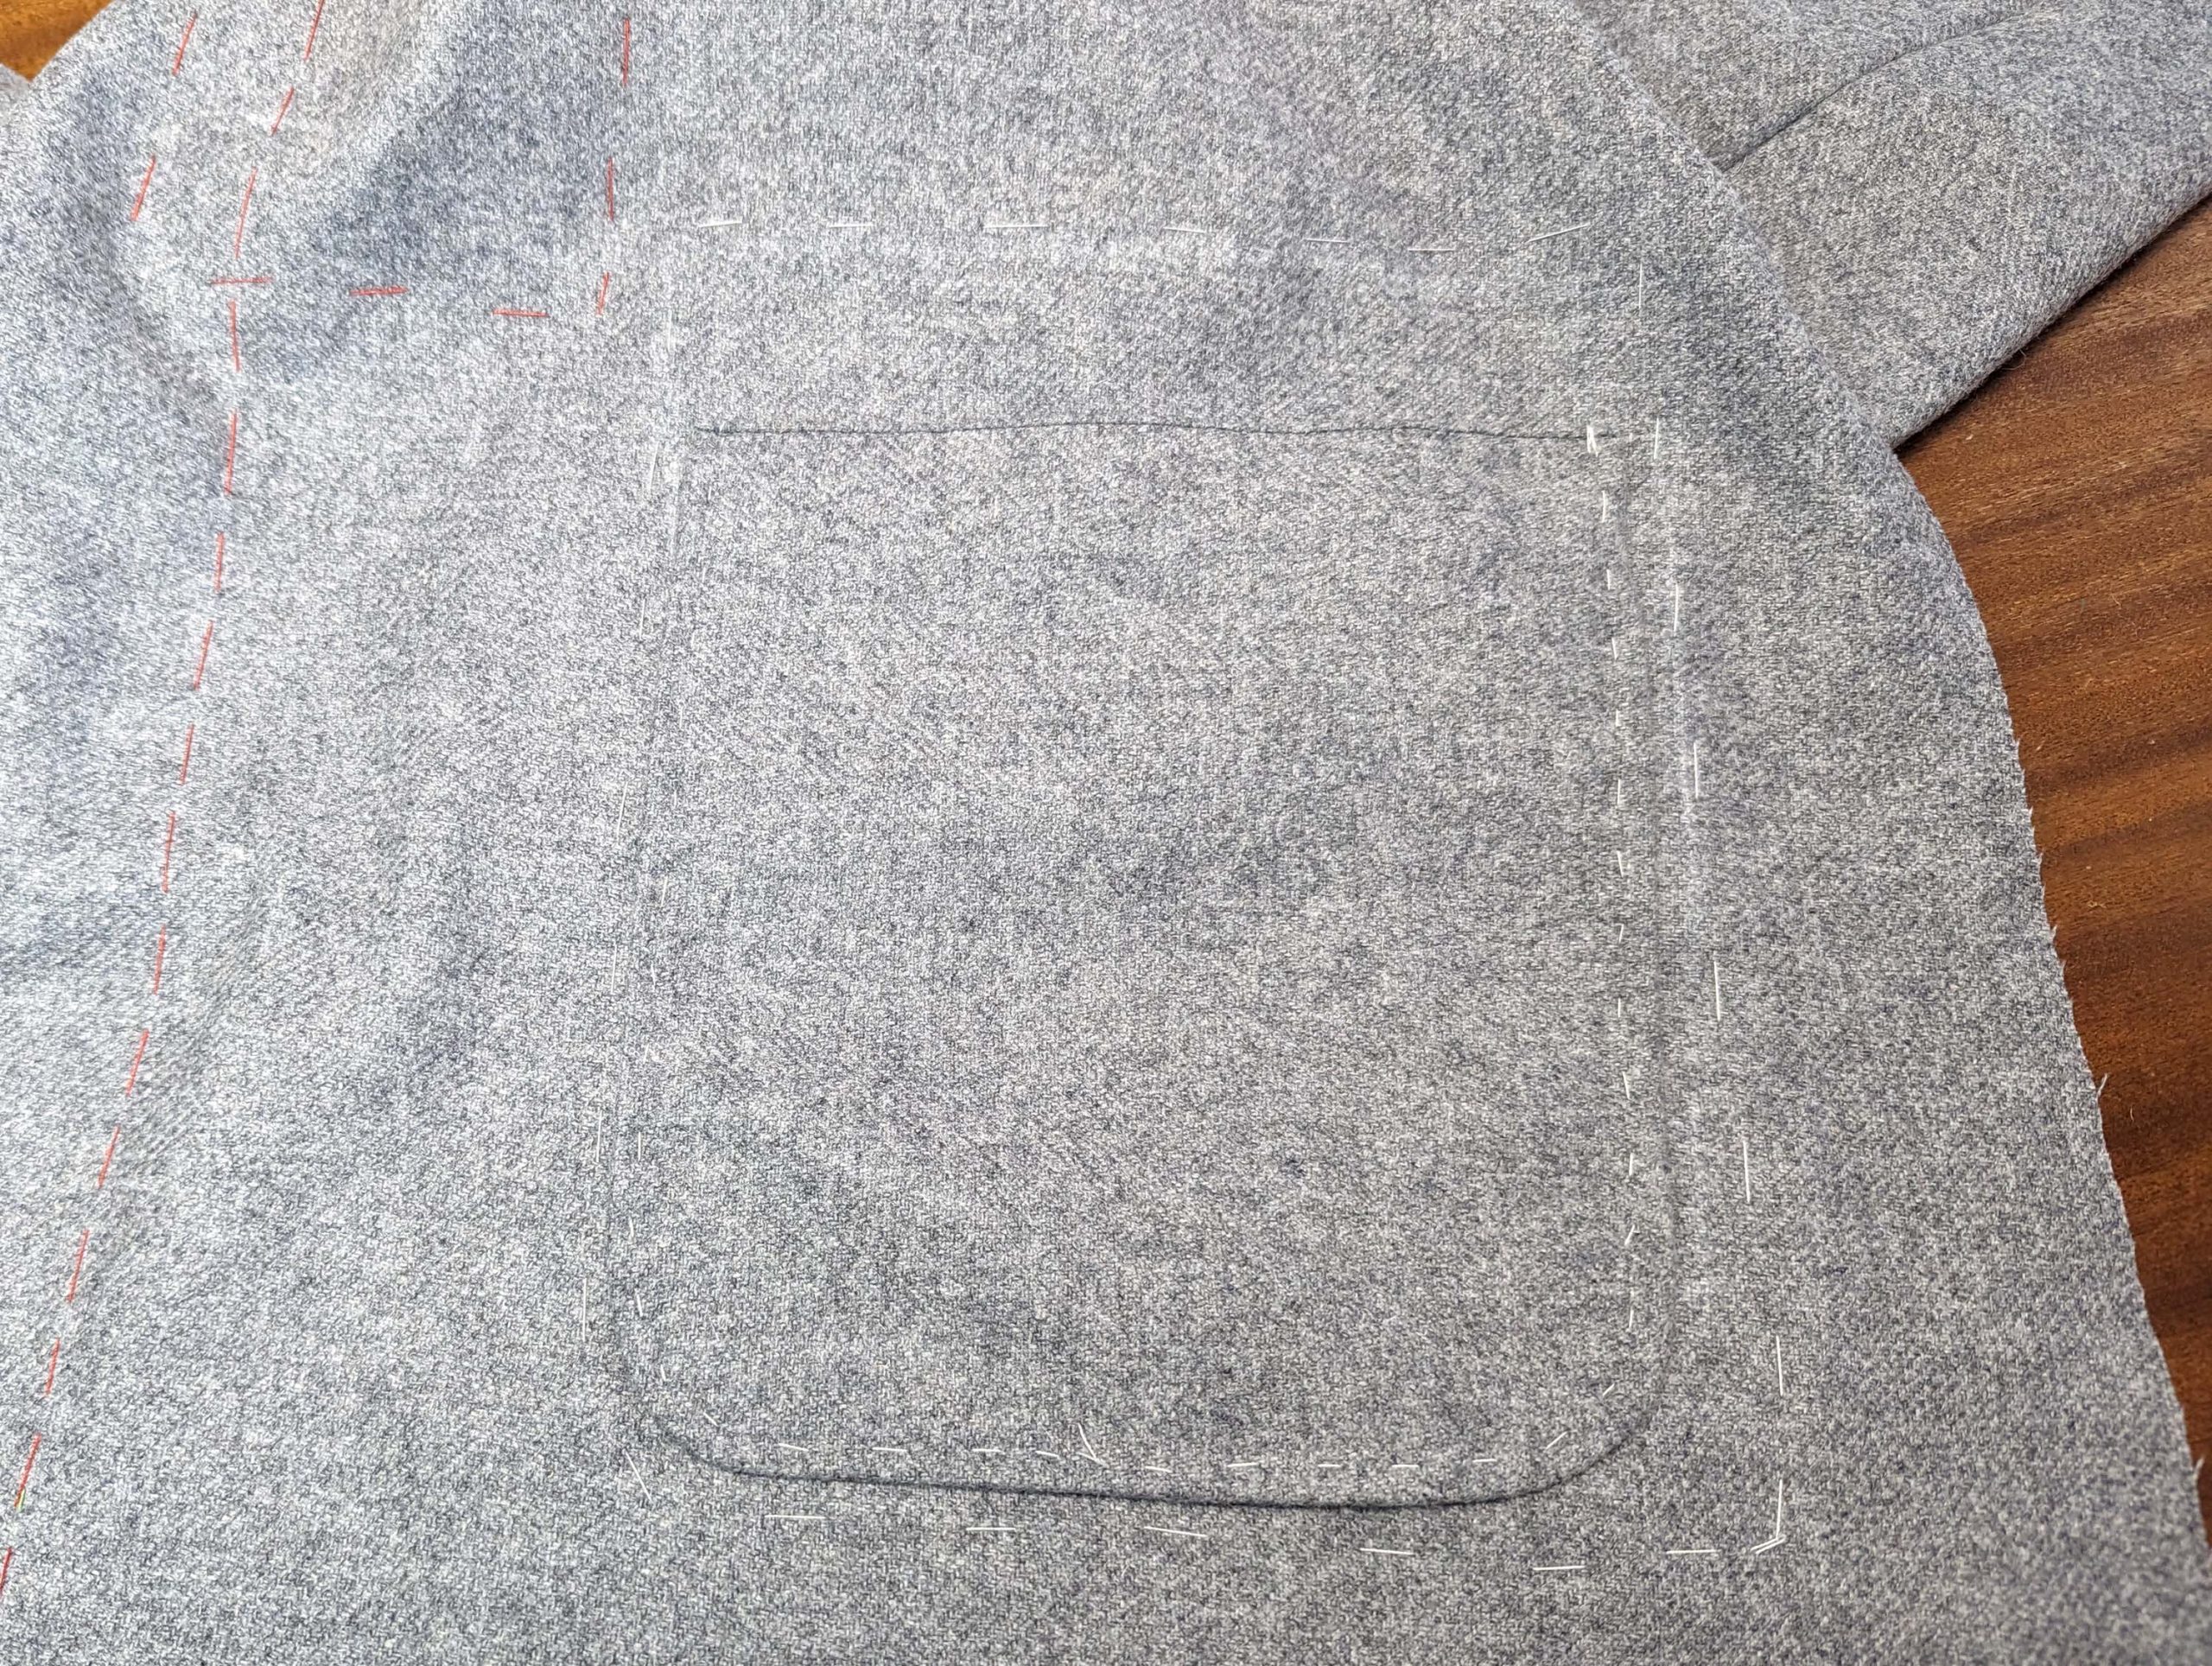
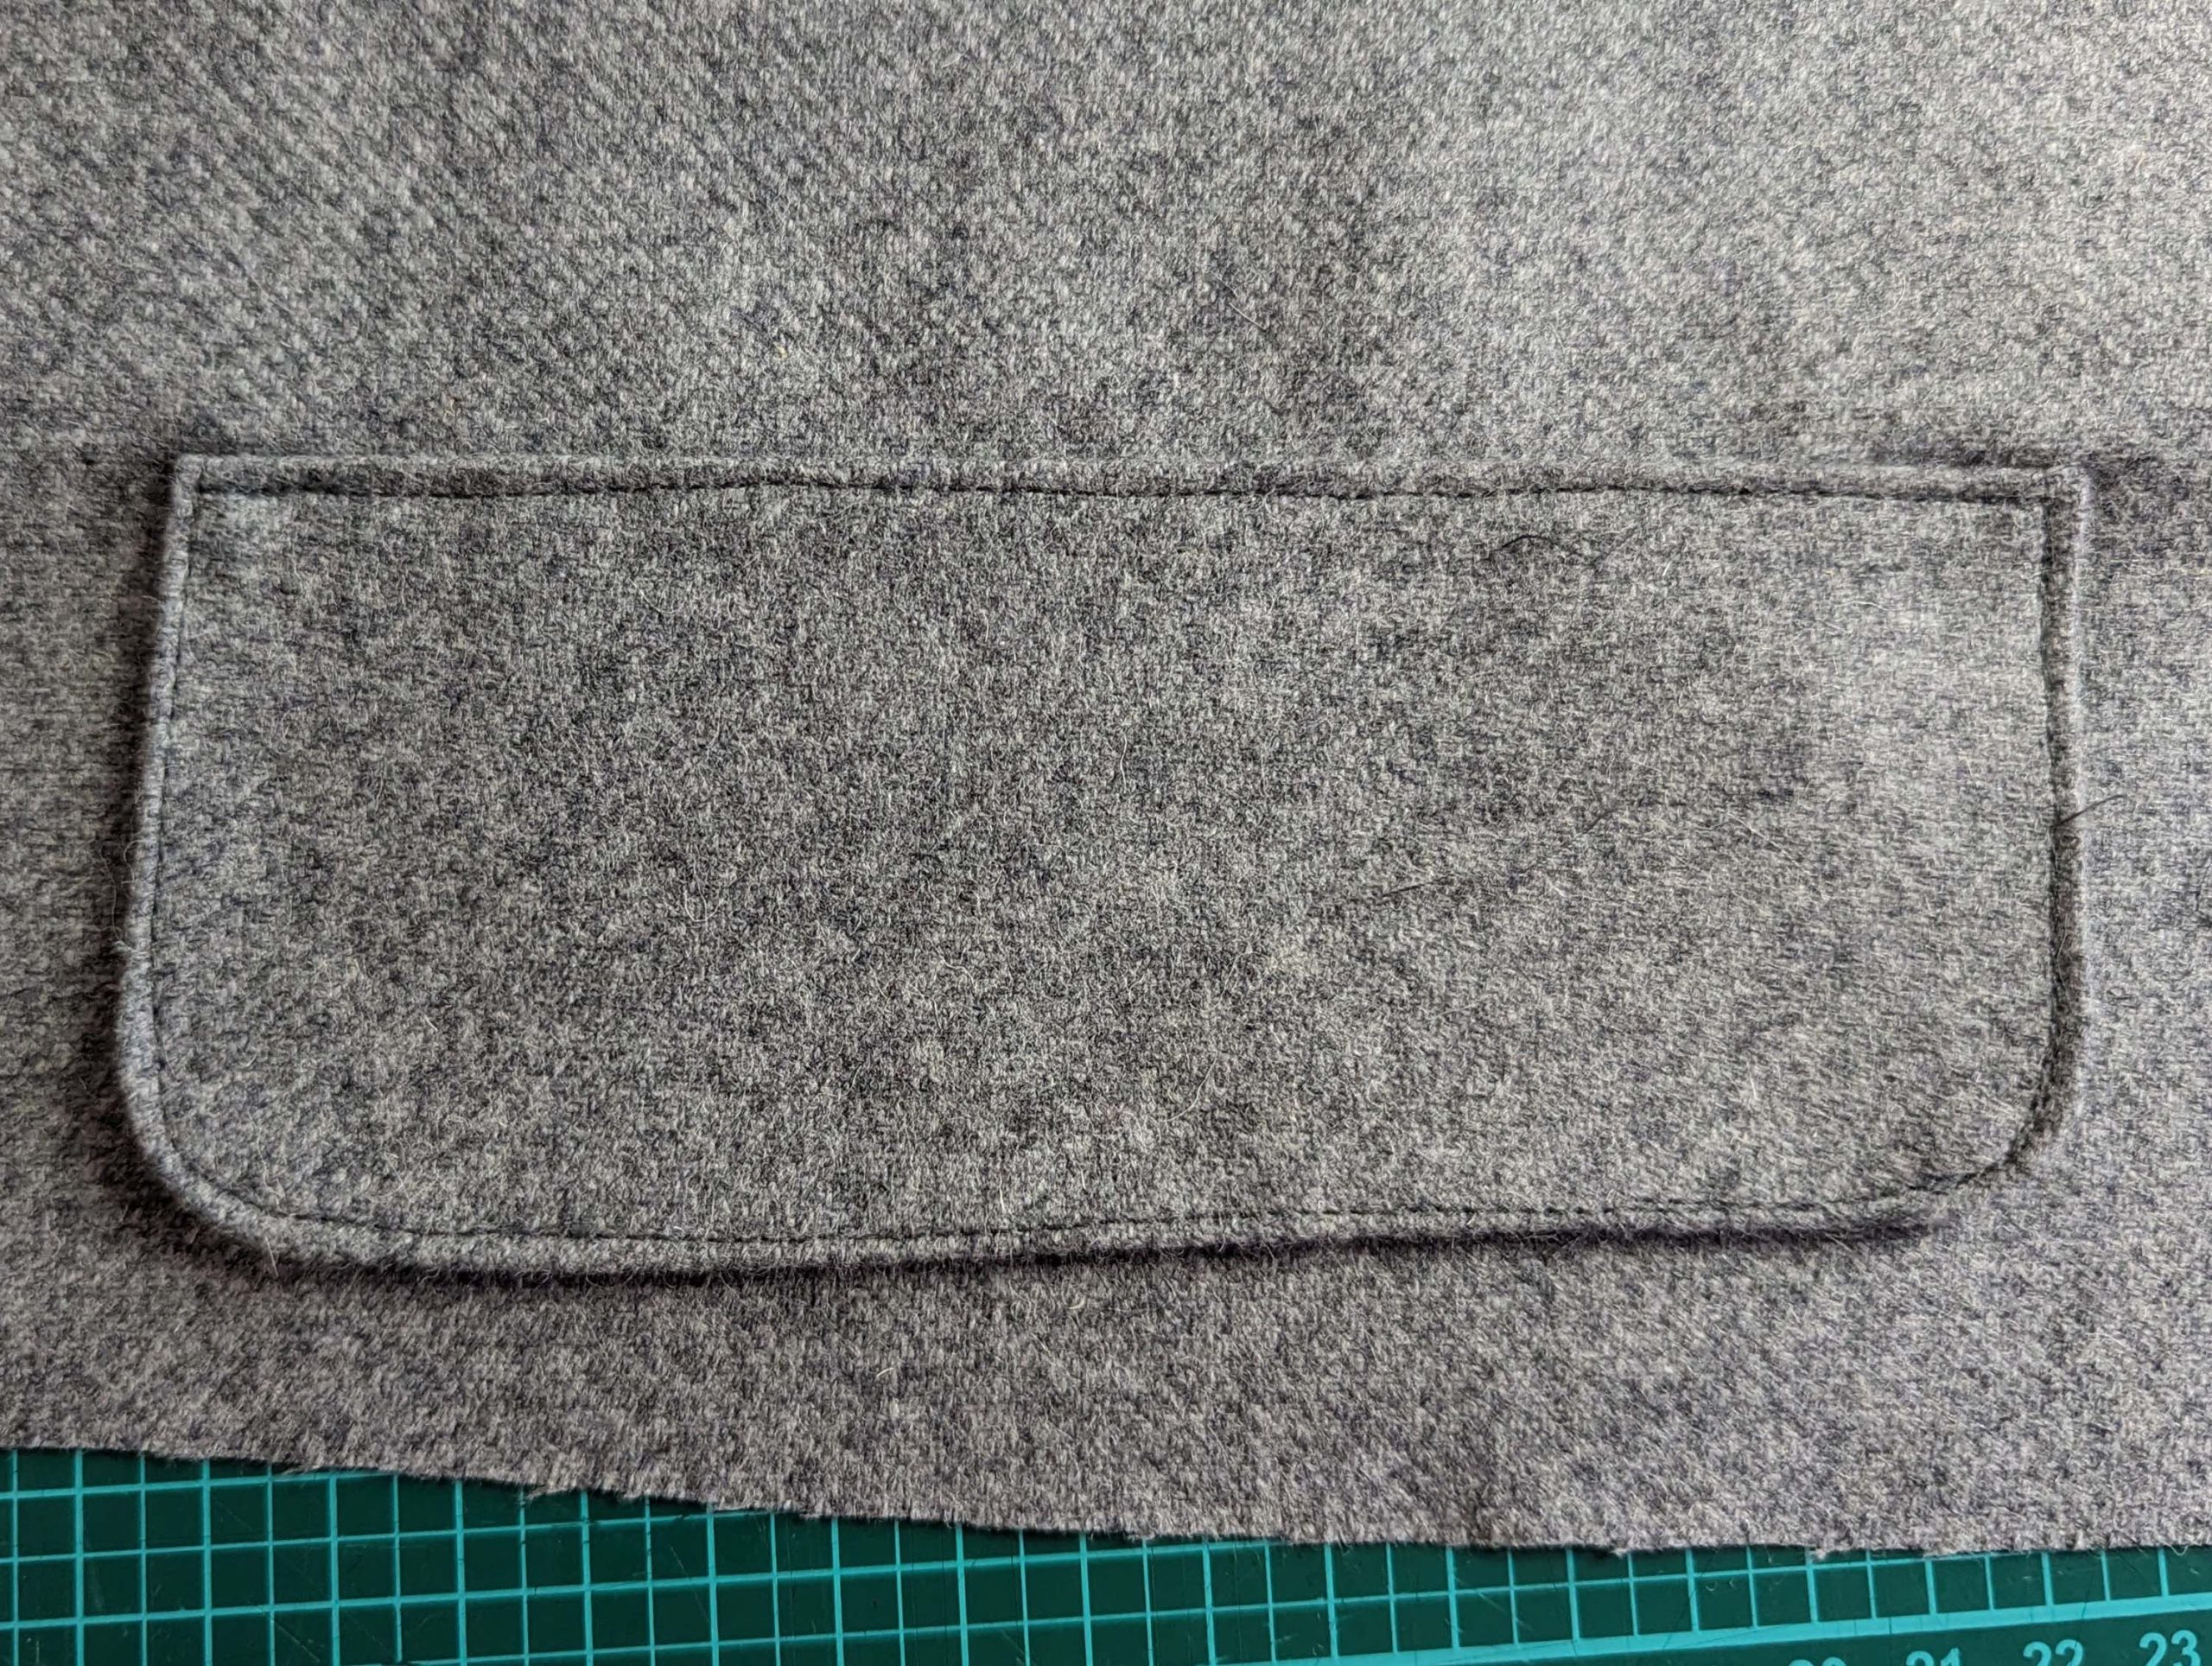
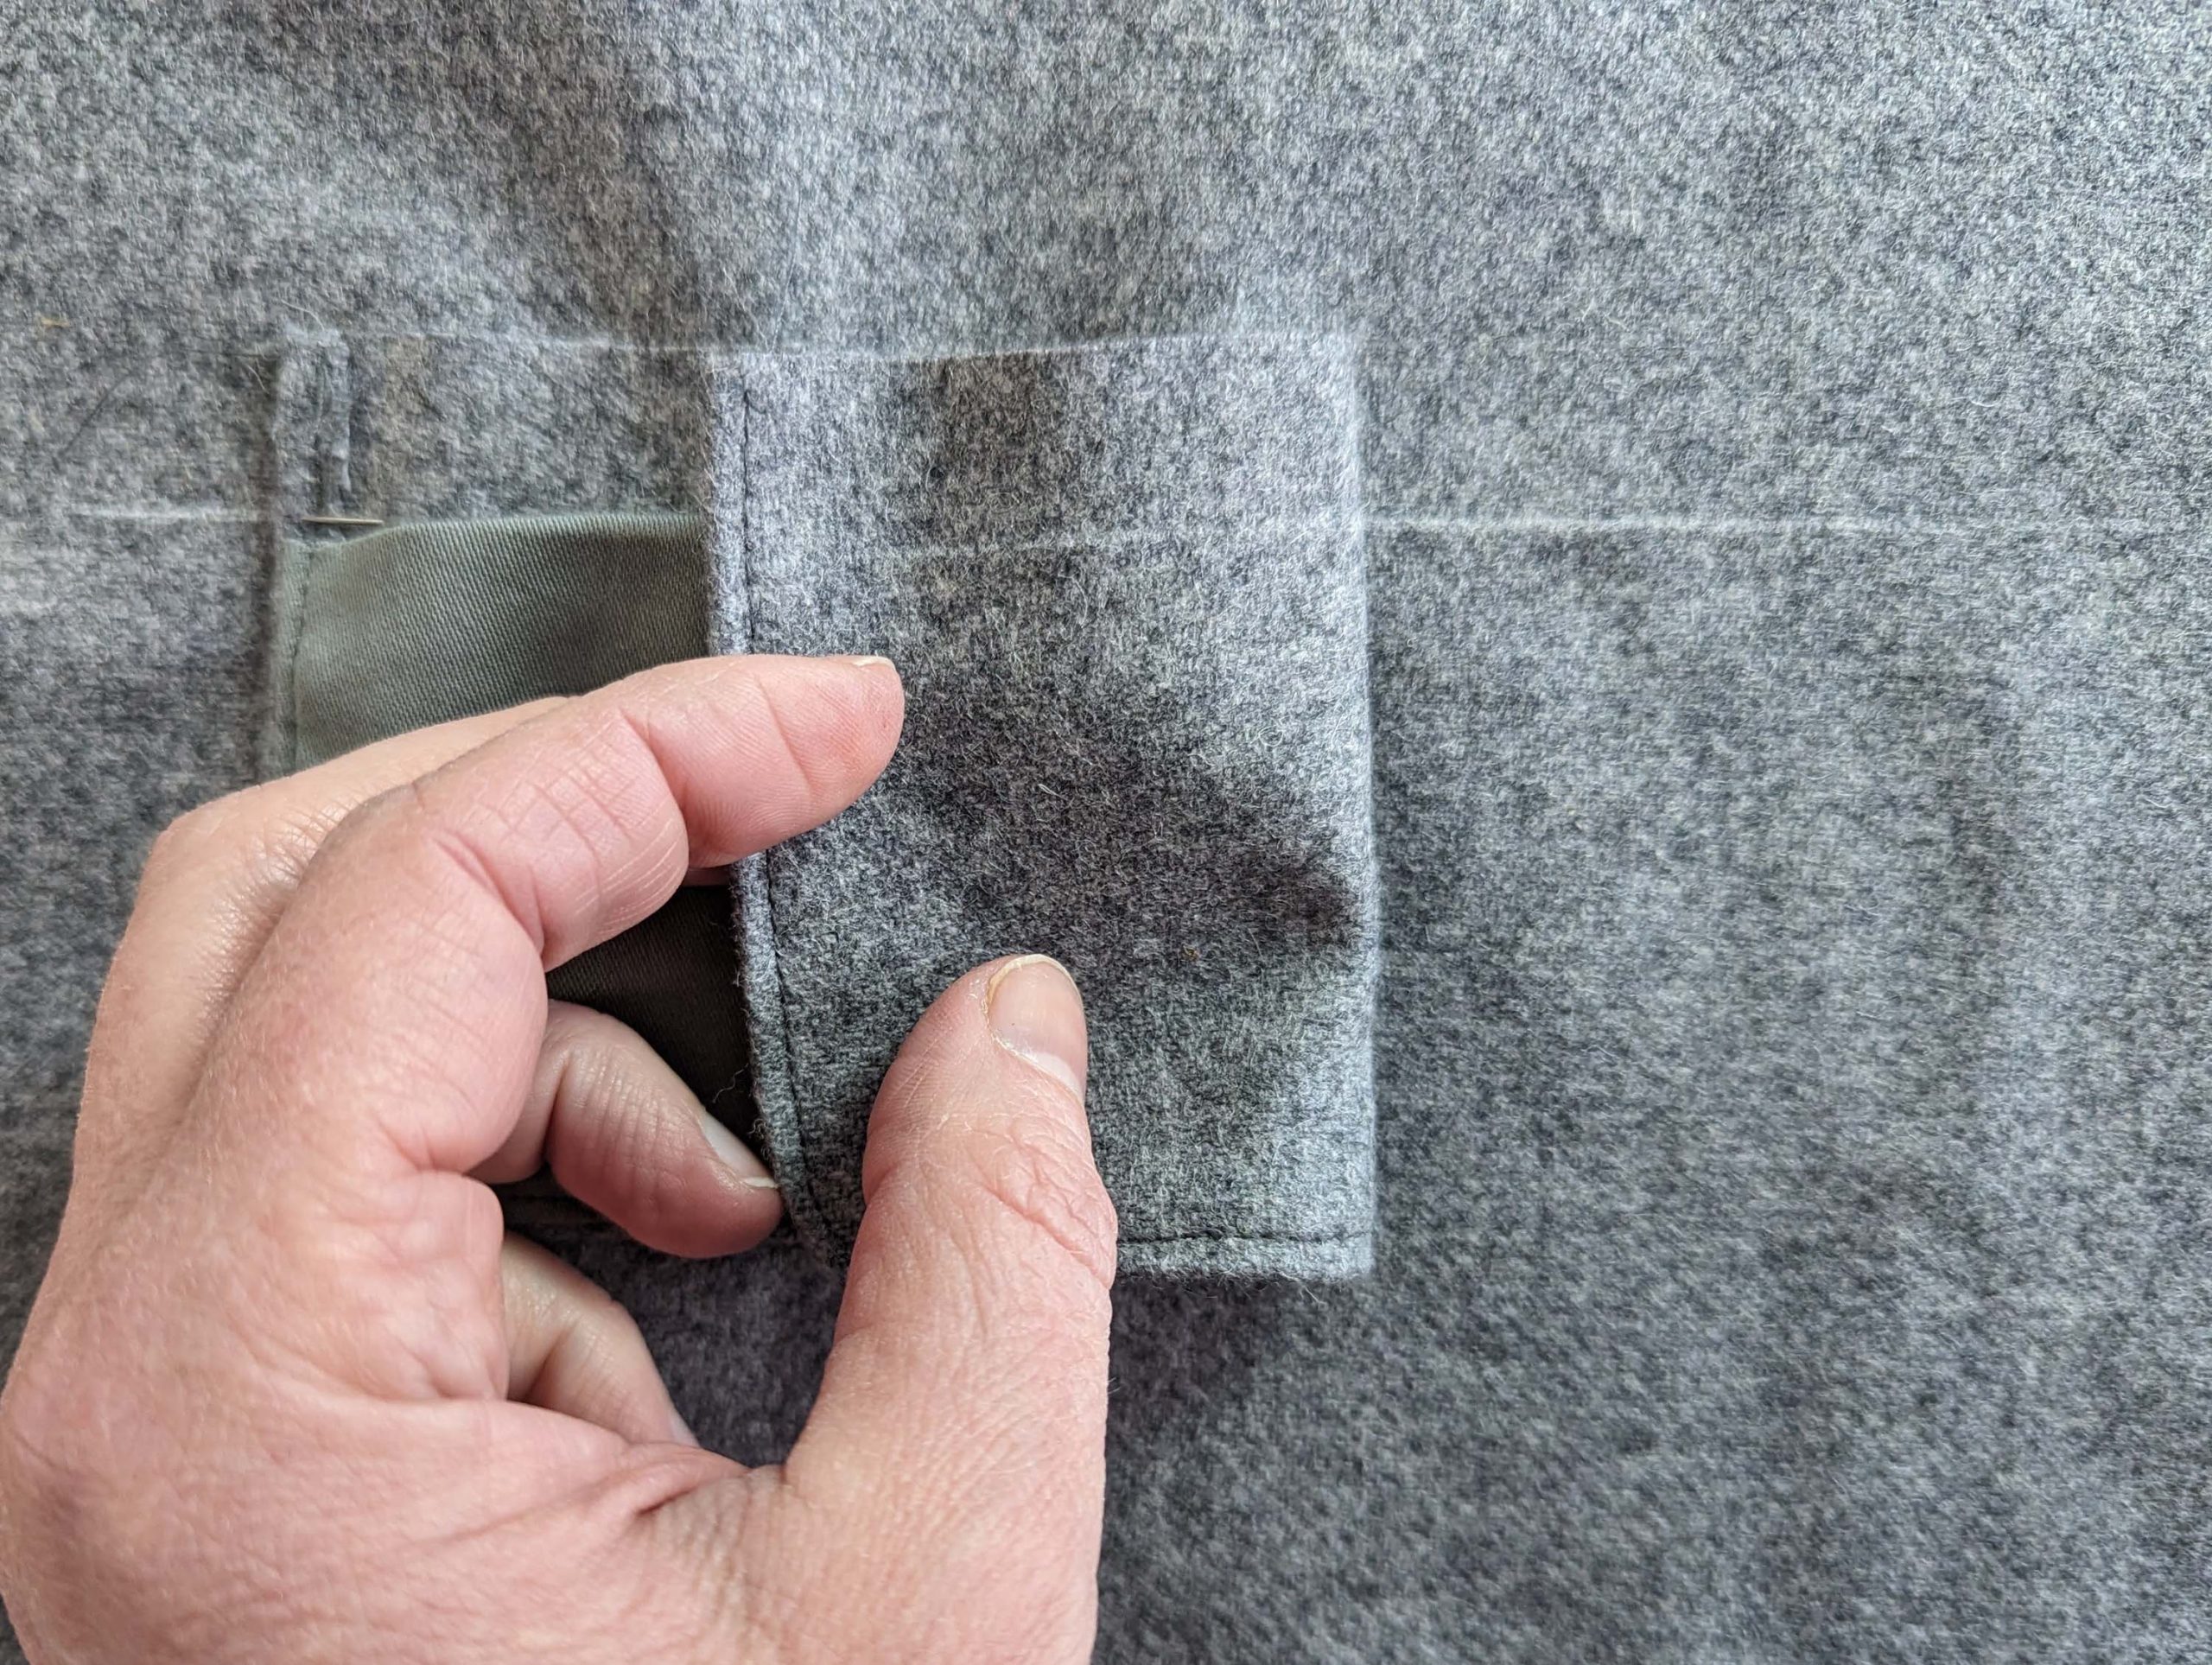
Place the patch pocket on top of the front, where indicated on the pattern, and simulate the curves of the body while doing so. First baste, then topstitch the pocket to the front, bar tacking the corners.
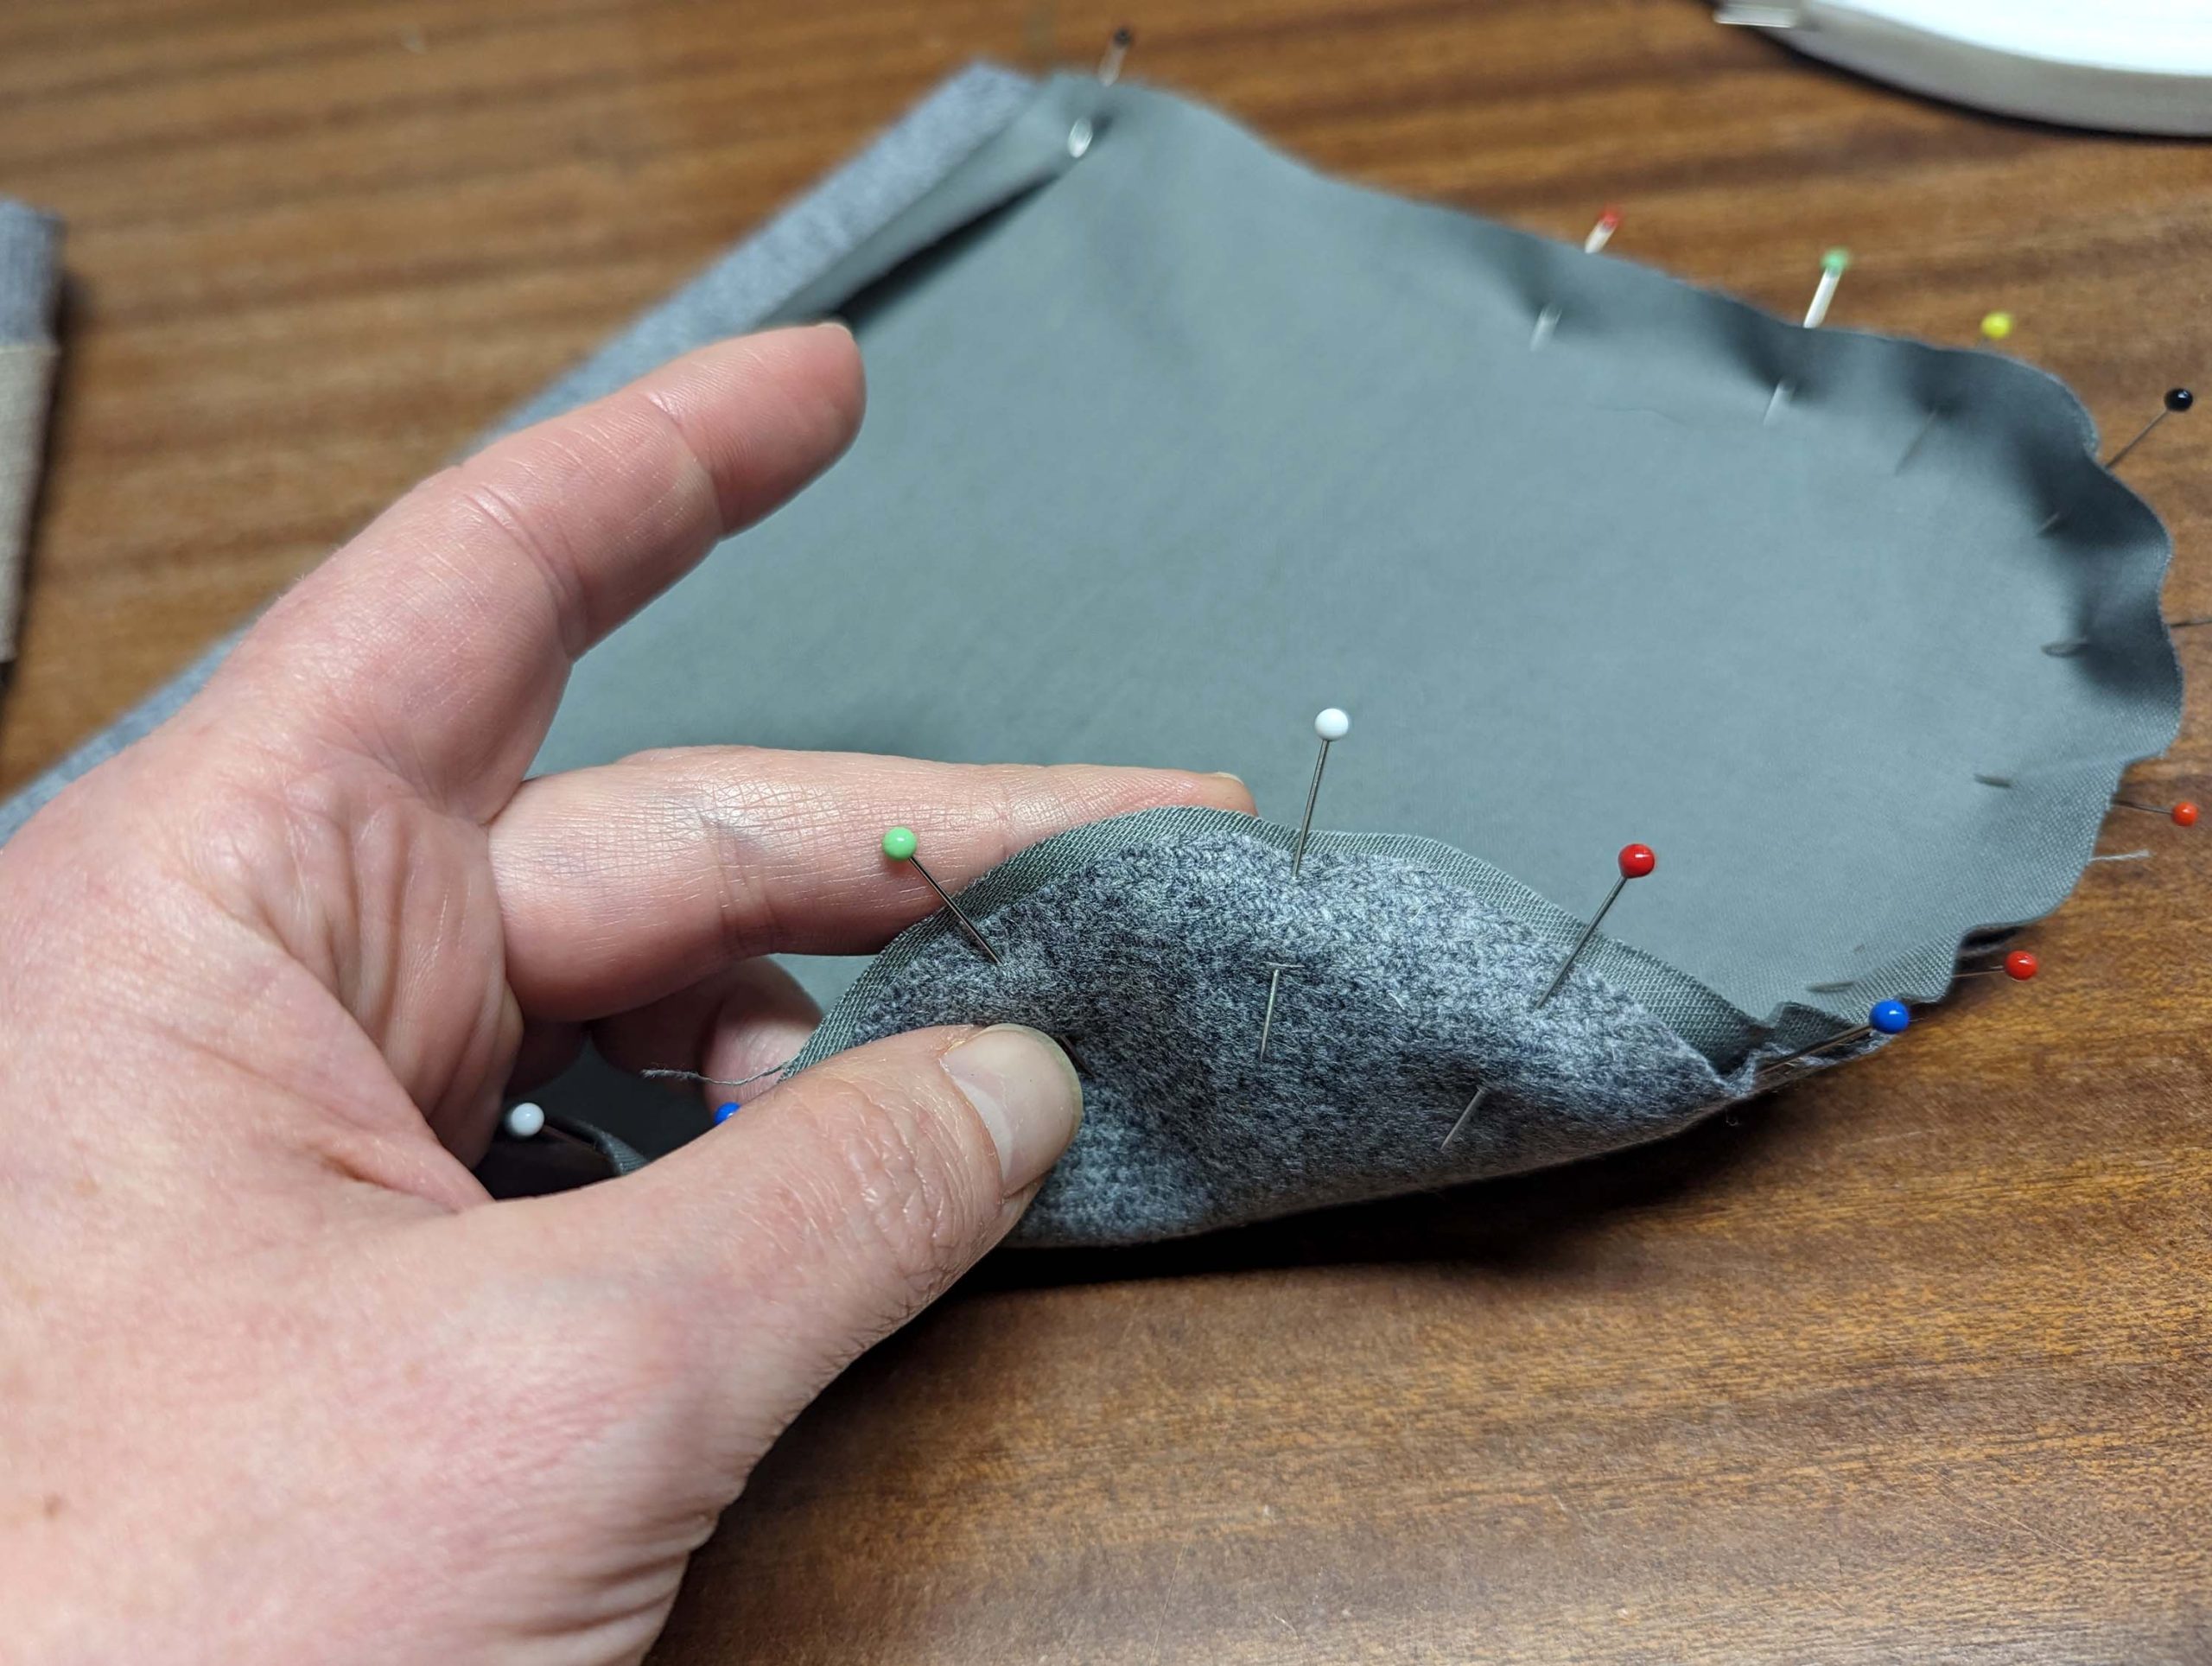
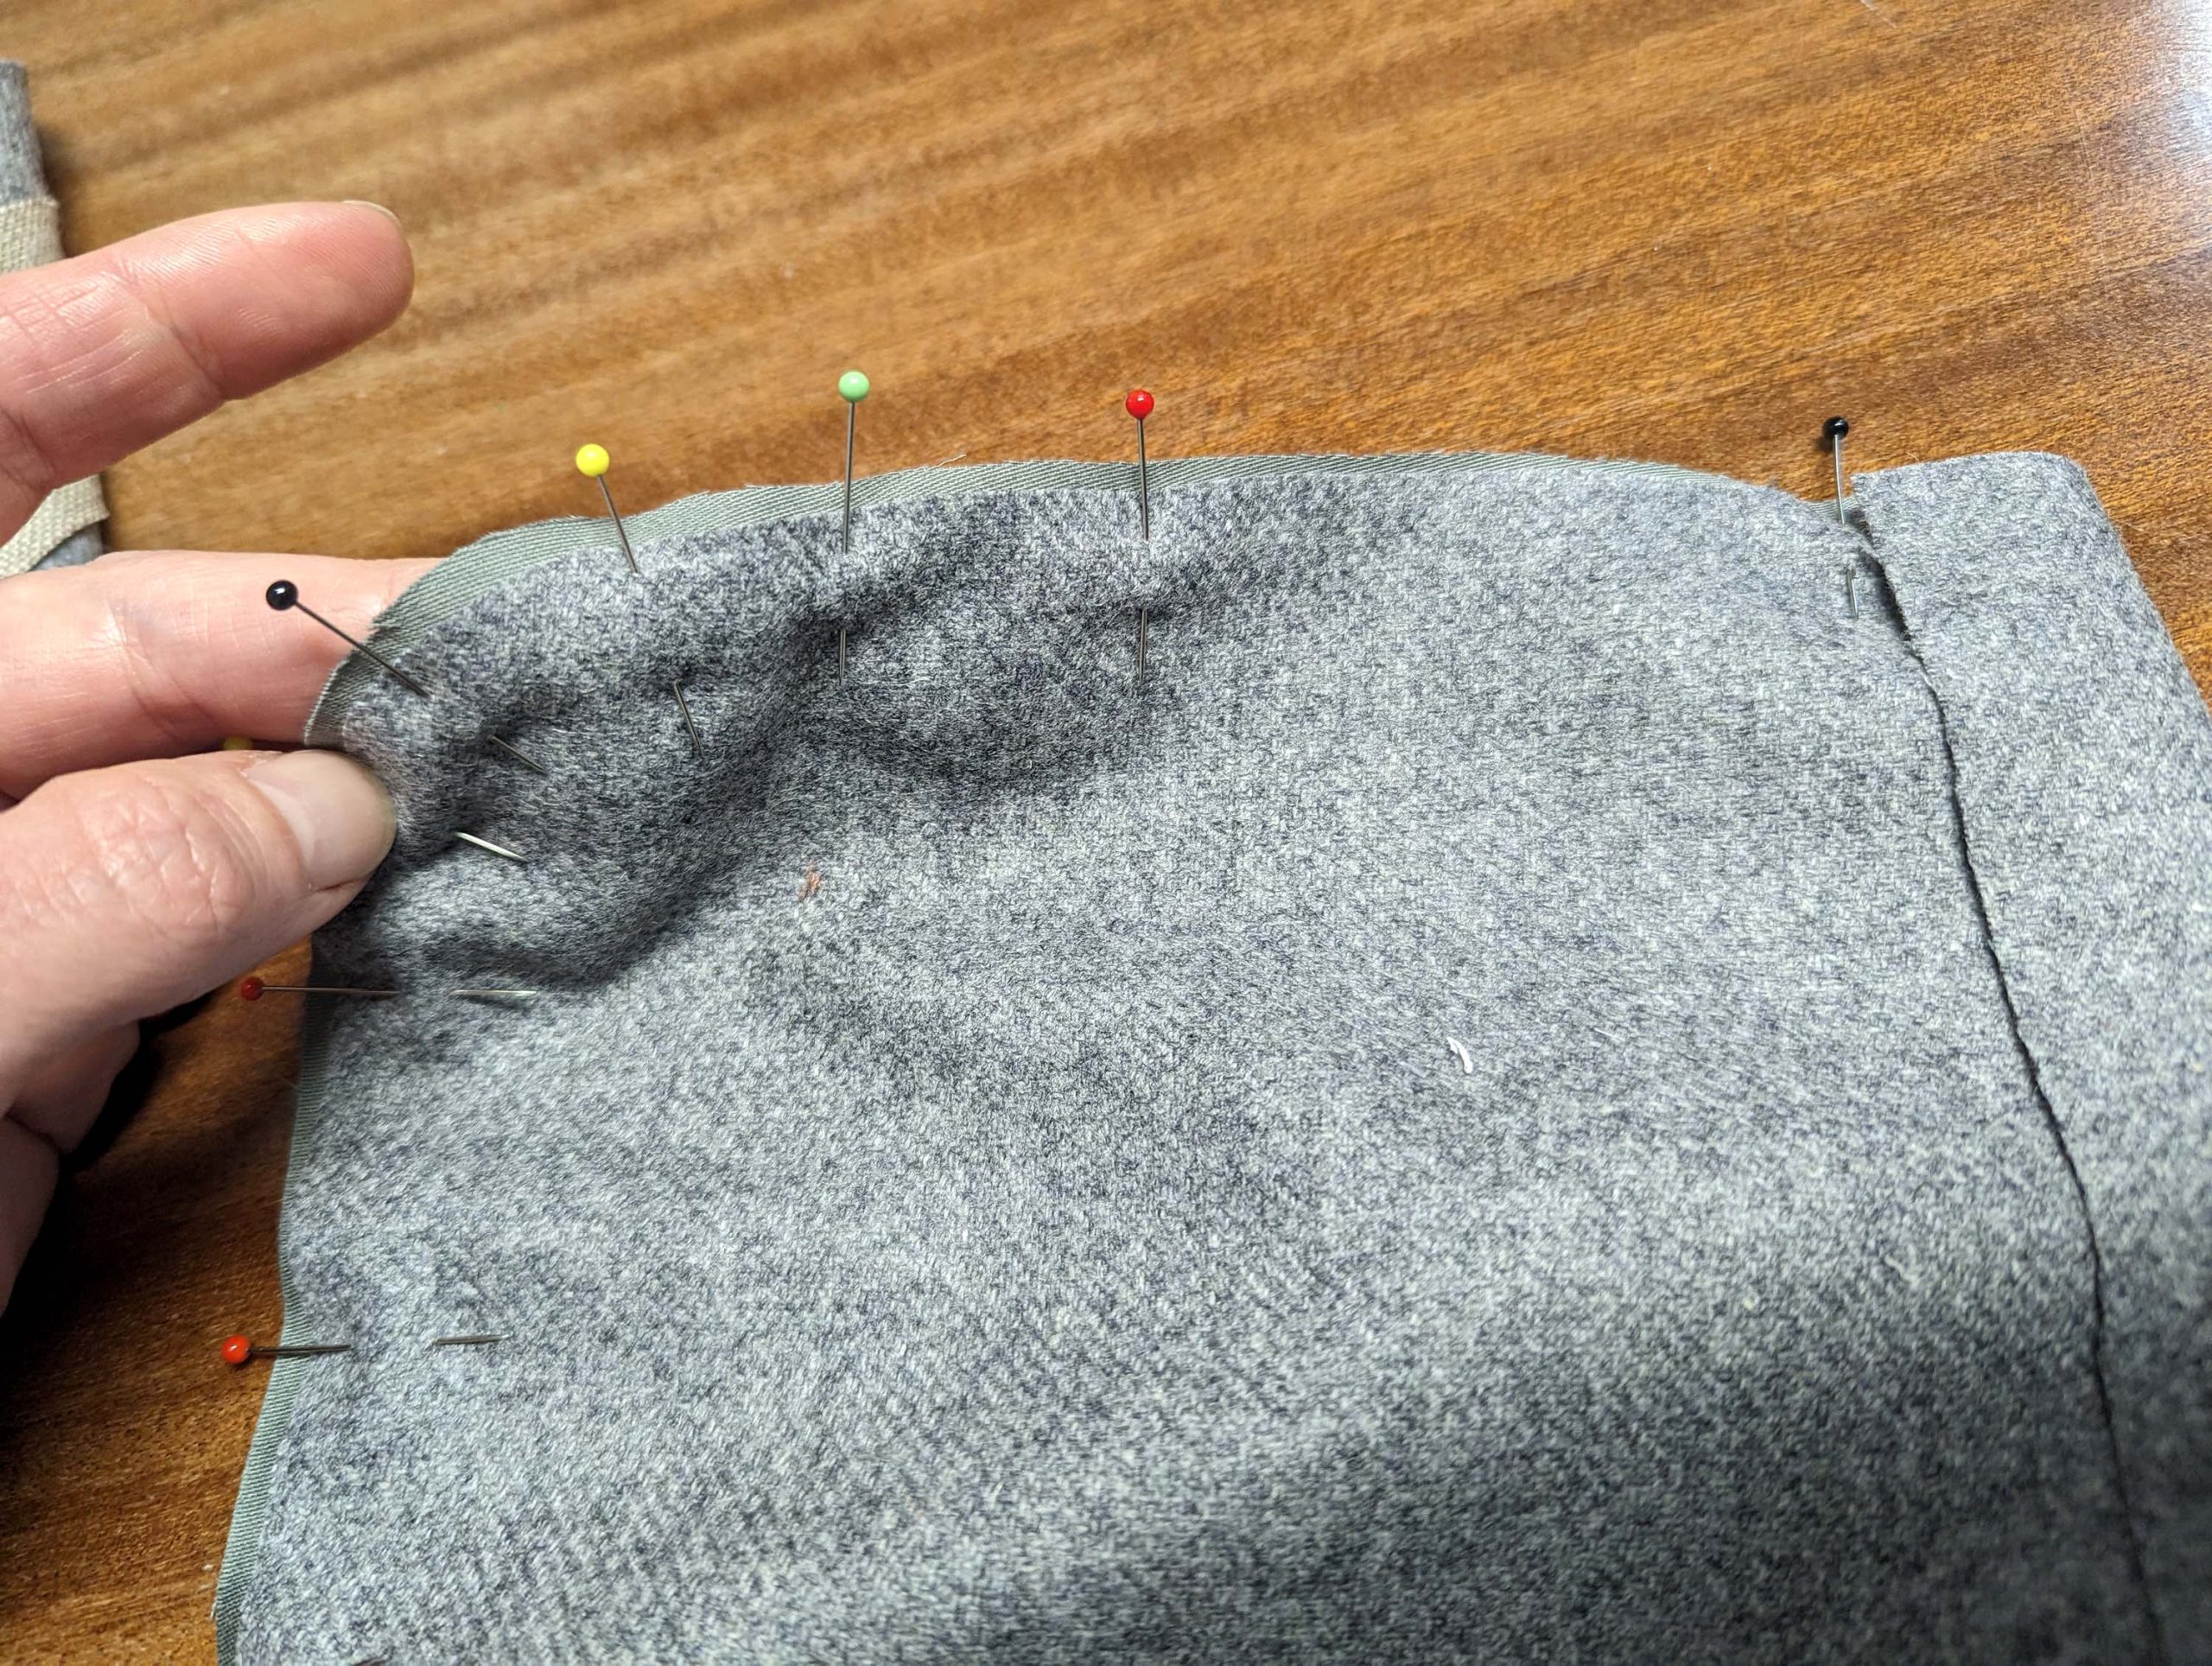
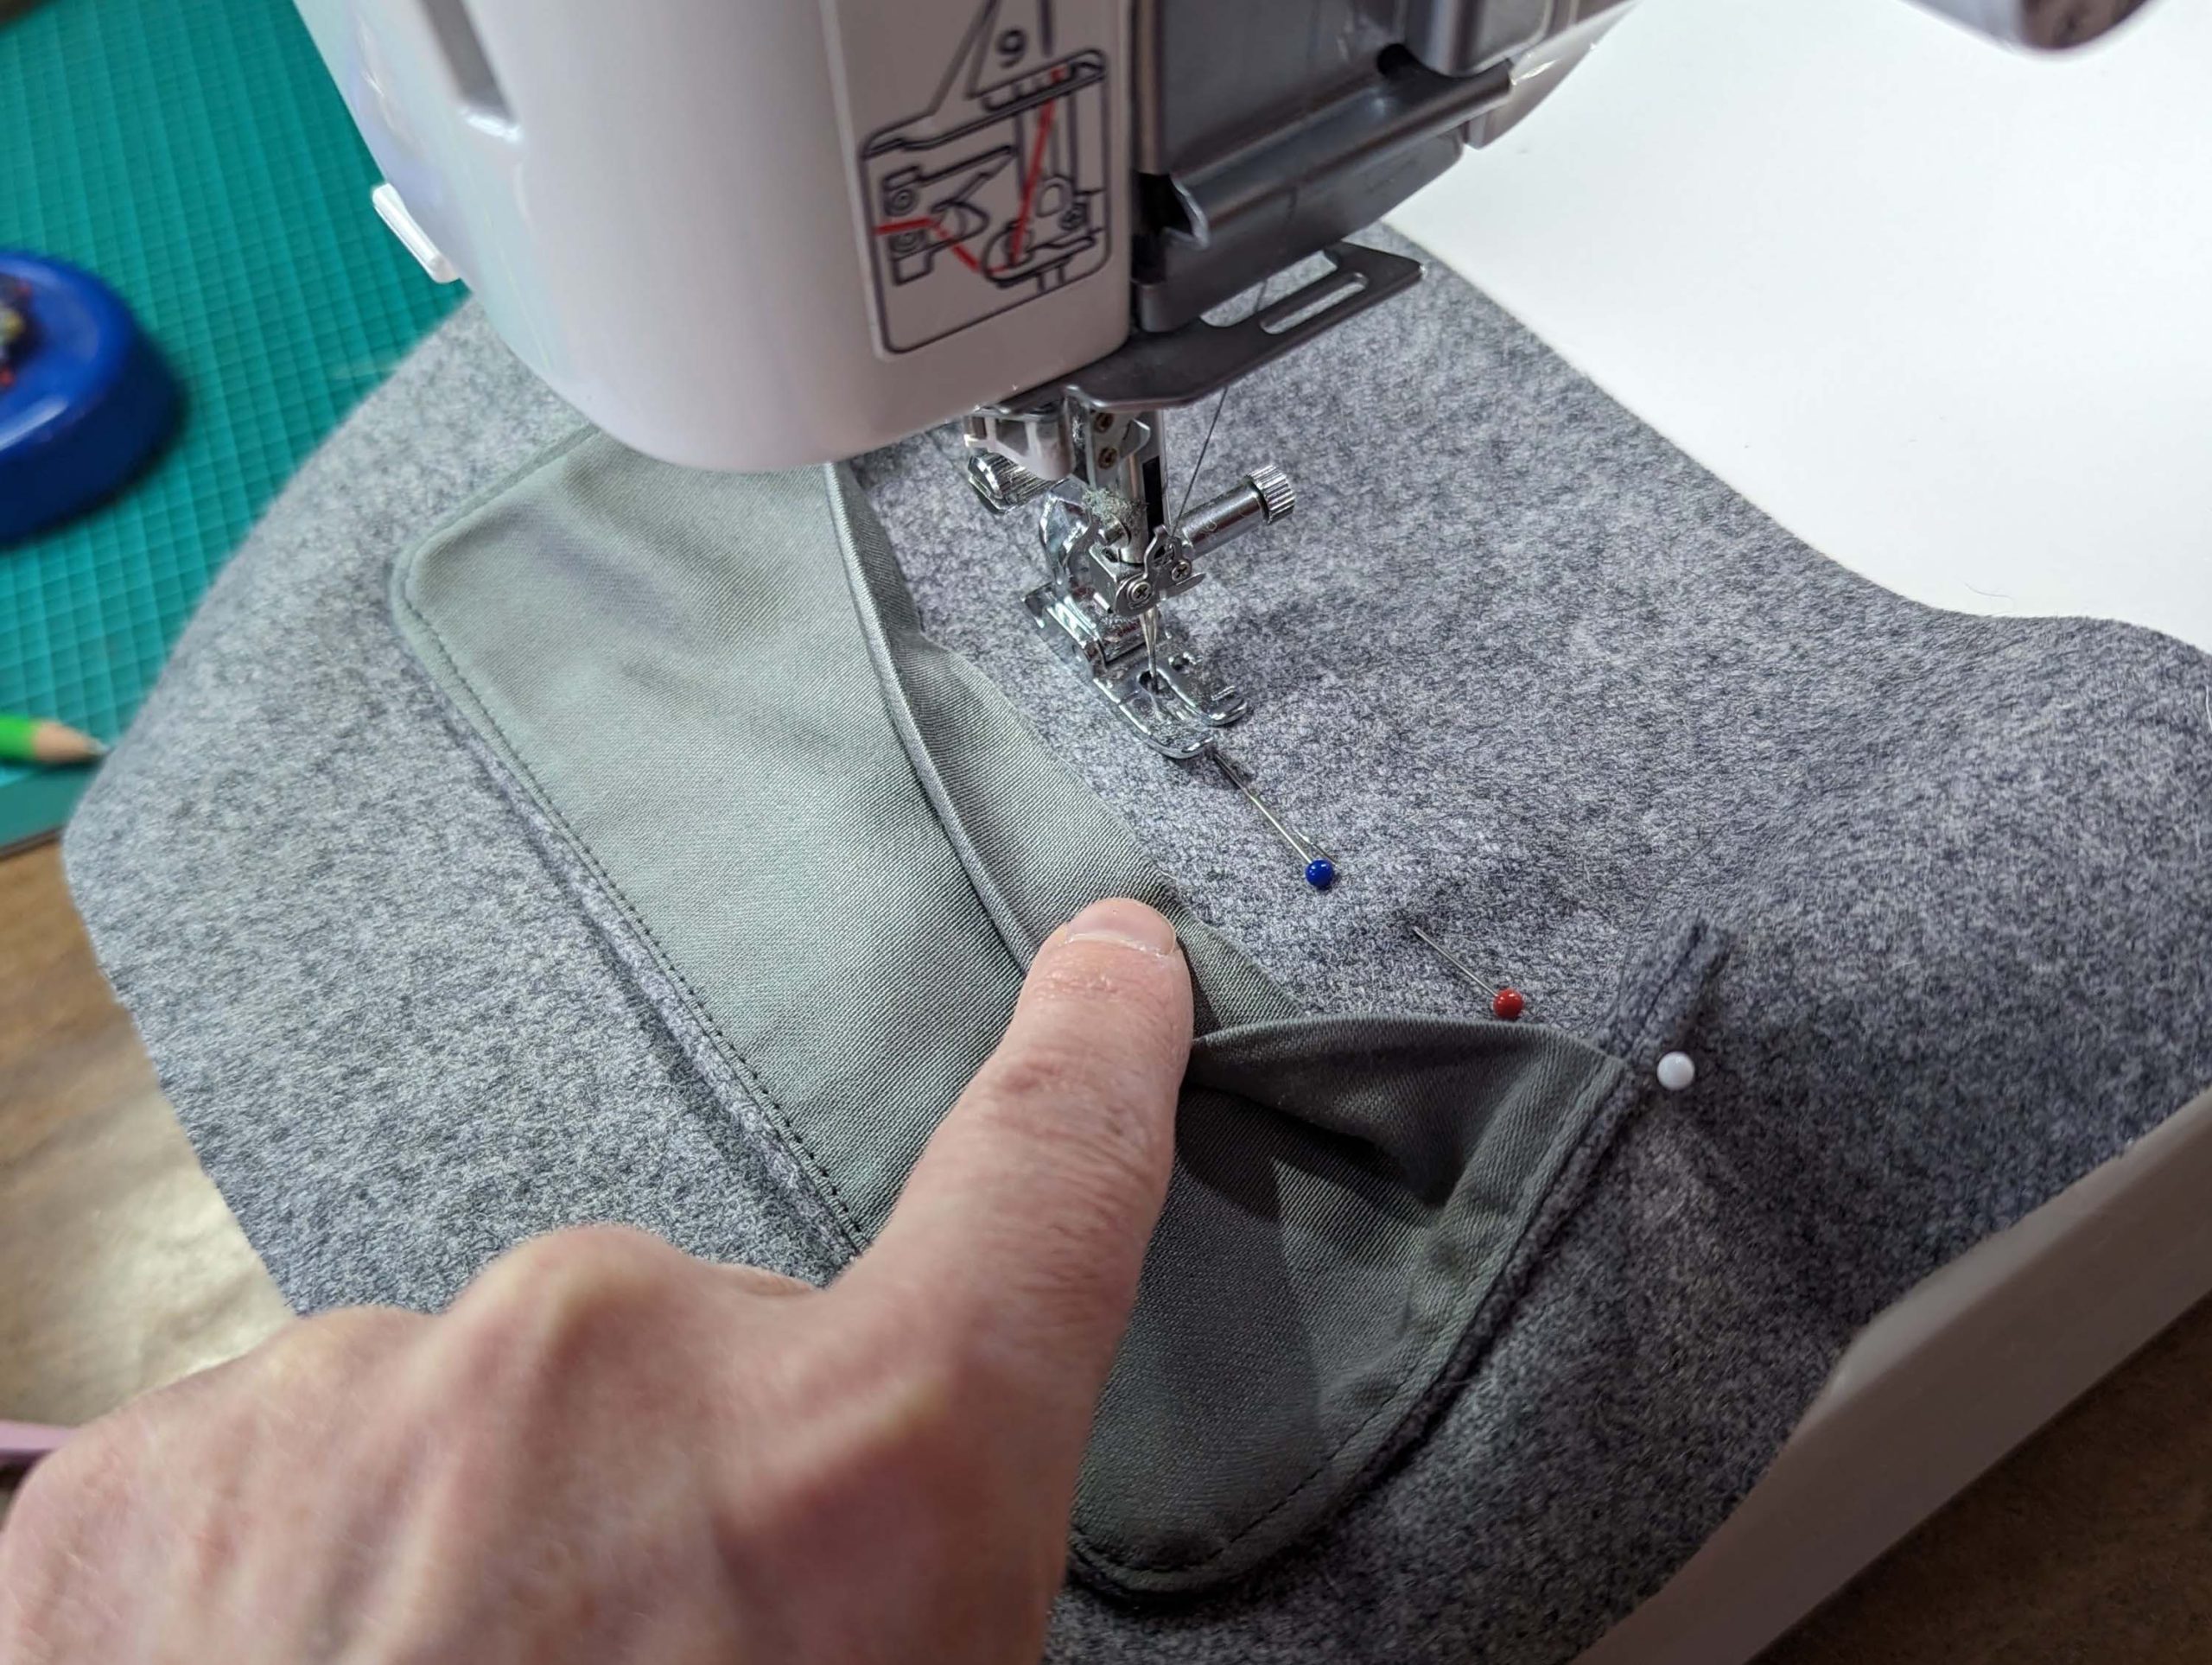
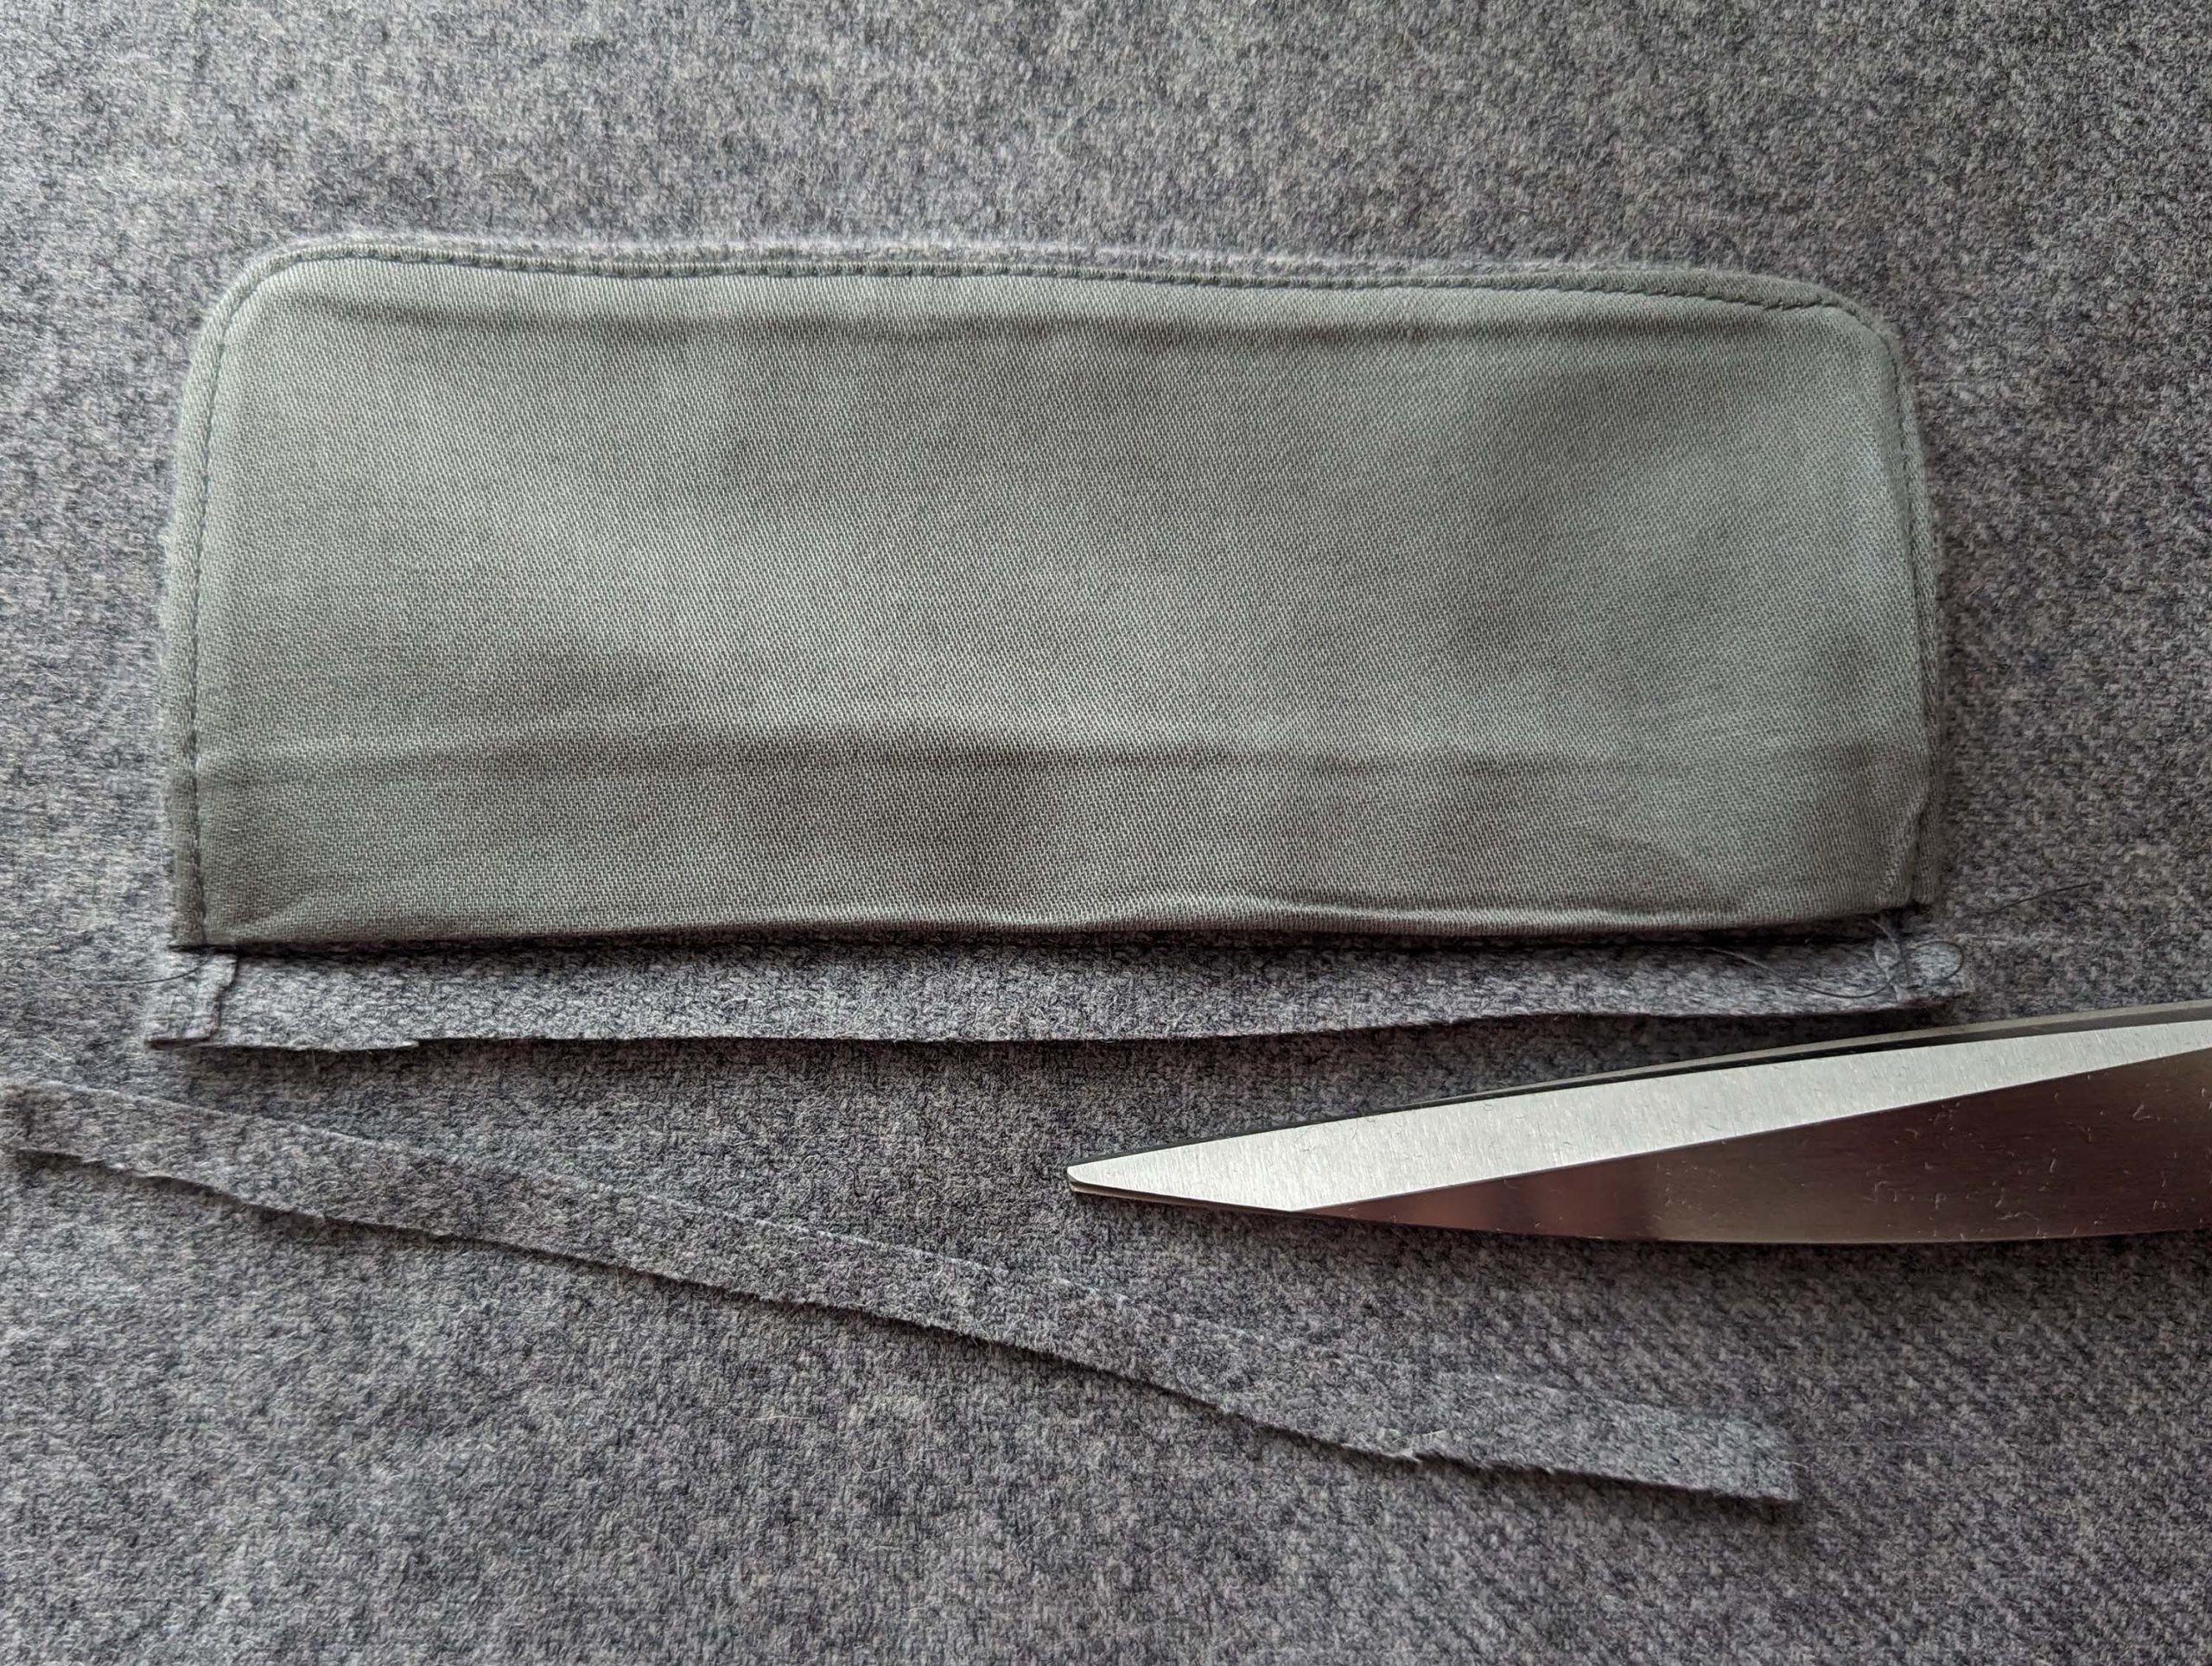
For the pocket flap I´ll show two different ways to attach to the jacket.
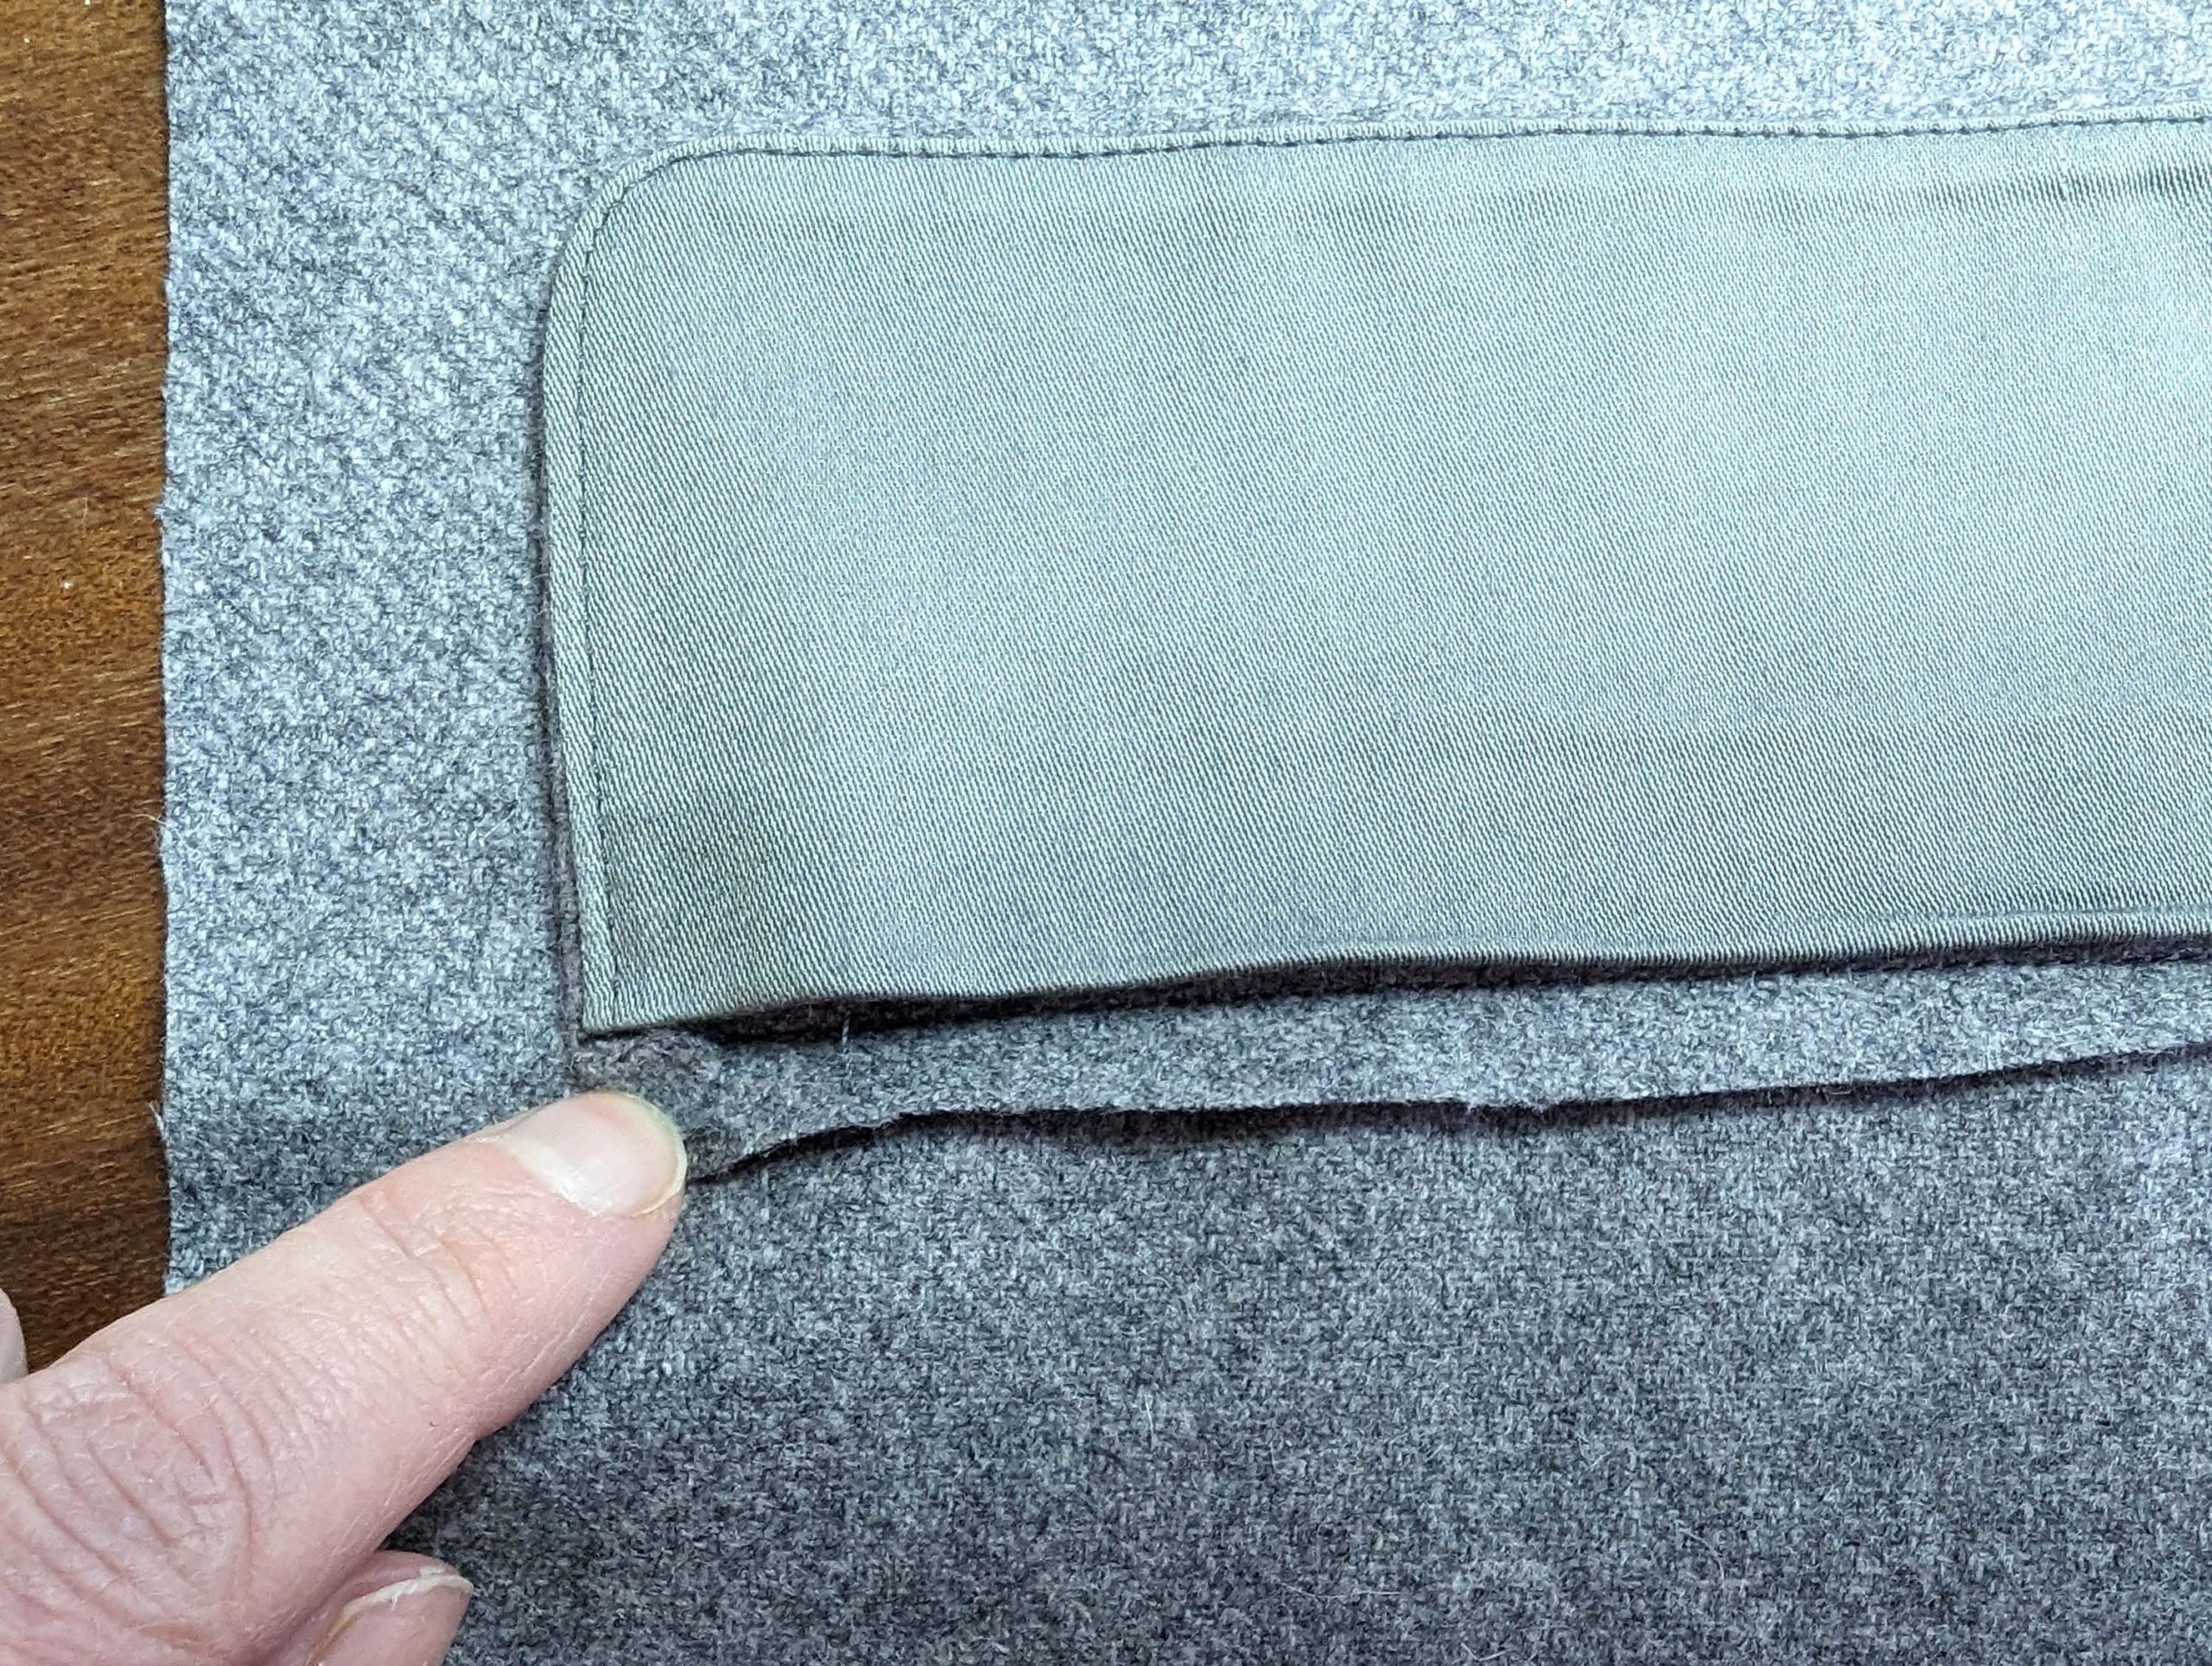
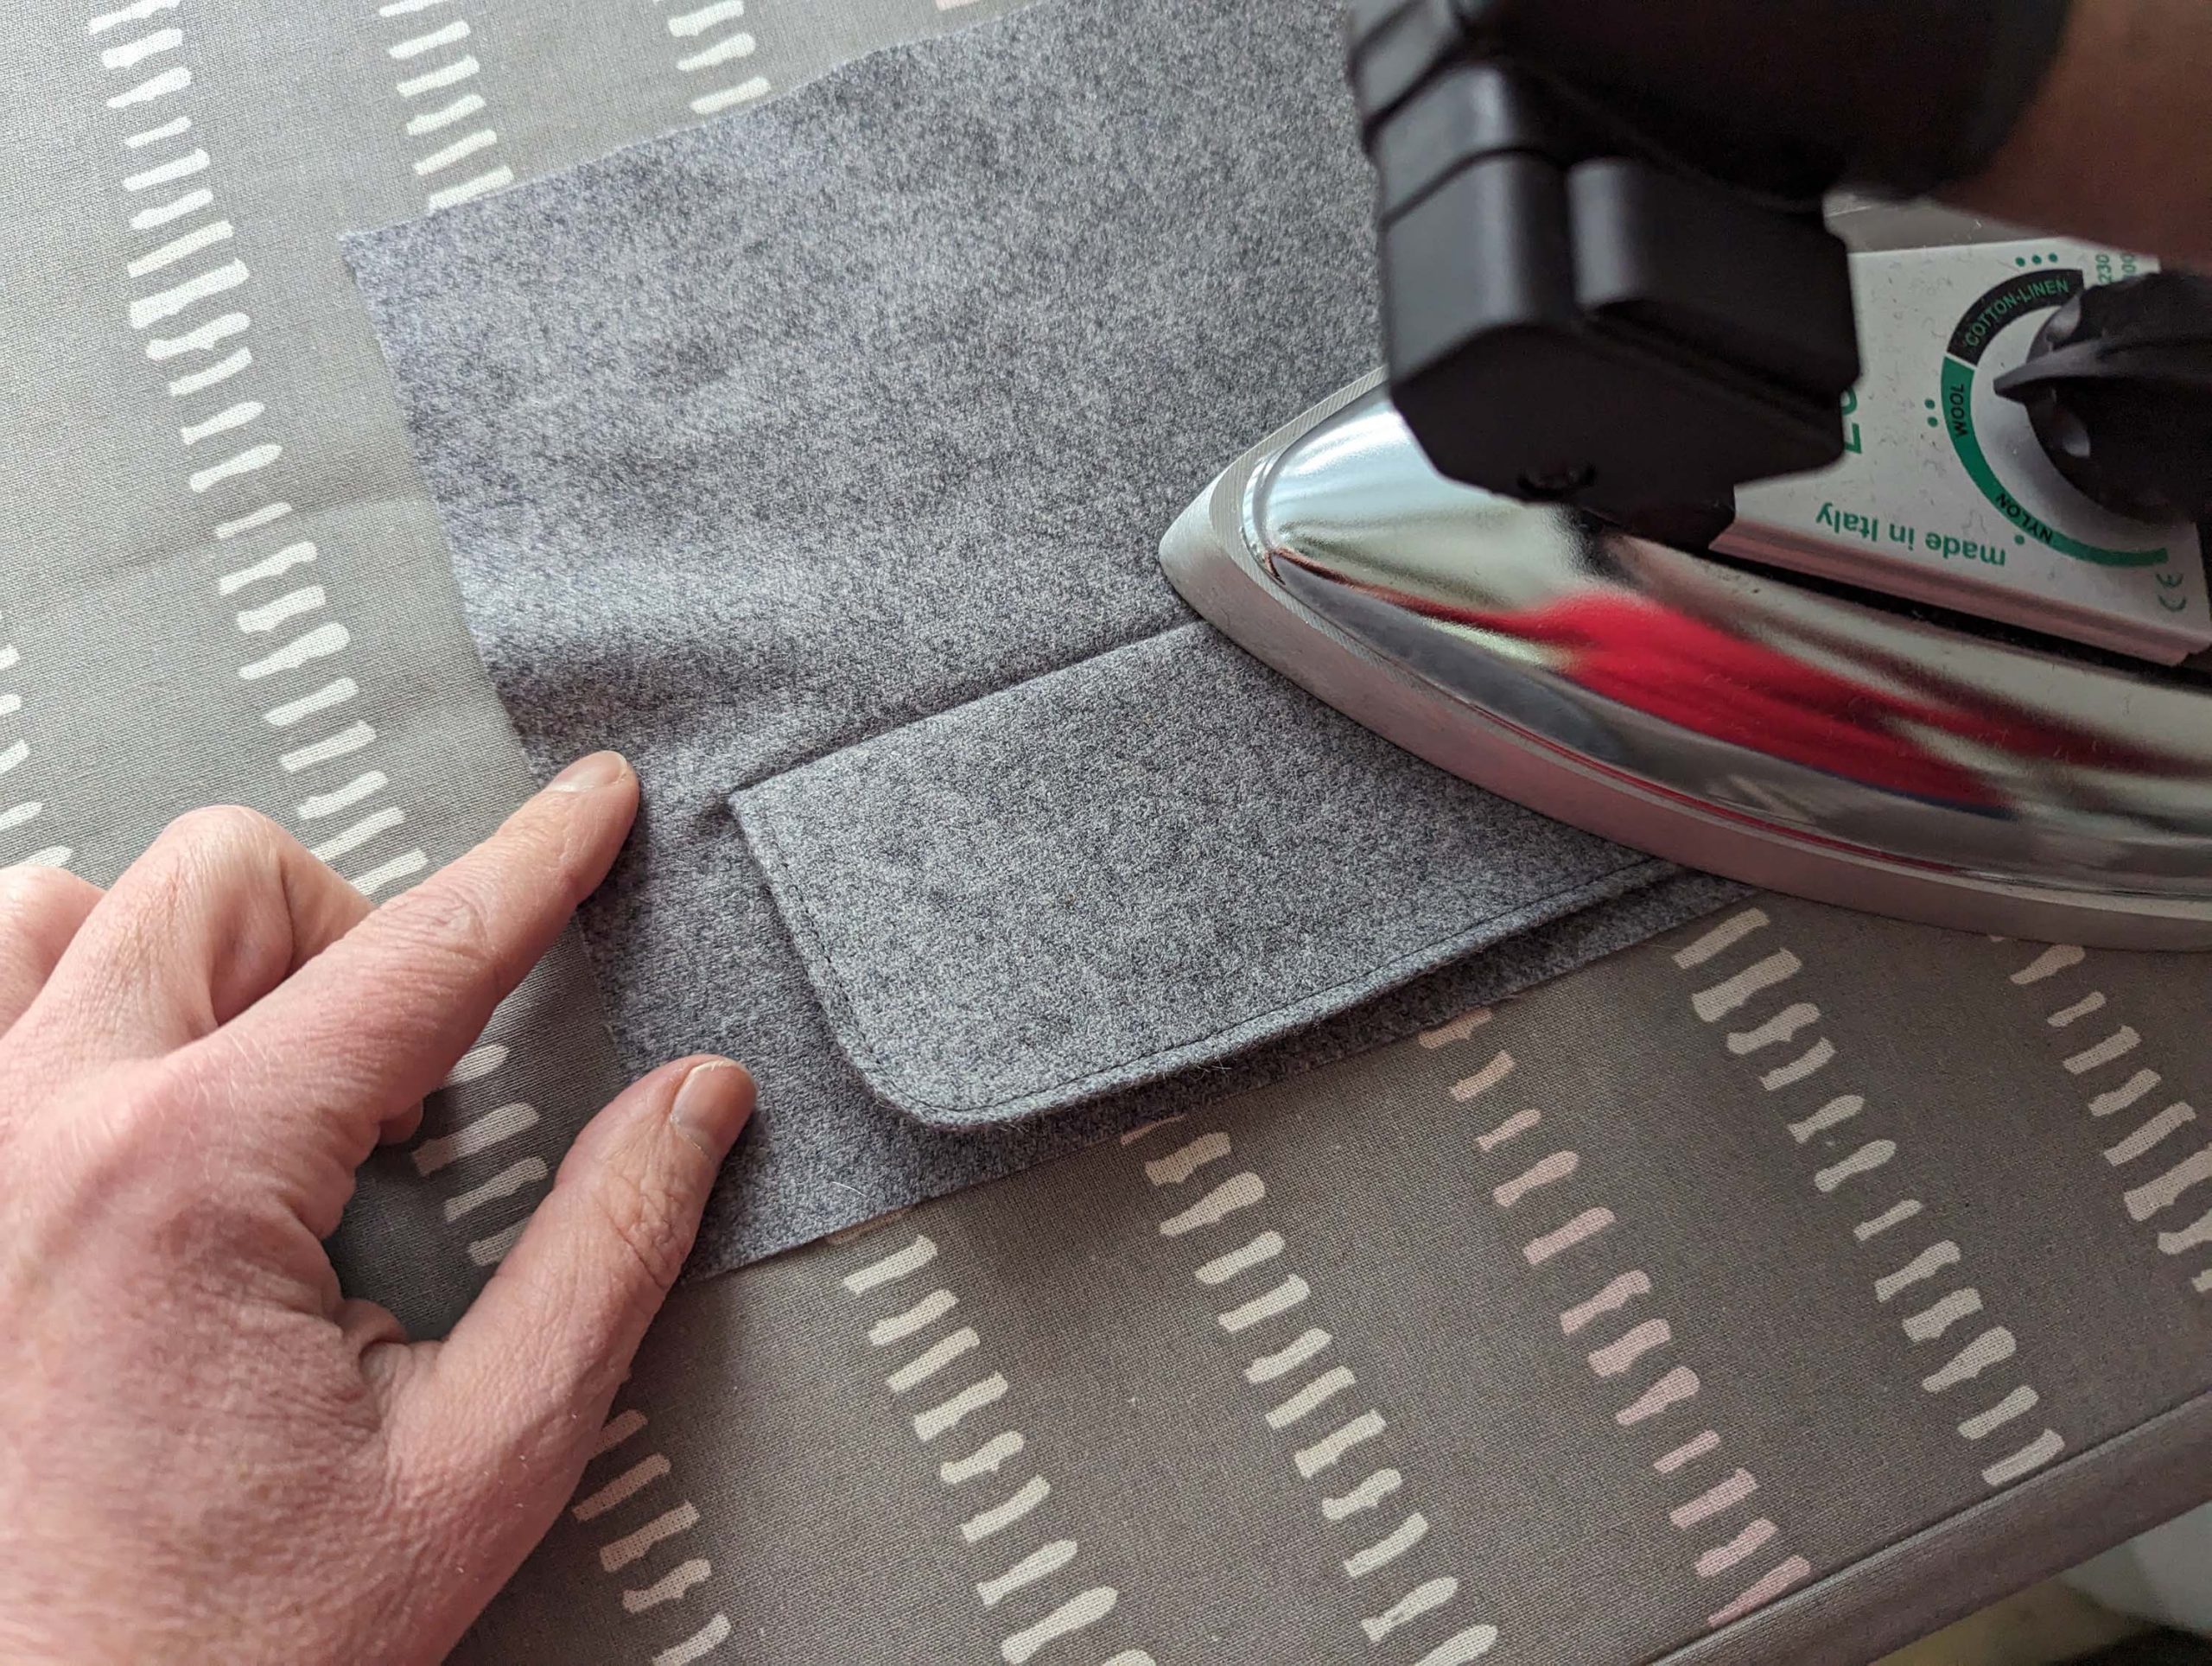
Line up the flap with the lining, wrong sides together, and push the edge of the fashion fabric behind the lining, and sew. Trim back the seam allowance and notch at the stitching line as shown. Turn the right side out, press, and topstitch as desired. Line up the stitching line of the pocket flap with the stitching line on the front. First, baste, then sew, and press the flap downwards. Trim back the seam allowances to 1/4” (5mm). Push the corners “inside” and bar tack to the fronts to stay in place Topstitch the flap along the top edge, and bar tack the ends.

The other way would be to turn in the seam allowance of the lining before sewing. Proceed as described before. When attaching the flap to the jacket, just catch the fashion fabric. Trim back the seam allowance and push it inside the flap. This way I had to remove some stitches of the topstitching to reach a neat result. Fell stitch the lining to the seam allowance. Press the flap downwards and topstitch.

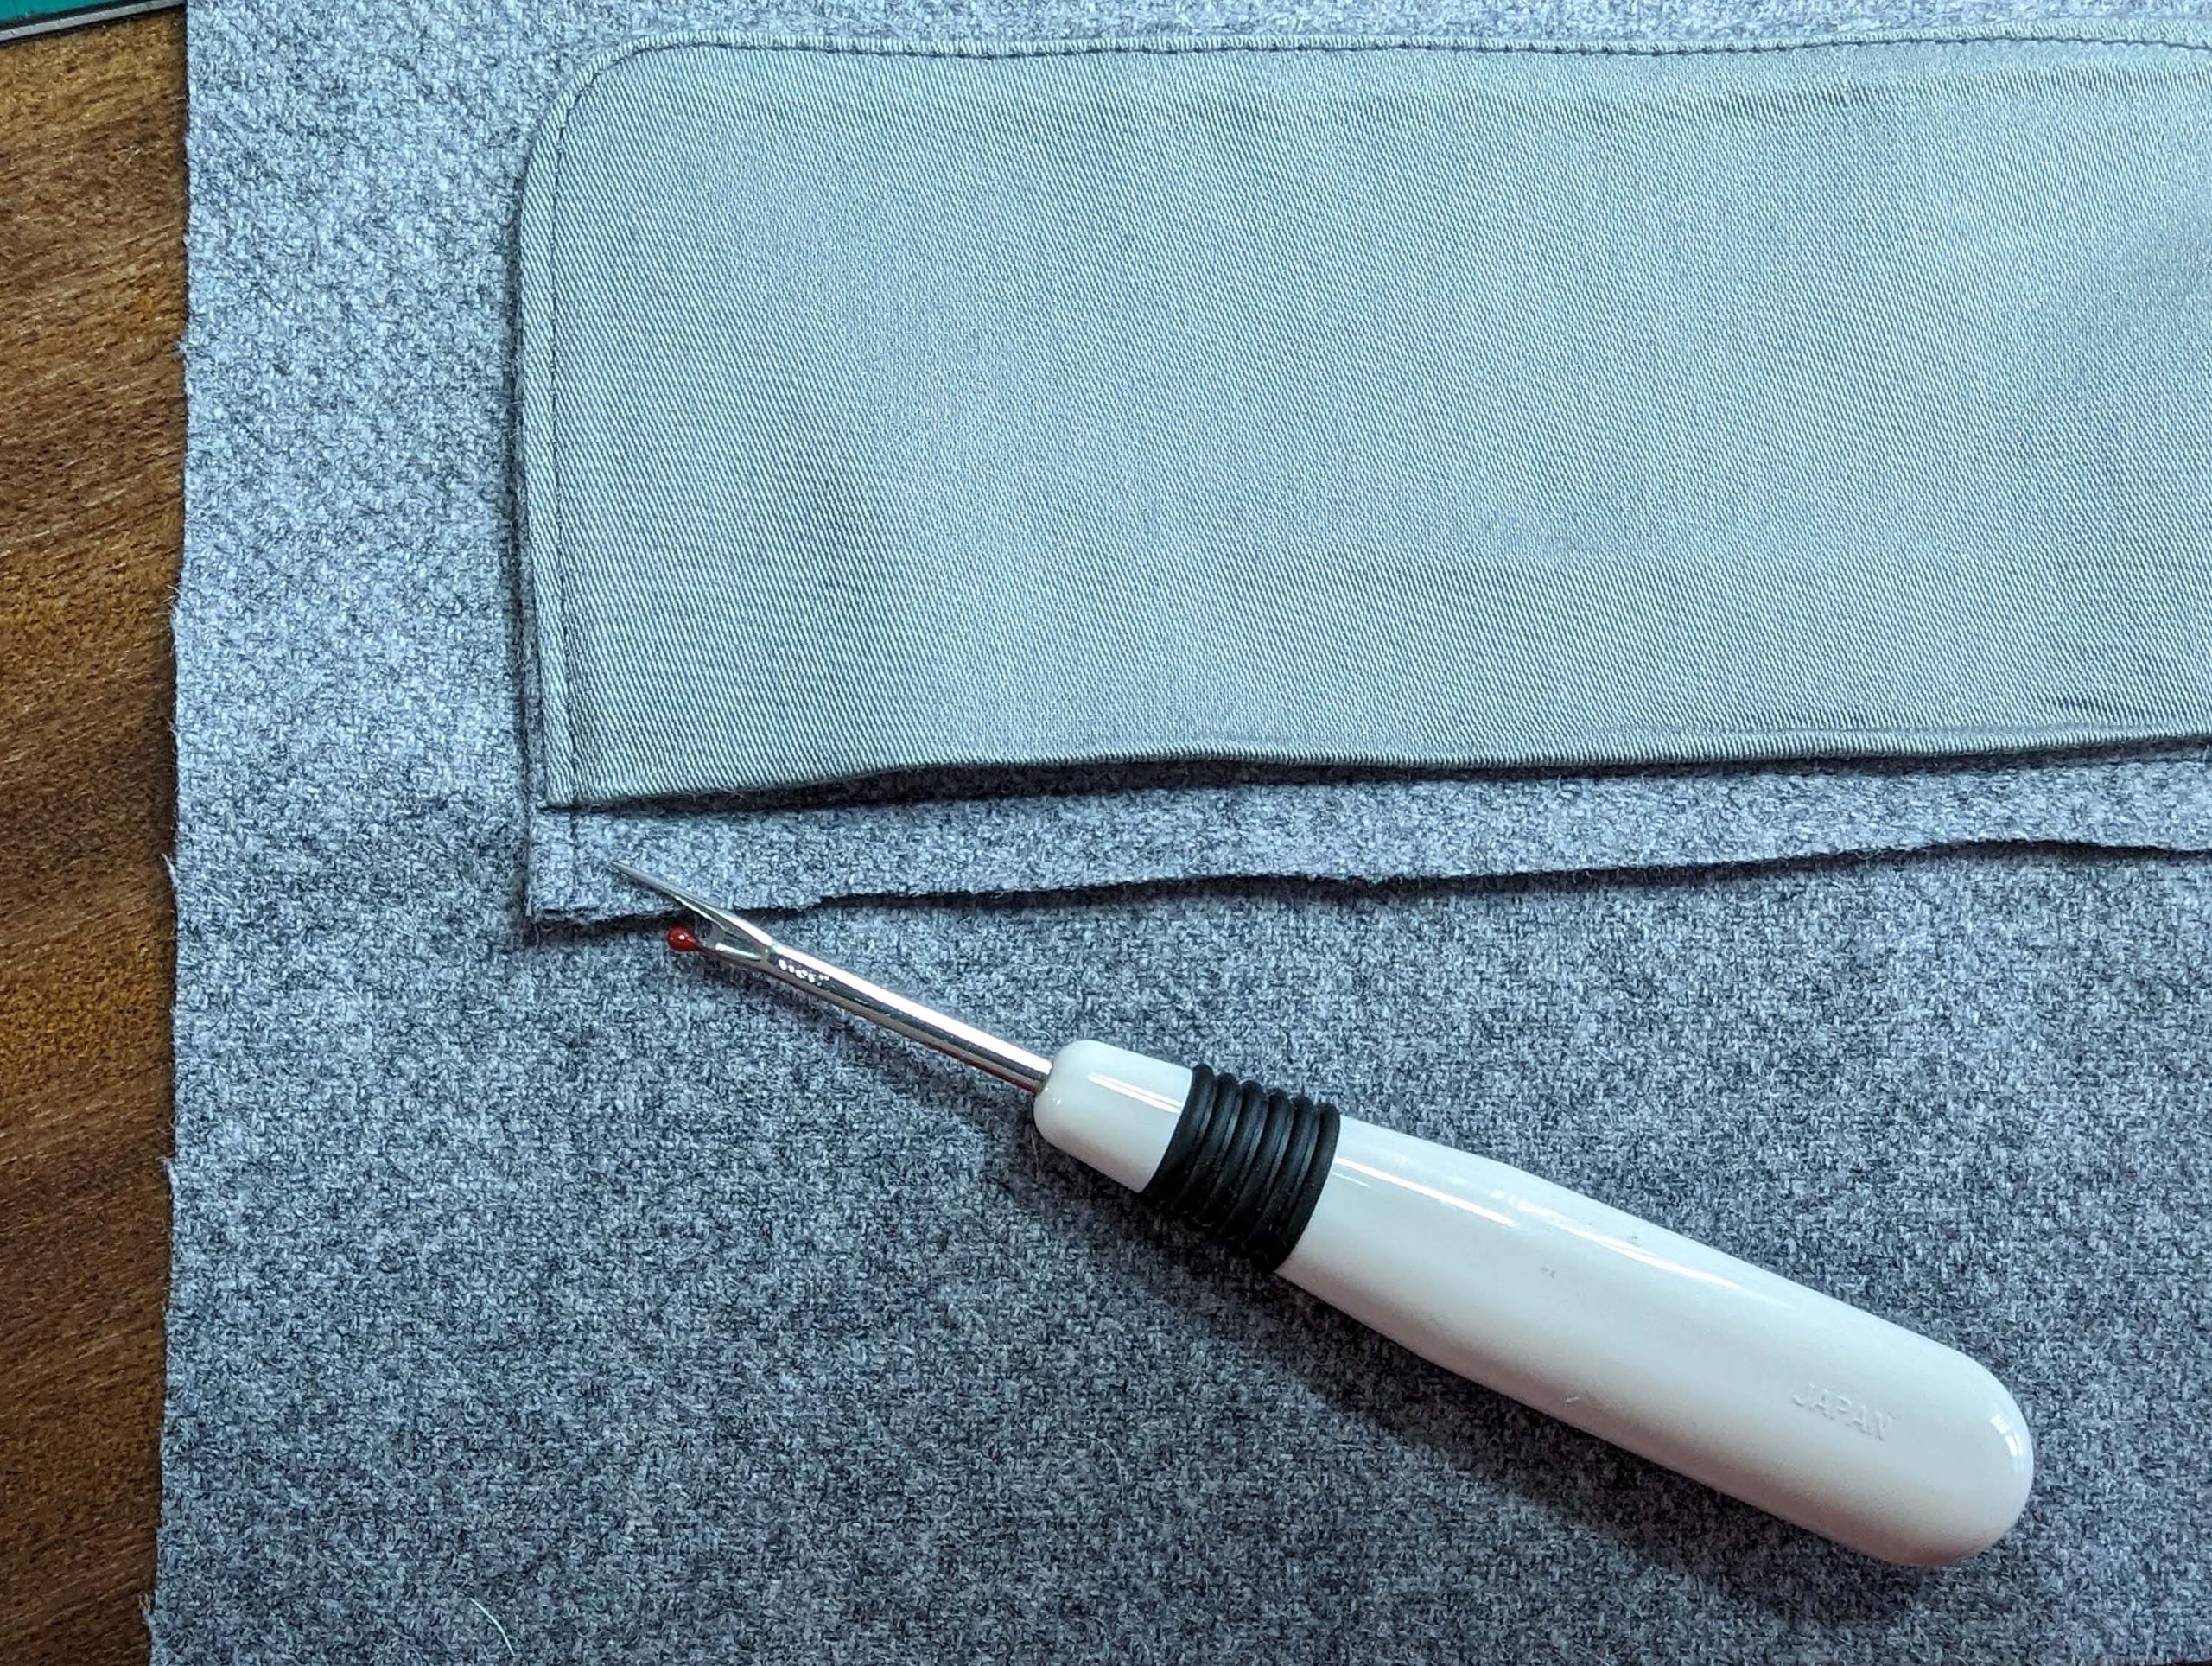
Trim back the interfacing on the wrong side with pinking shears.
Part 3 – Step (9) – ()