
Let’s continue with step (9), the sleeves.
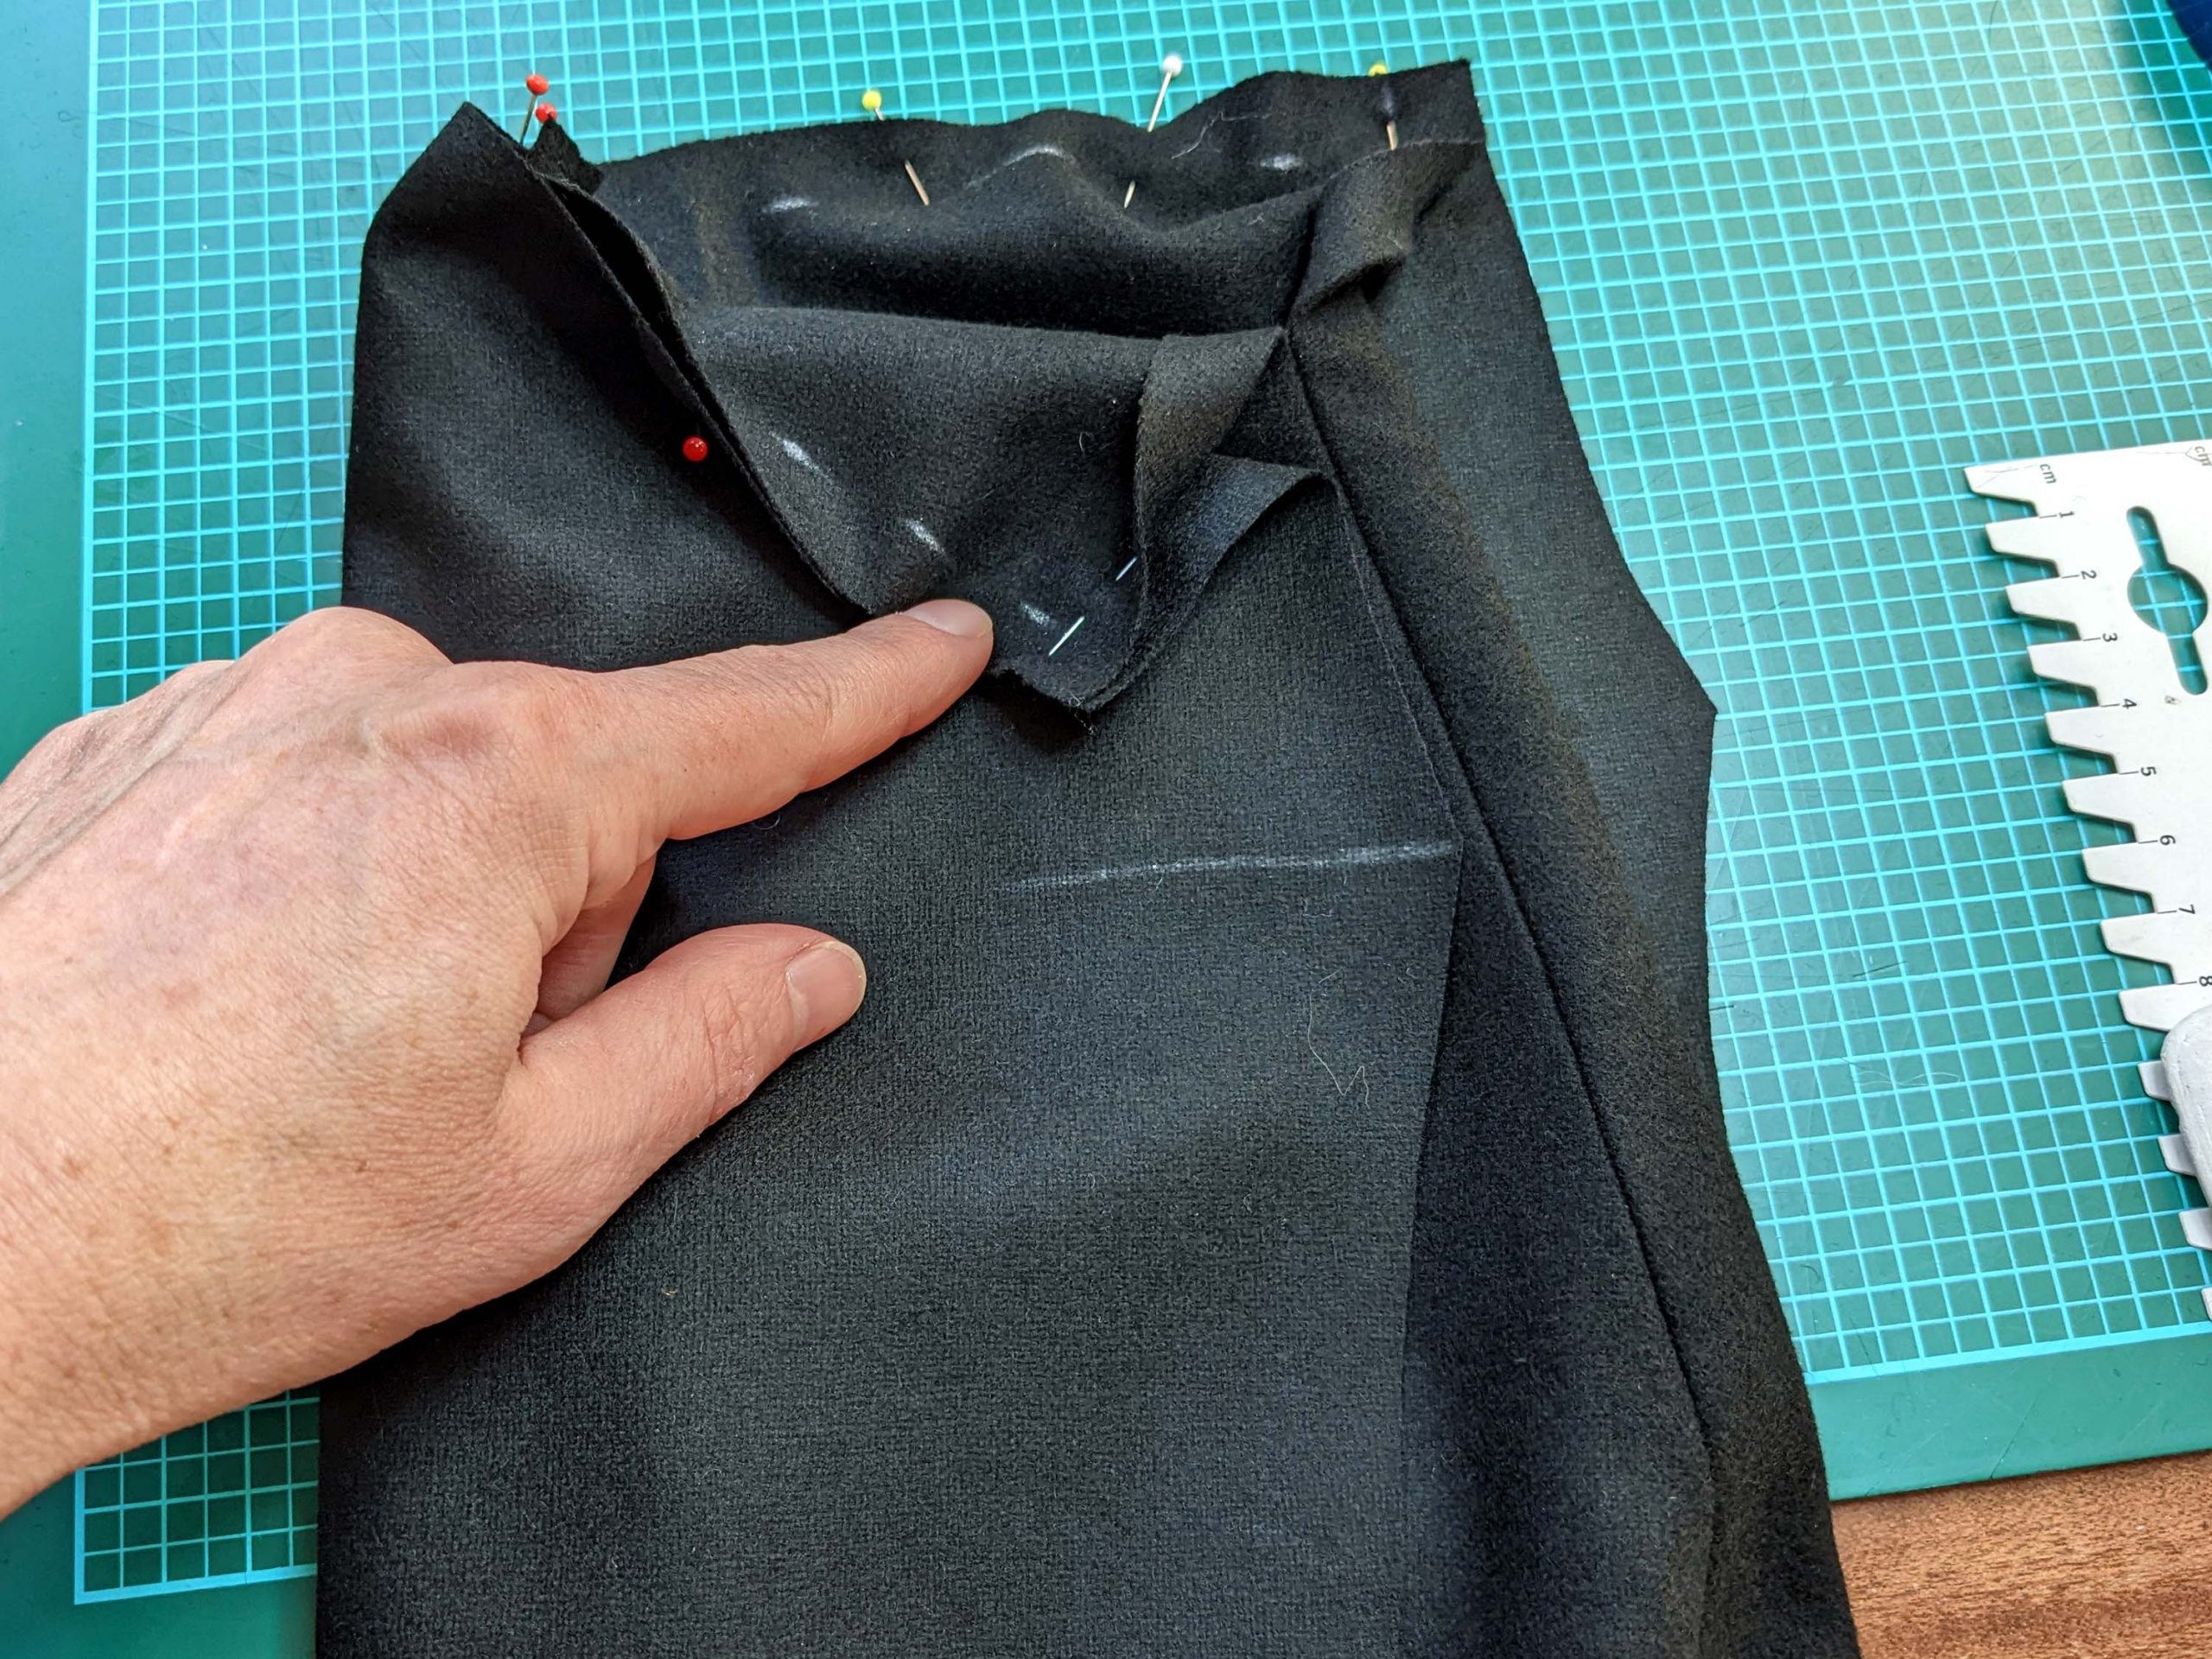
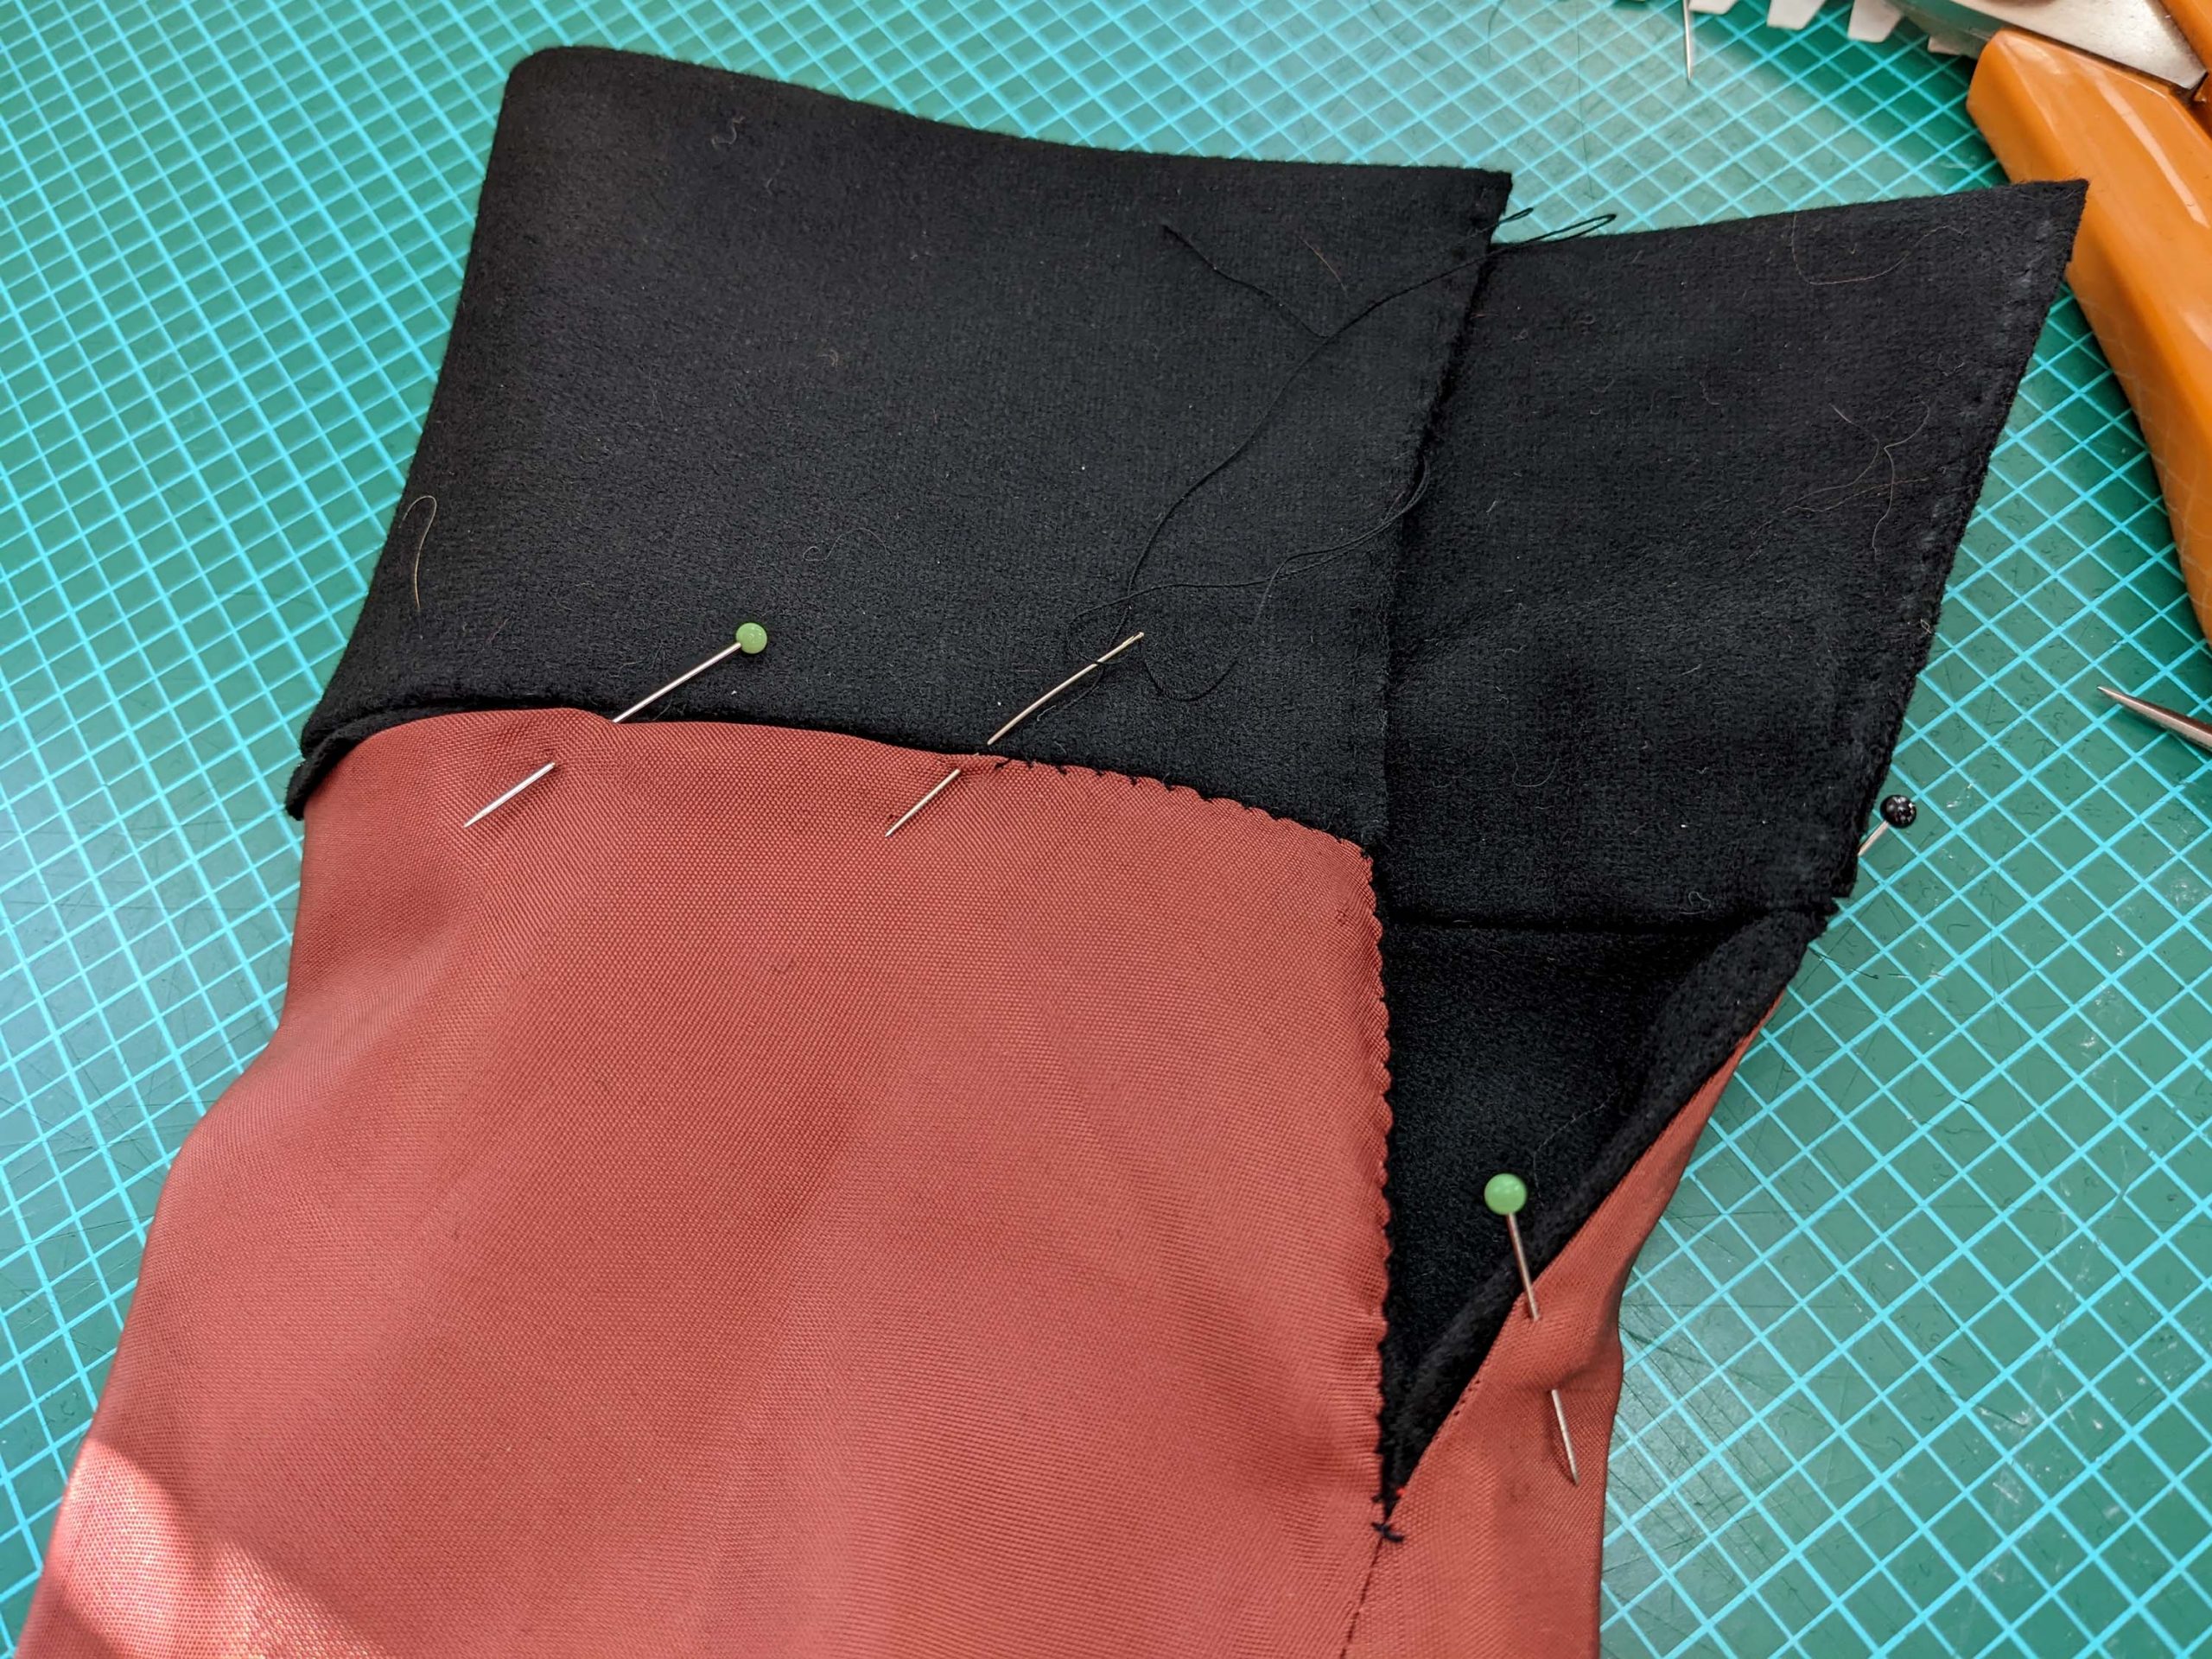
(9) Sew the sleeve seams from the fashion fabric and lining, right sides together, and leave a vent at the back seam. Press open the seam allowances. Gather the sleeve along the sleeve head and press carefully into shape. In the first picture, you can see the sleeve lining cut with extra ease at the seams and the armpit as described on page 4 of the instructions.

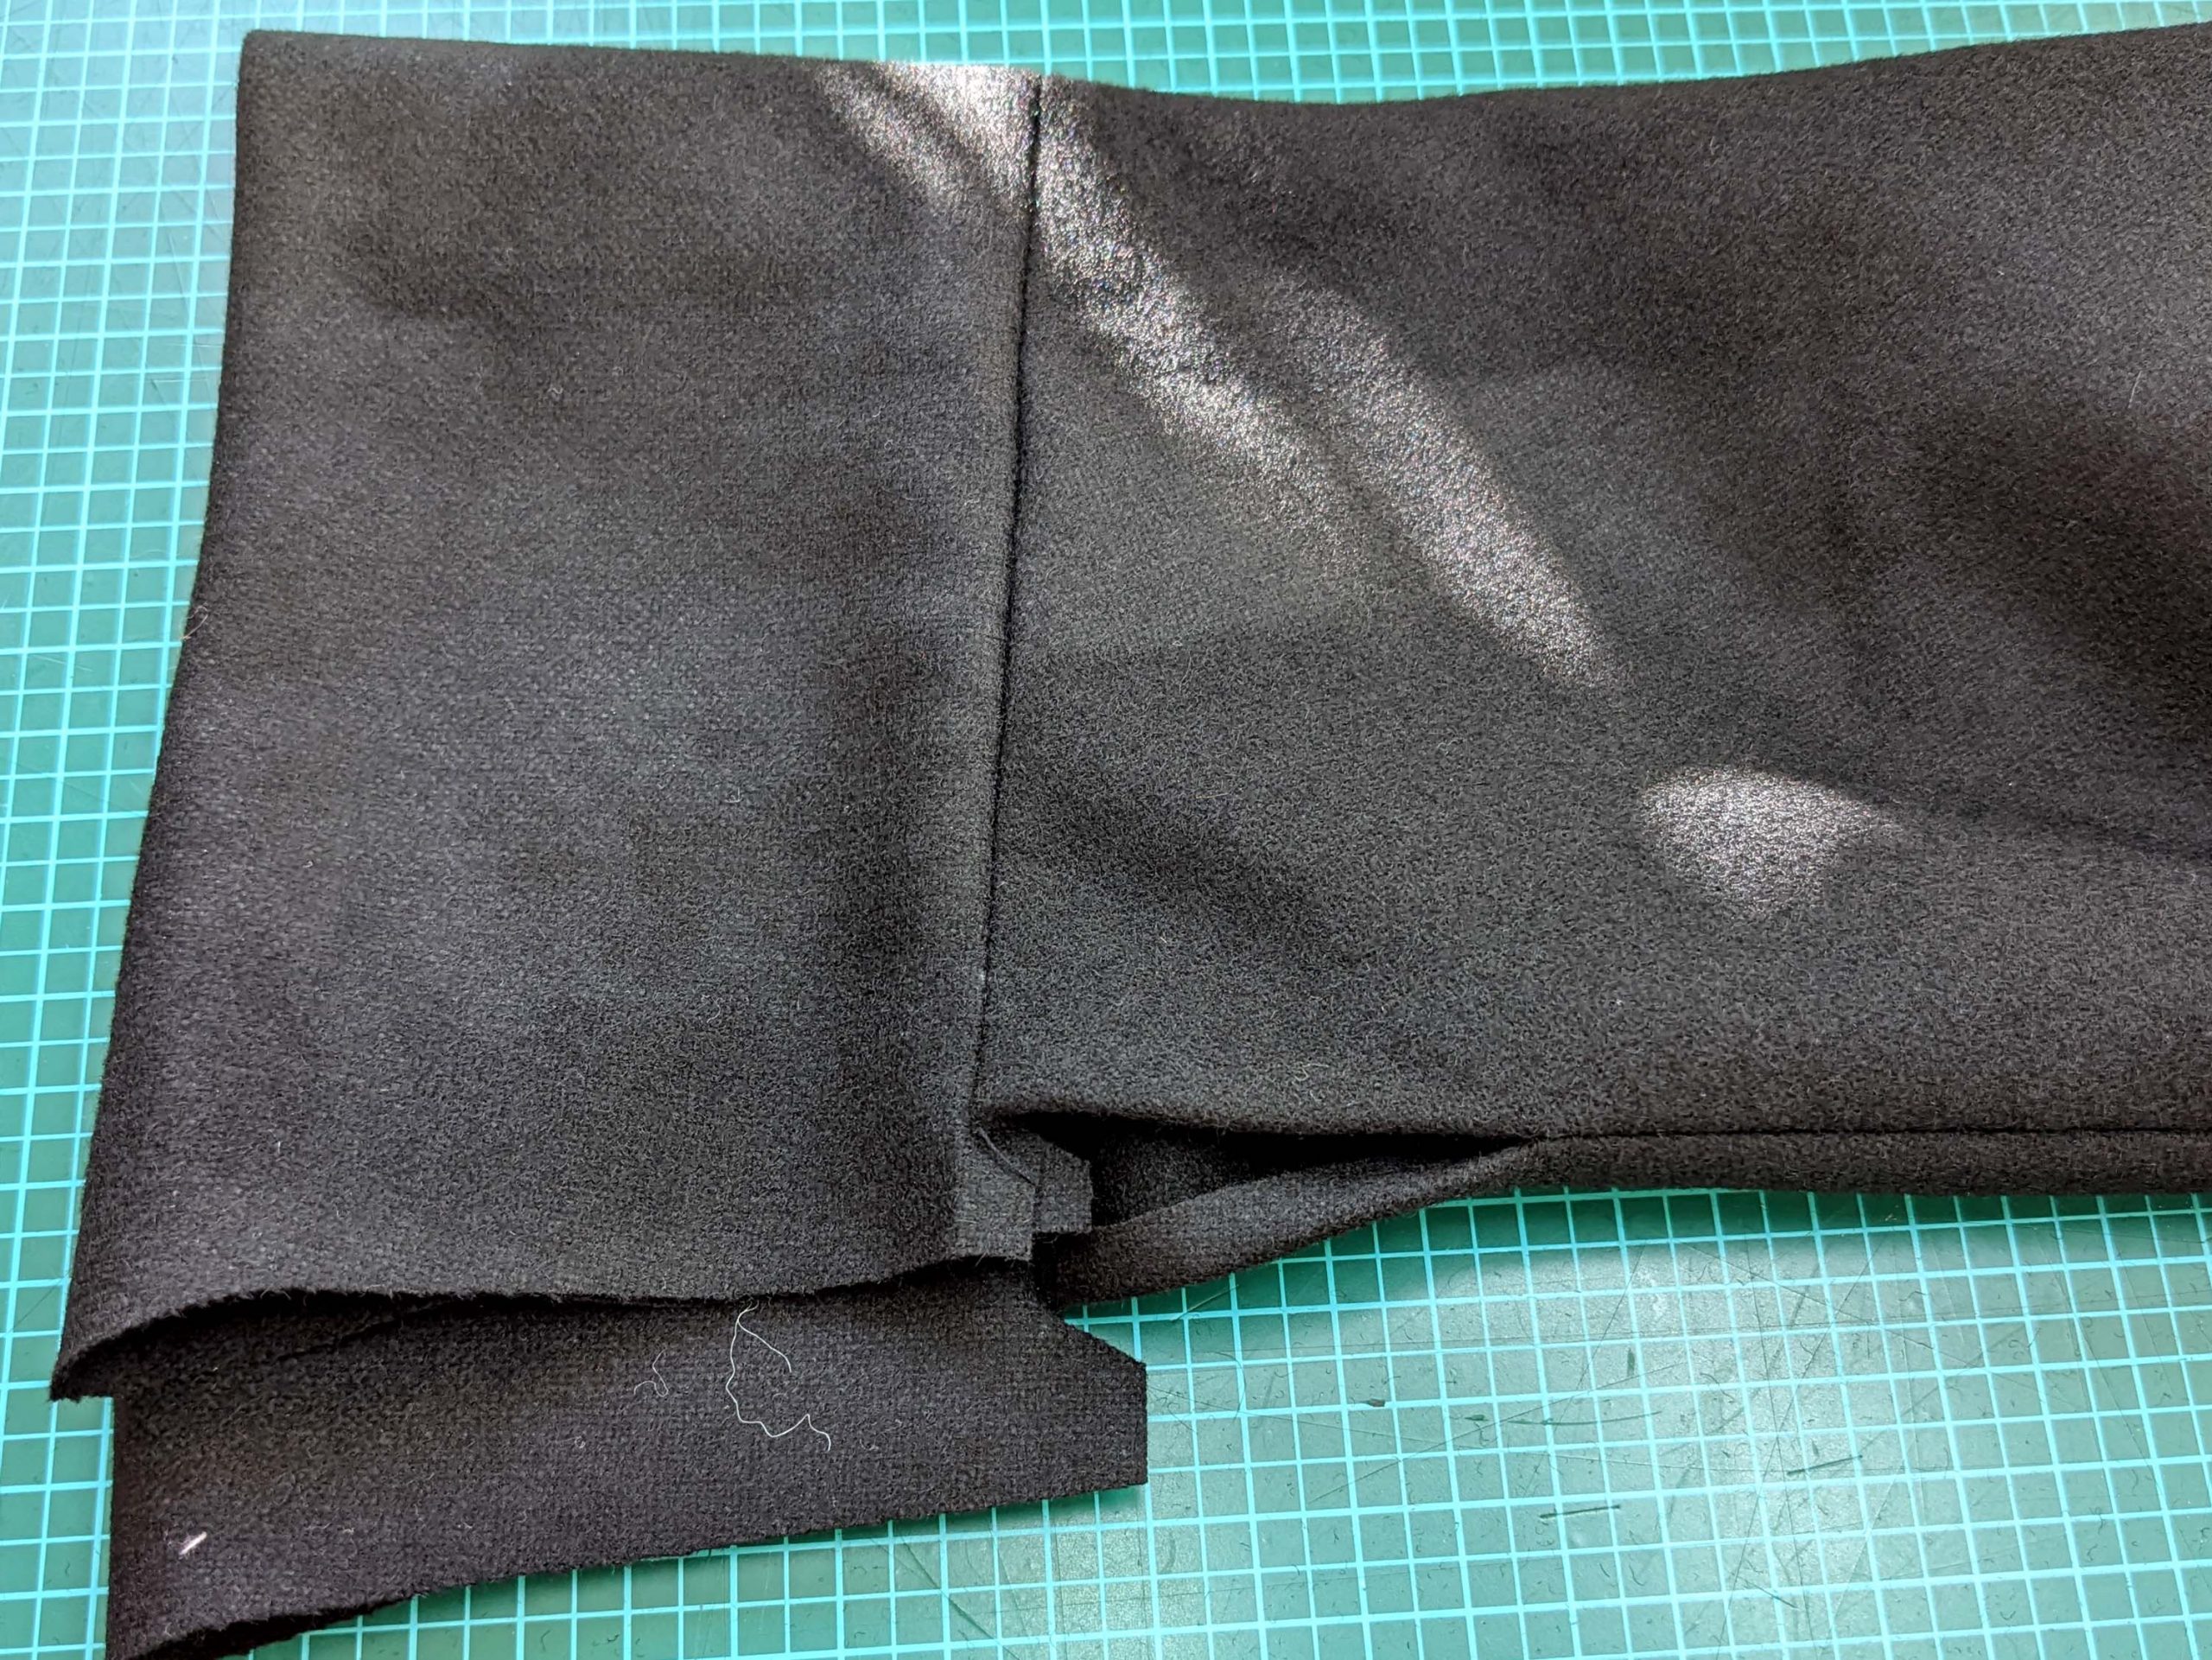
Take the cuff and fold it in half lengthwise, wrong sides together. Press the edge and reopen. Line up the cuff with the bottom edge of the sleeve, matching the marks, and sew. Don´t catch the seam allowances of the vent. Press open and, notch the seam allowances to avoid bulk as shown.
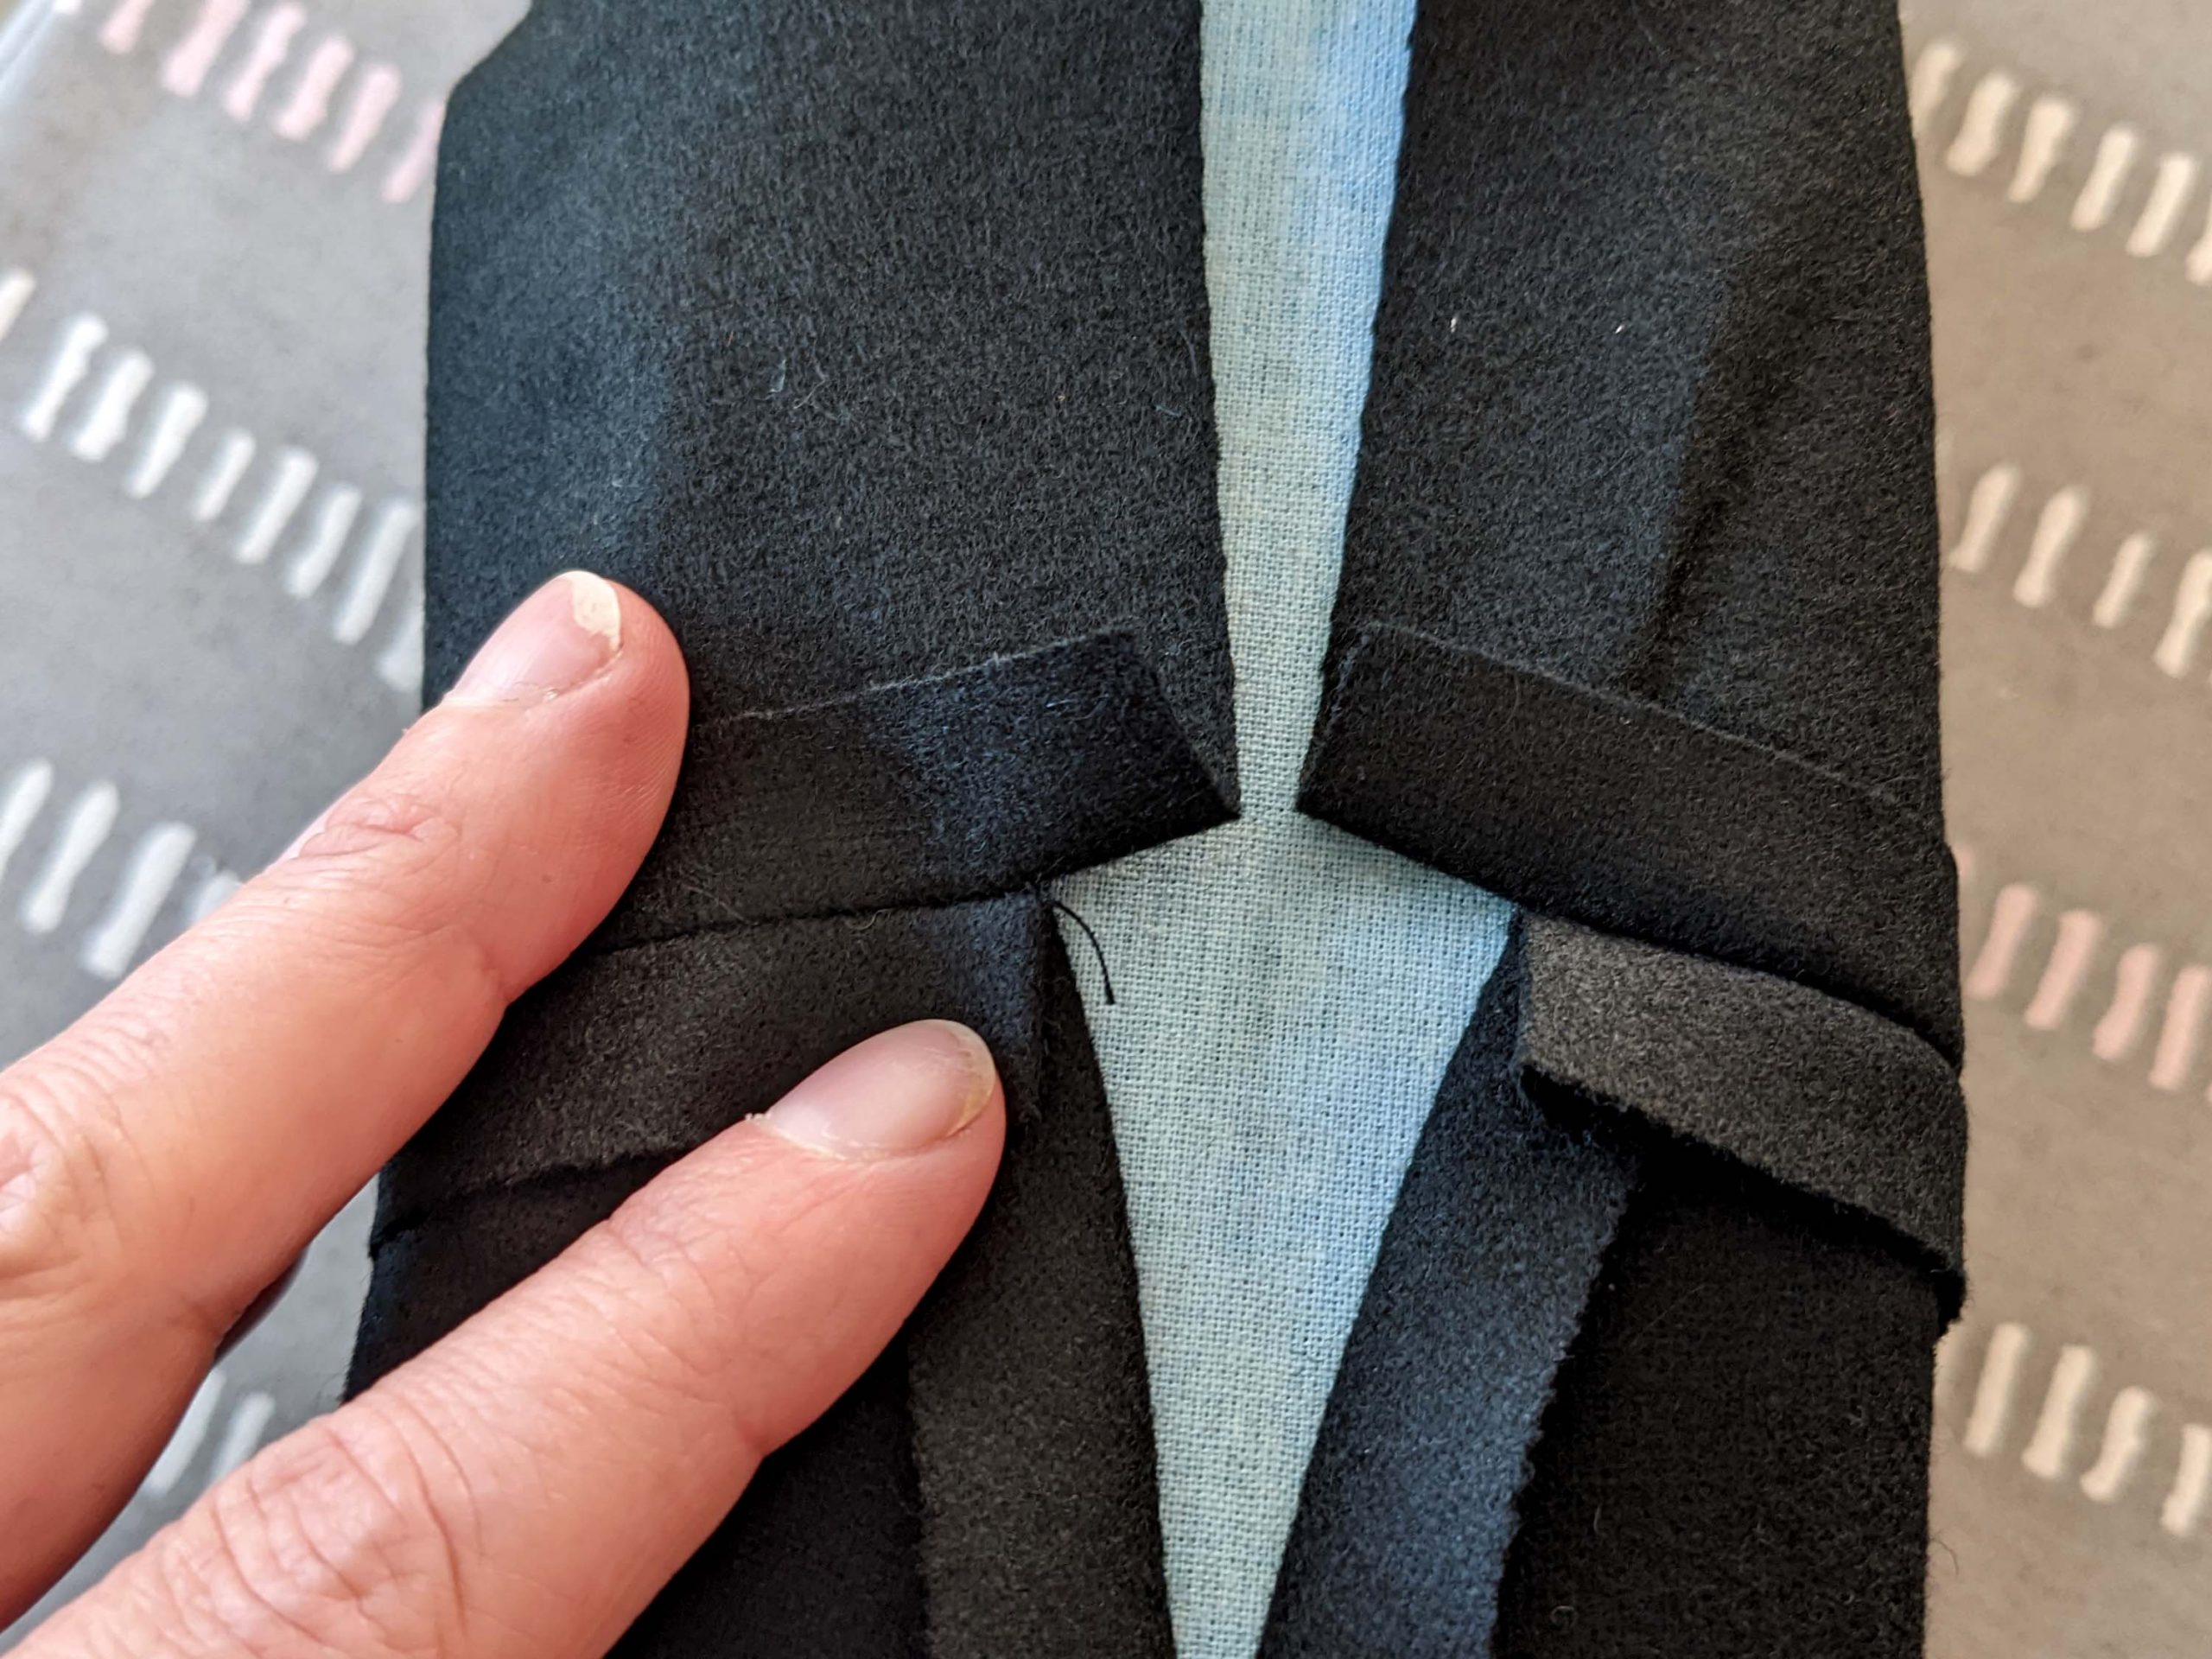
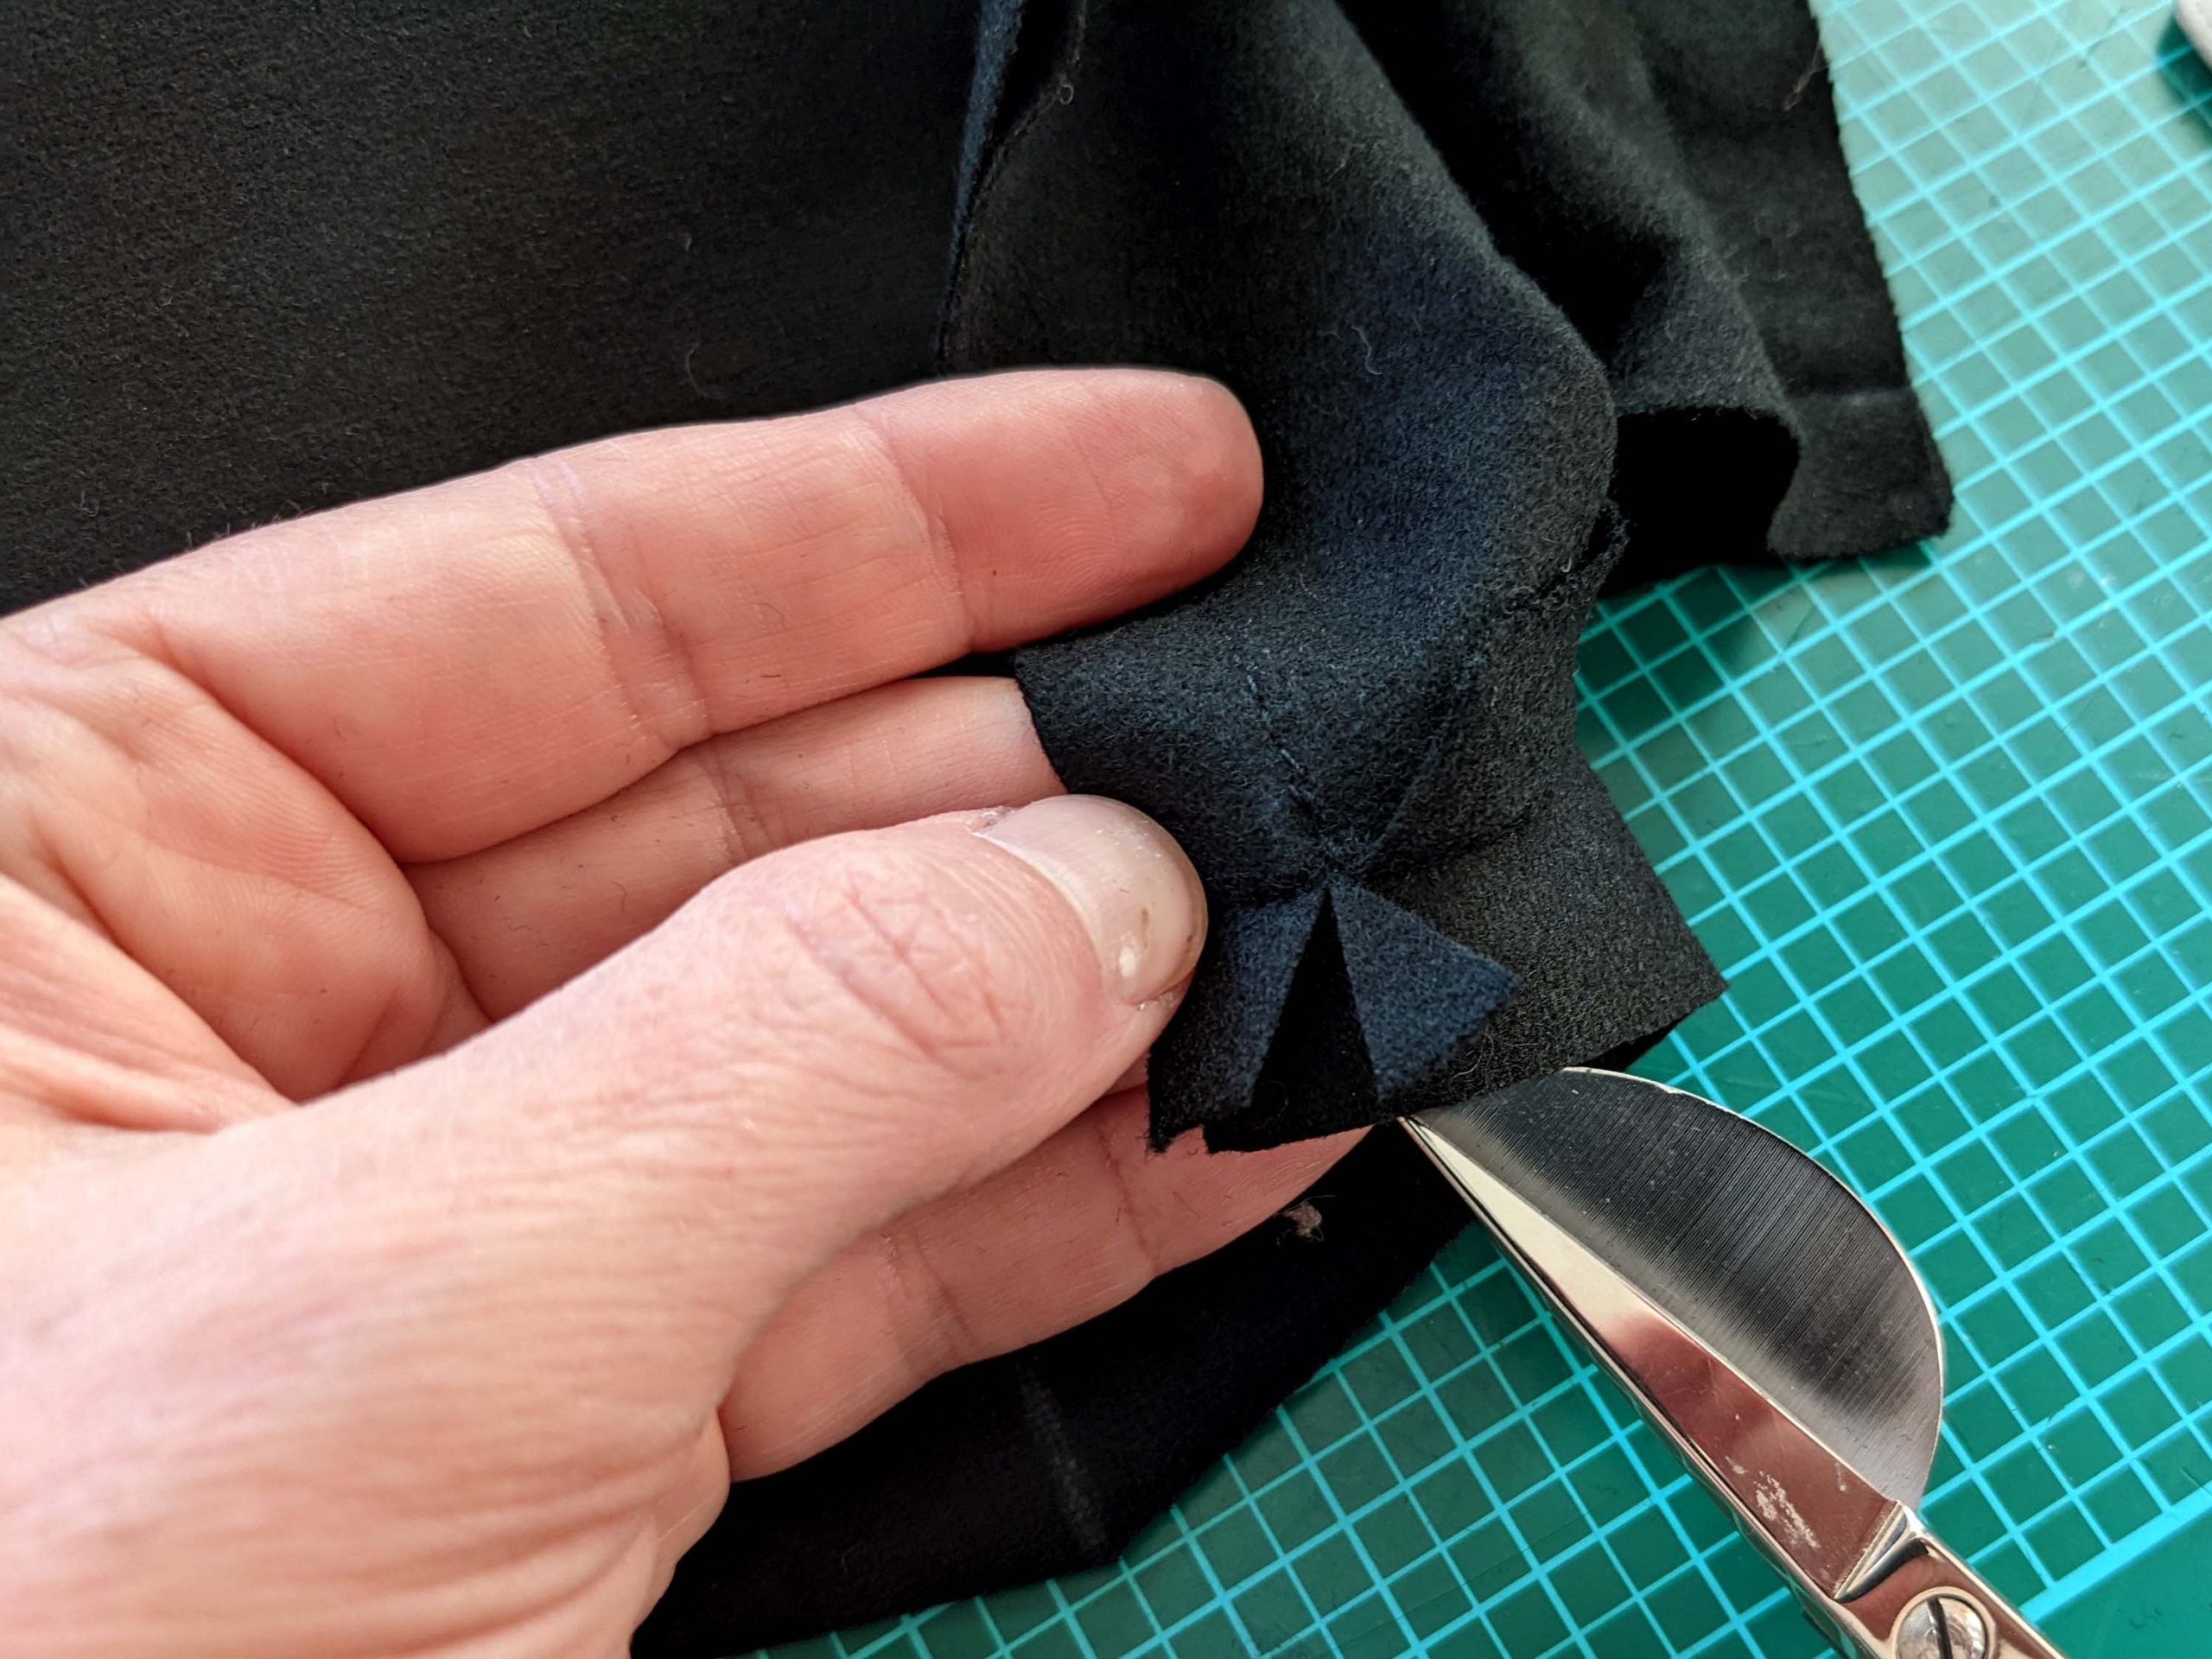

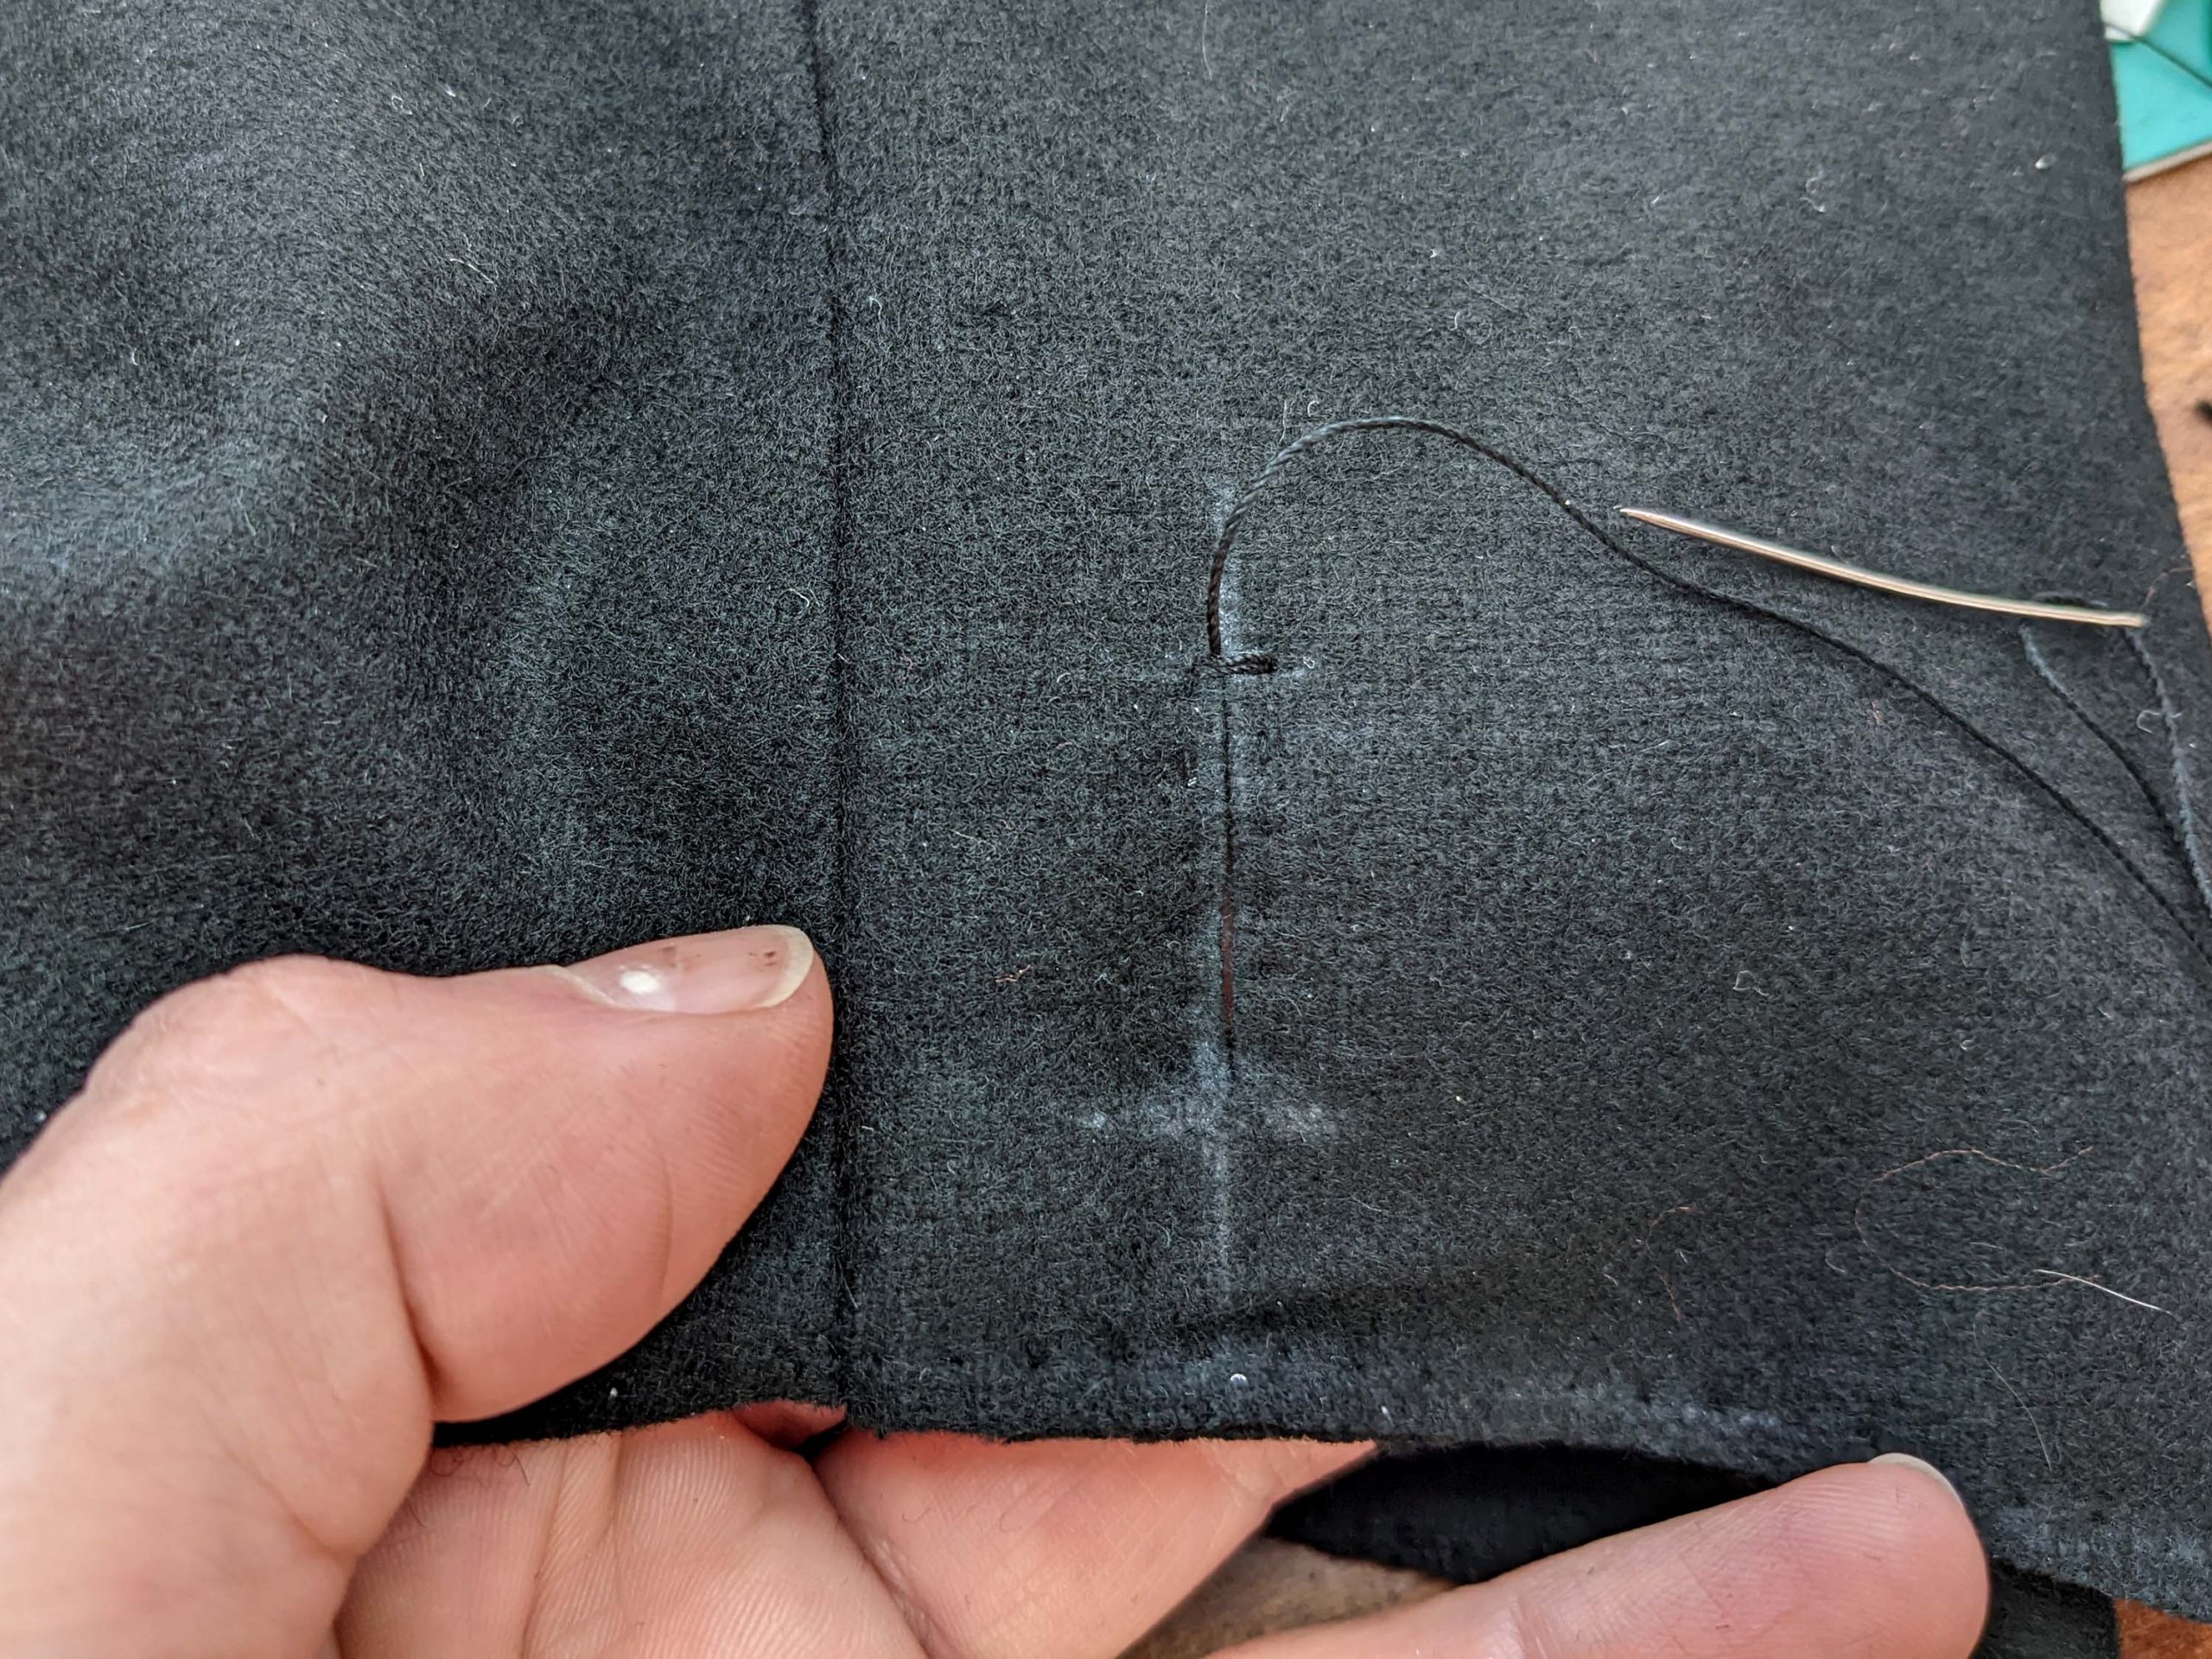
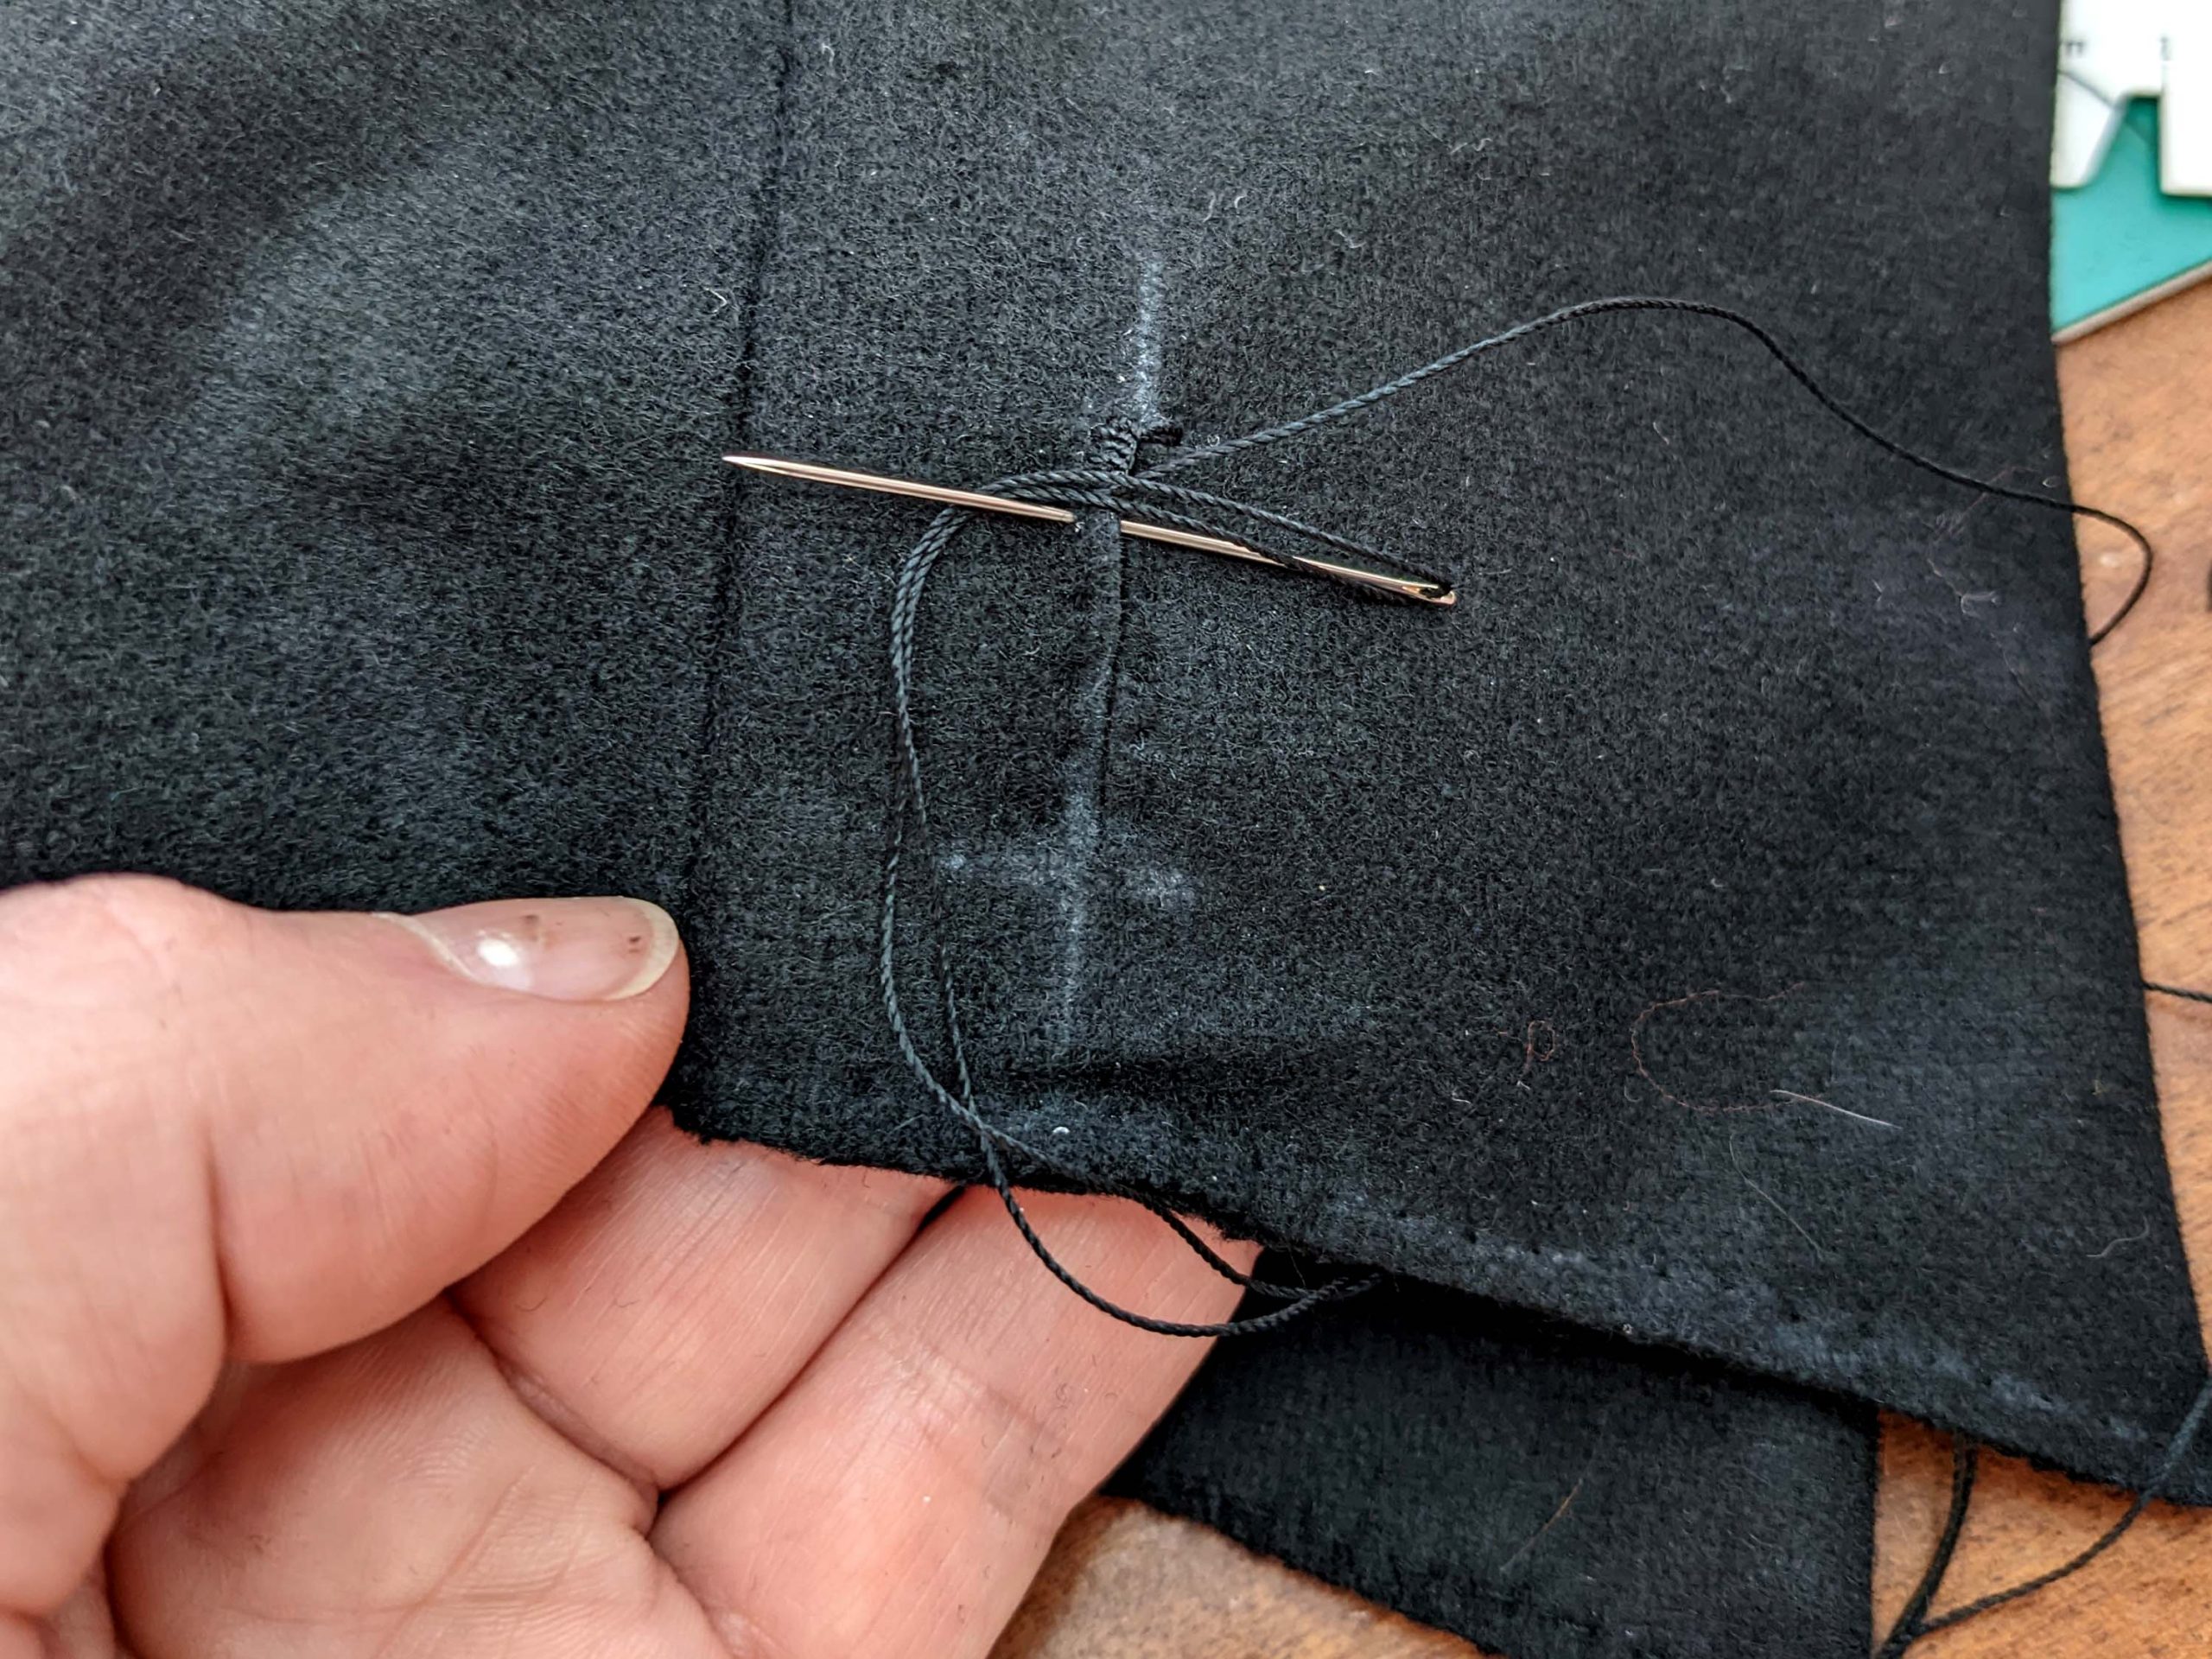
Fold the cuff wrong sides together again, and turn in the seam allowances along the bottom edge, lining up the edge with the stitching line of the cuff. Again, trim back and notch the seam allowances to avoid bulk. Fell down the edge of the cuff along the stitching line.

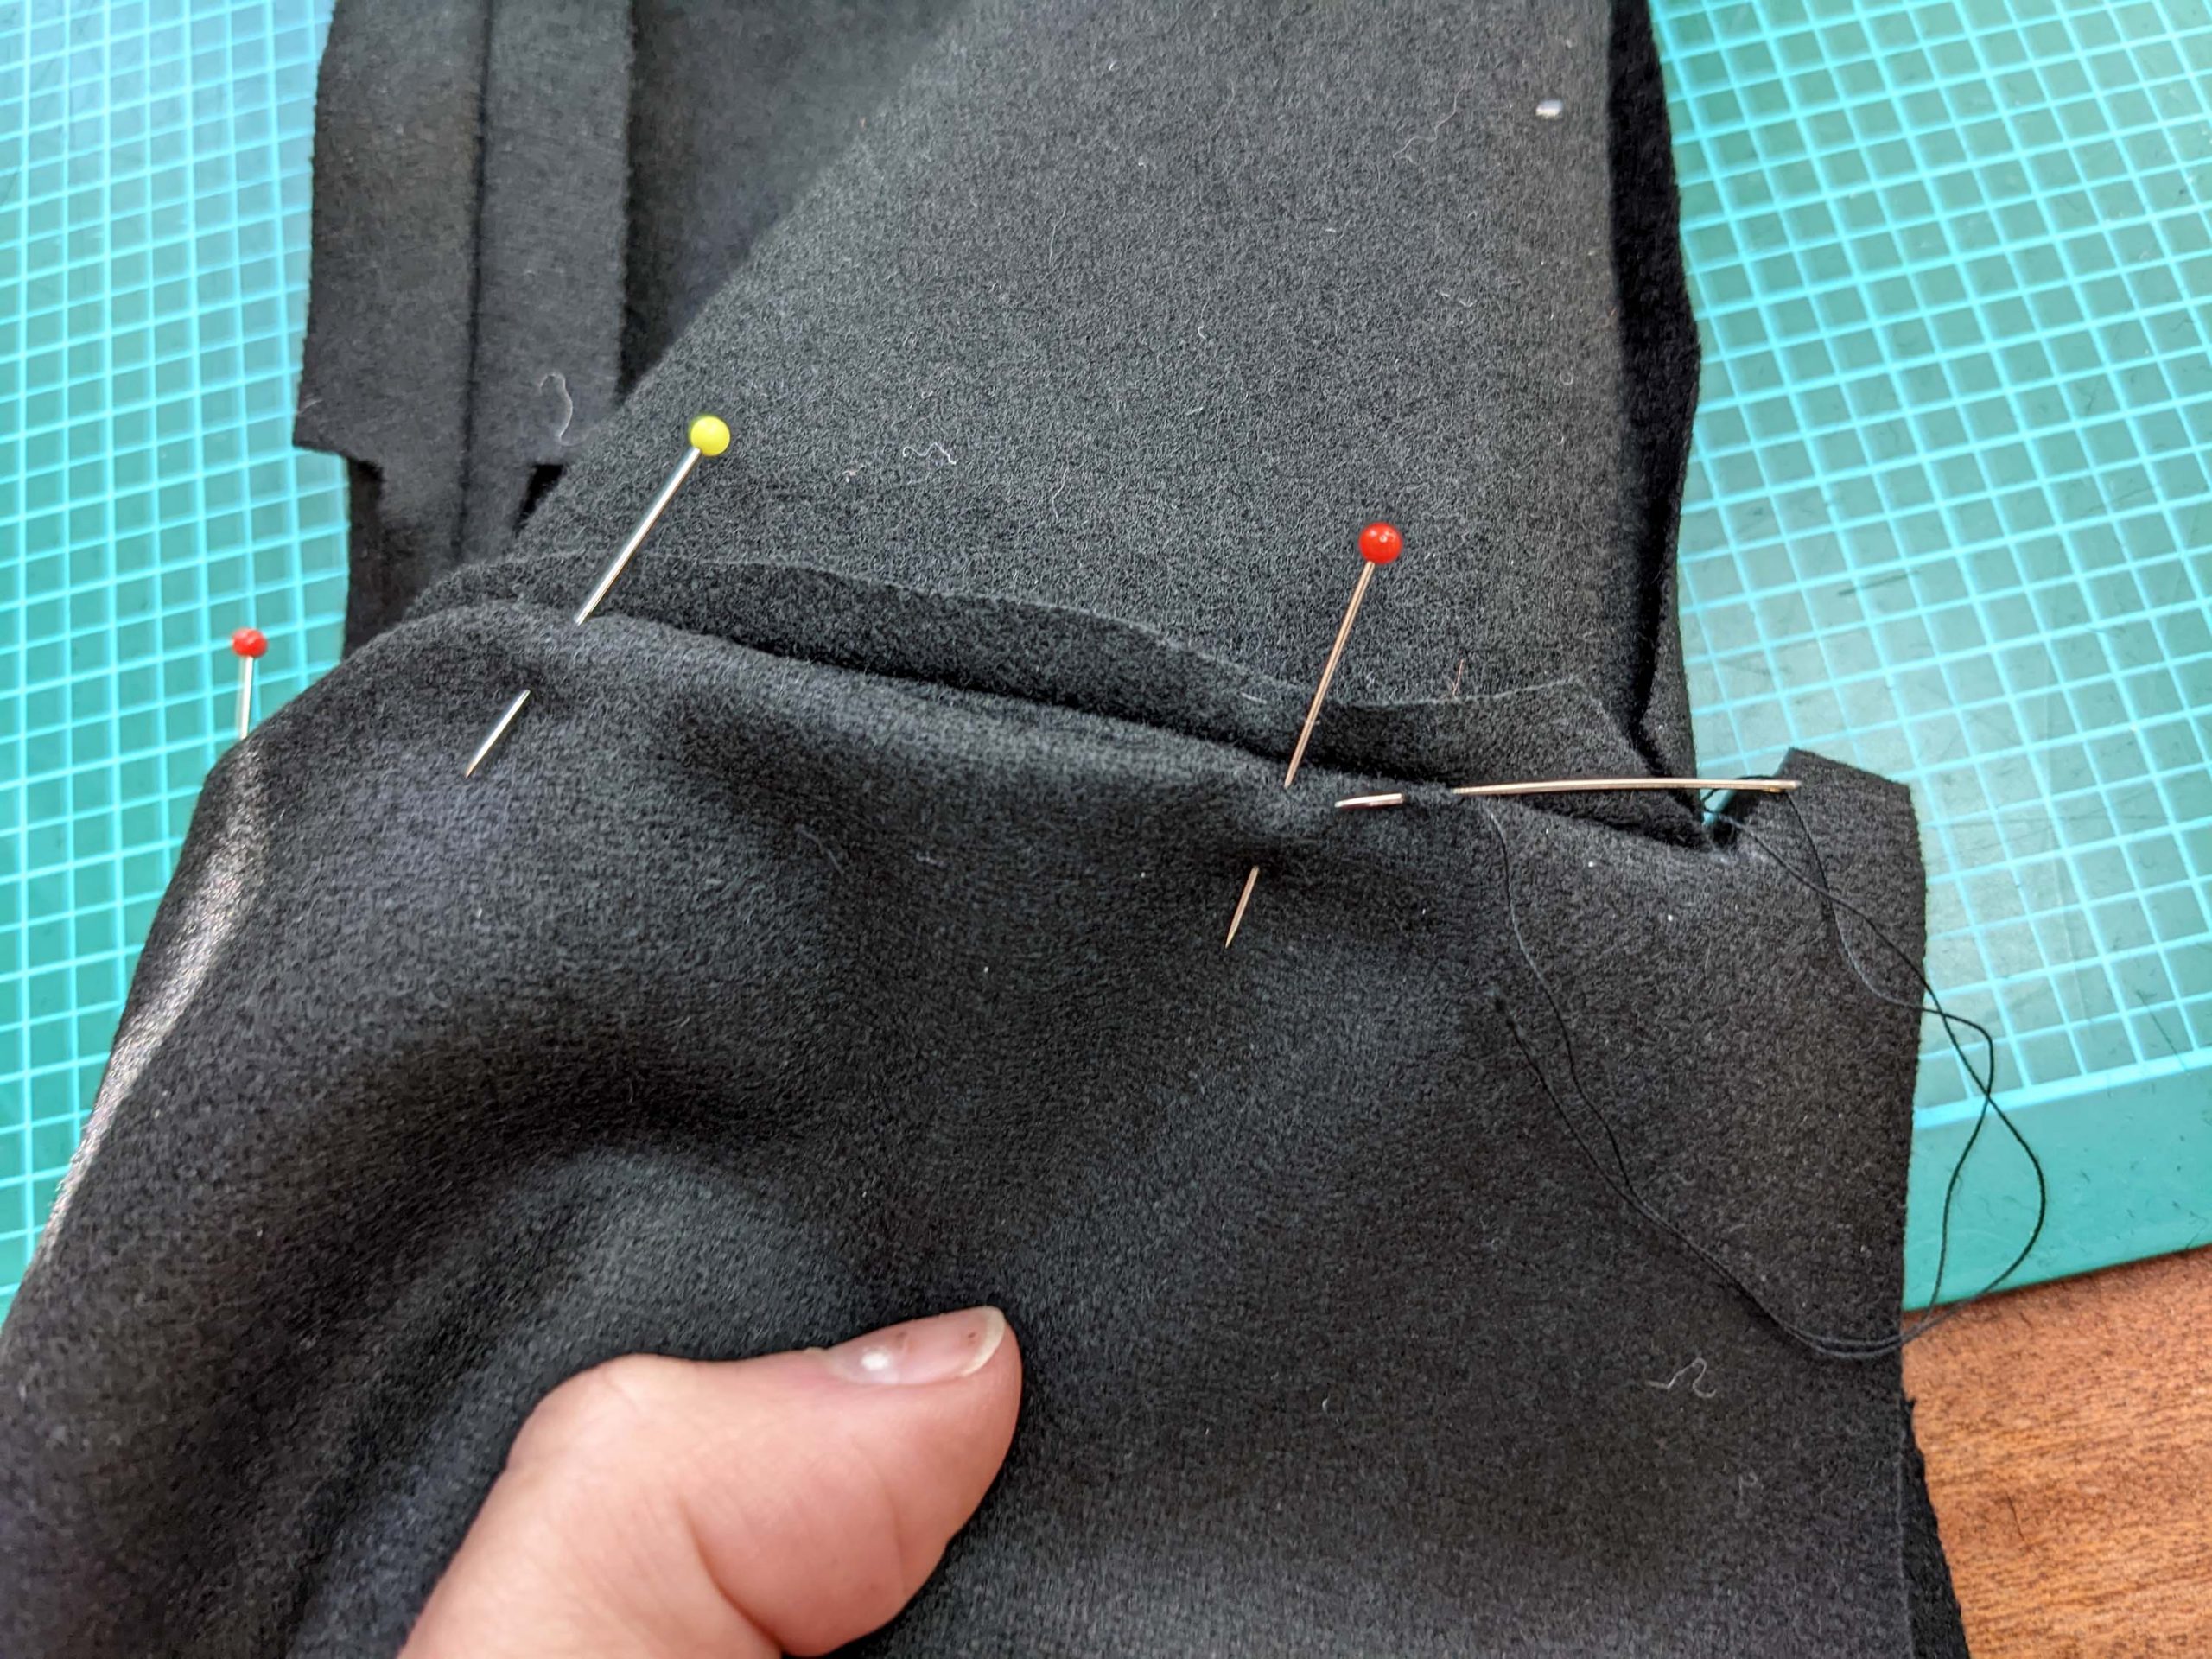
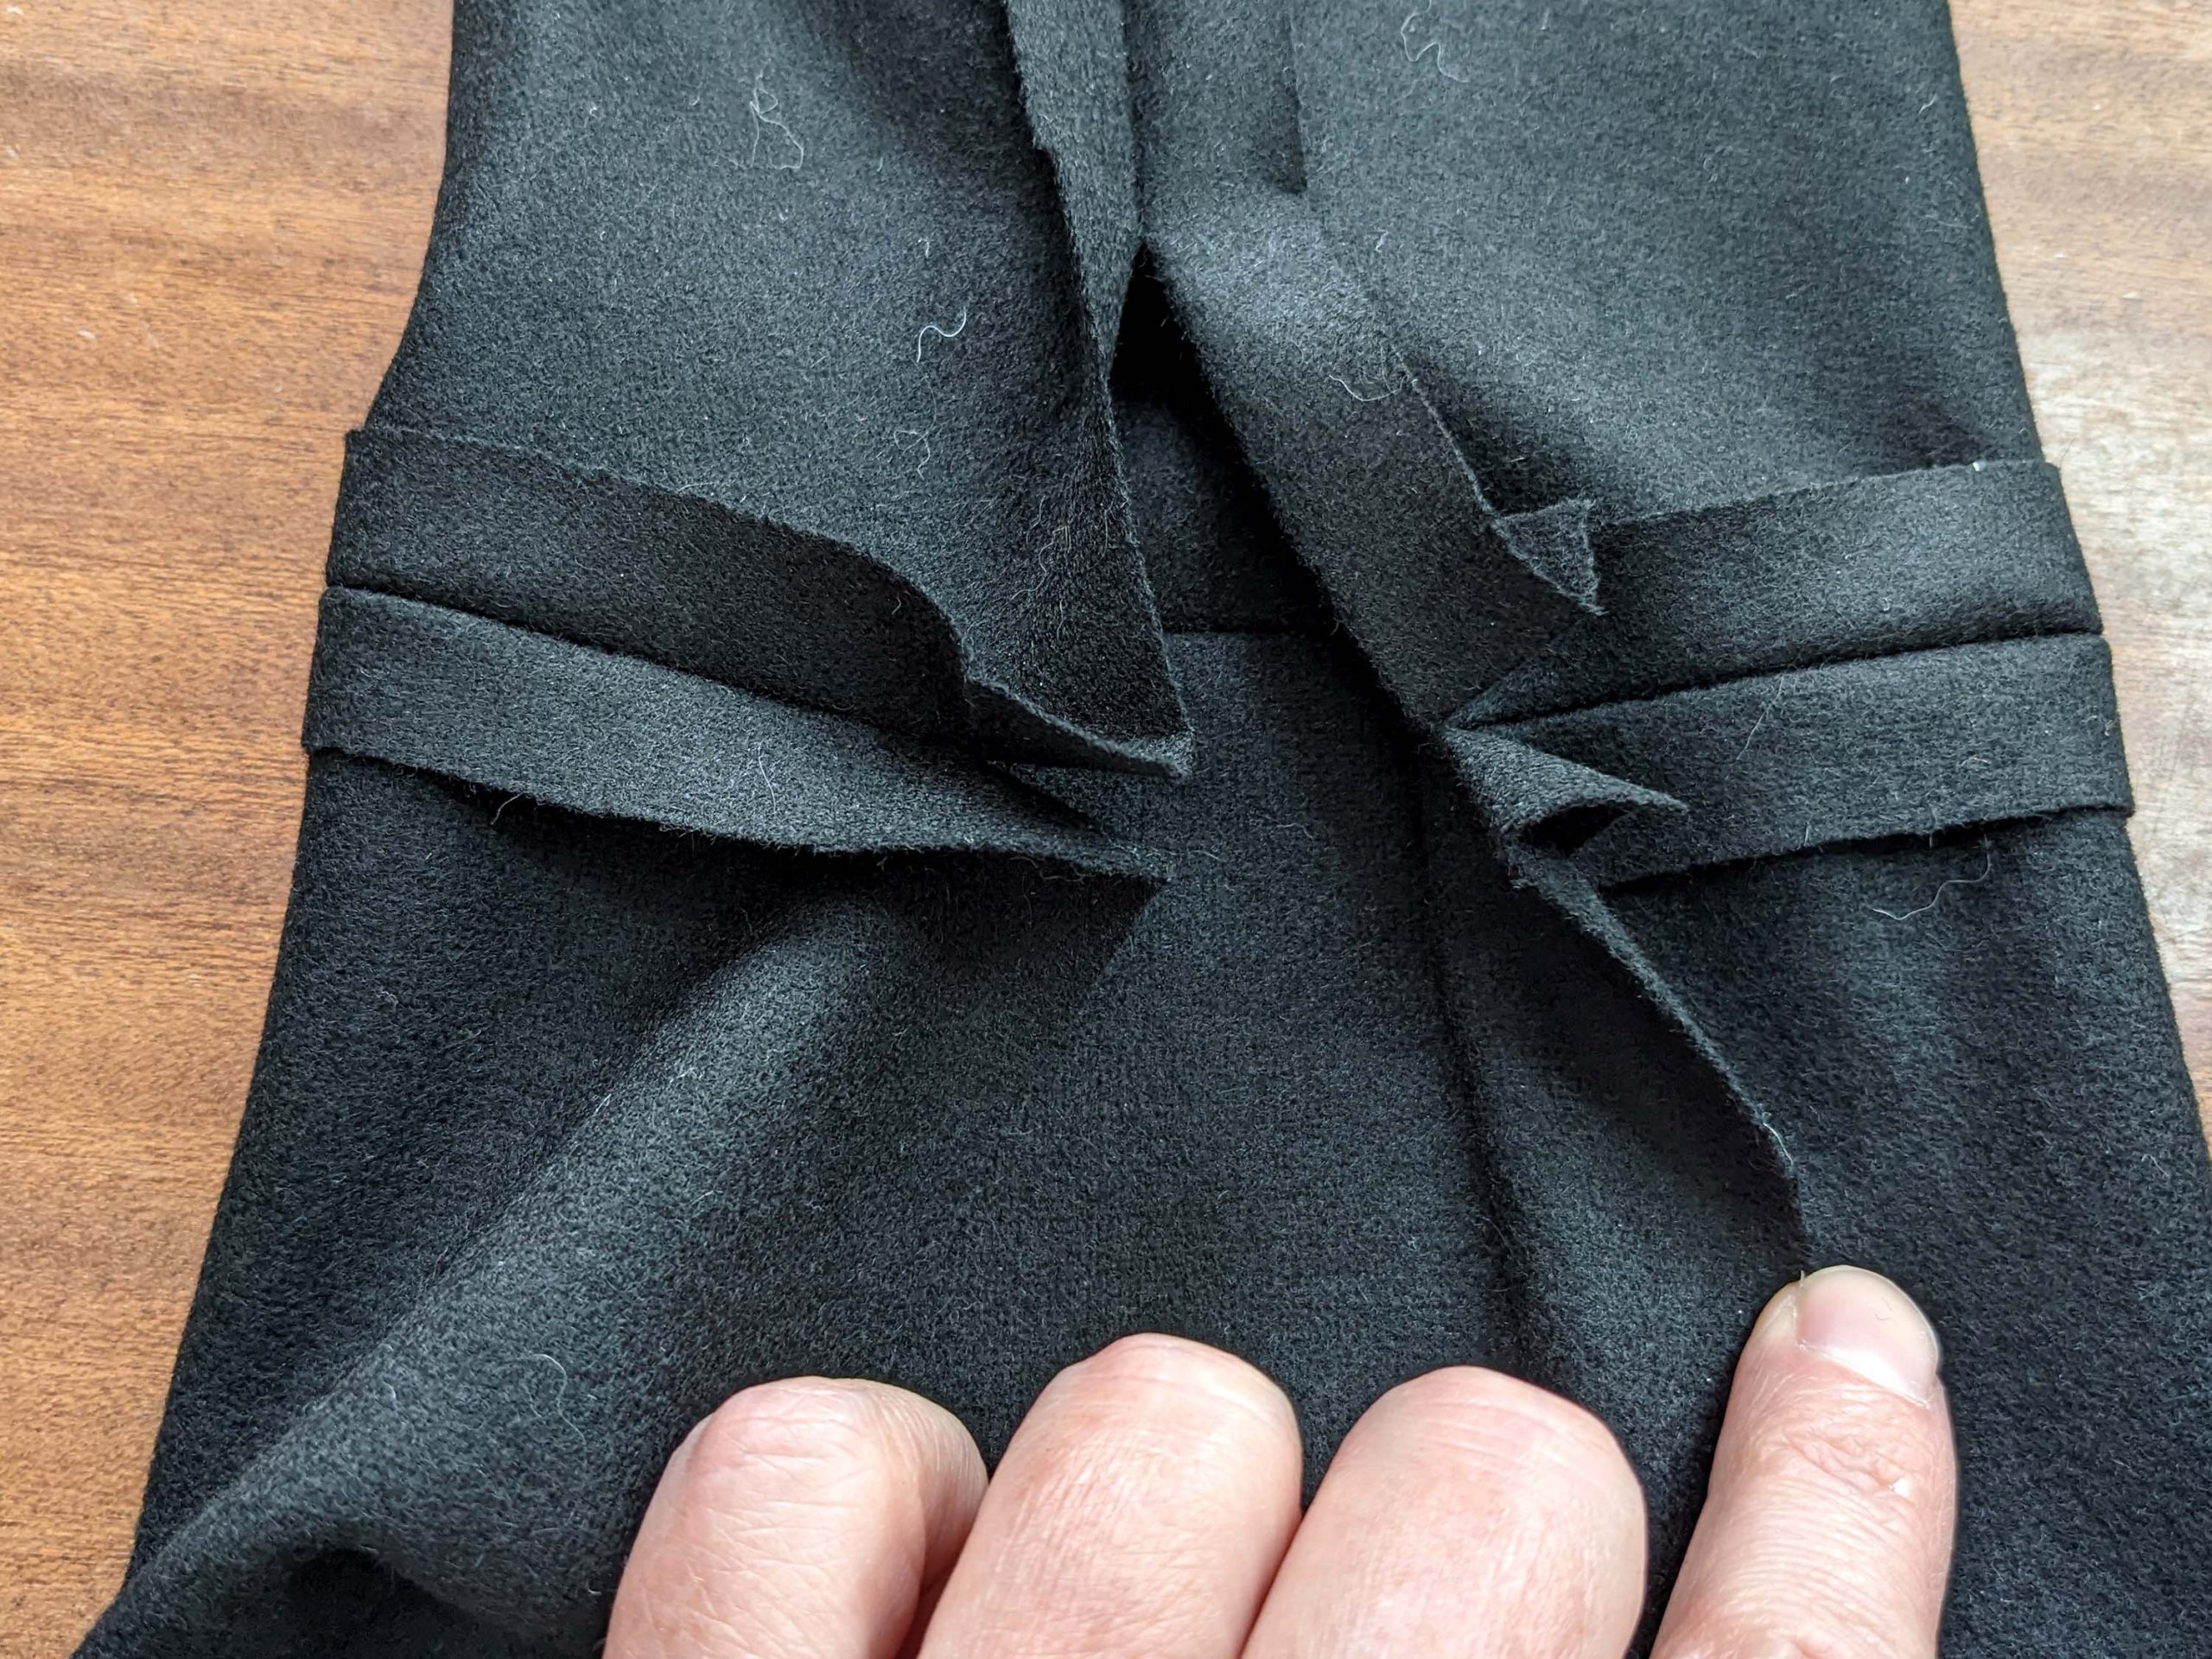
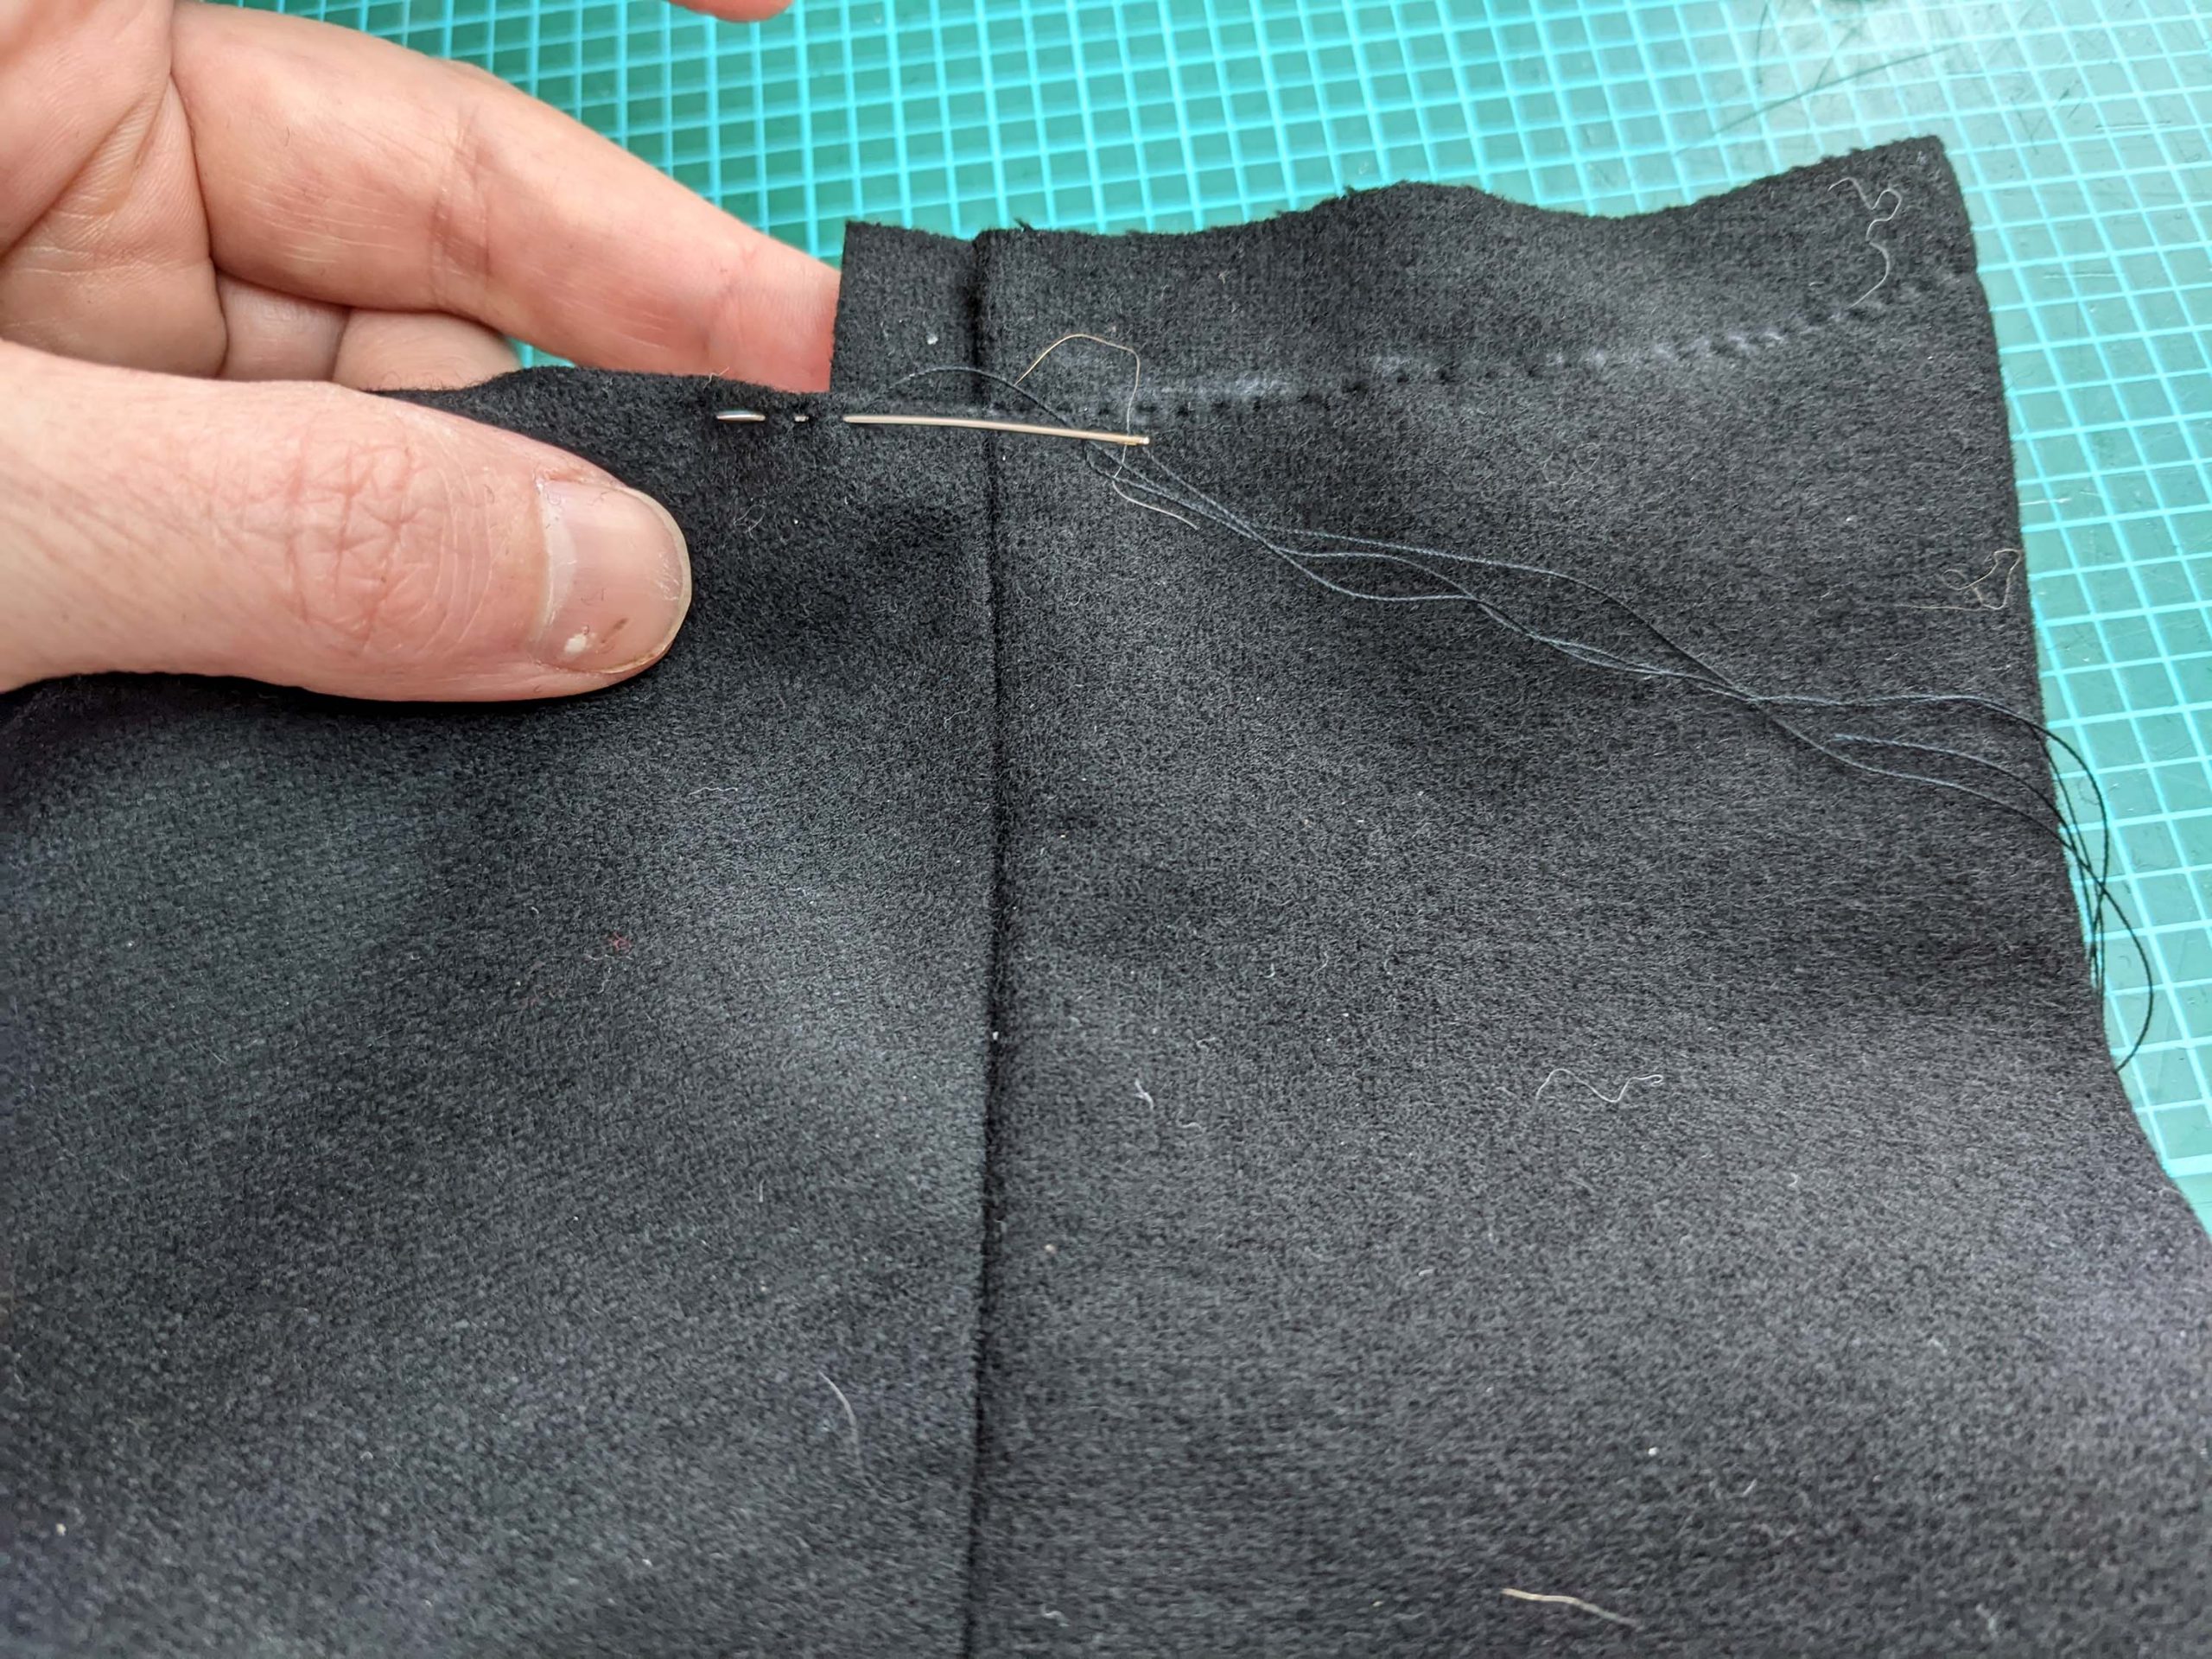
Sew along the short edge of the cuff with a running stitch as described on page 3 of the instructions, and continue the stitching along the vent edge.
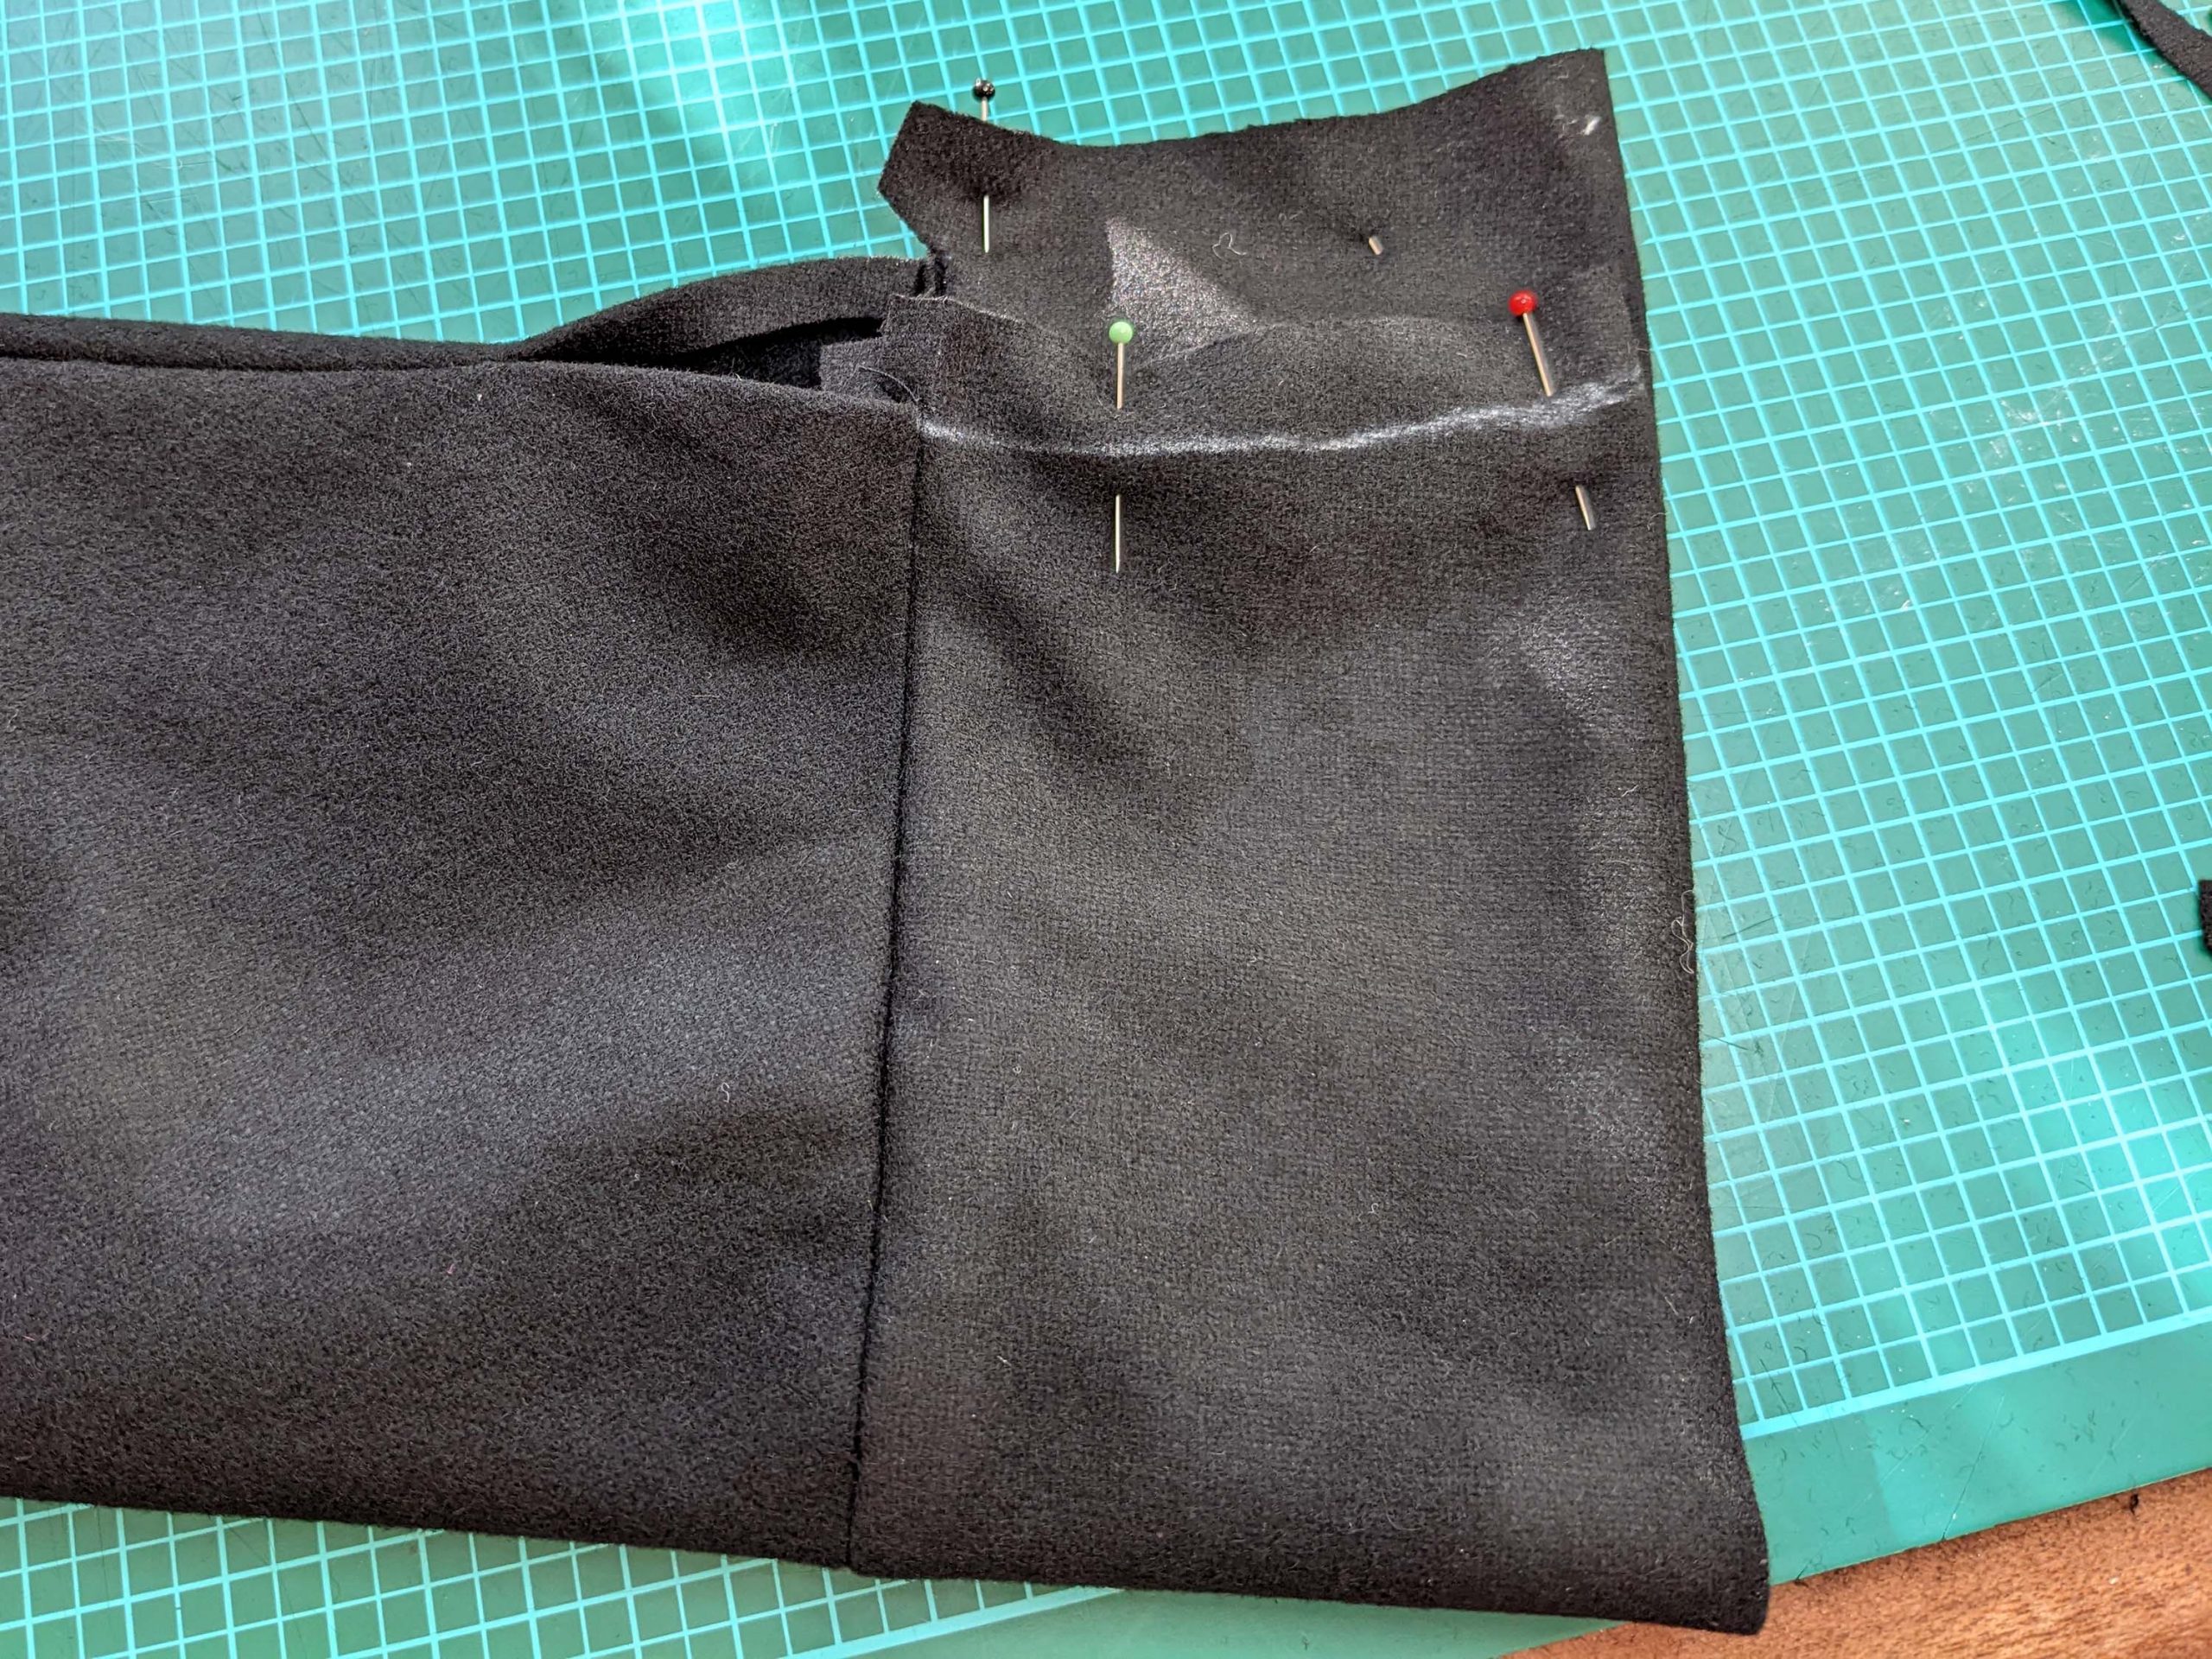


Line up the bottom edge of the sleeve lining with the cuff seam, wrong sides together. Fell stitch in place along the bottom edge and the vent. At this point I decided to sew my button holes before sewing the sleeve to the tailcoat to keep things easier.

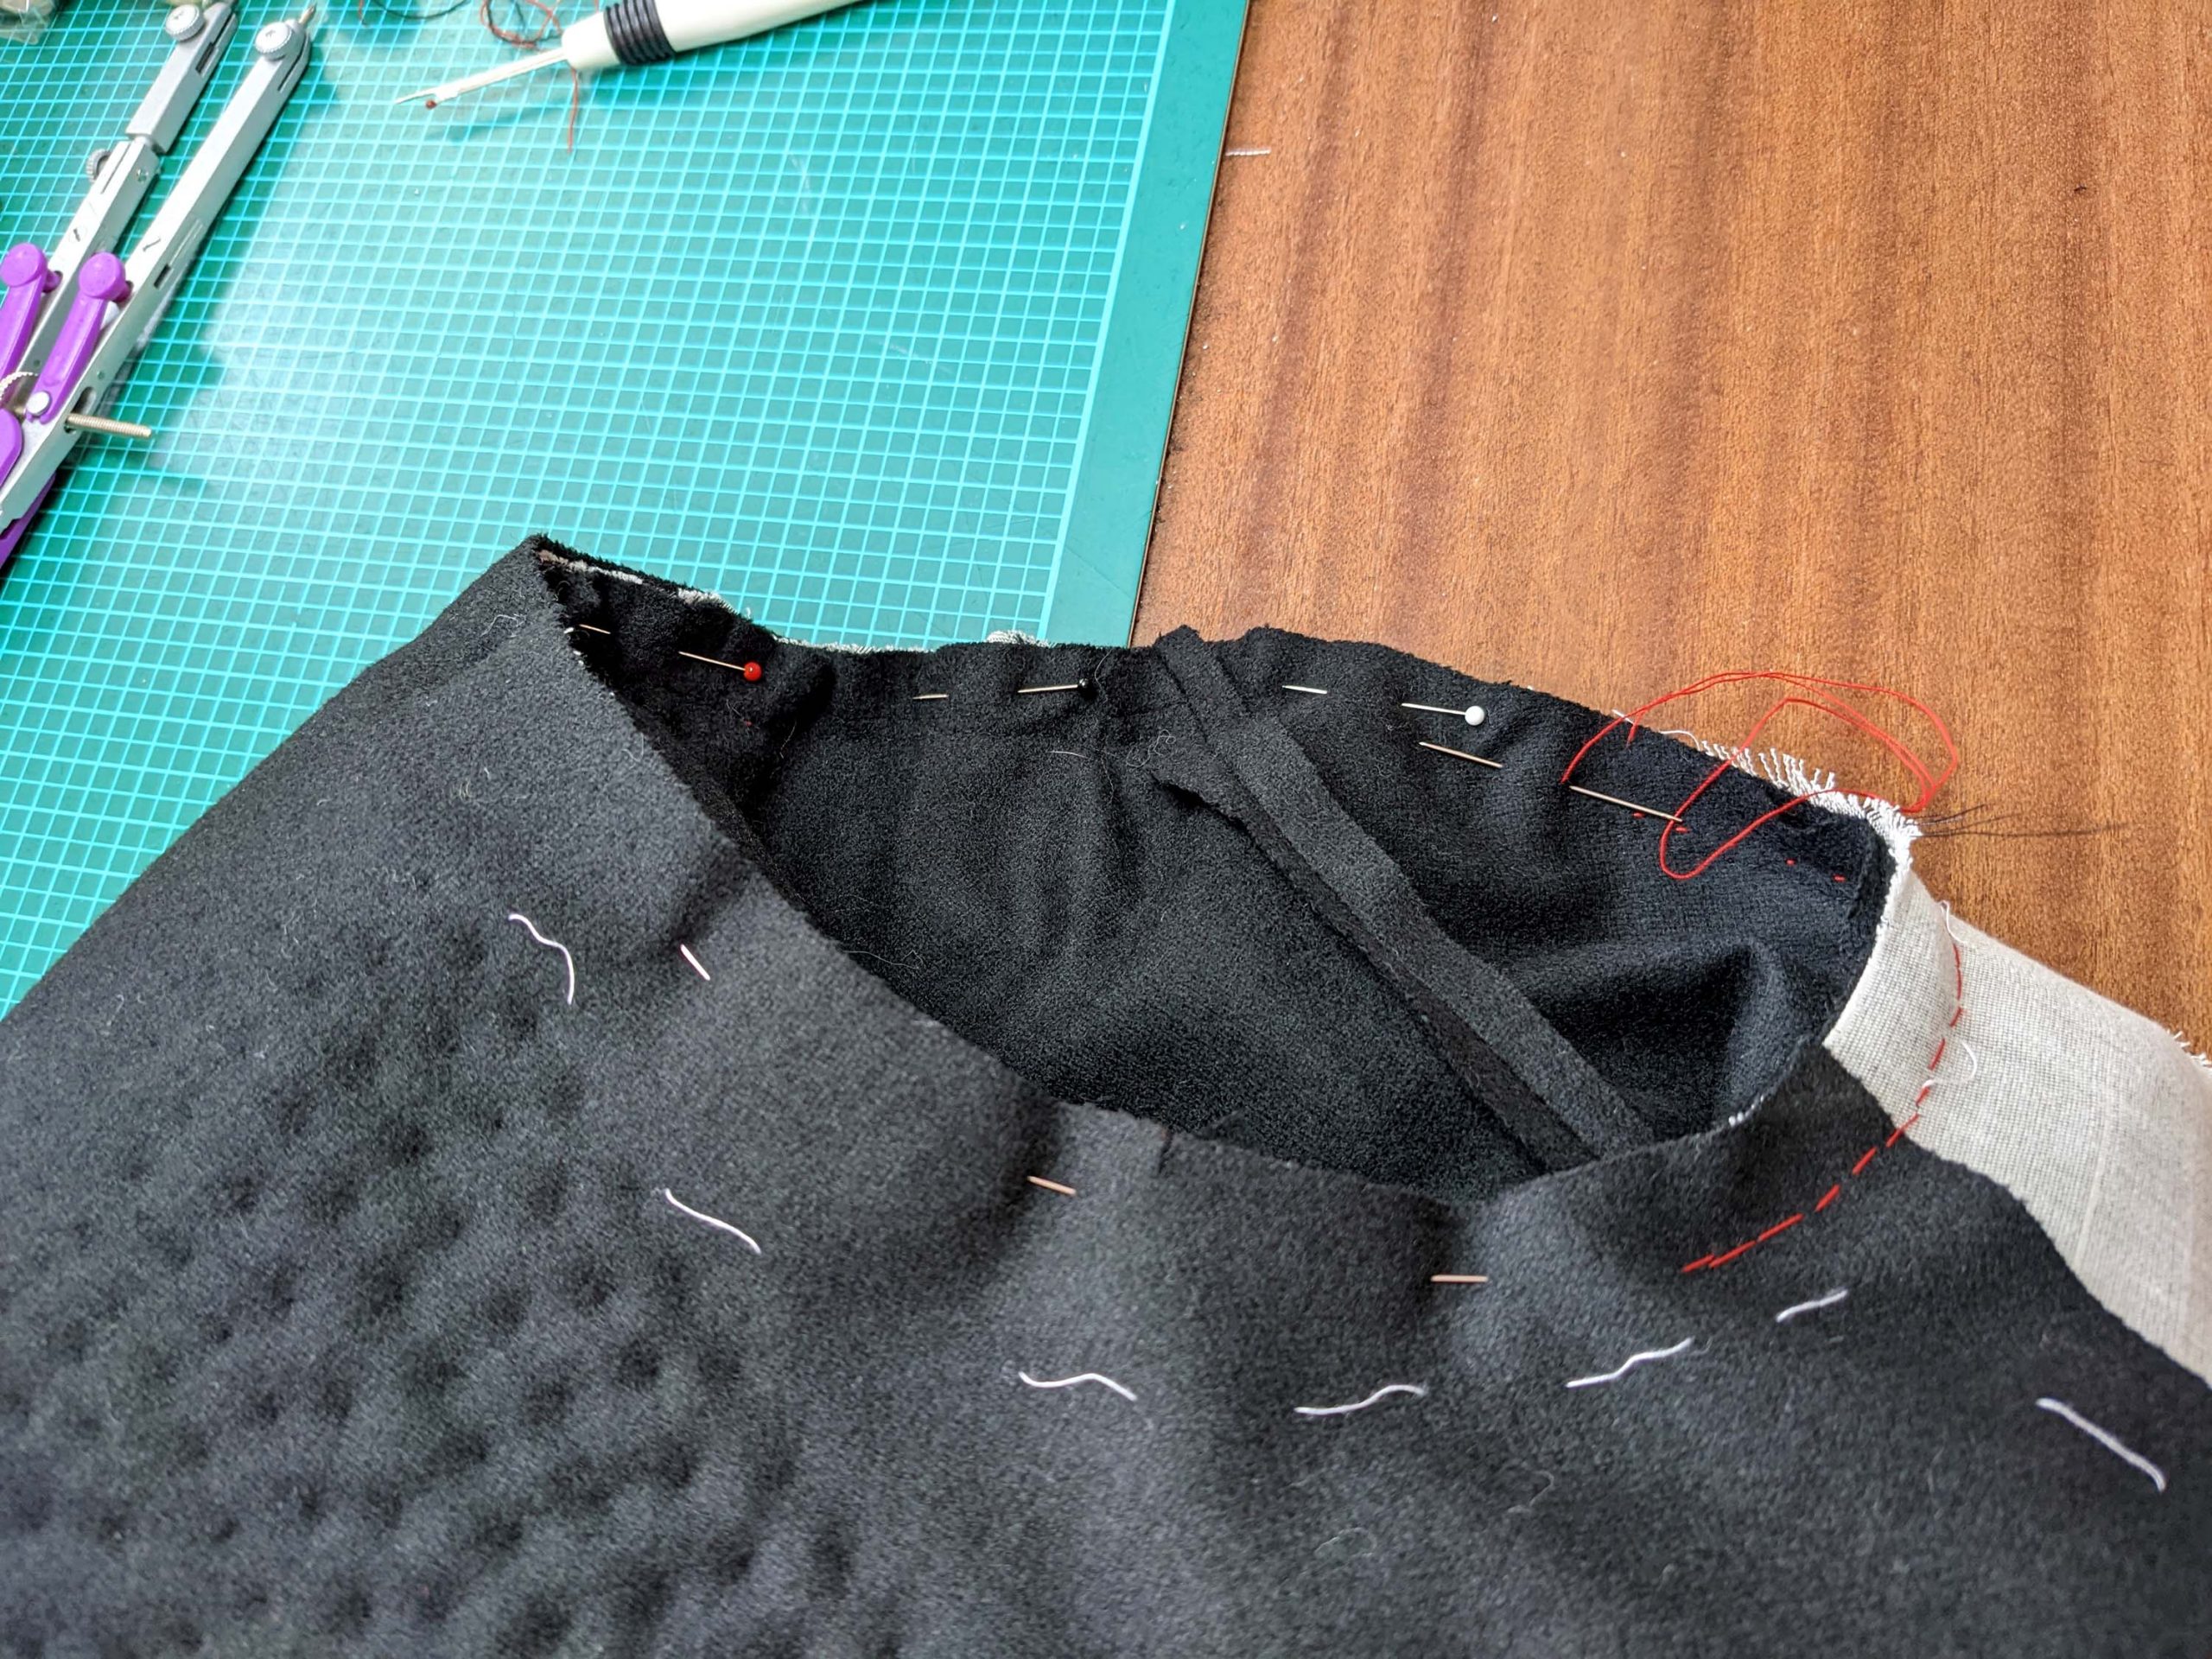
First baste, then sew the sleeve to the armhole, right sides together, matching all marks. Just catch the fashion fabric of the front and back, fold the front canvas and the front-facing to the side when sewing, and remove some of the basting stitches of the canvas and facing when needed.

(10) After sewing, place back the canvas and facing on top of the seam again and smooth out. Sew the loose edge of the front-facing to the canvas with loose pad stitches.
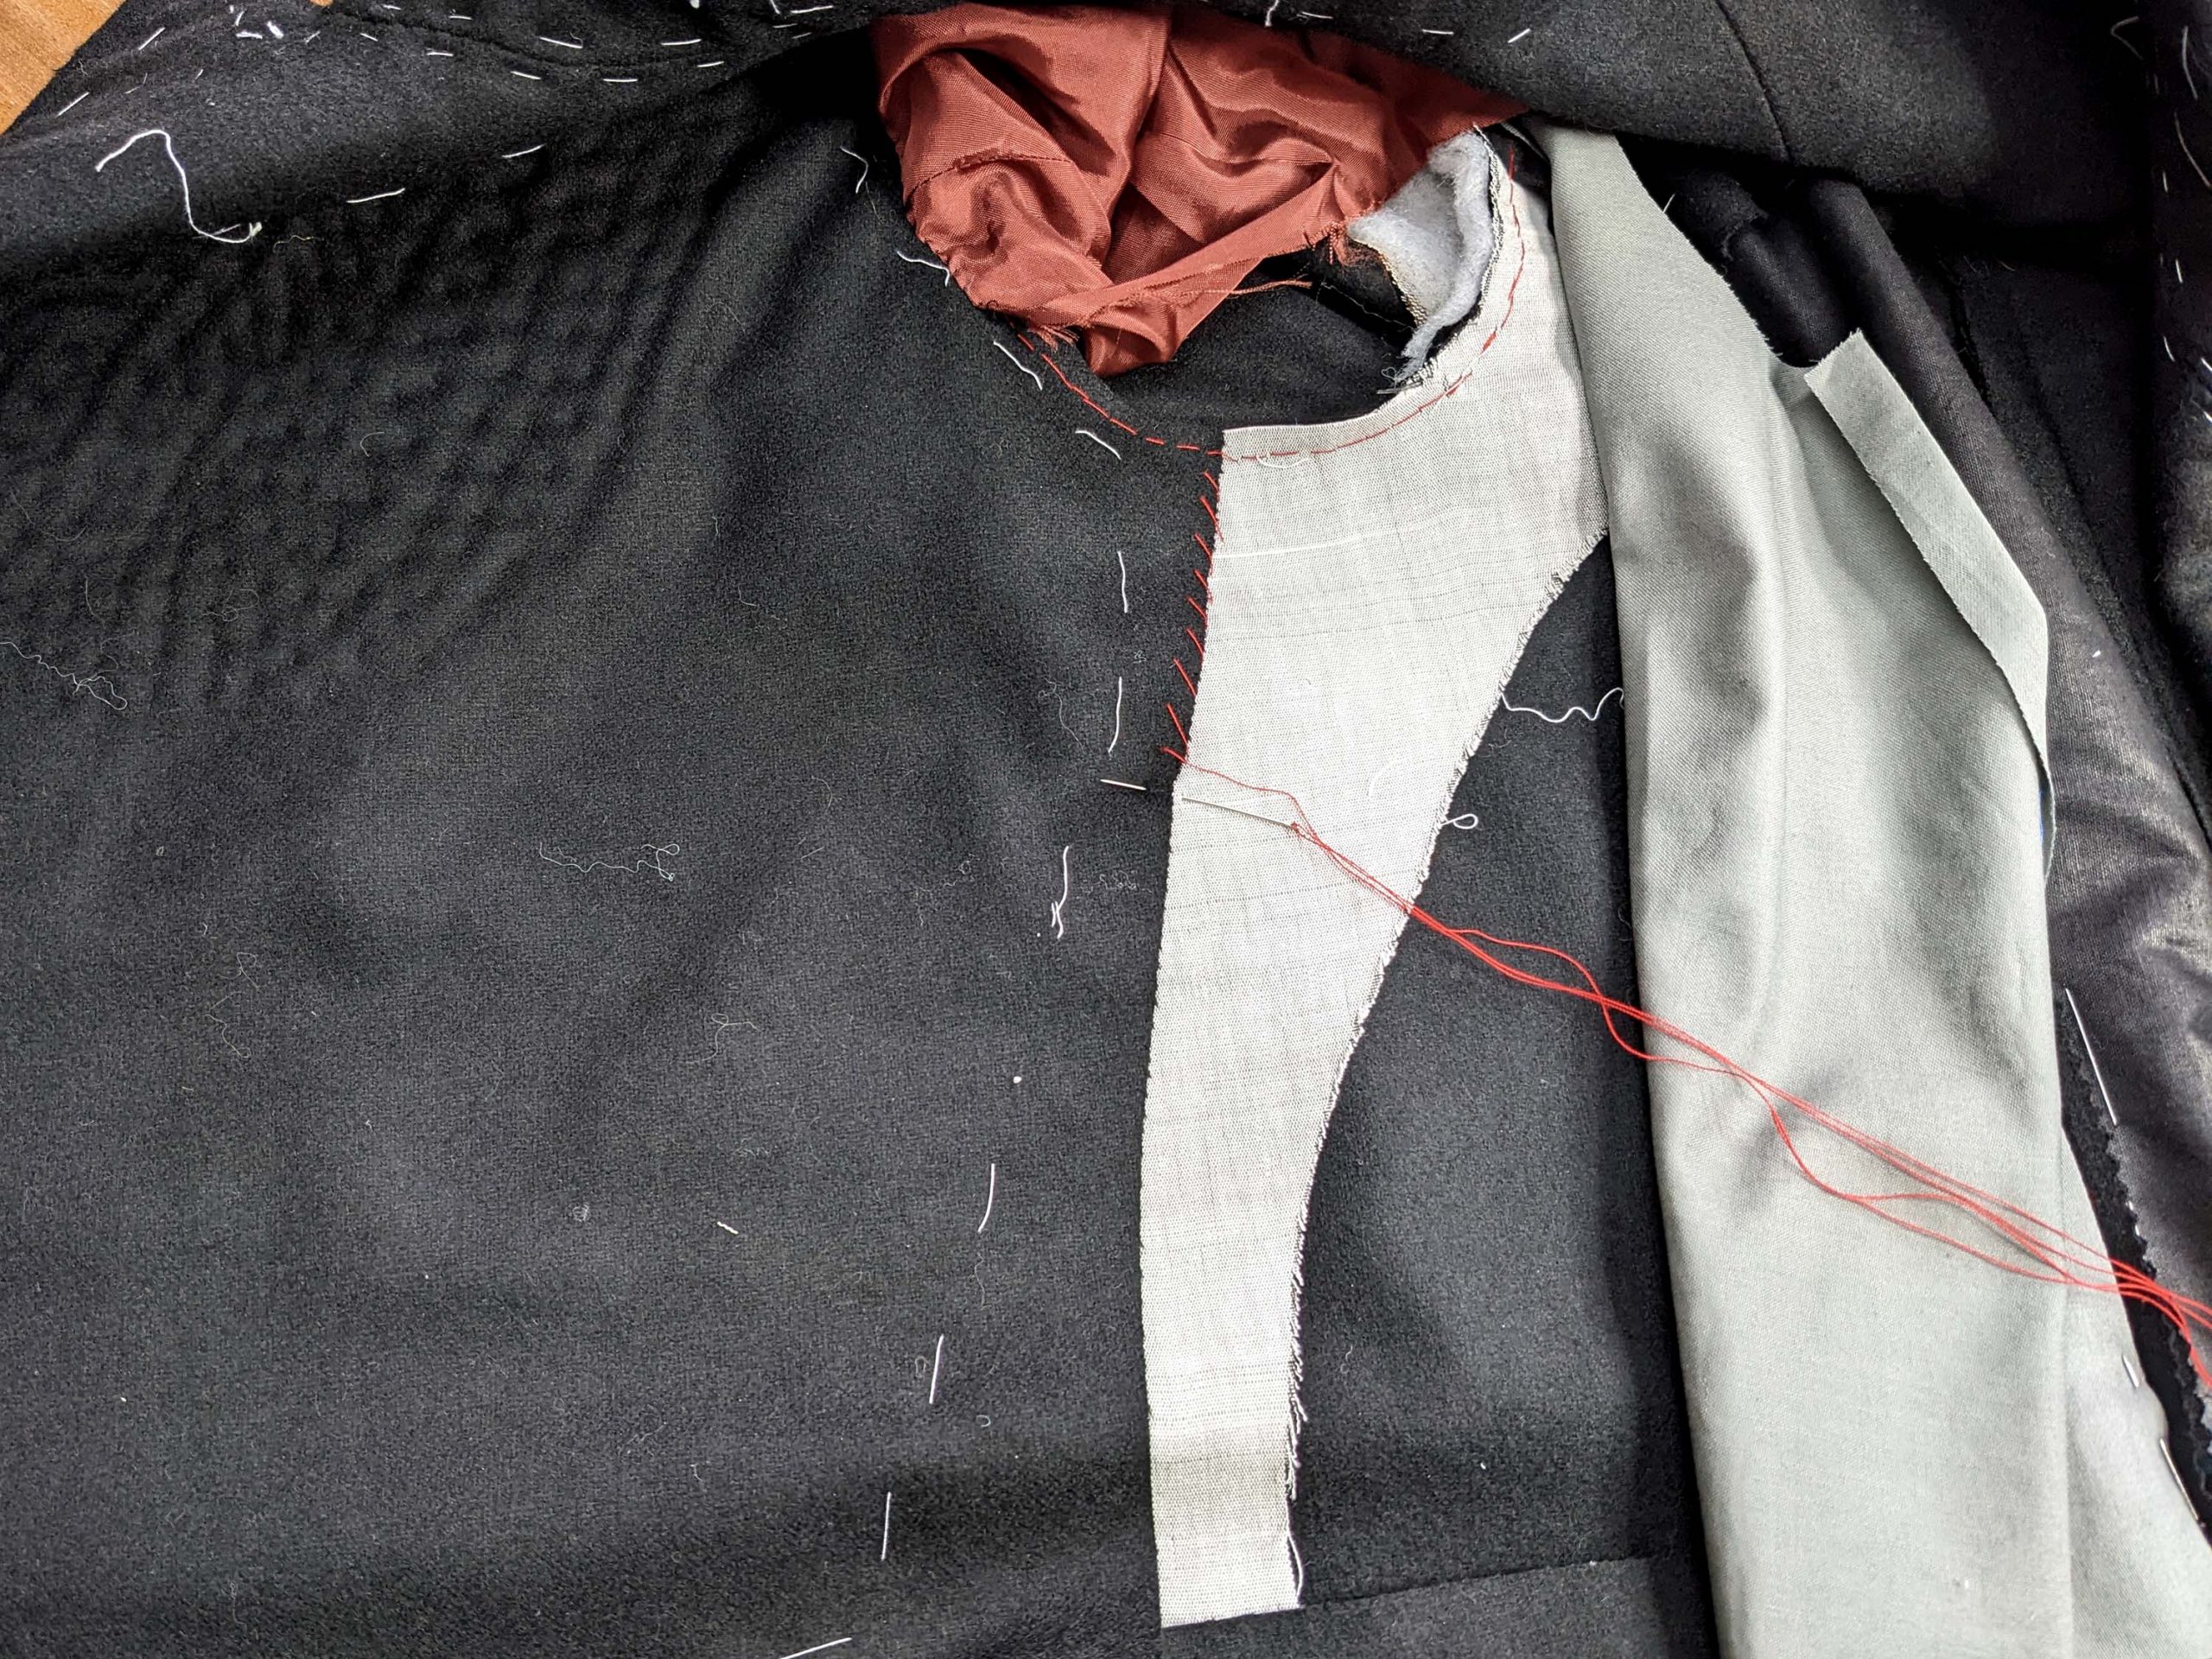
Take the front lining and turn in the seam allowances along the front and back edges. Line up with the side back part of the front, wrong sides together. First, baste, then fell stitch in place.
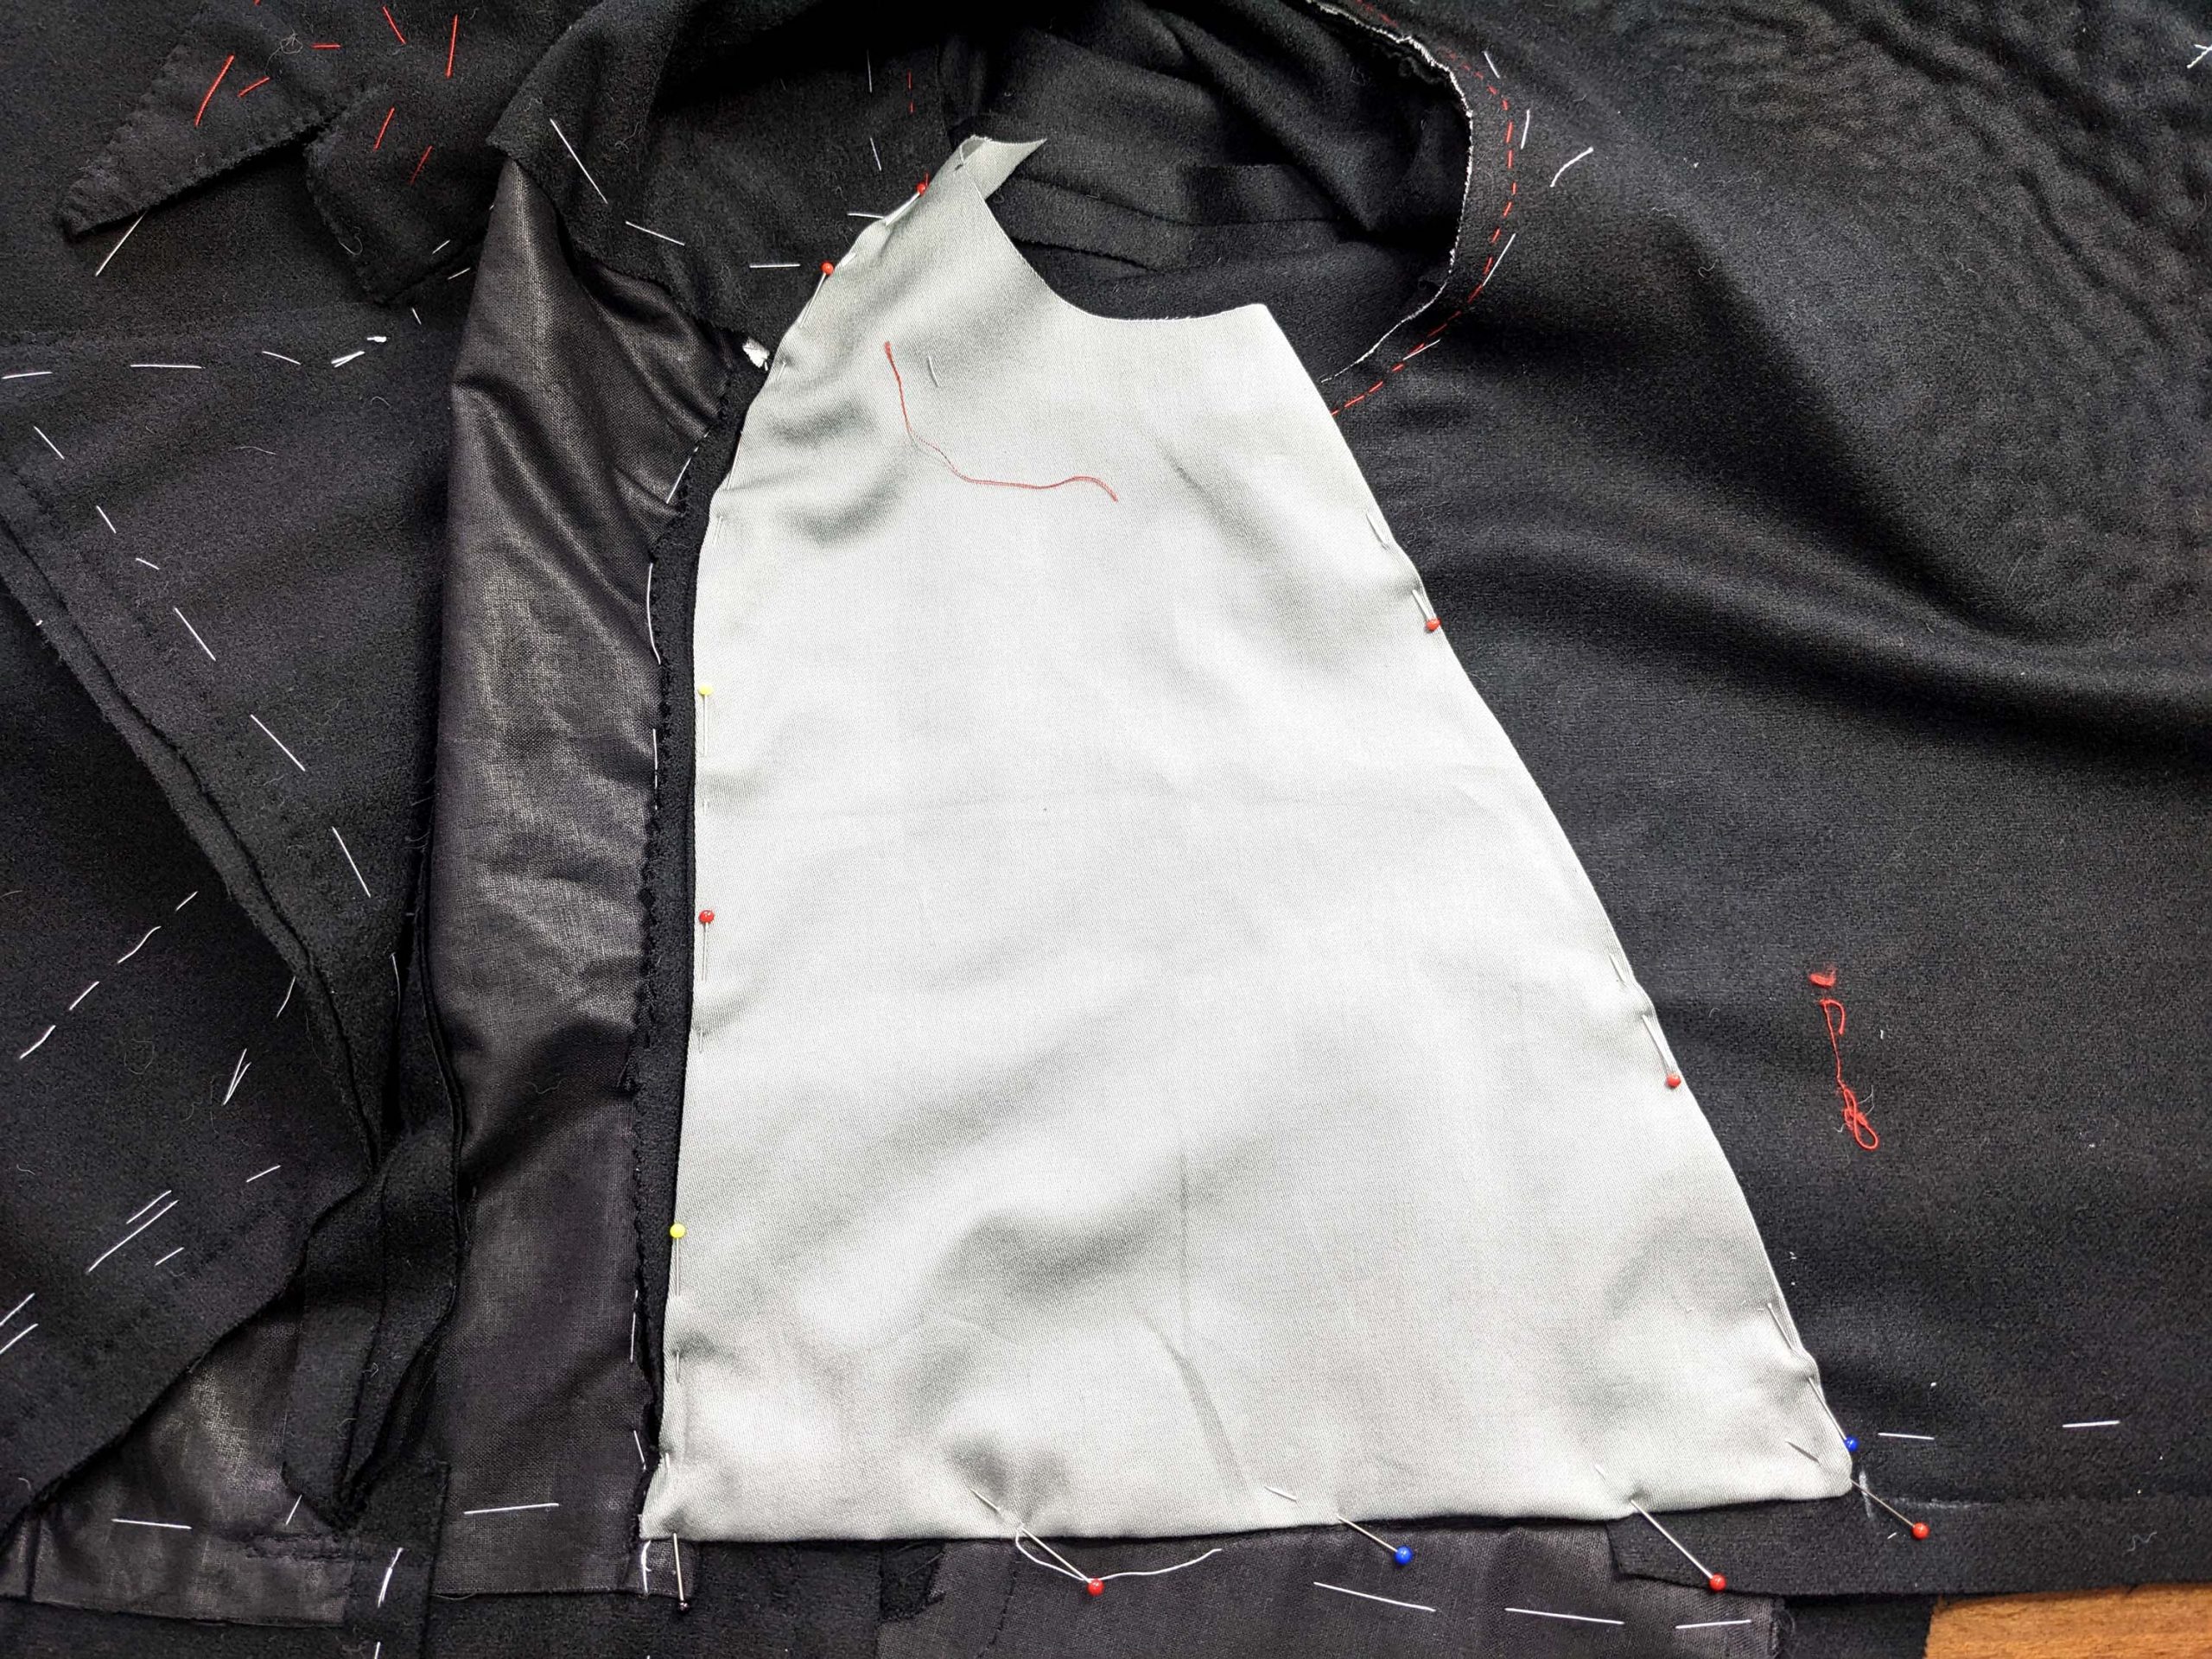

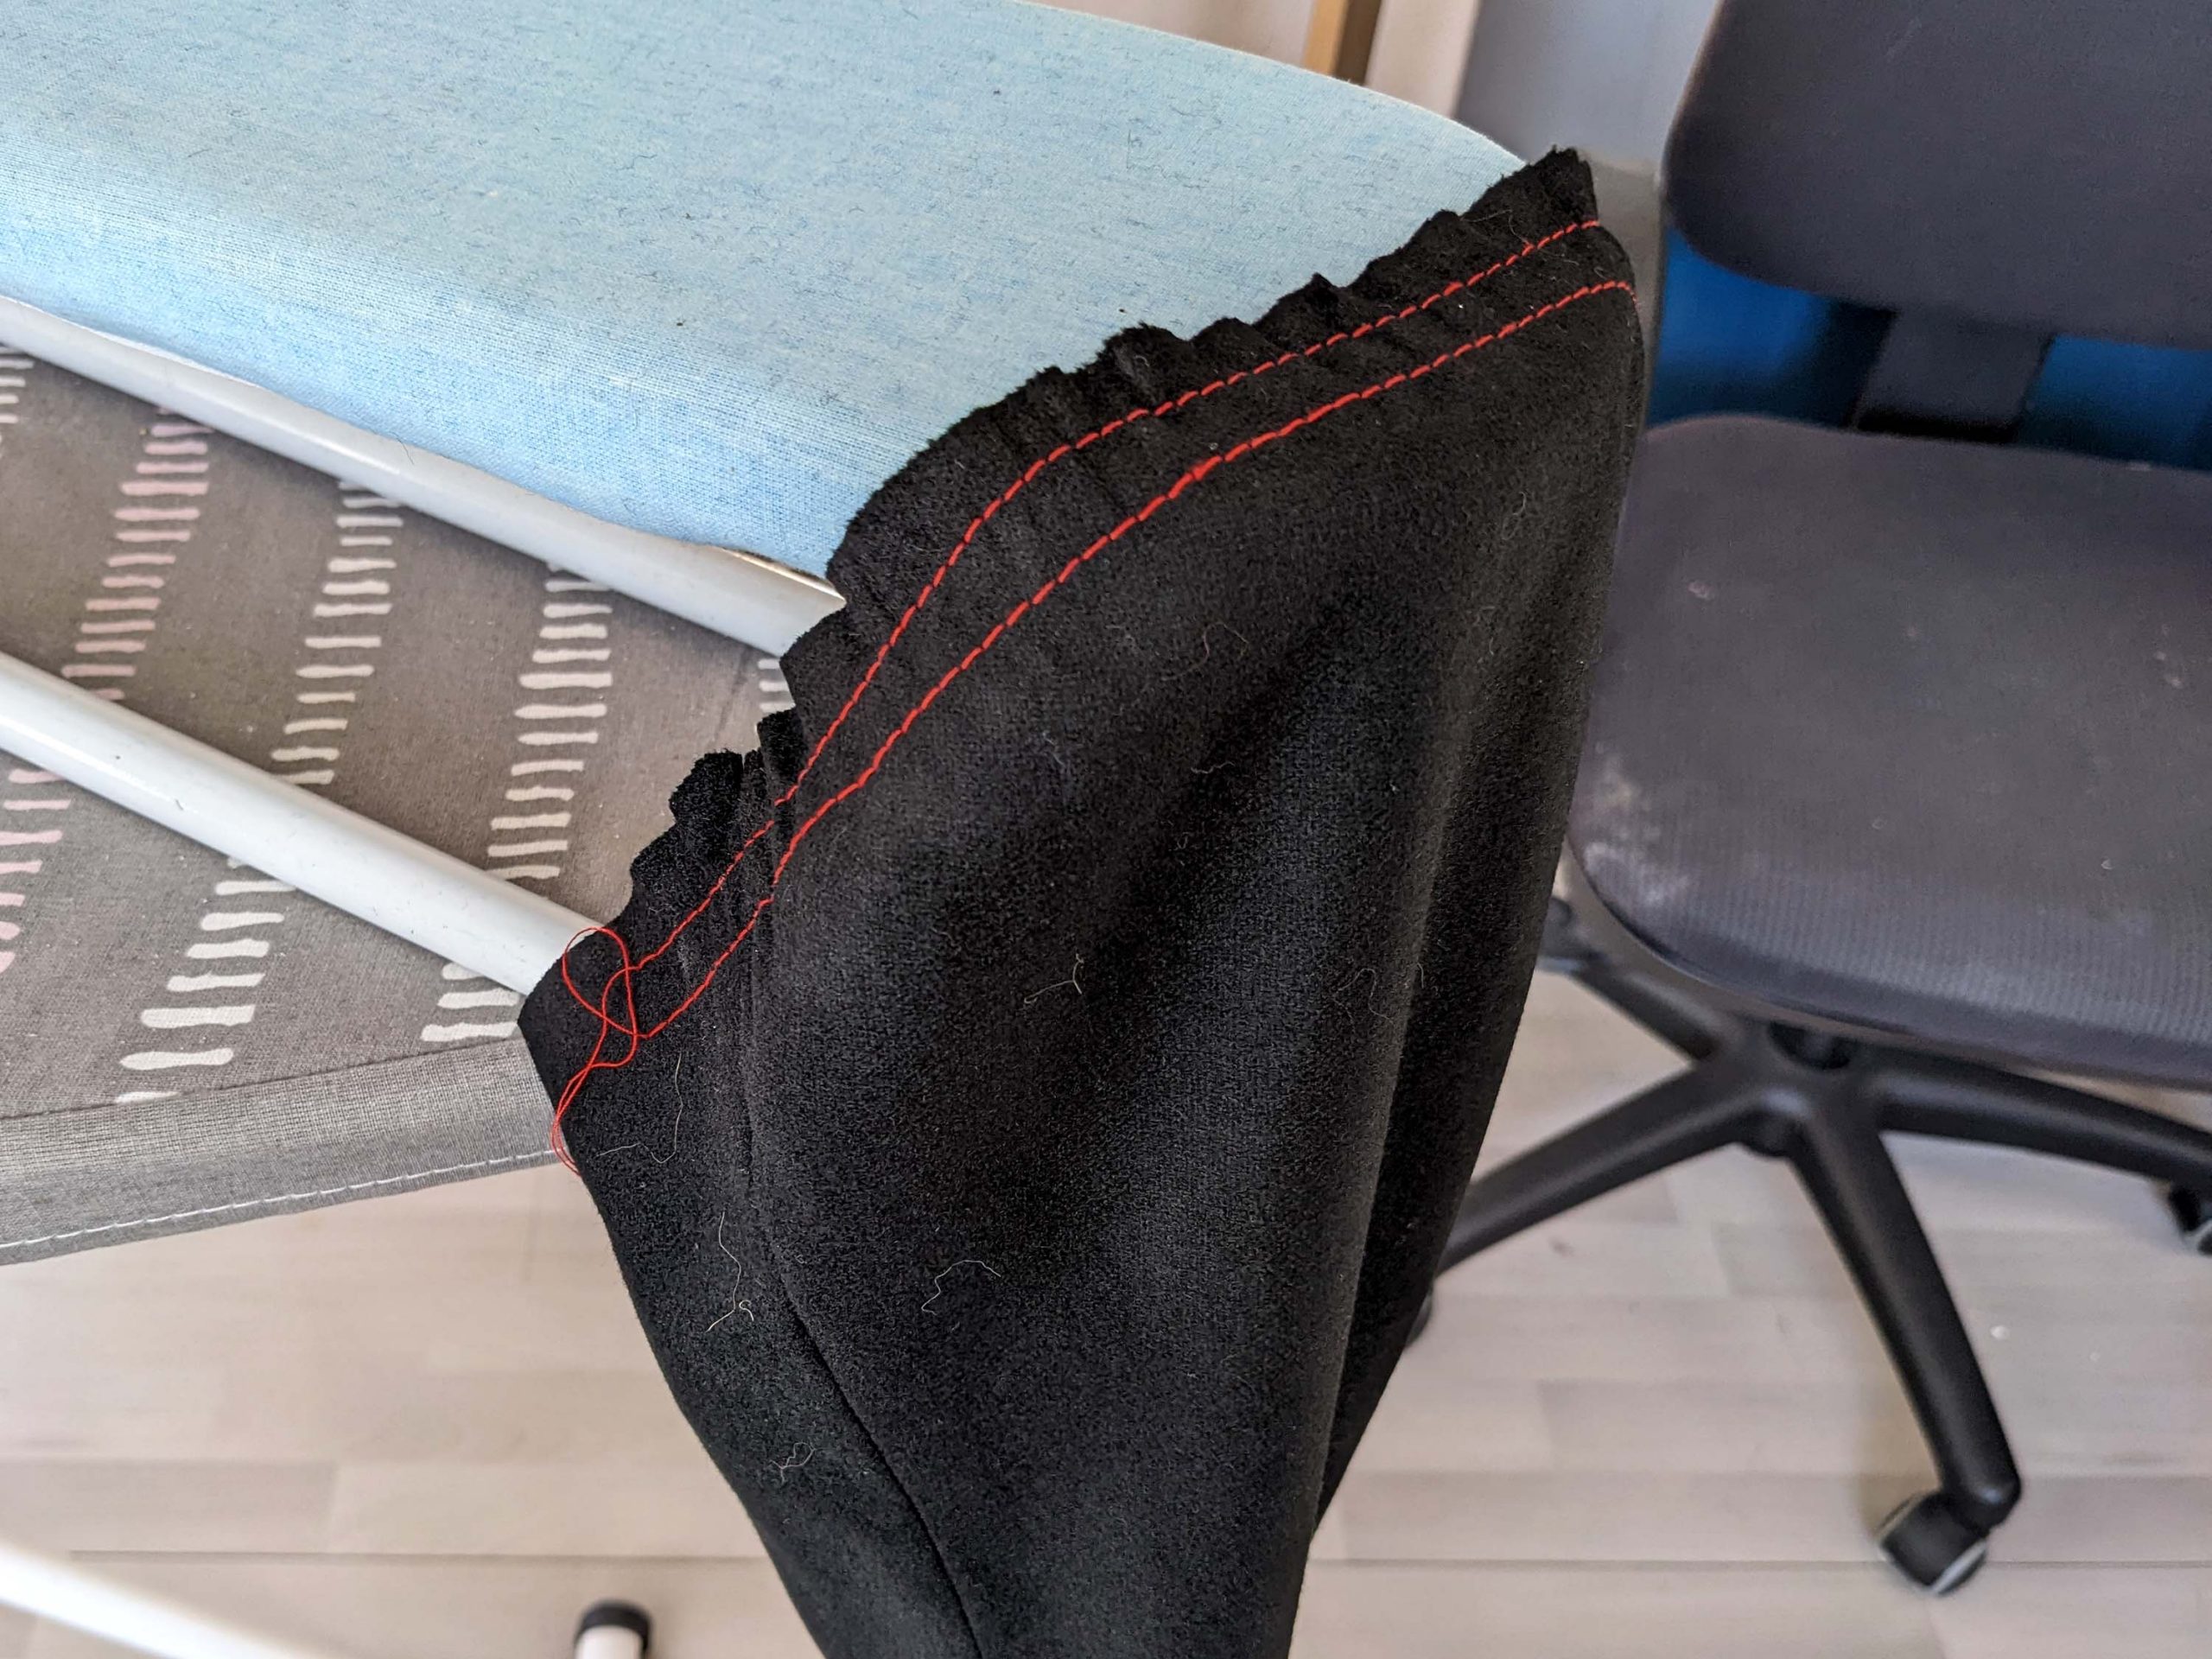
Along the armhole, baste together all layers inside the seam allowance and trim back to 3/8” (1cm) (m). This basting will be left in the finished garment, so take care no stitching shows on the right fabric side.
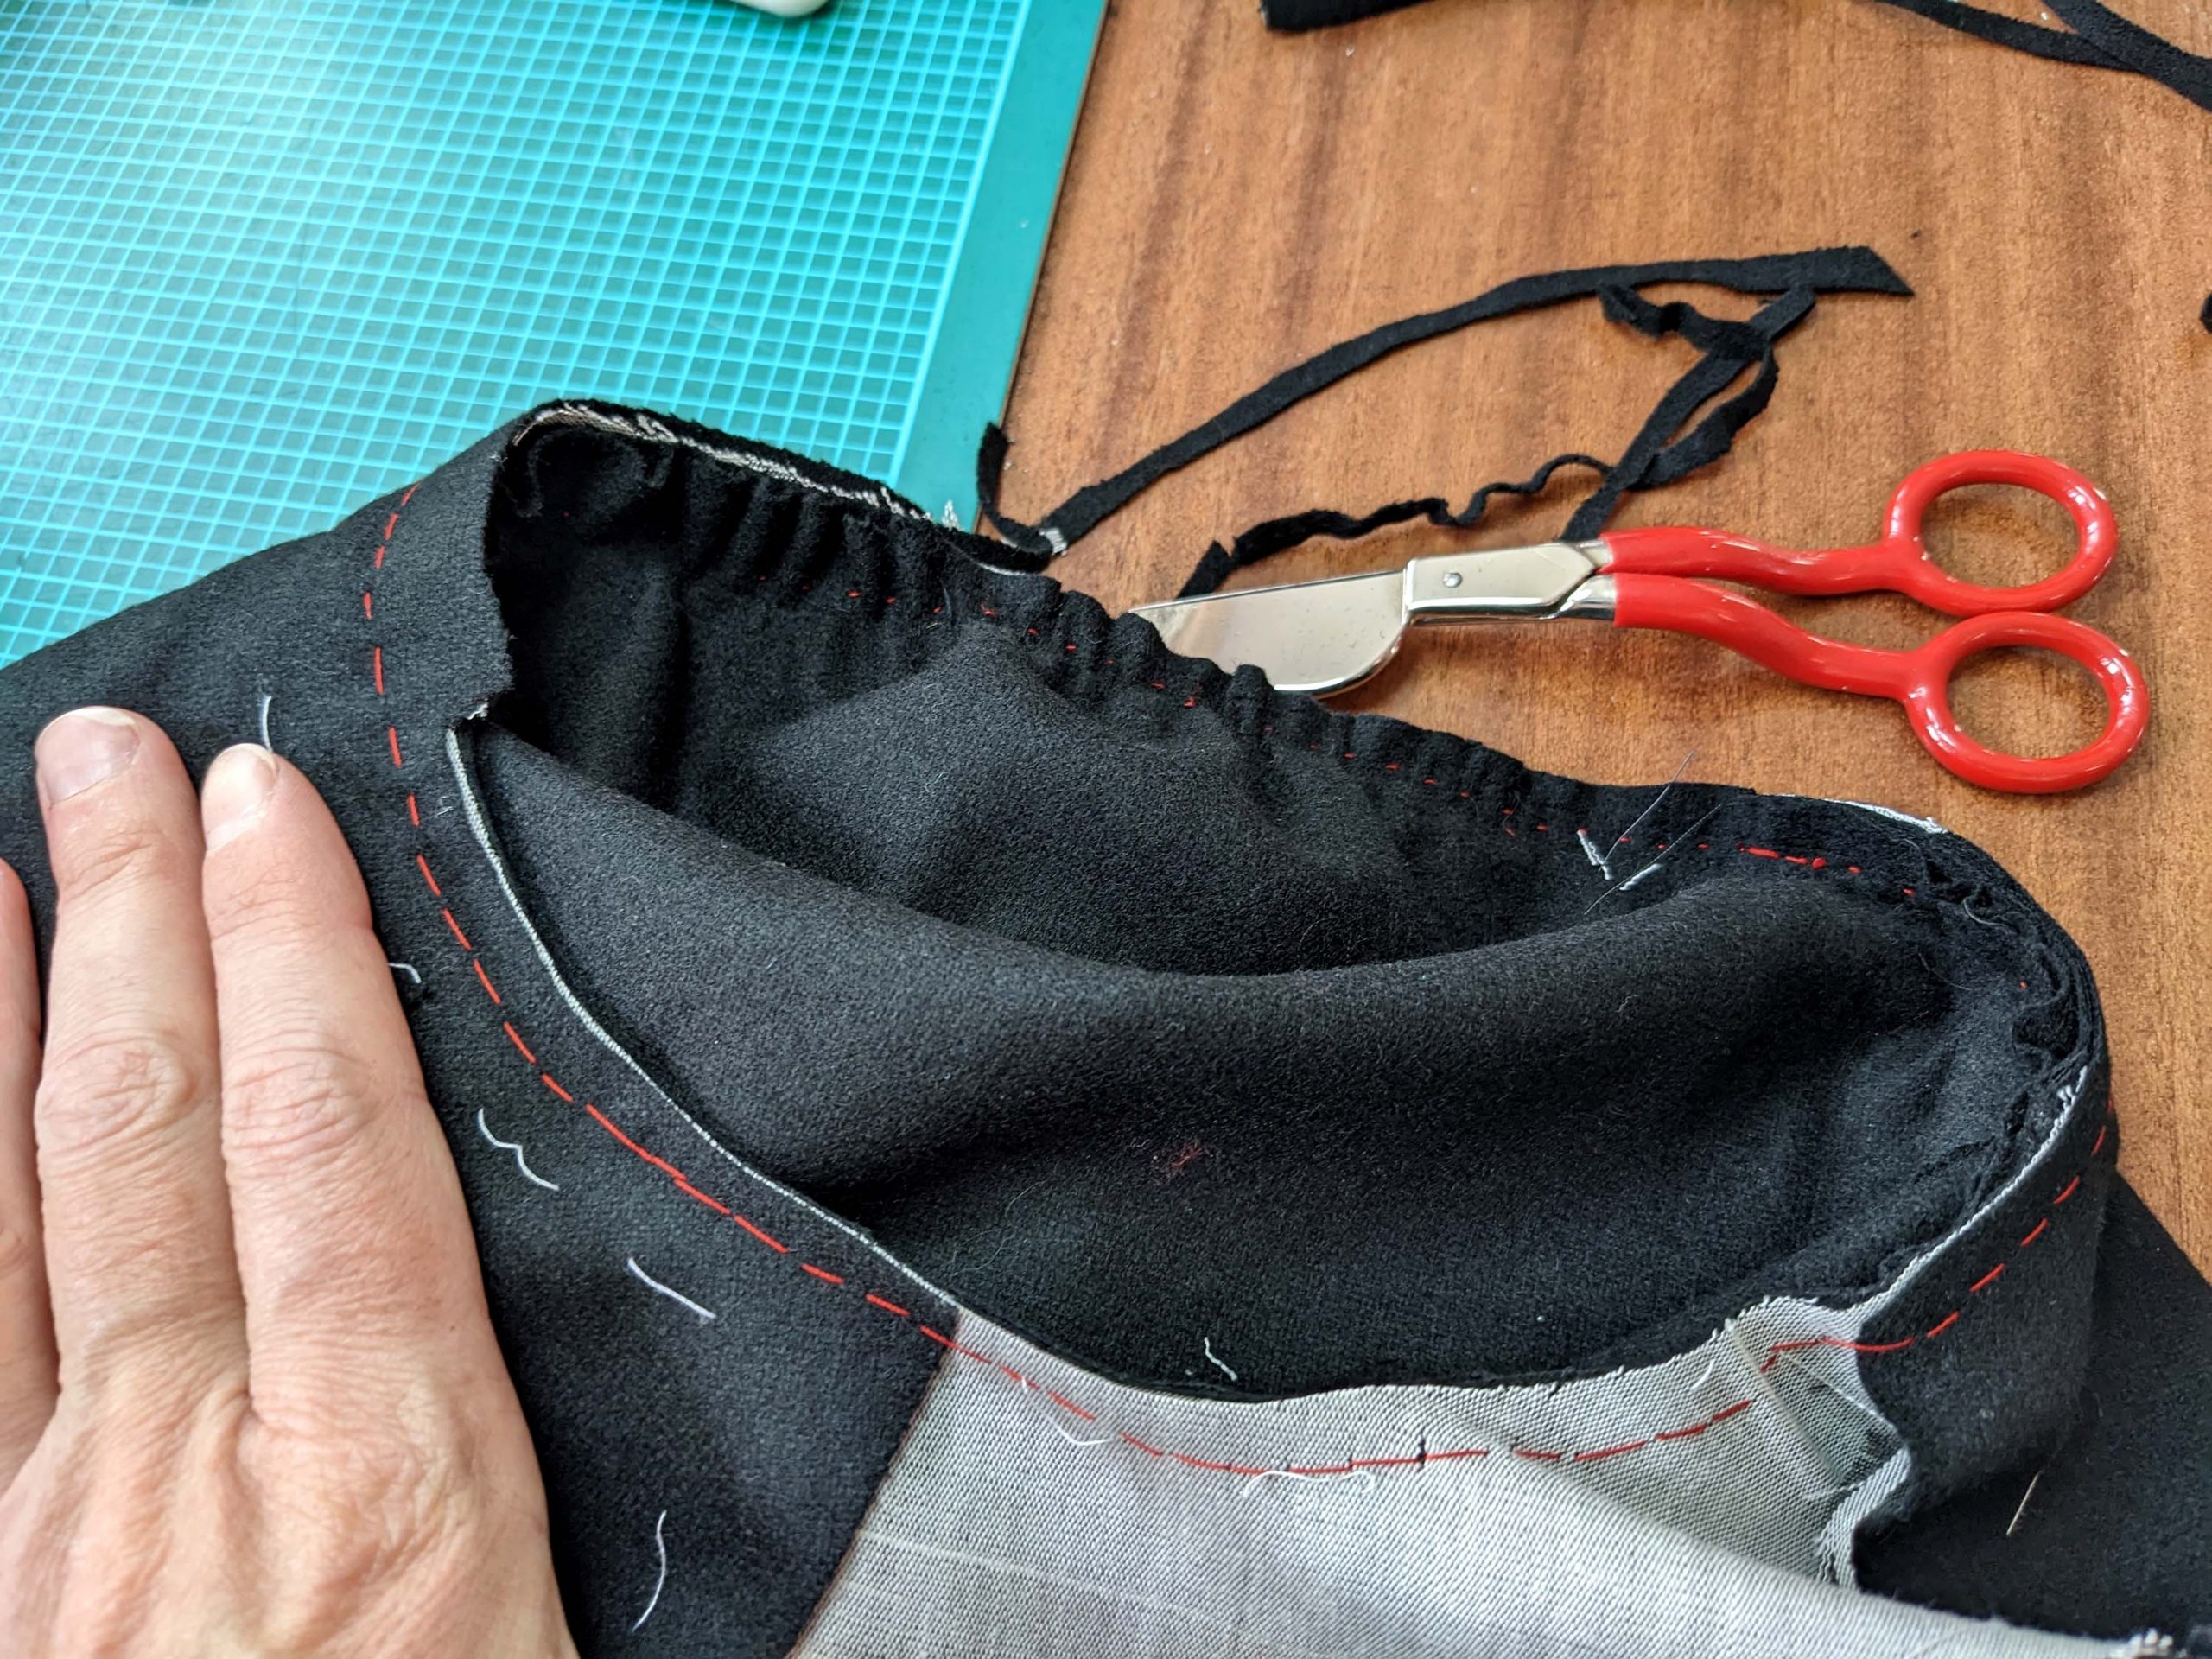
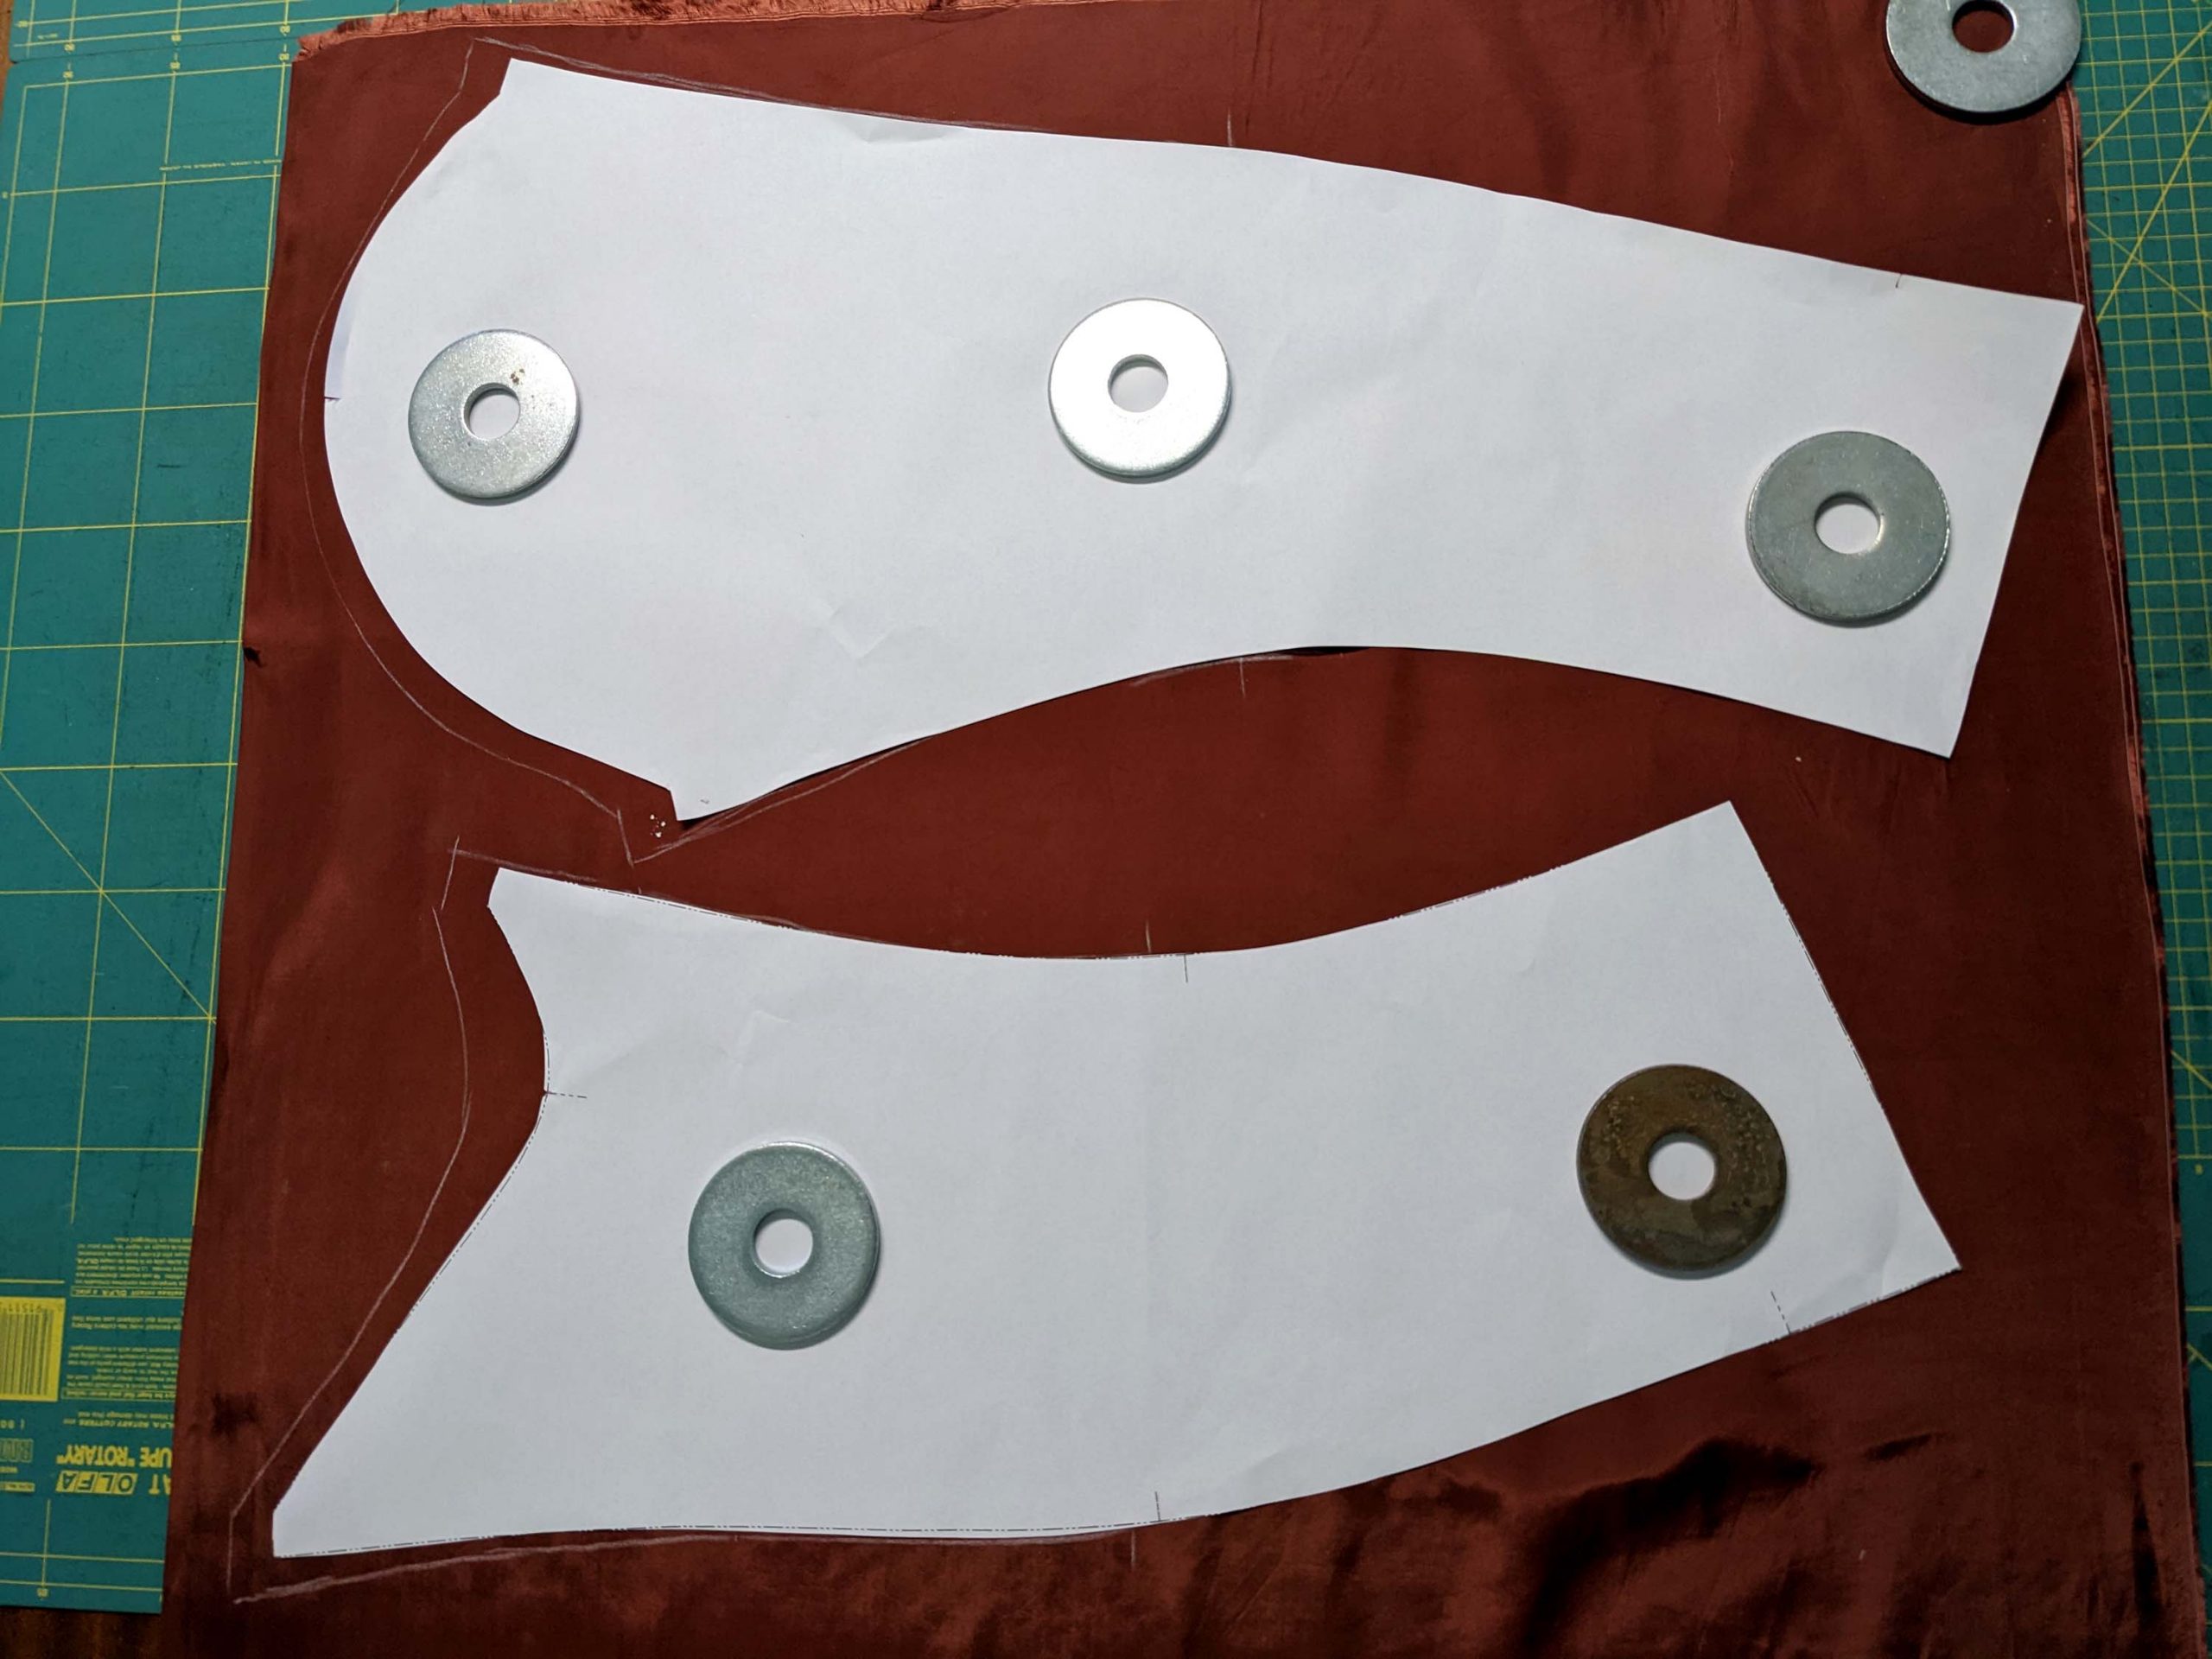
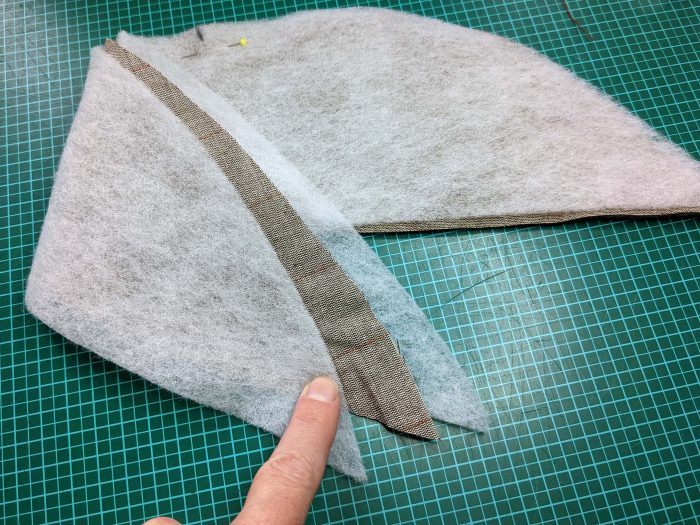
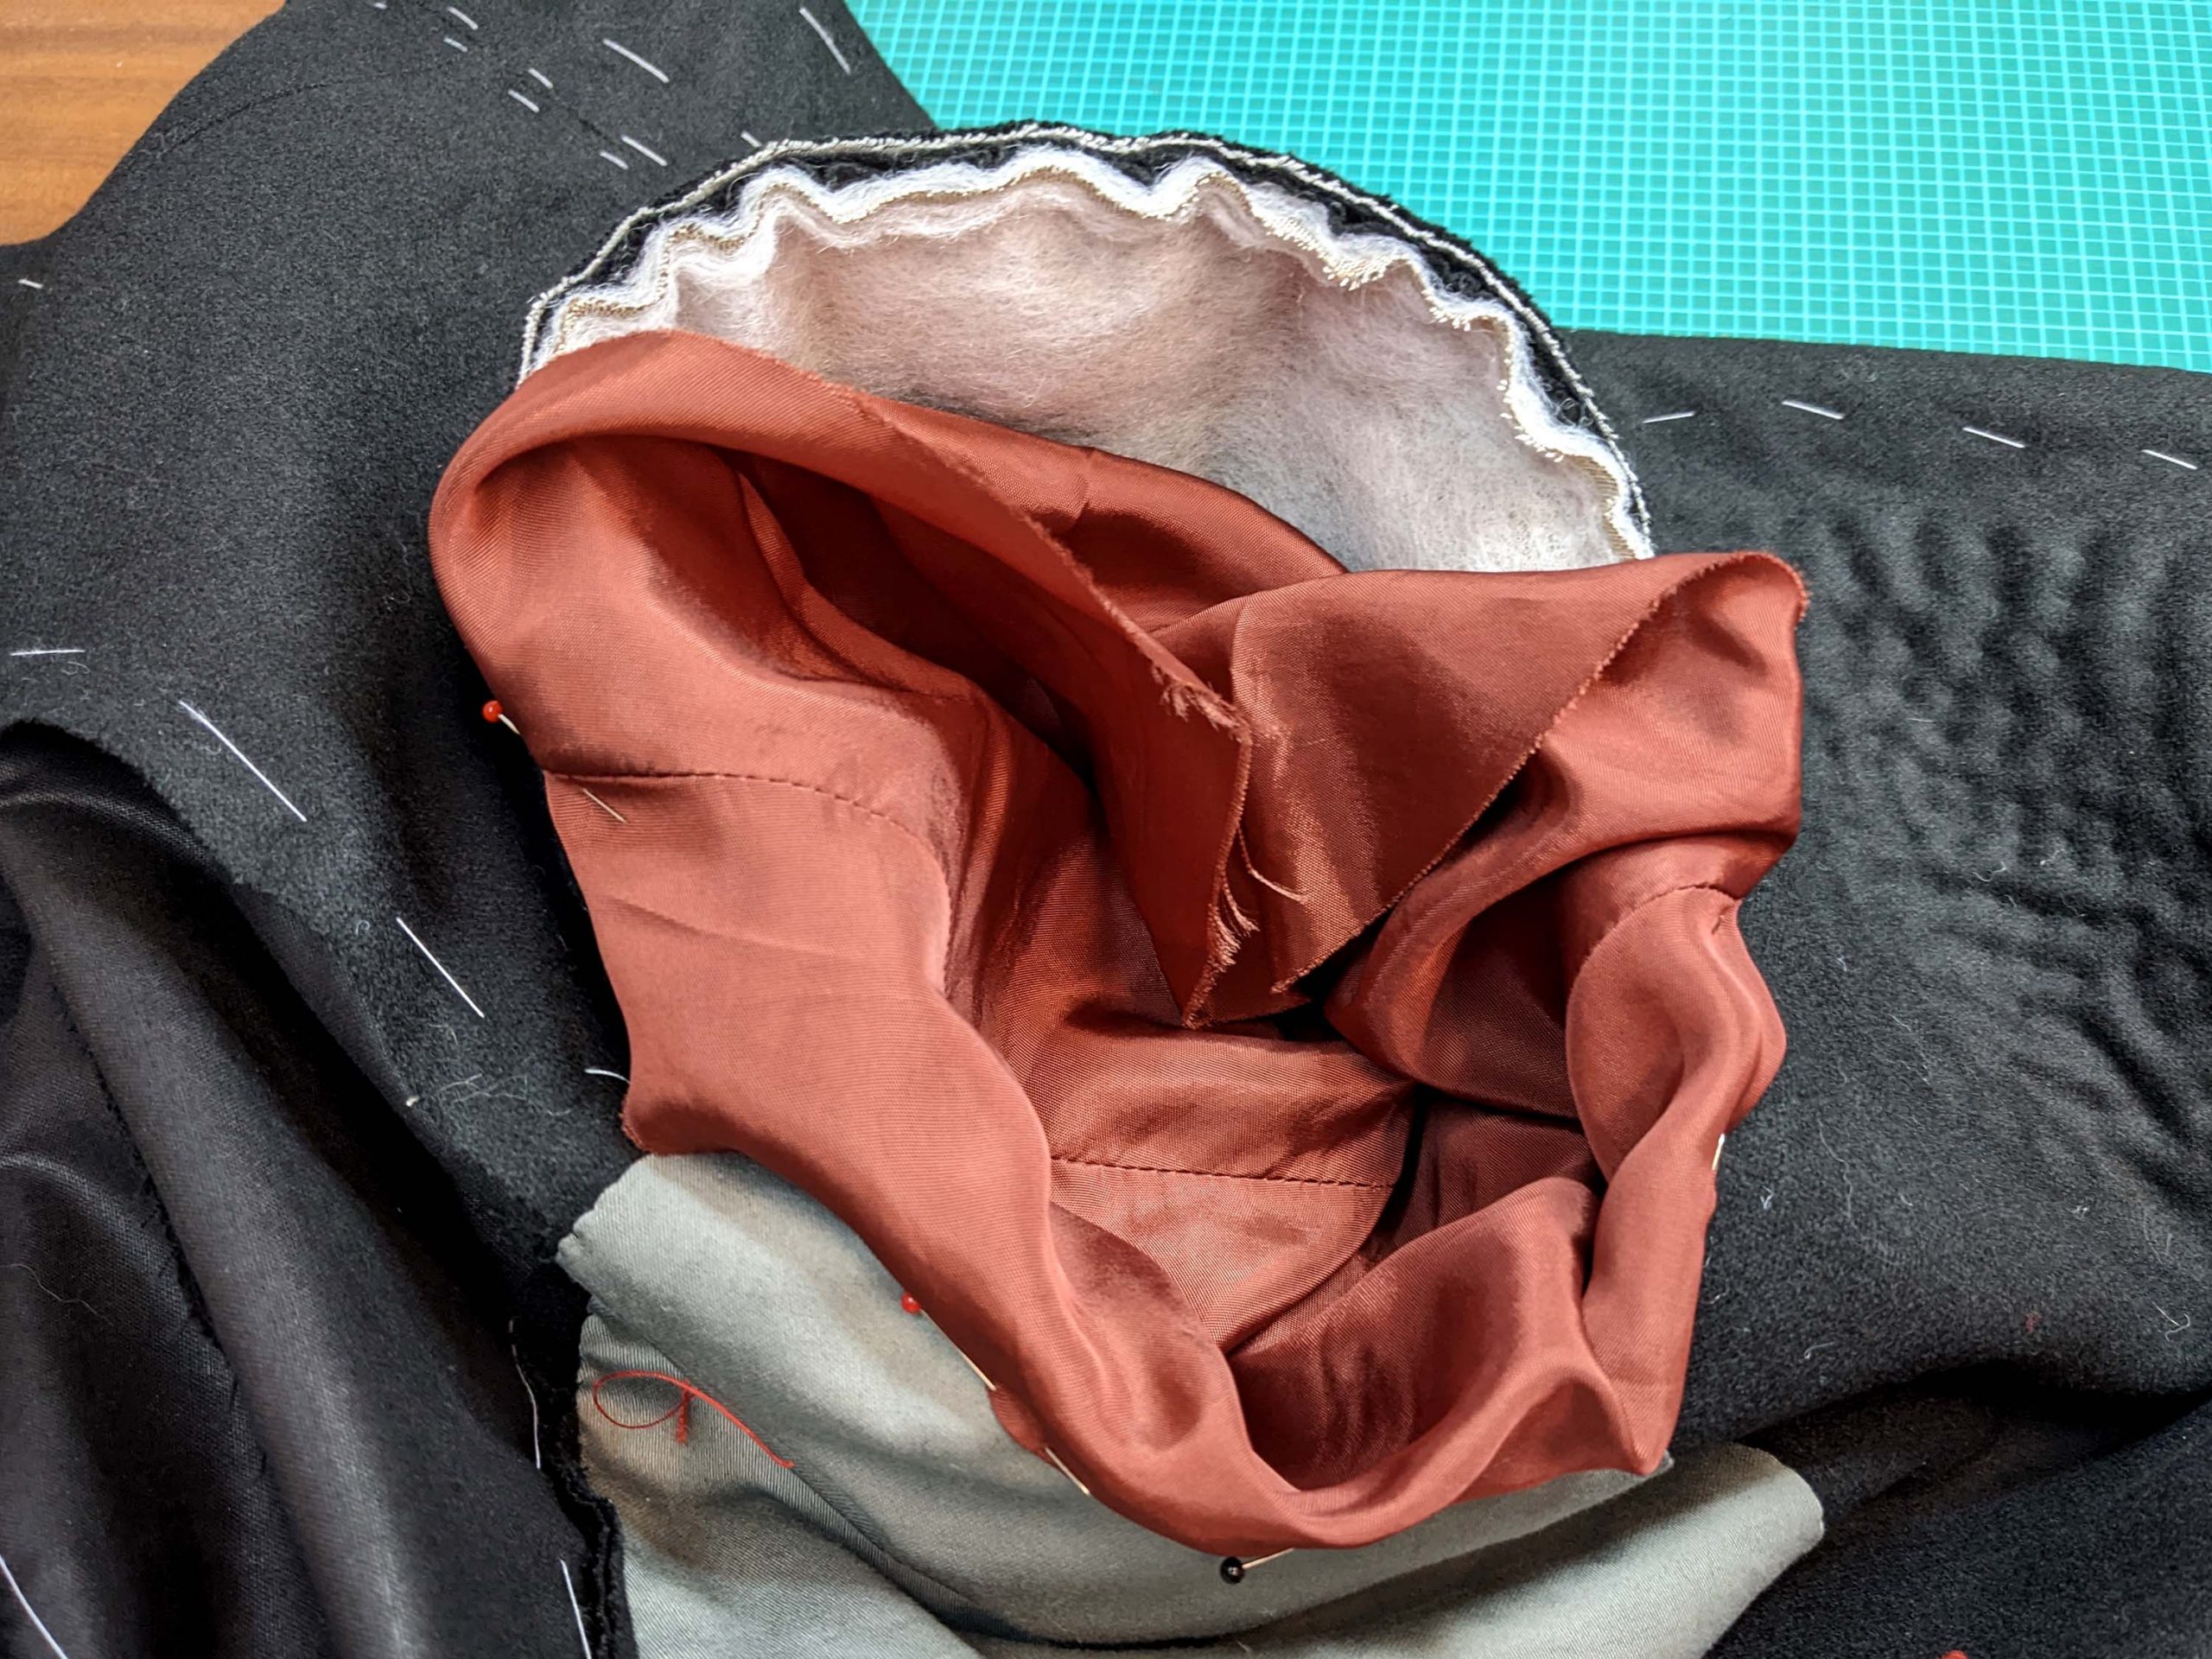
Take the sleeve head roll pieces and line up two layers of padding with the canvas in between. Place inside the sleeve head and sew to the seam allowance of the armhole.
Pull up the sleeve lining through the armhole, turn in the seam allowance, and line up the edge with the stitching line of the armhole, covering the raw edges of the seam allowances. Fell stitch in place and lay the excess fabric into small folds along the sleeve head.


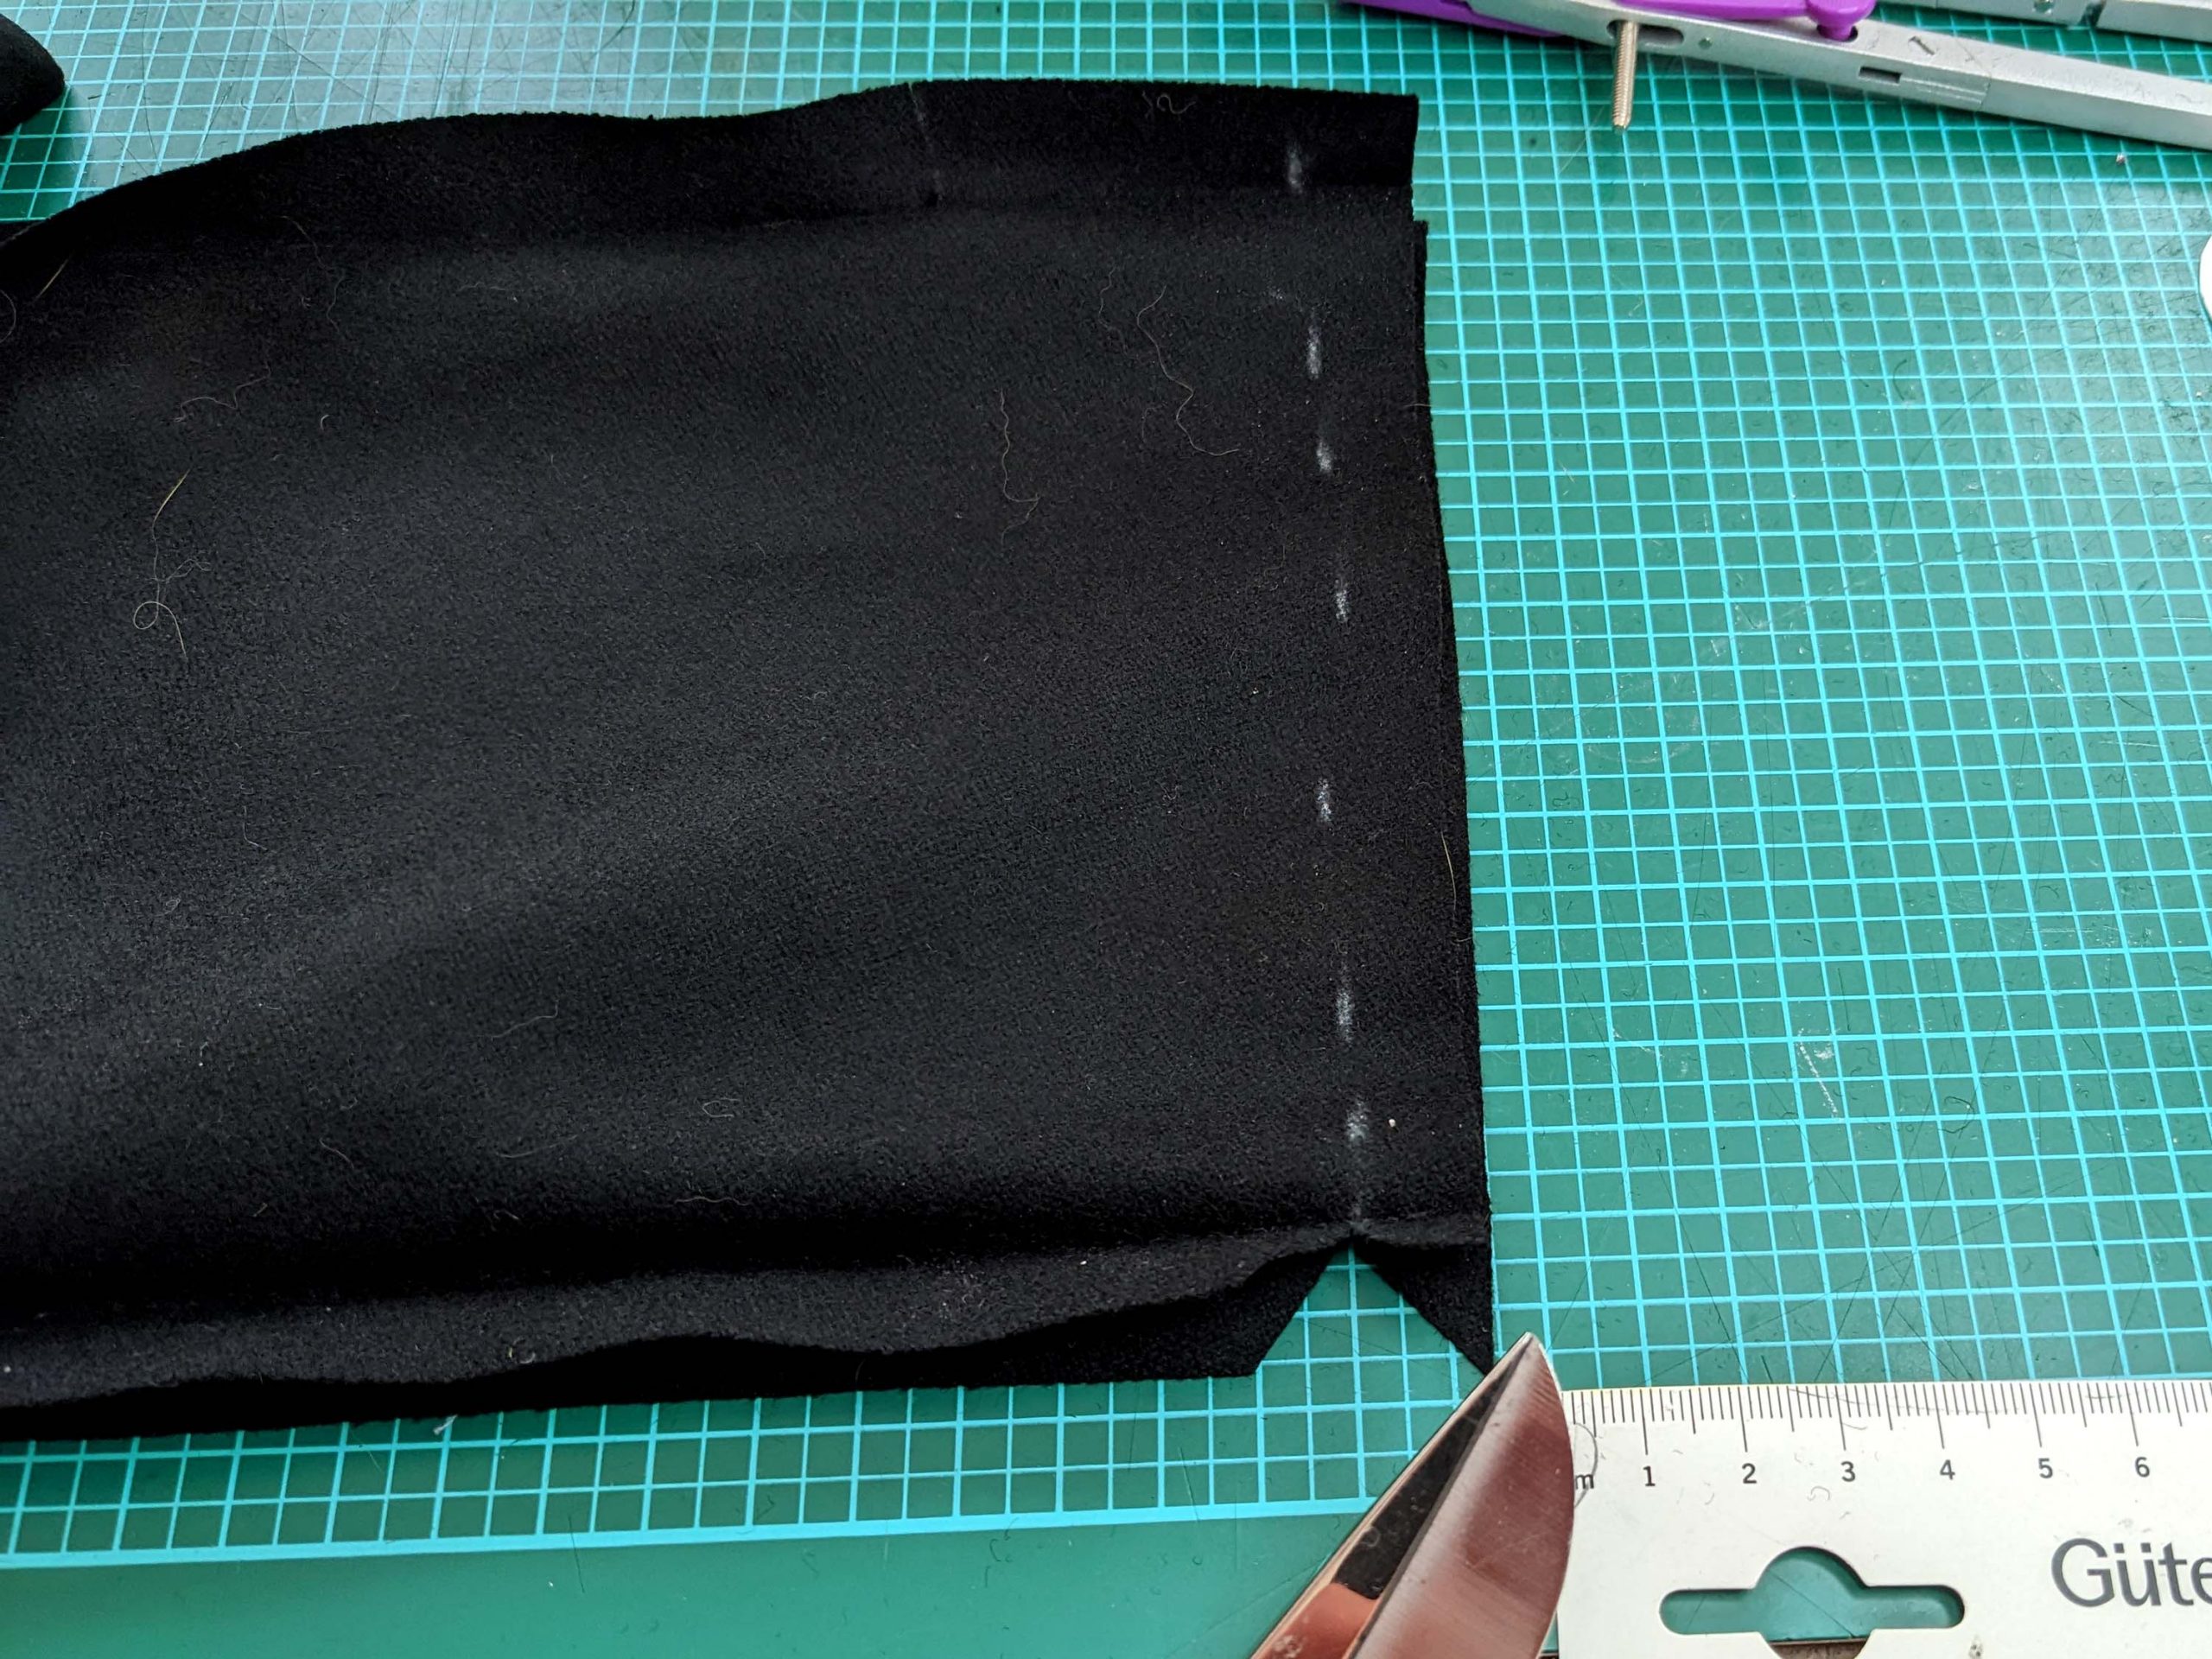
(11) Take the tail lining and line up with the tail, wrong sides together. First baste, then fell stitch in place along the top and back edge. Sew along the front edge with a tiny running stitch, and trim back the seam allowances along the bottom edge of the front and front edge of the tail. There are no turned-in seam allowances to avoid bulk. Attach a piece of fabric to the inside of the front corner to reinforce that area.
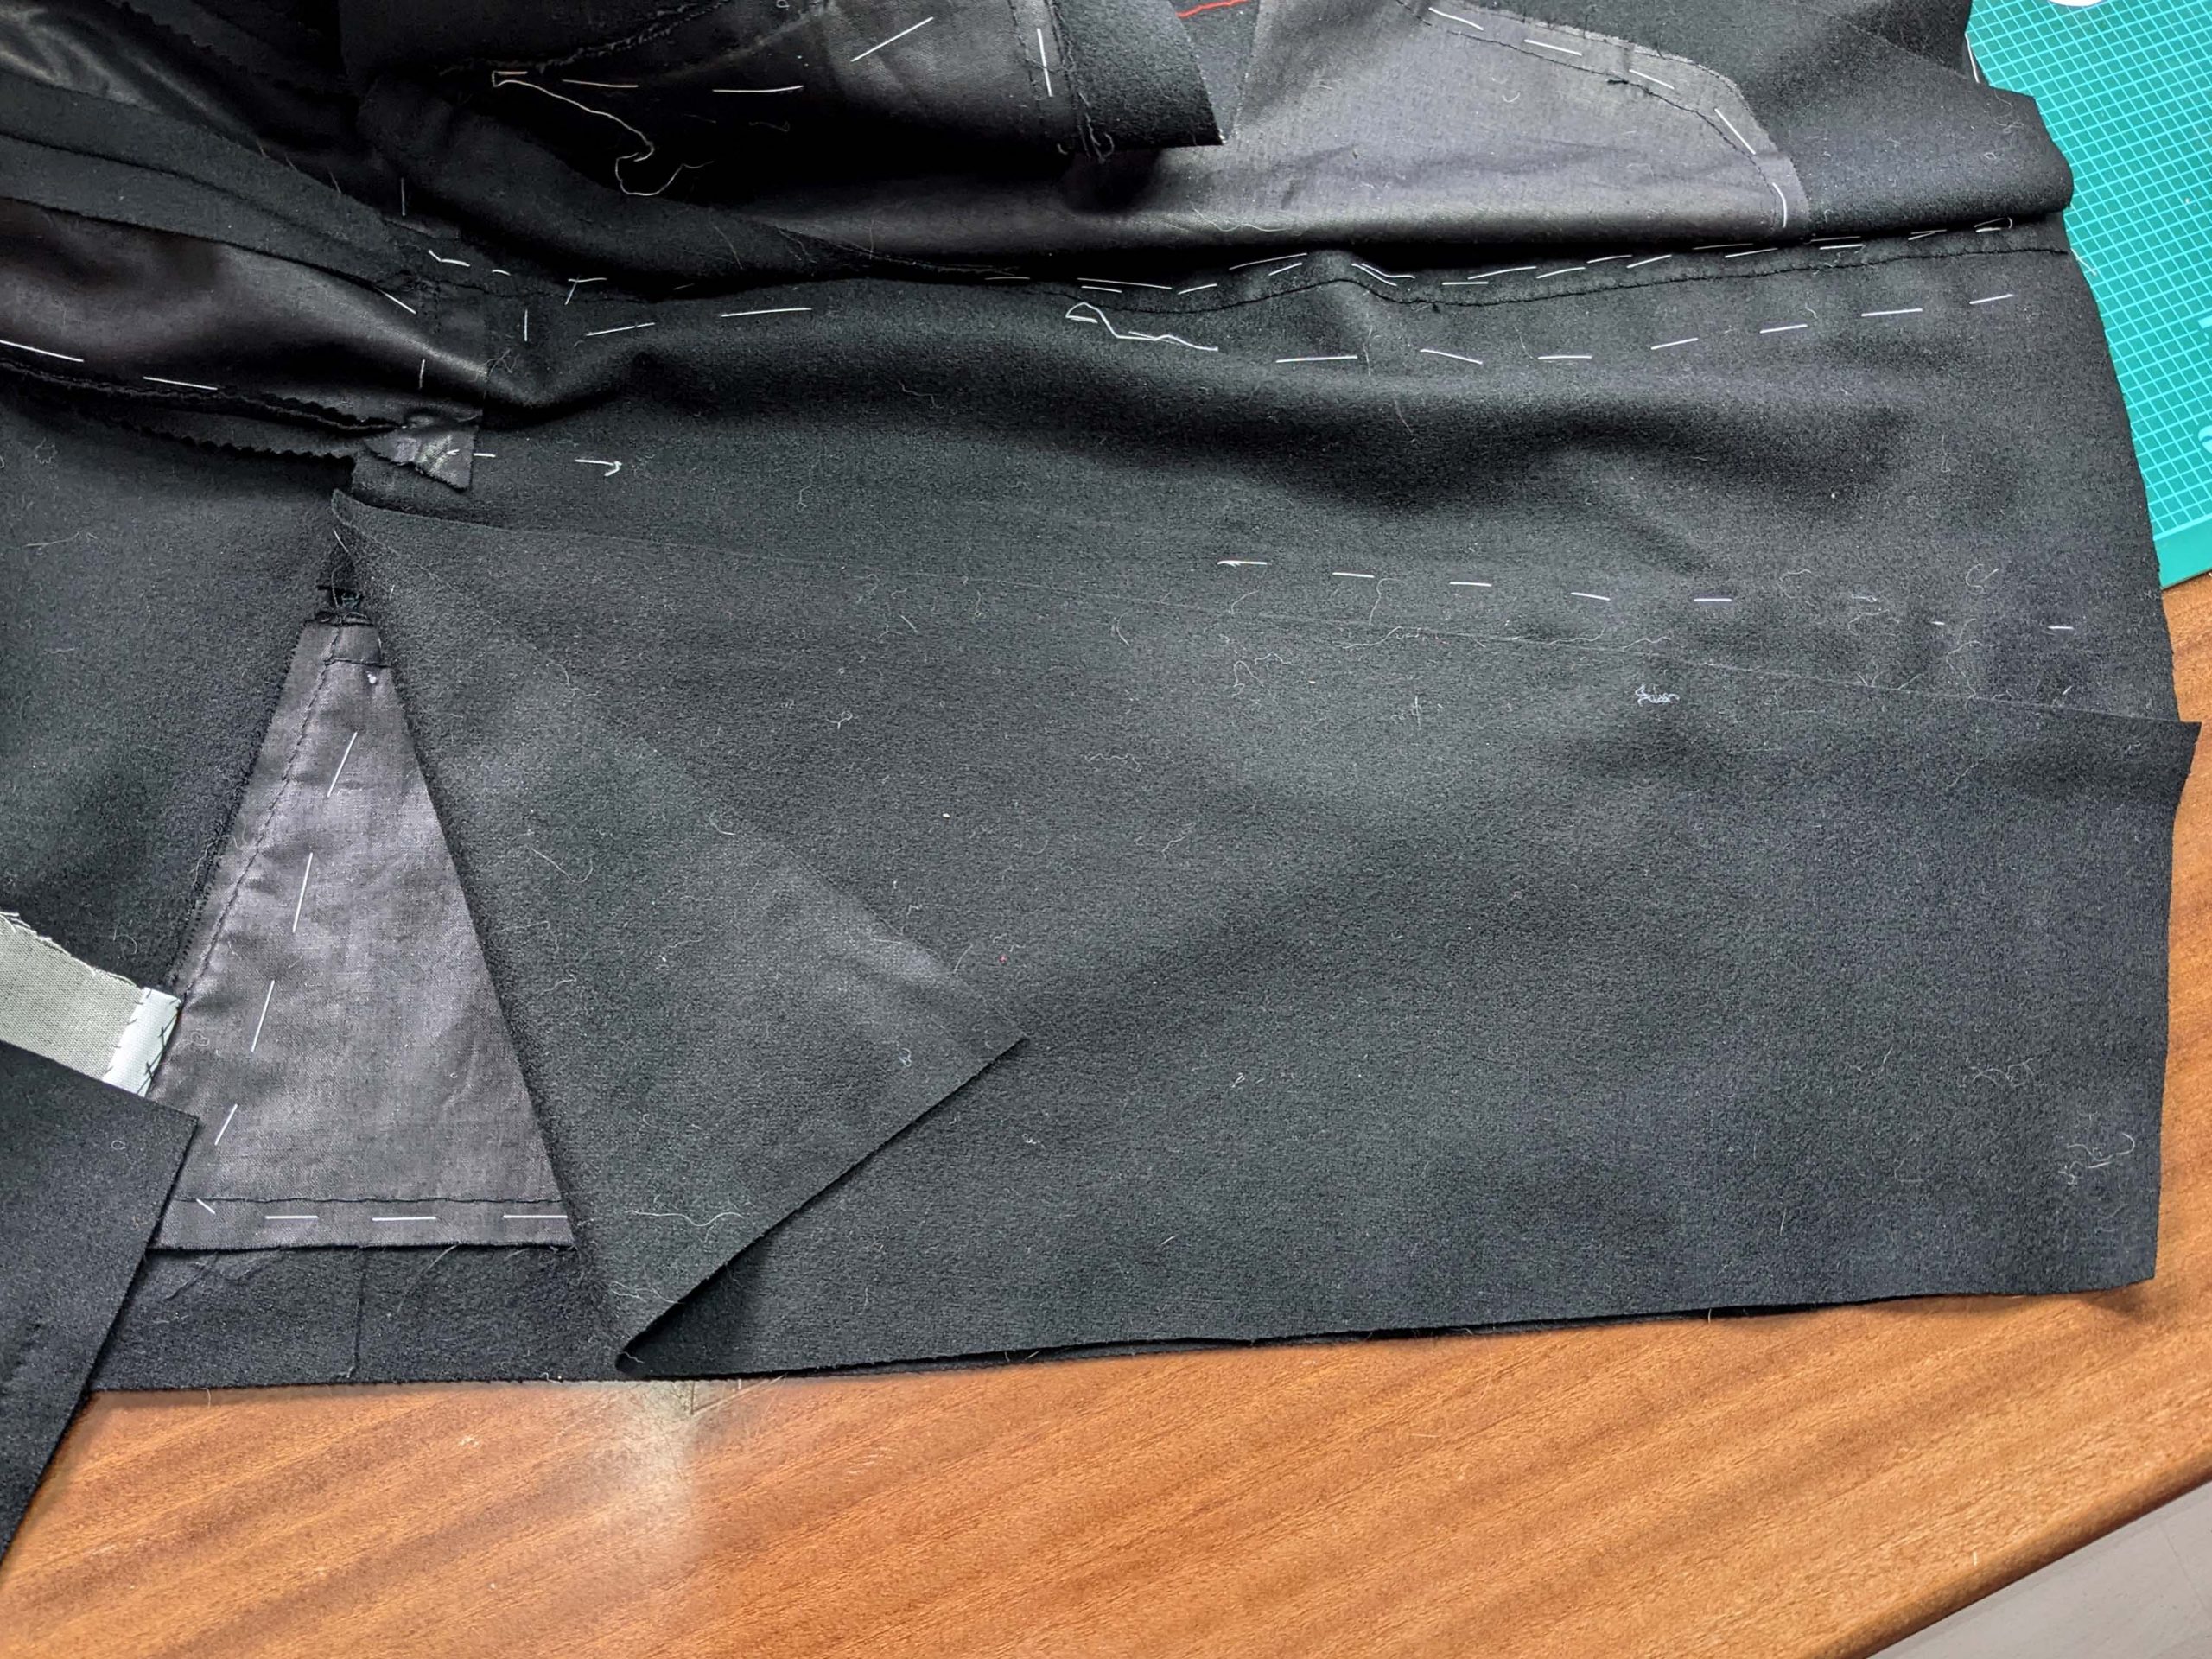


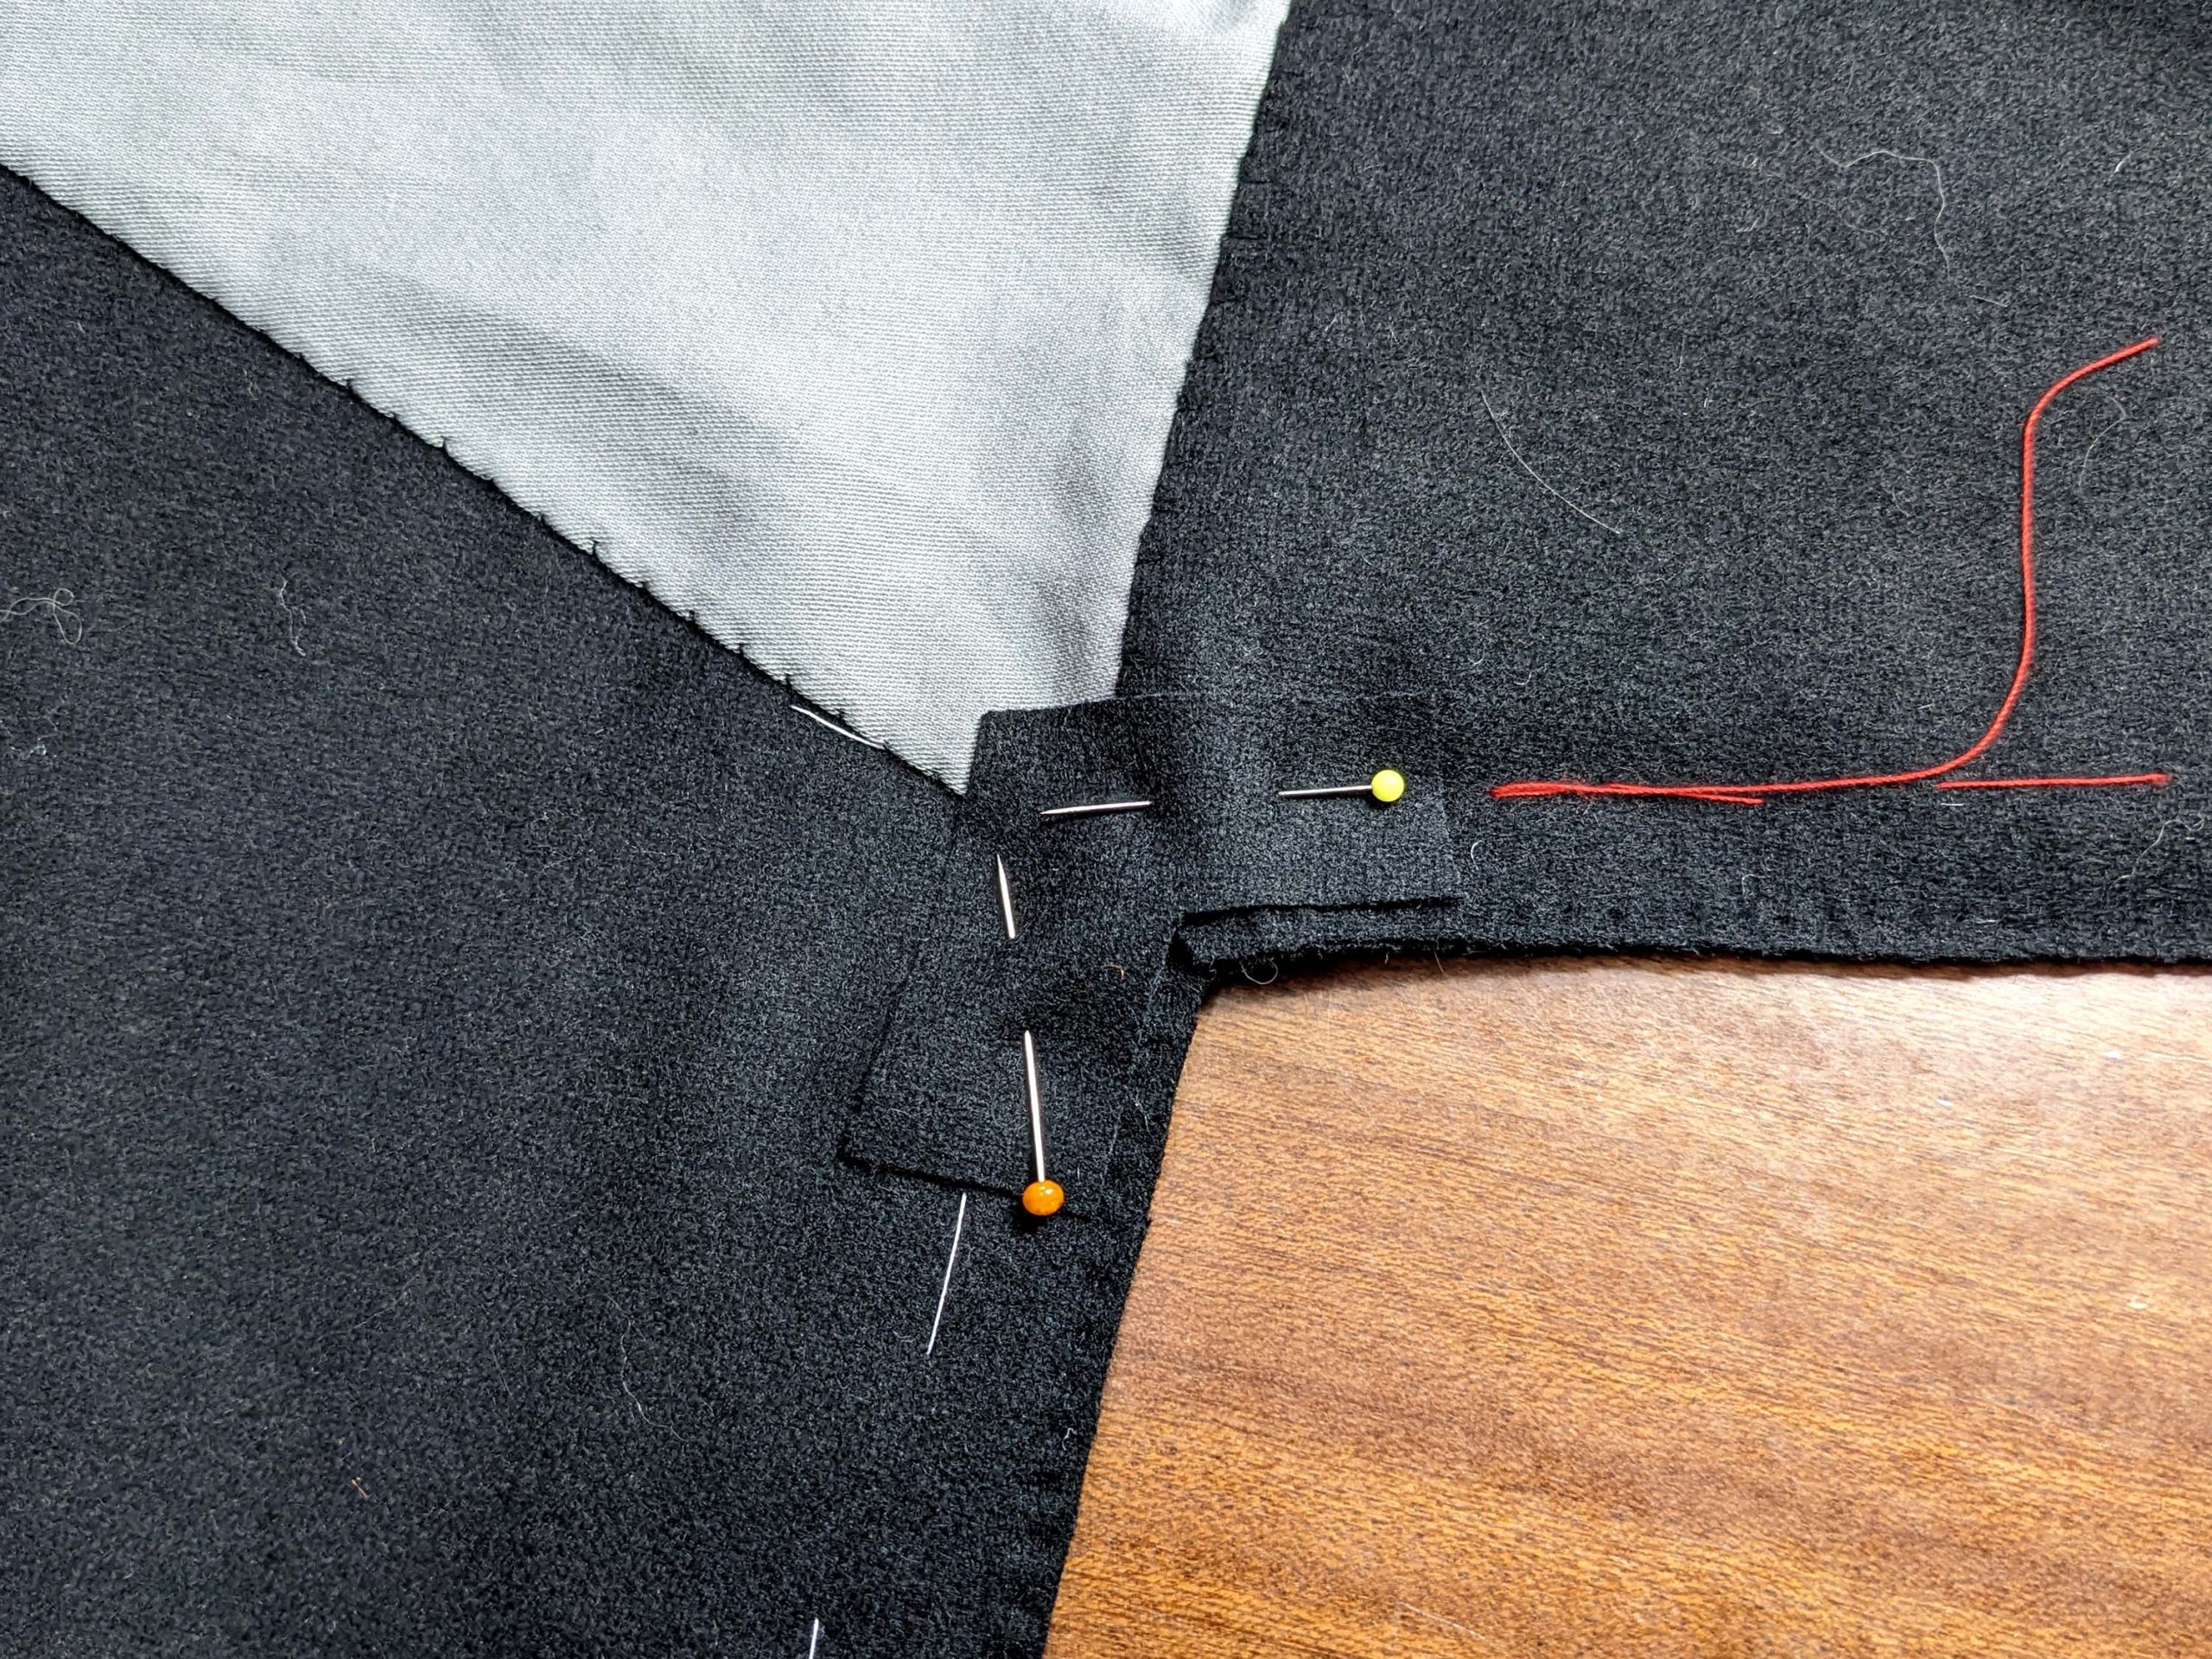
To cover the raw seam allowances at the center back, take a strap of lining and turn in the seam allowances all around, fell stitch in place along the front and top edges, just sew to the seam allowances along the bottom edge.
(12) Cover wooden discs with fabric or use metal buttons. You´ll need 10 large (plus 4 optional) and two small buttons. Make a test buttonhole on some scrap fabric to determine the length of the buttonhole needed.
Mark the position of the buttons. The three optional uppermost are just decorative, the tailcoat will be closed with the four lower ones. The top of the four functional buttons has to be at the level of the roll line, and the bottom one about 1” (2,5cm) from the edge, depending on the button’s size. Spread the remaining buttons evenly. Mark the position of the buttonholes on the left front edge and sew, sew on the buttons.
Sew two buttons to the top of the folds on the back.
Sew the buttonholes and buttons to the sleeve cuffs, be aware that they are designed to be a French cuff style.
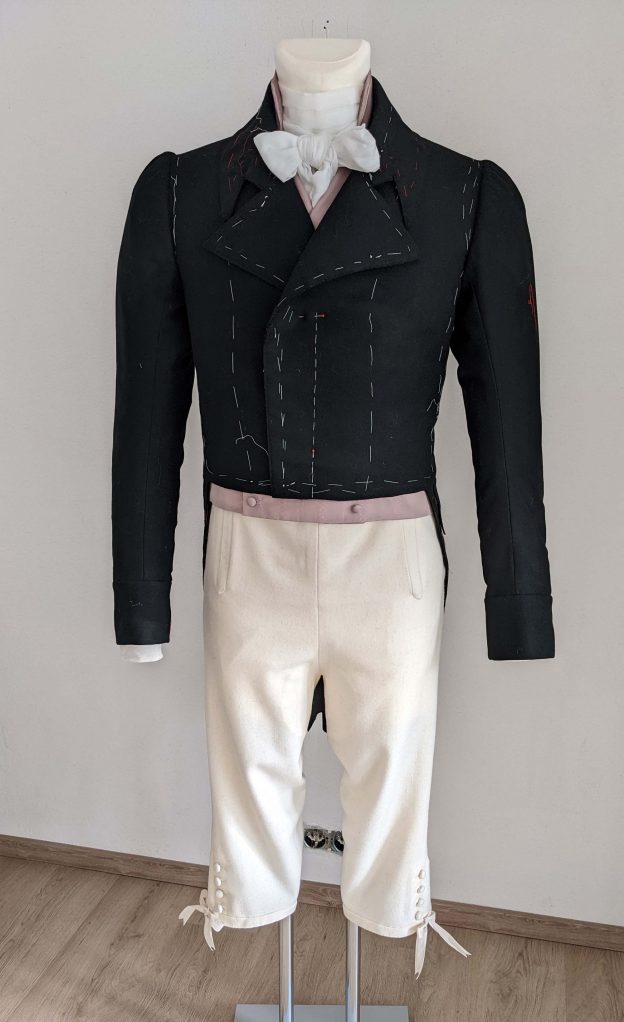
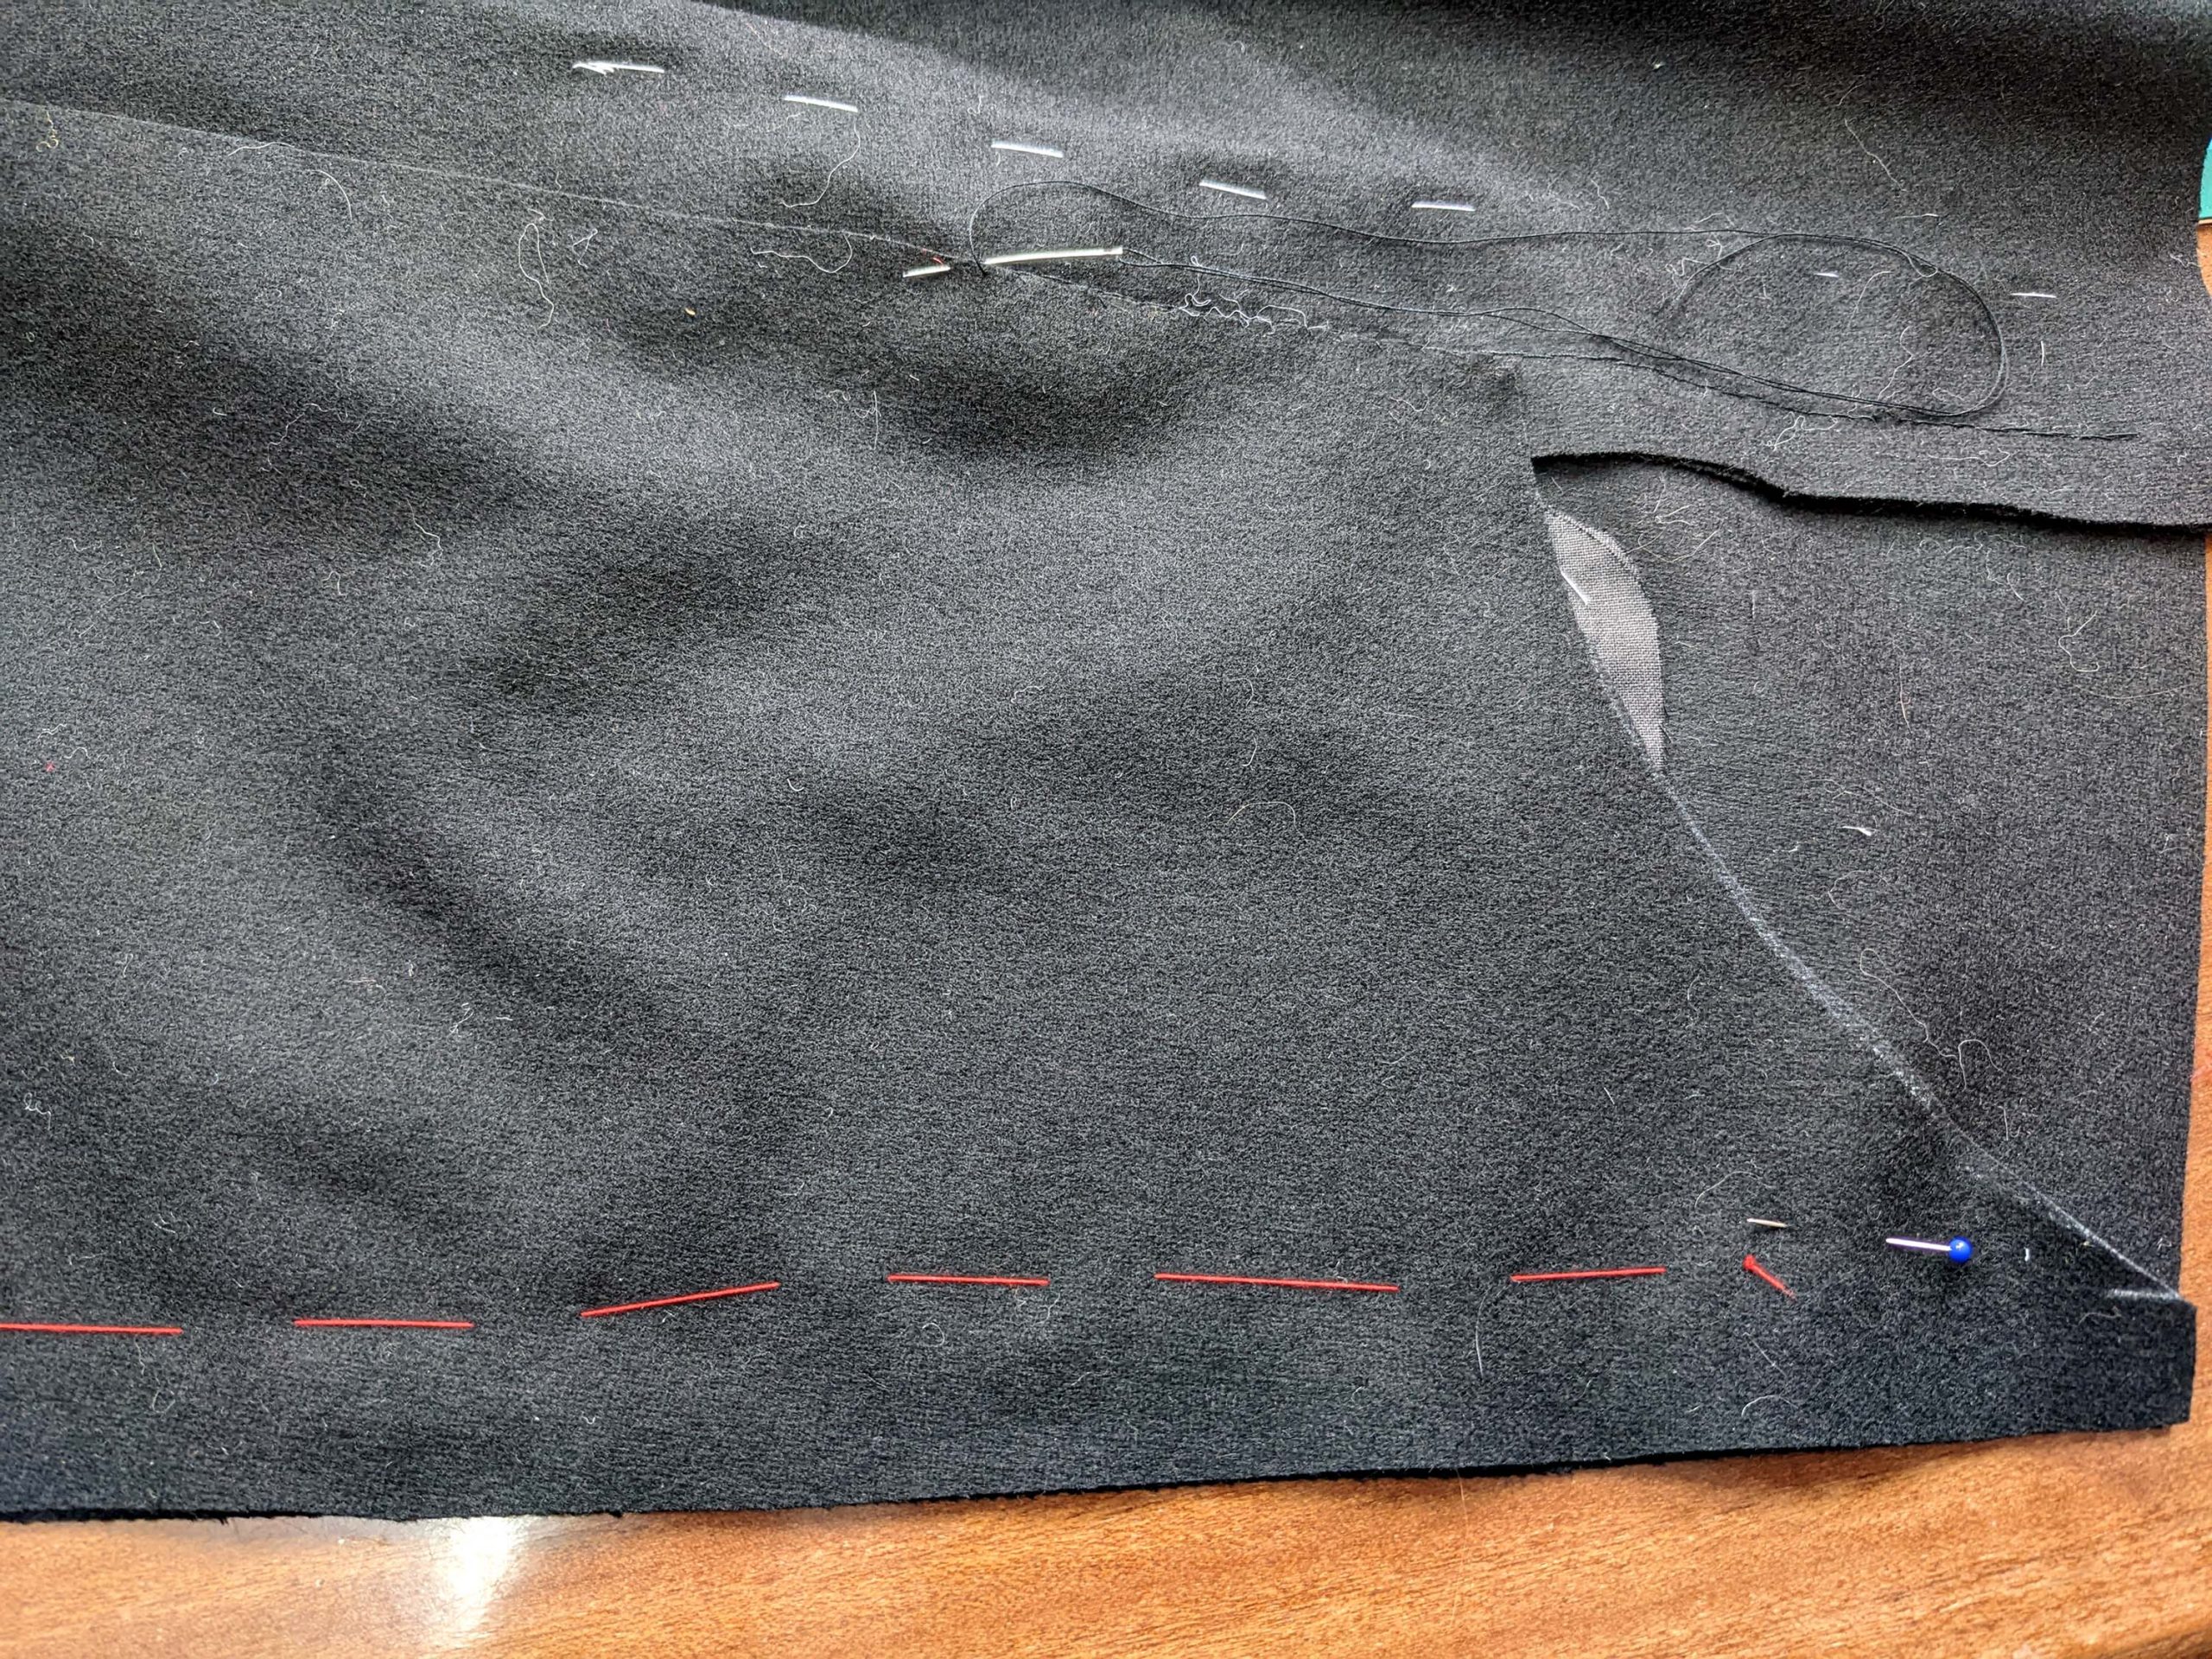
Remove all basting threads and press the tailcoat carefully for the last time.