No chance to relax, to complete the men’s wardrobe we need breeches!
Again, this blog post is just an addition to complete the instructions for my sewing pattern with more pictures.
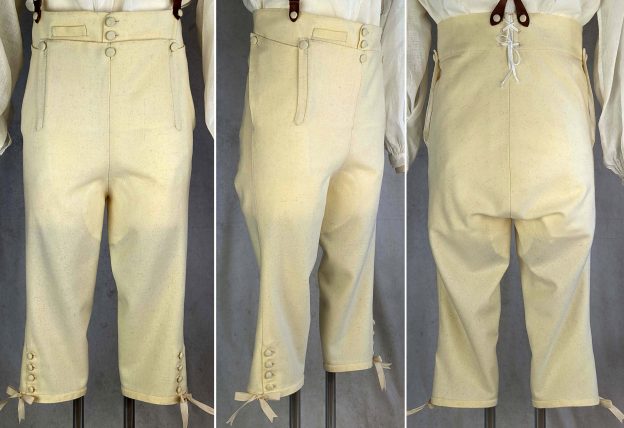
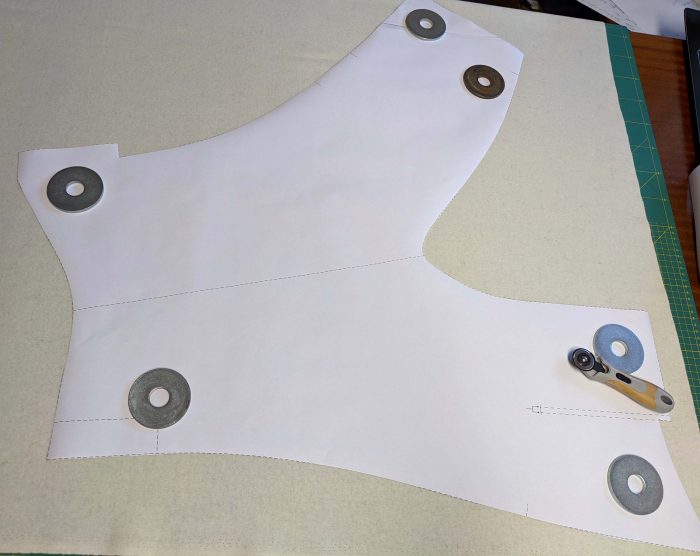
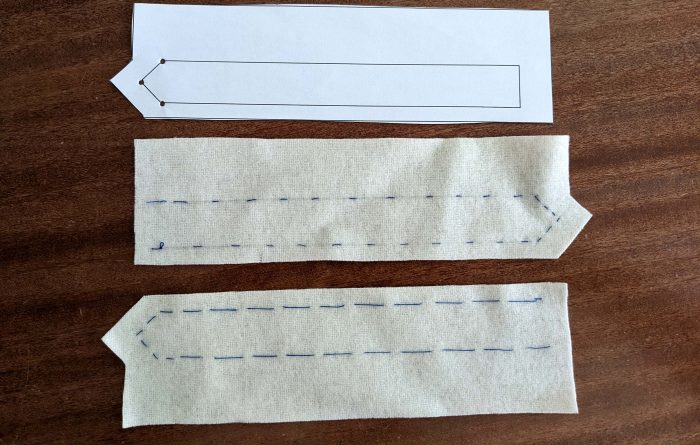
(1) Let´s start with cutting the fabric! Don´t be afraid of the weird looking pattern with no inseam and the legs pointing outward. If wanted add the inseam, the line is marked on the pattern, but don´t try to straighten the legs, they give the width needed for a comfortable fit. Compared to Georgian breeches, the volume at the buttocks is significantly reduced, but still more than most of us are used to from modern pants. The pattern is based on an extant sewing pattern from 1796.
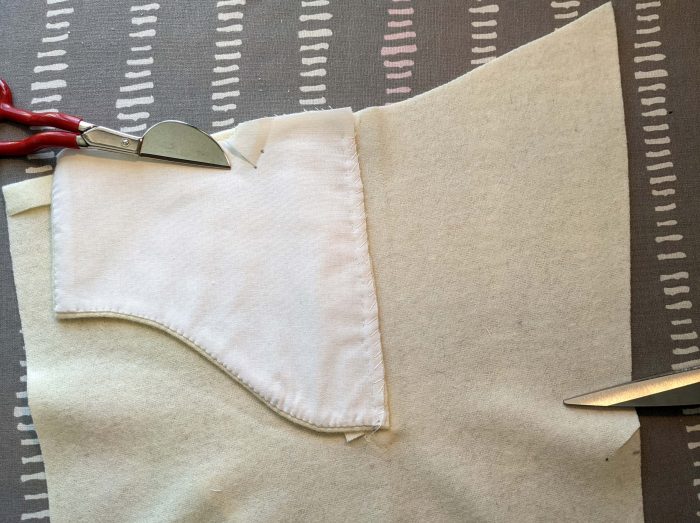
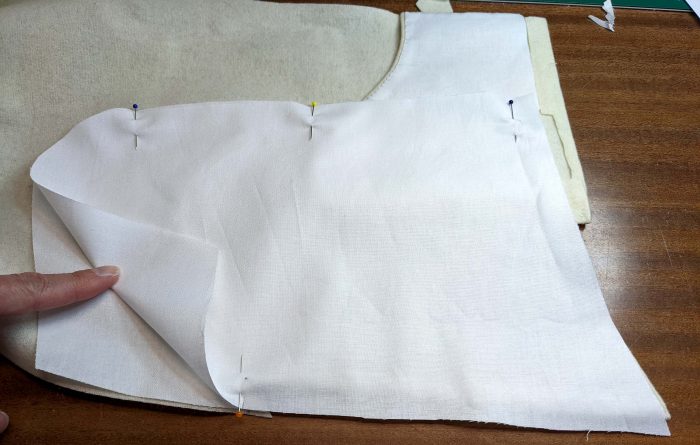
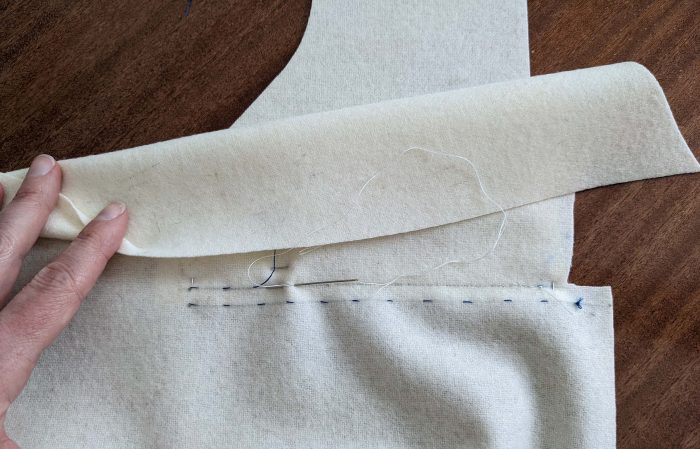
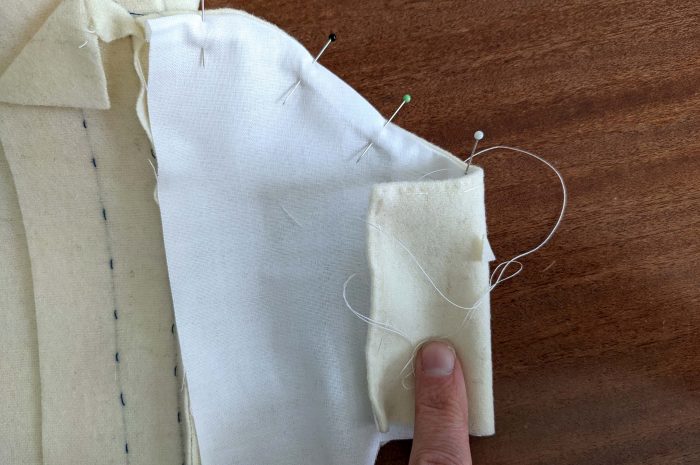
(2) The placket and underfall – the longest and most compliceted step in sewing the breeches:
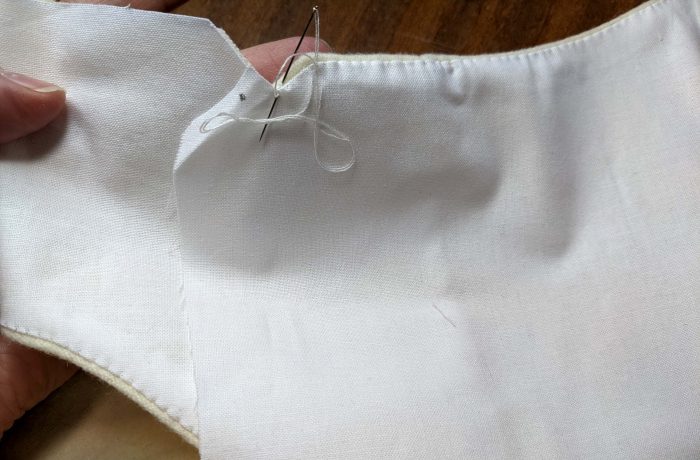
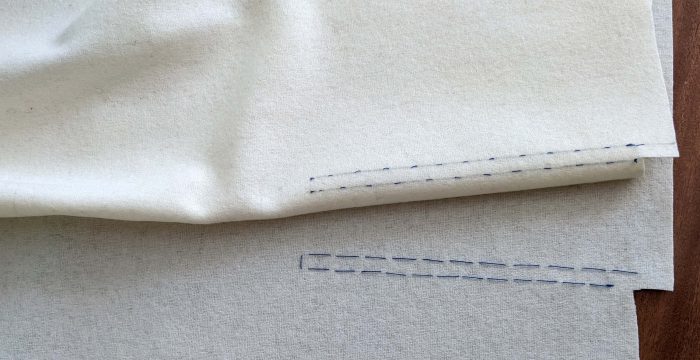
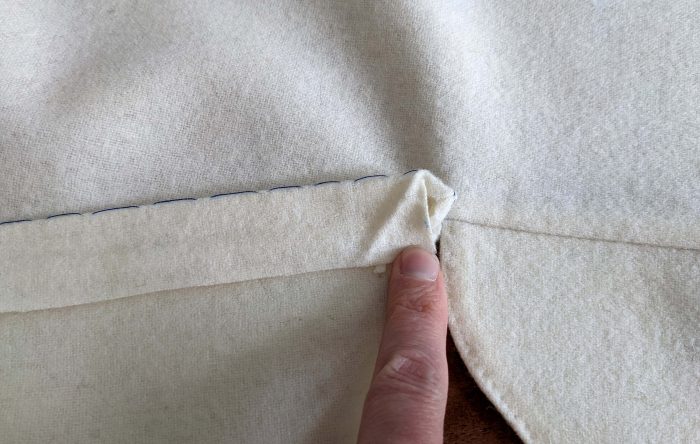
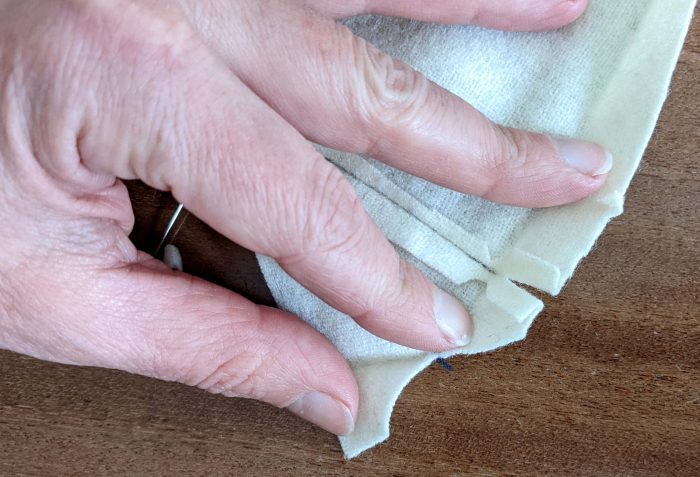
After thread tracing my lines, I decided to make mithered corners at the point of the placket, in hindsight it would have been better to notch the seam allowances as described in the instructions to reduce bulk at the point. The breeches are made of an absoluteley non fraying wool flanel.
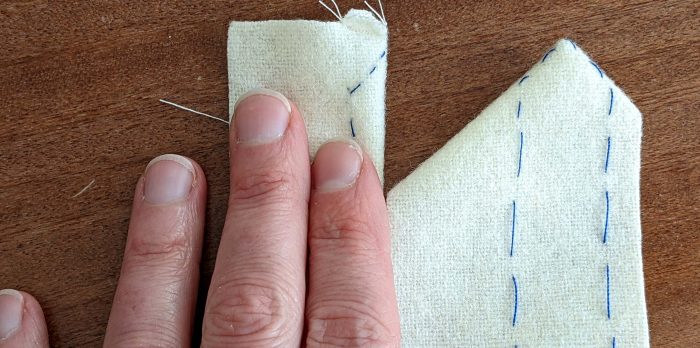

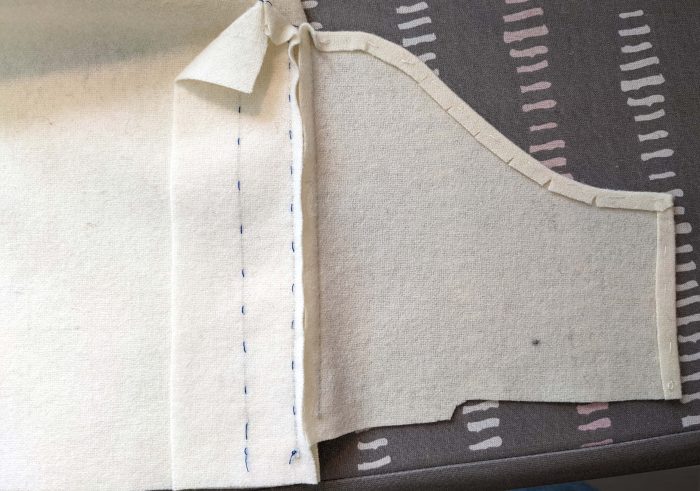
It´s better to prepare and line the underfall before cutting open the vent, to avoid strain at the cut corners.
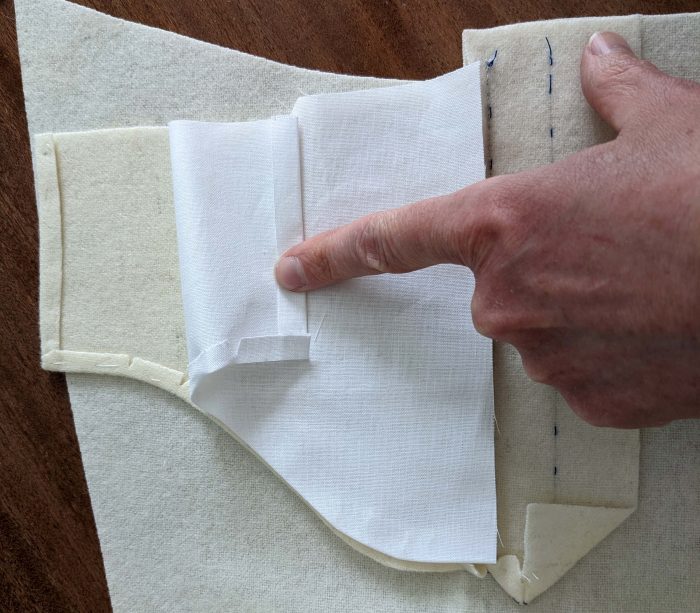
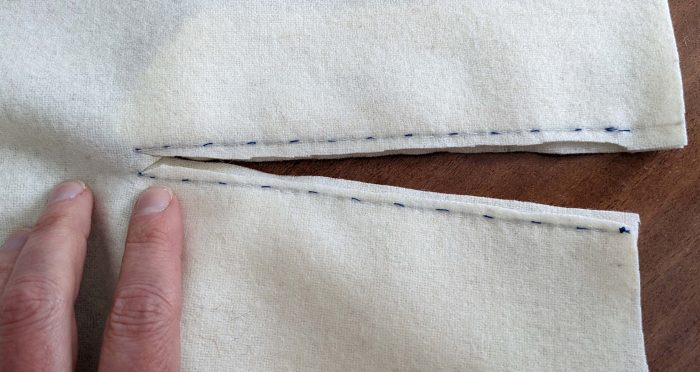
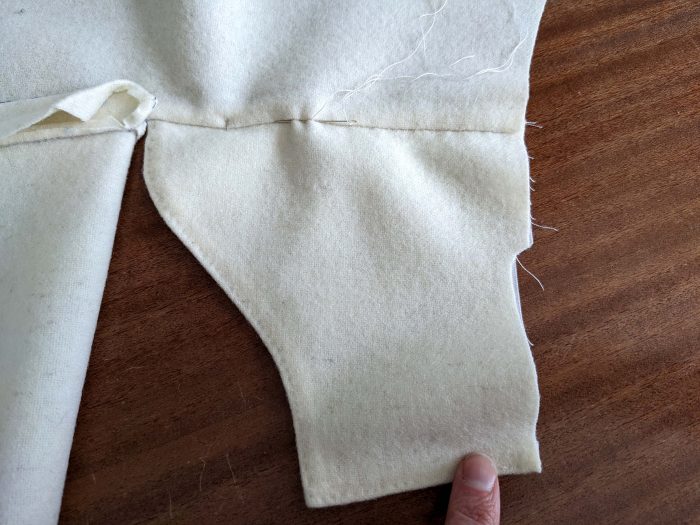
Time to slash open the vent and notch the seam allowances to reduce bulk (if not done before).
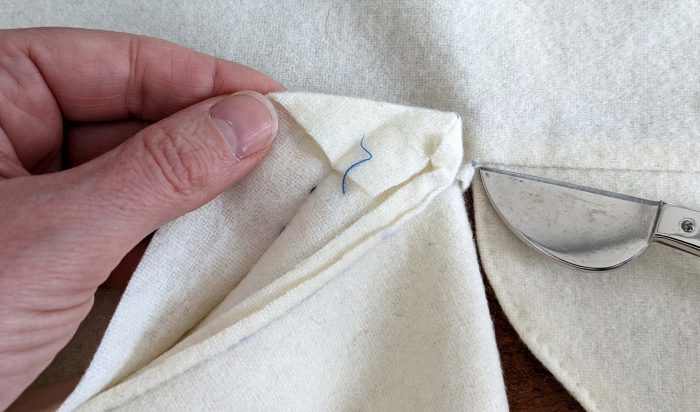
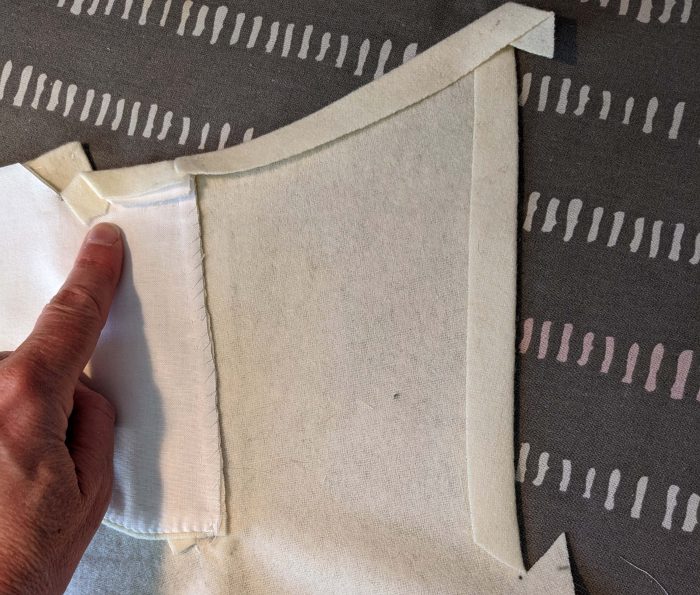
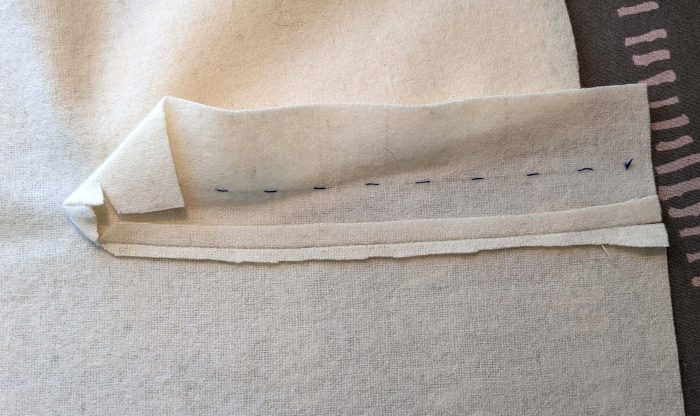
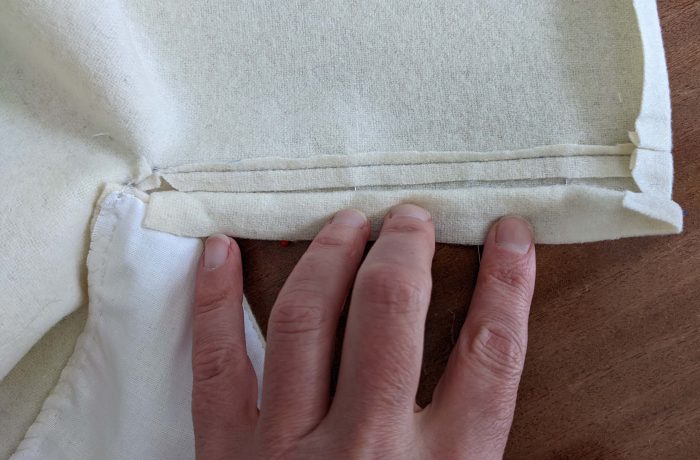
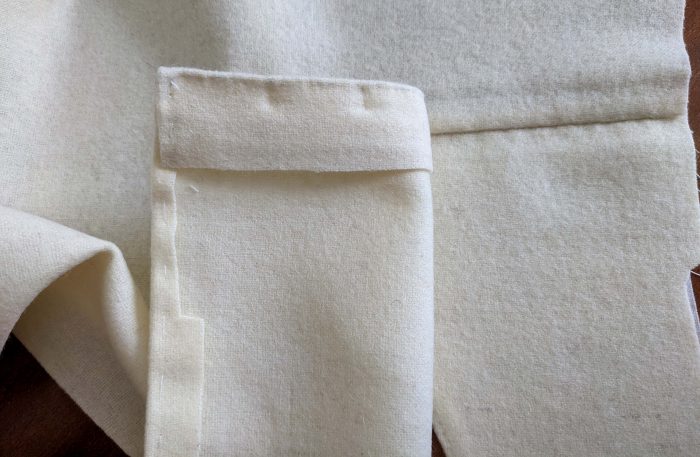
Press open the seam allowances along the stitching line of the placket, press the seam allowances towards the side along the stitching line of the underfall. Turn in the facing of the front placket:
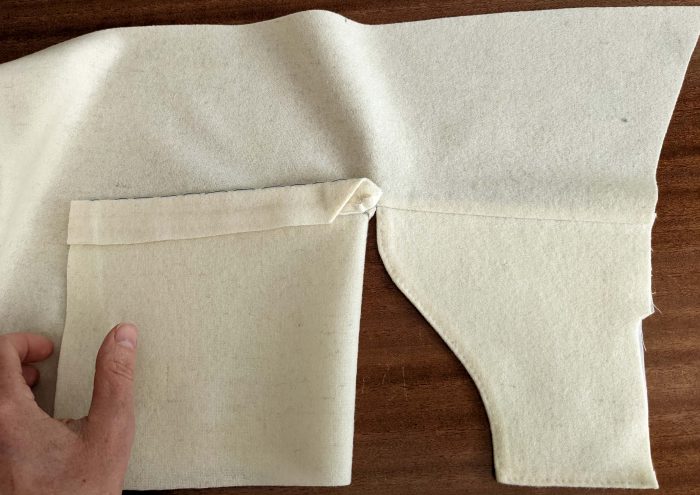
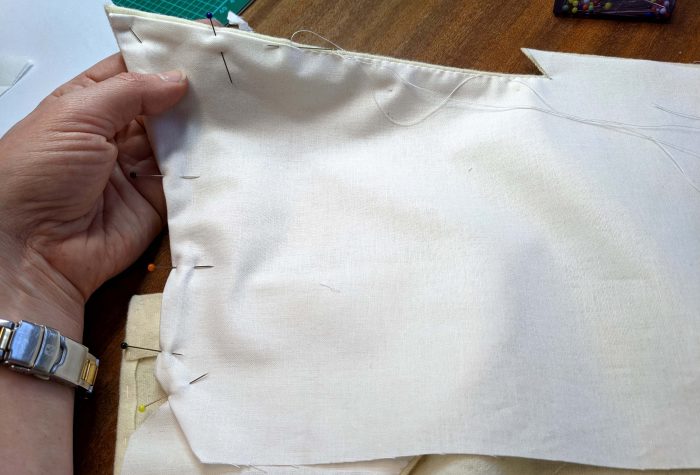
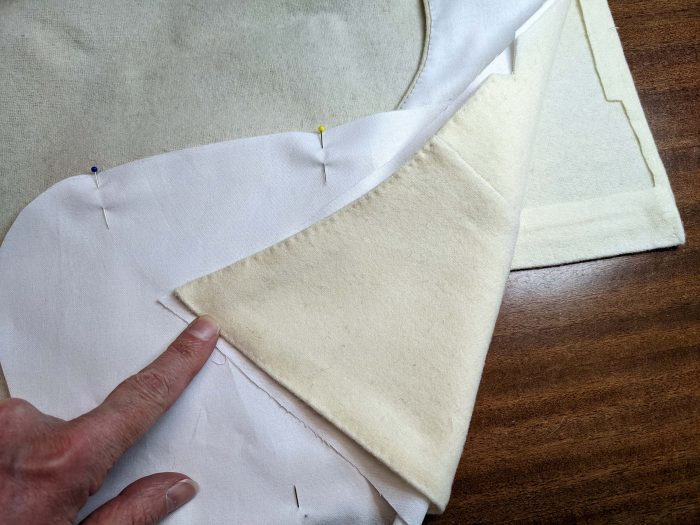
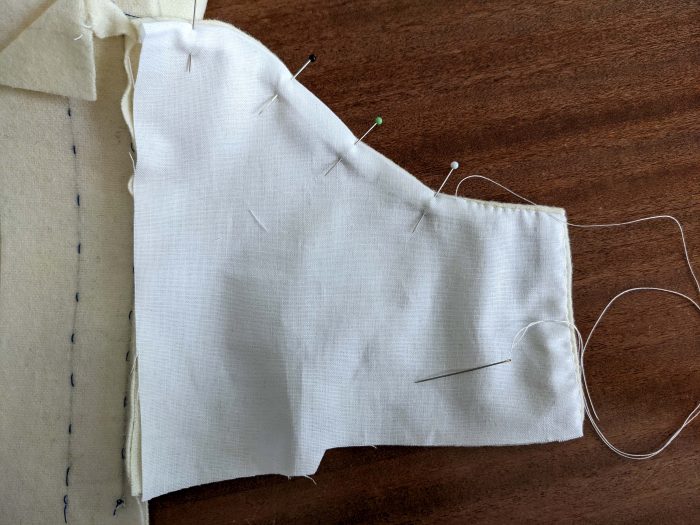
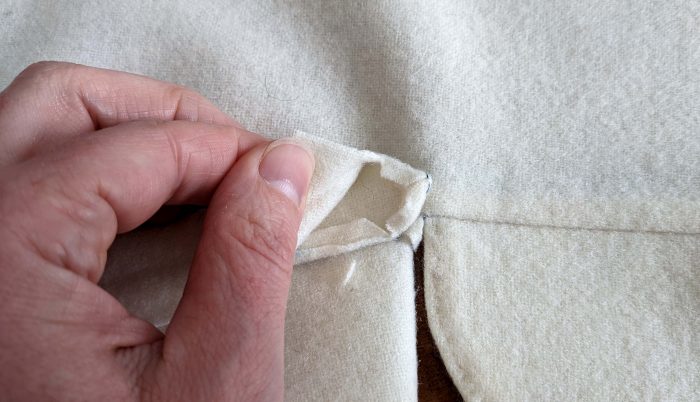
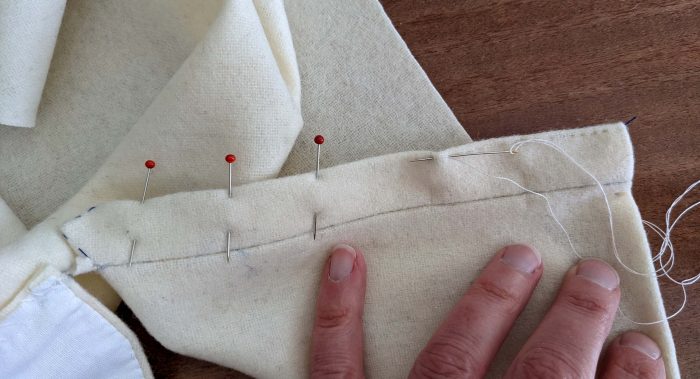
Sewing the underfall lining in the ditch of the seam from the right side and neatening the seam allowances on the wrong side:
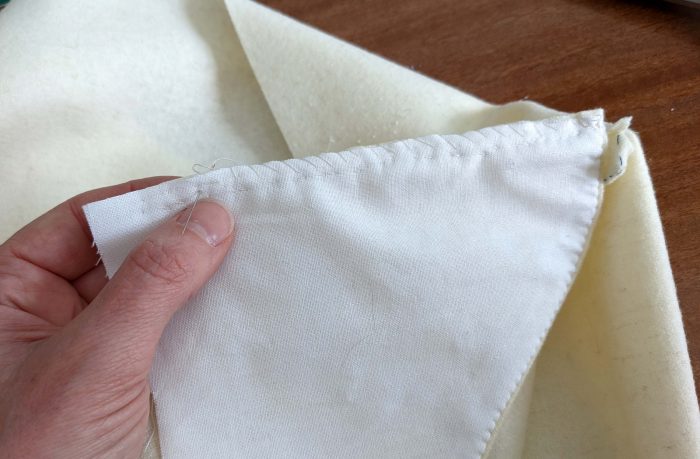
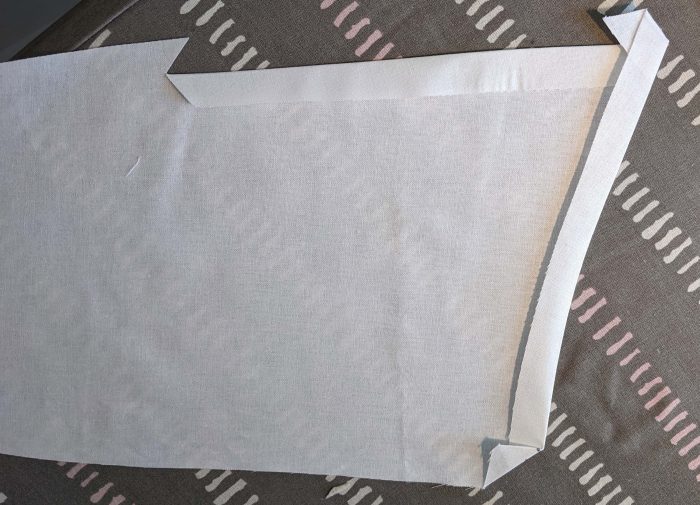
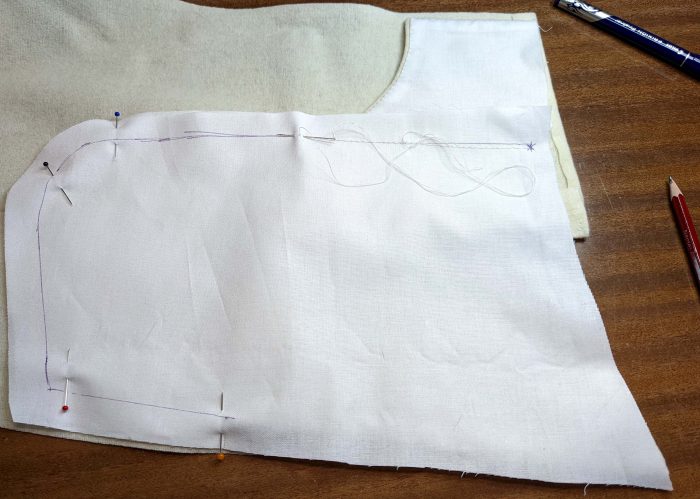
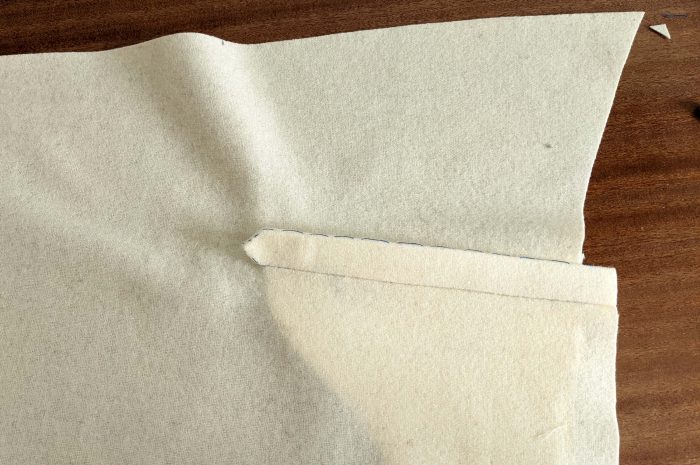
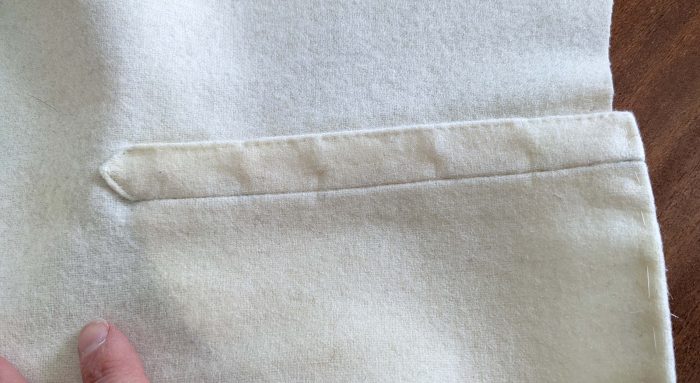
How to prepare the top edge of the fall front and the placket with notched seam allowances to reduce bulk:
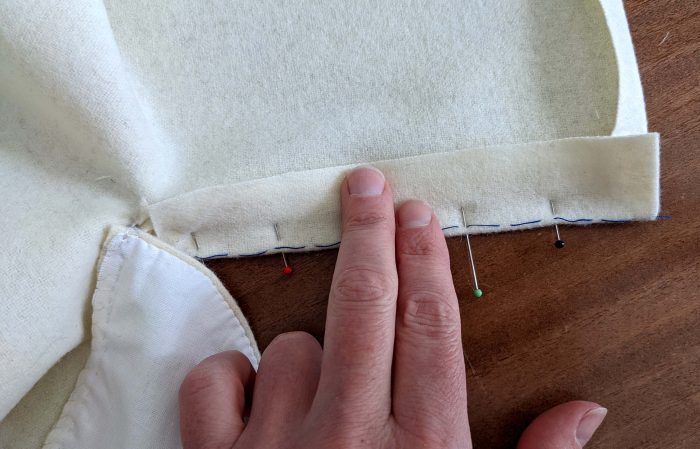
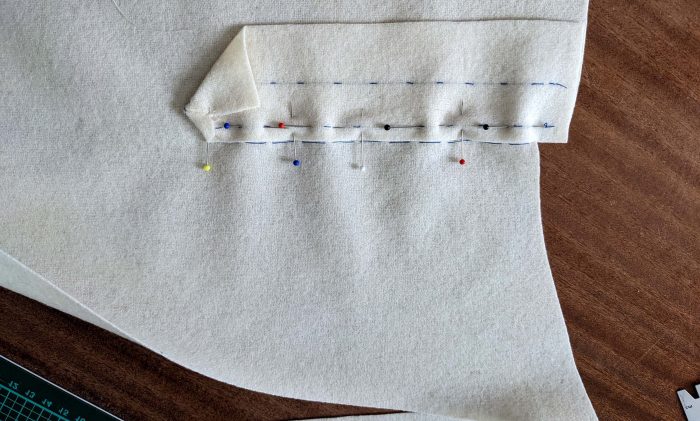
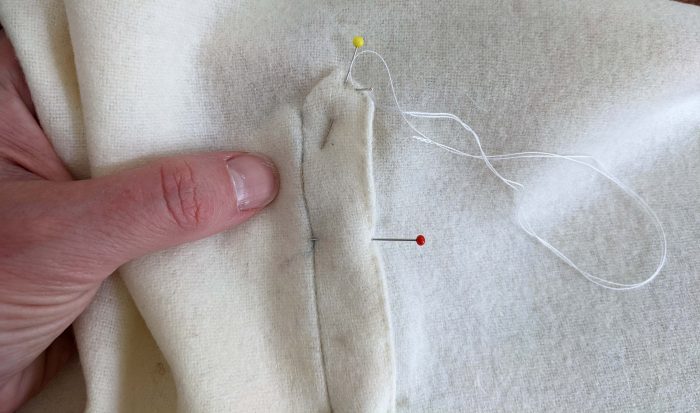
Sew down (topstitch) along the side edge of the placket until reaching the mark. Place the point on top of the breeches and stitch down through all layers:
(3) The side pocket flap: