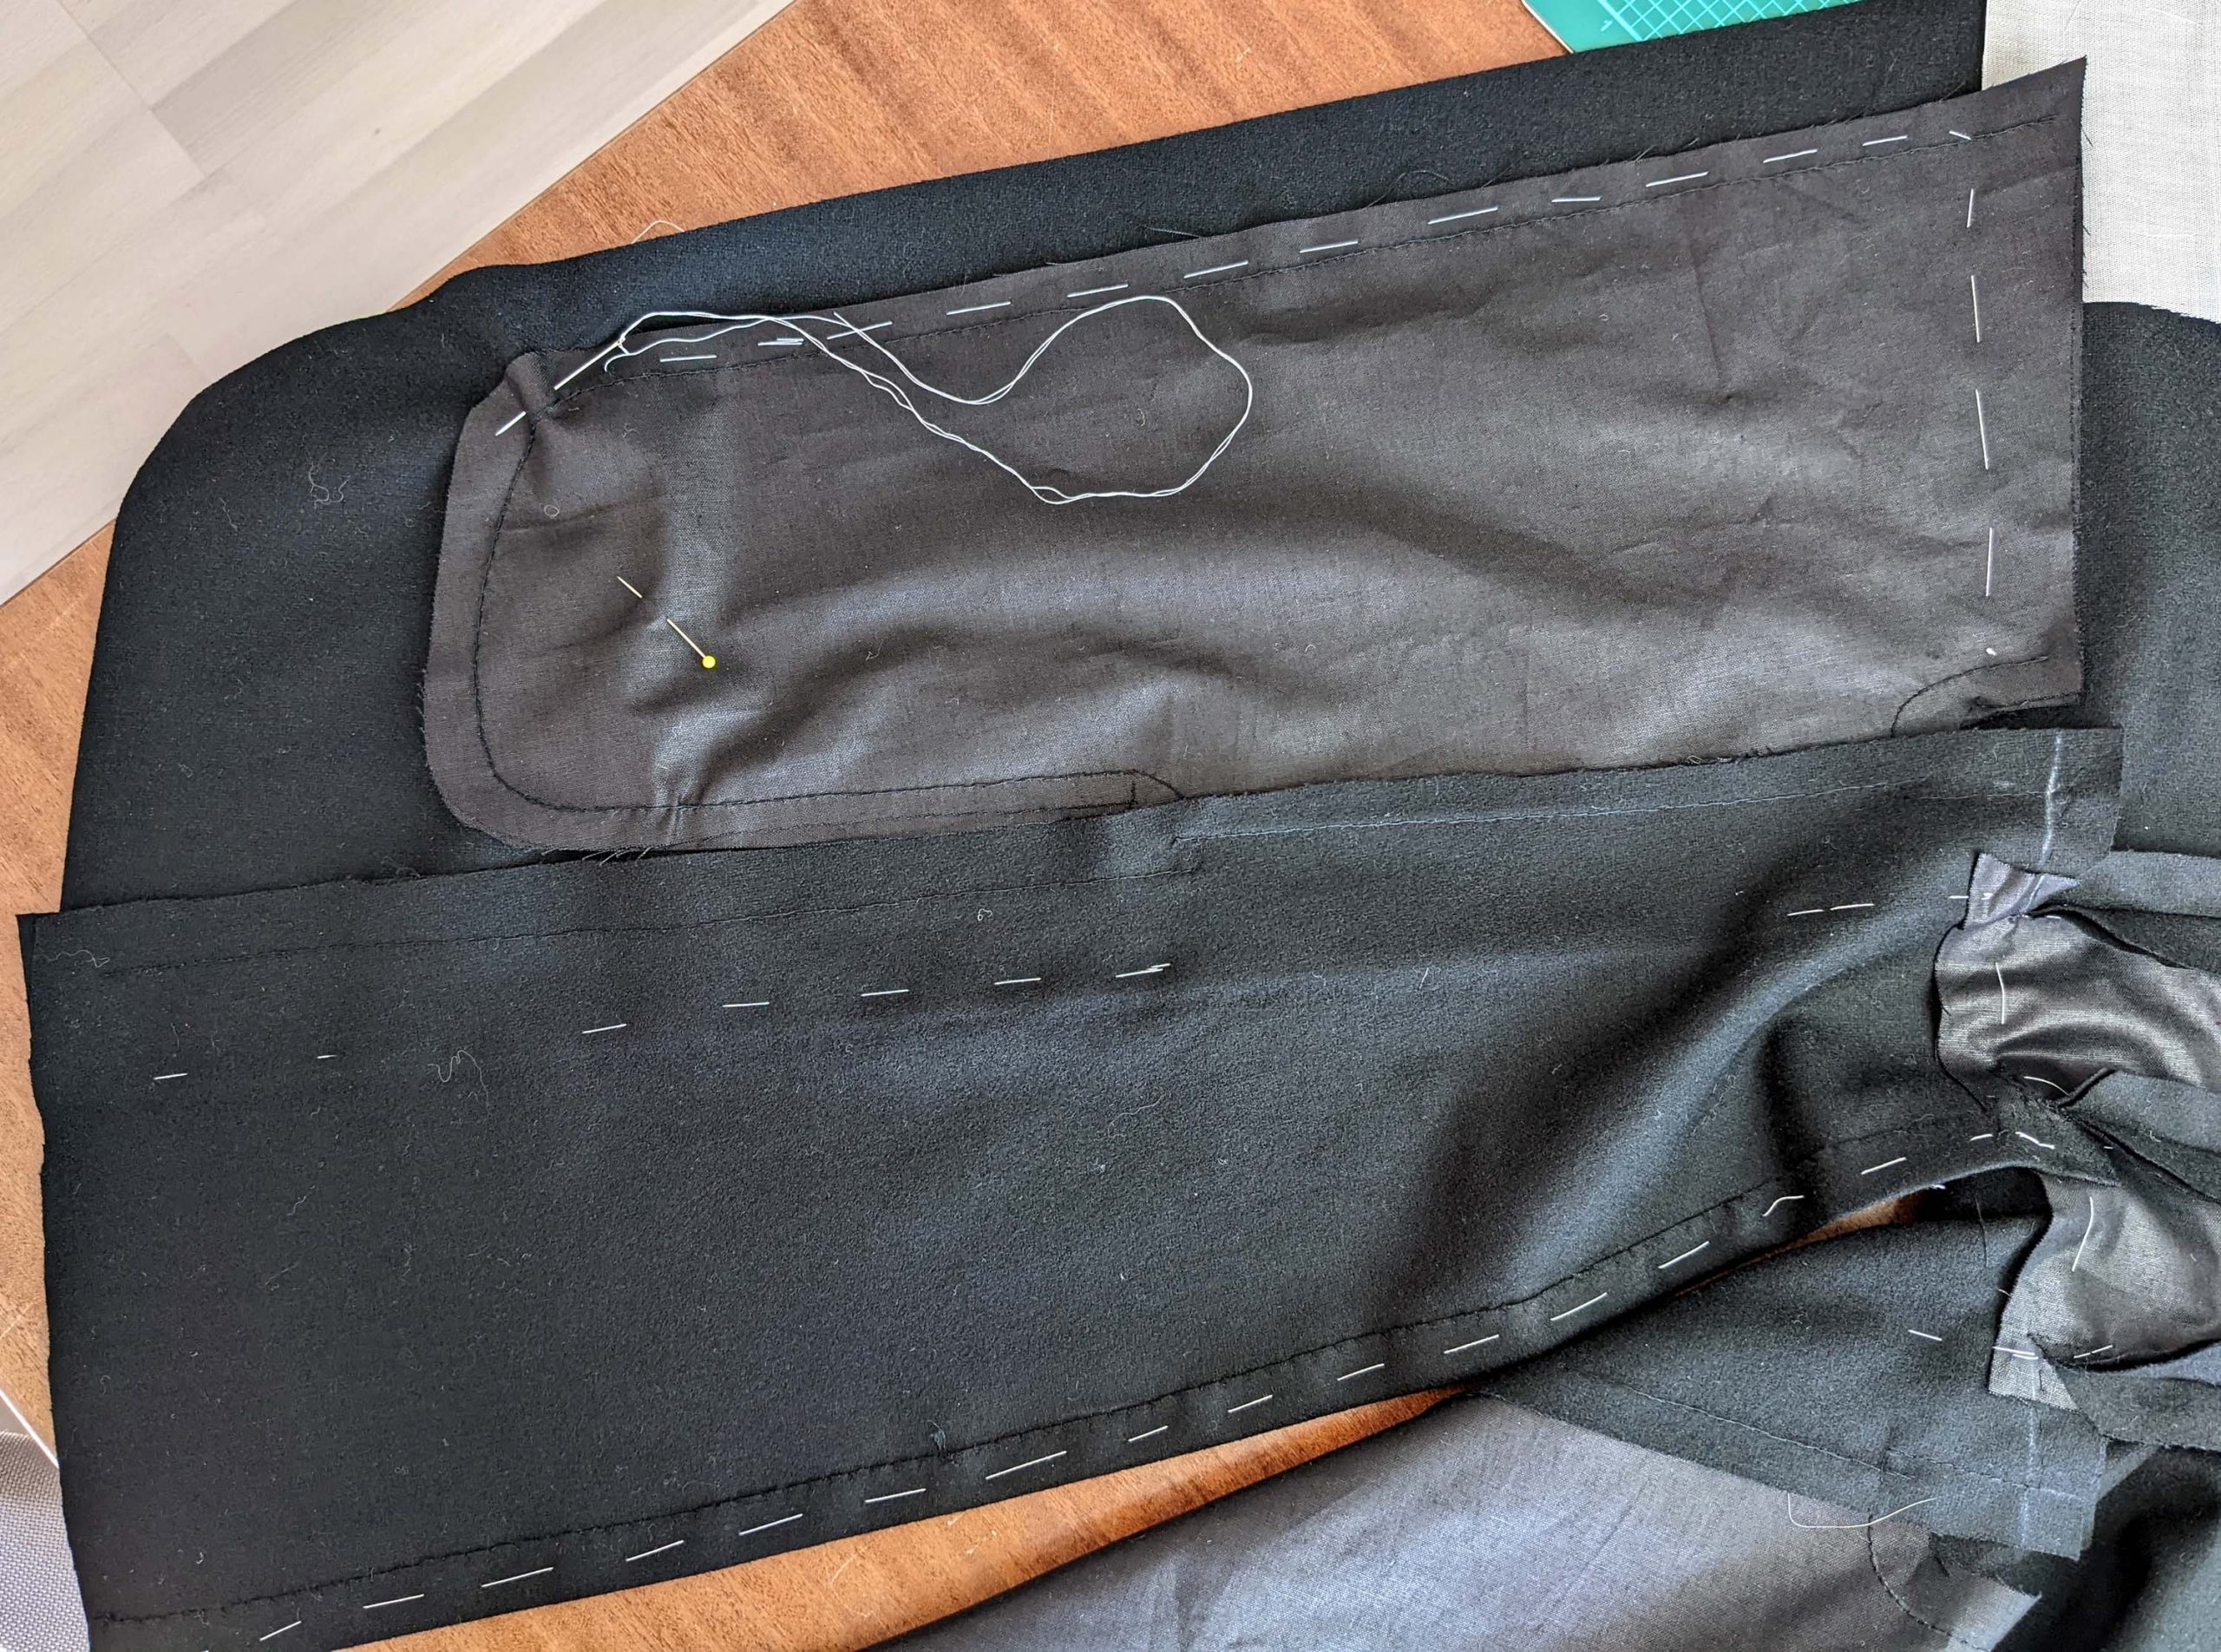
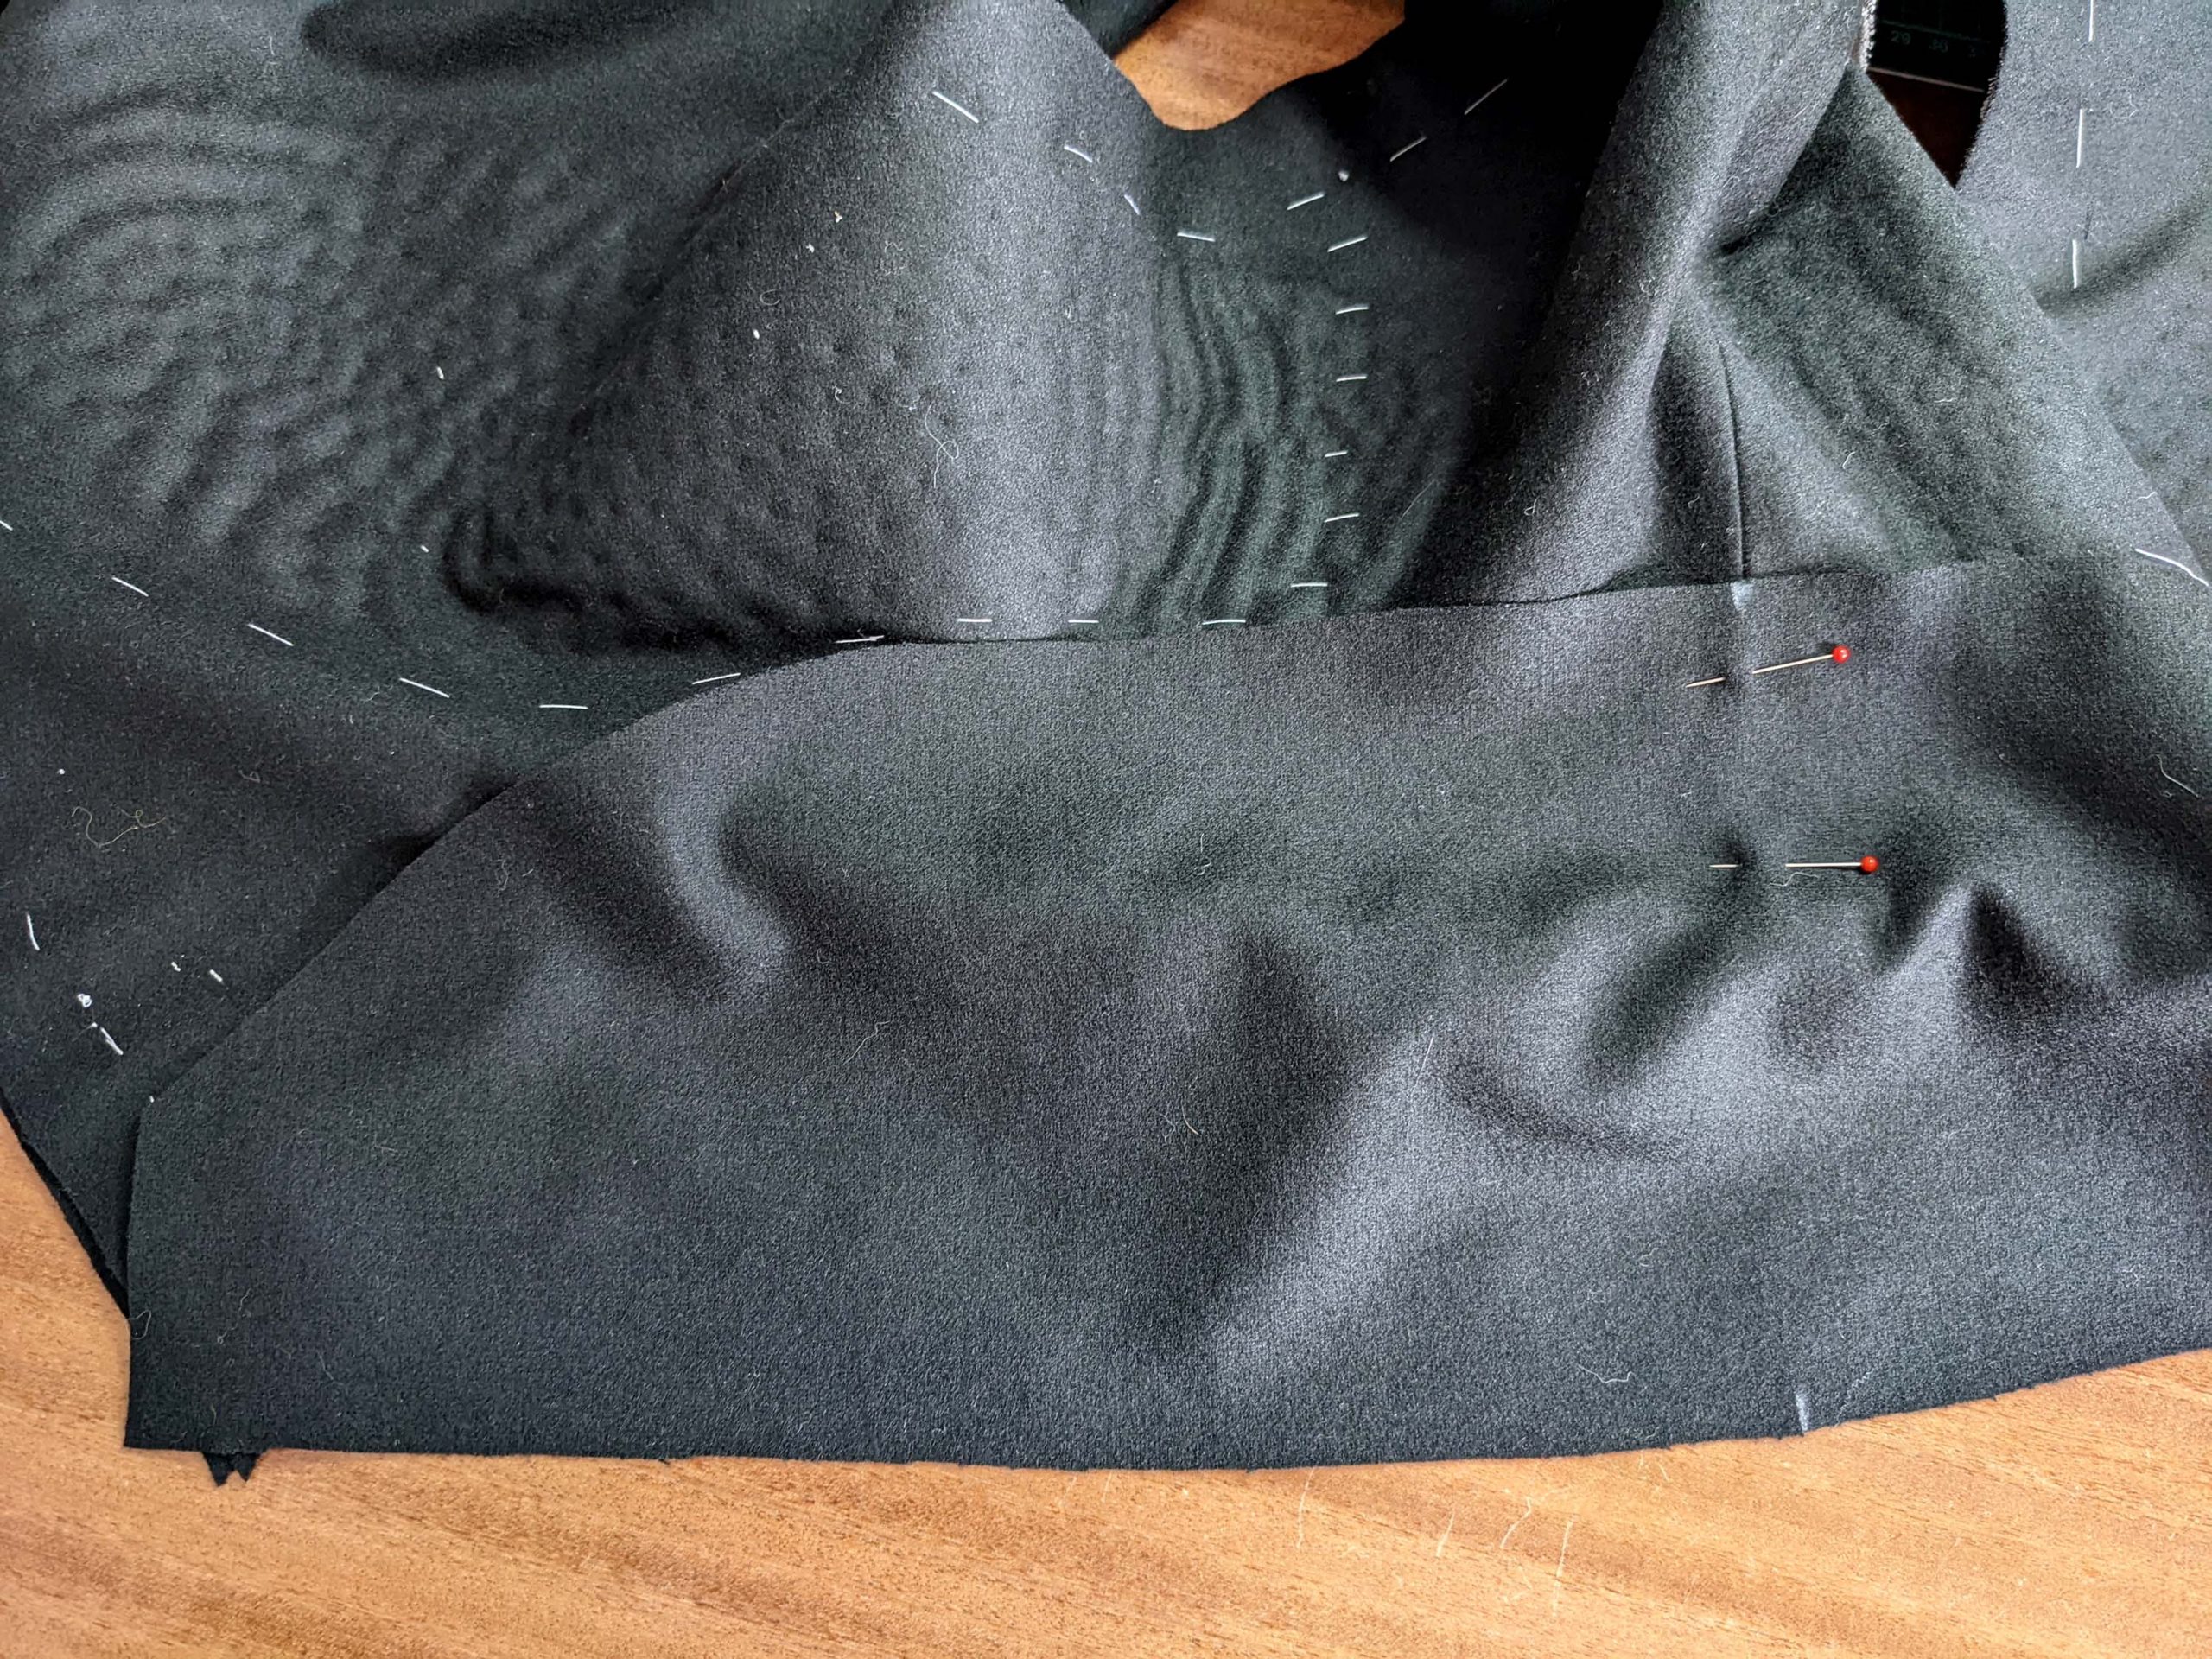
(7) Line up the pockets with the front and back, right sides together, matching the marks (2) and (3), and sew with a 3/8” (1cm) seam allowance. Press the pockets towards the side.
Line up the tails of the front and back, right sides together, matching all marks, and smooth out the pockets. Sew with a 5/8” (1,5cm) seam allowance along the tail and pocket.
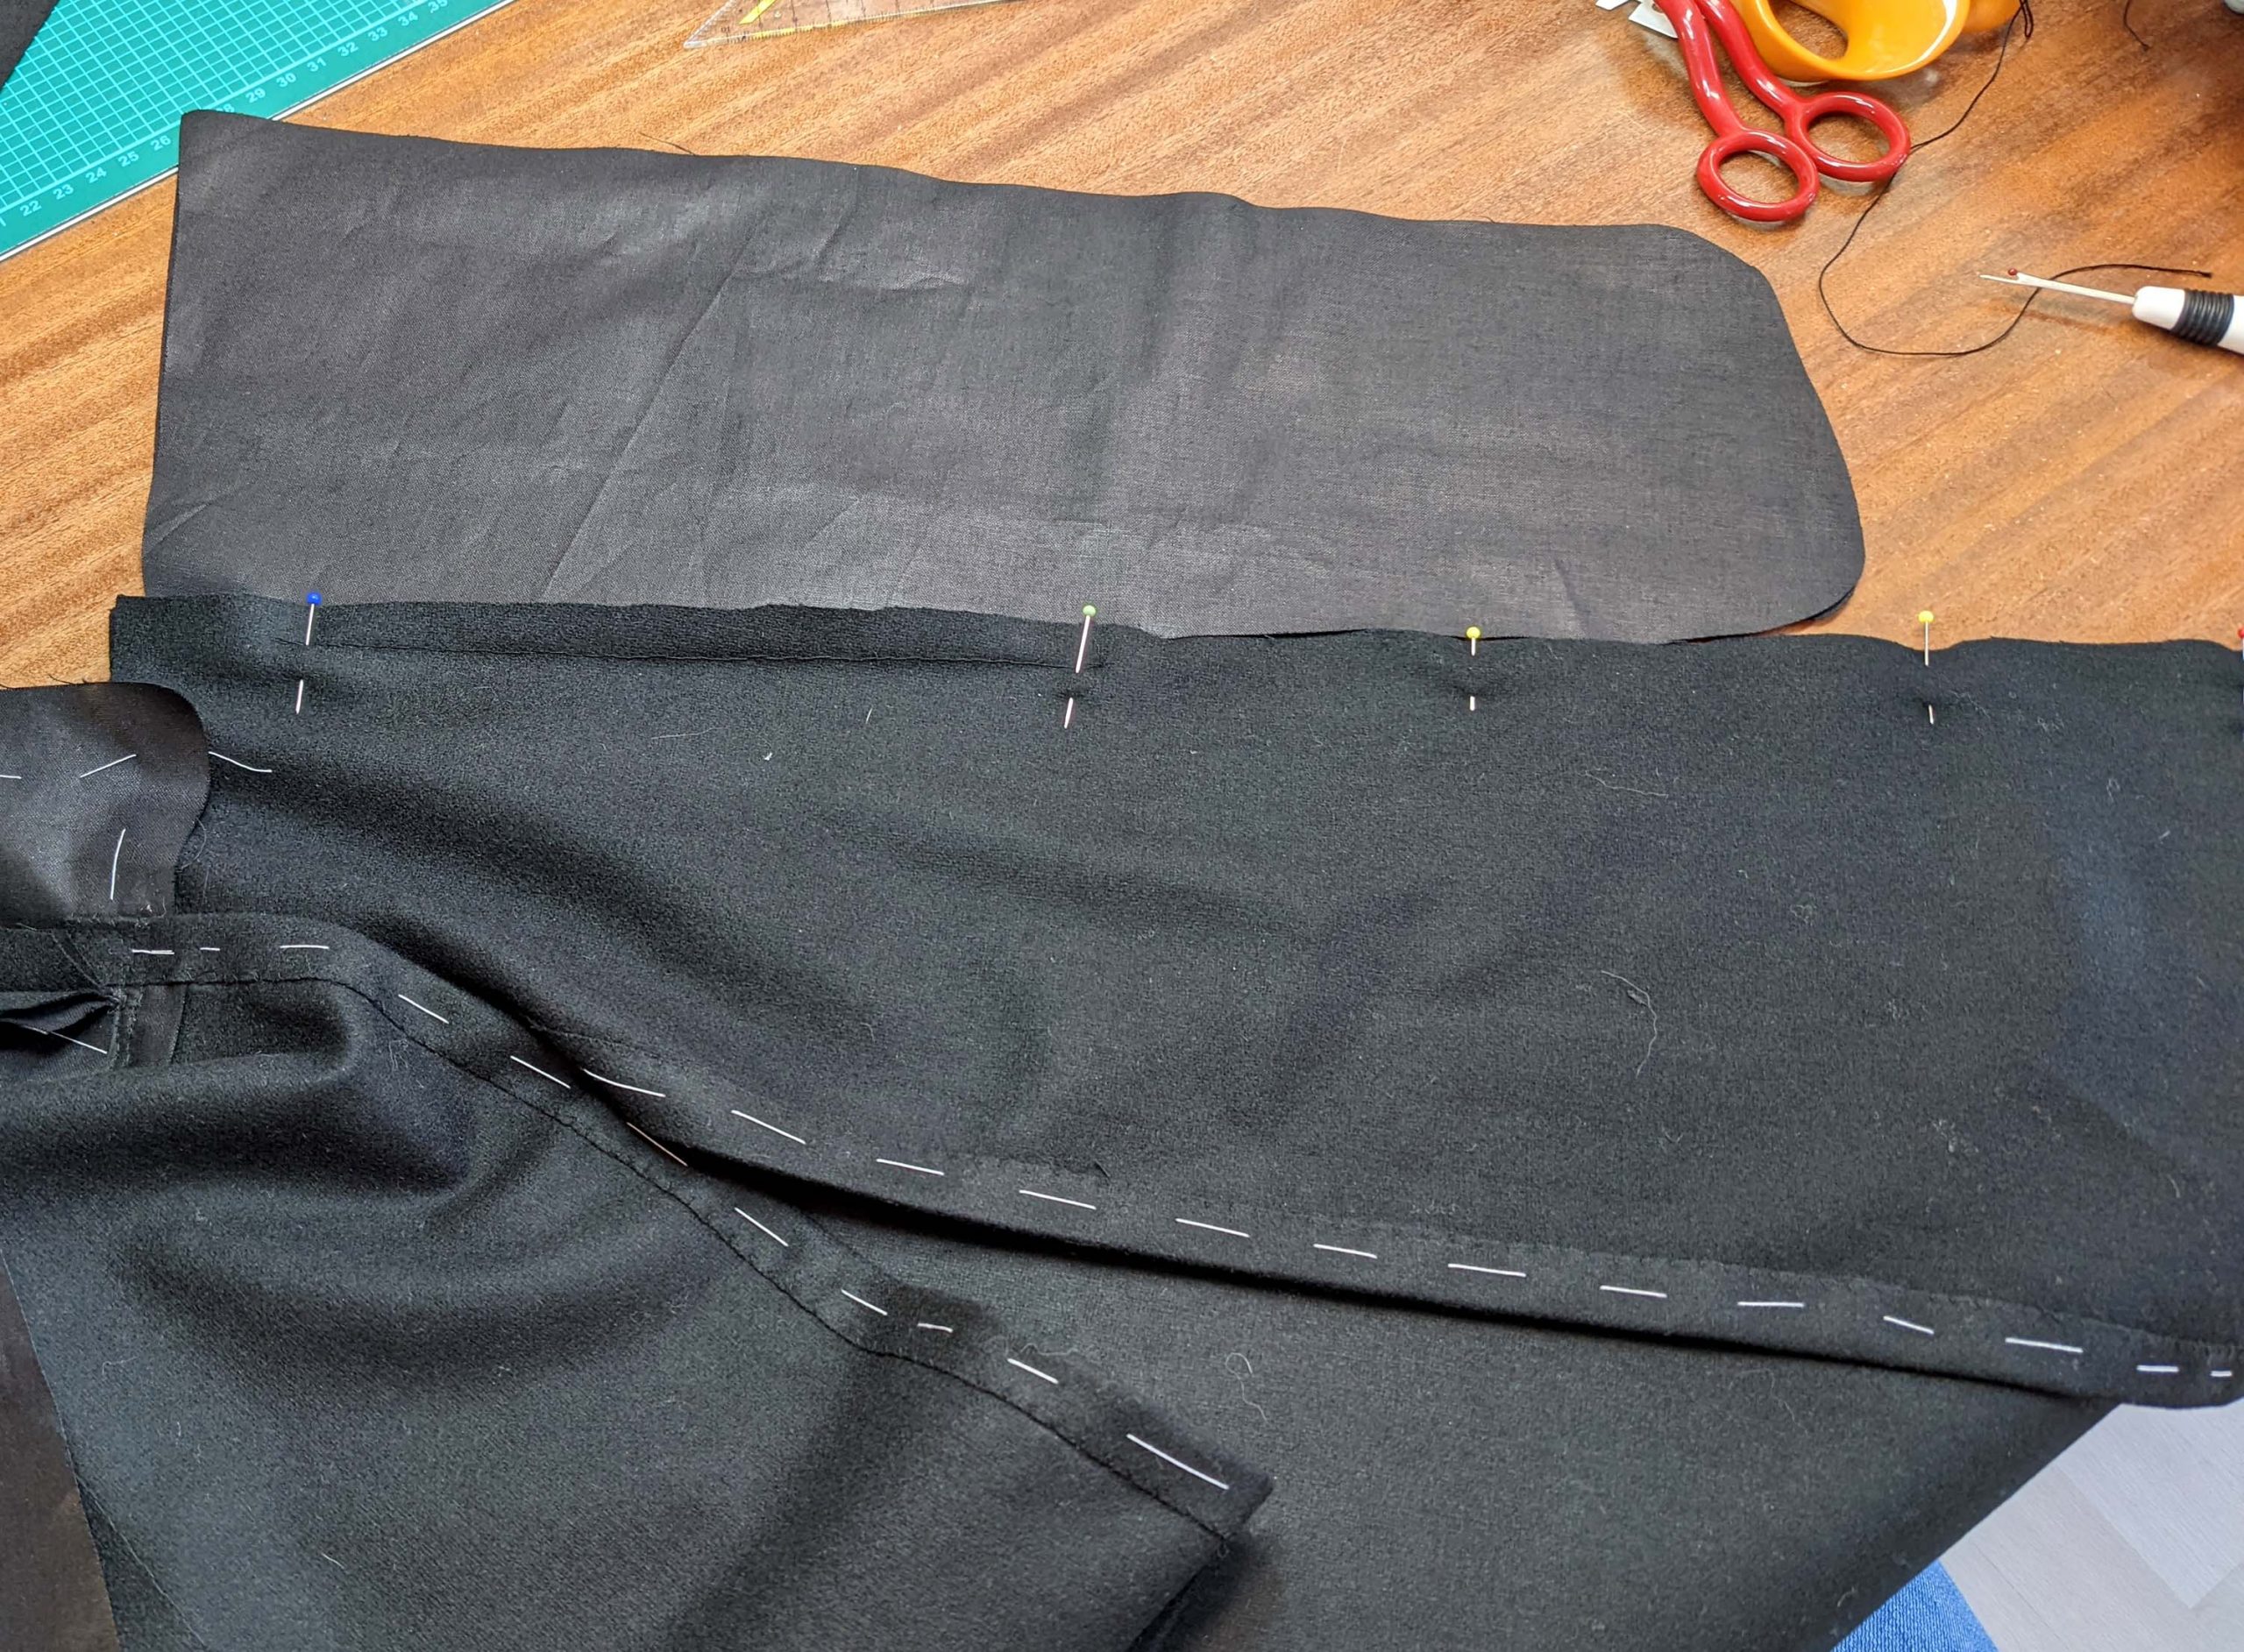

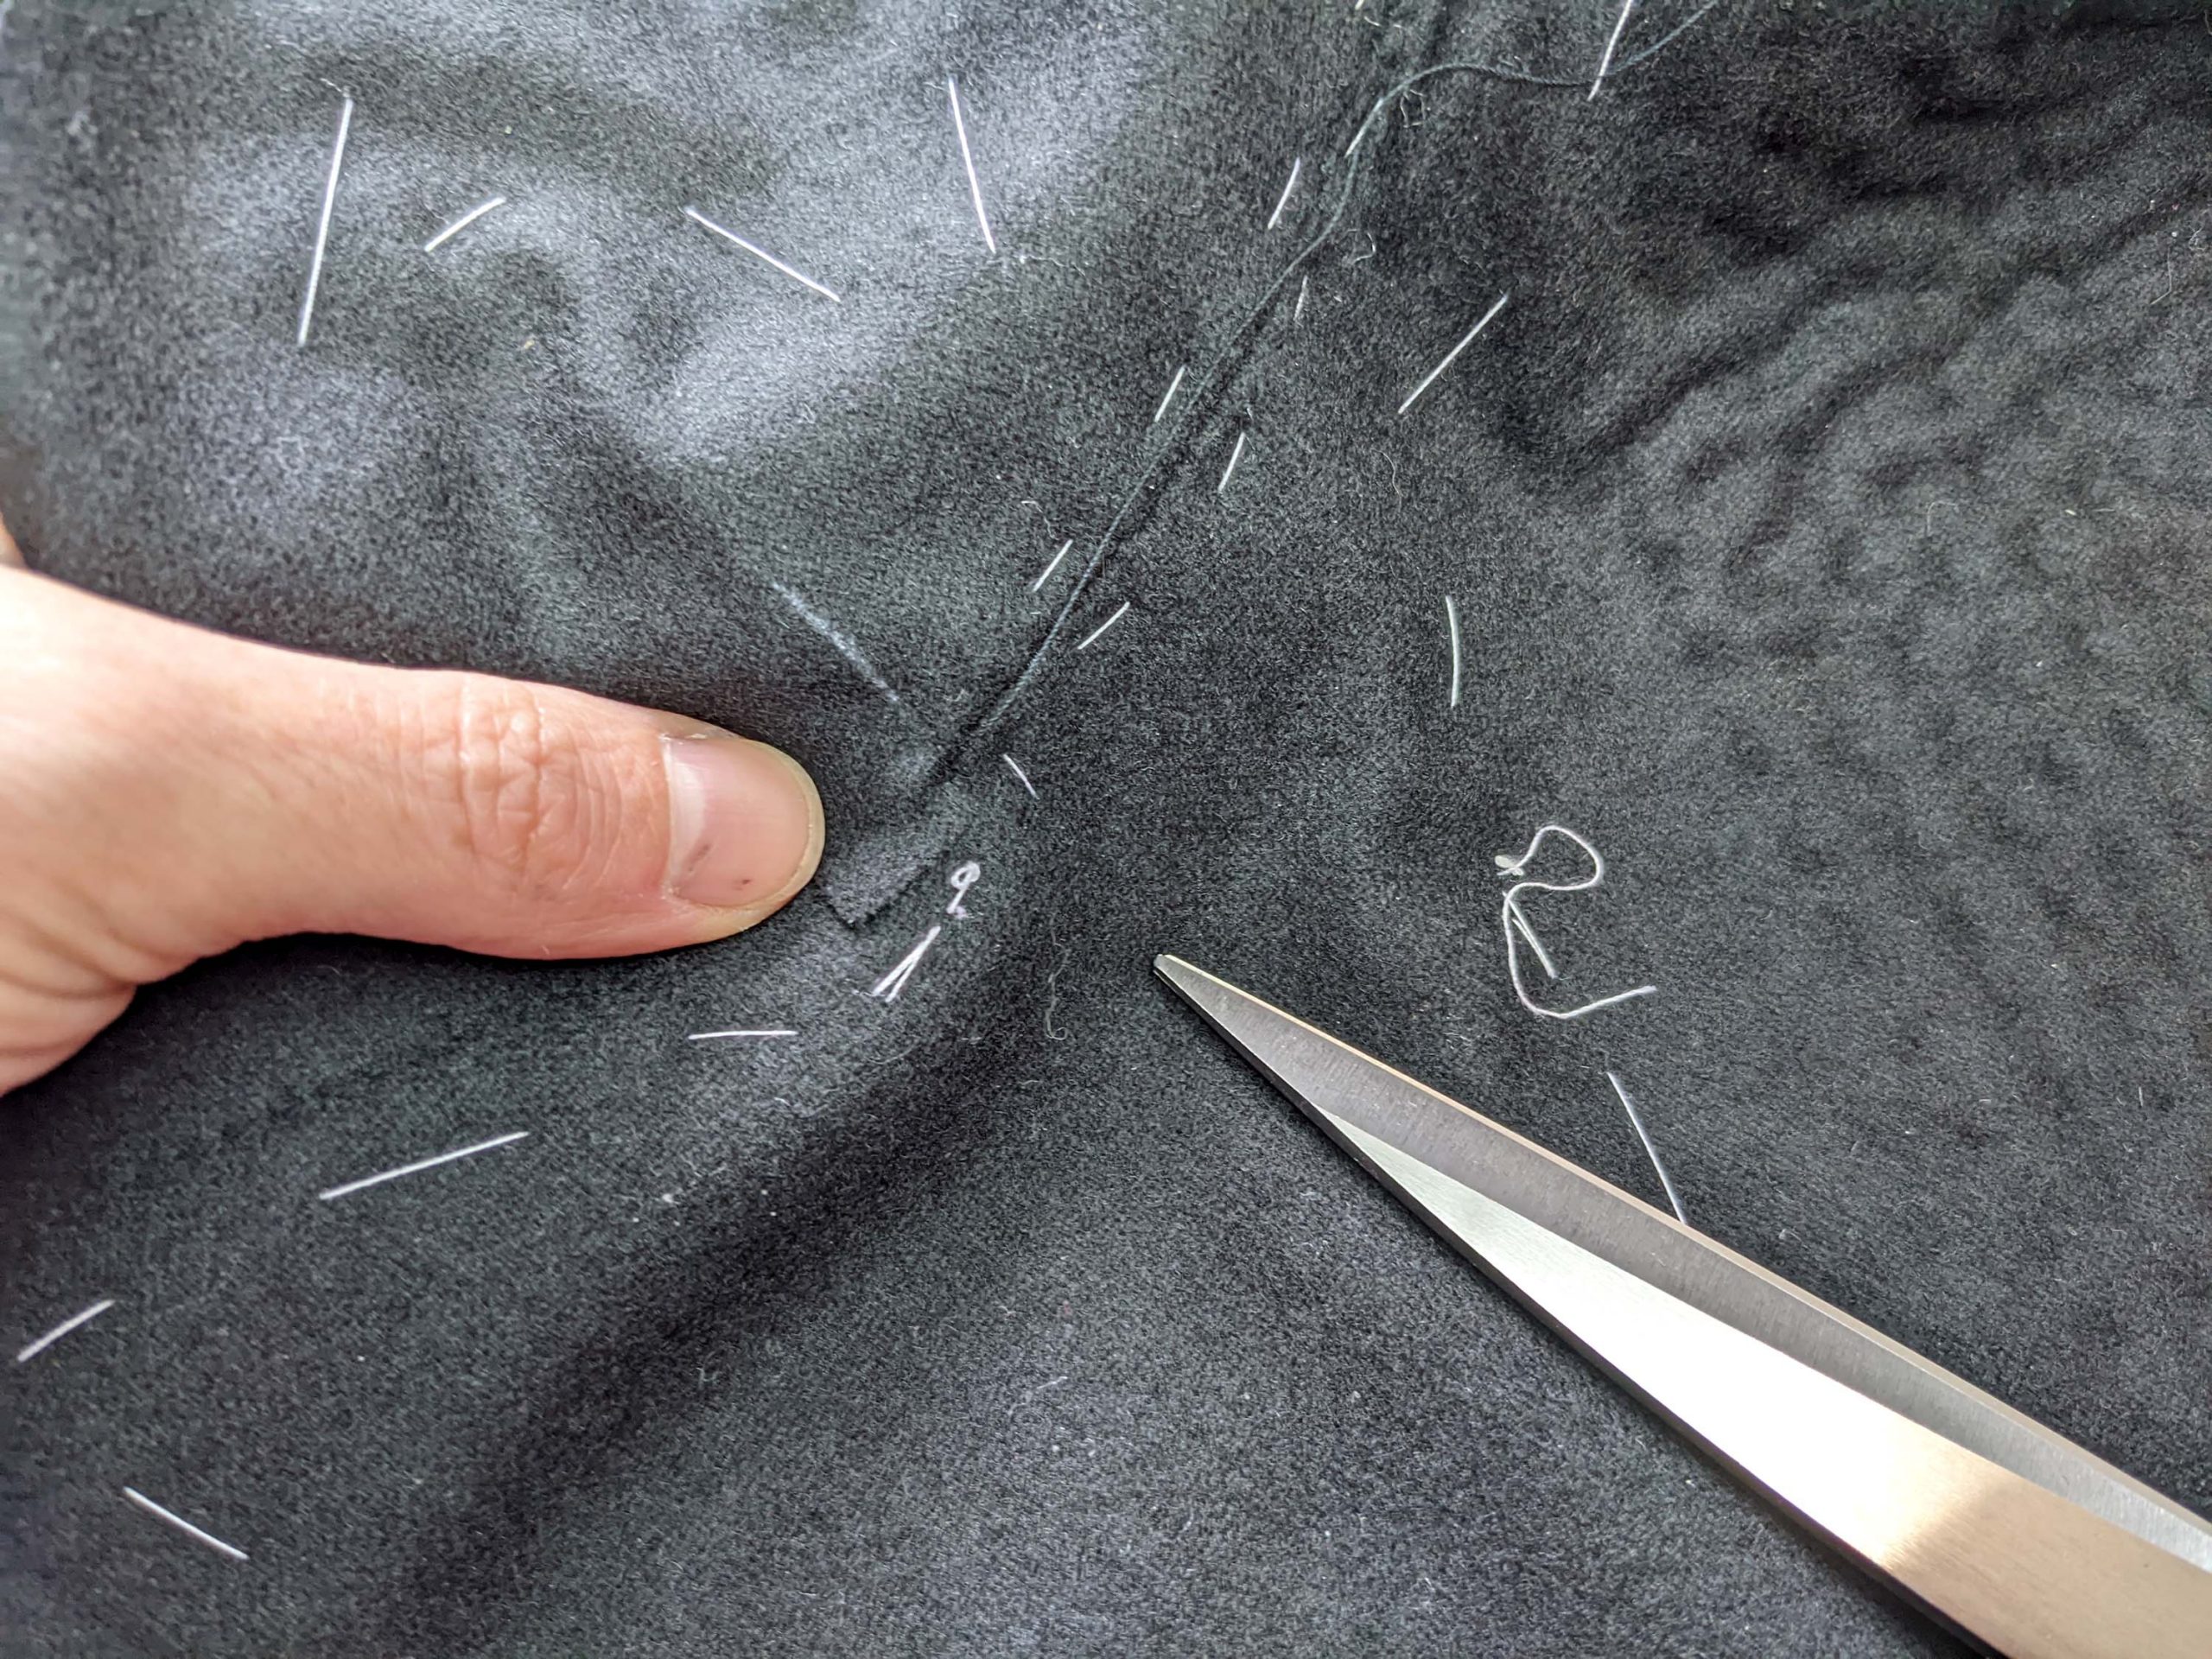
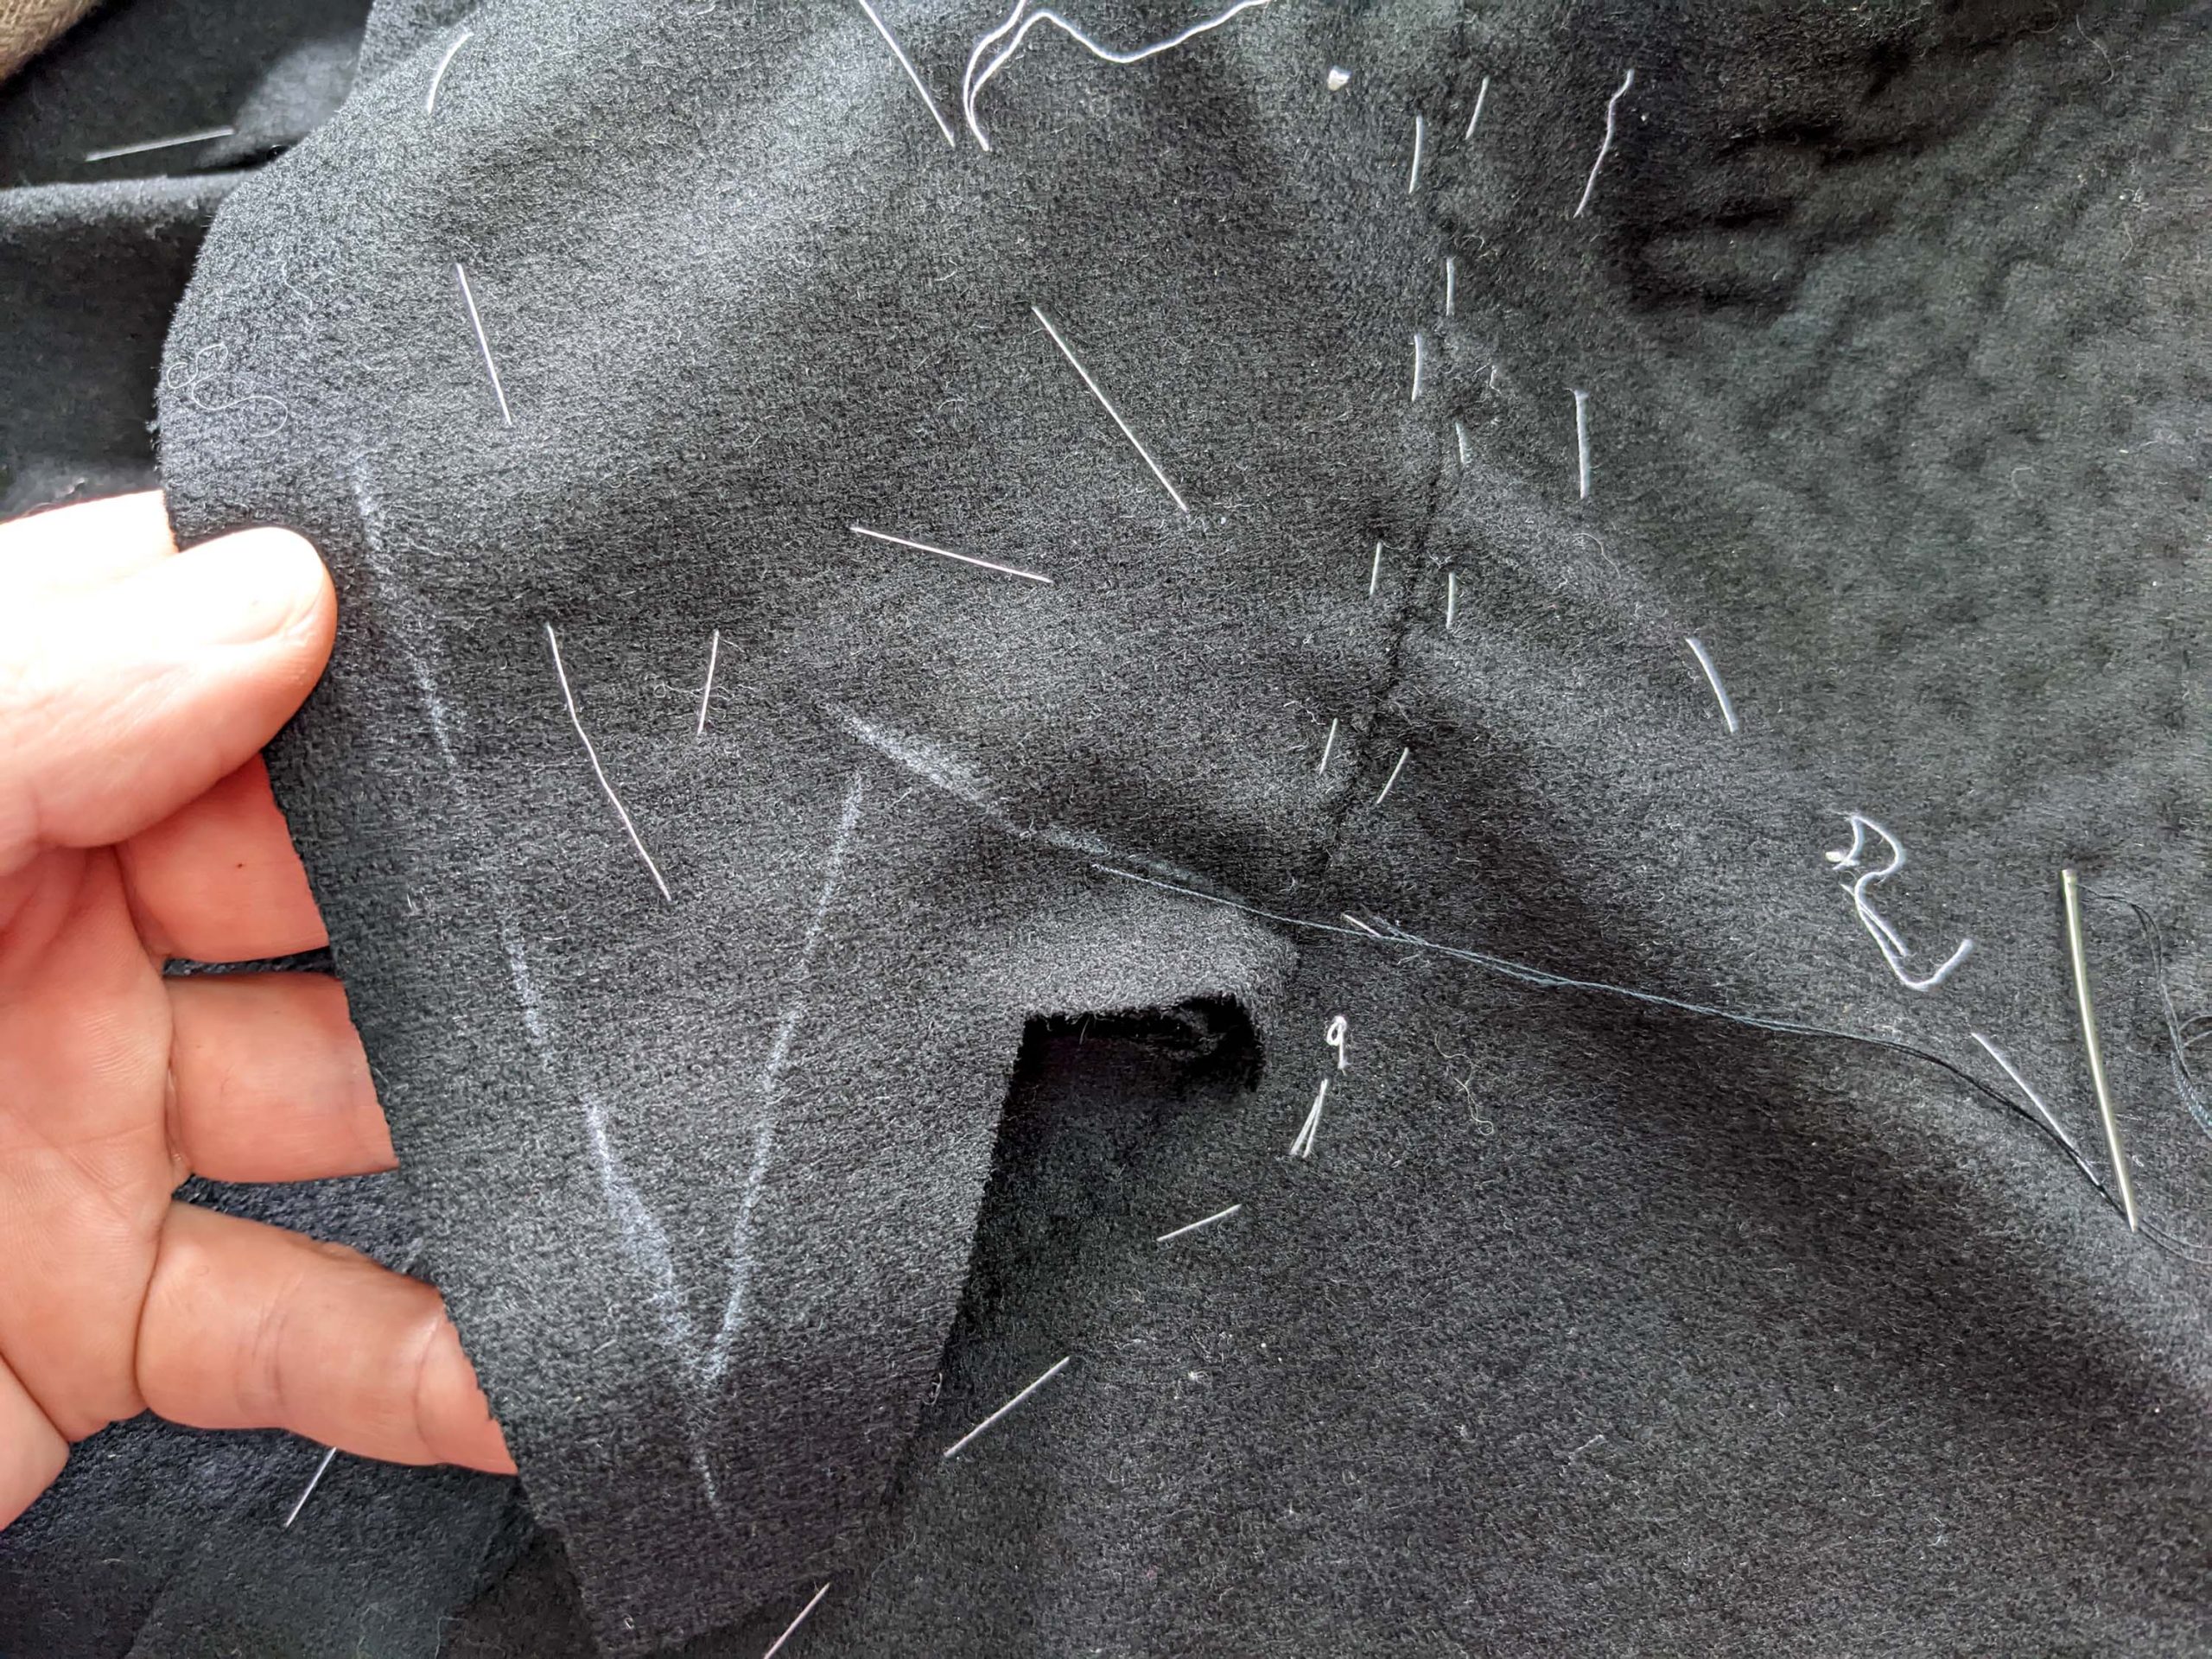
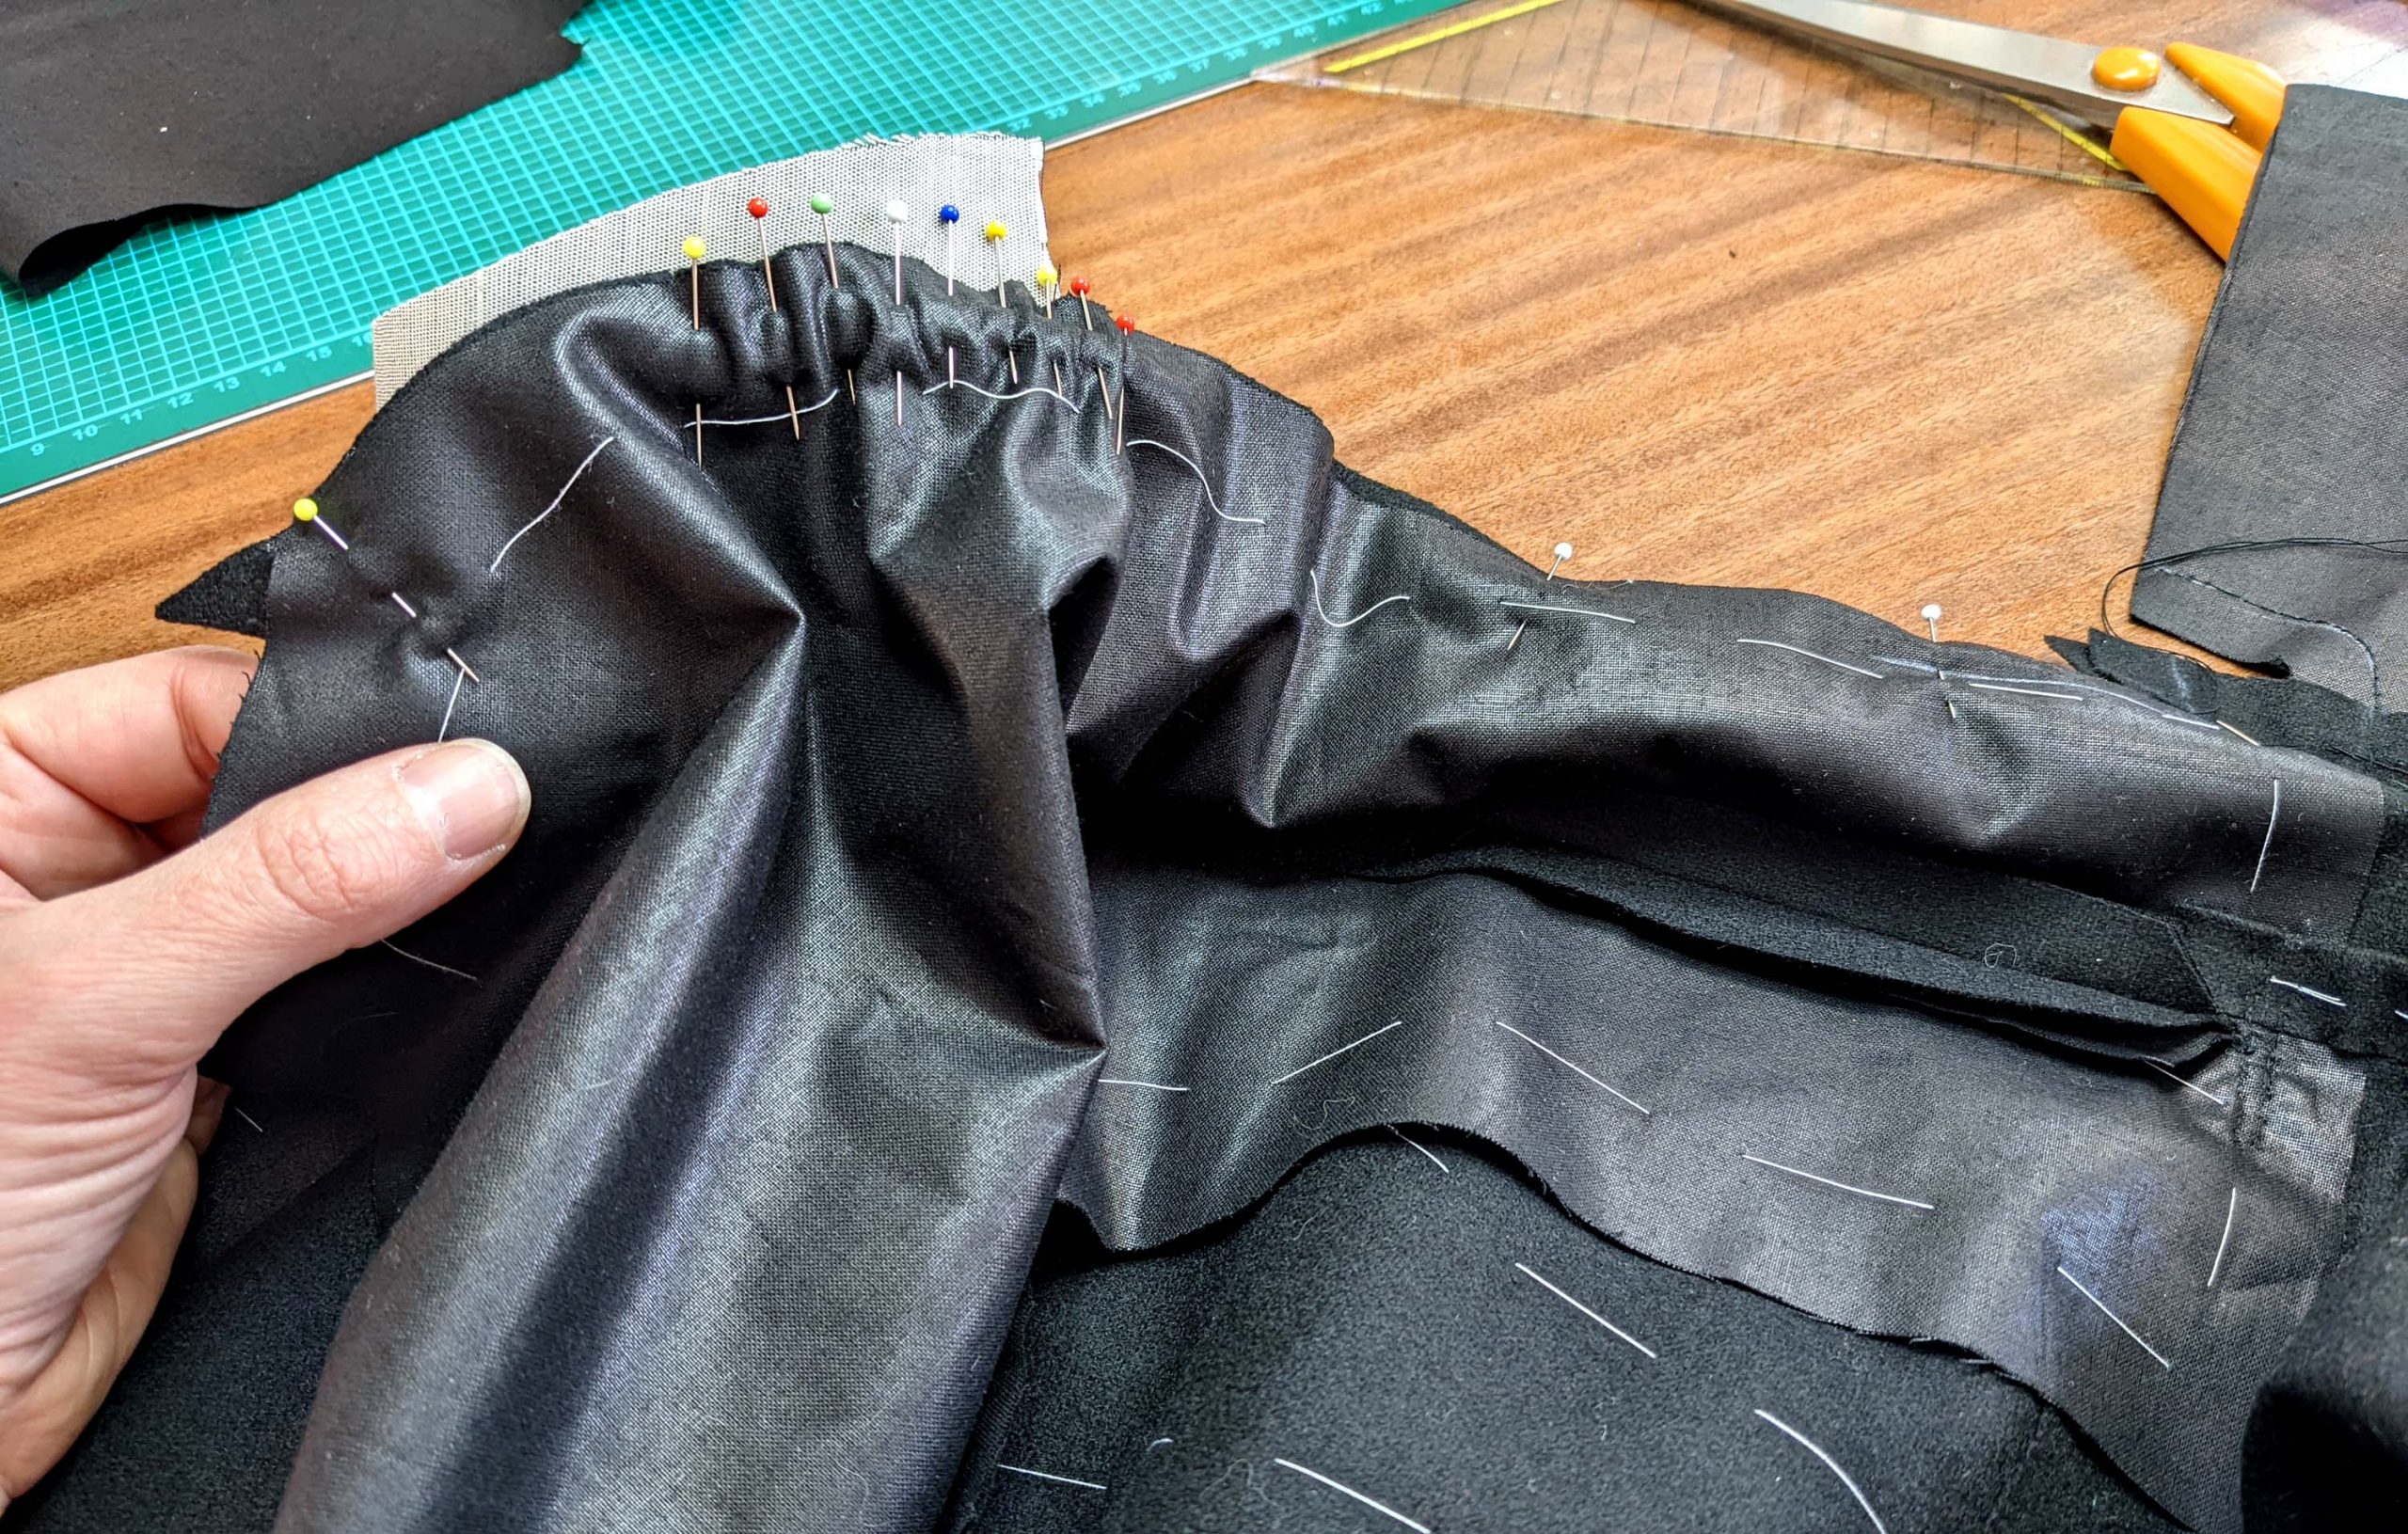
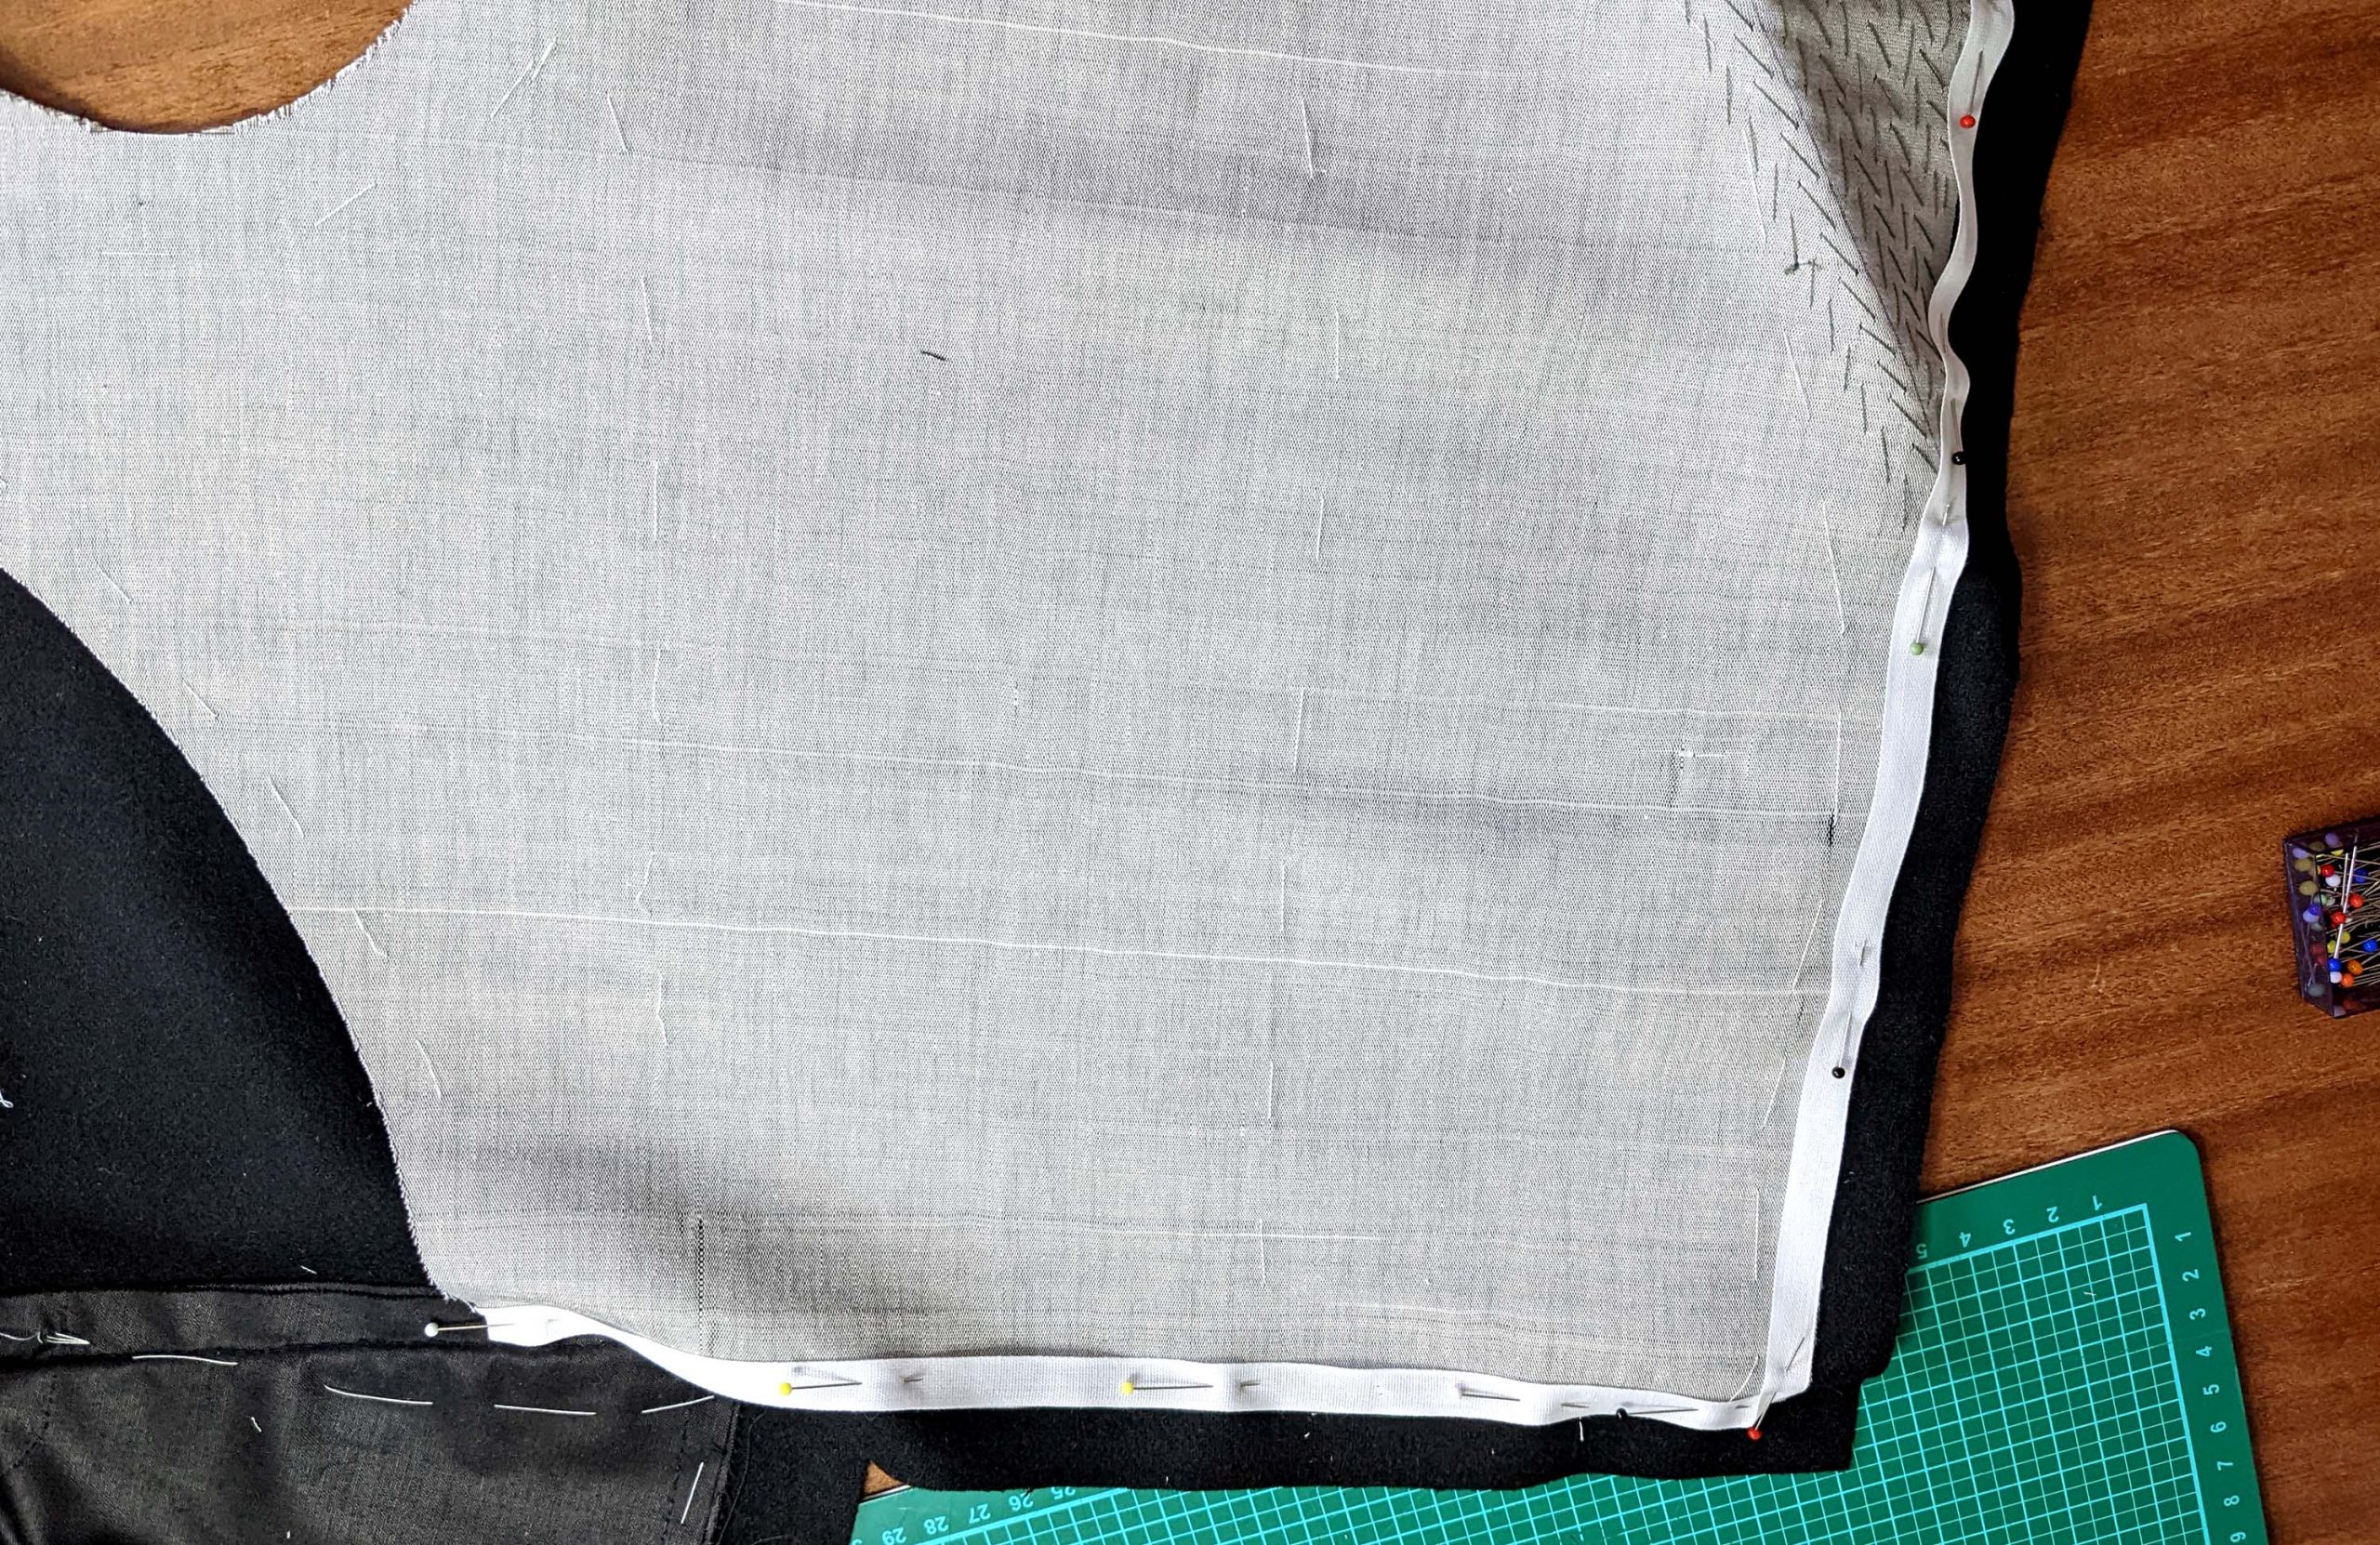
Line up the back bodice with the front bodice, right sides together, easing in the excess width of the front between the marks. First baste, then sew, stopping exactly at mark (4), don´t catch the front canvas when sewing. Clip the seam allowance of the back only towards this point.
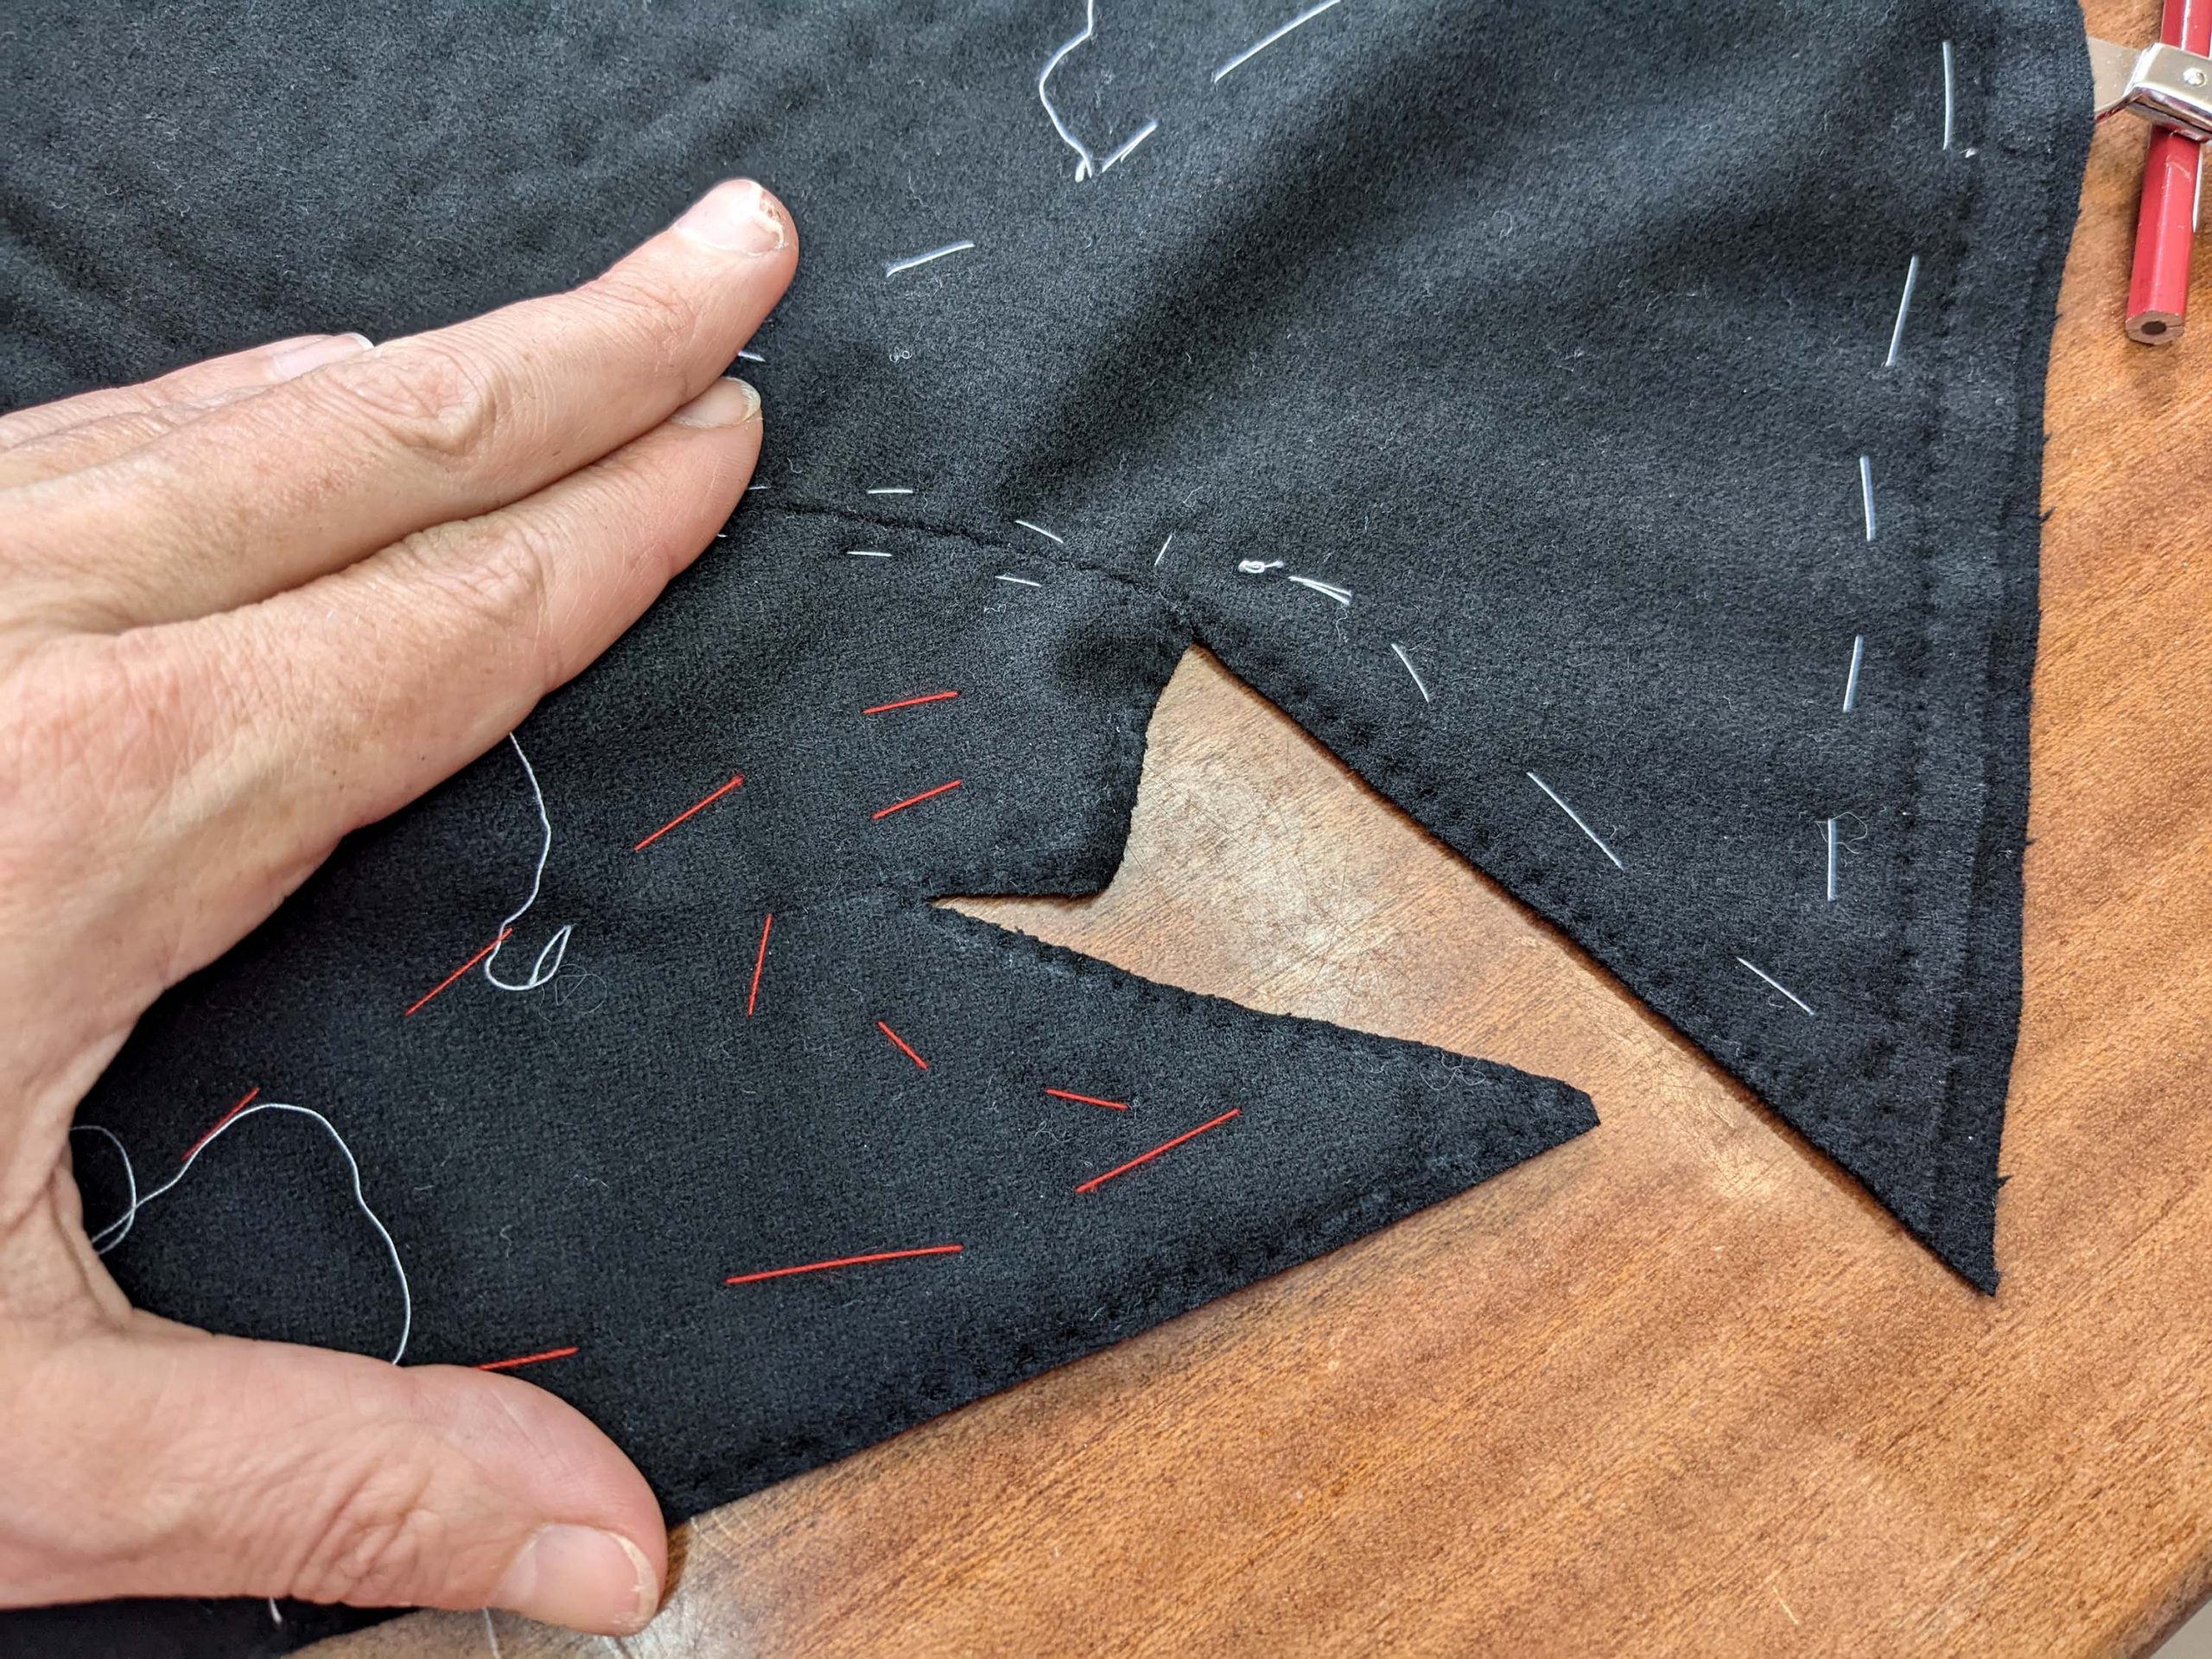
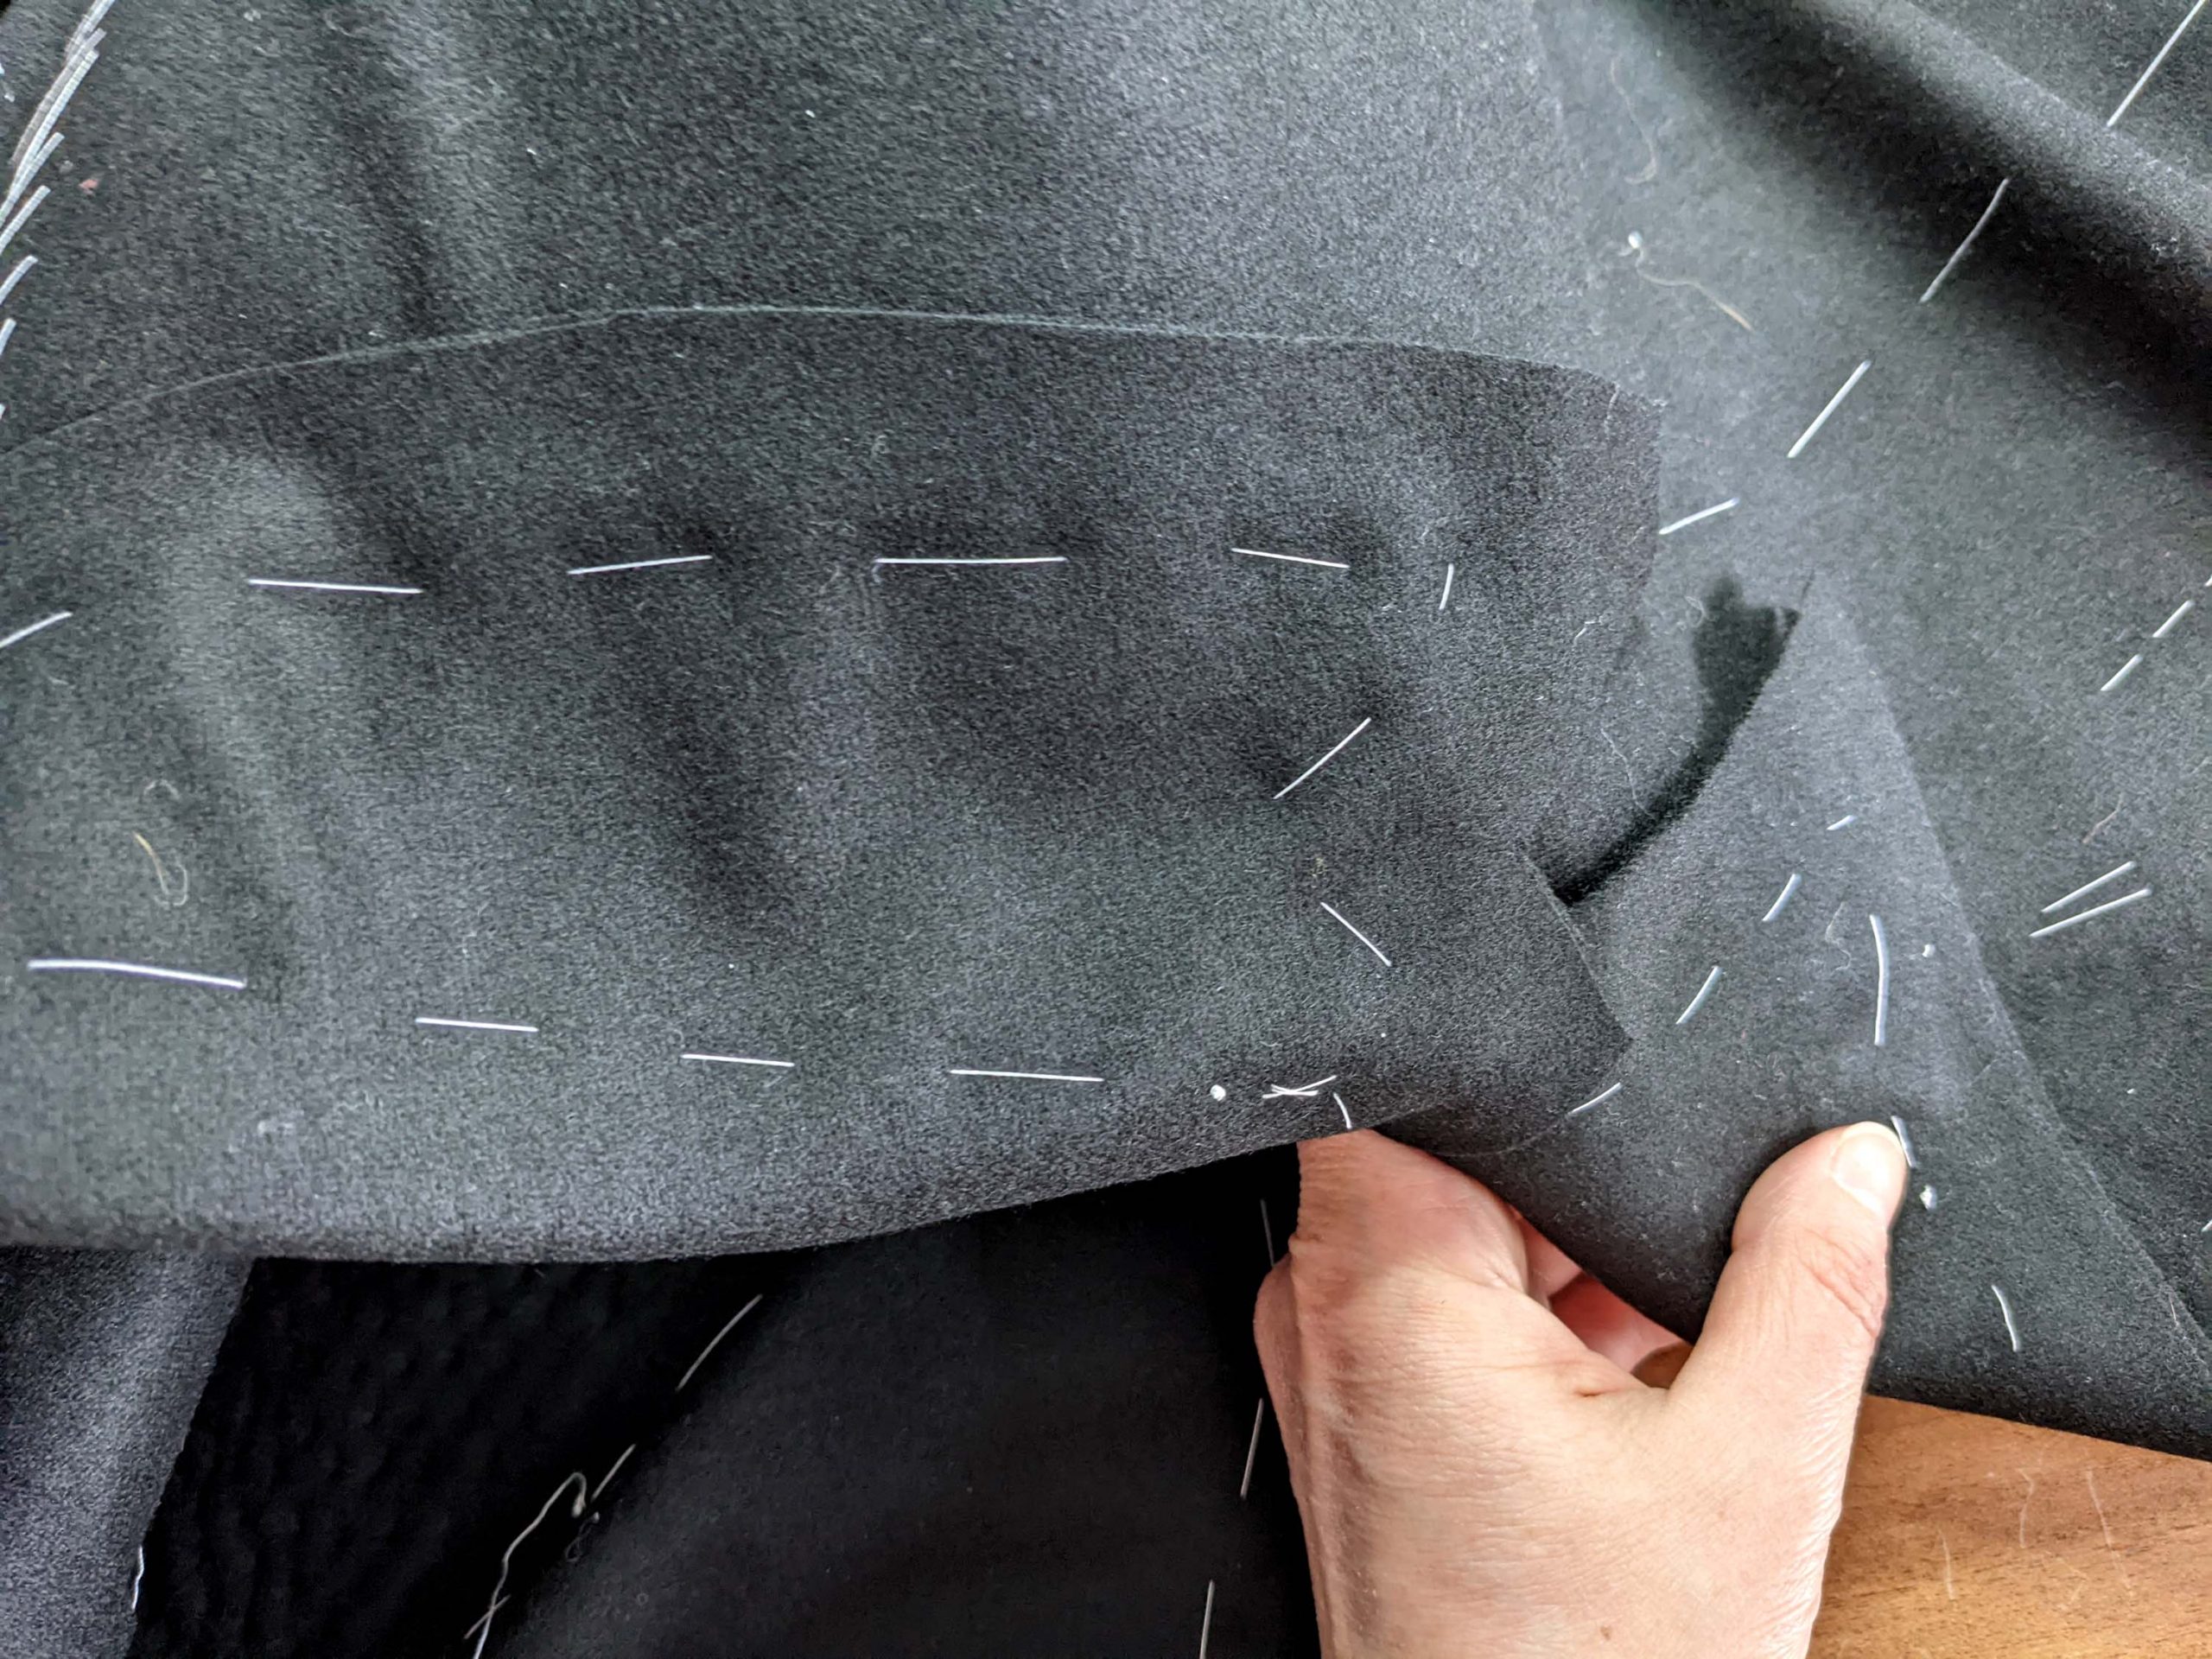
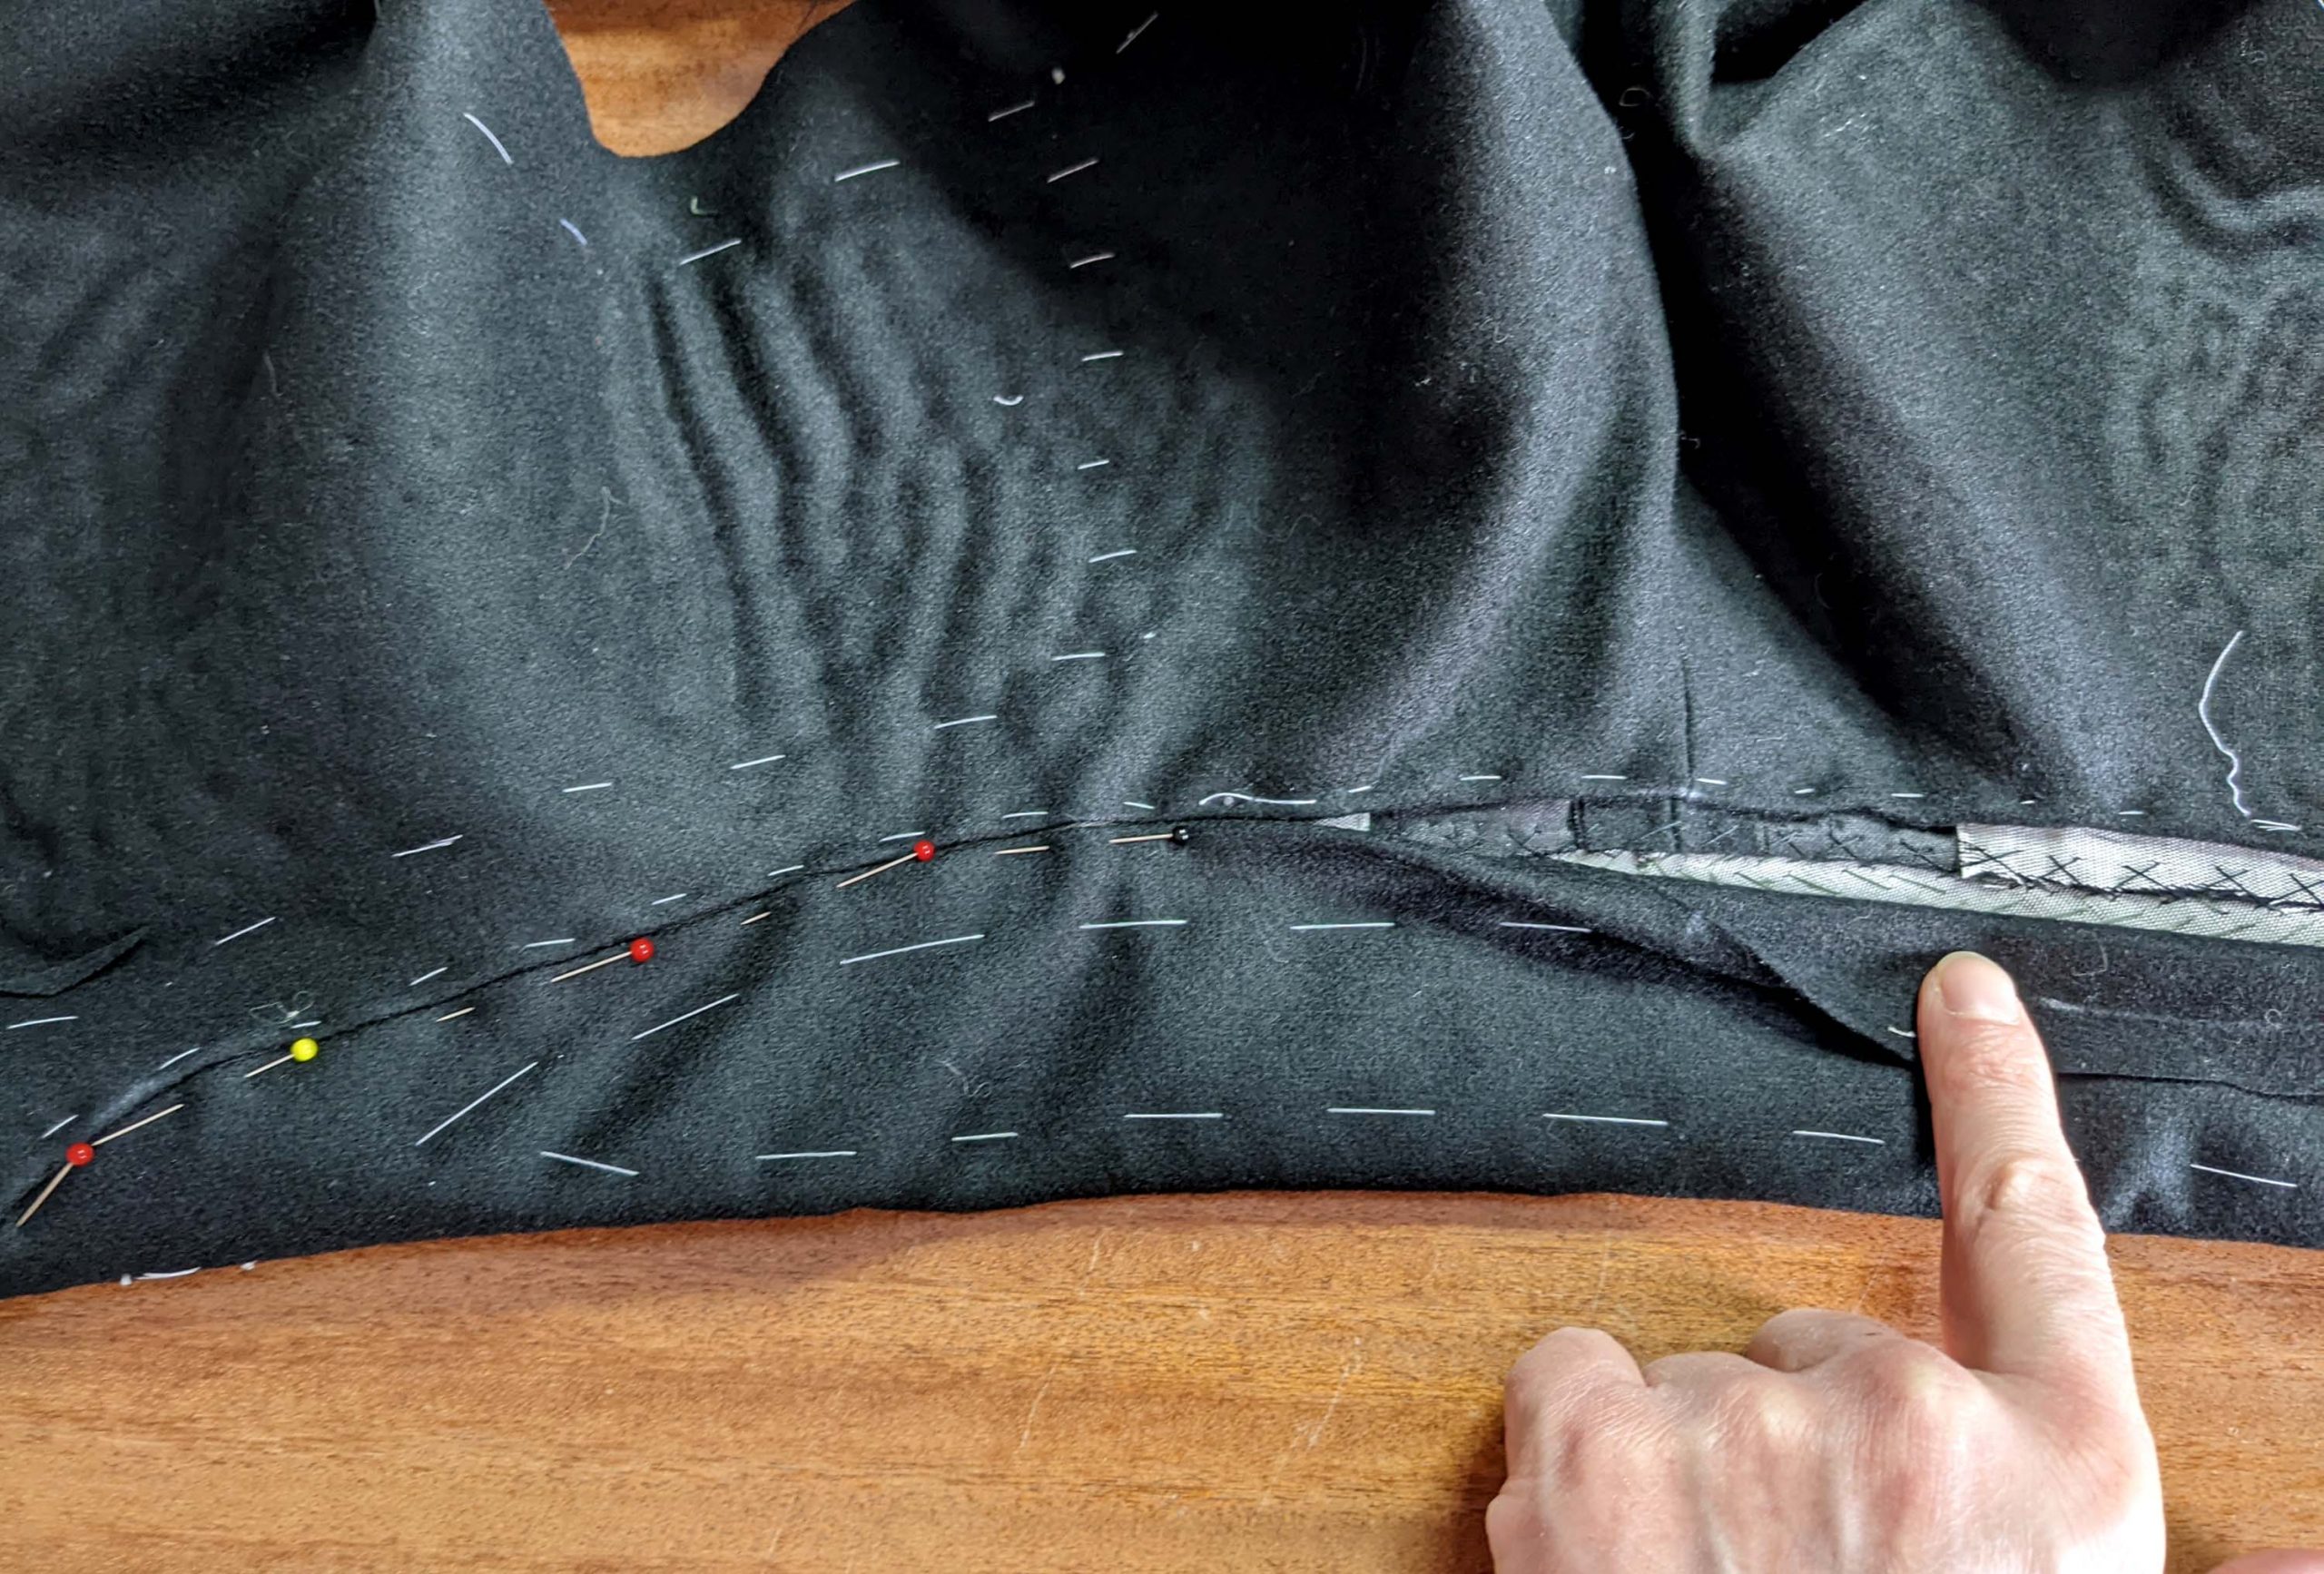
Press open the seam allowances along the bodice. First, place the front canvas on top of the seam allowance, then the back part of the front-facing. Baste to the seam allowances to hold in place with no stitches visible on the right side.
Turn to the right side, mark the depth of the fold 1 ¼” (3cm), and press in place, with the fold opening towards the back and the pocket, folded towards the front. Baste down the fold to keep it closed during the following sewing process. Baste the pocket to the tail without strain.
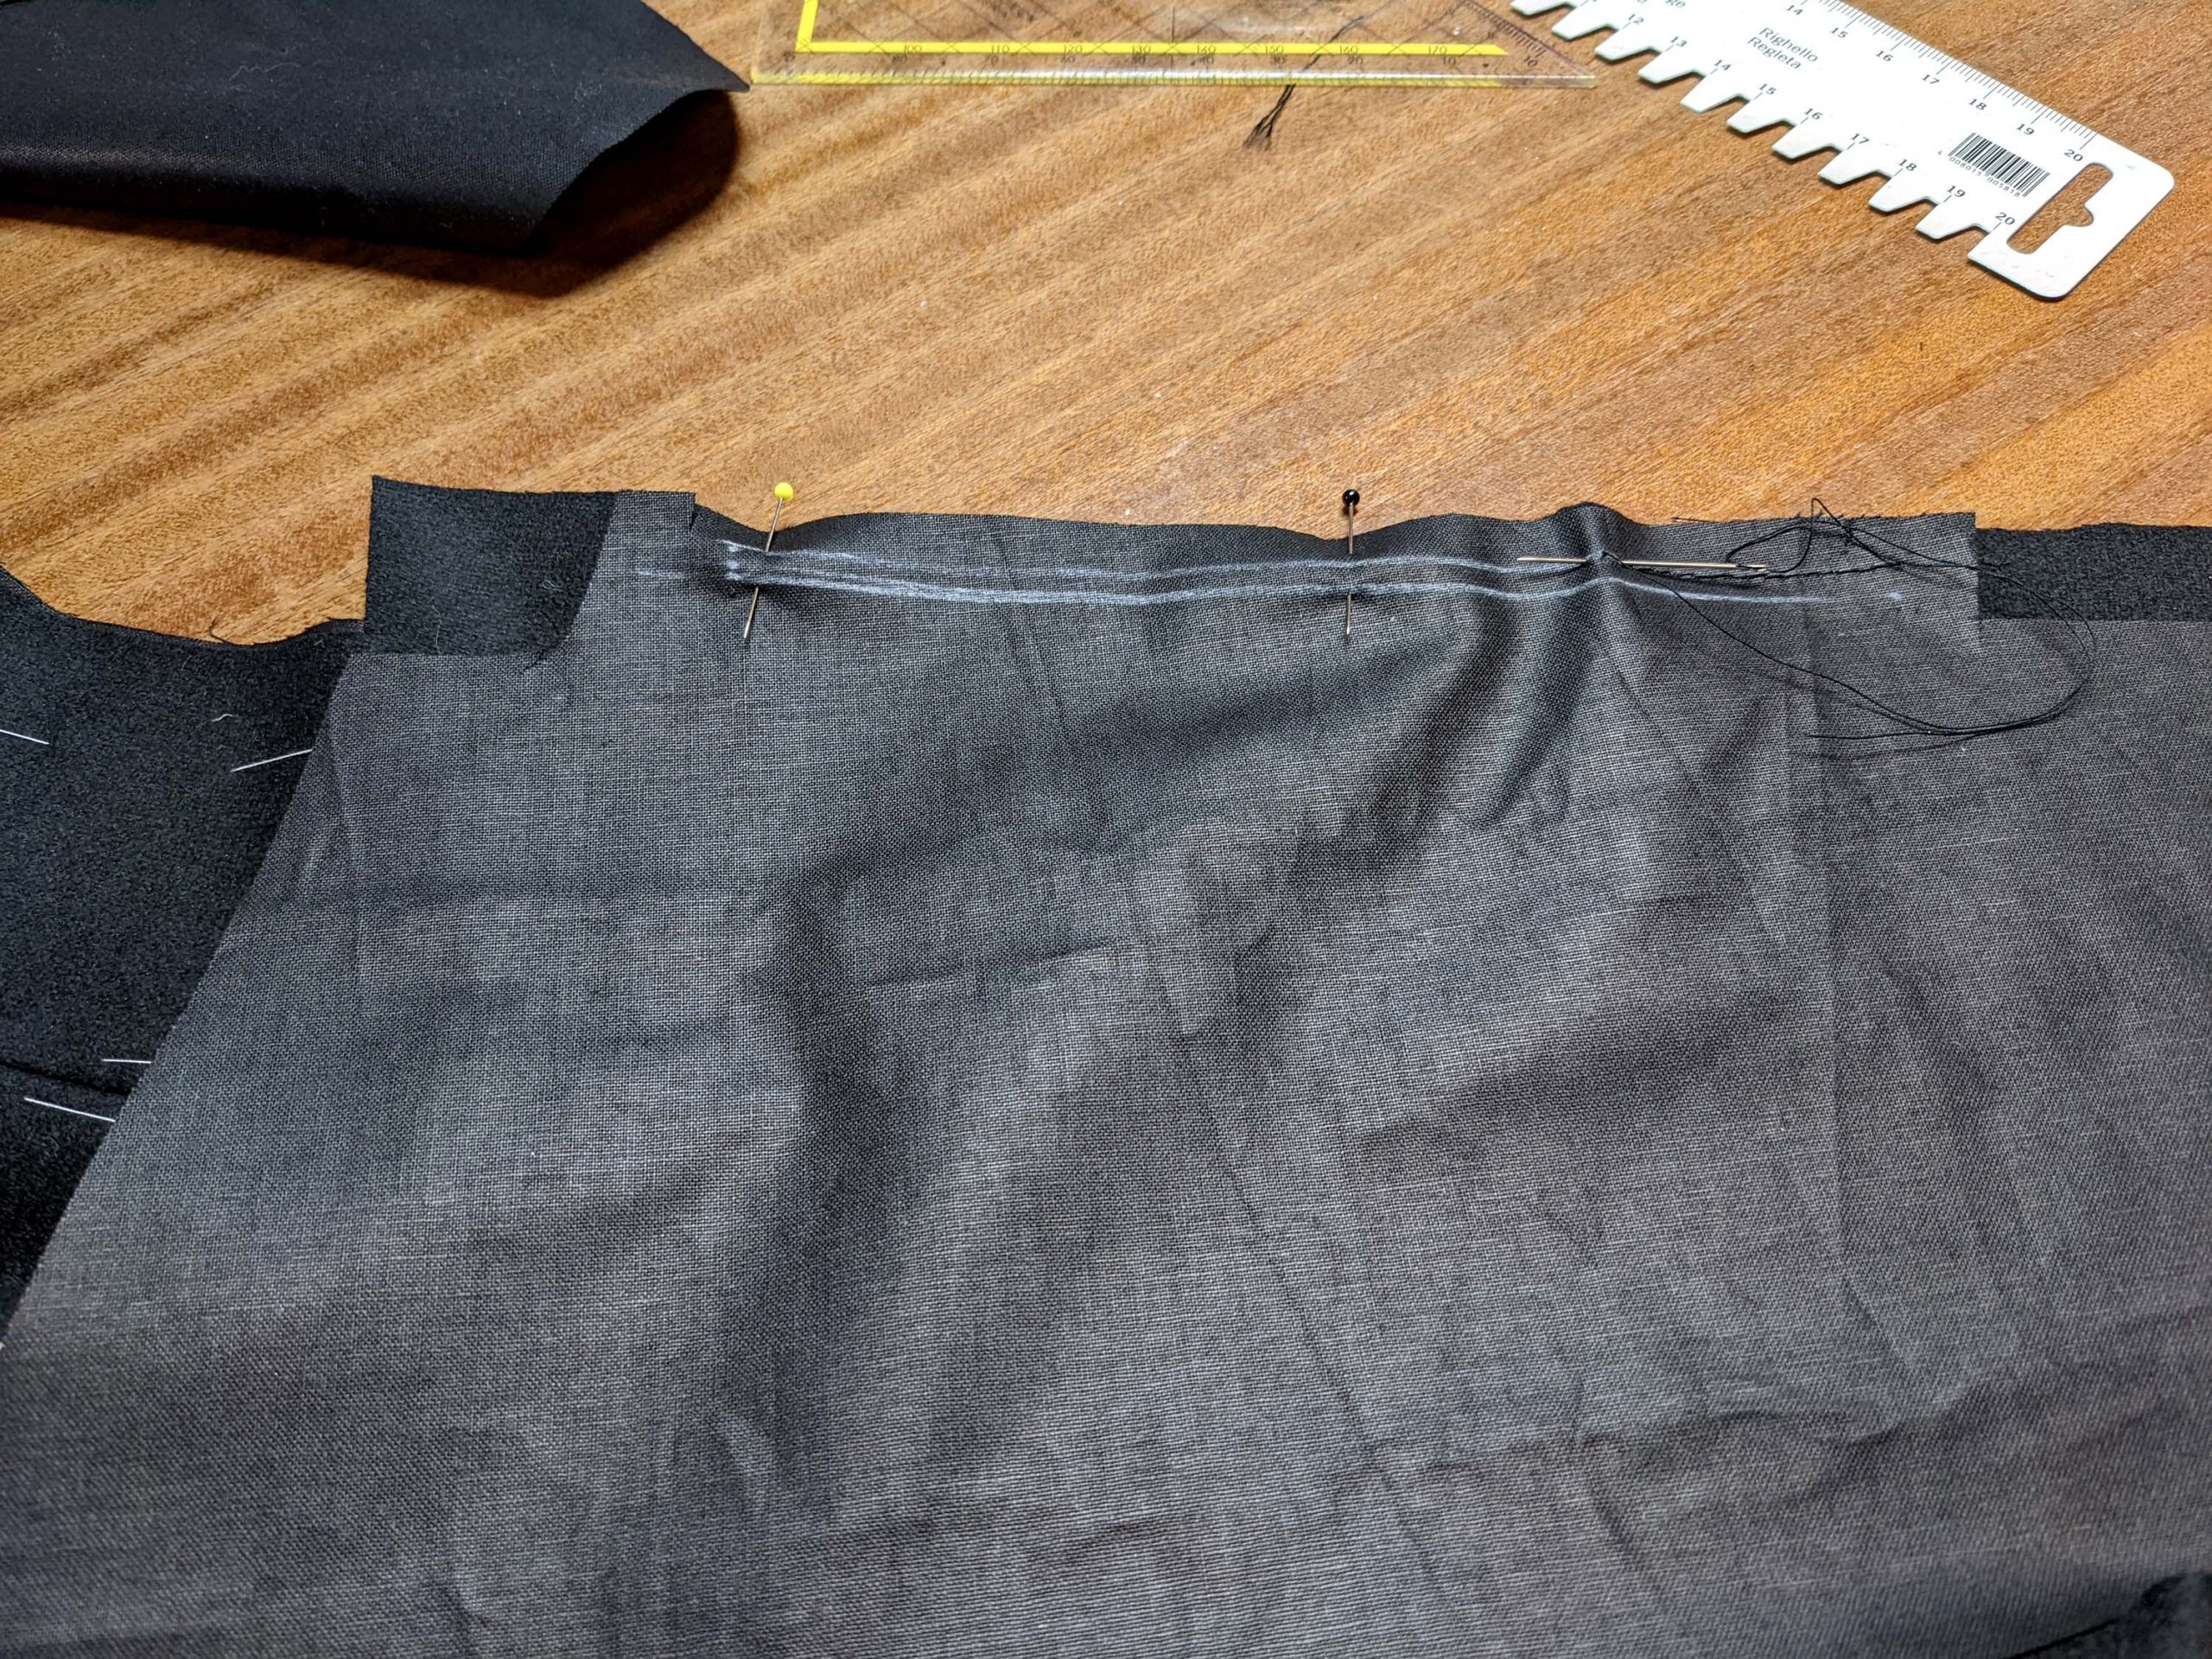
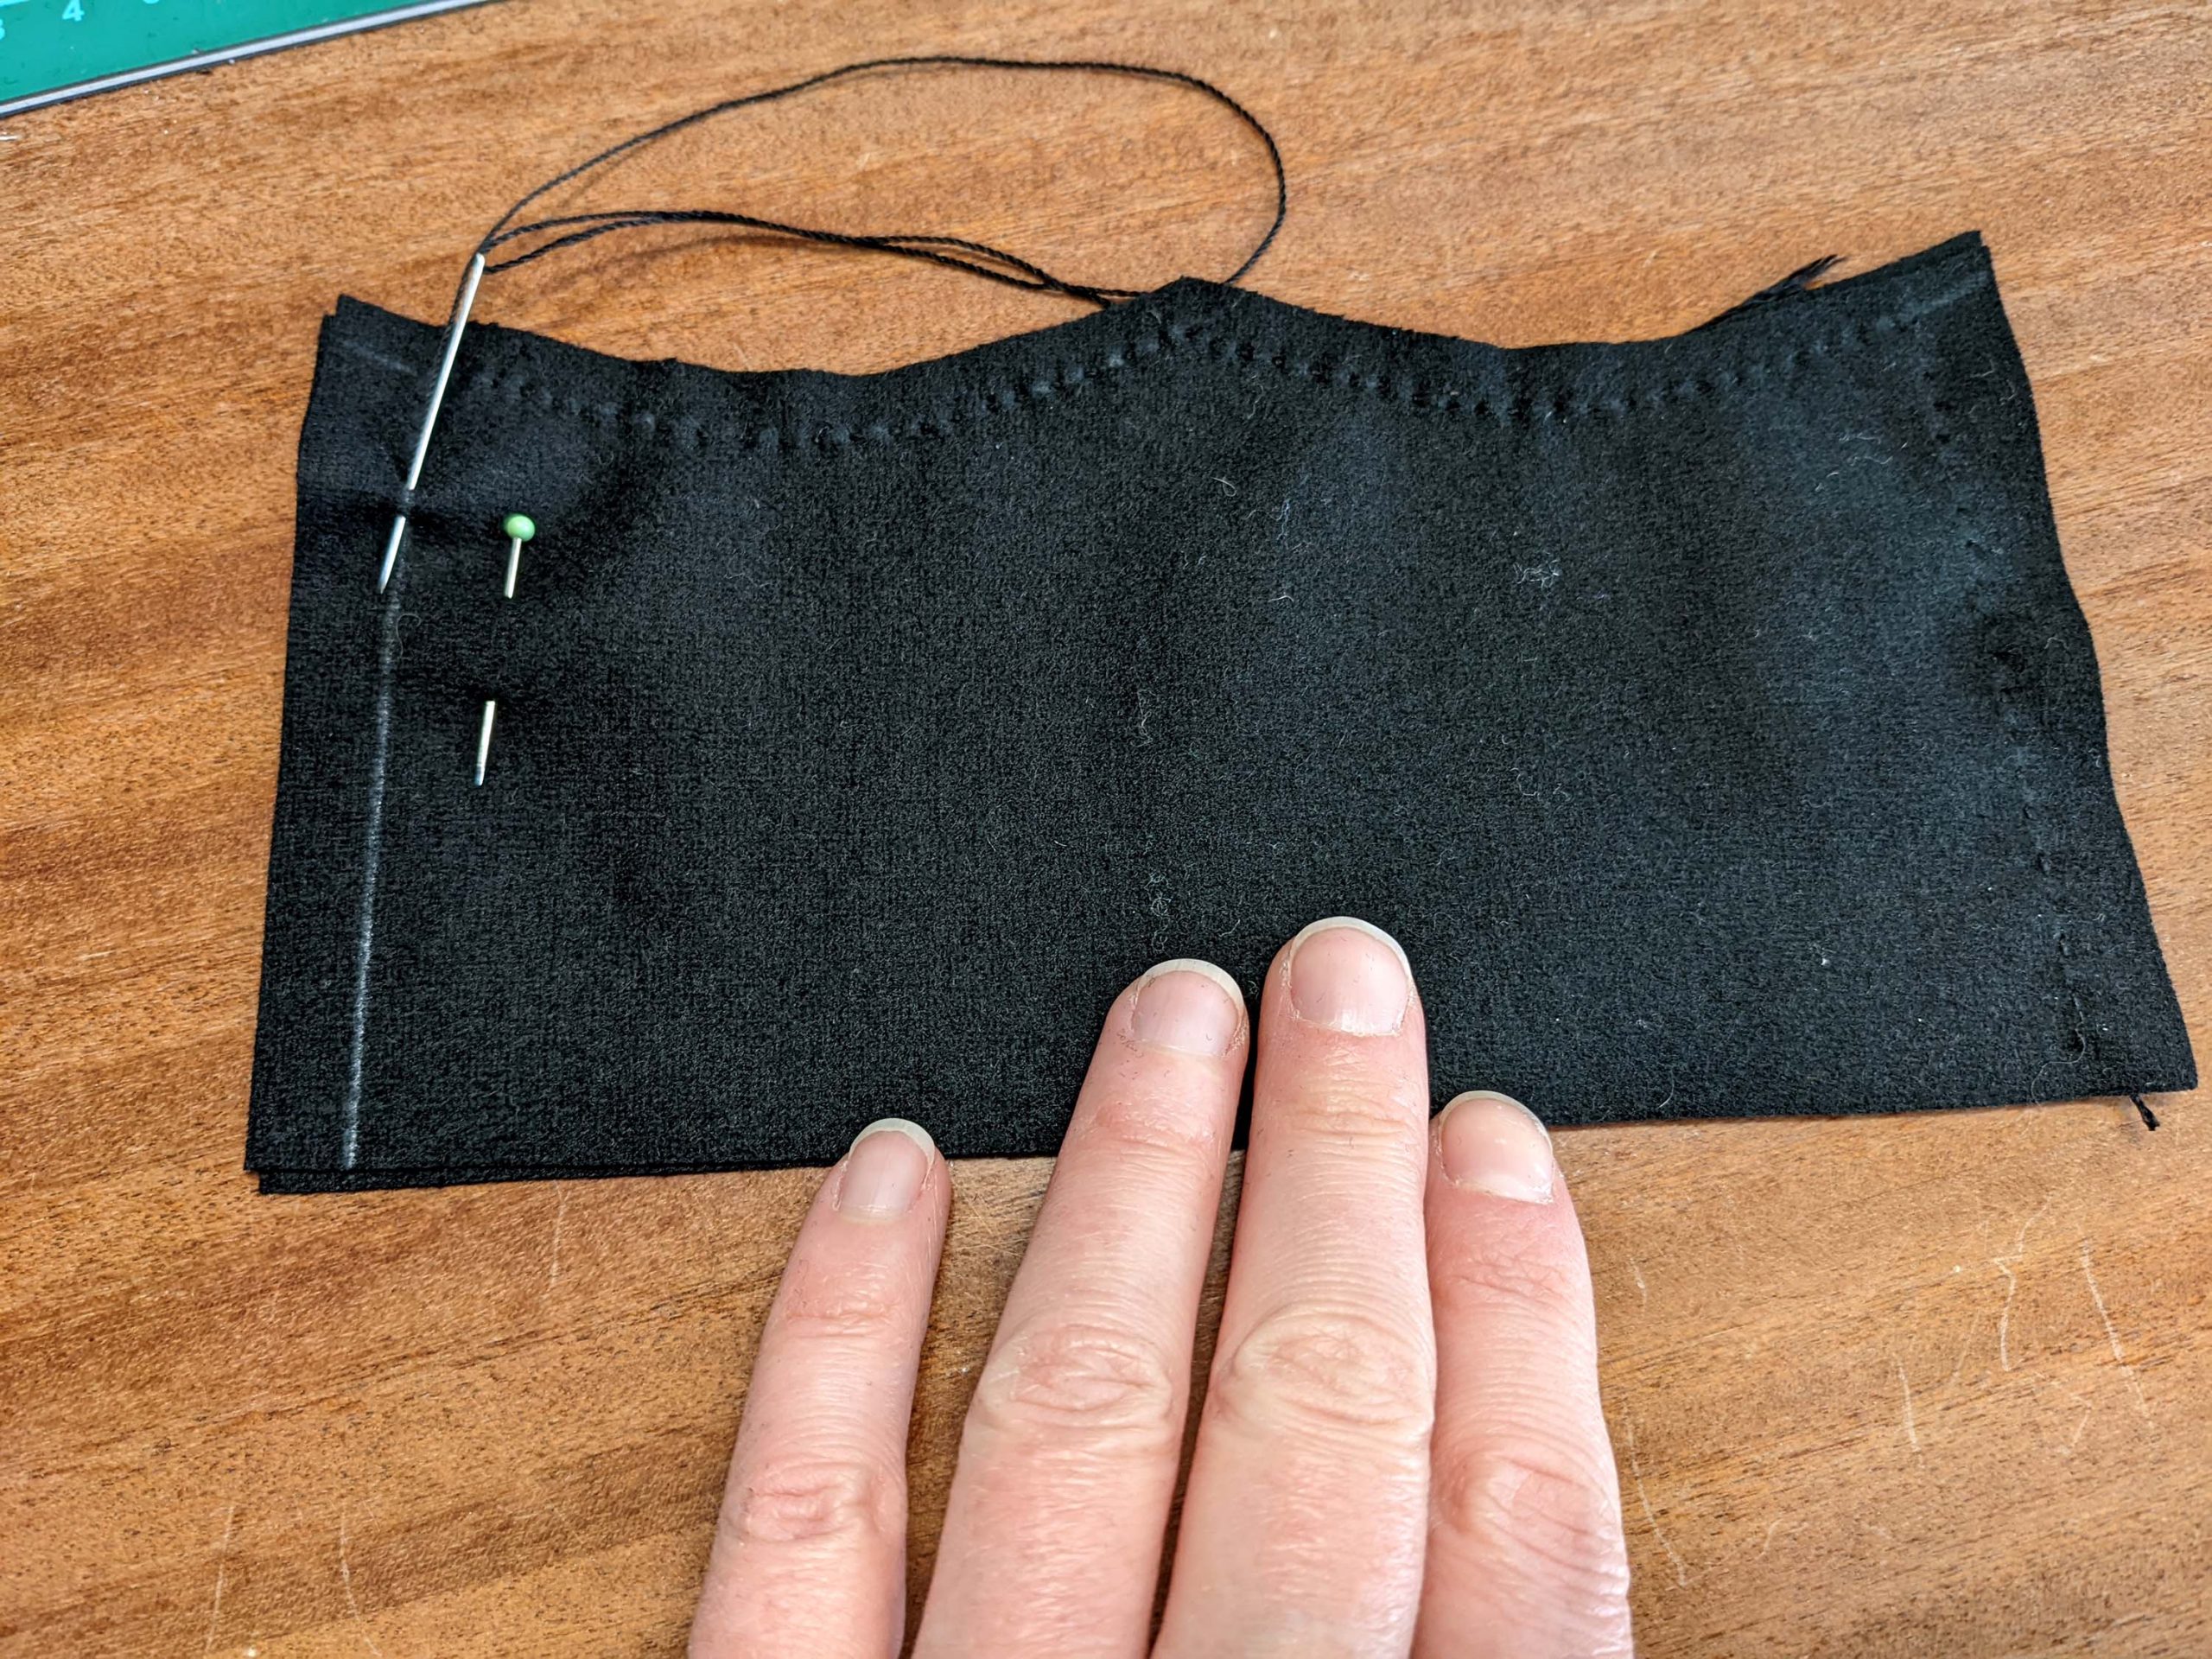
Line up the pocket flaps, wrong sides together and sew along the two short and the scalloped edge with a narrow running stitch, right along the stitching line. Trim back the seam allowances.
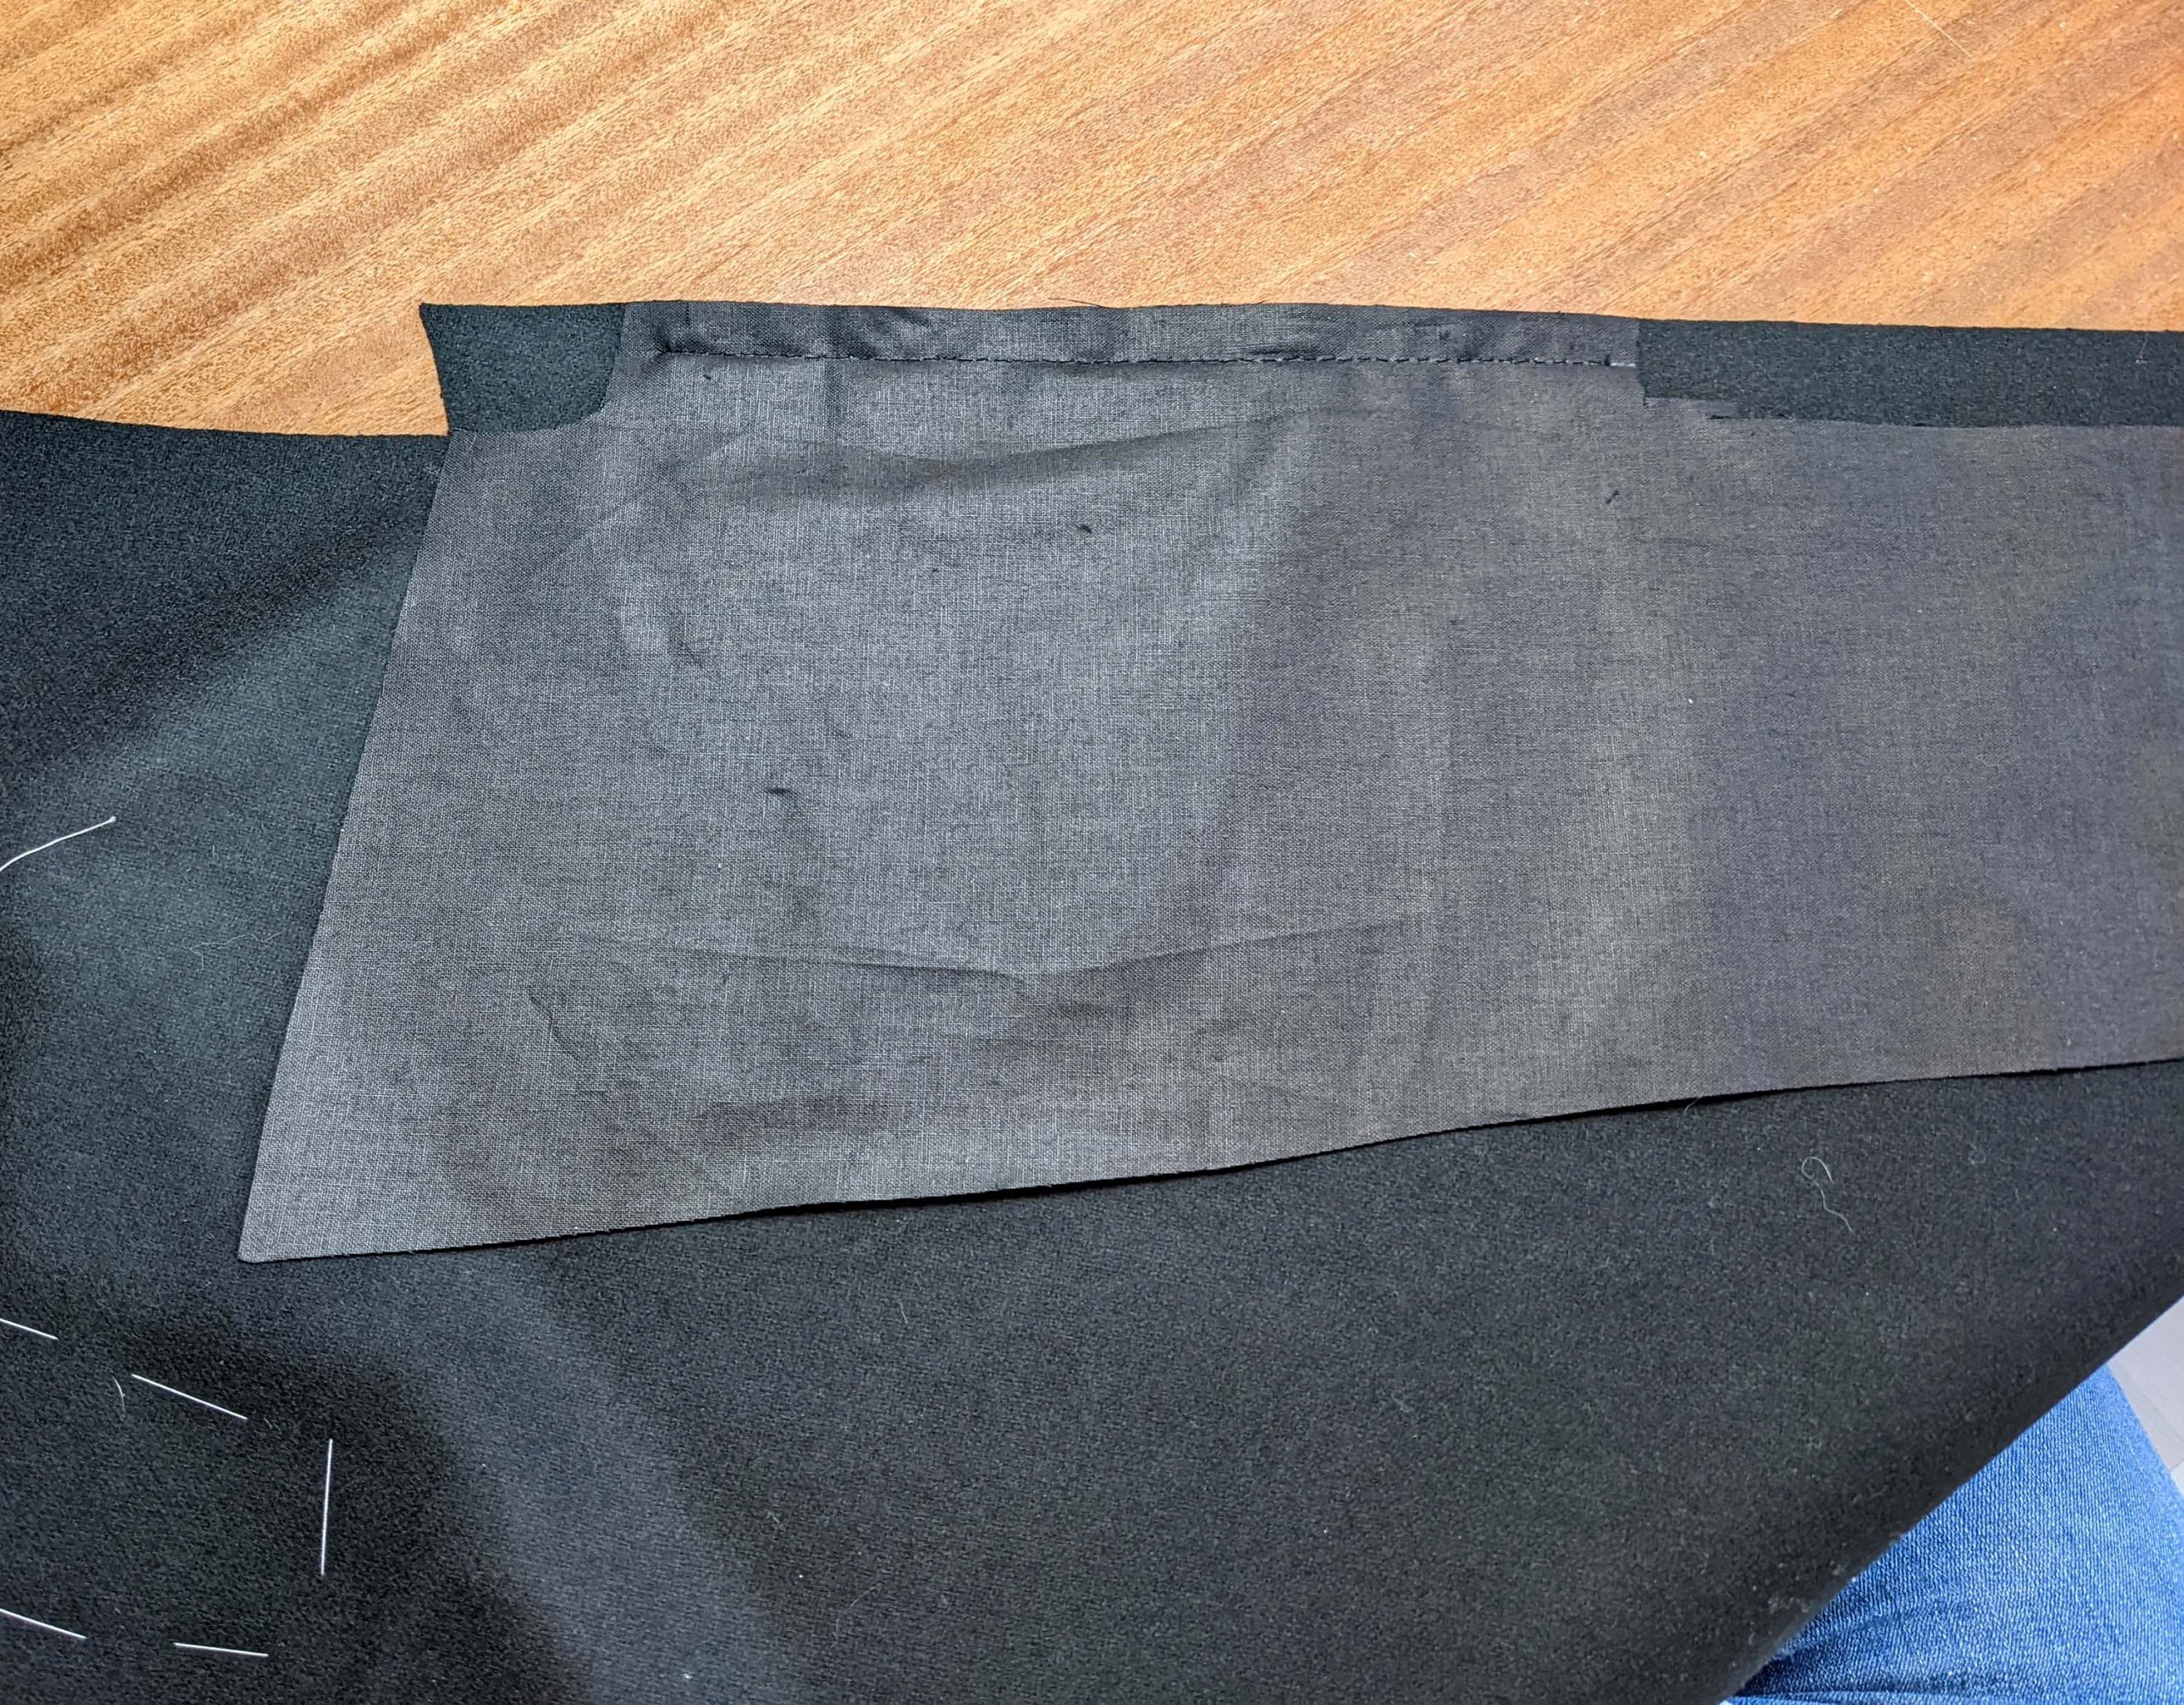
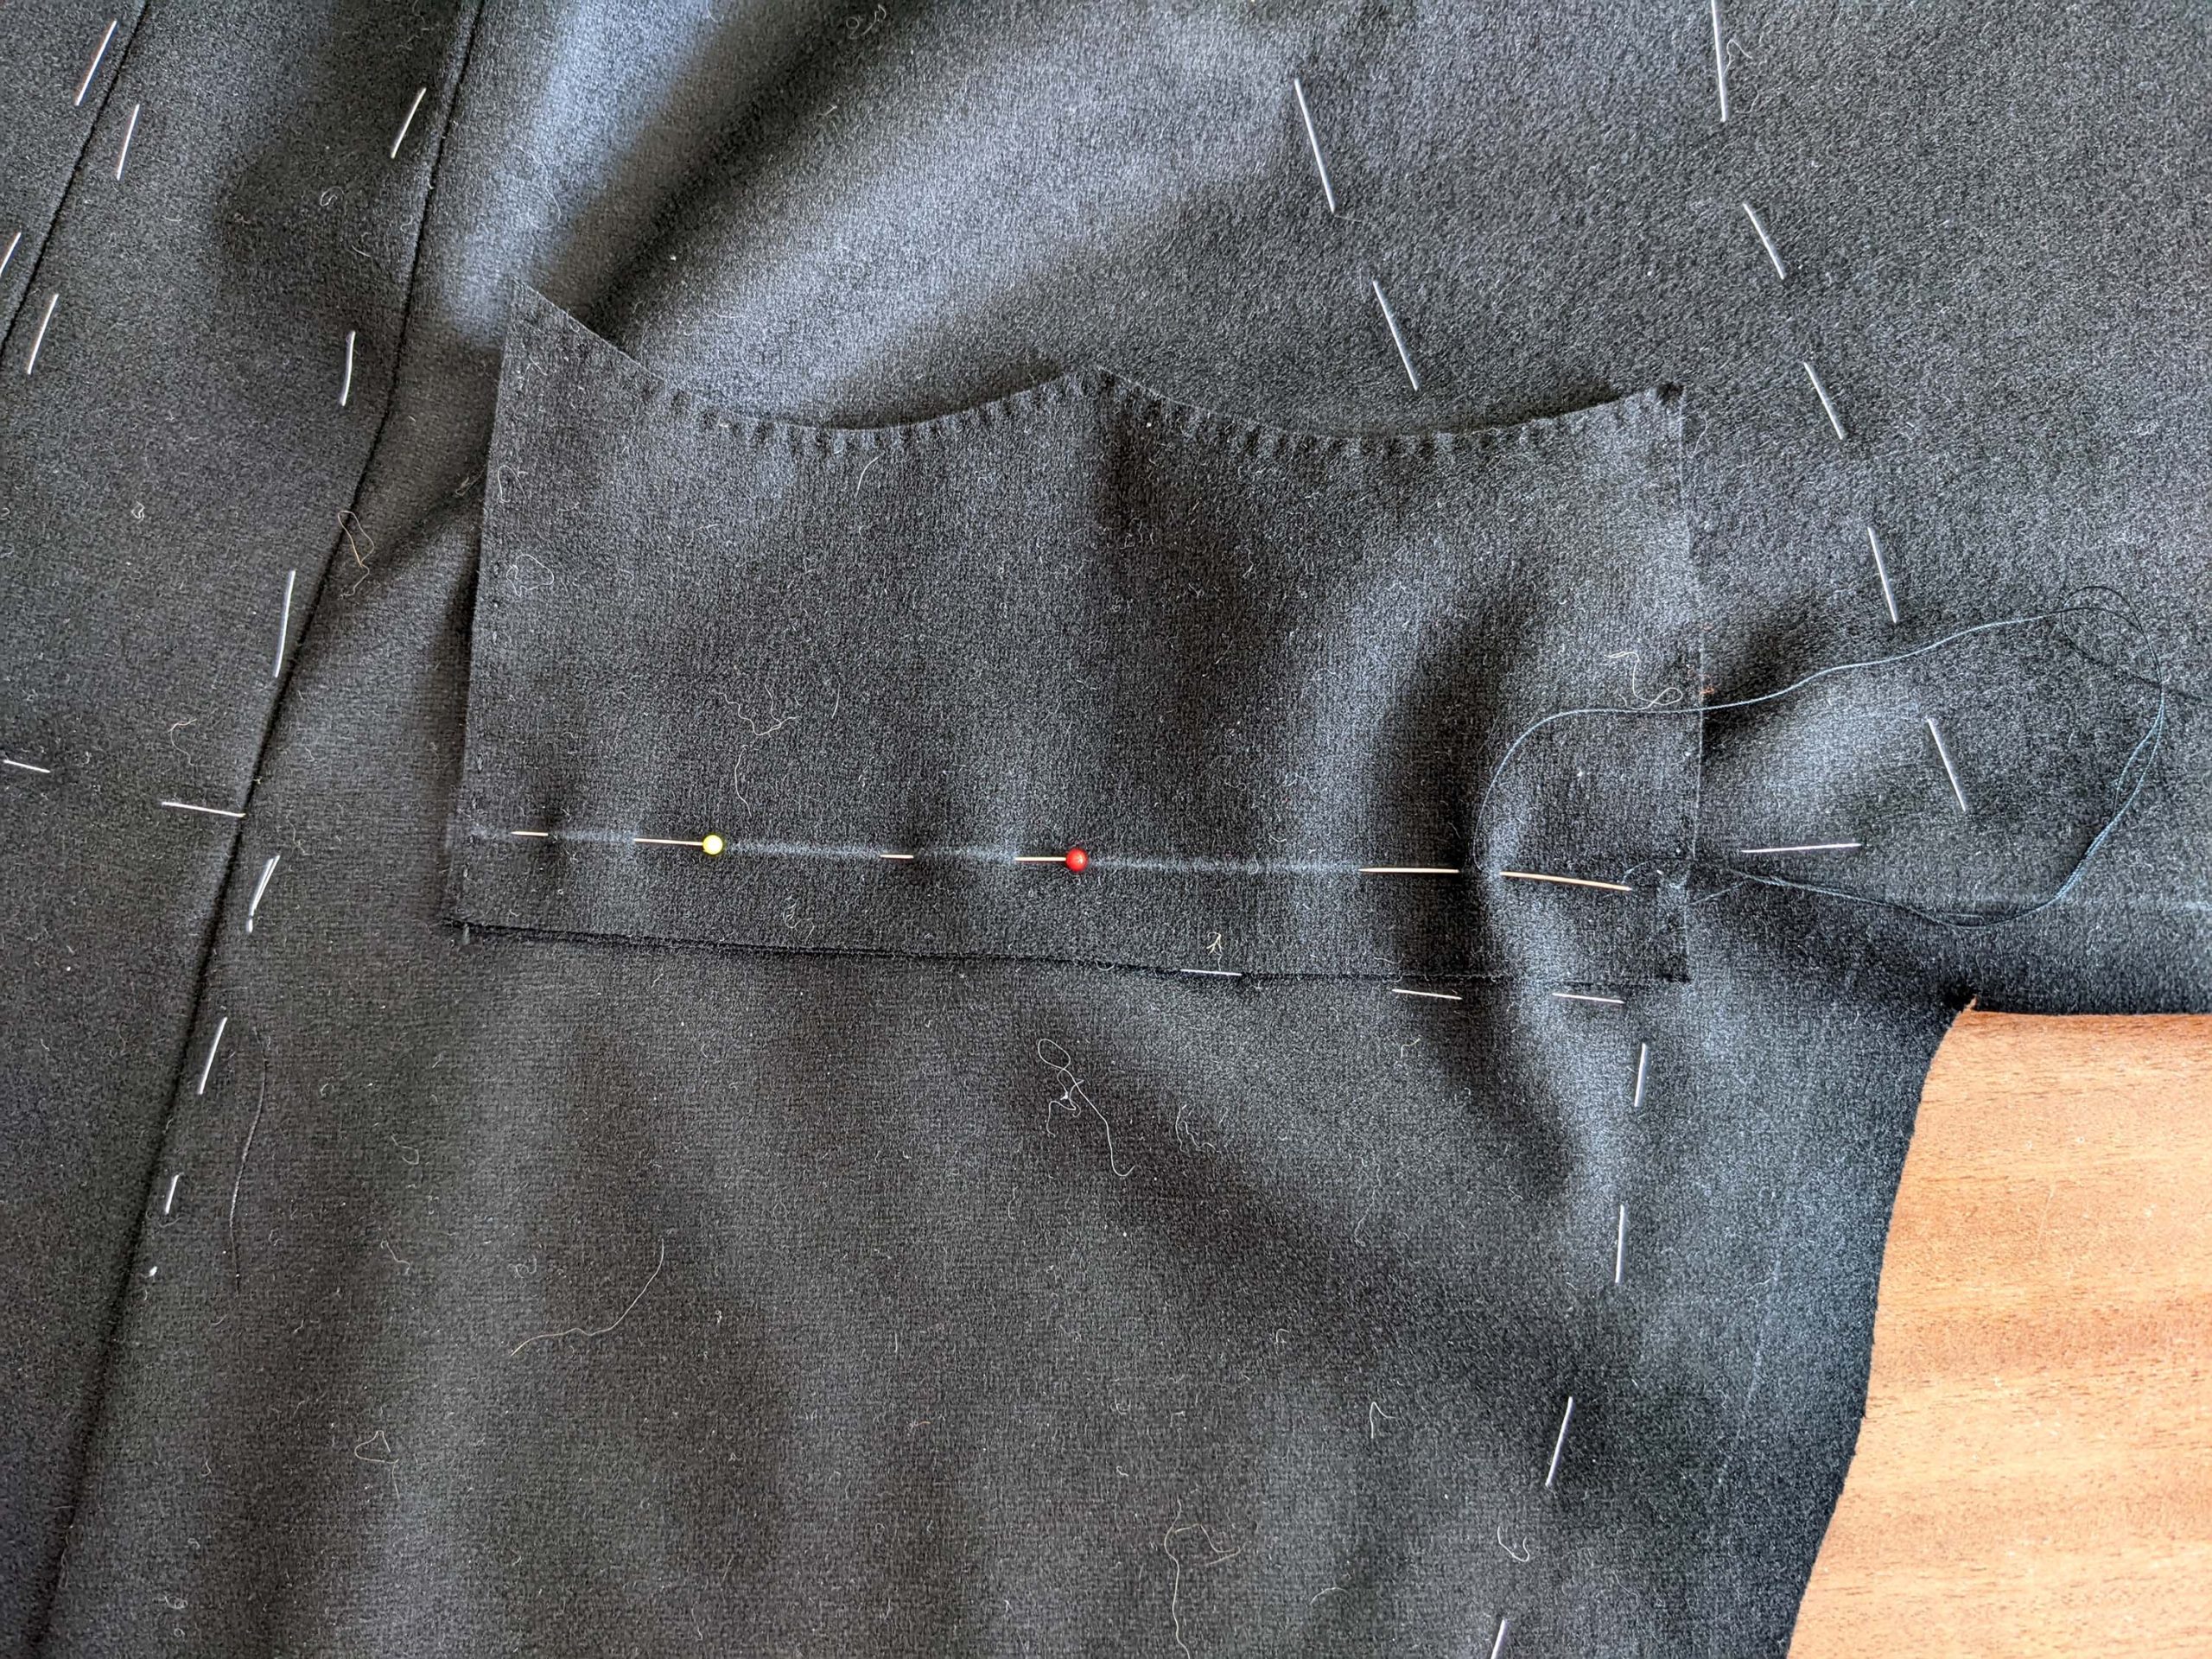
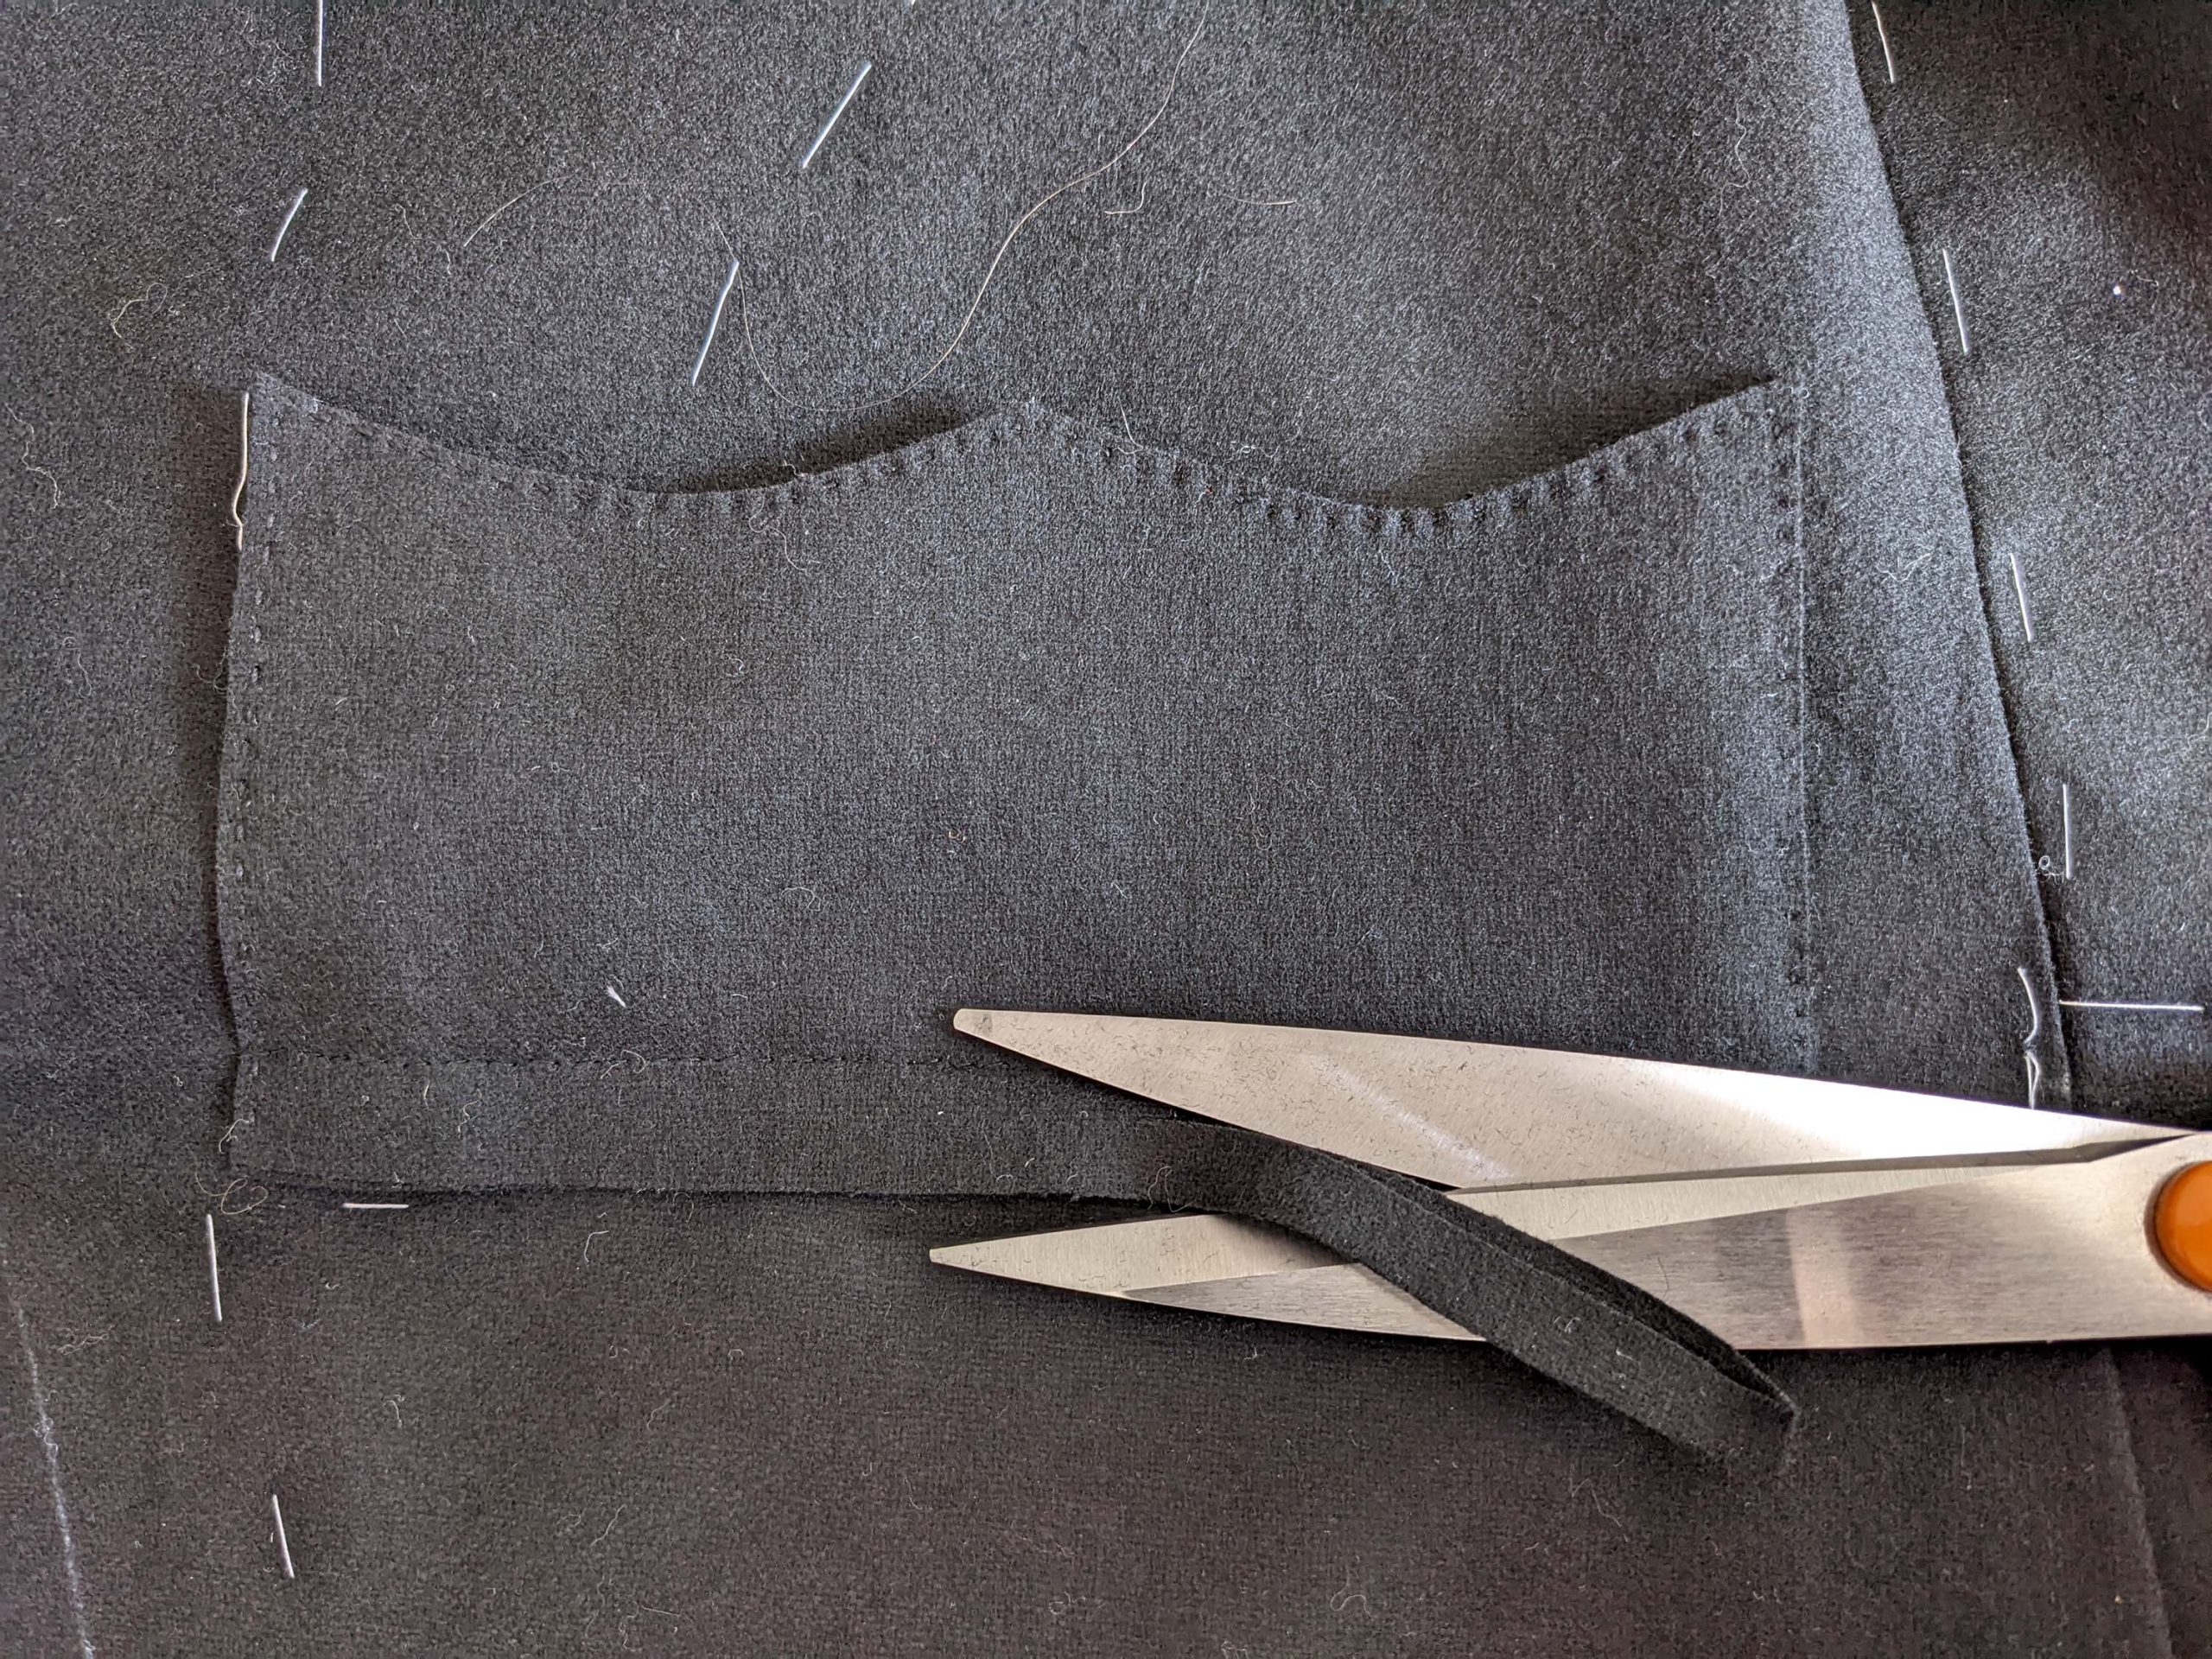
From above, line up the stitching line of the flap with the waistline, right sides together. Sew the pocket to the front, catching the top edge of the fold and the pocket on the wrong side. Trim back the seam allowances and press the pocket flaps downward. Bar tack the side edges to the front about ¼” (0,7cm) from the top to keep the flaps laying down. The only function of the flap is to hold the pocket and top of the fold in place.
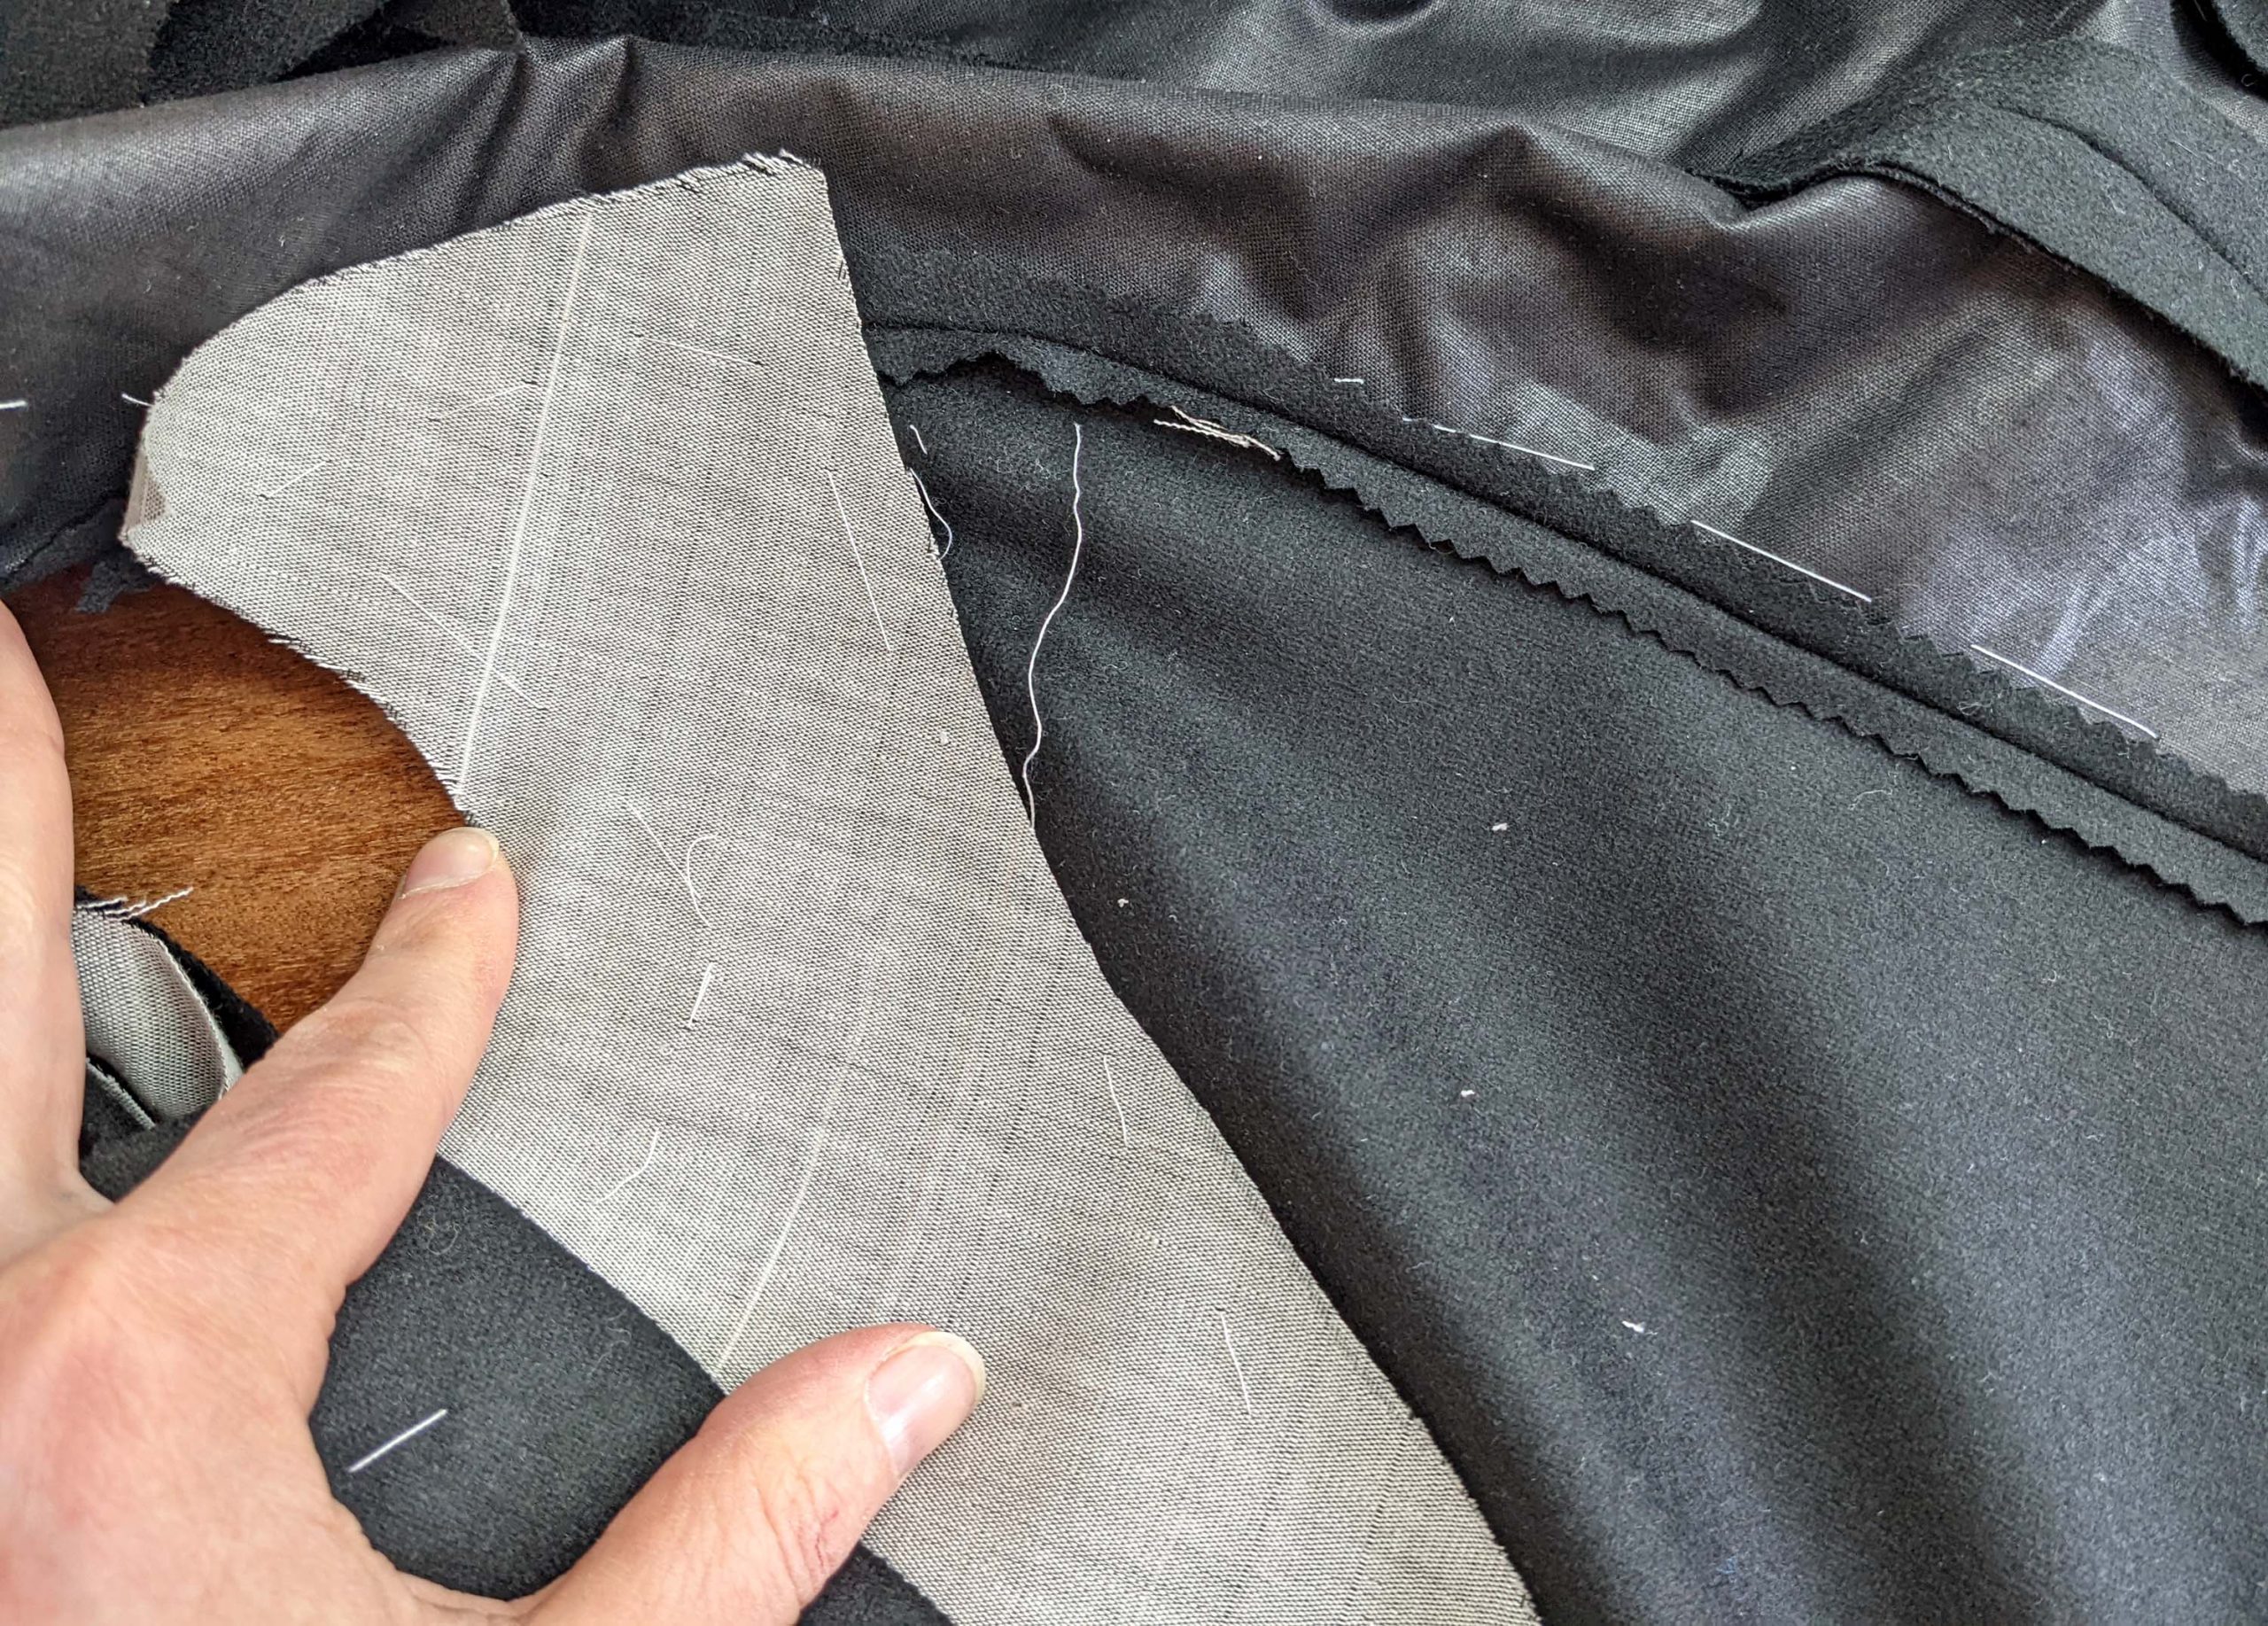
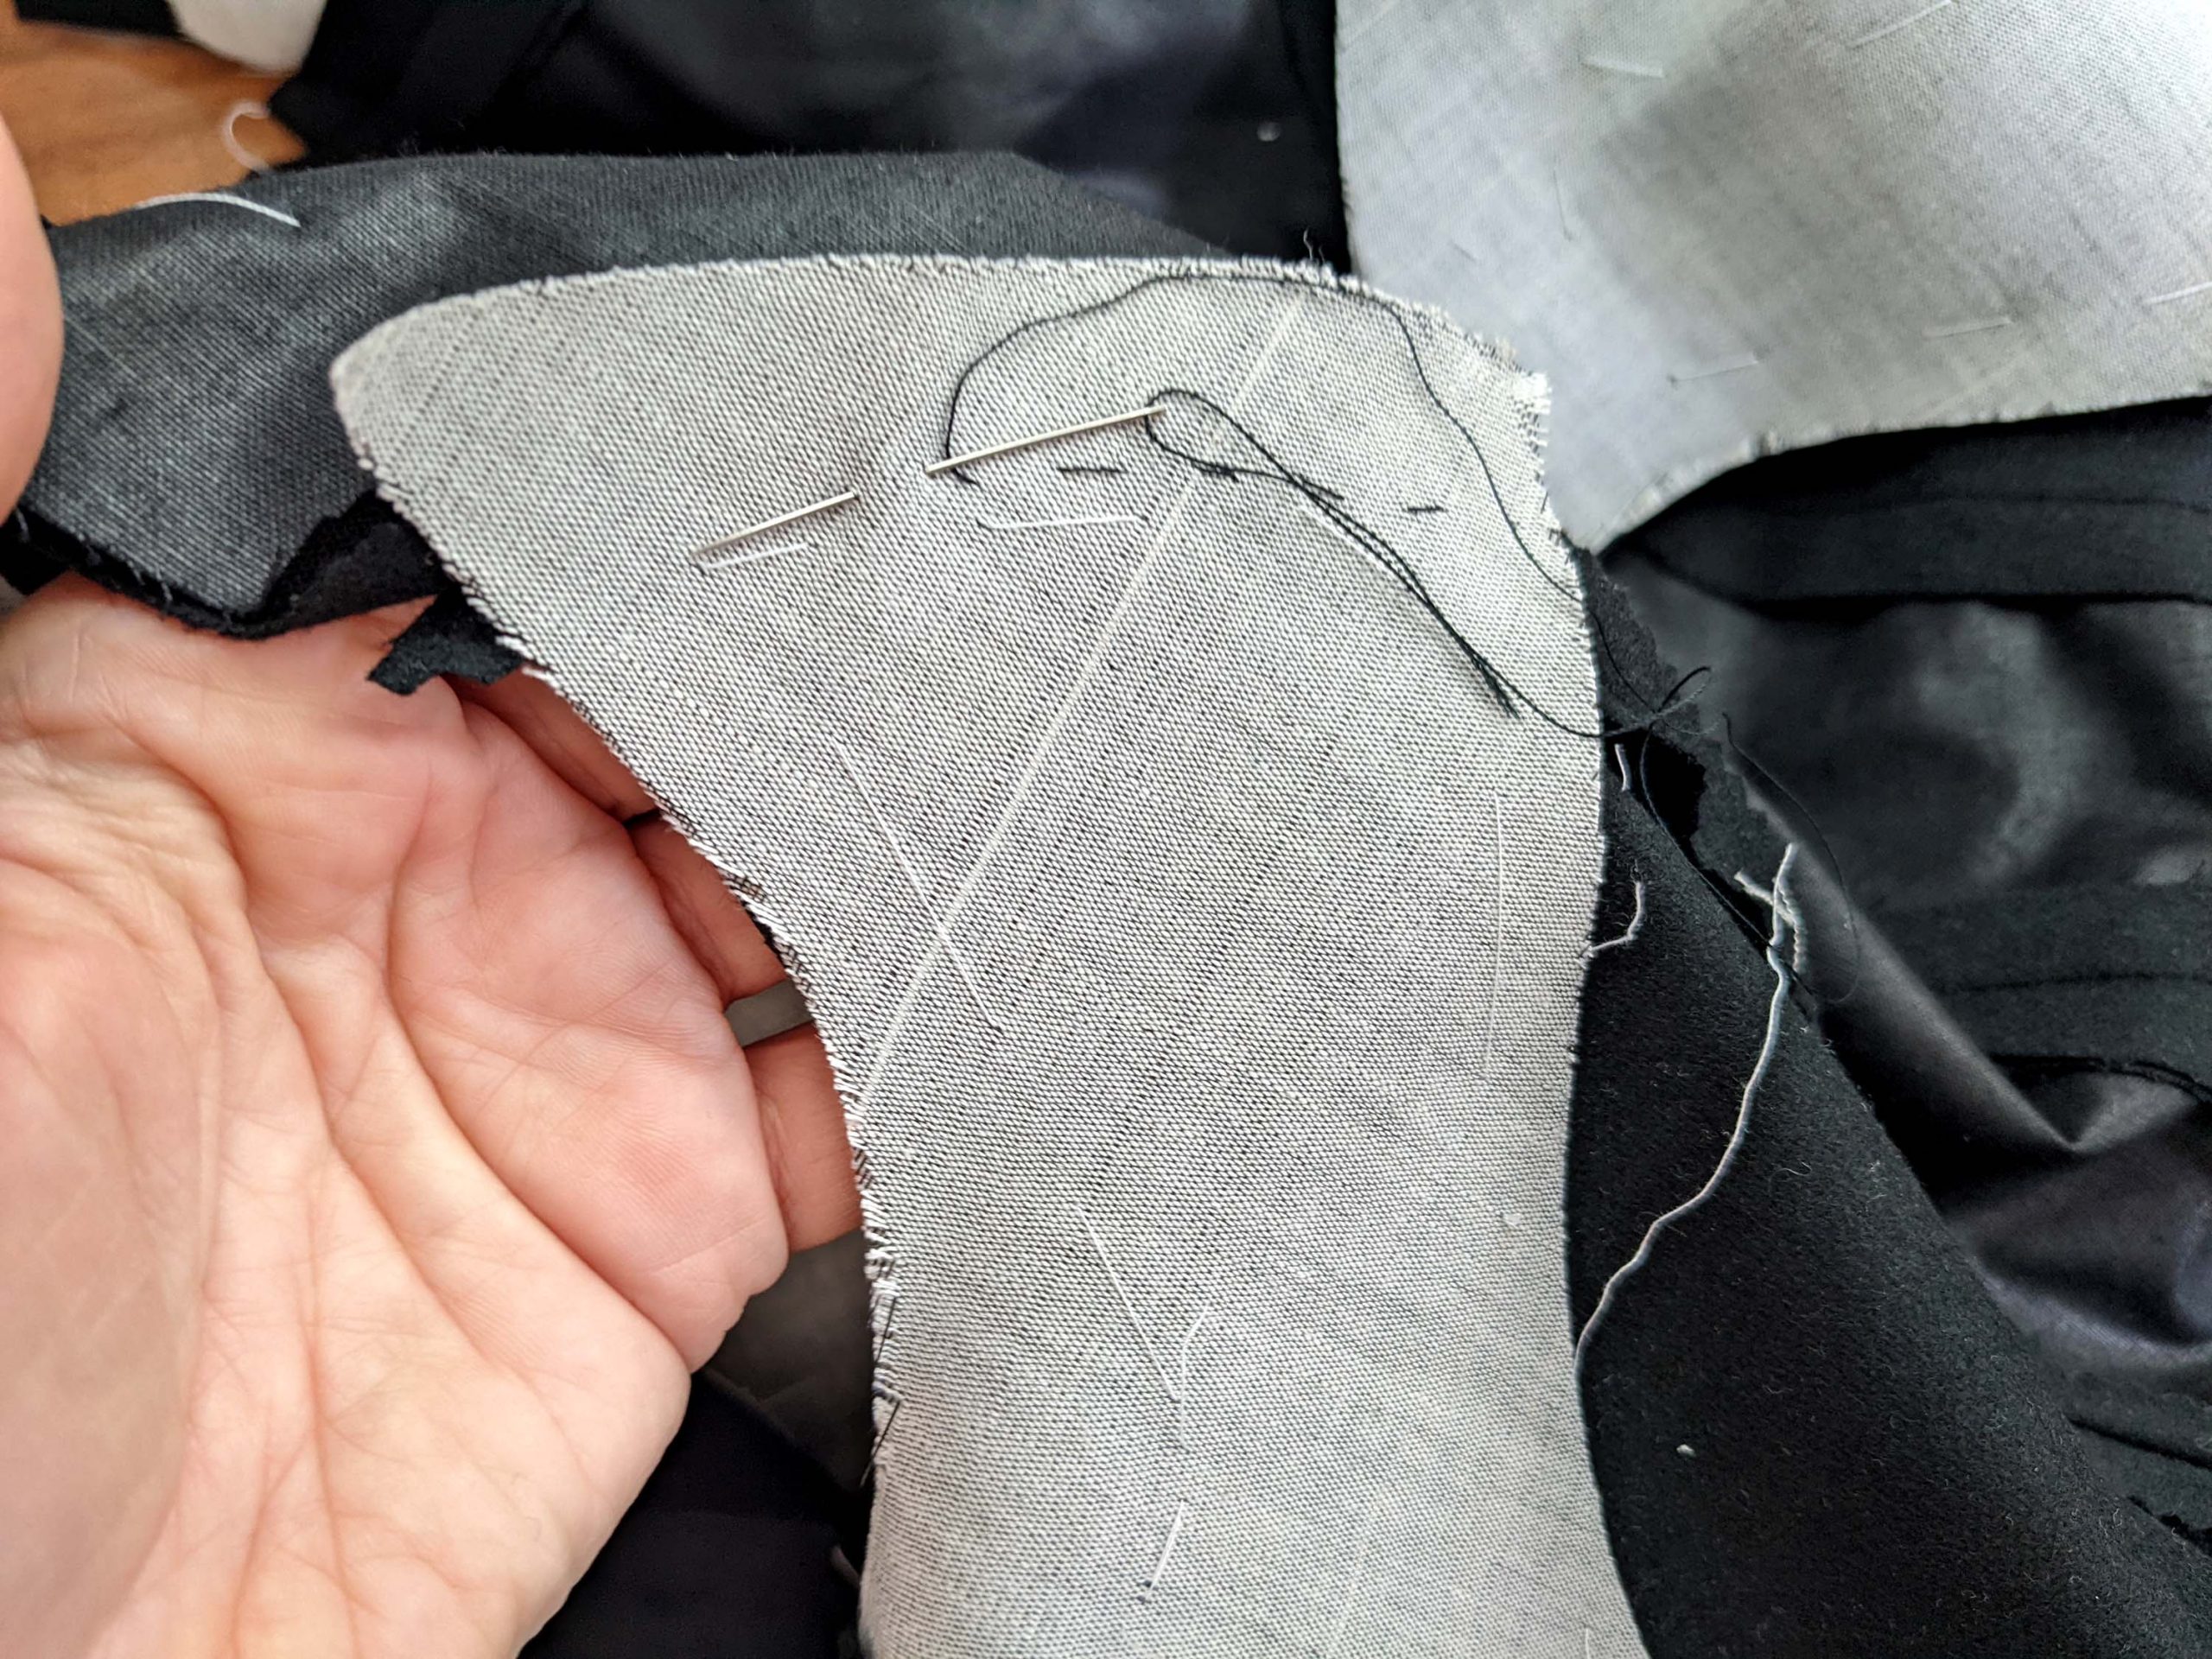
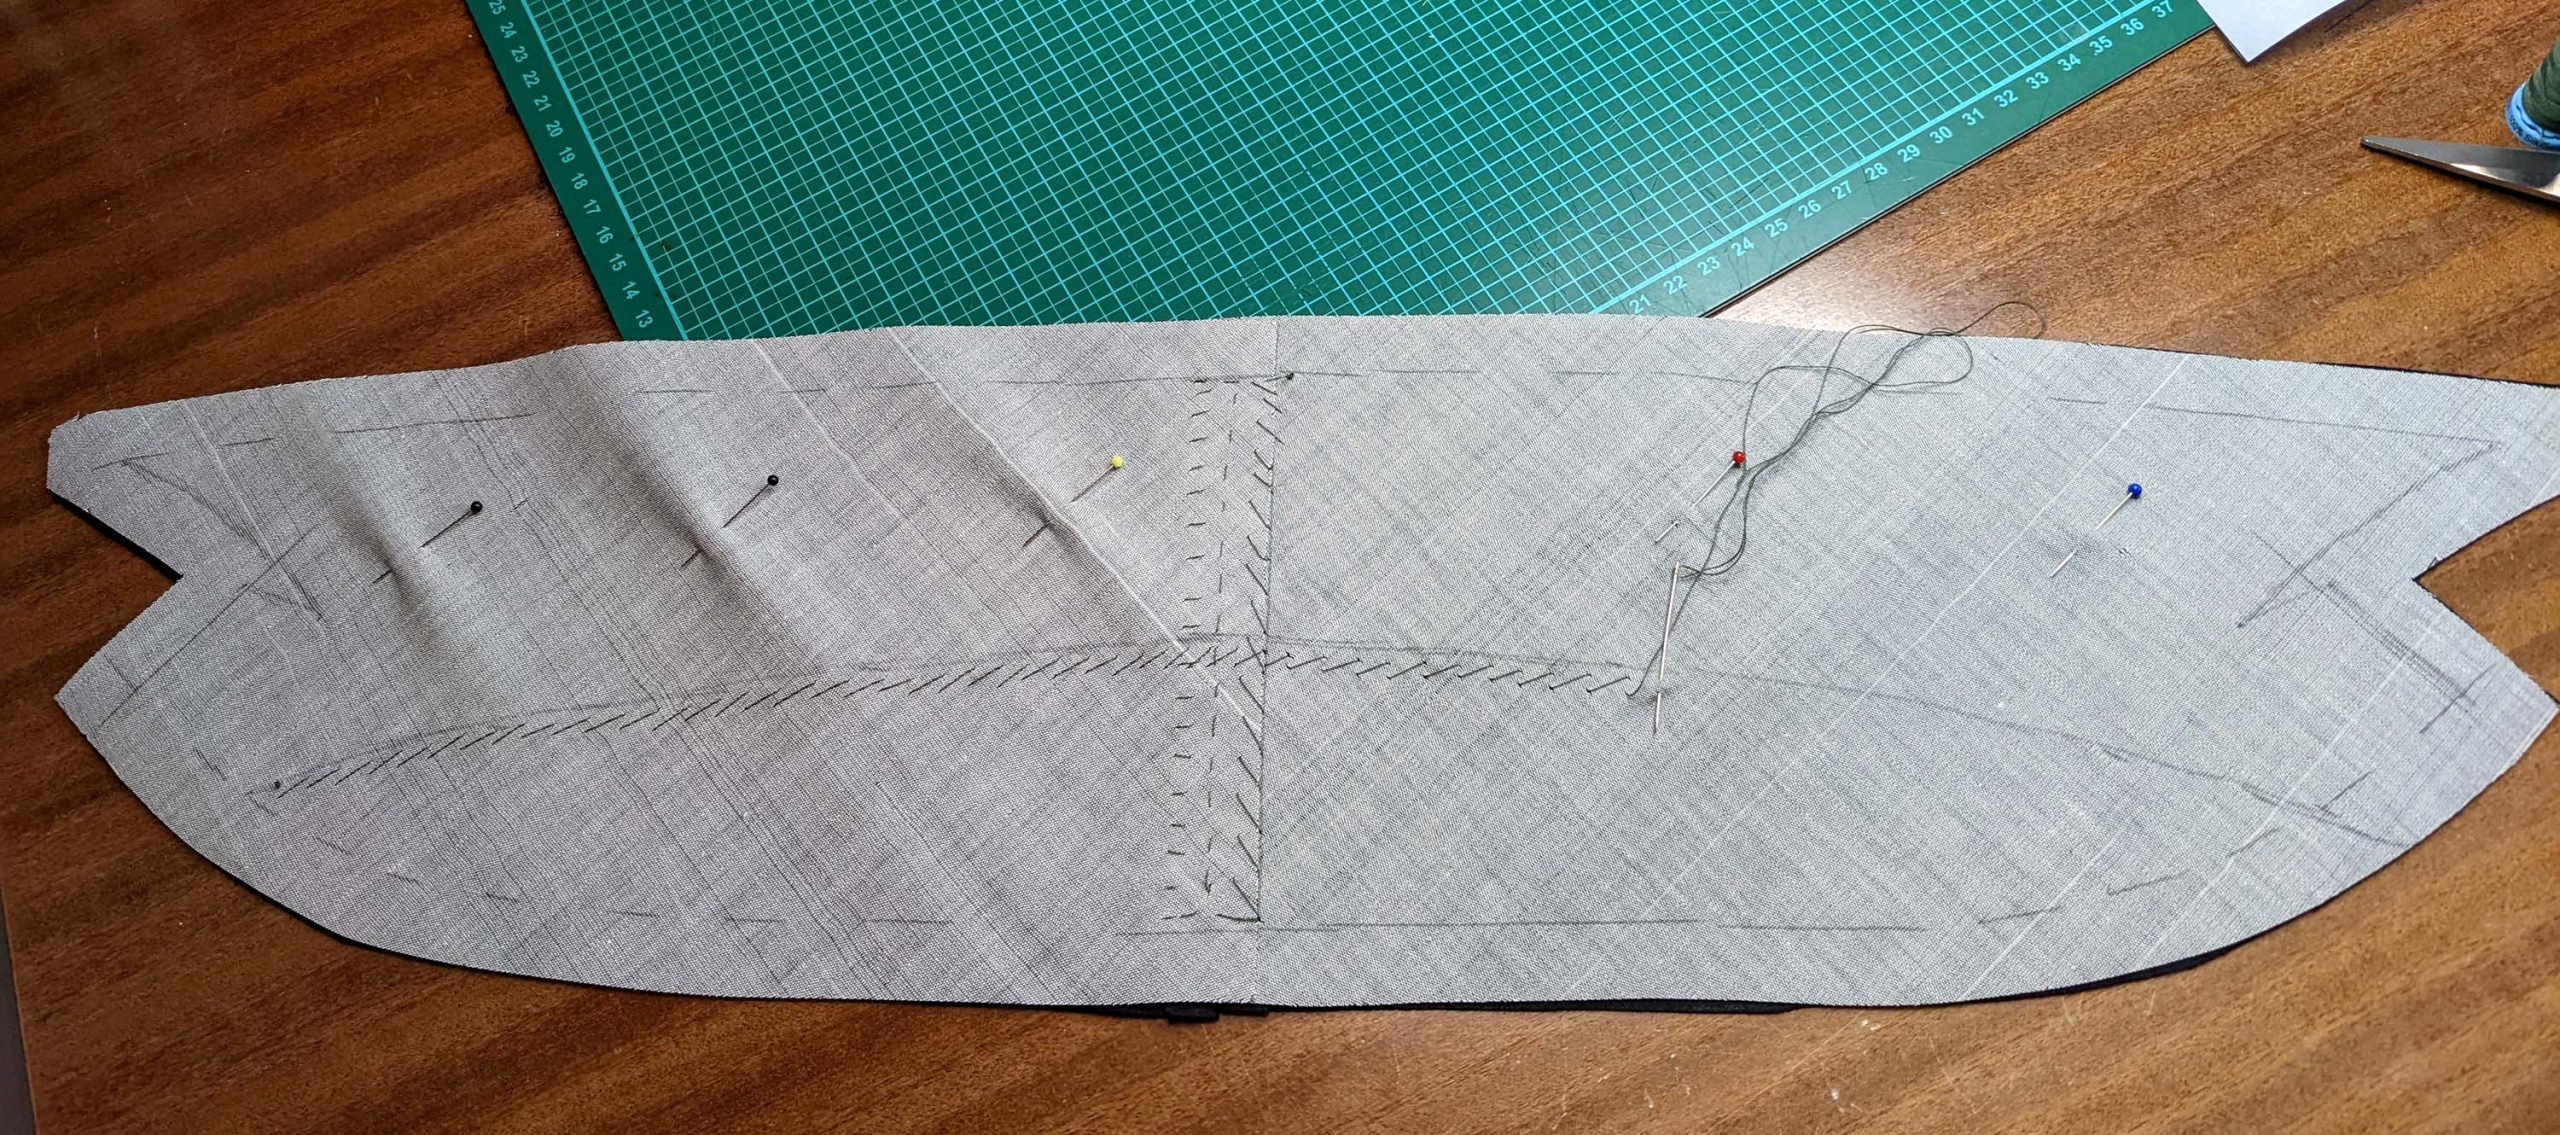
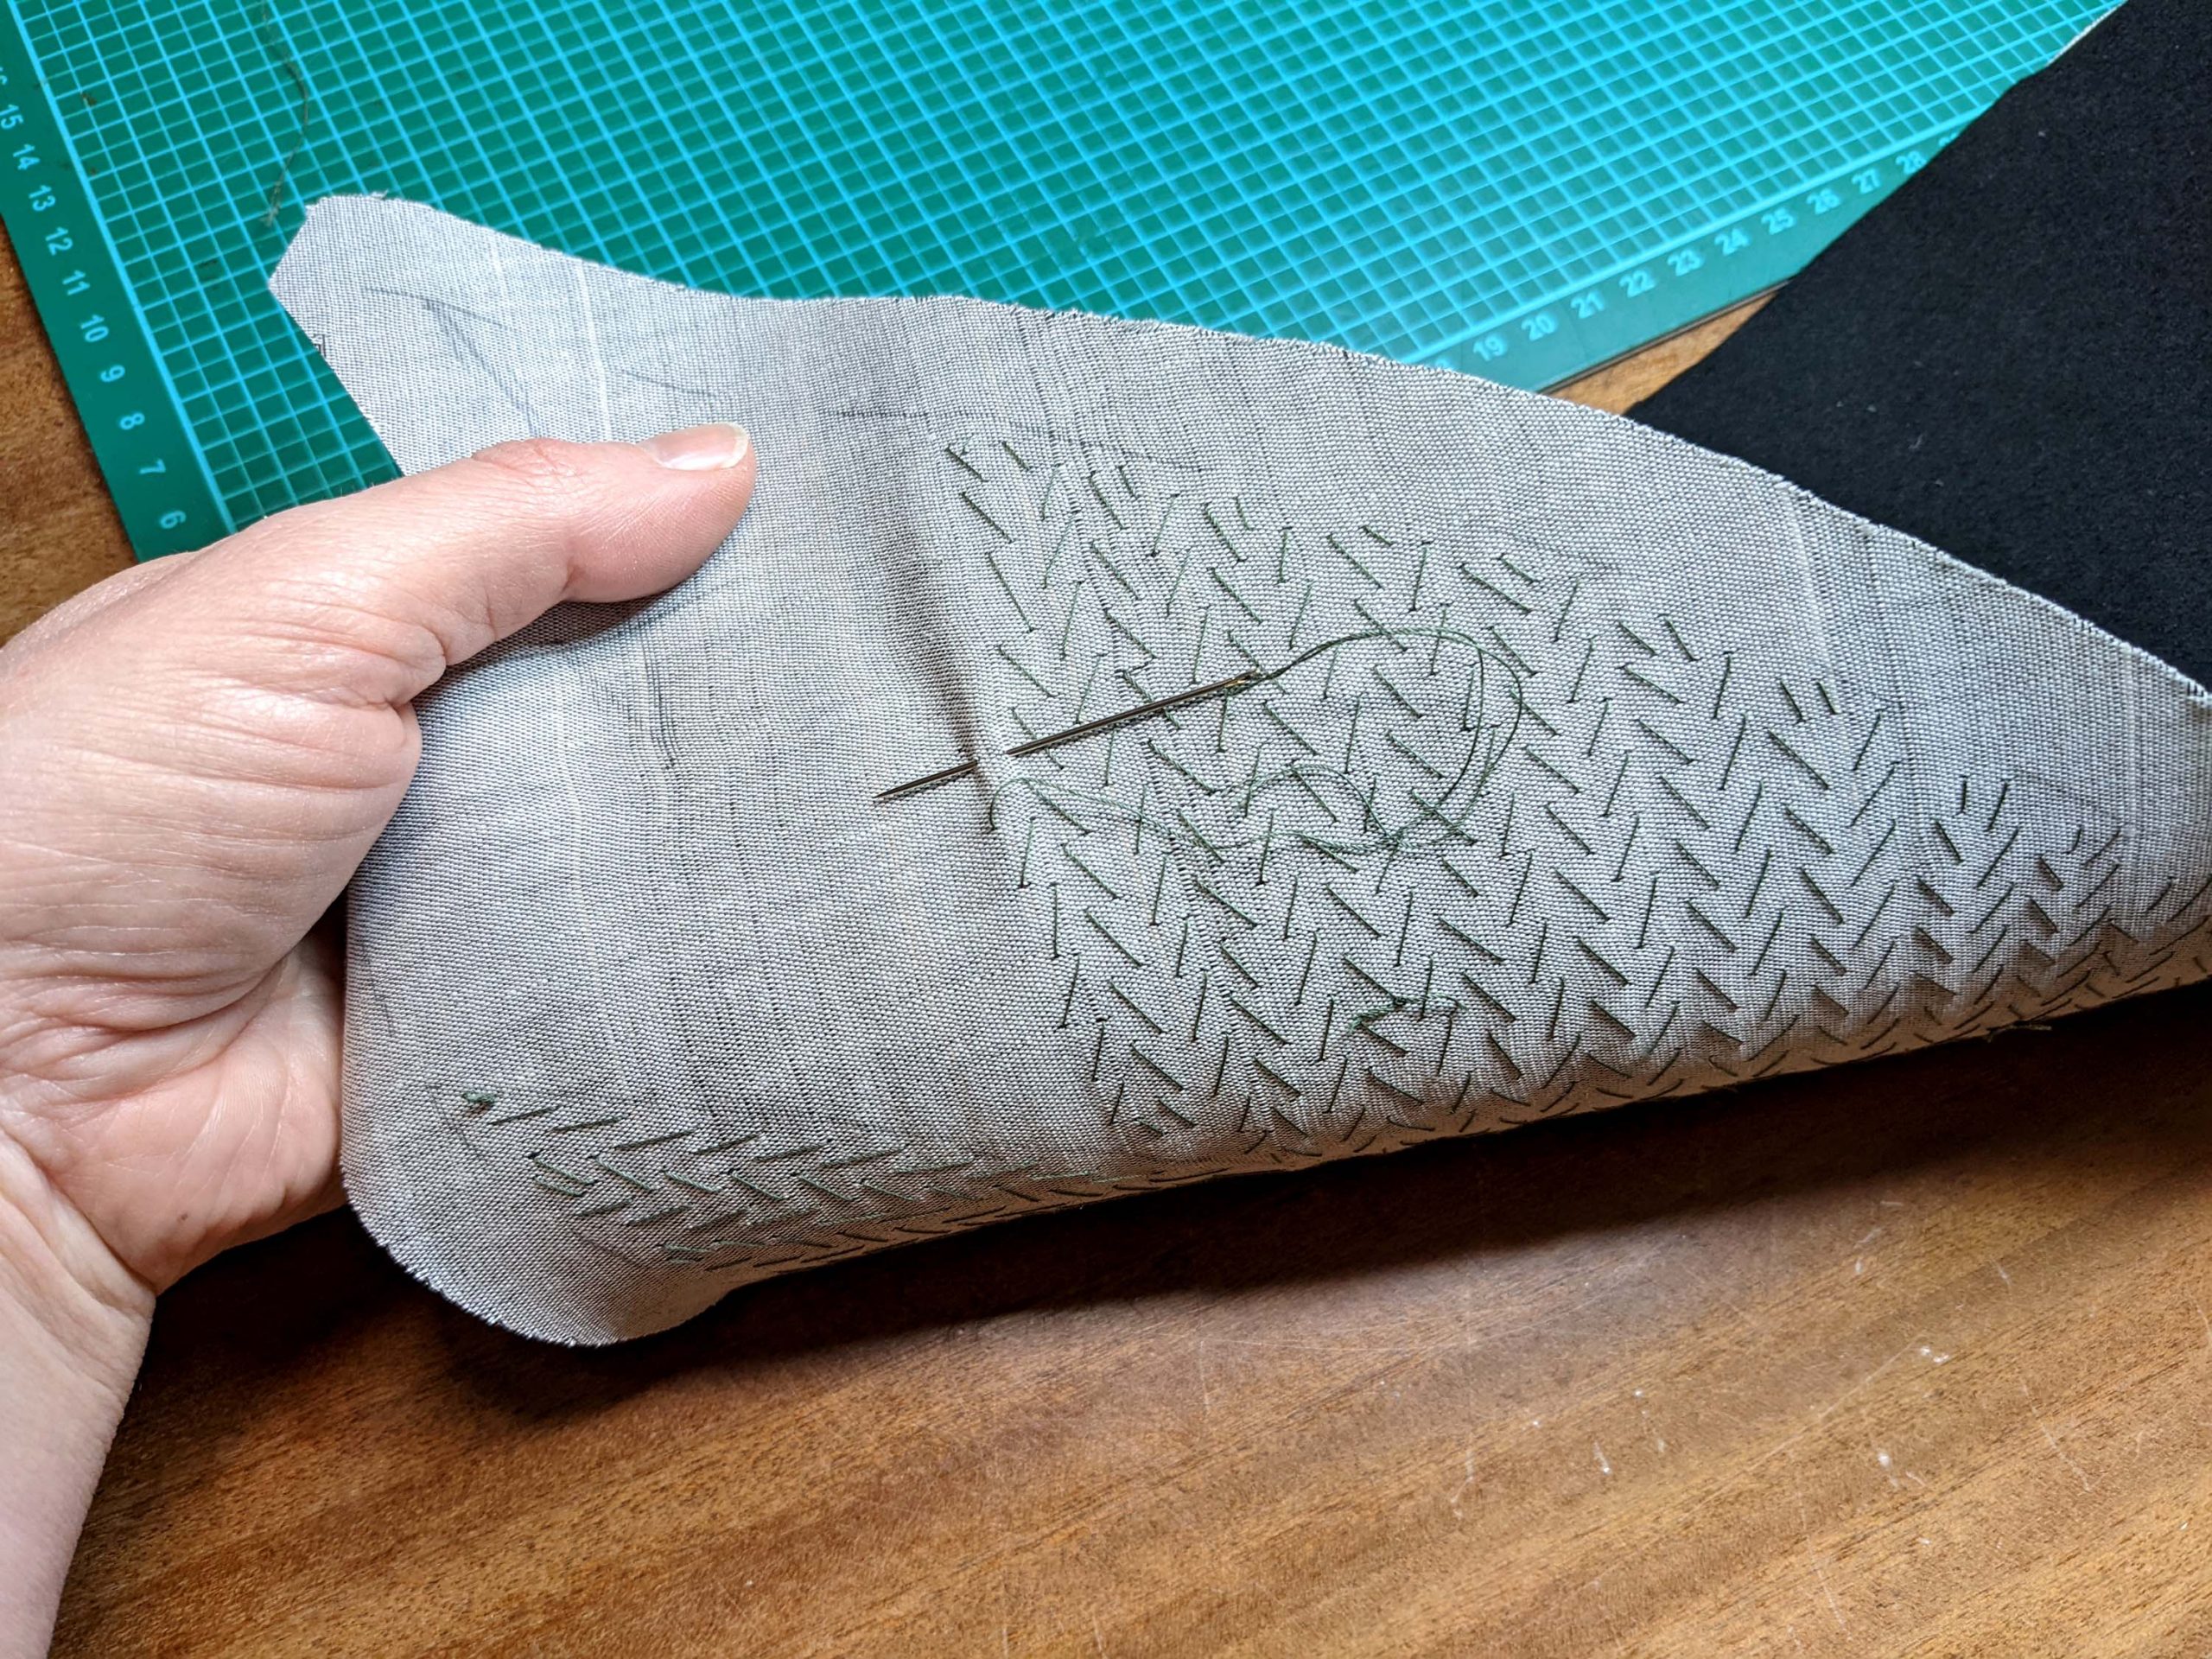
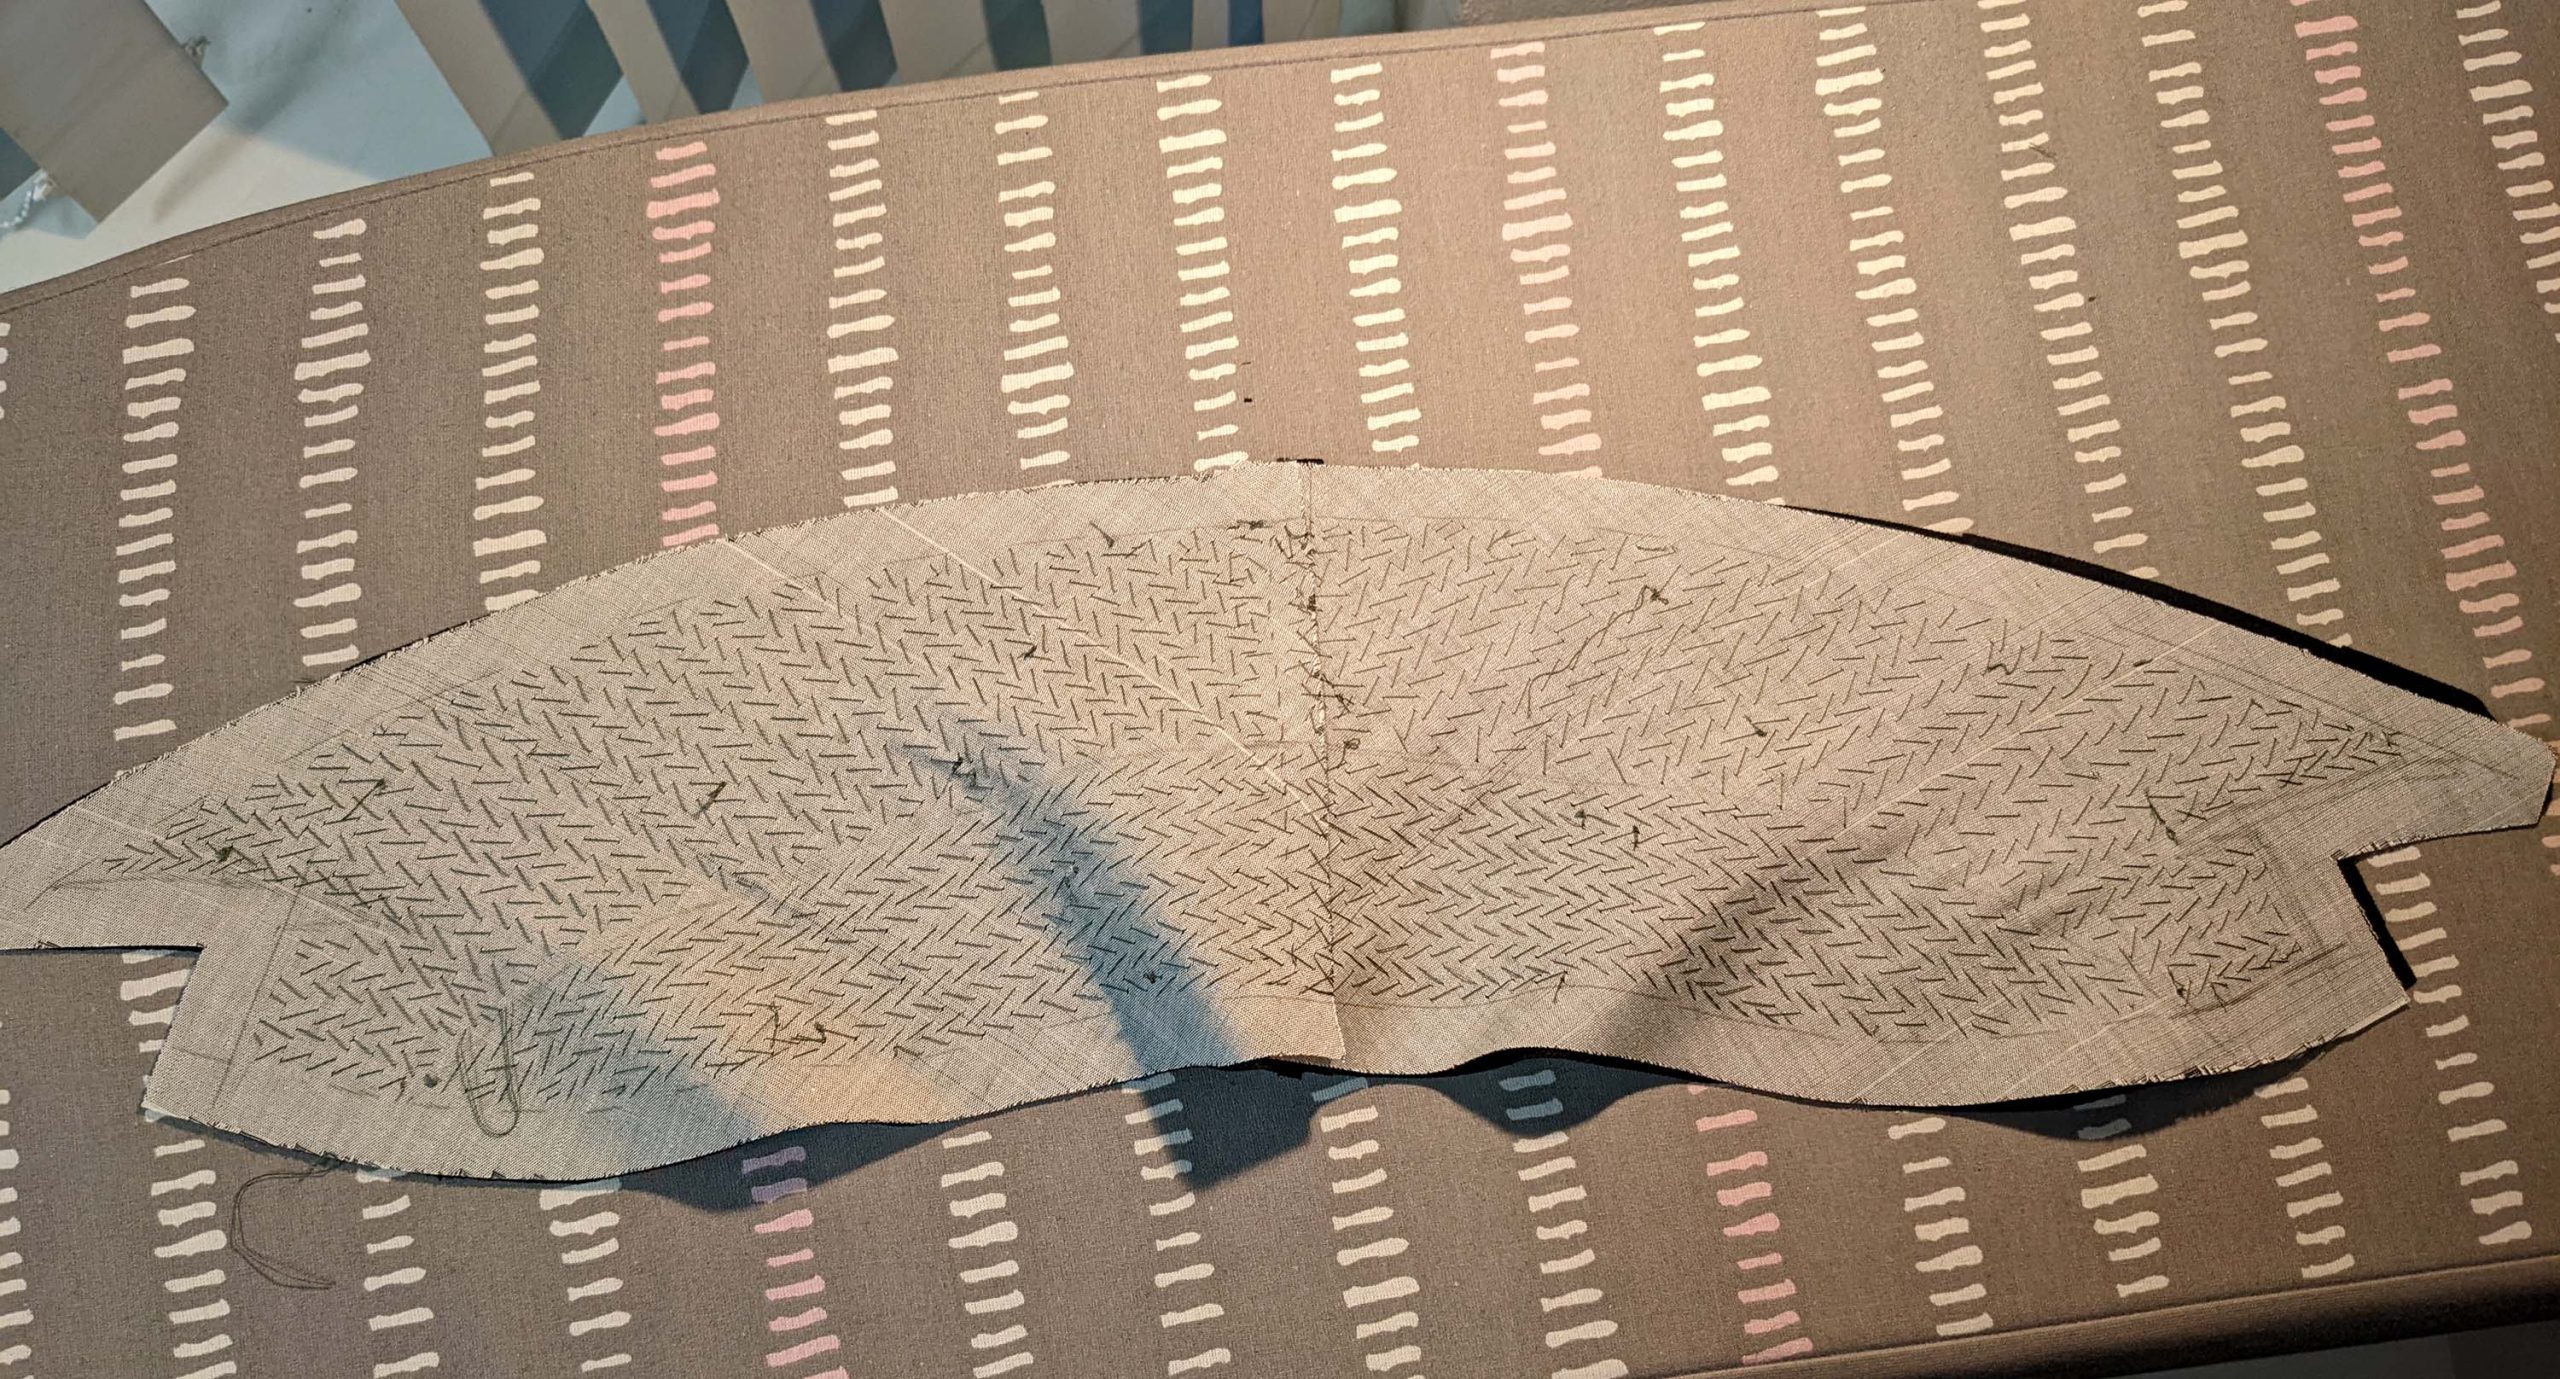
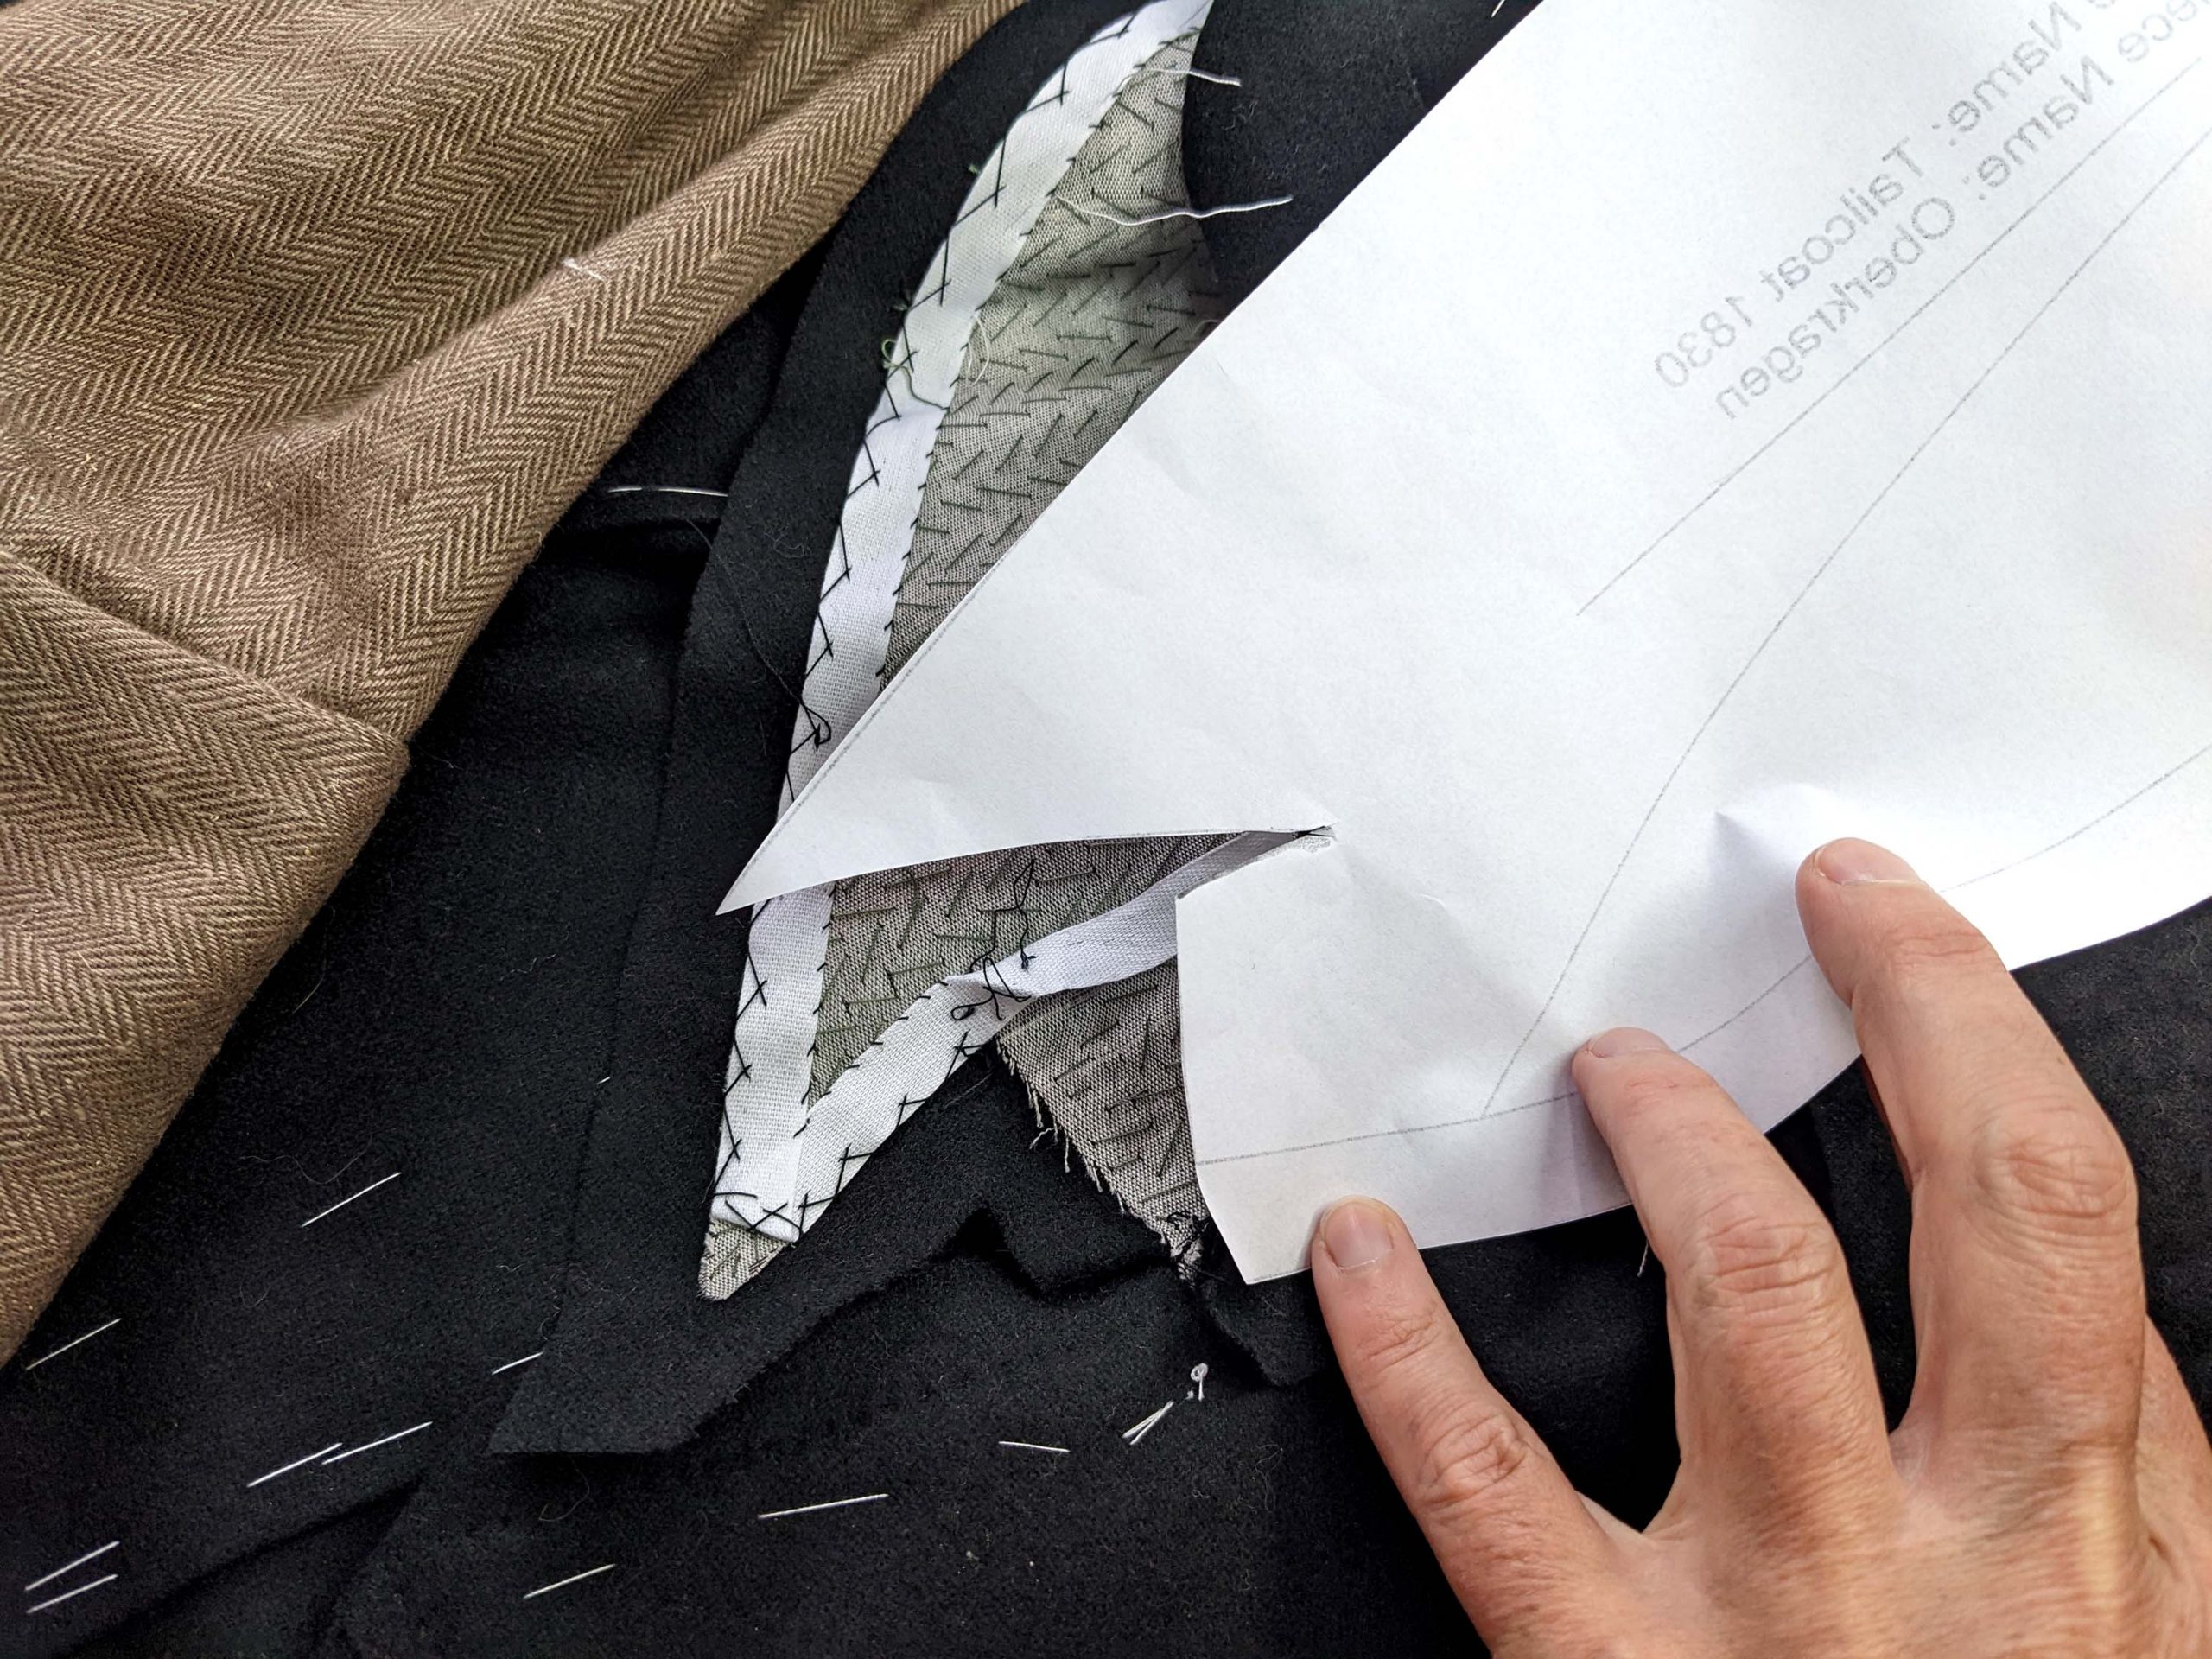
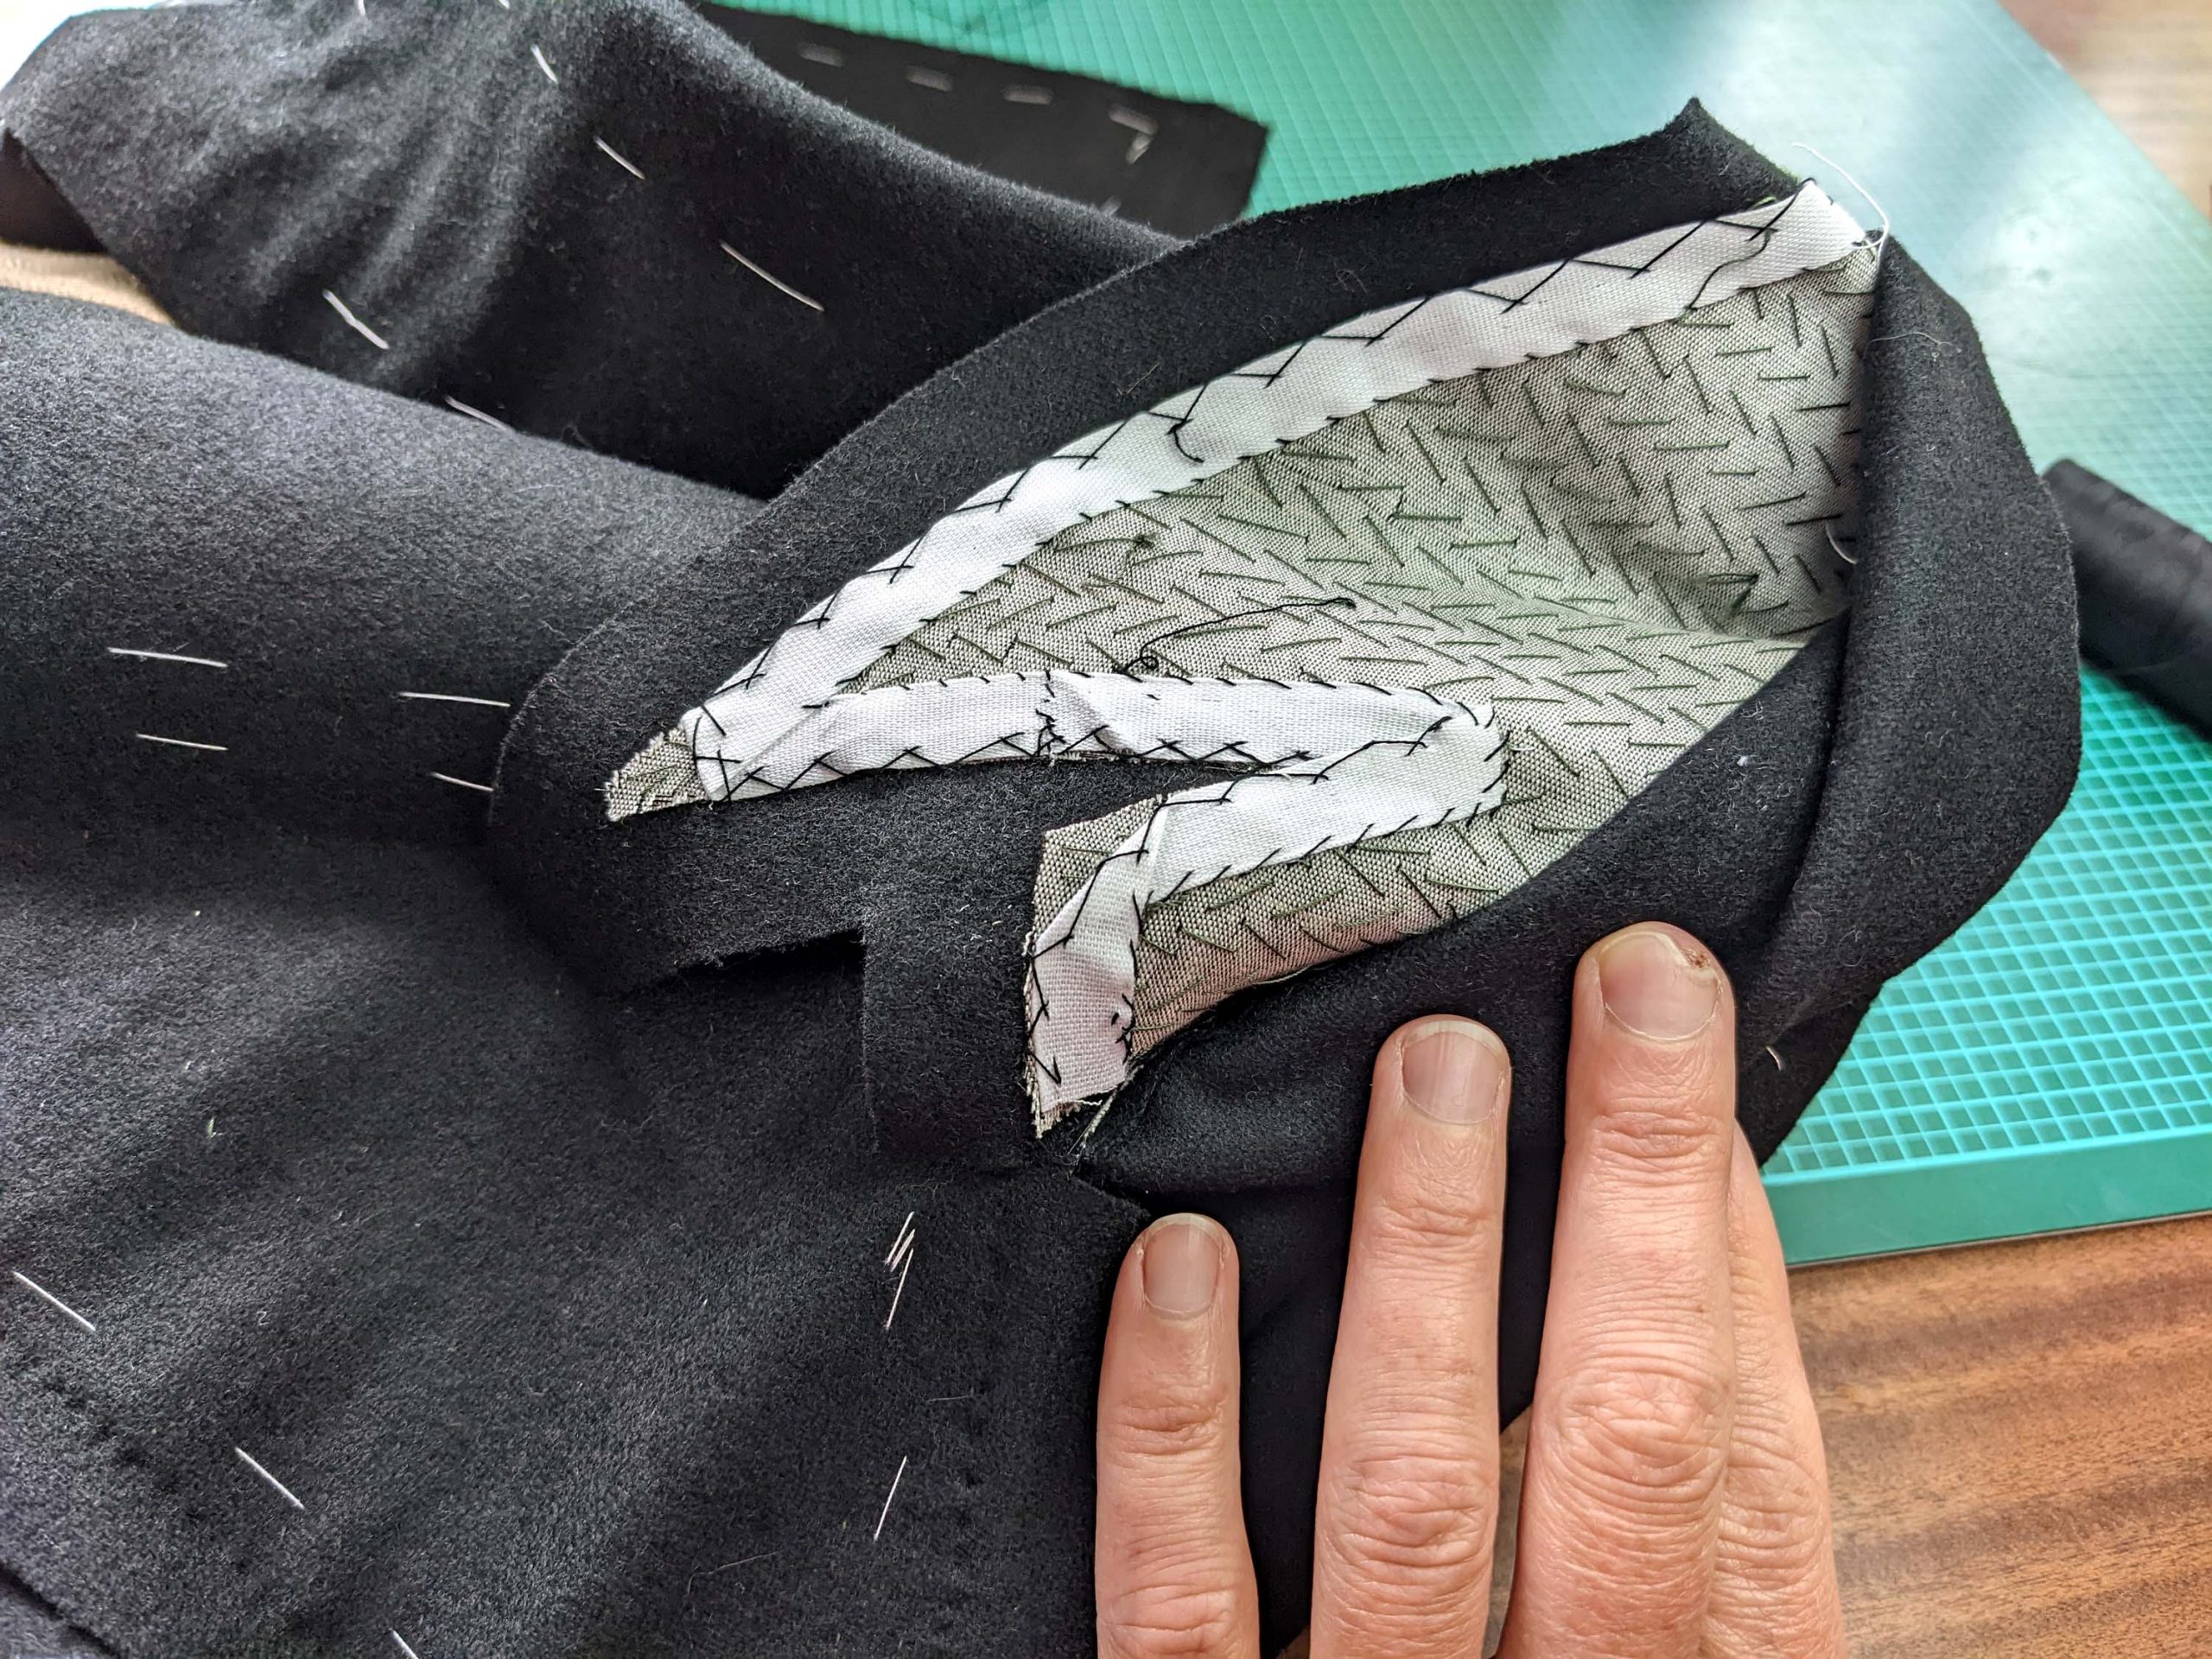
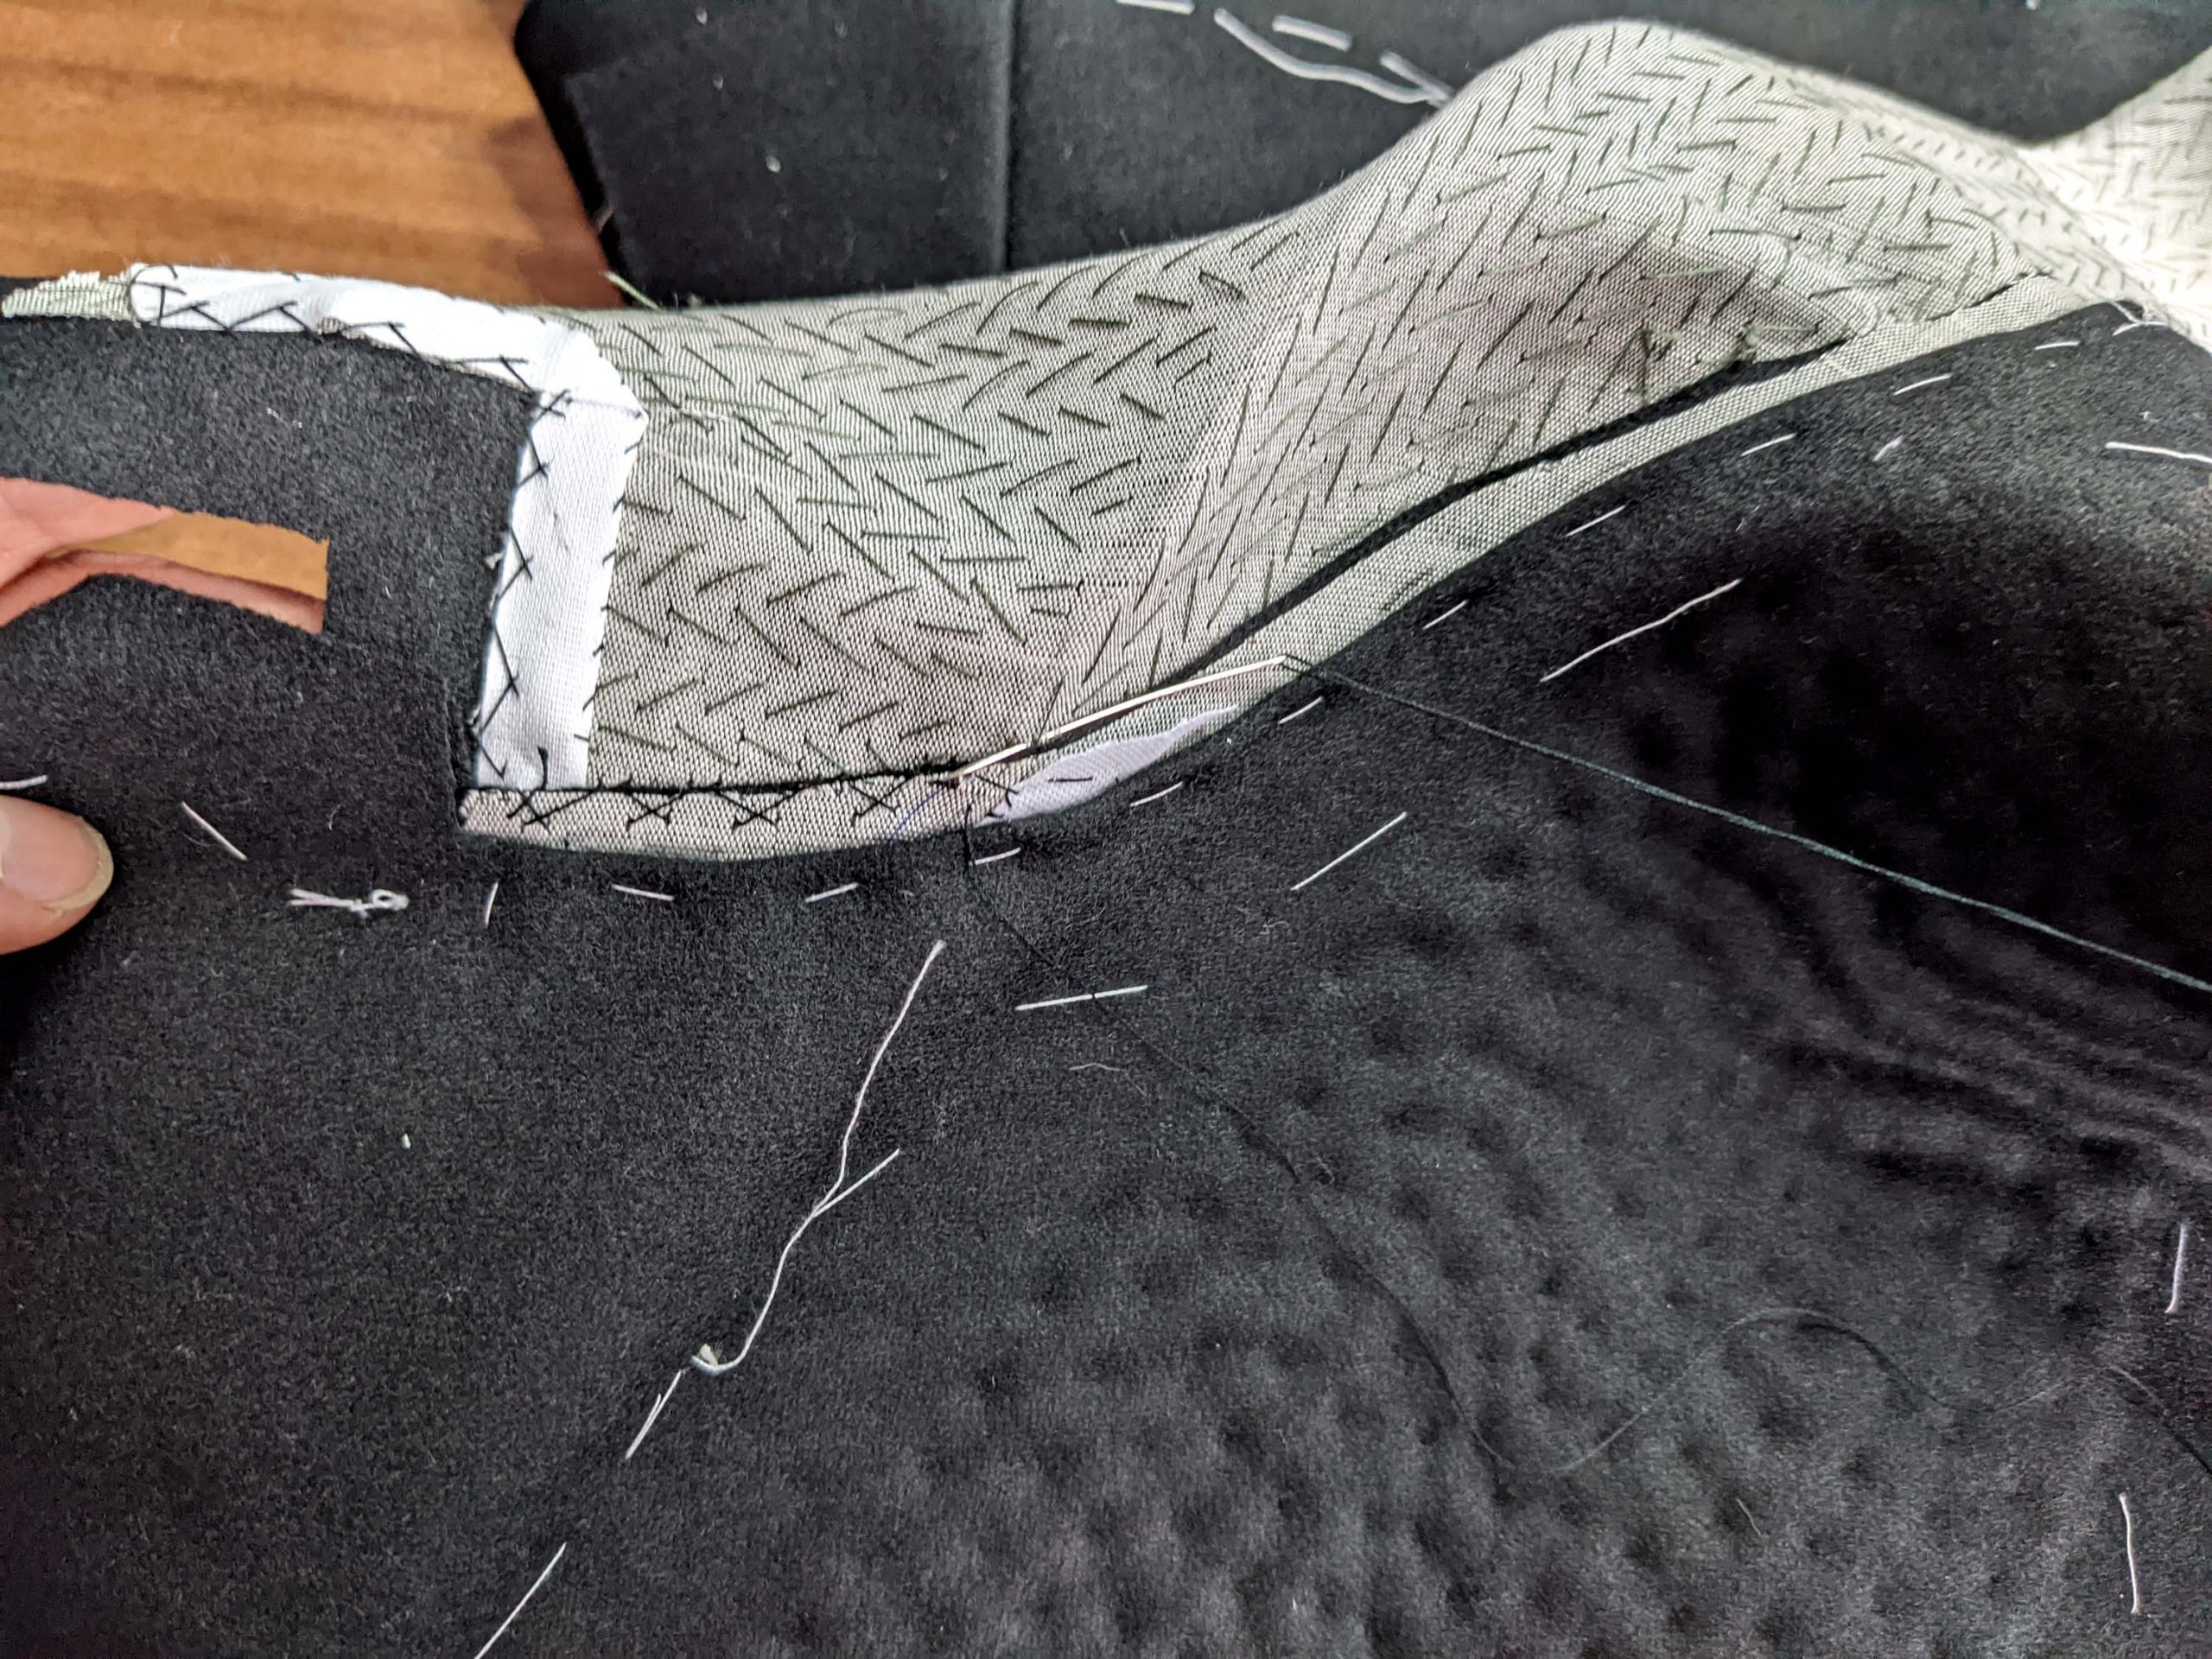
(8) We’re going to continue with the collar! Line up the collar canvas with the wrong side of the under-collar (both cut on the bias). Mark the seam and the roll line. Starting at the collar stand, pad stitch the canvas to the collar. Fold the collar around your hand´s edge while pad stitching to give the right shape. As you can see in the picture, I cut the canvas divided into two pieces, sewing them together along the center back layered to avoid bulk. That can be done with the undercollar as well.
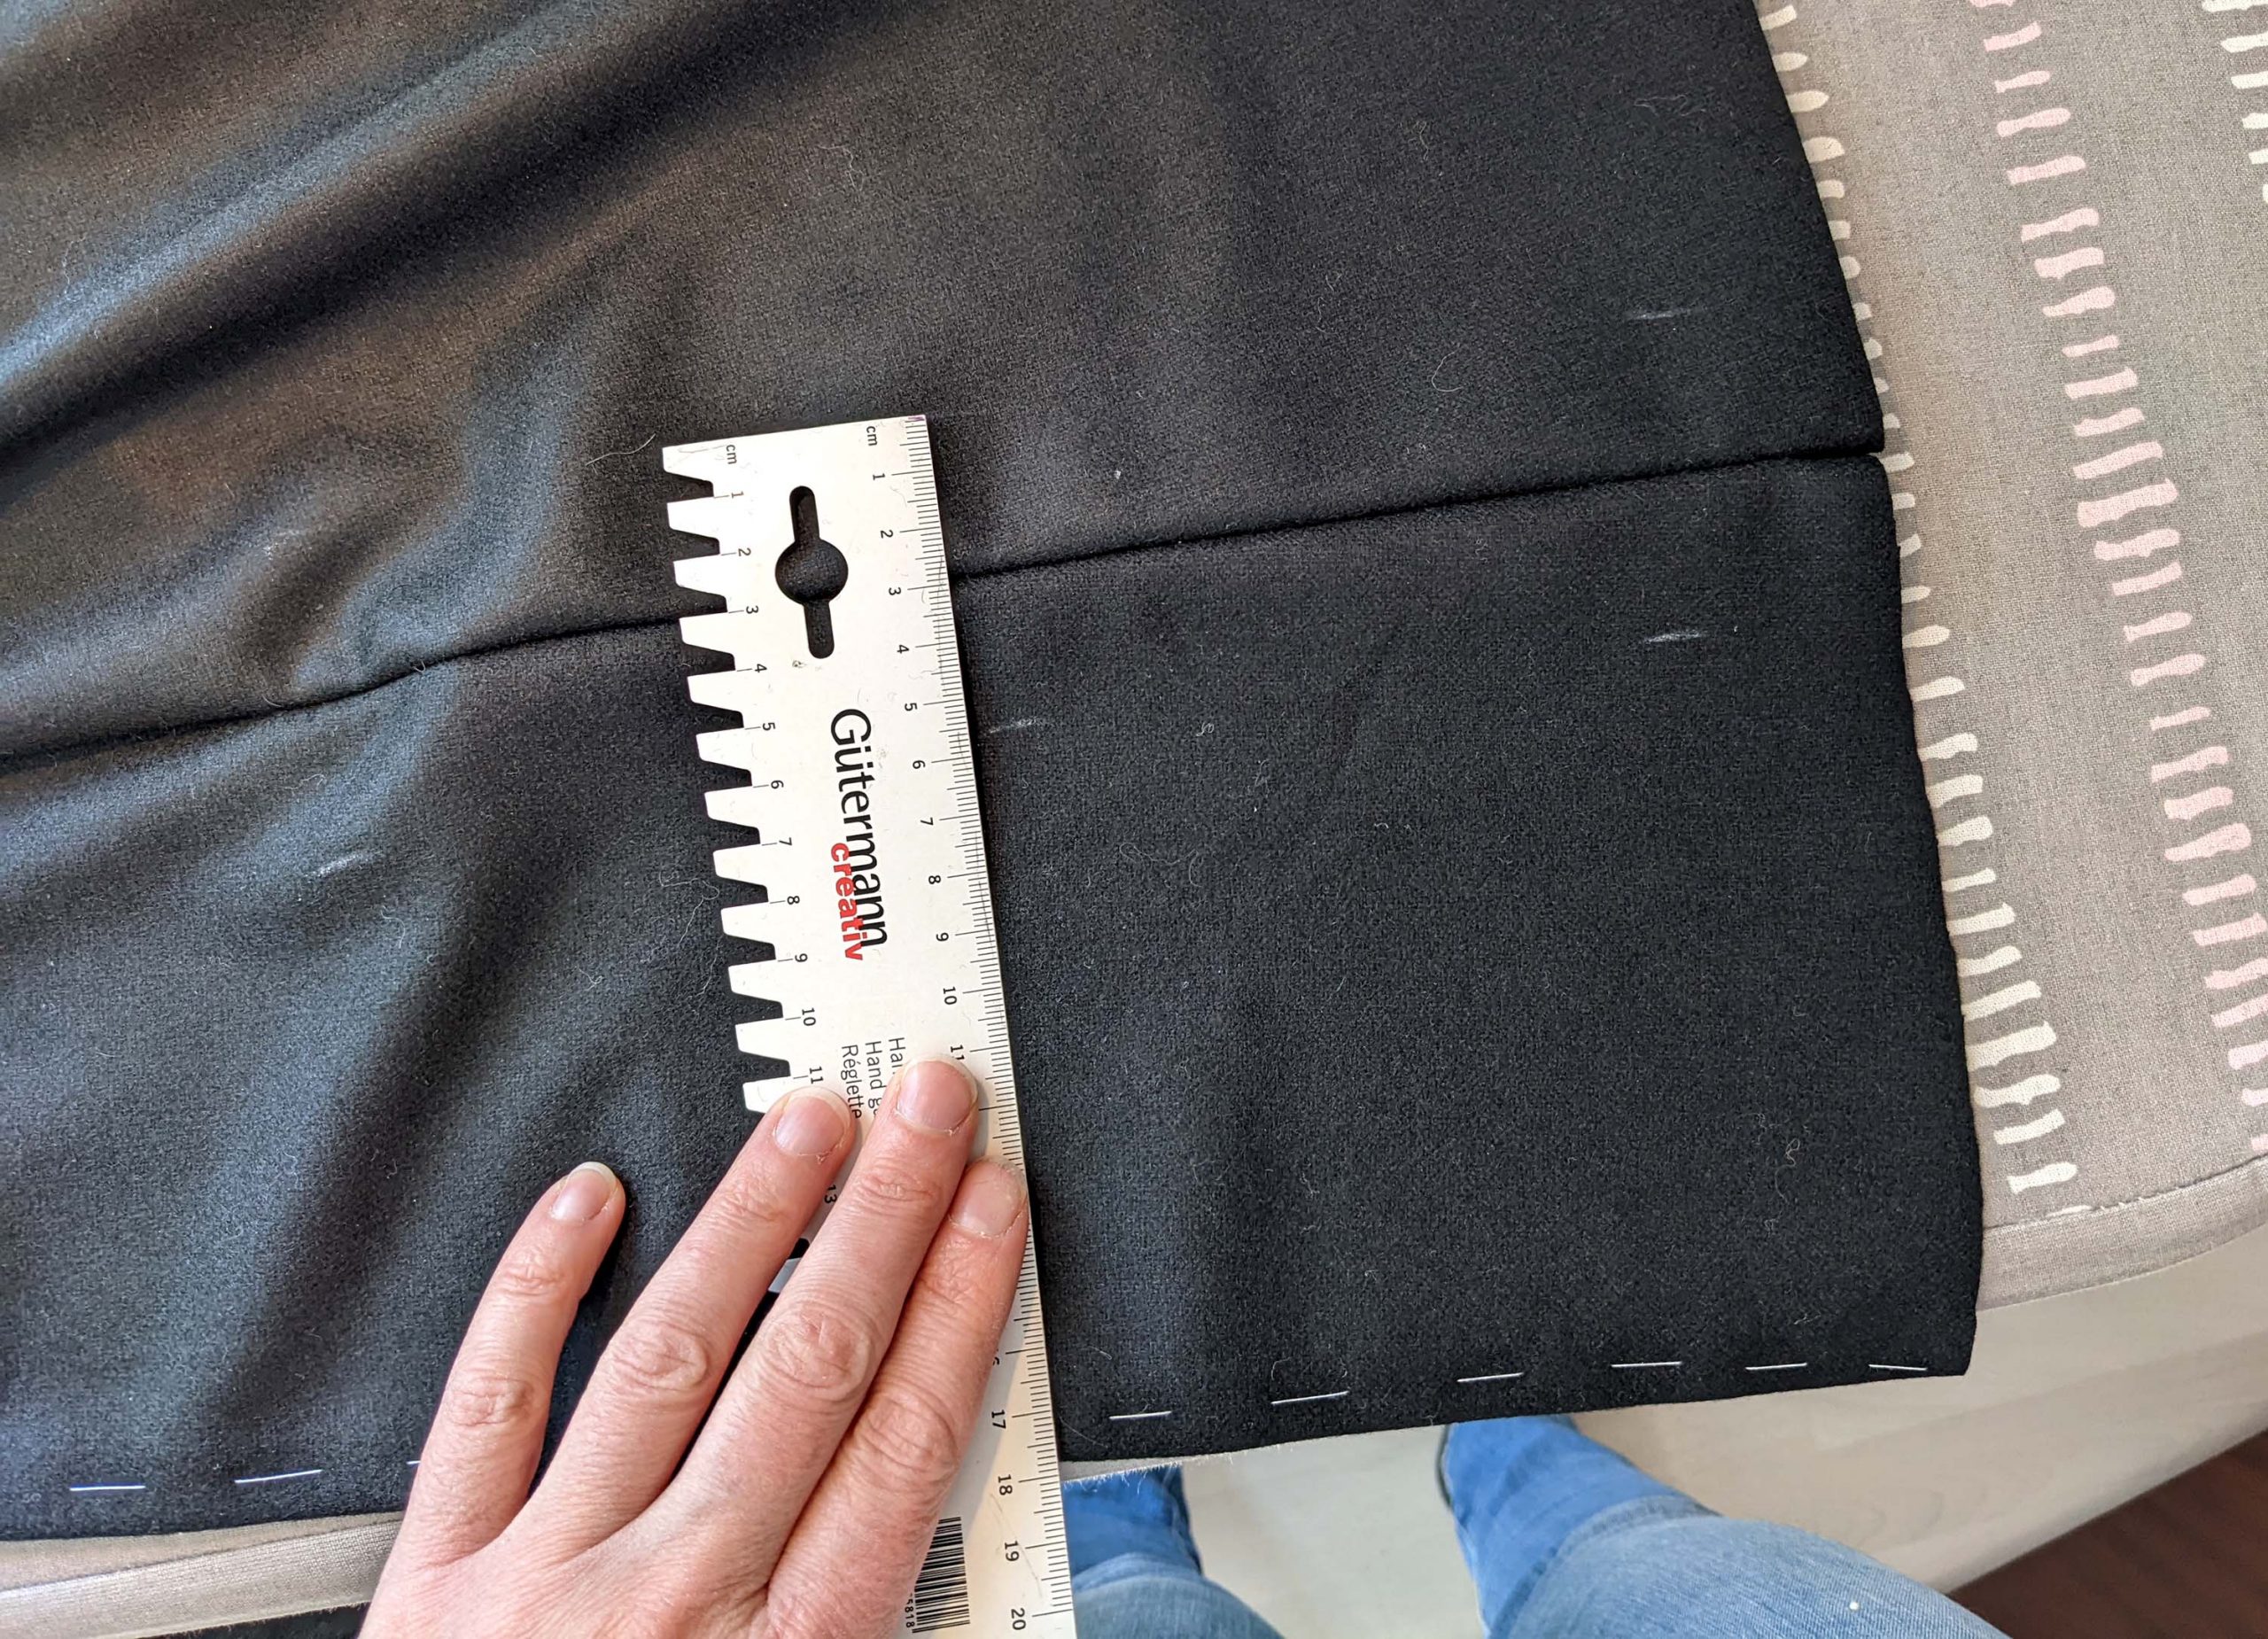
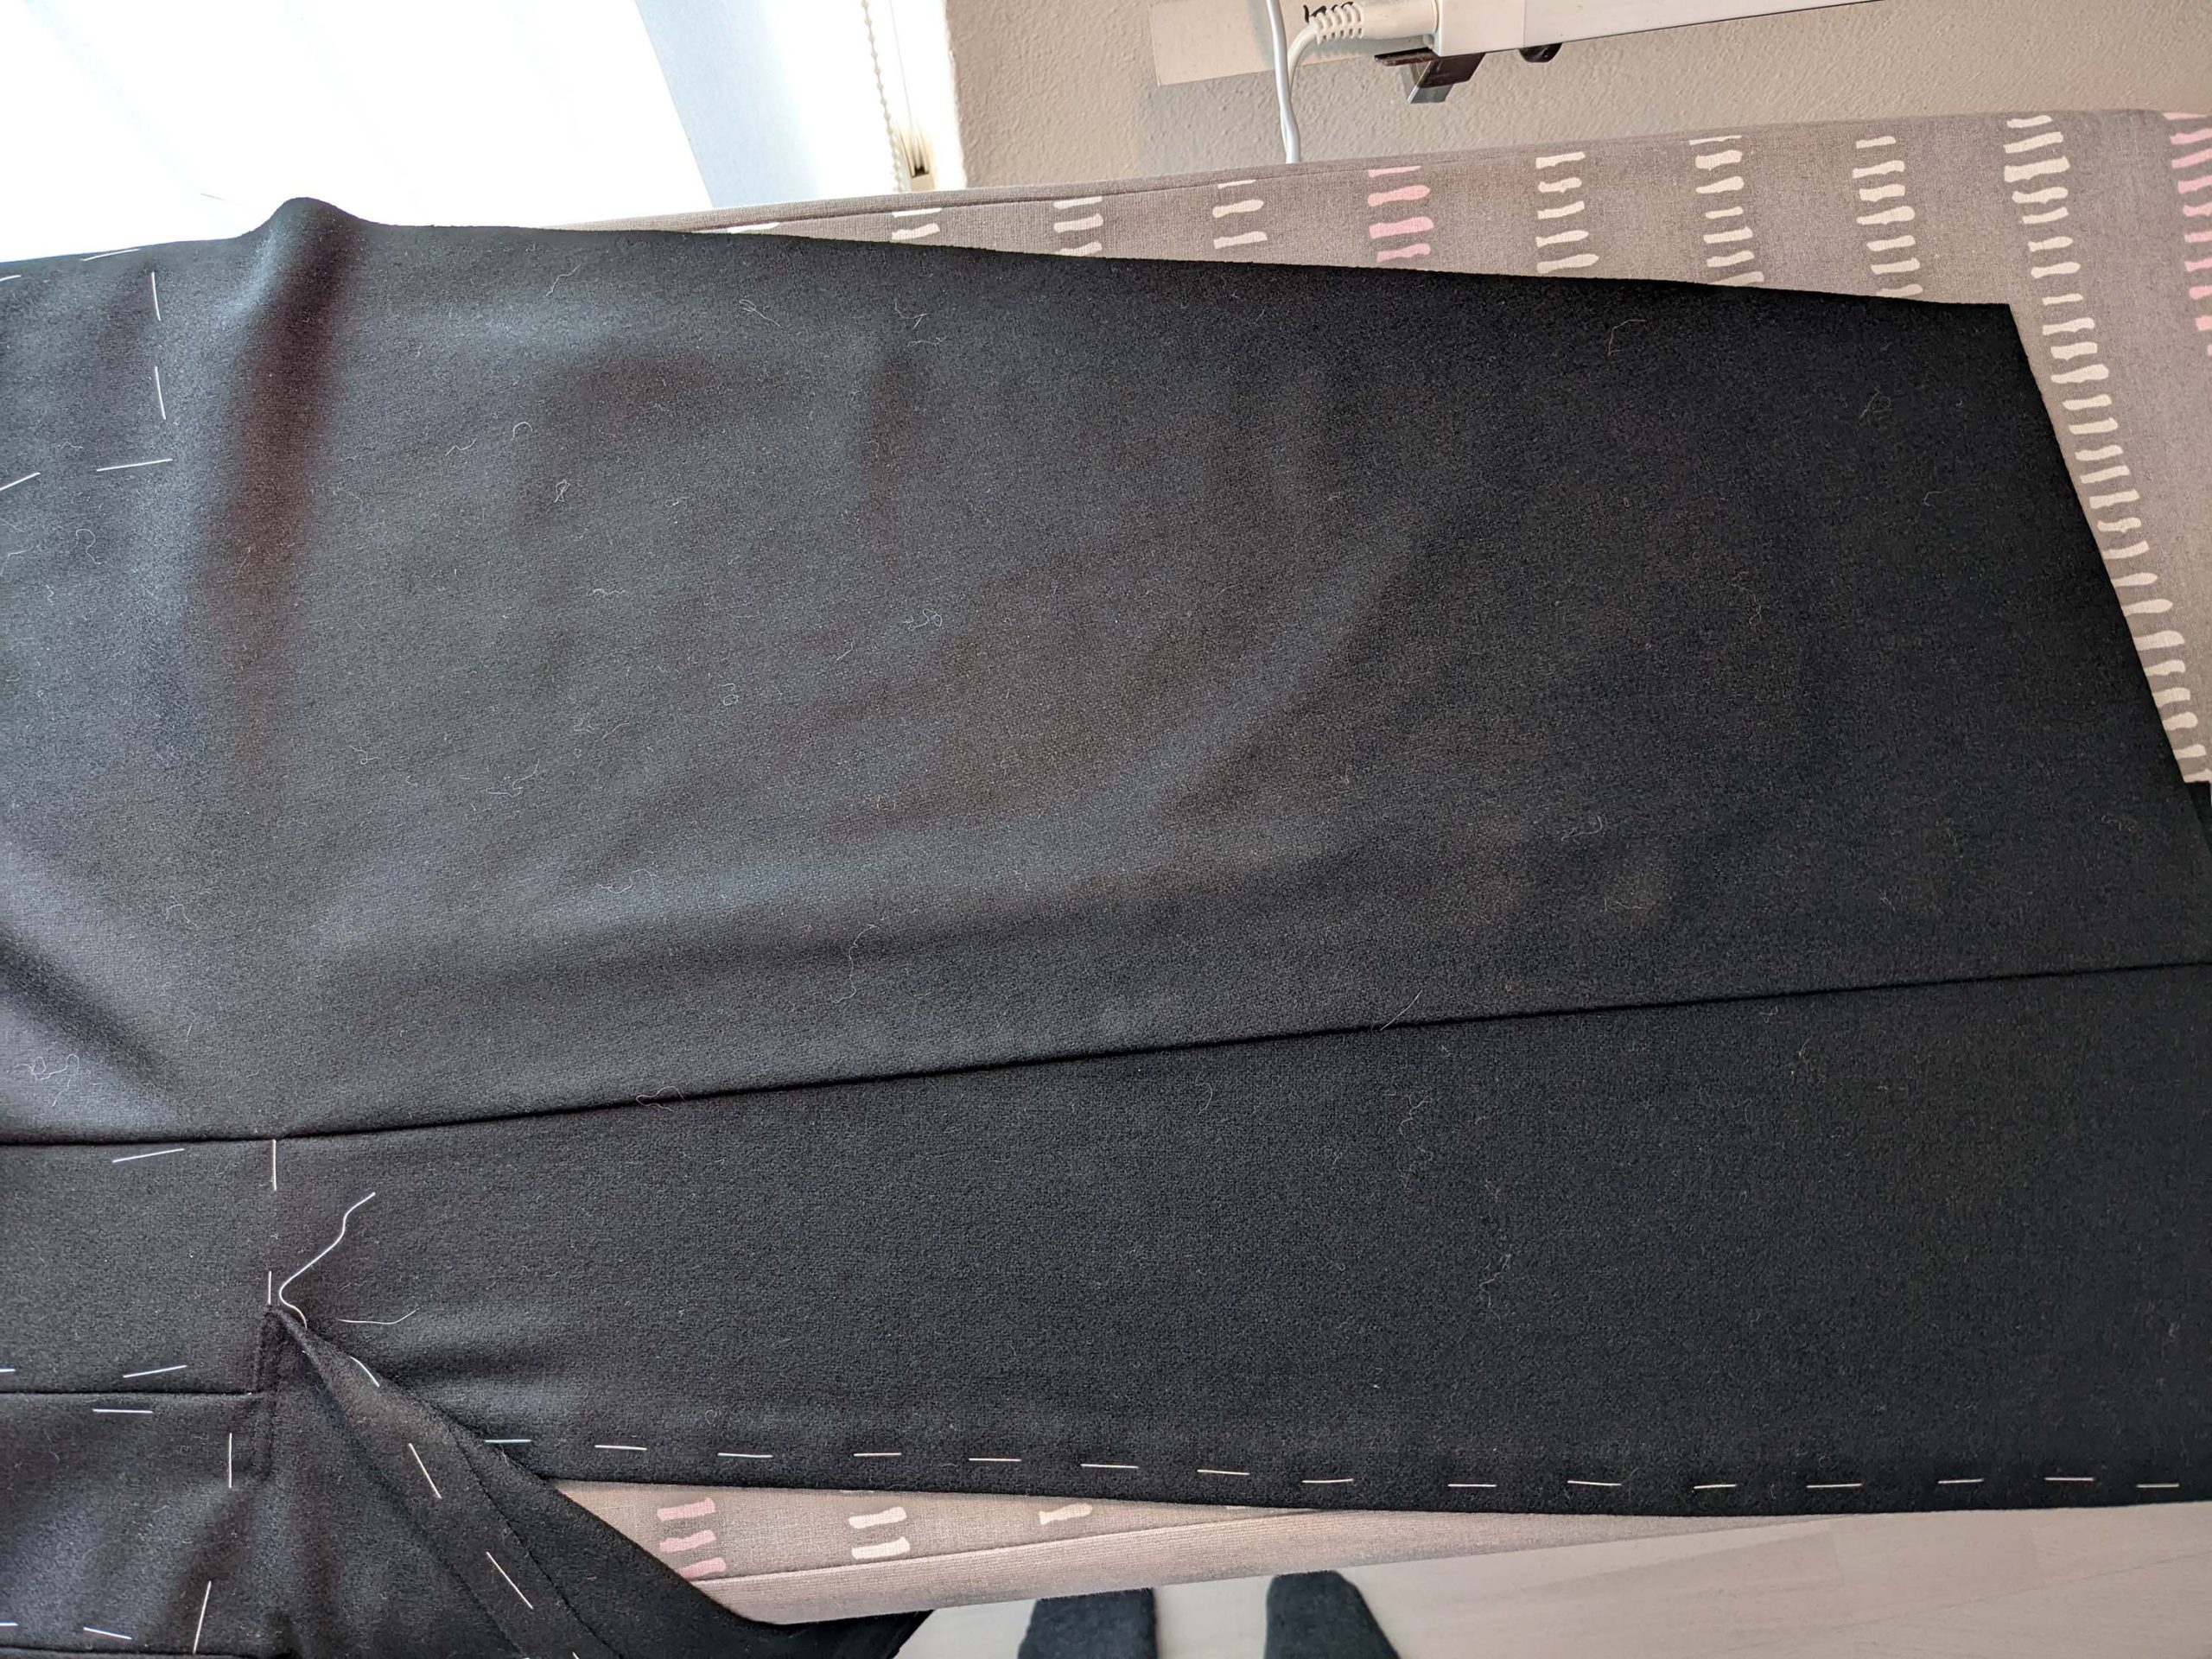
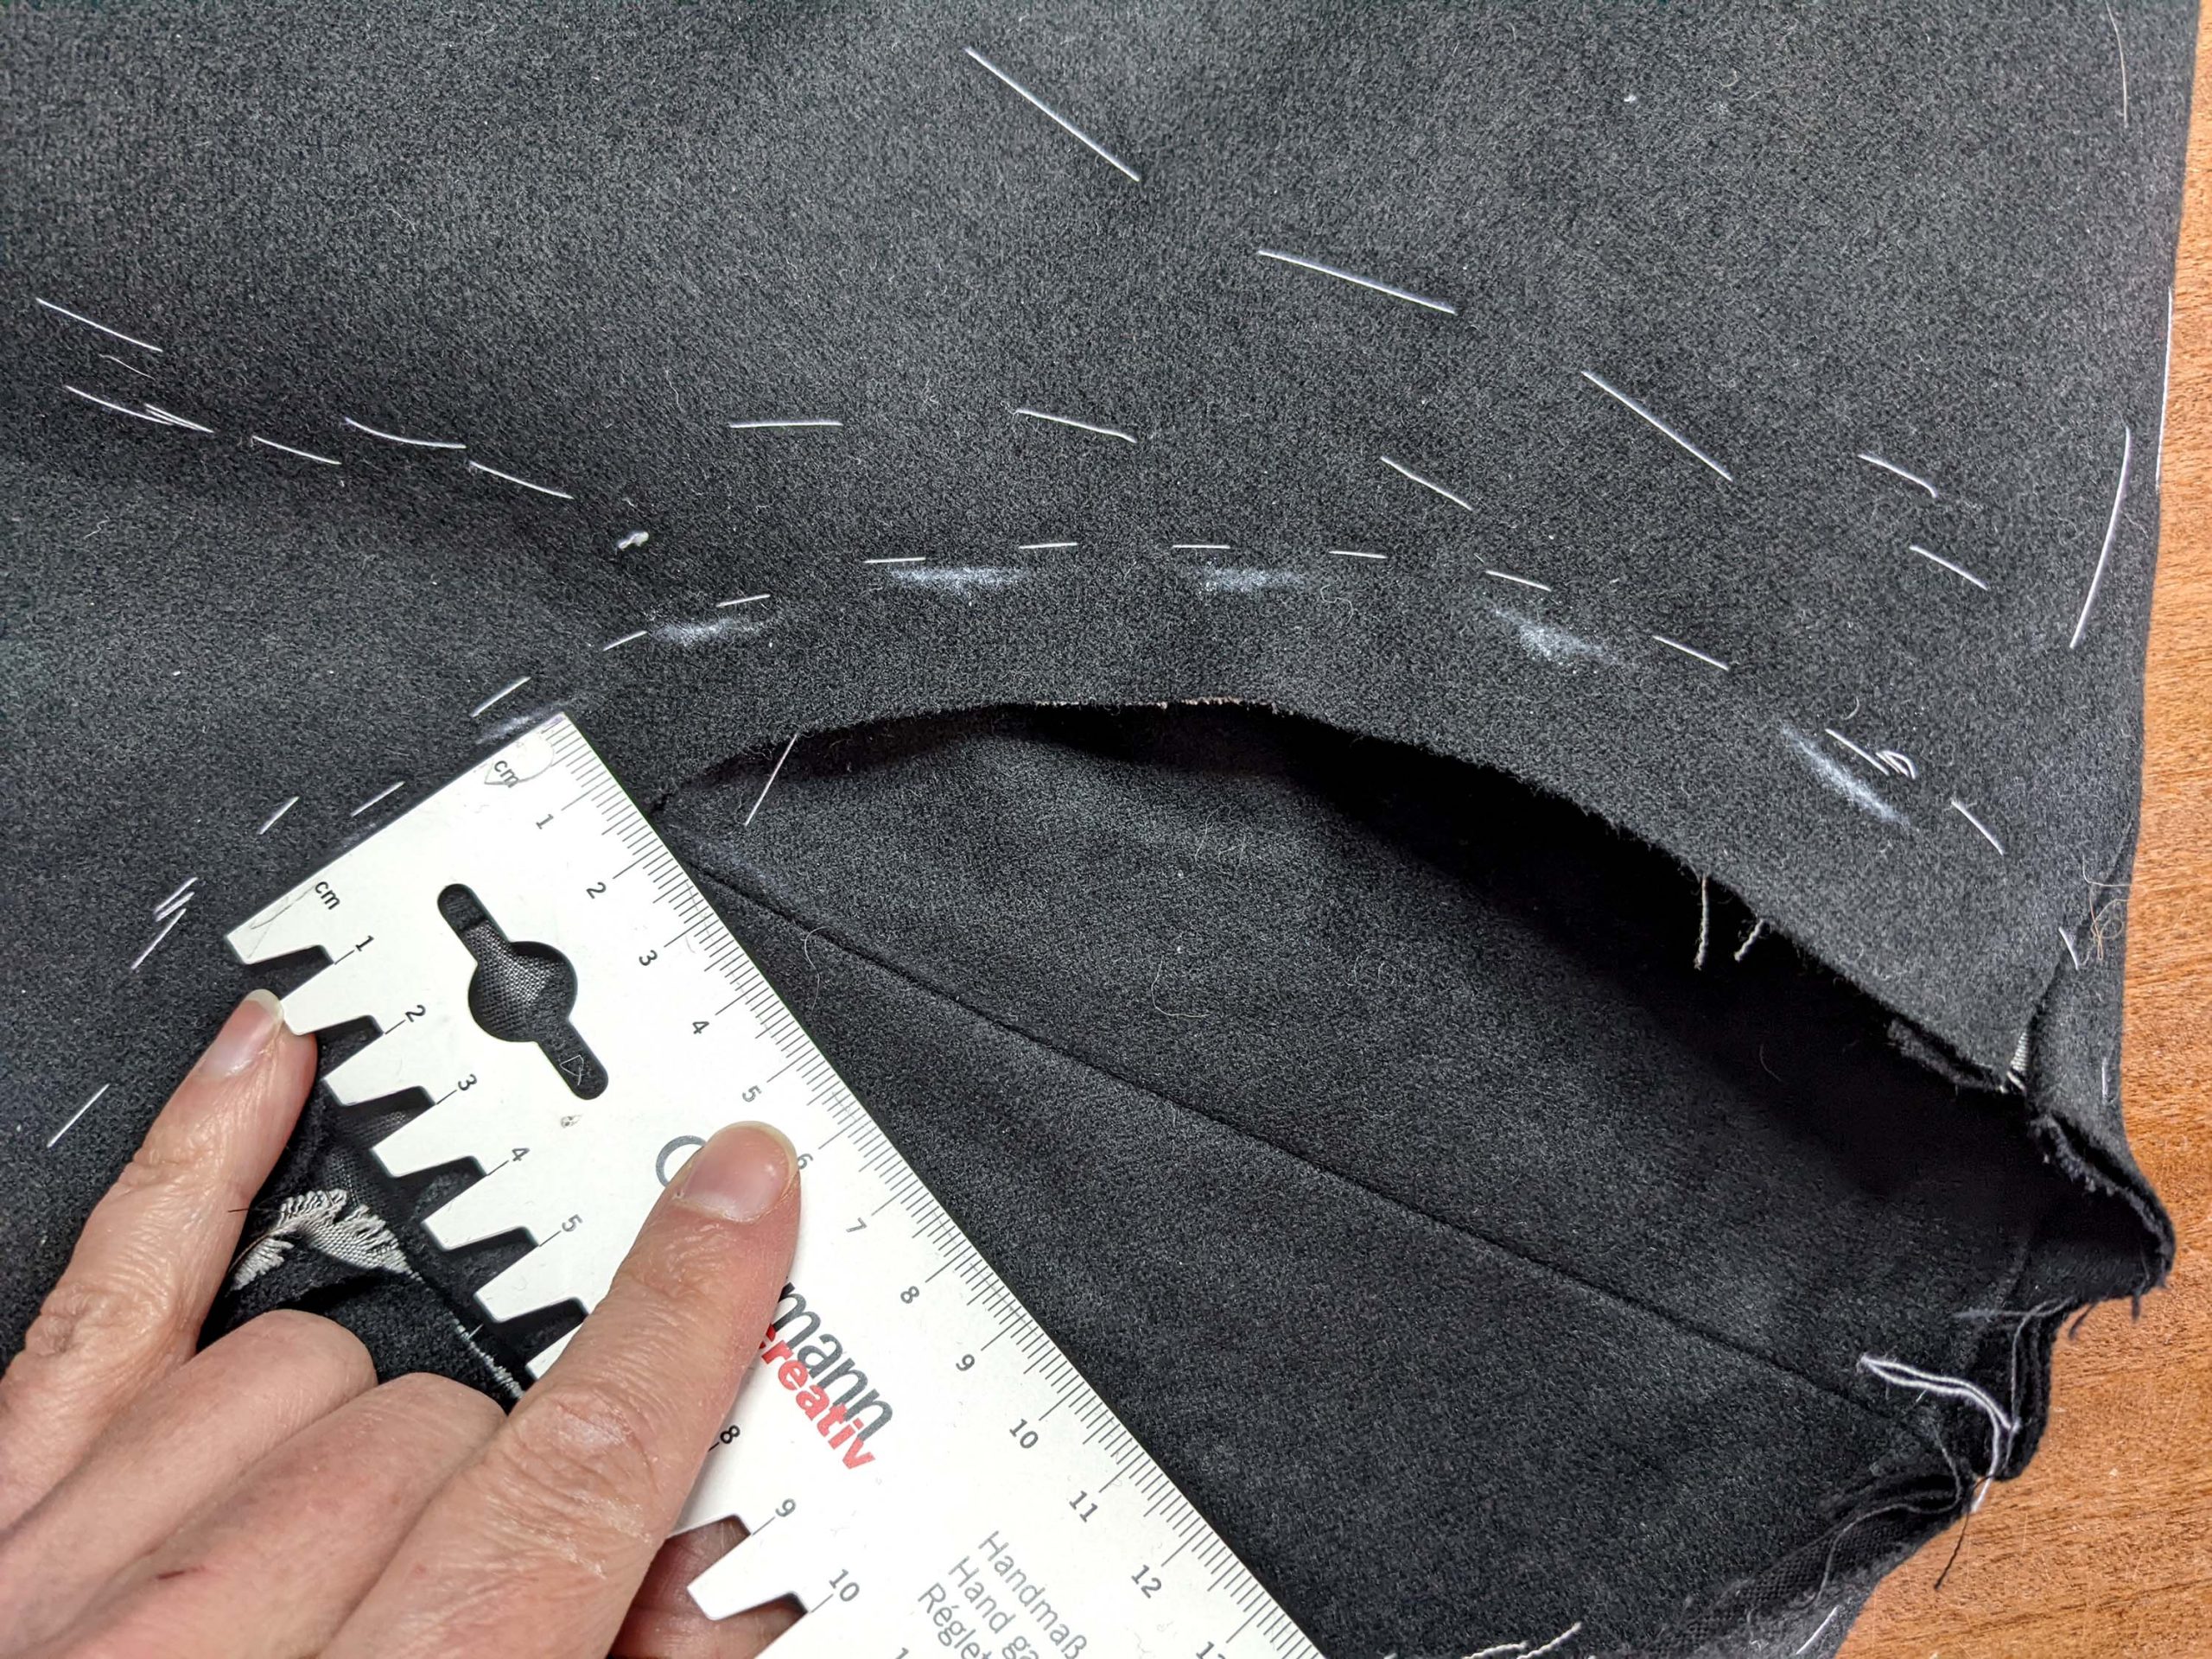
Press the collar, stretching the top and bottom edge, and press in the roll line.
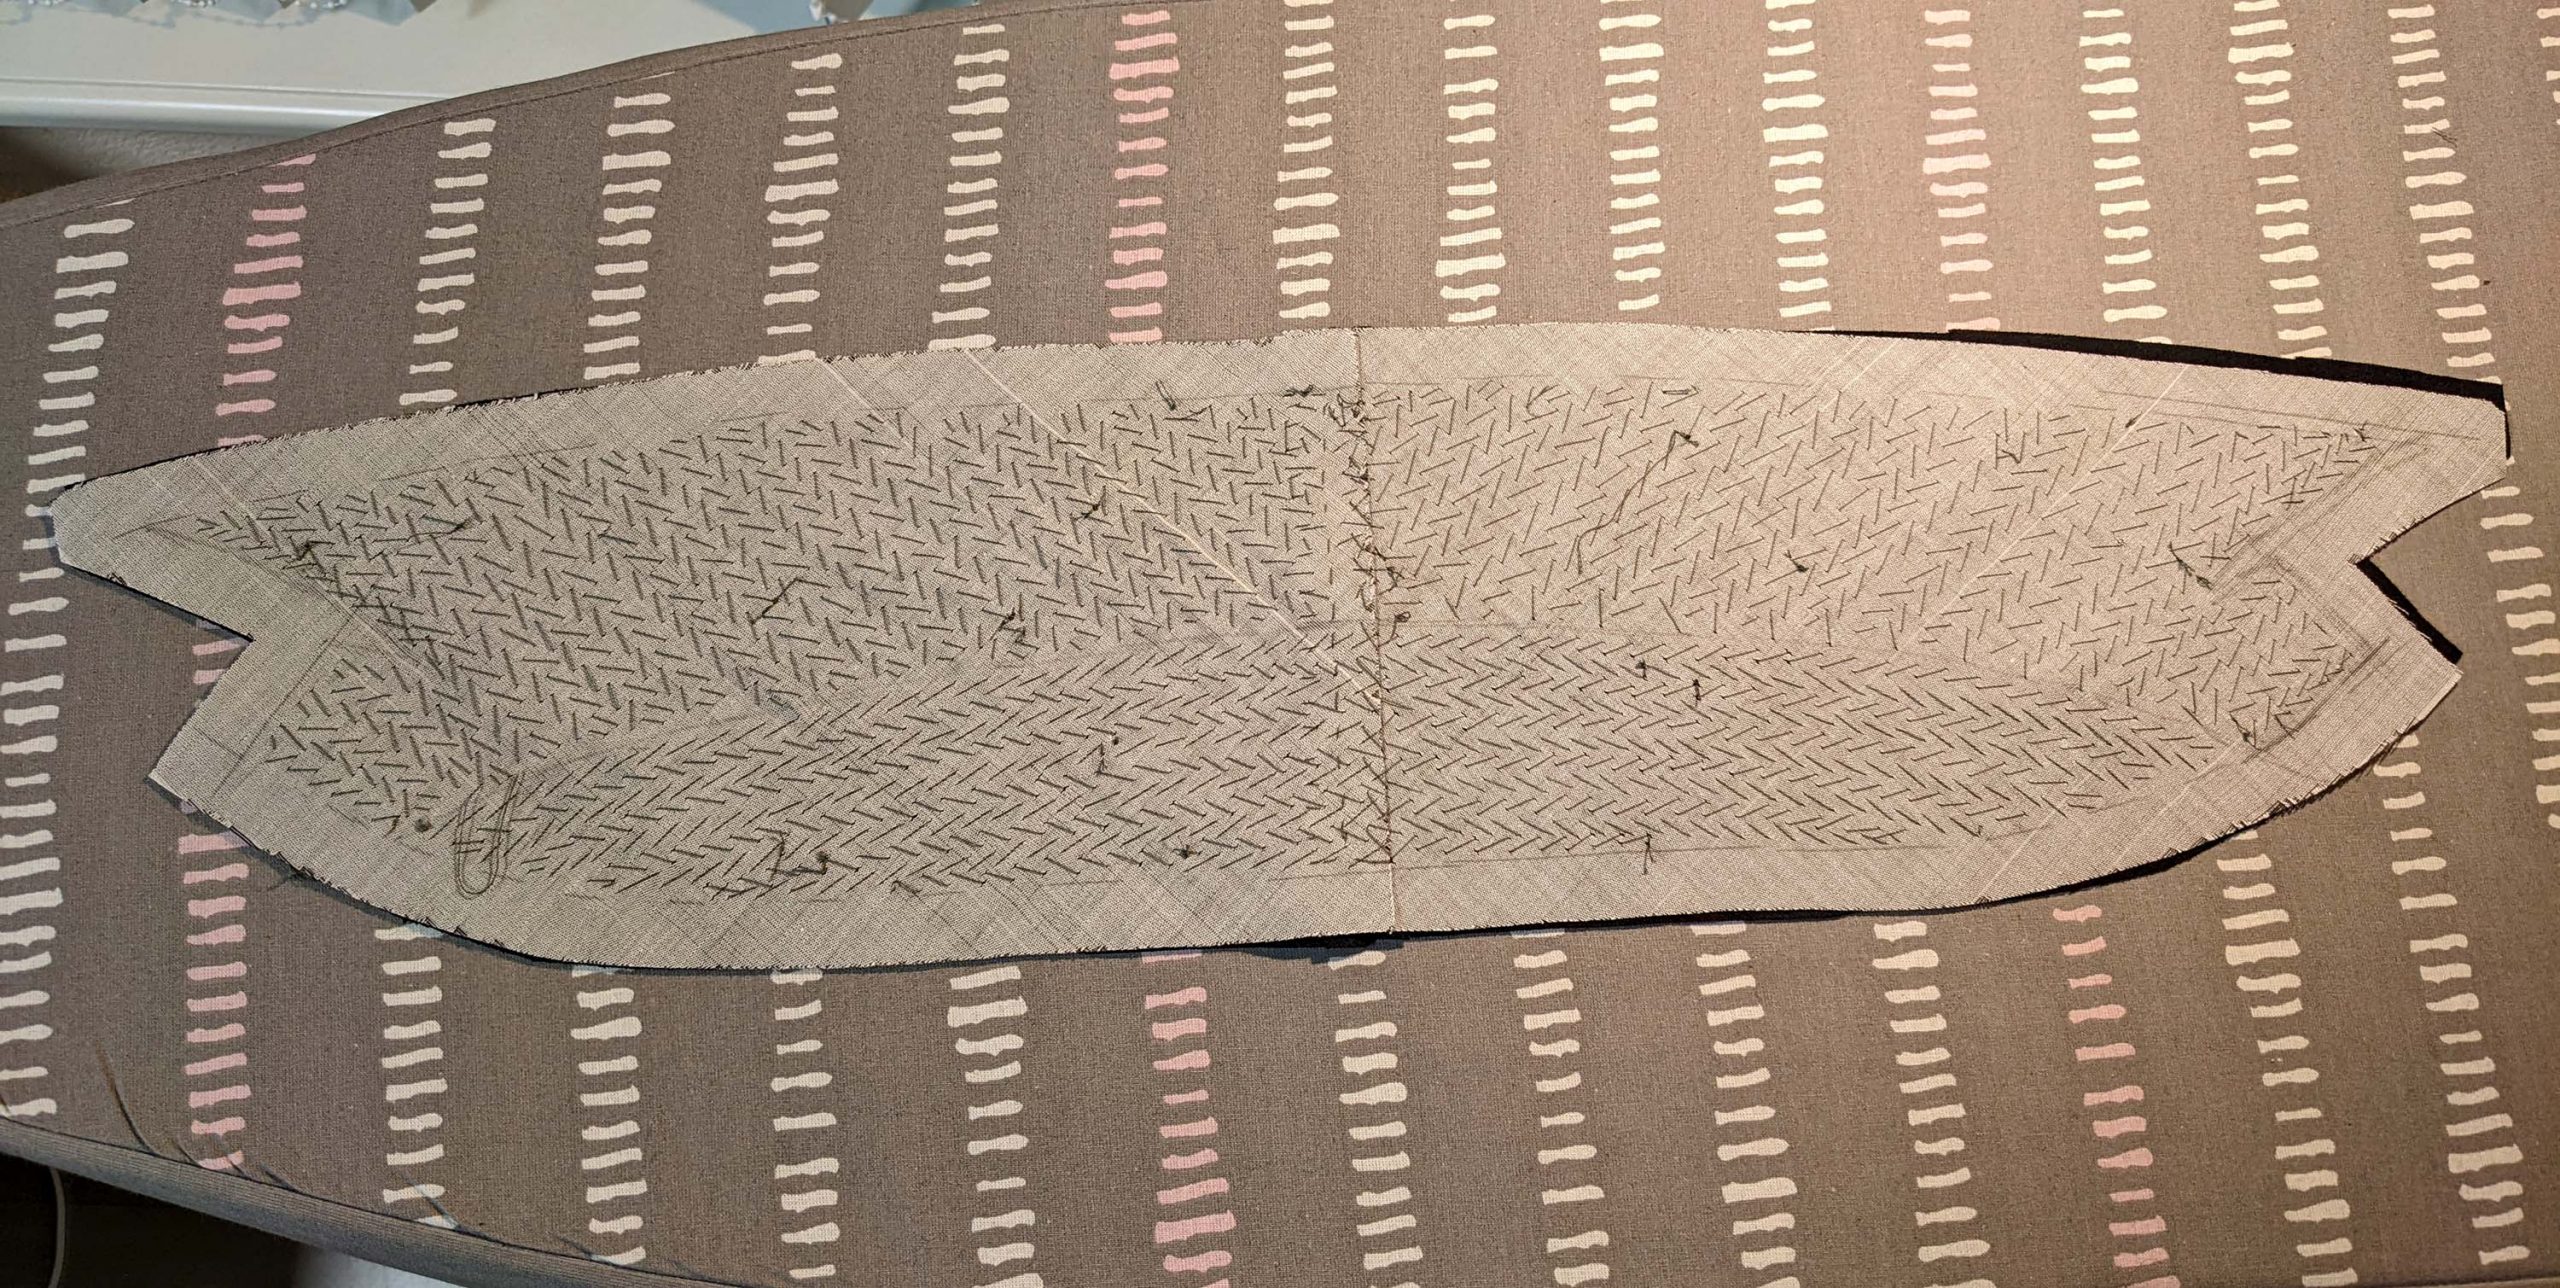

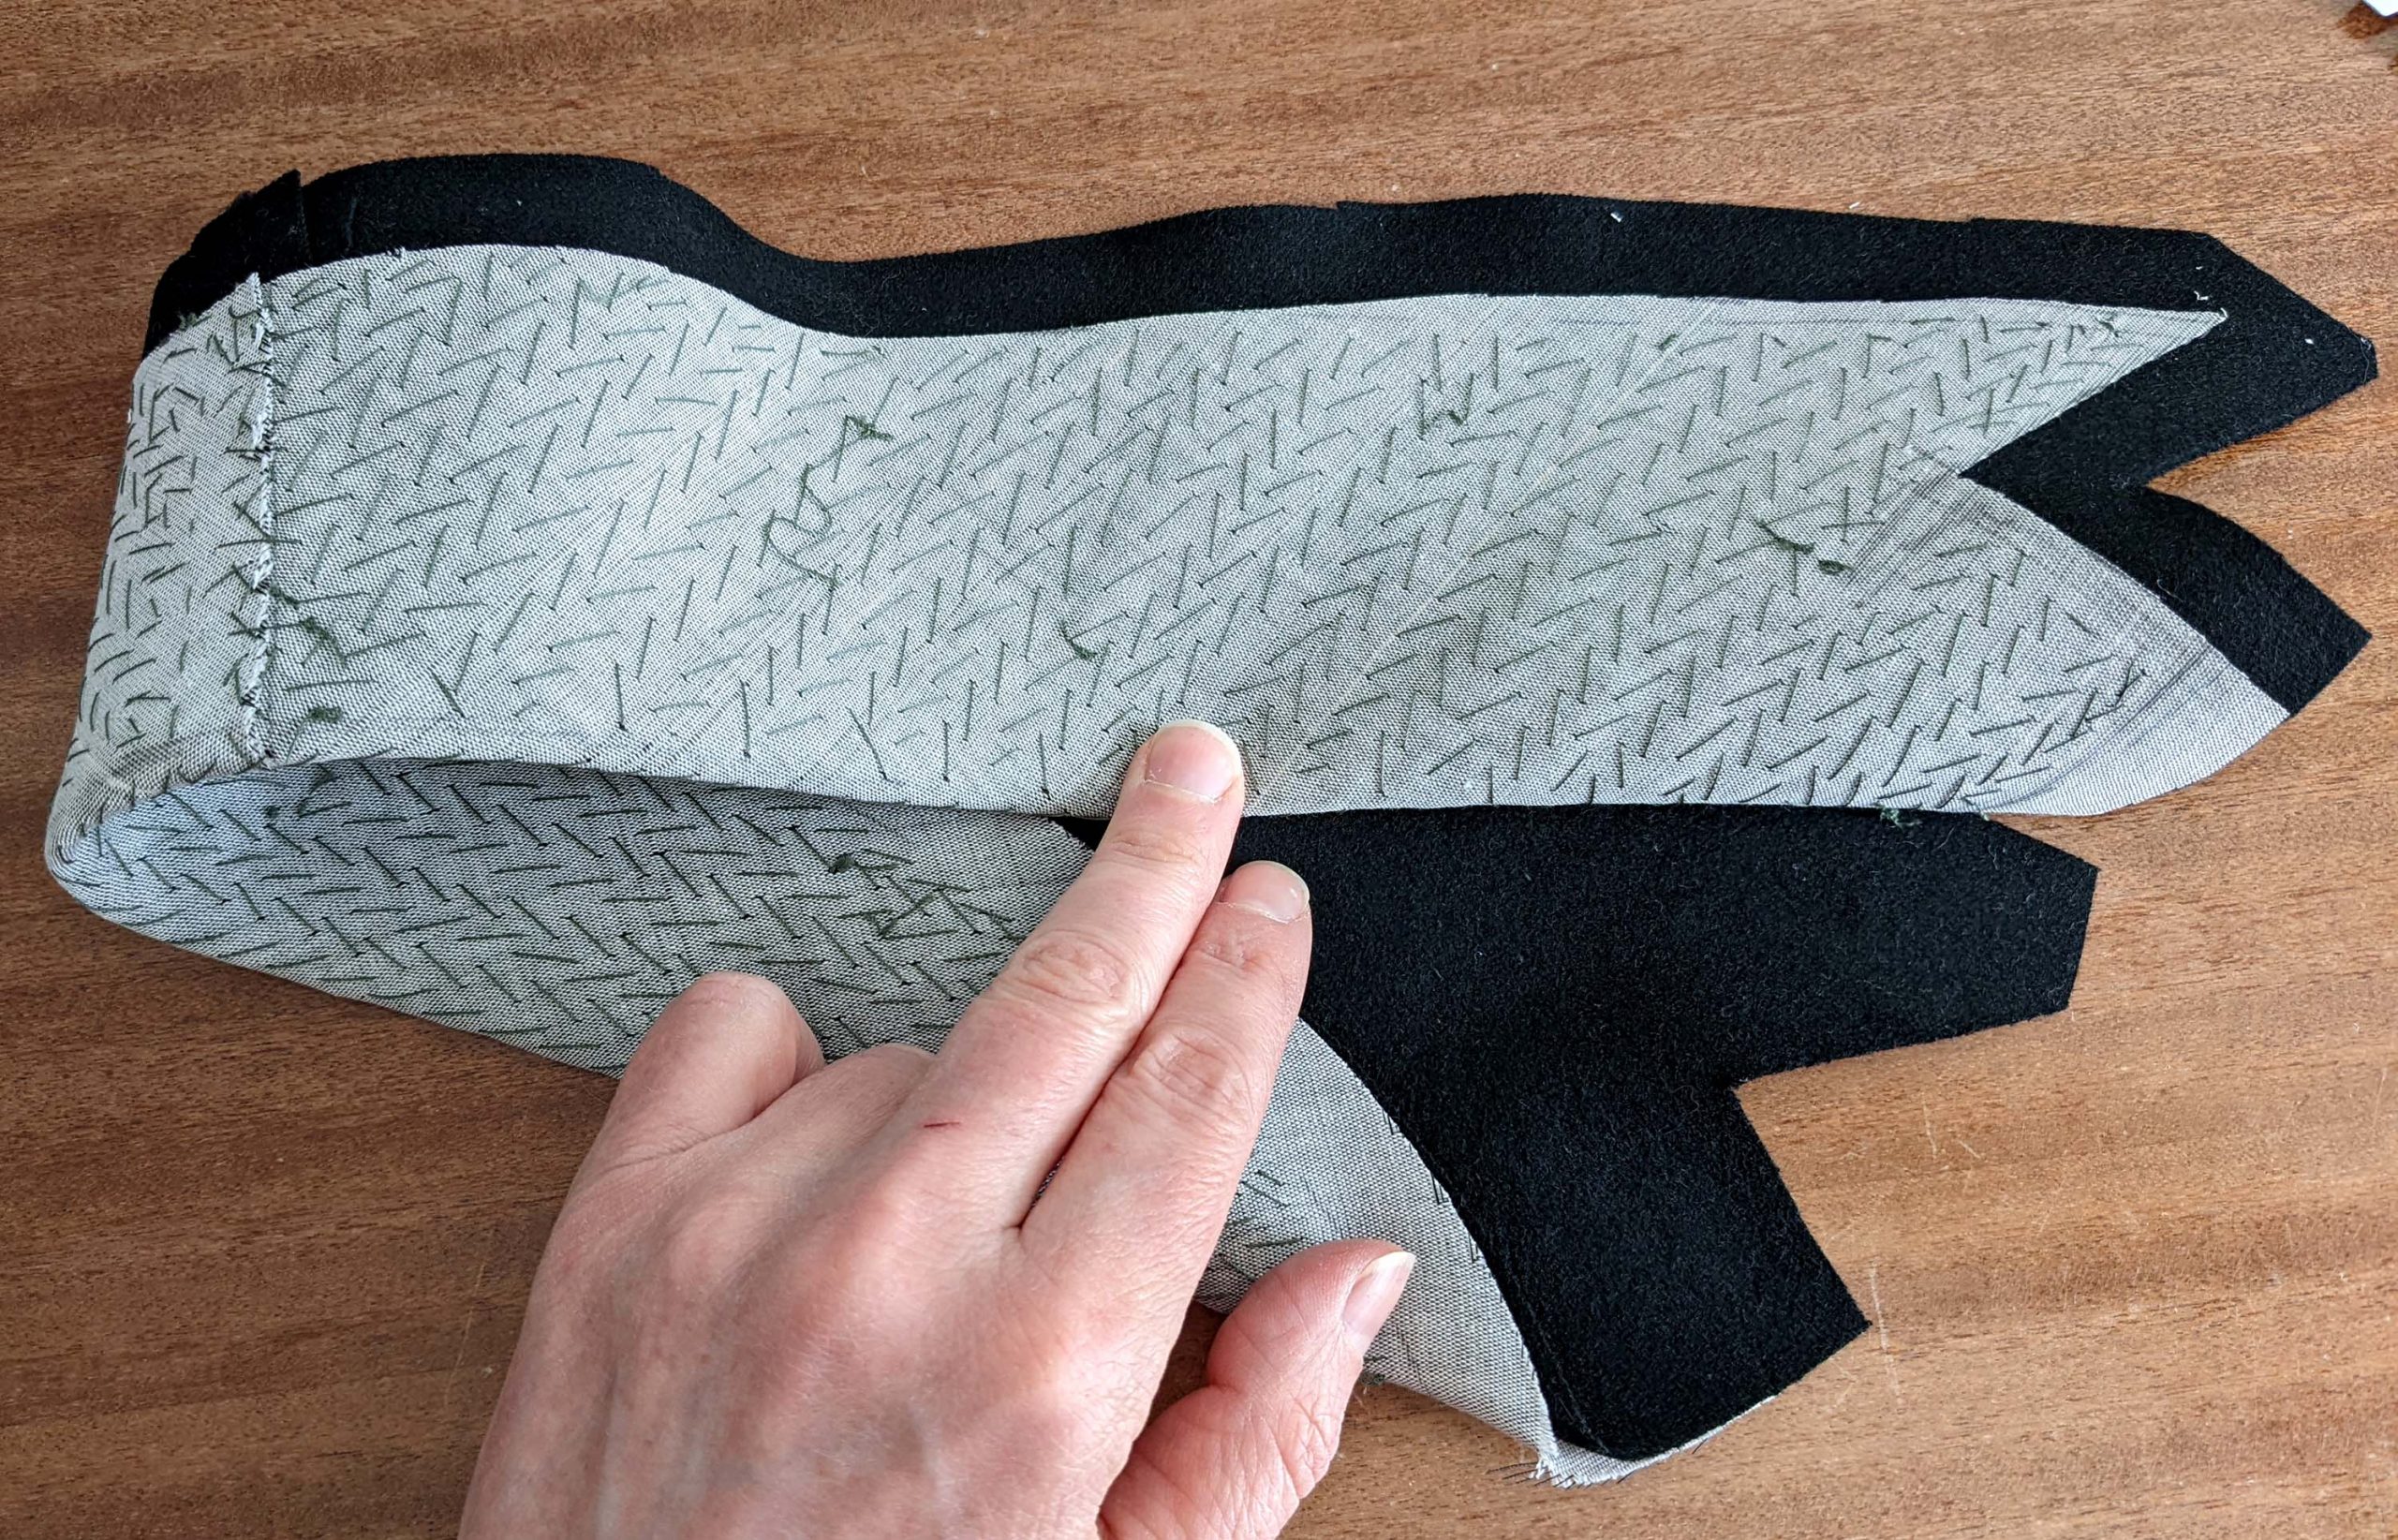
Trim back the canvas only slightly behind the stitching line along the outer edges. Attach a bridle tape along the seamline in the same way as you did before at the lapel, covering the edge of the canvas. Start and stop at the collar notch, and rotate at the corners- can you see the mistake I made? I marked the M-node primarily, and ignored it later totally, mentioning my mistake when I tried to sew together under and top collar! I had to unpick lots of basting and of course the tape.
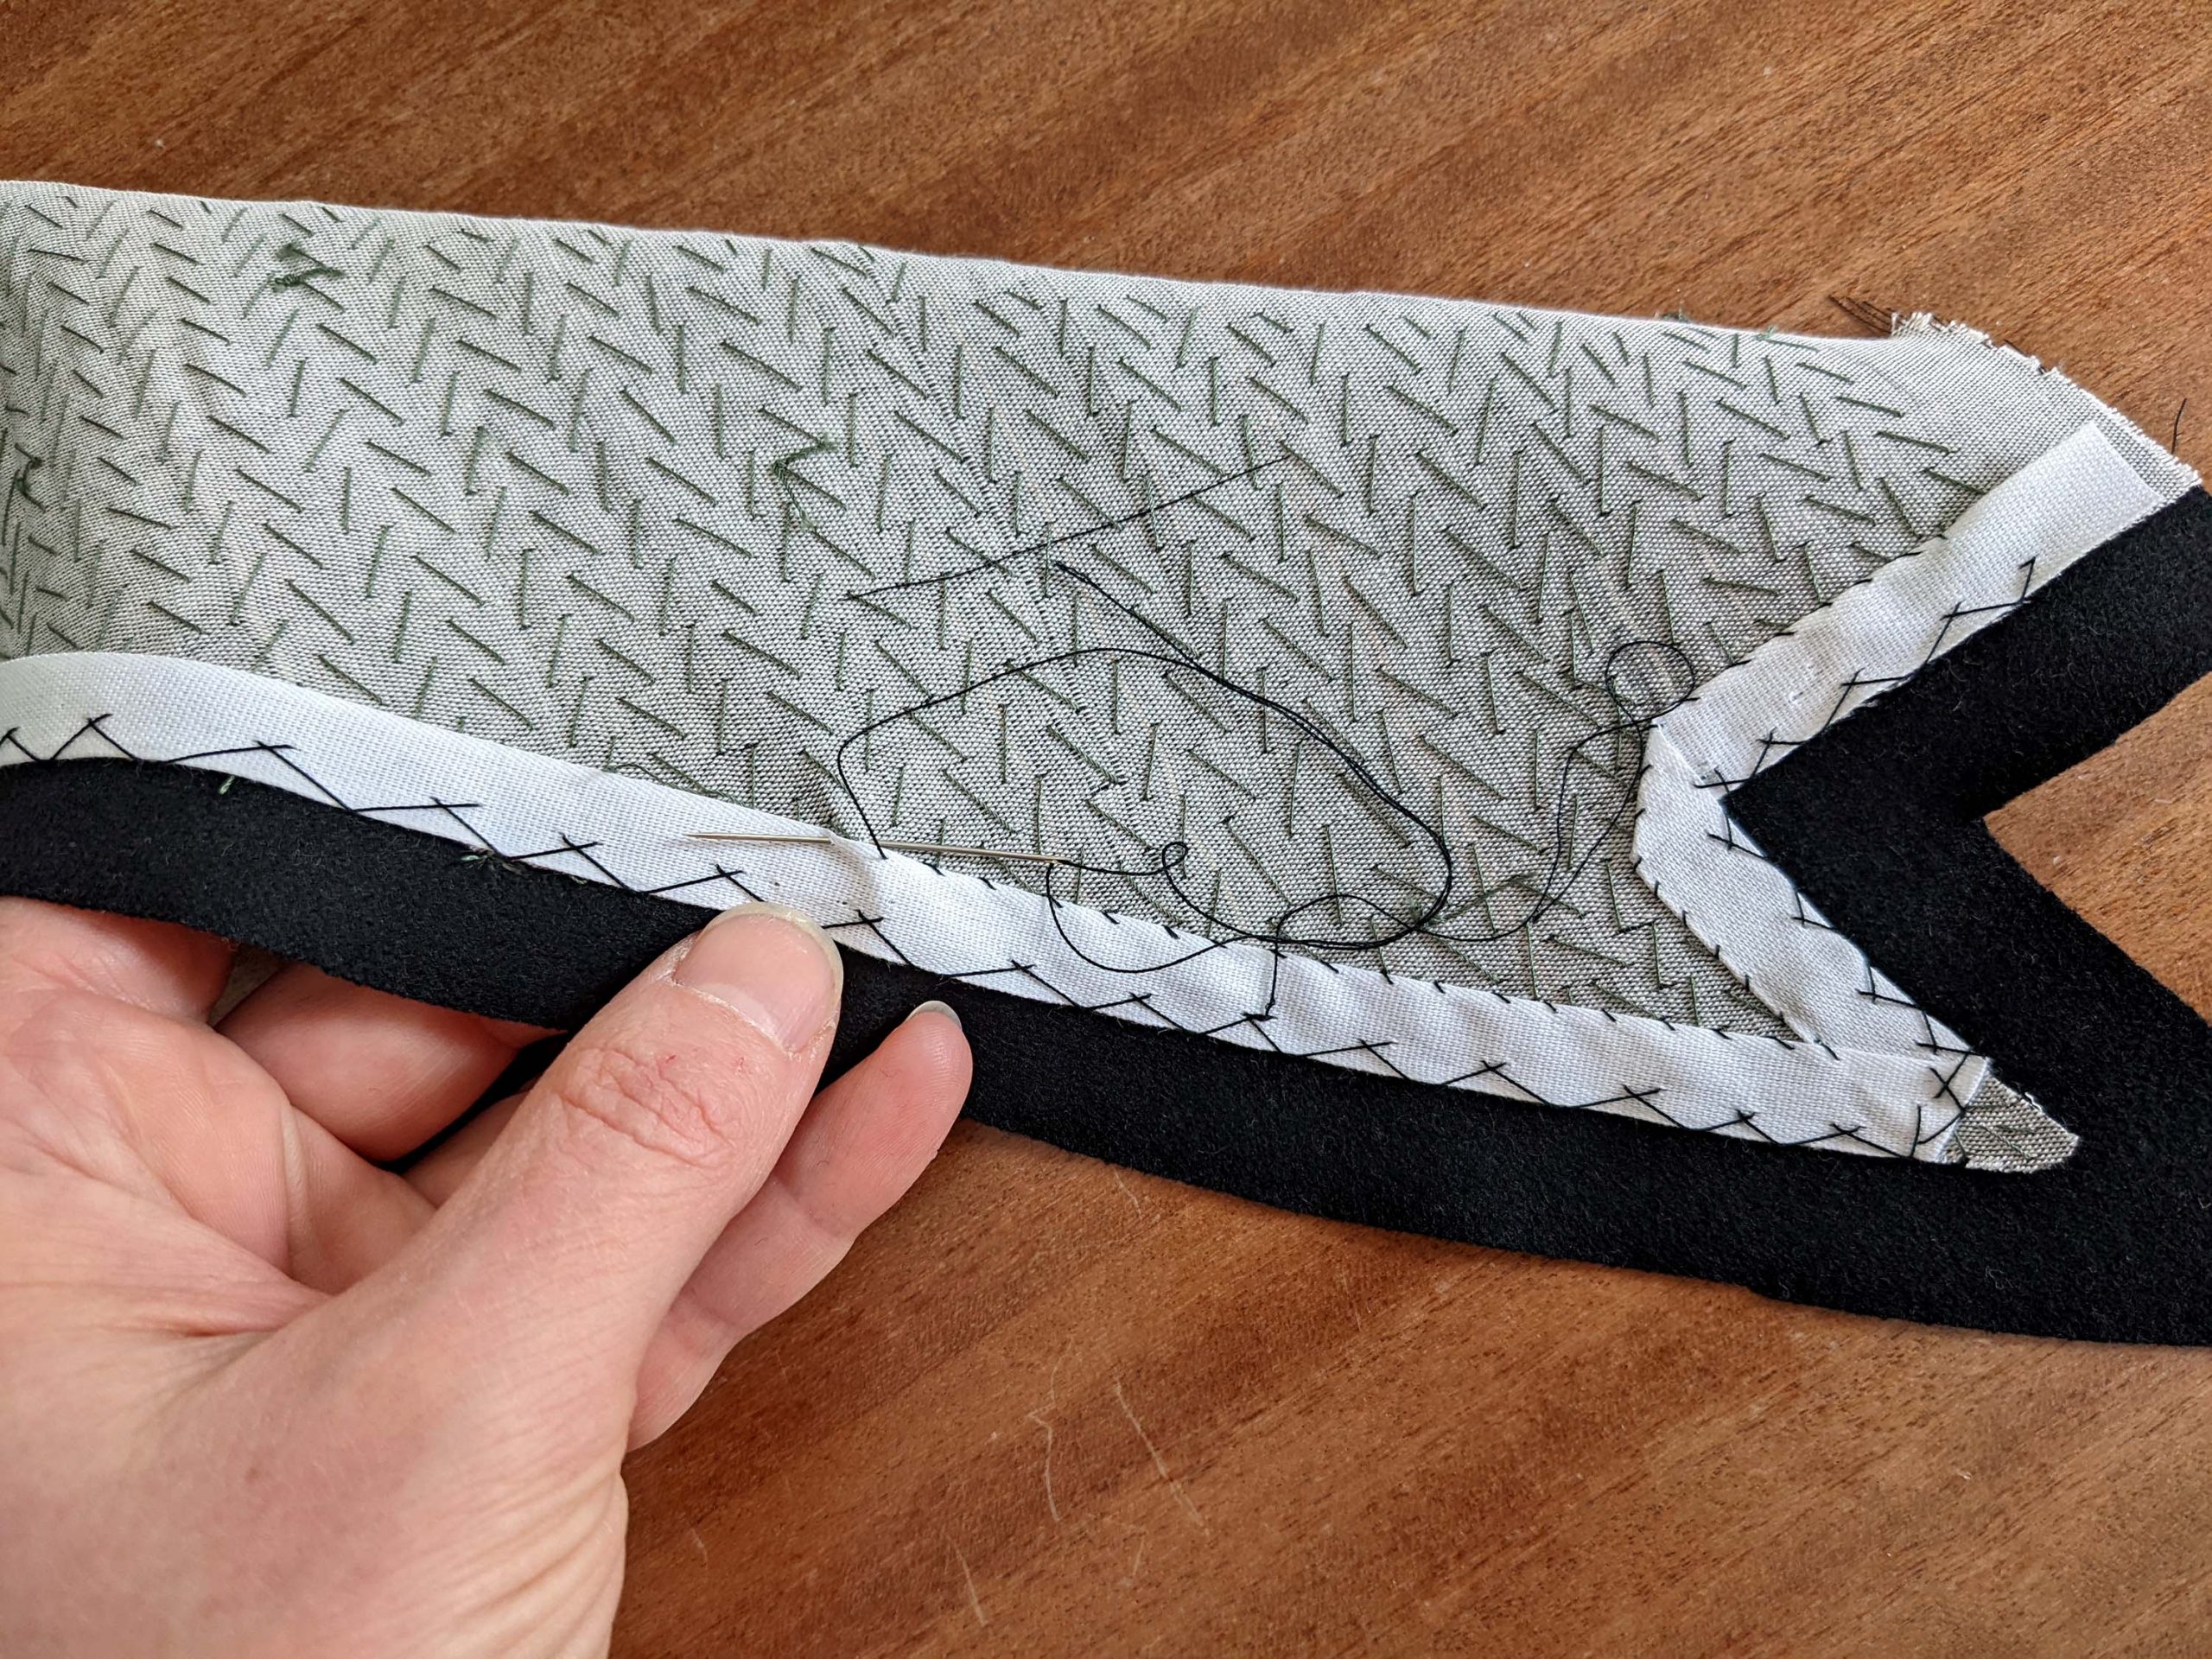
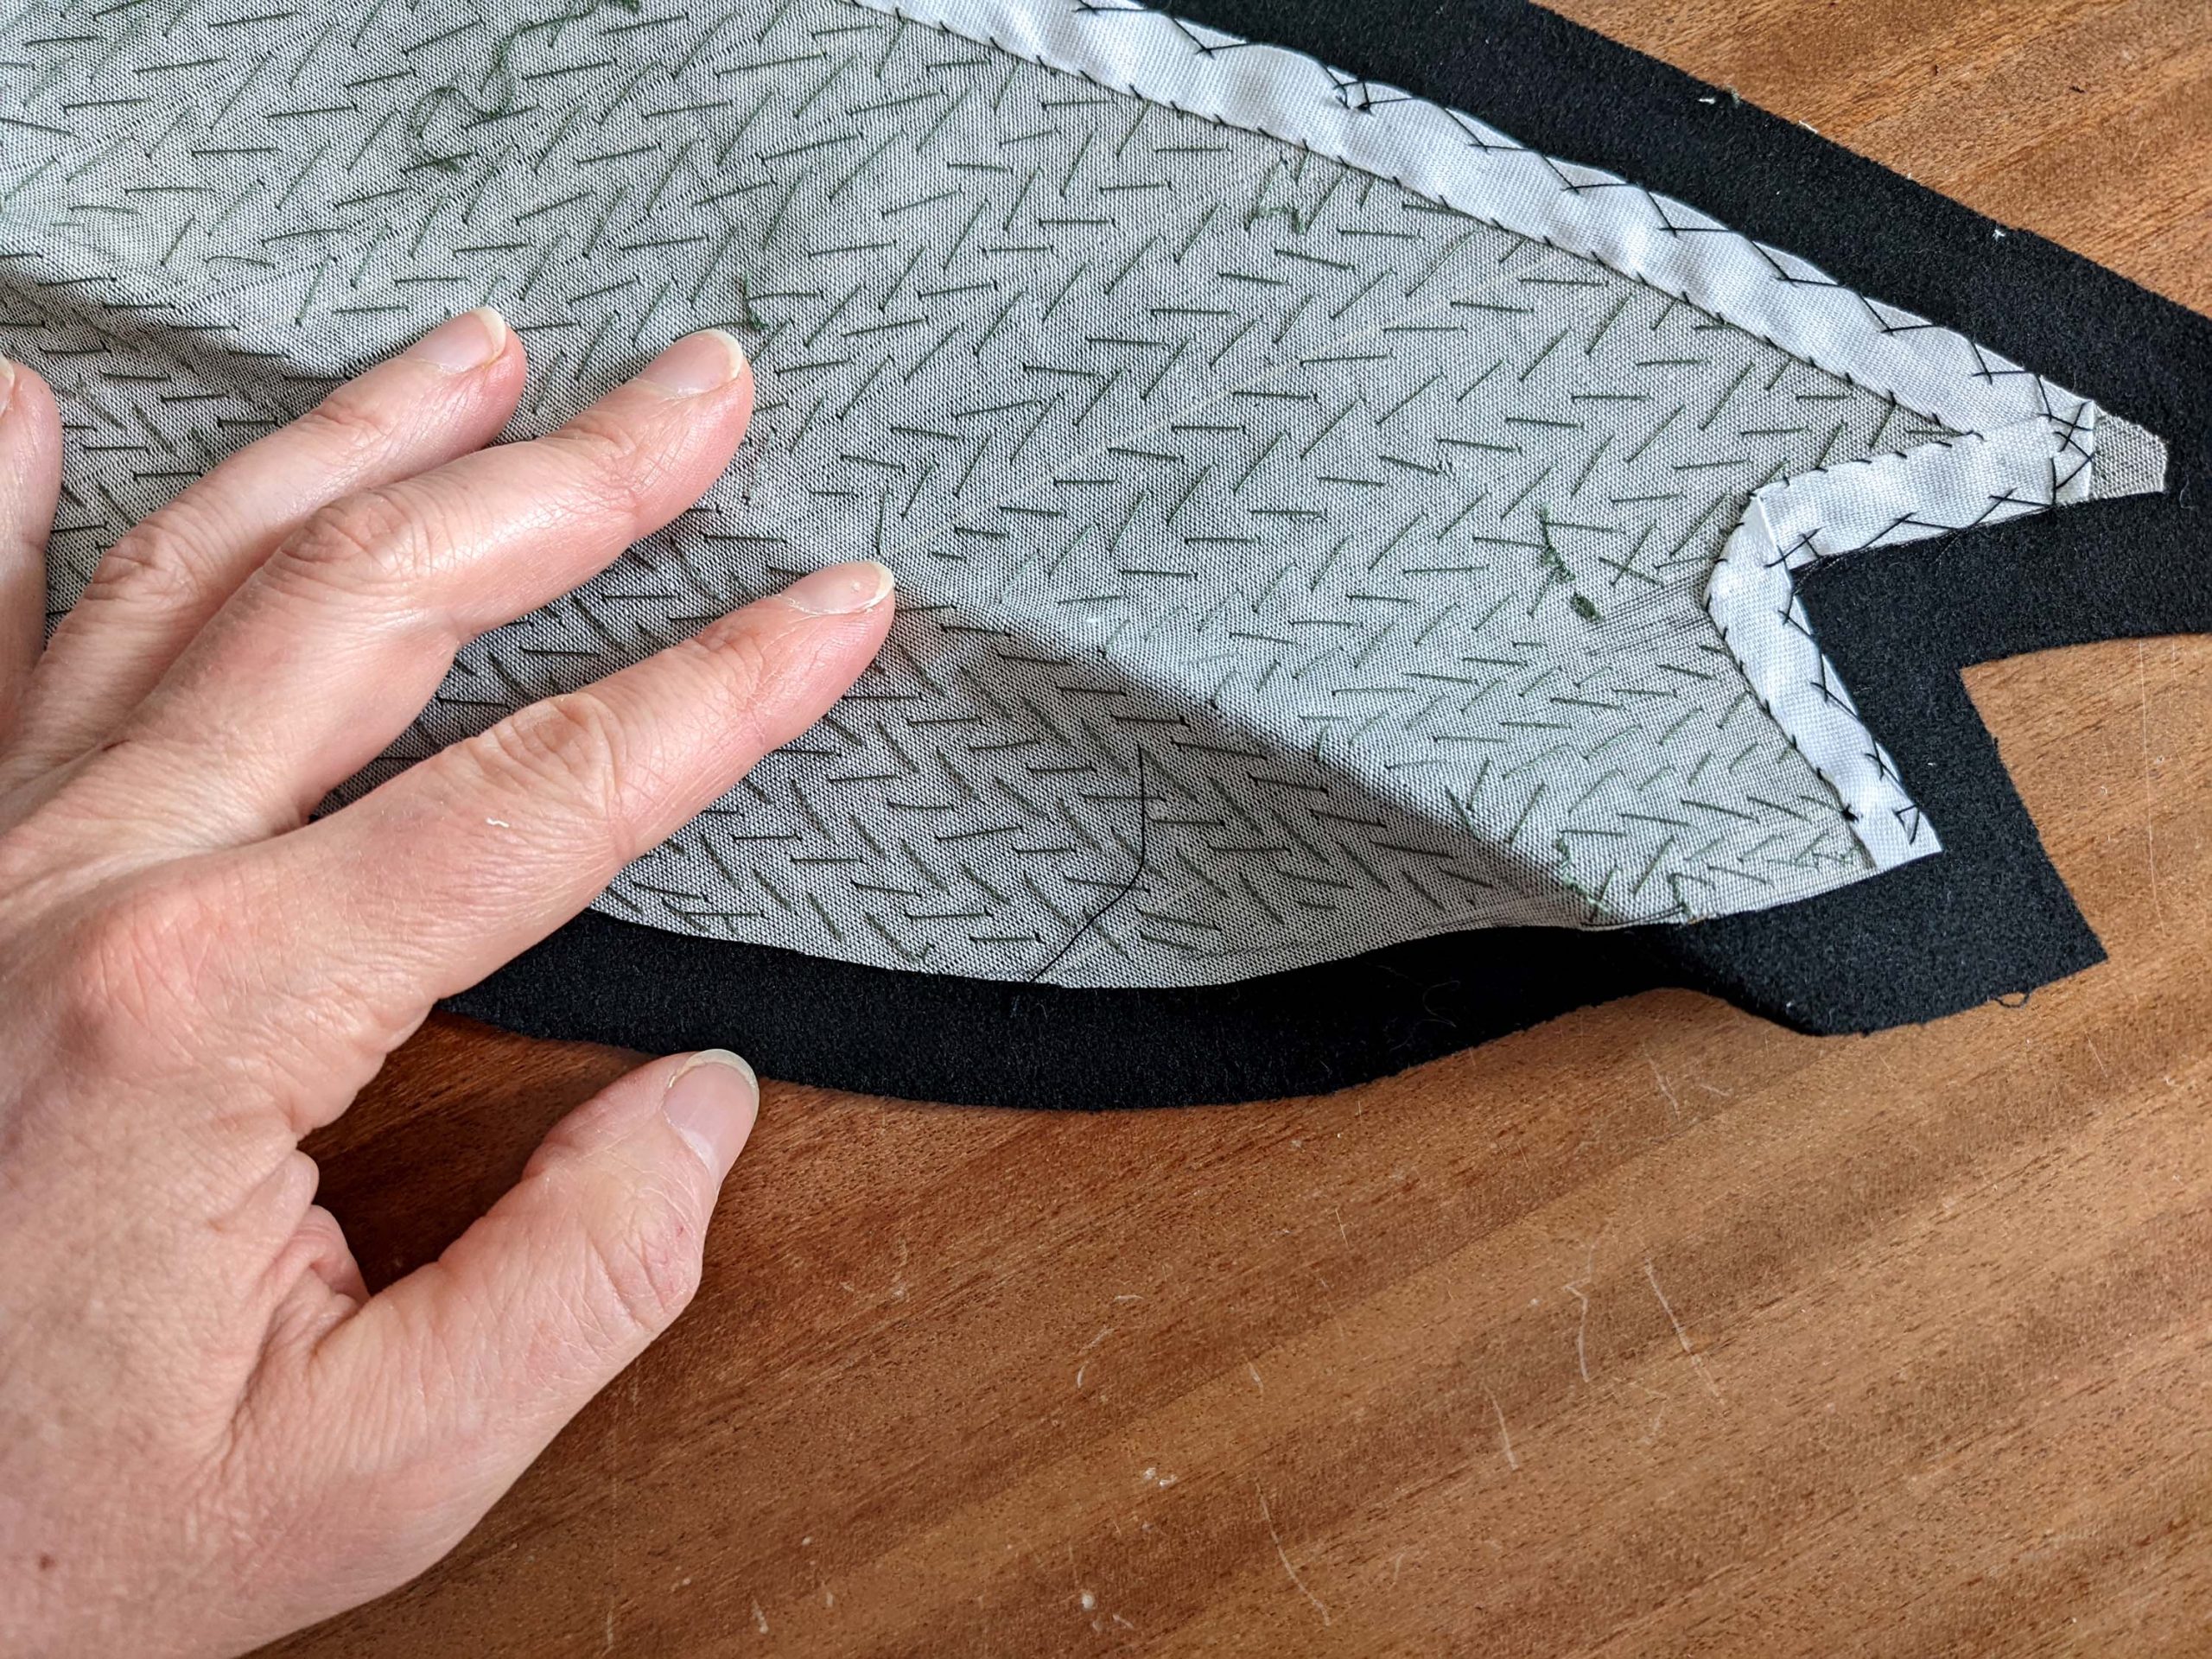
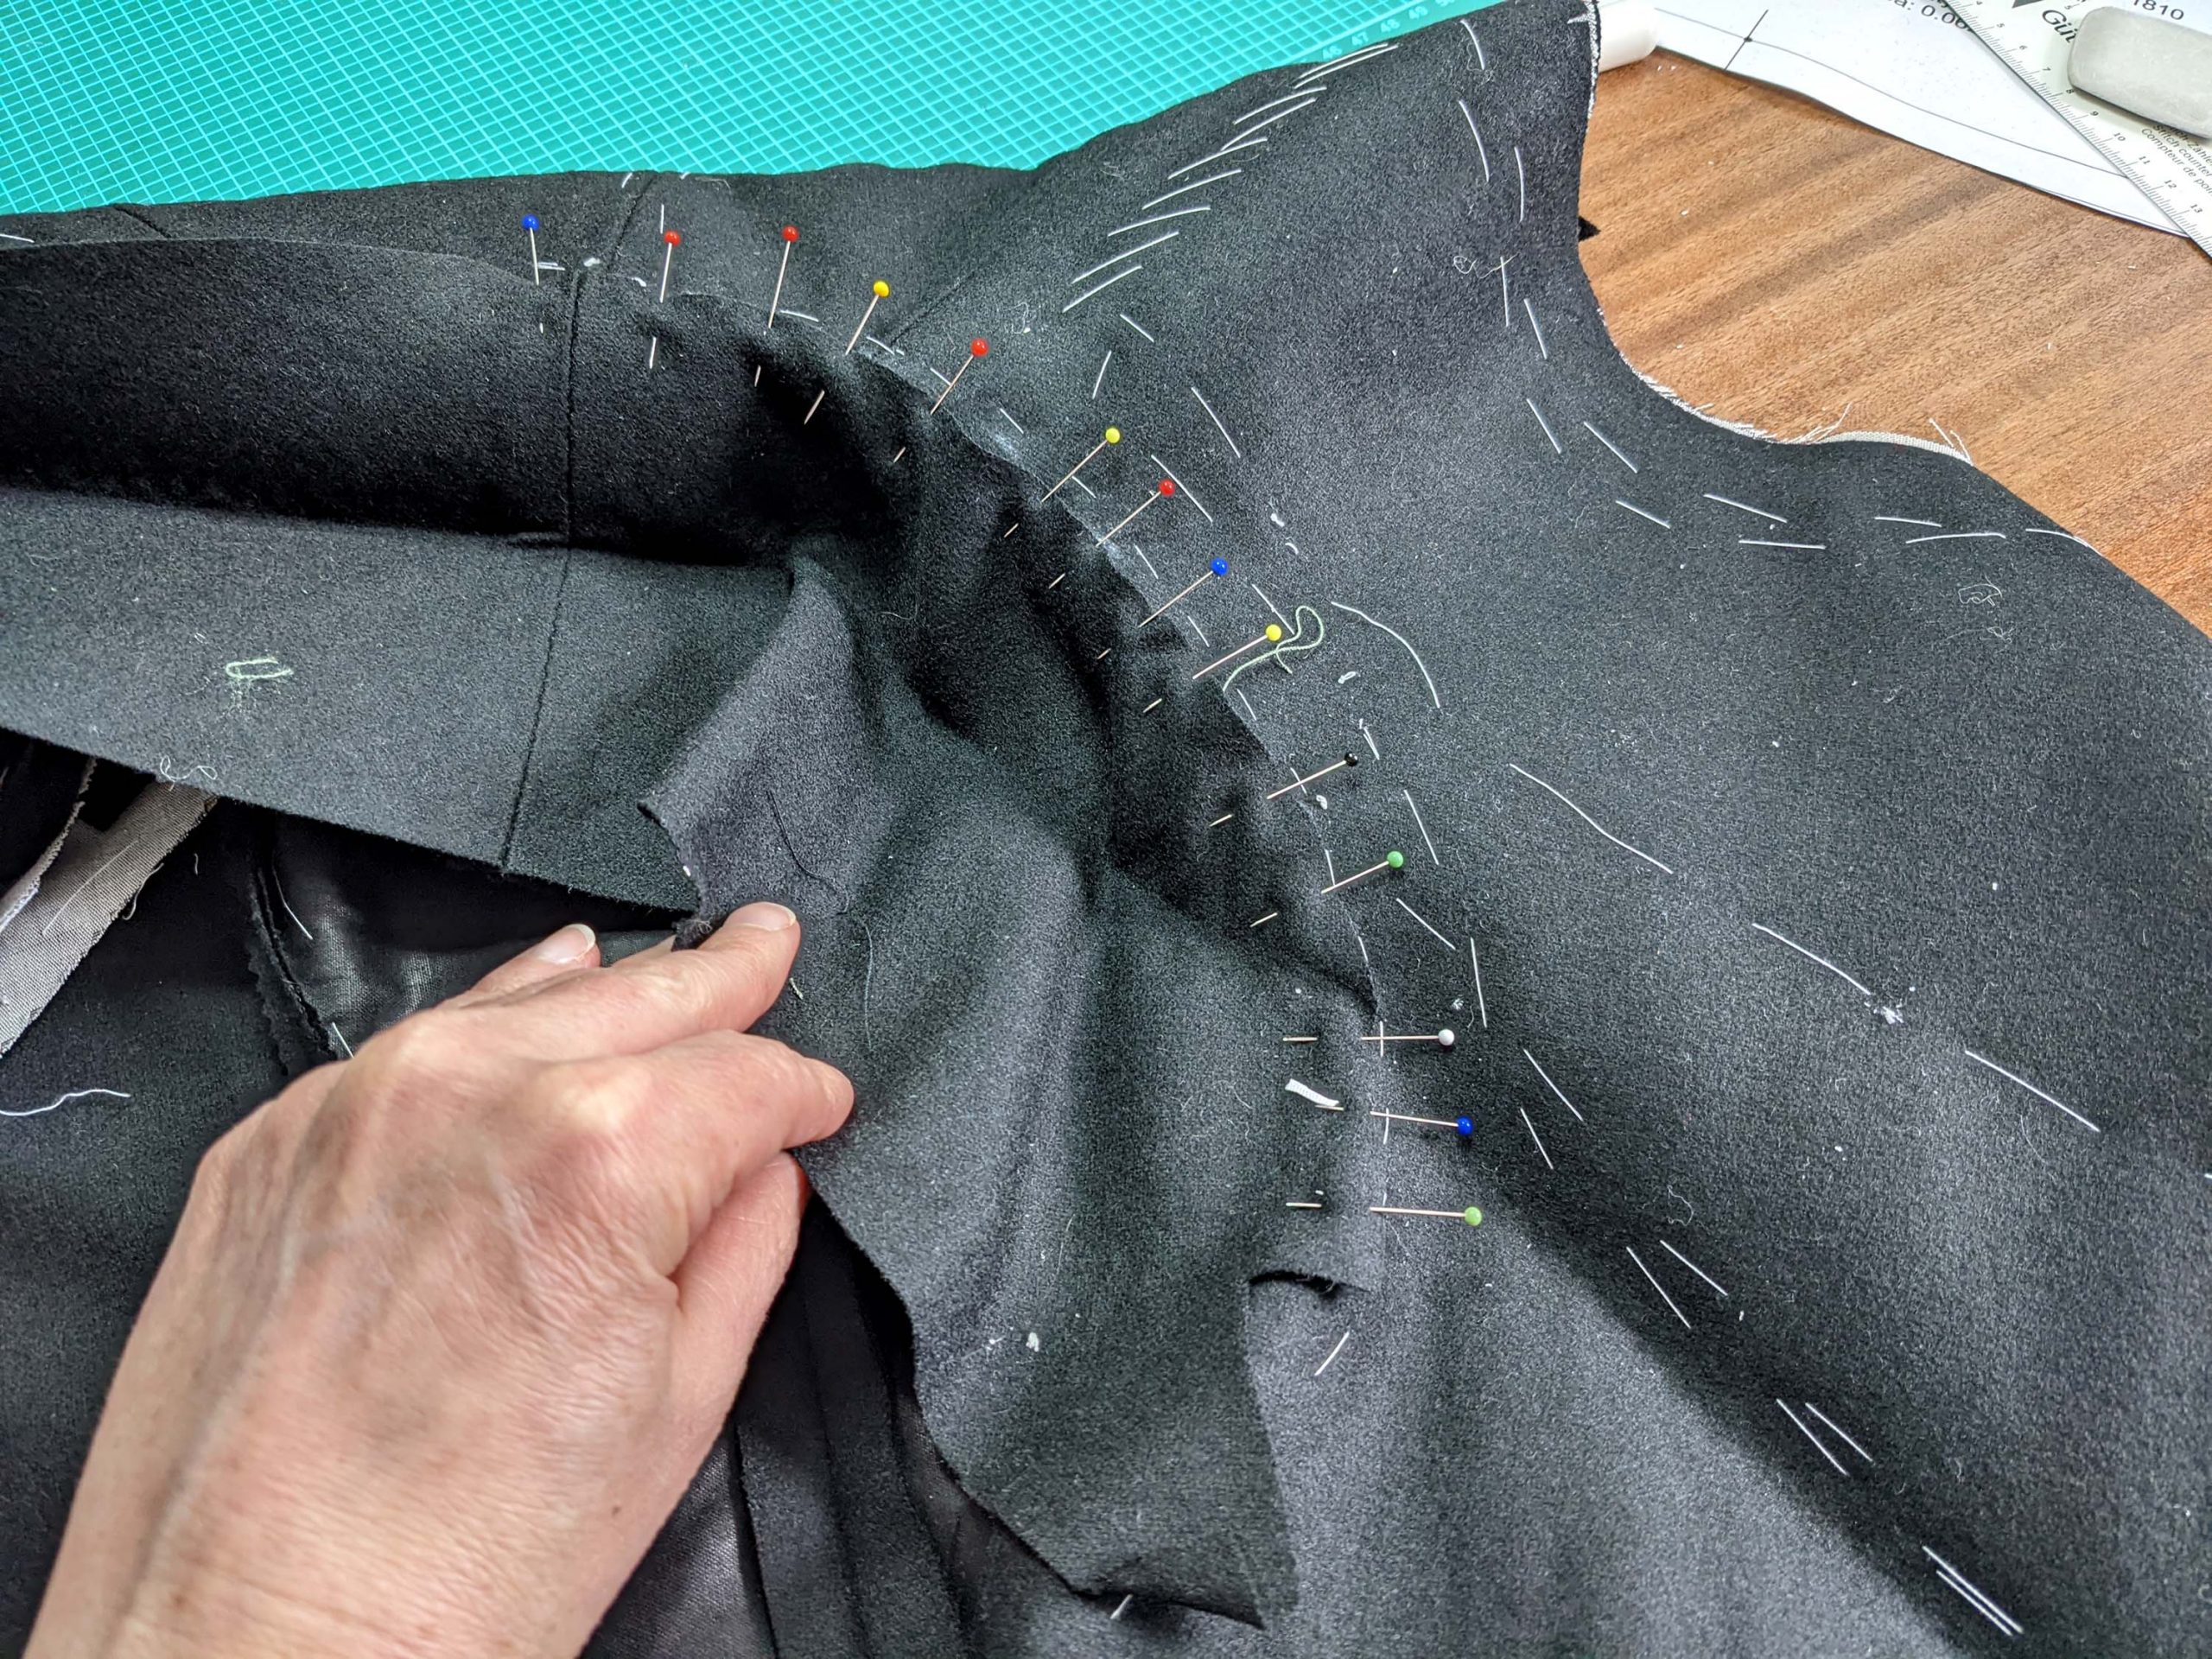
Back to instructions! Trim back the canvas and fashion fabric to the seamline along the bottom edge and mark the collar notch. Mark the seamline along the neckline on the right side of the tailcoat and line up the bottom edge of the collar with that line, matching the collar notches (x), easing in the excess fabric at the highest point of the shoulder. First pin, then baste in place. The collar’s wrong side faces the tailcoat’s right side. Fell stitch the collar to the tailcoat along the neckline from the right side, start and stop exactly at the collar notch (x). Turn the tailcoat with the wrong side up and catch stitch the front canvas to the collar canvas.

Line up the top collar with the undercollar, wrong sides together. Baste together, starting at the collar stand. Turn down the undercollar while basting and smooth out the top collar to give the extra width needed for the turn of cloth. Turn in the seam allowance of the top collar along the bottom edge, trim back before when needed, and notch V-shaped at the collar notch to avoid bulk. Baste in place.

Sew the collar and front facing along the front gorge with an invisible ladder stitch, just fell down along the back. Sew along the outer edges and trim back the seam allowances. Work very carefully at this step, nobody said that making a Regency Men´s Tailcoat was going to be easy!