Part 1: General considerations and steps (1) – (2)
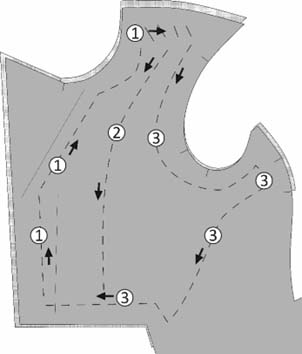
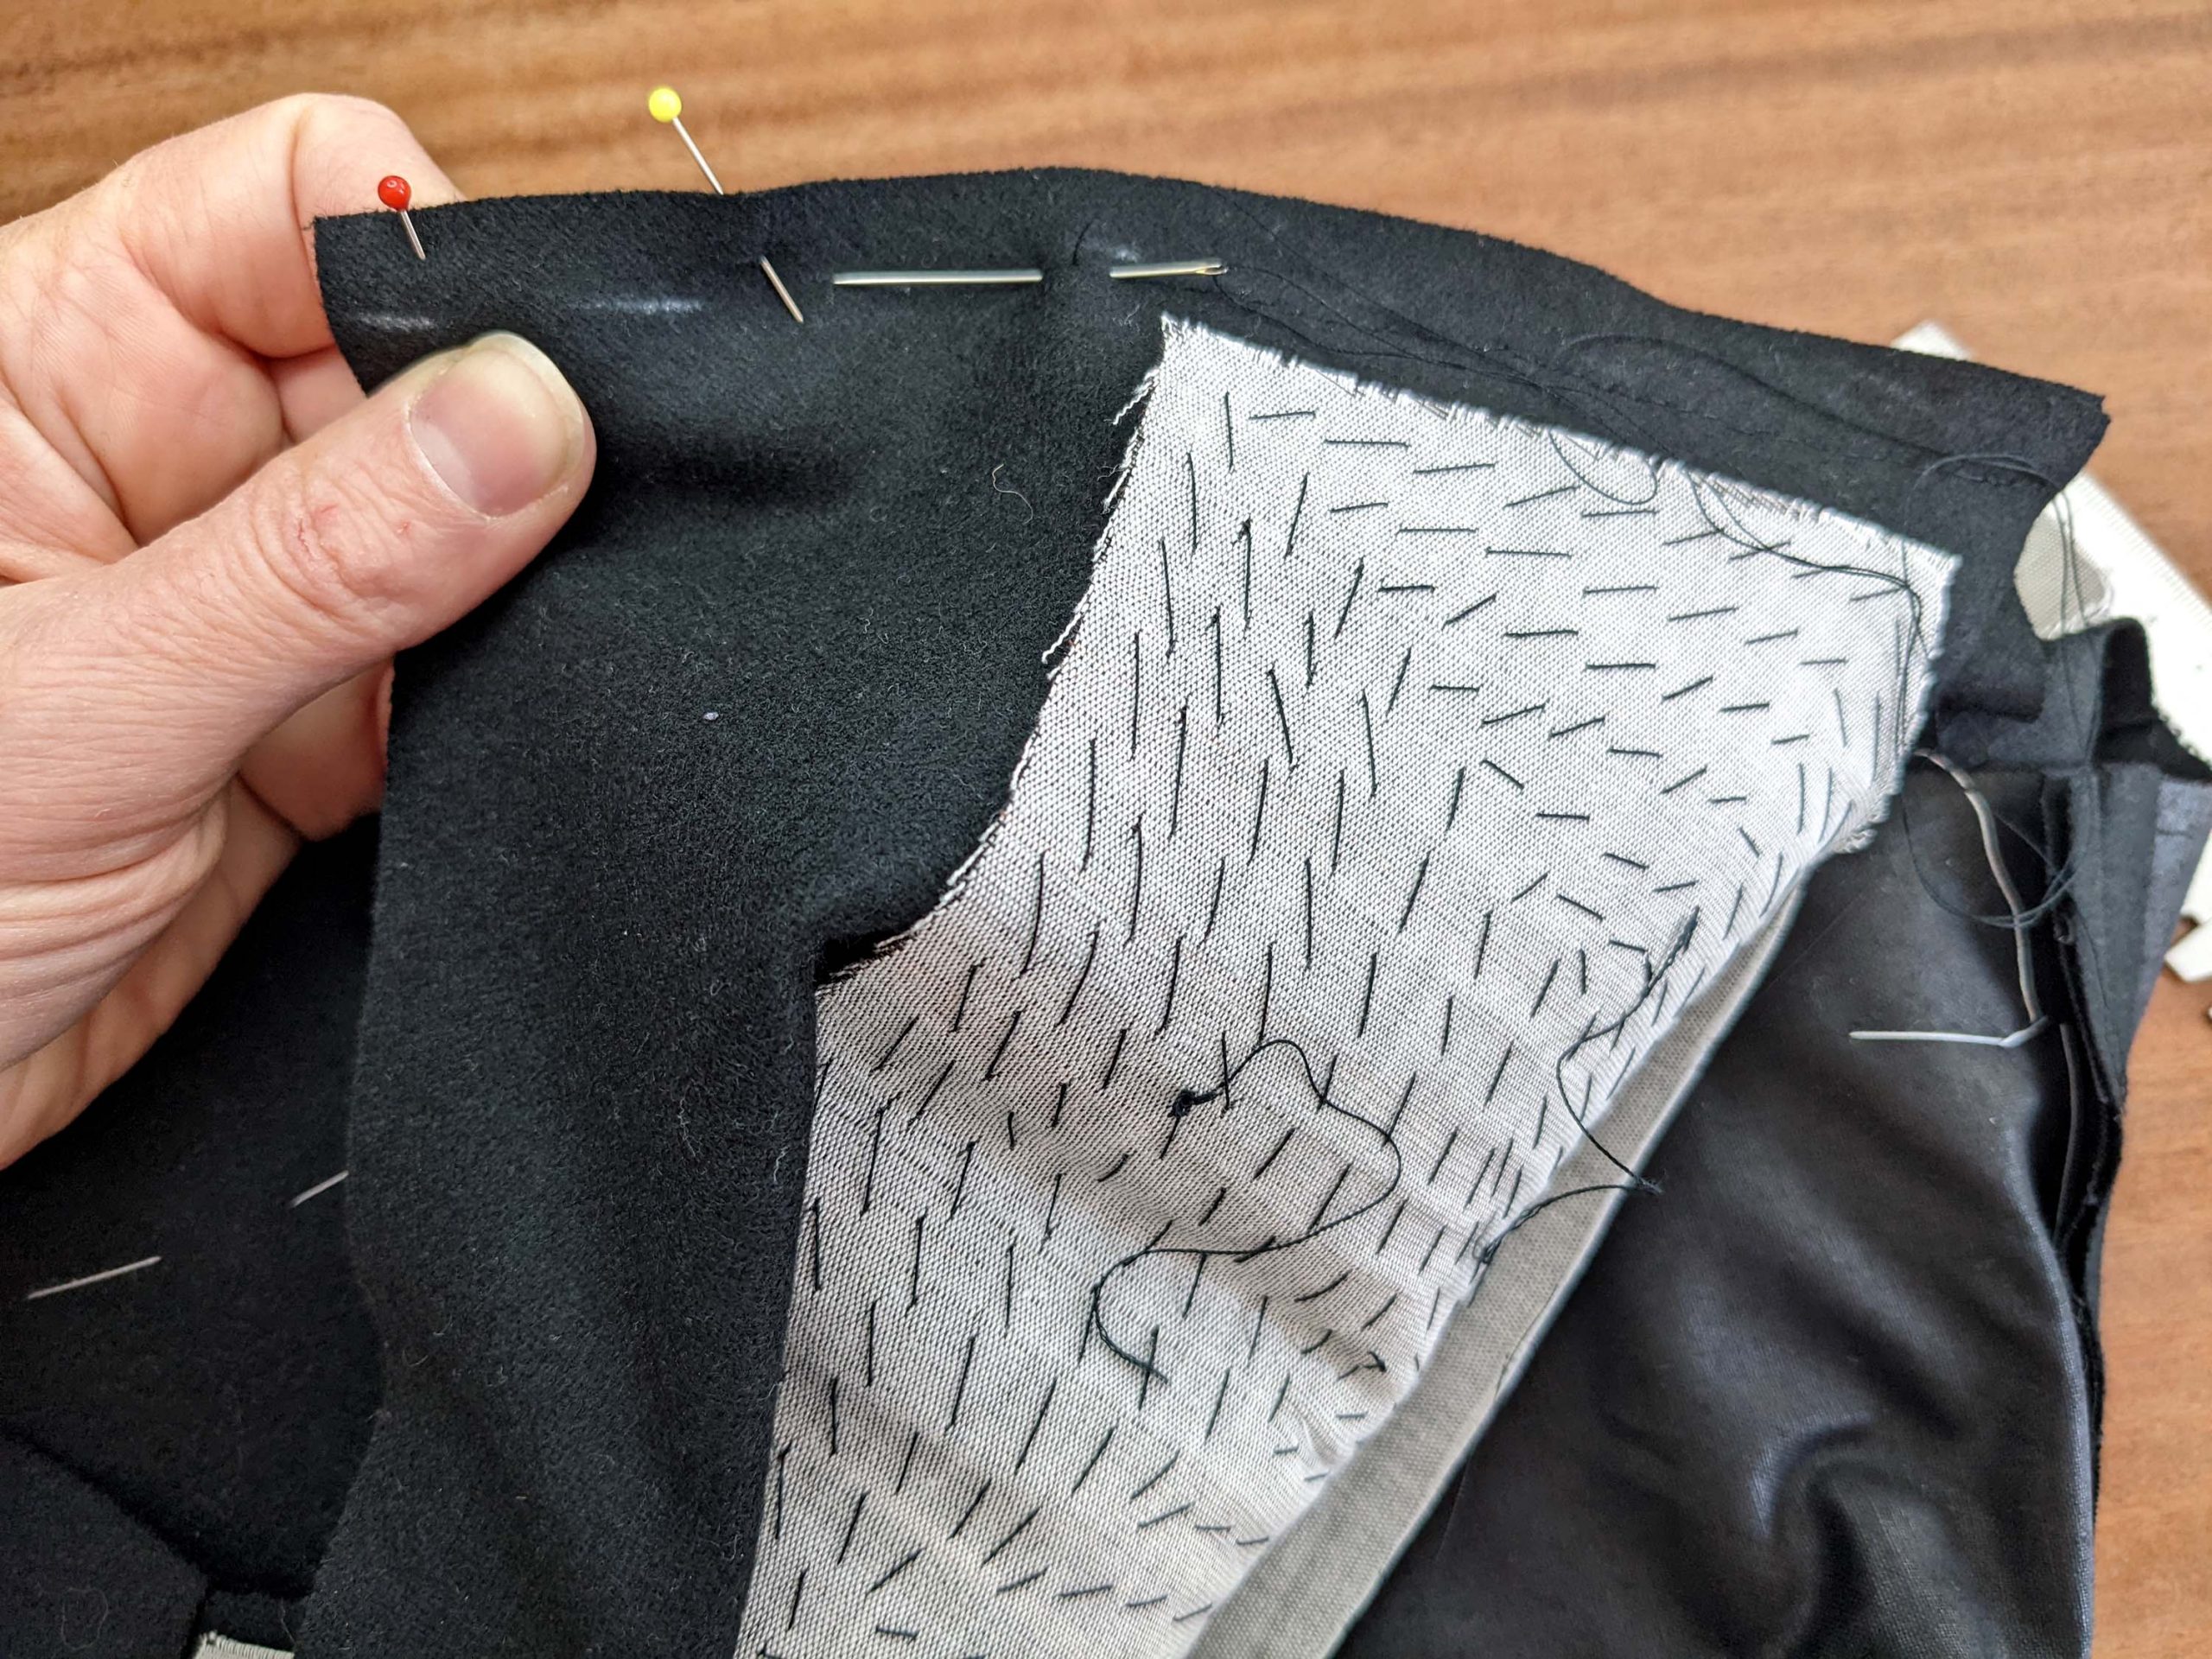
(3) Baste the front canvas to the wrong side of the front, lining up the edges.
Start stitching up the front, and continue along the roll line until reaching the shoulder. Then down the chest, giving some ease by stretching the chest slightly, simulating the body with a tailors ham or a pillow. Last along the armhole and the side seam followed by the curved edge. Baste about 2” (5cm) from all edges.
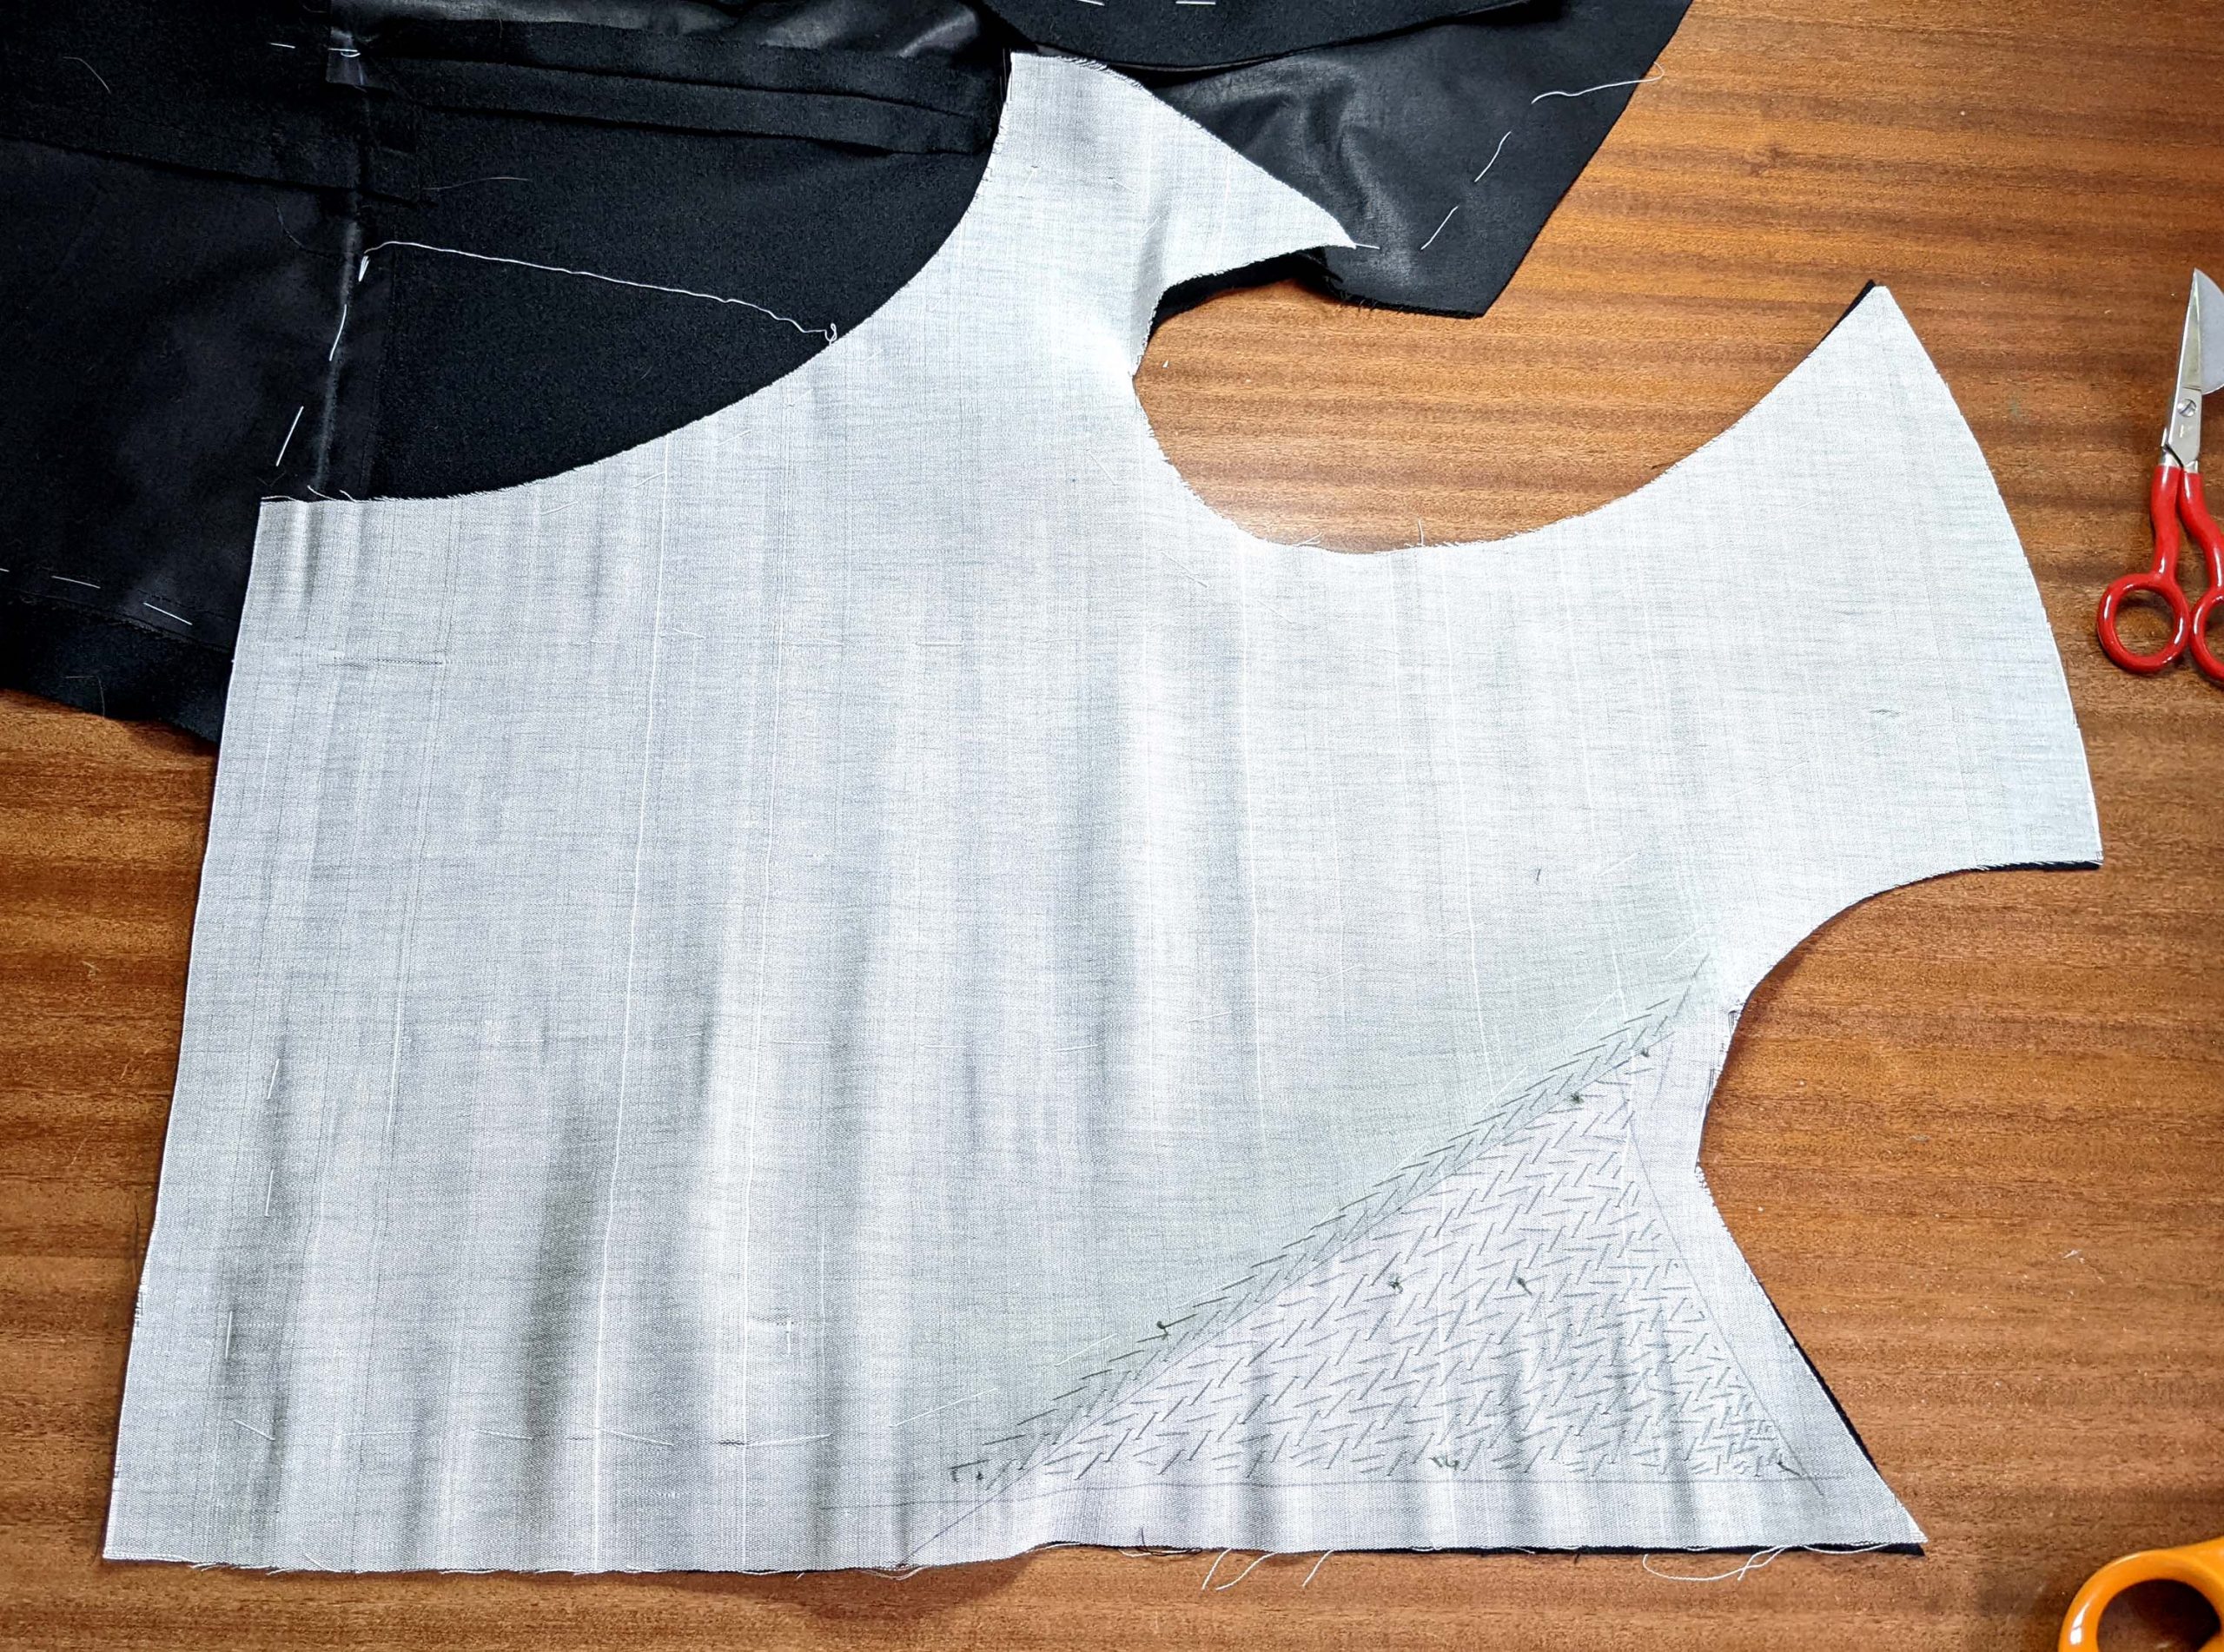
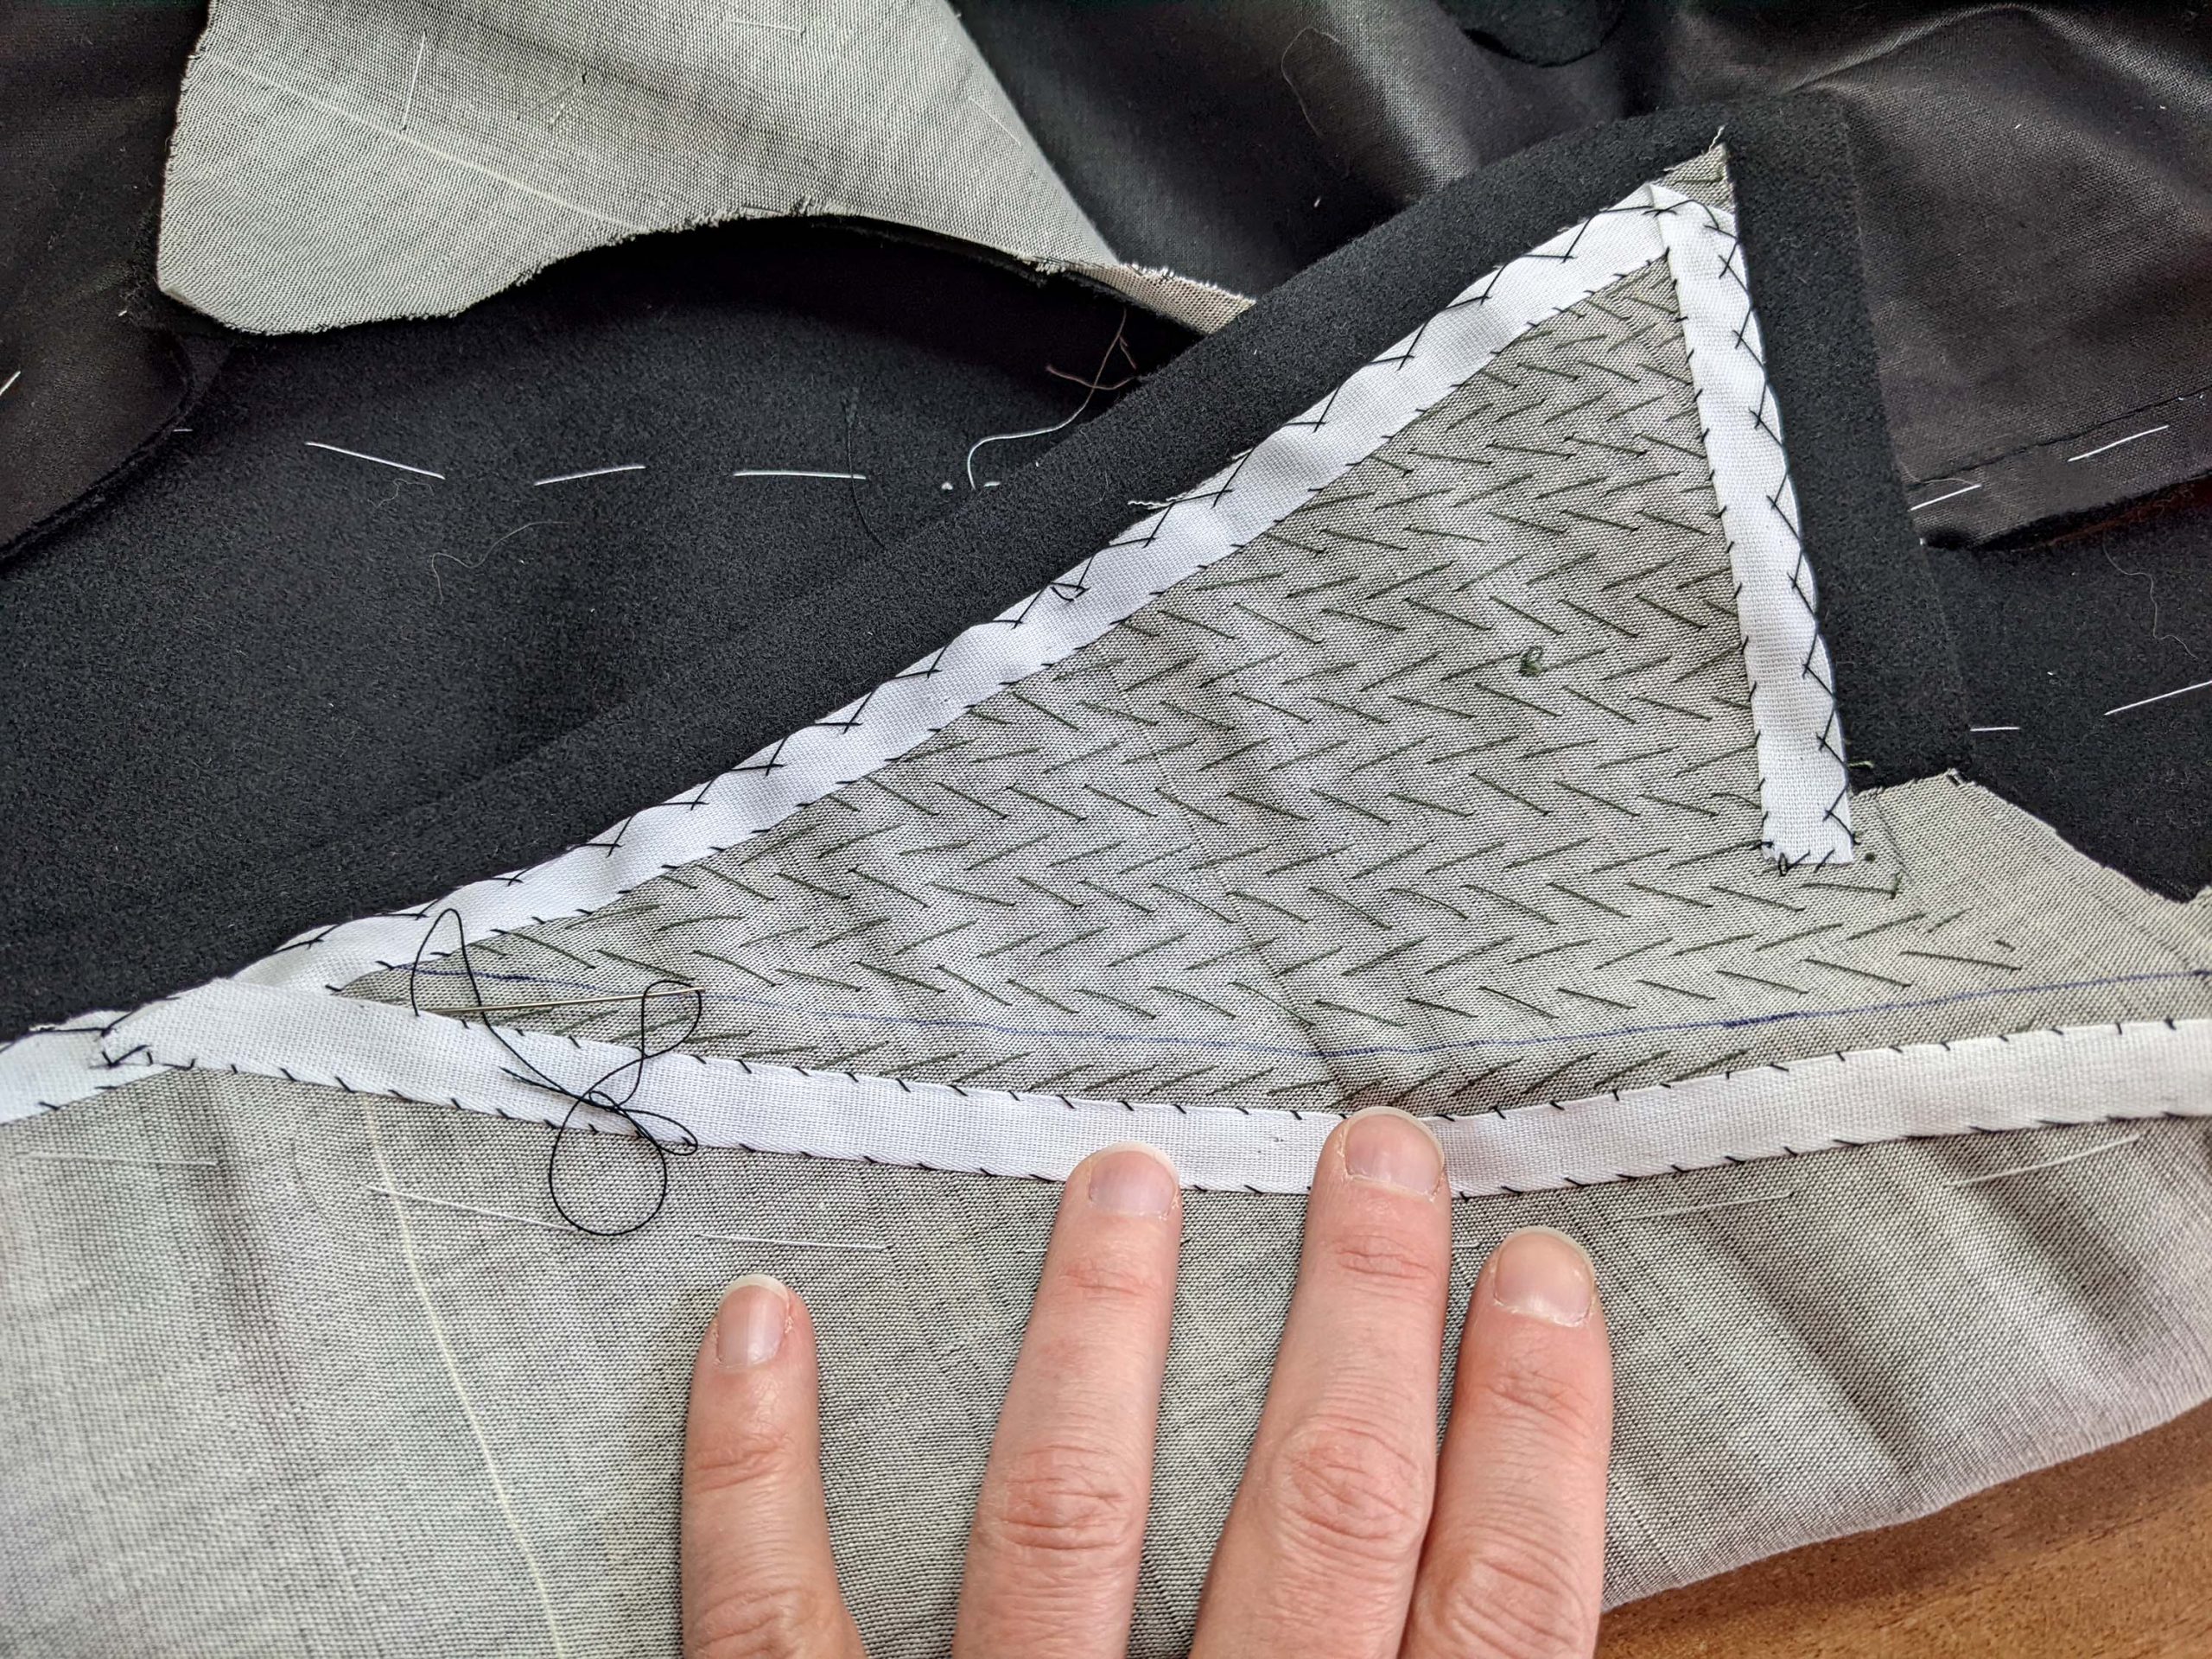
Mark the seamline on the canvas along the front and bottom edge, as well as along the lapel and neckline. Mark the roll line. Pad stitch the lapel, starting about ¾” (2cm) behind the roll line, folding the lapel over your hand’s edge to give it the right shape. Stop stitching just before reaching the marked seamline.
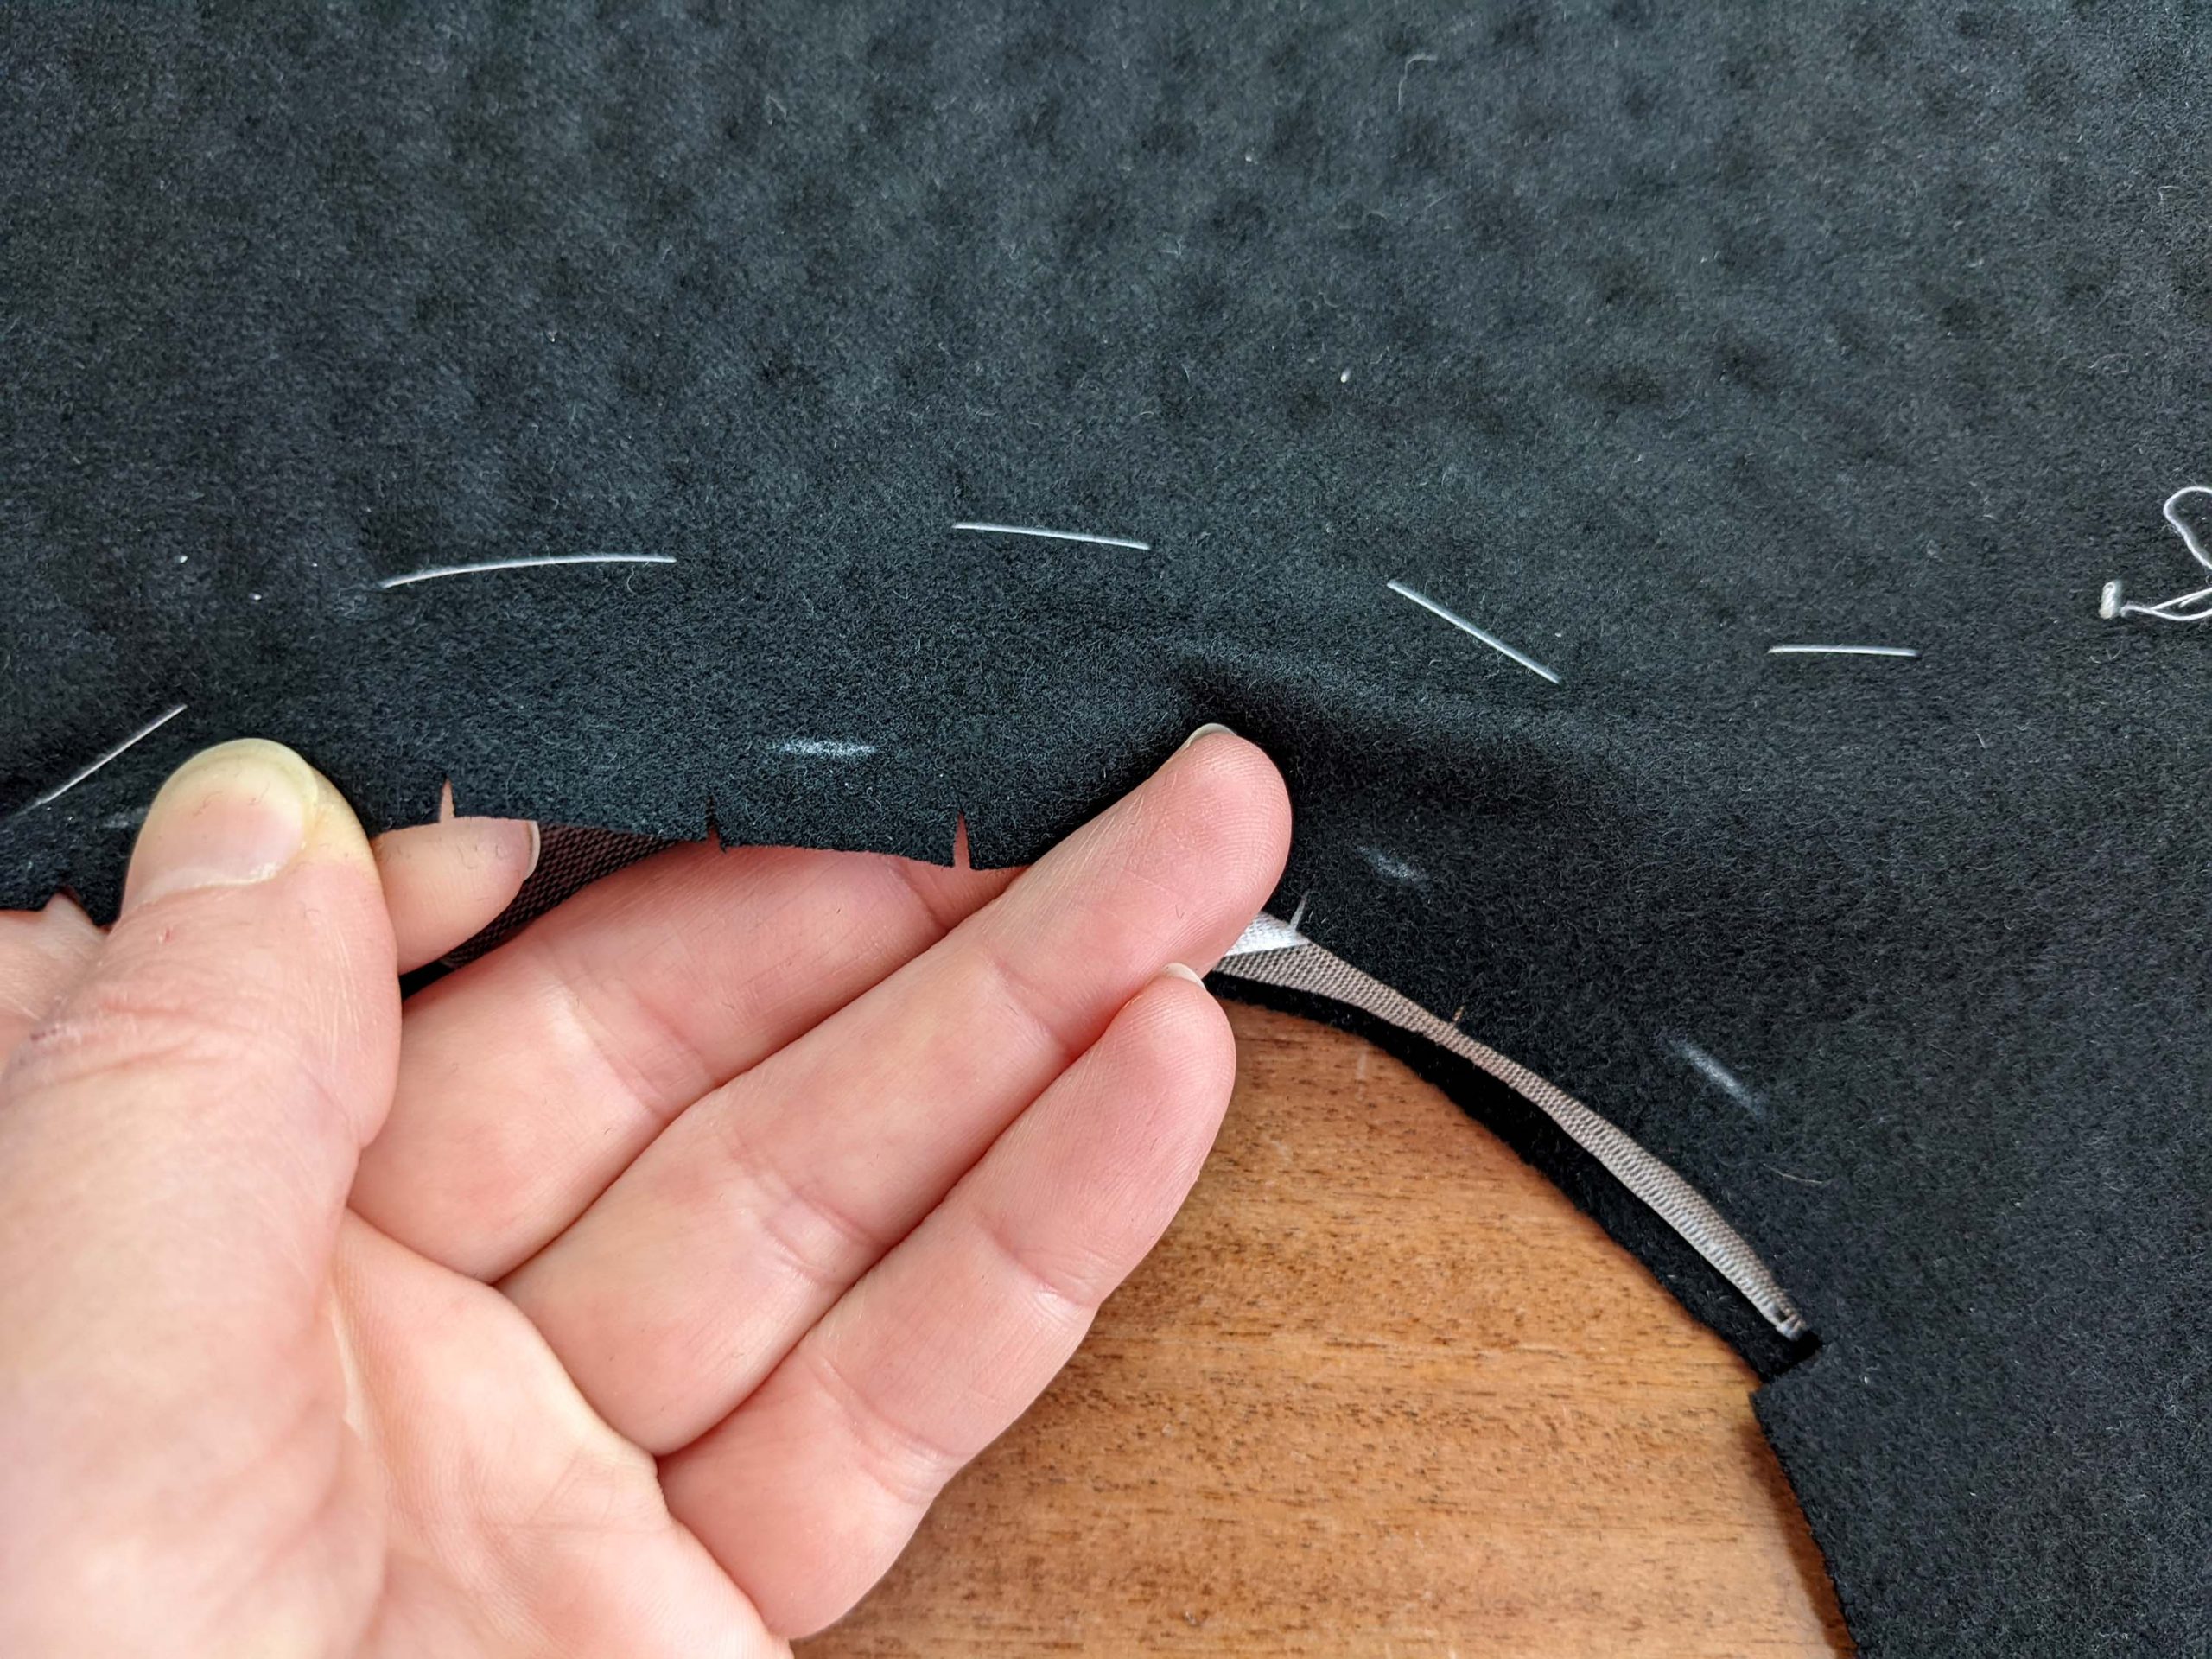
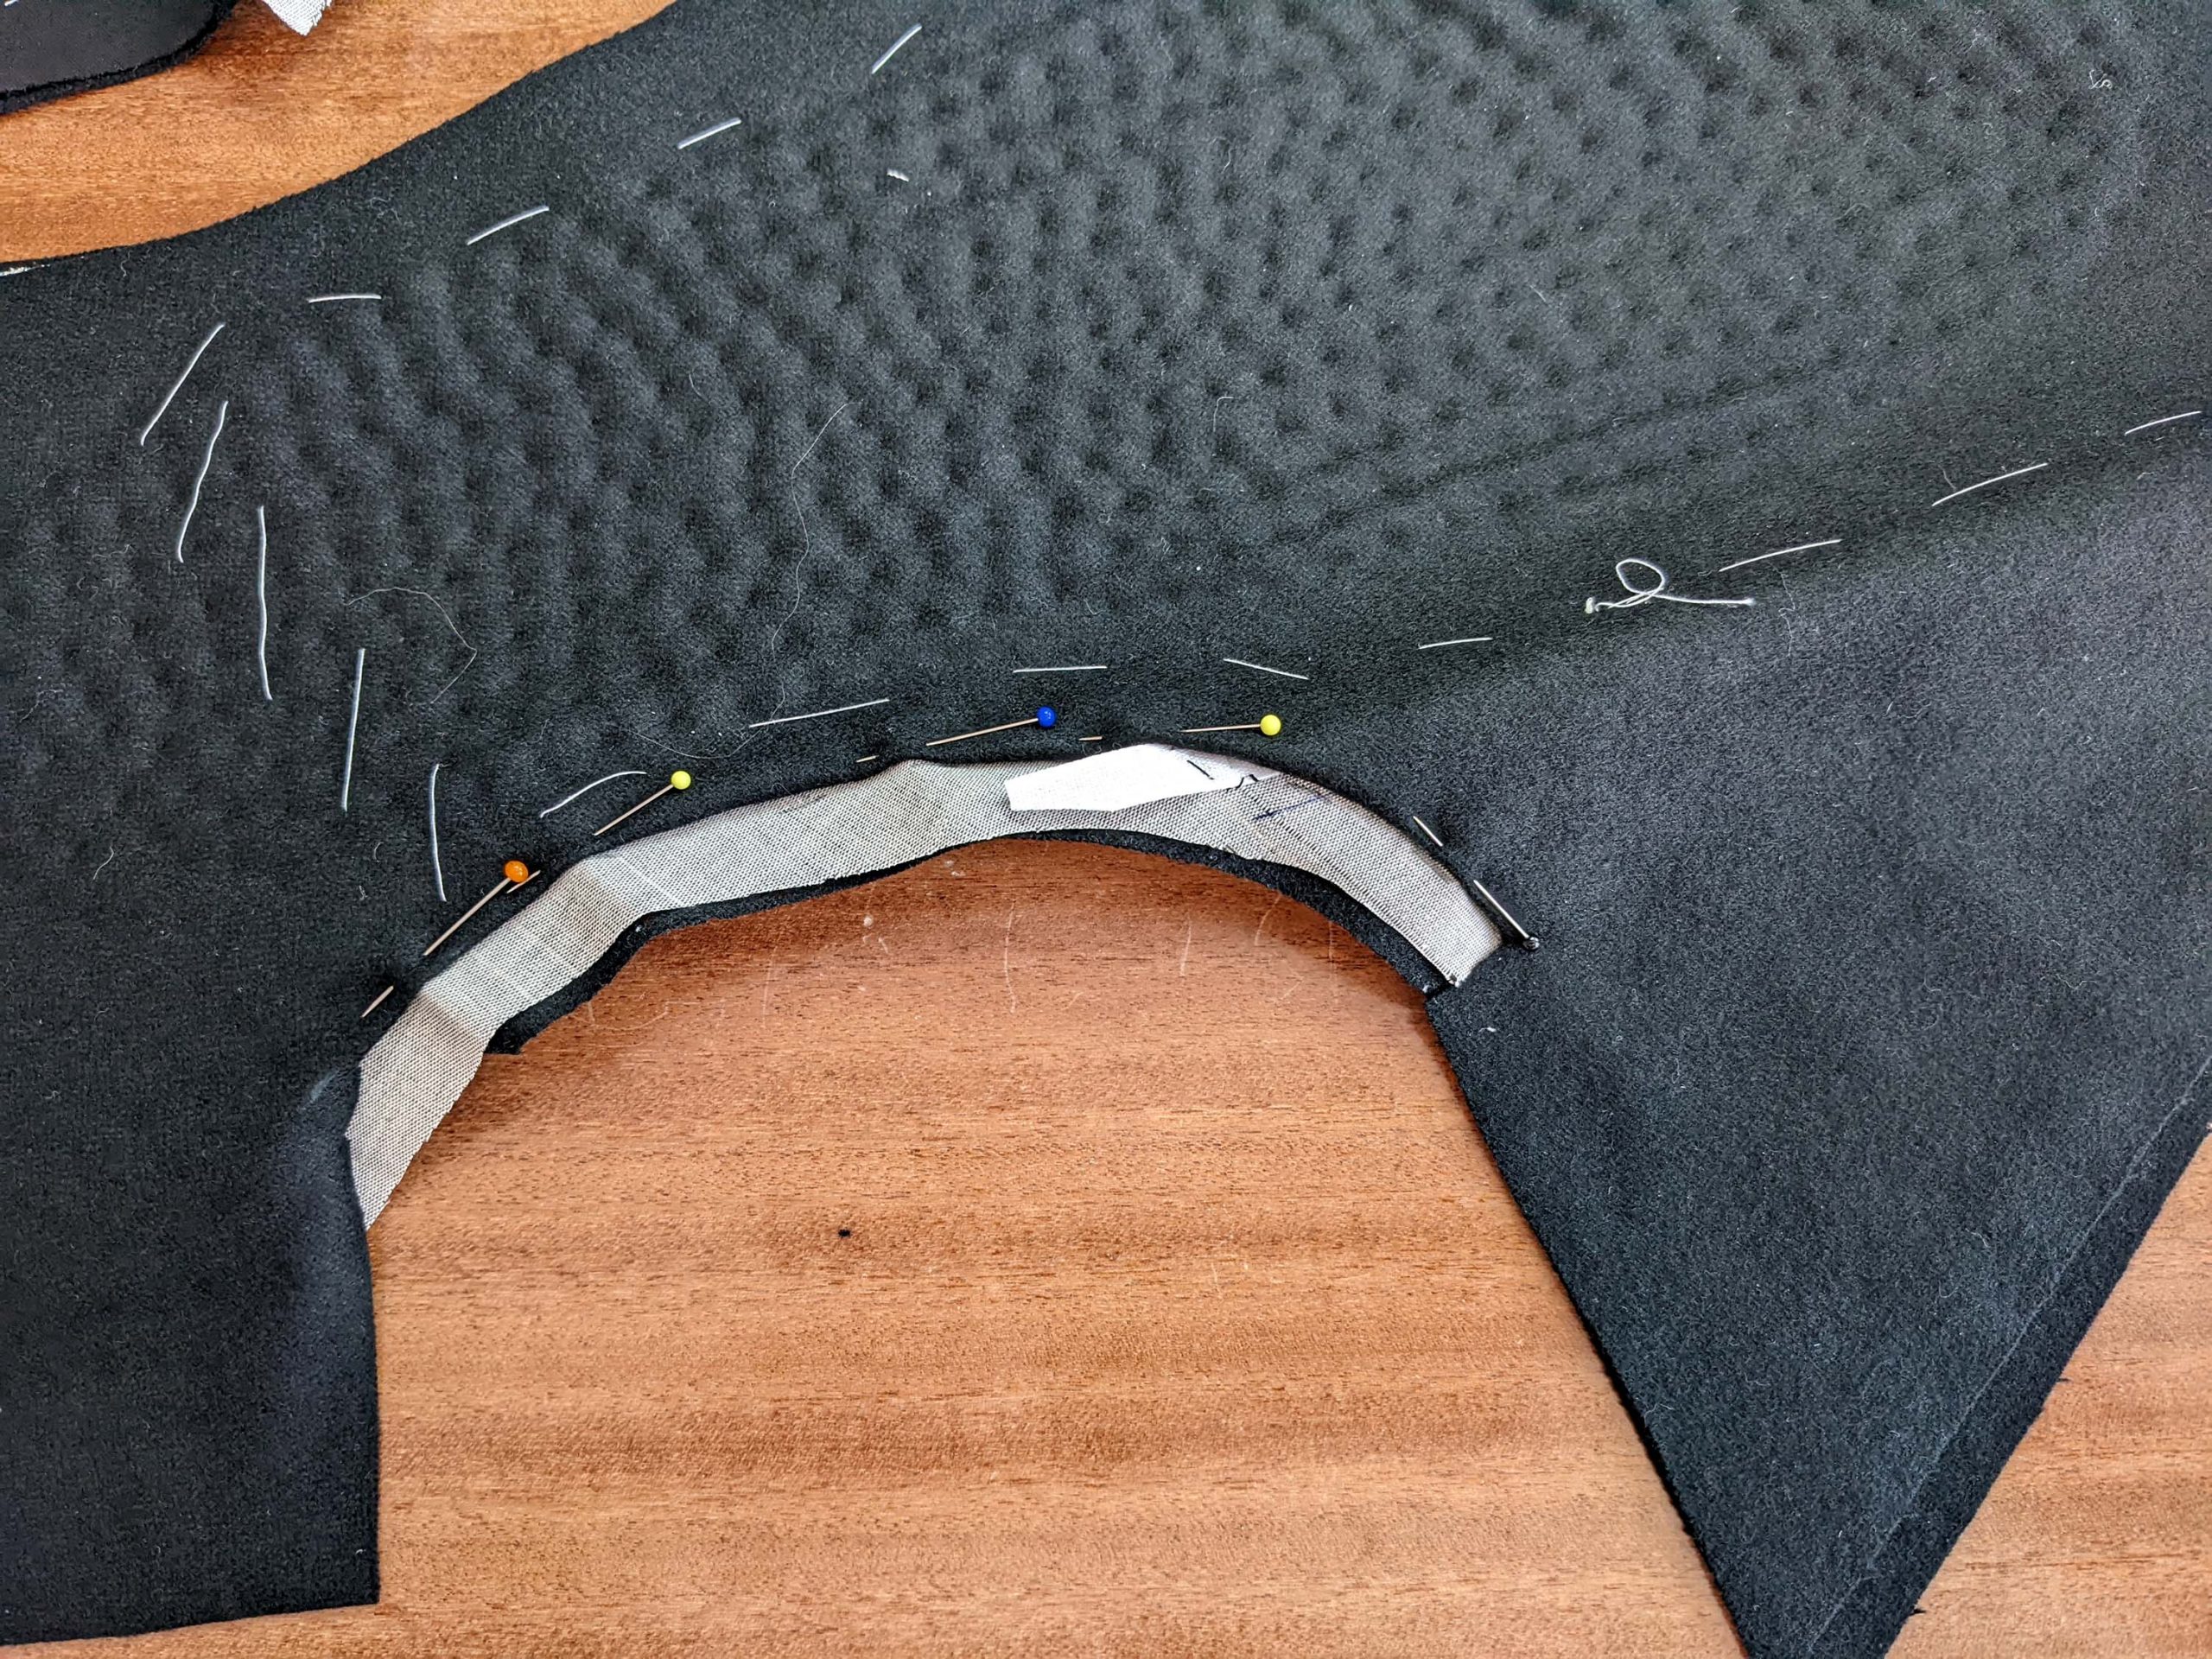
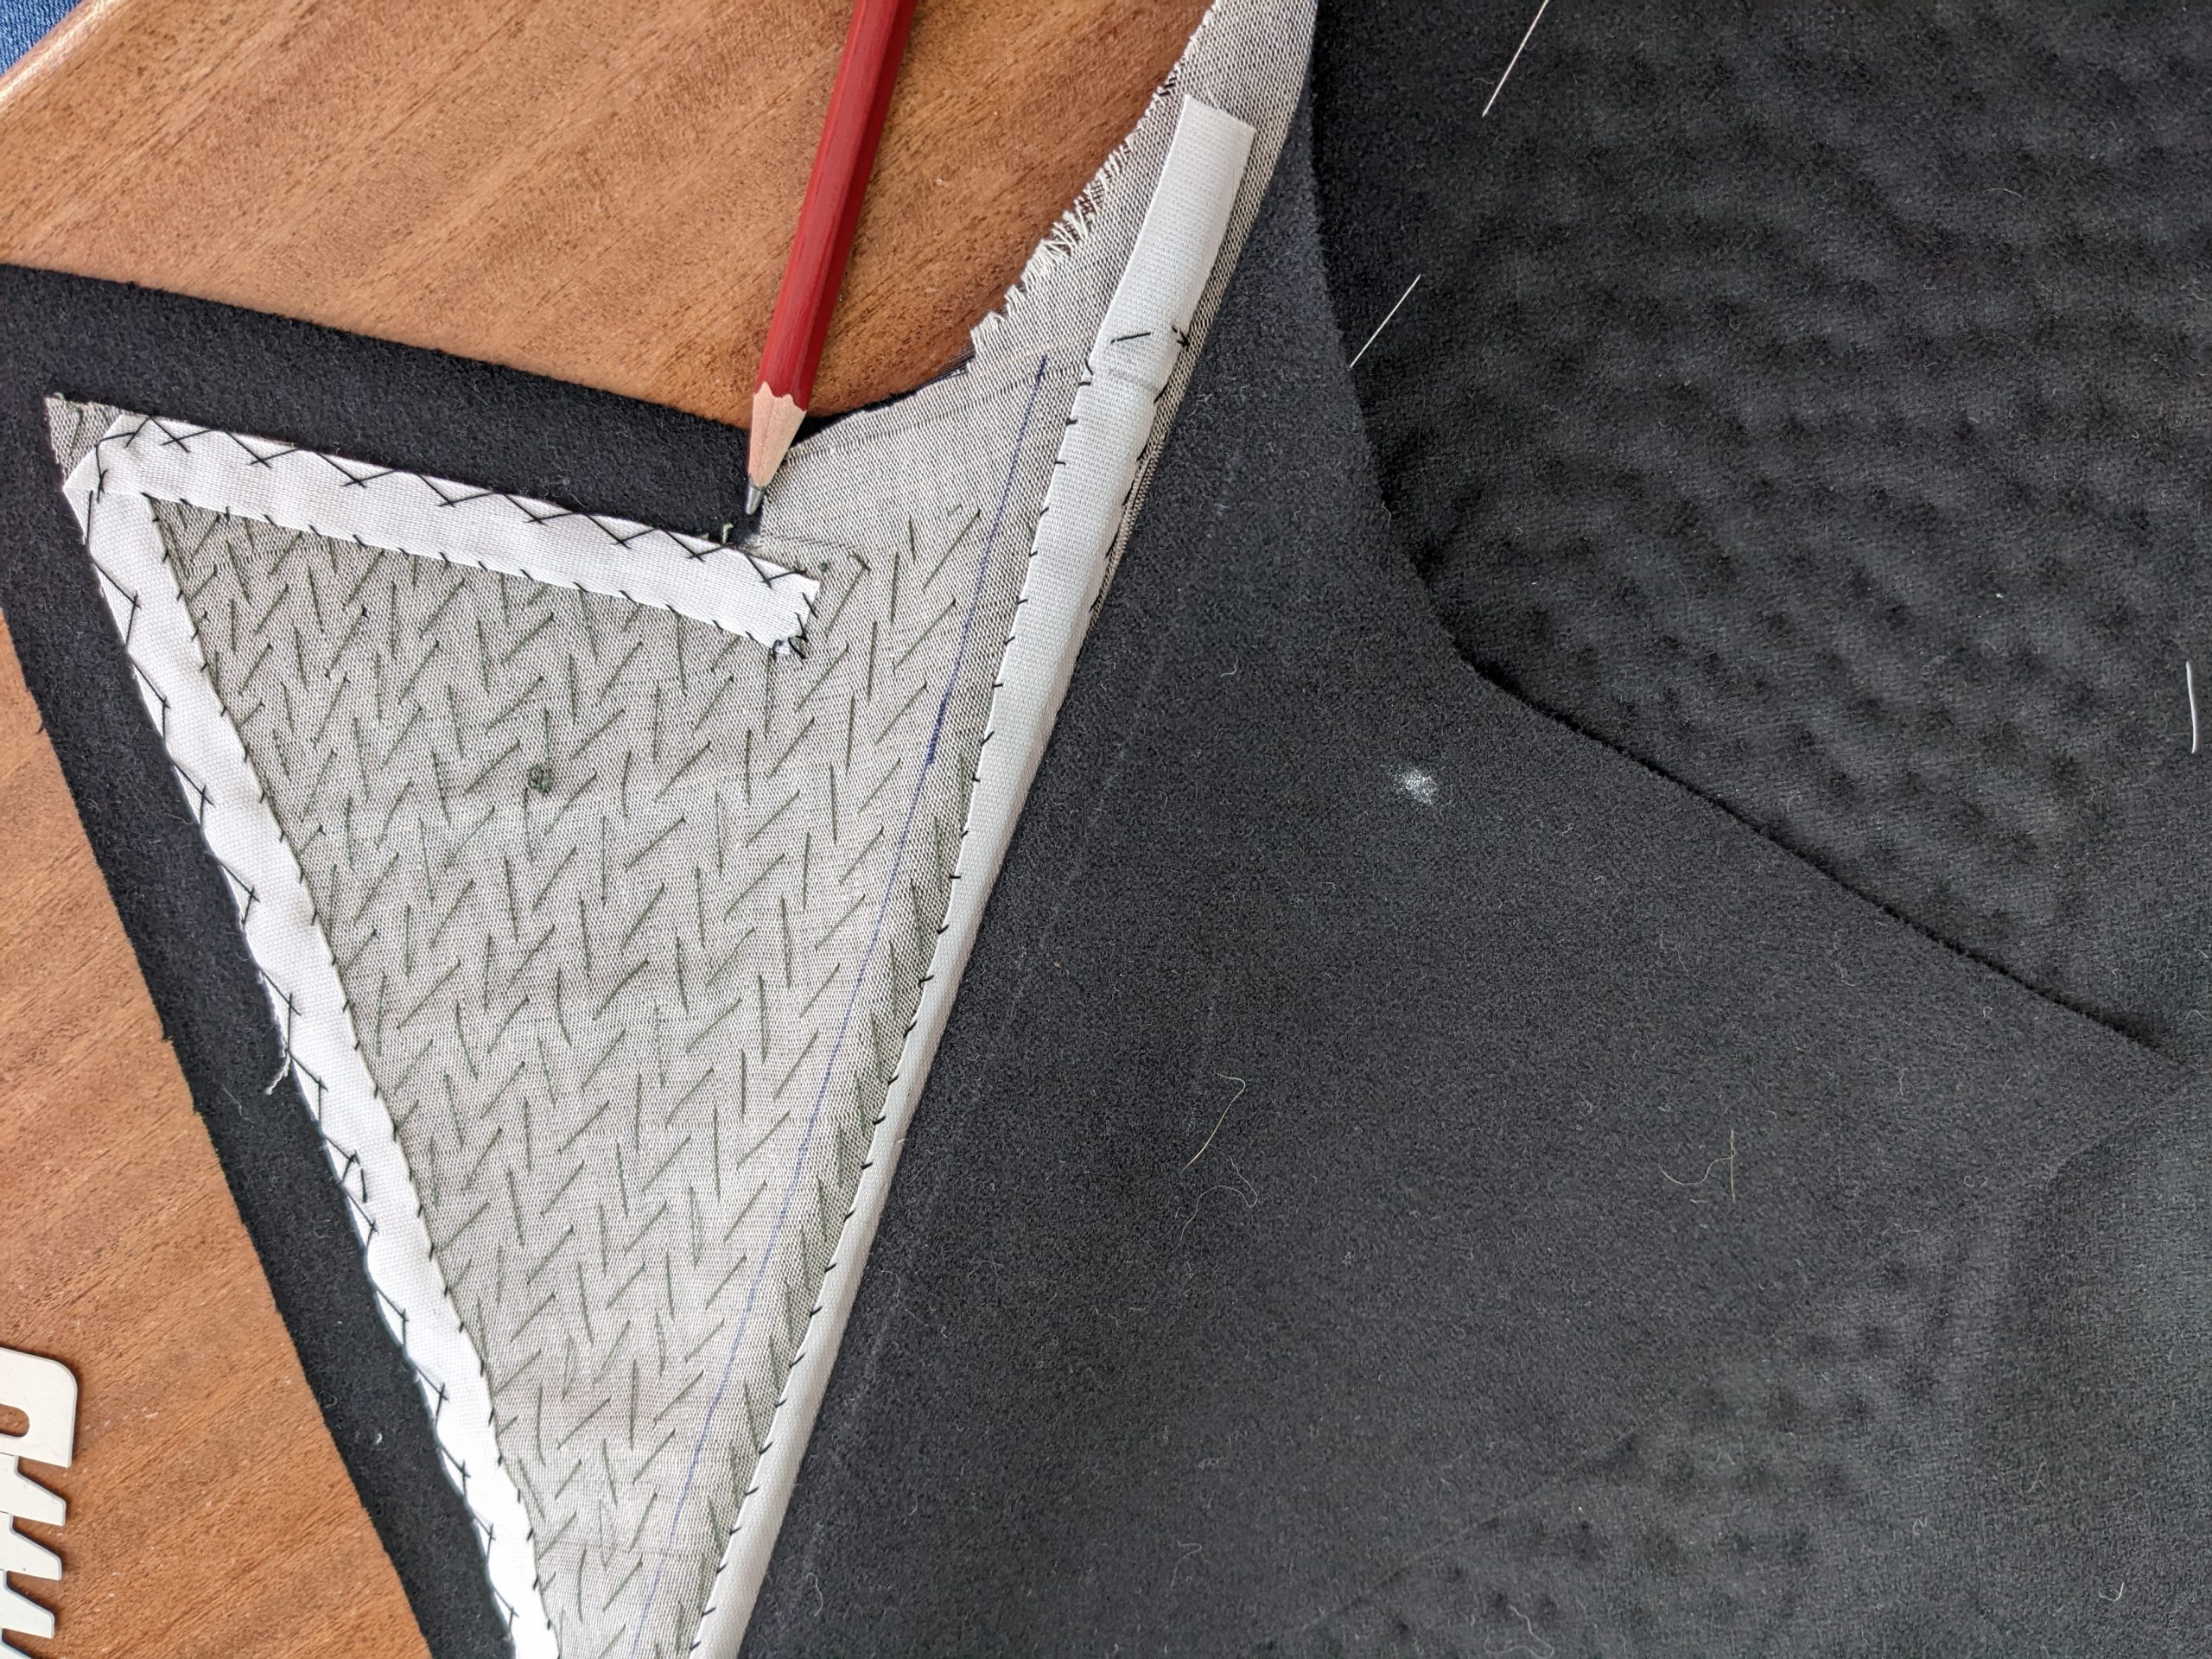
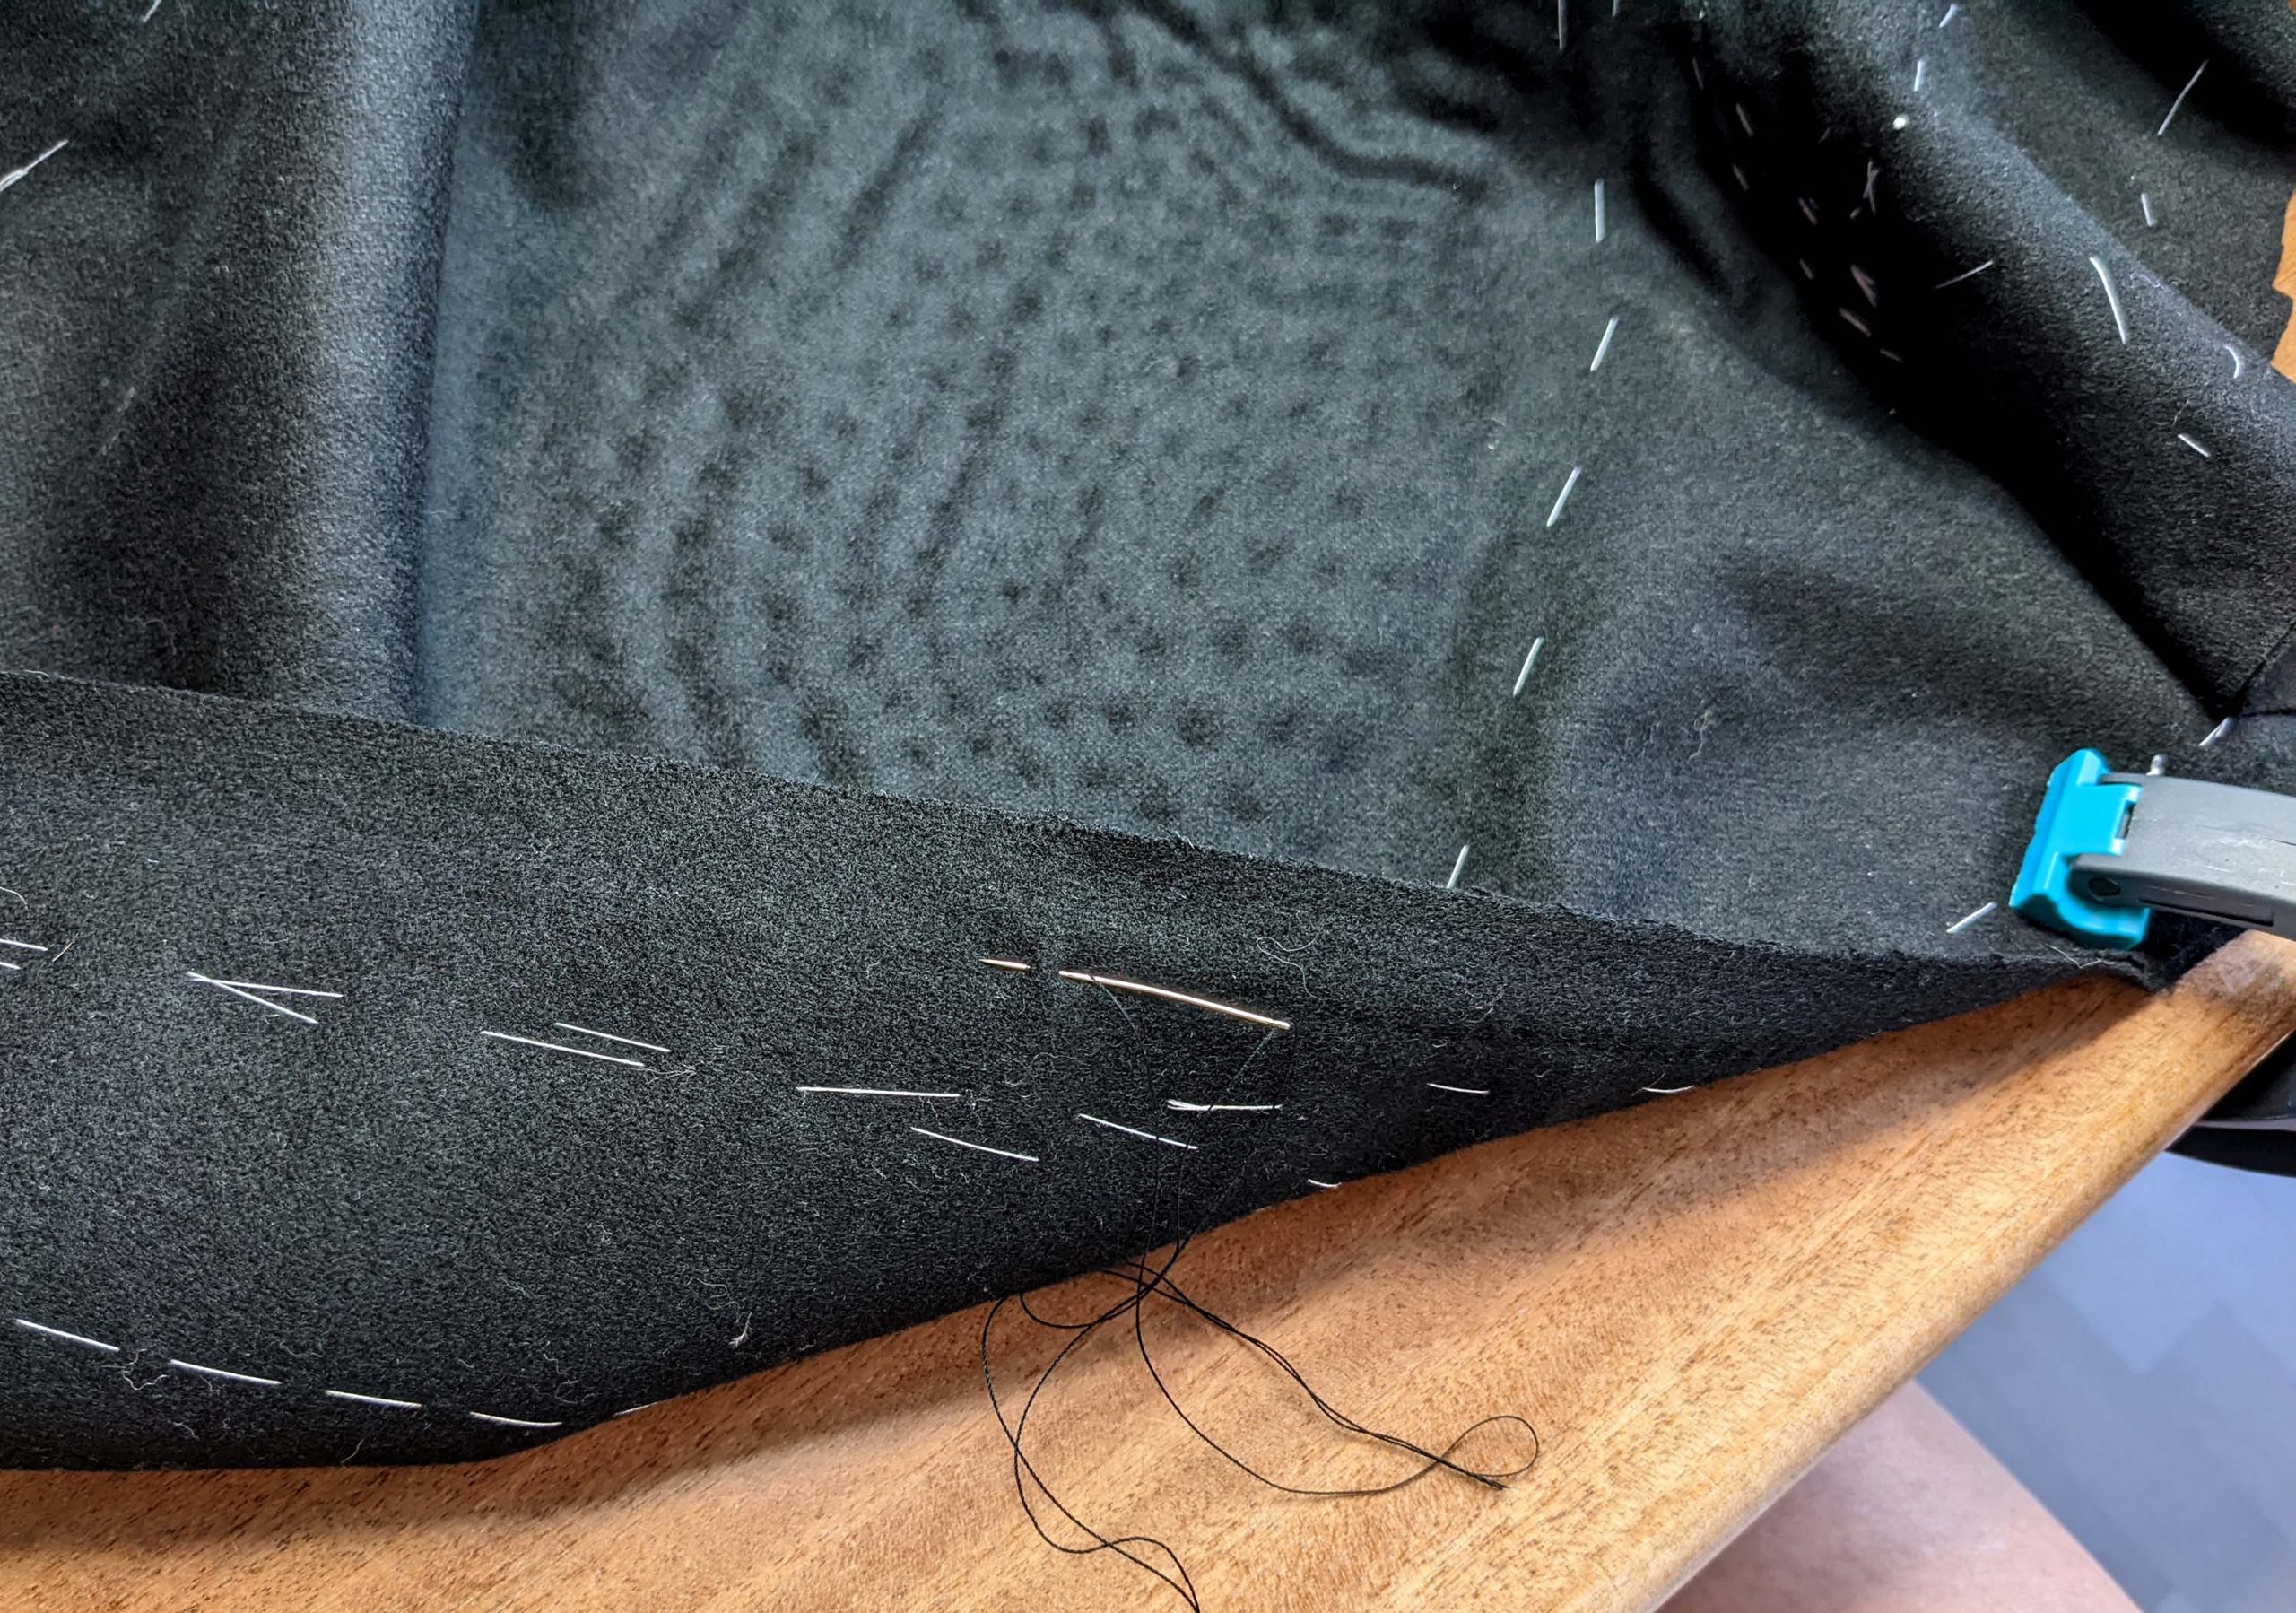
Trim back the canvas only slightly behind the seamline. Start at the collar notch (x), follow the lapel, down the front, and along the waistline. Attach a bridle tape right behind the roll line, the tape should lay quite tight, about ¼” (5mm) shorter than the roll line. Fell down both edges of the tape, catching just a bit of the fashion fabric (similar to pad stitching). Pad stitching plus this tight-fitting tape will roll the lapel into the desired shape later easily.
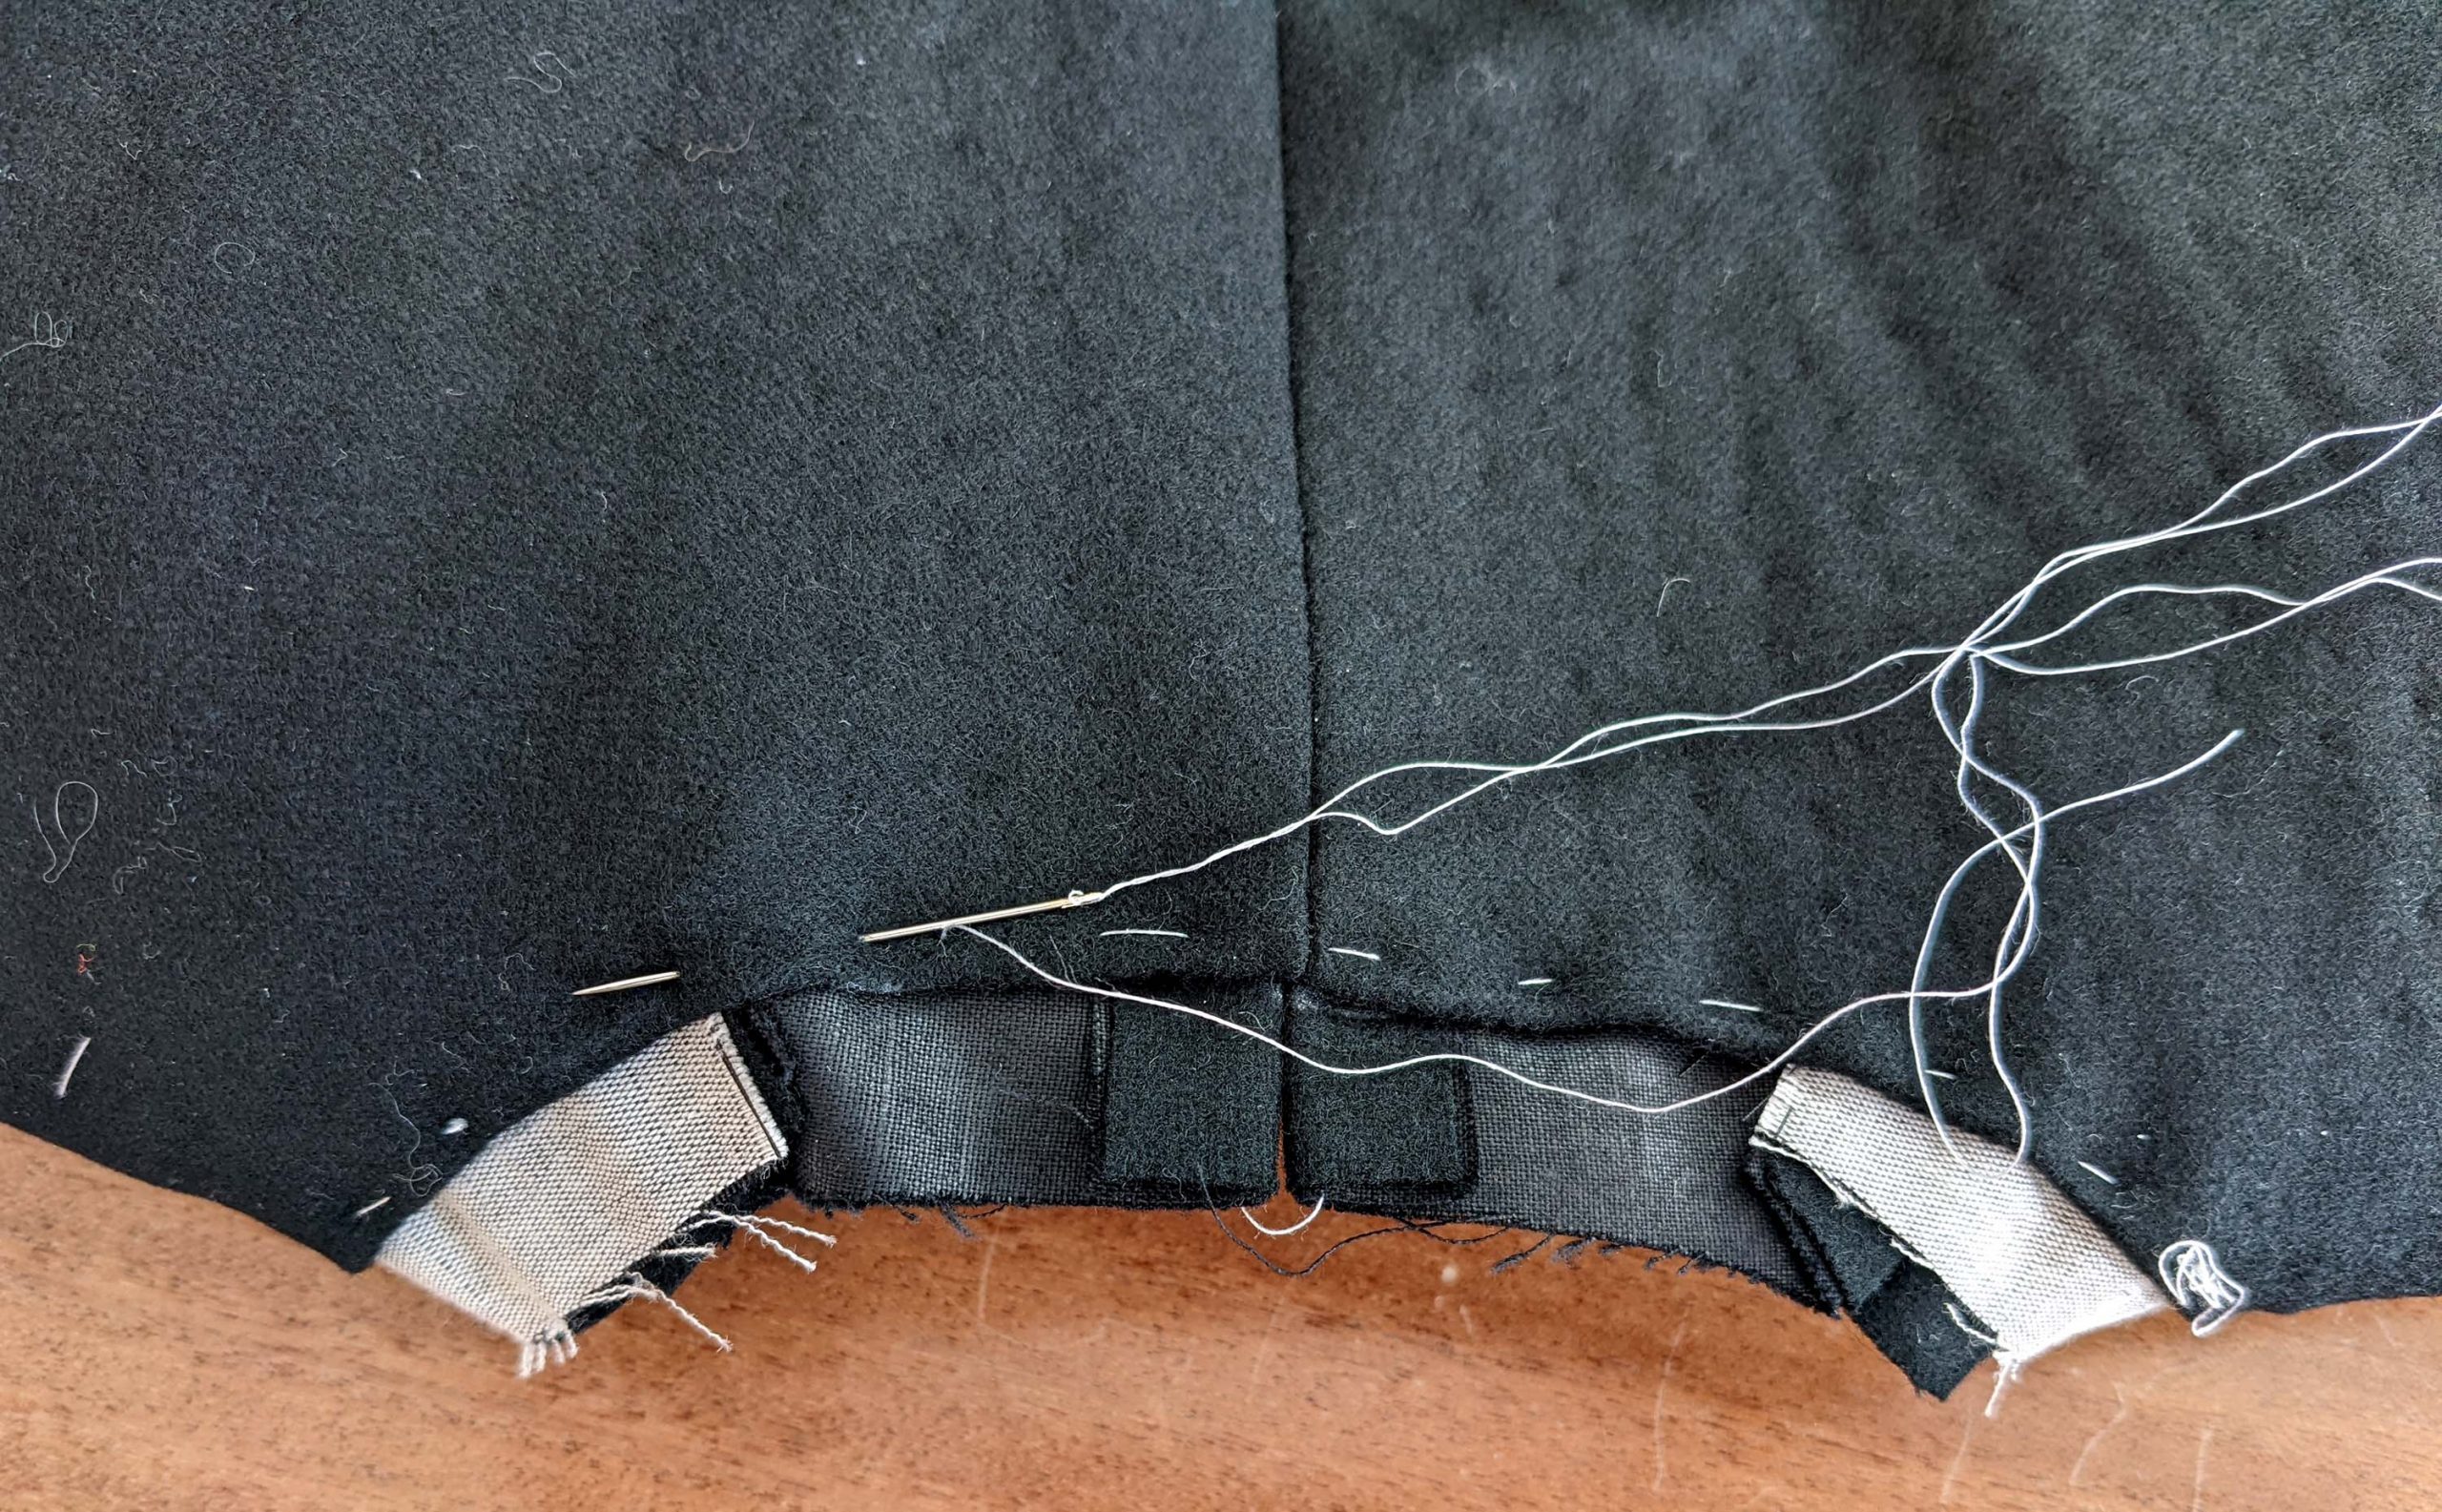
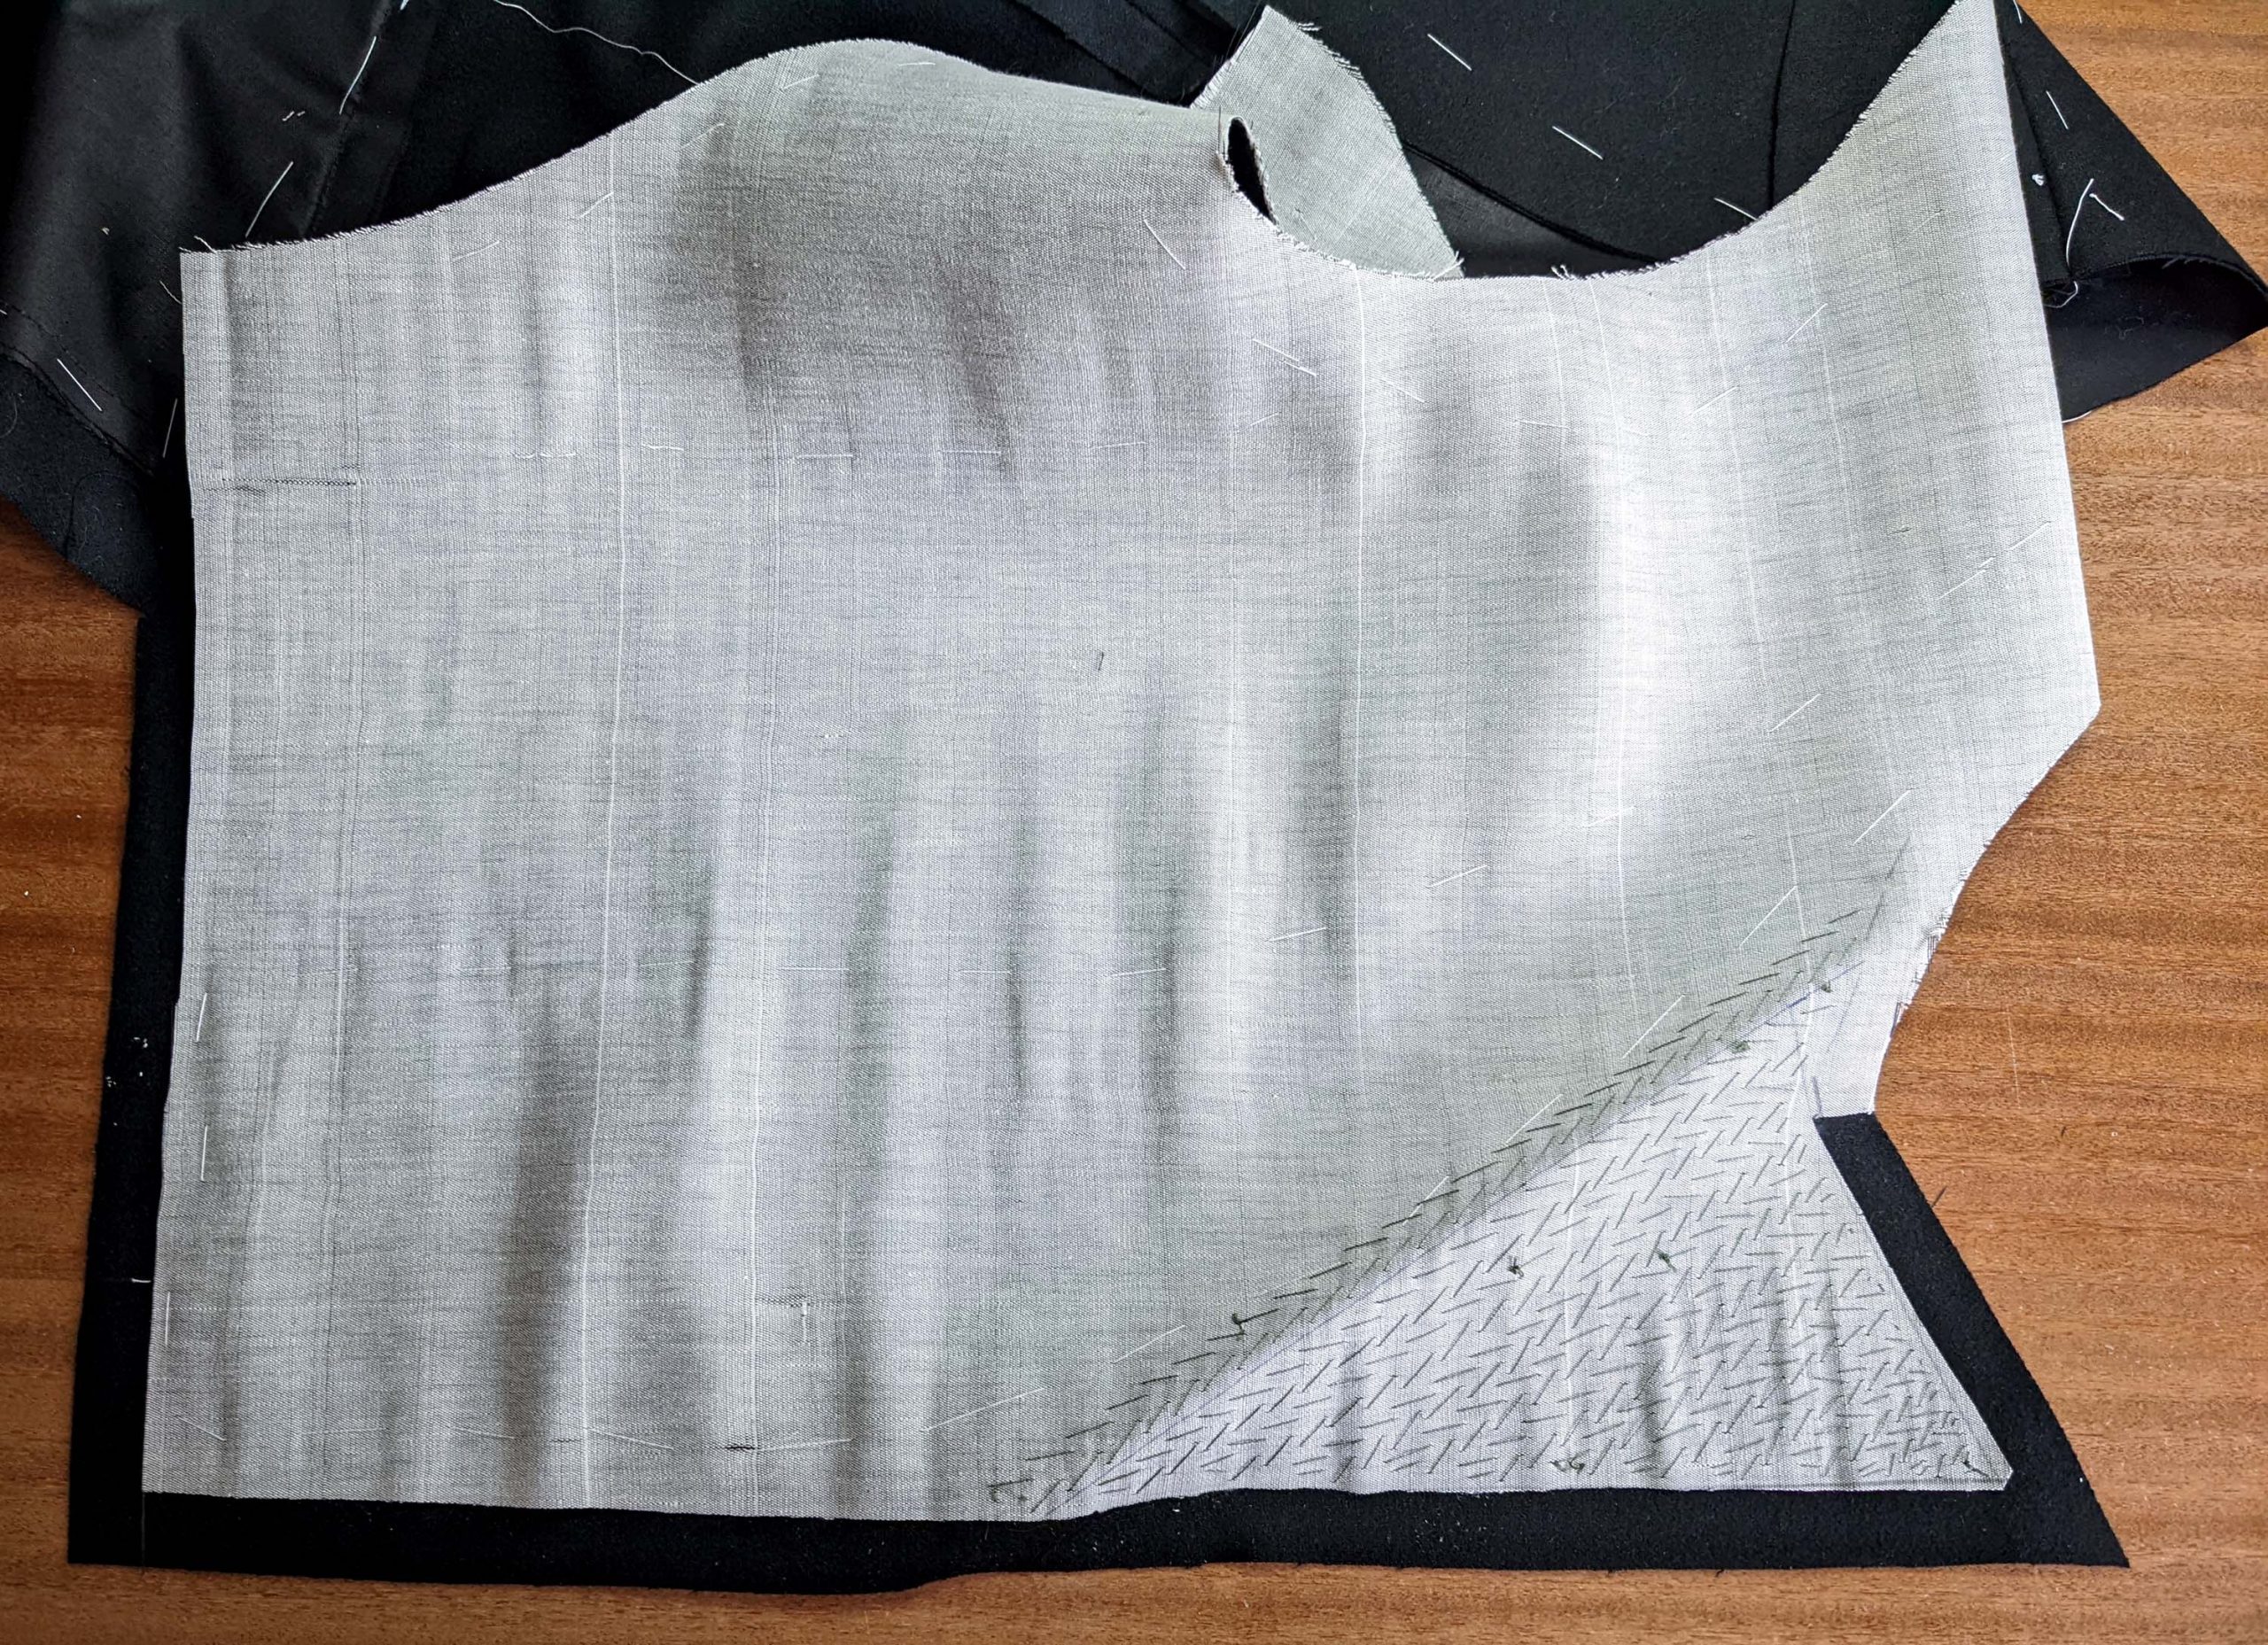
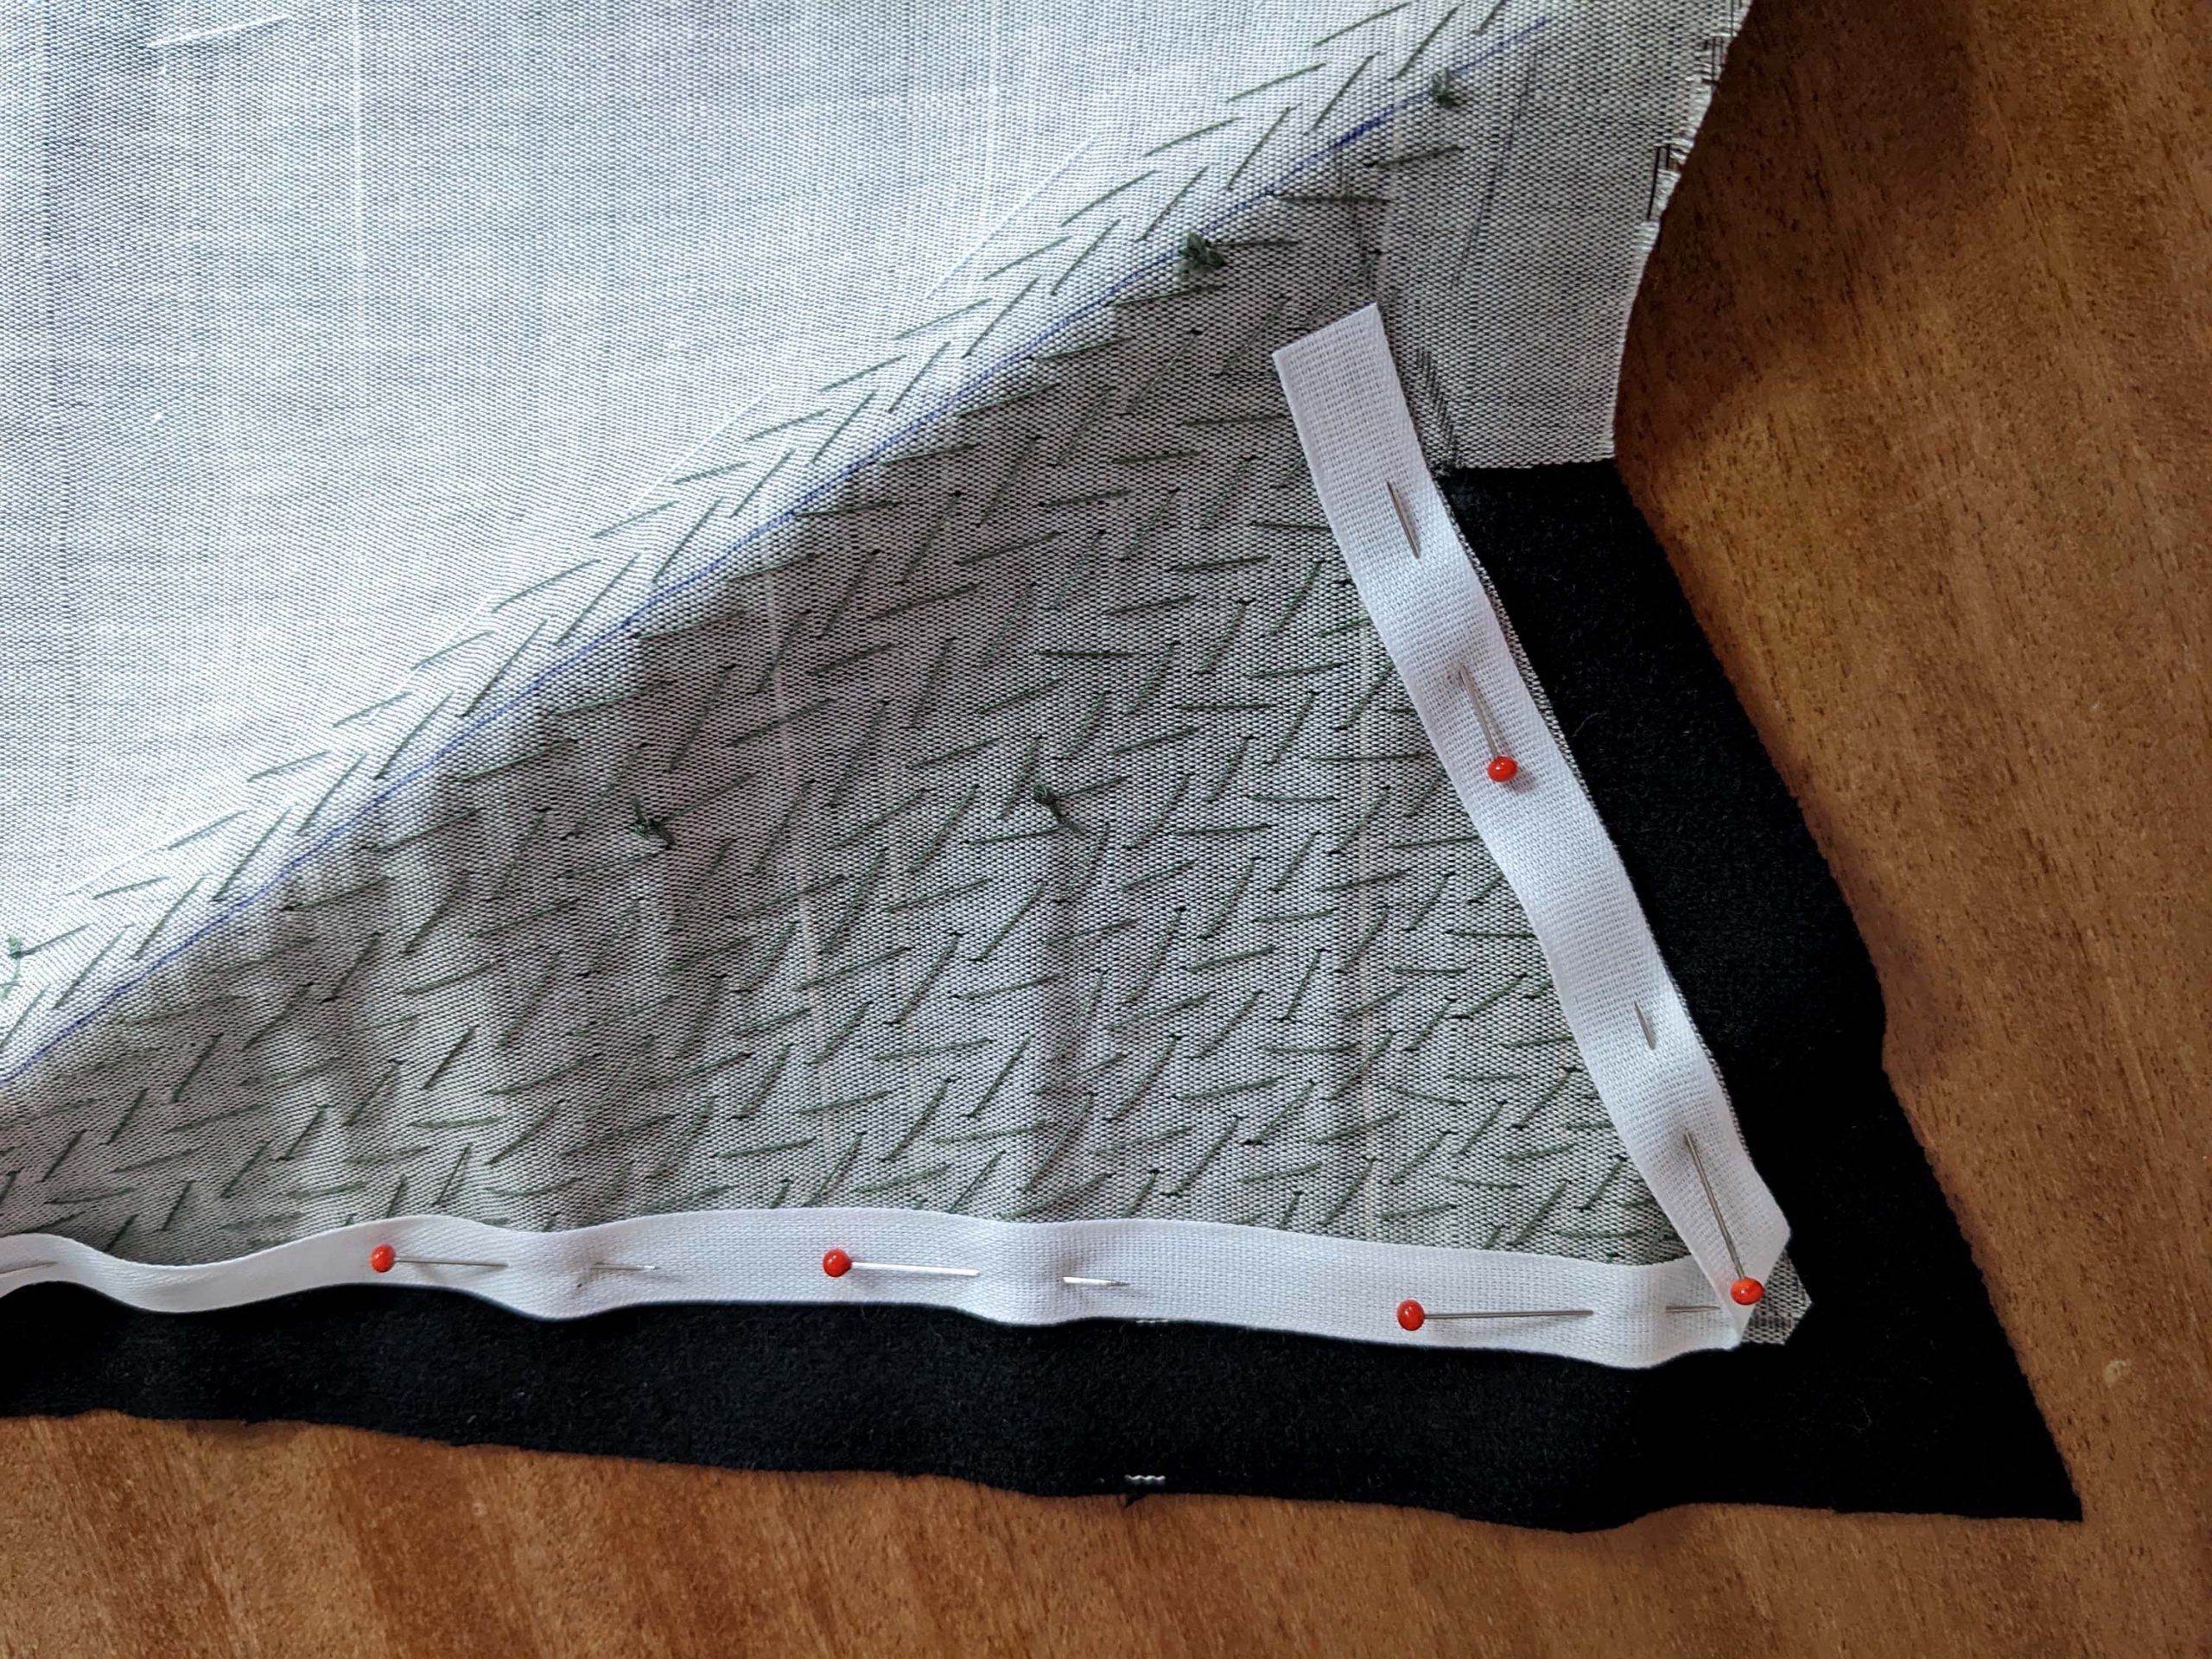
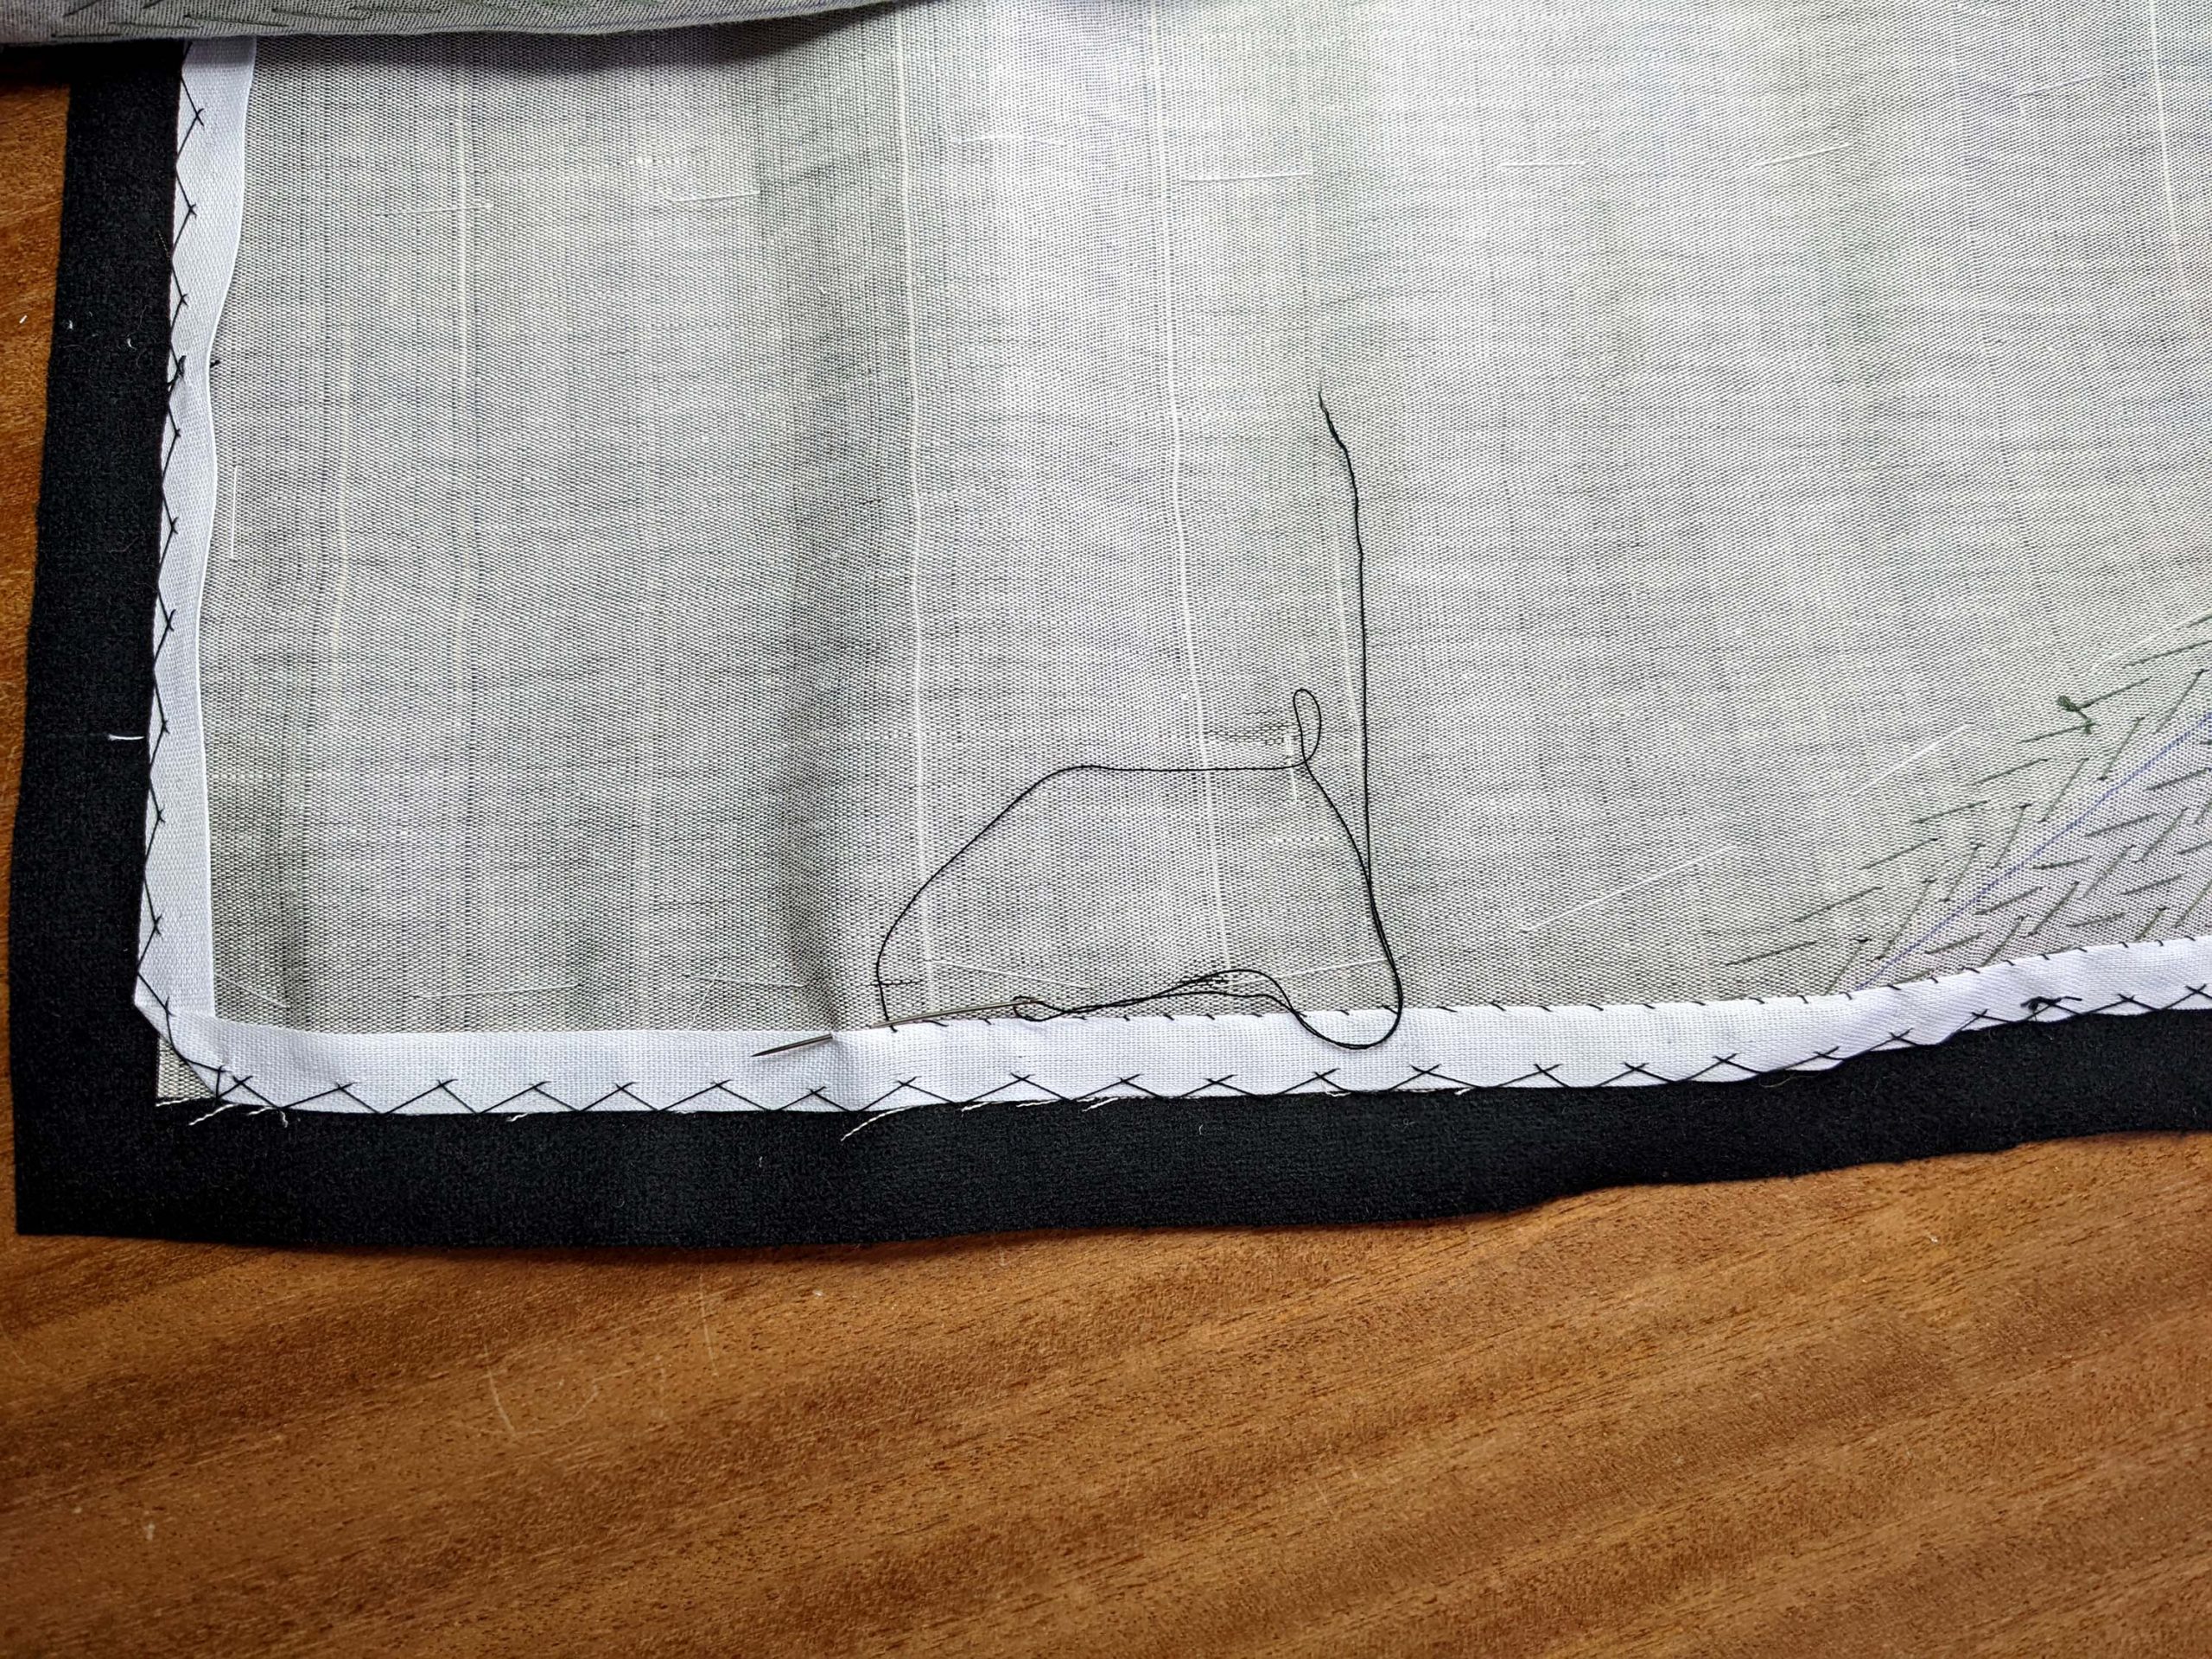
Pin another bridle tape loosely along the seamline, covering the edge of the canvas. Start at the collar notch (x), and continue along the front and bottom edges. At the point, where the front turns into the tail lead the tape about 2” (5cm) down the lapel for extra strength. Rotate the video at the corners for a neater result. Fell or catch-stitch the tapes carefully to the fashion fabric along the seamline (stitches should be nearly invisible from the right side) and vis-à-vis the canvas only.
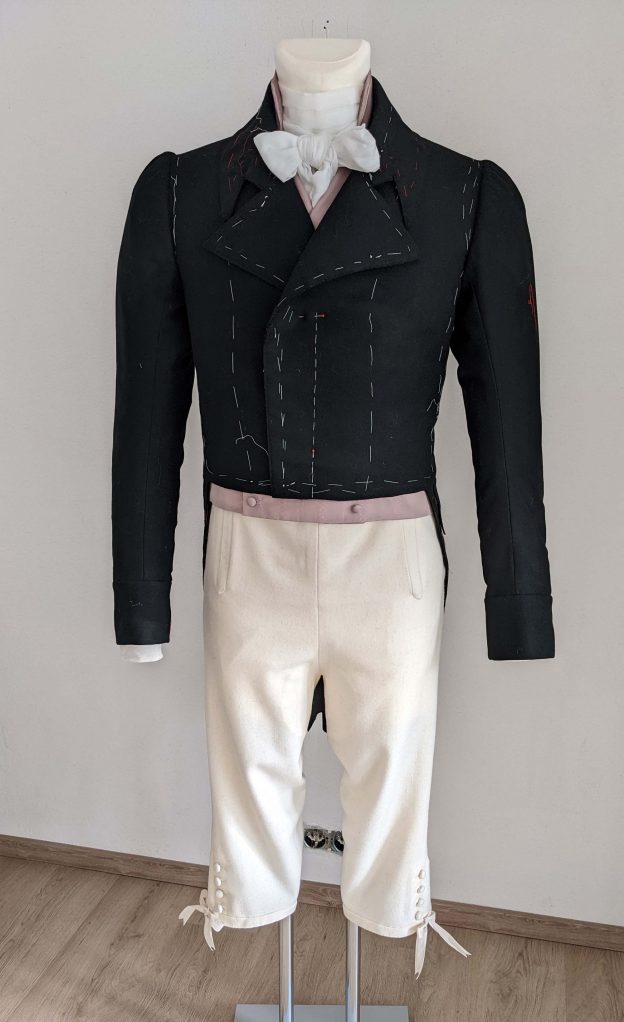
Again, I´m sorry that the pictures are a bit different from the finished pattern, especially since the shape of the front canvas is different. My canvas ends at the corner, in the instructions the canvas reinforces the corner, reaching a bit down the tail – see the last pic.

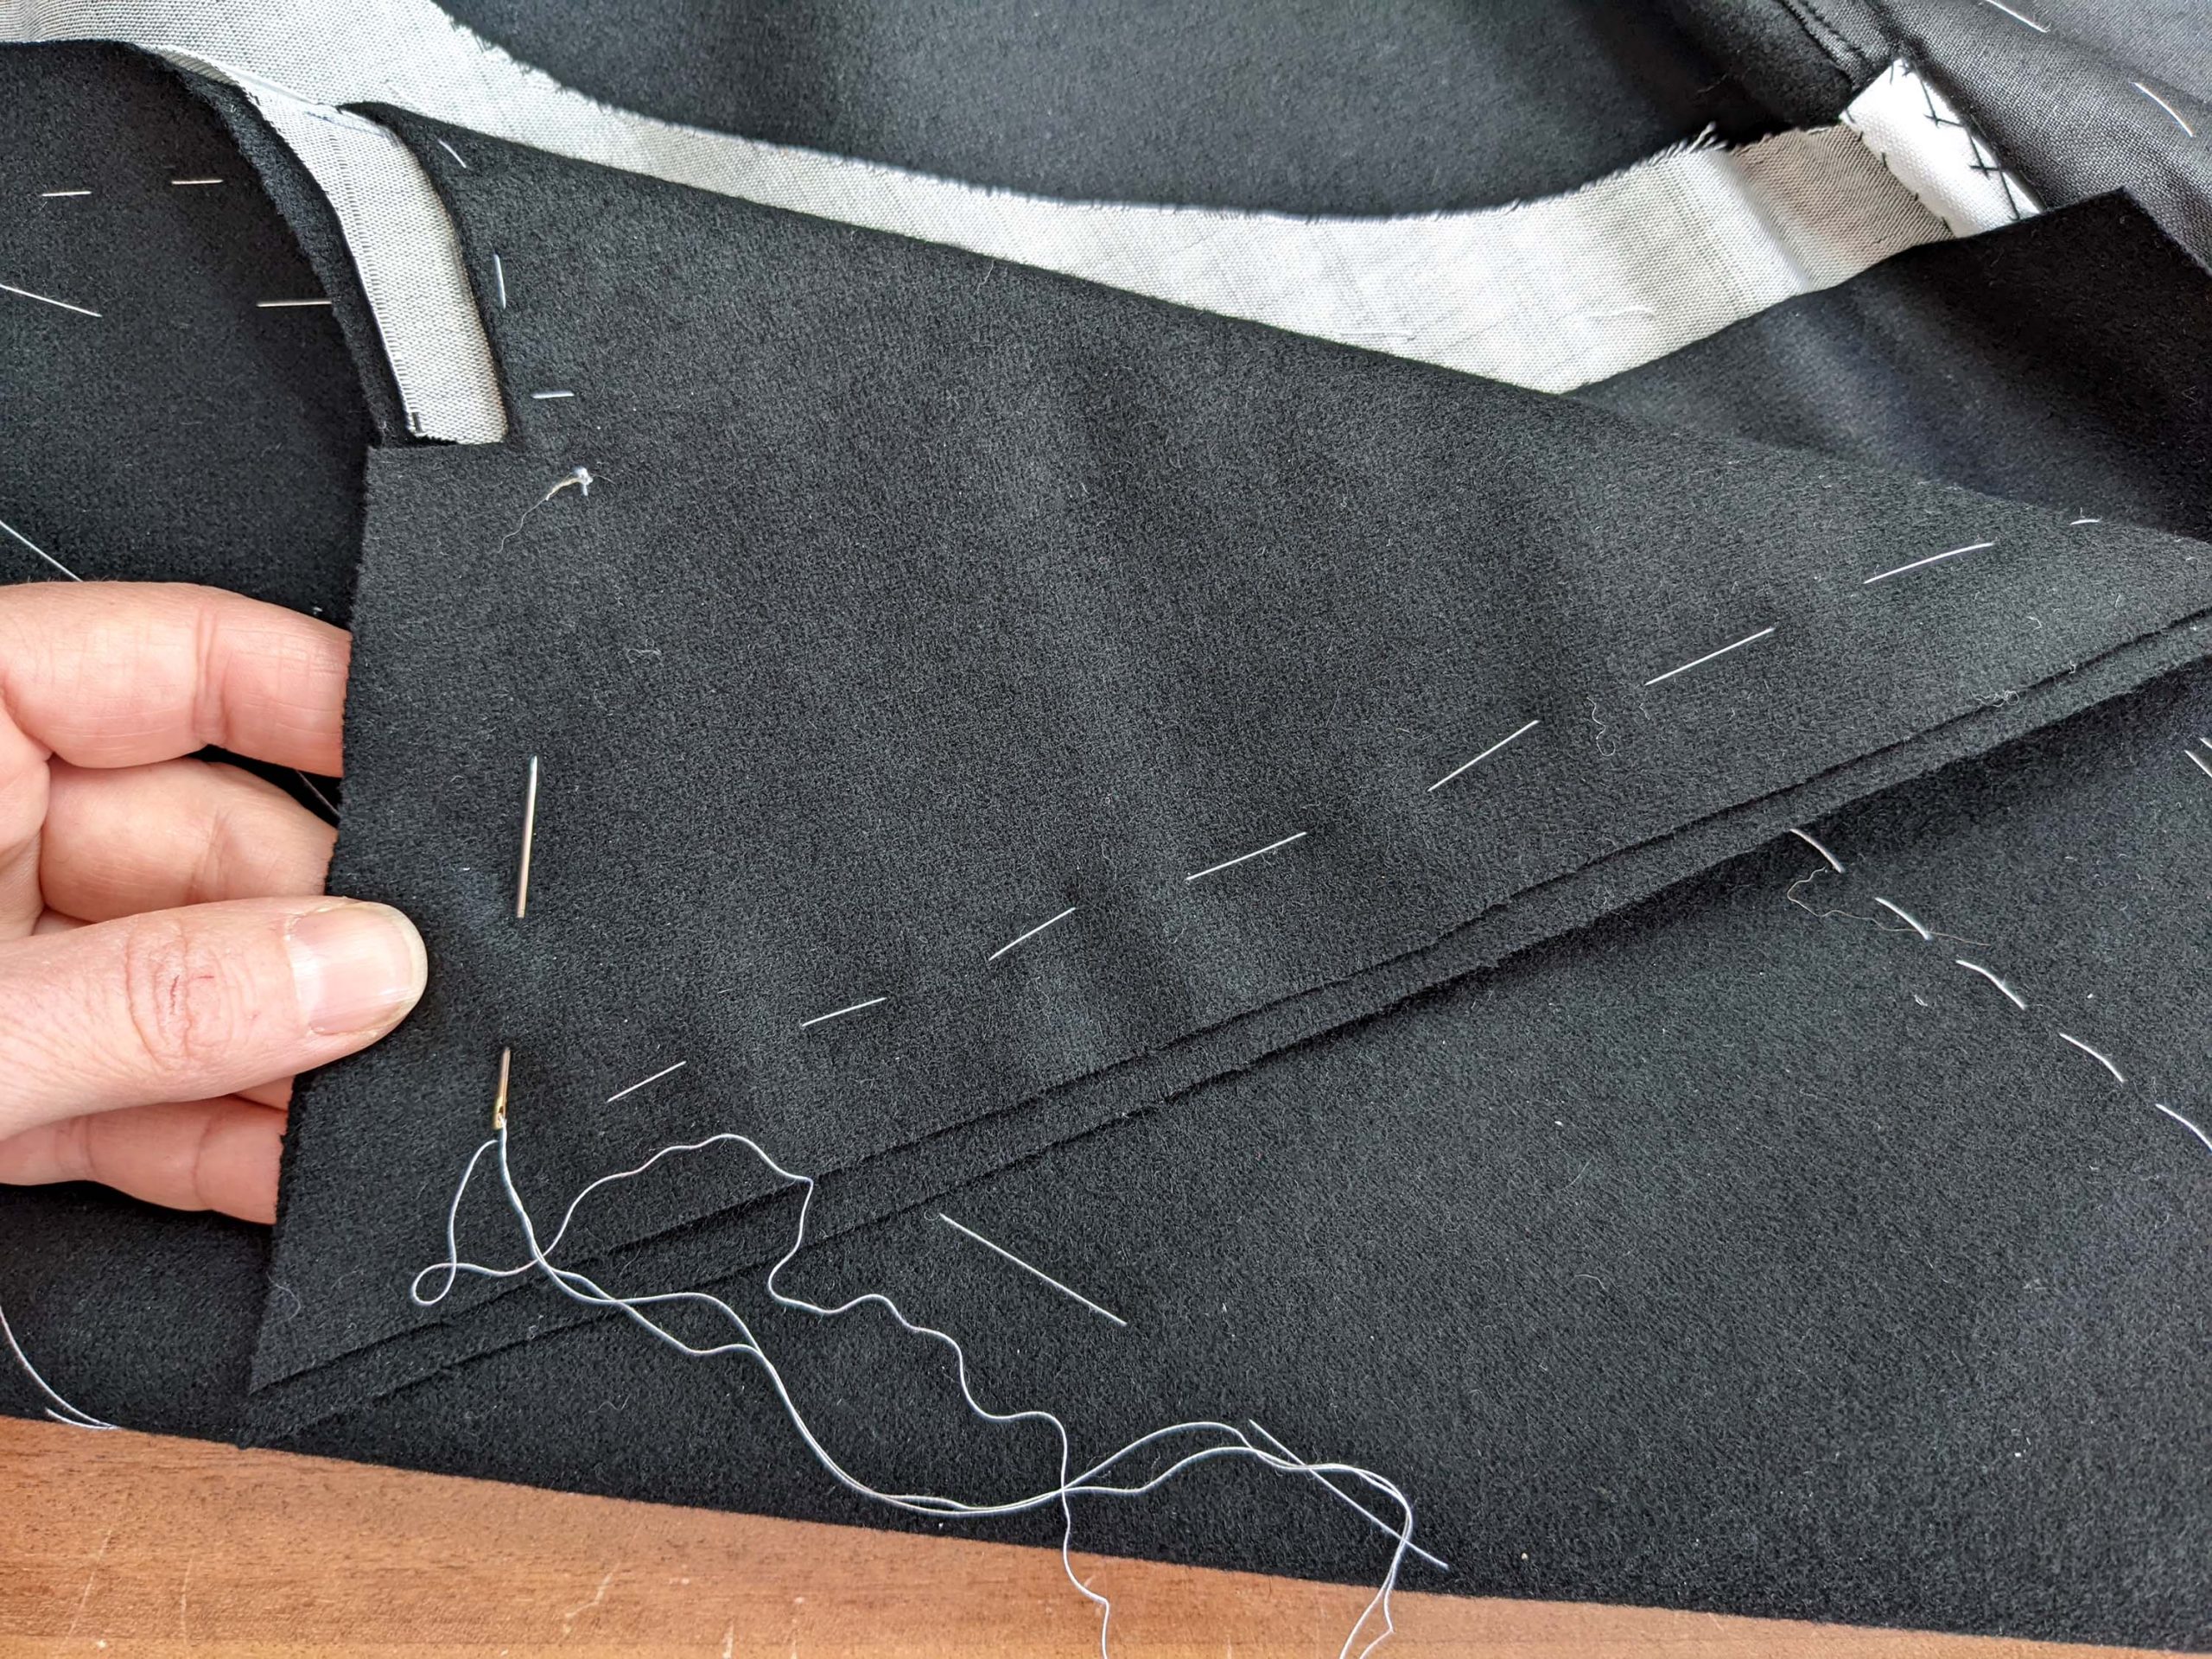
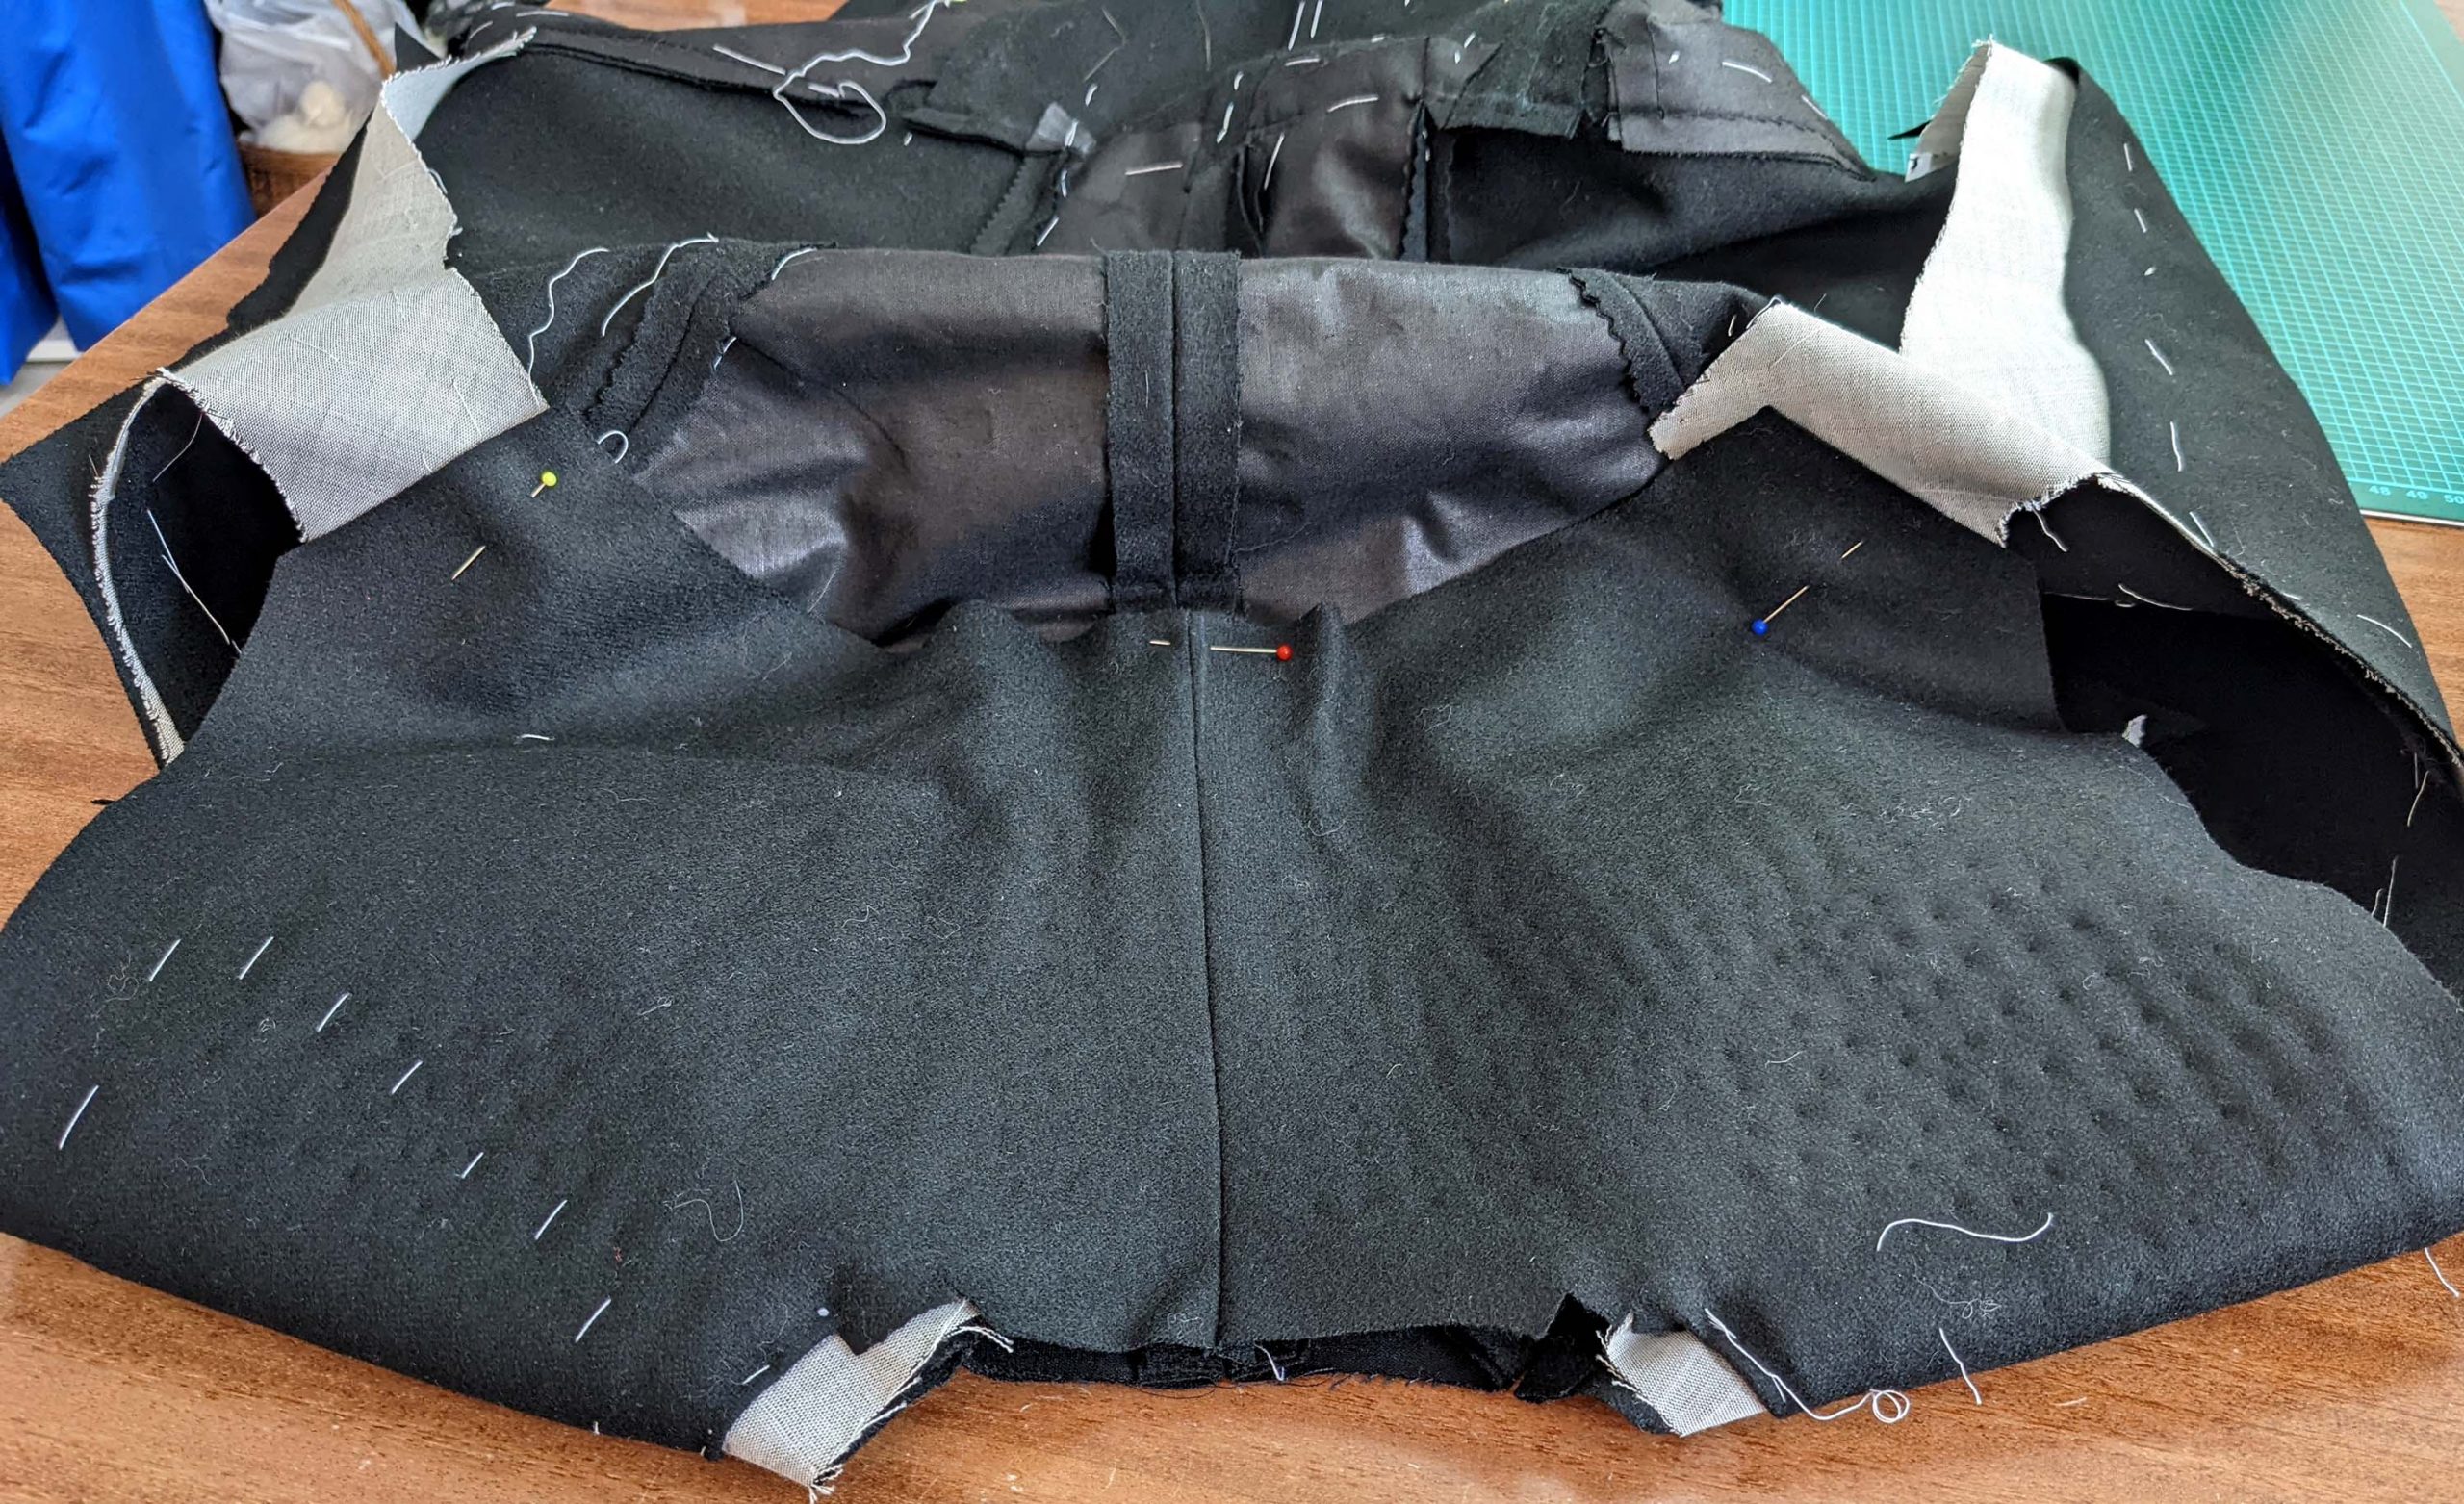
(4) Sew the shoulder seam, right sides together, easing in the extra width of the back. Fold the front canvas to the side while sewing. Press open the seam allowances and place the front canvas on top. Remark the seamline along the neckline and adjust it if needed. Baste the canvas to the front along the neckline inside the seam allowance.
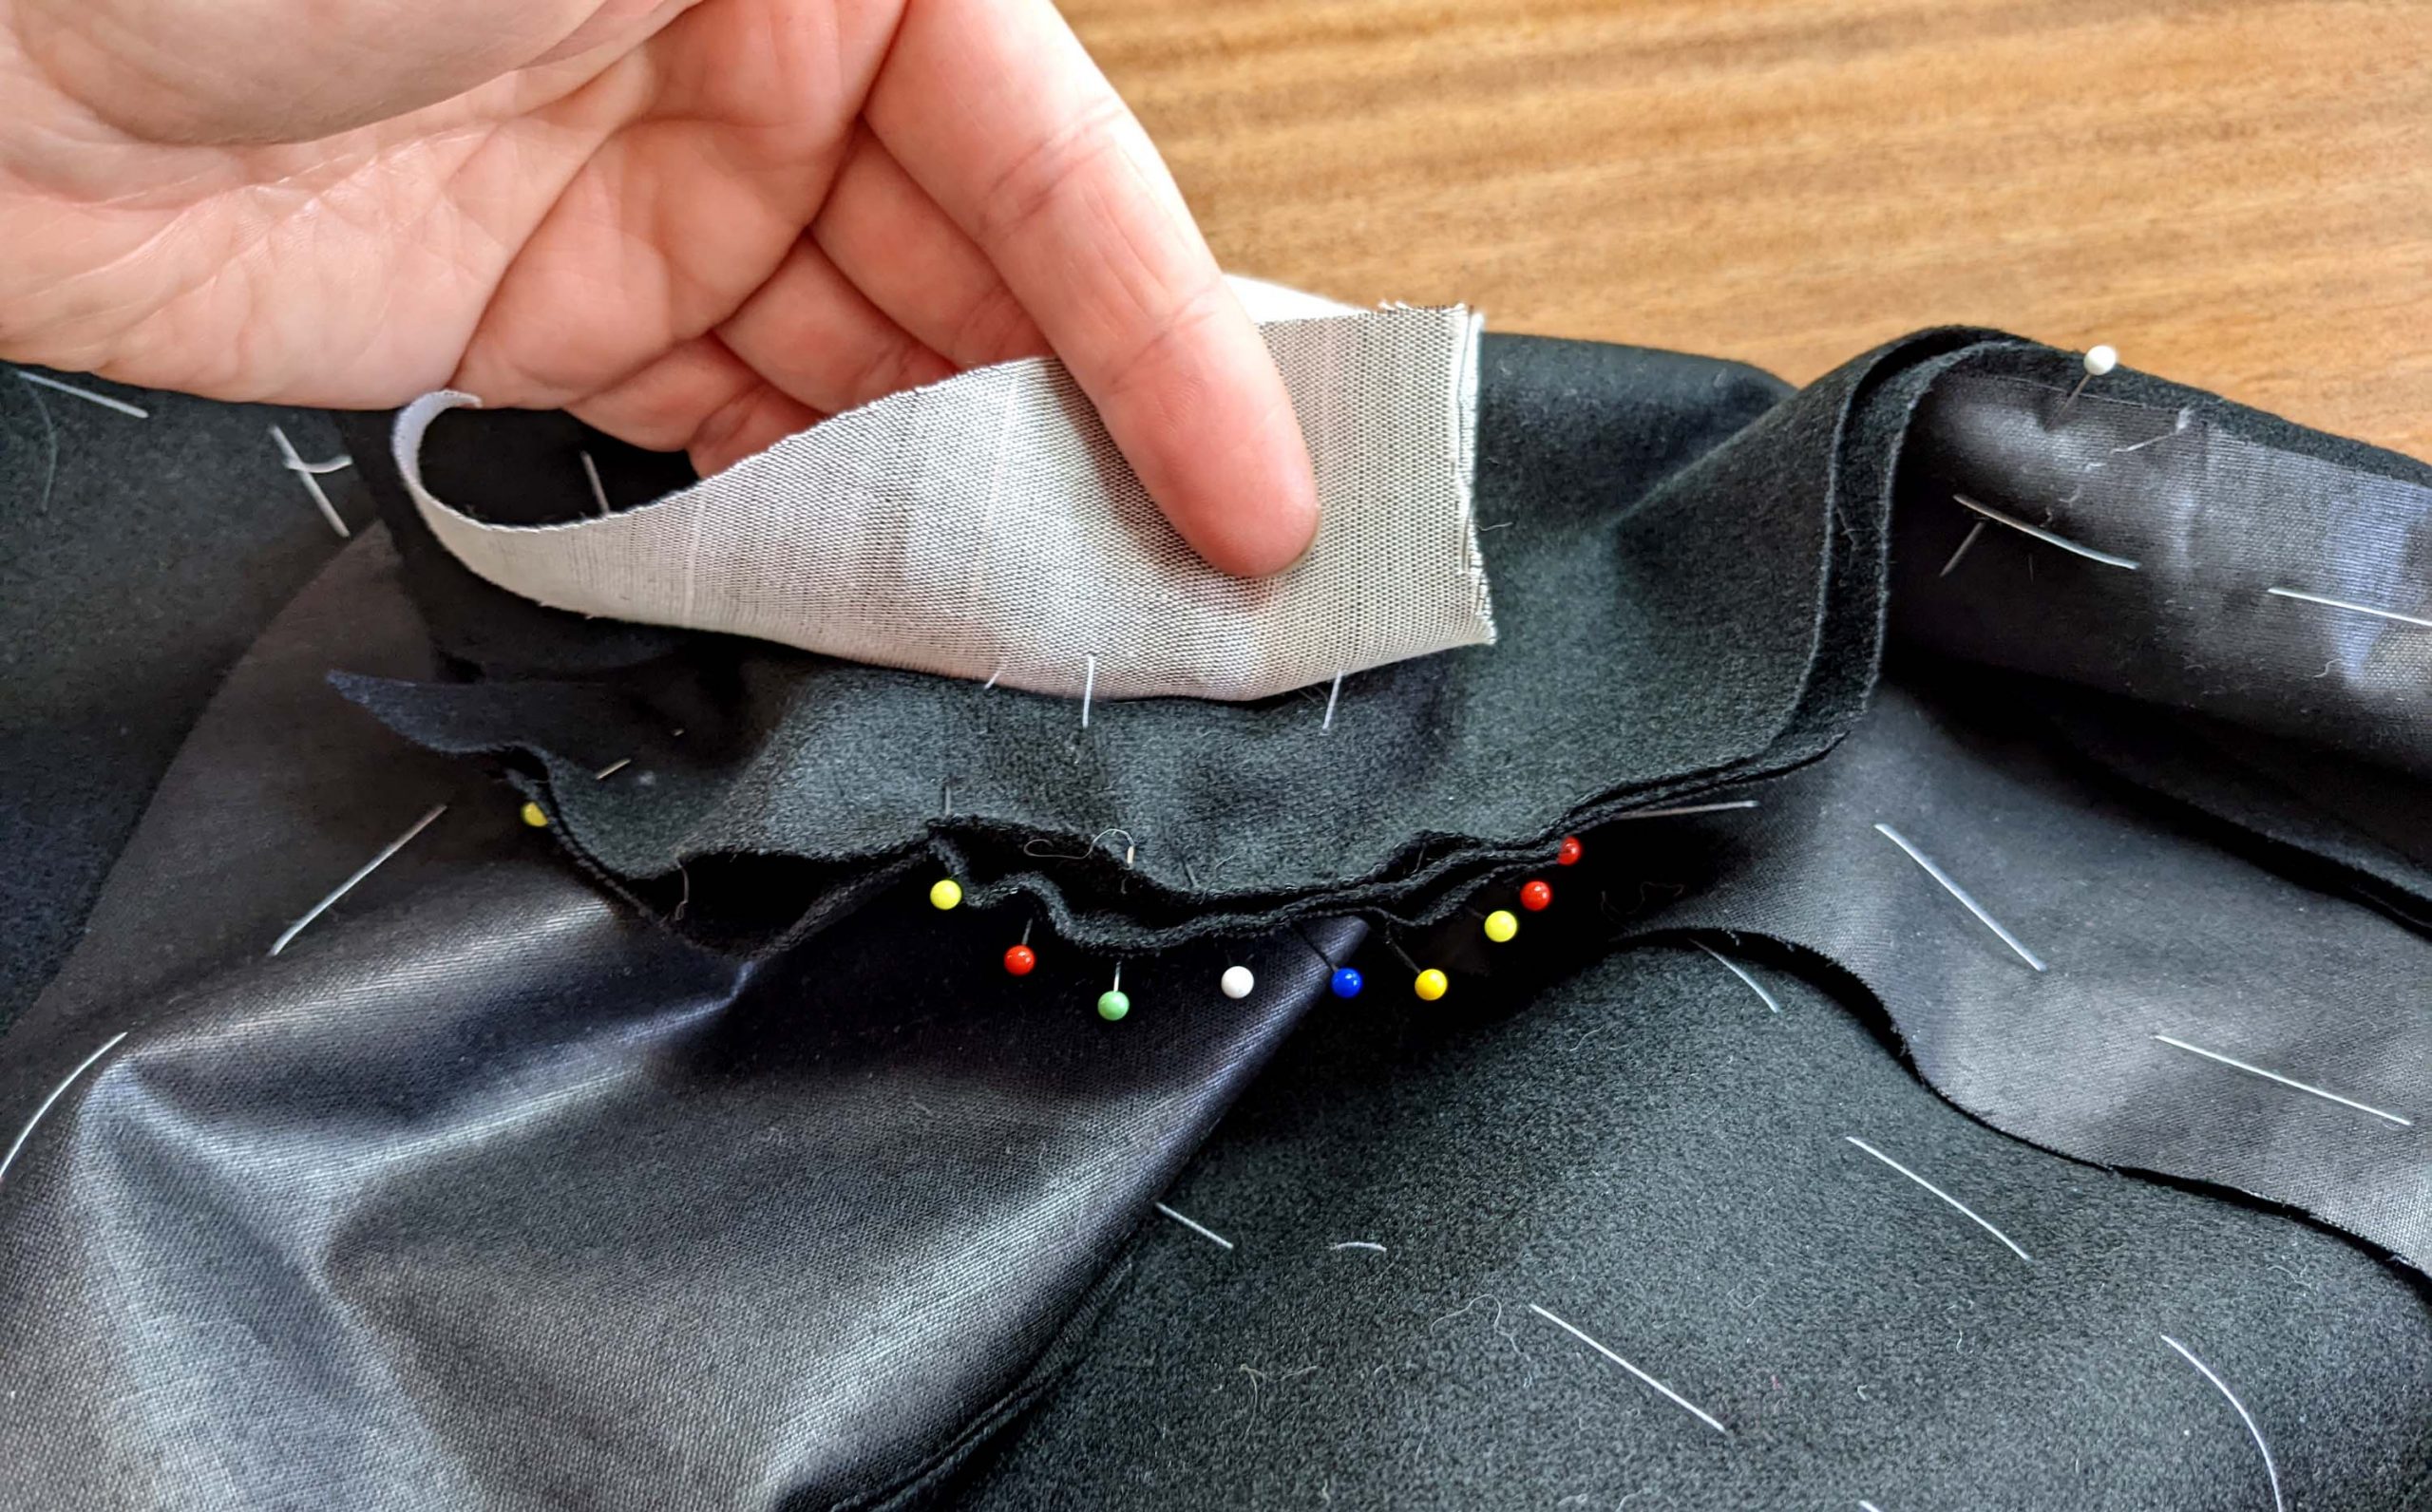

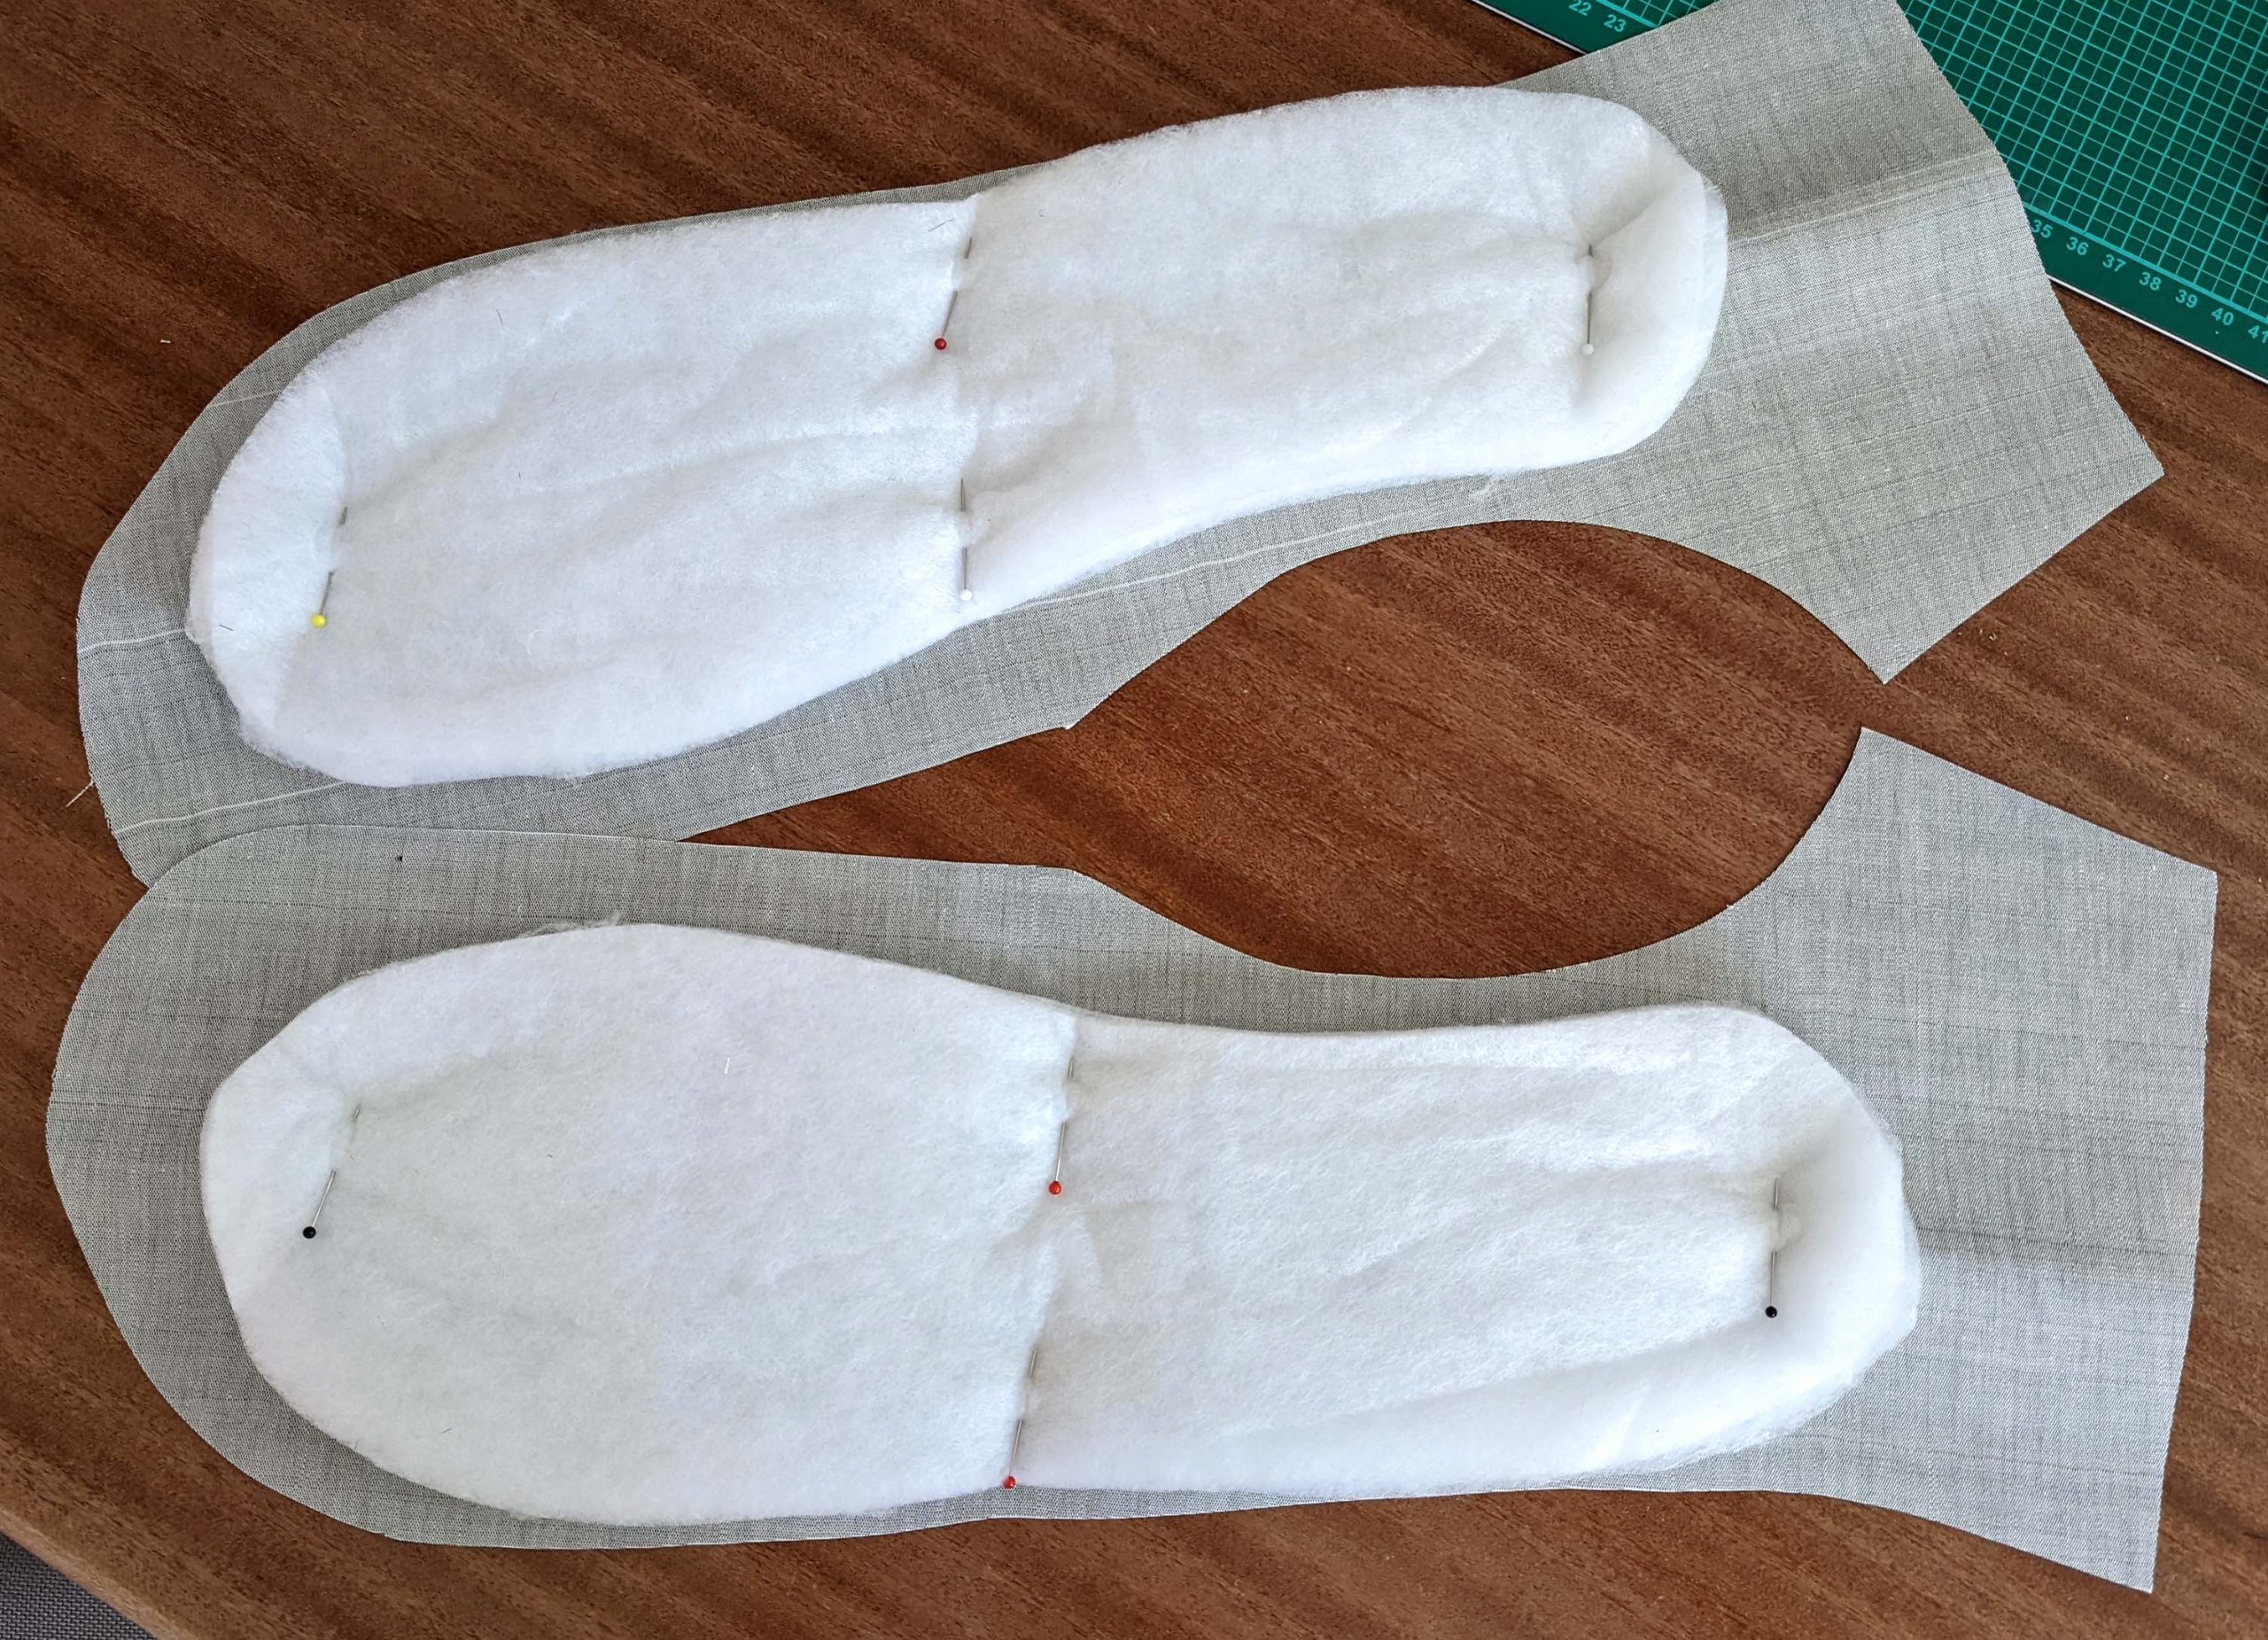
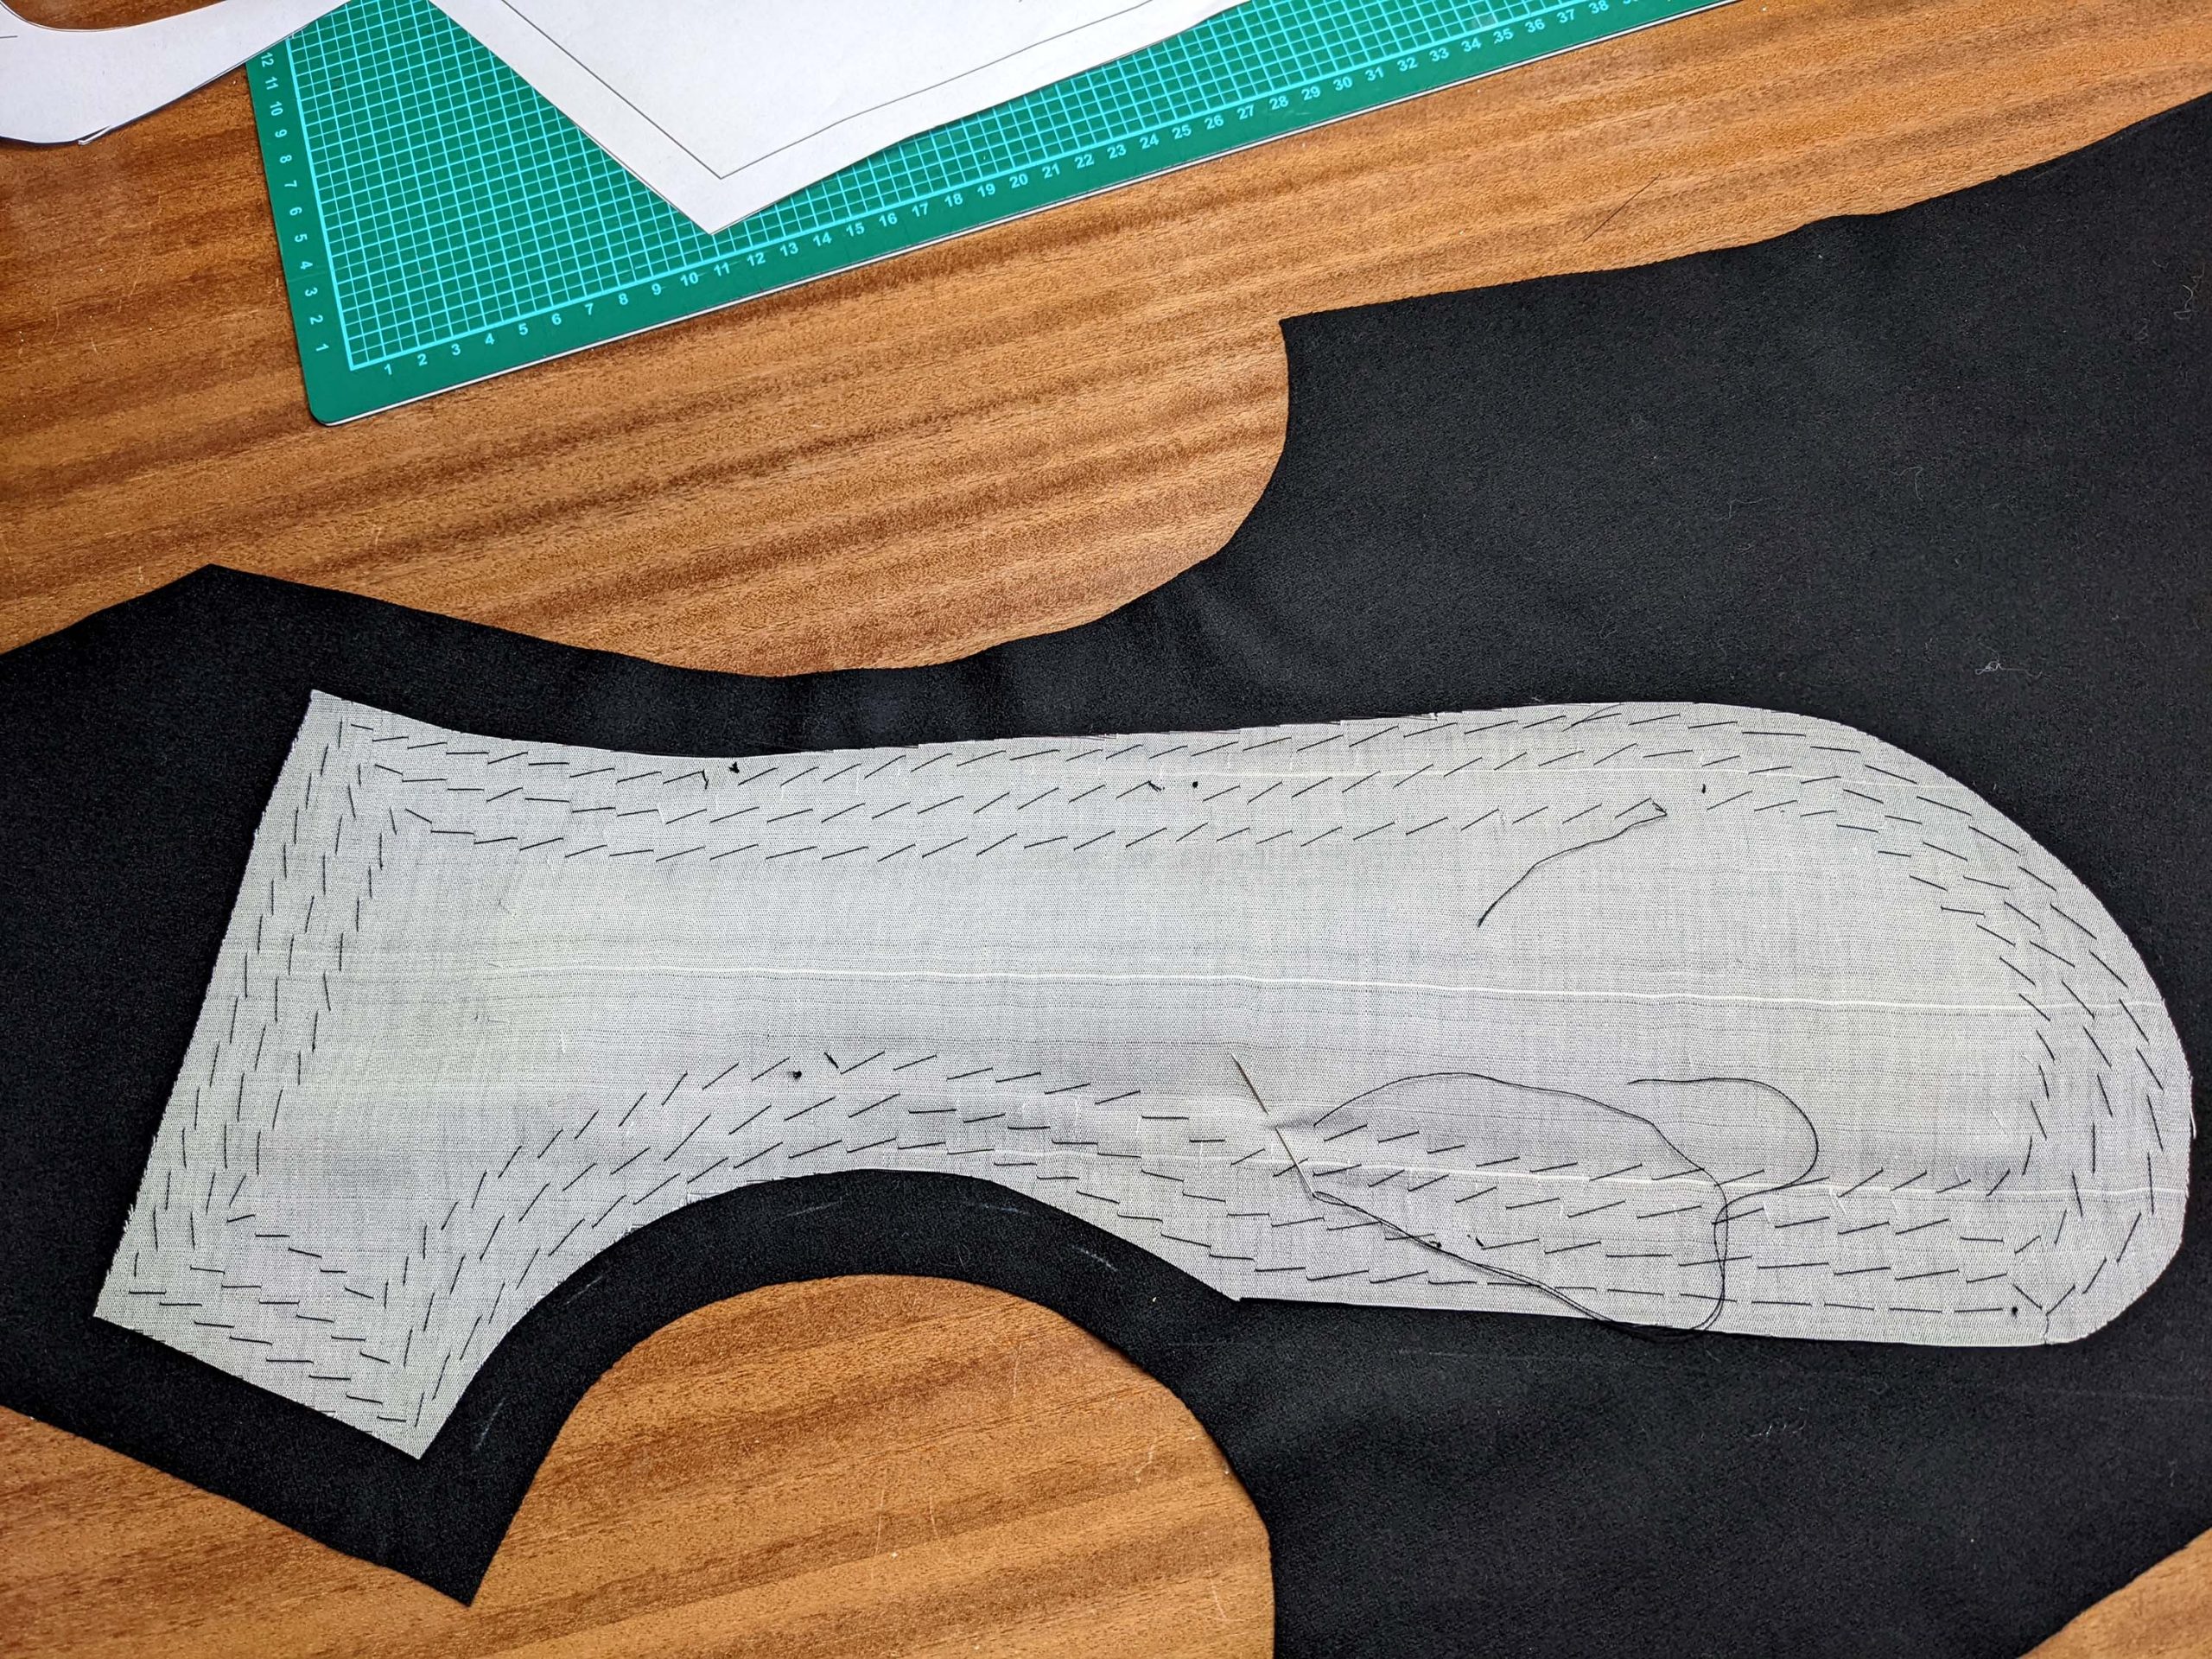
(5) Take the chest canvas and place 2-3 layers of padding on top, and baste in place. Line up the chest canvas with the front-facing, sandwiching the padding in between. Line up the outlines marked on the pattern. Pad stitch the canvas to the front-facing.


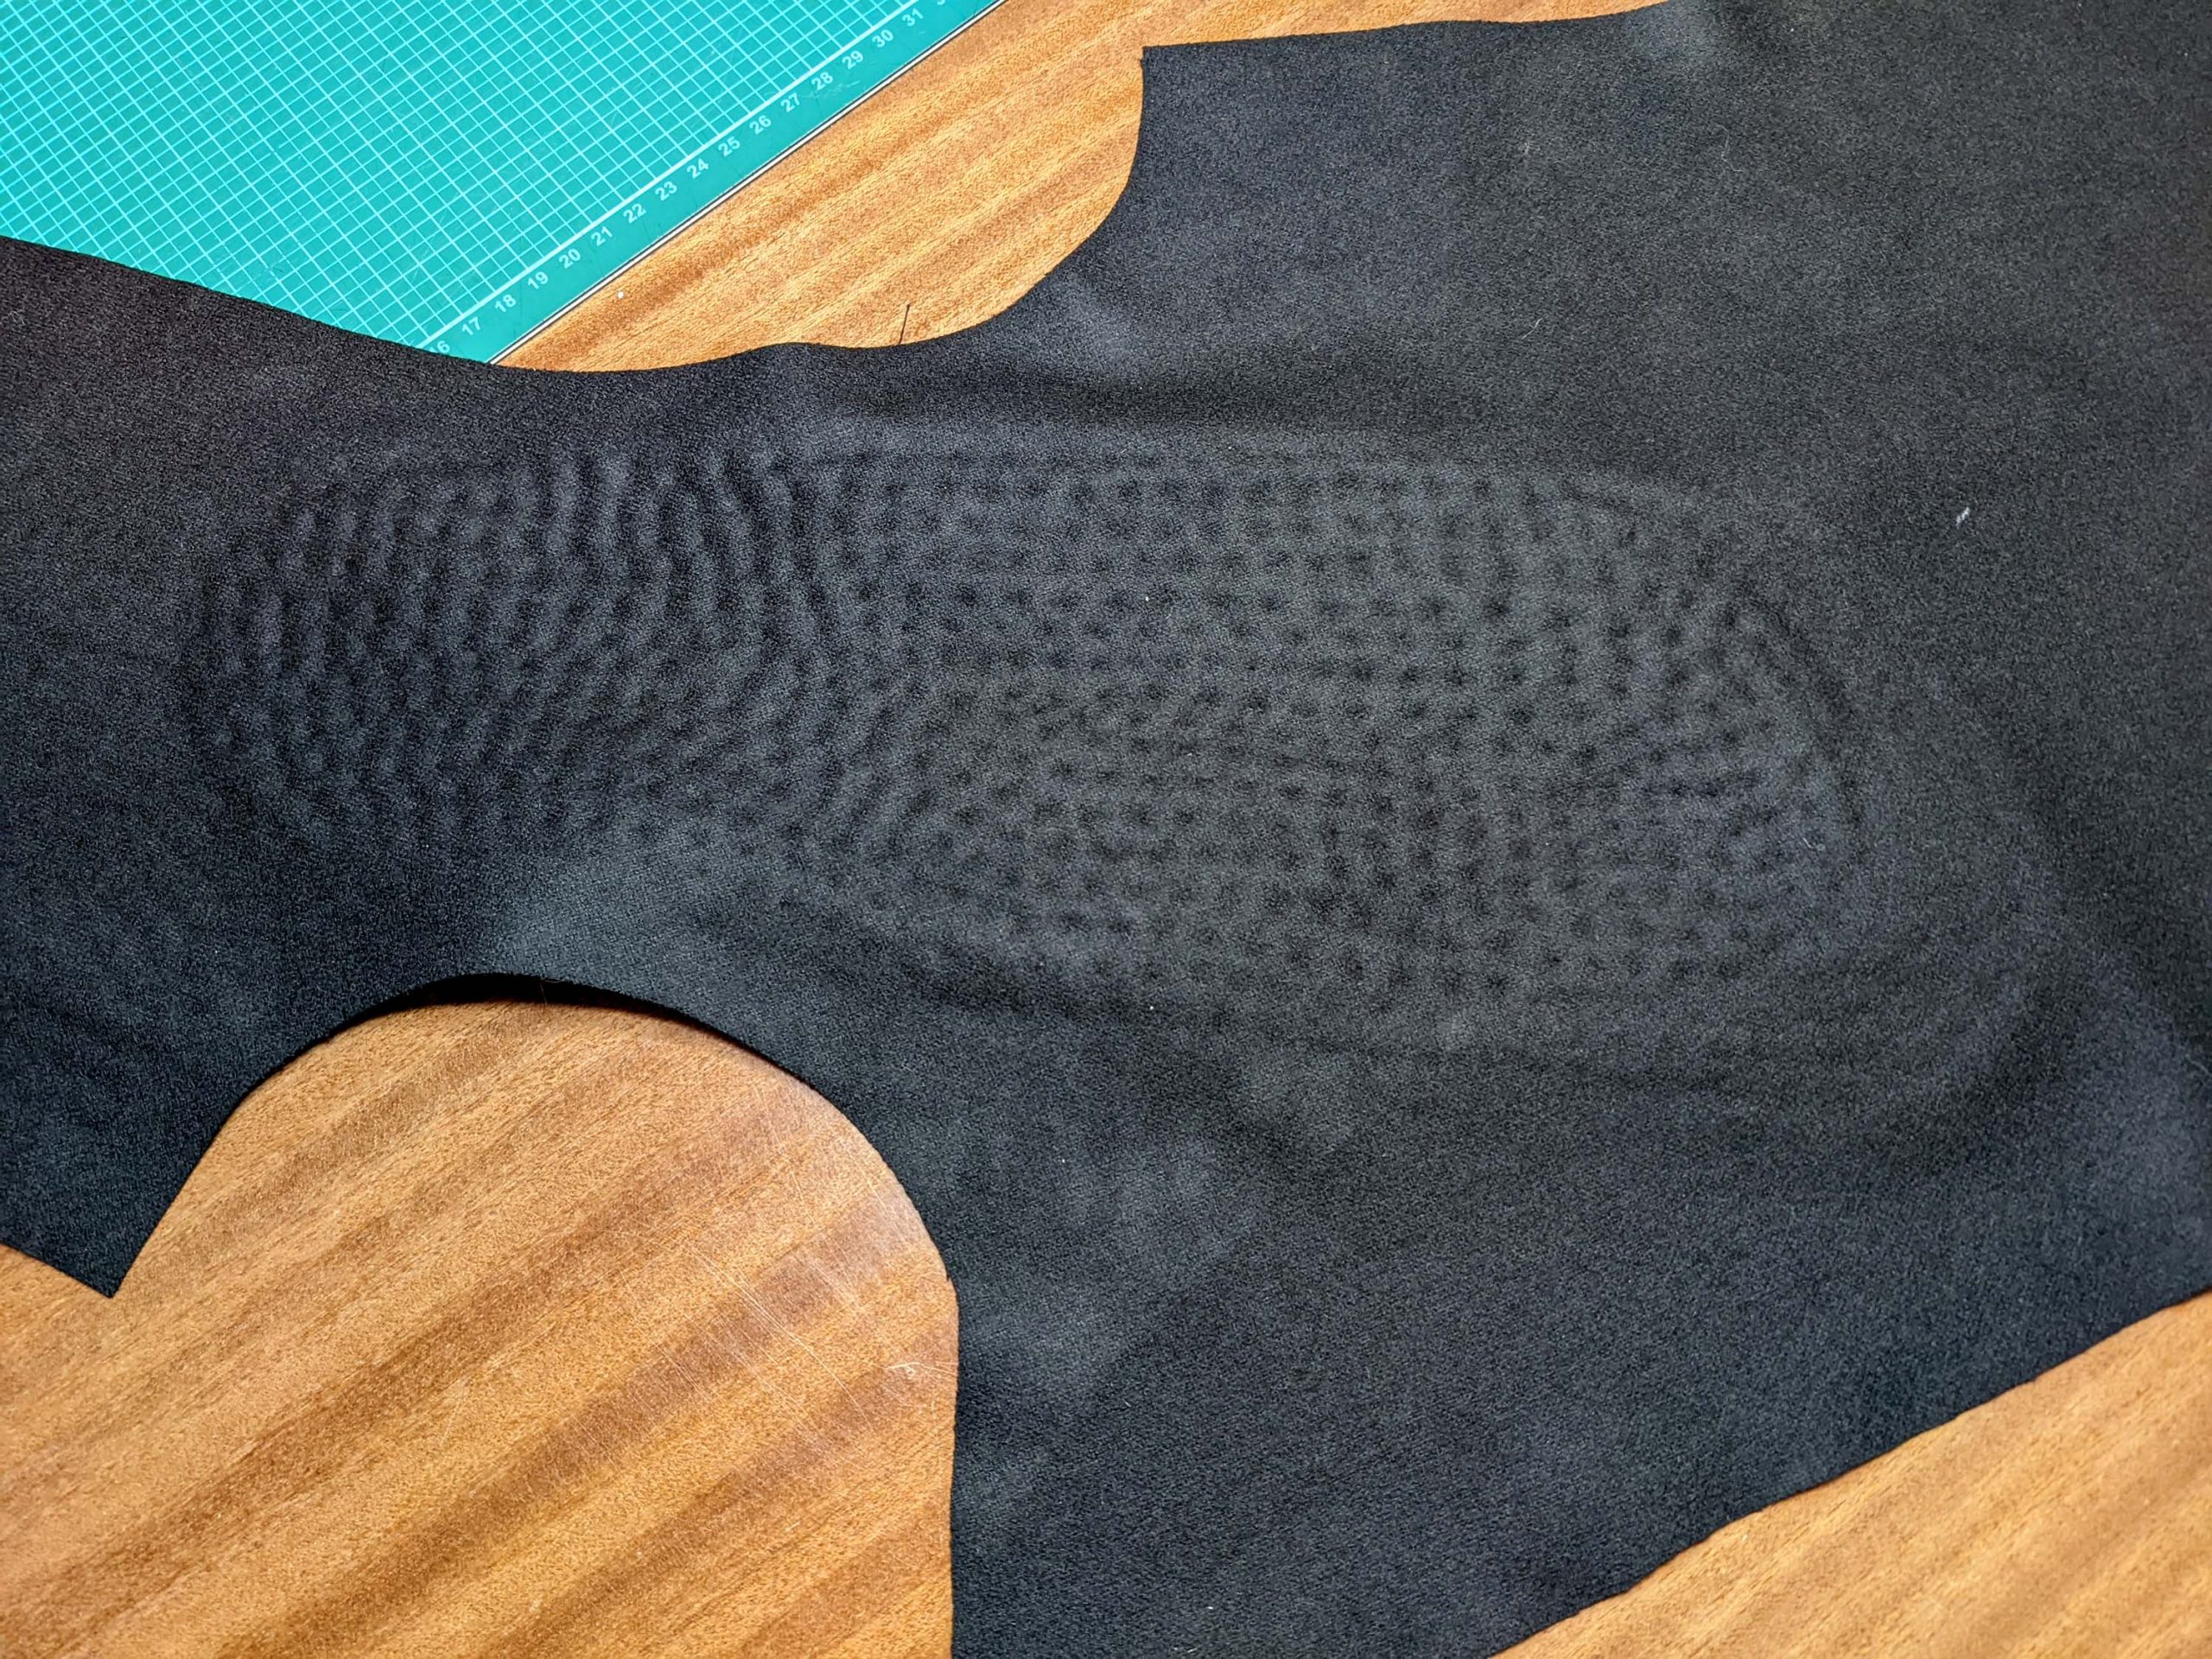
Line up the front-facing with the front, wrong sides together, and baste together about 1” (2,5cm) behind the roll line first. With the facing side down, place the front on top of a large tailor´s ham or a pillow, simulating the contours of the chest. Baste along all edges and seams. (Again, the pics are a bit different, the shoulder seam is not stitched jet. Don´t bother, in the end, it doesn’t make a difference.)
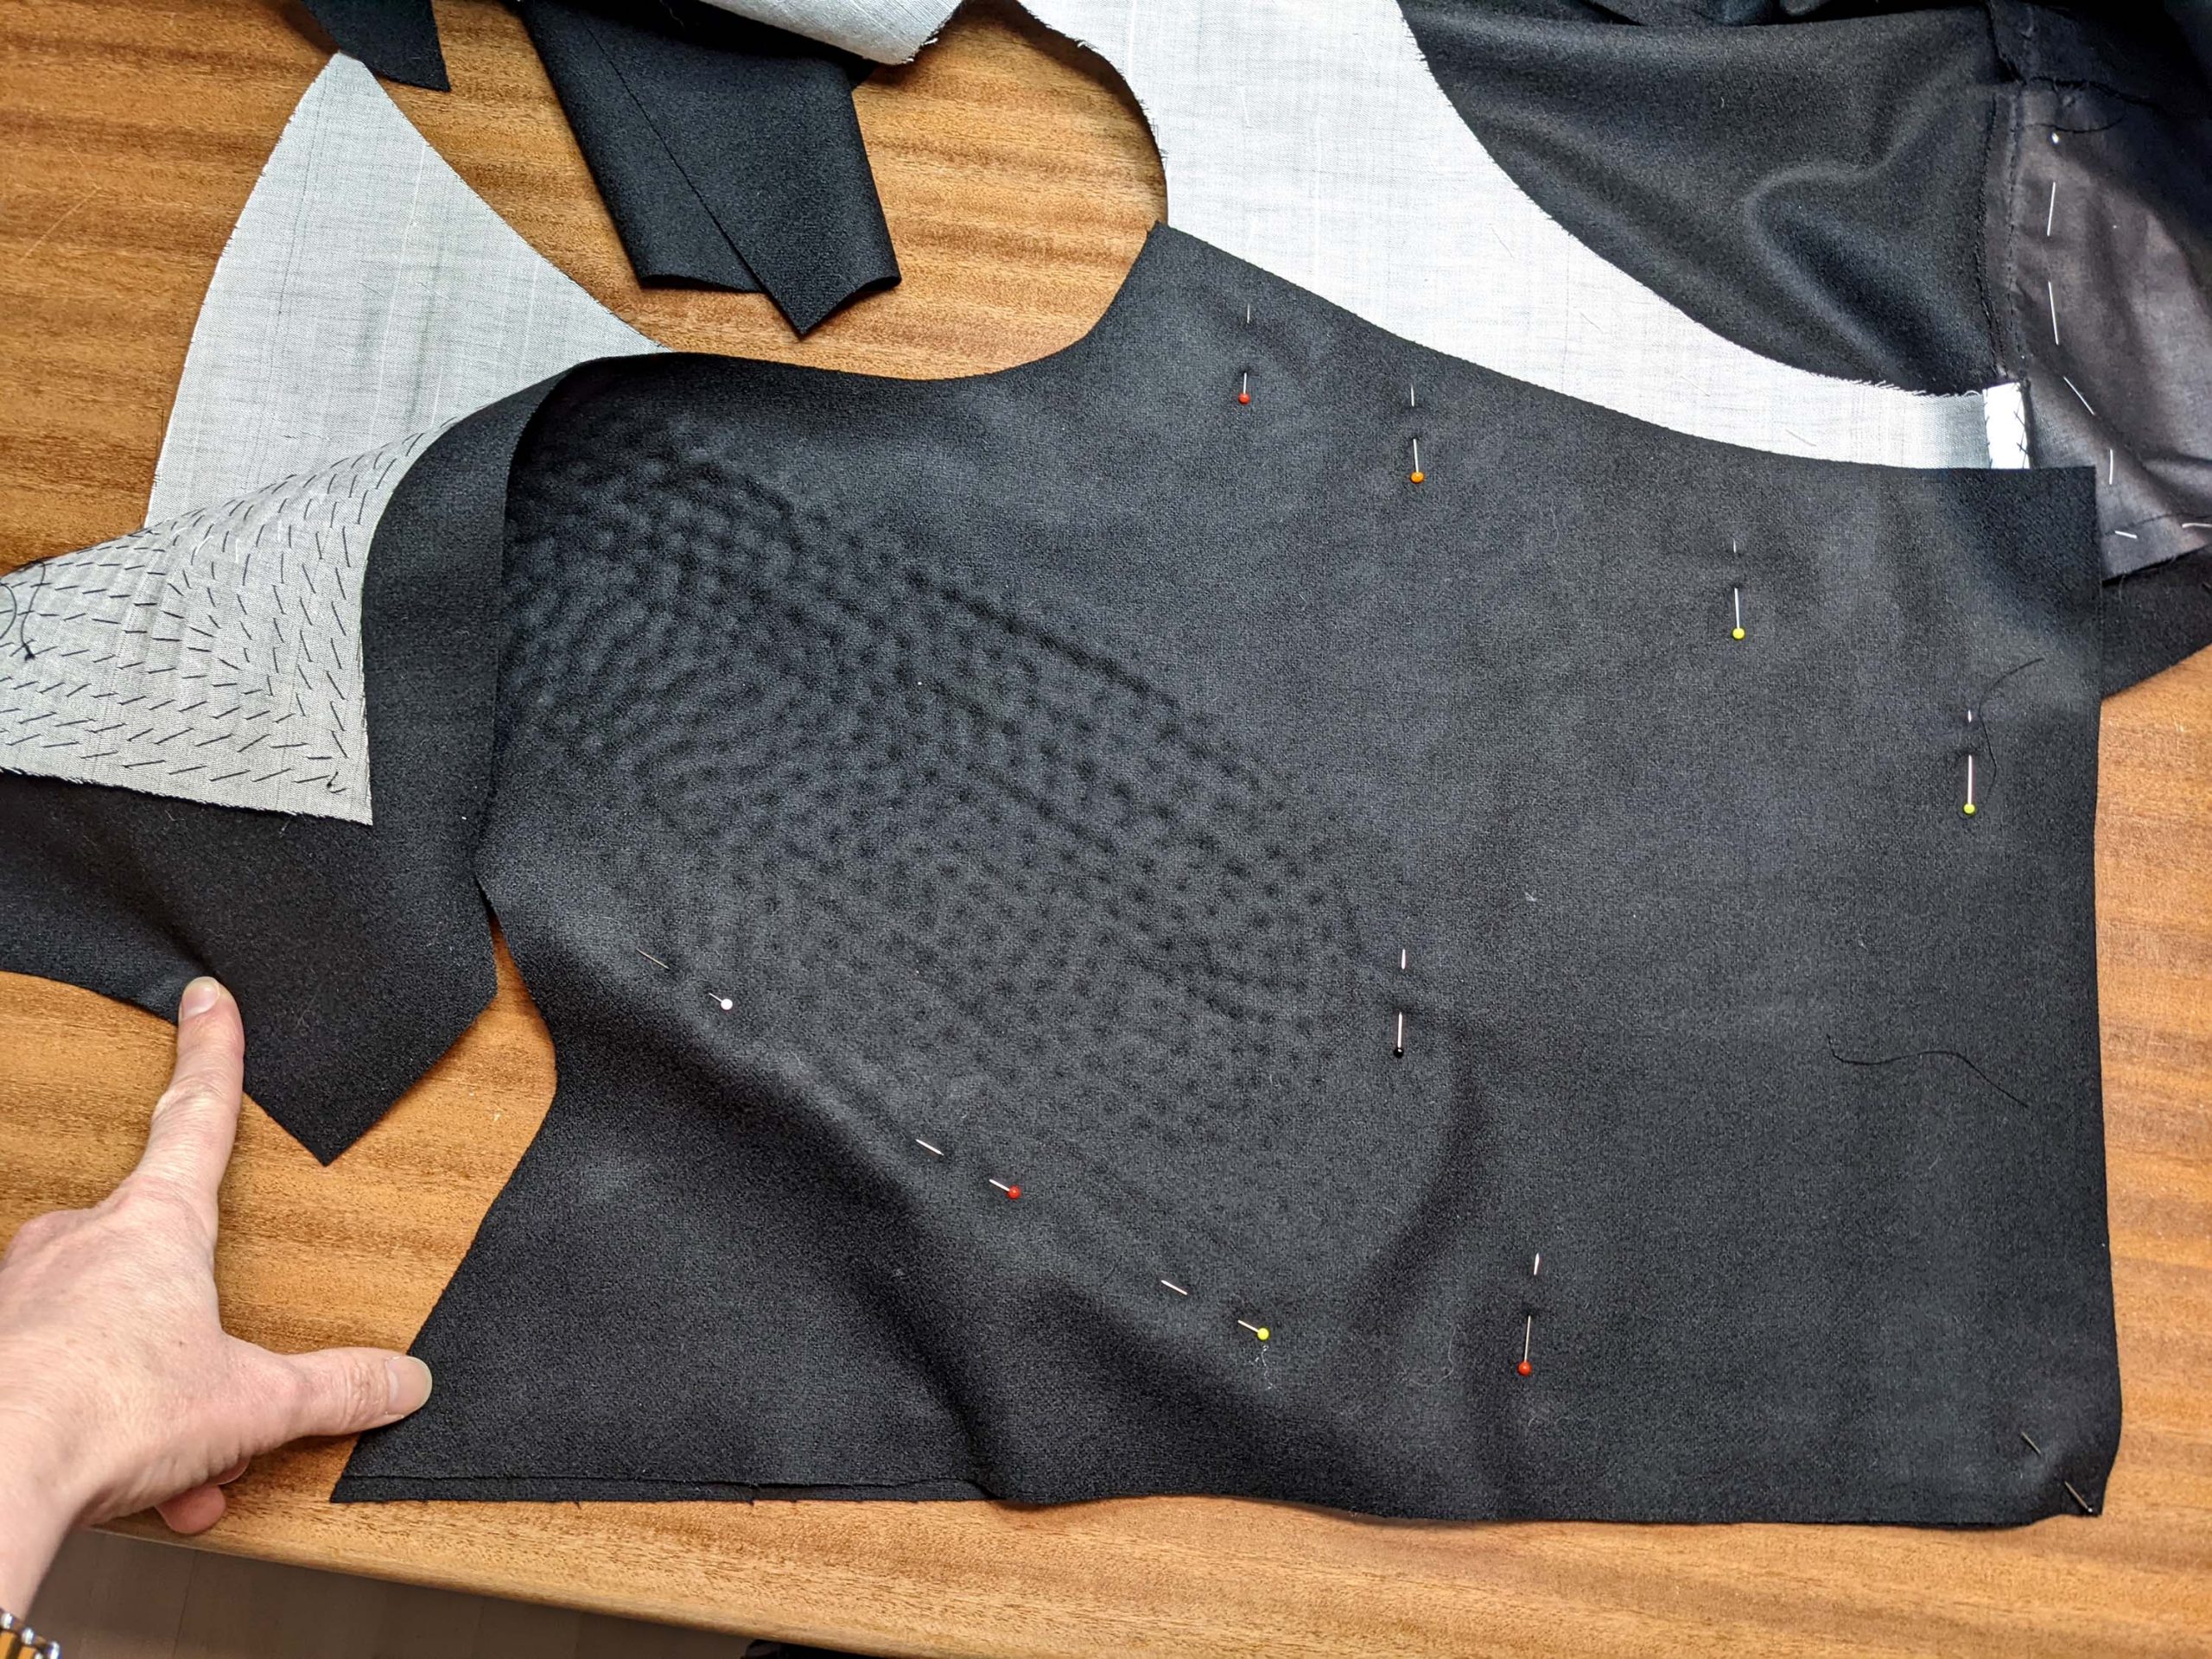

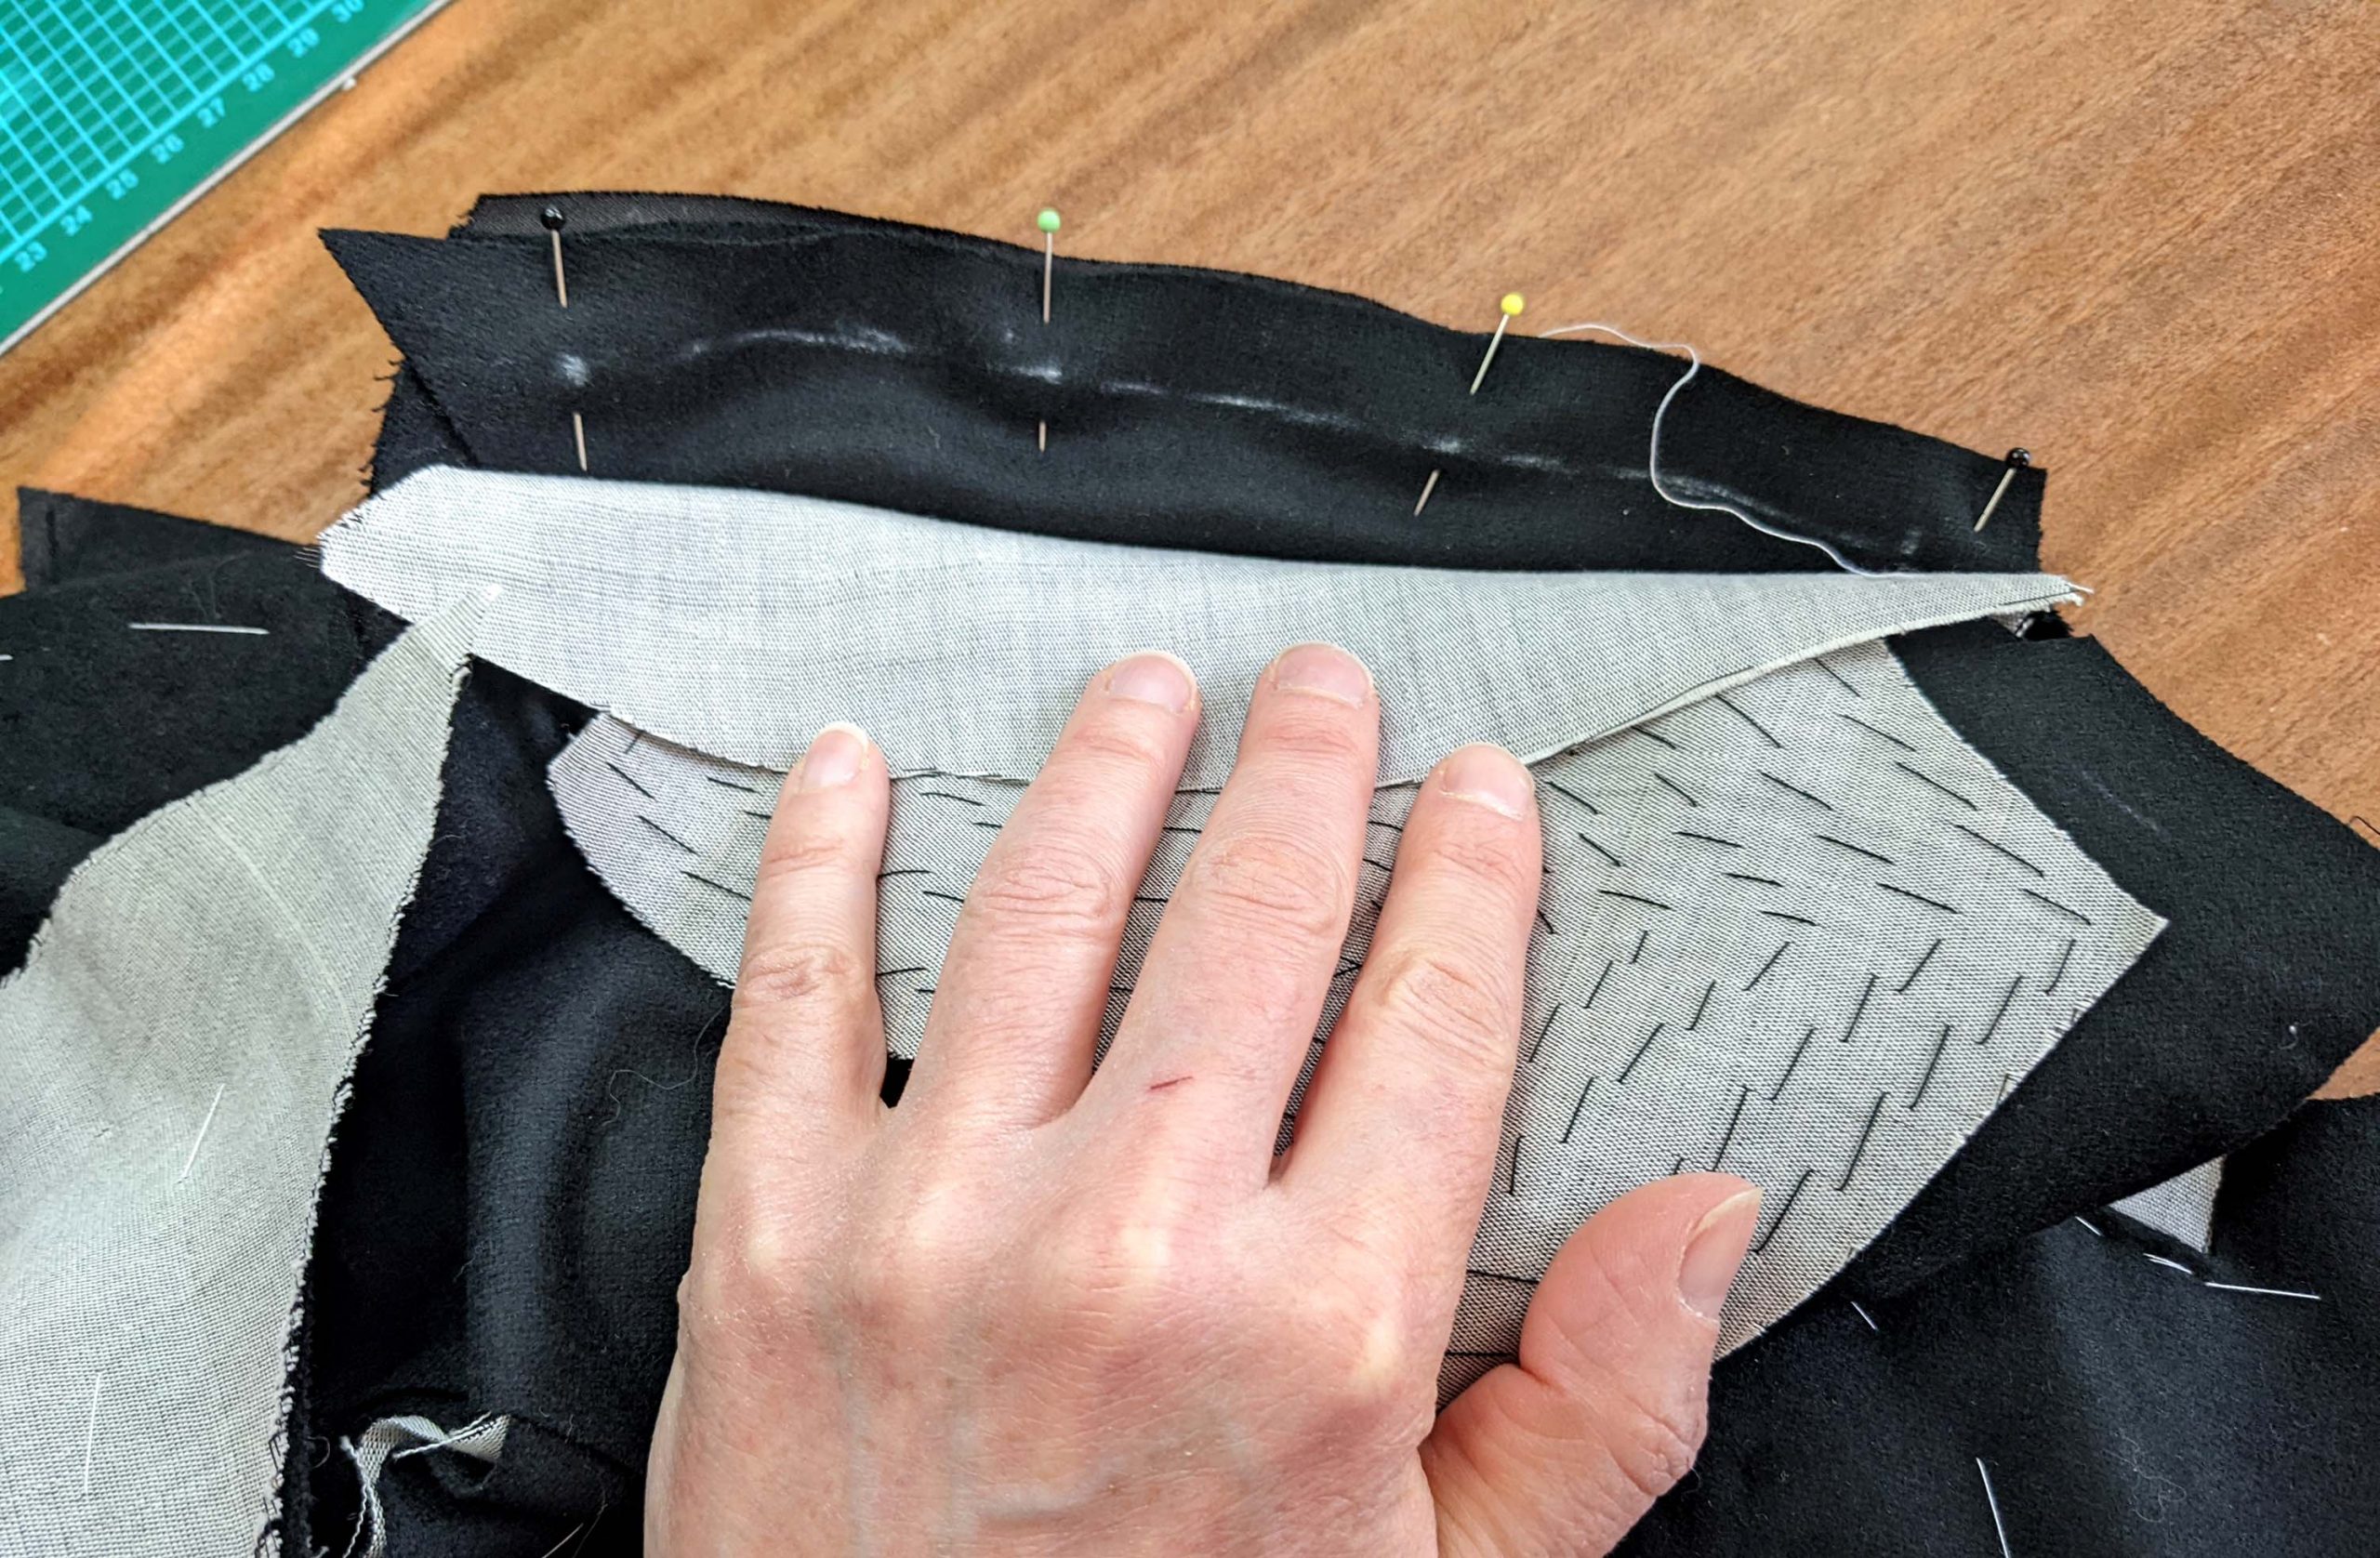
Turn down the lapel while basting to get the extra width needed for the turn of cloth. Baste right beside the seamlines along the front edge and lapel, and keep a distance of about 2” (5cm) along the neckline and shoulder. Press in the roll line carefully. Use a rolled-up pressing cloth to pad out the turned-down lapel, to avoid a crease while pressing.
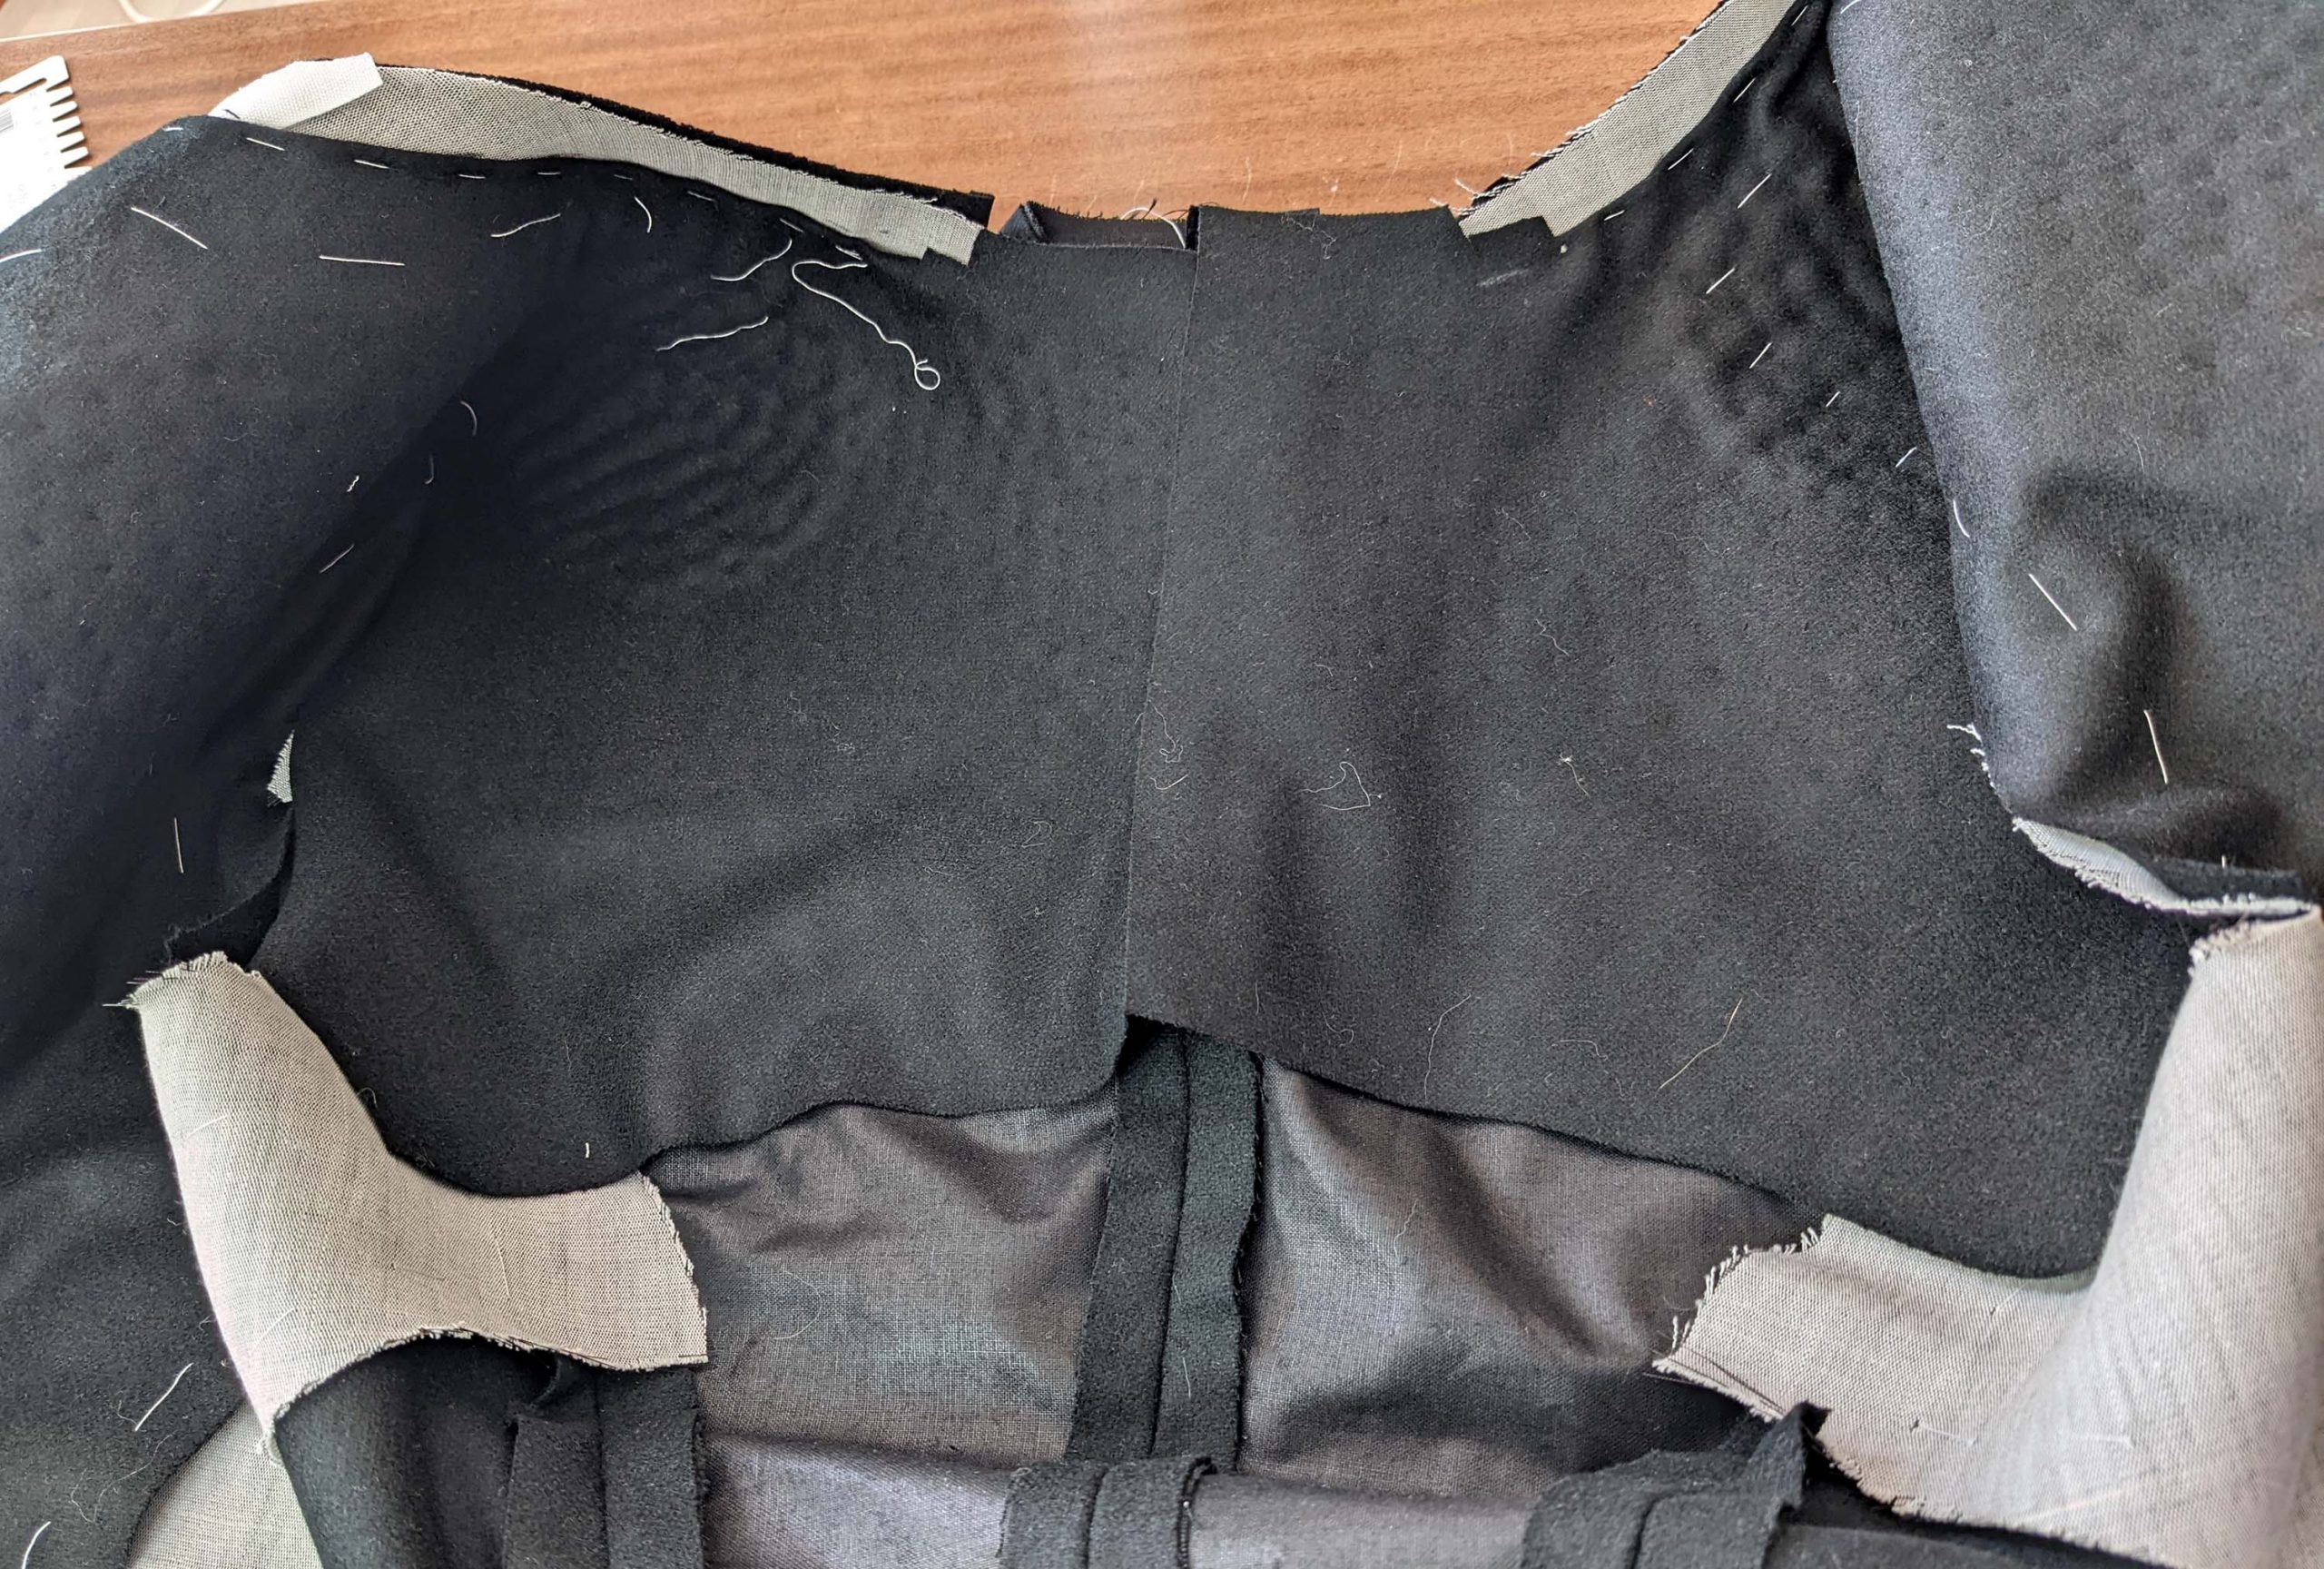
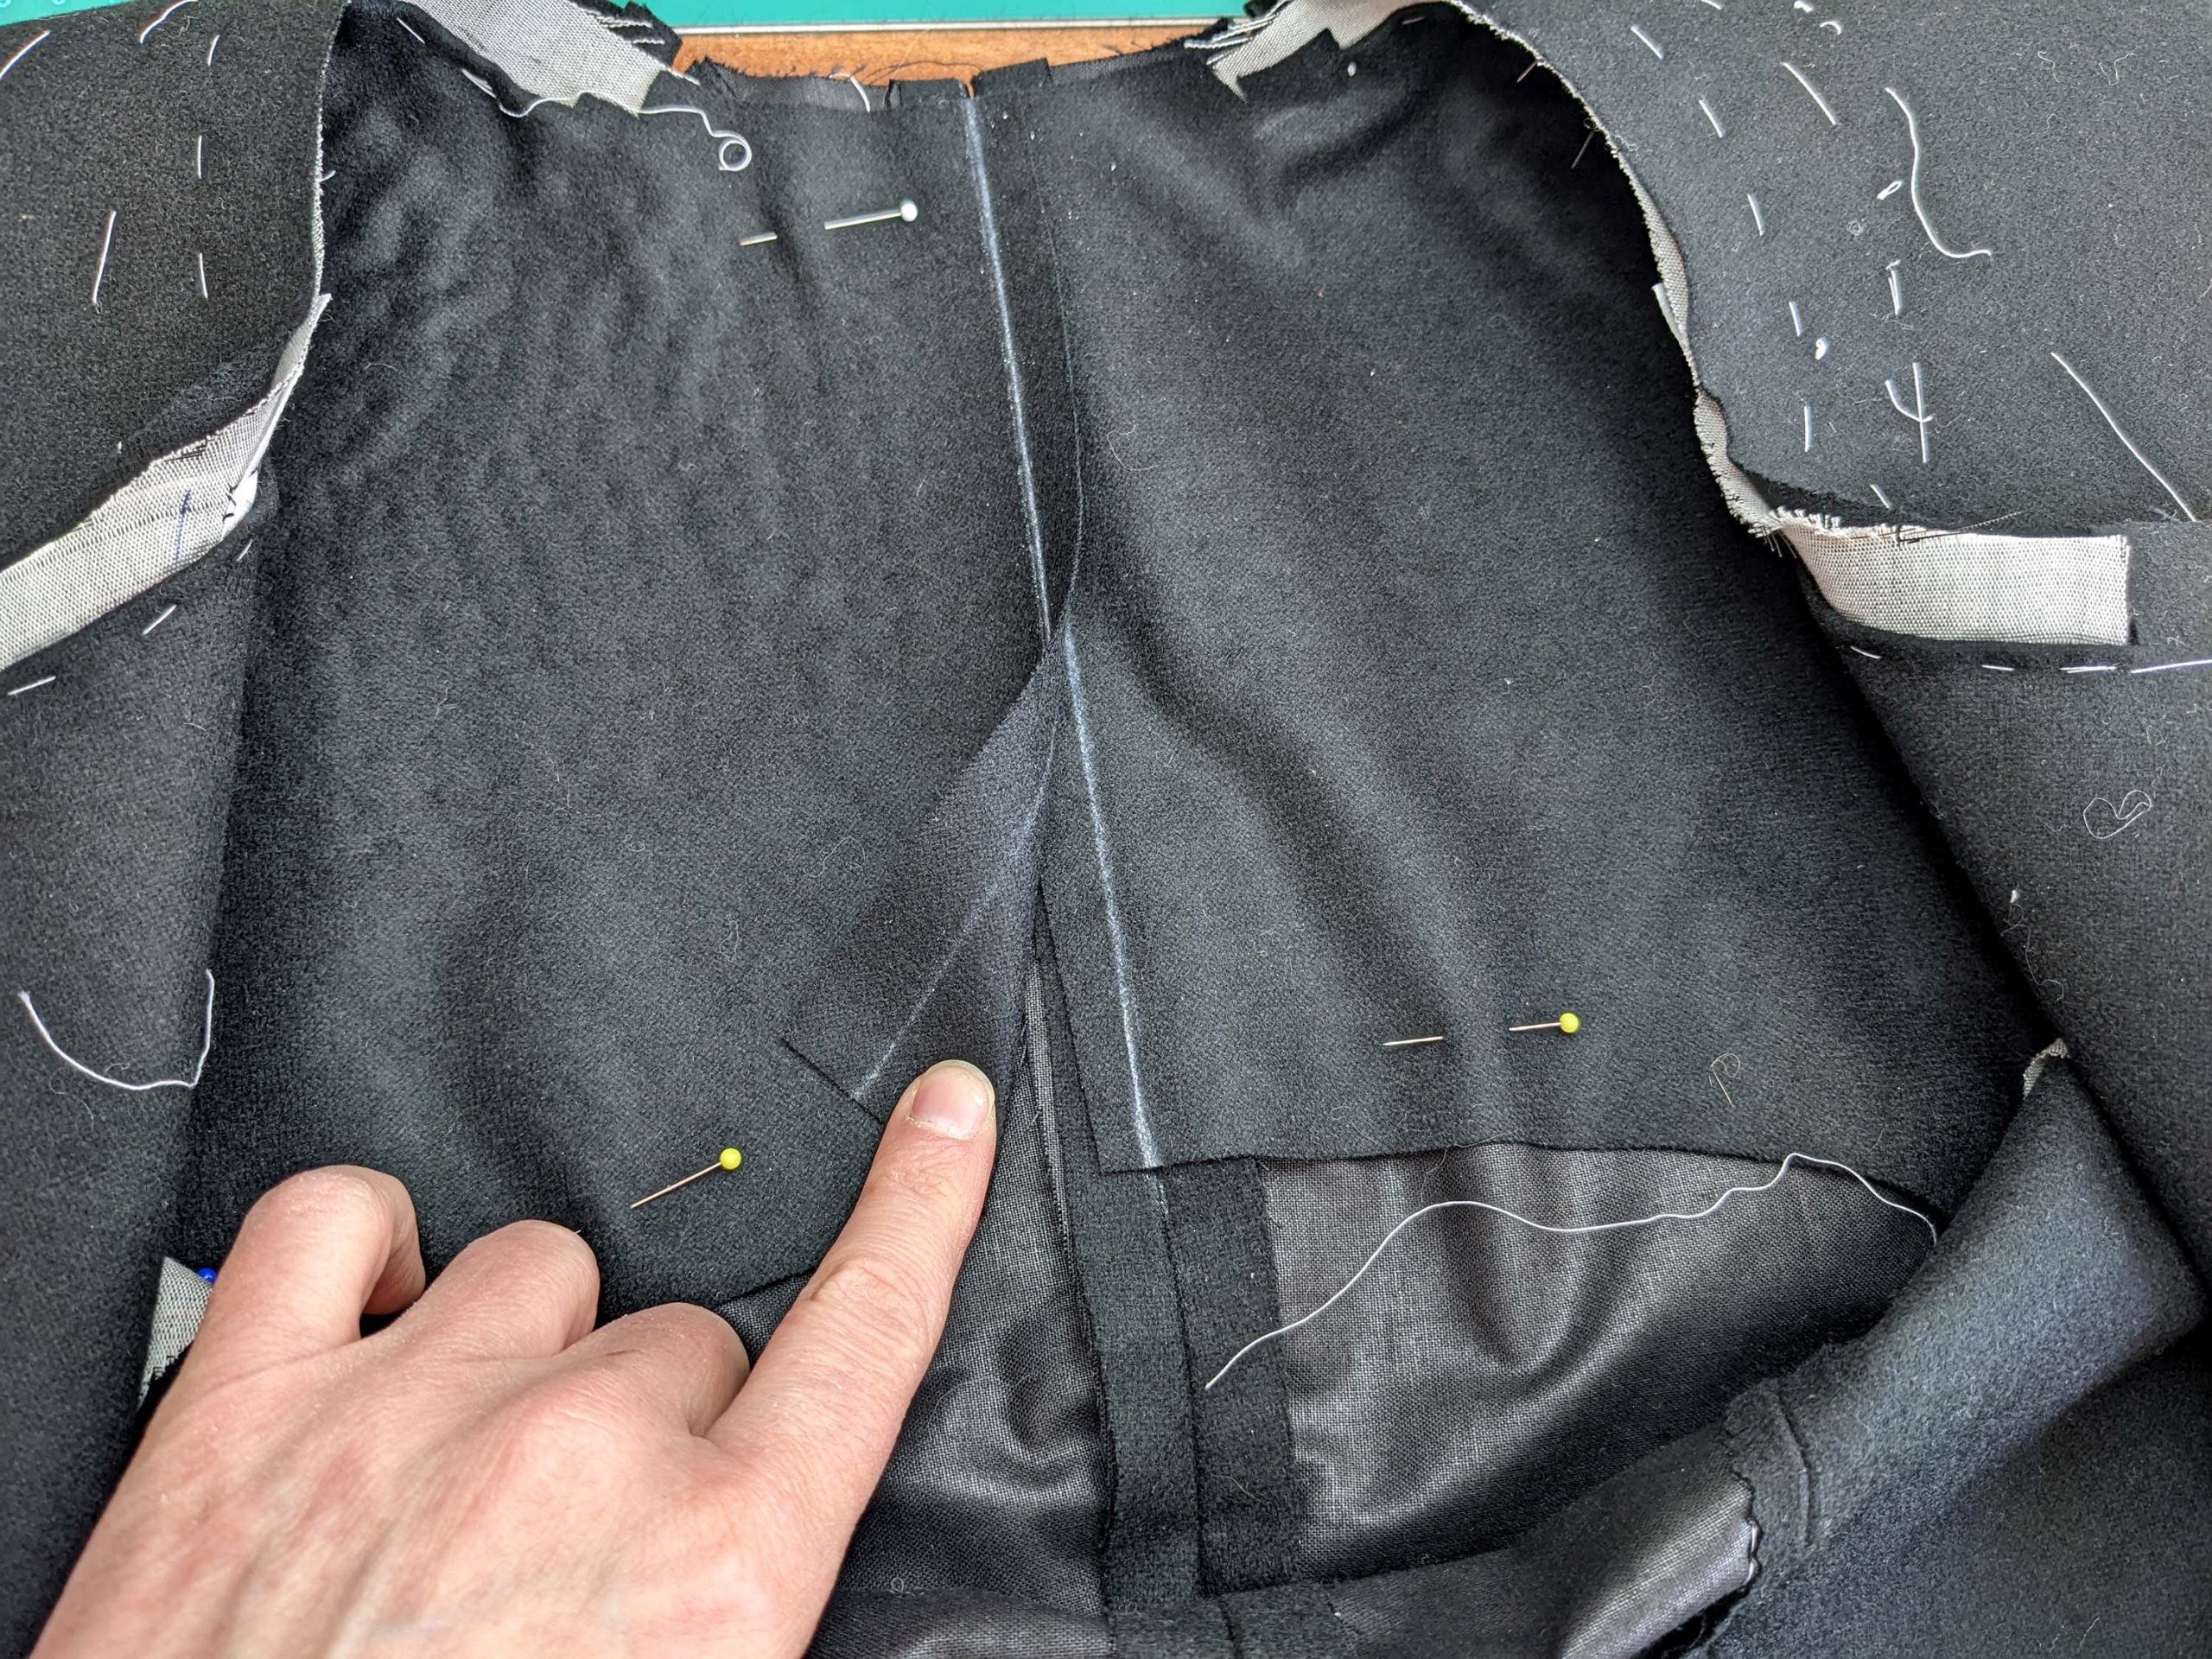
Smooth out the front facing over the shoulder seam and lead the back part of the facing towards the back until reaching the center back seam. Again, simulate the body’s contours with a tailor’s ham or a pillow. Adjust the seamline at the center back of the facing when needed and line up both sides of the facing, right sides together, along the center back. Sew, trim back and press open the seam allowances, and turn the right way out. Line up the center back seams of the facing and bodice, wrong sides together, and baste in place.
(6) Mark the collar notch (x) and sew along the lapel and front edge with a narrow and regular running stitch, start sewing precisely at the collar notch. Clip the seam allowances at the collar notch and cut off about 1/8” (2-3mm) aside from the stitching along the lapel and front.

Turn in the seam allowance of the facing along the neckline, line up the edge with the seamline on the canvas, and baste in place. Trim back and clip if needed to lay flat. Trim back the seam allowance of the front and back to 3/8” (1cm) along the neckline.