
Hi everyone, reading my blog!
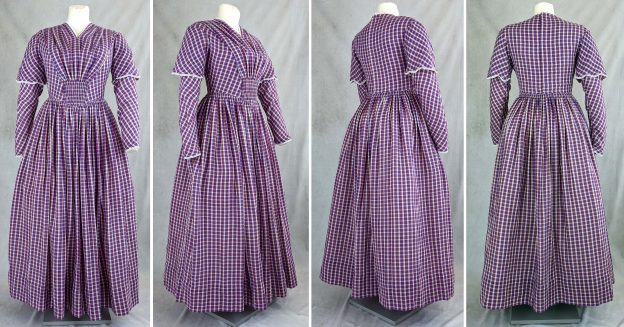
This time, I´ll show you the sewing process of my new 184s day dress, made from a checked cotton muslin. The pattern includes two versions of the dress, first a simple day dress, with V-shaped neckline, with the skirt attached to the bodice with cartridge pleats, and a second, more elegant version, similar to a dress, Jenna Coleman wears in the TV show “Victoria”.
I found a checked cotton muslin in my preferred colors on Ebay, just the right fabric for a light and simple 1845s summer day dress.
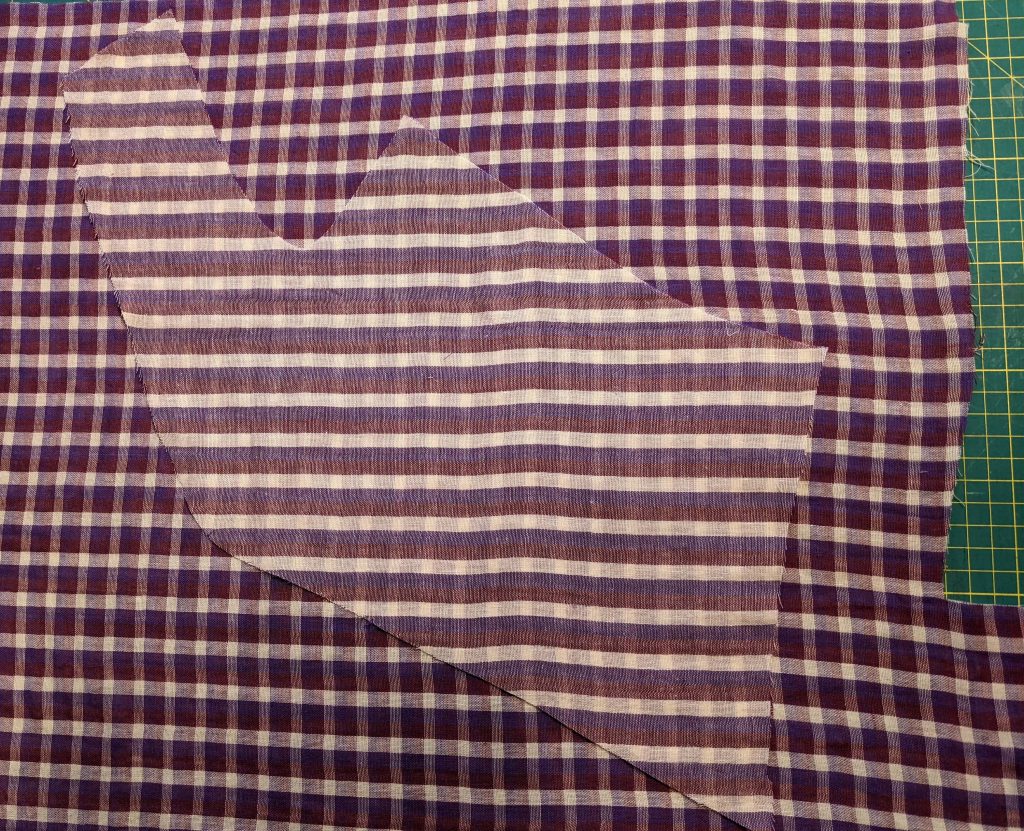
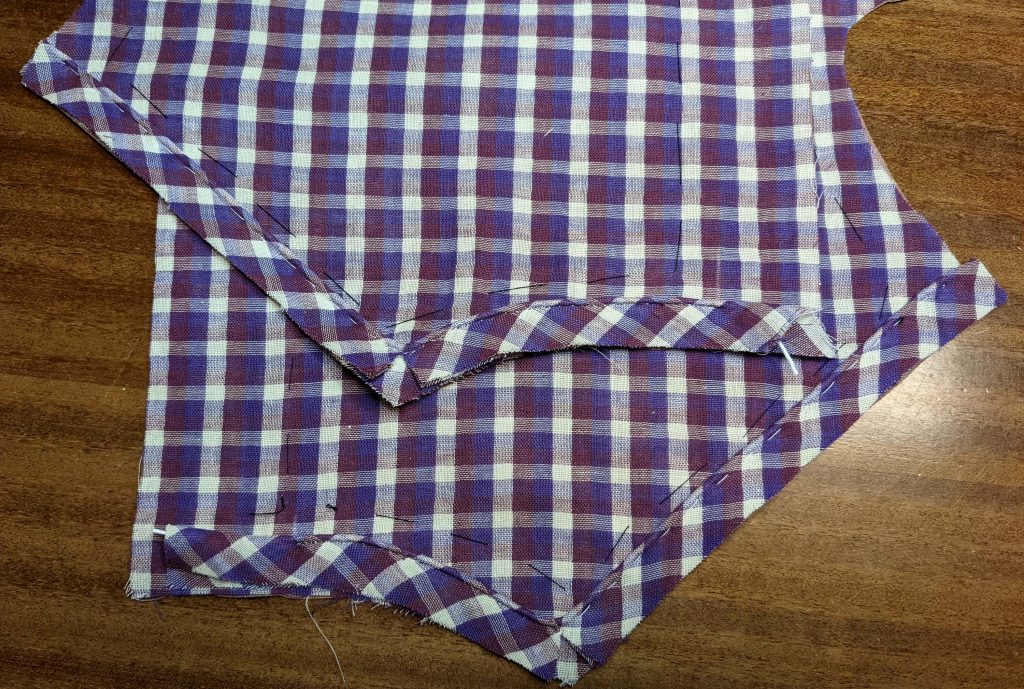
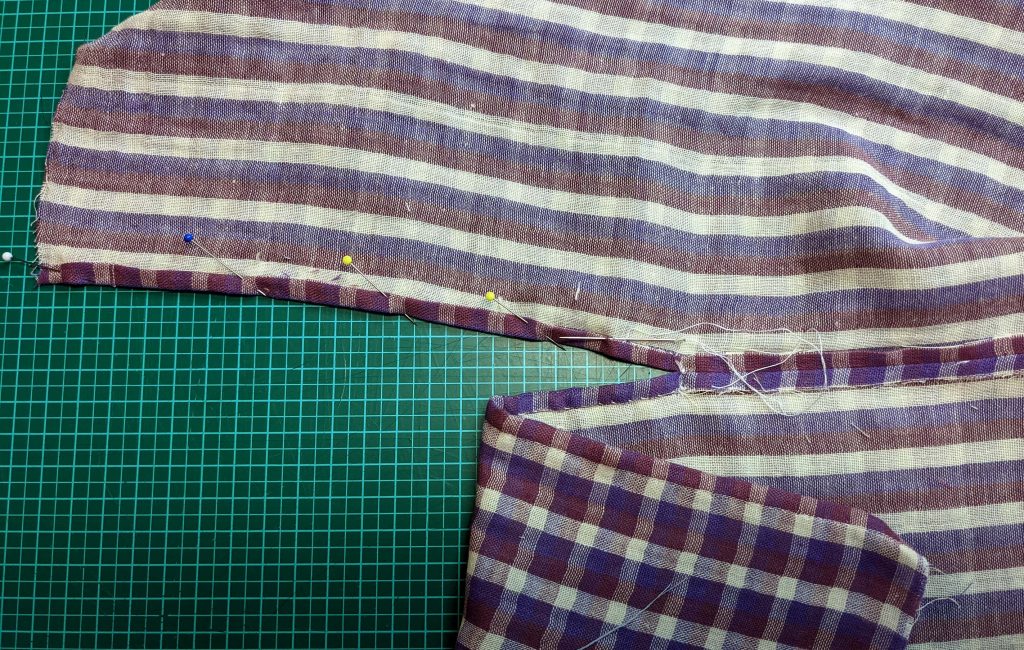
After washing and pressing the fabric, I started cutting out the pattern pieces. I tried to pattern match the checks as good as possible, with the fabric pulling out of shape even when watching (the fabric is a double layer muslin with stripes on the wrong fabric side).
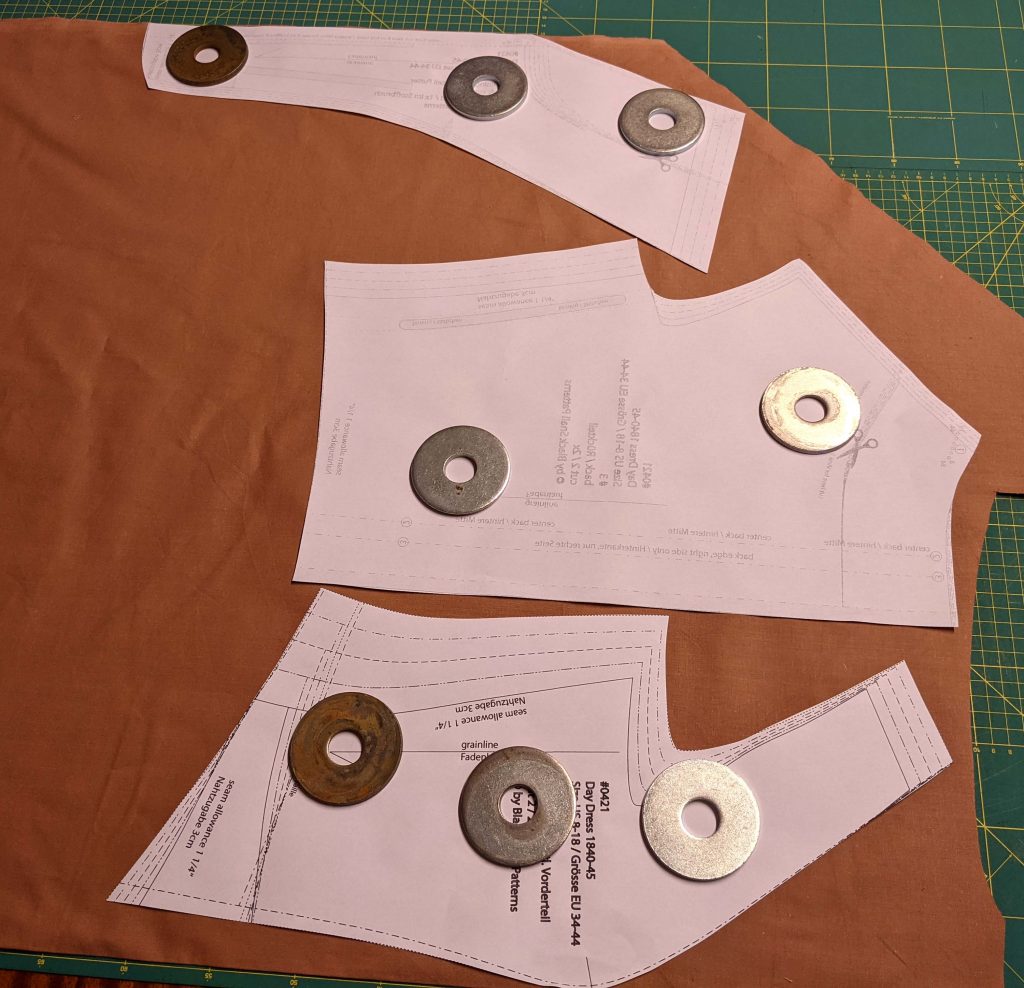
For the lining, I choosed a glazed cotton fabric in a (not really) matching color. I left the selvages on the fronts to avoid fraying.
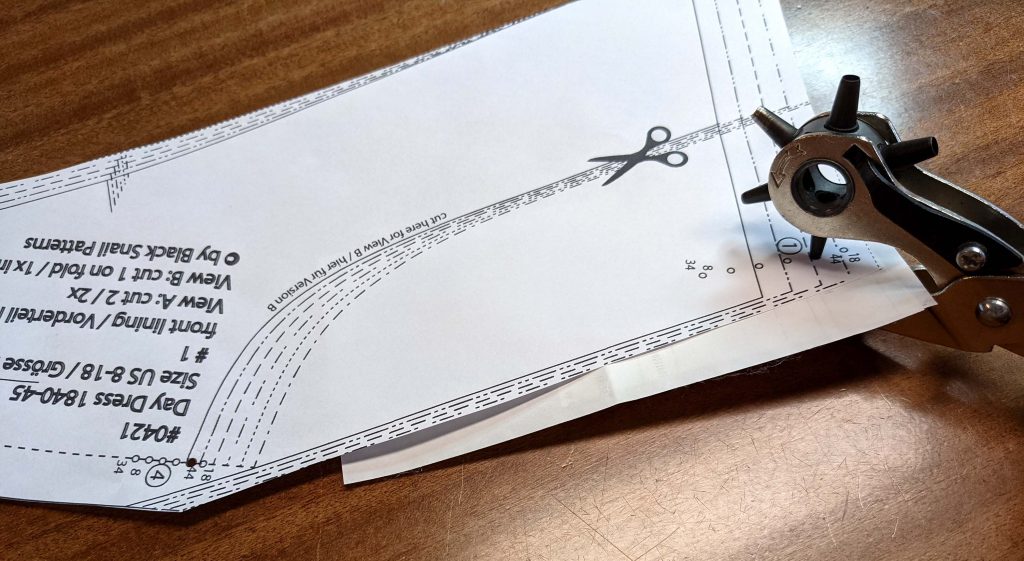
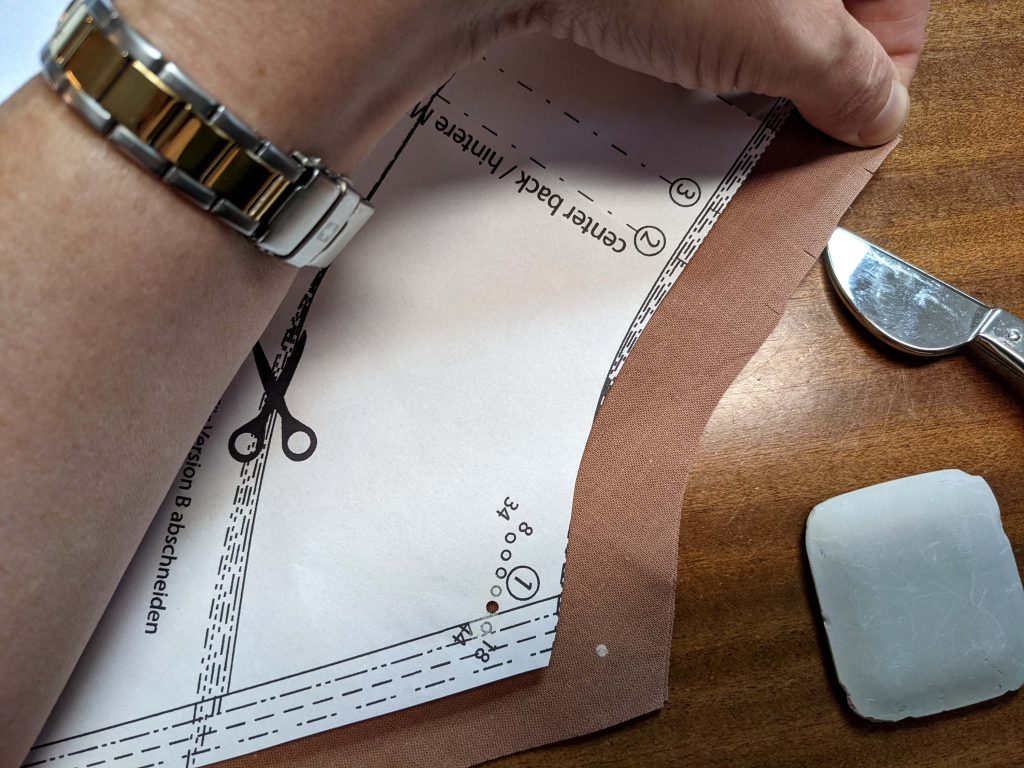
To transfer the neckline corner mark (1) easily, I punched holes into the pattern and marked it with tailor´s chalk. I made just notches to mark the back lines of the bodice.
After cutting and marking the fabric, I´ll follow the instructions step by step, supplemented by many pictures.
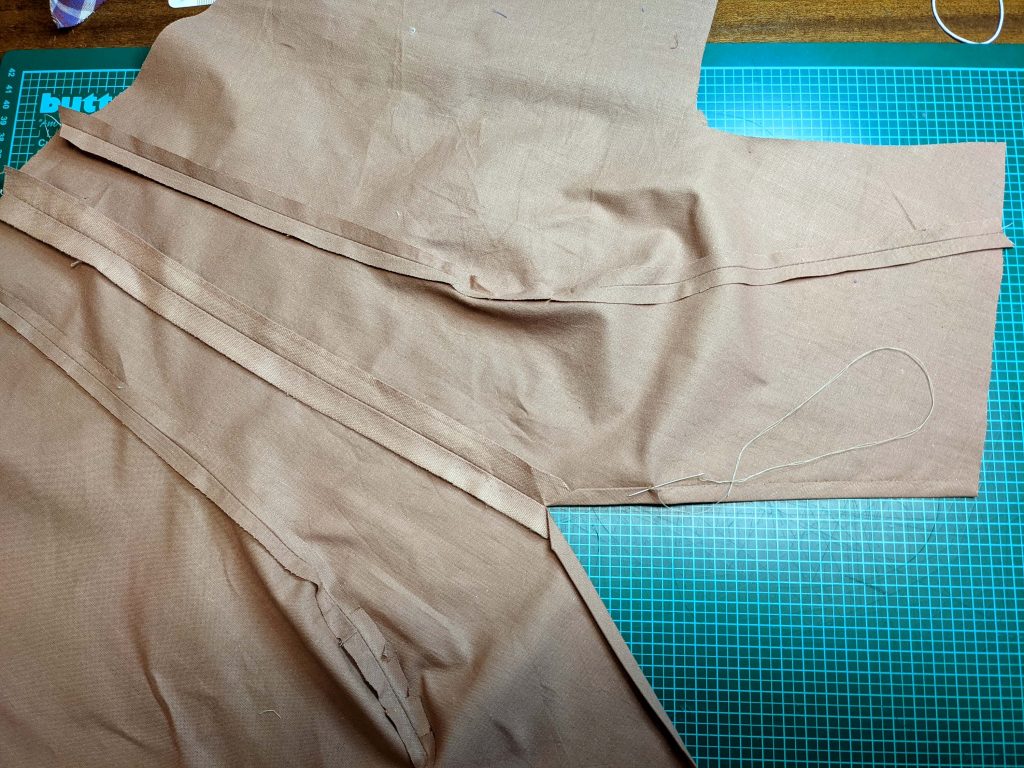
(2) The back and back lining lined up with the wrong sides together and basted to hold in place. The stitching lines along the shoulders and neckline are marked and the piping lined up with that line (ok, I skipped the basting, just pinned the piping in place).

The back, ready prepared with the piping sewn to the back neckline with a back stitch, just basted along the shoulder and notched at point (1). The back lines, (2) and (3) on the pattern, are barely visible, just marked with chalk, the stitching stops at that points.
(3) The fronts and side fronts from lining sewn together, with the seam allowances pressed open and the neckline double turned in narrow, to fell stitch in place.
(4) The fronts from the fashion fabric, sewn together along the center front, leaving open between mark 5 and top to form the V-shaped neckline. I cut off the selvedge, which was not nice with this fabric and double turned in the edges along the neckline, before I fell stitched them in place. On the seam below you can see the stitching just barely visible on the right fabric side.
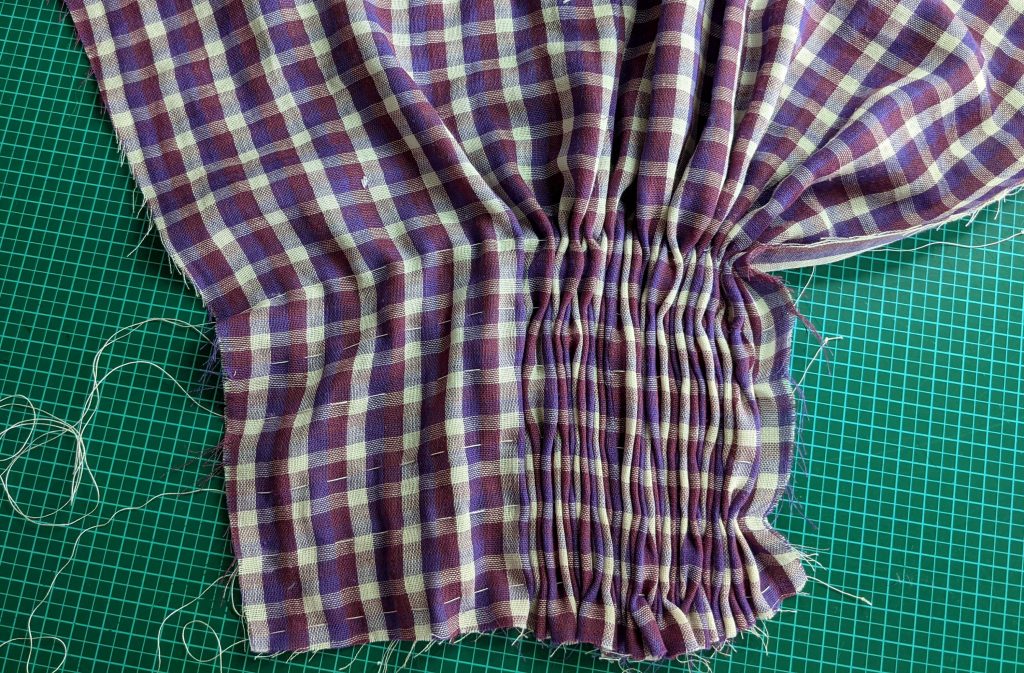
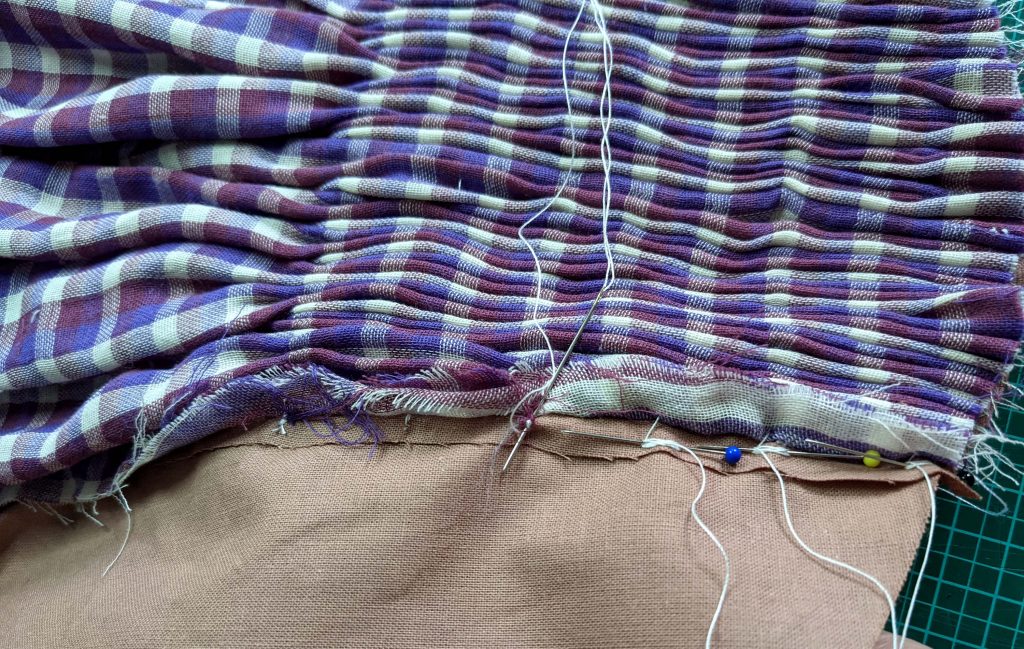
Time to gather the bottom edge of the front. First, I just gathered three rows, but that wasn´t sufficient, therefore I made two additional rows, five in total at the end.
Hint: Try not to catch the seam allowance of the center front seam when gathering to avoid irregular pleats and bulk.
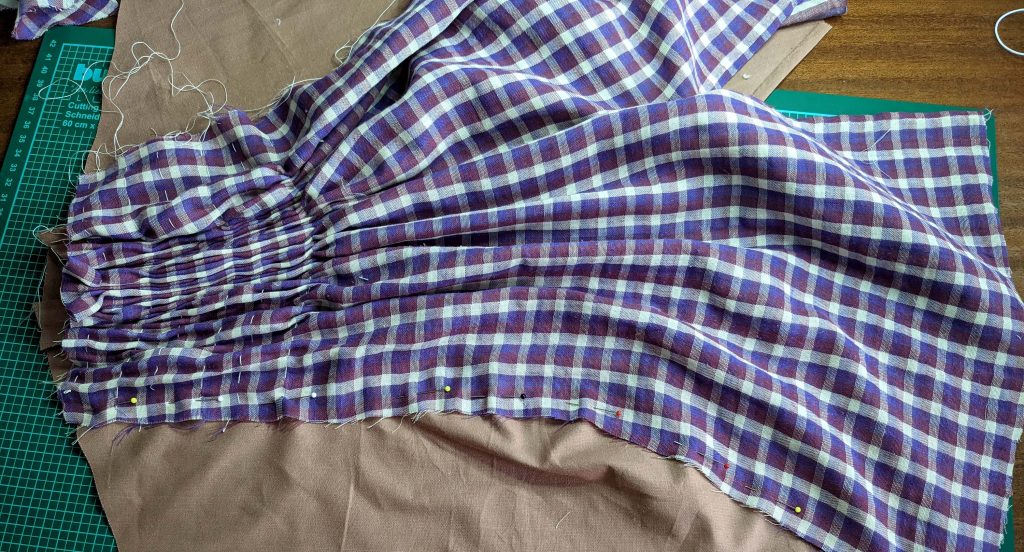
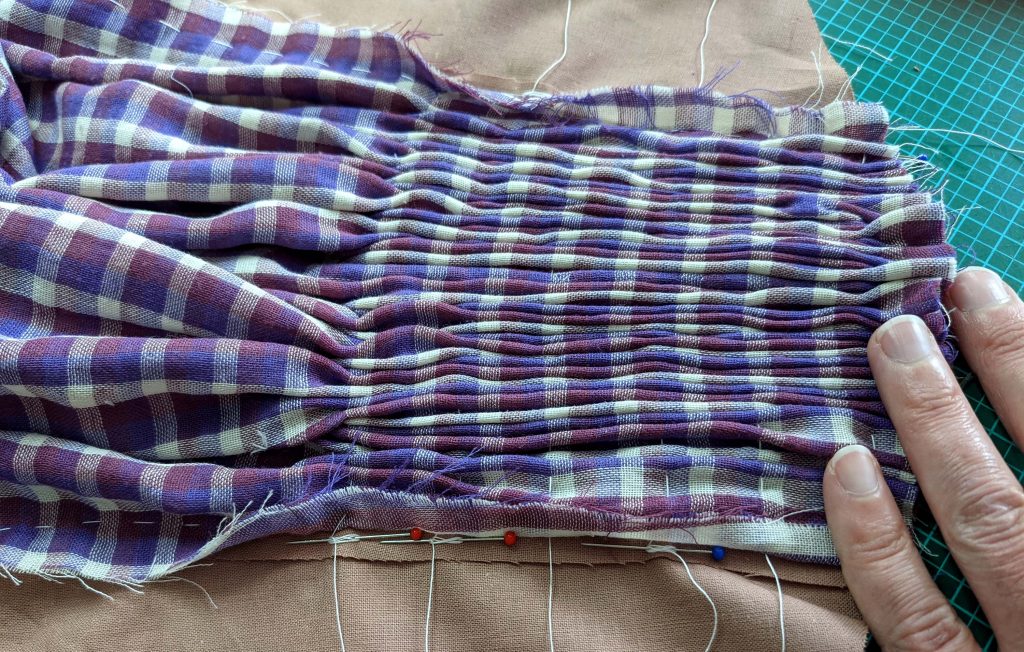
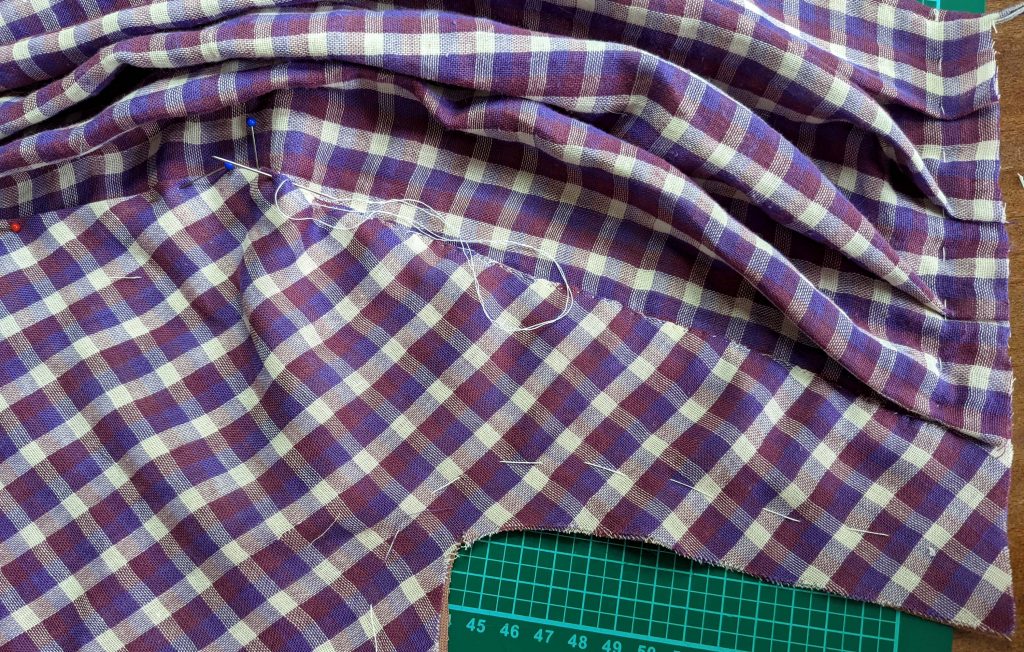
This is the process of lining up the front from the fashion fabric with the lining, leaving the front plain at the sides (seam allowances). To keep the gathering threads tight while sewing, I wrapped the ends around pins in the shape of an 8.
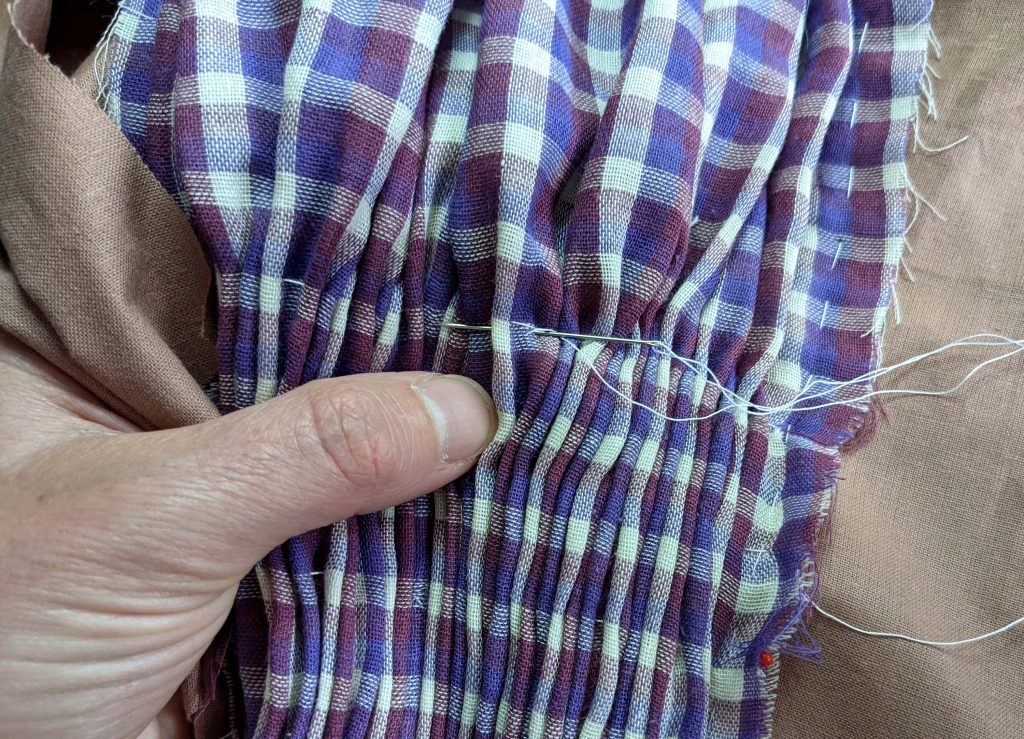
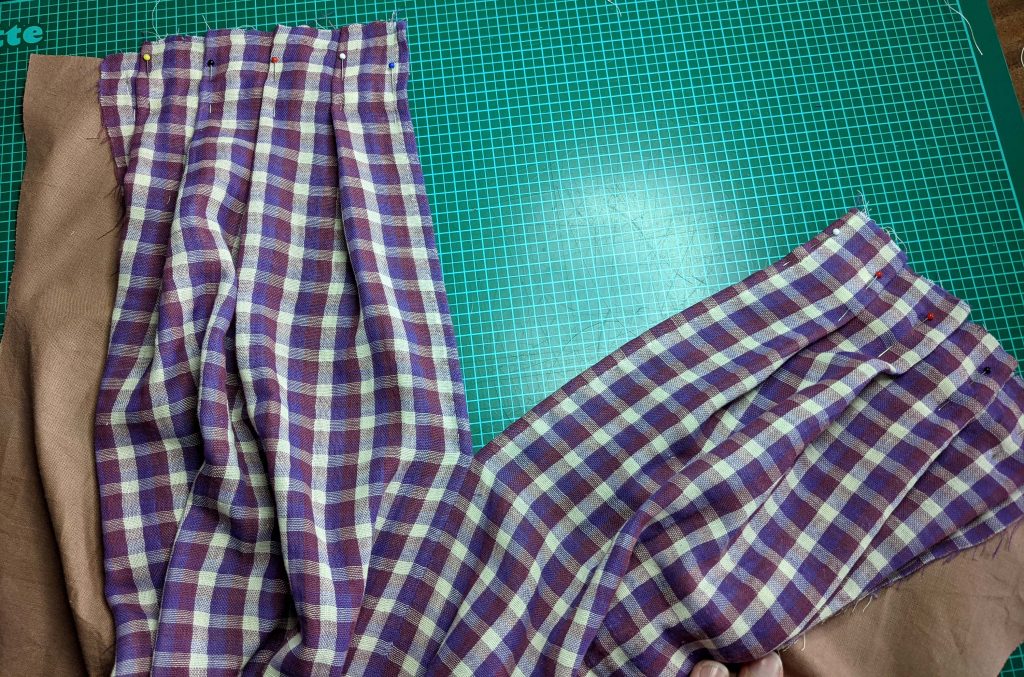
Then every single pleat had to be stitched to the lining base. Finally, I locked the gathering threads with some stitches.
Here you can see the pleats along the shoulder, the lining edge is not visible from the right side. Again, I tried to pattern match as good as possible, at least trying to keep both sides quite equal.
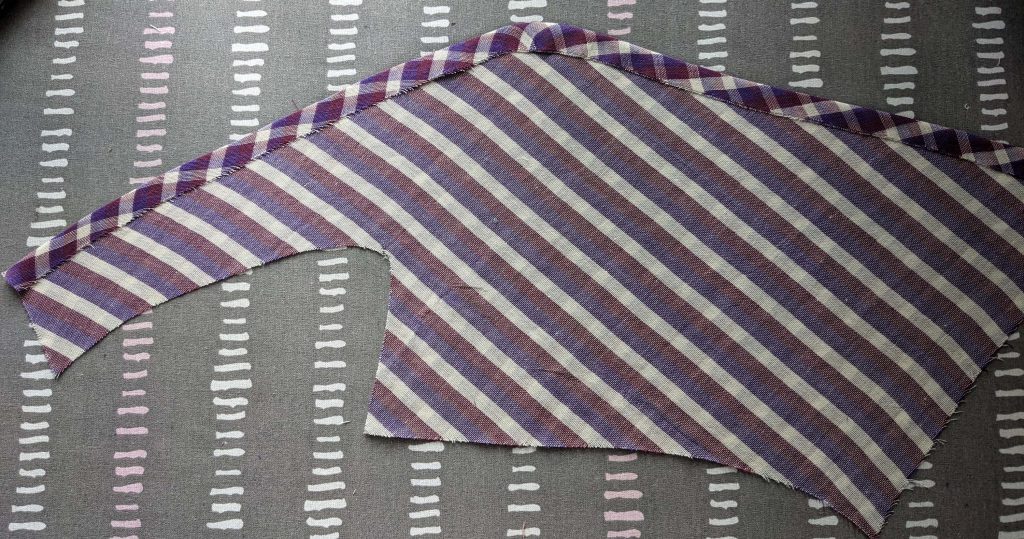
This are the side fronts with the seam allowance along the front edge turned in an pressed in place, before I lined them up with the lining base, wrong sides together.
Part 2 – Step 5-8