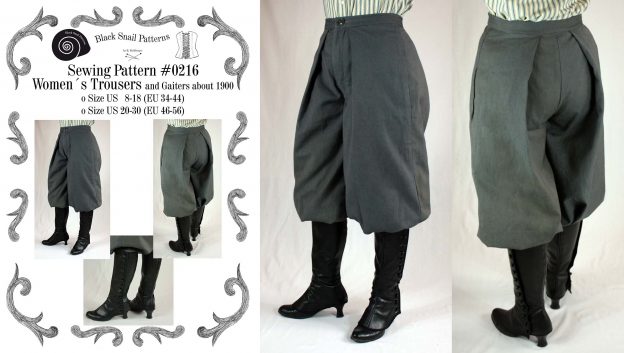
Recently, many of you asked me for a button fly trousers tutorial. In this tutorial I´ll show the Edwardian women´s trousers, the men´s trousers, especially the patterns #0316 (Edwardian men´s cycling breeches) and #0716 (Edwardian men´s walking trousers) are made up the same way. Only the buttons are on the right side of the men´s trousers and on the left side of the women´s trousers. I personally prefer the buttons on the right side, my women´s trousers open like men´s trousers!
I used a checked suit fabric from my stock and tried to pattern match whenever it was possible, unfortunately, it makes the pictures partly confusing. I tried to mark the important edges with red dotted lines.
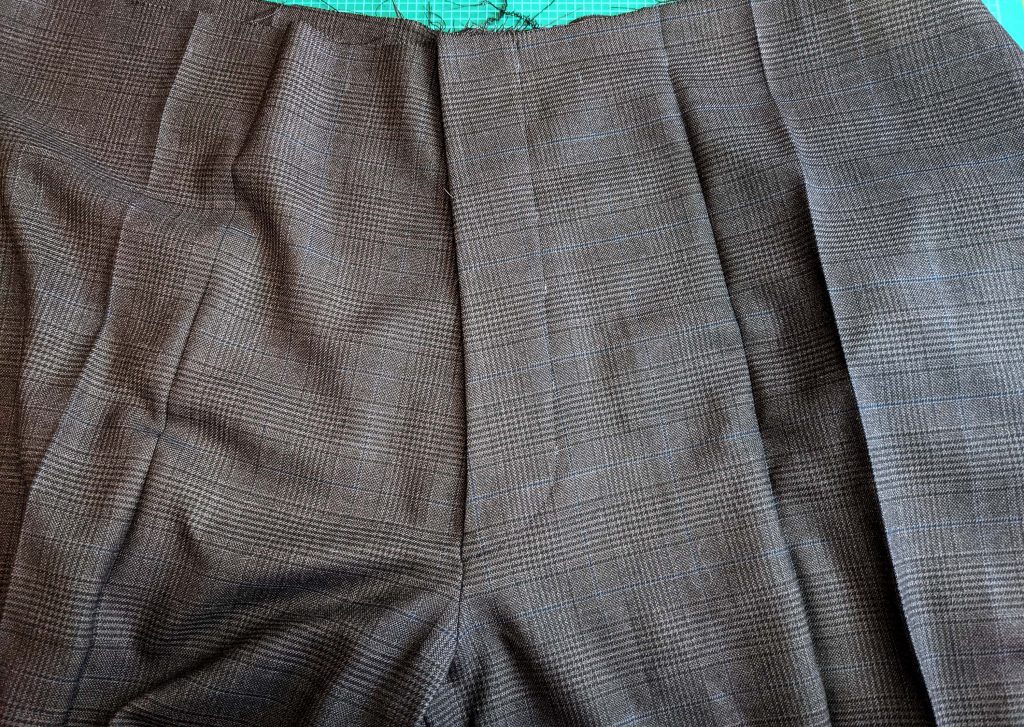
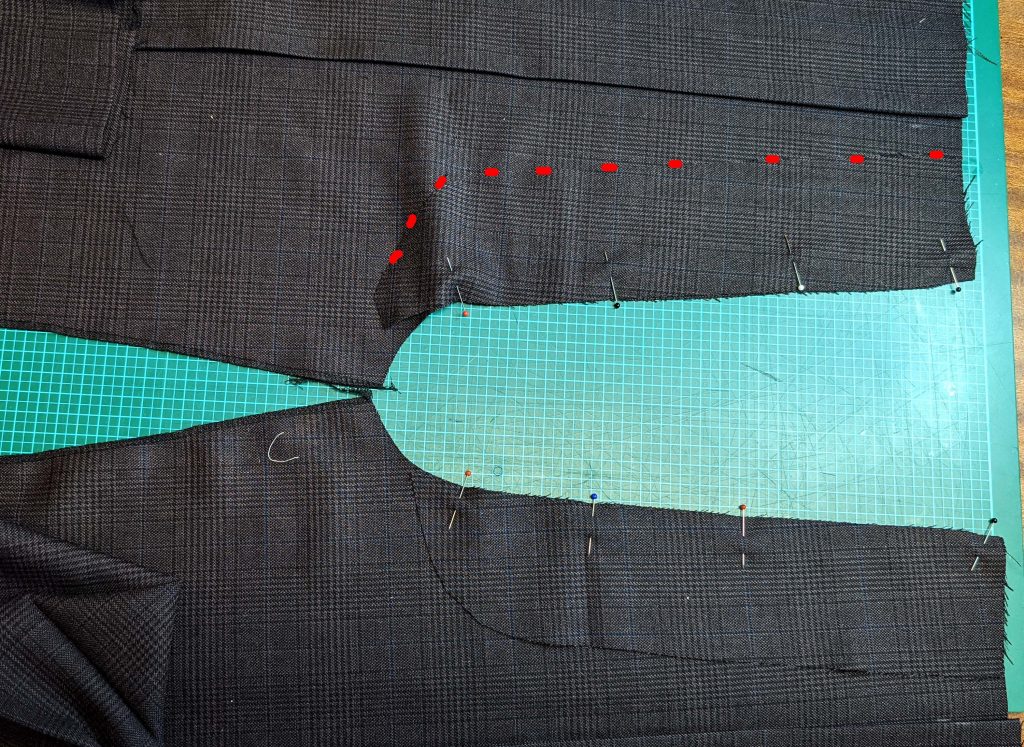
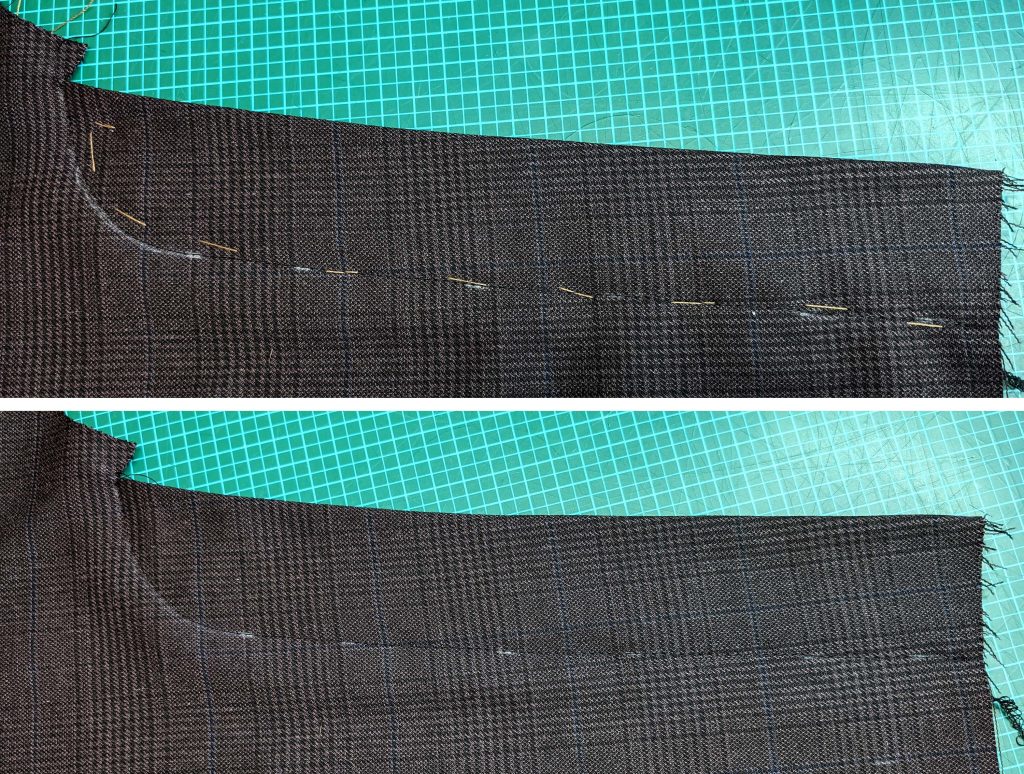
First was to press the folds on the fronts and backs. My checks were the exact measurements to fit the folds, so I decided to omit basting down the folds, I also left out the fork reinforcement. (The trousers where supposed to be a quick project.)

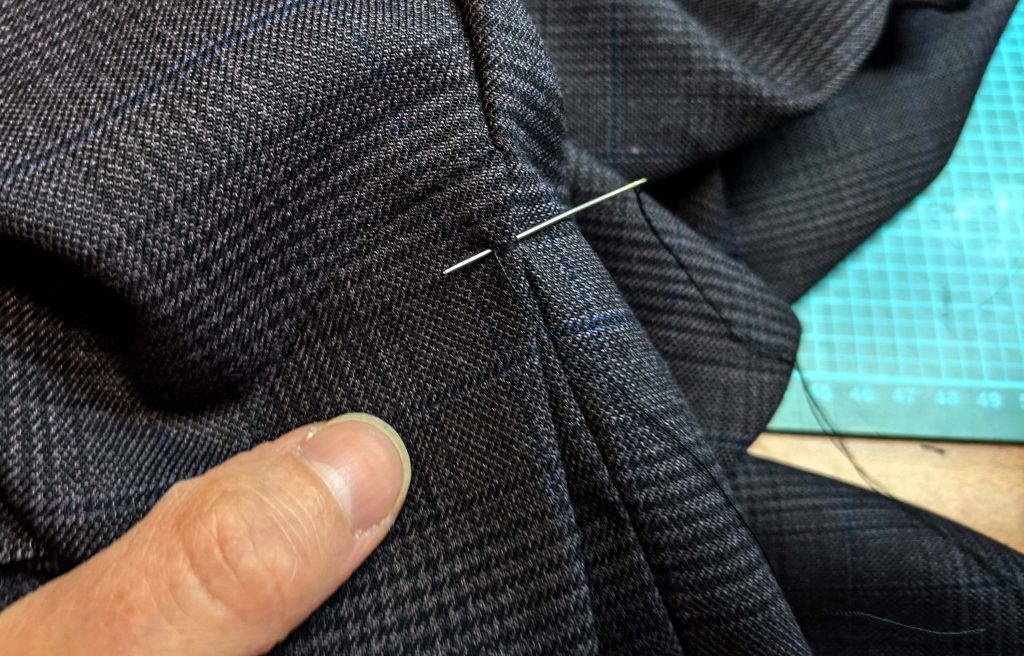
Time to make the button fly! On the picture you can see the left (lower) and right (upper) front, on the left the fly facing is lined up, on the right the button-stay. I decided to use the fashion fabric for the fly facing, thin enough to avoid bulk. If you´re working with a thicker fabric, I´d recommend to use a thinner lining fabric in a matching color. The last pin on the left indicates the notch, where you have to start or stop stitching.
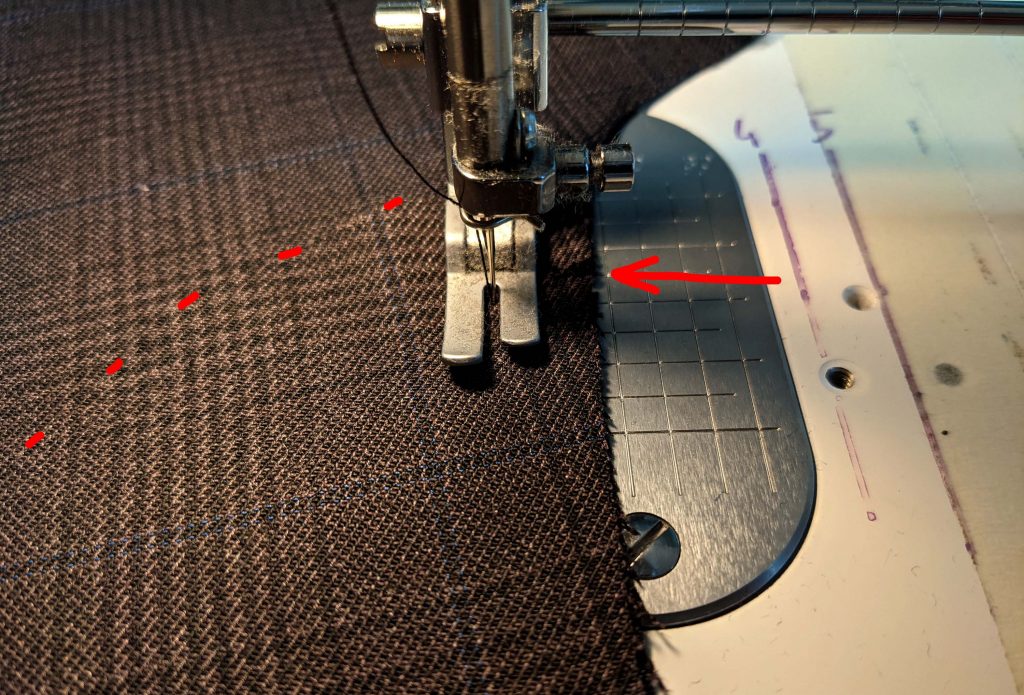
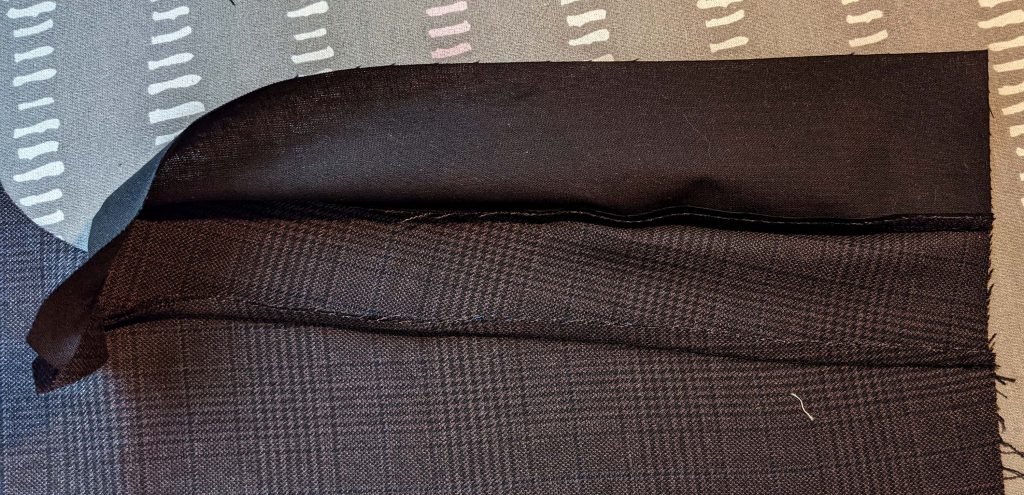
Let´s continue with the fly (left side). Stitch the fly facing to the left front edge of the trousers, with a seam allowance just a bit less than the 5/8” (1,5cm) included (for the turn of cloth), starting exactly at the mark. Notch the seam allowance toward the end of stitching at the notch and fold the fly facing to the side, understitch if wanted. The understitching automatically rolls the seam slightly out of sight toward the garment wrong side and helps to keep edges and corners precise and flat when turned the right way out. Fold the facing inside the front and press the edge.

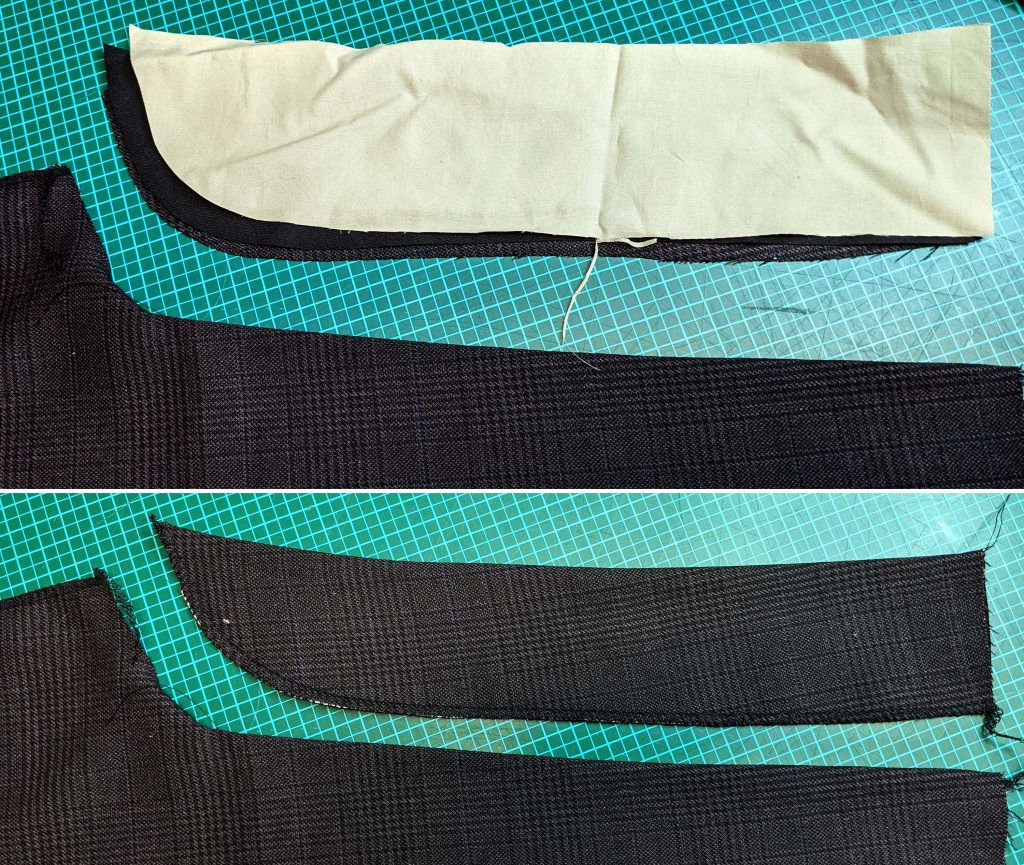
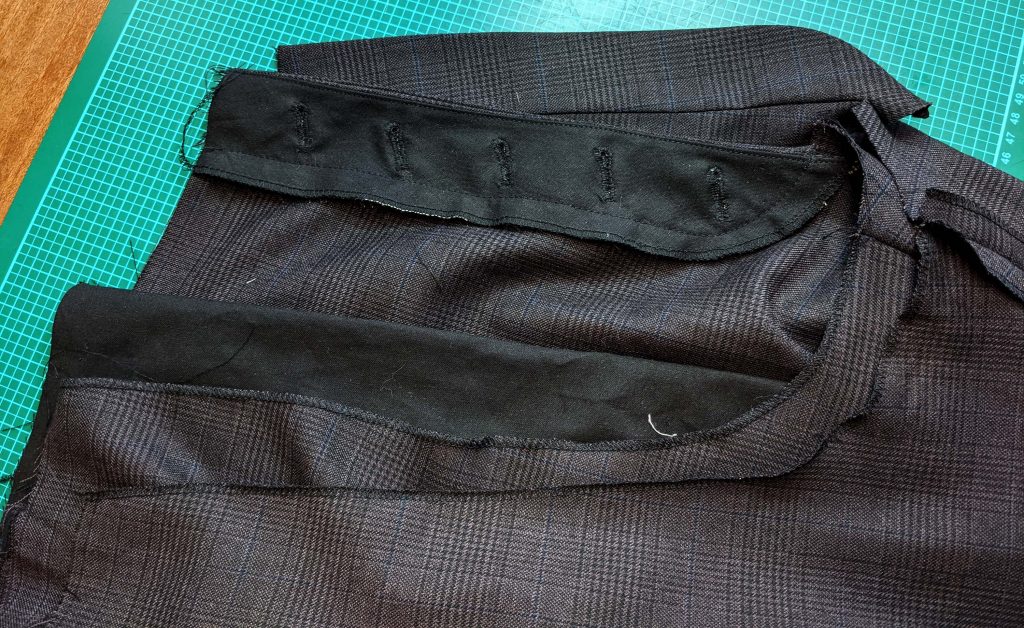
Line up your fashion fabric with the lining and the interfacing, right sides together to prepare the fly. Sew along the front edge, trim back the seam allowance and turn the right way out. Cast the raw edges as they would be one layer of fabric (ok, I used the overlock – absolutely not HA). Sew the button holes as indicated on the pattern, matching your buttons.

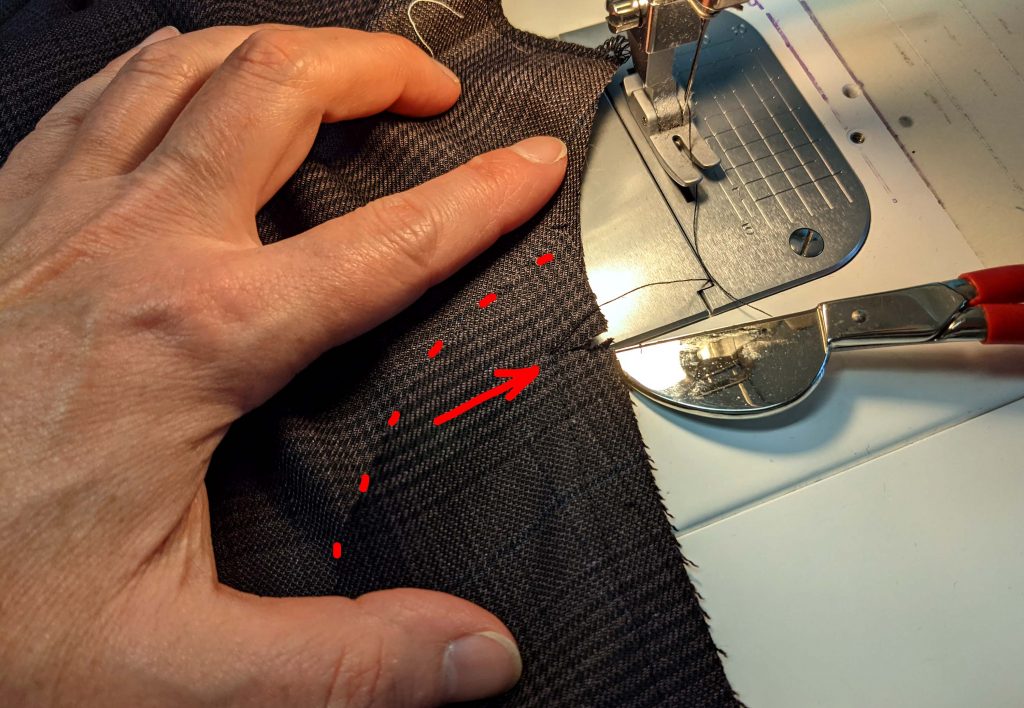
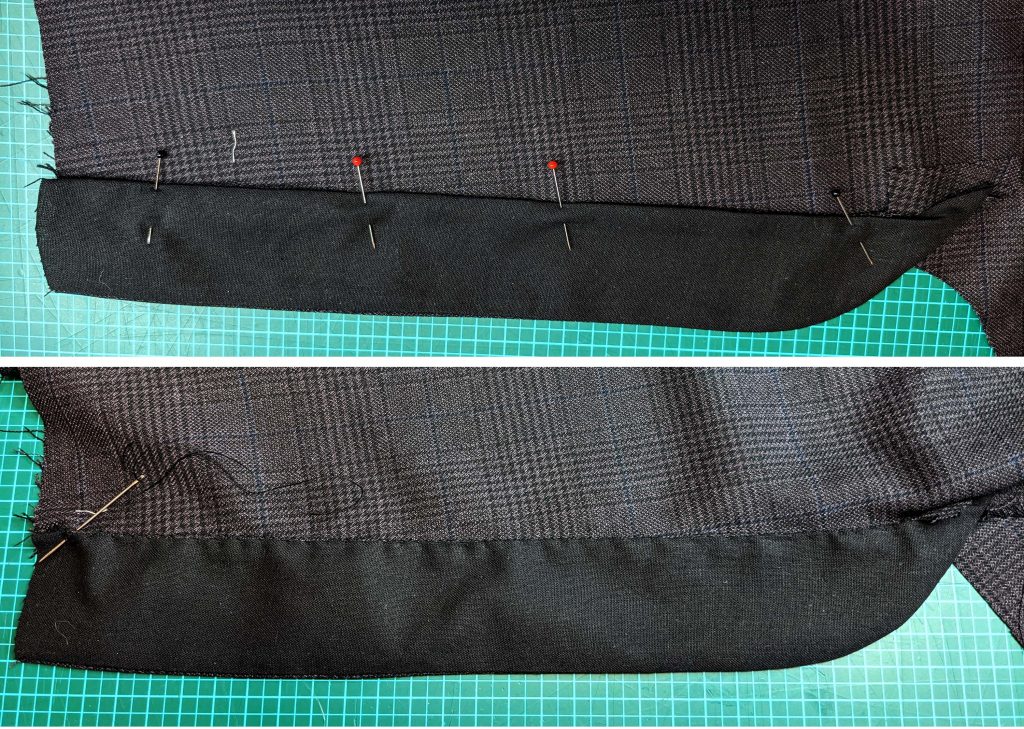
Place the fly inside the left front that the edge of the fly lays a bit 1/16” (2mm) behind the left front edge, with the right side of the fly facing the wrong side of the left front. Baste in place, then topstitch J-shaped from the right side, starting at the notch, catching the back edges of the fly facing and the fly.

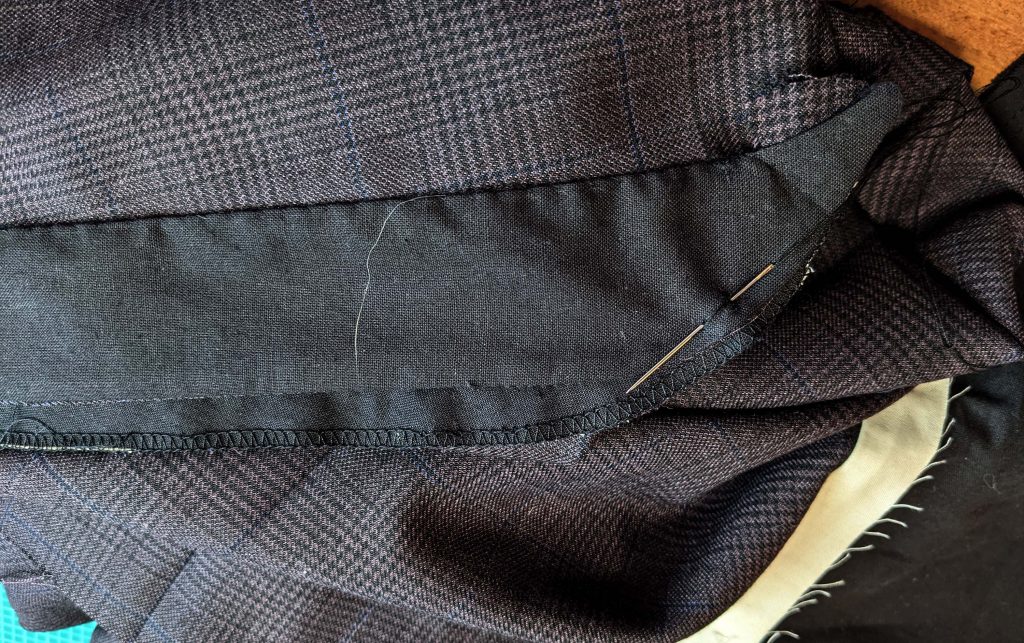
Now the button-stay on the right side. Stitch the button stay from the fashion fabric to the right front edge of the trousers, starting or stopping exactly at the mark. Notch the seam allowance toward the end of stitching at the mark. Trim back and press the seam allowances towards the button stay. Stitch the button-stay facing from lining fabric to the button stay, right sides together, and trim back and press open the seam allowance. Fold the facing inside the button-stay, wrong sides together, turn in the seam allowance along the loose edge and line up the edge with the stitching line. Fell stitch along that line from the notch to the top edge.
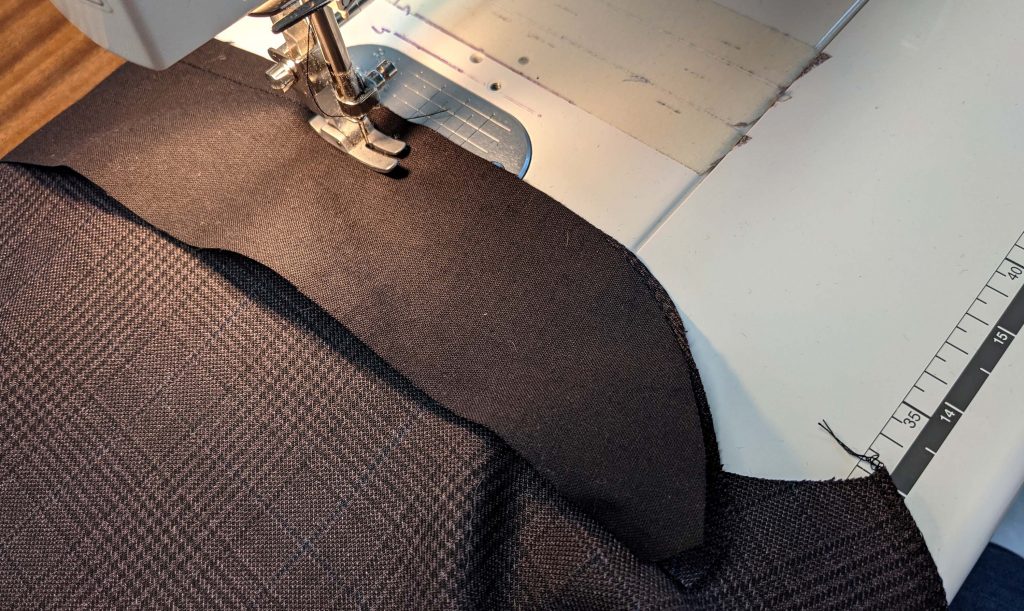
After sewing the sides and inseams (see next post), turn the right leg only to the right side. To sew the crotch seam, push the right leg into the left (or vice versa as seen in the picture), lining up the crotch edges with matching marks, notches and seams, right sides together. Start sewing at the top edge of the backs and continue until reaching the notches on the fronts, without catching any material from the fly or button-catch. Lock the seam carefully at the notch and press open the seam allowances.
Turn the trousers right side out and place the fly on top of the button catch. Bar tack the fly end through all layers from the right side, on the inside, sew together the fly and button stay with some stitches. Trim back the end (point) of the button catch to avoid bulk and neaten with overcasting stitches.