
Part 1 – Getting started Step 1-4
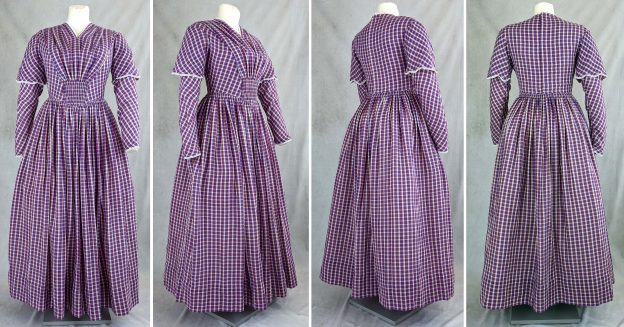
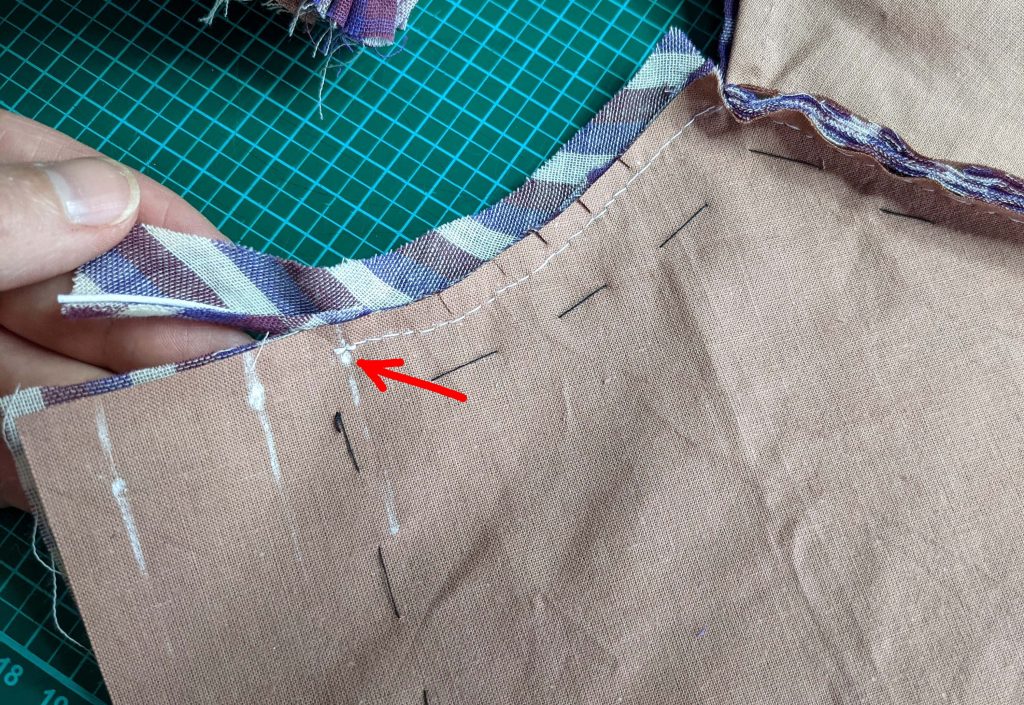
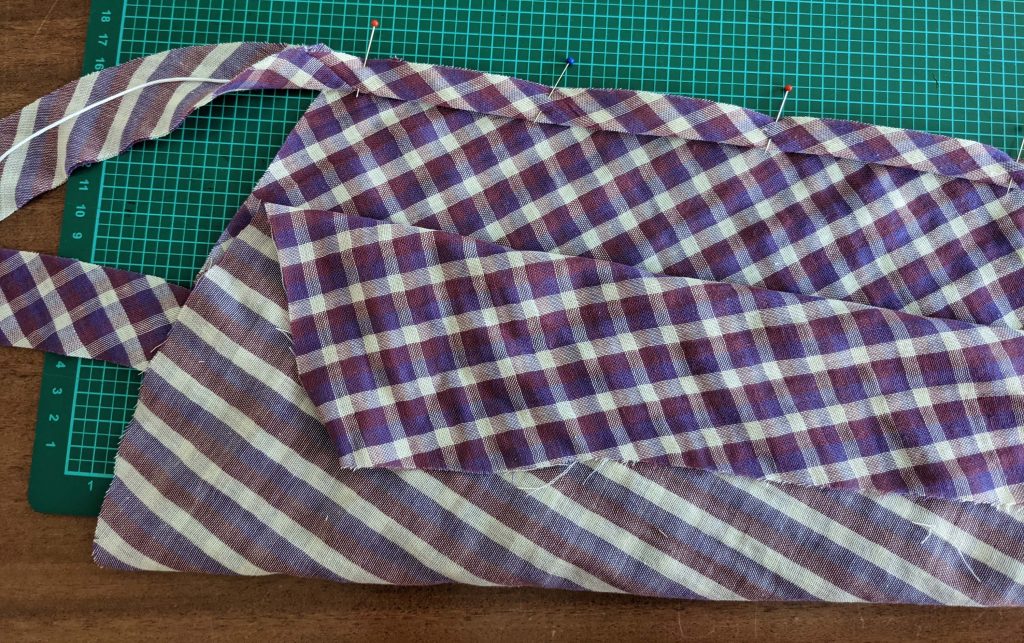
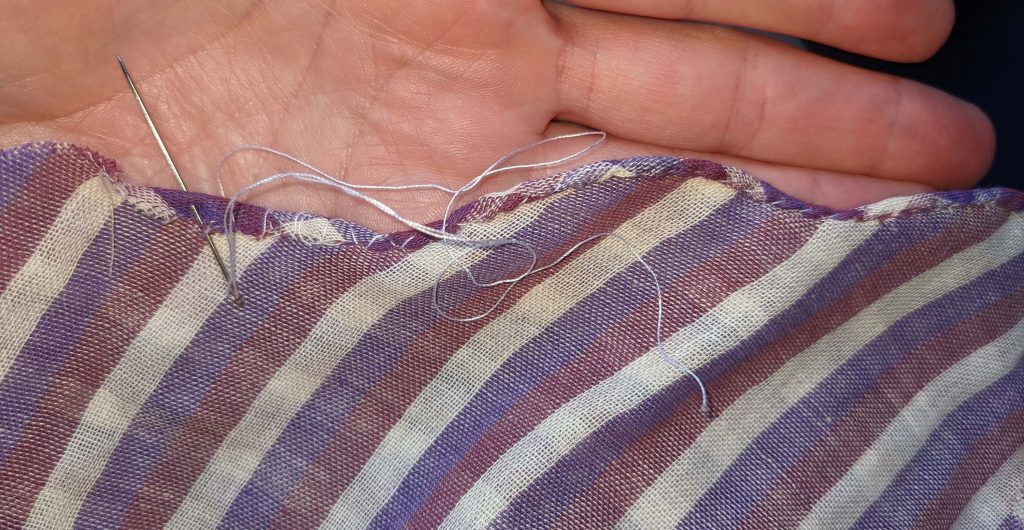
(5) The fronts and backs are ready prepared to be stitched together. First seam will be the shoulder seam, stitched from the back with a backstitch. I recommend to sew this seam by hand. At point (1 – red arrow) just the back is notched V-shaped and the seam allowances of the shoulder trimmed back to ¼” (5mm).
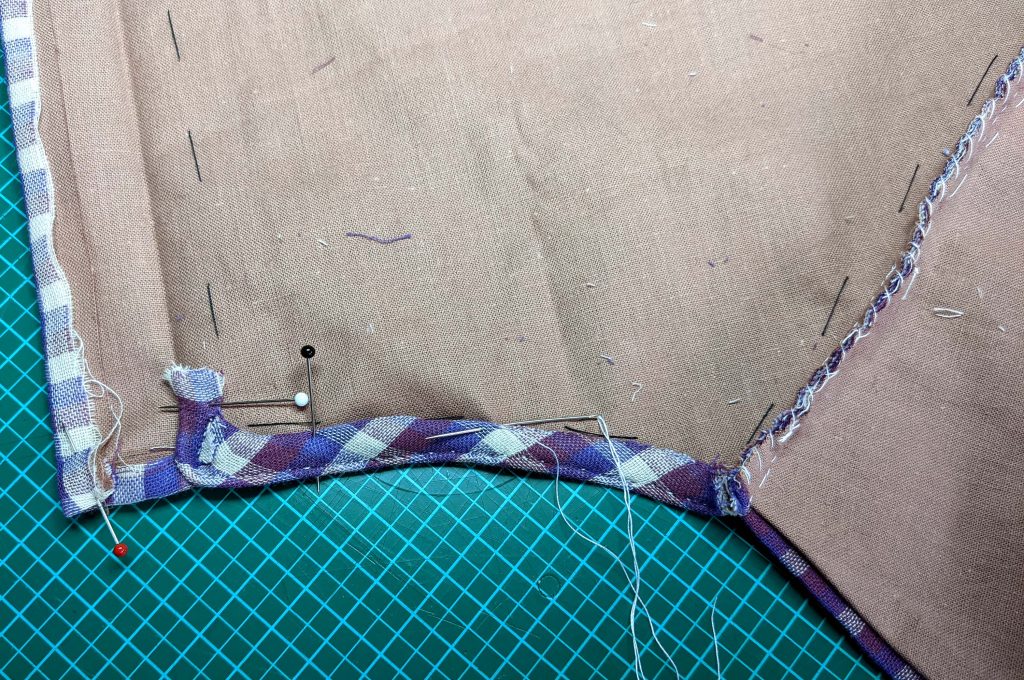
The seam allowance along the back neckline is trimmed back too, just leaving the uppermost layer of the piping.
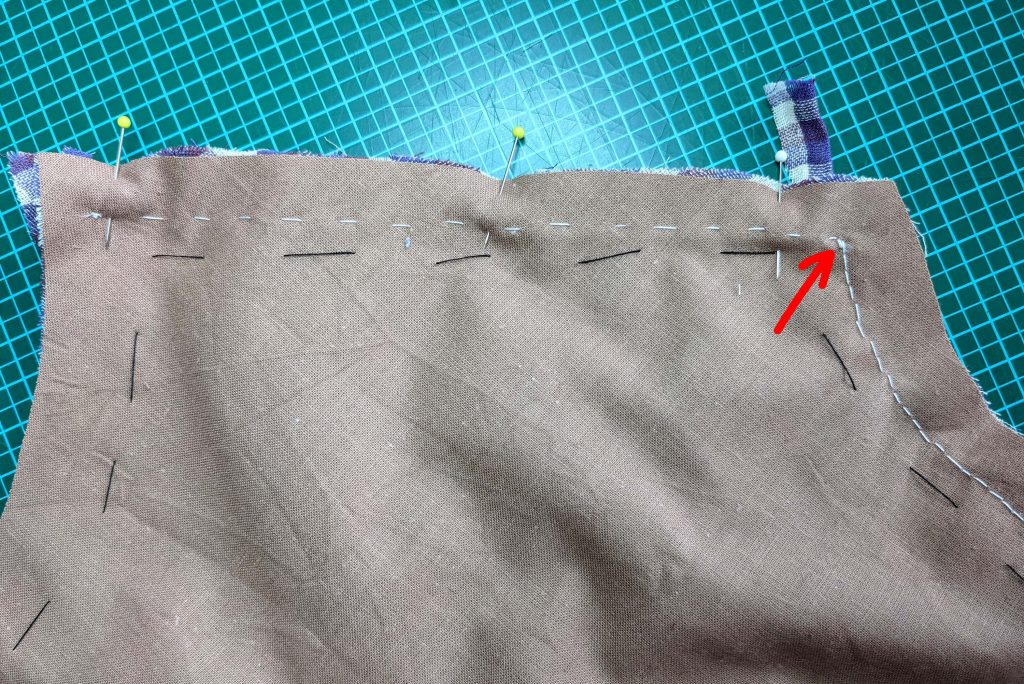
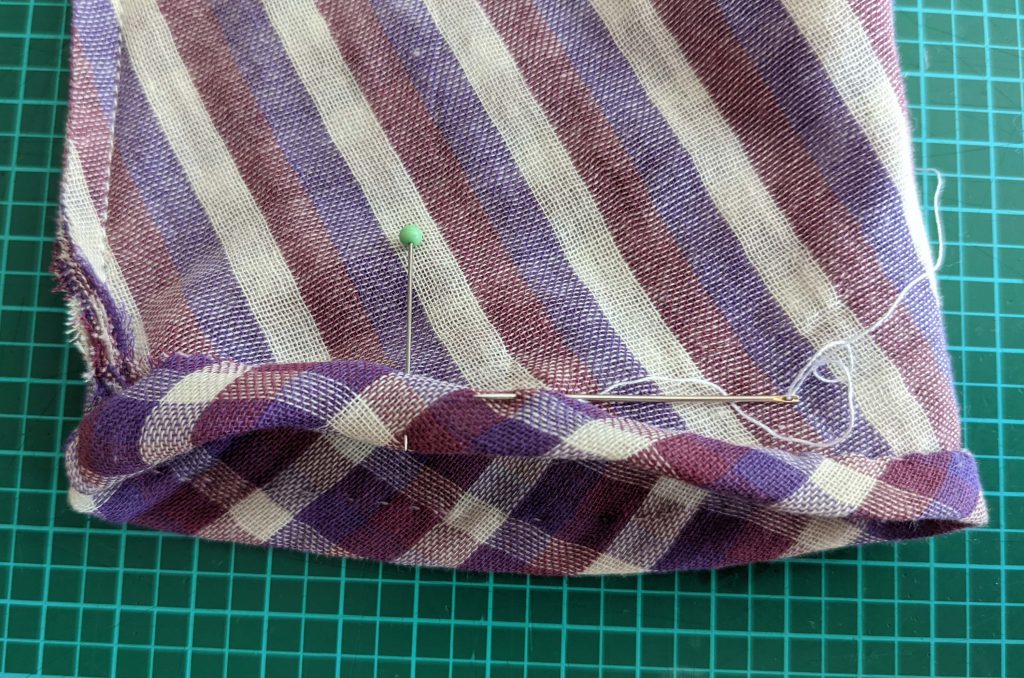
This uppermost layer folded around the trimmed back seam allowances and fell stitched in place along the back neckline. On the picture you can see the seam allowance of the piping notched V-shaped at the back edge point (2 and 3 on the pattern) leaded downwards, as well as the 3/8” (1cm) seam allowance turned in along the back edge.
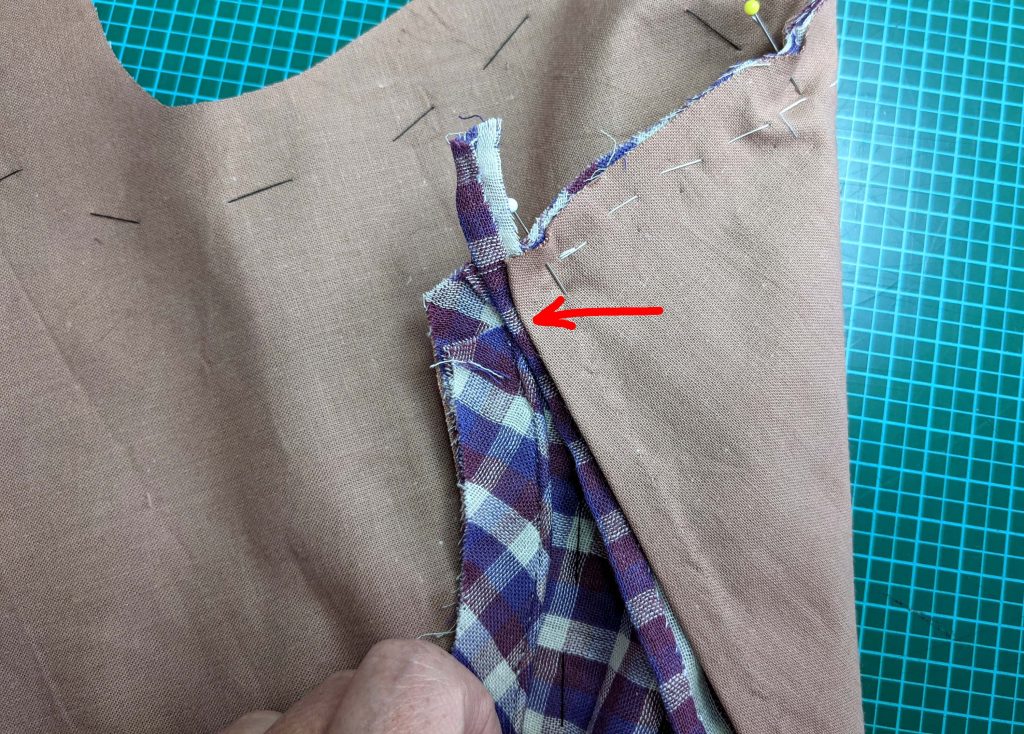
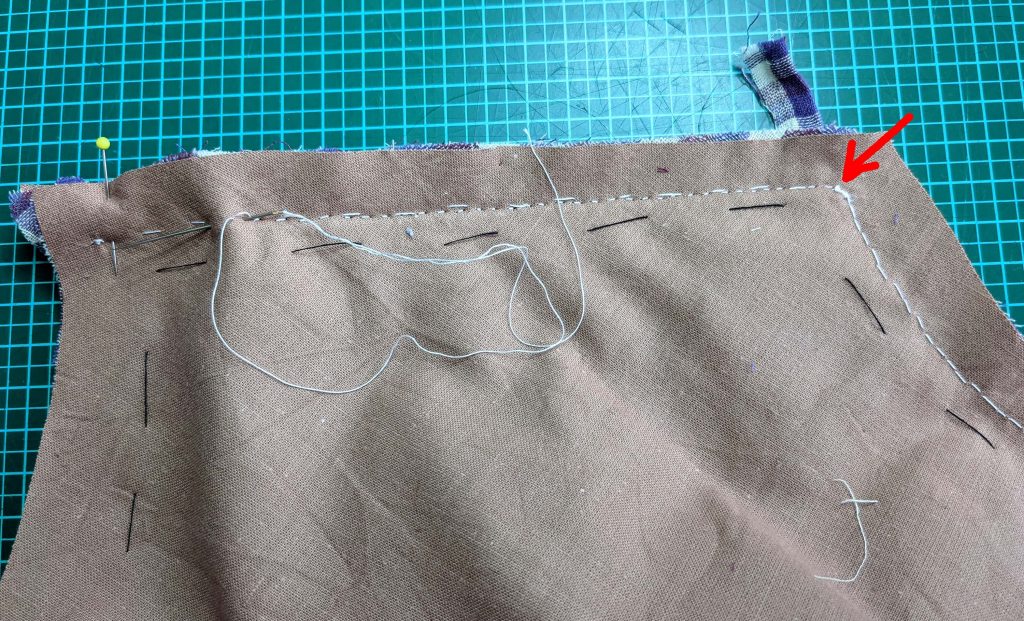
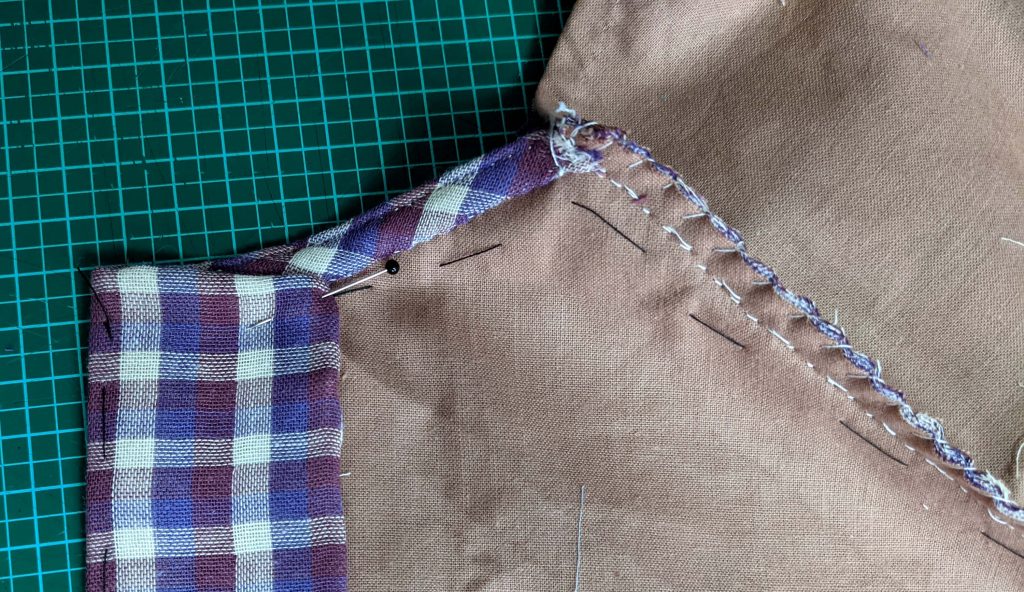
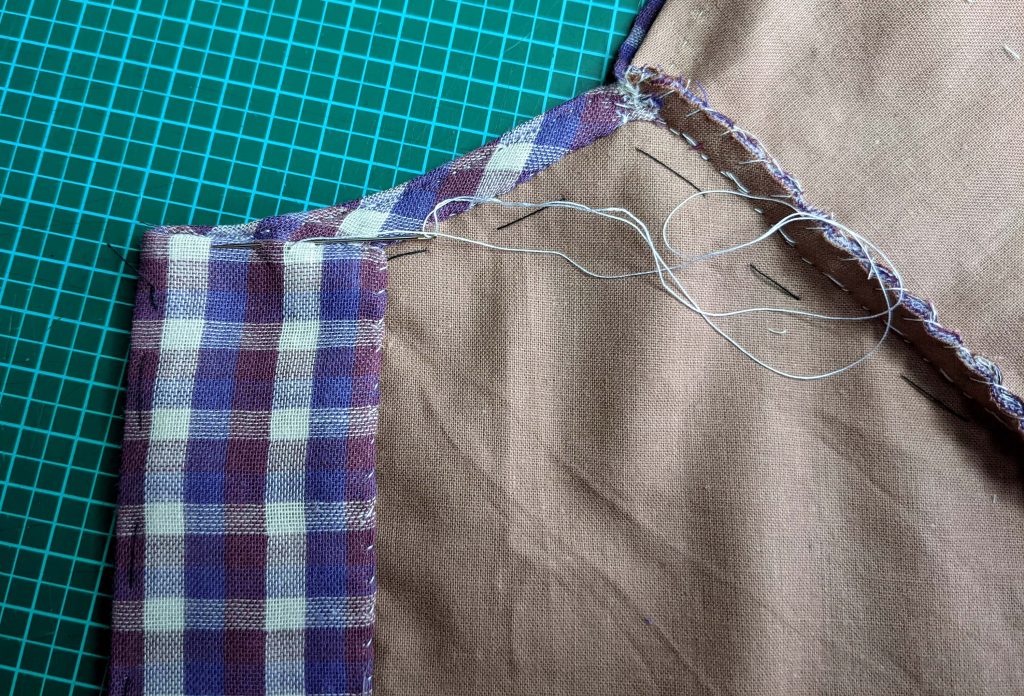
The back edge turned in along the back edge line (2 or 3 on the pattern) and fell stitched in place. It´s important just catching the lining while stitching. There´s not picture of the prick-stitching down the right center back for the moment, I´ll show when sewing on the hooks and eyes.
On the right side you can see the shoulder seam neatened wit overcasting stitches.
(6) Sorry, there´re no addtional pictures of sewing the side seam.
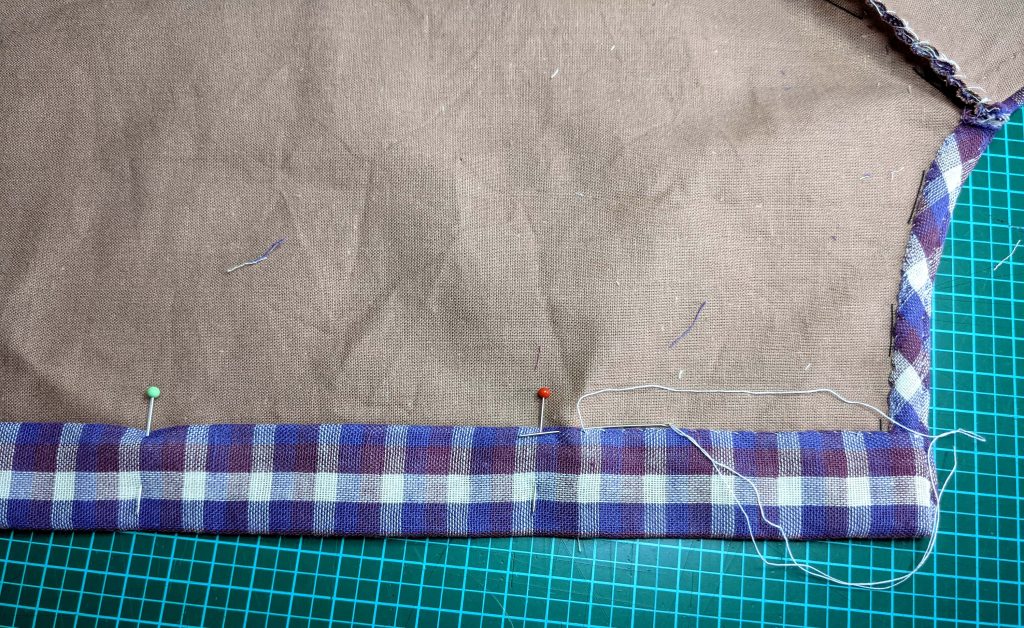
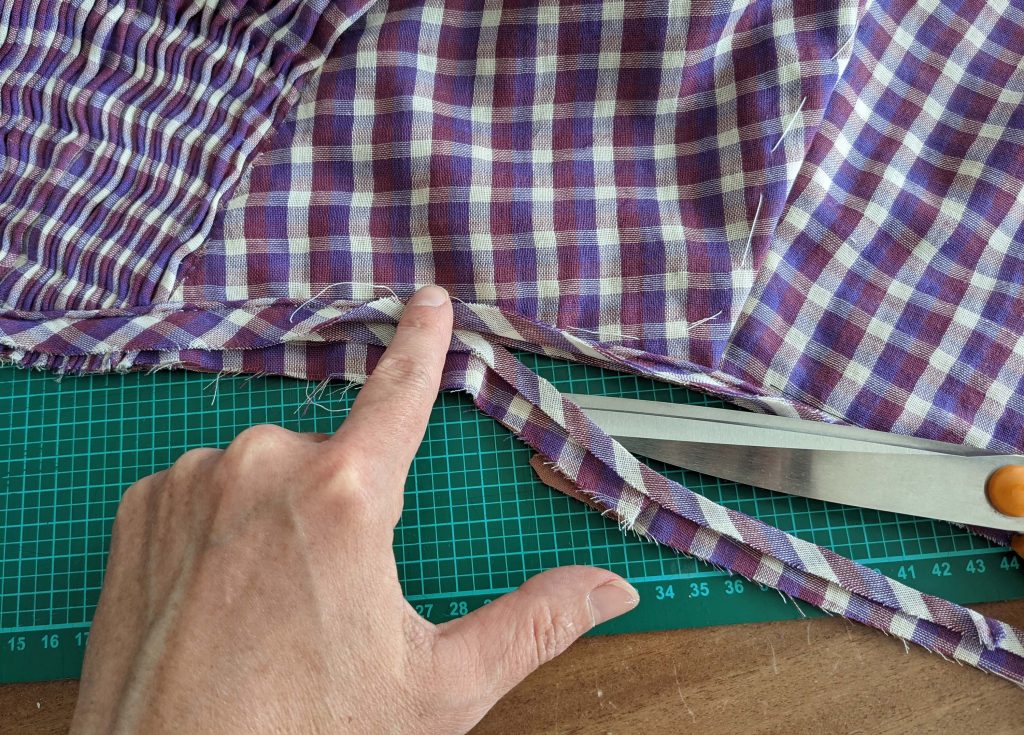
(7) After sewing the side seams, it´s time to plan a fitting to check the length of the bodice and mark the stitching line. Trim back the seam allowance to 5/8” (1,5cm) and line up another piping with the stitching line. I wasn´t really satisfied with the shape of the pointed front, so I adjusted the stitching line another time.
After sewing the piping right beside the piping, trim back all seam allowances, just leaving the uppermost. Fold the wide seam allowance around the trimmed back and fell stich in place. At the back, turn in a narrow seam allowance to match the edges.
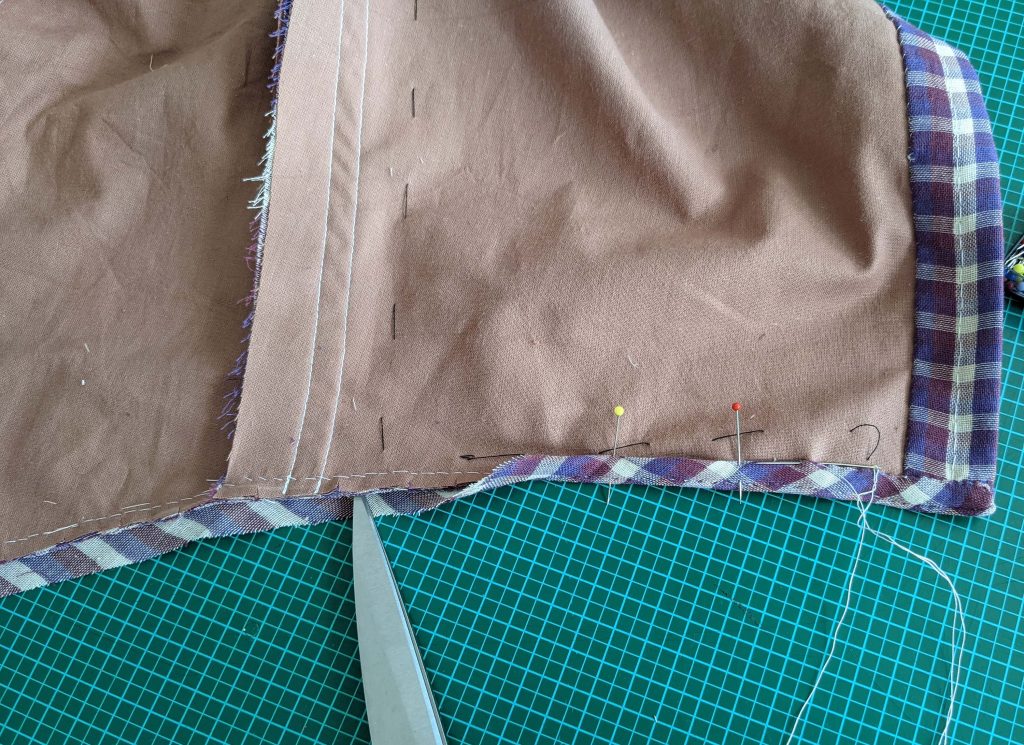
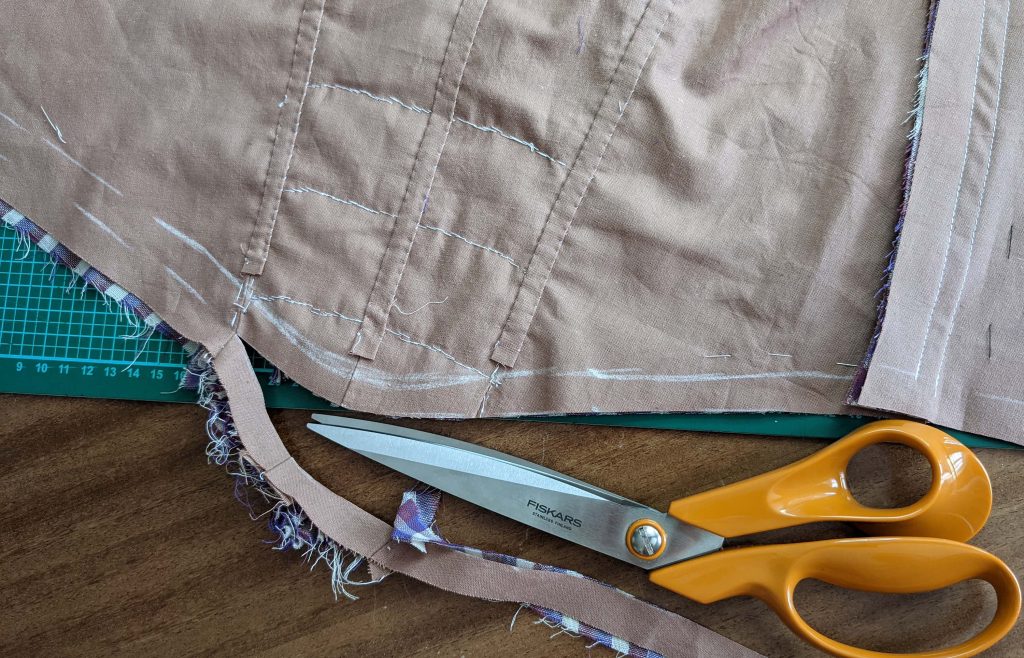
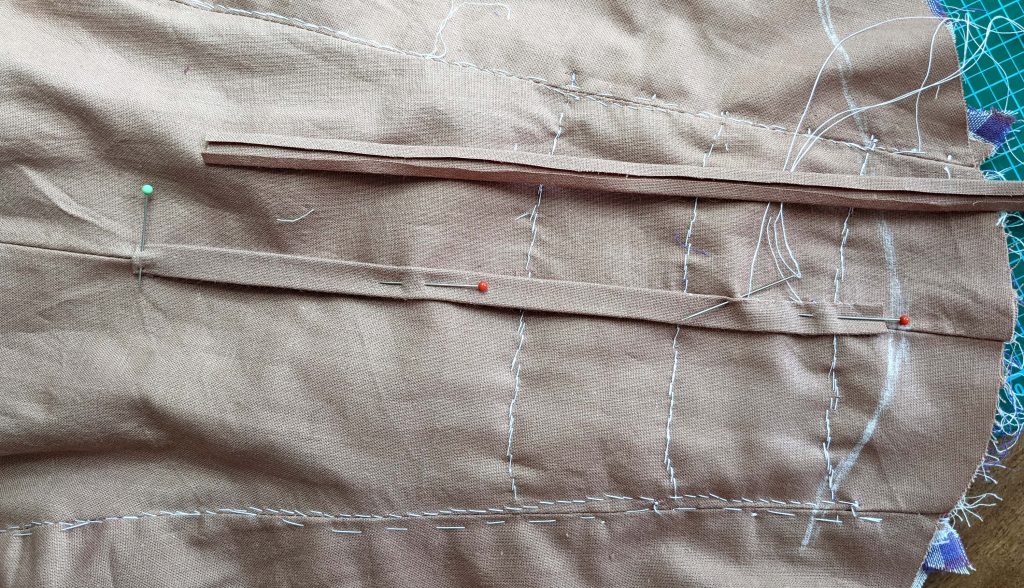
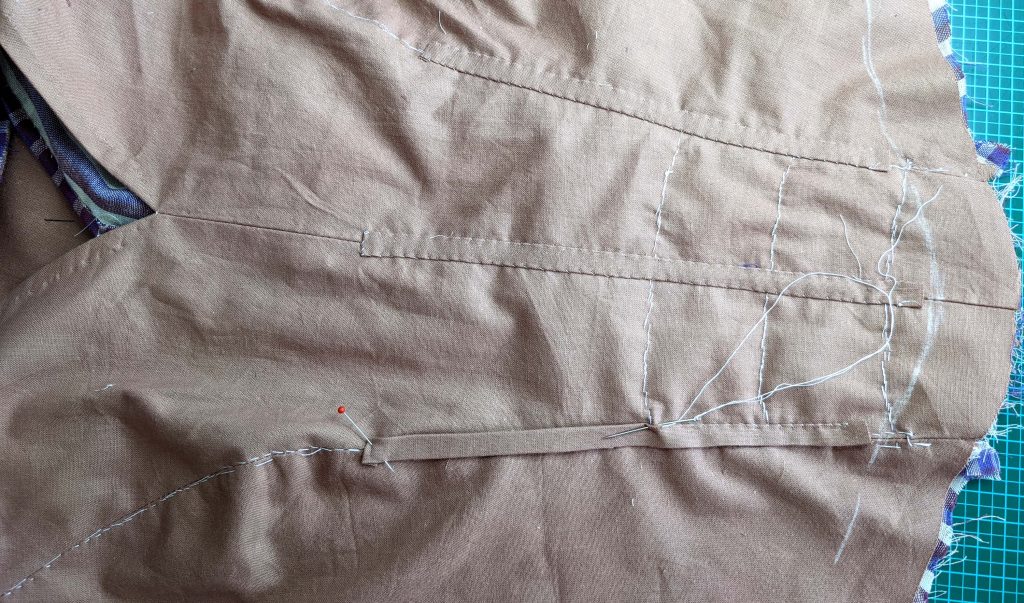
For the bone casings at the center front and the seams between fronts and side fronts cut strips from lining fabric, twice as wide as your boning plus ¼” (5mm) ease. Turn in the edges the same way as you´d prepare bias binding and sew them to the lining only.
Insert the boning and close the openings carefully.
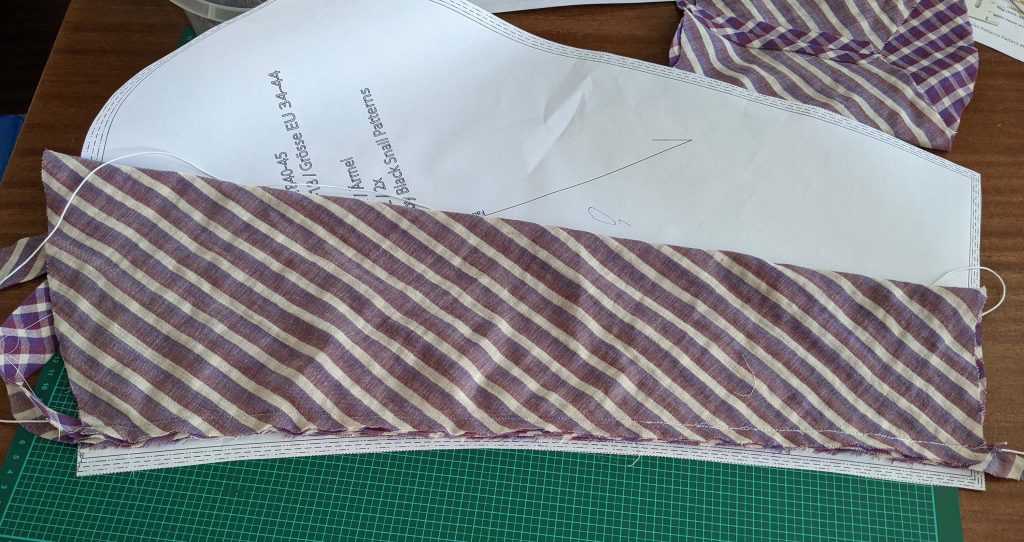
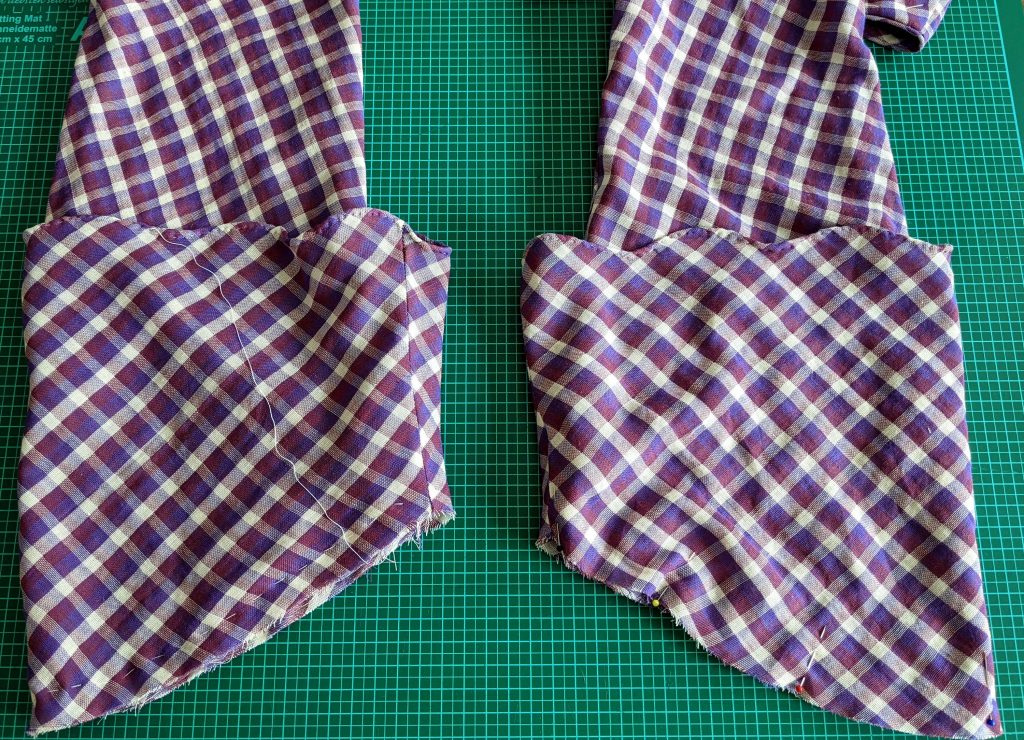
(8) Take the sleeves and line up a length of piping with the front edge. Both, piping and the sleeve edge are cut on the bias, so take your pattern and pull the piping cord to match the sleeve from the fabric with the pattern. Sew the sleeve seam, right sides together, stitching right beside the piping cord. Trim back the seam allowances and neaten the edges with overcasting stitches.
Check the lenght of the sleeve and trim back the bottom edge if needed. Double turn in the sleeve hem and fell stitch in place.
Sew the sleeve seam of the oversleeve, right sides together. Trim back the seam allowance and neaten with an overcasting stitch. Make a rolled hem at the bottom edge (waved or flat as desired).
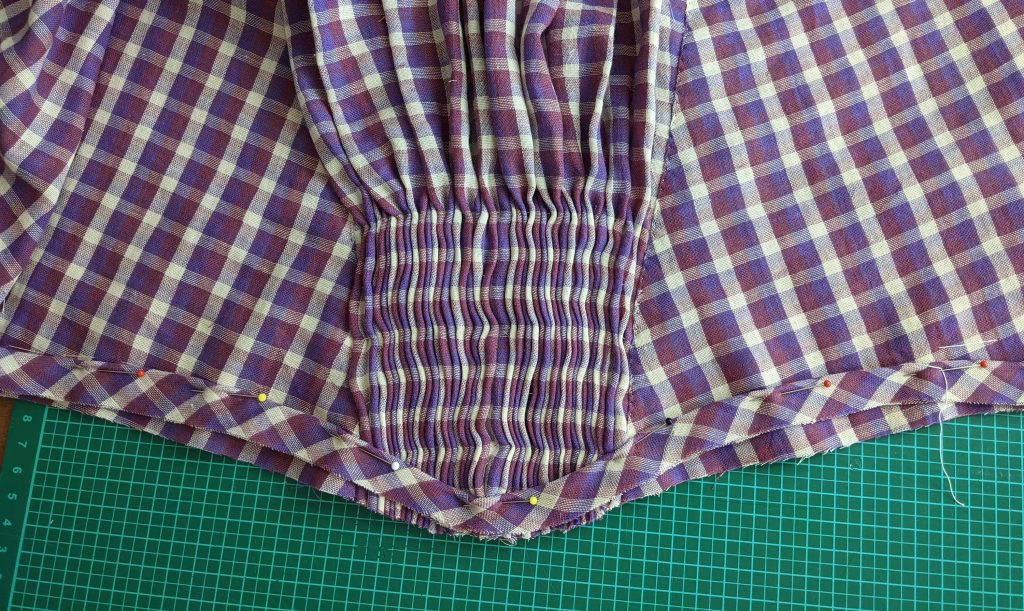
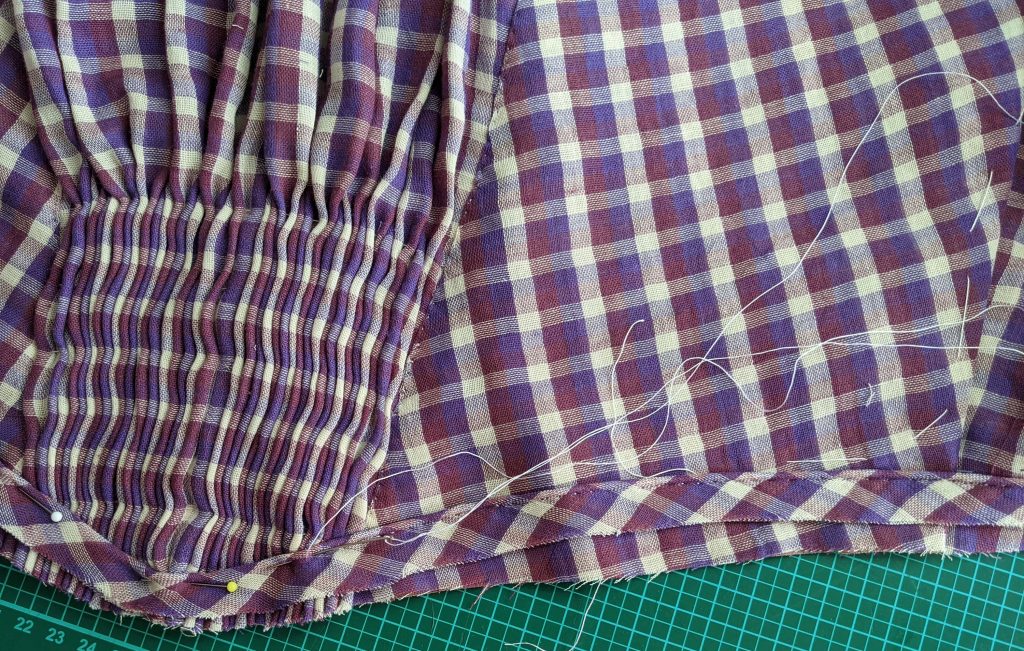
Line up the over-sleeve with the sleeve, matching the sleeve seams and easing in the excess fabric of the over-sleeve. Sew with two rows of gathering threads along the sleeve head, treating the two layers as a single one.
Part 3 – Step 9-12