

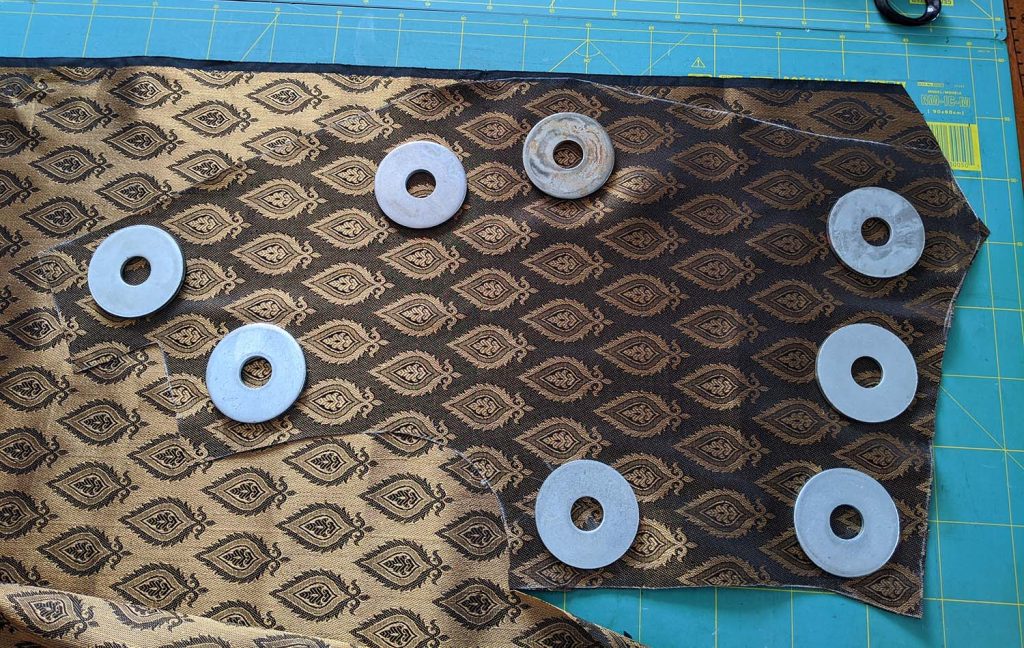
Now it´s time to sew up the fronts! Take great care with pattern matching when sewing with patterned, checked or striped fabrics. Never cut both sides on fold fabric,
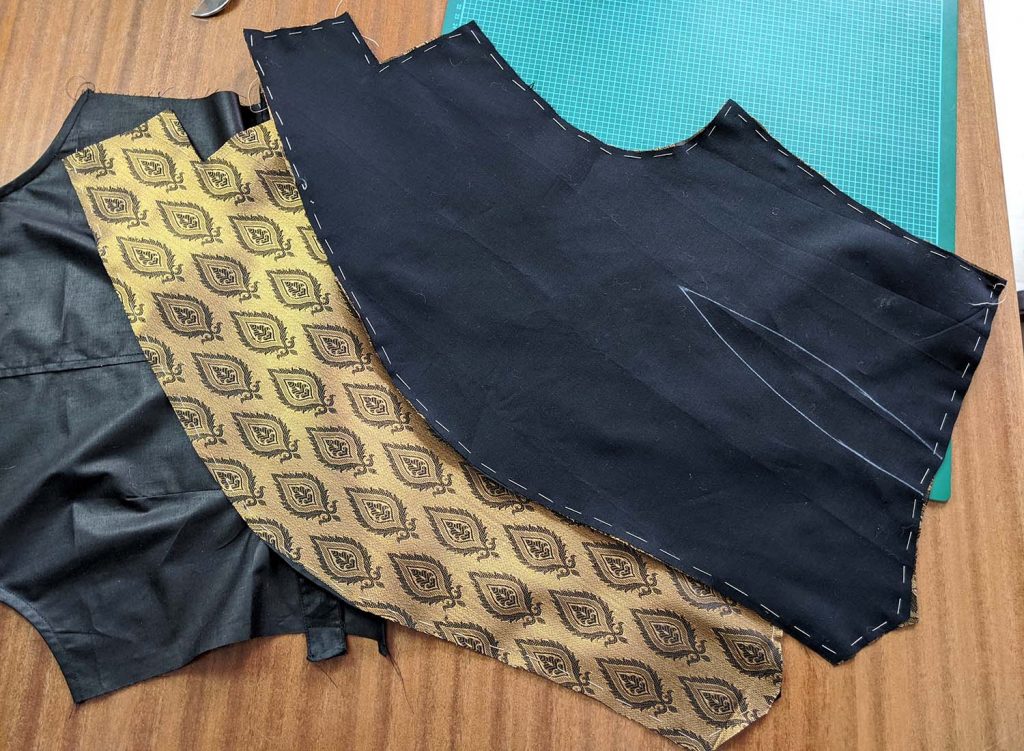
Sewing with this delicade silk brocade I decided to flatline the entire fronts, which would not be necessary when sewing with e.g. a wool satin. I prefer to stitch in the flatlining by hand to unpick some stitches easily if necessary during the sewing process.
Time to sew the watch pocket if wanted and close the darts. I made an extra tutorial how to sew a 19th century welt pocket.
Now it´s the best moment for a fitting, with fronts and backs basted together. Adjust the darts and the side seam if needed.

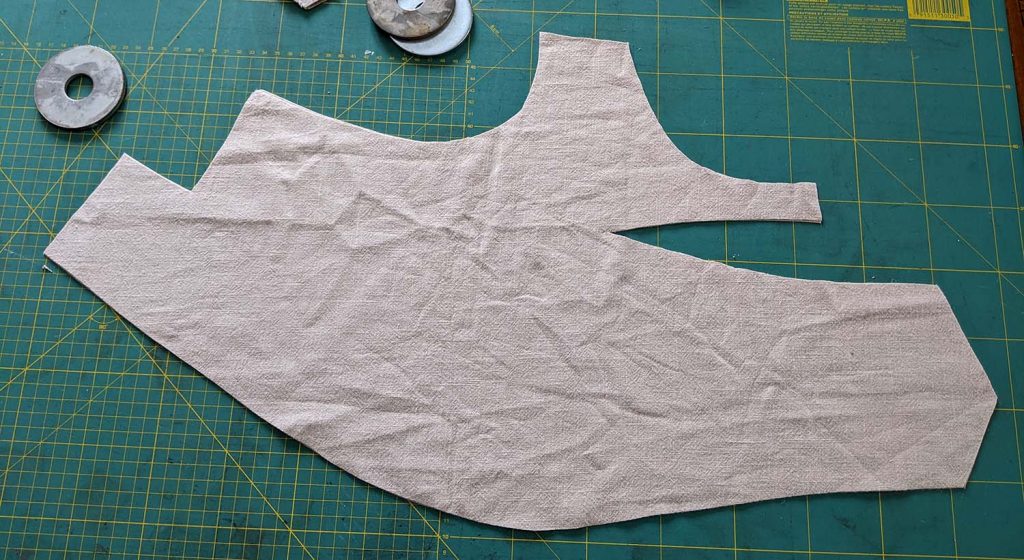
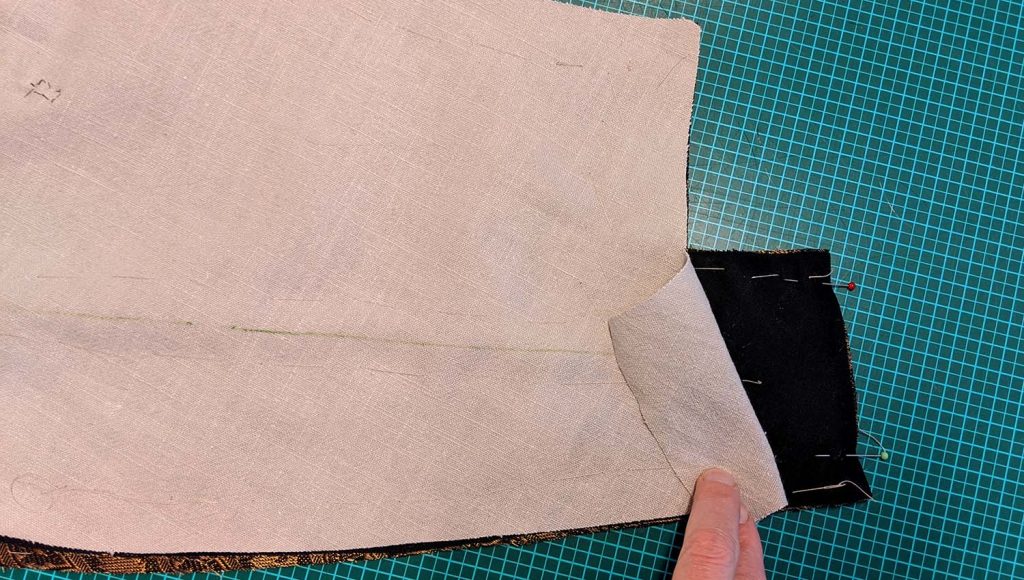
It´s time to baste the canvas to the wrong side of fronts, lining up seams and darts. Cut out the darts as shown on the picture (I prefer to use midweight linen fabrics instead of hair canvas for a softer finish).
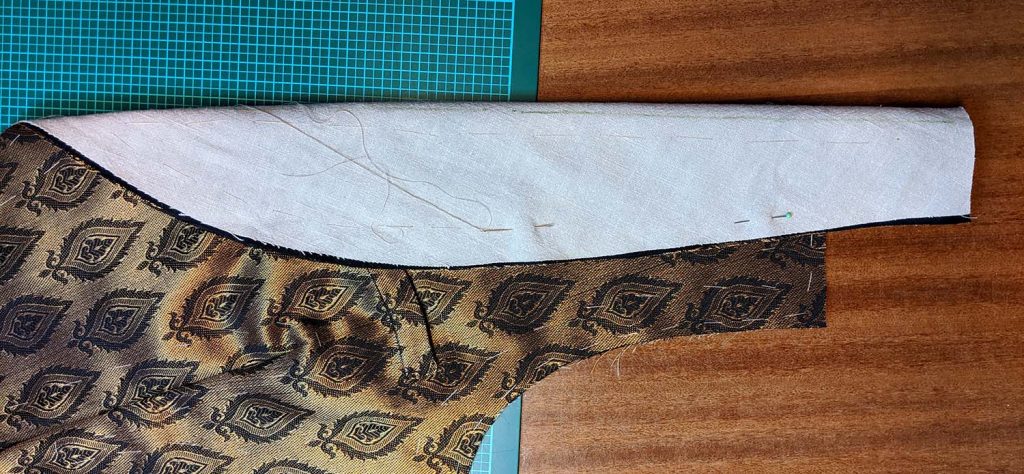
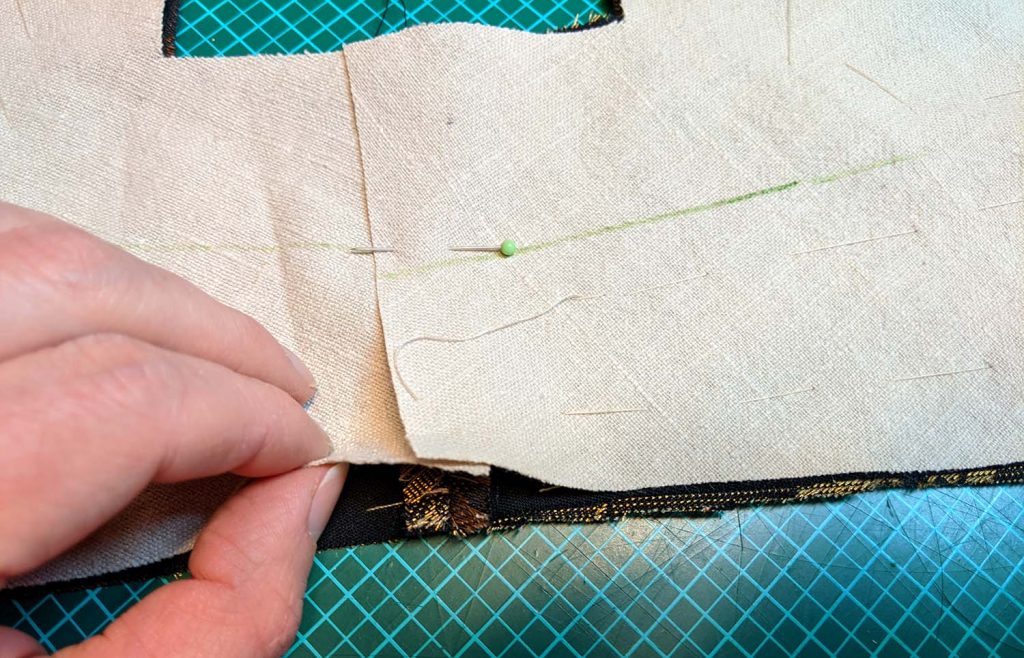
After basting the front portion, mark the roll line and fold the collar along this line. Smooth out the canvas to get the extra width for the “turn of cloth” and baste in place.
Sew together the fronts along the center back of the collar, right sides together folding aside the canvas. Trim back and press open the seam allowance, smooth out the canvas of both sides over the center back seam, one on top of each other. Trim back the seam allowances of the canvas to circa ¼” and catch stitch together.
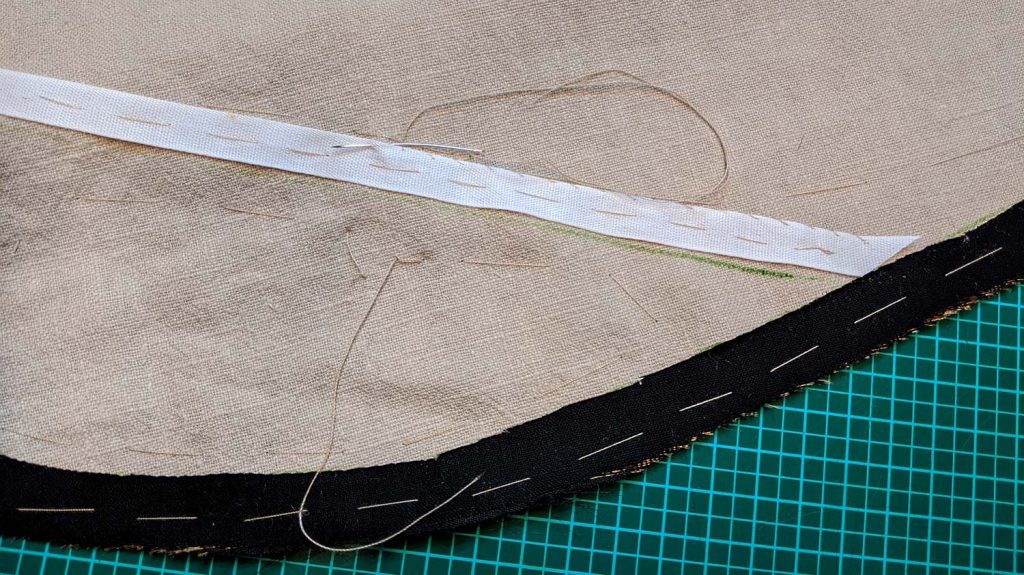
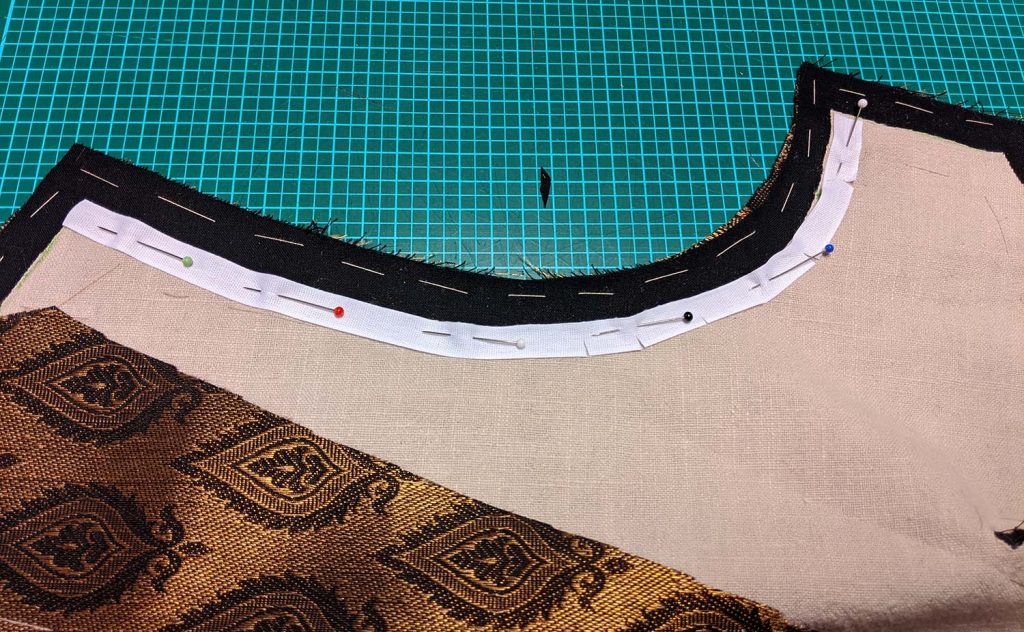
Mark the seam line on the canvas along front and bottom edge, as well as along the collar, neckline, shoulder and armhole. Trim back the canvas only slightly behind the seam line. Attach a continuous bridle tape with a fell stitch right behind the roll line, starting on one side, going over the center back to the other side, the tape should lay quite tight.
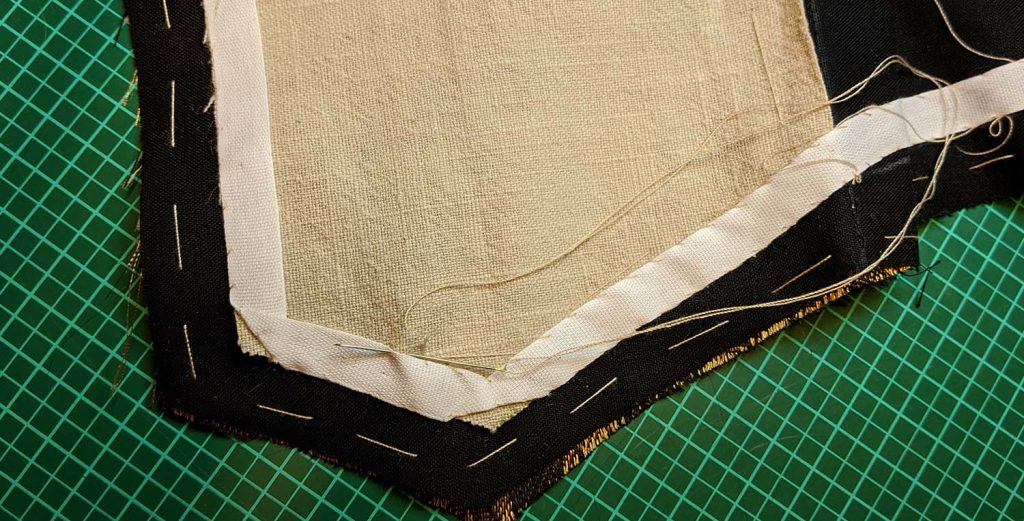
Pin another bridle tape loosely along the seamline of bottom, front and collar covering the edge of the canvas. Clip the tape at the collar point to lay flat and turn back at the corners to reduce bulk. Fell stitch the tape carefully to the fashion fabric along the seamline (stitches should be nearly invisible from the right side). Fell stitch the edge vis-á-vis to the canvas only, leaving loose along the side front piece.
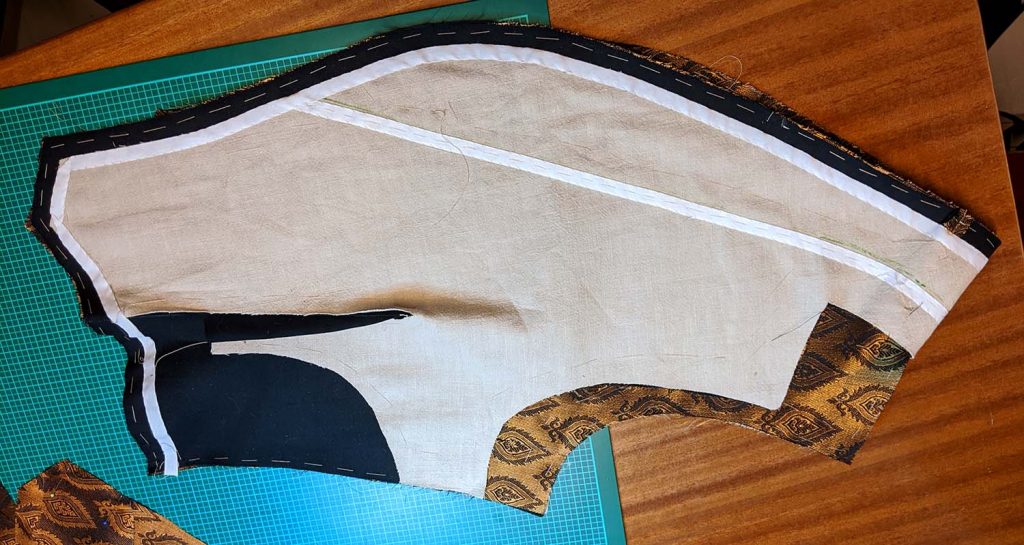
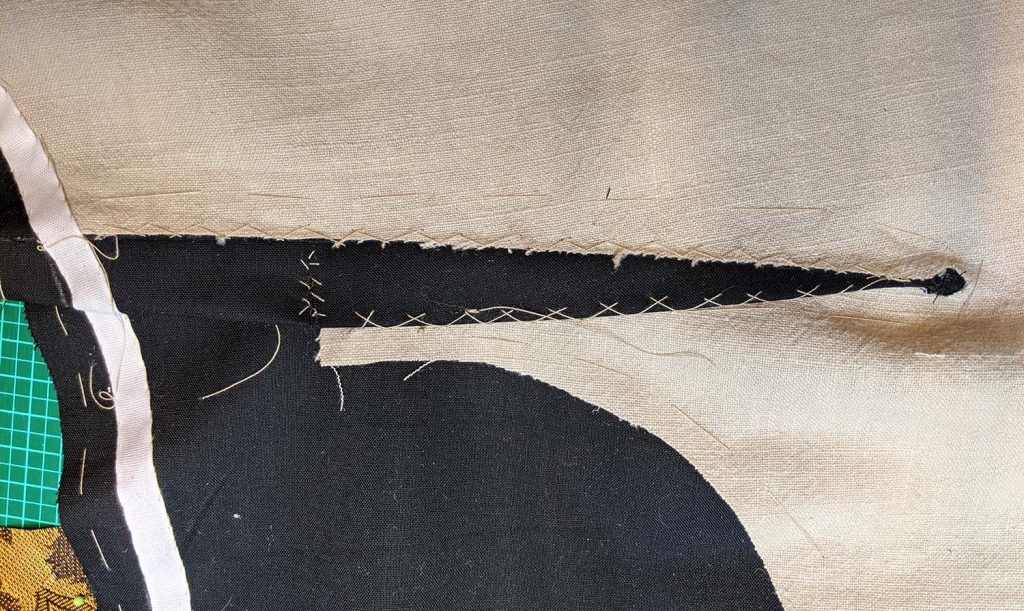
Along the armhole attach another bridle tape the same way, clipping the tape at the curves to lay flat. Catch stitch the darts loosely to the canvas to hold in place. As you can see, I cut the dart at the waistline and neatened the edges with an overcasting stitch.
This is my favourite moment when sewing a jacket or vest with classic tailoring techniques.