For lacing up easily, I decided to use metal grommets for my corset. The metal grommet was patented in 1823 by Thomas Rogers.
Whether you decided to make hand-sewn eyelets or metal grommets now it is time to choose the way you lace up your corset. I wanted to try the self-lacing version from the link shown before.
Category Archives: General
1830-40´s Corset
All tunnels stiched? Now it is time to add the cording. The technique is called Trapunto, that means you add the cords after stitching the tunnels. This is a time-consuming and exhausting work, nobody told it would be easy. You can avoid this step with adding each piece of cord after you stitched one side of the tunnel, then make the second seam beside the cord. The result will be smoother with the Trapunto technique.
For adding the cord, I threaded a blunt point needle with a strong buttonhole thread, make a couple of stitches through the end of the cord. To harden the cord´s end I used glue and let it dry for some hours.
Widen the holes with an awl. If you have problems pulling through the cord you can widen the tunnel with the awl first.
Pull the cord through the tunnel, the end should just slip into. Cut off the cord close to the fabric and shove the end back into the tunnel with your awl.
1830-40´s Corset
When I decided to make a new 1830´s corset, I thought a lot about the lacing first. My old one had a back and front lacing; nevertheless, I had trouble to pull it over my hips or my head, struggling with all that mess of lacing cord. I asked my husband for help, but every closure more complex than a zipper causes him shaking and sweating hands. This year I´m going to join our summer ball alone, with no helping hand available. Searching the internet, I found this interesting self-lacing corset:

Cosplay Danerys Targaryen´s blue Dragon Dress
It´s quite a long time I didn´t write something, but I was working on the cosplay costumes my children asked for. My daughter always tries to choose simple looking costumes for me to sew. Nevertheless, every time I start research, that simple looking dresses turn themselves into some complicated pattern challenges. First one was Padme Amidala´s blue dress she wears on Tatooine, second was Daenerys Targaryen´s blue dress from season 4. Seems, she likes blue dresses!
Thanks to Michelle Carragher, who did most of the costume embroidery, I could manage the details
http://www.michelecarragherembroidery.com/Daenerys-Dragonscale-Gallery(2880136).htm

My first attempt at hand embroidery
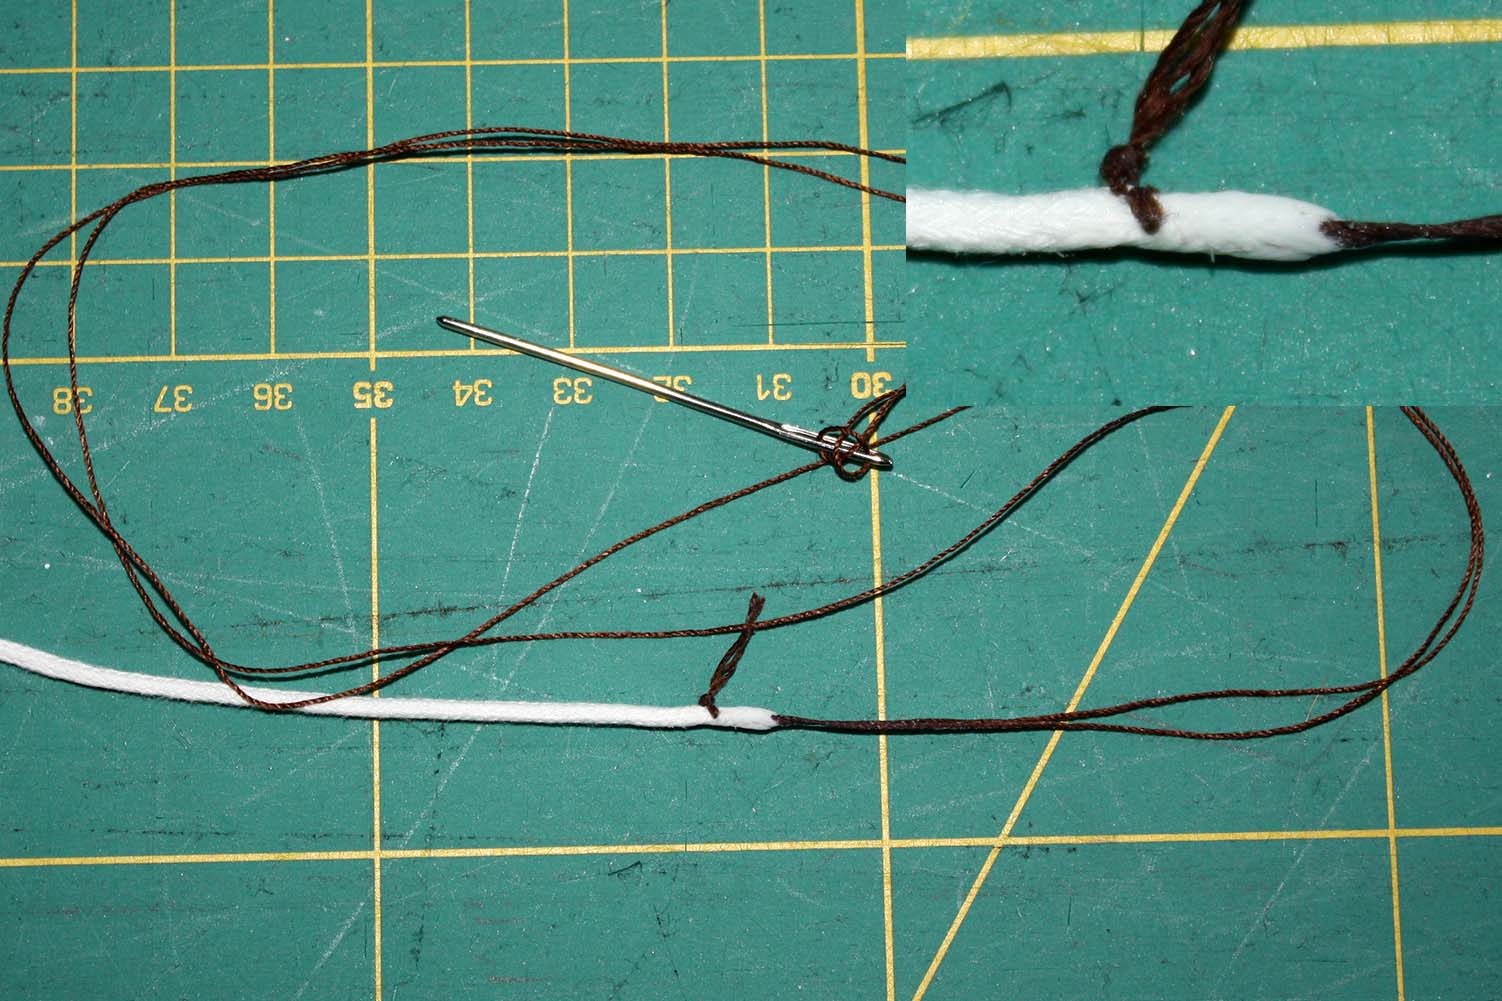
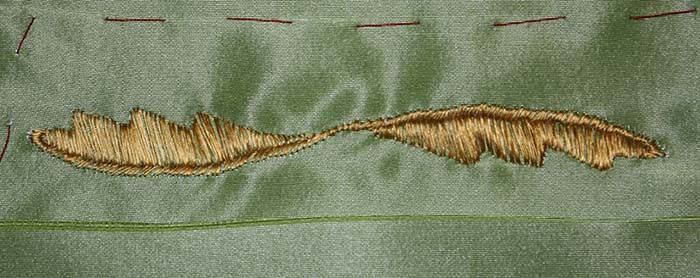
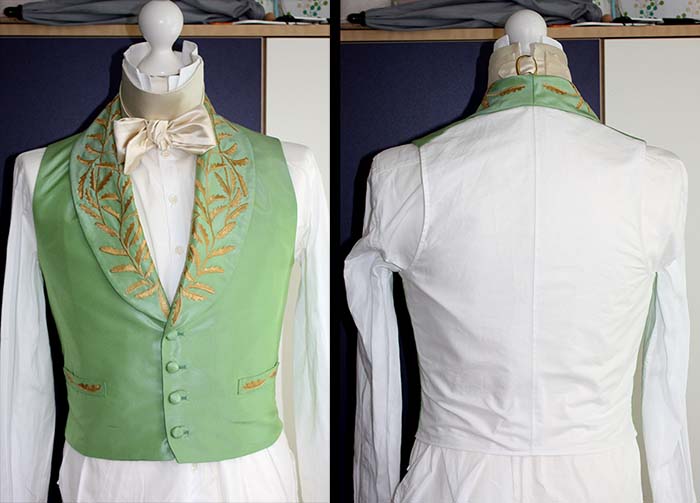
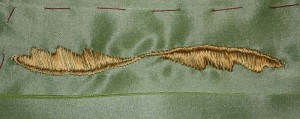
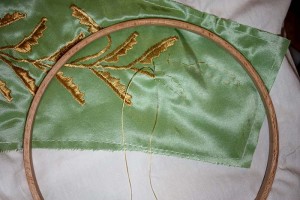
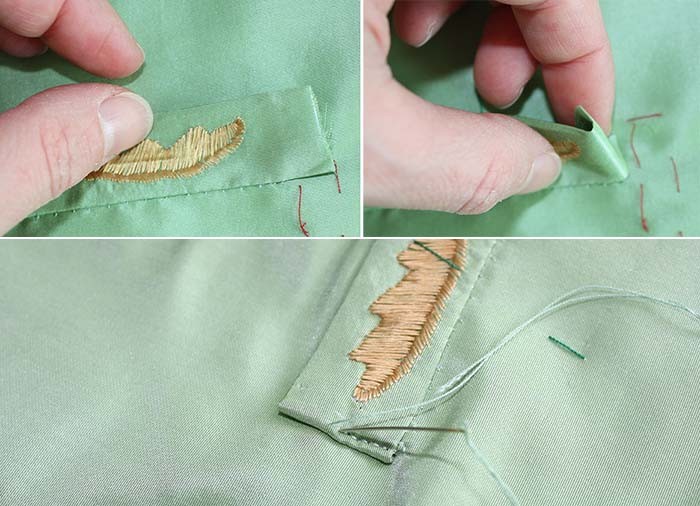
The last hand stitching embroidery I remember was at school. That´s quite a long time since then. After some research, I decided to copy this pattern for my husband´s 1840´s waistcoat. A friend, Helena, who does a lot of 18th century needle painting embroidery, recommended using floss silk for my project. I was a little bit shocked when I got my floss silk. The thread was so fine, and with its golden color it was nearly invisible with the background of my kitchen table. However, the first try on my ice green silk was not too bad. I used a sateen stitch for the branches and a false satin stitch for the leaves, due to my panic running out of thread during the project. All the embroidery process was quicker than expected, enjoying the first spring sunbeams on my terrace while working.
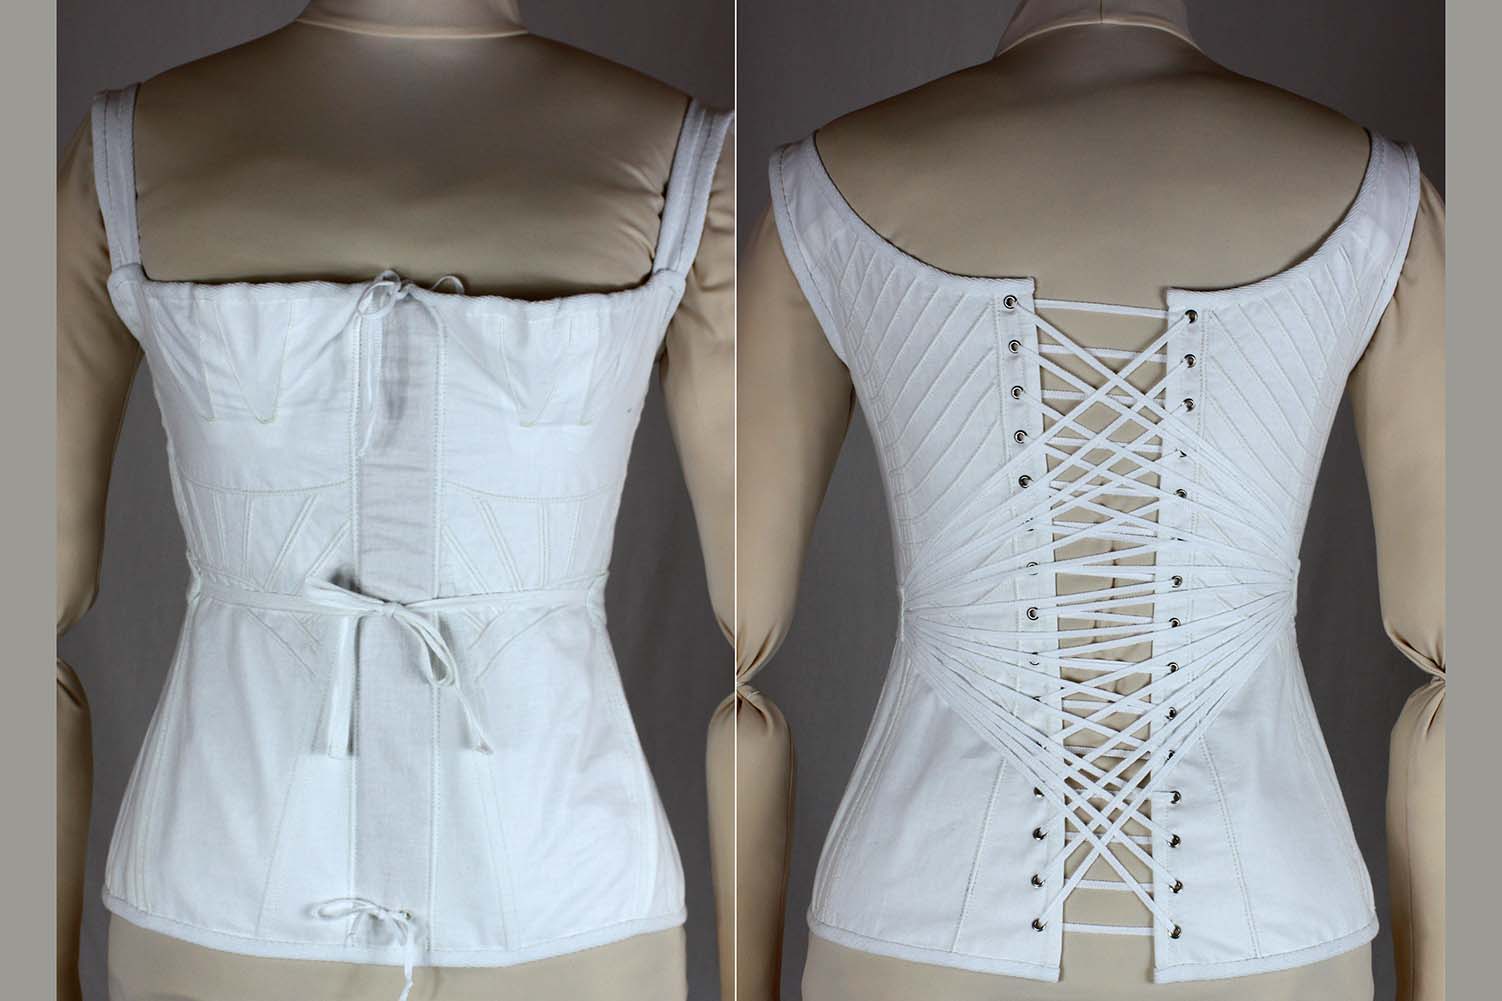
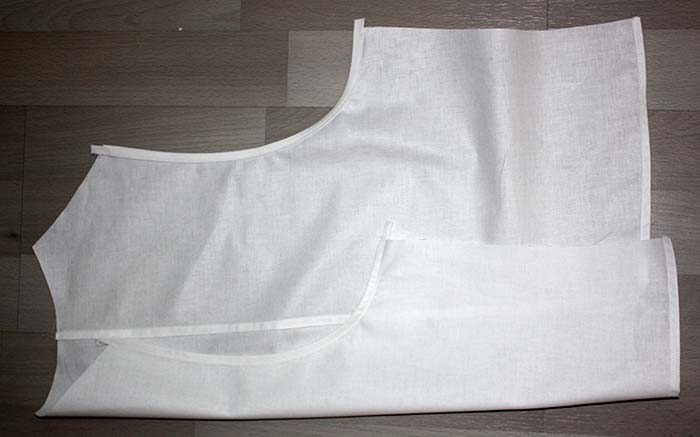
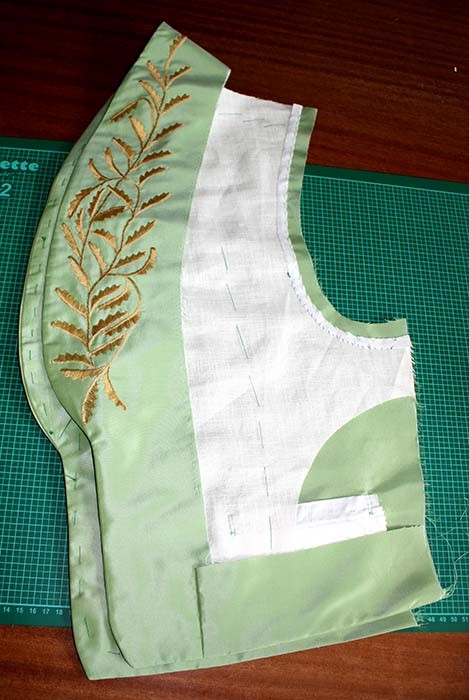
At the same time I started to prepare the other waistcoat pieces. Here you see the back, ready prepared to be joined to the front. Just a single layer of fabric, the armhole neatened with bias binding.
I interlined the front pieces with linen and made the welt pockets the usual Victorian way. Anybody here interested in an extra how-to?
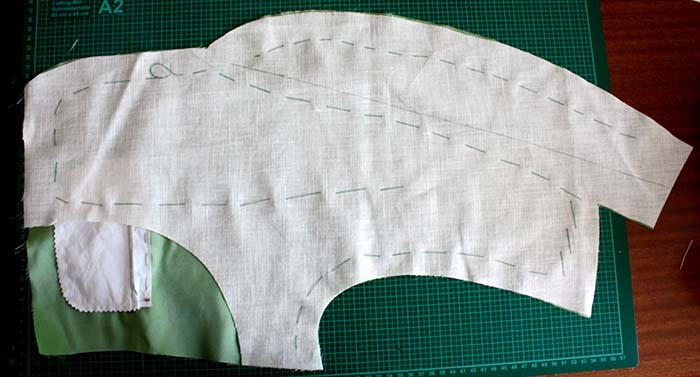
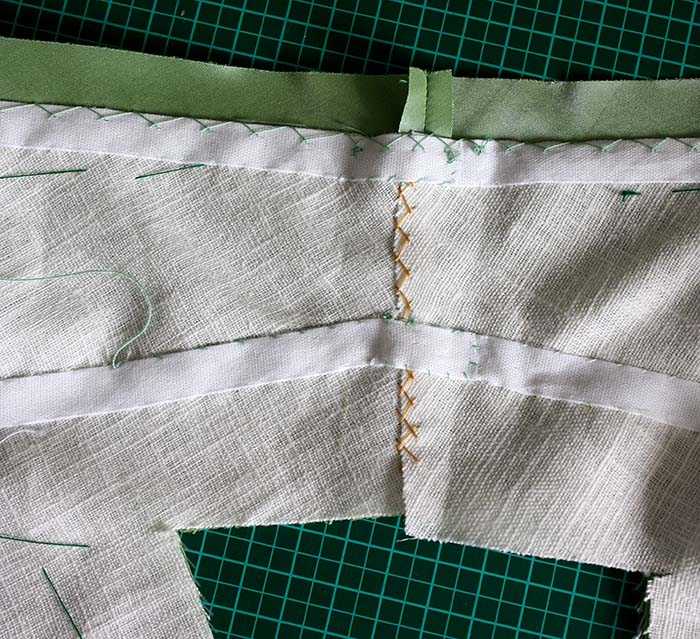
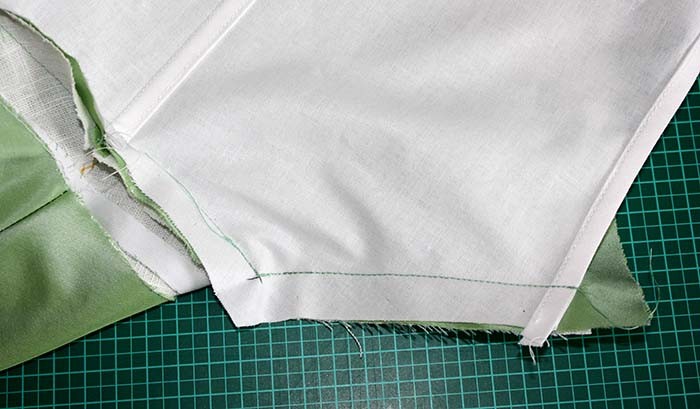
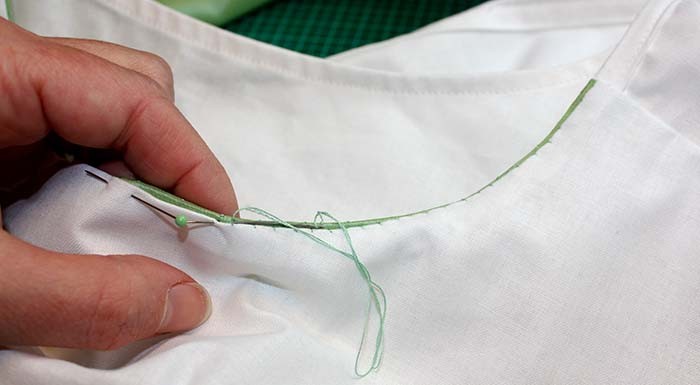
I sewed a cotton tape along all edges and the roll line with a catch stitch, along the stitching line I tried to make small stitches through the fashion fabric. At the center back, I joined the fronts and laid the interlining one side over the other to avoid bulk.
The front with the embroidered lapel facing already attached and pressed.
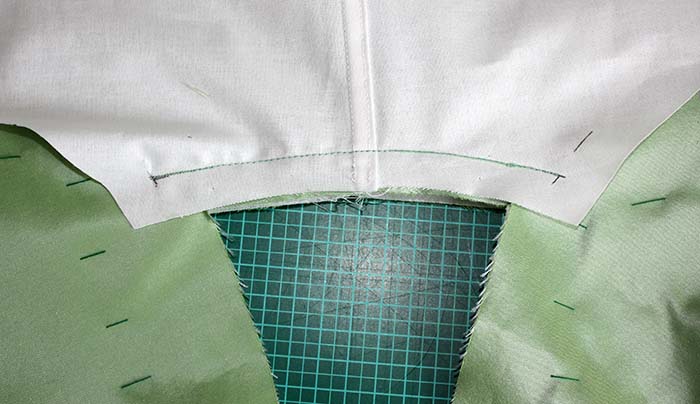
Now I decided to make things a little bit different, due to the single layer back. I sewed the back part to the fronts, first the neckline, after notching the shoulder seams and at least the side seams. All seam allowances are trimmed, and notched at curved seams, then pressed towards the fronts.
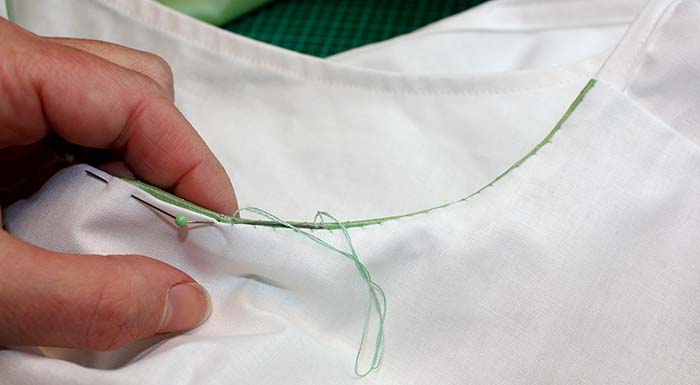
Then I folded the fronts along the roll line and sewed the edges of the facing to the interlining. I notched the facing at the shoulder seam, turned in the seam allowance along the neckline and fell stitched the collar.
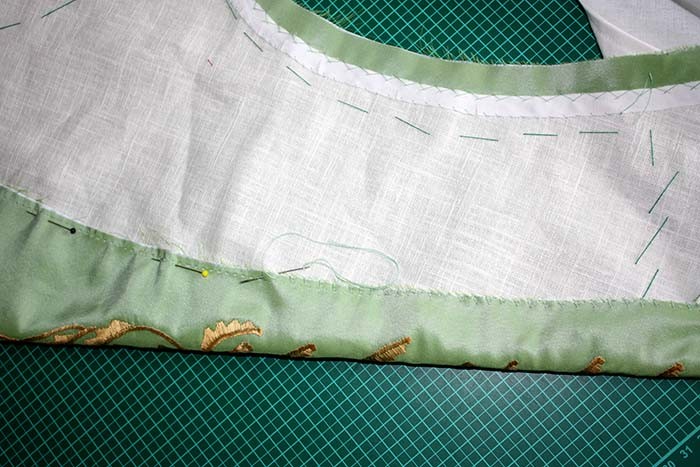
I prepared the front lining, turned in all seam allowances and fell stitched the lining to the inside of the fronts.