
Part 1 – Consideration
Part 2 – Step (1) – (8)
(9) Line up the prepared canvas with the wrong side of the front, while simulating the round of the chest with a tailor´s ham or a pillow, again, I used my bedsheet. Baste the canvas to the front from the right side down the center. Stay with your basting about 2” (5cm) from all edges.

(10) Mark the seamline on the canvas along the bottom and front edge, as well as along the lapel. Pad stitch the lapel, start about ¾” (2cm) behind the roll line, and fold the lapel over your hand’s edge to give it the right shape.
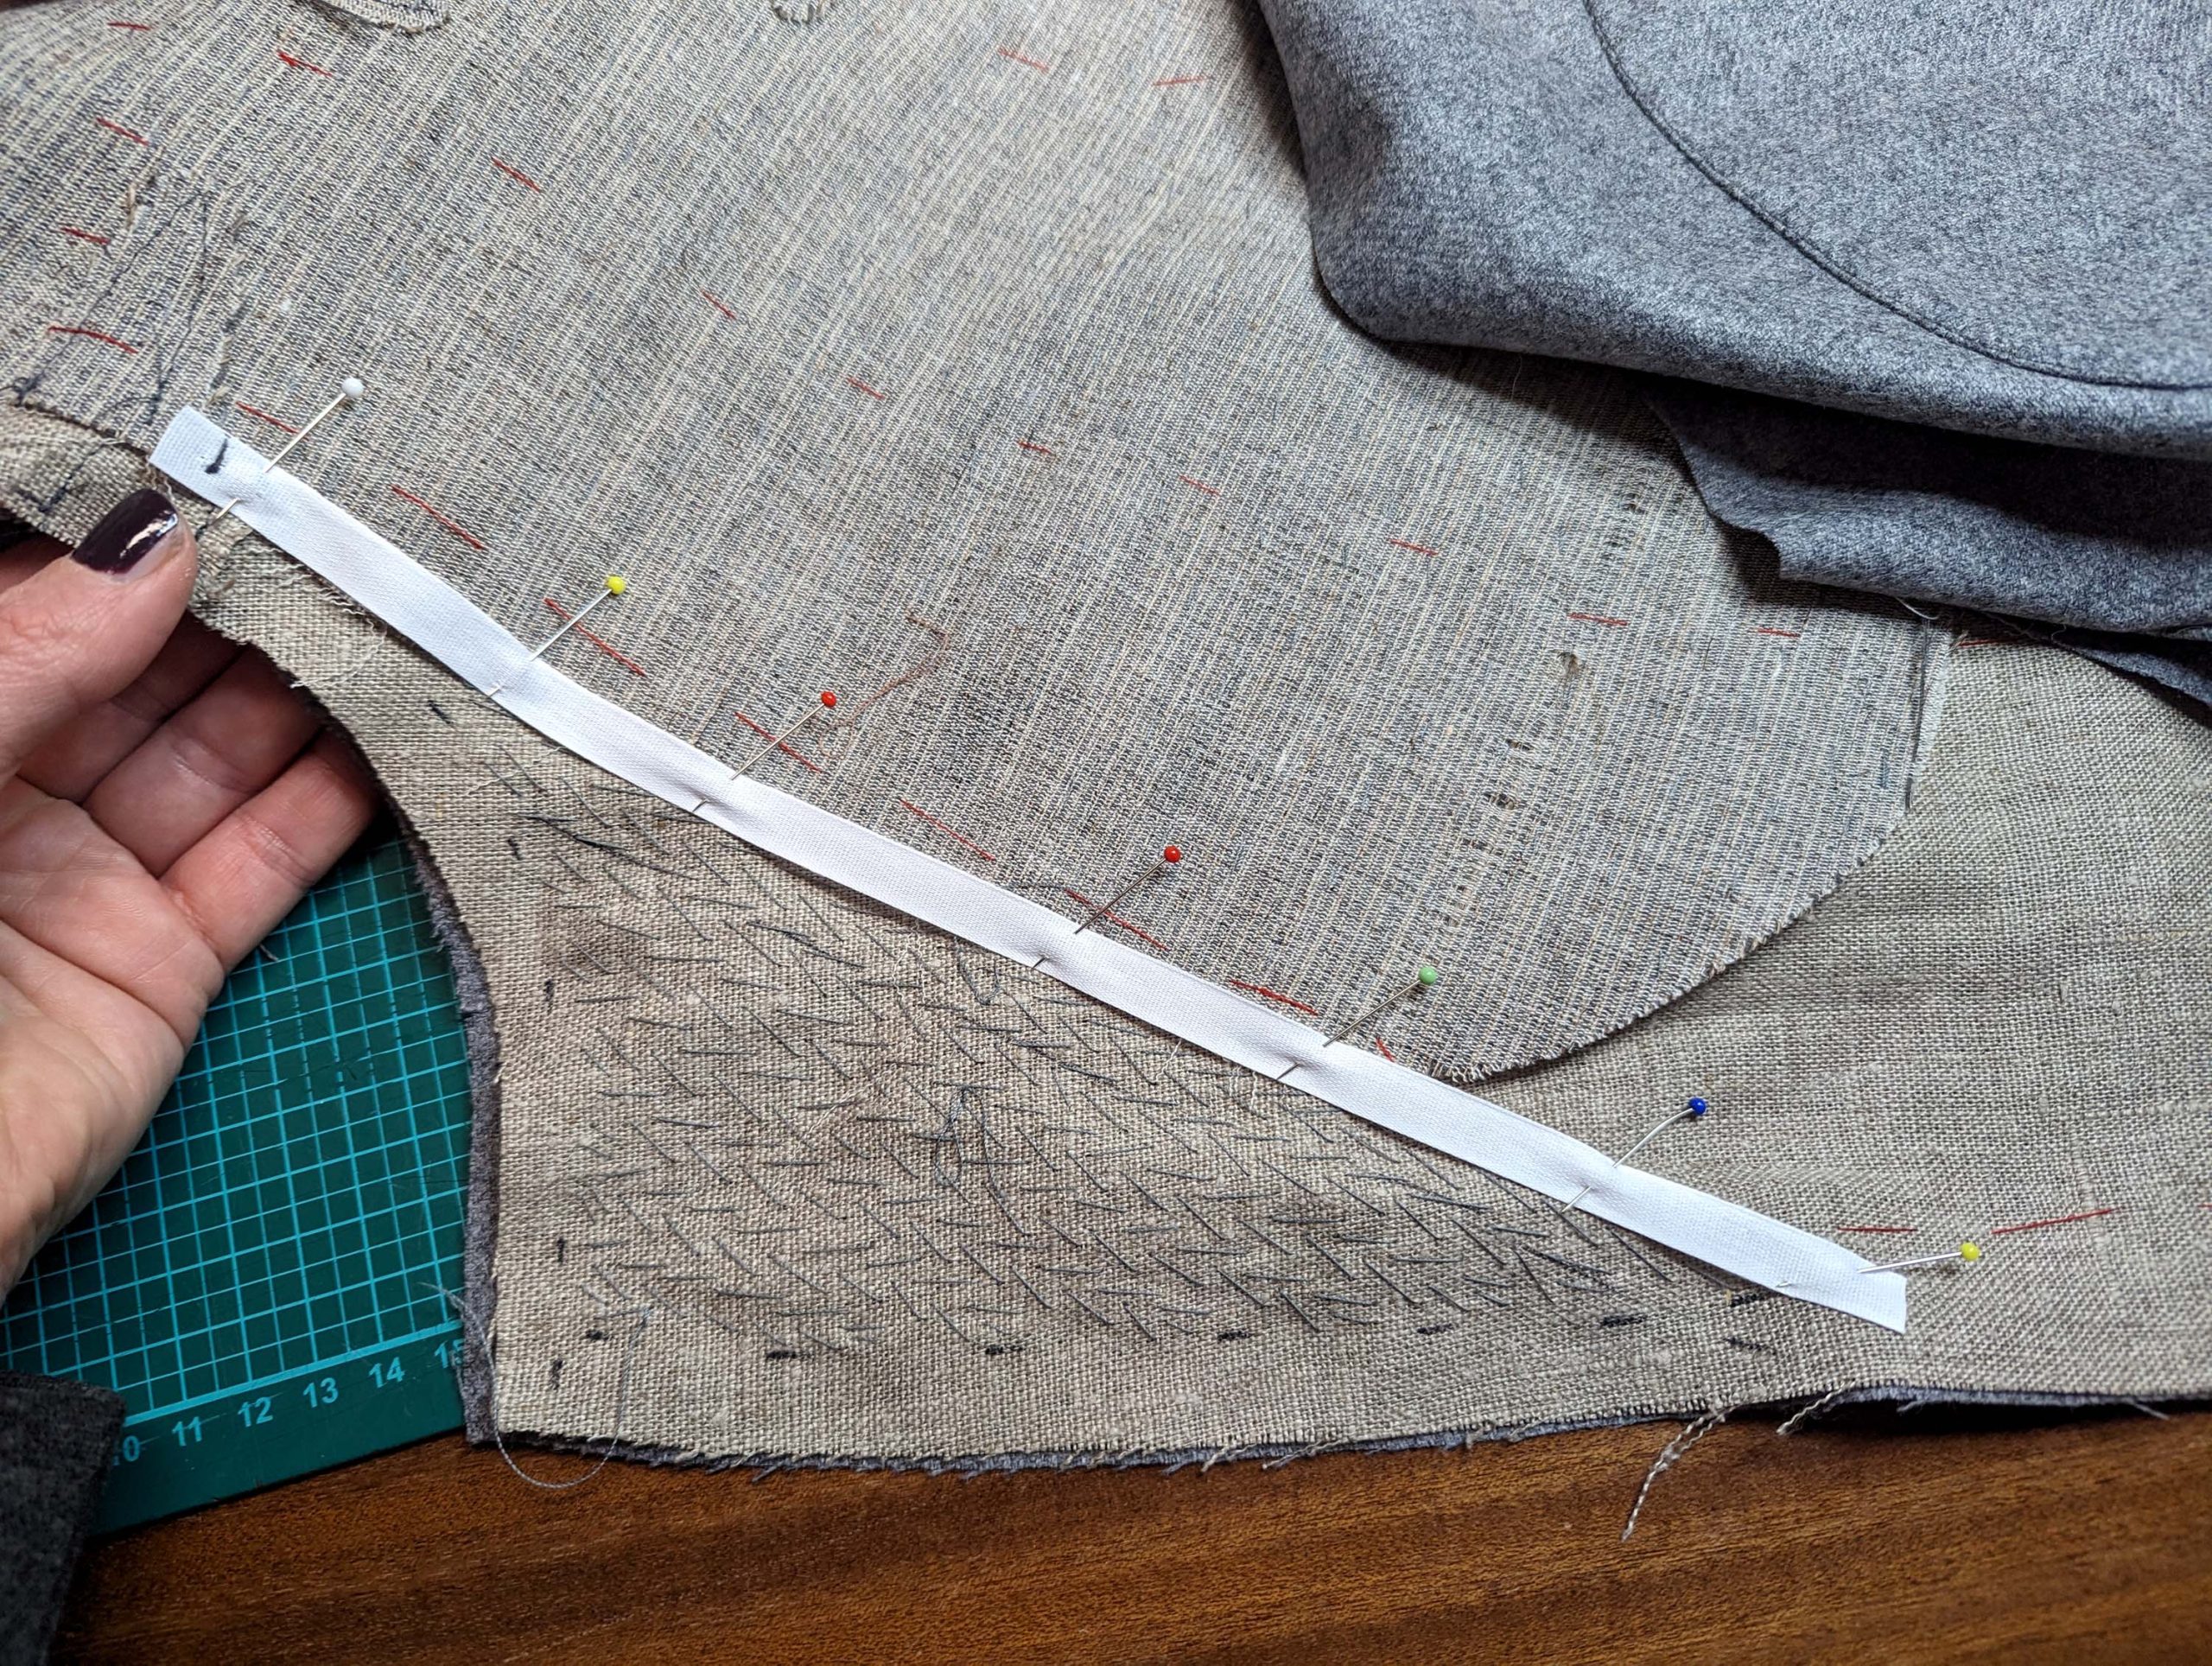
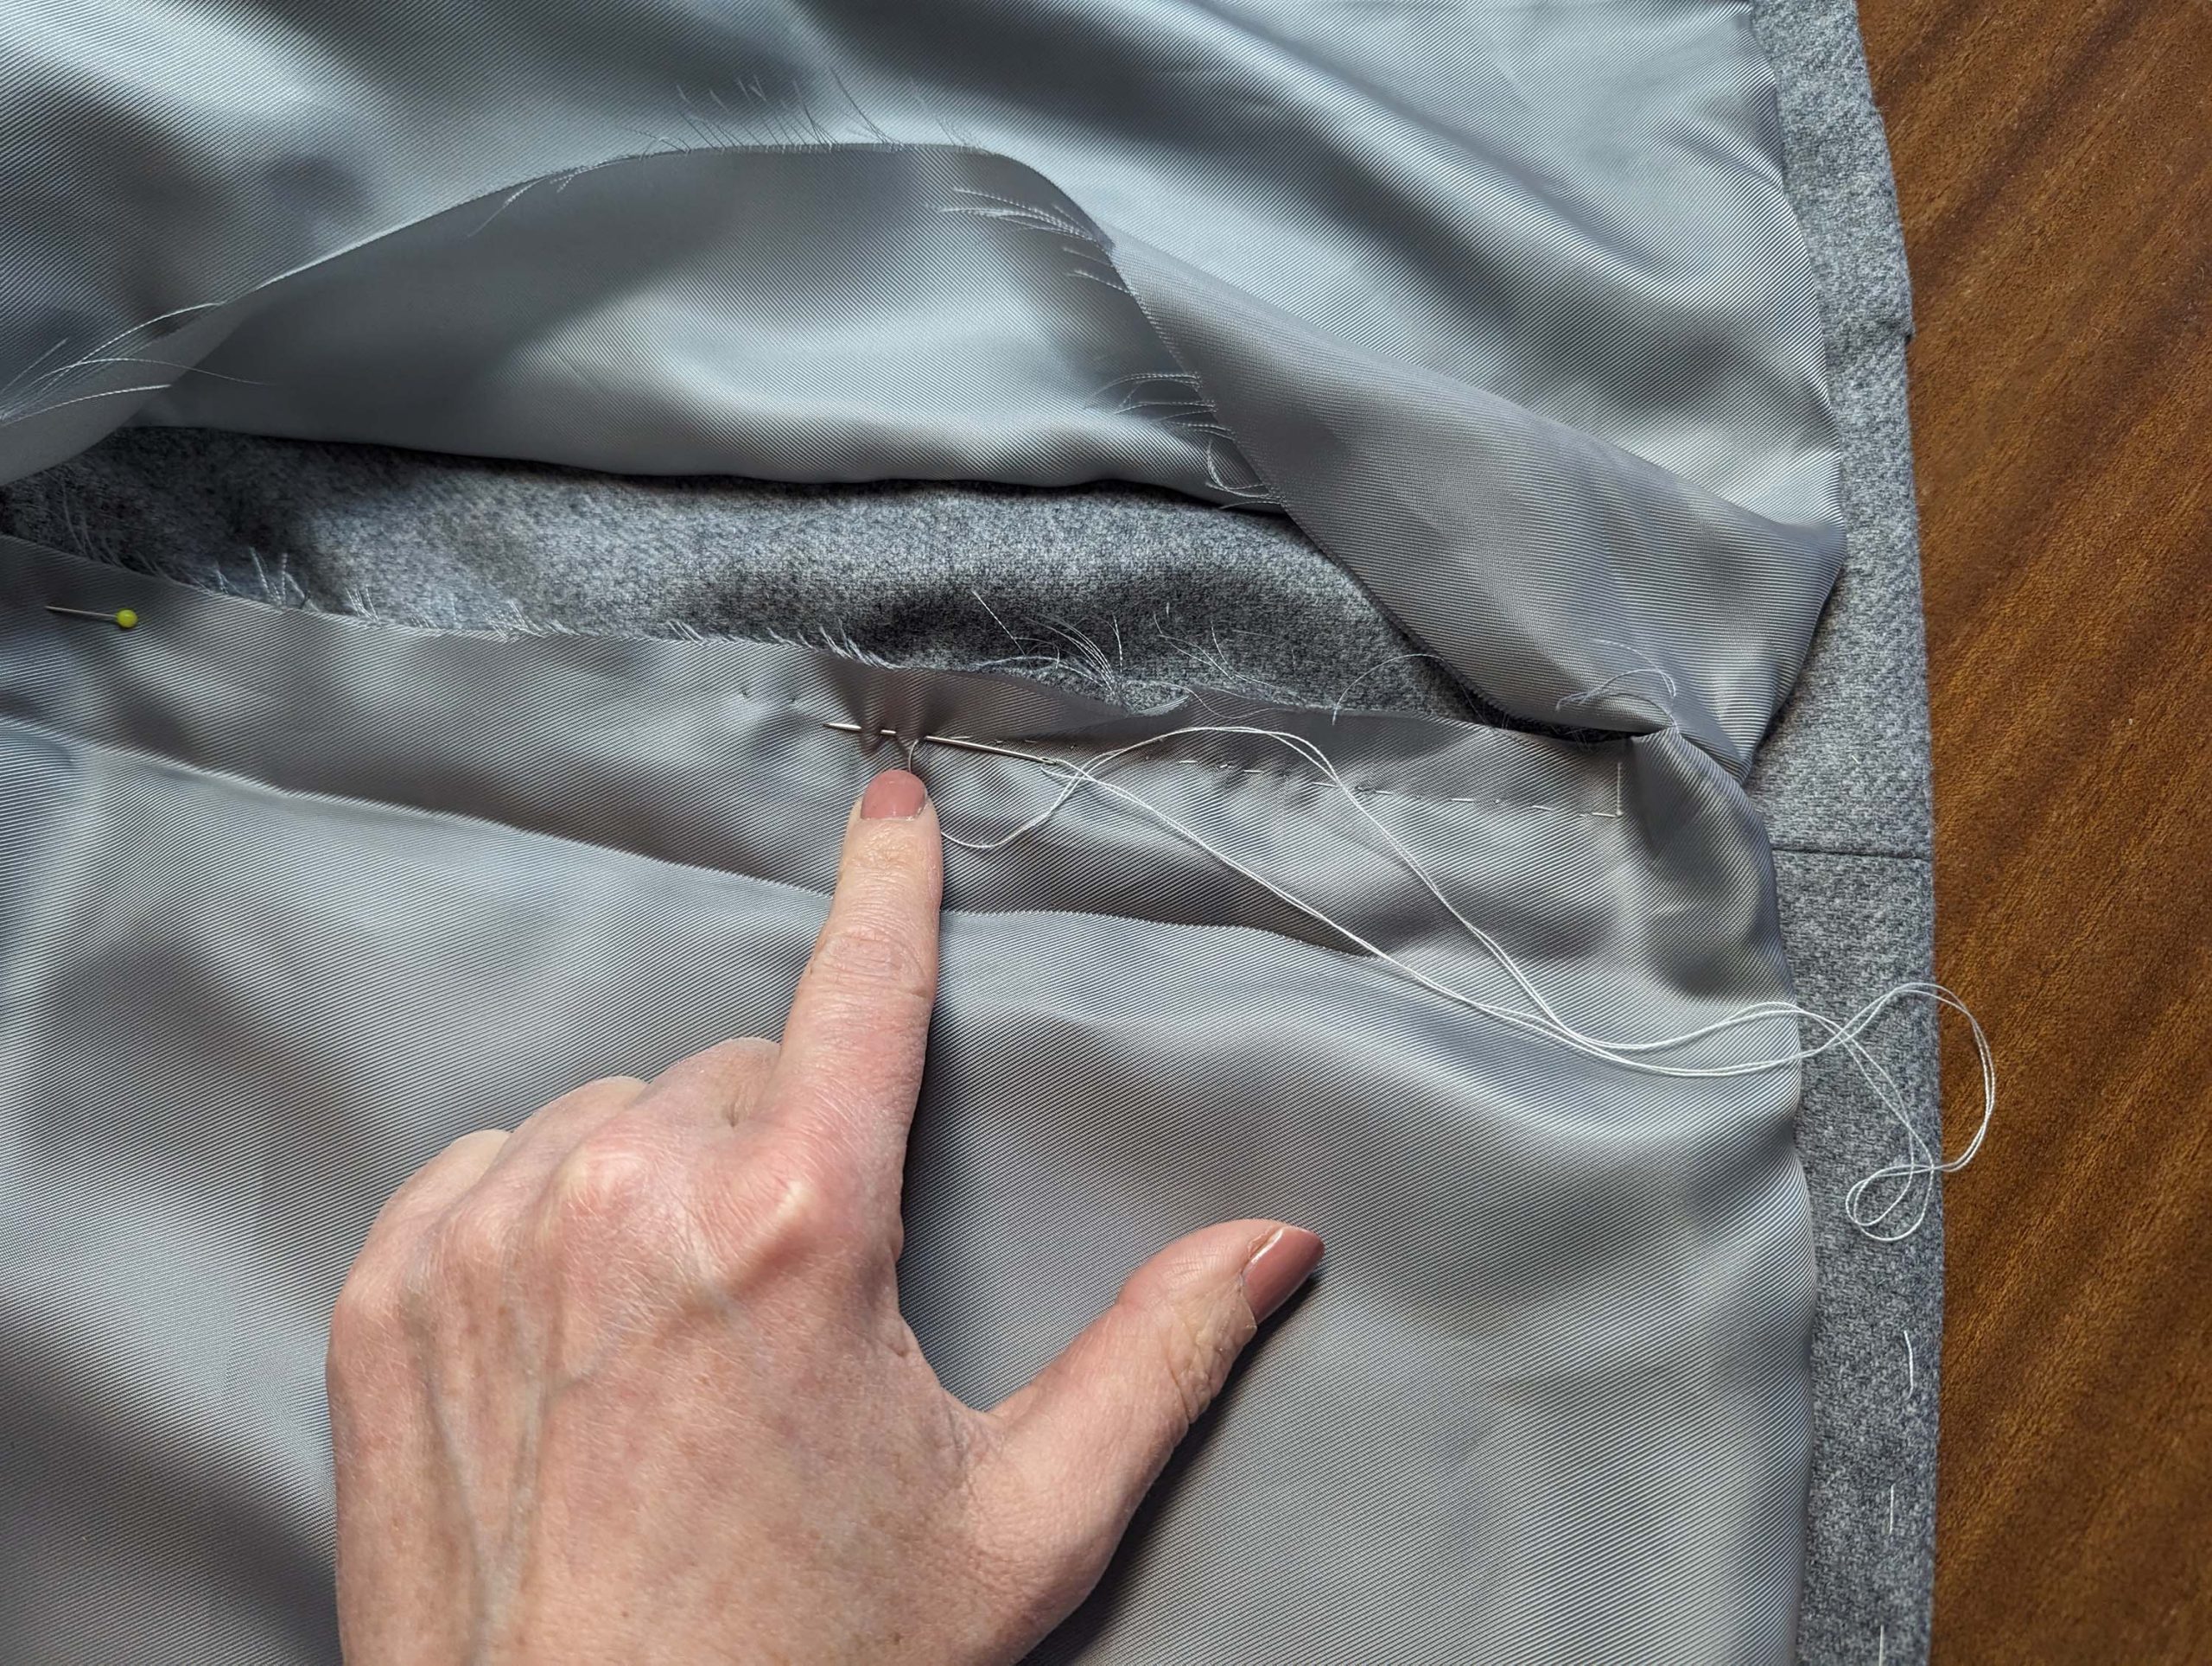
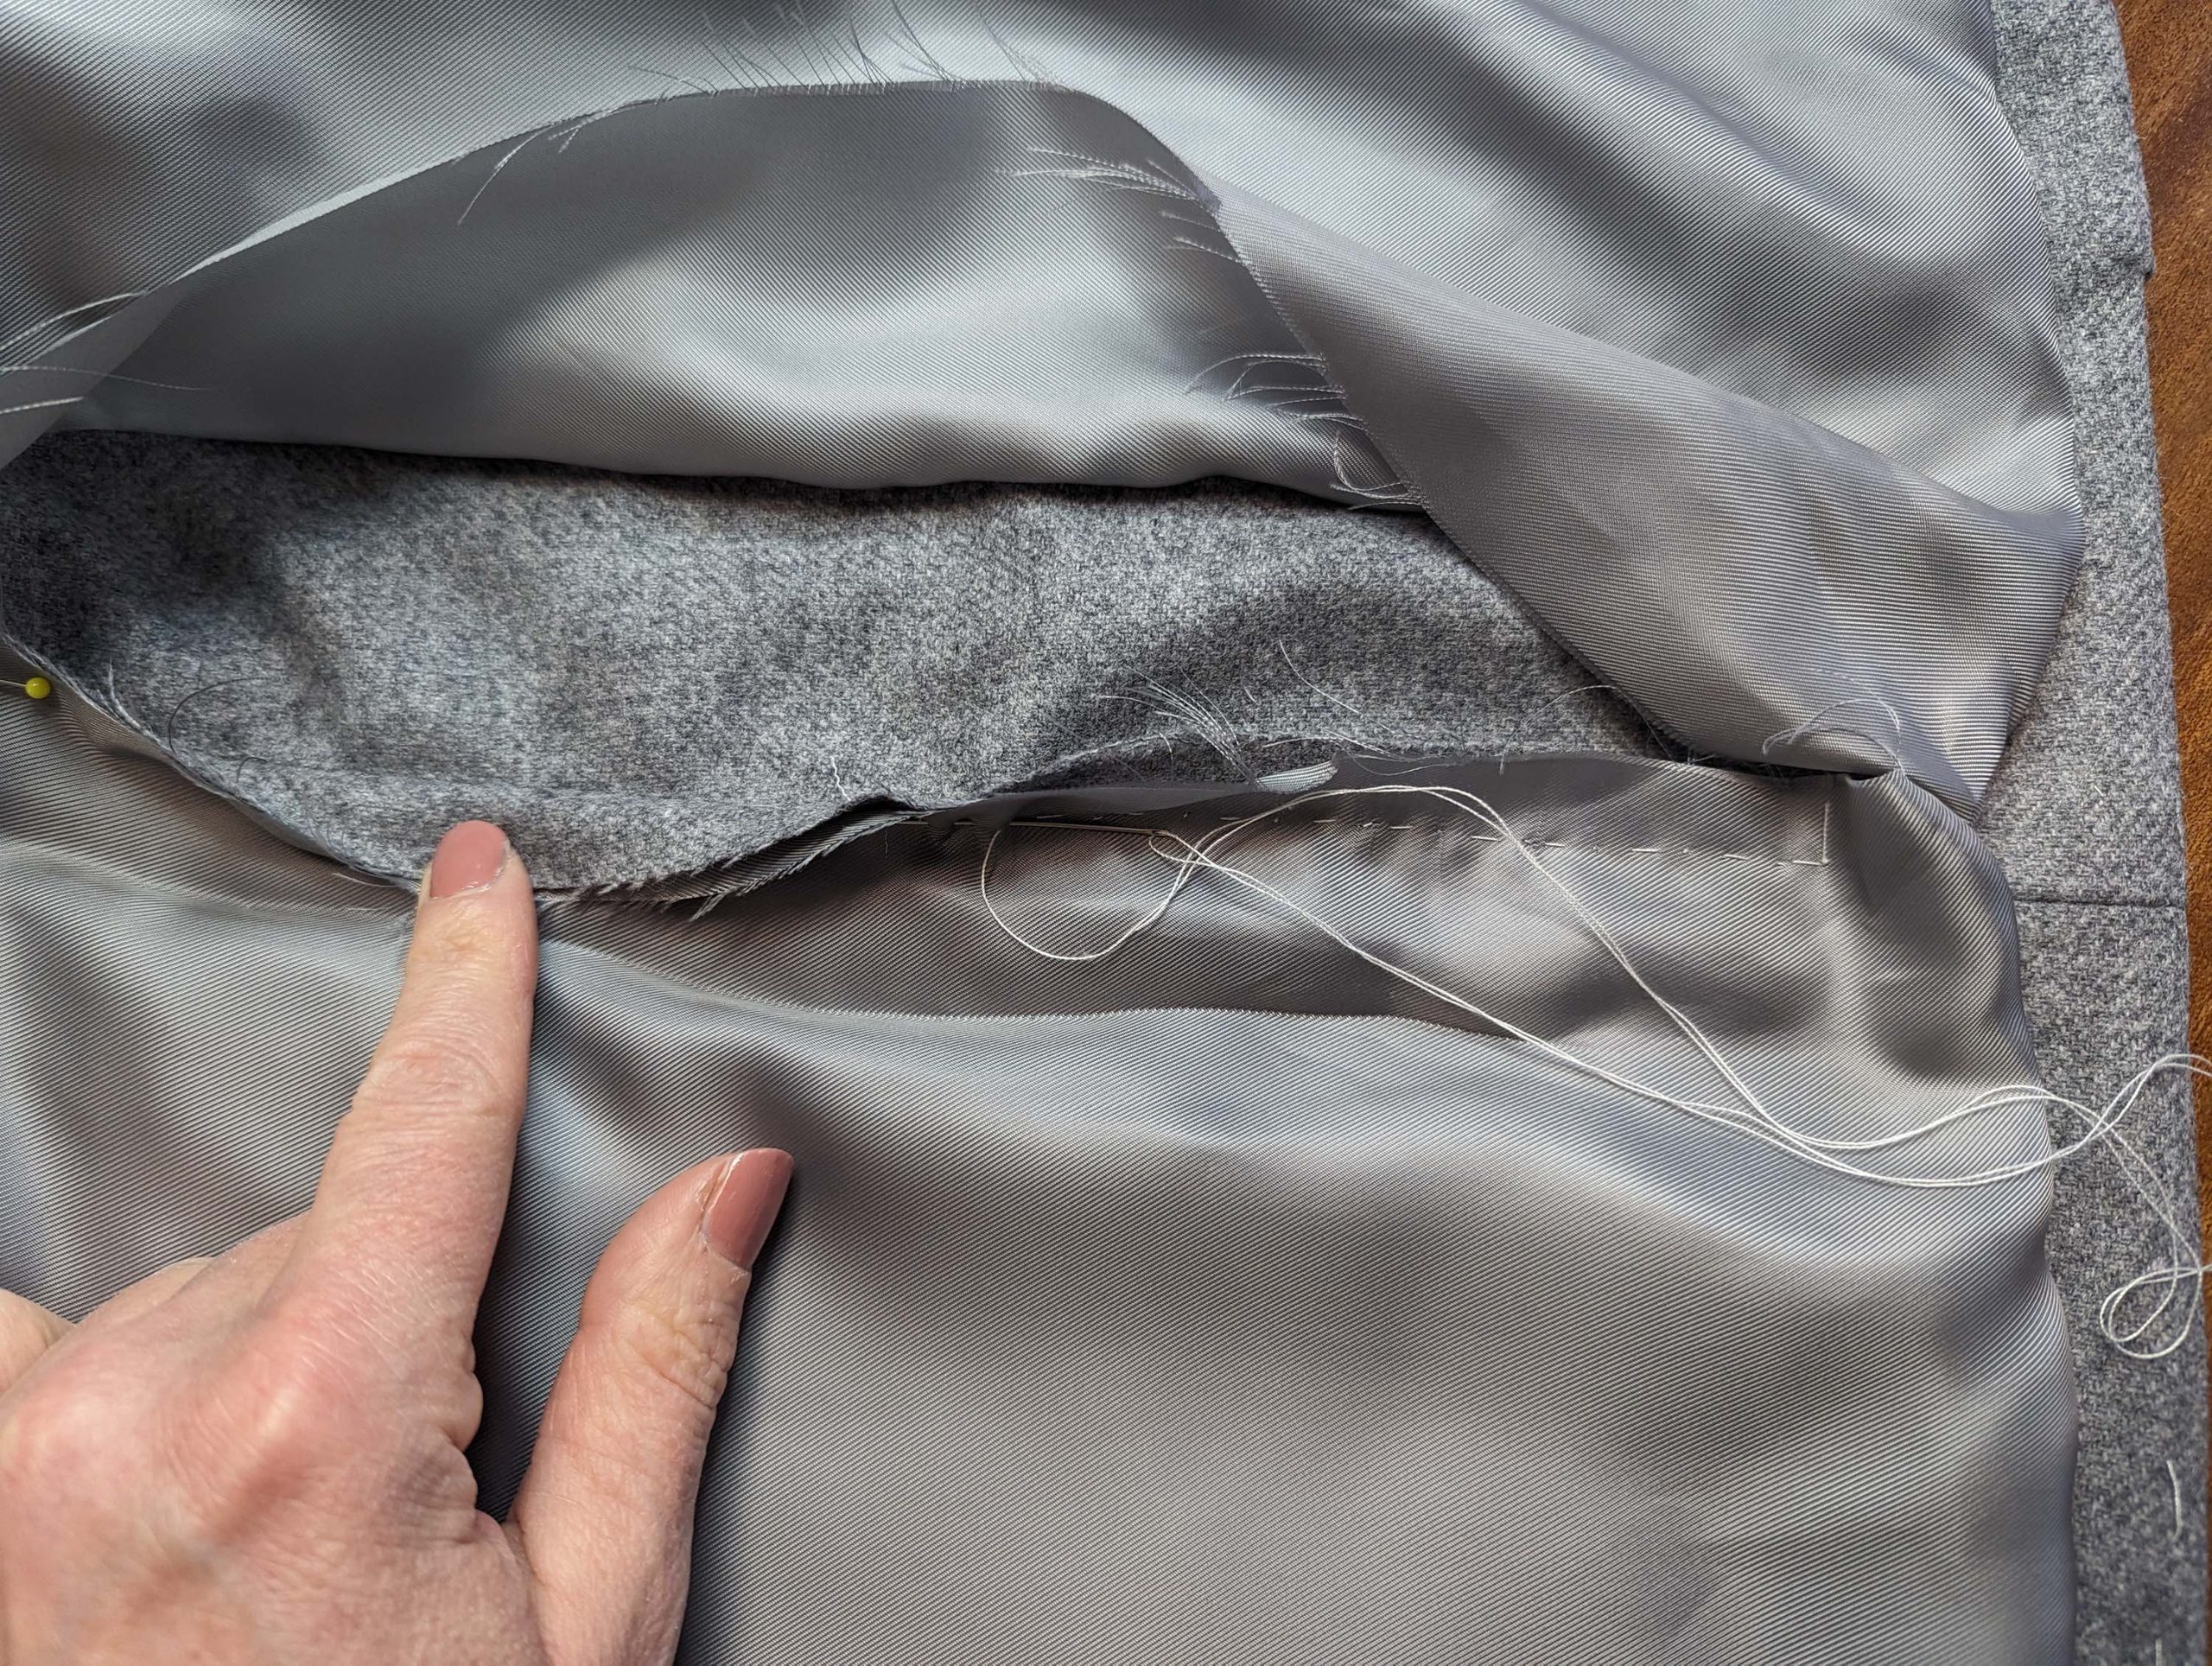
Trim back the canvas only slightly behind the seamline along the front and bottom edge, and along the lapel, ending at the collar notch. Place a stay tape right behind the roll line, covering the edge of the chest canvas. Attach the tape tightly, making it about 3/8” (1 cm) shorter than the line itself.
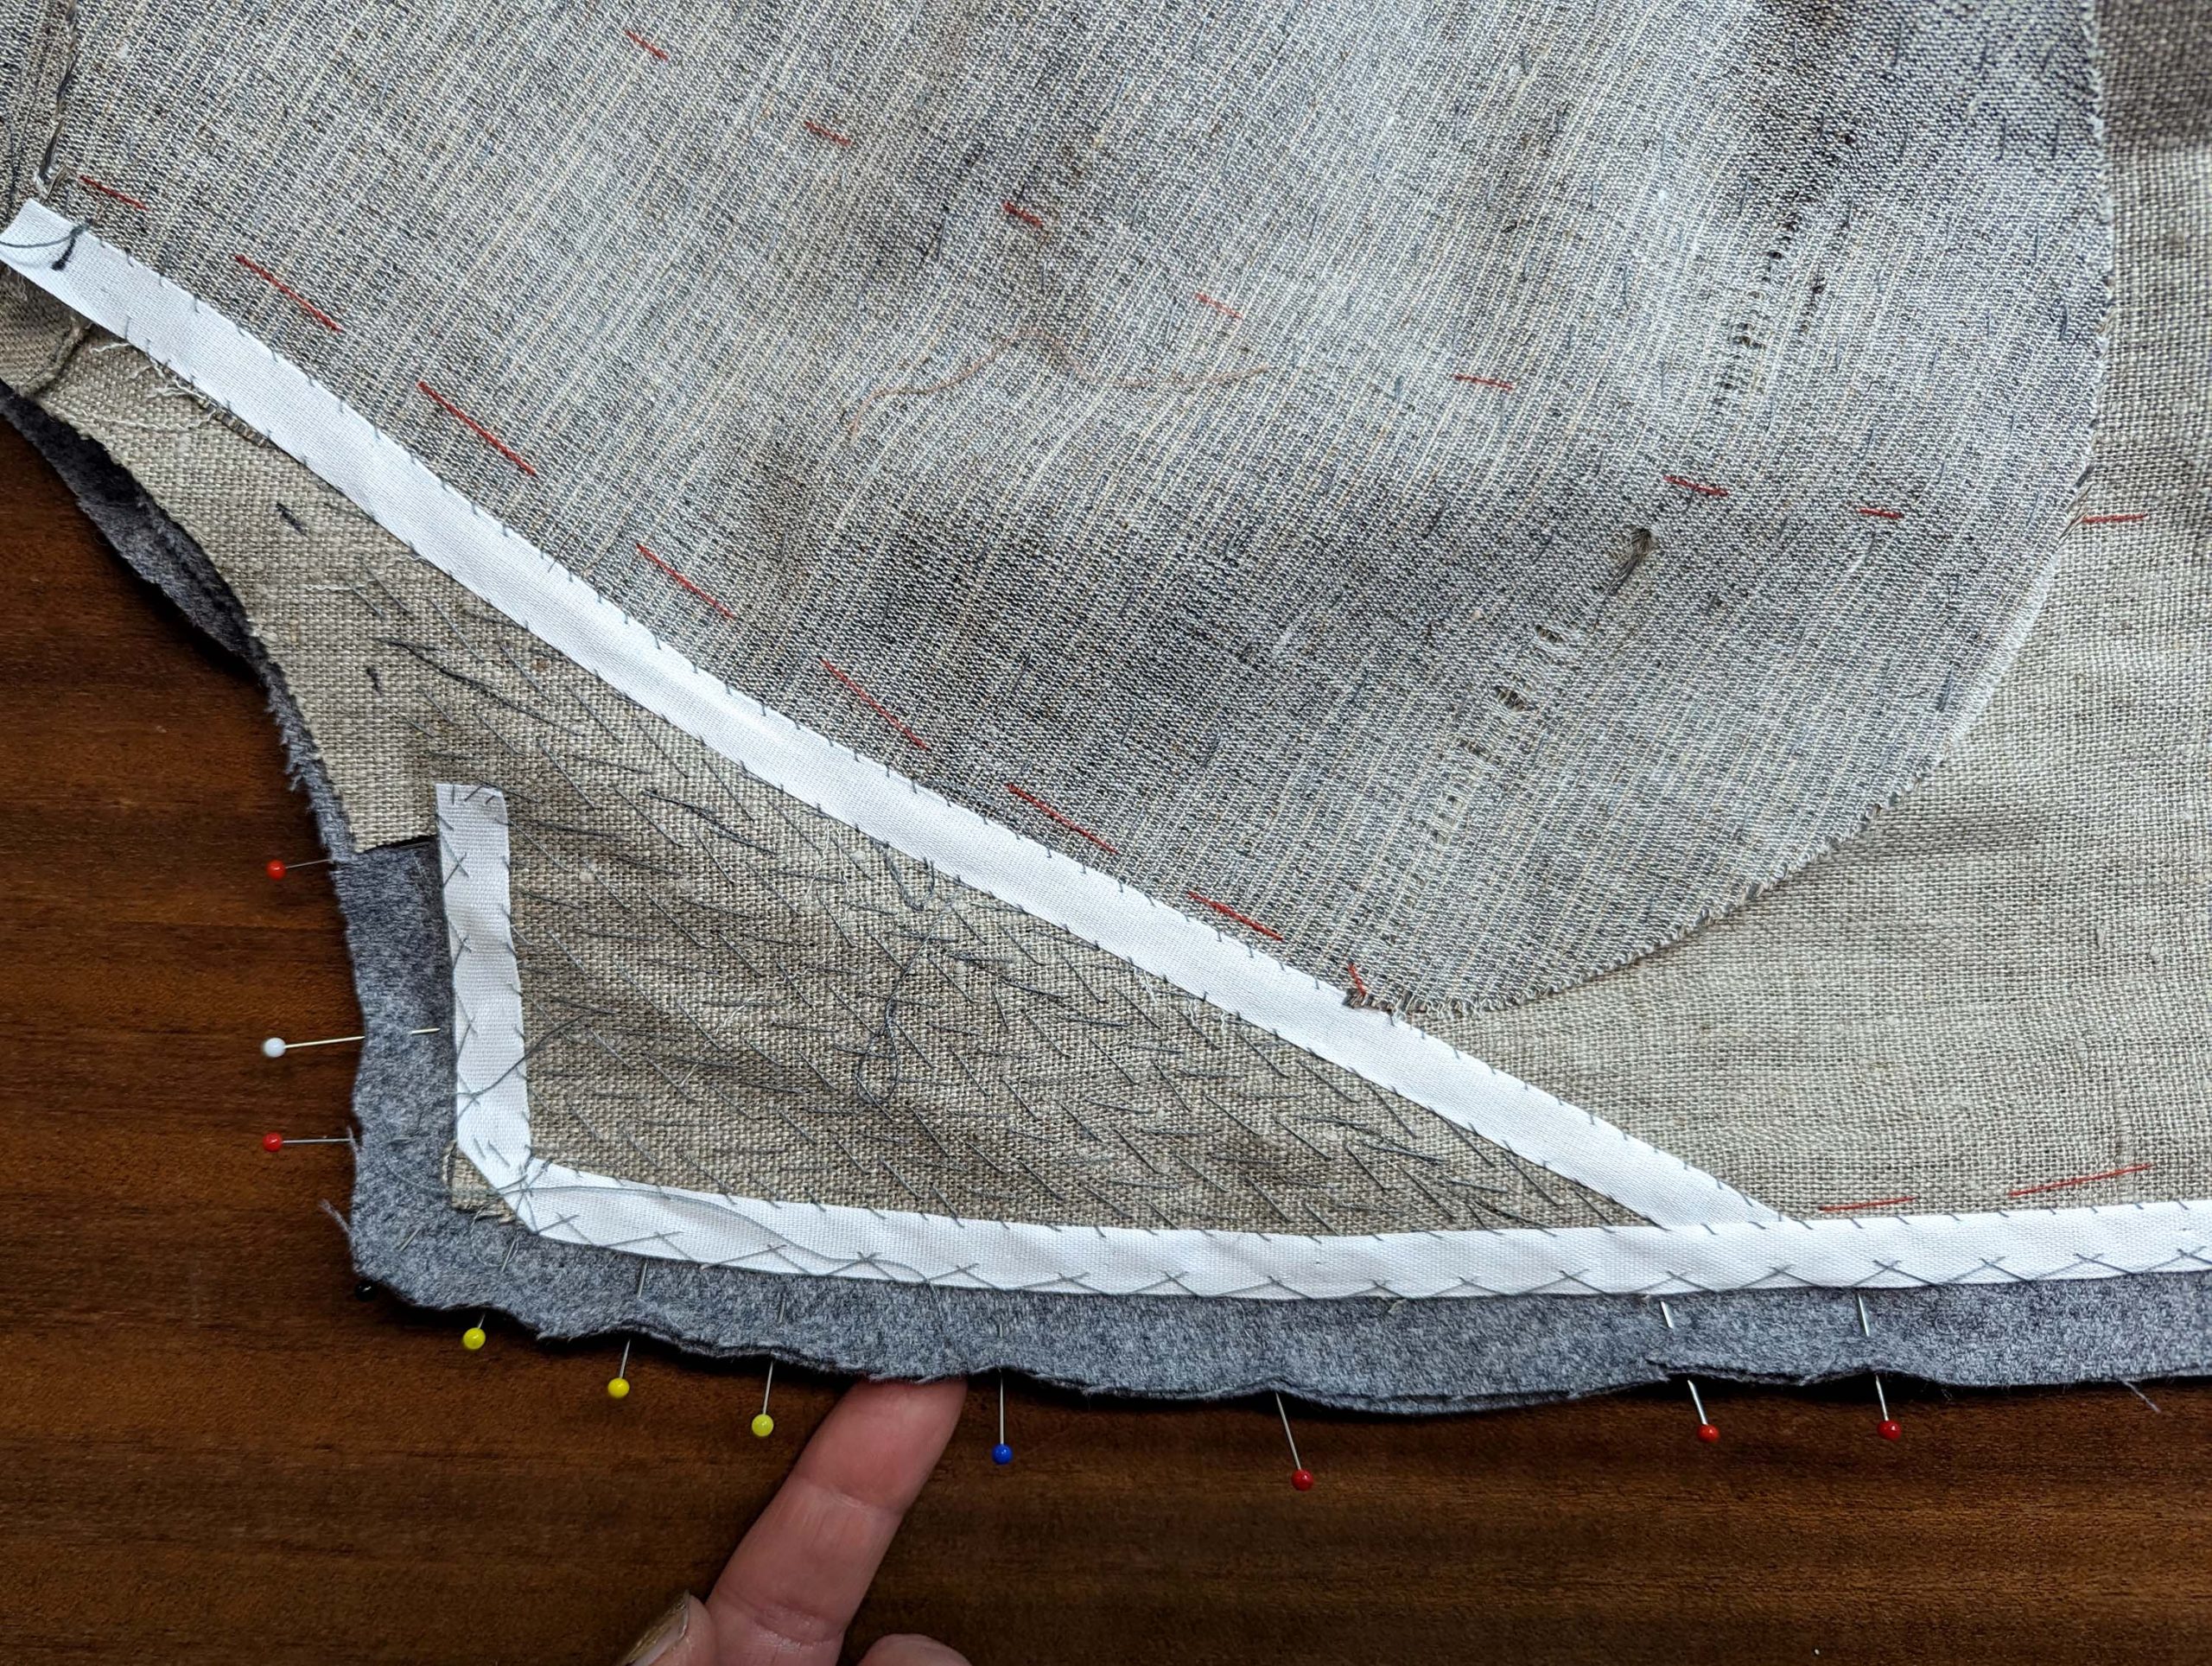
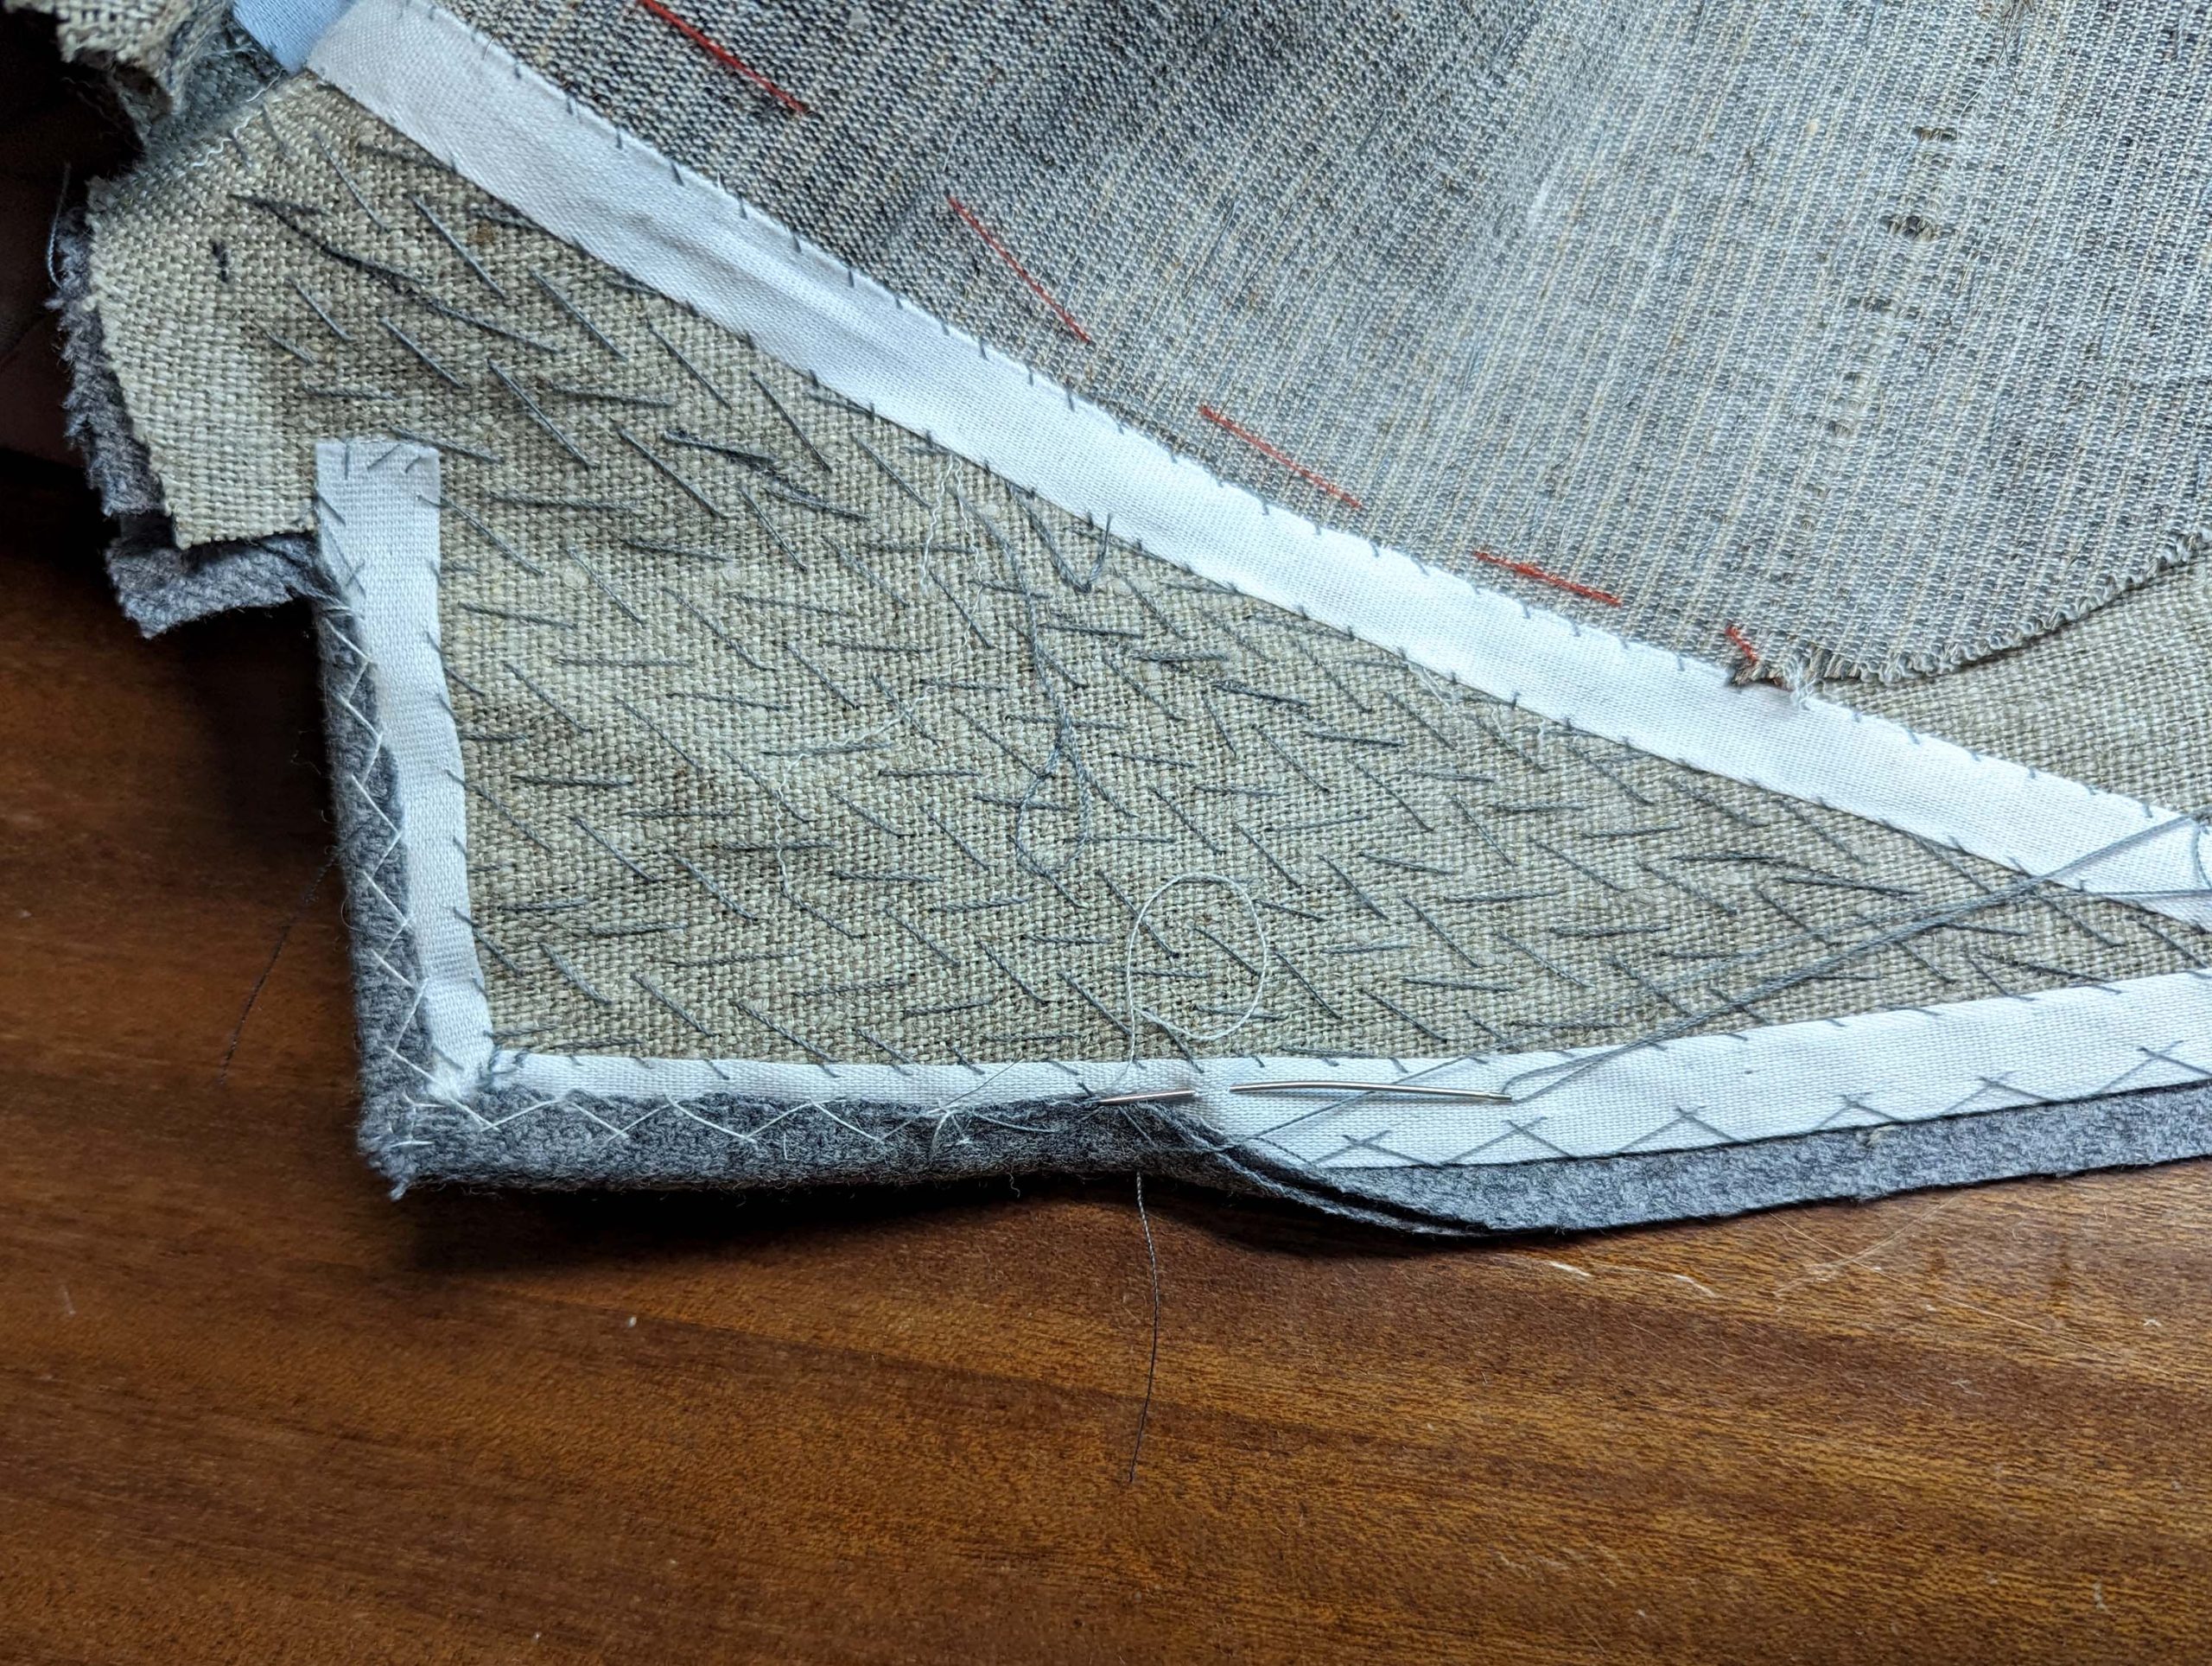
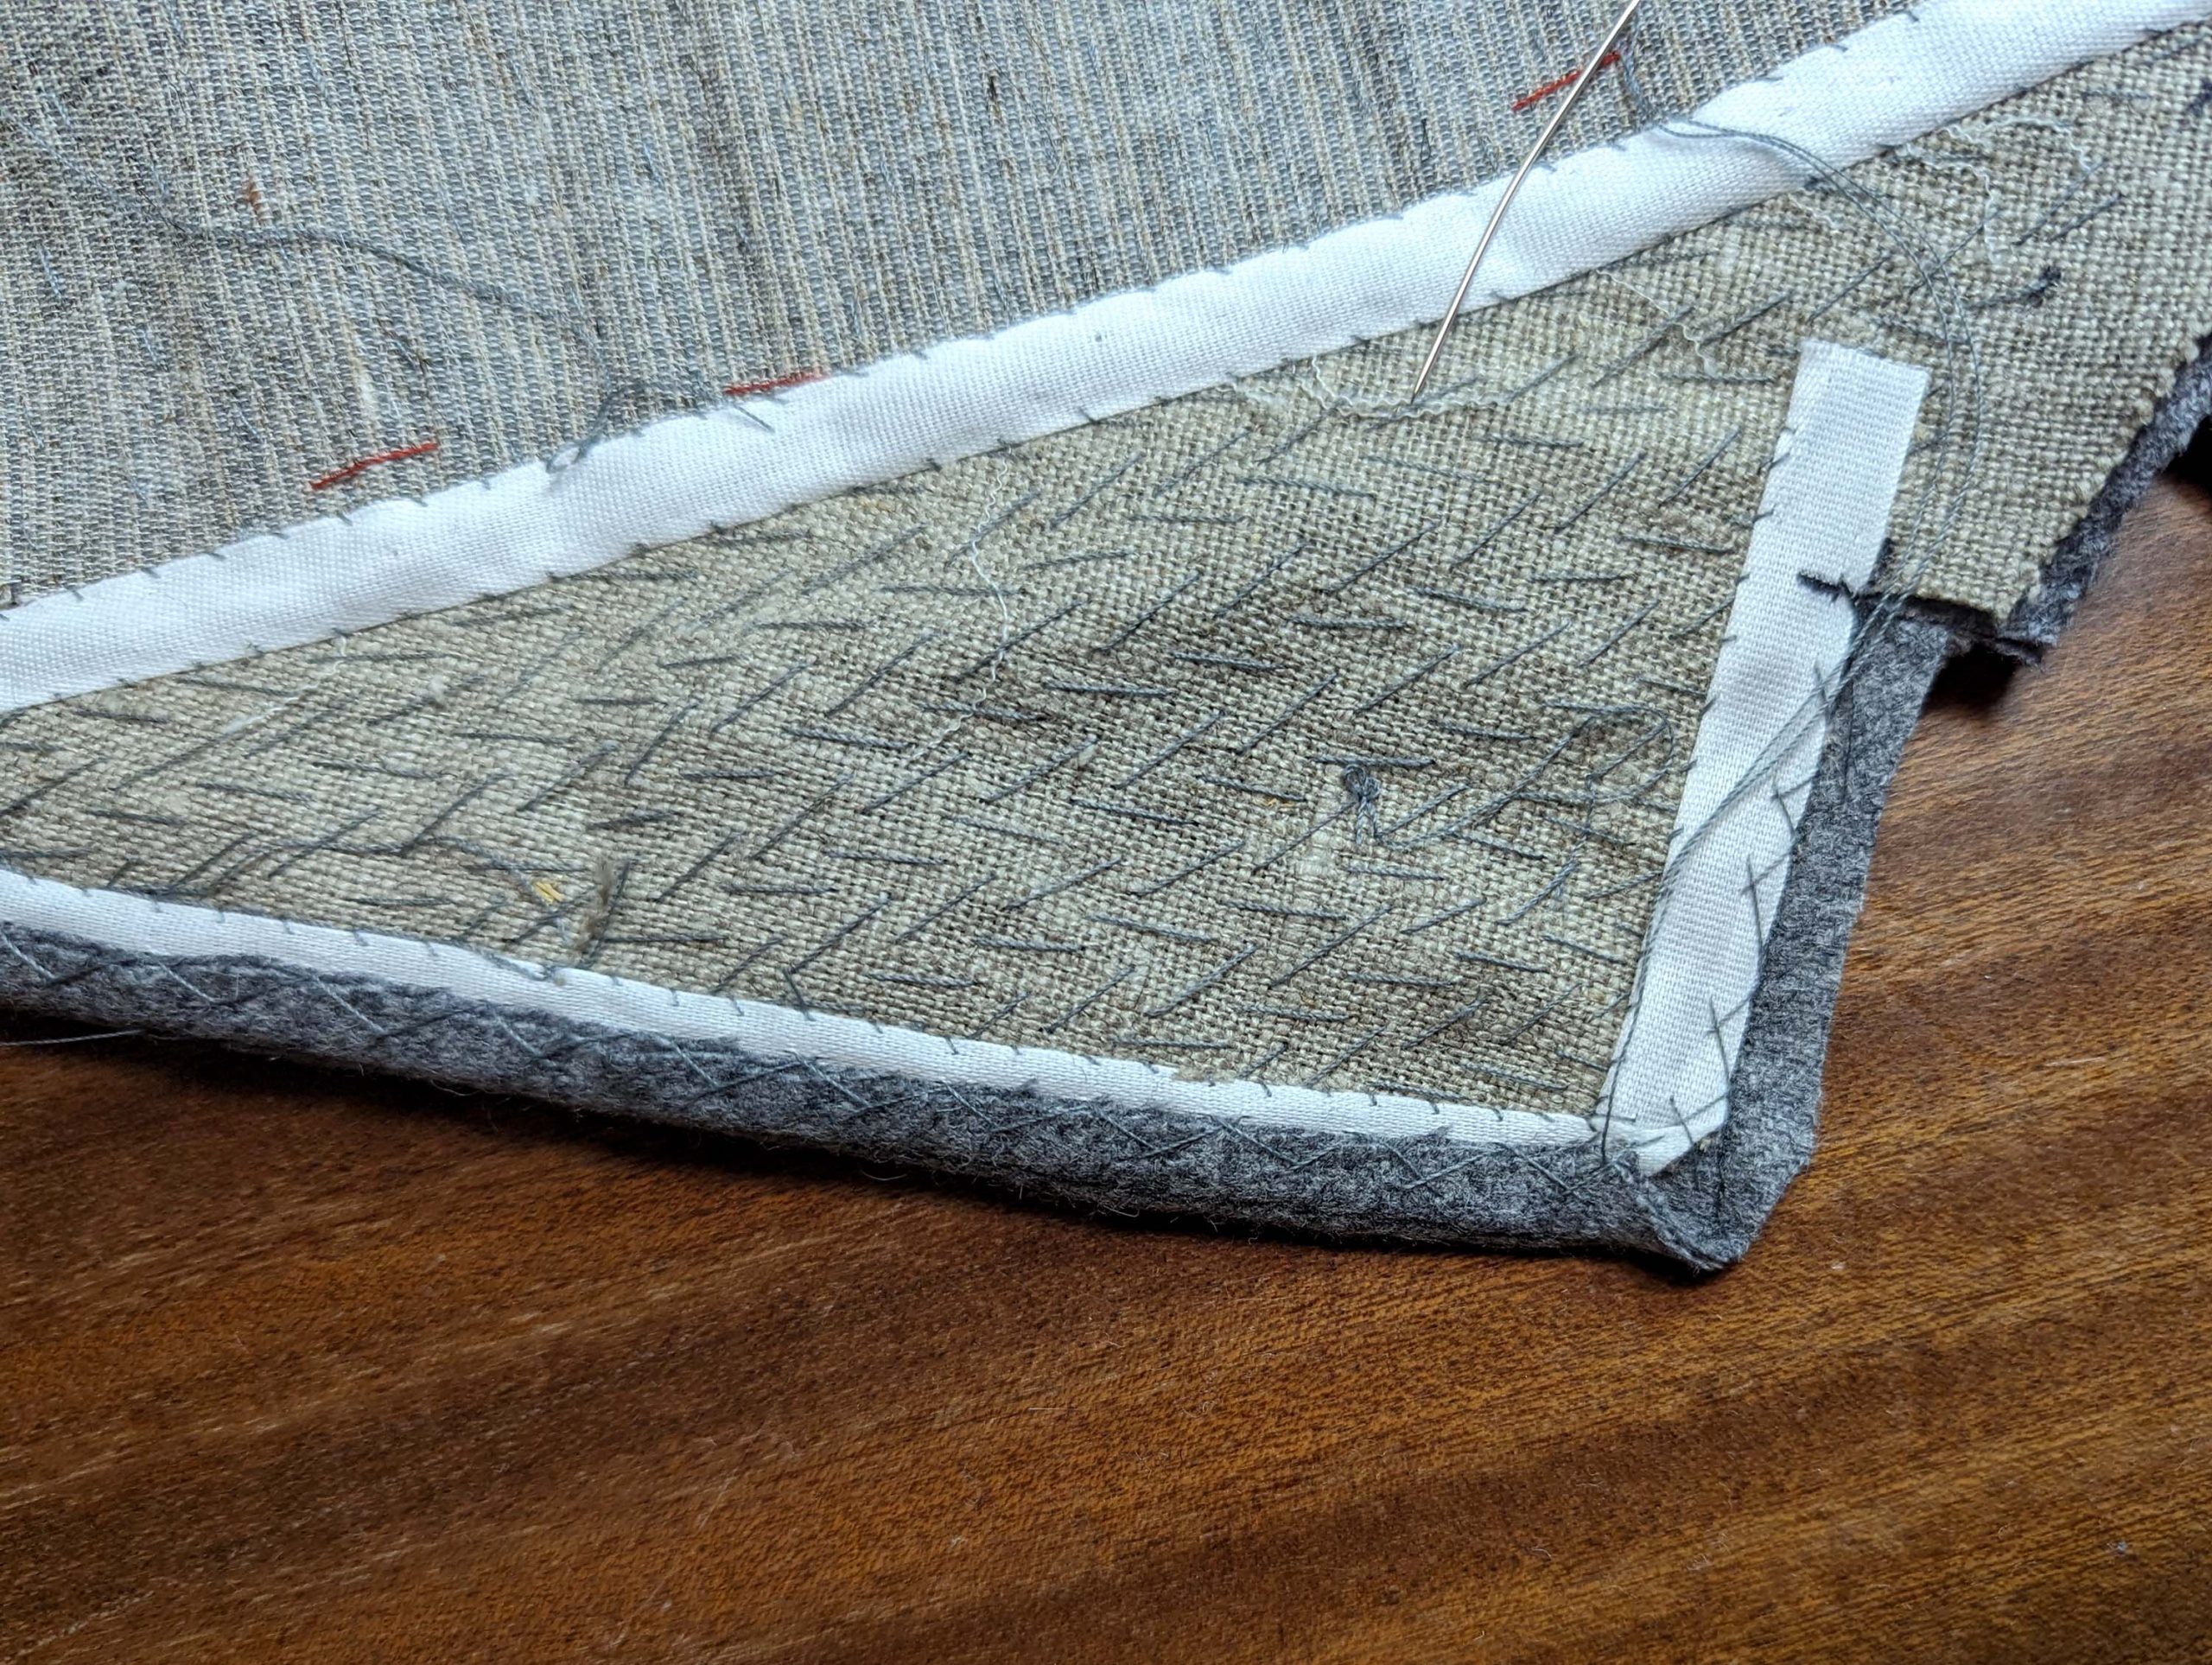
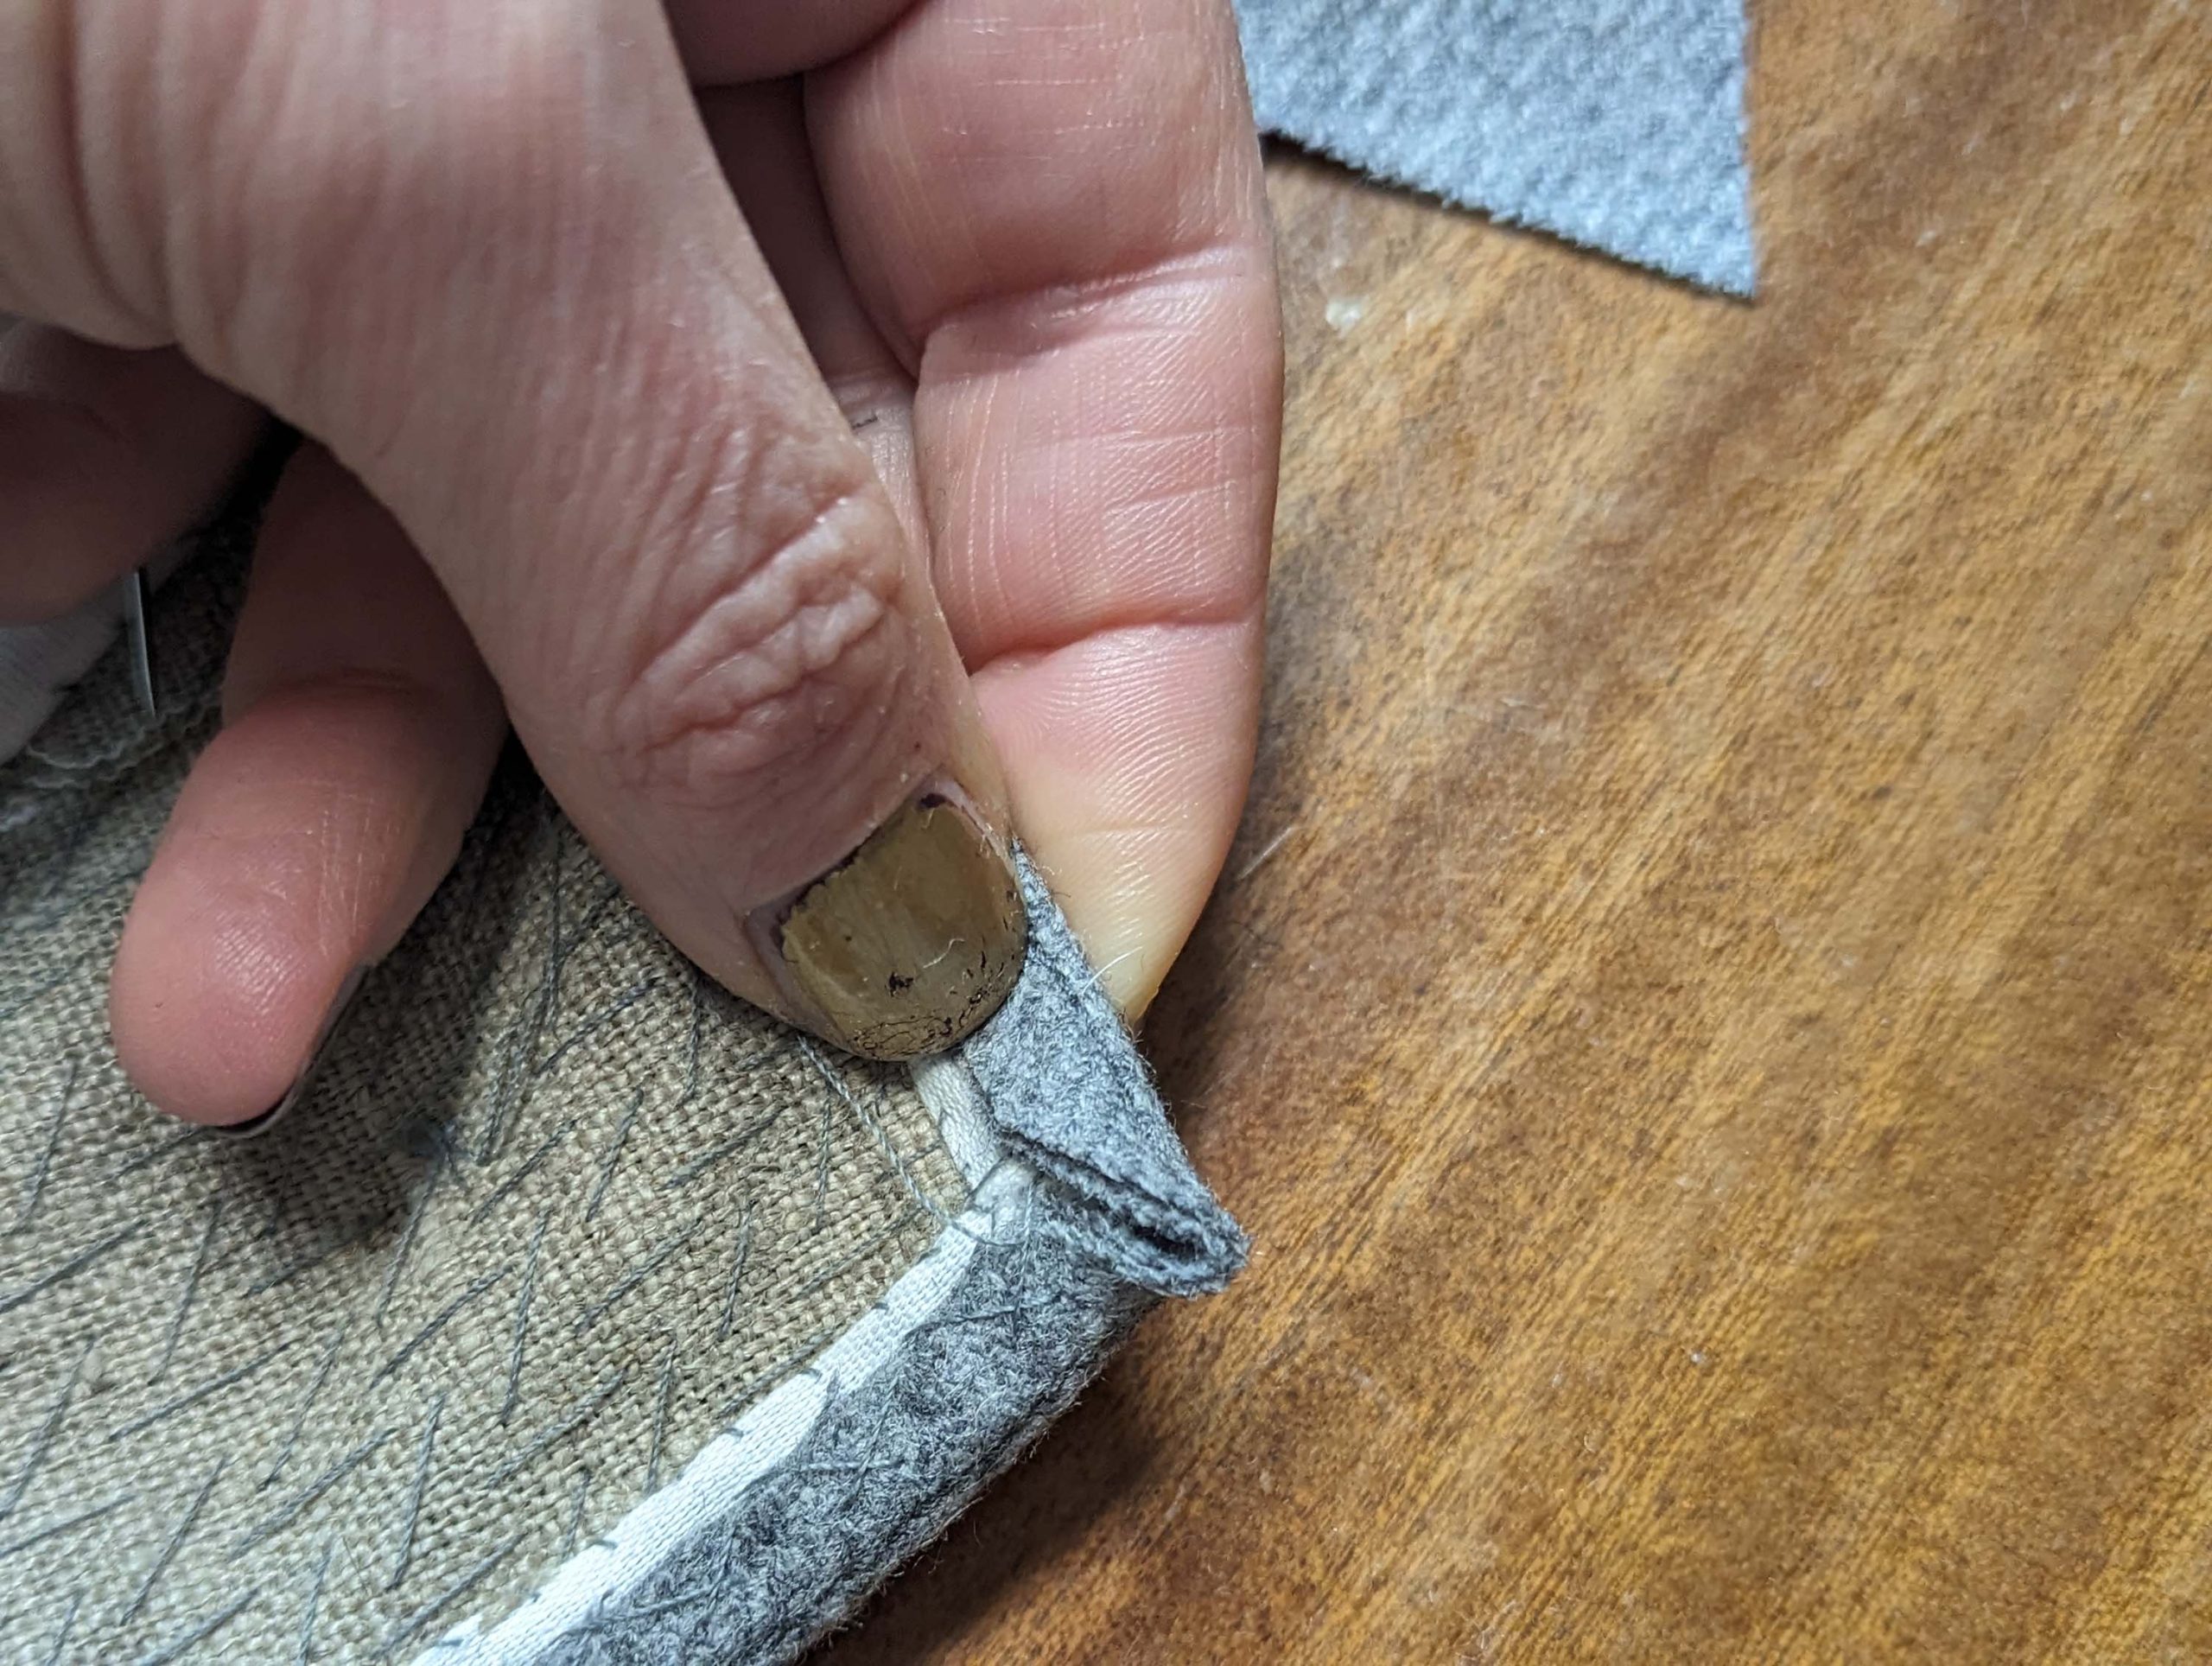
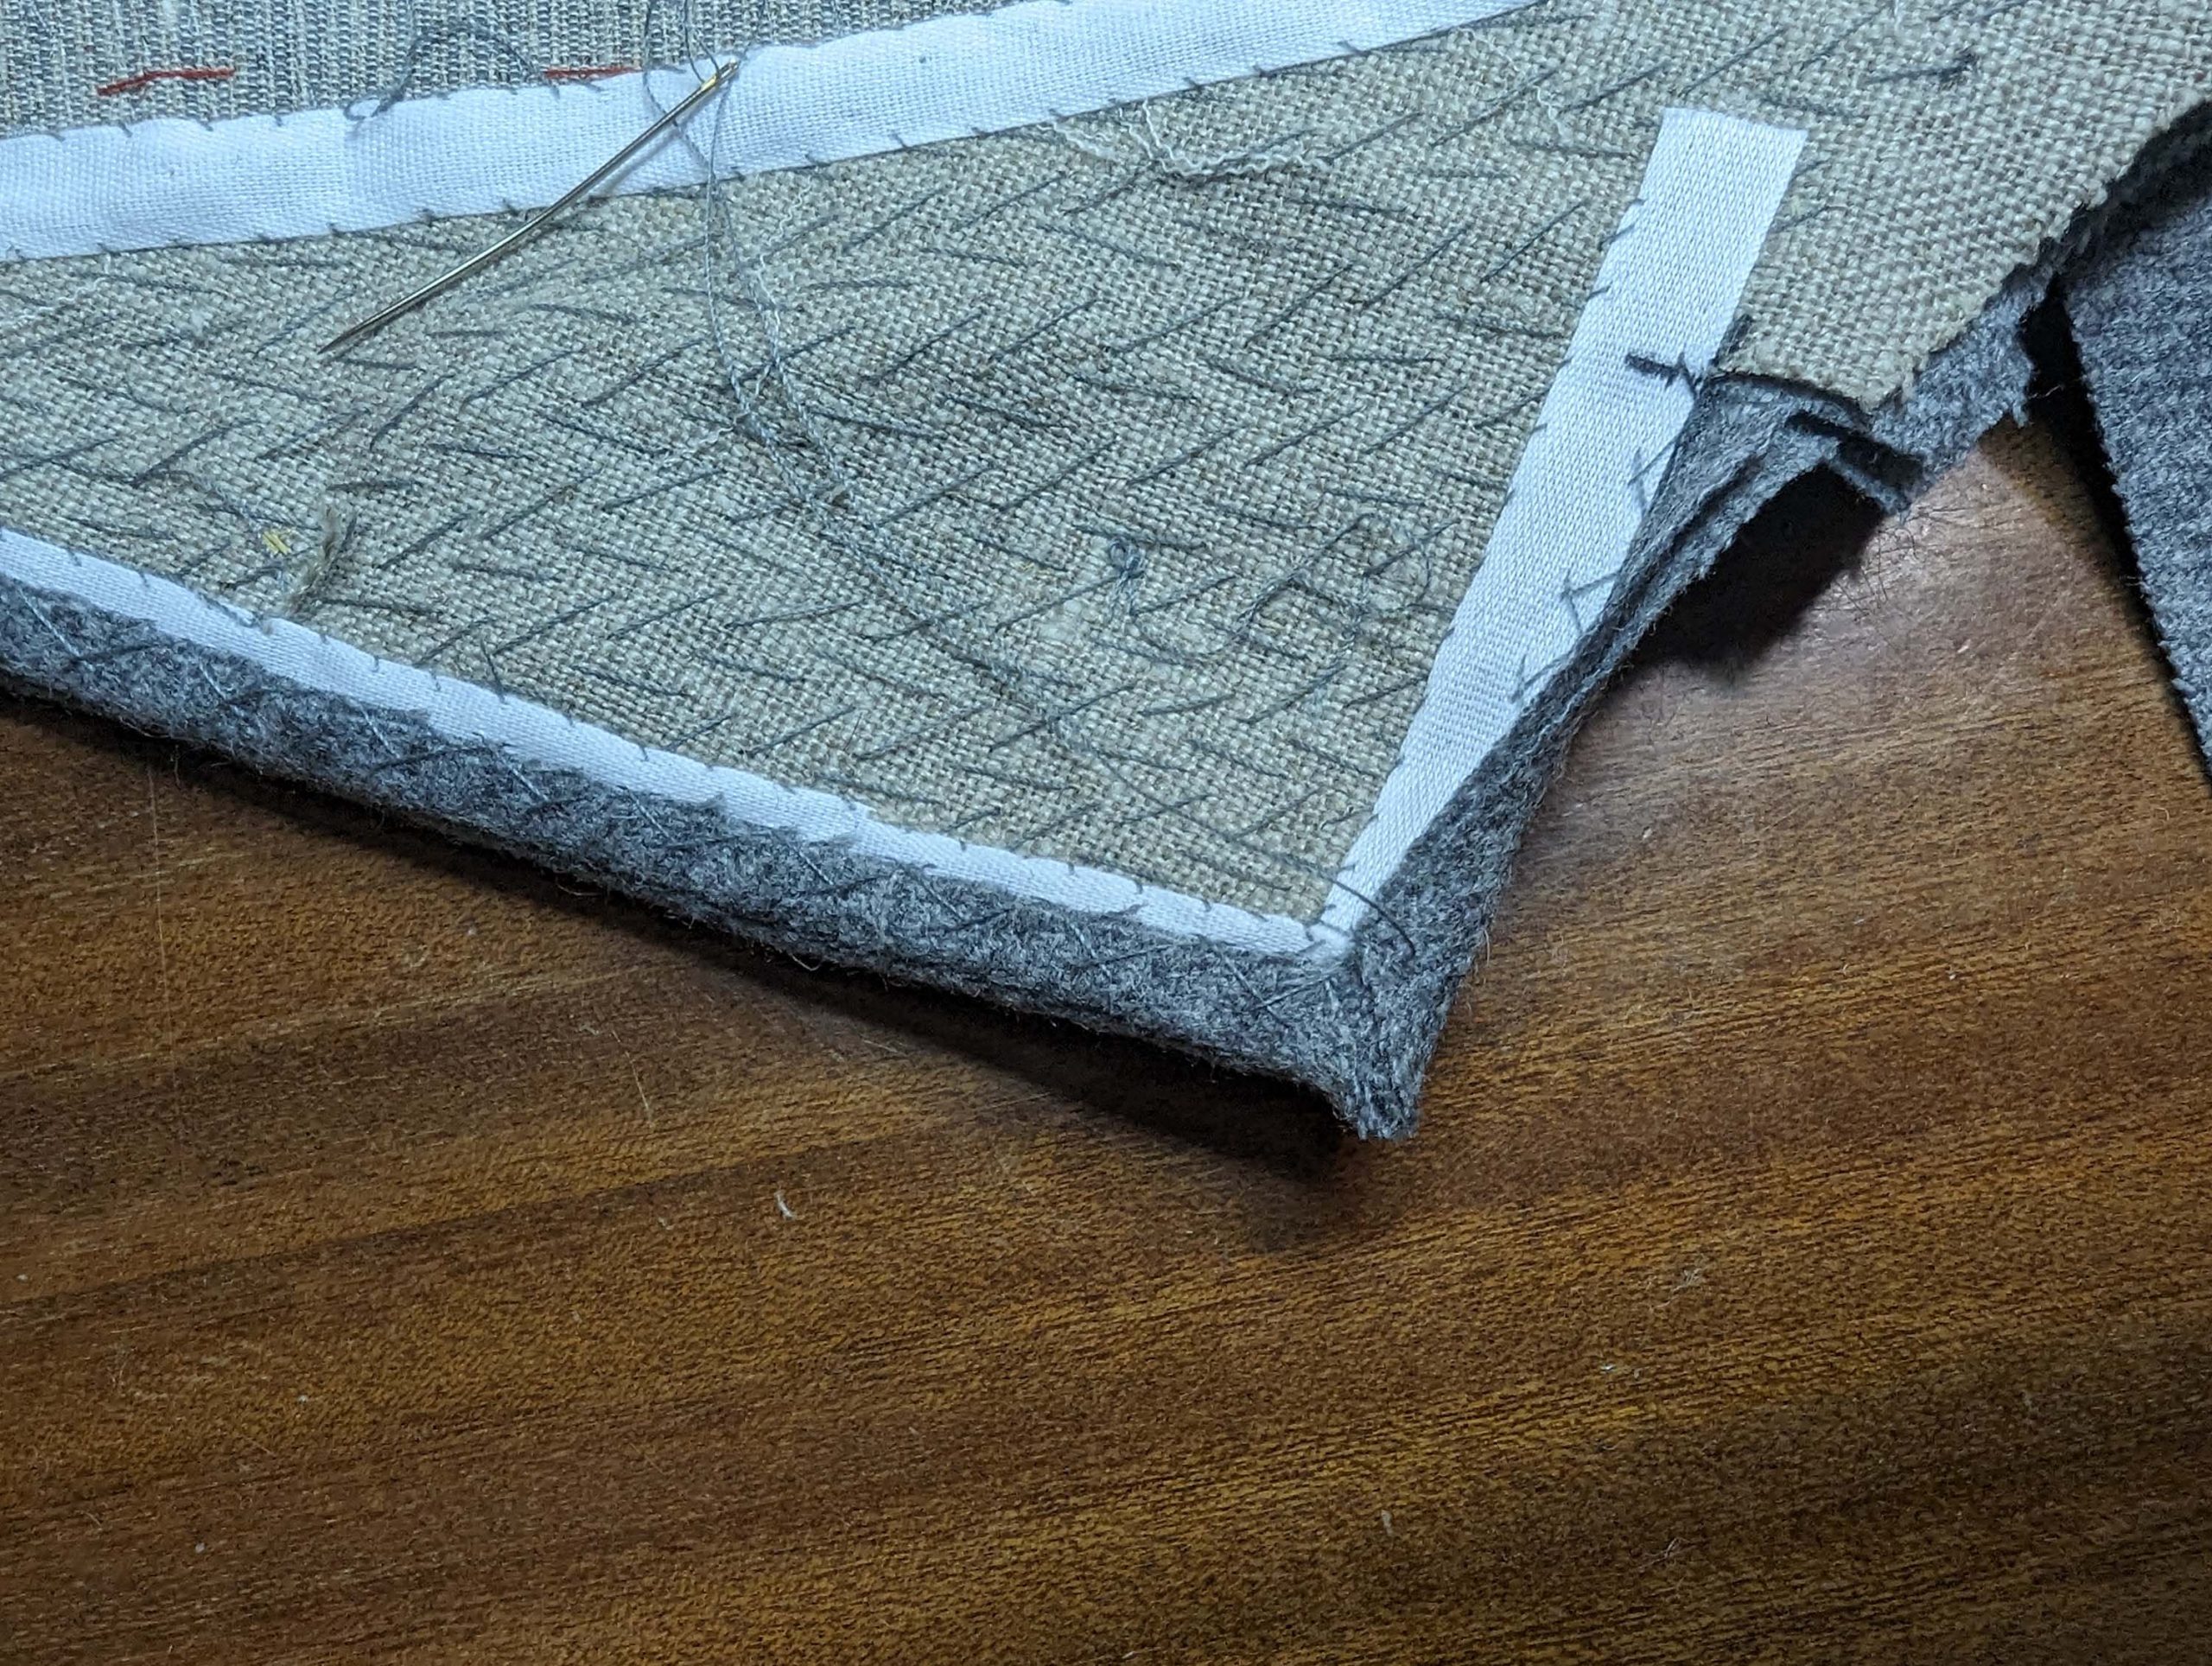
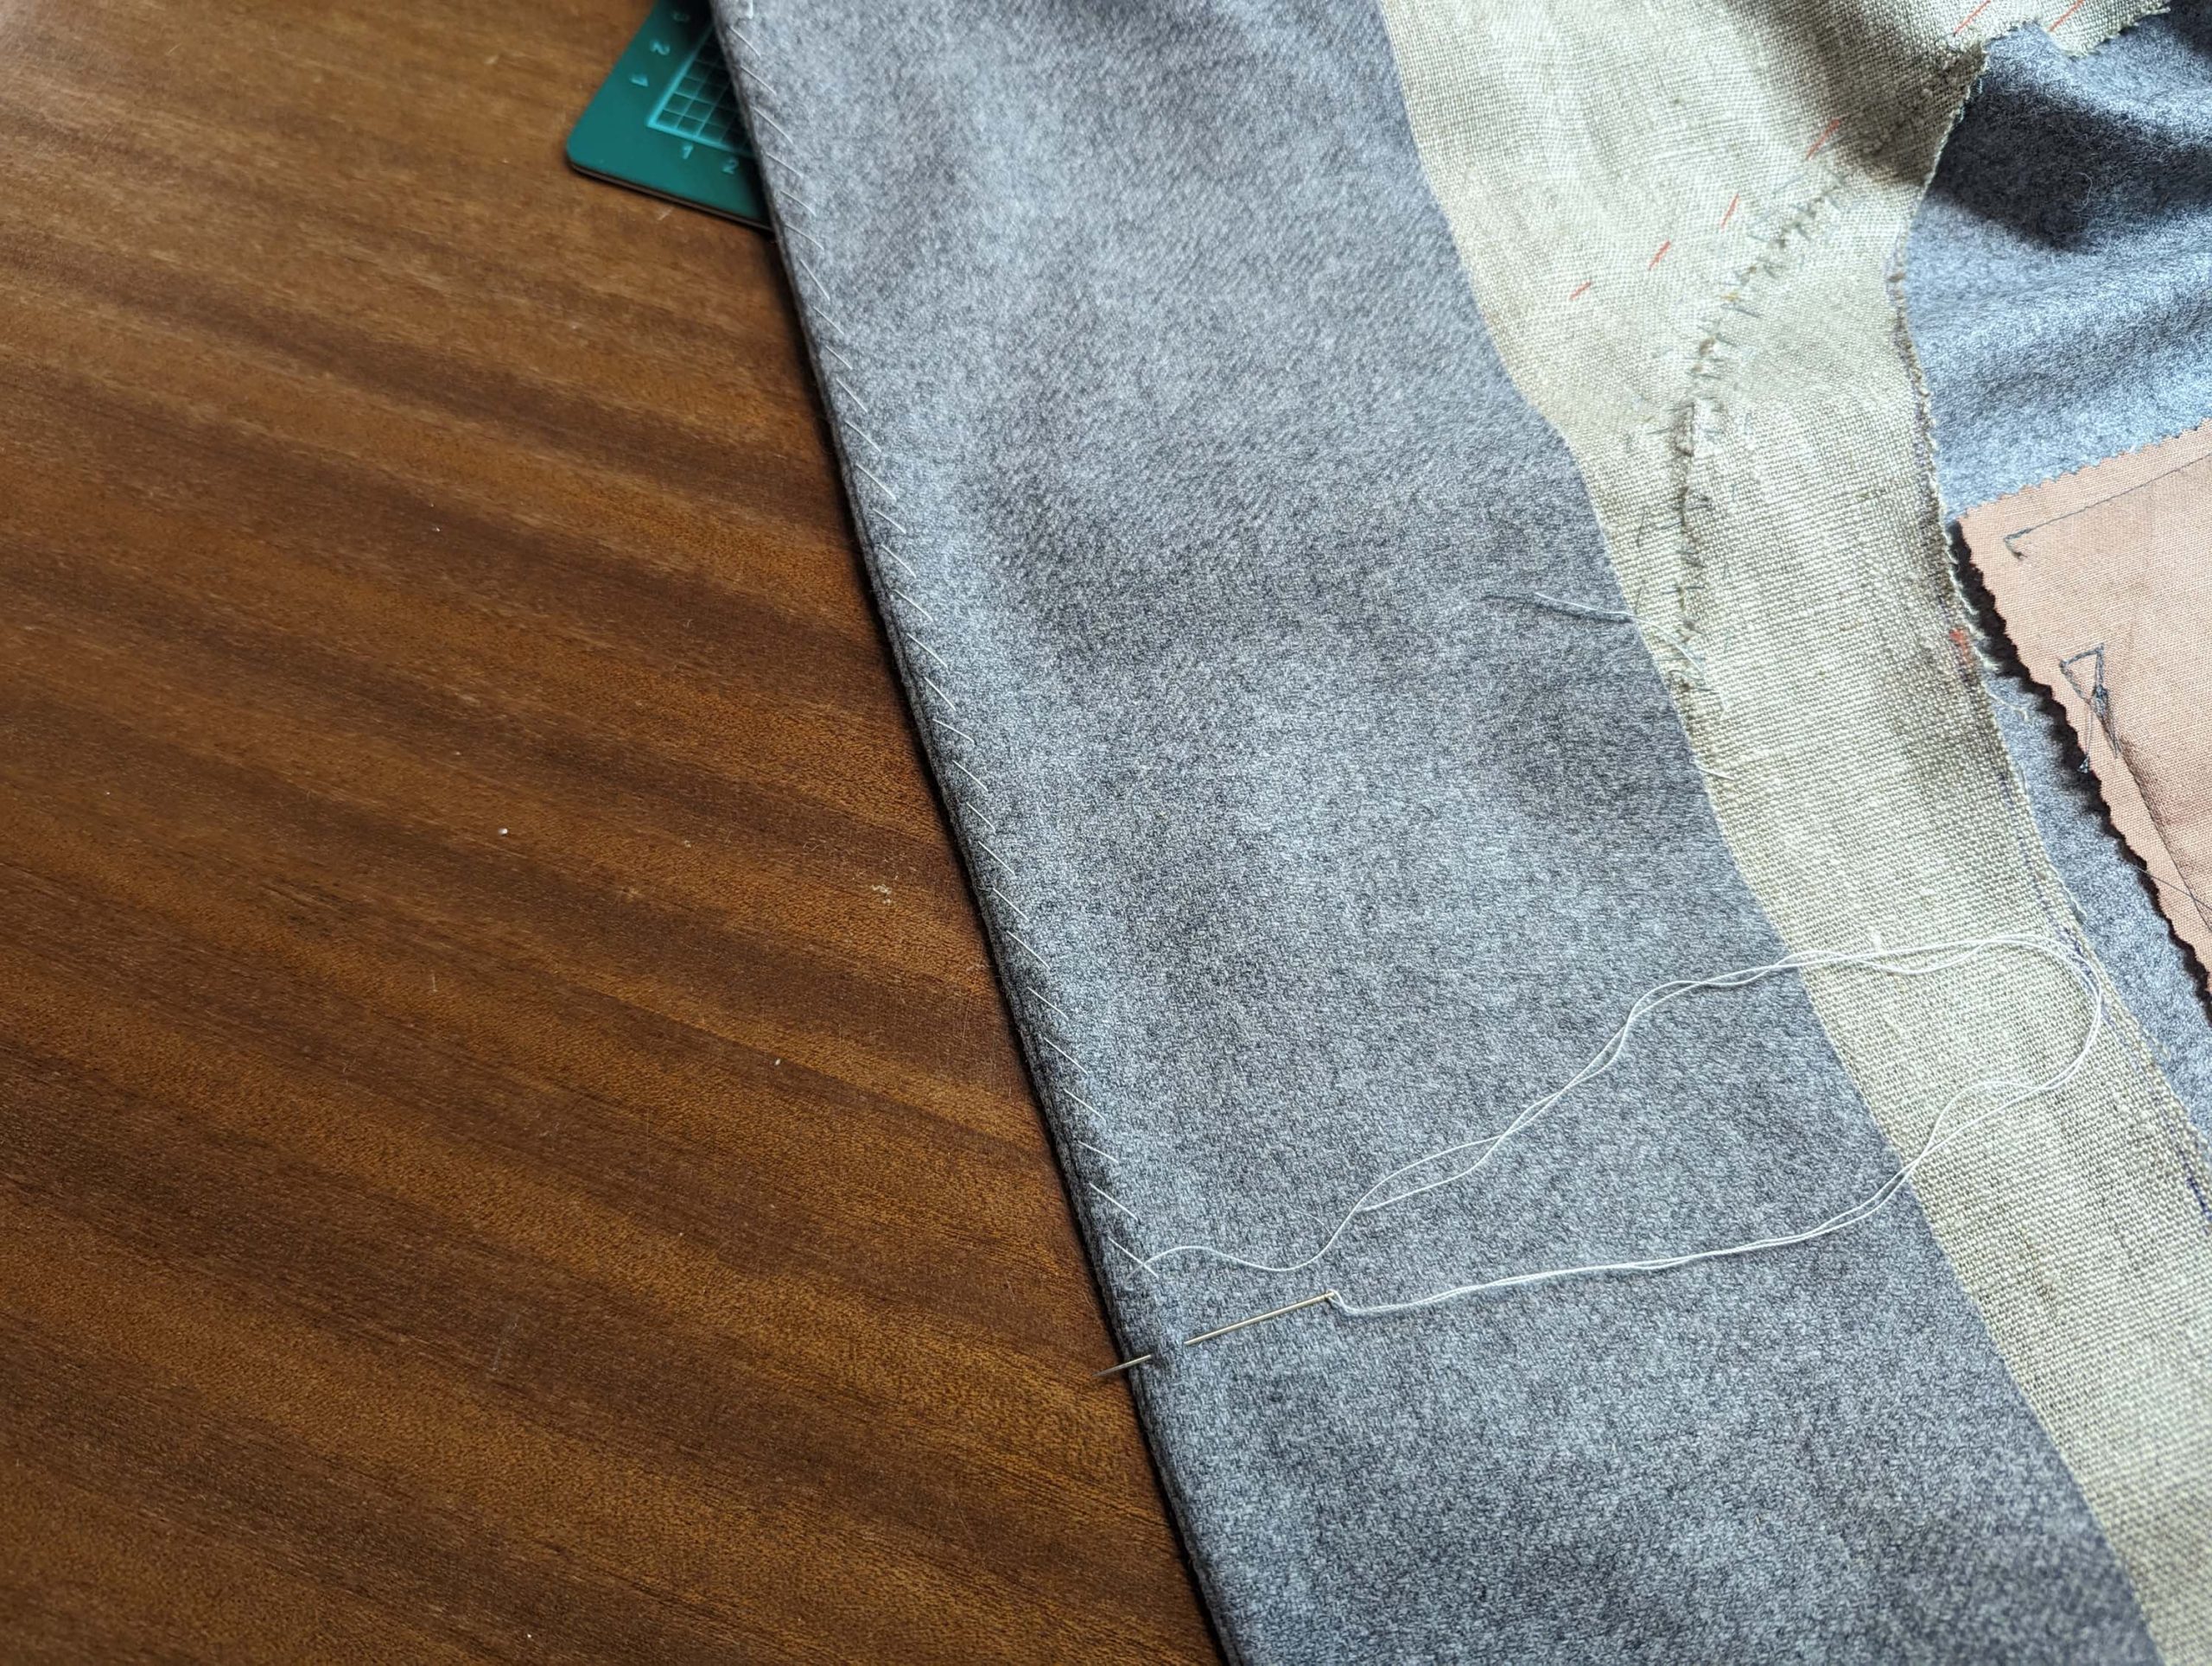
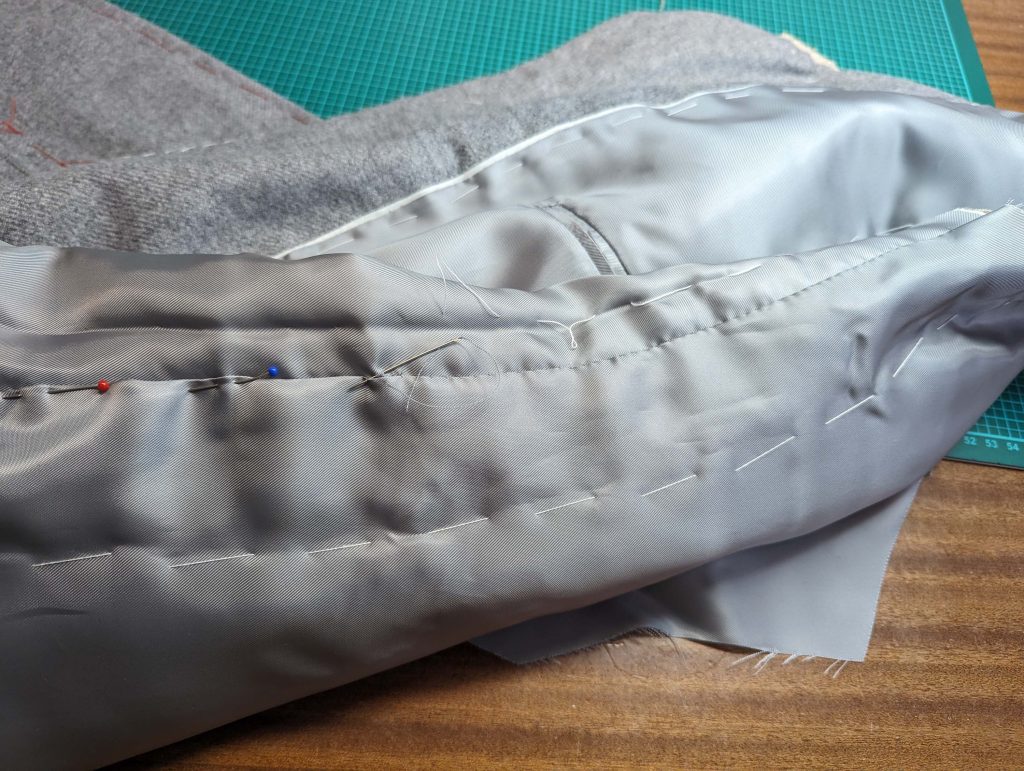
Pin another stay tape loosely along the seamline, covering the edge of the front canvas. Start about 5/8” (1,5cm) before the collar notch (mine is too short here), and continue along the front and bottom edge, stop at the side seam. Rotate the tape at the corner for a neat result, and trim back the very corner of the canvas. Notch at the curve when you´ve chosen the round bottom. Catch stitch the tape carefully to the fashion fabric along the seamline (stitches should be nearly invisible from the right side), and fell stitch the edge vis-à-vis to the canvas only, leaving loose where the canvas ends.
(11) Sew the front hem facing to the front-facing, right sides together, matching the mark (4). Press the seam allowances towards the hem facing. I had to trim back the seam allowance to match the strap. In your version of the pattern, it will fit better in the gap.
Line up the front and hem facing with the front, right sides together, ease in the extra width at the lapel, considering, that the turn of cloth had already been taken into account during patterning.

First, baste, then sew, starting exactly at the collar notch, and continue along the lapel, down the front and bottom edge until reaching the strap. Skip the strap and continue sewing along the bottom, stopping about 2” (5cm) before the side seam. Reduce the stitch length at the corners, and bar tack before and after the strap. Sew with the canvas up for the first time, and sew a second time with the facing up to correct any uneven stitching. I was making the round bottom version, as you can see.

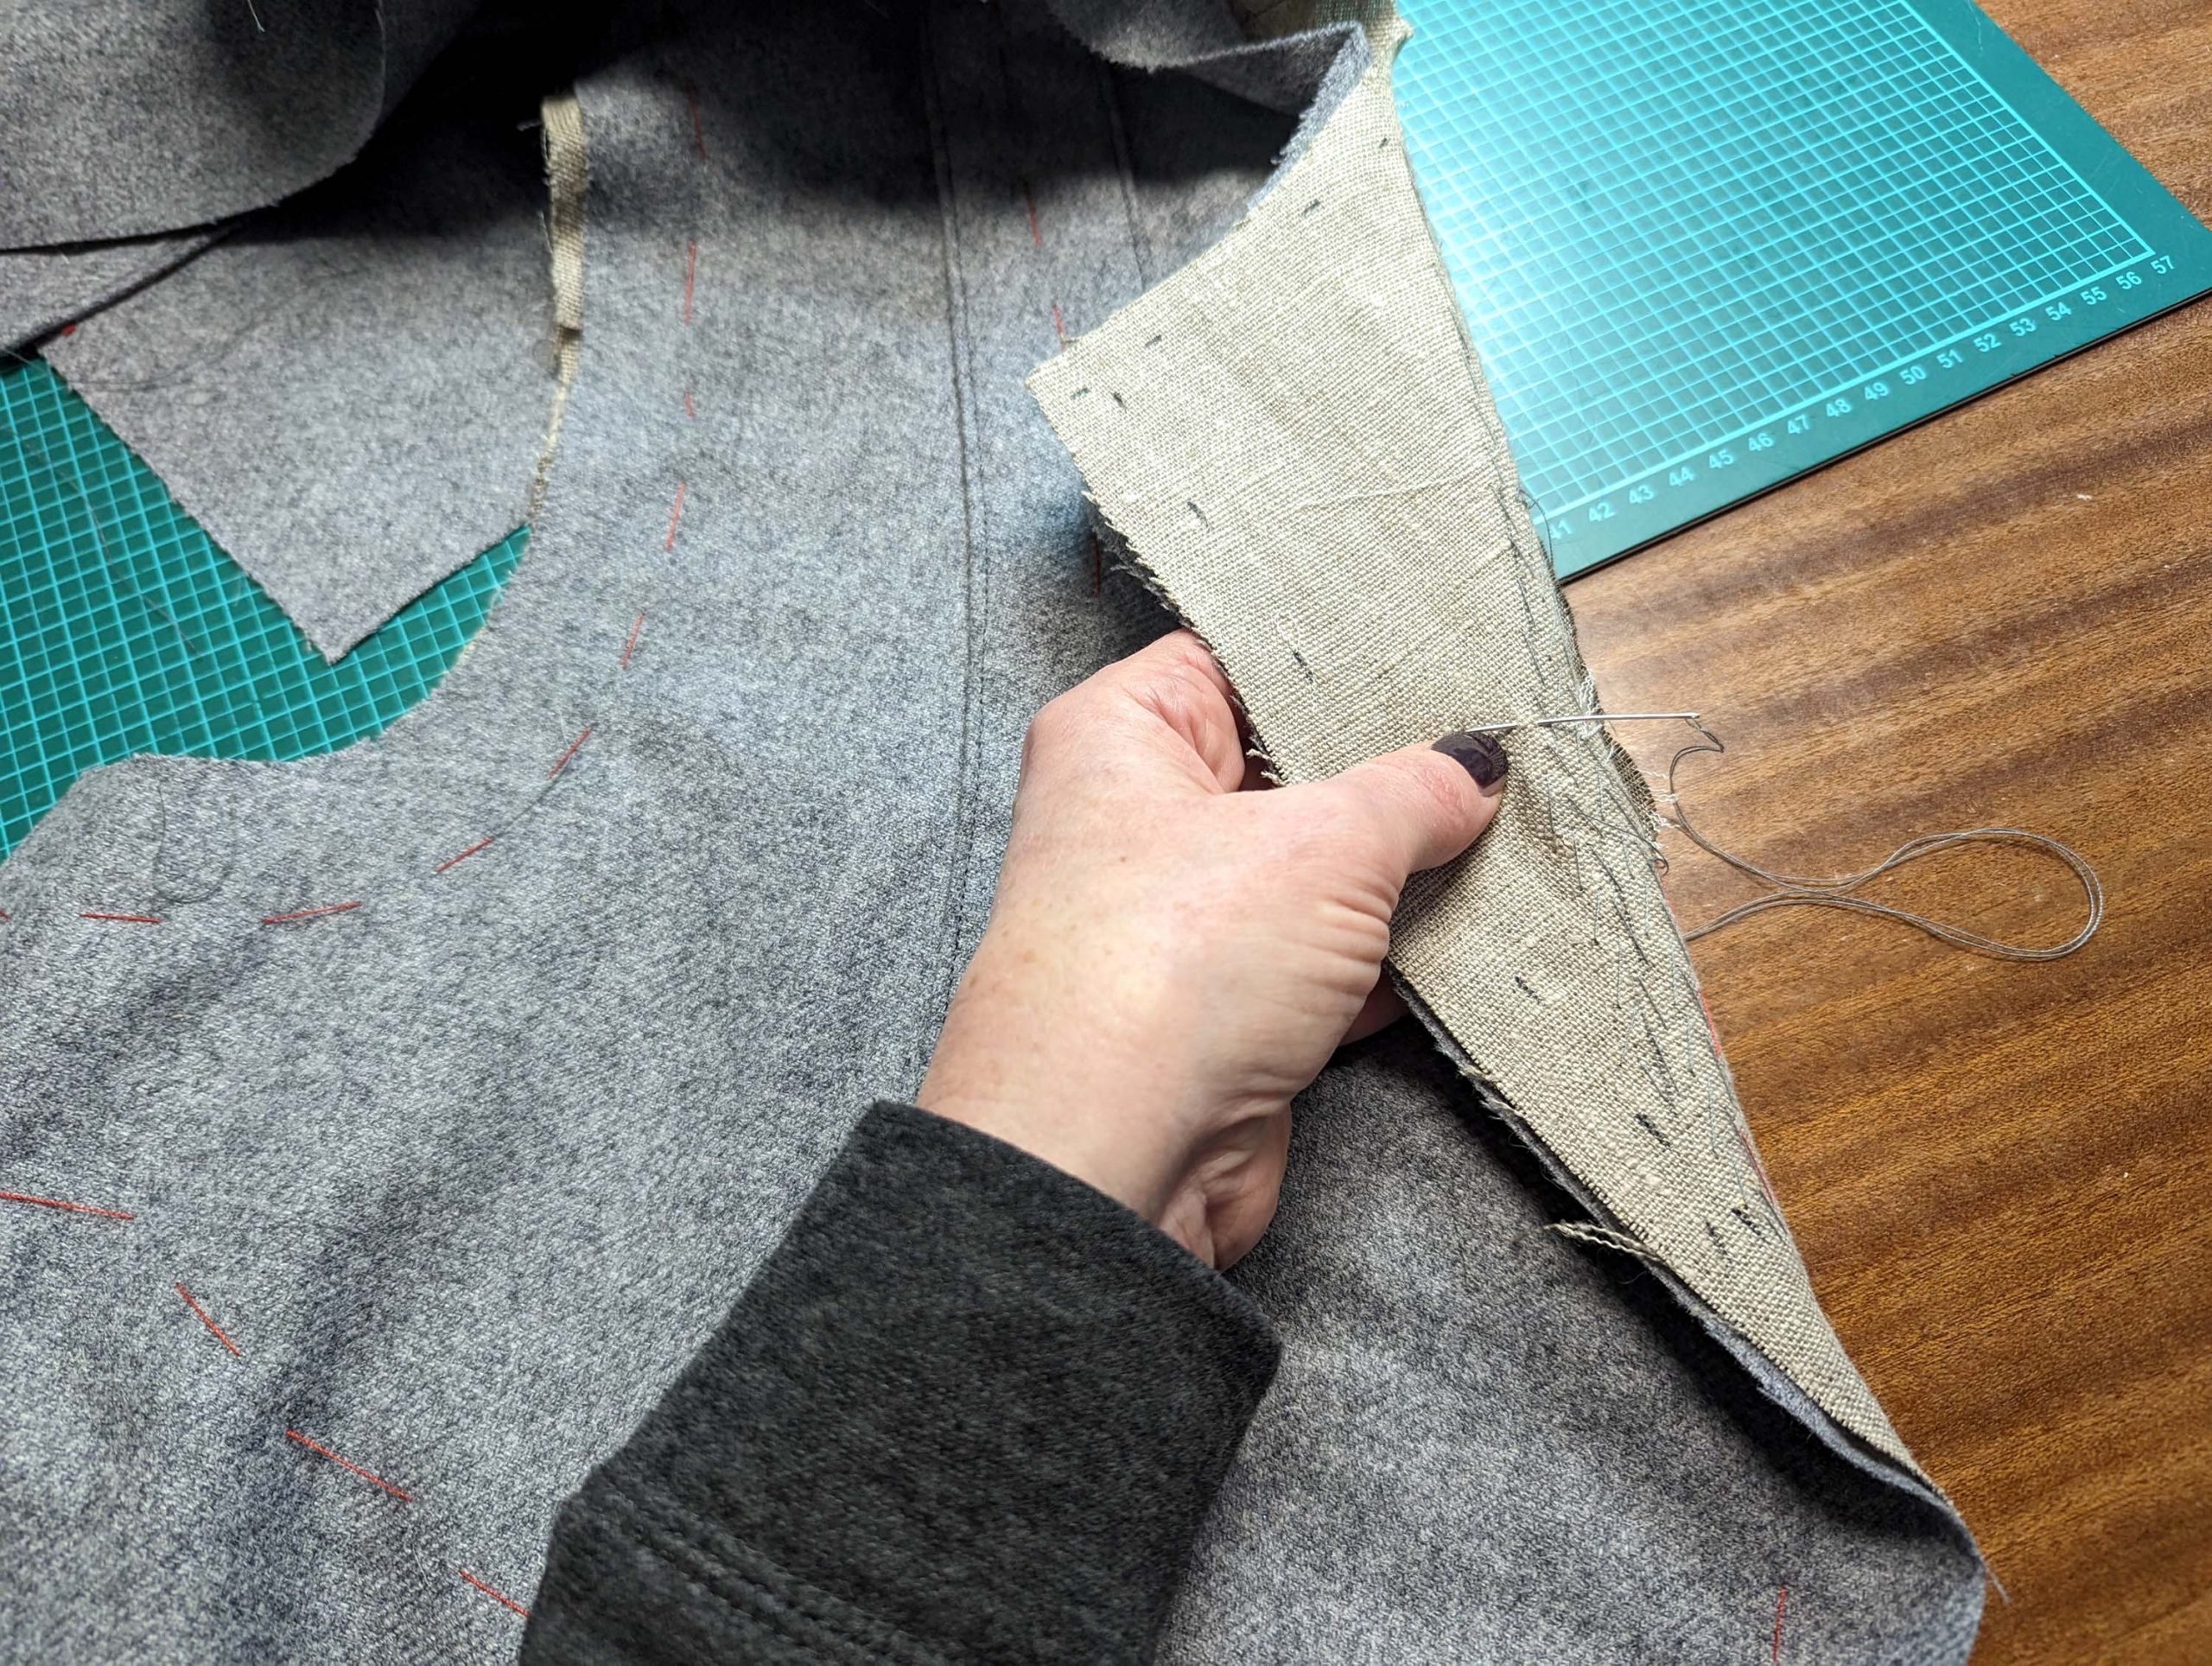
Trim back the seam allowance, and clip the seam allowance of the front piece only at the collar notch – not the facing. Clip the seam allowances at the roll line. Turn the seam allowance of the lapel towards the canvas and catch stitch to the canvas, starting at the collar notch, and stopping at the roll line.


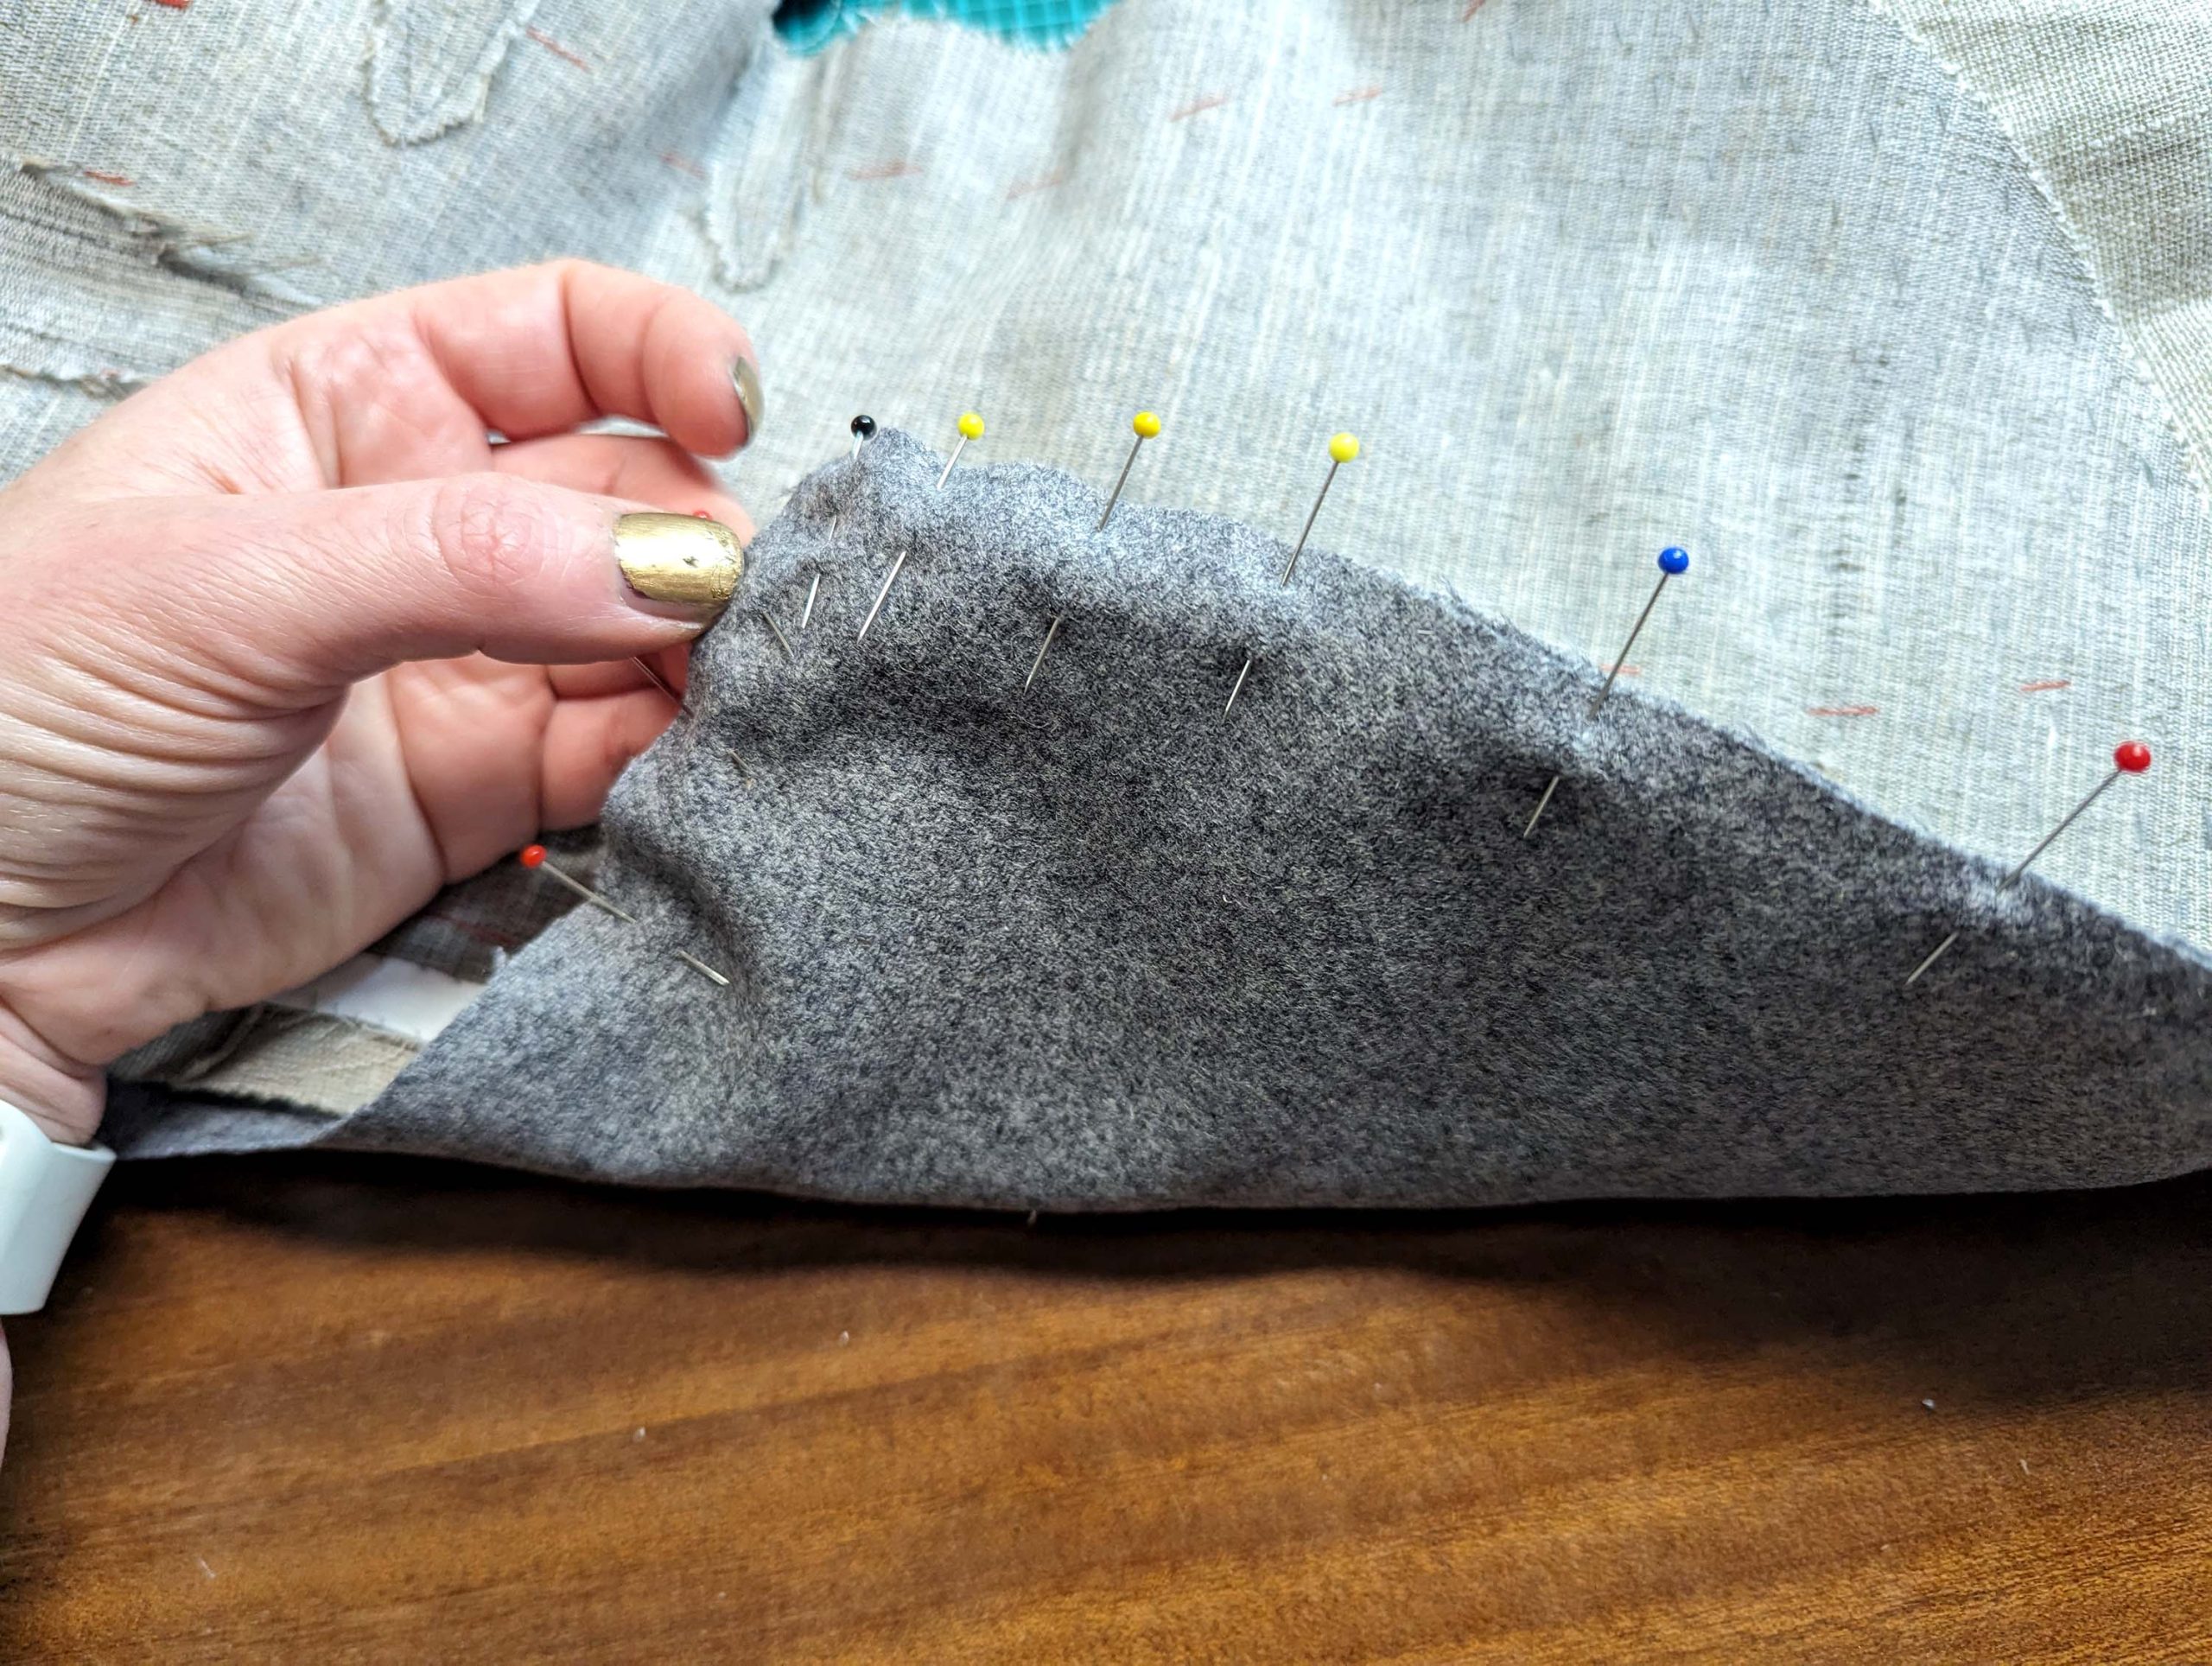
(12) Turn the lapel the right way out and press the edge. Roll the seam slightly out of sight toward the garment’s wrong side while pressing. Change the sides at the point, where the lapel turns. Baste along the edge of the lapel and front to hold the pressed edges in the right place. Fold the lapel along the roll line and baste through all layers about 1” (2,5cm) behind the roll line to give the ease needed for the turn of cloth. Turn in the seam allowance of the front-facing along the neckline and baste in place along the stitching line, trim back as needed, and notch at the curves. Take the shoulder pad and place it on top of the canvas at the highest point of the shoulder, where indicated on the pattern, matching the point (2), and sew to the canvas along the center with loose stitches. Fell stitch the loose edge of the front-facing to the canvas only, don´t catch the fashion fabric.
I inserted the shoulder pad a step later, and had to unravel some stitches!
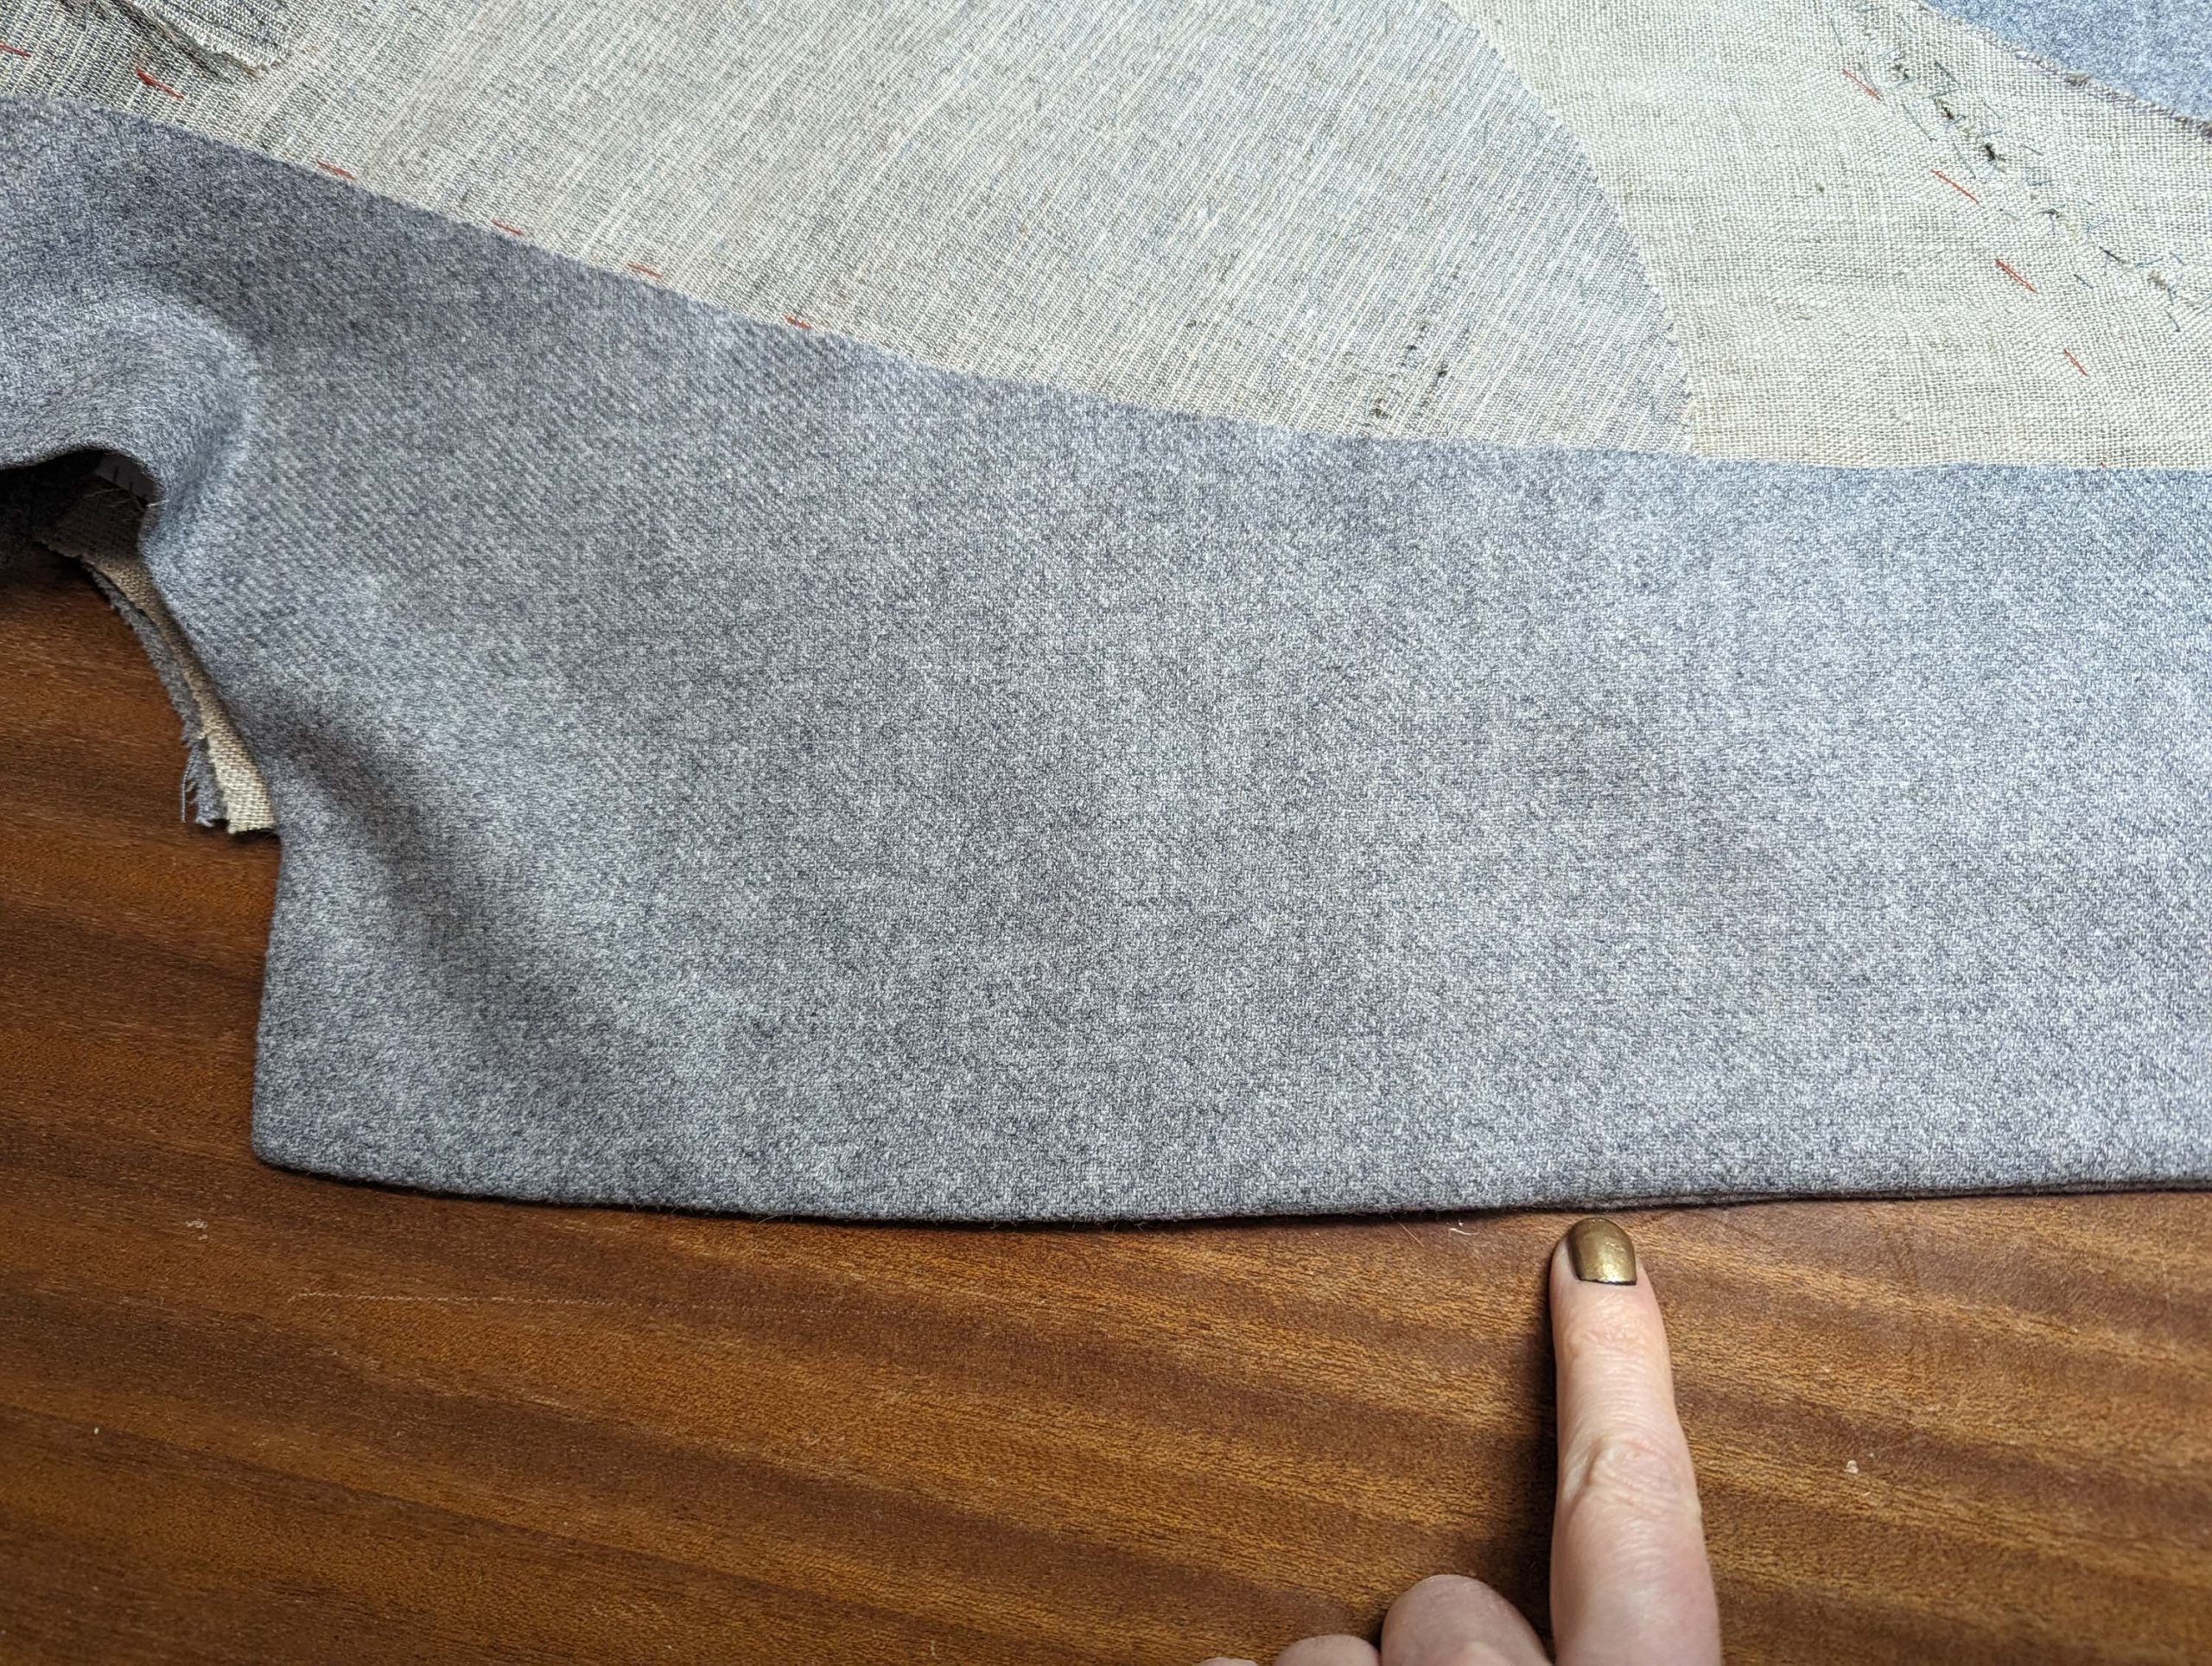

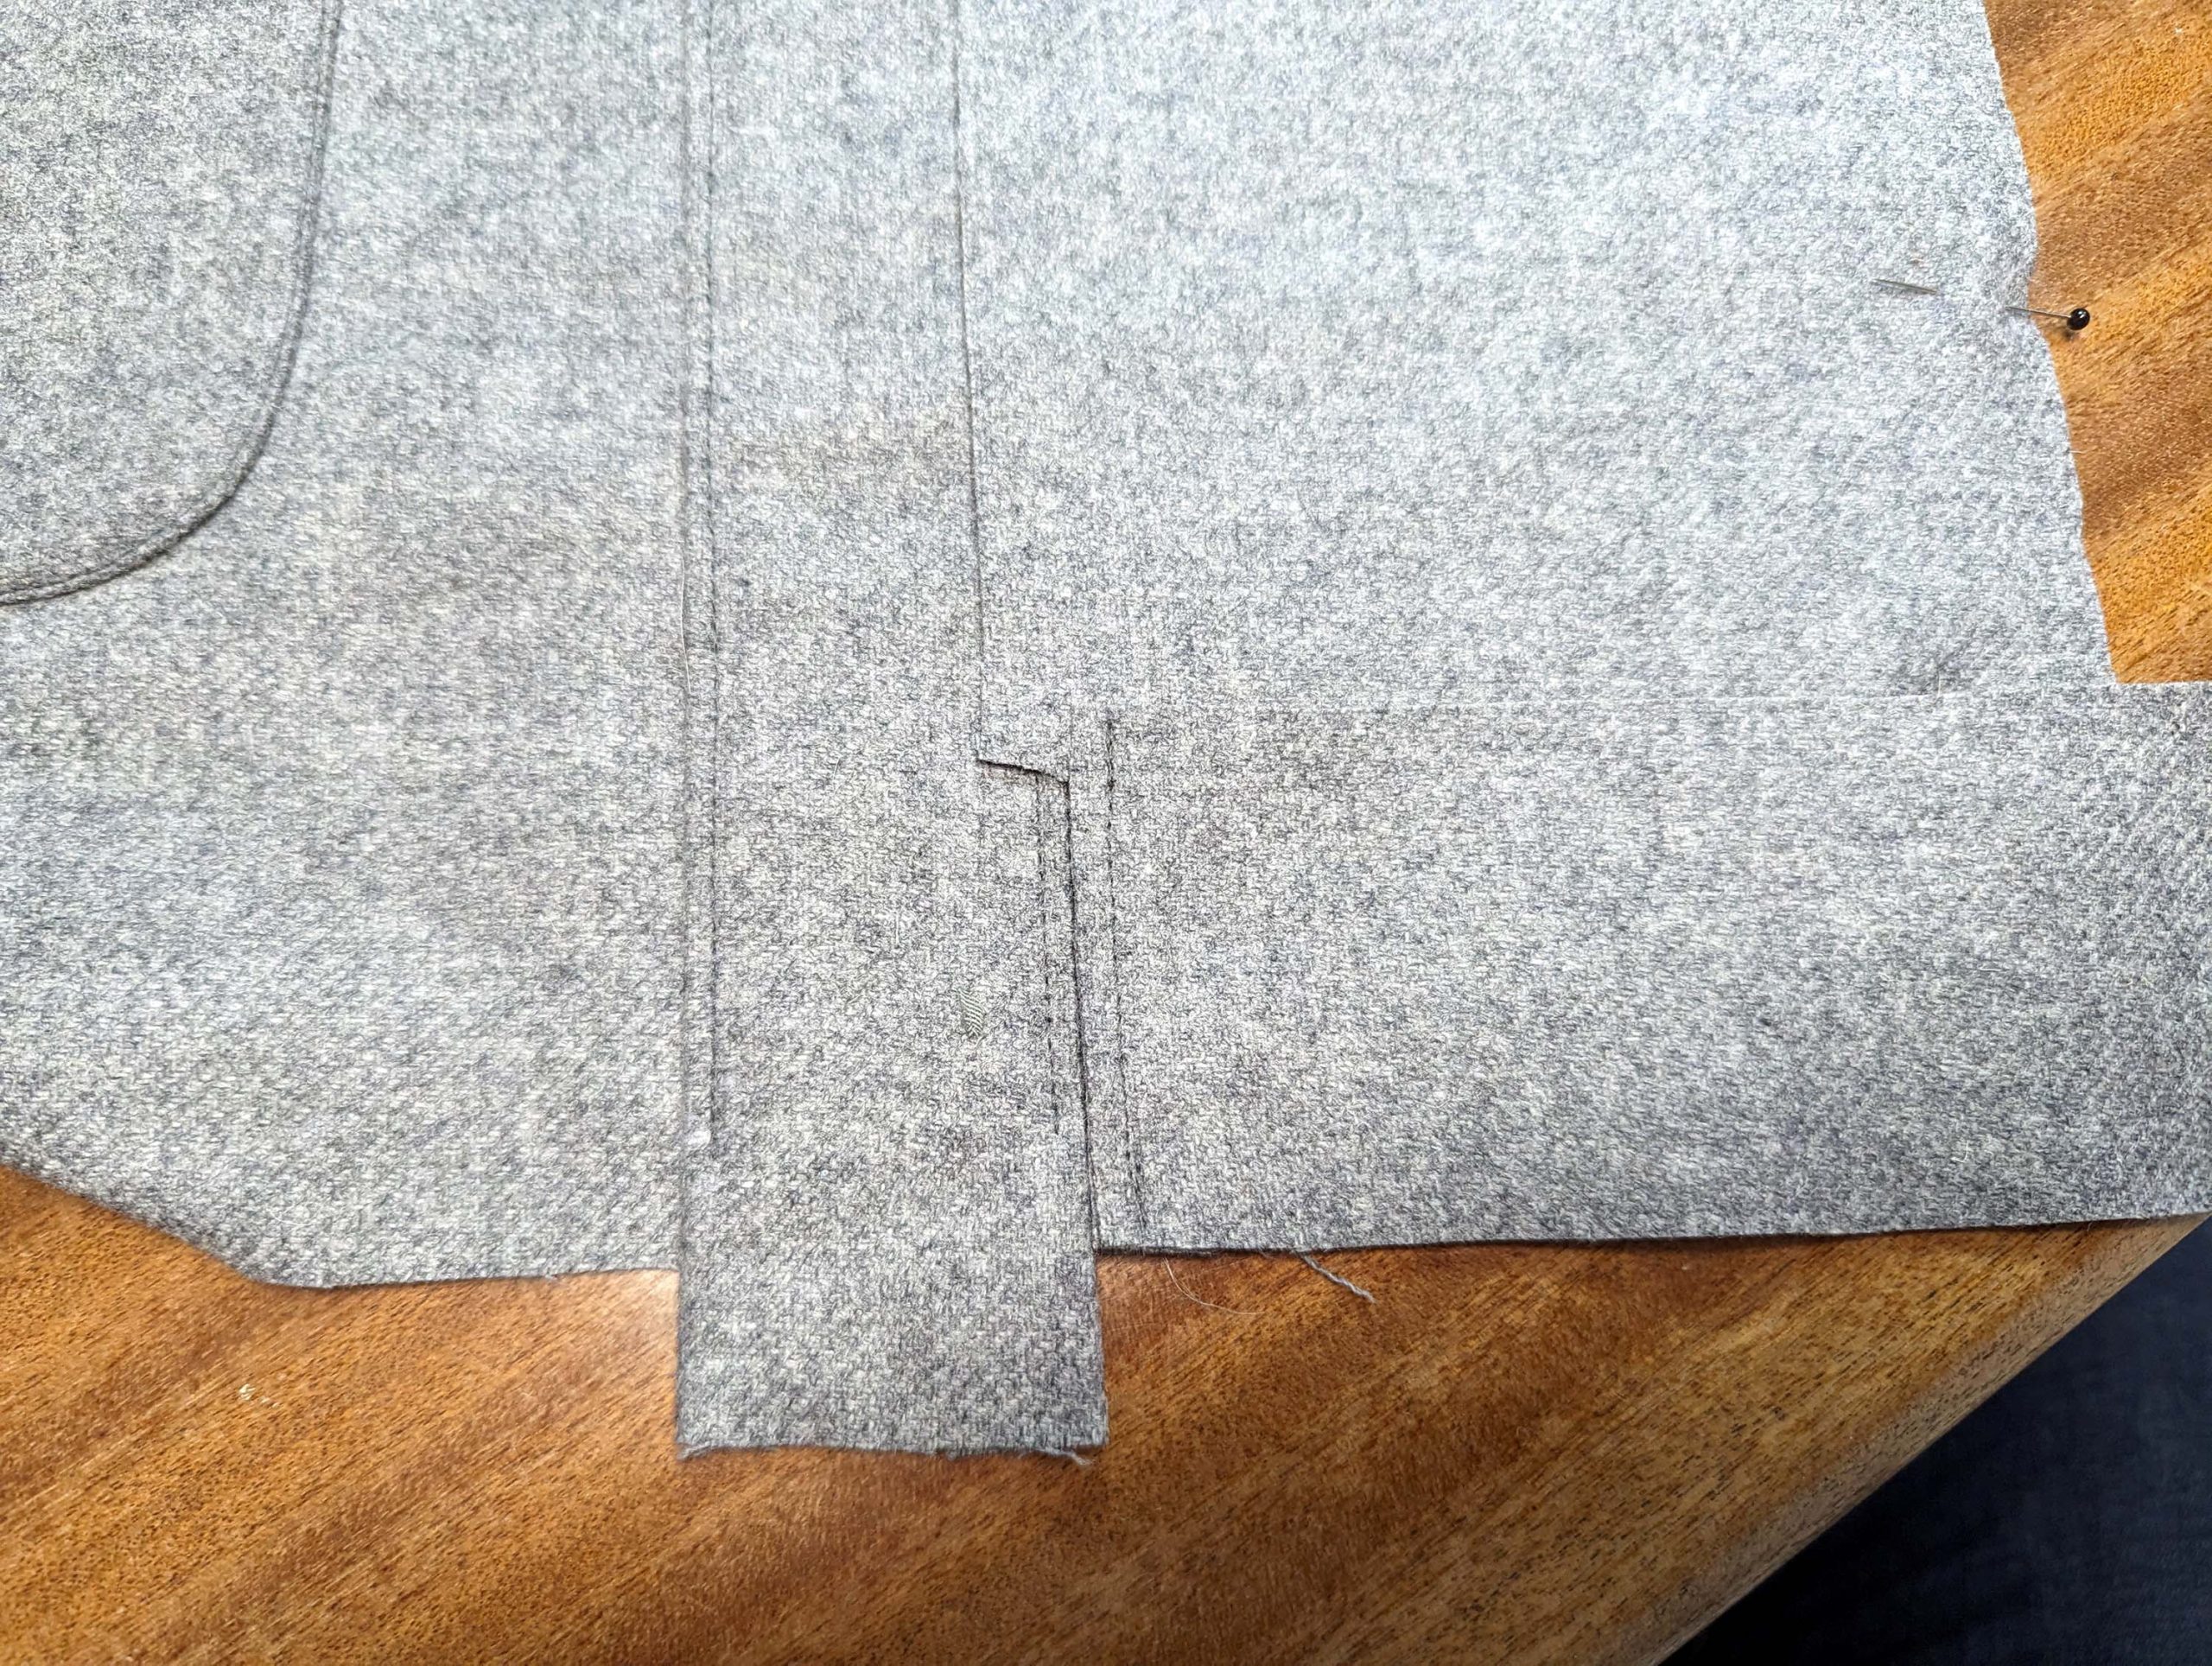
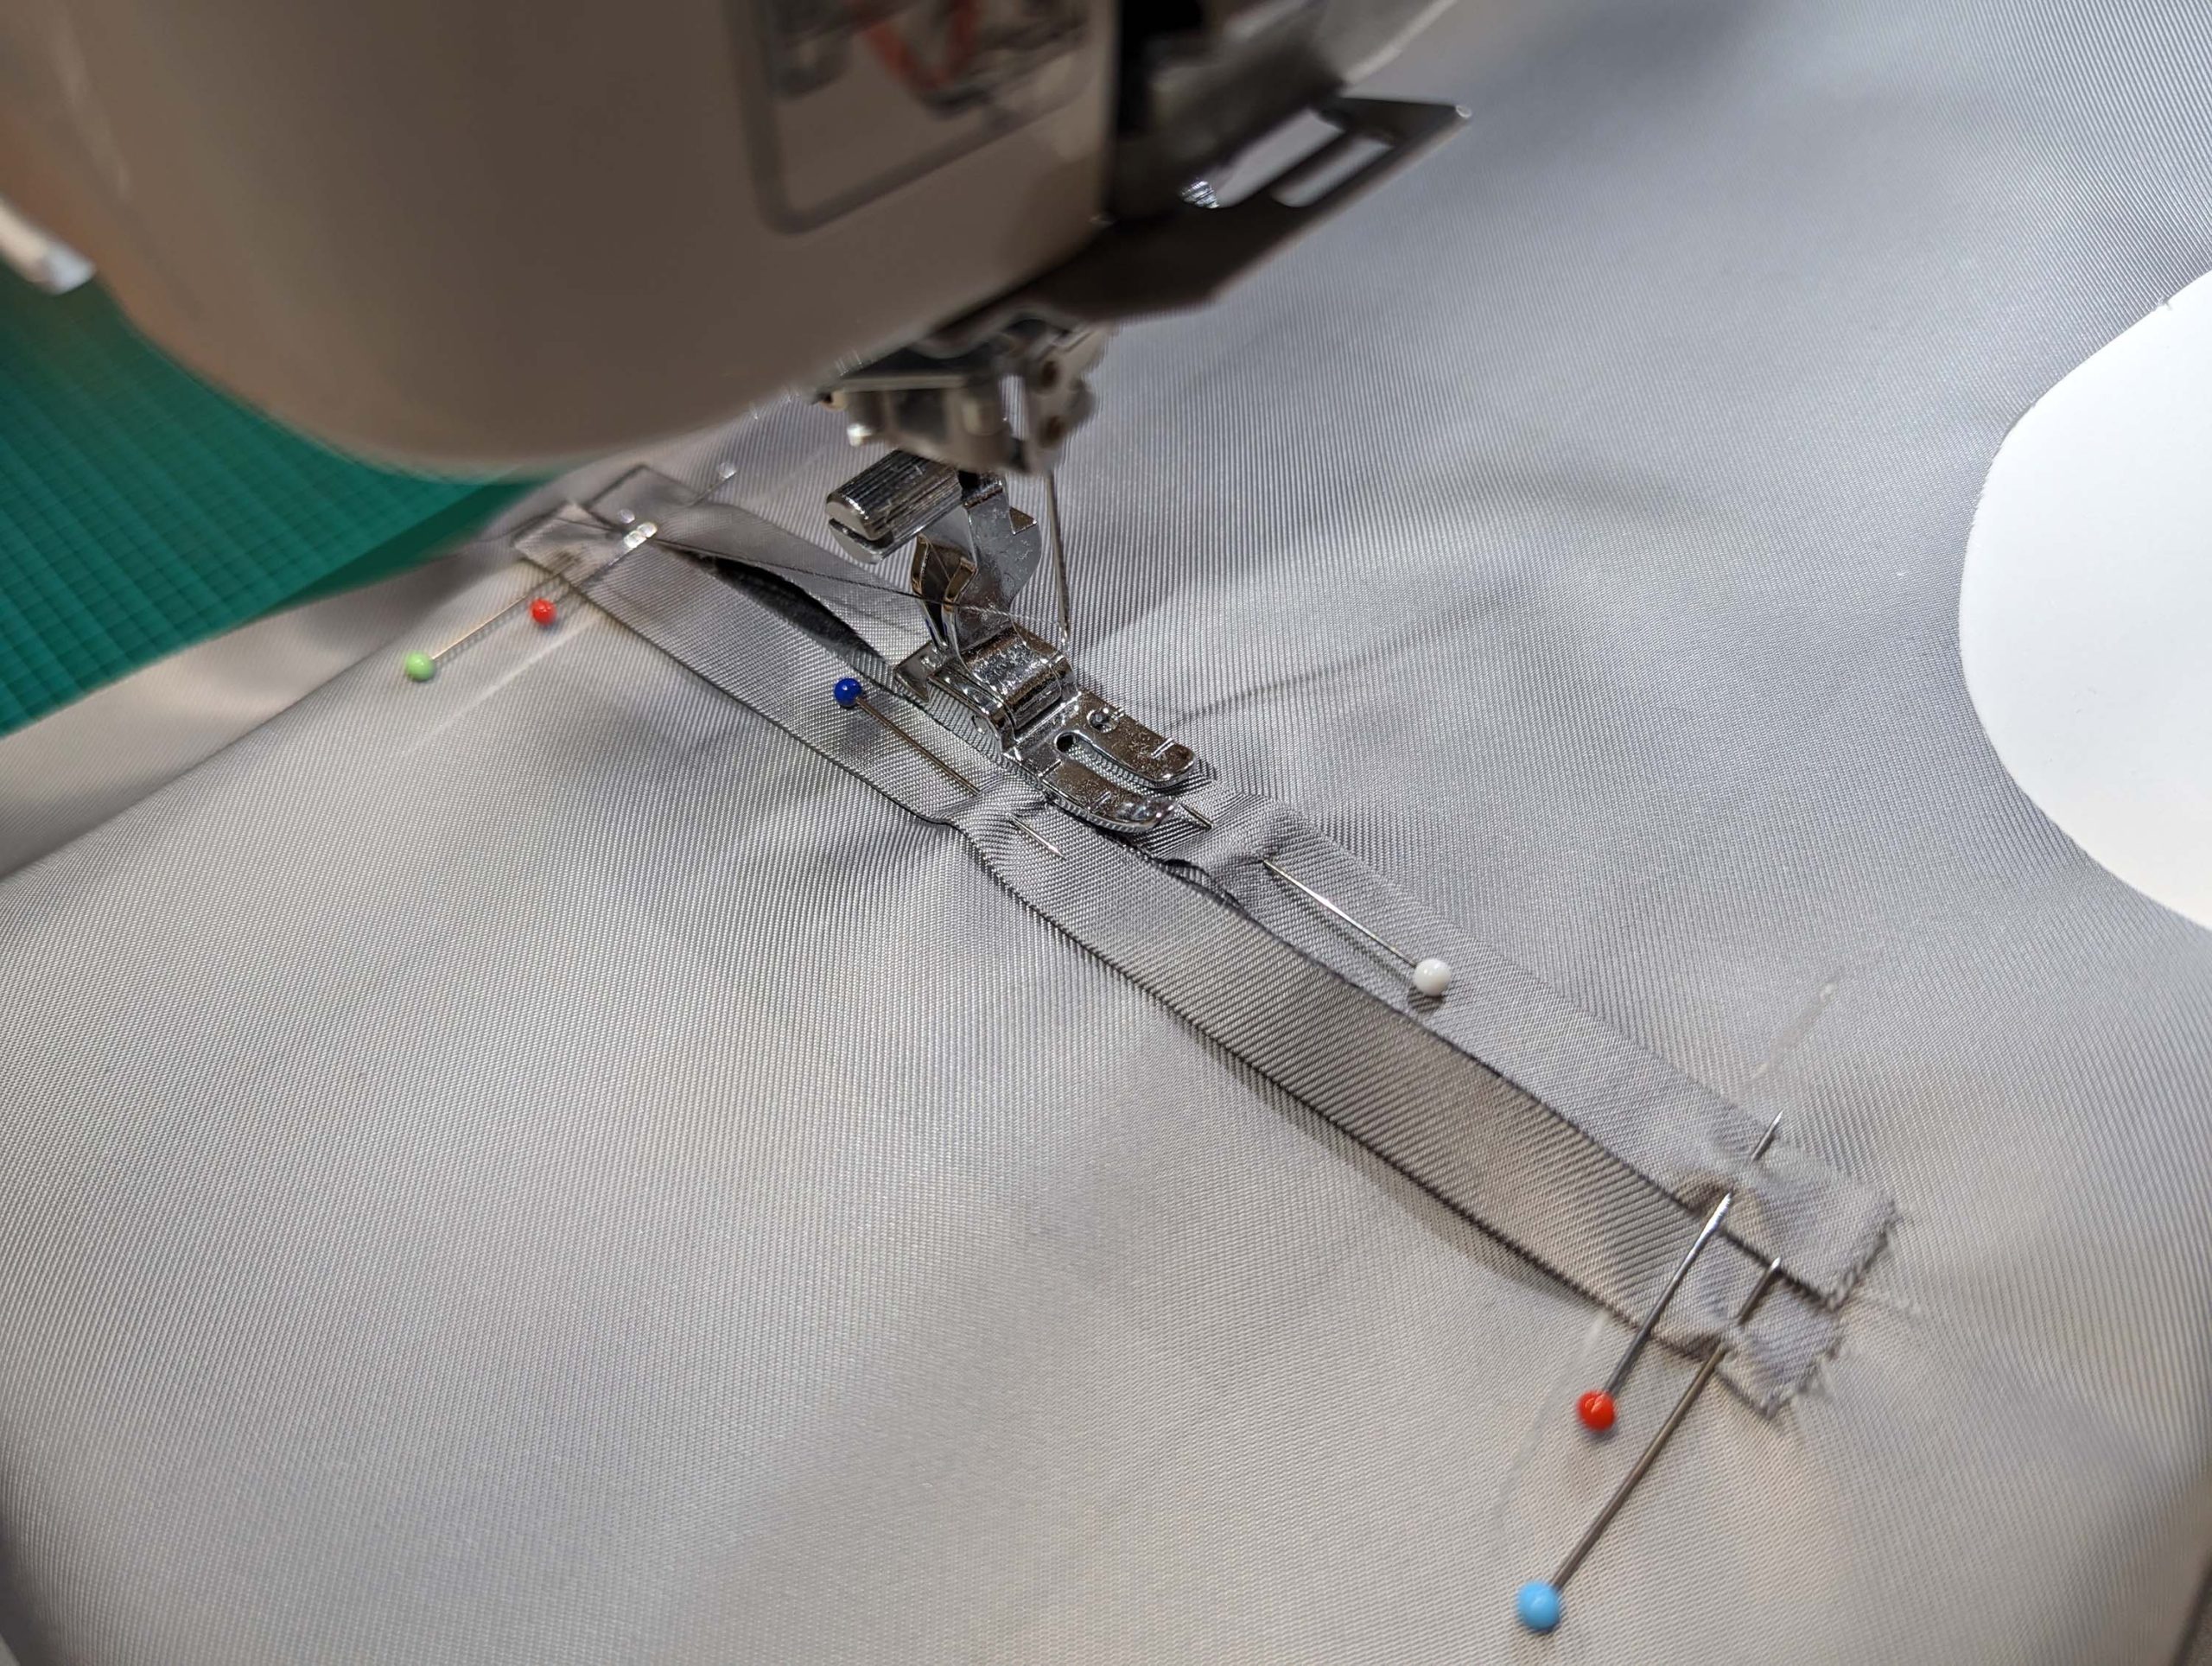
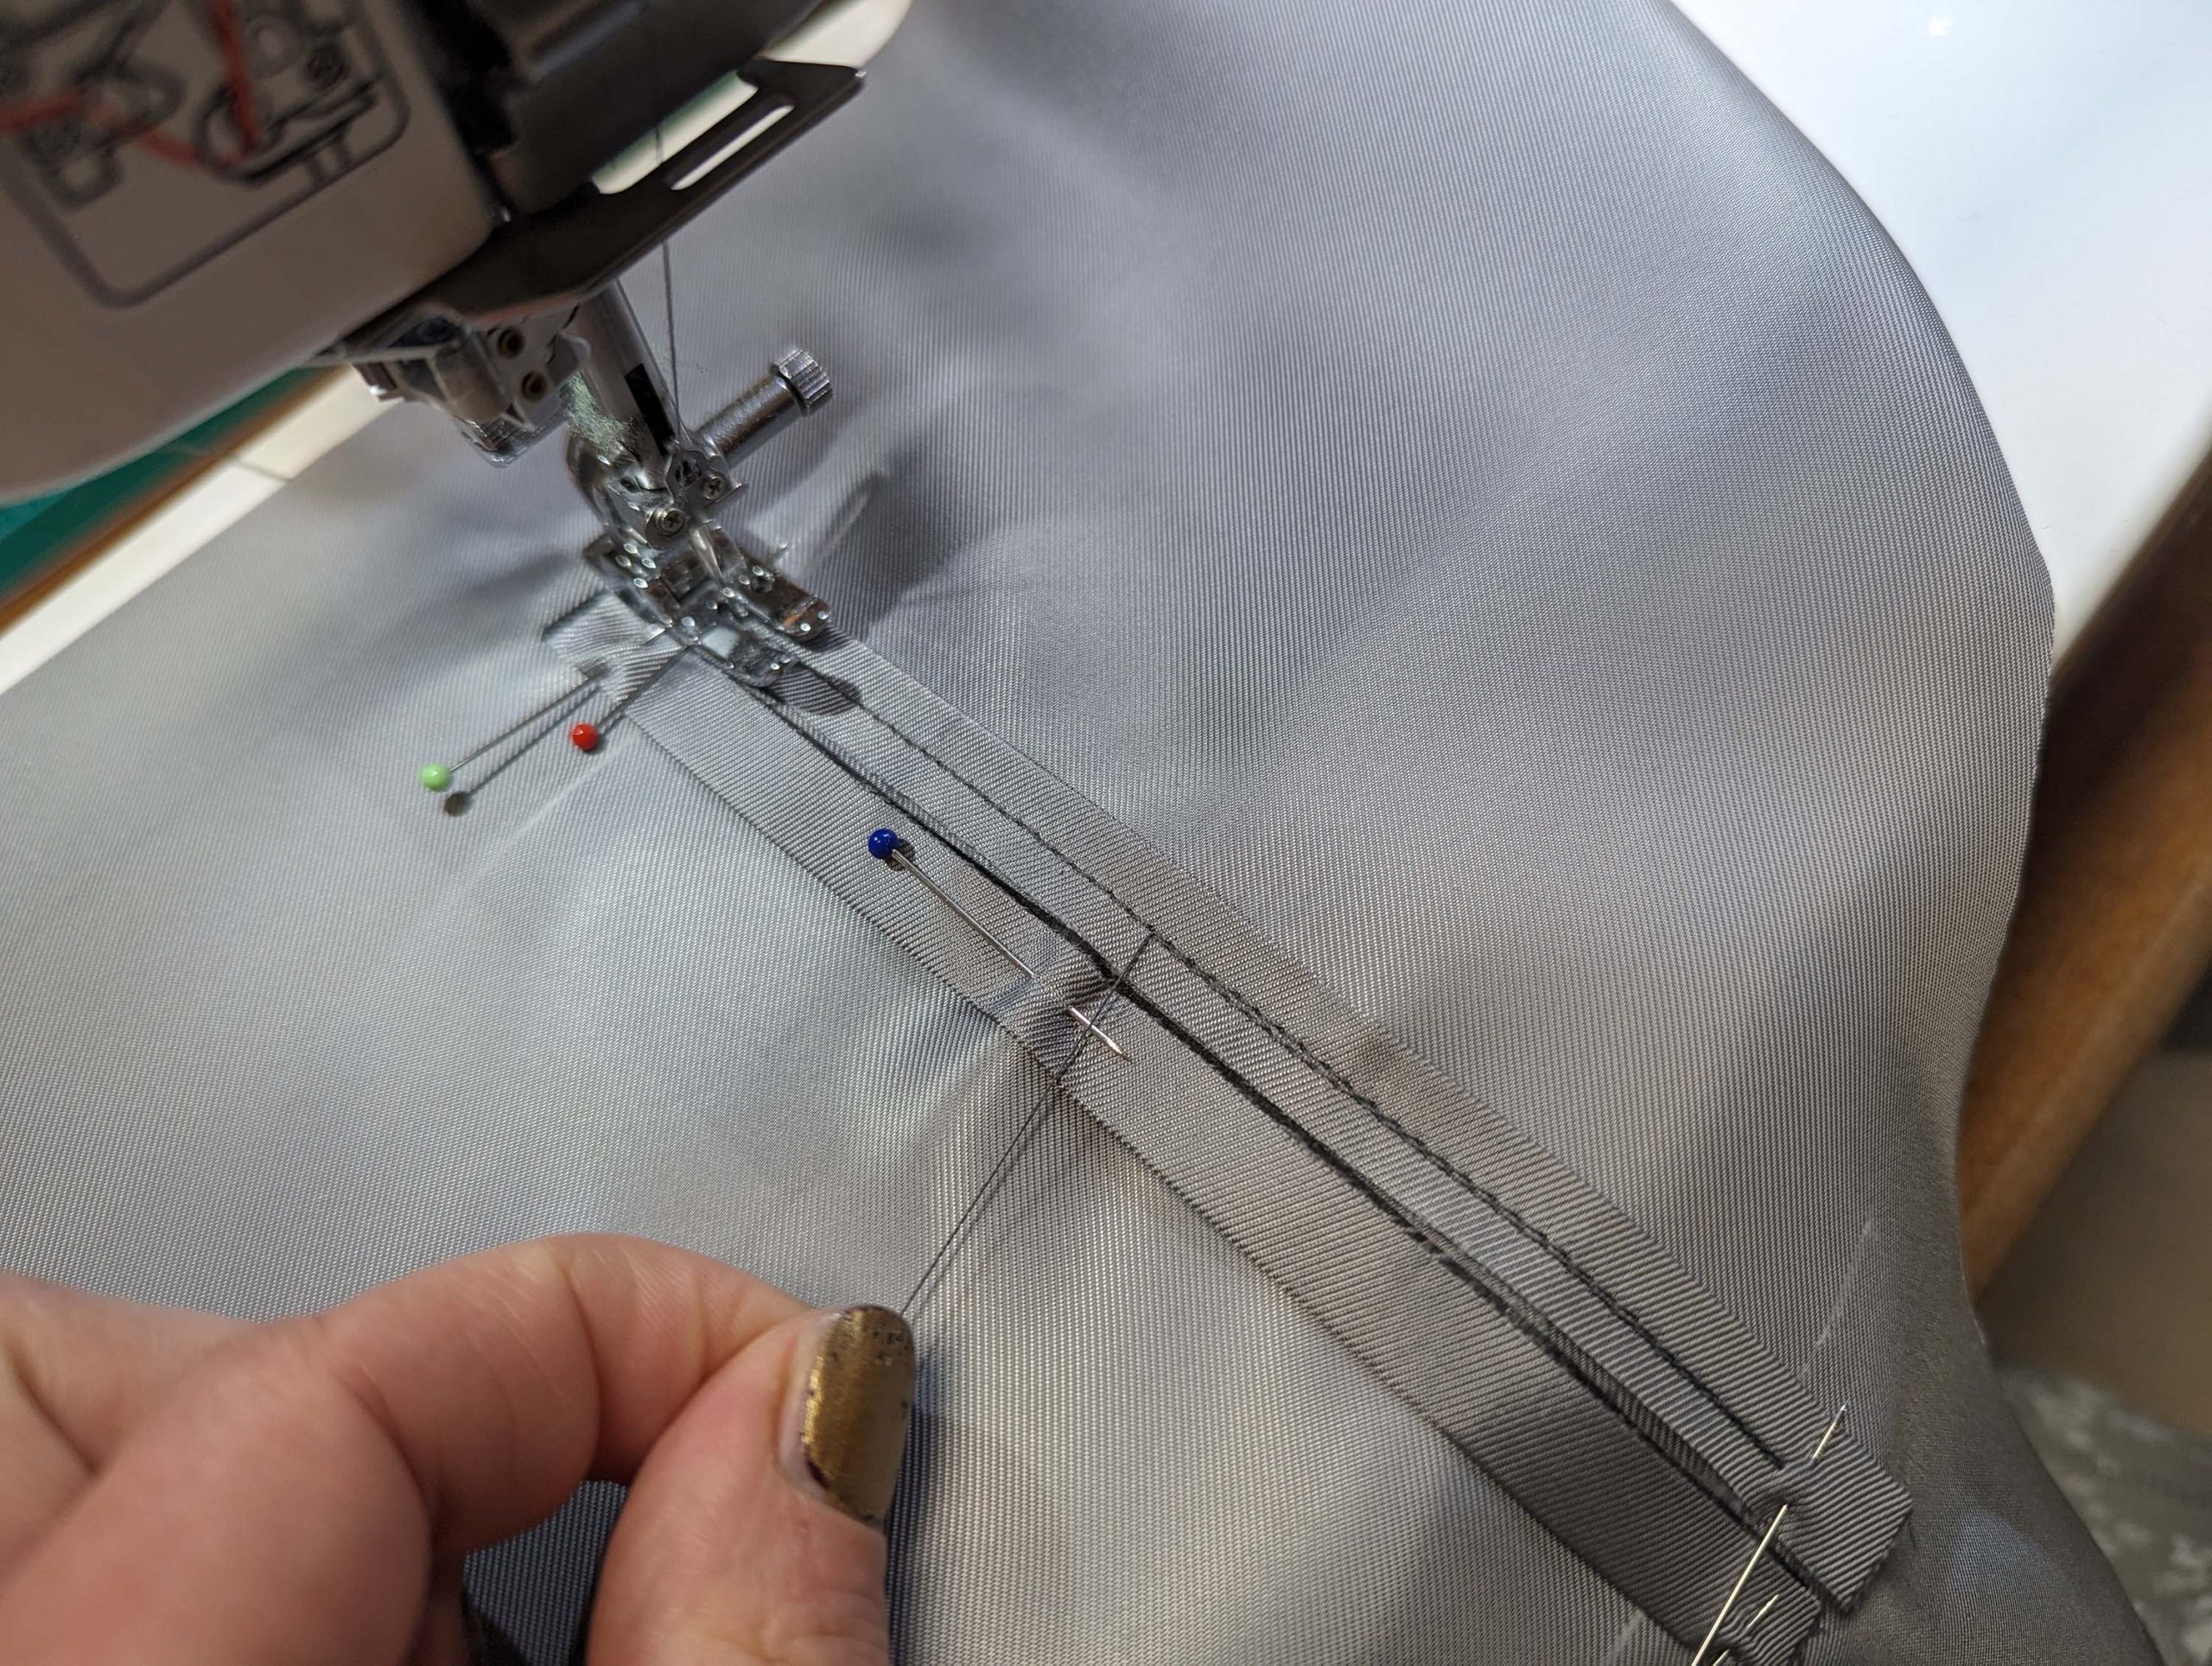
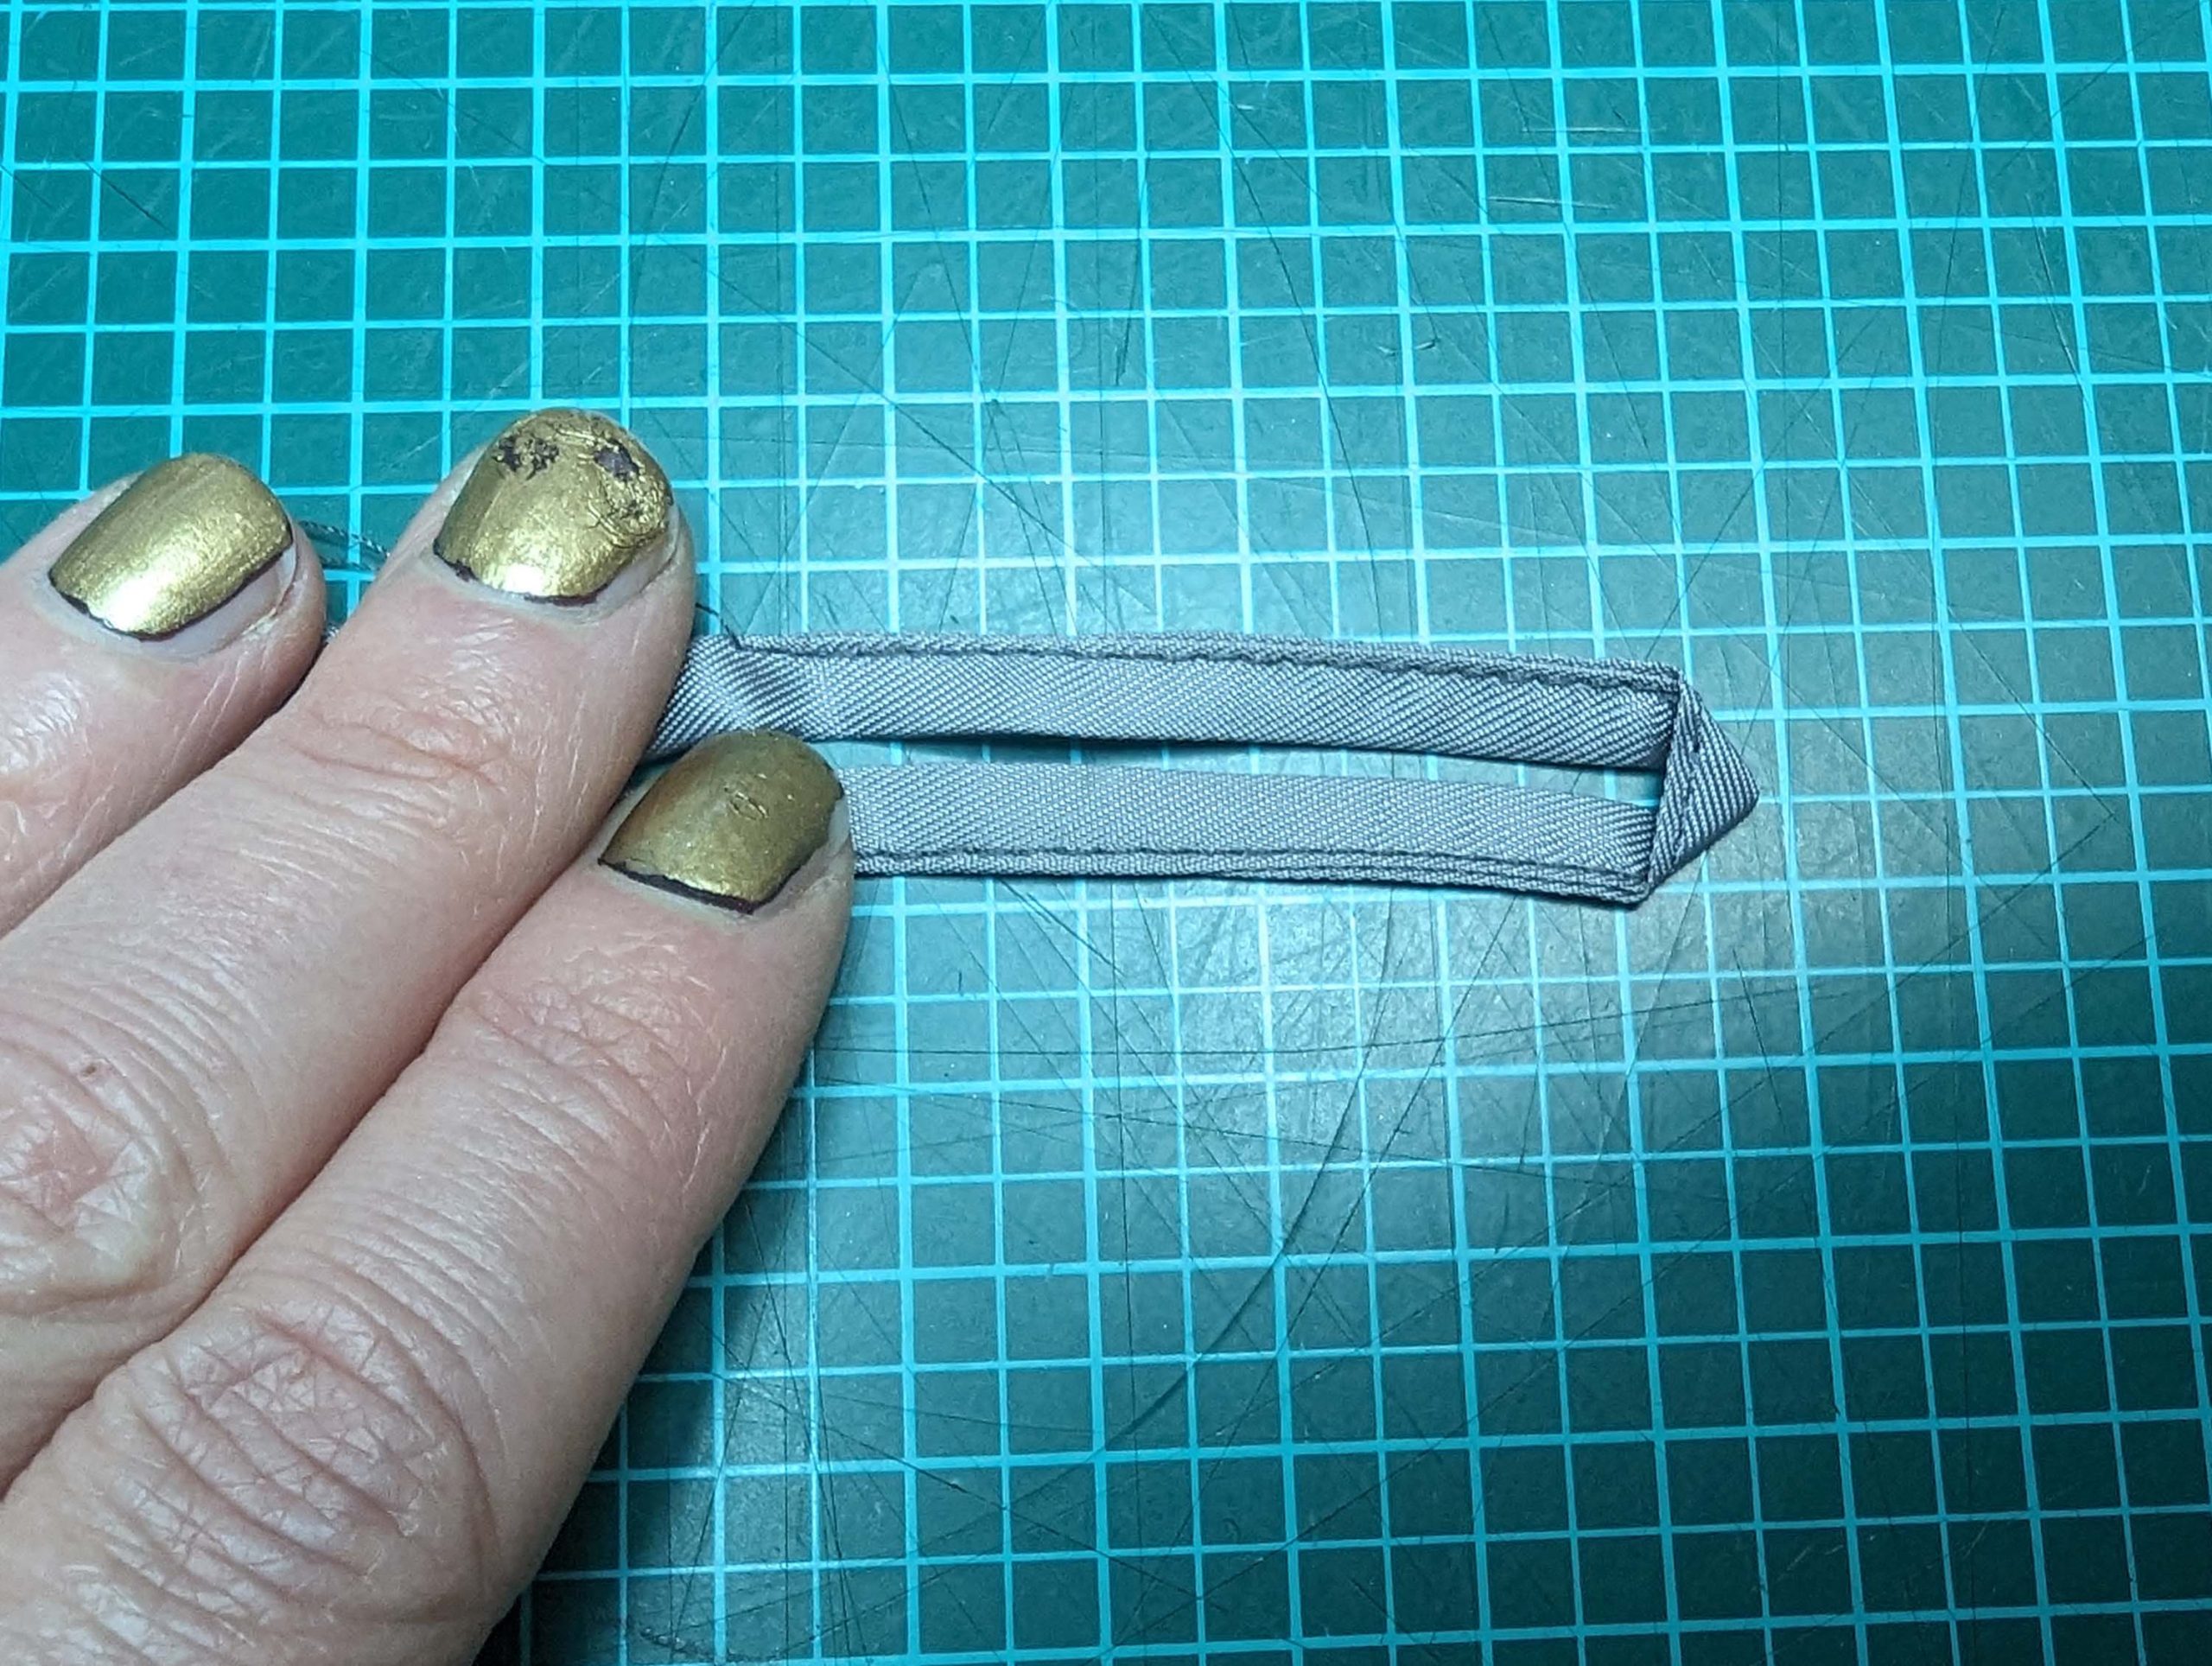
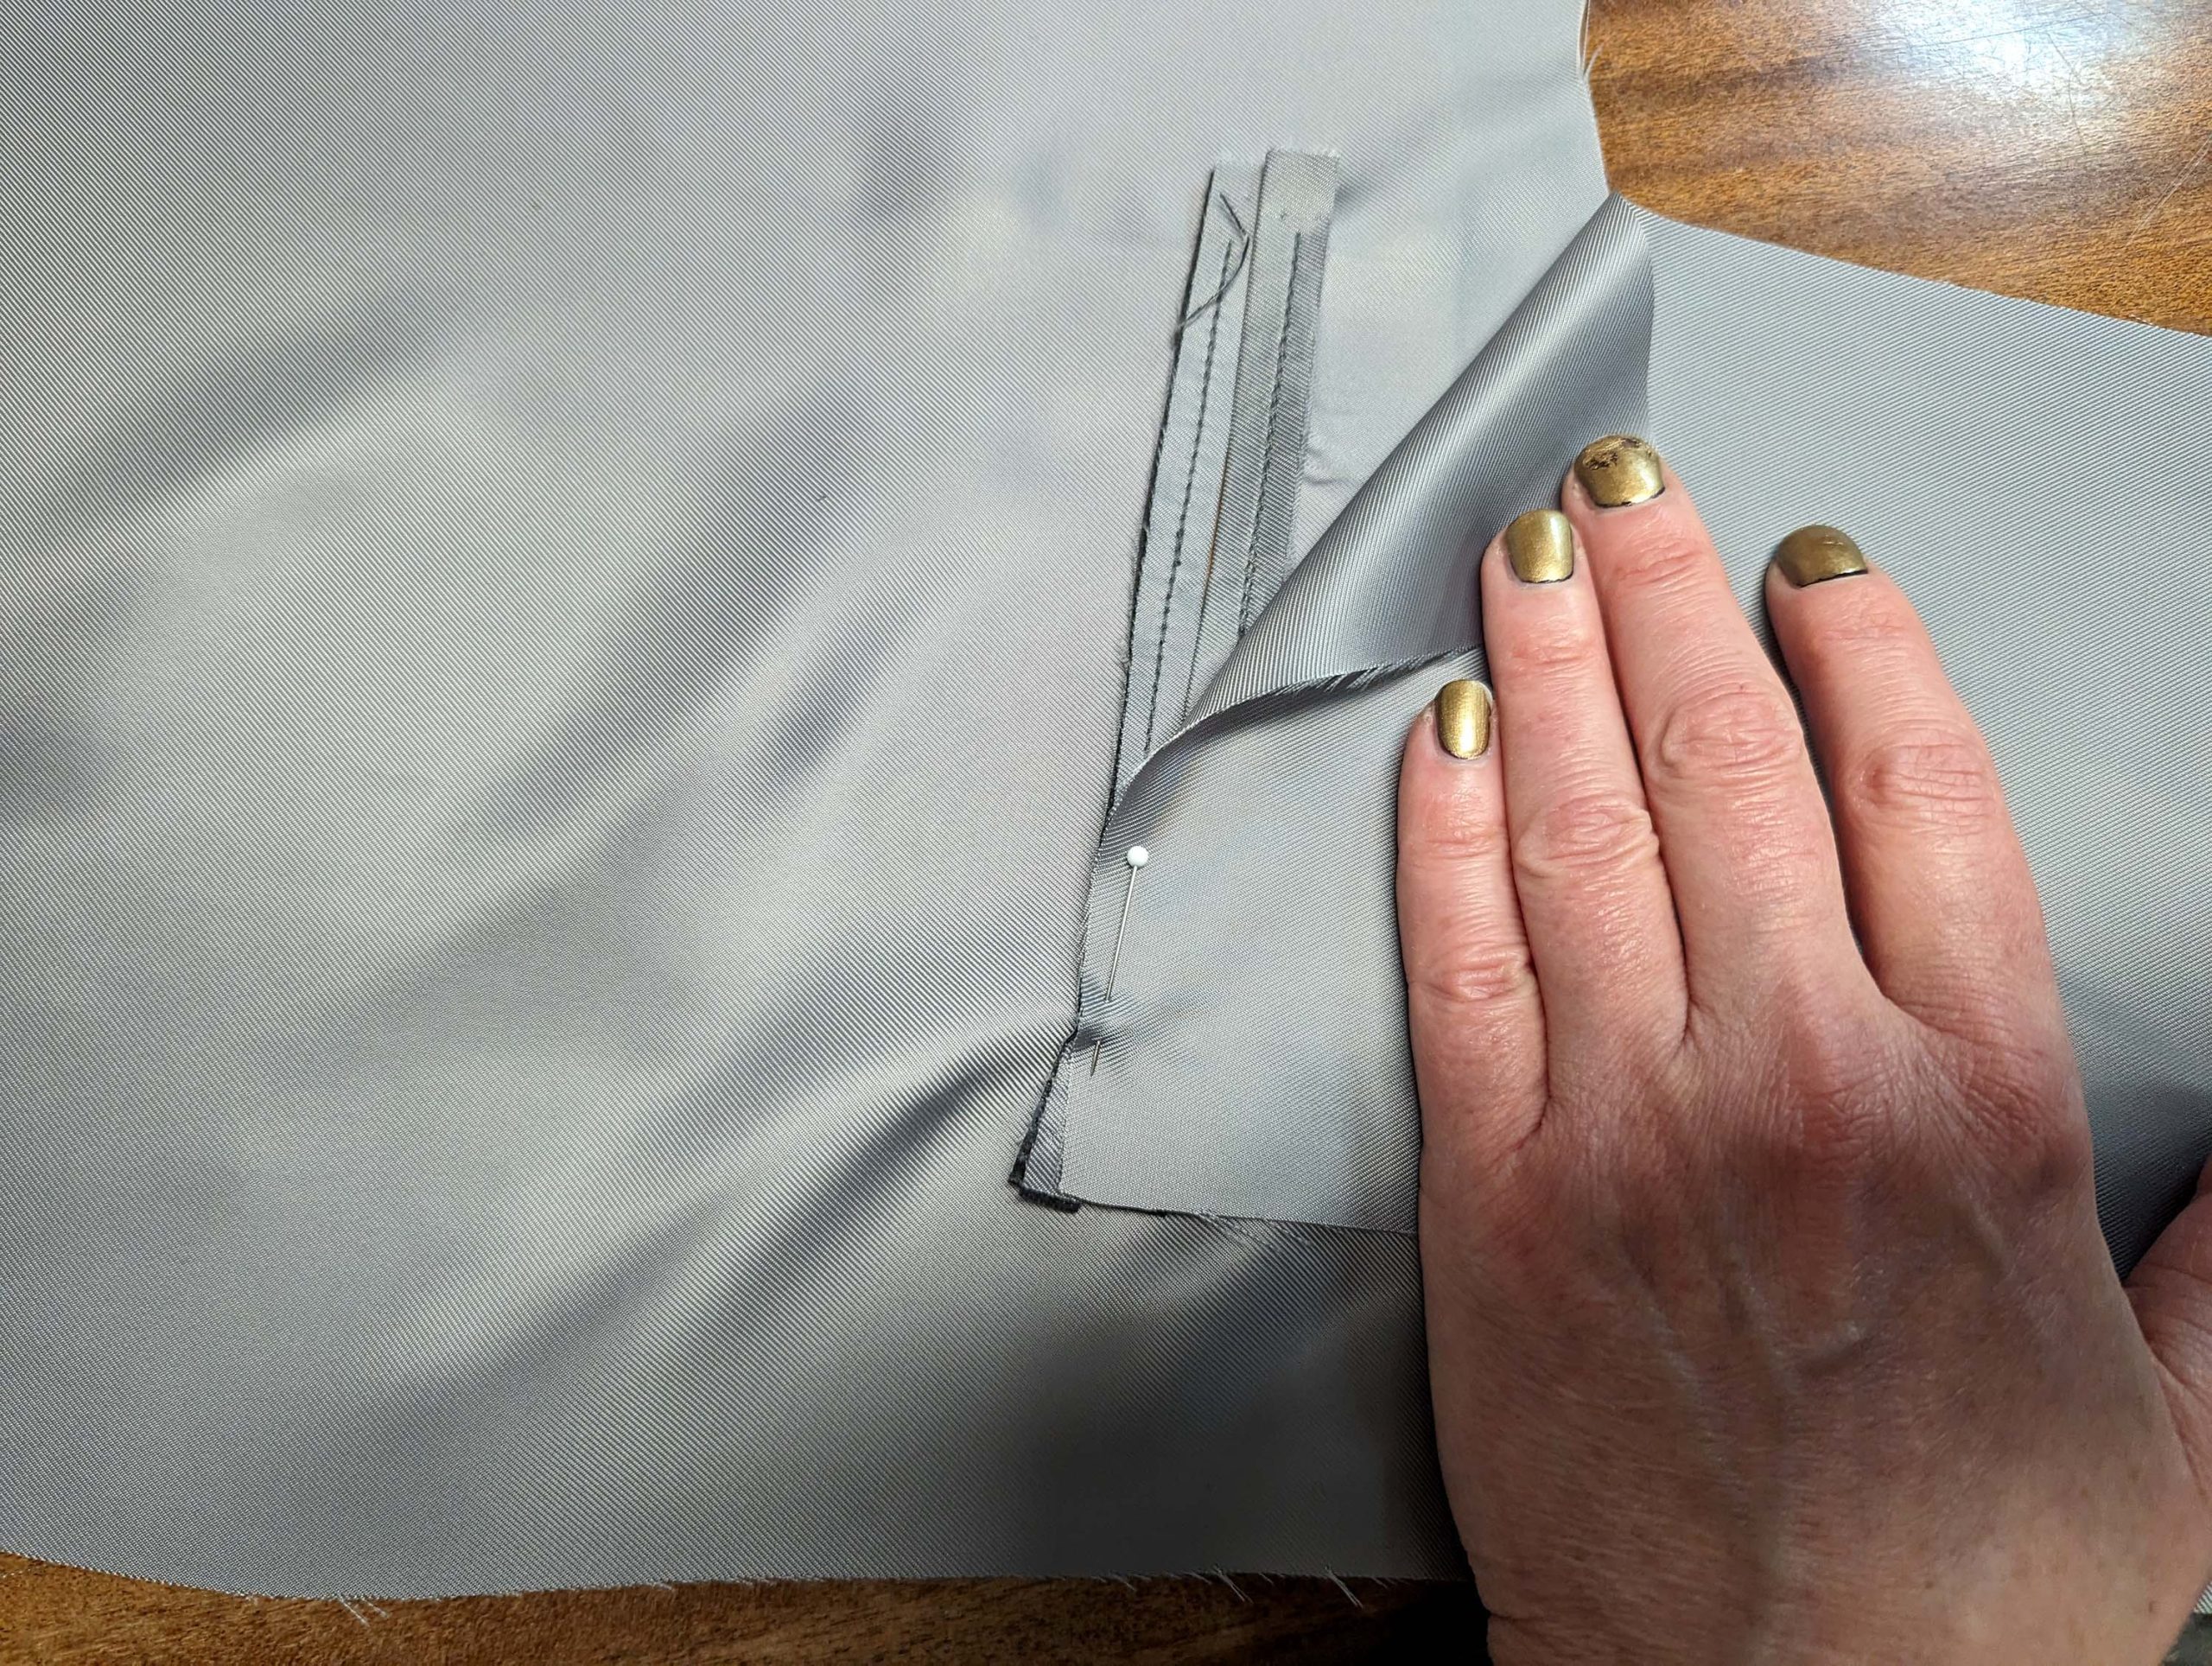
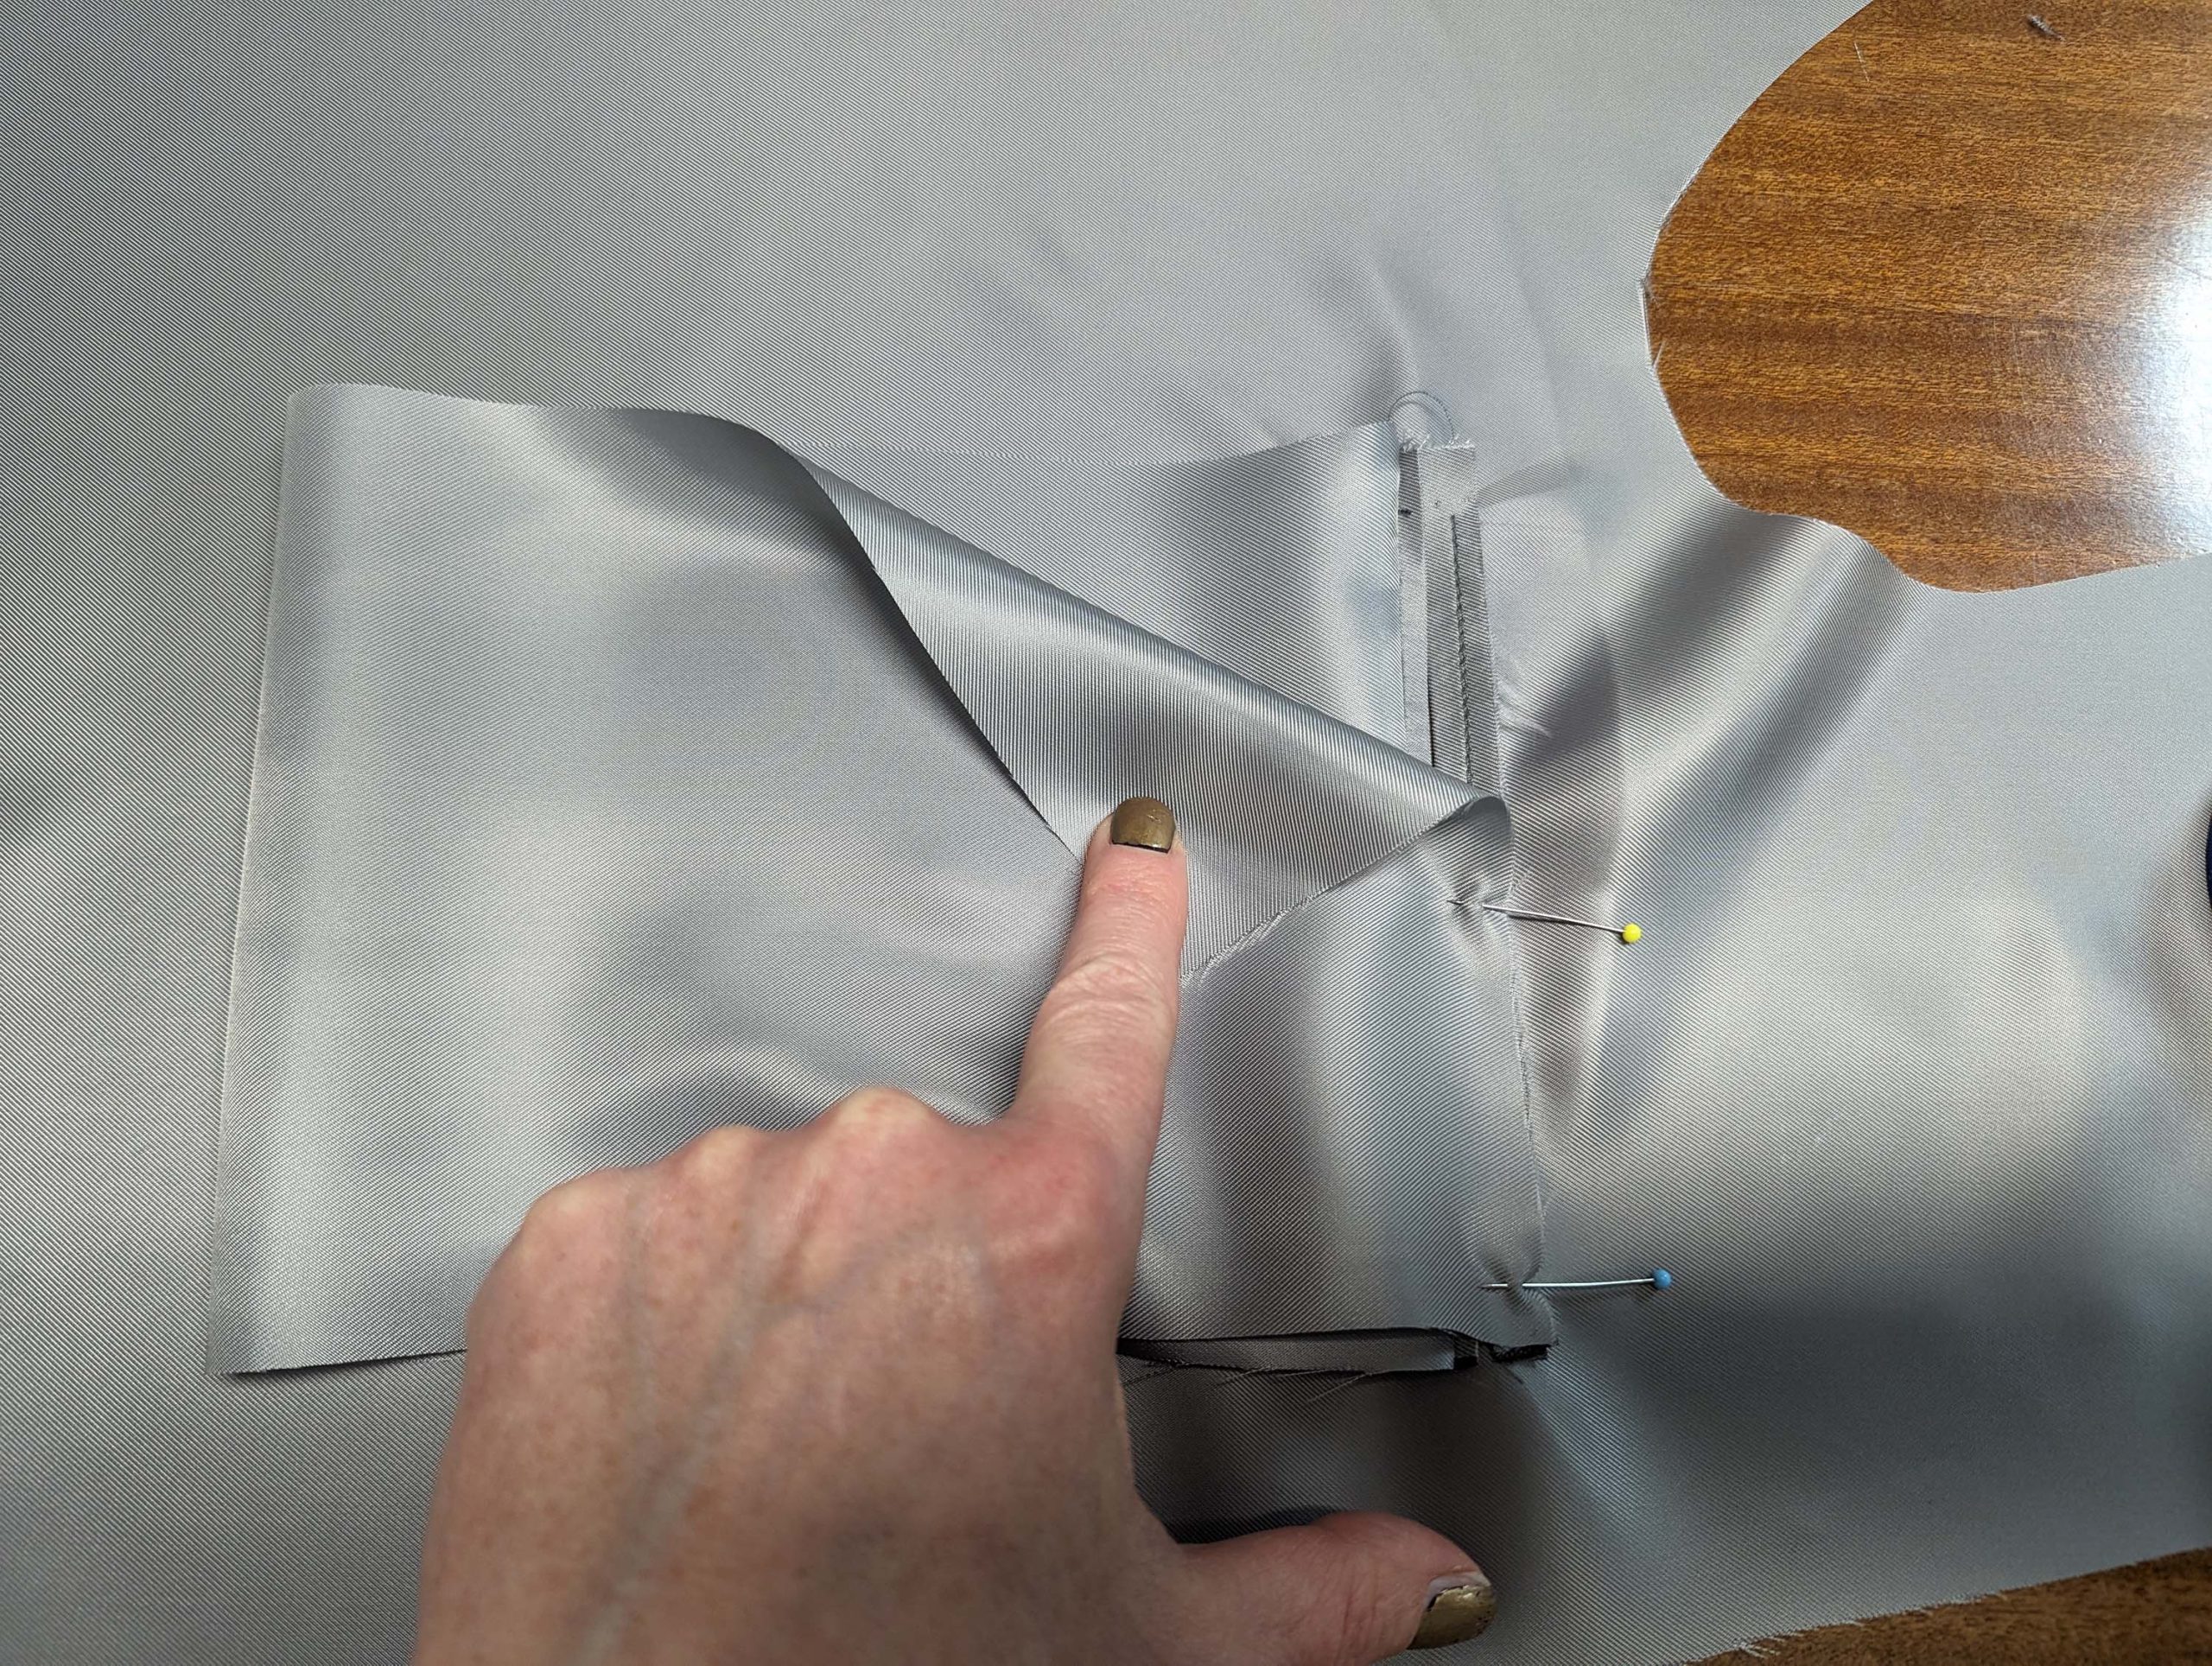
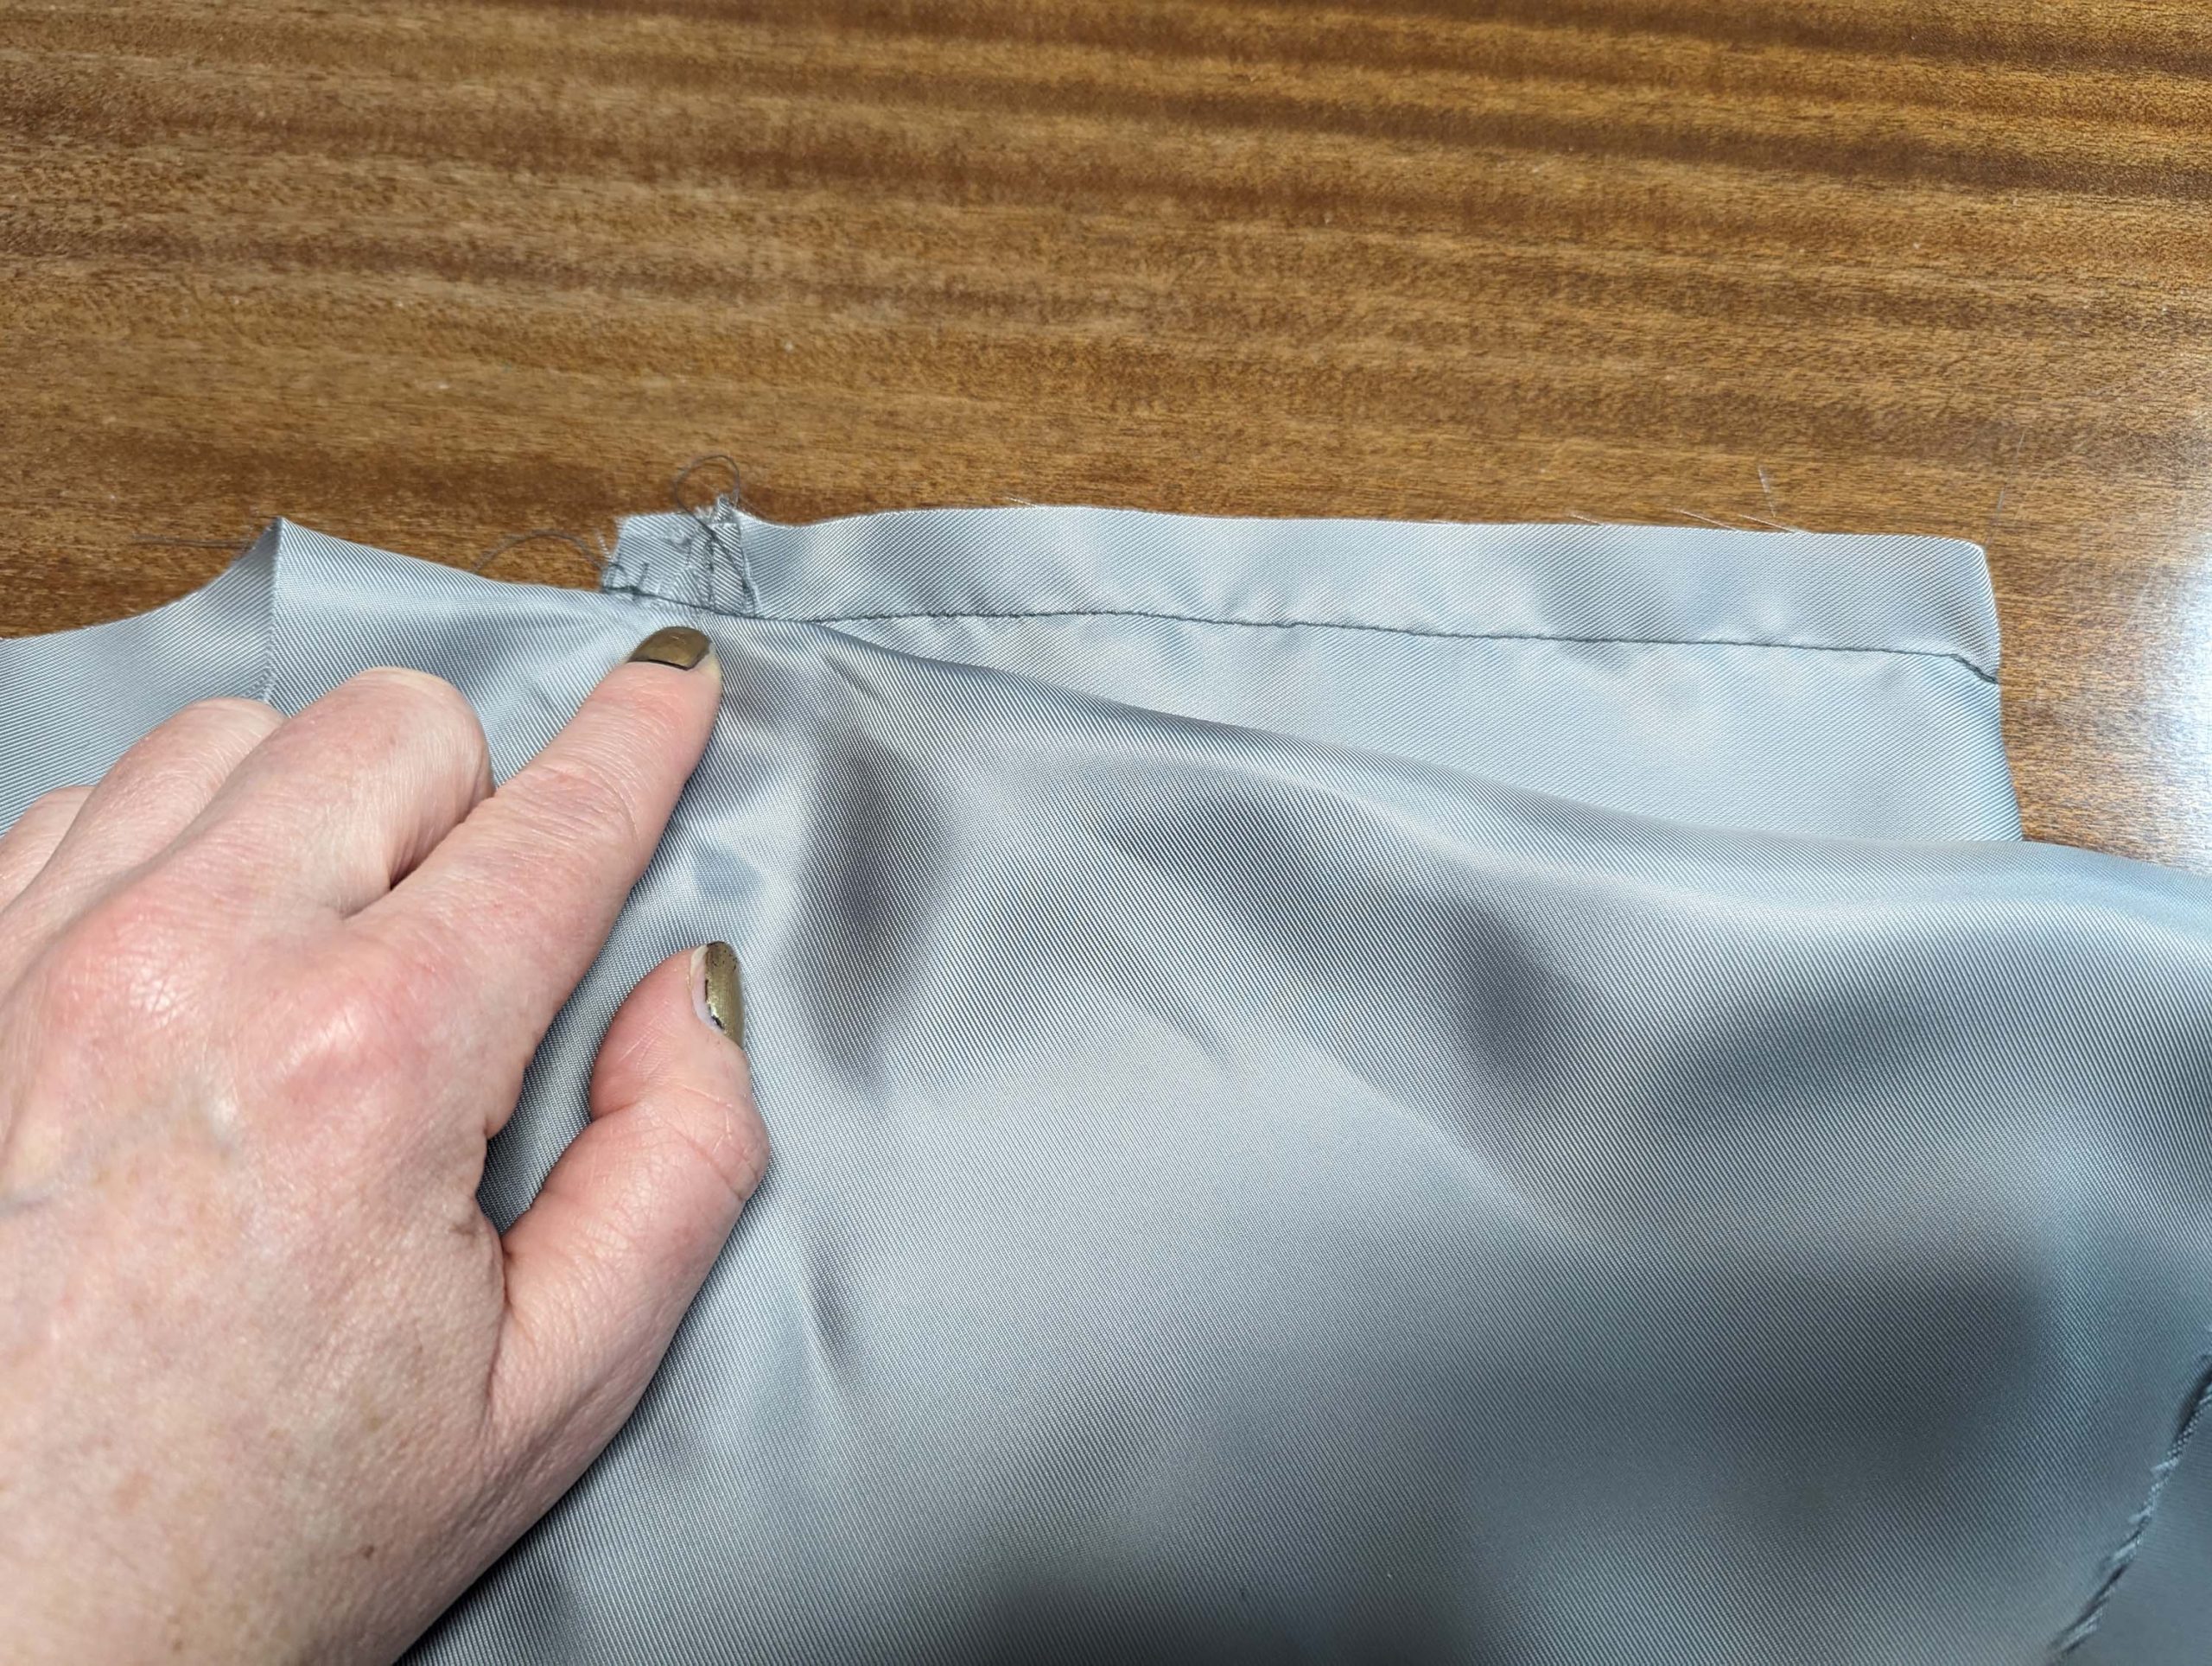
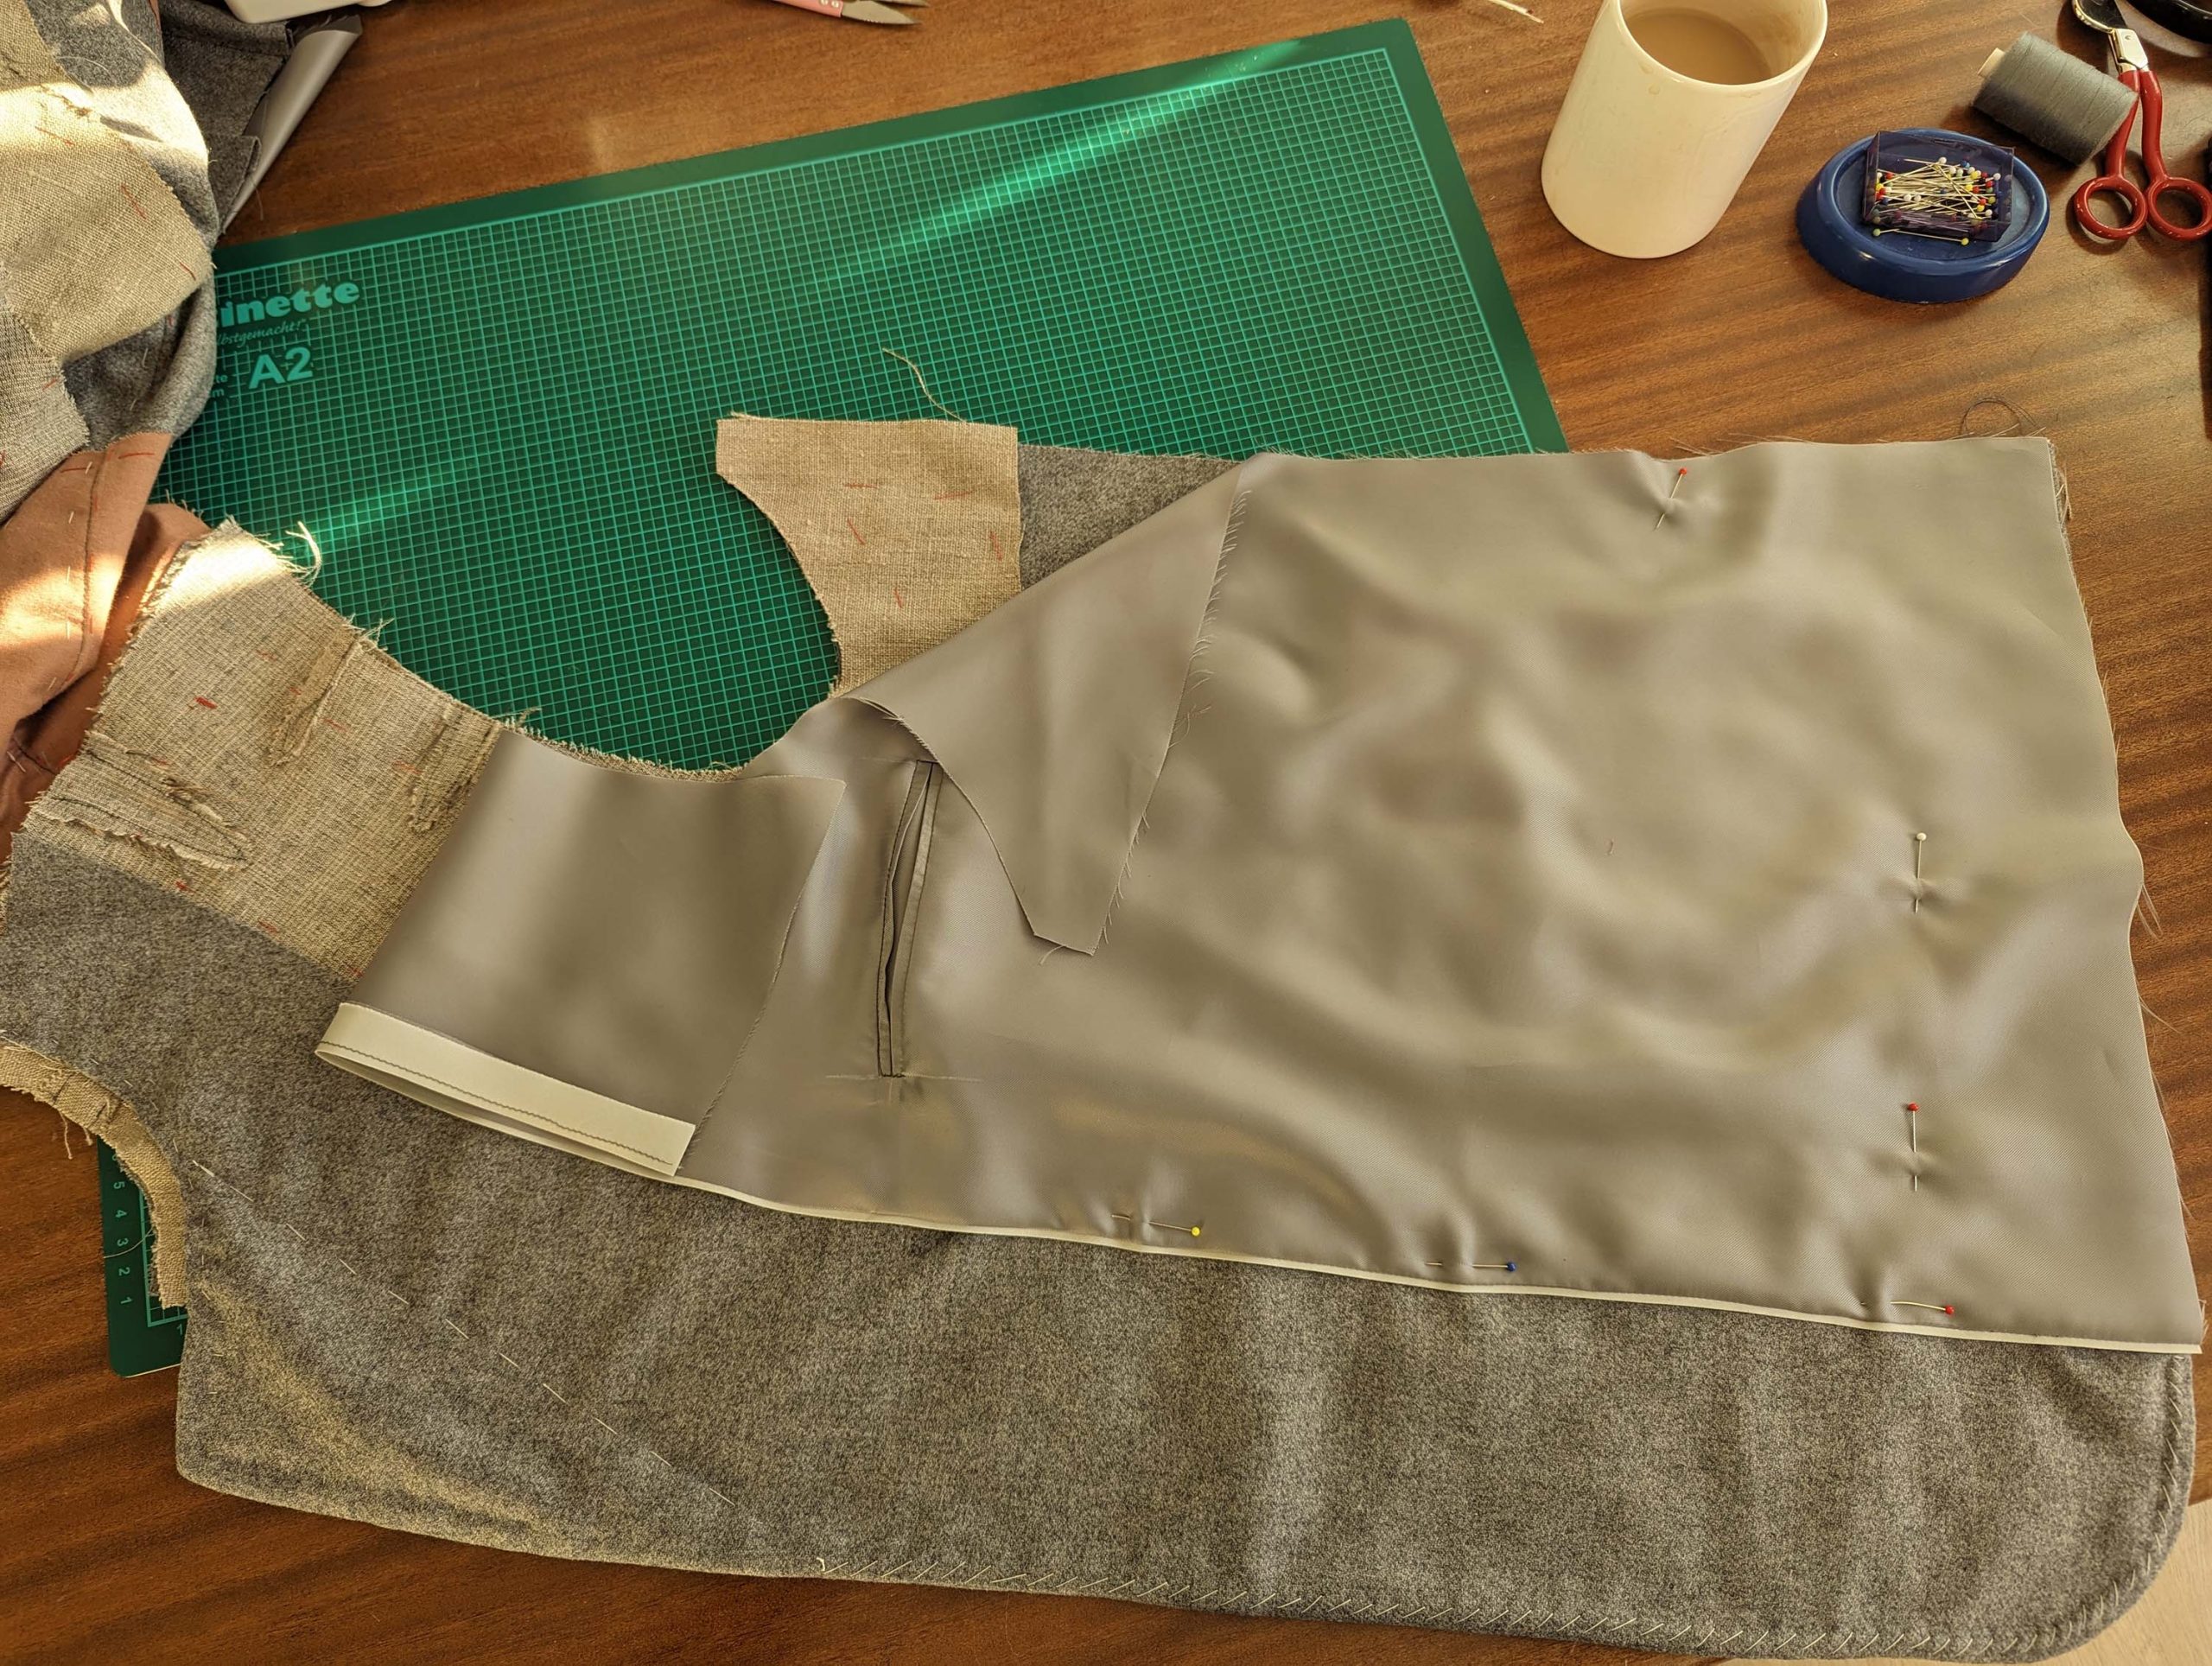
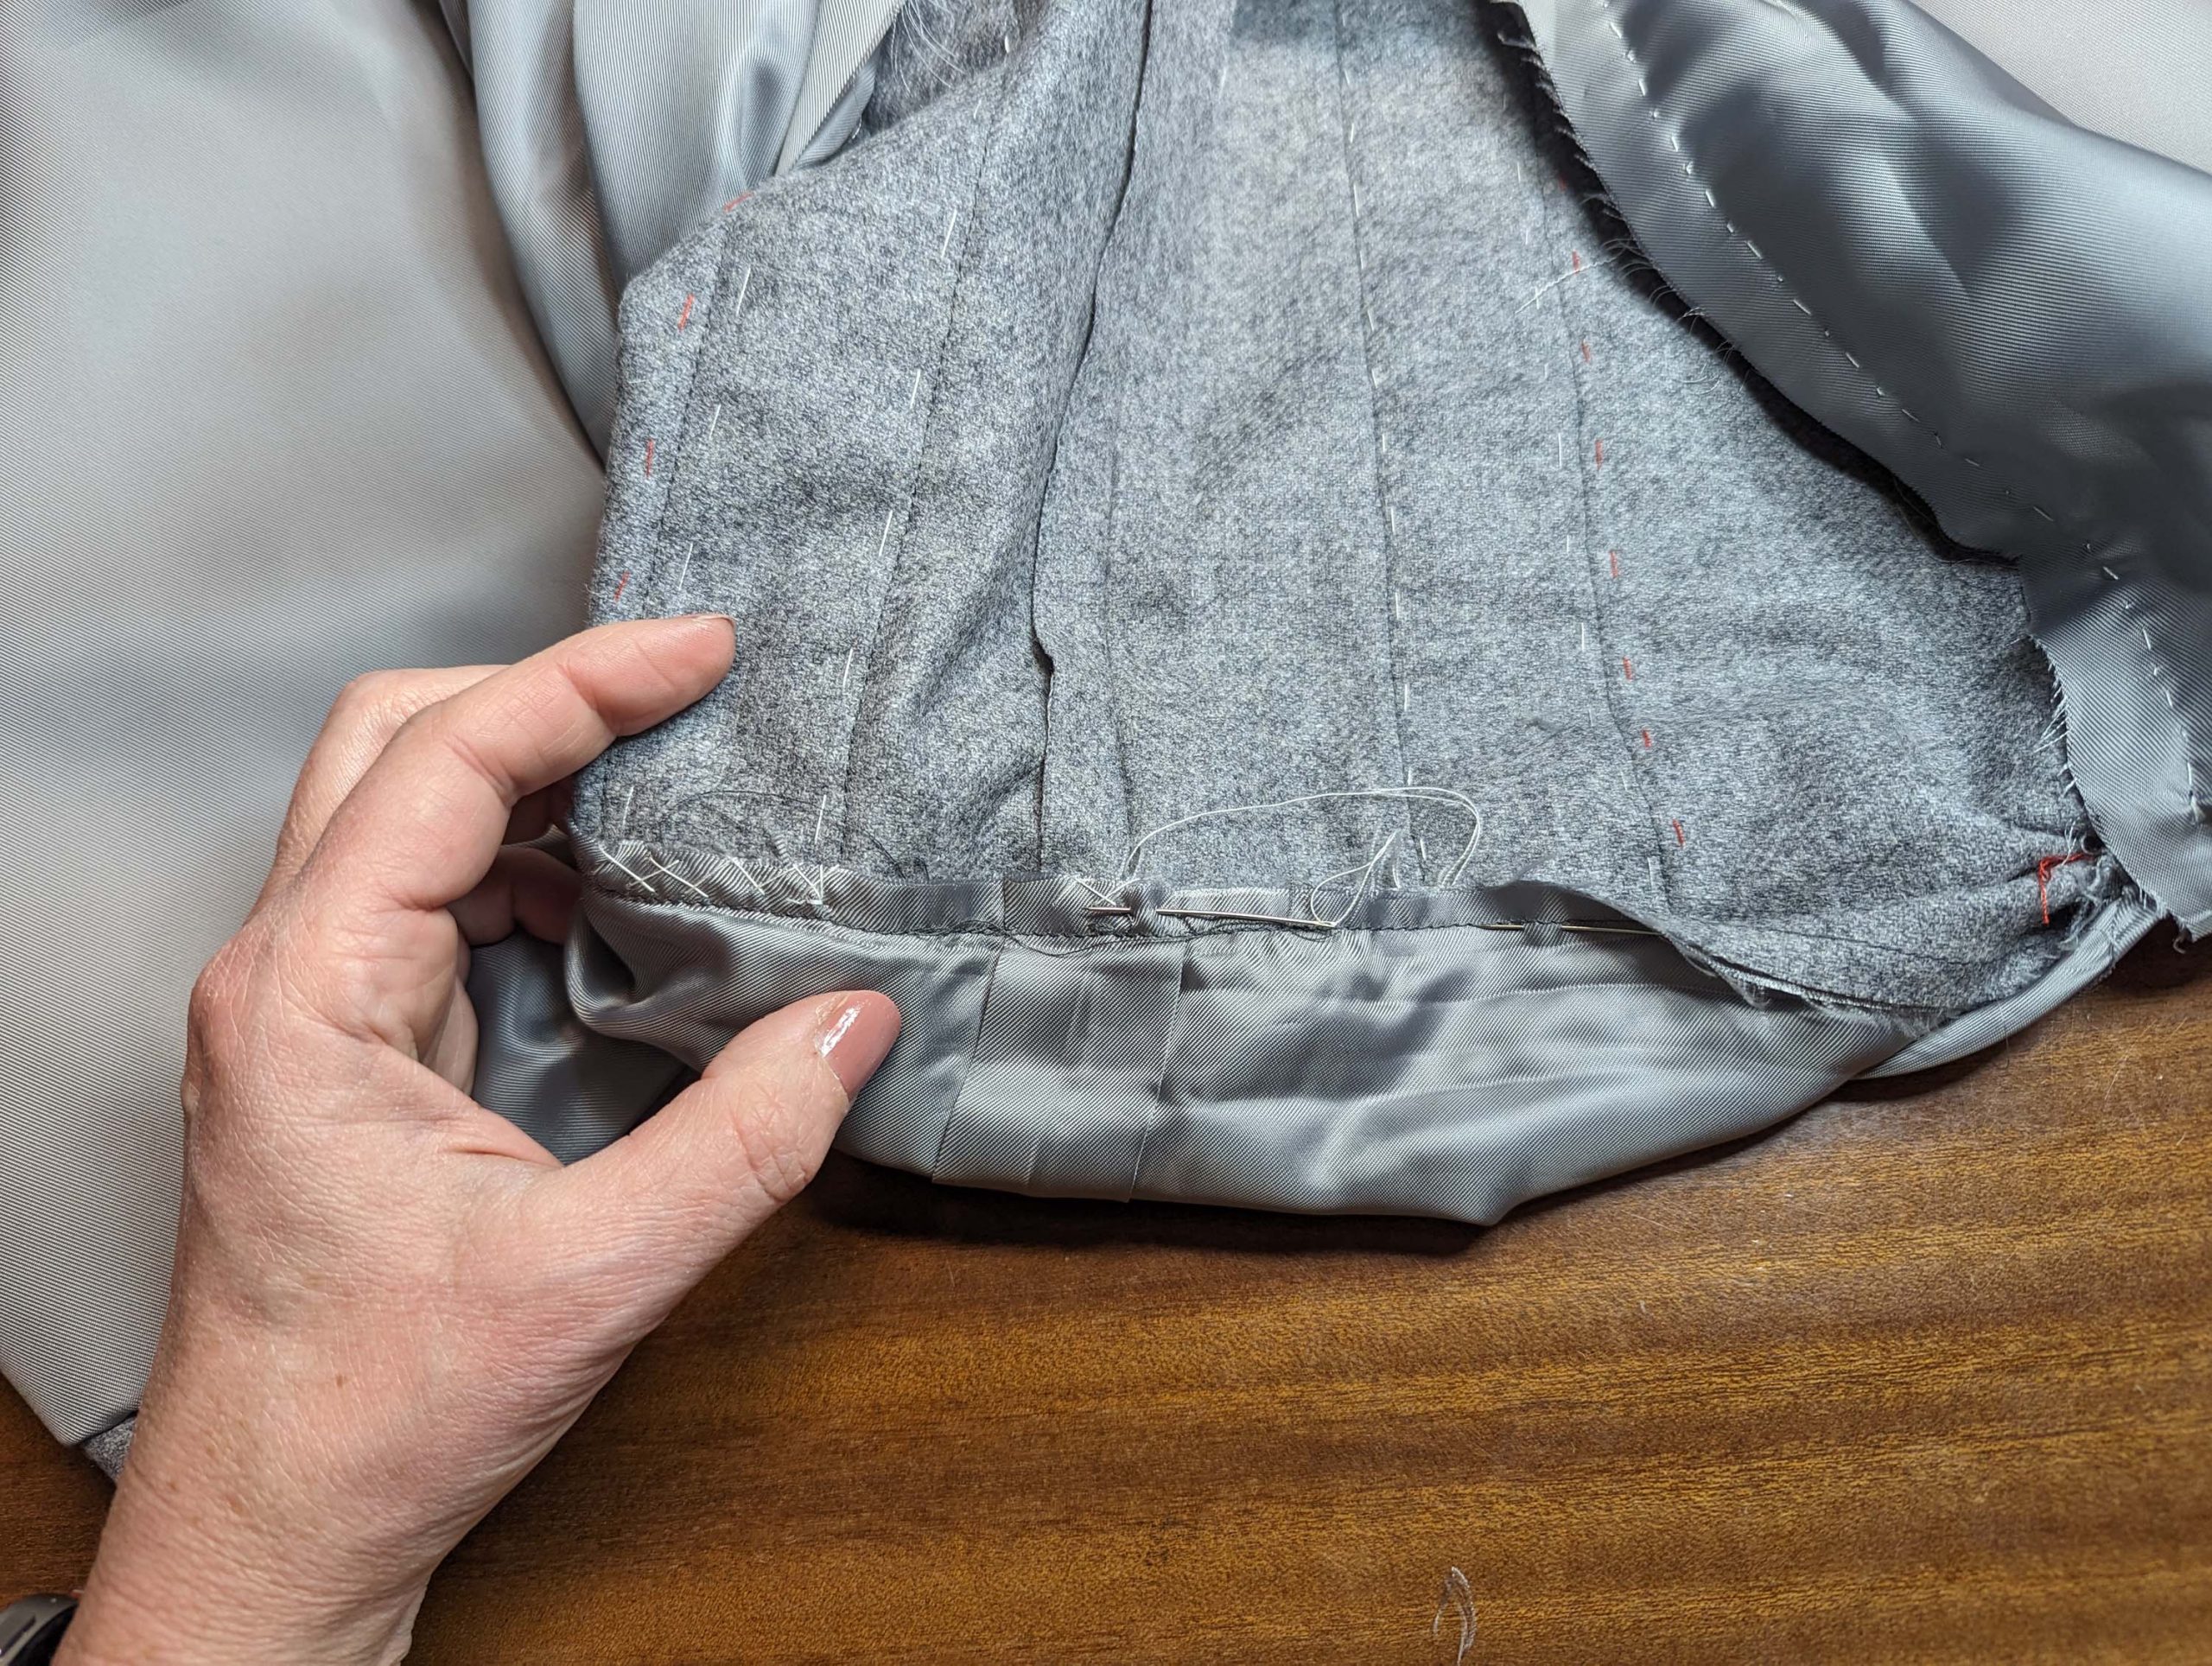
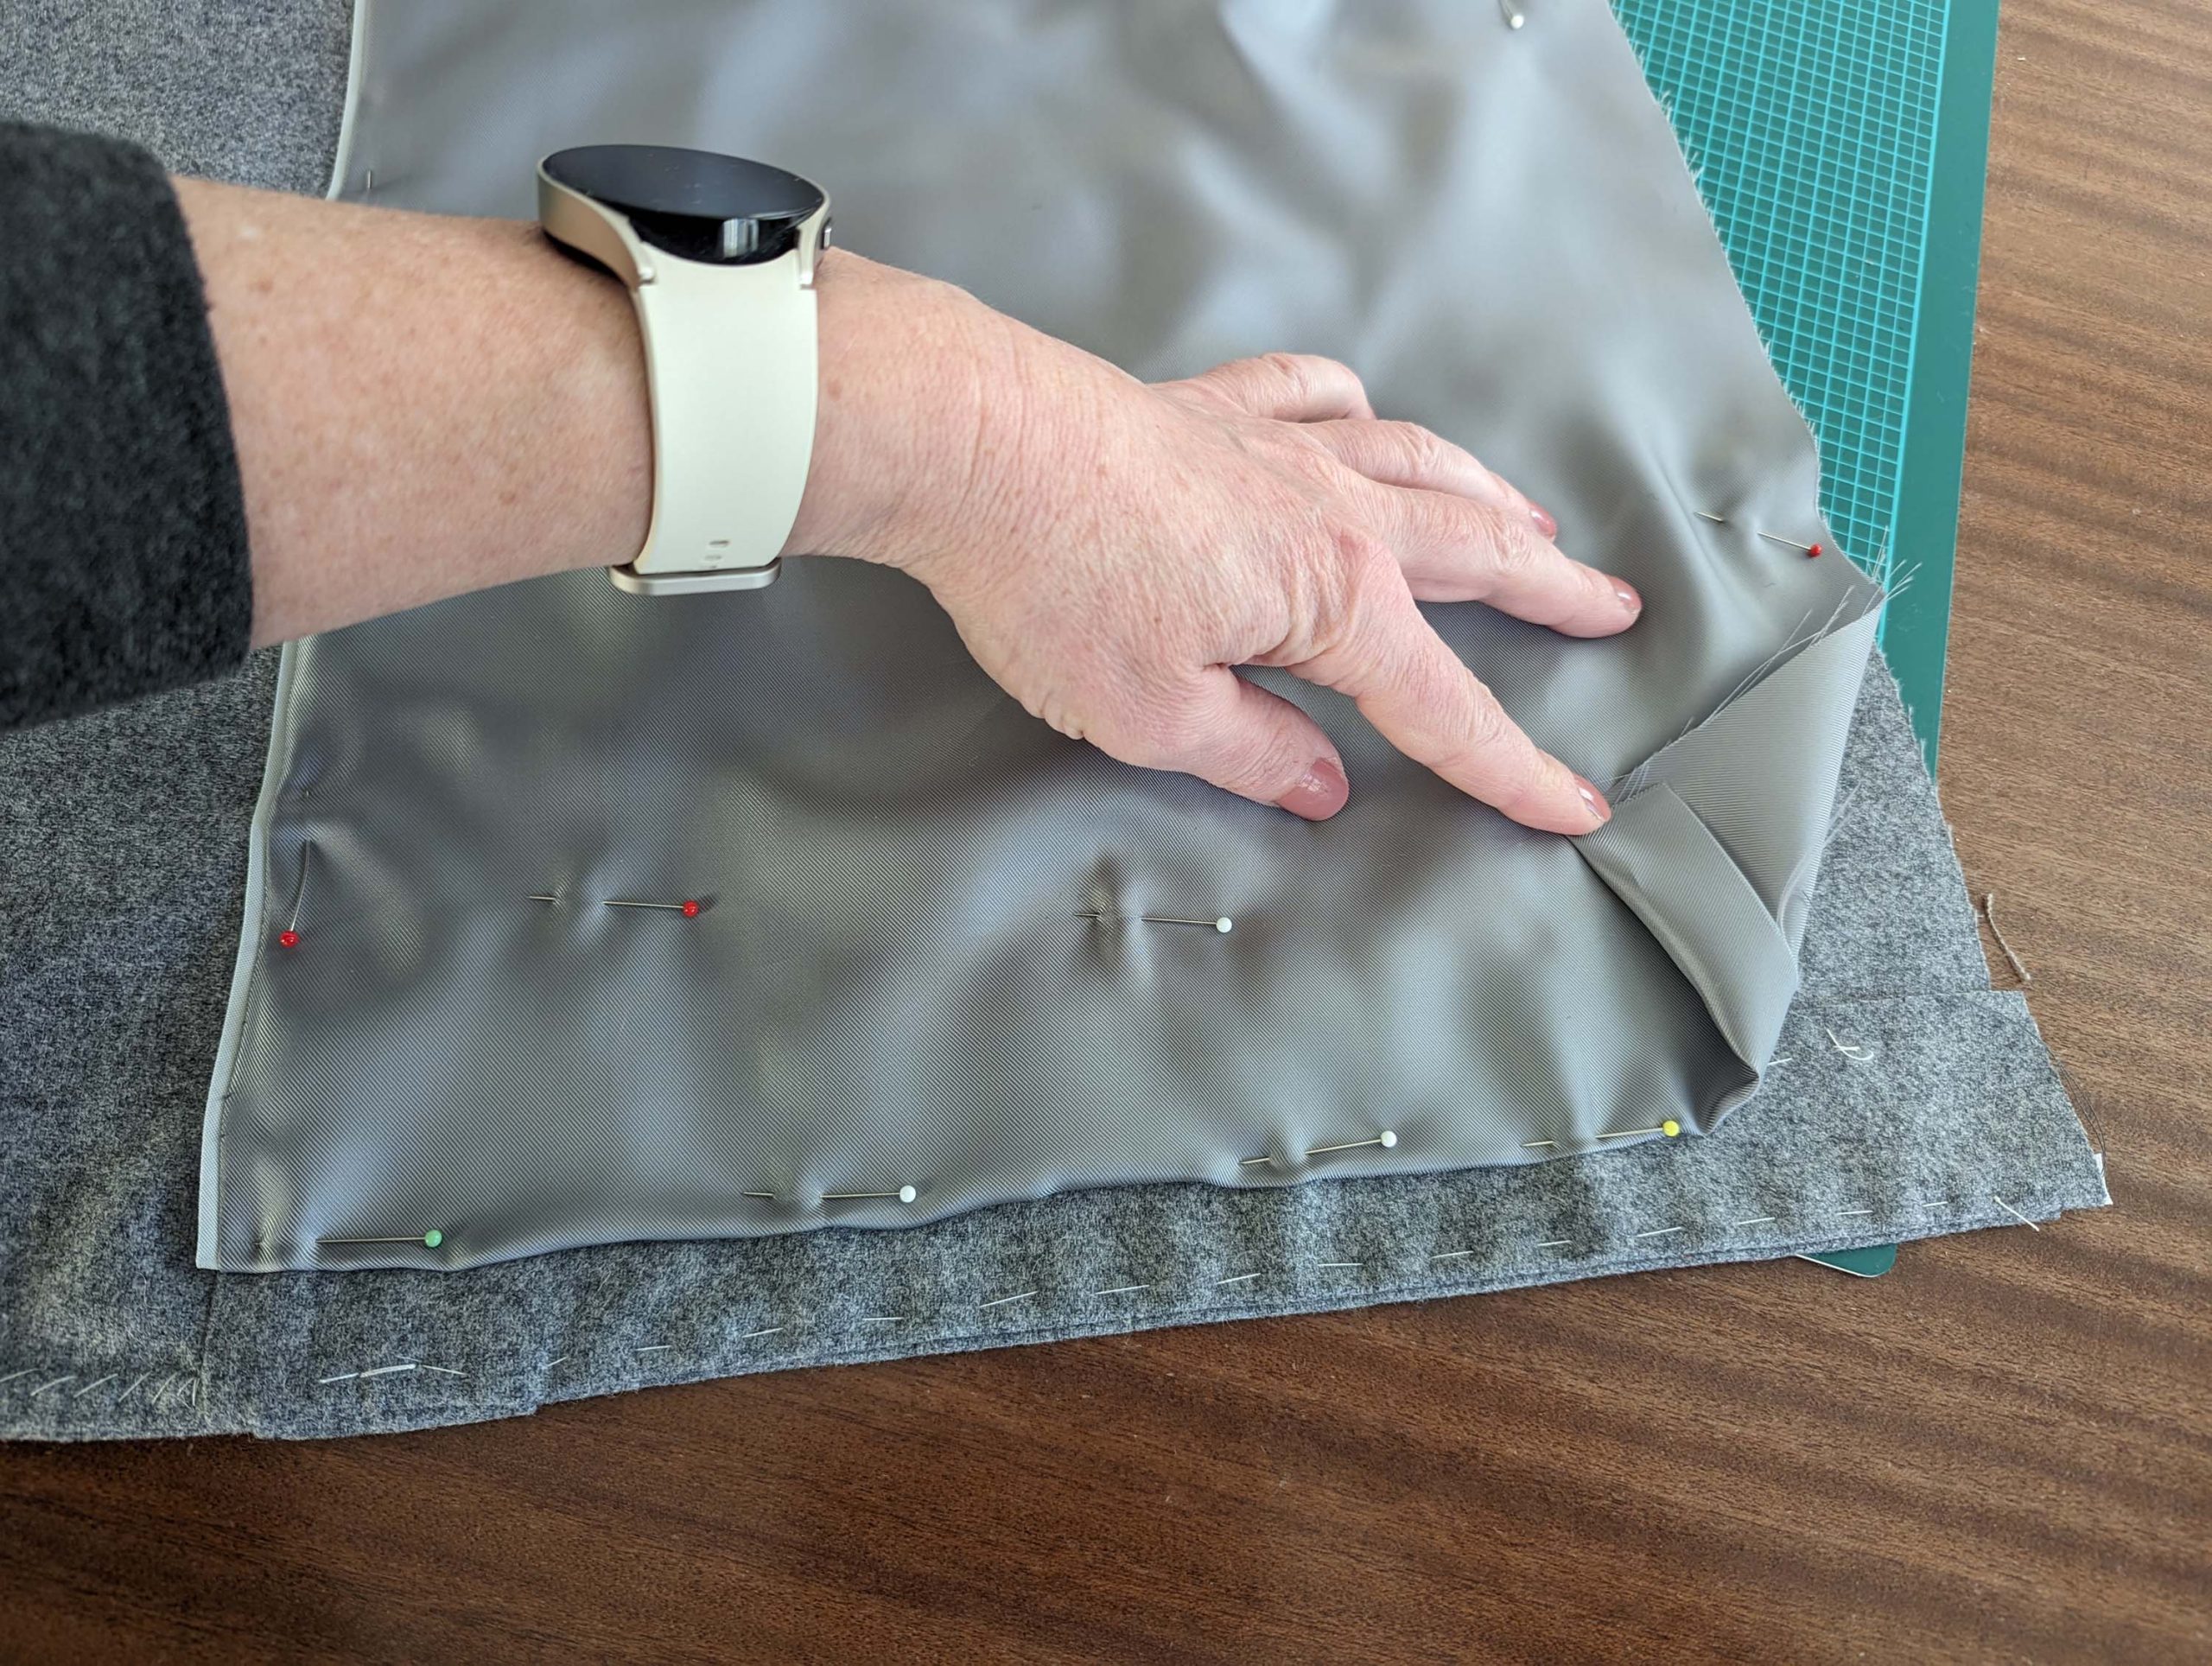
(13) At the hem, fold the hem facing downwards and catch stitch the loose end of the strap to the front canvas, giving enough room for the turn of cloth around the bottom edge. Fell stitch the facing to the strap to close the section left open until now.
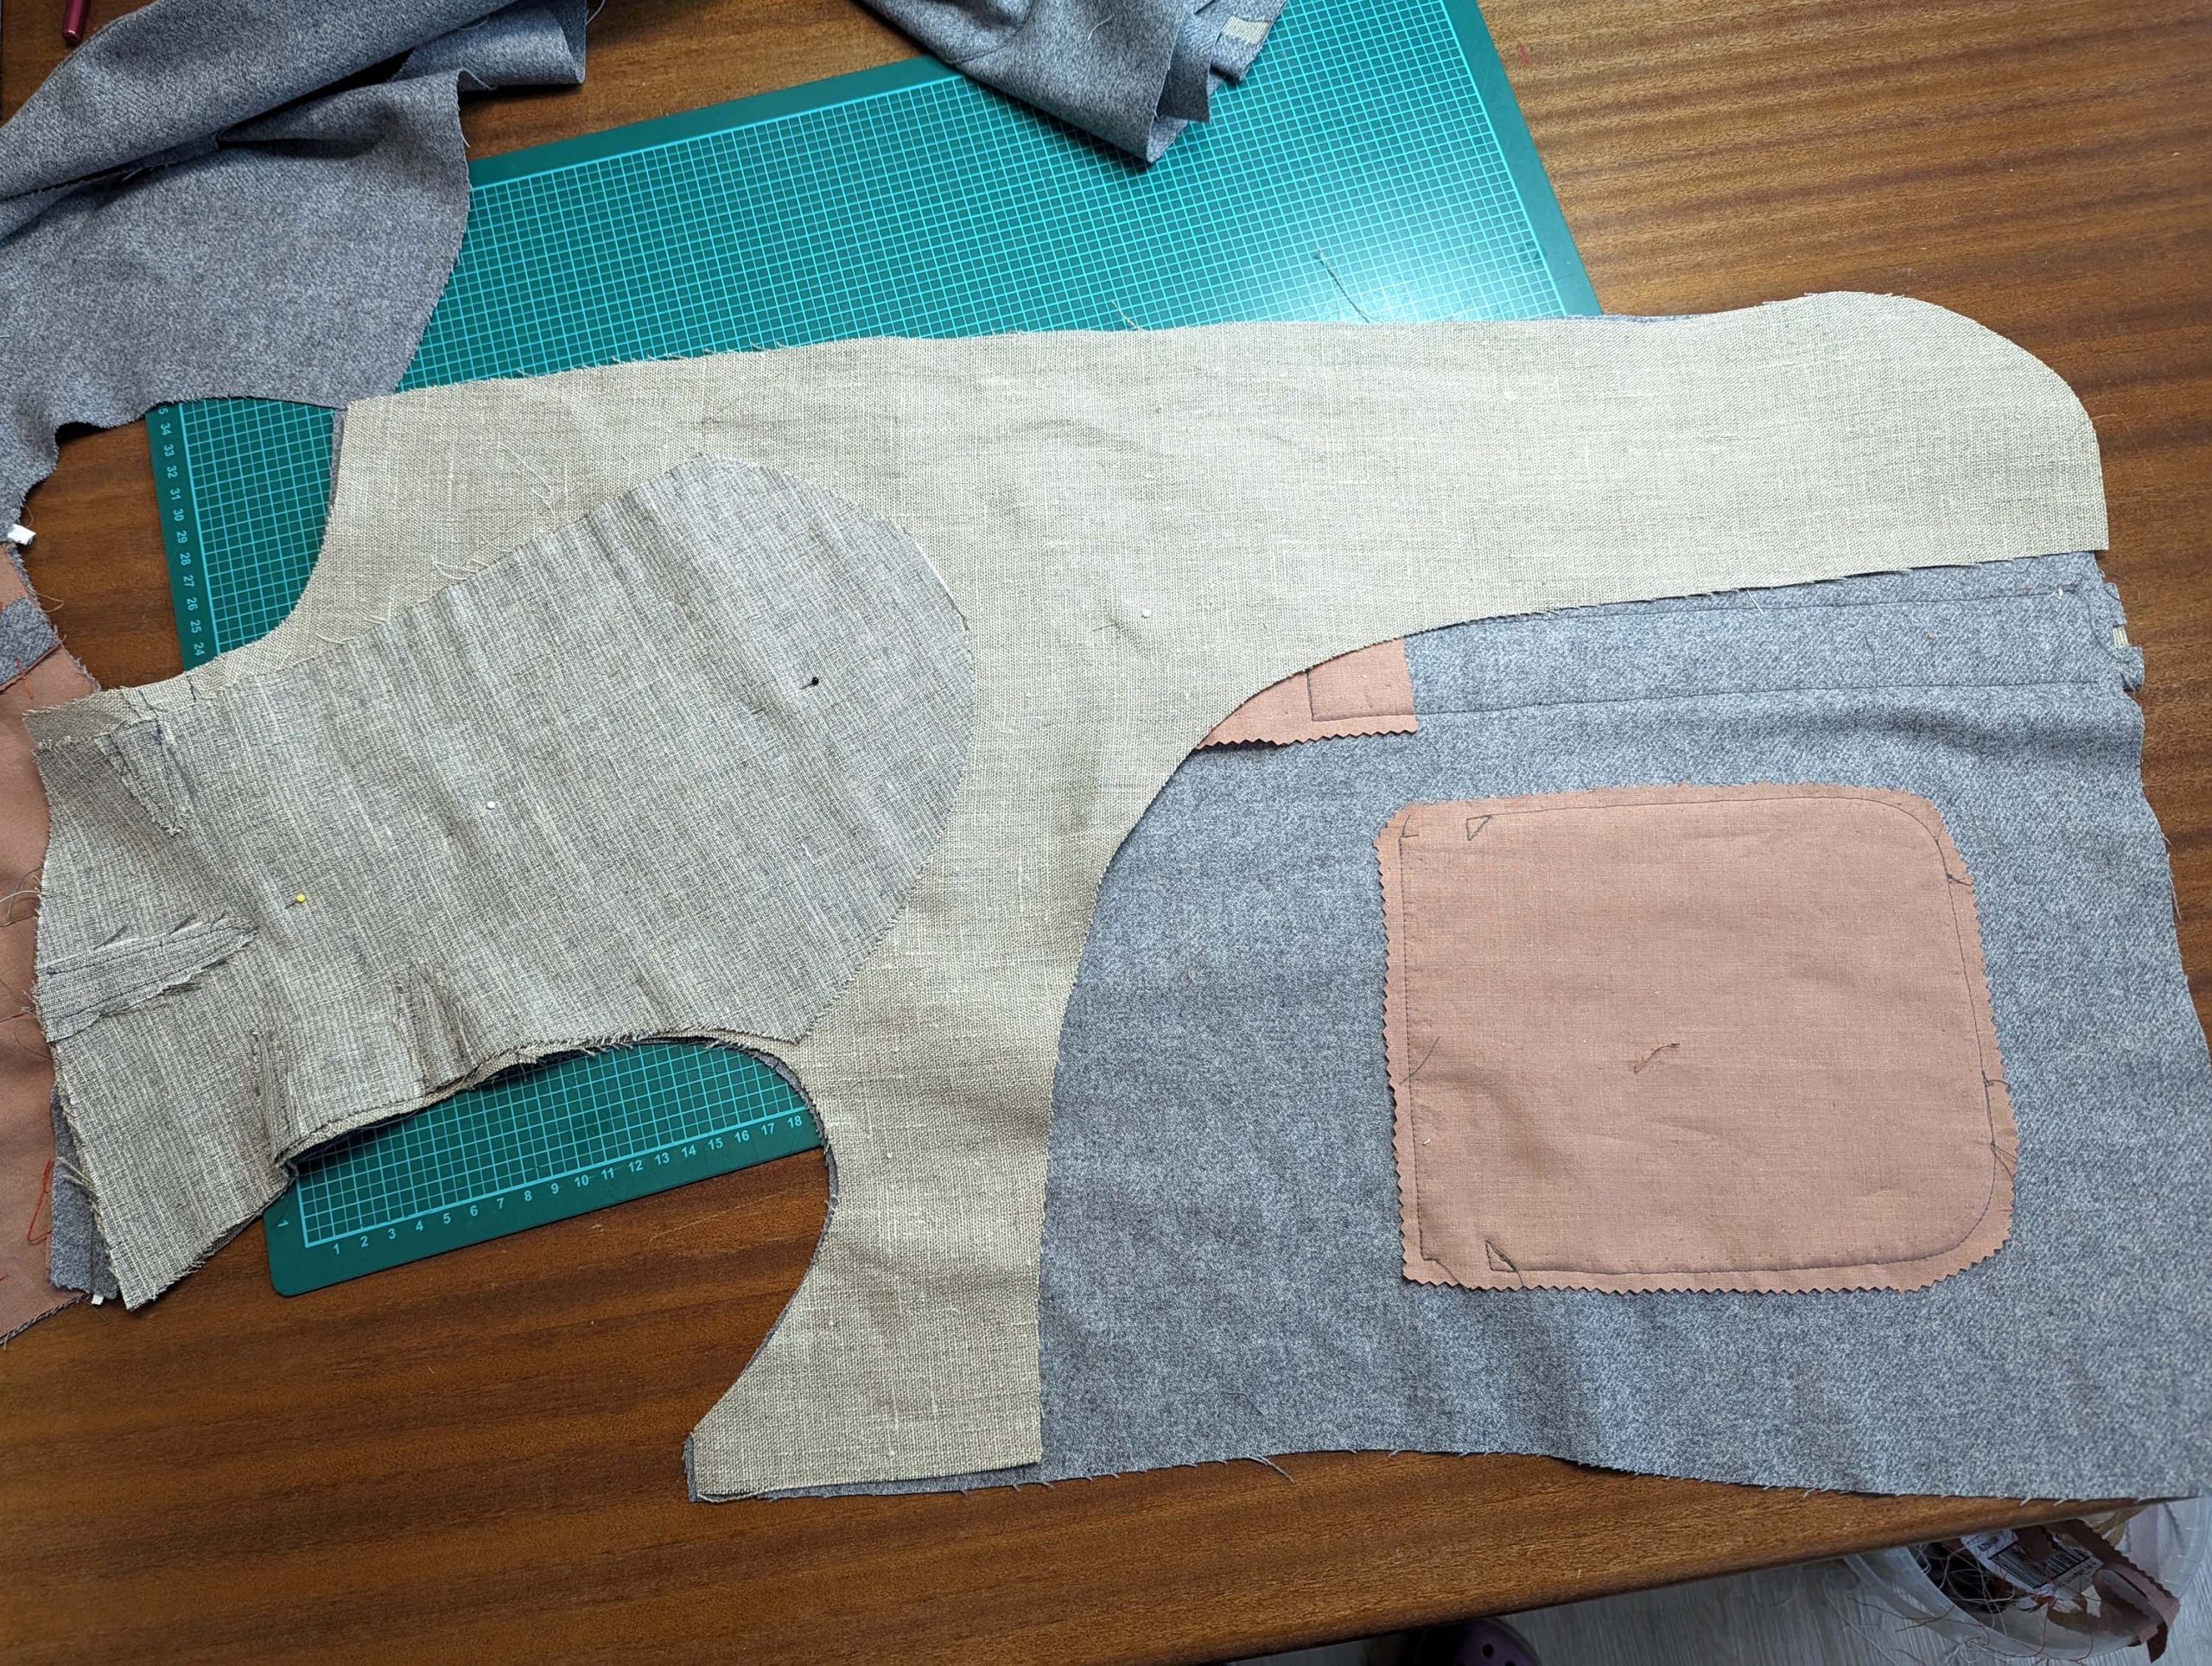
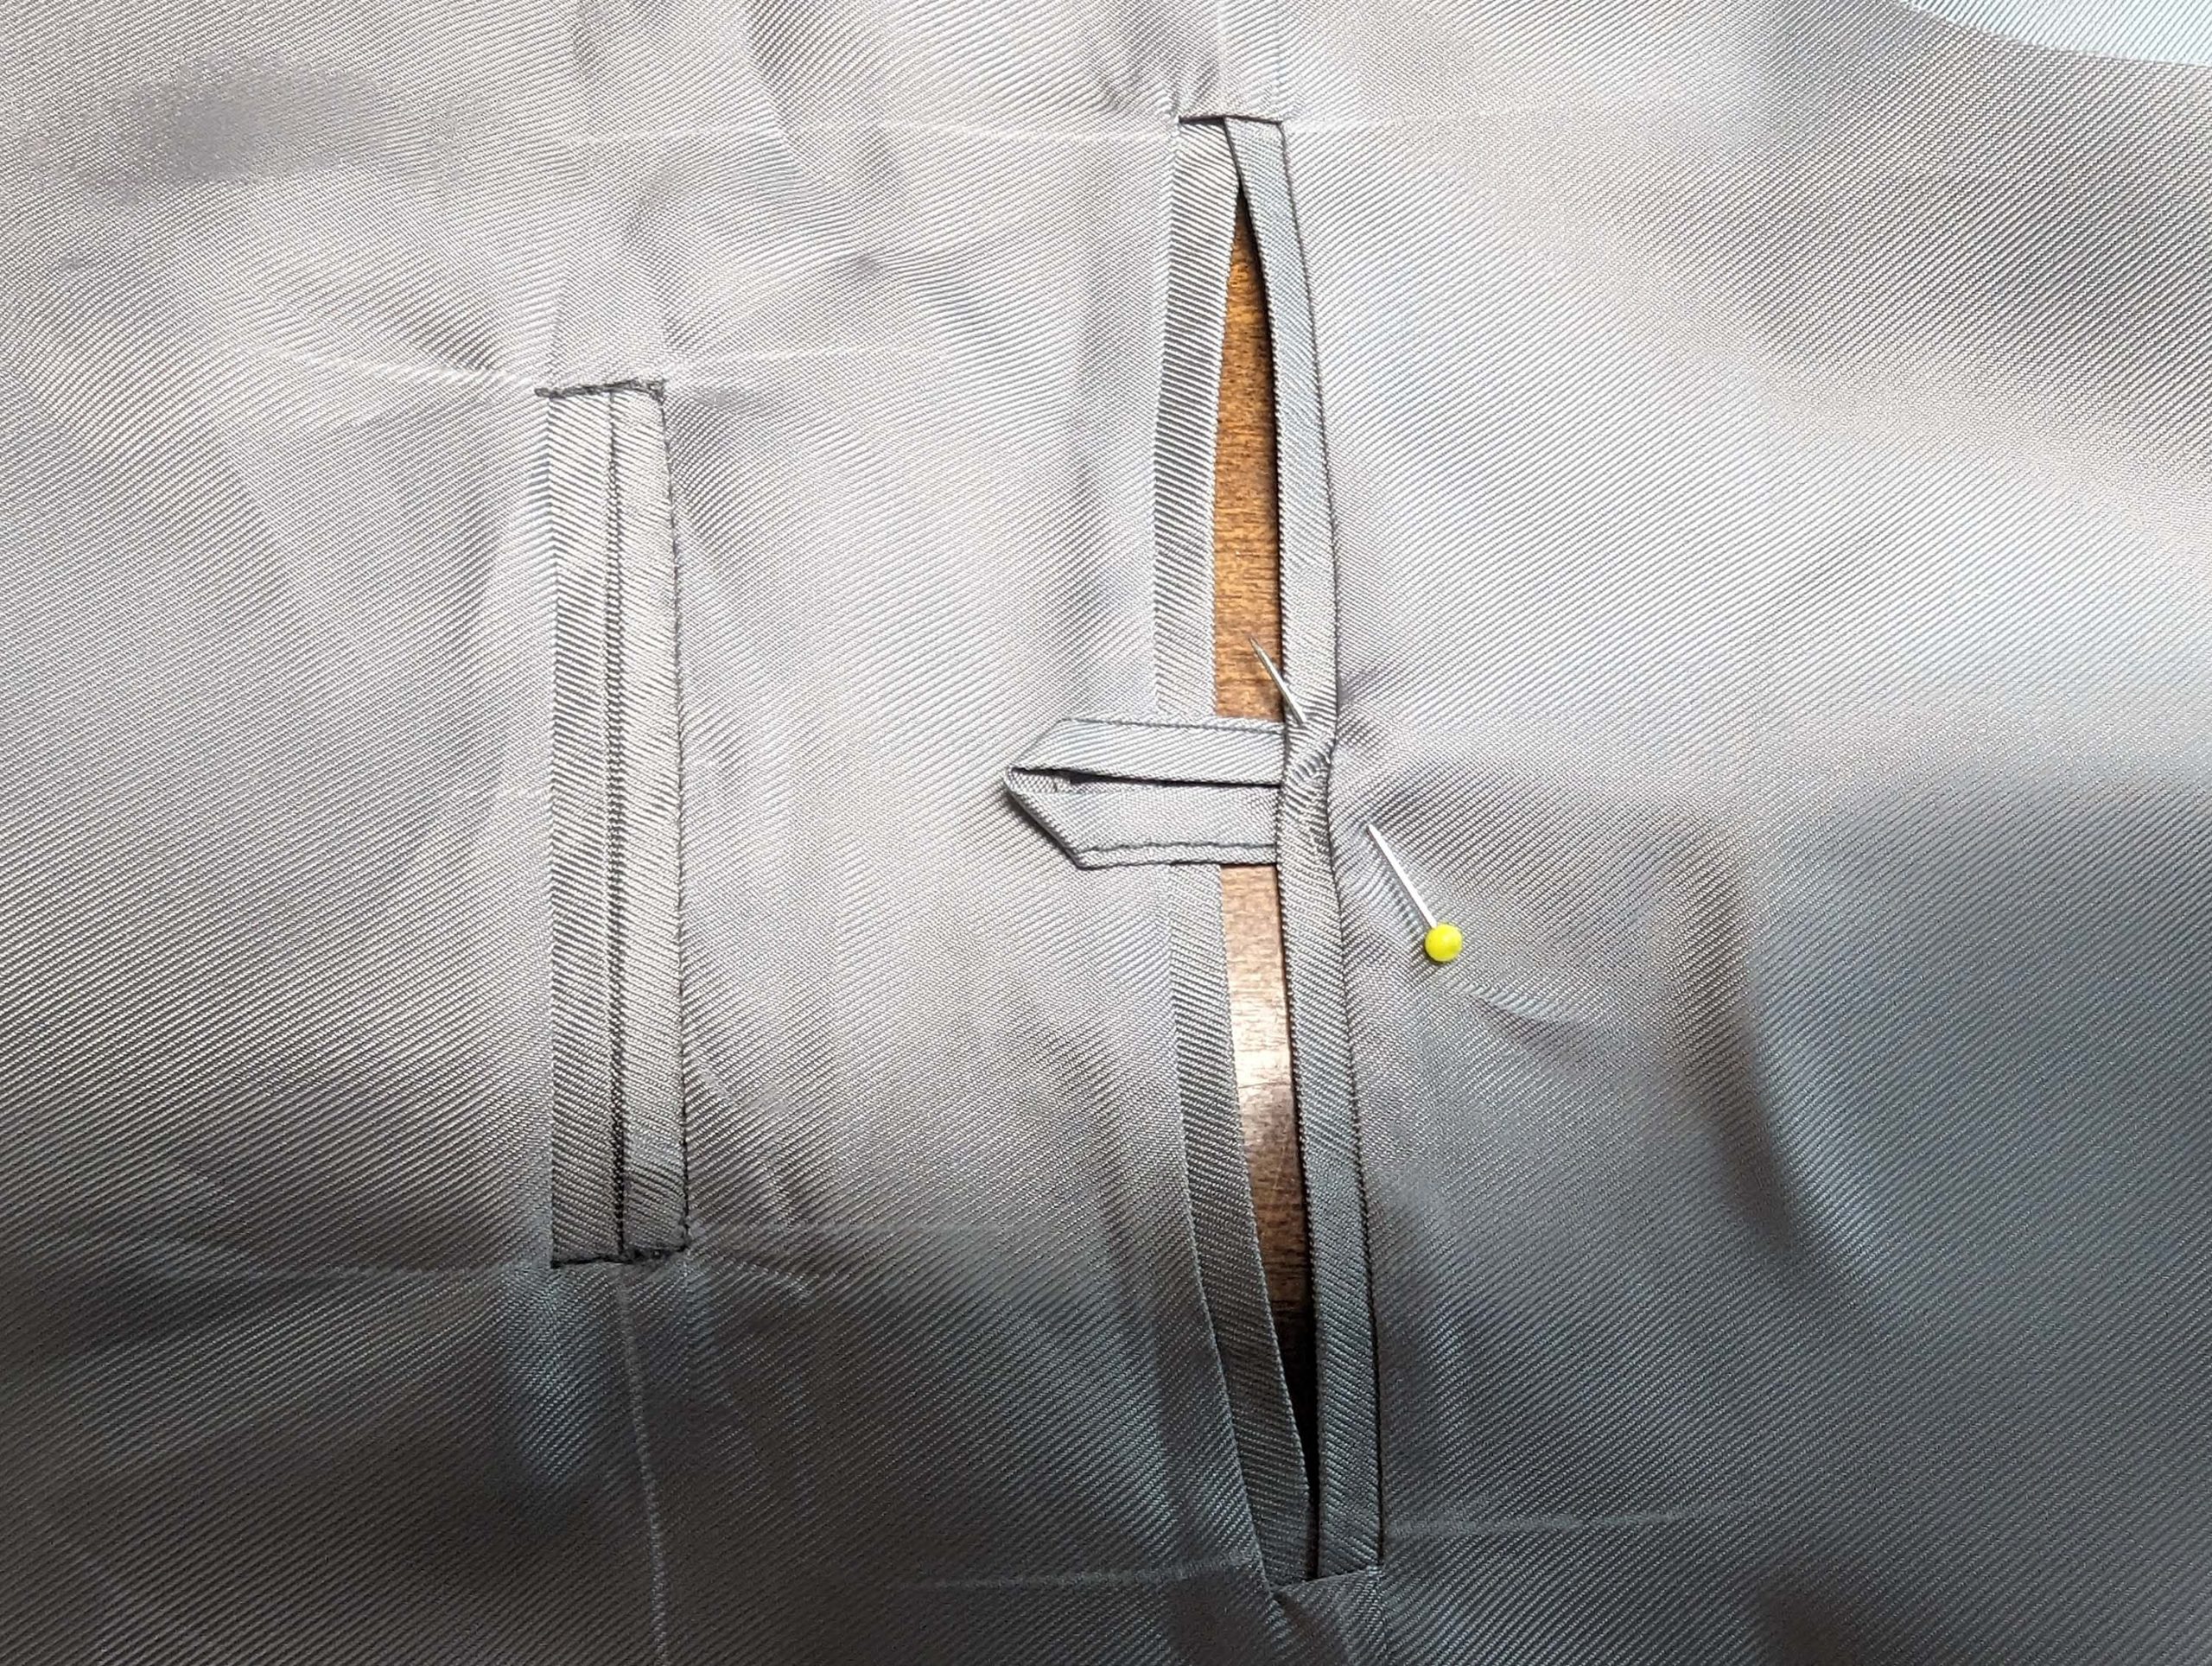
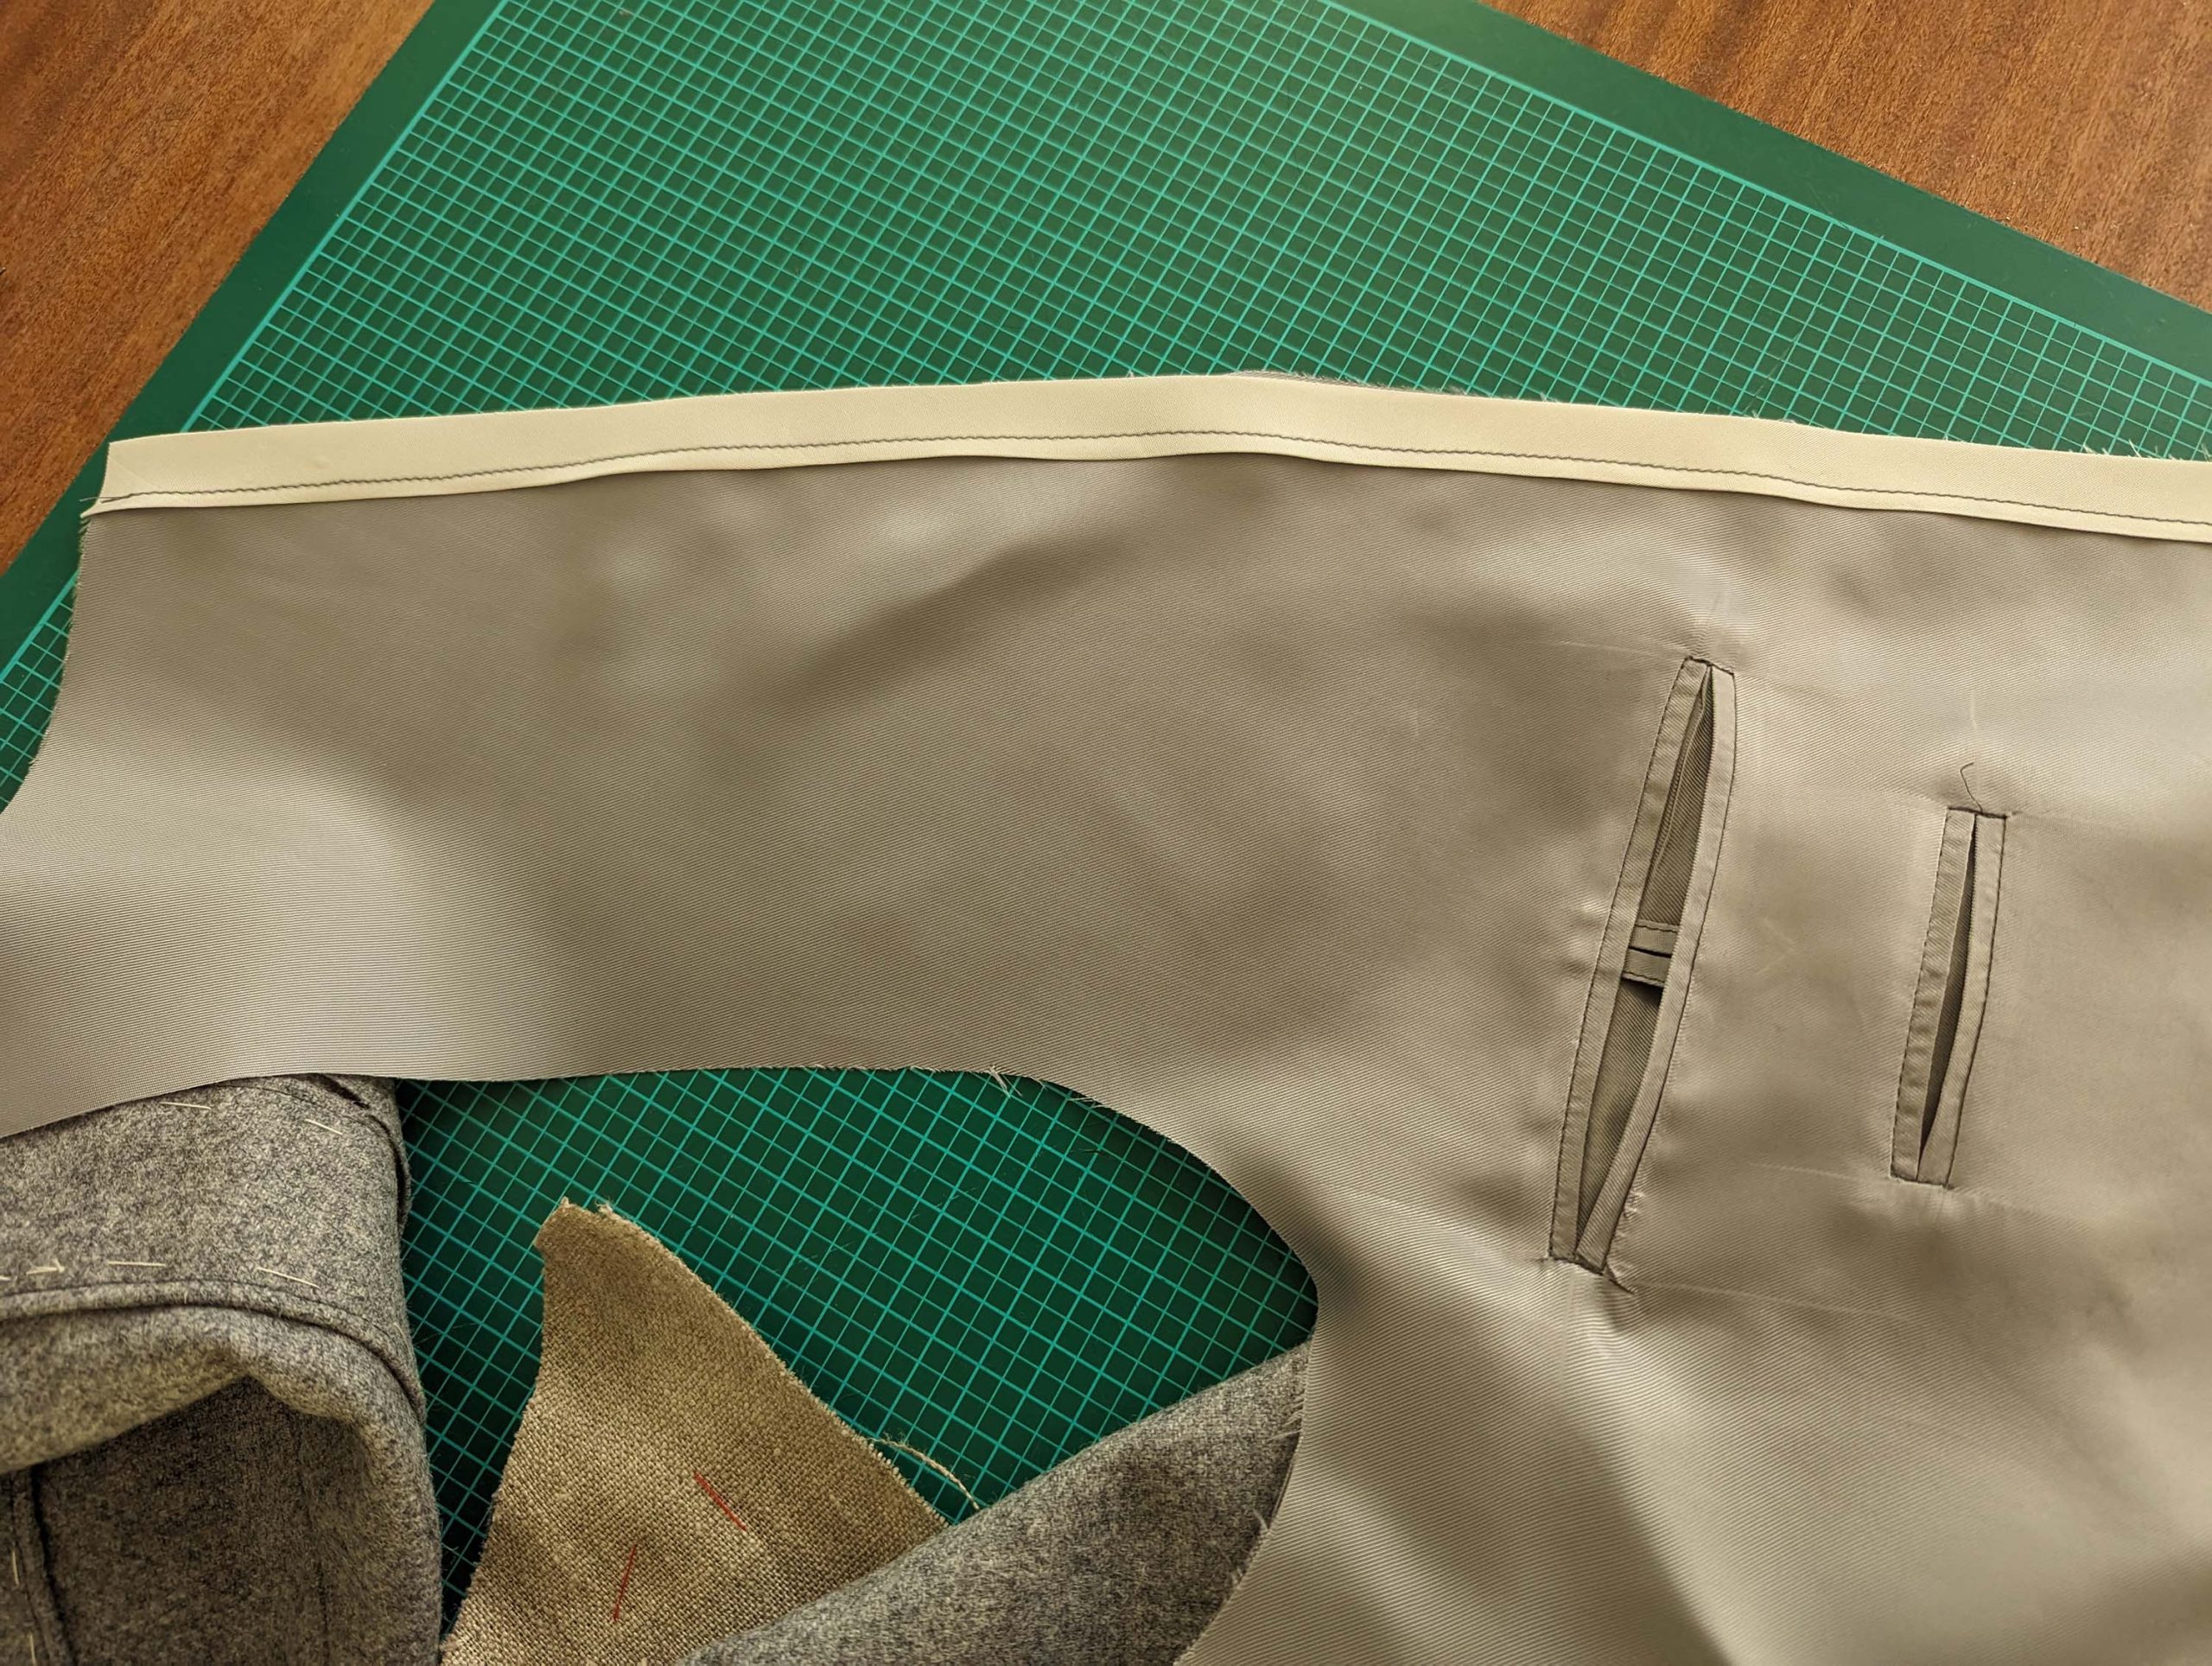
(14) Take the front lining and sew the double welt pockets as desired, the small one just on the left side. Reinforce the welts with fusible and sew as shown. The loop is just an option.
Here you can download the sewing patterns for the lining pockets: Small / Large

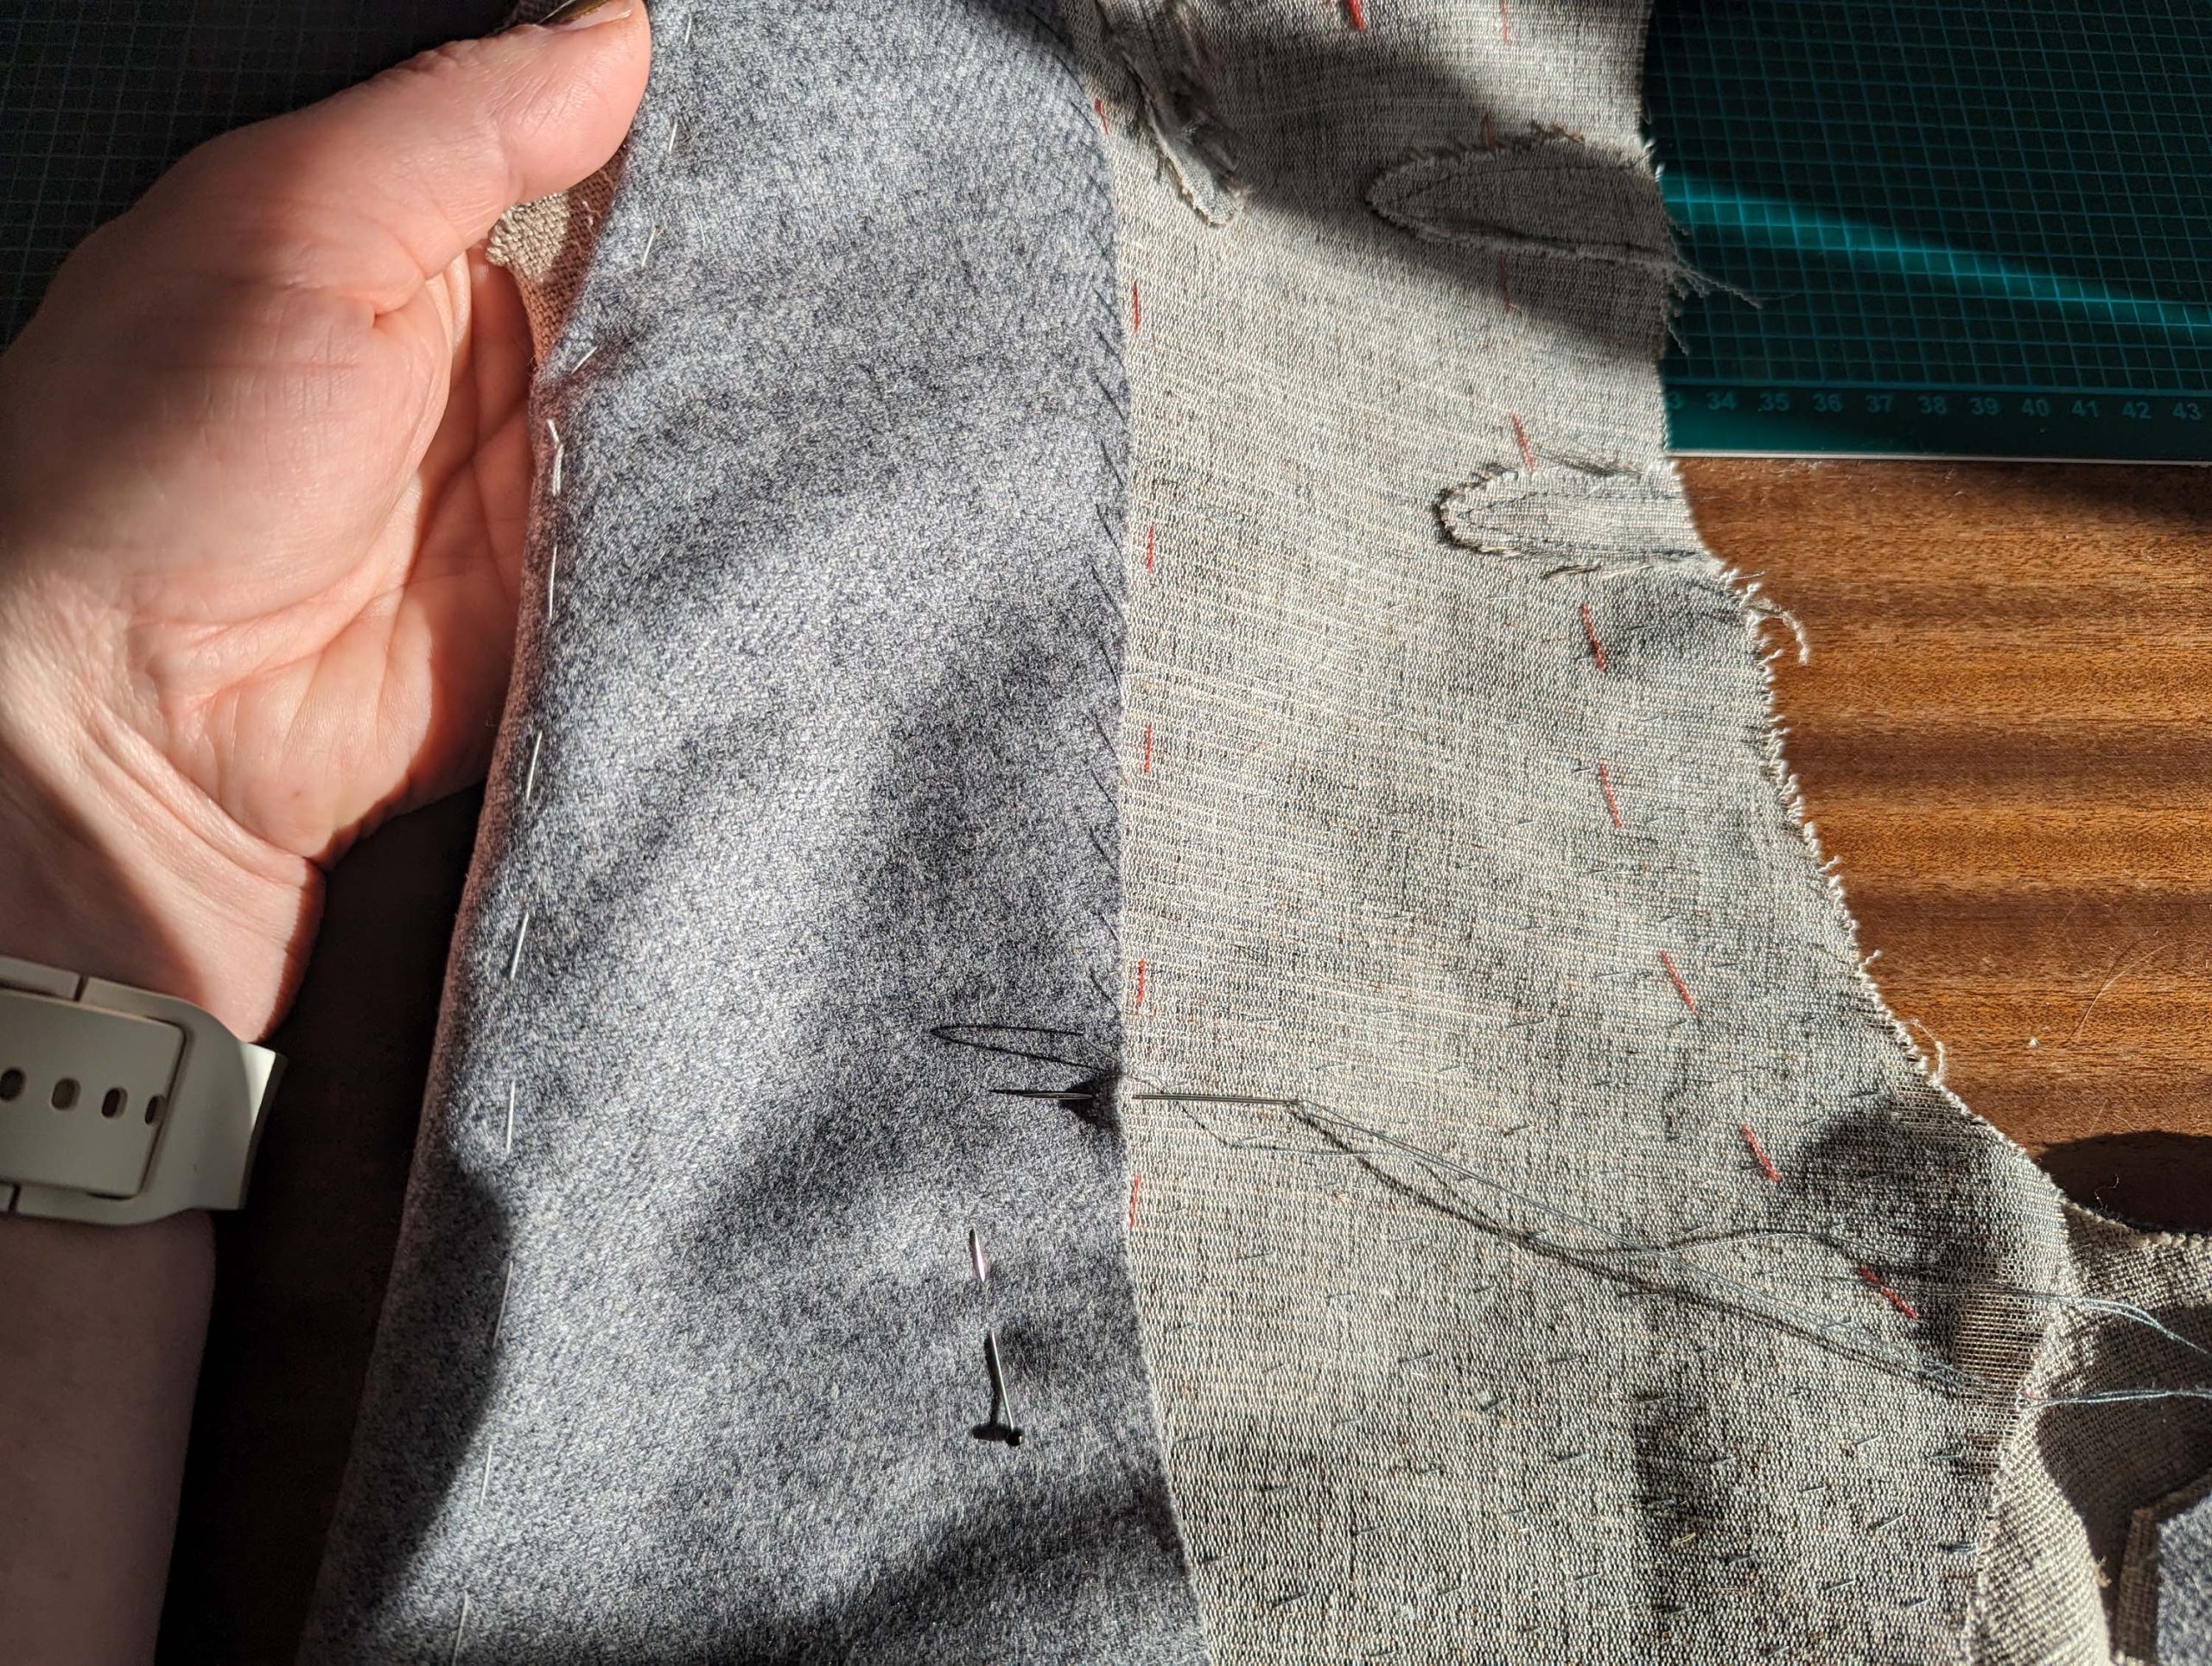
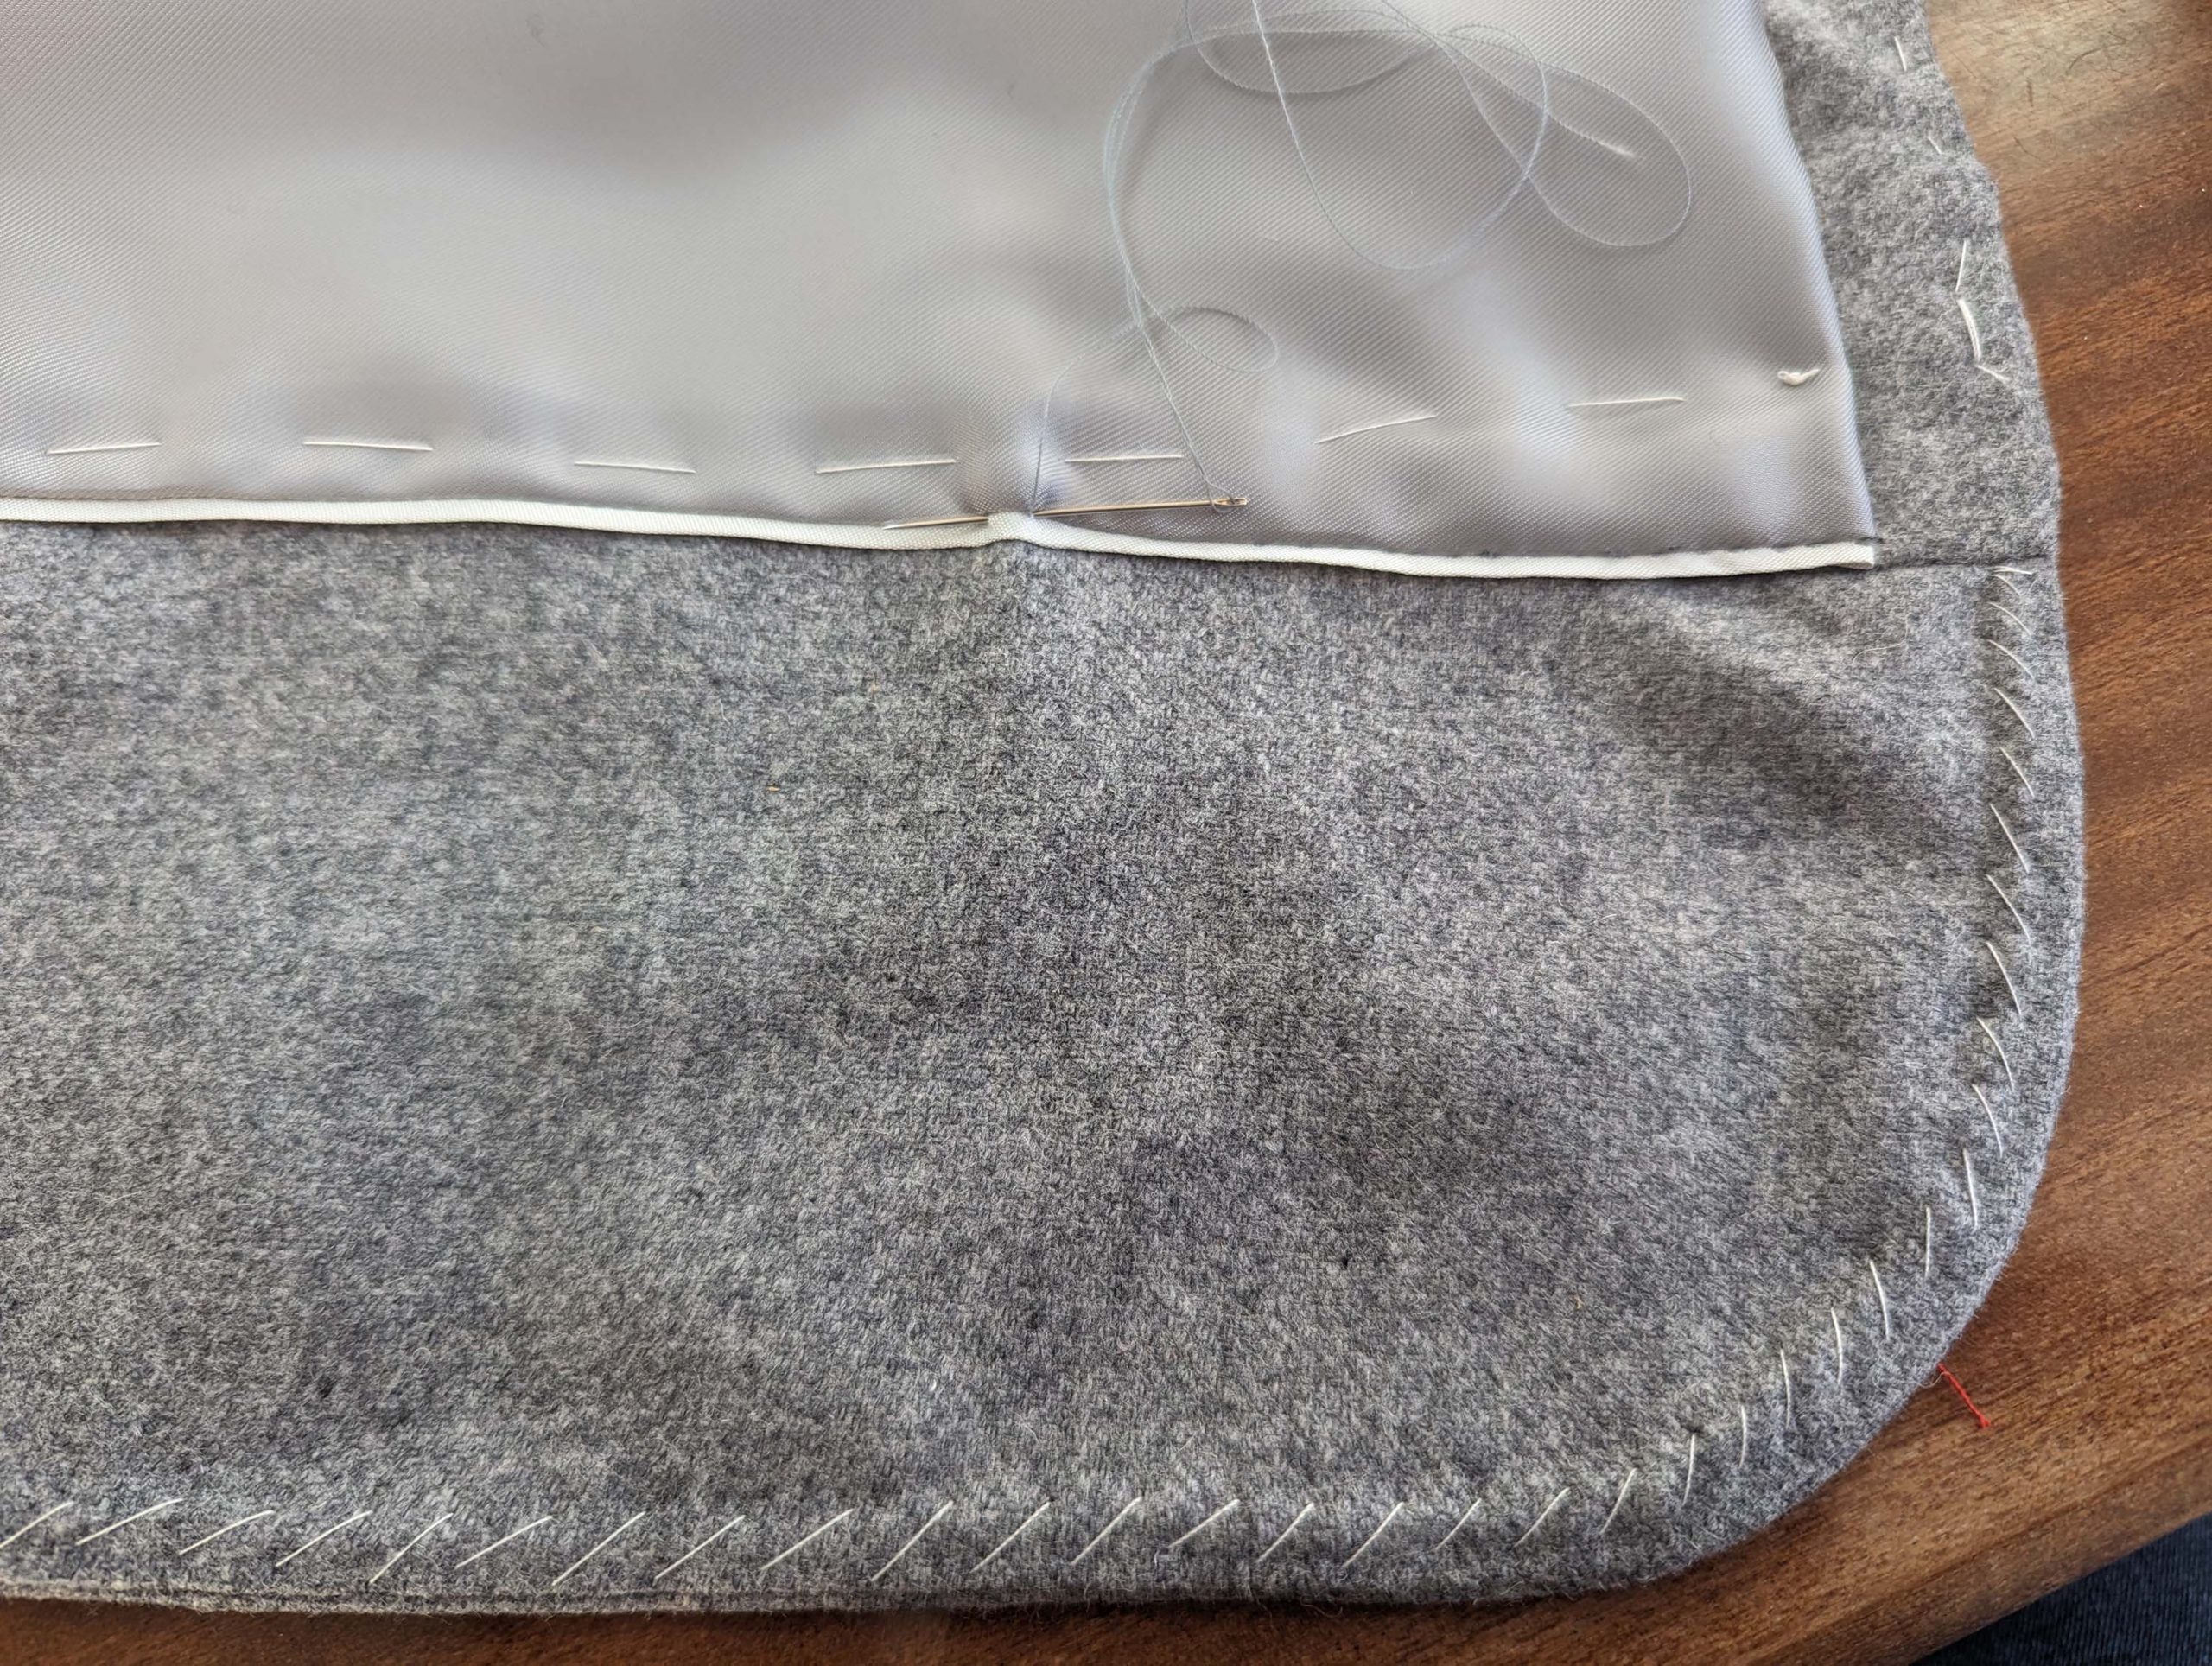
Attach a bias tape along the front edge and turn the seam allowances towards the lining. Line up the lining with the front, wrong sides together. First, baste the lower part of the lining to the front, and fold down the lining along the pocket line – up´s that’s missing, I found that hint later: Catch stitch the seam allowances of the pocket to the canvas. Fold the lining back again and baste the remaining edges. Stay with your basting stitches about 3” (7cm) from the edges to allow sewing later easily. Along the front edge baste right beside the edge. Smooth out the front lining over the shoulder.
(15) Sew the center back seam and press open the seam allowances. Take the back lining and fold in half along the center back, right sides together. Stitch down along the line, indicating the center back. Just baste stitch between the marks. This basting will be removed later to provide some extra width in the lining.
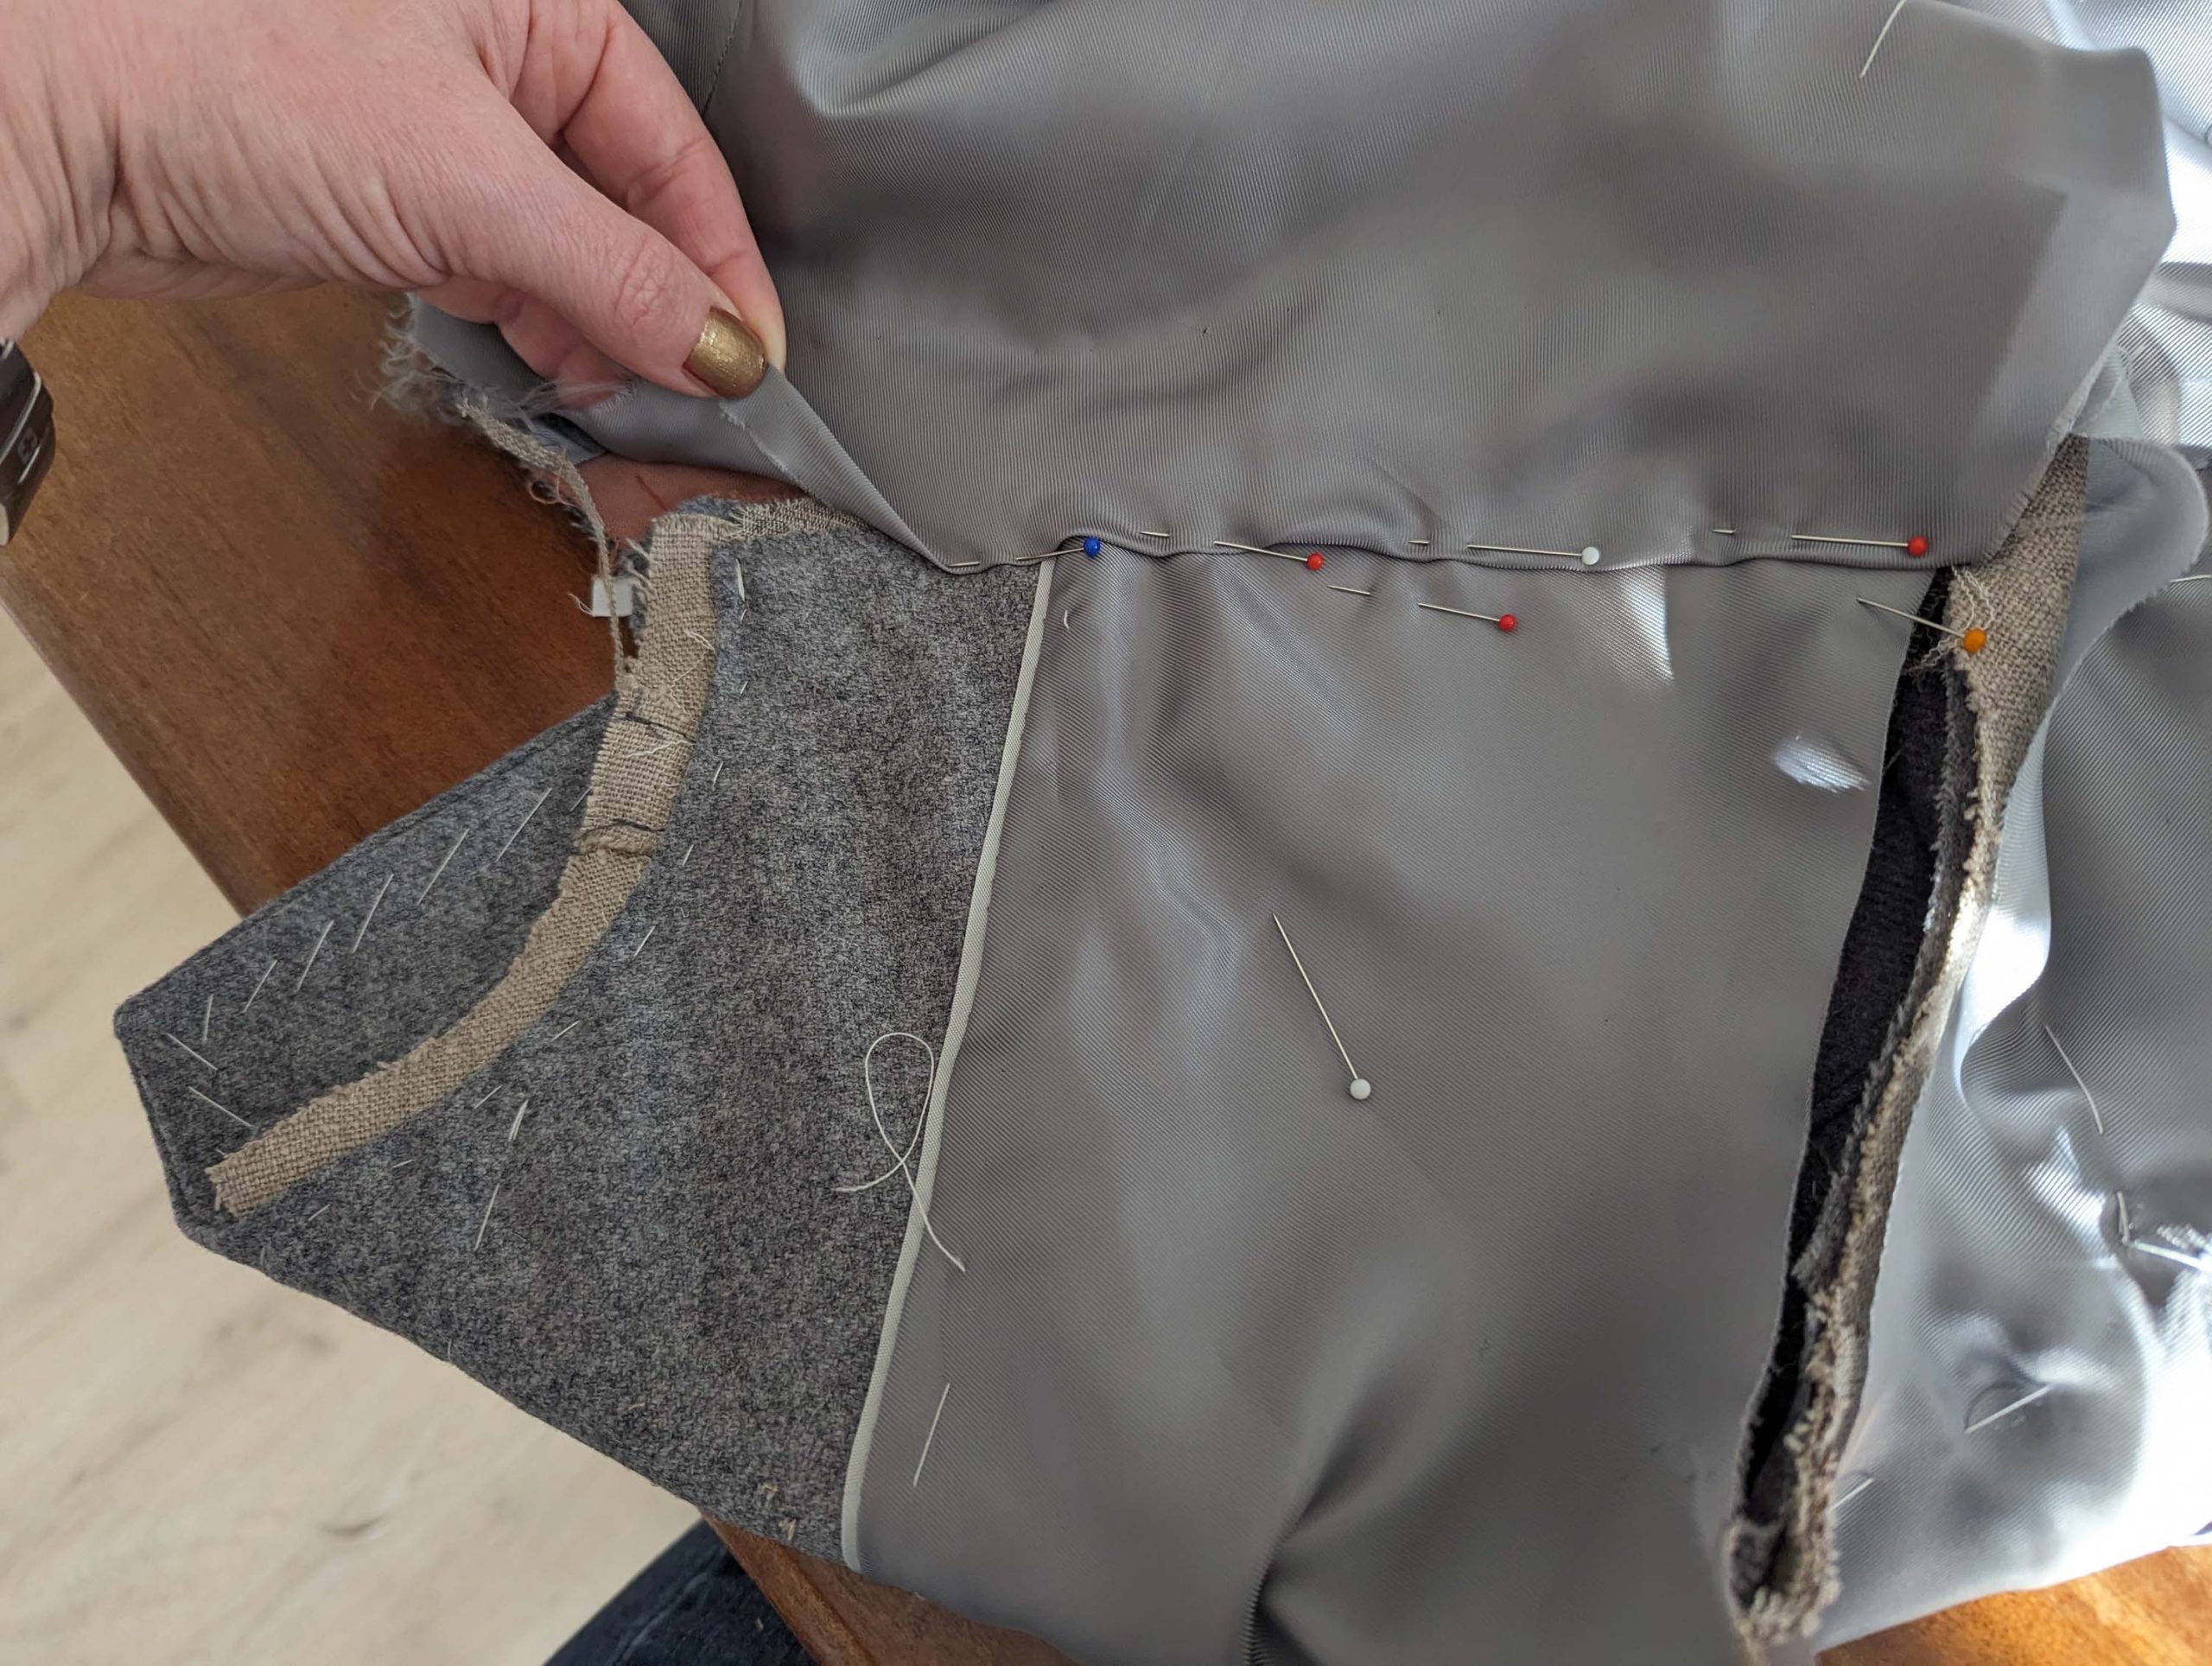
Line up the lining with the back, wrong sides together. Baste the lining to the back, smooth out over the shoulder, and turn in the seam allowance. First, baste, then fell stitch the back lining to the front along the shoulder. Along the neckline, baste together fashion fabric, canvas, and lining. Trim back the seam allowance to 3/8” (1cm).
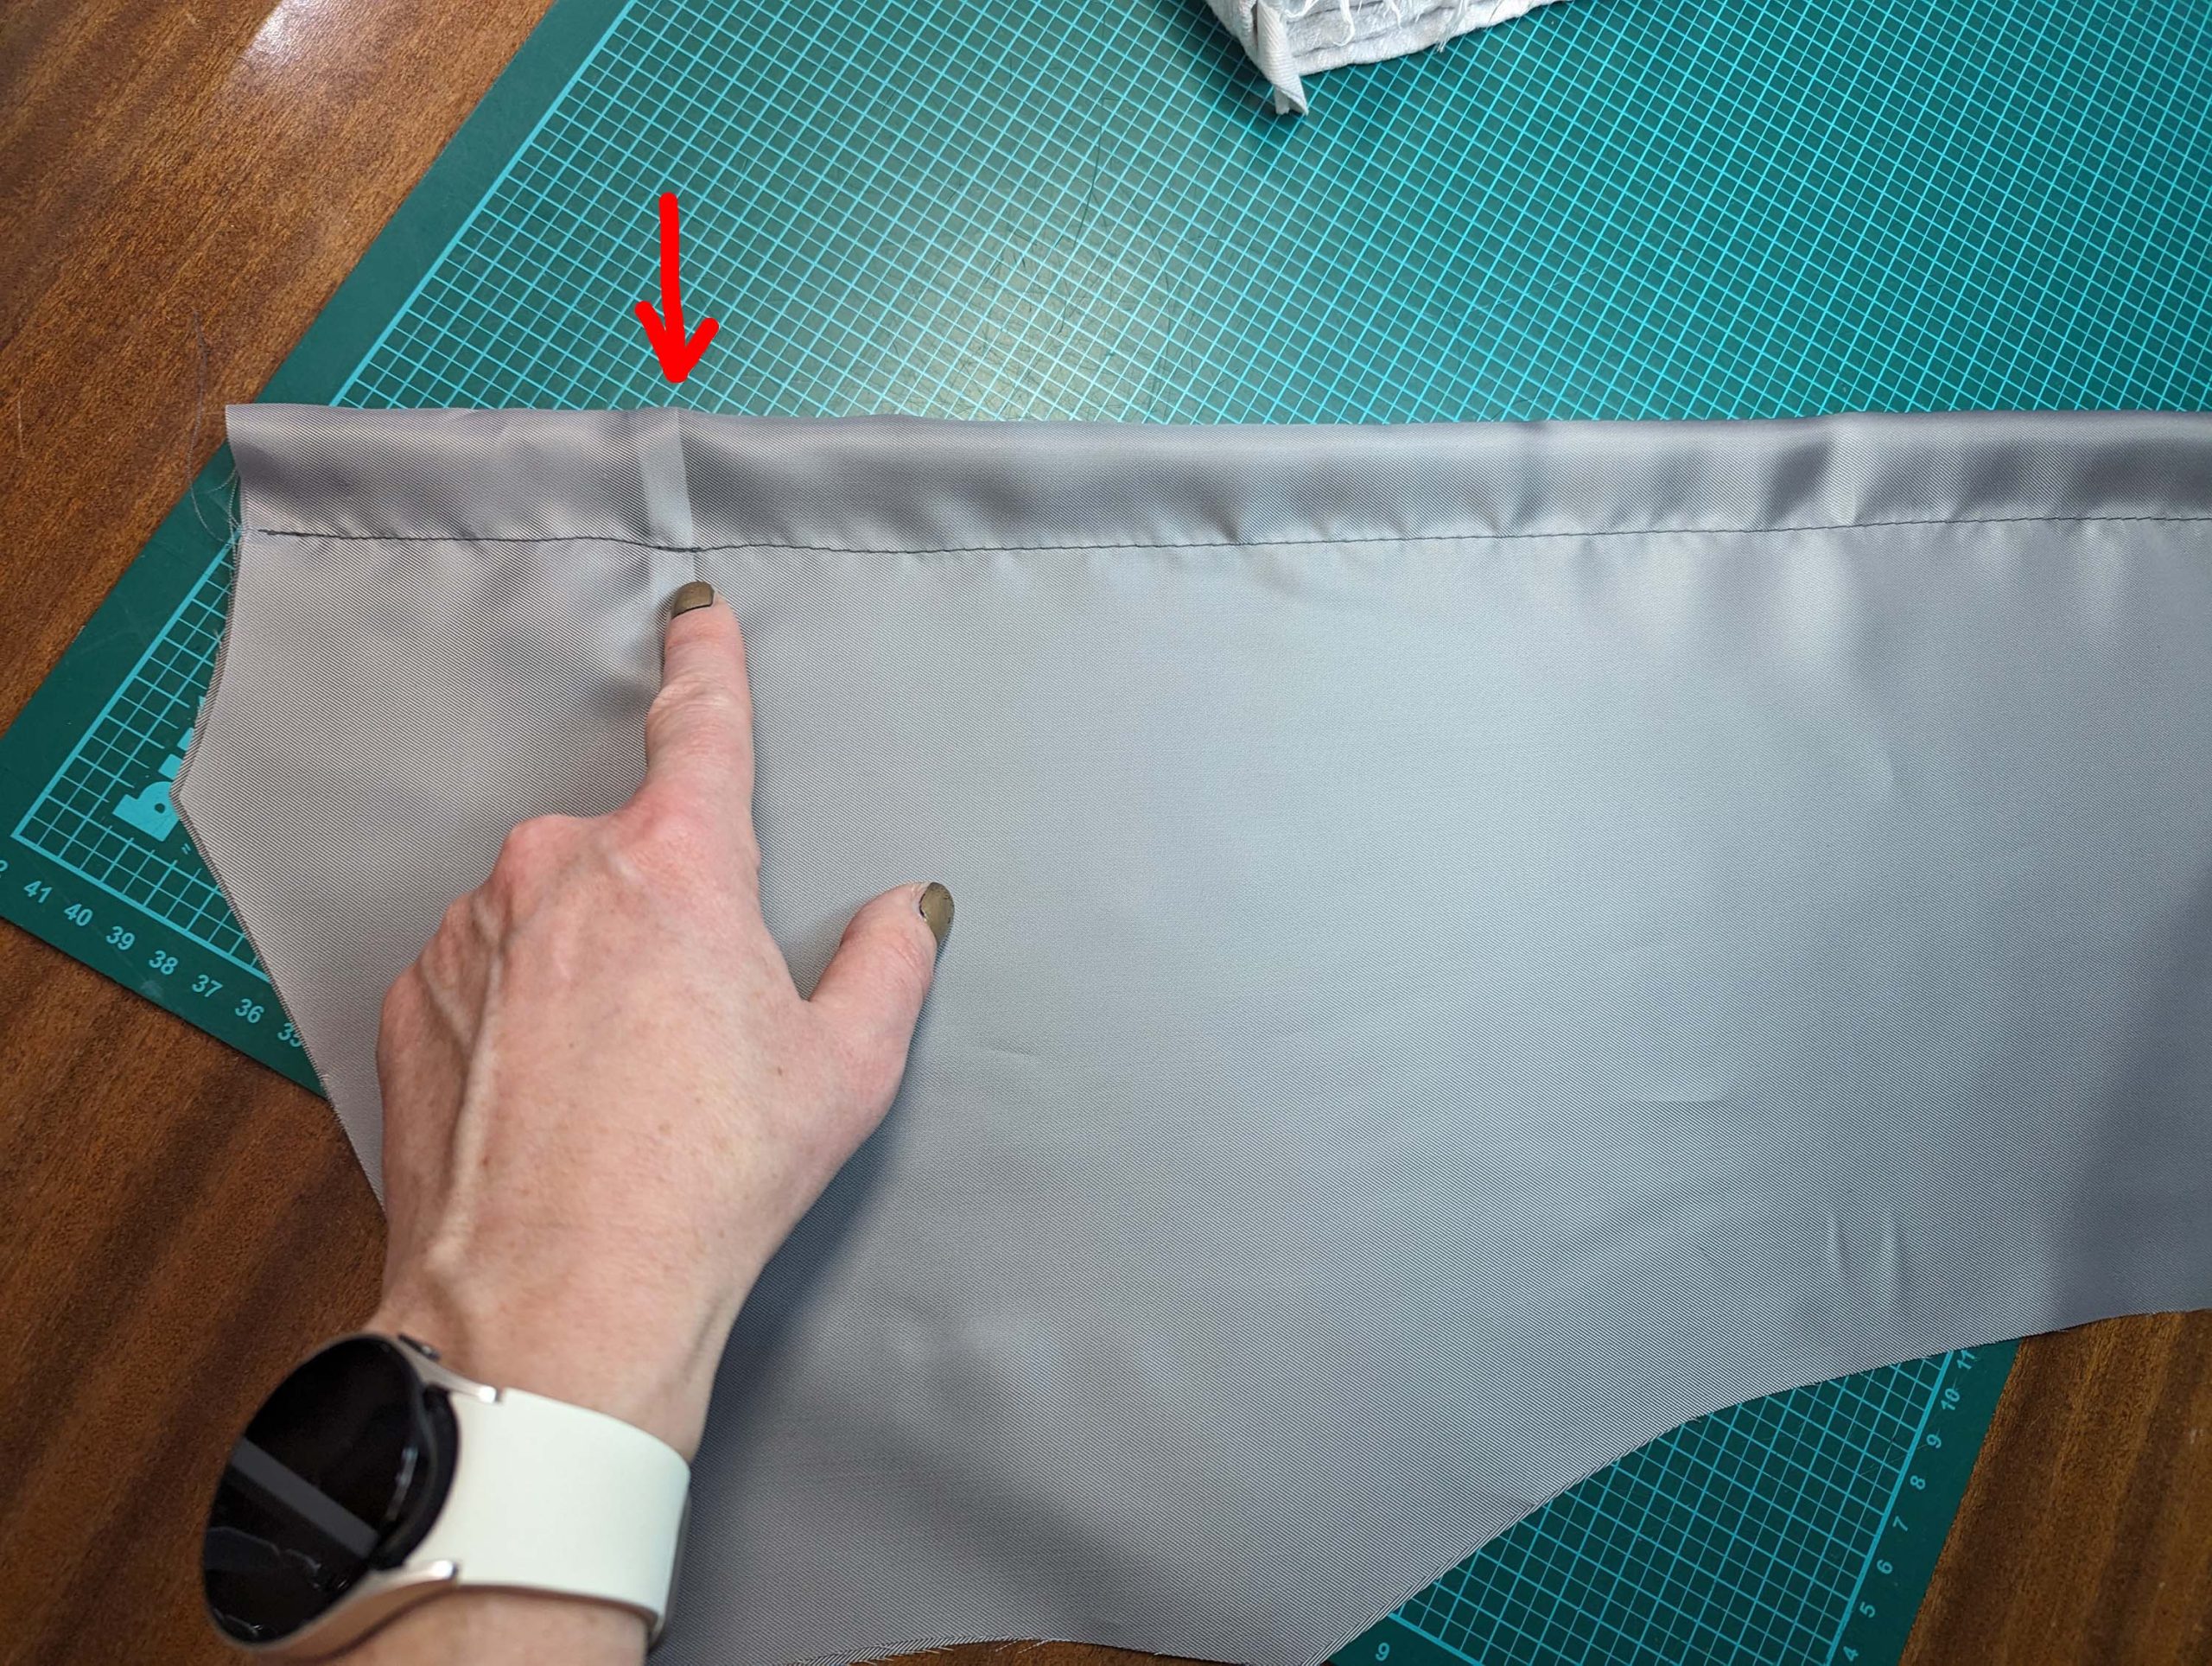

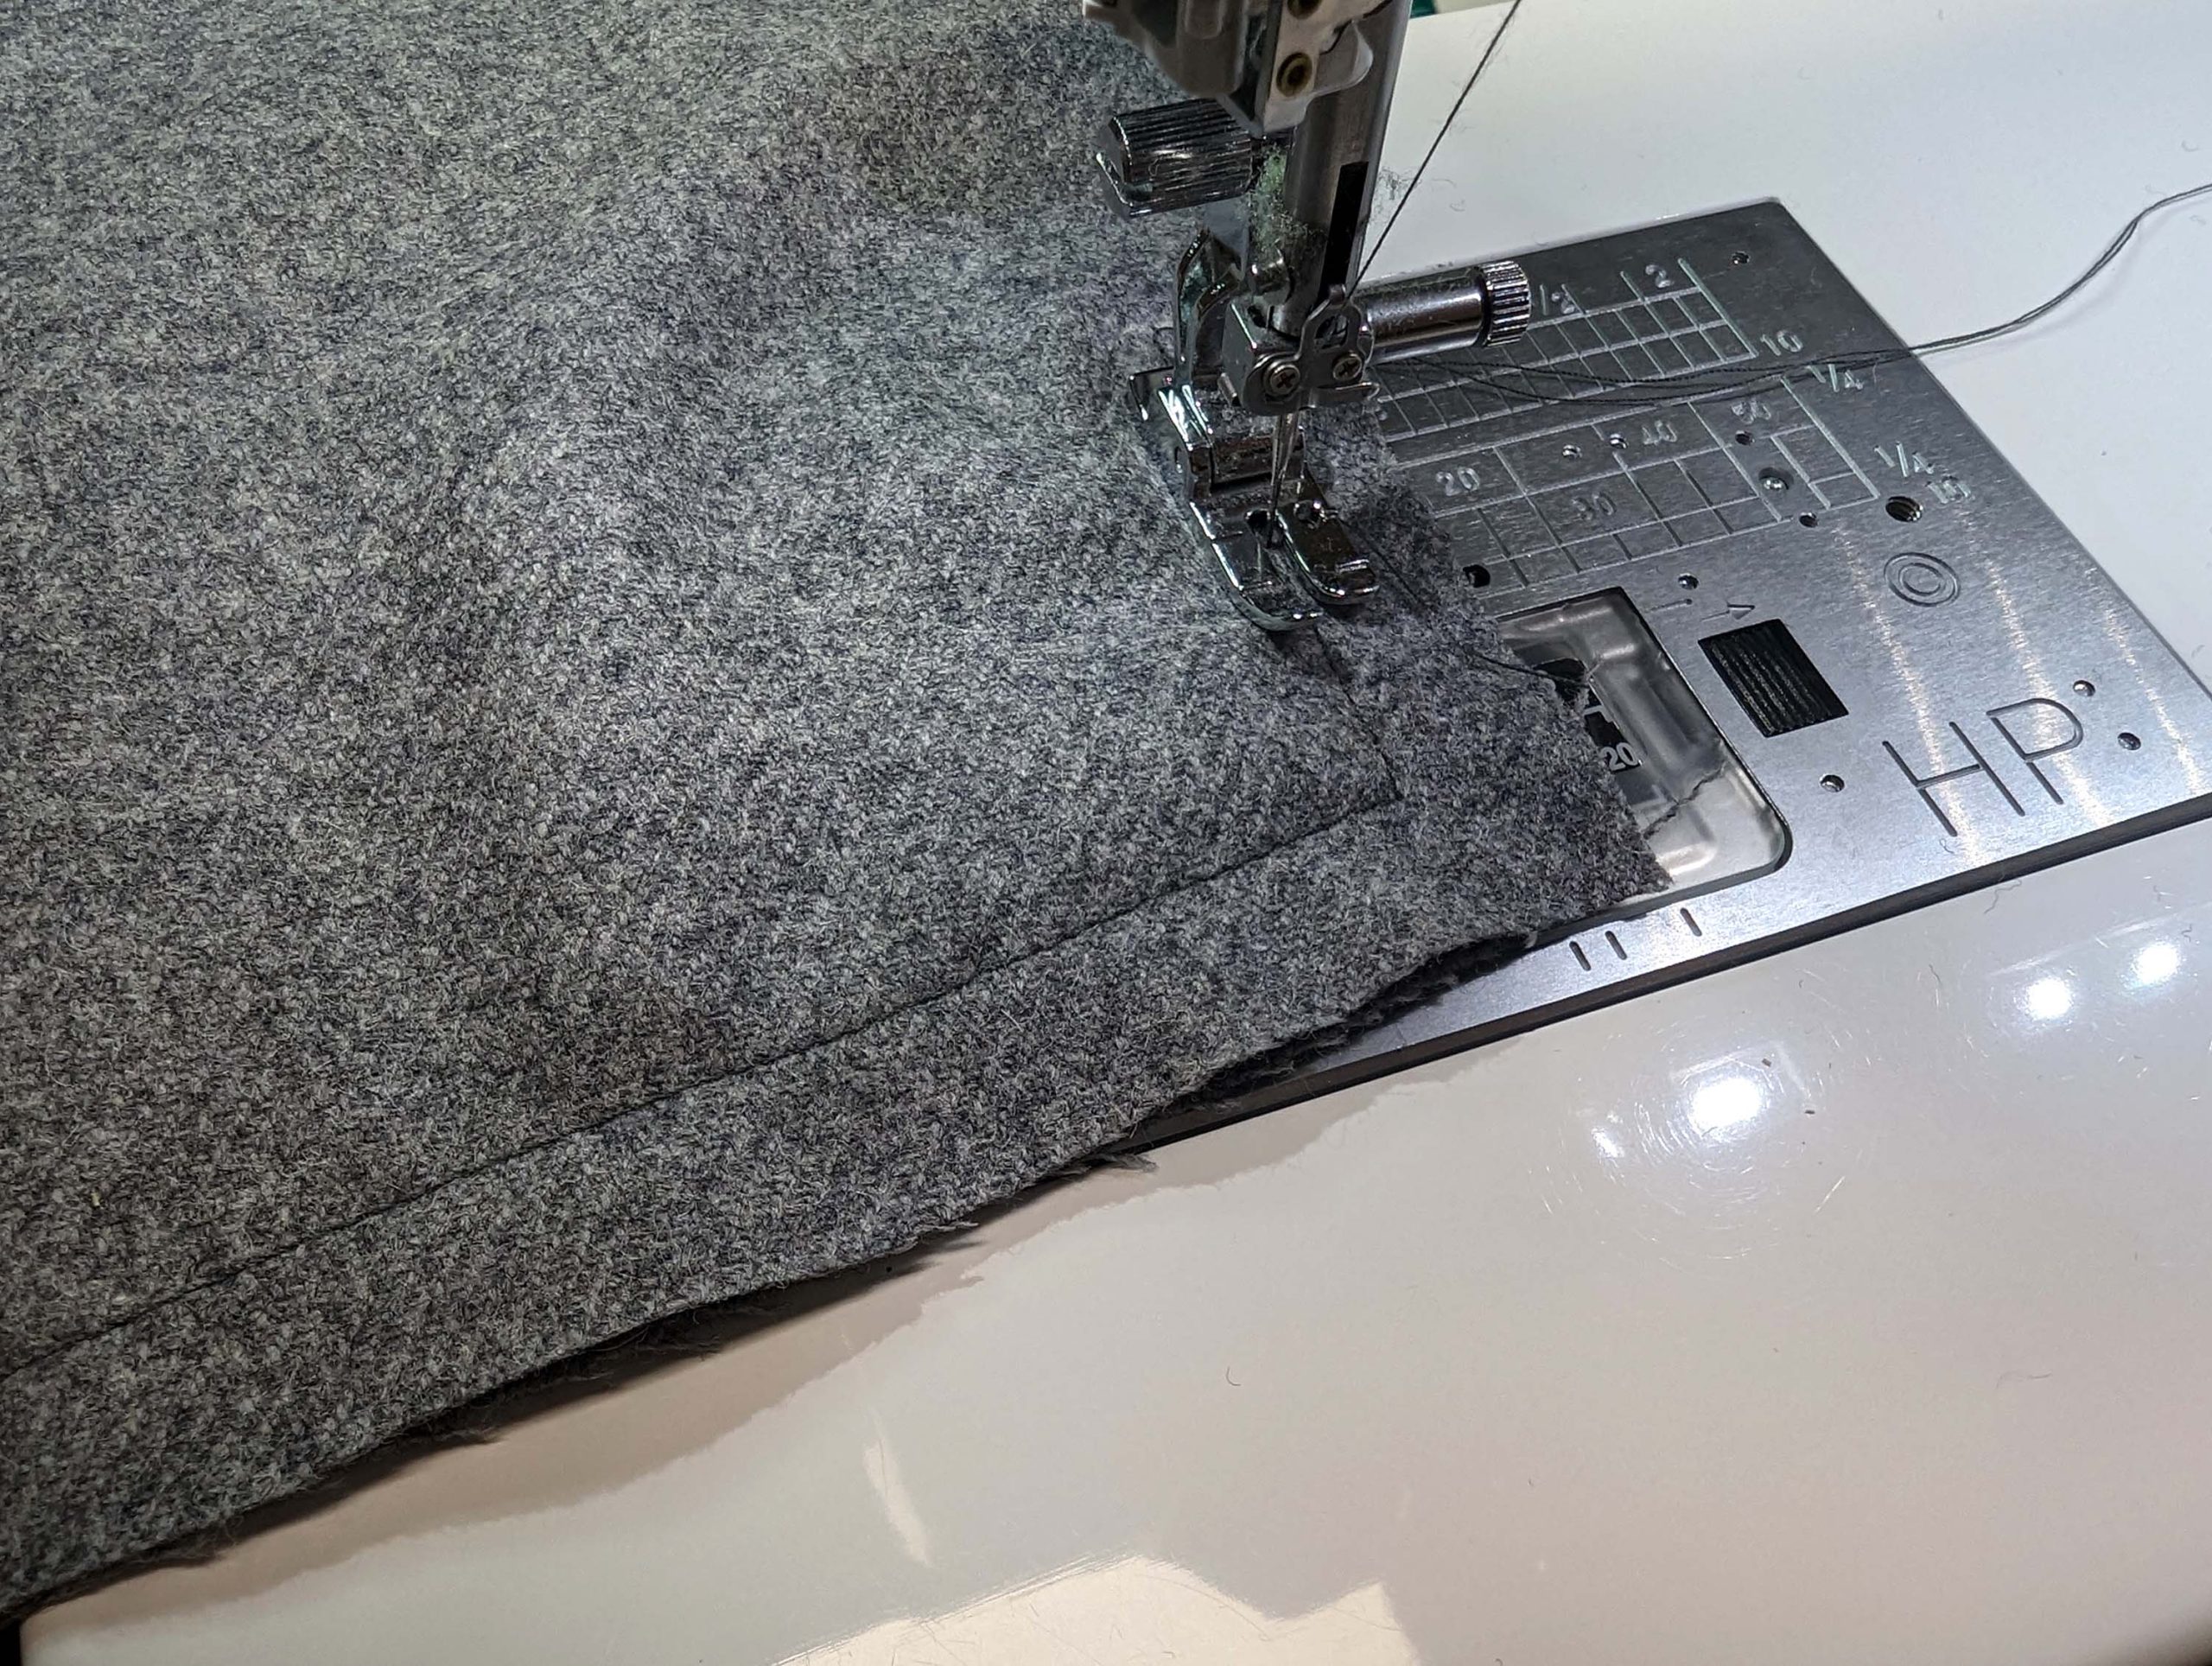
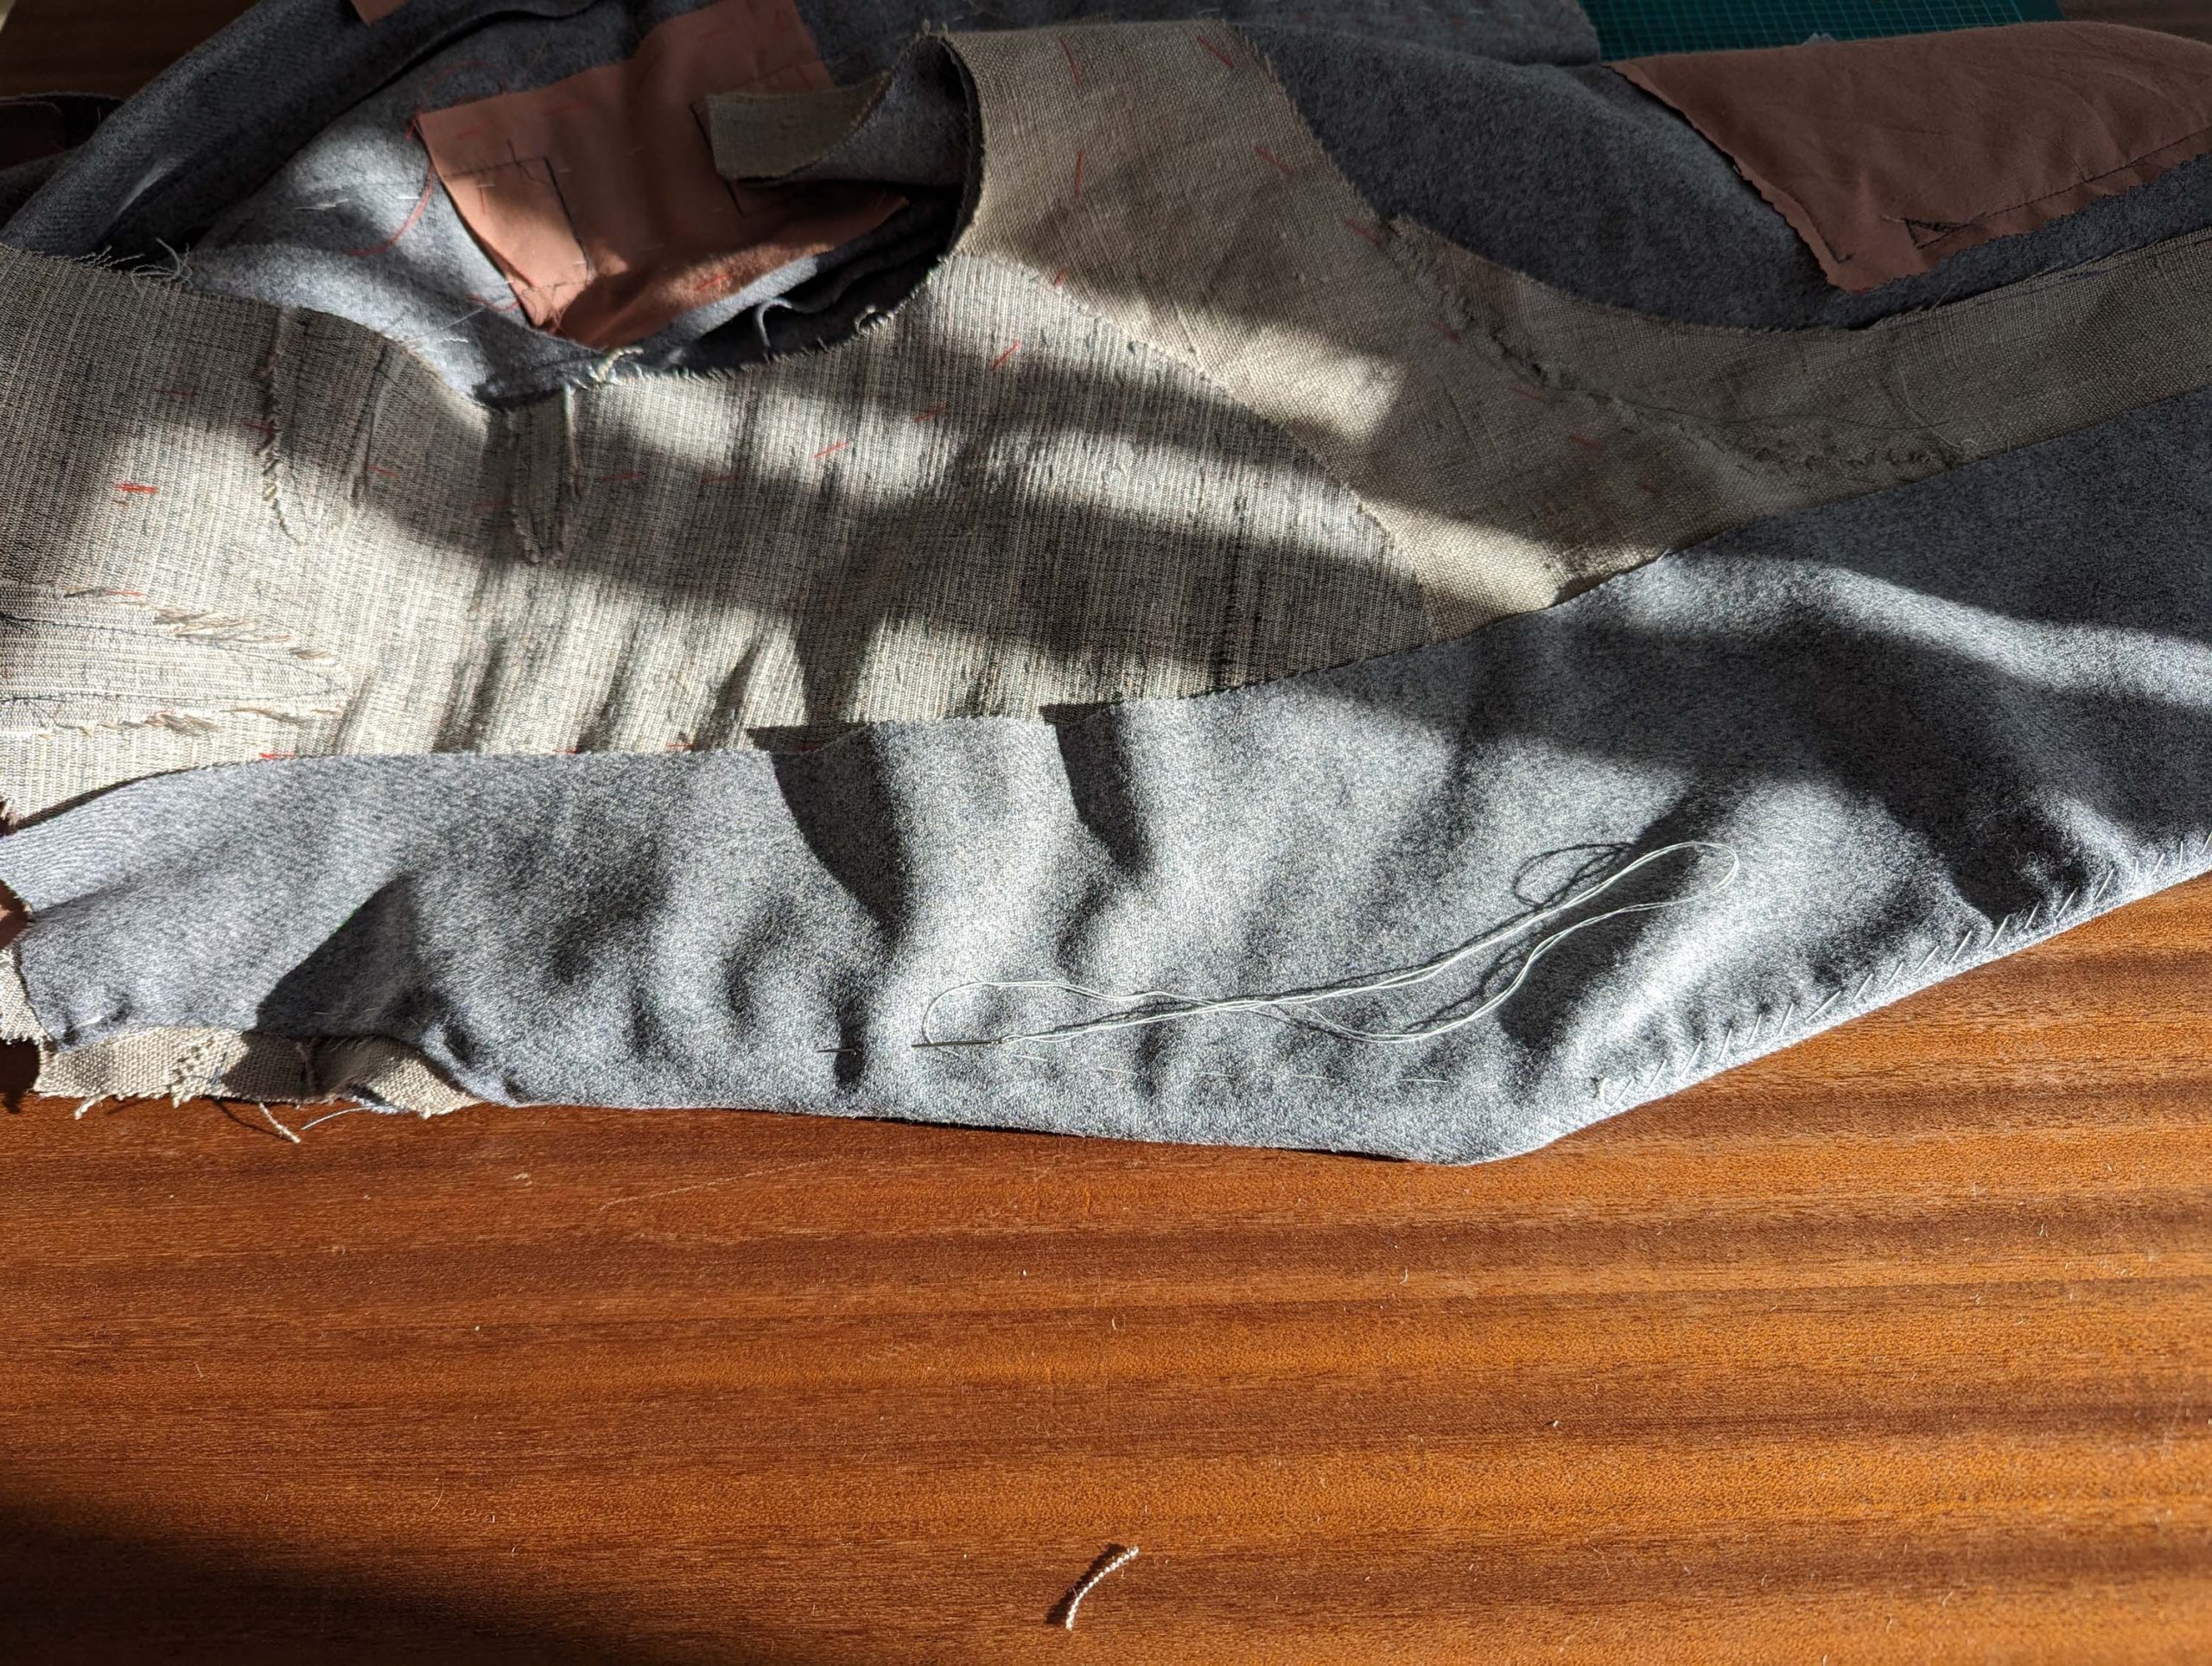
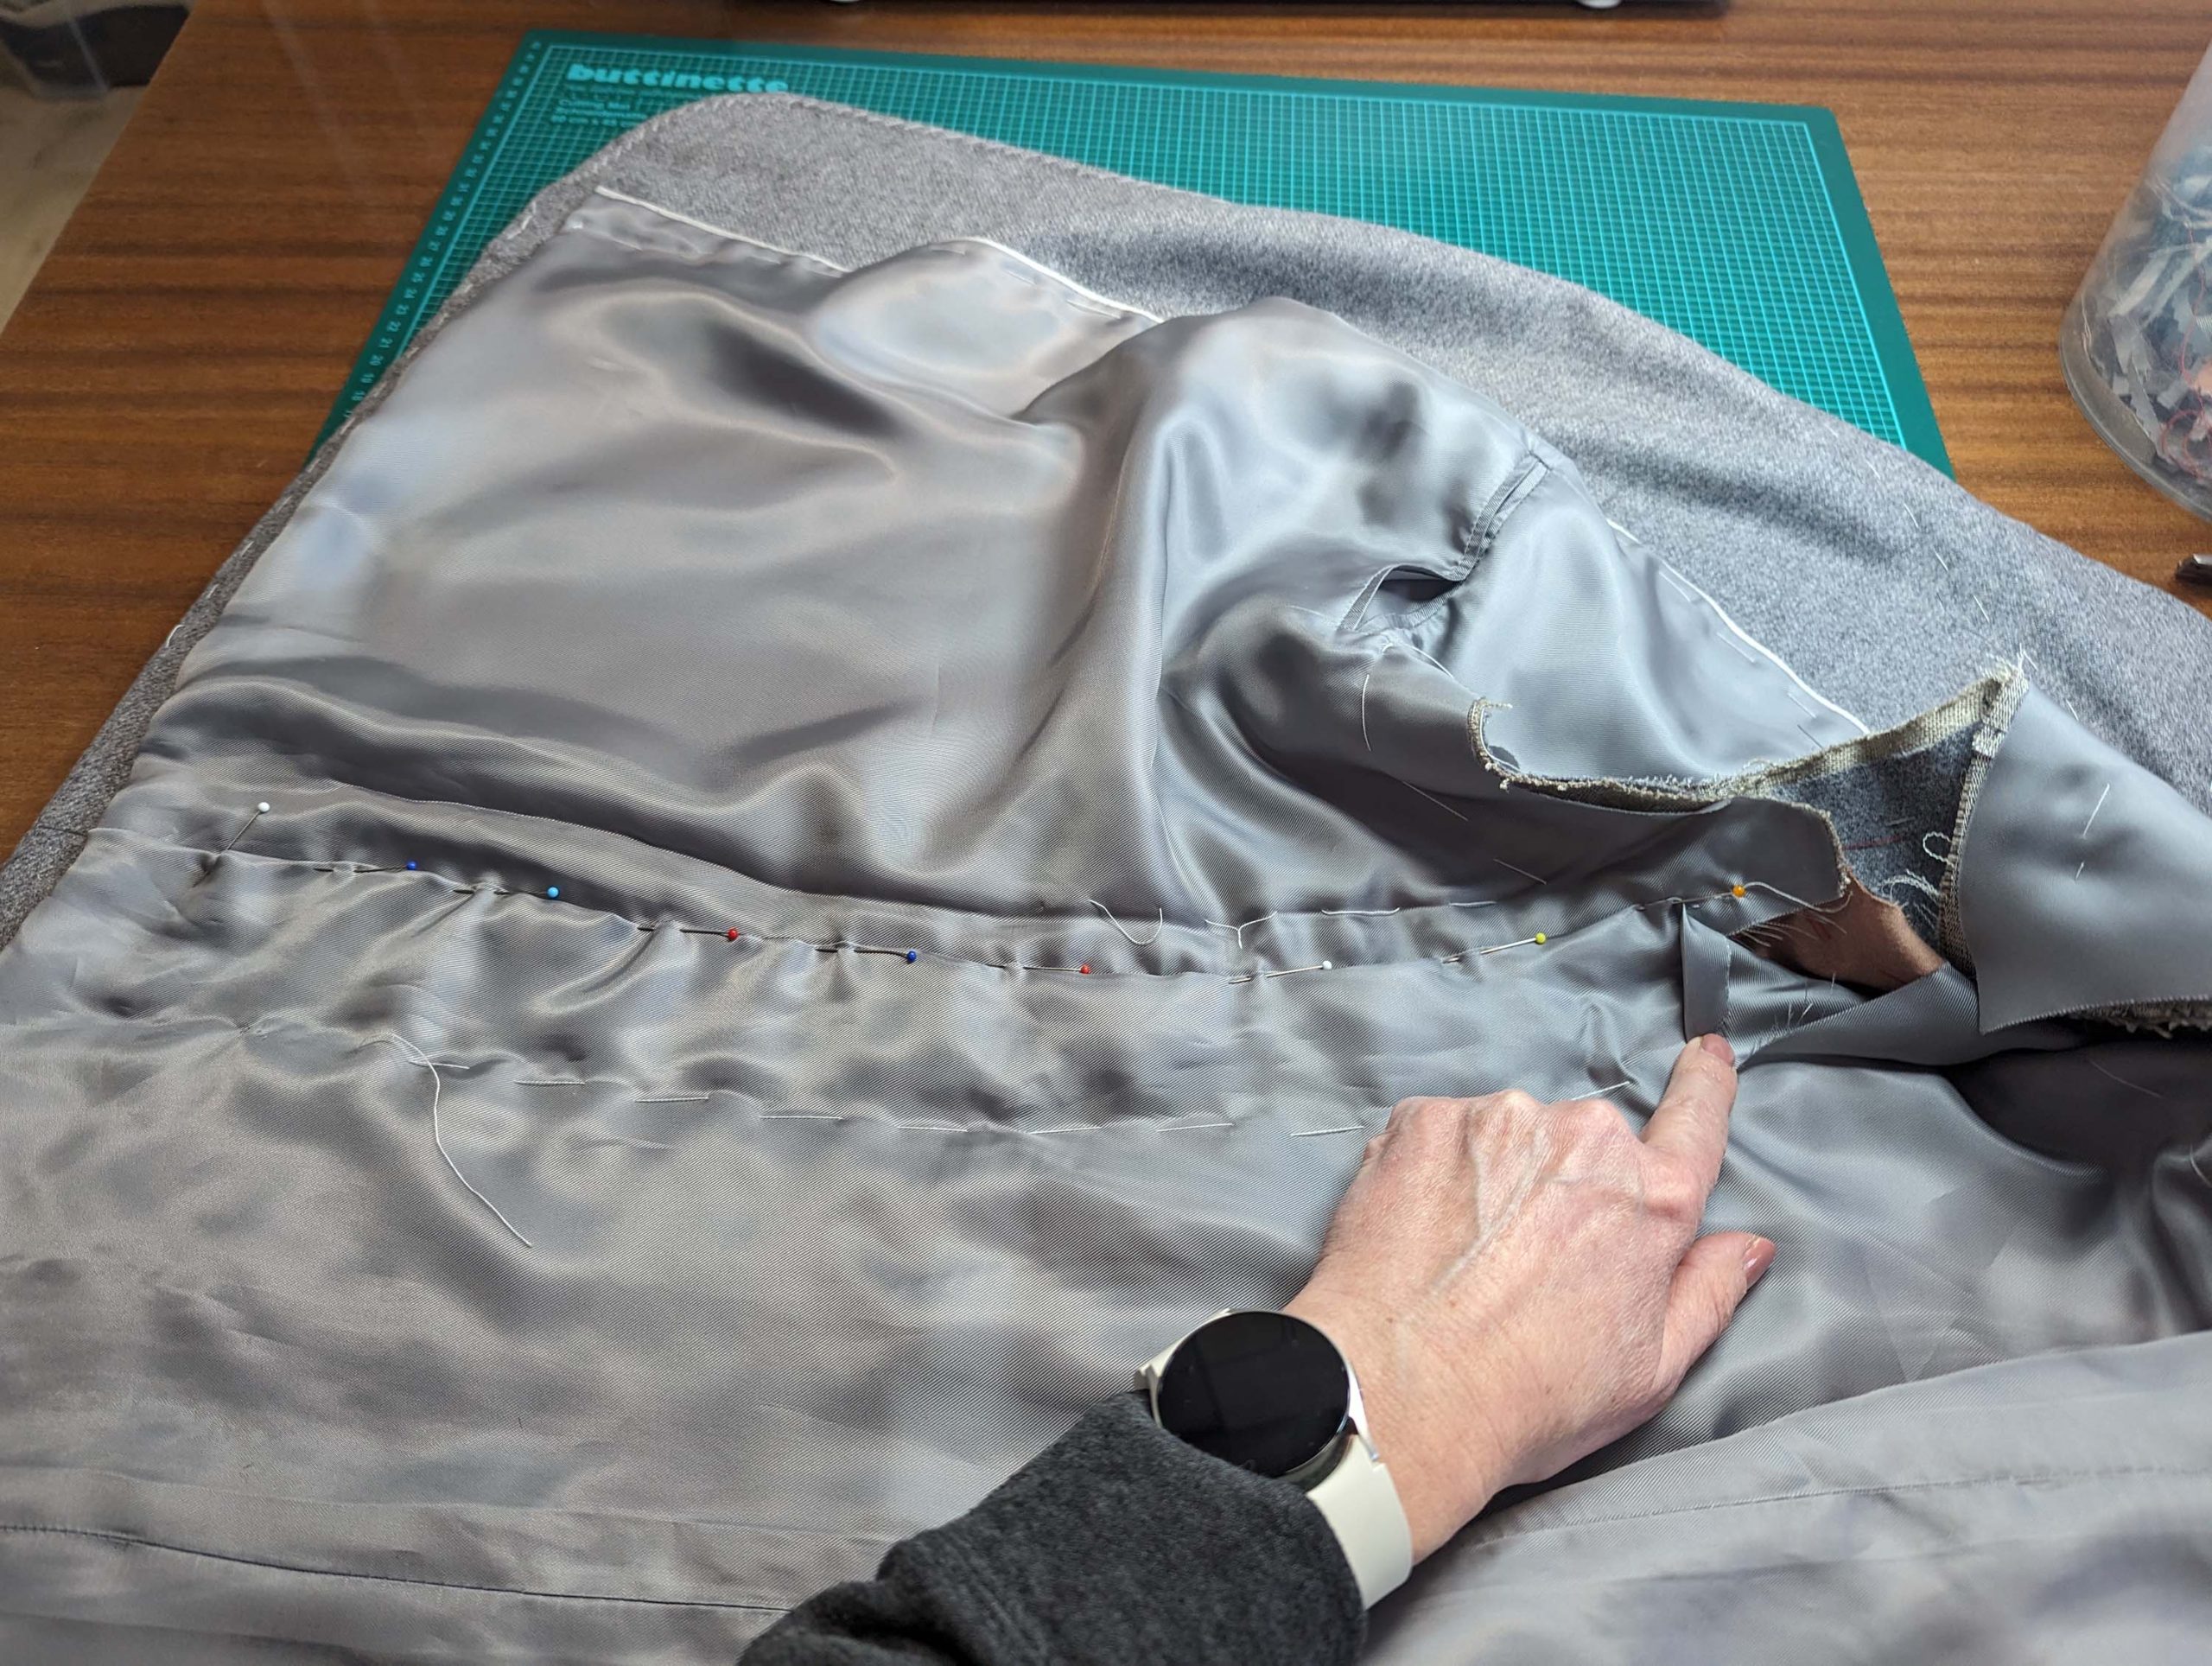
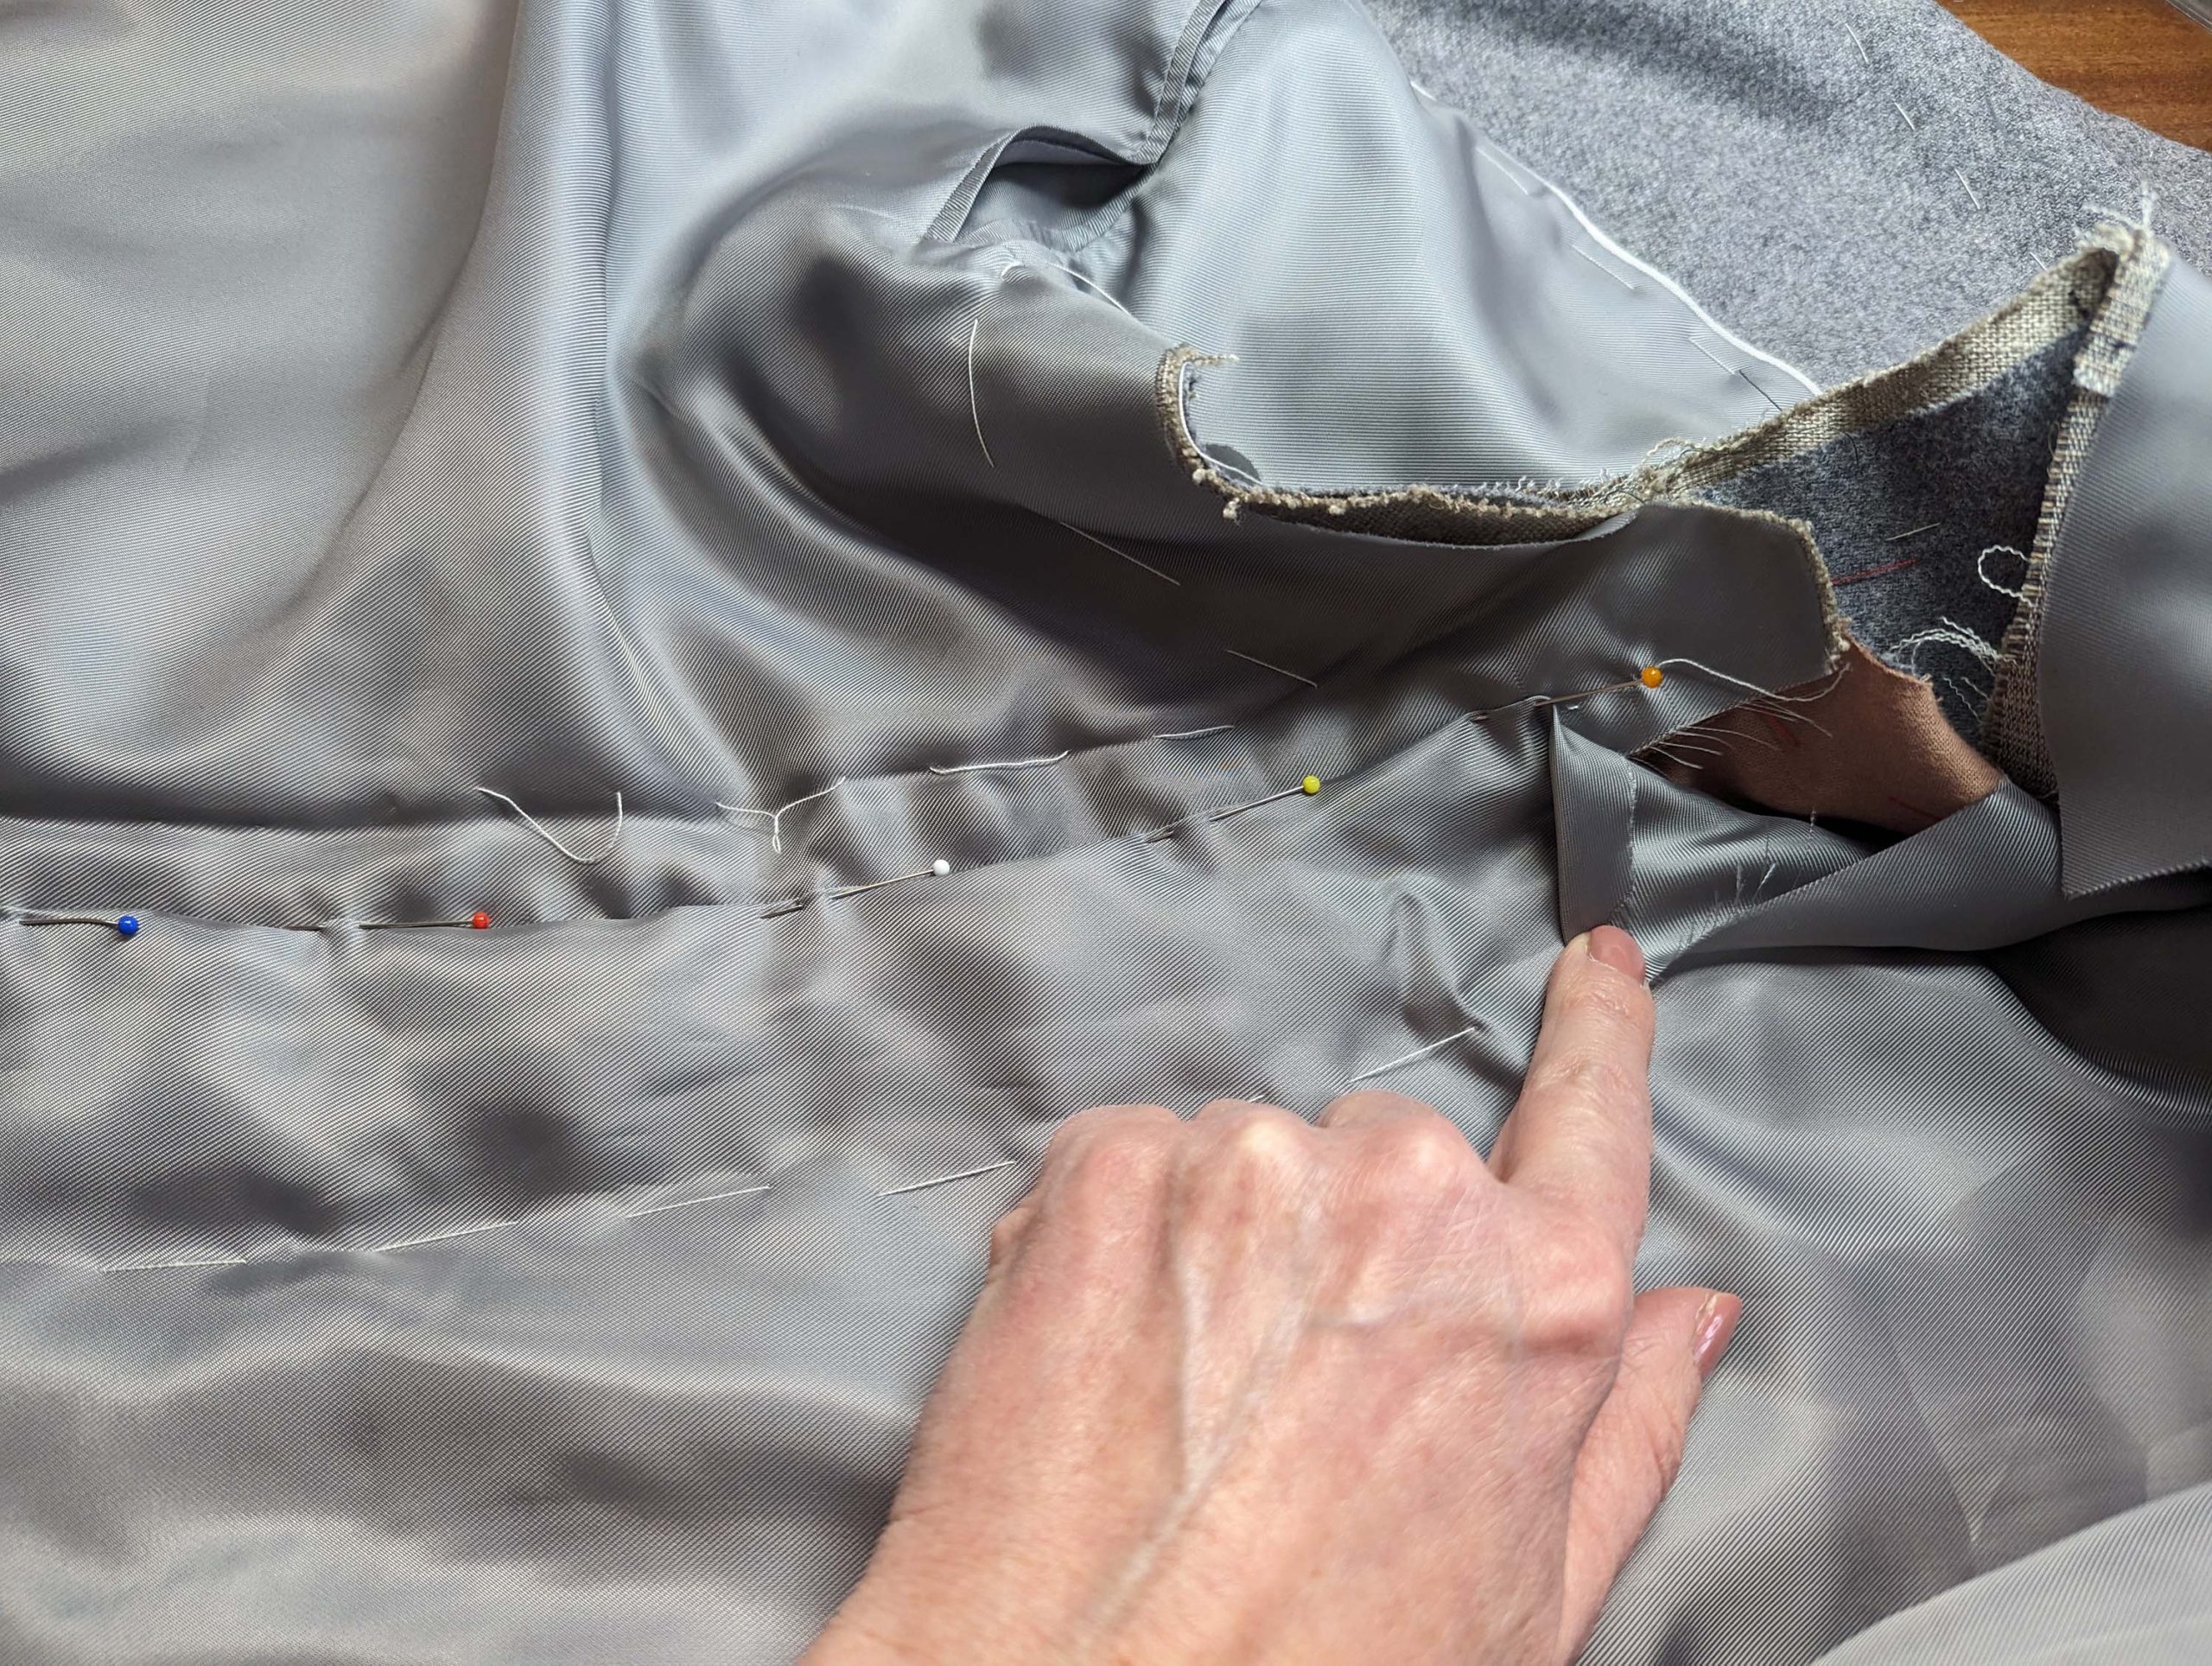
(16) Sew the side seam, right sides together, without catching the lining or the canvas, and press open the seam allowances. Sew the side seam of the hem facing, right sides together, and press open the seam allowances. Sew the remaining part of the front hem facing and the back hem facing to the jacket, right sides together, and matching seams and marks. Skip the straps at the back and finish the hem/straps as described in point (13). This step can be a bit tricky, stay patient! Tack the loose edge of the hem facing to the jacket at the seam allowances and on the back of the straps, where no stitches will be visible on the right fabric side.
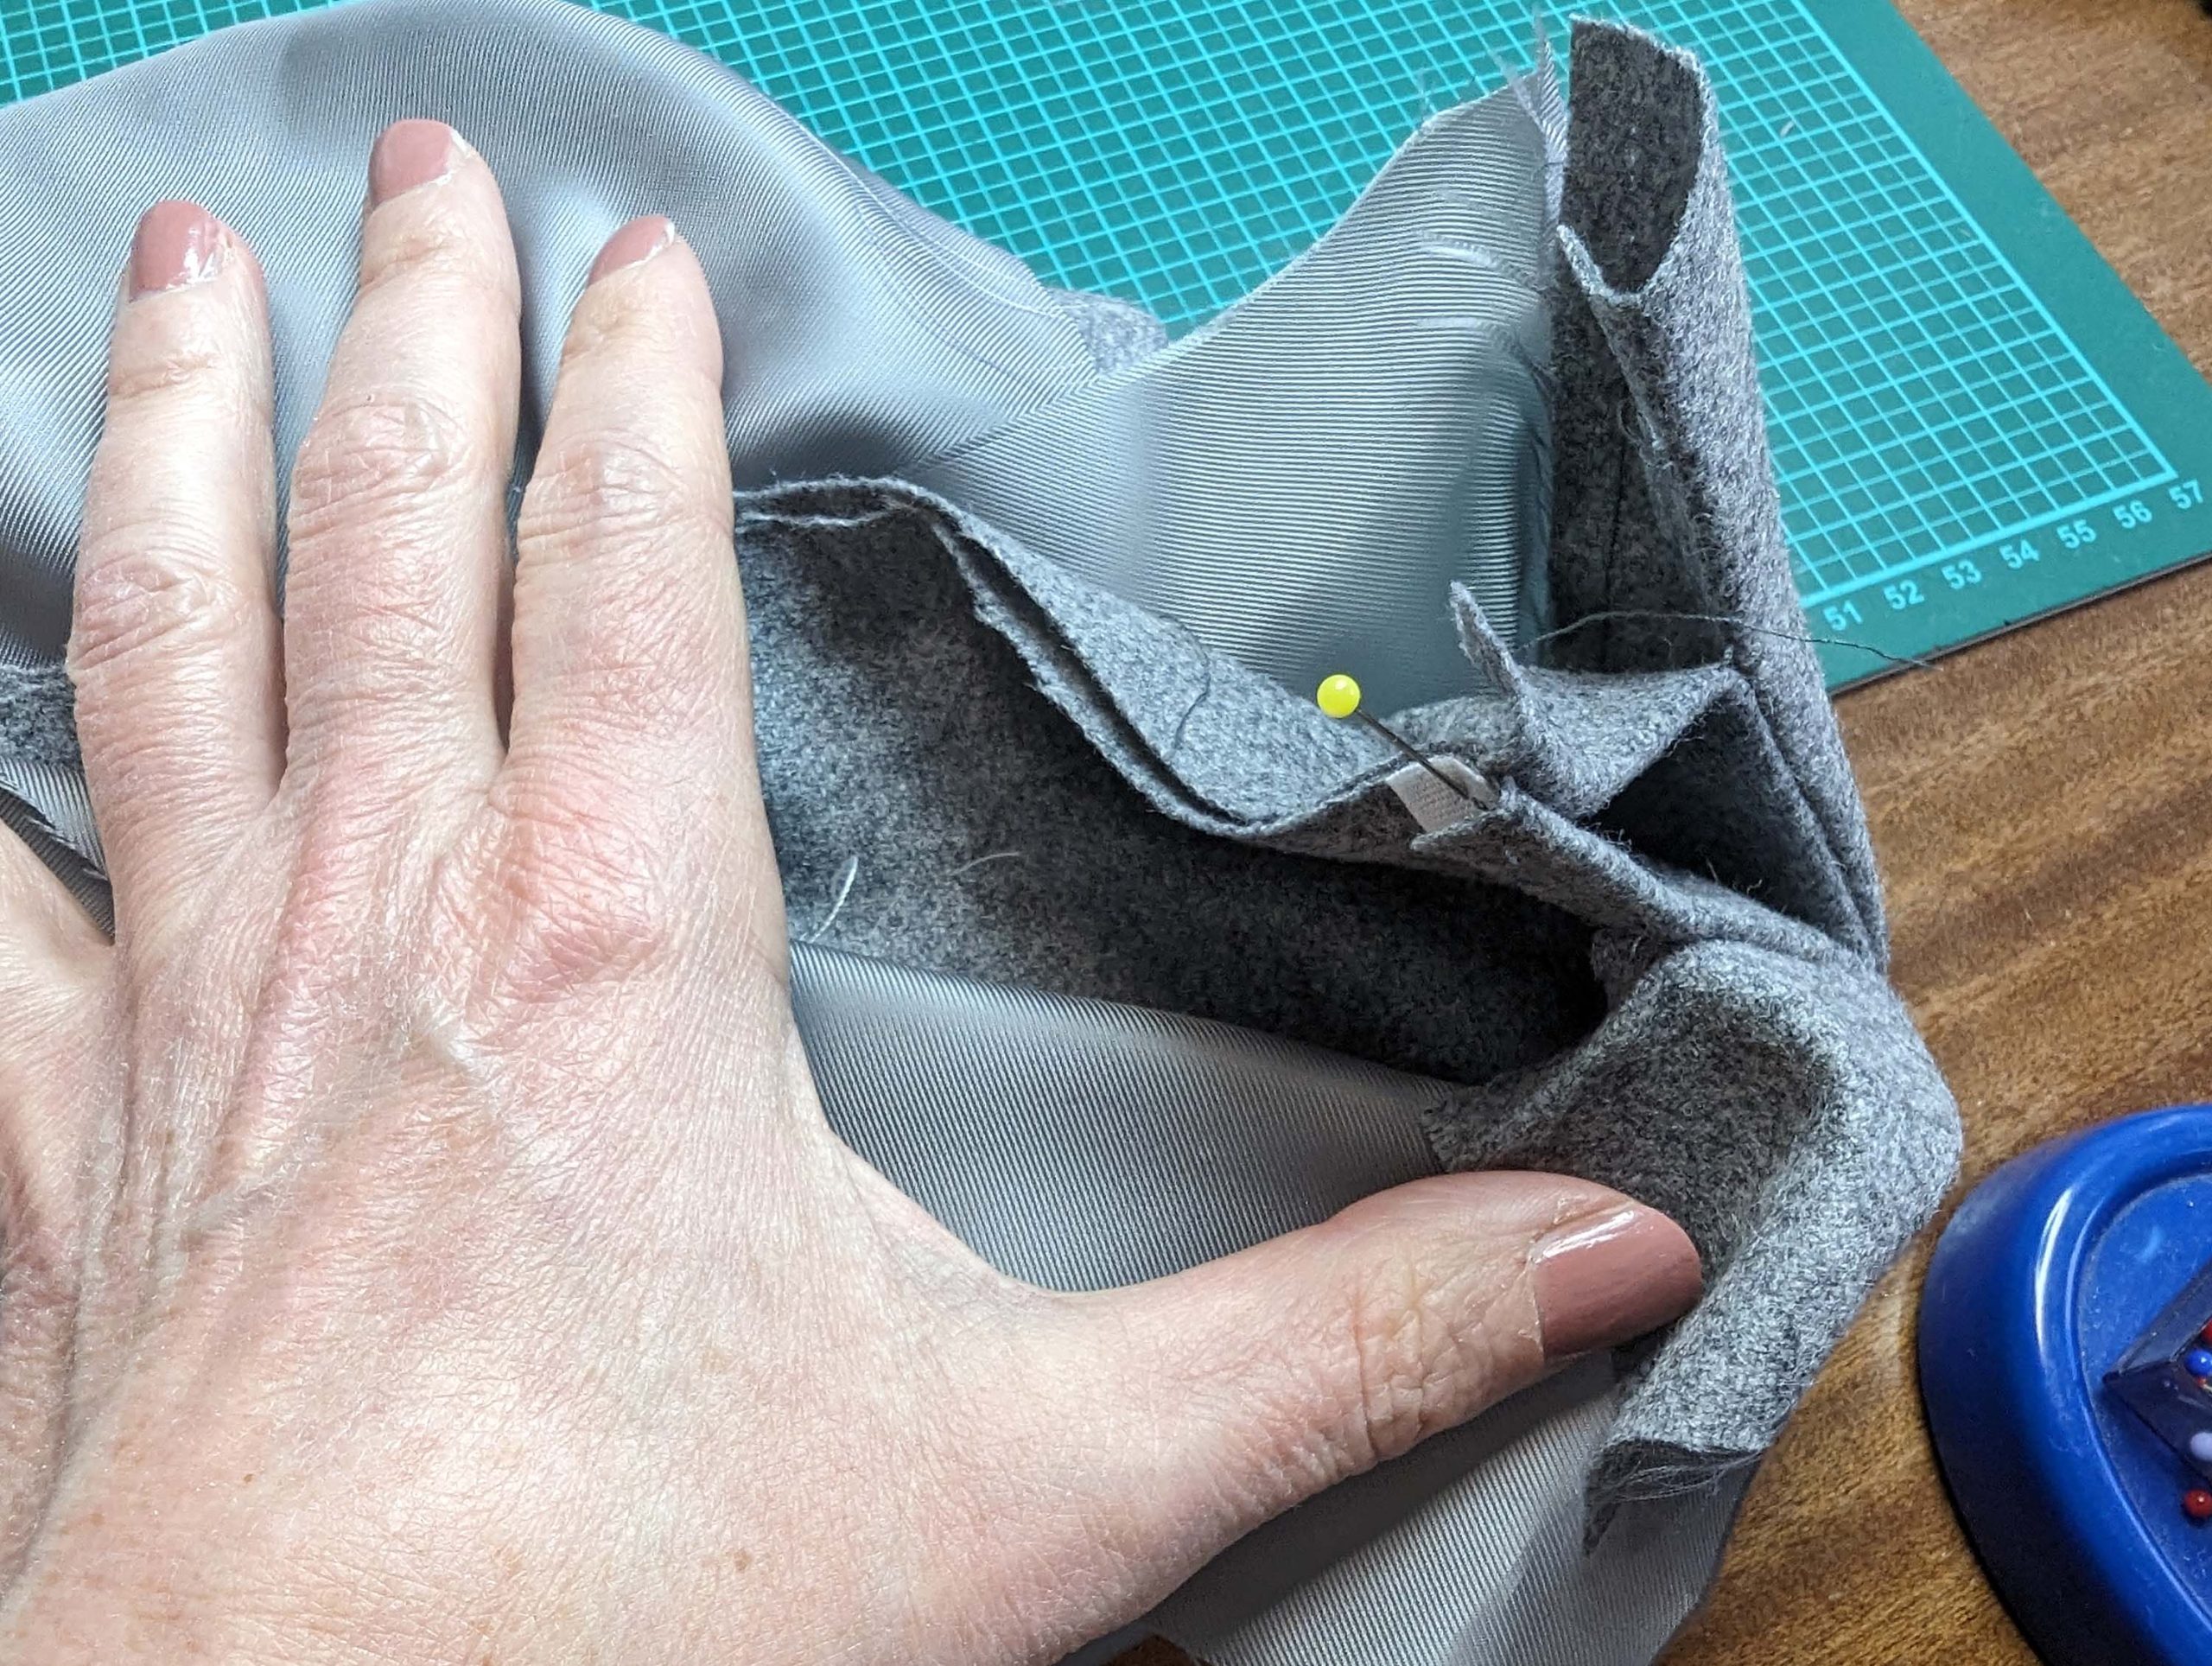
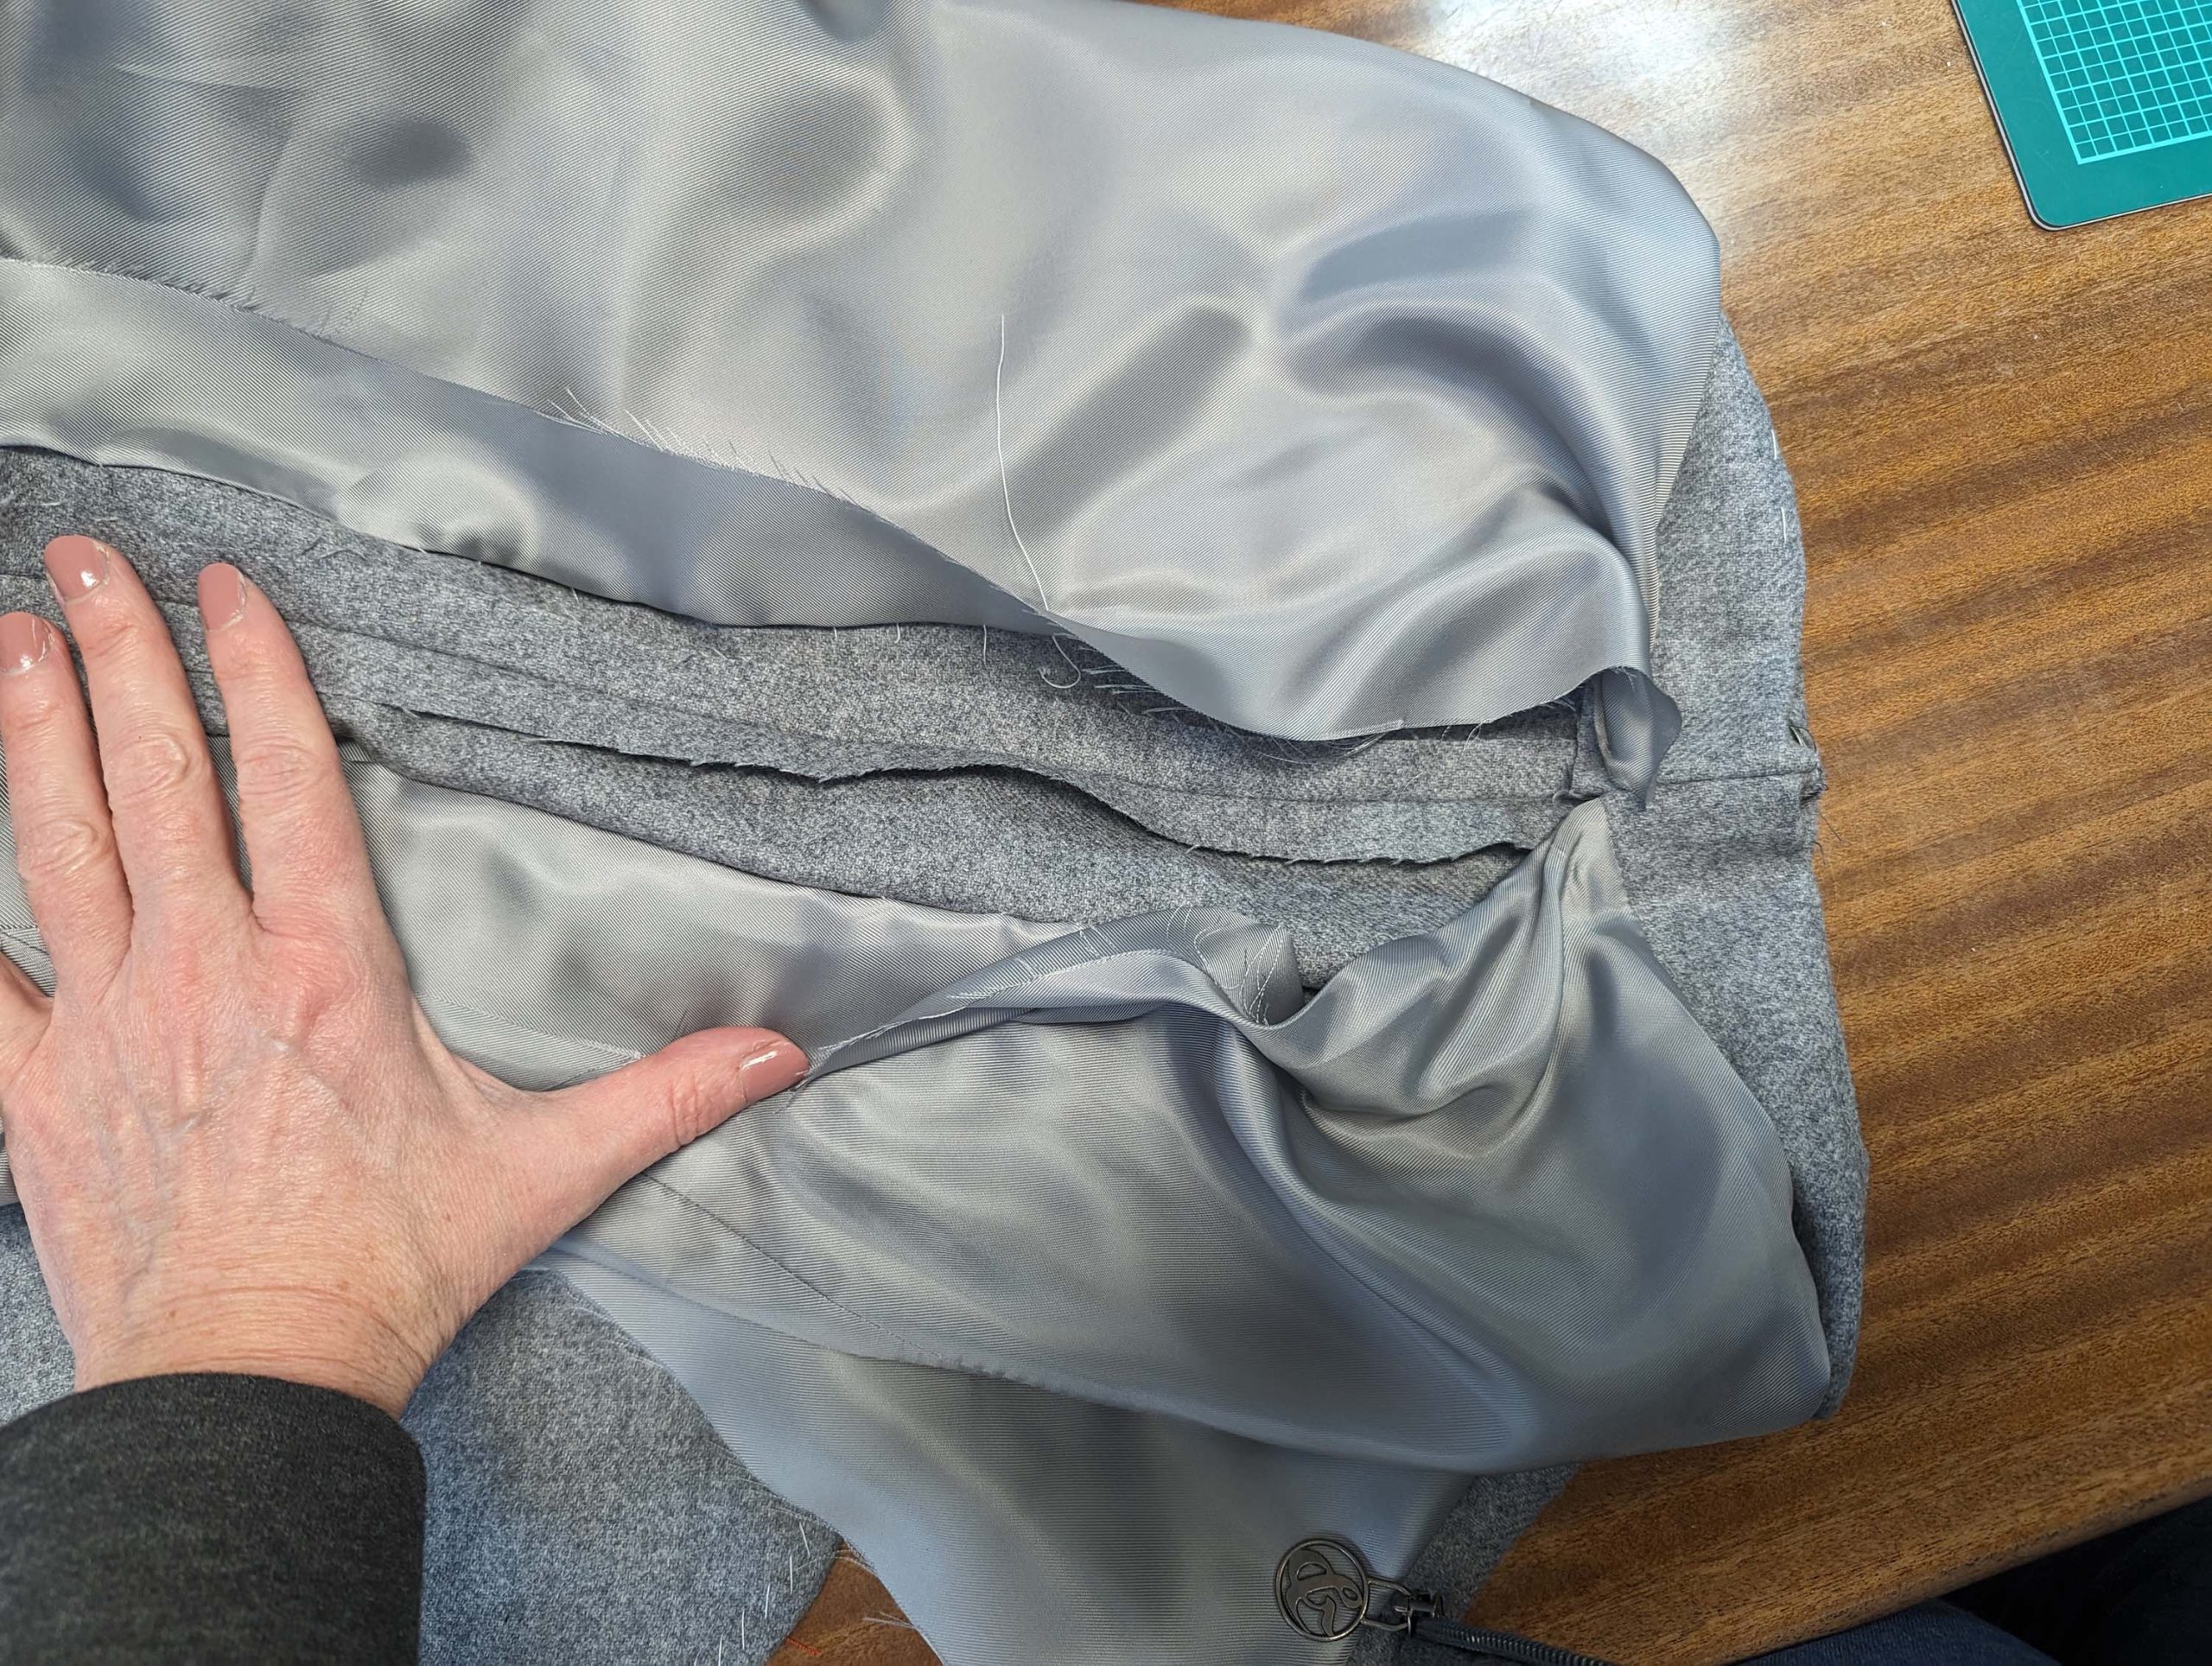
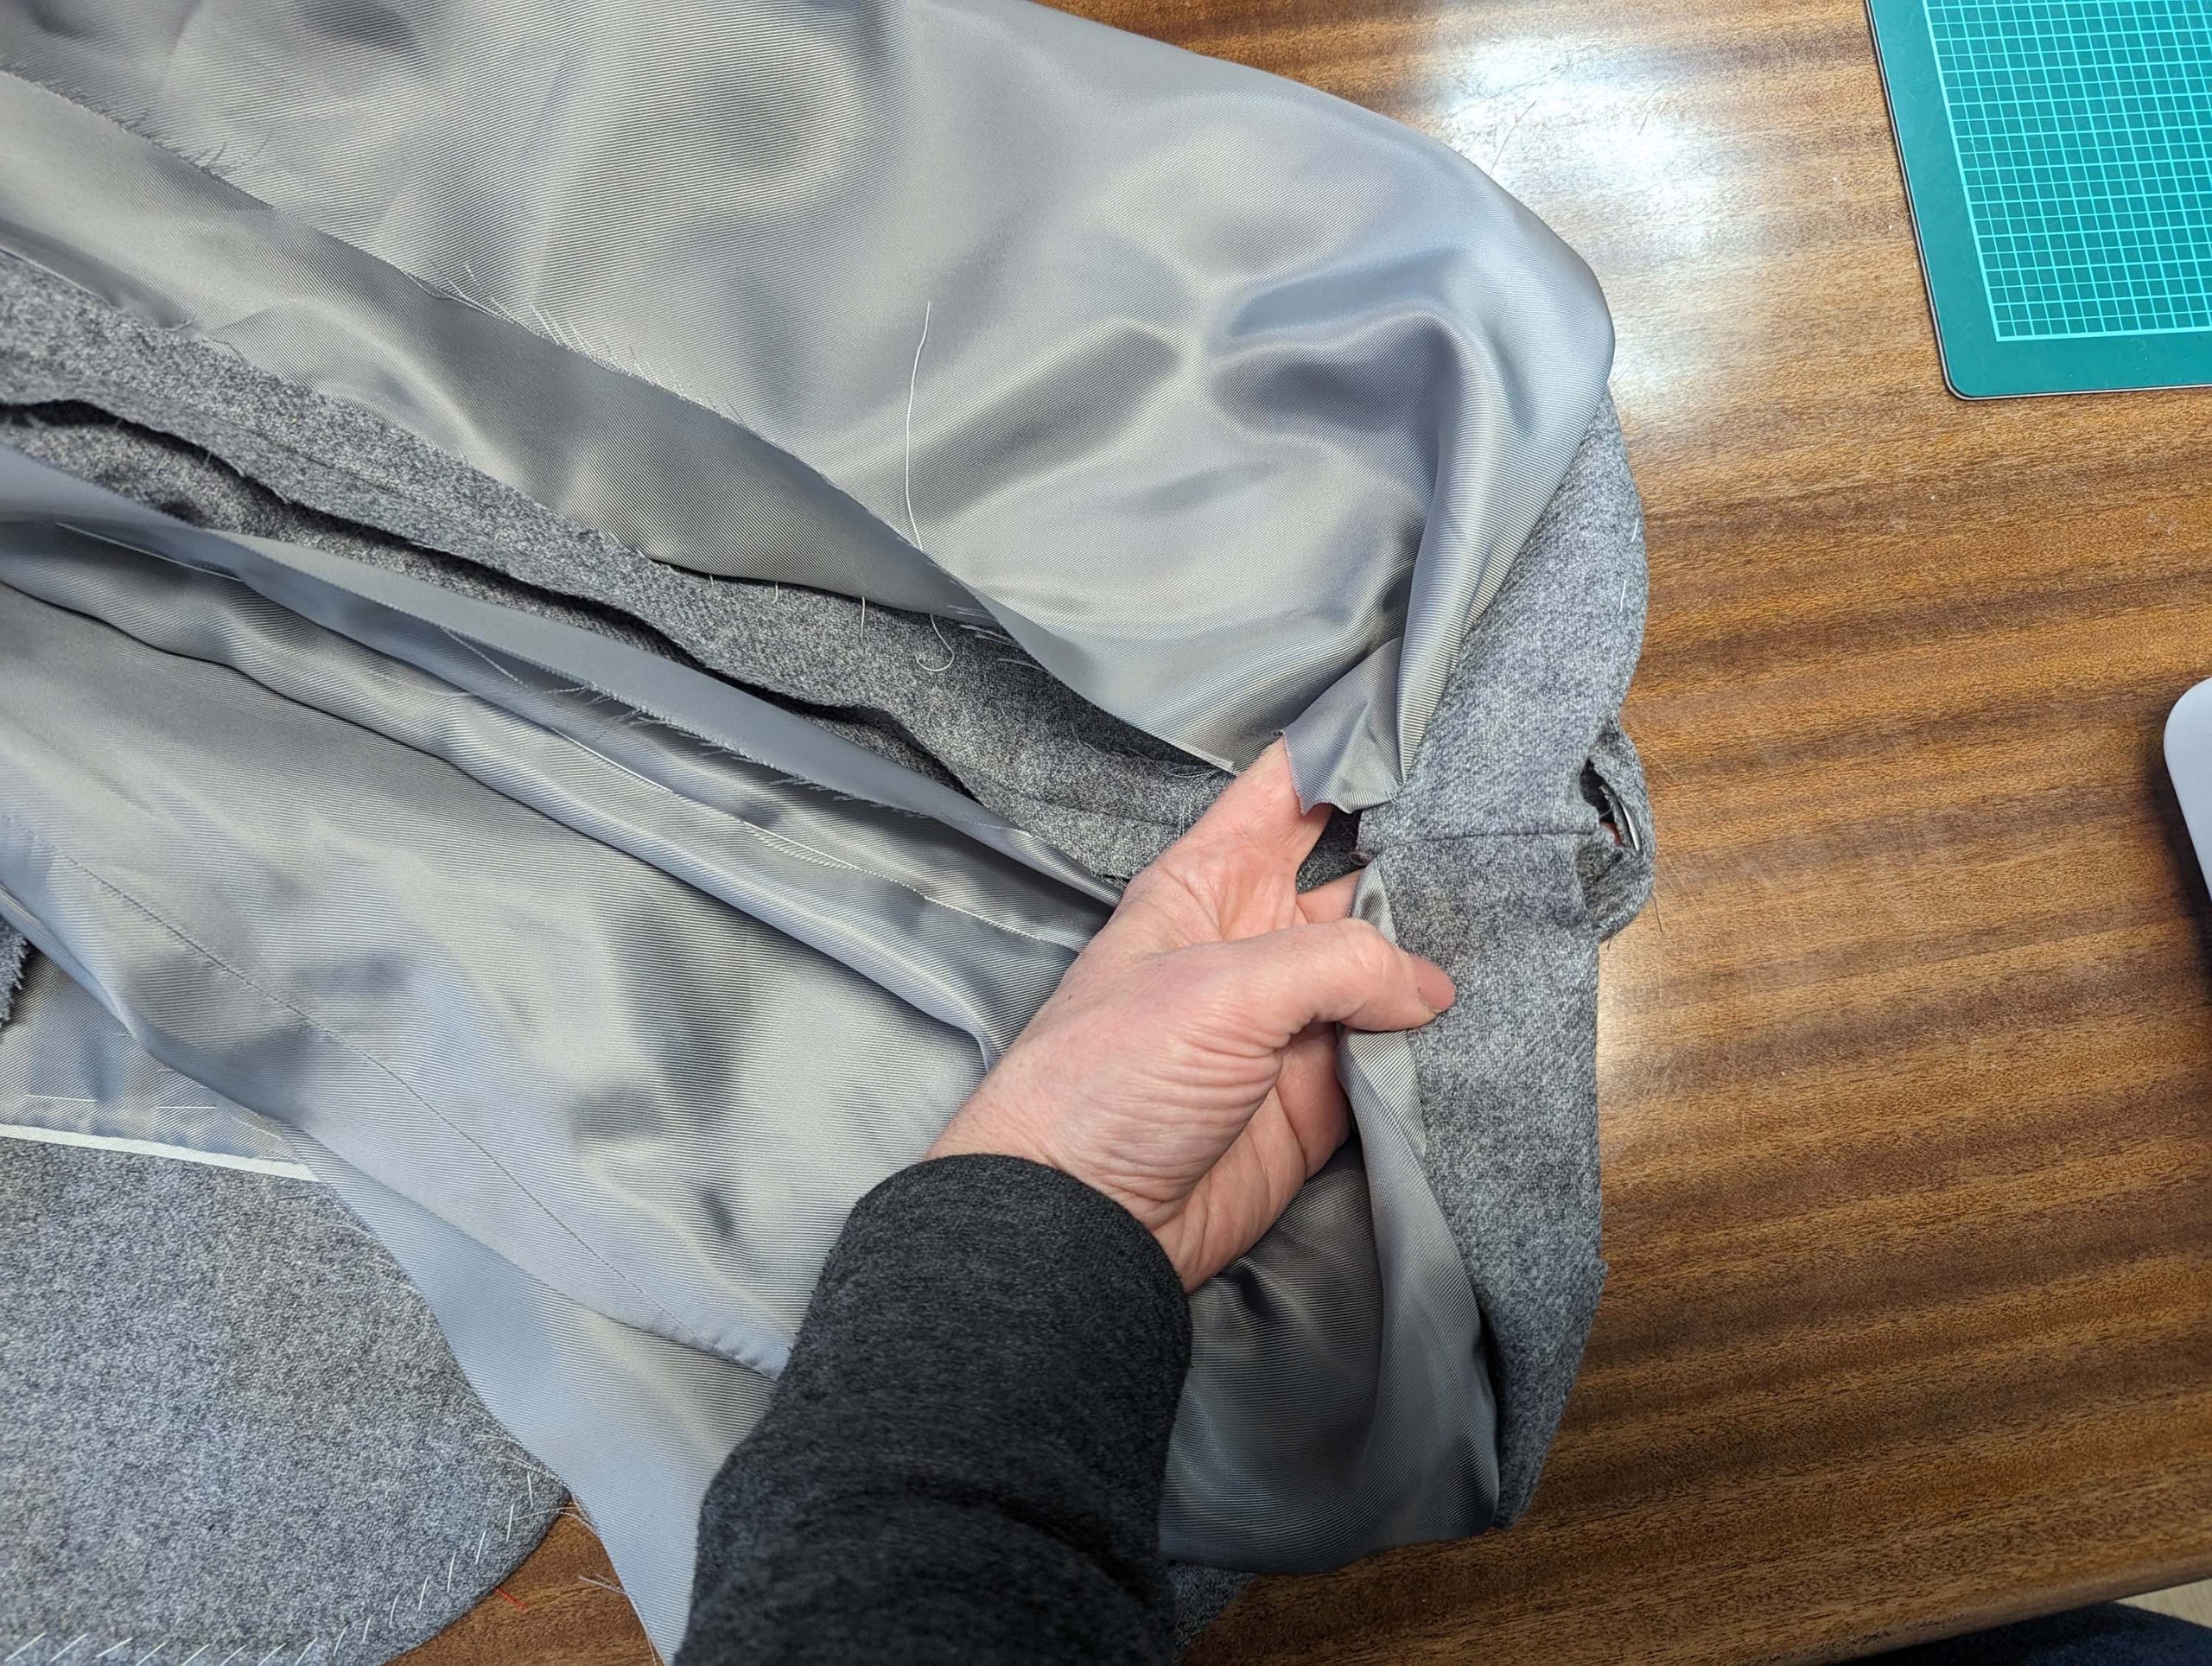
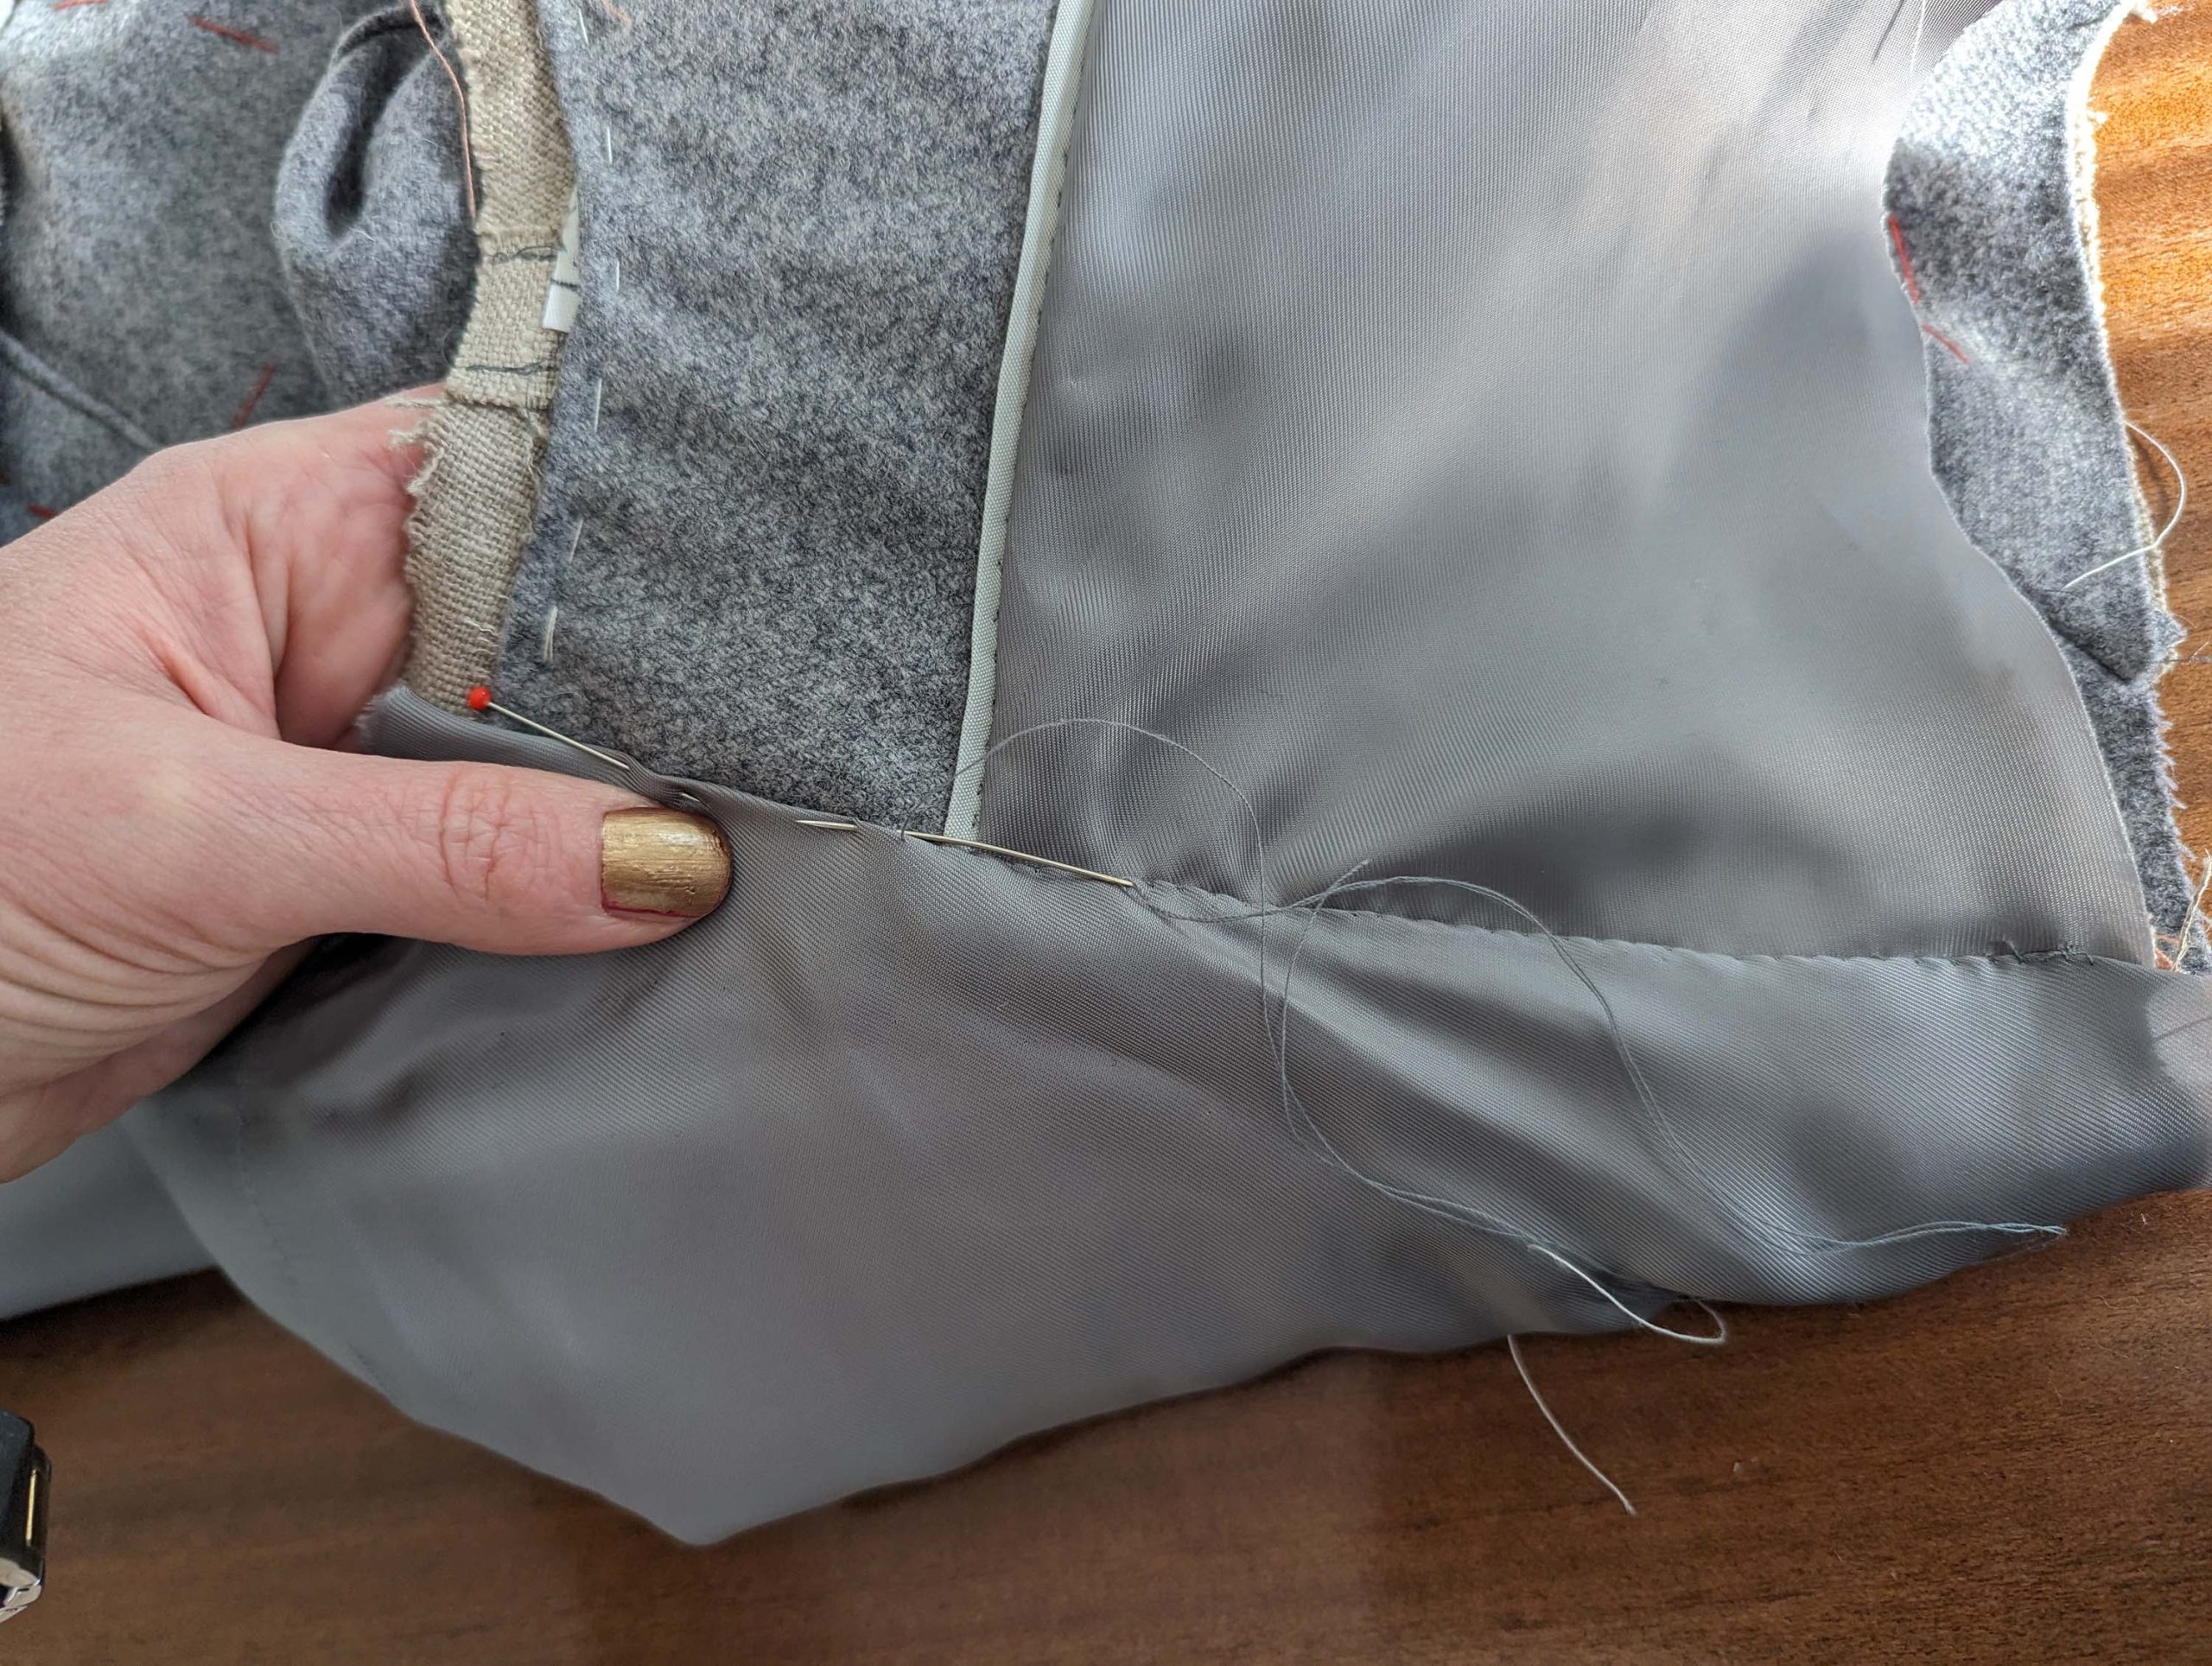
Take care, the pictures are a bit different than the instructions, as the pattern was still developing. Smooth out the canvas and the front lining over the side seam. Baste the lining to the seam allowance of the back, without any stitches visible on the right fabric side. Stop about 3” (7cm) before reaching the bottom edge. Turn in the seam allowance of the back lining along the side edge and line up with the side seam. Fell stitch in place. Along the portion of the front lining, where it was left loose, just fell stitch the lining together, without catching the fashion fabric. Turn in a seam allowance of 5/8” (1,5cm) along the bottom edge and line up with the top edge of the hem facing, creating a fold for the ease needed. Sew the front lining to the front-facing in the ditch of the bias tape.
Part 4 Step (17 – (22)