
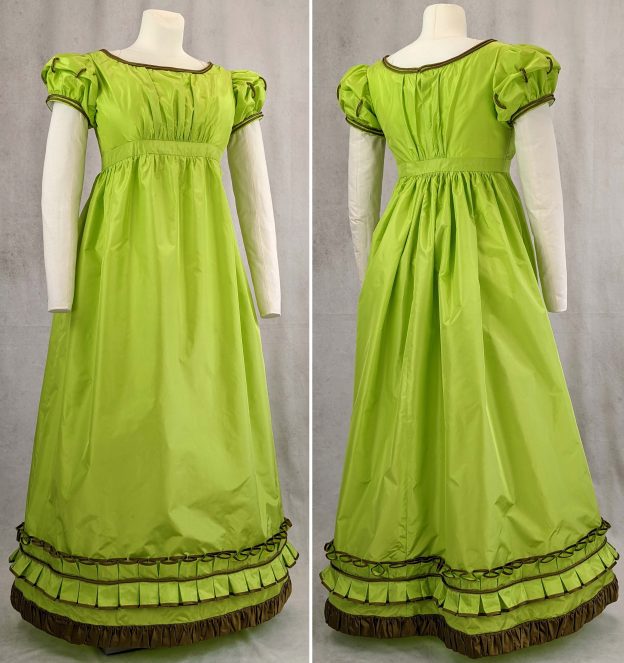
Welcome back for a new sewing pattern! I made this dress last year in autumn to attend two intimate and small events, a soiree and a Napoleonic ball.

It was not my intention to make a Bridgerton inspired dress, I just fell in love with this extant gown https://www.photo.rmn.fr/archive/15-523923-2C6NU0AOS8H16.html from the Musée national des châteaux de Malmaison & Bois-Préau in France.
I´m sorry, that I didn´t made lots of pictures during the sewing process because I was in a hurry, I made a mistake when cutting the skirt, but I love the result. Due to the newest release of Bridgerton Season 2 I don´t want to withhold this pattern from you.
Visit my shop if you are interested in the sewing pattern!
Subscribe to my newsletter to stay informed about new patterns and promotions.
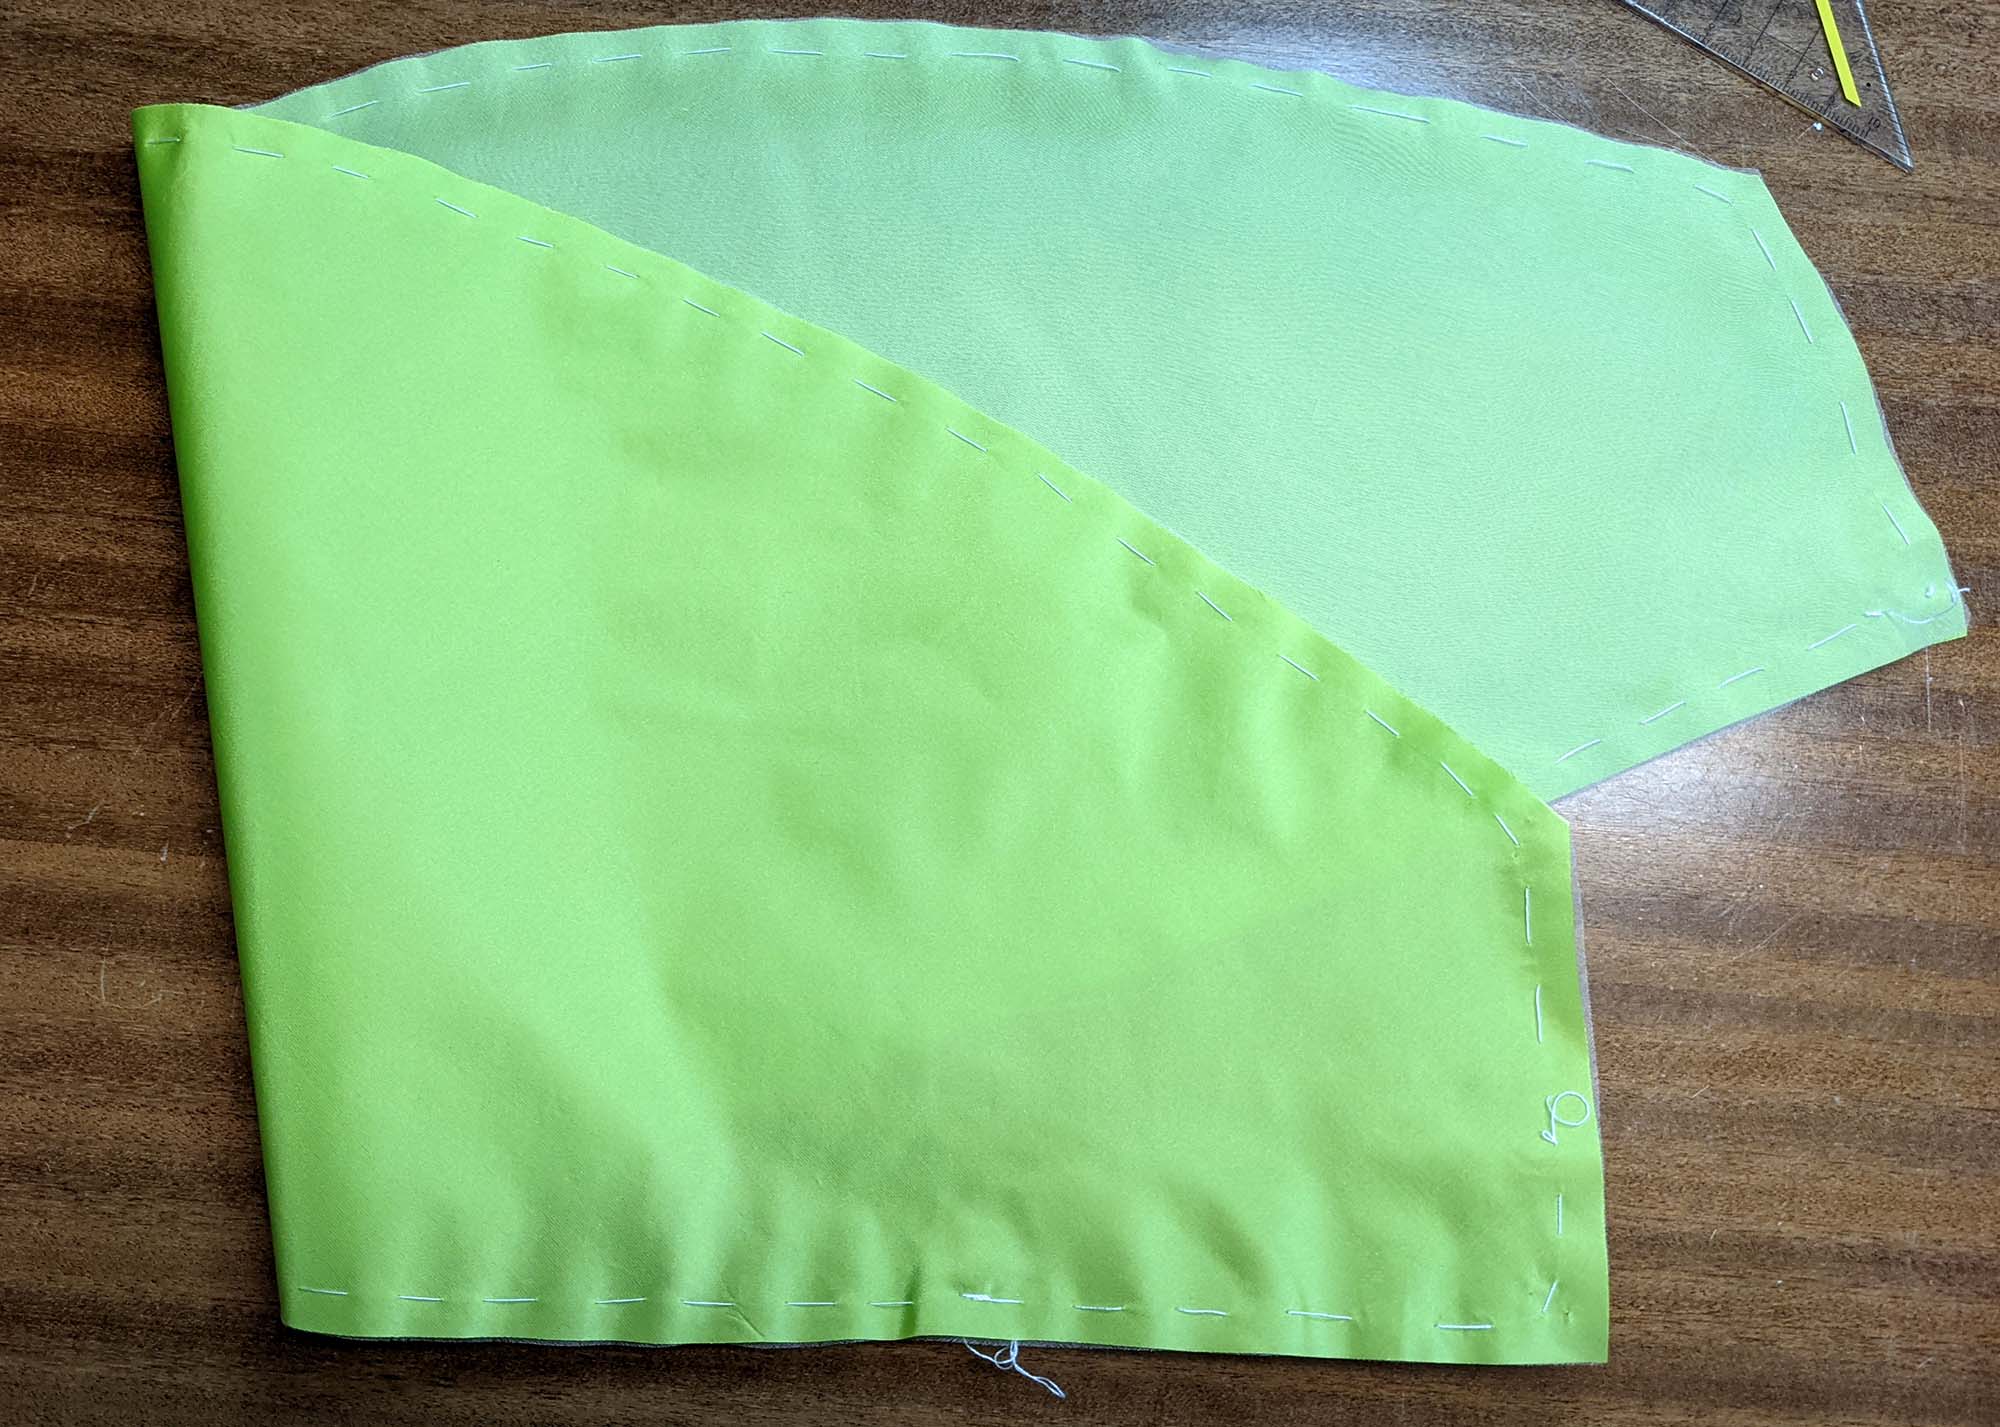
Let´s start with sewing! Just some considerations before we´ll start. Take care that there are no extra pattern pieces for the skirt. The skirt is made from panels of fabric, cut into rectangle and trapezoidal pieces. The following diagram shows how to cut the skirt from different fabric widths.
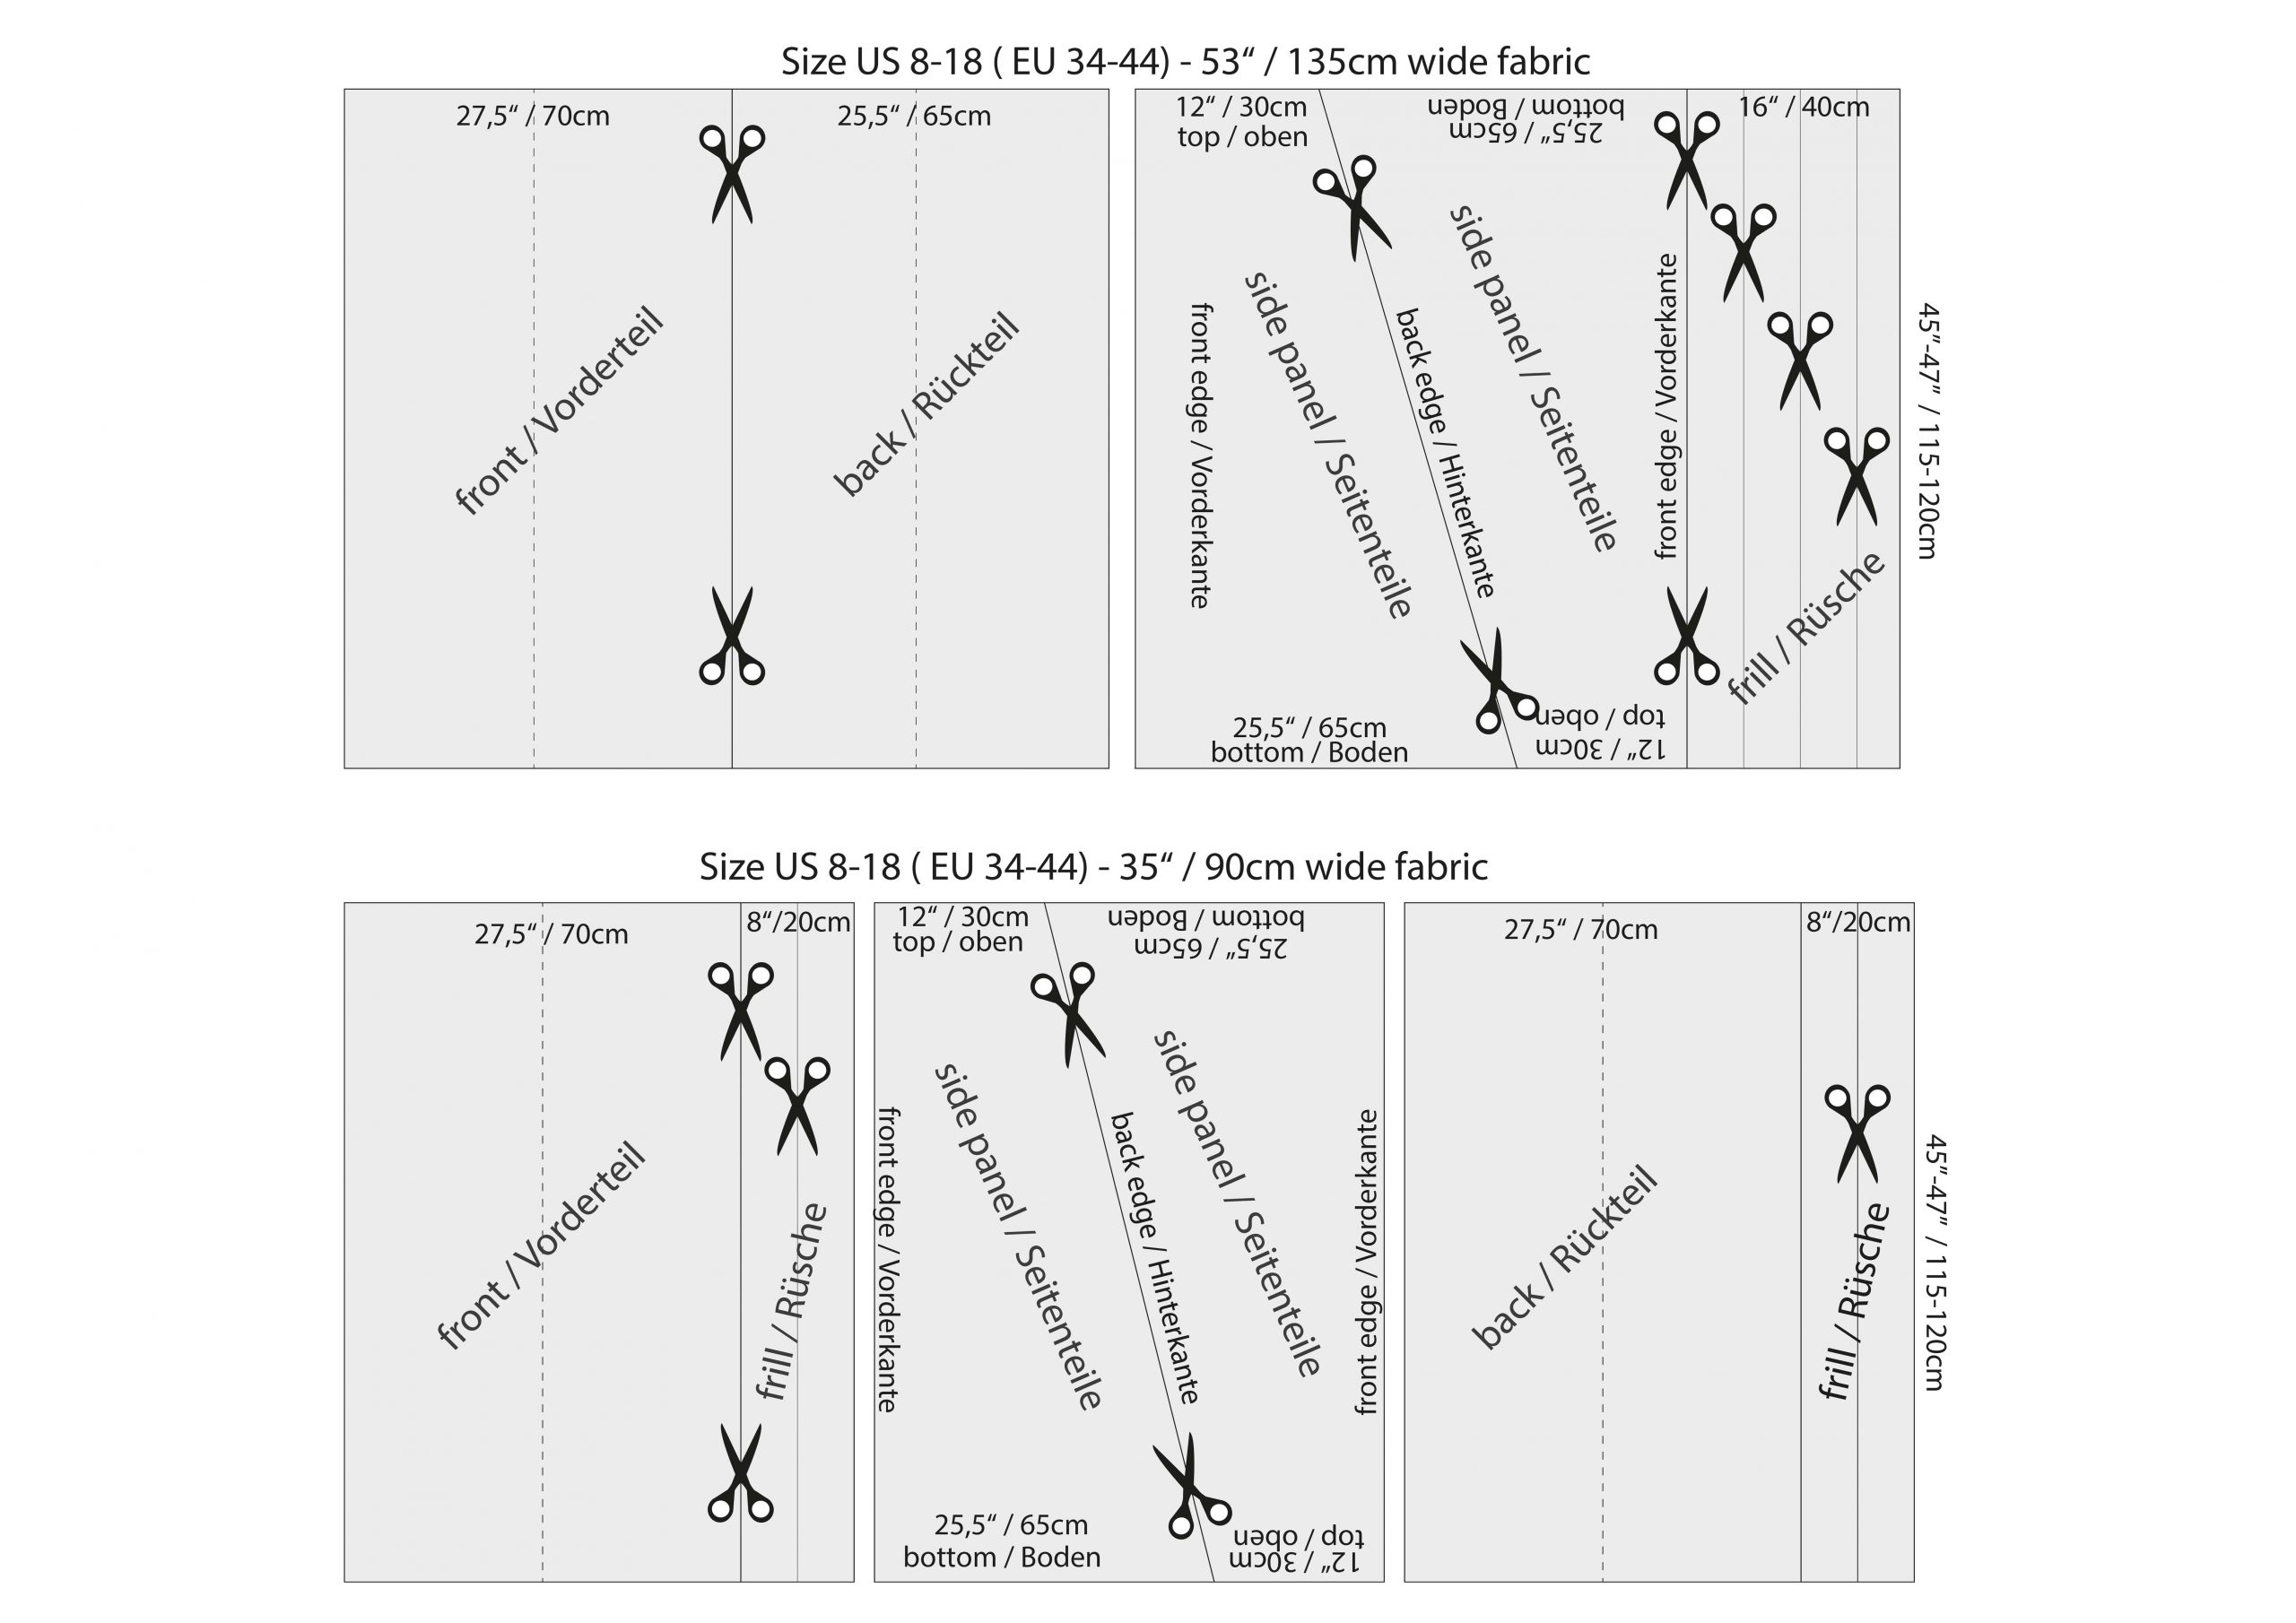
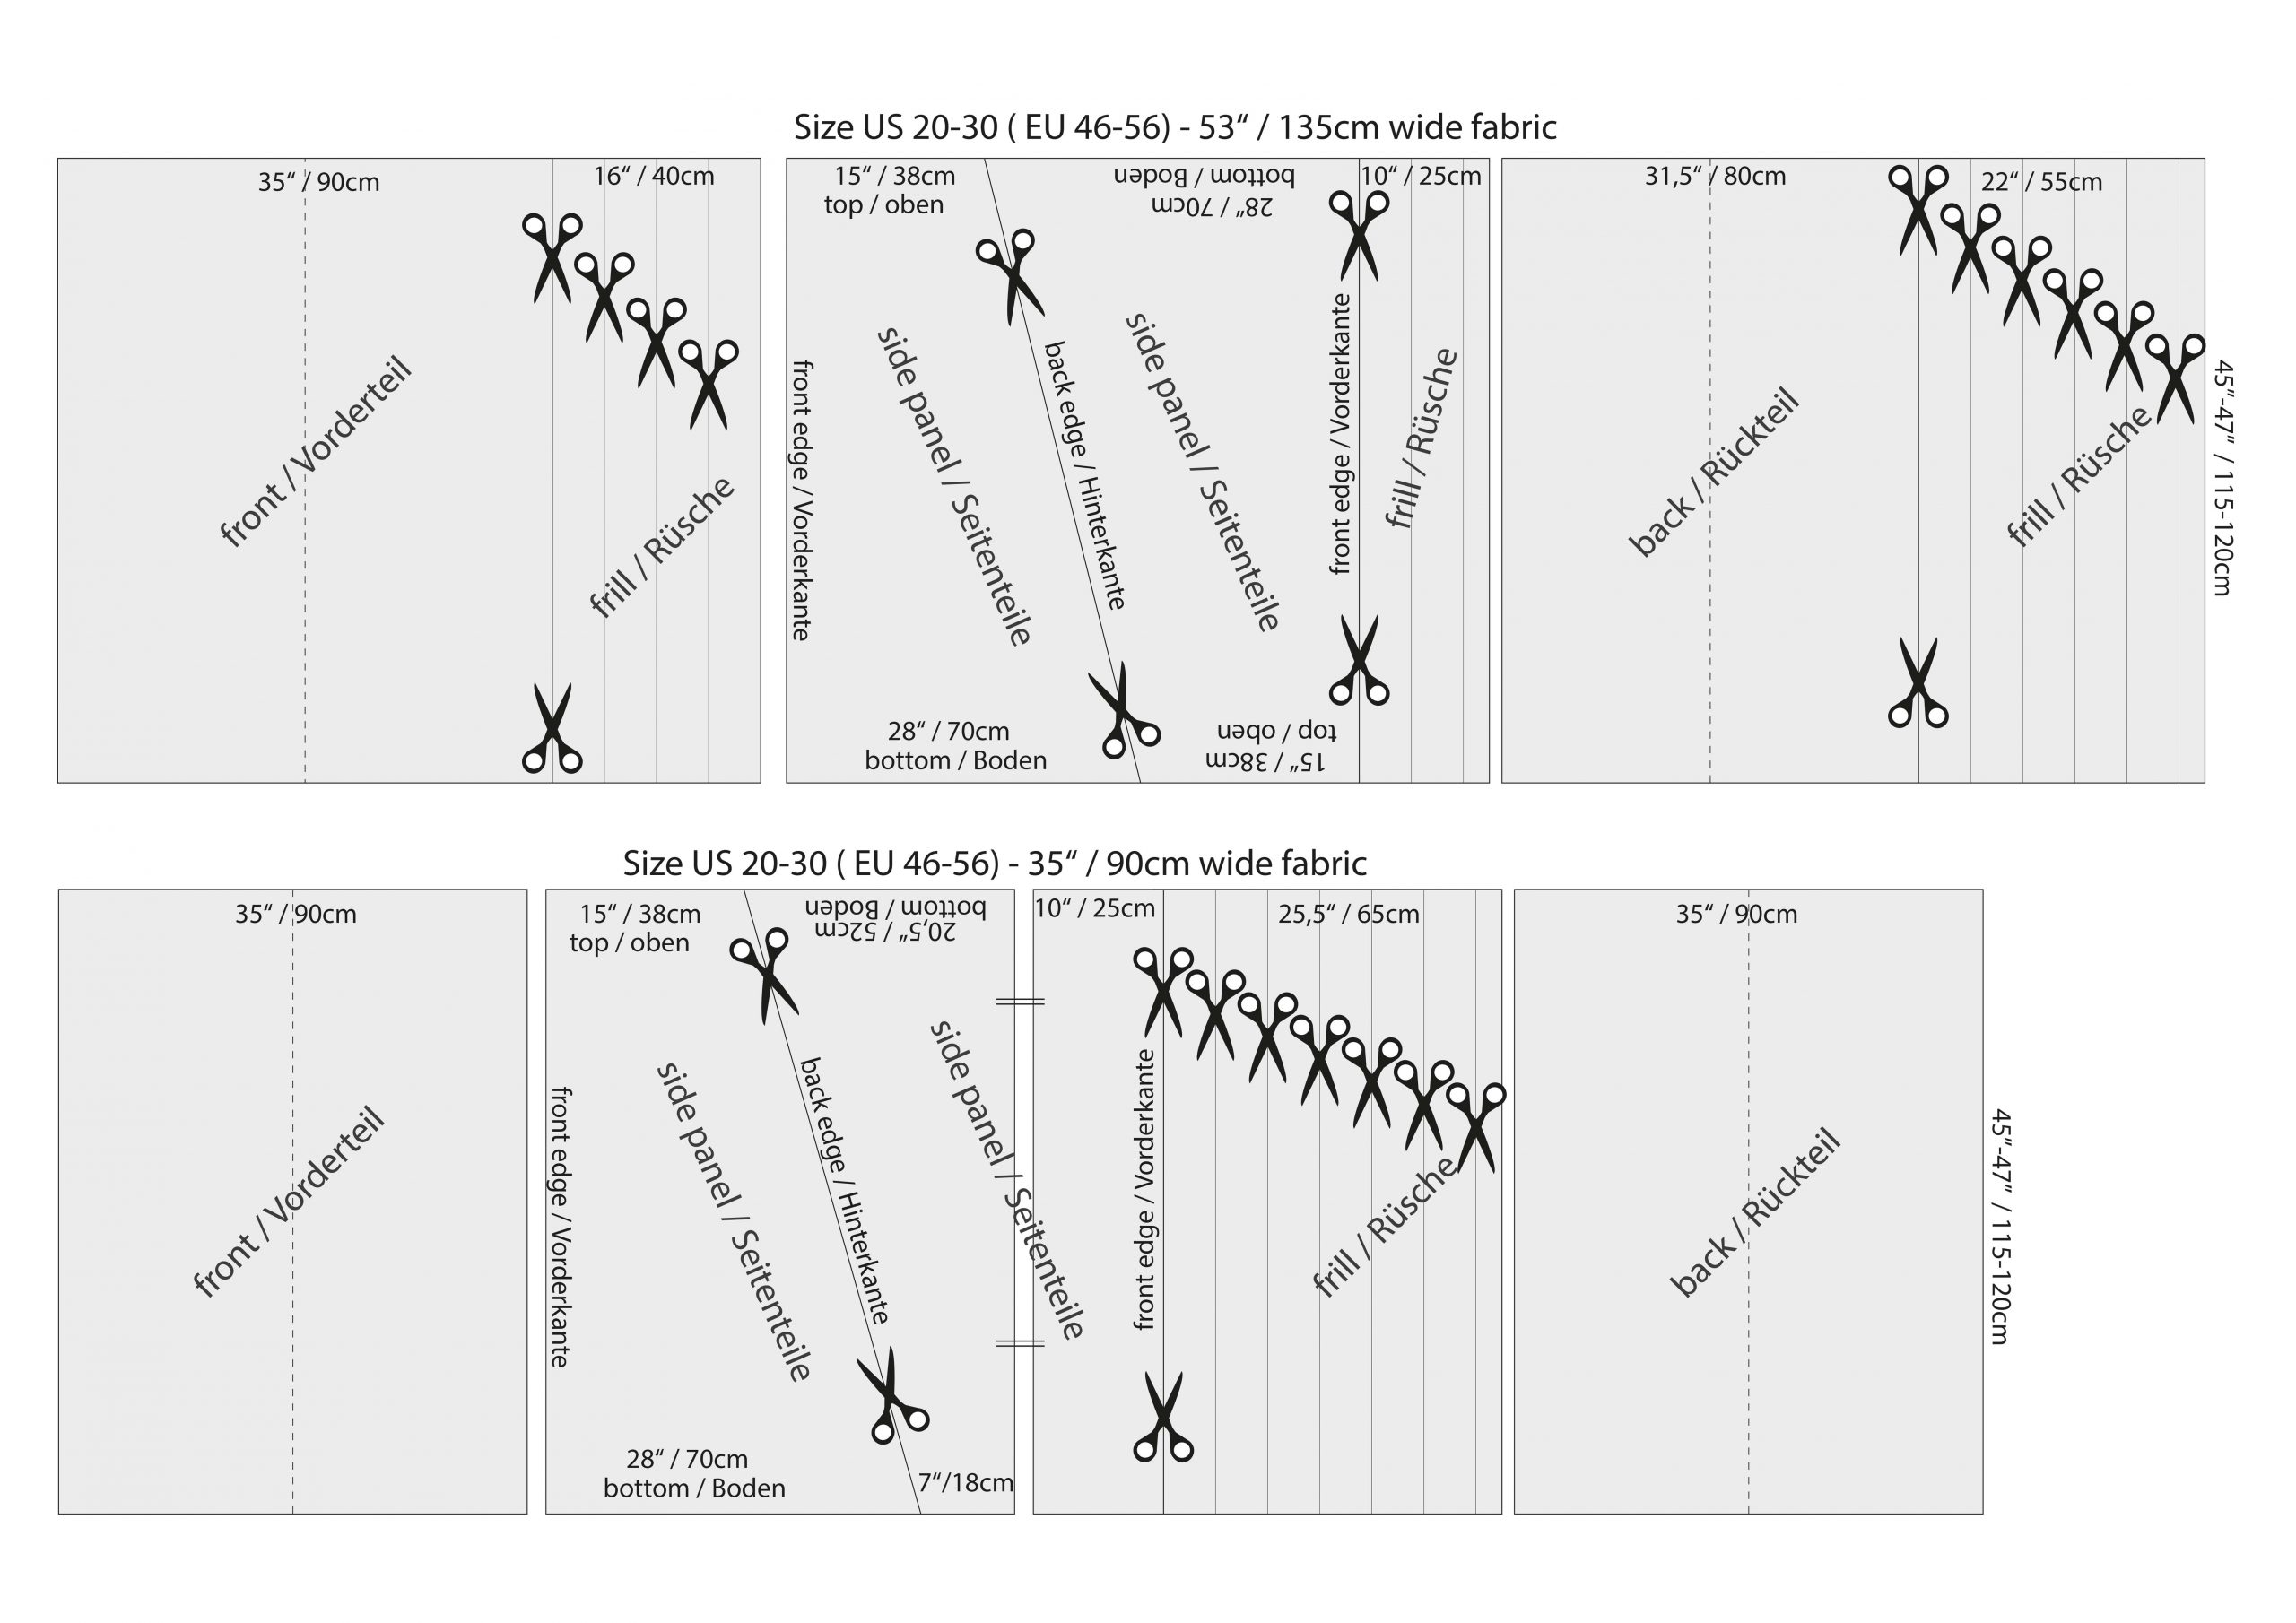
This is another overview how to estimate the width of your panels. The measurements do not necessarily have to be observed exactly. The width of the front panel should be 1,5 times the length from mark ② to mark ② on the waistband. The side panel should measure about 2 times the length from mark ② to mark ③, and the back panel about 4 times from ③ to ④. (When sewing a larger size with 35” (90cm) wide fabric, you´ll have to piece one of the side panels as shown on the diagram – piecing is period). The remaining fabric strips will be used for the box pleated frill at the hem.

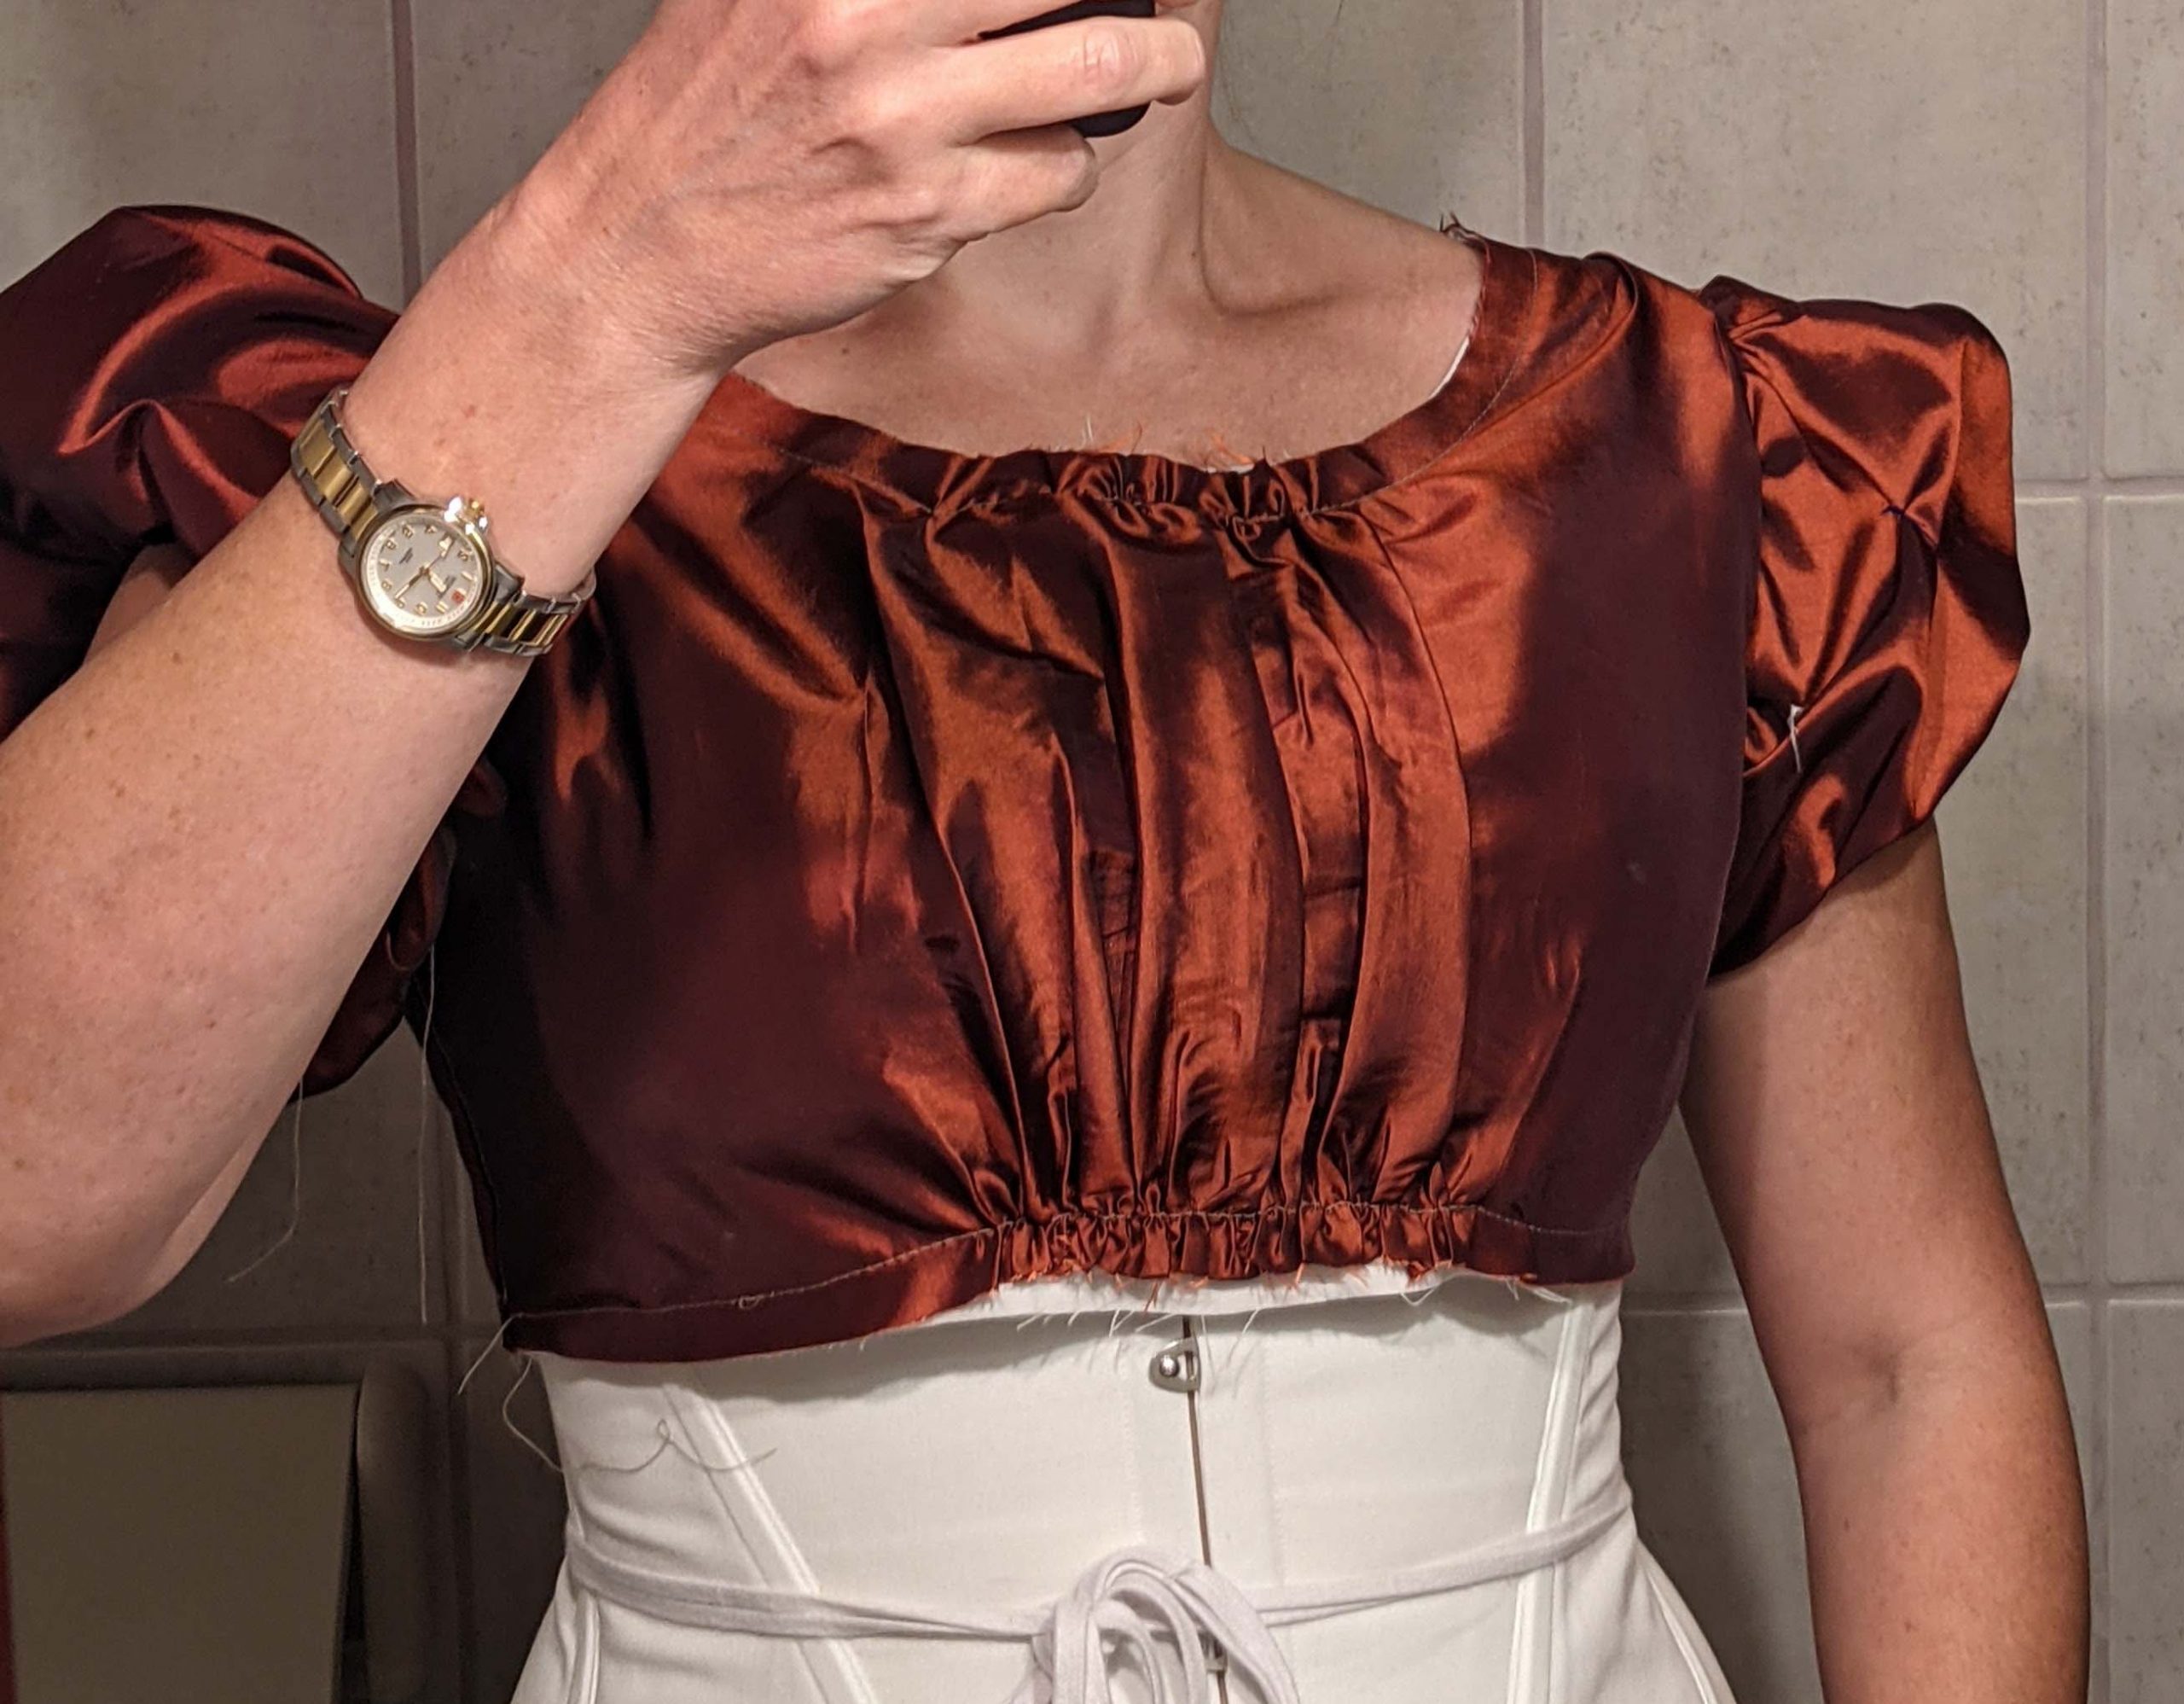
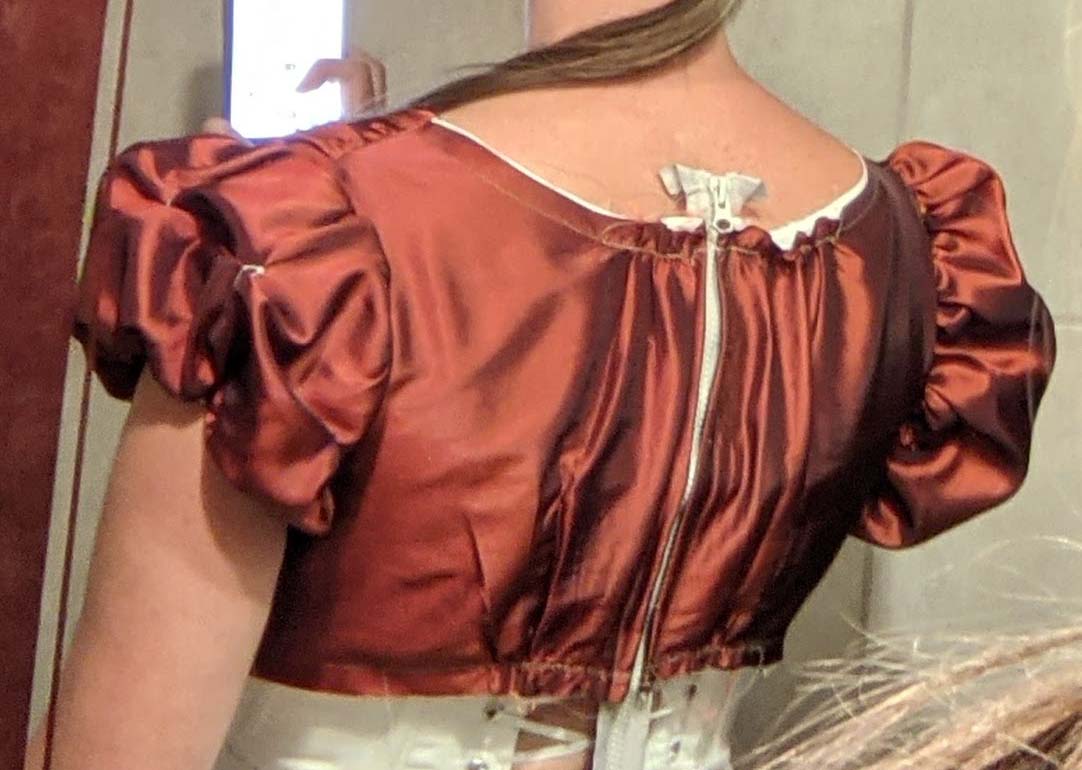
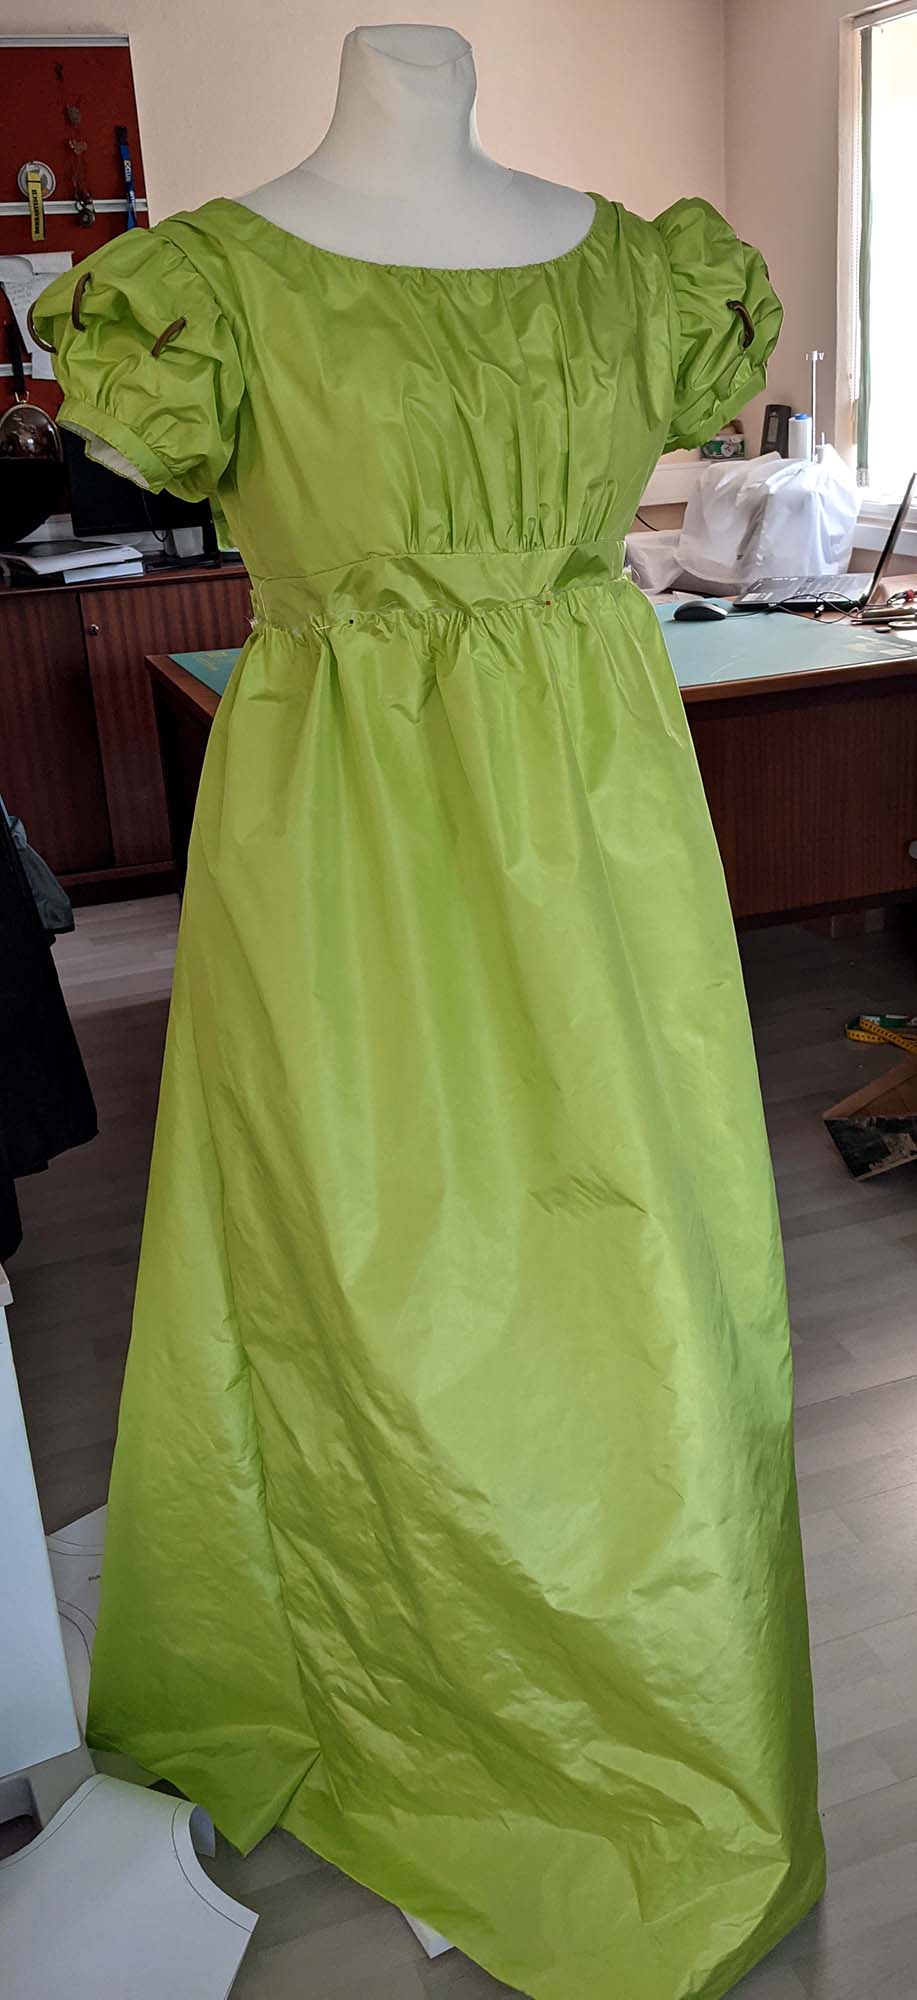
(1) The importance of a mock-up: Quite sloppy pics of my mine. You can see the additional length at the front to fit over the bust.
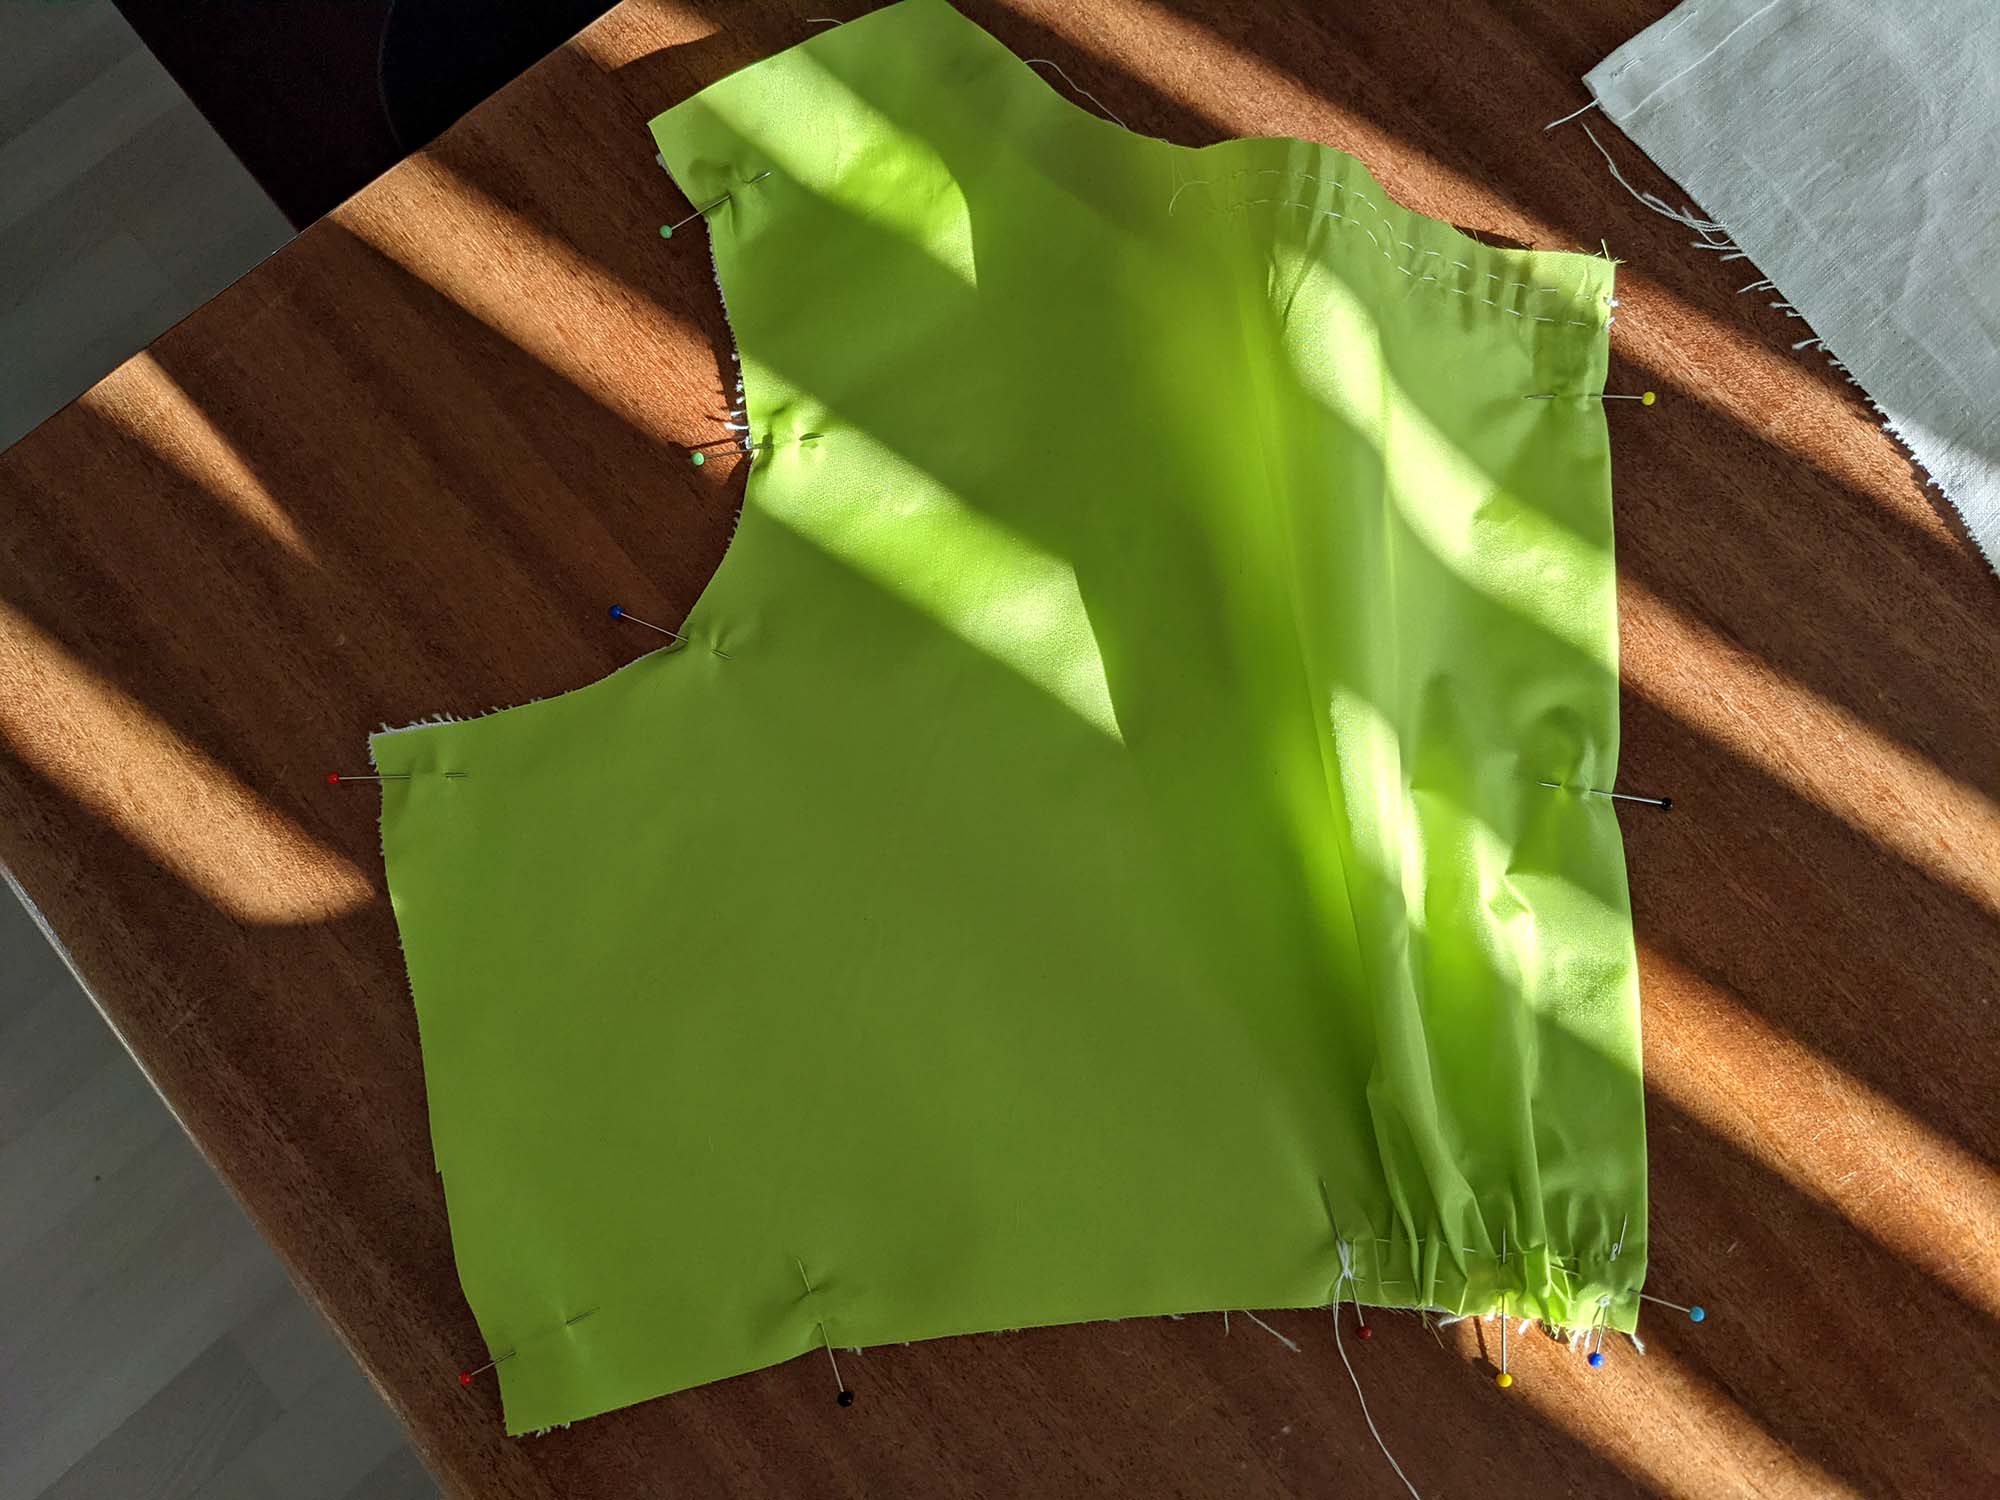
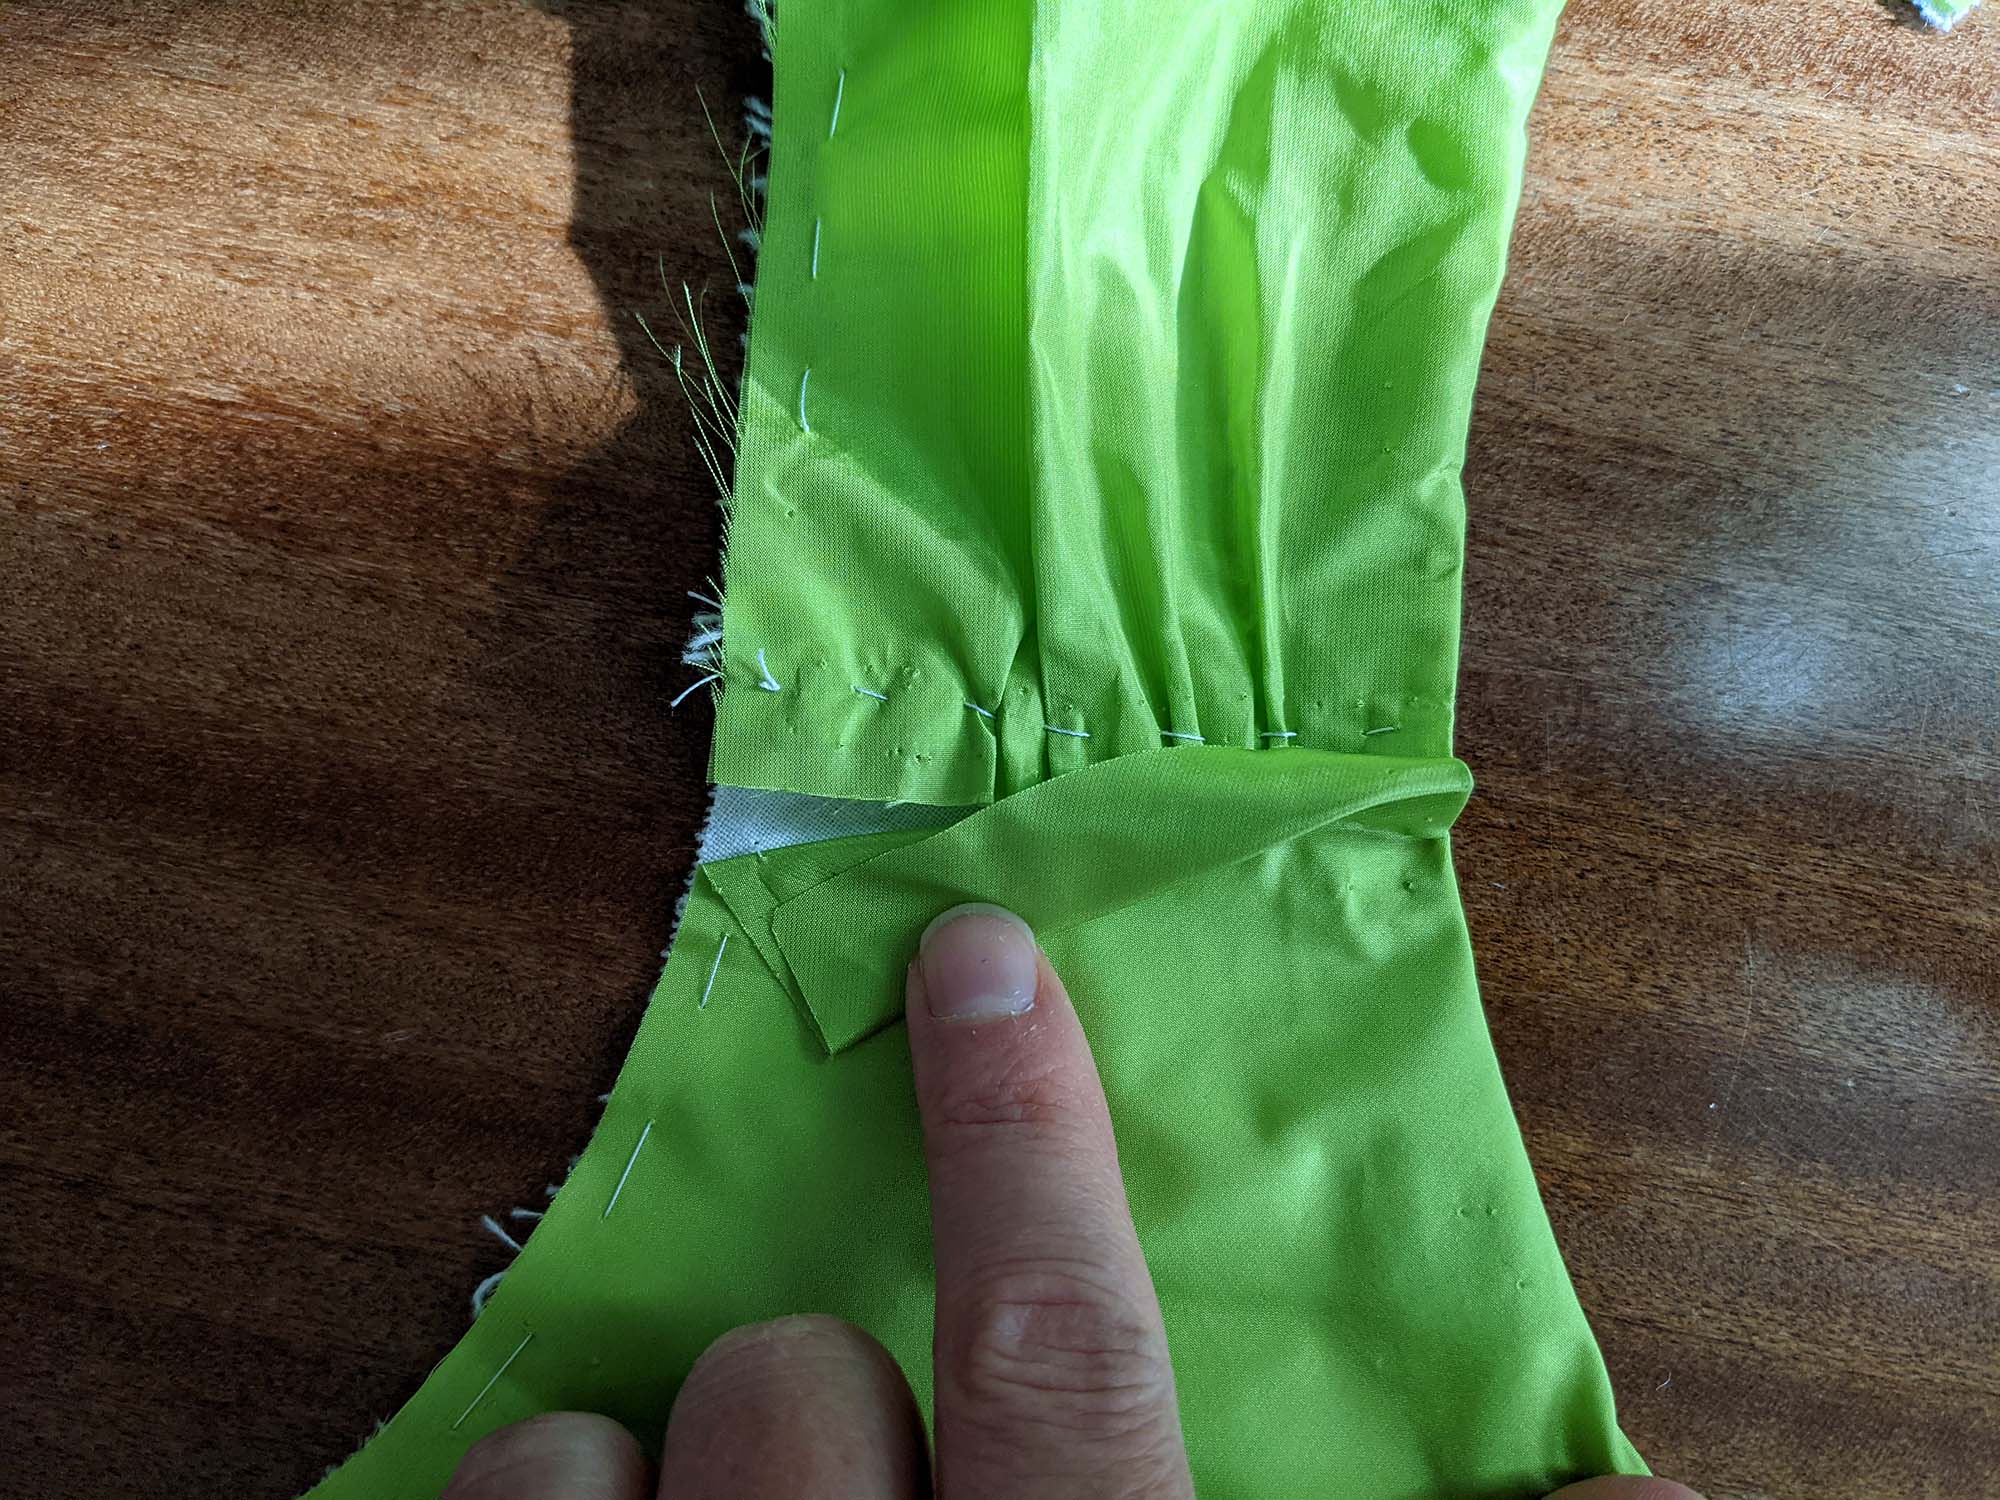
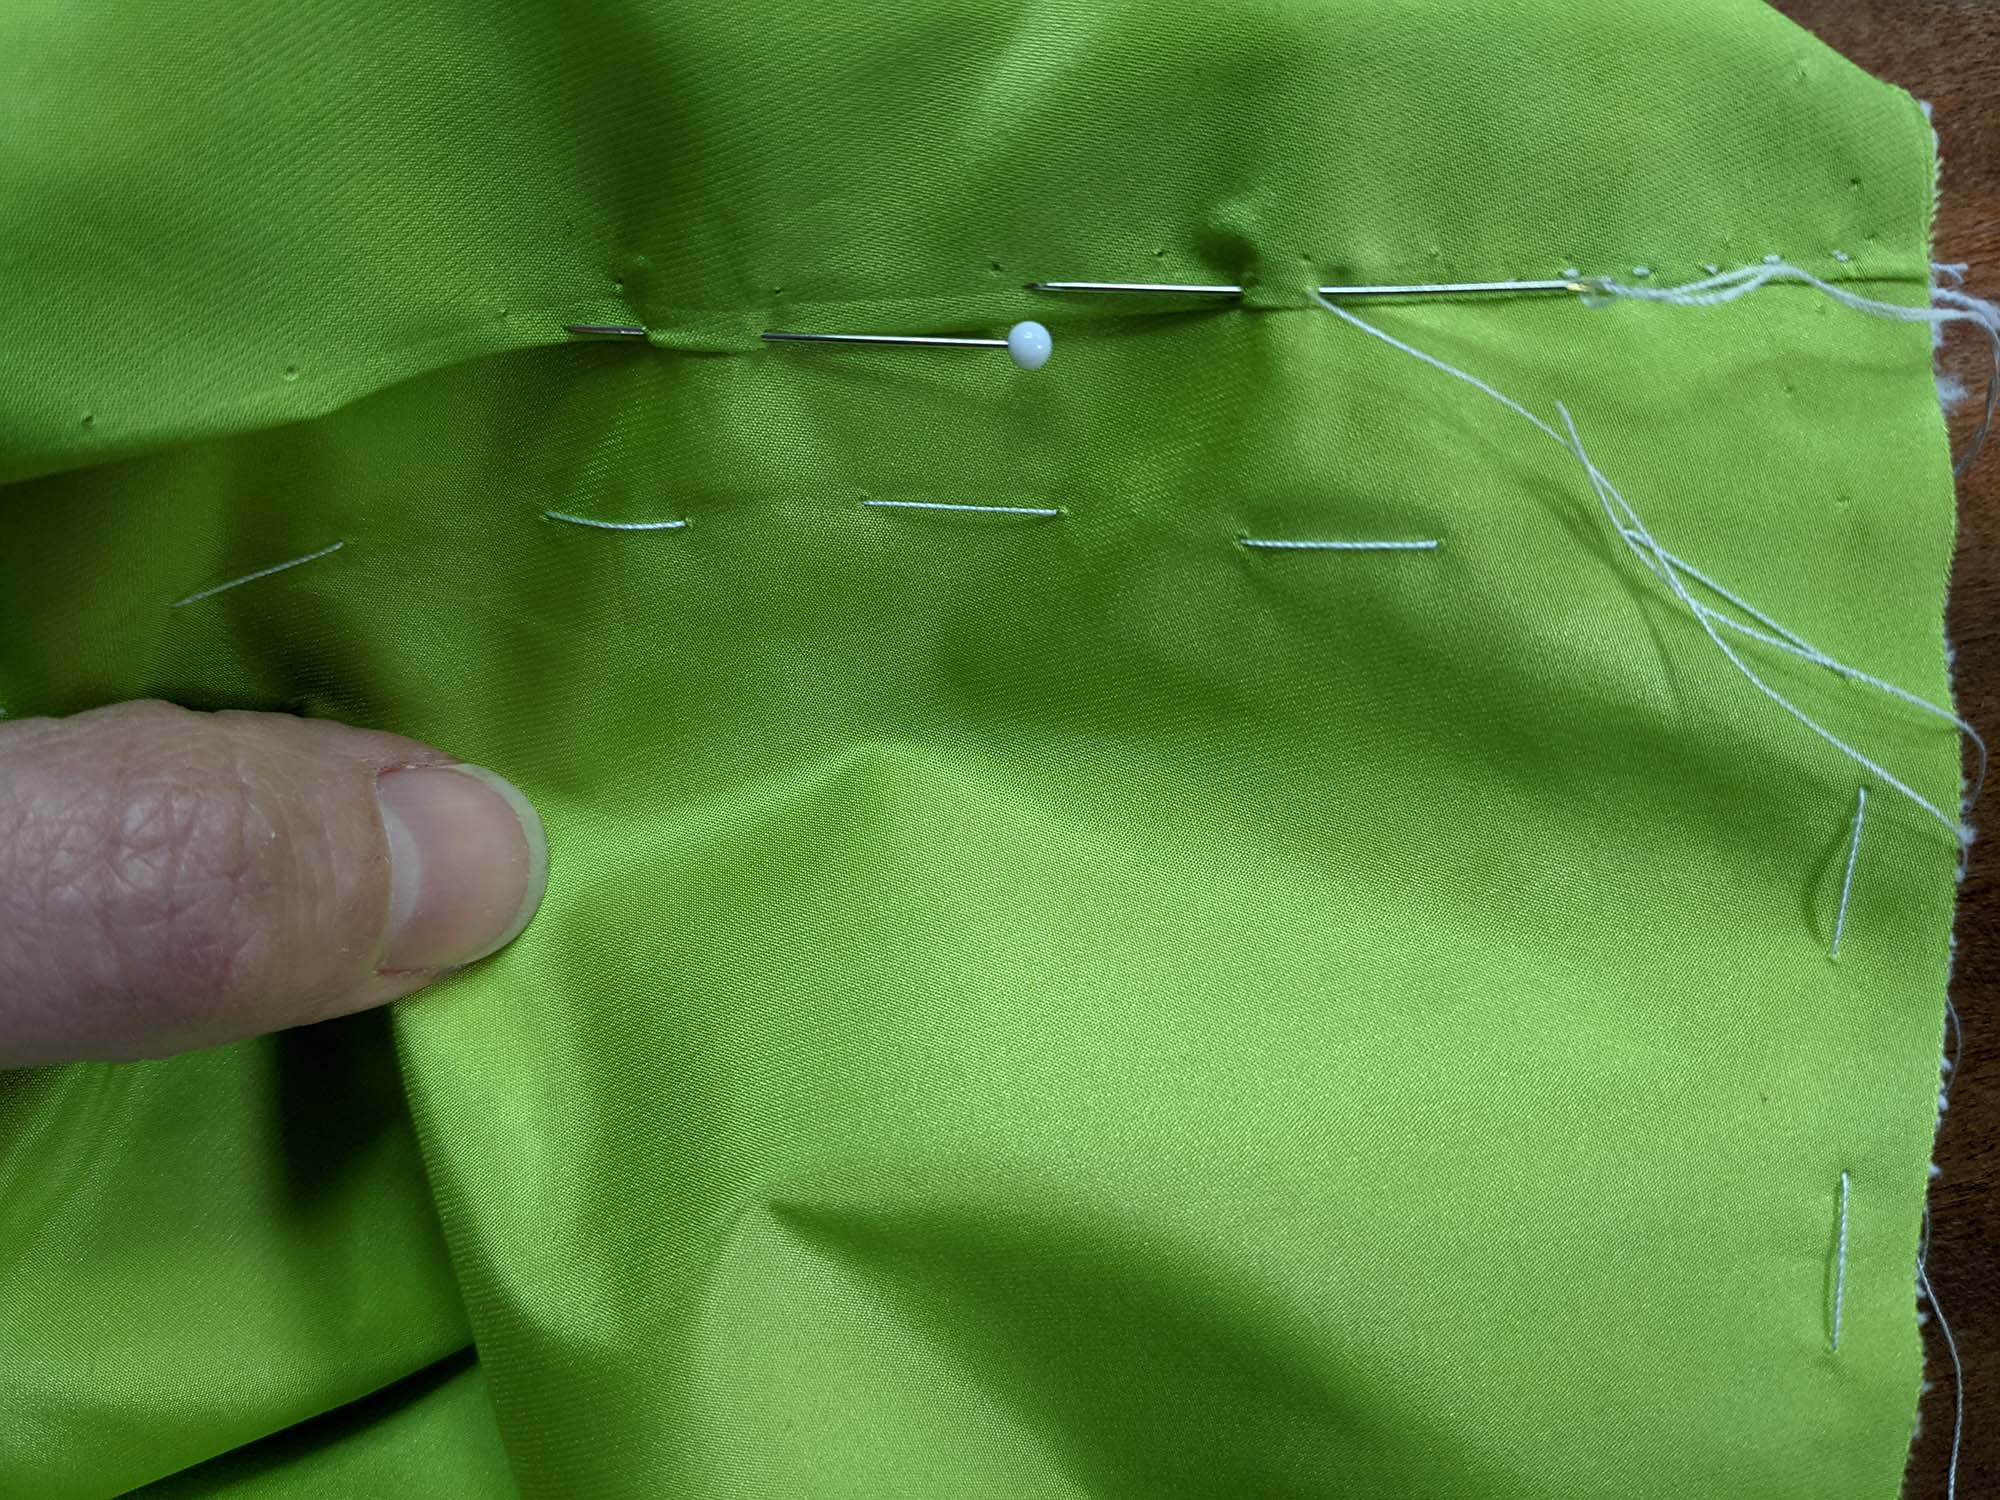
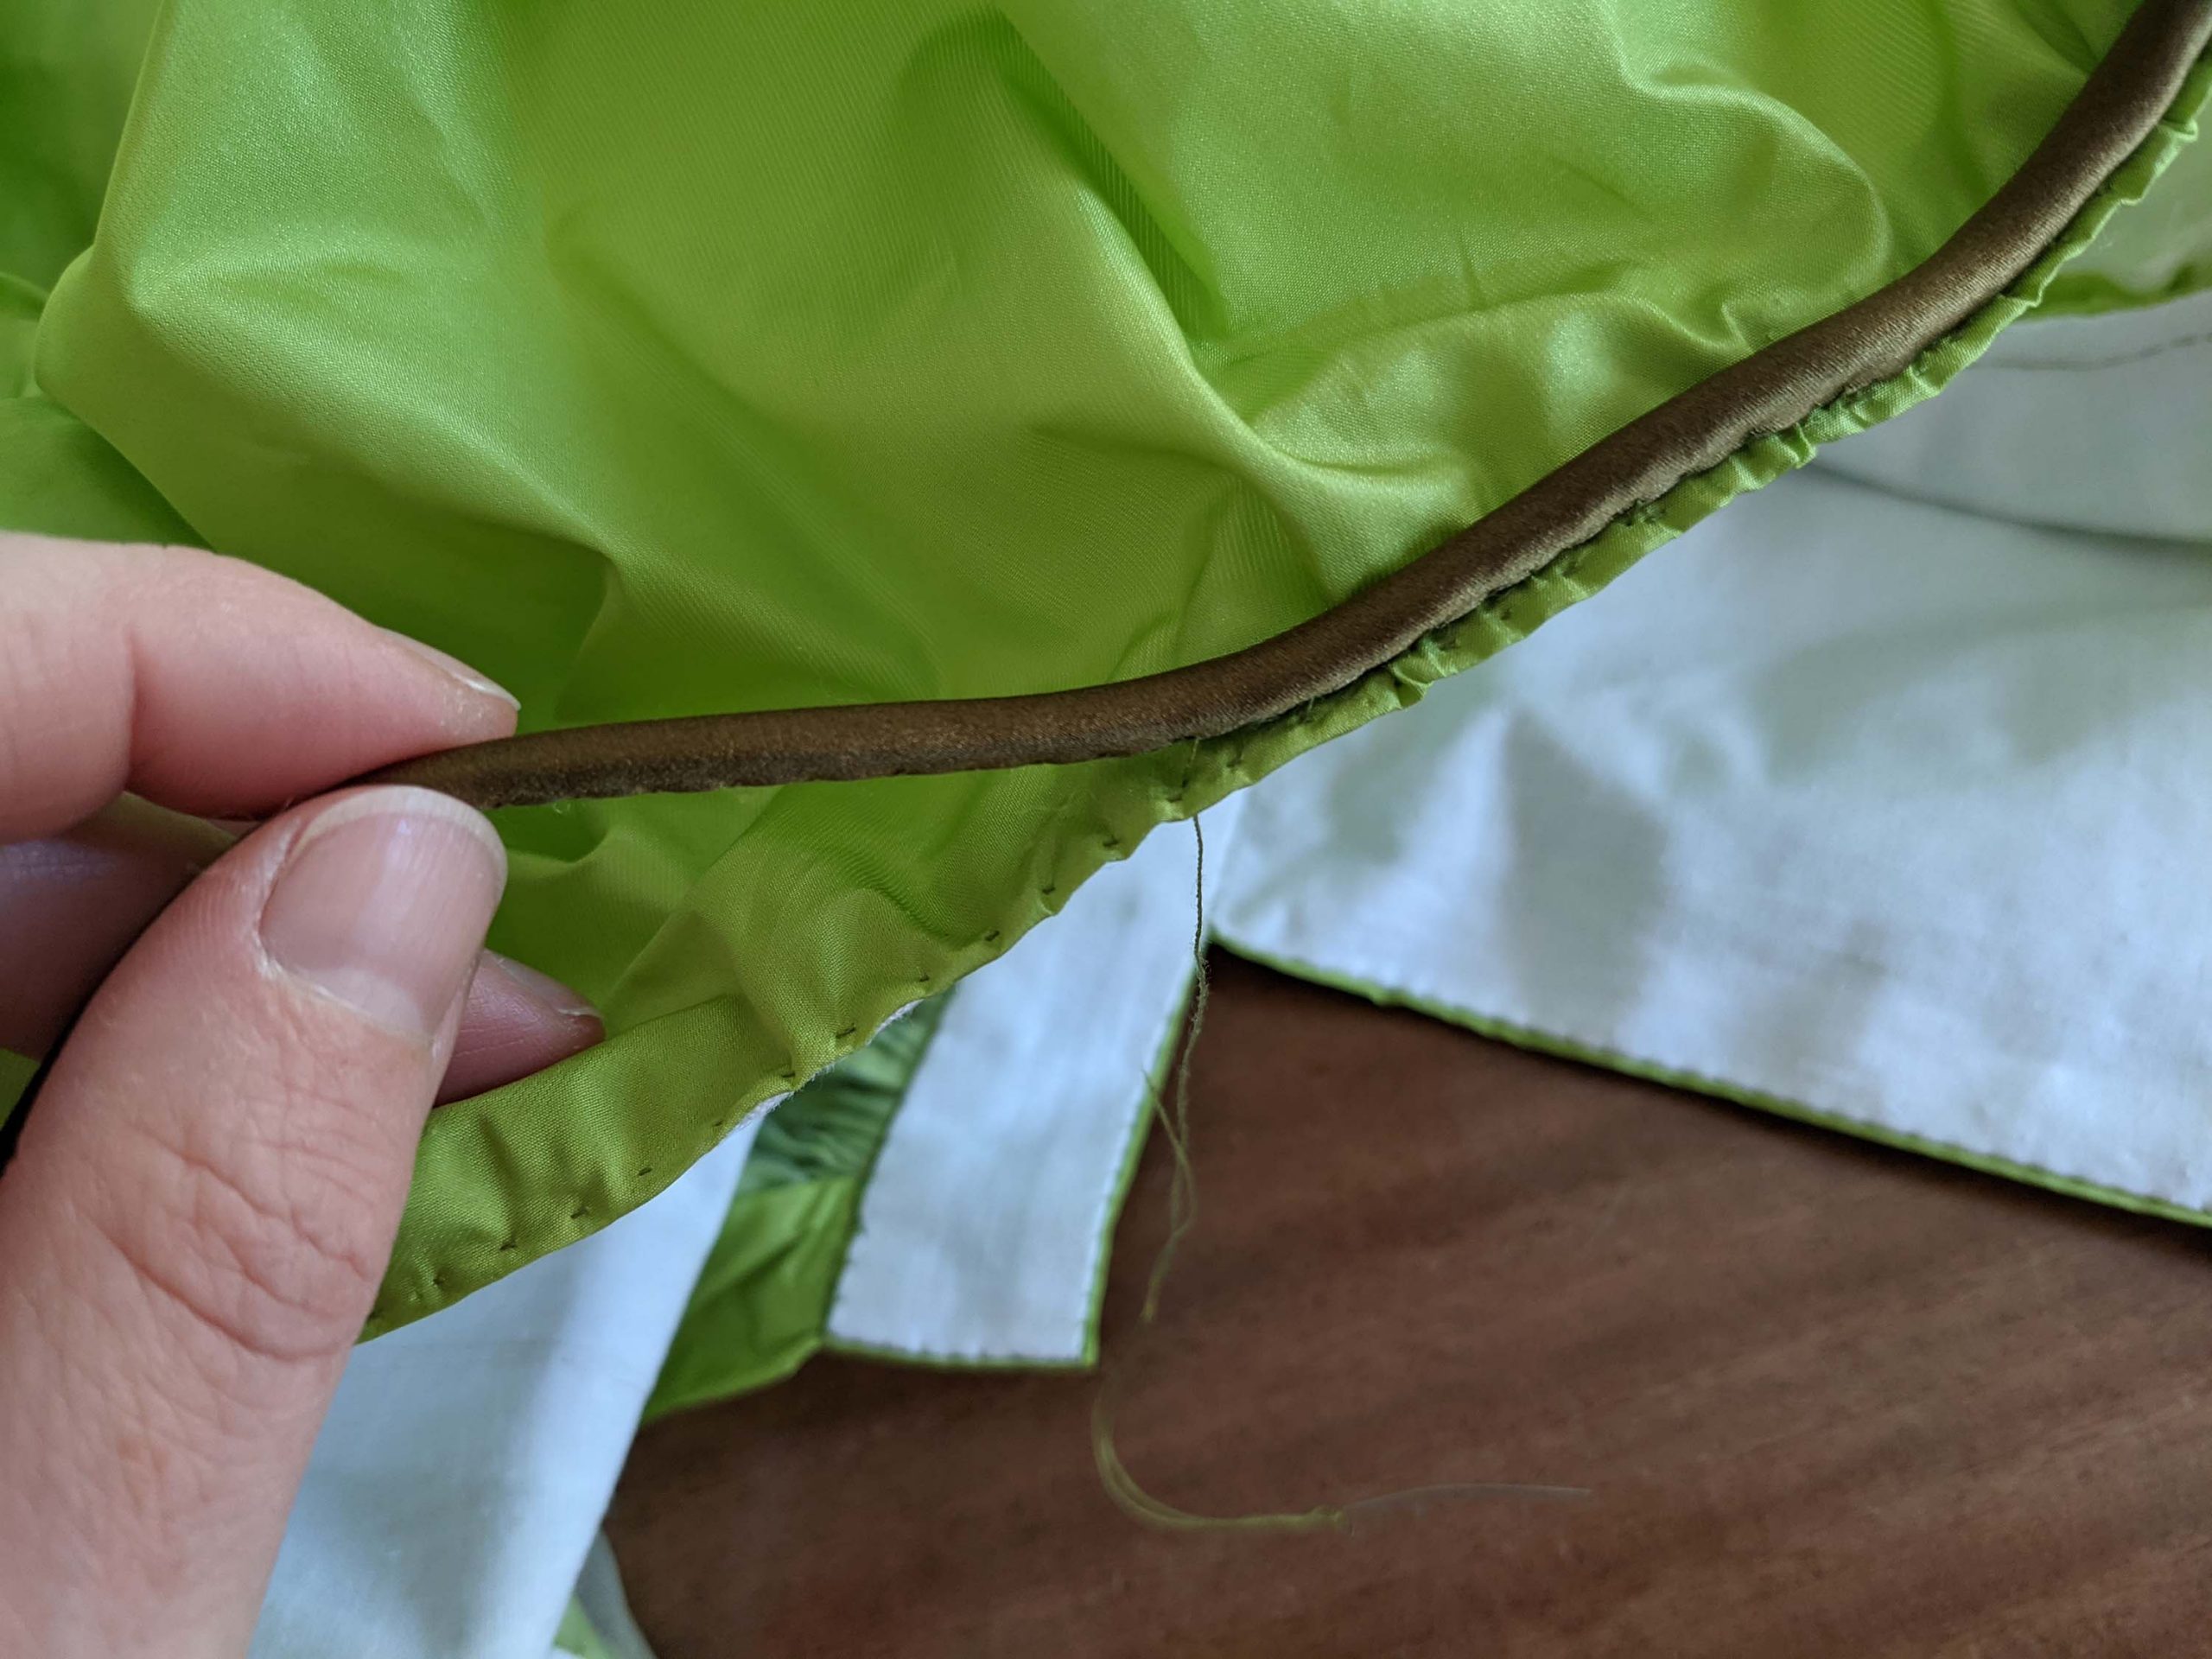
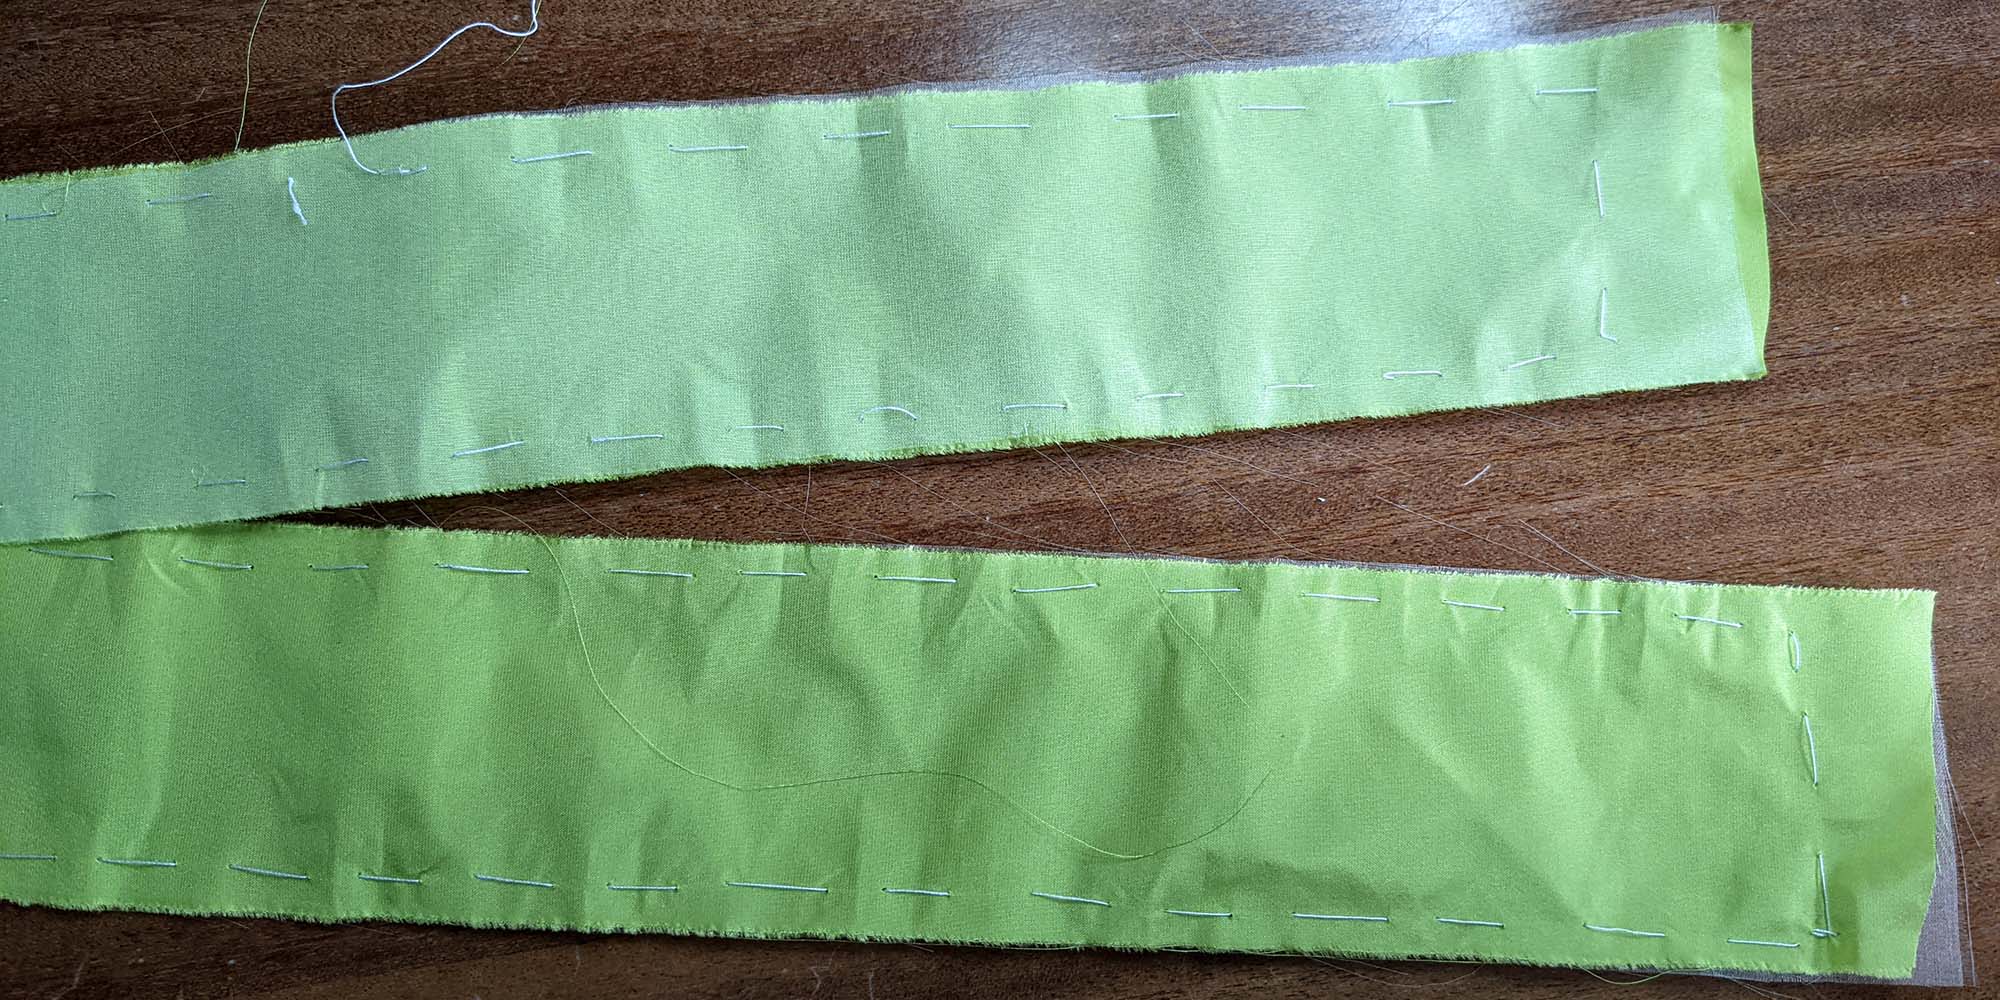
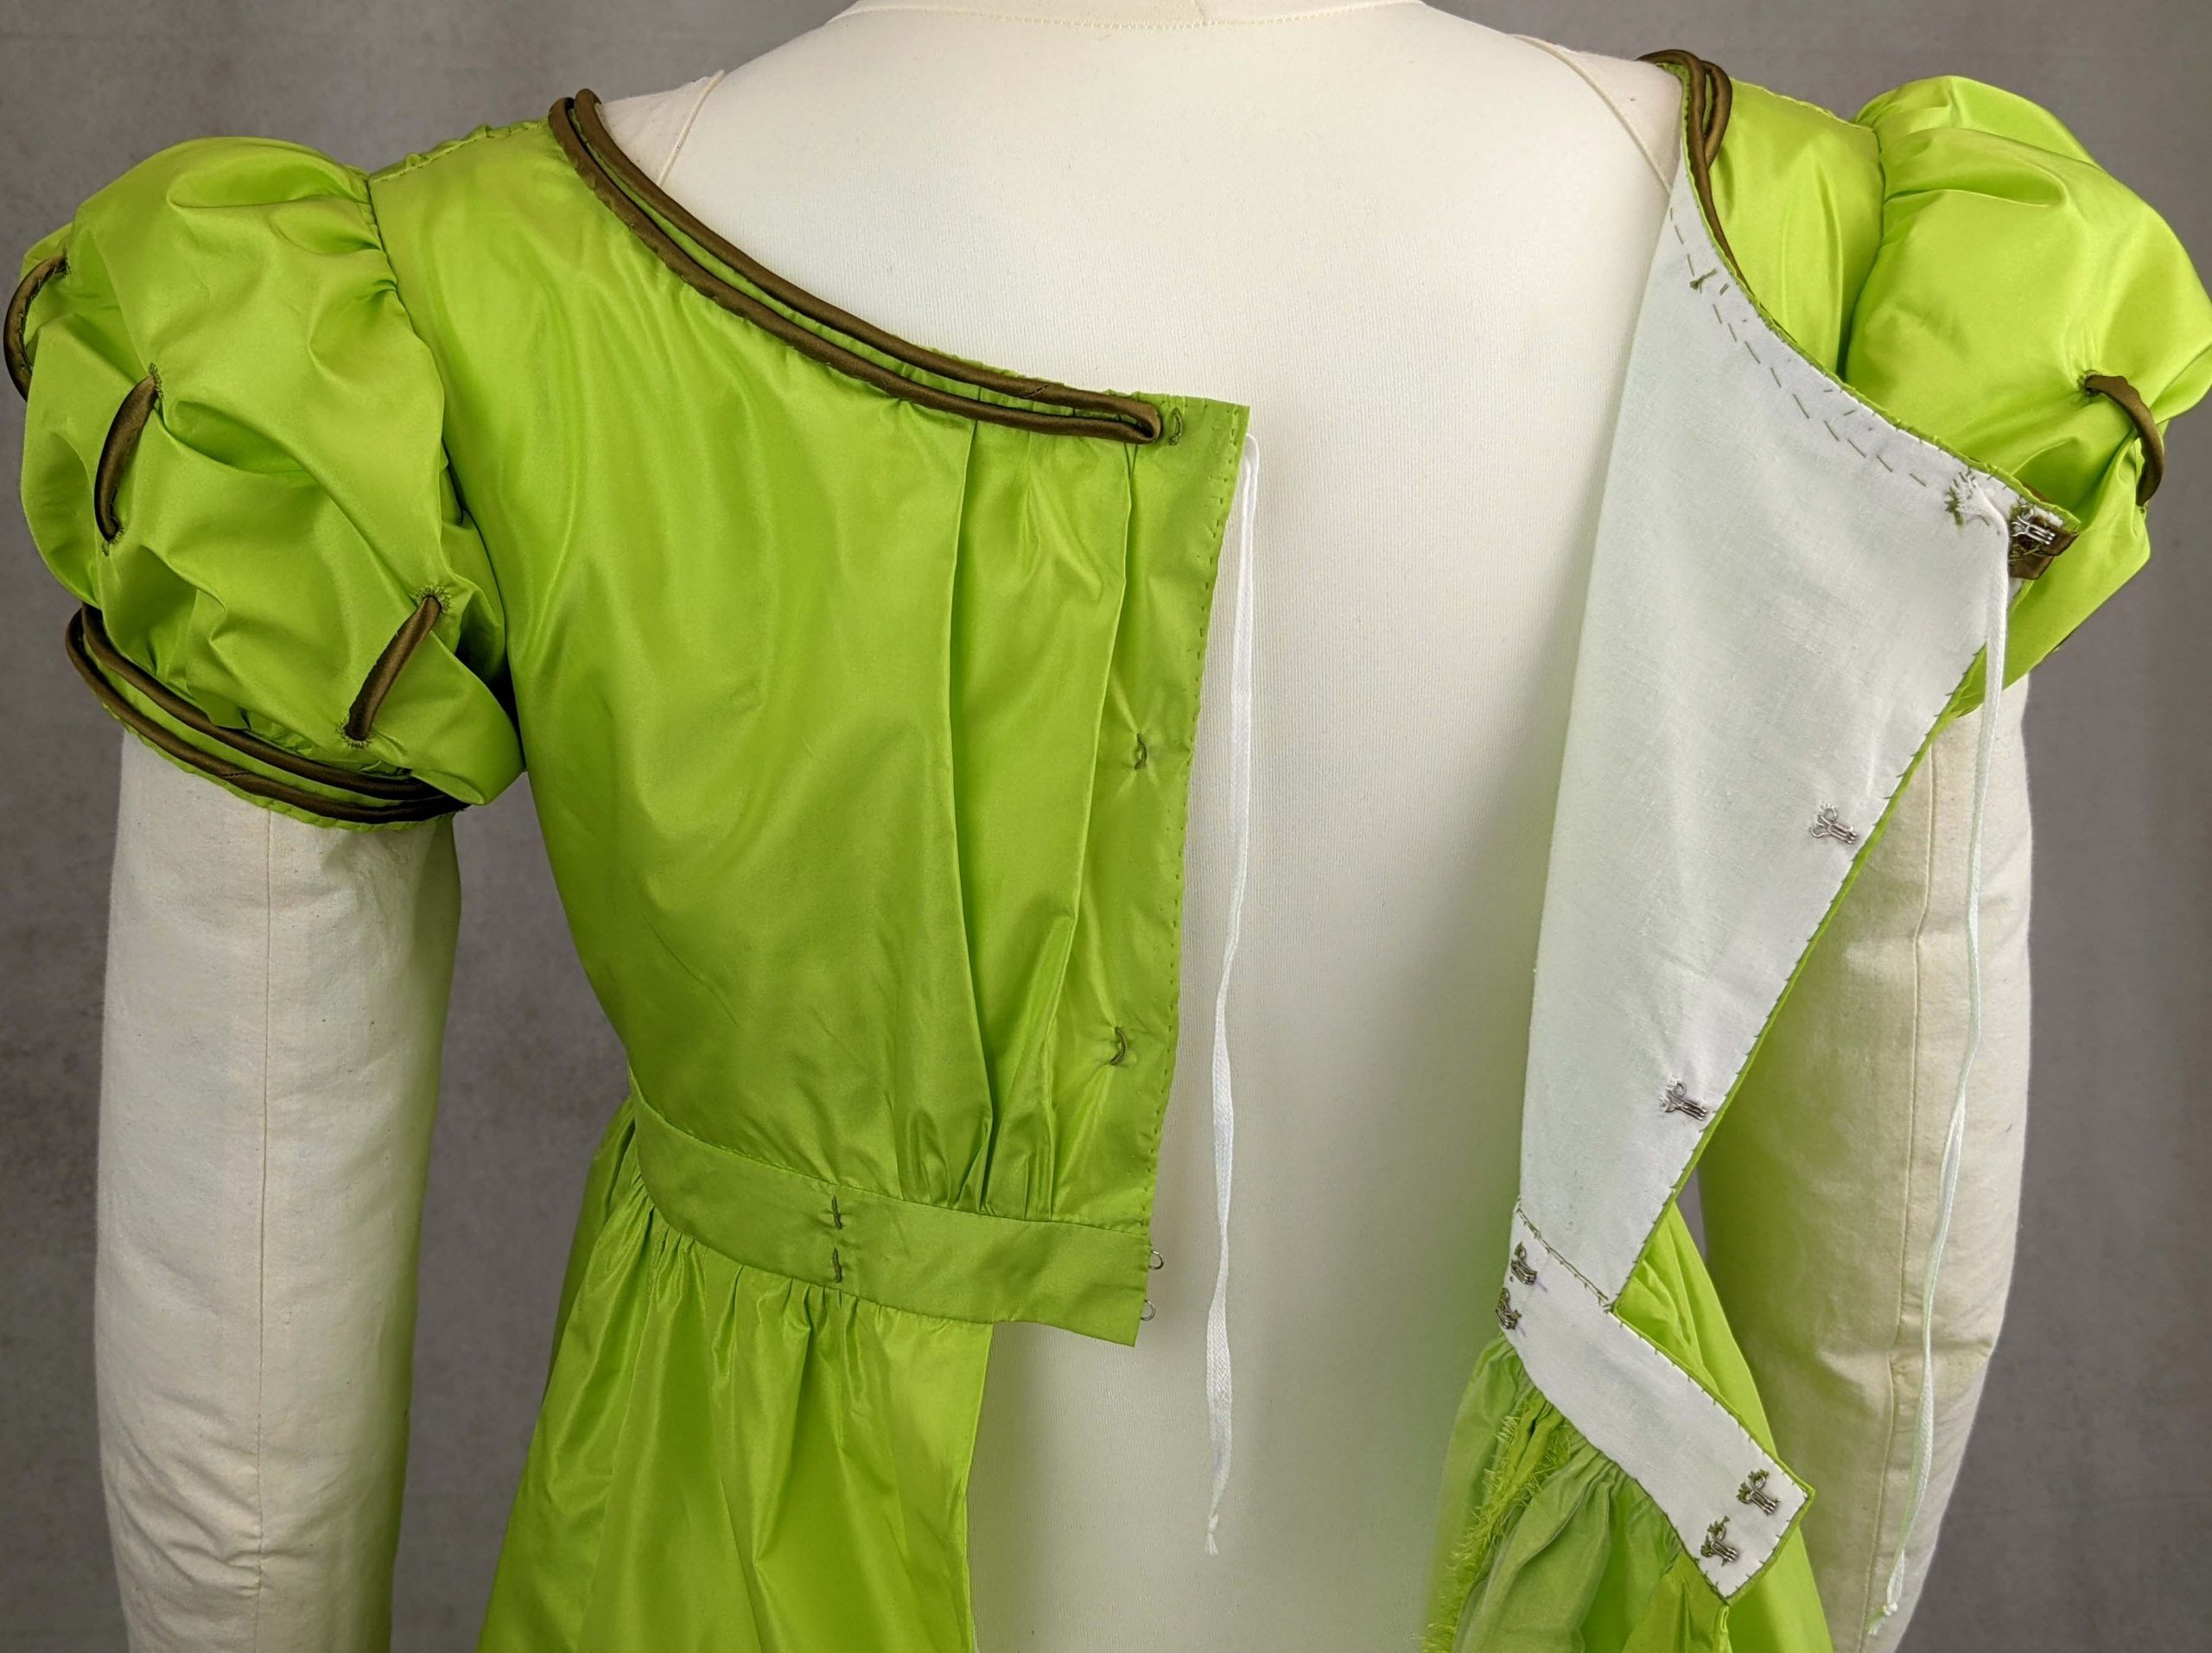
(2) – (7) Developing a pattern and sewing a dress for the first time is a bit of trial and error every time. My first try was to sew the bodice the traditional way, with lining up the fashion fabric and the lining wrong sides together and turning in the seam allowances against each other, before sewing with the point à rabattre sous la main. I failed because of the gathering and had to do it the more modern way with sewing along the neckline, right sides together and then turn it the right way out. I sewed up the shoulder seams in a different way, much more complicated than I described later in my instructions.

(8) – (9) A few pictures of the sleeve making, I think together with the instructions the pictures speak for themselves.


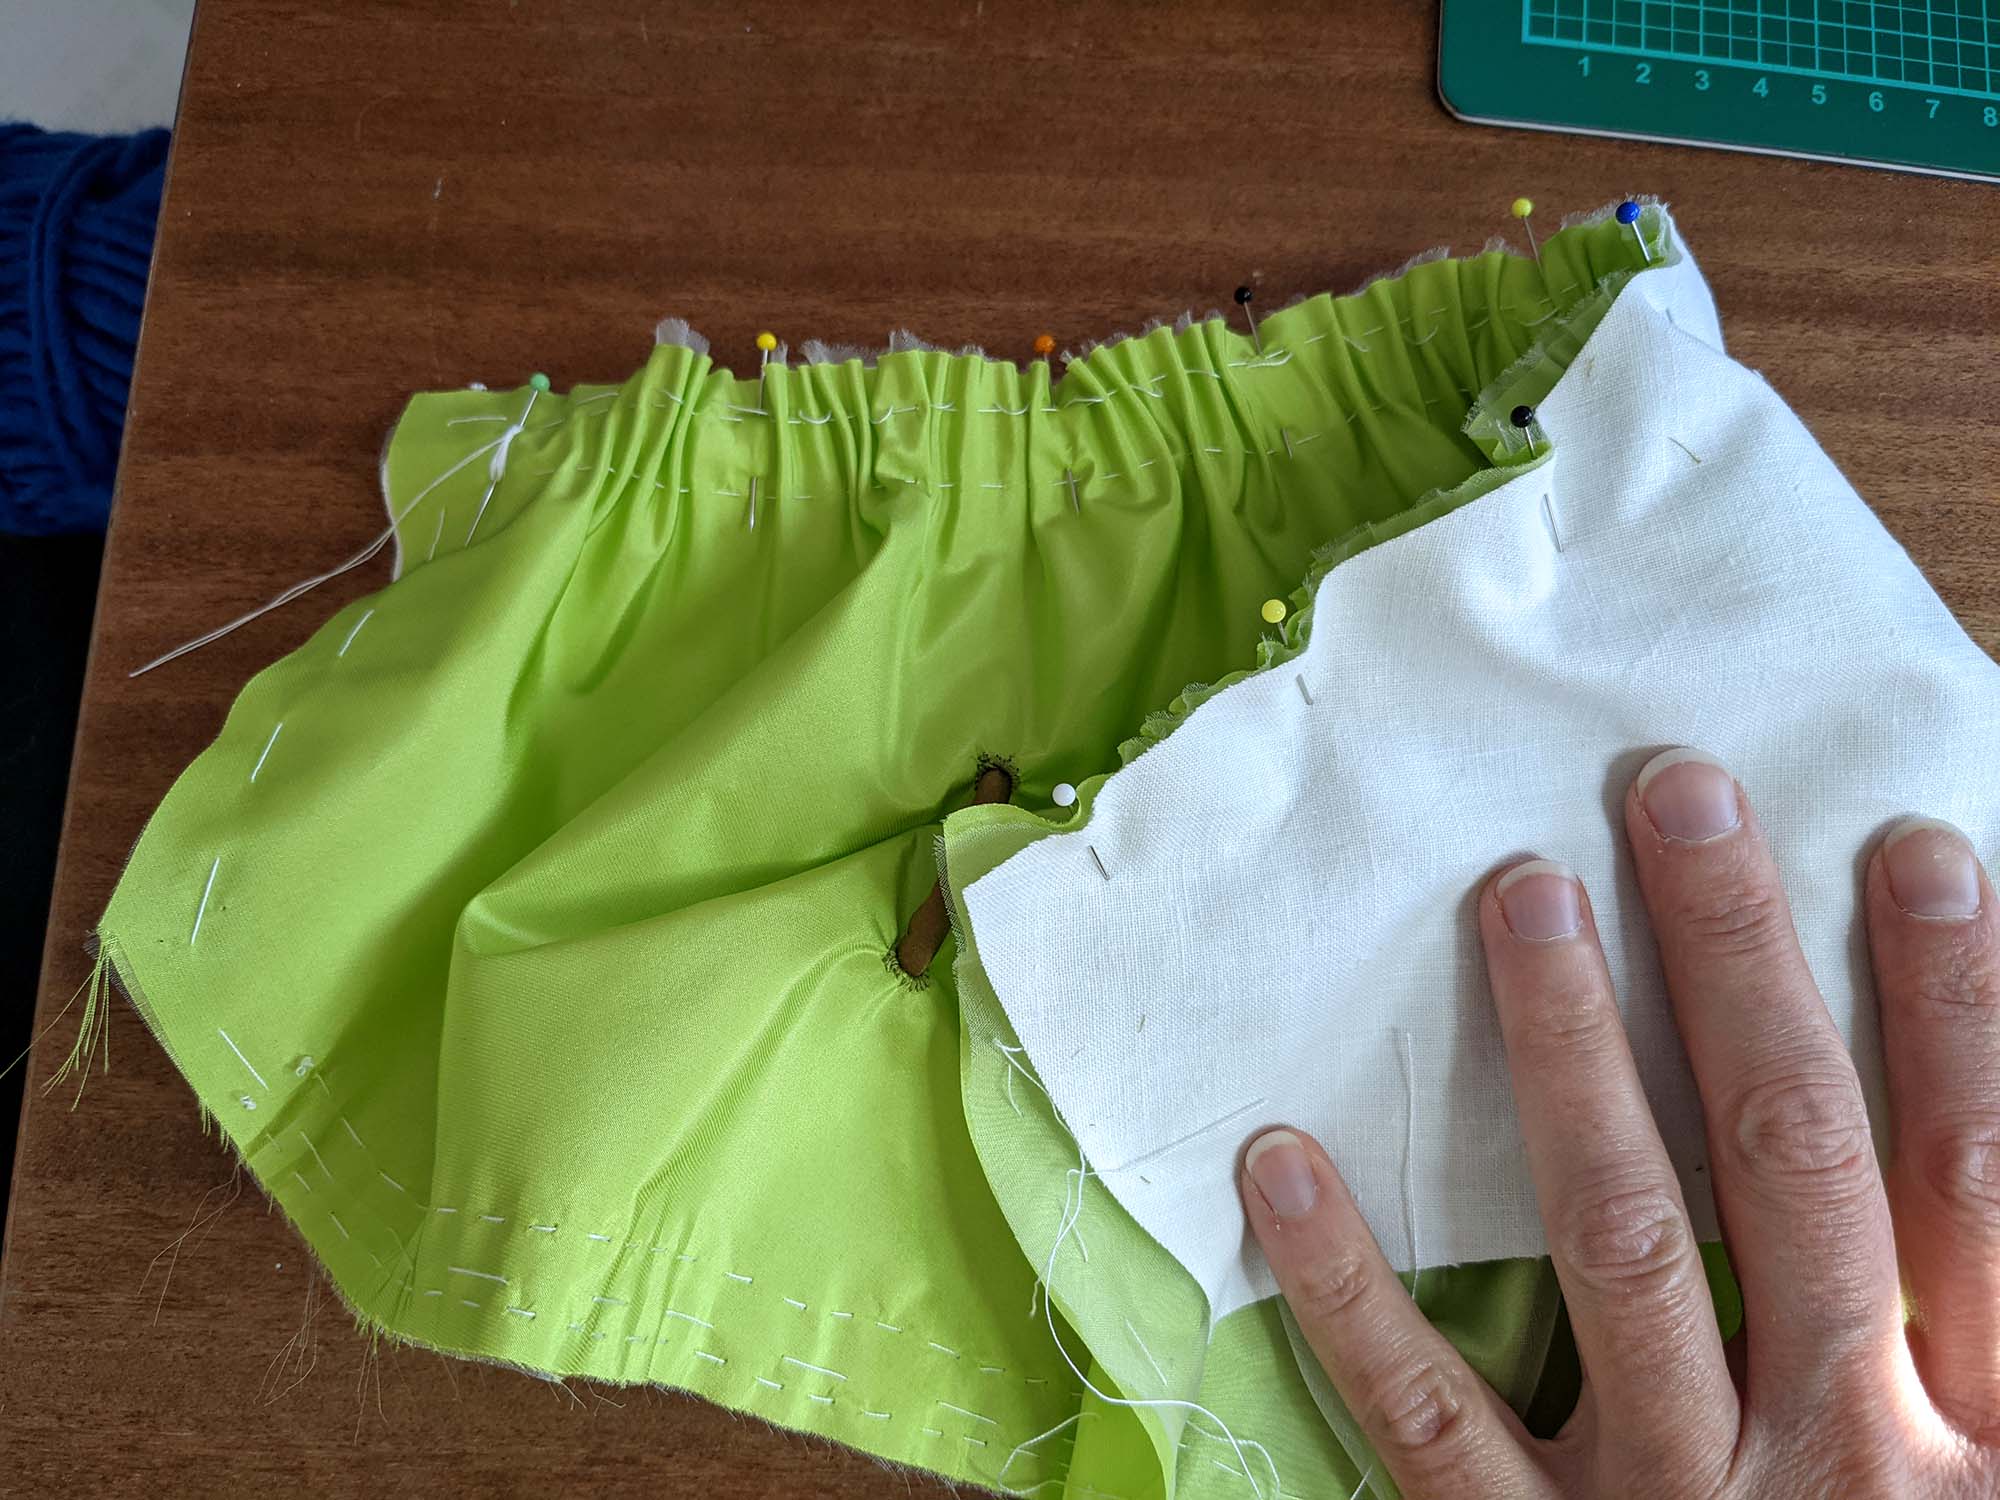
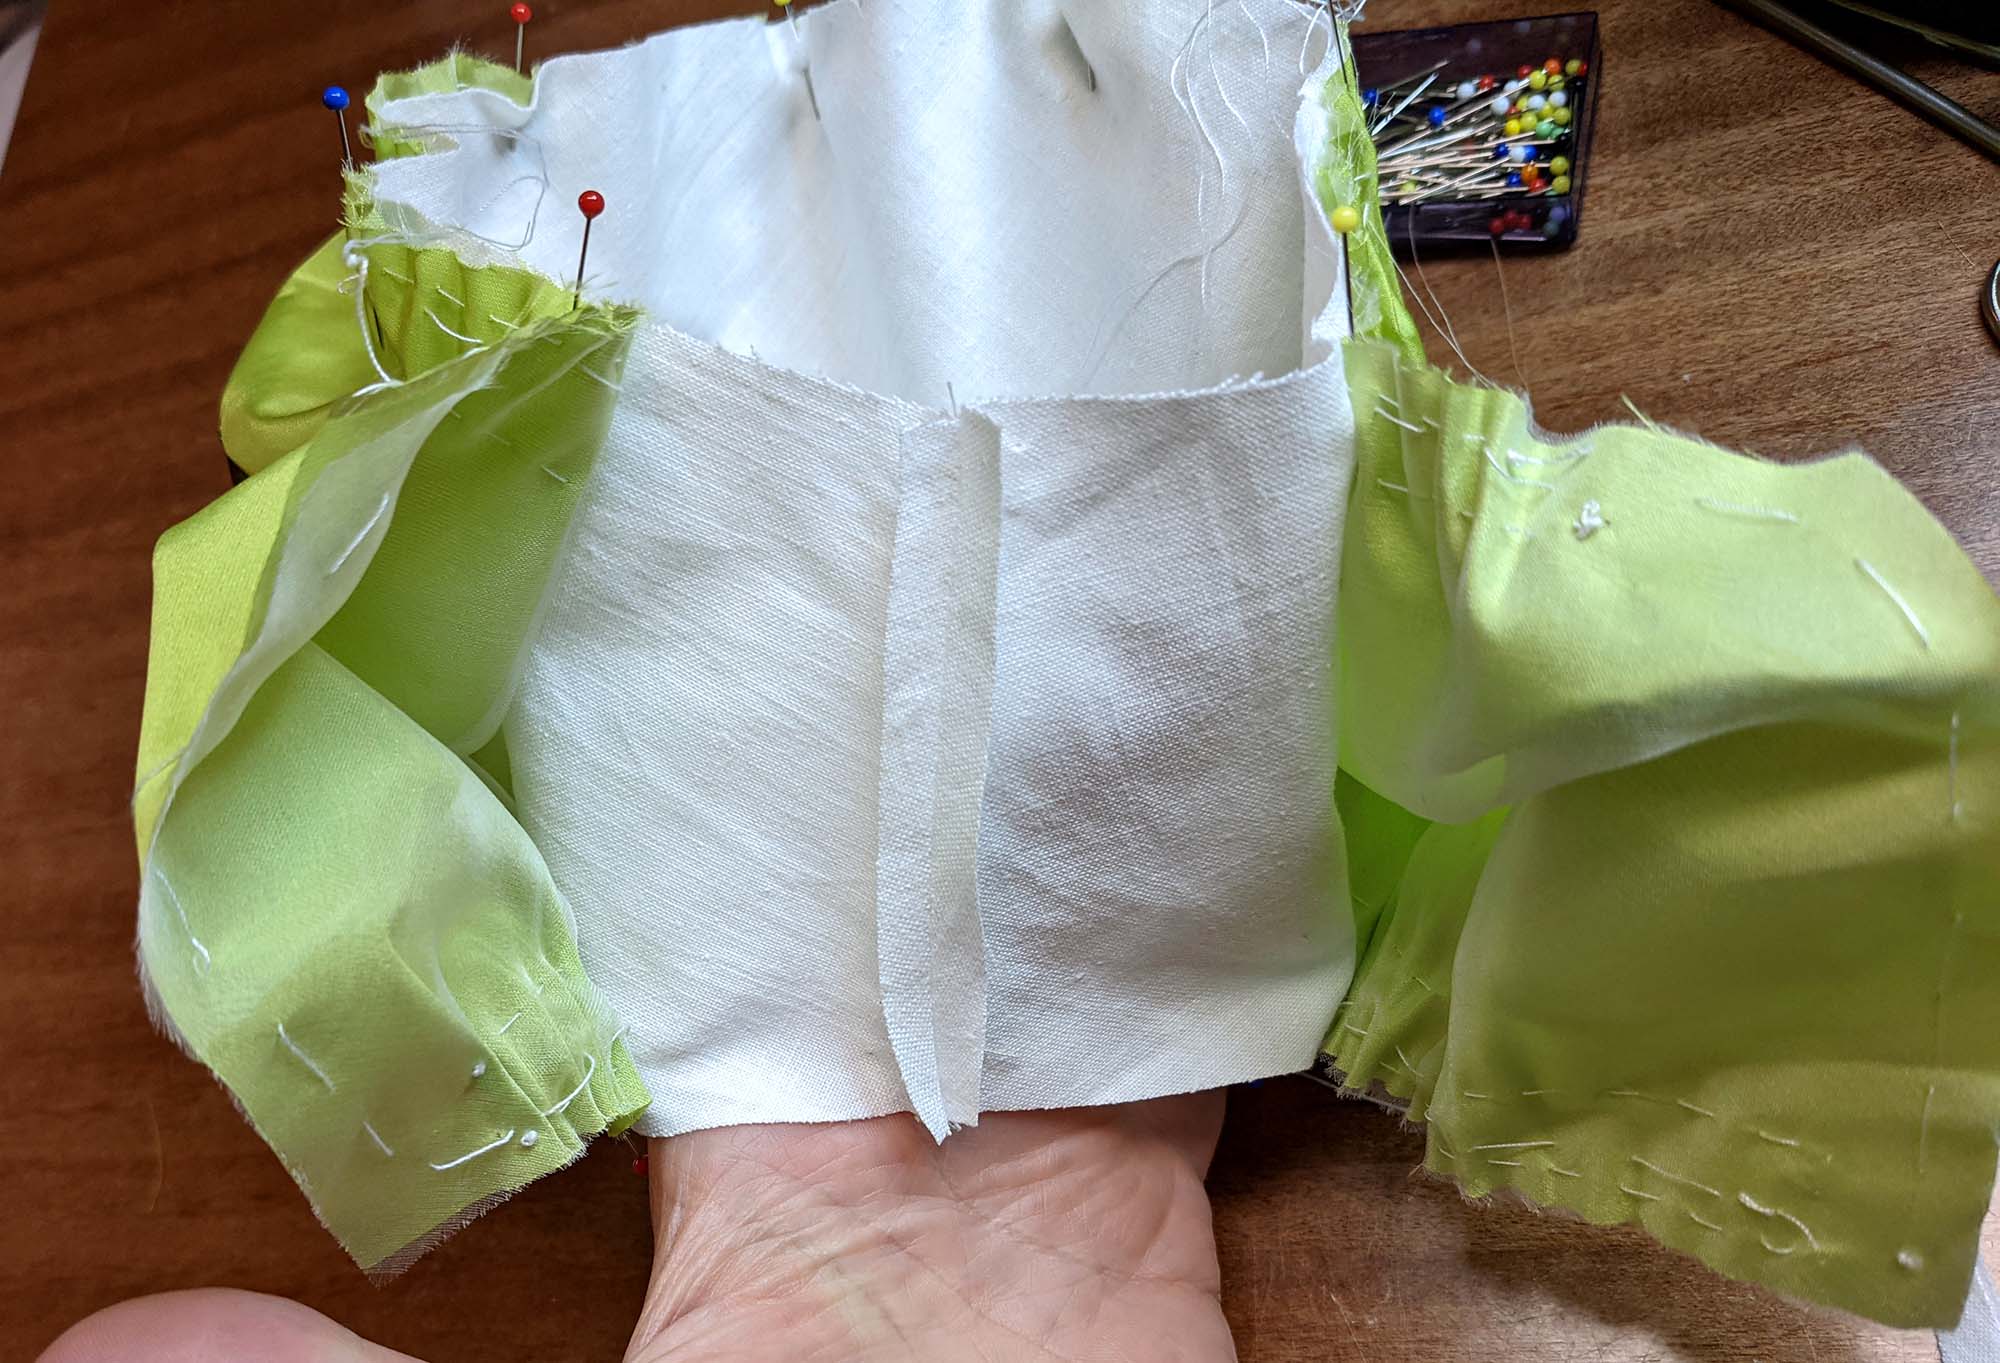
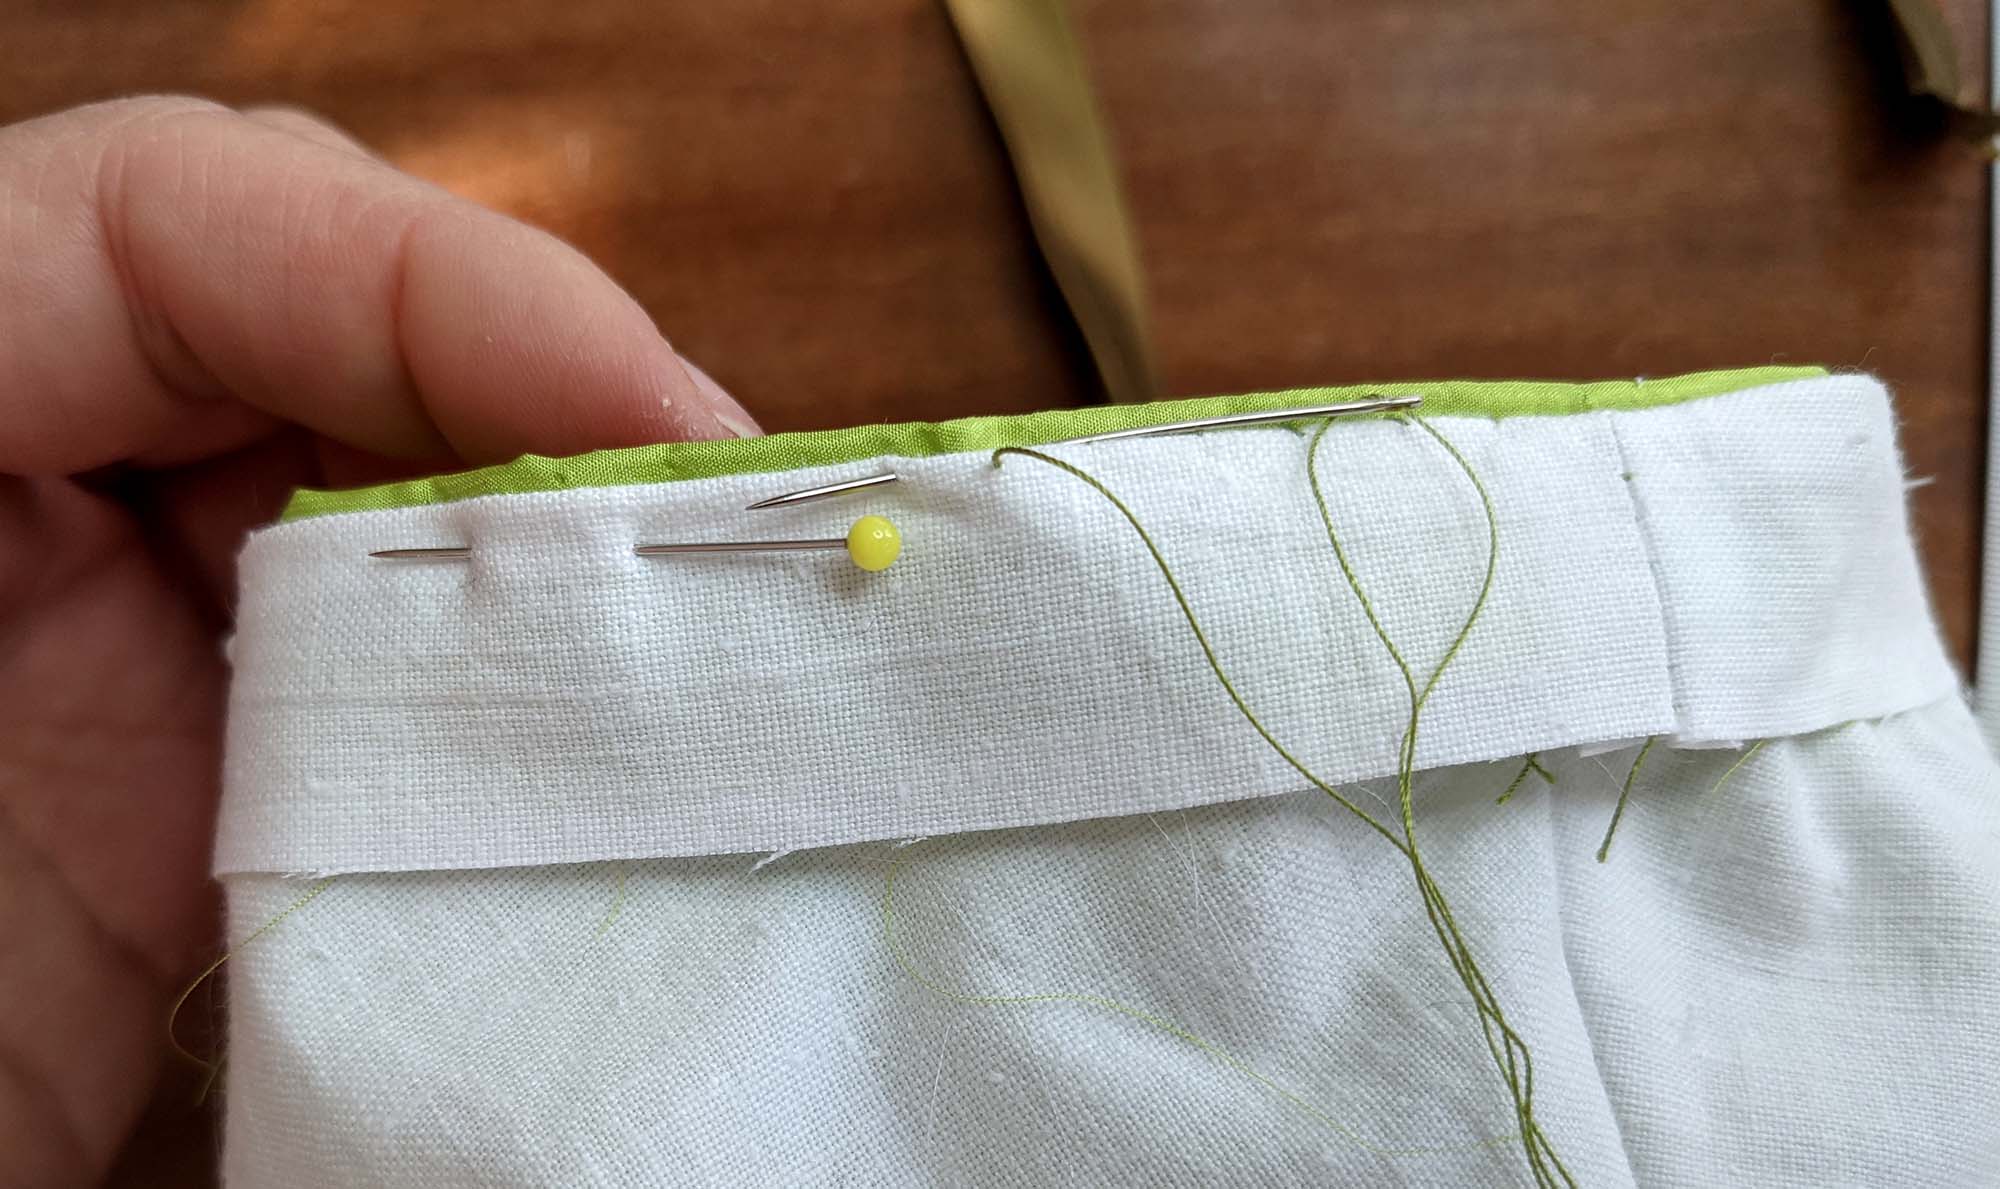
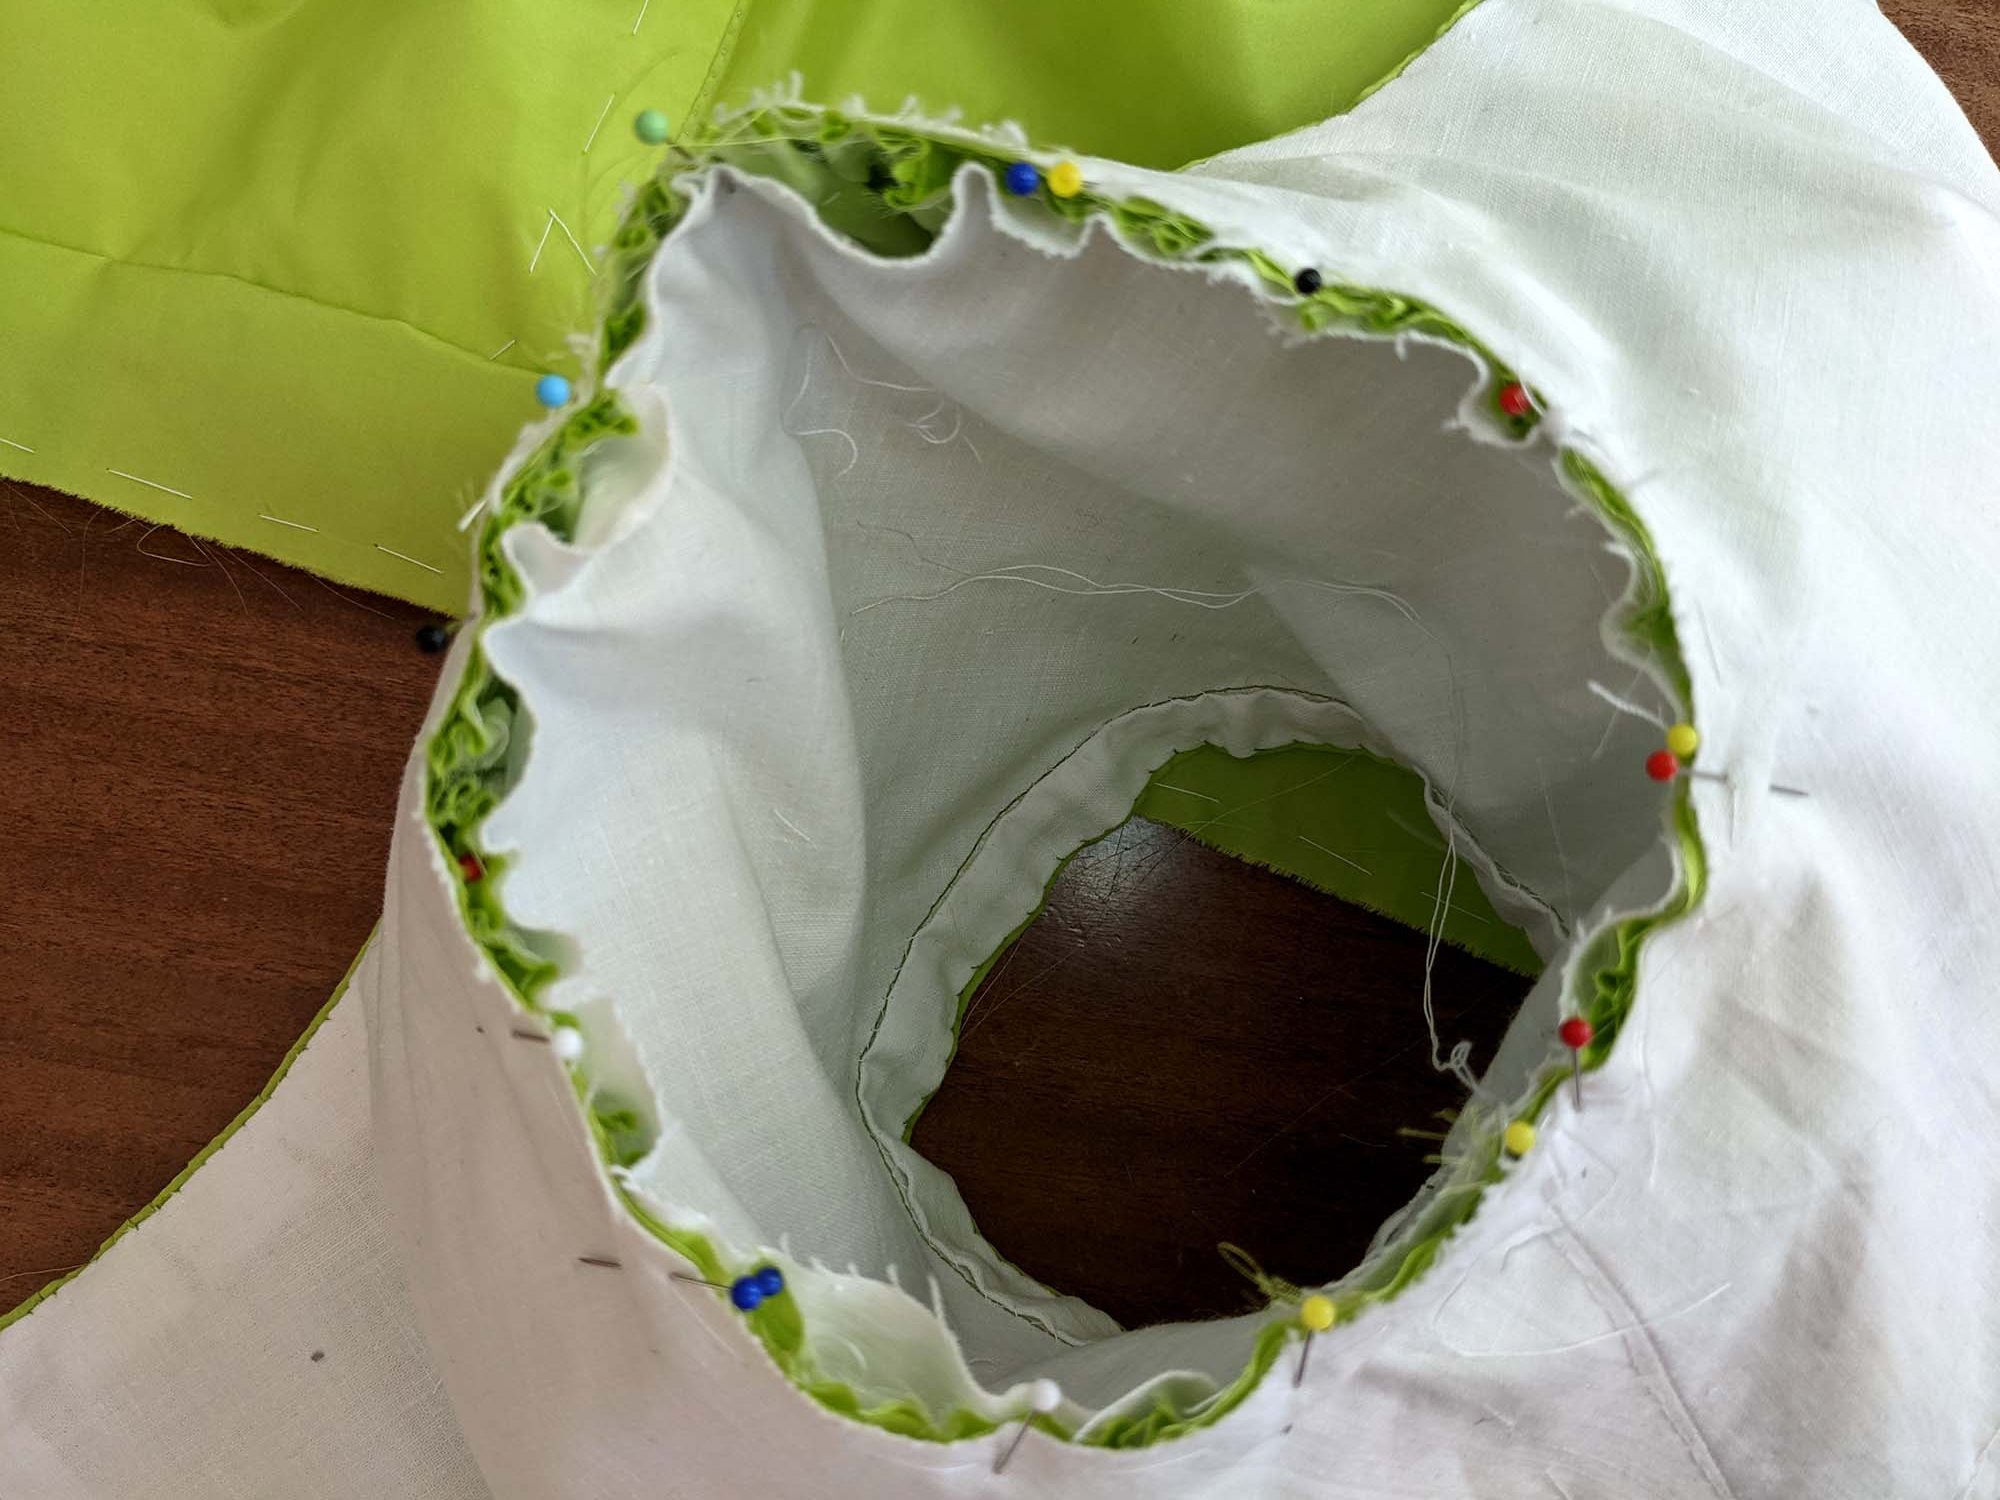

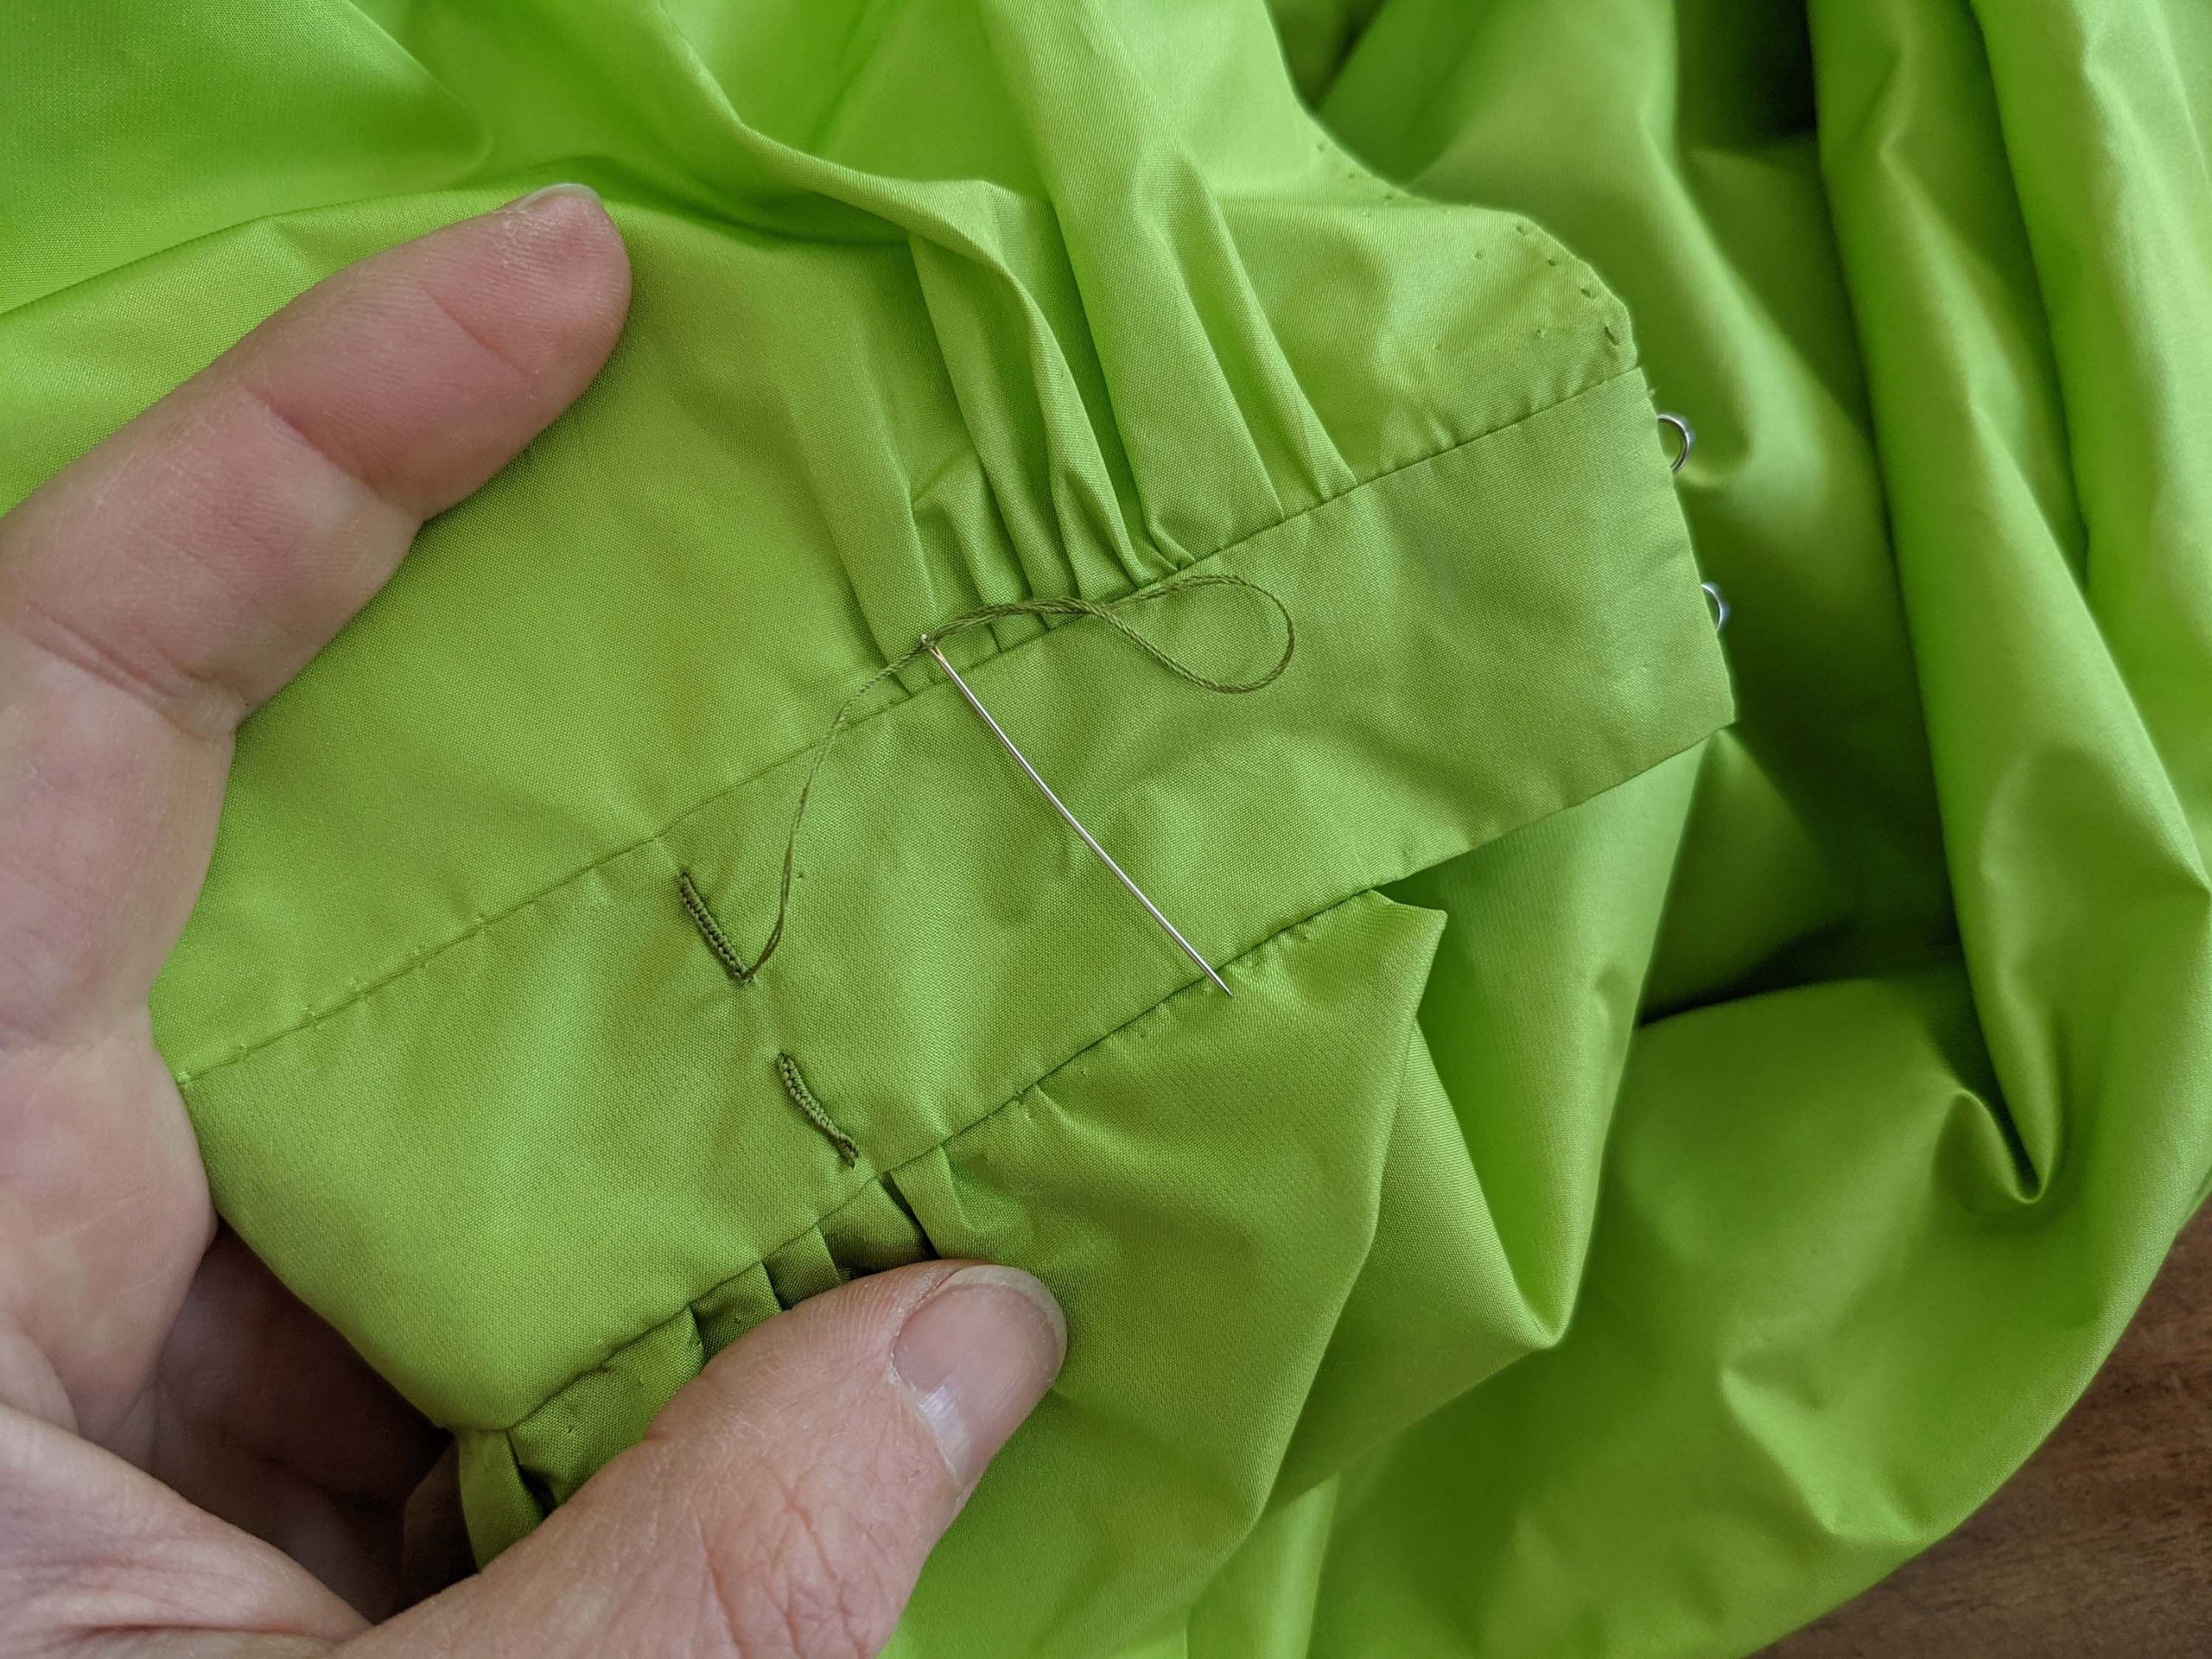
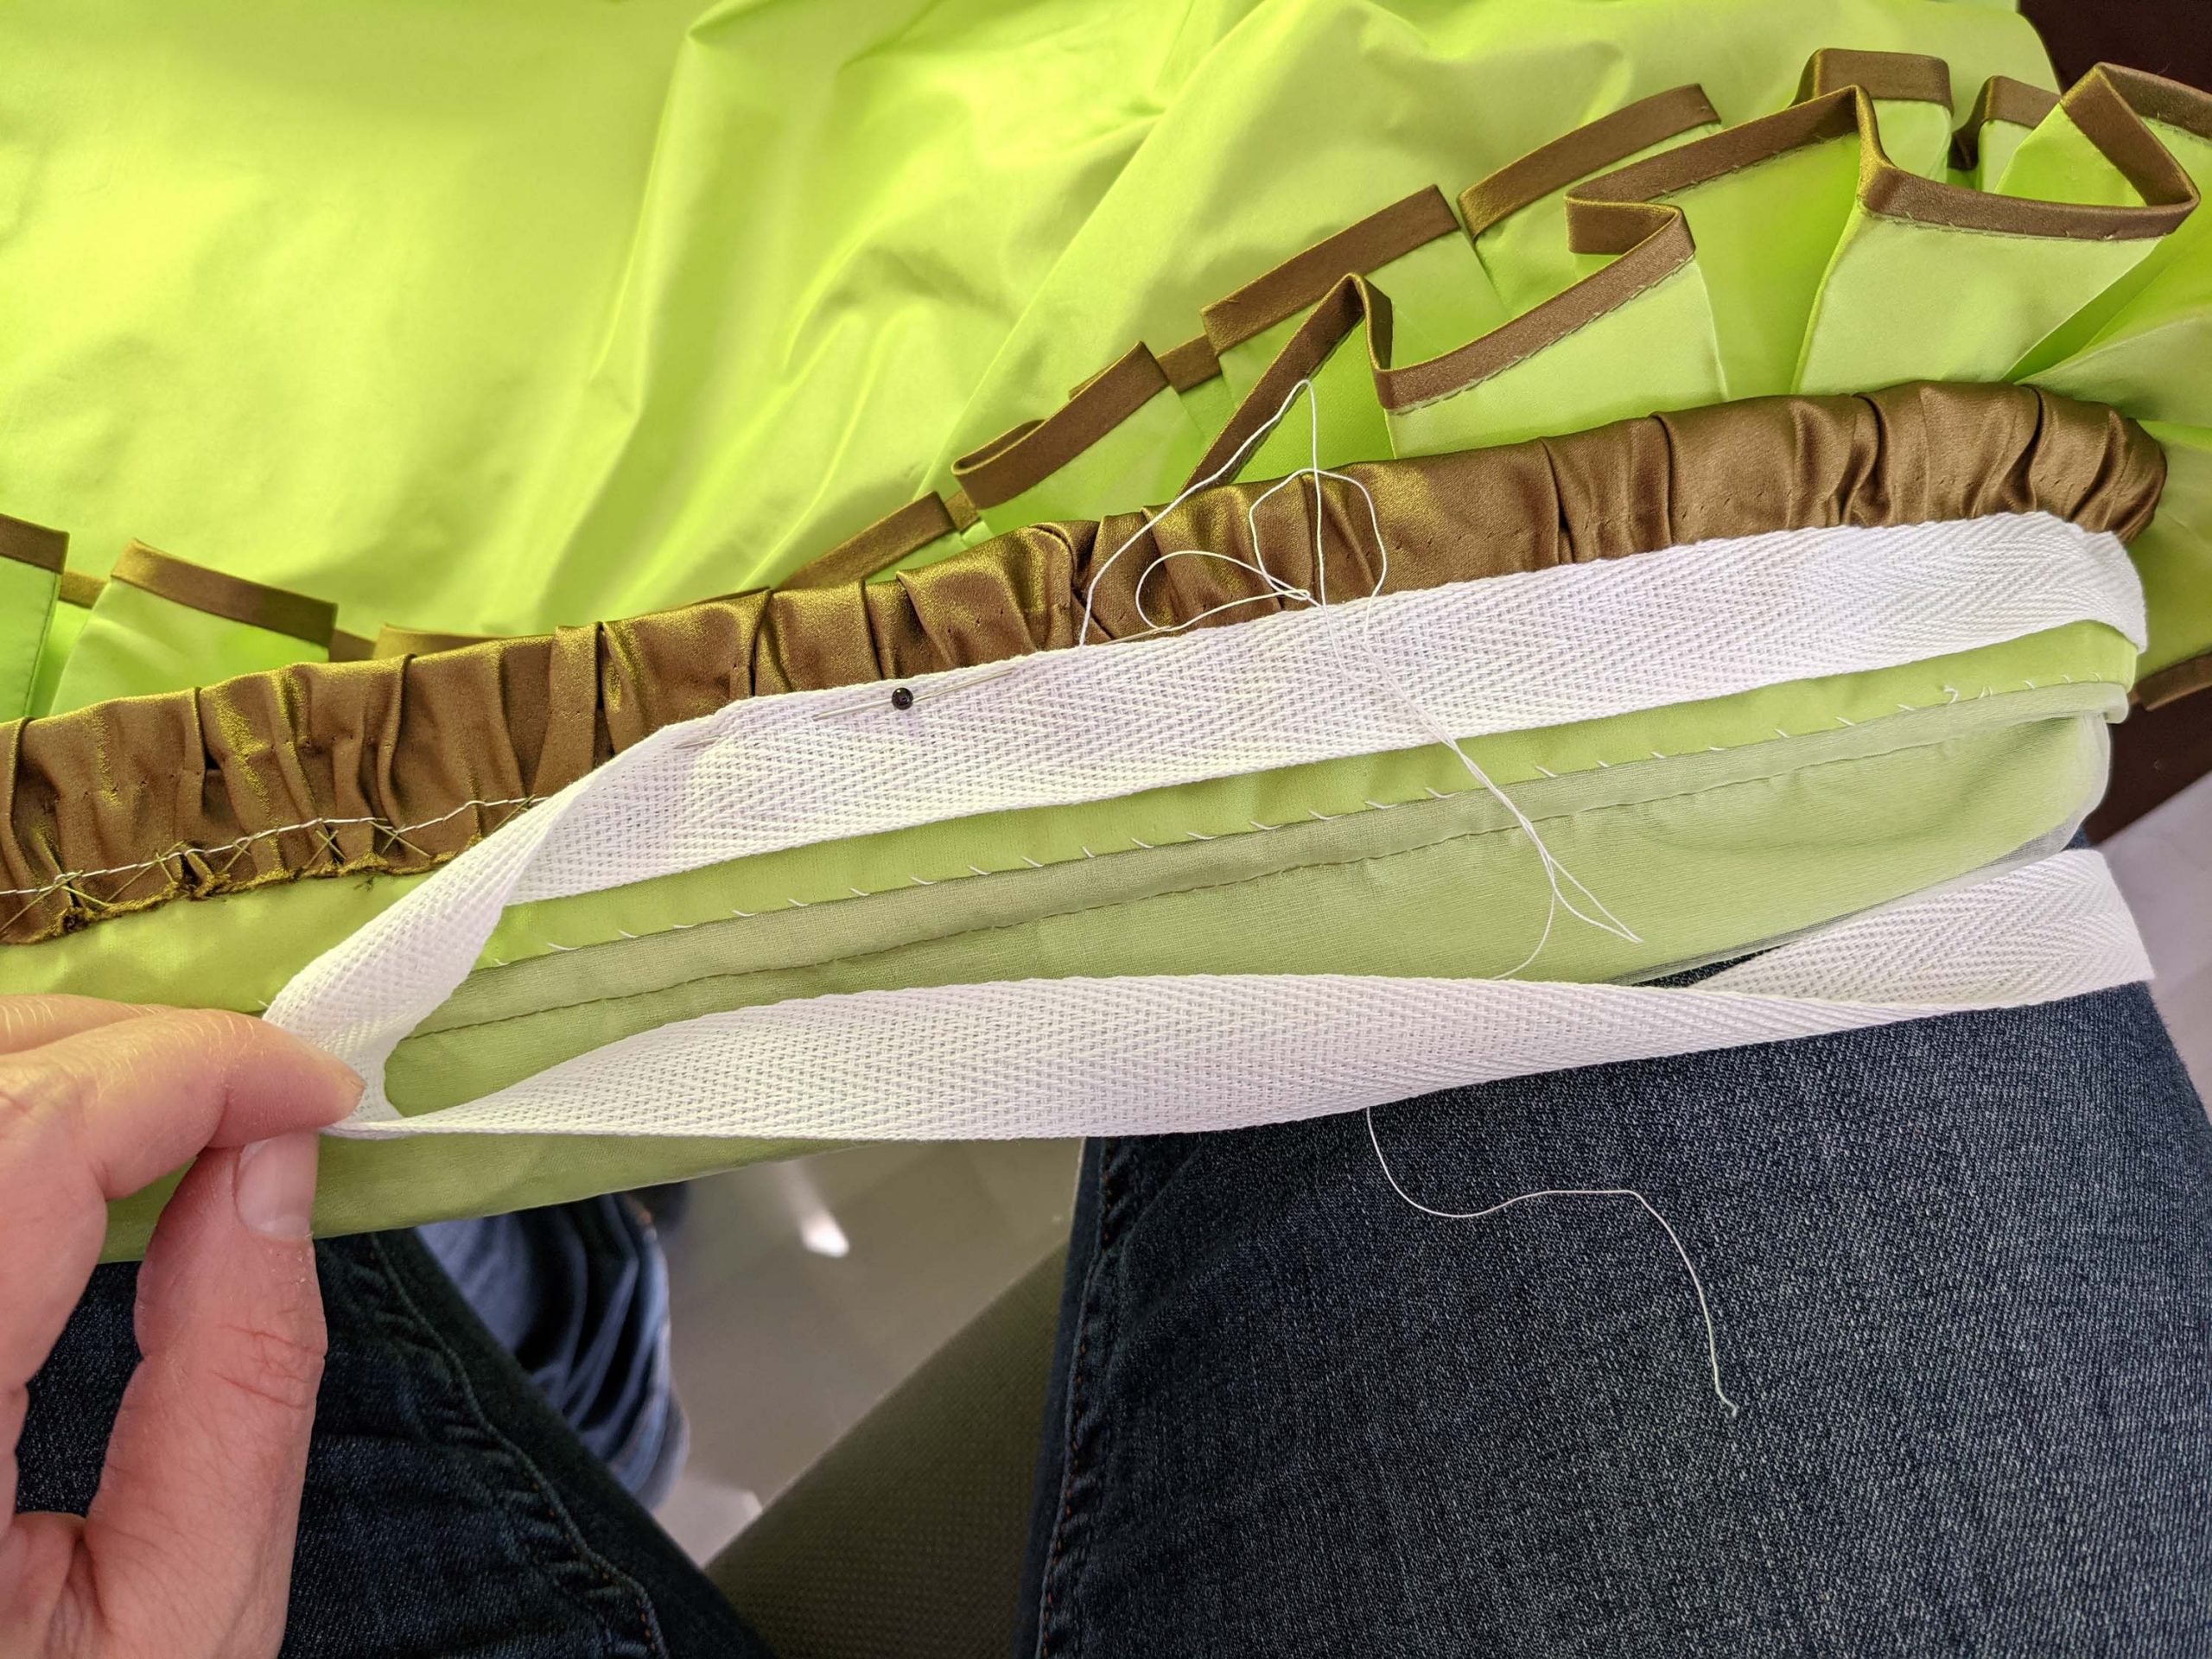
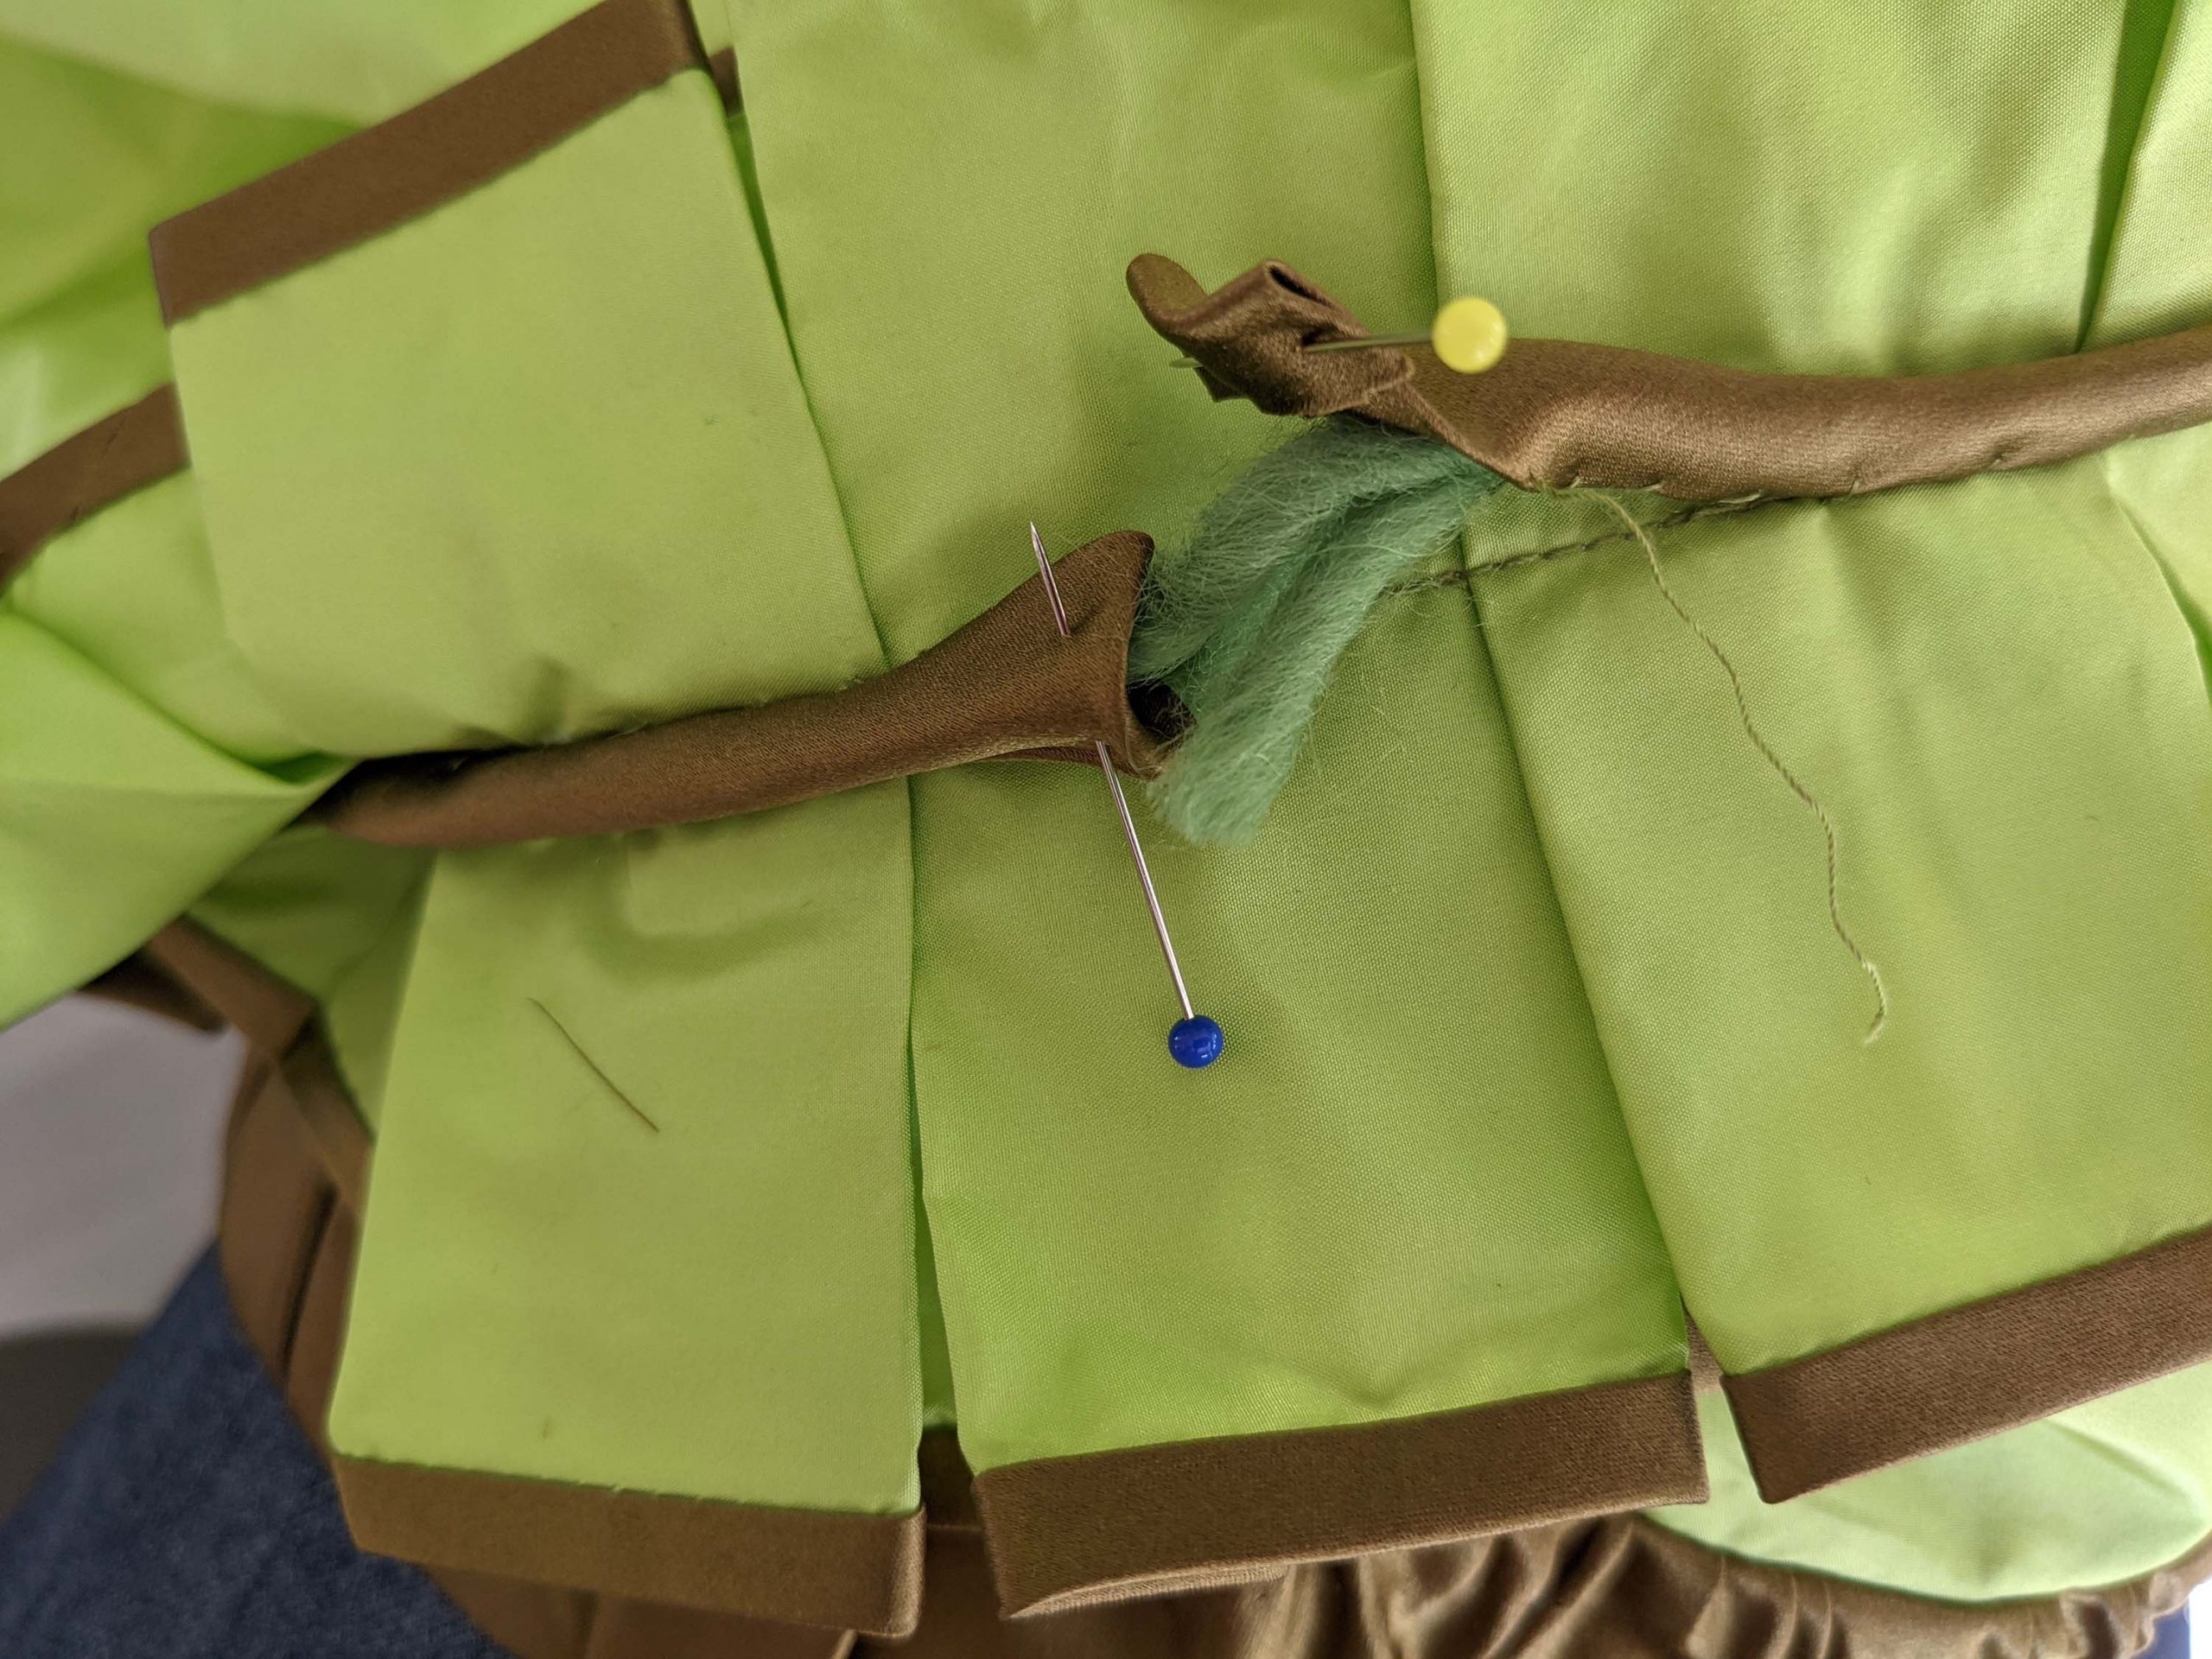
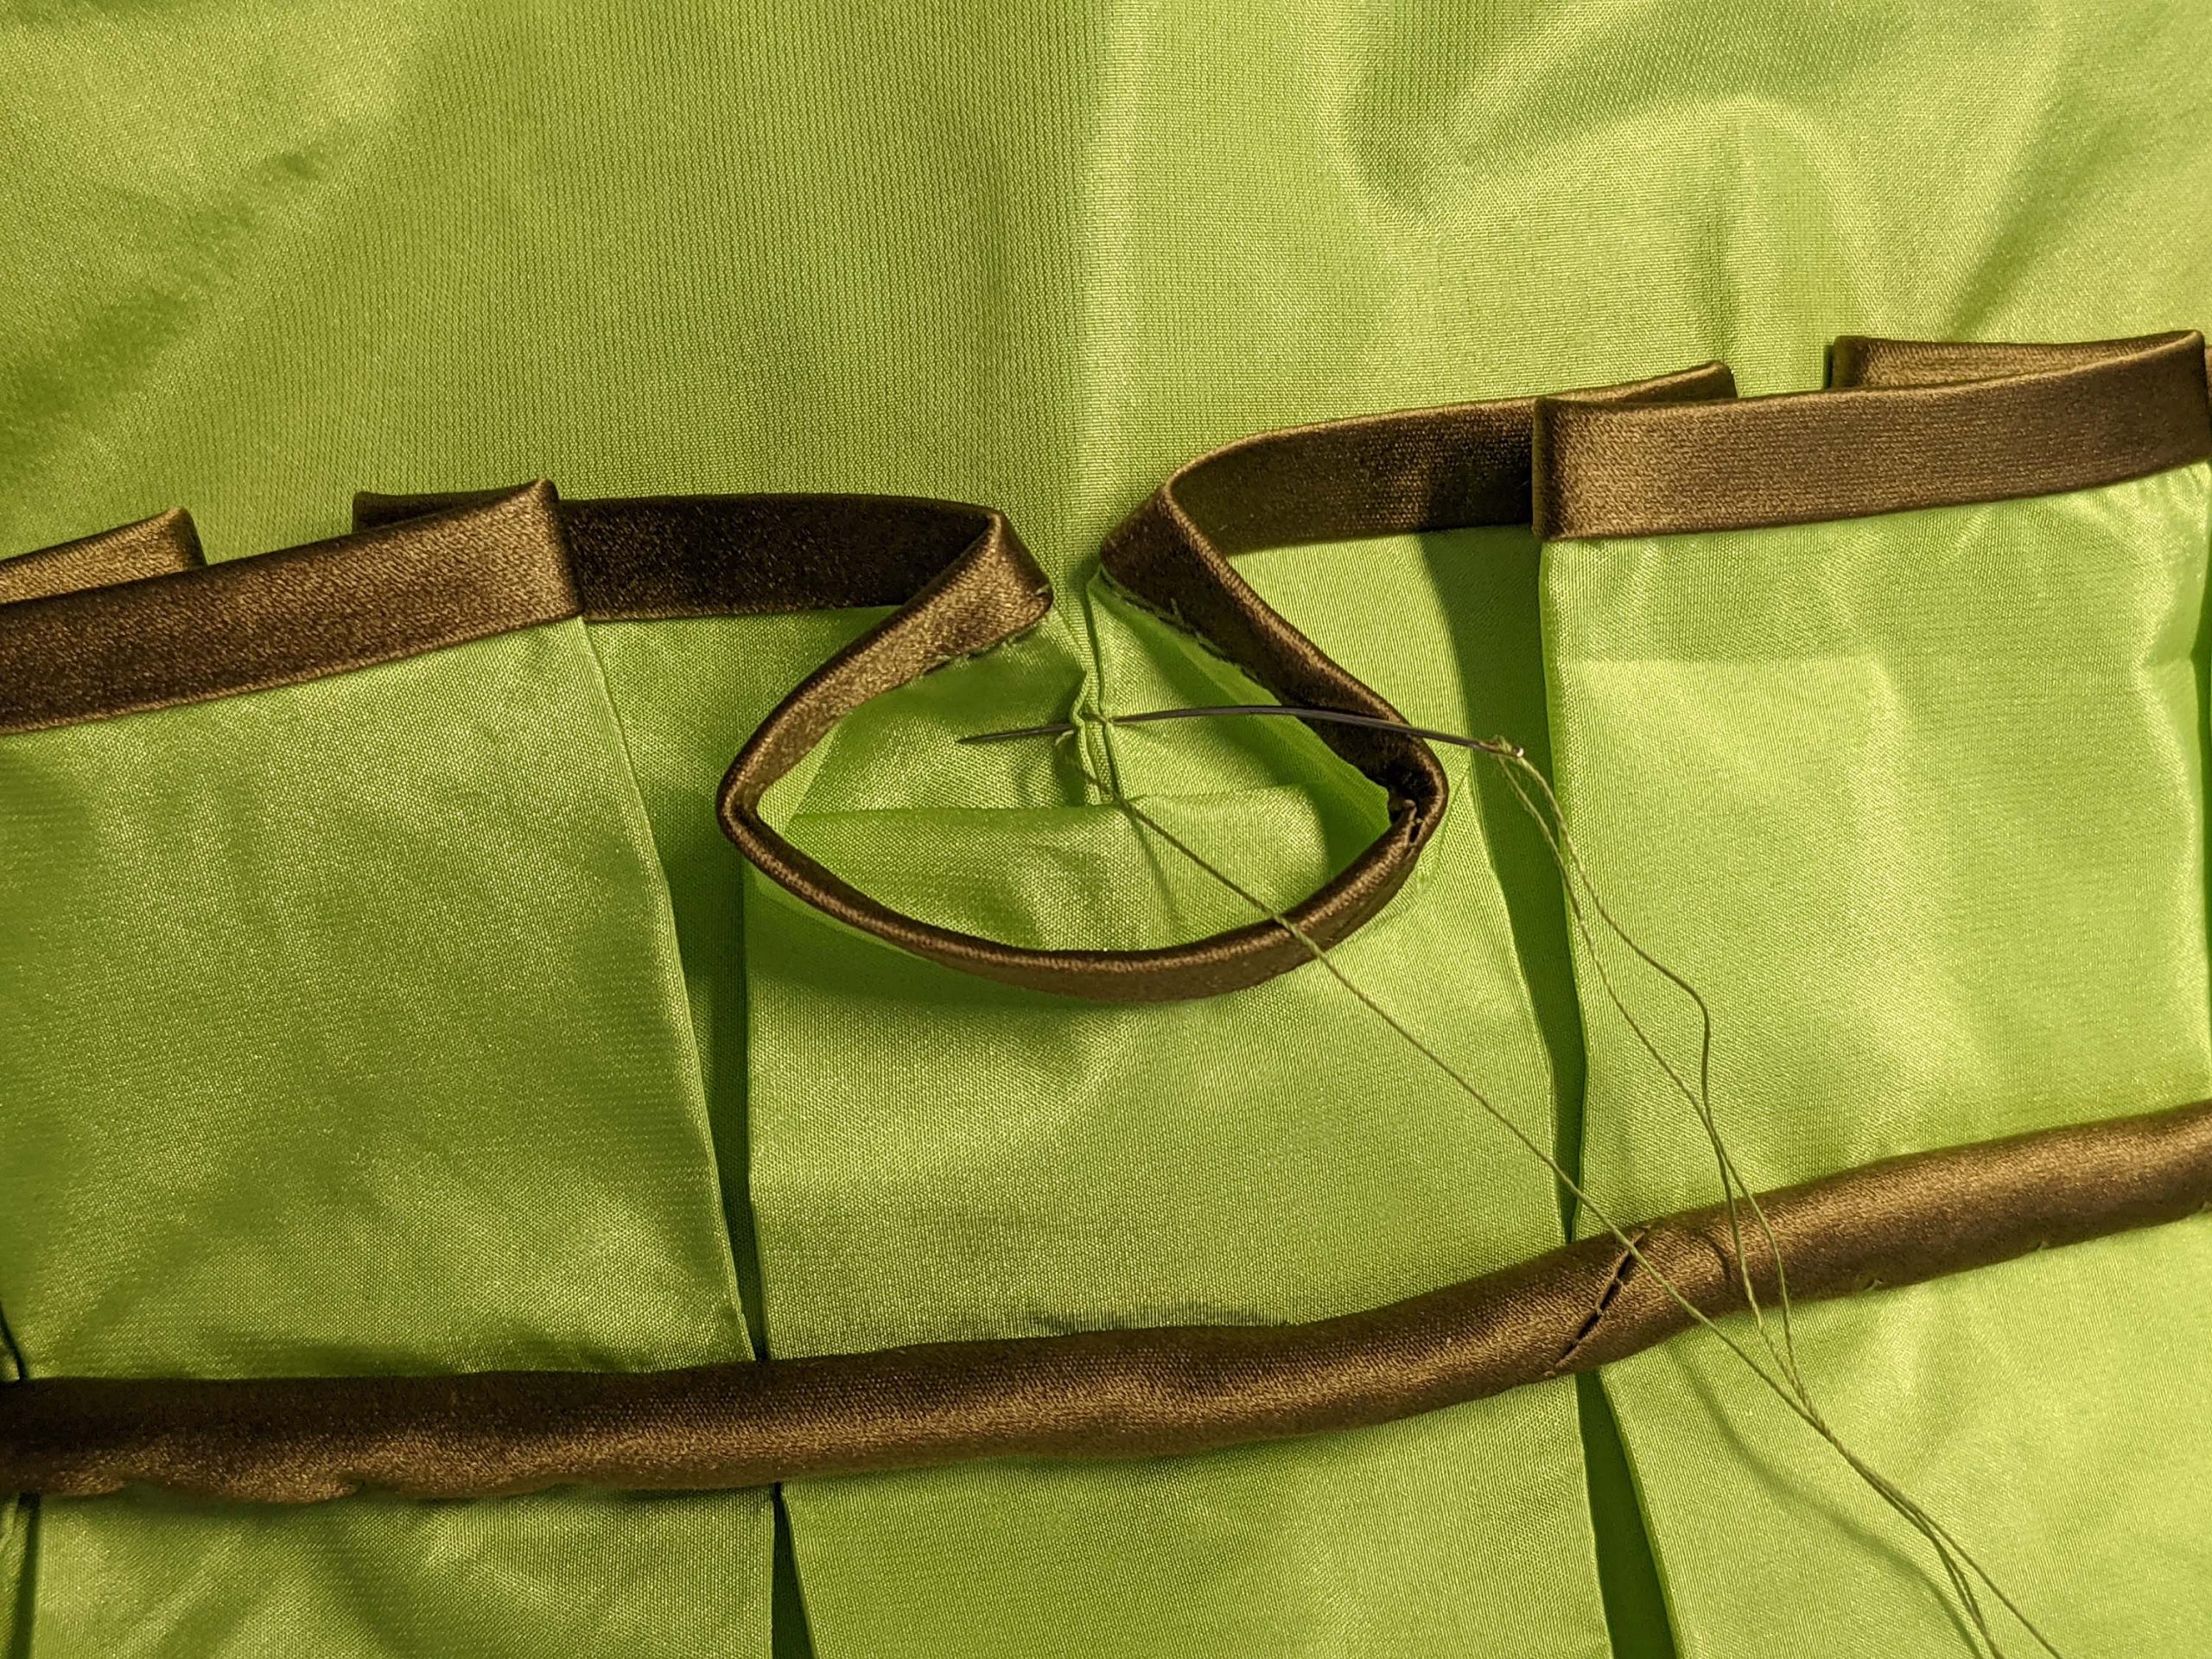
(10) – (12) Time for the waistband and skirt:


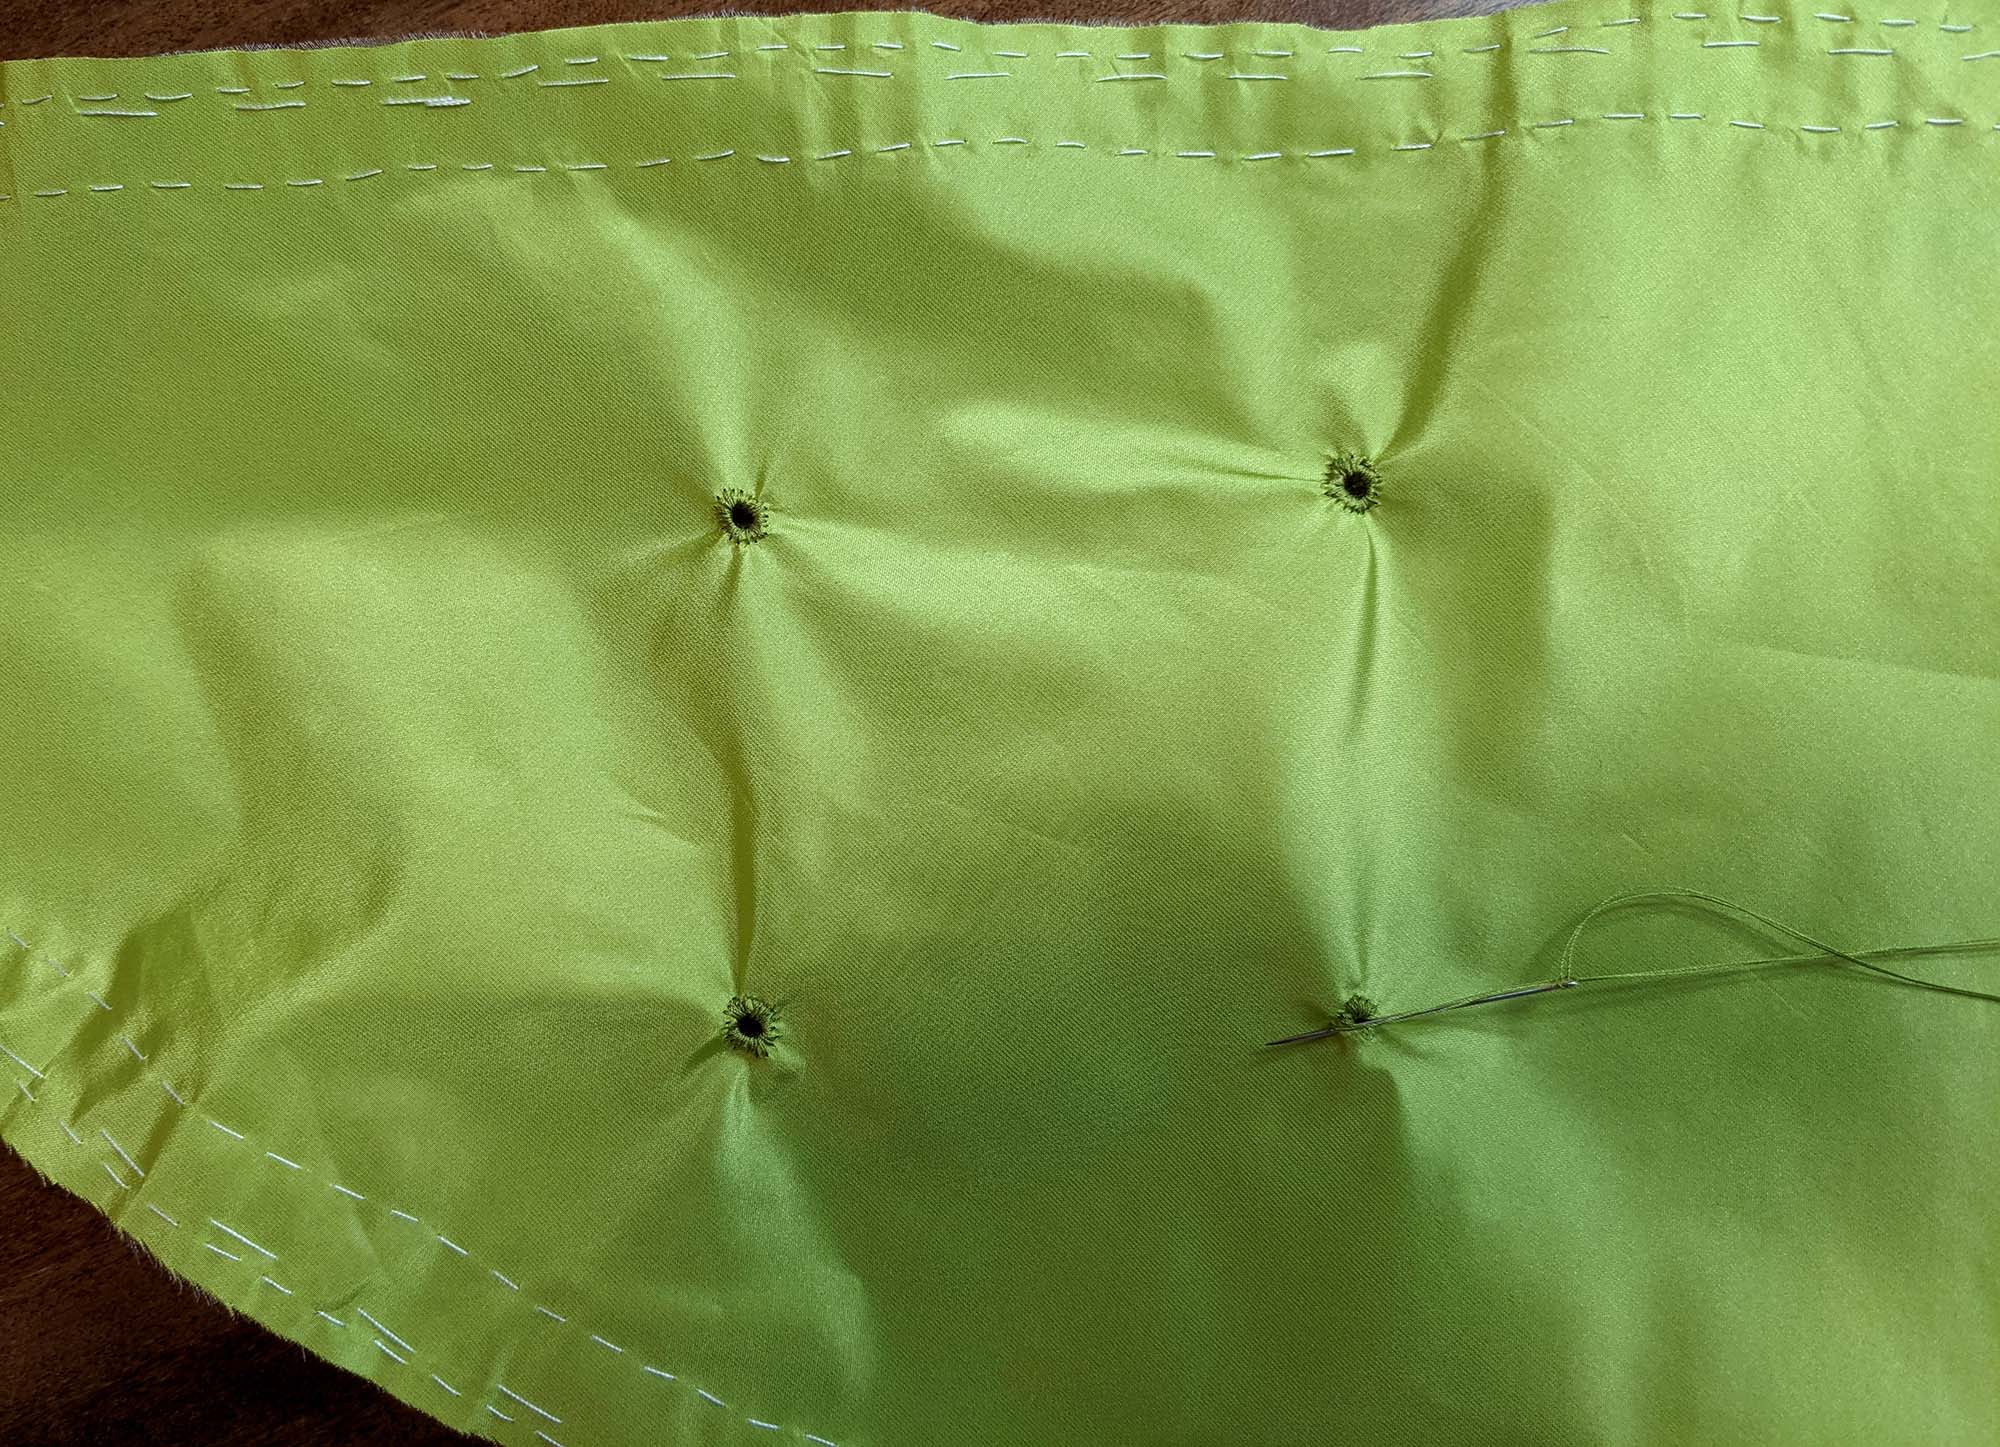
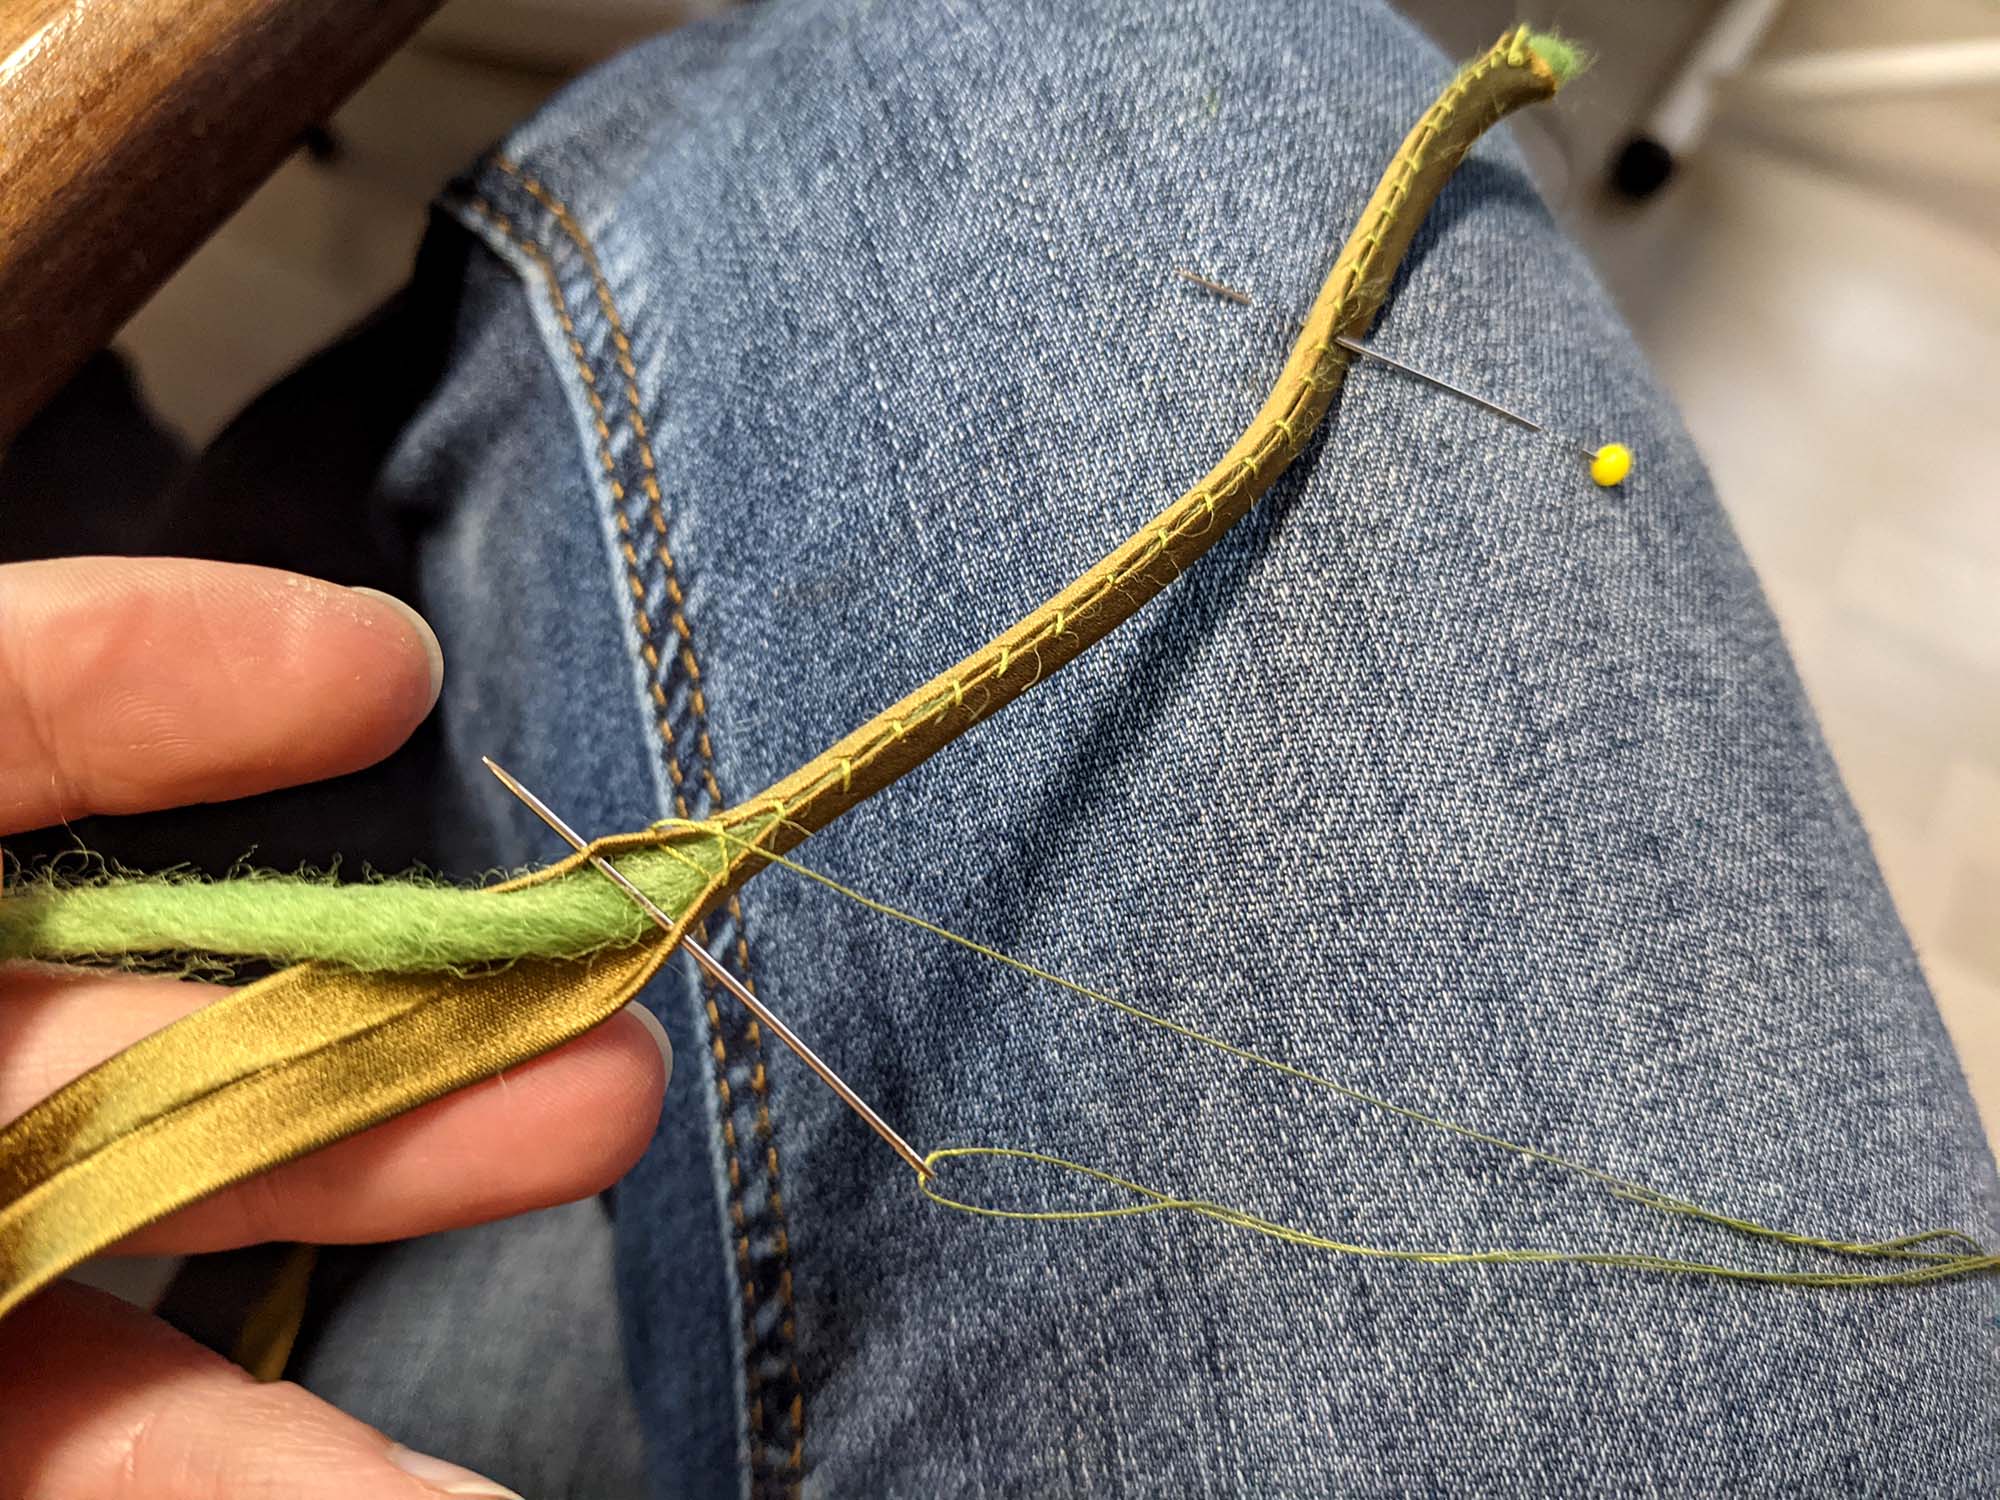
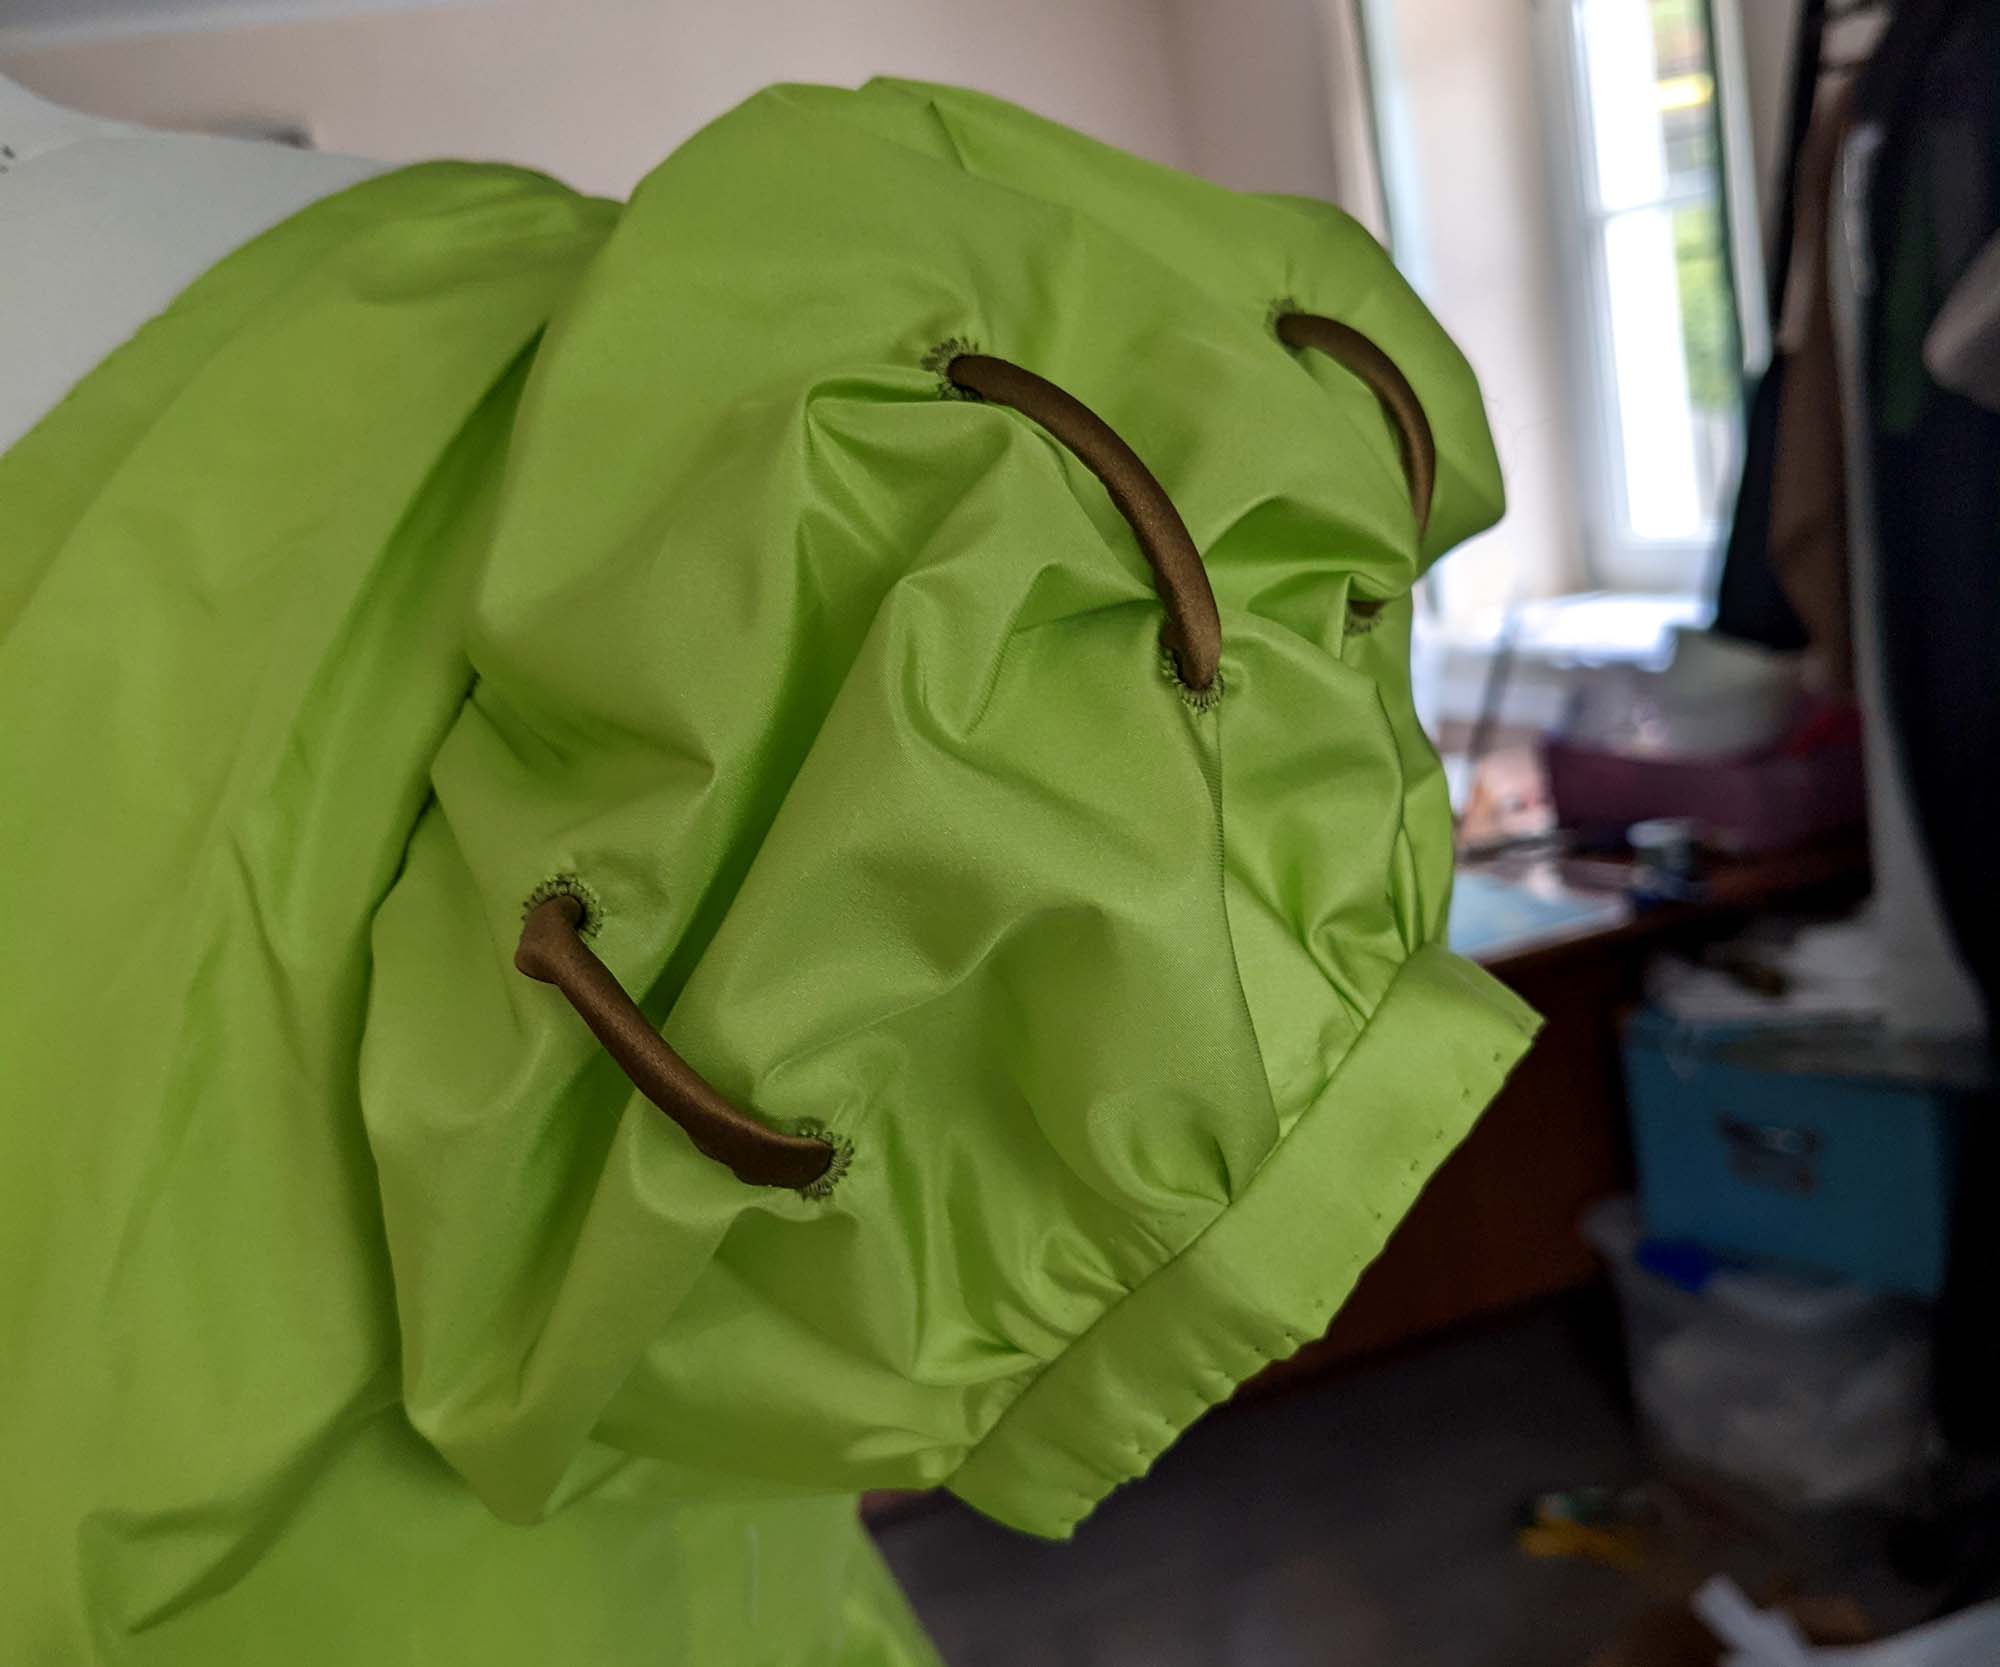
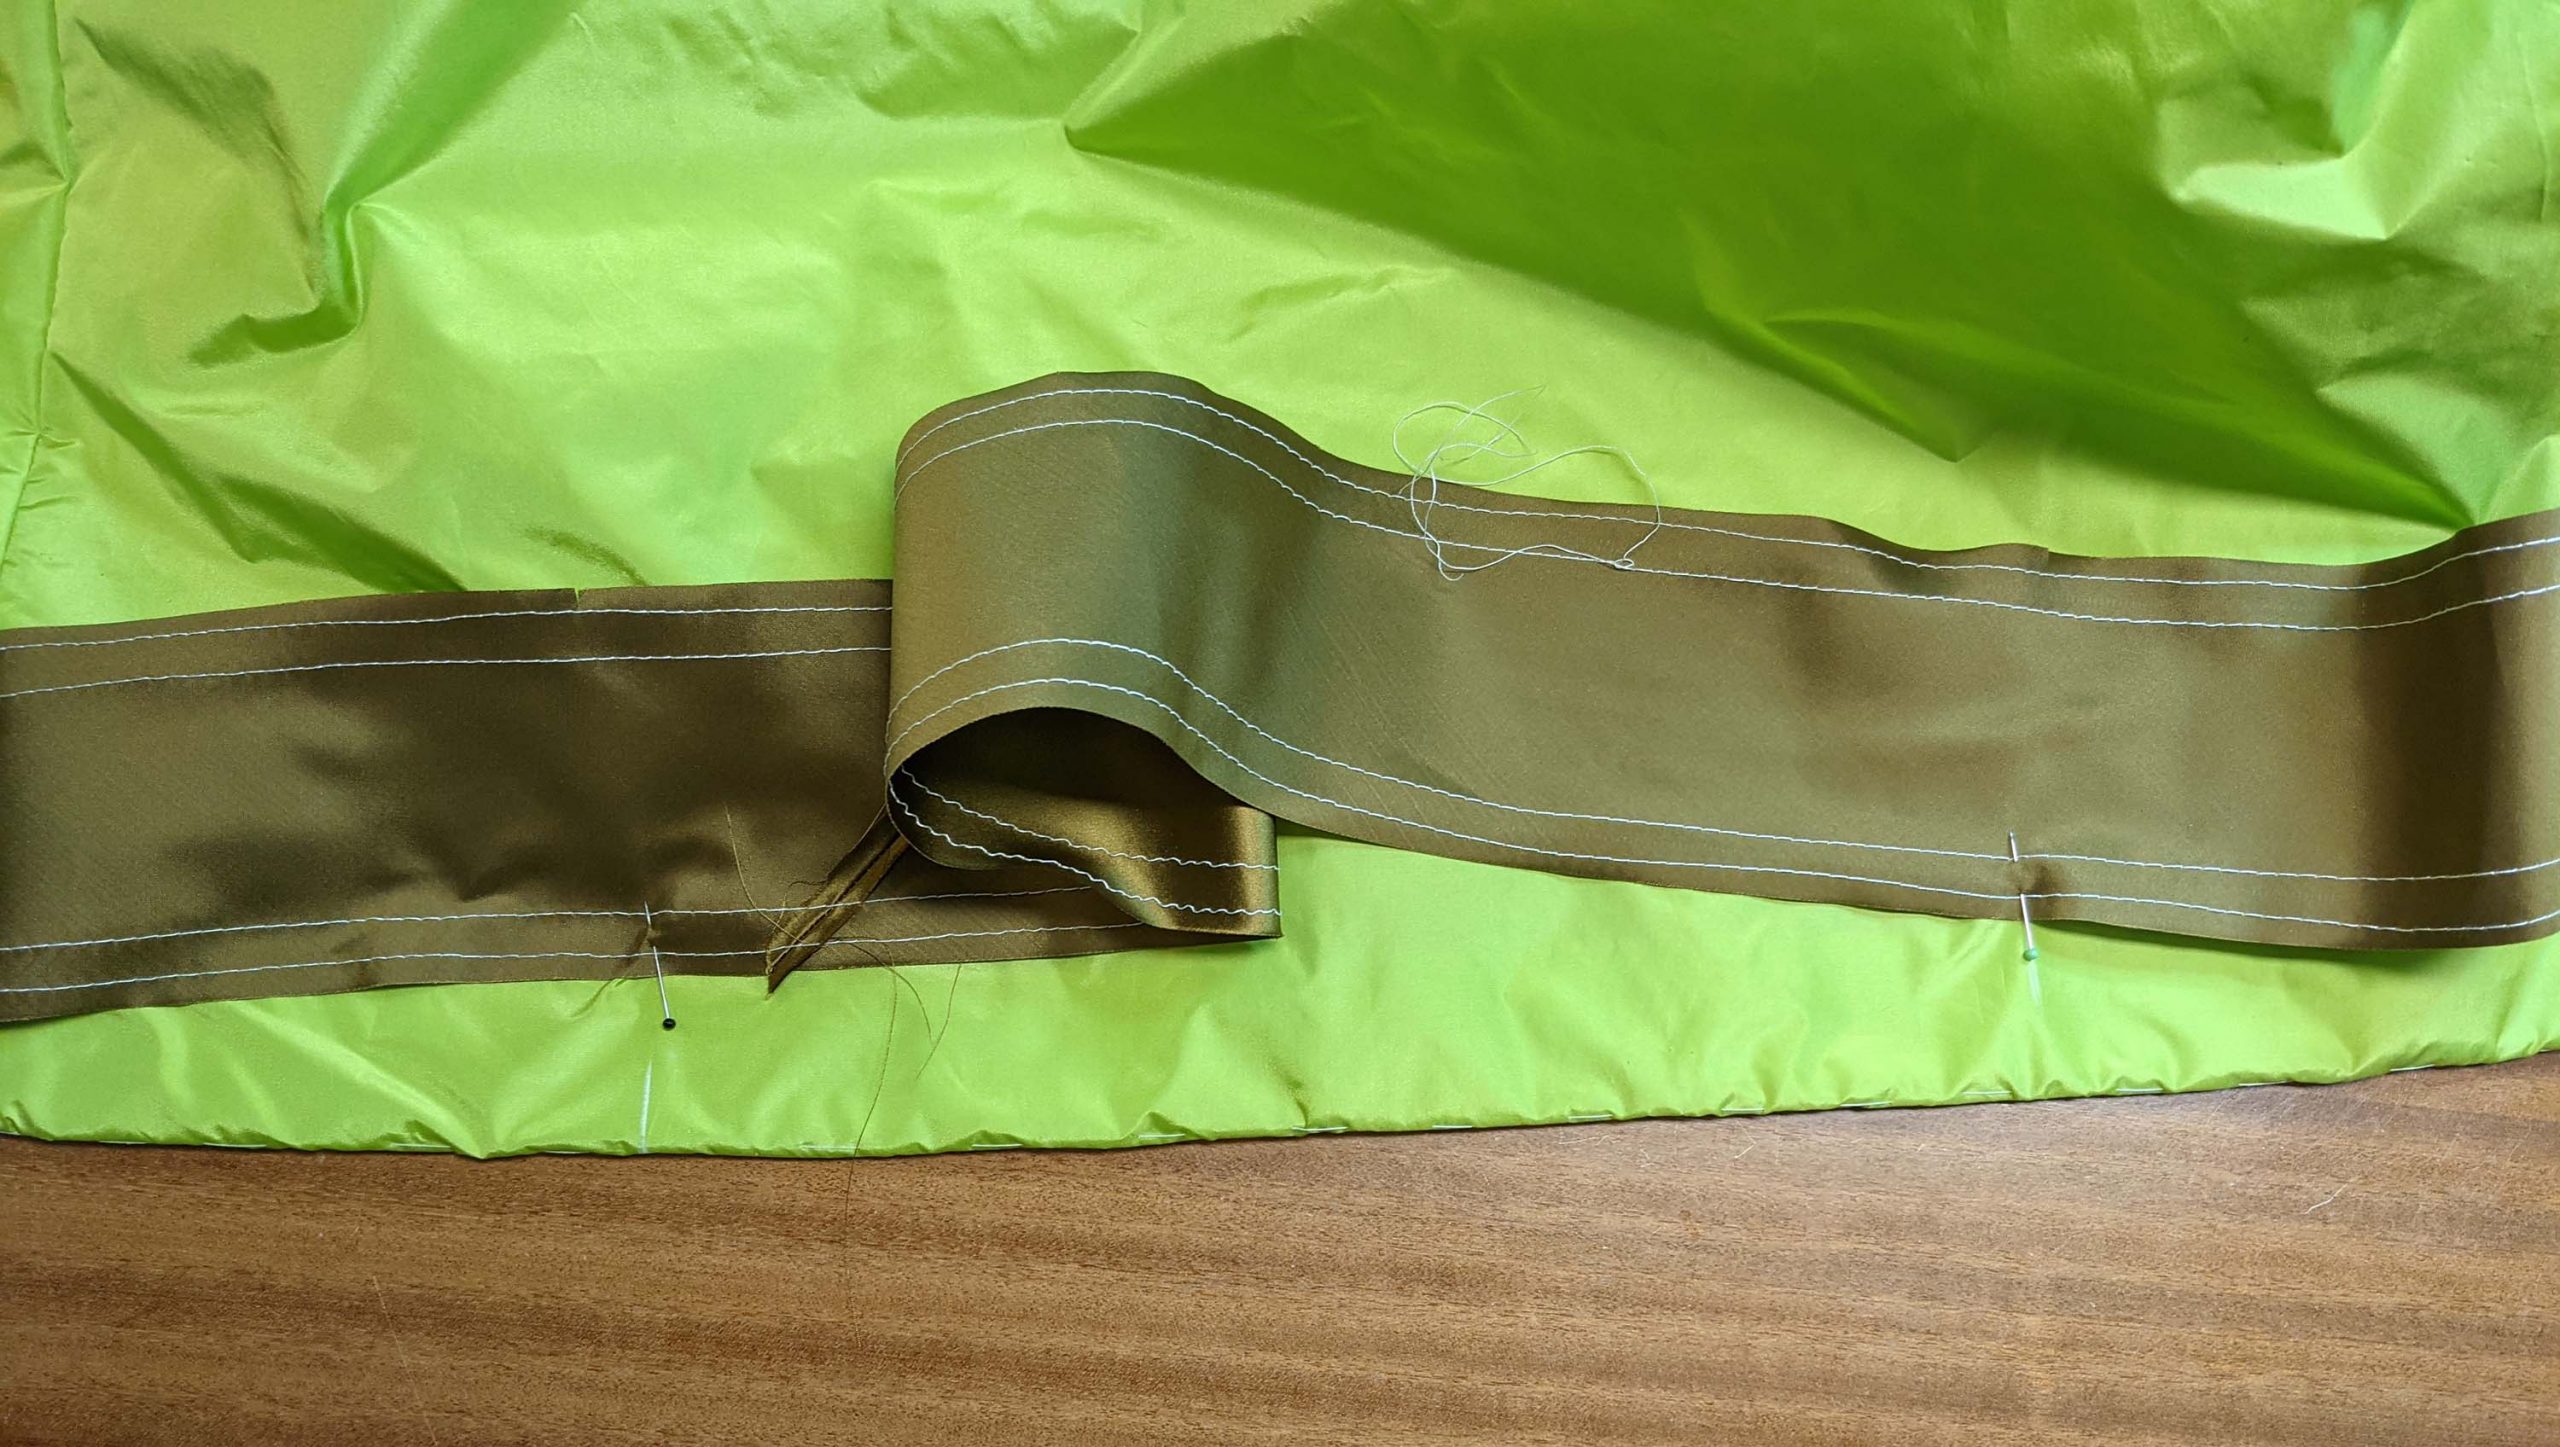
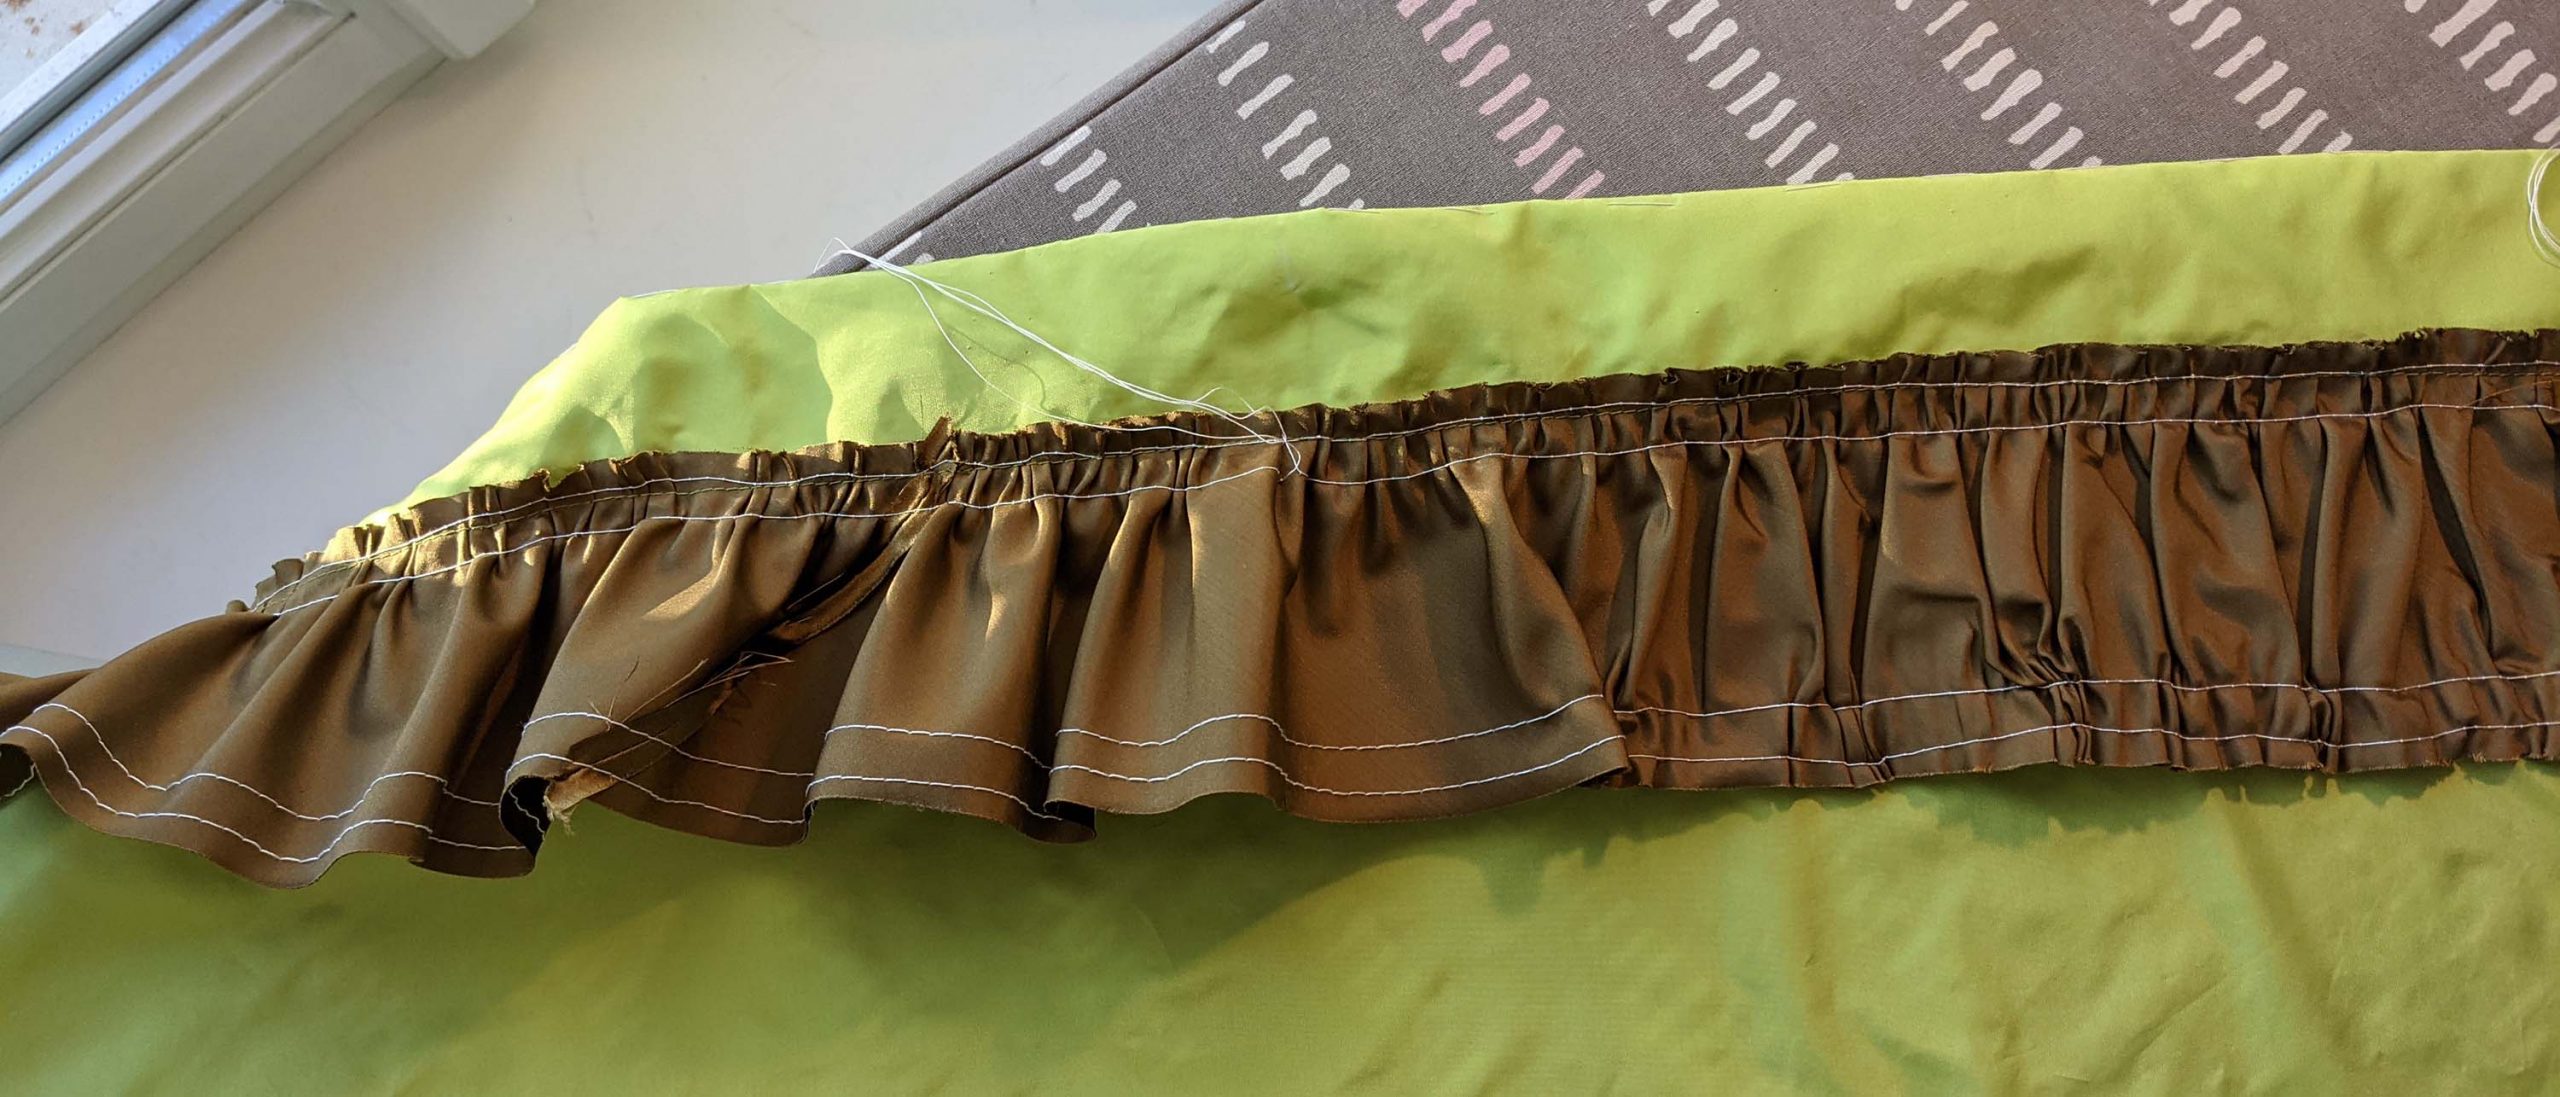
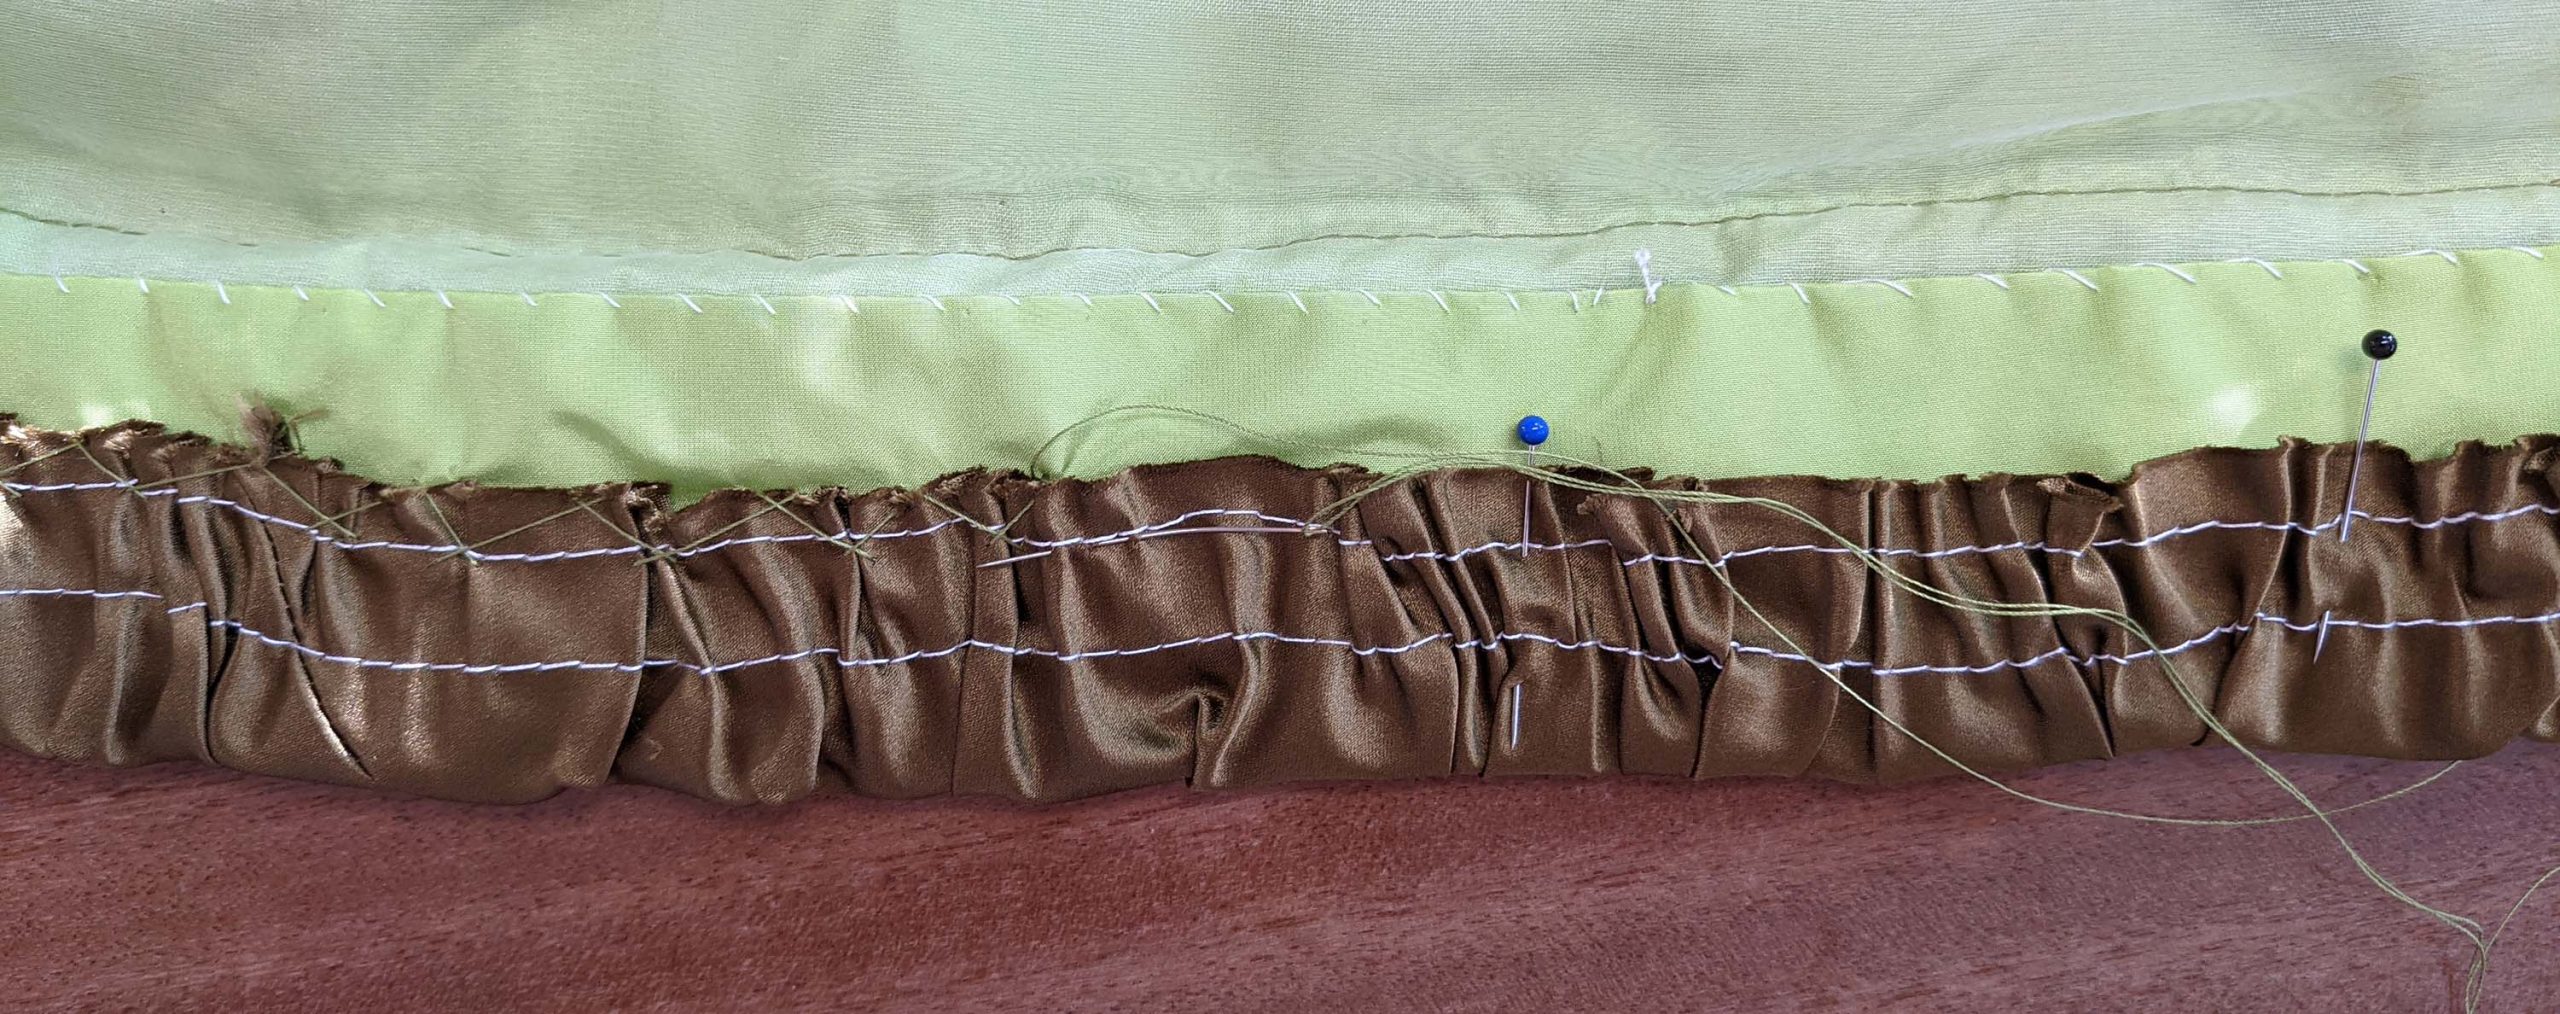
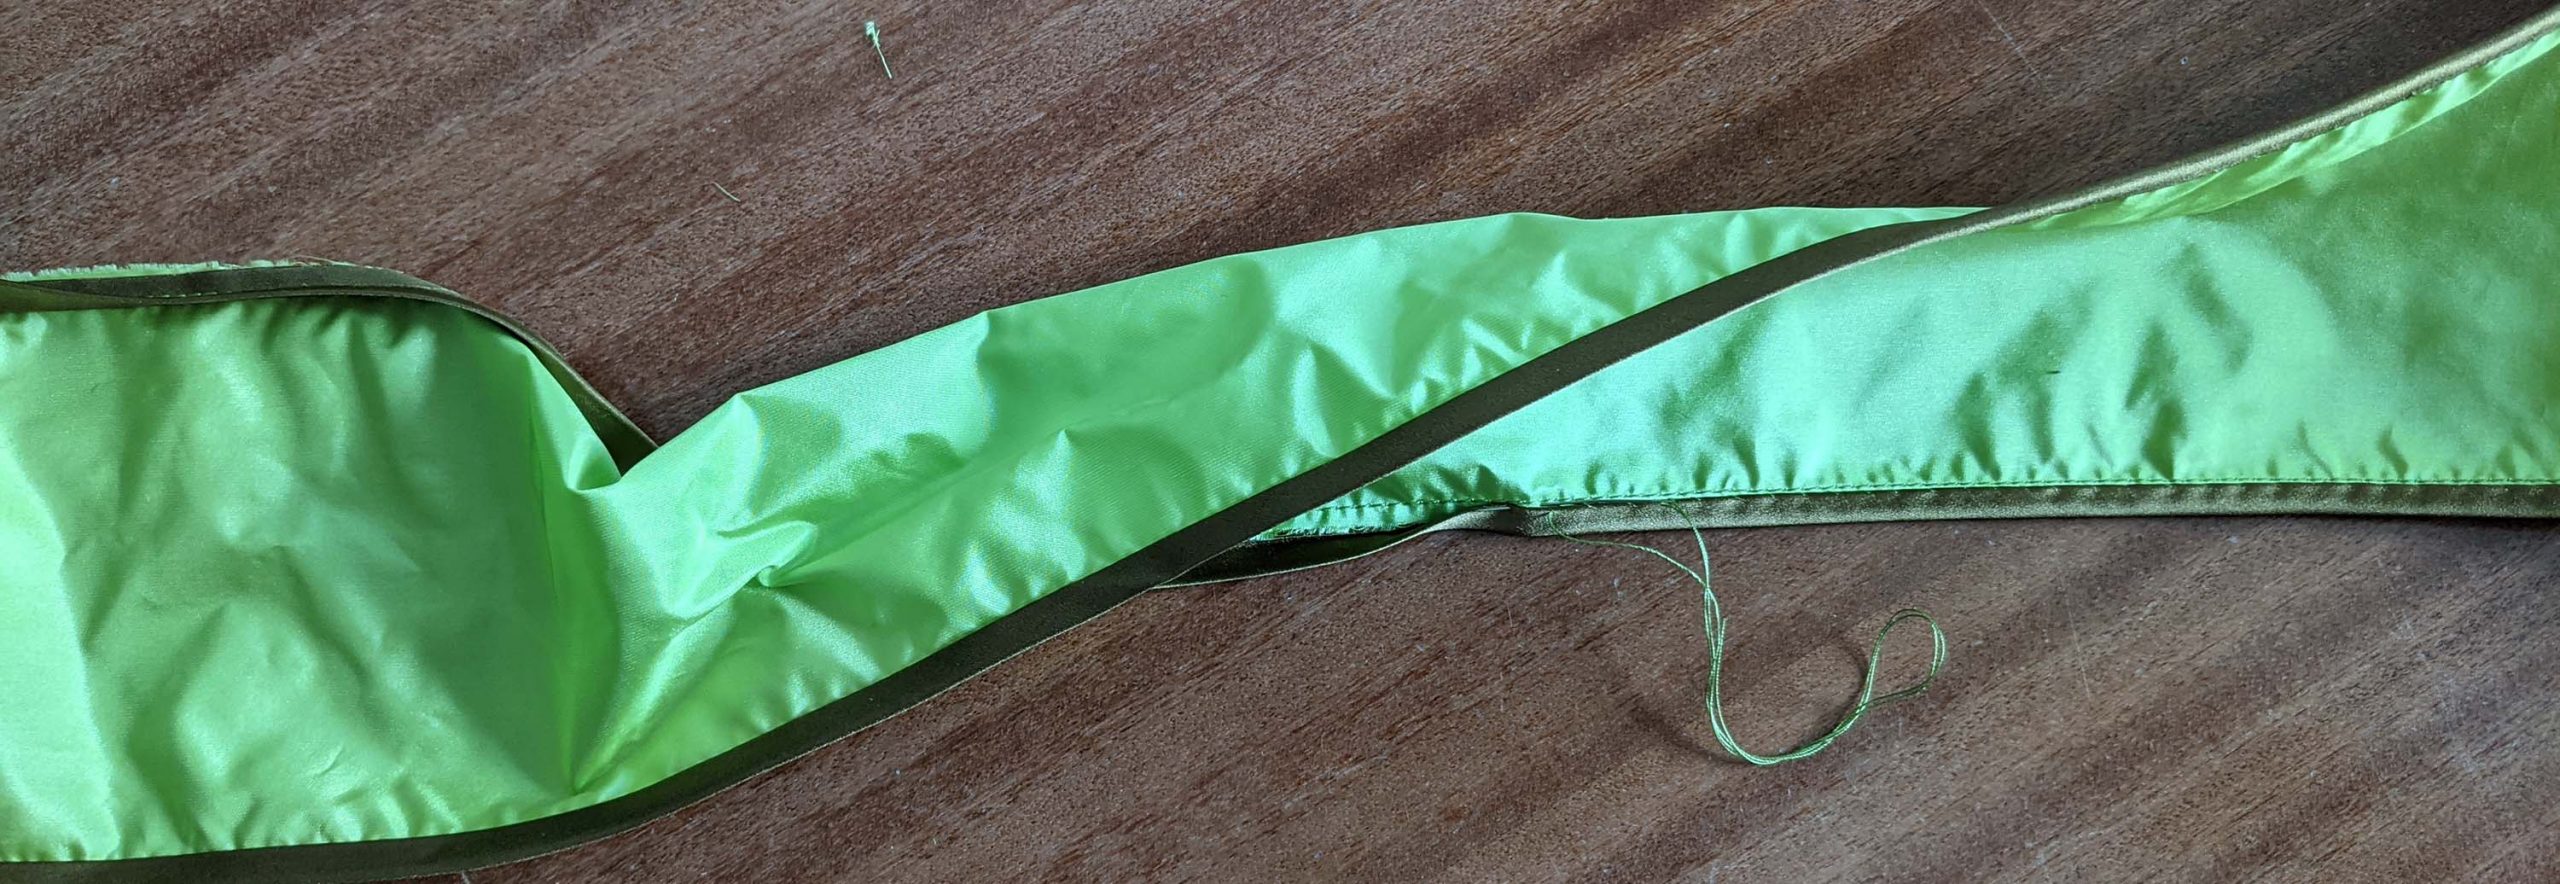
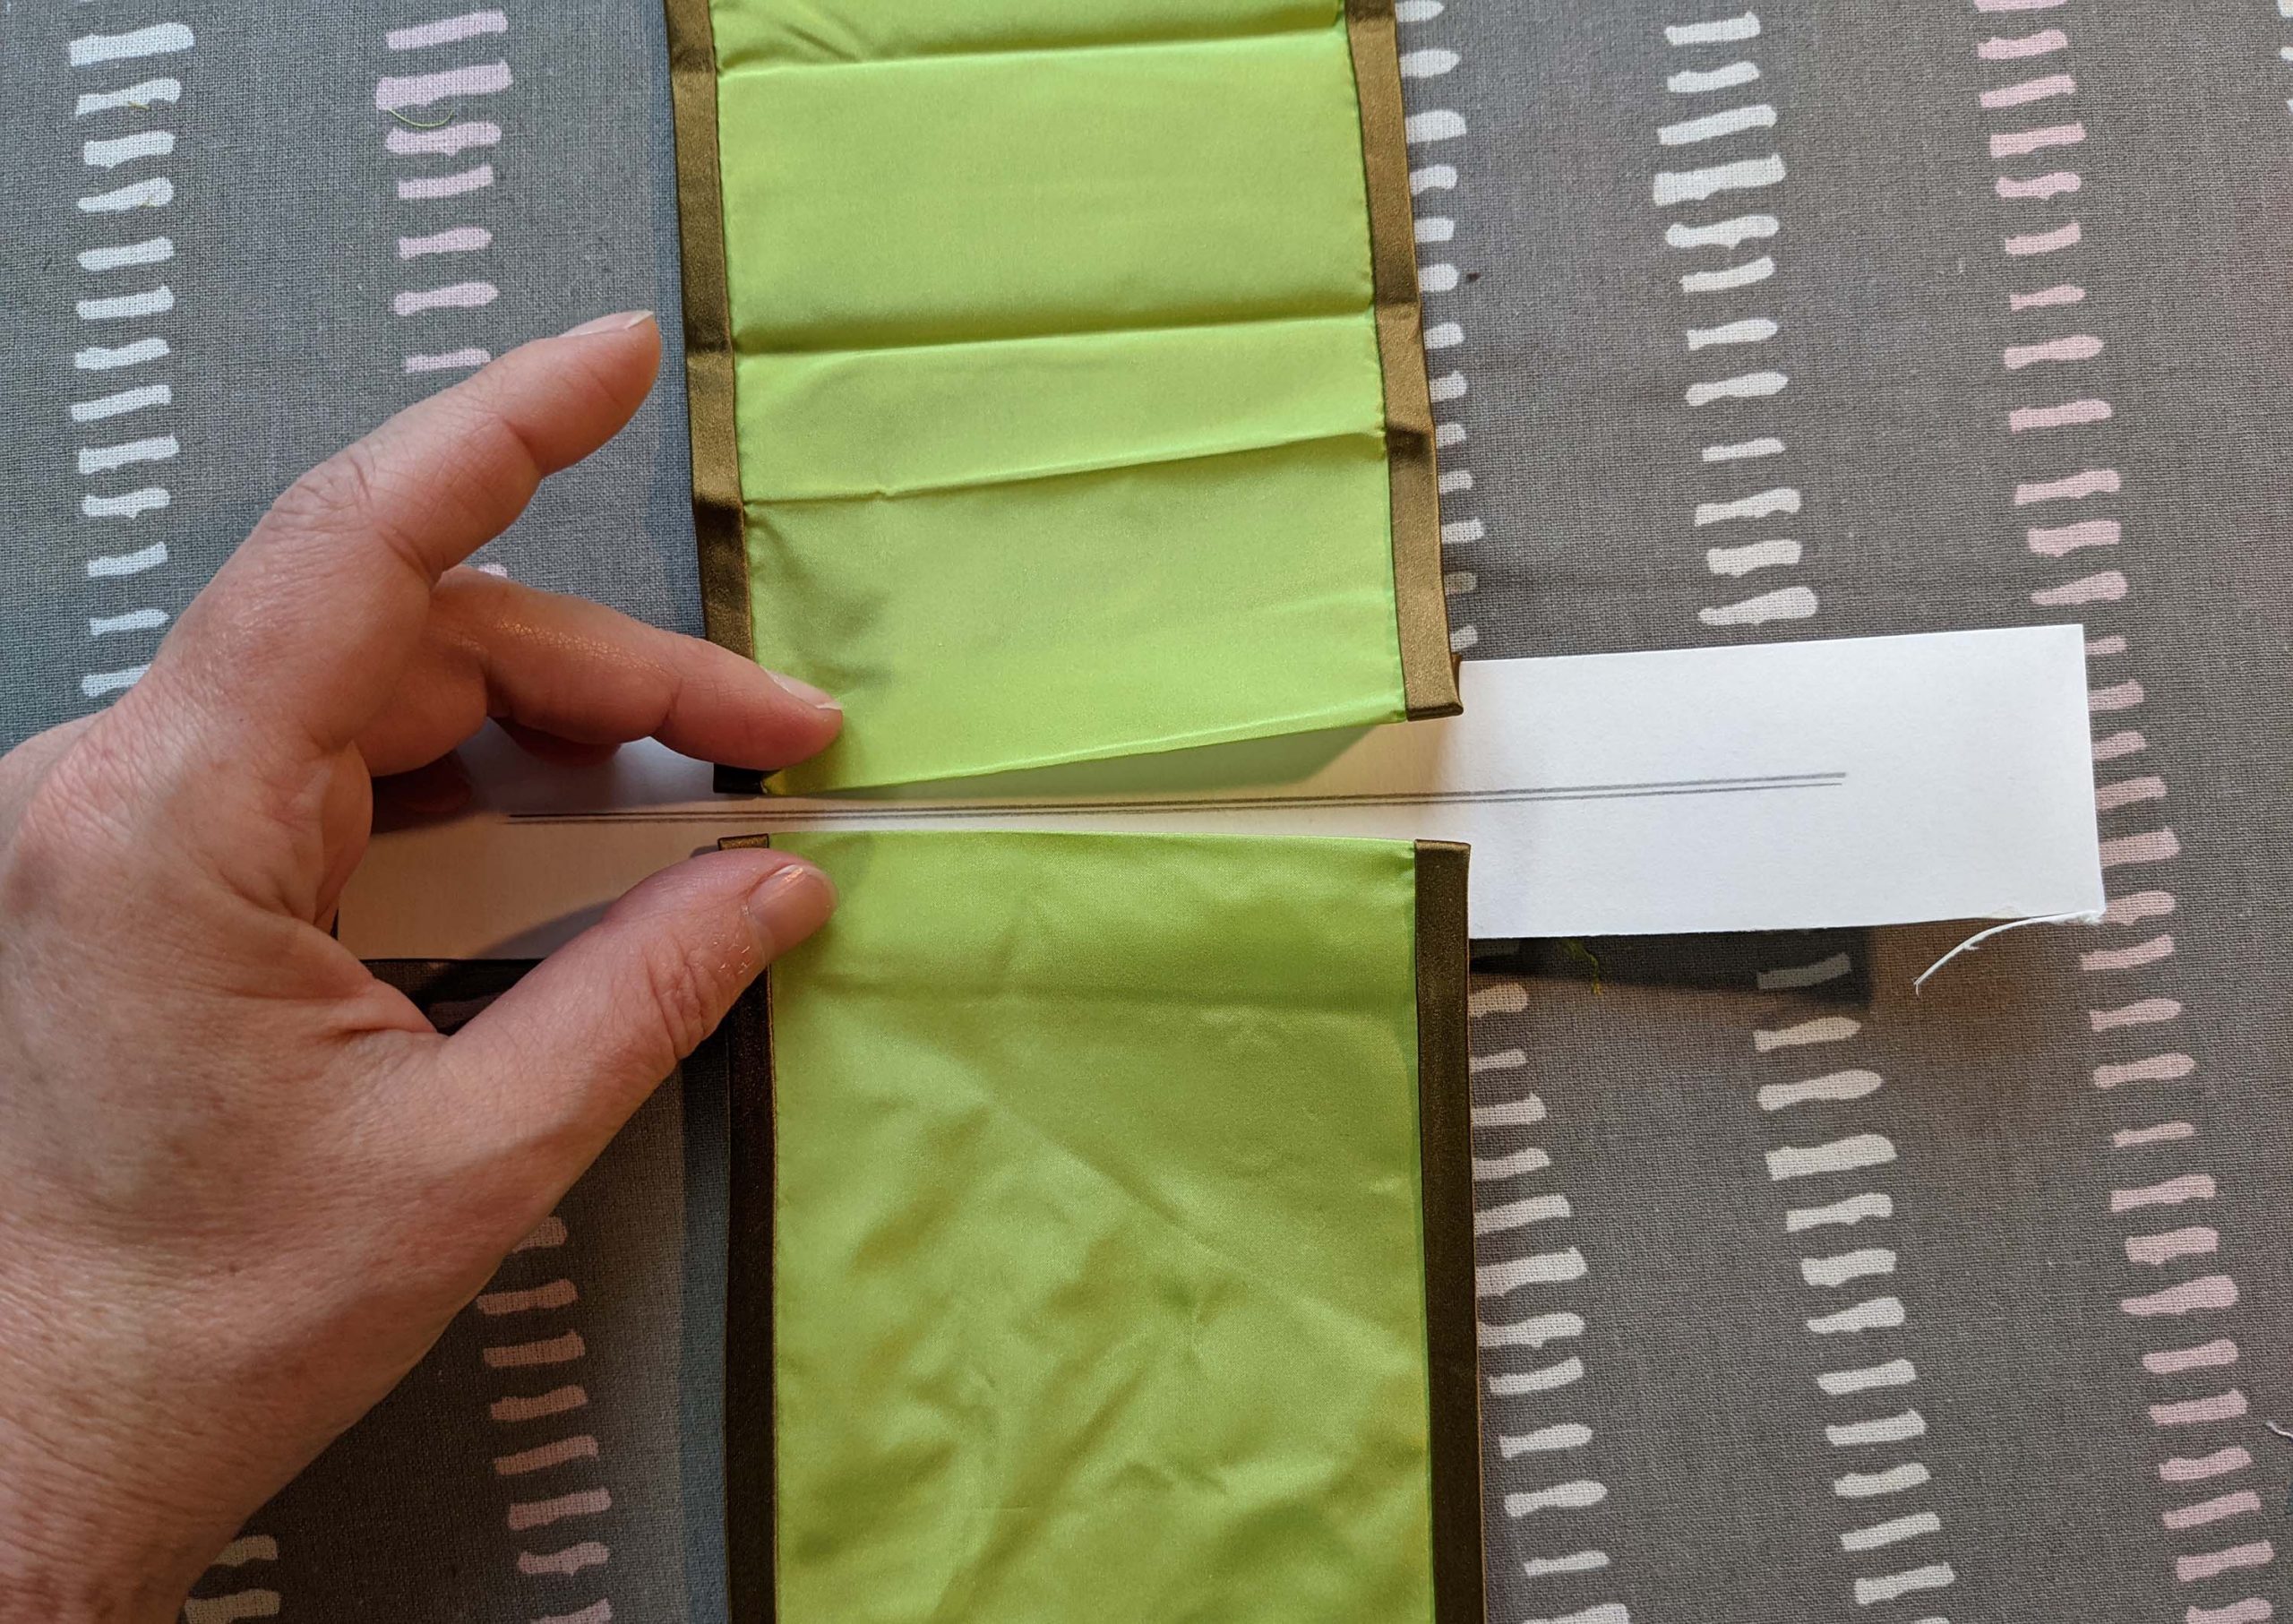
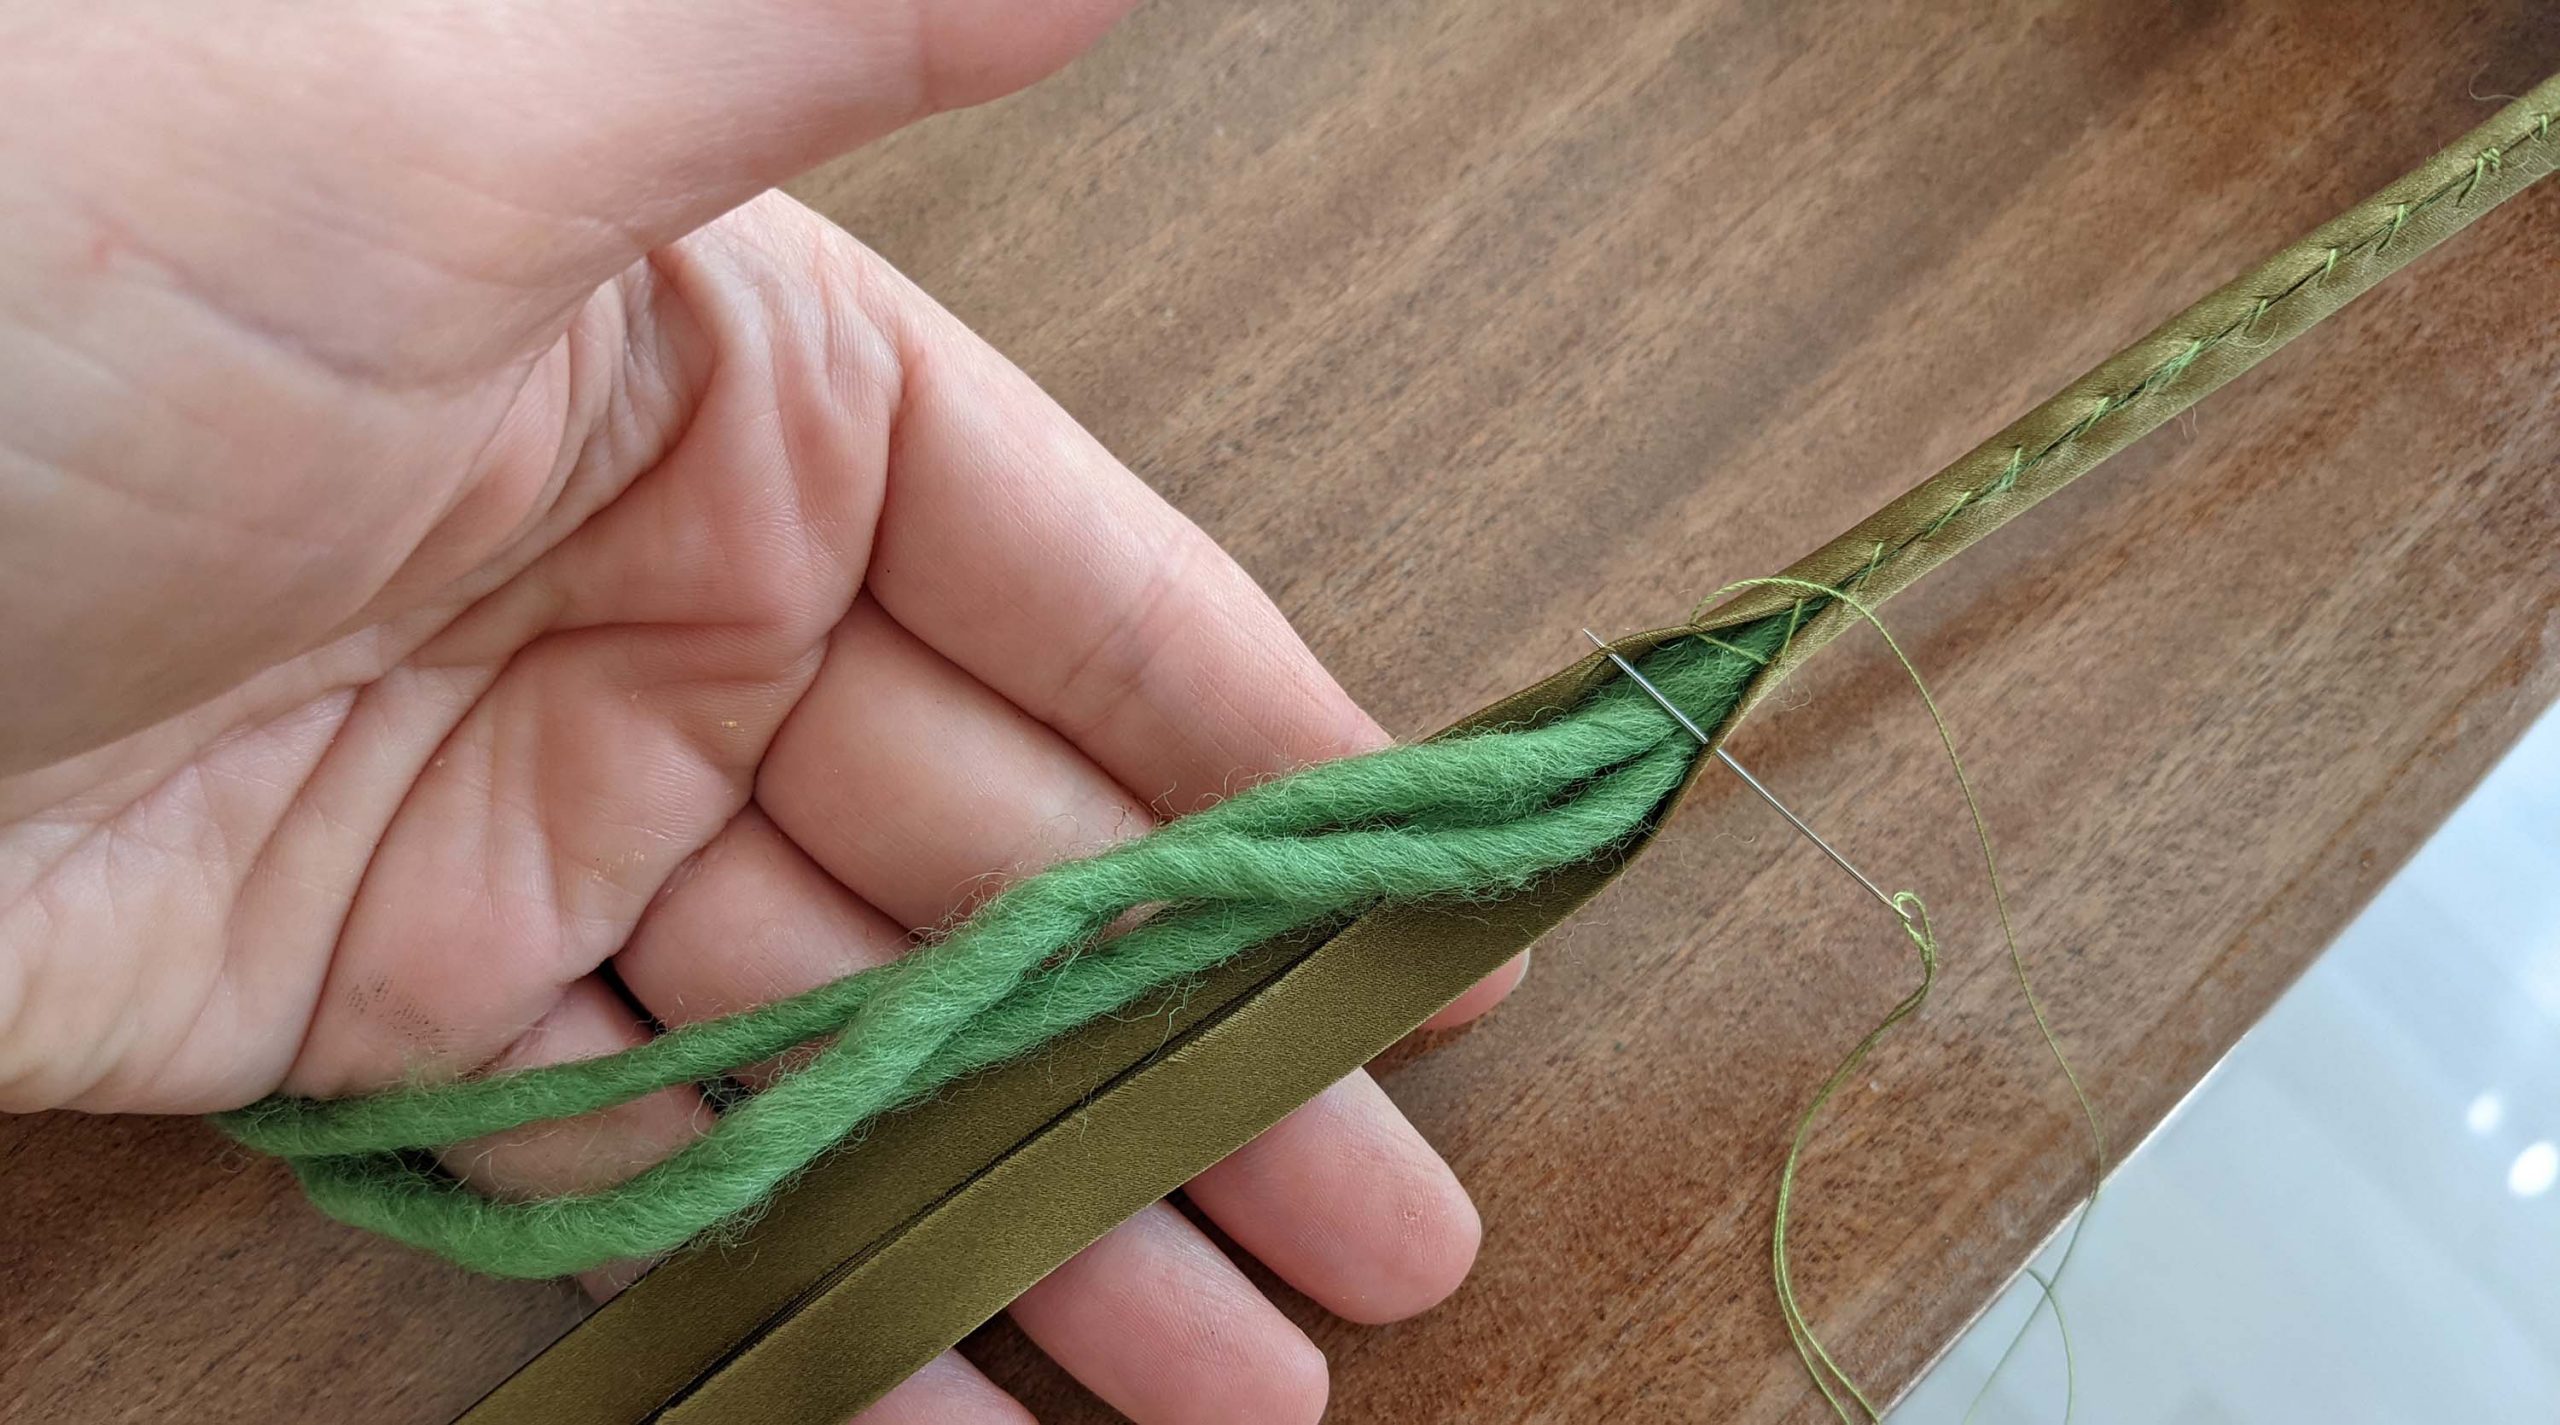
(13) The hem decoration:


Finally finished! Visit my shop if you are interested in the sewing pattern!