
The pattern is coming soon….
In our journey through the world of historical fashion, we’ve uncovered the enchanting allure of Regency dresses. However, the story doesn’t end there. To complete your transformation into a character from a Jane Austen novel or the grand ballrooms of Bridgerton, we introduce a perfect companion piece – a Regency Spencer Jacket. This exquisite garment, like the dress, has been meticulously recreated with a historical nod, making it the ideal addition to your Regency-inspired ensemble.
Just as we ventured into the realm of the Empire dress, it’s time to explore the creation of this captivating Spencer Jacket. Following the same commitment to historical techniques and style, this piece embraces the authenticity of the Regency era while adding a modern twist. Whether you’re a seasoned seamstress or a budding costume enthusiast, this blog post will guide you through crafting this elegant jacket with step-by-step instructions and detailed images. So, as we delve deeper into the world of Regency fashion, prepare to embark on another sewing adventure, one that promises to bring the grandeur of Bridgerton and the Regency era to life in your wardrobe.
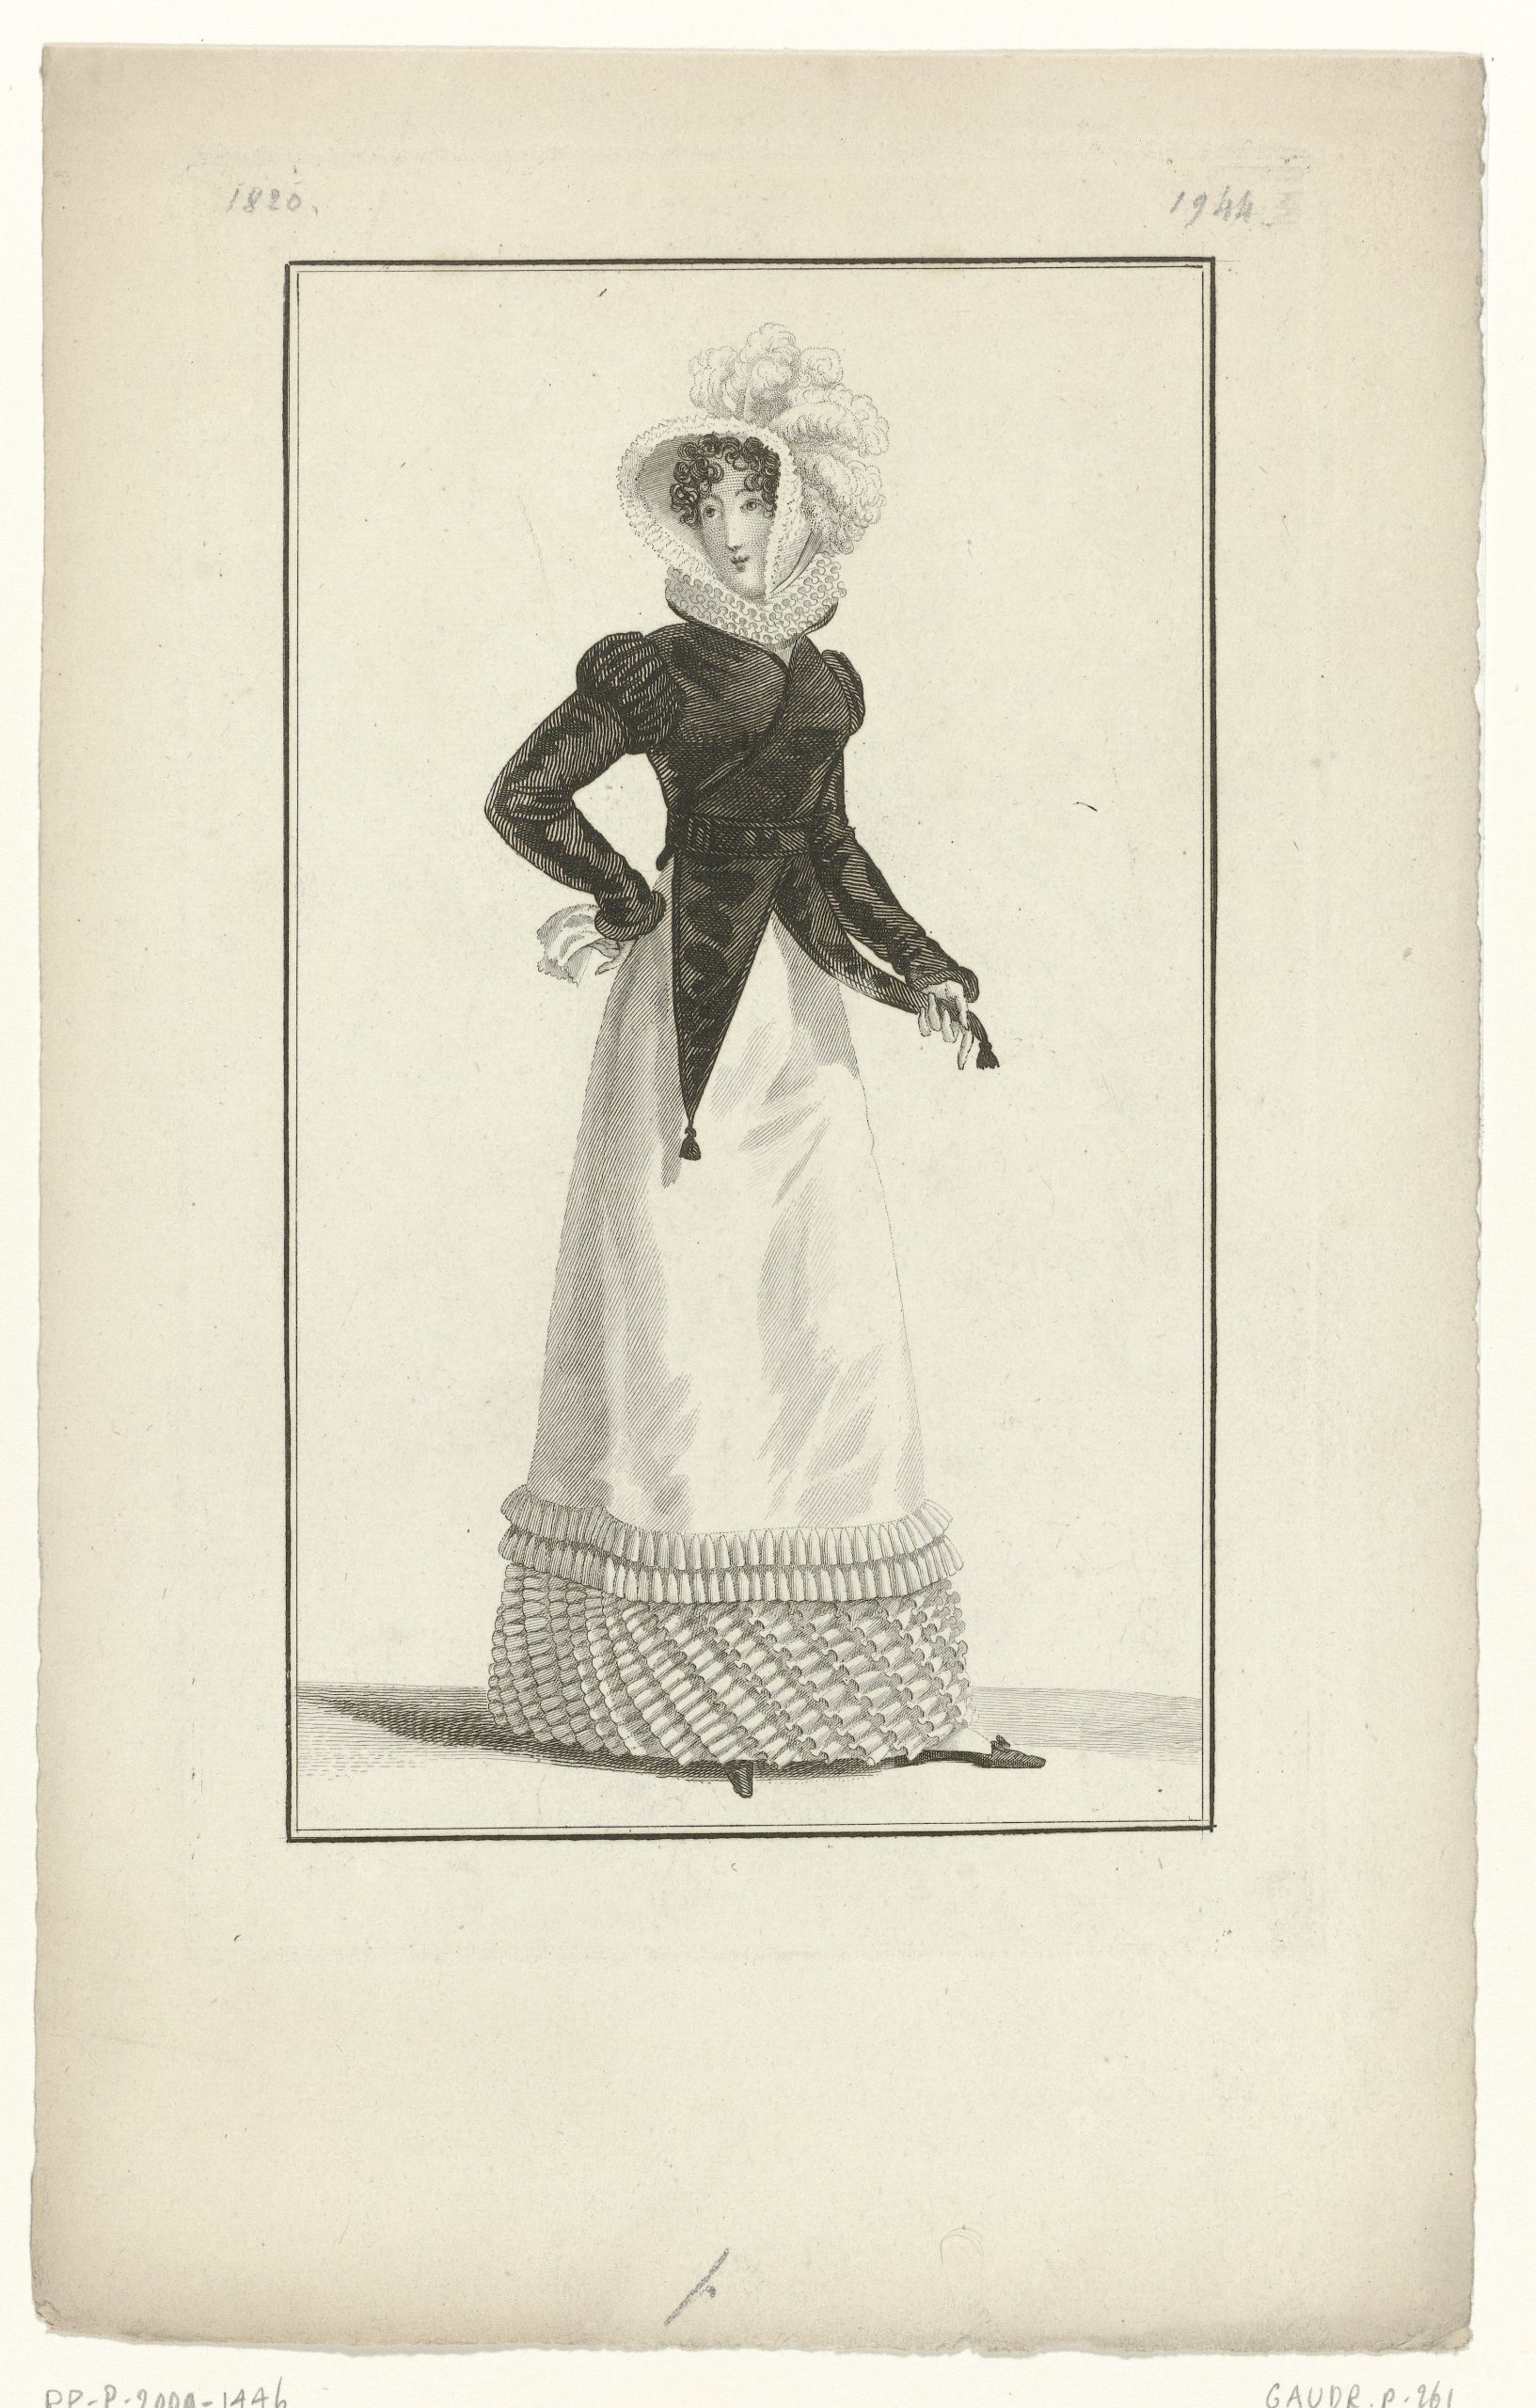
The time of the Empire/ Regency lasted from 1795 to 1820 and can be divided roughly into three subcategories of fashion styles.
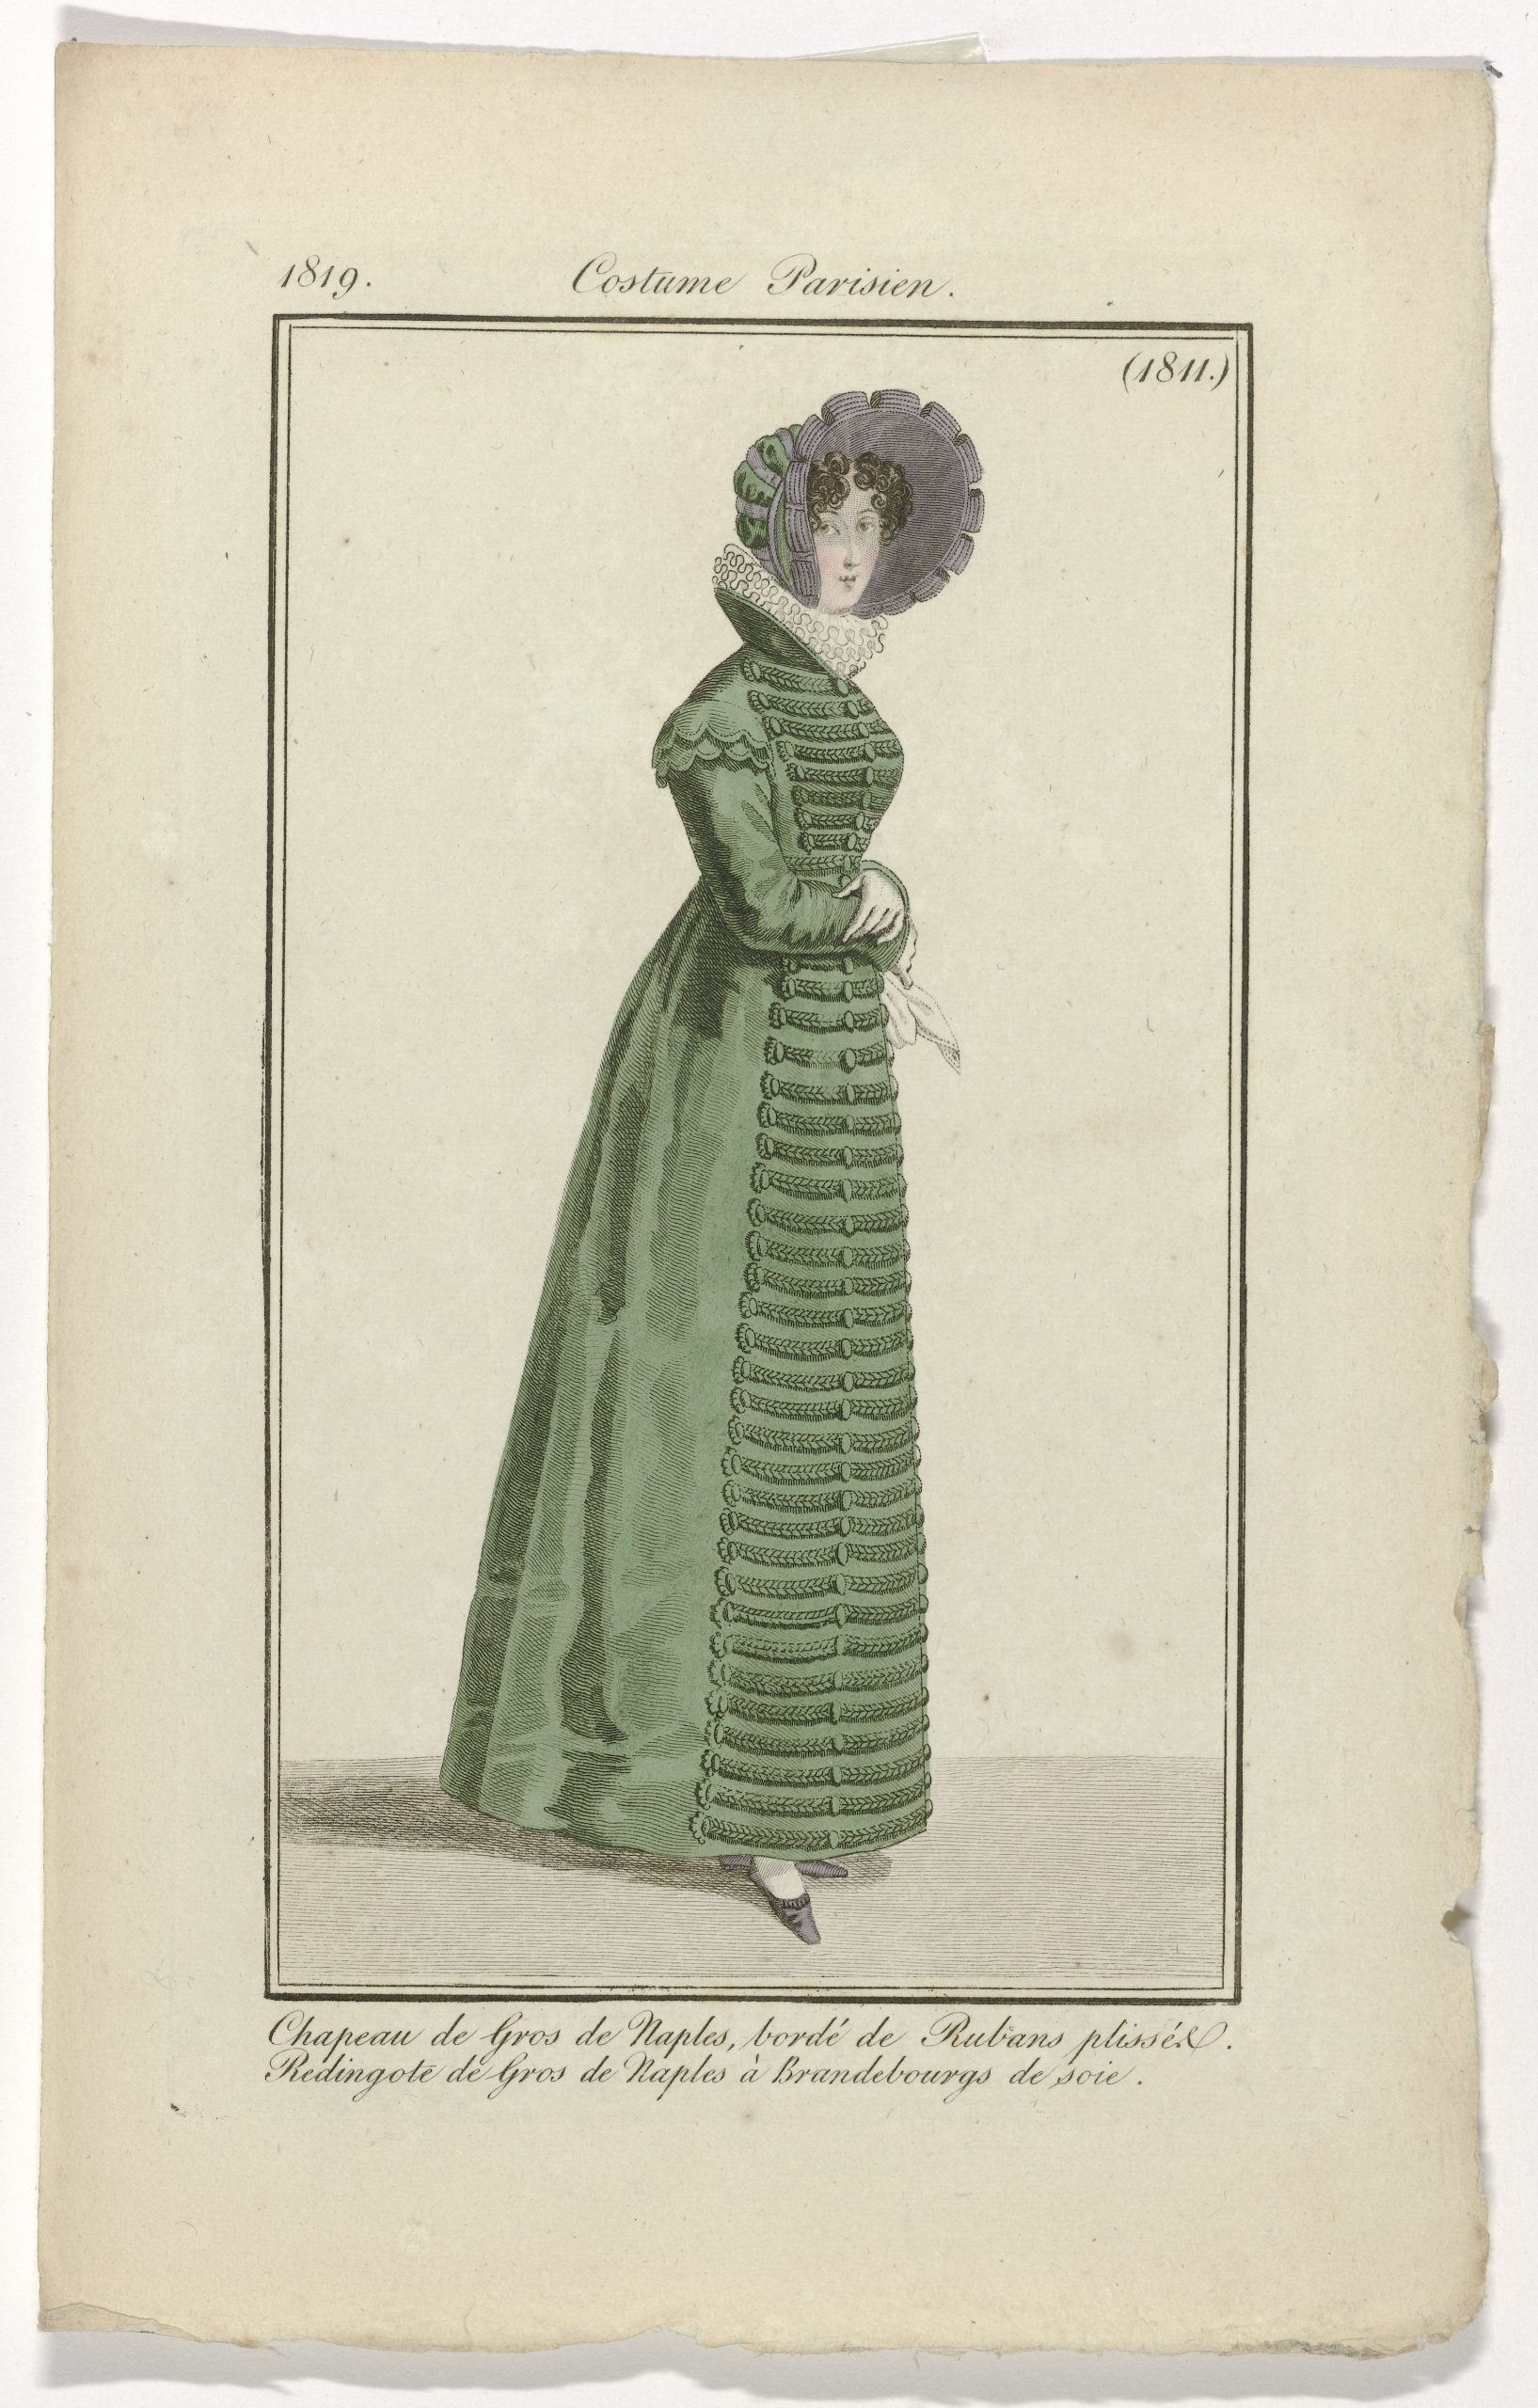
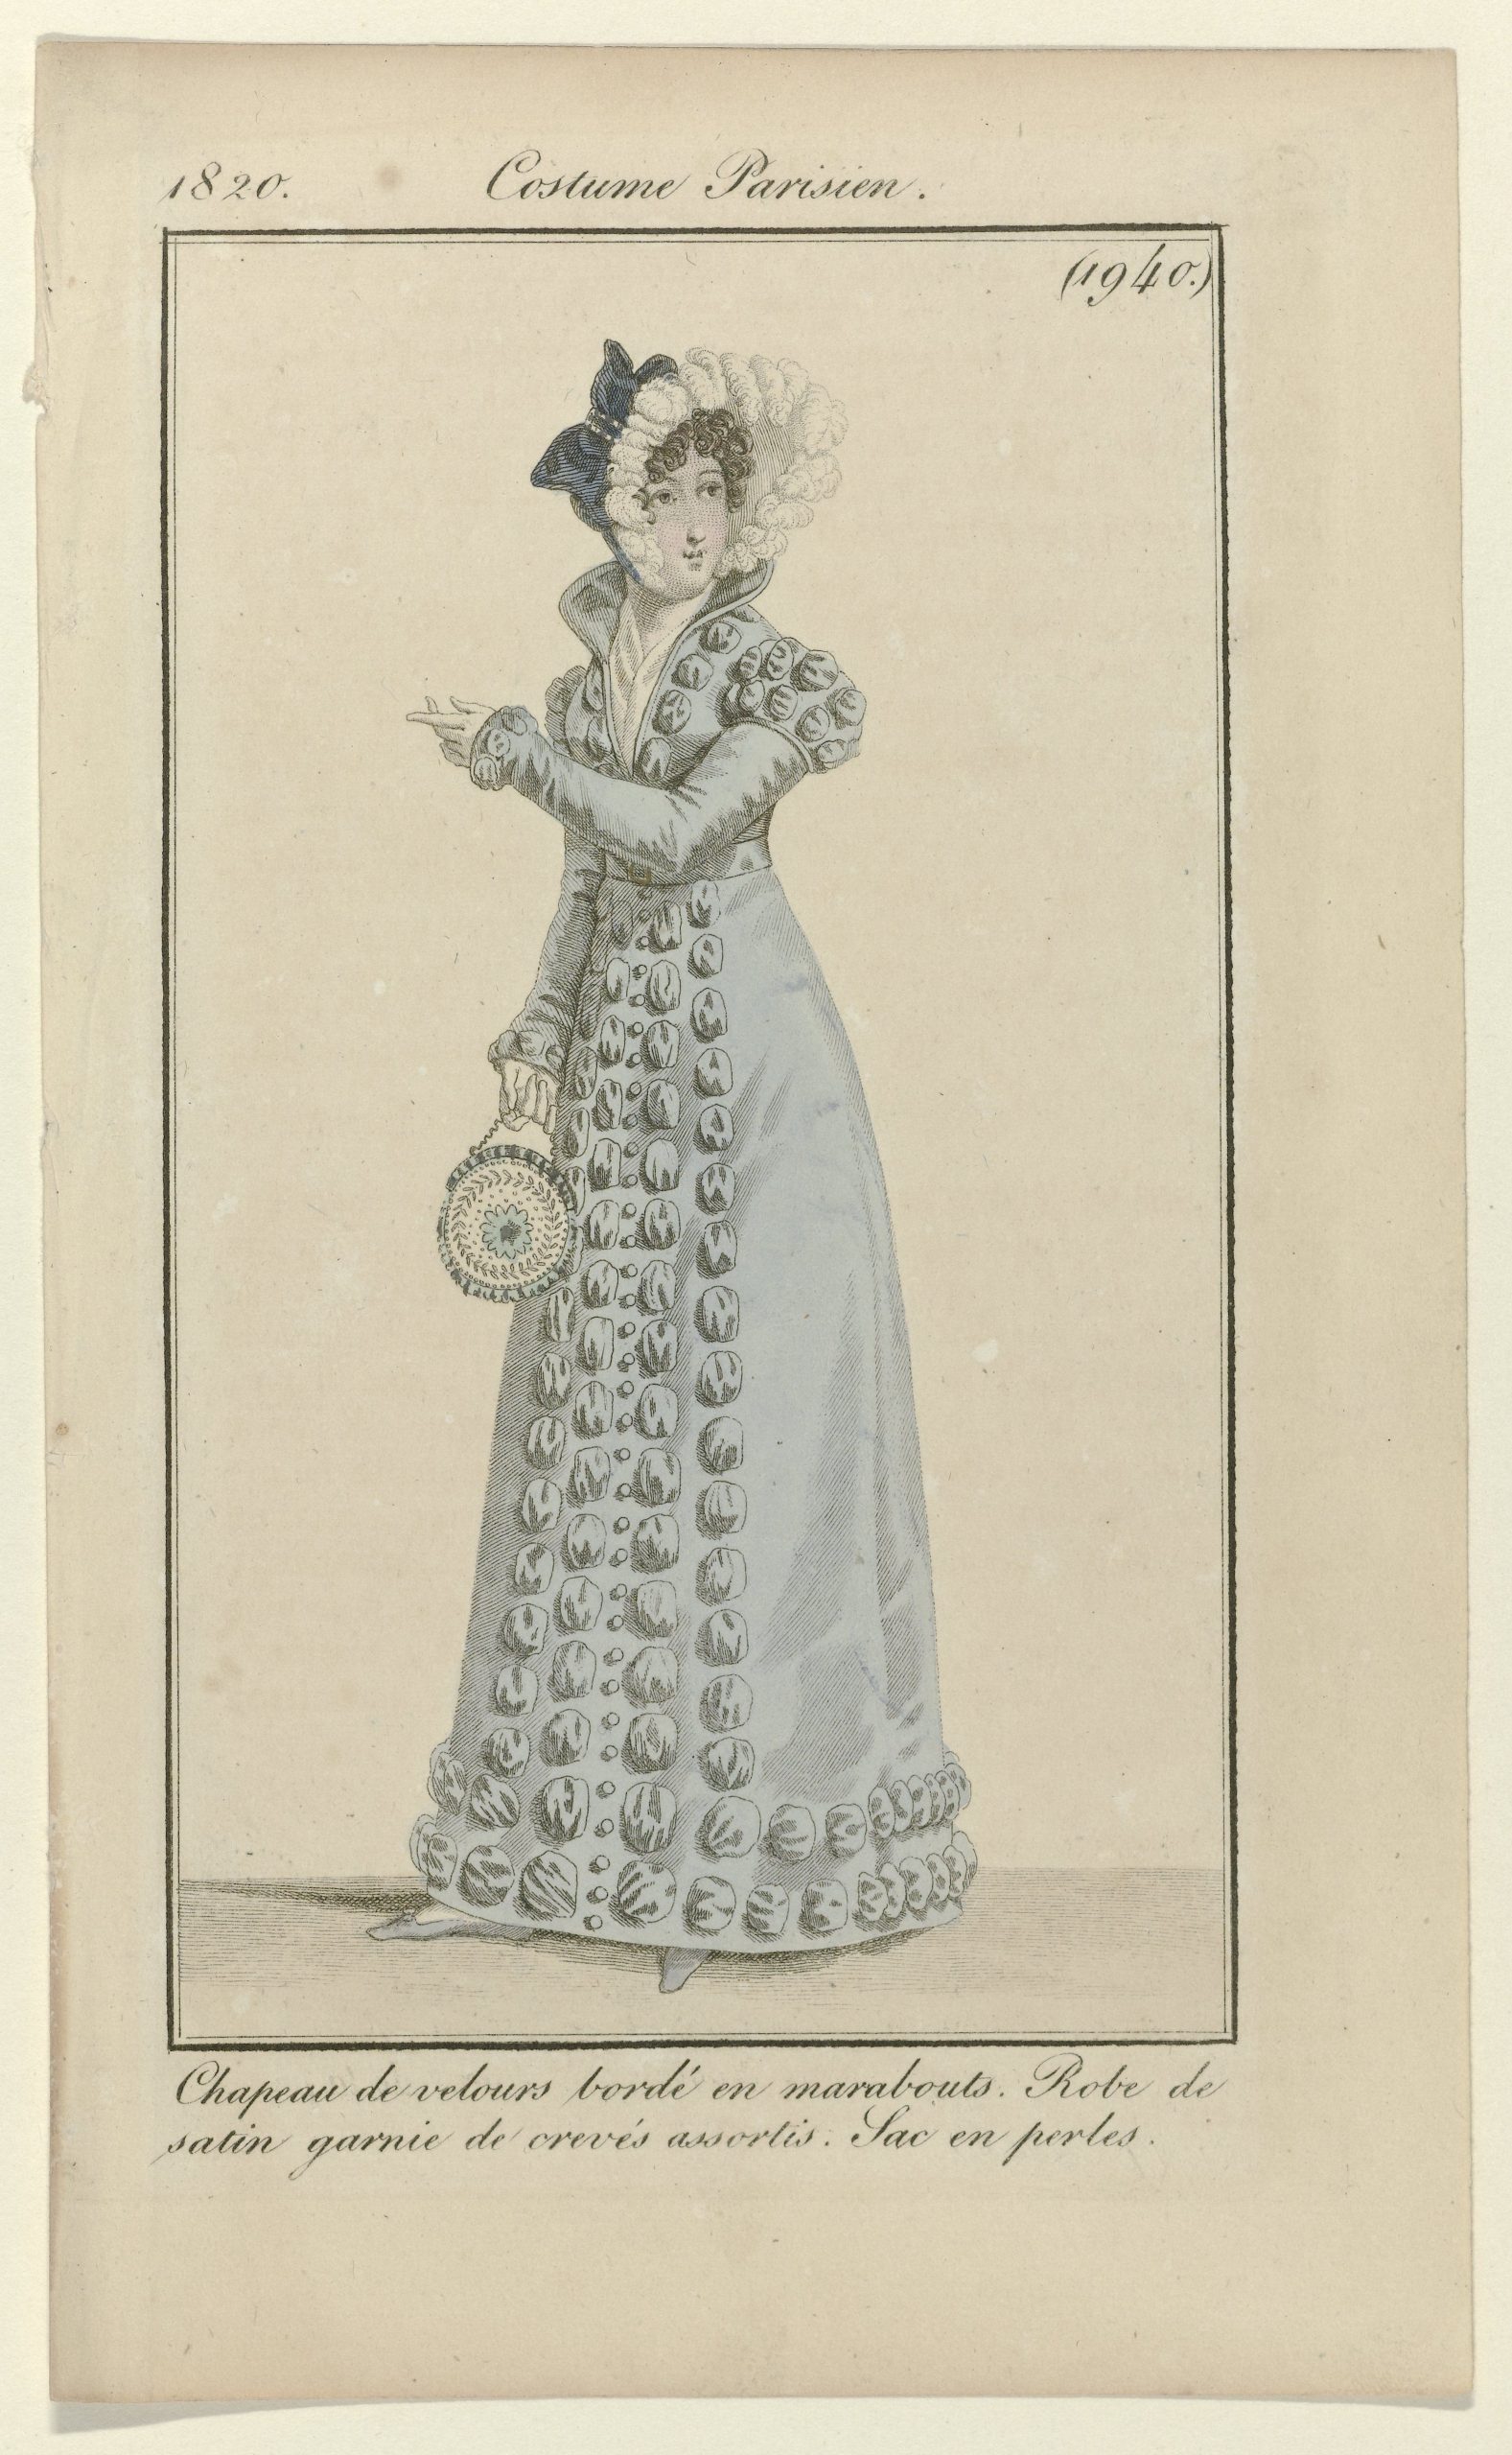
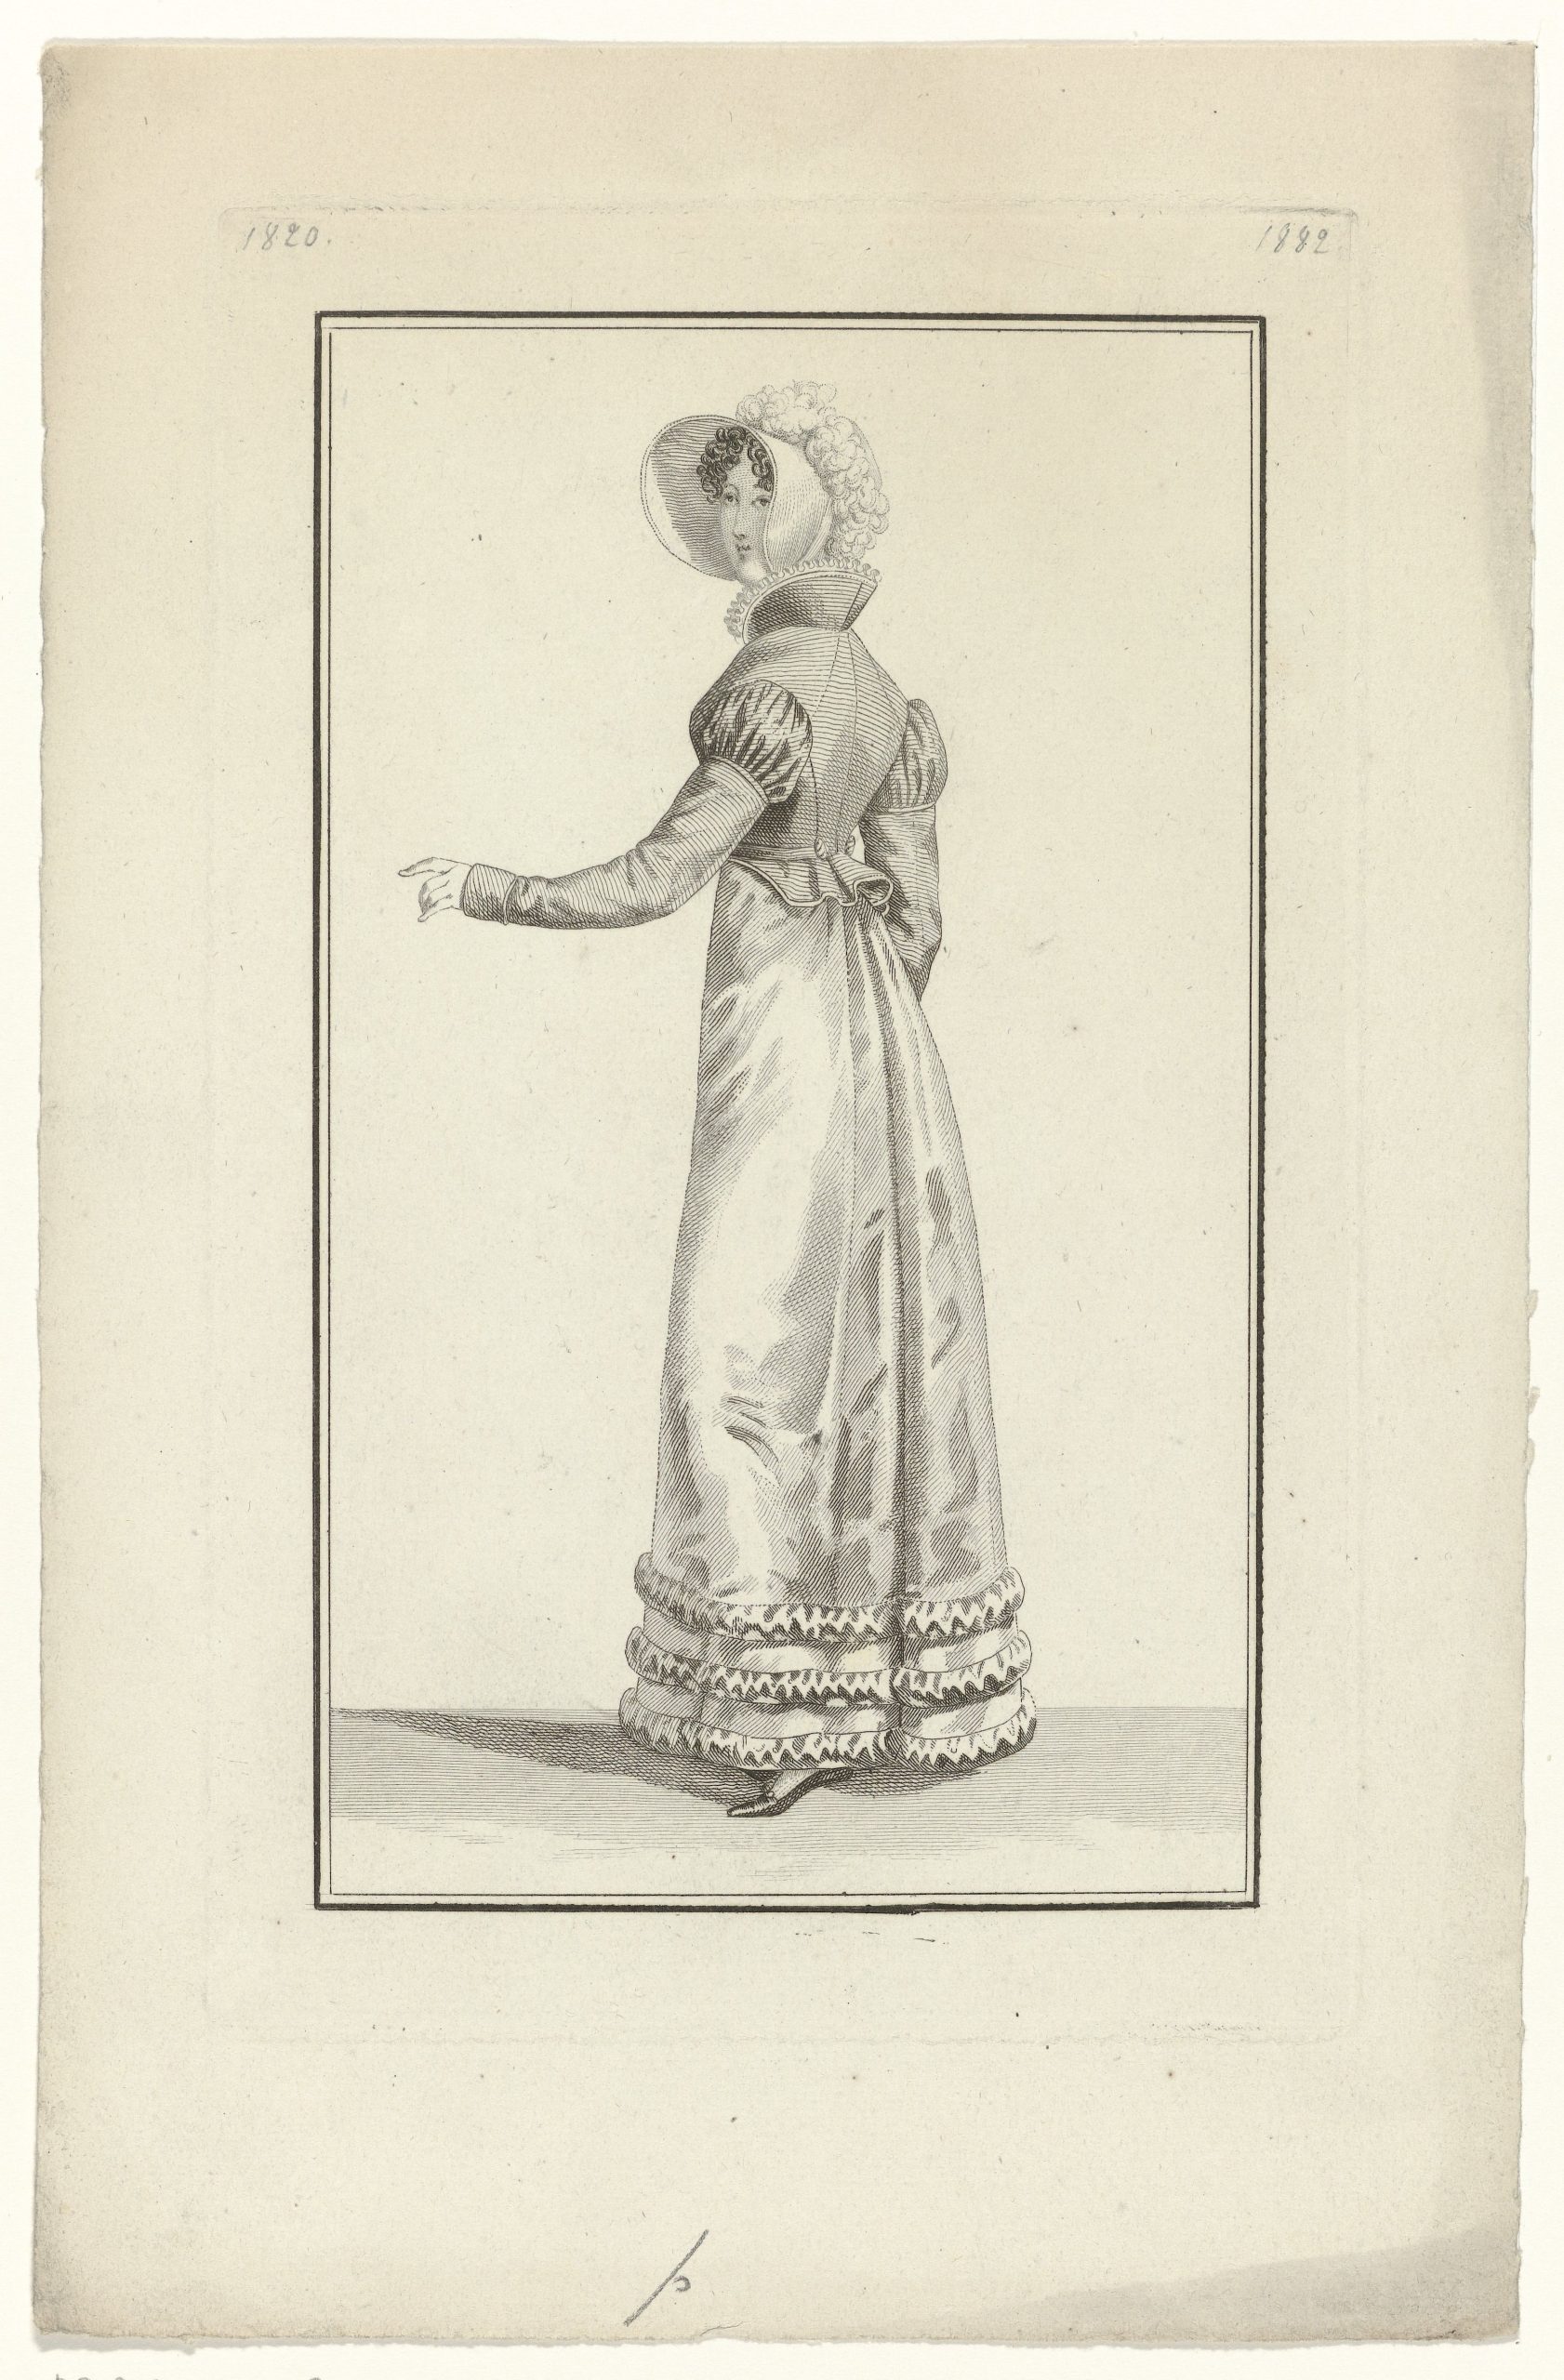
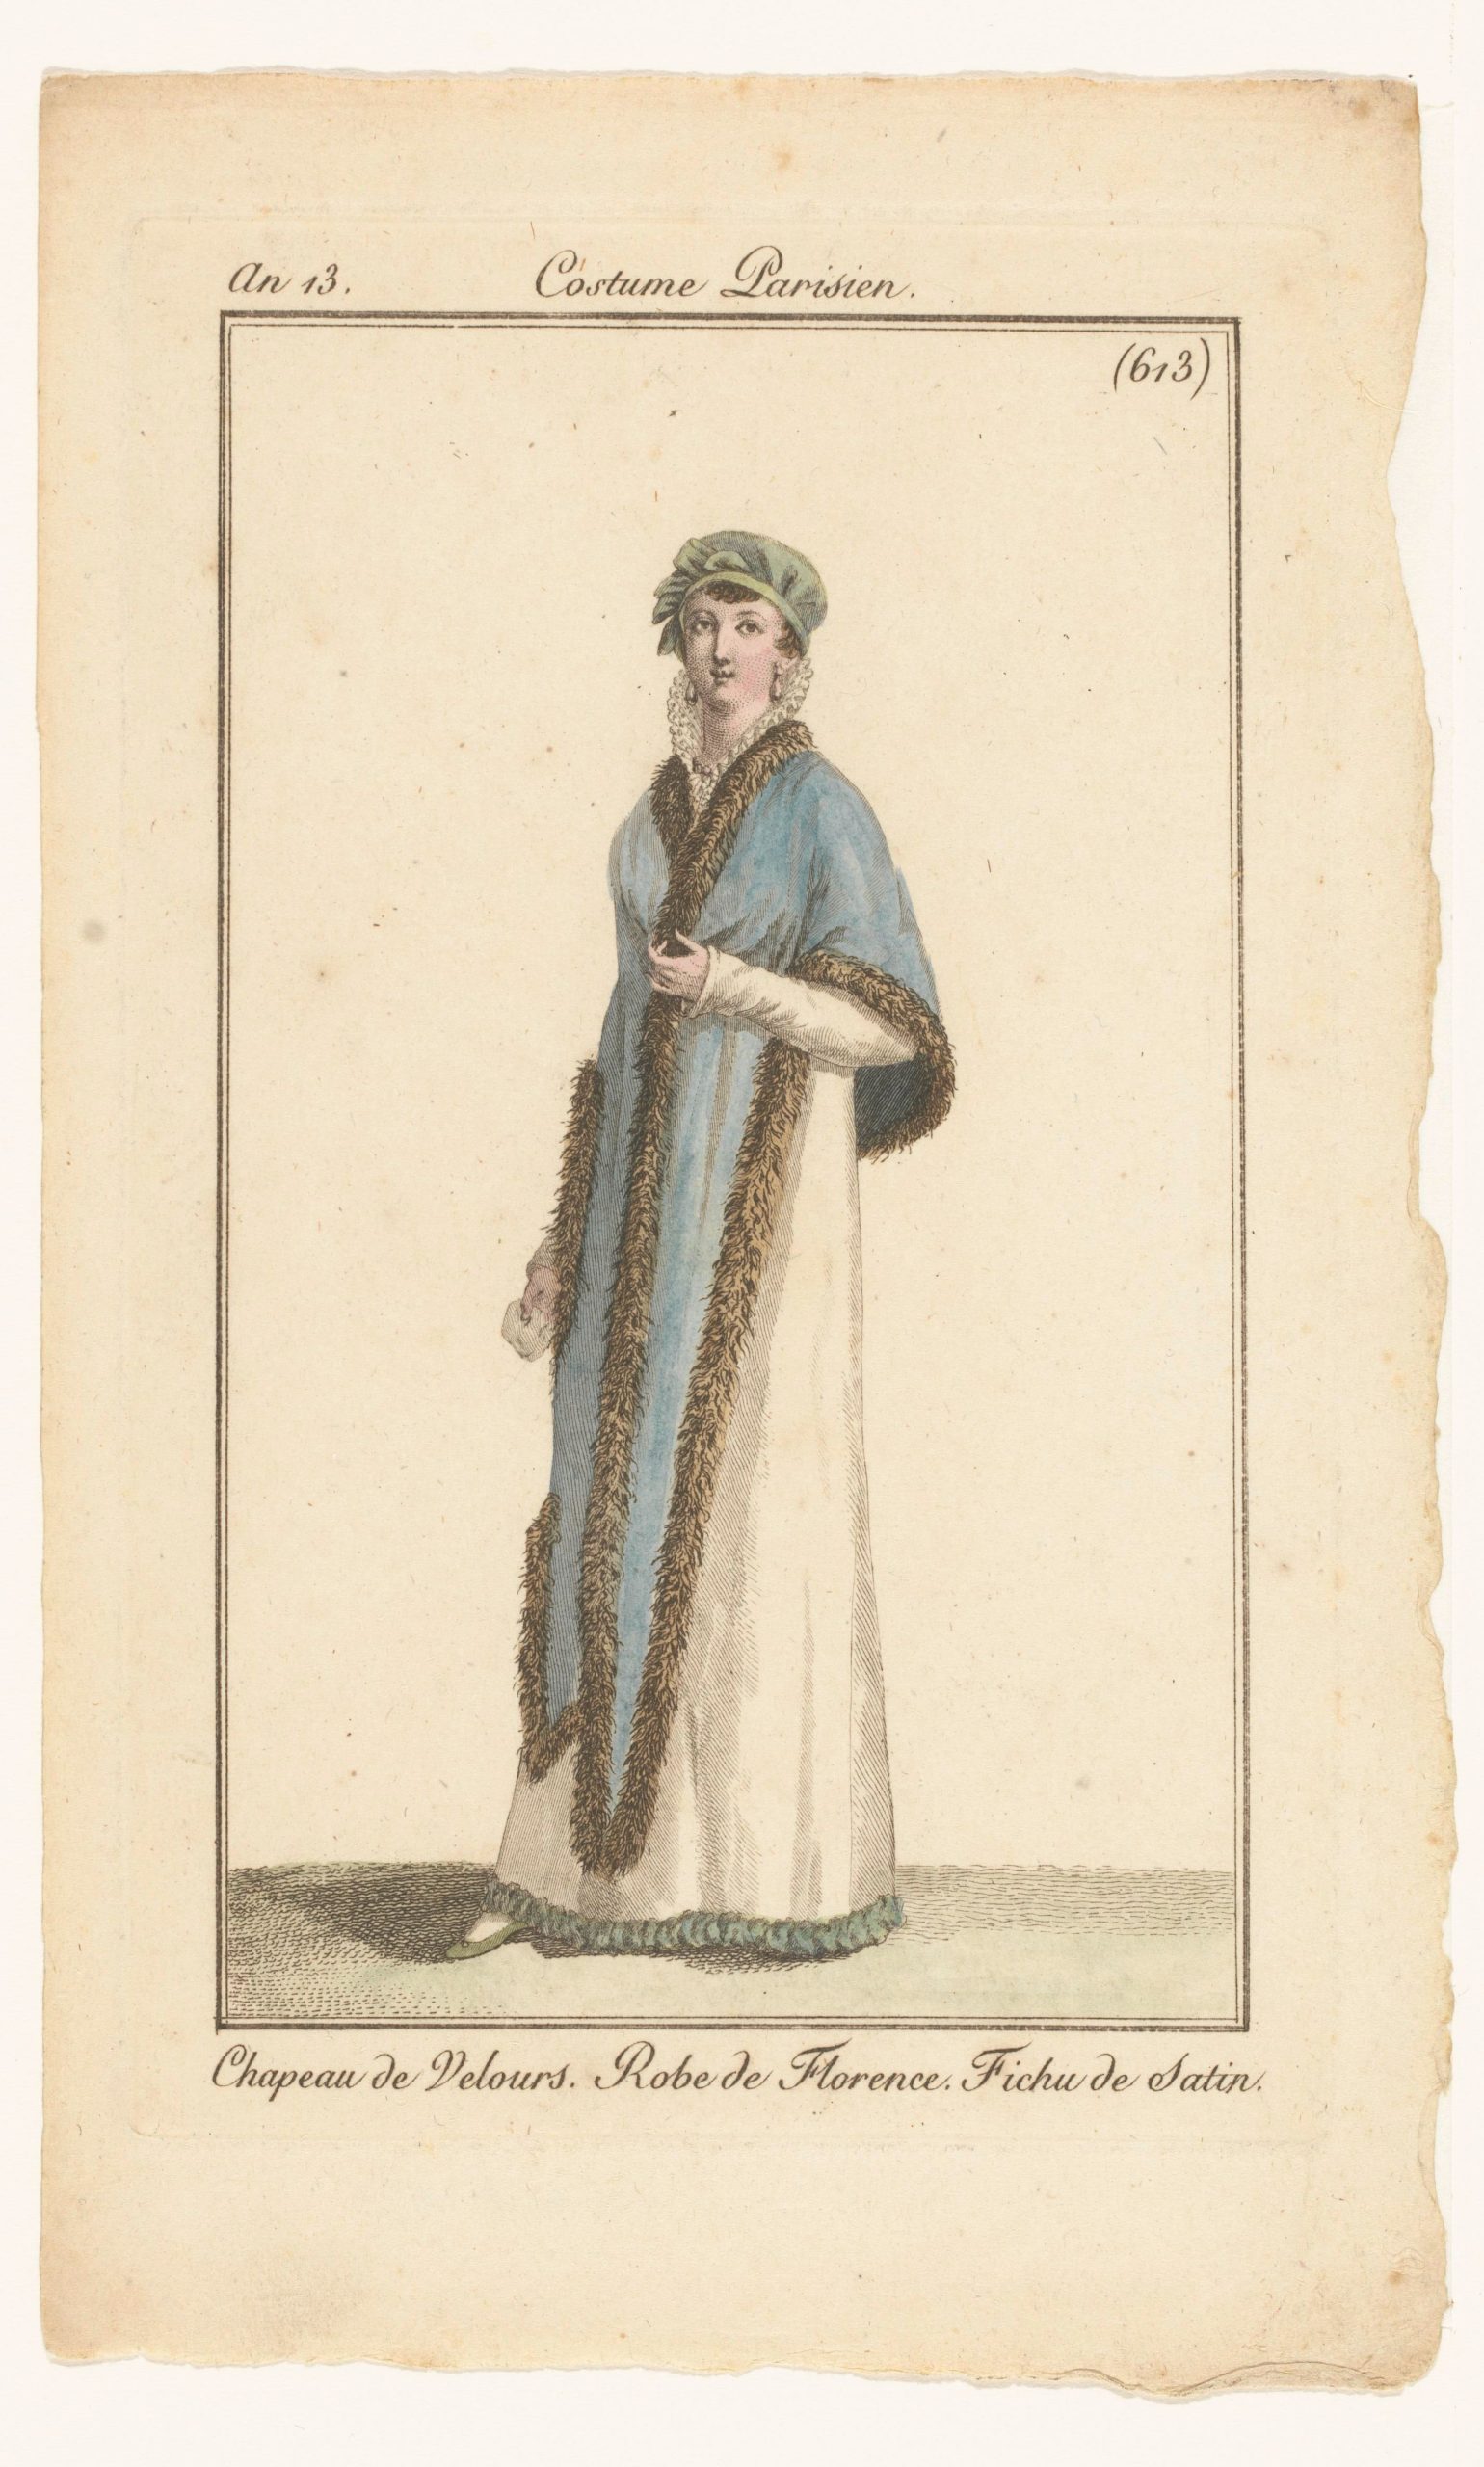
Contrary to persistent fashion misconceptions, such as the ‘muslin disease,’ numerous period fashion illustrations depict an array of coats, jackets, and overdresses in a spectrum of colors and diverse materials, including silk, fabric, velvet, and fur.
A redingote, derived from the English ‘riding coat,’ is a full-length coat crafted from woolen fabric. Redingotes were frequently embellished with braids, imitating the style of hussar military jackets.
A pelisse, on the other hand, is a lightweight coat or overdress that ranges from calf-length to floor-length.
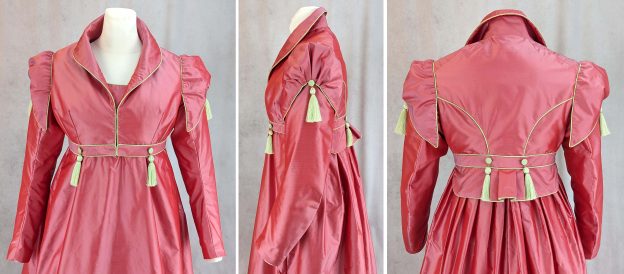
A spencer, a shorter jacket, could feature a peplum or not, depending on the design.
Additionally, individuals of the era often opted for colored pashmina shawls and tunics.
It’s worth noting that these terms were not consistently used in fashion publications of the time and have evolved over the years.

Let’s begin with the illustrated step-by-step instructions to accompany the sewing pattern, following the hand-sewing routine described. As usual, some steps may vary a bit since the pattern was still evolving at that time. Don’t be surprised – I used an off-white thread due to a lack of color-matching silk thread. That’s totally historically accurate!
Please make yourself acquainted with common hand stitching like a back stitch, catch stitch, and fell stitch.
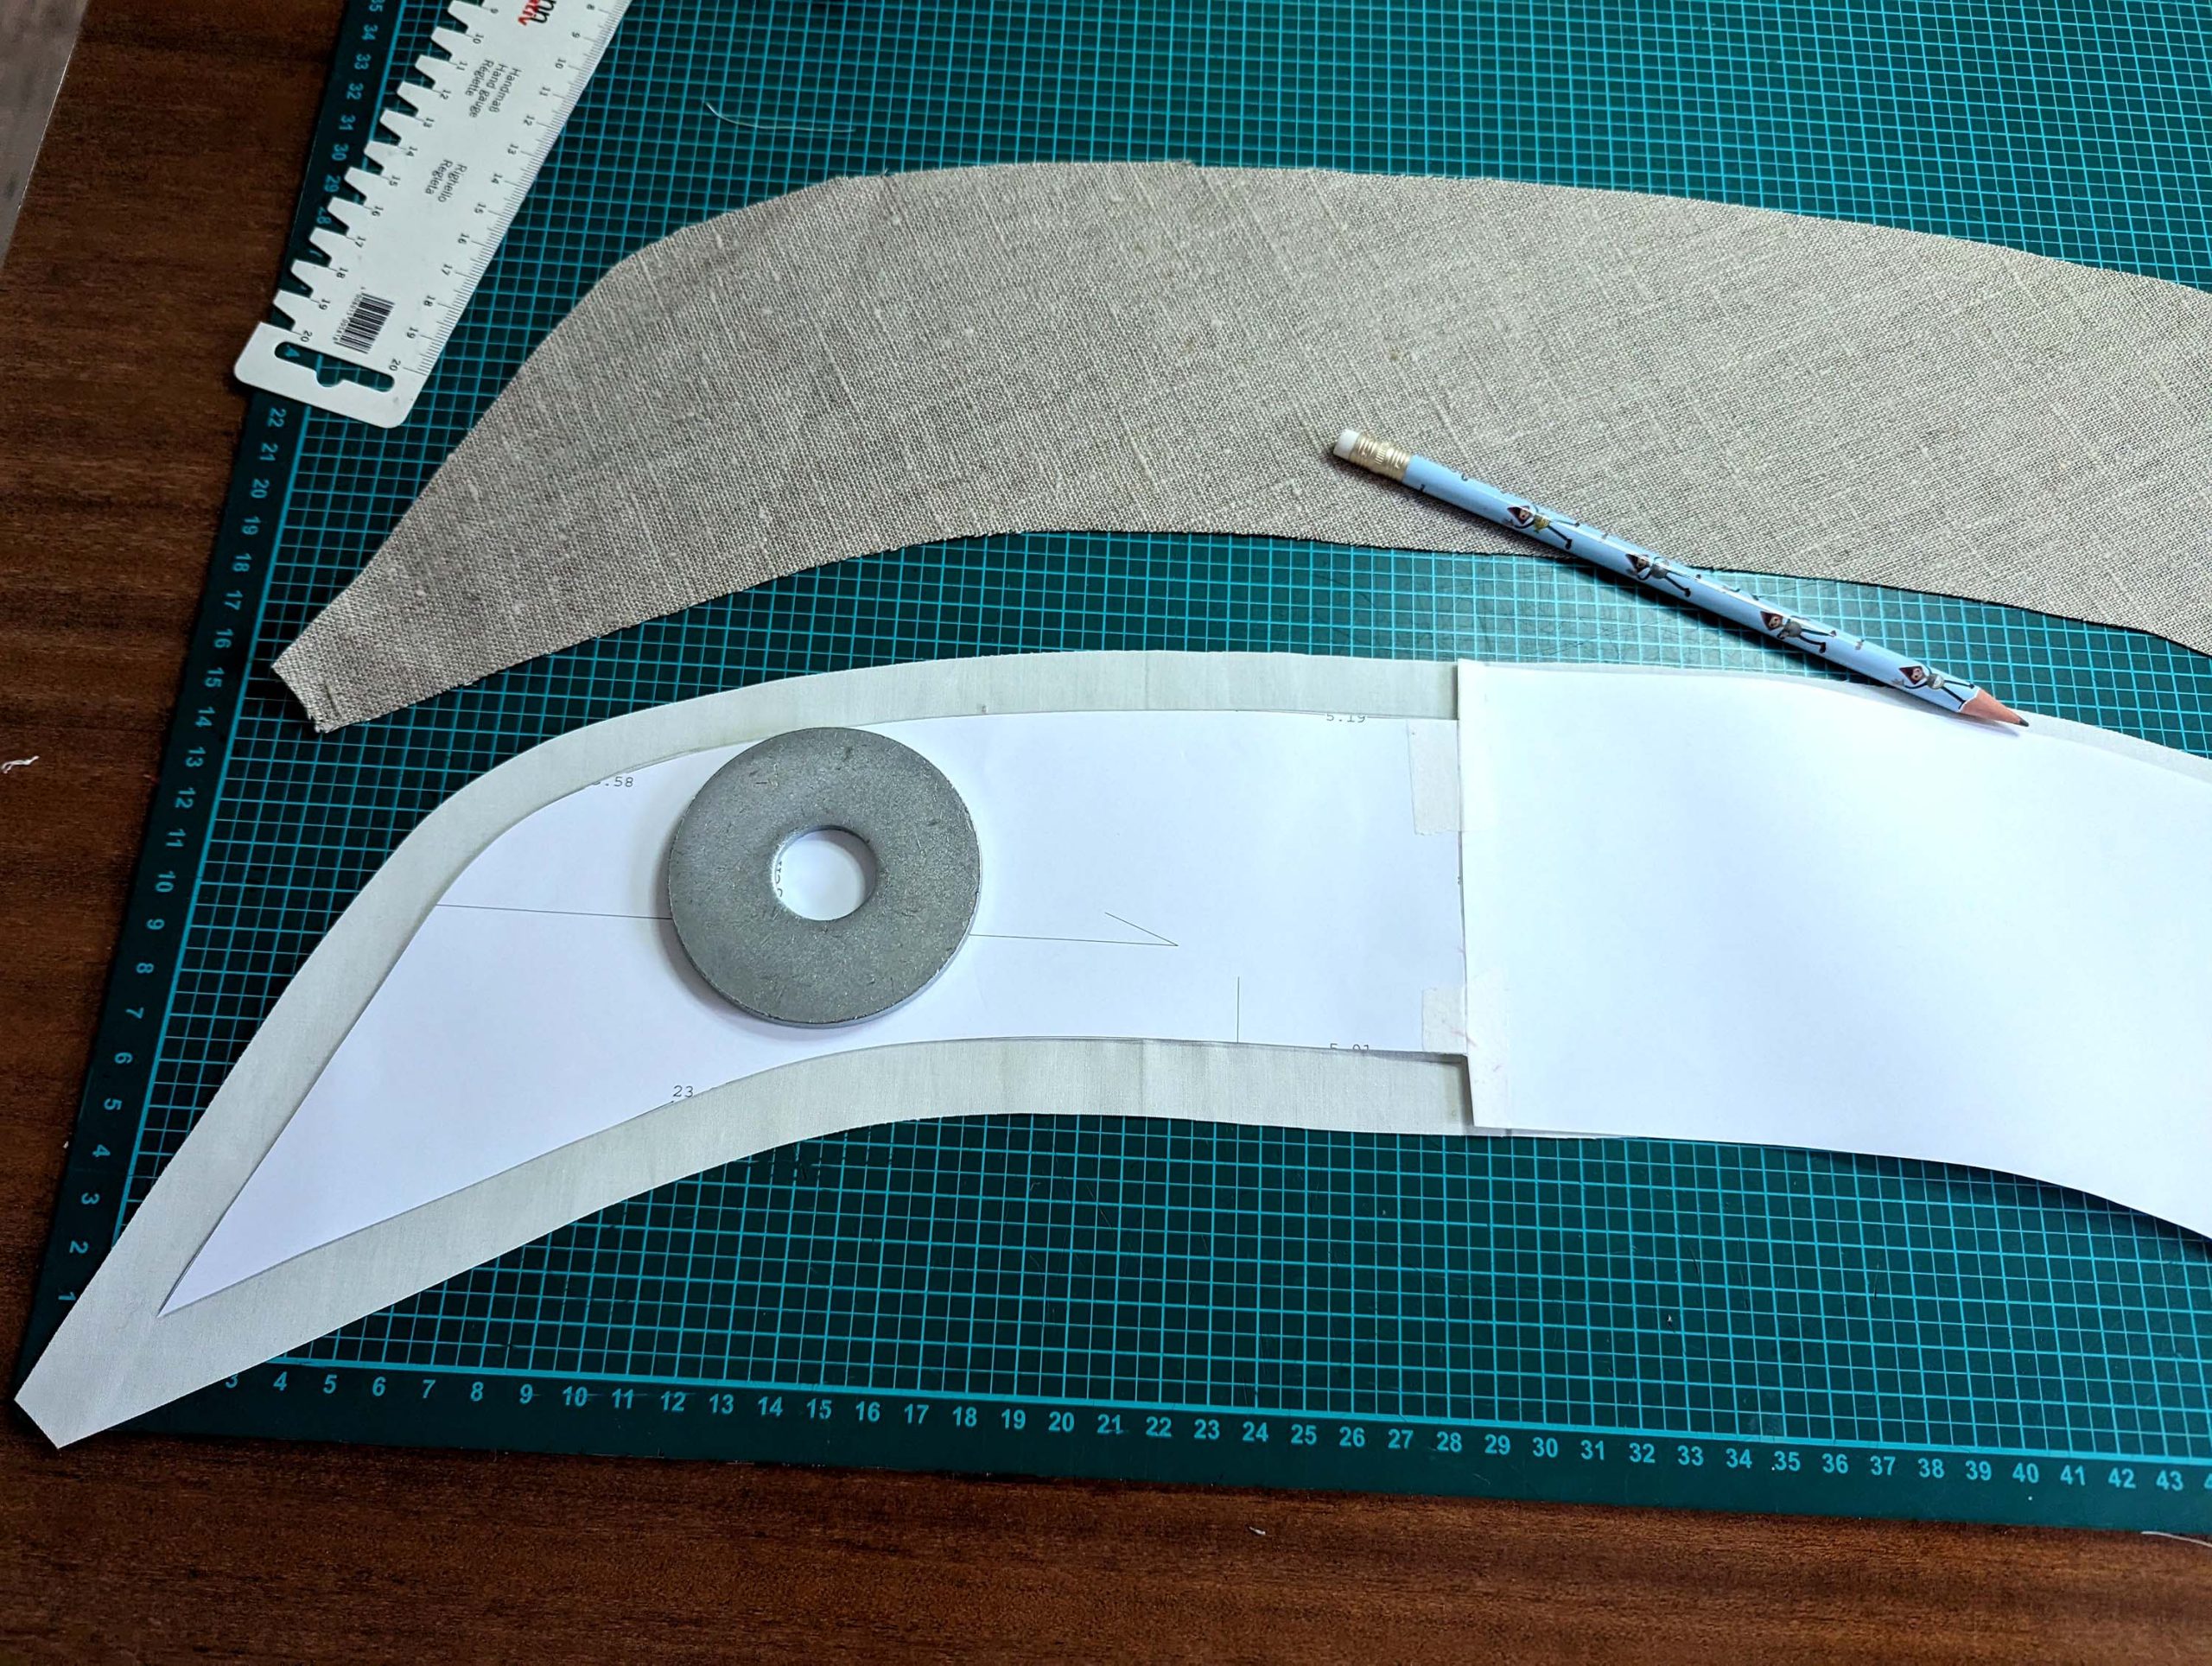
(1) Make a mock-up from cheap fabric to check the fit, especially around the bust. Transfer any changes to the sewing pattern.
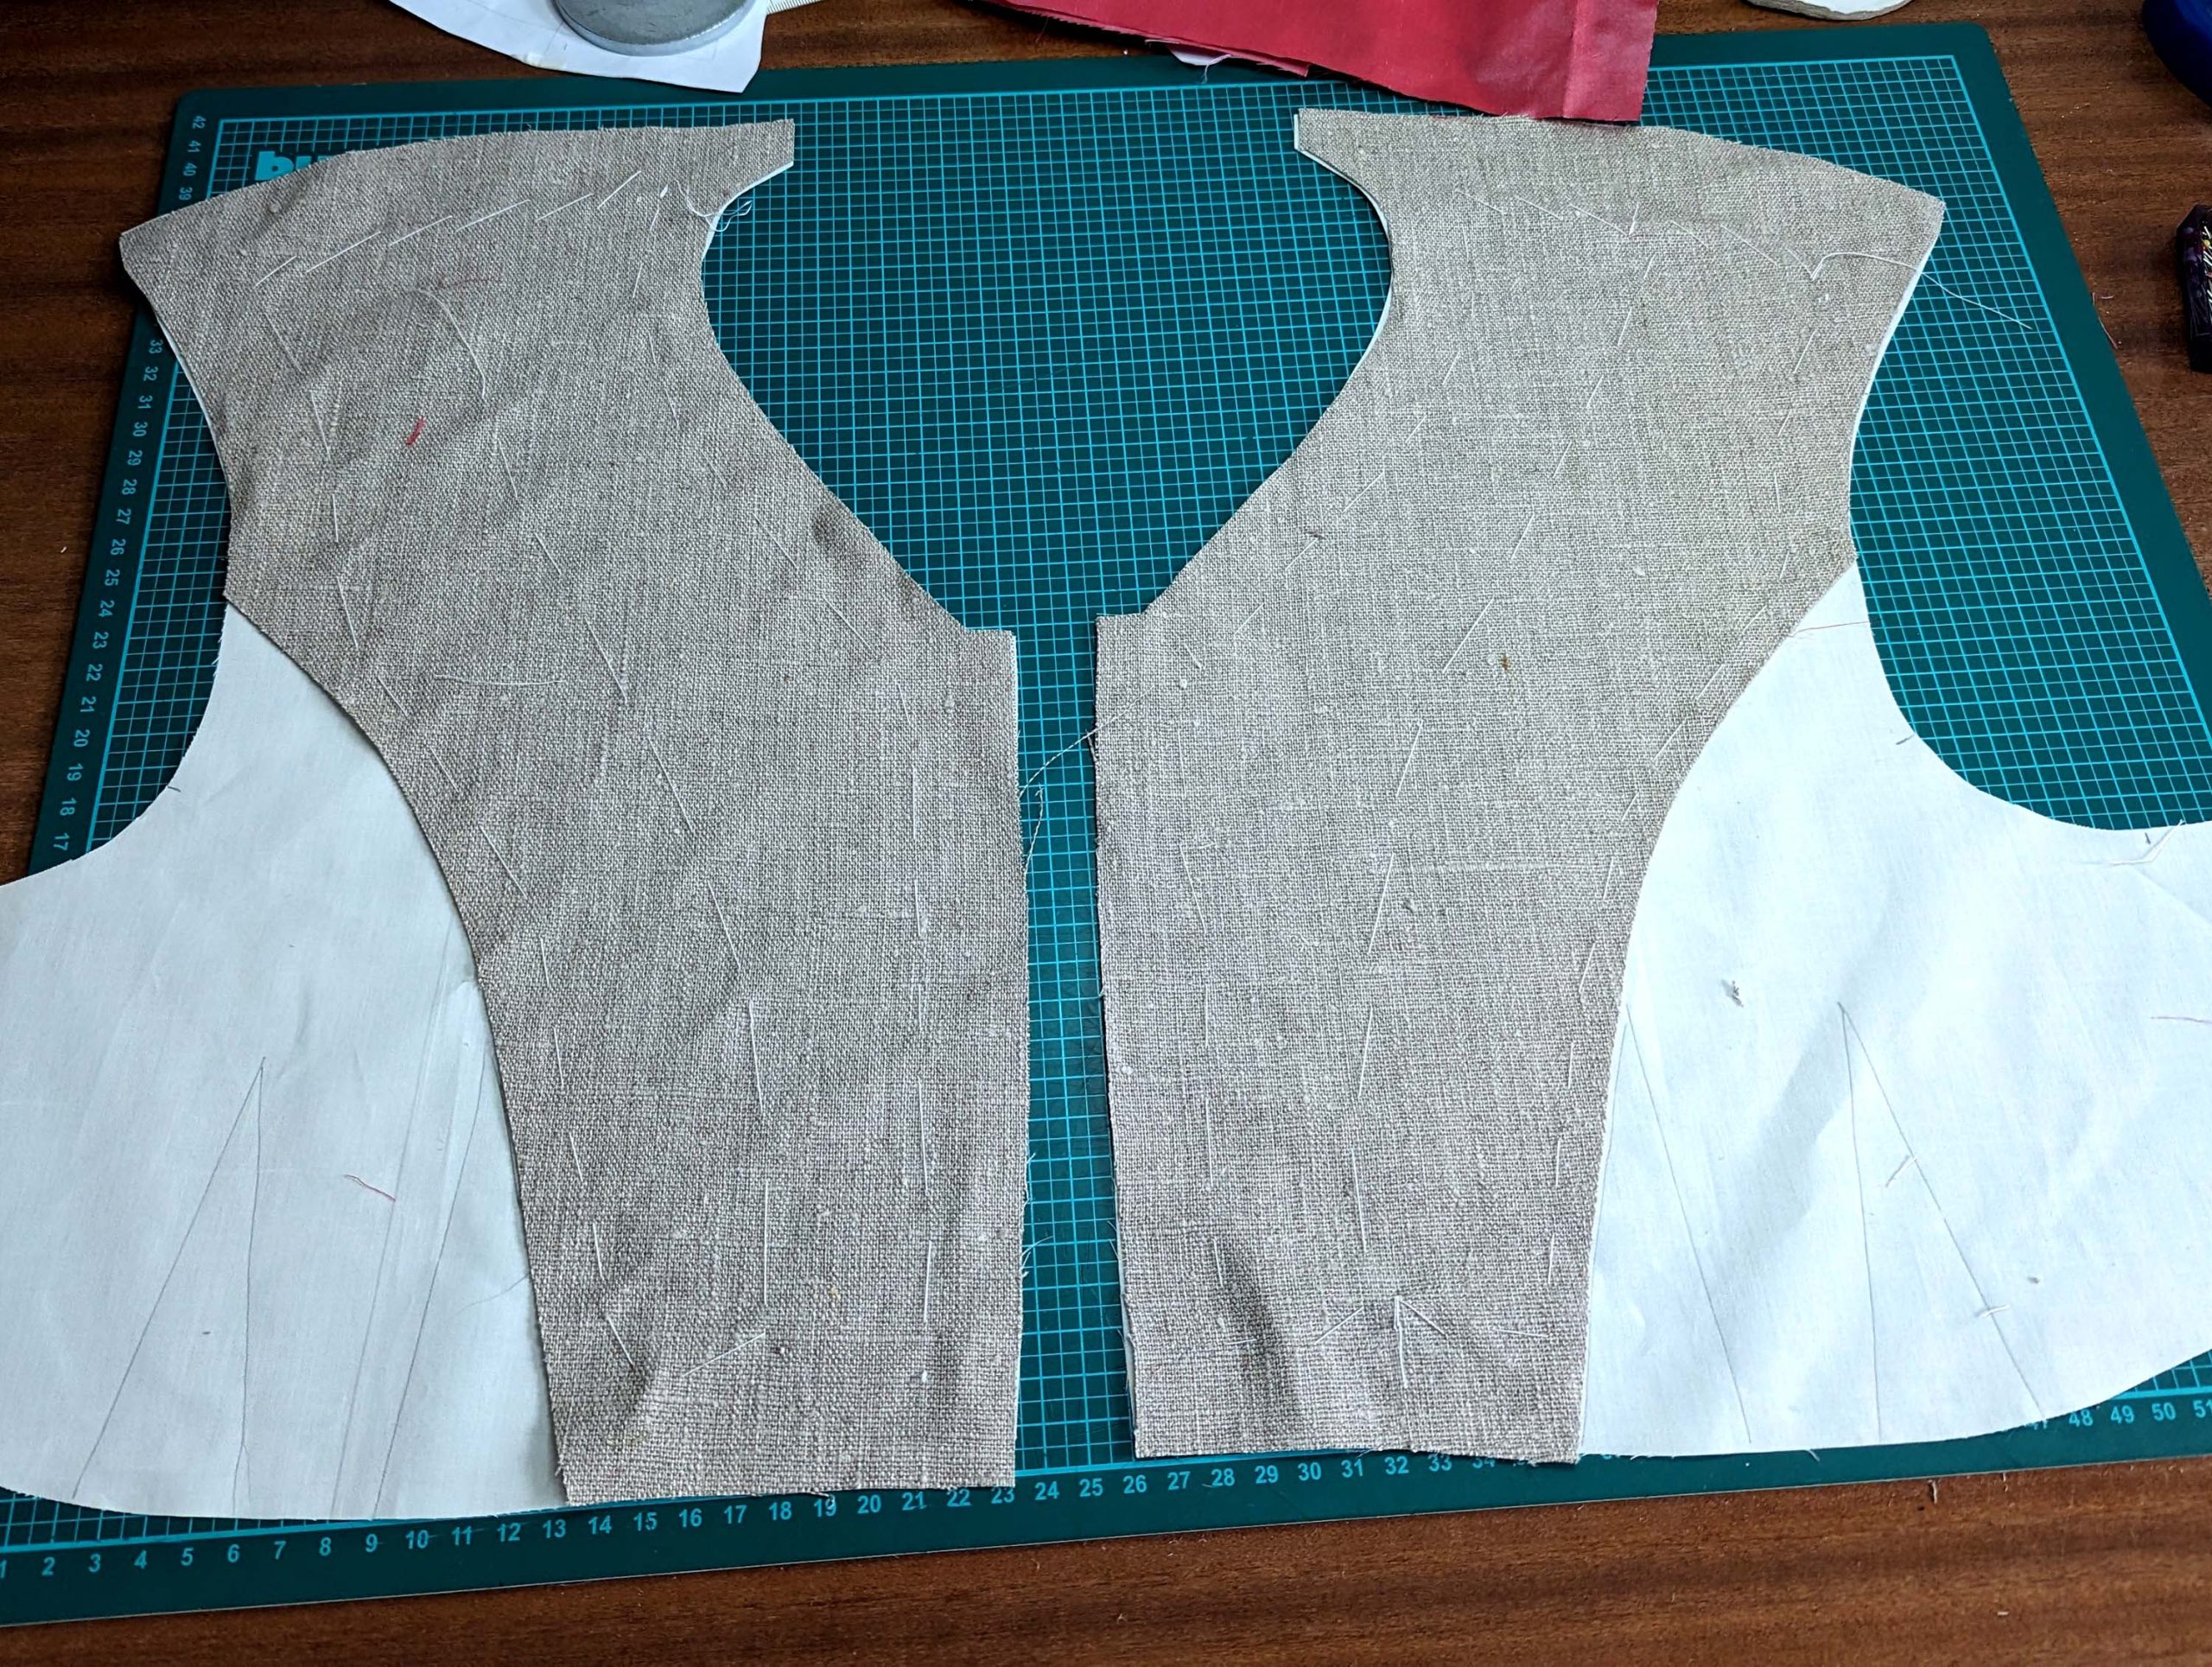
Cut all pieces from the lining, fashion fabric, and canvas. Transfer all darts, marks, and notches carefully.
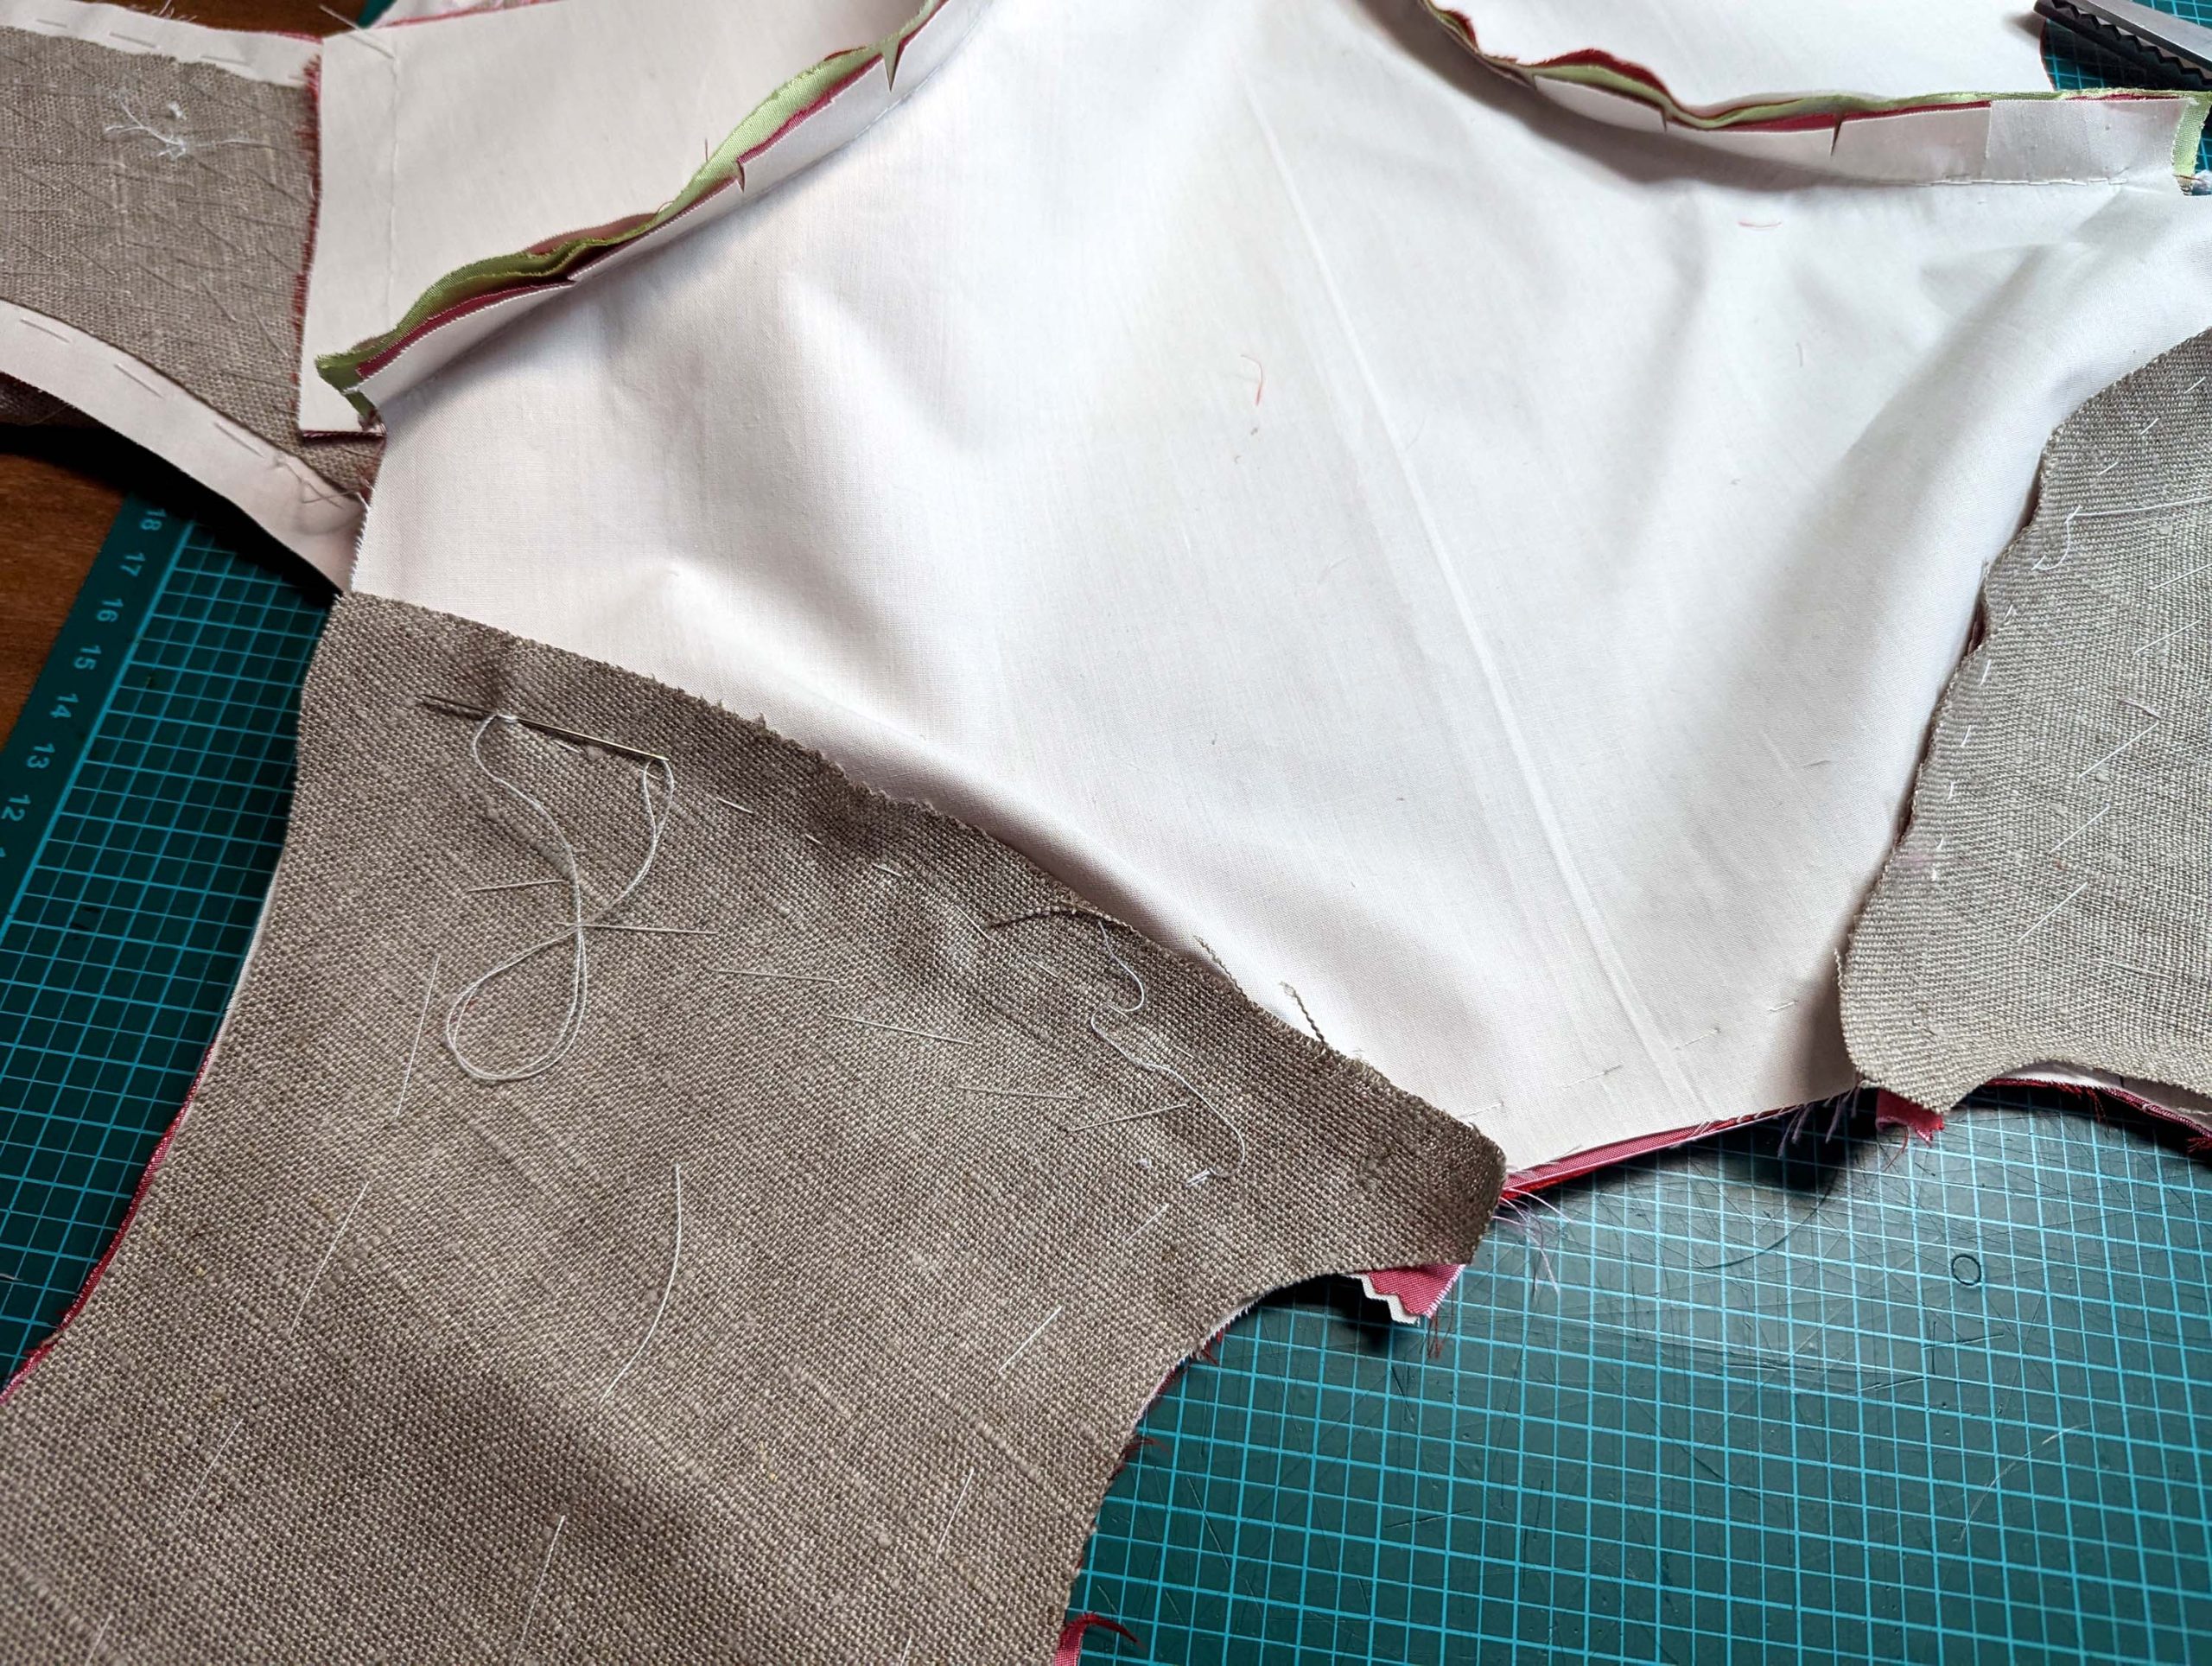
Pad stitch the collar canvas to the flatlining of the collar and baste the front canvas to the flatlining of the fronts.
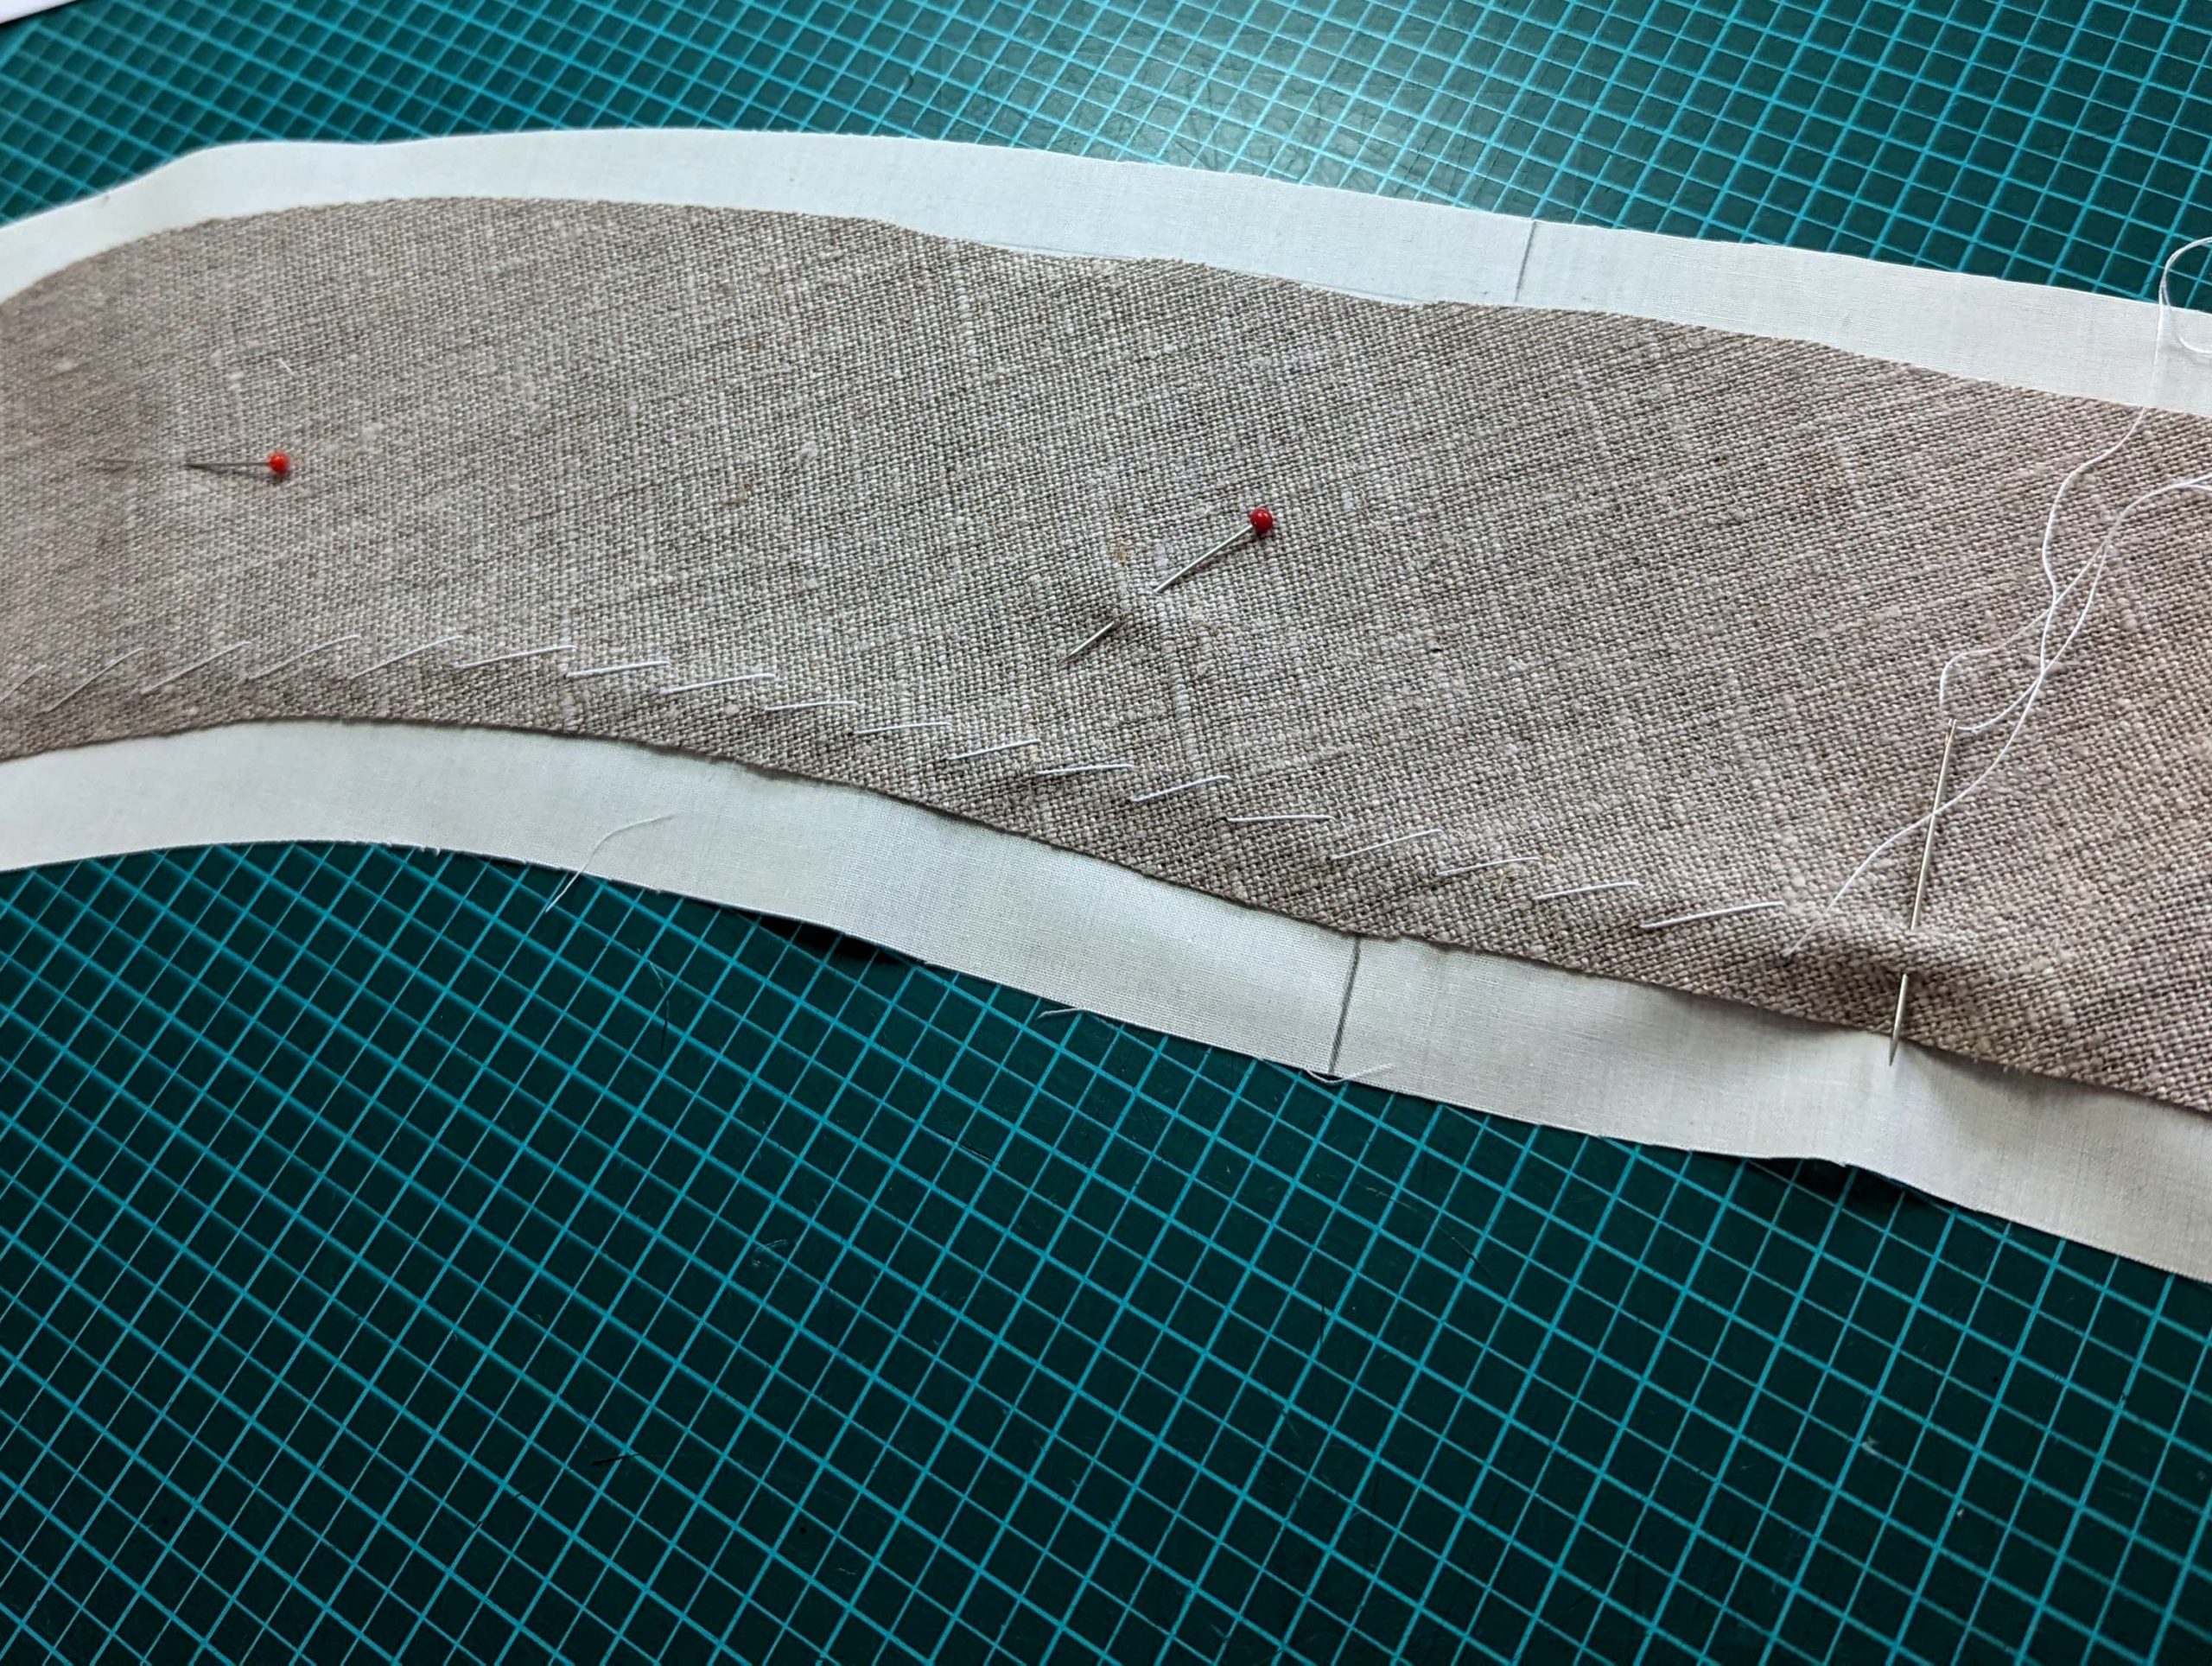
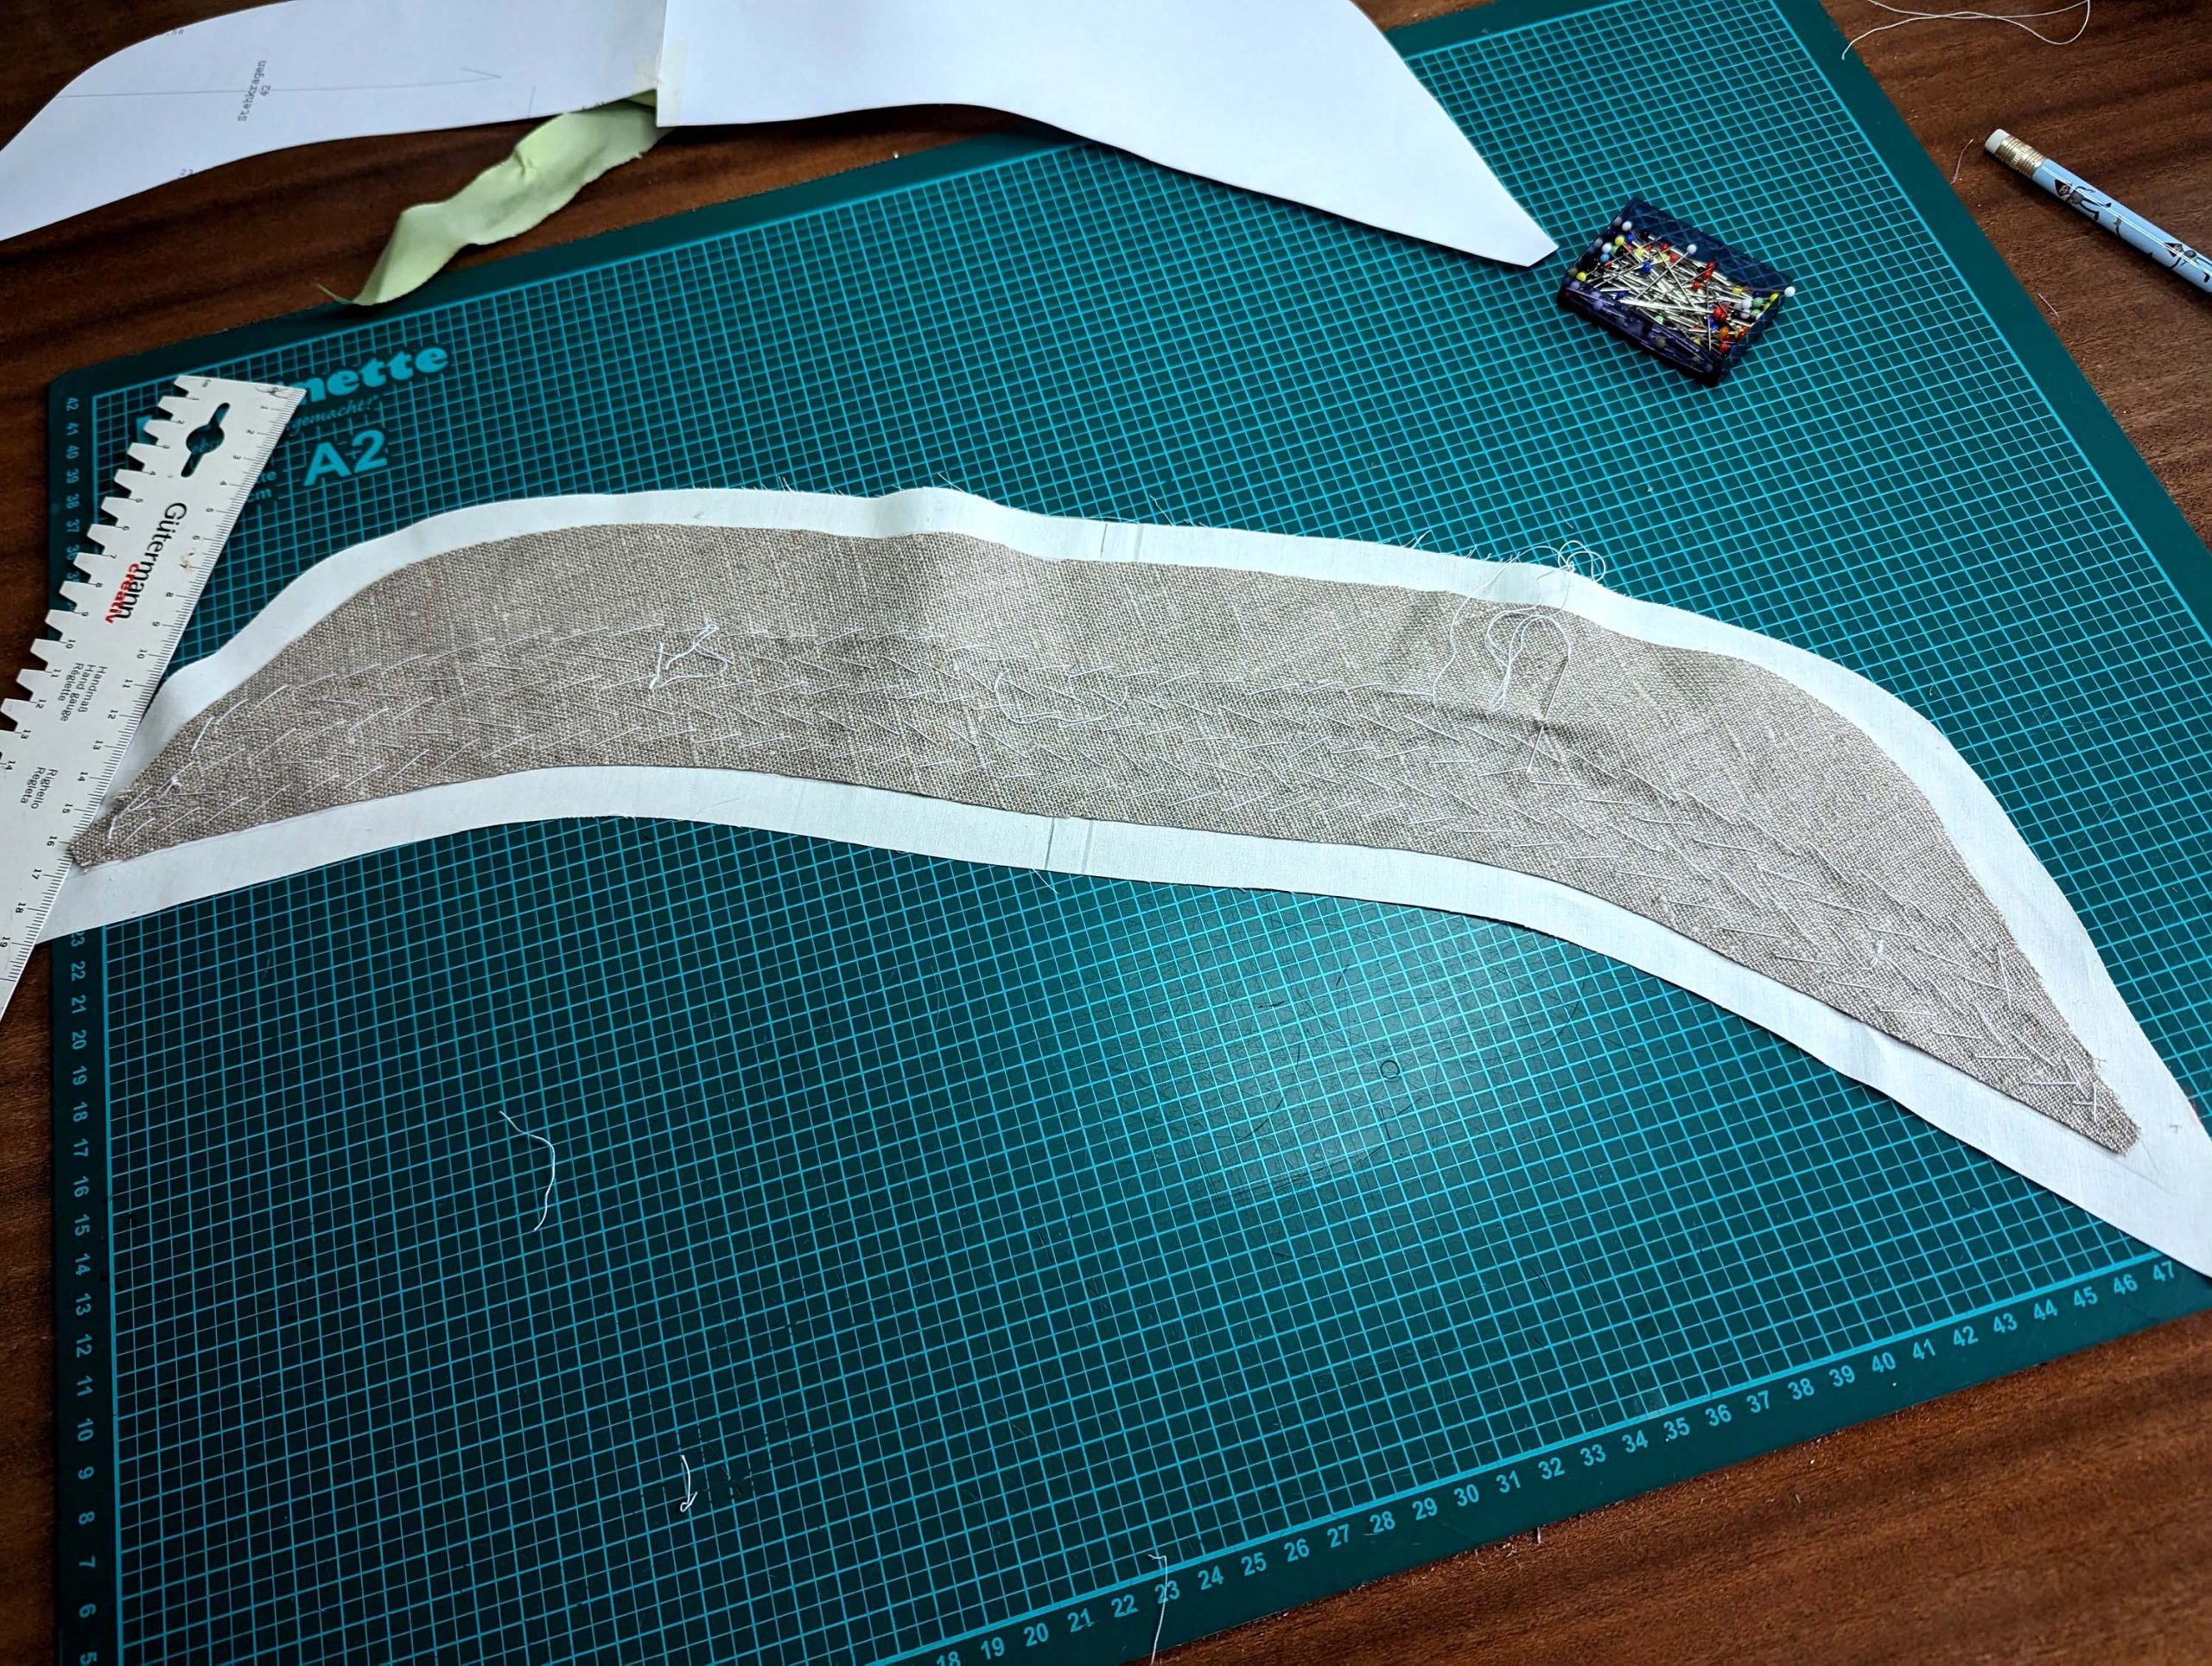
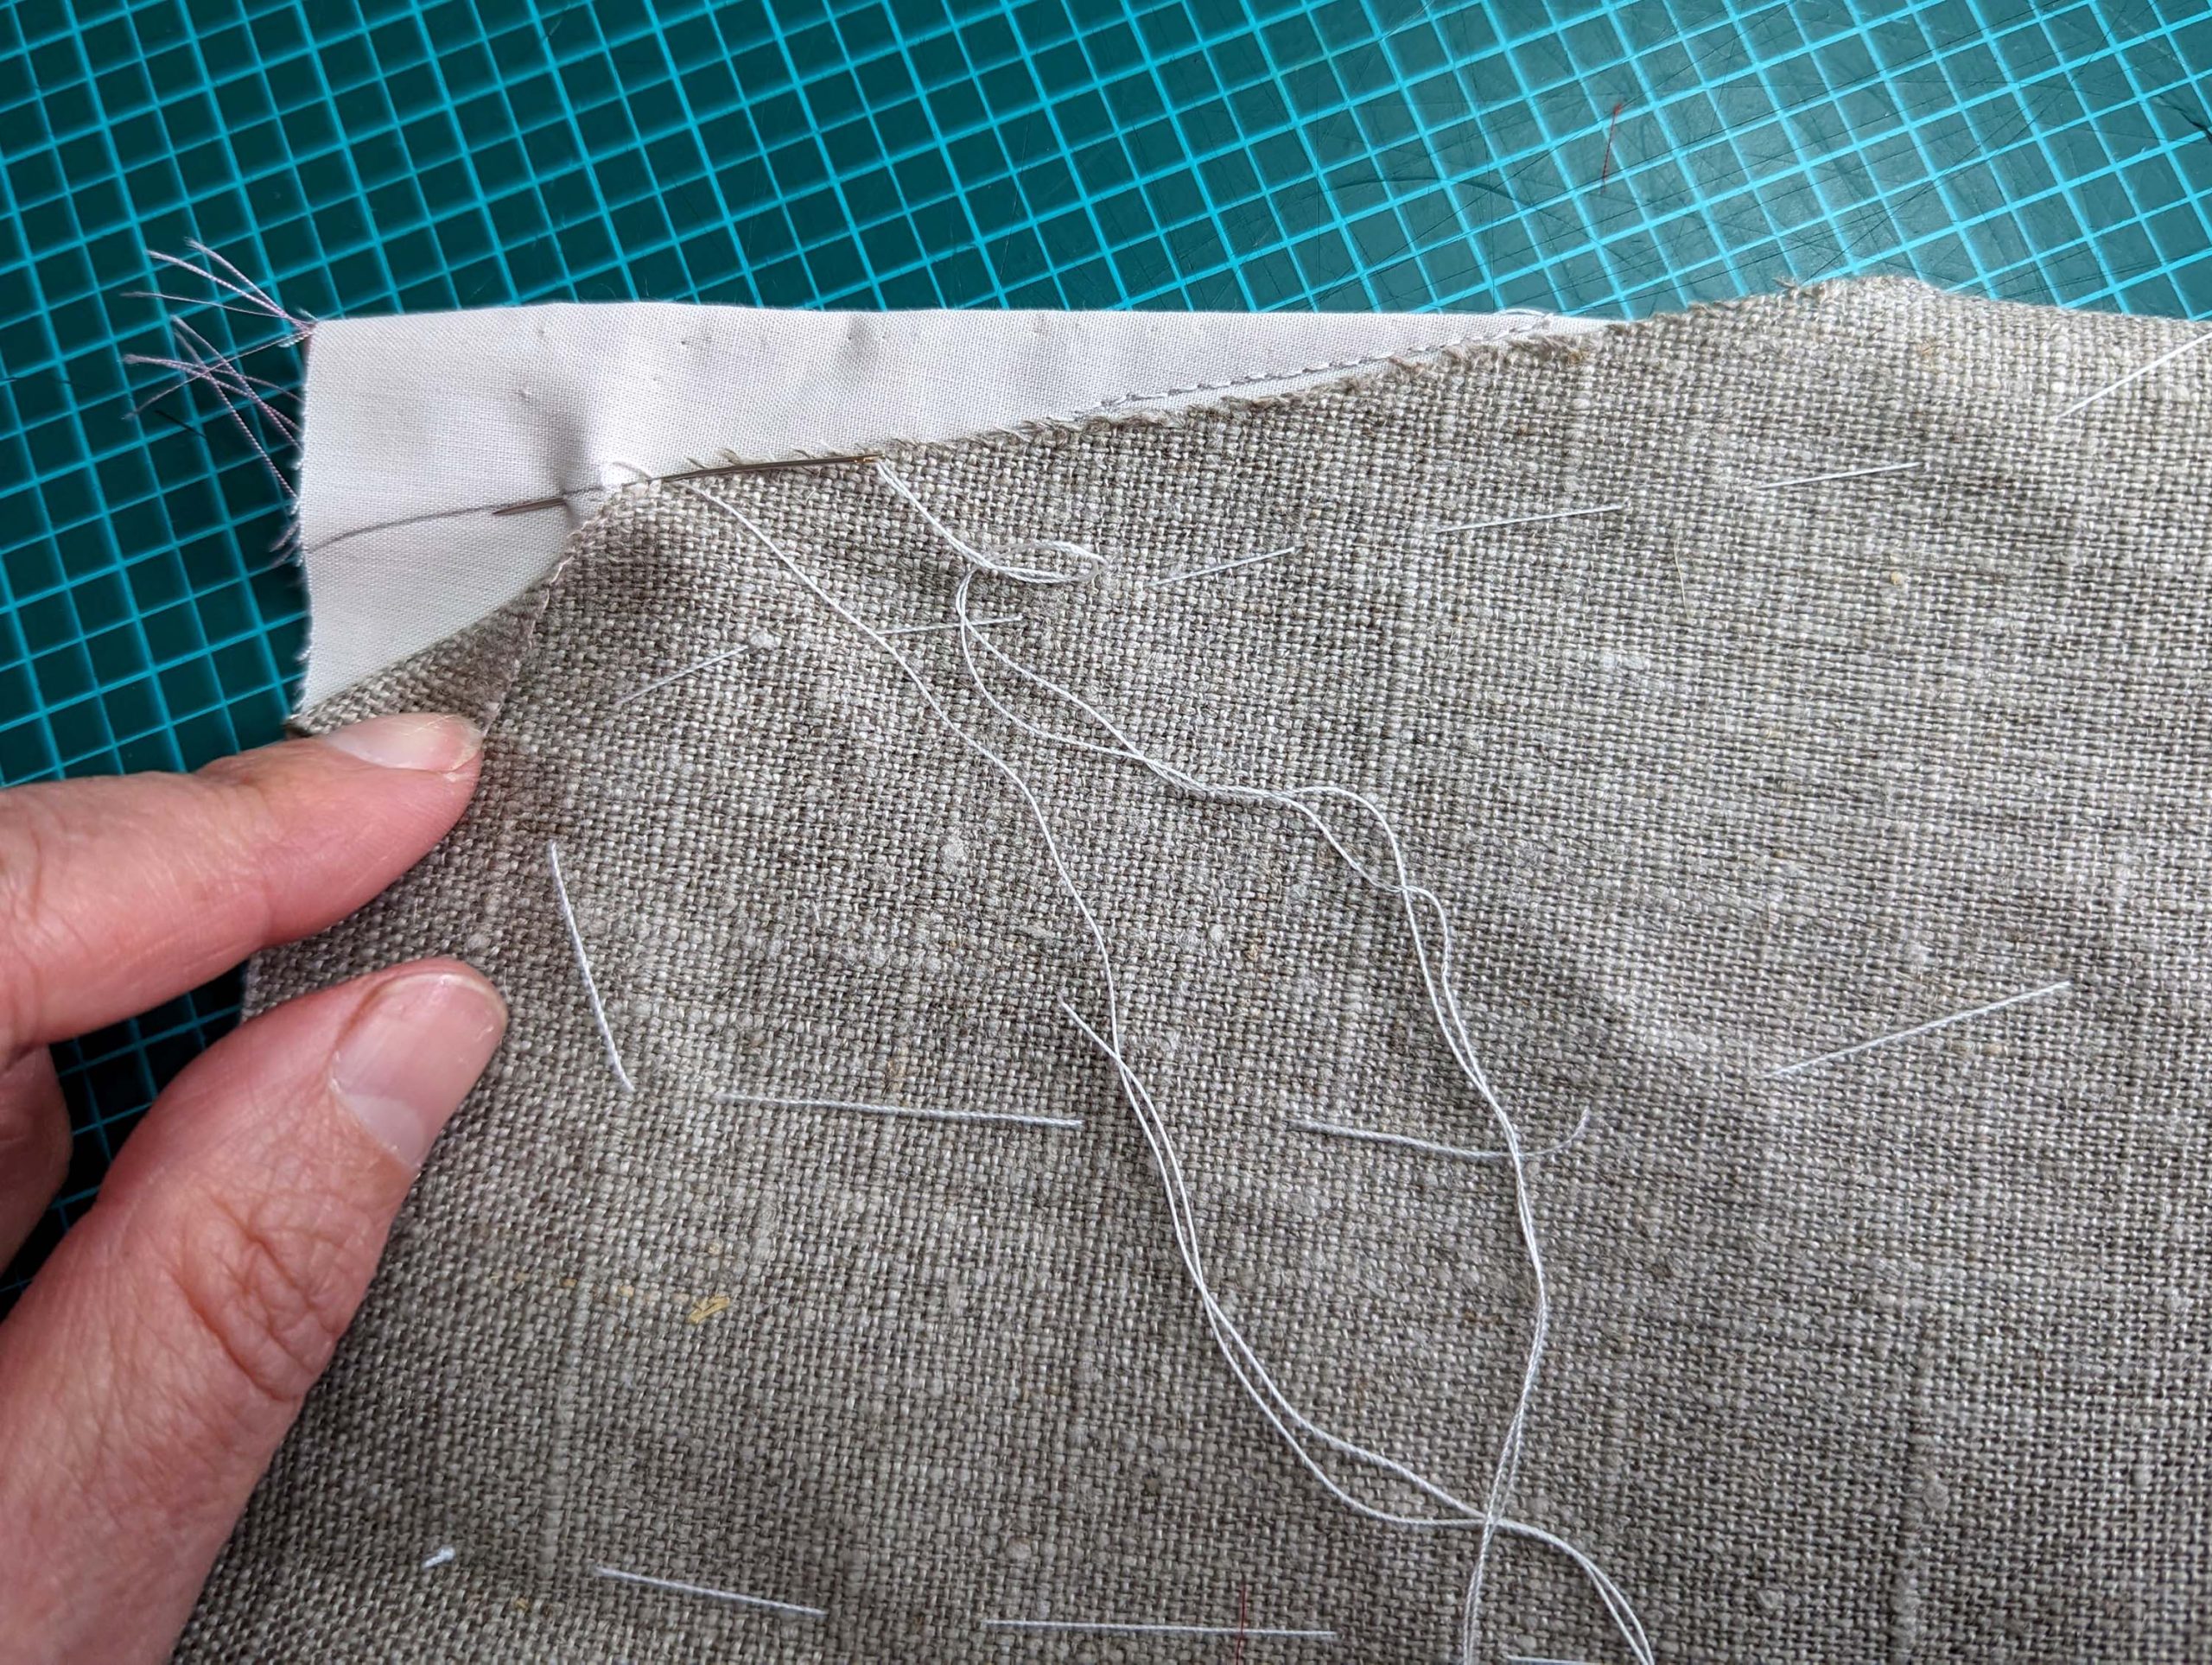
Flatline the fronts, back, side backs, collar, waistband, peplum and sleeves, note that the front facings, the top collar and the inner peplum should not be flatlined. When flatlining the fronts, be careful to catch the lining but not the canvas along the front edge and neckline.
(2) Take the front and sew the darts, press towards the sides, and catch stitch the canvas loosely to the front dart (sorry, there´s no picture of this step).
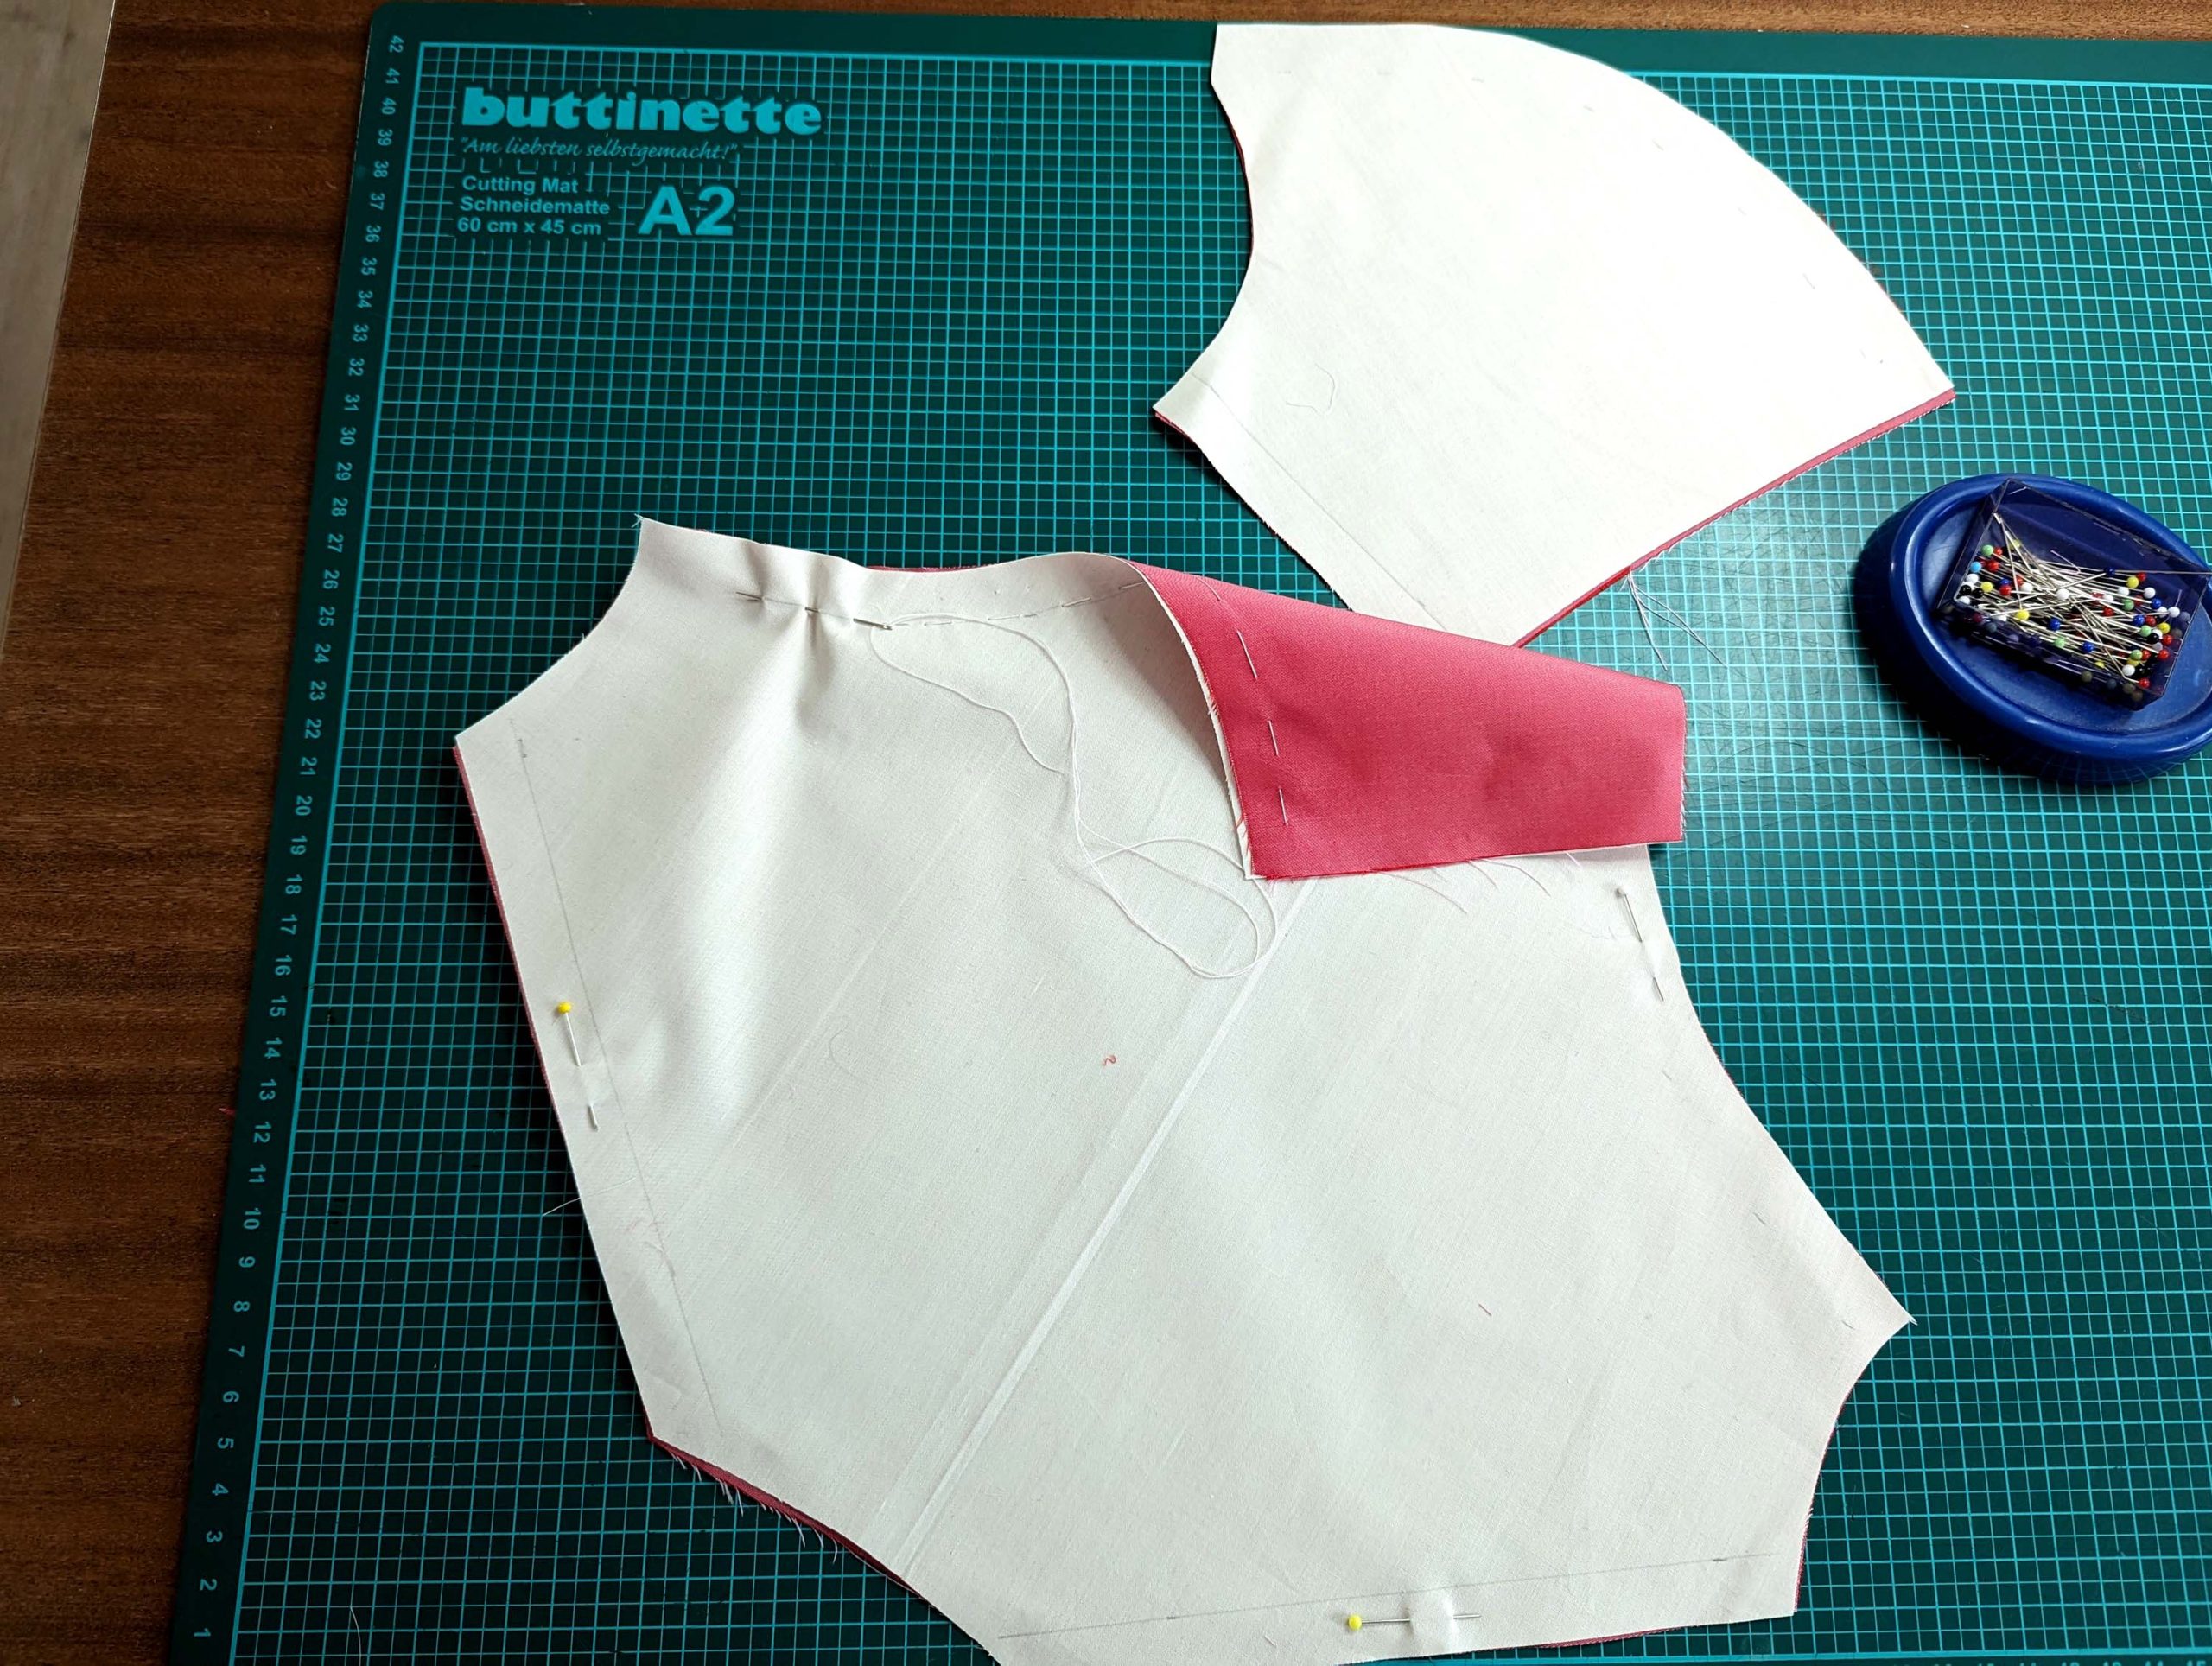
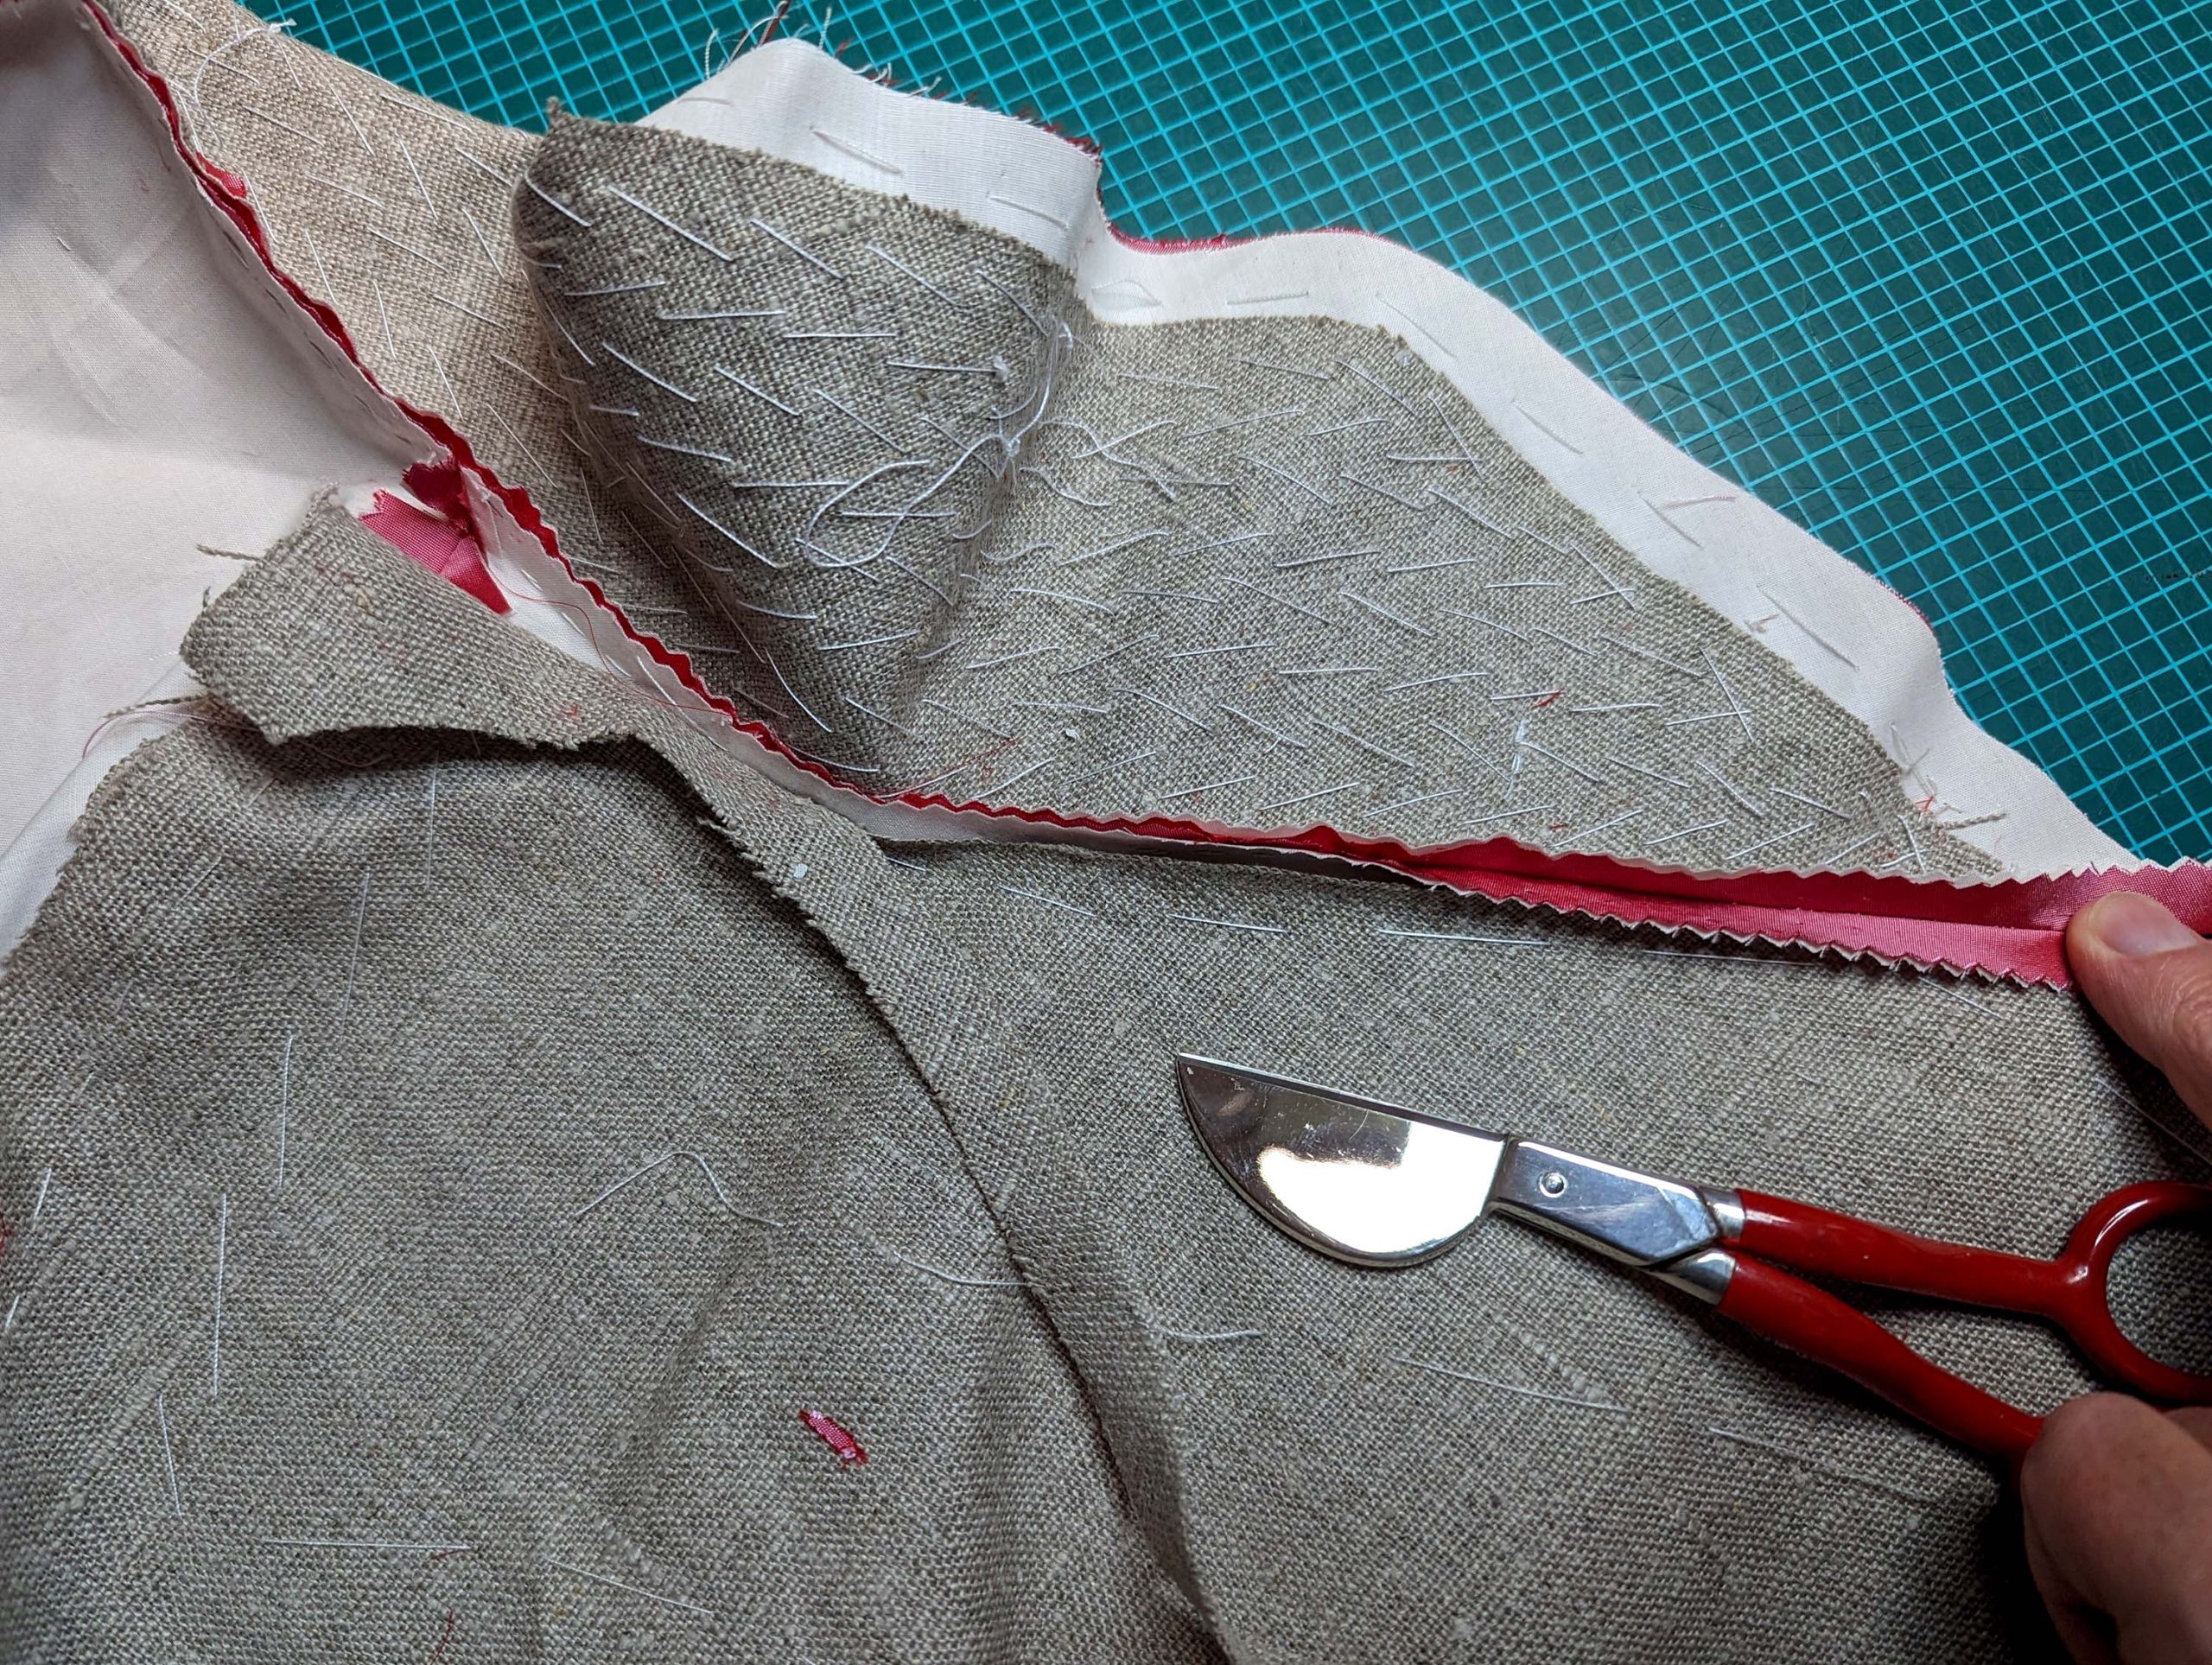
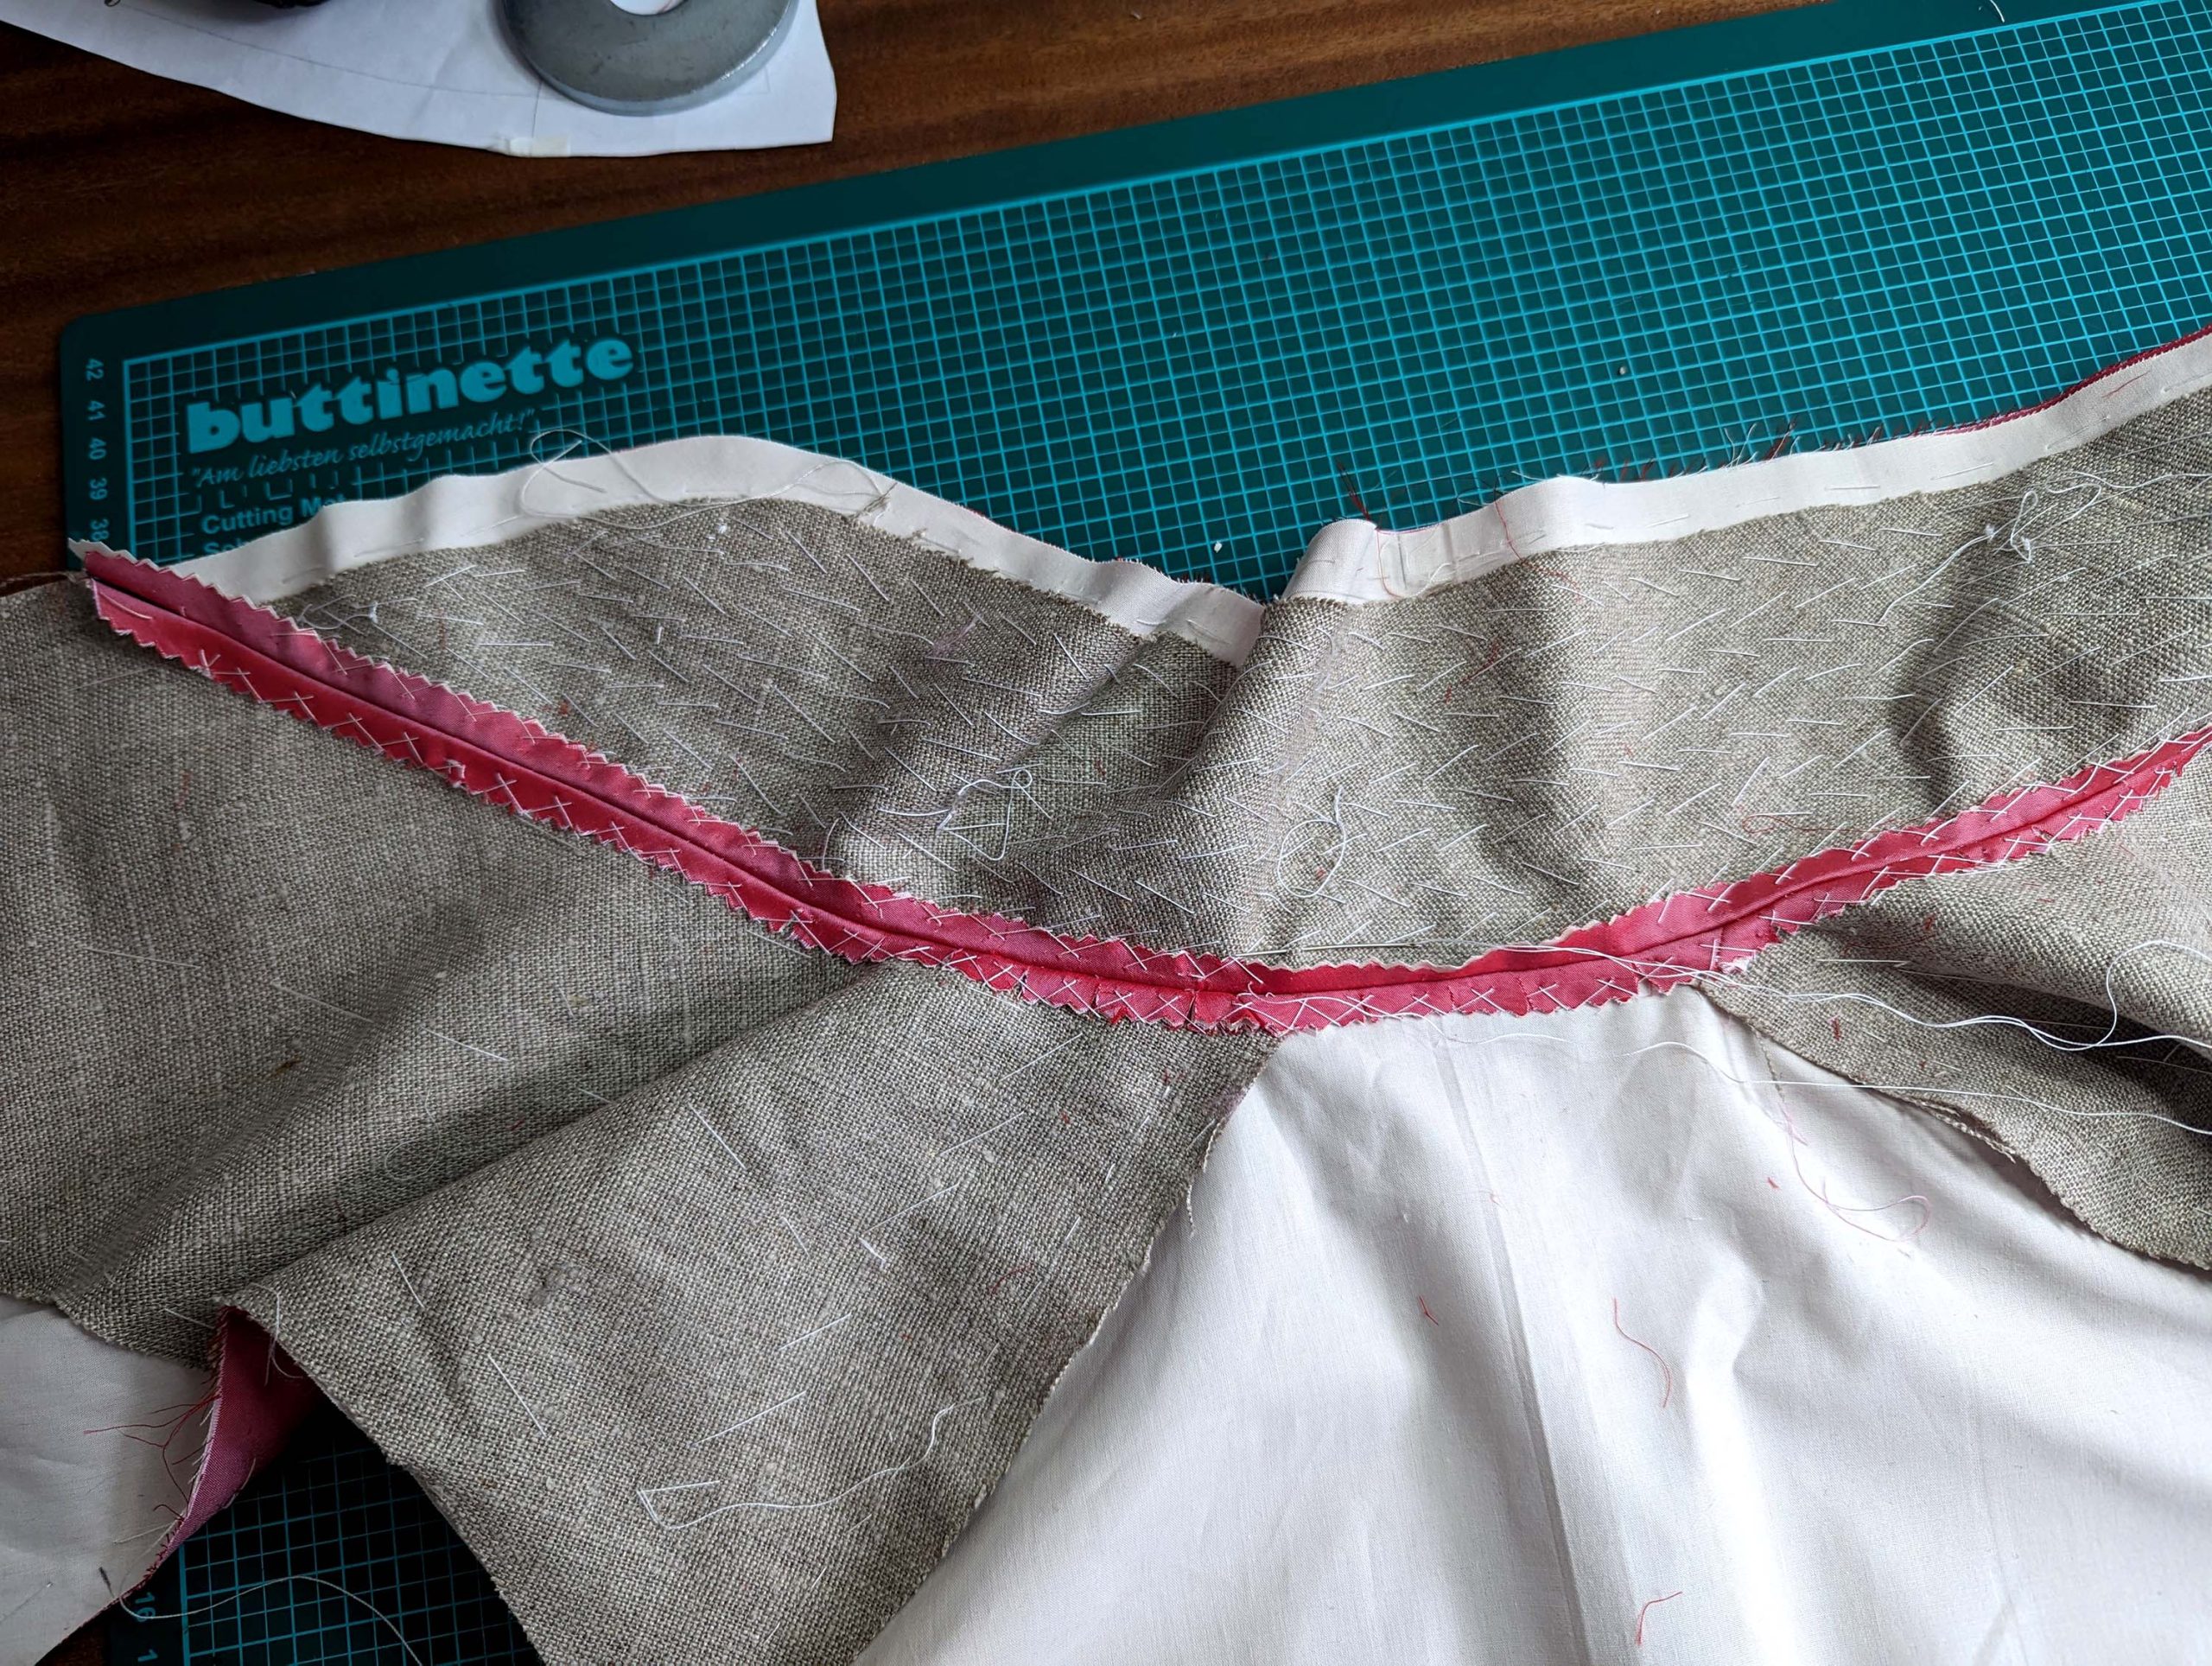
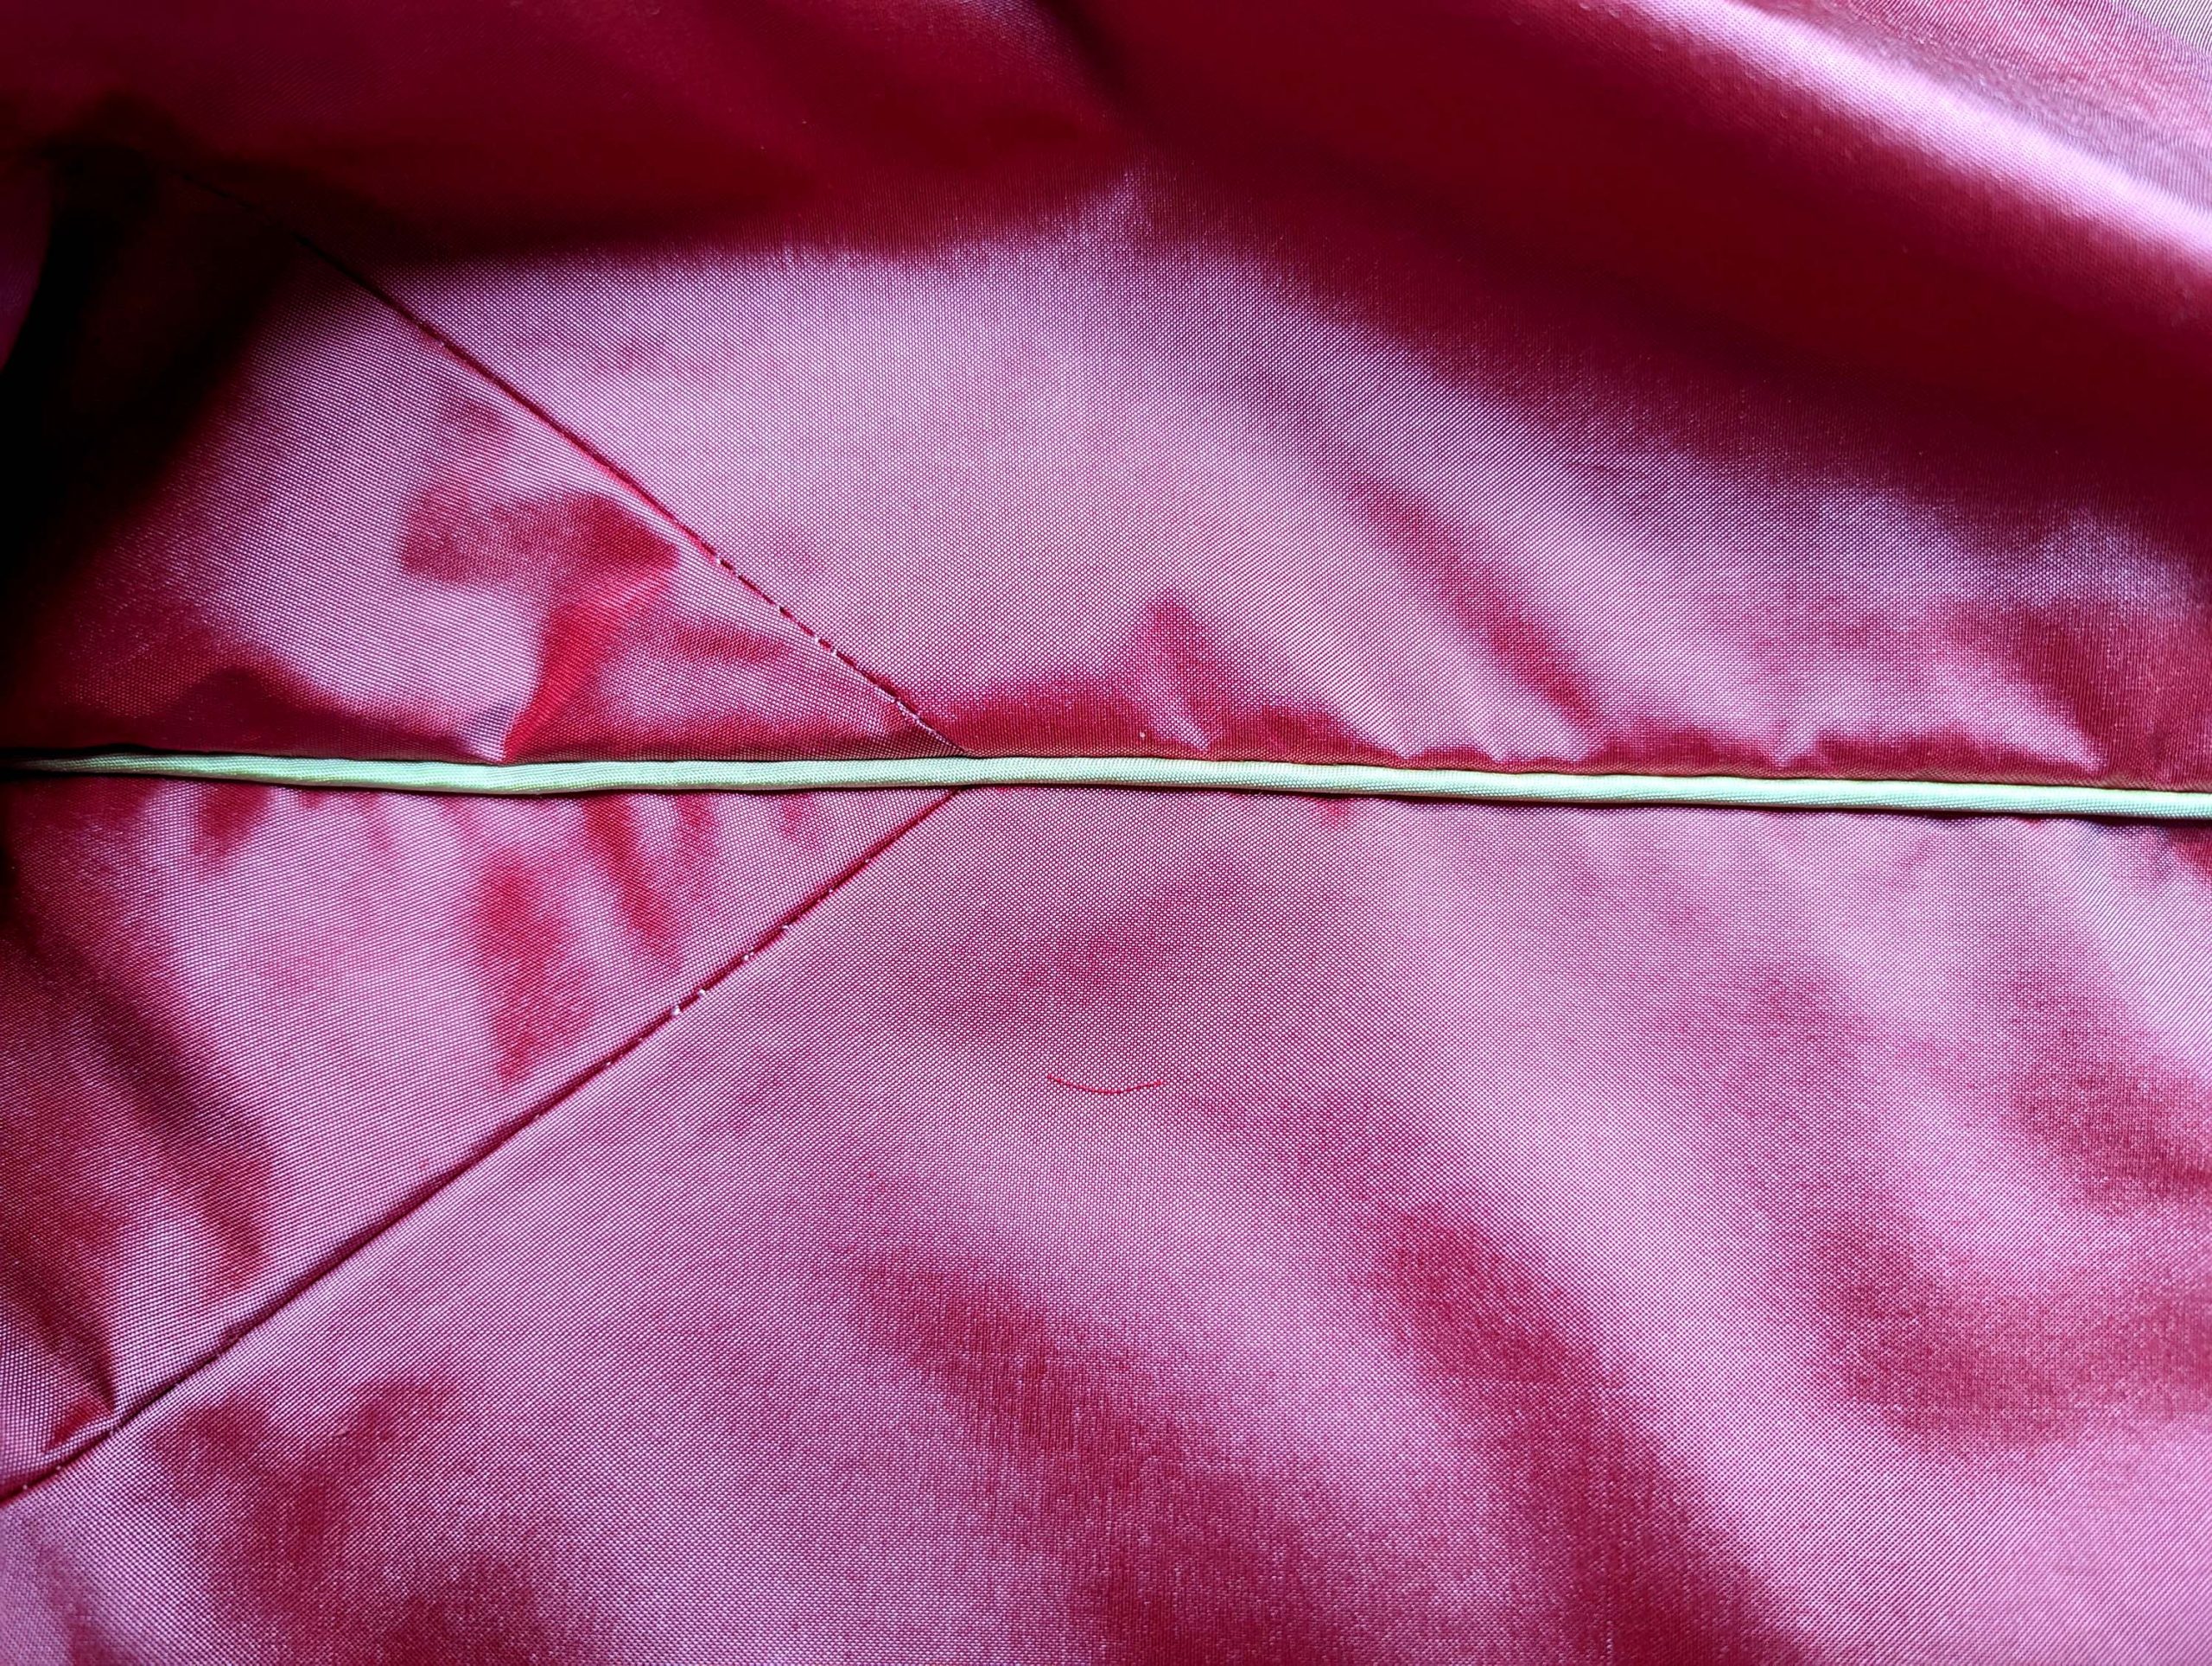
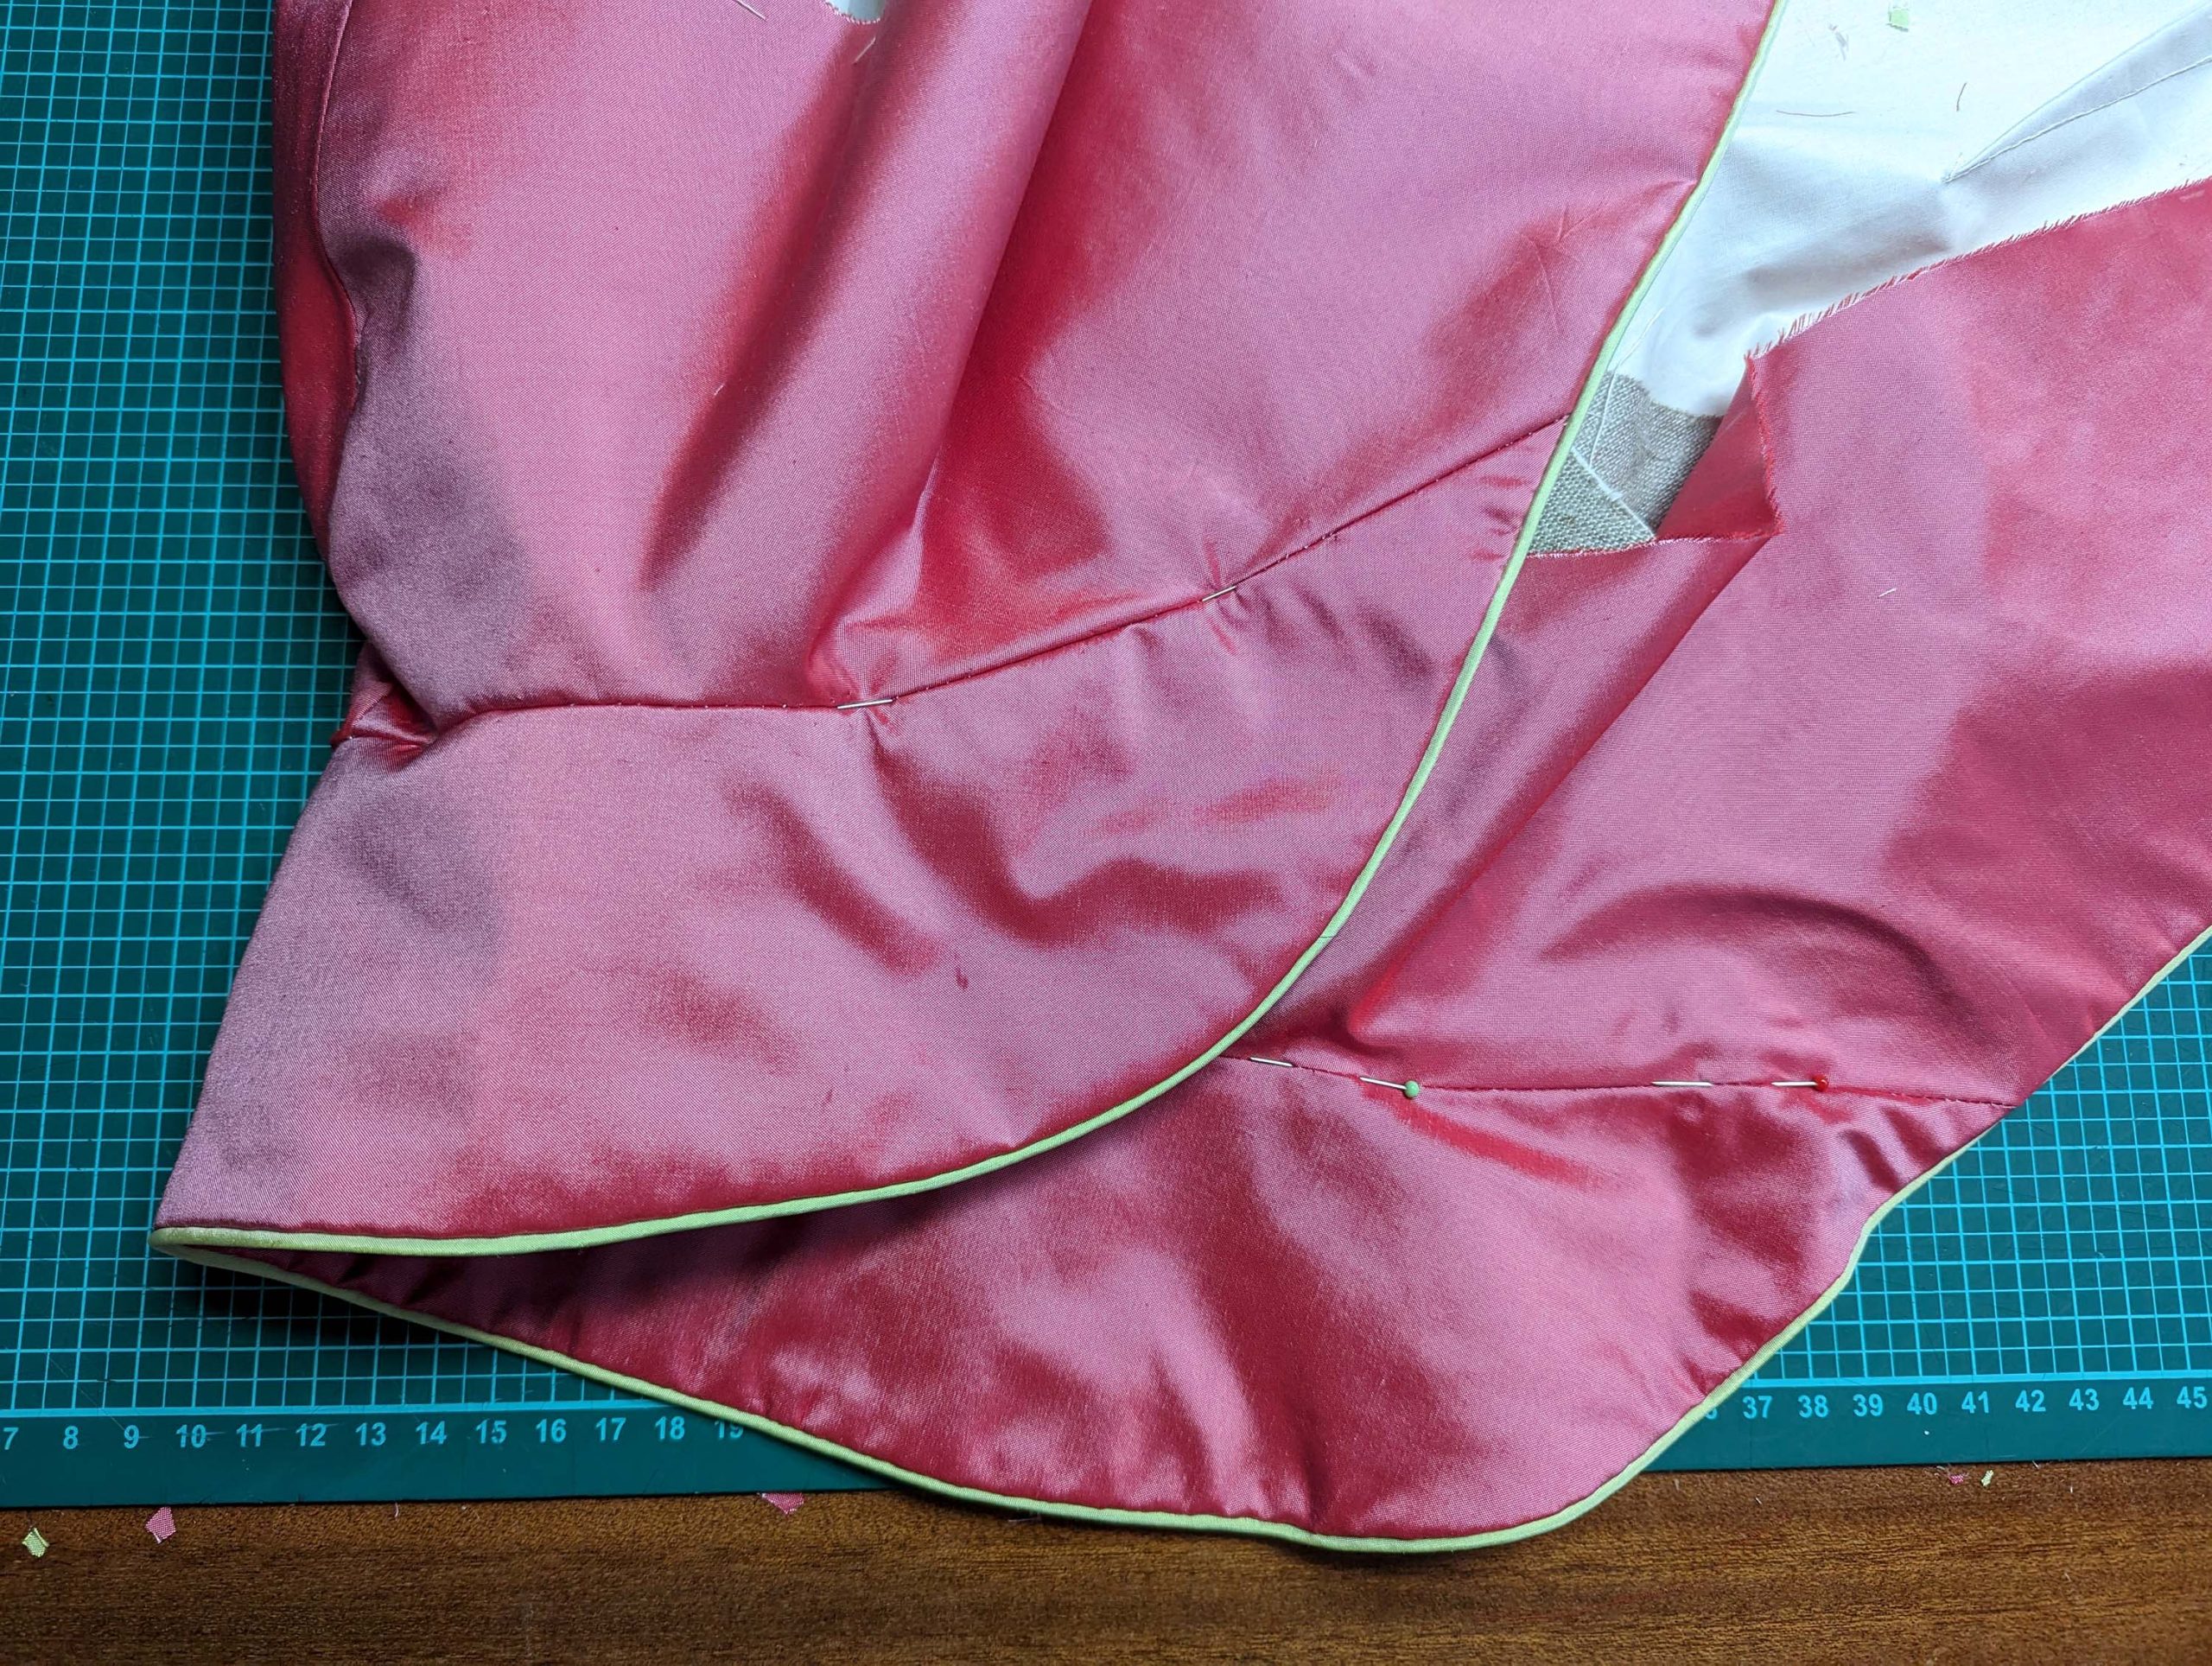
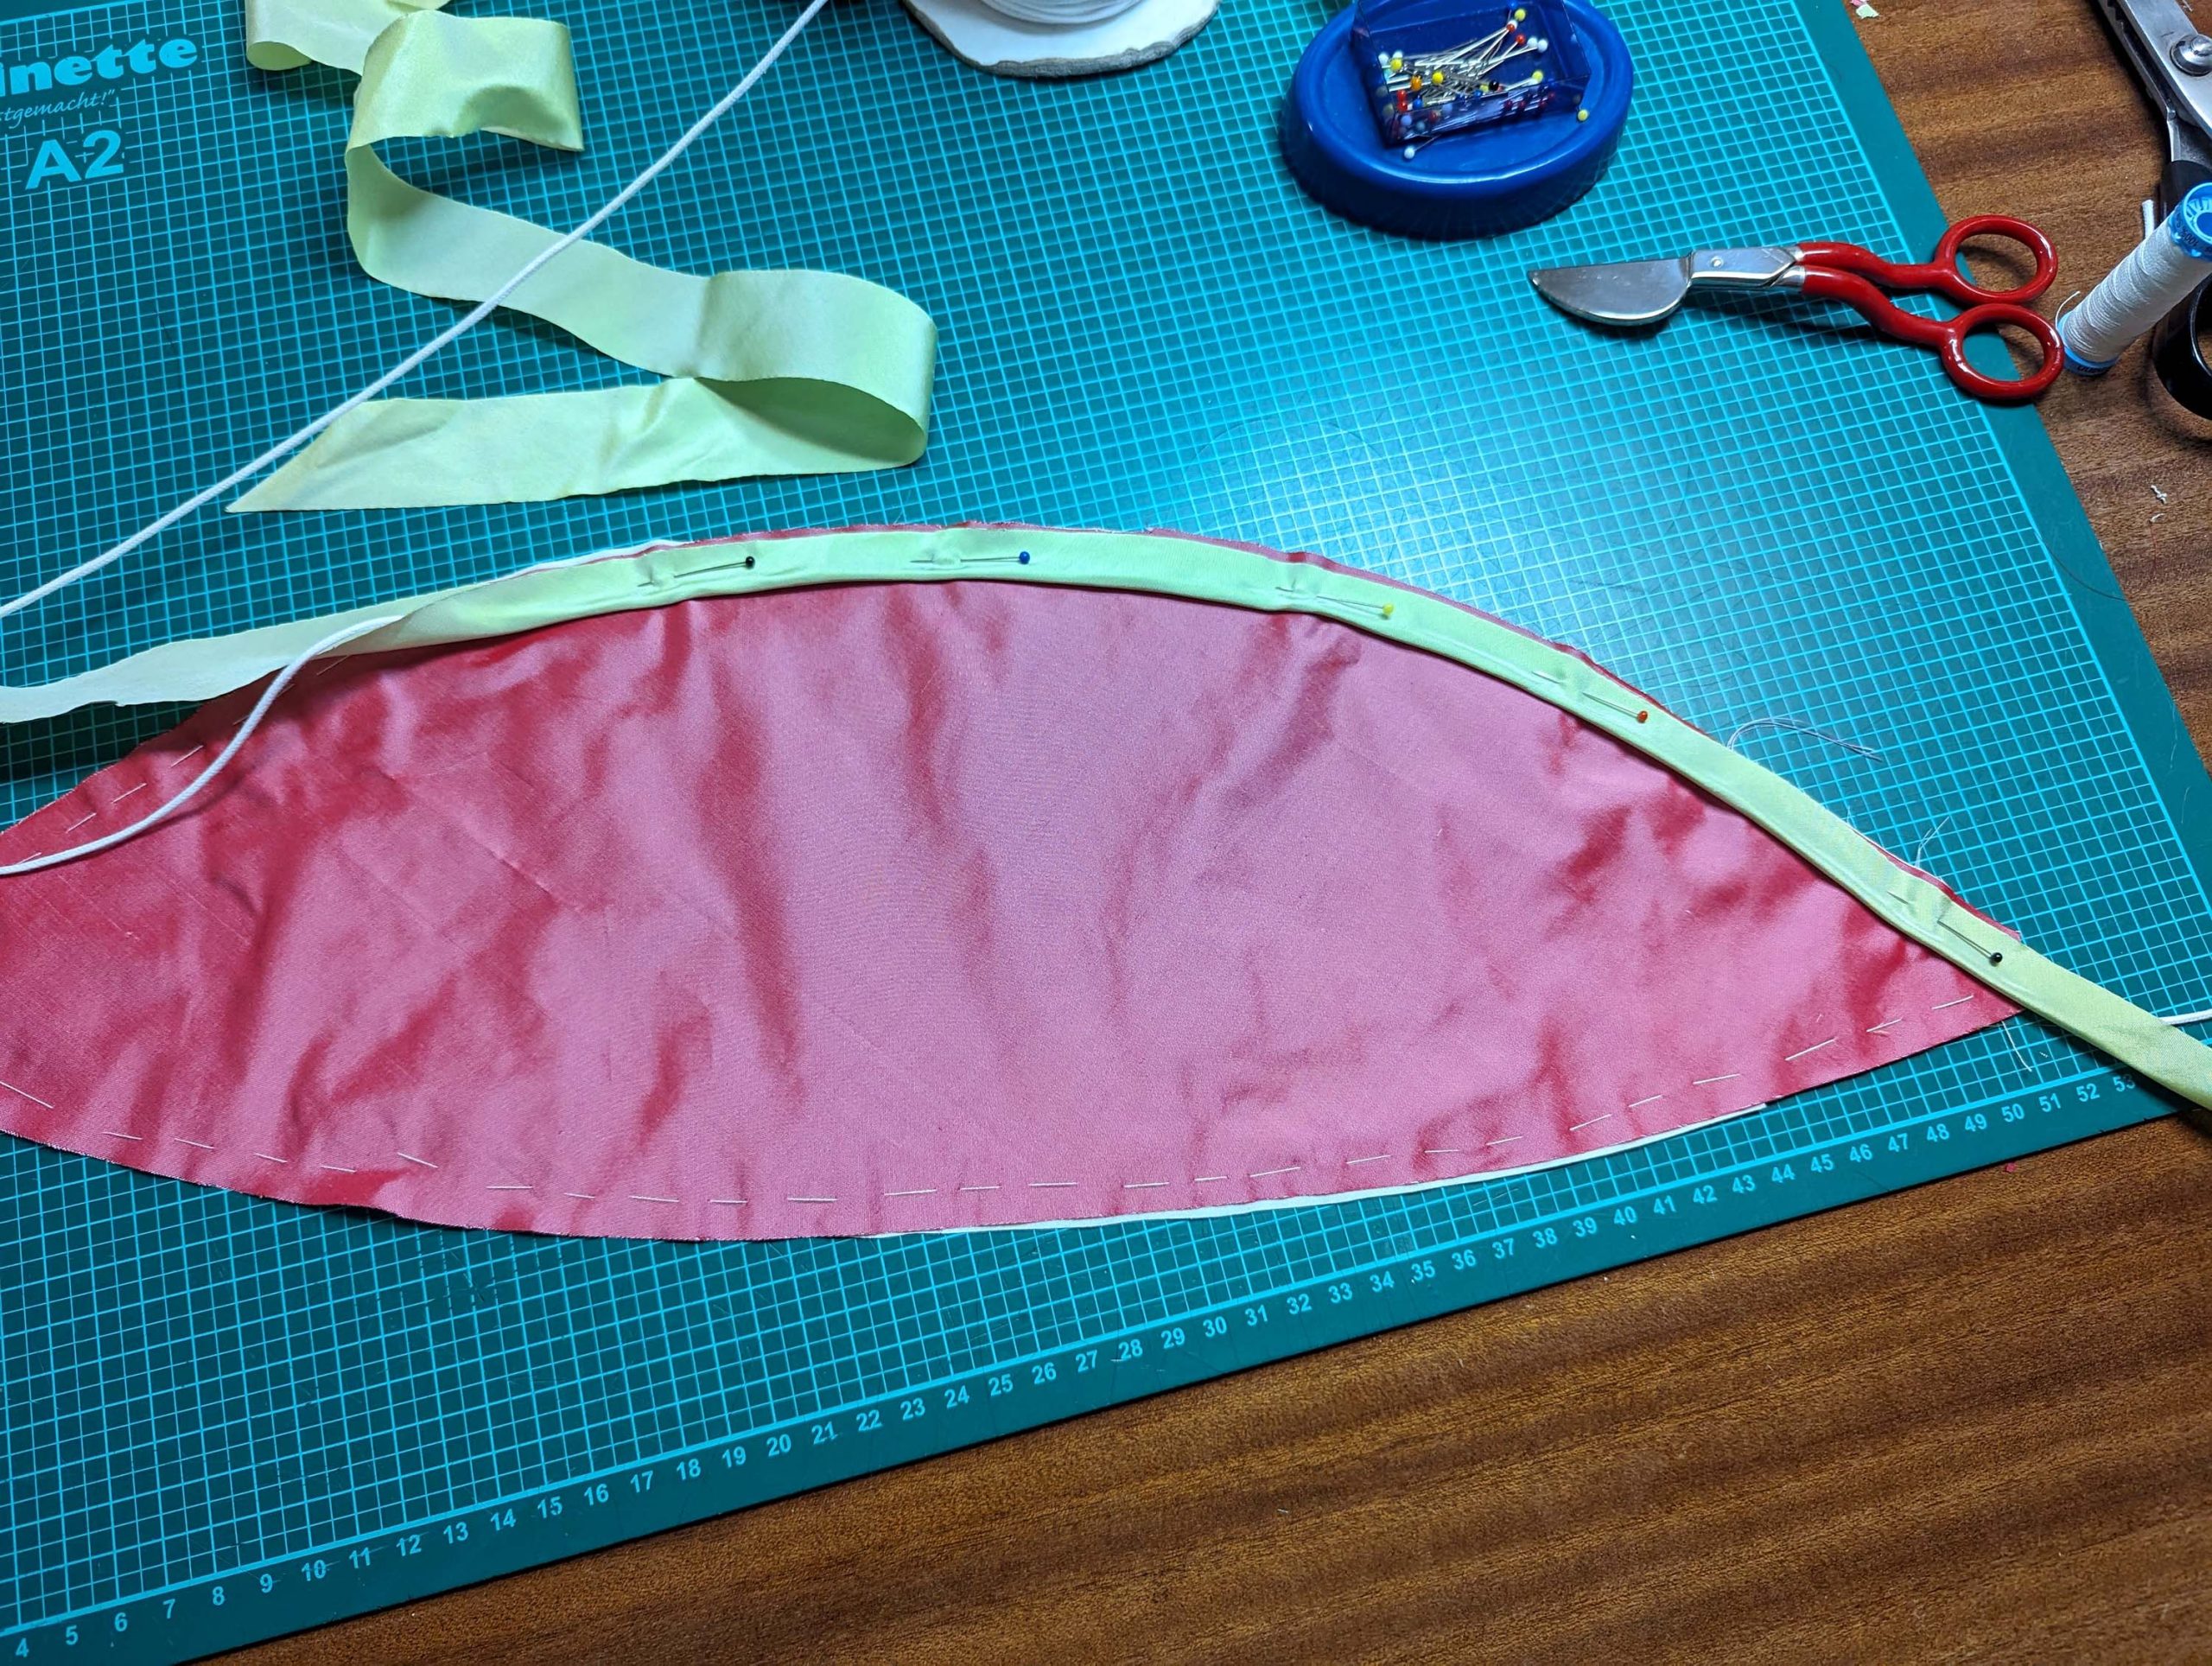
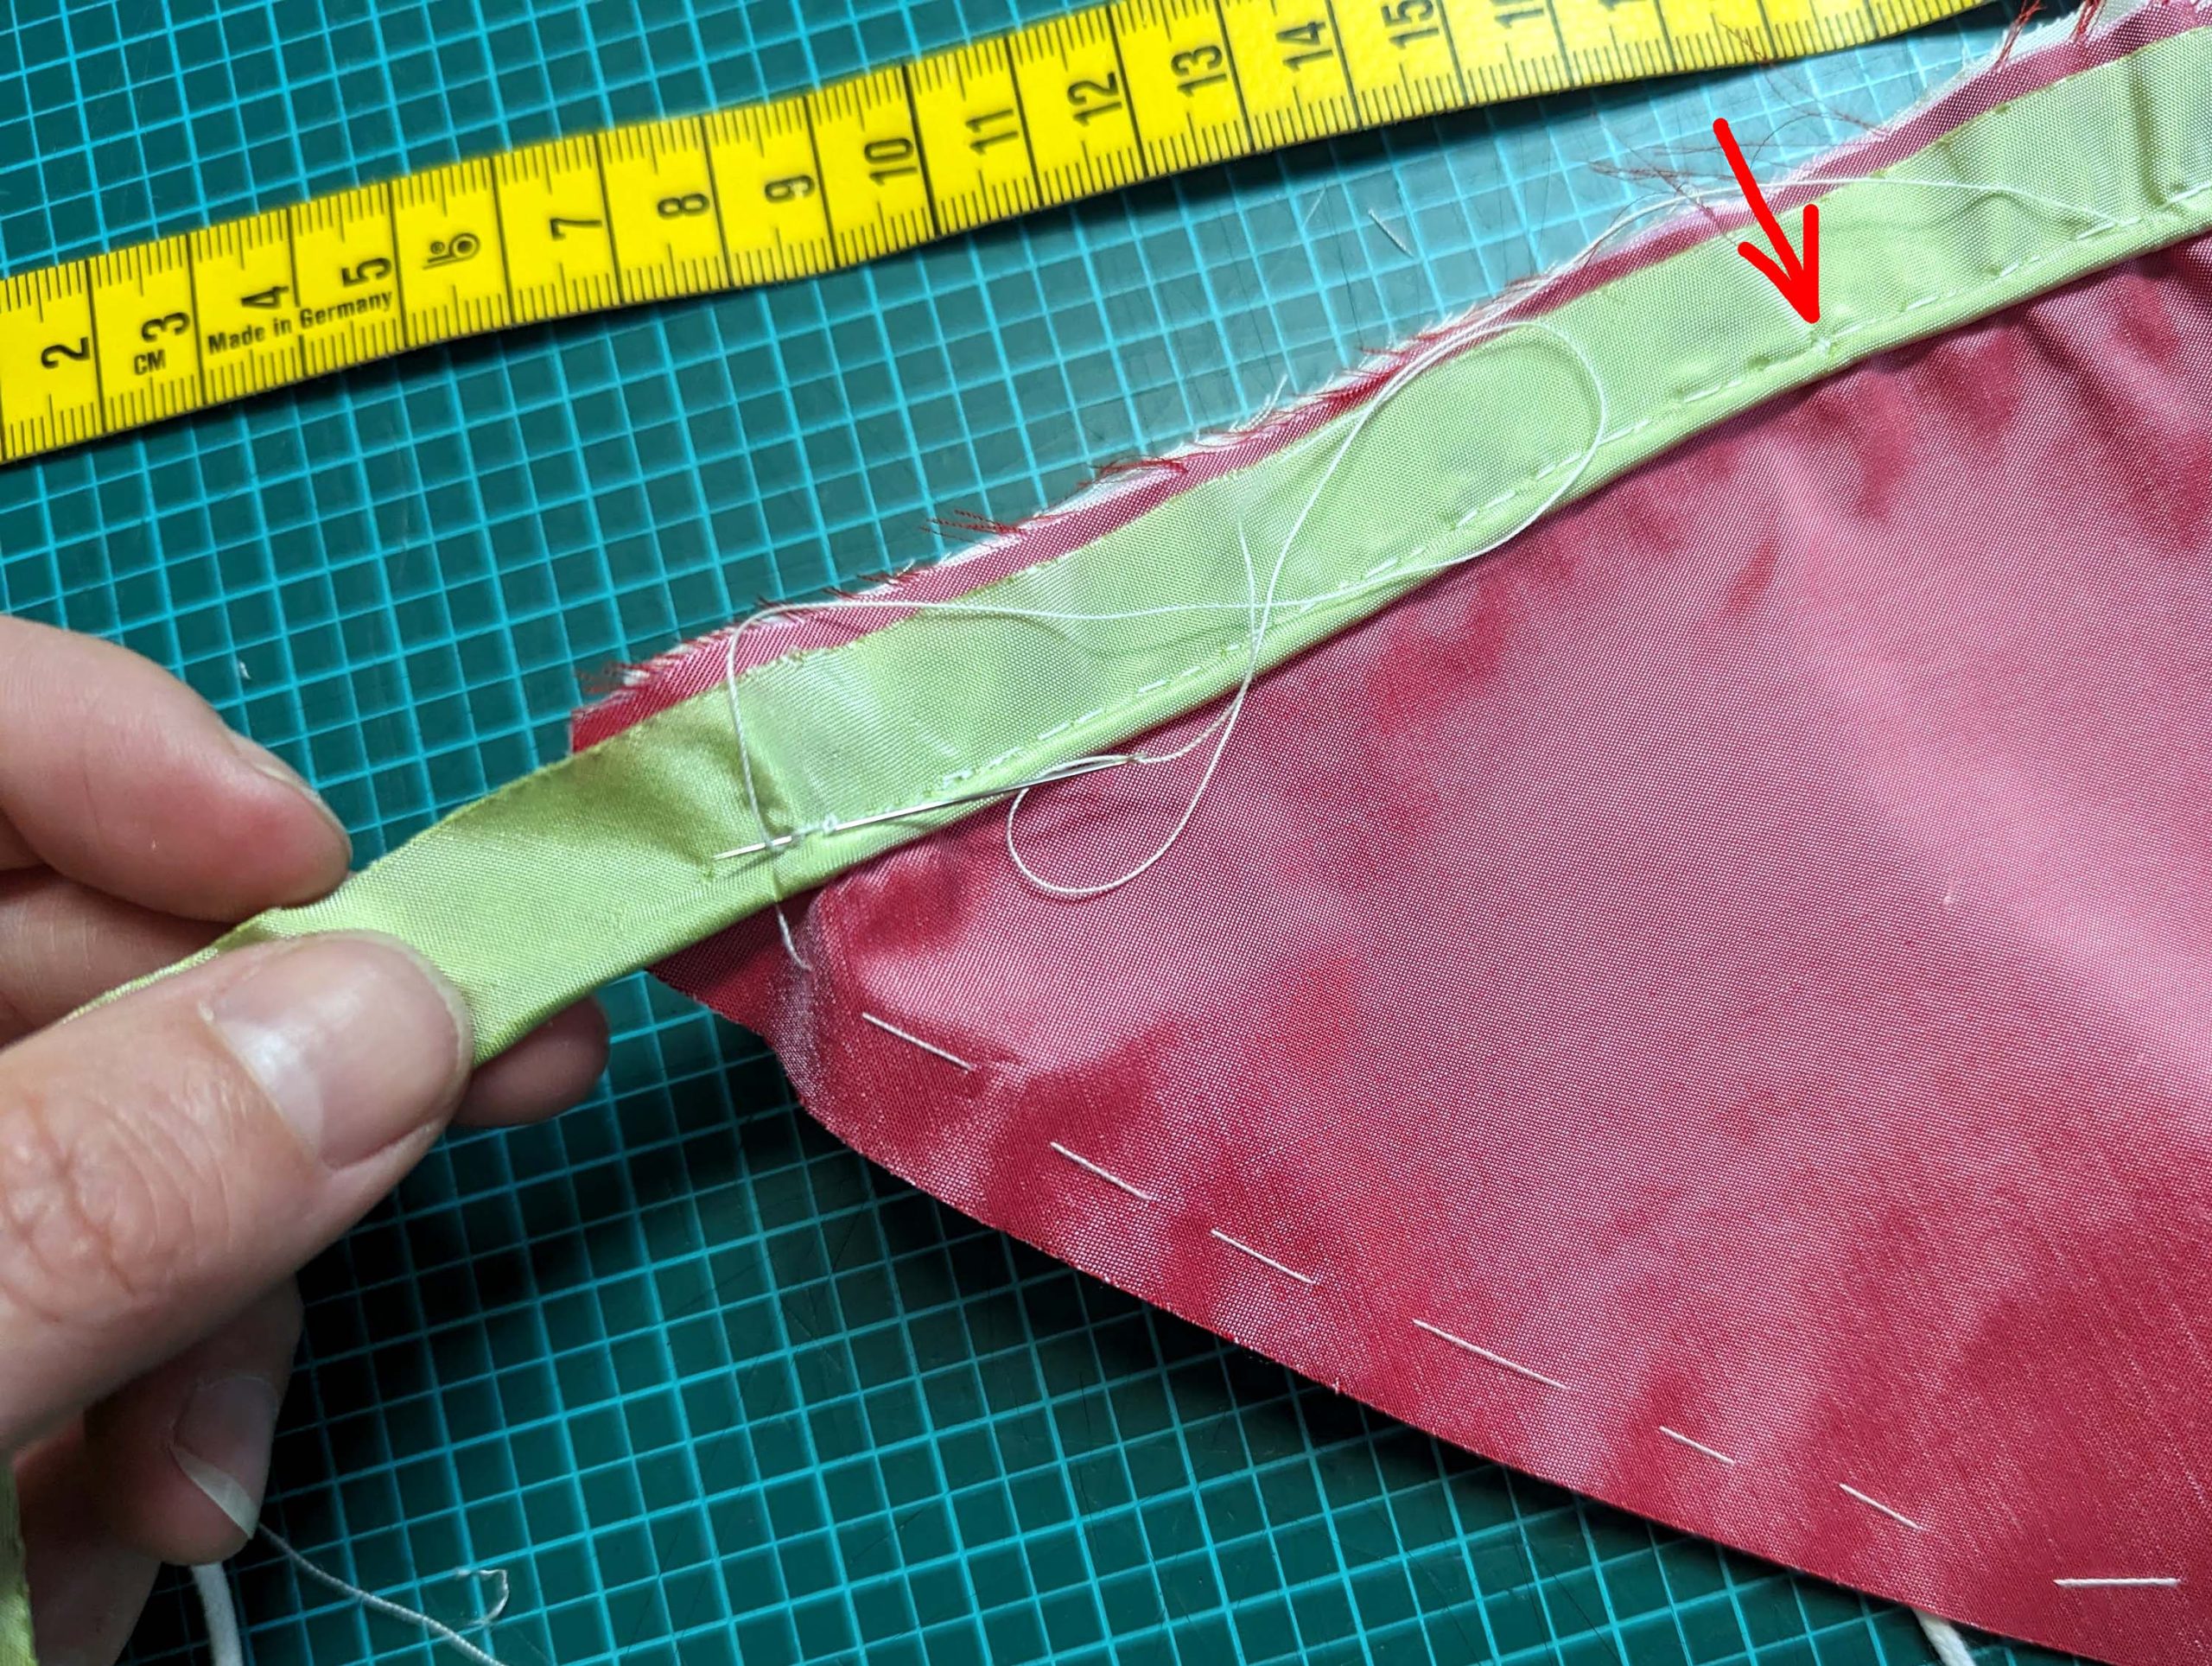
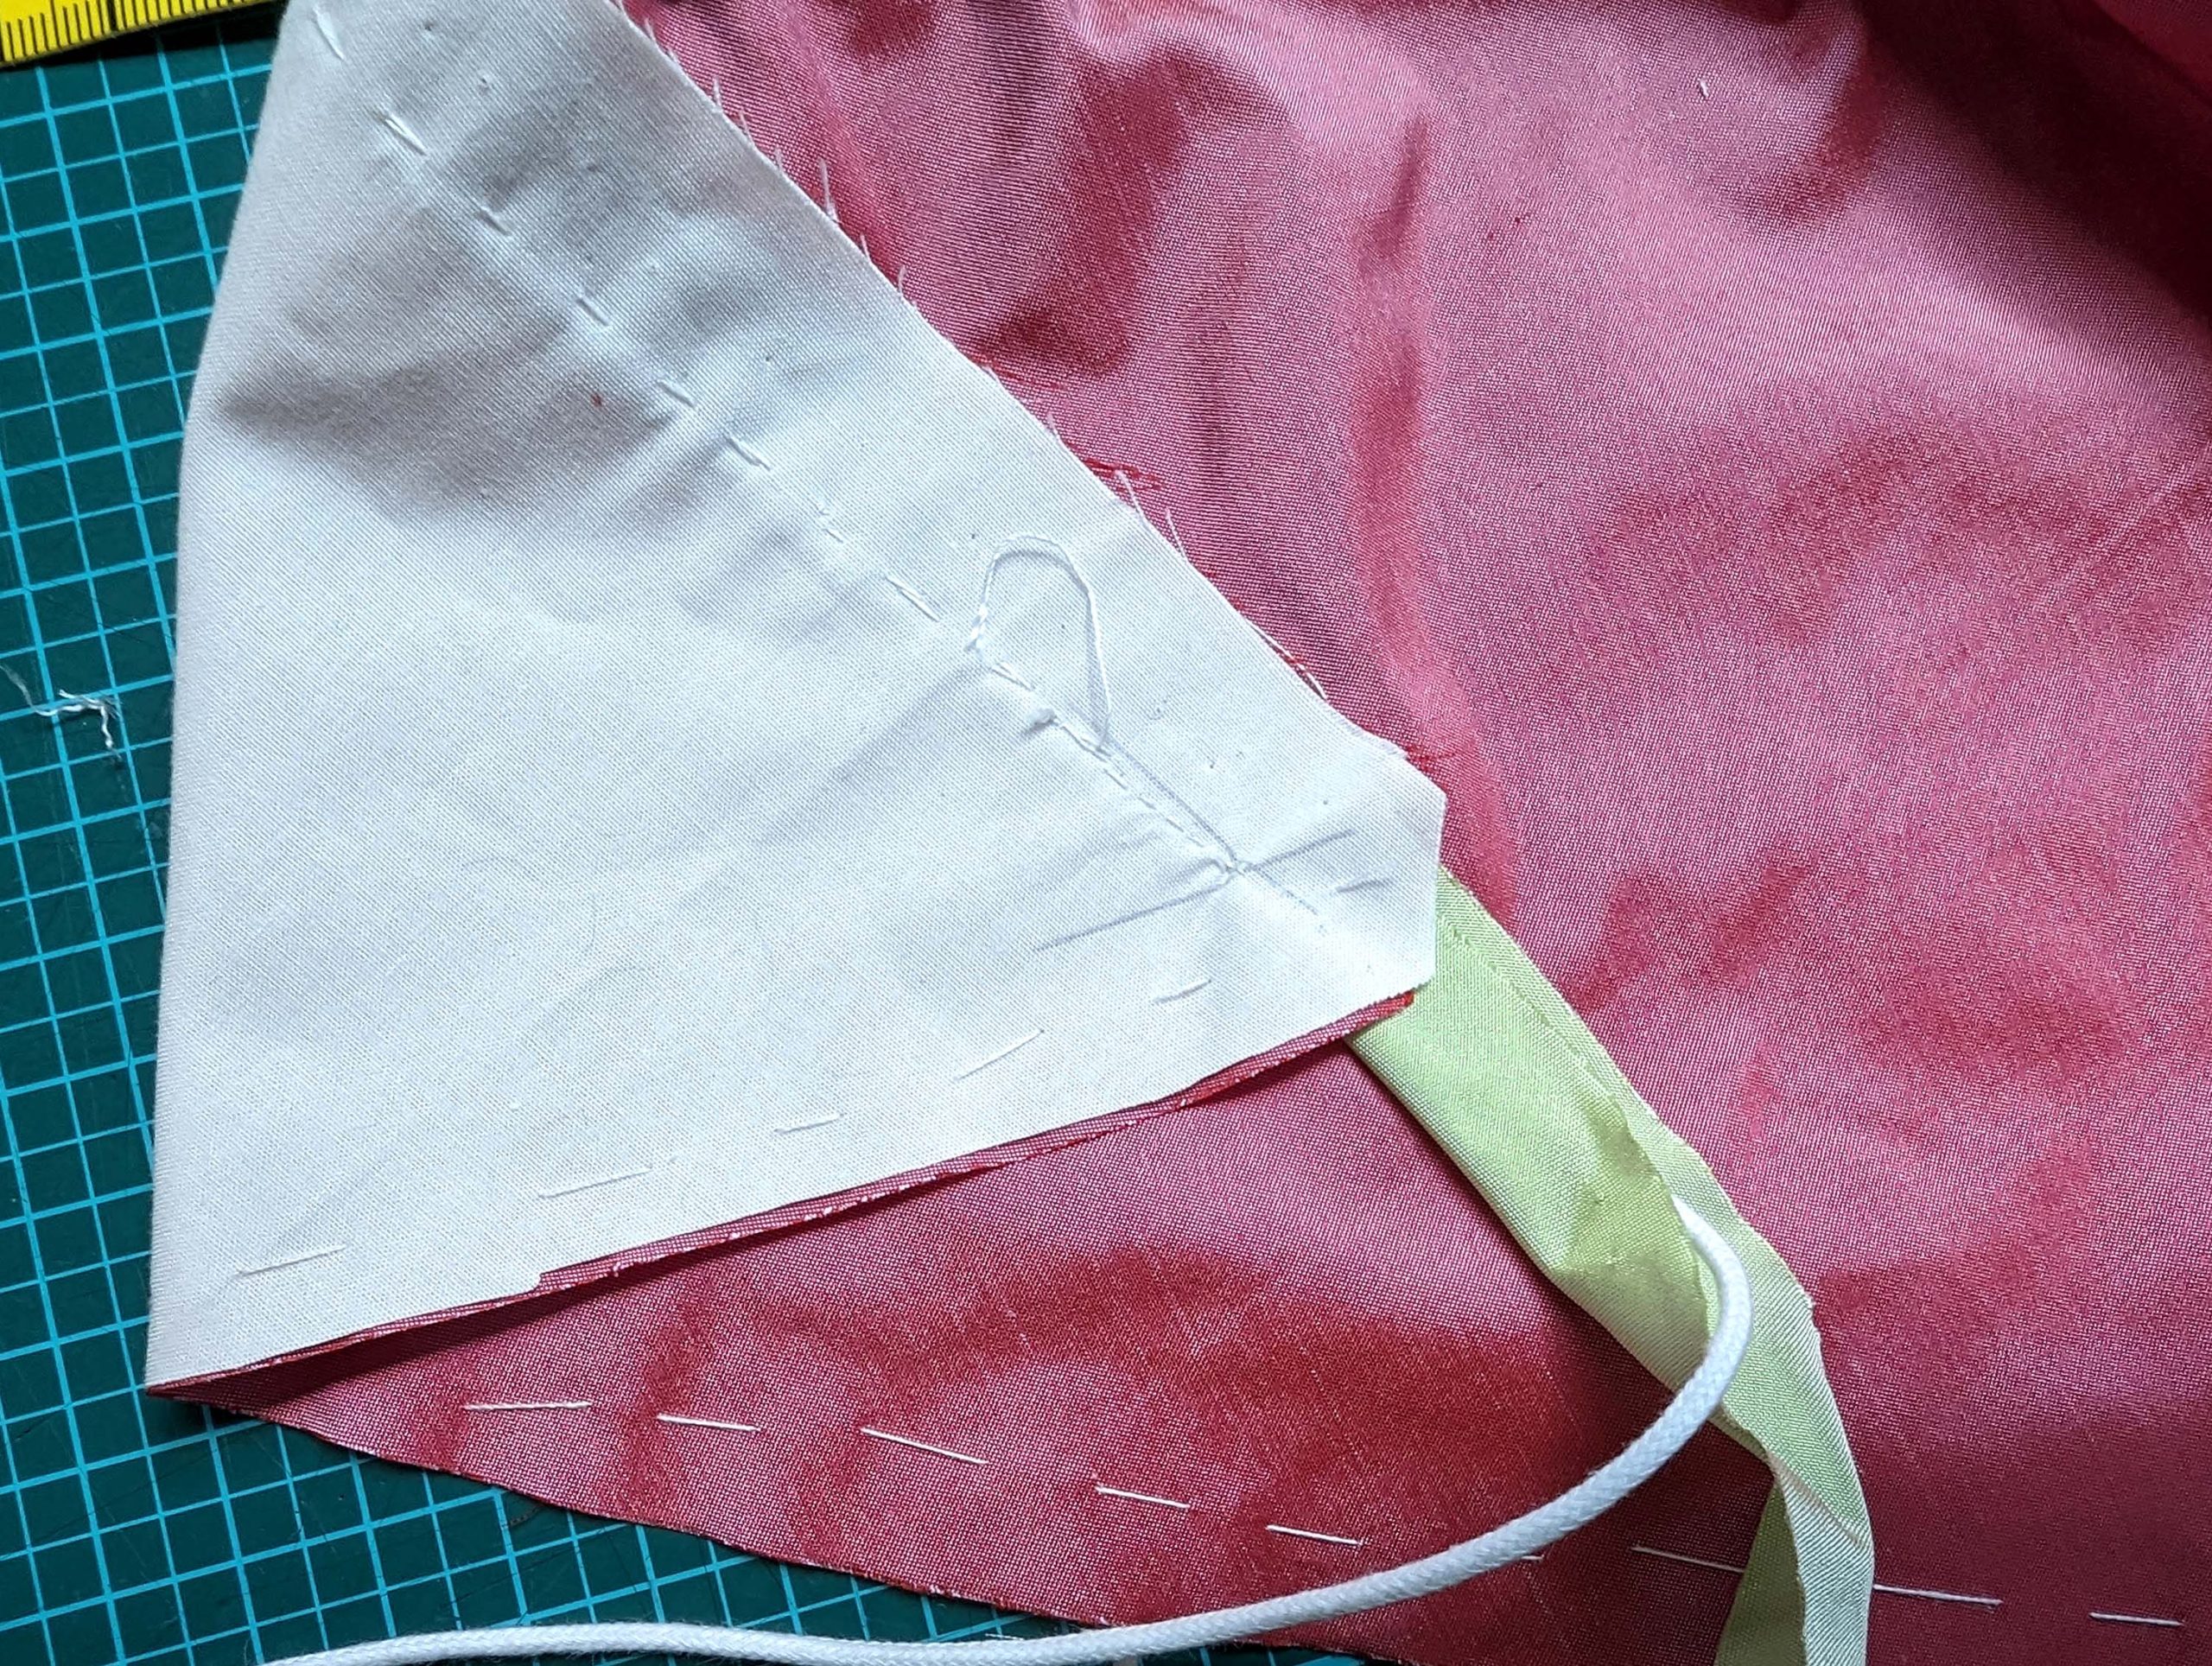
(3) I made my life harder than I explained this step in the instructions, instead of lining up the piping with the back, I chose the side back. Then Iined up the back, right sides together, stitching together all the layers at one time. I´ll show the stitching in the ditch of the piping later. I recommend choosing the way mentioned in the sewing pattern.
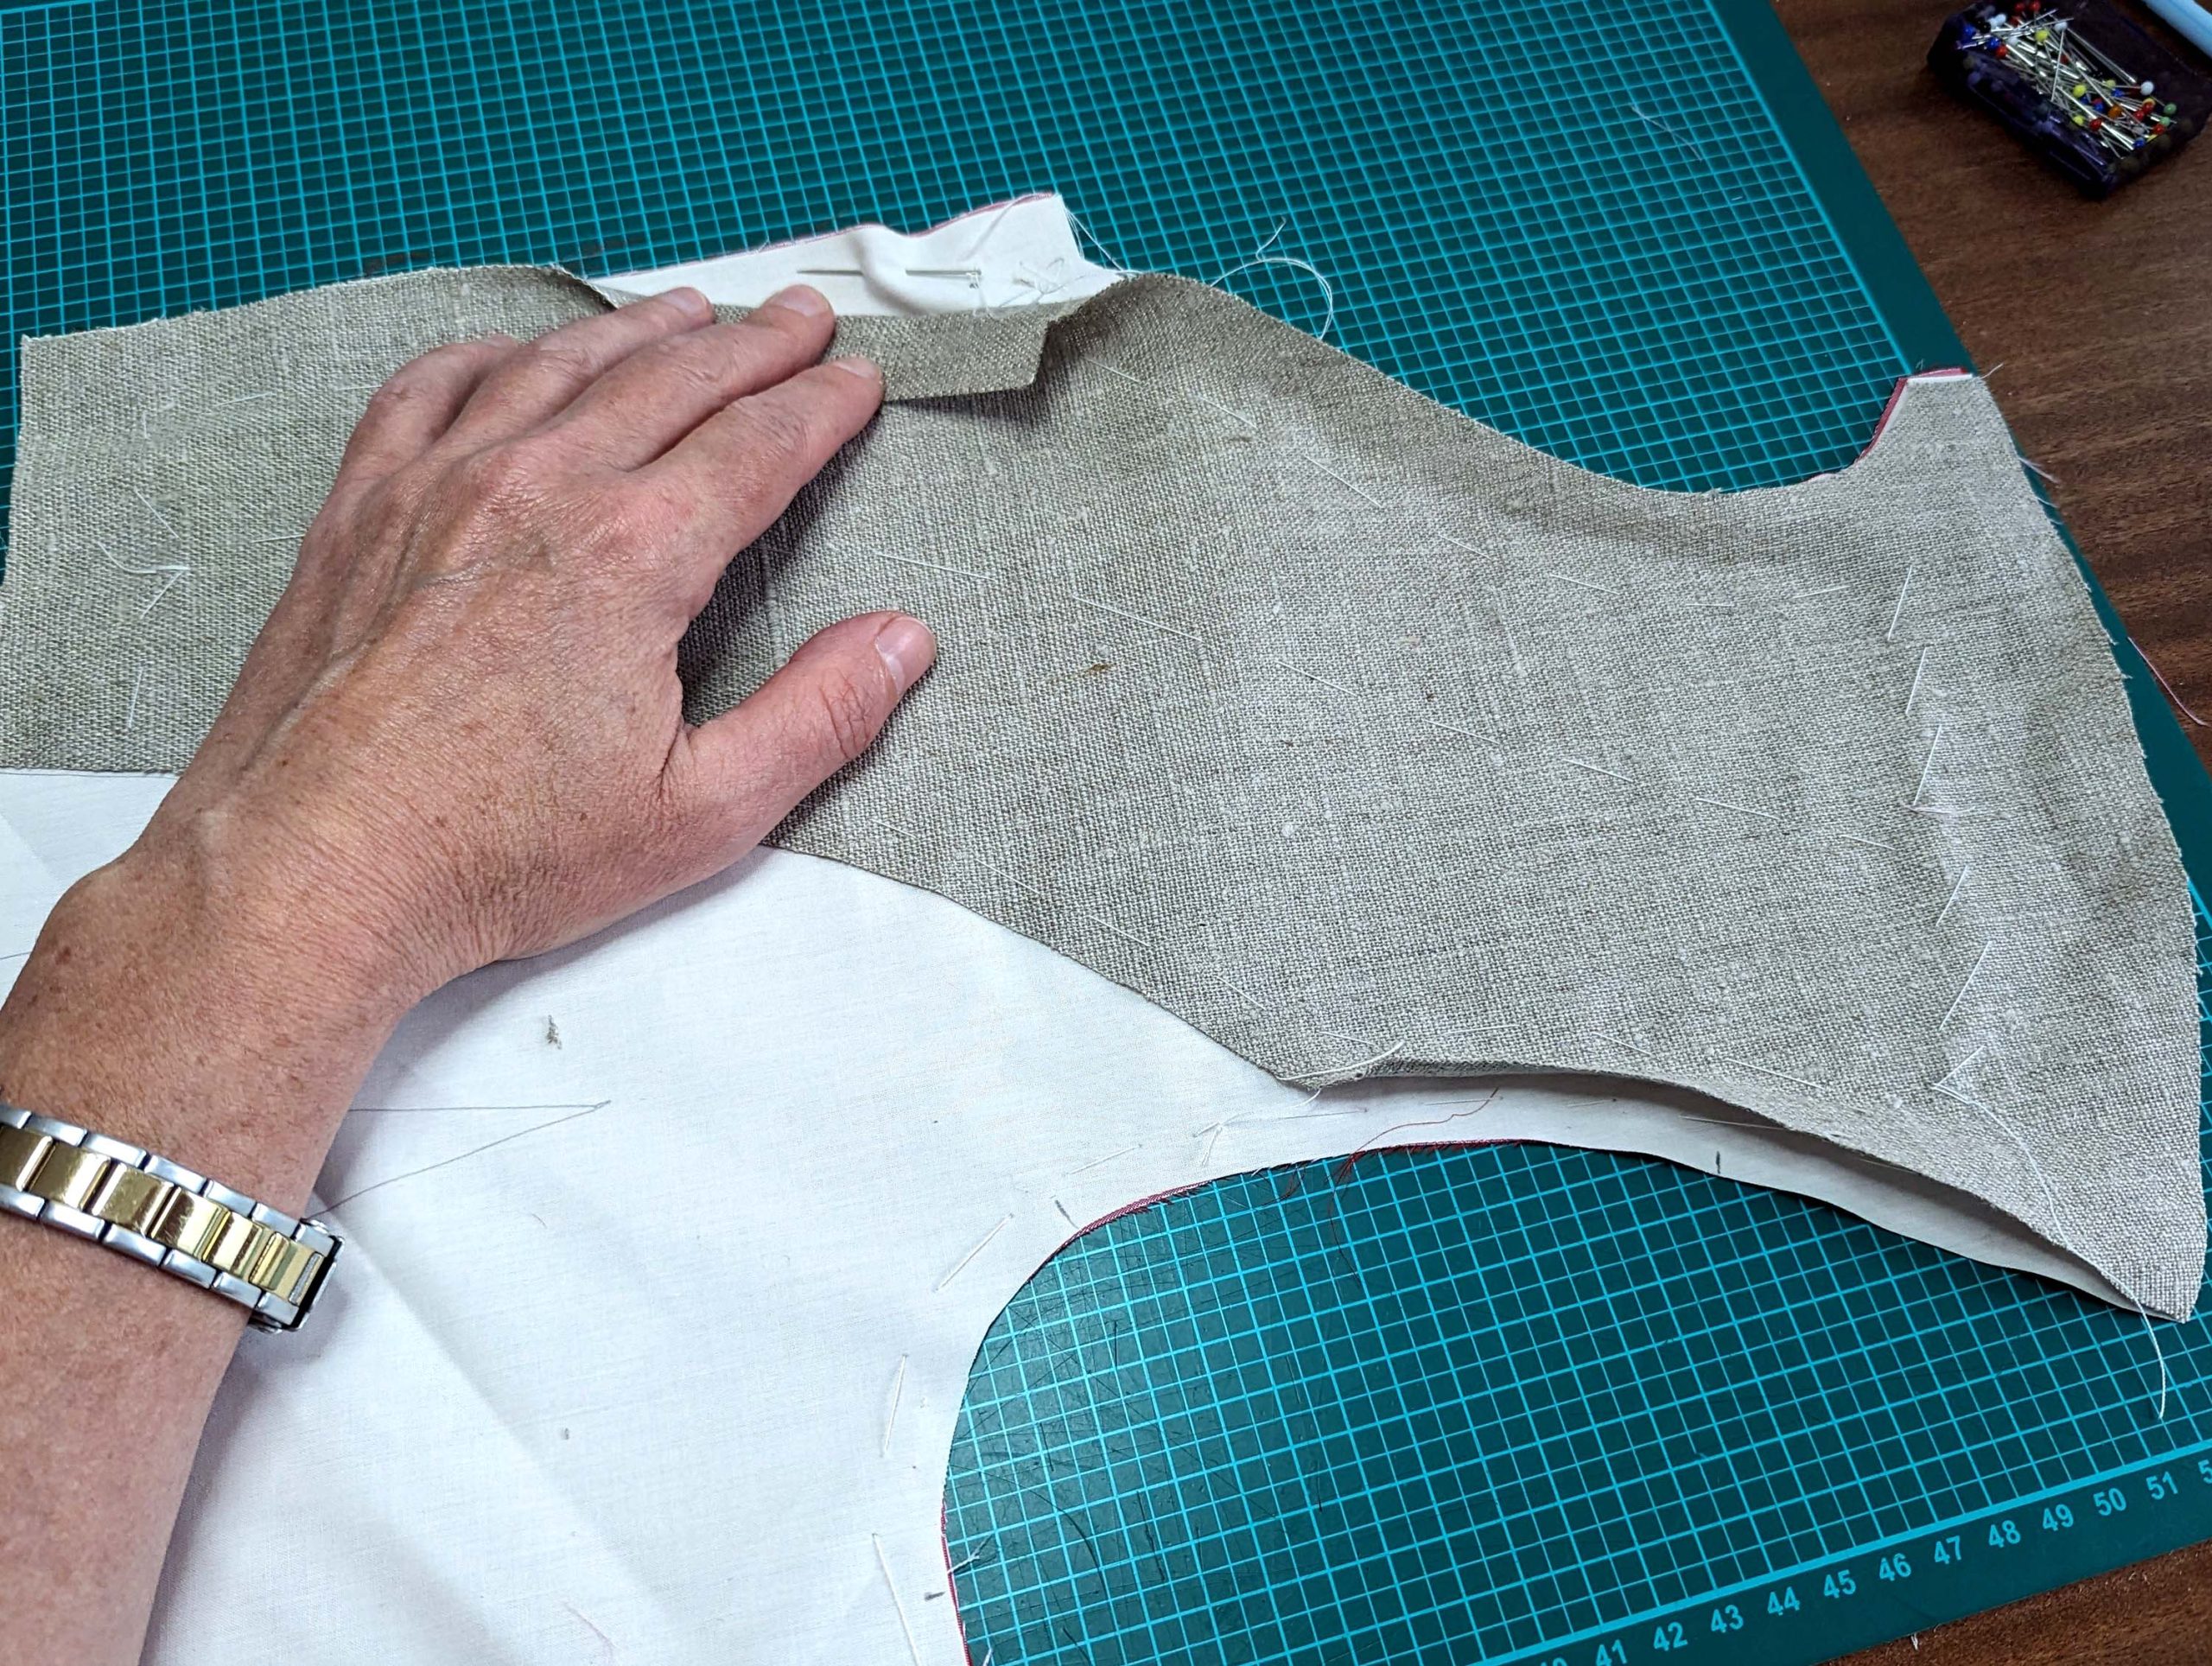
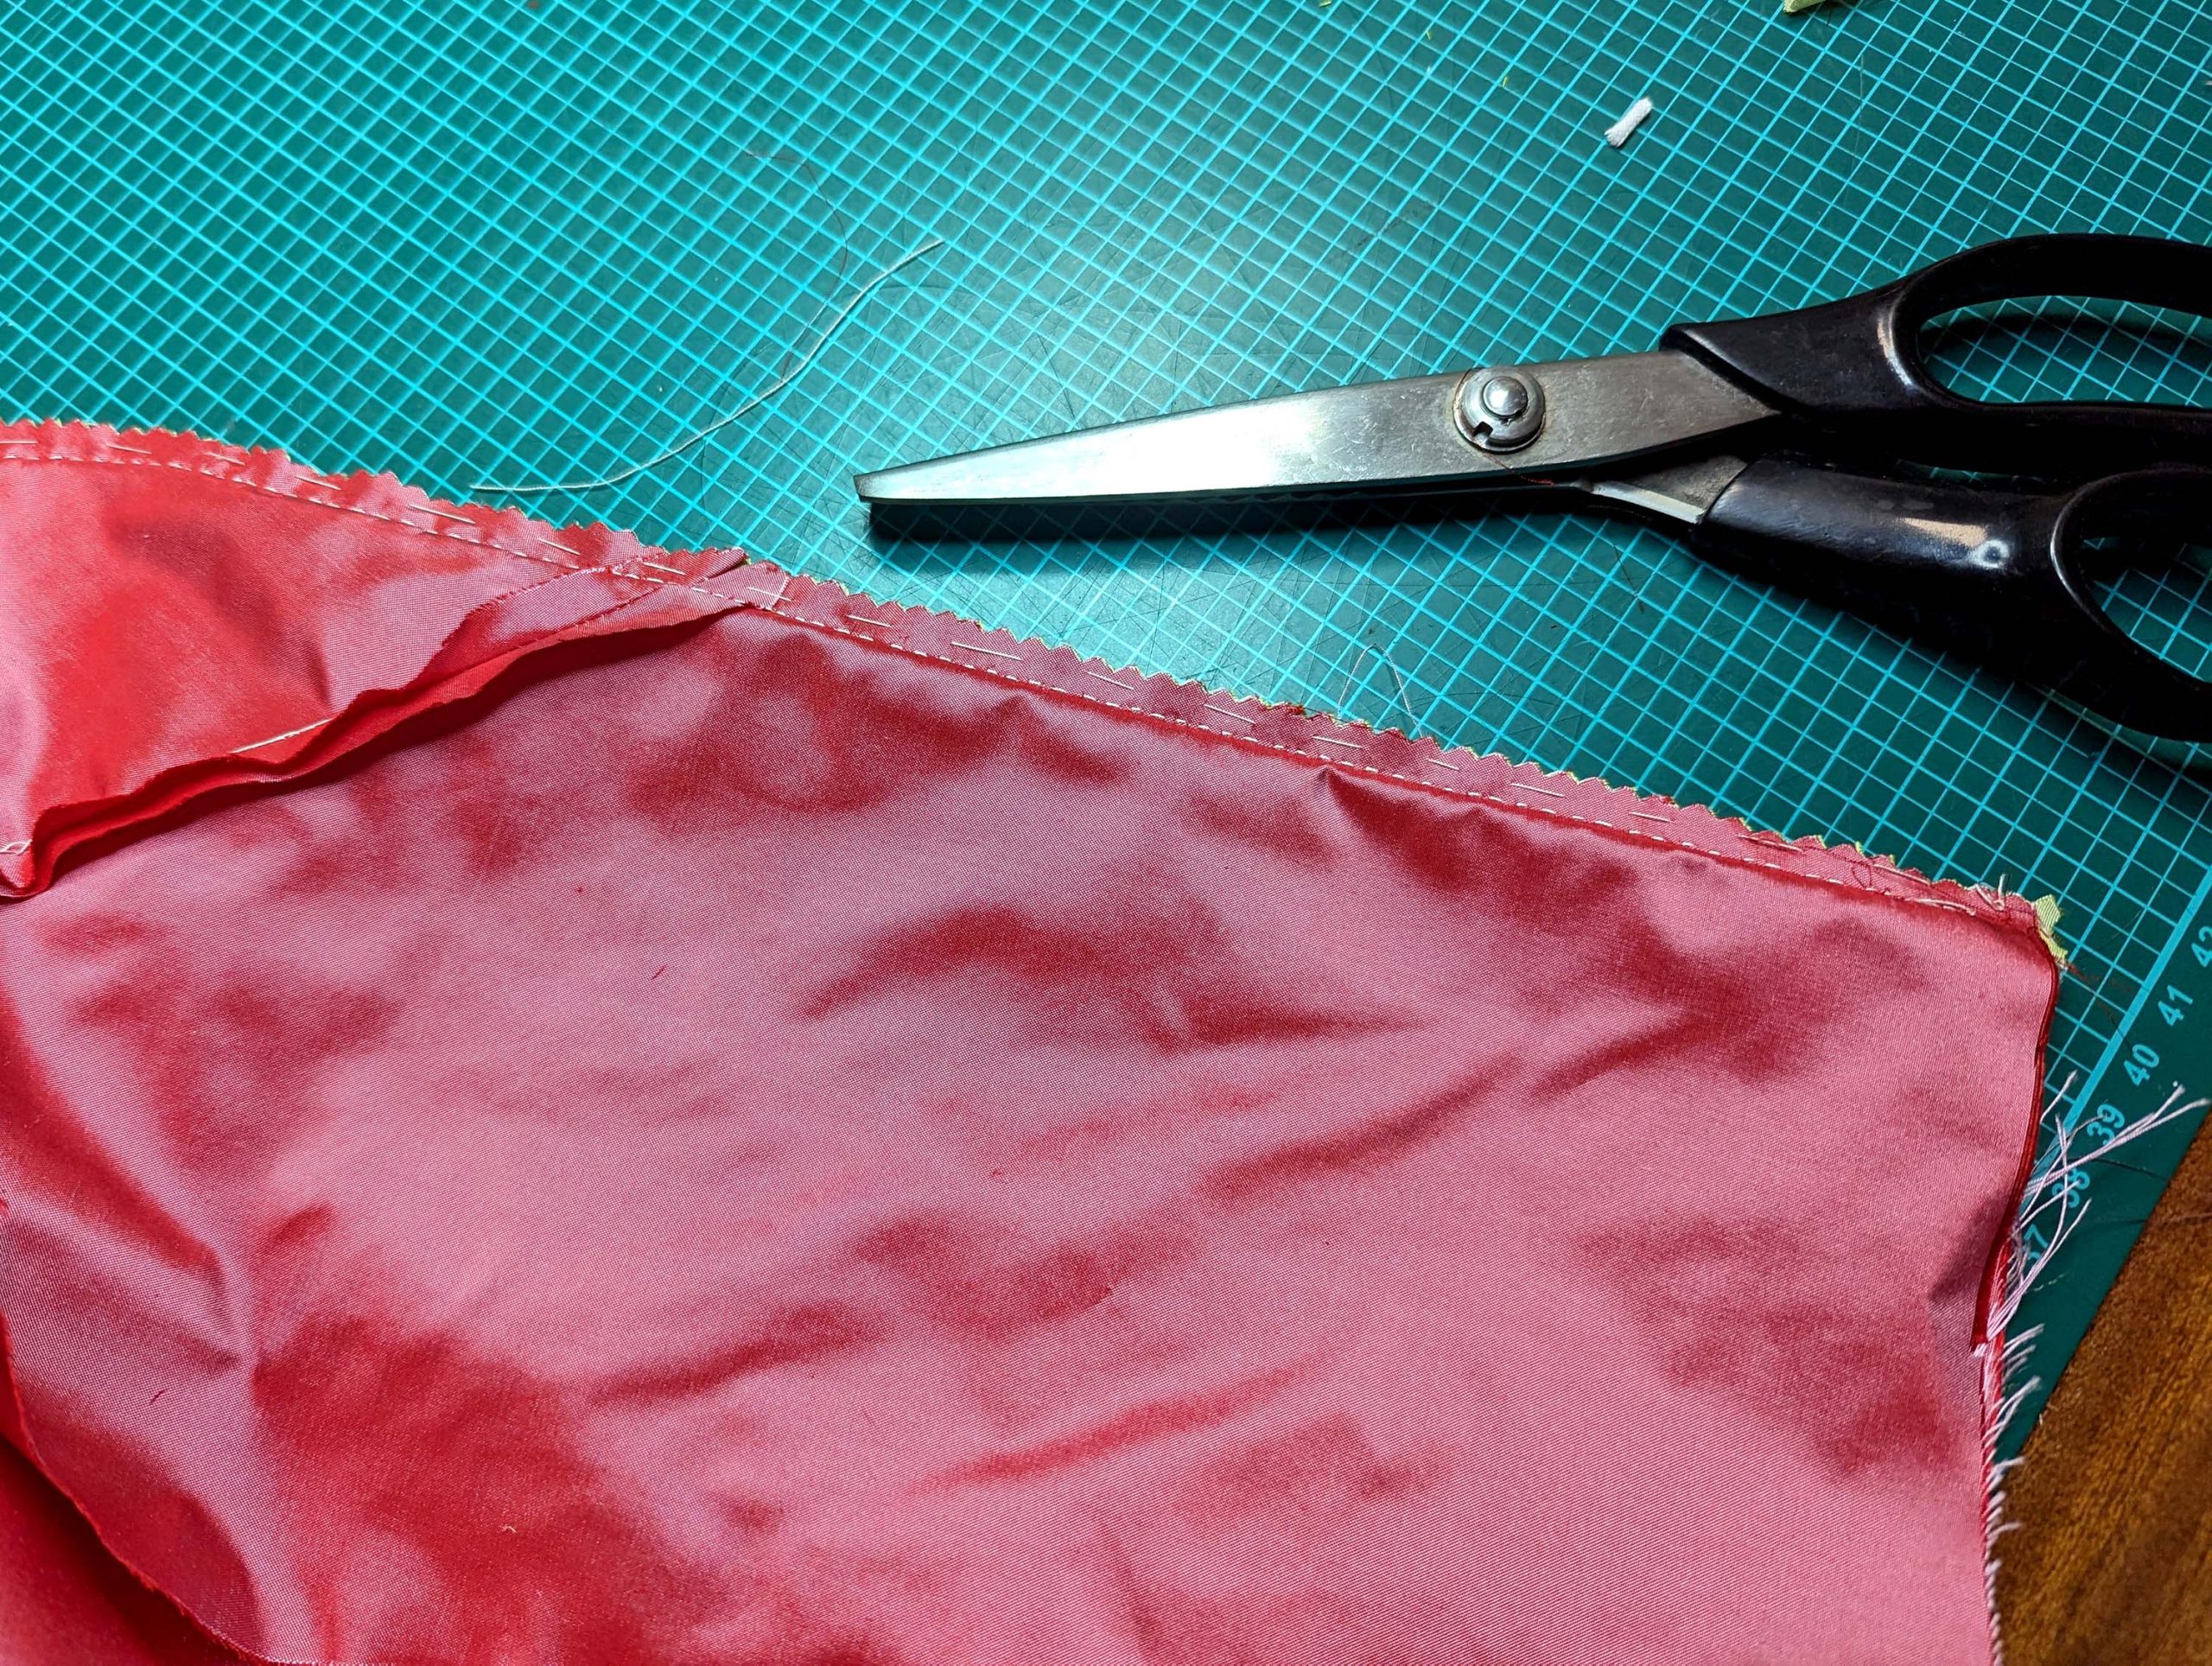
(4) Sew the shoulder seam, right sides together, easing in the excess fabric of the front, don´t catch the front canvas while sewing. Press open the seam allowances and smooth out the canvas on top. Baste the canvas to the seam allowance of the shoulder seams, without any stitches visible on the right side, as this basting remains in the finished garment. Trim back the front canvas to the stitching line along the neckline and front edge.


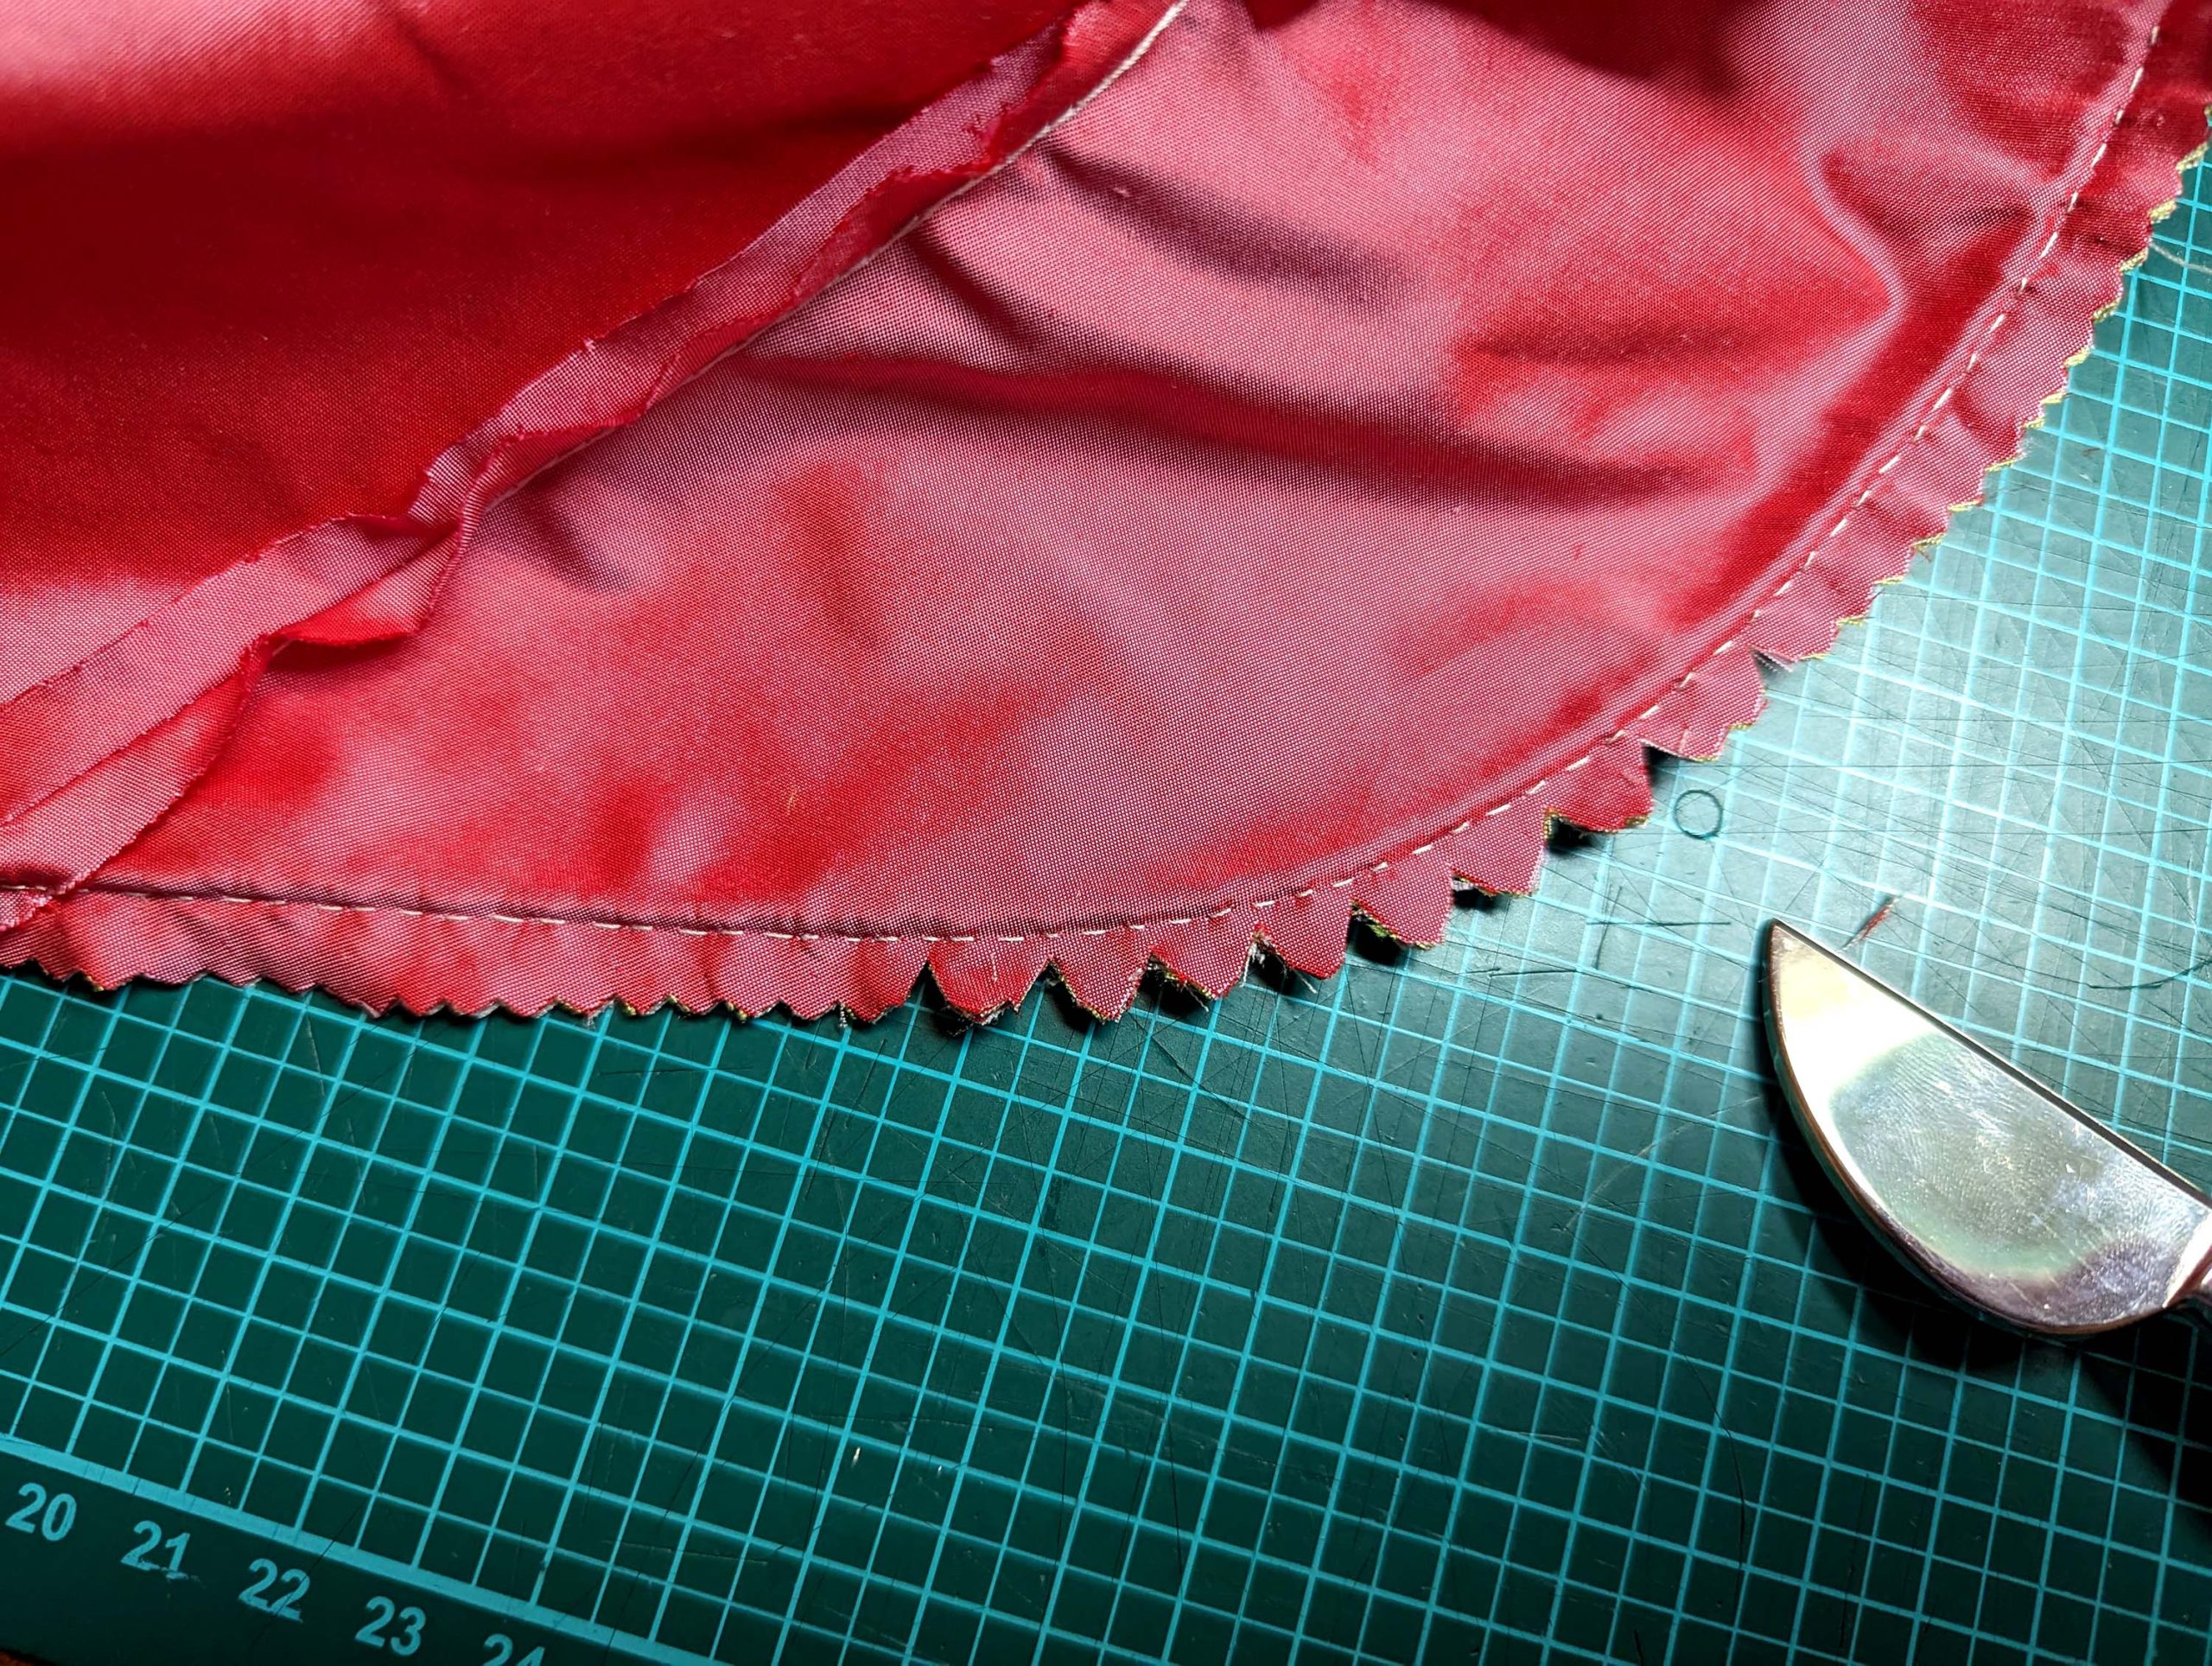
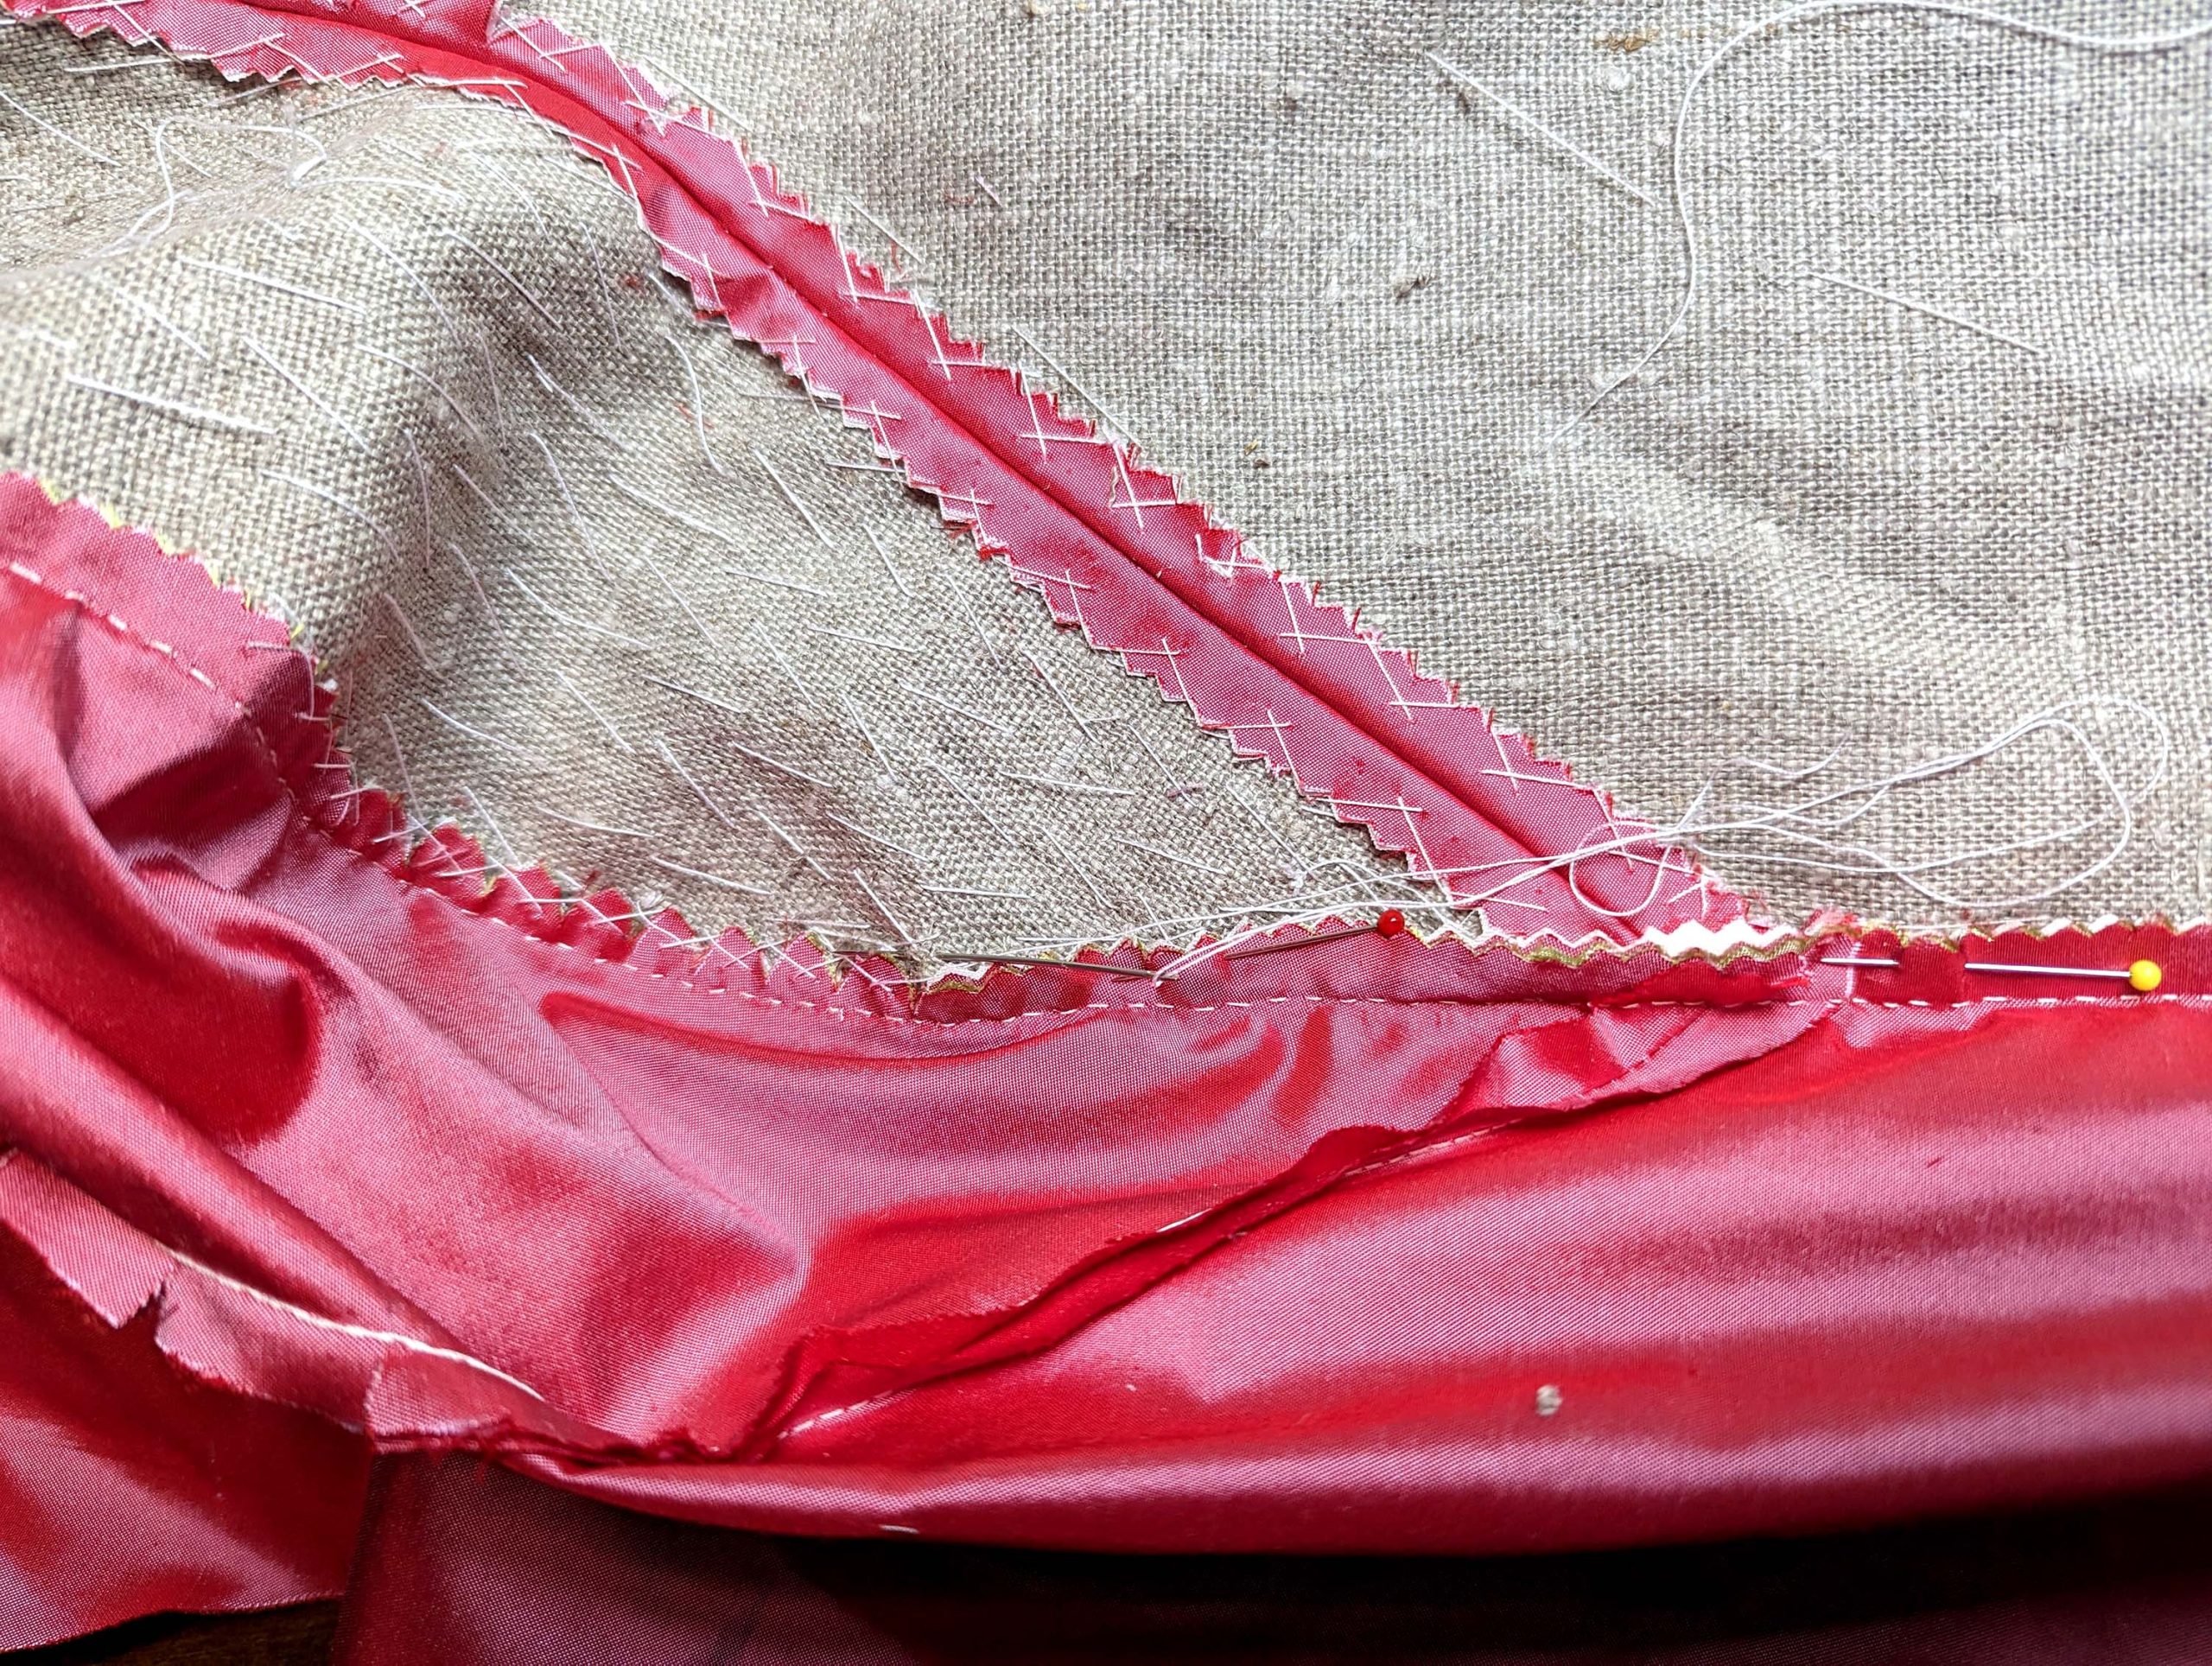
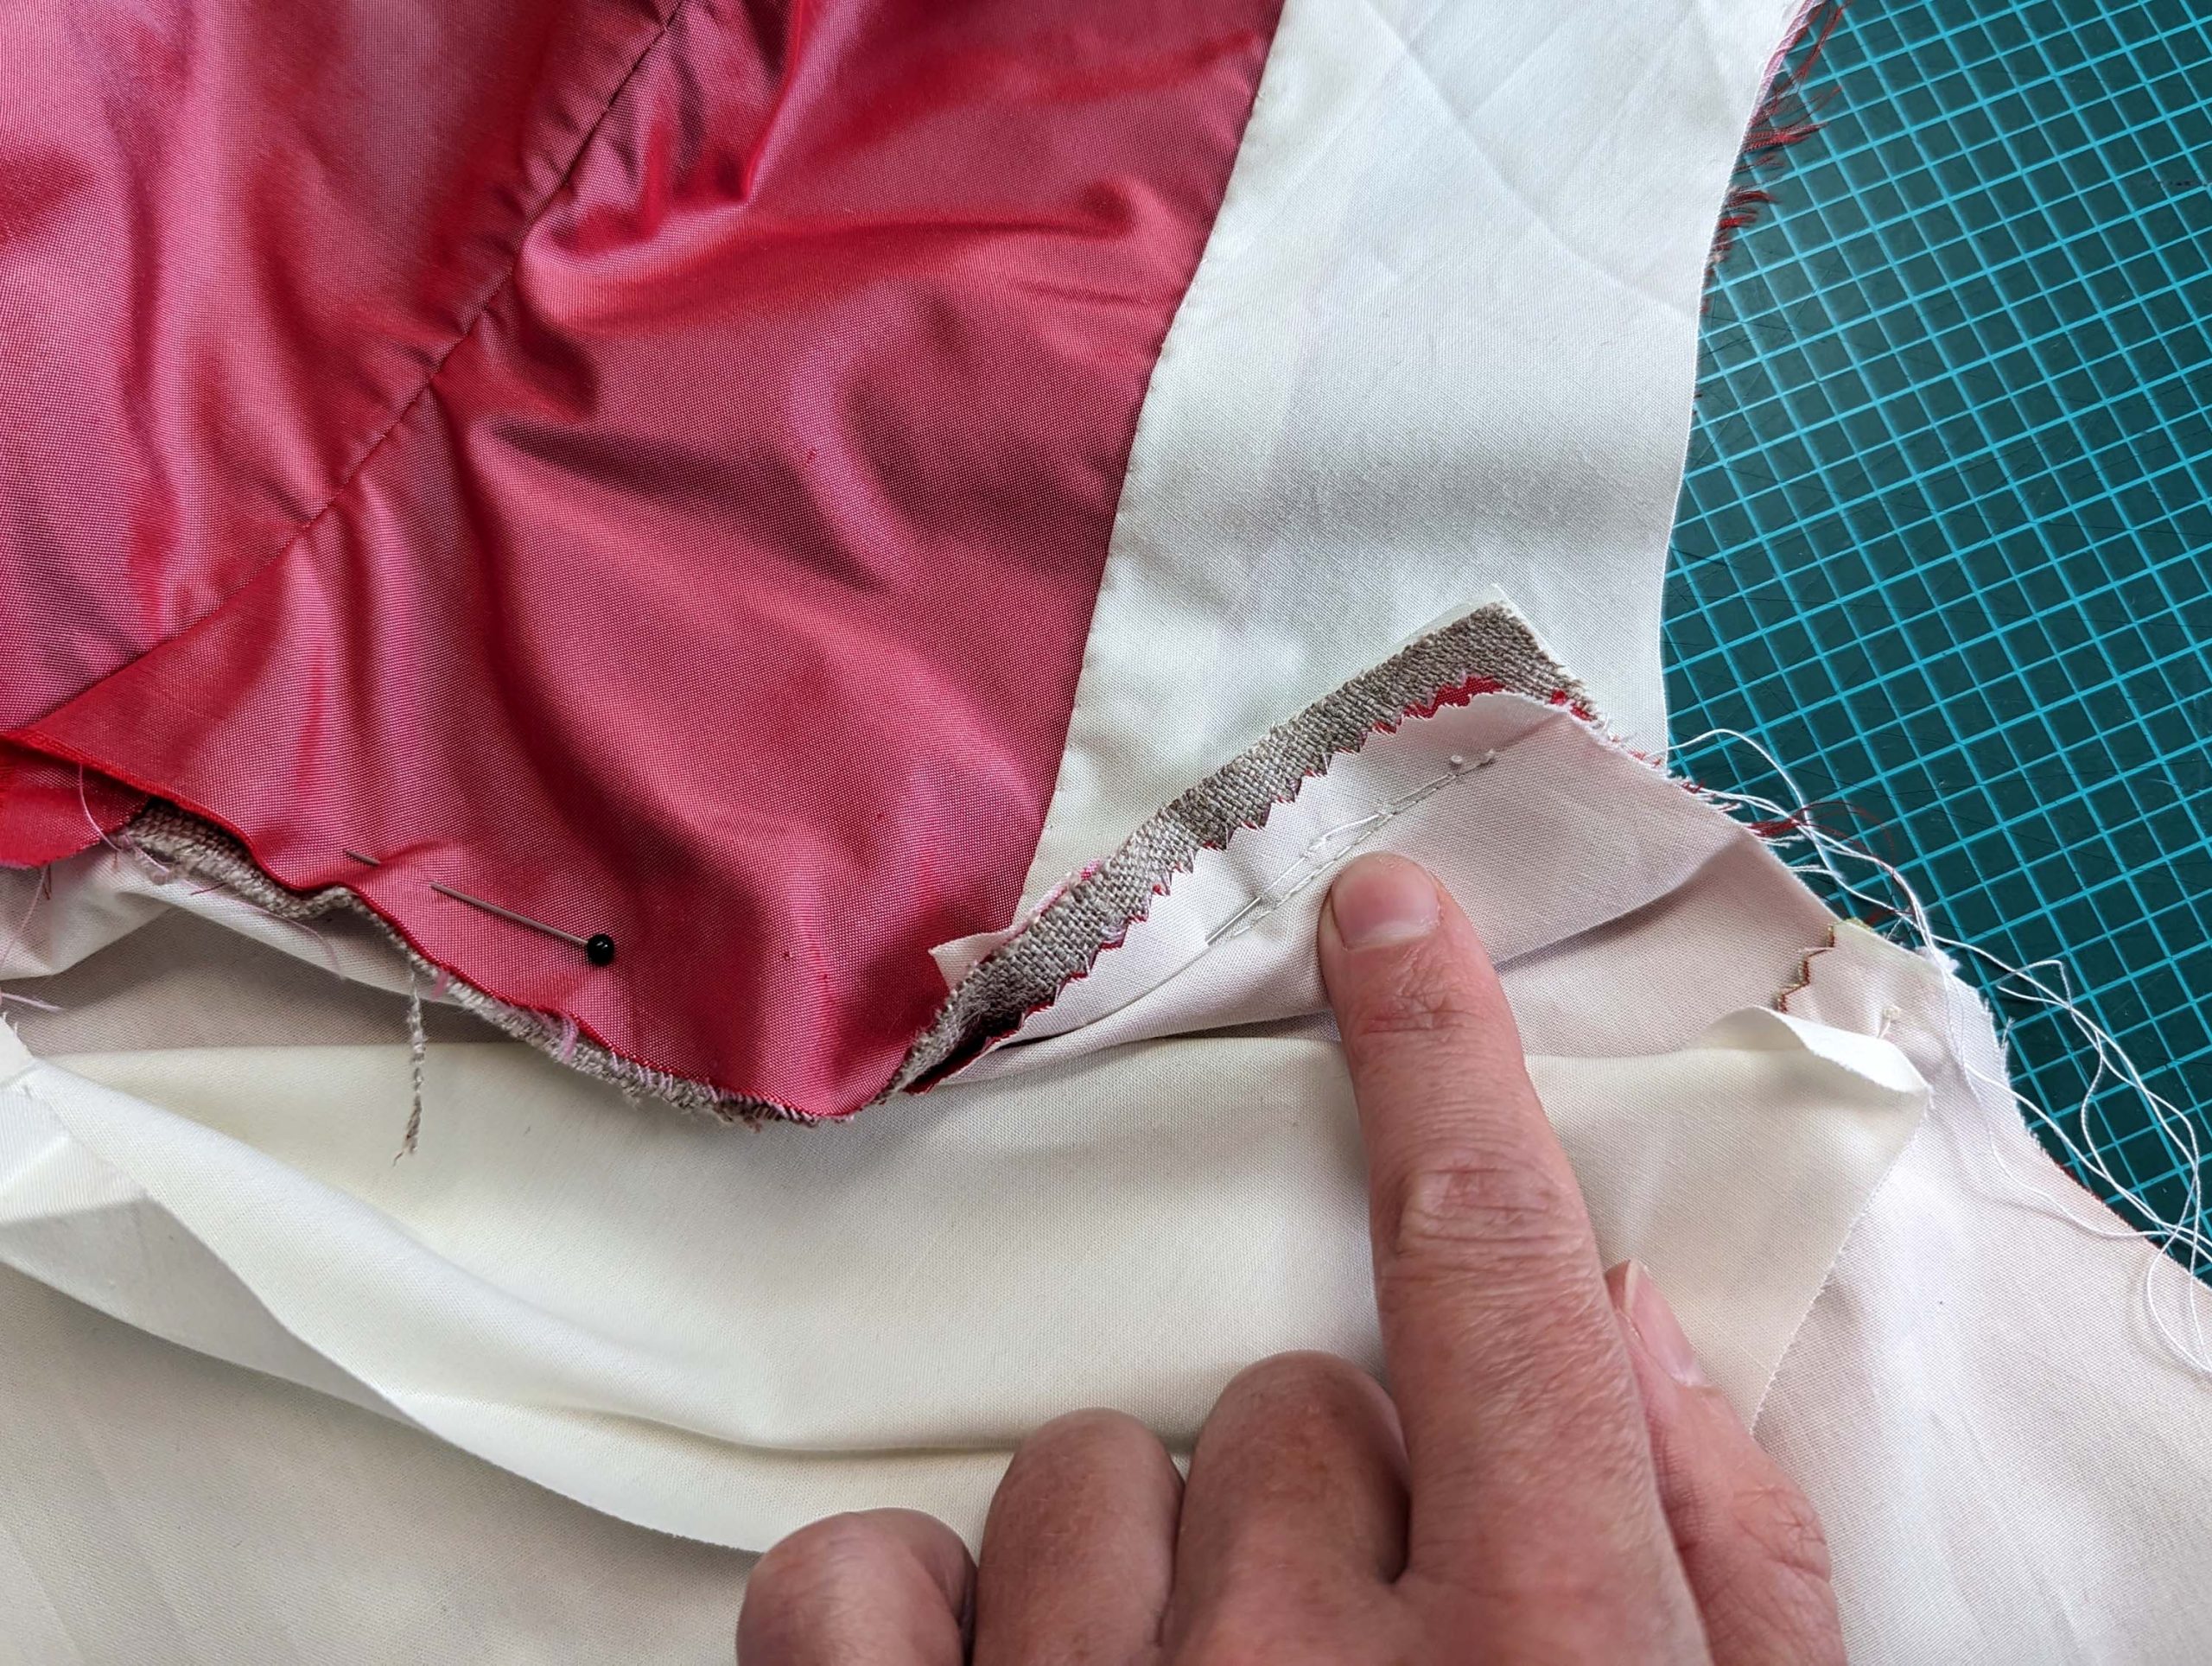
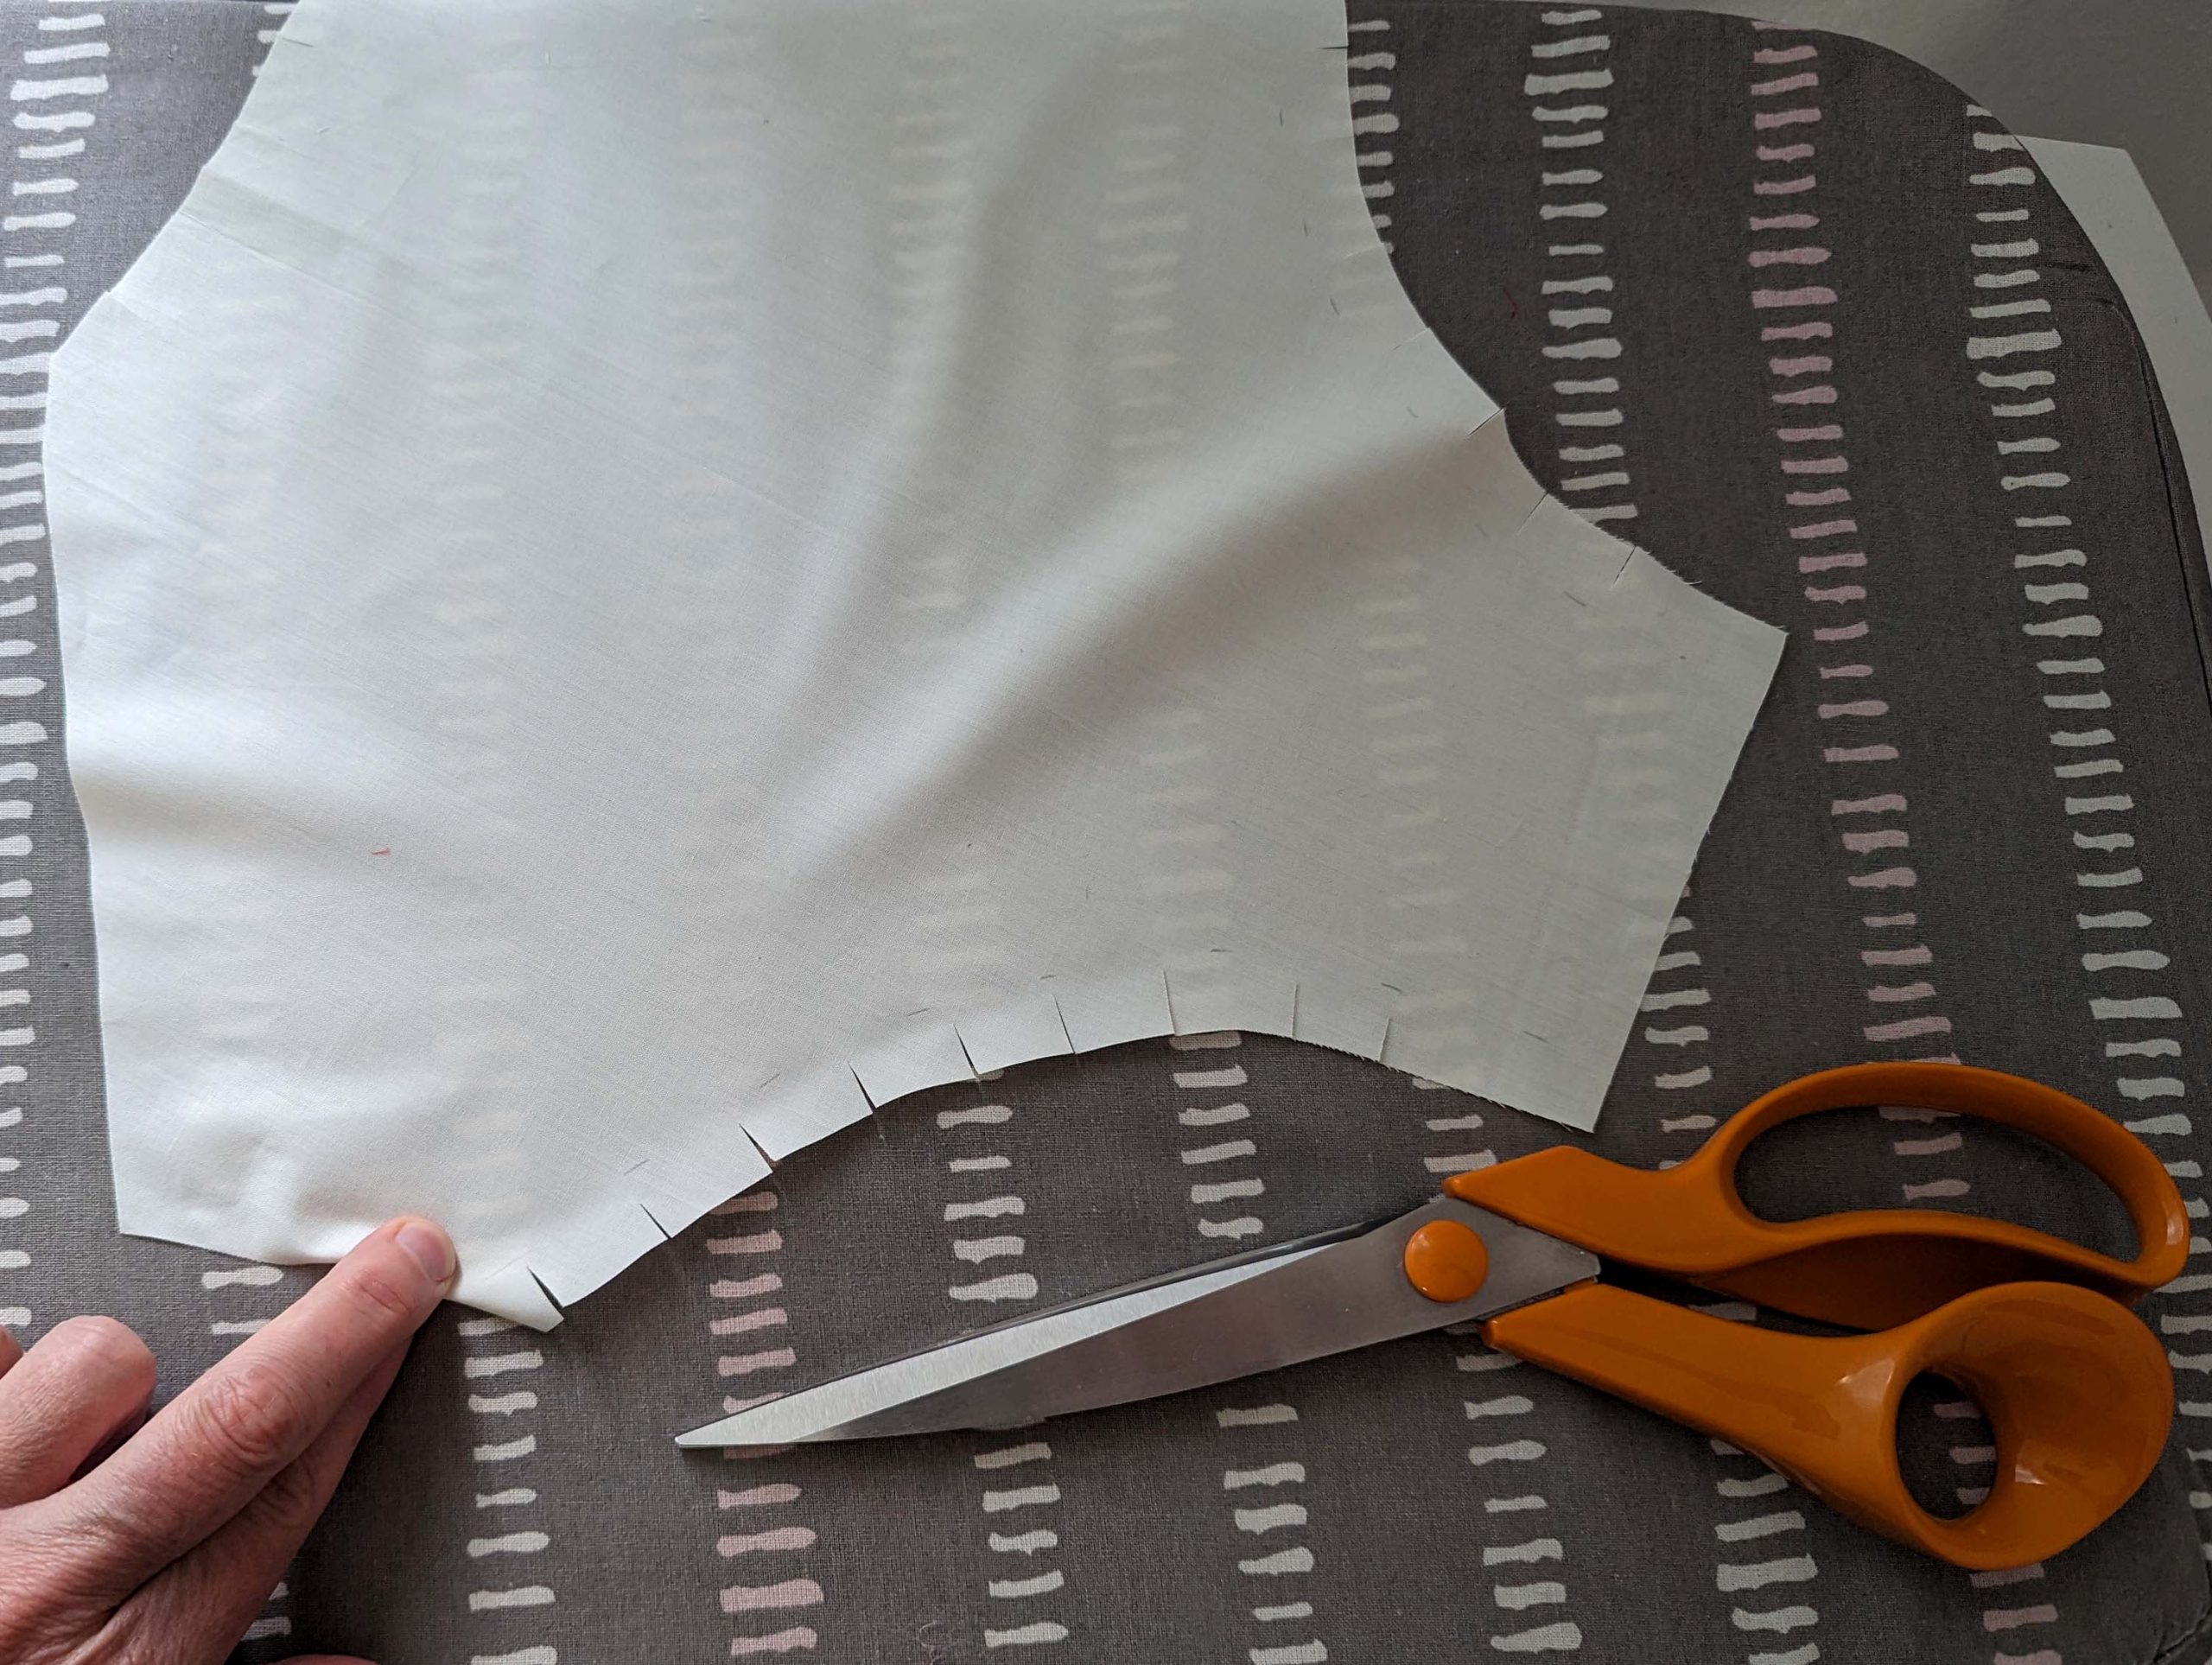
(5) Sew the undercollar to the bodice, right sides together, matching all marks, without catching the front canvas and collar canvas. Trim back the seam allowance to 3/8” (1cm), clip at the curves and press open. Catch stitch the seam allowances to the canvas only.

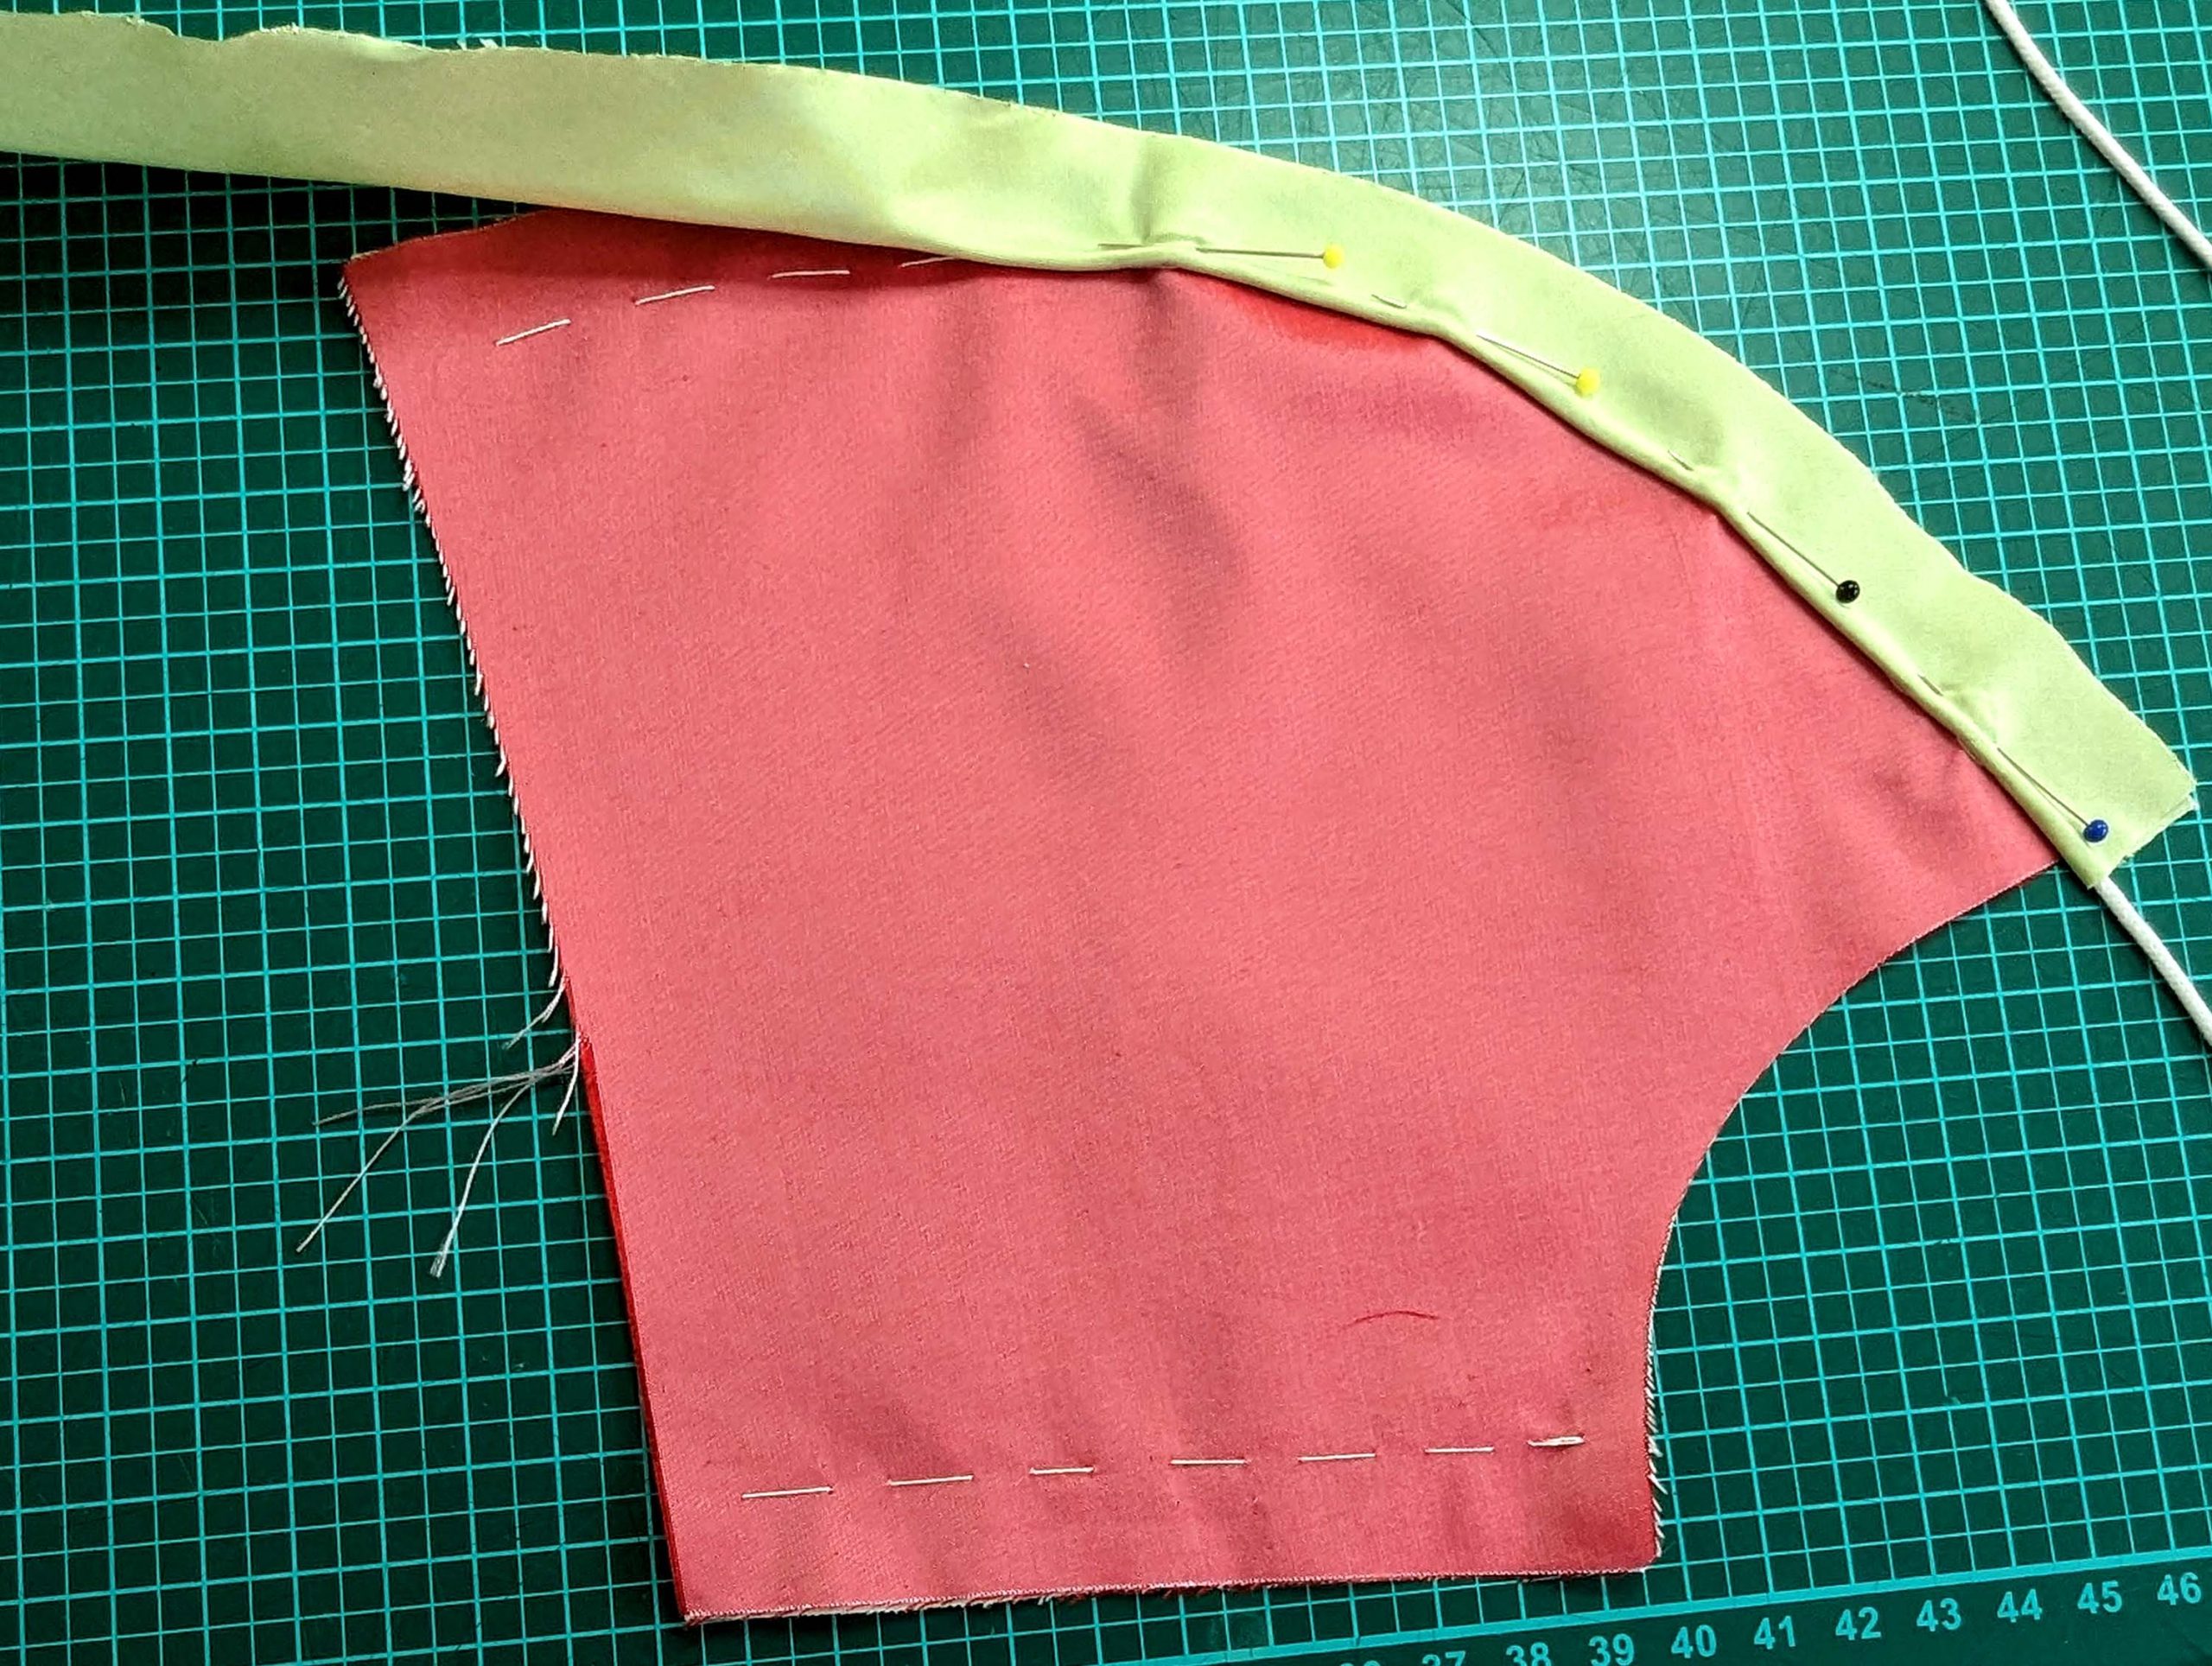
Line up the piping with the stitching line of the front edge and the collar, right sides together and baste in place.
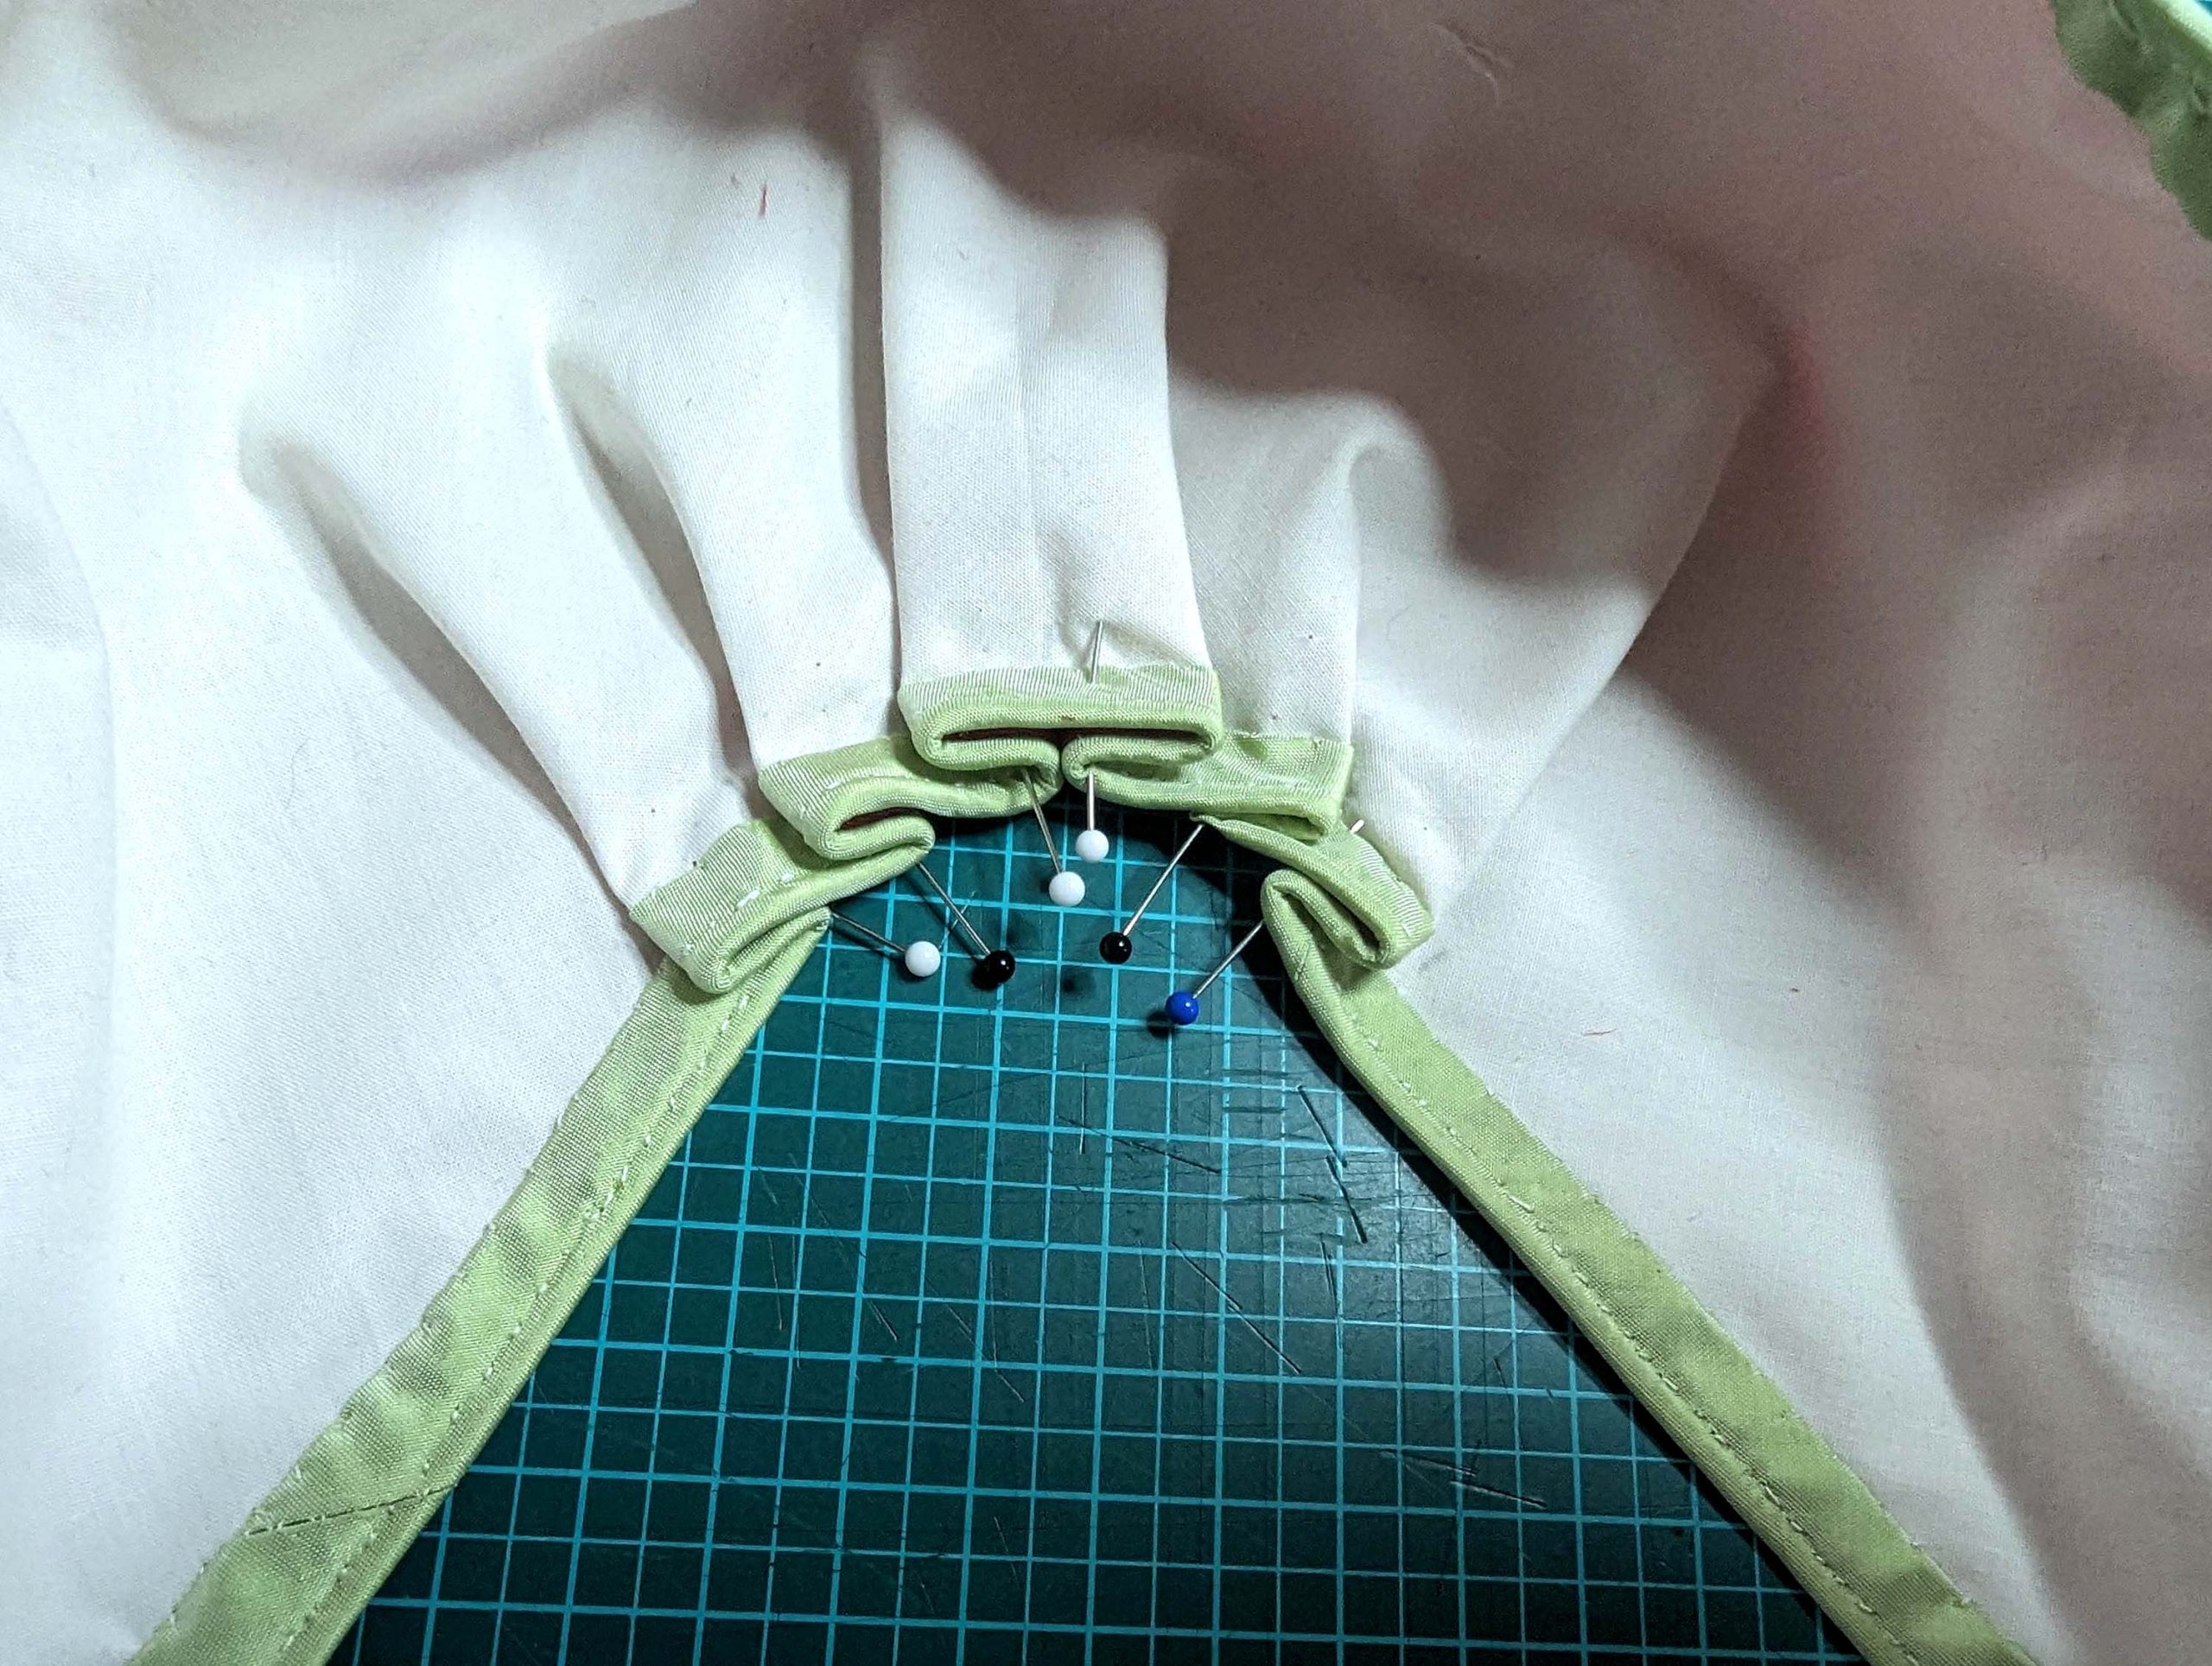
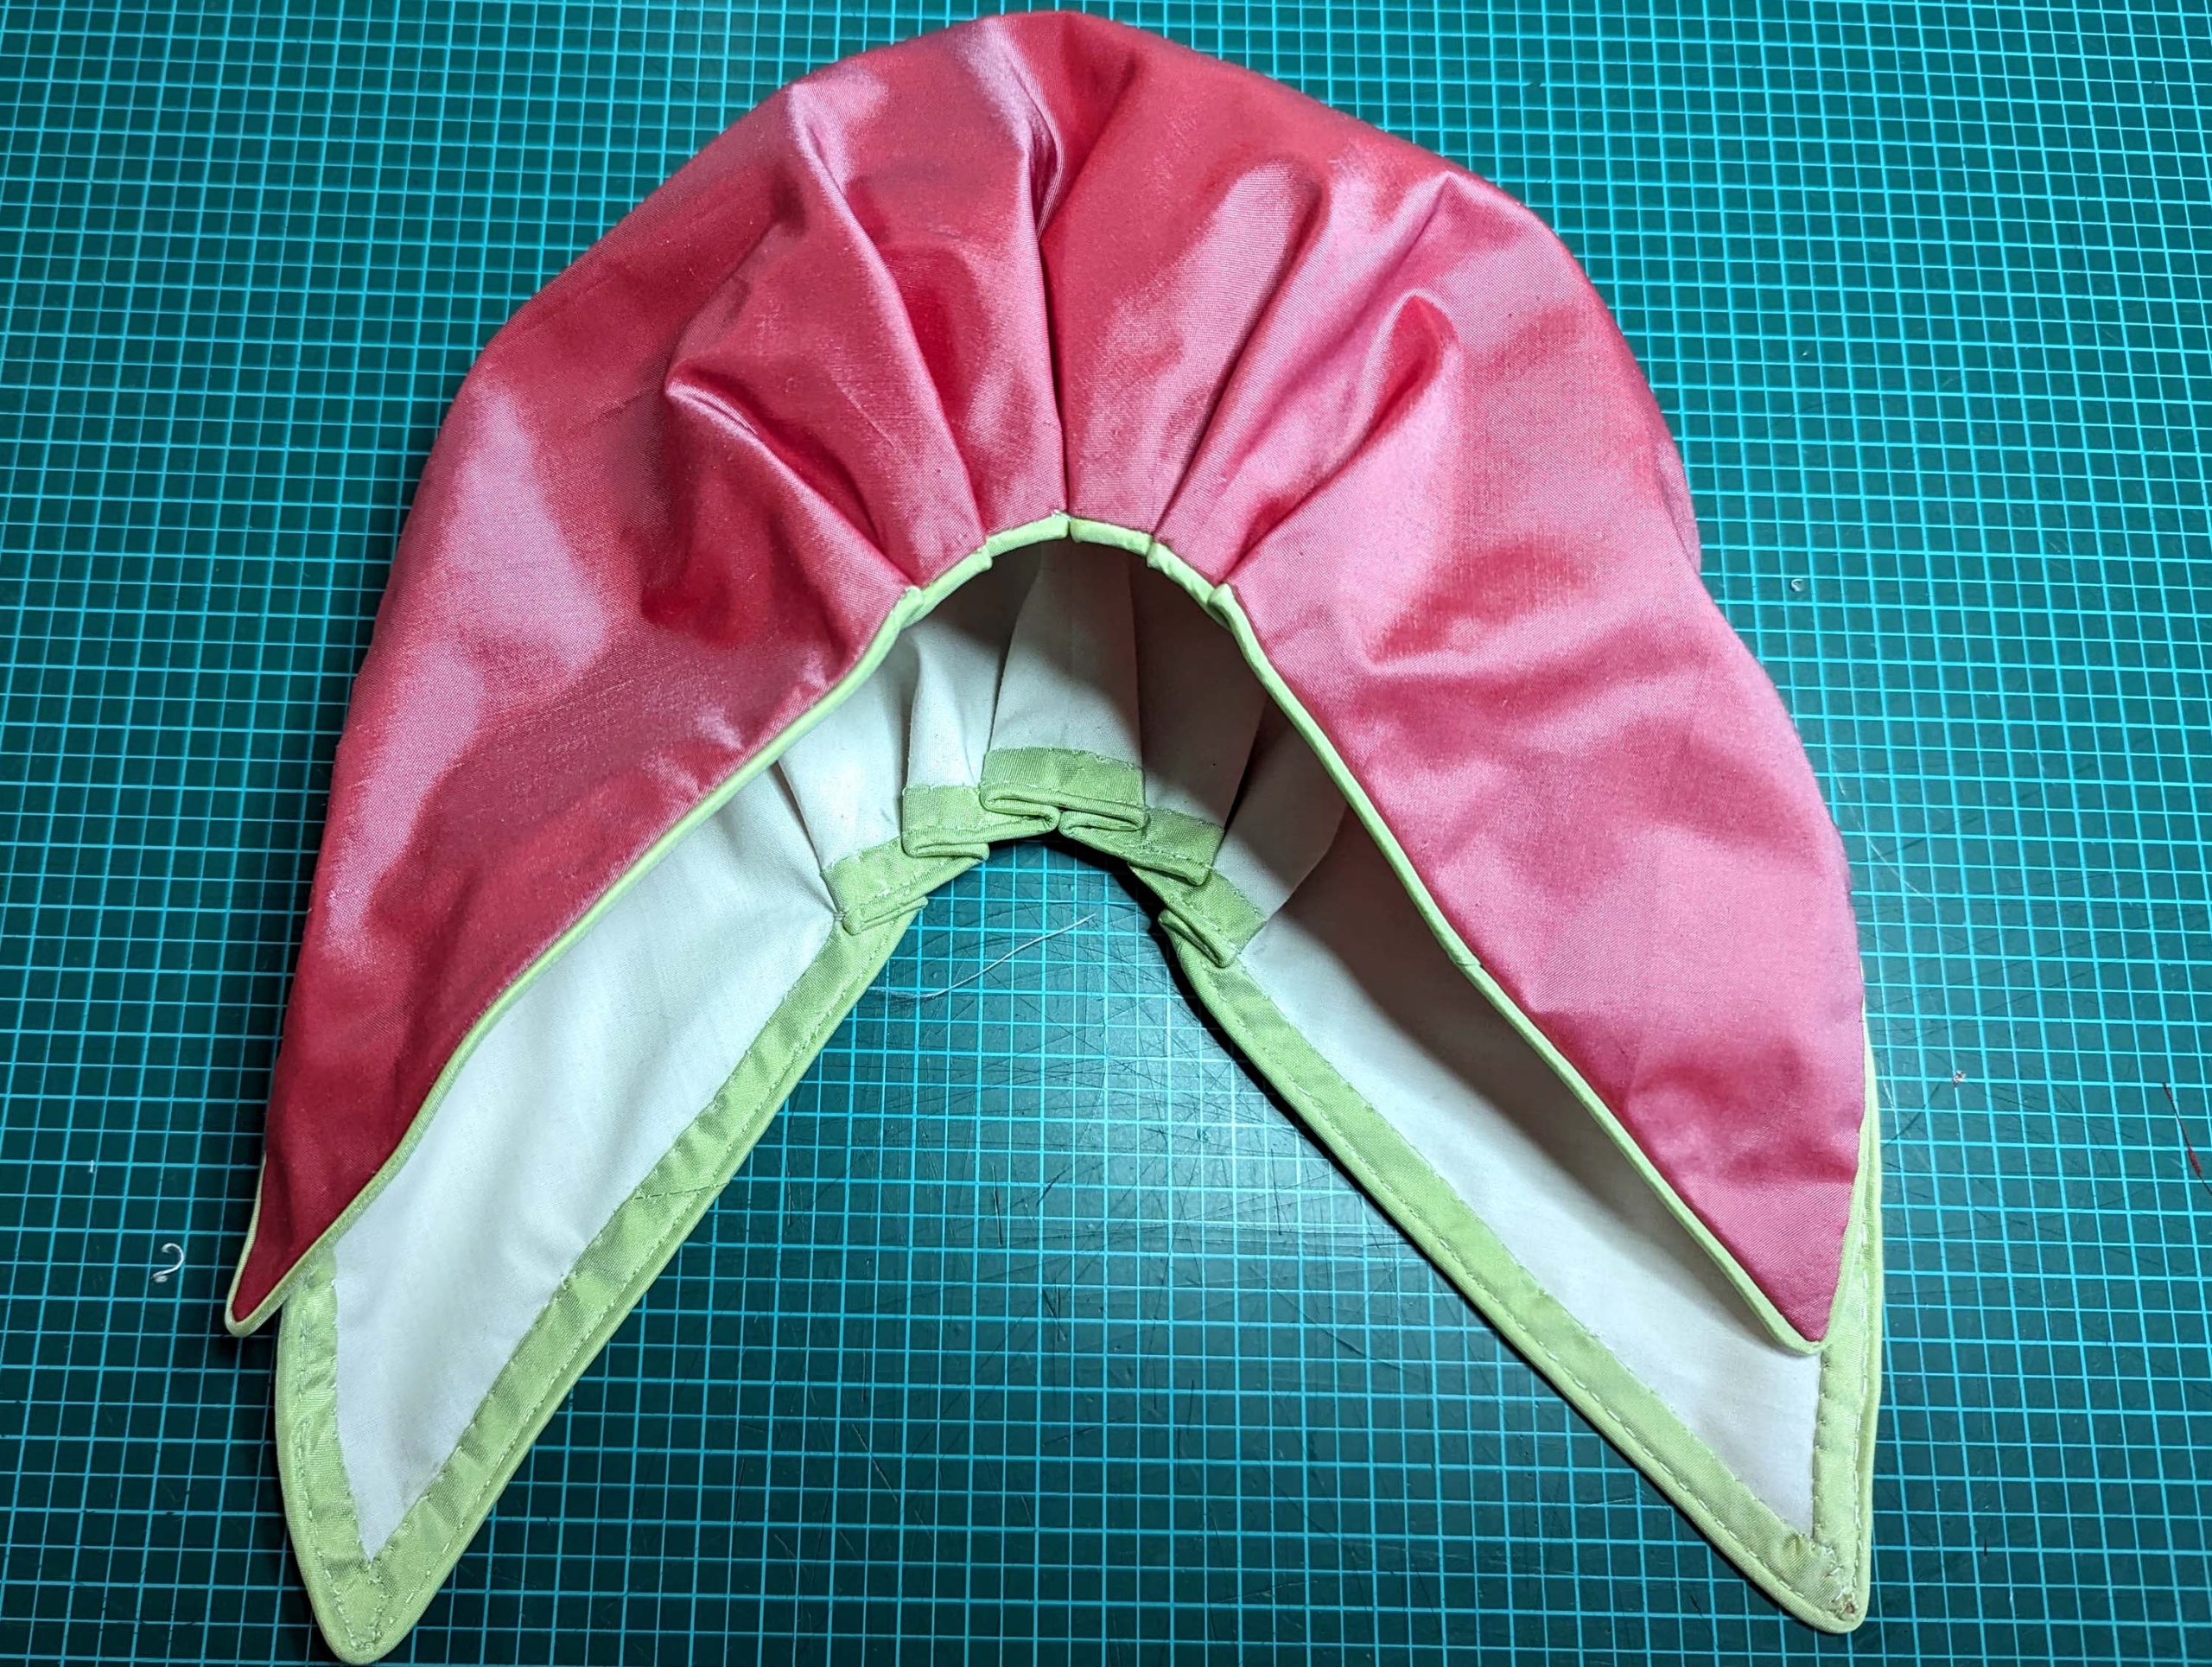
Sew the front facings to the top collar, right sides together, matching the marks. Trim back the seam allowance, clip at the curves and press open. Turn in the seam allowance of the collar along the back neckline.
Line up the facing and top collar with the bodice, right sides together, matching the neckline seam exactly. Allow for some ease (roll width) by pushing the top collar back about 1/16” (1-2mm). Due to the piping, there´s no need for extra ease for the turn of cloth.
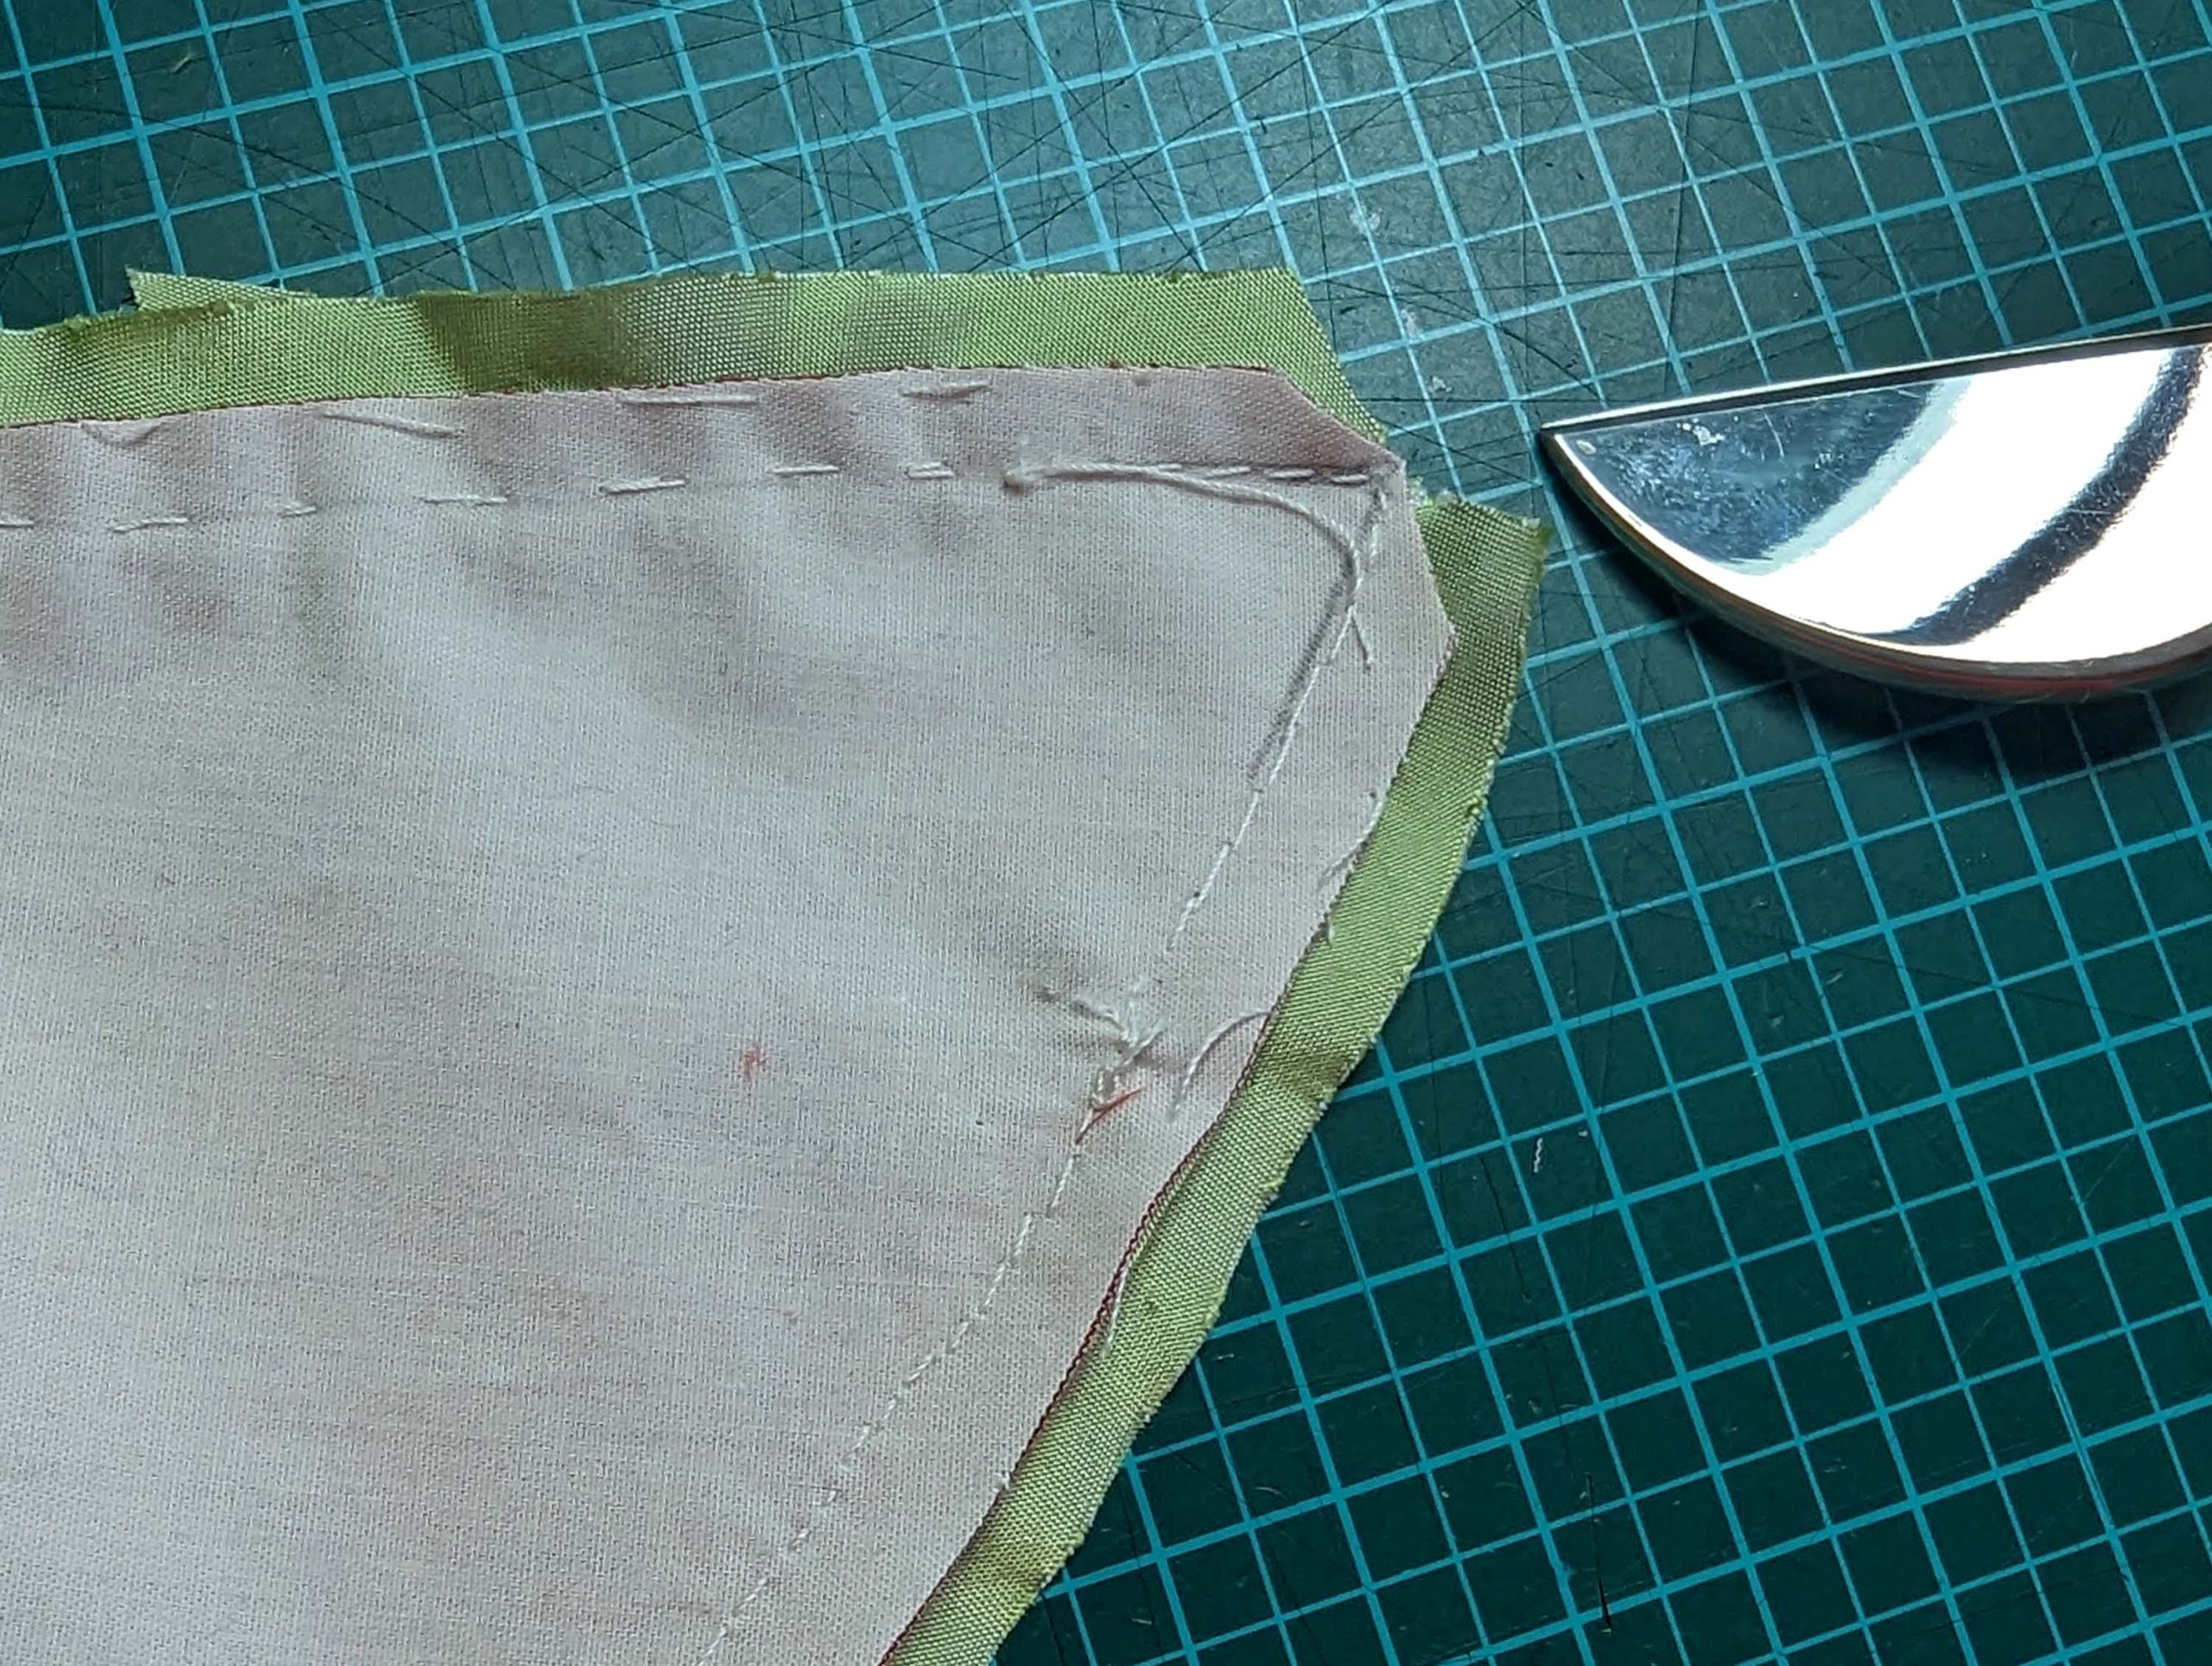
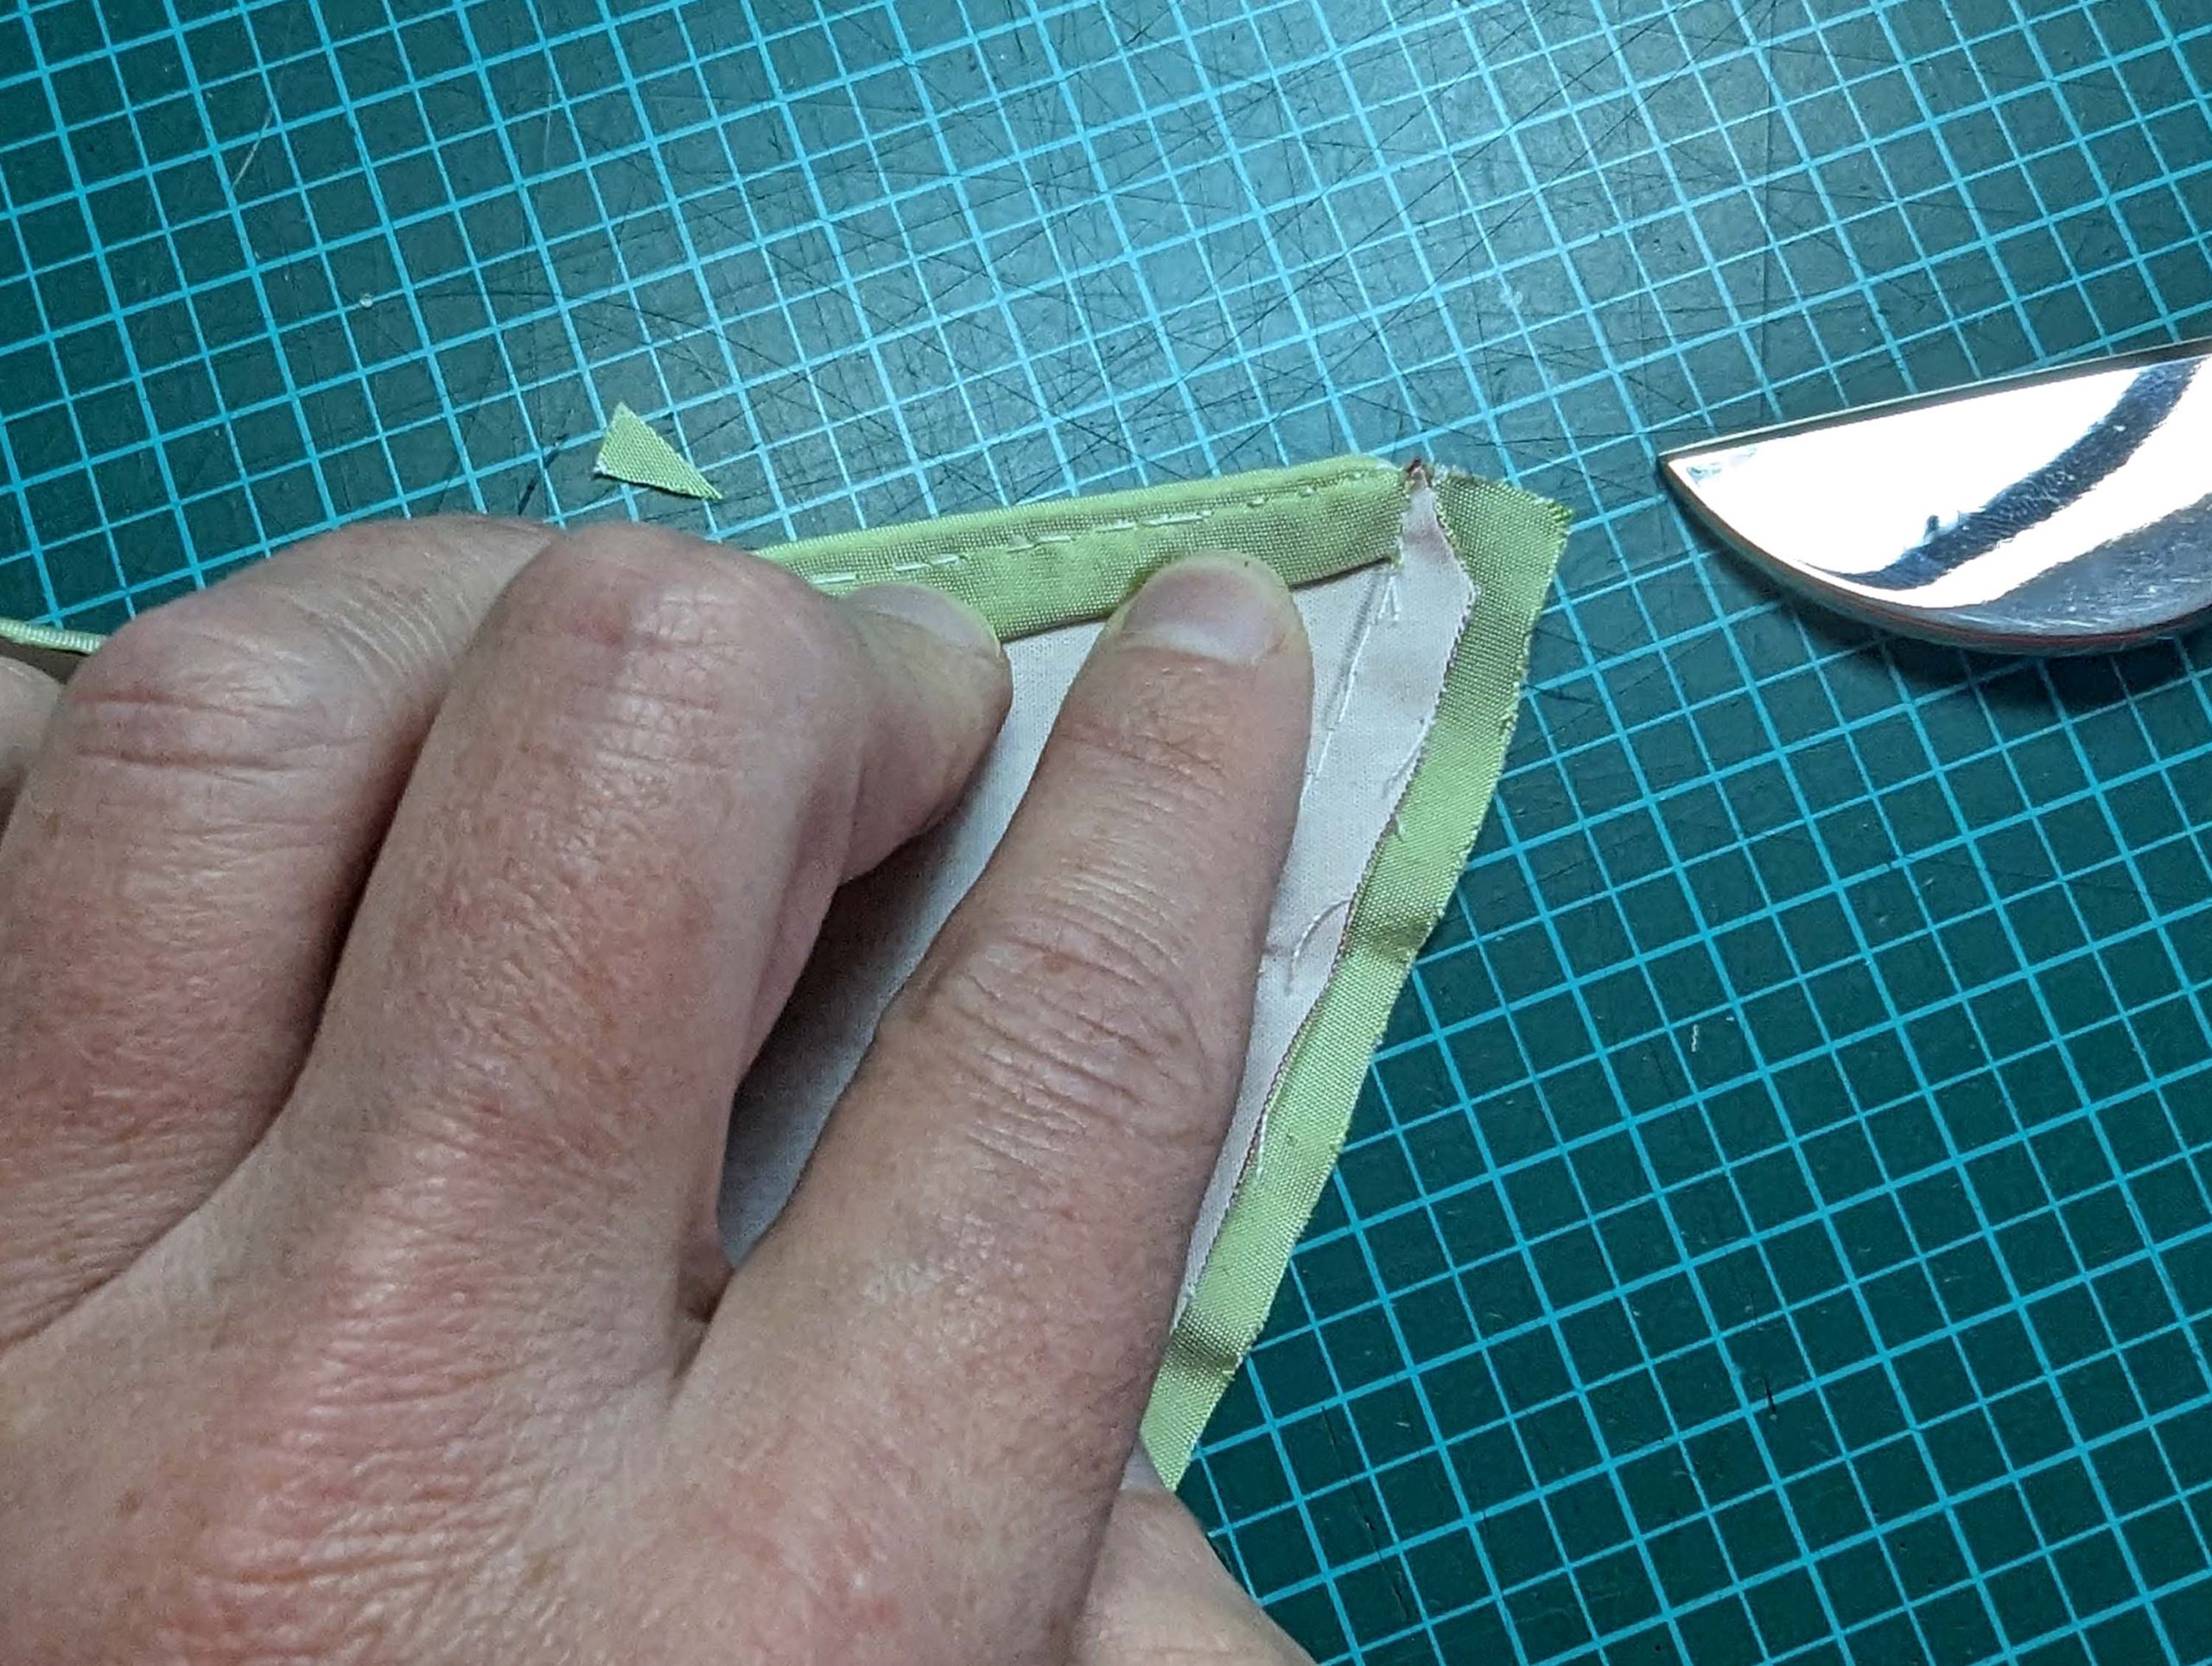
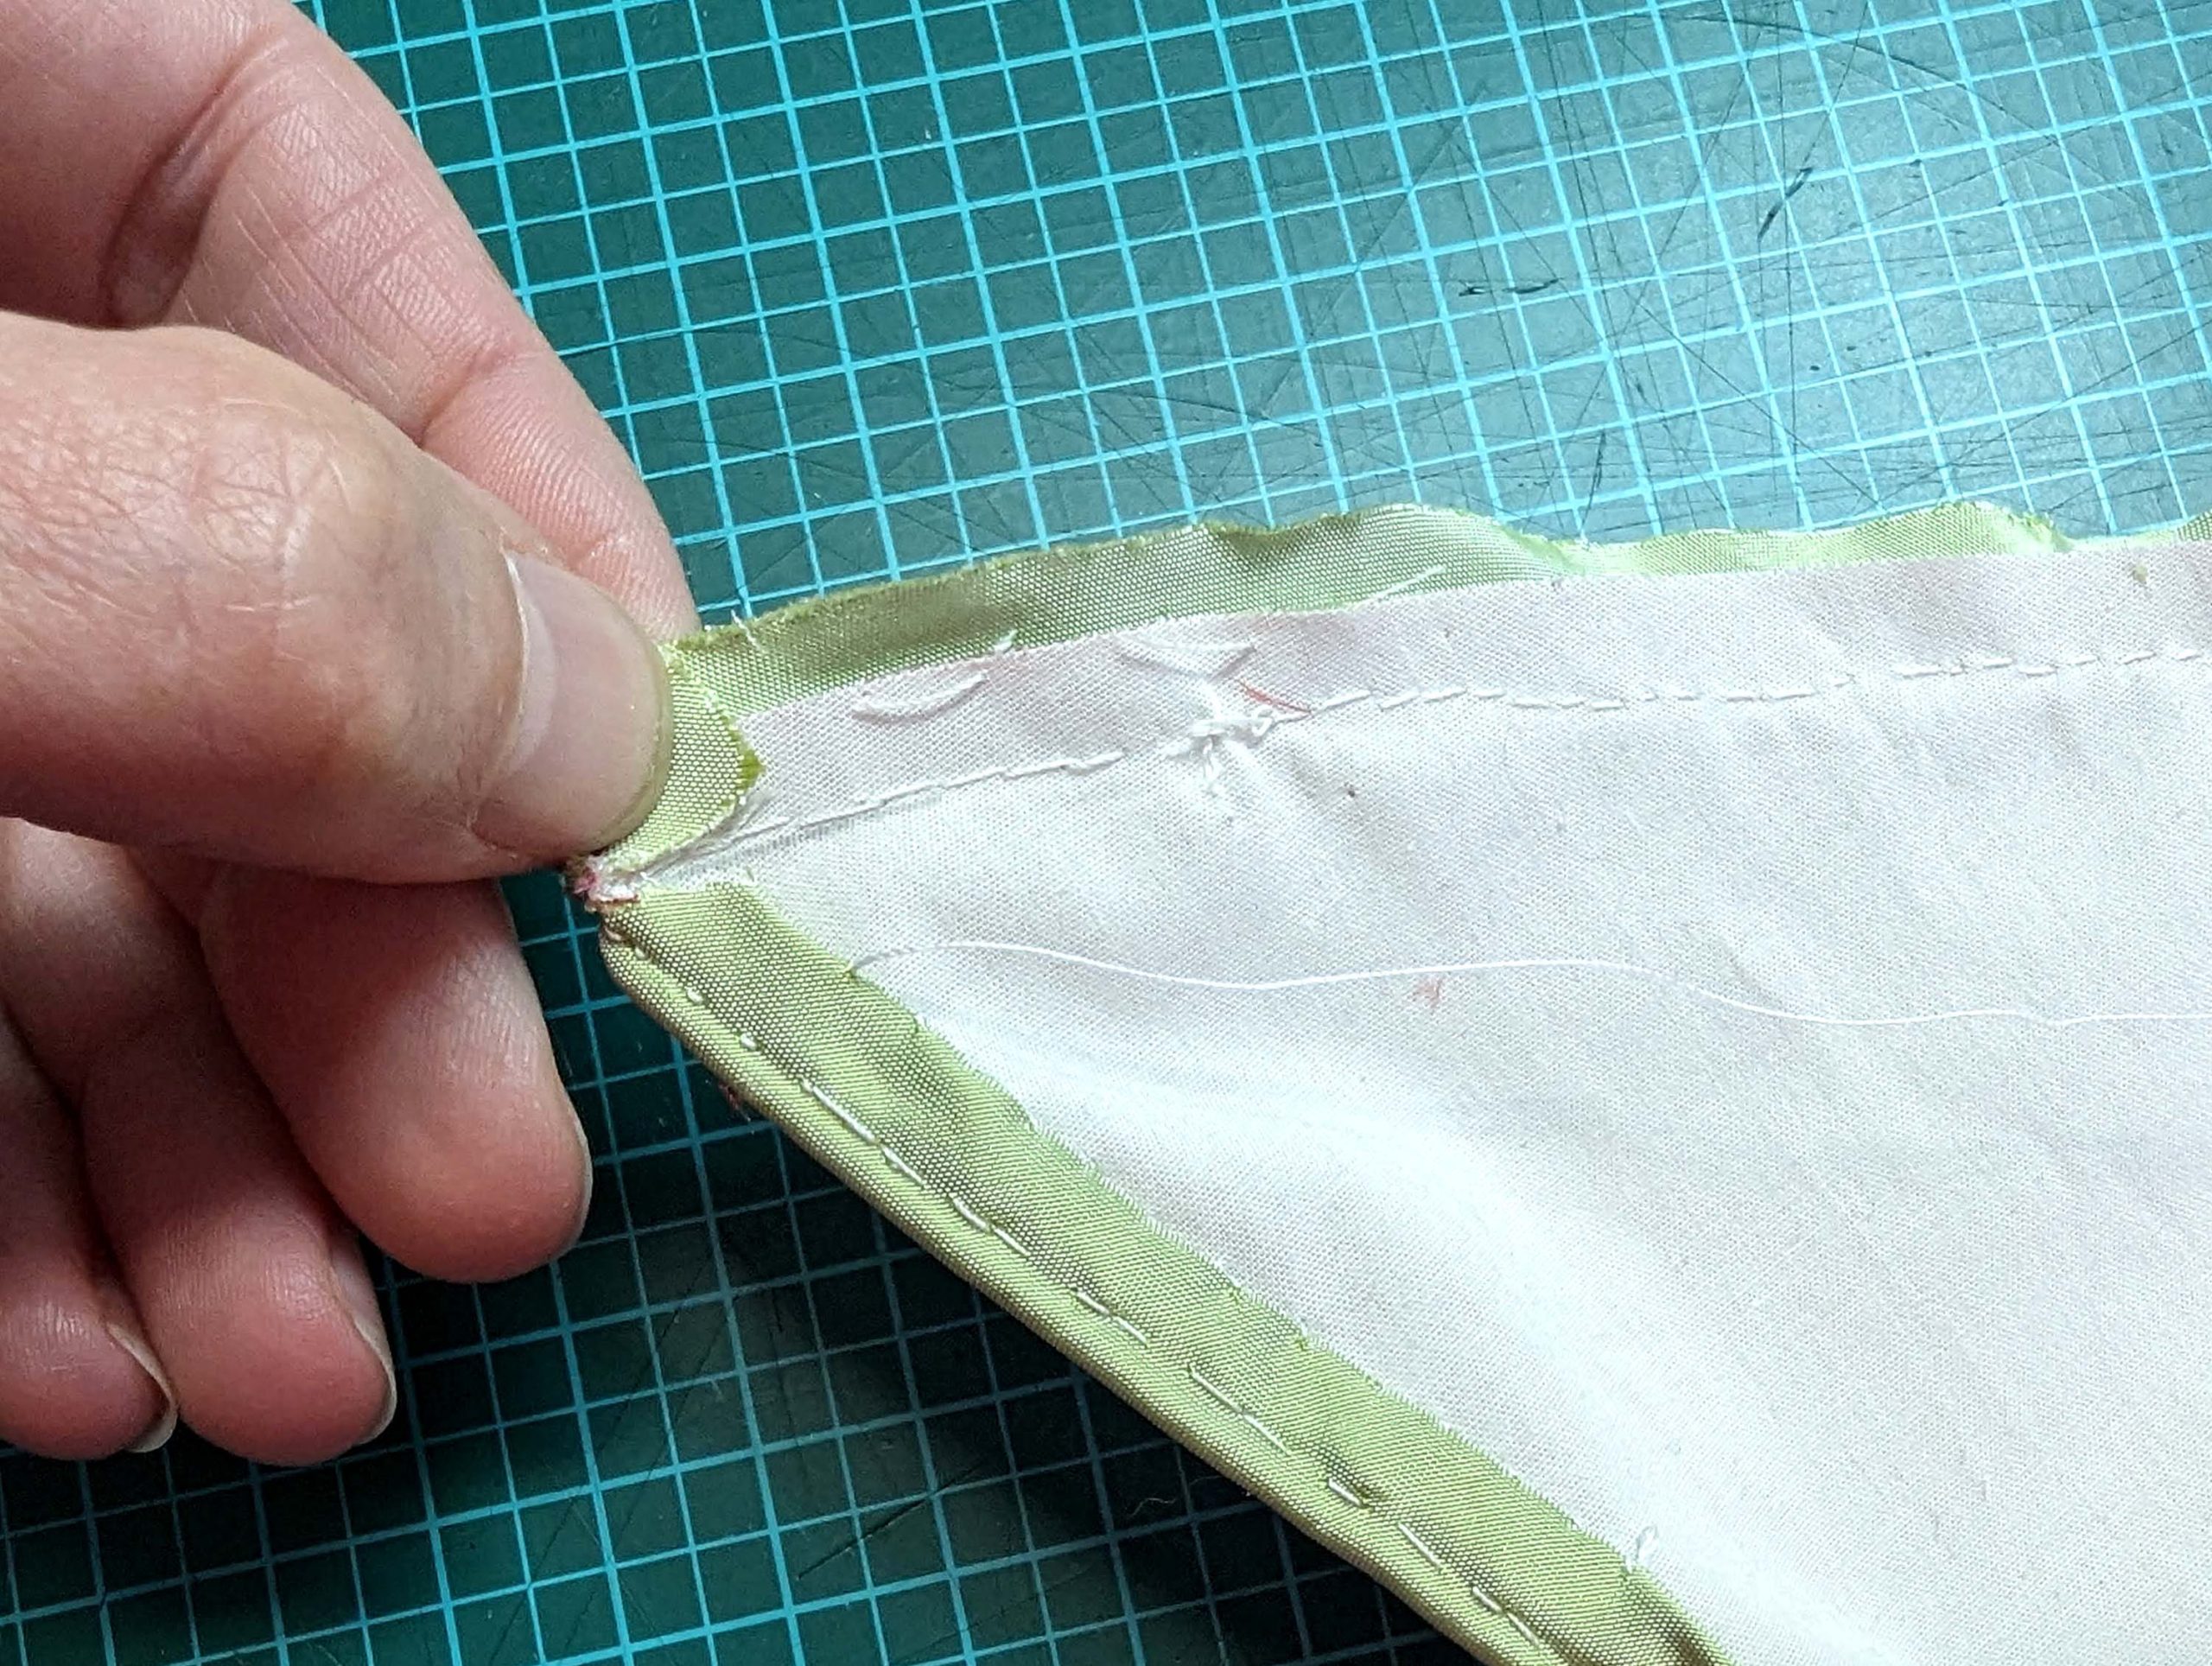
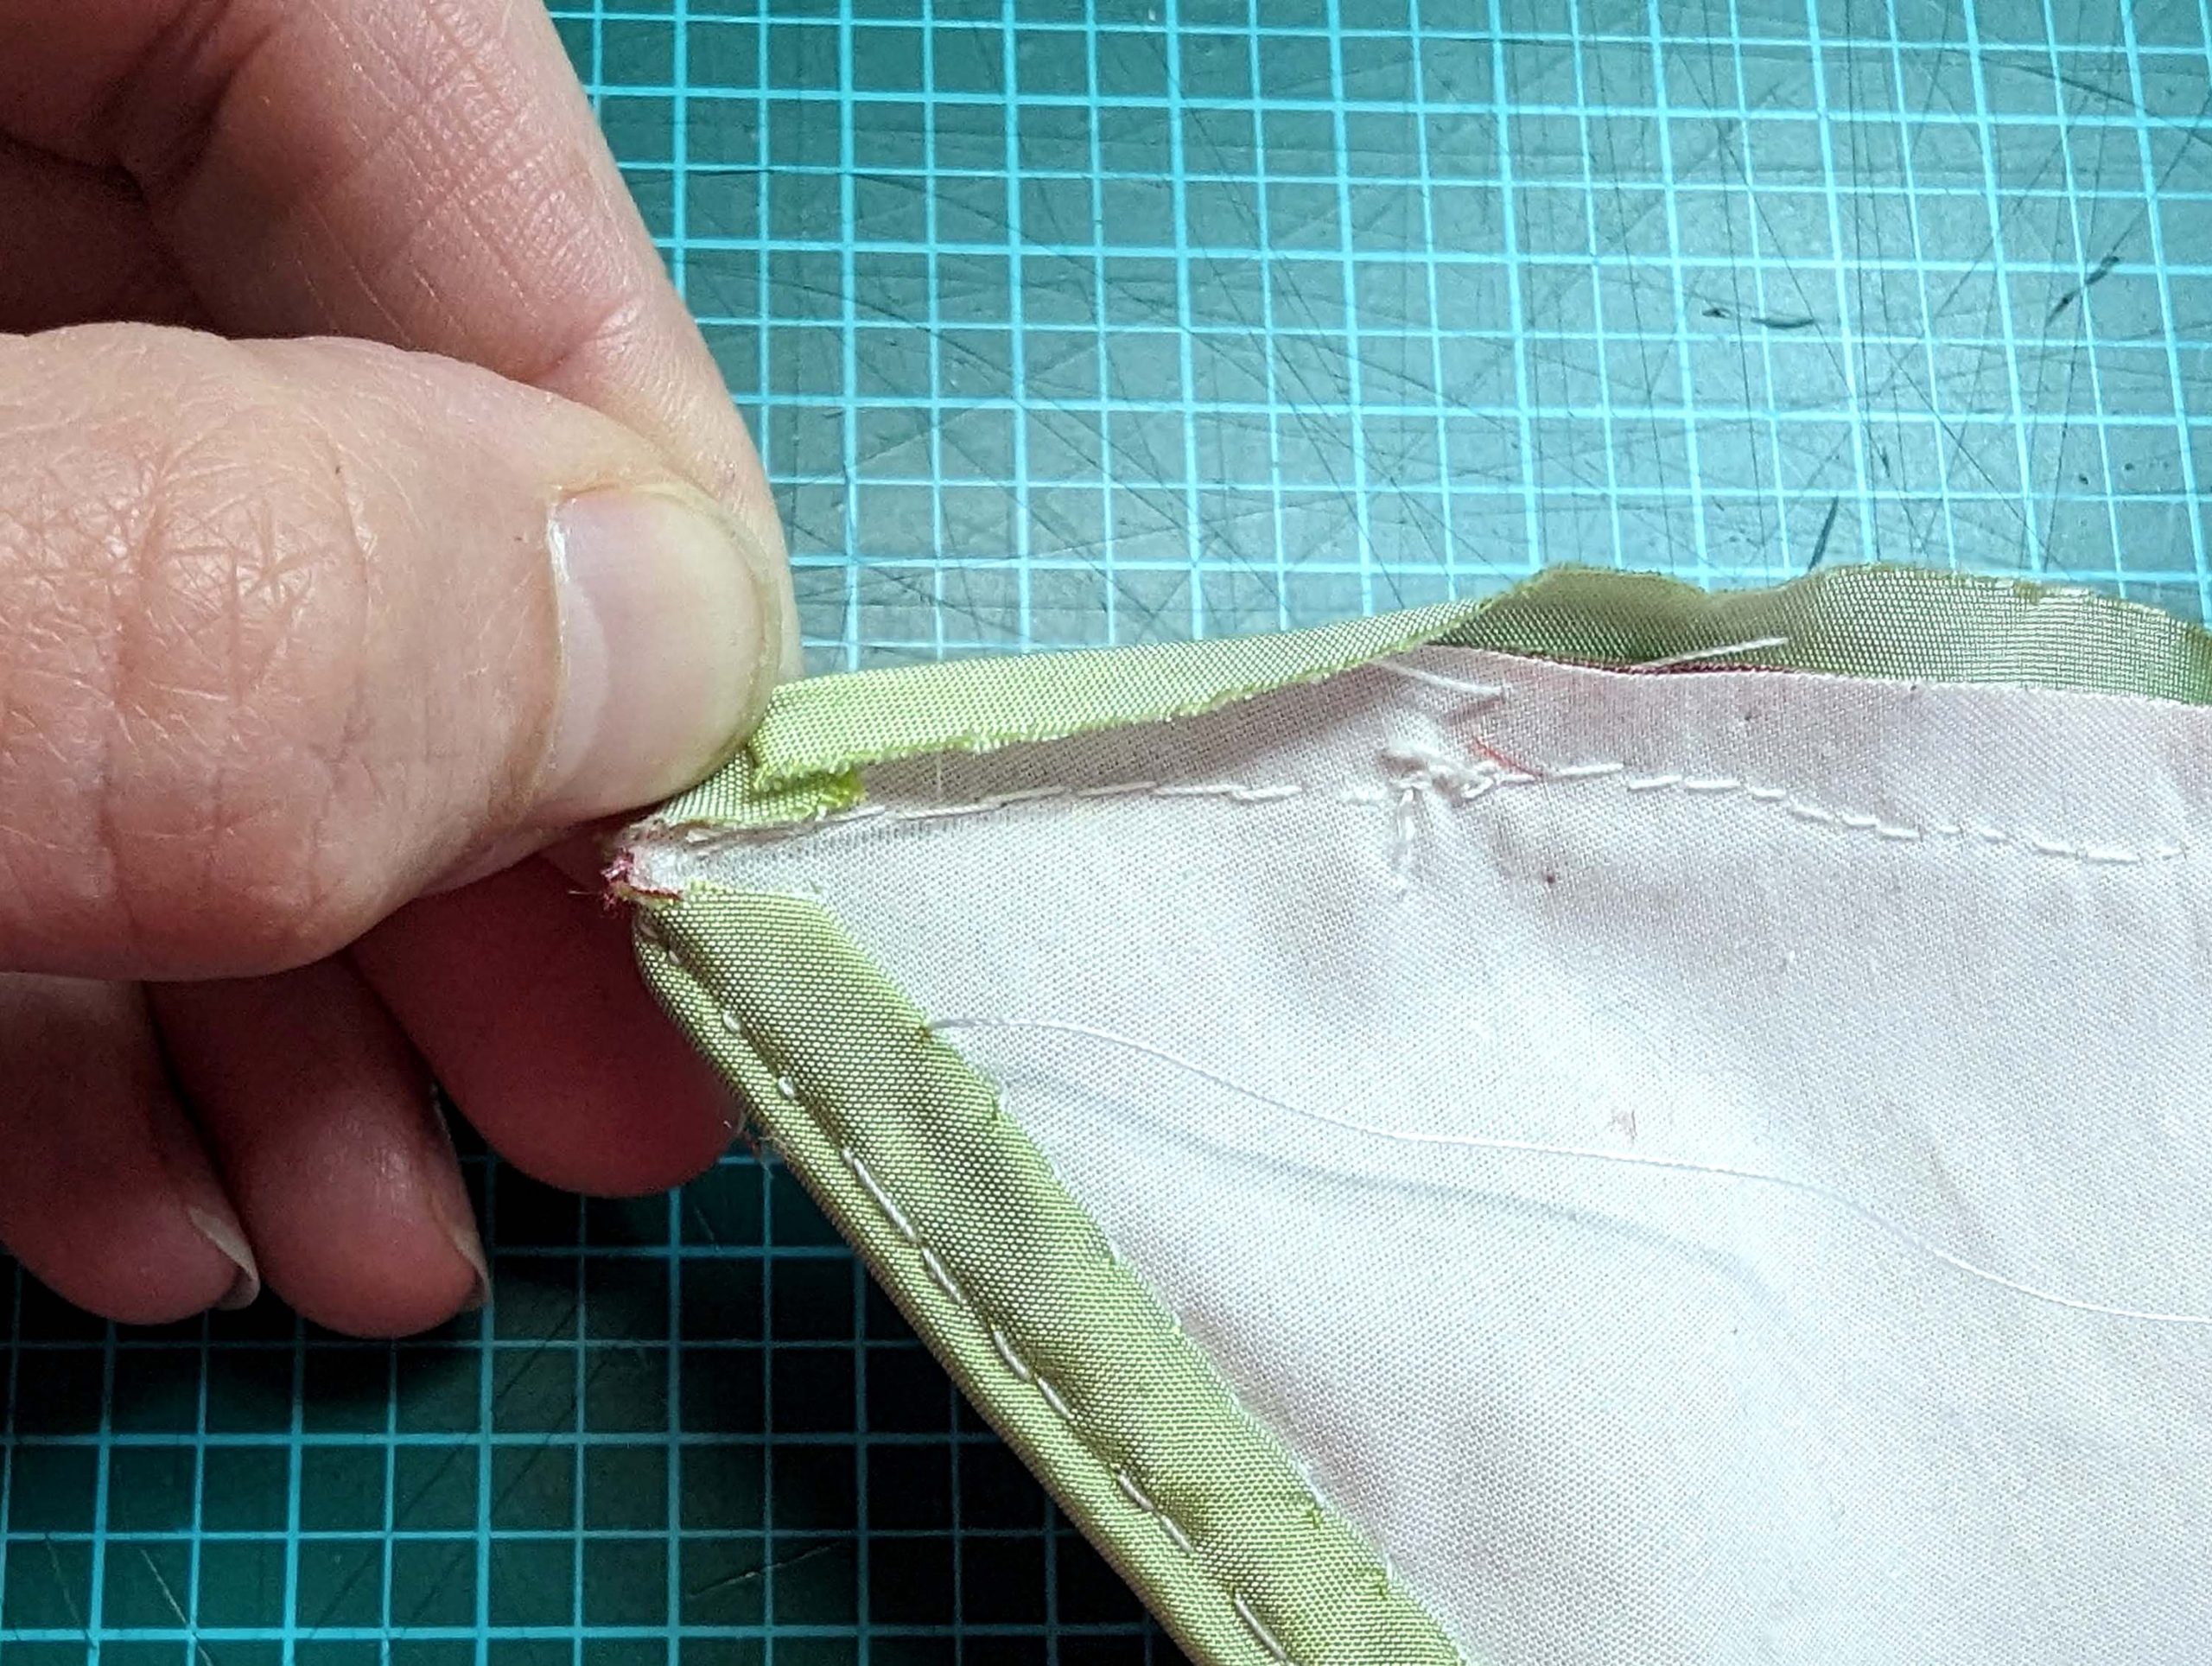
Sew along the front edges and collar, trim back the seam allowances, and notch at the curves as showb. Optionally, catch stitch the seam allowances to the canvas only – last pic. Turn the right way out.
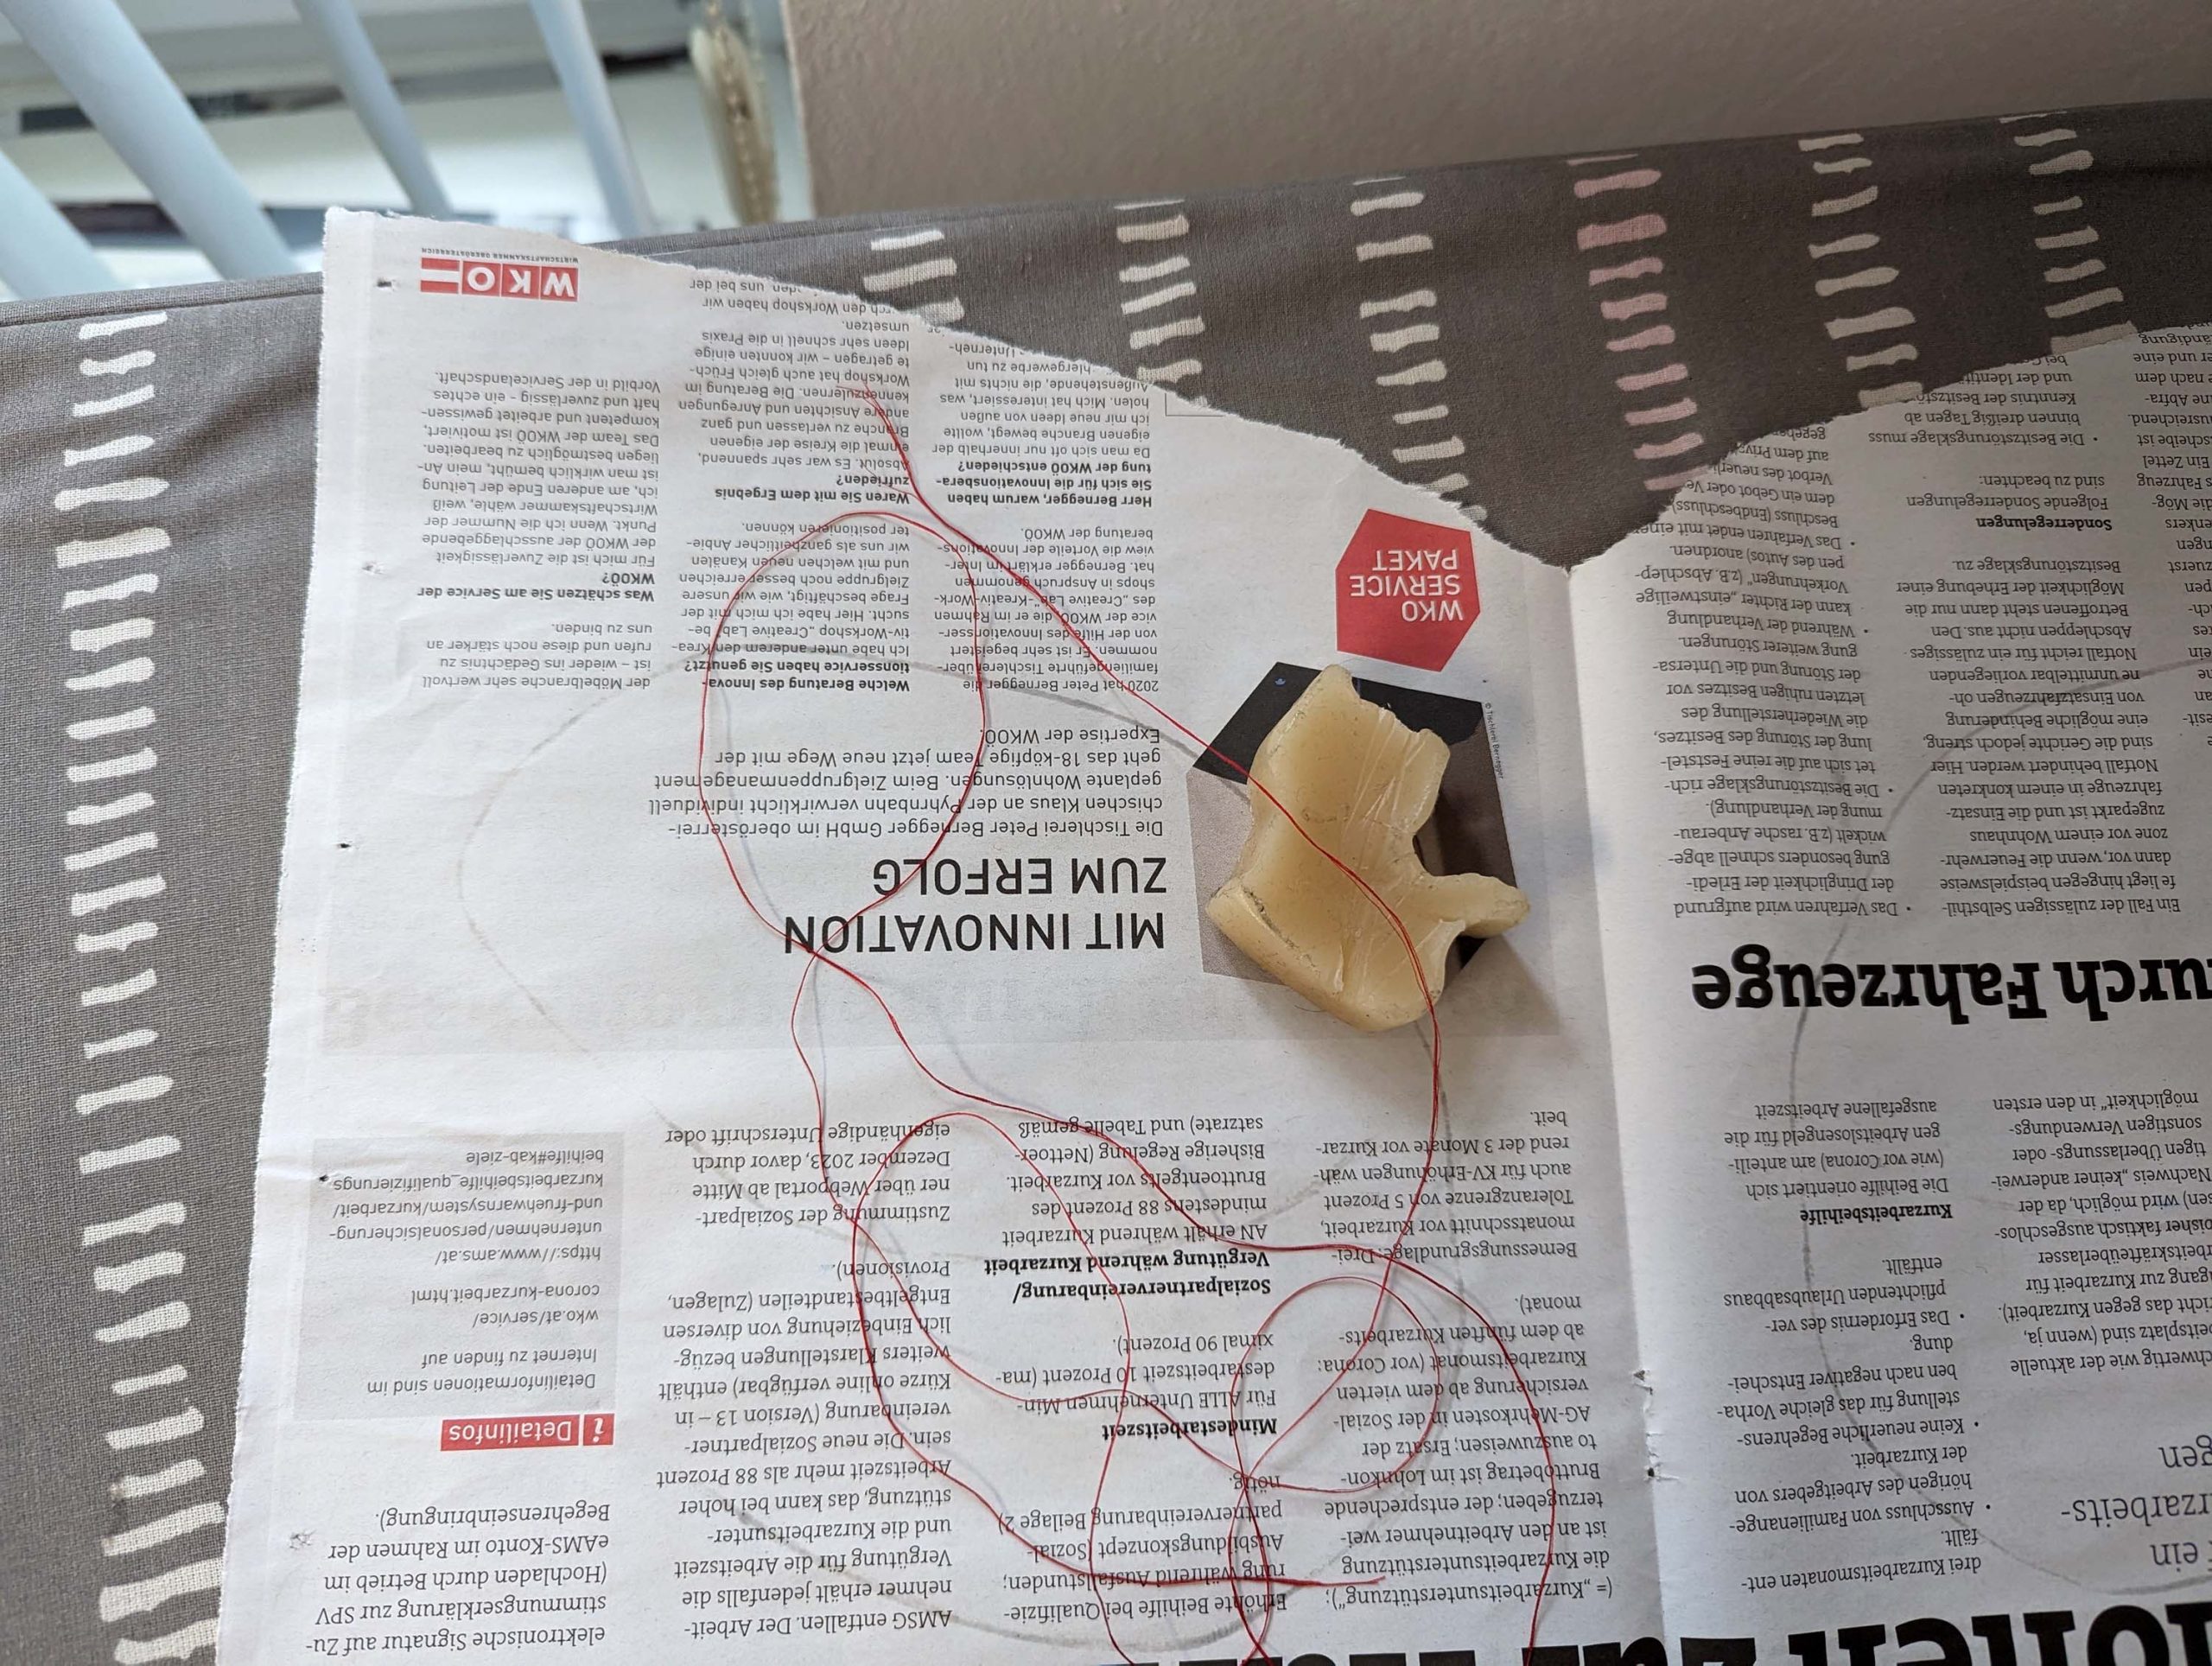
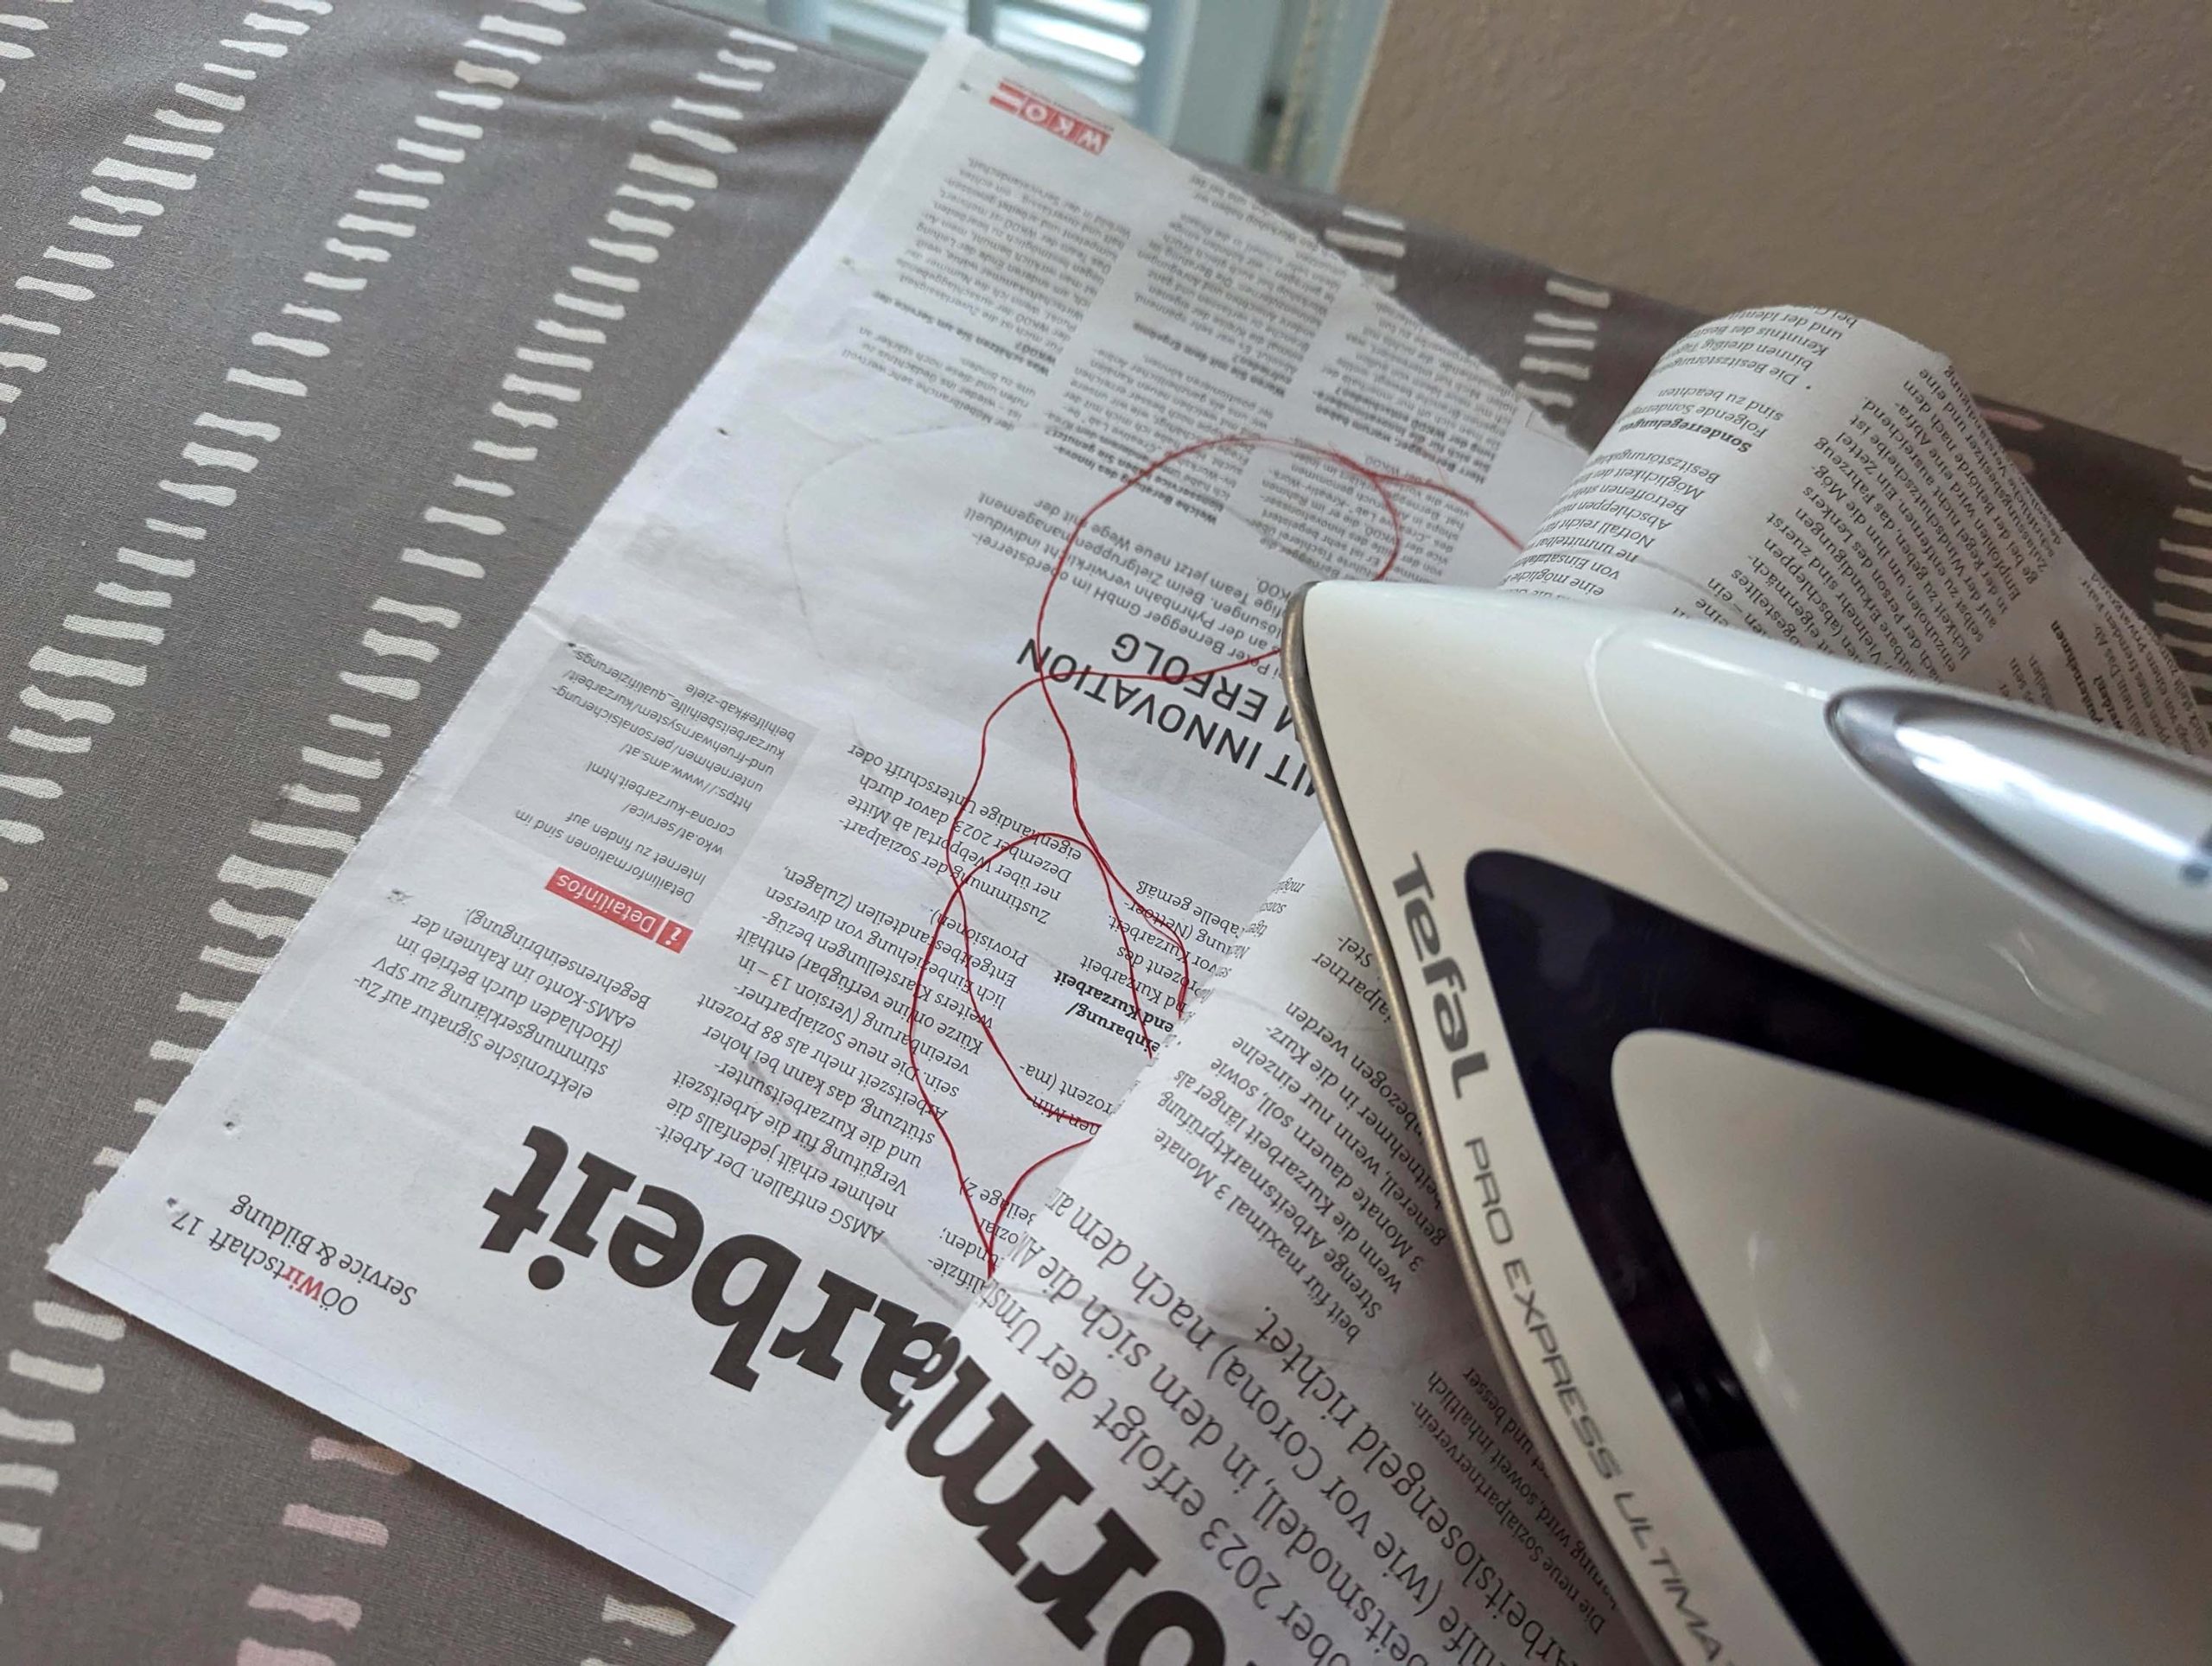
Line up the necklines and stitch in the ditch of the seams with a matching thread. Along the back just fell stitch the bottom edge of the top collar in place – at this point, the white thread would have stood out too prominently, so I chose to pull silk threads from the fabric and then used beeswax to combine them into a sewable strand.
Smooth out the front facings, allowing some ease for the roll line and sew the loose side edge to the canvas with a pad stitch.
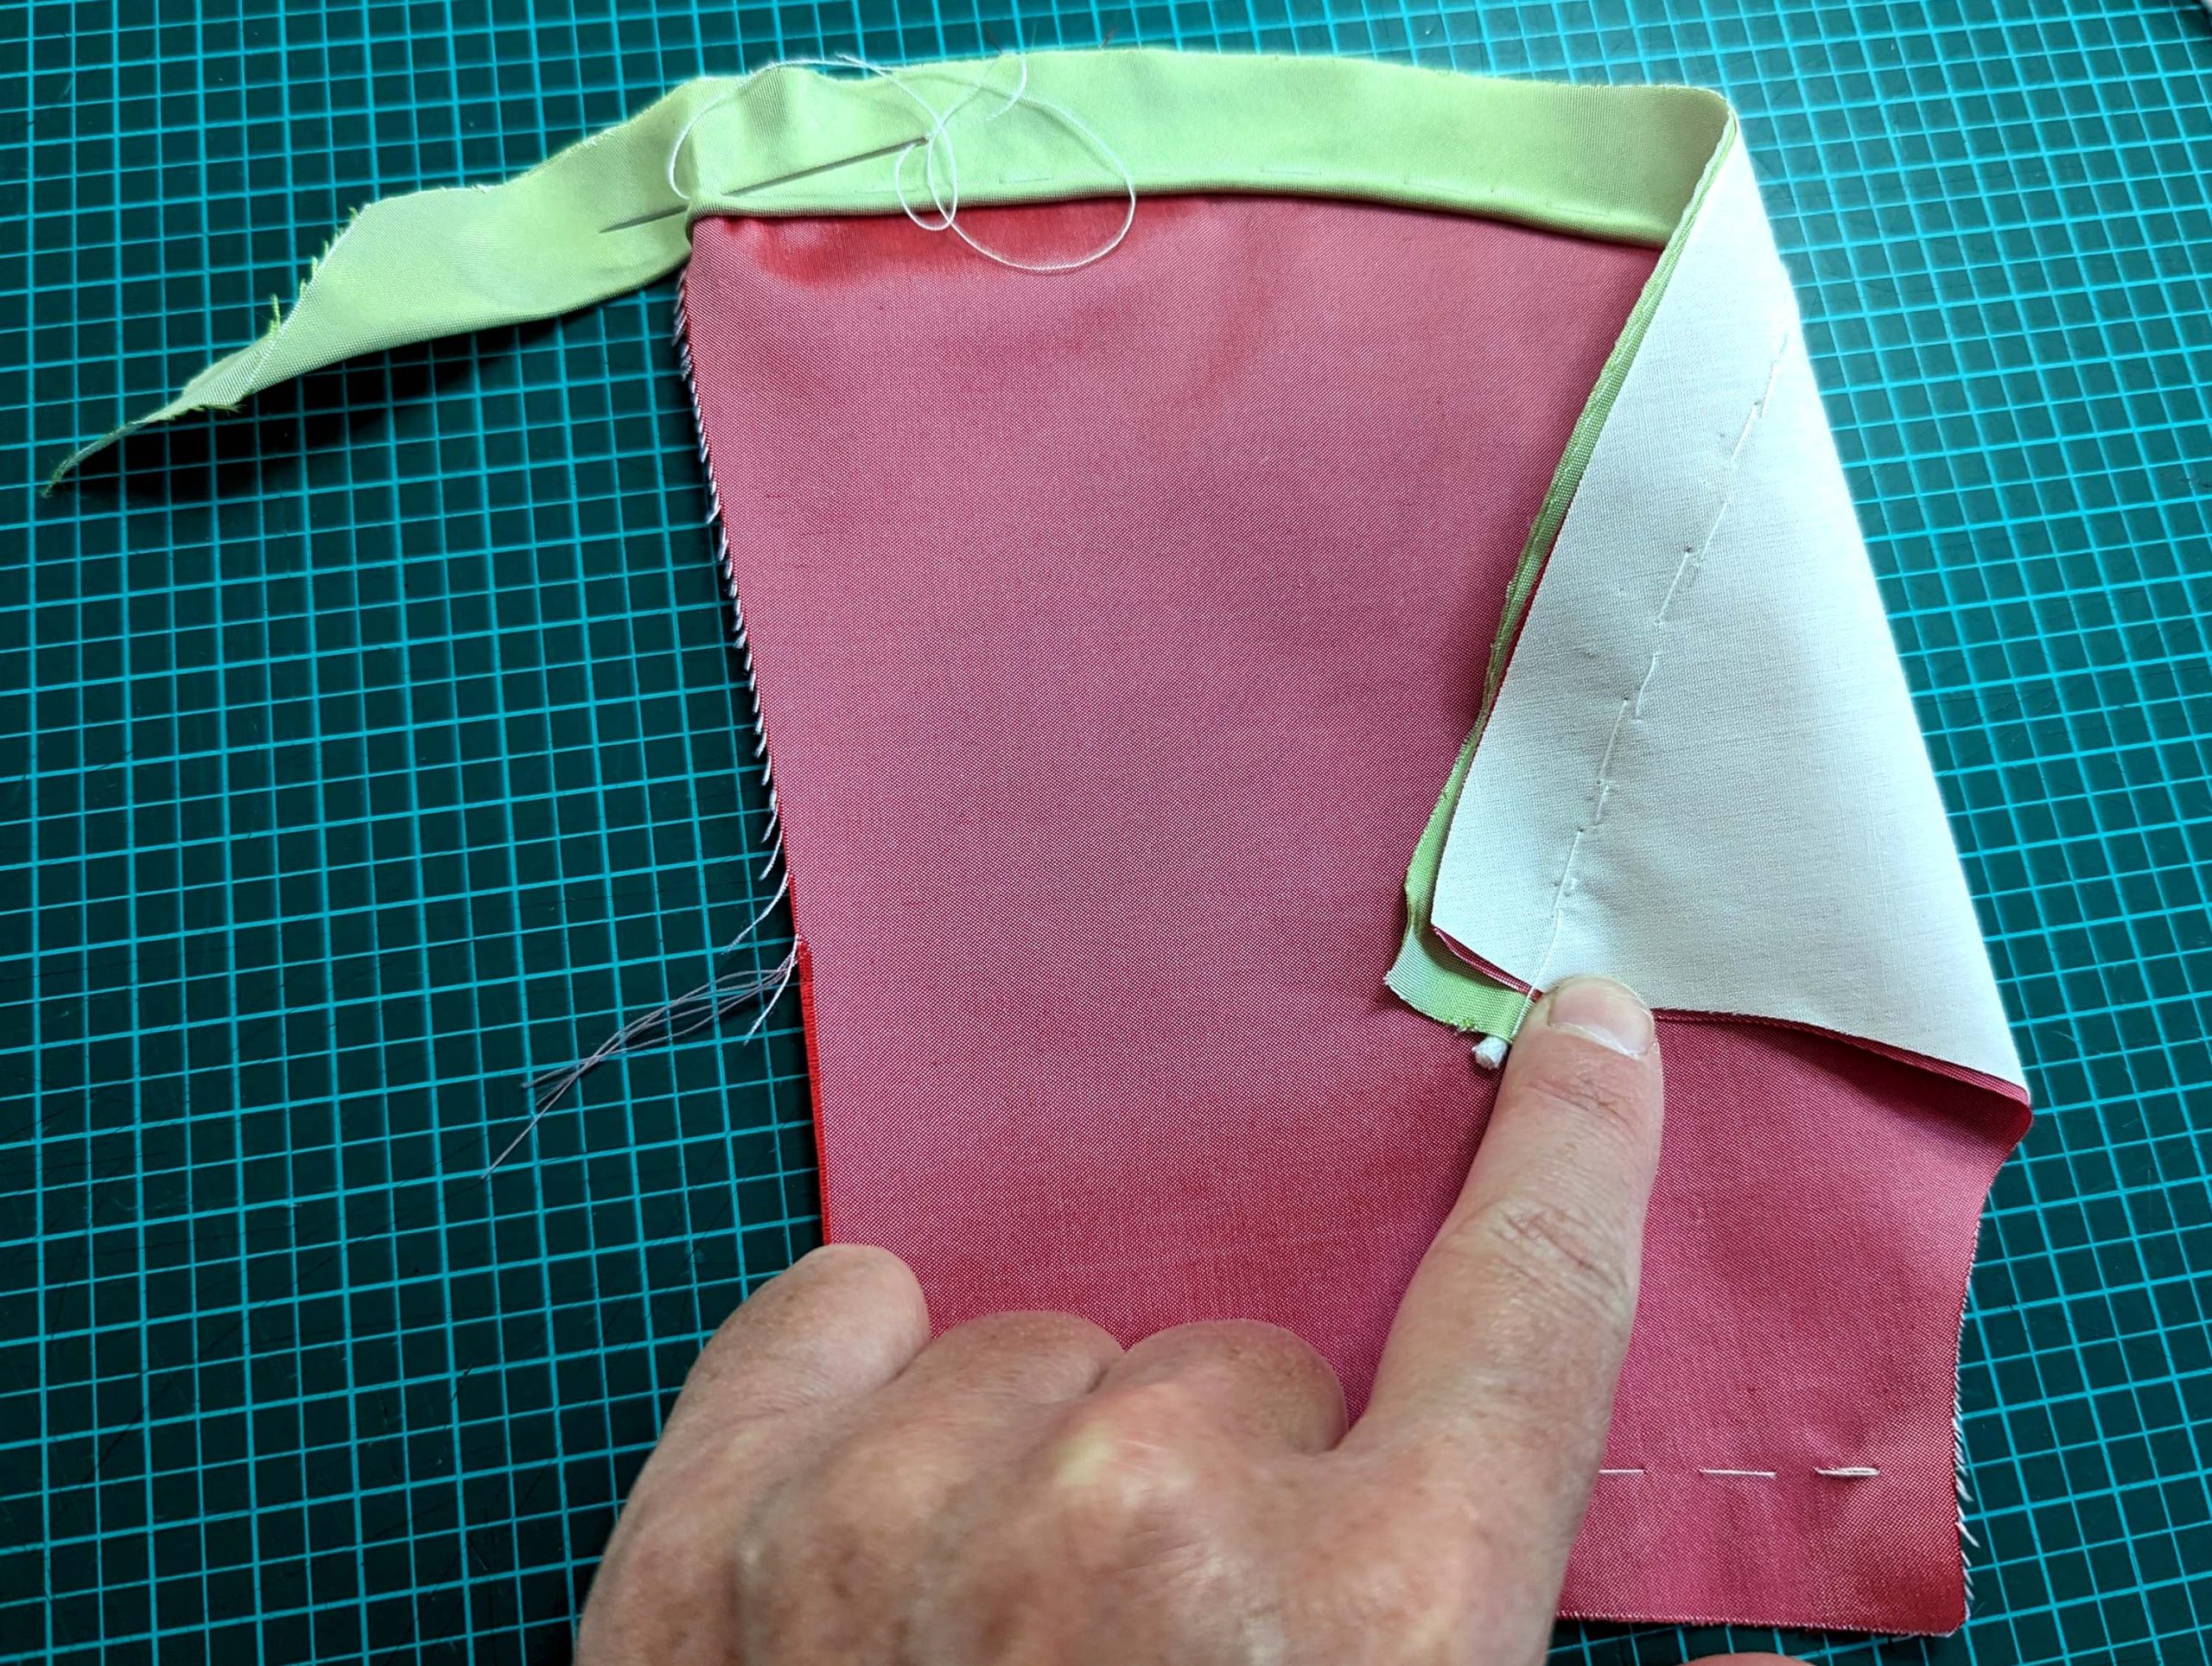
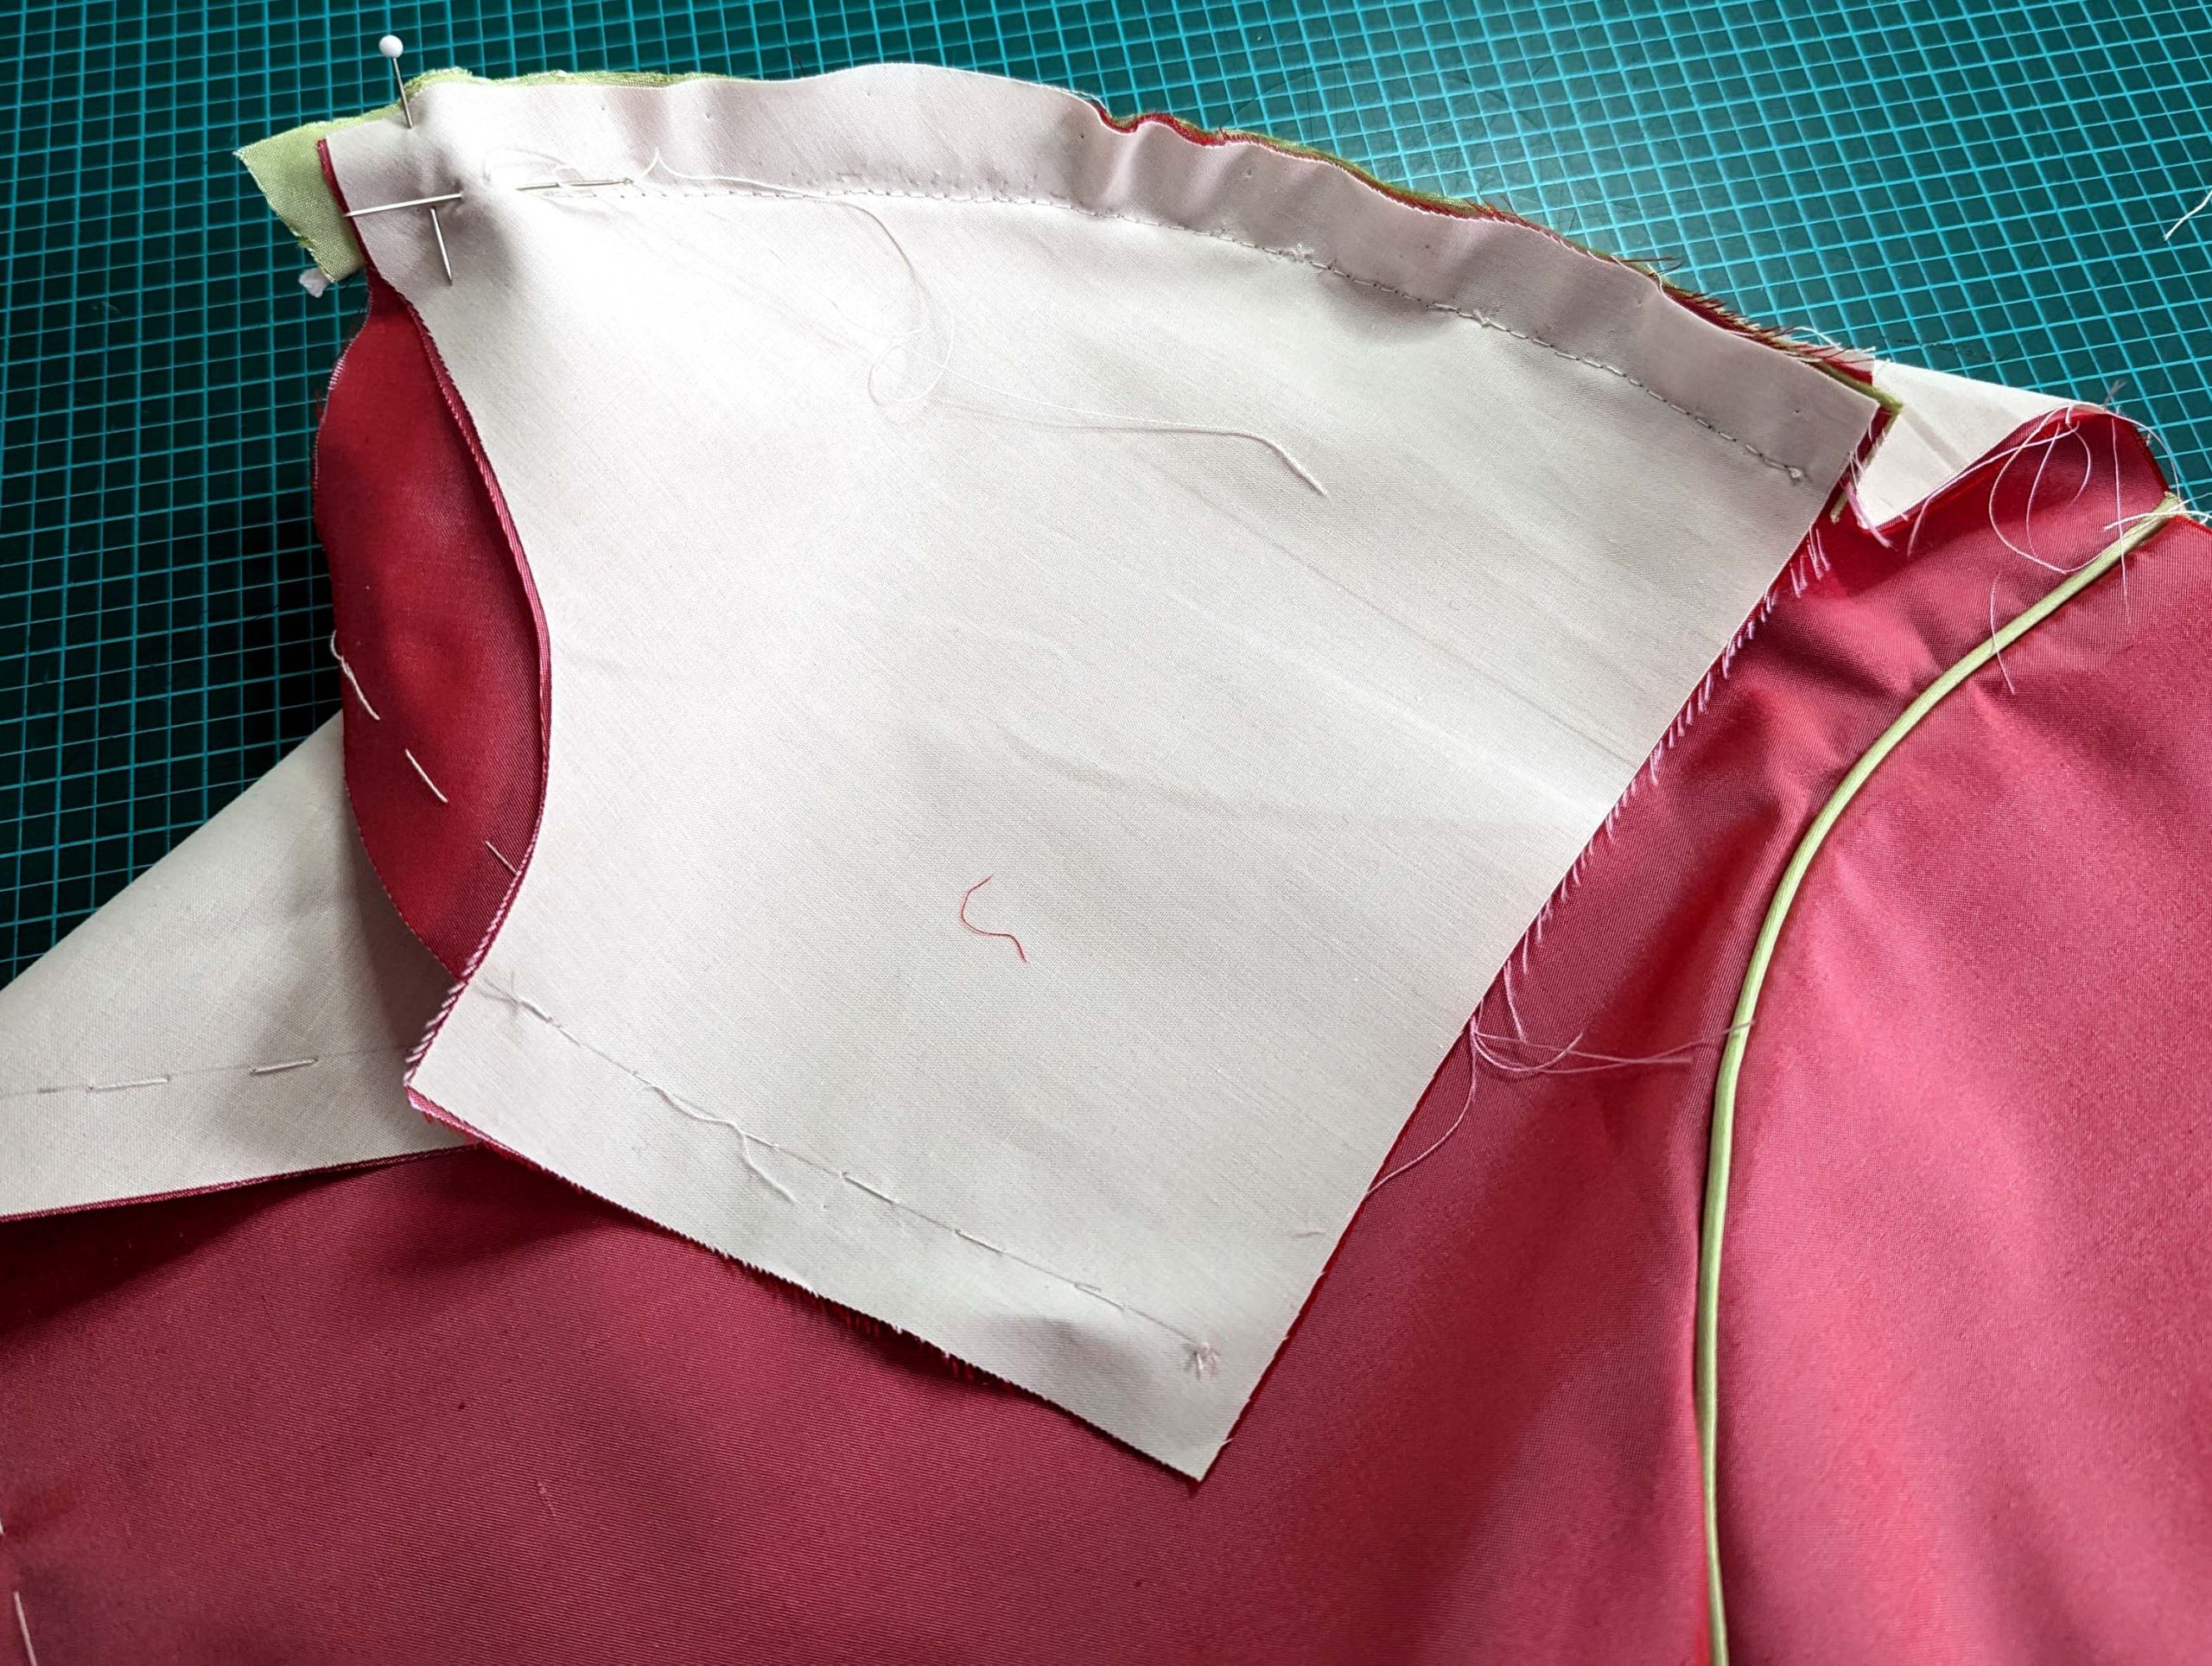
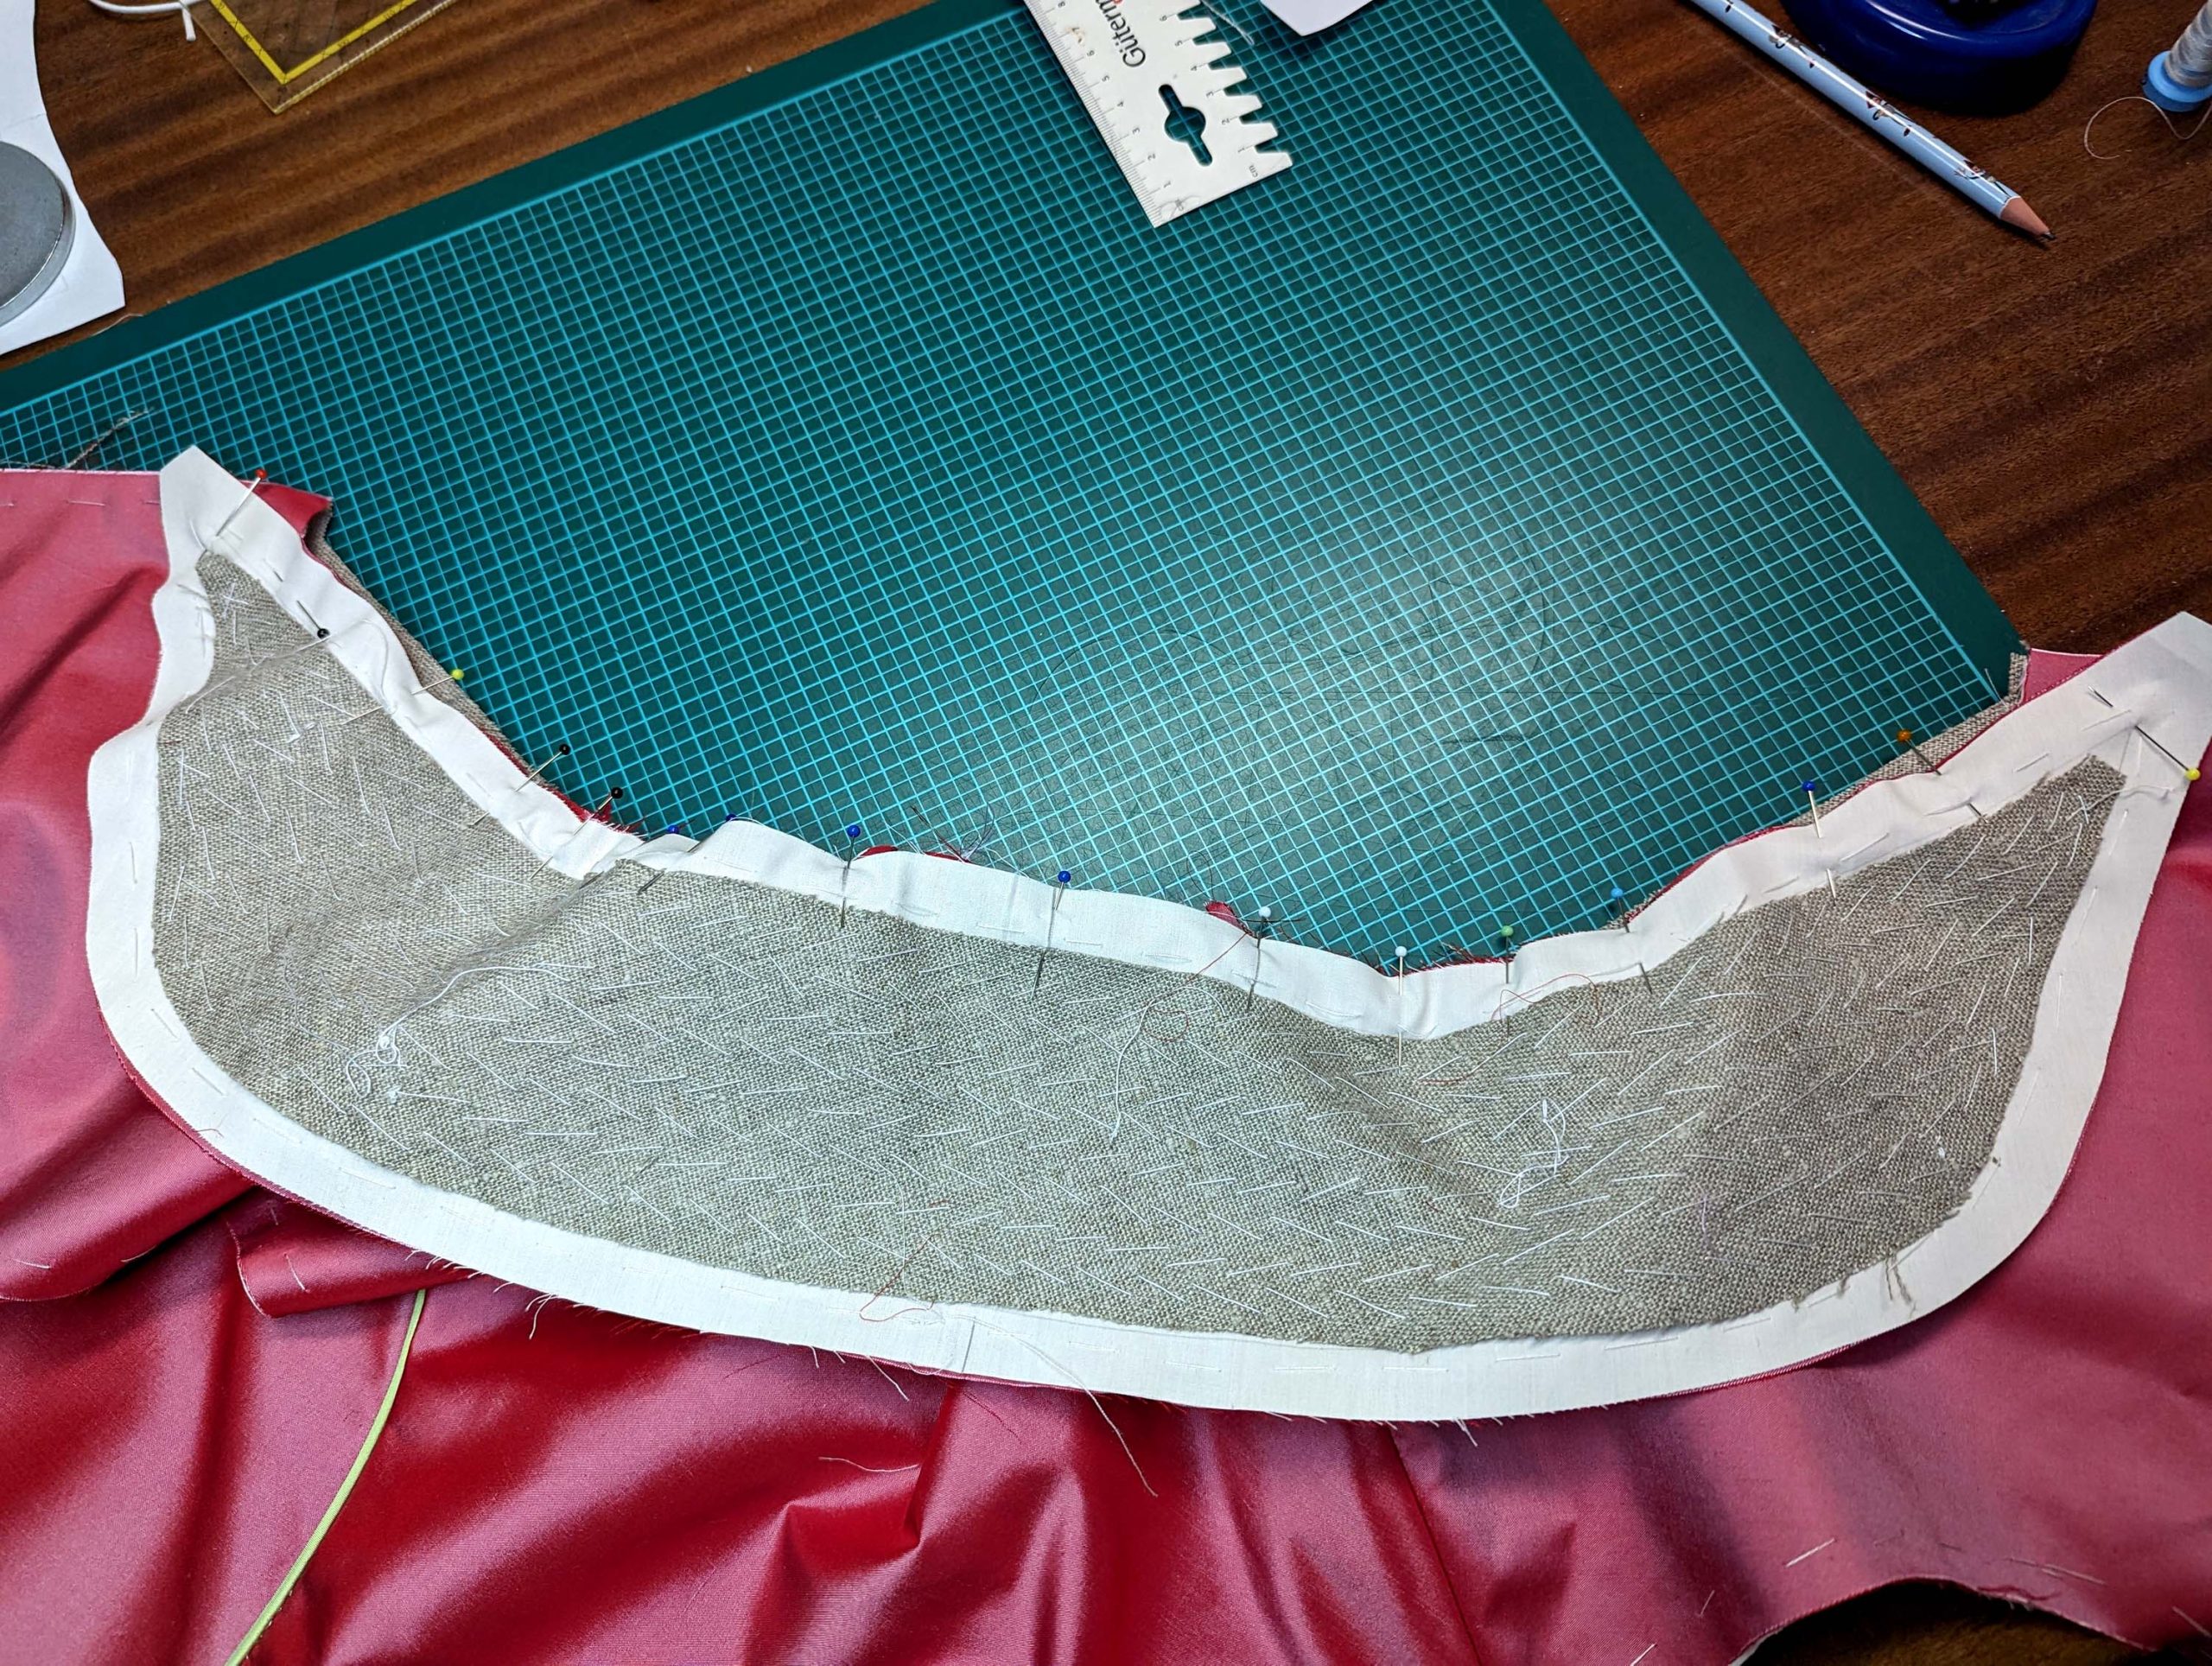
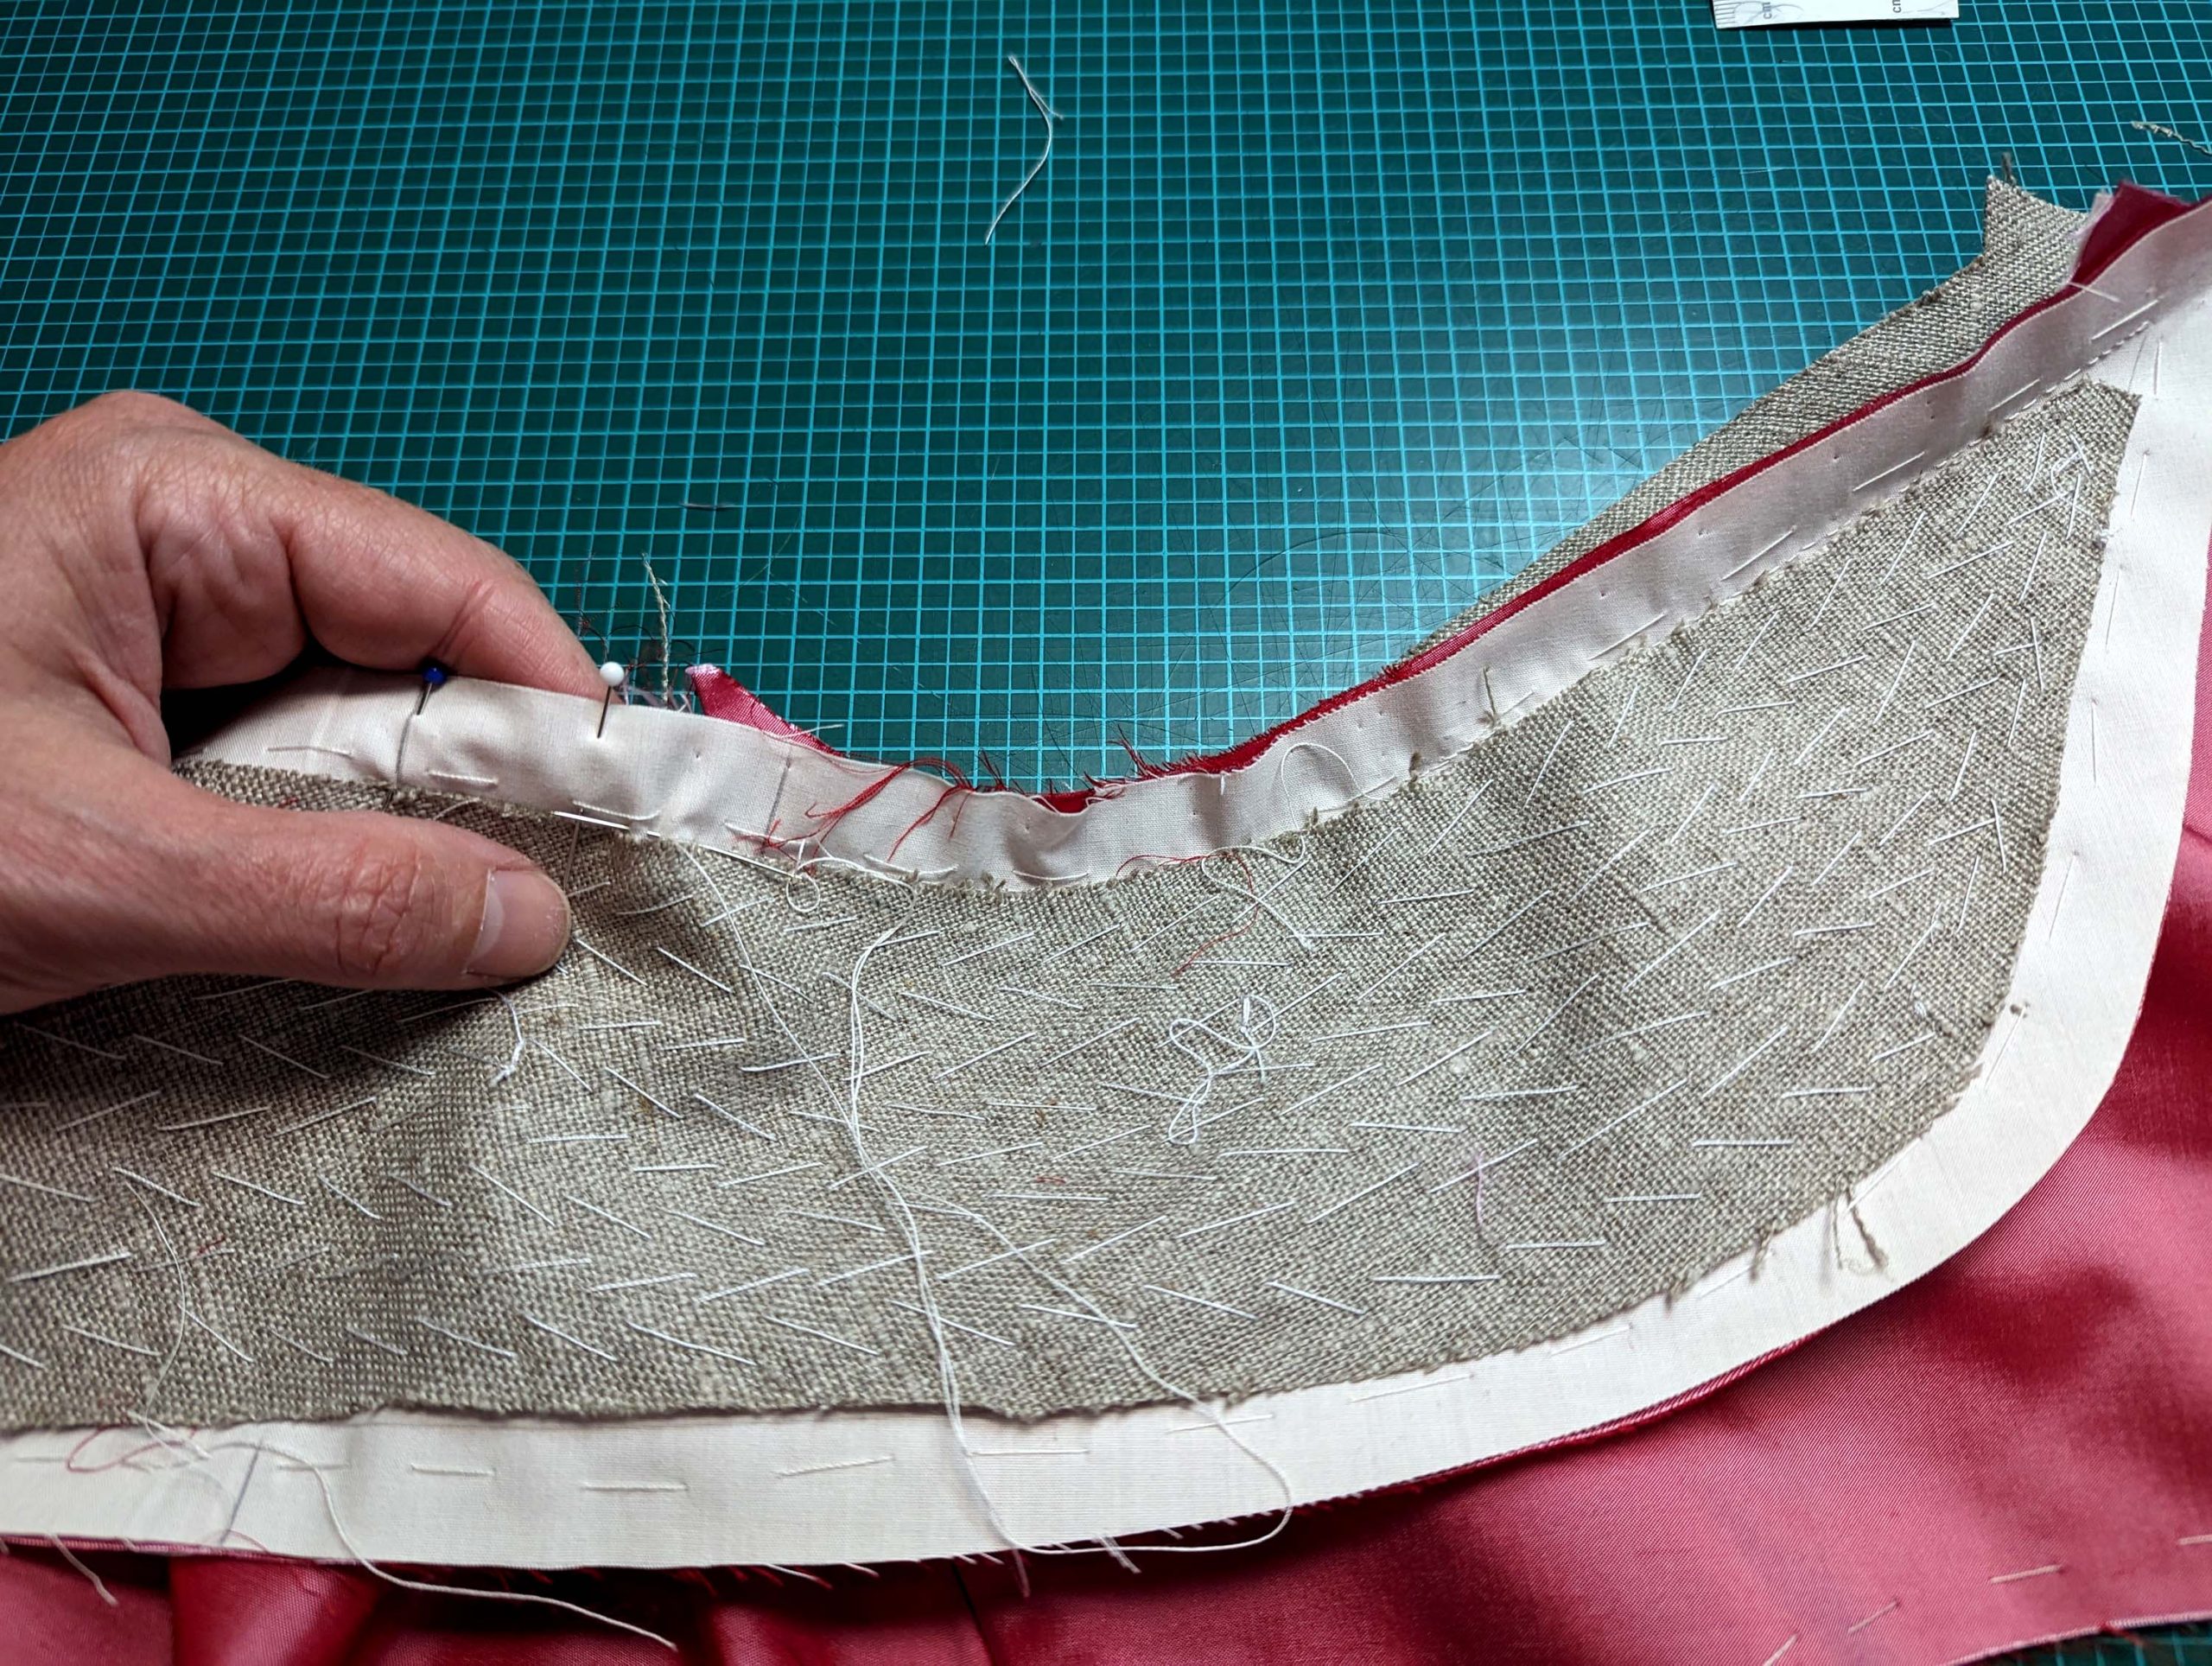
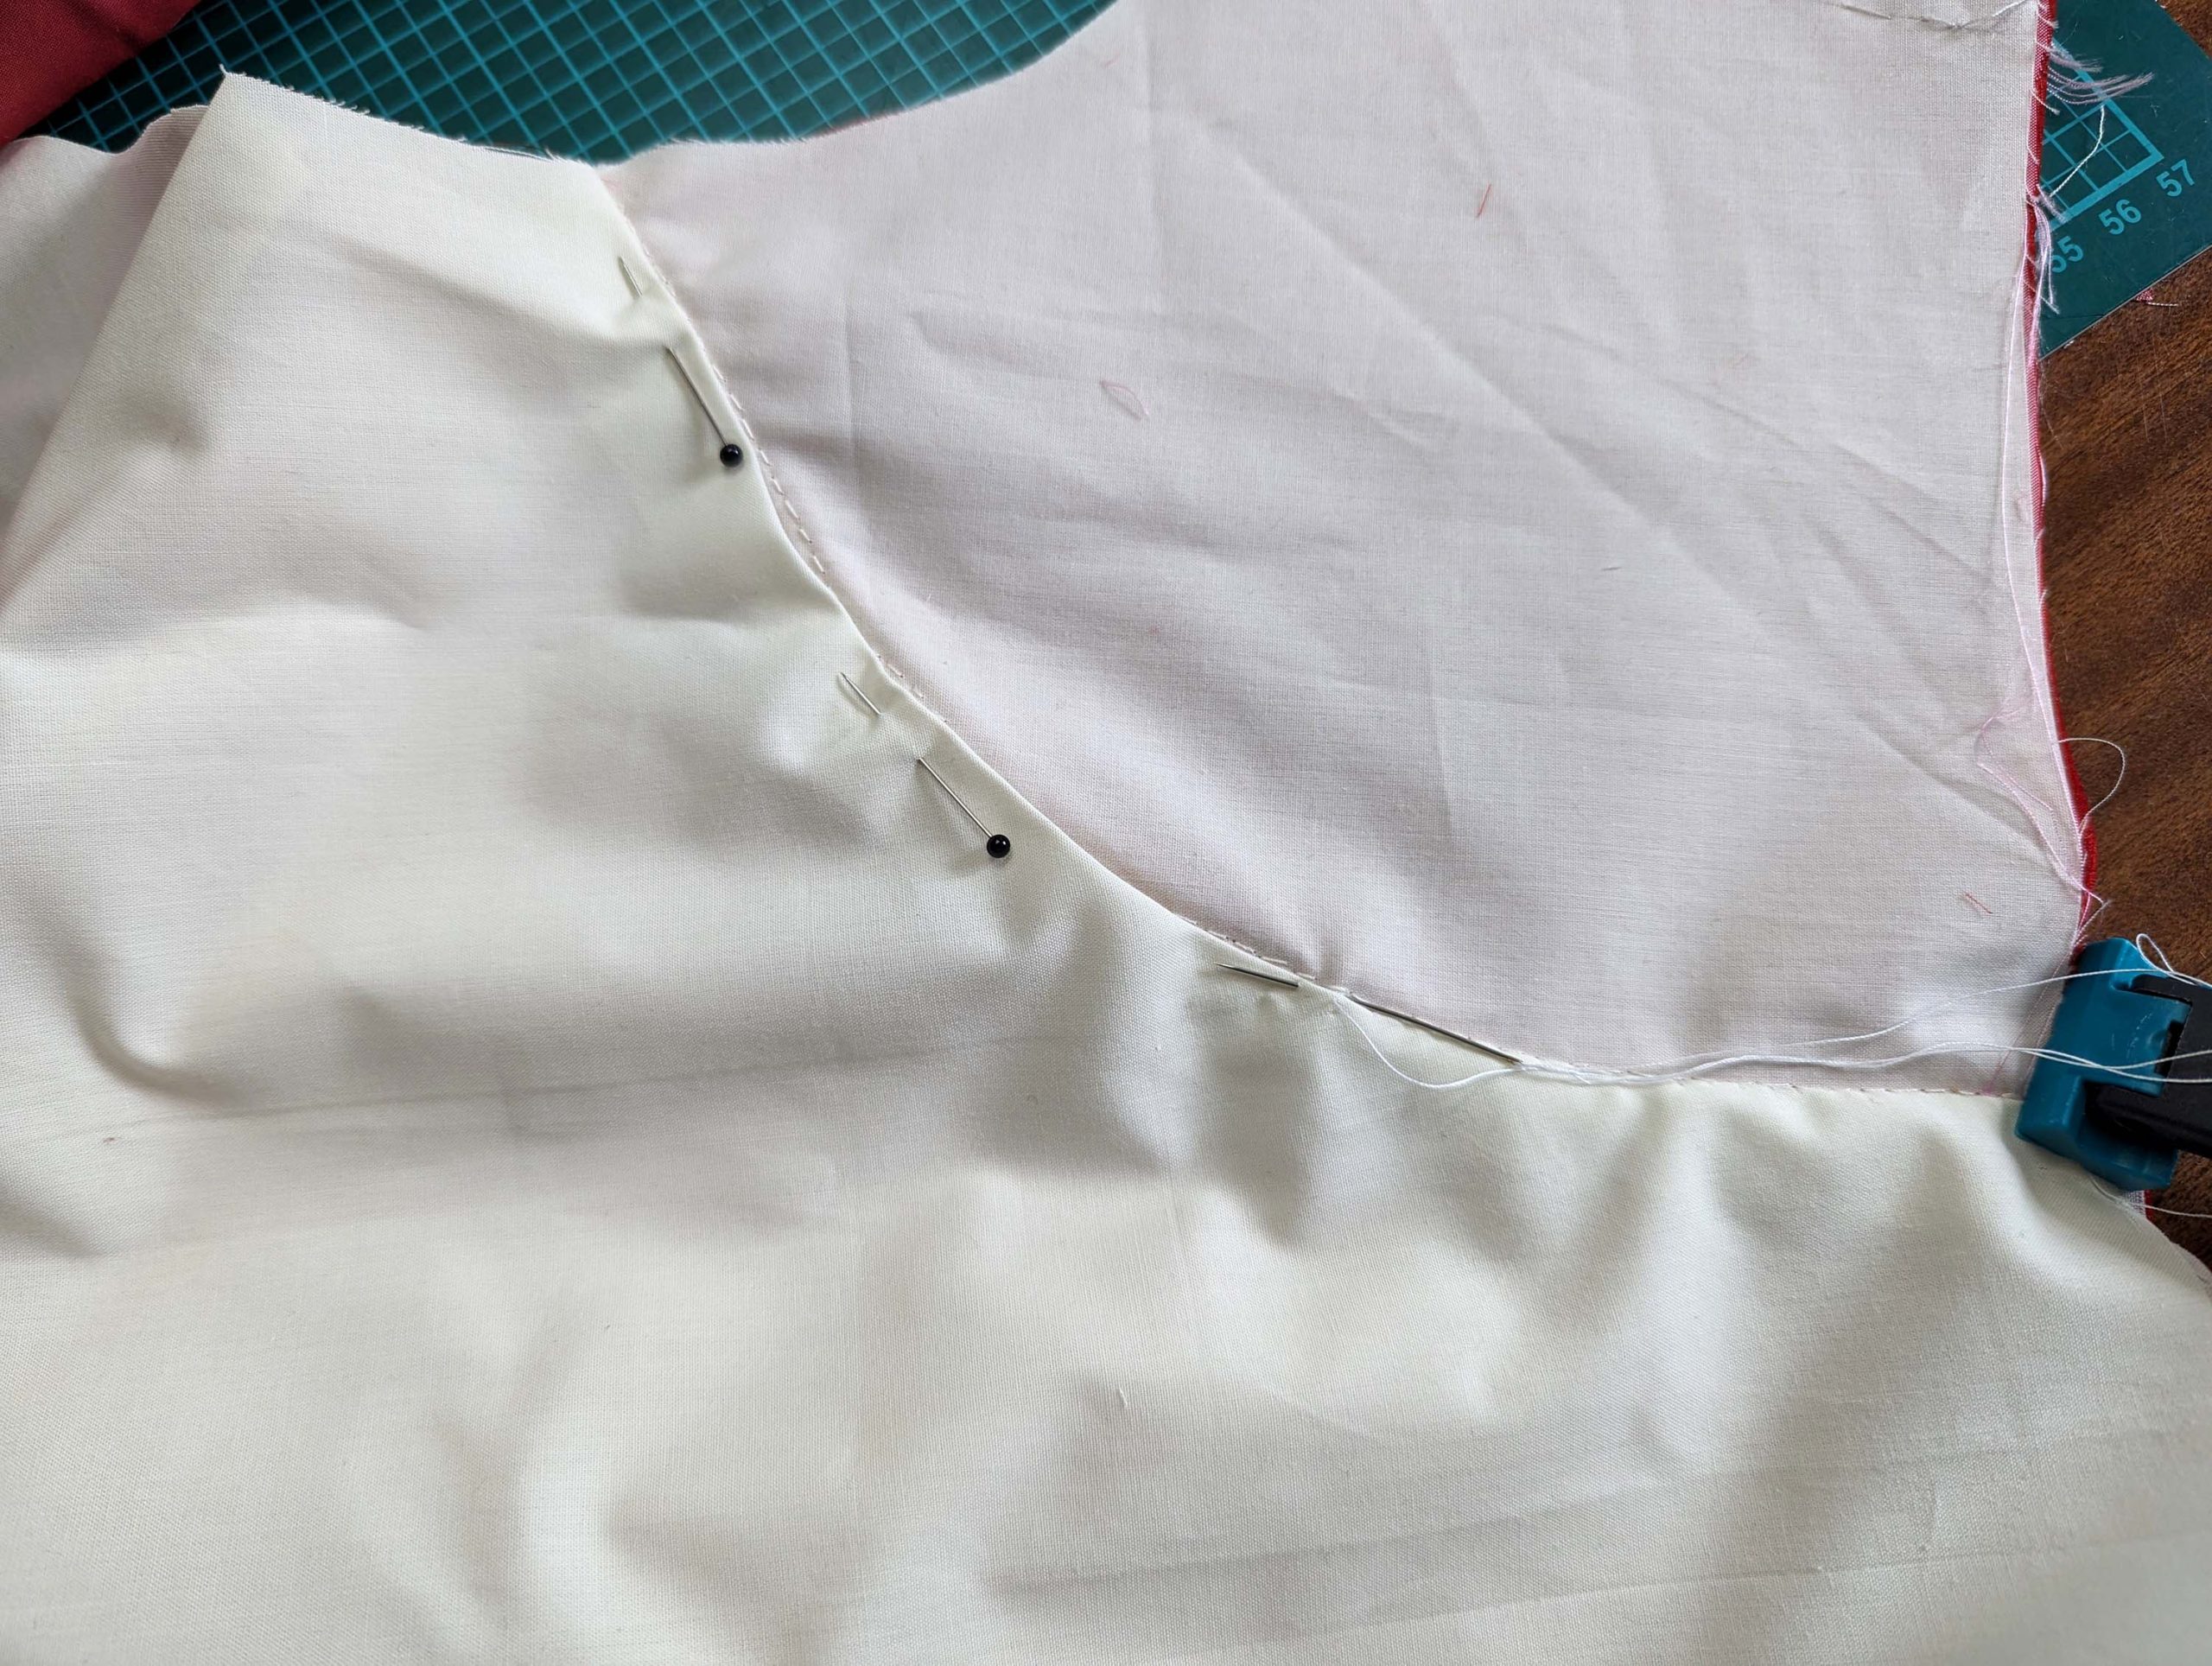
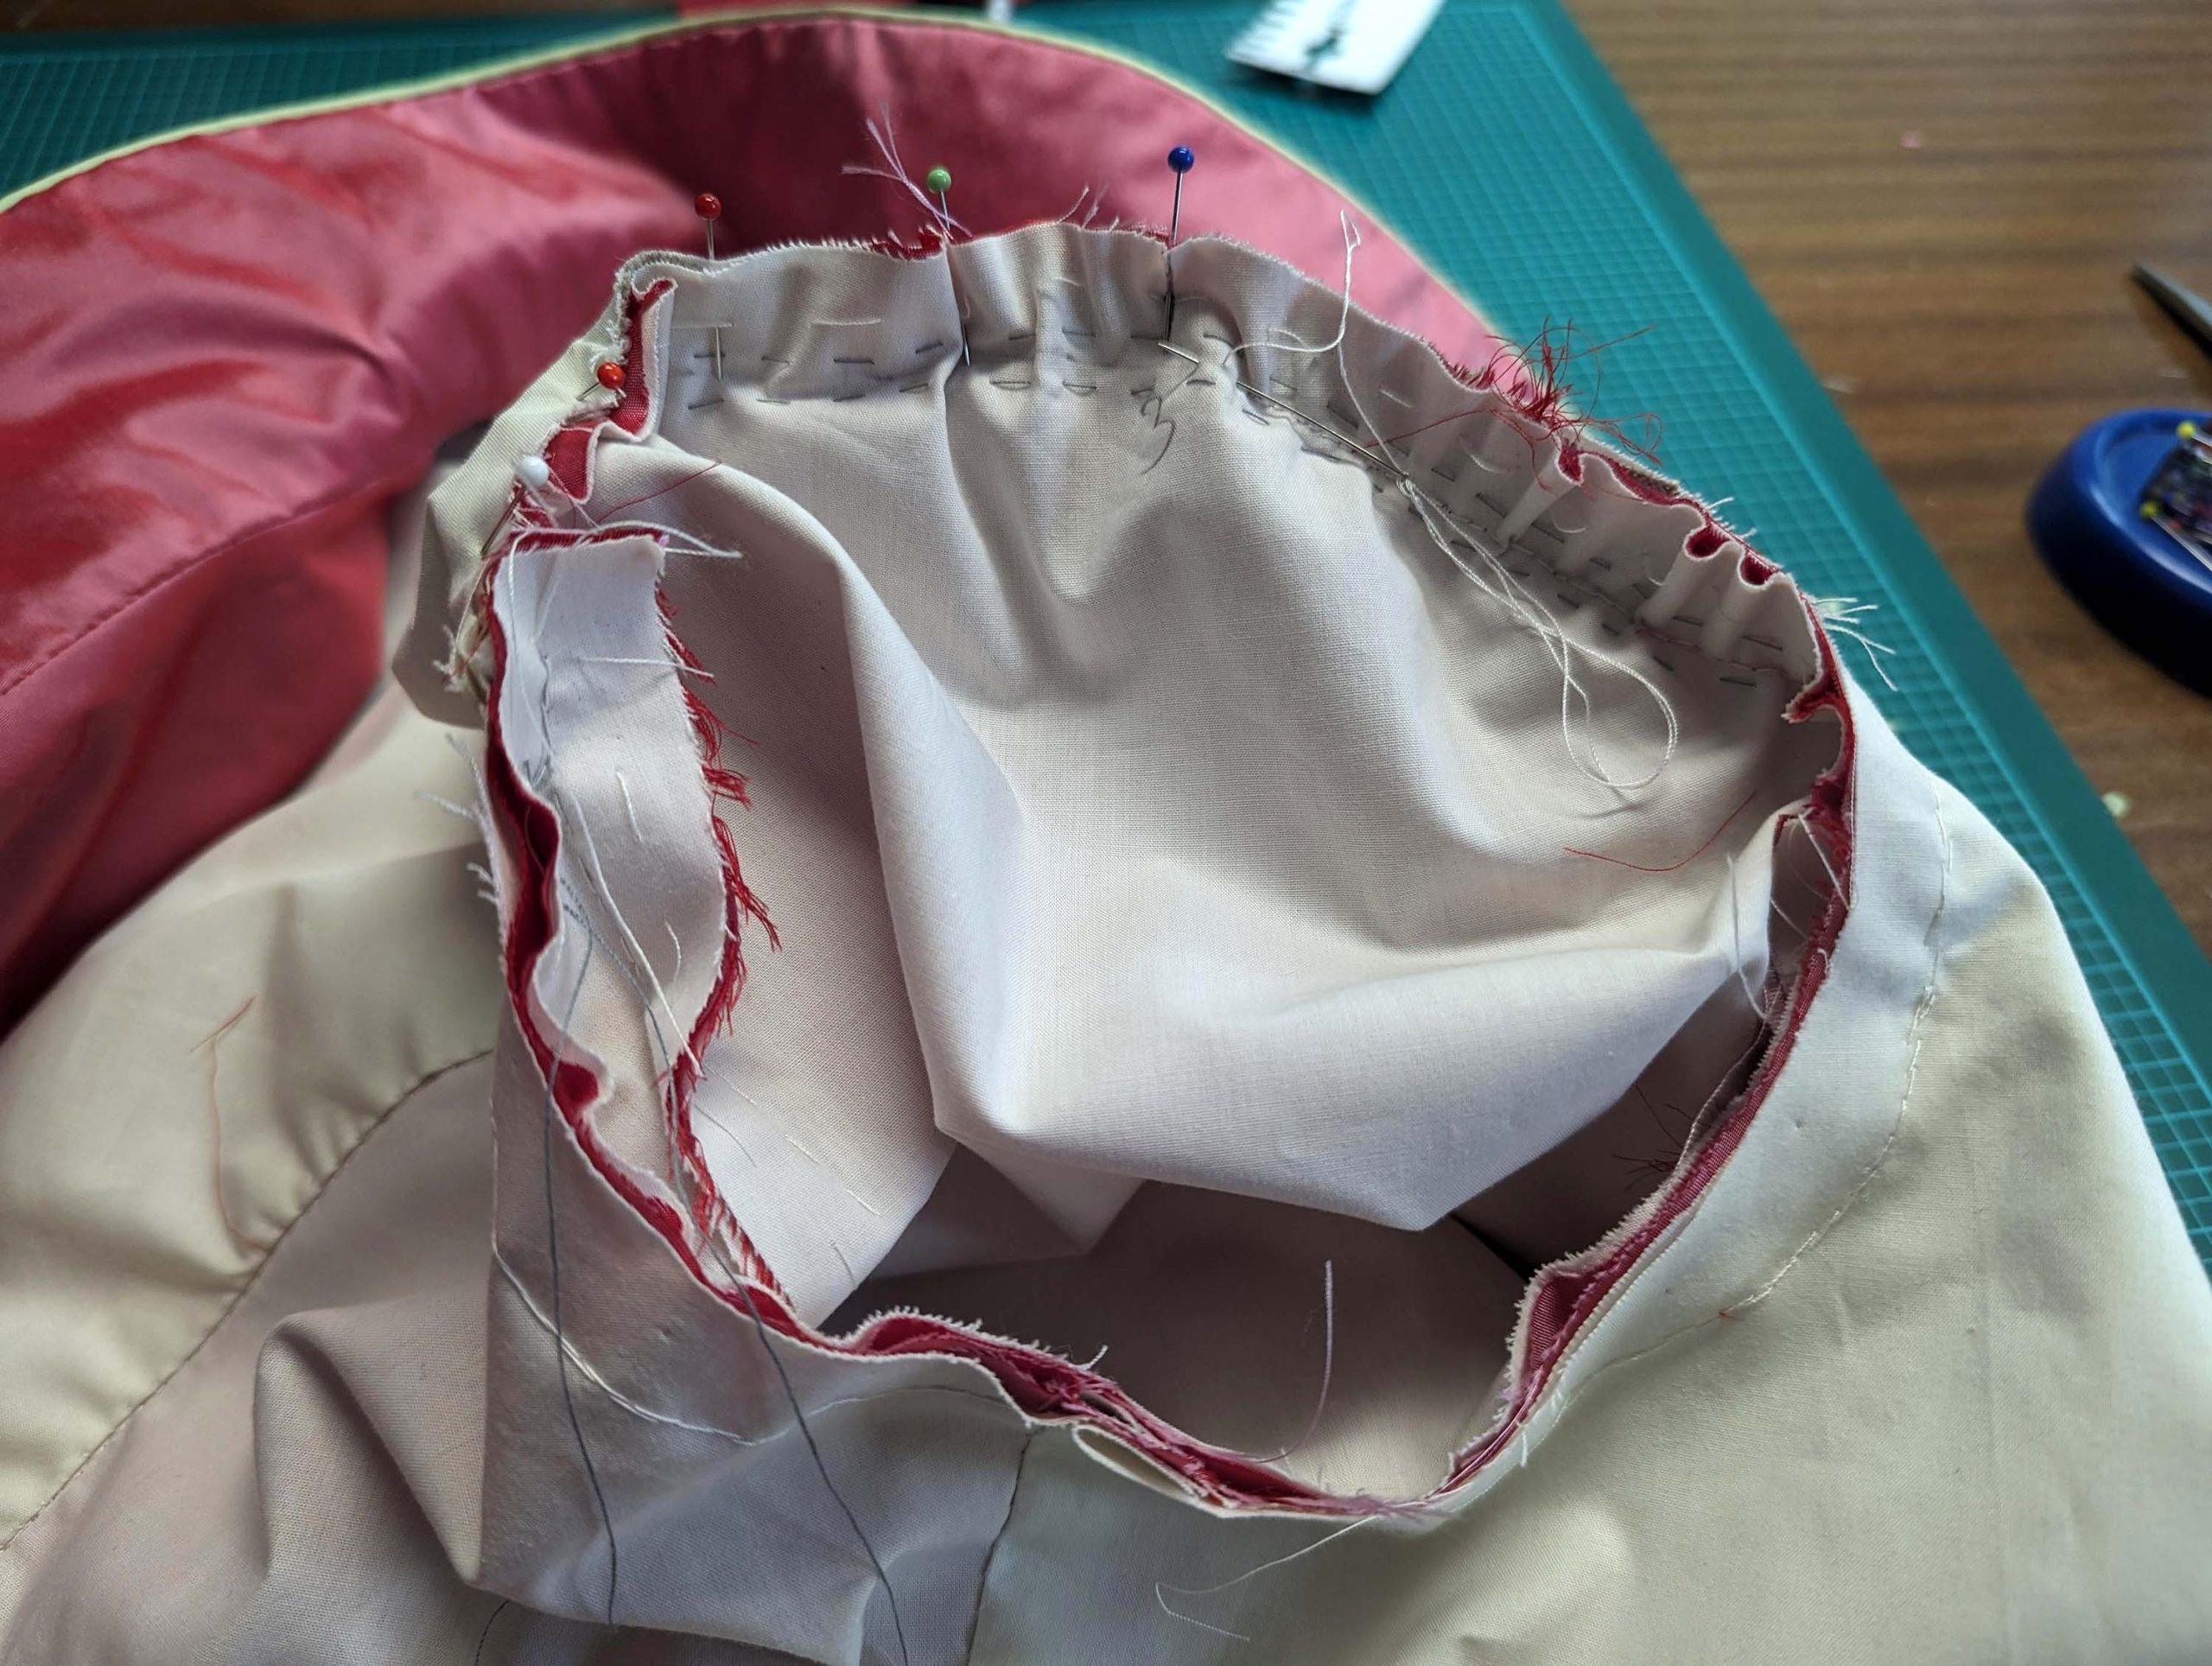
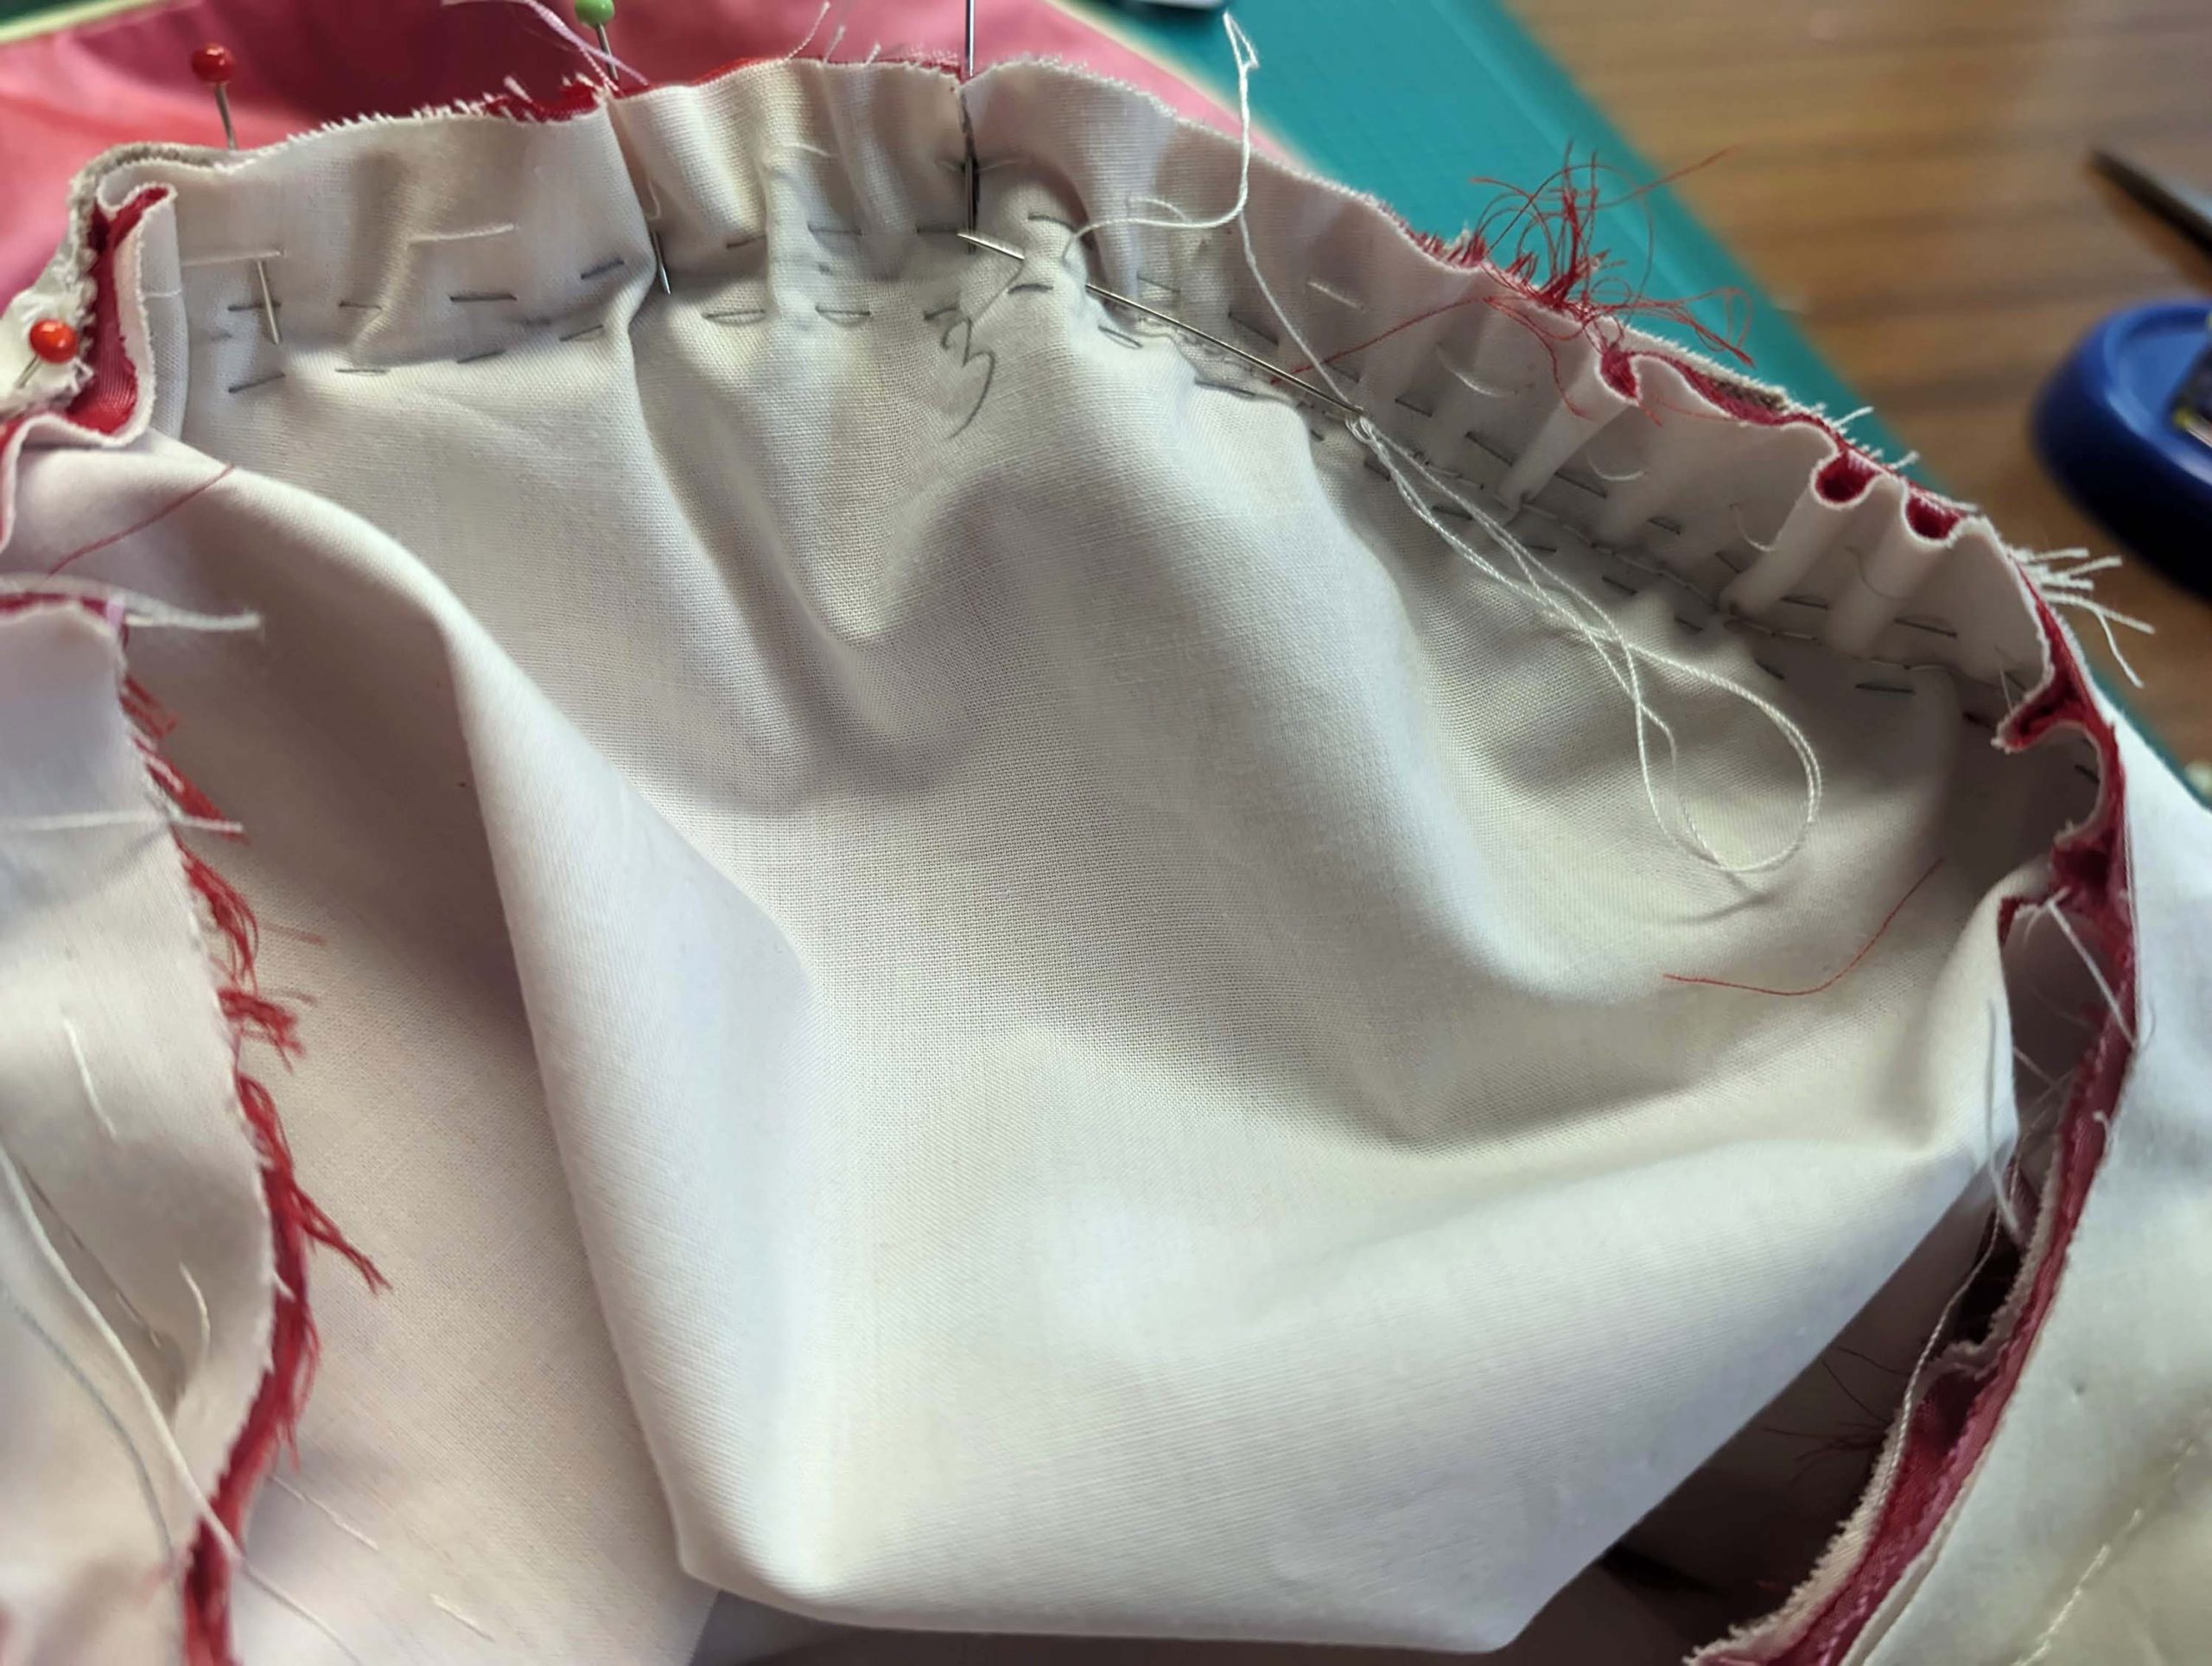
Take the front lining and turn in the seam allowance along the front edge. Place inside the bodice, wrong sides together, matching all seams. Just fold the dart´s, there´s no need to sew them – just one dart here on the pictures due to a wider front facing than in the pattern. Baste in place, keeping a distance from the side edges and armhole of about 1” (2,5cm). Fell stitch the lining to the front facing along the front edge.
At the shoulder, sew the facing and lining to the seam allowance of the back, avoiding any stitches visible on the right side.
Take the back lining and turn in the seam allowances along the neckline, shoulder and the back side seams. Clip at the curves to lay flat. Line up with the bodice, wrong sides together, matching all seams, covering the raw seam allowances of the shoulder and back side seam. Baste in place and fell stitch along the neckline, shoulder and back side seams.
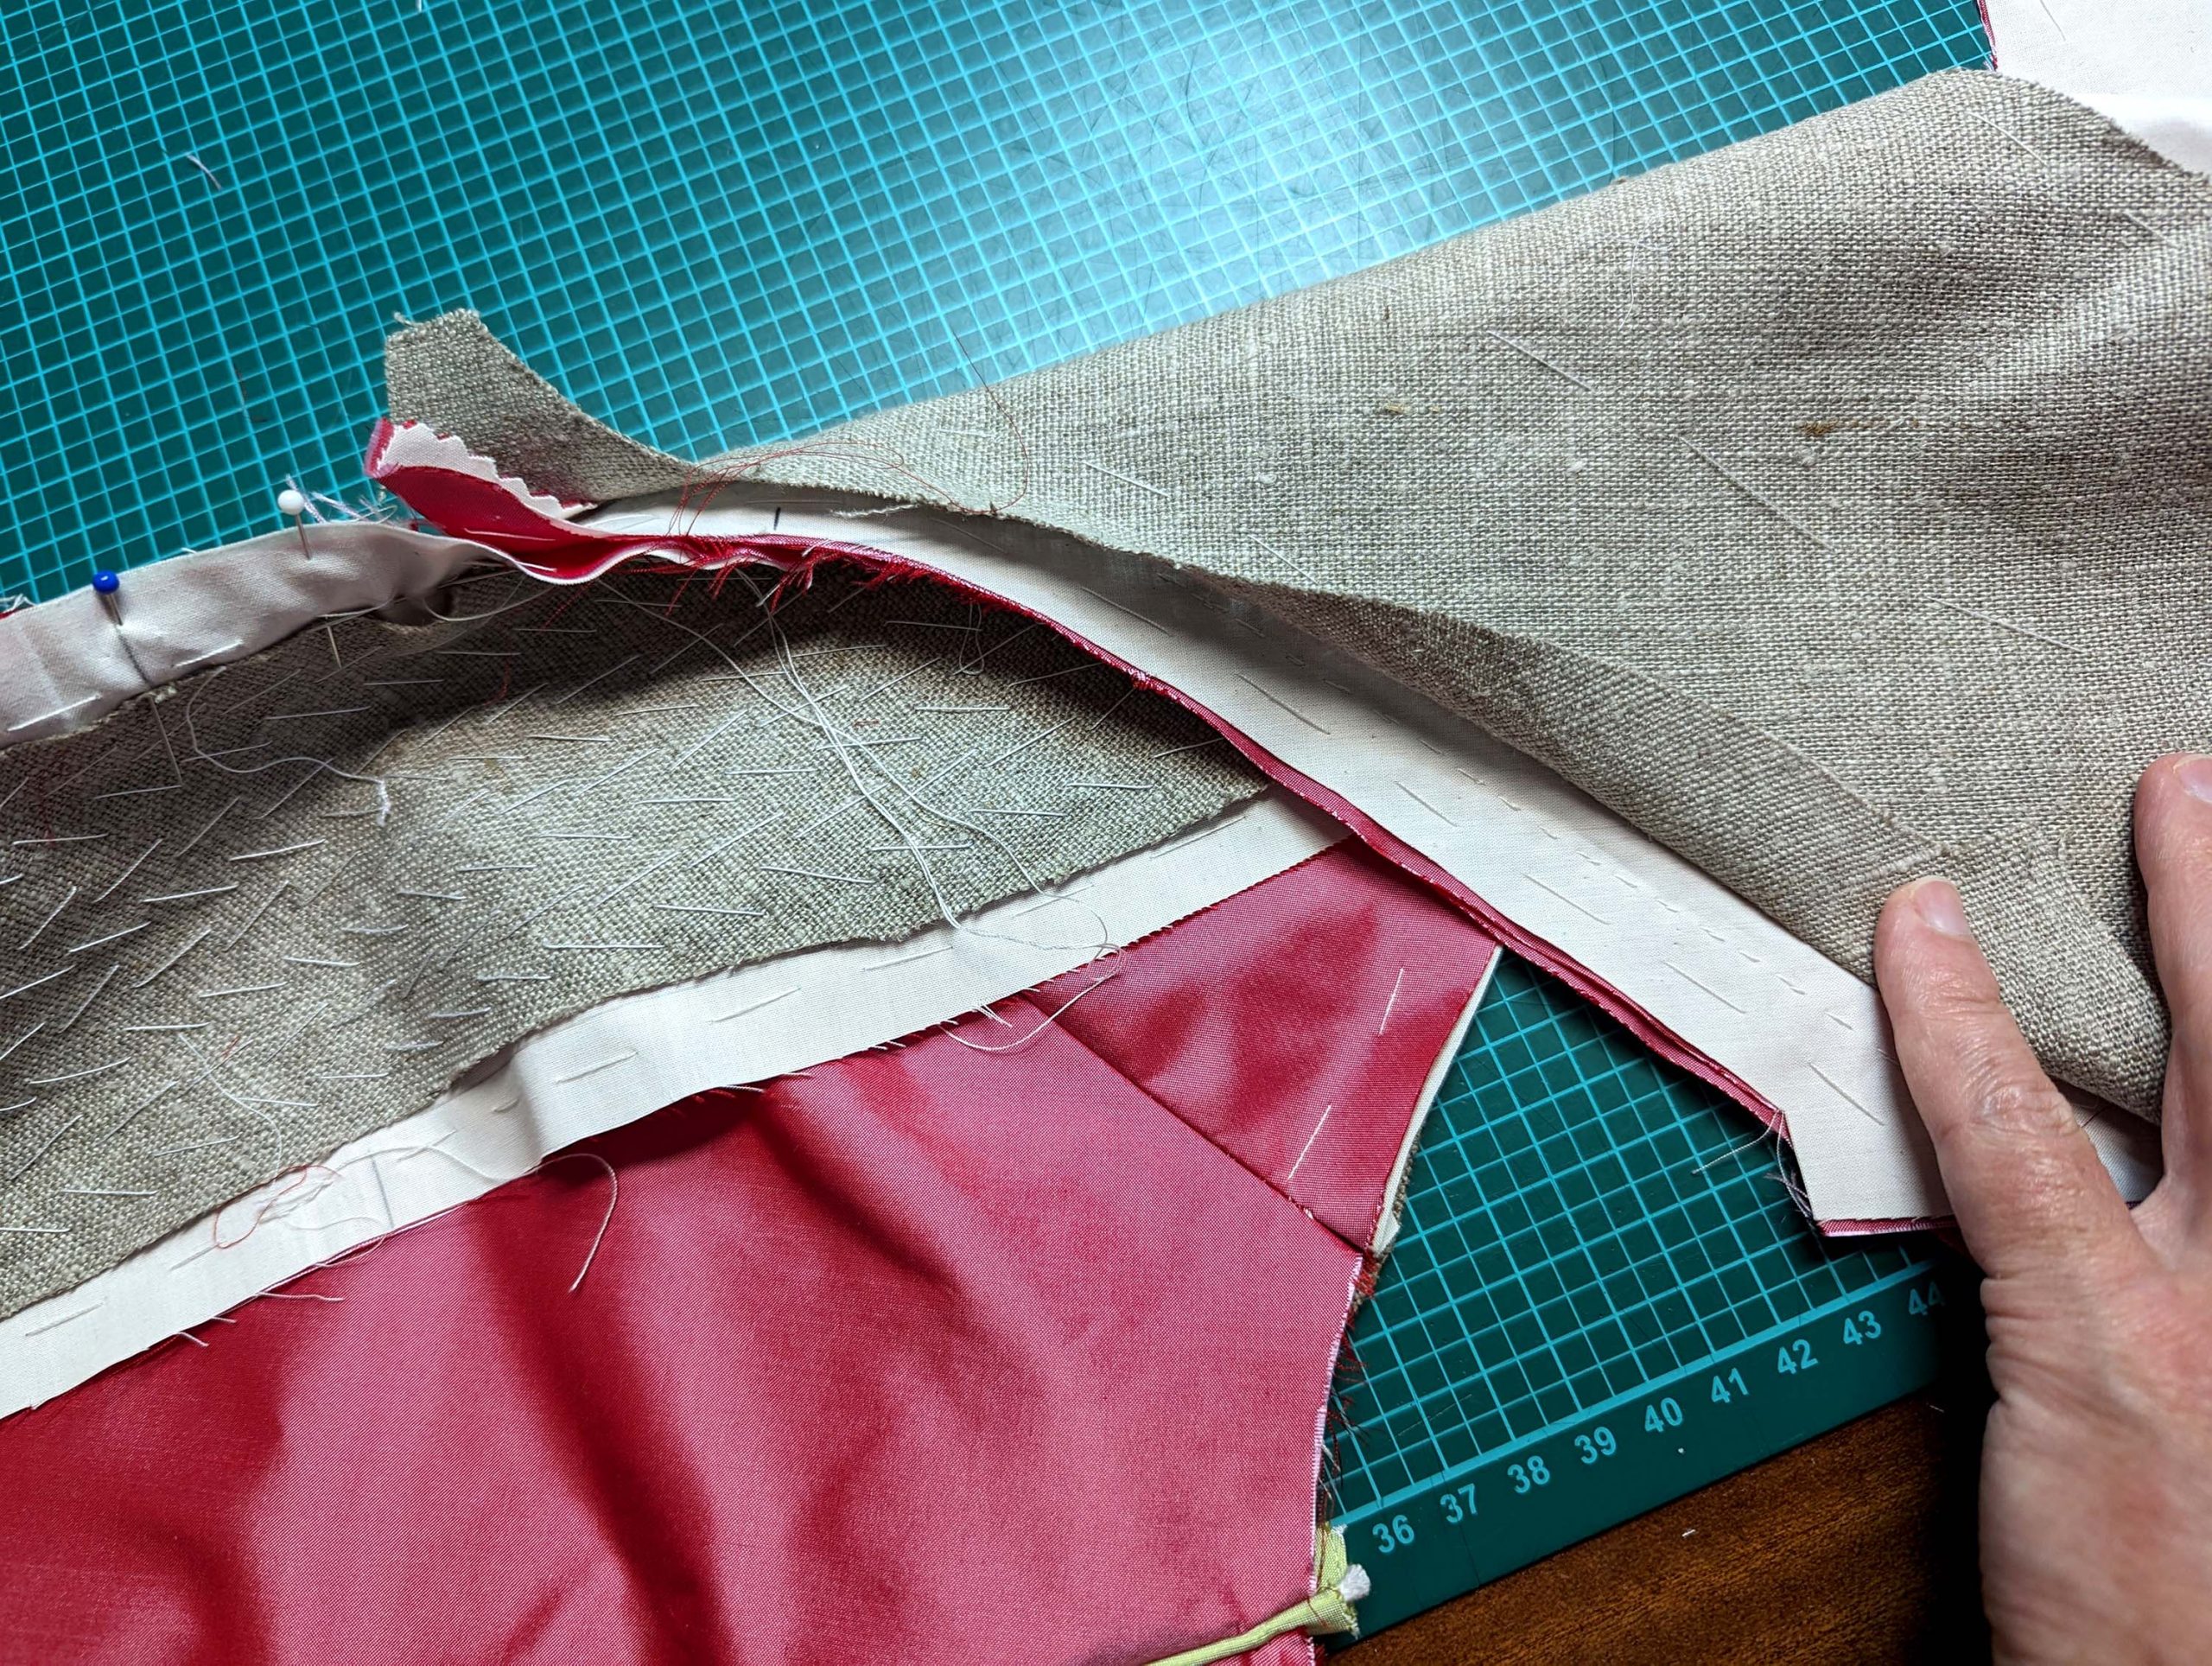
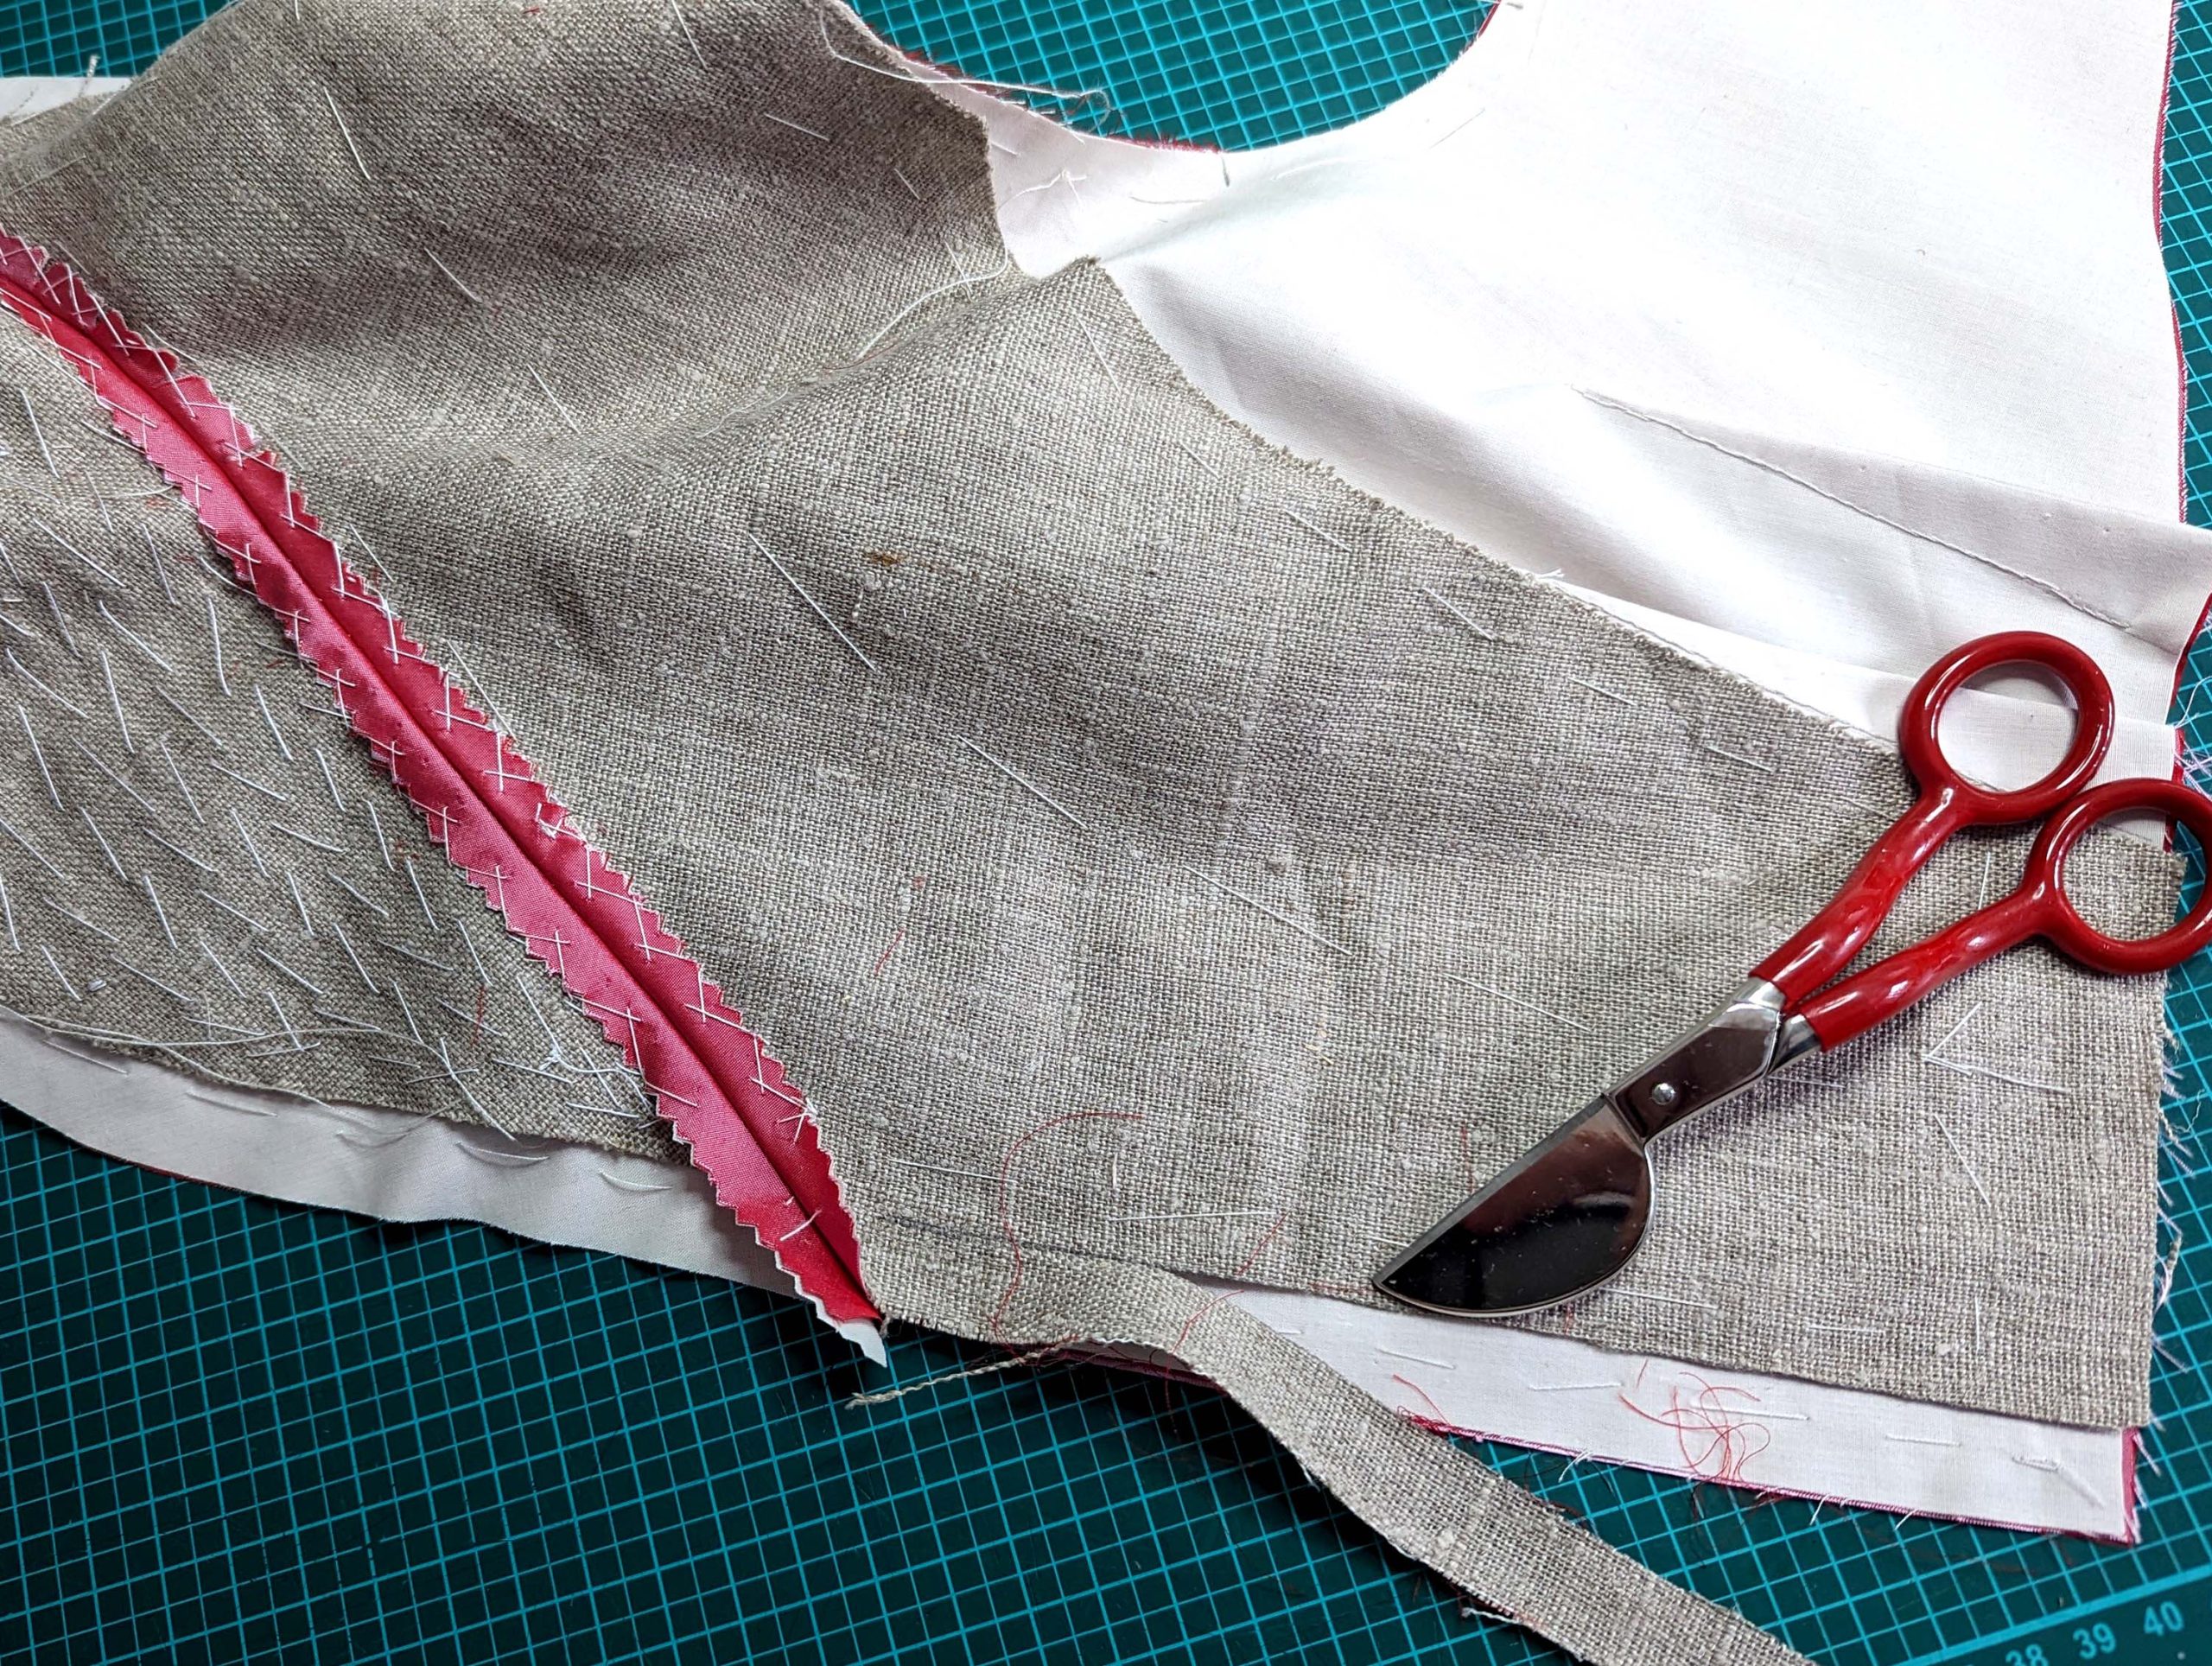
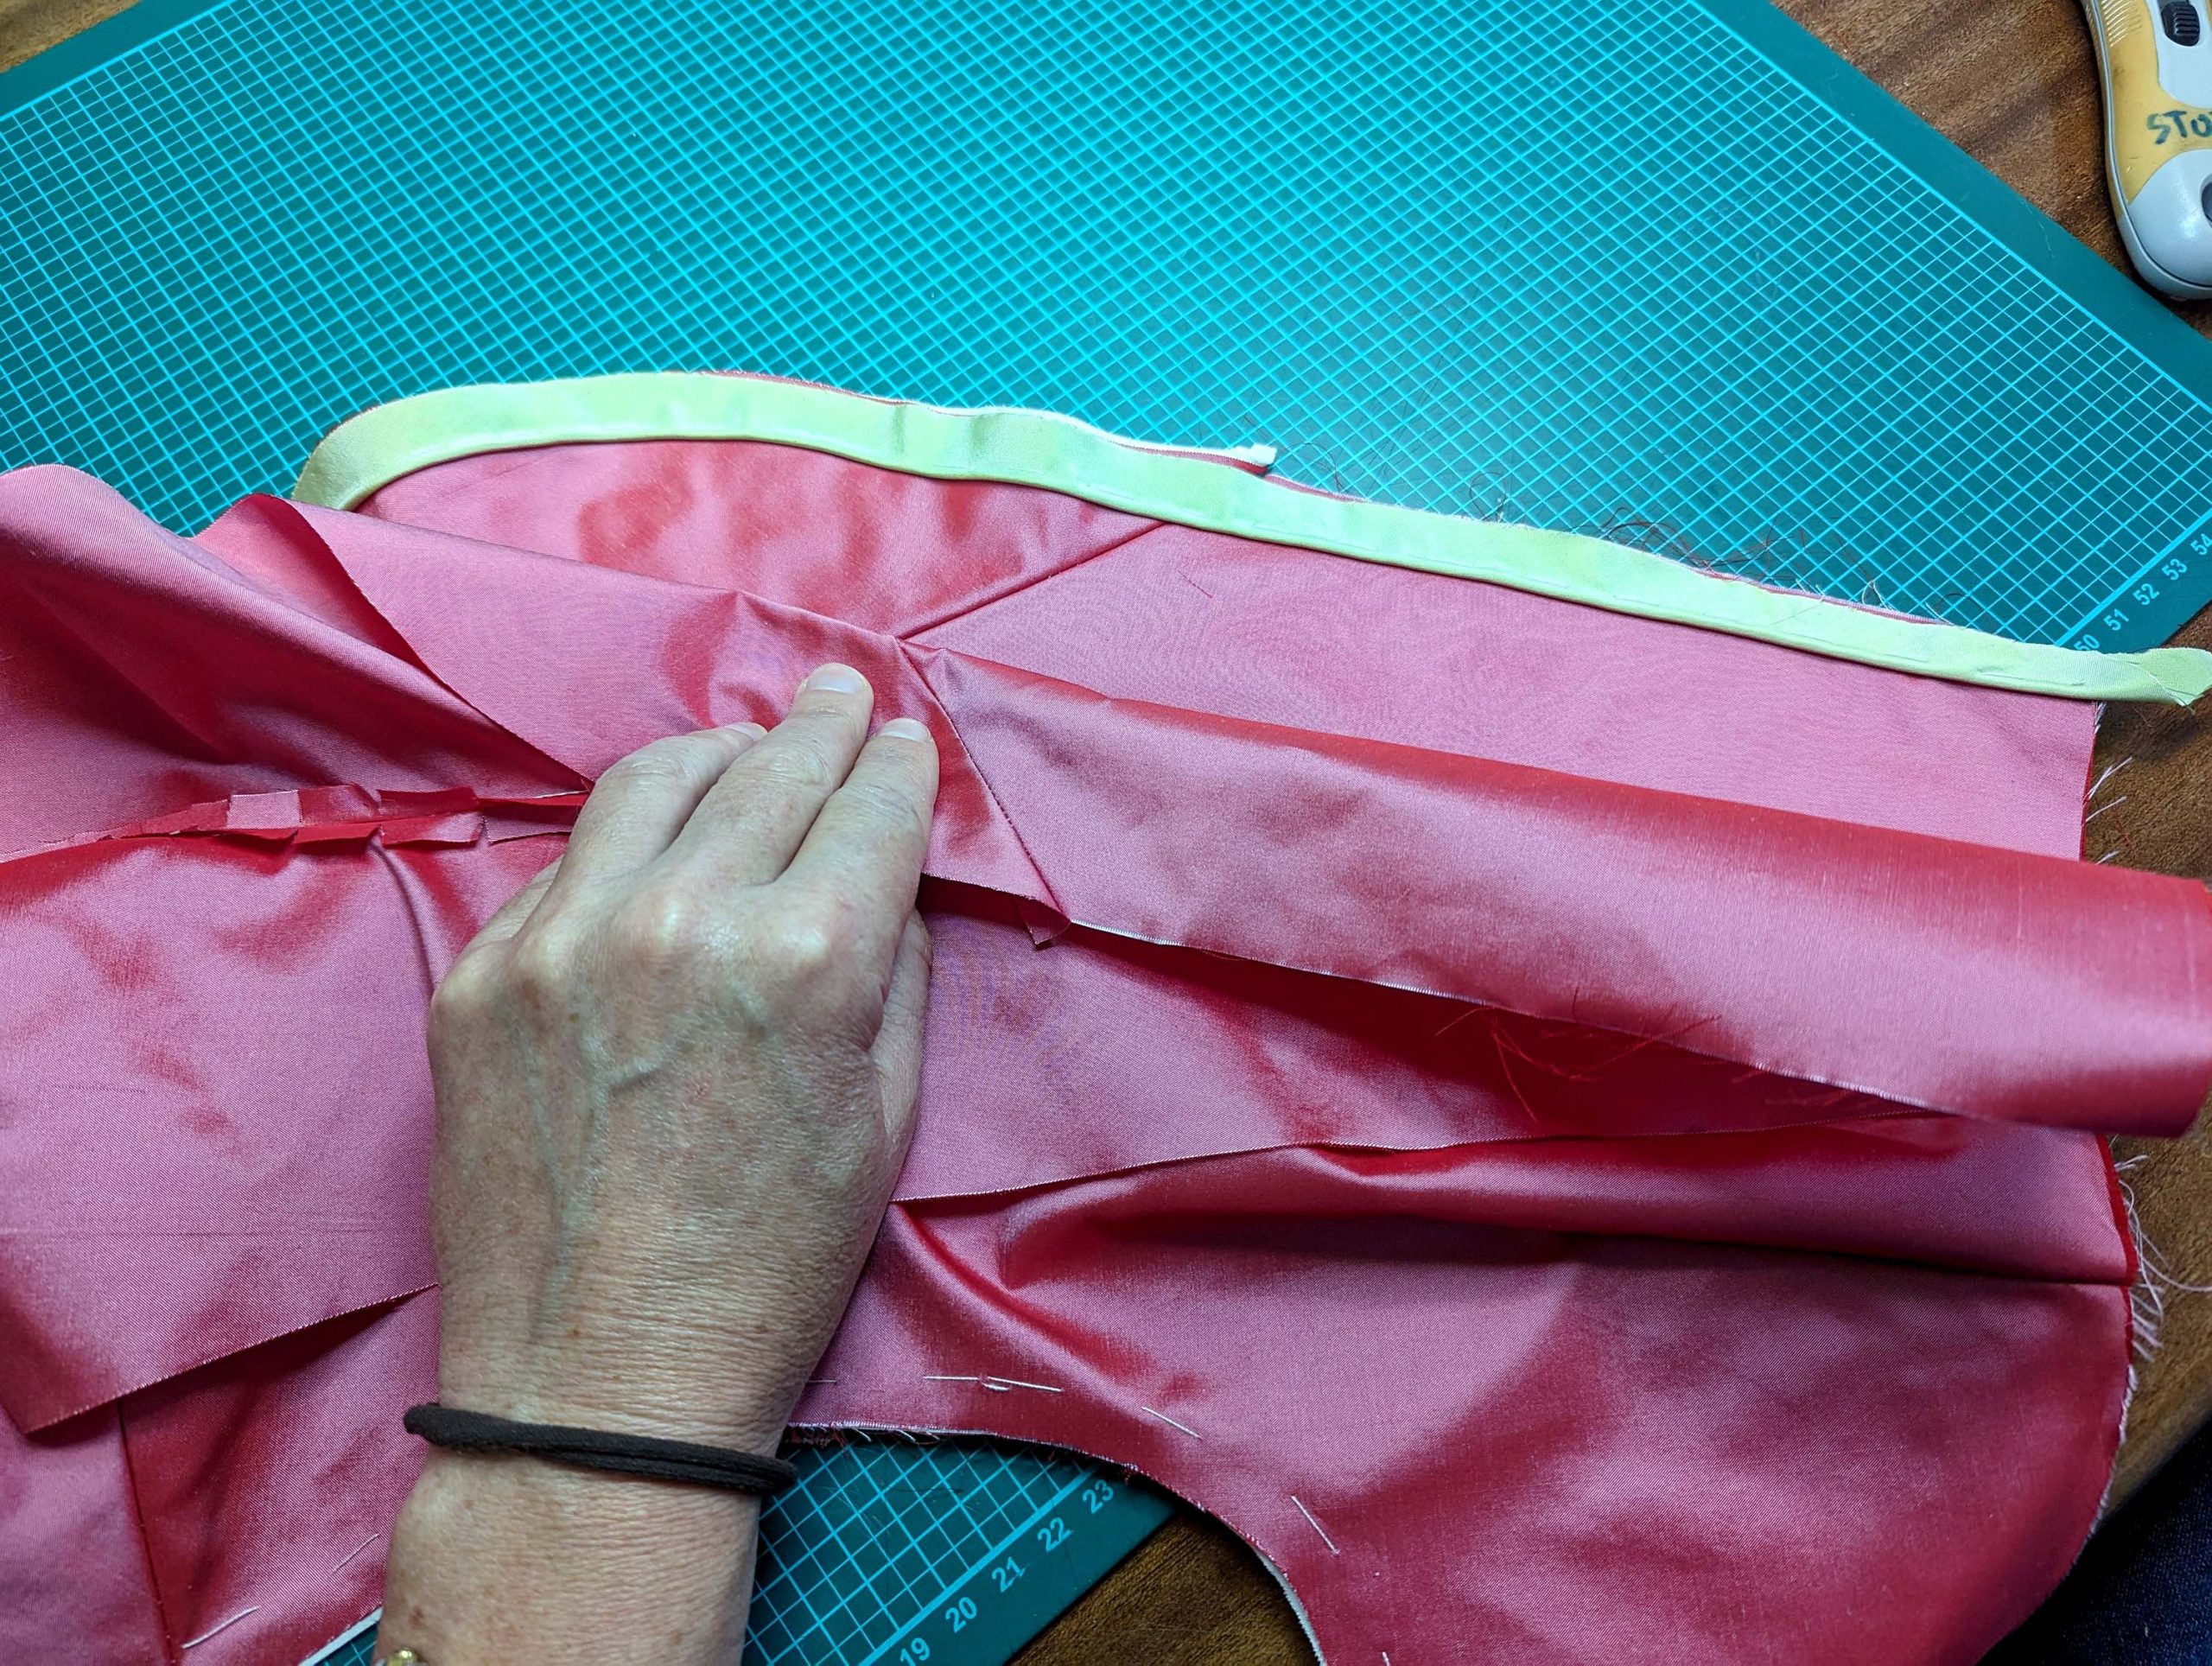
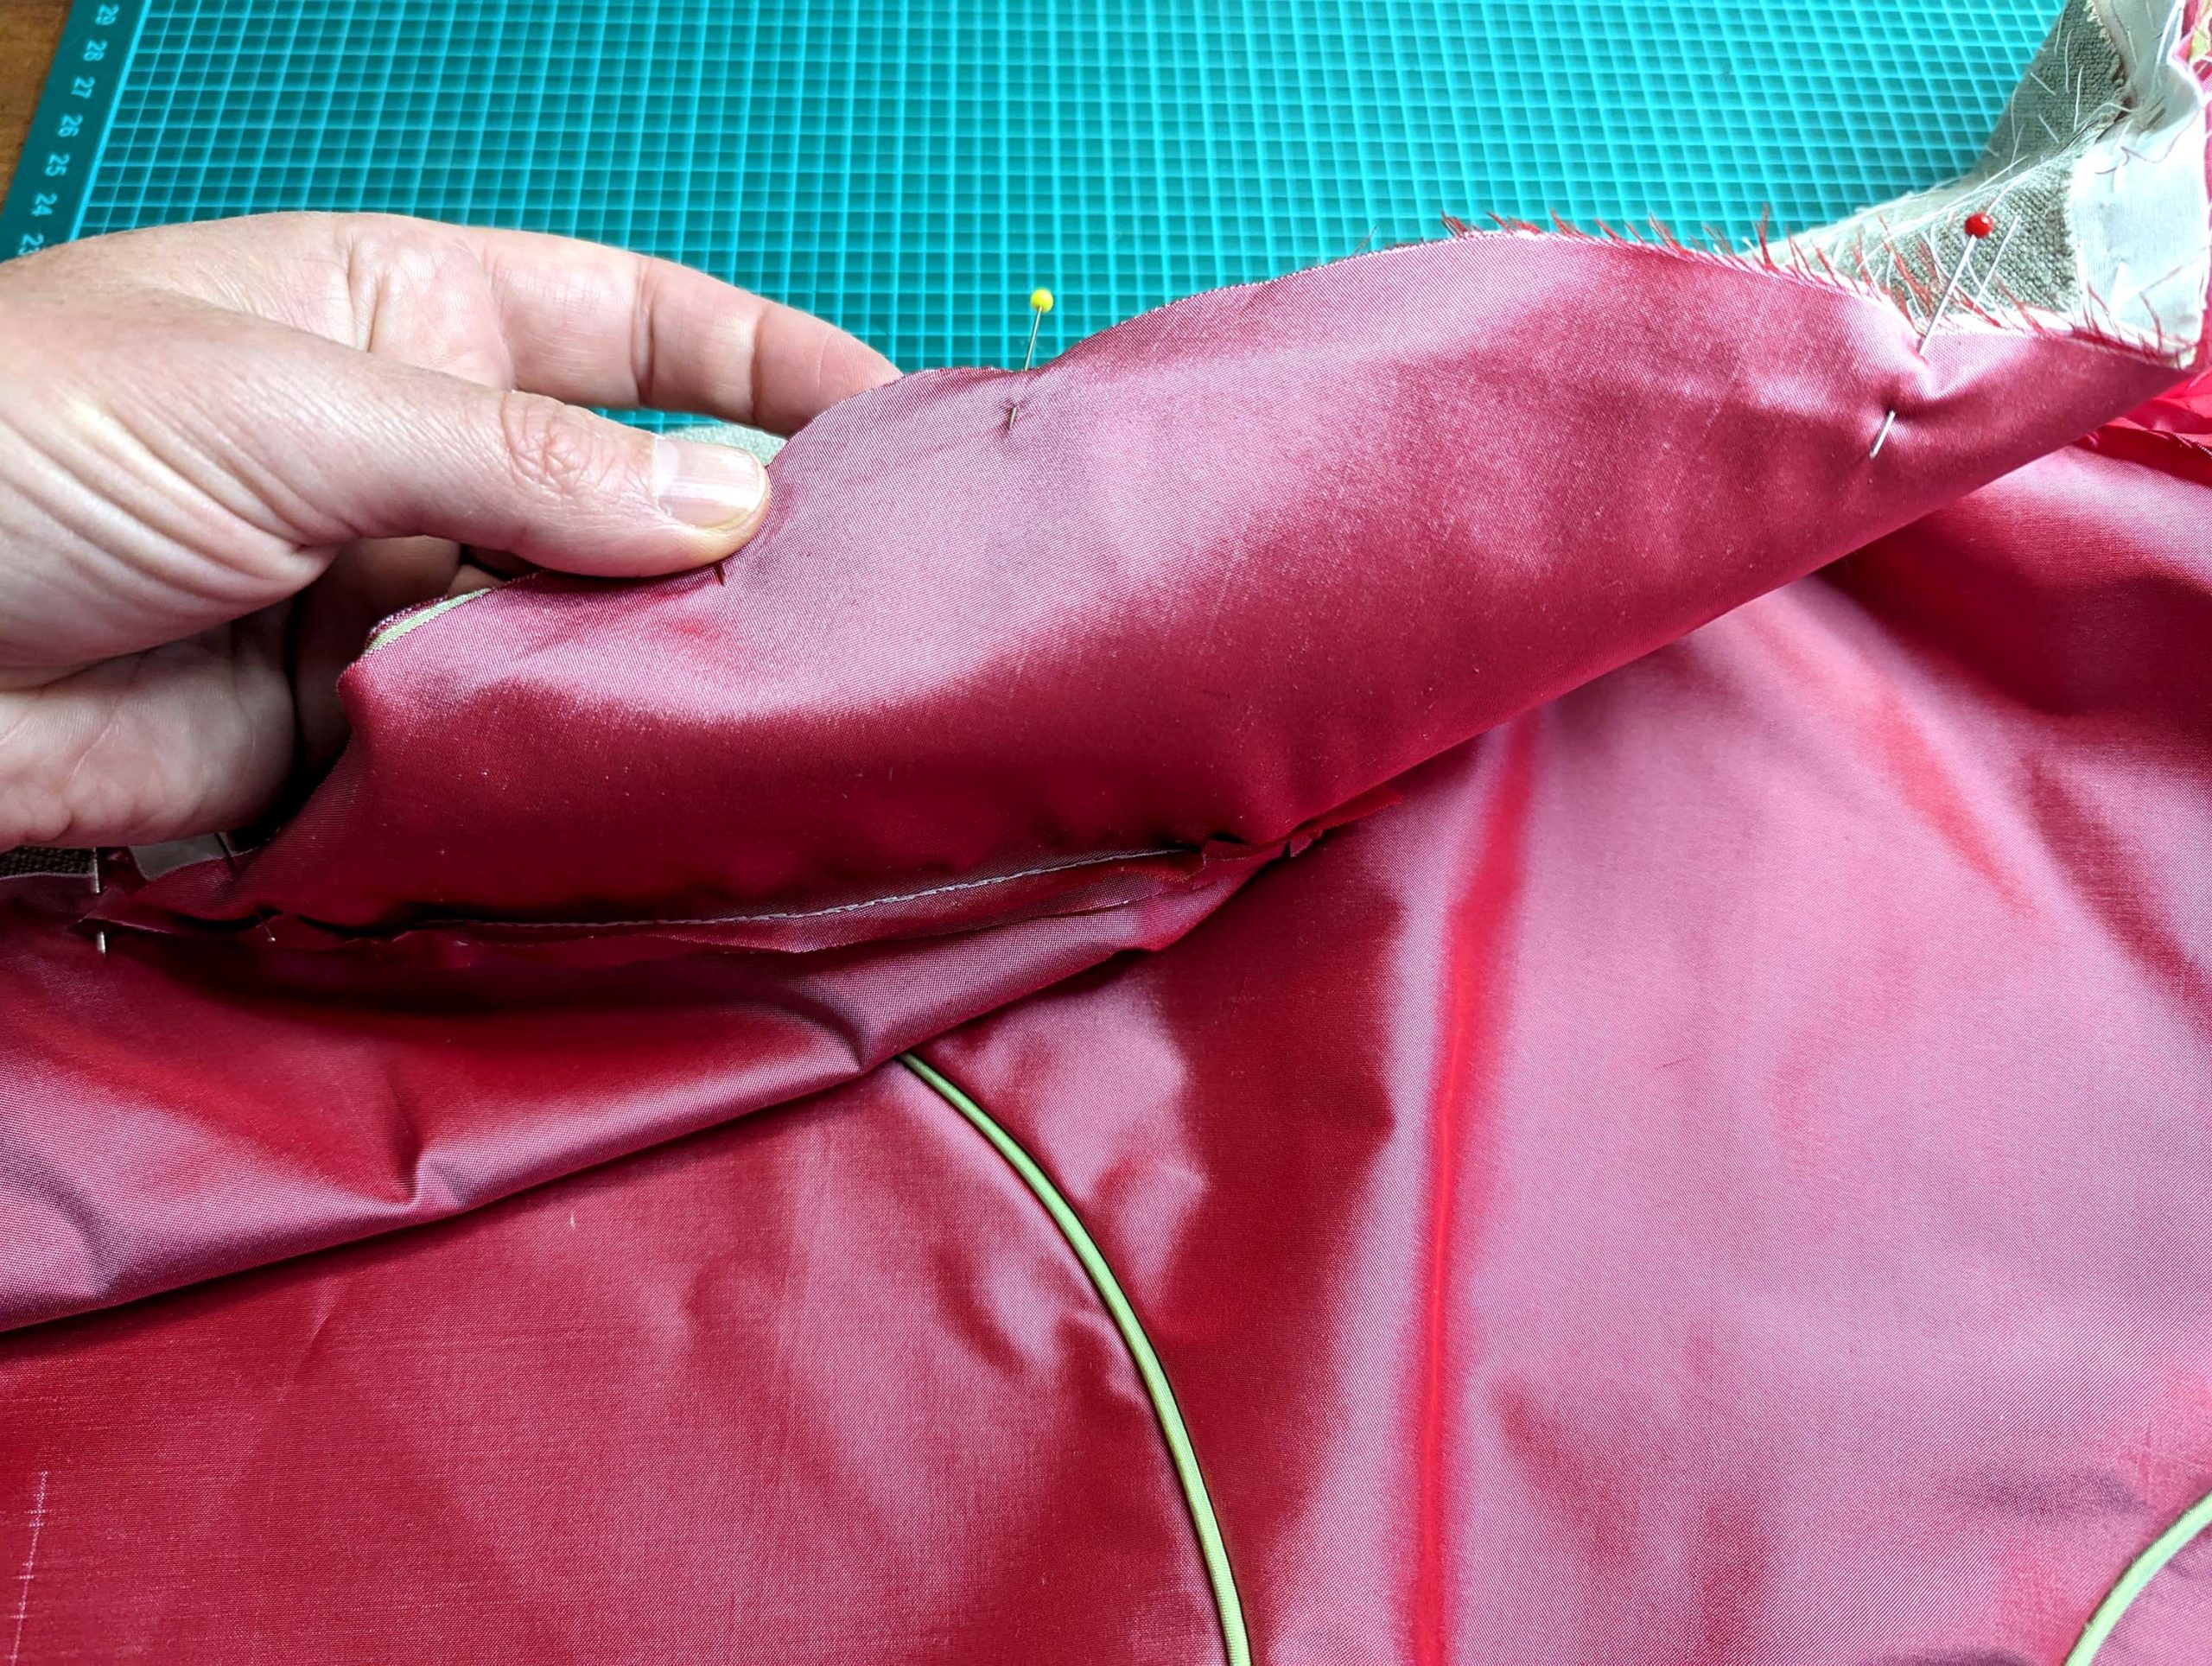
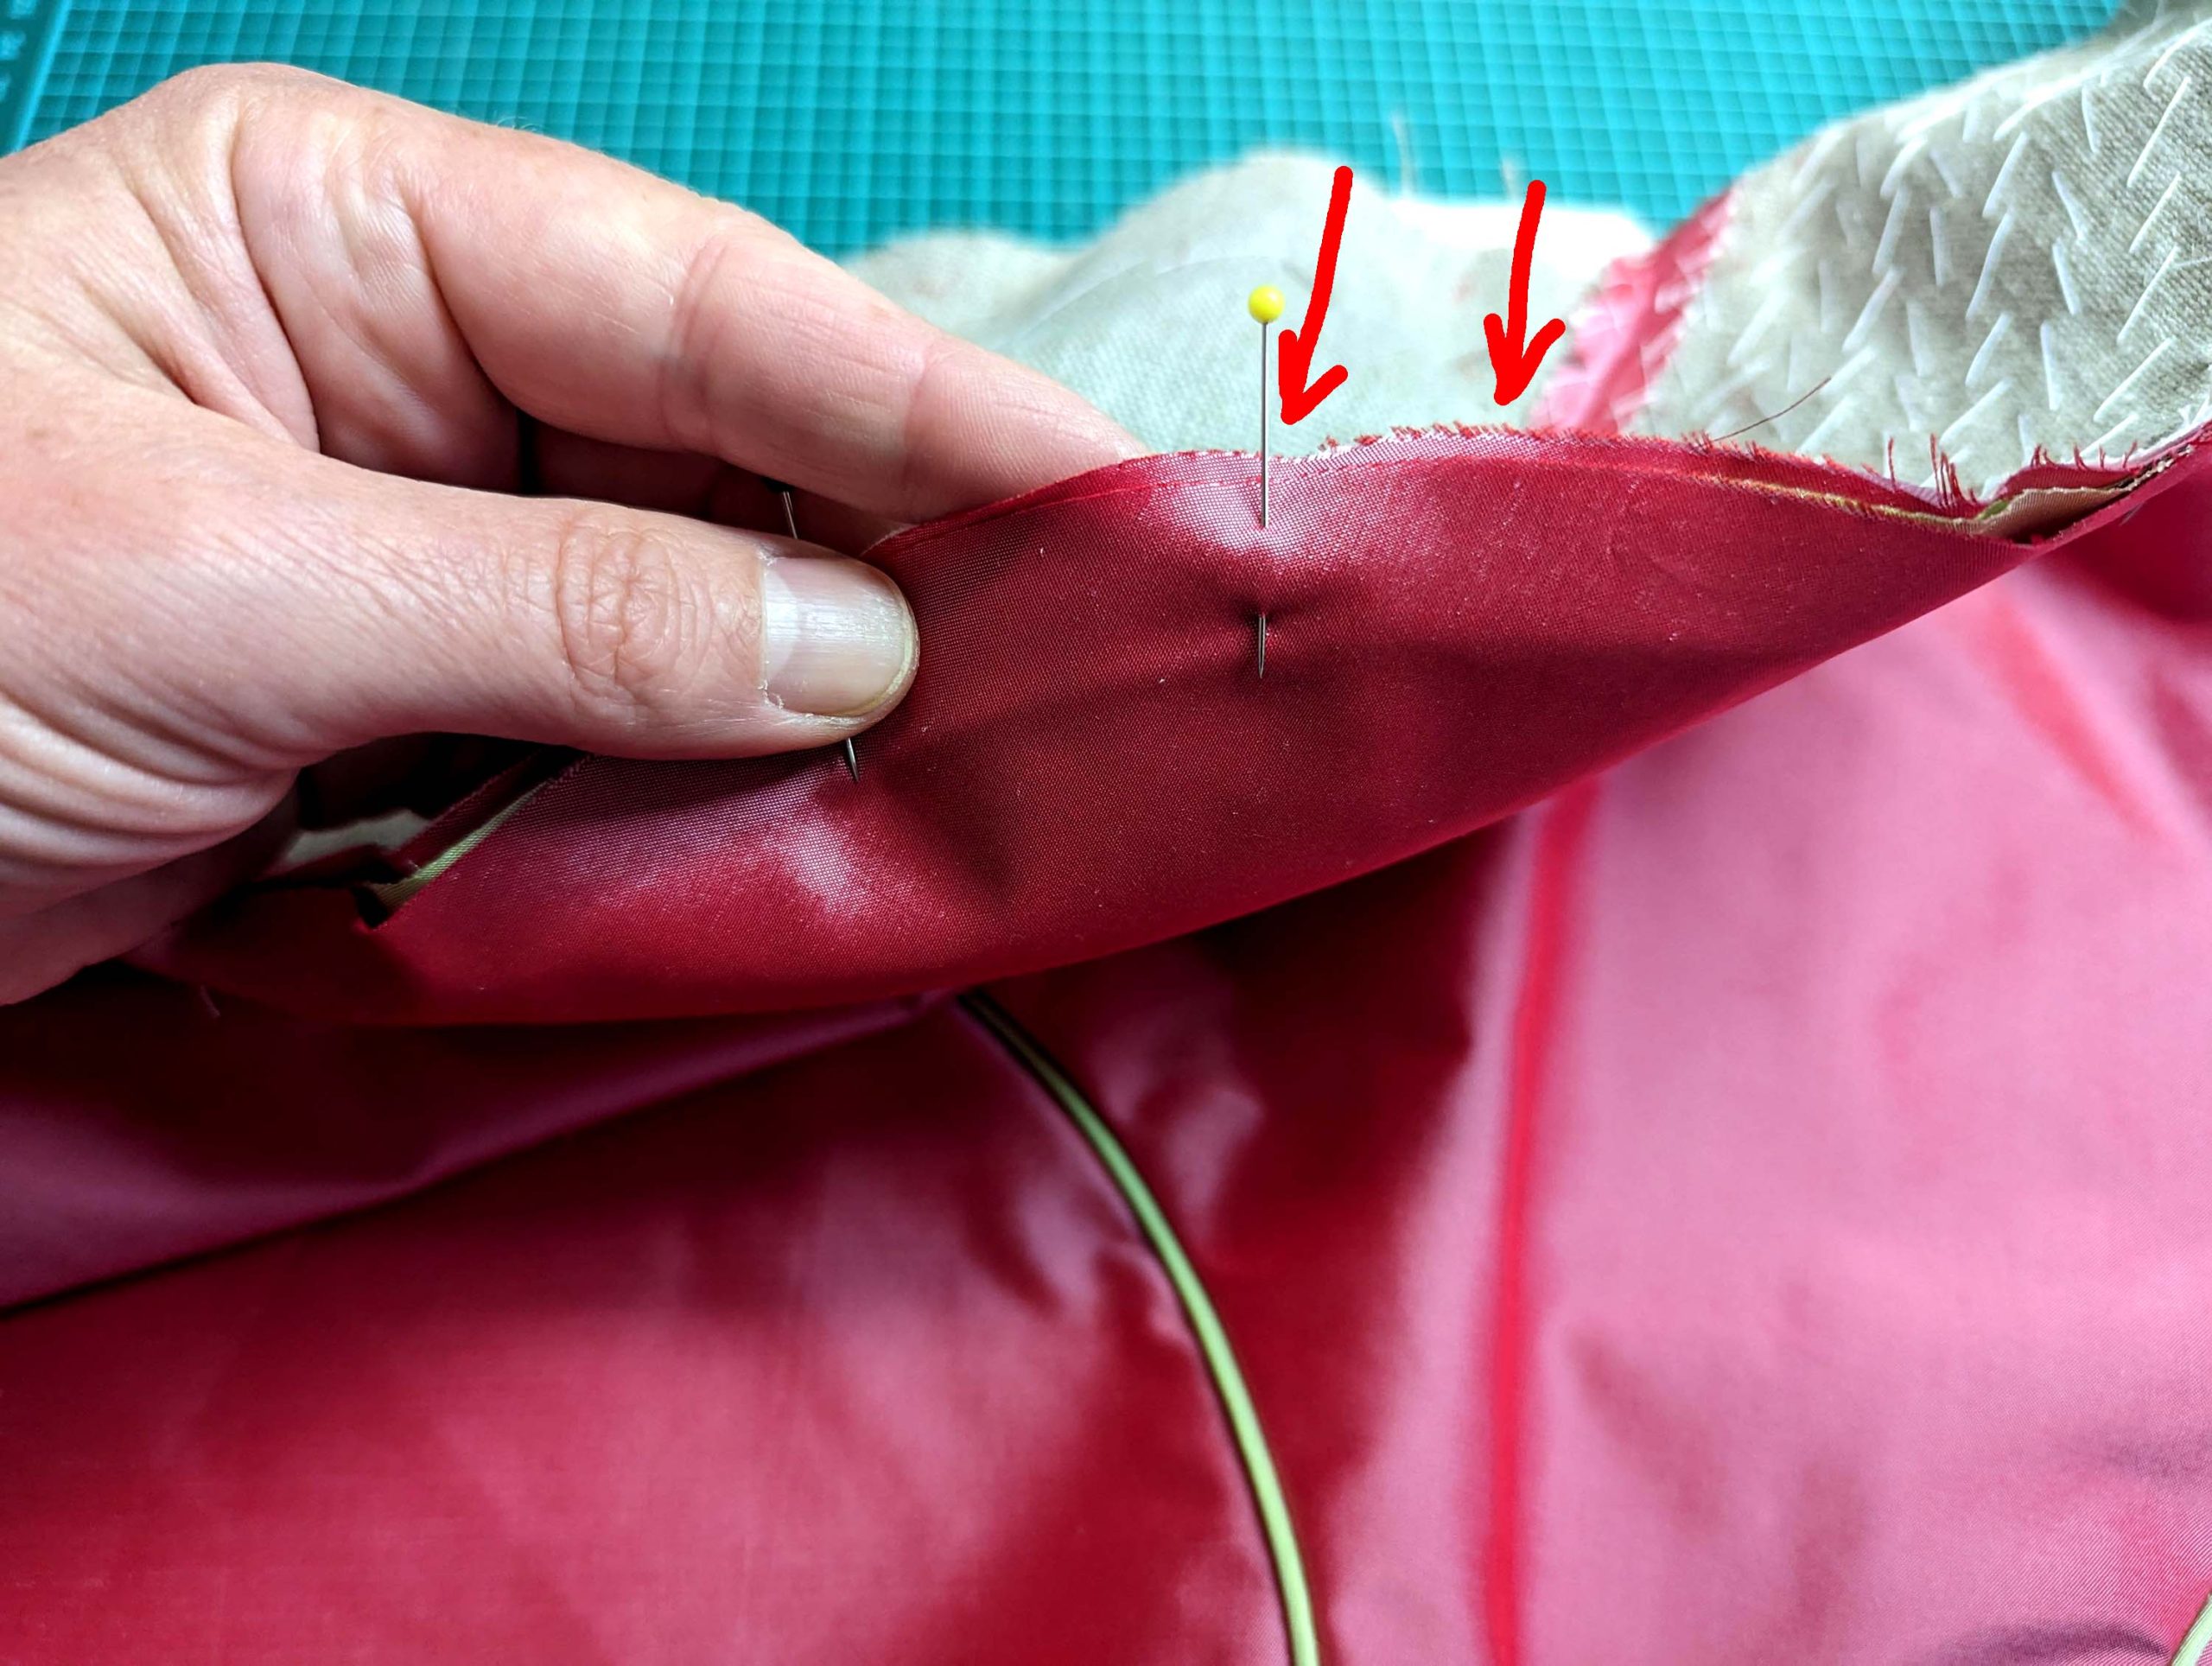
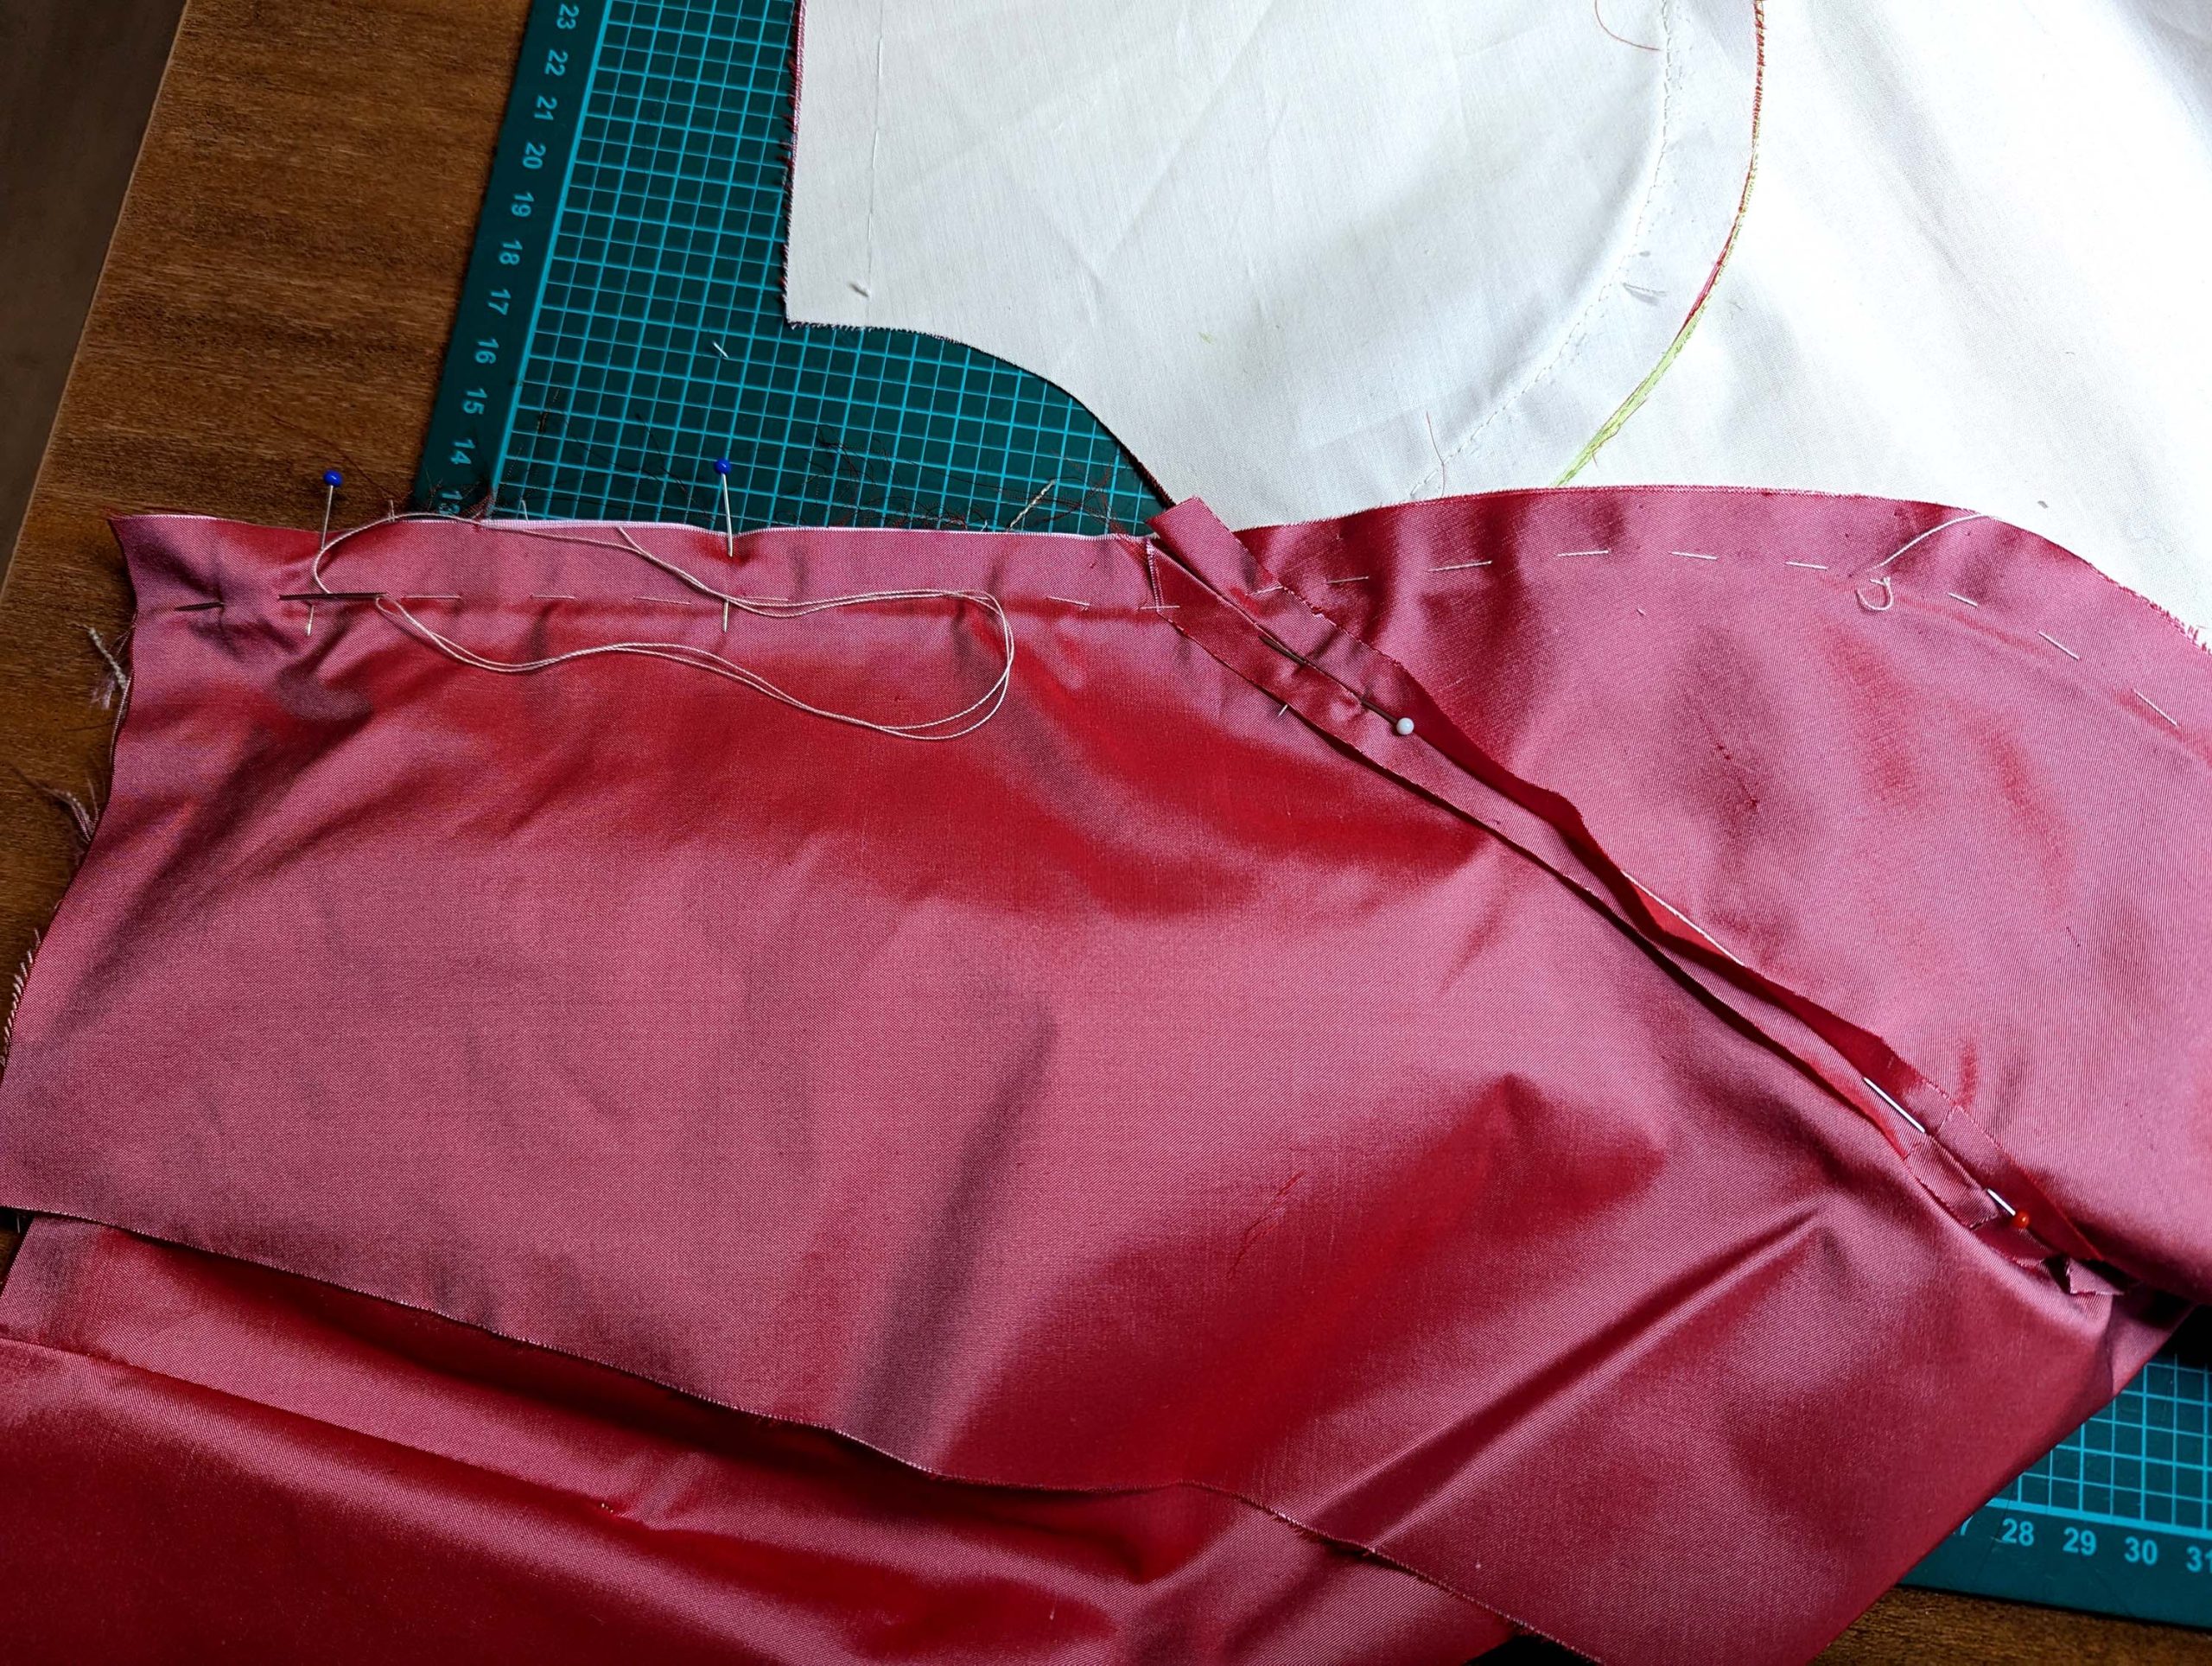
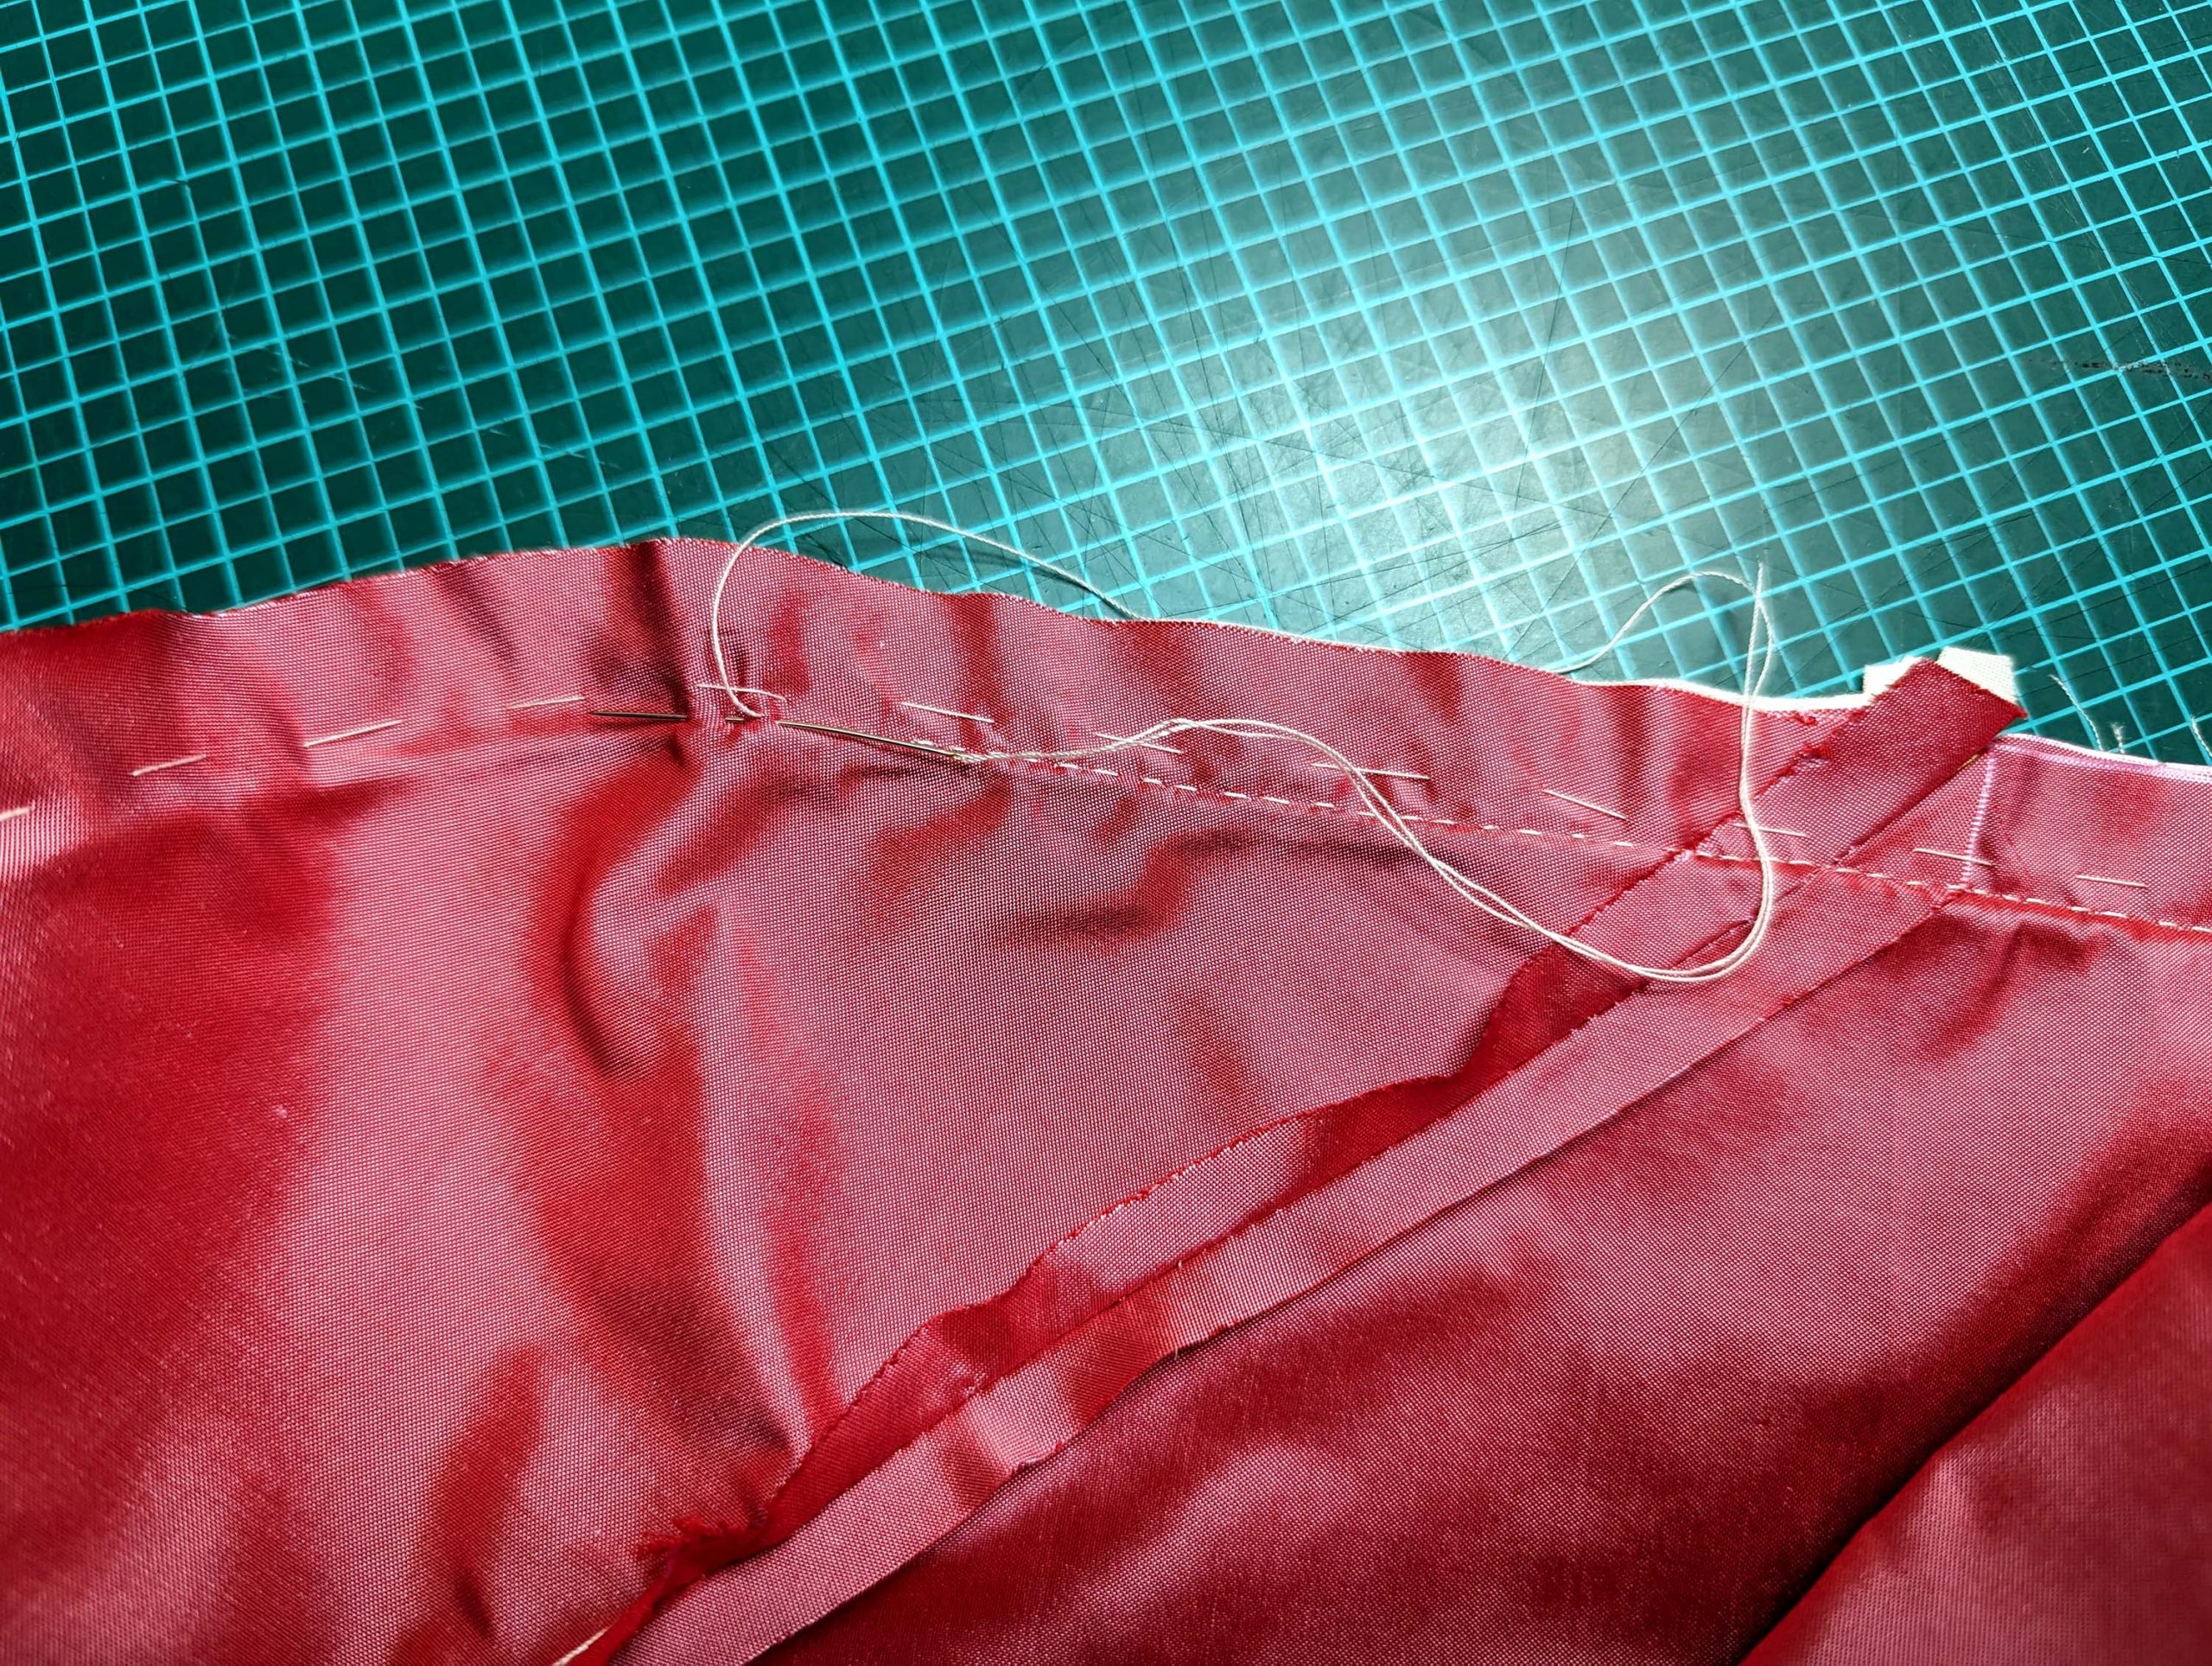
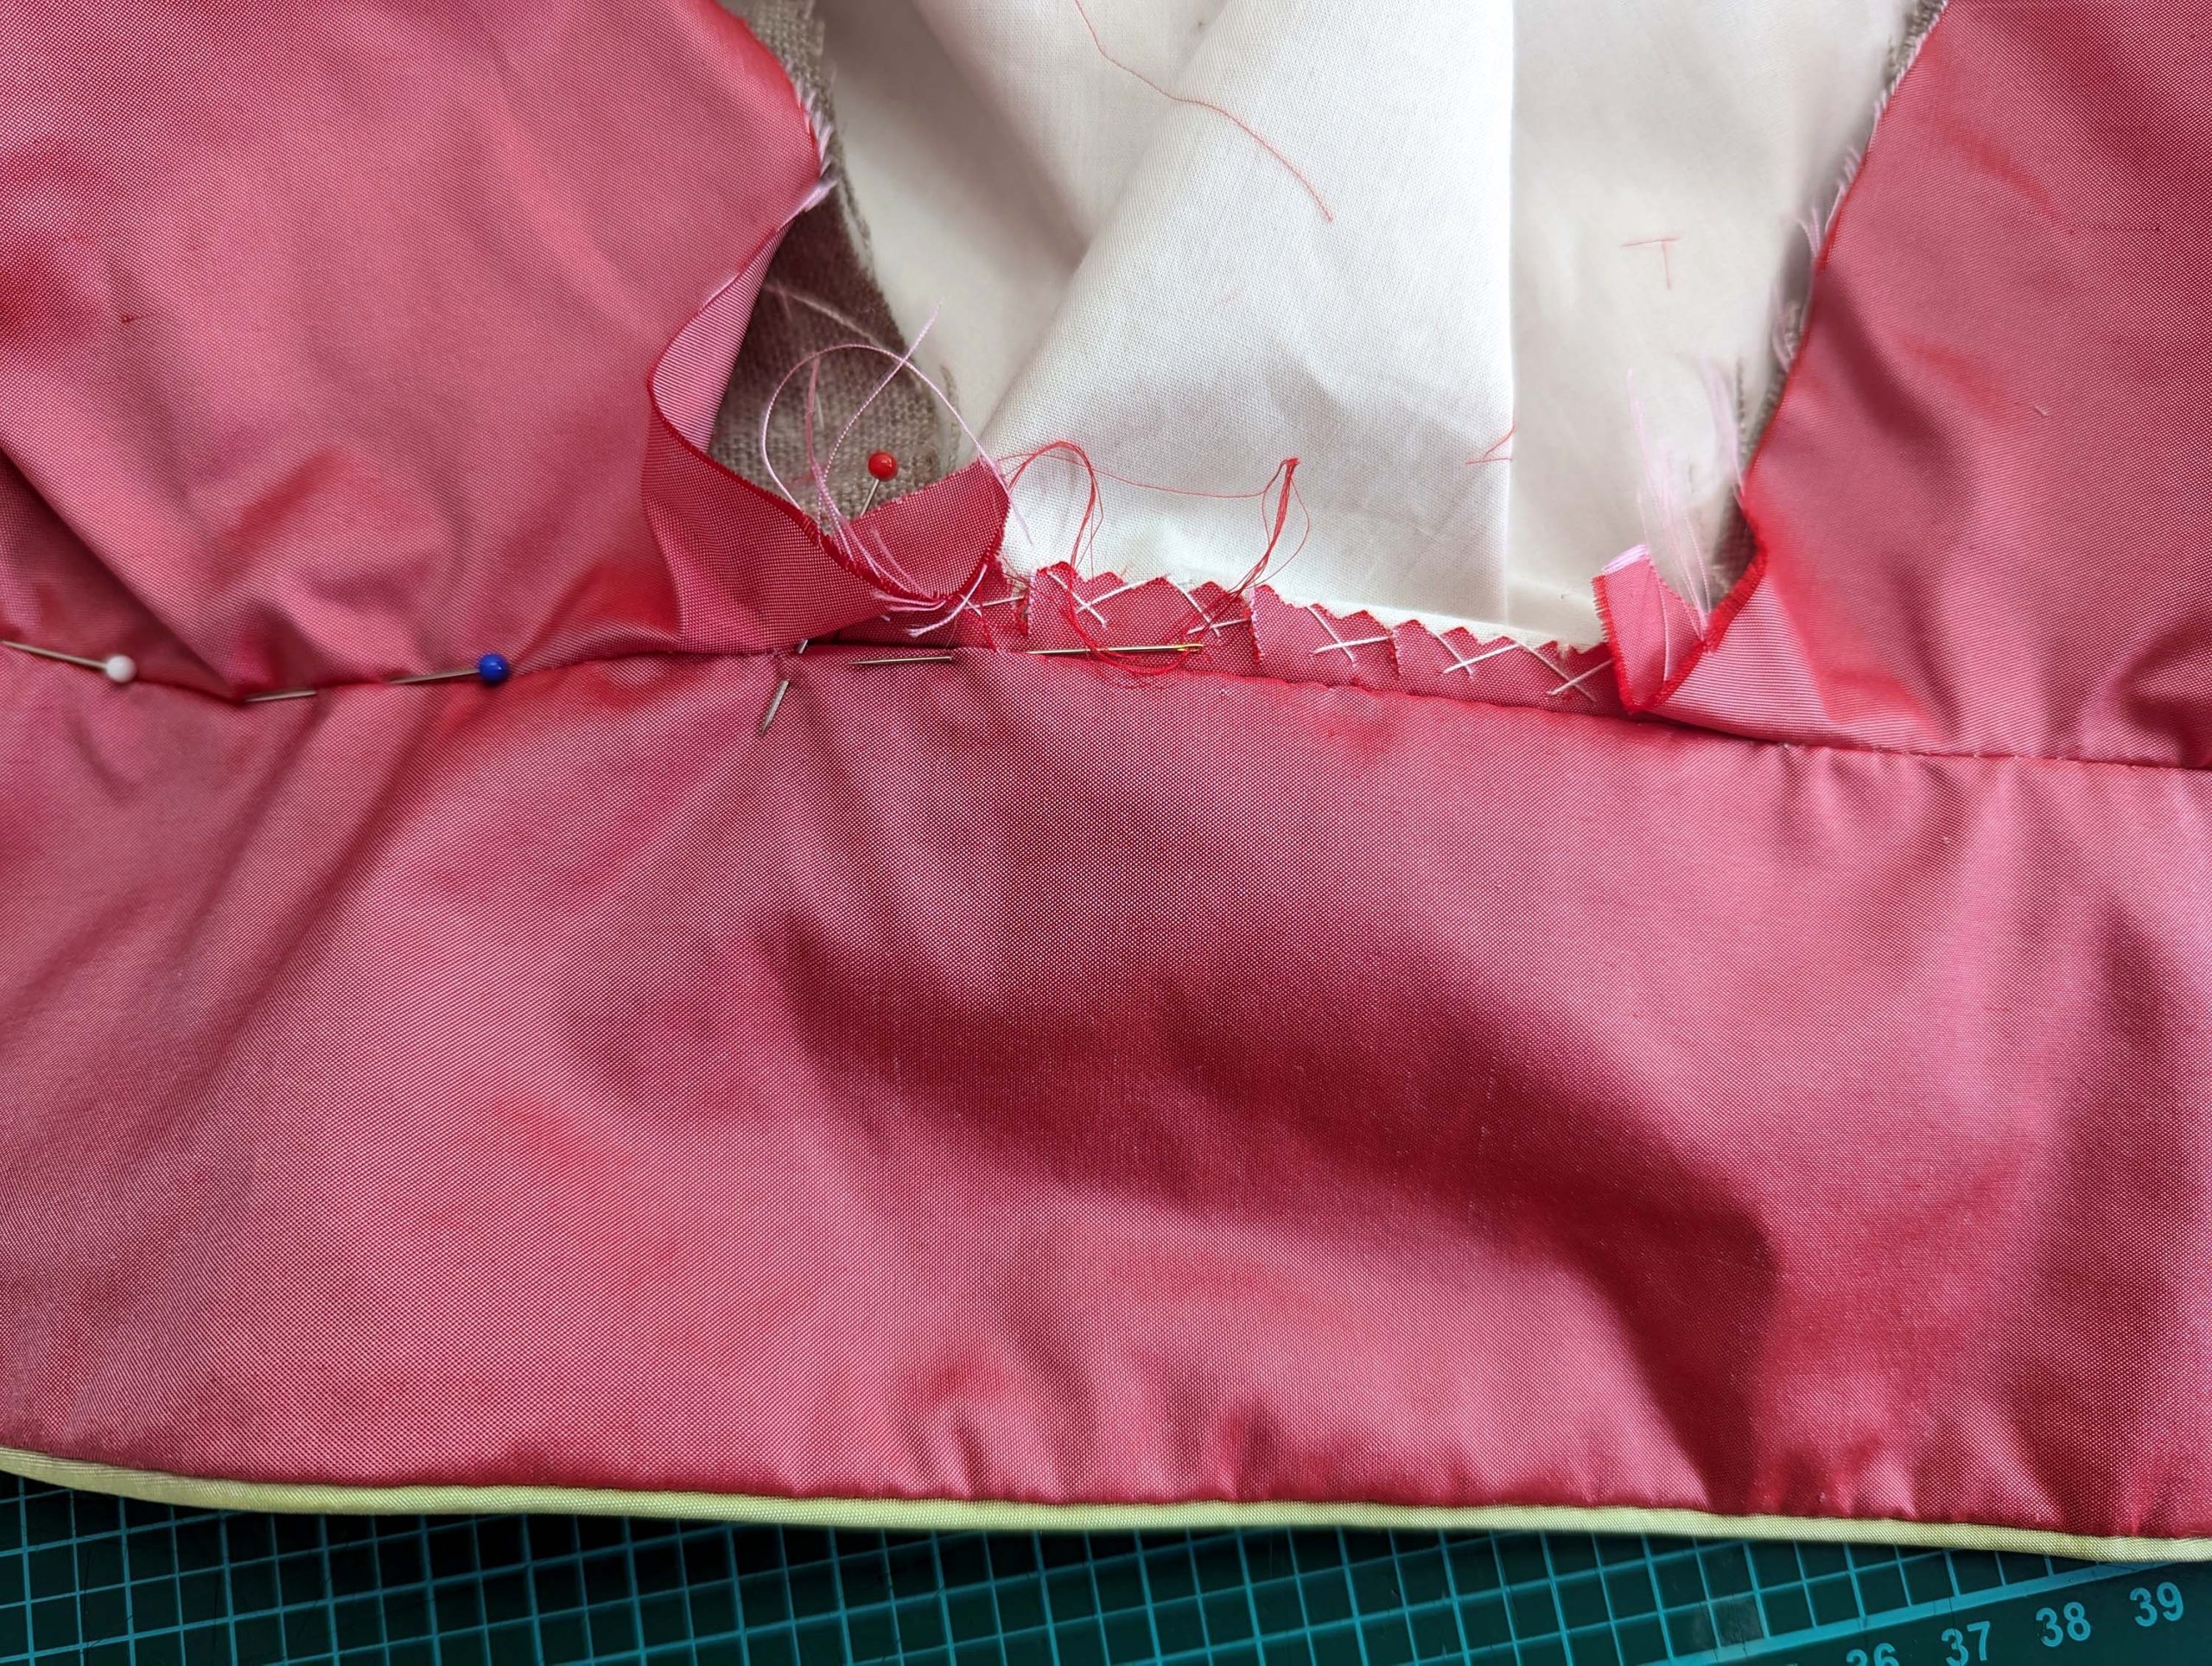
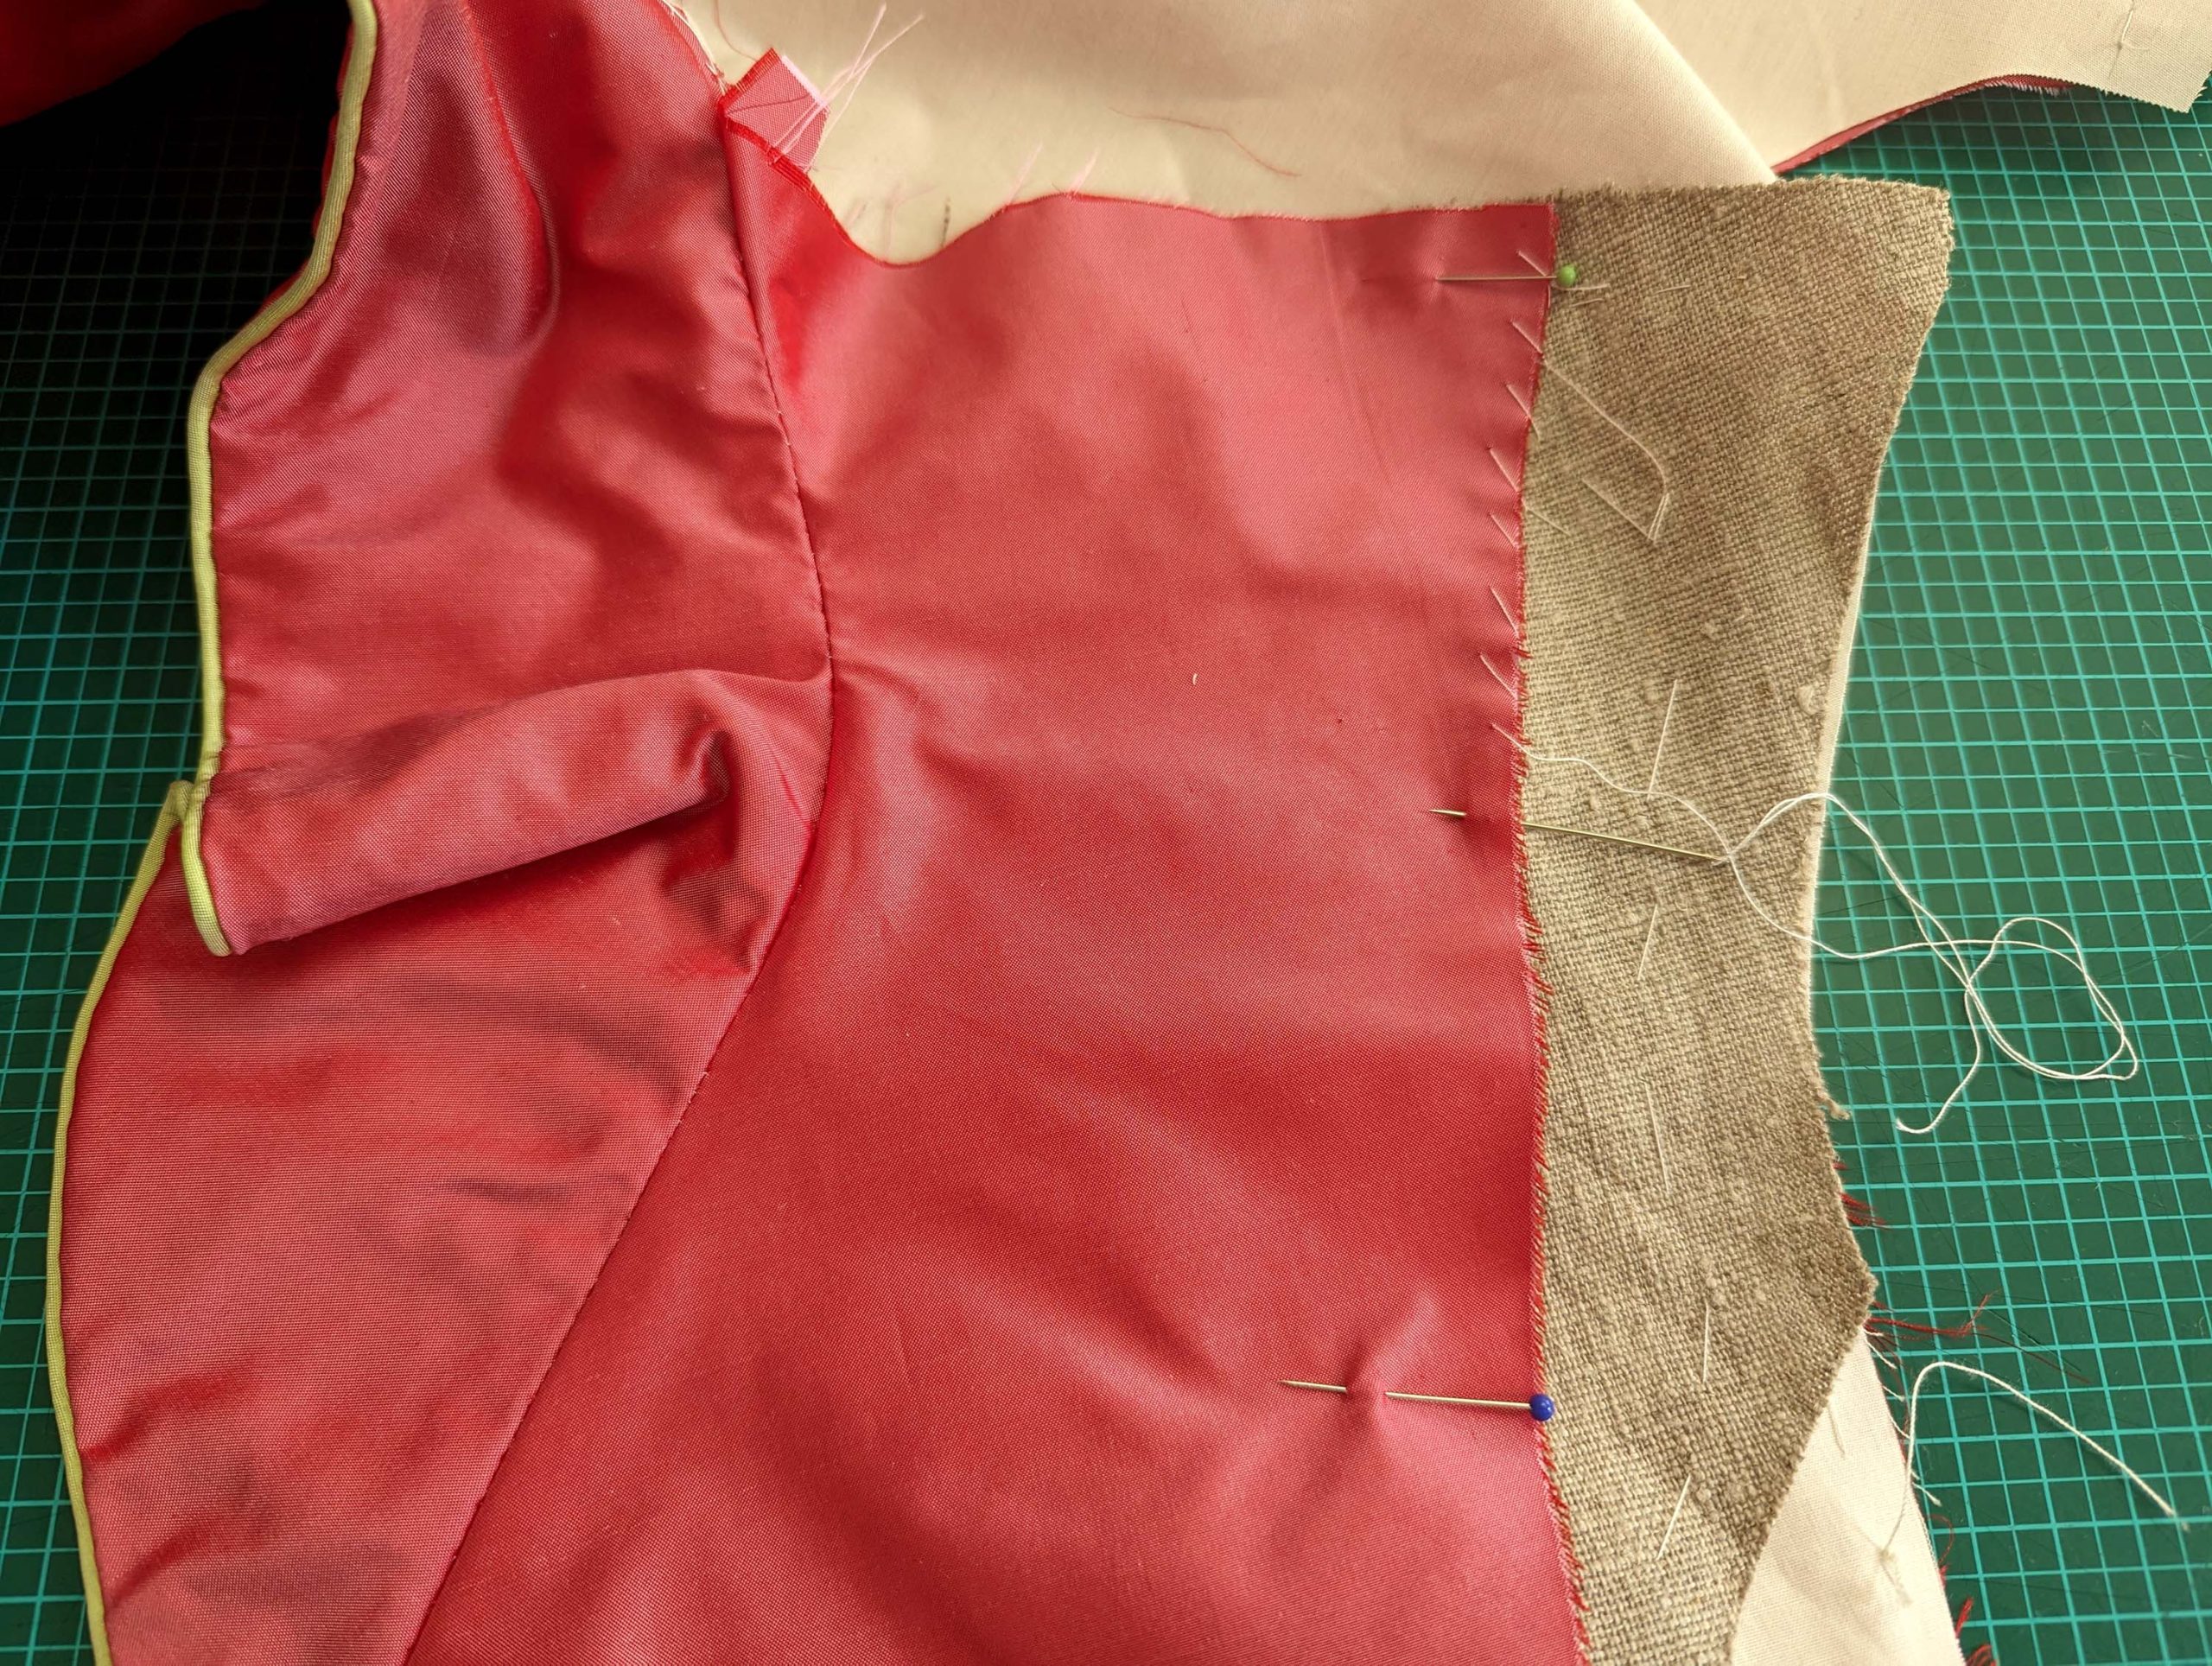
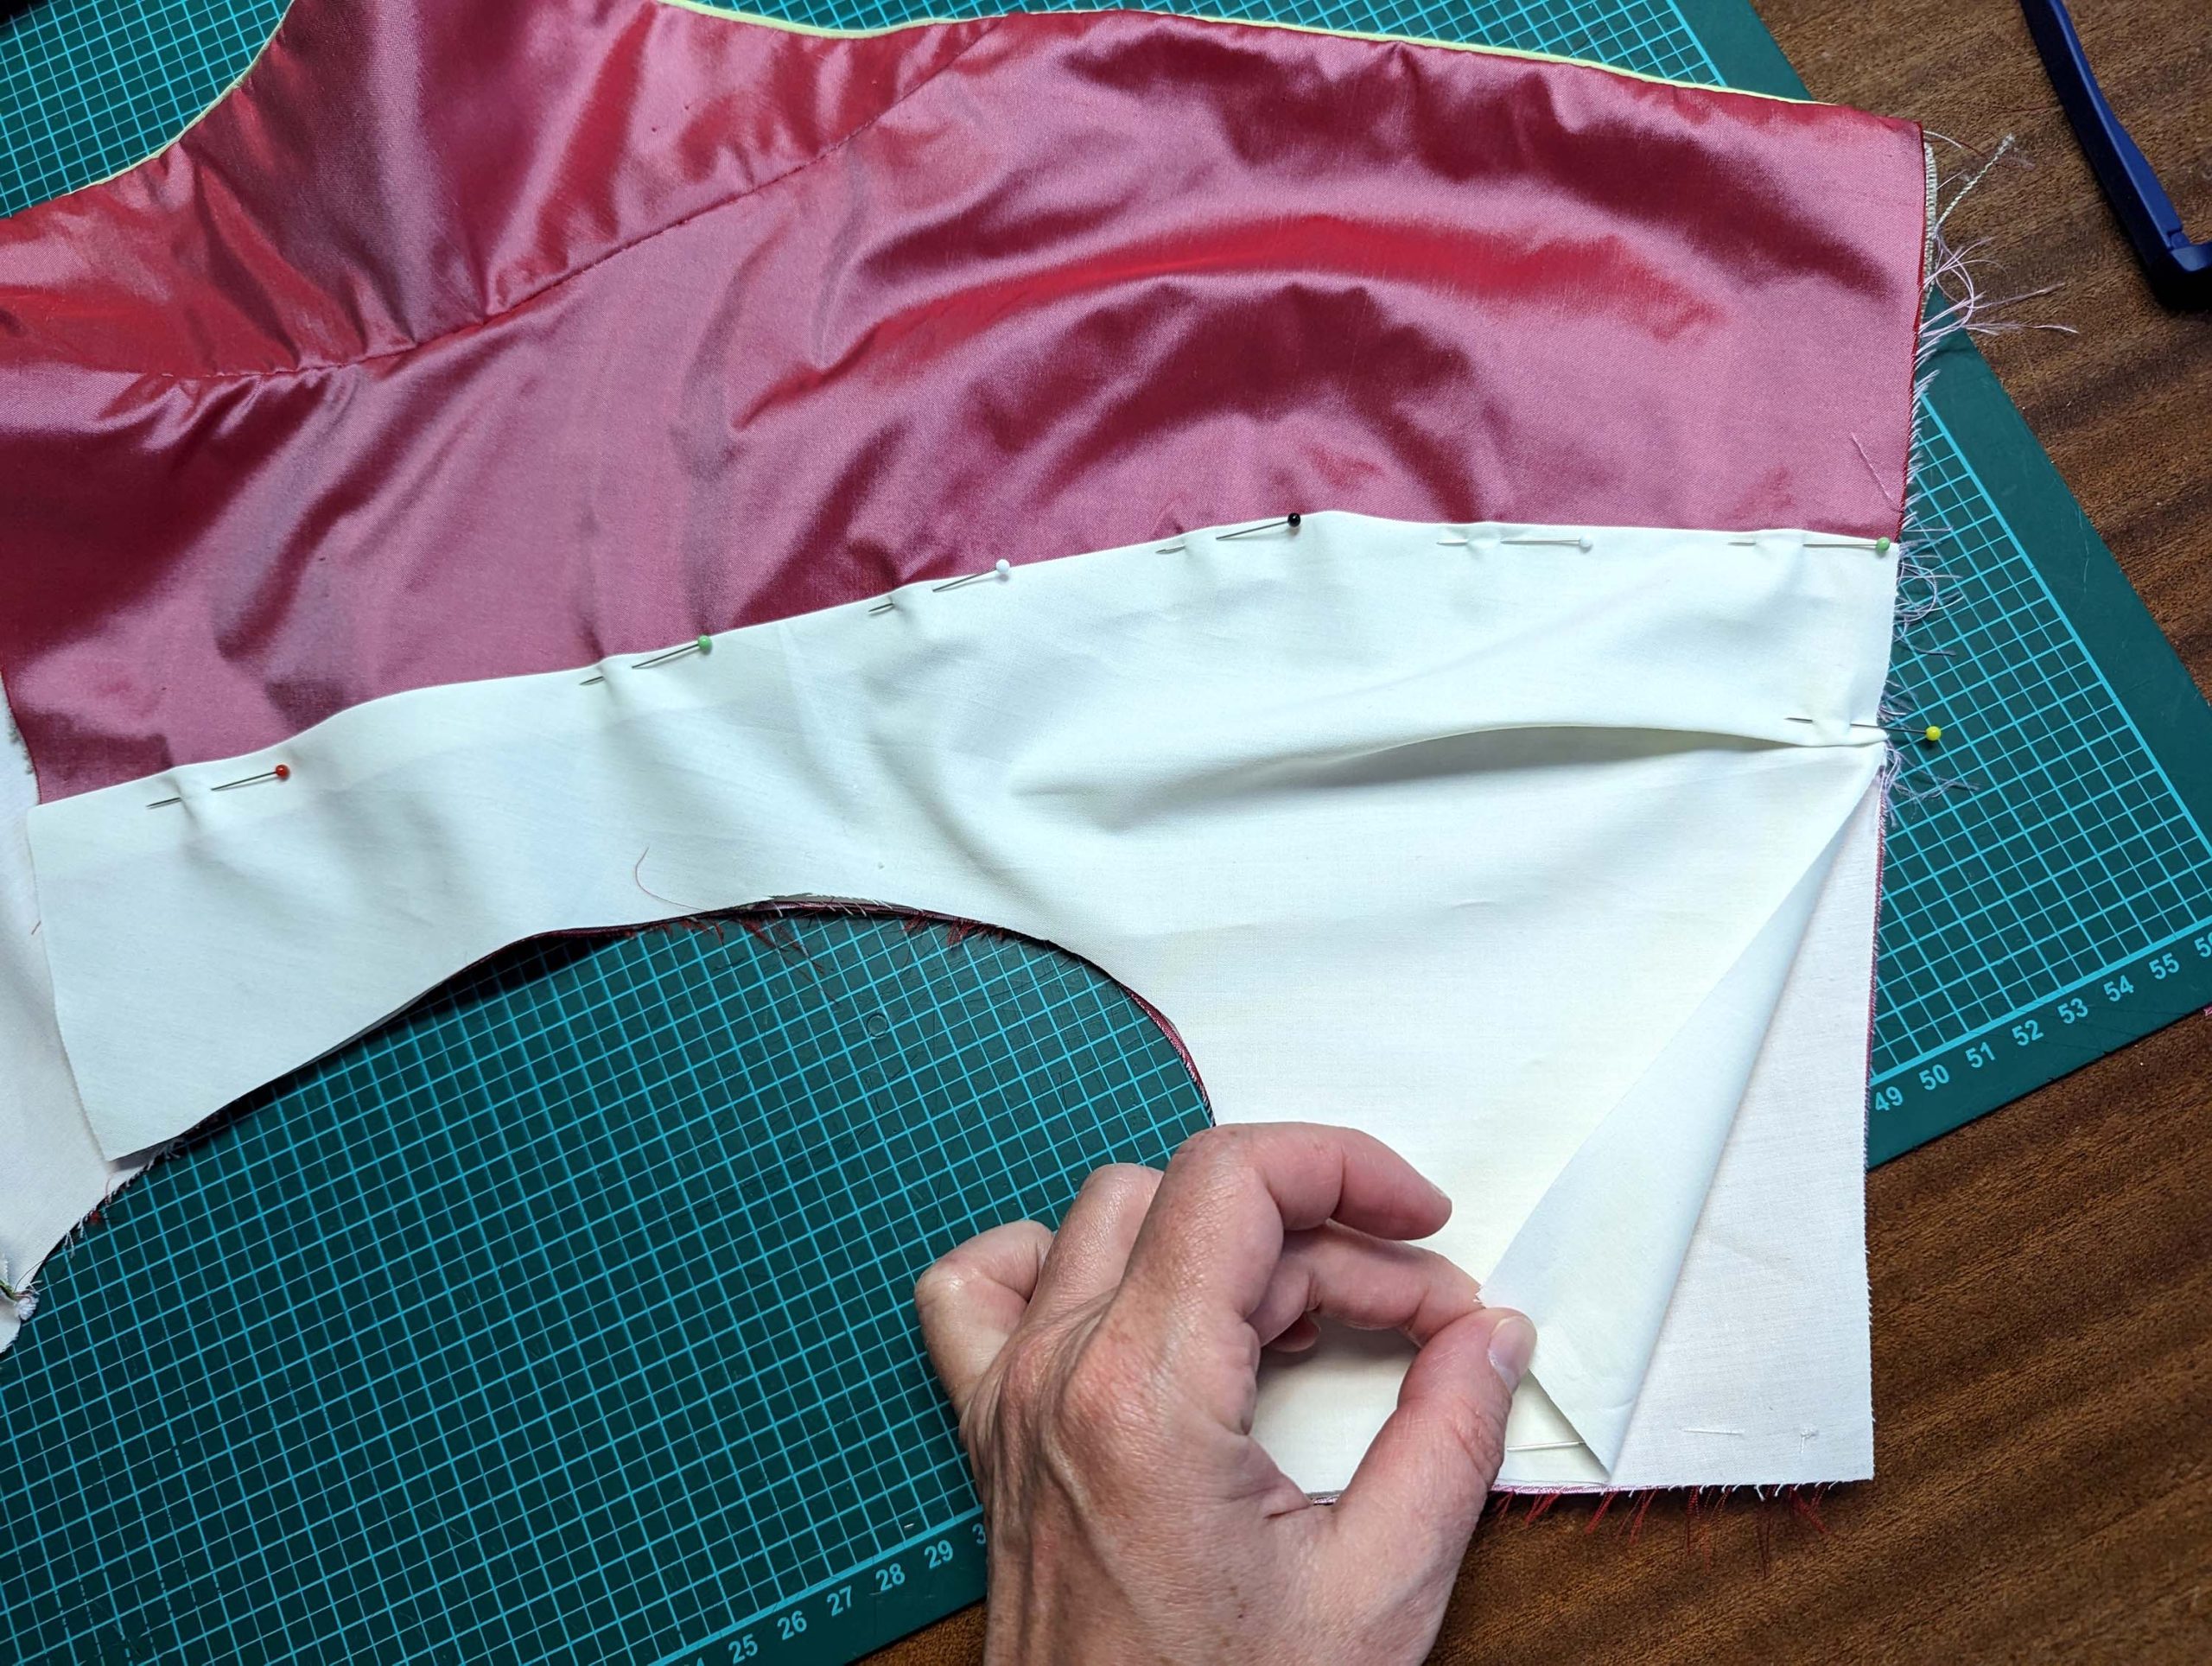
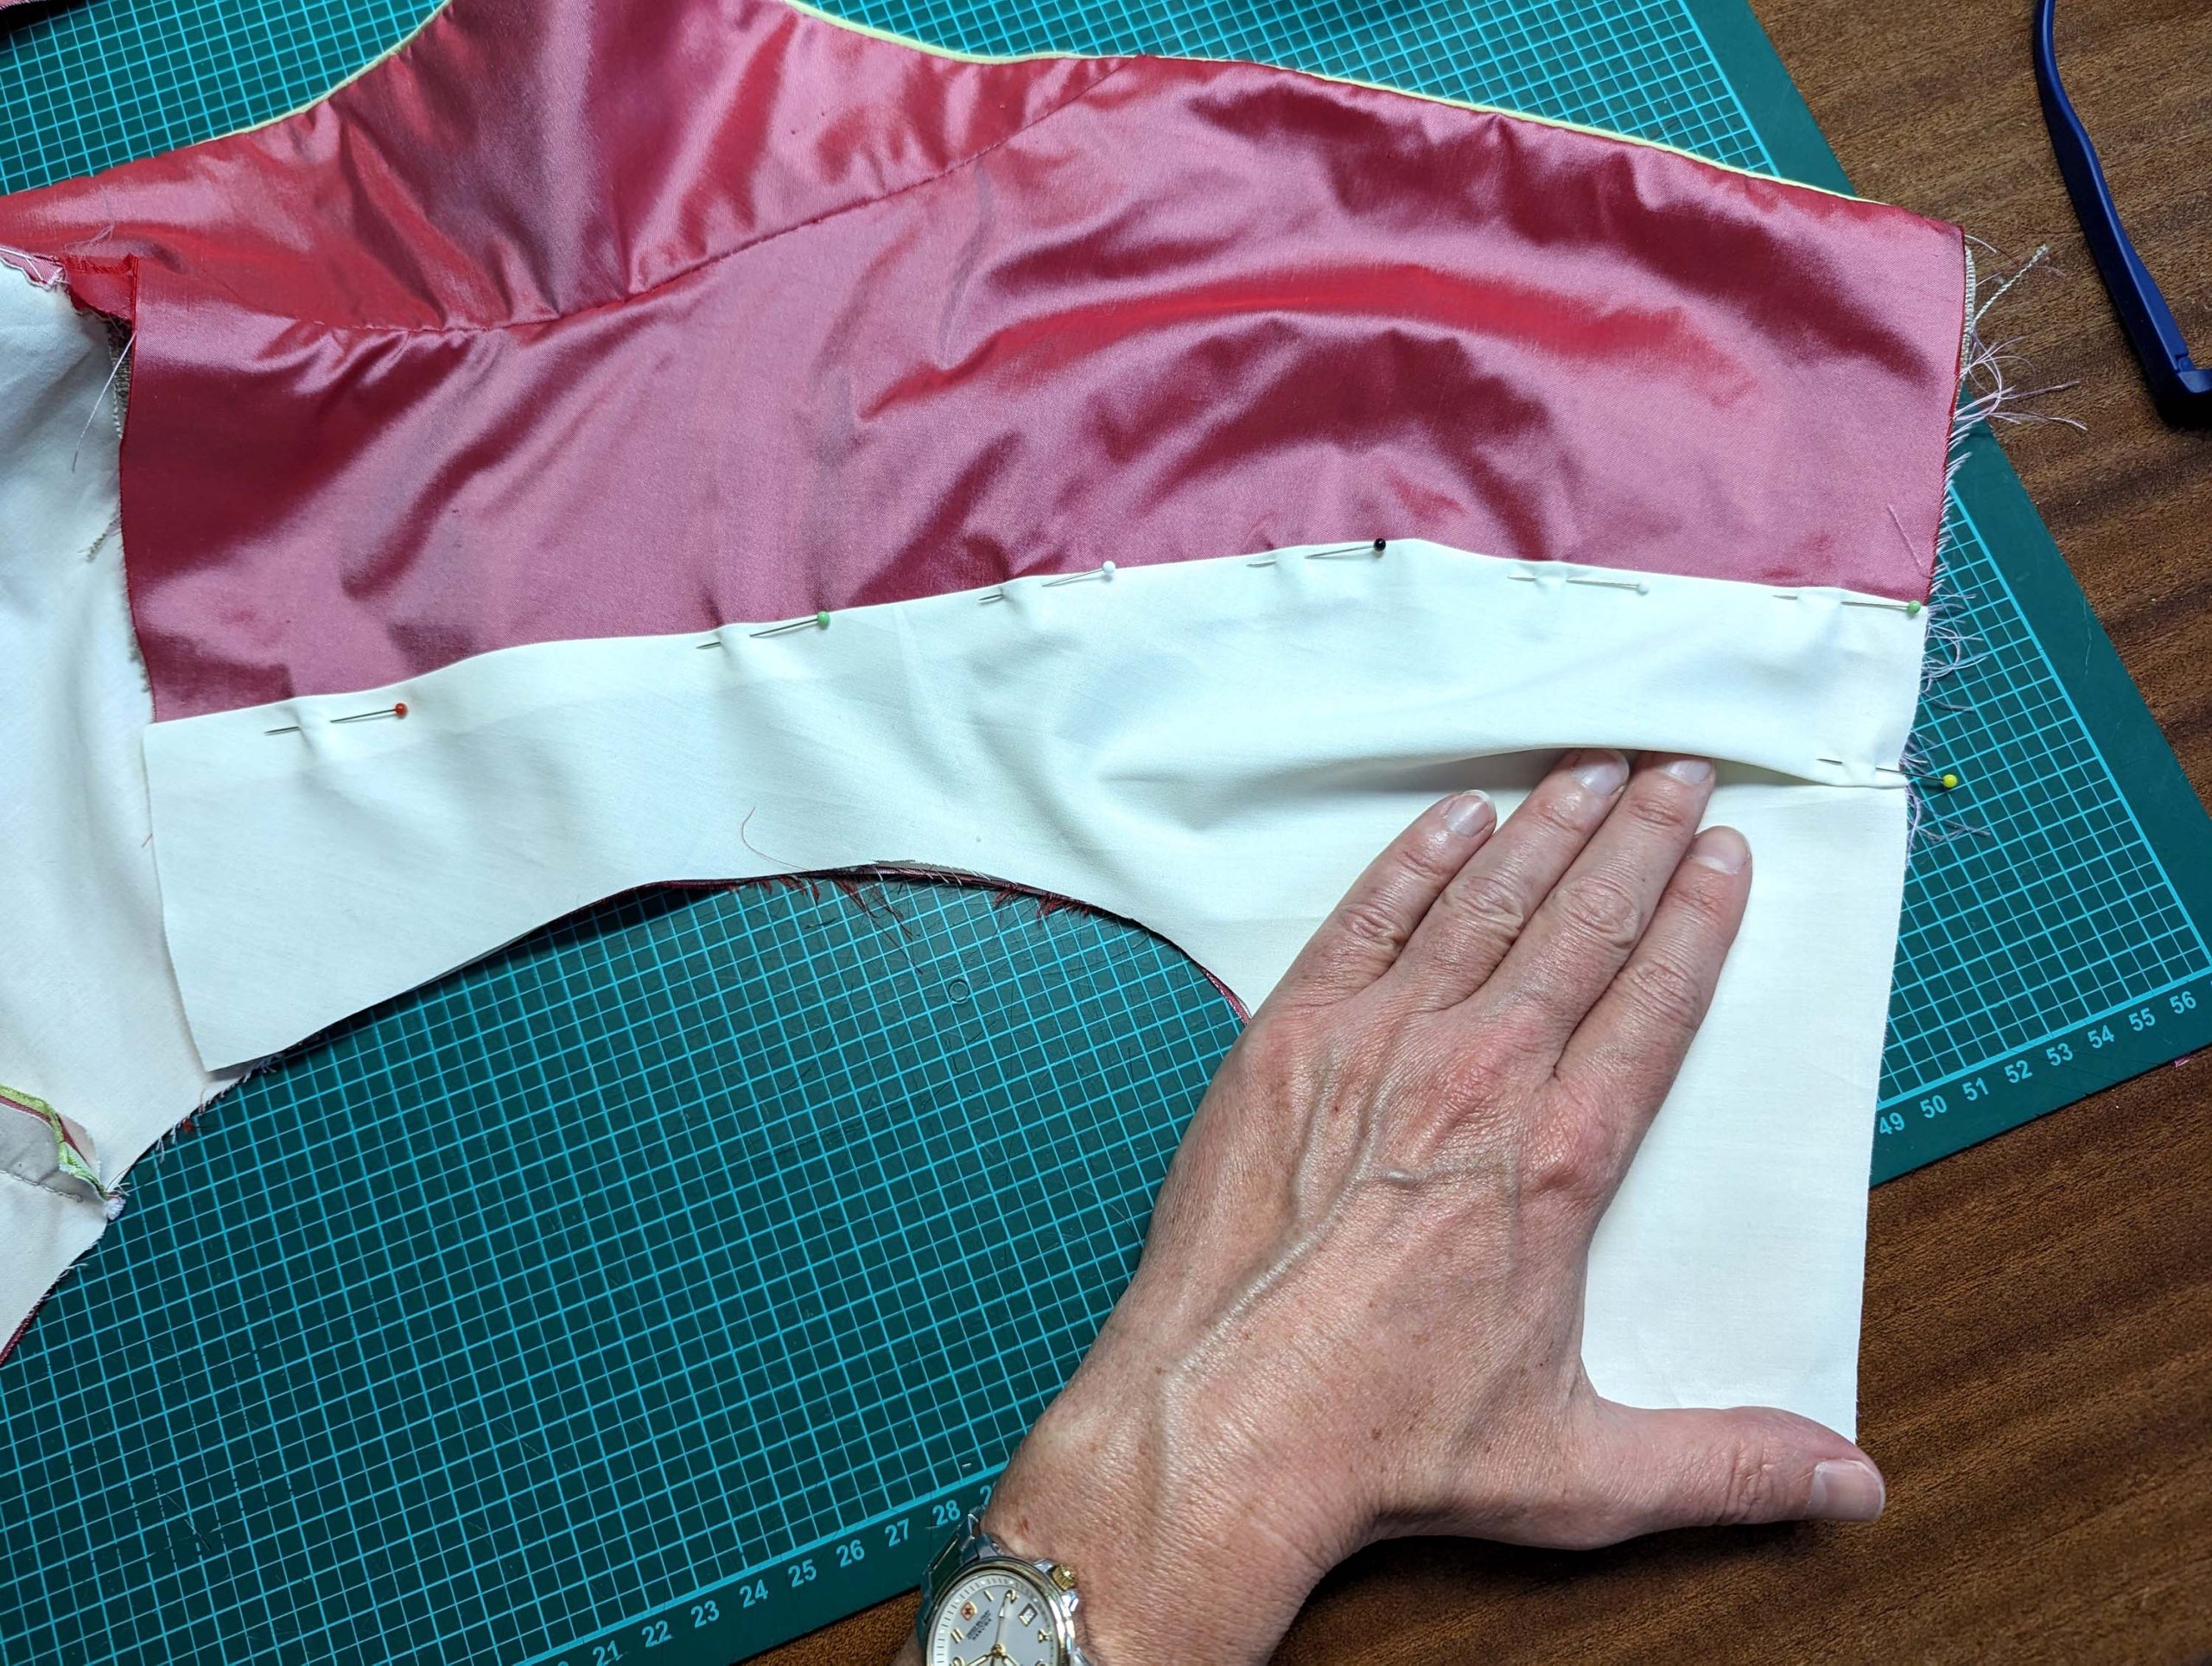
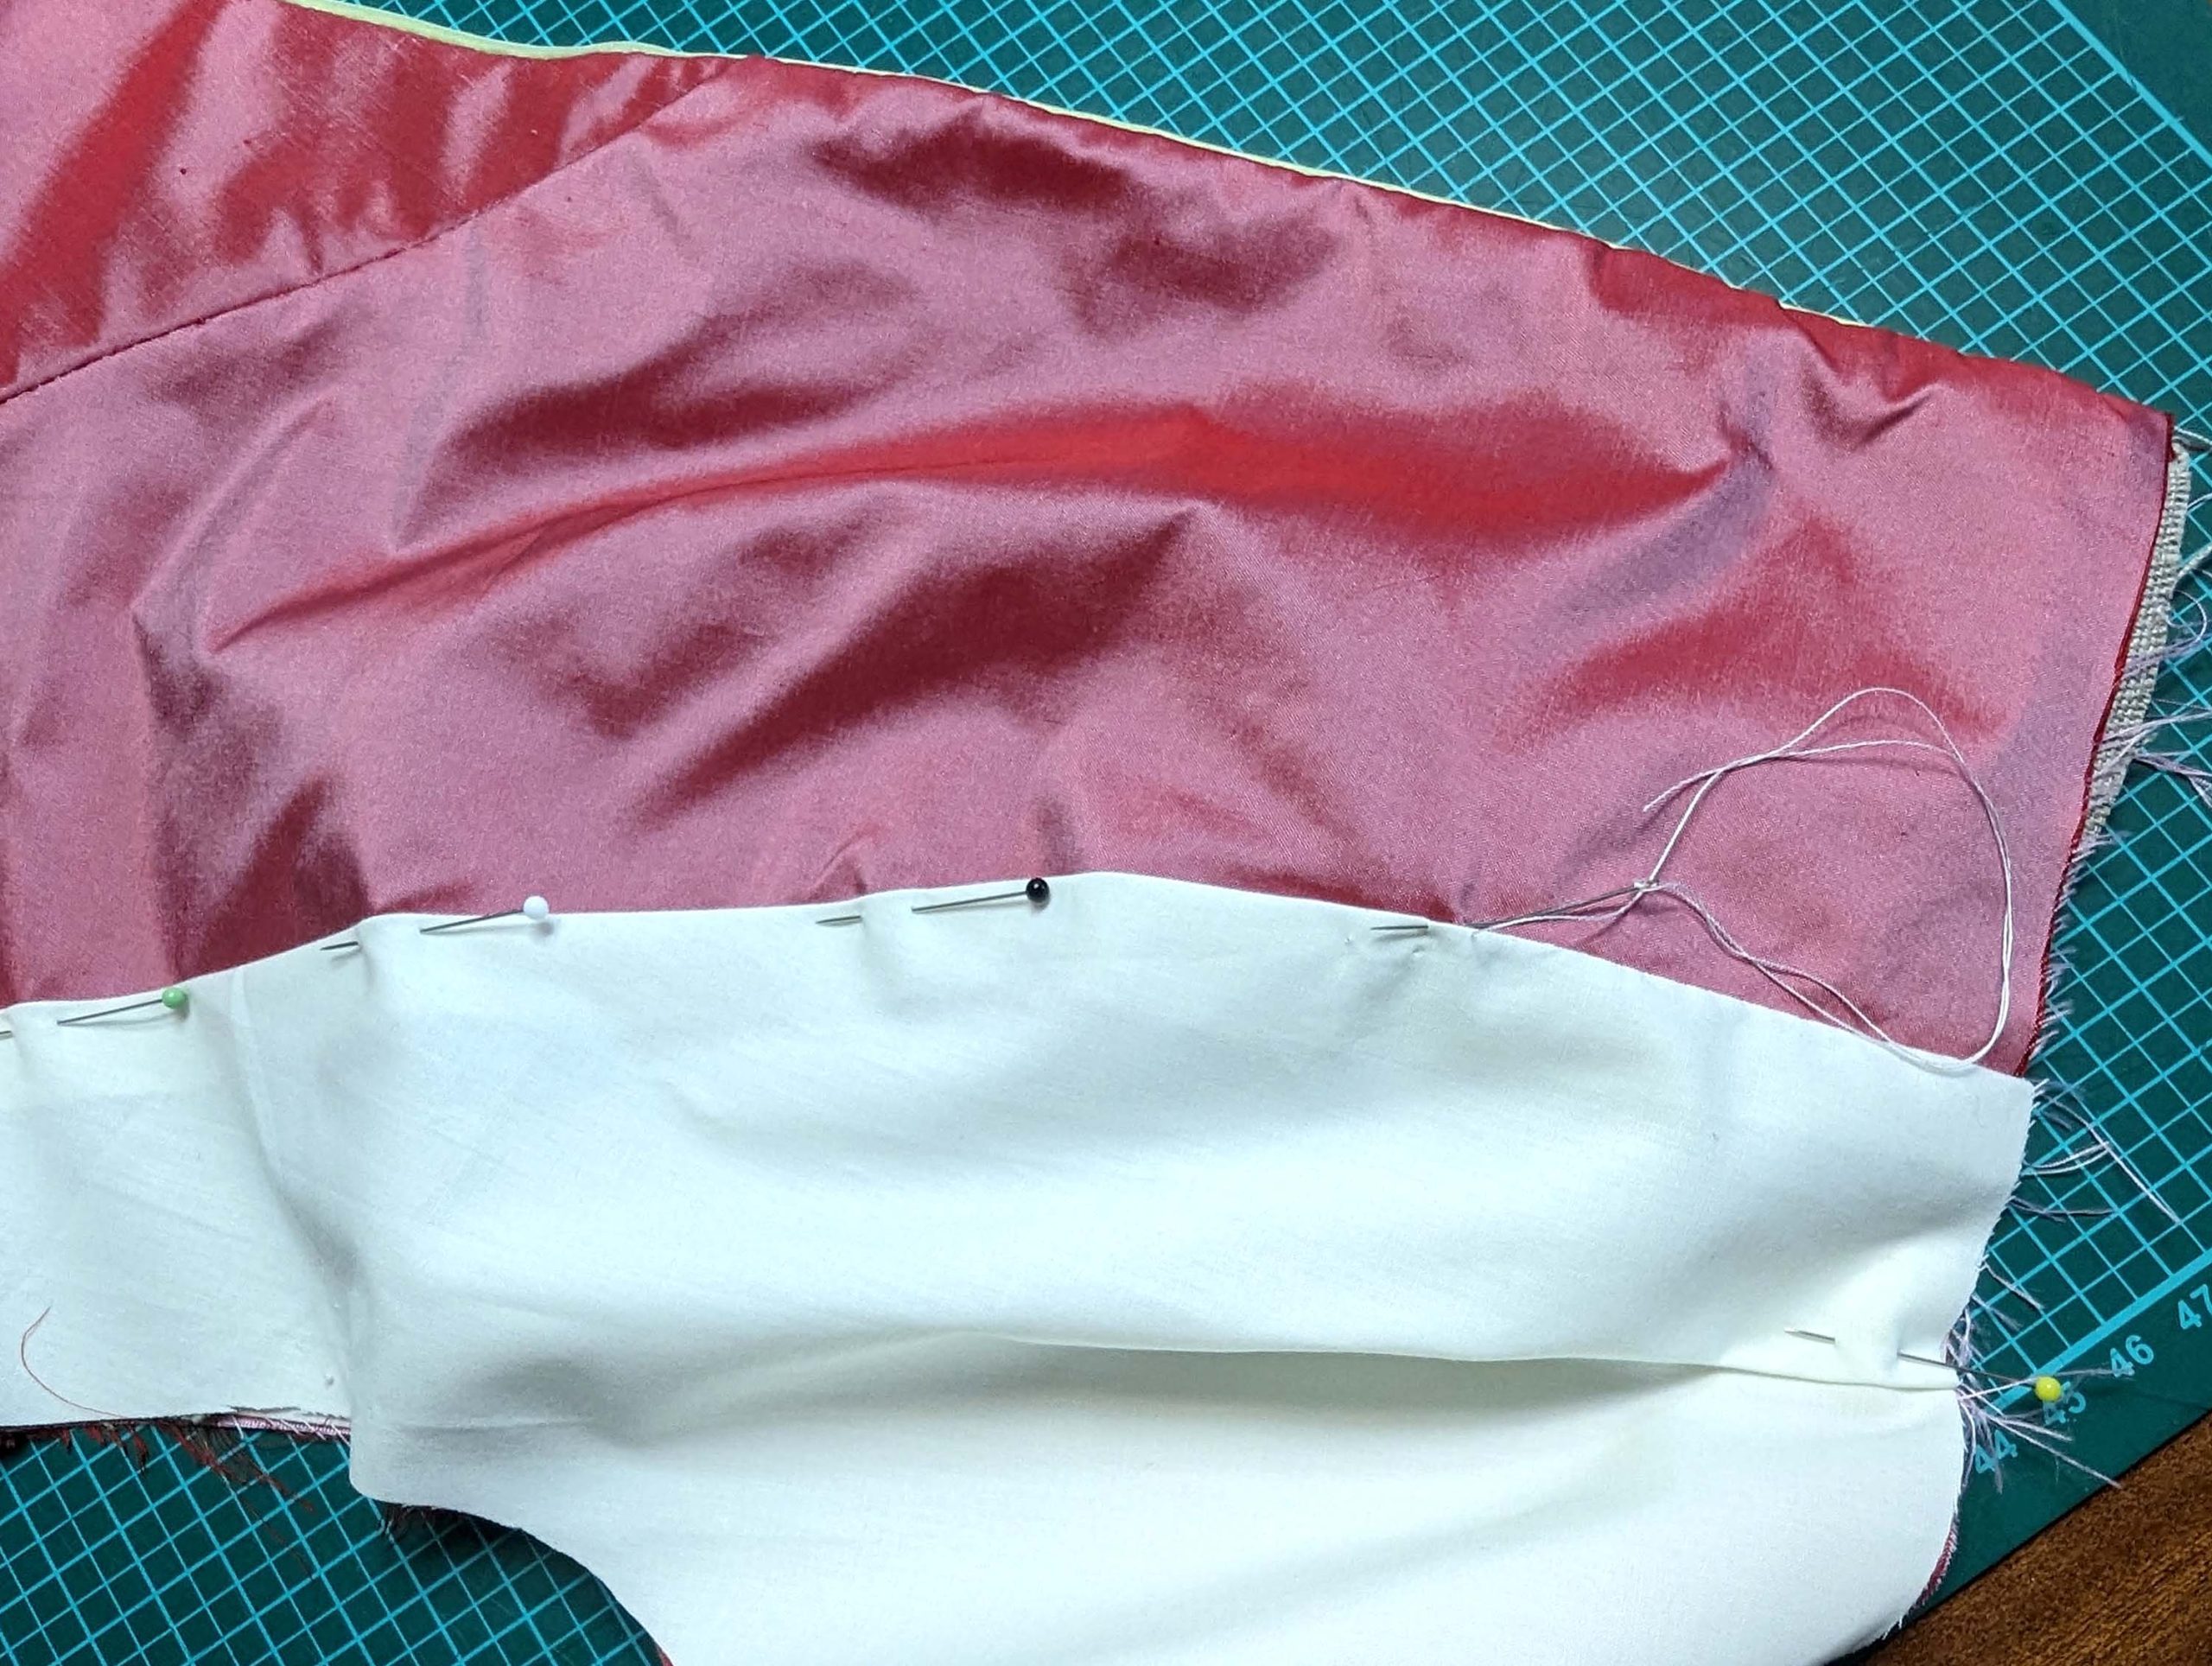
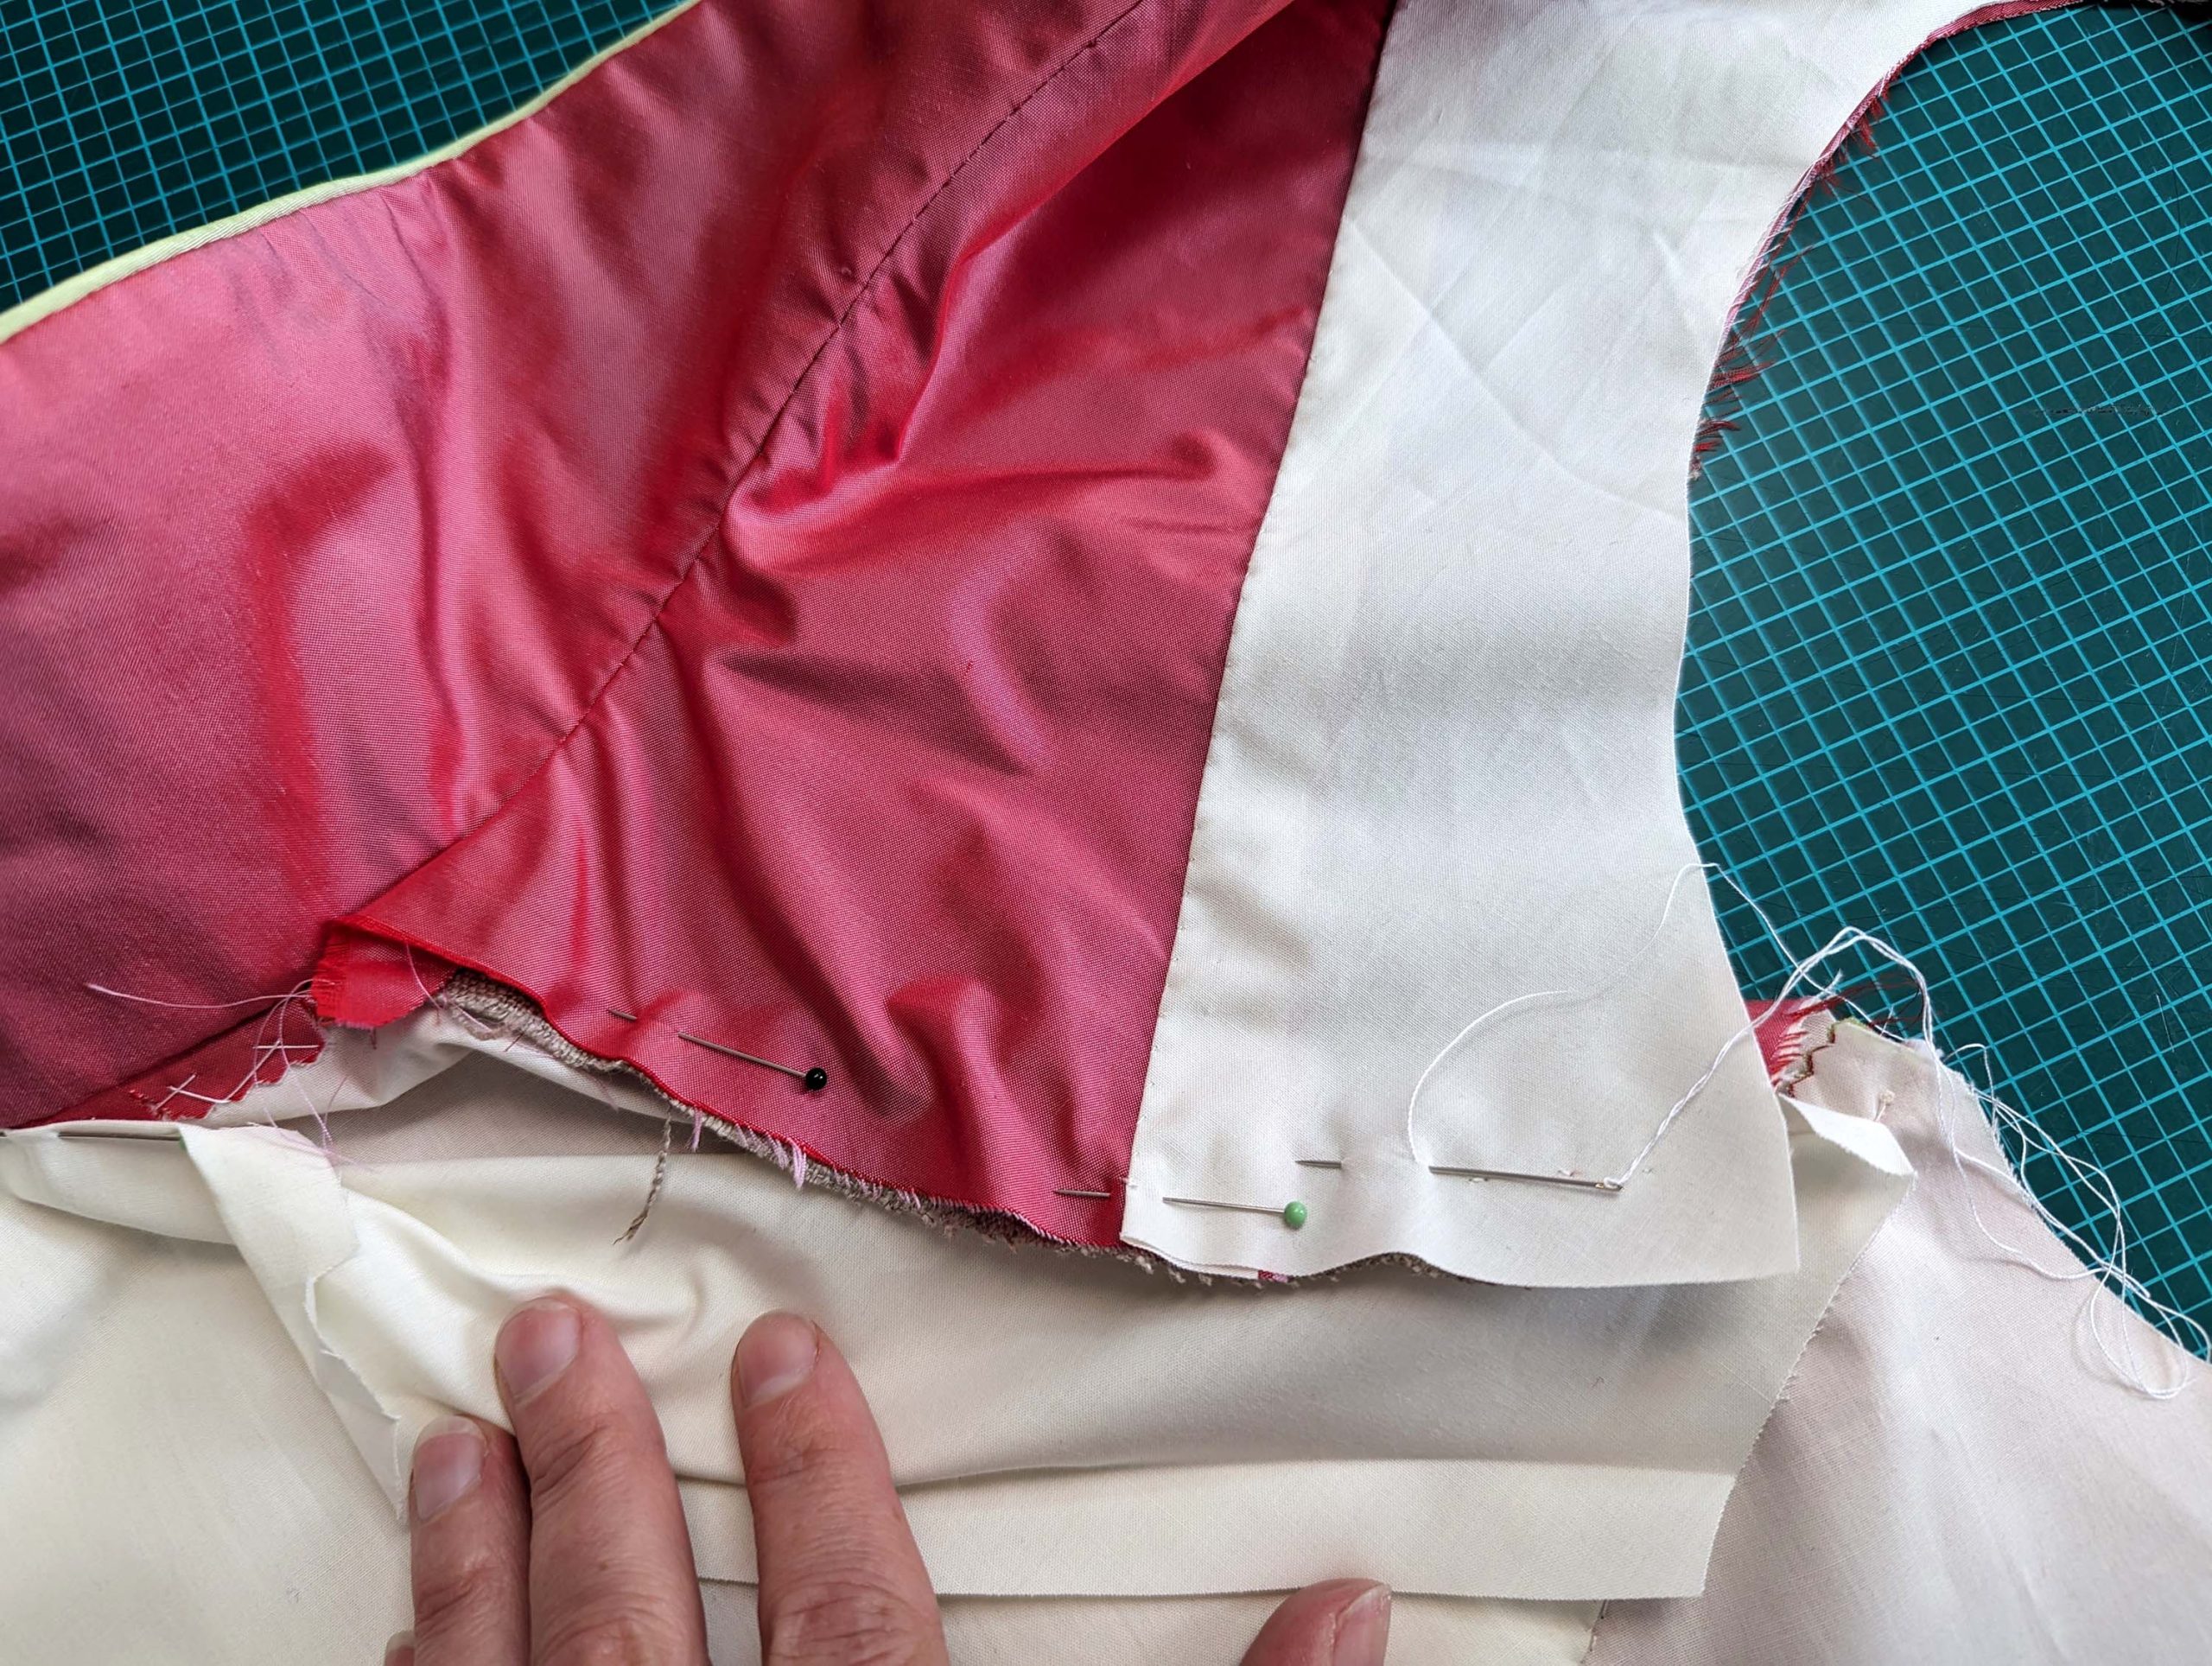
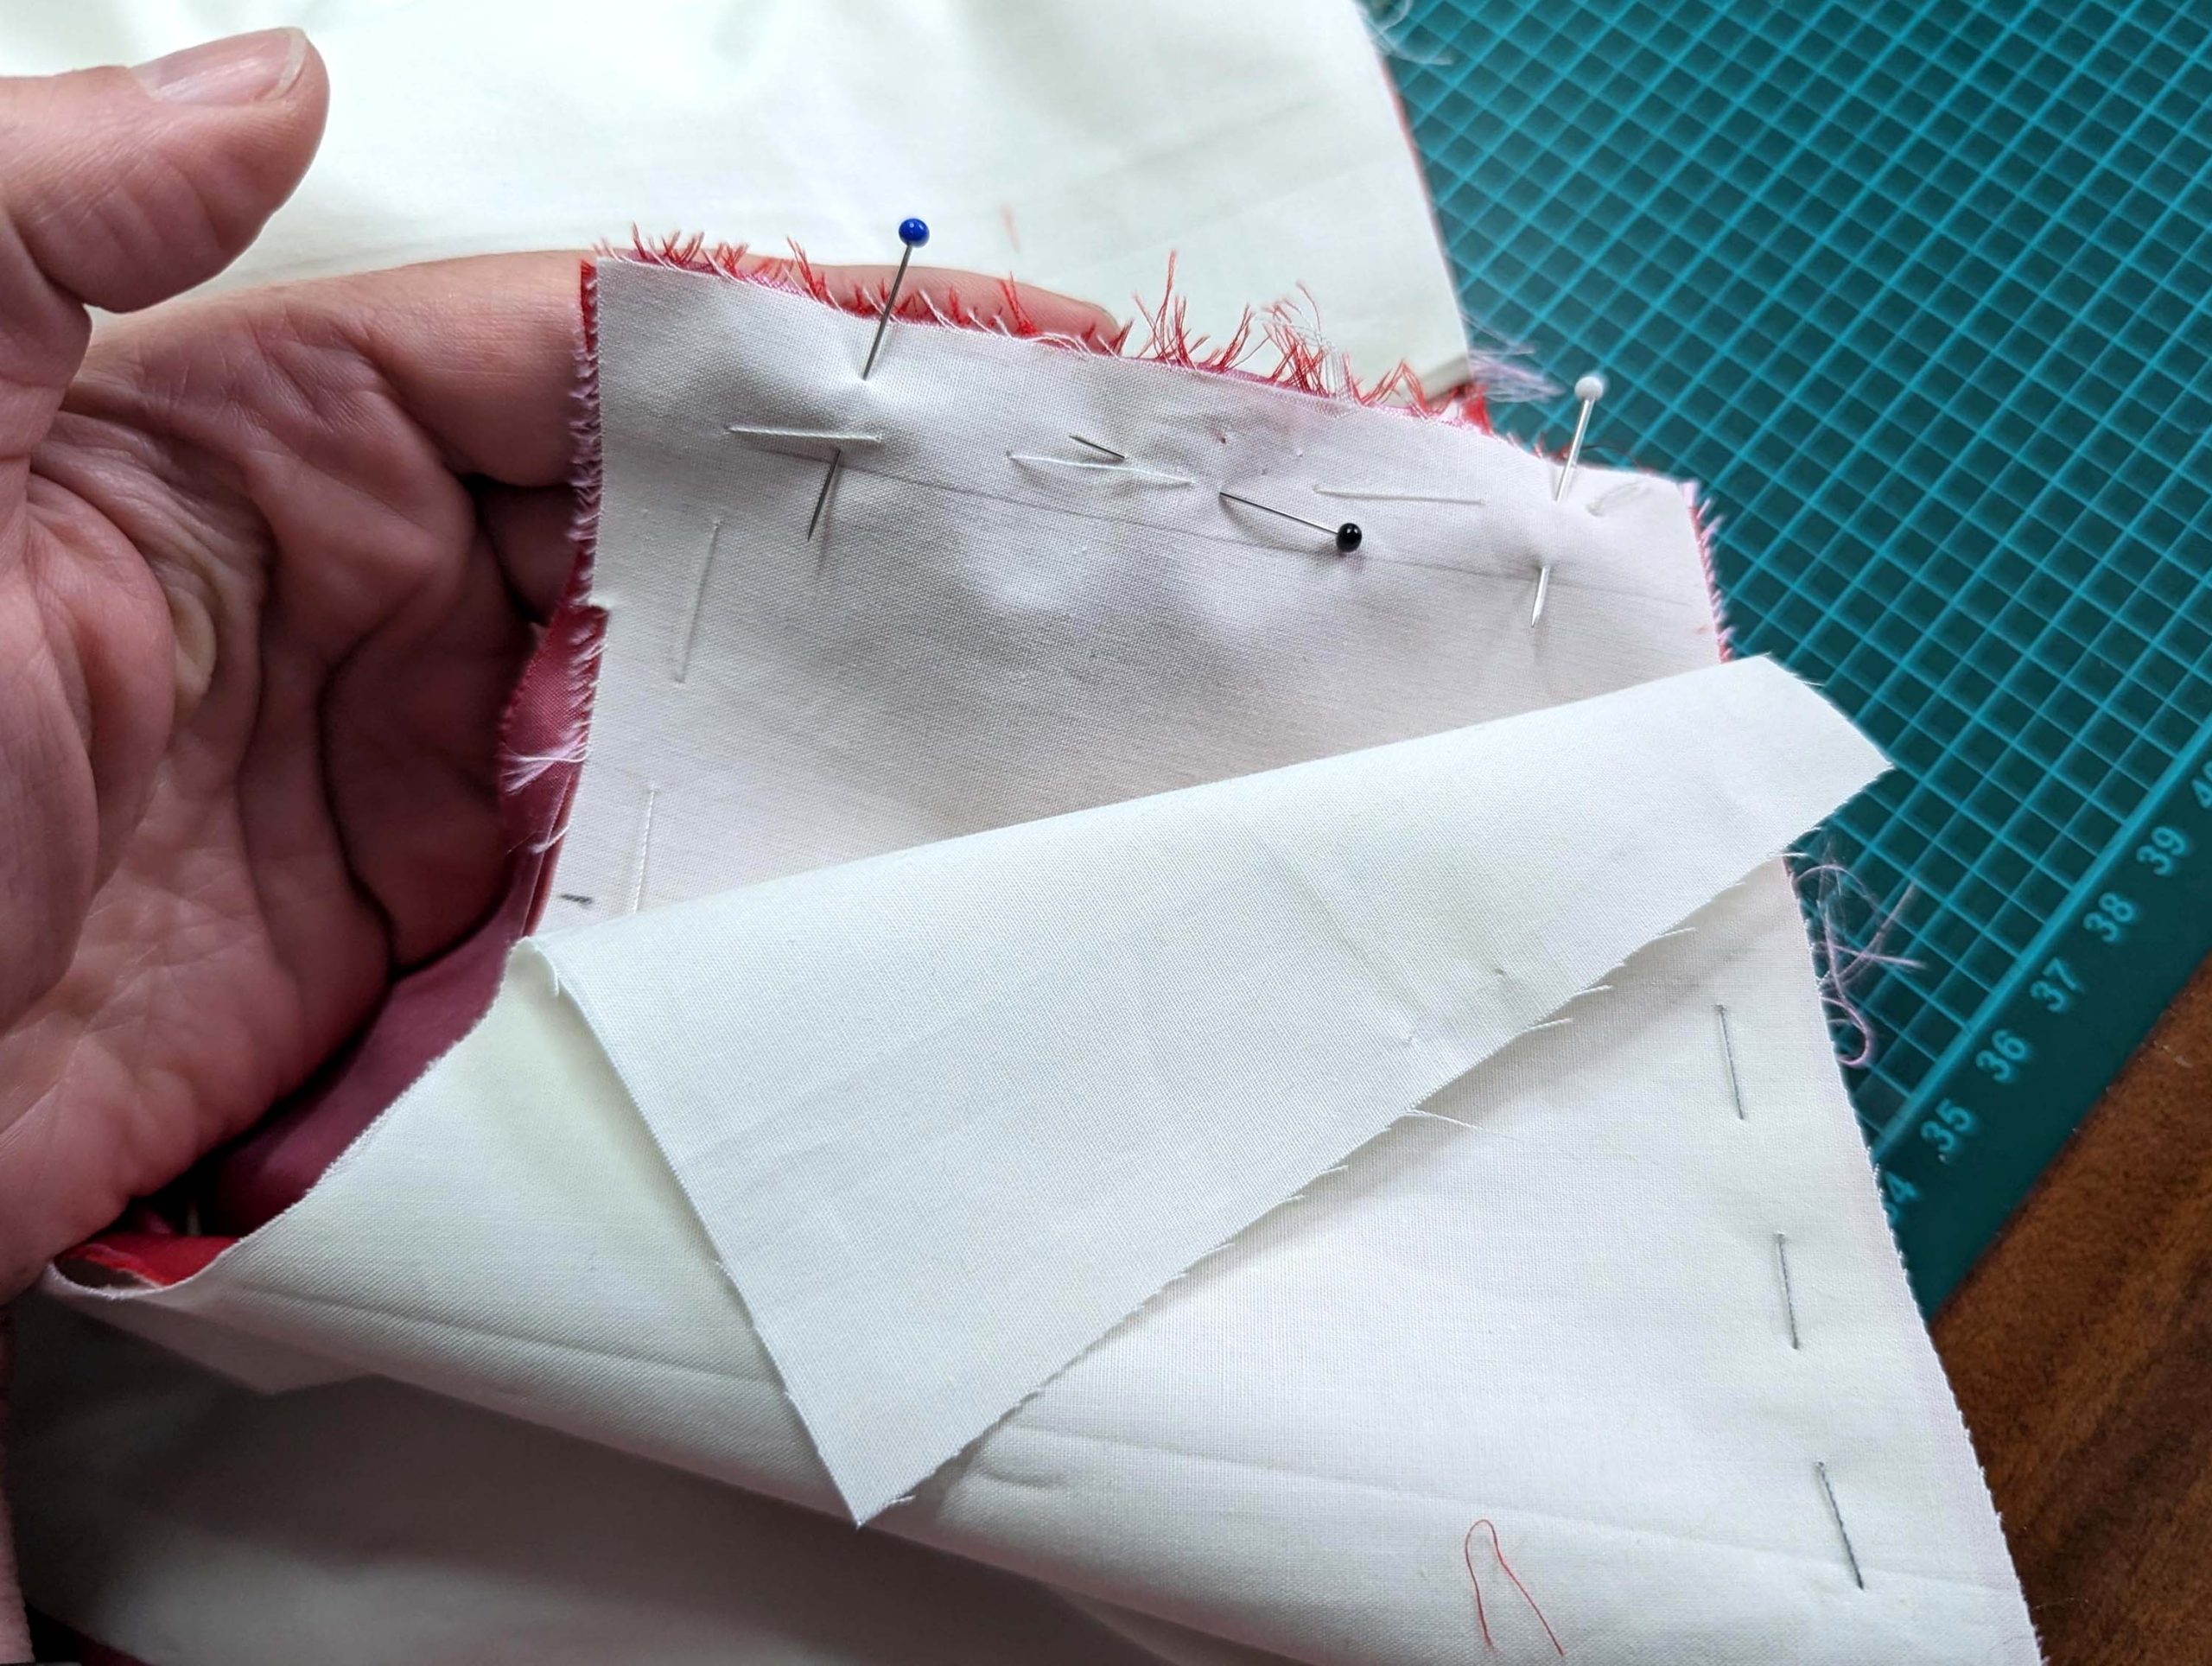
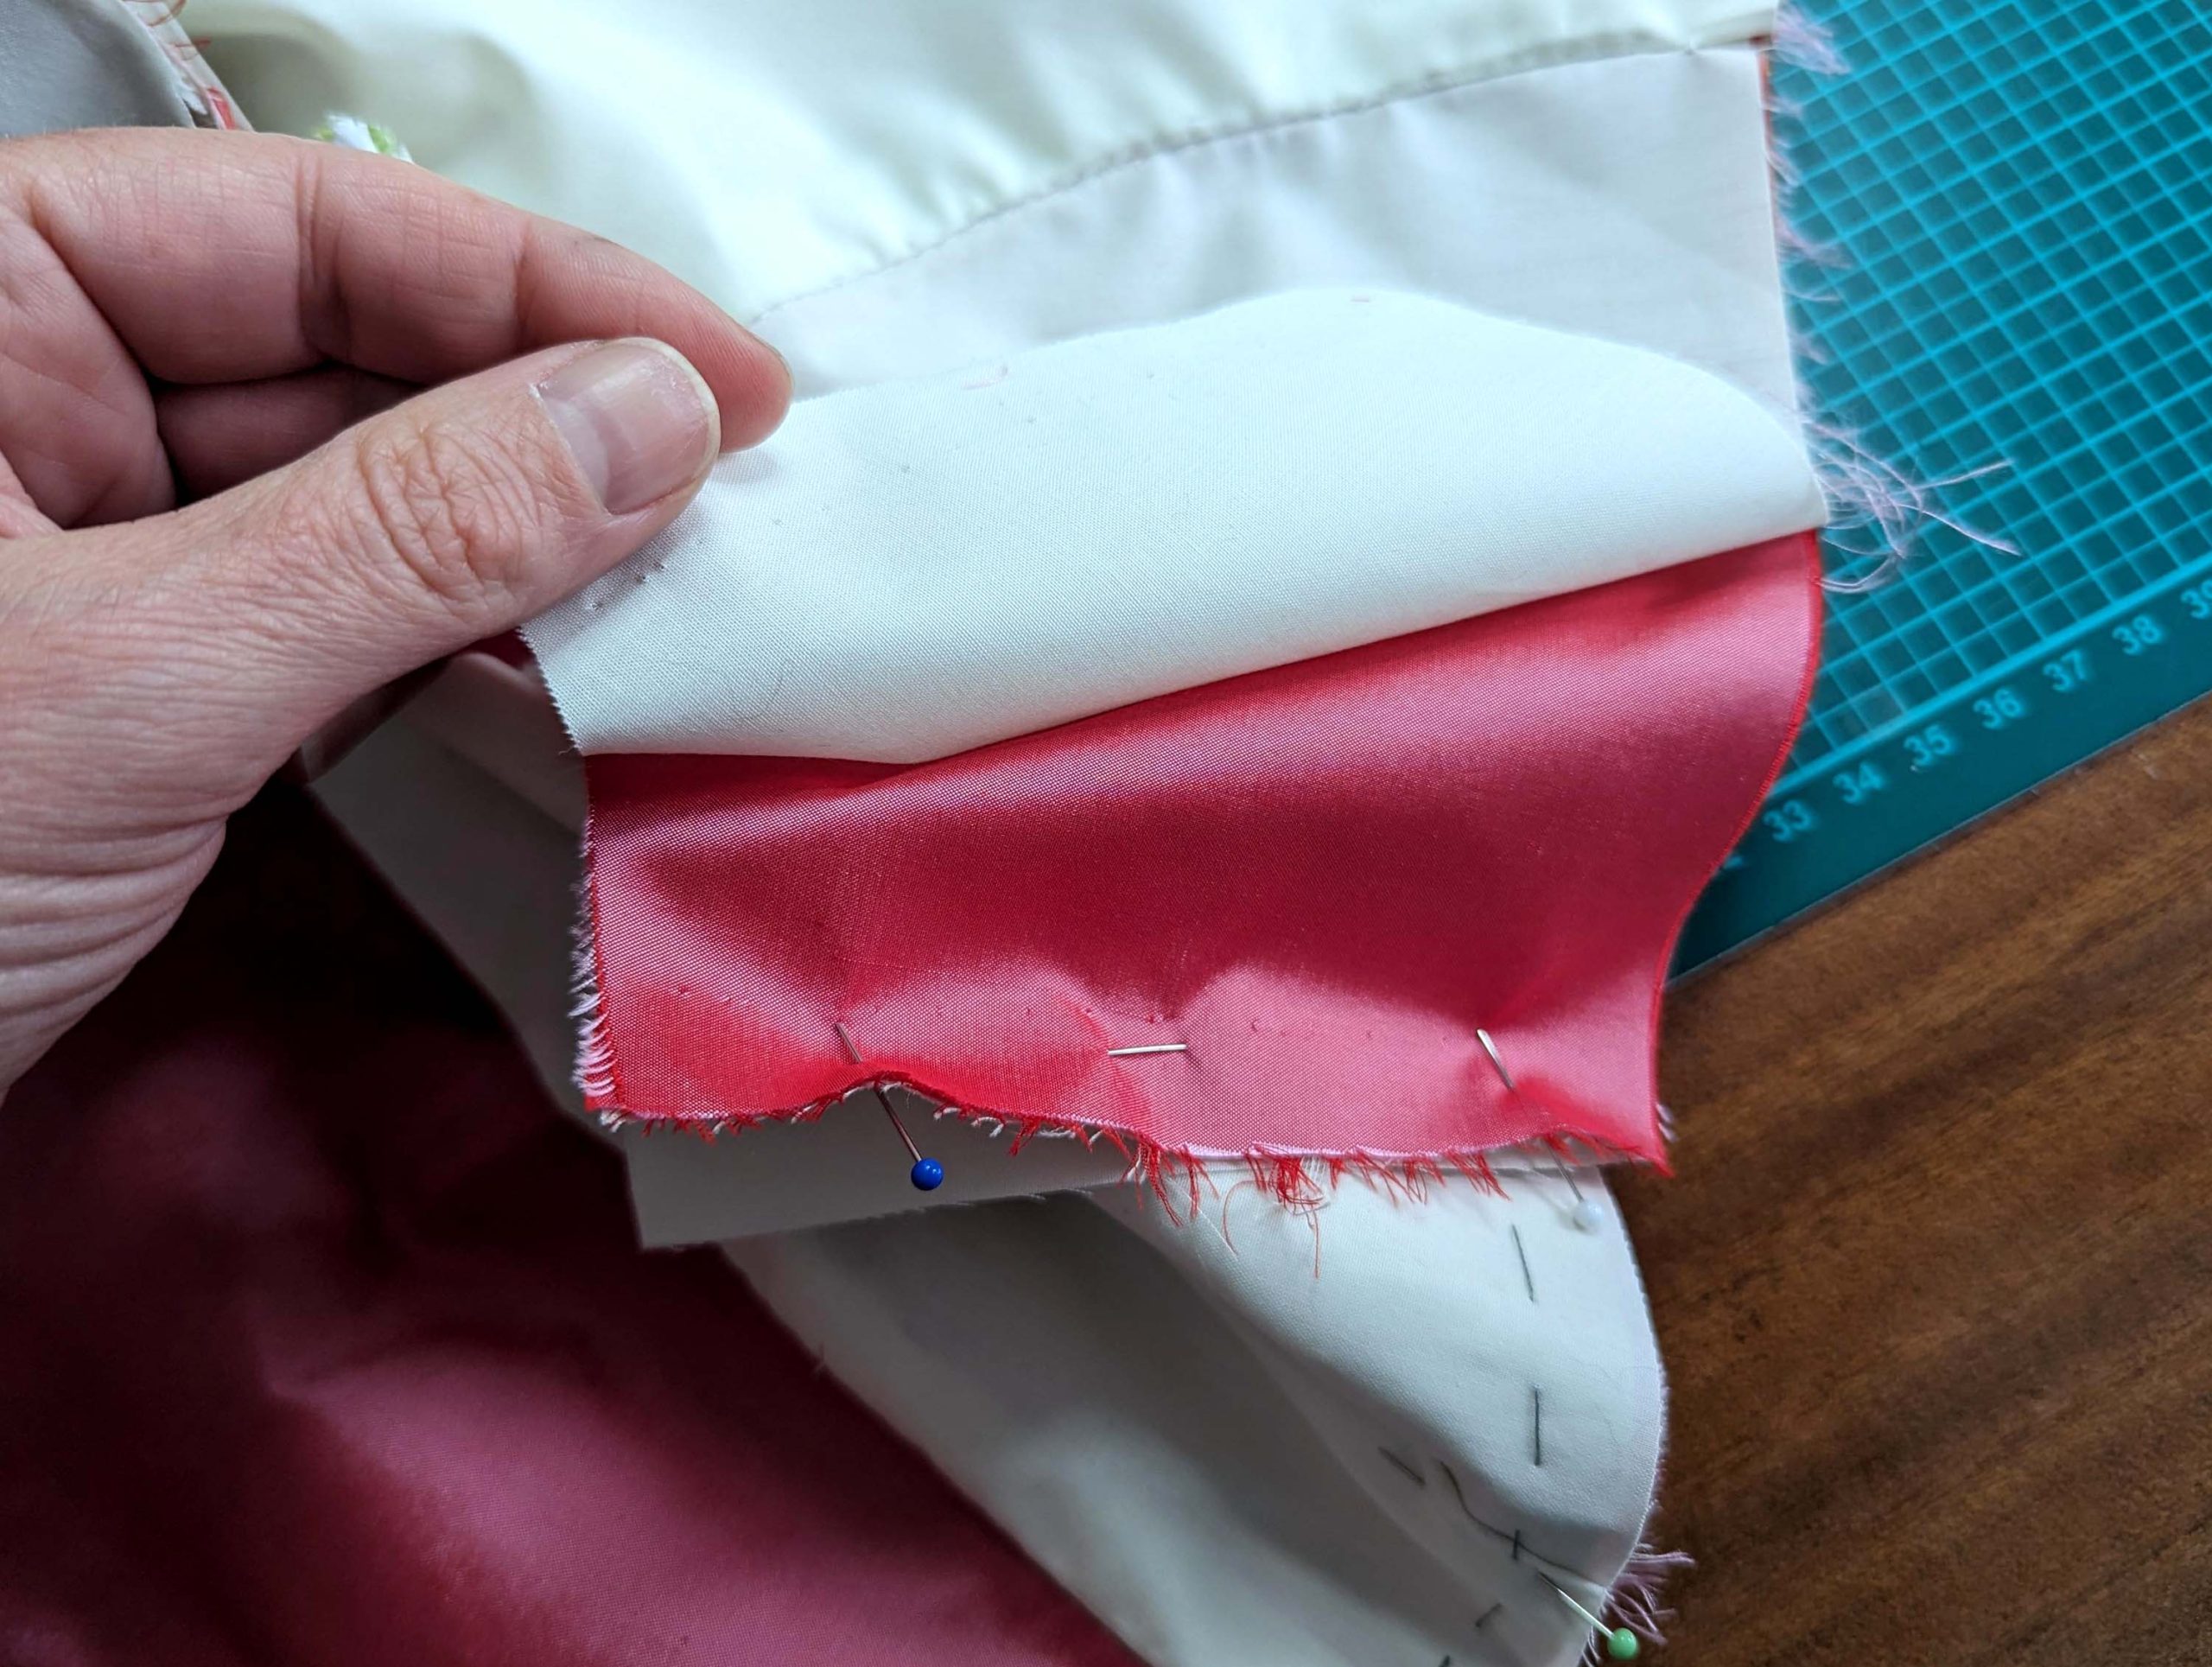
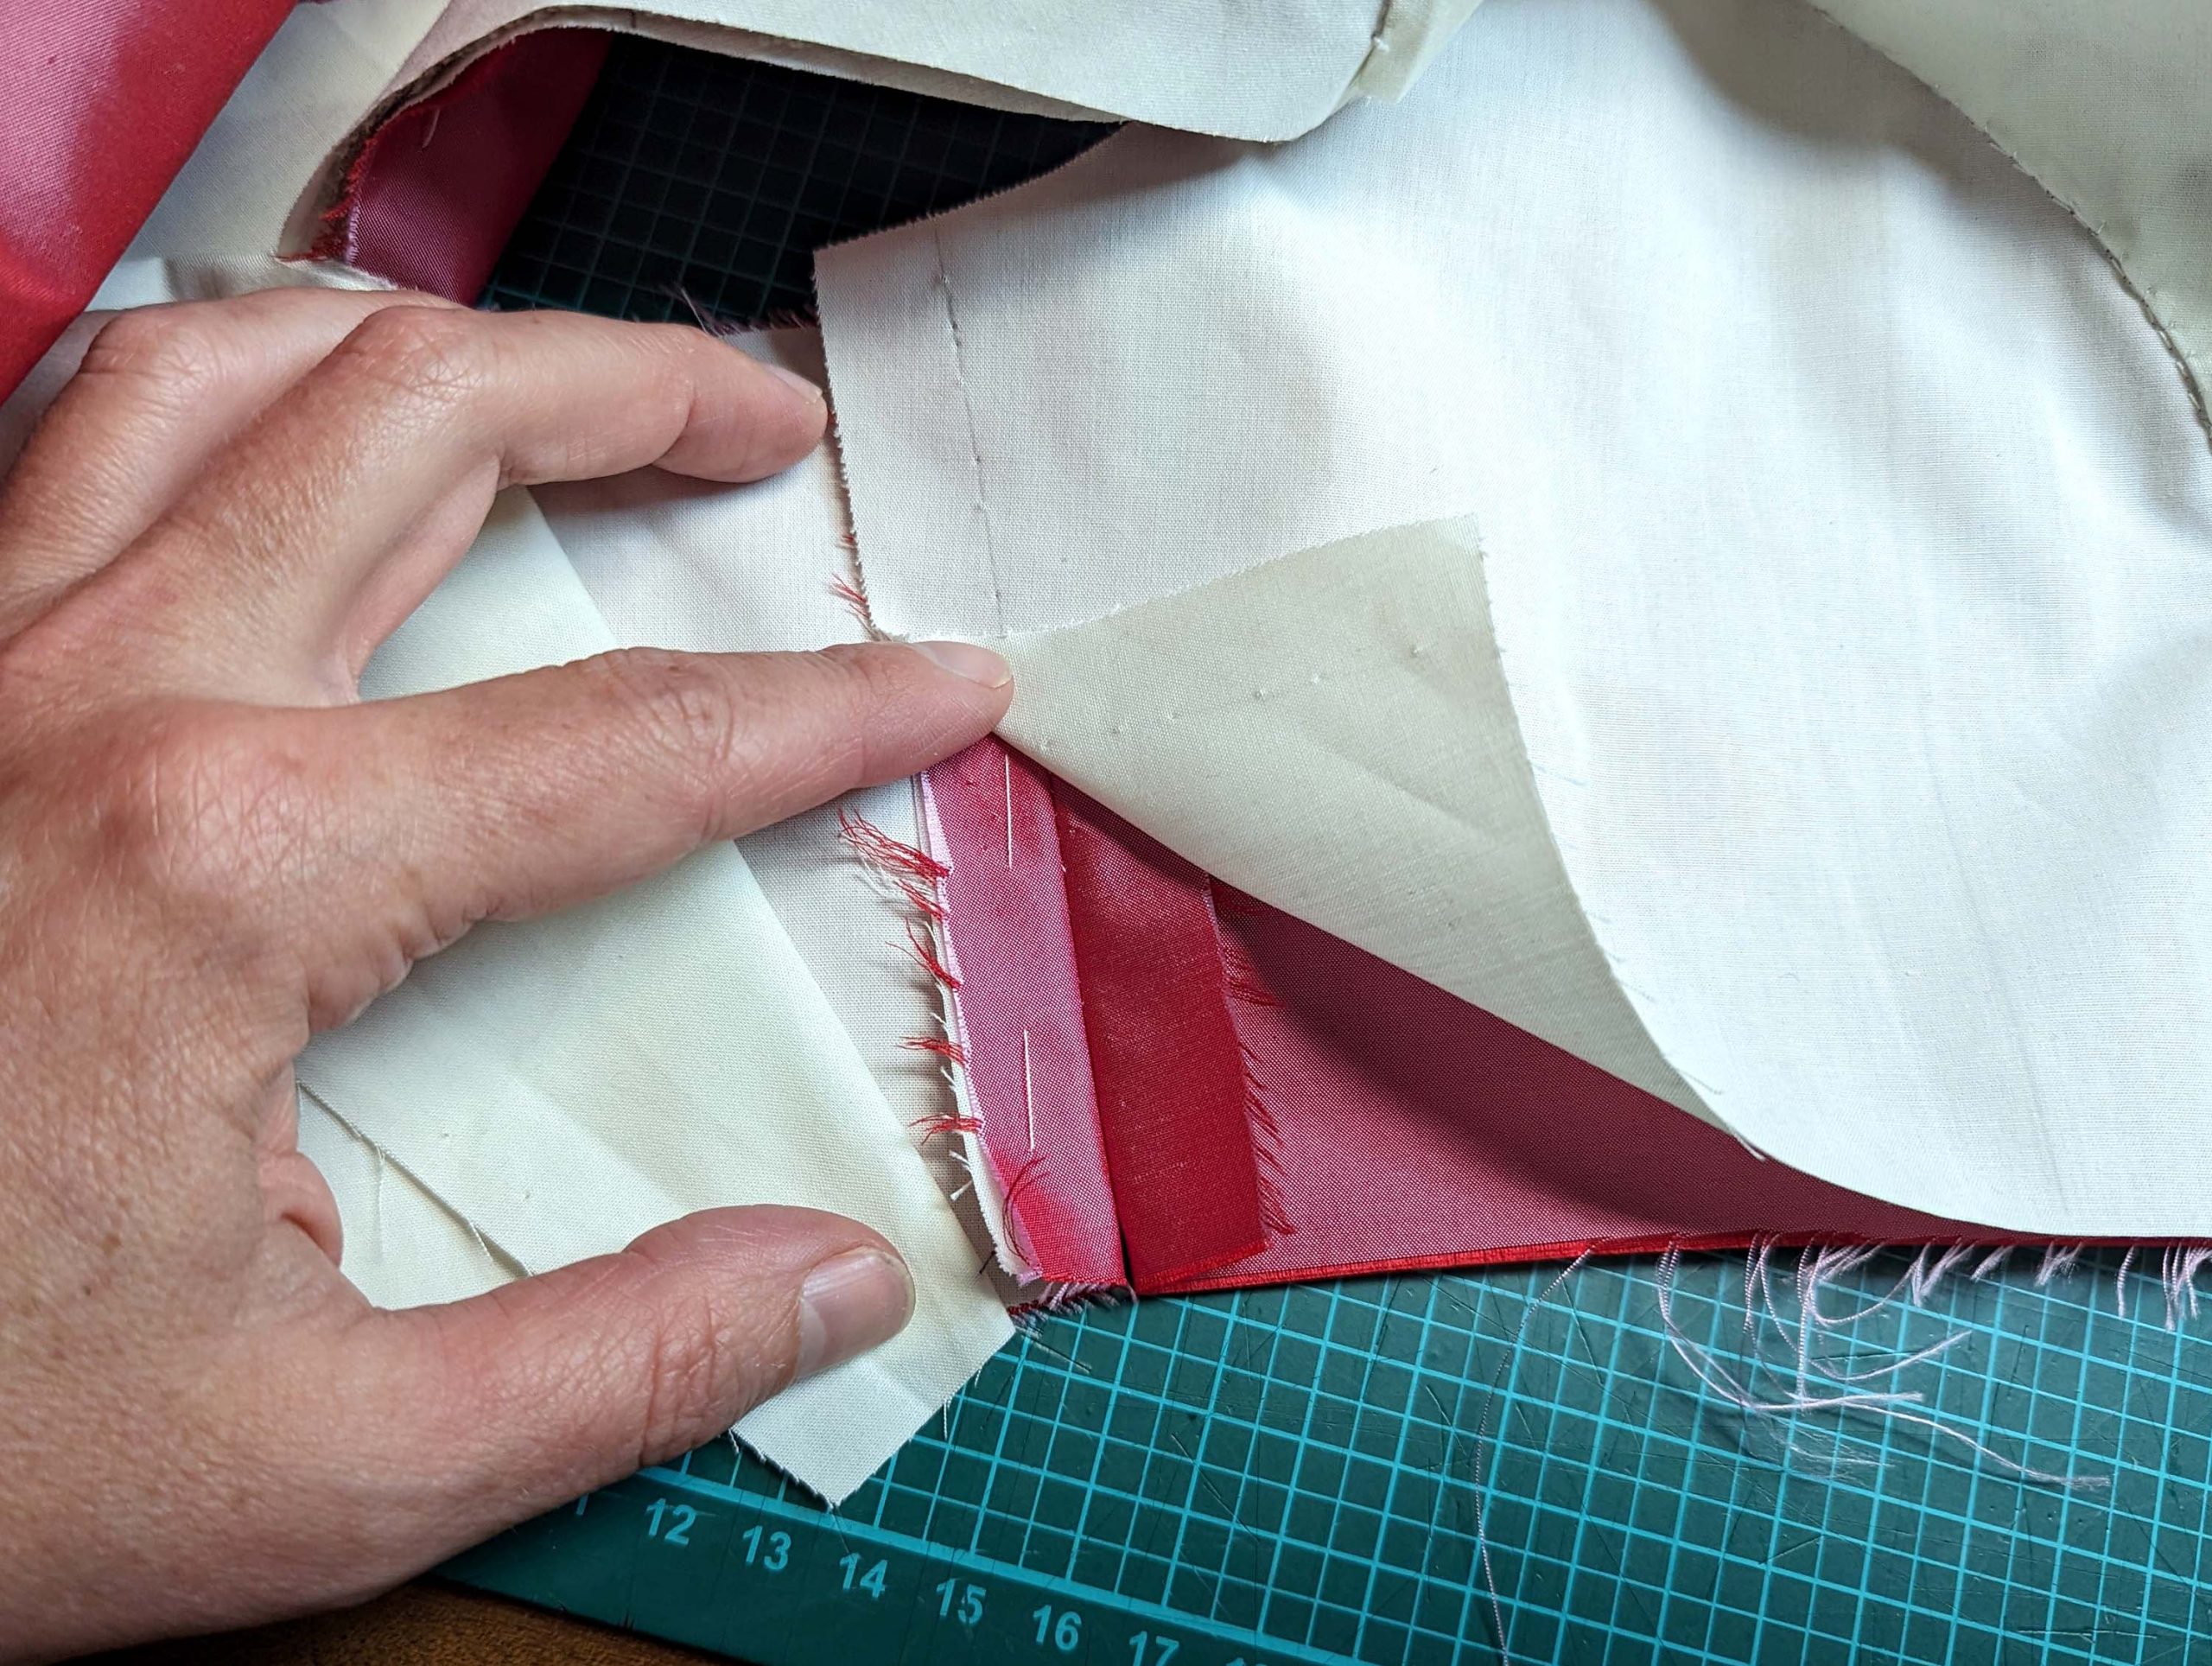
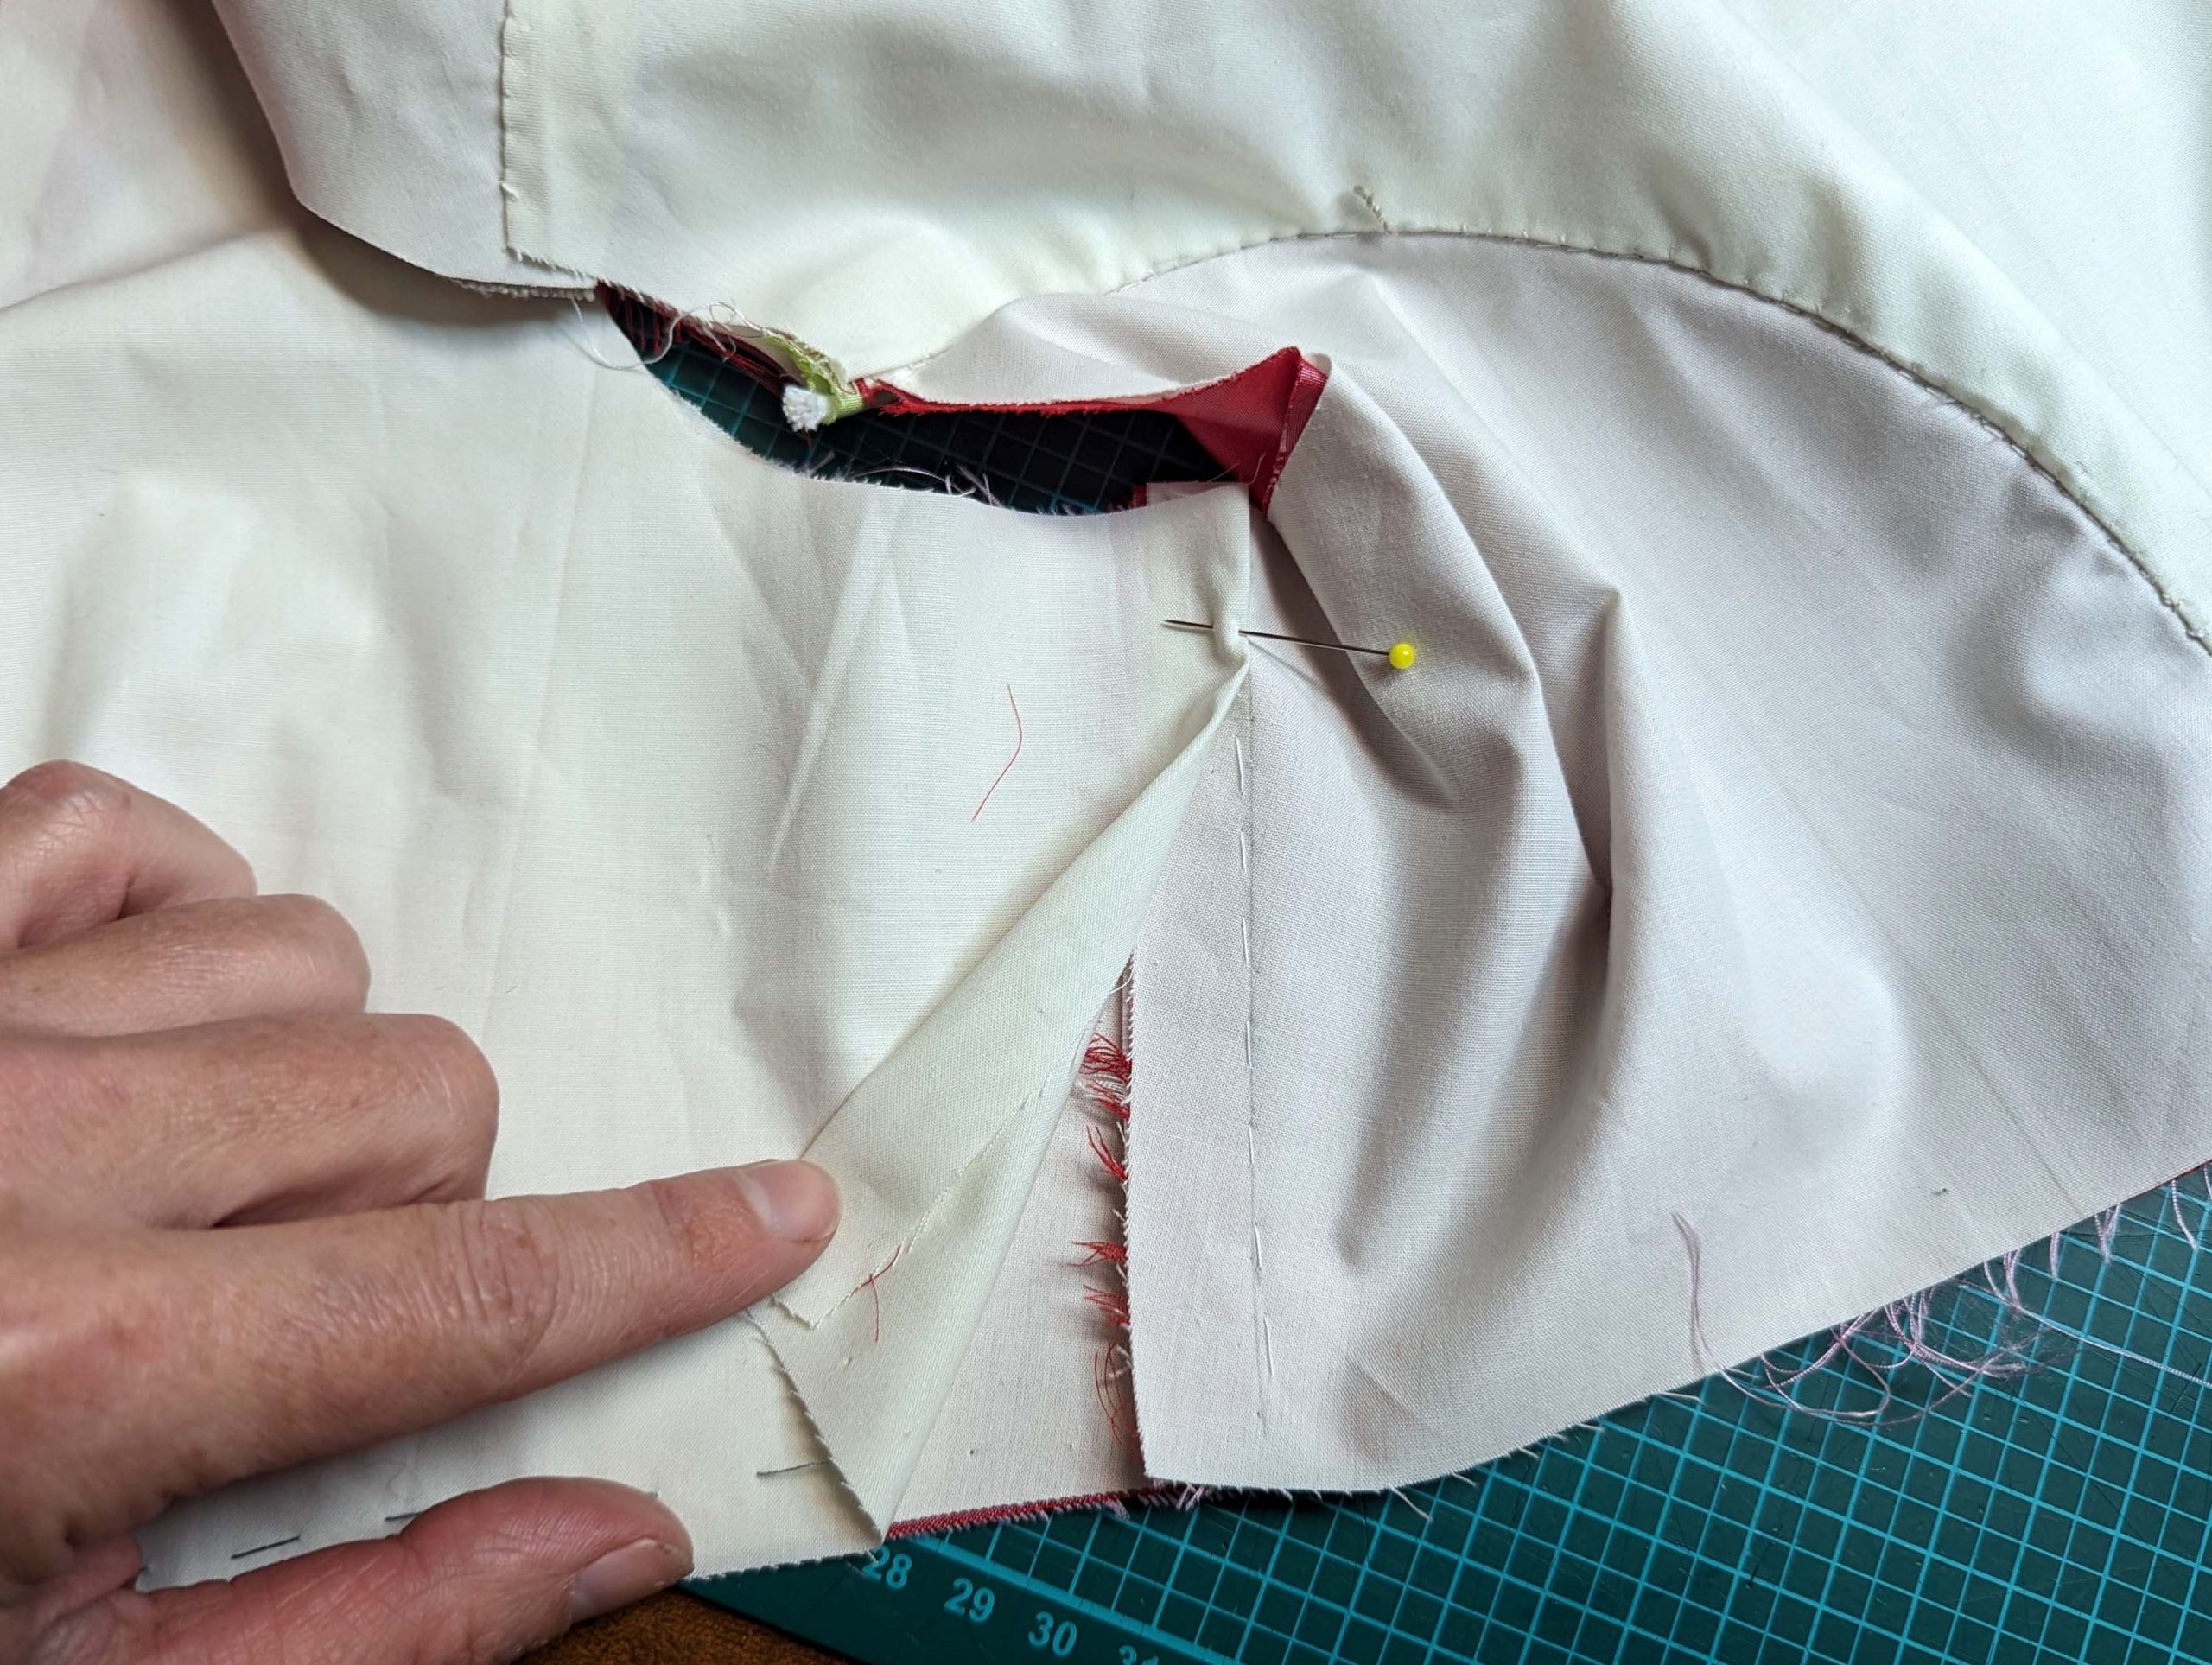
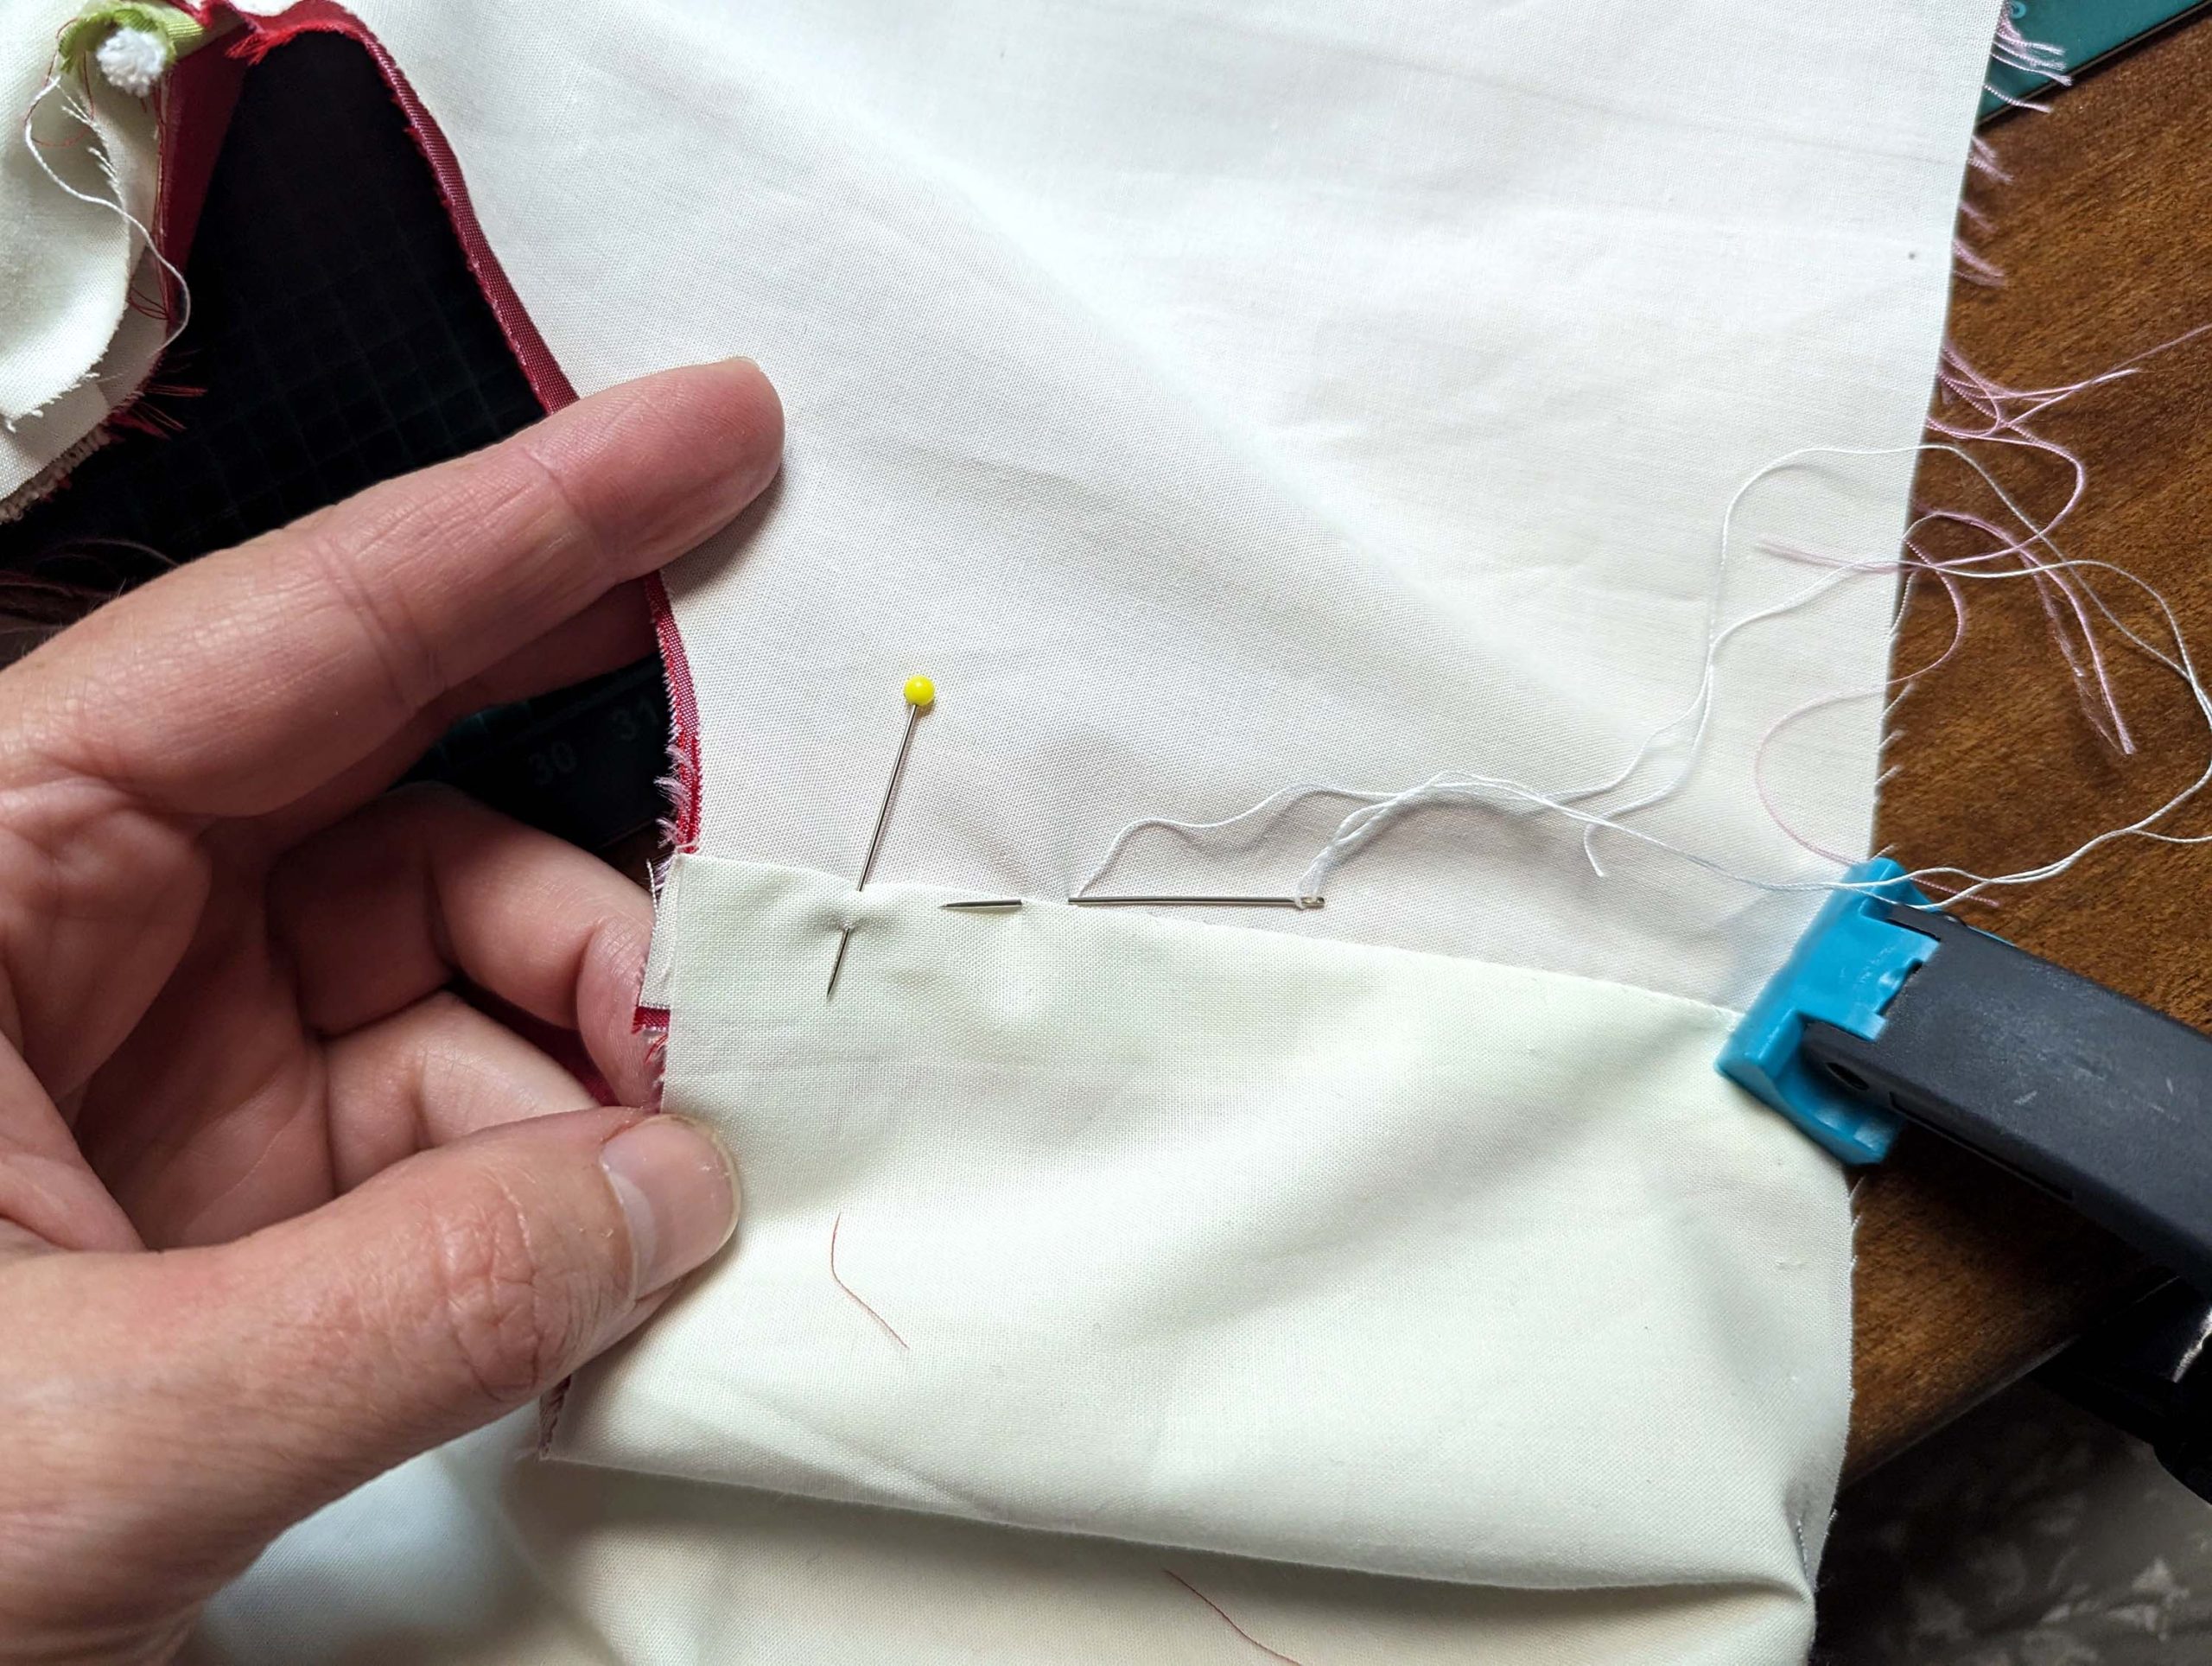
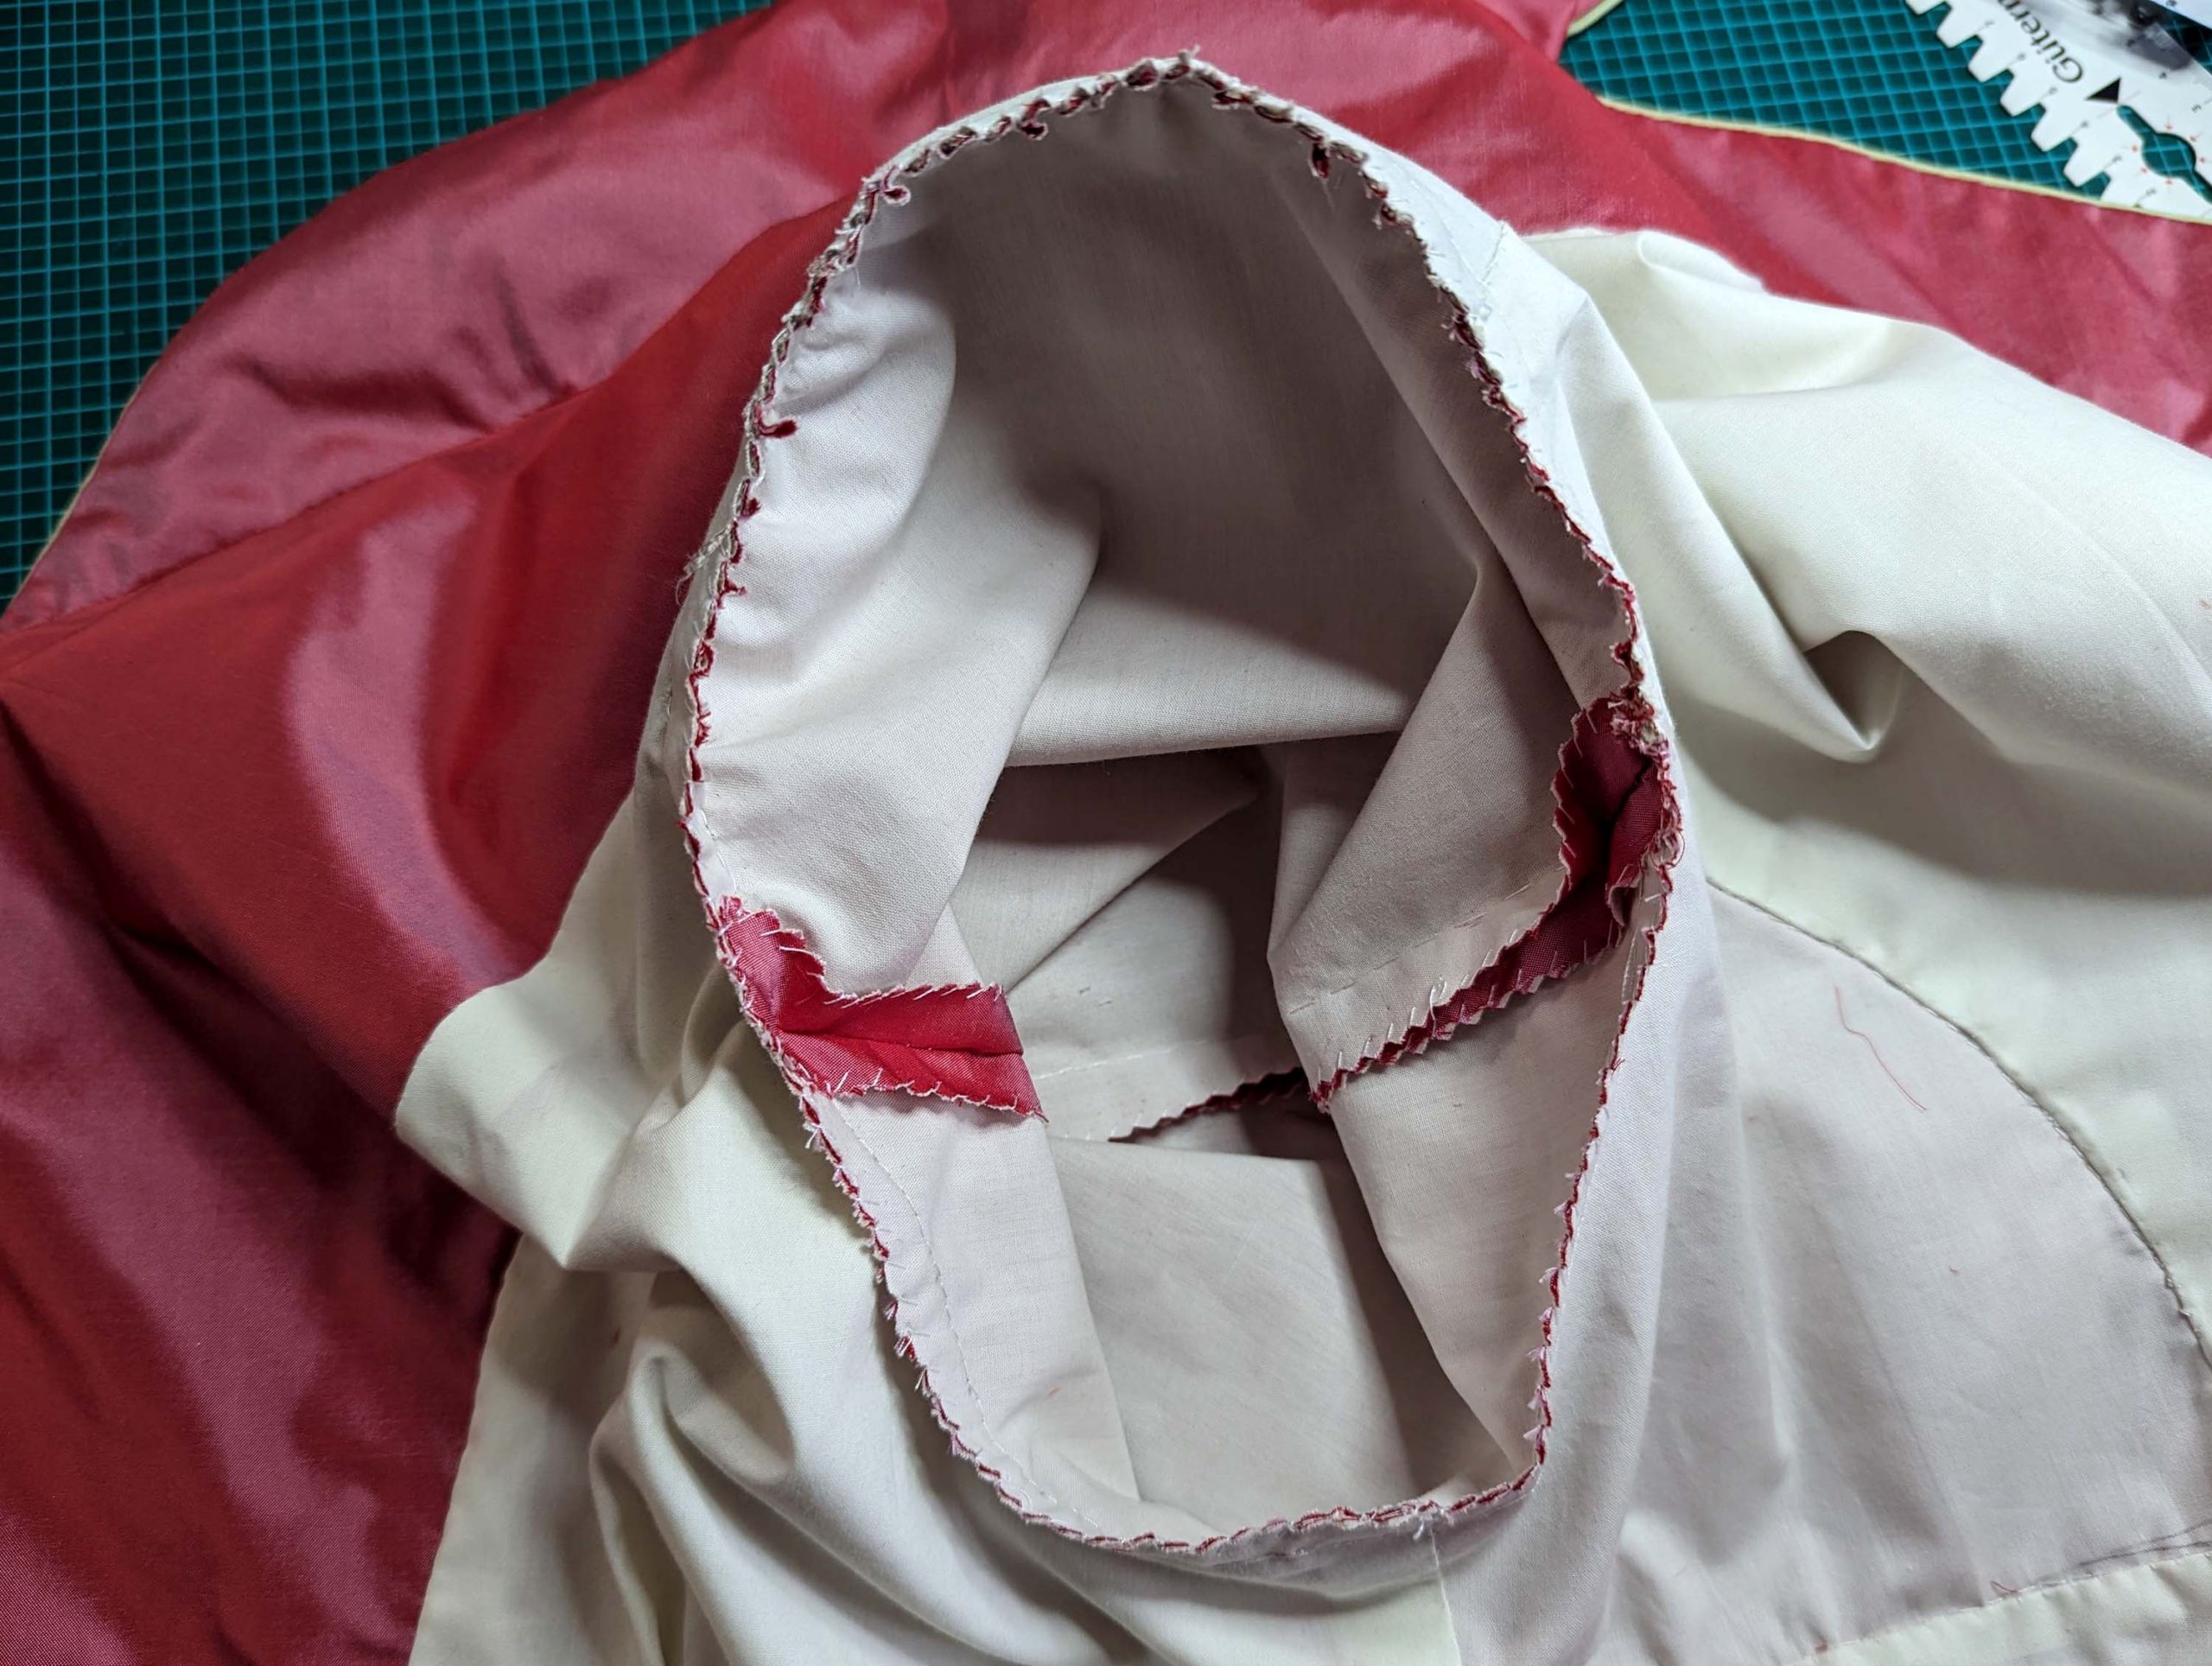
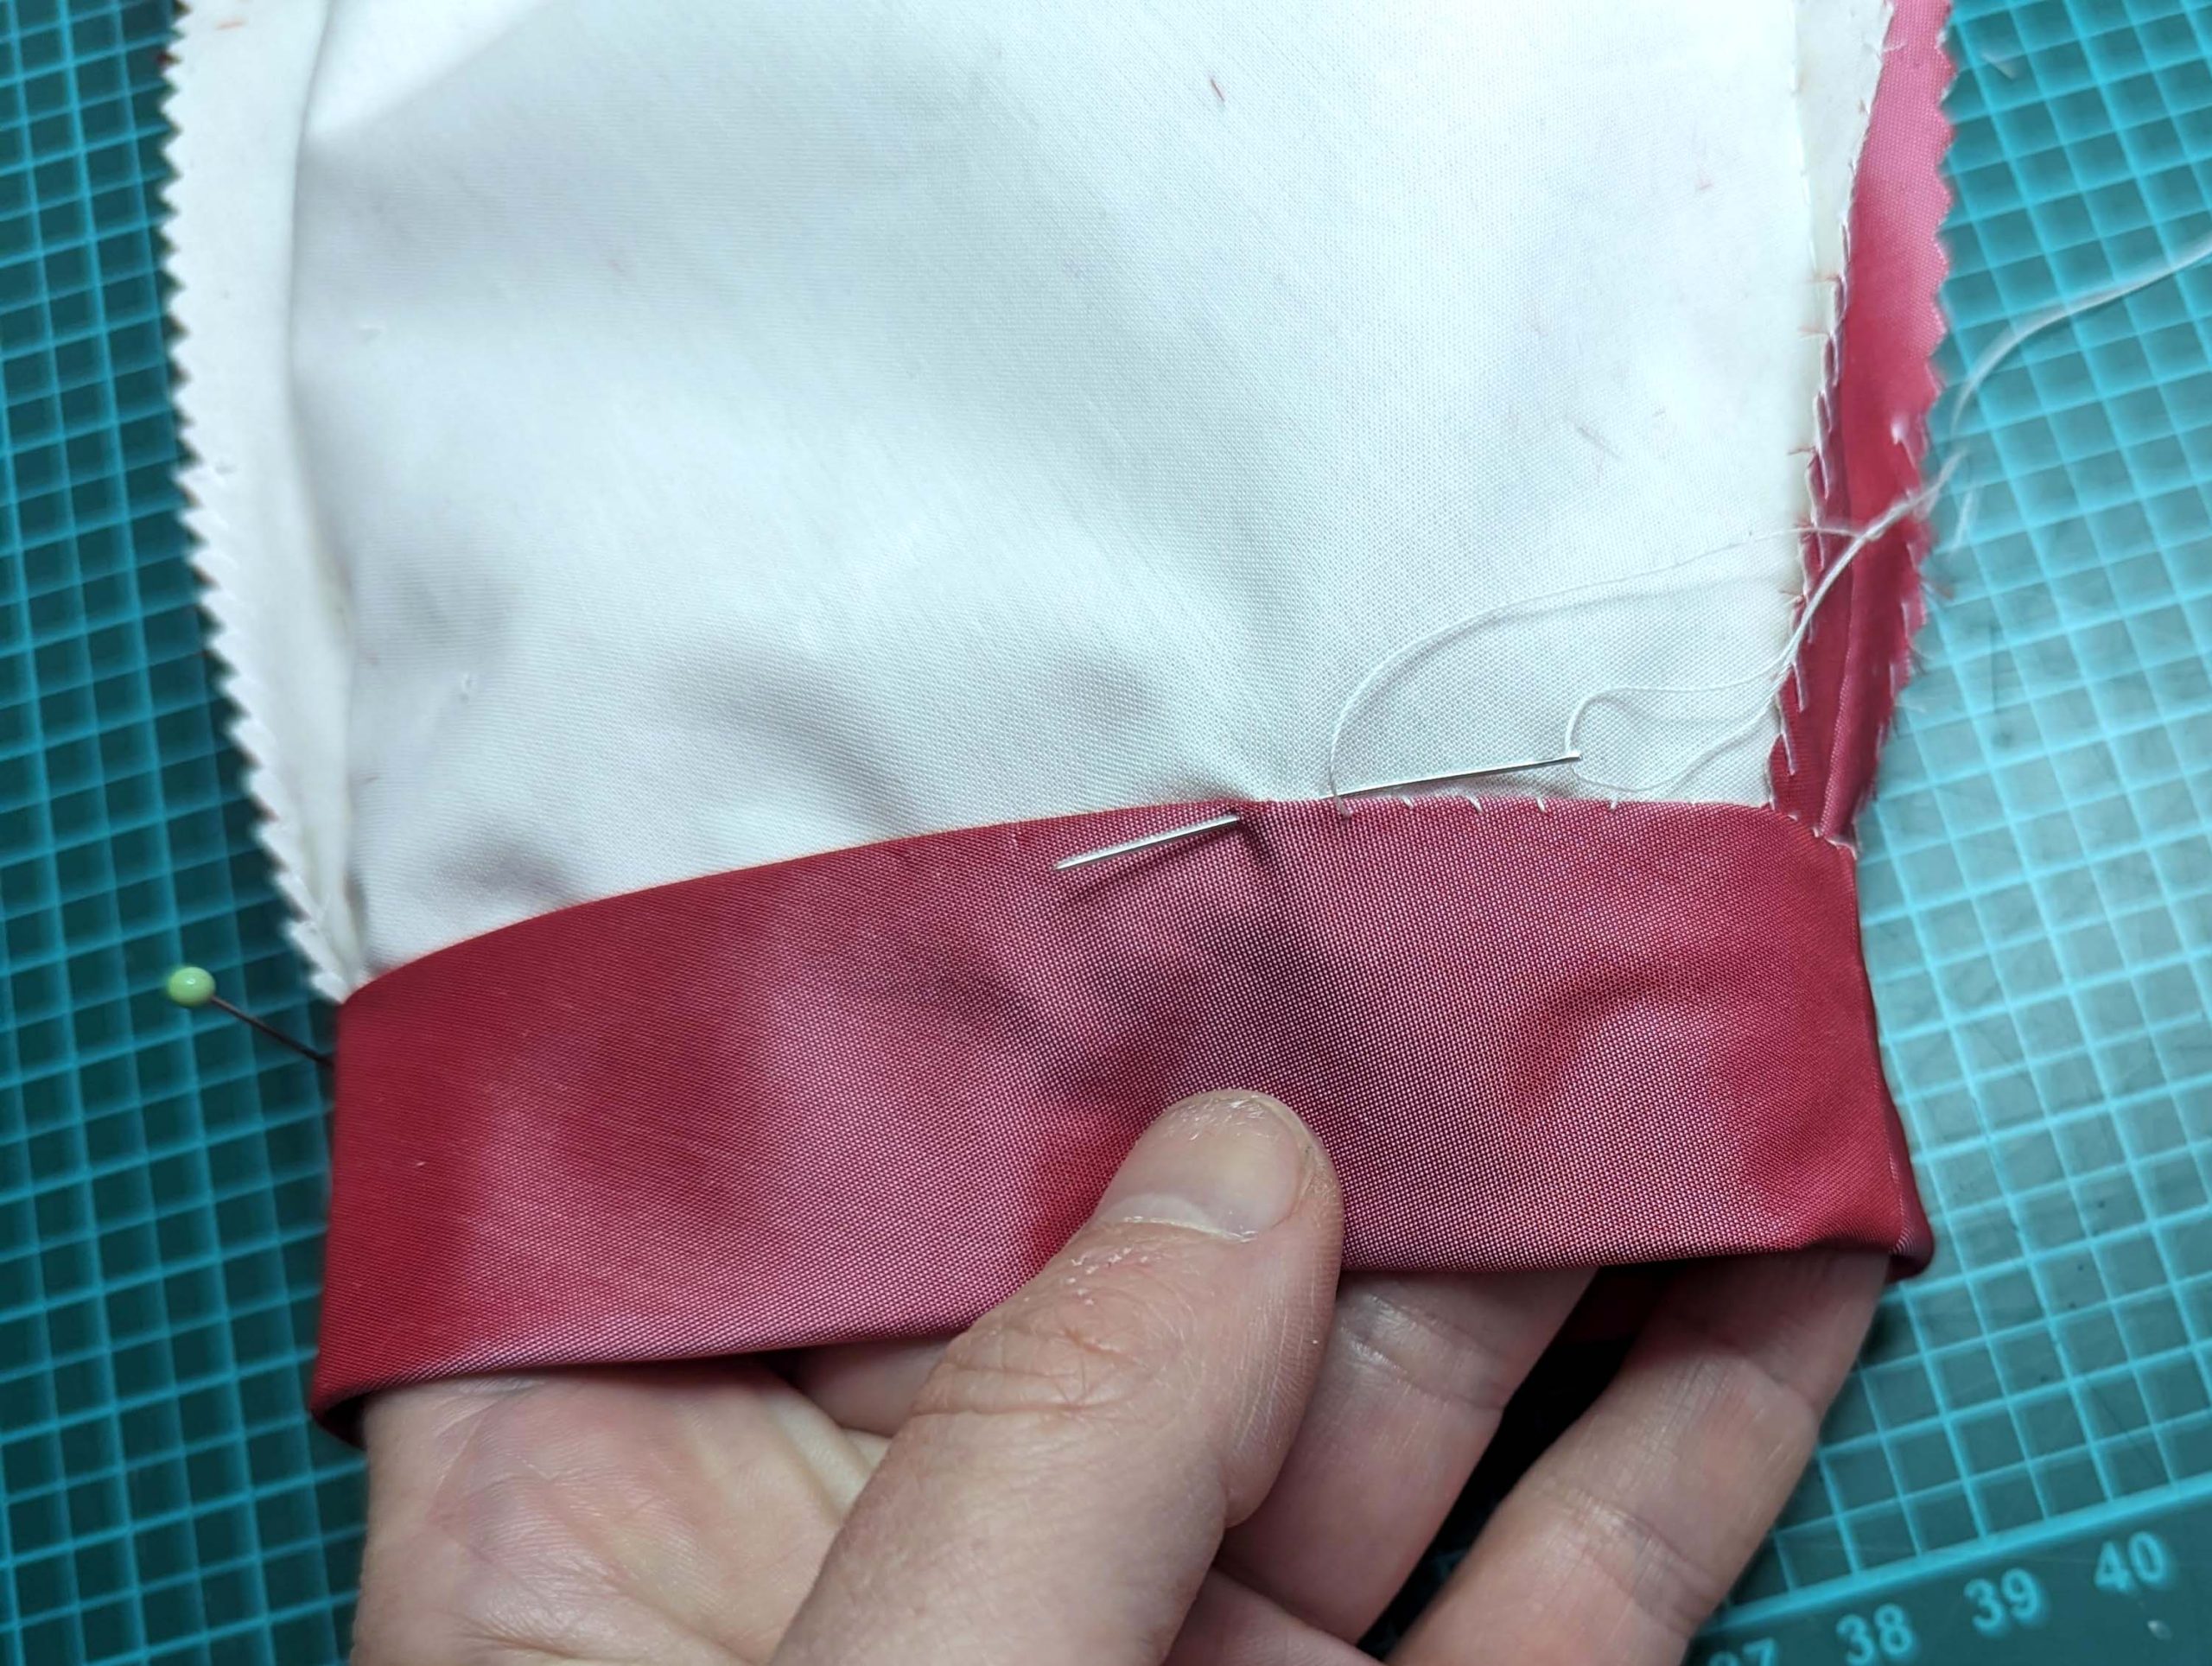
(6) Before sewing the side seam, remove the basting threads at the side back to grab just the fashion fabric without the flatlining. Now, sew the side seam, right sides together, catching just the fashion fabric of the side back and the fashion fabric together with the flatlinig of the front. Press open the seam allowance and smooth out the flatlining of the side back over the side seam. Baste to the seam allowance of the front. Turn in the seam allowance of the front lining along the side seam an line up with the stitching line, covering the raw seam allowance. Fell stich in place.
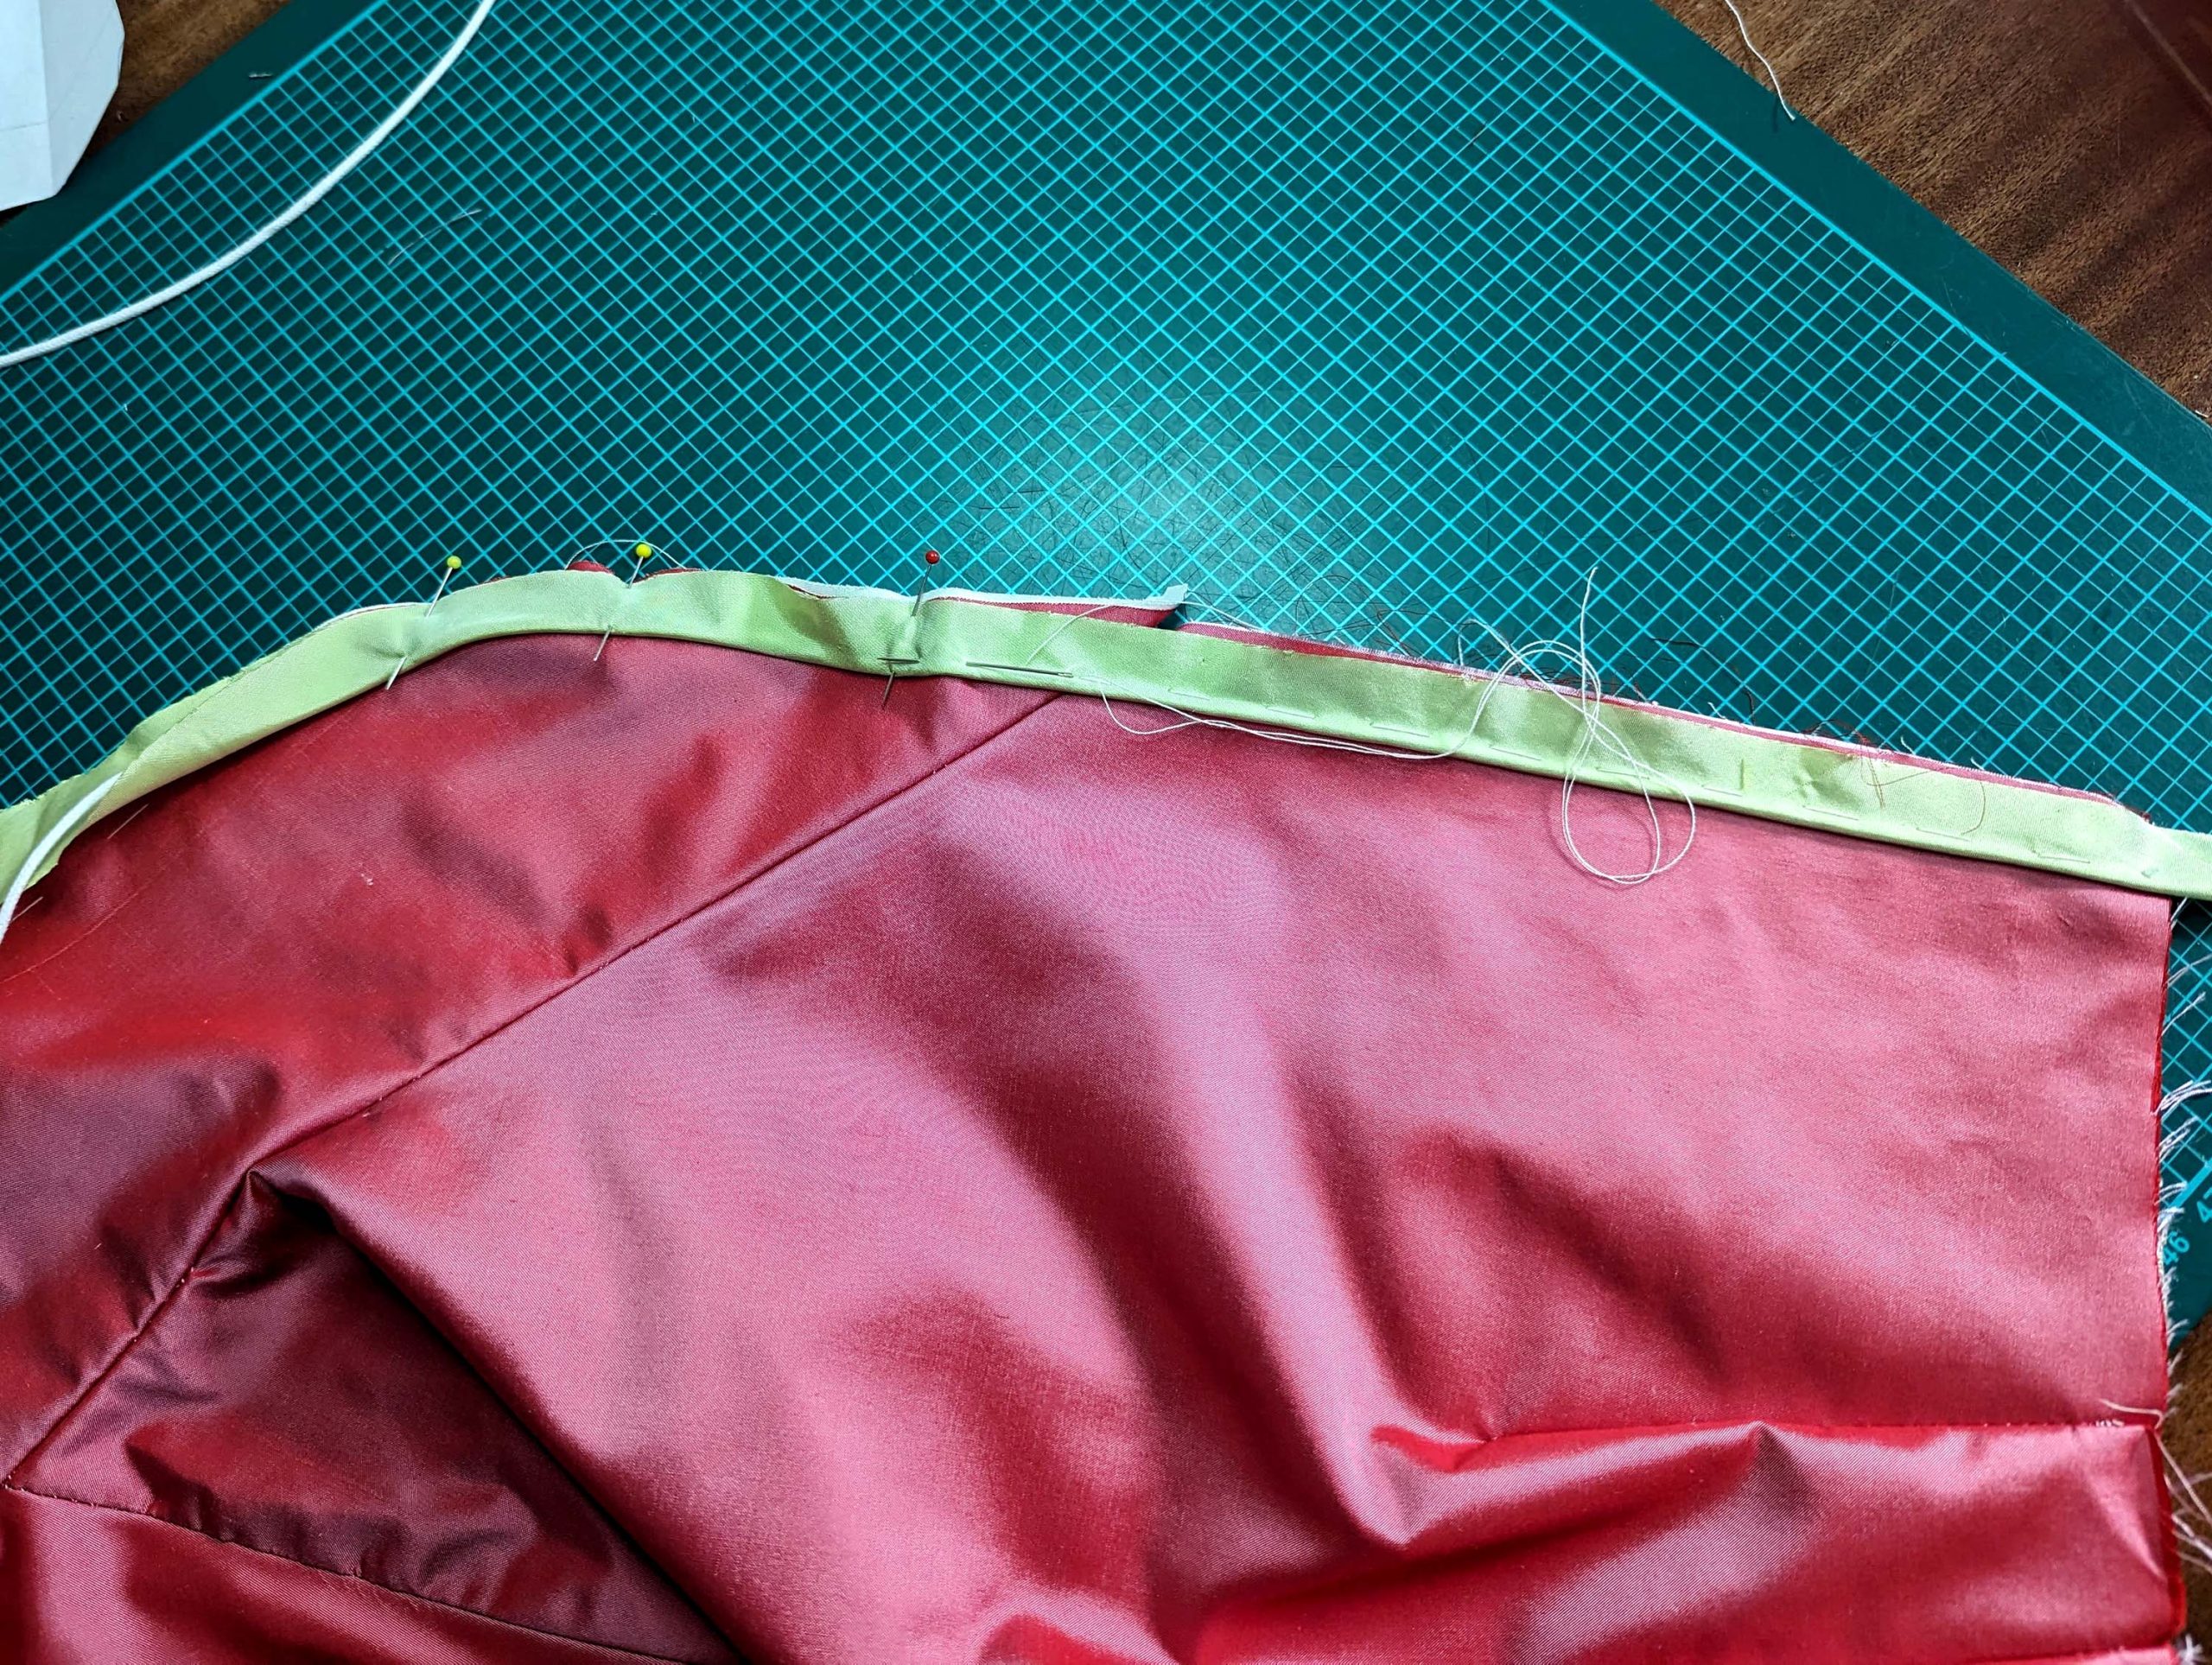
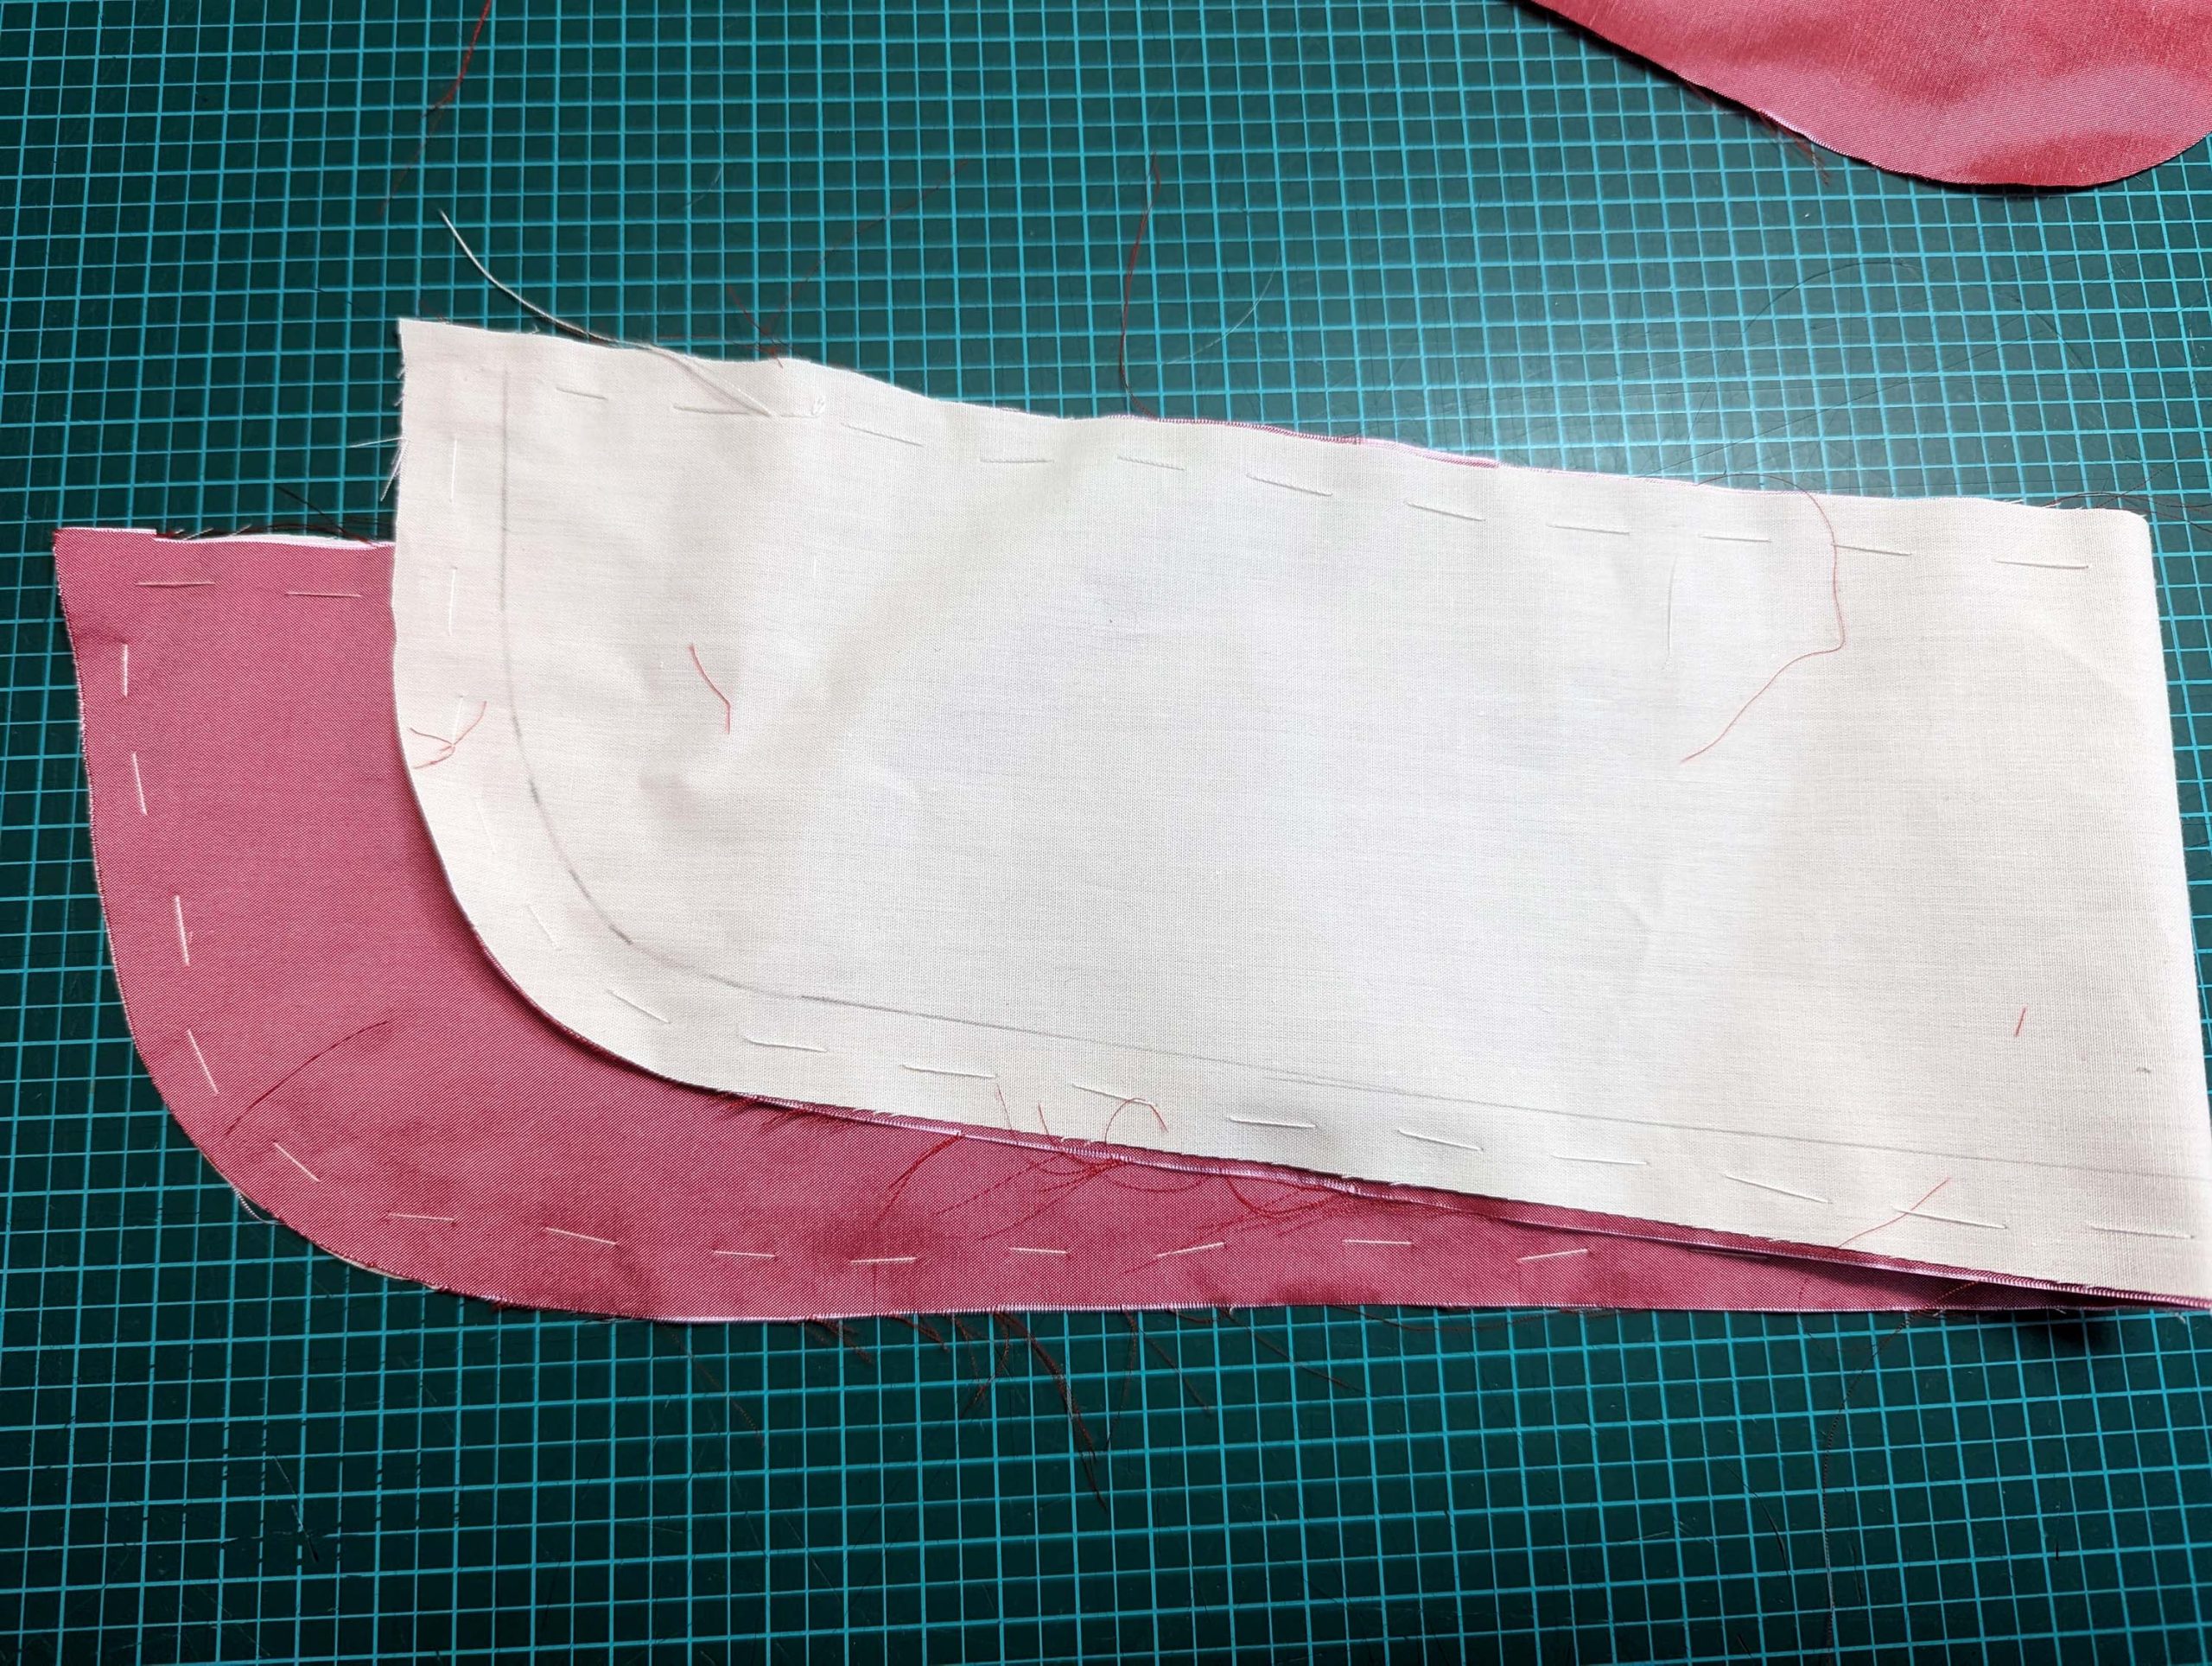
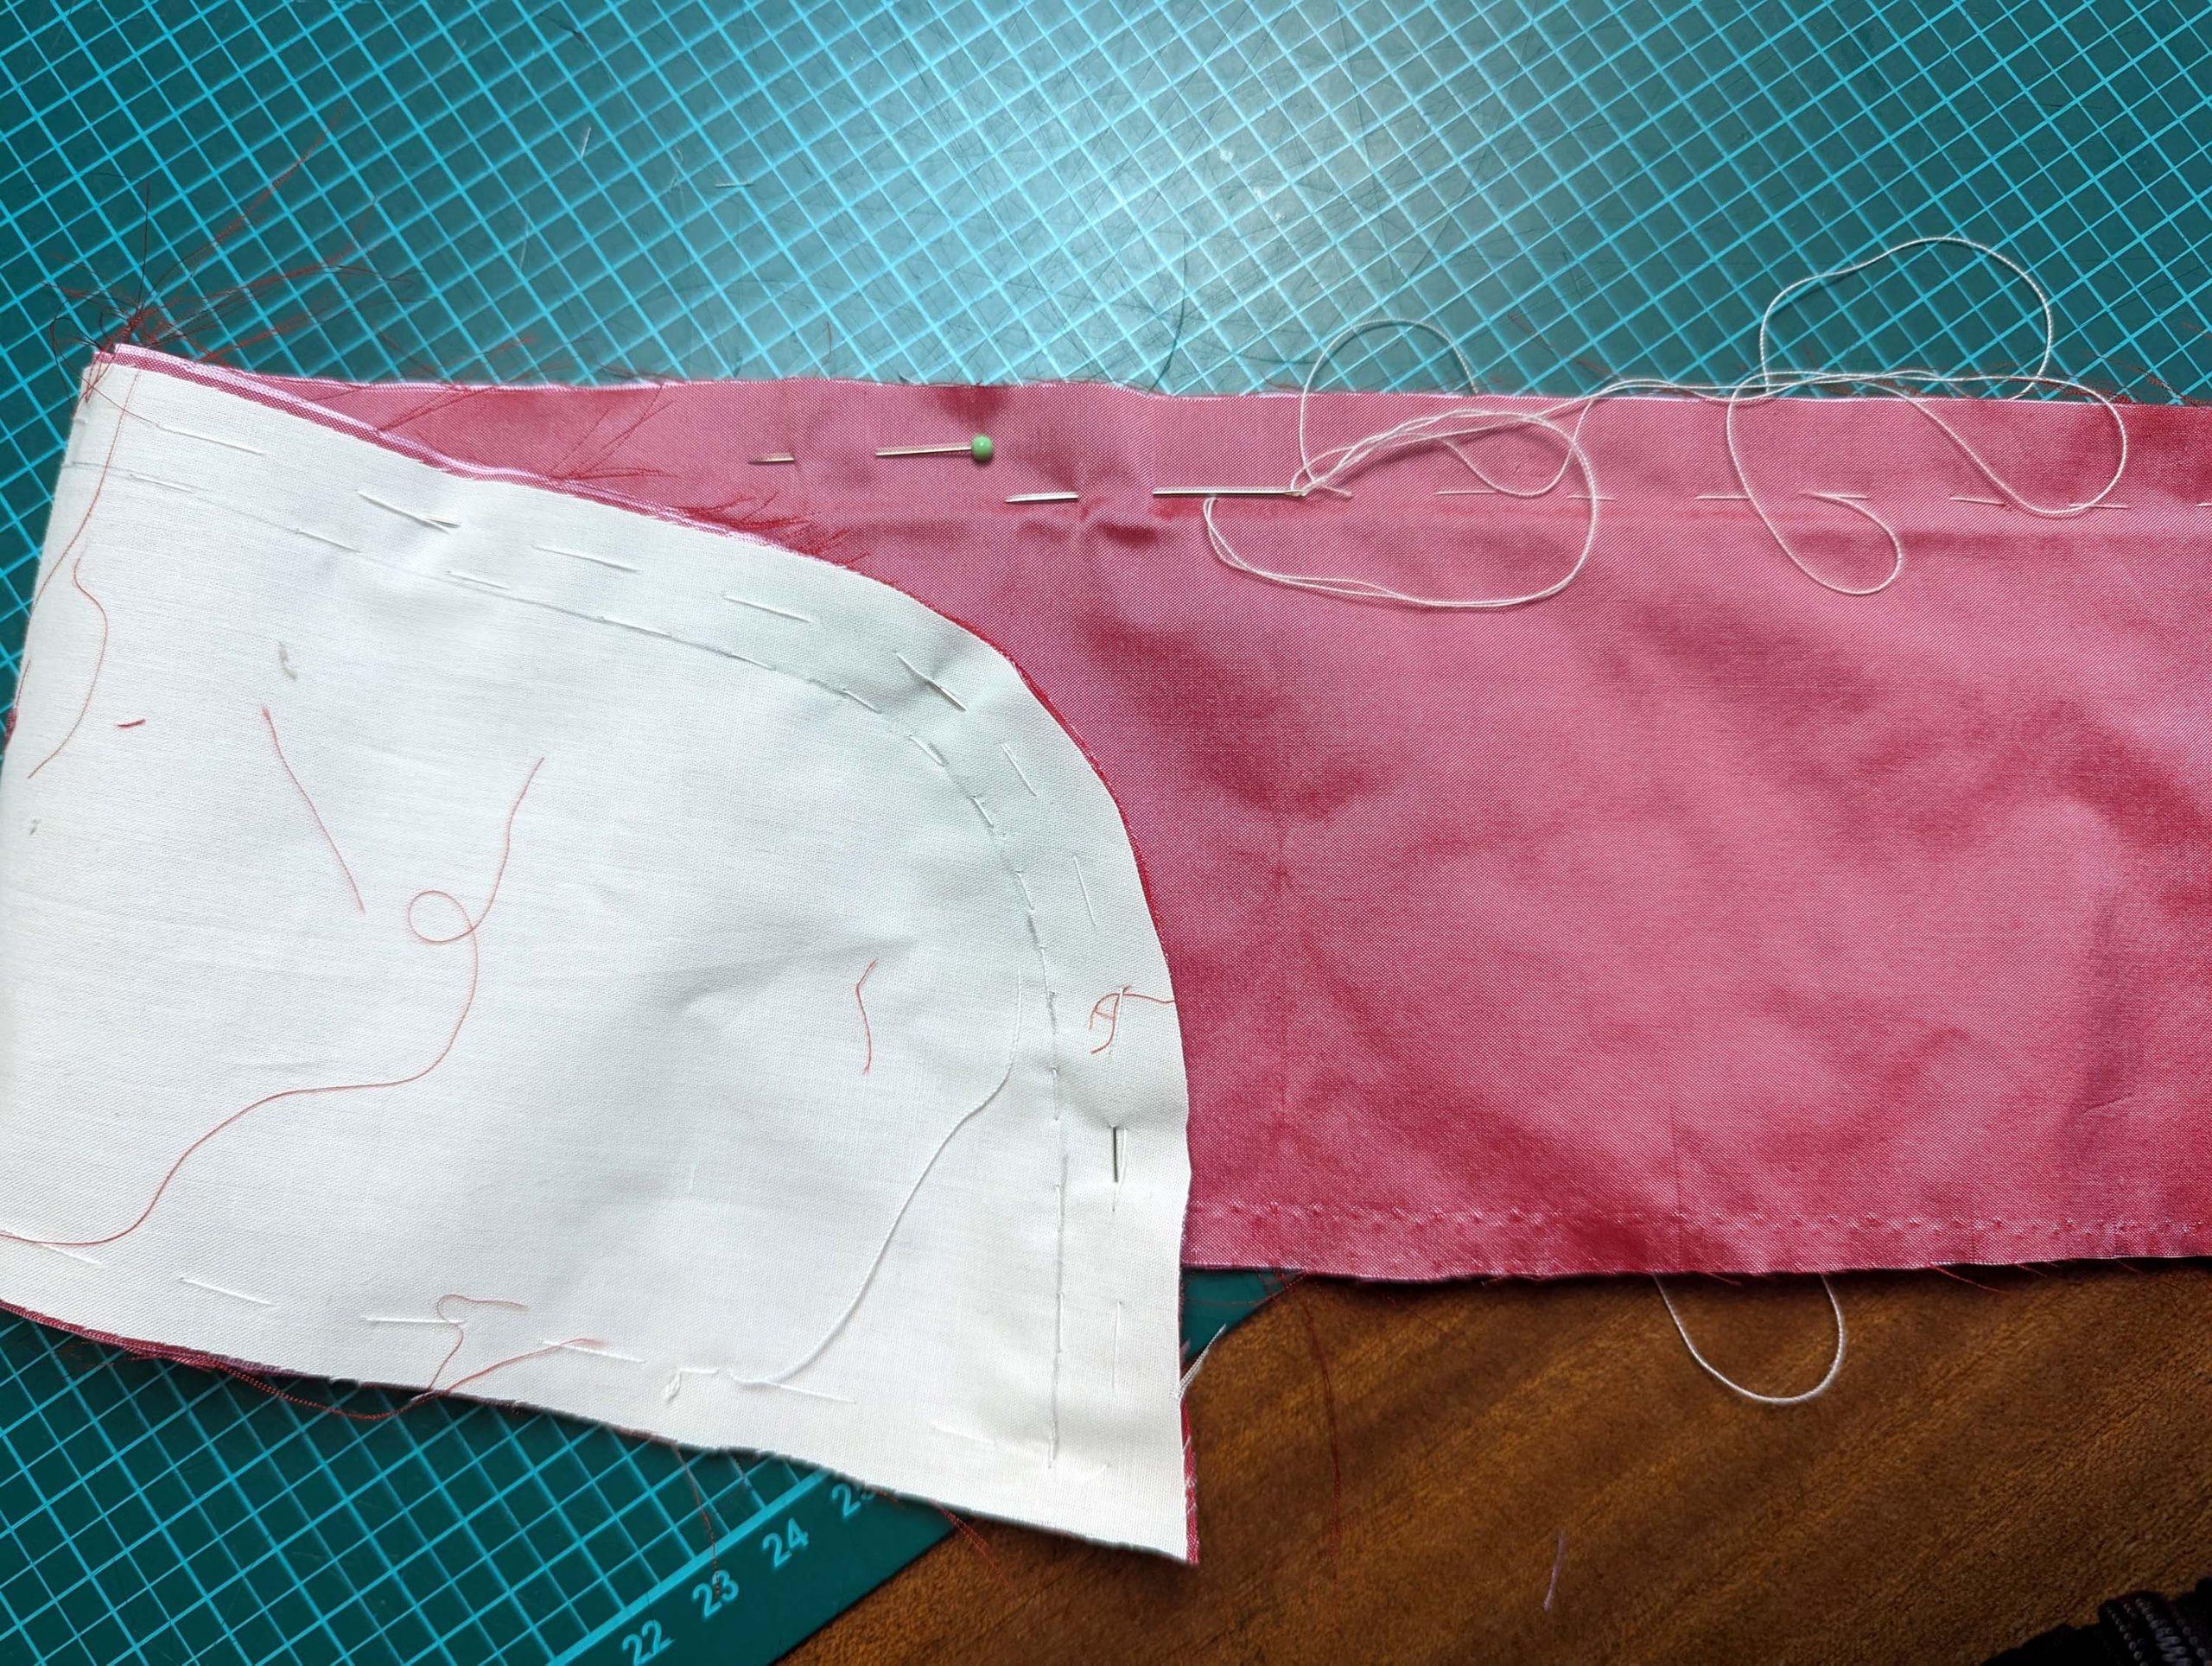
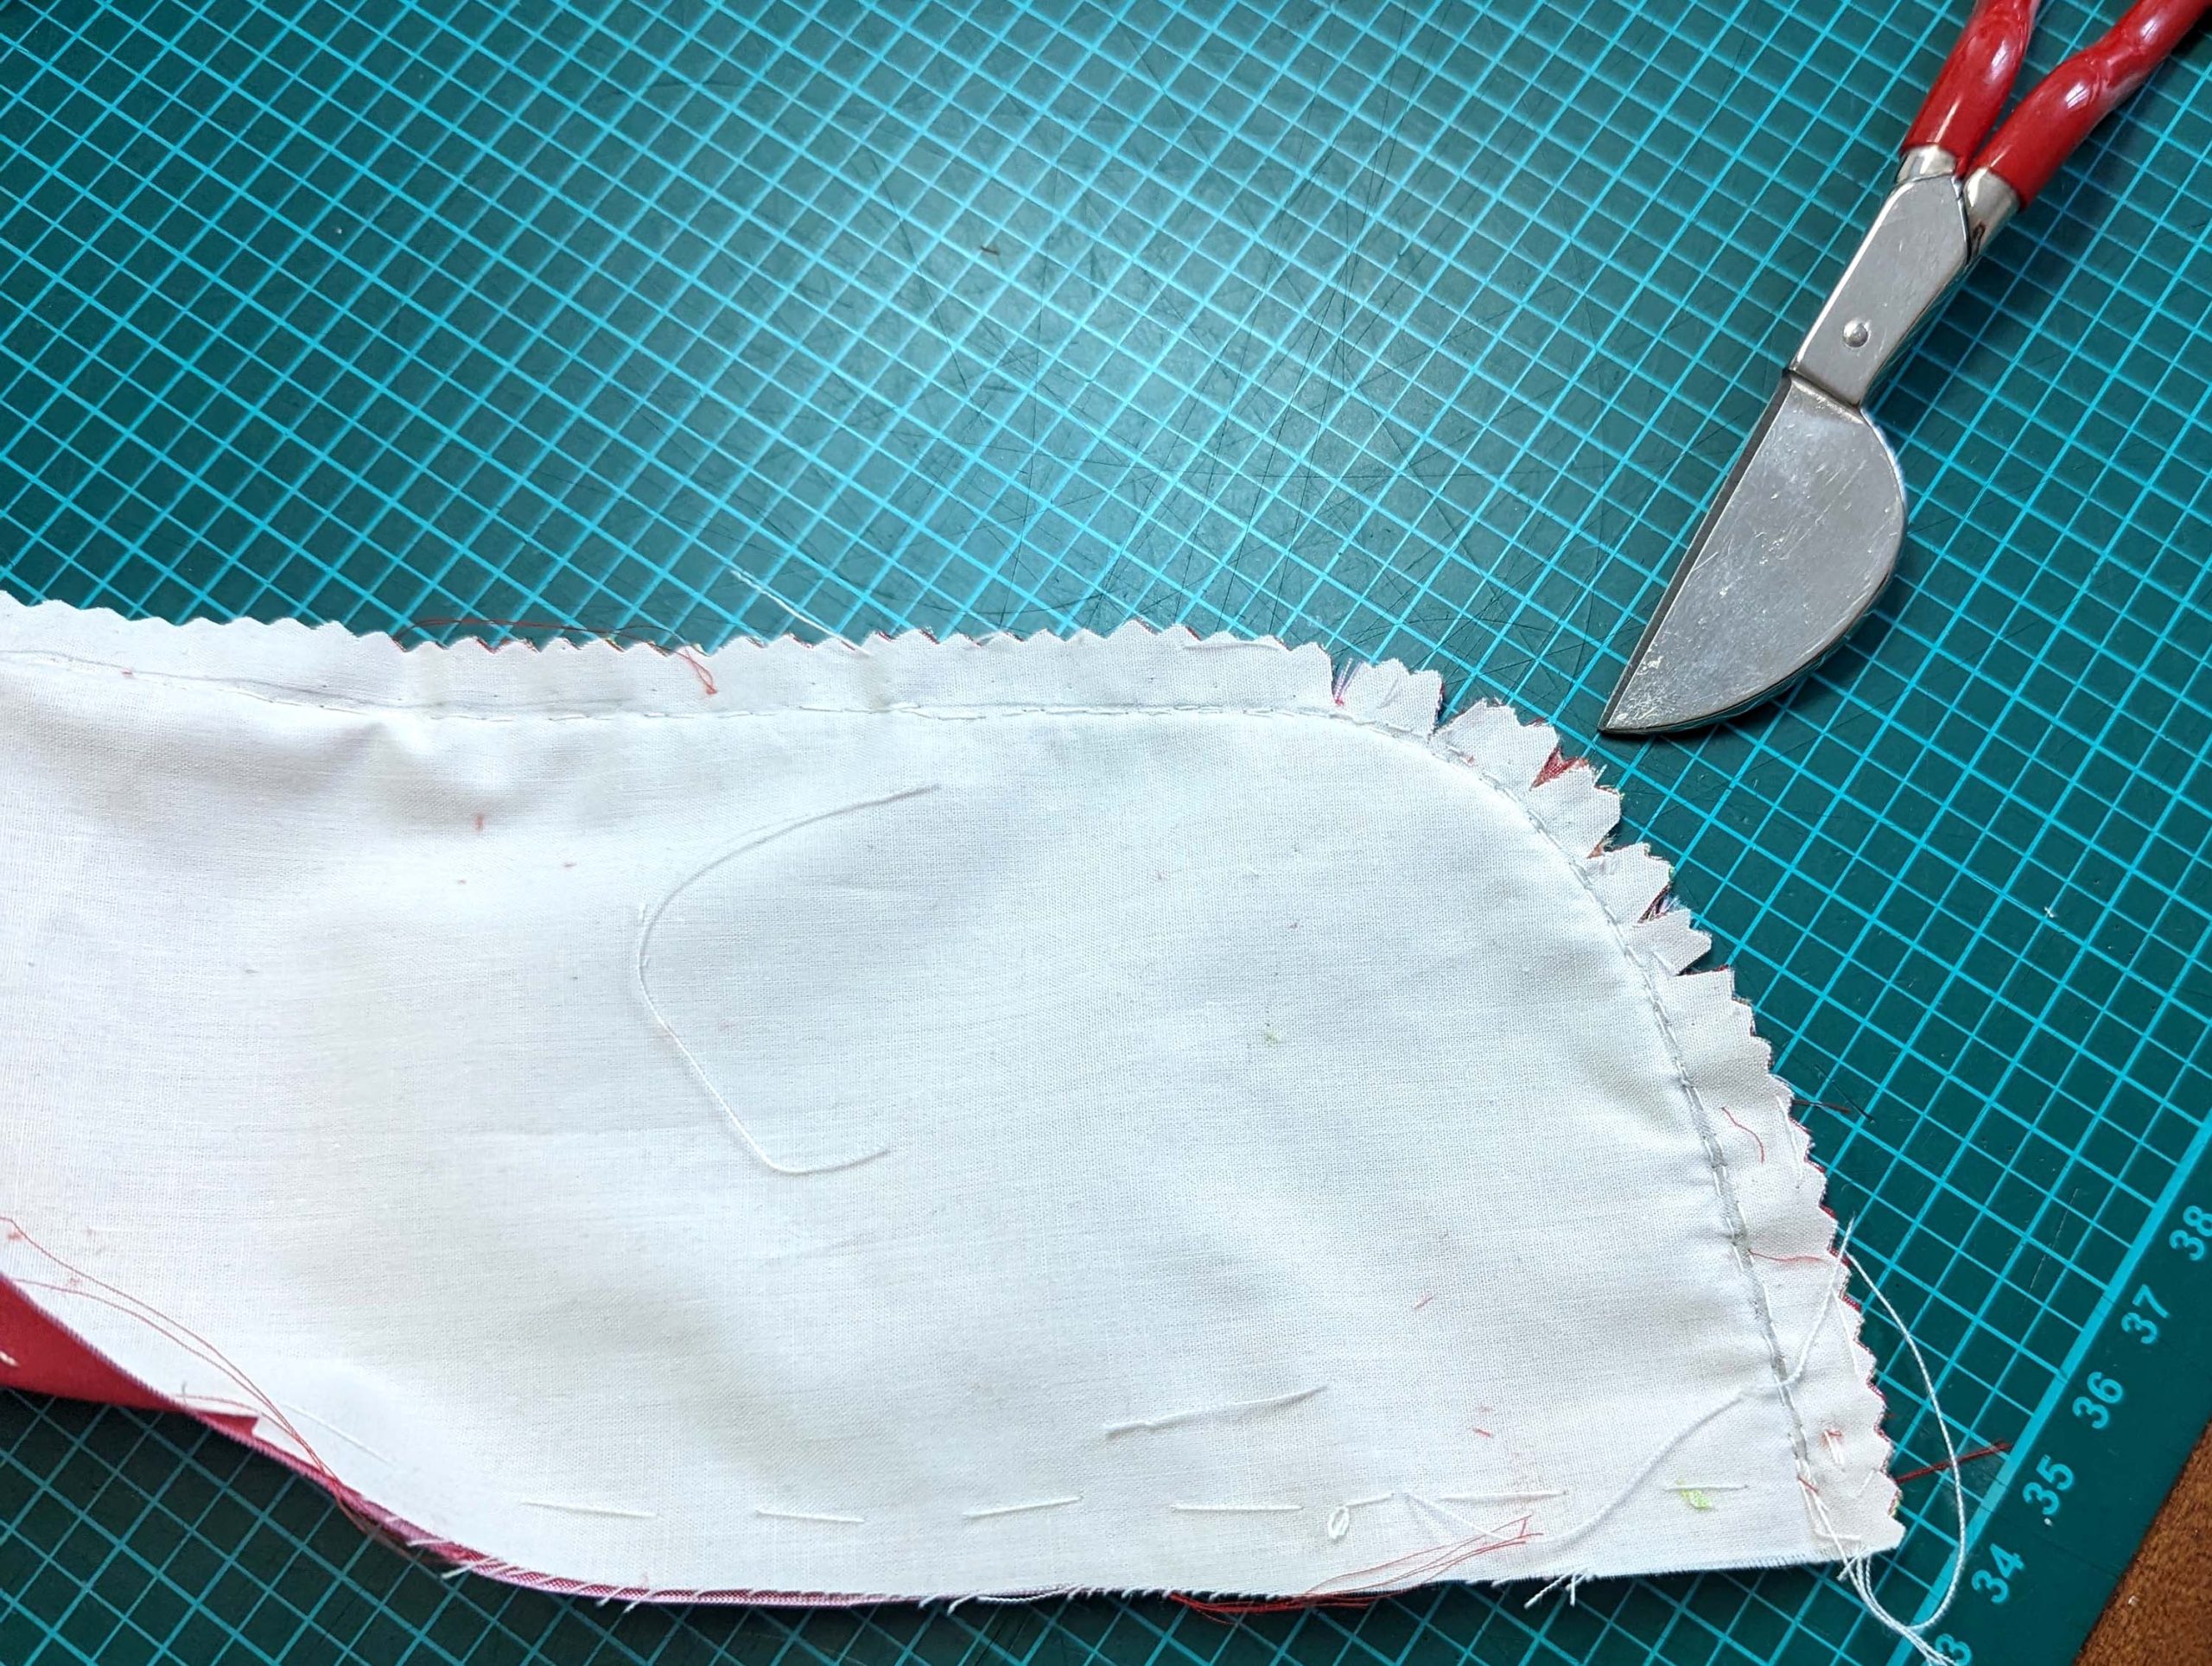
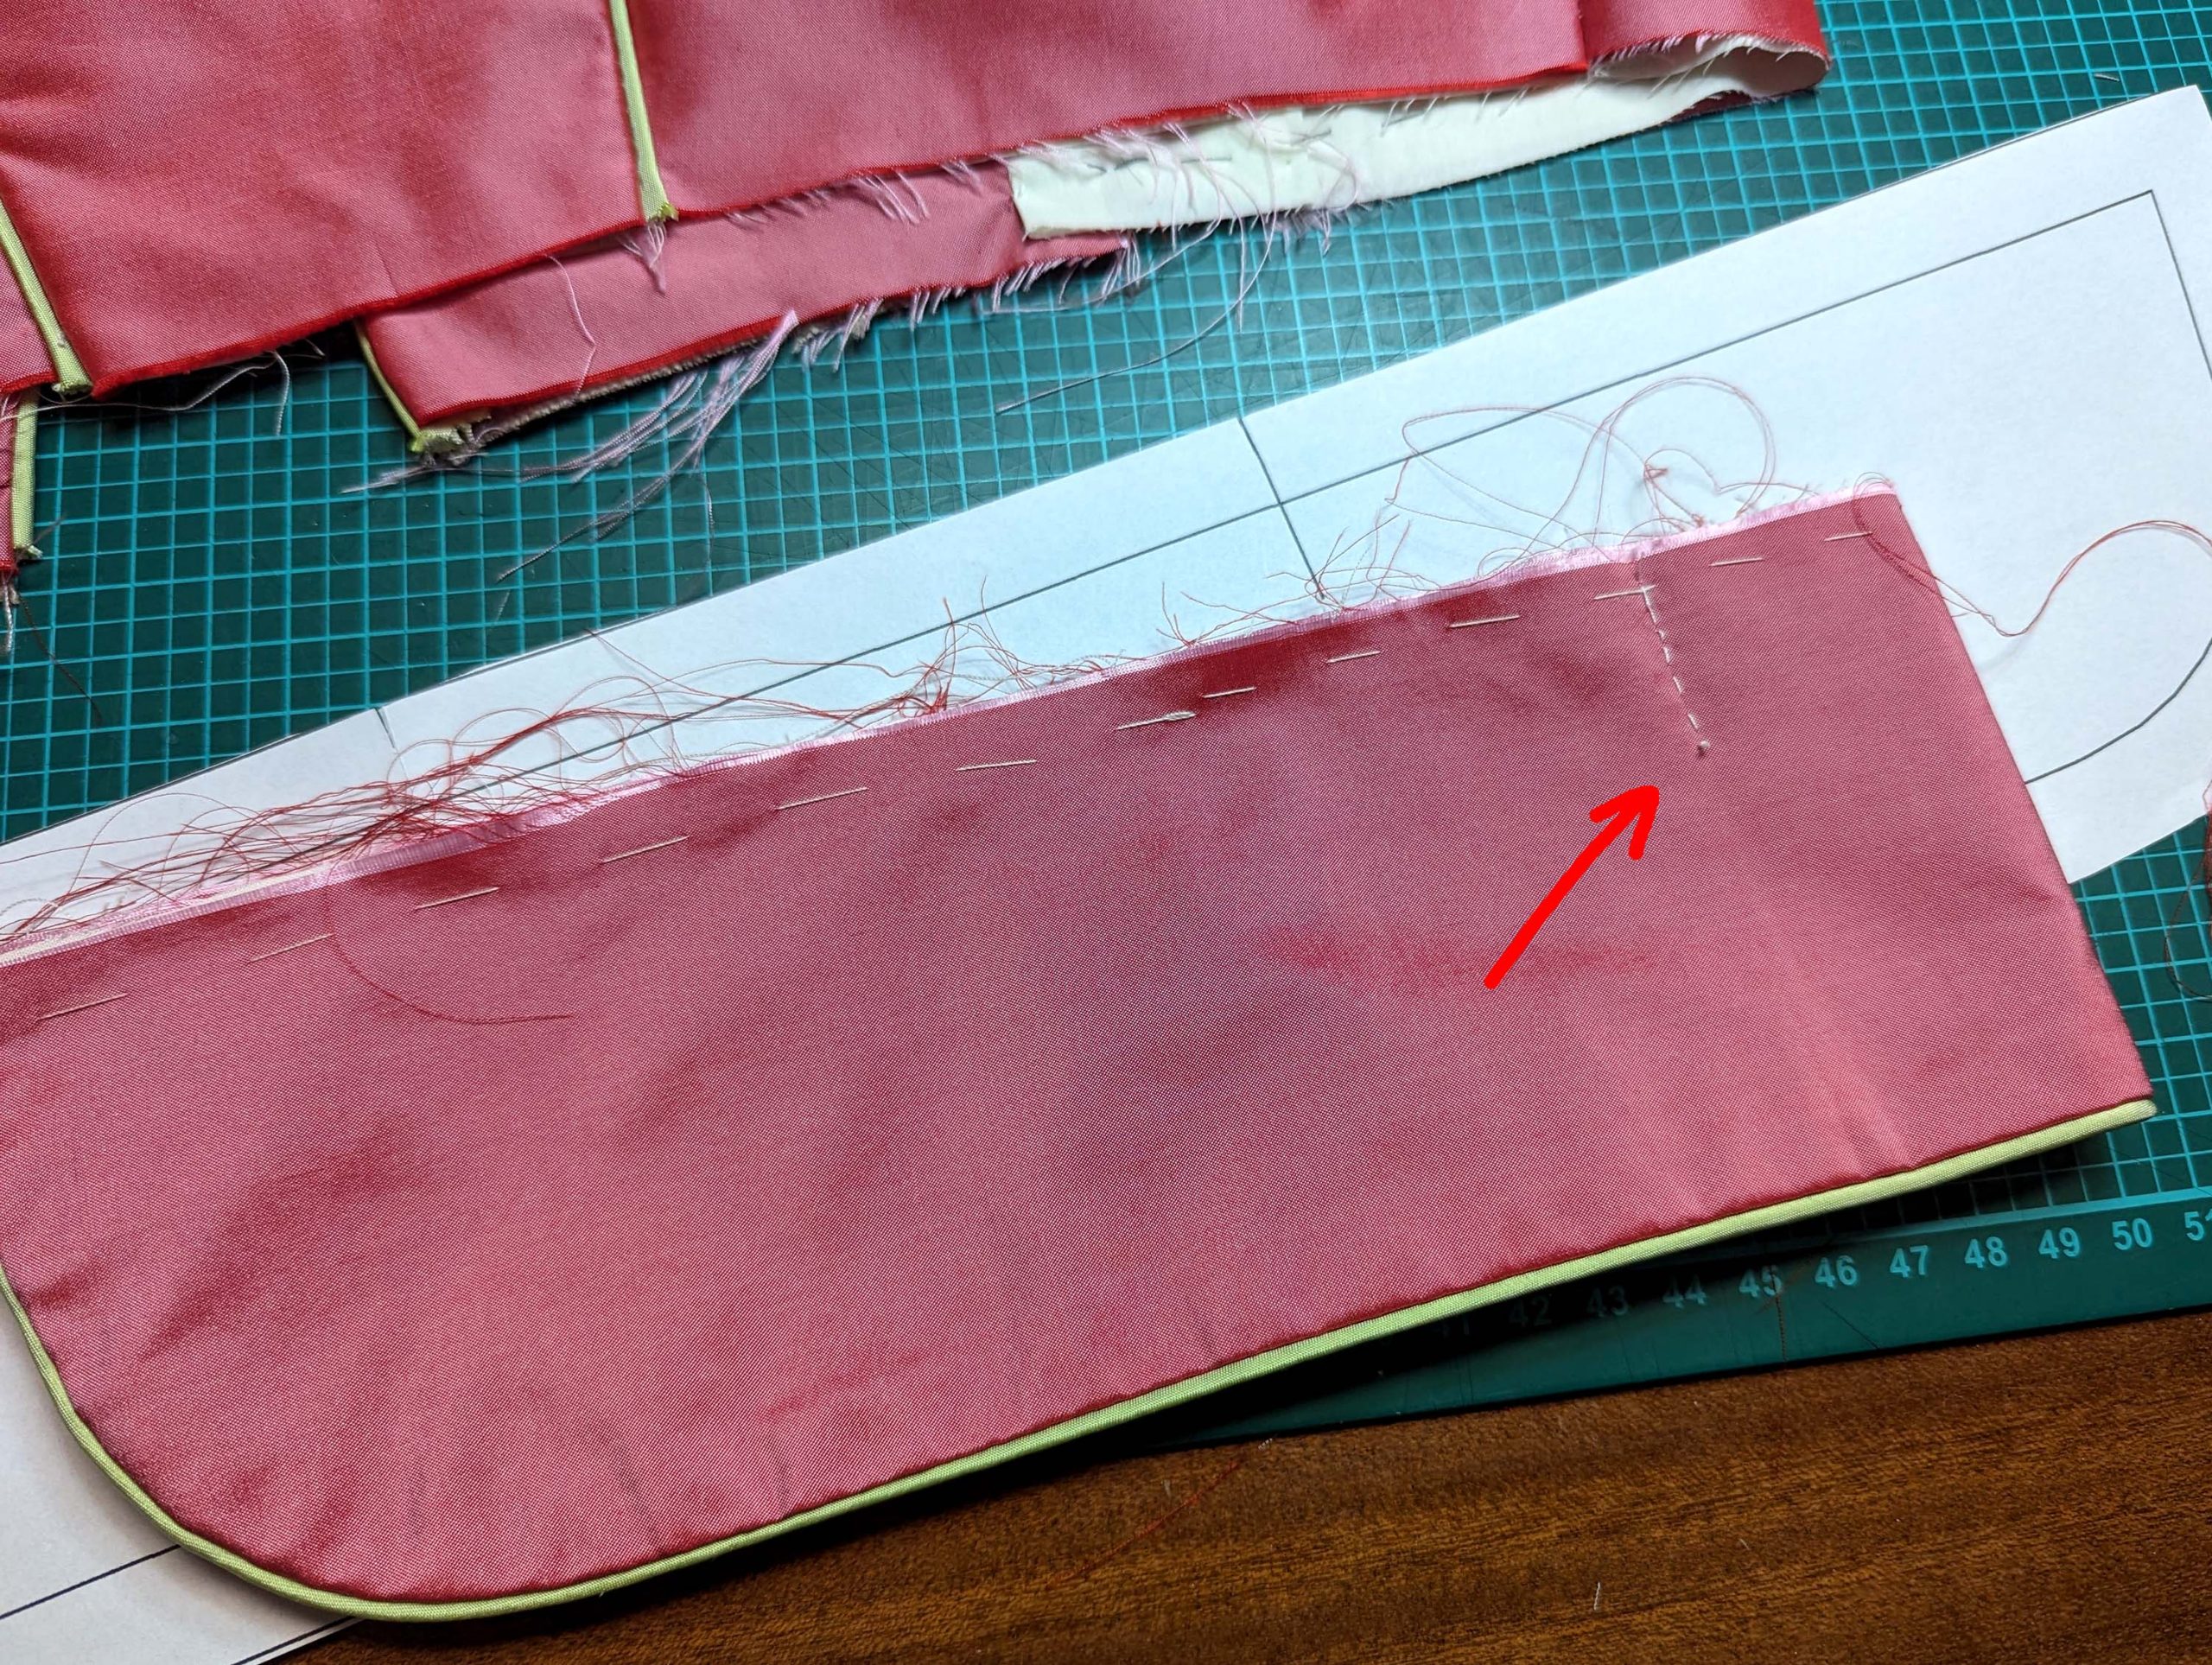
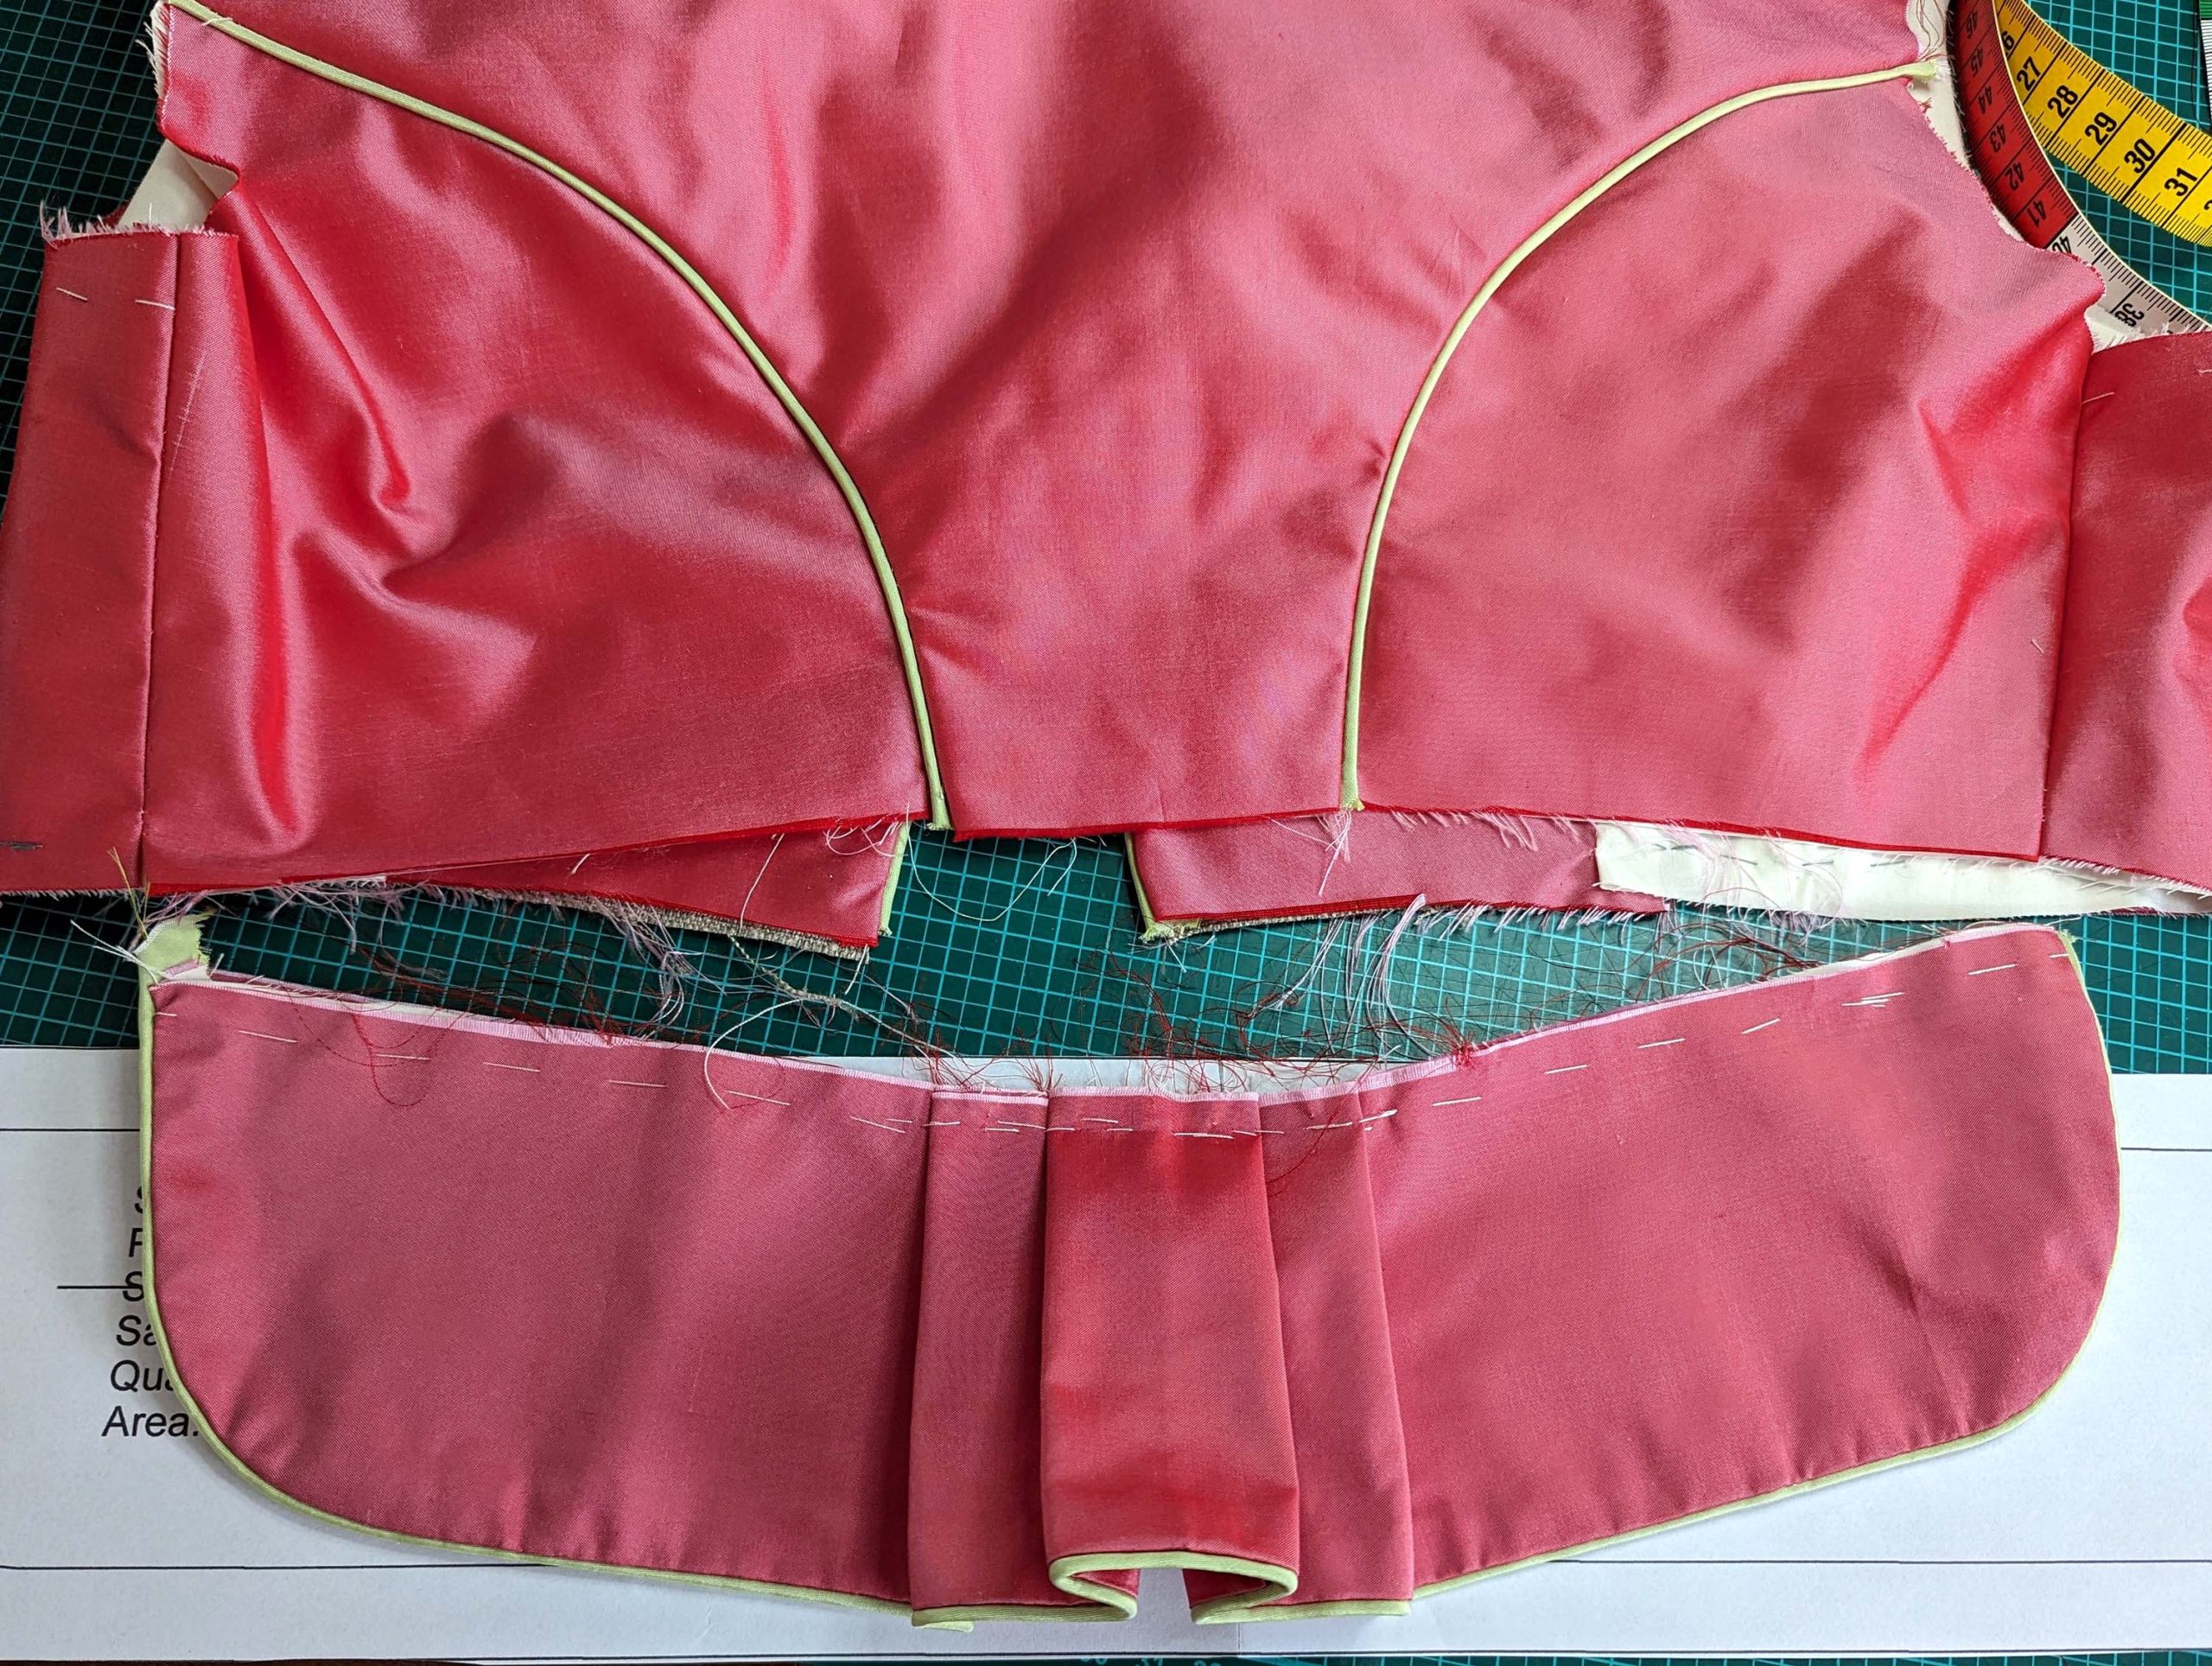
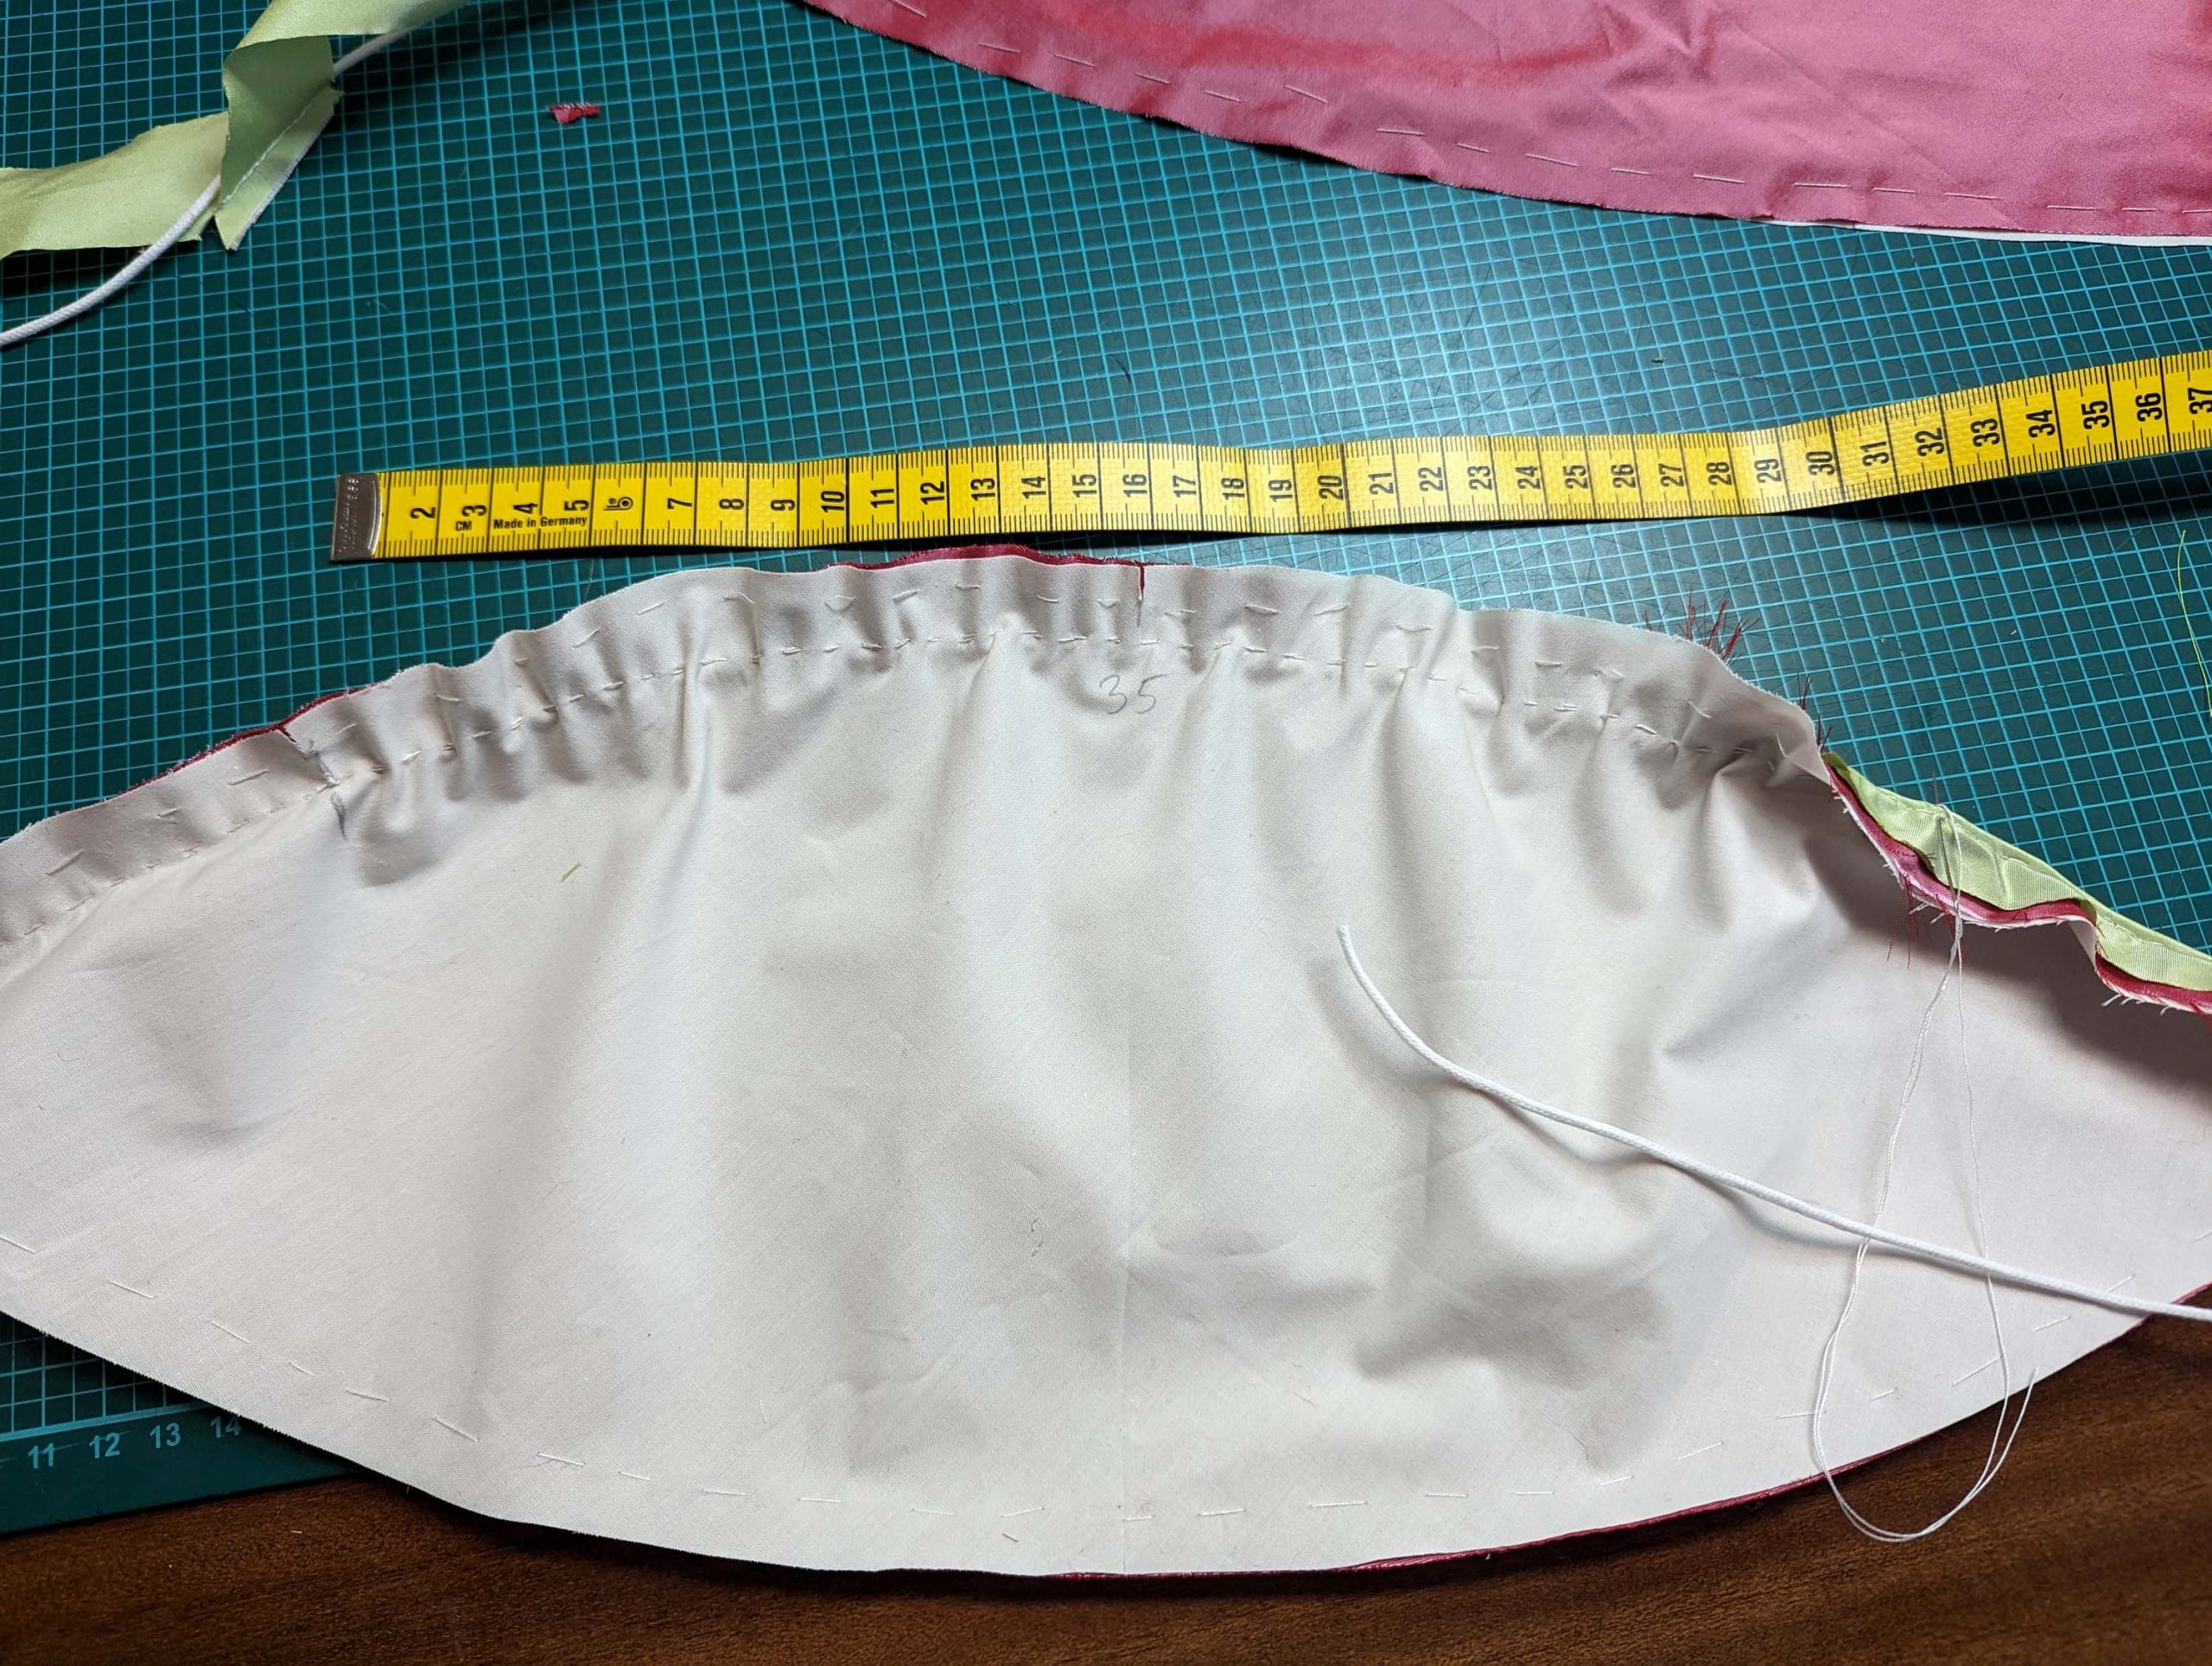
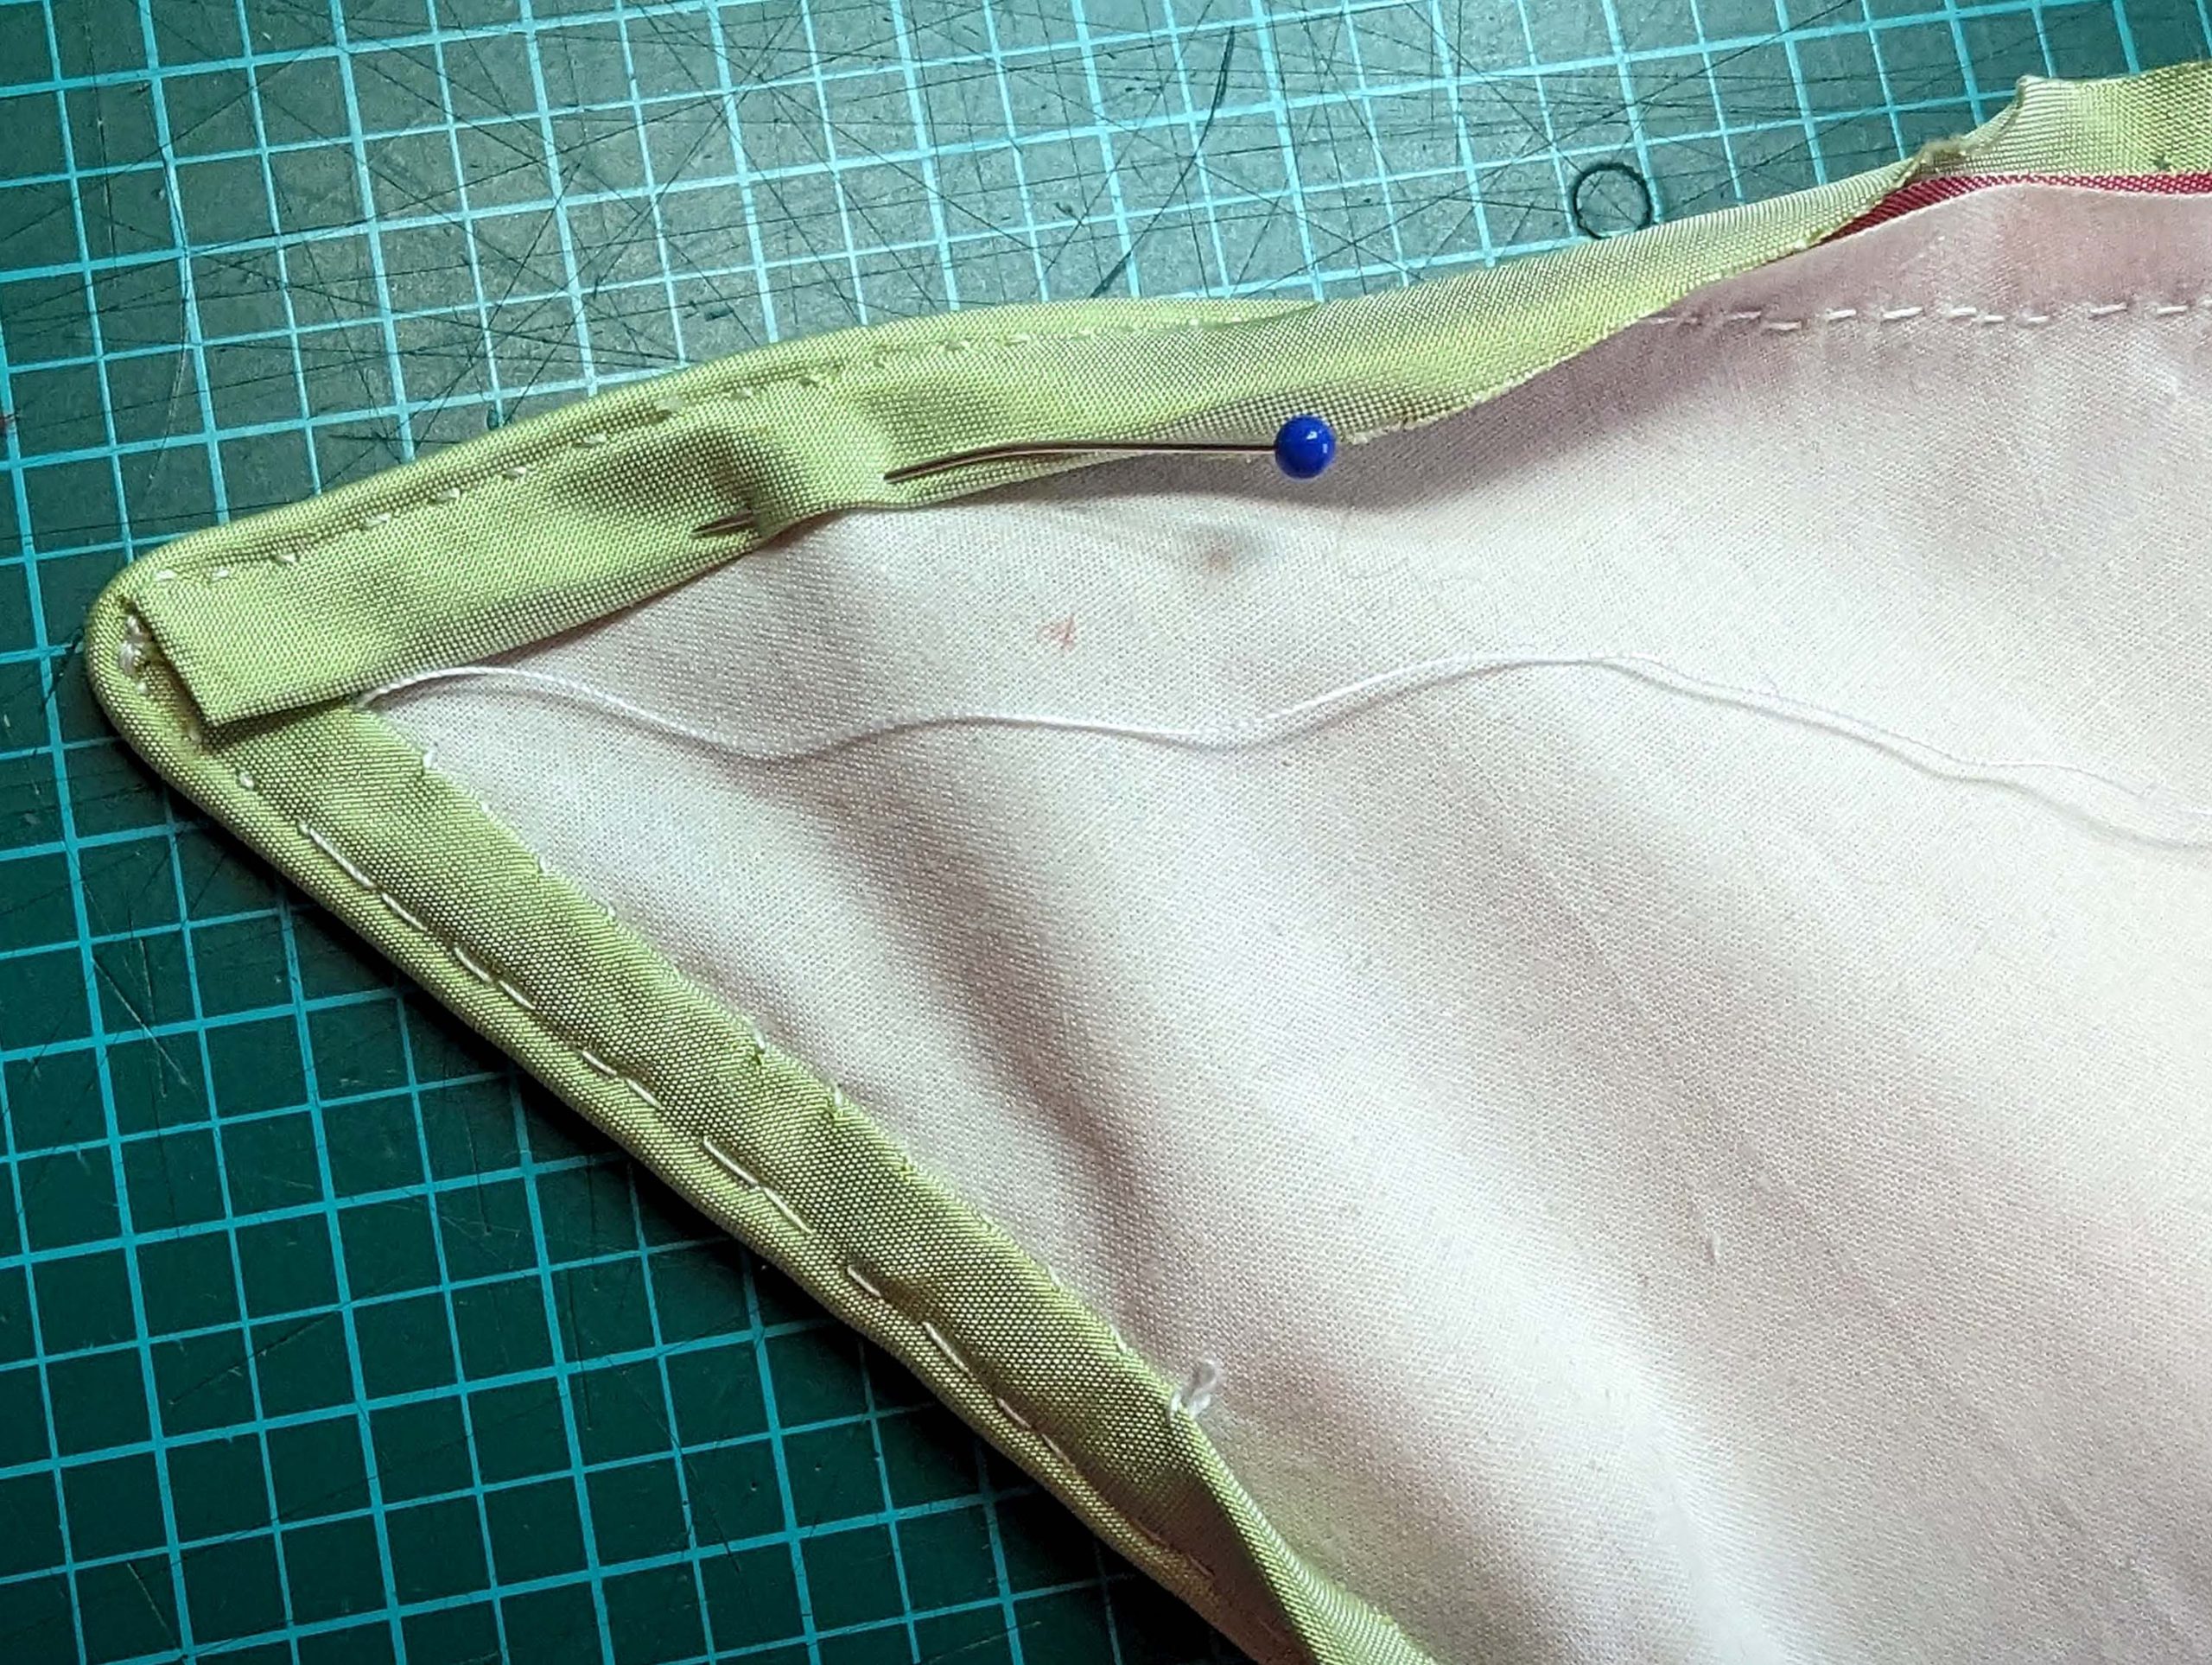
(7) Take the flatlined peplum and line up the piping with the stitching line along the outer edges, baste in place. Line up the inner layer from fashion fabric, right sides together and sew. Remove the basting threads, trim back the seam allowances, notch at the curves, and turn the right way out.


Fold in half, right sides together, and stitch down about 1 3/8” (3cm) along the marked line, creating a box pleat at the center back. Fold the excess fabric into a knife pleats, matching the marks on the waistband/back.
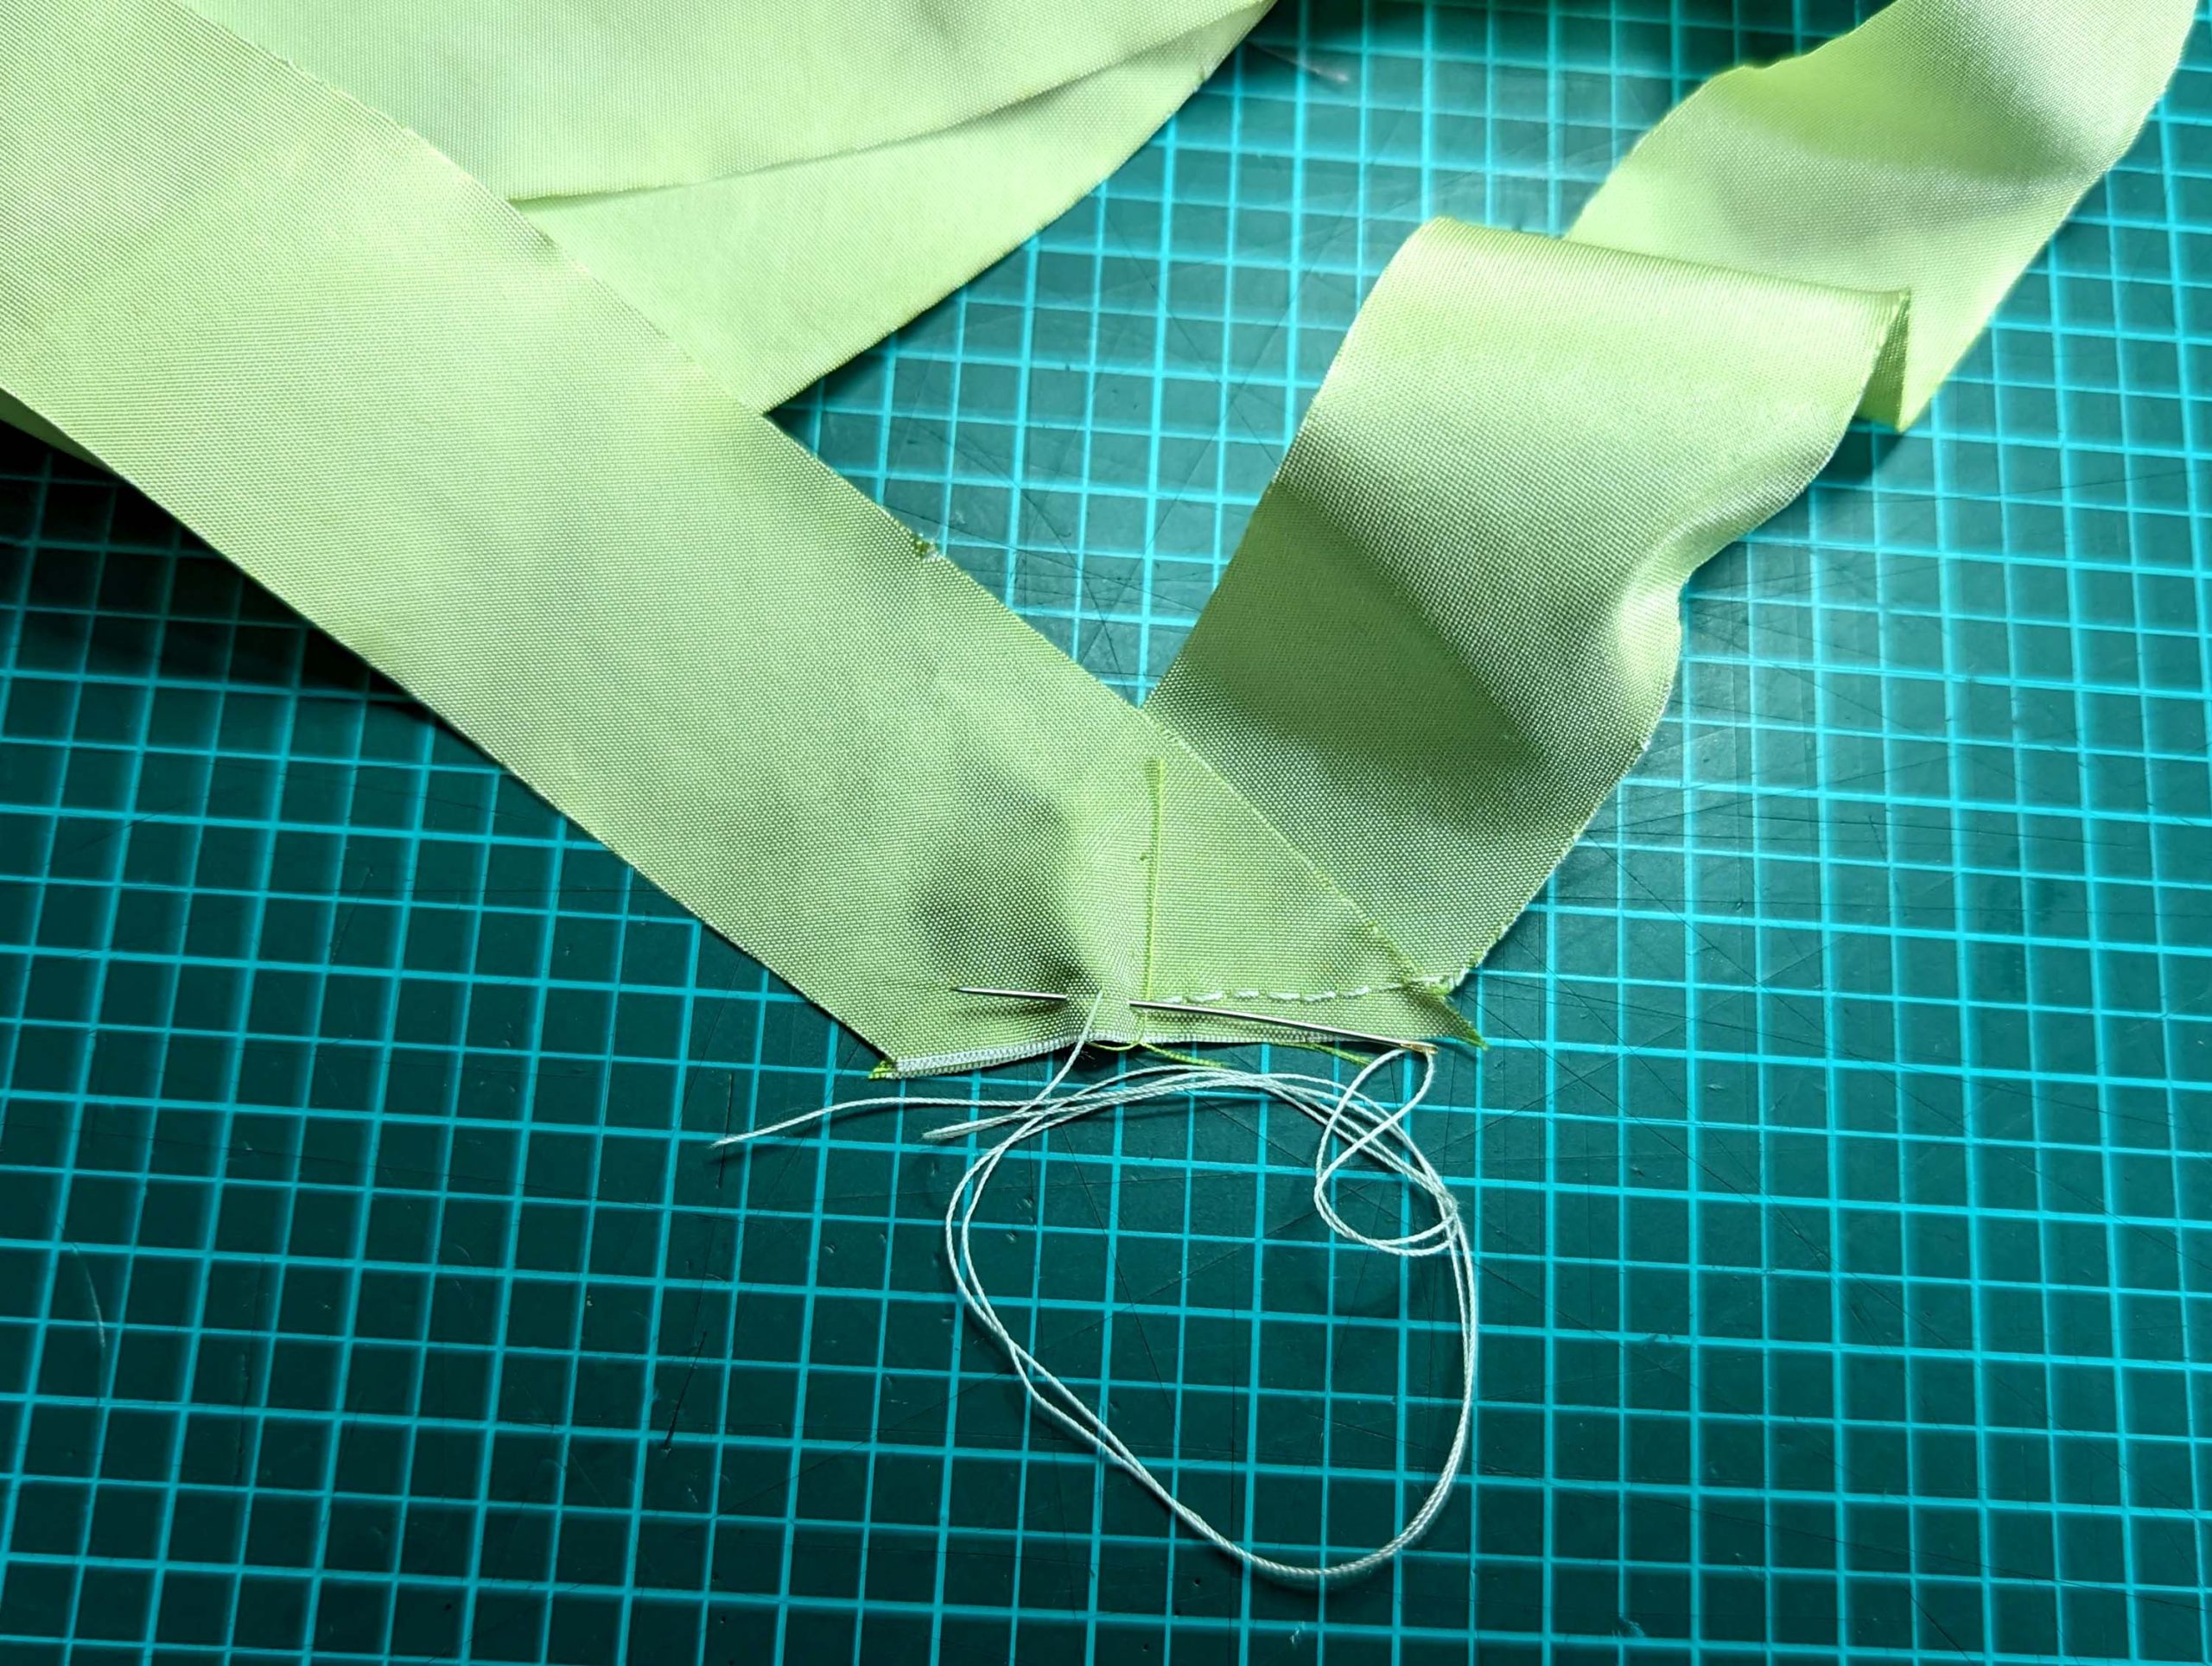
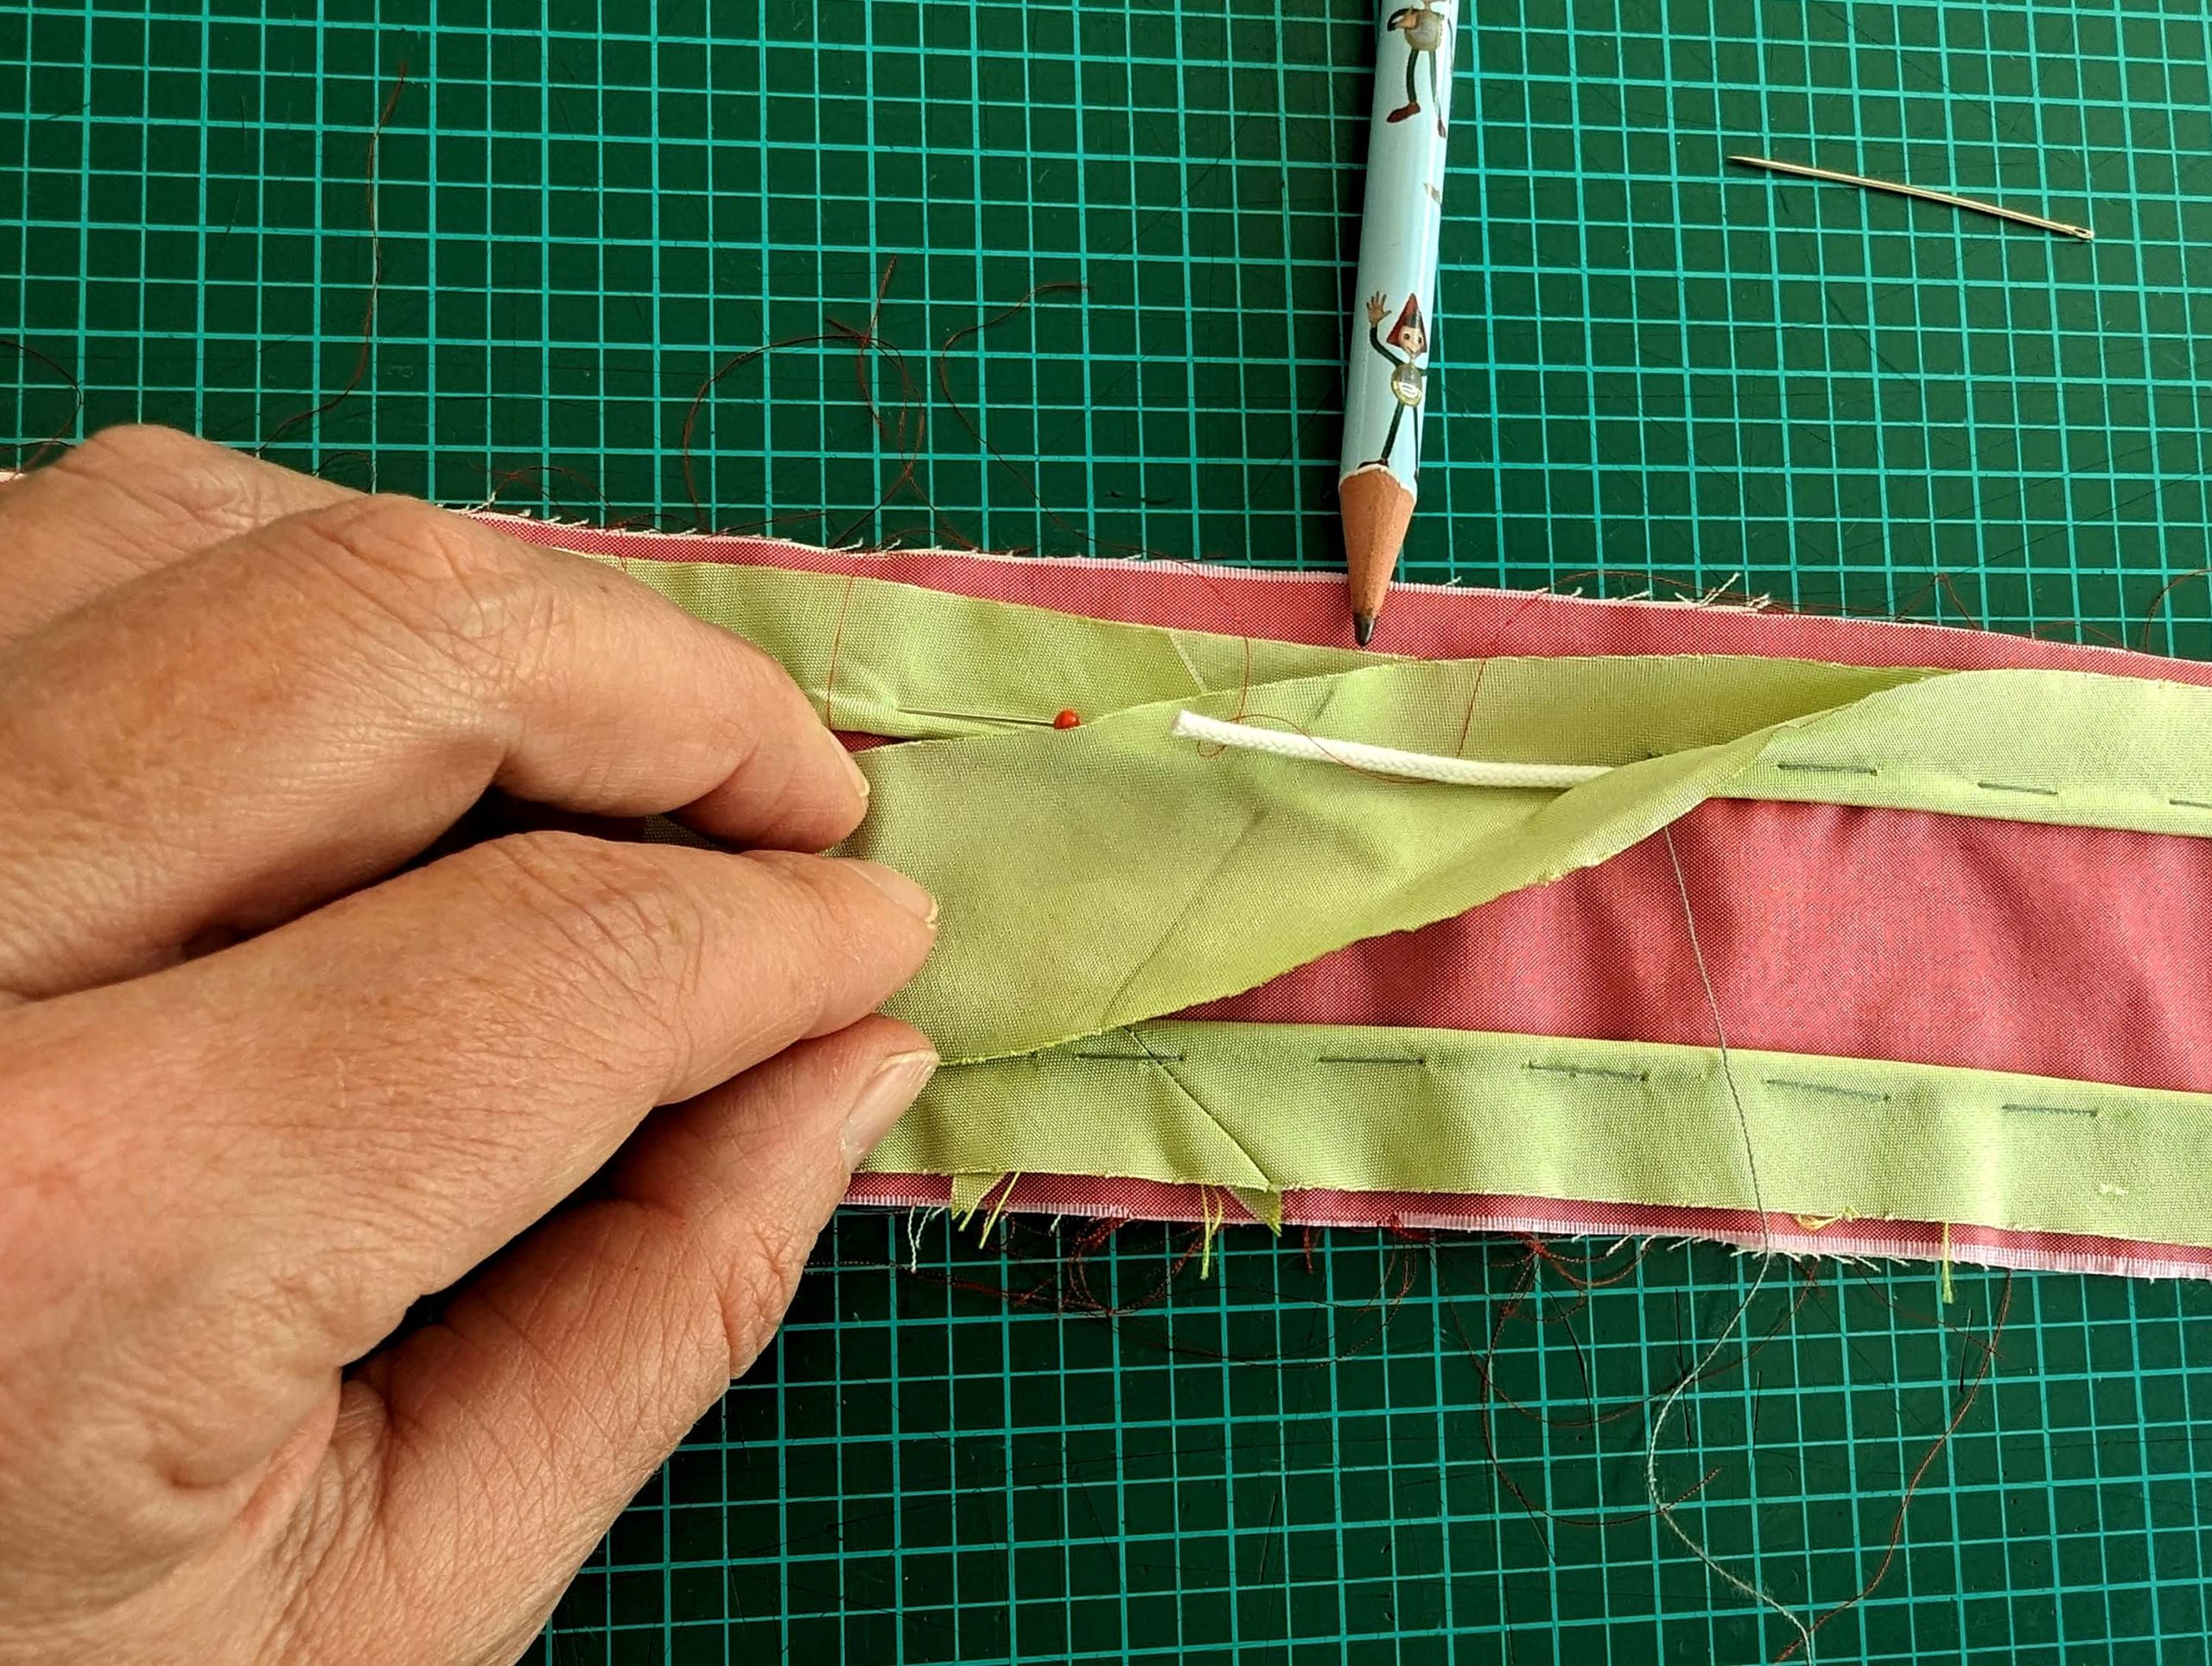
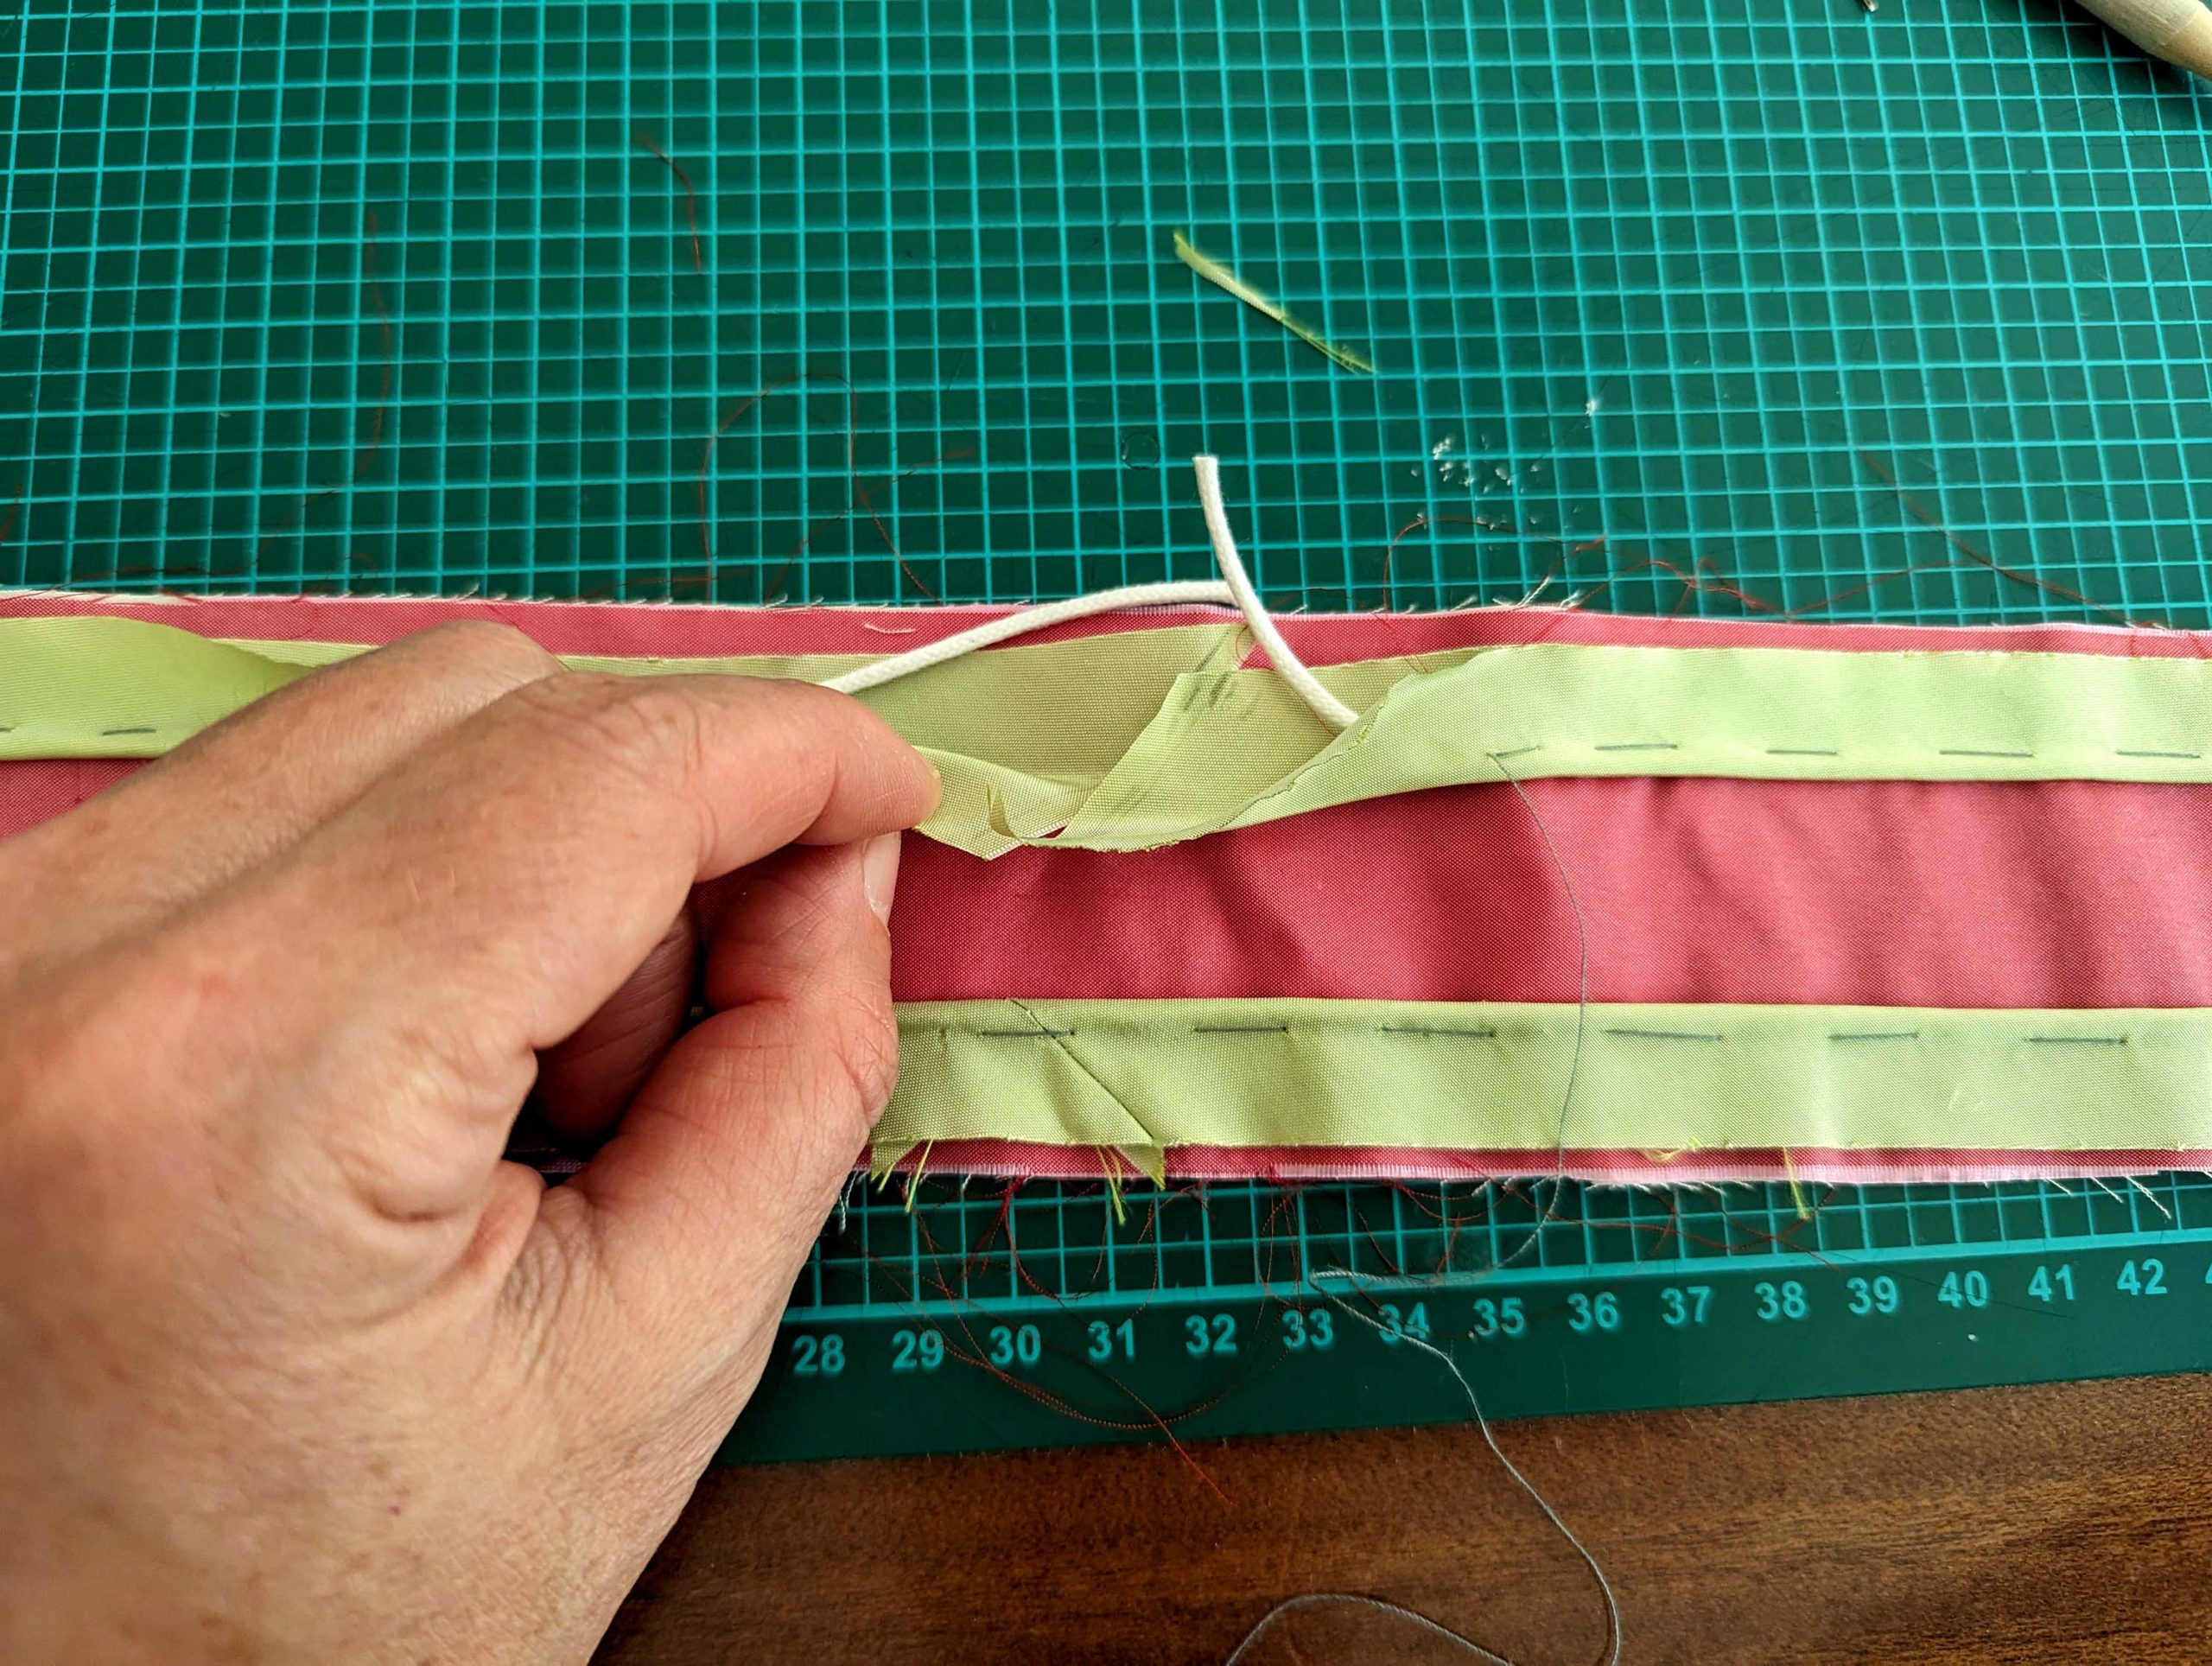
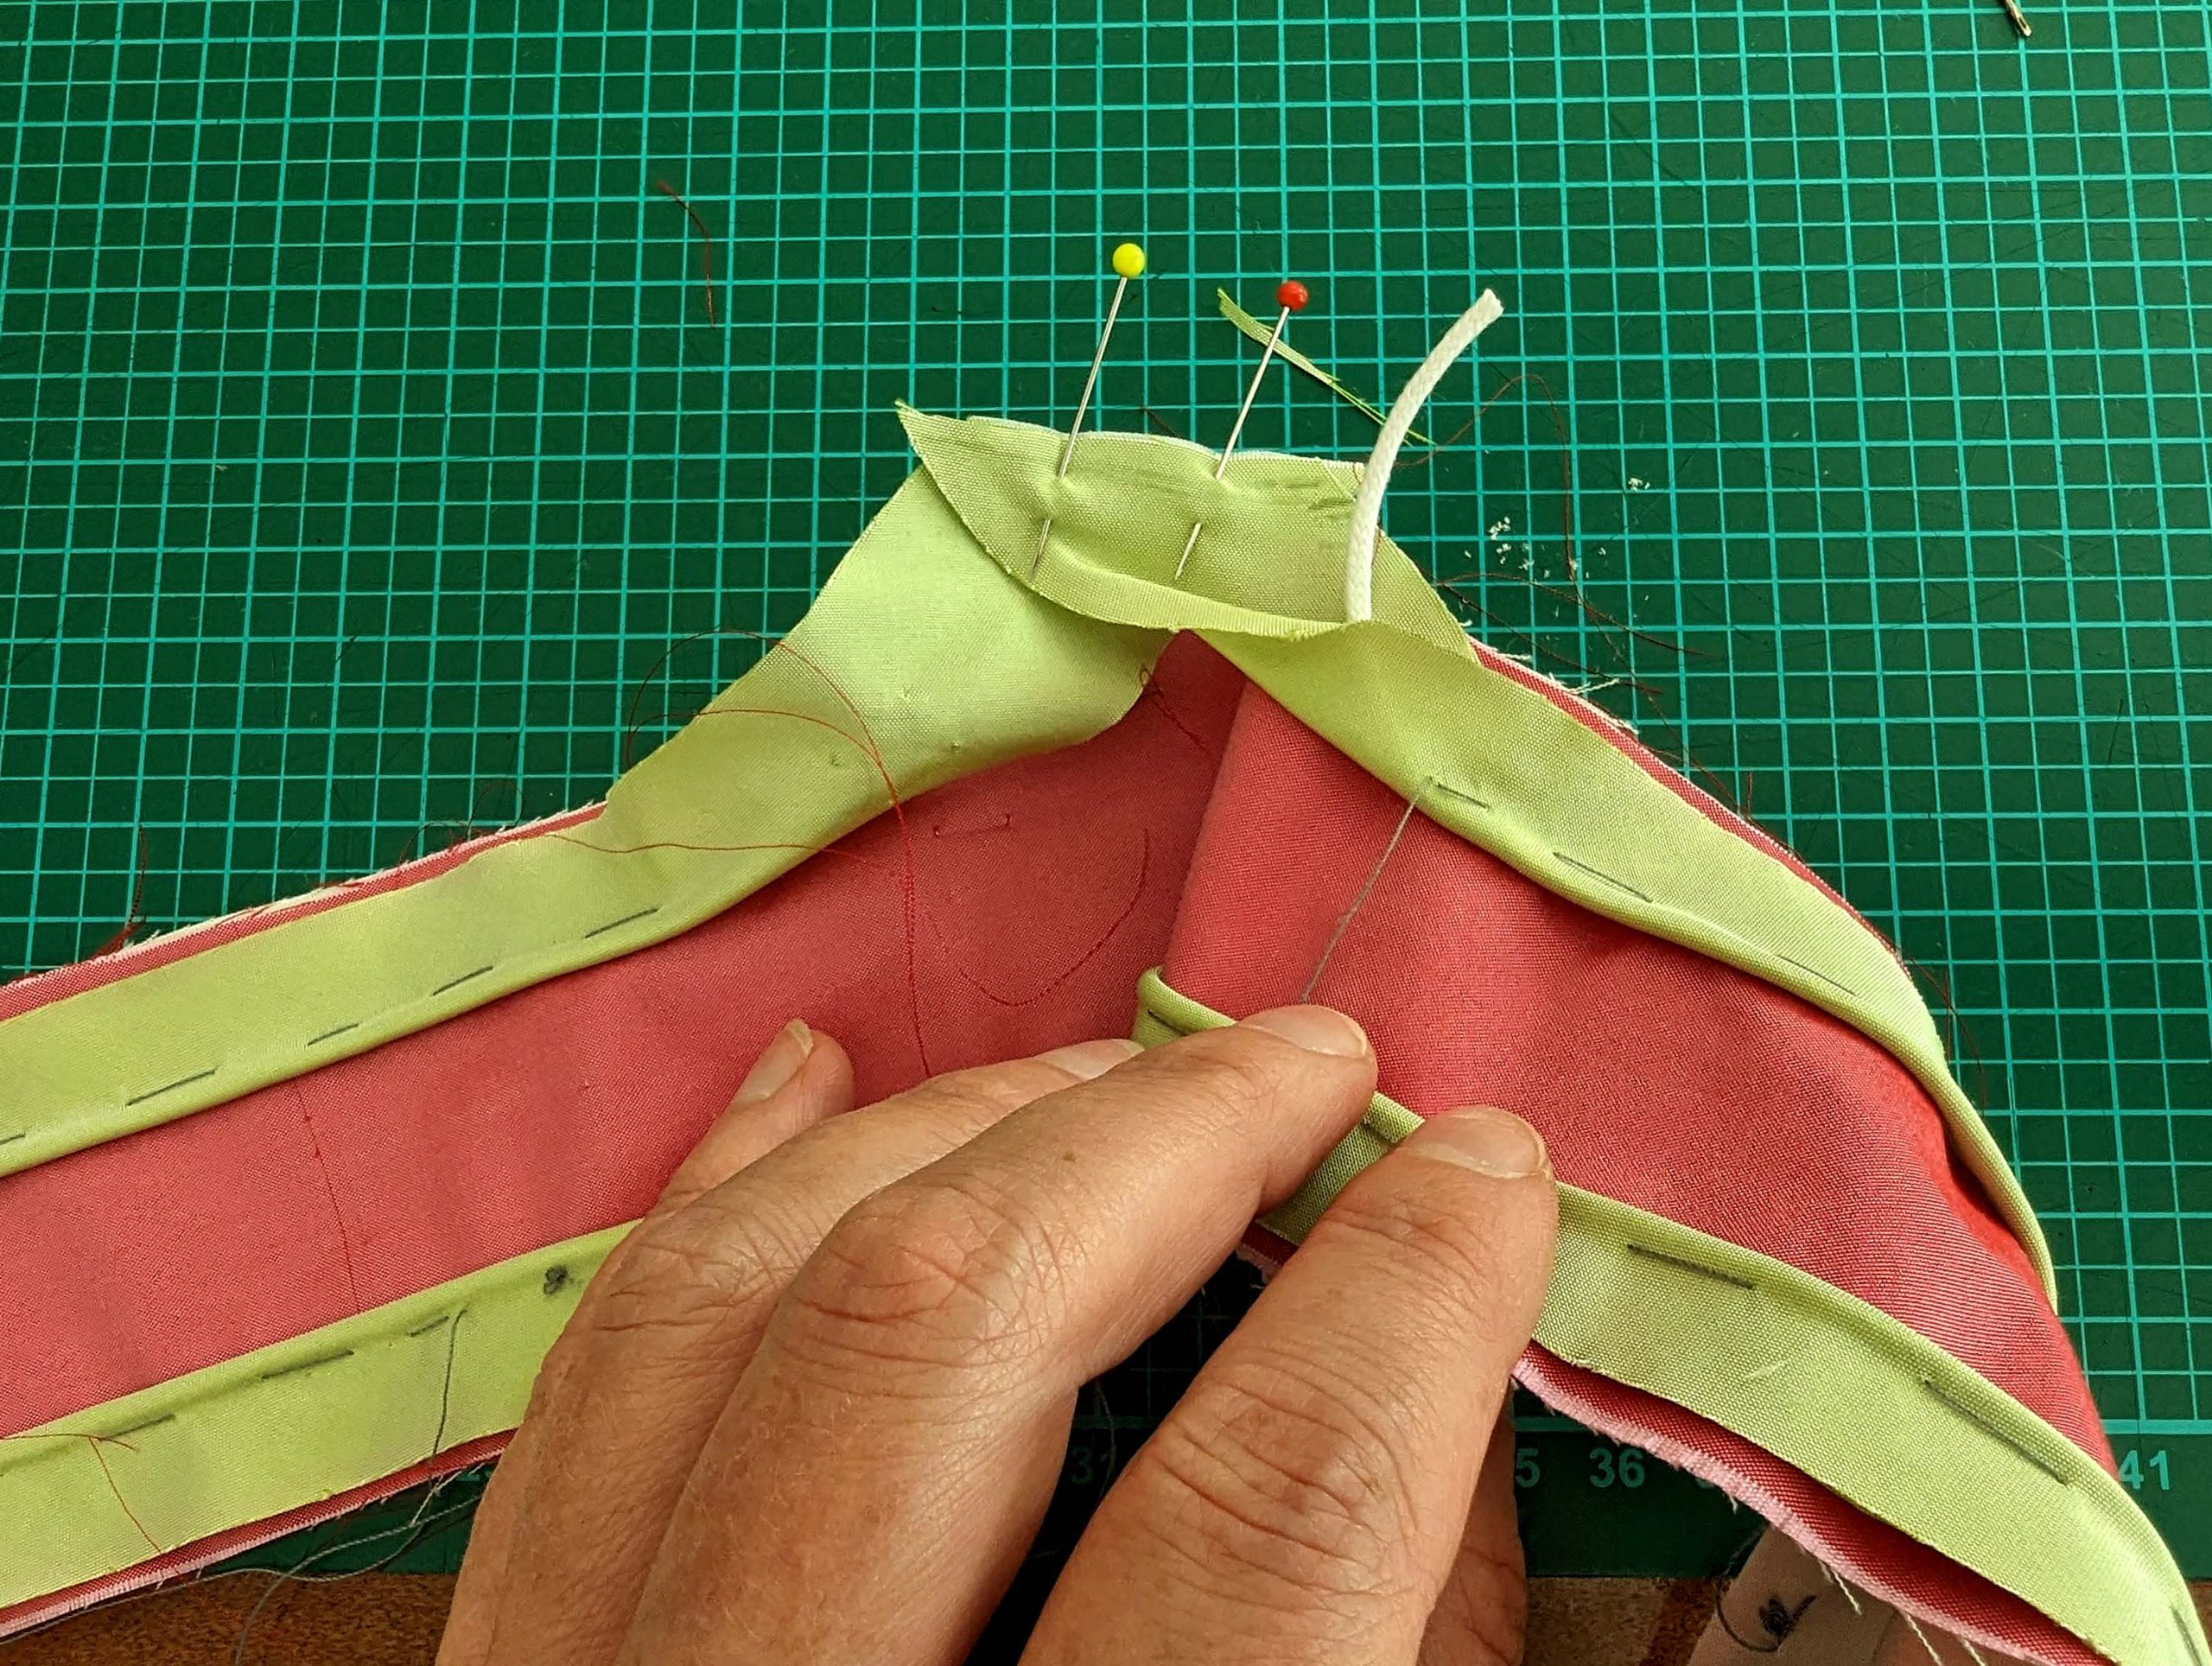
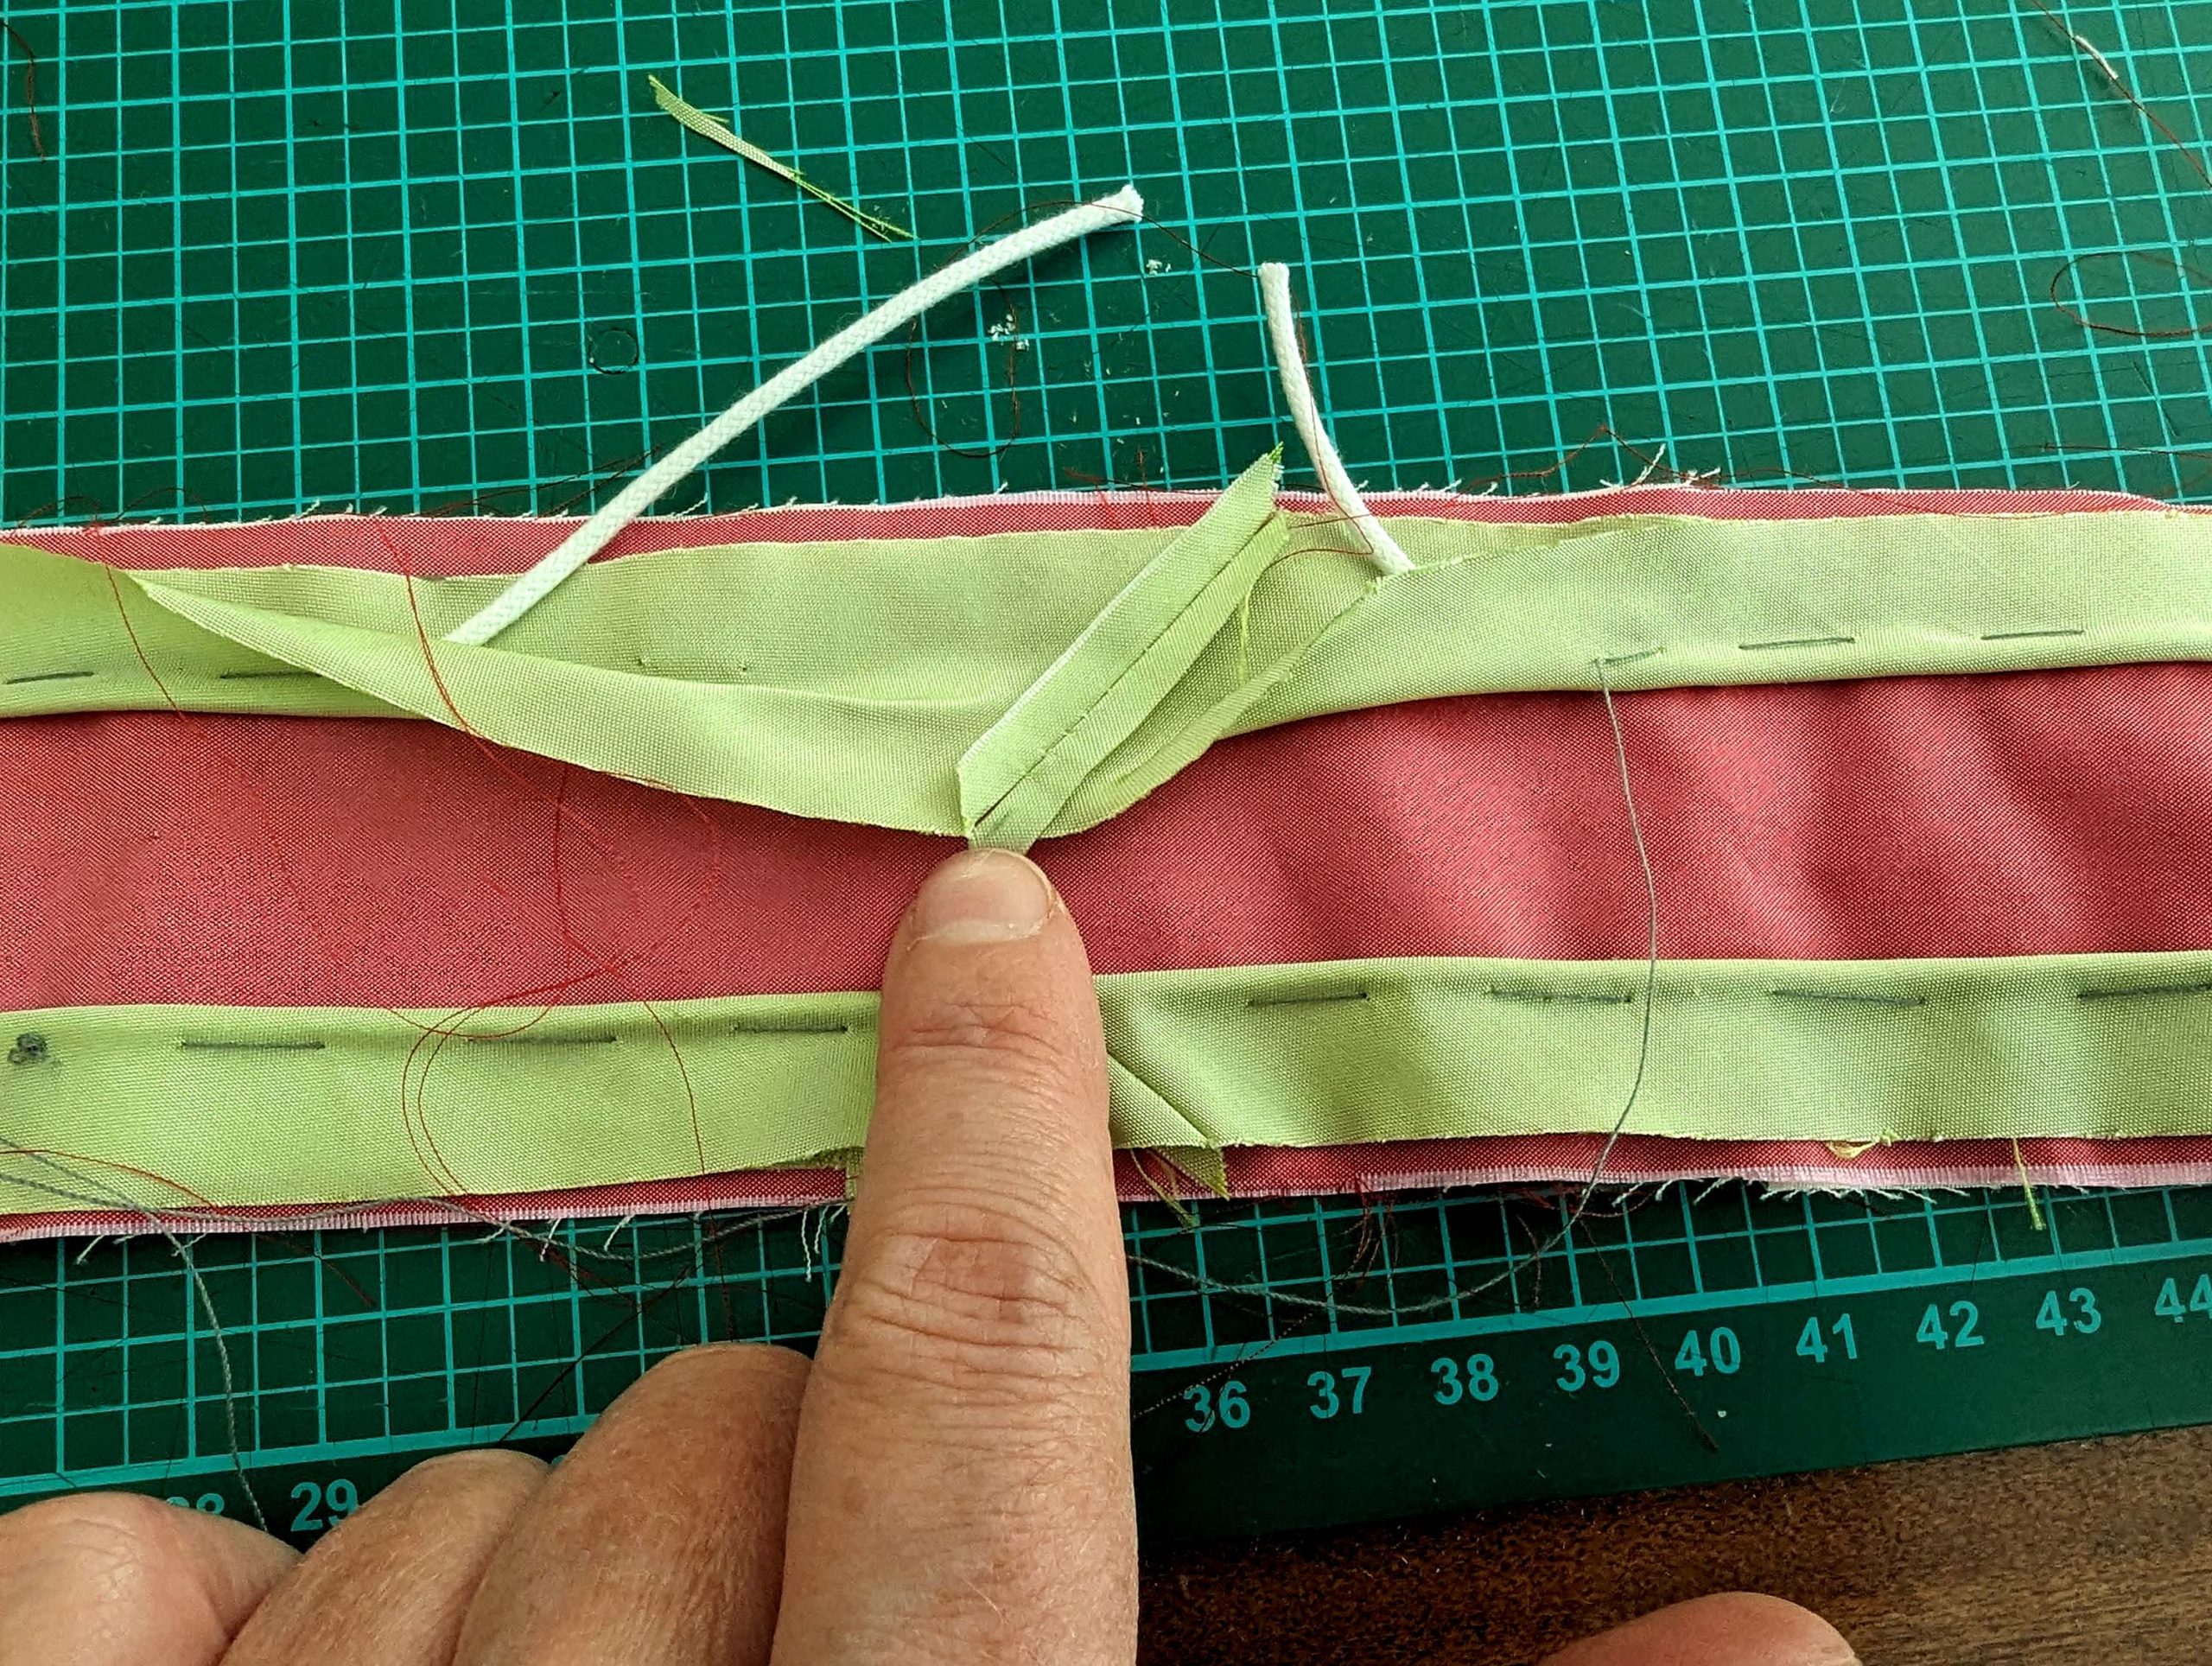
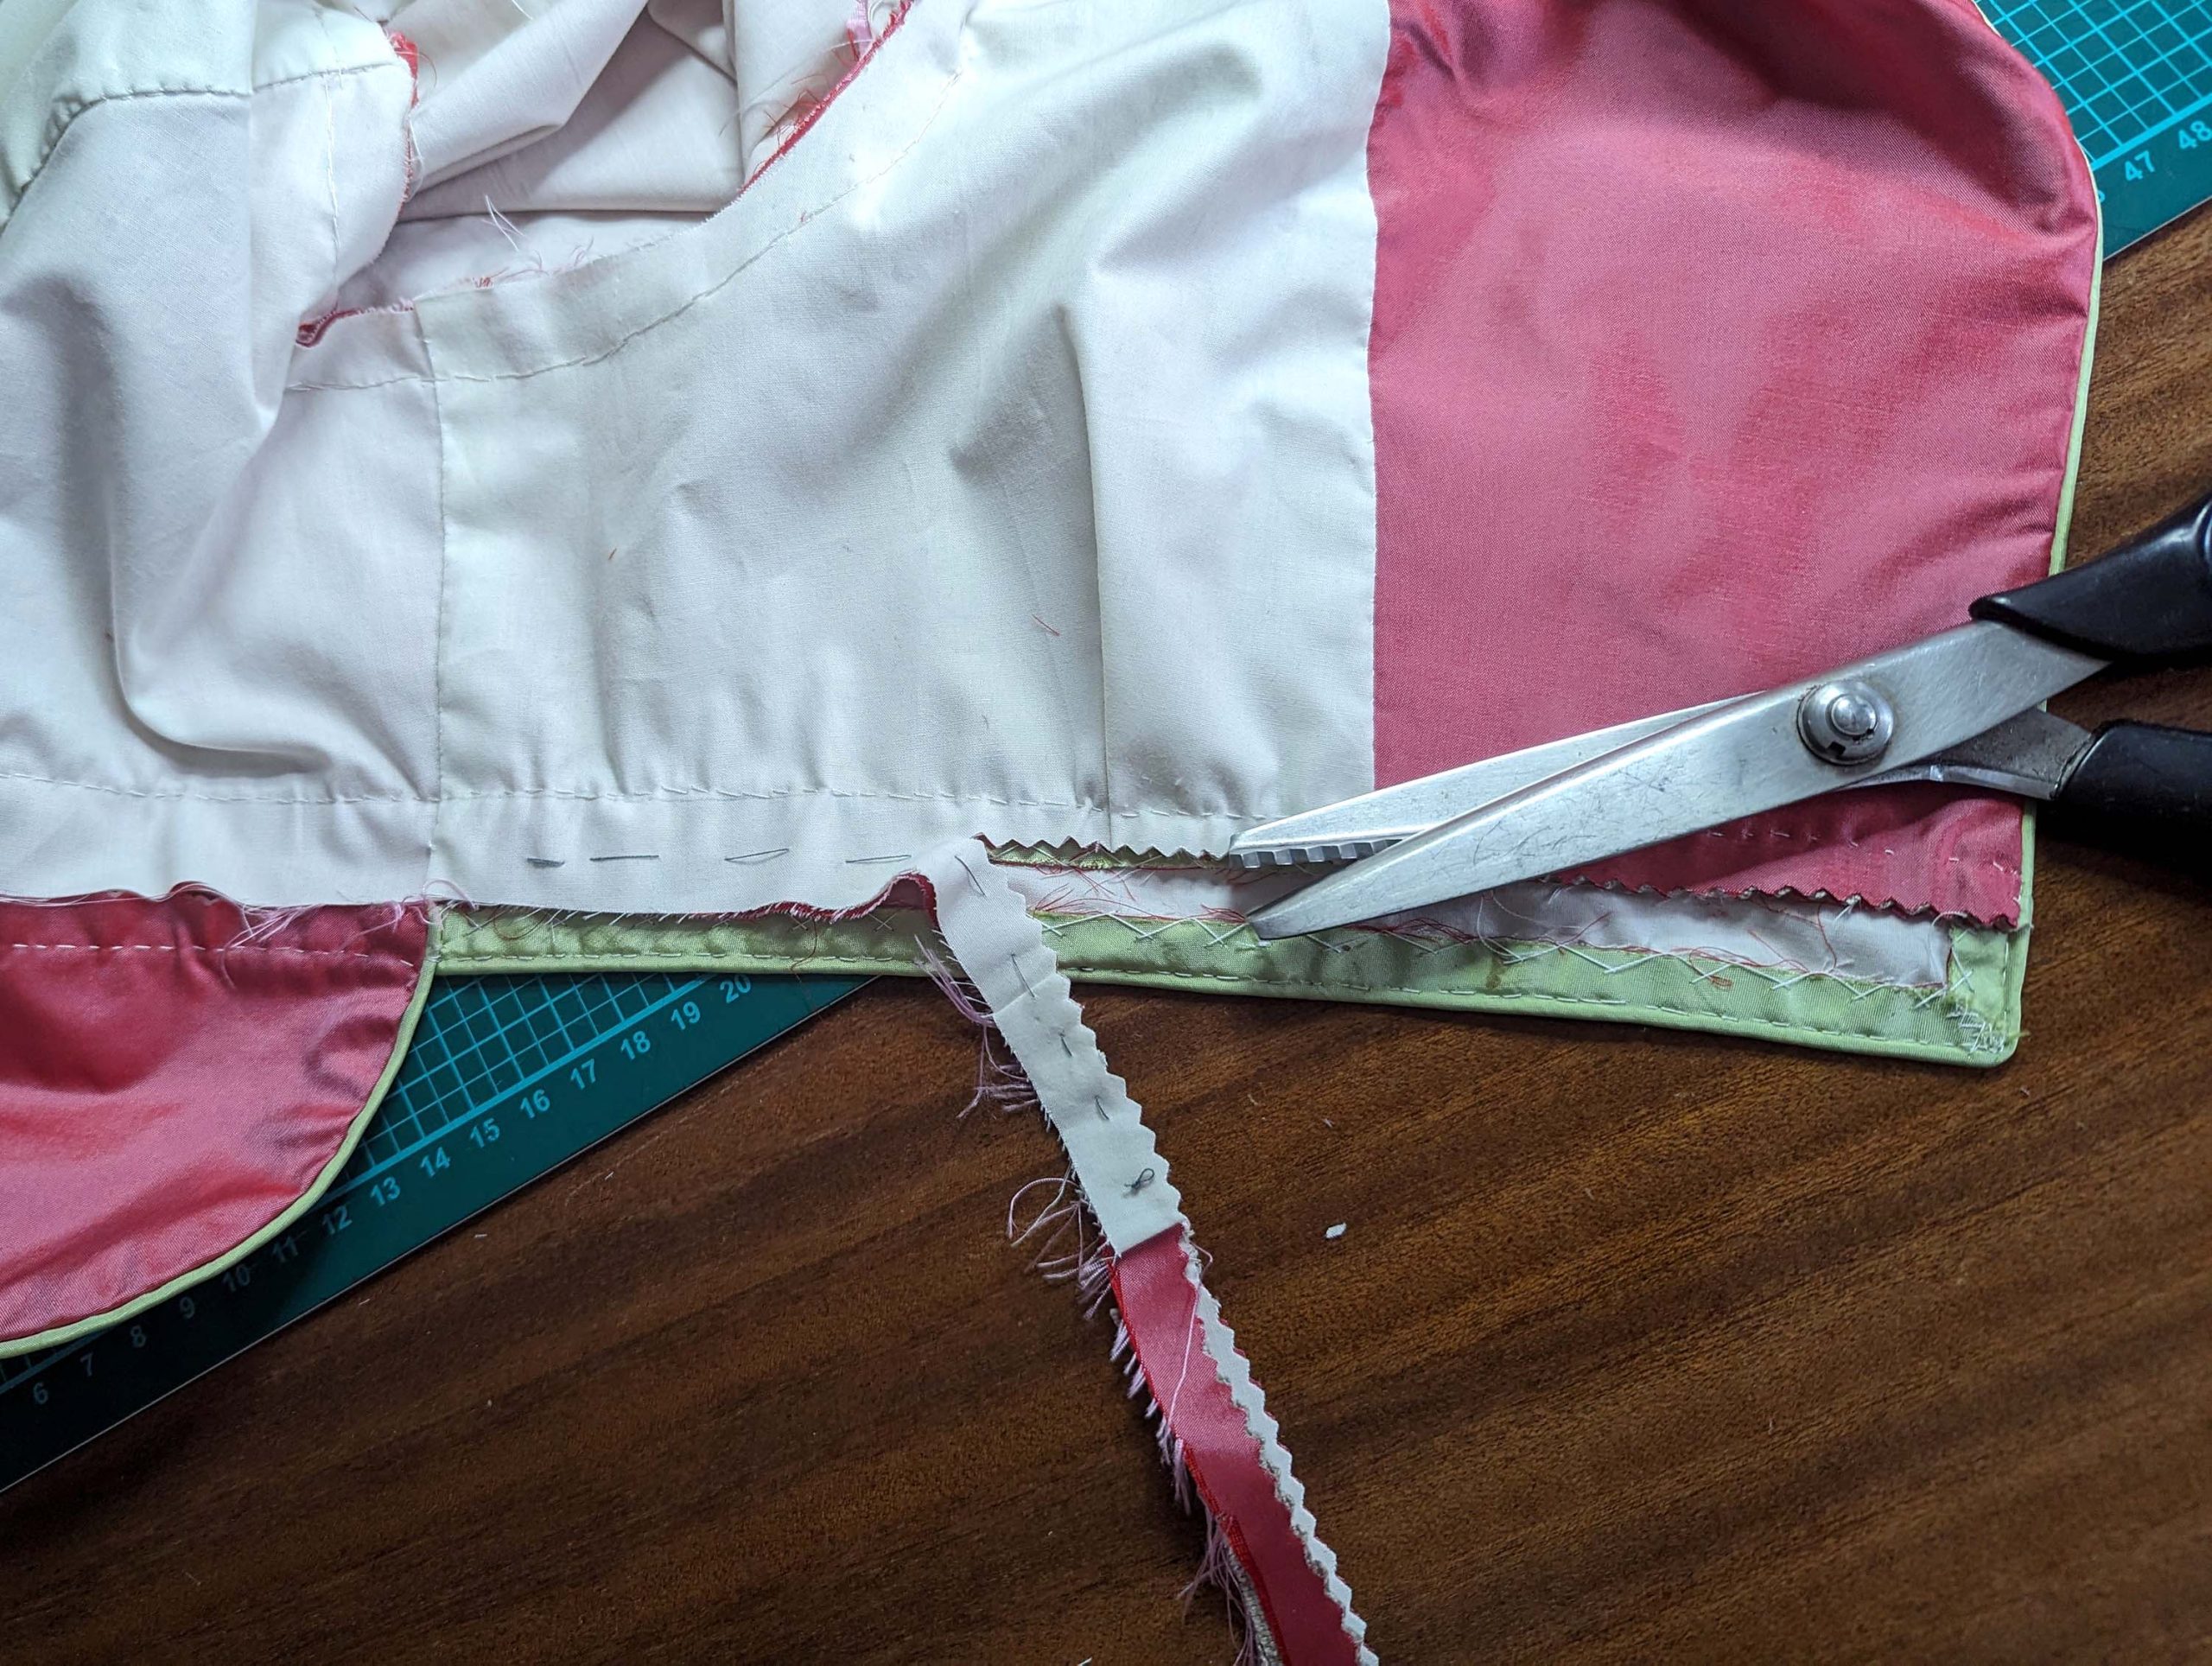
(8) Take the flatlined waistband and line up the piping with the stitching line all around. Clip the piping at the corners, first baste, then sew. Try to work as accurately as possible at the corners, avoiding bias tape junctions there as mentioned previously. At the start/stop trim back the bias tape and piping to the length needed and turn in a narrow seam allowance.
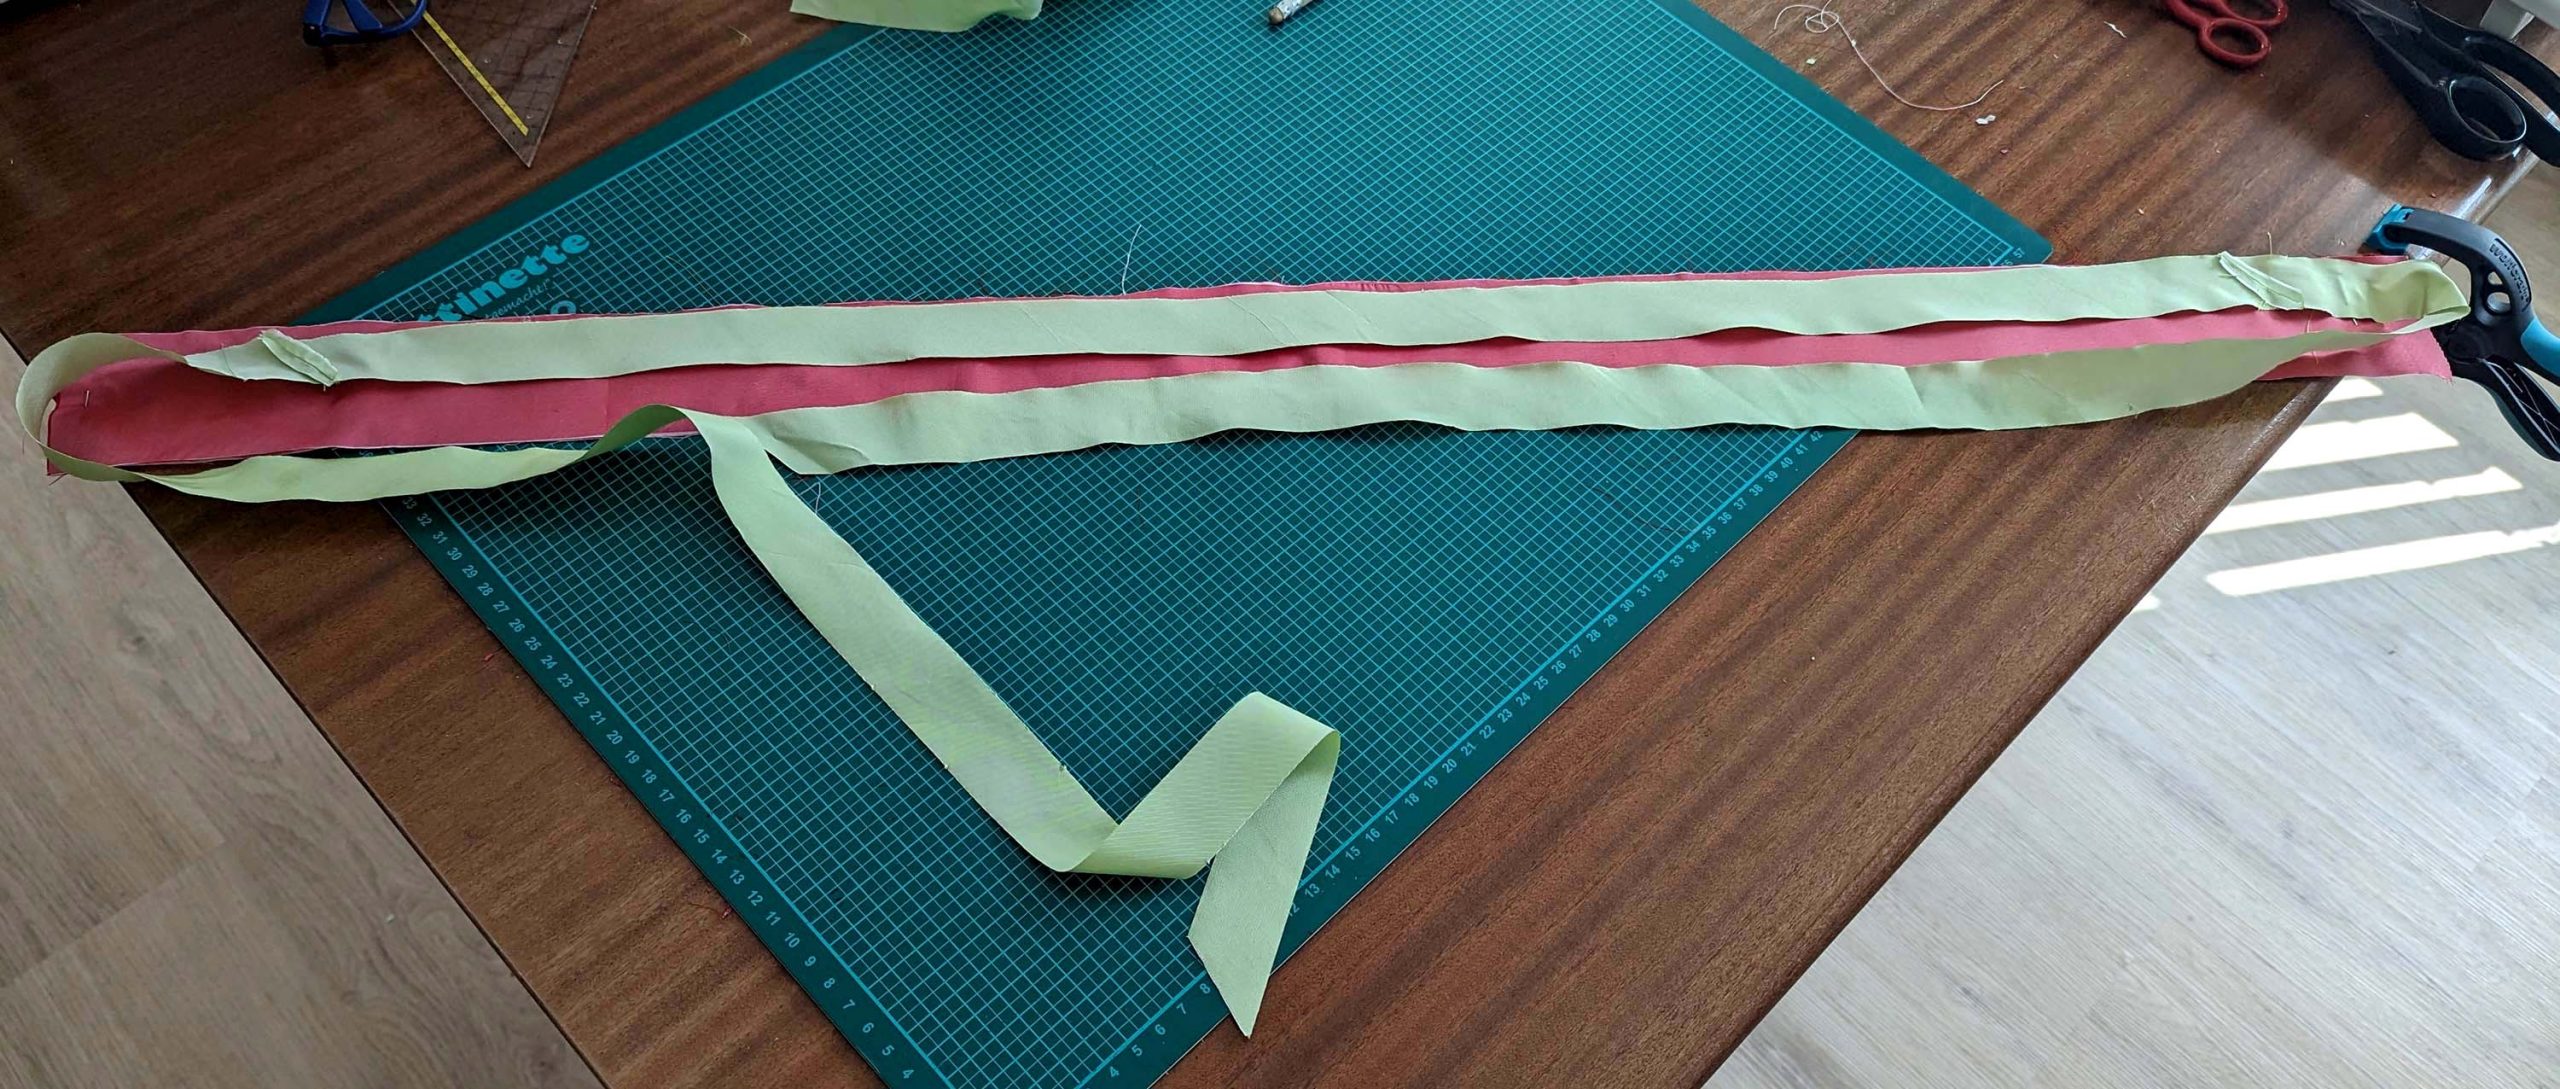
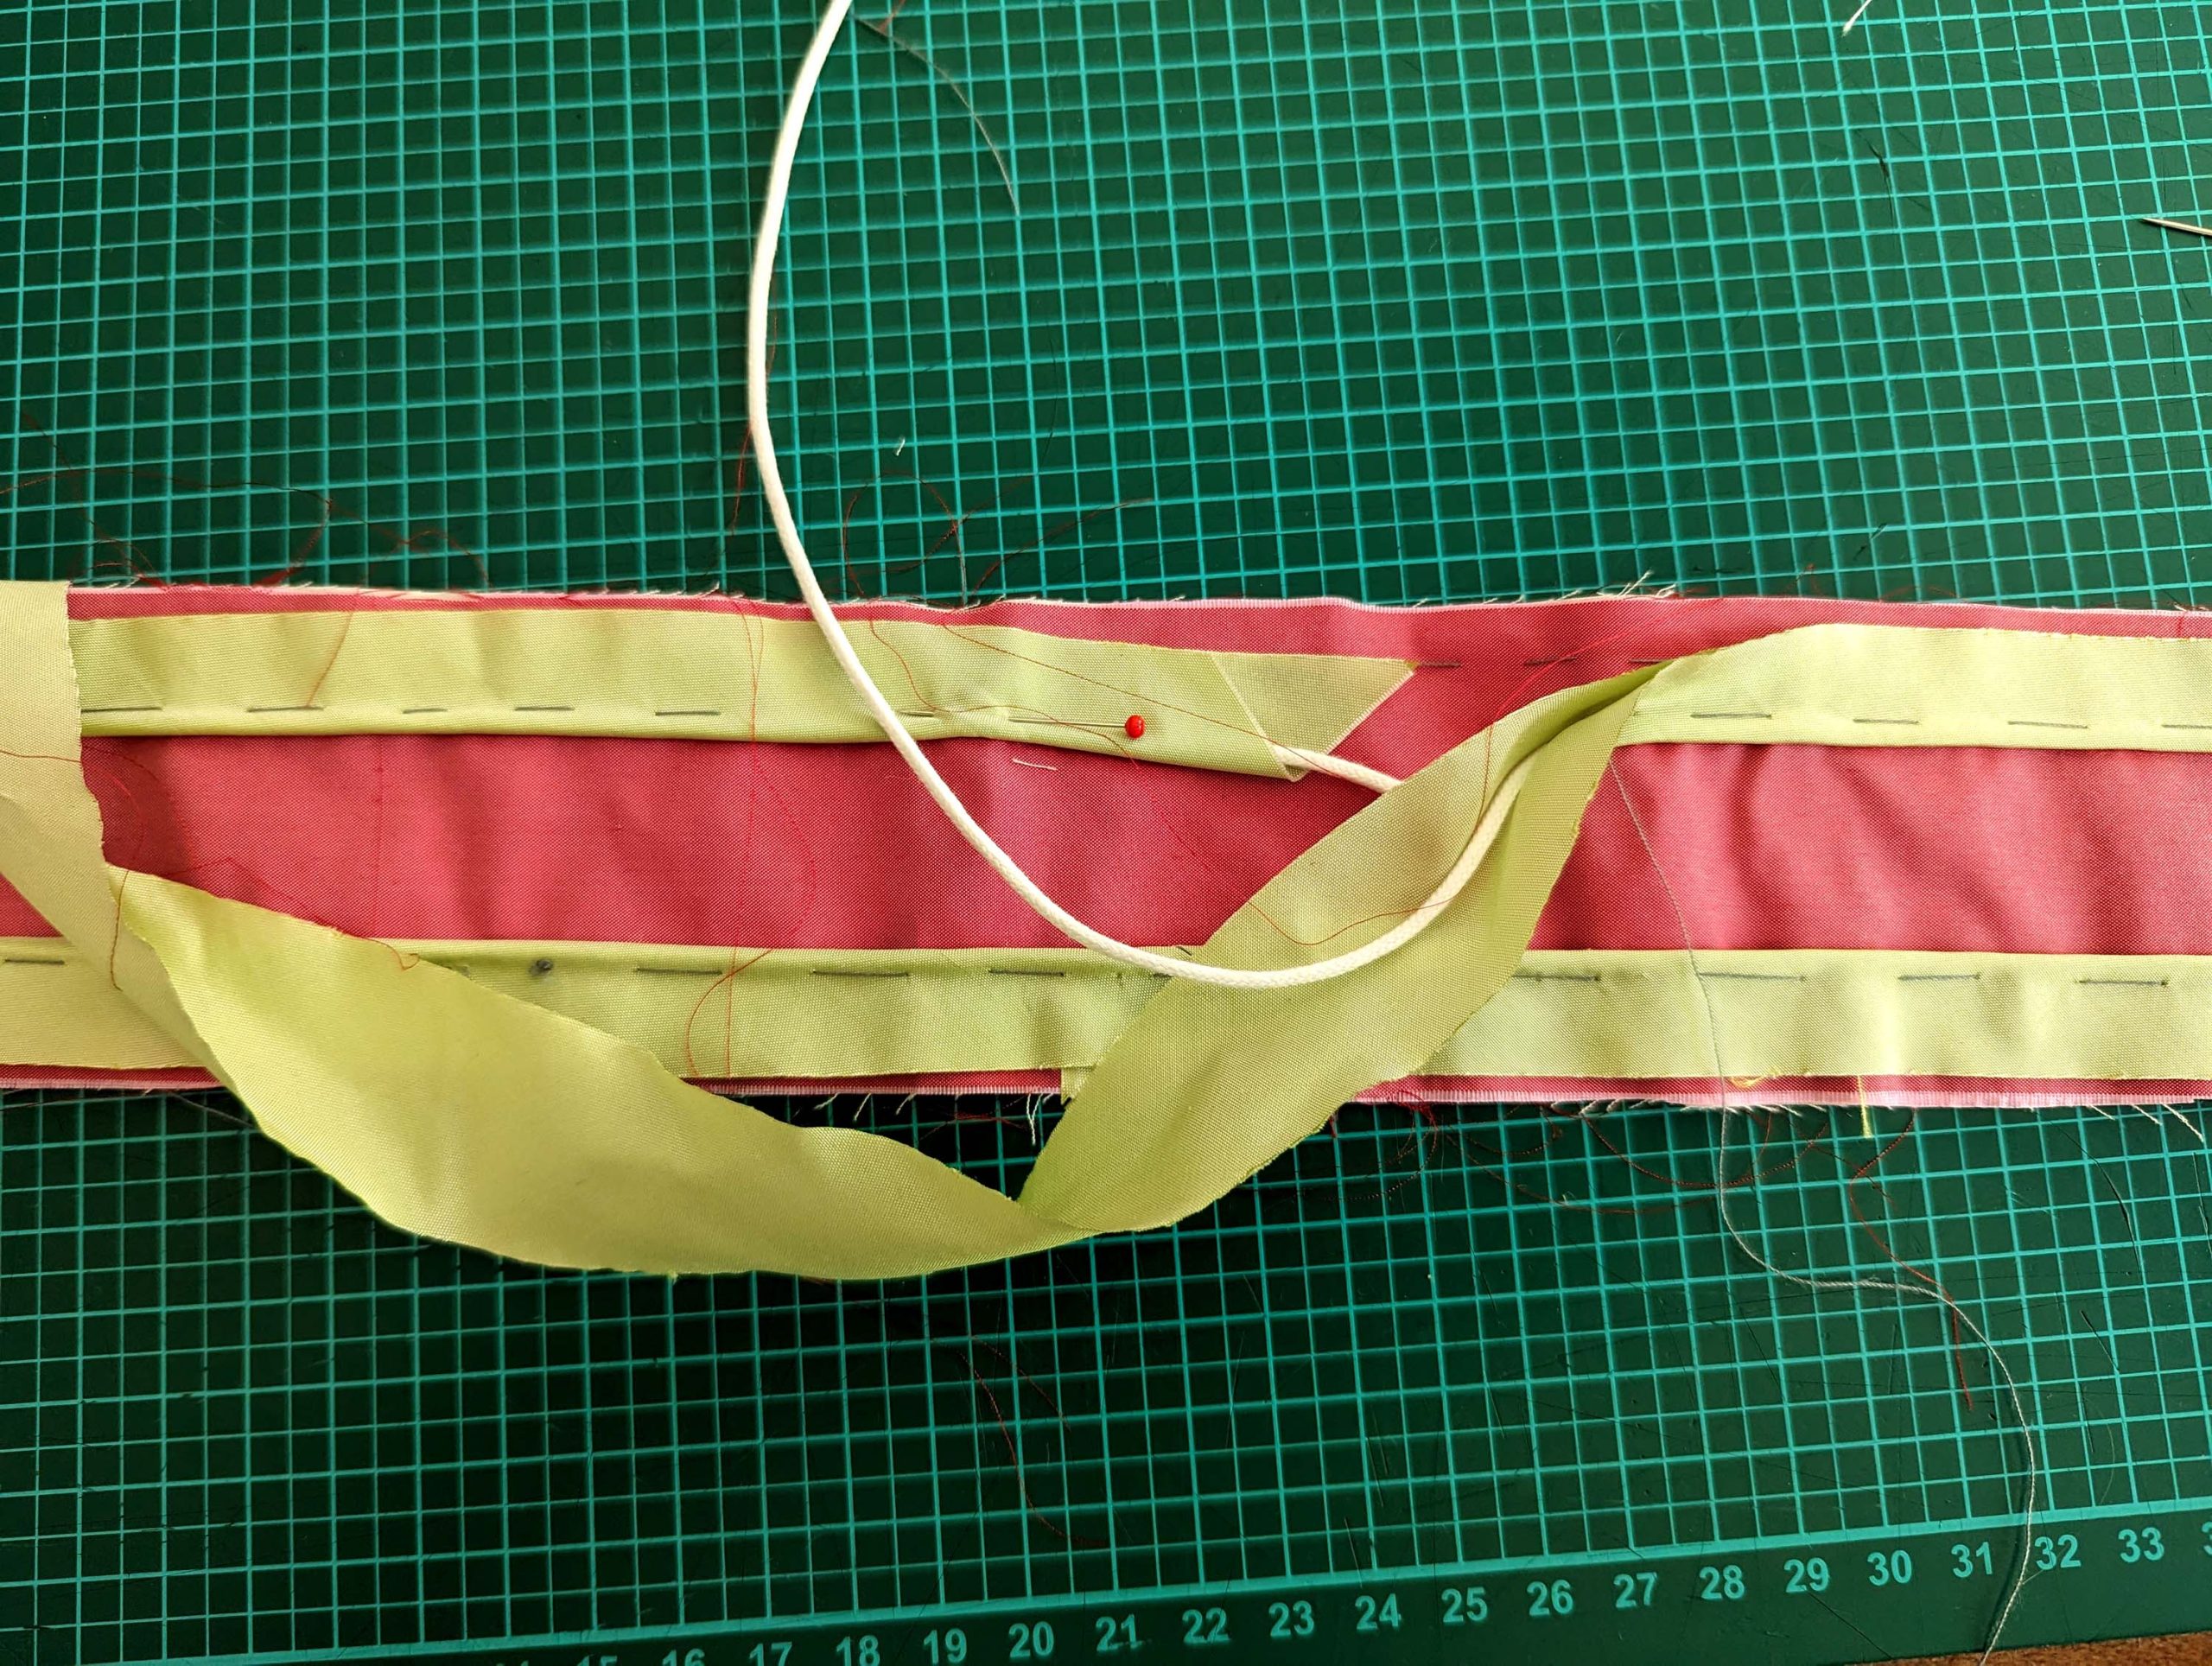
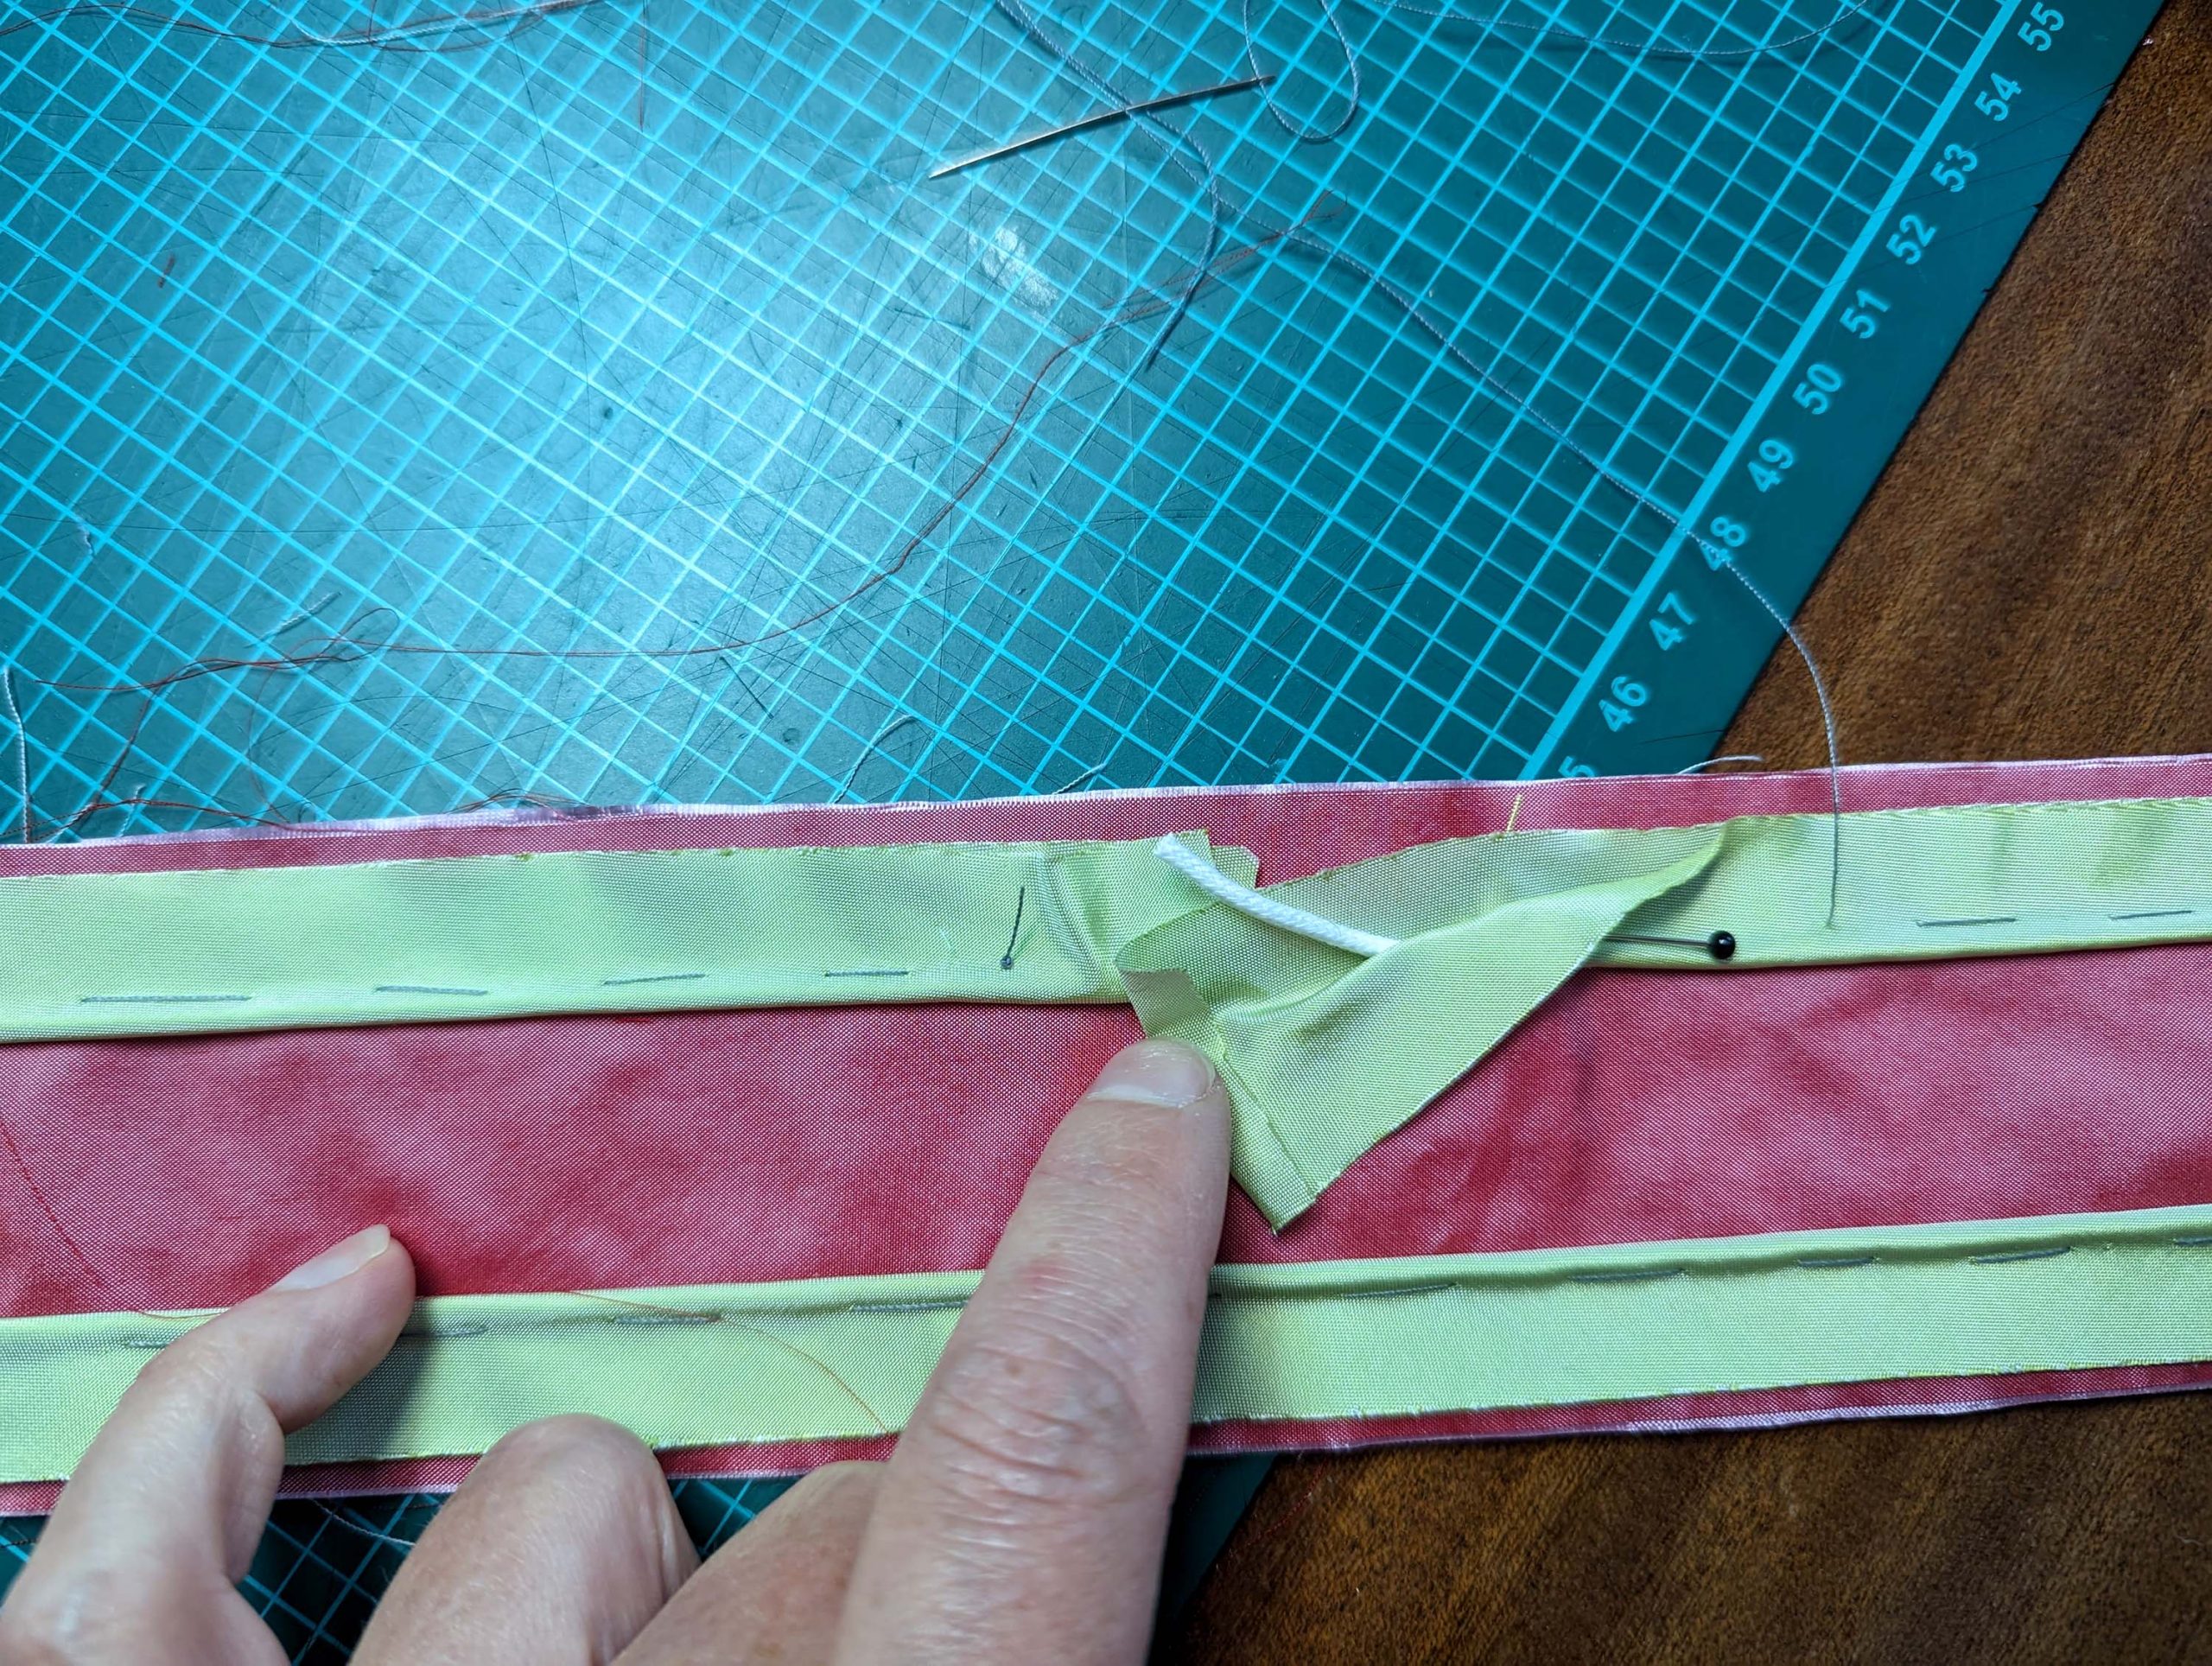
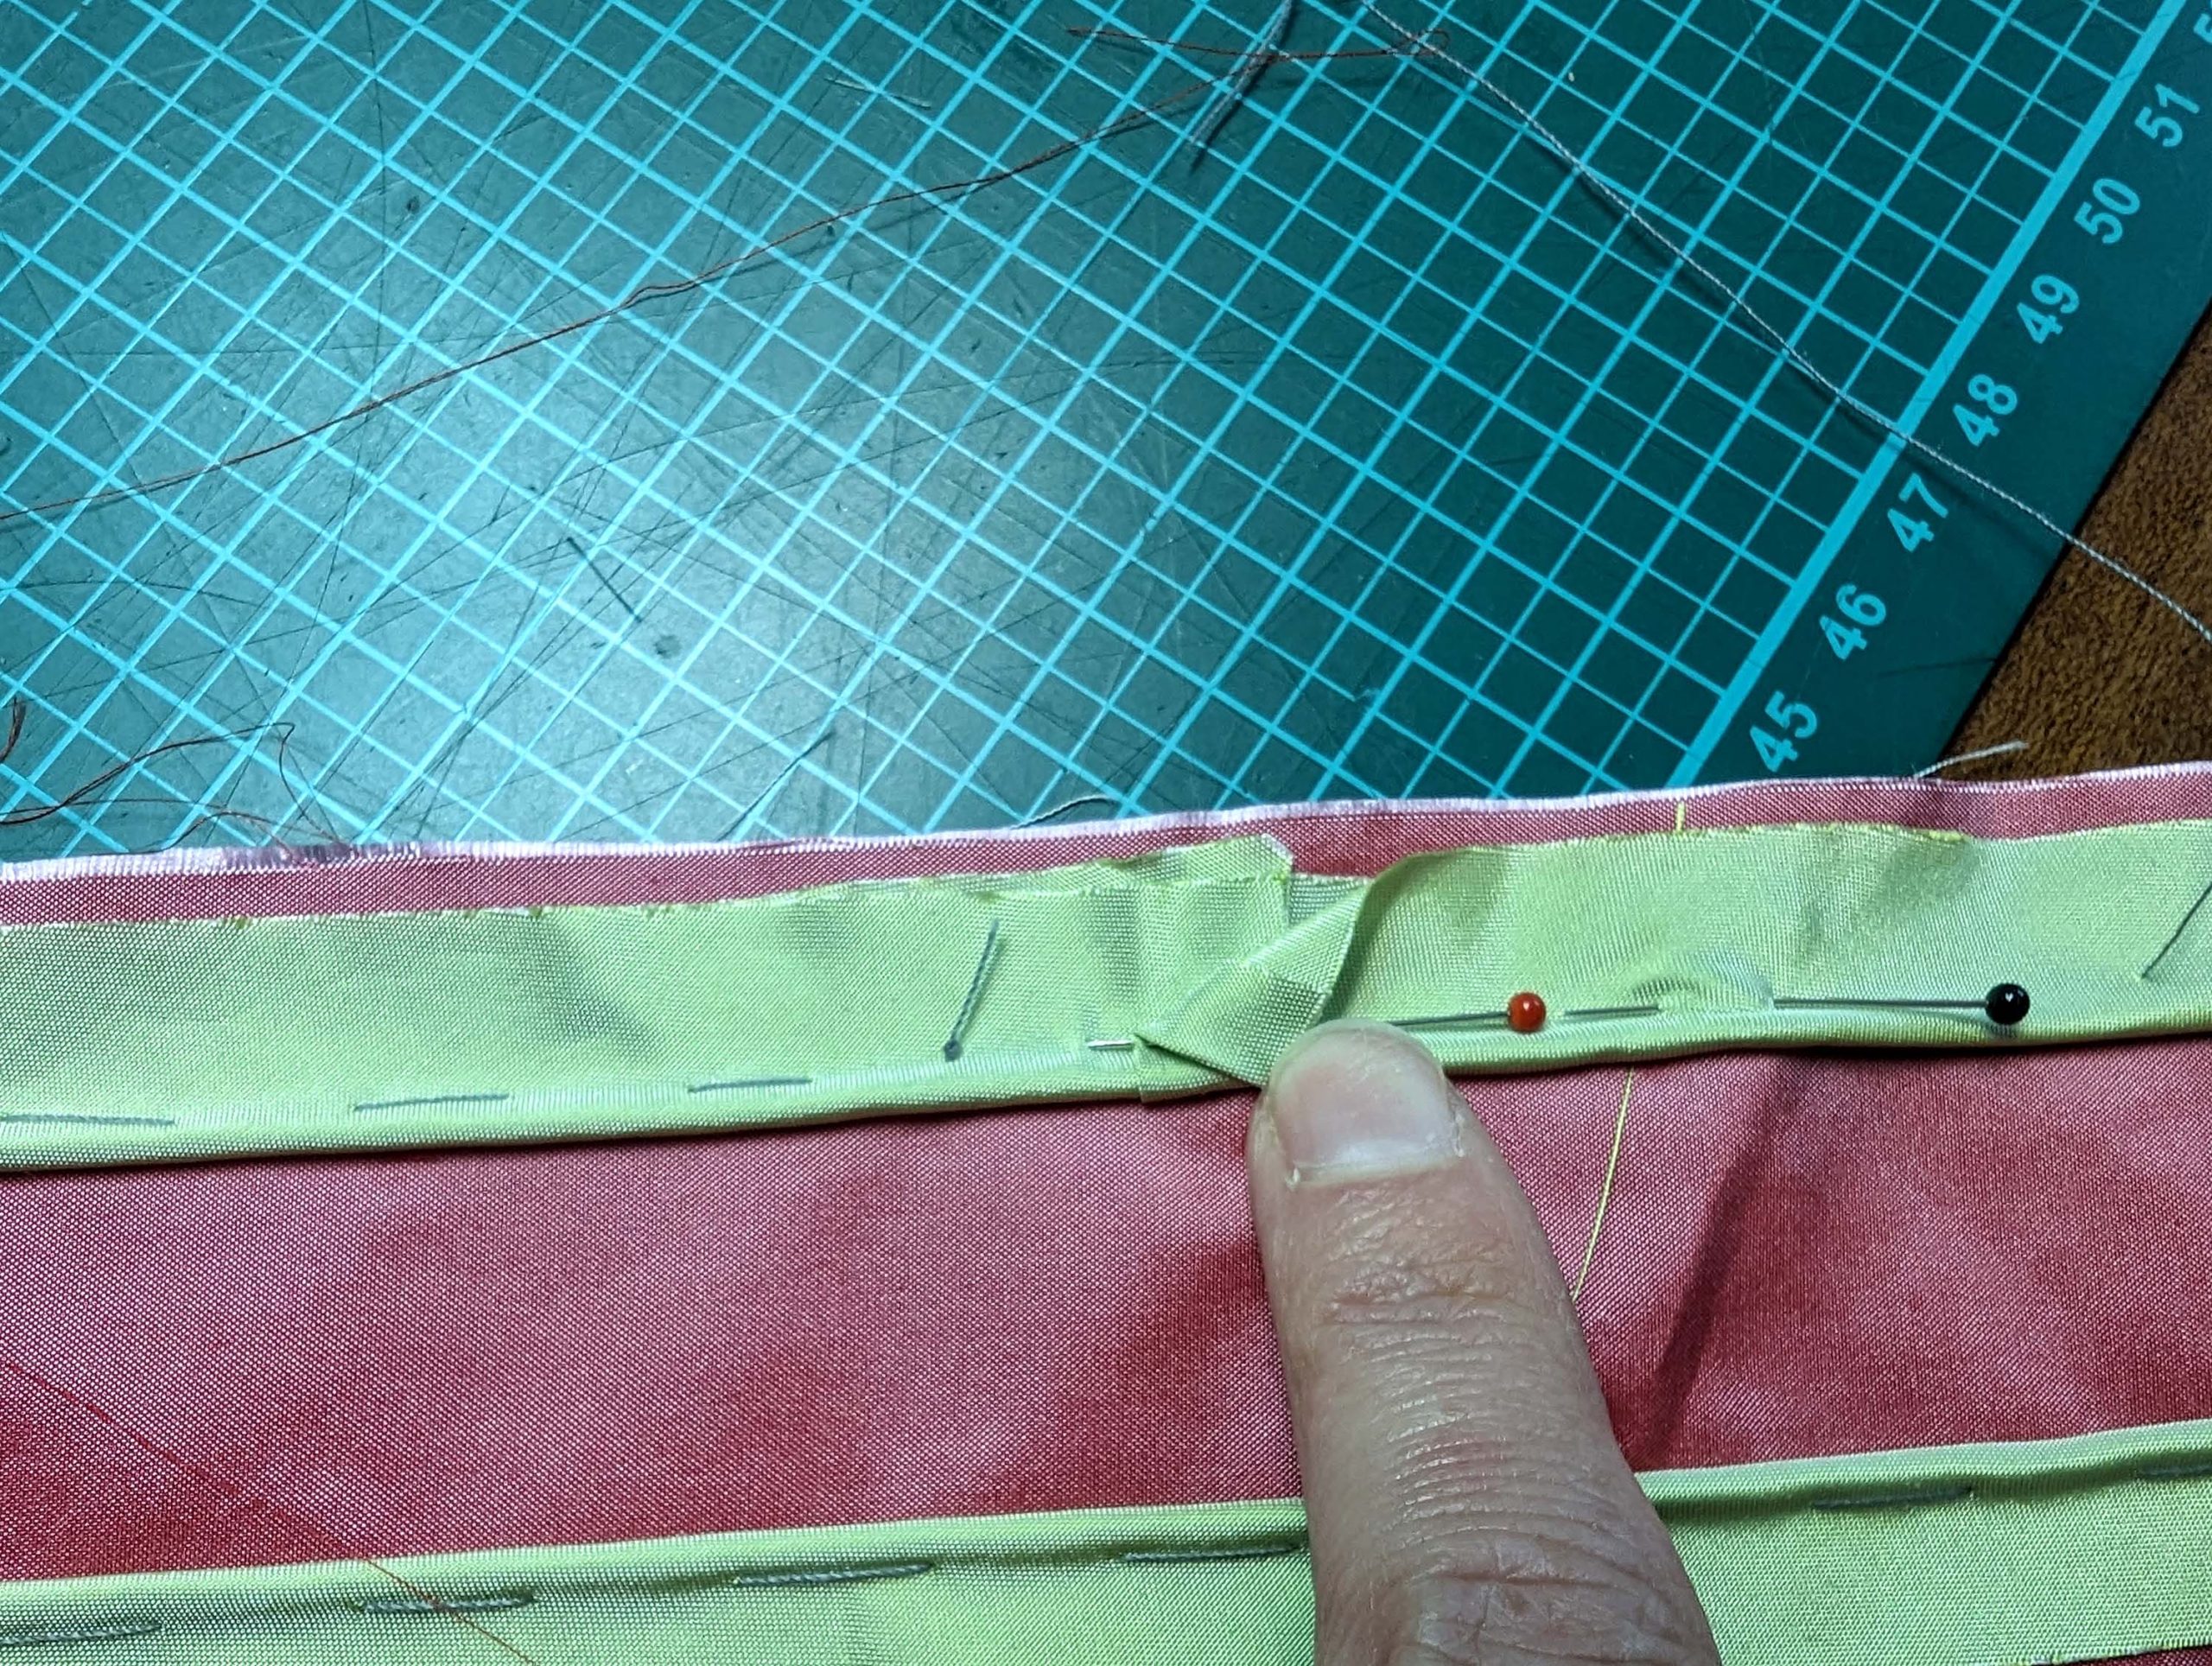
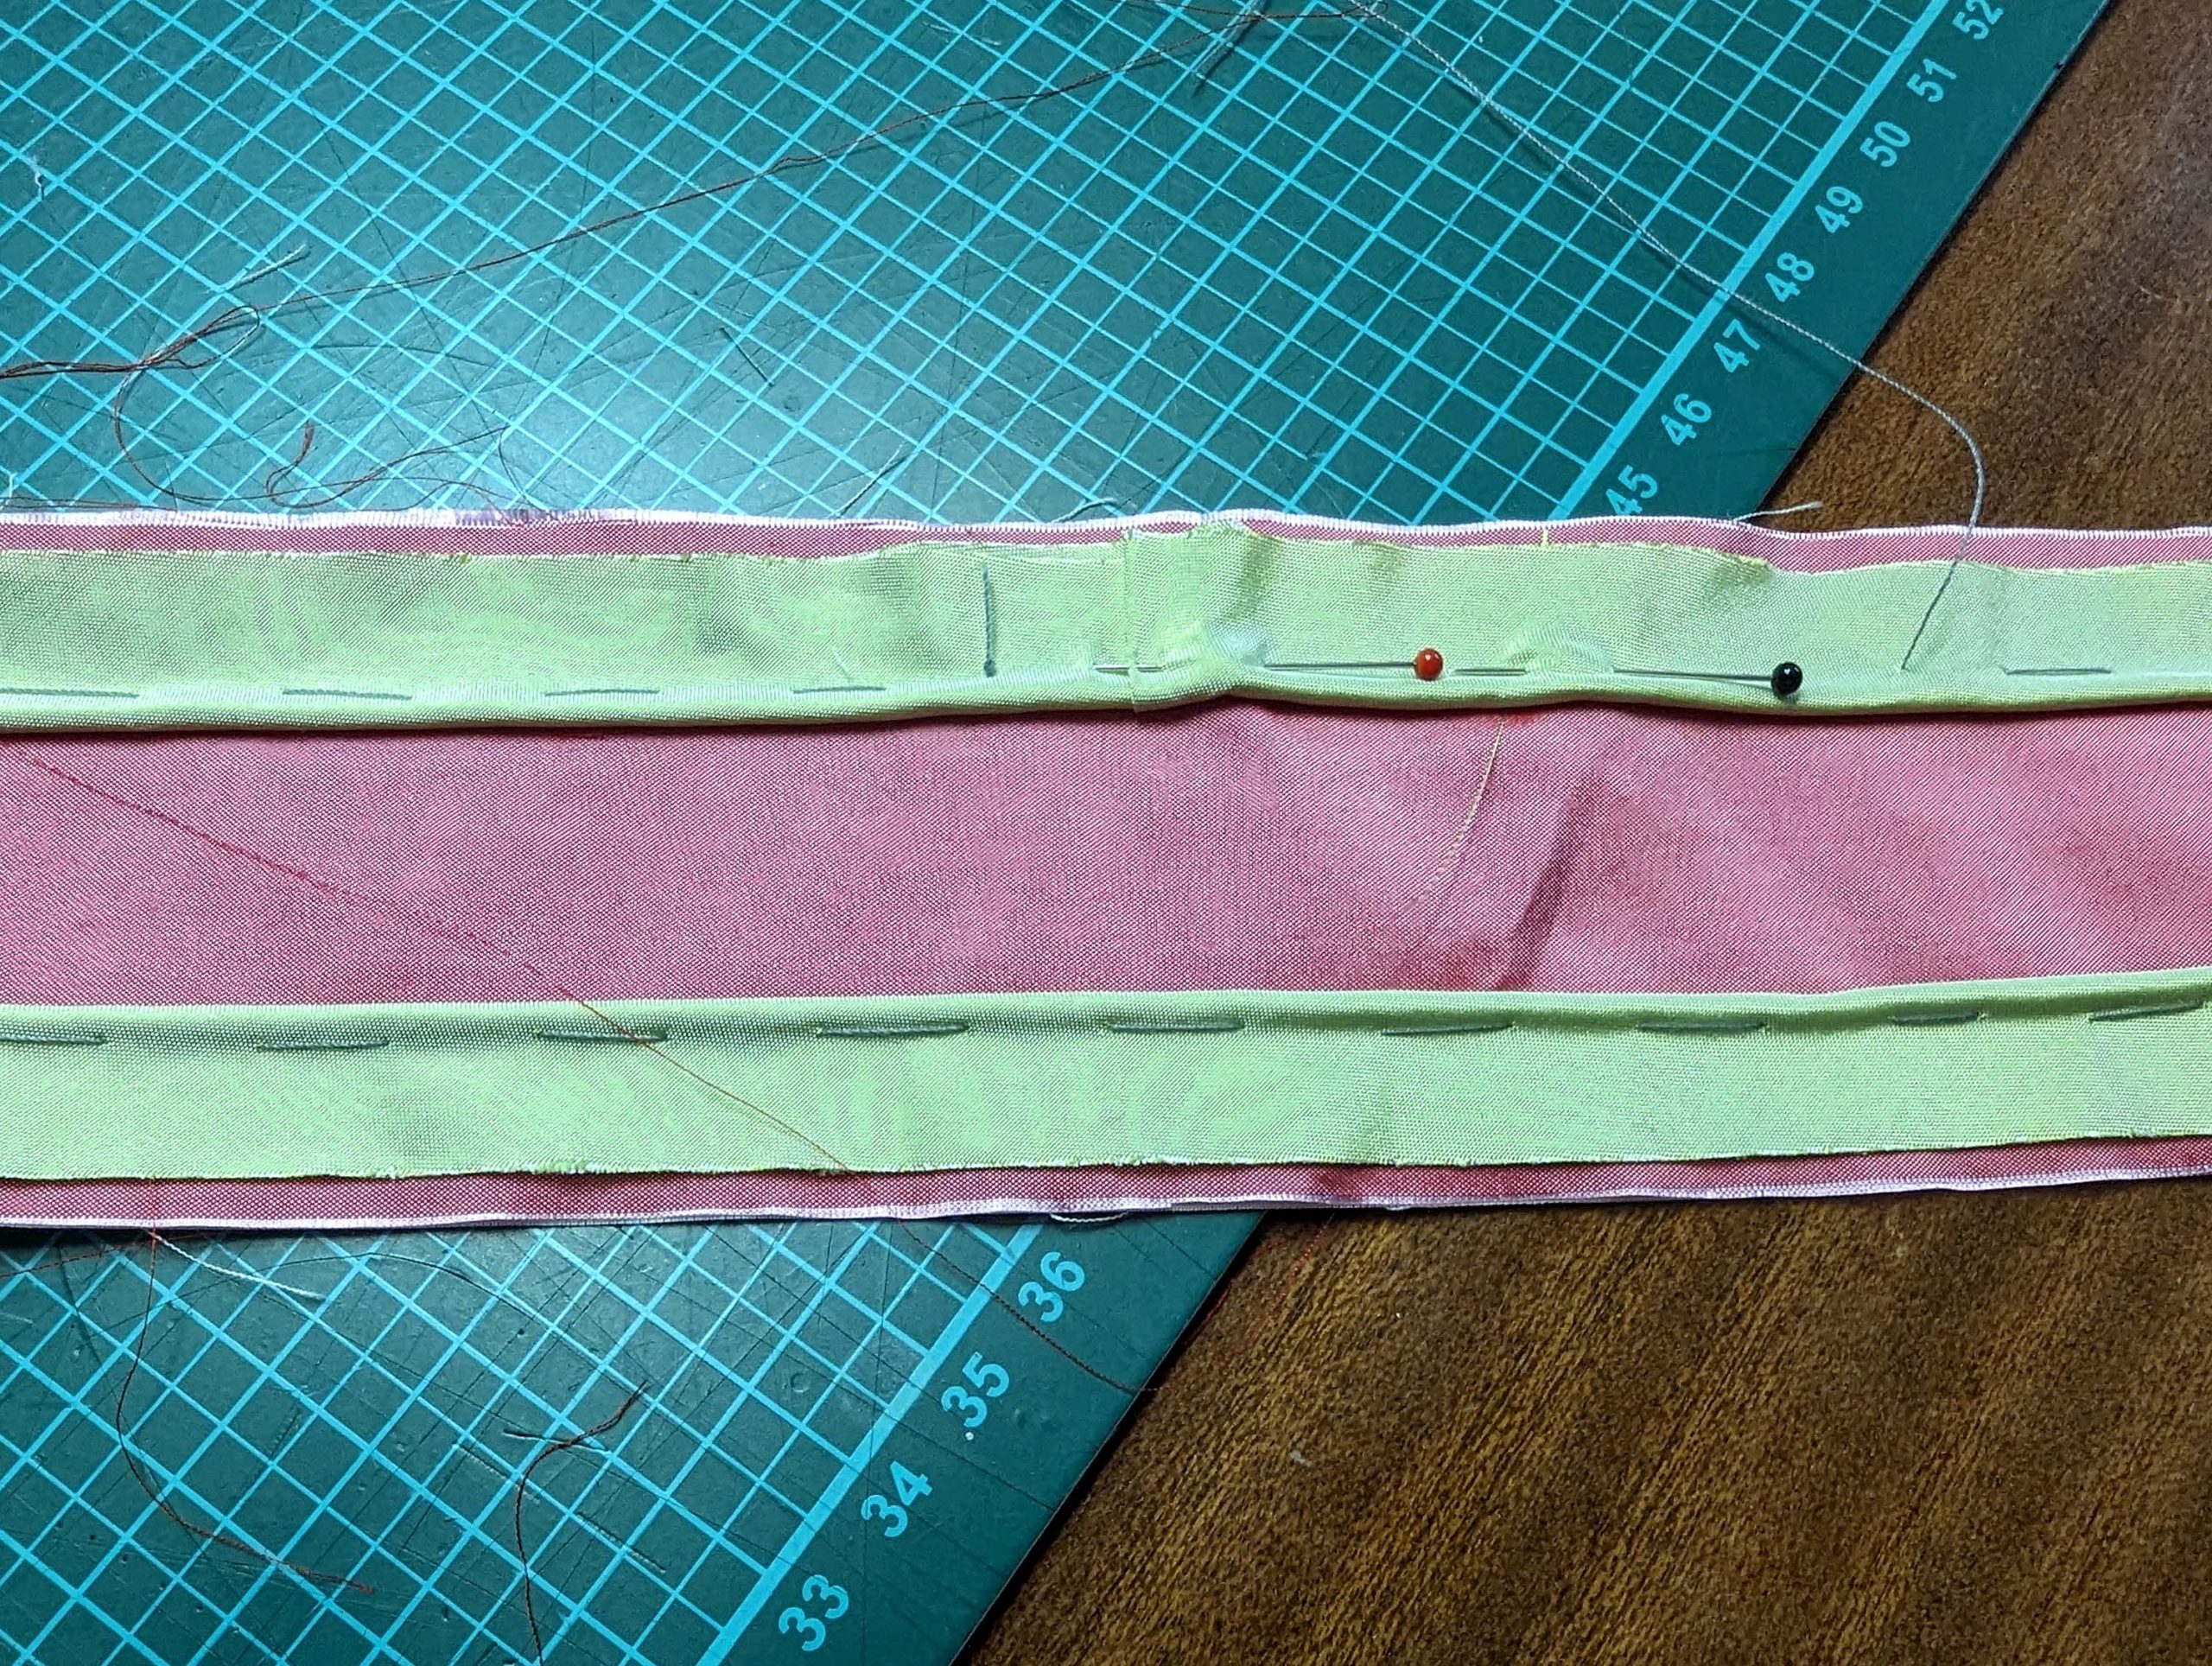
Alternatively, trim back the ends on the bias, with a narrow seam allowance and join the ends accordingly. Trim back the cord and finish.
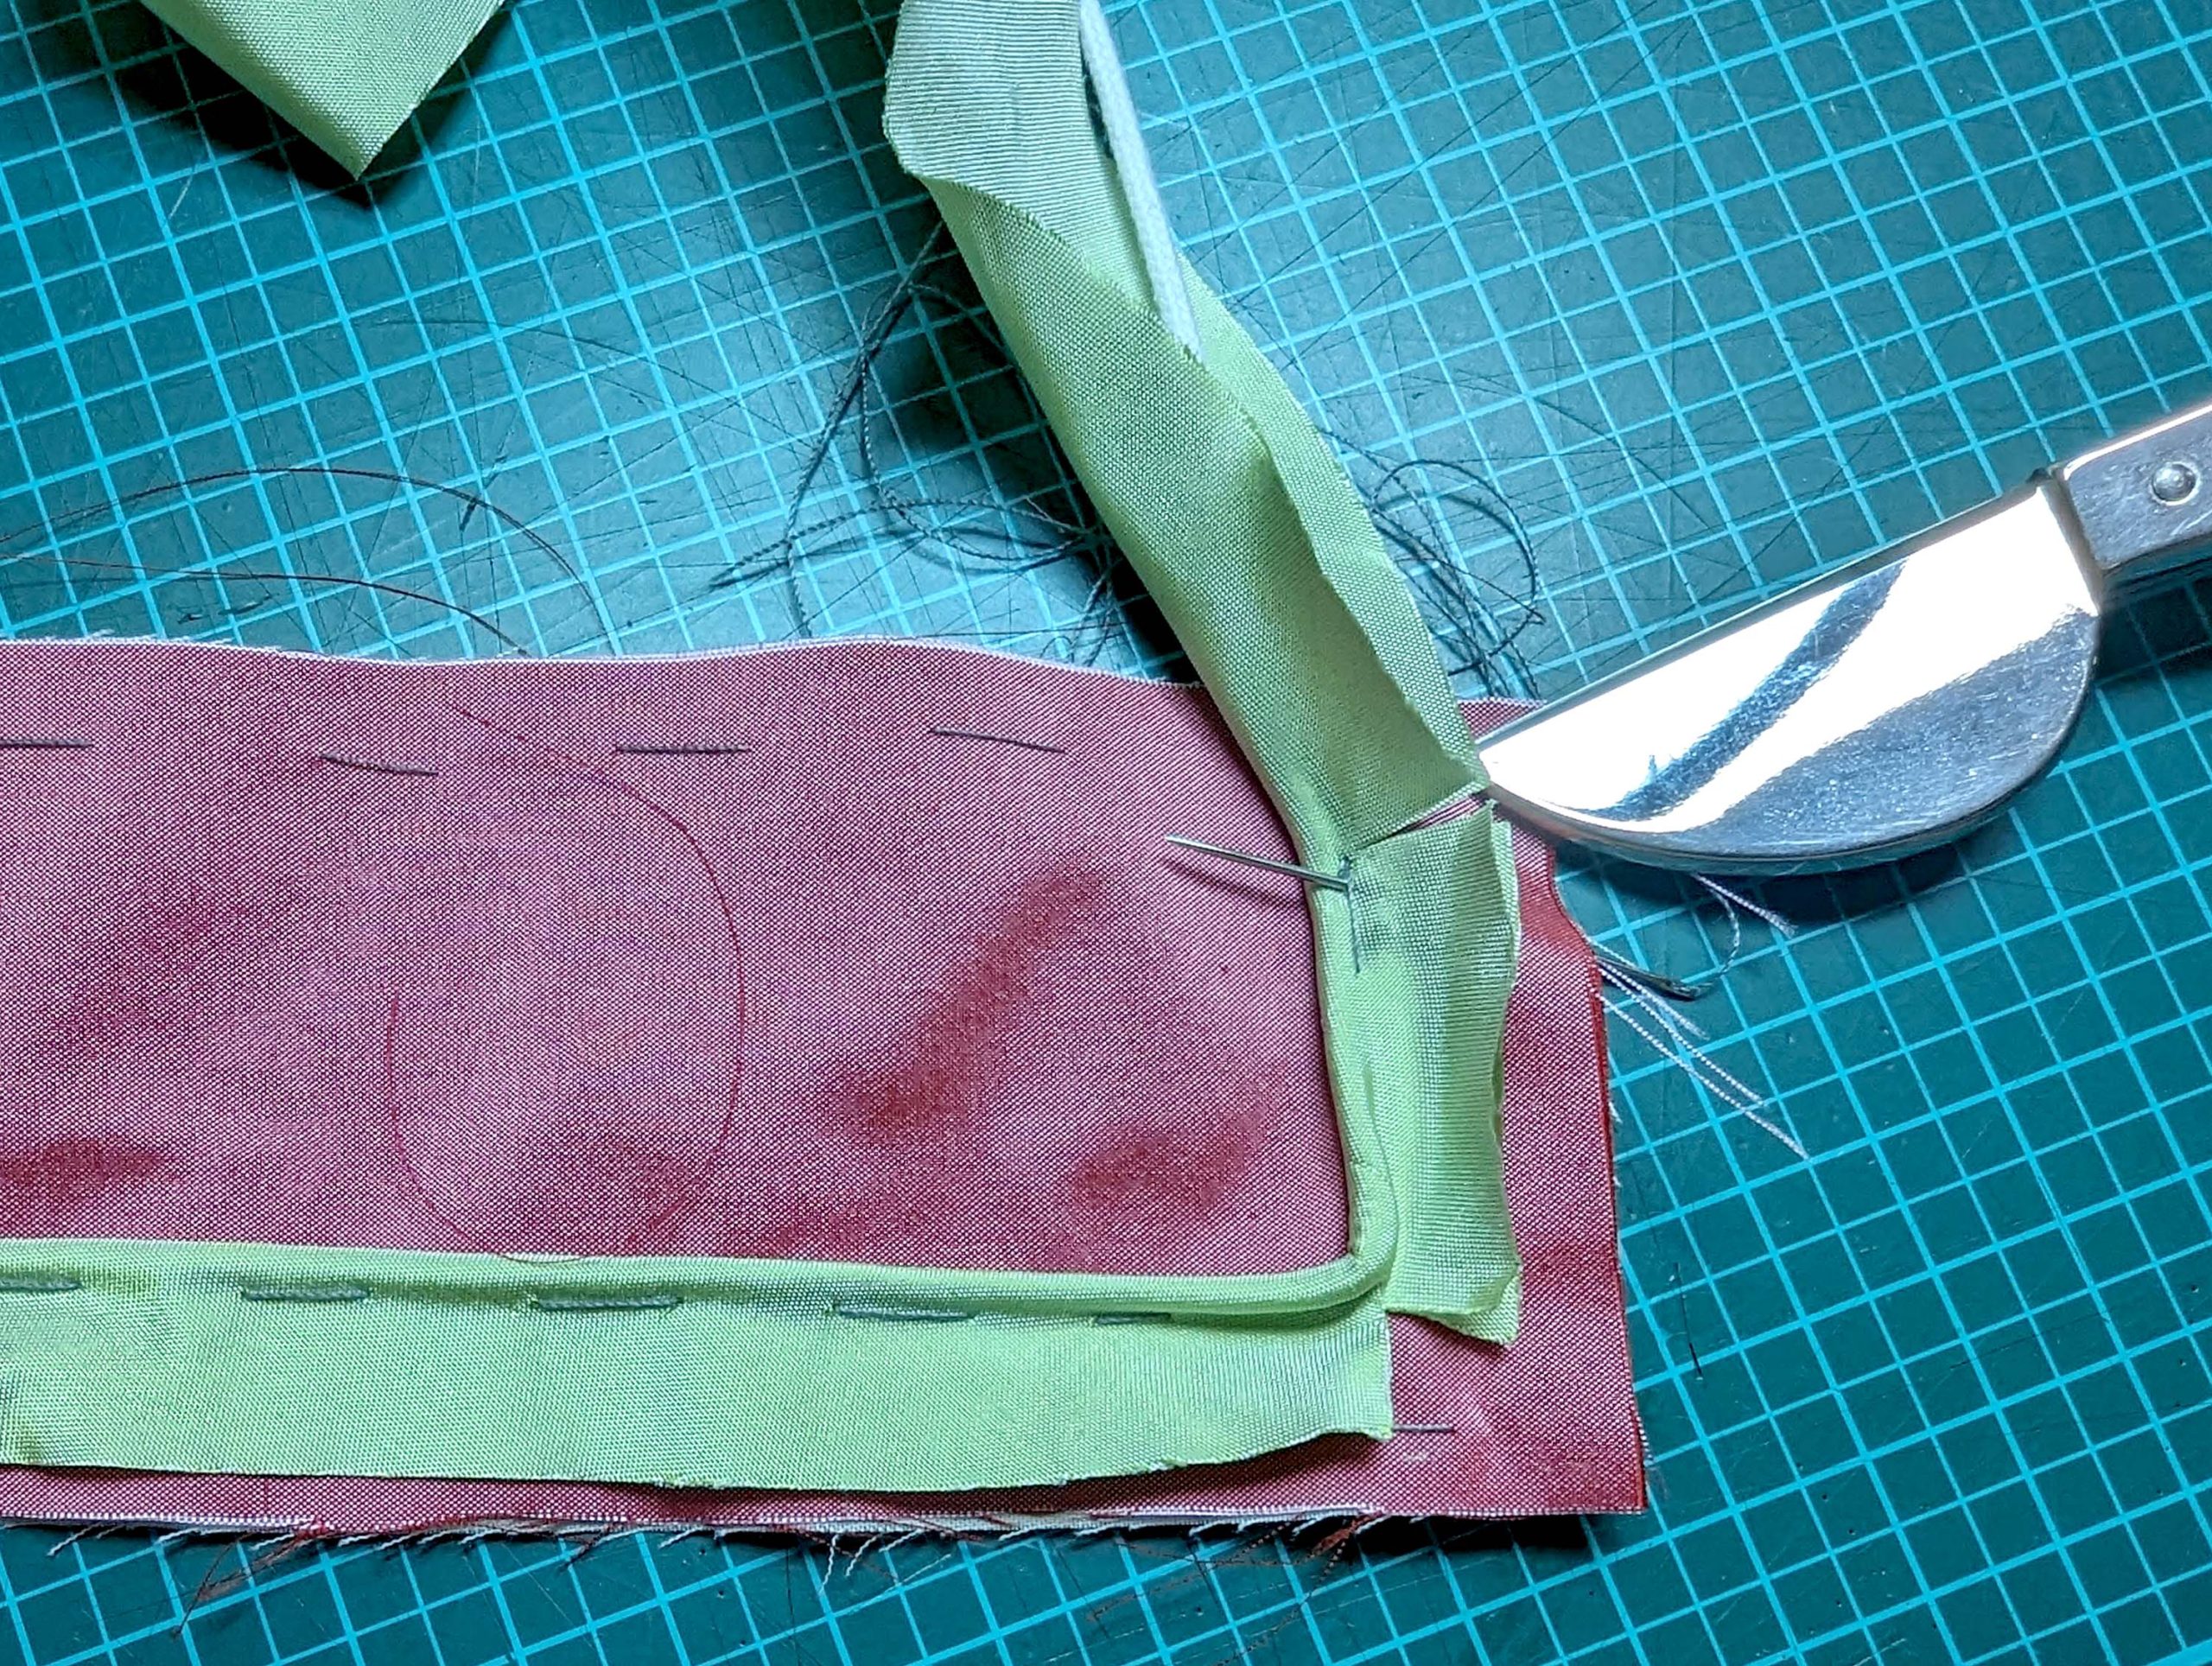
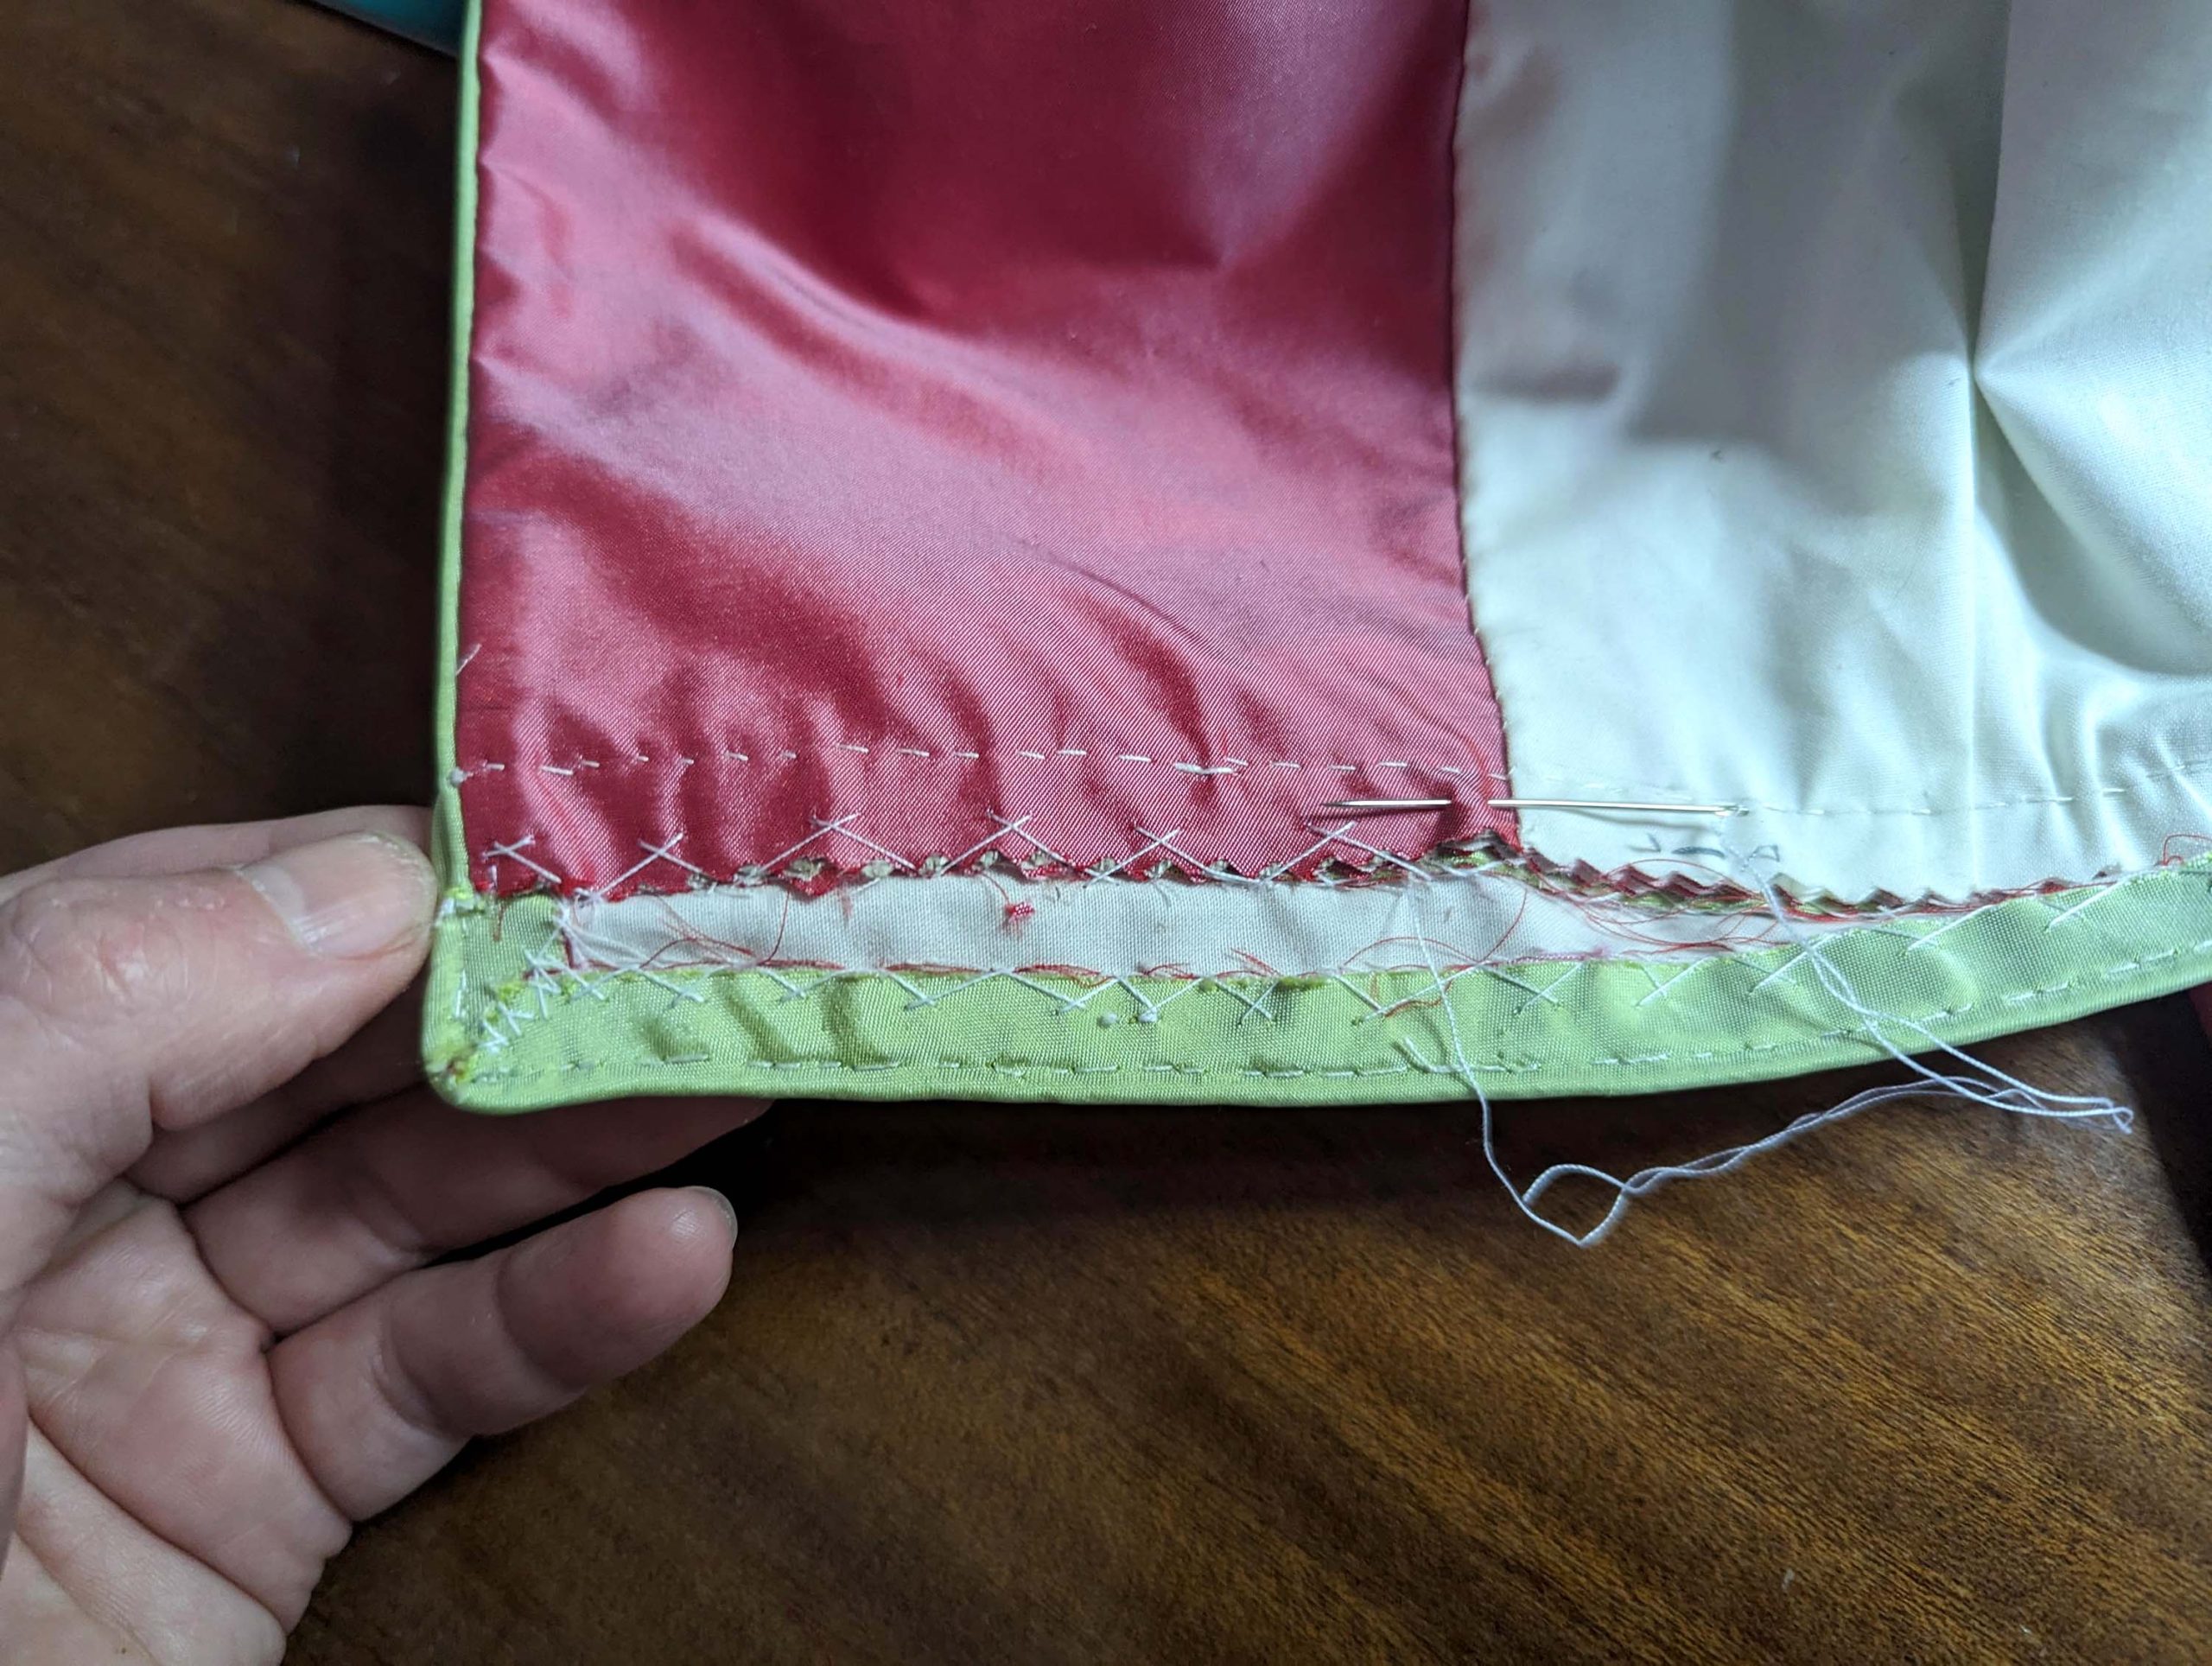
Trim back the seam allowance to 3/8” (1cm) all around, notch at the corners as shown, turn in, and catch stitch to the flatlining only.
(9) Place the waistband on top of the peplum, matching the marks and lining up the stitching lines, and sew in the ditch of the piping from the right side.
Place the waistband on top of the bottom edge of the bodice, lining up the stitching lines (consider the ¾” (2m) seam allowance here, if some extra length would be needed). First baste, then sew in the ditch of the piping.

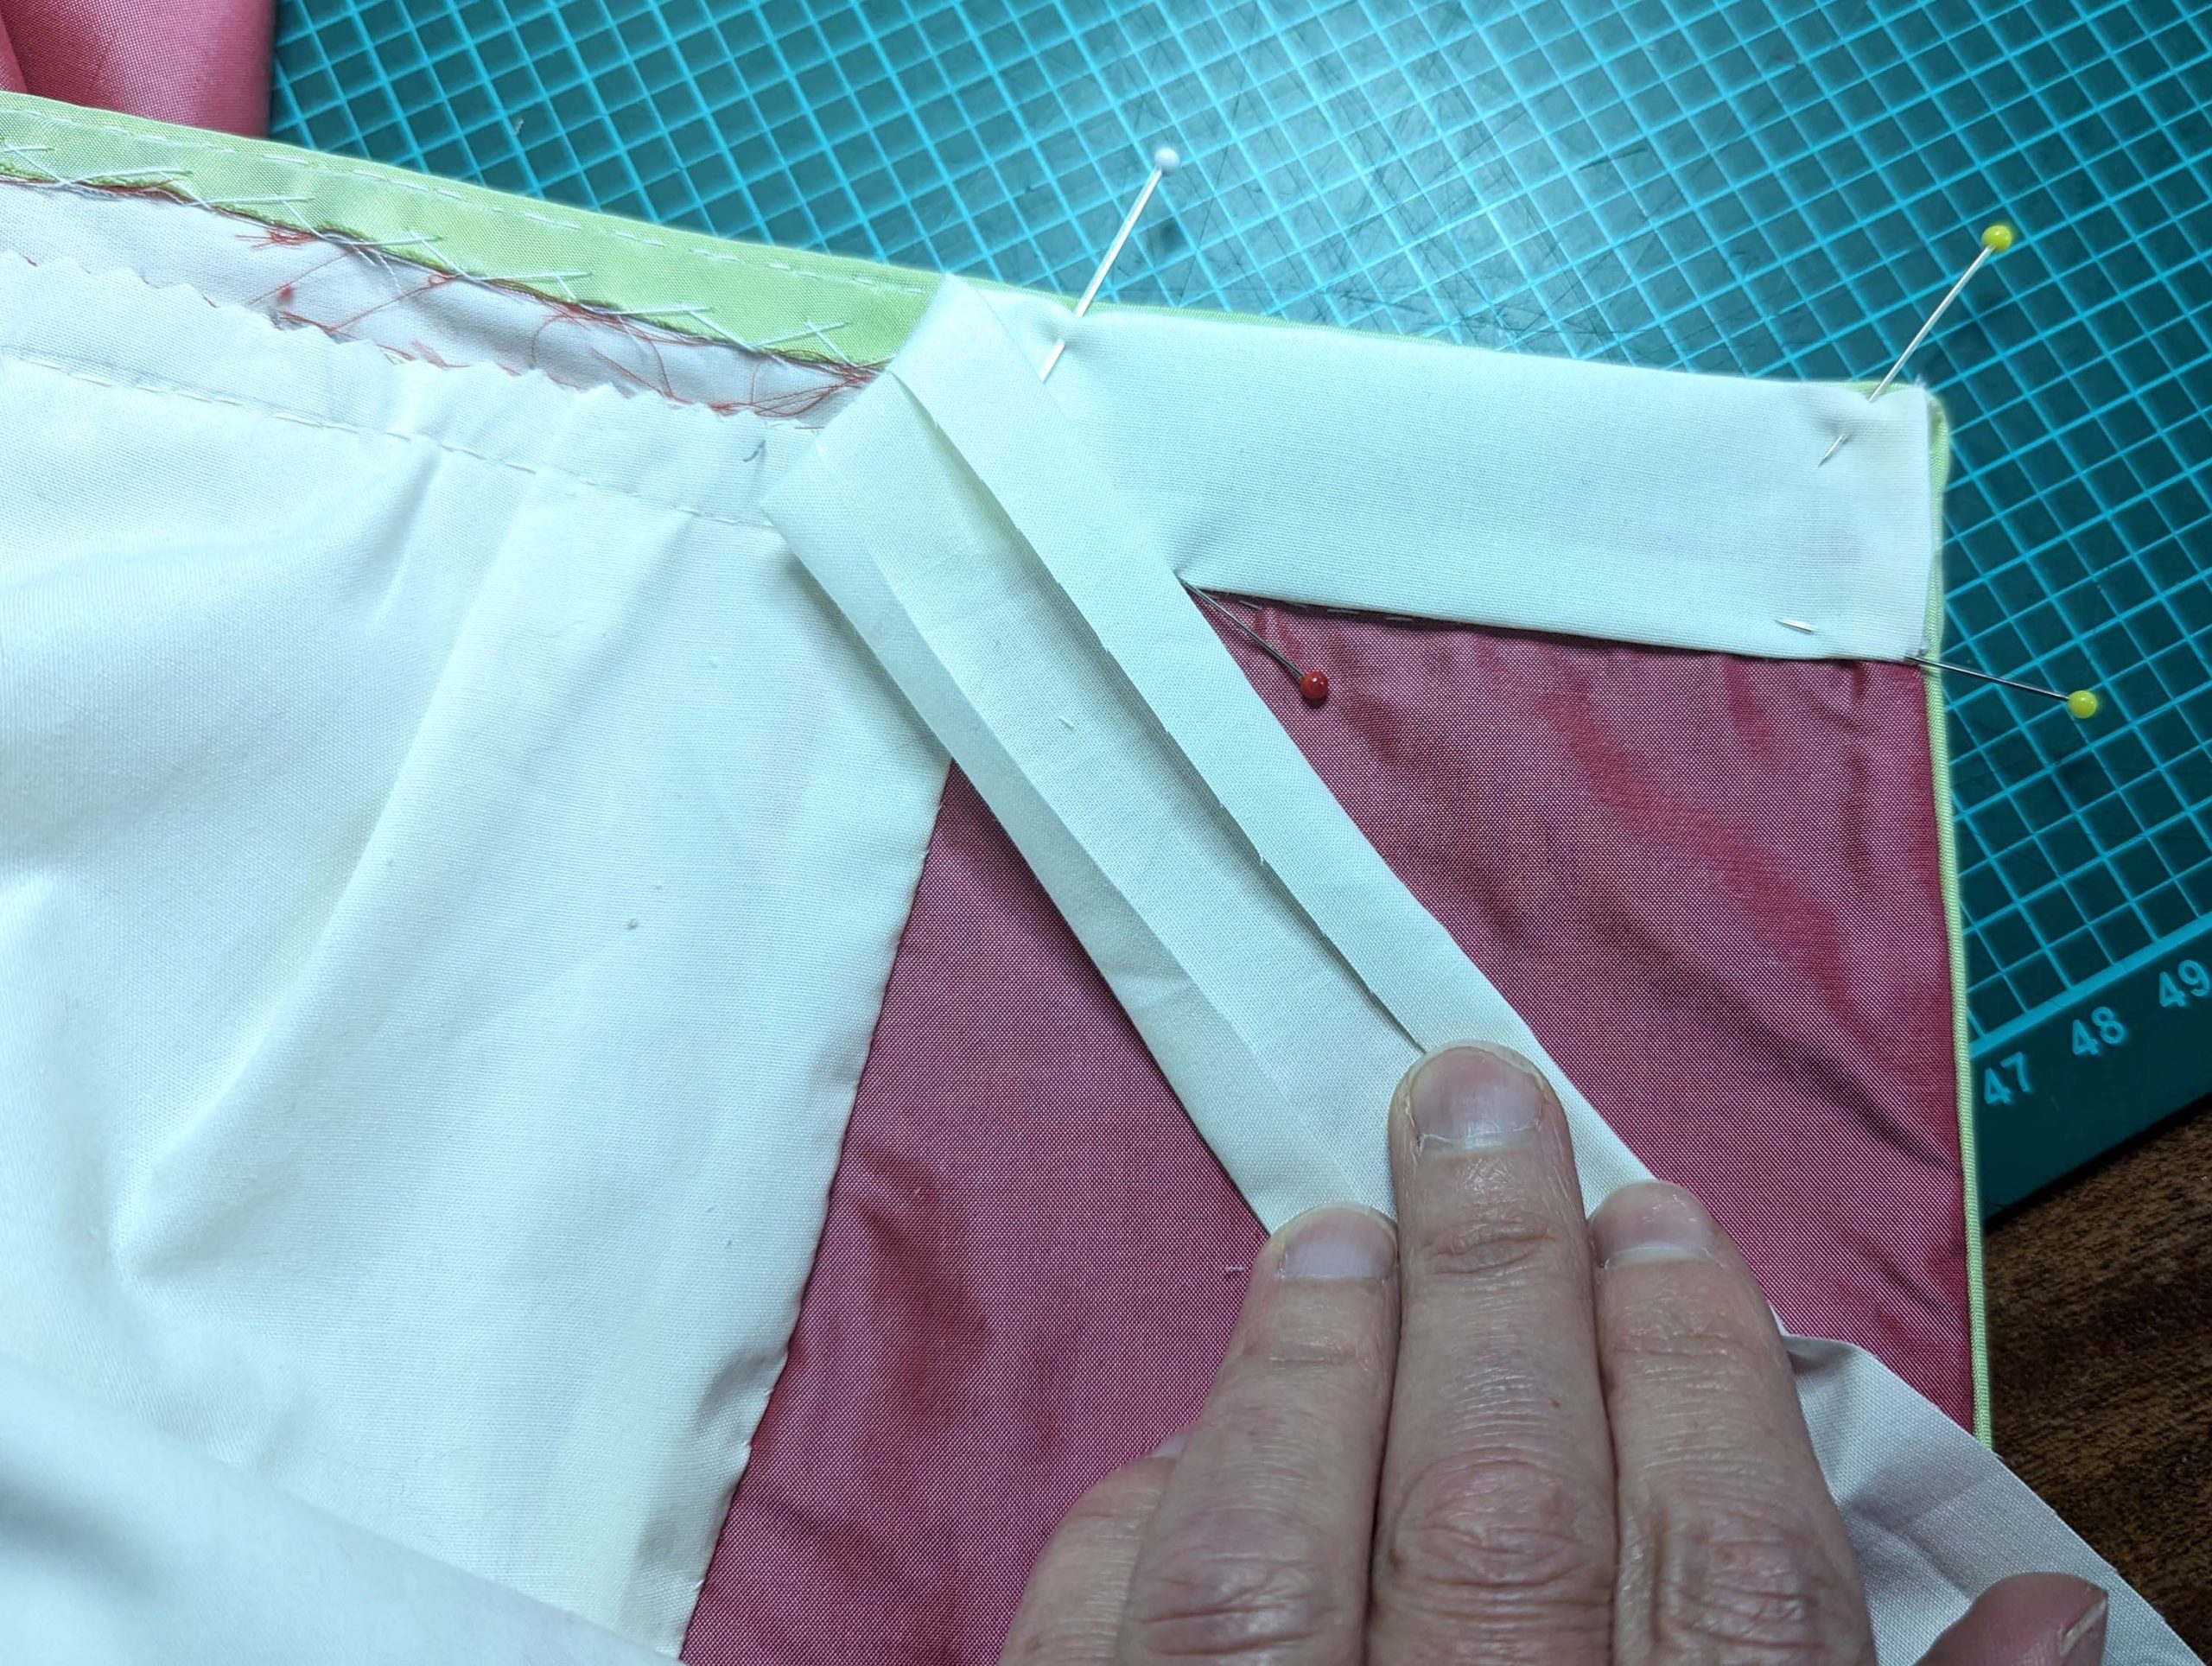
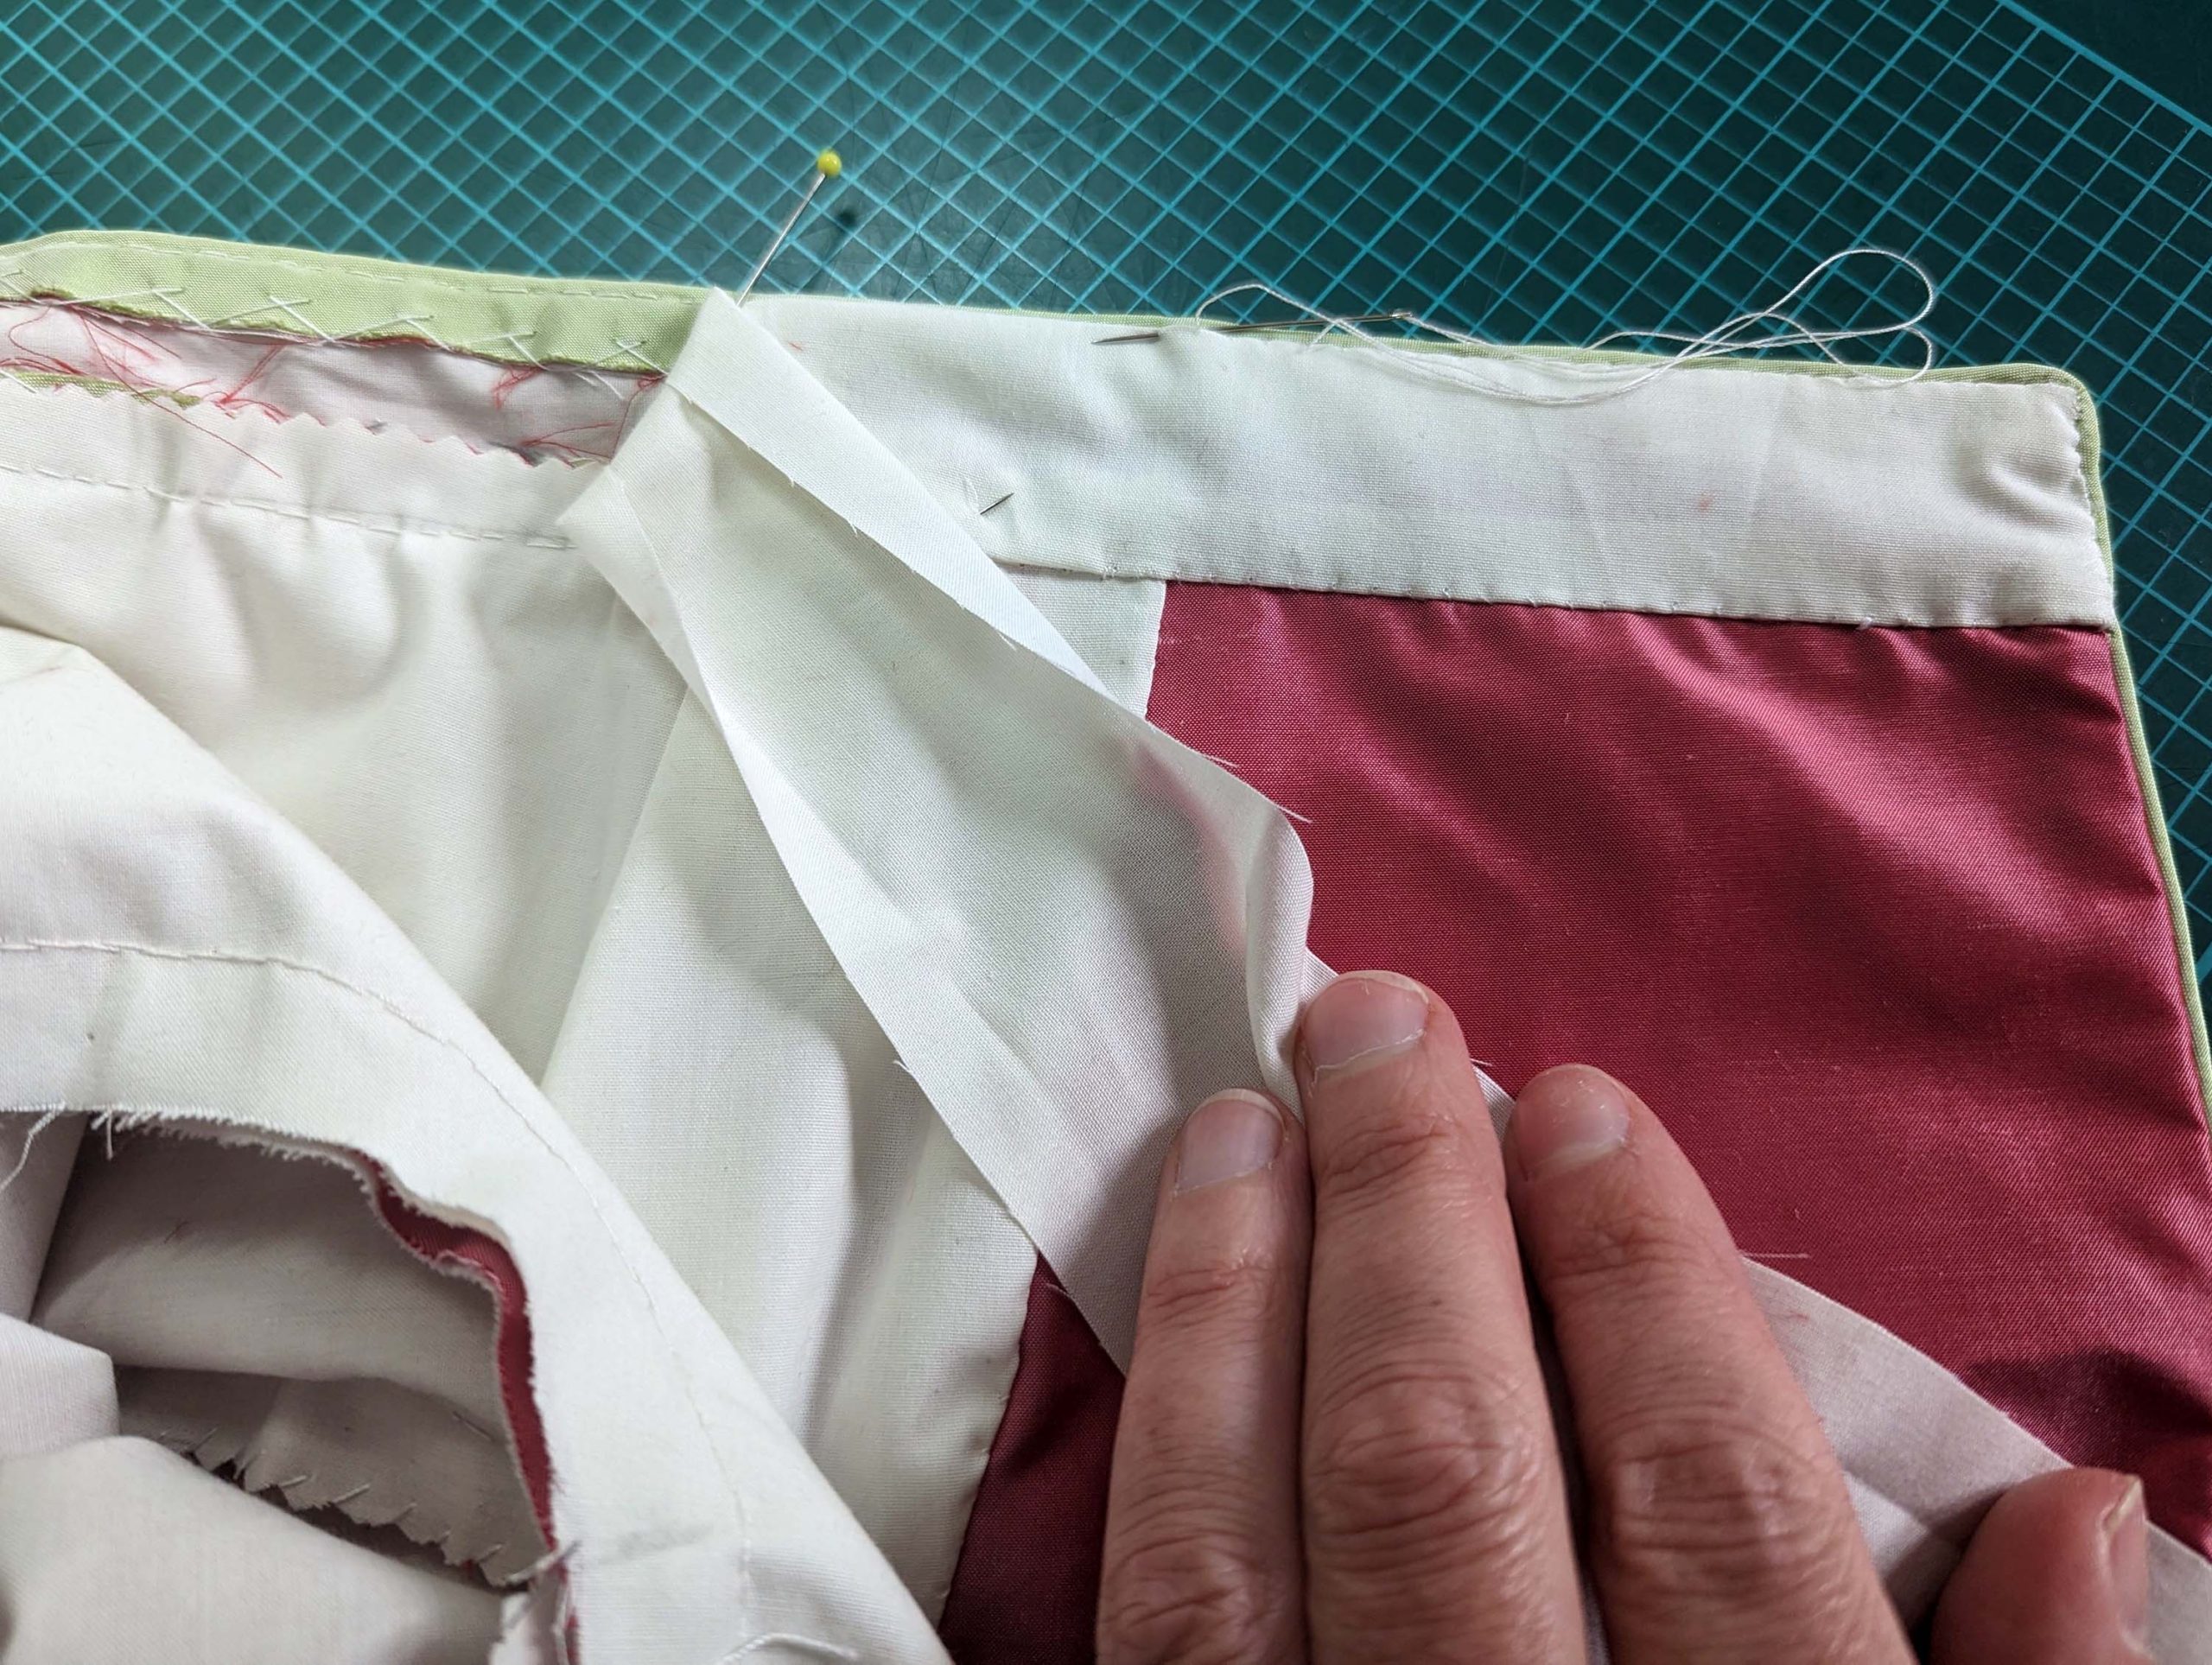
Trim back the seam allowances of the bodice and peplum to 3/8” (1cm) and catch stitch to the flatlining of the waistband. Take the waistband lining and turn in the seam allowances all around, line up with the waistband, wrong sides together, covering all the raw seam allowances. First baste, then fell stitch in place all around.

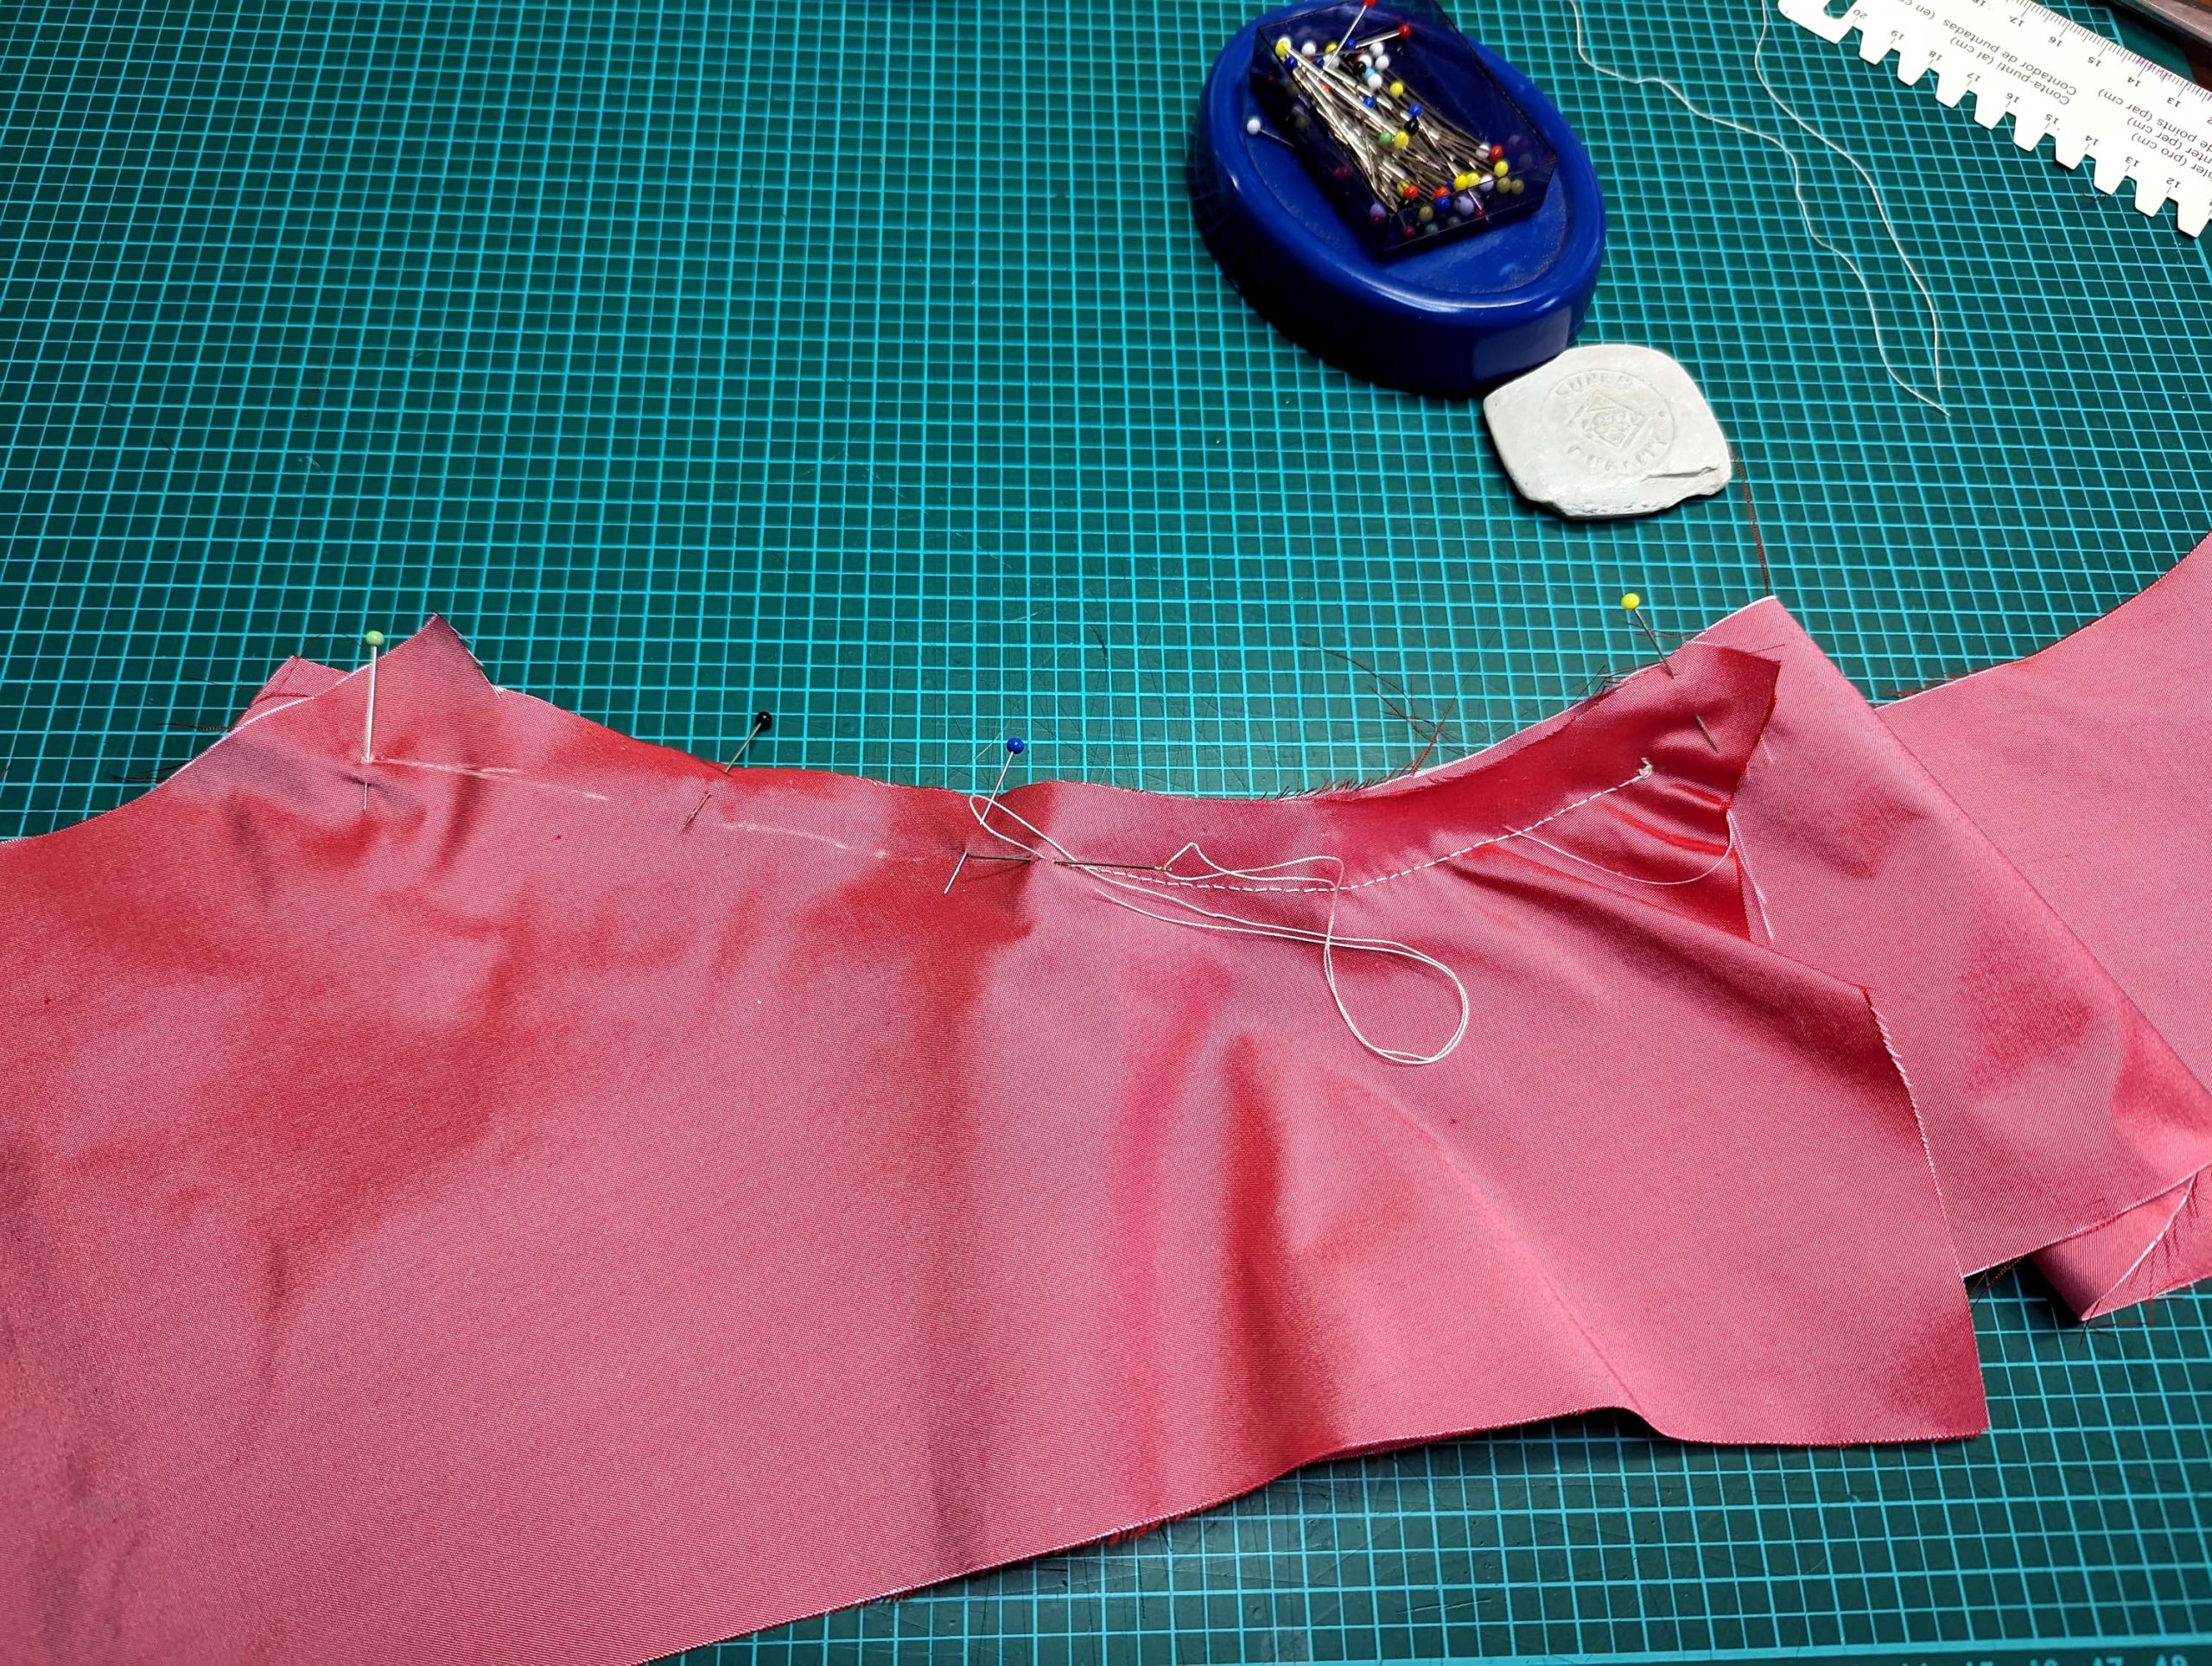
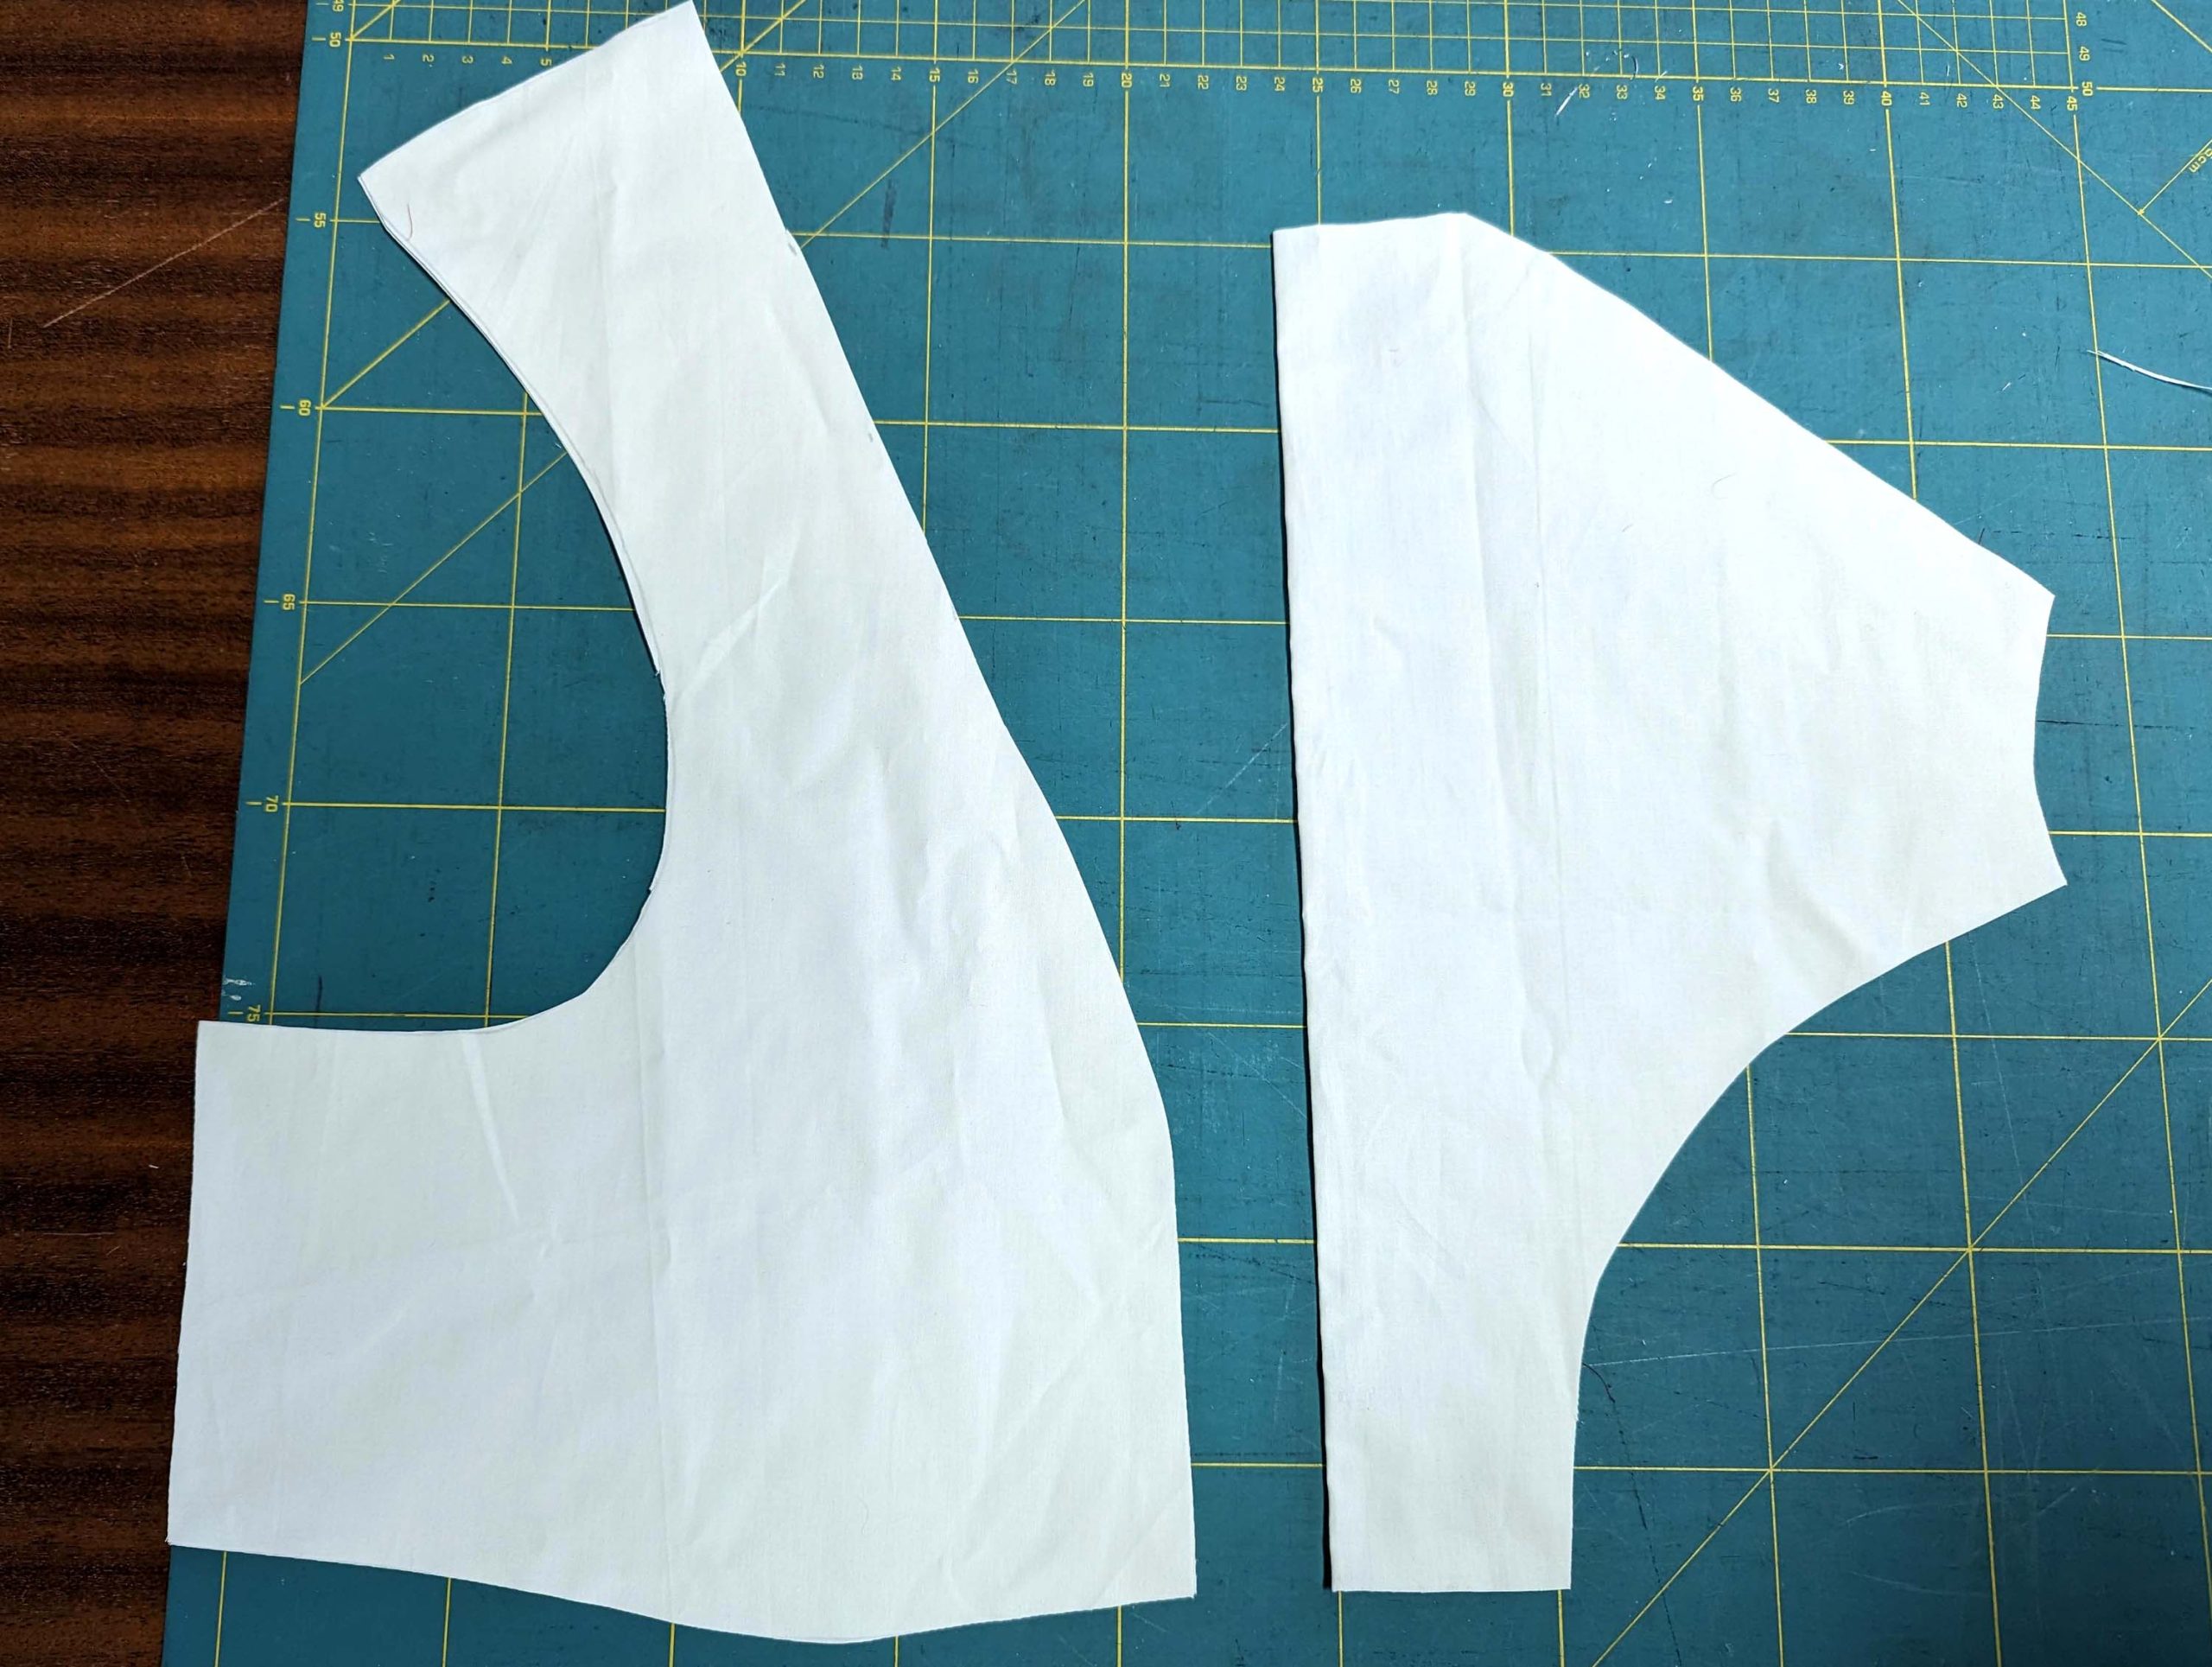
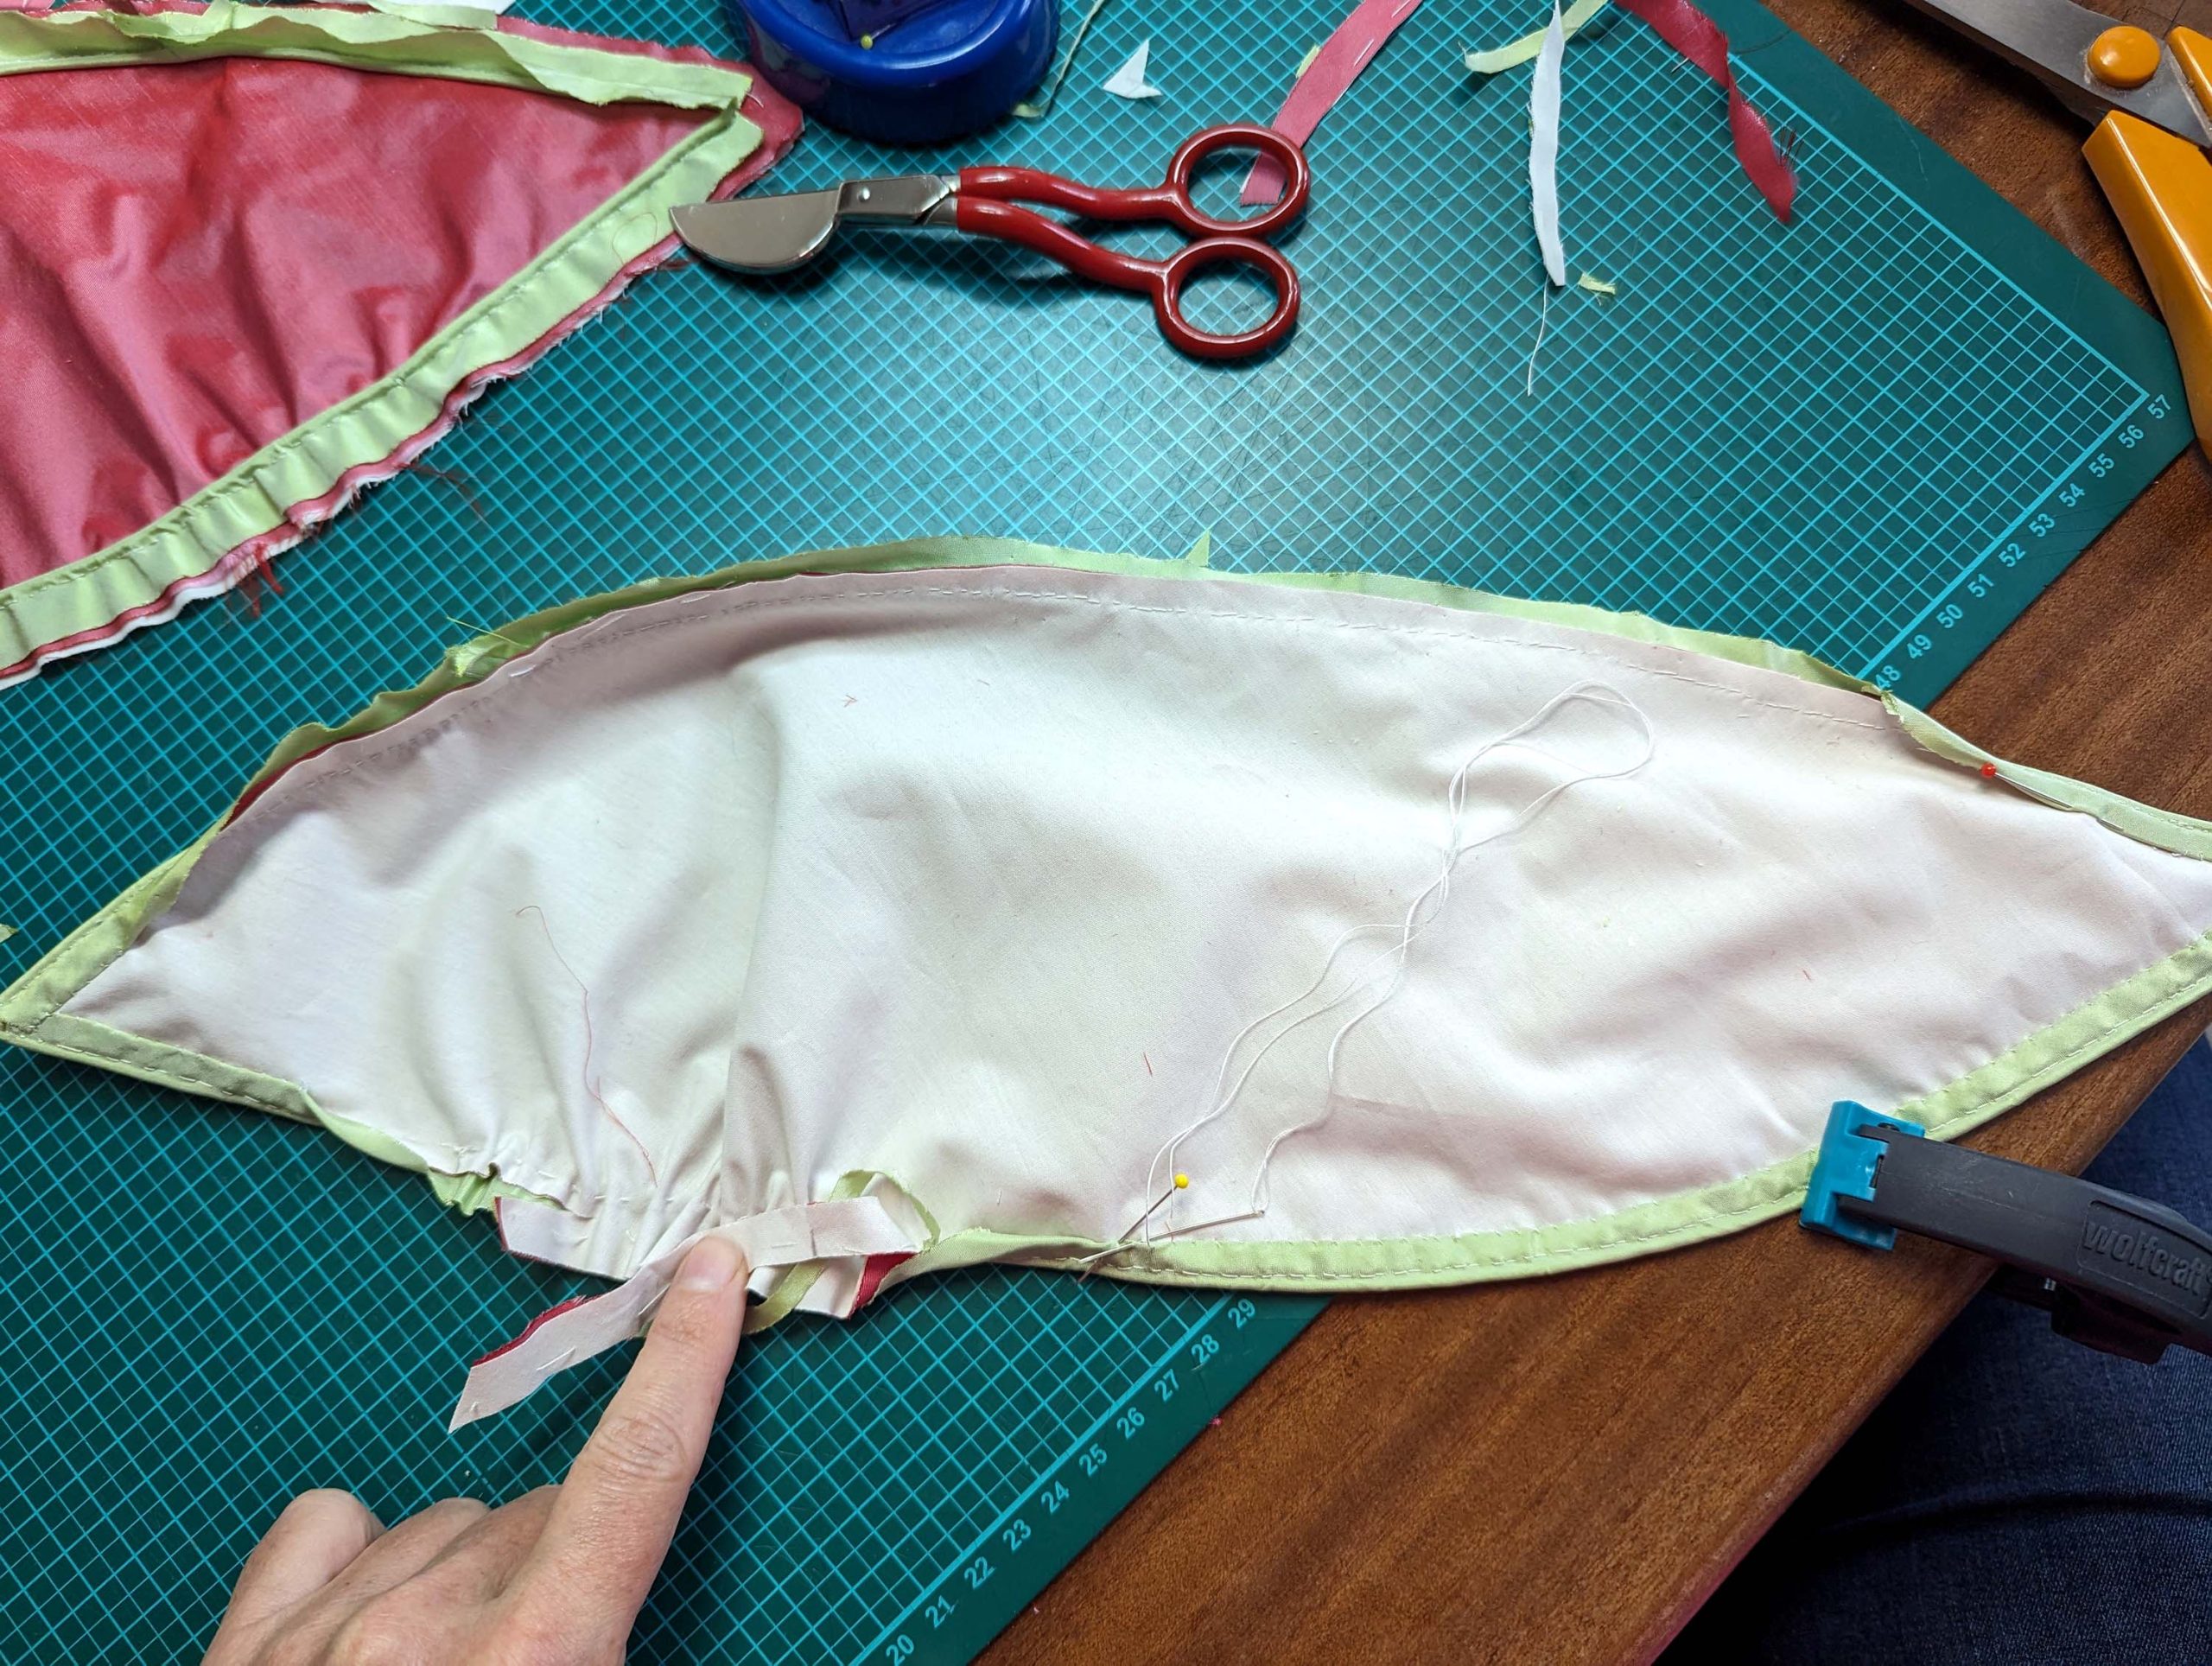
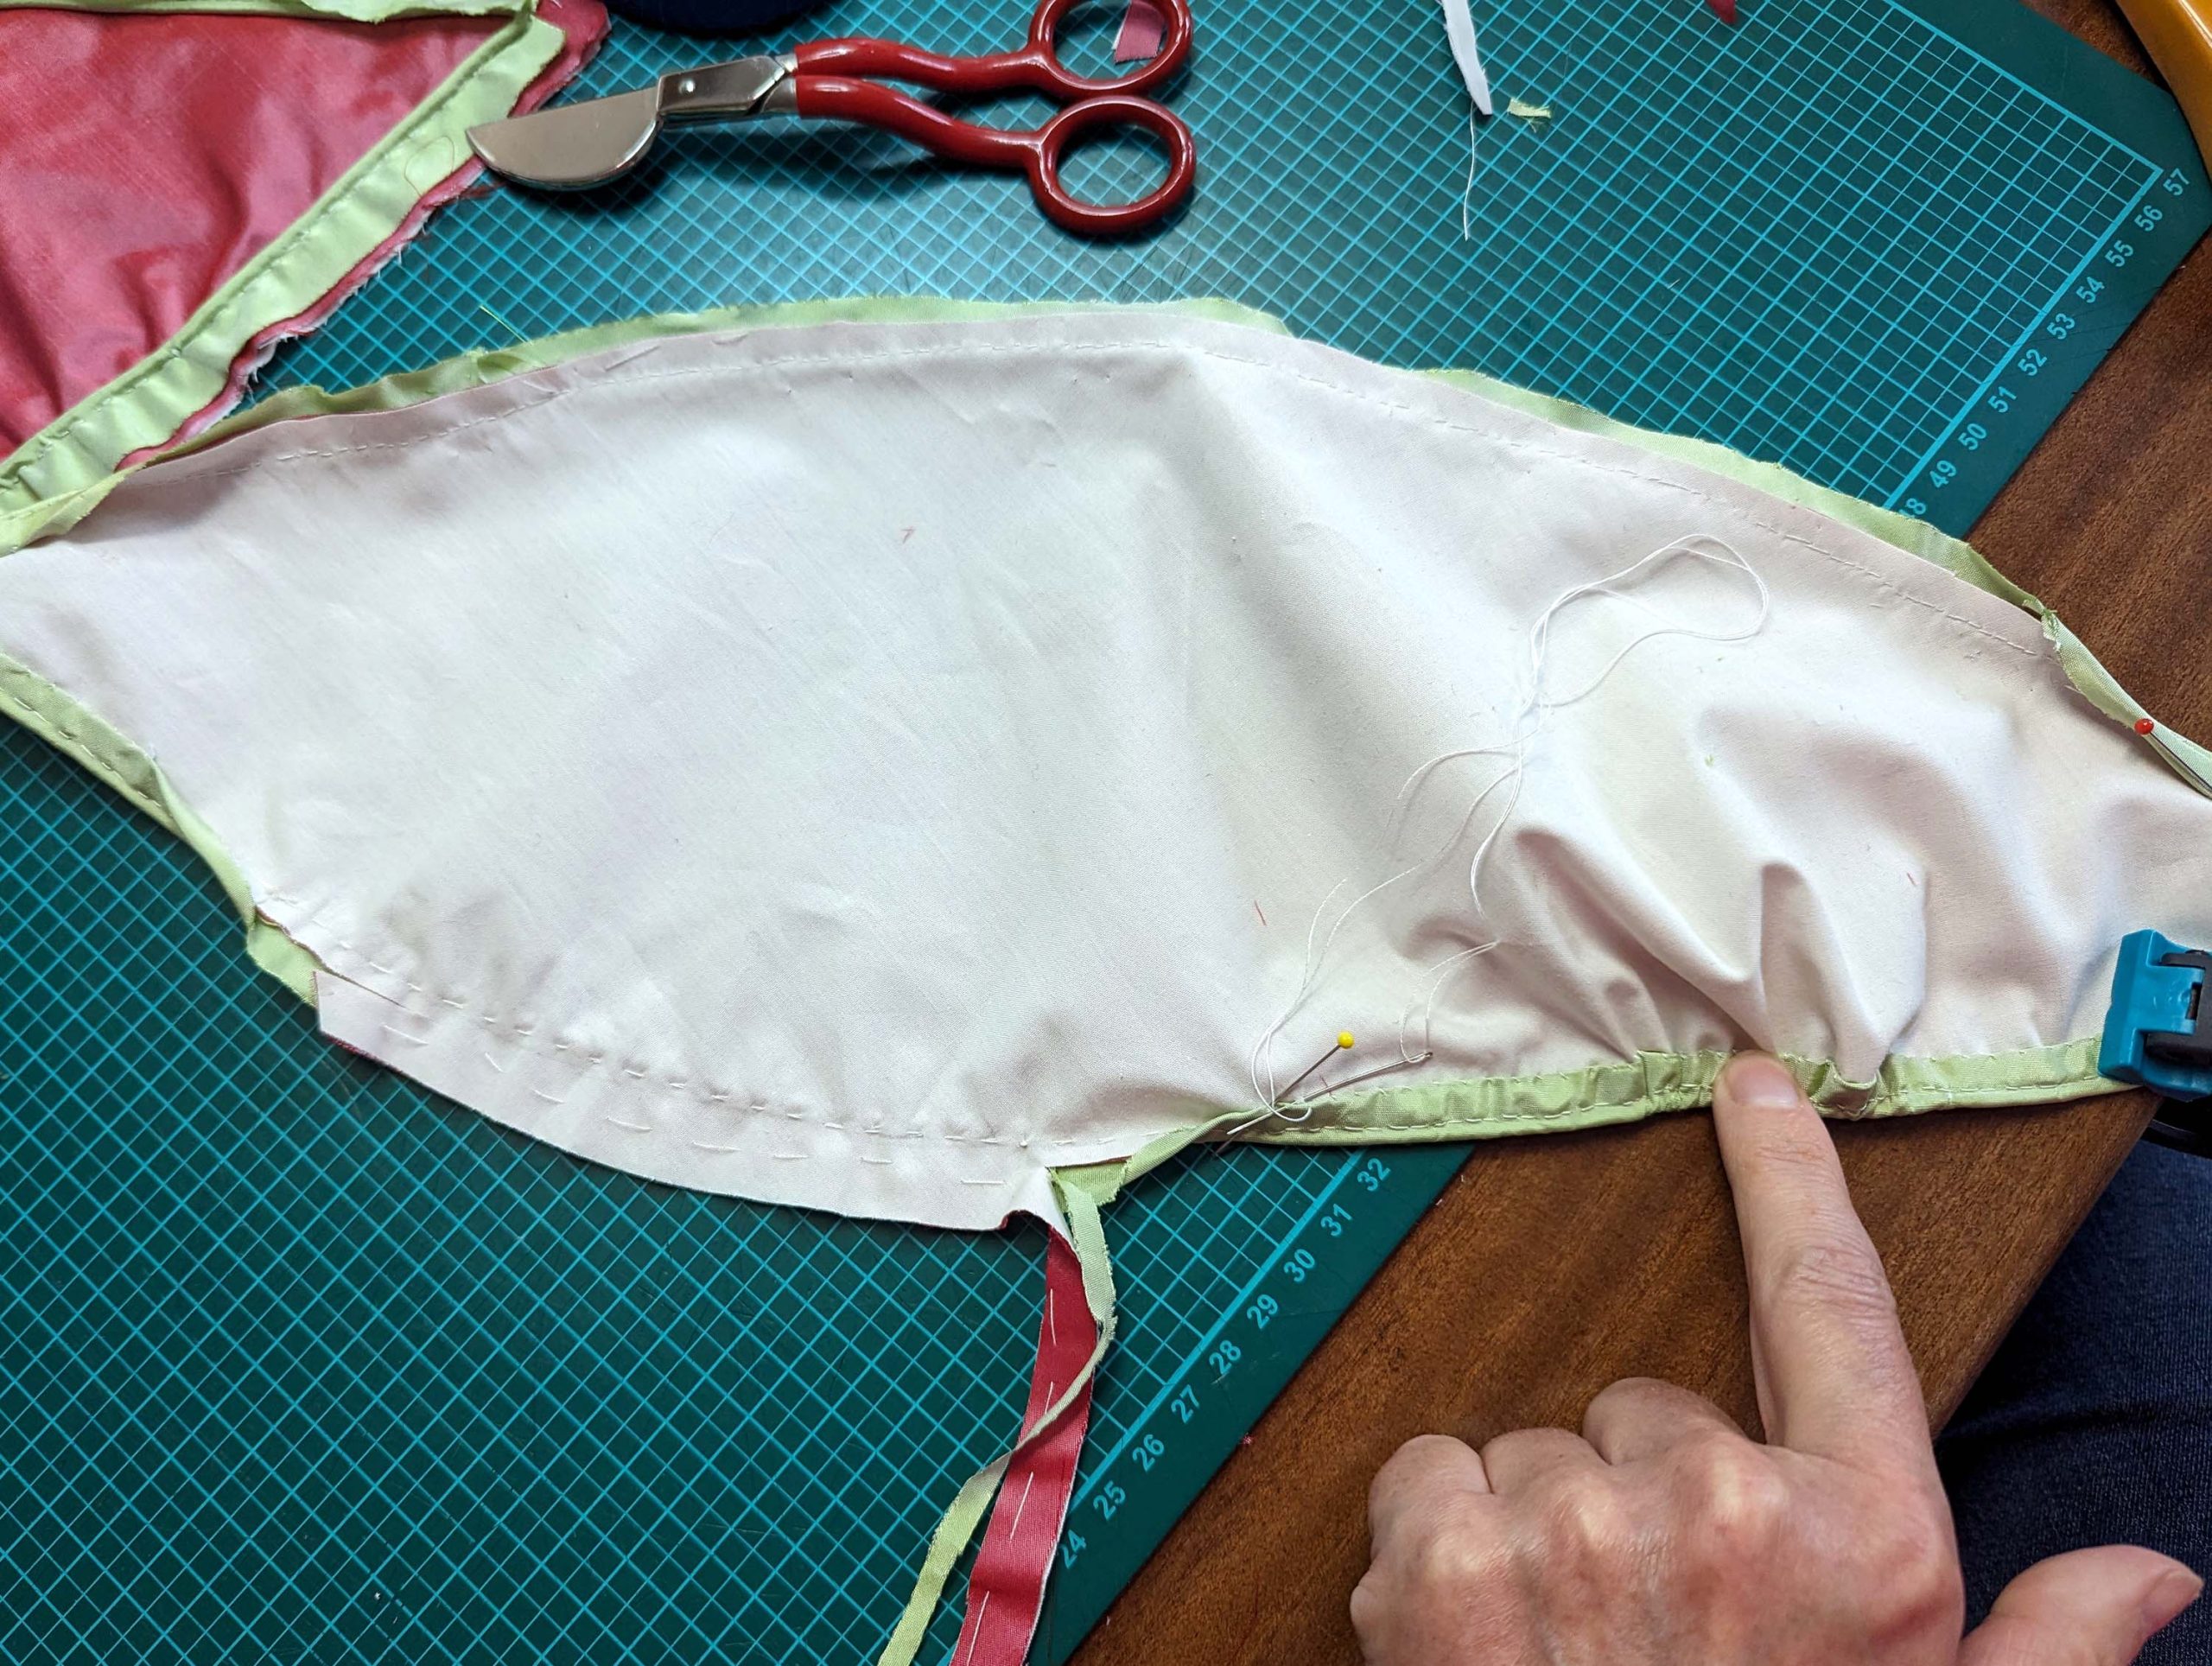
(10) Sew the front and back sleeve seam, press open the seam allowances and neaten with overcasting stitches. Sew two rows of gathering threads along the sleeve head – sorry, no pics.
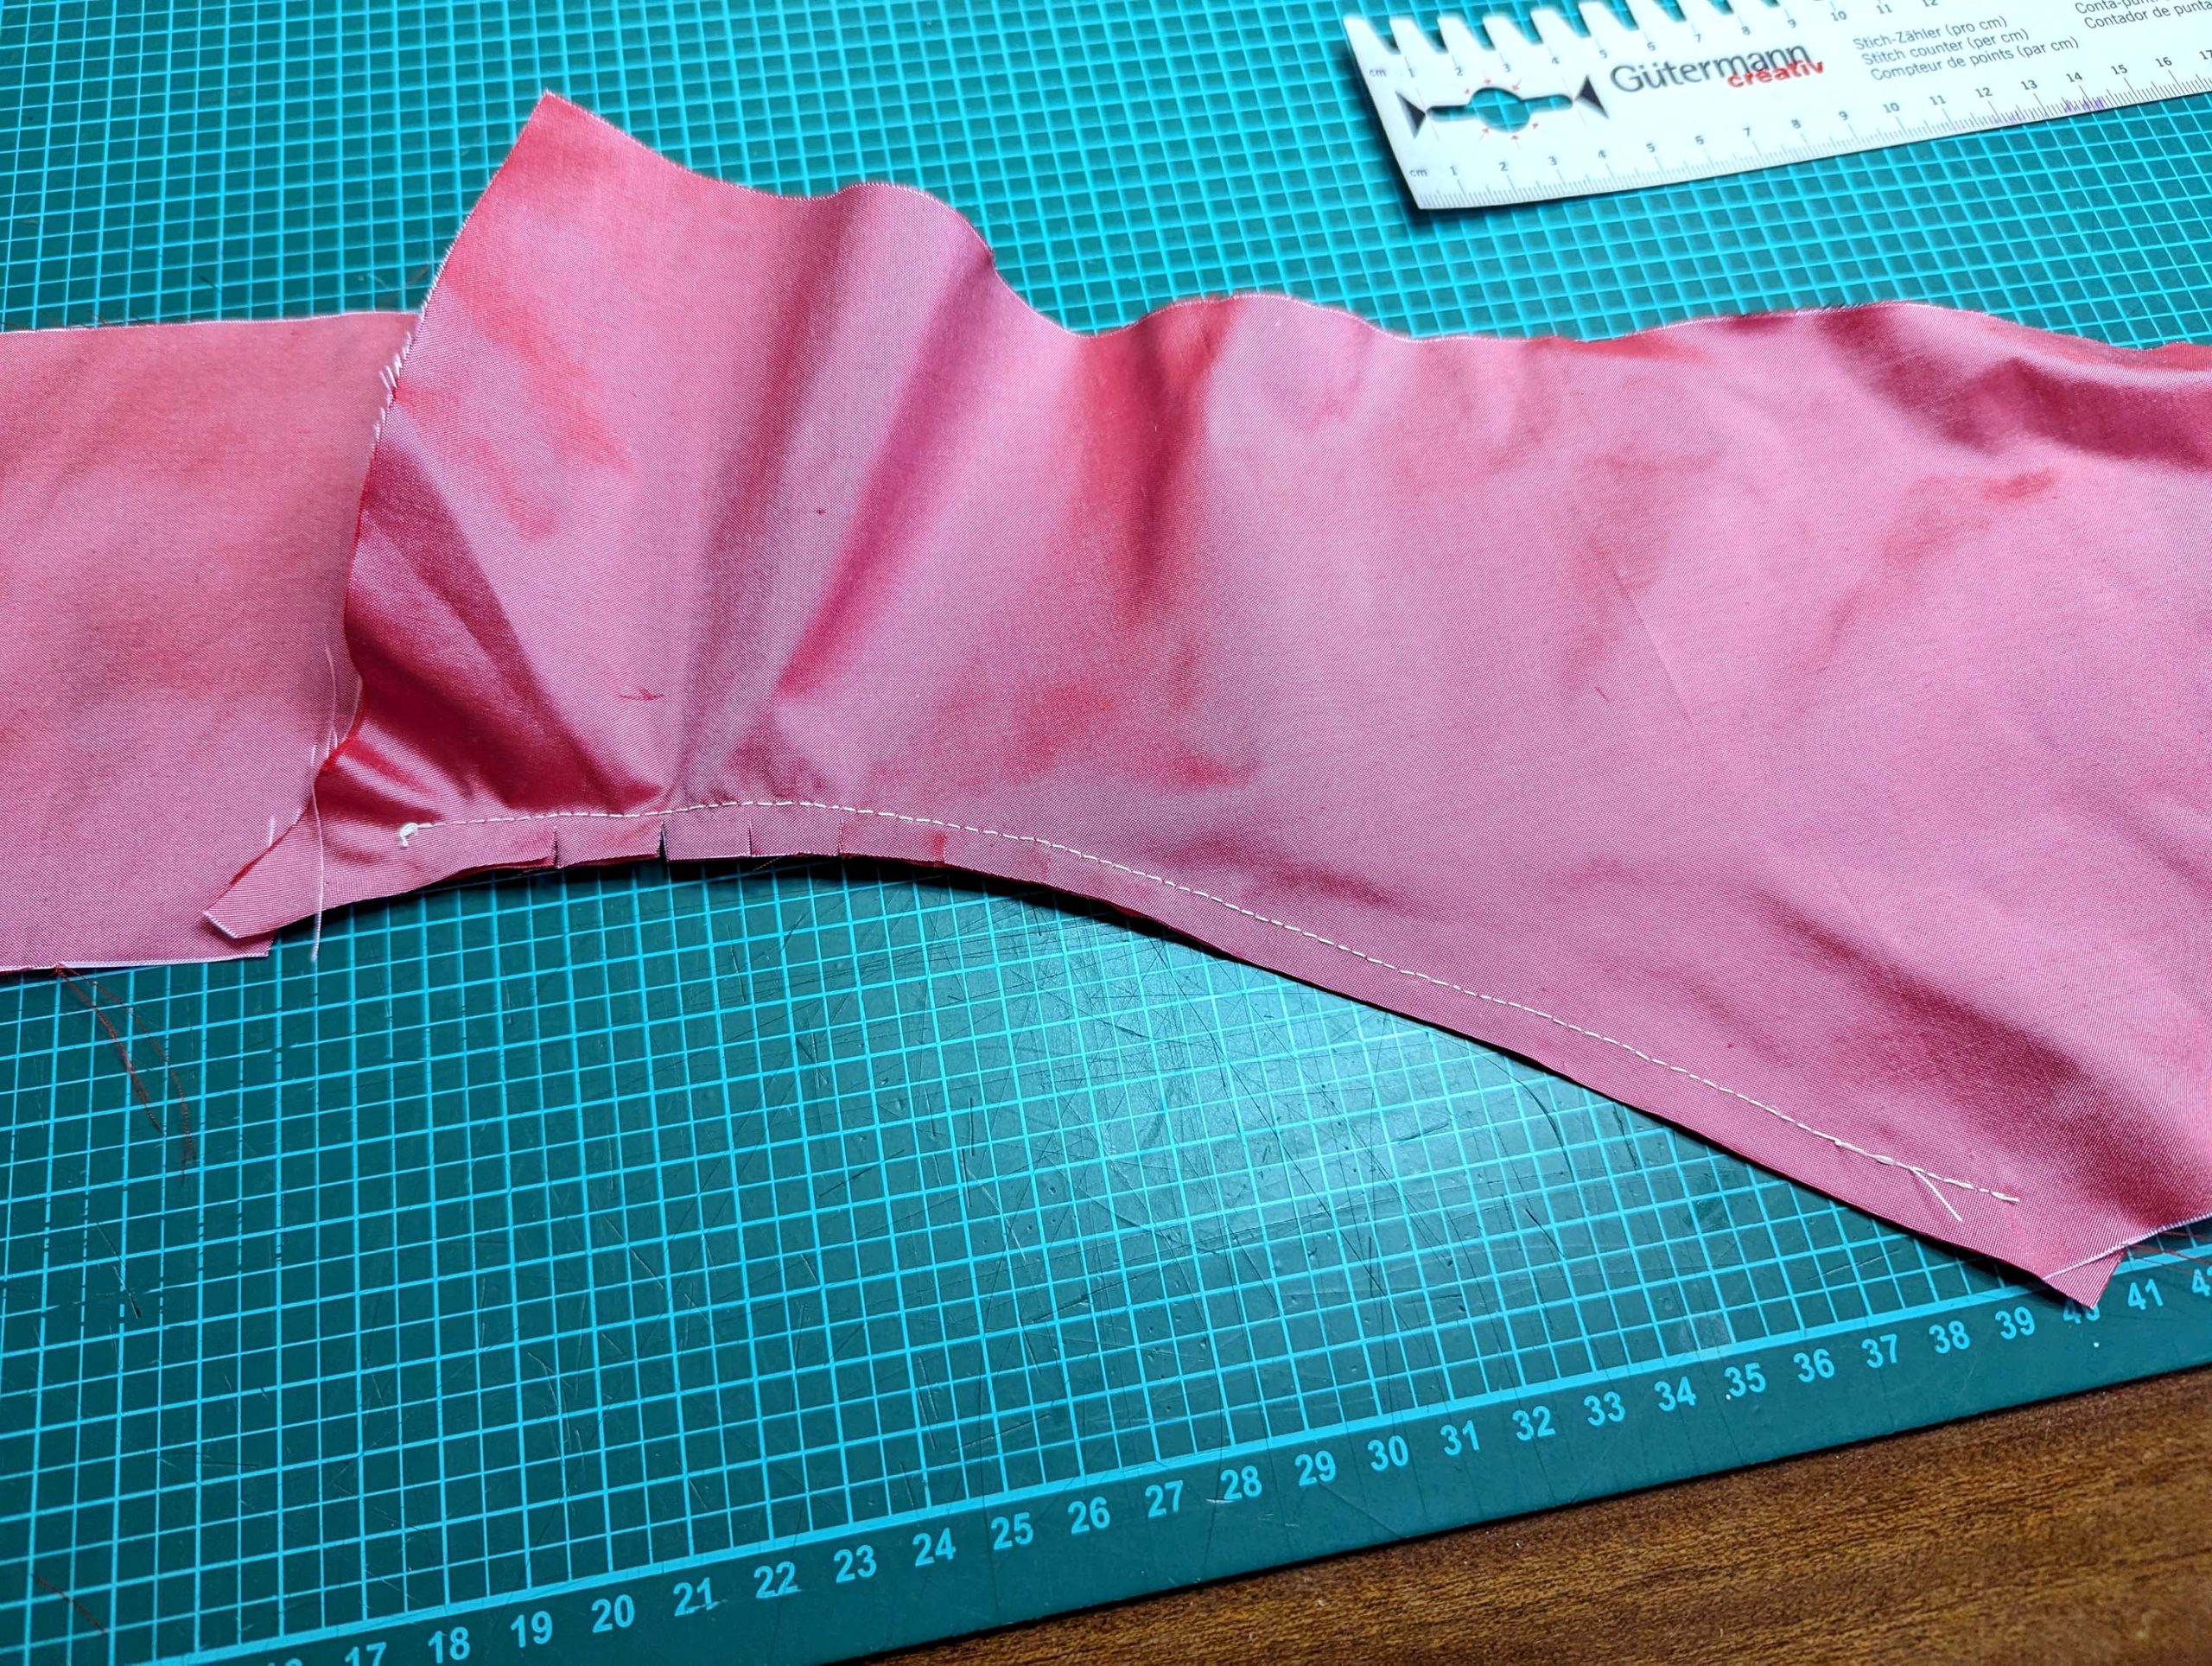
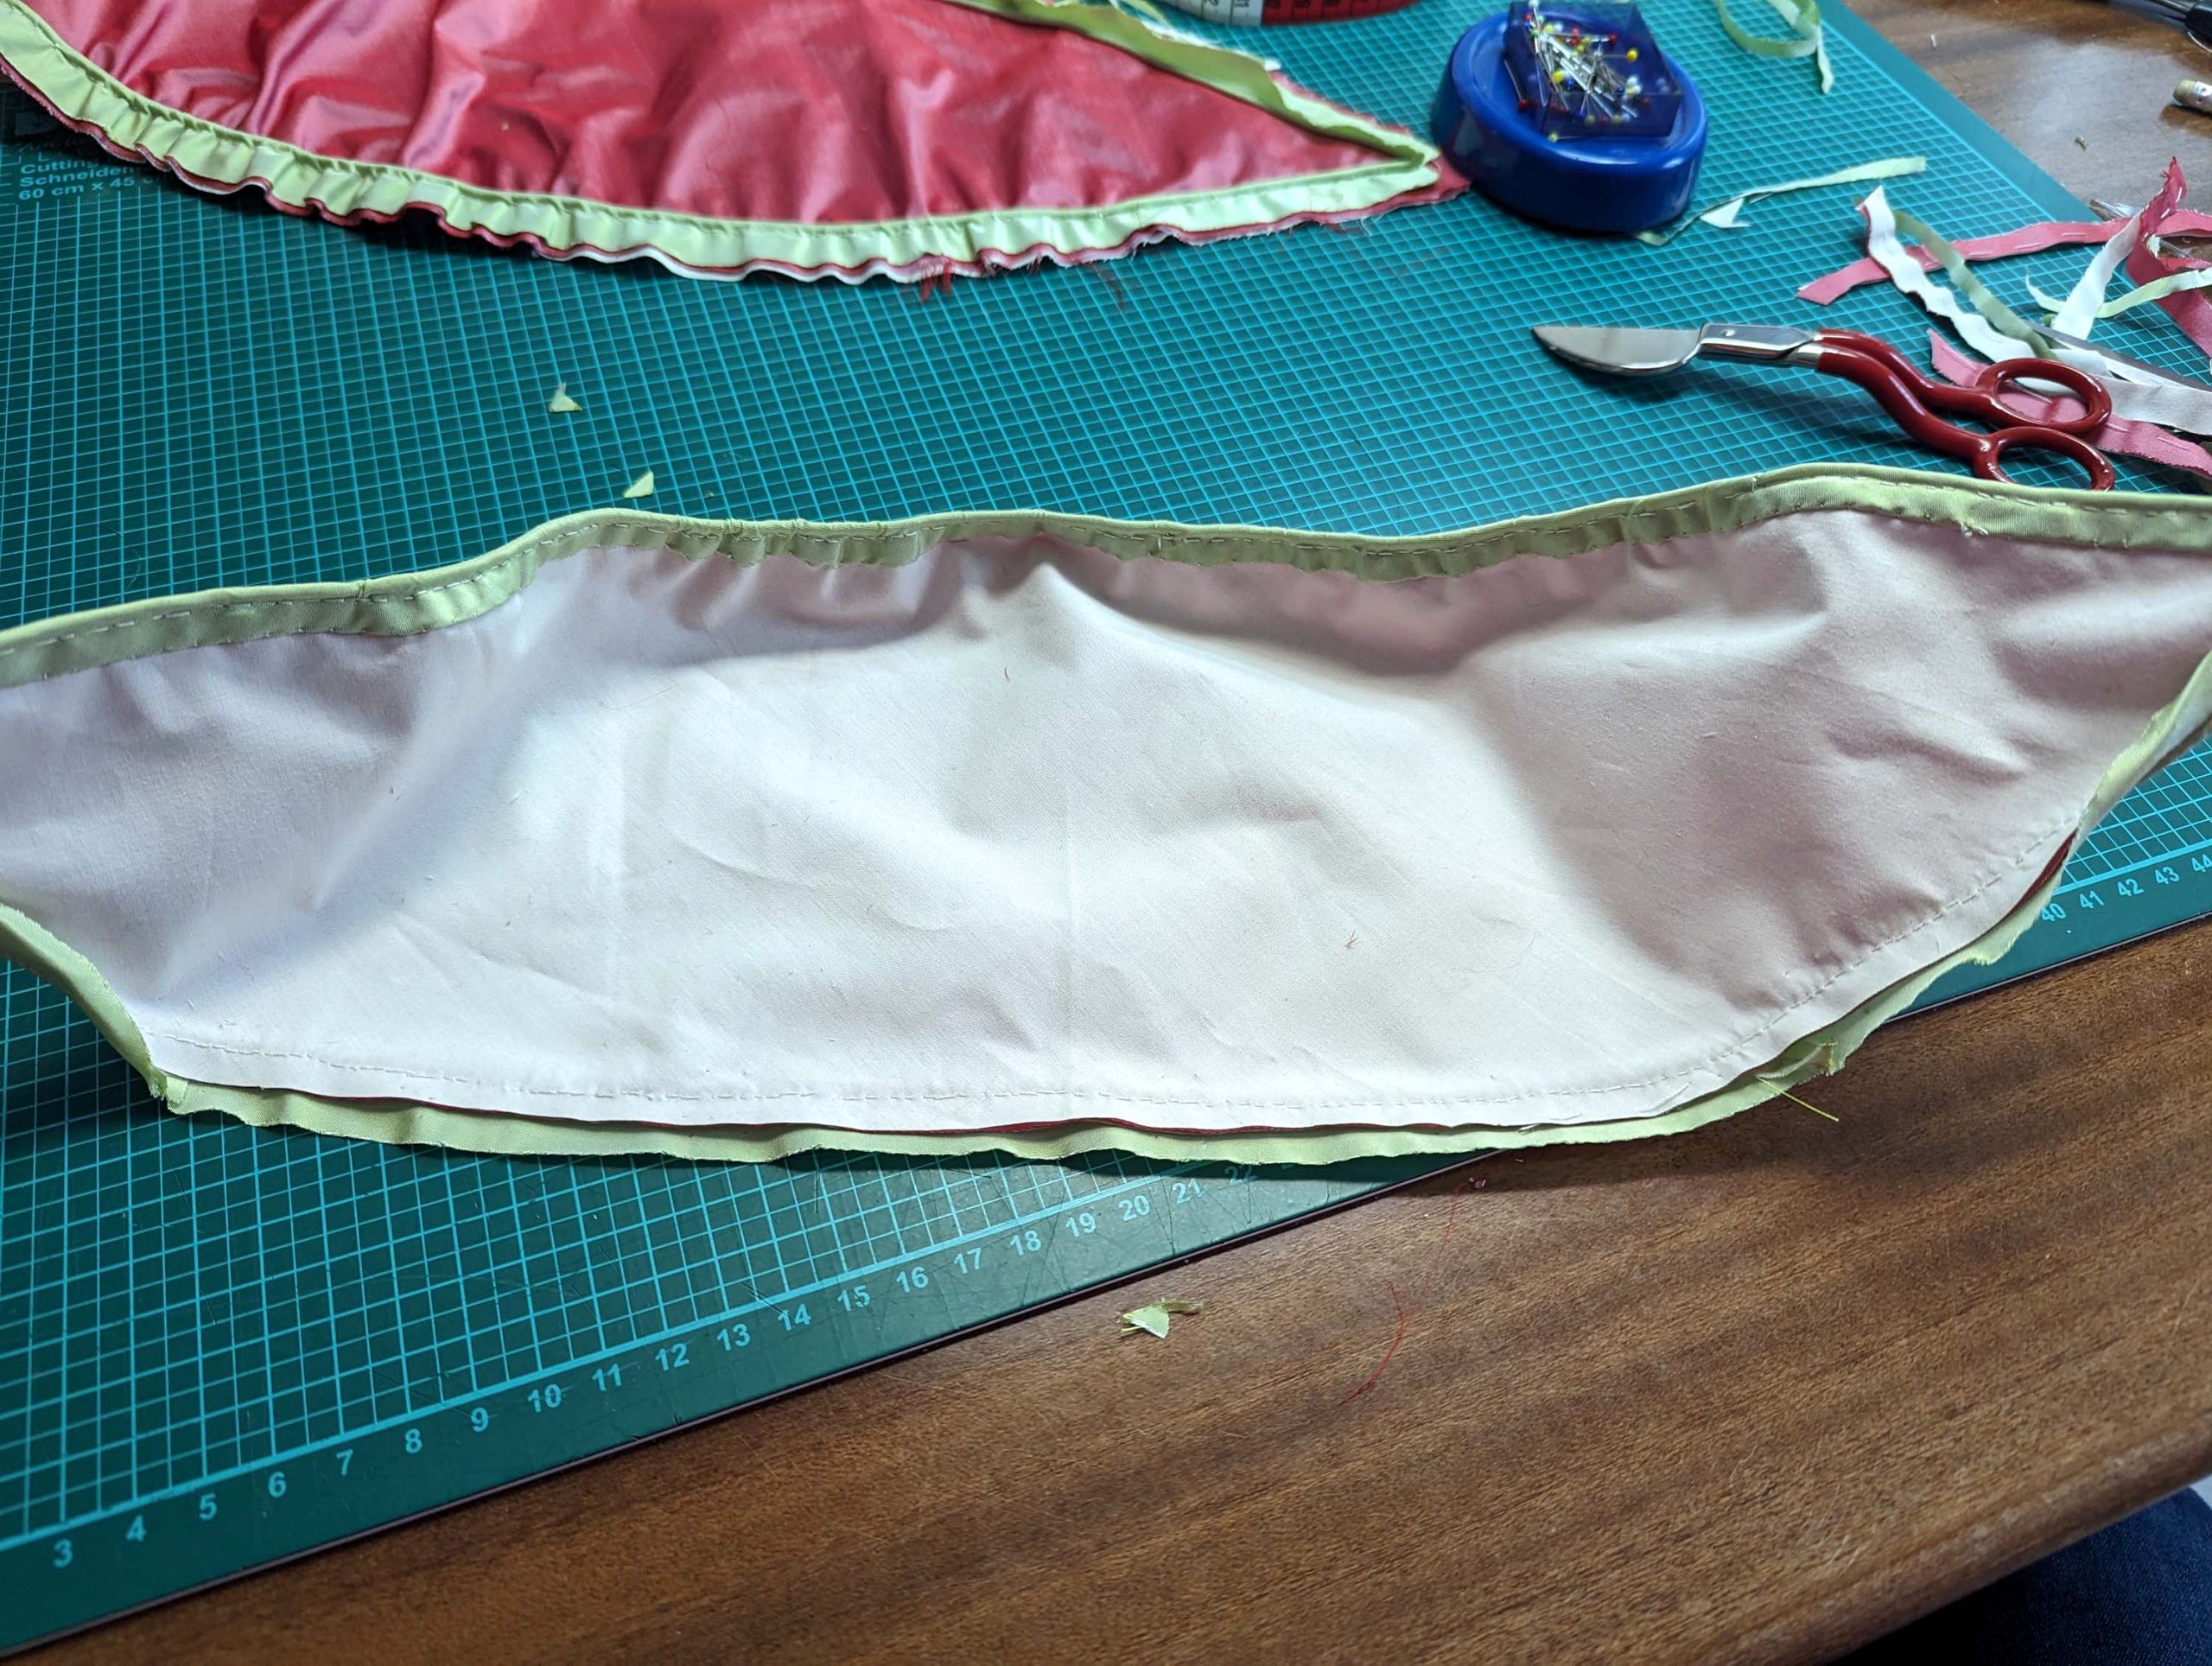
Pin the sleeve to the armhole, right sides together, matching all marks. Gather the sleeve head with the gathering threads and spread the fullness evenly. First, baste, then sew the sleeve to the bodice, catching all layers. Trim back the seam allowances and neaten with overcasting stitches. Double-turn in the hem and fell stitch to the lining only.
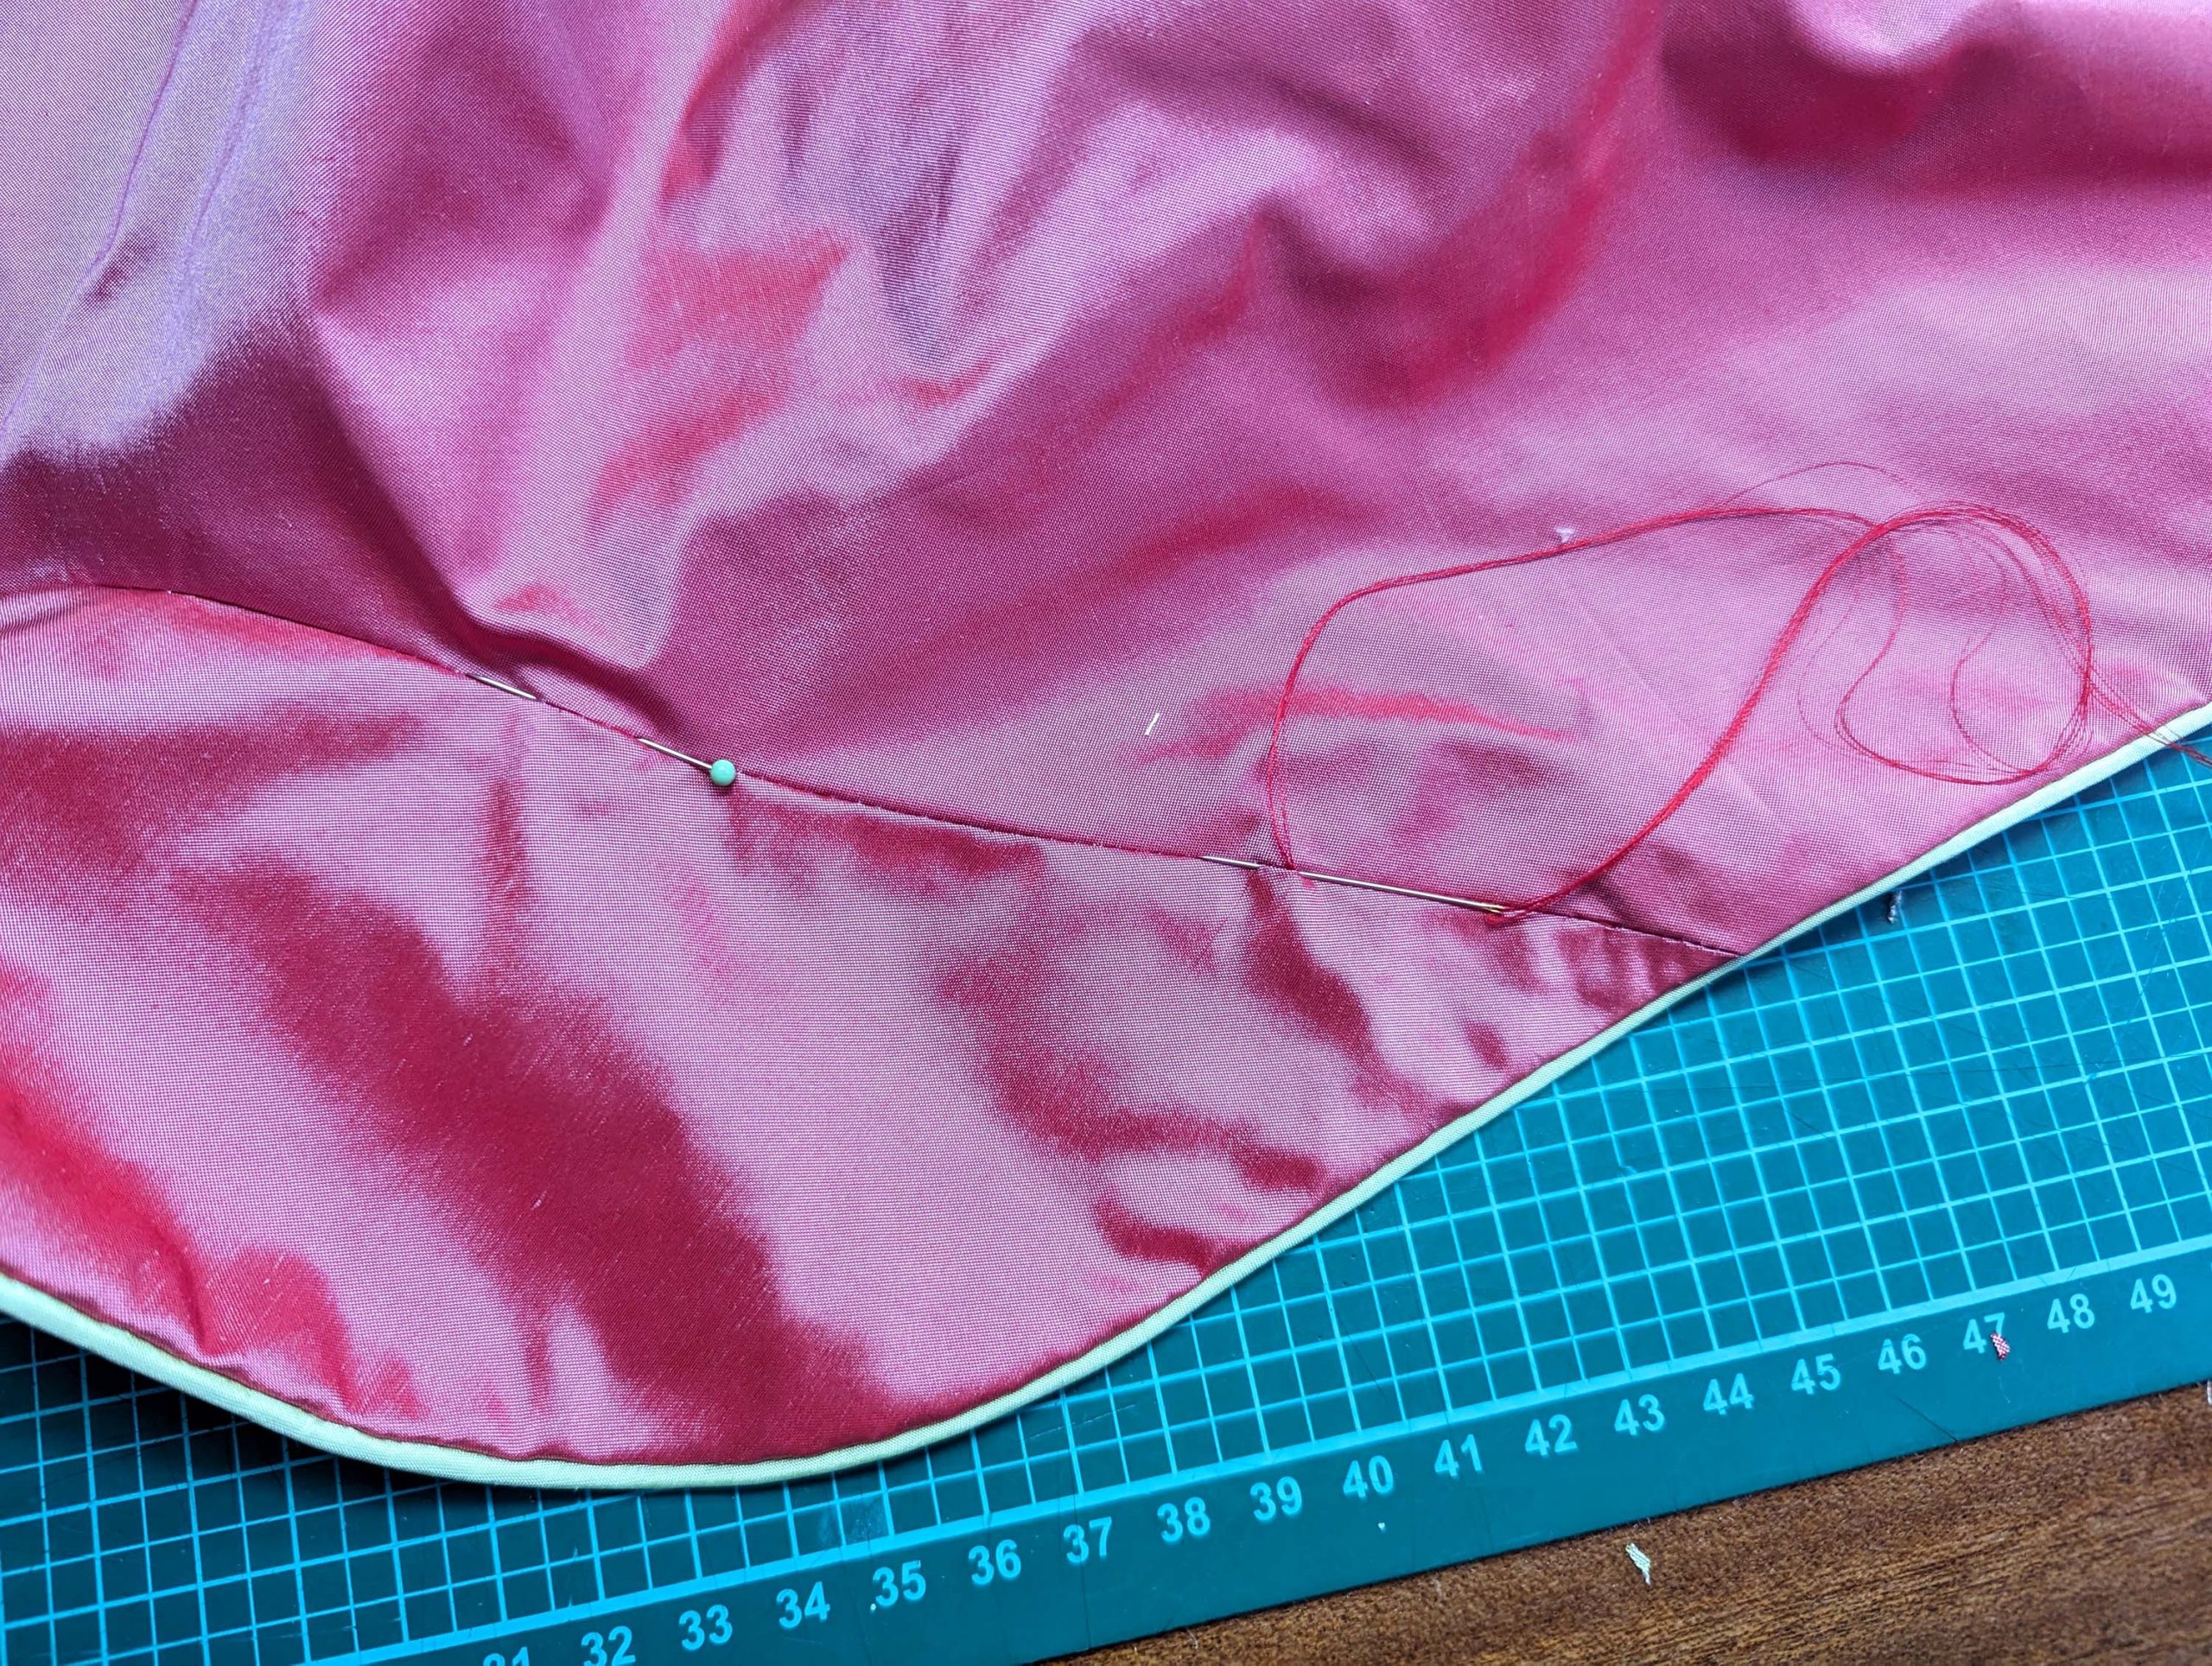
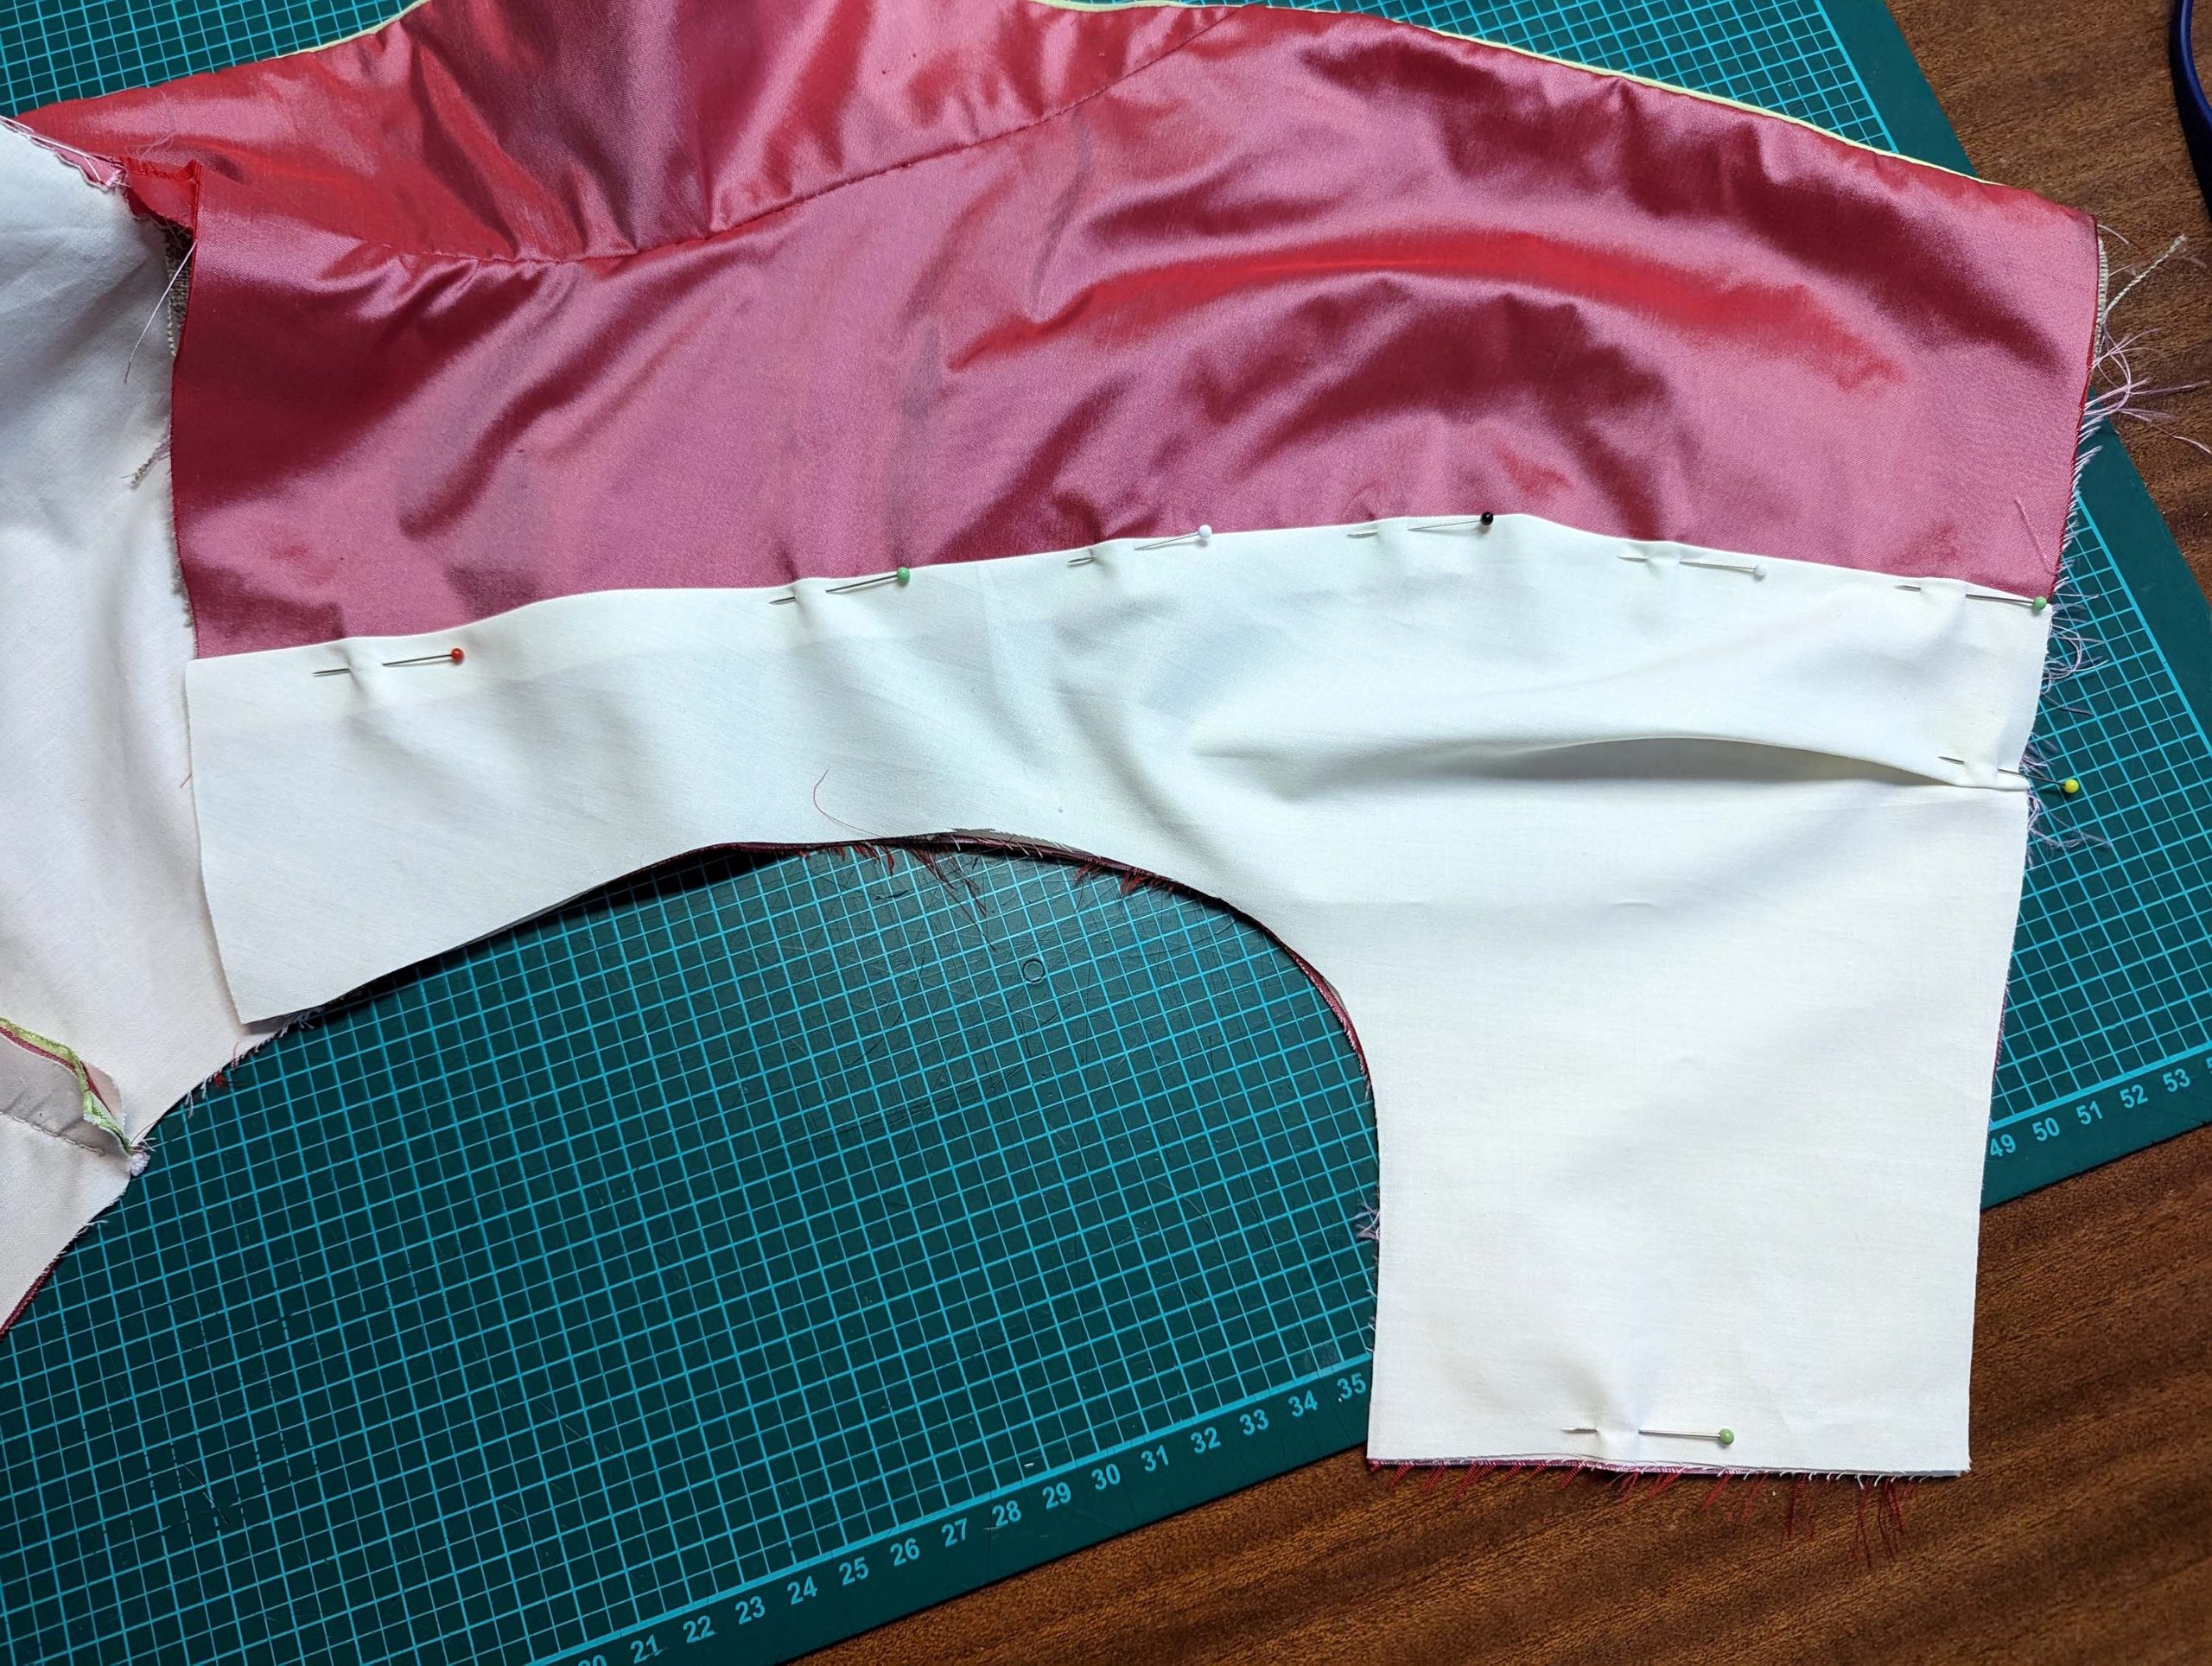
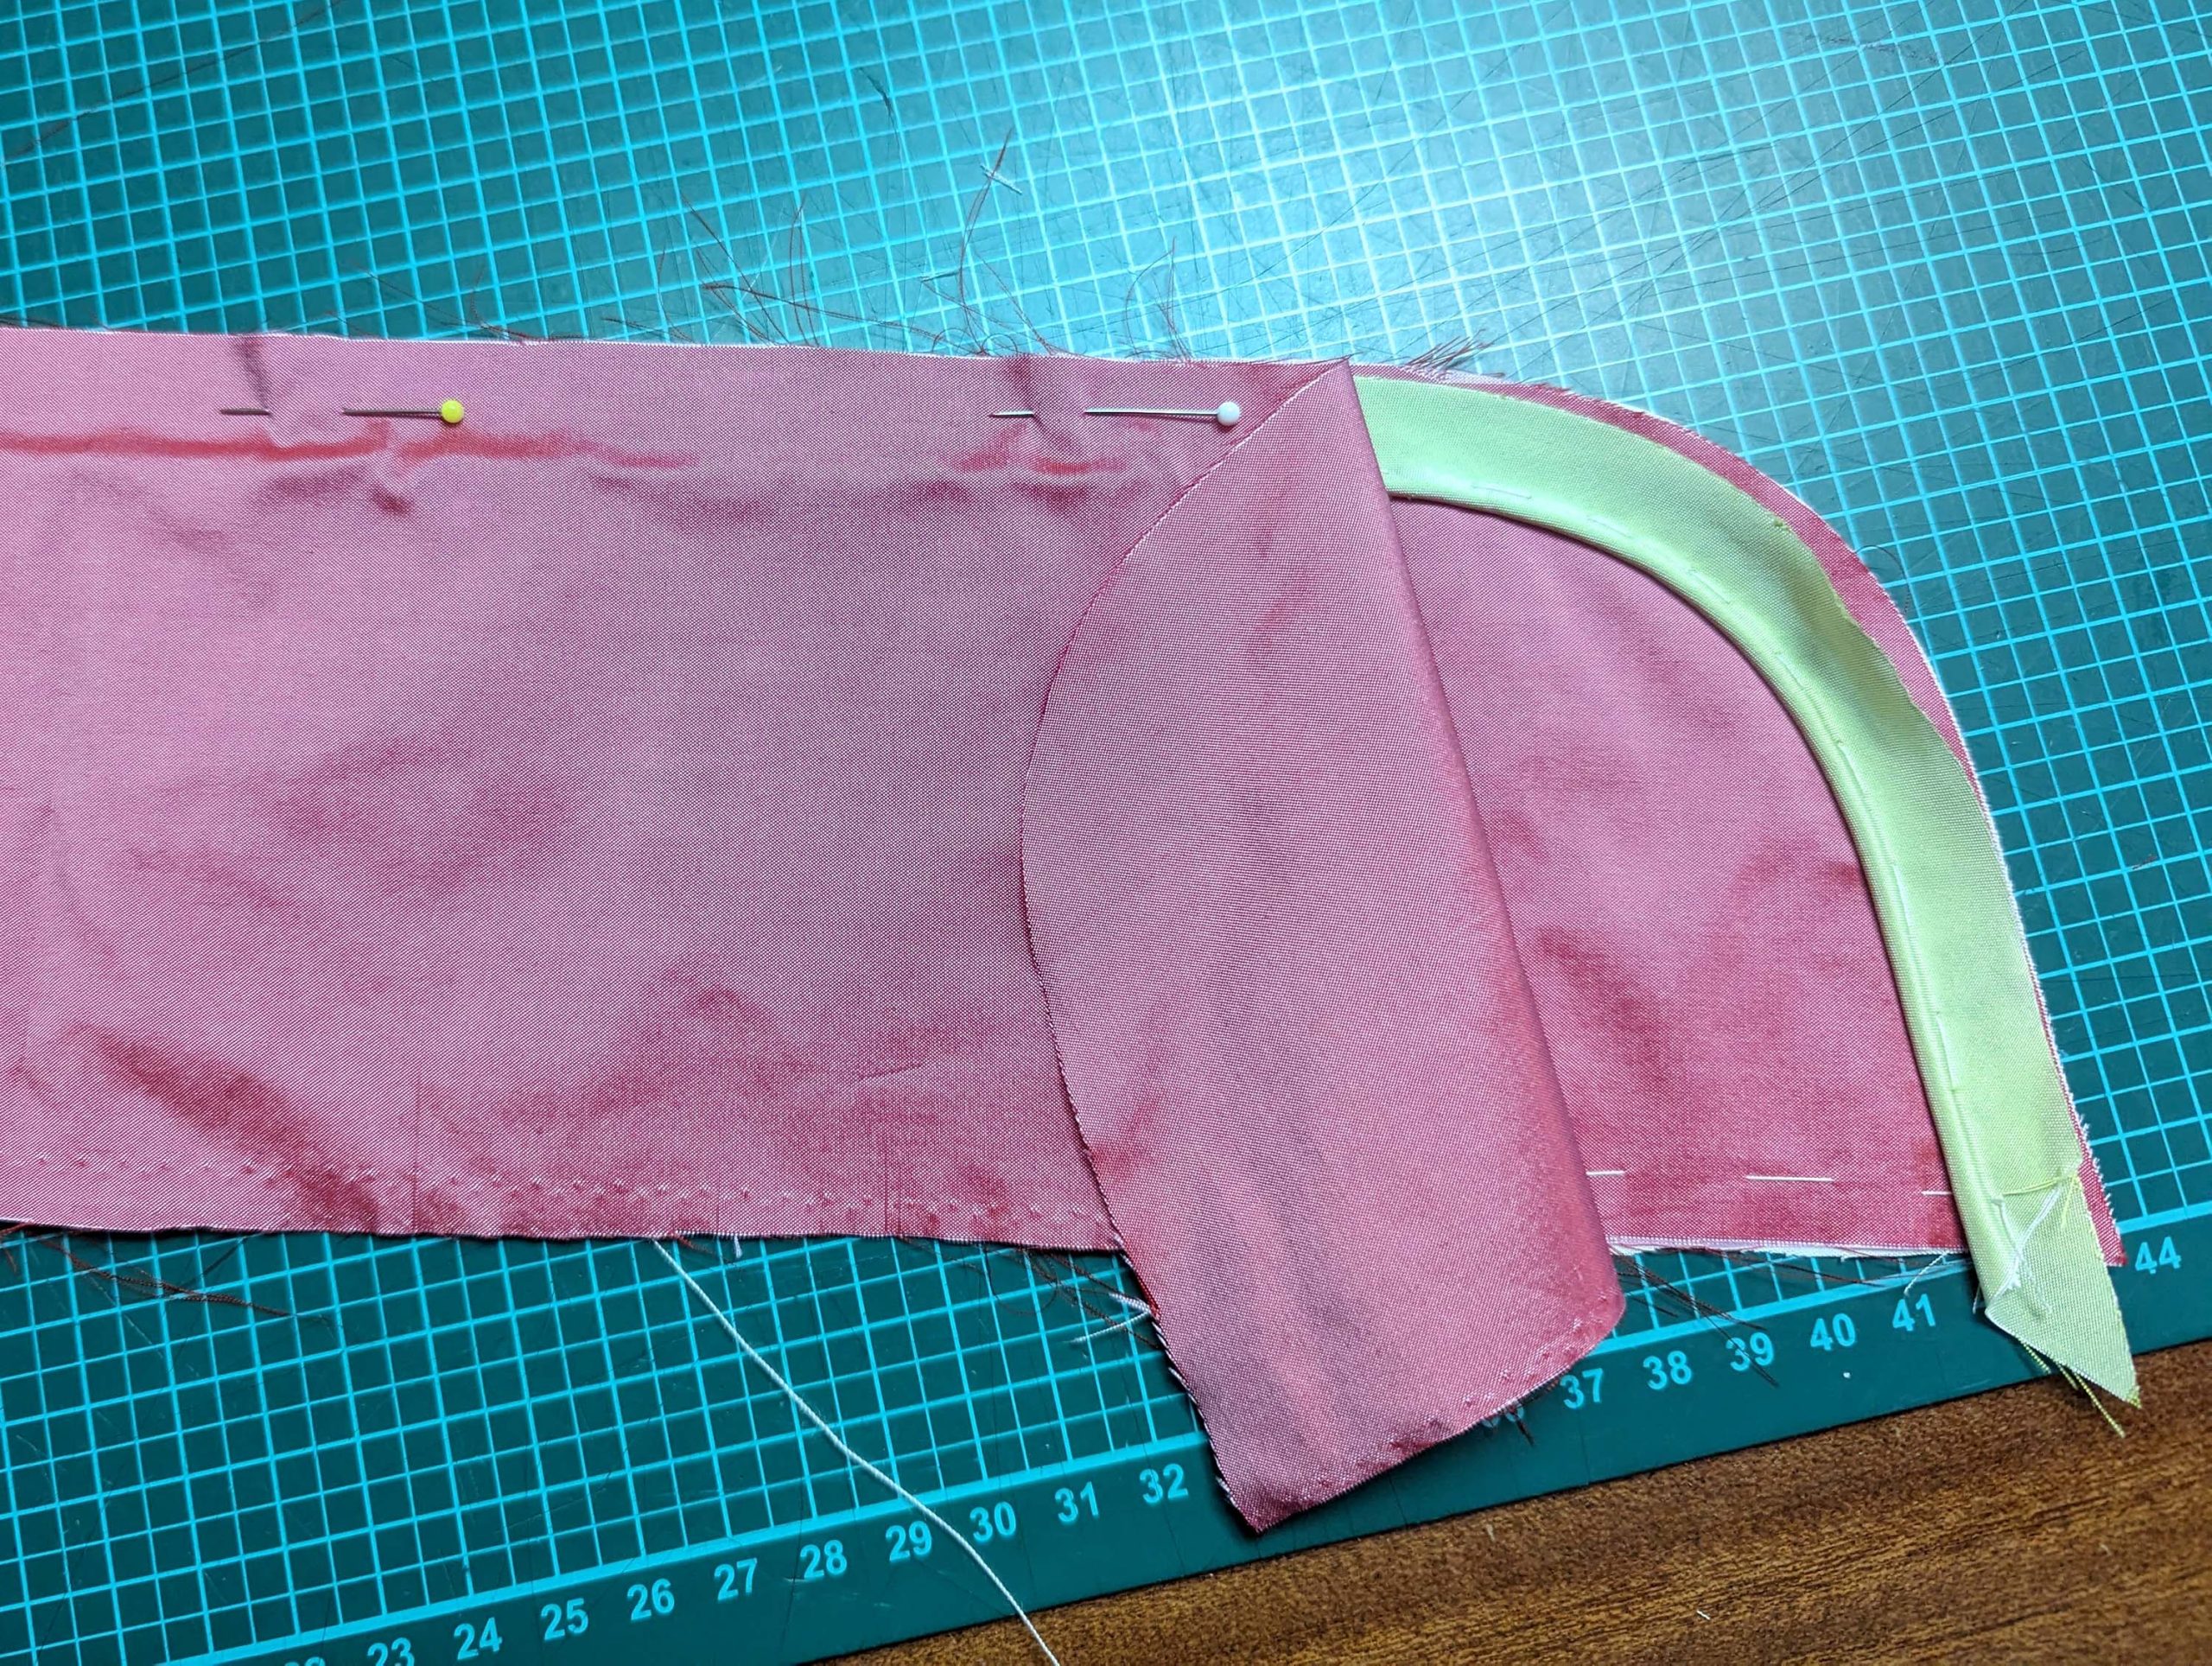
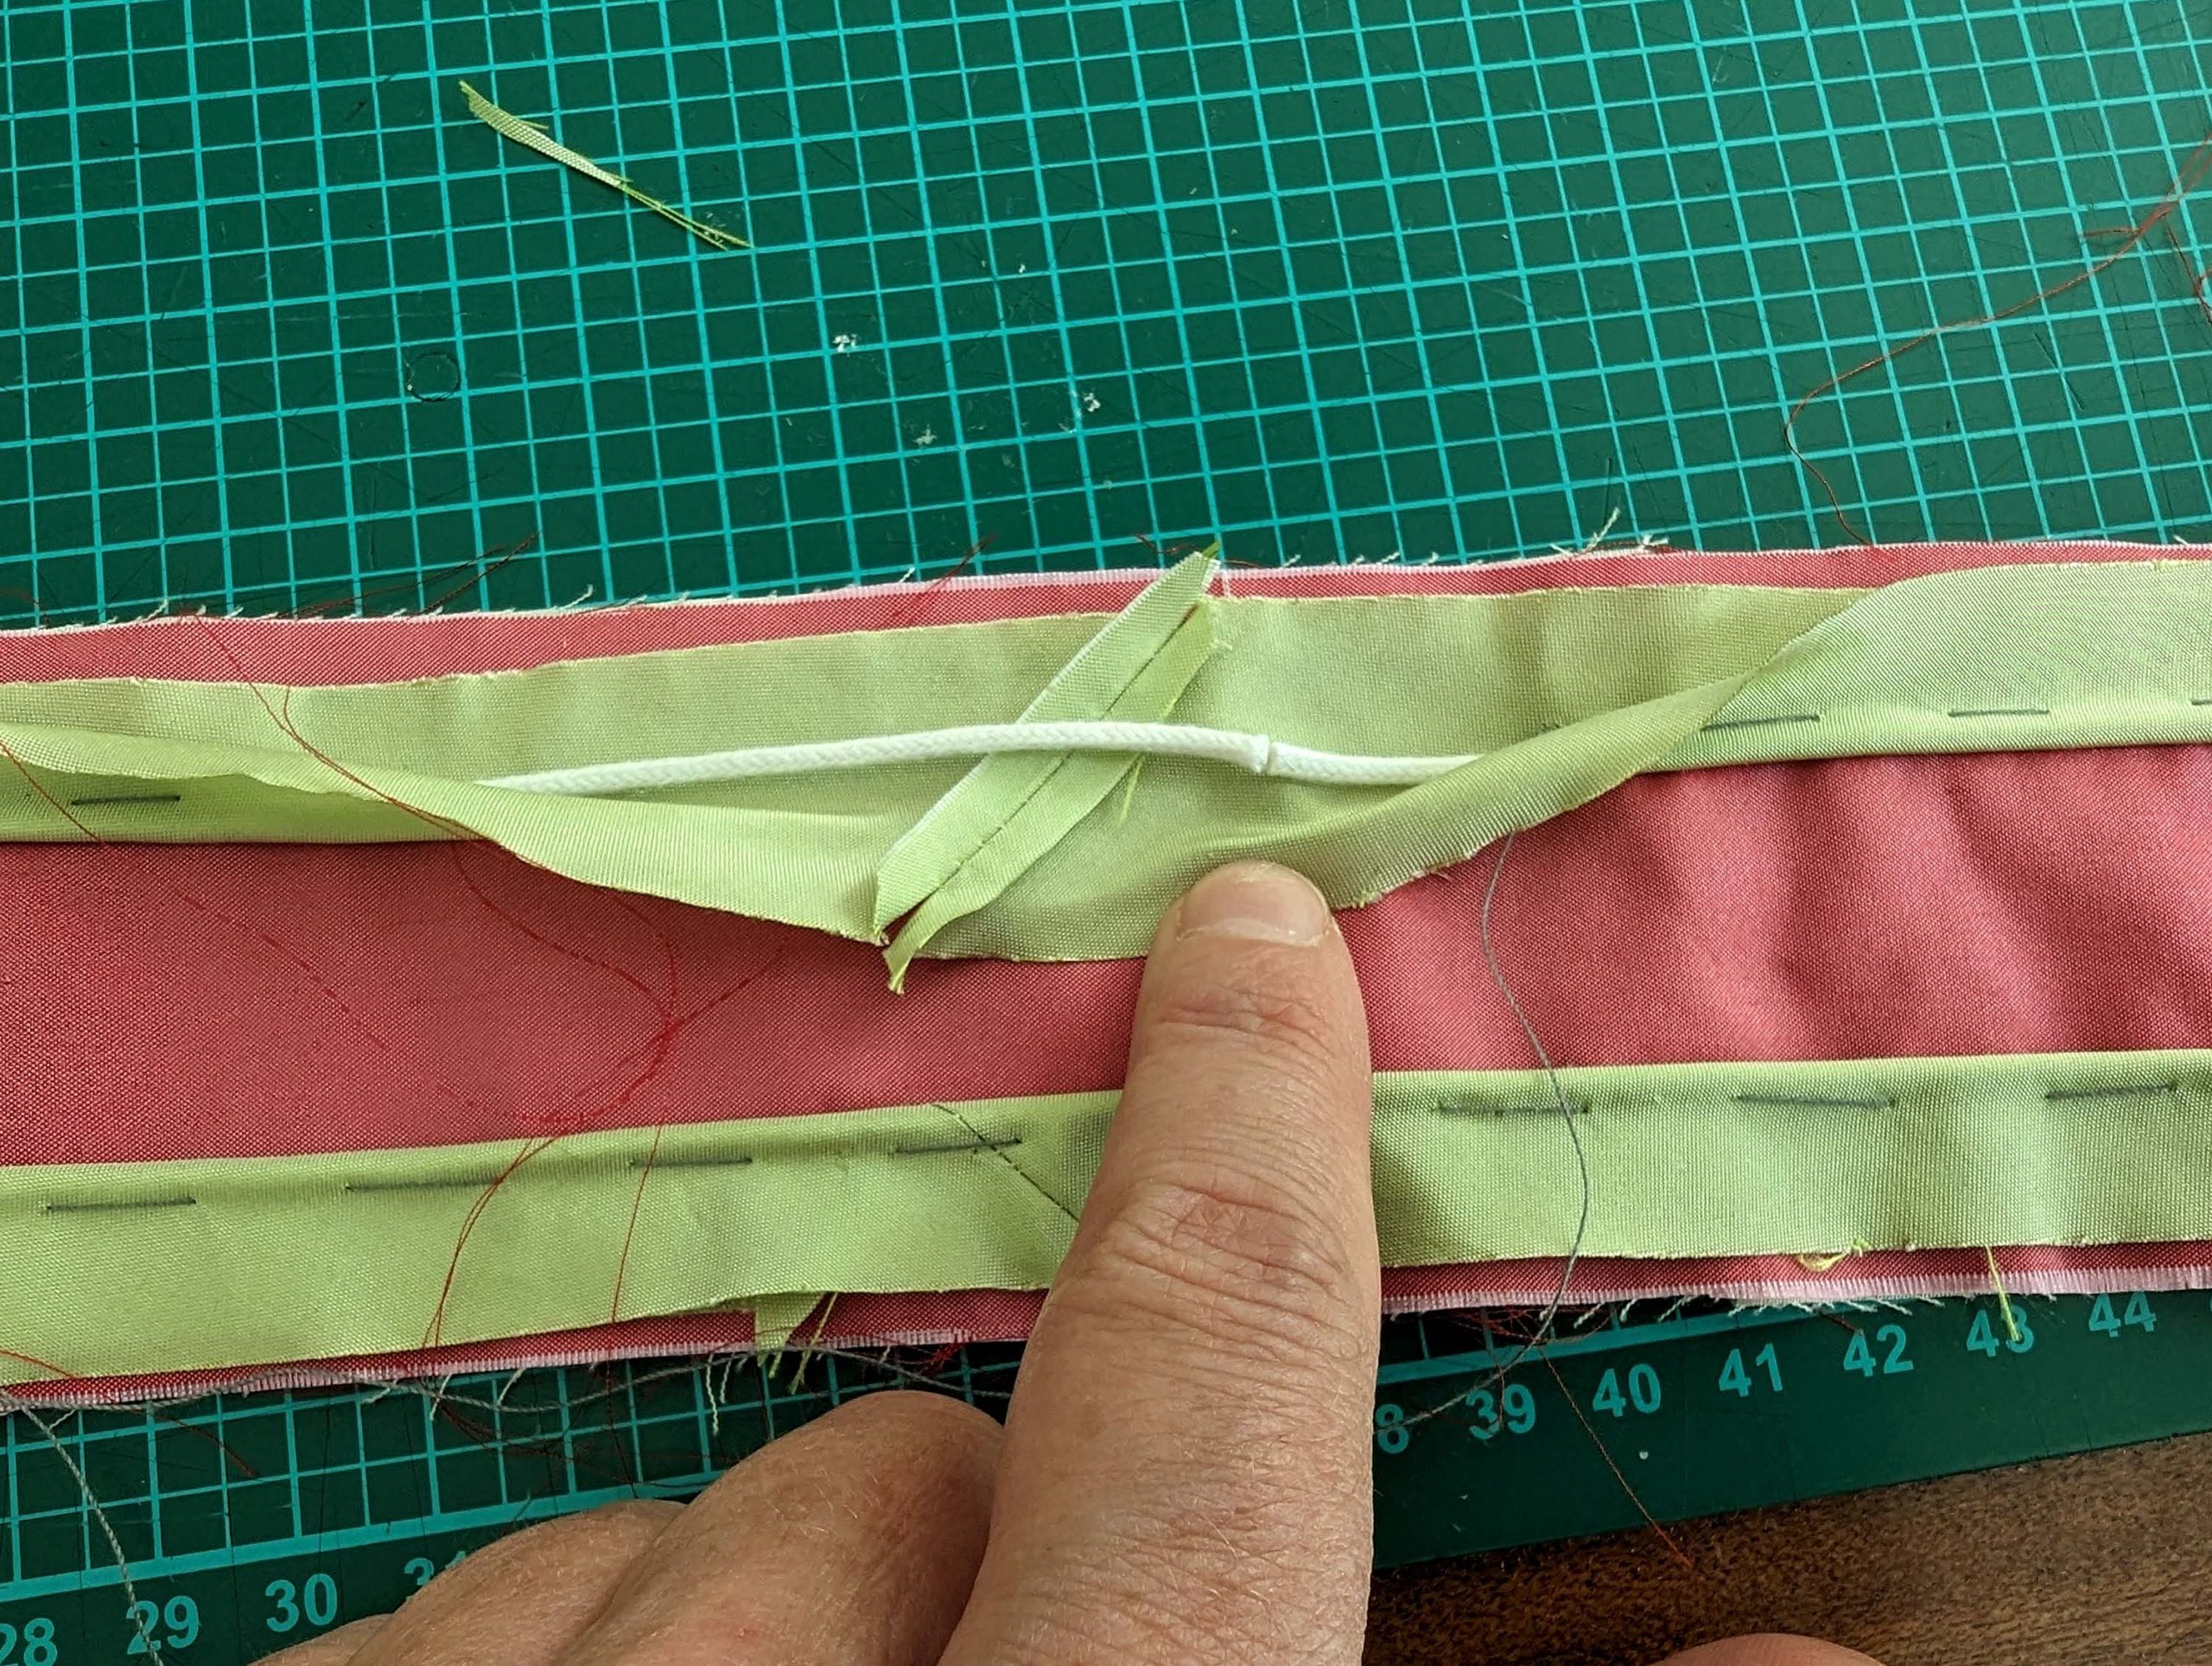
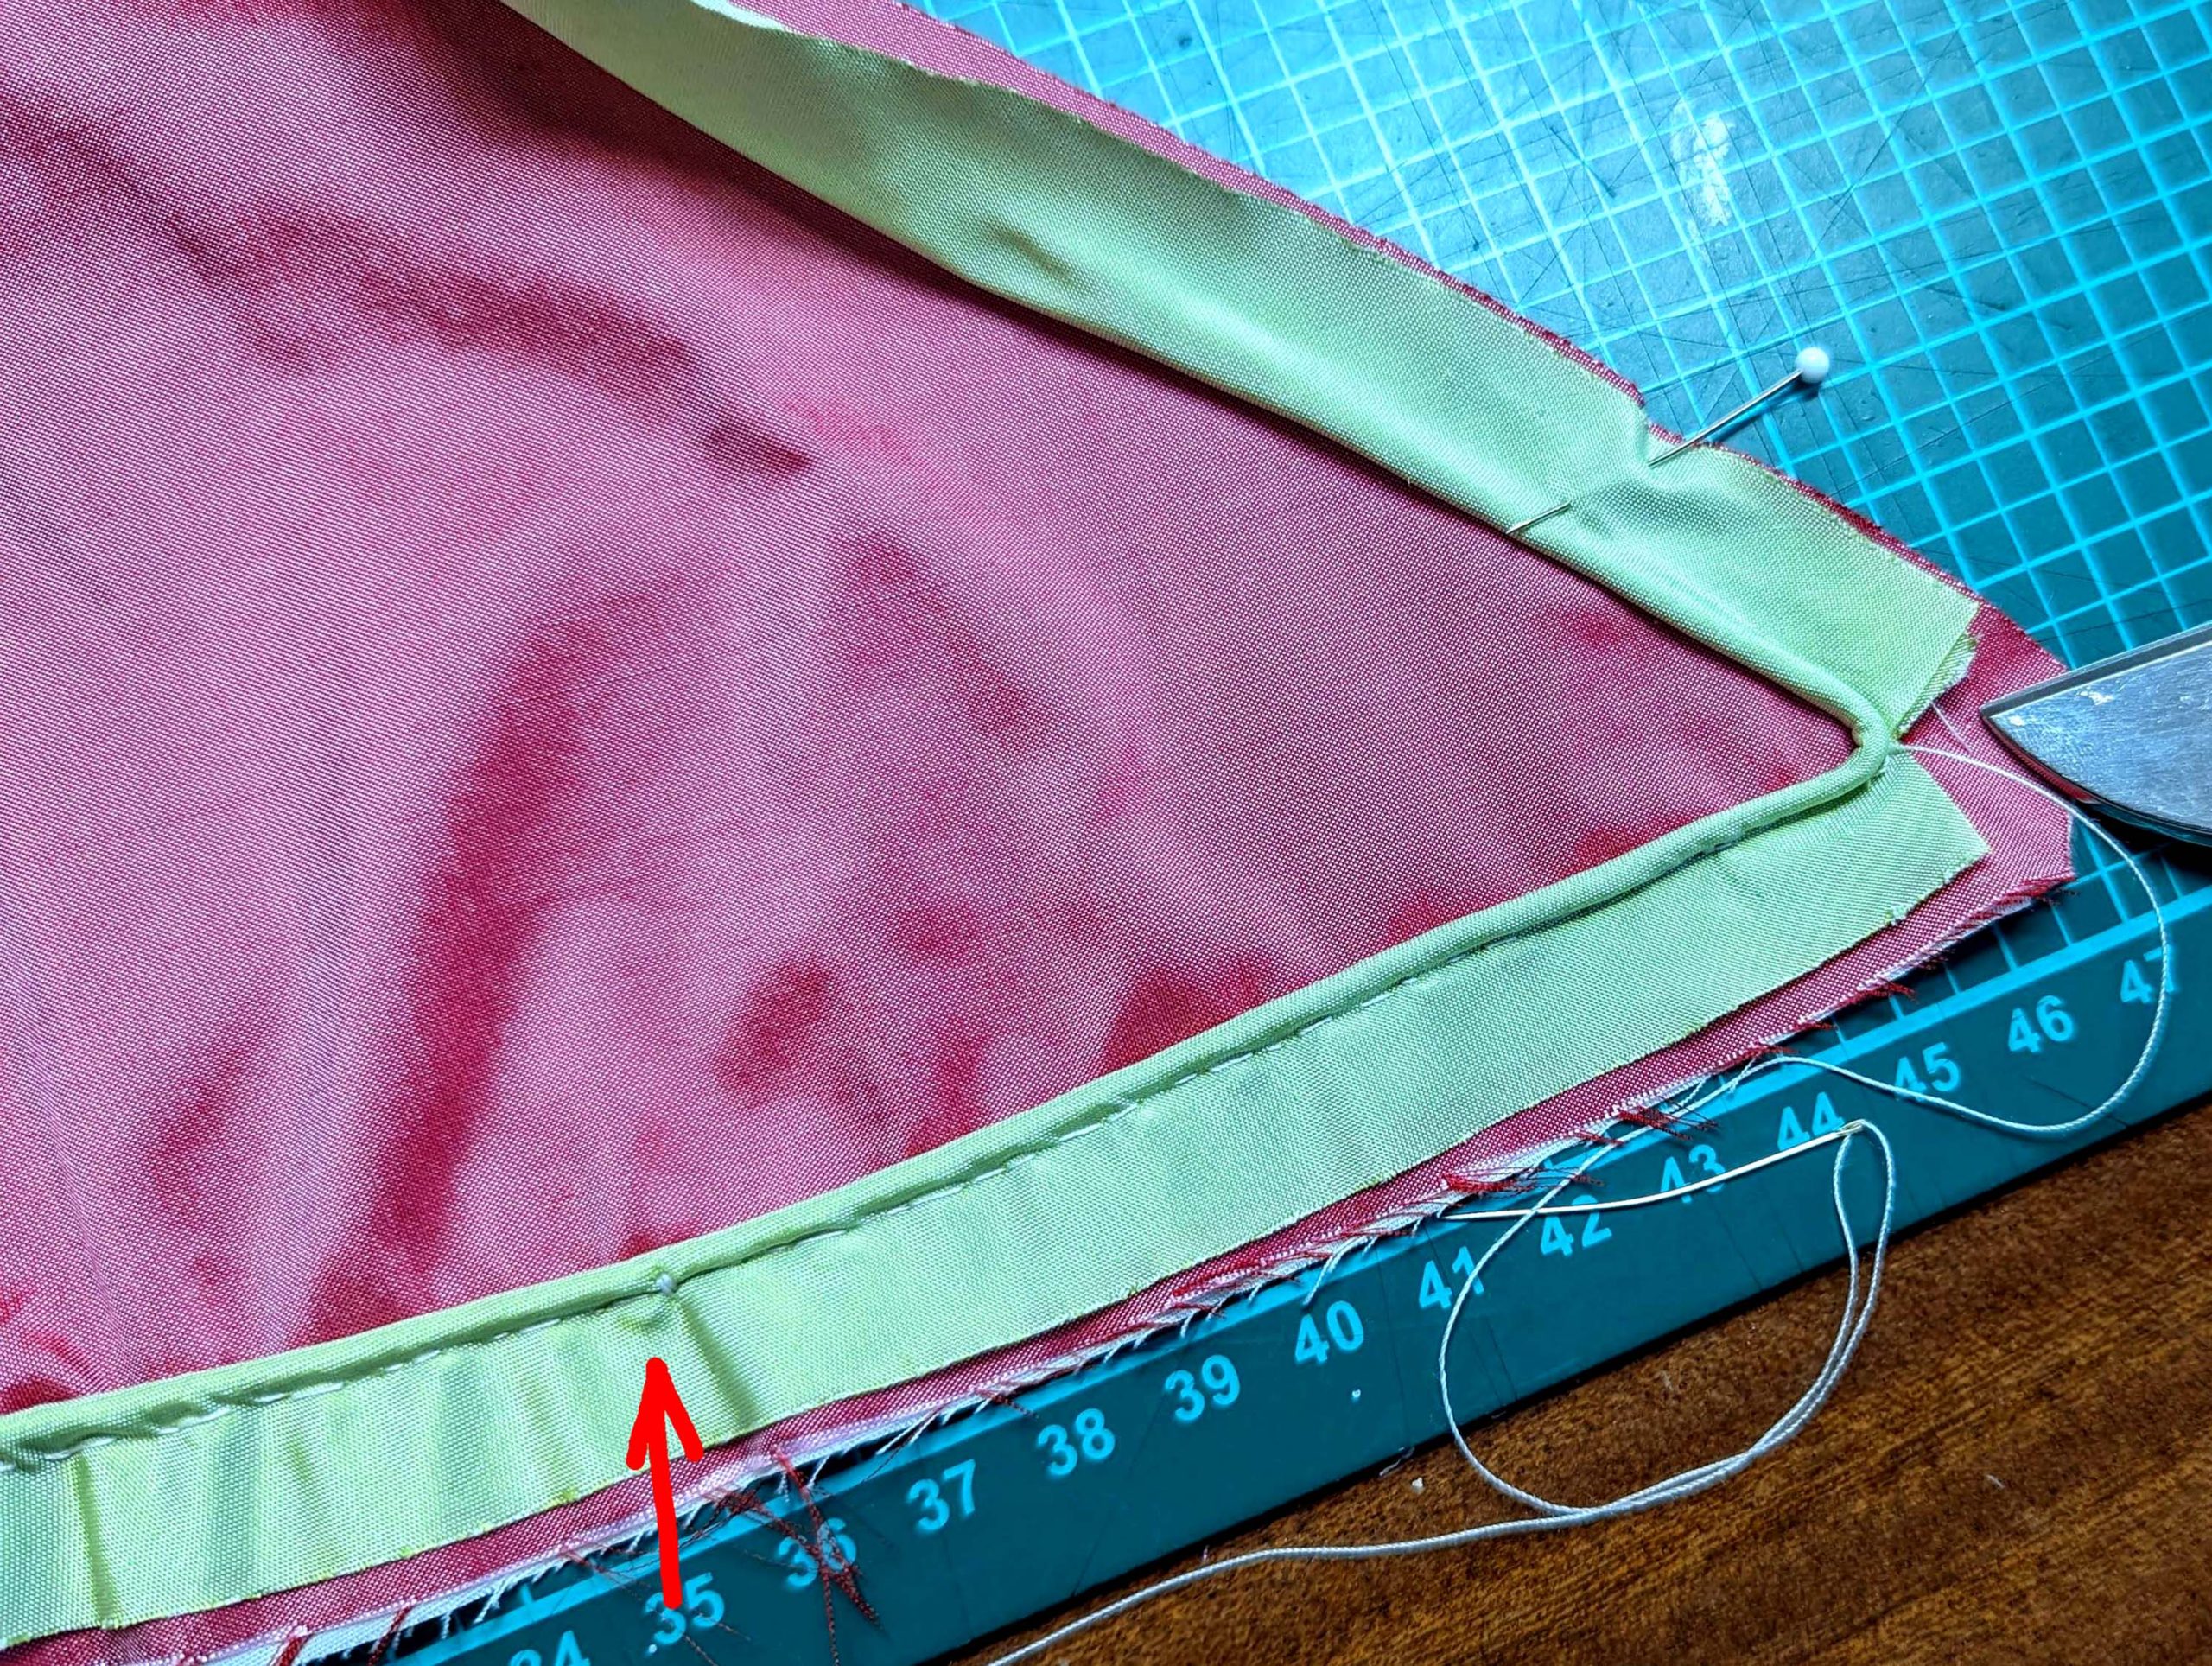
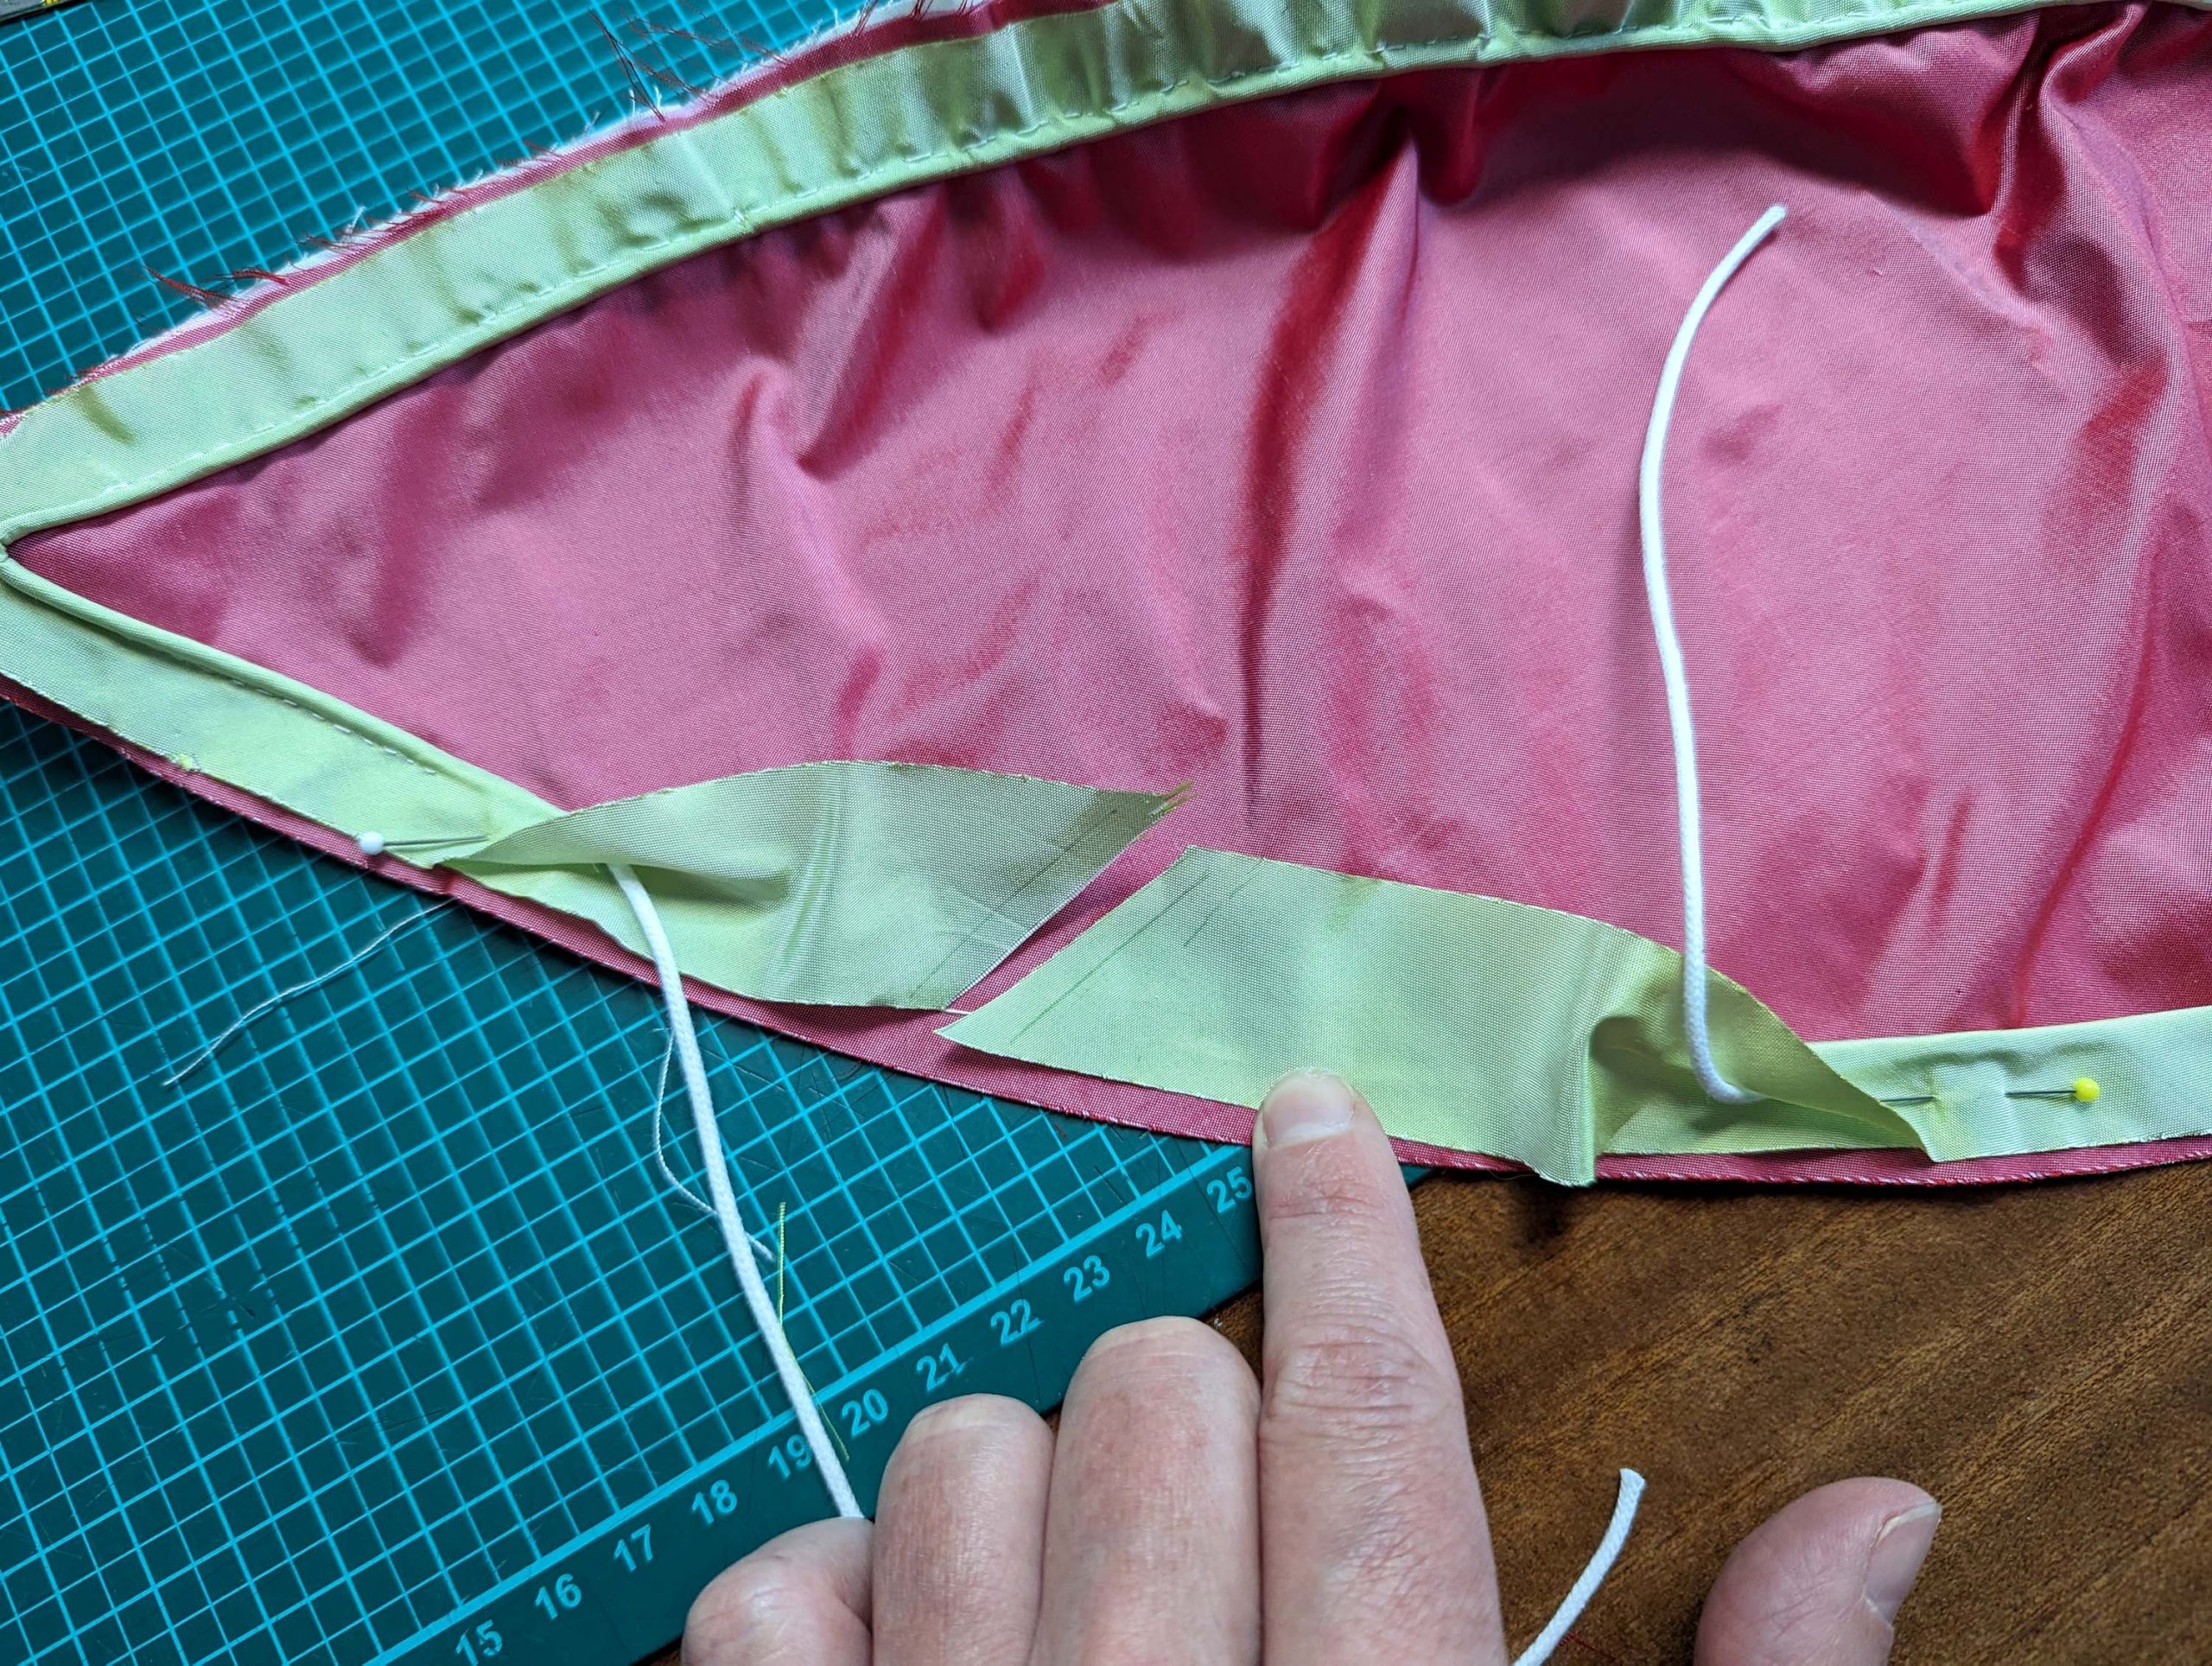
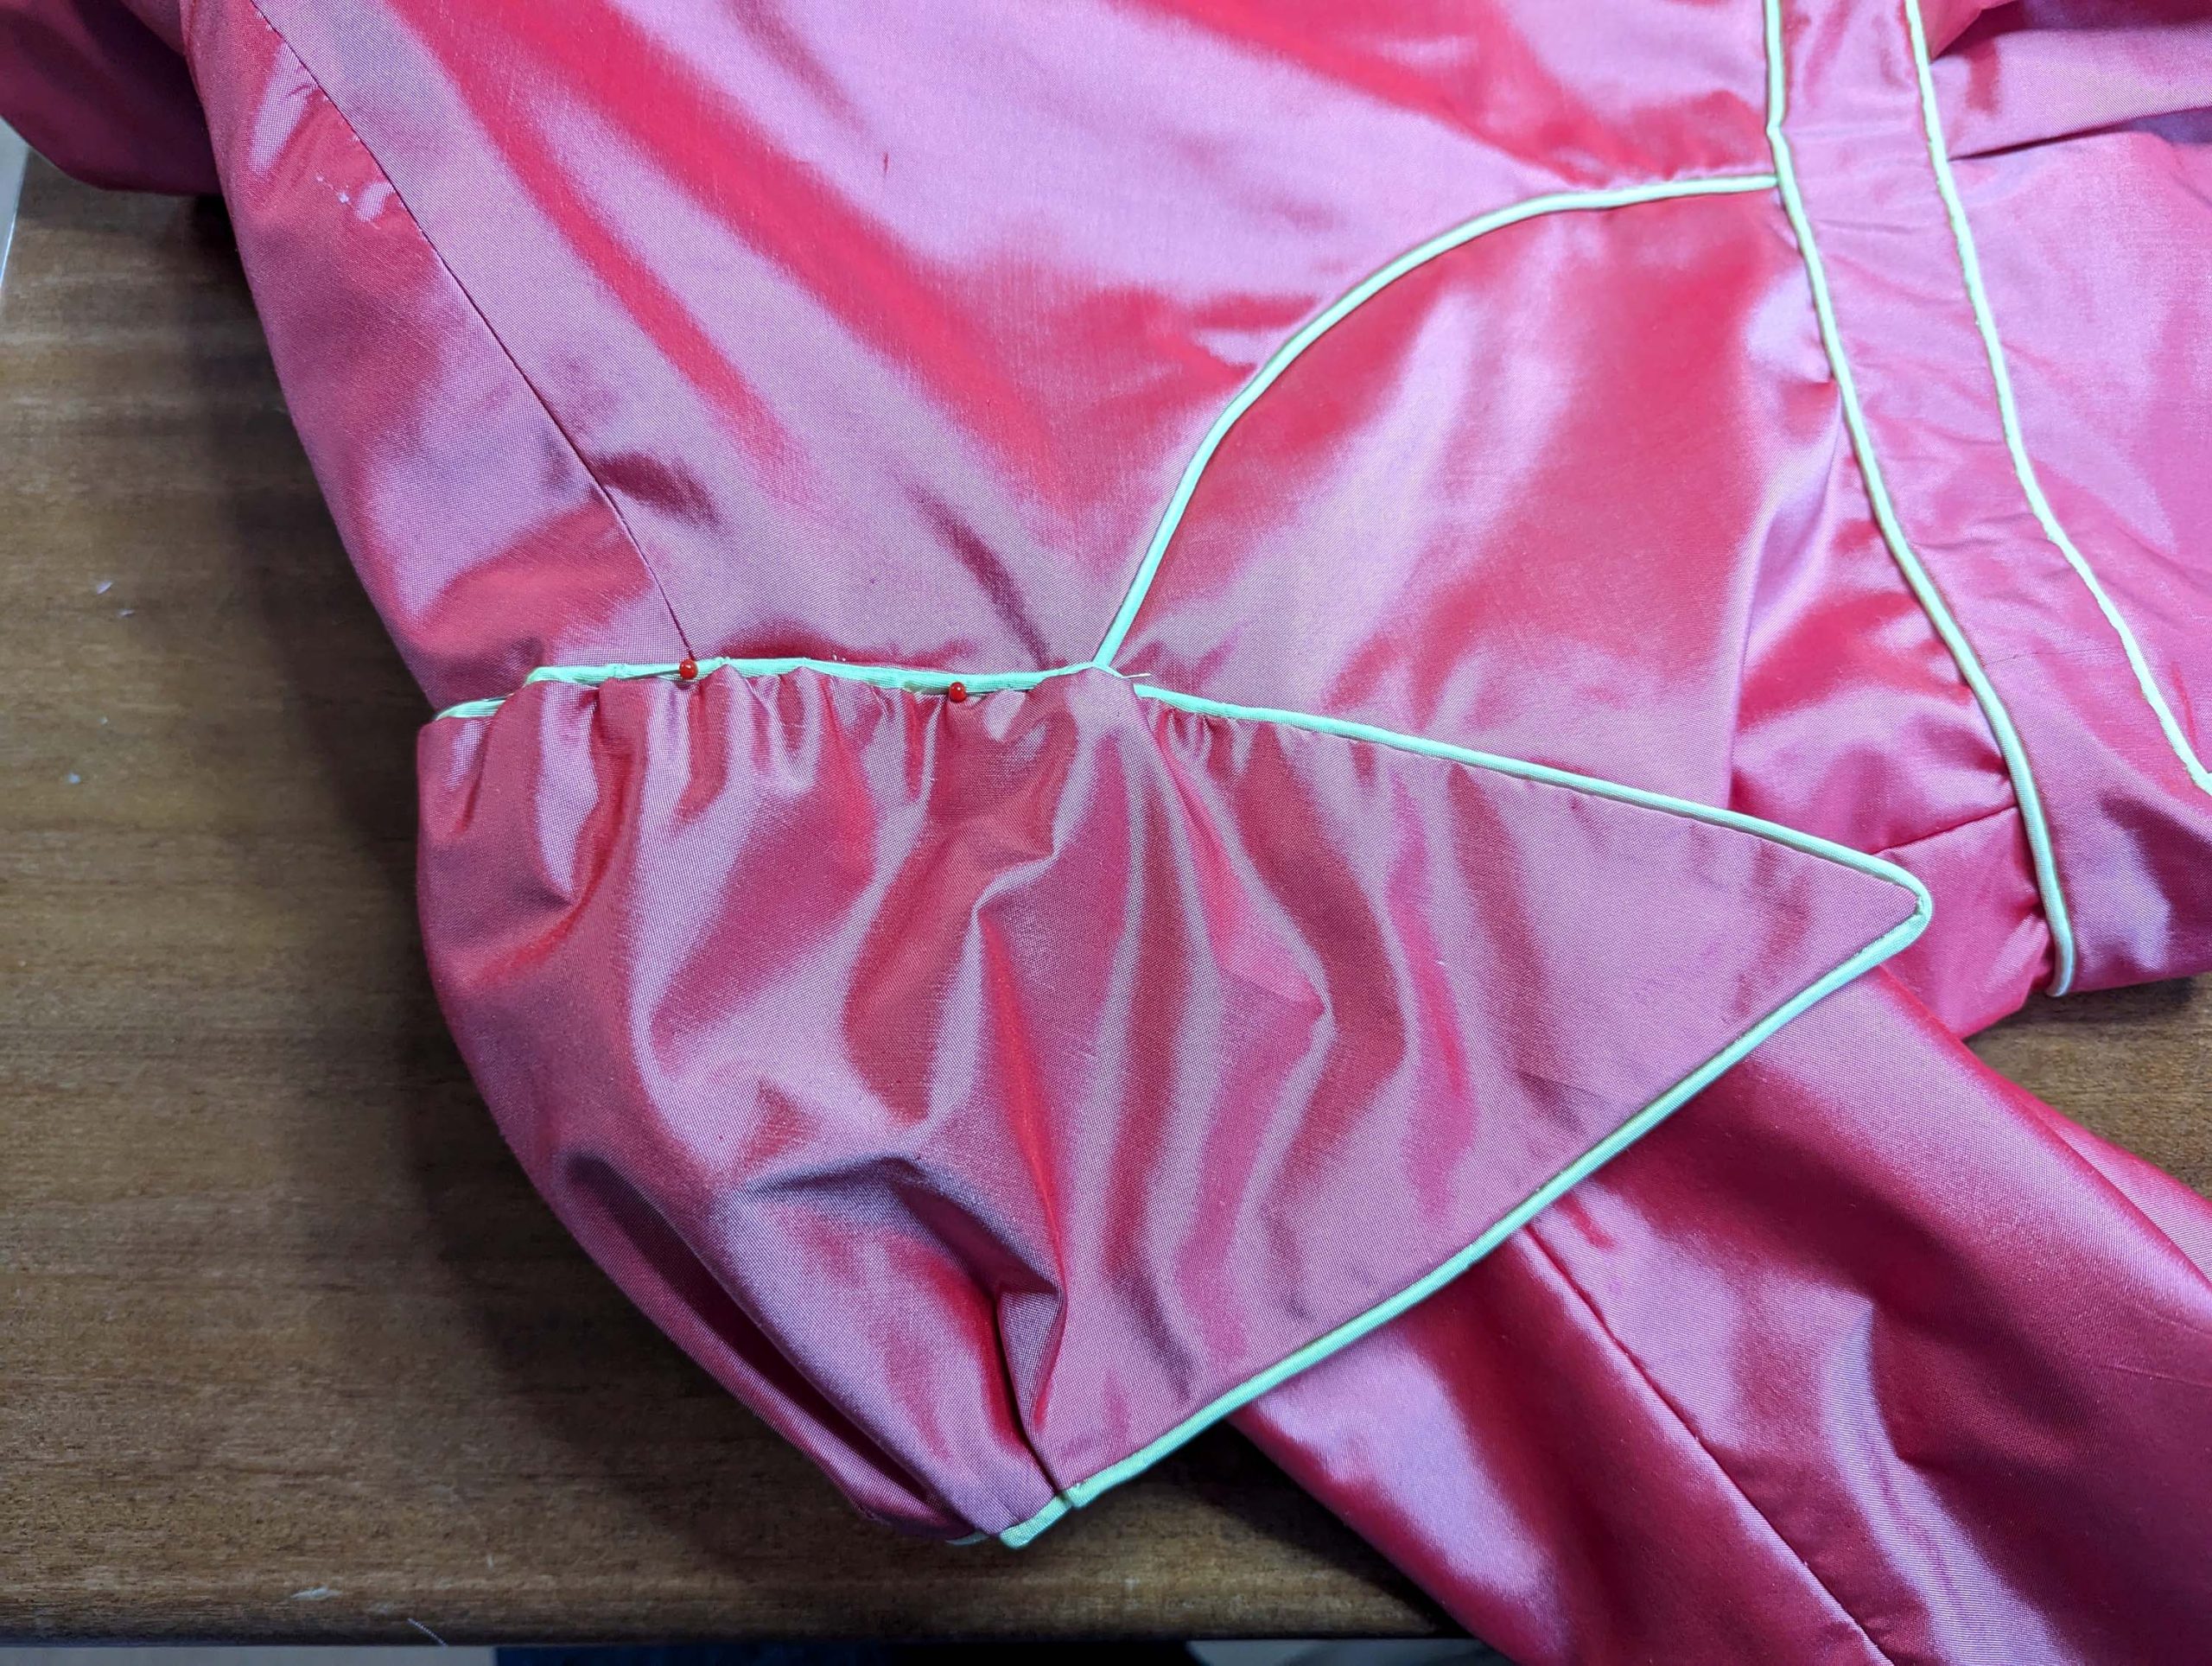
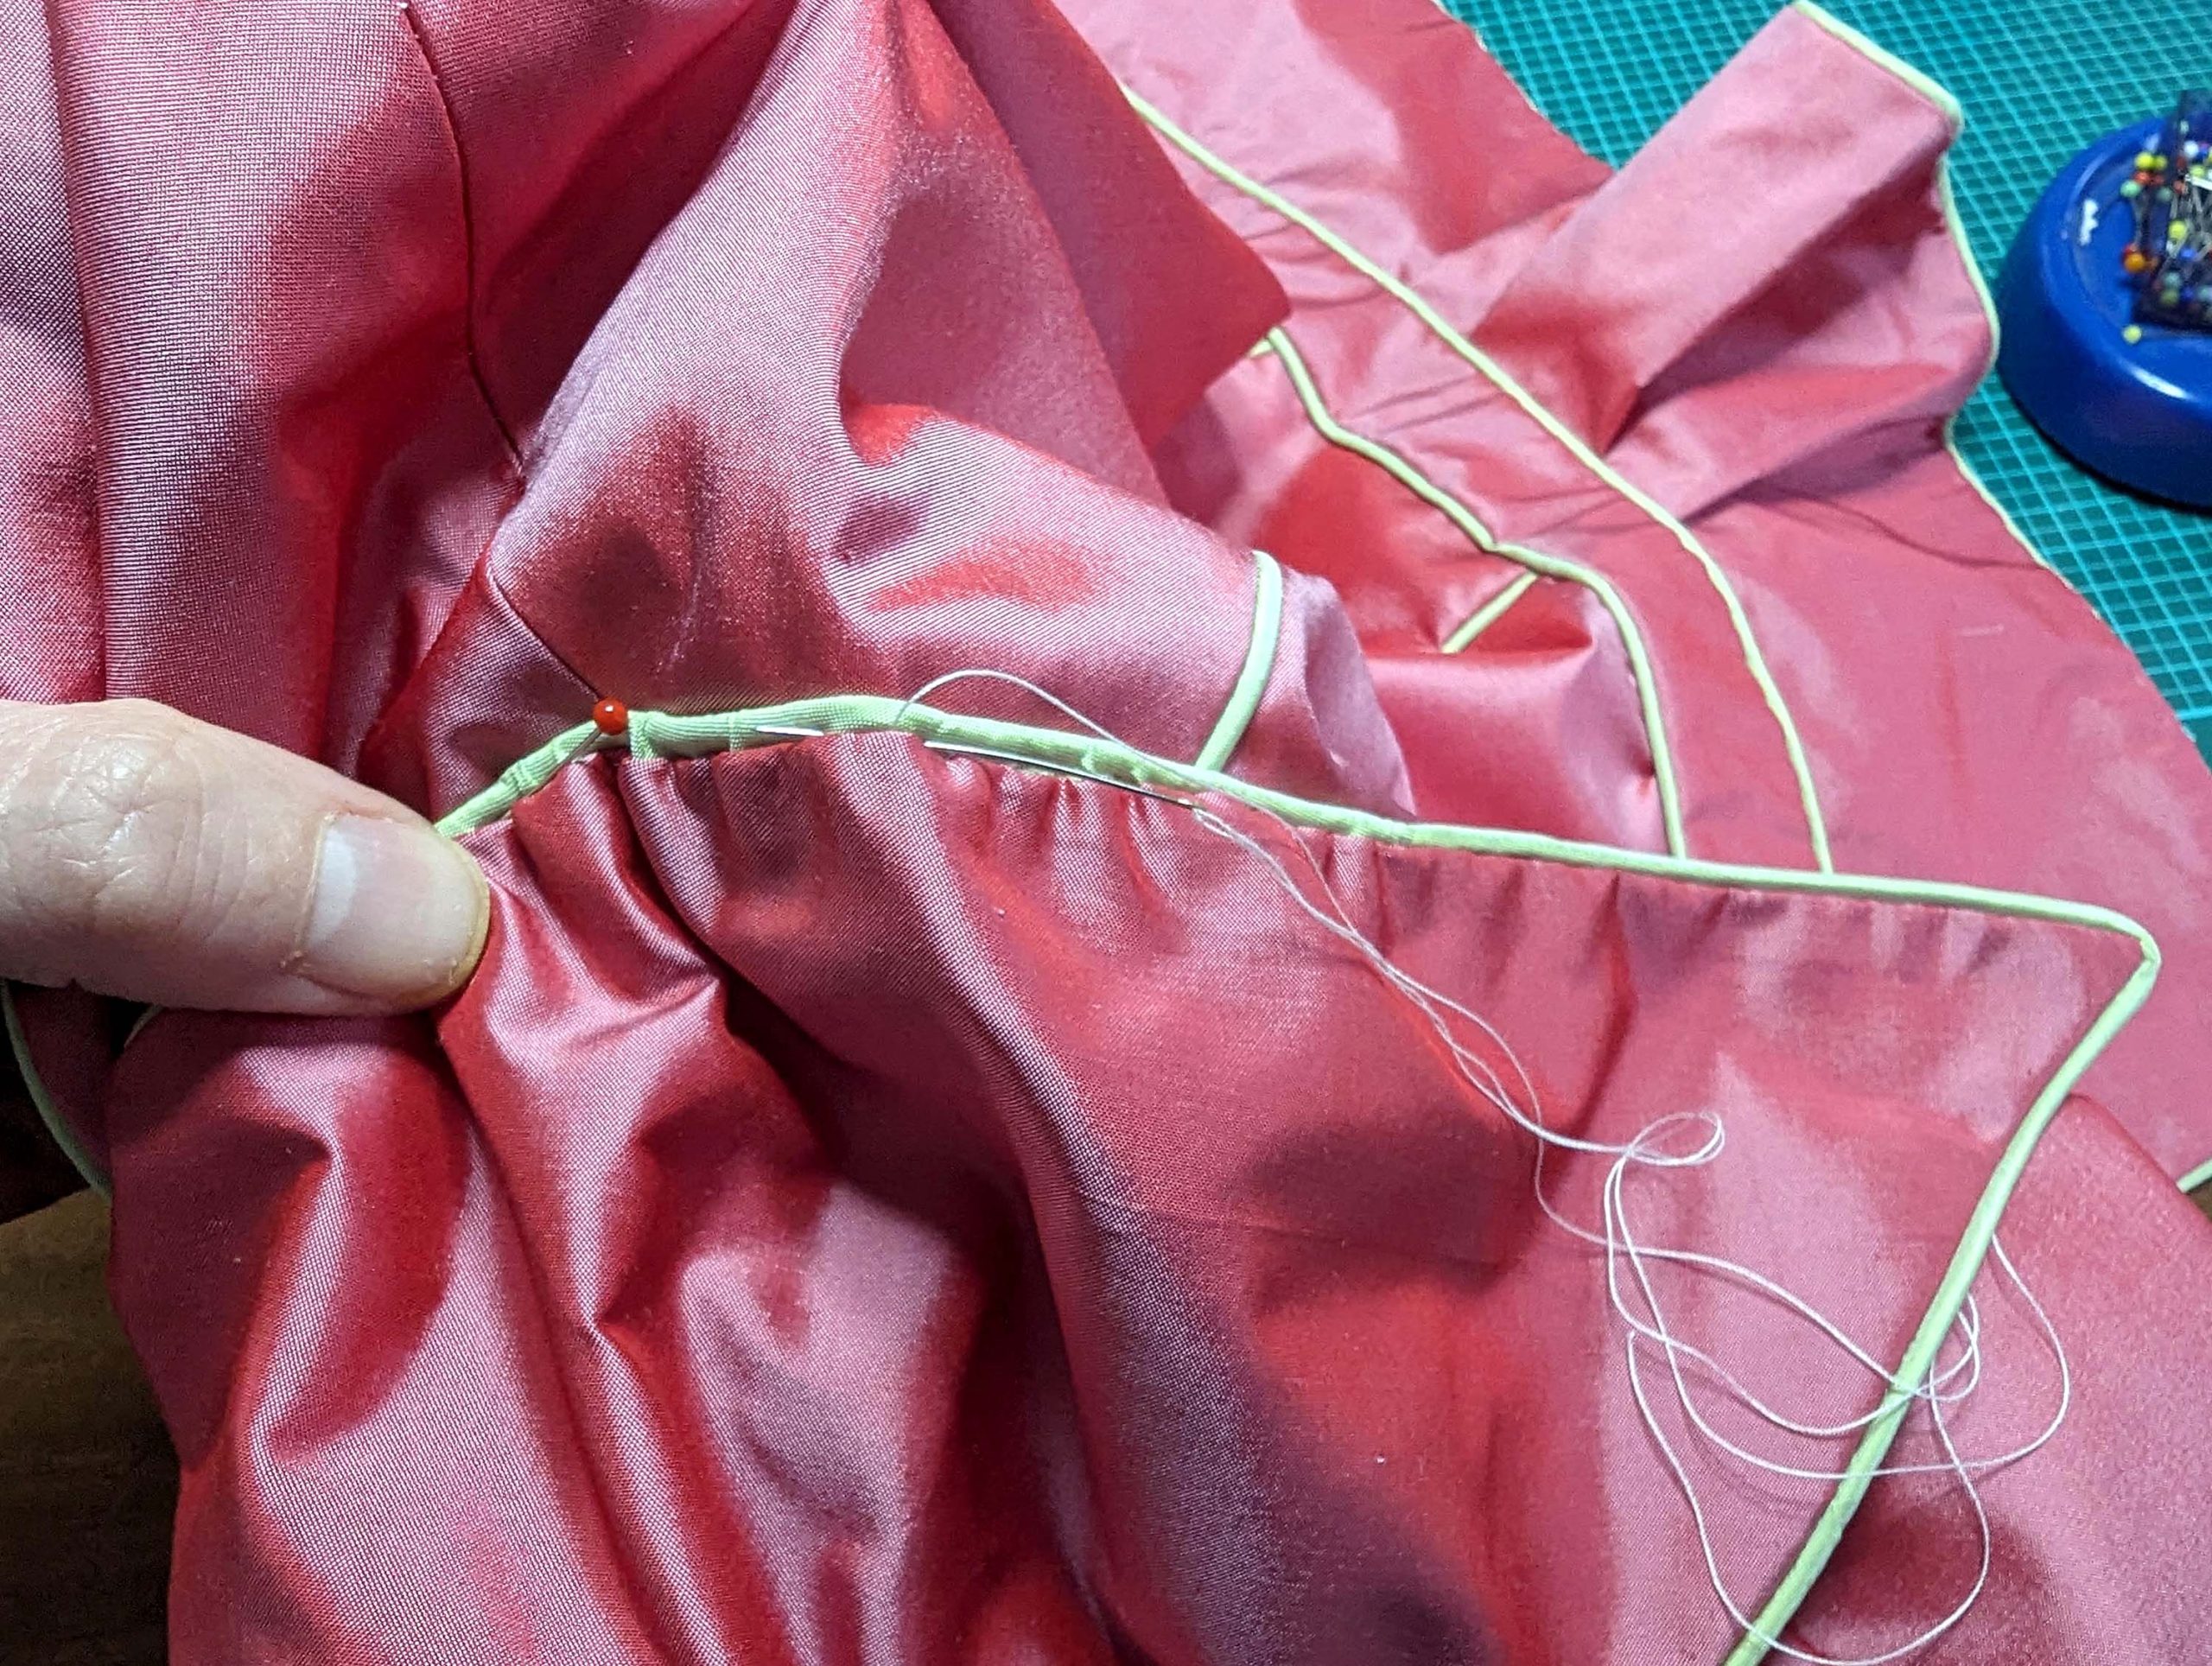
(11) Take the flatlined oversleeve and line up piping all around, planning the start/stop of the piping at the center of the bottom edge – OK, I missed that. Start sewing along the top edge, stitching from corner to corner, without catching the piping thread. At point (5) bar-tack the piping cord, taking care there are no visible stitches on the right side. Pull the piping cord, gathering the oversleeve to fit between marks (5) and (6) of the bodice (use the guide to get the right length, not the sleeve head as this will be gathered as well). Bar tack the piping cord at point (6).

Clip the piping at the corners and continue sewing along the bottom edge, until reaching the center, trim back the bias tape and piping to the length needed, and turn in a narrow seam allowance. Reduce the stitch length at the corners, considering a double row of stitching for a better result.
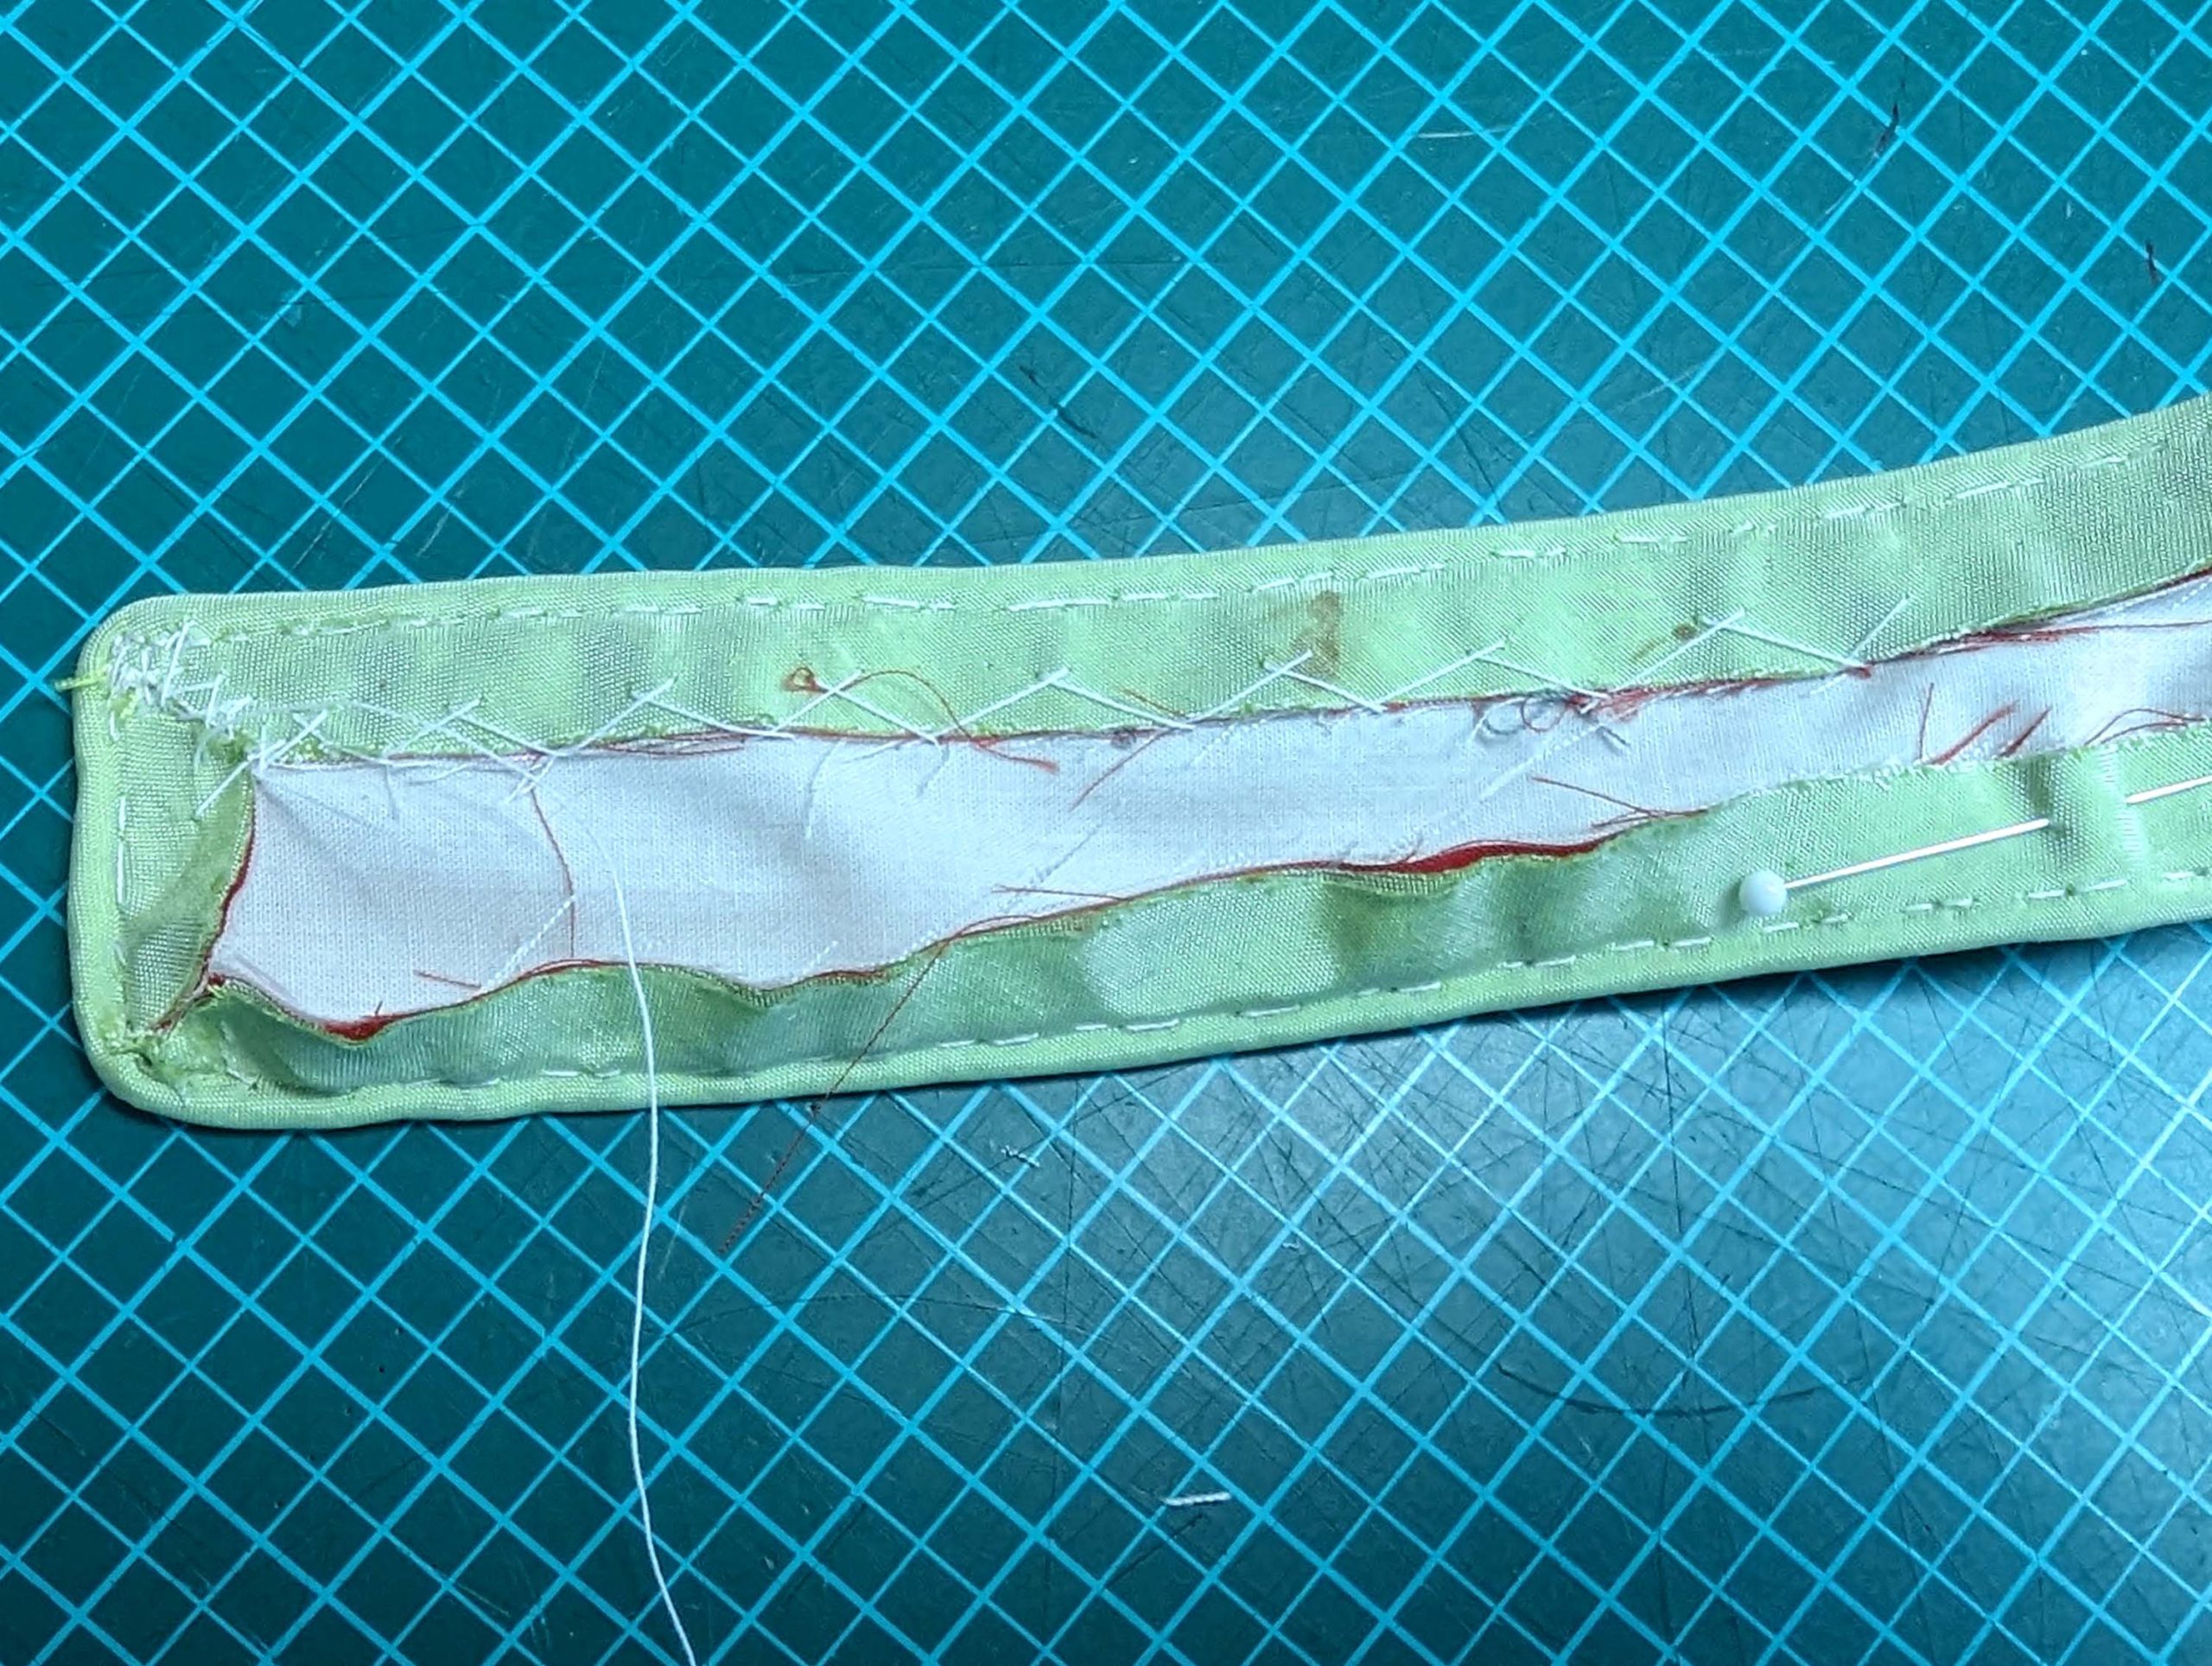
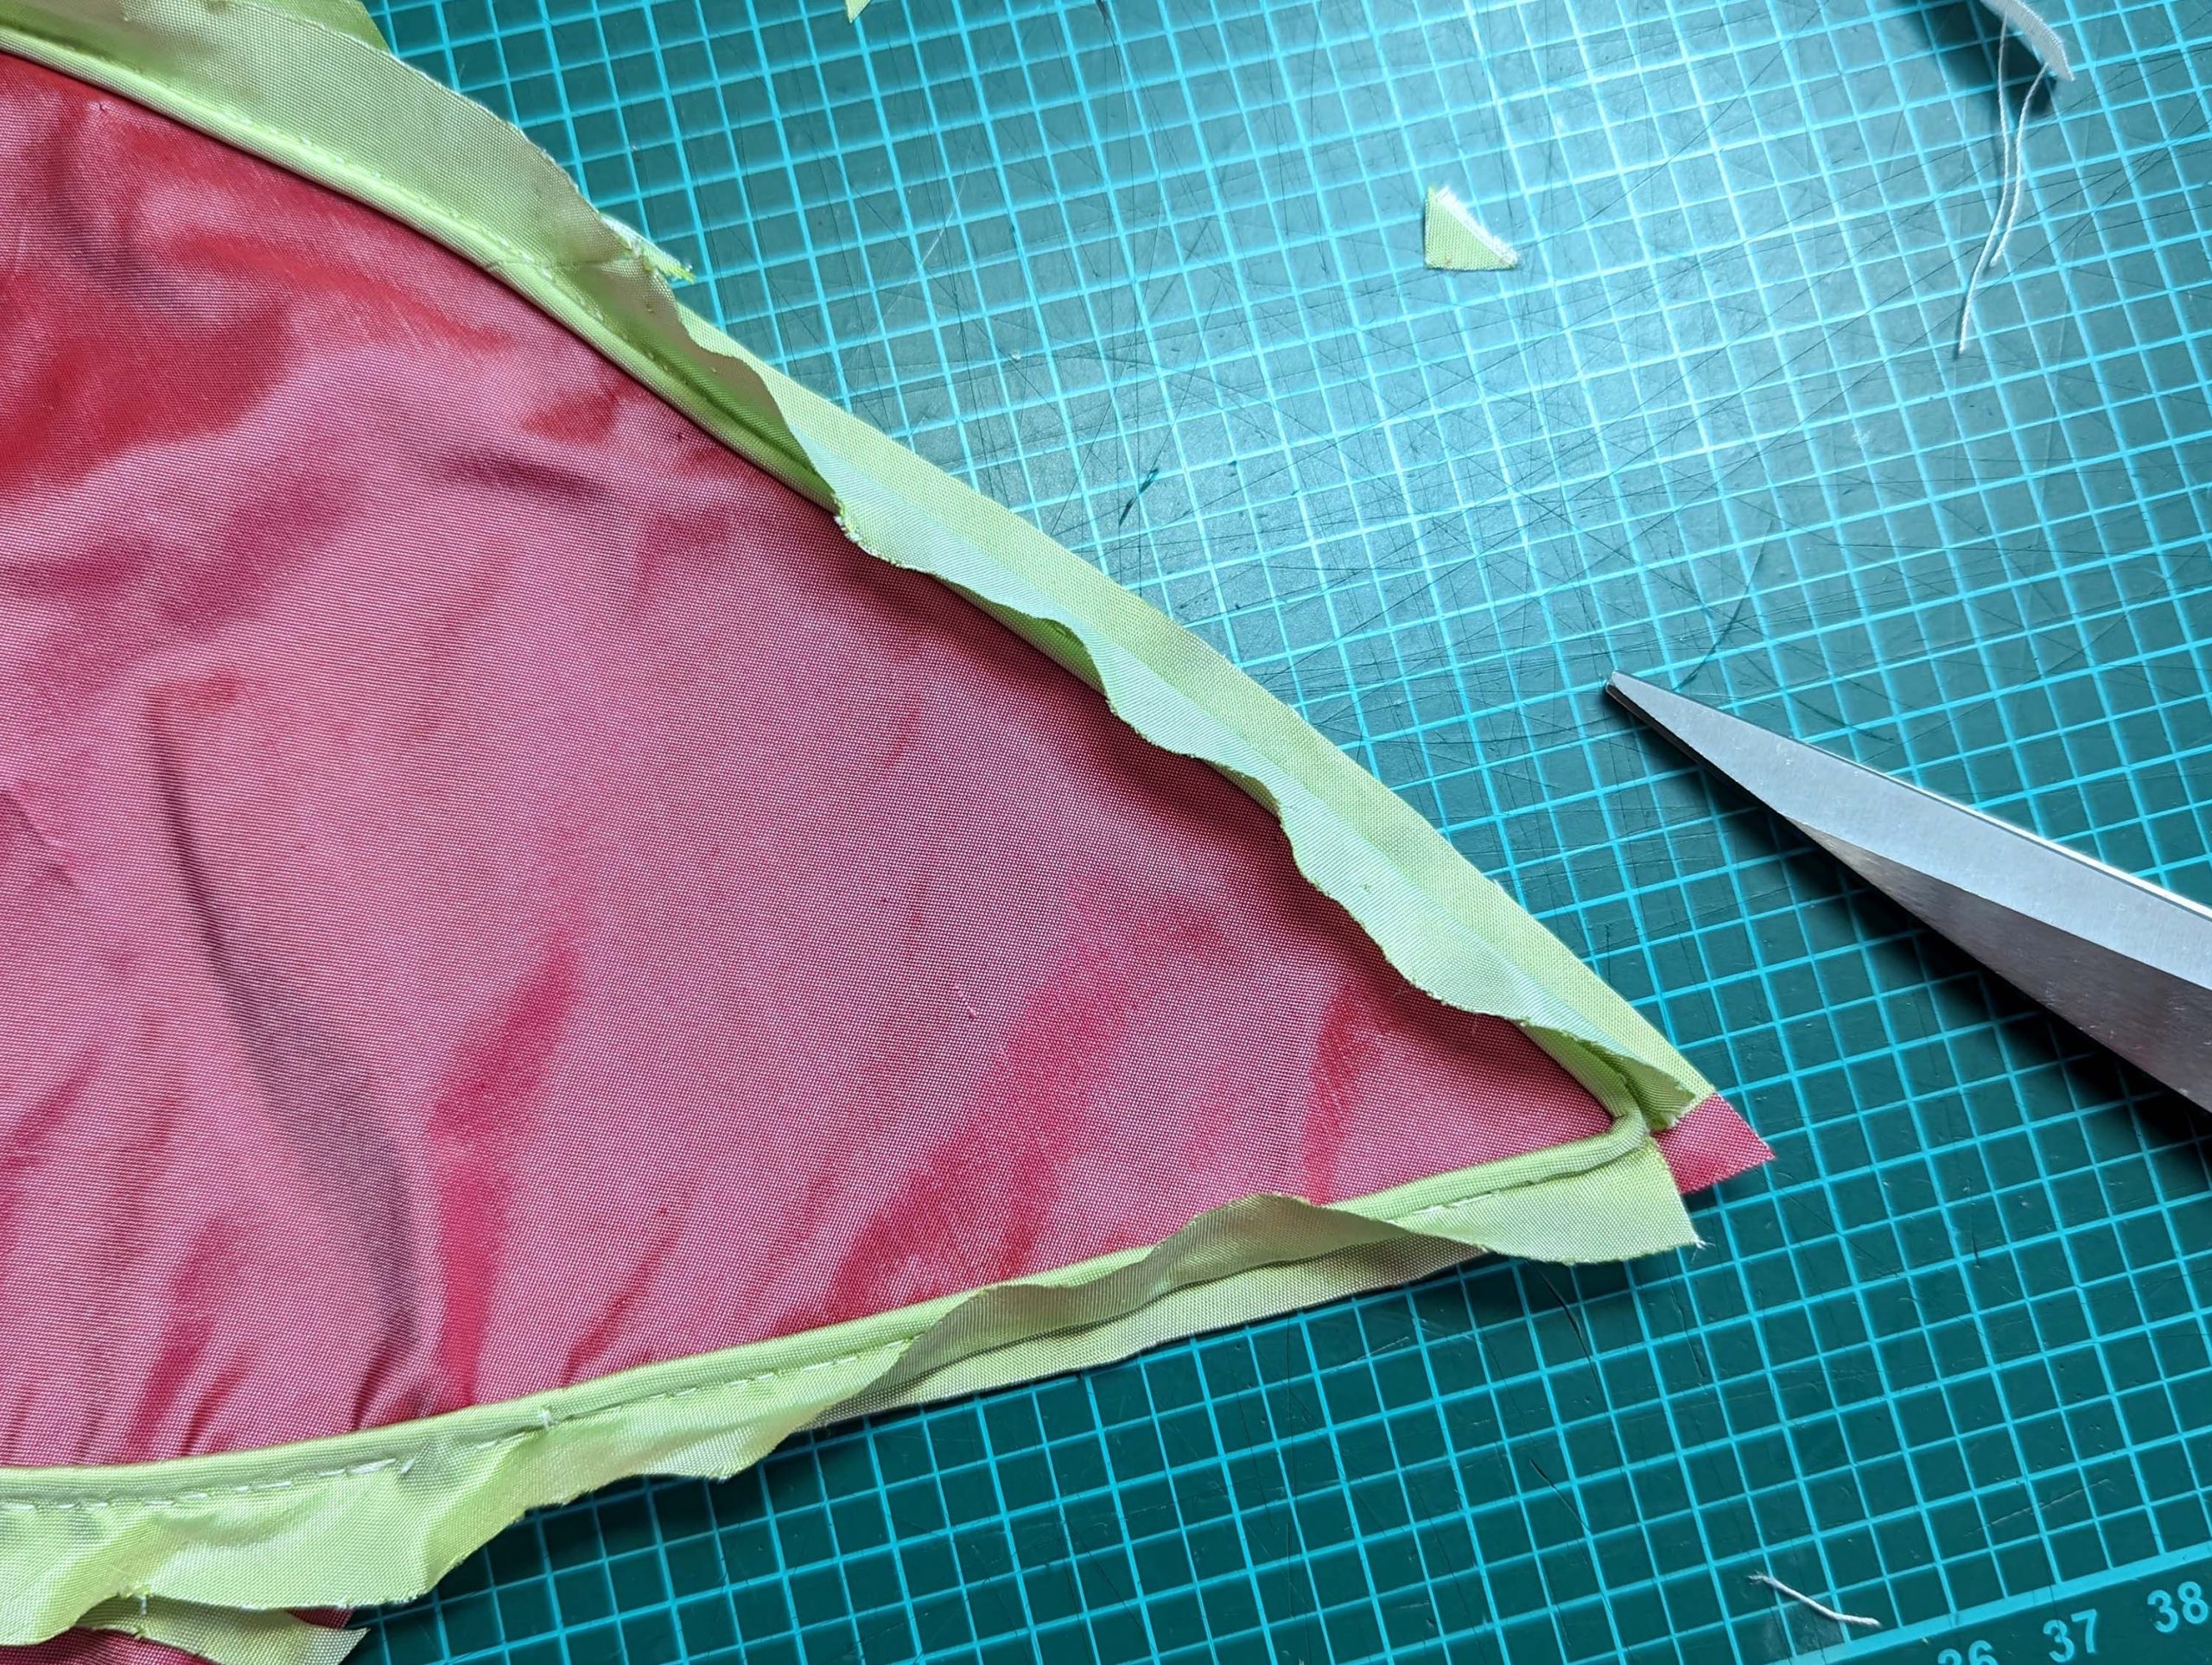
Trim back the seam allowance all around the oversleeve, leaving the uppermost layer of the piping. Notch at the corners as shown, narrow to the stitching.
Turn the seam allowances towards the sleeve and fold the wide seam allowance of the piping around the trimmed back seam allowances. Fell stitch to the lining layer only, taking care to get a neat result at the corners. At the gathered portion of the top edge, push the excess fabric to the opposite side while sewing.
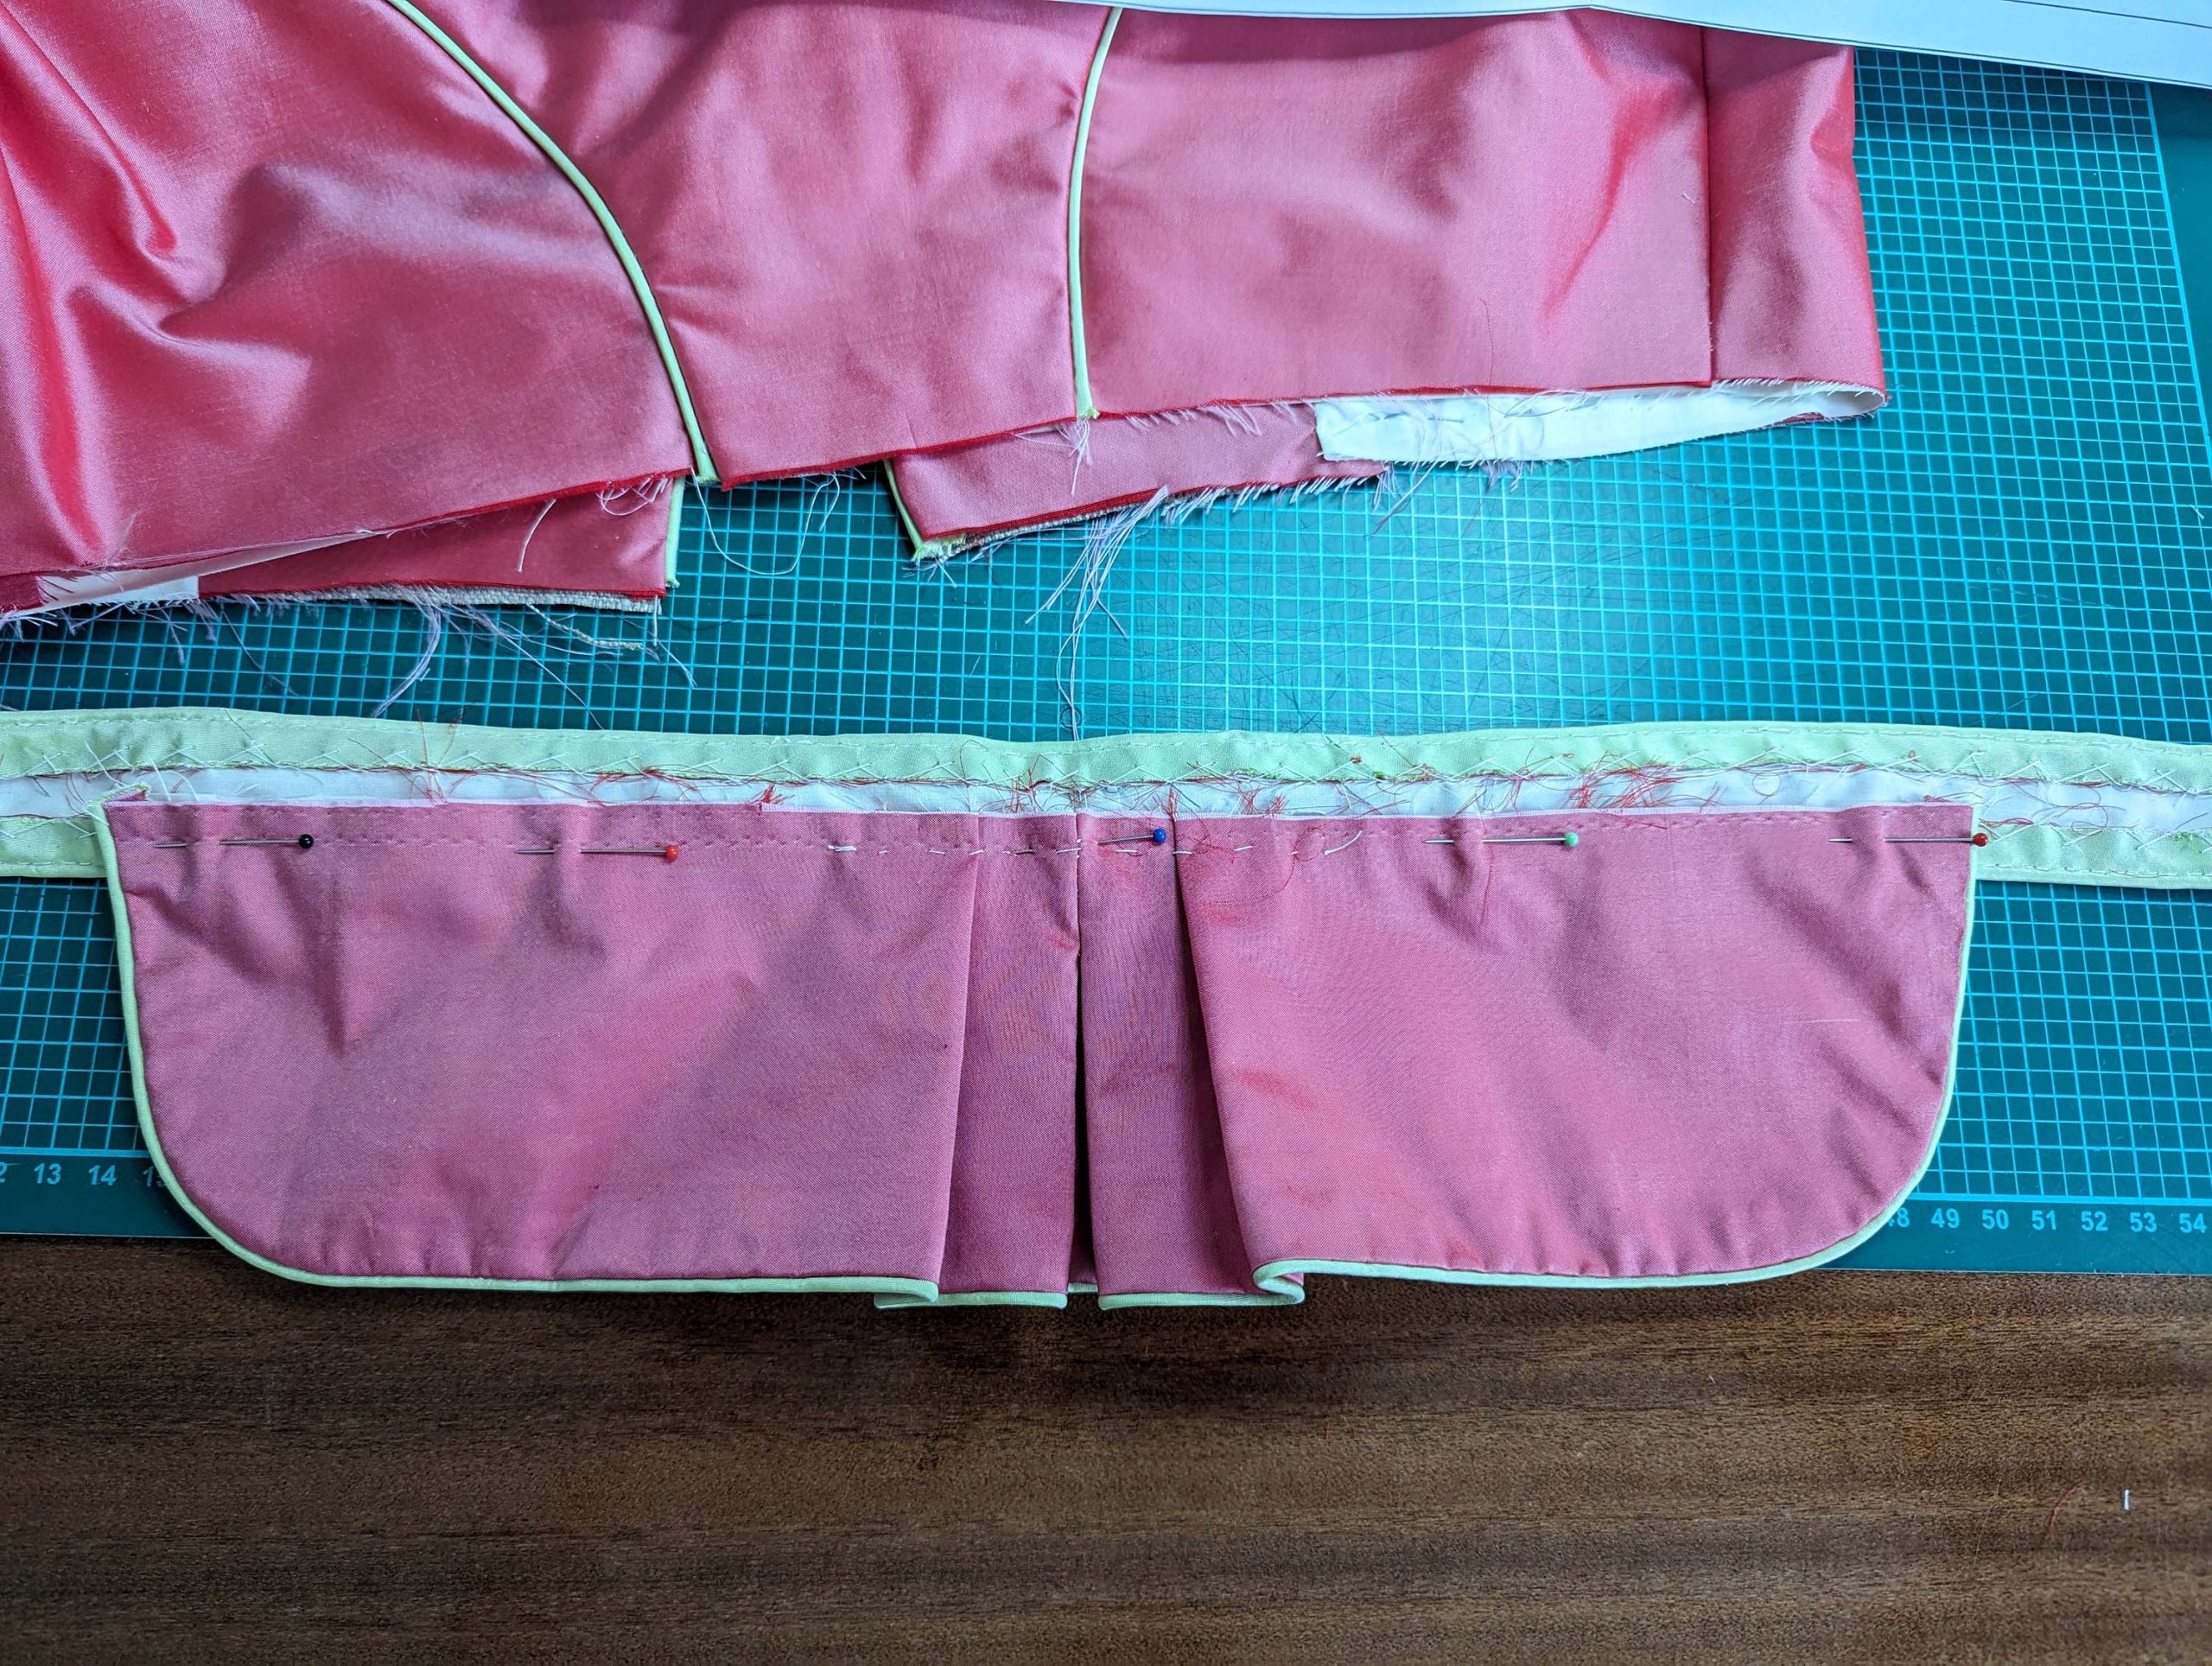
Fold the bottom edge into regular knife pleats, three on each side, and stitch in place, forming a curved shape.
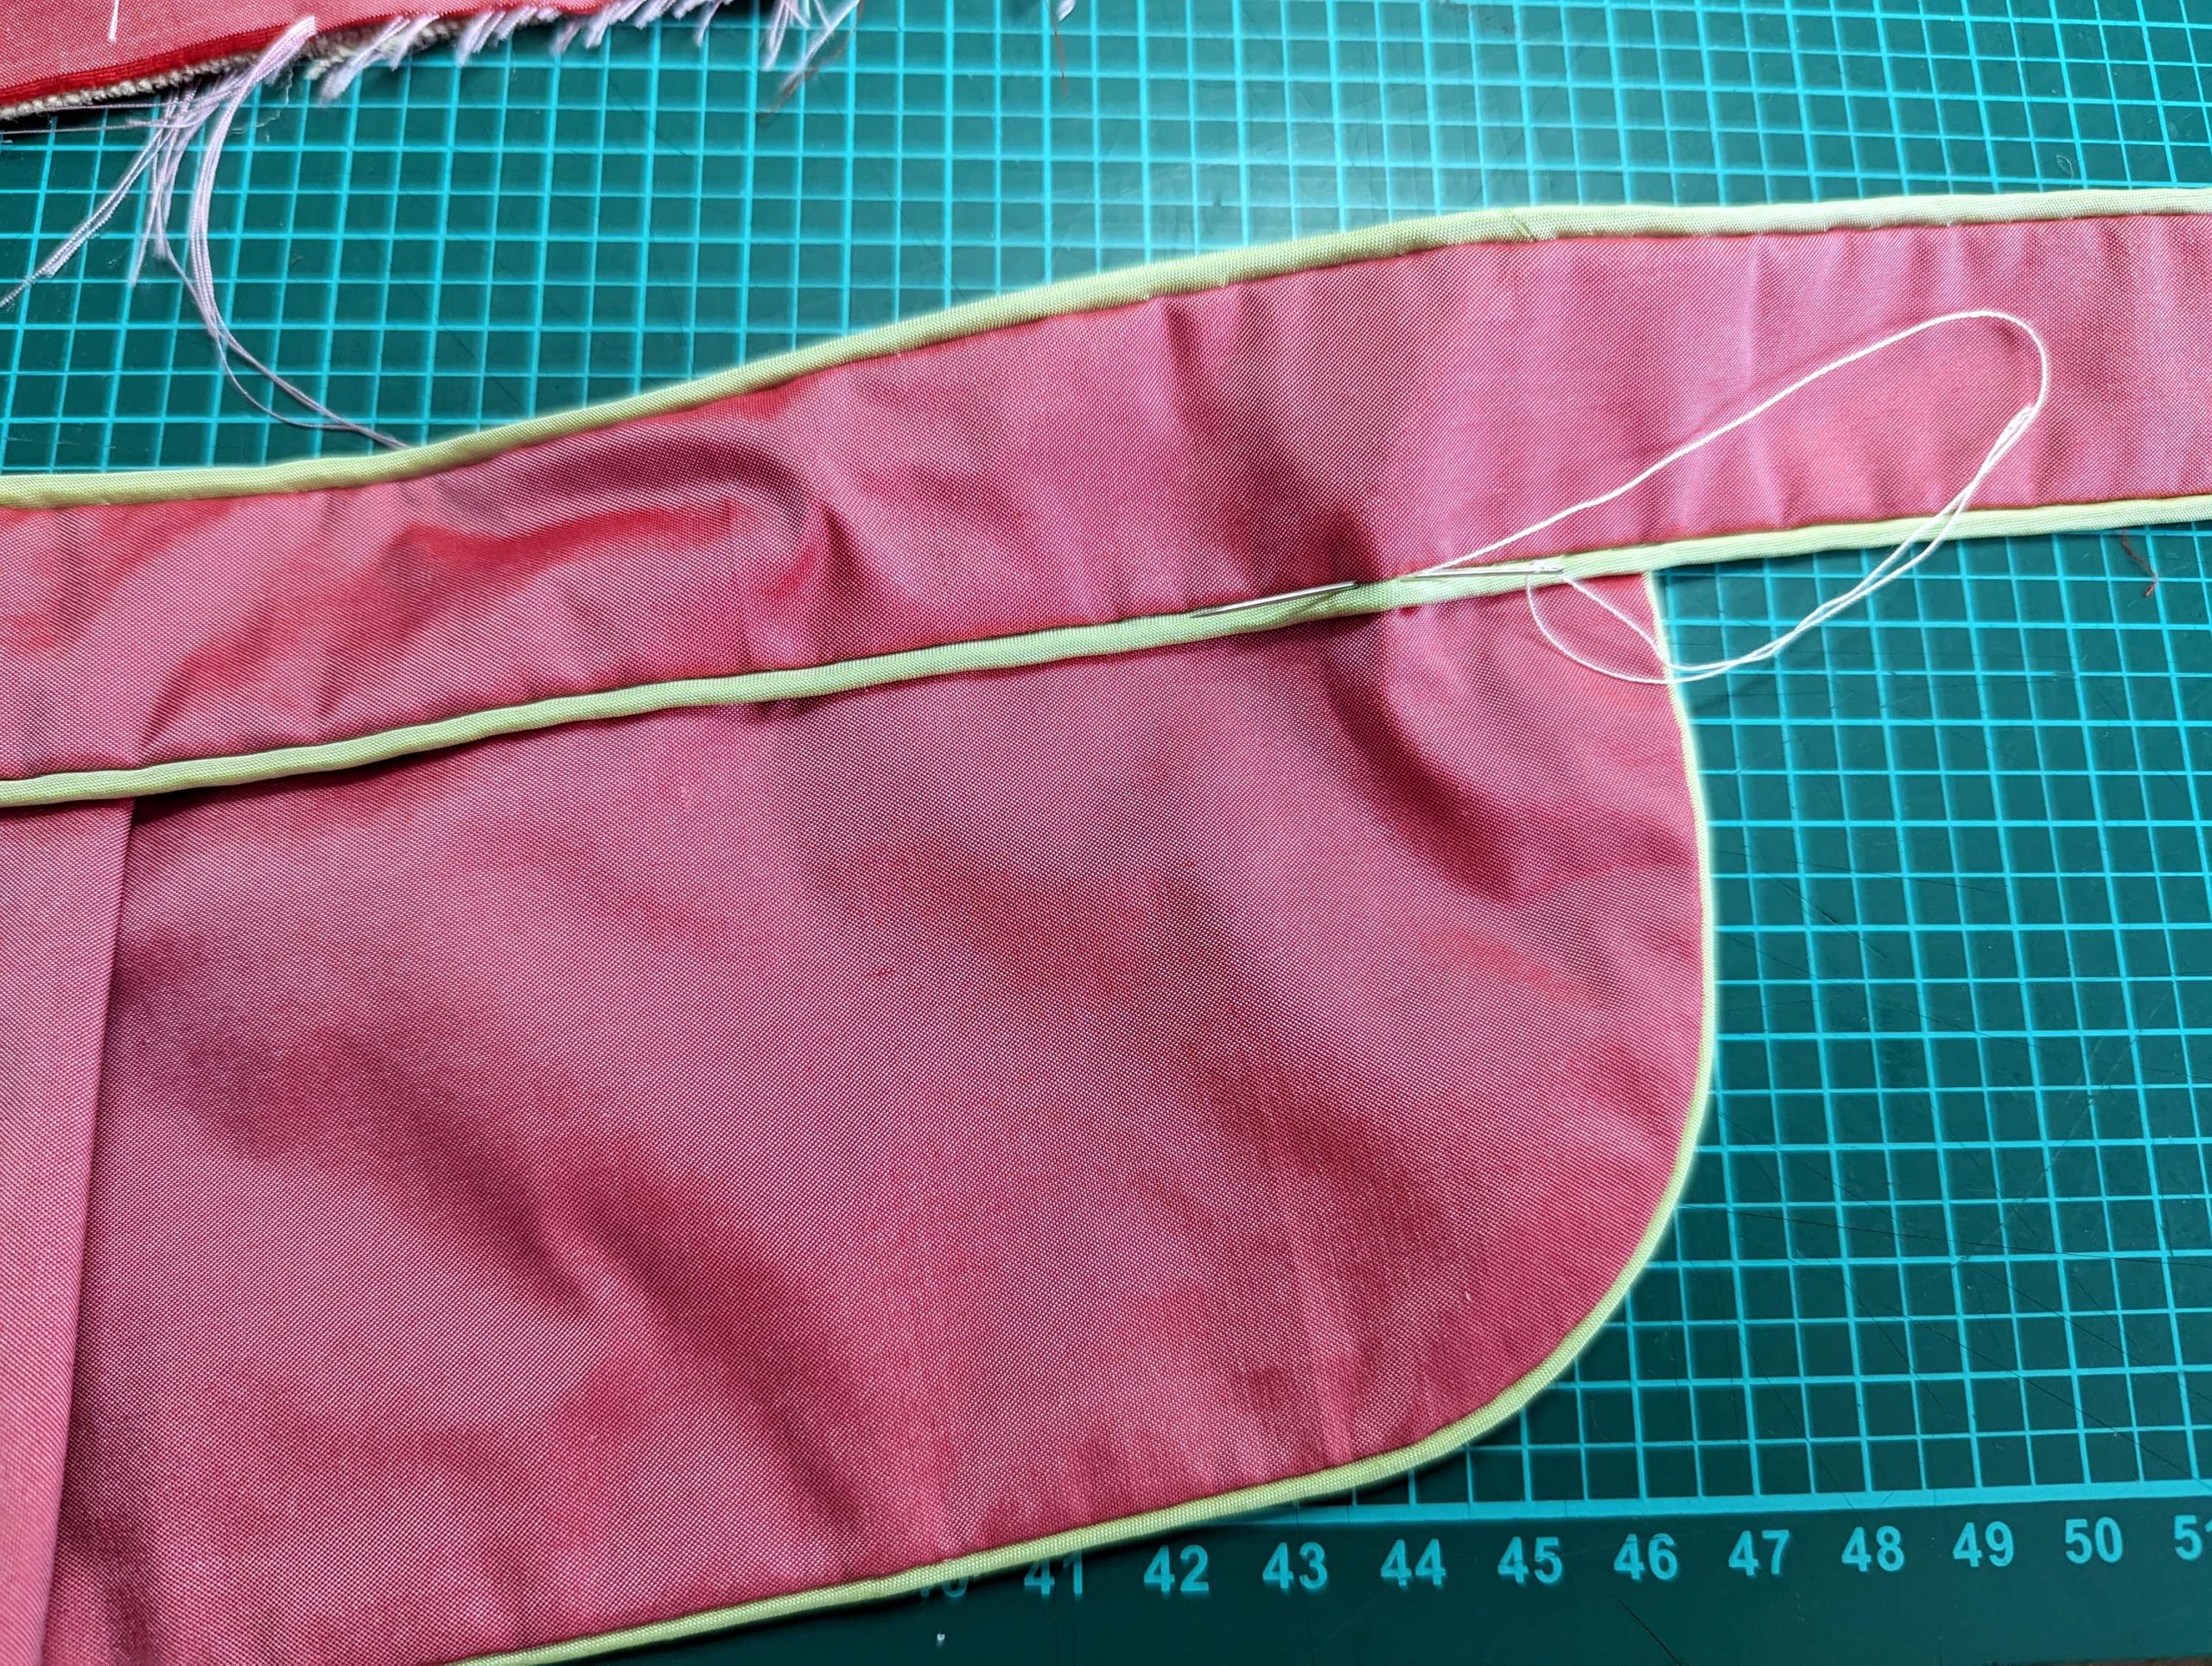
Line up the oversleeve with the sleeve seam, matching all marks. Stitch in place, following the ditch of the piping, sewing from mark (5) to mark (6).
(12) Cover the buttons with fabric and sew to the bodice, attaching the tassels at the same time.
(13) Sew hooks and eyes to the front edge to close the spencer.