How to make a Fez

Download the pattern. Print with 100% scale and join the two pattern pieces. The original pattern size is for a 56cm head circumference.


Part1, Part2


Material needed:

piece of buckram
reed
red wool fabric
lining fabric
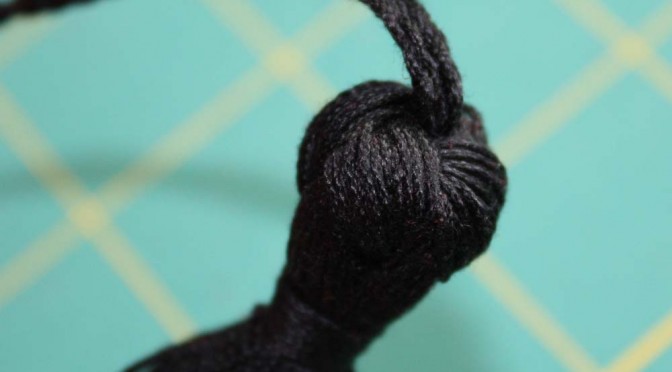
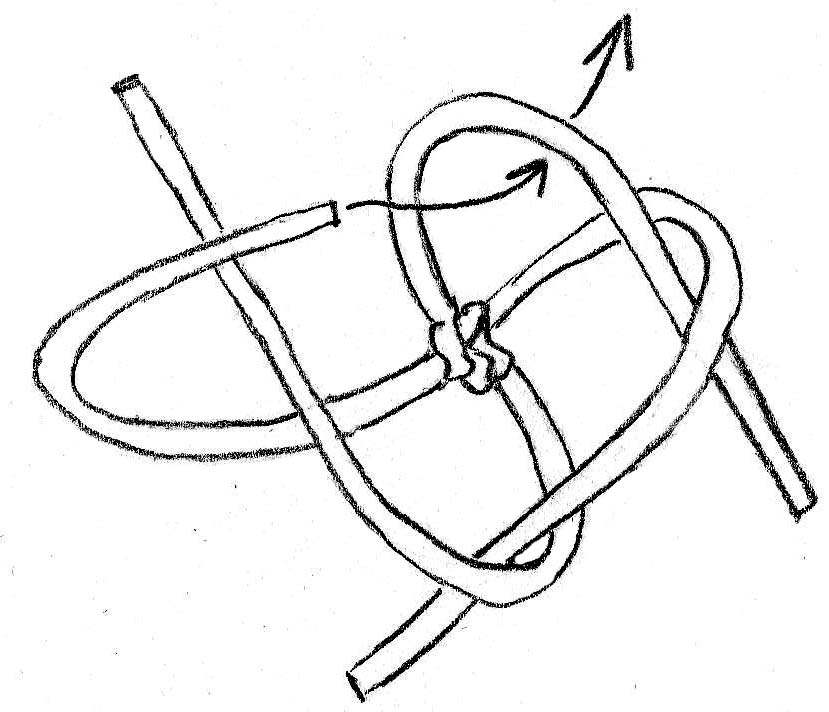
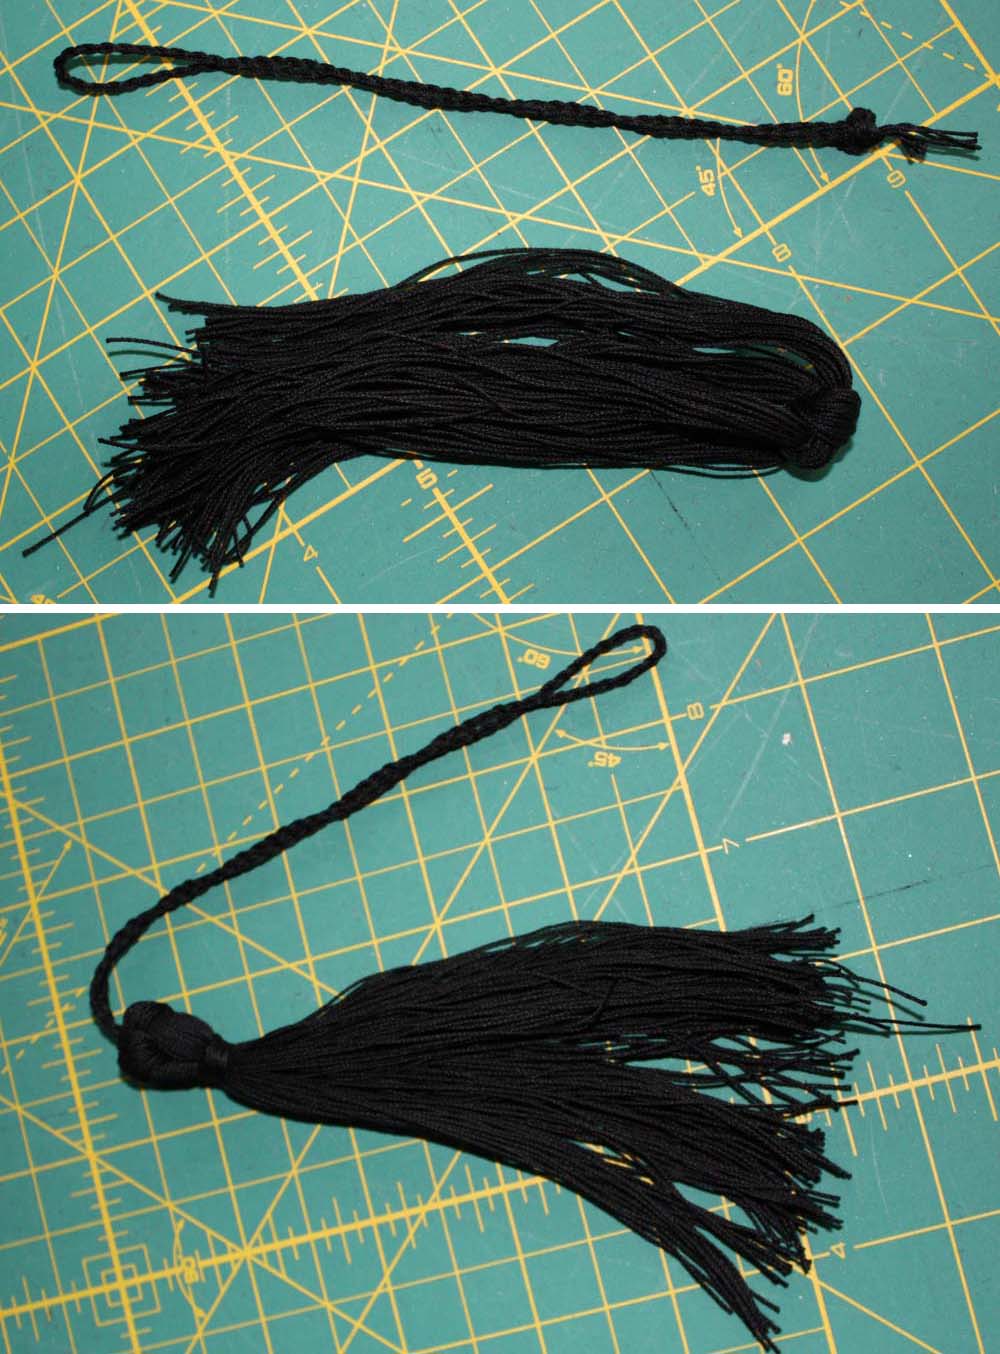
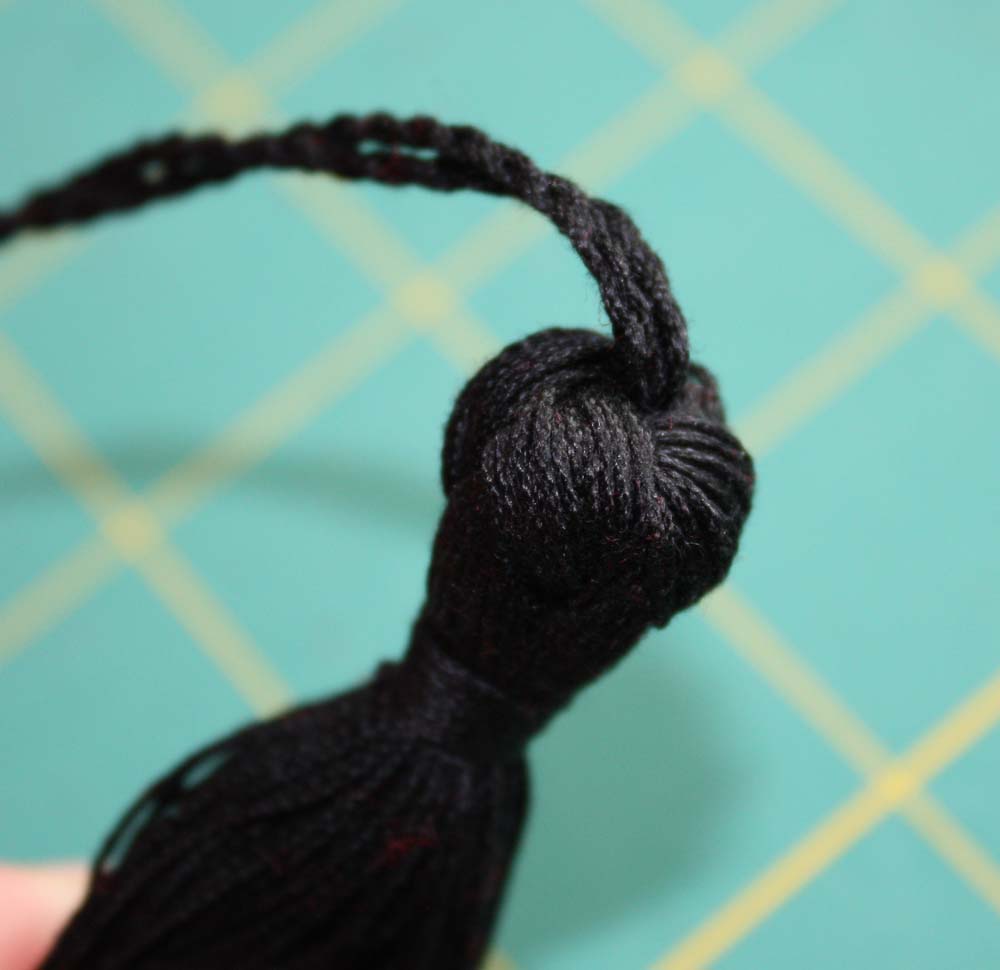
tassel (klick for tutorial)
waxed cotton thread
grosgrain ribbon


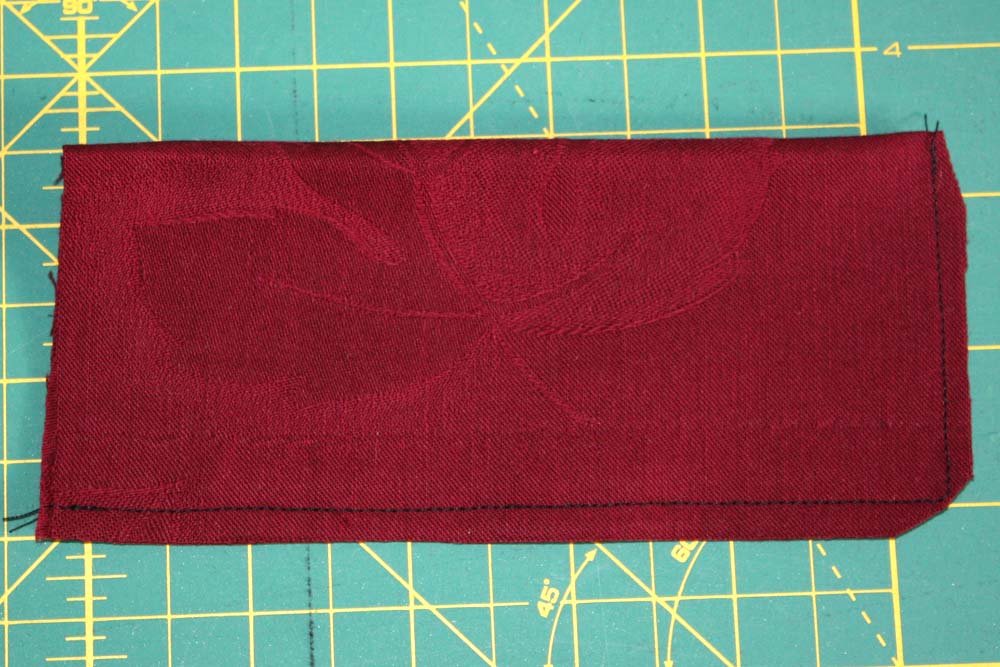
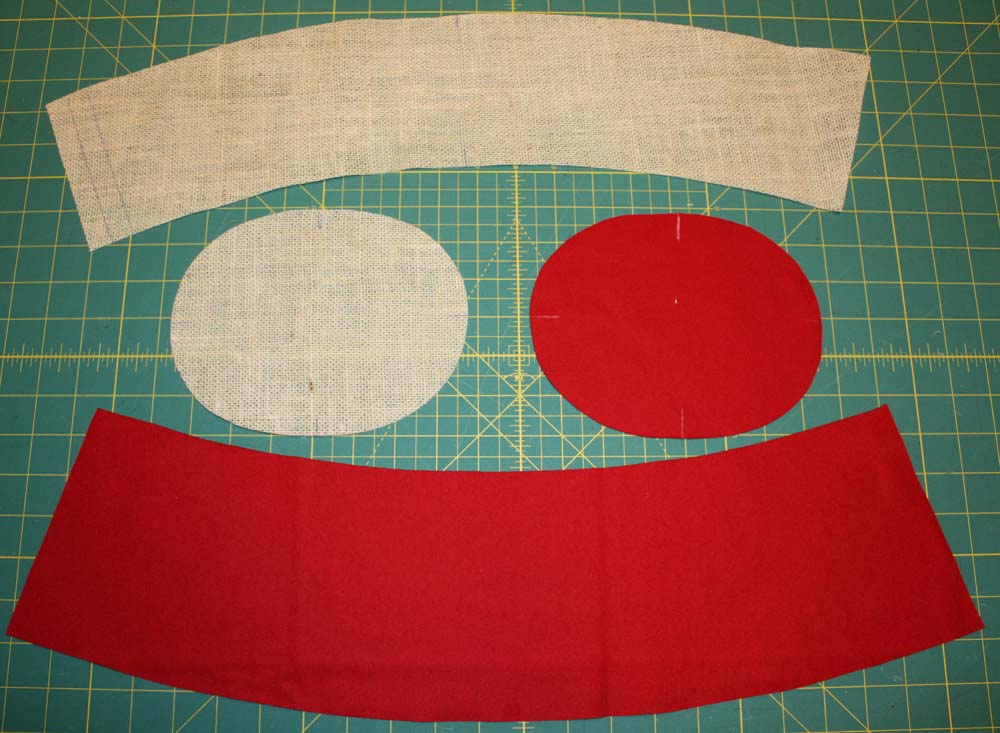
First cut top and crown from fabric and lining with seam allowances.

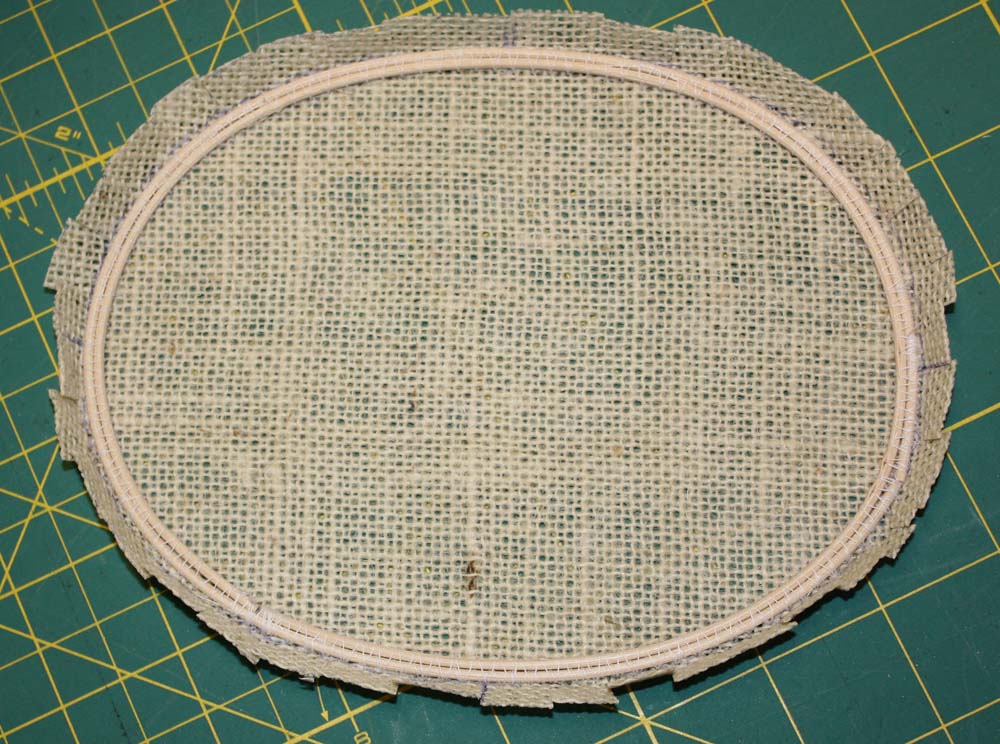
From buckram cut top with seam allowance all the way around, the crown without seam allowances at the top and bottom edge, leave seam allowance at the back for joining.

IMG_3222


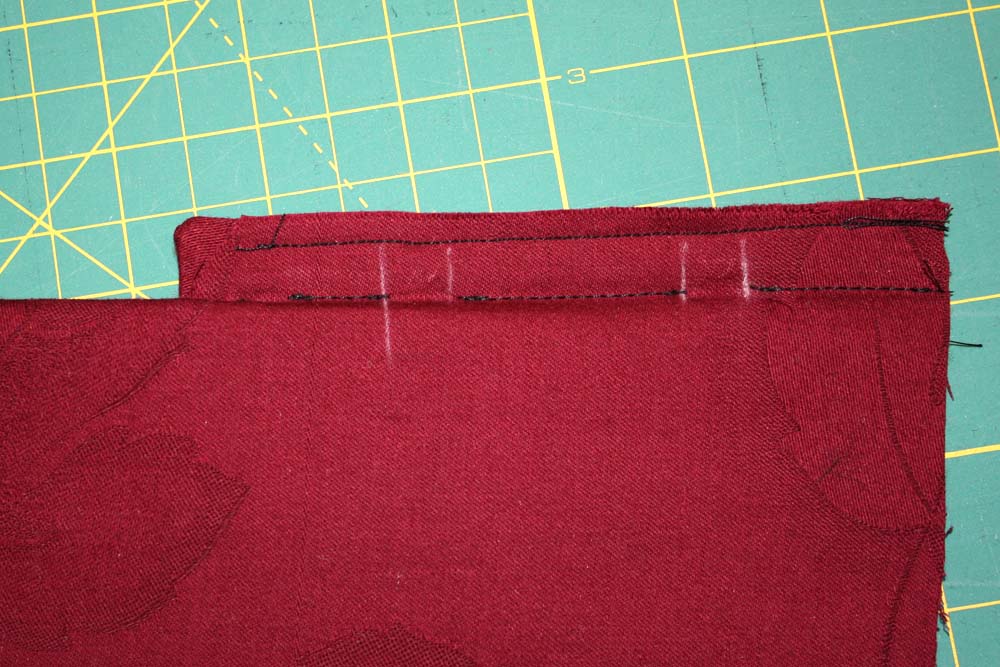
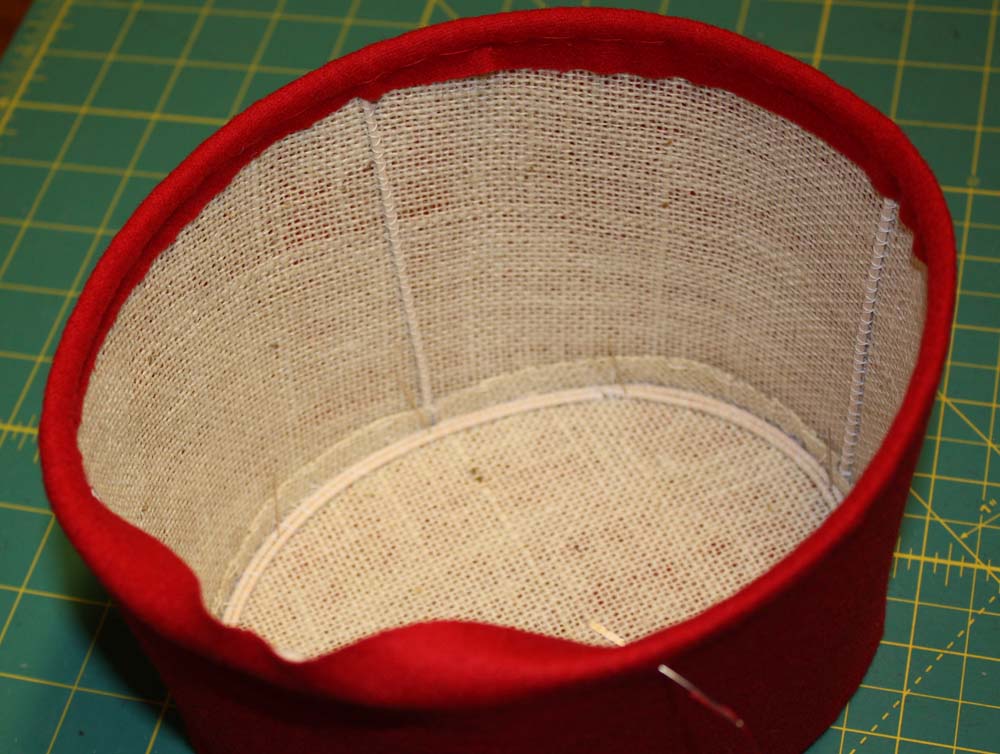
Transfer marks for the reed exactly. Use two rows of reed at the top, stay within the markings that the top fits better inside the crown. The reed can be sewn along the edges by hand or by machine with a zigzag stitch. Shift joints of the two rows for more stability.

IMG_3223


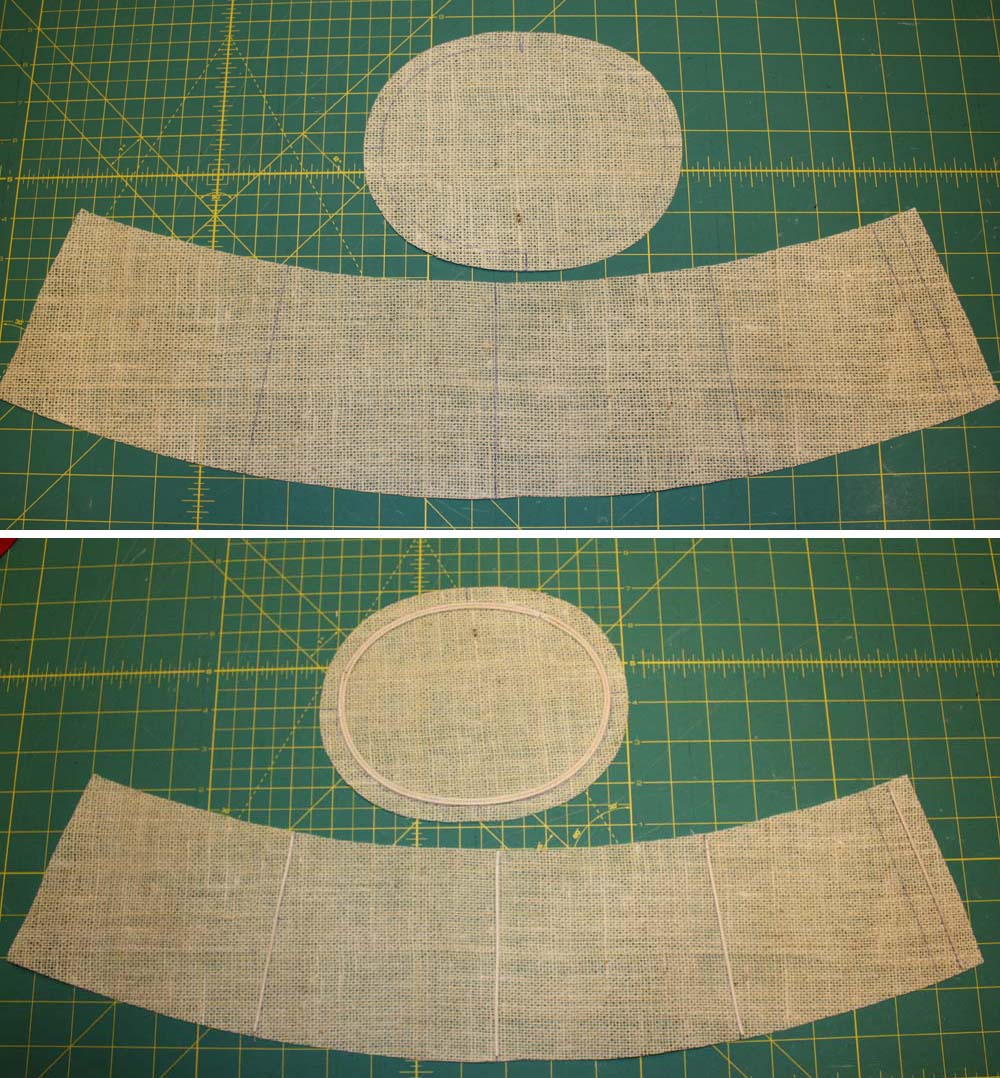
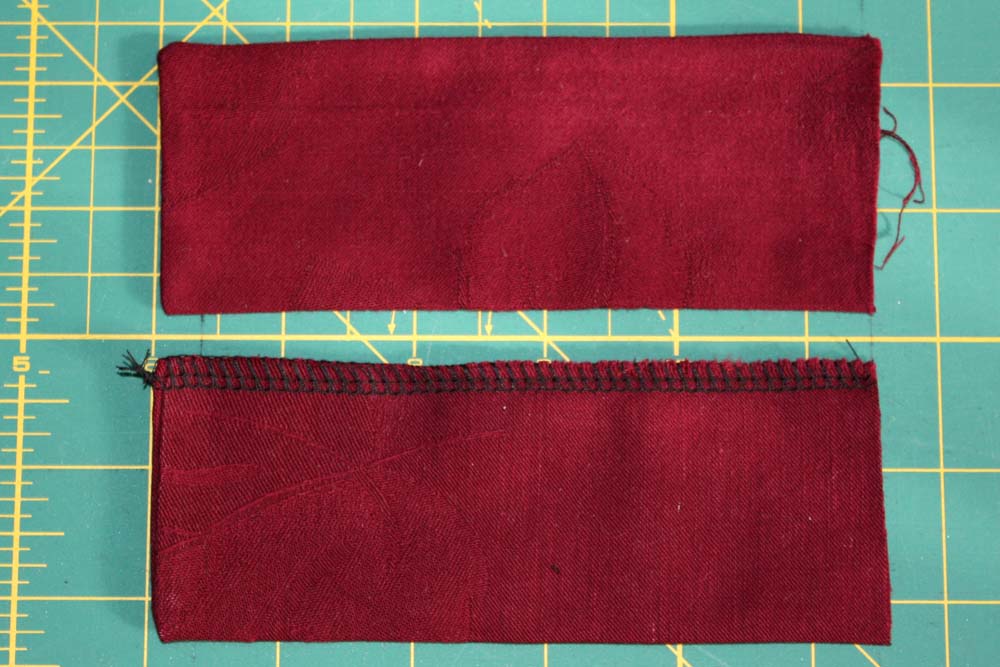
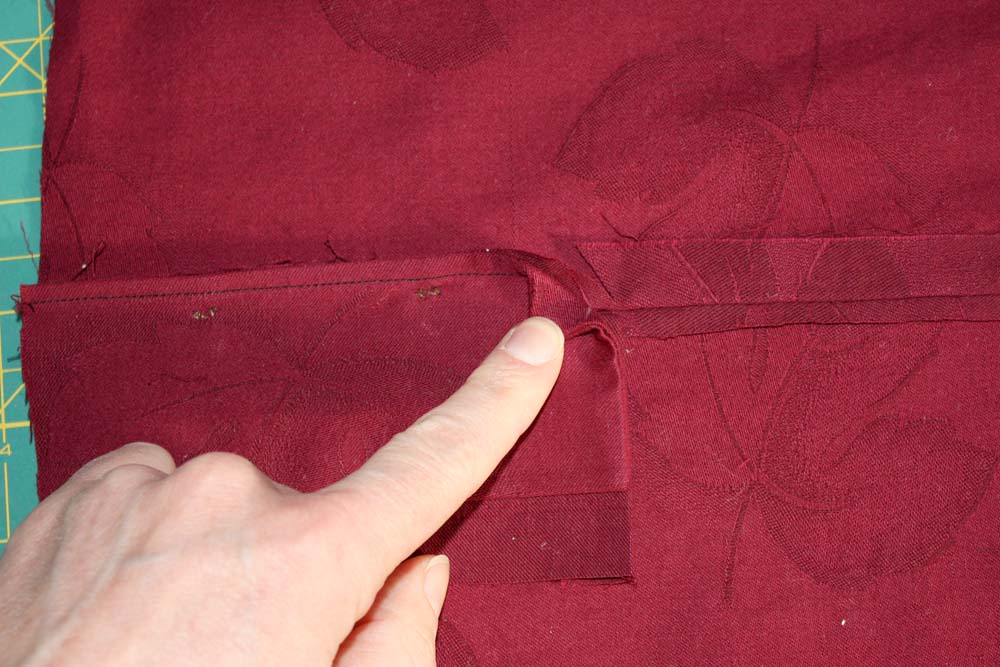
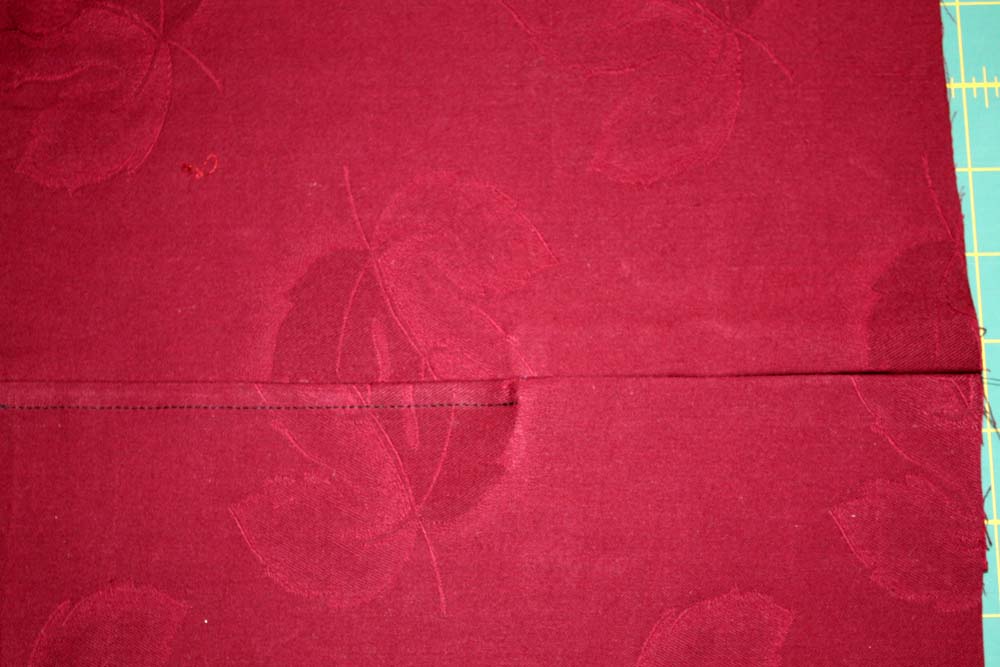
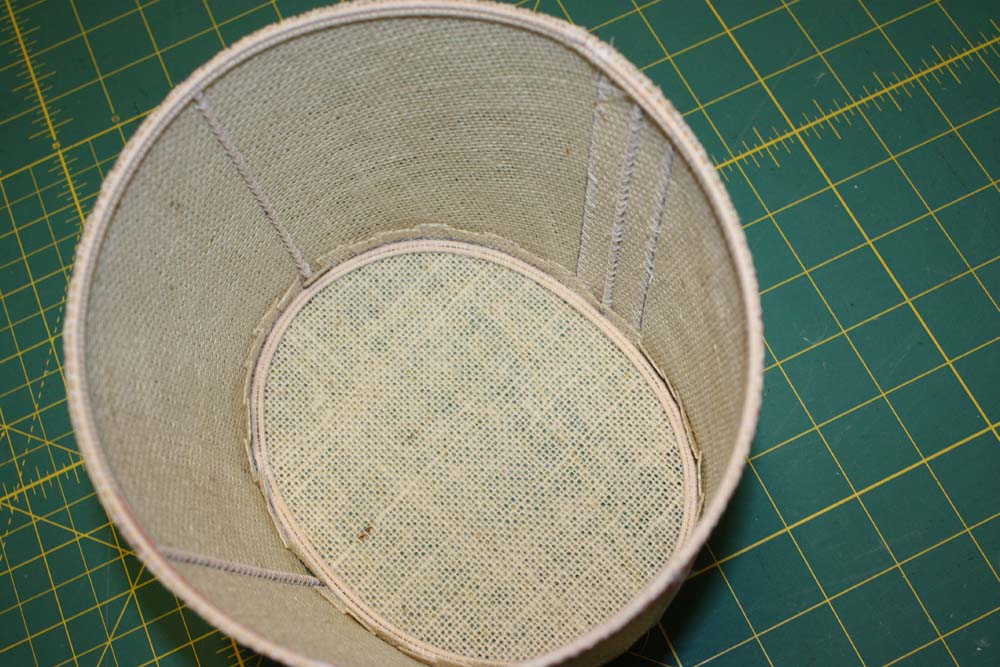
At the crown place four bars of reed then close the crown. The seam has to overlap at center back that you won´t see it later at the finished bonnet, overstitch both edges.  Sew two rows of reed to the inside of the bottom edge of the crown, shift joints as you did before.

IMG_3225 IMG_3226


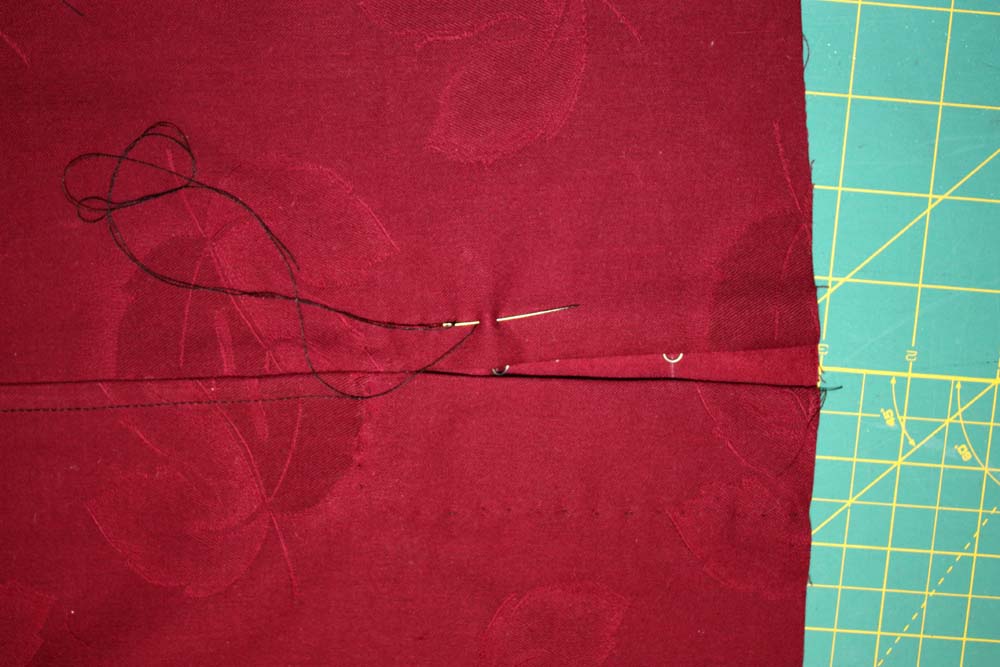
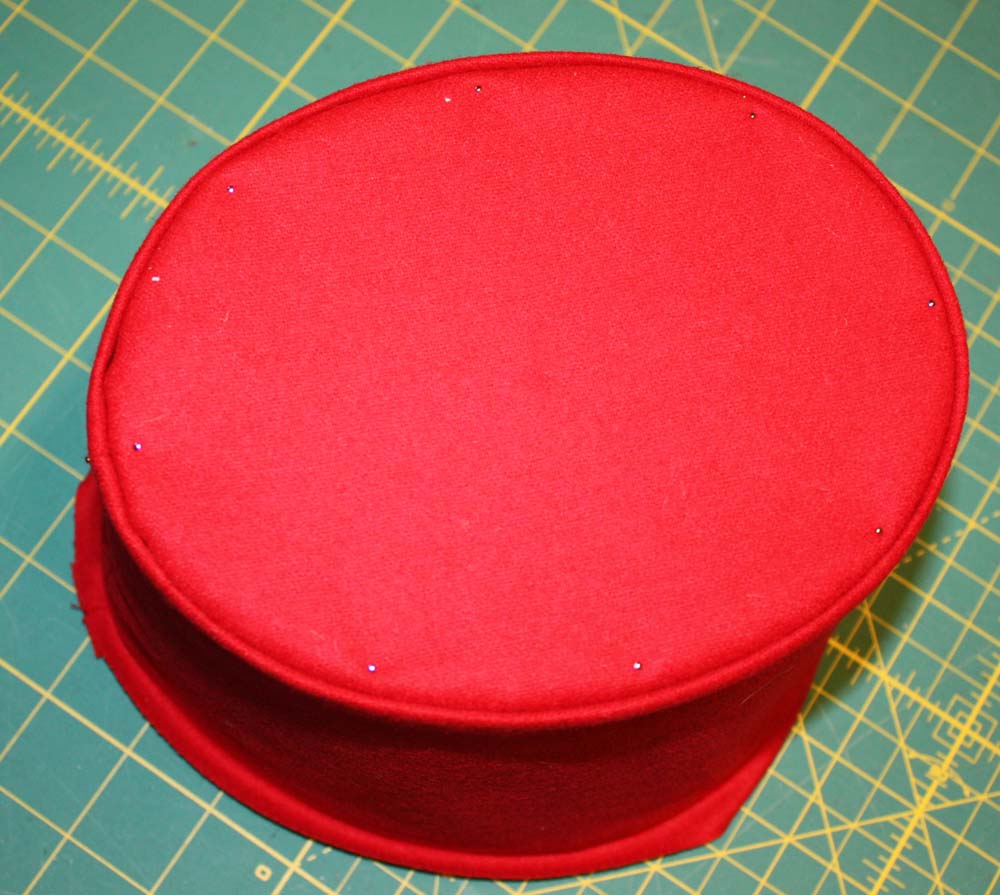
Clip seam allowance of the top and insert top to the crown. Join with hand stitches with a waxed cotton thread.

IMG_3227

IMG_3229


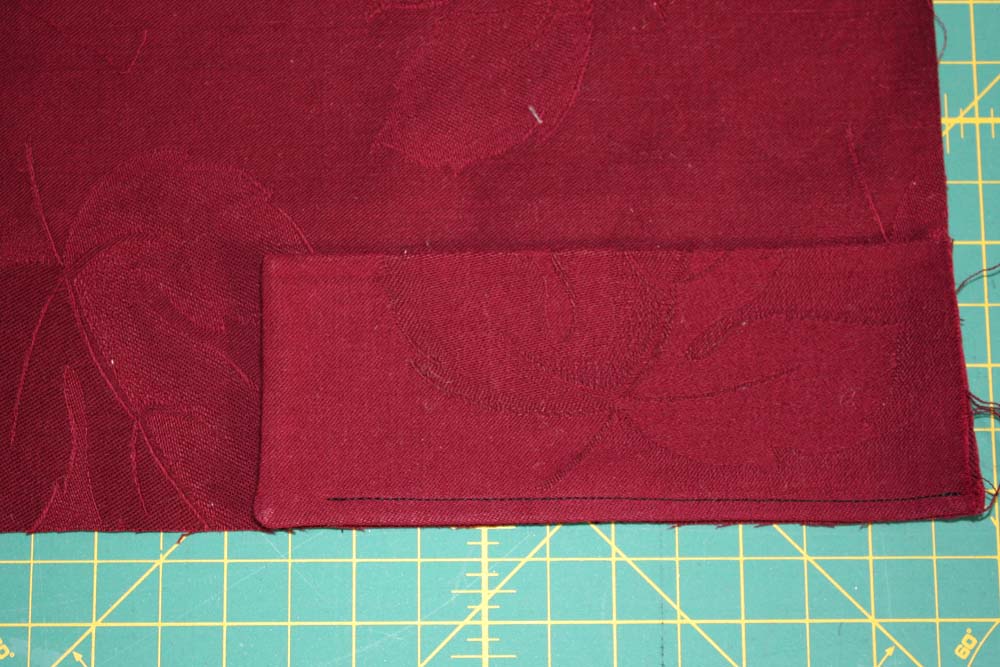
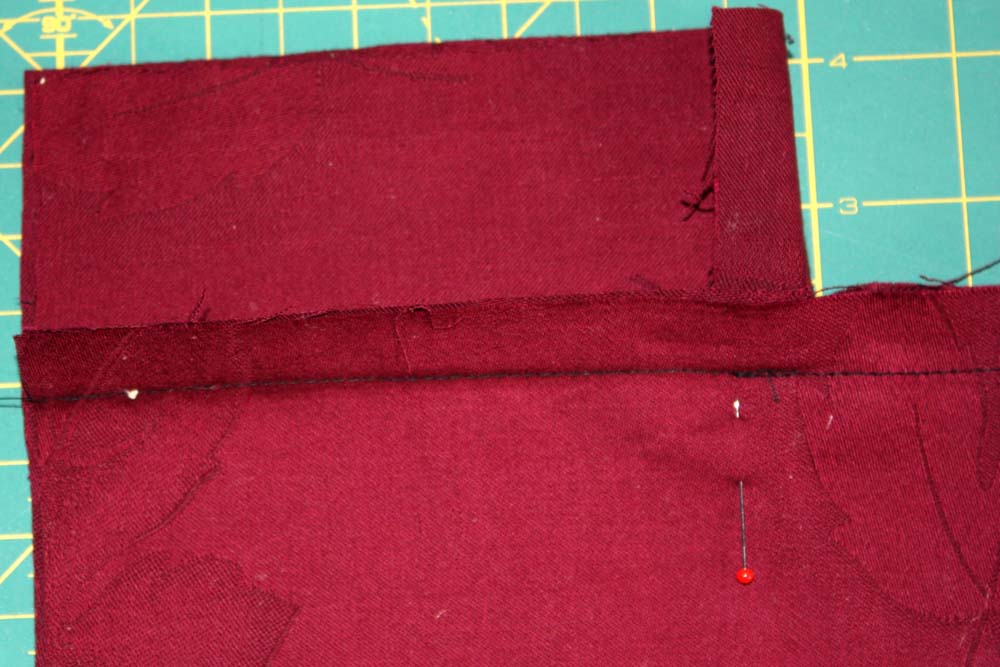
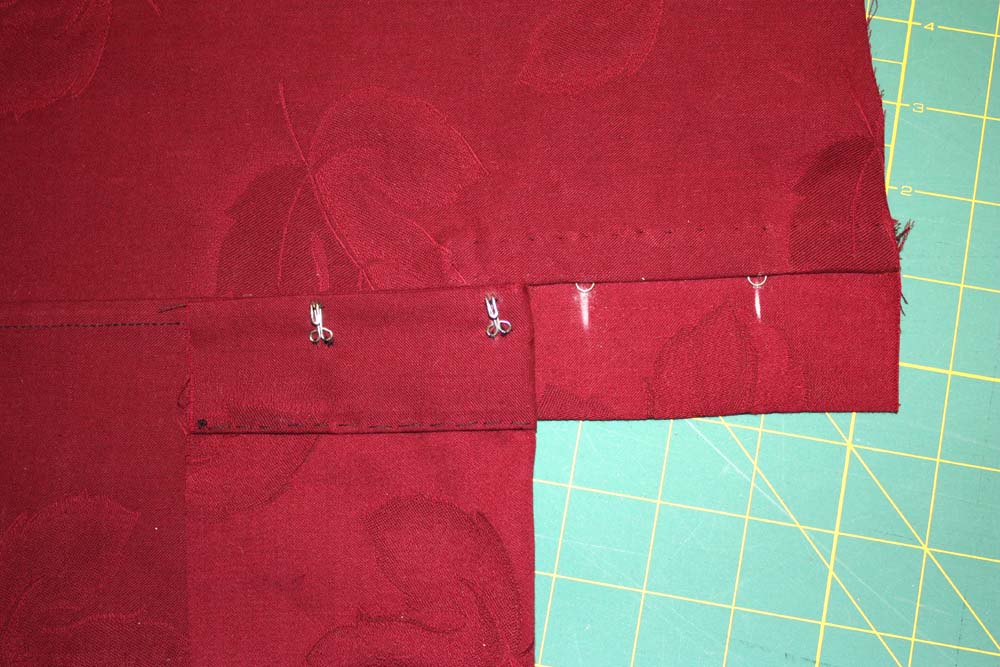
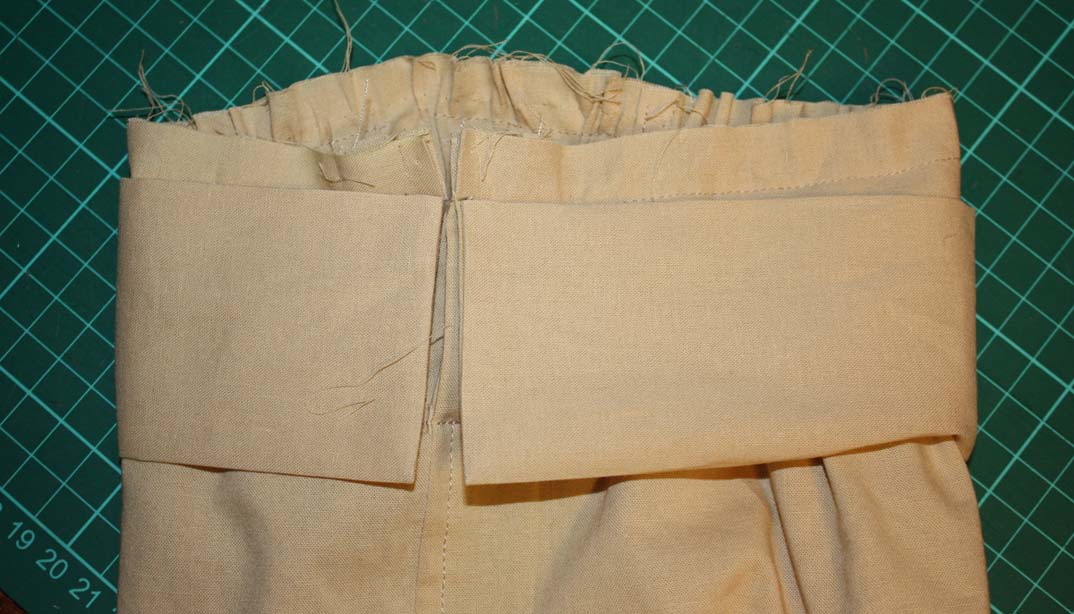
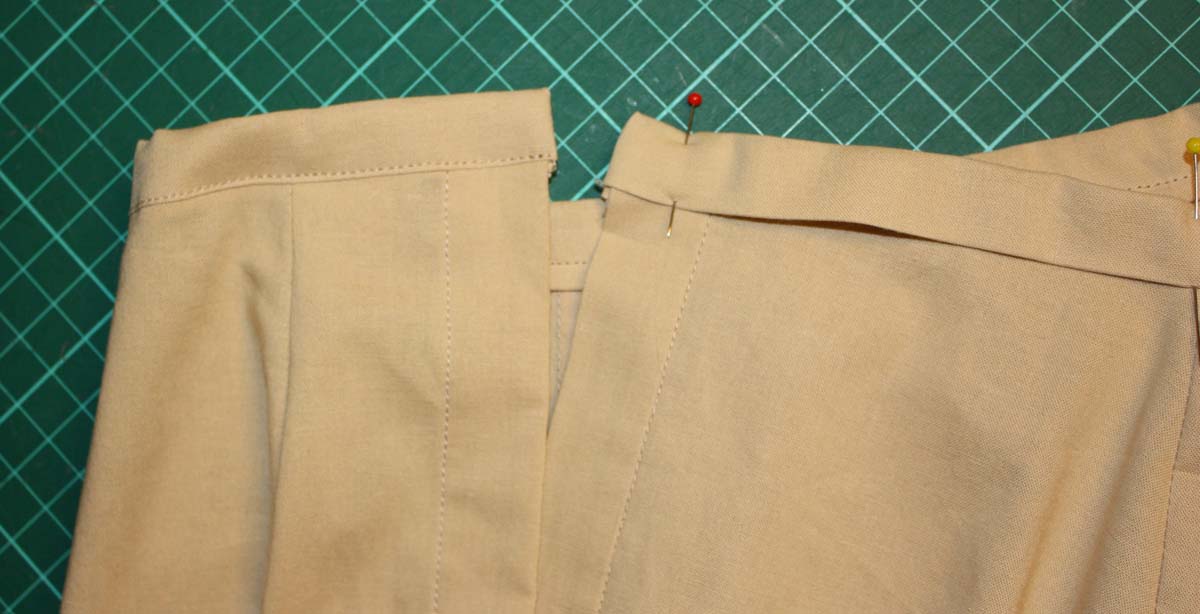
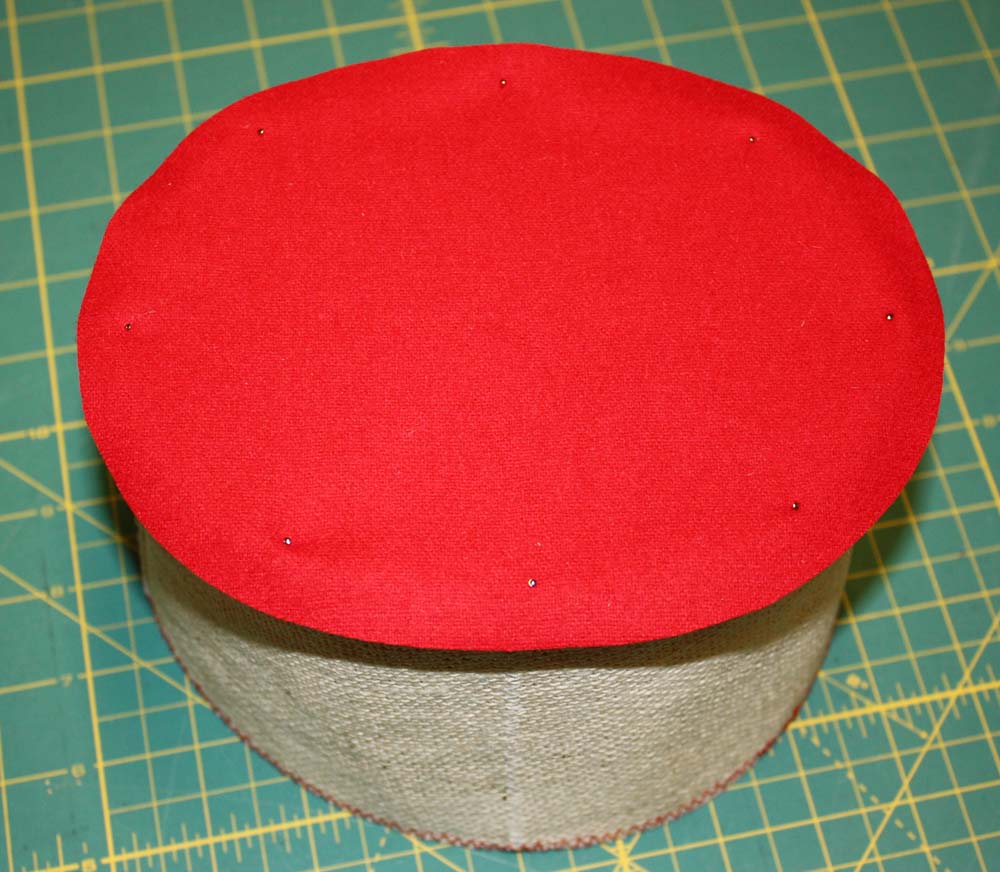
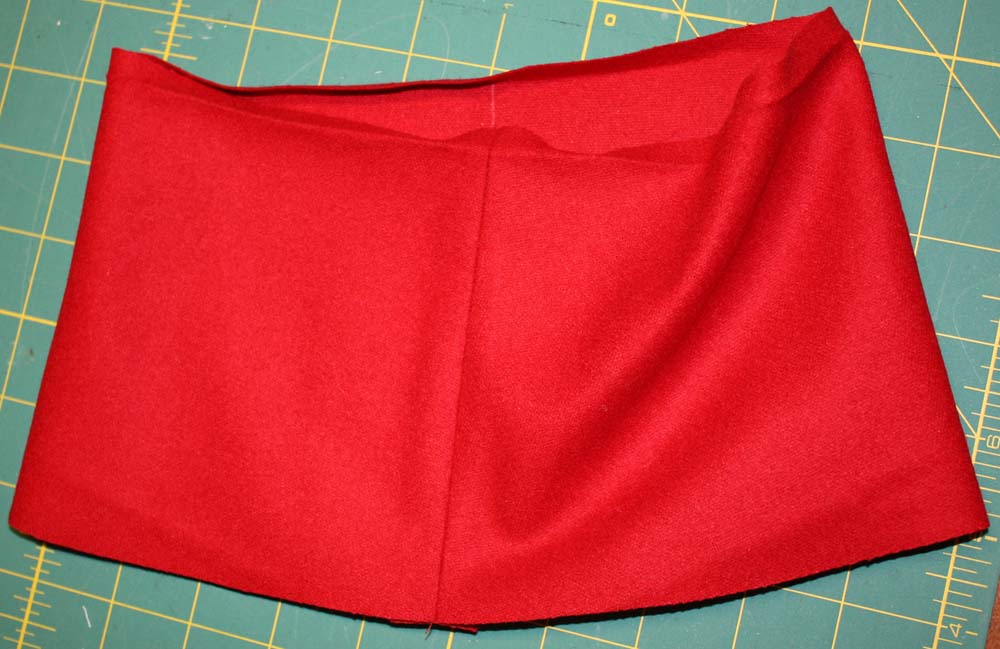
Line up fabric top with the buckram and pin. Close fabric crown at the center back, press open seam allowances. At the top edge fold seam allowance (1cm) towards inside and press. Pin crown to the top respecting marks and sew with small stitches with a matching thread.

IMG_3230

IMG_3231

IMG_3232


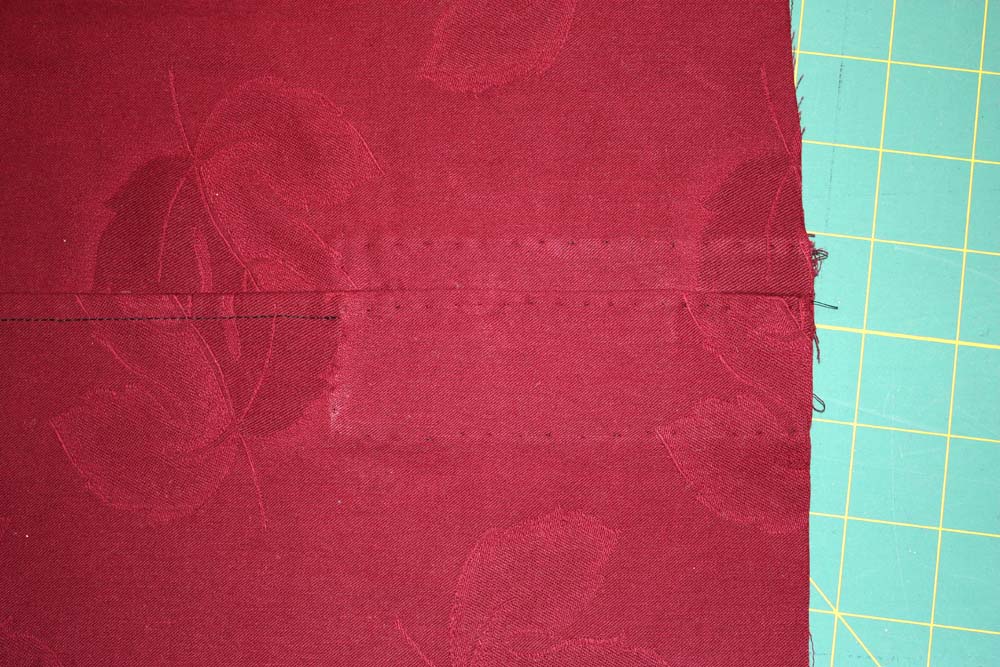
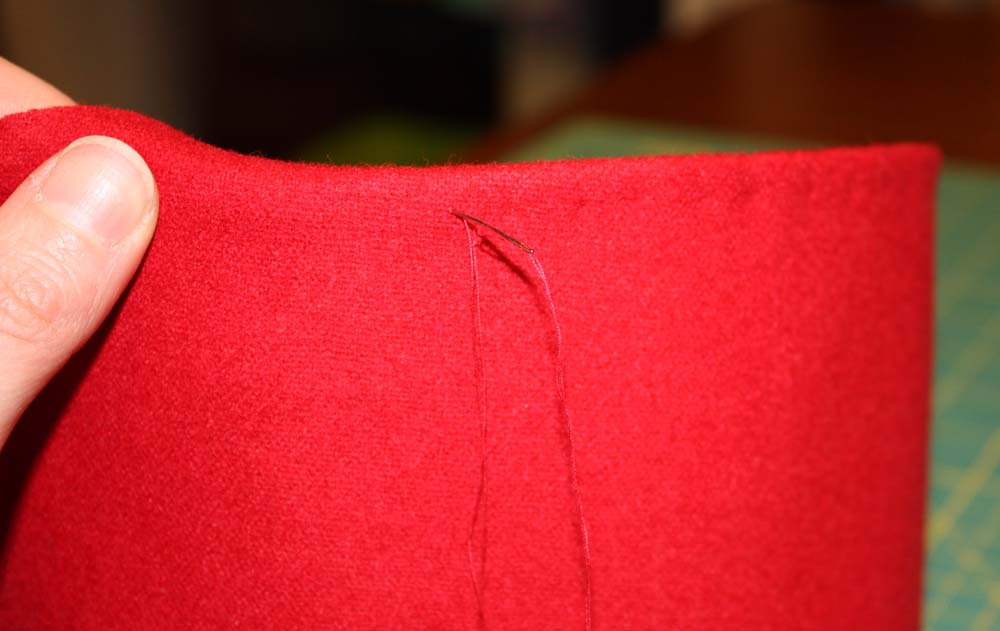
At the bottom edge fold excess fabric towards inside and sew through all layers with nearly invisible pick stitches.

IMG_3234

IMG_3236


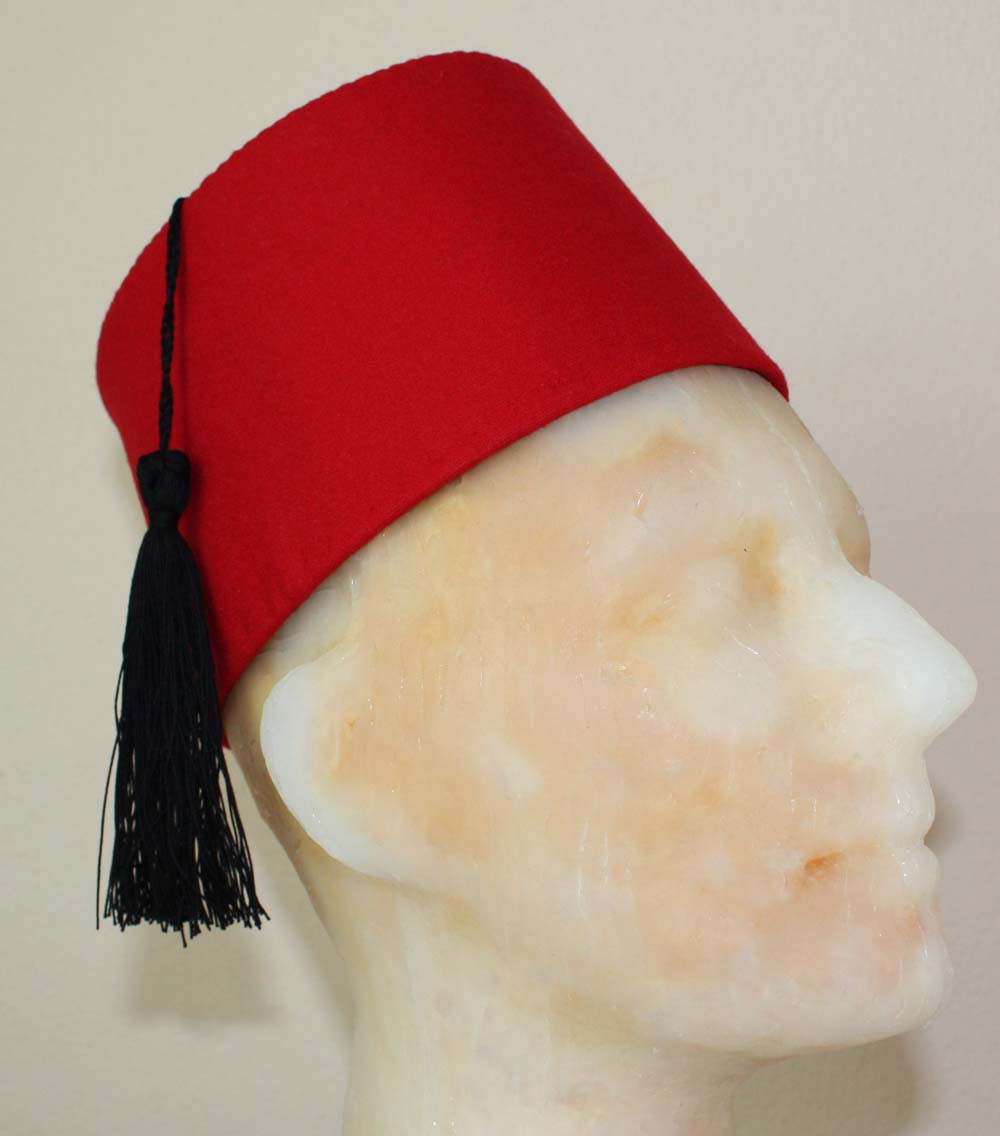
Prepare tassel and sew to the center top.


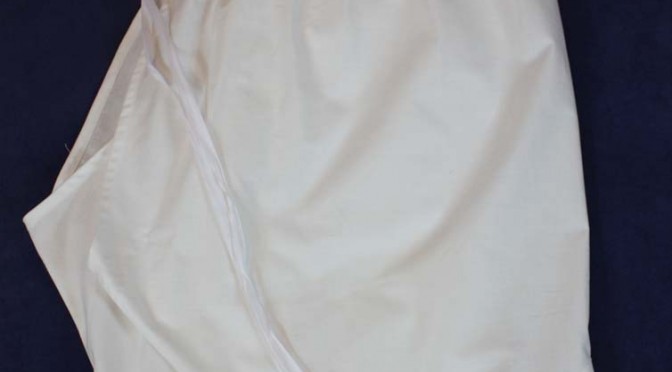
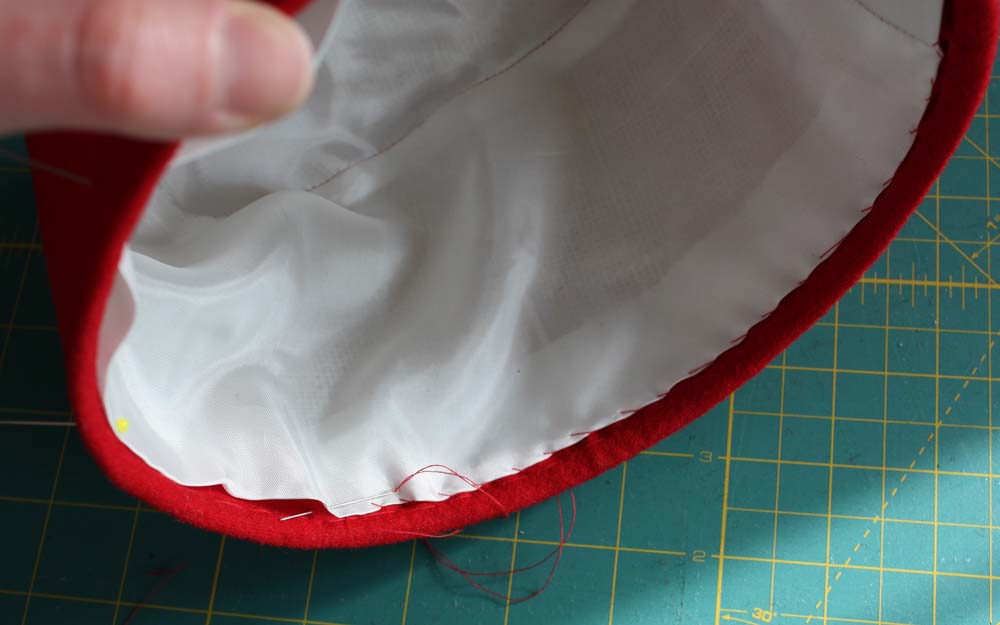
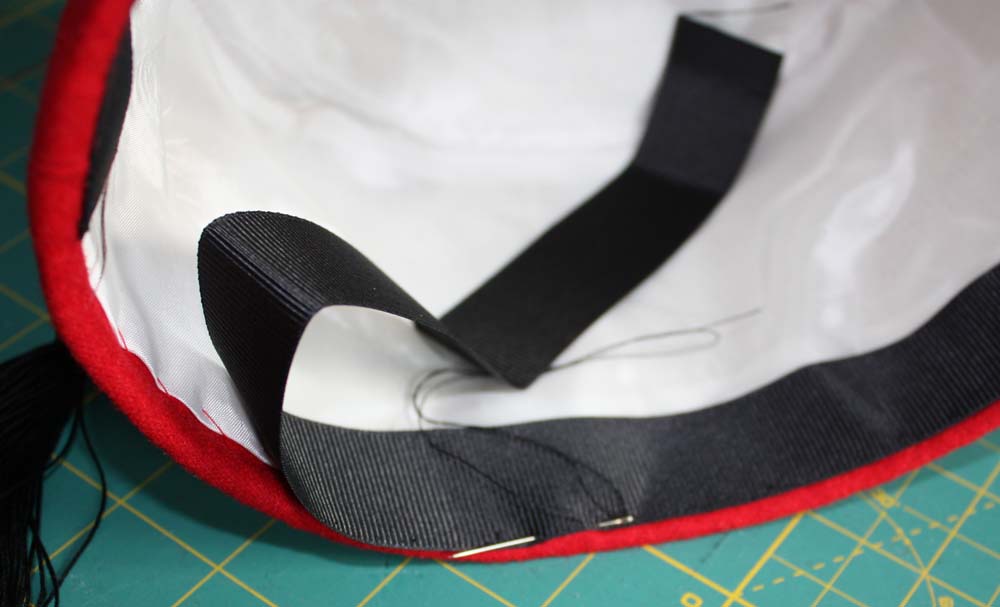
Sew together the lining pieces and put into the hat, sew along the bottom edge. Place a grosgrain ribbon to the inside of the bottom edge and join with small stitches.
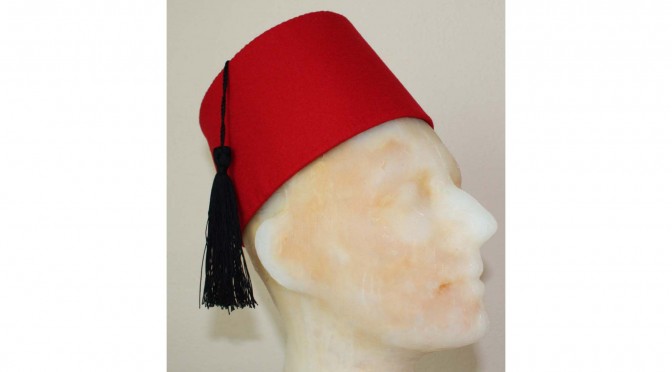
IMG_3243

IMG_3244


Finished!


IMG_3247

How to make a knotted Tassel

Take piece of cardboard or anything else suitable for the length of your tassel. Wrap thread around the cardboard several times. Cut one side, make a knot with an extra thread at the center.


IMG_3237


Divide into four braids, knot like shown on the diagram.

IMG_3239Knoten für Bommel


Prepare a cord and knot the loose ends. Insert the cord before you tighten the tassel knot. Take a thread and wrap several times around the tassel. Secure end of that thread with a knot and some stitches with a needle. Trim tassel evenly.

IMG_3241


Finished!

IMG_3257


Skirt fastening with hooks and eyes for sheer fabrics

To prevent showing casting stitches on the outside of the fabric French seams or flat felled seams are used to join sheer fabrics. I´ll show you a fastening for a skirt with a placket to be closed with hooks and eyes. Of course it can be used with heavier fabrics too.


Fold the placket lengthwise right sides together. Sew along the bottom edge and along the long edge. Trim seam allowance, turn inside out and press. The width now should be the desired width of the placket e.g. 1 5/8” (4cm) + 5/8” (1,5cm). On the pic you see an overlock casted placket for comparison.


IMG_3141

IMG_3142


Mark seam allowance (5/8” (1,5cm)) at the right side of the placket and line up with the skirt edge, right sides together. Sew together close to the edge; stop about 5/8” (1,5cm) away from the bottom edge of the placket. Unfold the placket, mark position of eyes and sew them to the placket by hand so that they ride out just a little bit the sewing line.

IMG_3144

IMG_3146


Sew the facing to the other edge of the skirt. Line up with the edge, right sides together, fold up seam allowance of the bottom edge of the facing and sew.
Close skirt seam, line up edges exactly and pin together, fold away placket and facing, sew. The seam ends a little bit above the facing seam, take care not to catch the placket of facing while sewing.

IMG_3148

IMG_3149


Press open seam allowance; clip on the placket side towards seam end. Trim seam allowance on the side of the facing to ¼” (0,5) cm. Fold seam allowance of the placket side over the trimmed seam allowance of the facing side to get a flat felled seam, sew.
Fold skirt at the placket aside and mark position of eyes. Sew along the seam line. Skip eyes, lock seam before and after. If you want a continuous seam use your hand wheel for not breaking the needle. Press edge carefully.

IMG_3151

IMG_3152

IMG_3154


Fold in raw edge of facing. Sew facing, bottom edge and Seam allowance of placket through all layers with small pointed stitches.
Mark position of hooks and sew only to the facing. If wanted sew along the facing edge with pointed stitches for more stability.
Sew waistband as usual.

IMG_3155

IMG_3156

IMG_3159

Reconstructions of Victorian Drawers

When I was a child I often visited flea markets with my mother. She loved grubbing though masses of bedclothes and all that old linen stuff. That times I knew nothing to do with that things. So we have a lot of hidden treasures like old victorian drawers at home. The drawers where overworked though the years, the crotch seam closed and an elastic waistband added.


After drawing the pattern and scaling down (the owner must have been quite corpulent) it´s time to sew.

Gather the cotton lace and pin it to the lower edge of the pants legs left sides together. Gather a little bit more at the corners.

IMG_2973


Trim seam allowance and press towards the pant. For casting the raw edges prepare a strip of fabric, fold in seam allowance. Width of the strap is about 1″. Mark edges and fold the strap according to the angle of the corners. Pin strap to the lower edge of the pant covering the seam allowance and topstitch.

Close pant legs with a French seam.

IMG_2976

IMG_2980

Lay pant legs on top of each other at the front edge and sew together at a length of 4″. Gather along the upper edge and sew to waistband. At the short edges of the waistband insert a twill tape for closing the drawers.

IMG_2981

IMG_2982

Drawers


Tutorial: How to sew bloomers Part2

Click here for the free sewing pattern


Sew with large stitches along the edge of the pant legs and gather.
Prepare knee straps. Fold pieces lengthwise, right sides together, sew along short edges, and turn in the seam allowance of inner part while sewing. Turn inside out, press. Sew knee strap to the pant legs, at the inside sew on straps by hand.

IMG_2751
IMG_2753

Close darts, close crotch seam, either as a flat felled seam or as French seam.
Prepare waistband: Fold in seam allowances and press, fold straps lengthwise, right sides together, and sew along short edges. Turn inside out. Pin the waistband to the trousers, fold all darts towards the center back, sew through all layers.

IMG_2754

Mark the position of buttonholes and sew, sew on buttons.